Search the Community
Showing results for tags '512bb'.
Found 4 results
-
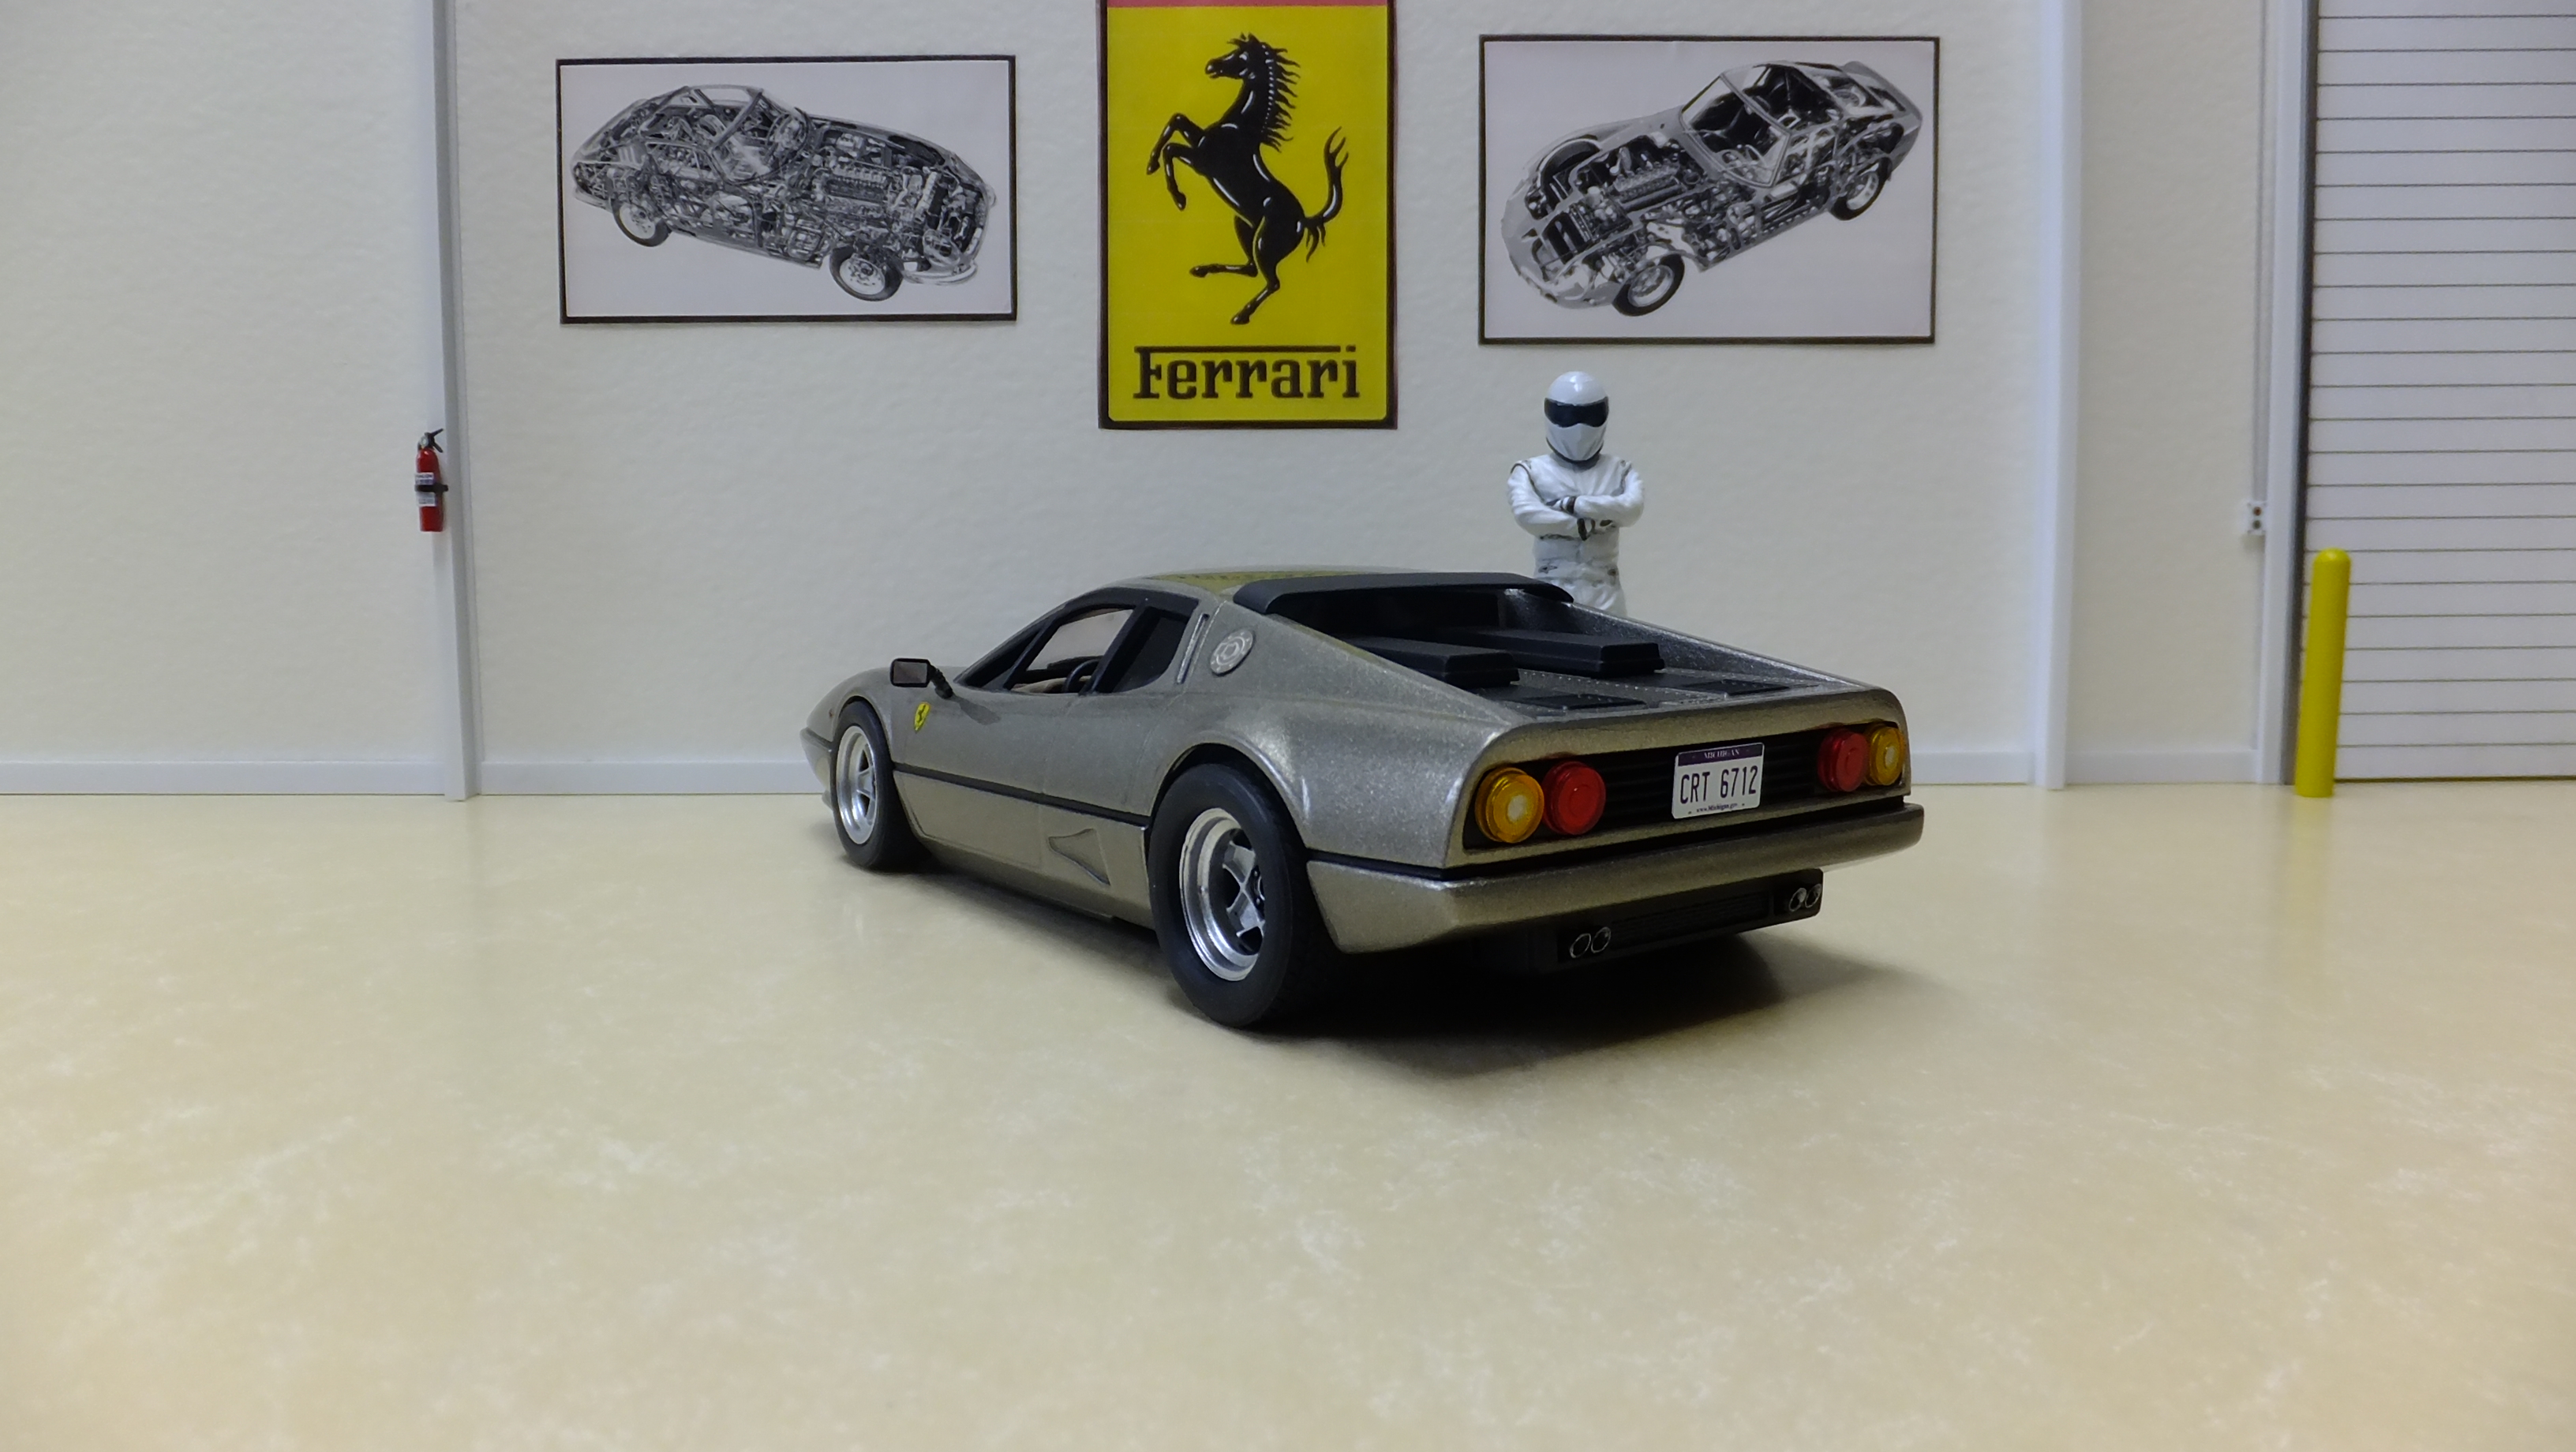
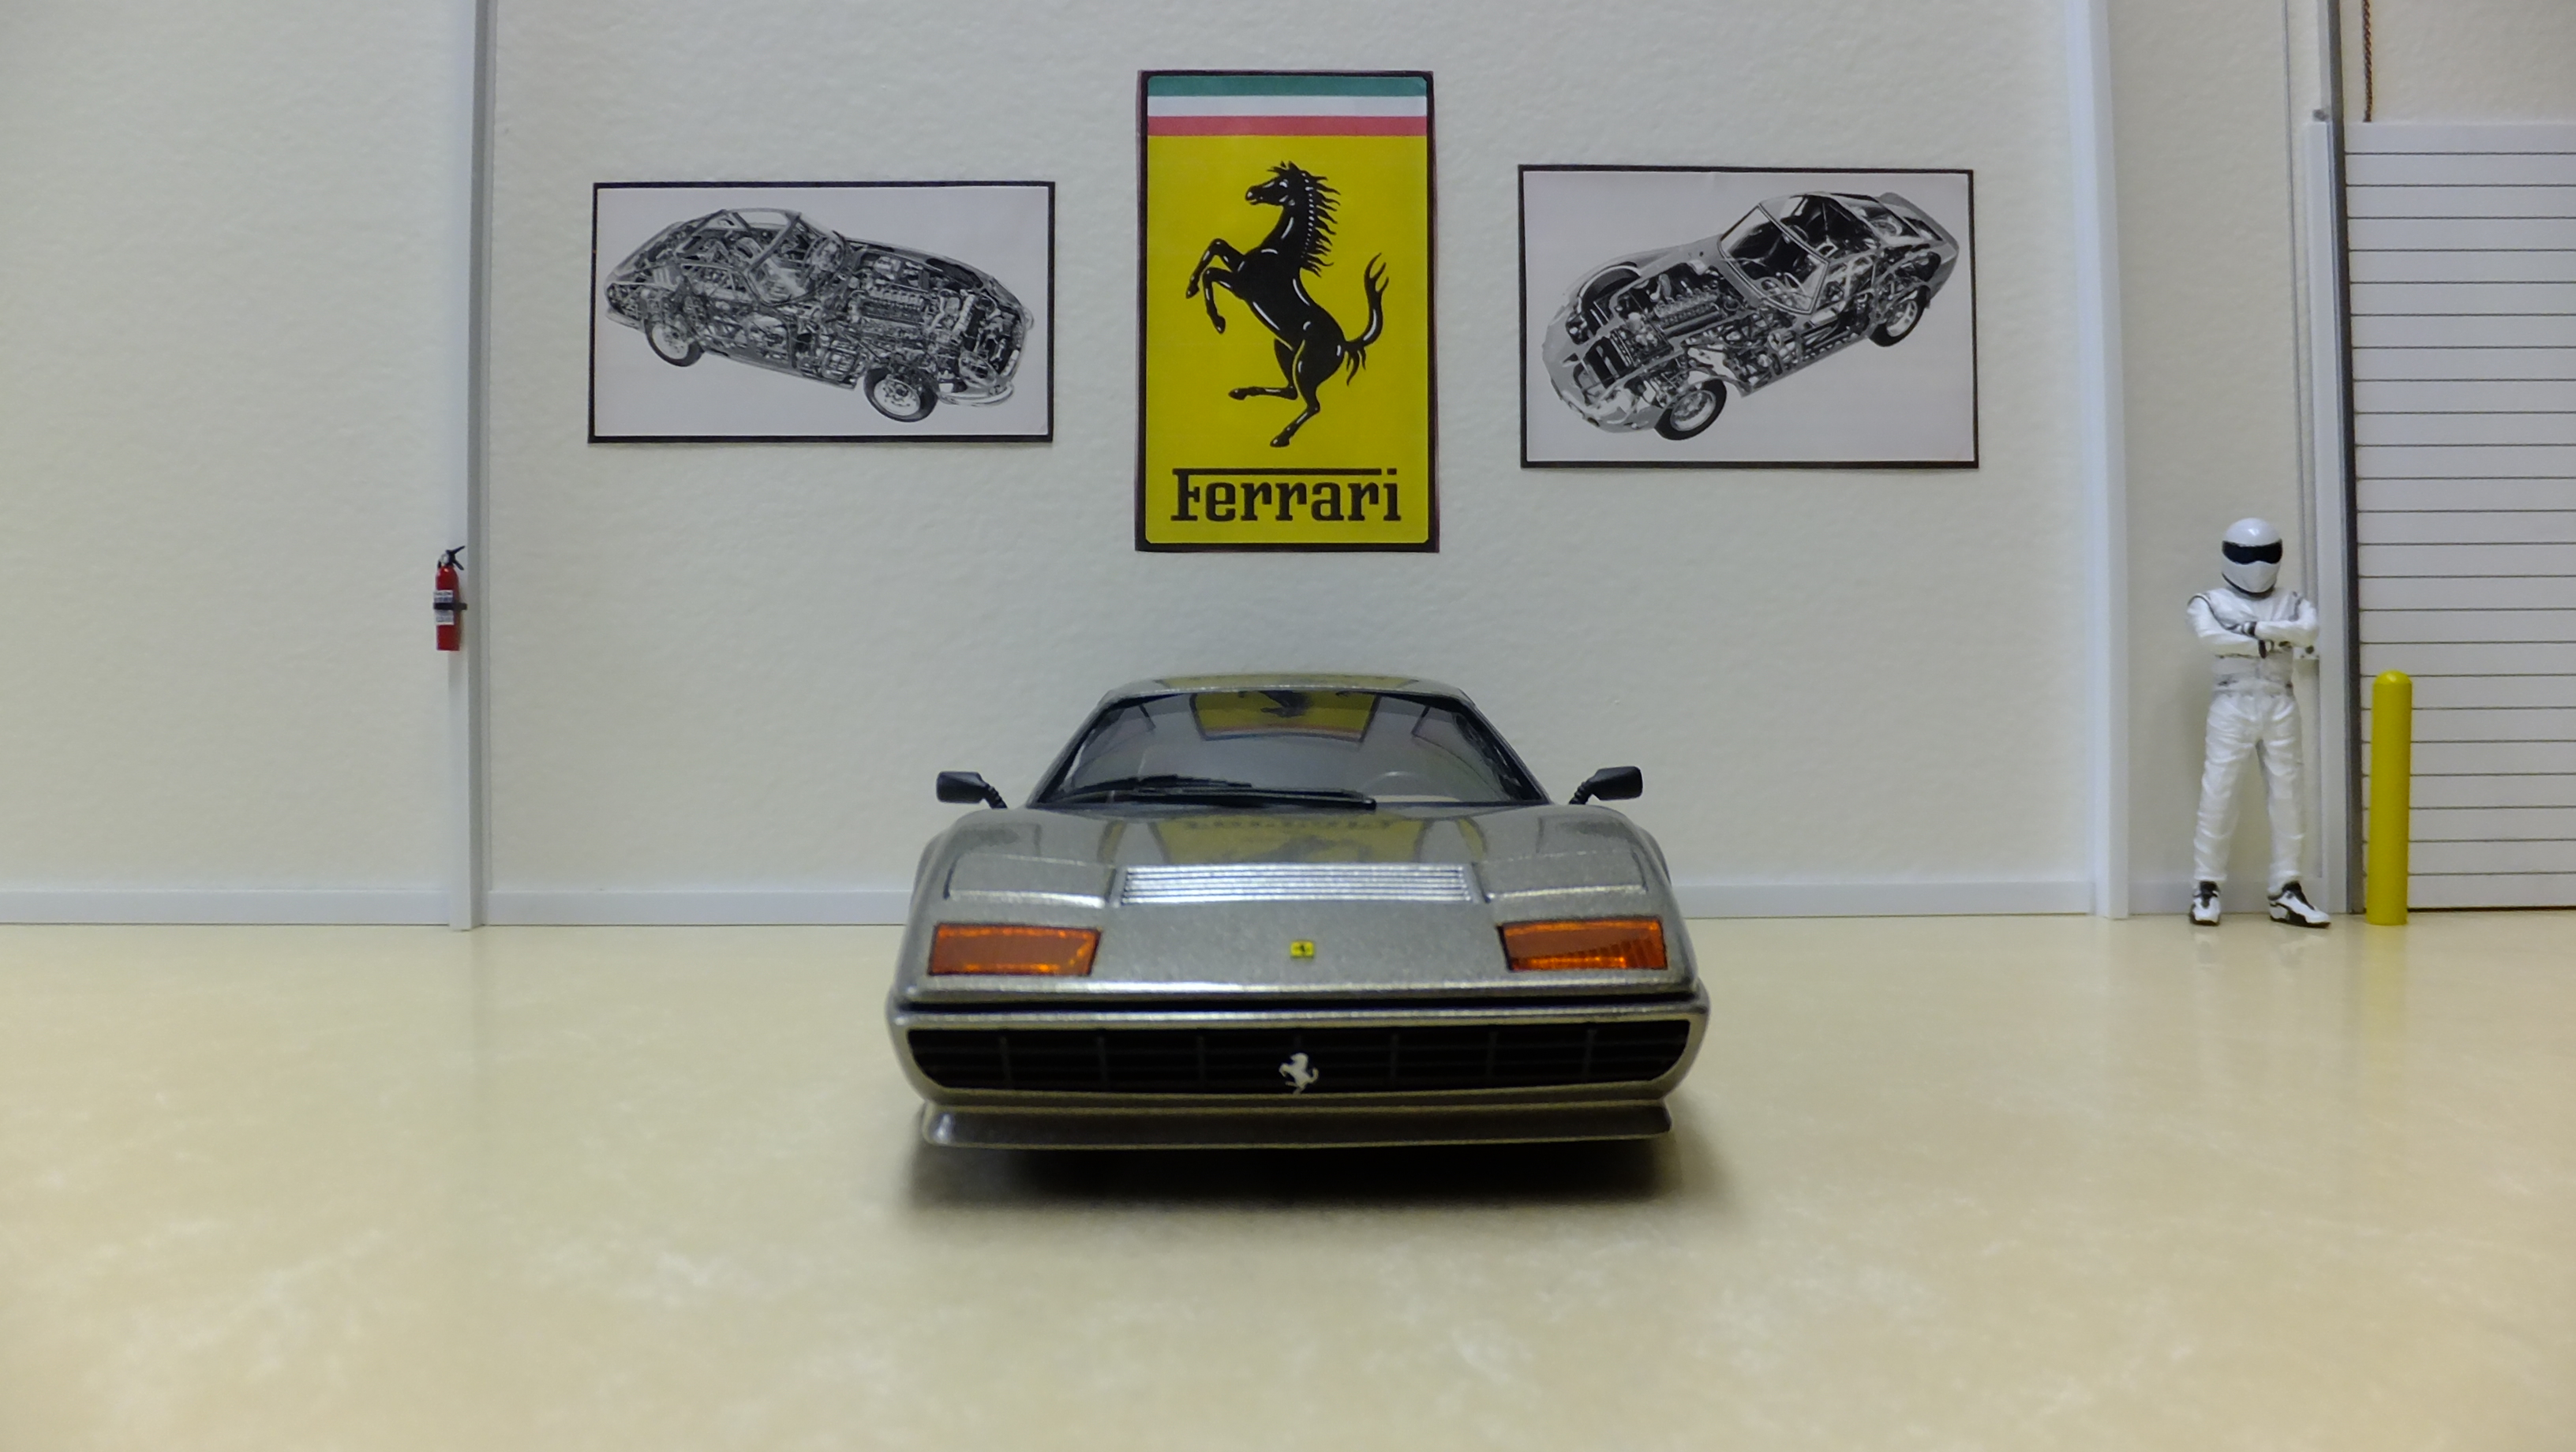
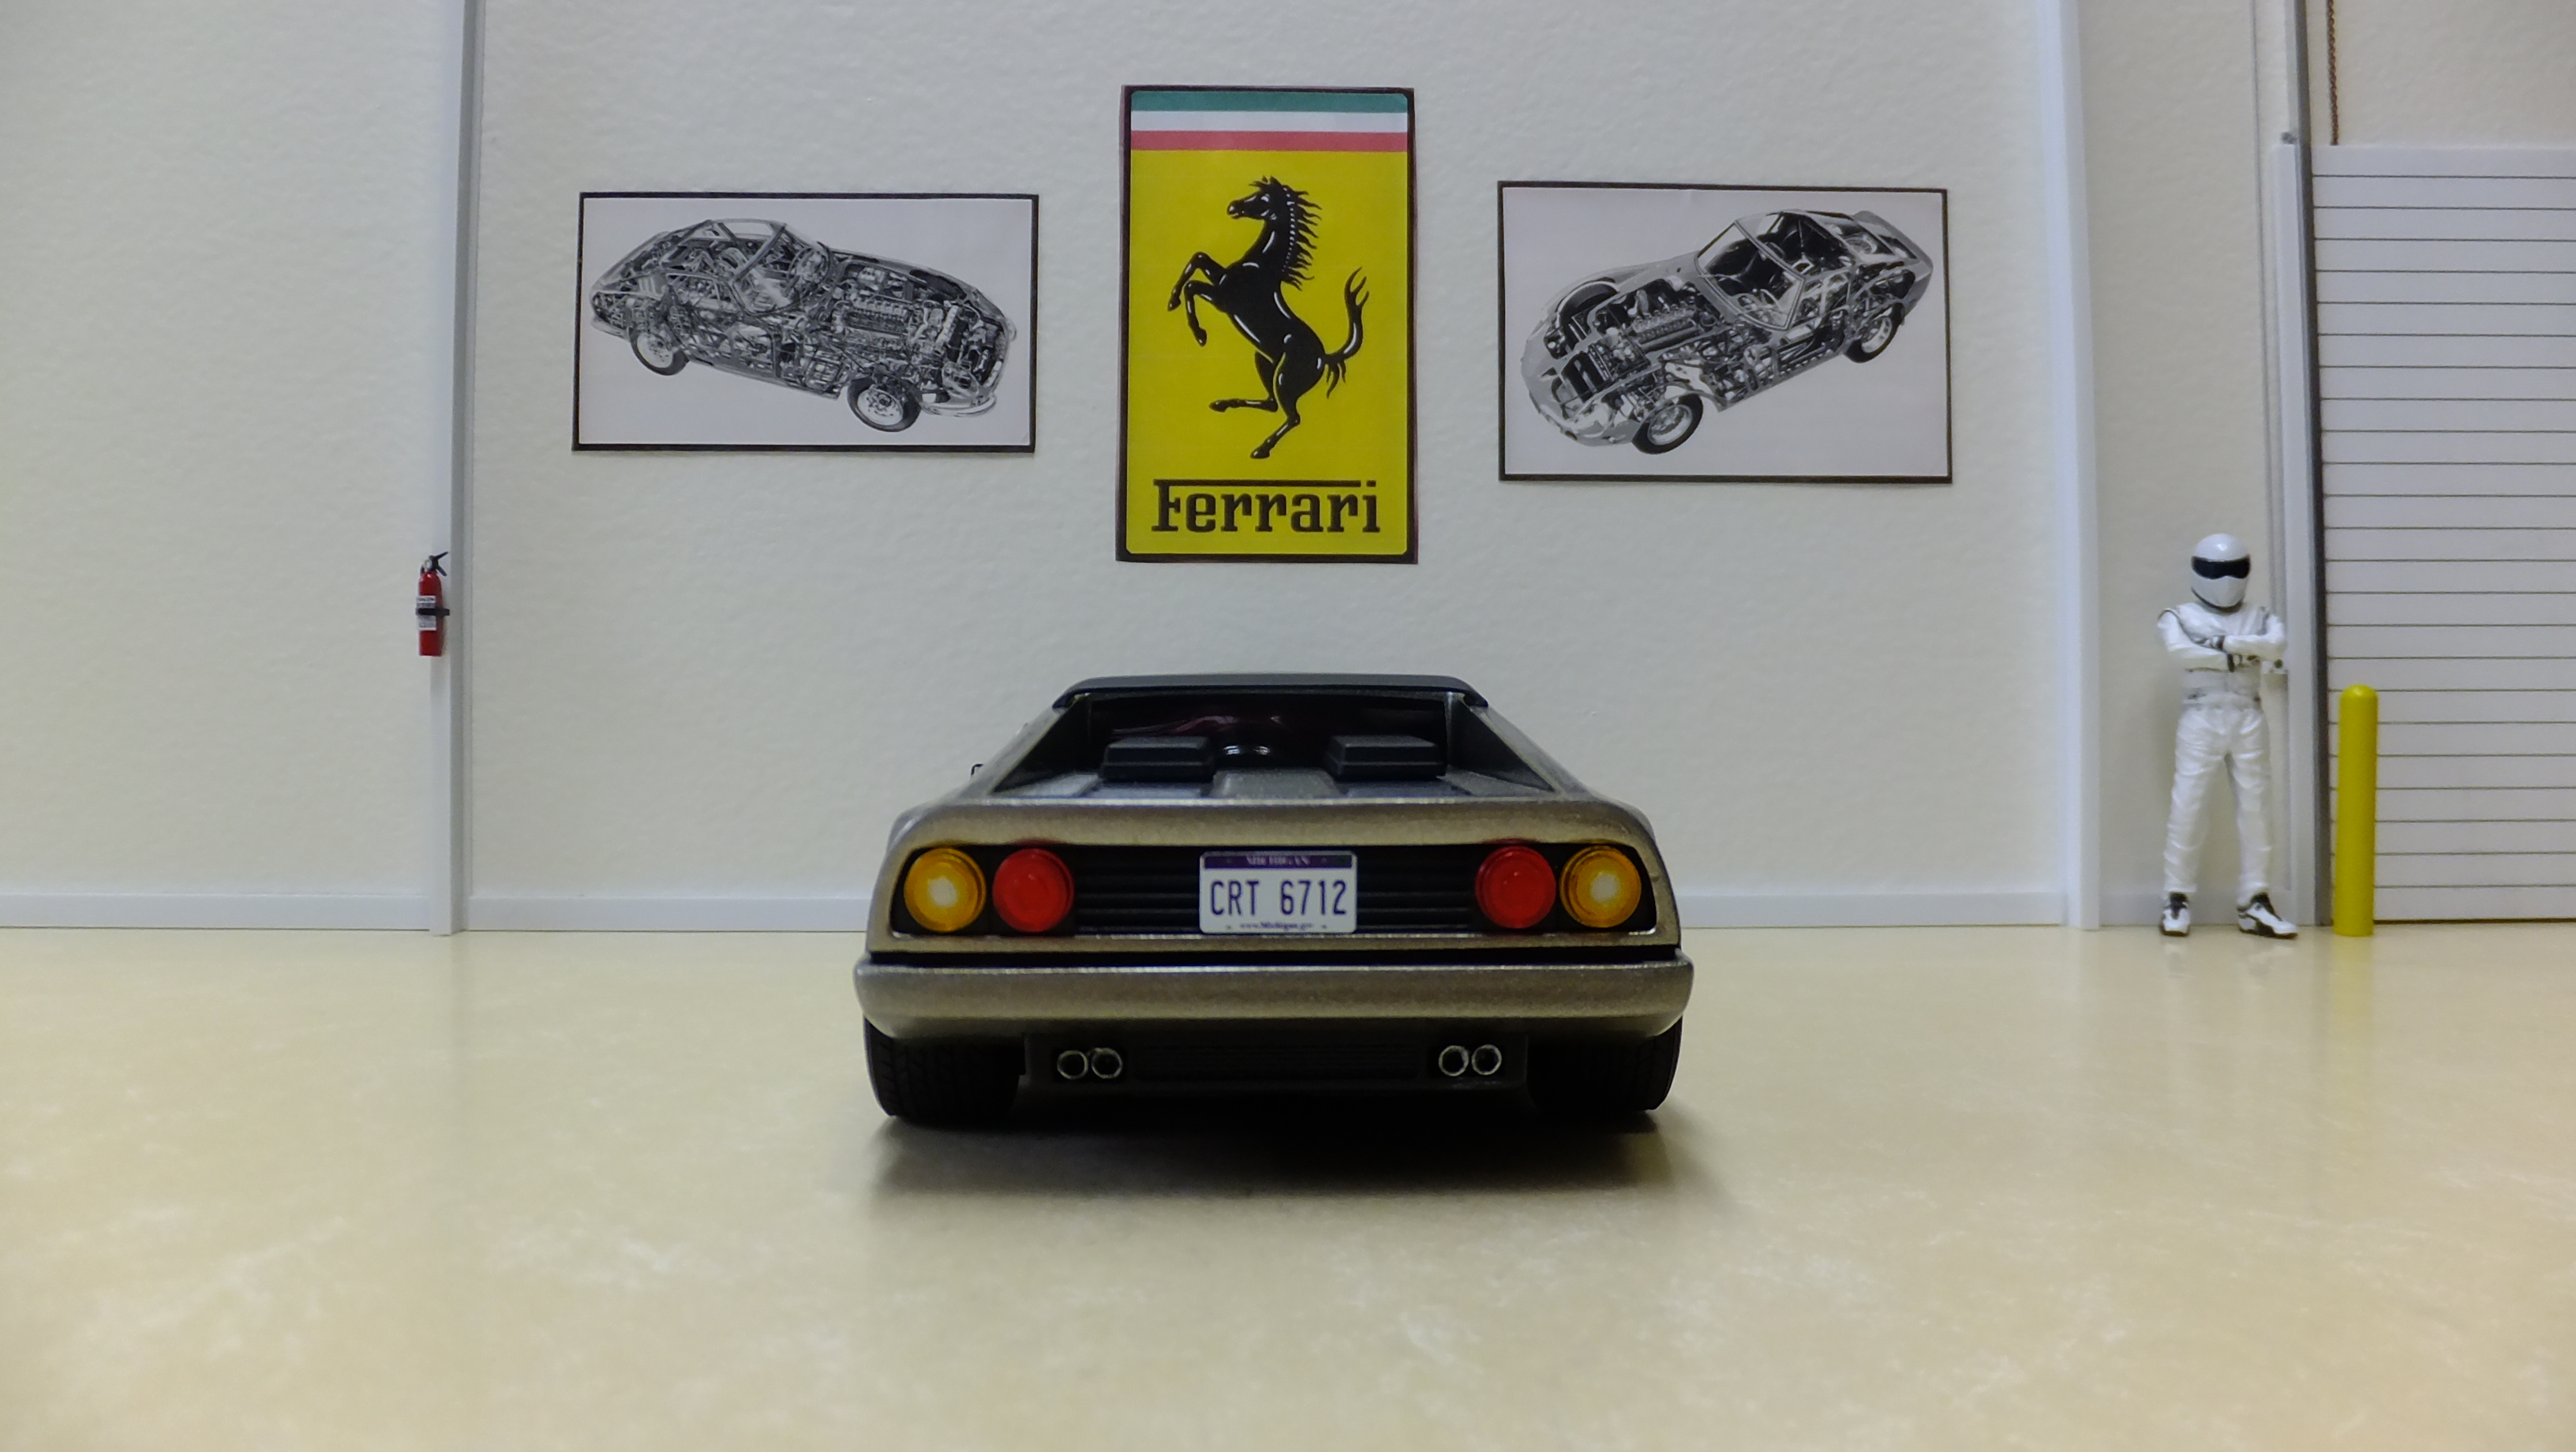
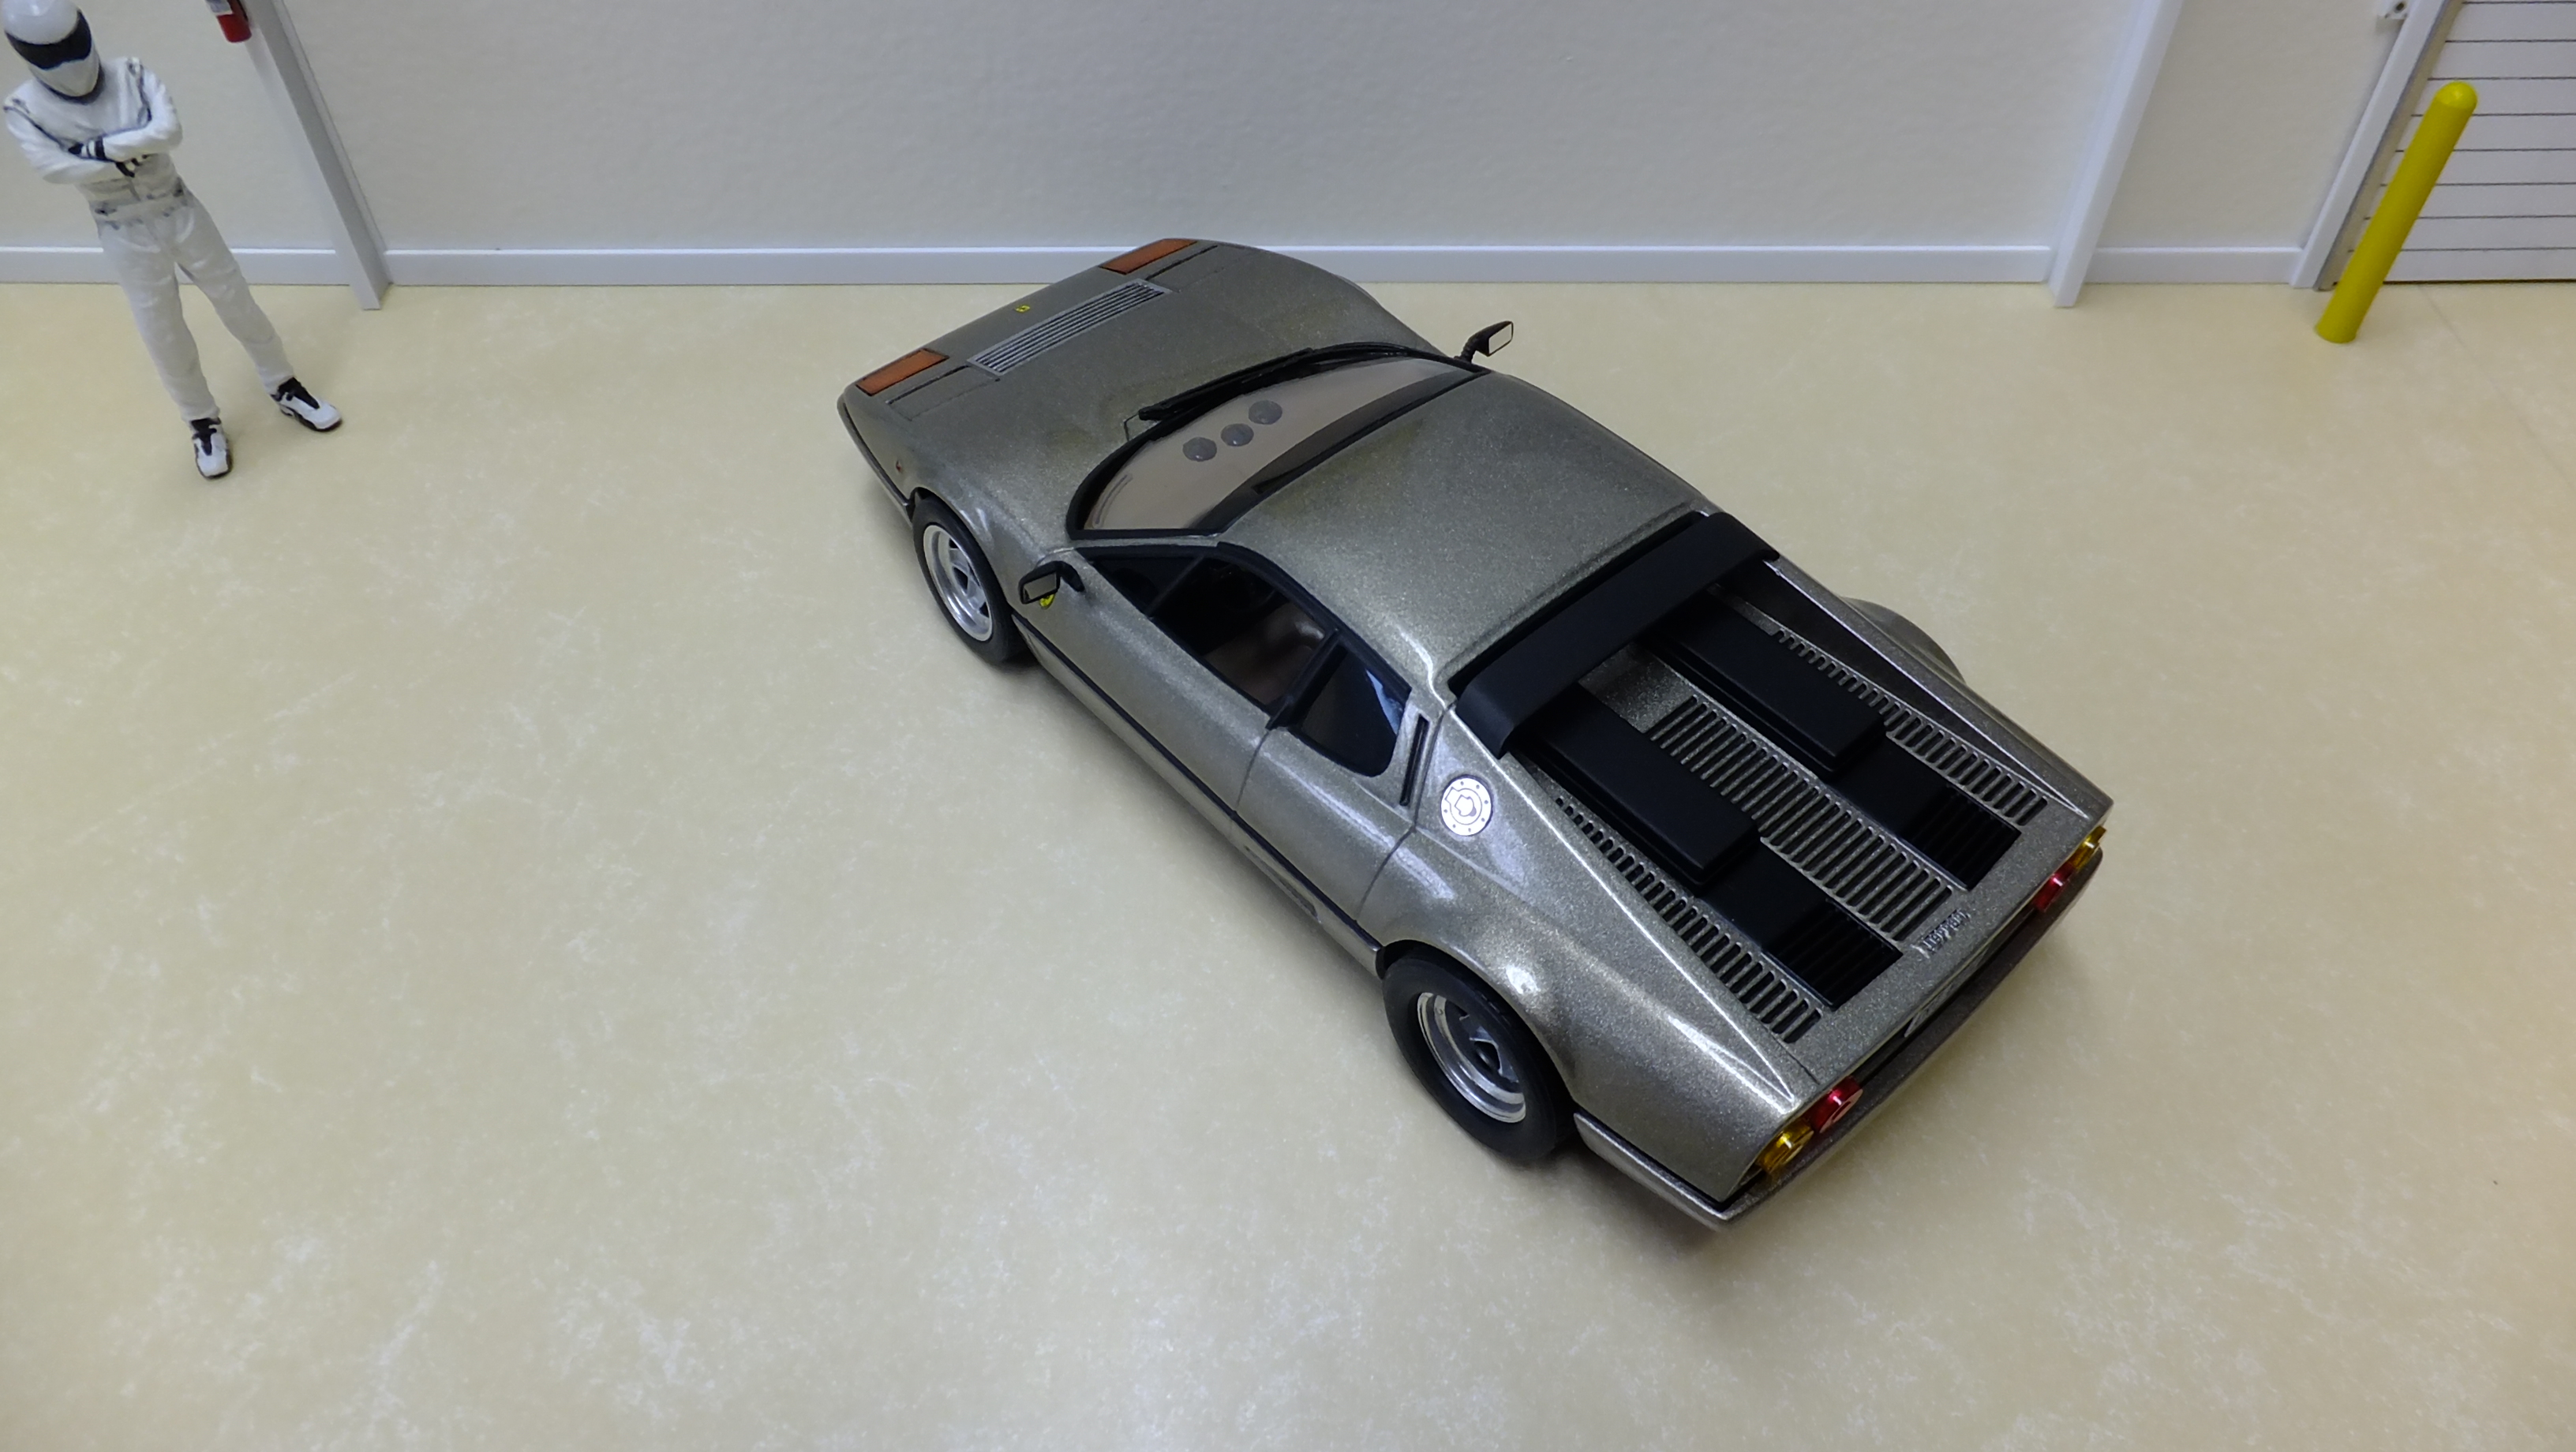
Picture the scene. It's the mid-1970s. I'm about 3 or 4 years old and I'm playing with toy cars with my older brother. "What car is that?" I ask pointing at a red bullet shaped toy. My Brother goes on to explain its a Ferrari, and from that moment on the Boxer shape was embedded in my mind as what a Ferrari looks like. I absolutely loved that shape when I was a kid and grew up learning all about the car. I also learned that the initials 'BB' stood for Berlinetta Boxer, so imagine my surprise when I learnt that wasn't quite right! There are numerous articles online, including one from the official Ferrari magazine stating otherwise. This quote comes from Road & Track; But there's always been something puzzling about that name. In Ferrari parlance, "Berlinetta" usually means a front-engine car, which this is not. And a "boxer" engine, while still horizontally opposed, uses an individual crank journal for each piston; the 365 GT4 BB's motor has pairs of pistons sharing a common crank journal, making it, technically, a "flat 12" rather than a "boxer 12." As it turns out, the Berlinetta Boxer—"BB" for short—isn't a berlinetta or a boxer at all. The name was a clandestine reference to French model, actress, singer, dancer, animal-rights activist, and all around pop culture icon Brigitte Bardot. When Fujimi released the 512BB I was excited. When they also released the 512BBi and the 365GT4BB, my mind was blown. Of course, I bought all three. A quick guide for those not familiar with the Boxer trilogy... First generation. Ferrari 365 GT4BB (manufactured 1973 - 1976) Second generation. Ferrari 512BB (manufactured 1976 - 1981) Third generation. Ferrari 512BBi (manufactured 1981 - 1984) But which one to build first? First impressions of the kits were very positive, but the wheels looked wrong - very wrong! I purchased a PE set for the 512BBi version and hoped PE sets would be released for the other two. I wished some better wheels would become available, and I waited. These three kits must have been in my stash for over 10 years now, and I'm not waiting any longer. Because I can't decide which one to build, I'm going to build all three simultaneously! My first ever triple build. The first hurdle to cross is the wheels. The wheel and tyre package included in all three kits is the same. Fujimi have included the correct size 15" tyres, but wheels that would look more at home on a 360 Modena. They seem to be 19" and look wrong to my eyes. First I found what I needed on Shapeways https://www.shapeways.com/product/6VWN4AT66/1-24-ferrari-512bb-wheels But then I found a 3D .stl file available online for free download here; https://cults3d.com/en/3d-model/architecture/ferrari-512-bb-rim-x-fujimi-1-24th-model I sent the .stl files to a printer and here is his first attempt of printing. The layer thickness was too big. Finally we settled on 0.05mm and here's the results. At the top we have the kit supplied wheels. They're massive! Under that are a set of 5 spokes form Fujimi's Ferrari Daytona Enthusiast kit. They aren't bad, and I did strongly consider using them at one point. Below that are the three sets of printed wheels, which I'm super happy with. At the bottom is a set of tyres from the Fujimi Boxer kit. All three kits use the same tyres. Note that the resin printed wheels have a deeper dish for the rear. The Daytona wheels at the top are the same for the front and the rear. Here they are pressed into the tyres. I'm happy with this. More than happy! Now there's nothing stopping me from cracking on. Building three at once should be like a production line for the chassis and suspension. all the colours for these parts will be the same (well, mostly). Much of the interior is the same on all three. Of course the bodies have their subtle differences and they will all be a different colour. Thanks for watching.
-
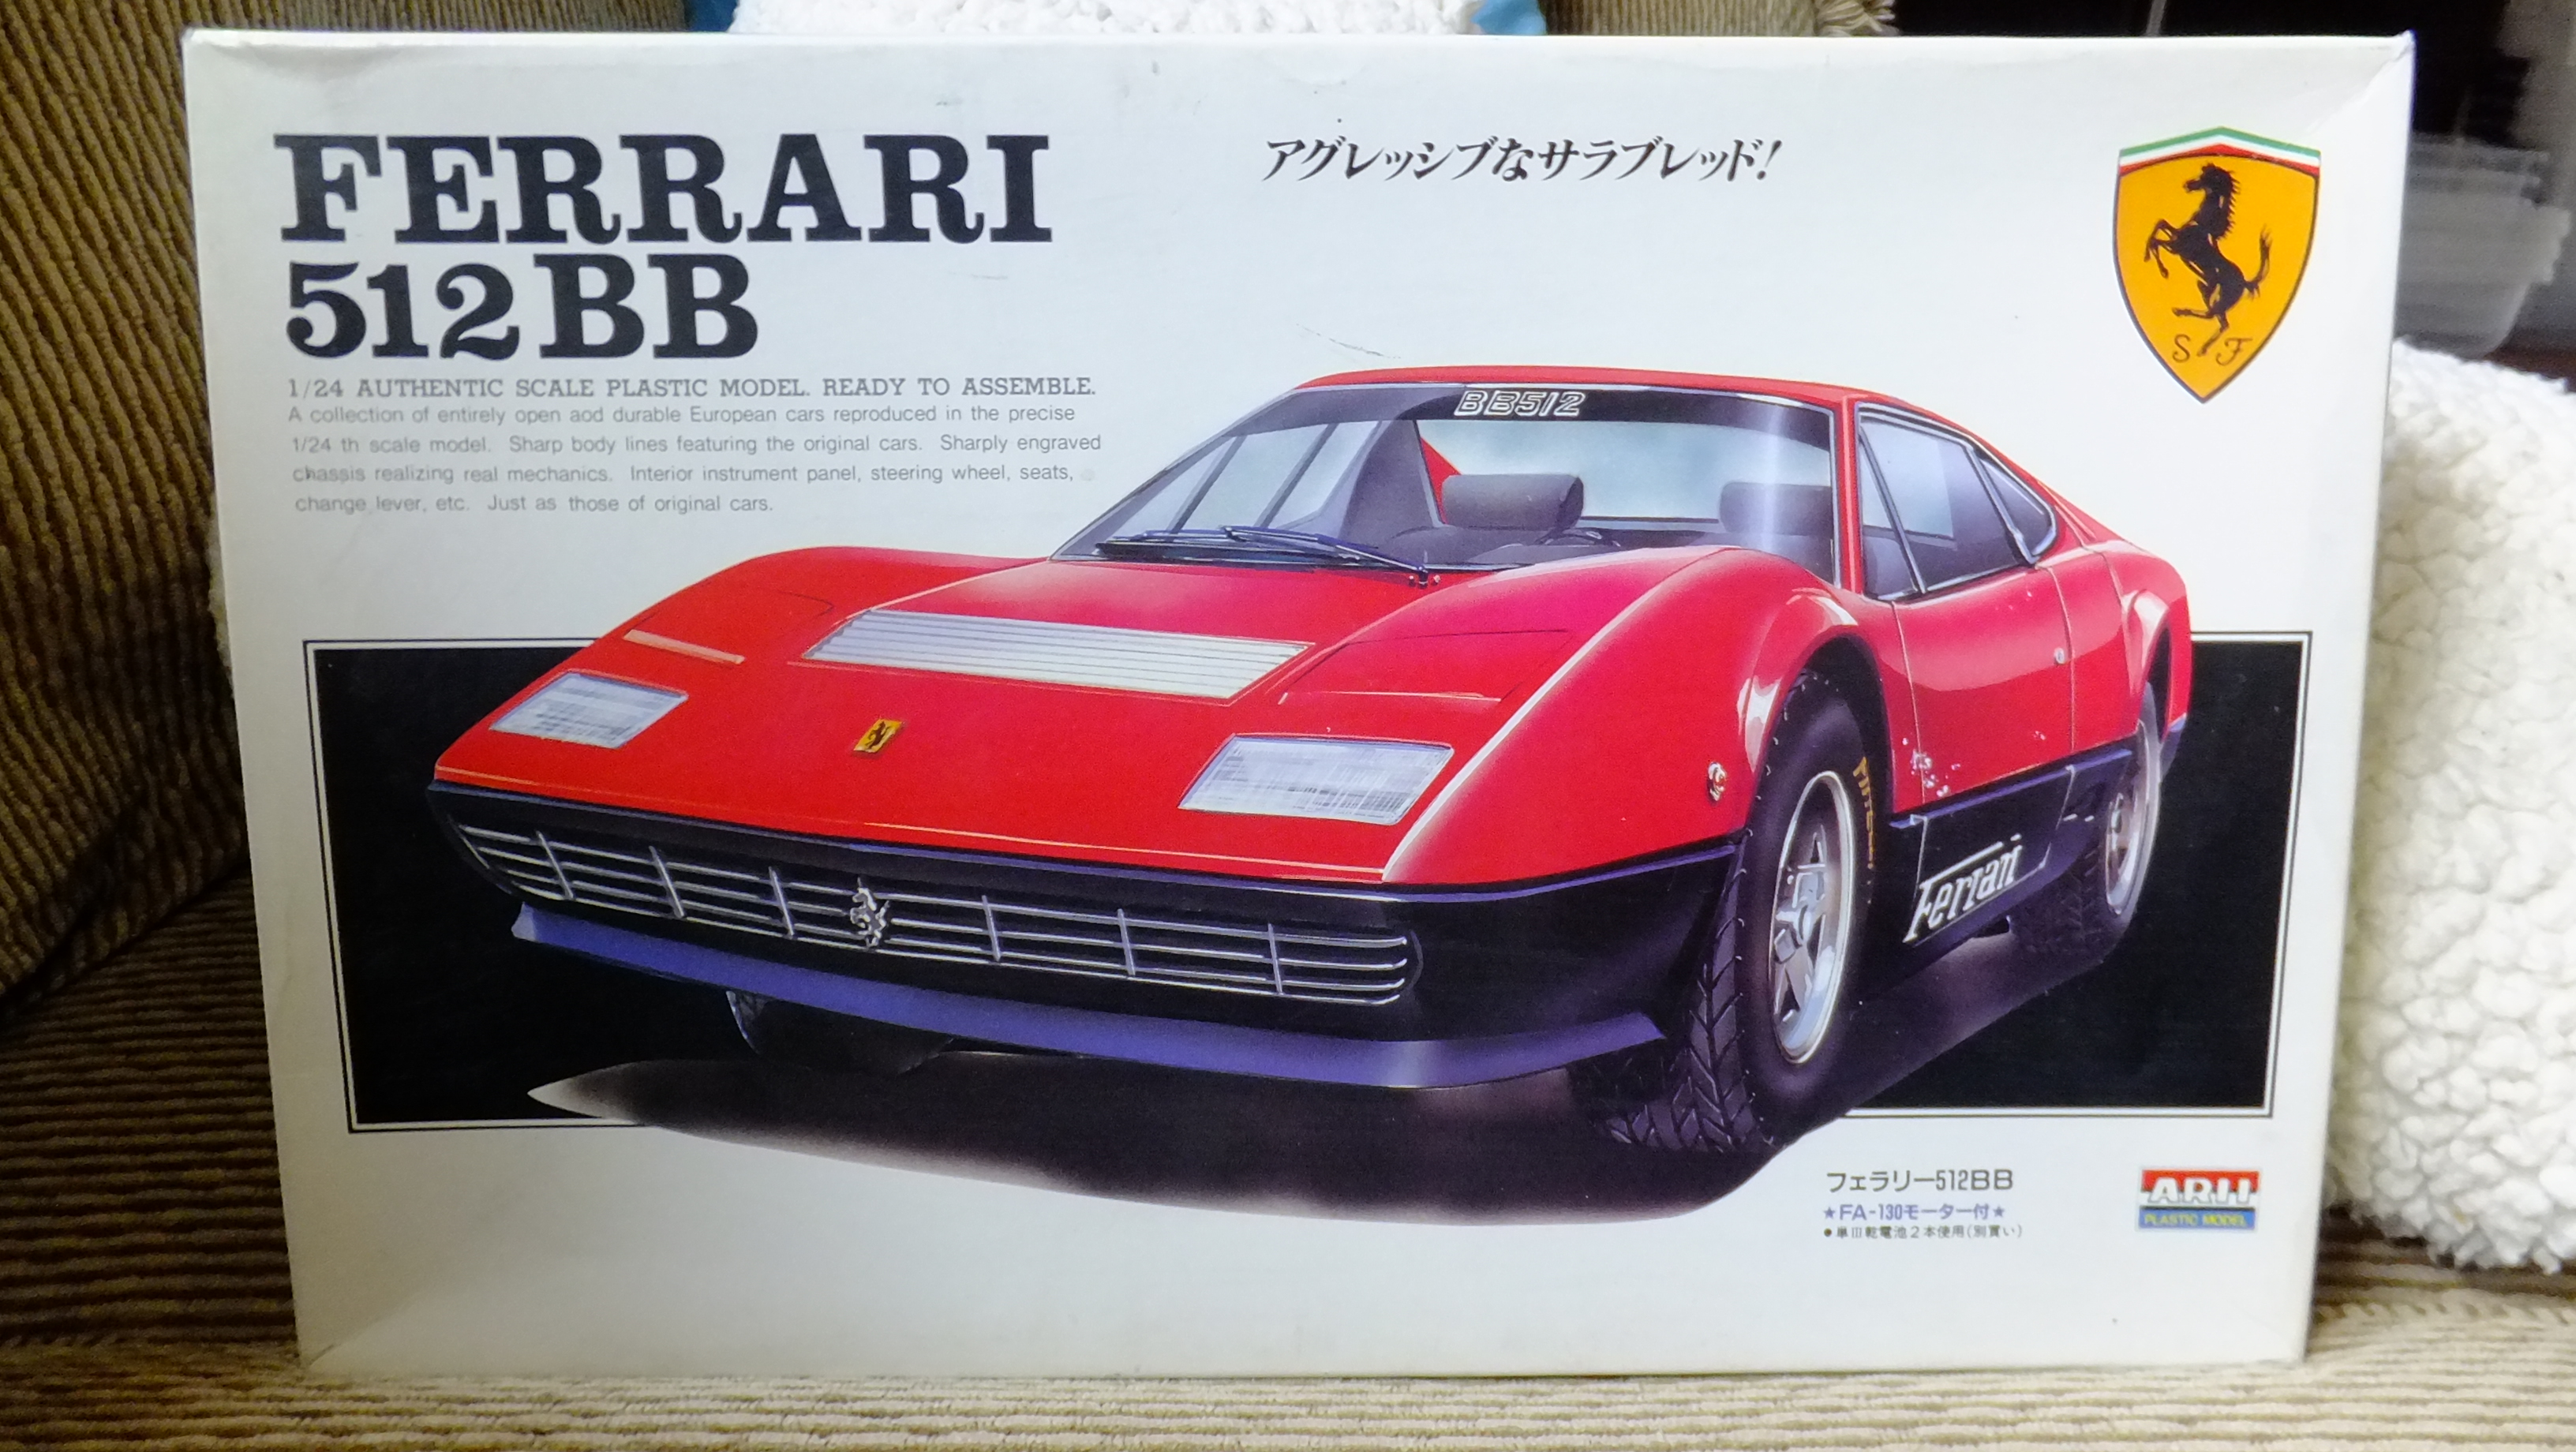
Hey, everyone!, this is an ARII kit that a friend of mine started a loooong time ago. I was teaching him how i build. He had all the main kolors painted, as well as having the interior assembled, but that was about it. Its sat unfinished for 20+ years since he's been gone, so i decided that i would finish it the way he wanted......it took ALOT of control to refrain from redoing it entirely, and adding all my detailing, but i managed to leave it as close to his concept as possible....thanks for checking it out!

-
 DISCLAIMER: These kits have been started in 2008 before my accident. Everything that you see in the first few posts will be the work I have completed before the project was shelved. I’m attempting to resurrect the build and hopefully complete these at some point soon, just don’t know if I’m still in shape to actually do it, but what the heck. =================================== The 1979 24 Hours of Le Mans was the 47th Grand Prix of Endurance, and took place on June 9 and 10, 1979. Ferrari had no chance against mighty Porsches and new BMW M1s, but it did enter several cars in competition. It was Beurlys 512BB LM #61 "EMKA" with its screaming 4.9L Flat-12 driven by Nick Faure, Steve O'Rourke, Bernard de Dryver, and Jean Blaton that showed 12 overall result having completed 274 laps. Today I will build this car in 1:24th, using multimedia kit from Model Factory Hiro. I will be another double-build. The second car will be JMS Racing/Pozzi #63 3M "Cloud Car", which unfortunately DNF after completing 219 laps. Here are couple of pictures of the real cars: The kits are usual MFH detail tour de force, with lots of white metal, turned aluminum and steel, and photoetch. Body is half resin half metal, and lots of other materials used for various parts of the kit as well. I started with cleaning the bodies, but as with all MFH kits, the process will be slow (and painful) because of the amount of cleanup and test-fitting required. You get a lot for your 31500 yen - here is kit contents: As you can see on the following pix, the fit is horrible. I mean - nothing really fits! It looks like some parts came from a different kit! So...I decided to cut it all apart and see if I can put it back together so it fits right! Made templates for the doors Then started hacking into it. Look at the thickness of that thing! Good grief! You know why Hiro kits are so expensive? They use way too much resin :-) LOL! After I cleaned up door jambs a bit I found one positive though - I don't have to build door jambs now - they are thick enough as is, I actually had to thin them down a bit. Door pattern was transferred to sheet brass, then doors were cut out, shaped over the spare body and just by hand, and then meticulously fine-tuned, bent here and there, beaten to shape. Still need some work a bit, but the basic shape is there. Door jambs were cleaned for the doors, and then I started carving the cavity for the doors to go inside the body when they open. After few hours of work, cavities were made, door jambs finished, and part of the hinge made. Then I added hinge to the door skins. It is a very simple but very effective construction that perfectly replicates the way doors opened on the real car. Later on, the entire hinge assembly will be concealed by the inner door frame. This is how the doors fit on the outside: Front lid was sanded and re-shaped until my fingers started bleeding! Had to completely re-do the sides, then thin it down (a lot). That cover needed tons of work. Still need a bit more, but I was at least able to do proper test fitting. Now I need to do the same for the other! Door frames! Still a few tweaks needed here and there, and solder needs to be cleaned up, but basic shape is there. So, this is where it all stopped in 2008. I have not touched this kit since, everything that is to follow will be new stuff. I honestly don’t even know where to pick up the pieces on this, but will assess the situation over the weekend and proceed then. Just wanted to put this up here as a bookmark!
 -
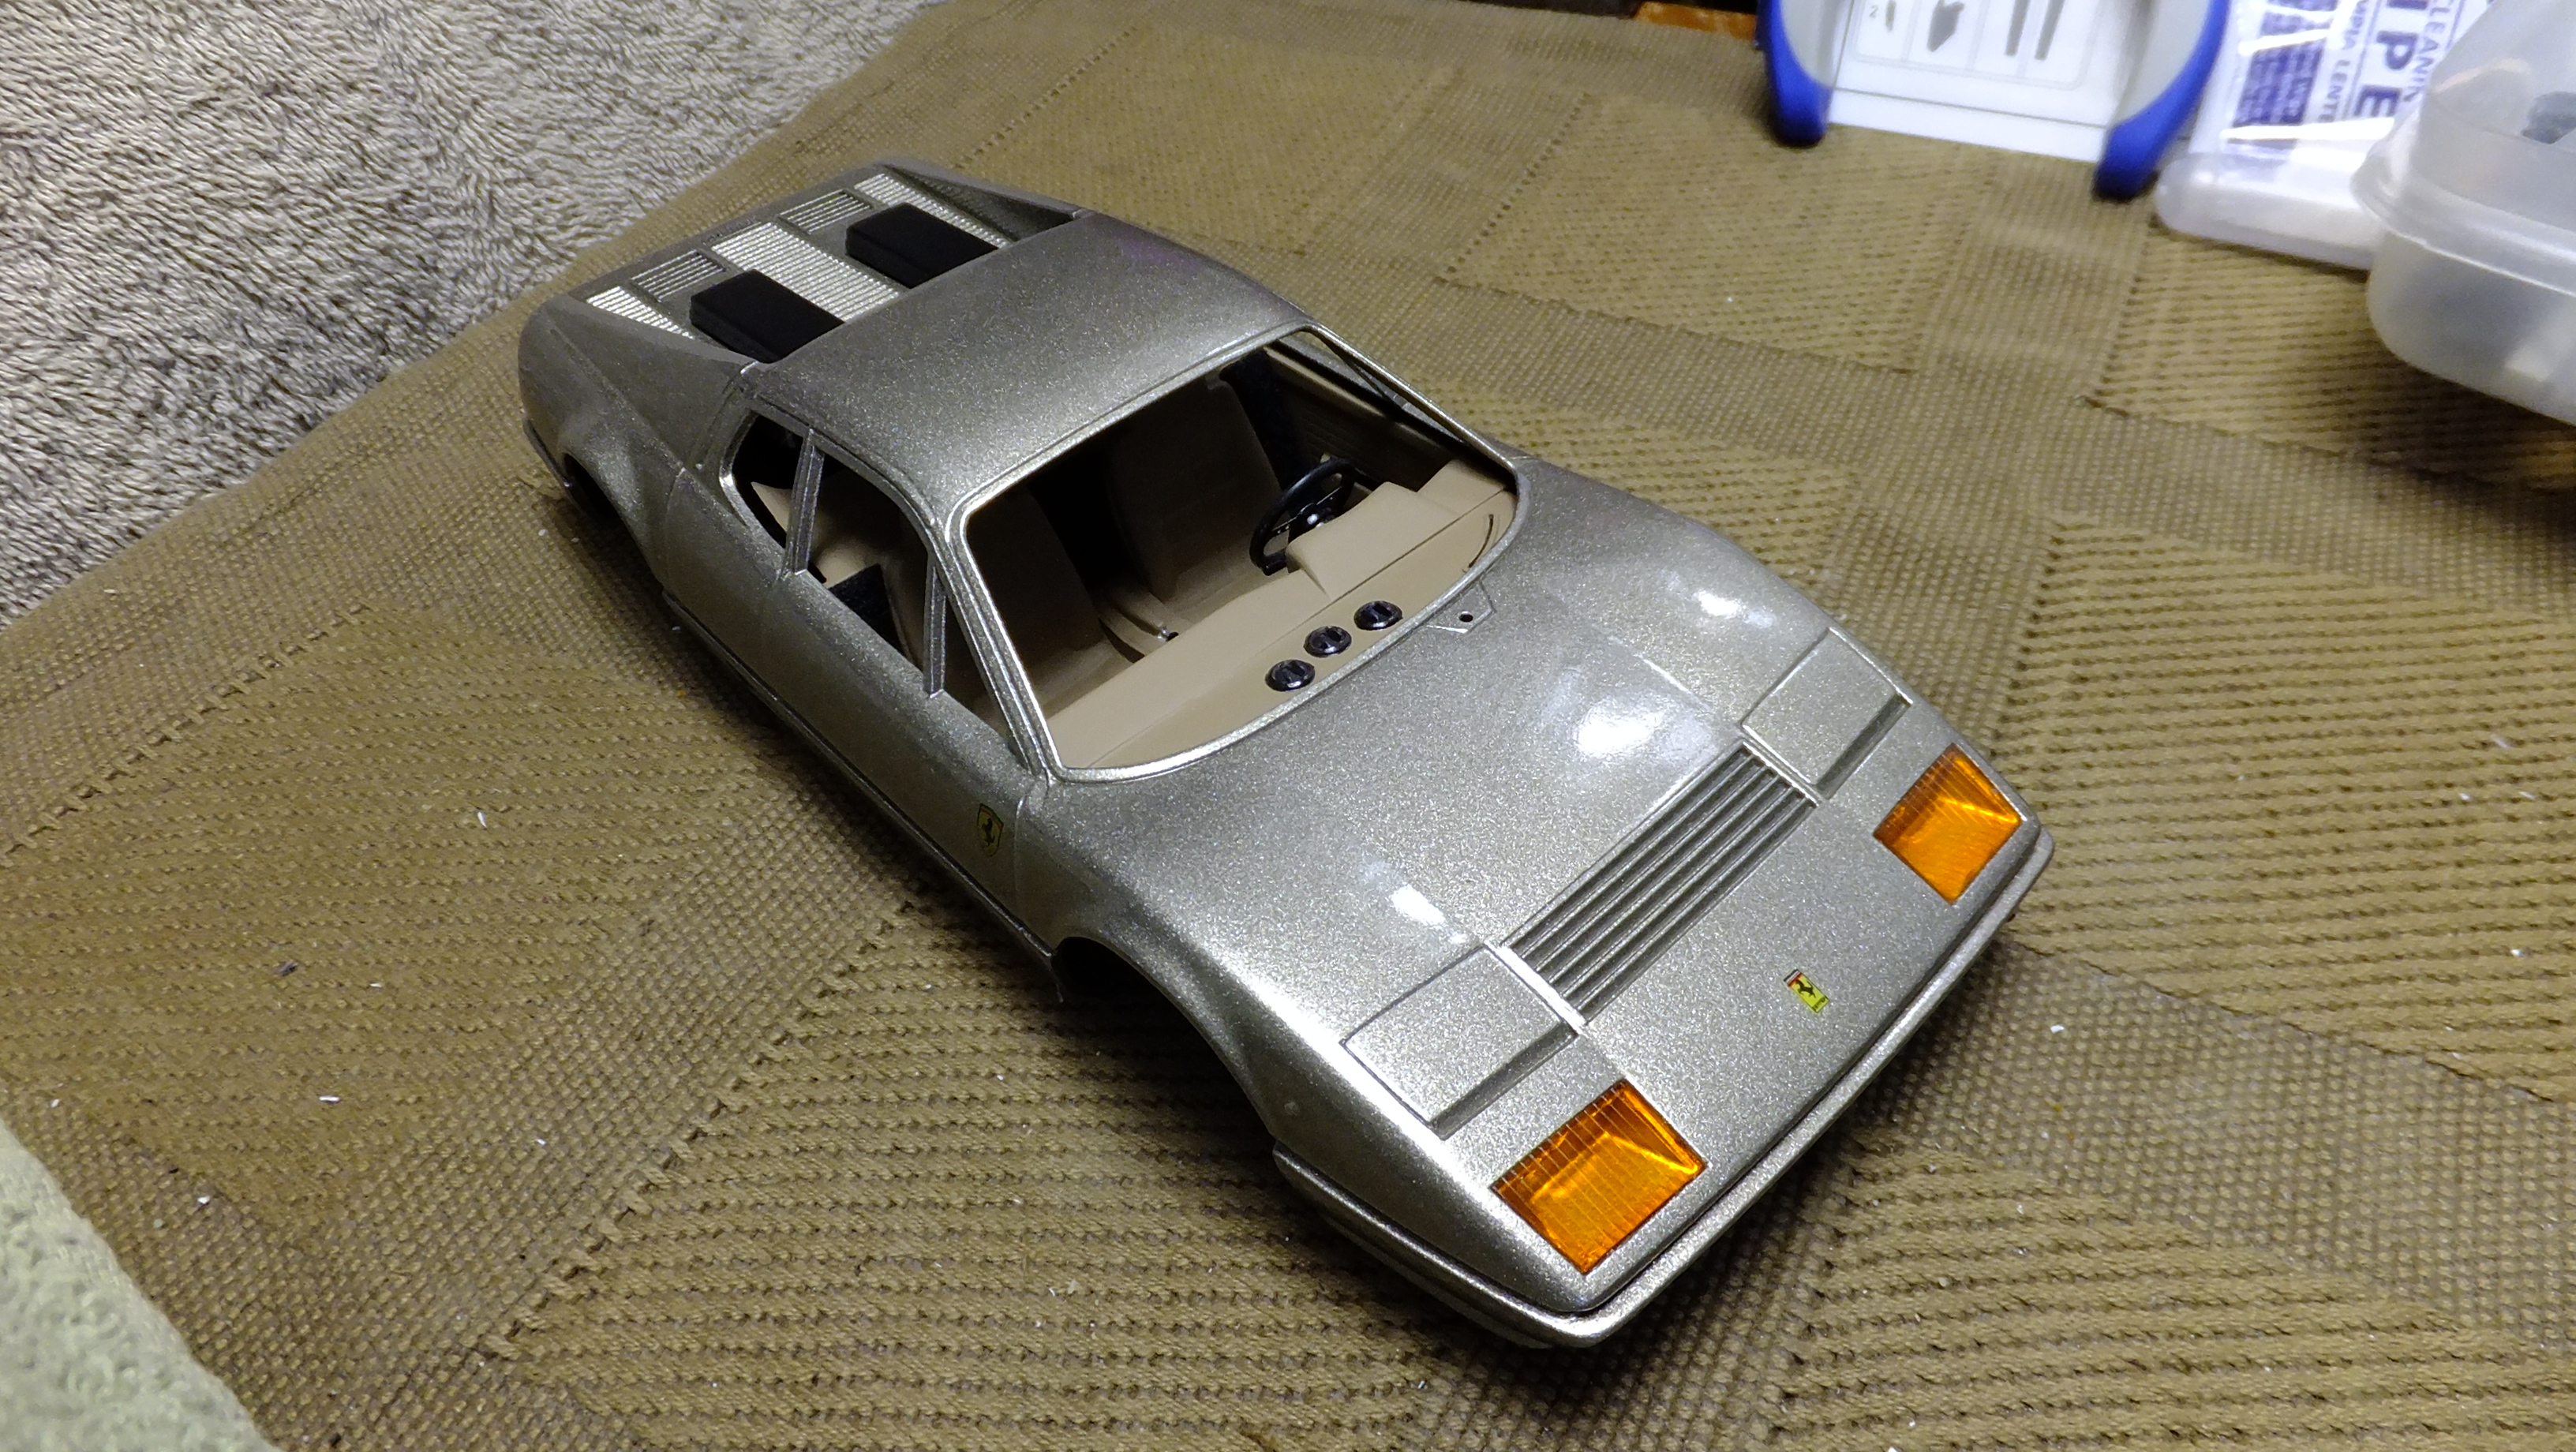
Hey, everyone!, while I was re-organizing, and adding more shelves to the modelroom, I came across this model that I had given to a friend to be his first build. Not wanting to get into it too much, but he's not around anymore, so I decided that i'm going to finish it for him. The only thing I've done so far, is add some Tamiya panel line paint, but the really hard thing for me is to NOT cut the very simplistic seats out, and make them more realistic.....I have to resist..lol here it is before I start....