Search the Community
Showing results for tags 'Bentley'.
Found 6 results
-
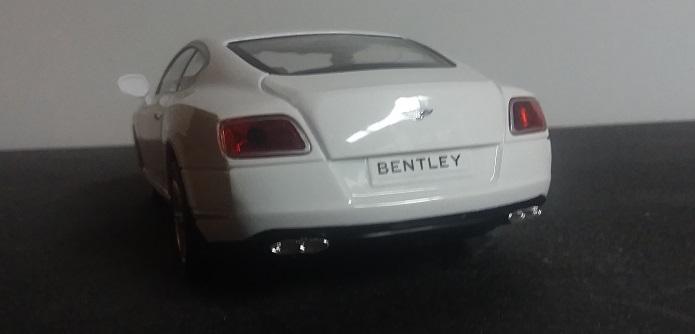
I like bargains, especially when they are 1/24 scale. The other day I went to Michaels to pick up a framing order for my wife and decided I would check out the 5 Below store next door where everything is $5 or less. And surprise, they had $5 Bentley Continental GT V8 in 1/24 scale!! Way cool! Got home and did a little sleuthing and these are made in plastic and distributed by Braha Industries. If you don't have a $5 Below in your neighborhood there are plenty on eBay along with different colo(u)rs, a Corvette, Hummer H2, pickups and others.

-
1 (79) by Eric Lucas, on Flickr 1 (79) by Eric Lucas, on Flickr 1 (81) by Eric Lucas, on Flickr 1 (82) by Eric Lucas, on Flickr 1 (84) by Eric Lucas, on Flickr 1 (85) by Eric Lucas, on Flickr 1 (86) by Eric Lucas, on Flickr
-
This car was a pain to build, and it took me a lot more time than it normally does to build, but it came out great. This is a pretty good kit to build, just a little challenging. Love the way the car looks.
-
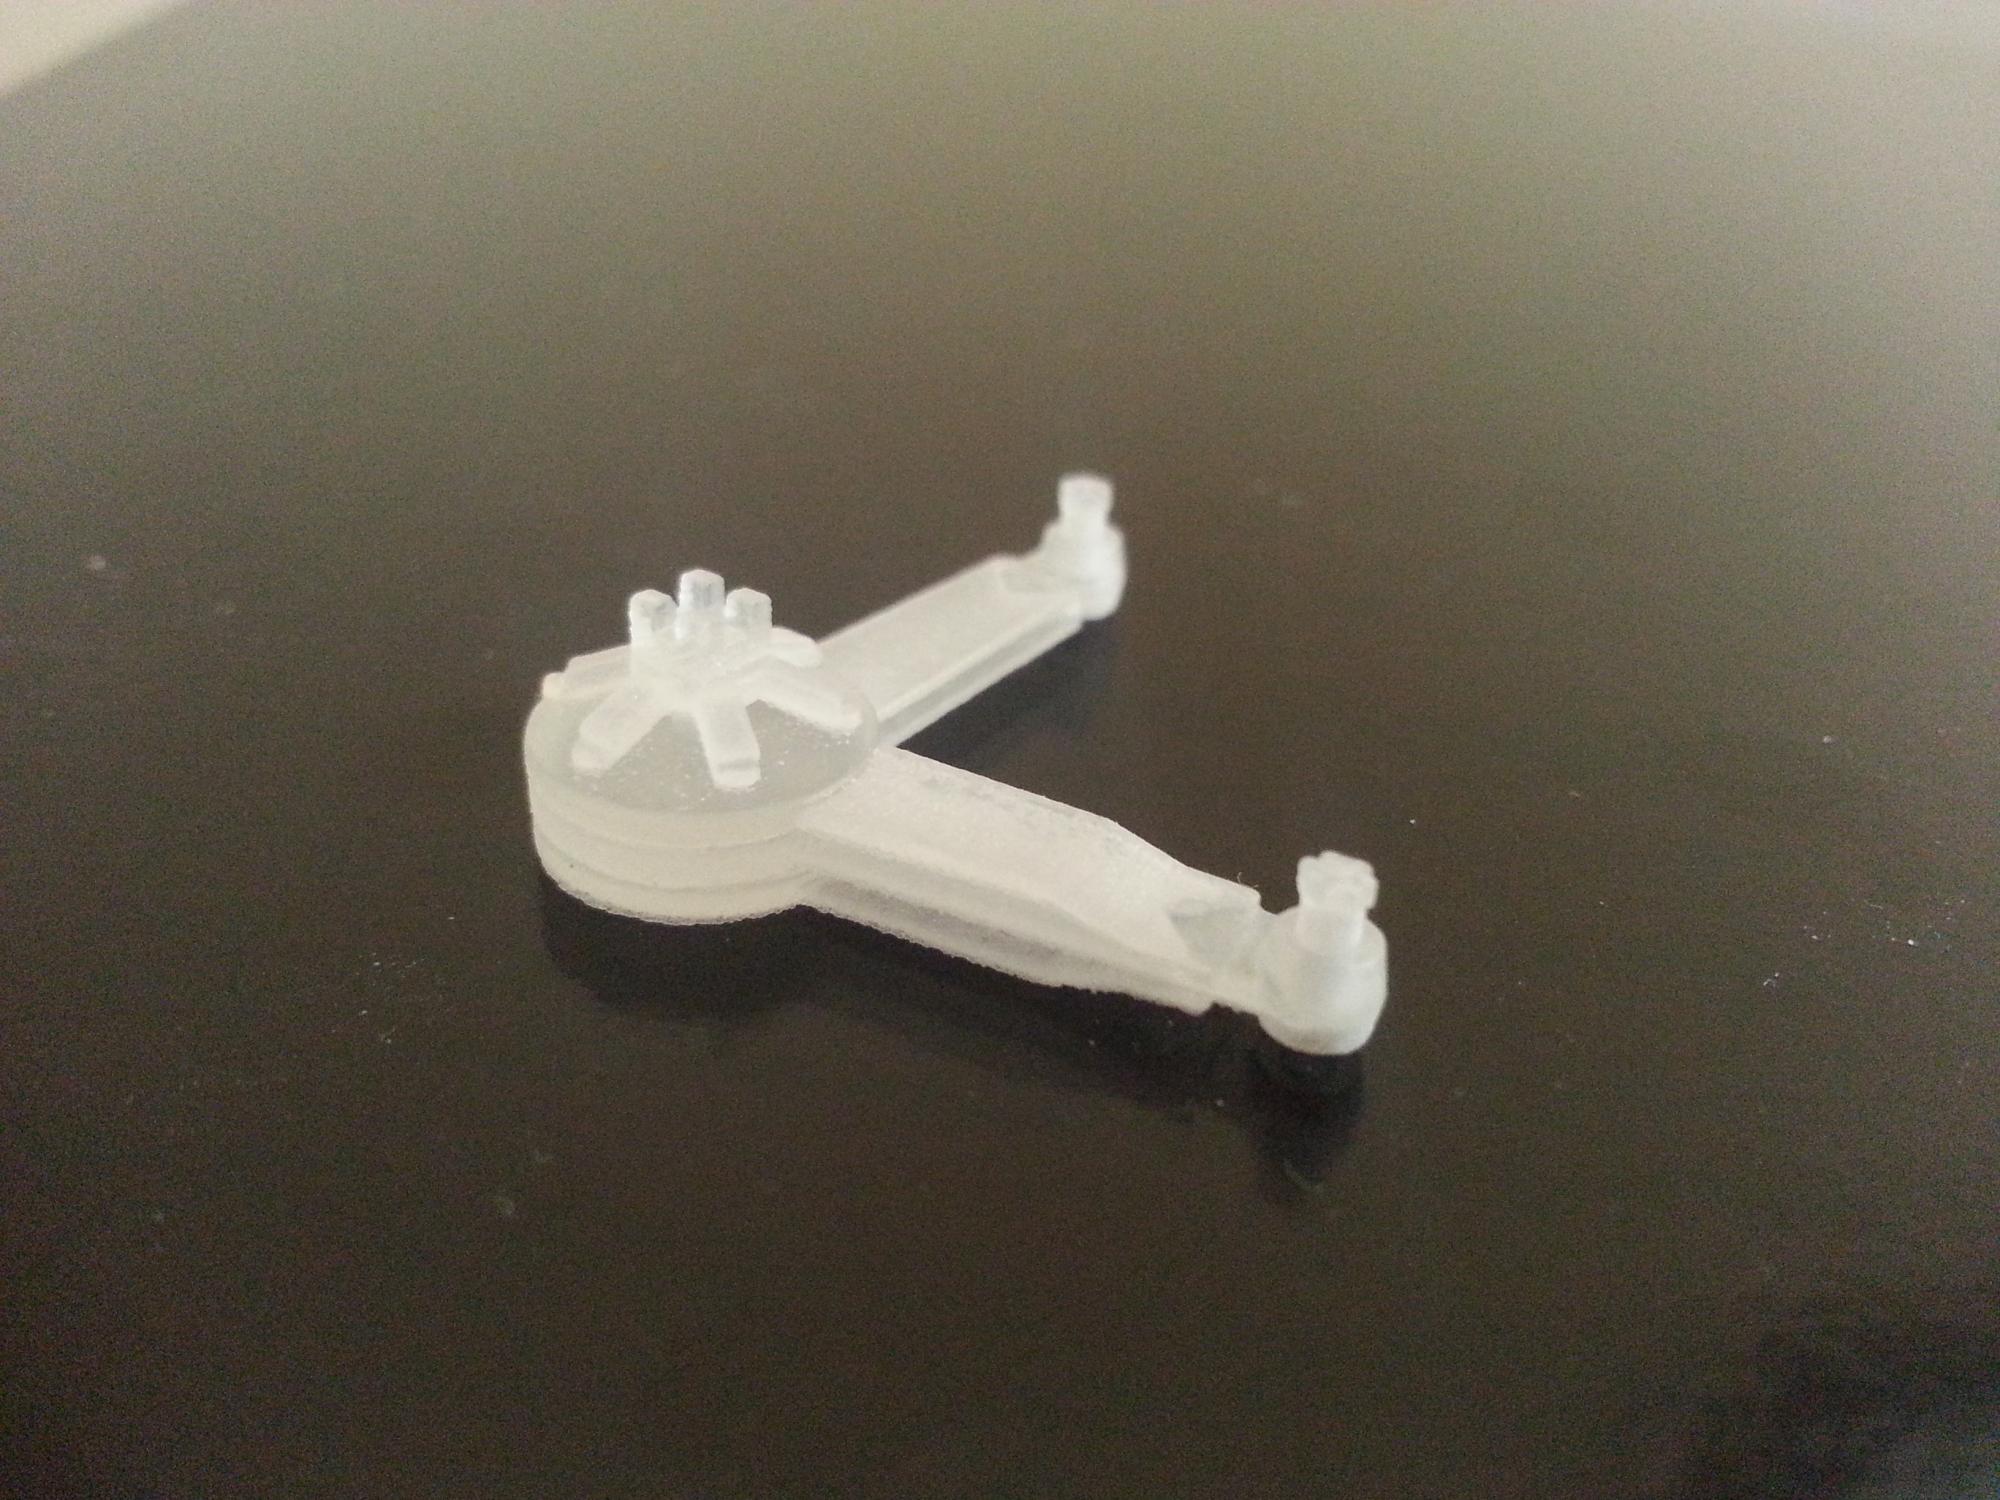
 Hi all, Due to the positive feedback I received for my 3d printed friction dampers, I have made them available via Shapeways for anyone who is interested. https://www.shapeways.com/shops/ibdetails They are available as a set of 6, and as a single unit in case anyone breaks one and needs an extra! They are not "handed", instead the mounting nuts and friction adjuster are mounted on pedestals and should be removed with a razor saw, then reattached after the shocks have been mounted. The mounts are not included: either modify the kit ones with .040" (1mm) rod or scratch new ones, the mounting holes are integral to the part. I searched all over for aftermarket parts for this old kit and couldn't find any, so hopefully these will help people out! I hope you like them! Ian
-
Hi! I hope I can get some advice and tips on this one, as it's a little out of my usual subject range (WWI aircraft in 1:72 scale - about as far away as you can get!). I've had the kit since I was a kid in the mid 70's and put it aside then as I wanted to "do it properly!". I now have most of the references I need although any details of the fuel, oil, electrical, and cooling systems would be most welcome! I've posted some of my progress to date on my usual WWI forum, so I've copied those posts to here to bring you all up to date: Post 1: This will be a long term build, as I intend to finish the 2 that are "in progress" before I get seriously involved in this one, but I will post updates as and when I get anything done. I've spent the last 2 days cleaning up what I'd already done many years ago, and starting to correct the kit parts. I've got a fair bit done, but there are plenty more improvements needed before construction proper can begin, and that will probably wait until my Ilya Muromets is finished. The chassis: I've drilled out the front end, thinning the top and bottom parts of the chassis rails and extending the gap in the U frame further forward to where it should be... (since these pics were taken I've also removed the big doughnut that is supposed to represent the stearing rack mount). The stearing column: The bevel gear end was way too big, so I removed it, cut off the plug on the top and the bevel gear housing, thinned the housing by over 1/2, replaced the shaft with 9/32nd tube, chamfered at one end to blend into the stearing column, and reattached the other bits, blending them in with Mr Dissolved Putty. I think the lower part of the bevel housing that was cut off the original may be a little small, but it'll do. The firewall: I removed the moulded oil lines and the blank over the oil tank hole, the latter was replaced with card. The moulding for the throttle mounting was added from stock rod, glued together to get the right size, then sanded to shape. I added rod to the lower edge of the firewall where it meets the floor, then sanded it to the correct slanted profile to match the slope of the floor. 5 thou sheet has also been added to the rear of the firewall to give the correct smooth surface, and the flange around the edge. I also corrected the small lip on both upper corners which shouldn't be there. The floor: the hashed steel moulding has been removed, and the floor now needs to be narrowed slightly at the front - the sloped part is only between the firewall edges, not running right up to the bodywork. The fuel tank: a start has been made on stripping the moulded detail, wire mesh has been ordered to replace it. There are also some nuts missing on the firewall, I've ordered some and they're on their way! This is turning out to be very enjoyable! Any advice from car model builders will be welcome, it's over 25 years since I built one and it was OOB! Particular help will be needed for sources for wiring/plumbing materials, replacement resin nuts/bolts (I have some plain nuts on order but can't find castle nuts or dome nuts) and any other auto specific parts I may need (carb linkages?) all of course, in 1:12th scale.....
-
I've just returned to modelling after a 25 year hiatus, so of course I jumped right in at the deep end. I found this oooold MPC kit, partialy assembled, at an antique mall and thought the price seemed pretty good for a kit of this scale; $30.00. It looked like everything was there so I took it home and proceded to disassemble what I could. This was made easier by the fact that the previous owner had left the plating intact, so the glue joints just popped apart with little damage. Next, I carefully sawed off the fuel tank ( it was a mess and would have to be replaced). Here's the engine, rebuilt, painted, detailed (sort of), and weathered. I shaved off some details and replaced them with copper tubing. The magnetos were reshaped and wired with solder. the linkage was made from styrene and music wire. I made a new starter because the kit part didn't match any of my refrences. The starter wire is a low E string from my guitar. Next, I cut .040" styrene formers using the remains of the kit fuel tank as a template, and "skinned" it with .020" sheet. The aluminum mesh isn't quite right, but it was the closest thing I could find. (of course, after it was painted and installed I found the perfect material!) More guitar string, and fuel petcocks made from Evergreen rod. The straps are .005" styrene strips and the rivets are resin decals from Archer. Here's a closer look at the strap tensioners and the rivet detail. More coming, but be patient: I work slow.