Search the Community
Showing results for tags 'Ferrari'.
-
I thought I would share my latest model with you. I will post a link to the WIP thread if you would like to see it. The quick rundown on this one is as follows: Tamiya 1:24 Ferrari 360 Modena, original release I believe, molded in red. I painted it in Gravity Colors' (Spain) Grigio Alloy. It is cleared in Tamiya TS-13 Clear. Interior is Tamiya German Gray. I used Tamiya's Dark Gray Panel Liner on the body panel lines. Unfortunately, I did have a couple of issues with the kit. Mainly, the side windows just did not want to fit. This is a common complaint on this kit. The ill fitting side windows caused issues with the fitment of the interior and chassis into the body. A lot of grinding, sanding and carving resulted in a decent fit. I also got some ghosting on my body's mold lines. They absolutely were not there when I primed it but showed up during paint. As they say, it is what it is. Overall, I am very pleased with how she turned out. Lots of pictures to follow!

- 23 replies
-
- 11
-

-
- ferrari
- 360 modena
- (and 1 more)
-
 This would be a fun model to build! He asks what would be a good term for this genre of car.
 -
HI everyone!🙂 this is my fujimi1/24 250gto 250 gto, probably my favorite ferrari car of all time.. the kit is aged,however,I think it's a good kit I did some modification and detail up try to build this beauty as good as I could.. hope you guys like it! and here is the vide build if you are interested!!😄
- 33 replies
-
- 13
-
-
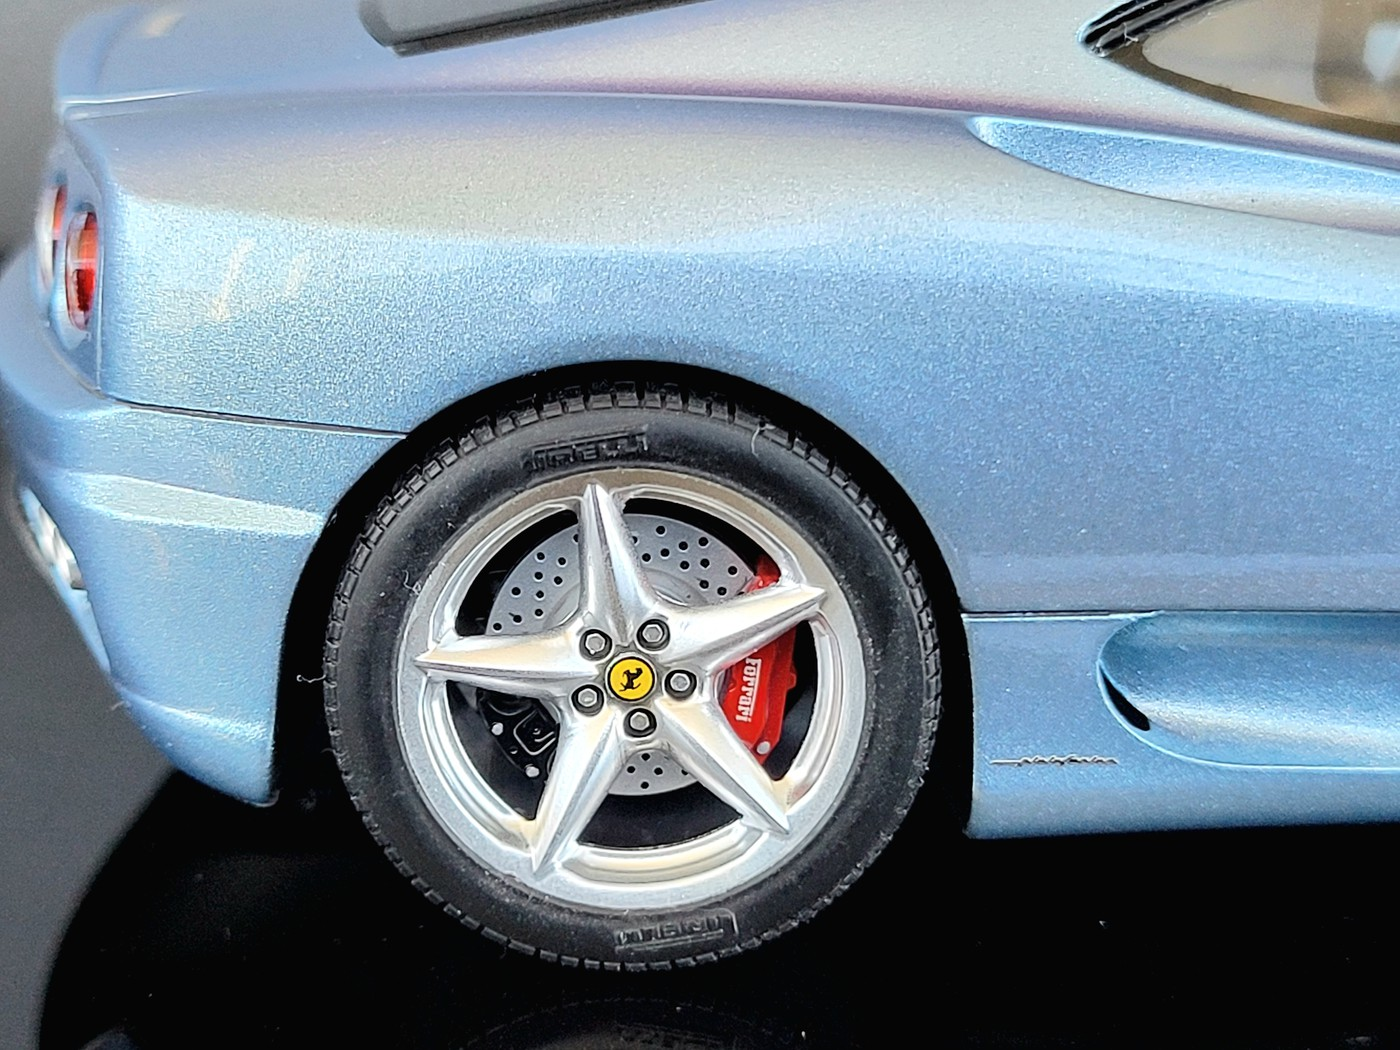
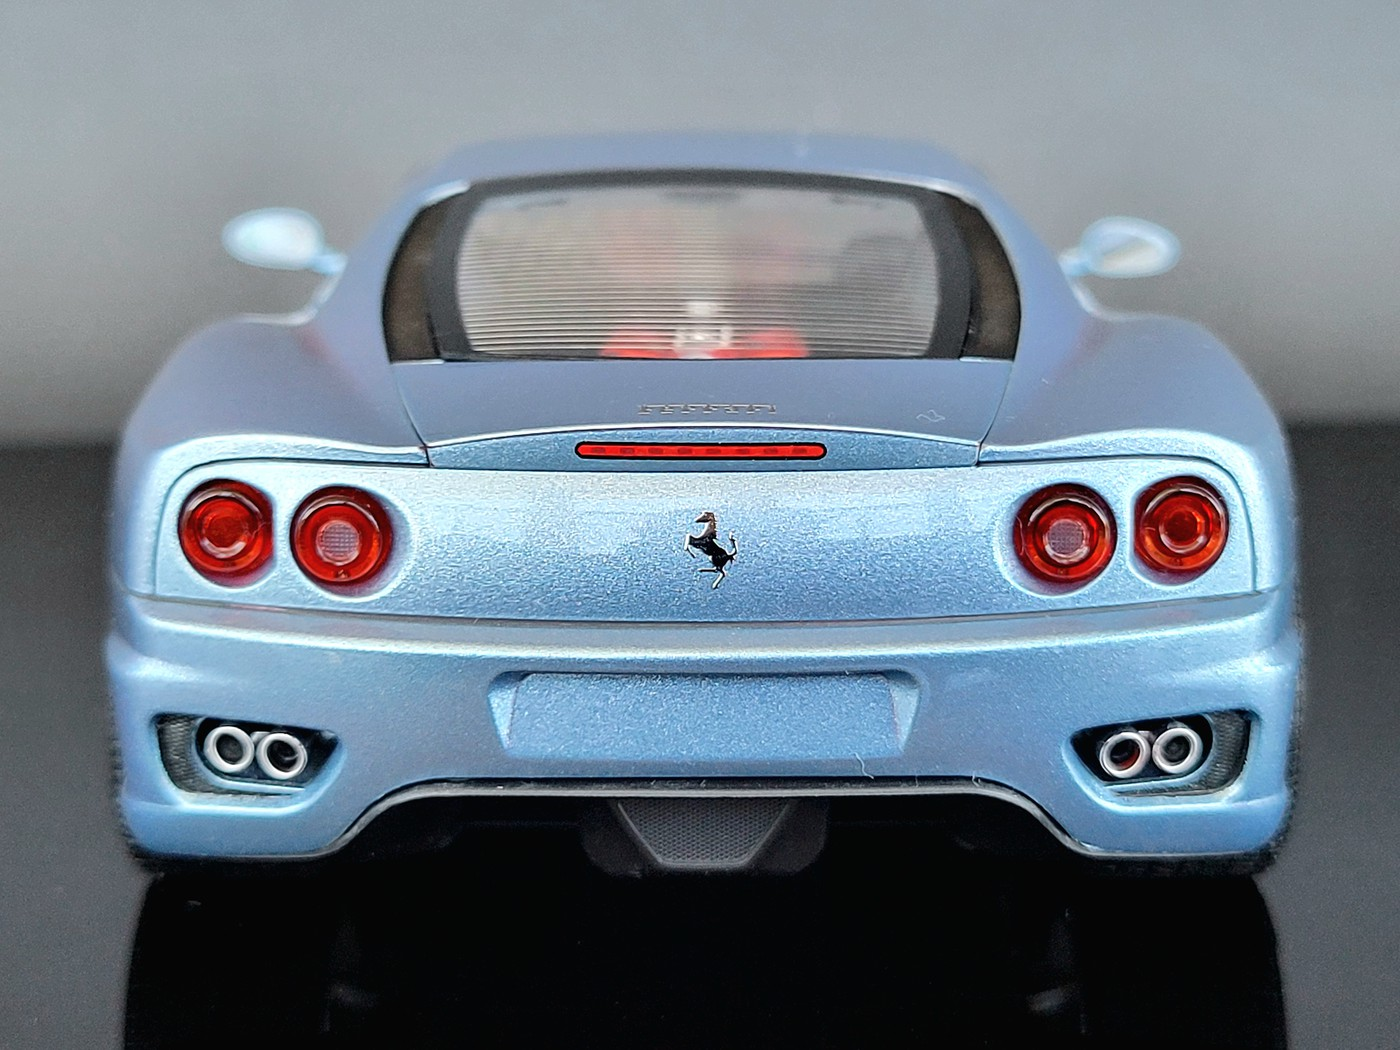
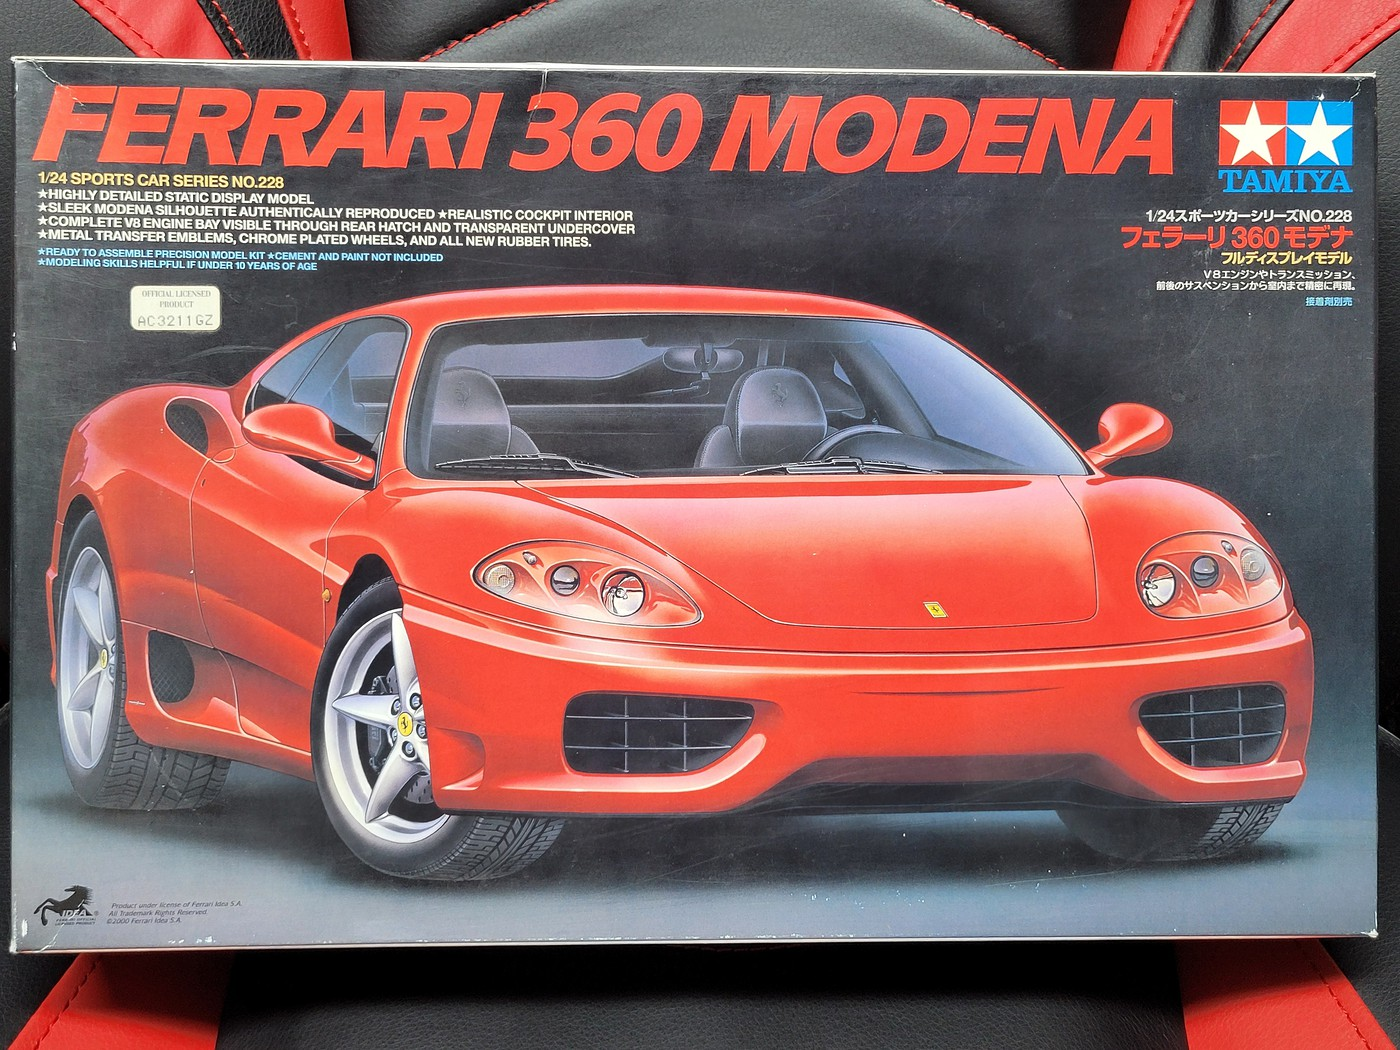
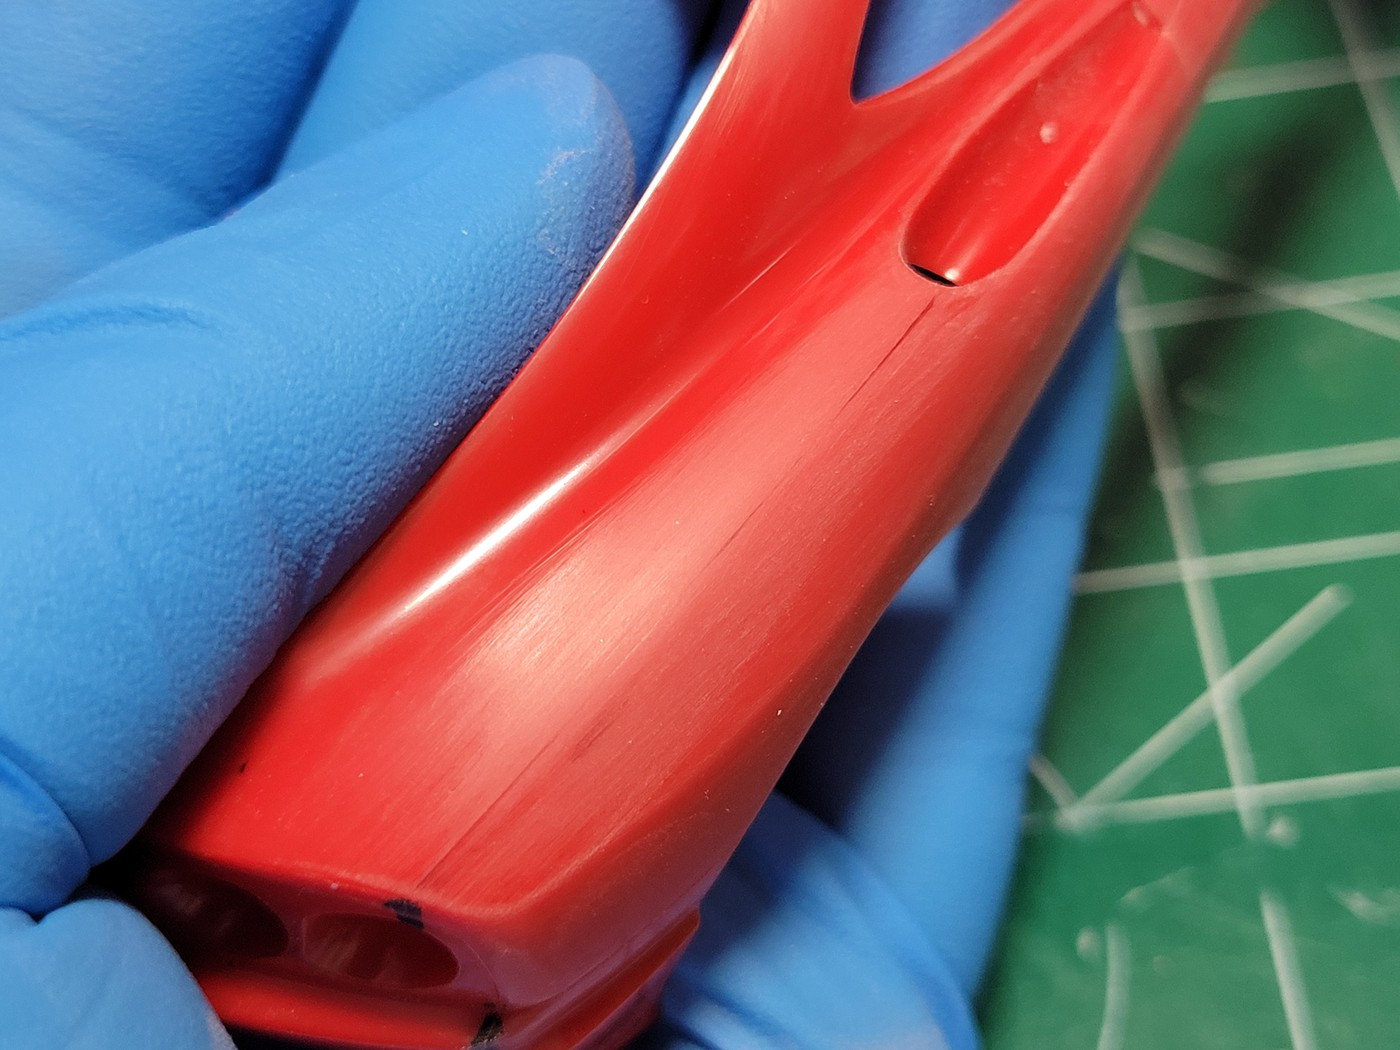
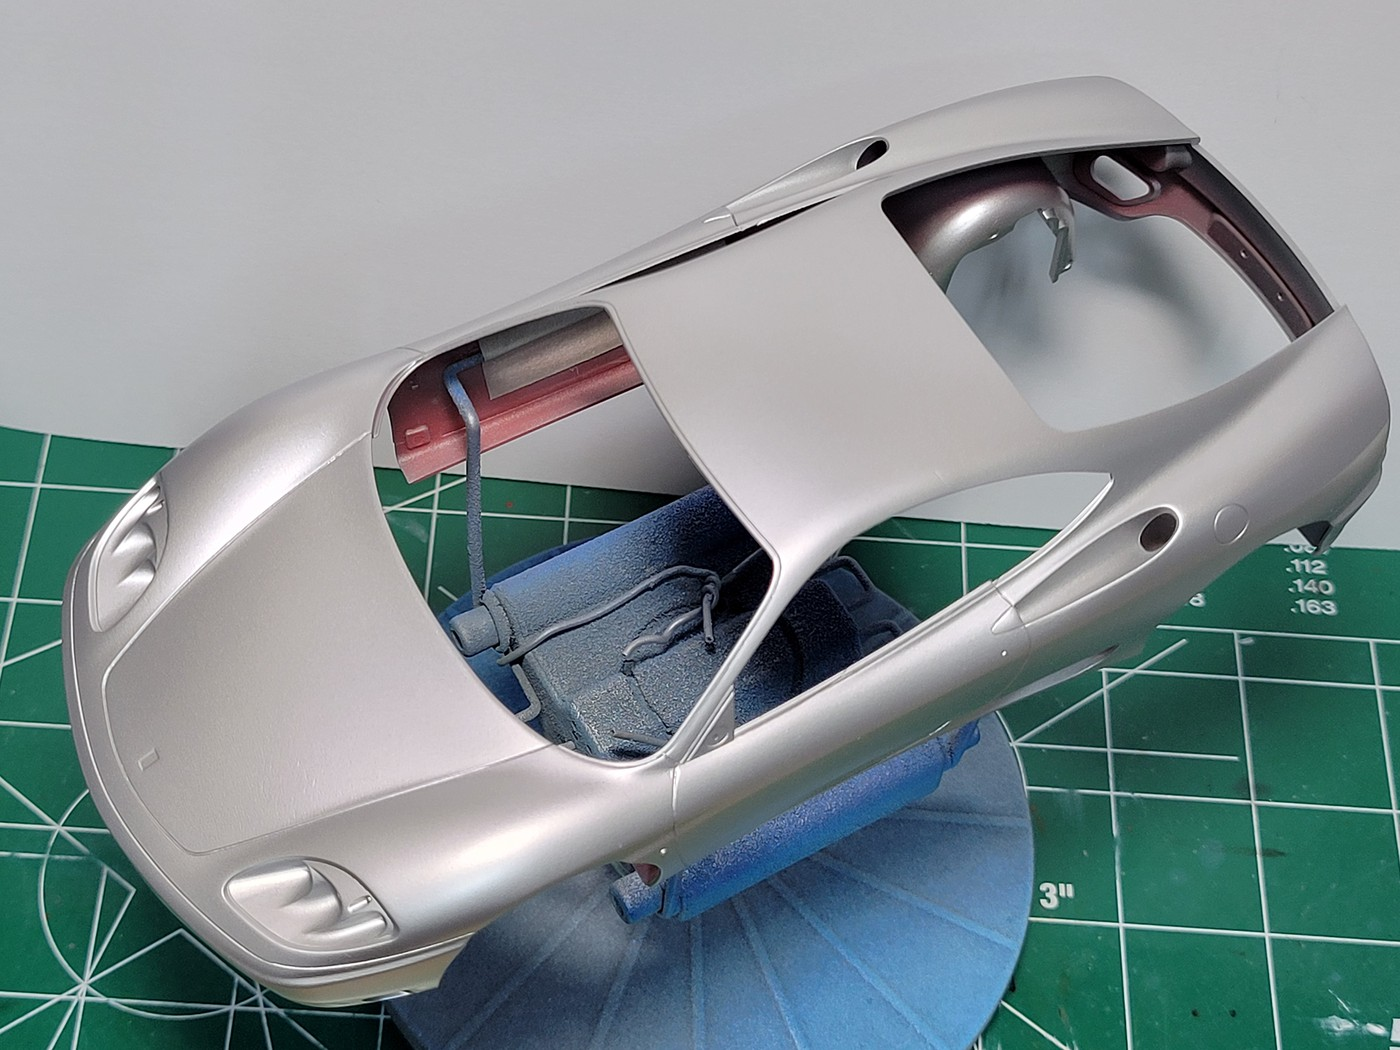
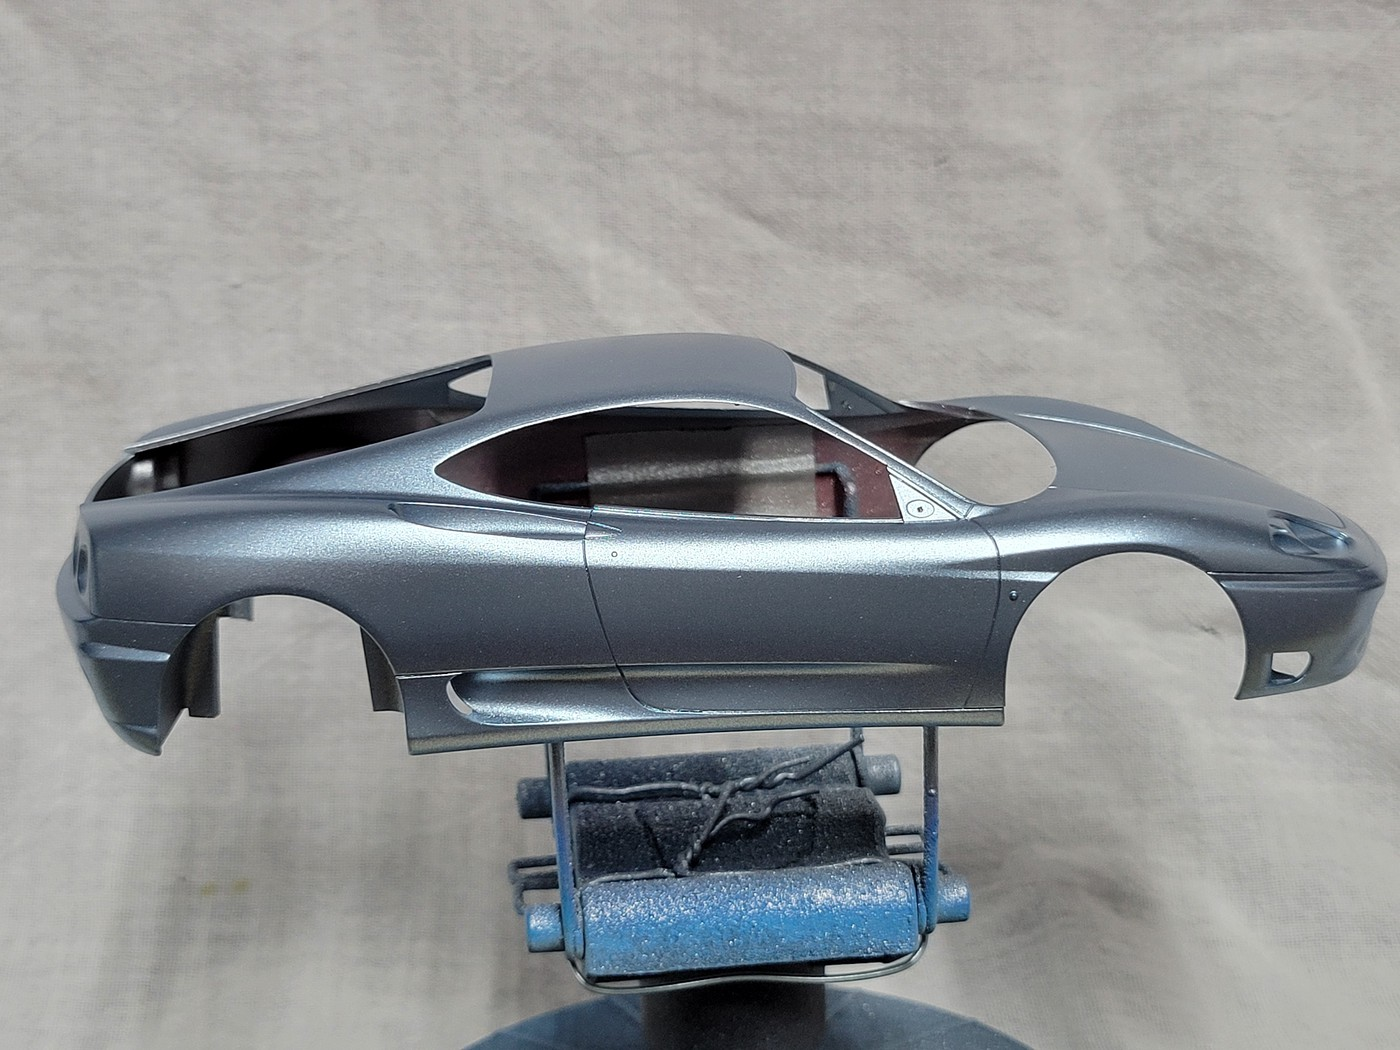
I started a new kit for 2024. After fighting the Evil Iron Trike and all of its horribleness, I wanted to build a hassle-free kit that would look great when finished. Tamiya to the rescue. I decided on the Ferrari 360 Modena. Although I am not against a red Ferrari, I feel there are so many other beautiful colors out there for them. I am a big fan of Gravity Colors, Spain, and have a nice and growing selection of their paint. I had their Ferrari Grigio Alloy and felt it would look great on the 360 Modena. The Grigio Alloy is what I would call an Ice Blue, a silver with a blue hue to it. Here is where I am at with the kit so far. I will caption each photo as needed. The kit. Here are 2 photos of the real thing. The first one is in direct sunlight and looks rather silver. The second one is in a more shaded area and shows the blue hue very nicely. Here is Gravity Colors' paint. As I always do, I run a Sharpie over all of the body seams. This helps me ensure that I remove all of the mold lines. I'm a little concerned about the red plastic. I took this photo to illustrate how easy it can be to miss something in the body work phase. Th Sharpie not only hits the high spots but will get down in the grooves as well. I finished the body work, washed the model and shot Gravity Dark Primer over it. I was still concerned about the red plastic and possible bleed through. I know there is an argument about whether or not this happens. It does and it has happened to me. After the primer dried I shot Tamiya LP-11 Silver over all of the body parts. I have had great success with using silver paint to block bleed through. I felt it was better to be safe than sorry. Once the LP-11 Silver had time to cure, I shot another coat of Gravity Colors Dark Primer. Overkill and unnecessary? Perhaps. I did it for 2 reasons. First, I wasn't sure how the Gravity Colors Grigio Alloy would react to the Tamiya LP-11 Silver. Second, I felt it would be very hard to distinguish between the silver paint and the Grigio Alloy paint as they are not that different. The Dark Primer was a nice contrast. Here is where she currently sits. There are 5 coats of Grigio Alloy on all of the body parts. I just cannot capture the blue hue of the paint but it is there to the naked eye. If you look in the headlight or taillight buckets you can see the blue in the paint. Thanks for looking in! Let me know what you think.
- 40 replies
-
- 7
-
-
- ferrari
- 360 modena
- (and 1 more)
-
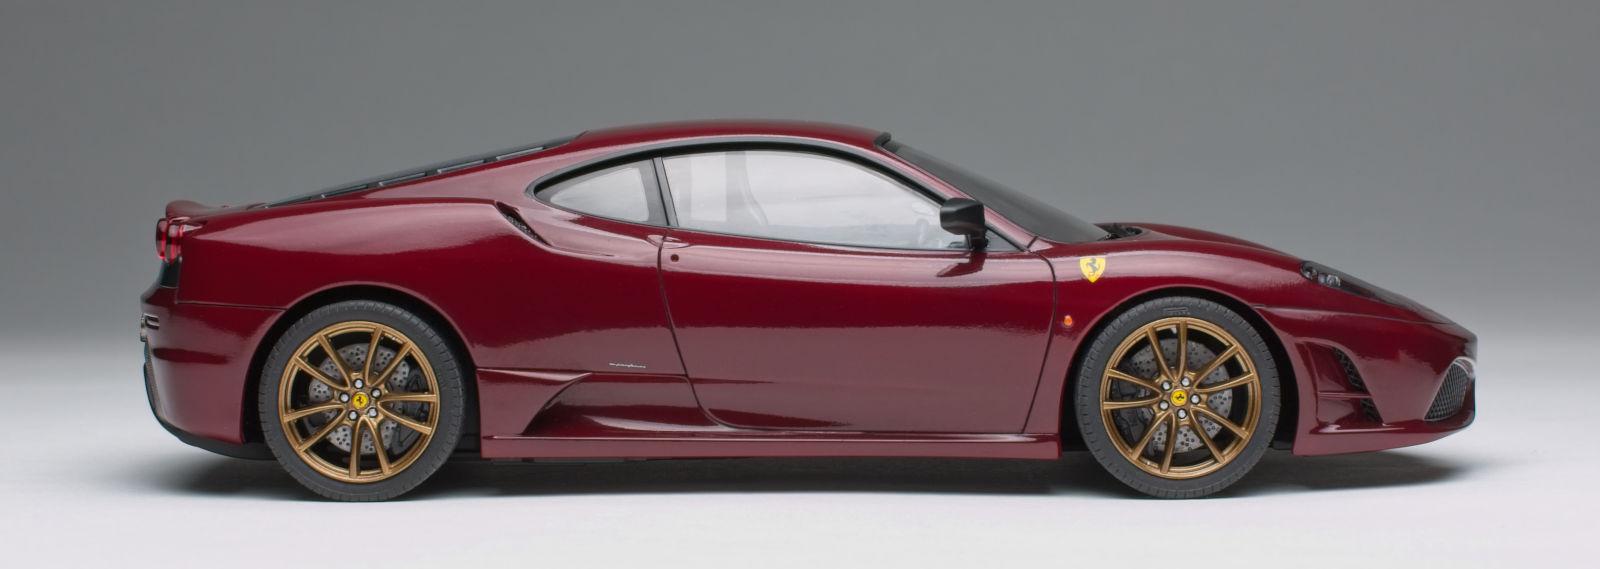
After a short hiatus, my final build for 2023 is Fujimi's Ferrari F430 Scuderia. I strayed from the box art as I just don't see a Ferrari 'street' car with stripes. Body colour is Zero Paints Ferrari Rosso Rubino over Pink primer and cleared with Mr. Color GX100. The actual car has a fair bit of carbon fibre which I tried to replicate with paint over the rear fascia, grids and vents. The interior is a combination of Semi Gloss Black and a lighter shade of carbon fibre coloured paint. The wheels were painted AK Xtreme Metalizer Gold and coated with multiple applications of Tamiya X-19 Smoke. What I learned: 1. Zero Paint does not like going on wet as it can, and will reactivate the lower layers. In fact, it's so hot it will soften the plastic. It tells you in the instructions to apply 3 or 4 medium coats. This particular colour didn't seem to cover evenly and required a number of extra coats. Due to my impatience I encountered the reactivation thing. :^( 2. I really can't say anything negative about the assembly of this kit. It's probably the best fitting Fujimi kit I've built. Every part went together well including the glass. 3. If you choose to build one yourself, attach the front end of the body to the chassis first and work your way to the back.. easy peasy. Wishing everyone a Happy New Year for '24
- 34 replies
-
- 12
-
-
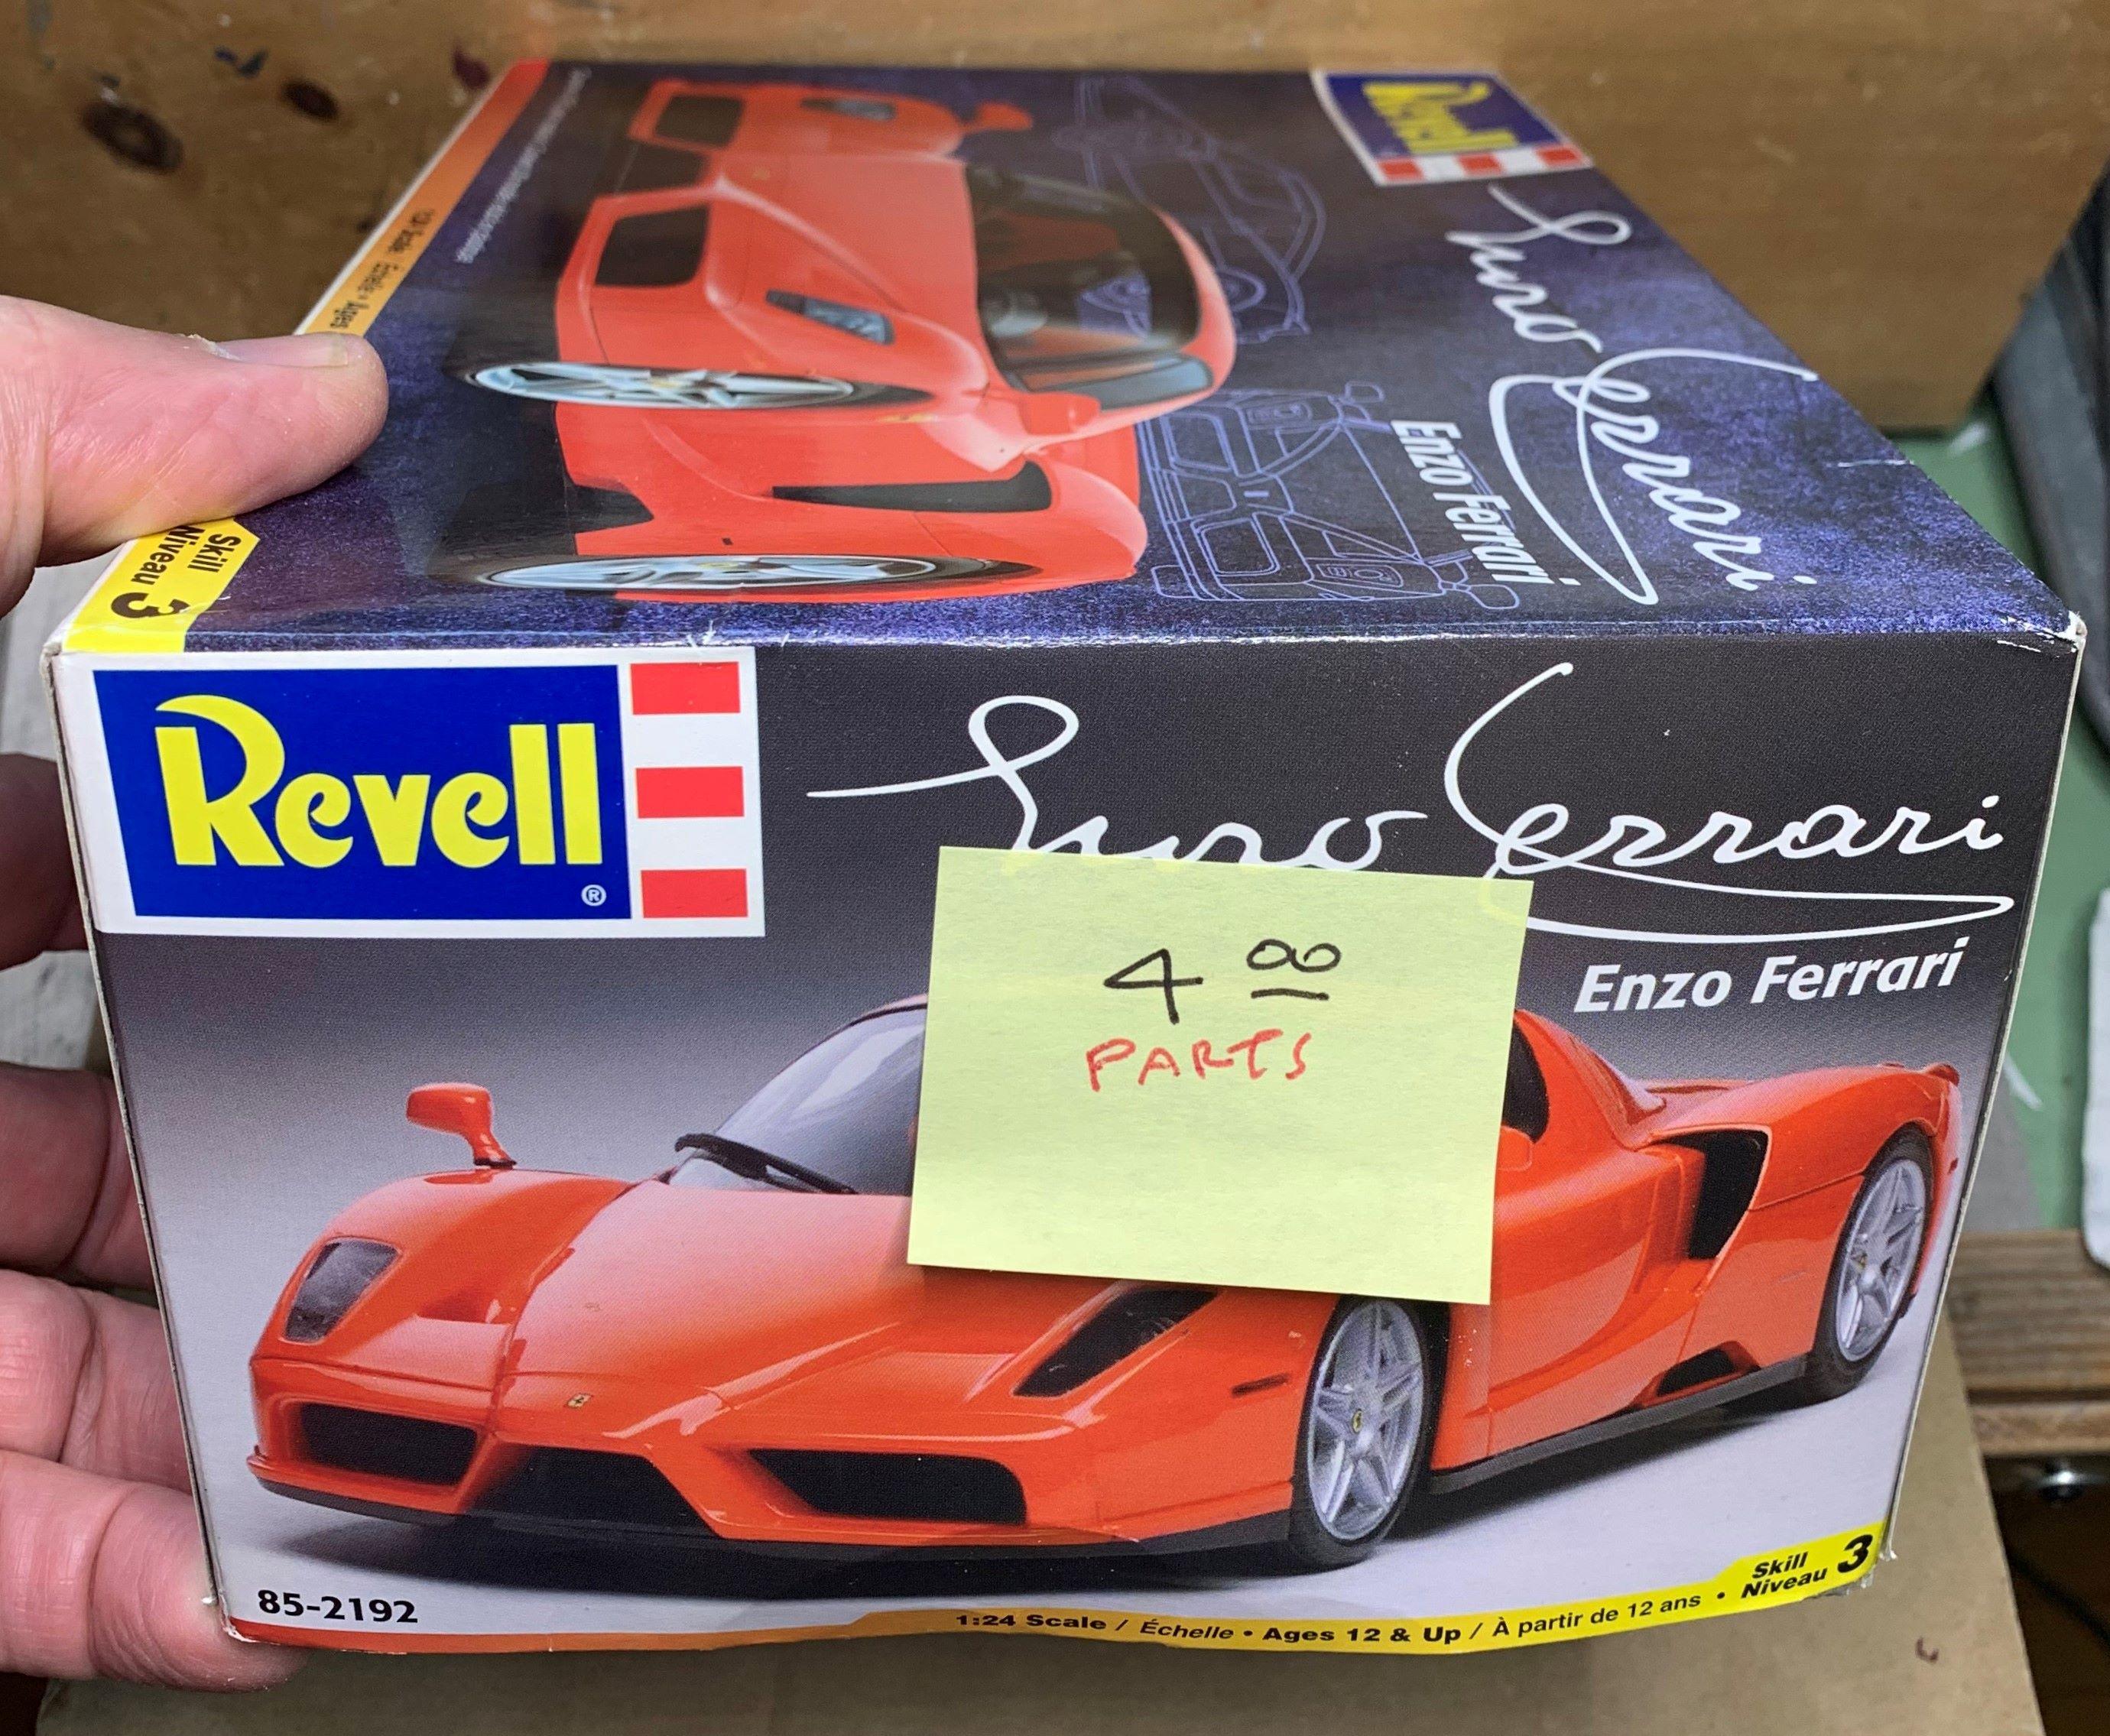
Found this 308GTB kit in my stash and I don't remember ever buying it! But I'm a Ferrari lover, so I thought I'd chop it up and see what happens! I also bought this Revell Enzo parts kit, so I have a few ideas!
-
I´ve bought this Ferrari with only a few Euros, because the kit was used and some pieces are broken and missing. Now after mounting it shall stand outside for a long time in order to become a barn find model. You can see the original car here:
- 3 replies
-
- 1
-
-
- ferrari
- testarossa
- (and 2 more)
-
Passing other cars like it's nothing.
-
Ferrari V8 in a Subaru rally car
89AKurt posted a topic in General Automotive Talk (Trucks and Cars)
Found by accident on YouTube. I never thought of putting a V8 anything into a Subaru, looks like fun! -
Since the Pintera build is on hold until I can get to the store for paint stripper, I decided to pull this one back off the shelf. You guys are a little late to the party here, as I started this build around twenty years ago. This is the Testors boxing of the Italeri kit. Bought it brand new at a lhs (sadly long since closed) back in 1988. It sat pretty much untouched until the early 2000’s. As you’ll see, a lot of progress was made back then, but it eventually got shelved for reasons I don’t remember. Might have been around the time we moved. What’s finished- The body is done! Shot in Model Master Italian red (what else!) and some clear, probably MM too, with an airbrush, back when I had a good place to do that. Interior is also done! And finally, the engine is mostly finished. What’s that leave? I still need to finish the turbos and exhaust system. Also all suspension needs done, and then it’ll be ready for final assembly. Let’s see if I can push this old Ferrari across the finish line finally.
-
I finally finished this one, fought me every step of the way. Came in a Testors box but obviously a reboxed Heller kit with all that implies. The hardest part was the rear engine/suspension and the headers-20 pieces alone. Very detailed and true to scale, thus very delicate! Picked up the livery from Indycals as I wanted to do a Ferrari in other than red. Anyways, thanks for looking, comments always welcome.
-
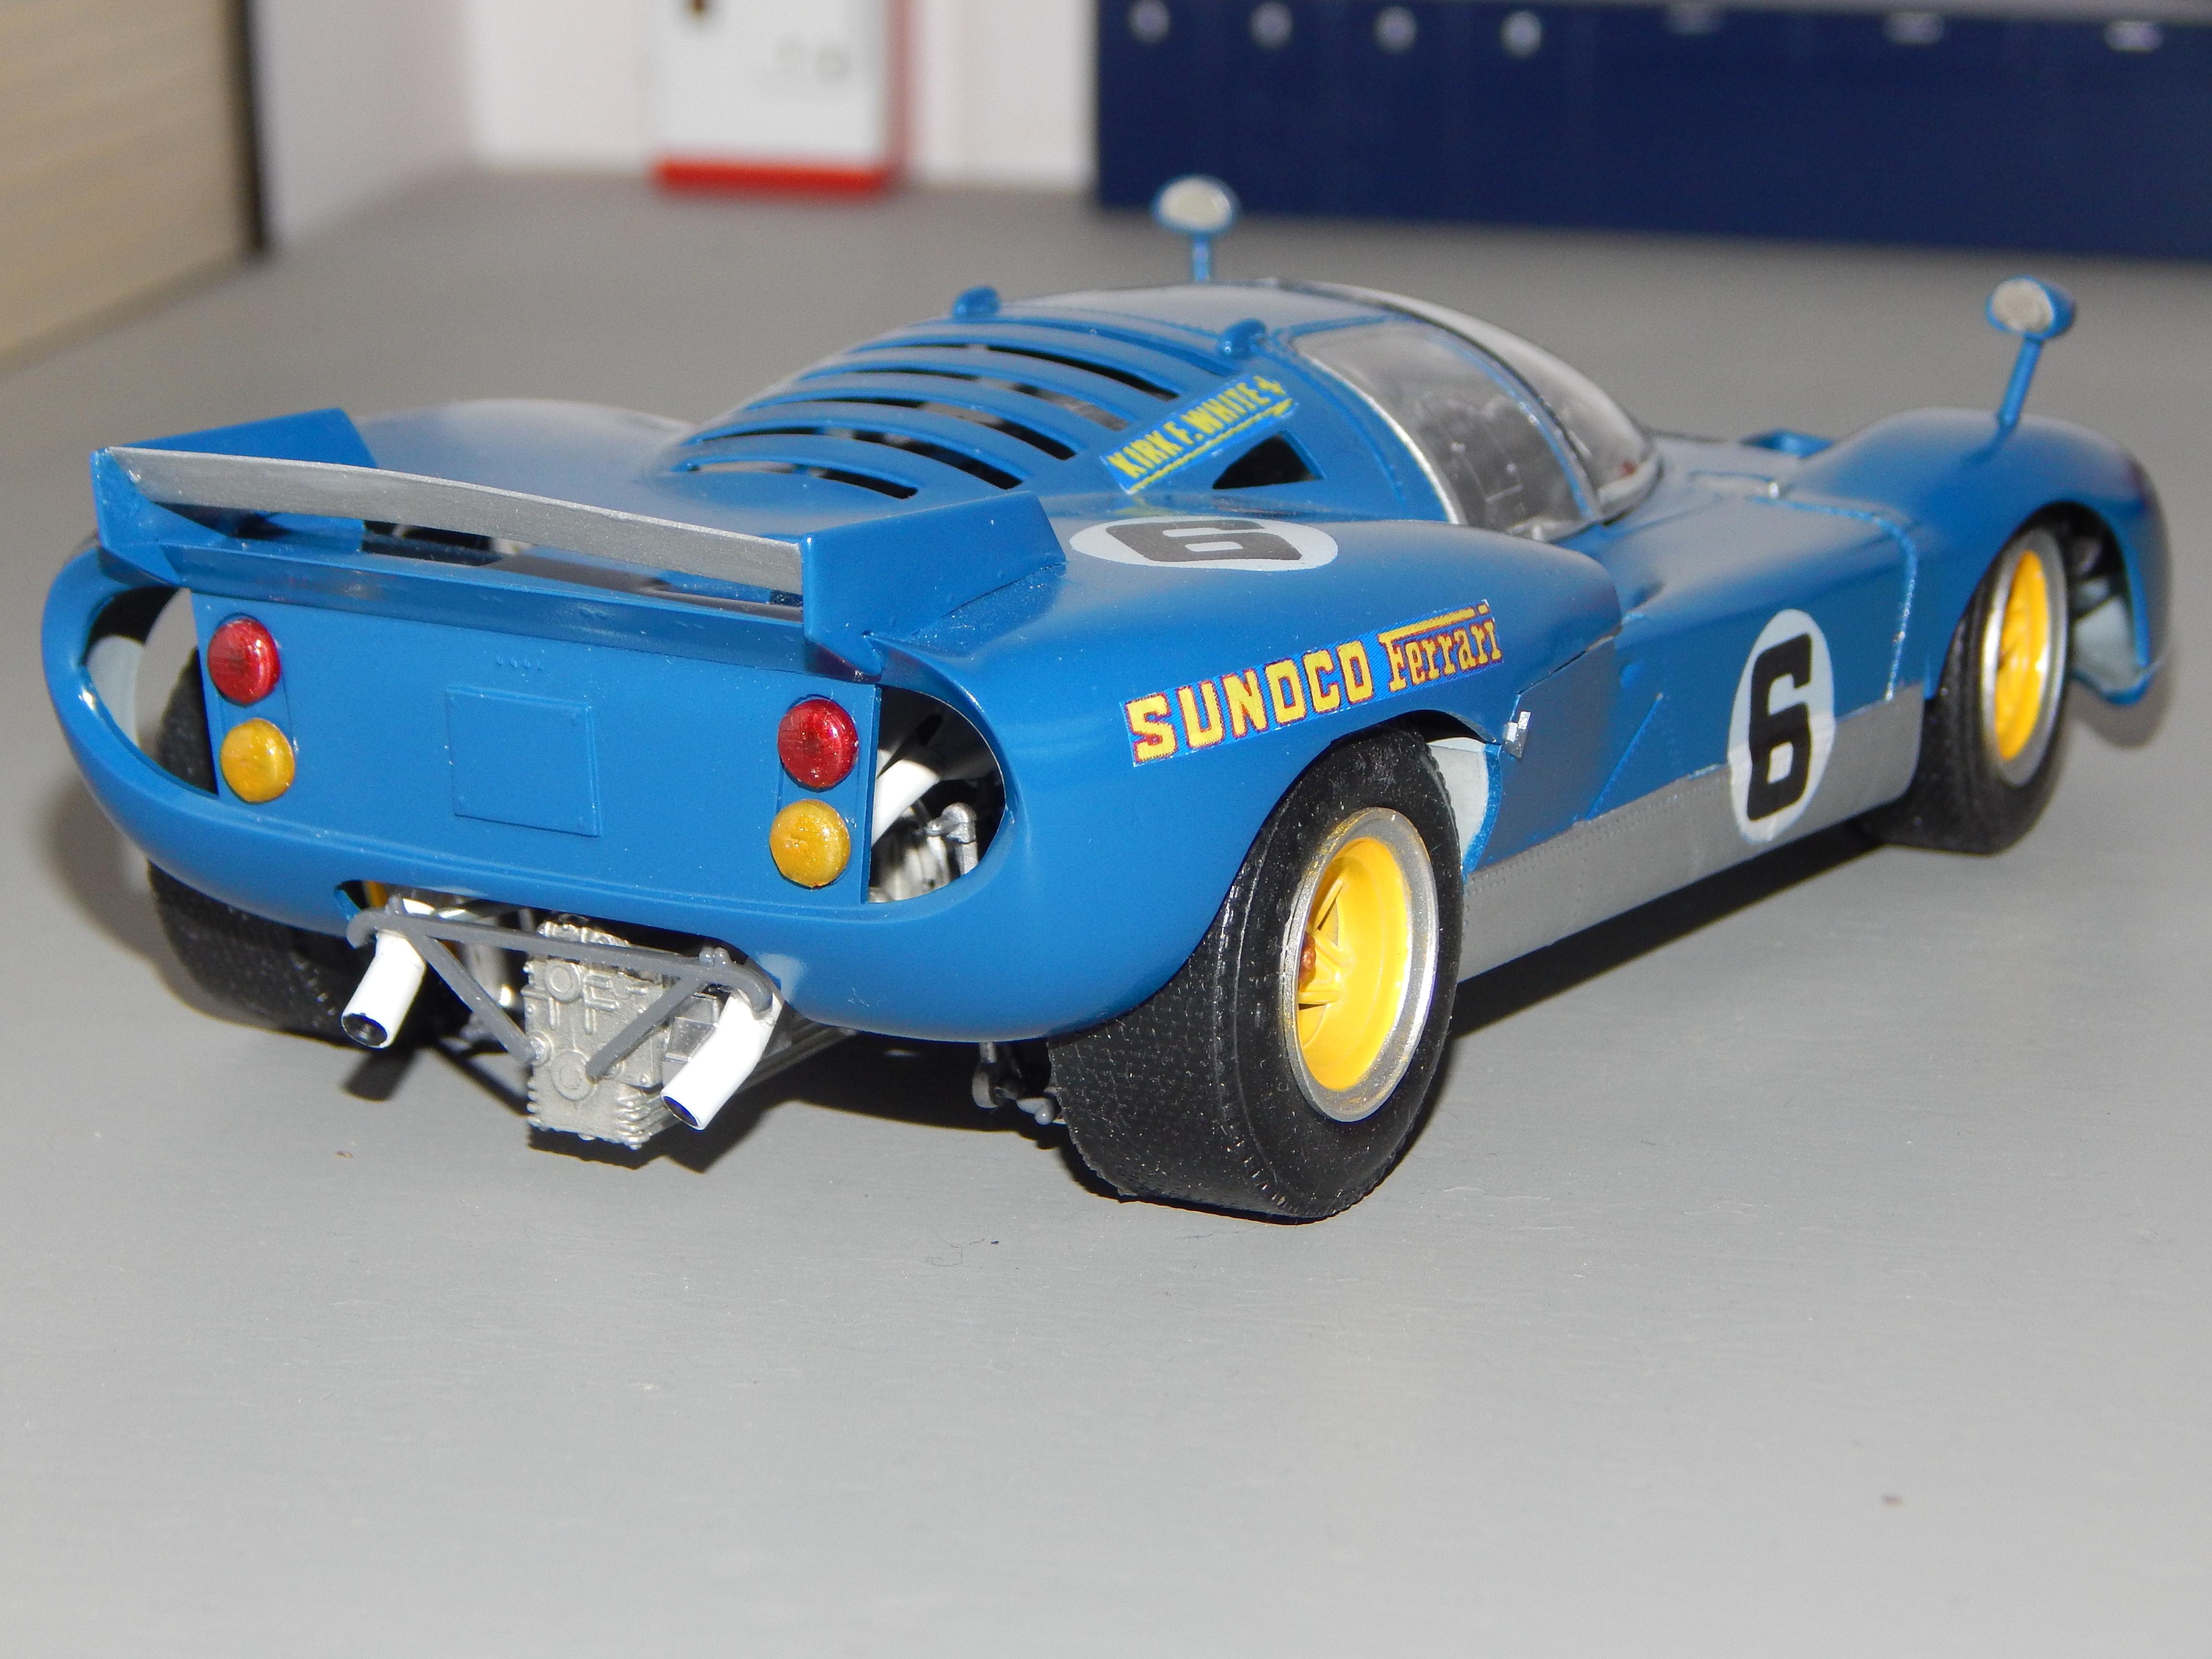
In 1967 a Ferrari entered by Scuderia Filipinetti won the GT class at Le Mans while Ford won overall. This alloy bodied 275 GTB/C 09079 Ferrari was the last competition prepared Ferrari to run on wire wheels. This is an older Italian made BBurago model which has replacement resin cast wheels and a few competition features added and decals from the parts box. Oops - I left off the colored signal lights on the right hand side. Reference: 1966 Ferrari 275 GTB Competition Coupe by Pininfarina Chassis 09079, engine 09079 (conceptcarz.com)
-
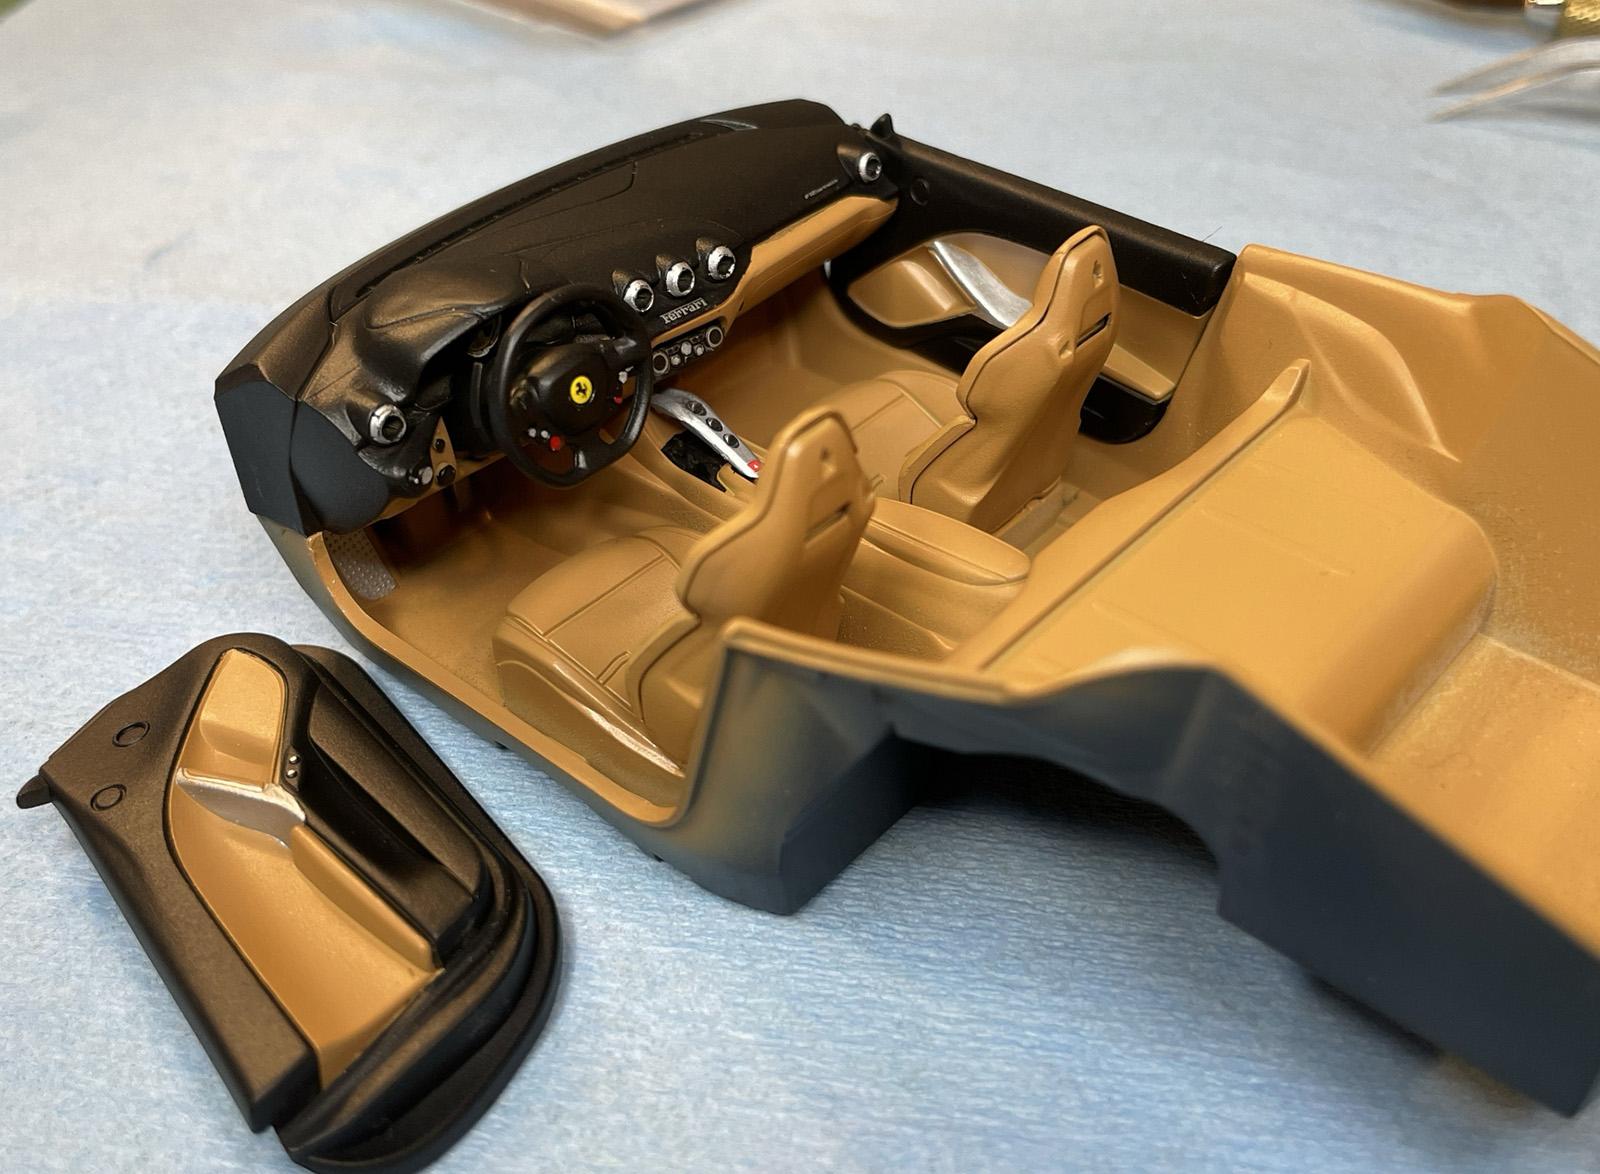
Good morning, Sharing my thoughts on this Fujimi kit. It was painted with Tamiya LP-42 Mica Red over Tamiya Pink Primer and clear coated with TS-13. The interior is Zero Paints Ferrari Cuoio Leather clear coated with Tamiya X-35 Semi Gloss and Tamiya TS-29 Semi Gloss Black. In hindsight, I wished I'd added a little more back to the interior - which I would have done if the doors could be opened and closed. I left the wheels their original chrome but gave them 3 coats of Tamiya X-19 Smoke. The kit contains some photo etch parts and window masks. Most of the kit went together quite well, however I noted a few exception below. What I learned: 1. Mica Red required multiple coats before it started looking red and not orange over the pink primer. 2. First time using decanted TS-29 Semi Gloss Black - it seemed to go on like their LP-5 and looks identical to my eyes once dry. 3. First time using Zero Paints. It can be sprayed between 15 to 40 psi. I would lean more towards 15 next time - especially for the interior as the paint dried very quickly. 4. It's probably just me, but the plastic seemed more brittle than other kits I've built. I broke a wiper and the small front spoiler. 5. Fitment issues: When dropping in the engine, make sure the headers are tight to the engine as it is a snug fit inside the engine compartment (they can't be seen anyway). The nose/mustache did not fit flush against the left and right quarter panels so I used CA glue + accelerator to hold them down. The headlights are attached from below but there is no way they can be attached to the pins on the nose/mustache. I had to cut the mounting holes on the headlights into semicircles (kinda hard to explain, but picture horseshoe vs. ring toss). The side mirrors and the small front spoiler gave me nightmares. The contact points are too small and I popped the mirrors off a couple times and made a glue mess of the (broken) spoiler. And finally, perhaps this is a Fujimi characteristic (had the same problem with a GT40), the body to chassis fit takes a little patience while you enjoy all the creaking and scraping sounds. I'm not bashing the kit, however I don't think I'd build another Berlinetta. Thanks for reading :^)
-
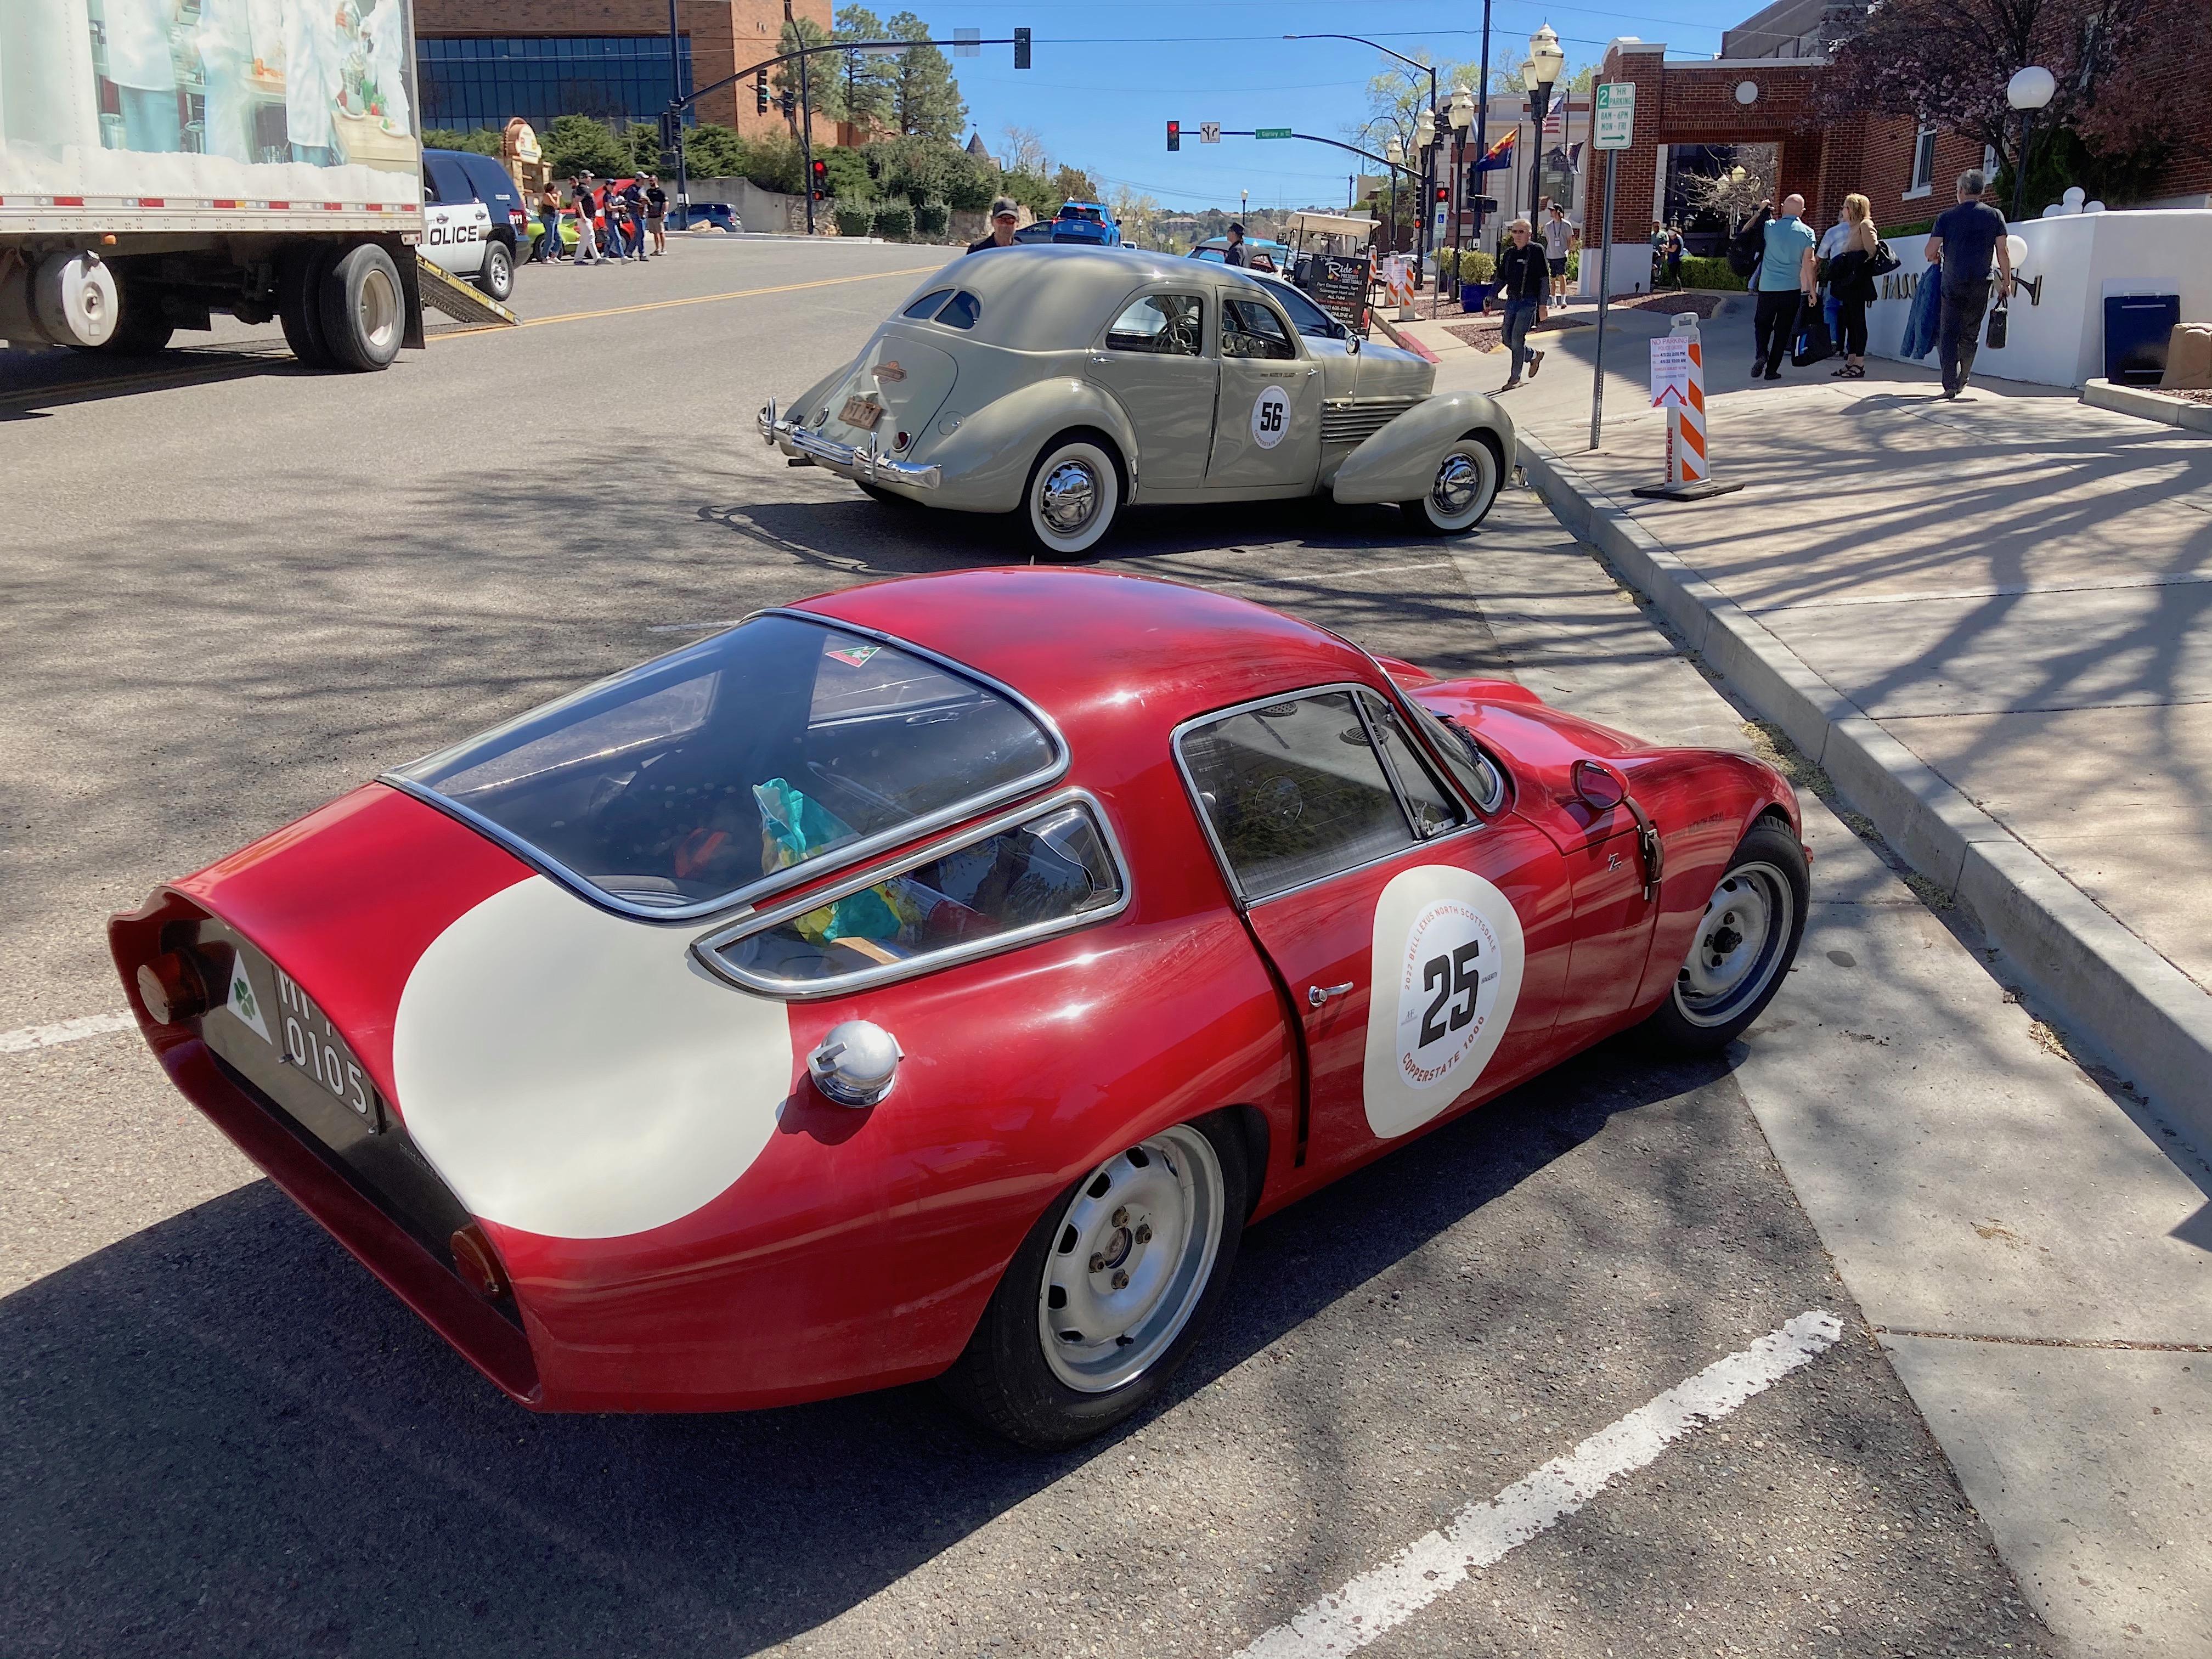
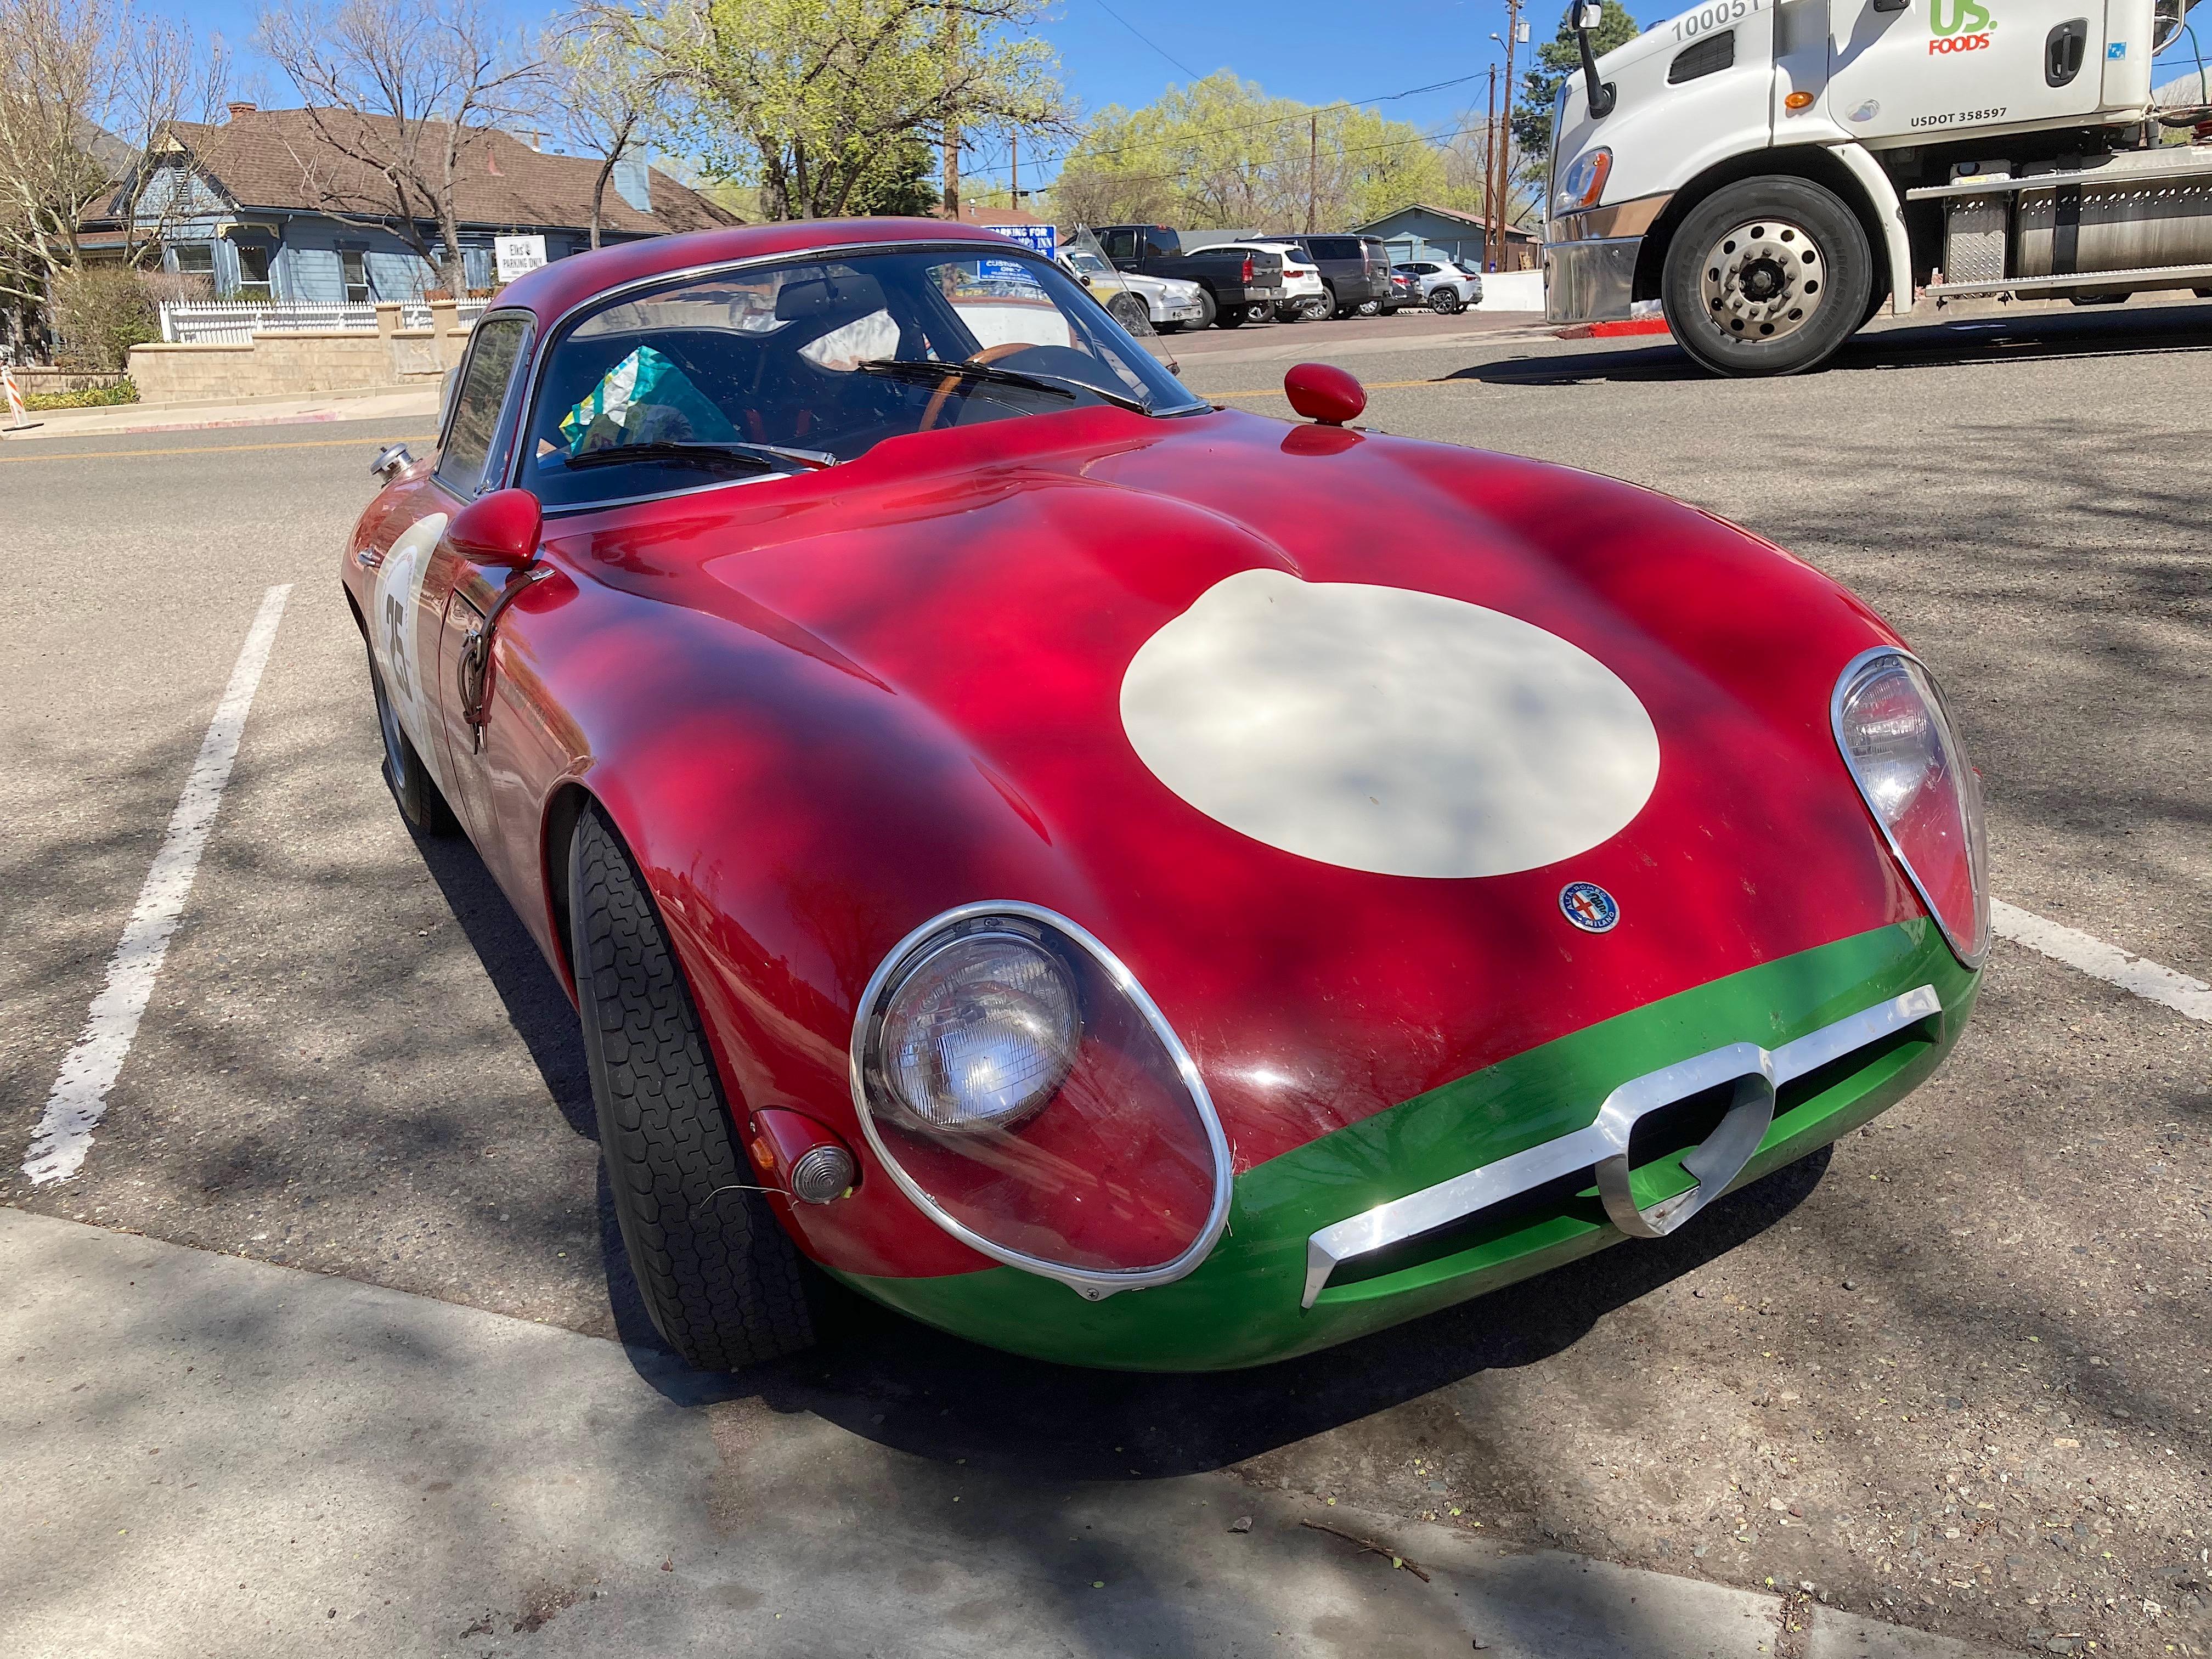
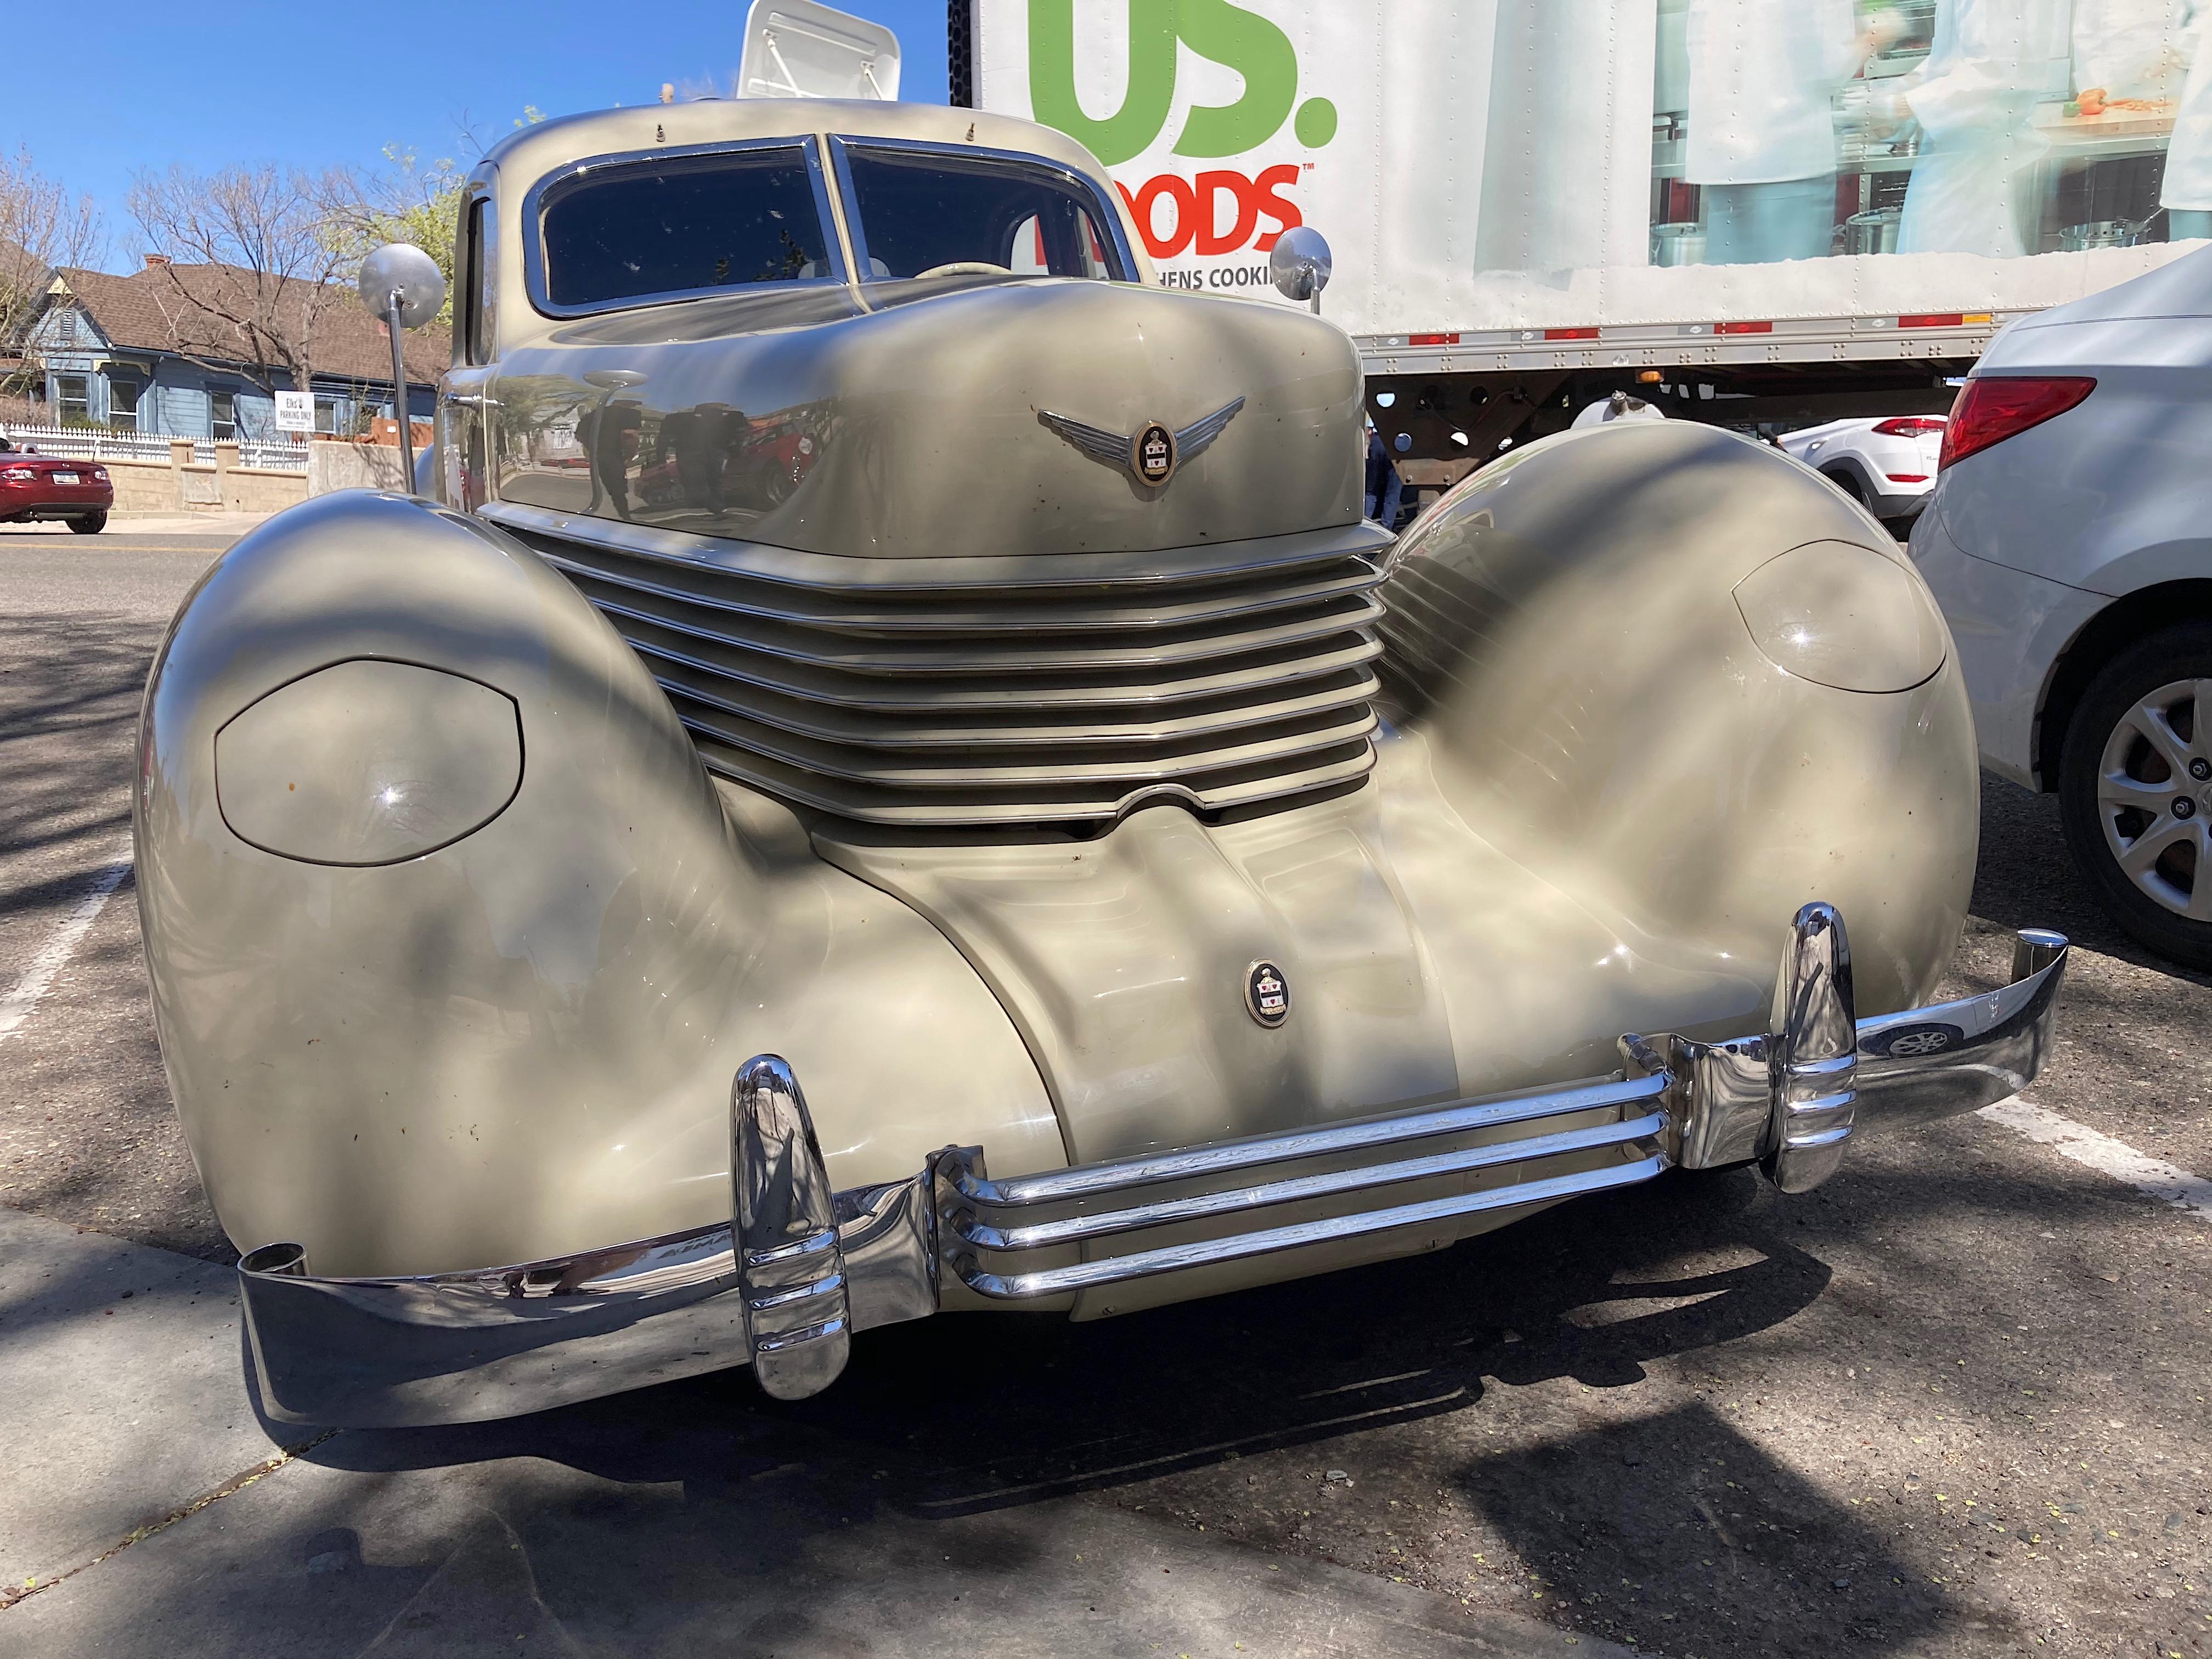
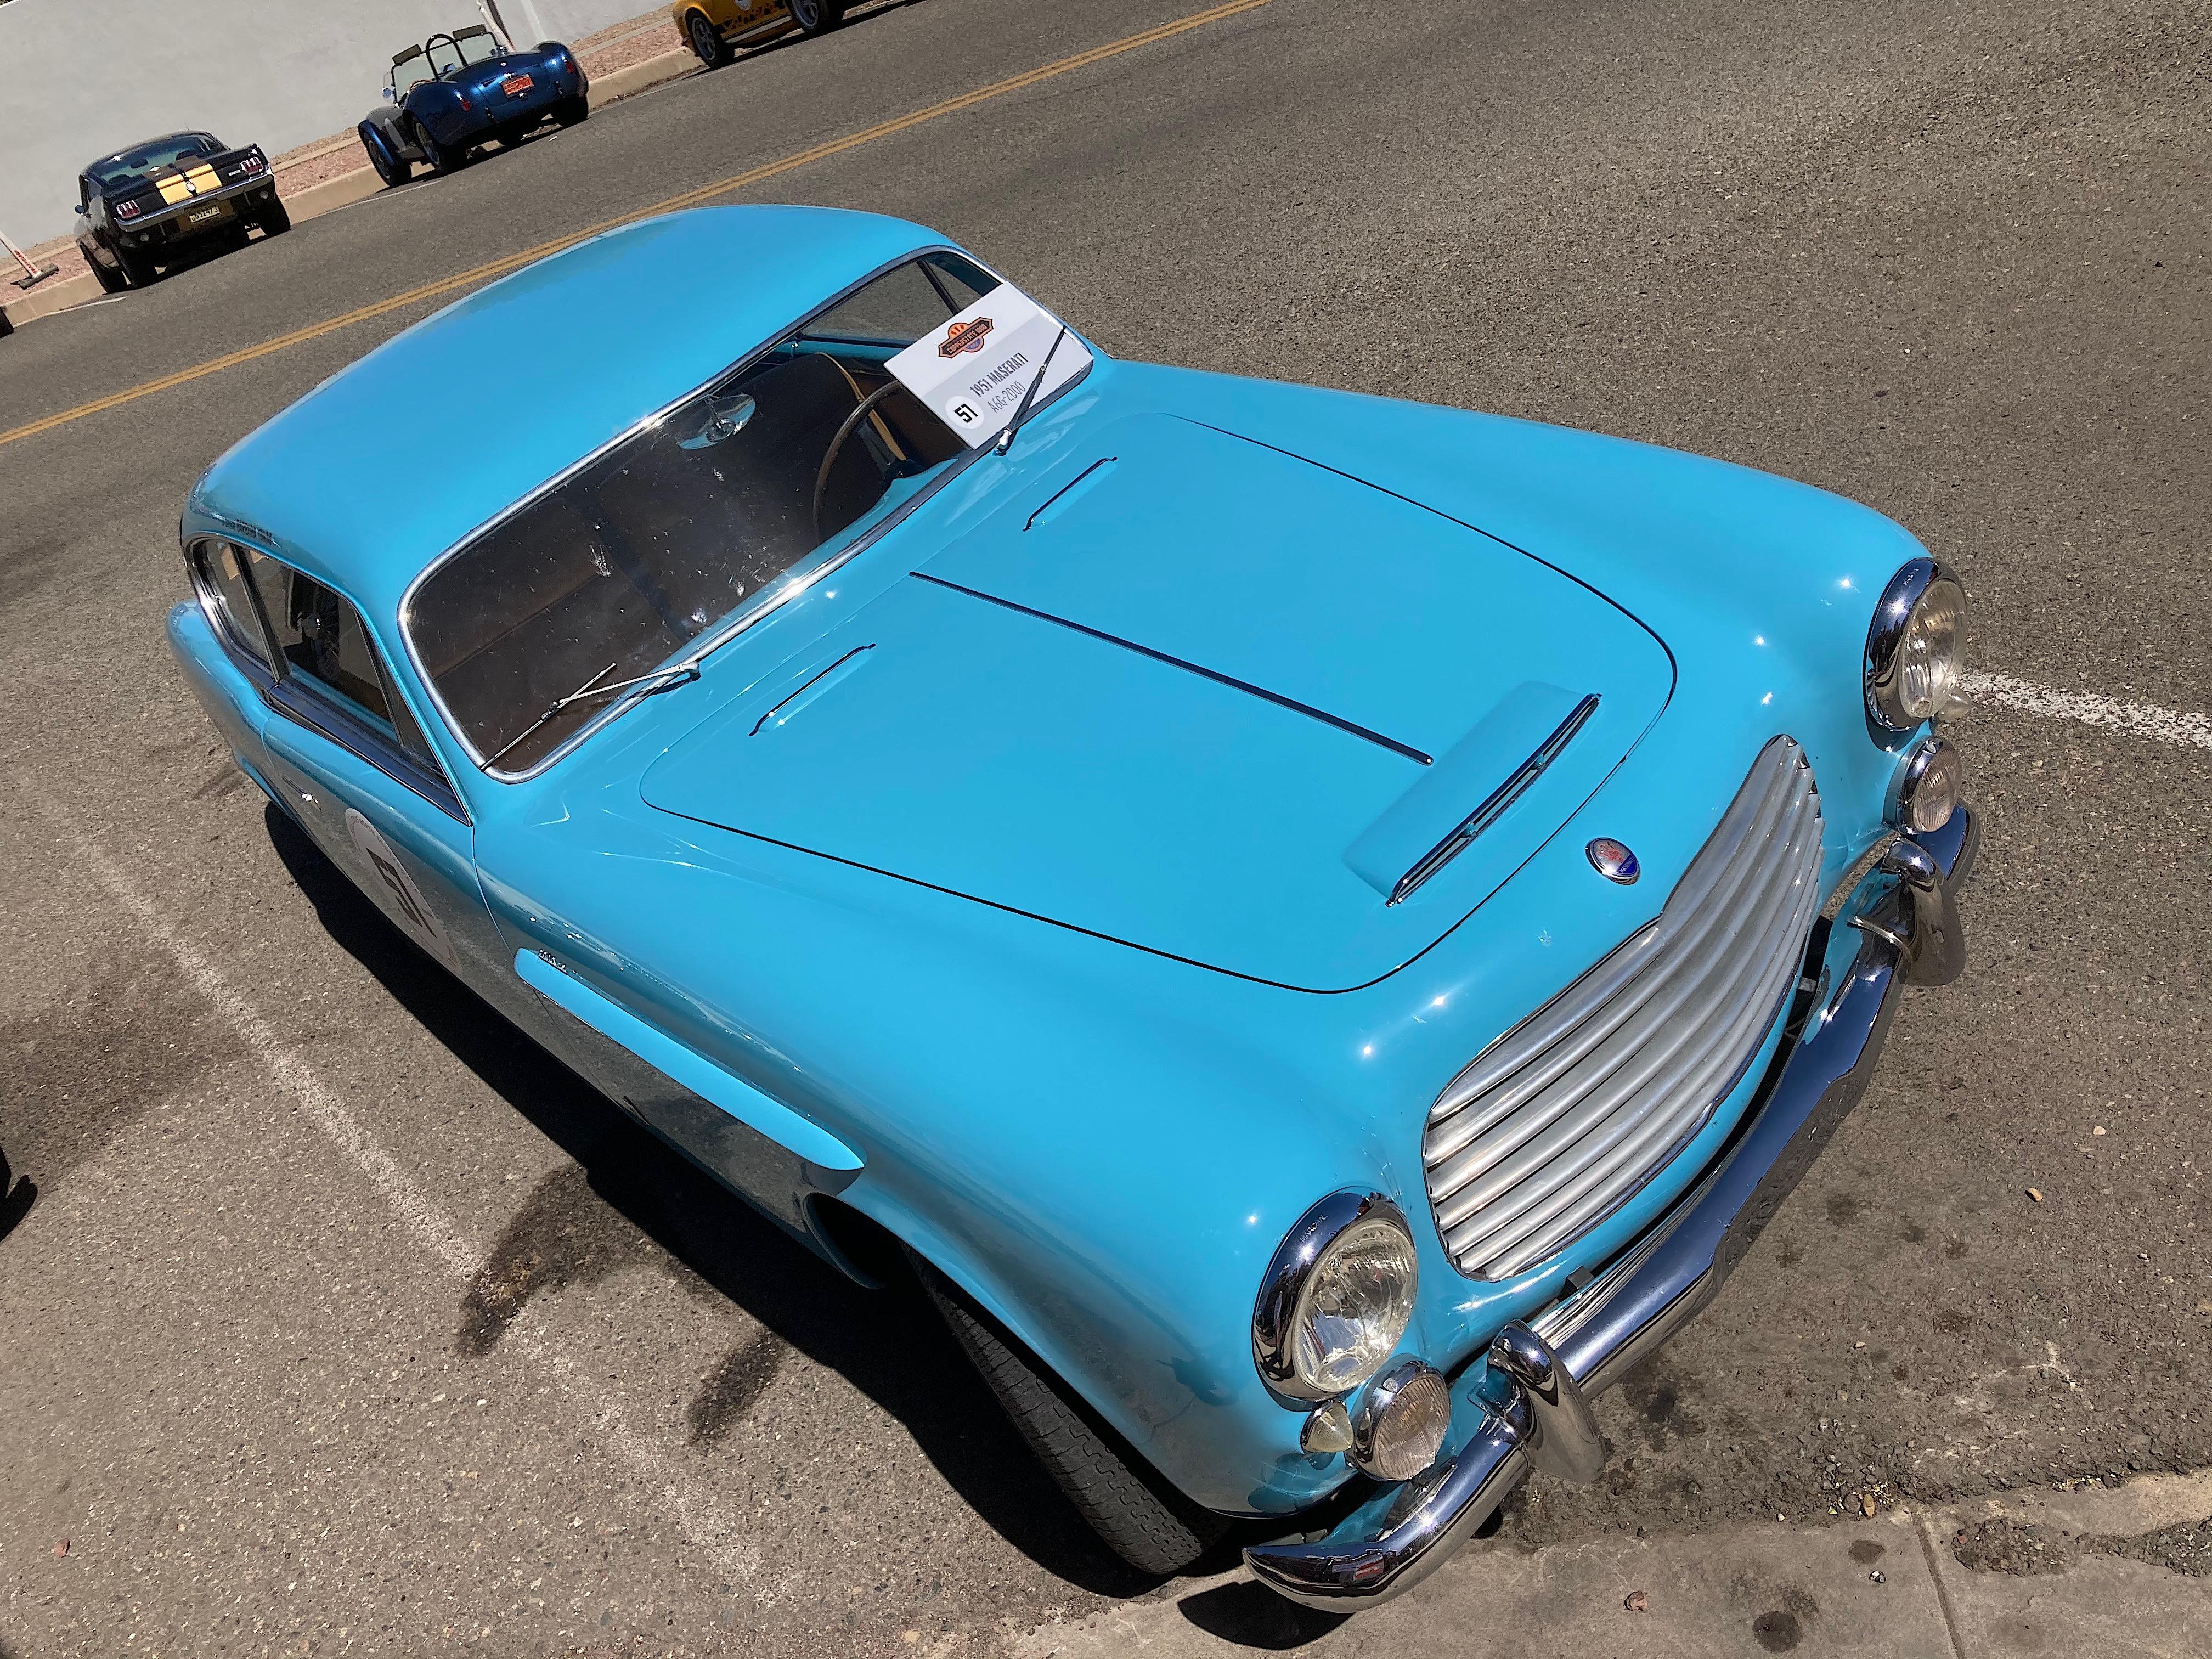
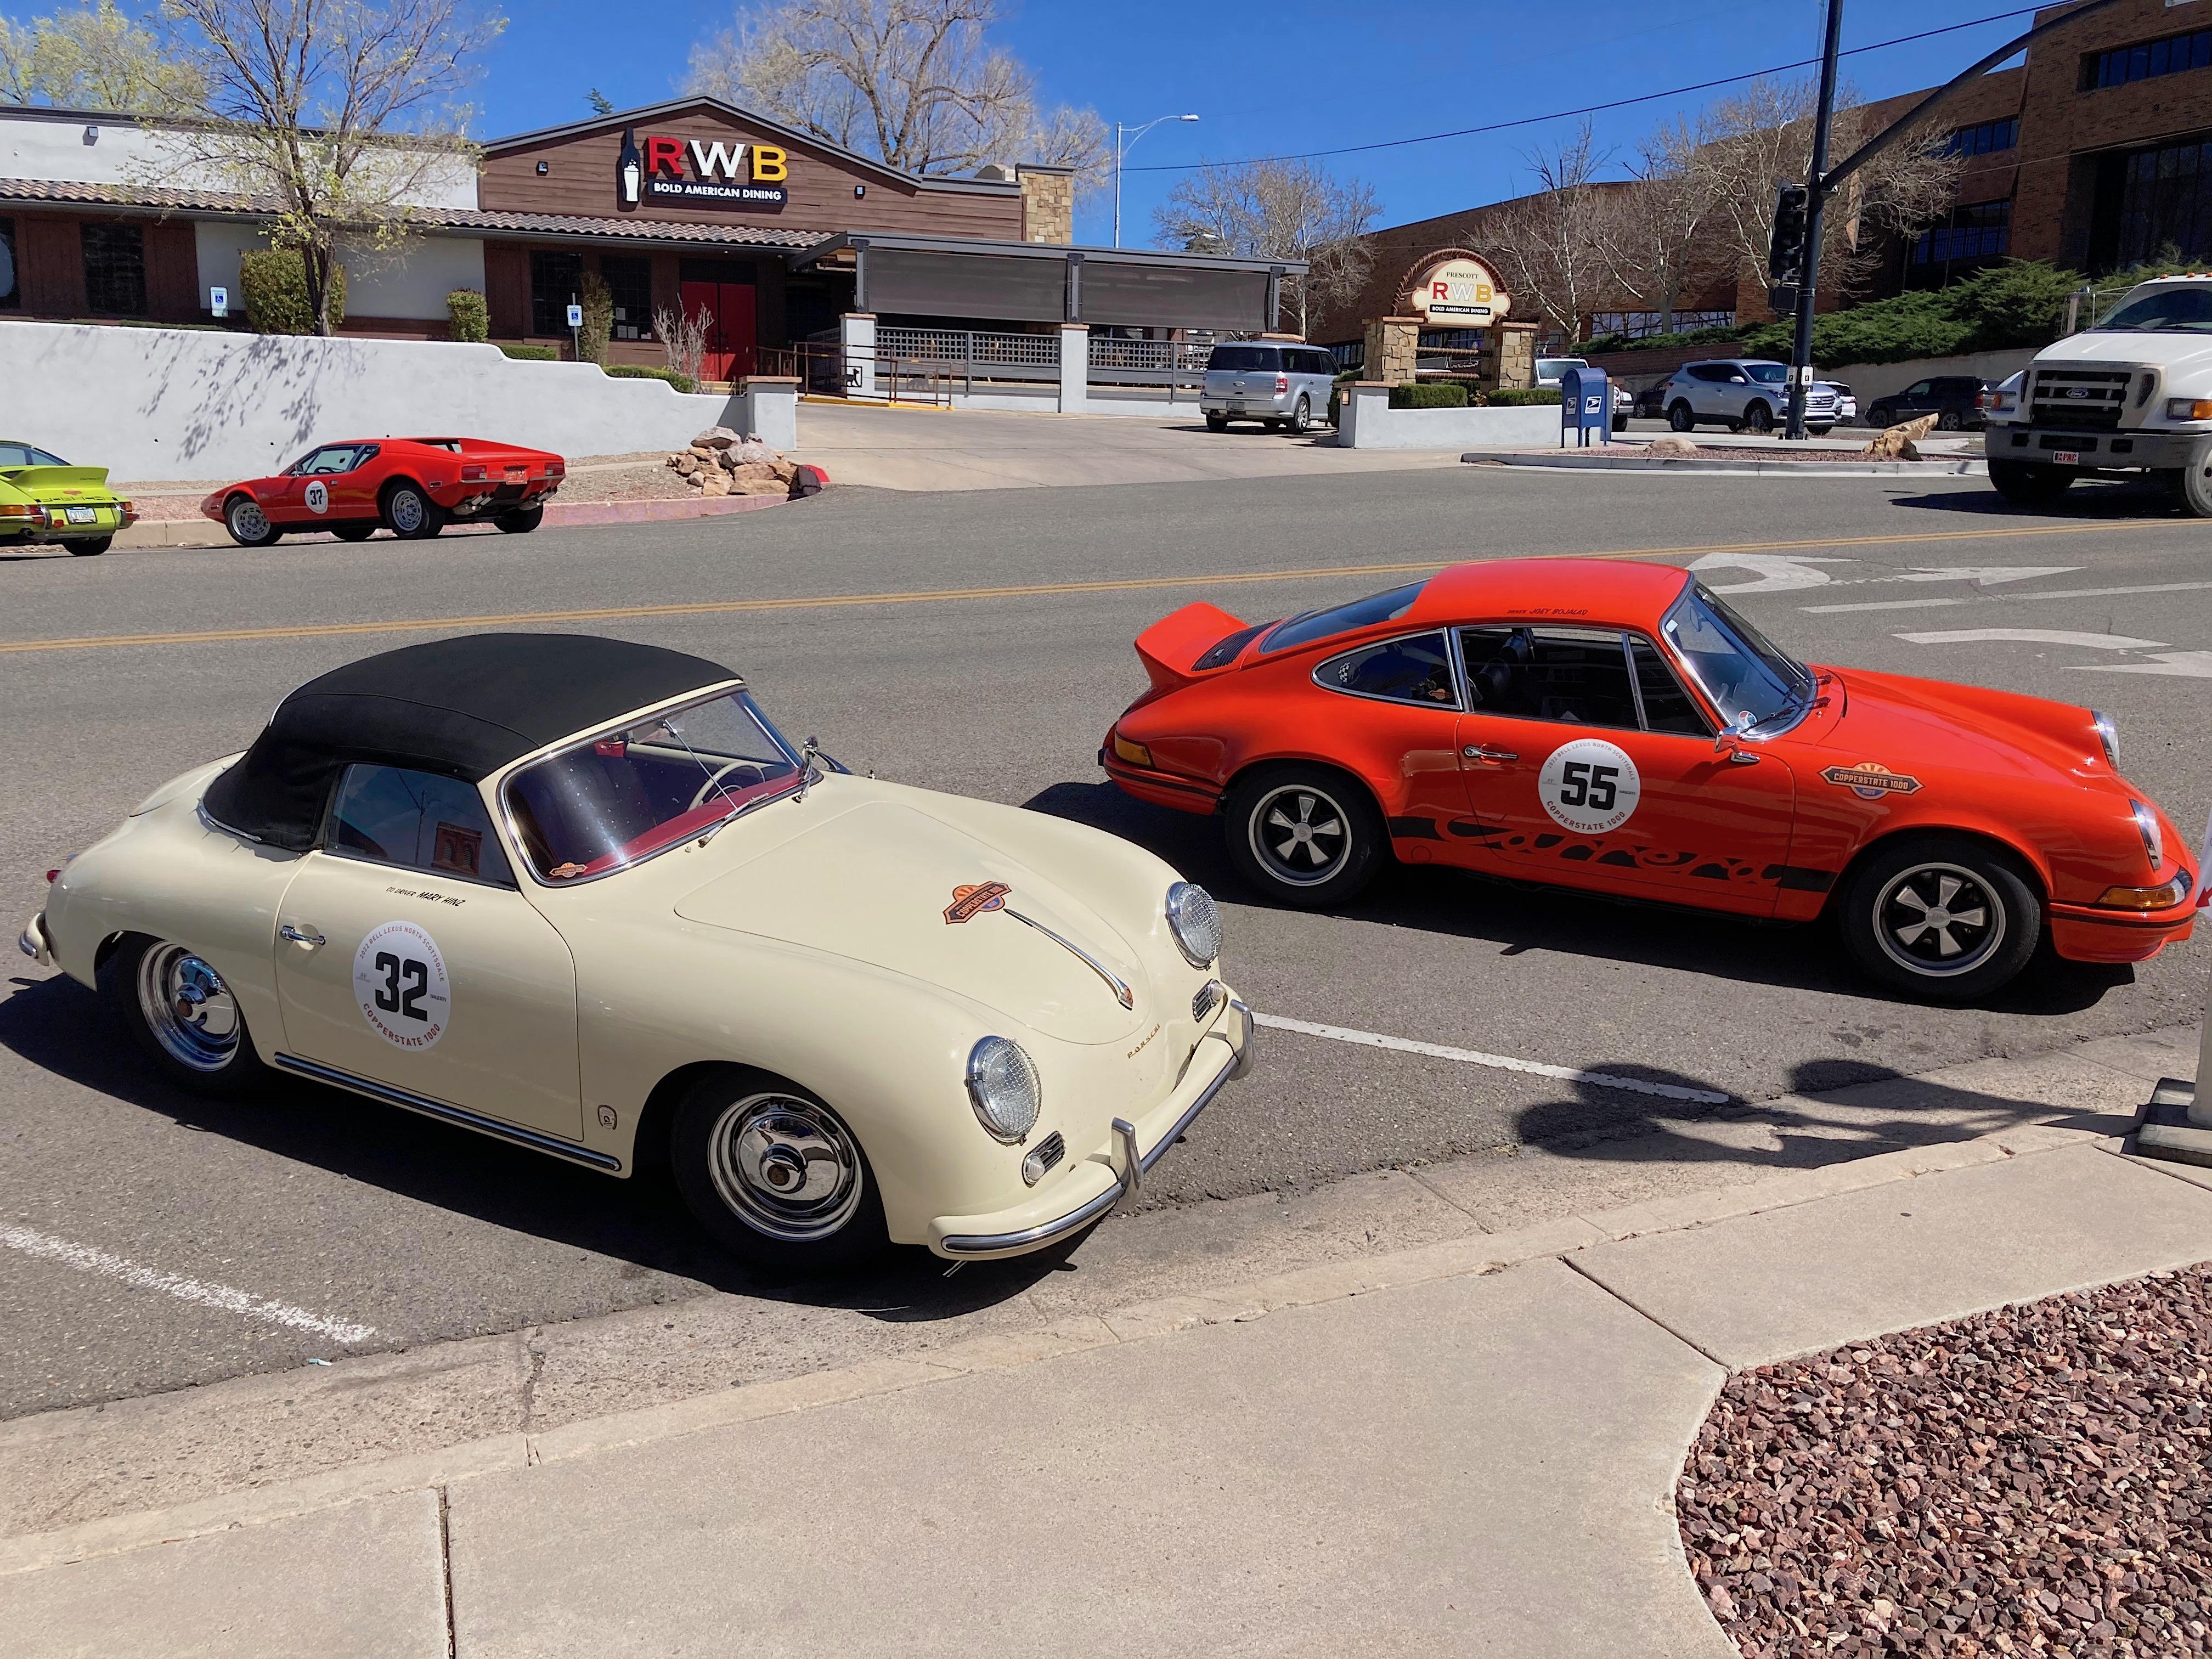
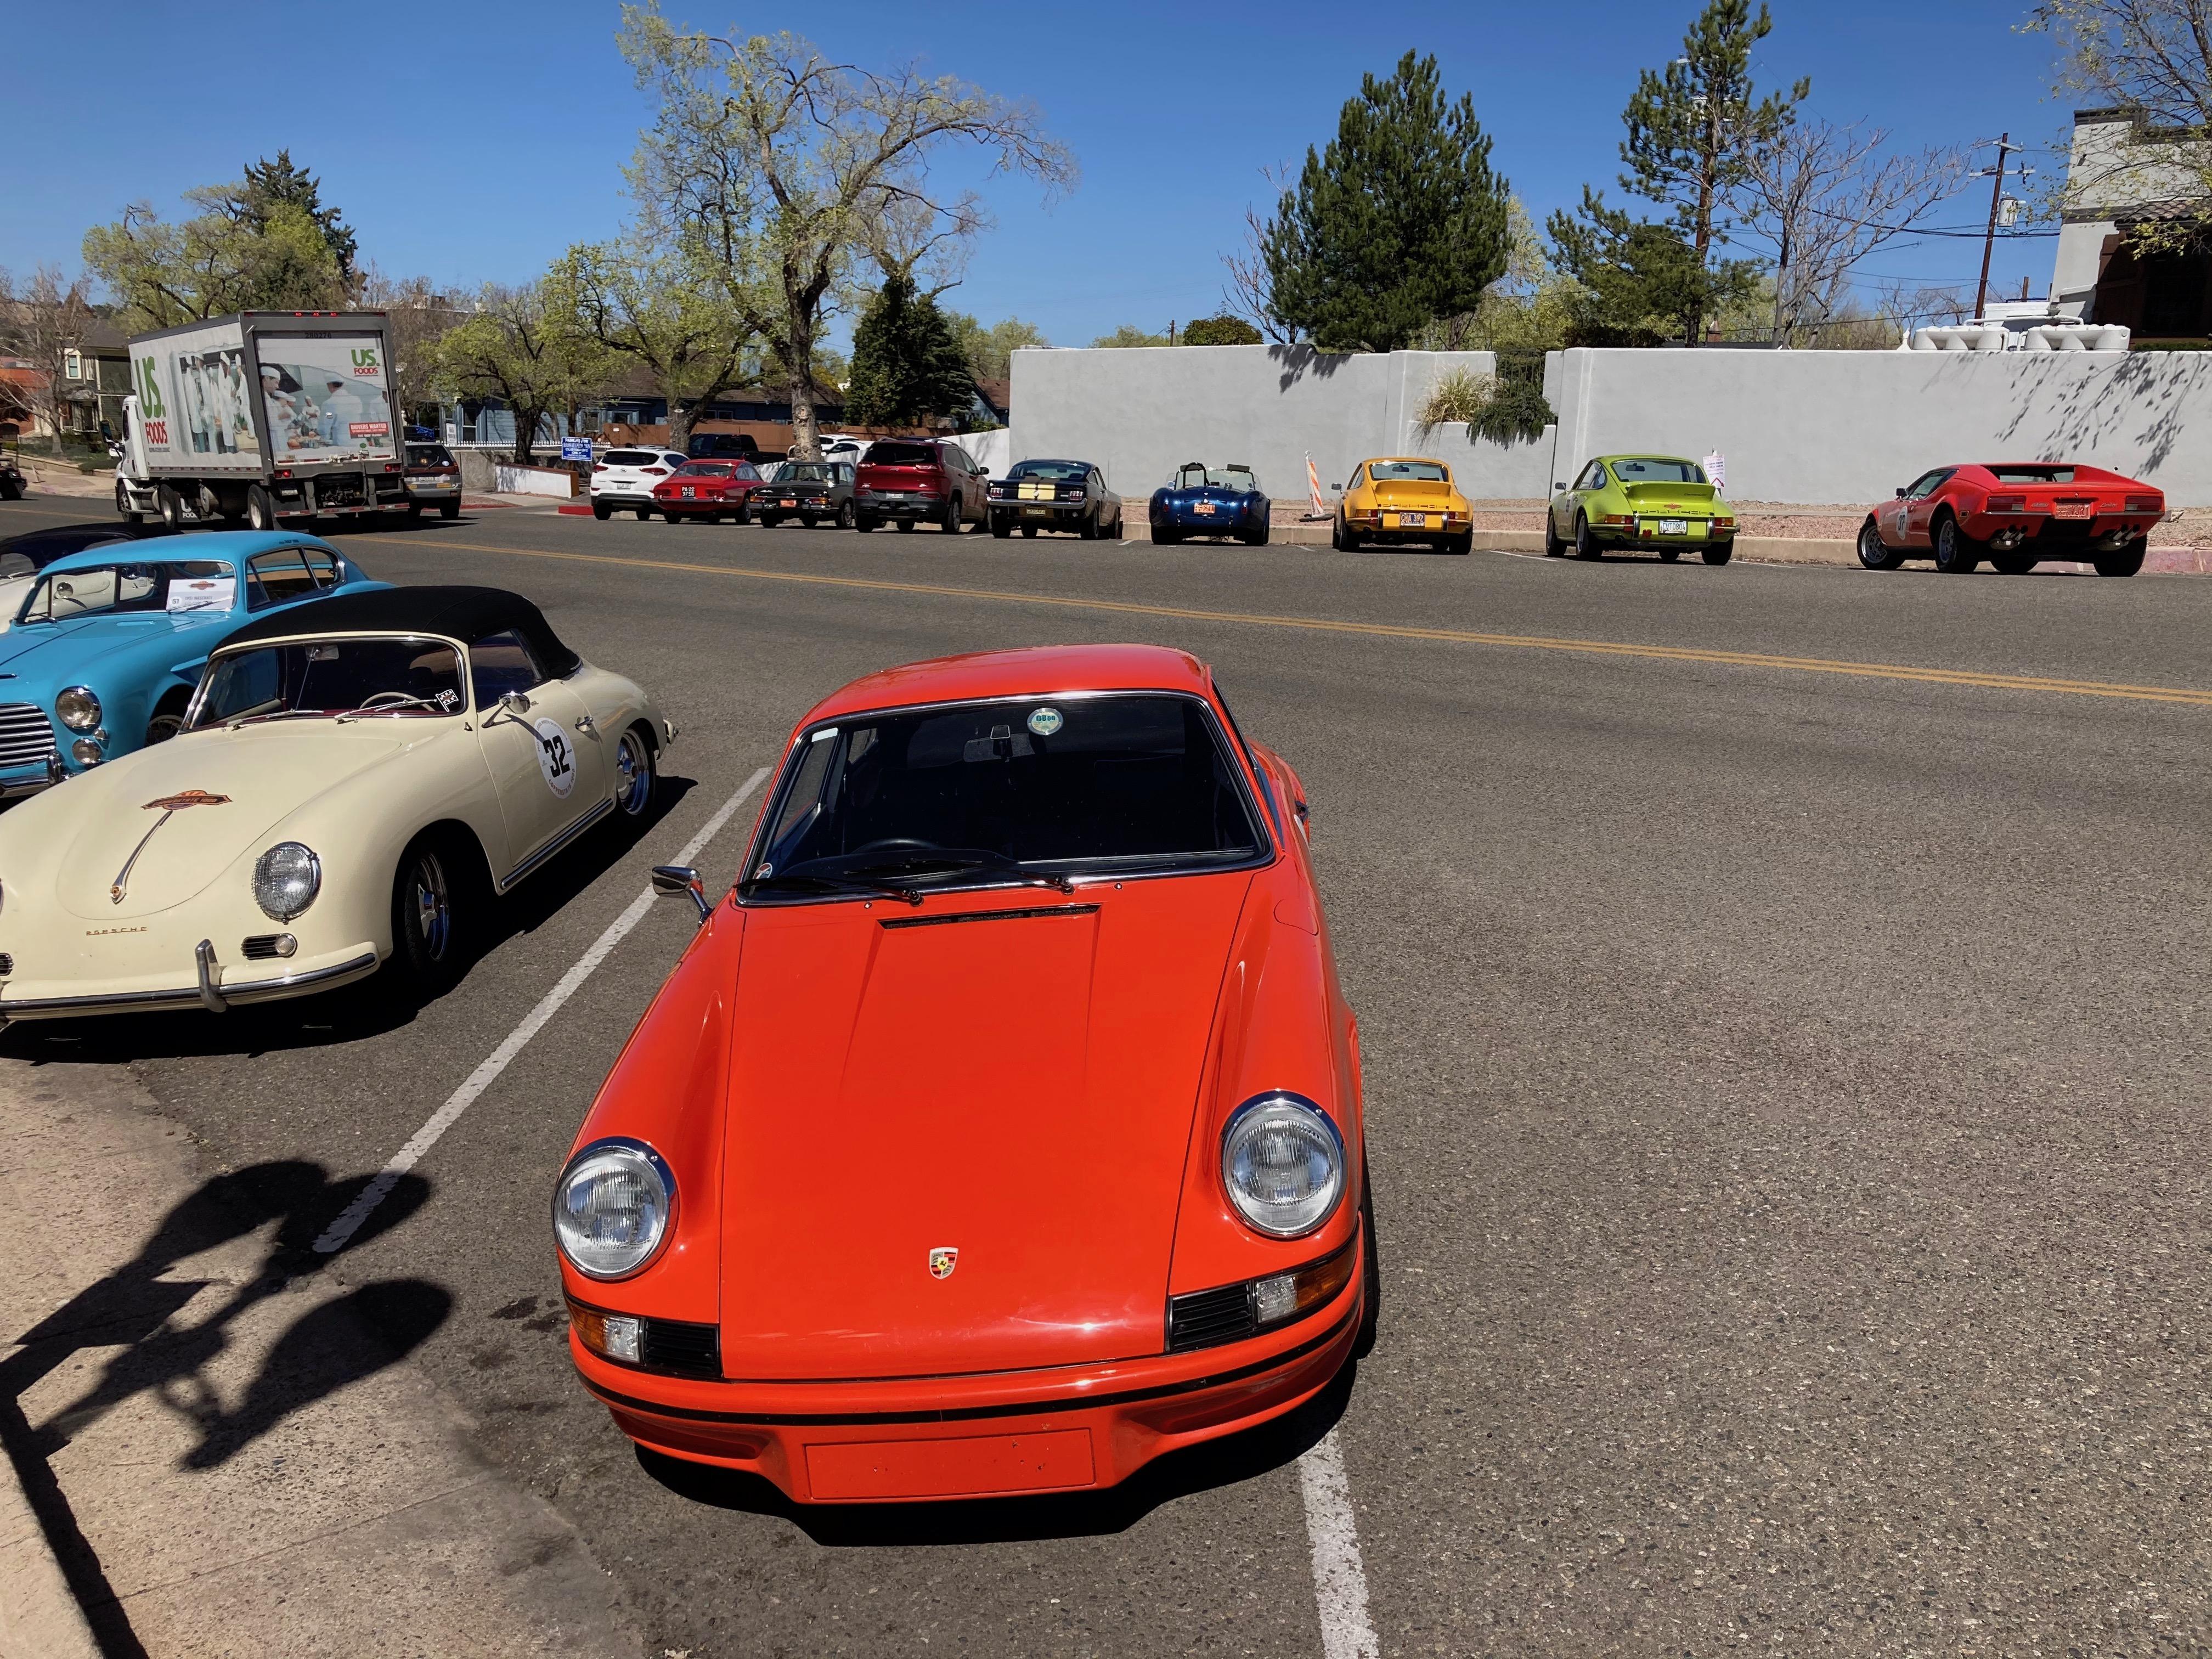
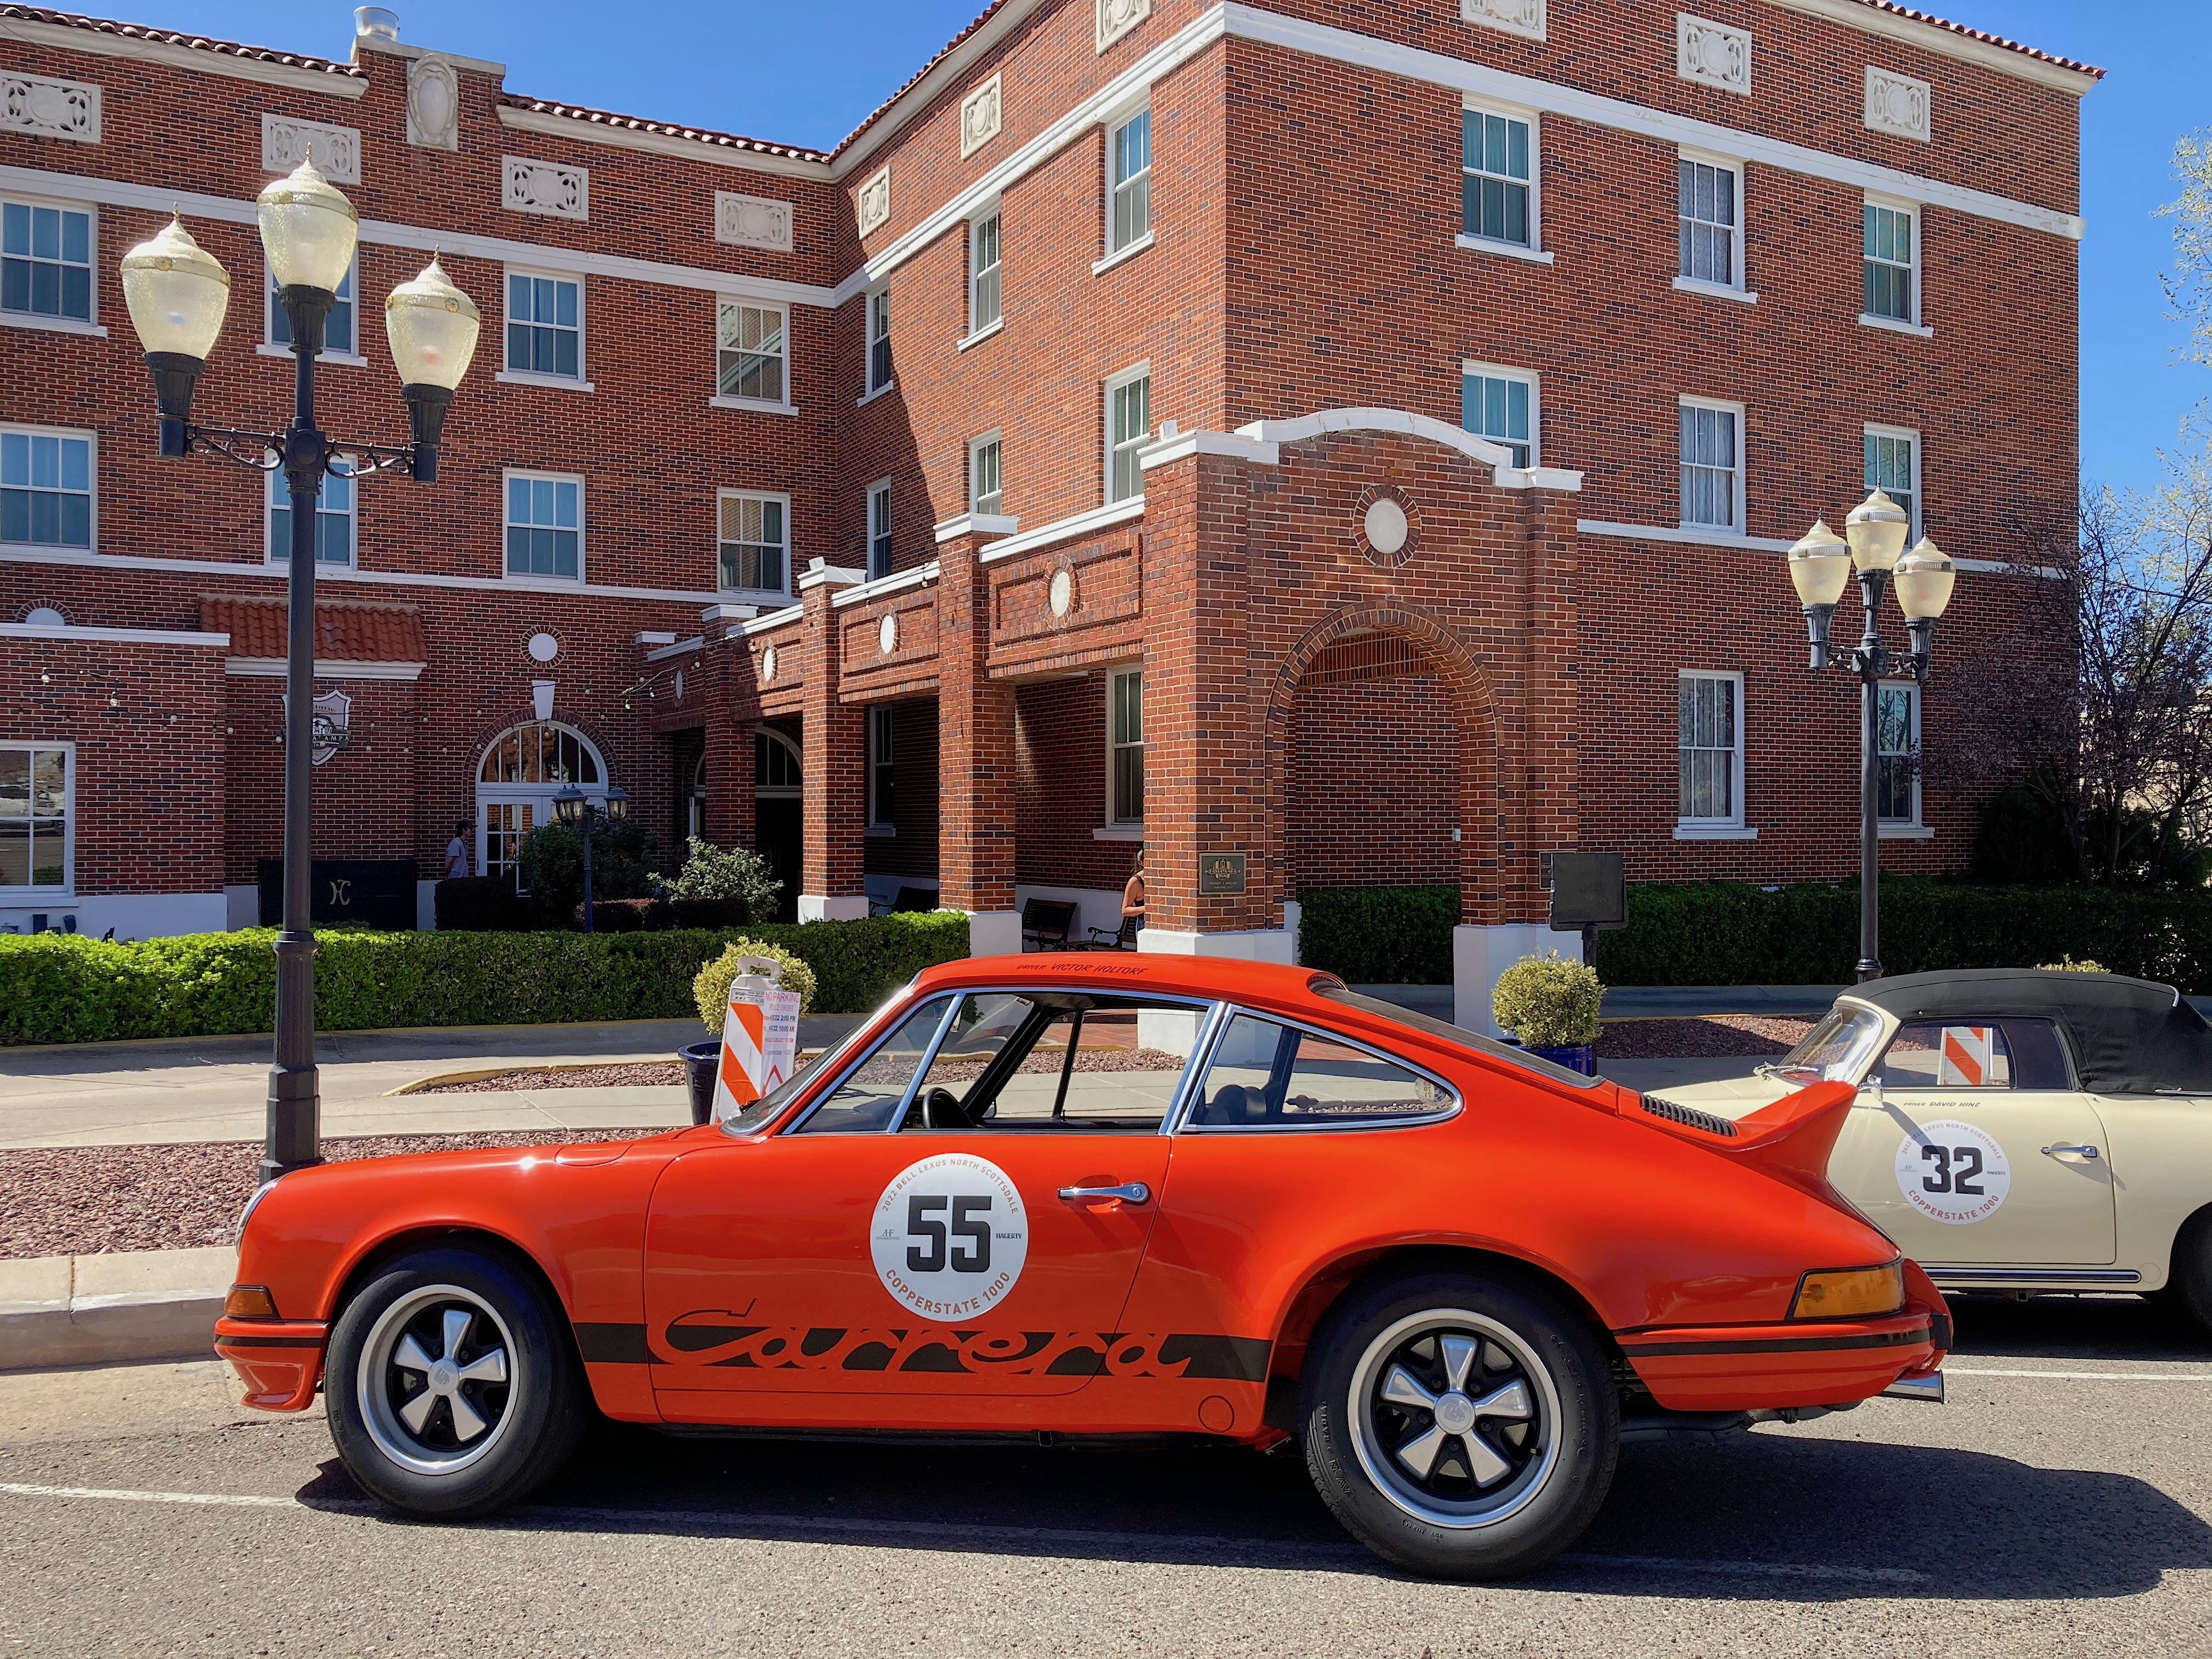
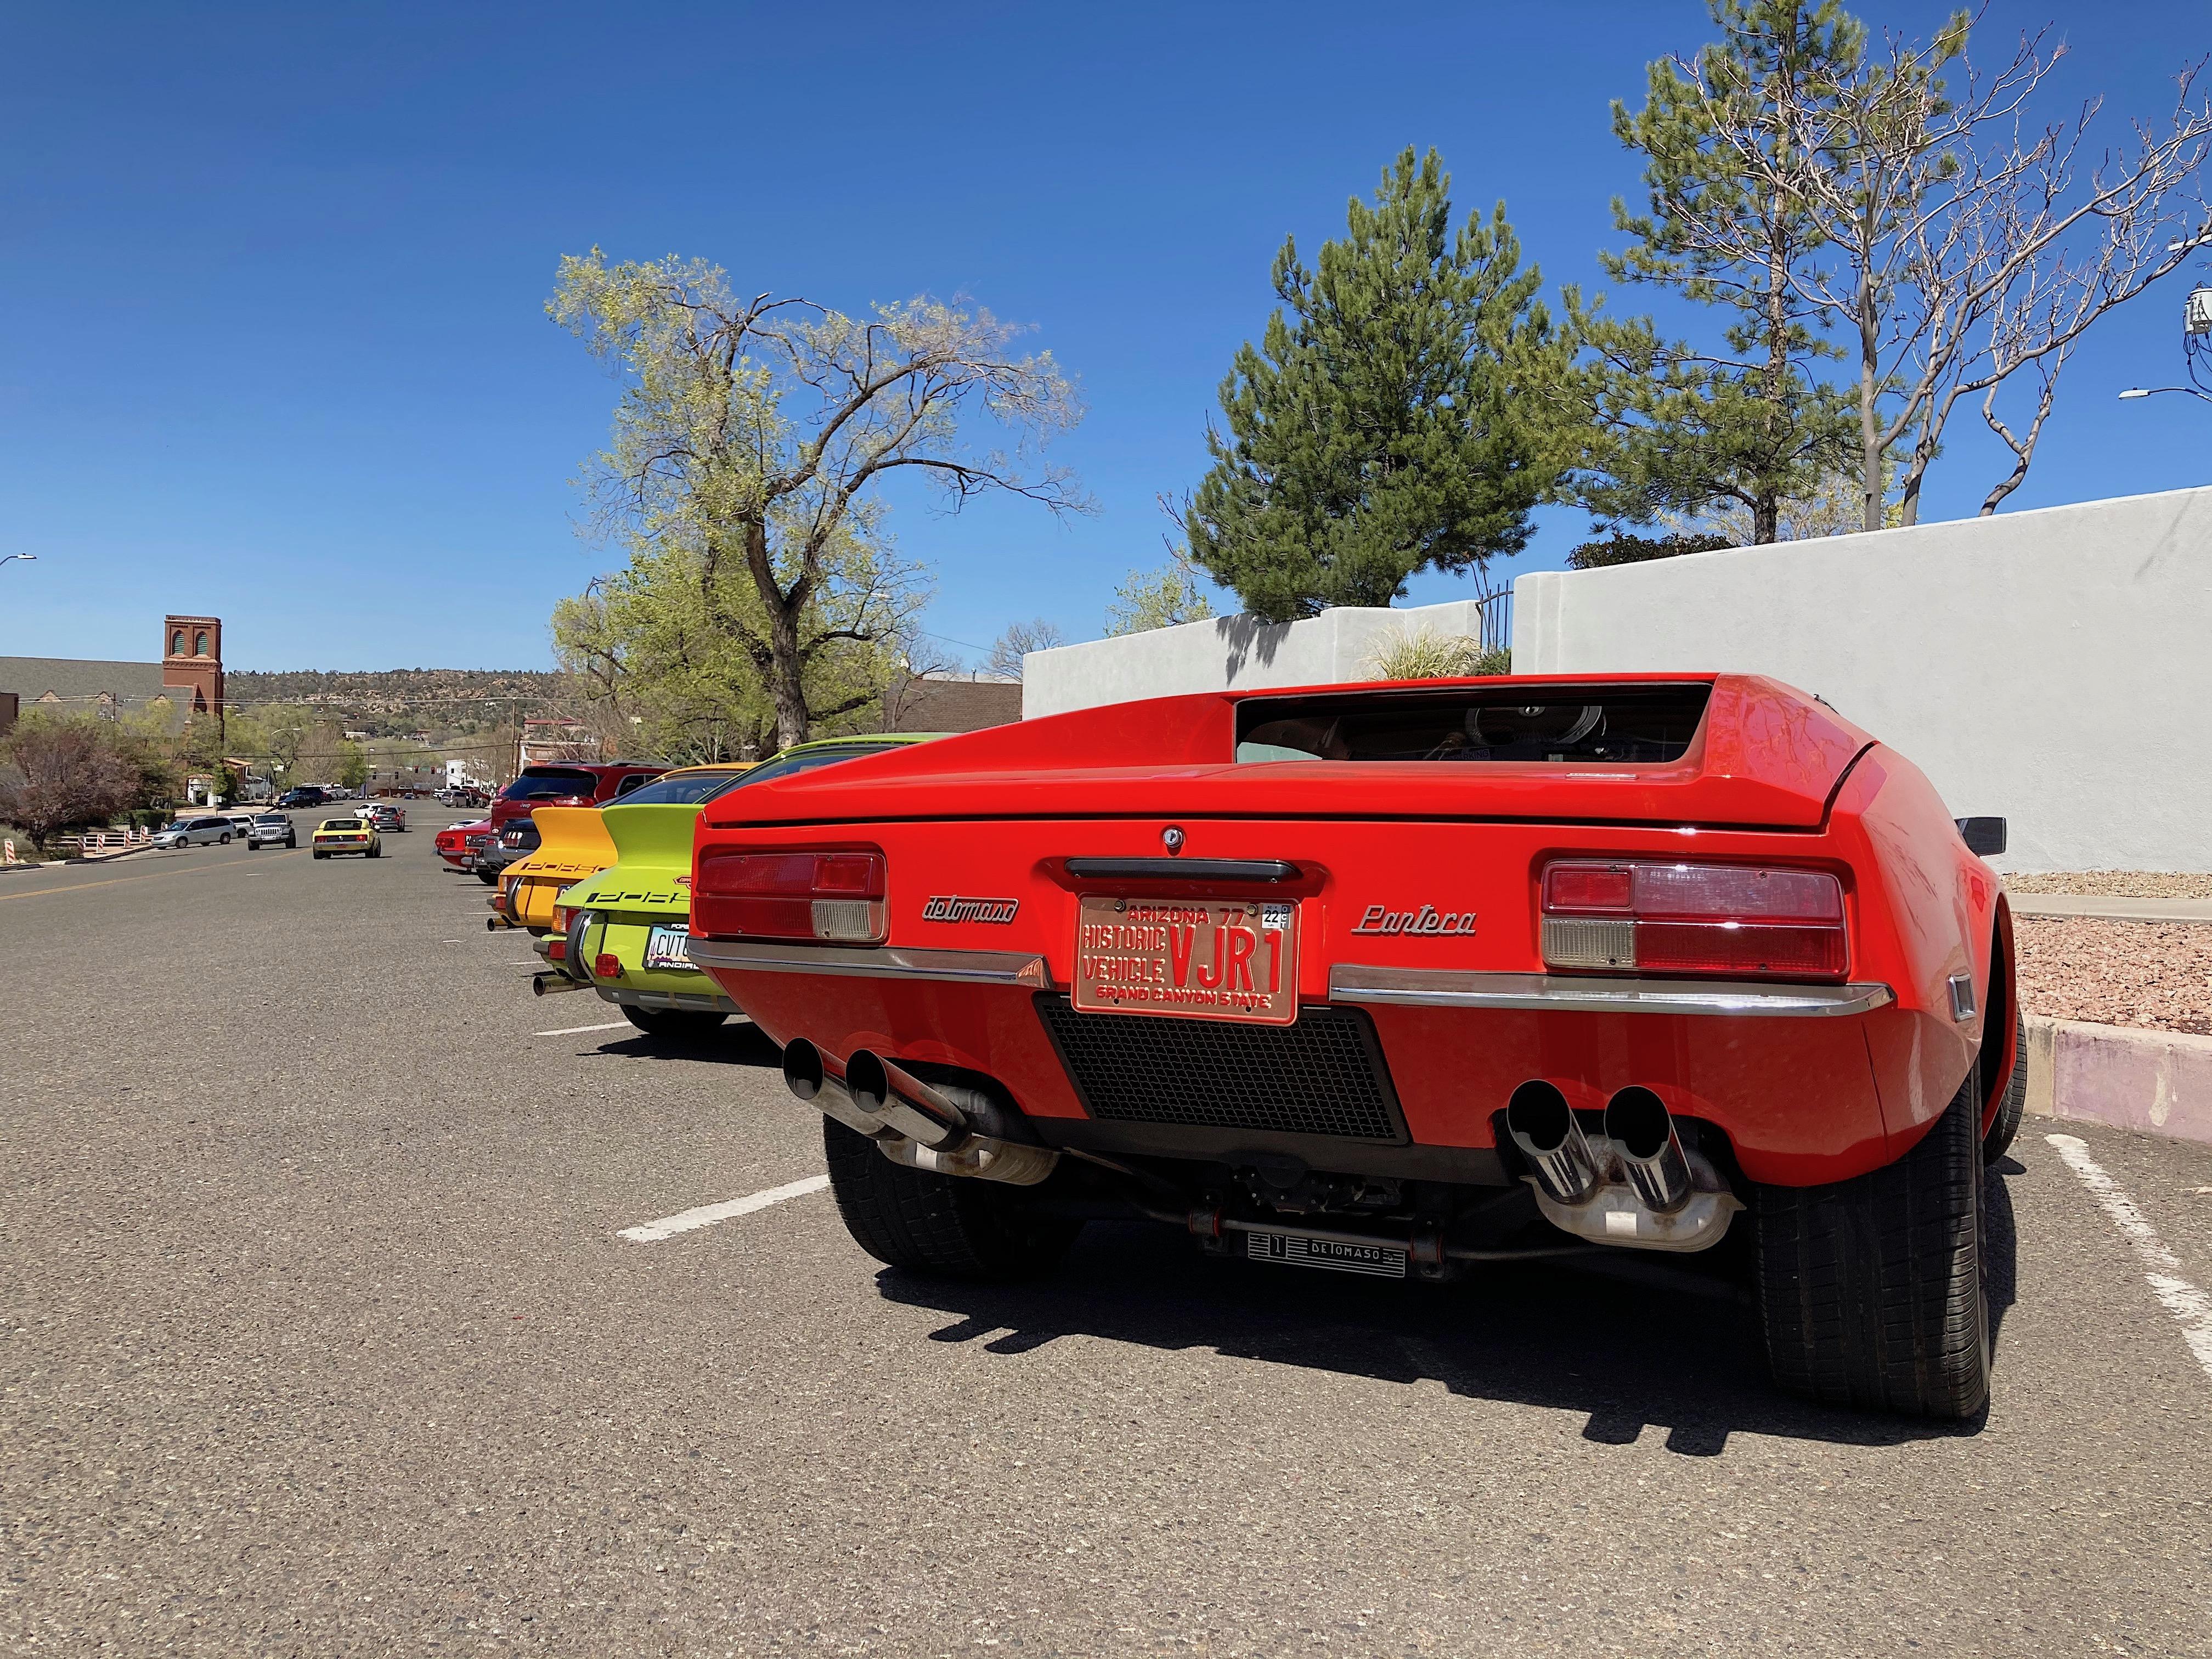
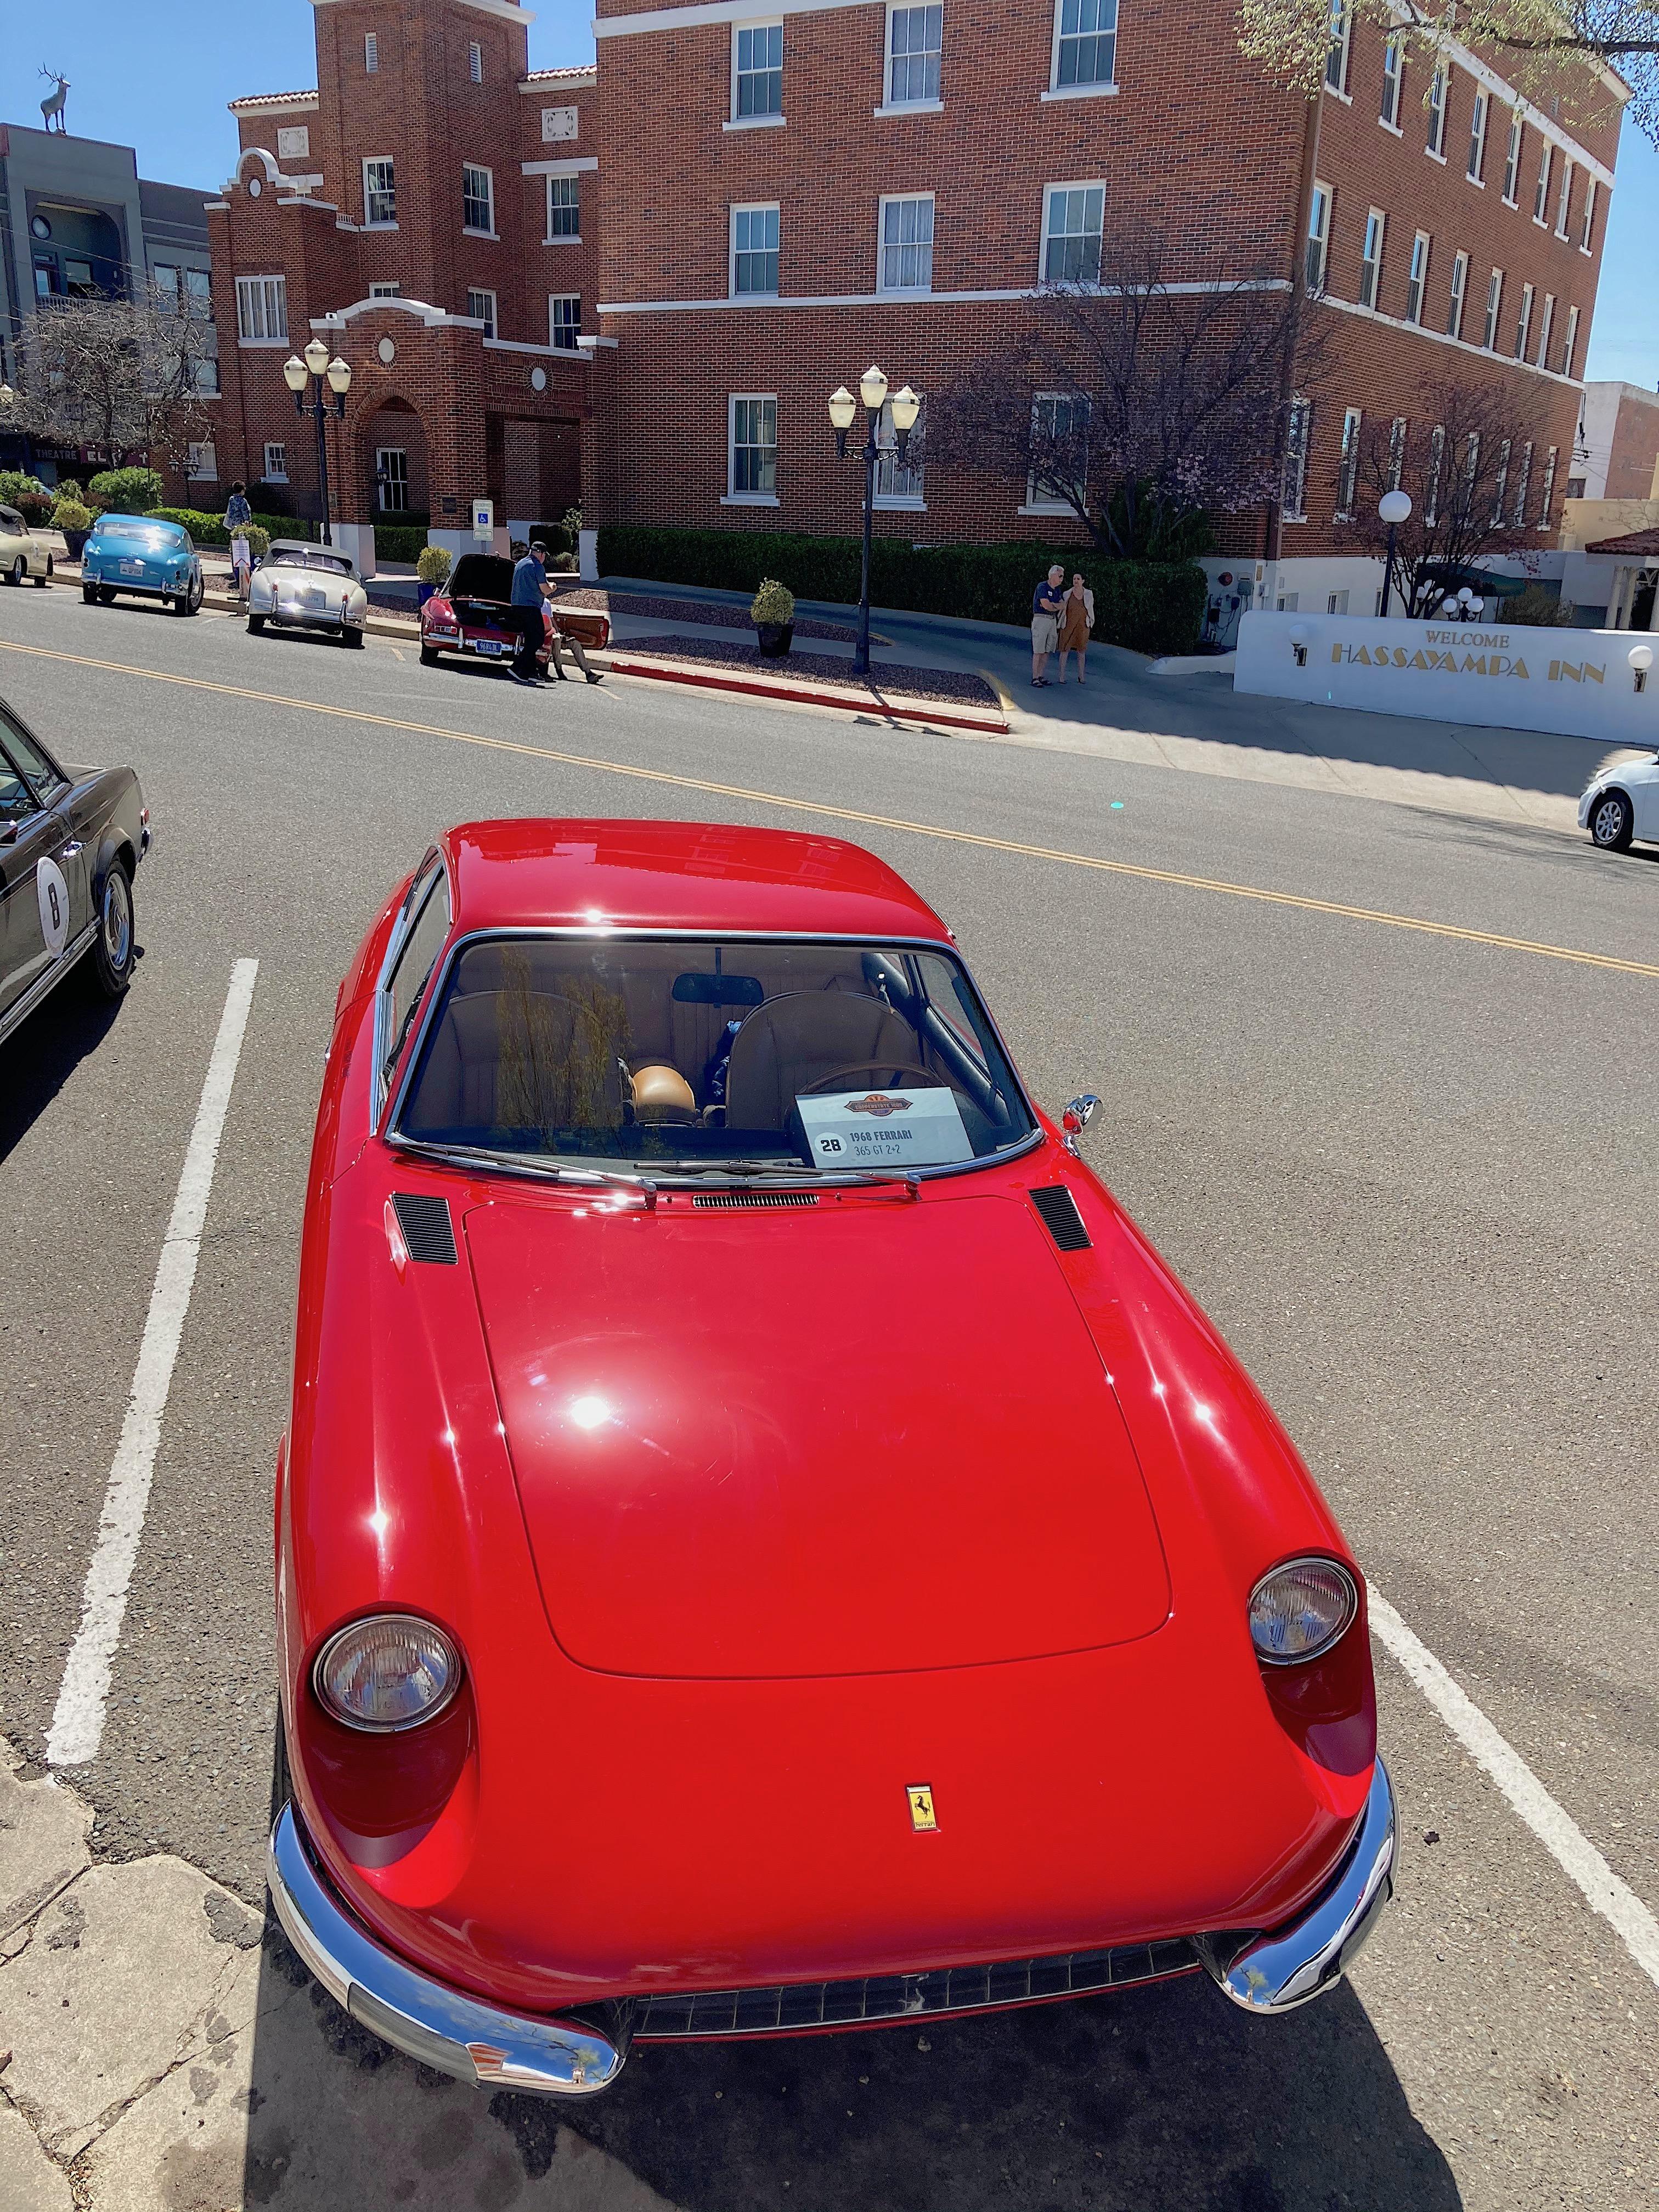
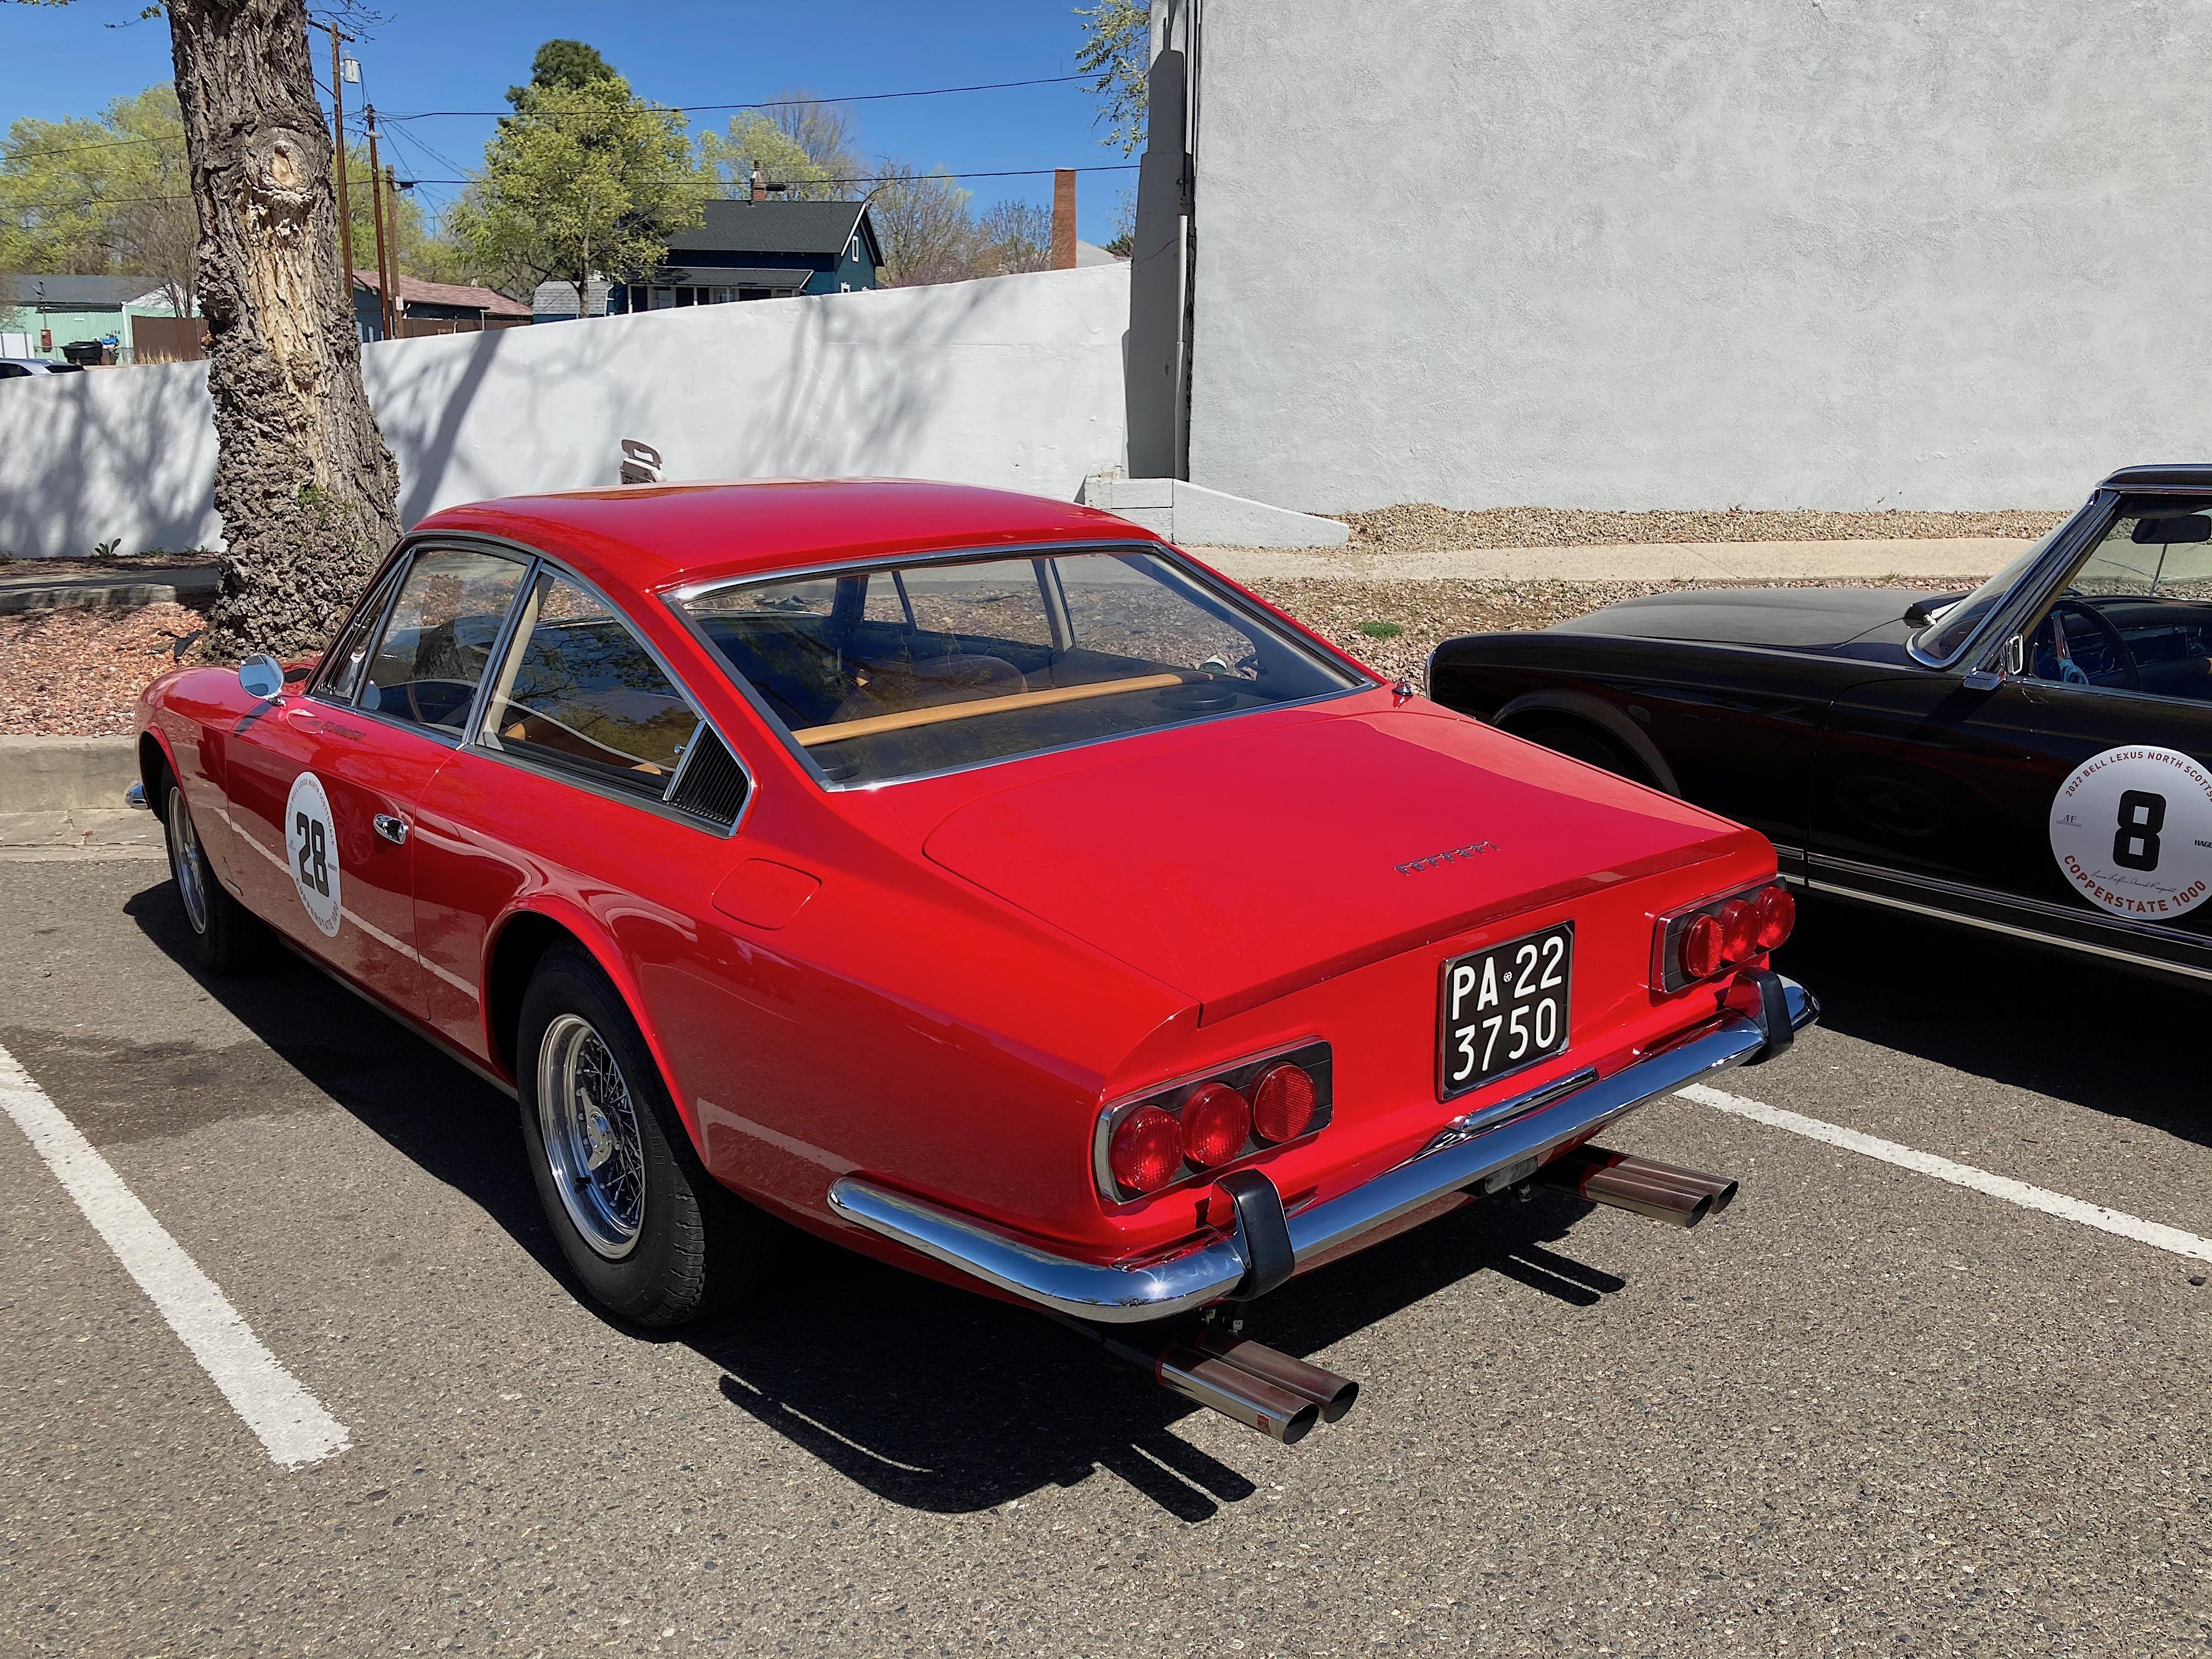
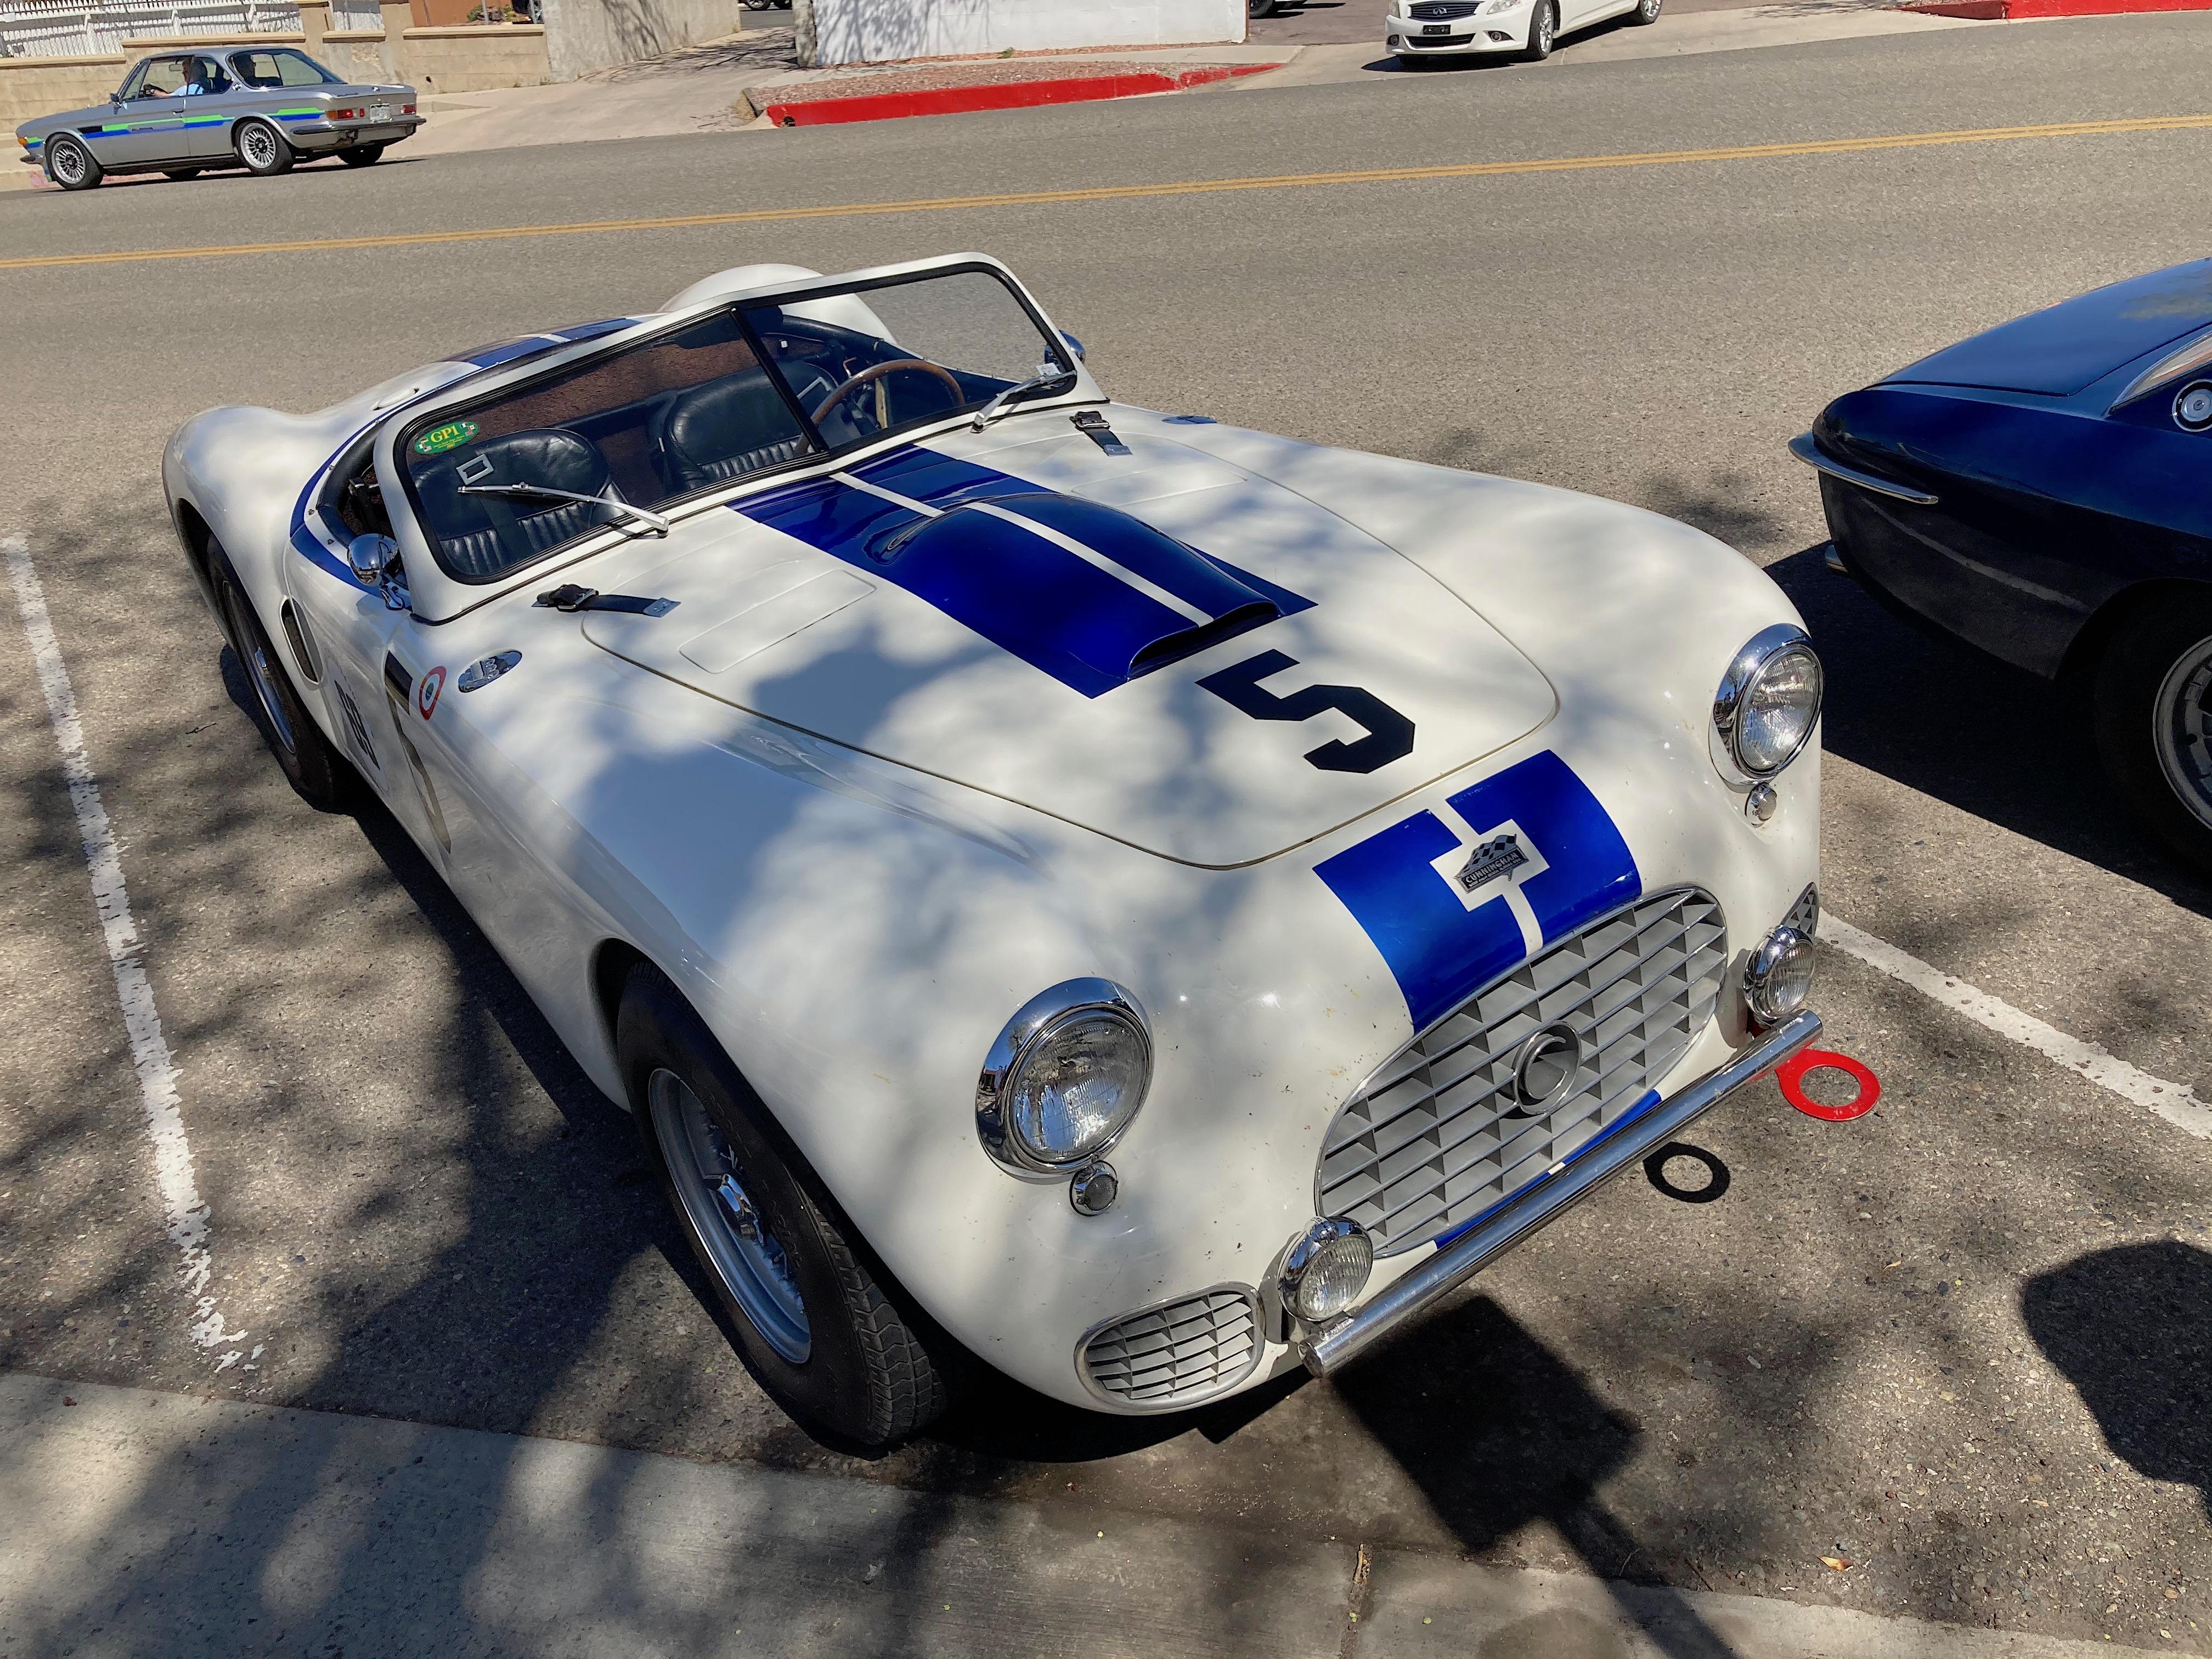
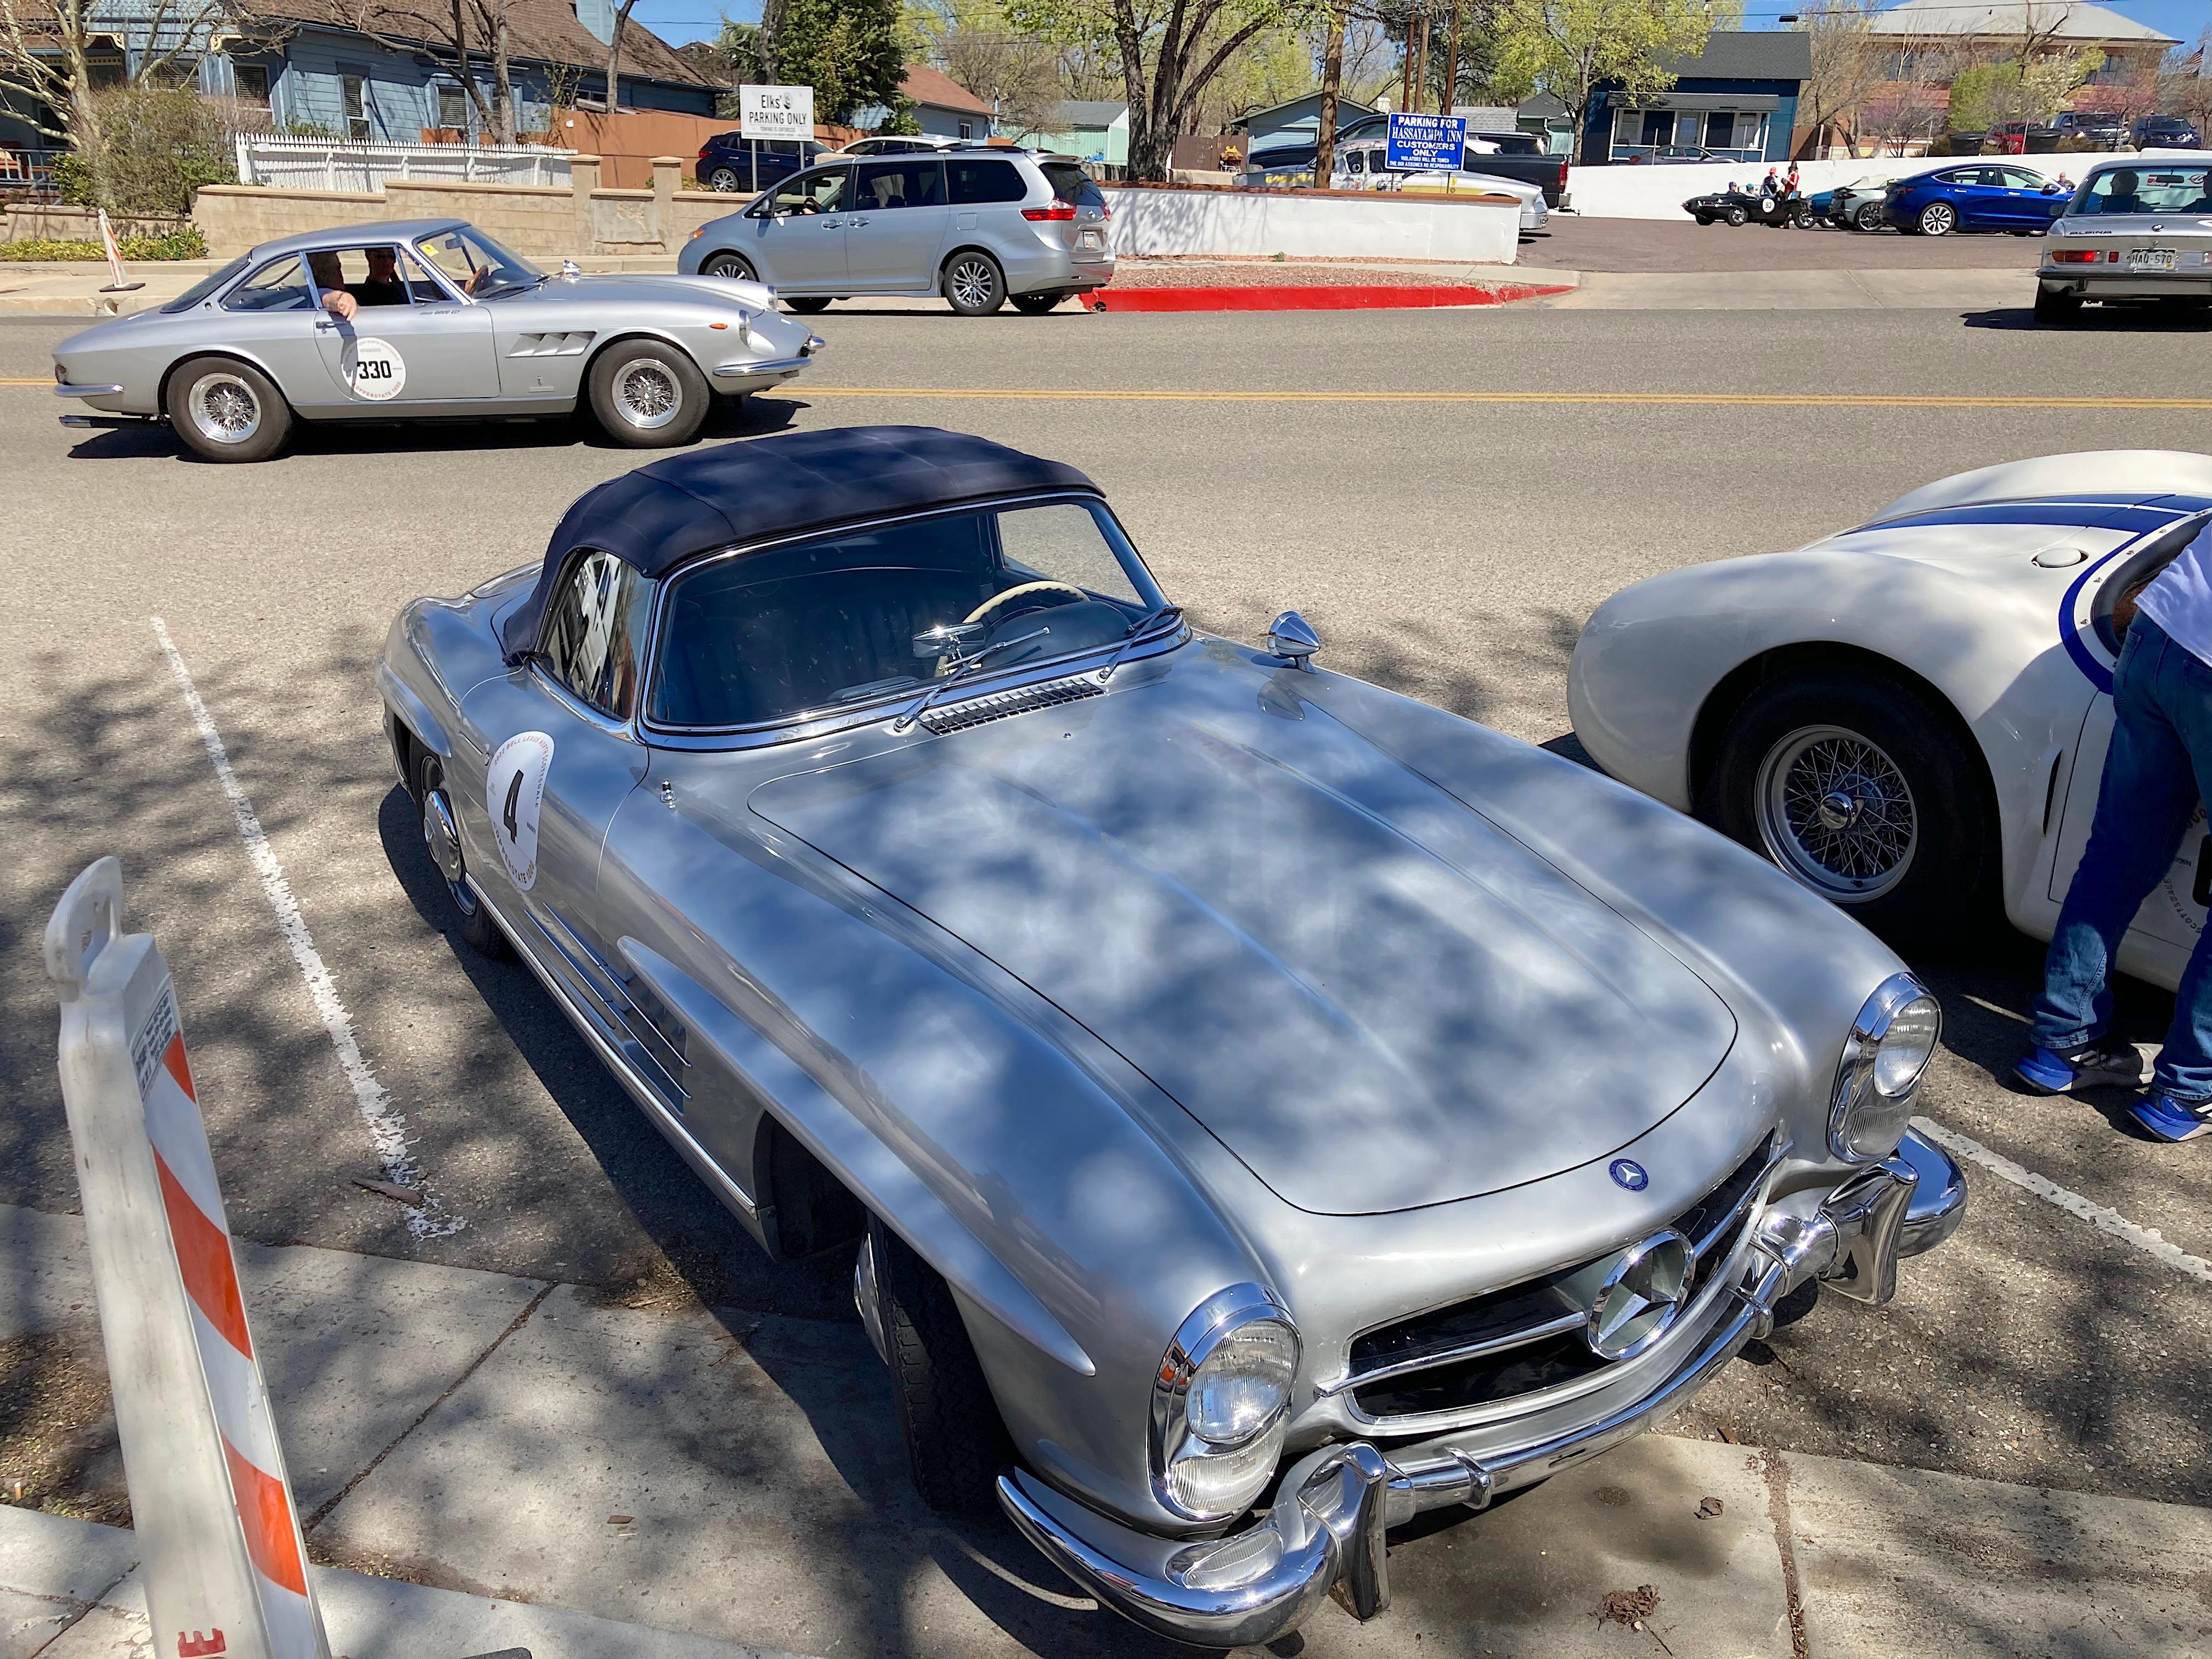
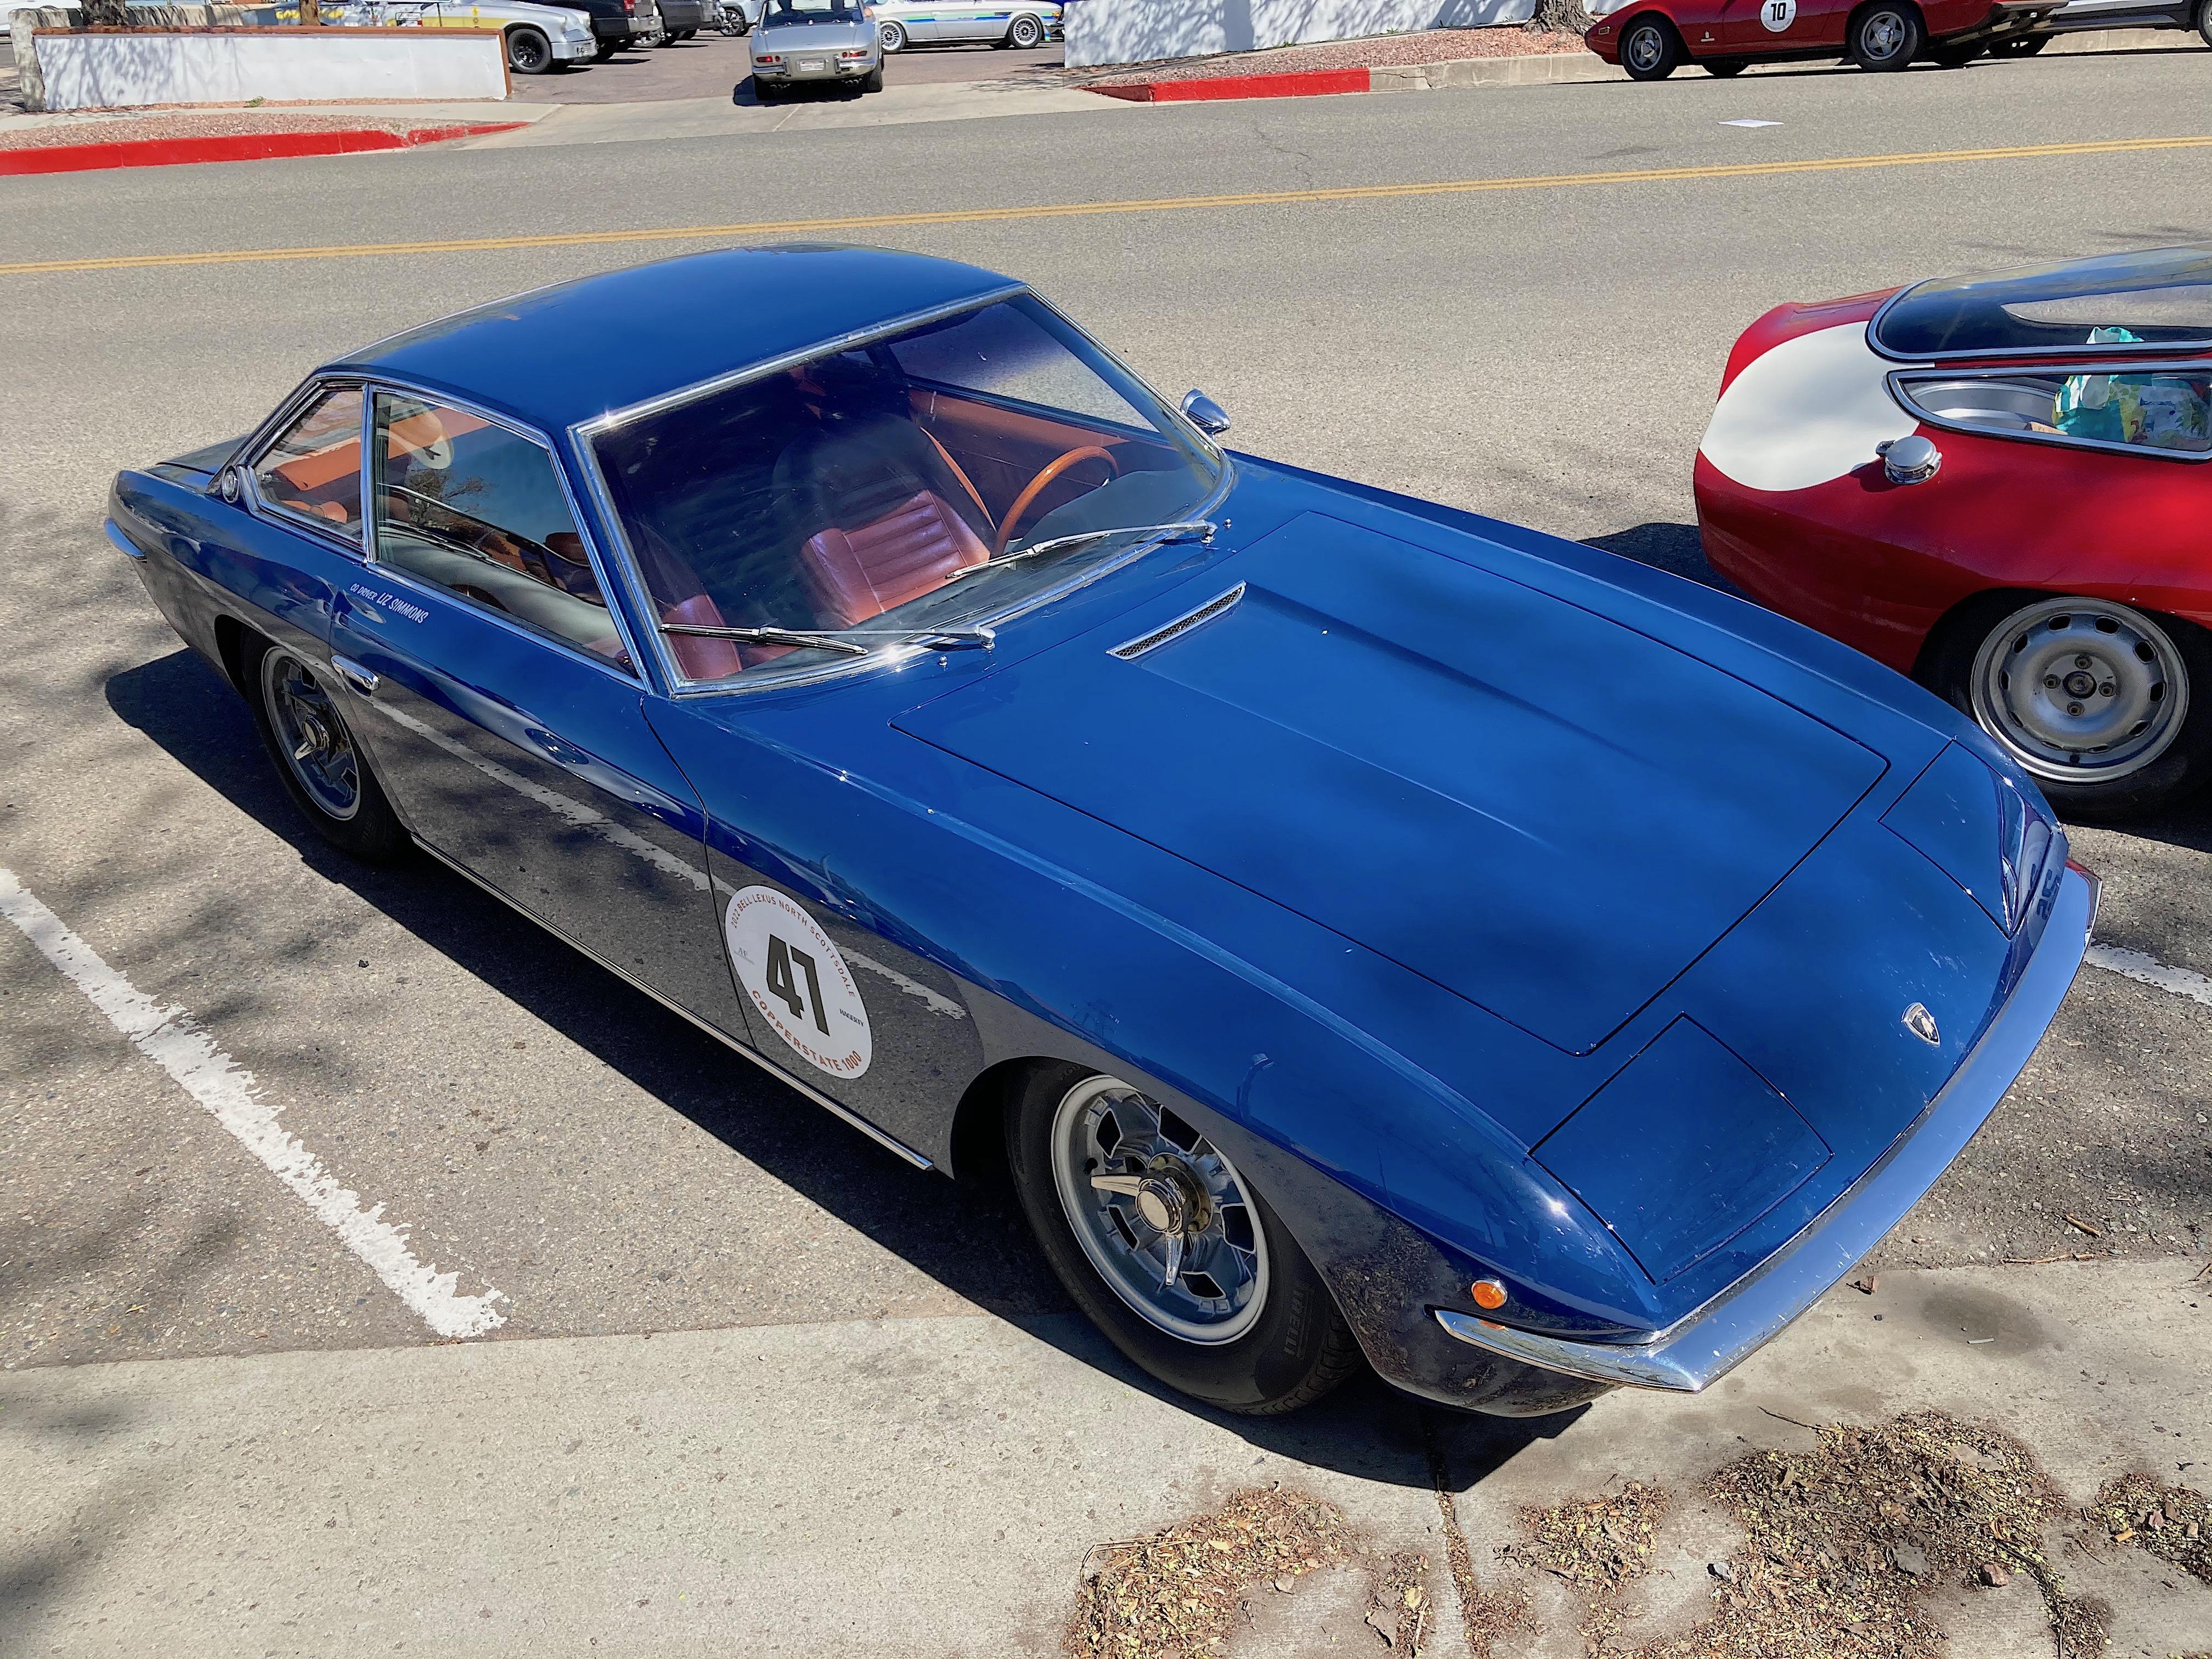
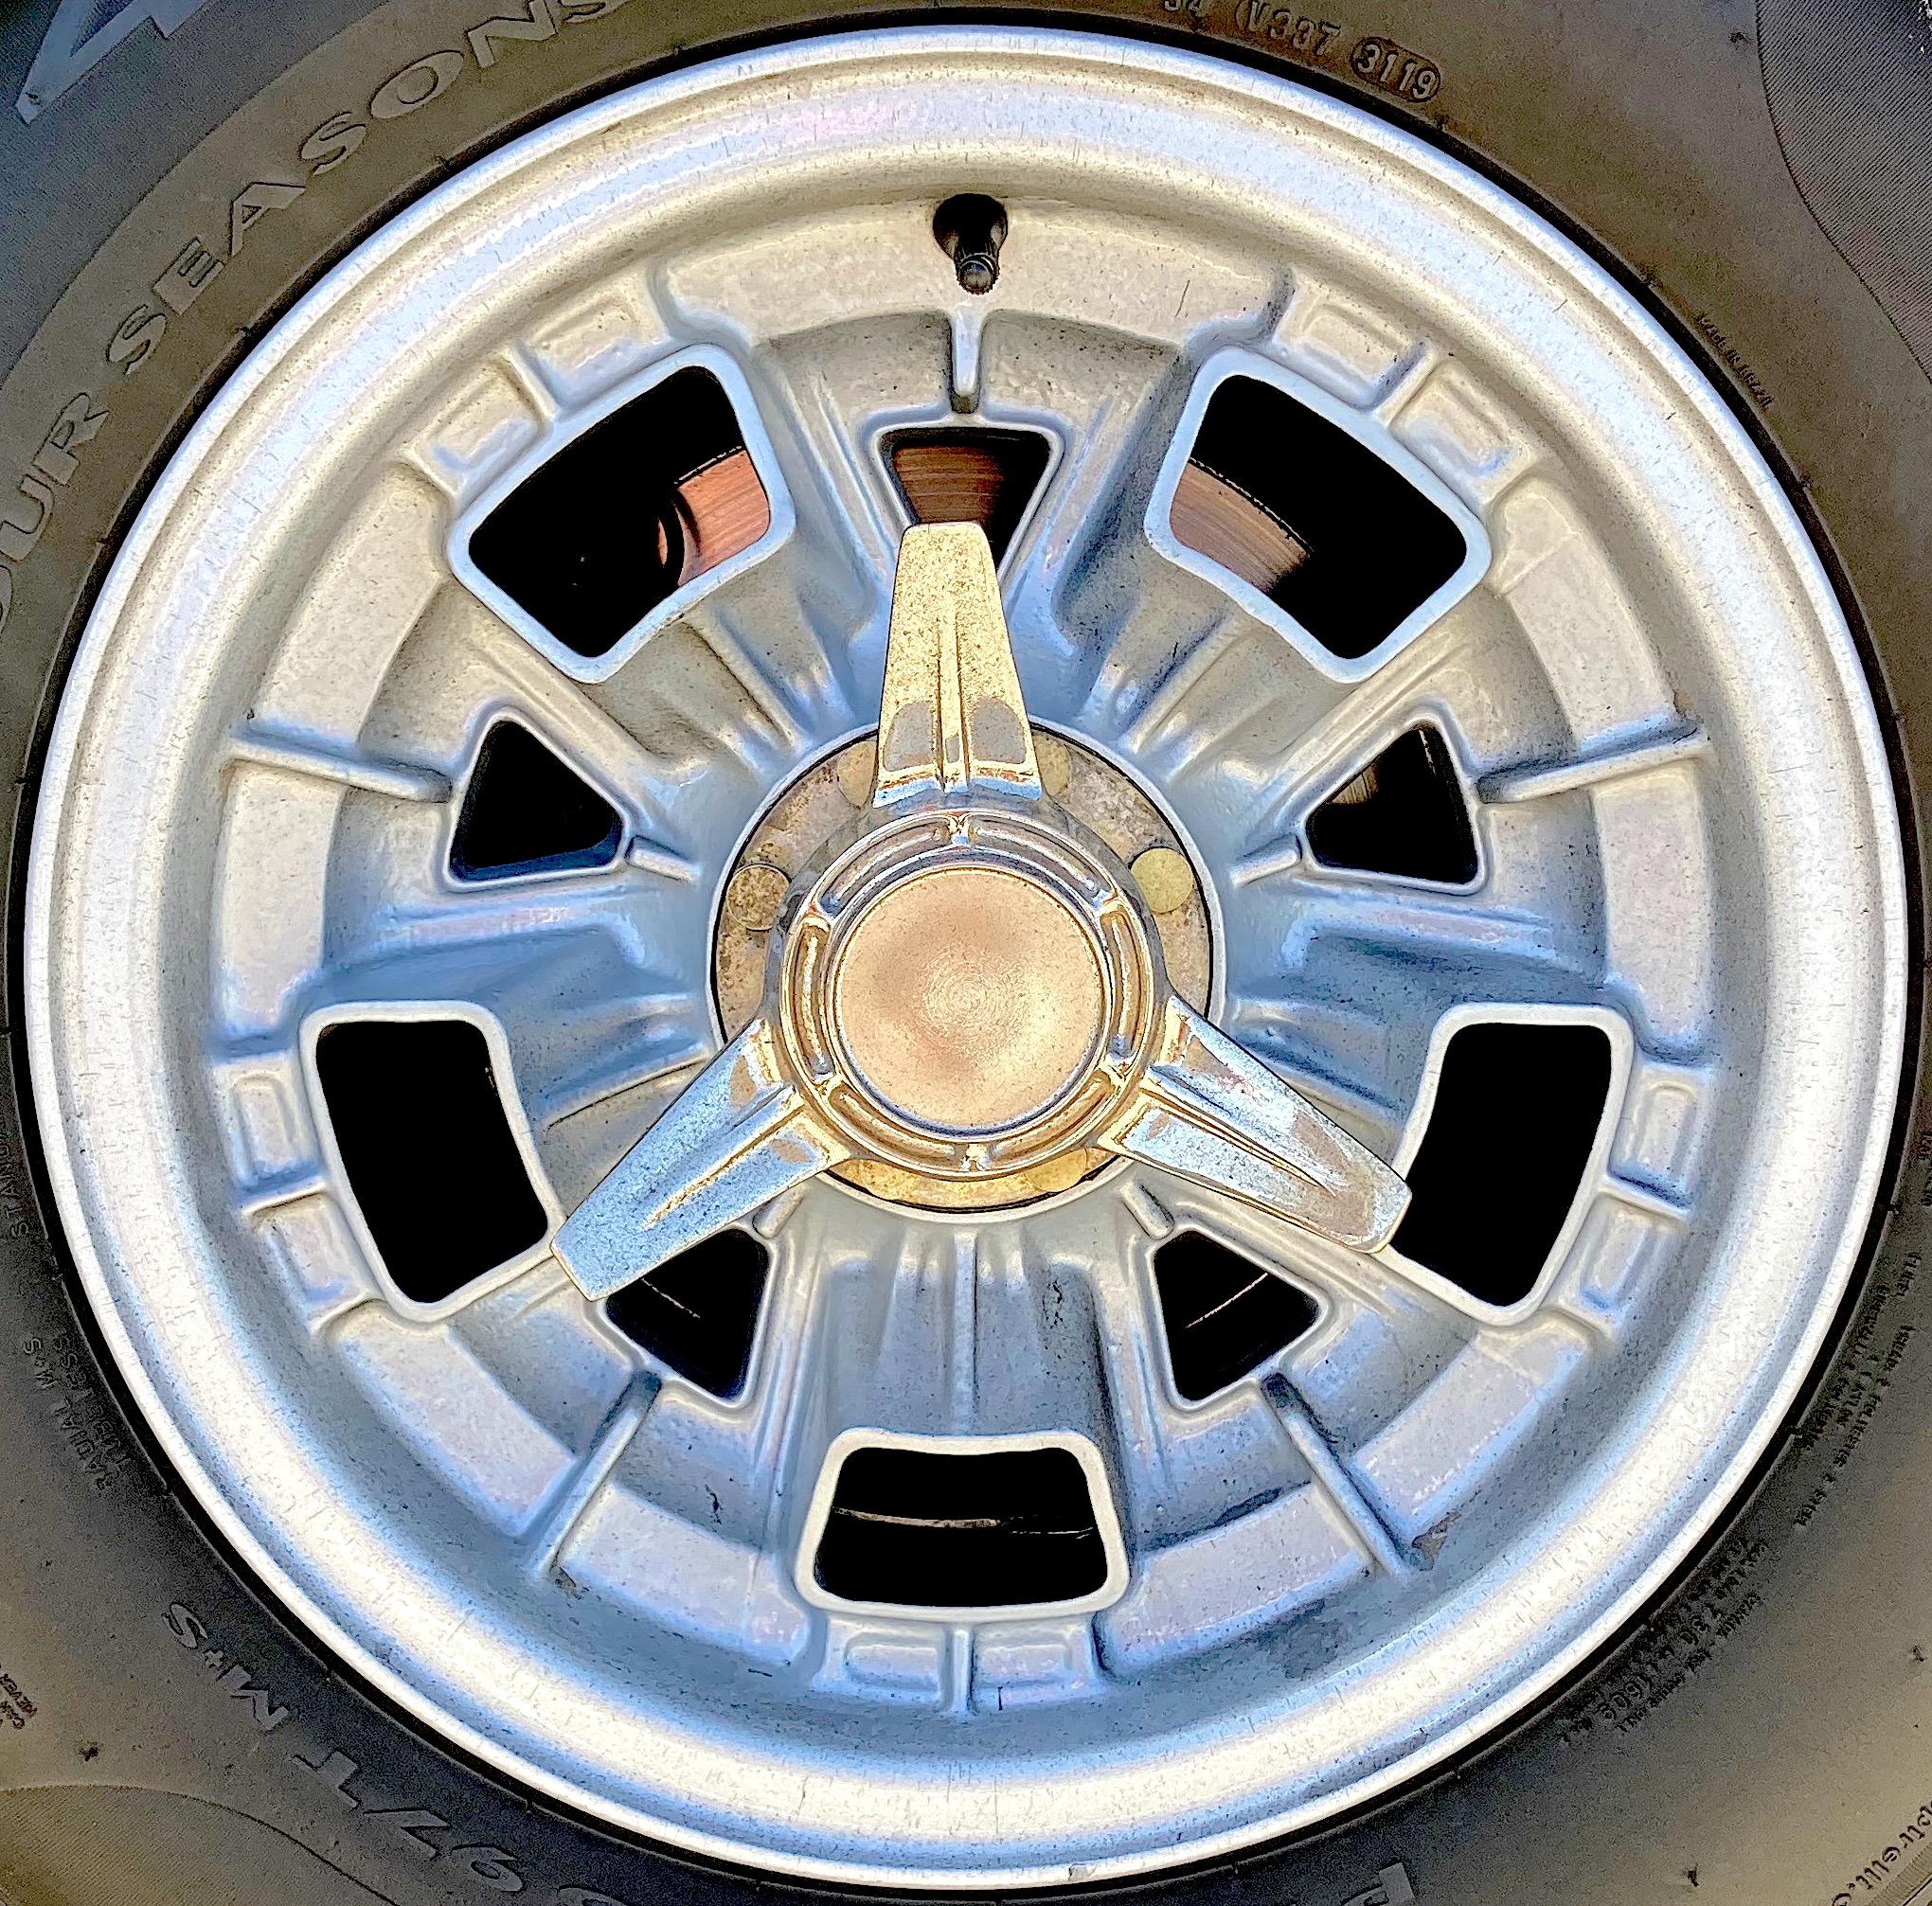
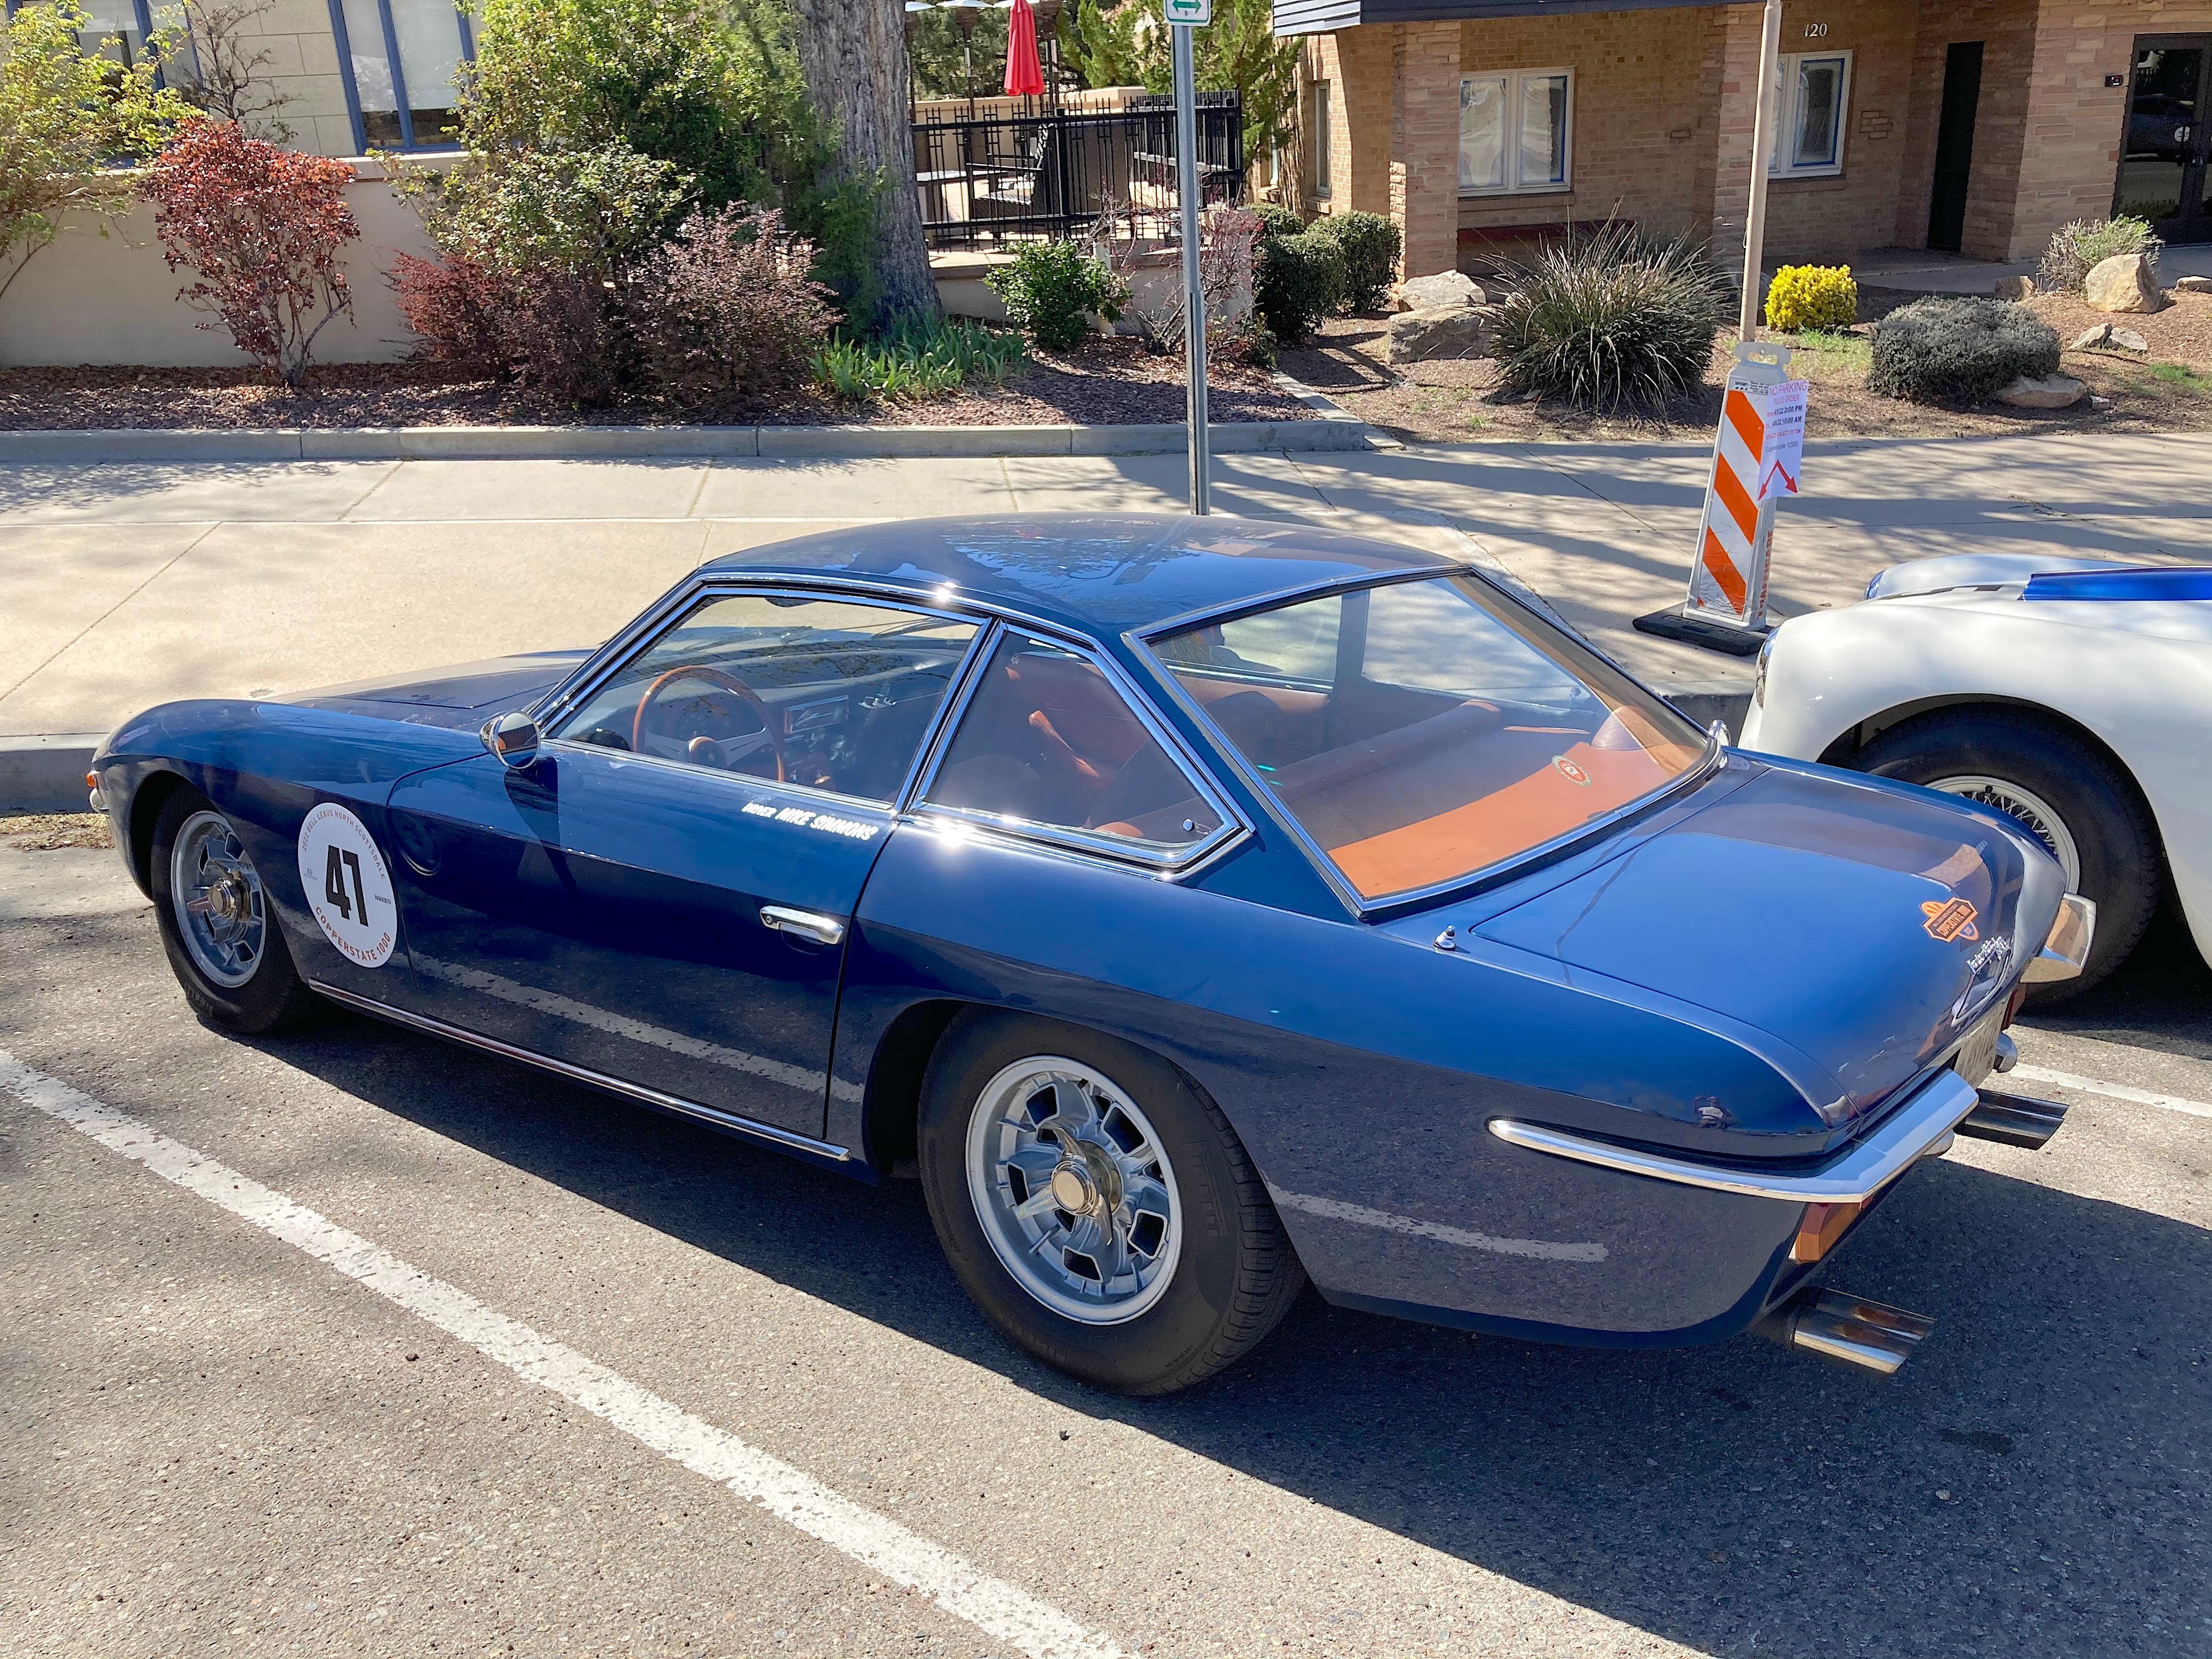
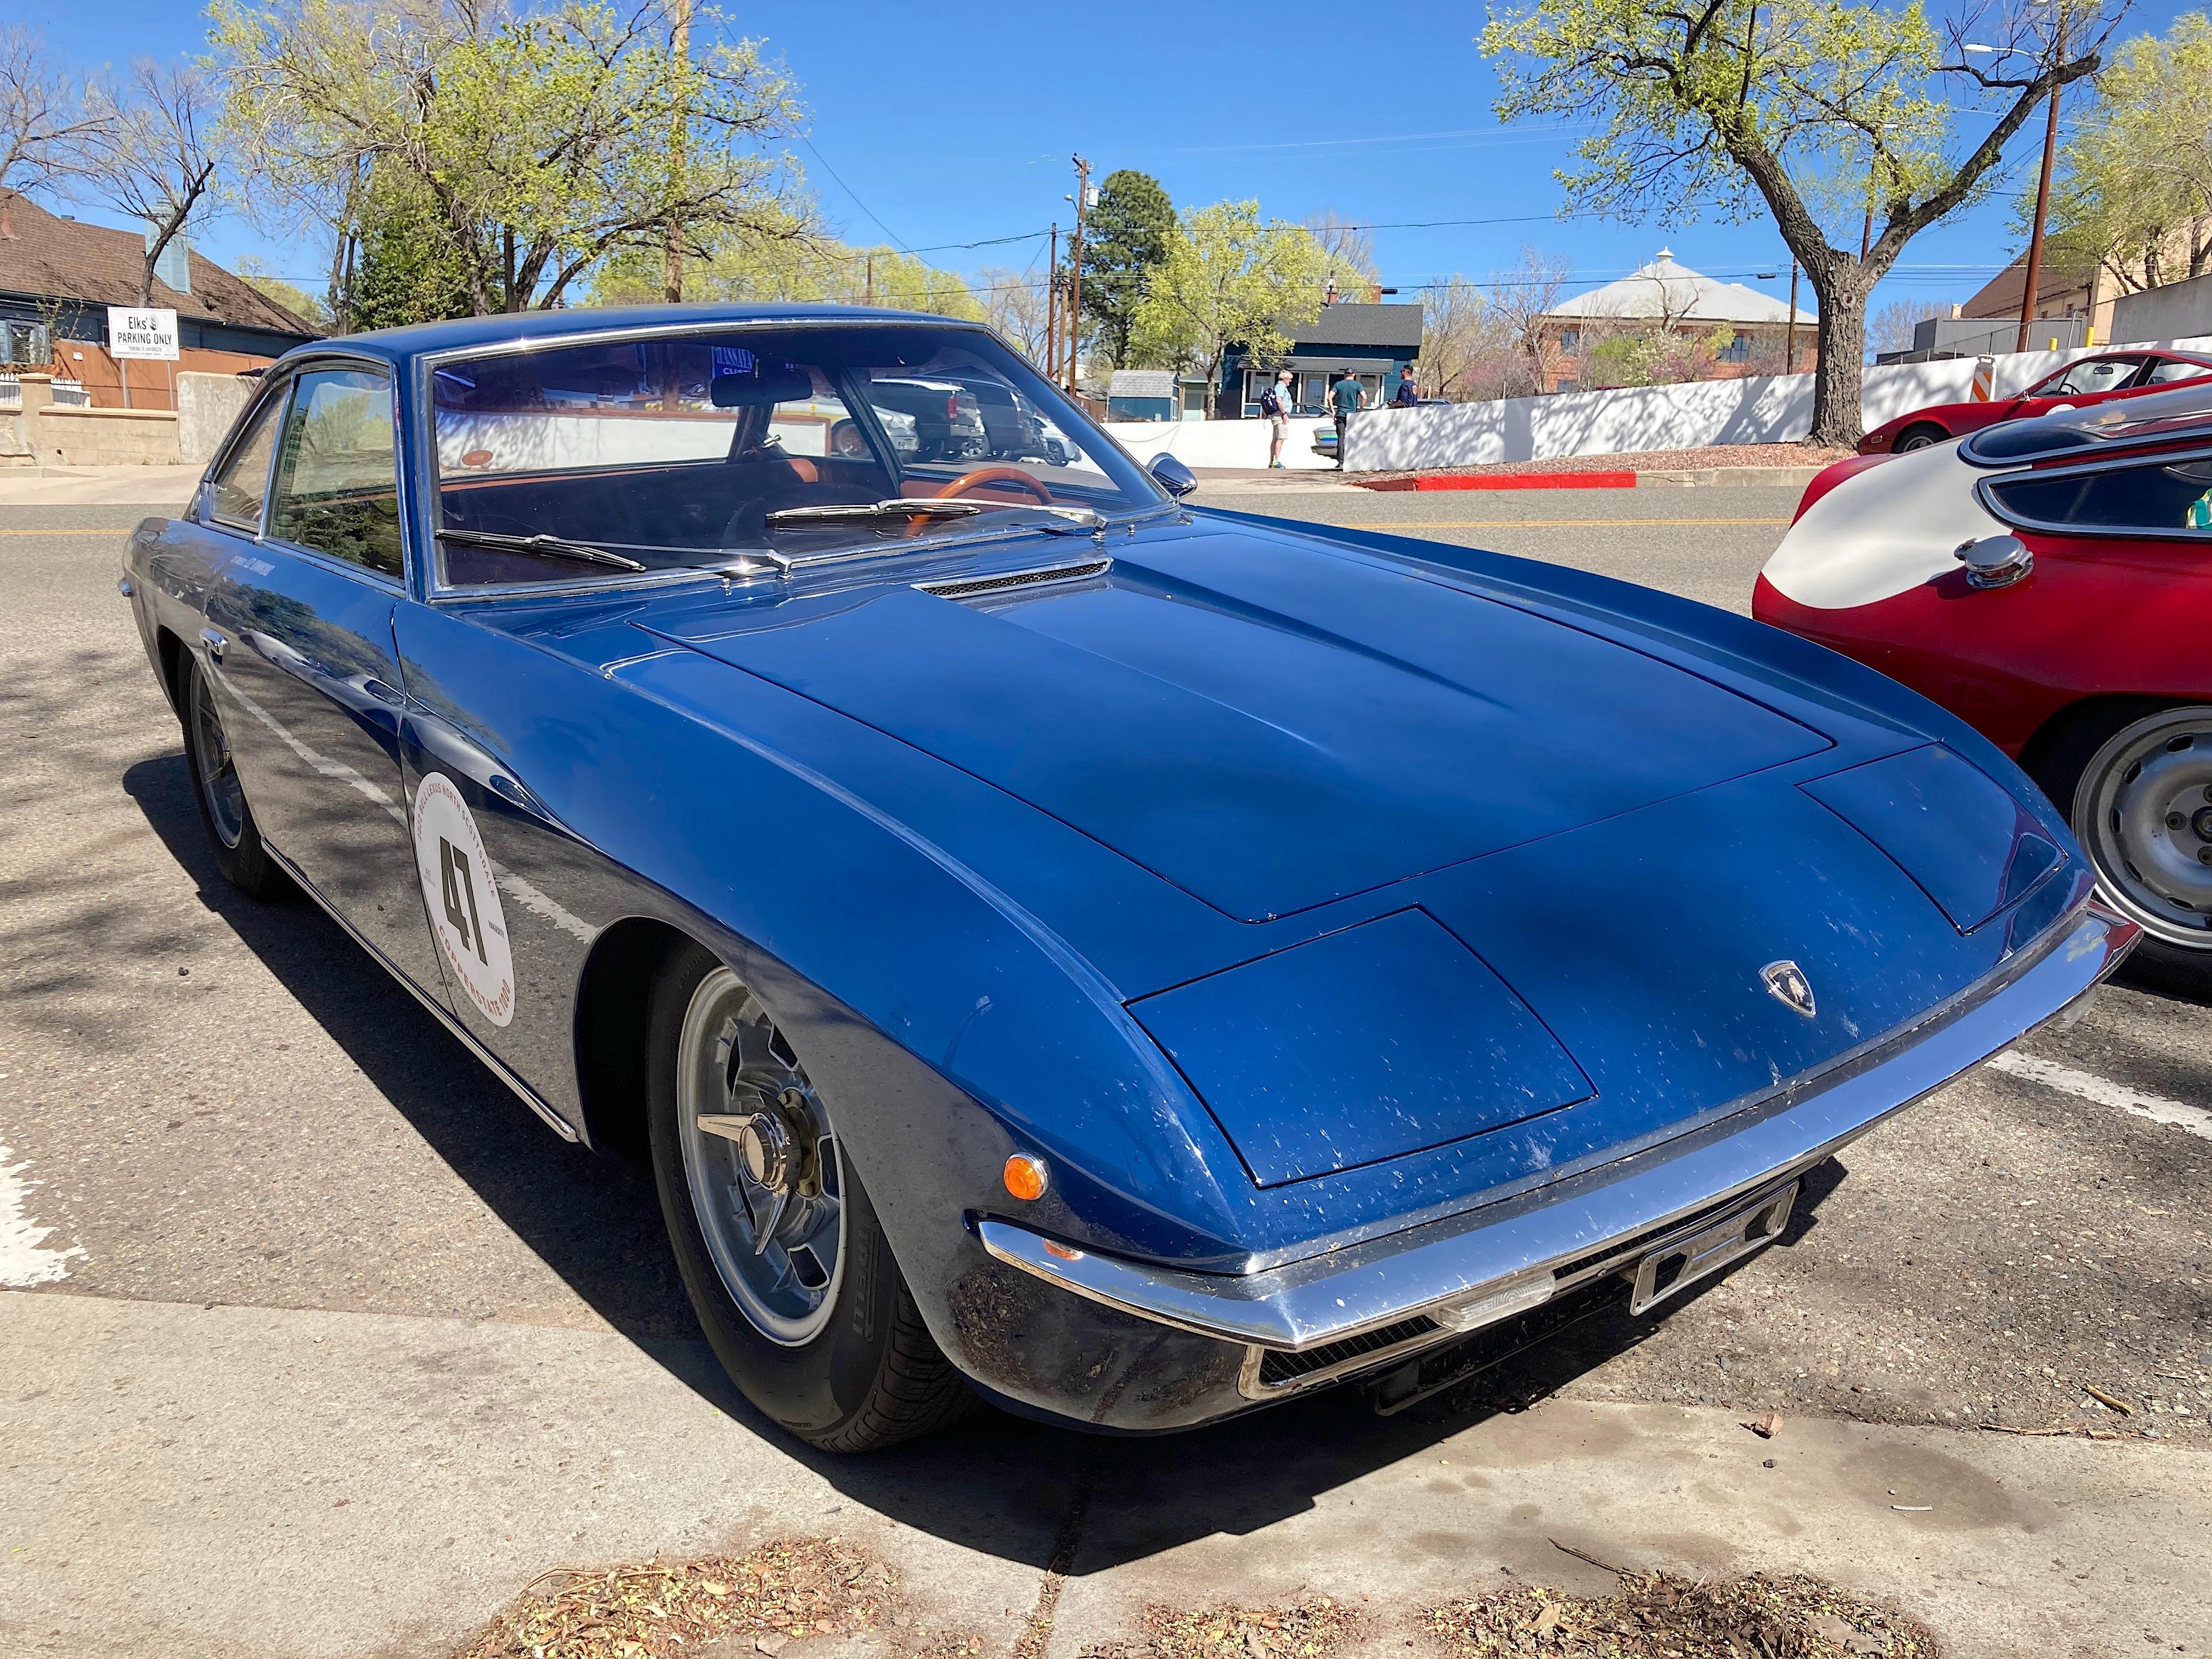
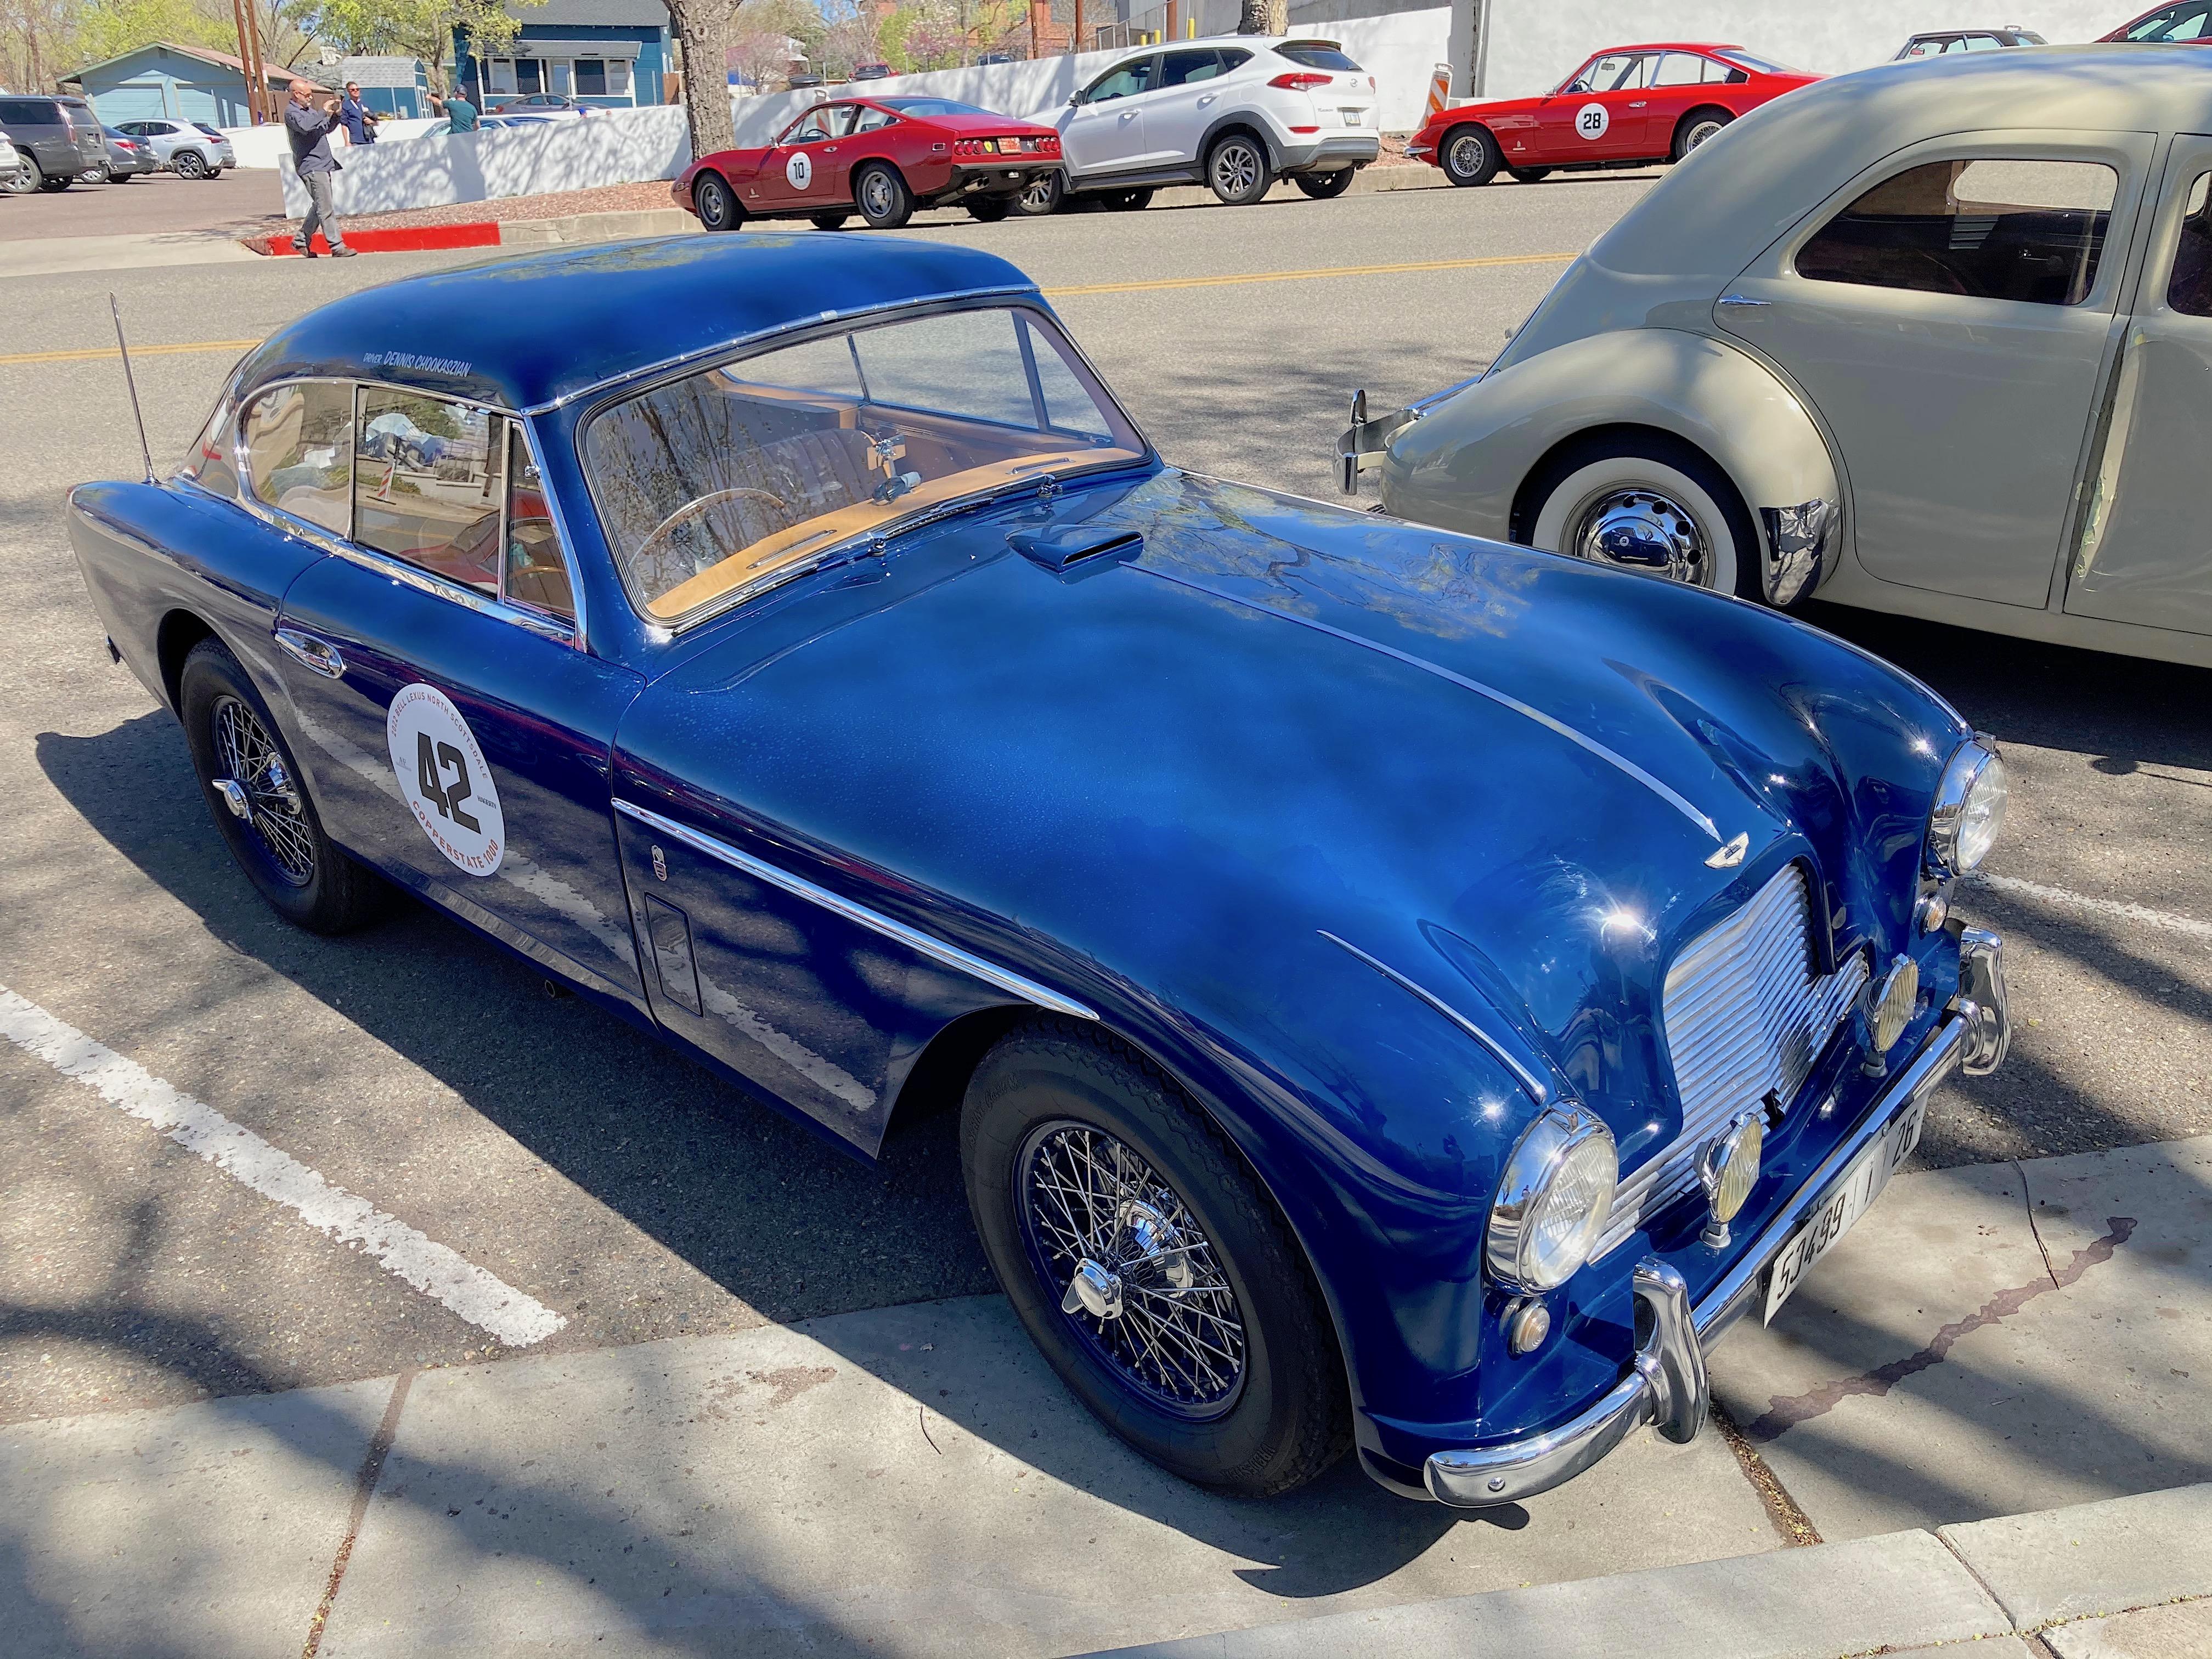
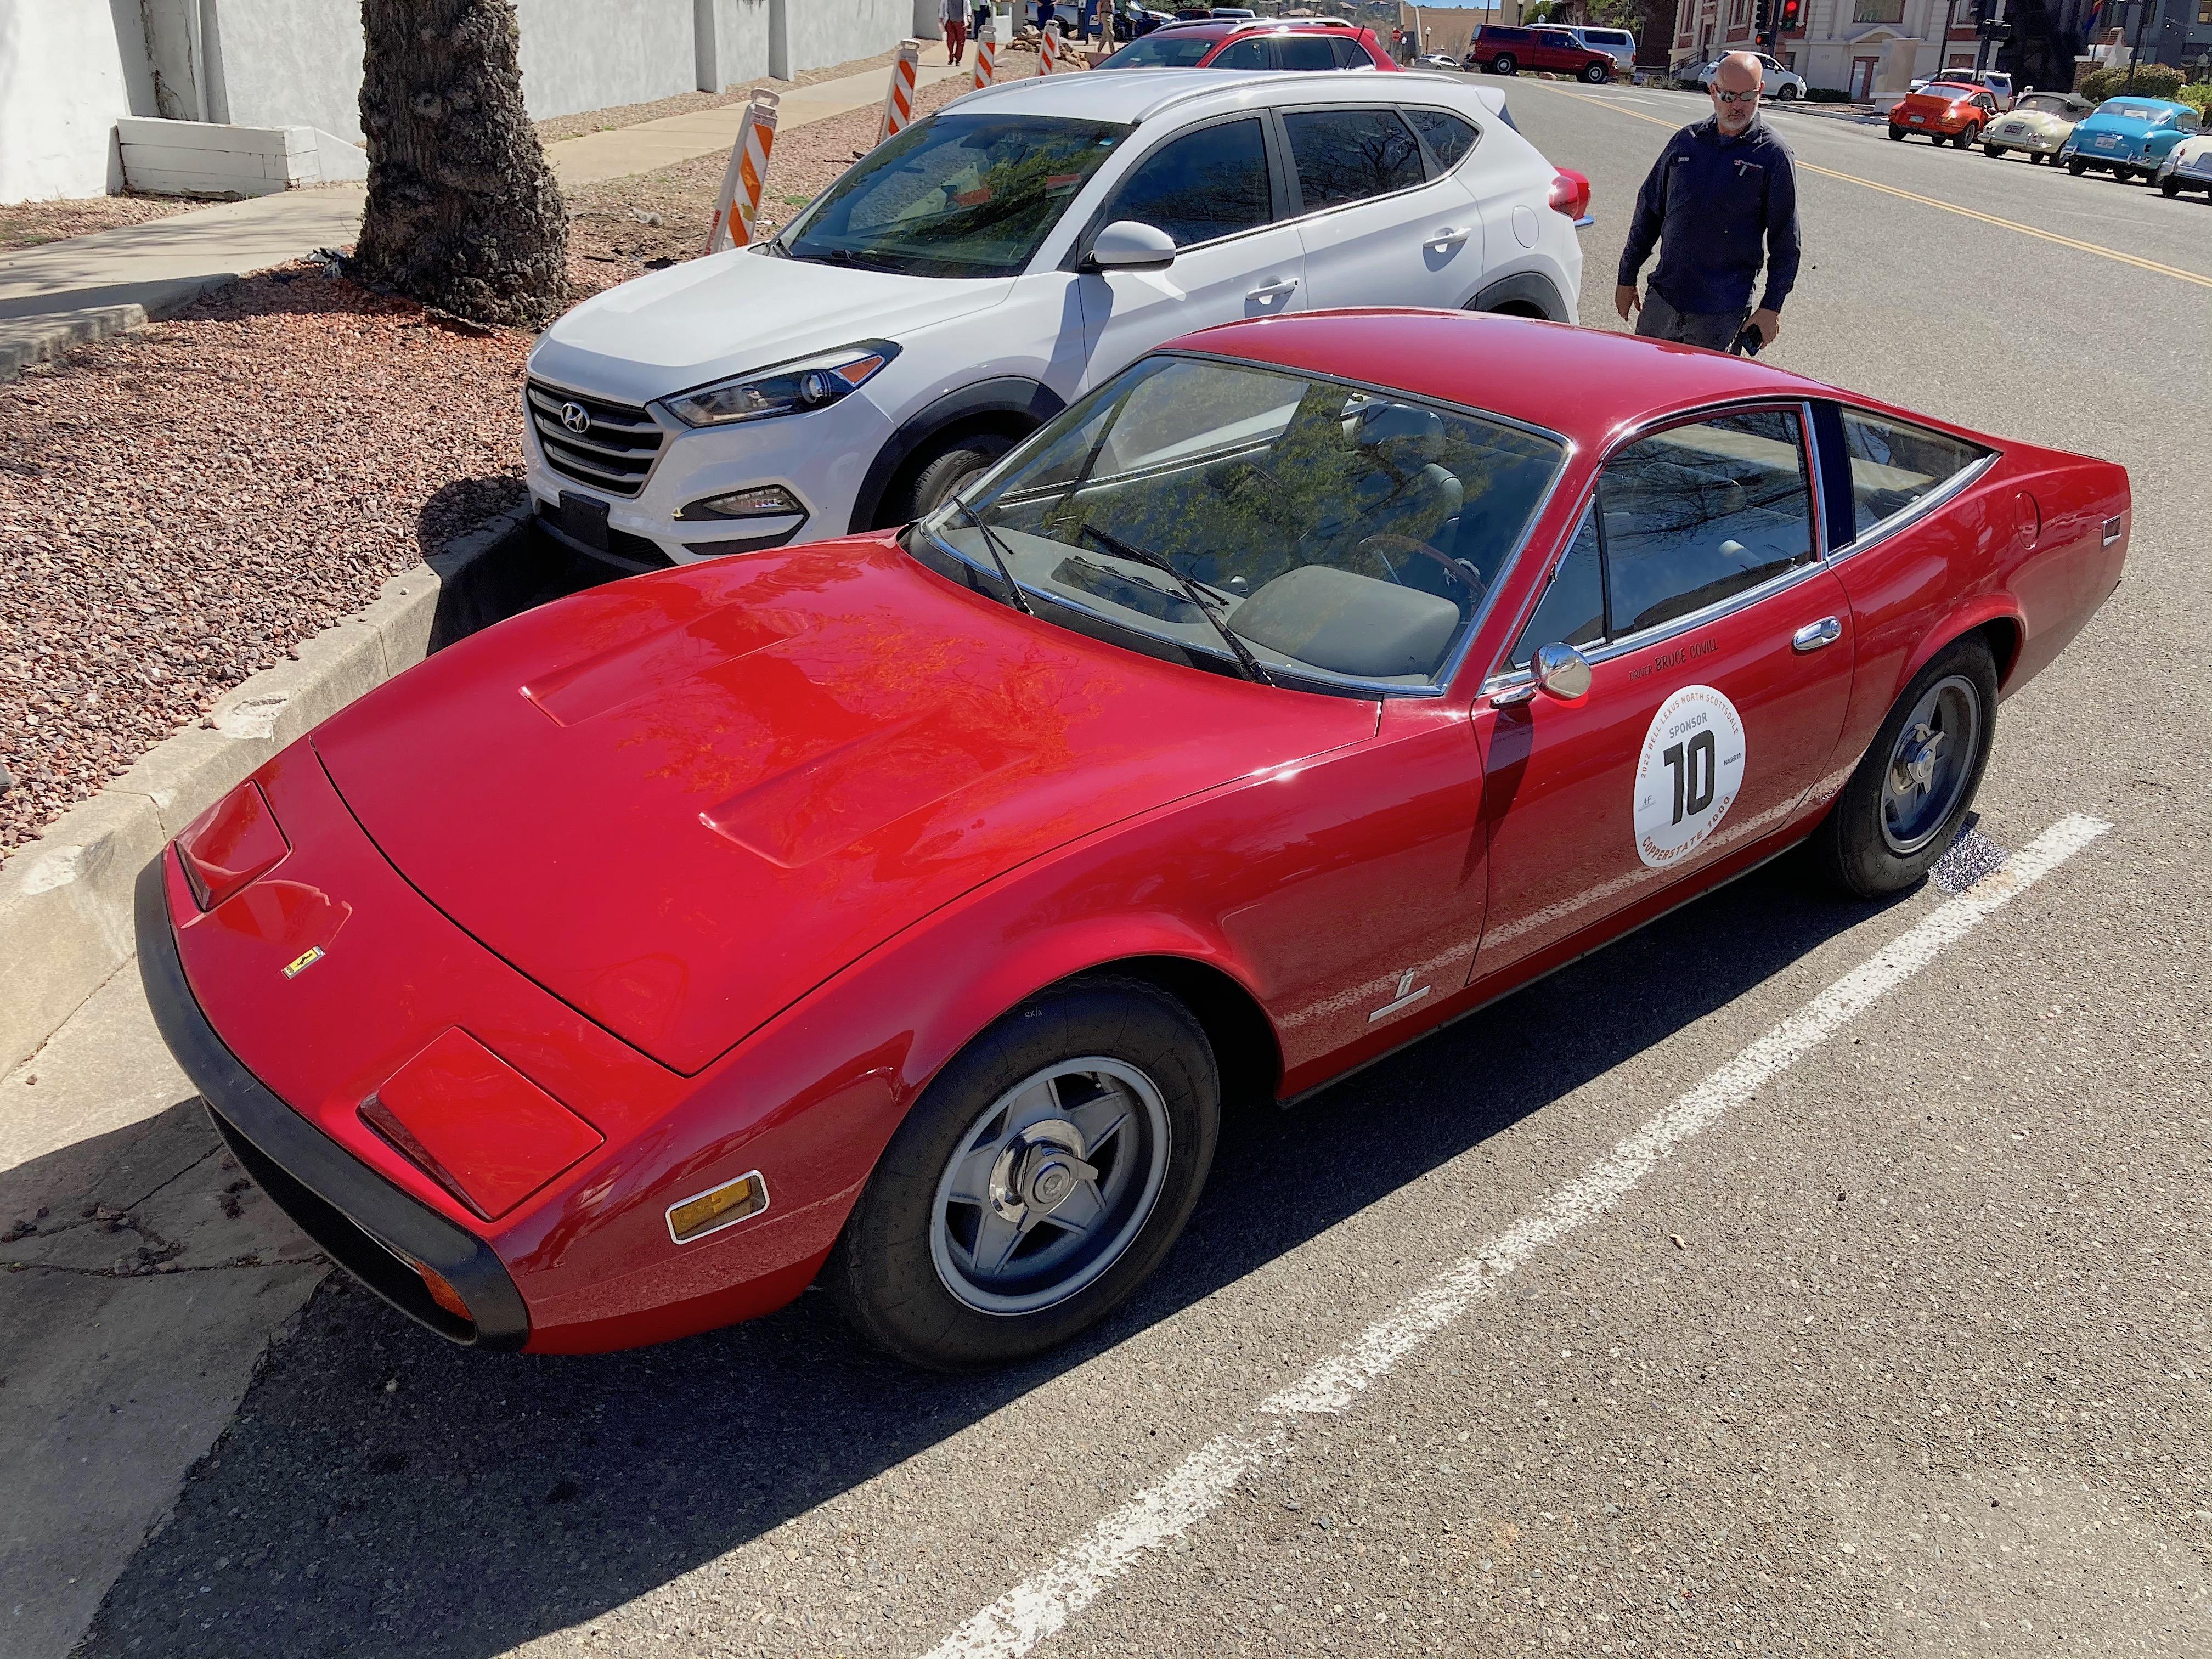
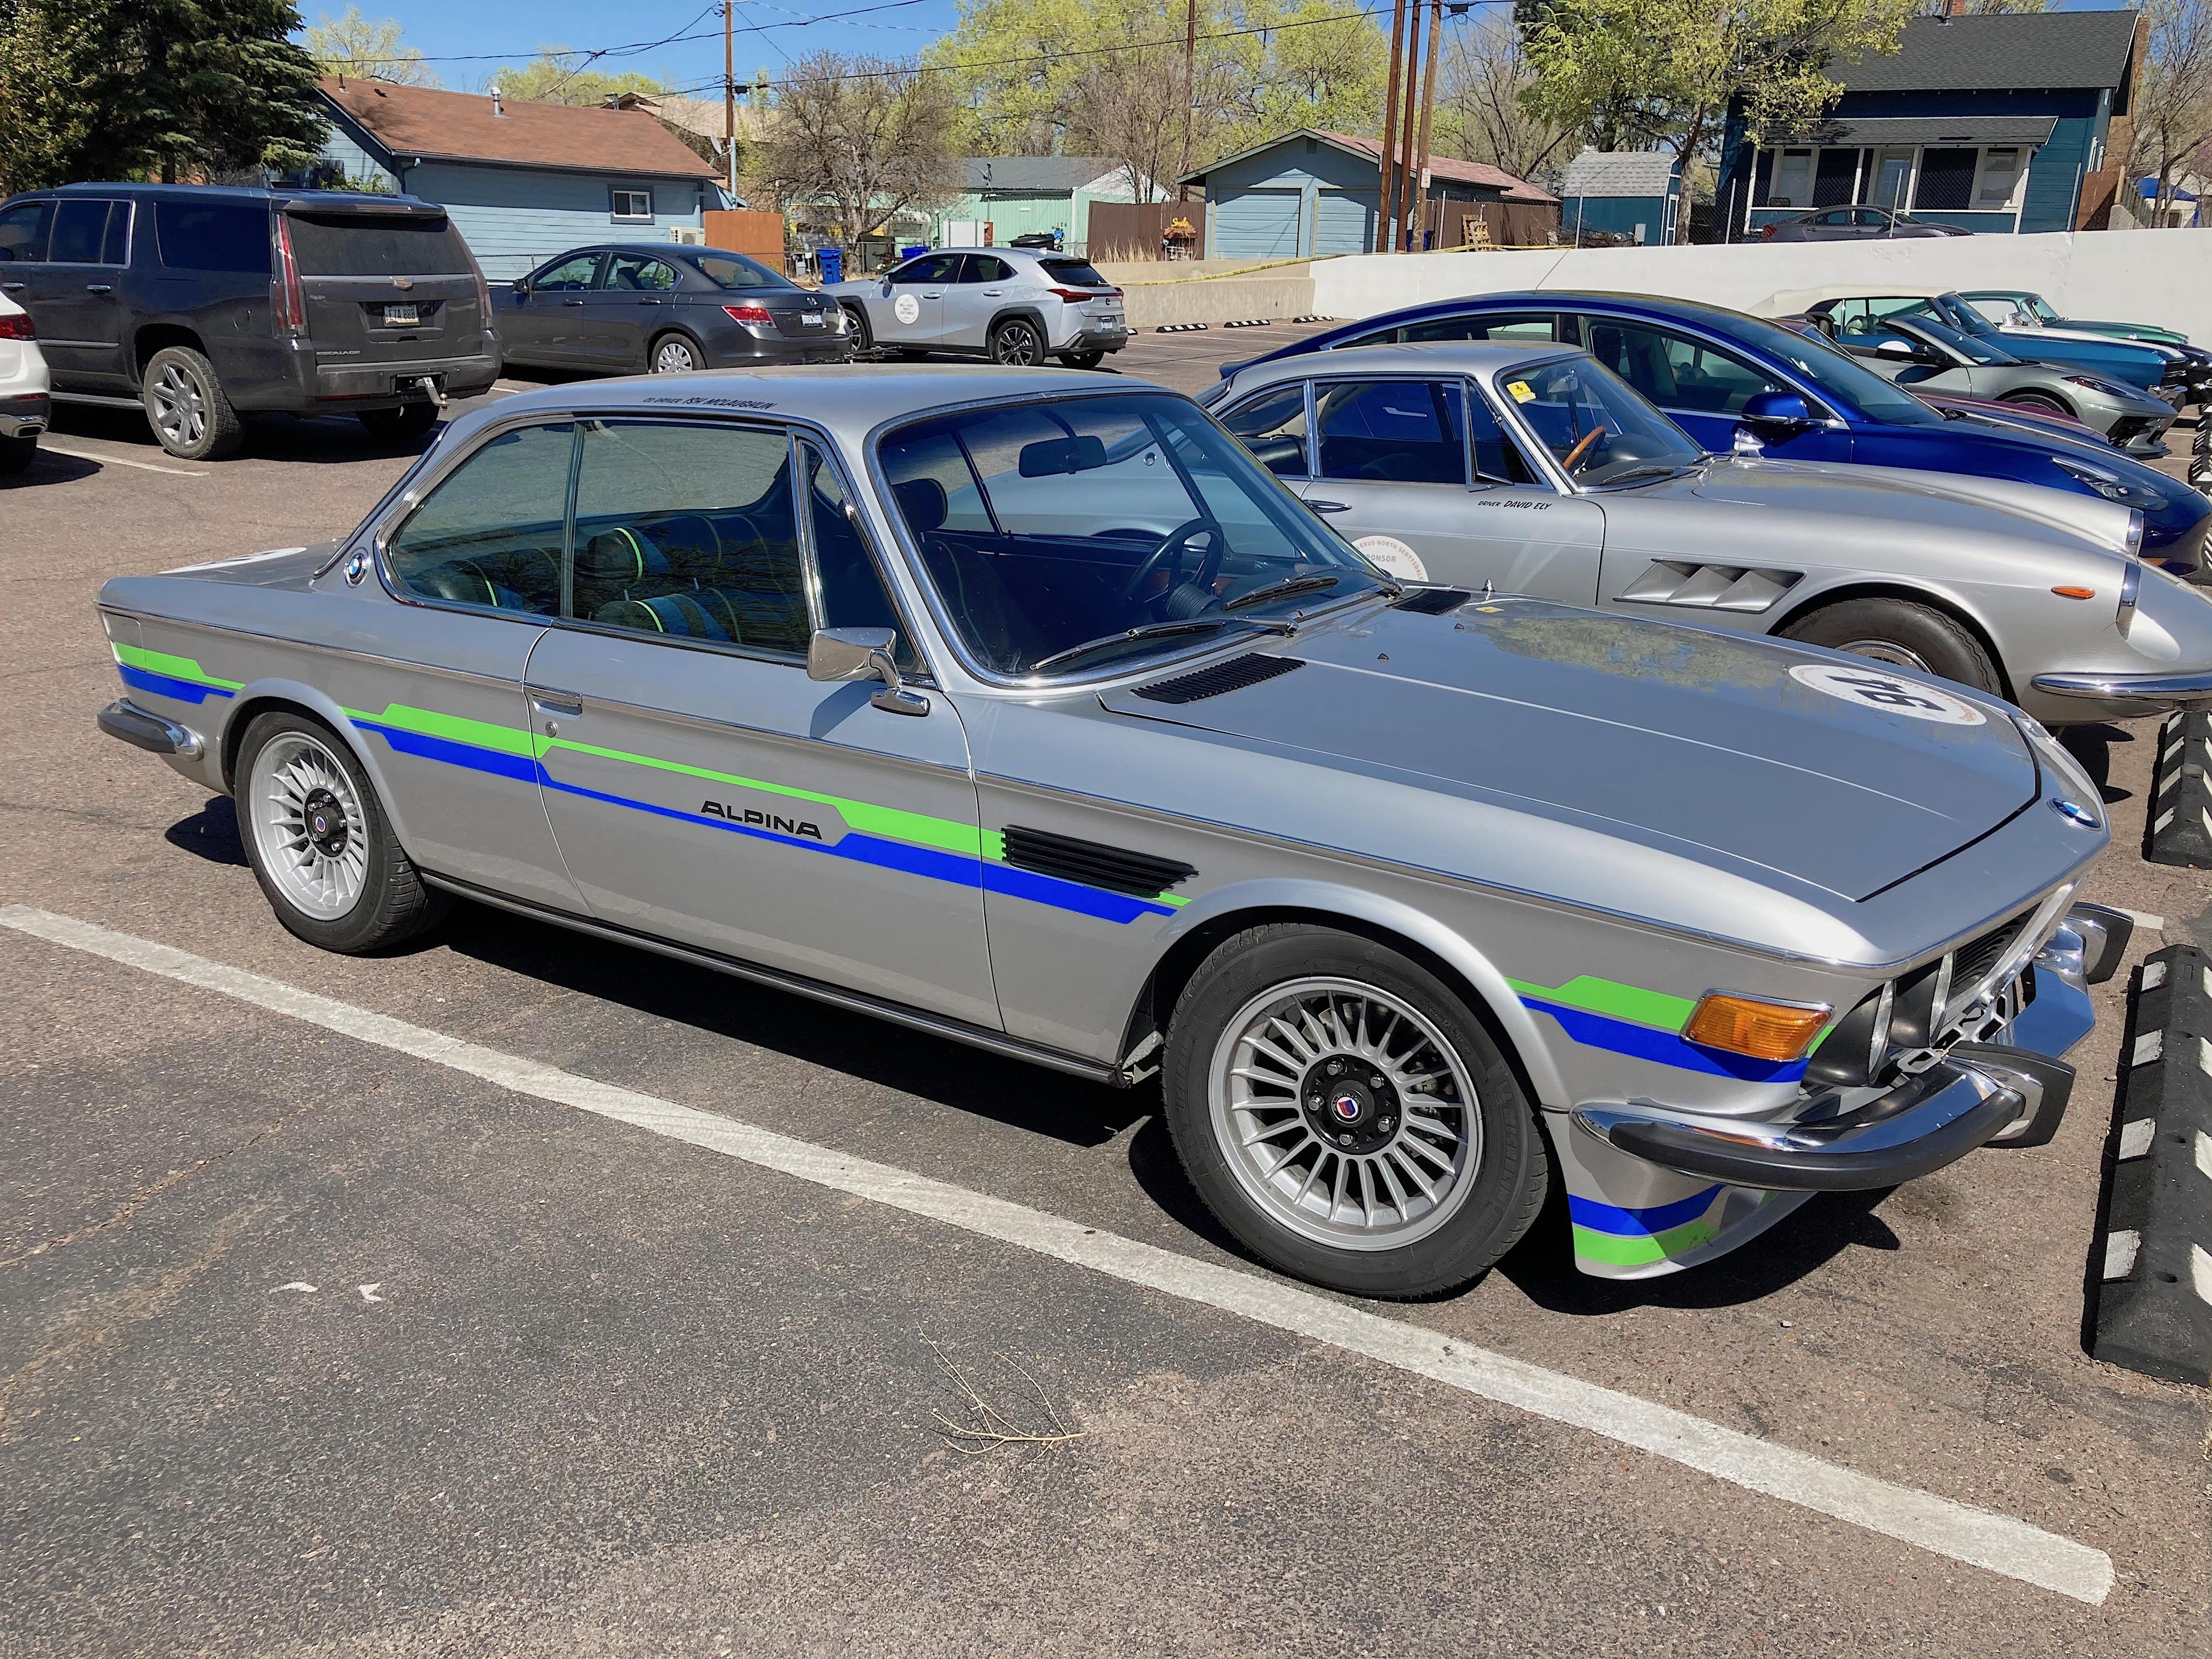
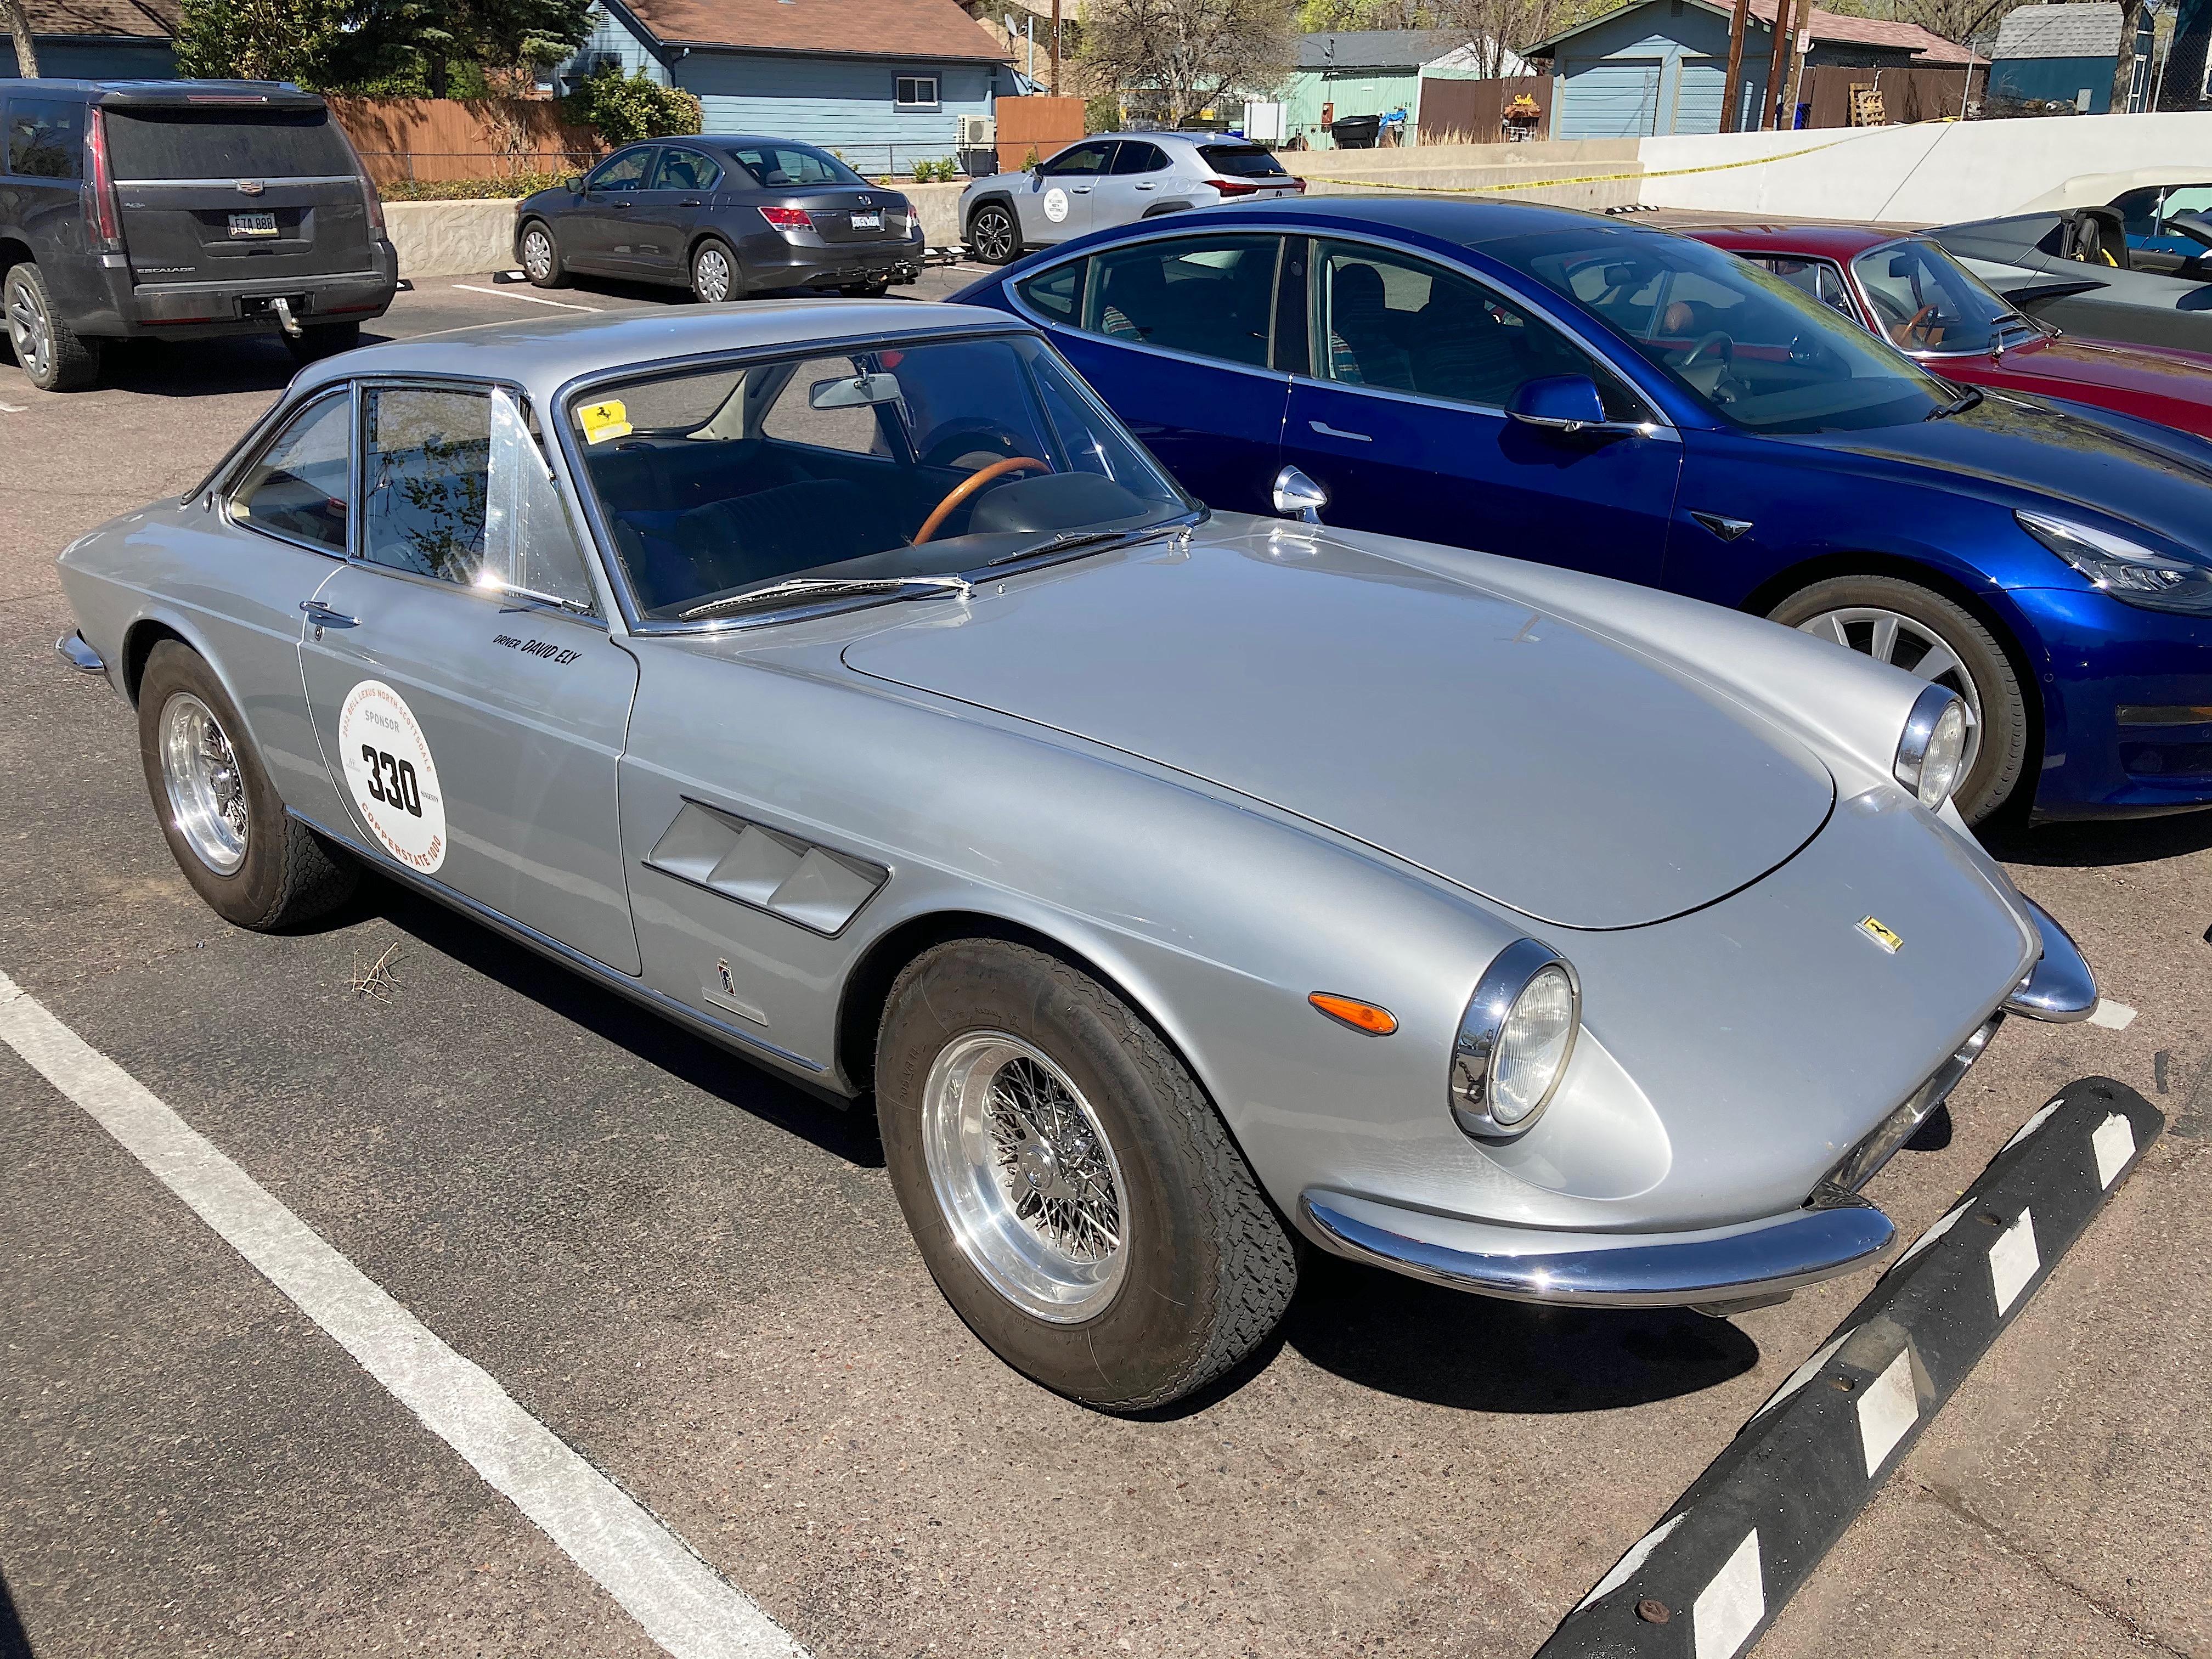
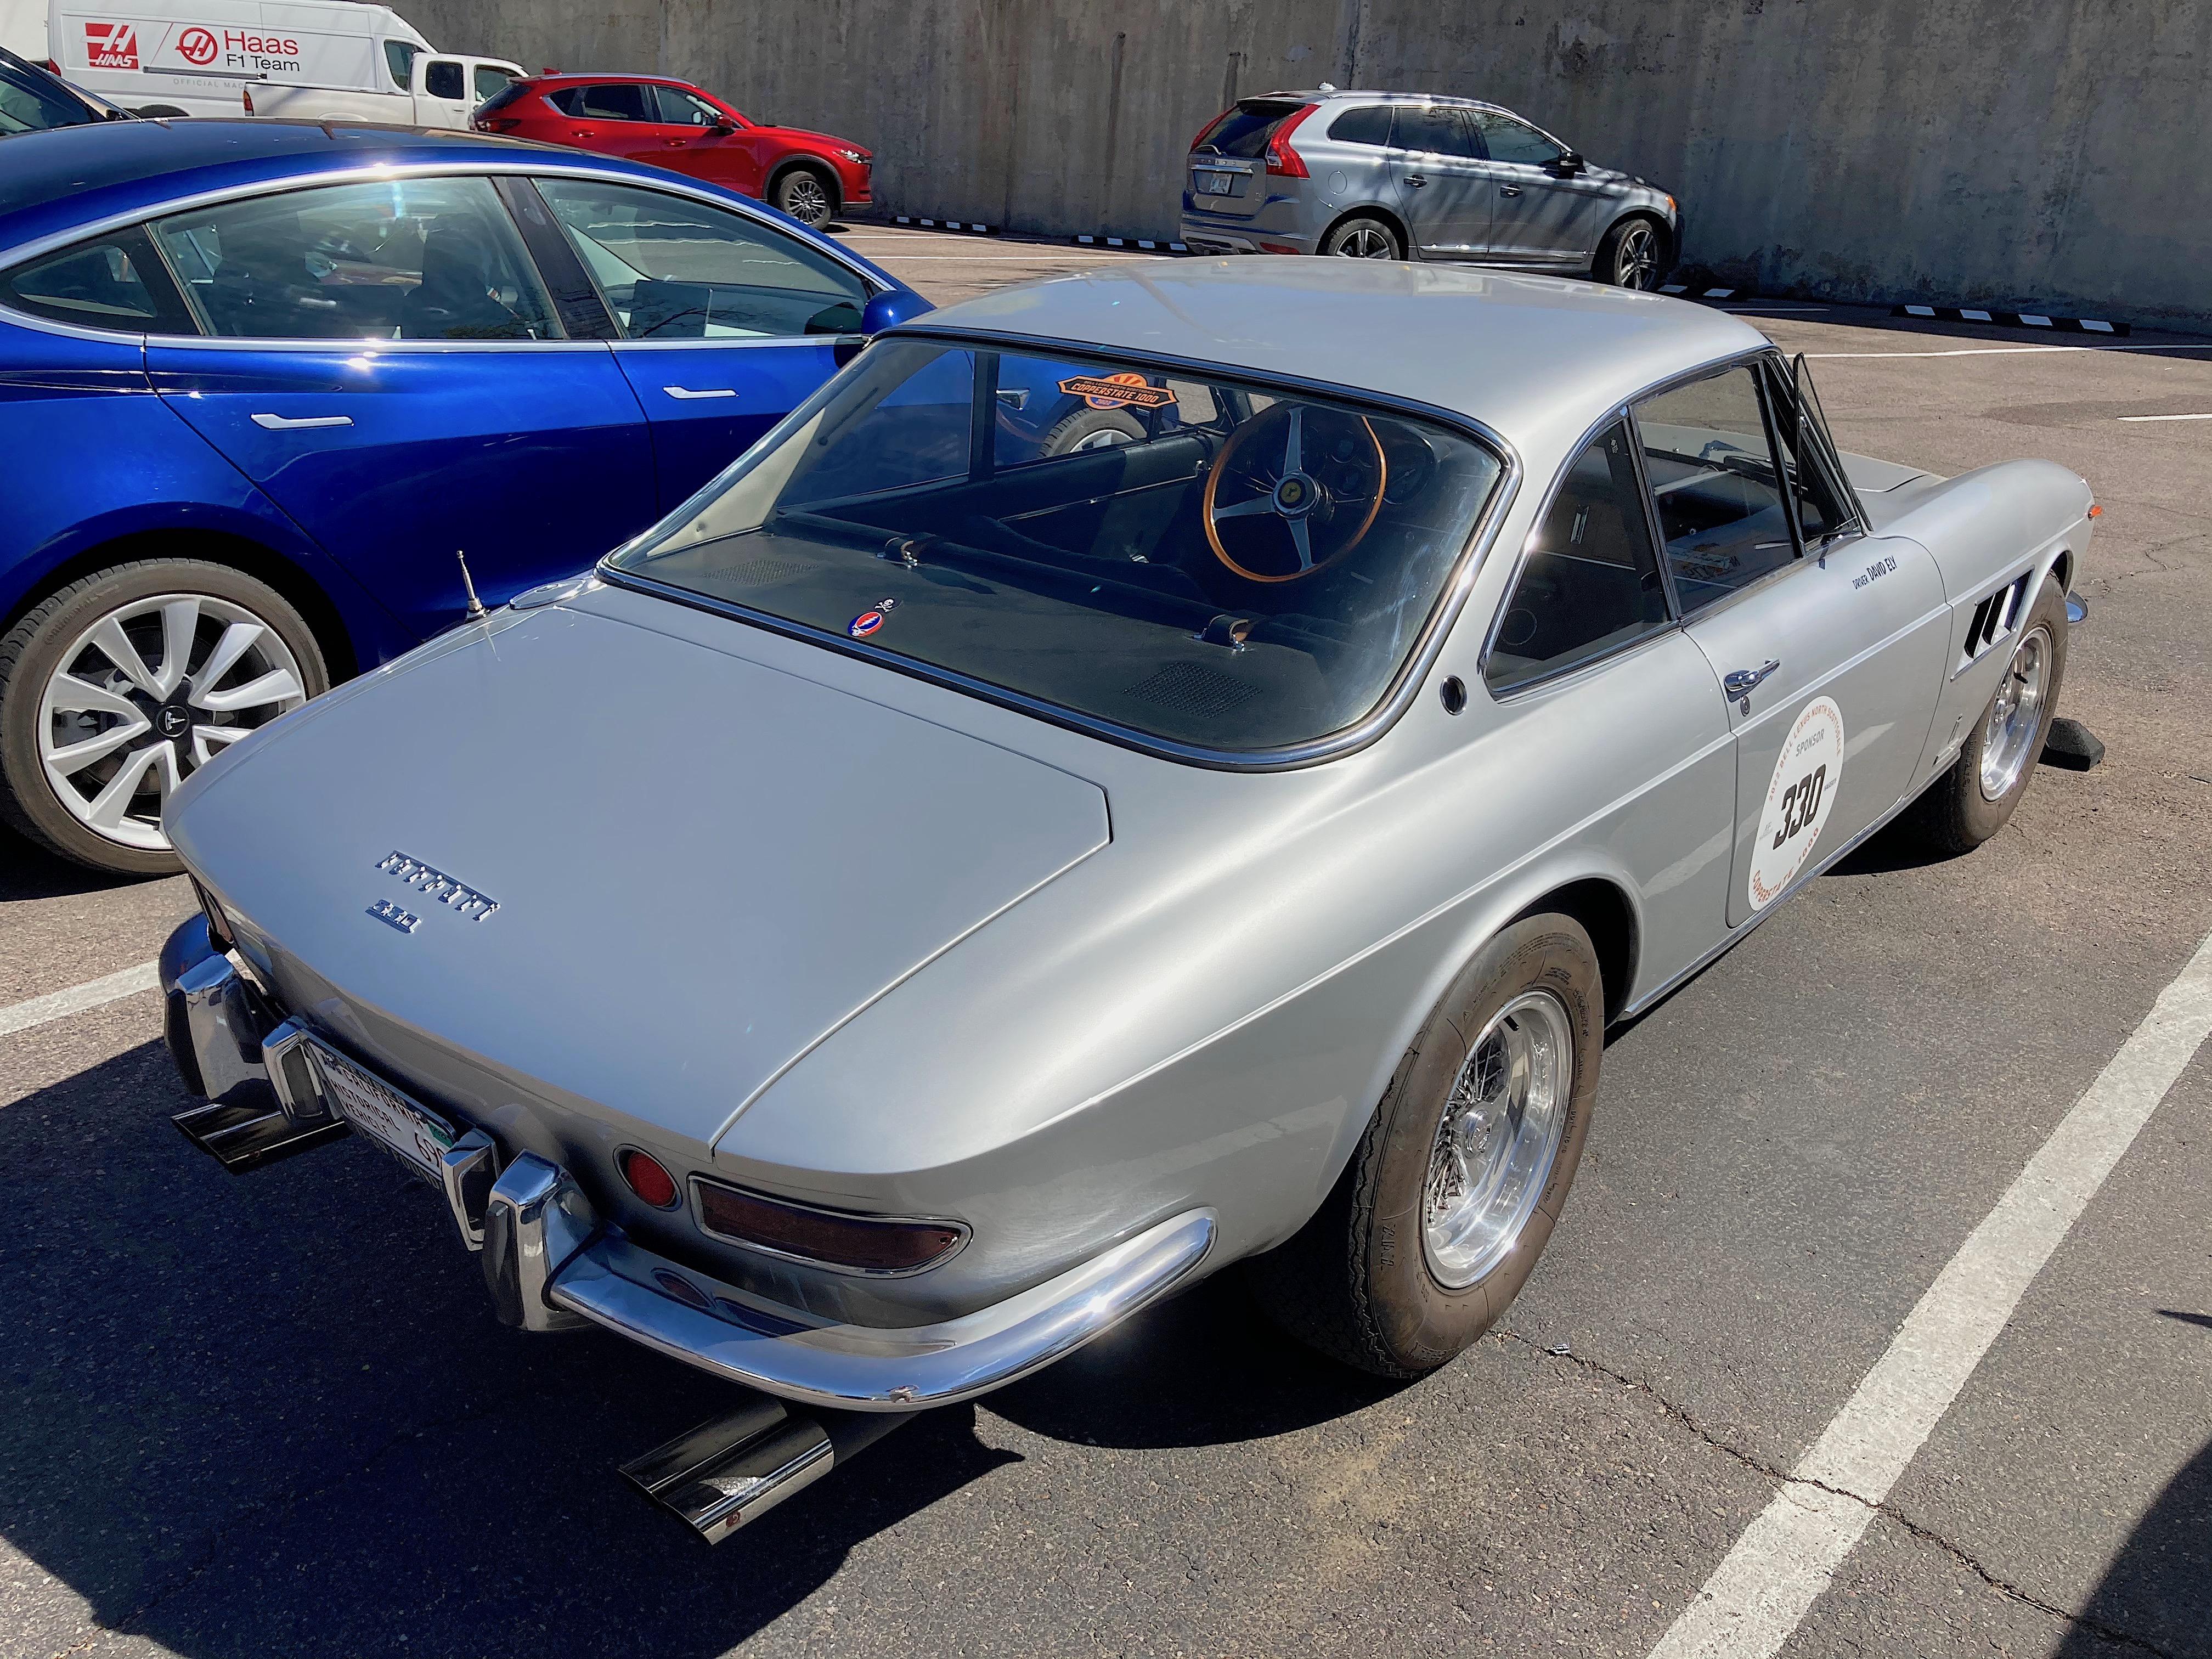
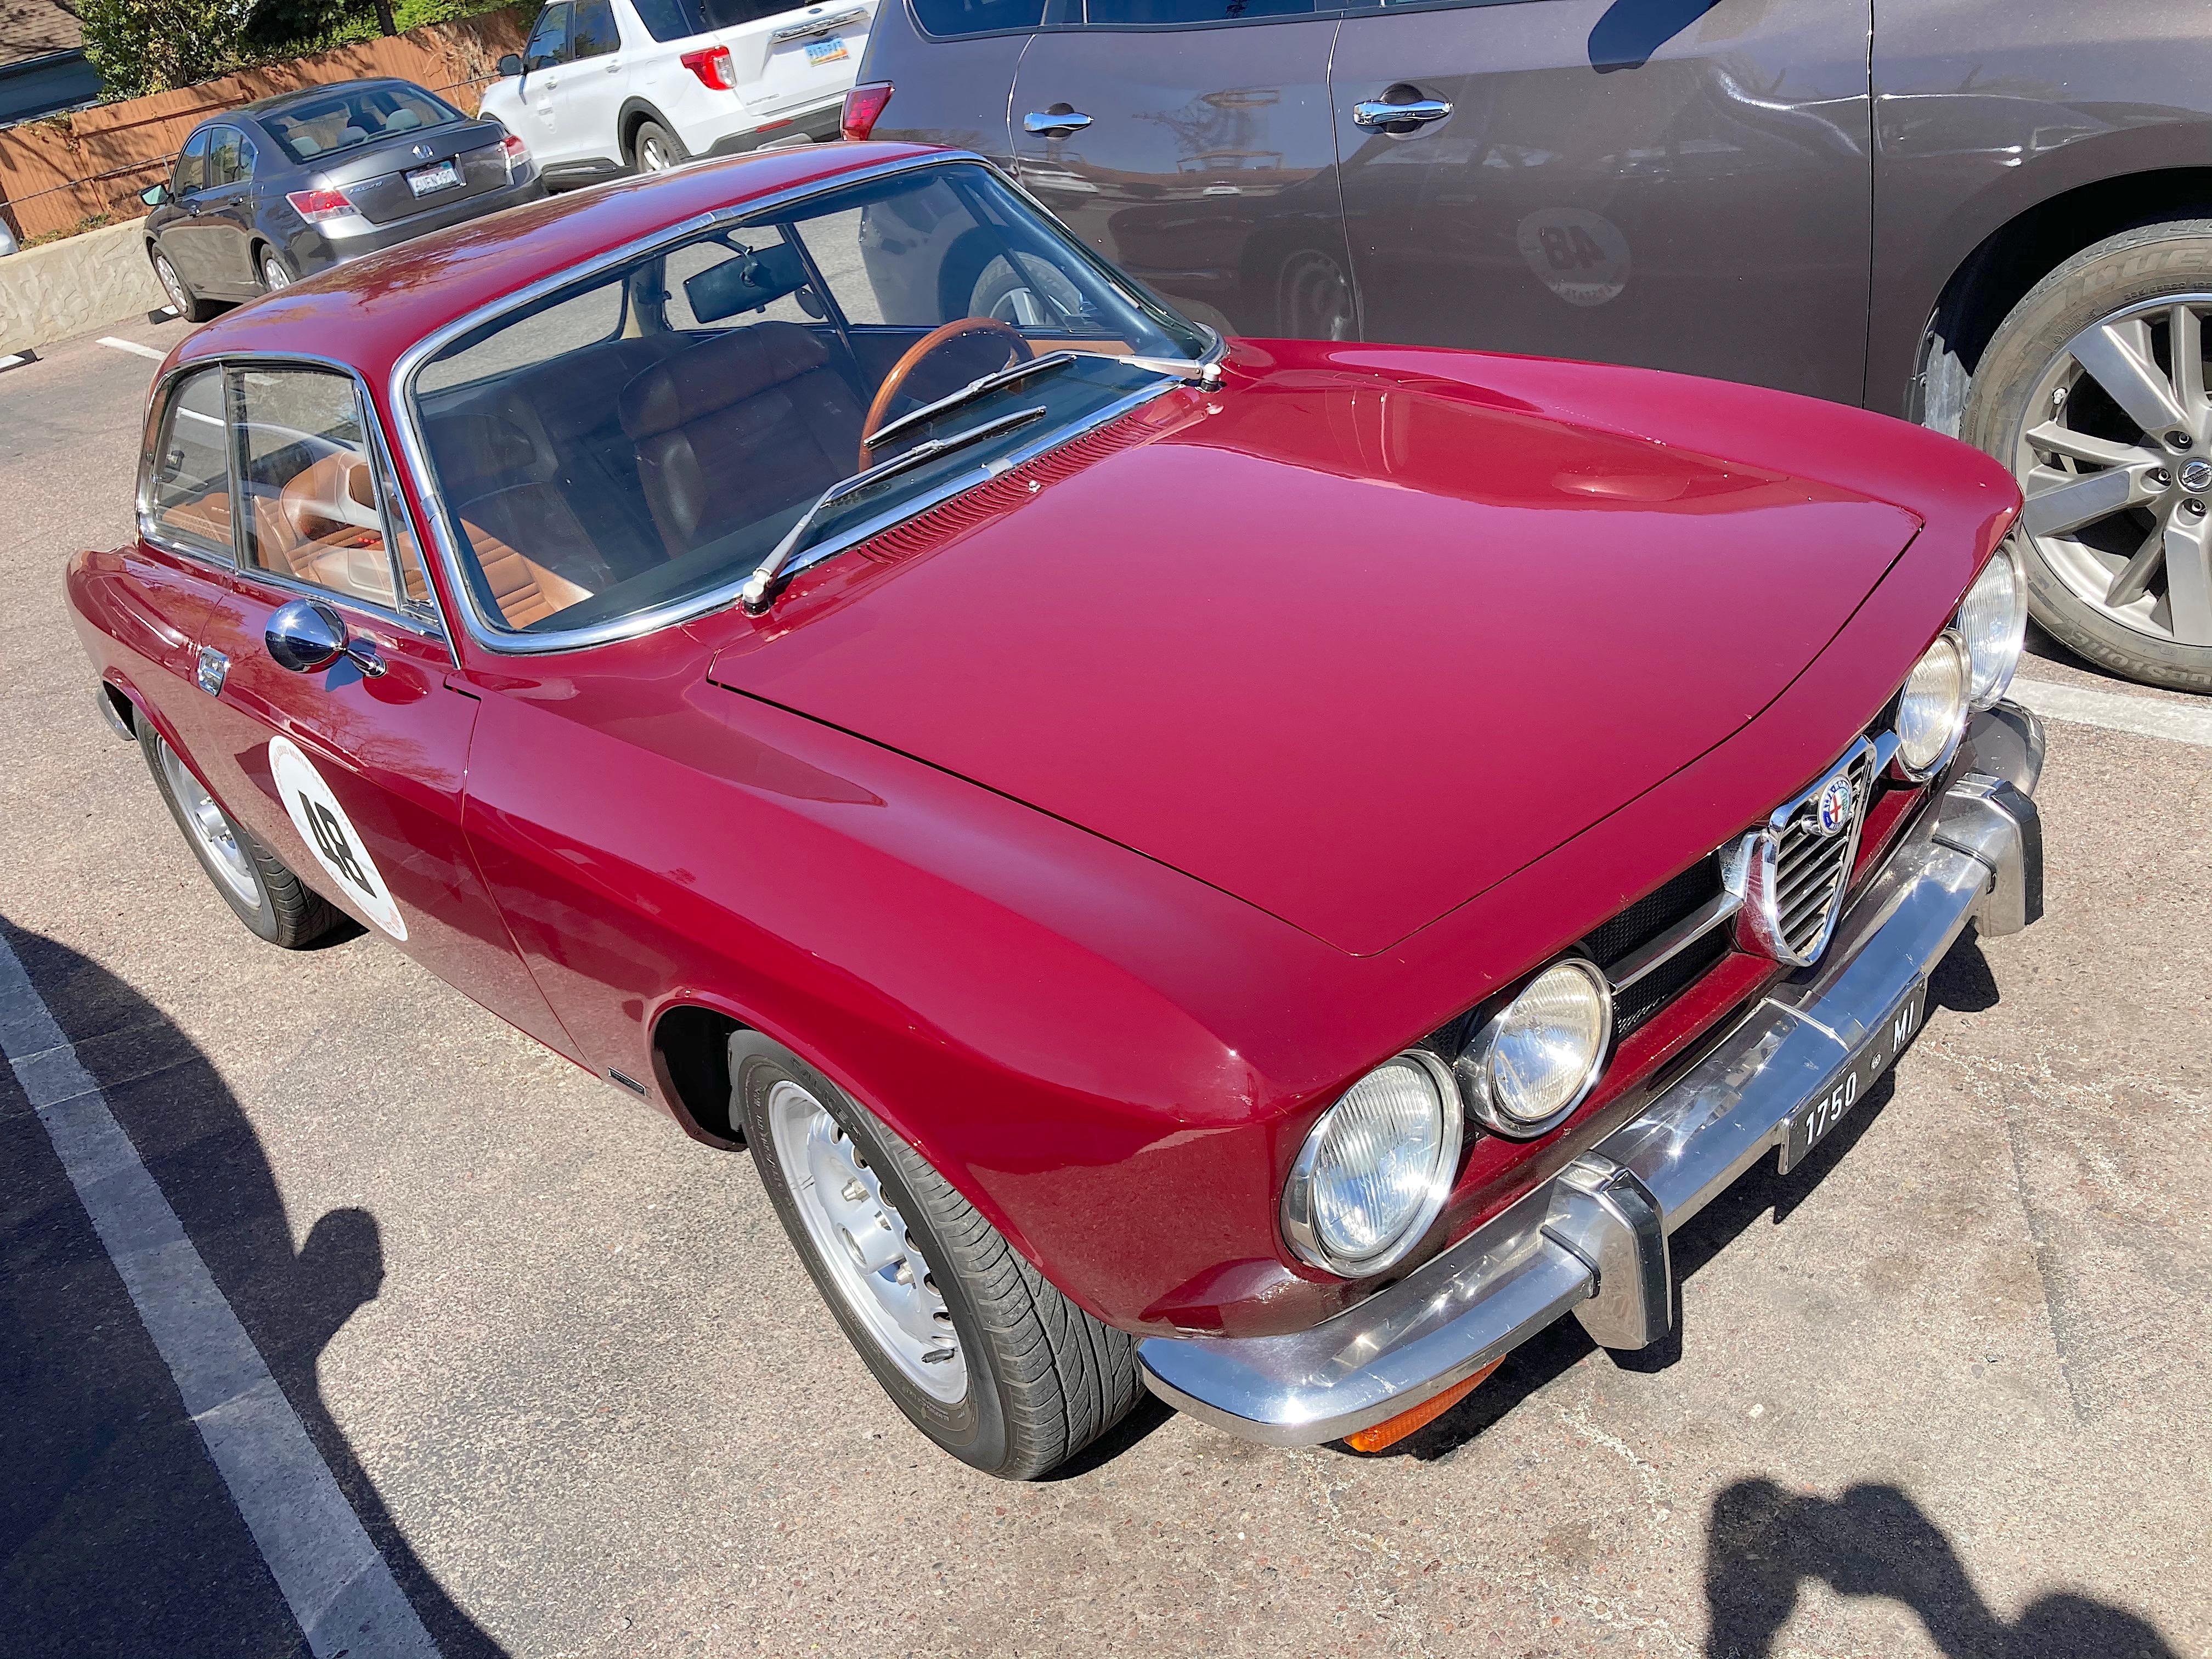
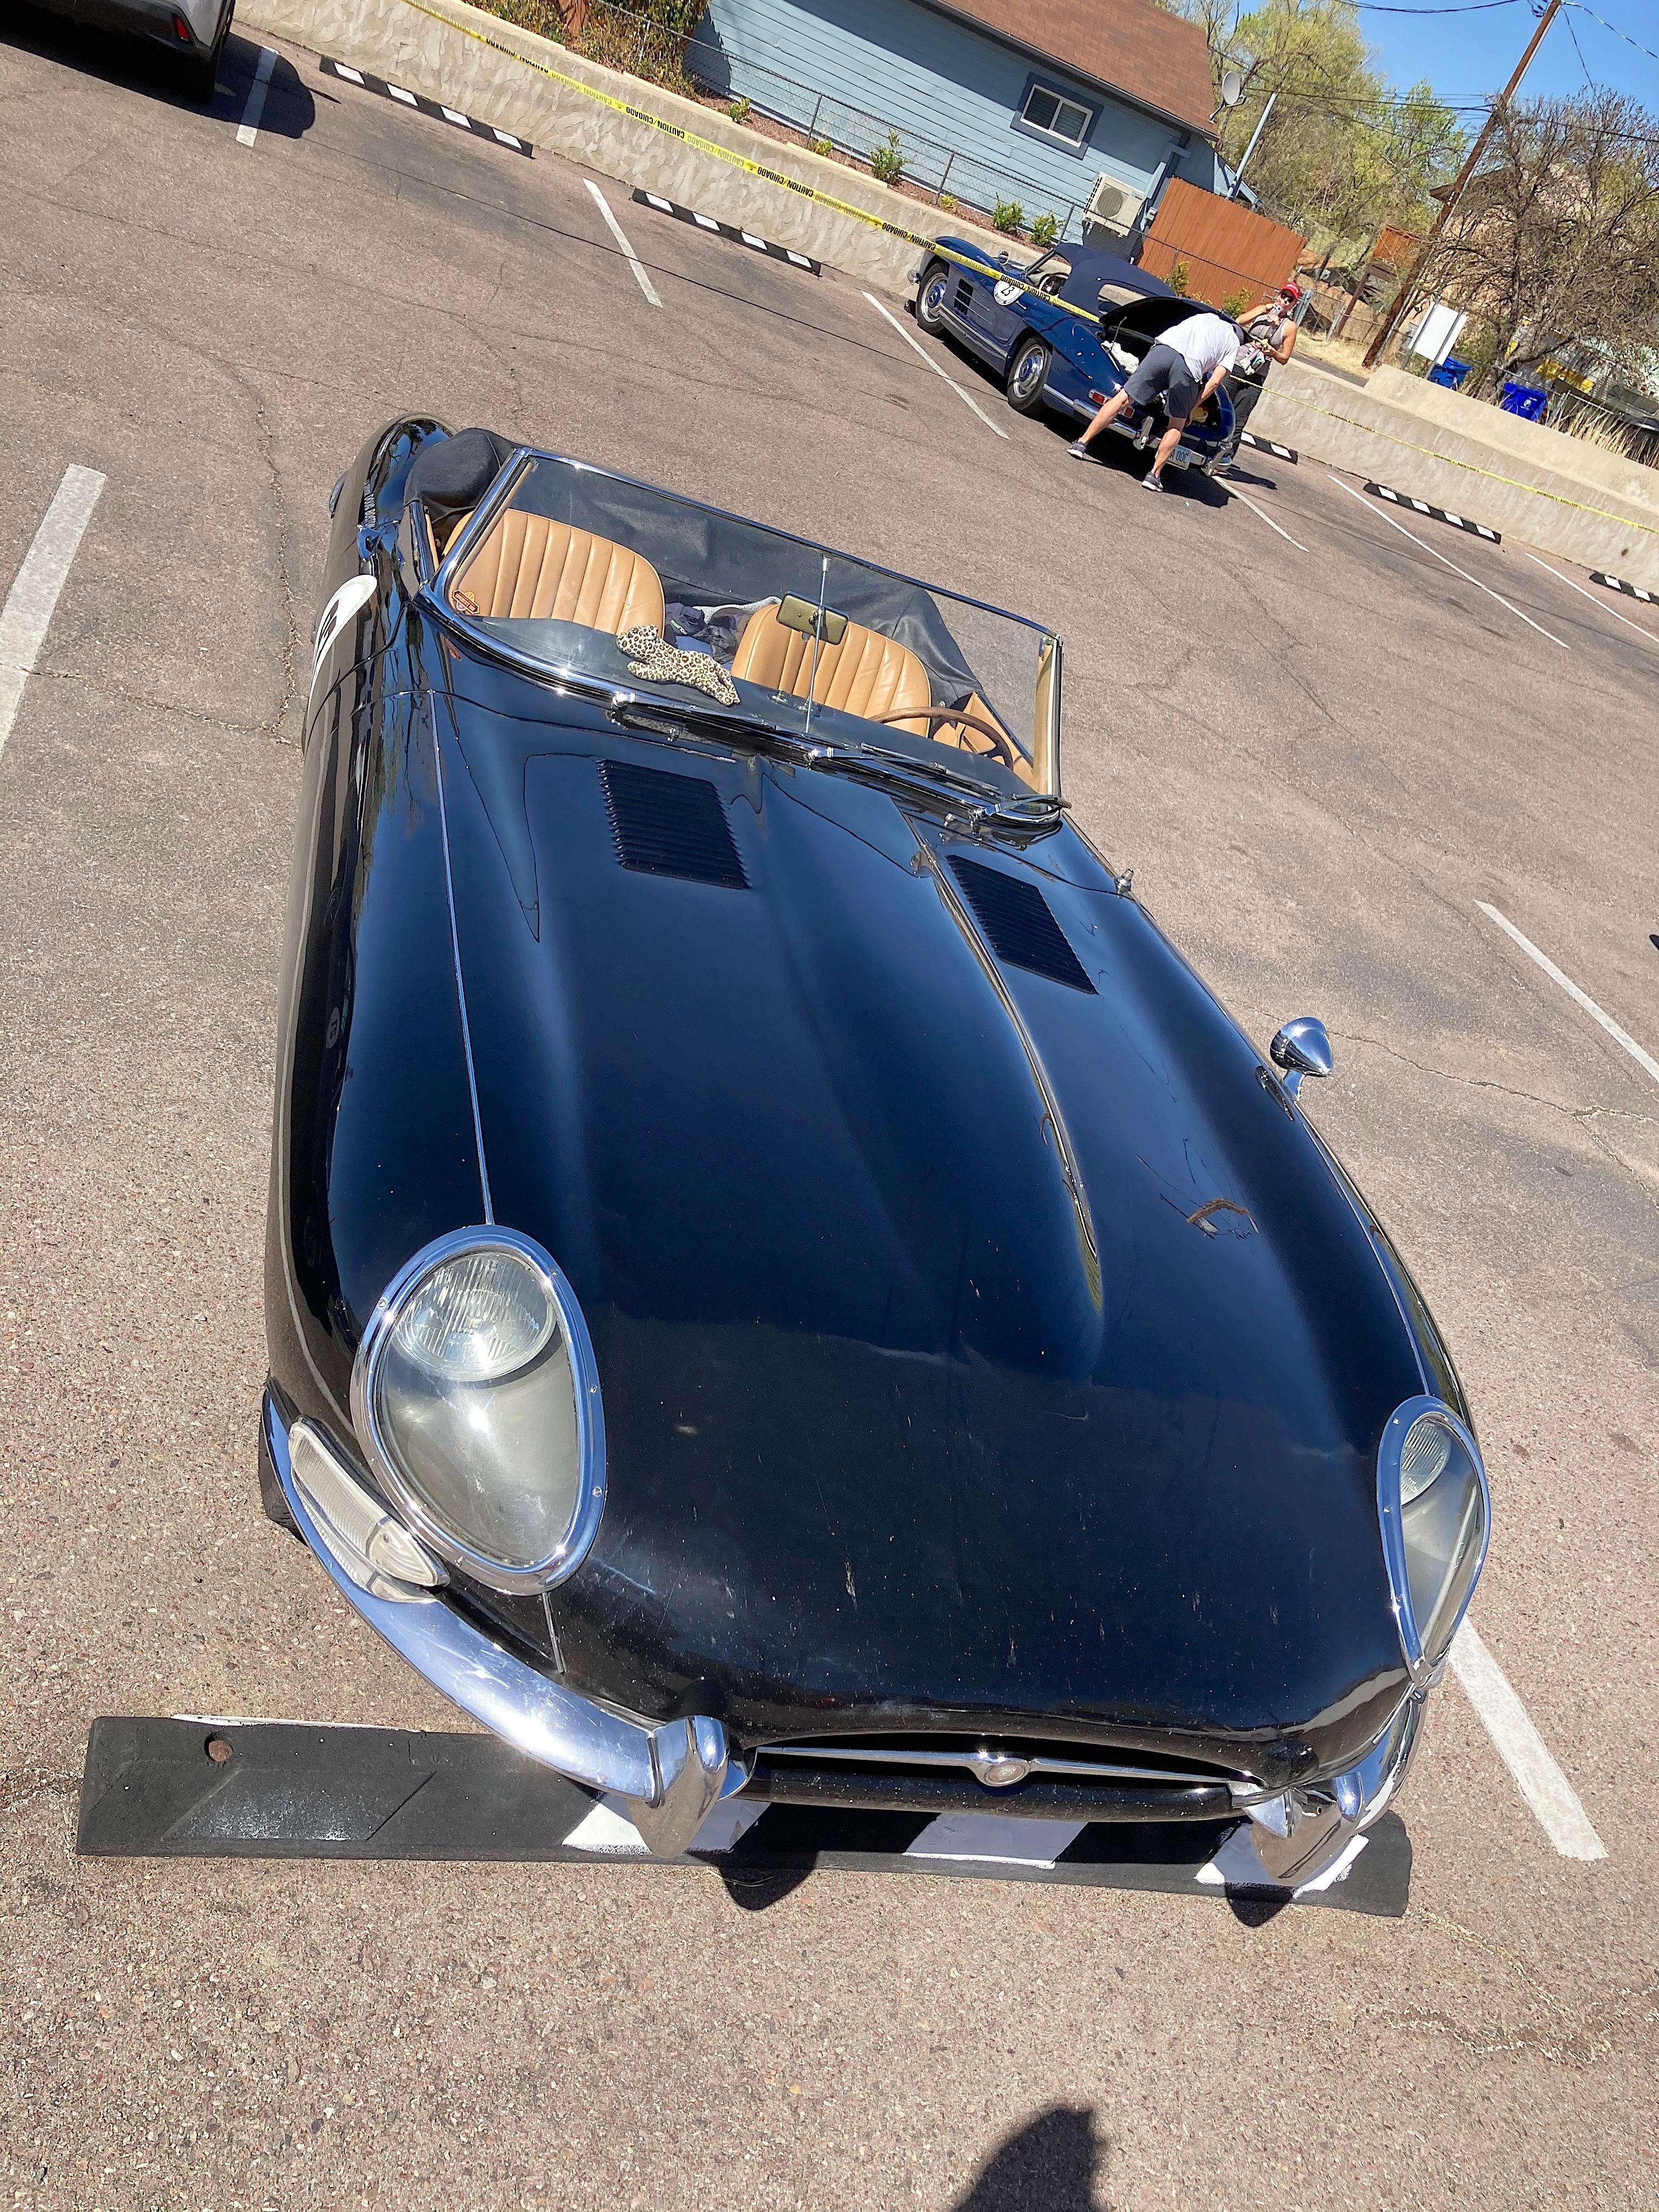
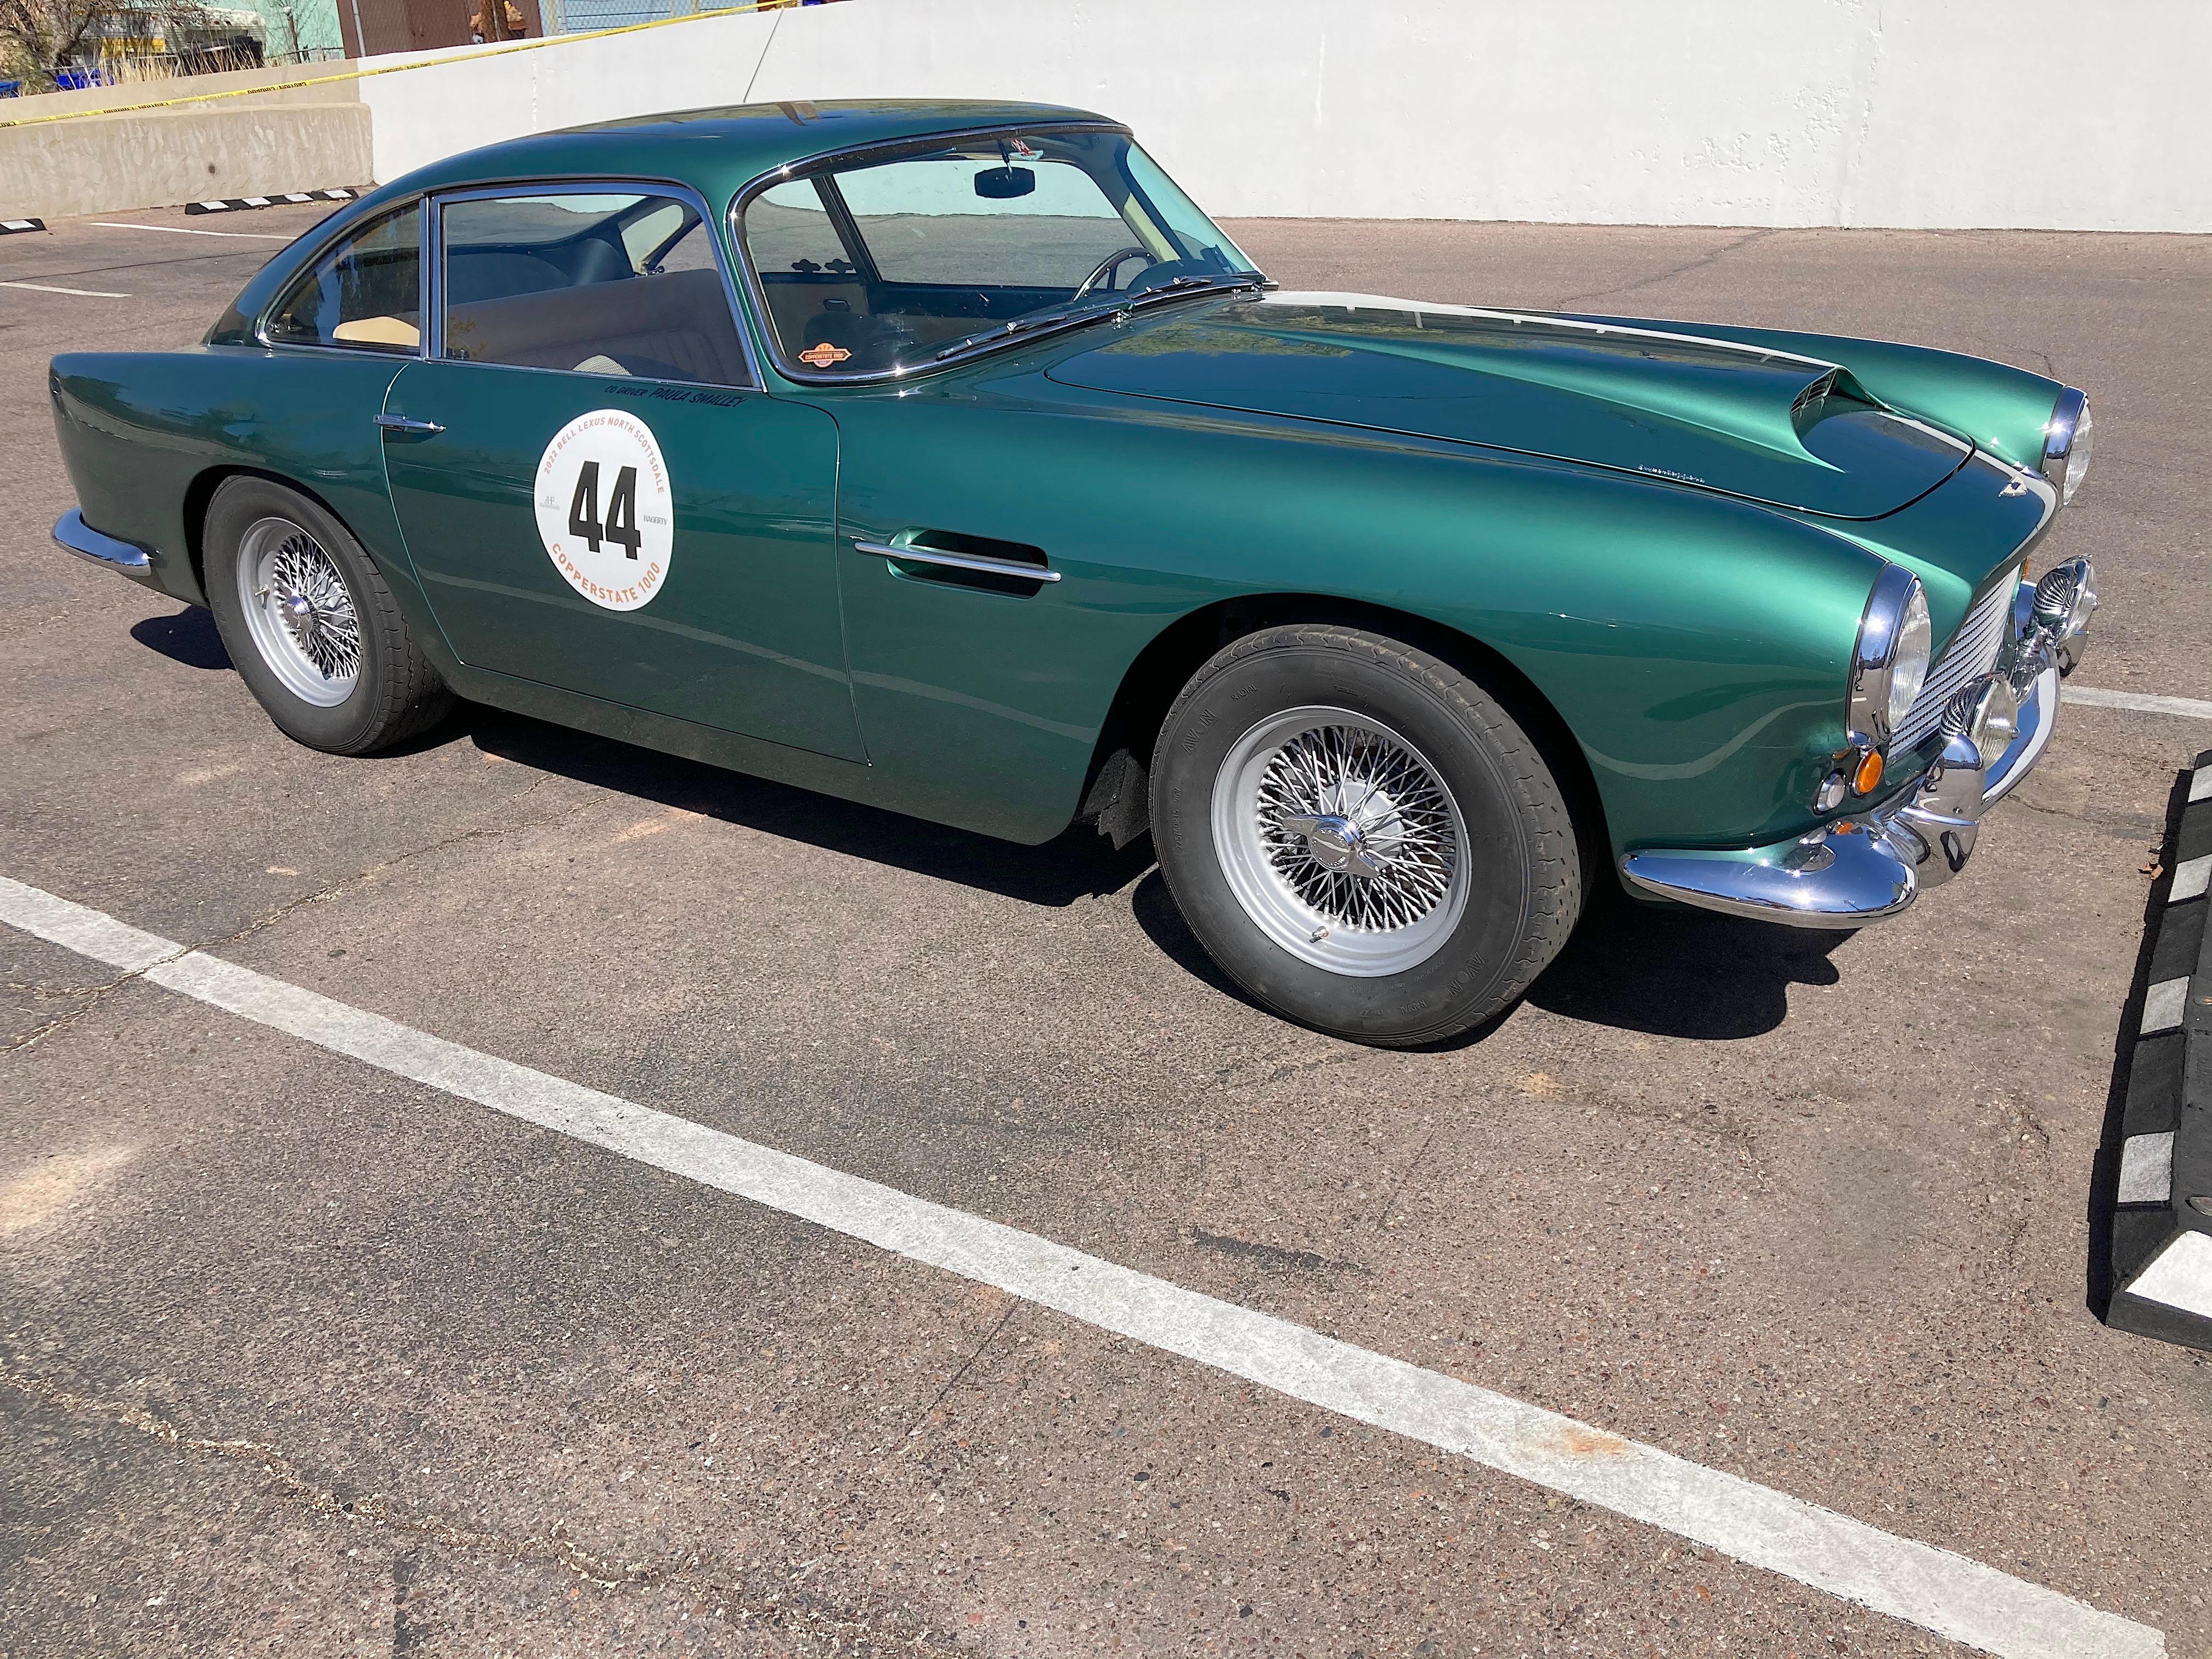
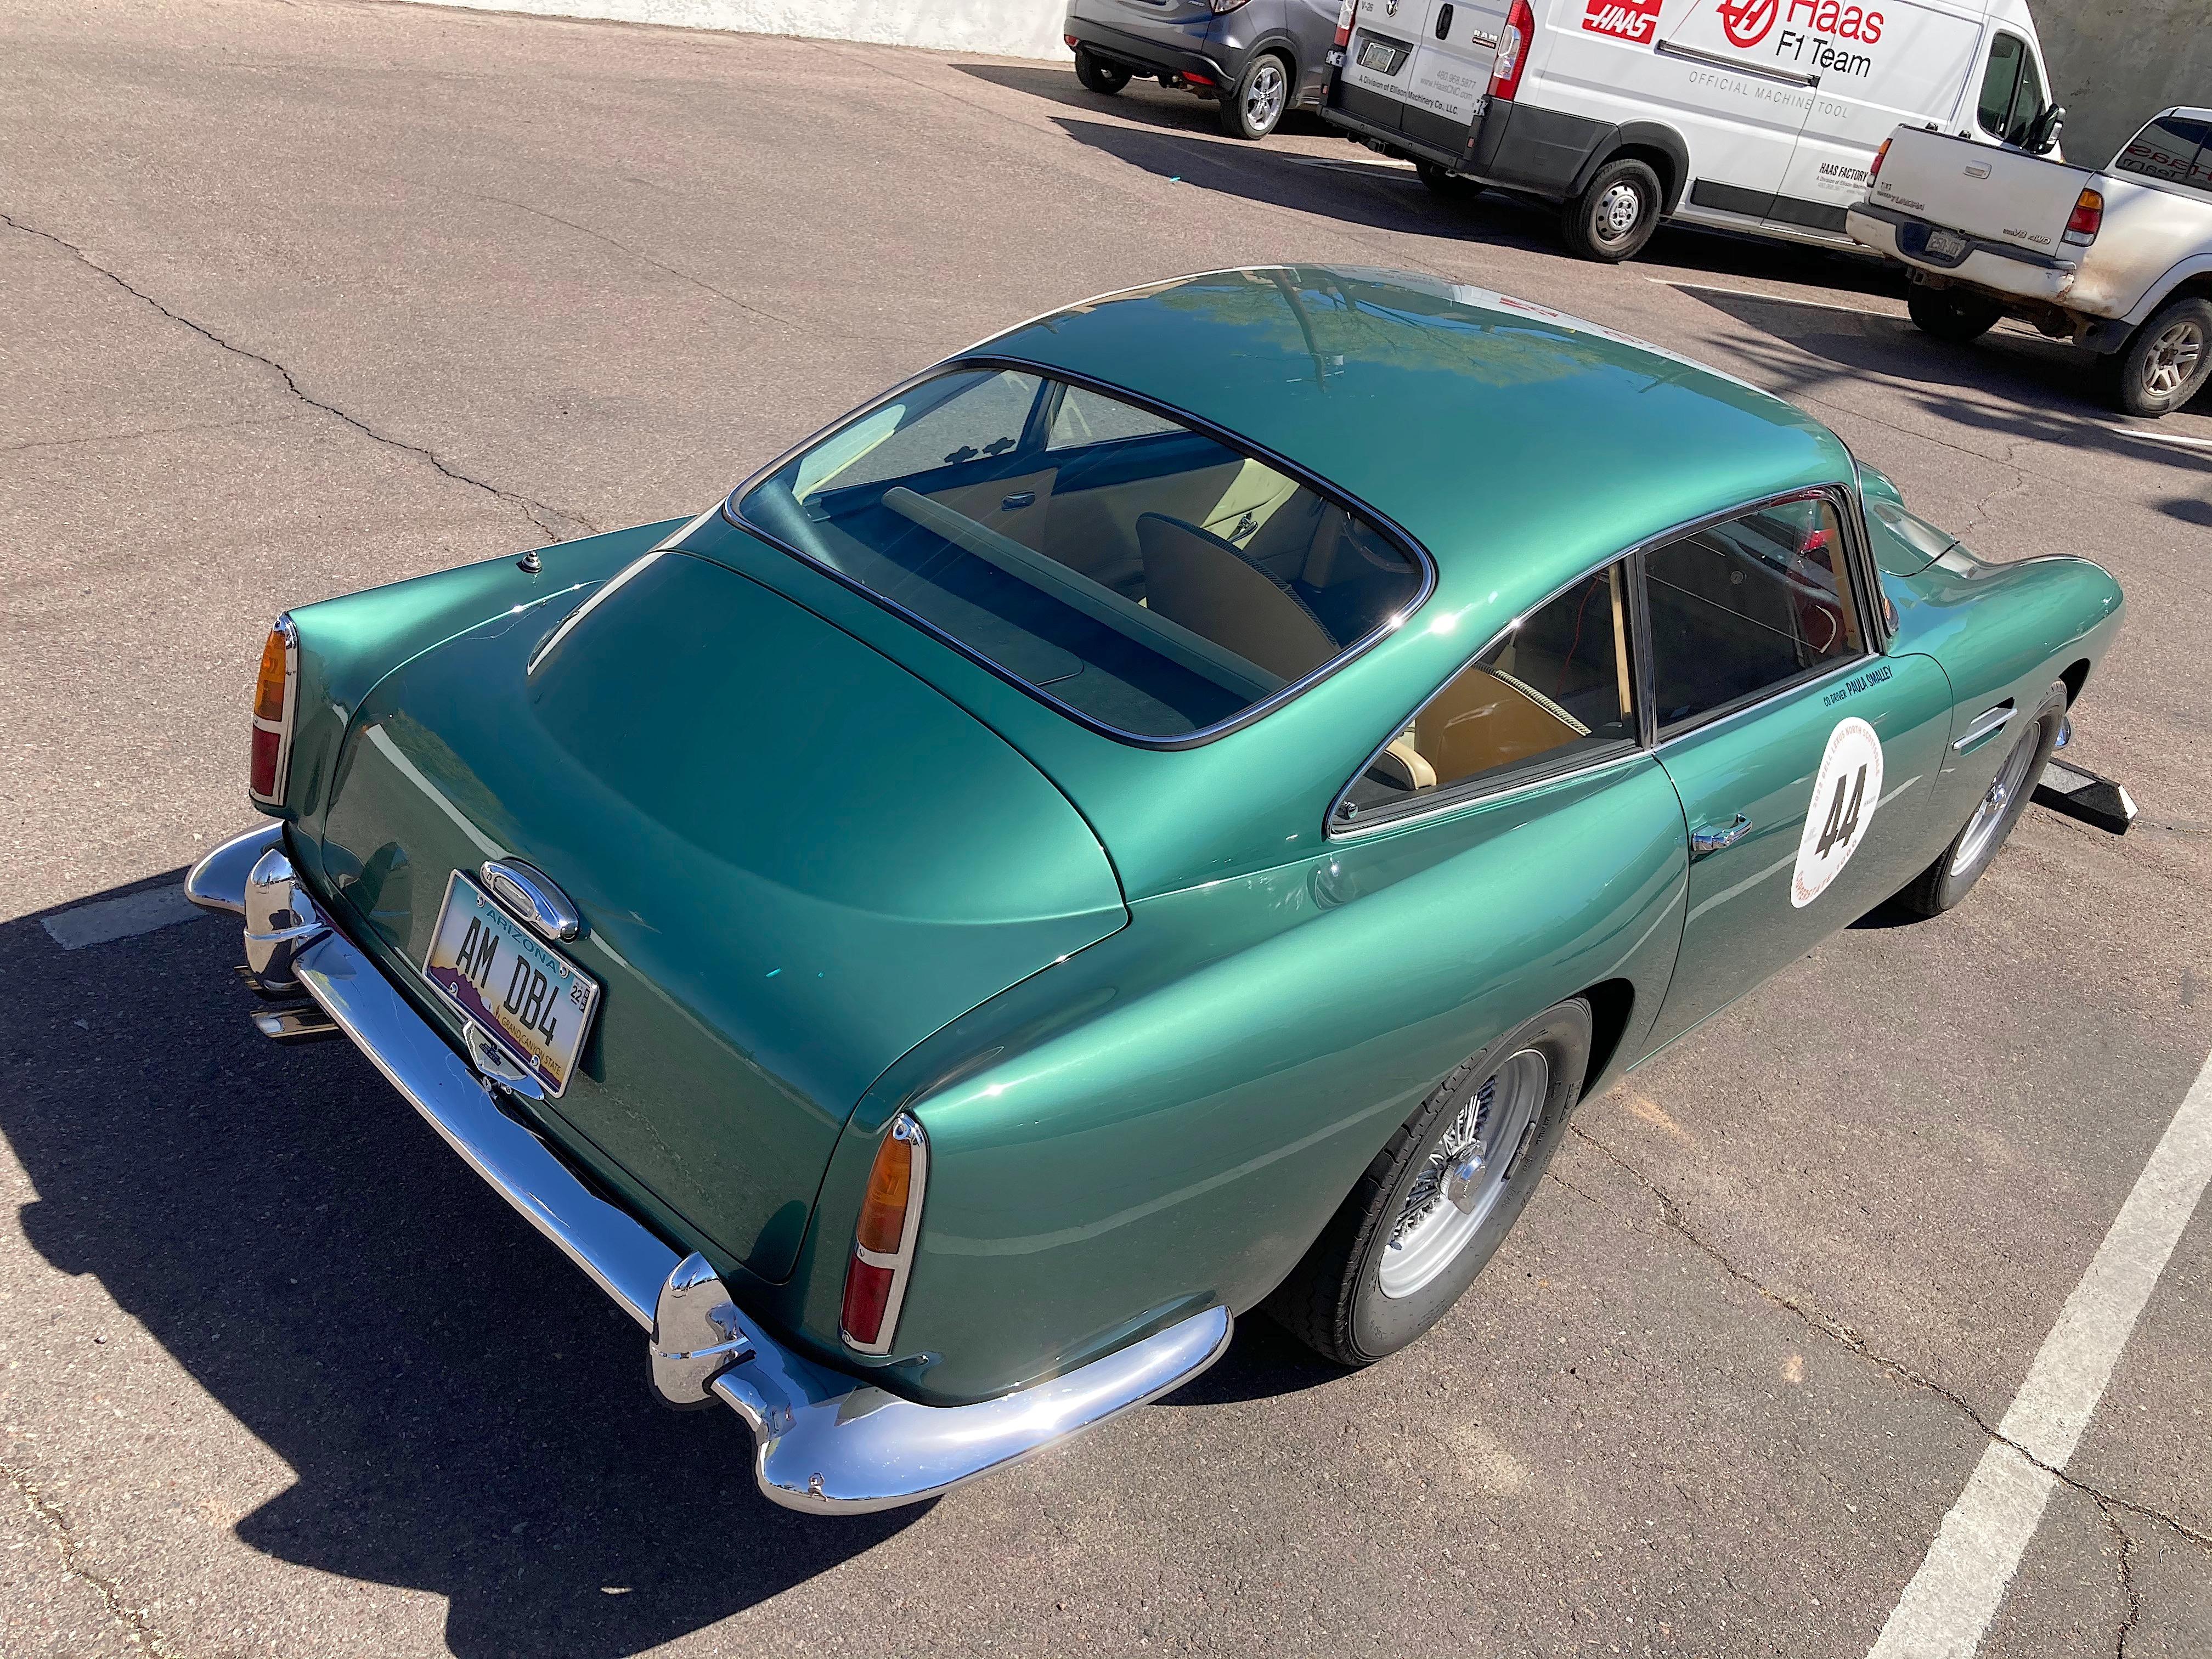
Just happened to be in town today, saw an old Alfa Romeo, then another classic sports car, with a logo on the side, so I did a quick u-turn and followed them to a hotel downtown. The Copperstate rally was staying the night, last day will be tomorrow. So nice to see these cars being driven, this rally is 1,000 miles. A nice benefit, the latest project I'm building was here, so took lots of reference pictures that aren't posted. Looks like whoever had a Porsche 911 Carrera RS got a discount to join the party. First batch is in bright sunlight.
-
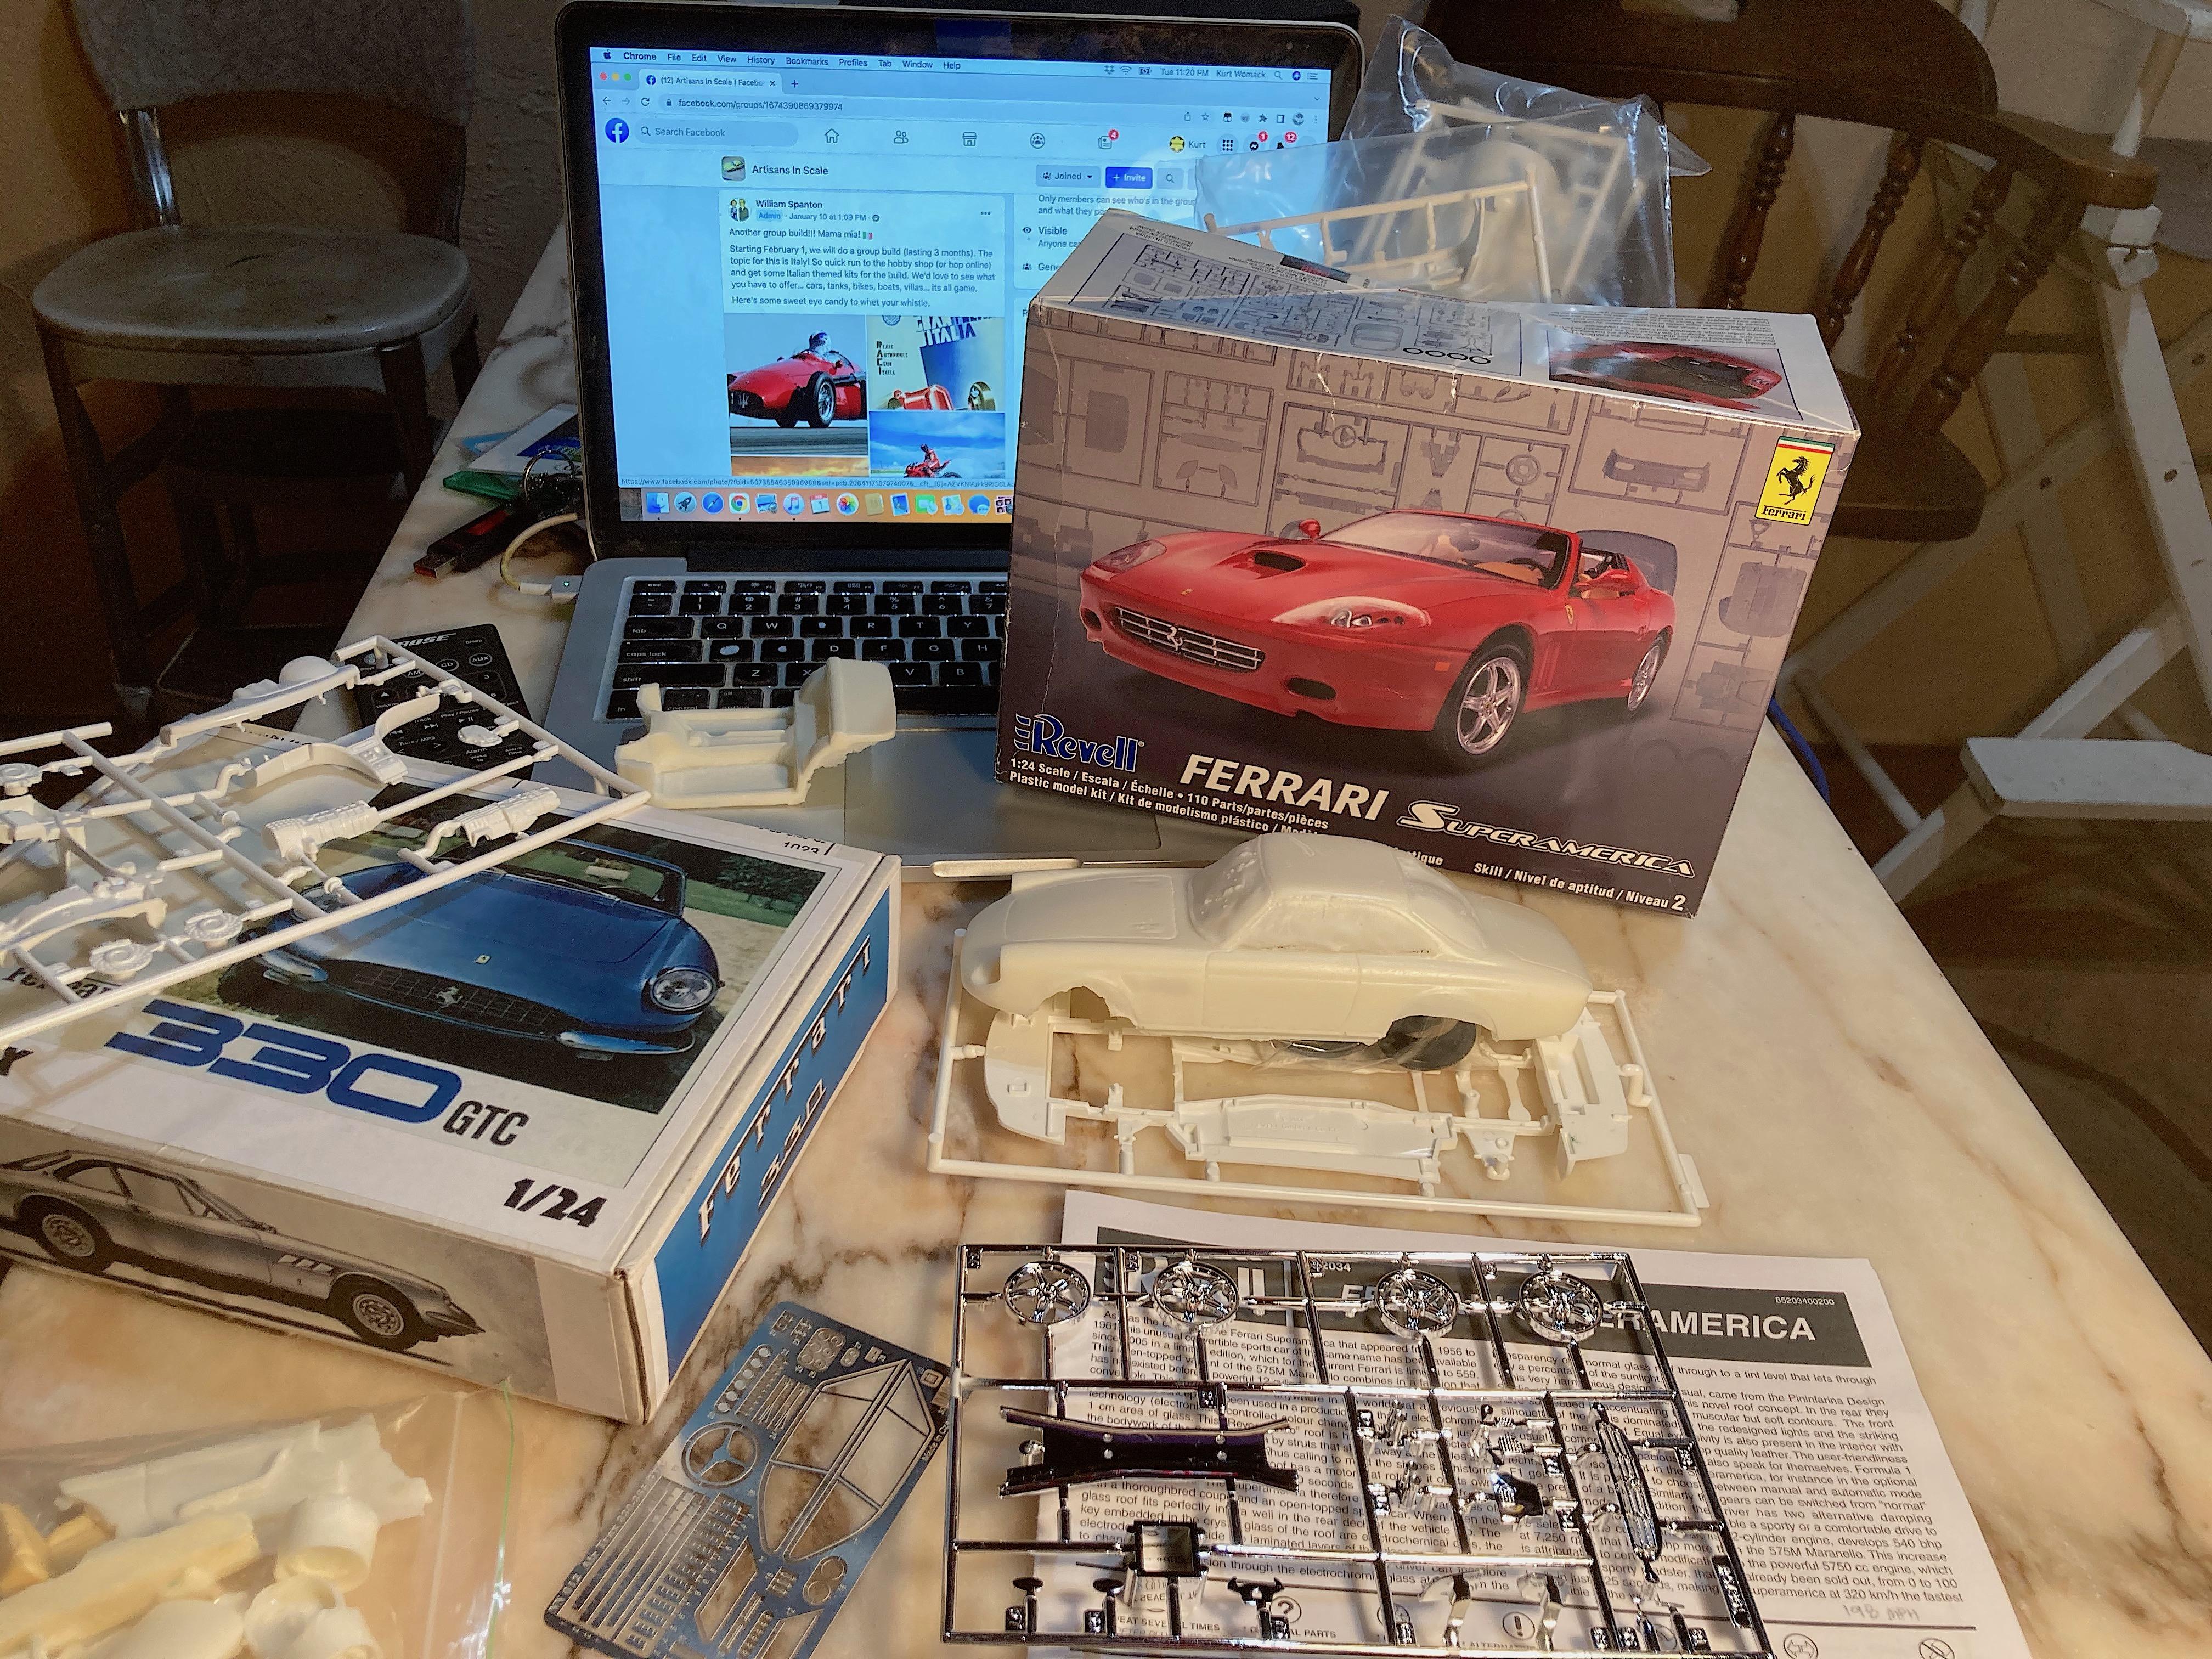
Kitbashing the Airtrax Ferrari 330 GTC resin kit with the Revell 575 M Superamerica. The reason I have always wanted the 330 GTC, when I was a kid, my dad knew someone who had one (and an Aston Martin, and a BMW Bavaria, and a Mercedes 300 SC), and after incessant begging he took me for a ride. Even though it needed a tuneup, it sure made an impression on me. Because of this forum, I found the source, so I sprung for it. Found the pictures online, to print out for the box art. The body appears to be accurate, the photo-etch is really nice even though there is no "Ferrari" or Prancing Horse emblems (have that covered). You need to provide tires, and a chassis, I guess the 250 SWB or 275 GTB/S, or even the Daytona, would be the most accurate, but I wanted something different. Found the Superamerica at a swap meet in town (not a model swap meet) for $10. The wheelbase is almost the same, track width might be a challenge, but that's what flares are for. Doing this for a Fakebook community build, maybe I will nickname it Mama Mia! 🇮🇪 Owners manual, will photo-reduce for a final detail. A look at the parts. No instructions. Need to make the steering wheel rim, might try using wood like what Replicas & Miniatures of MD has done. I have rally lights left over from my Cannonball WRC Subaru (not shown). Custom box: Community build started 1/01/22, proof that I didn't get a head start. 😅 One wheel is terrible, but since I didn't plan to use them, not a big deal.
-
Now I want to build Nick Mason's GTO. 😆 Decals......
-
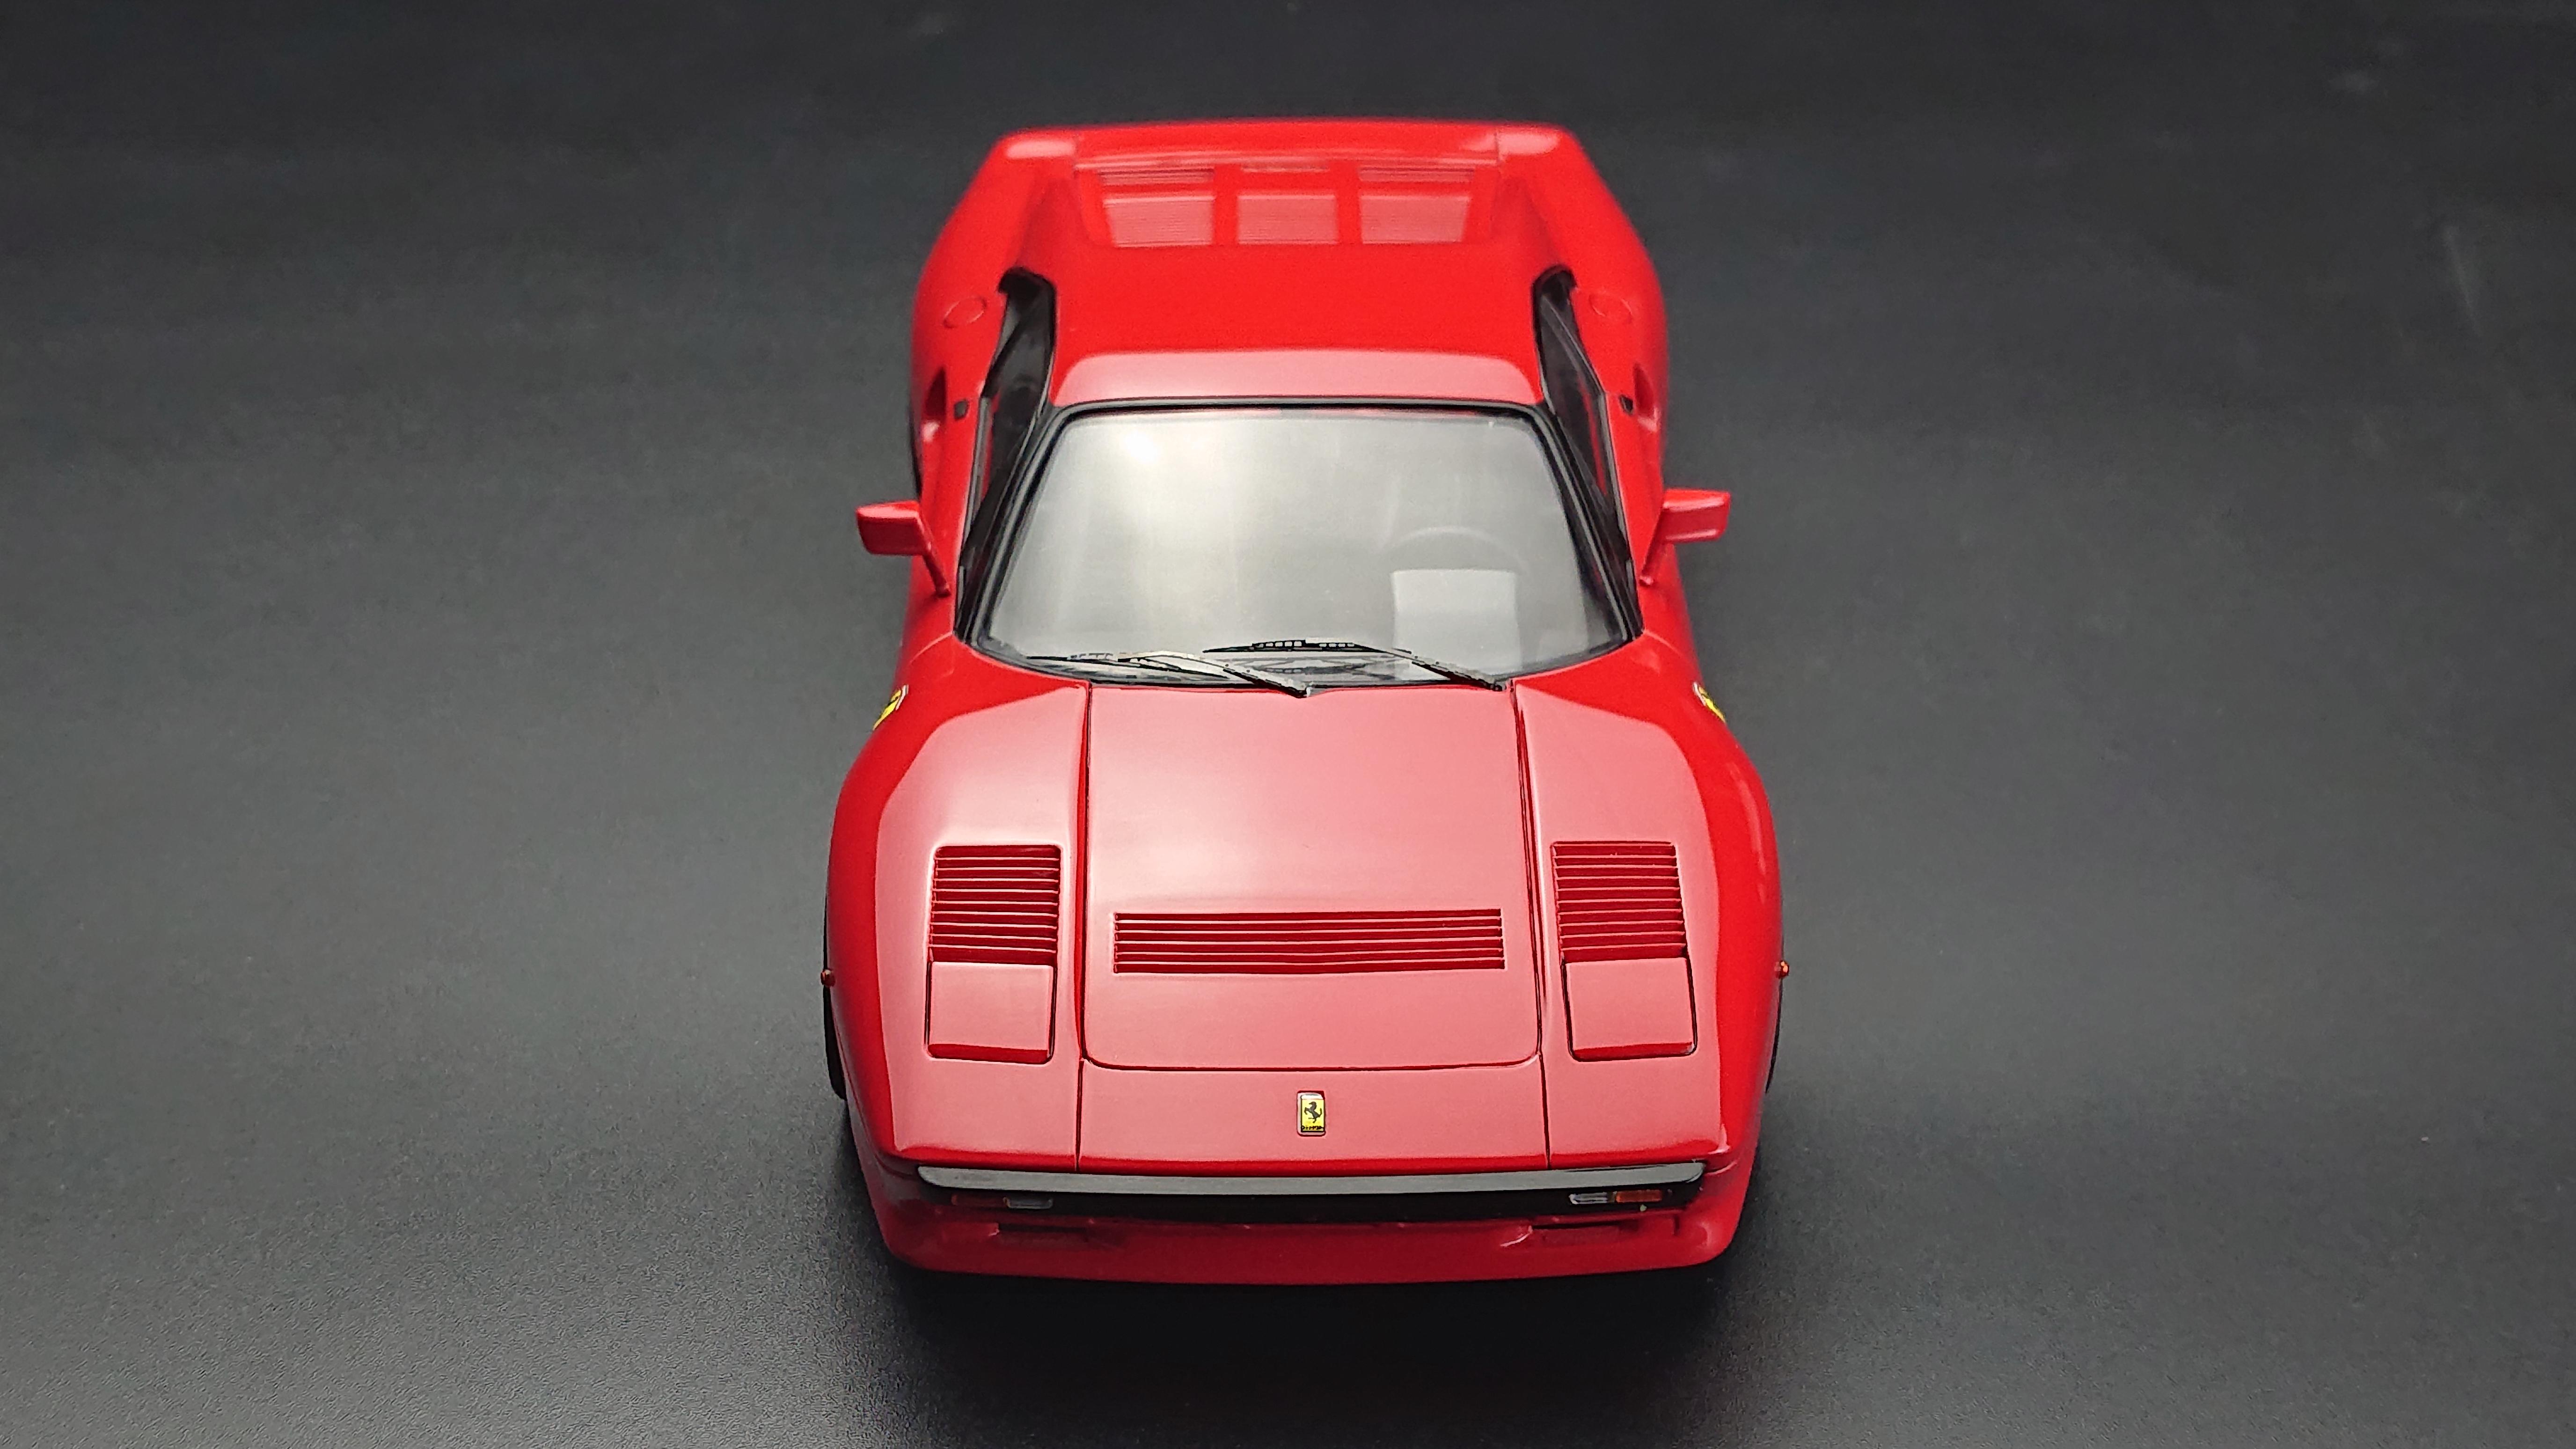
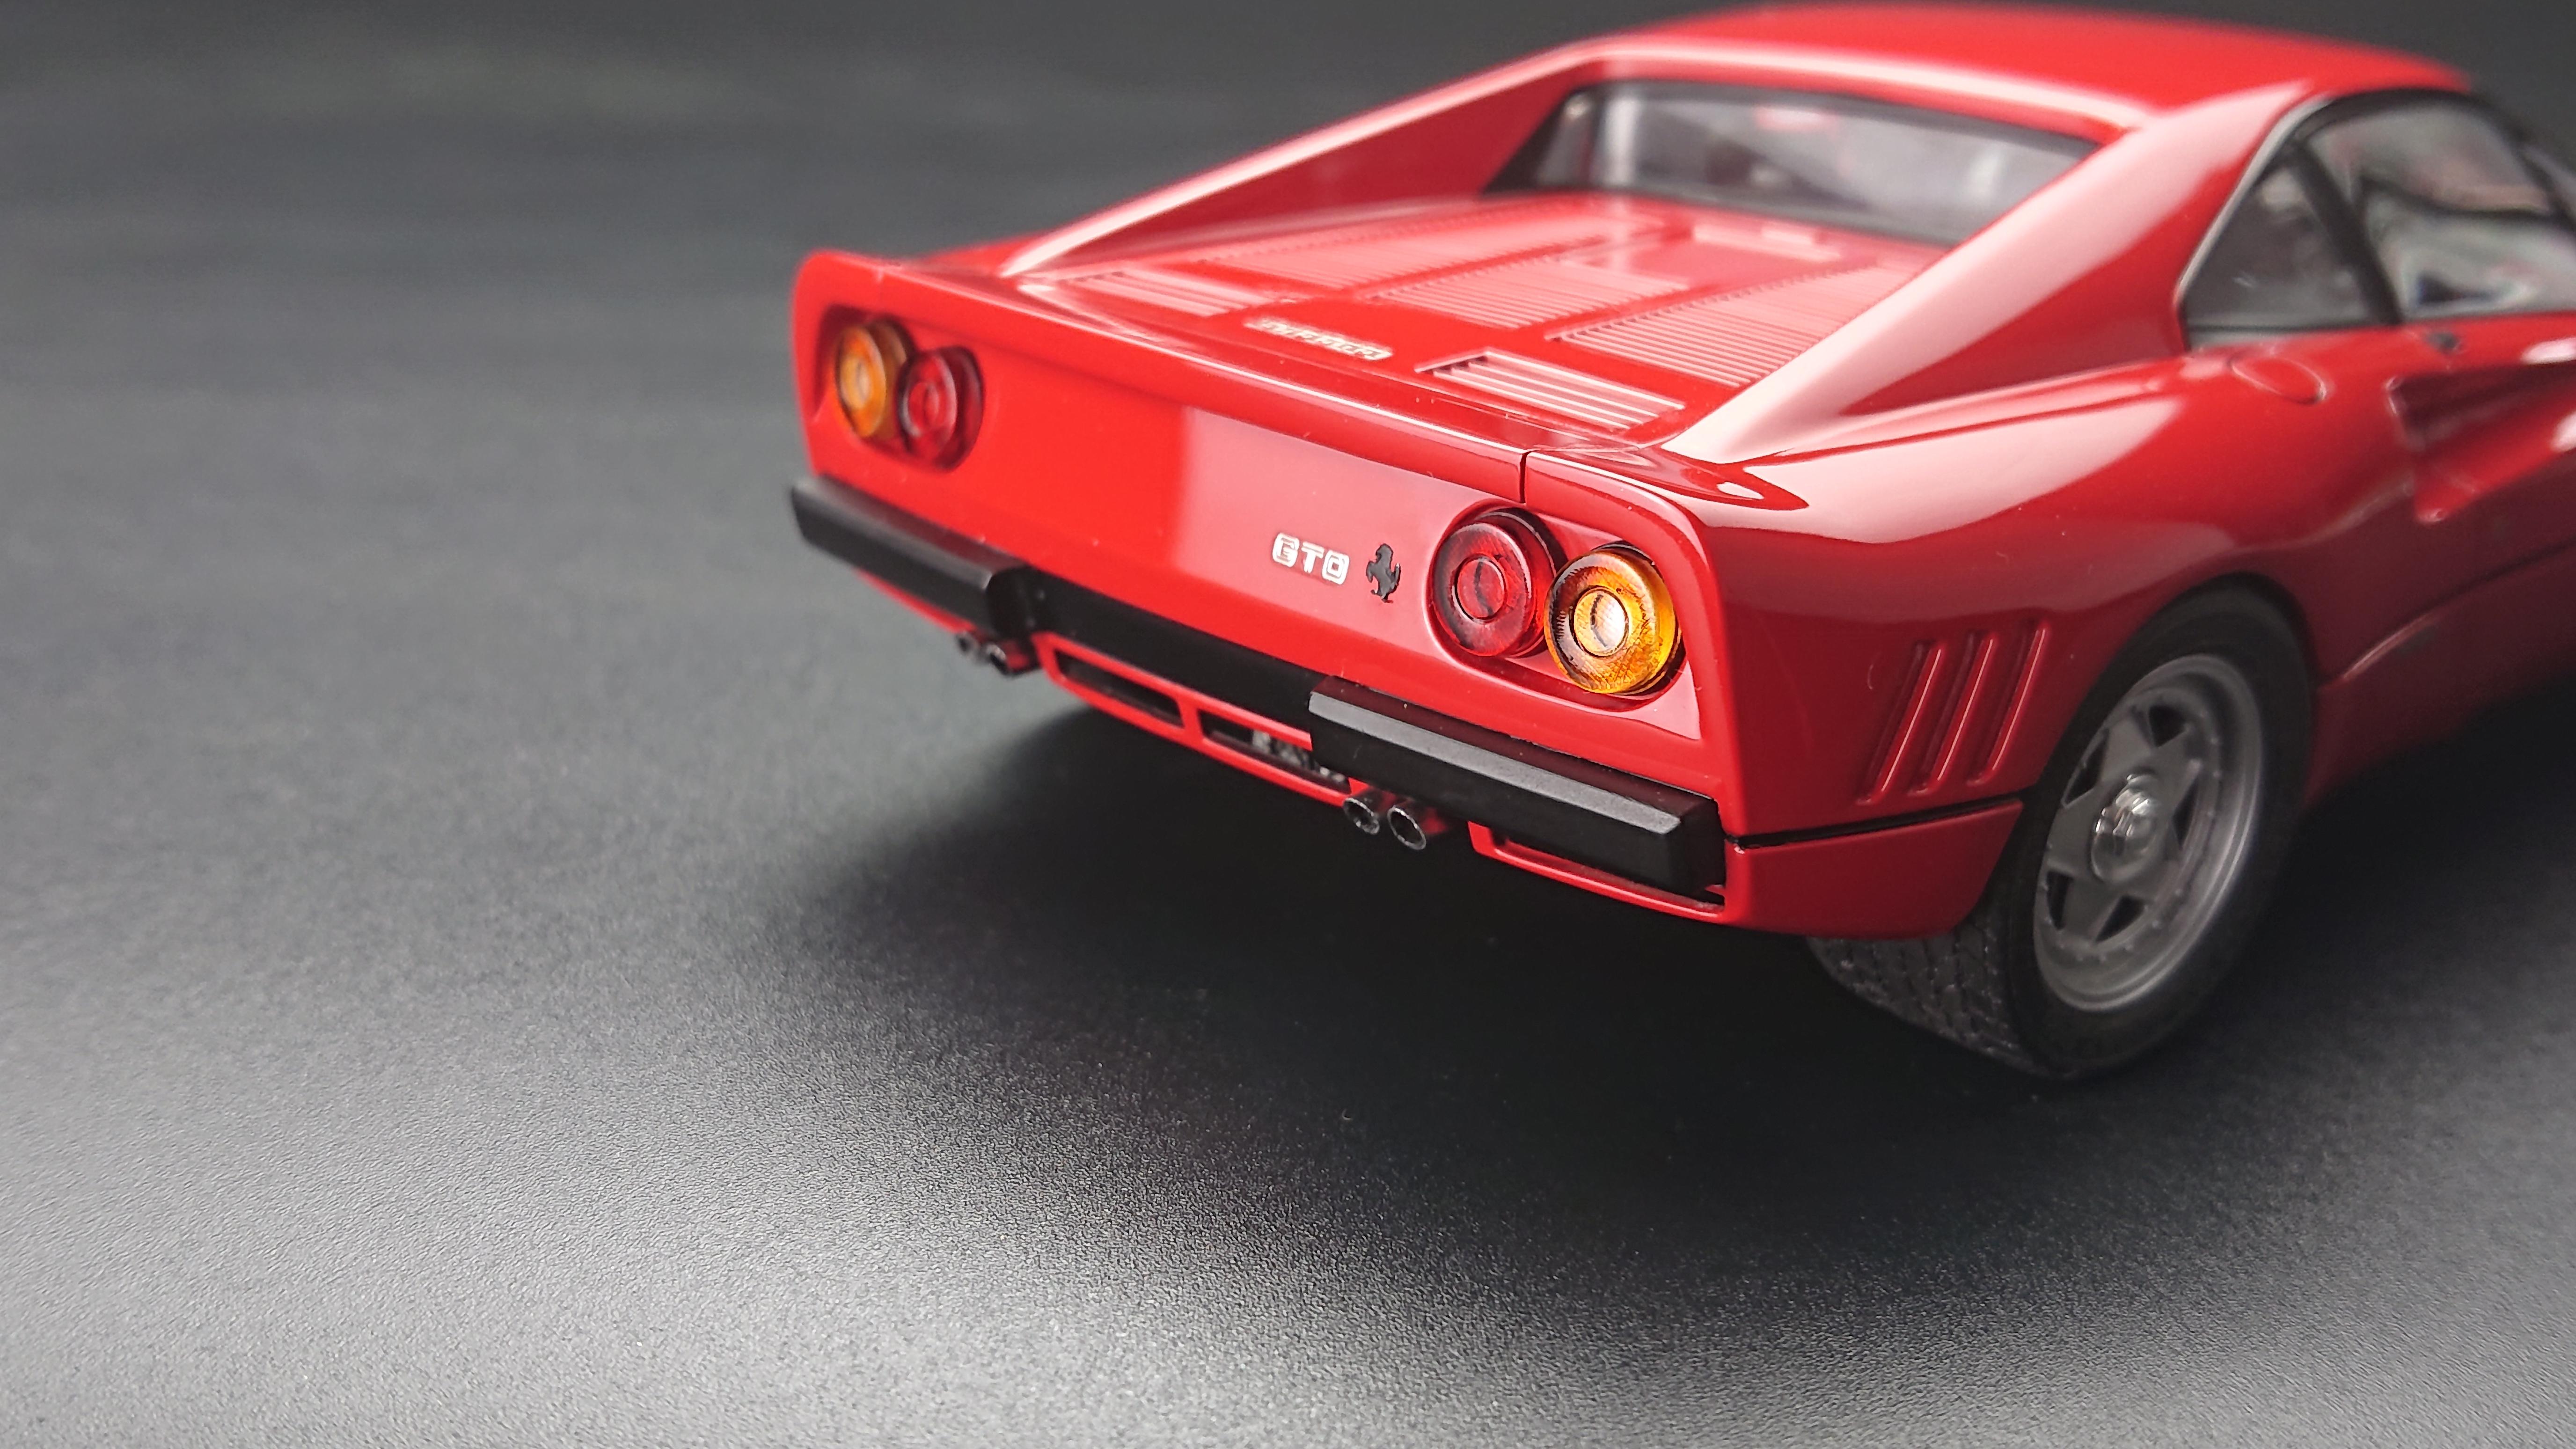
hi everyone !😄 this is my FUJIMI 1/24 FERRARI 288GTO. build it almost out of box,just add some detail parts ..the kit is aged, but I think the shape is quite well, and no fitting issue.. a easy kit to build! hope you guys like it!!🙂 and here is the video build if you are interested..🙂
-
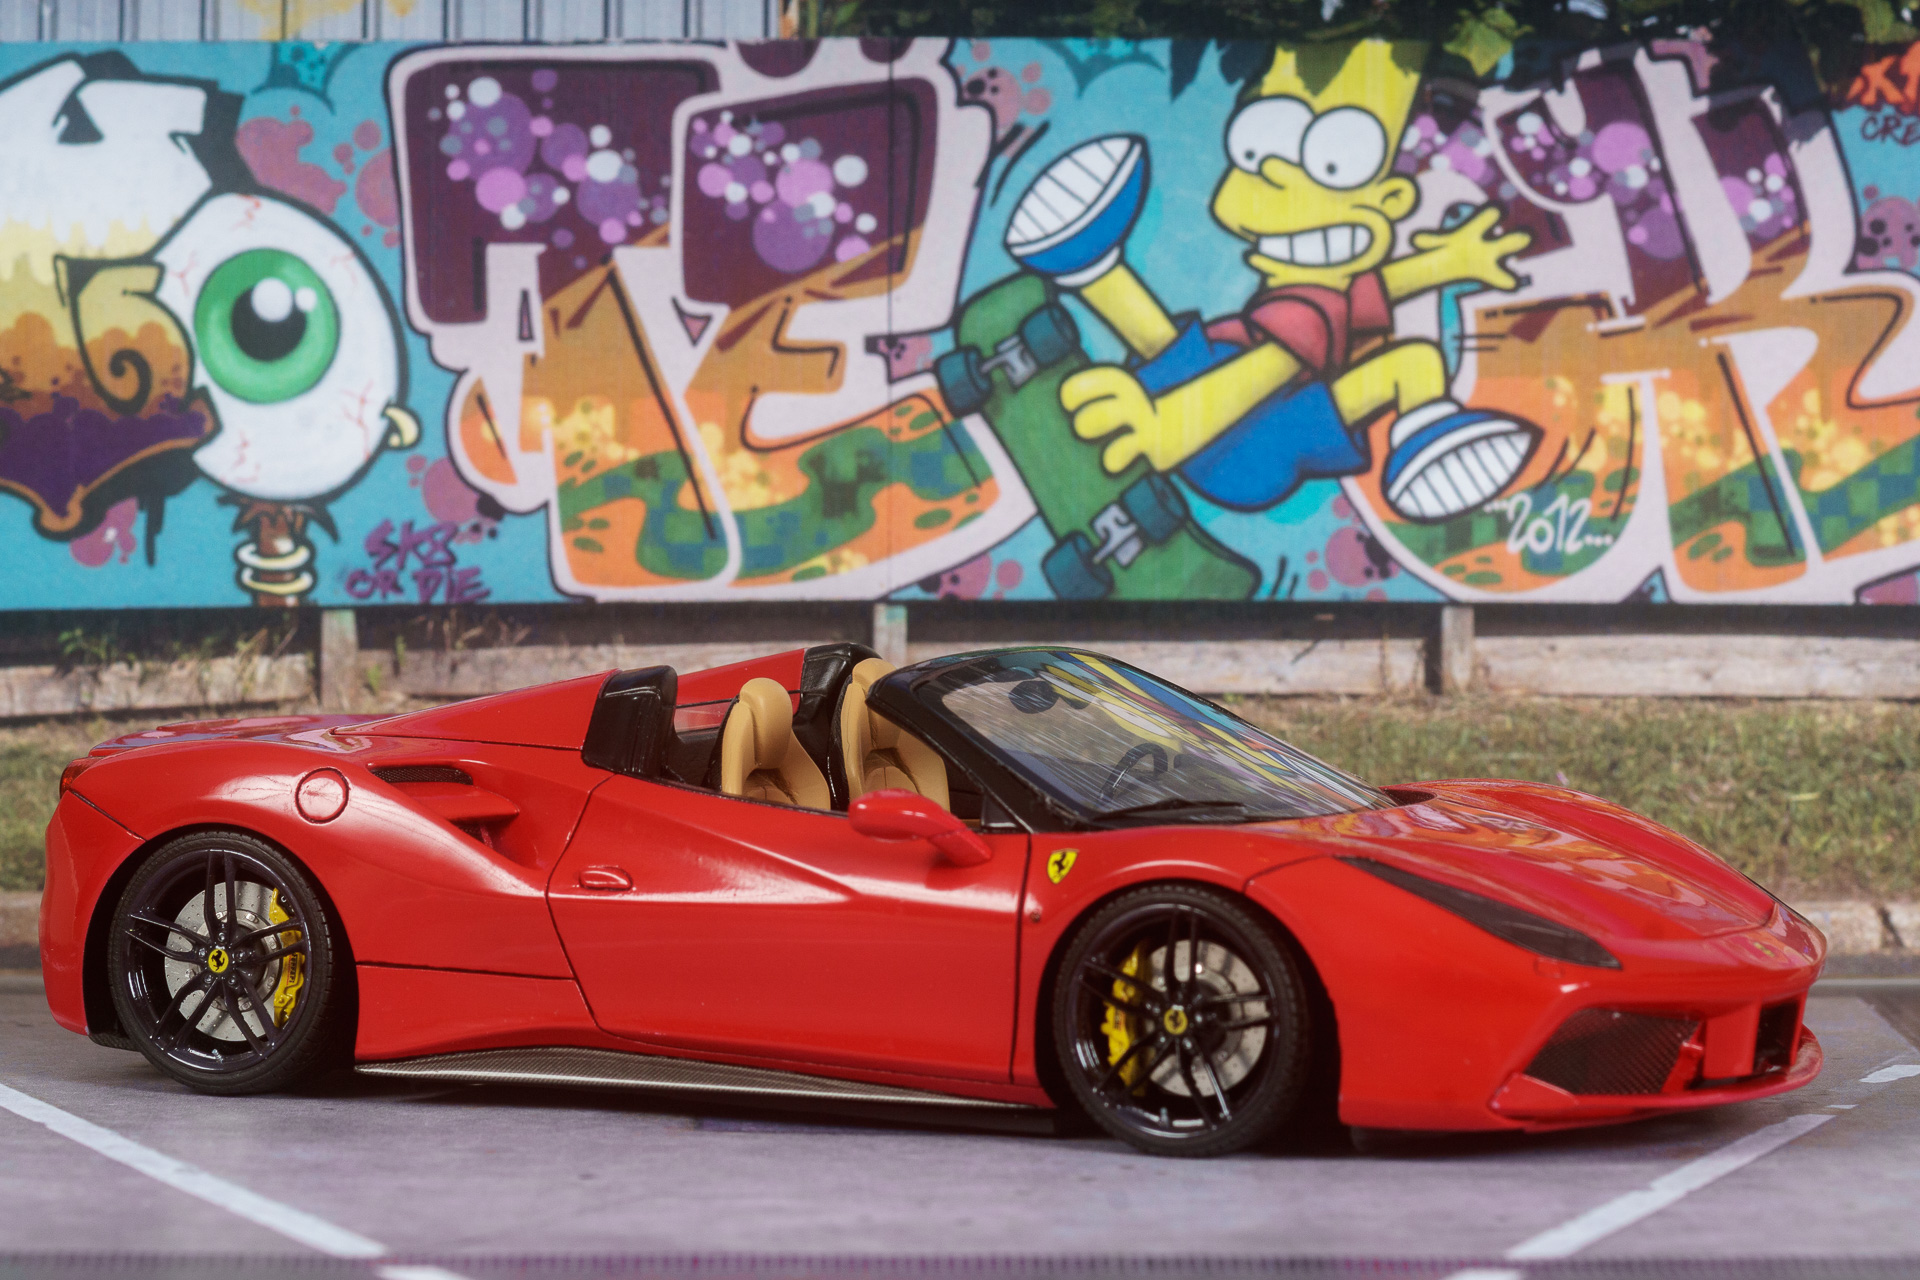
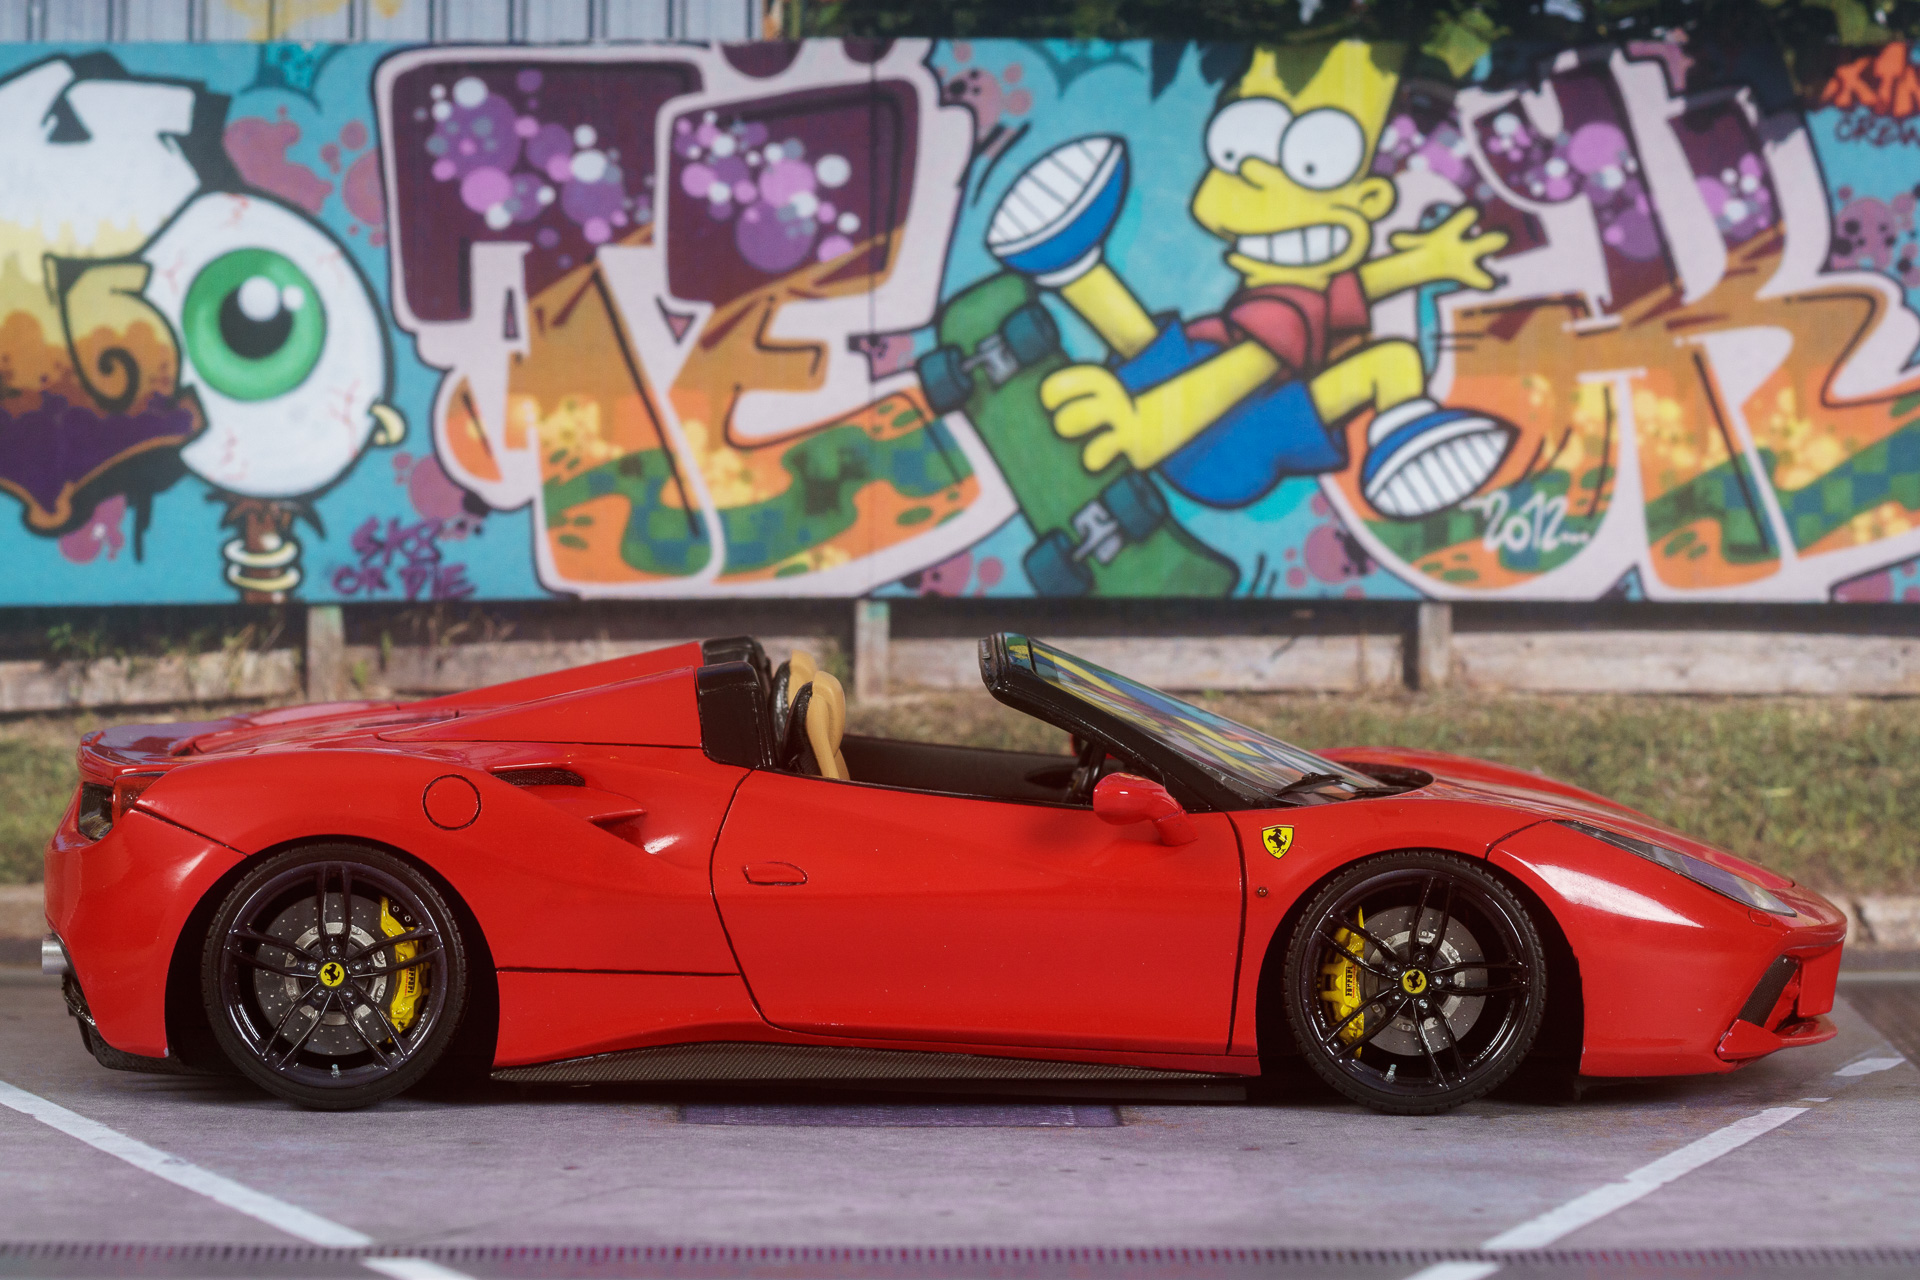
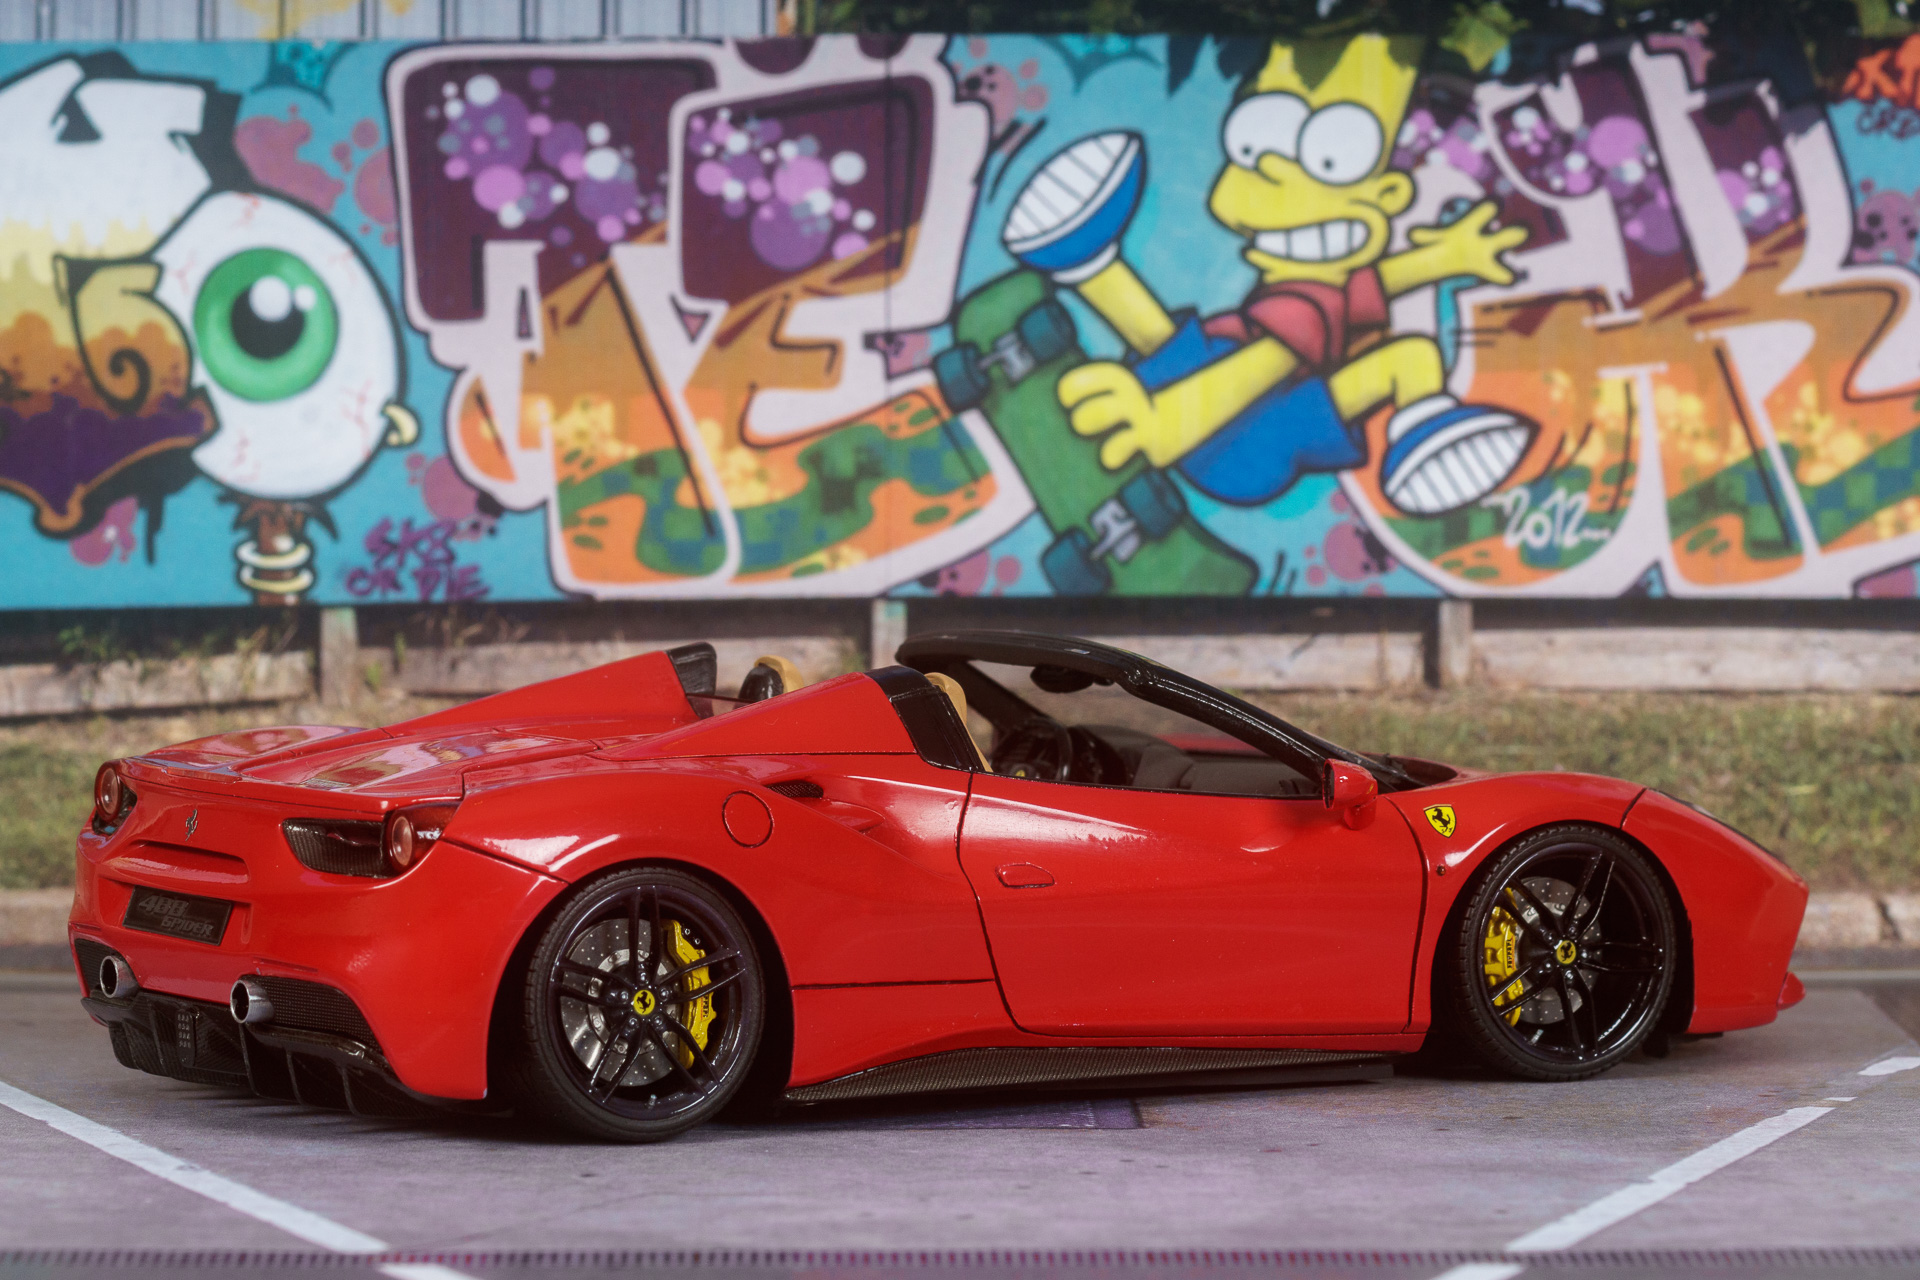
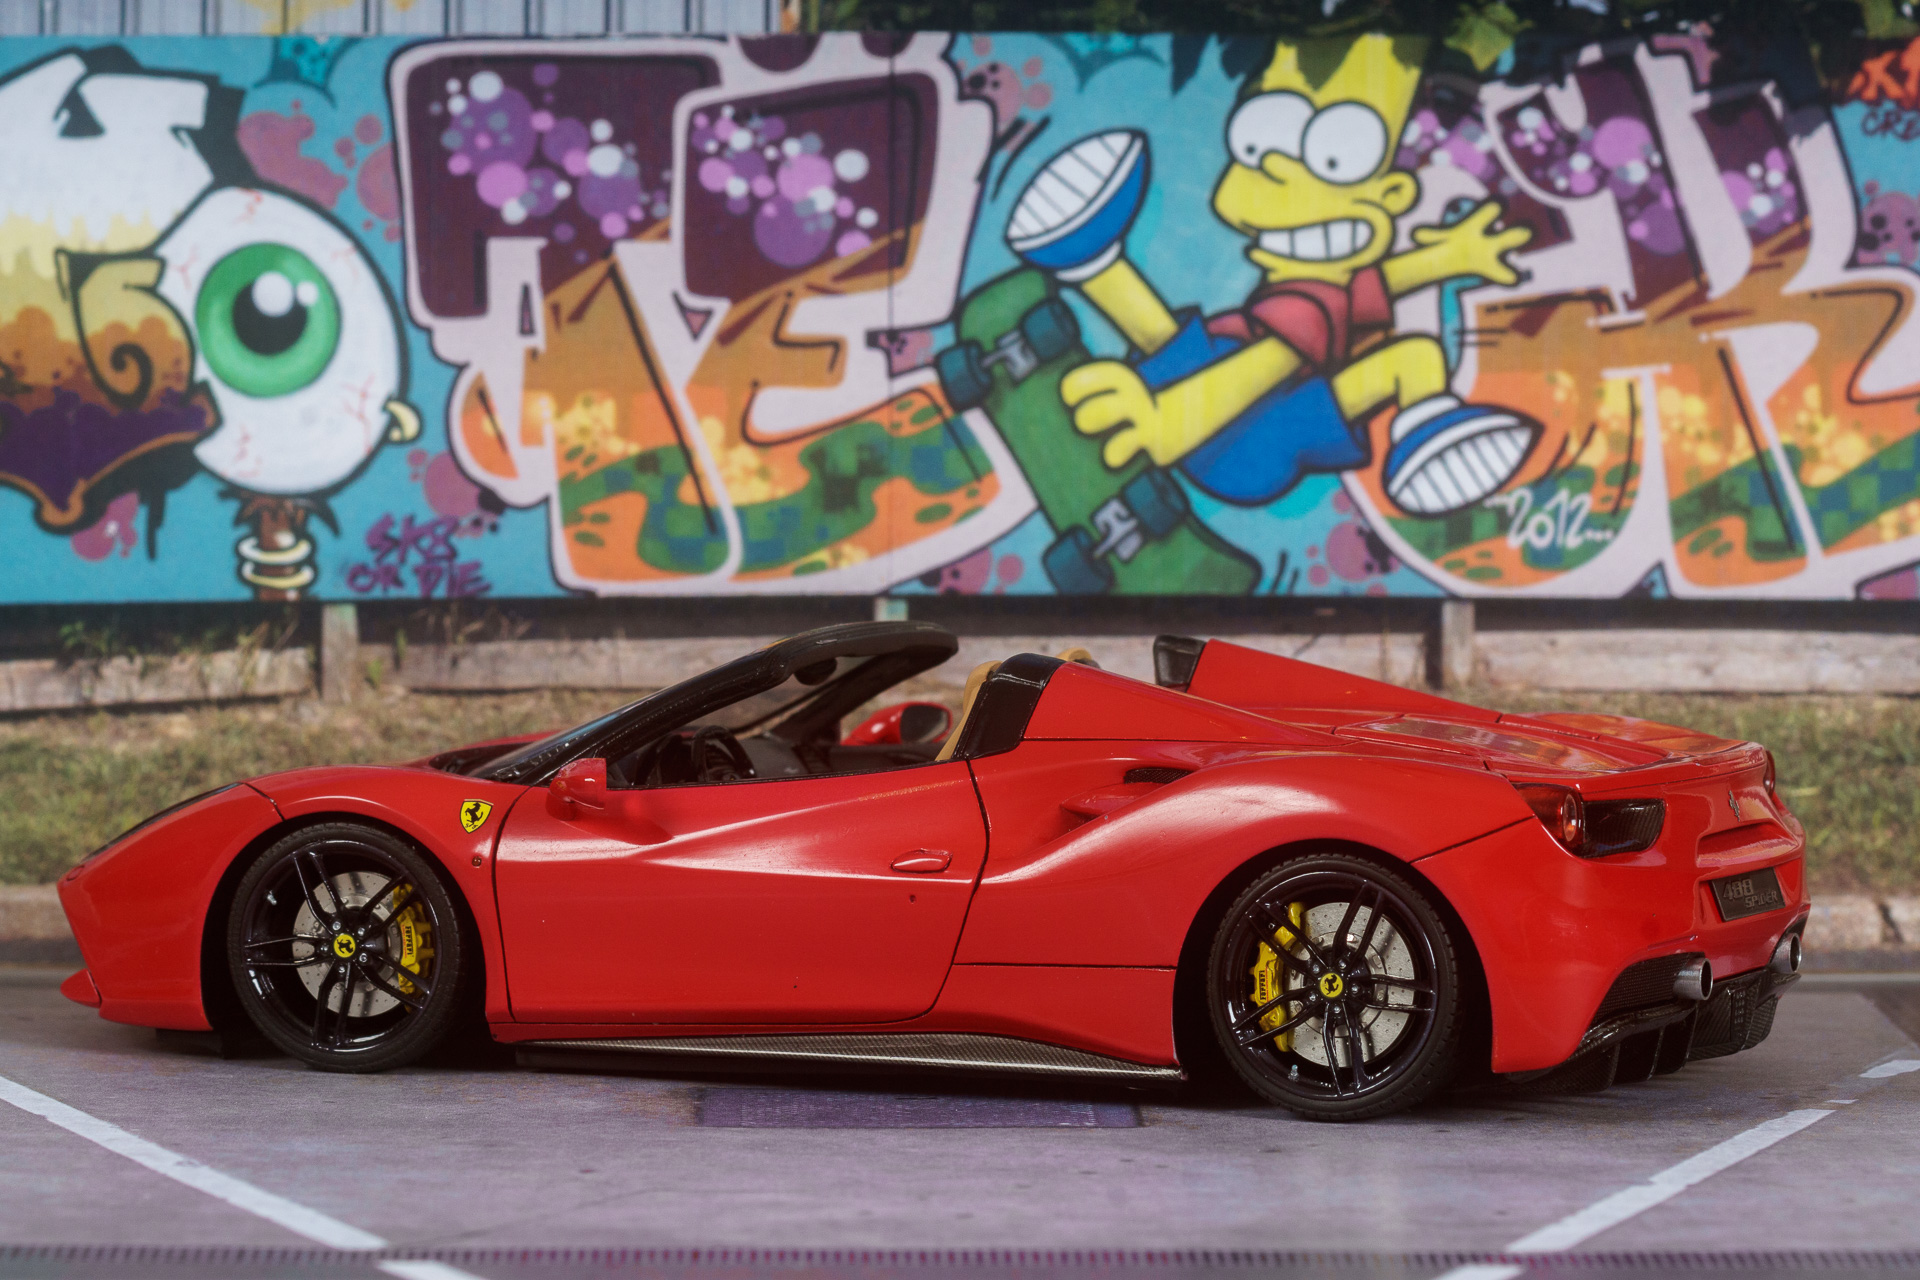
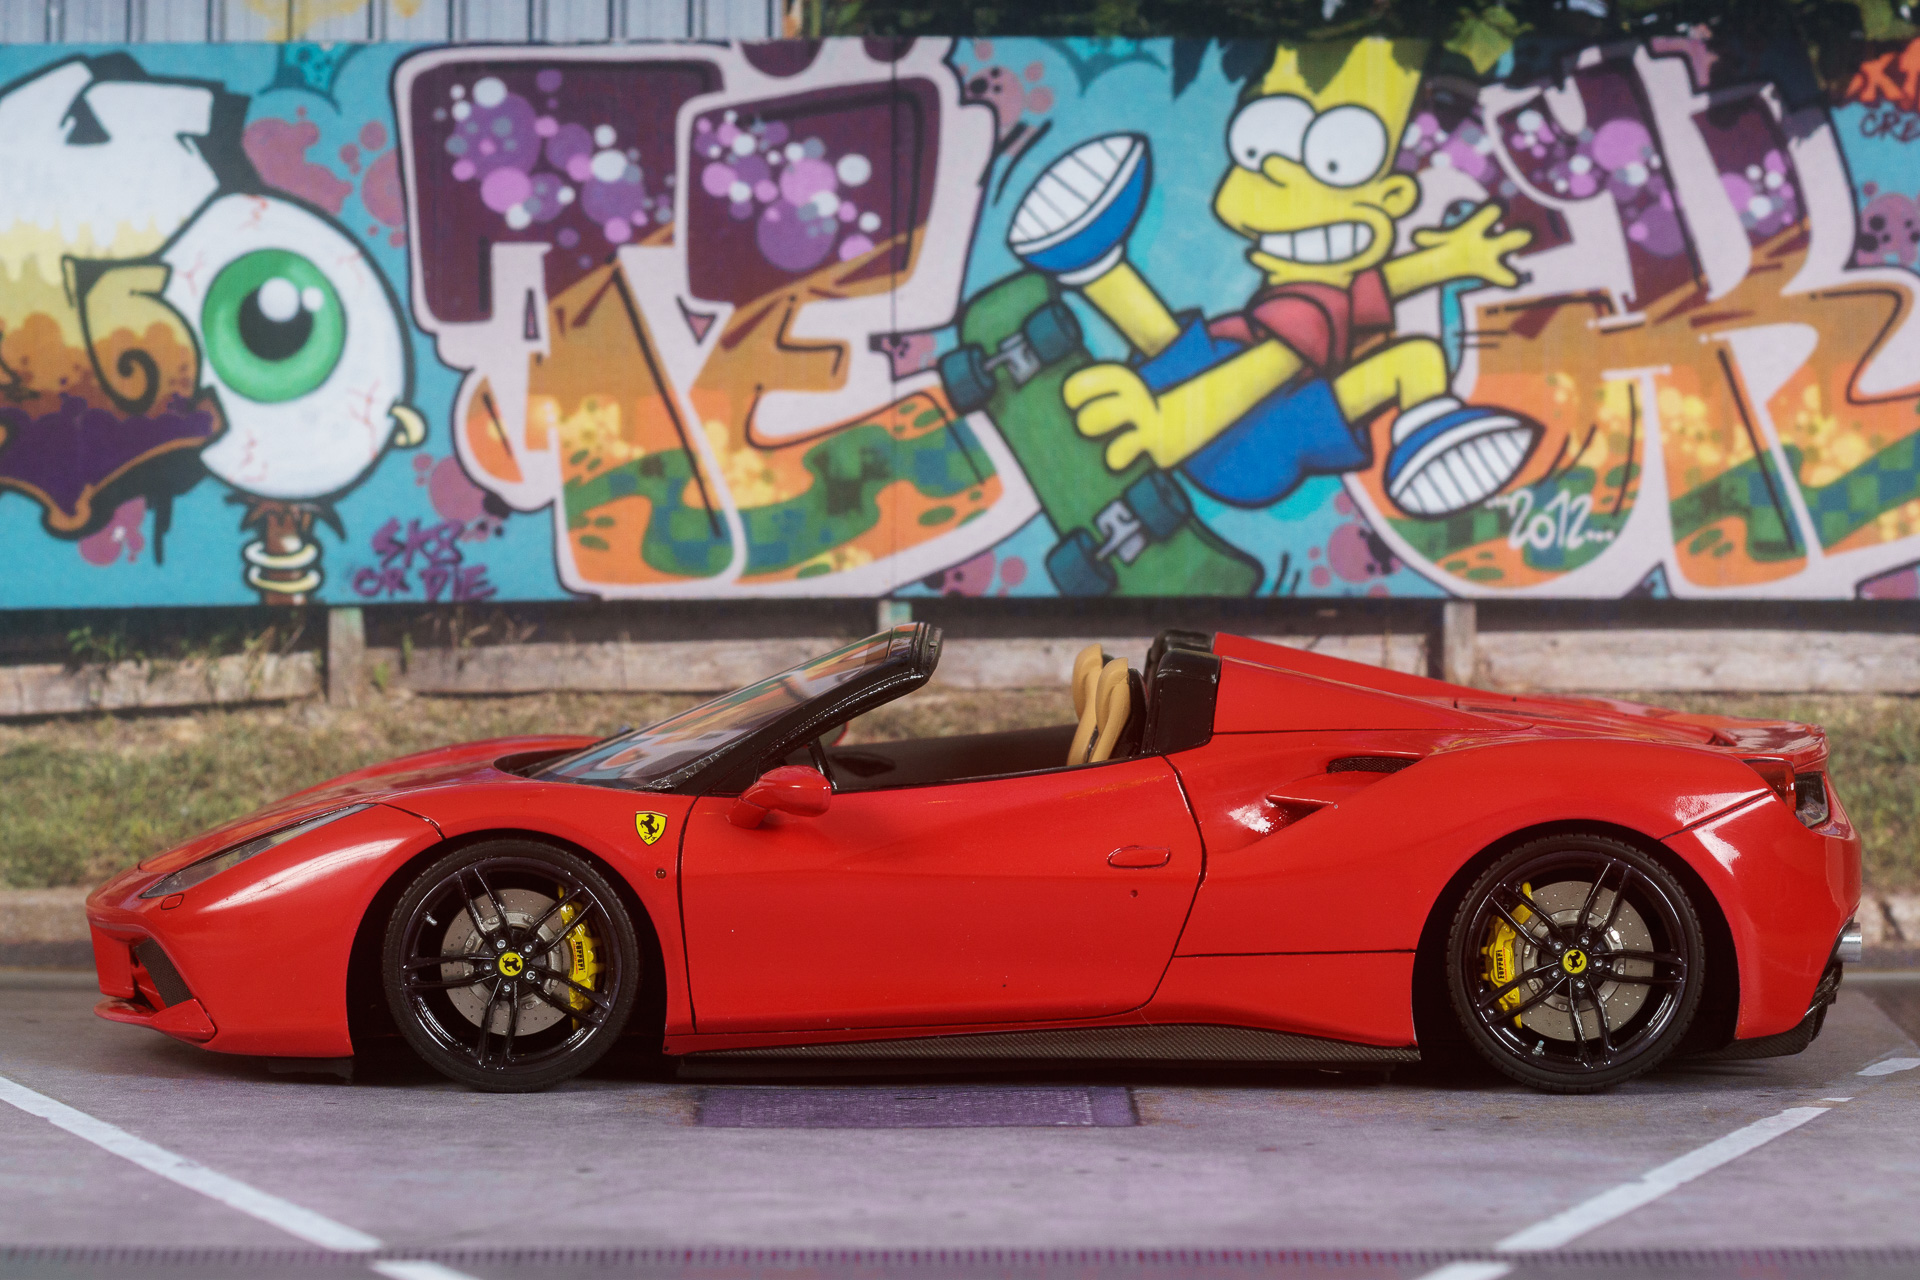
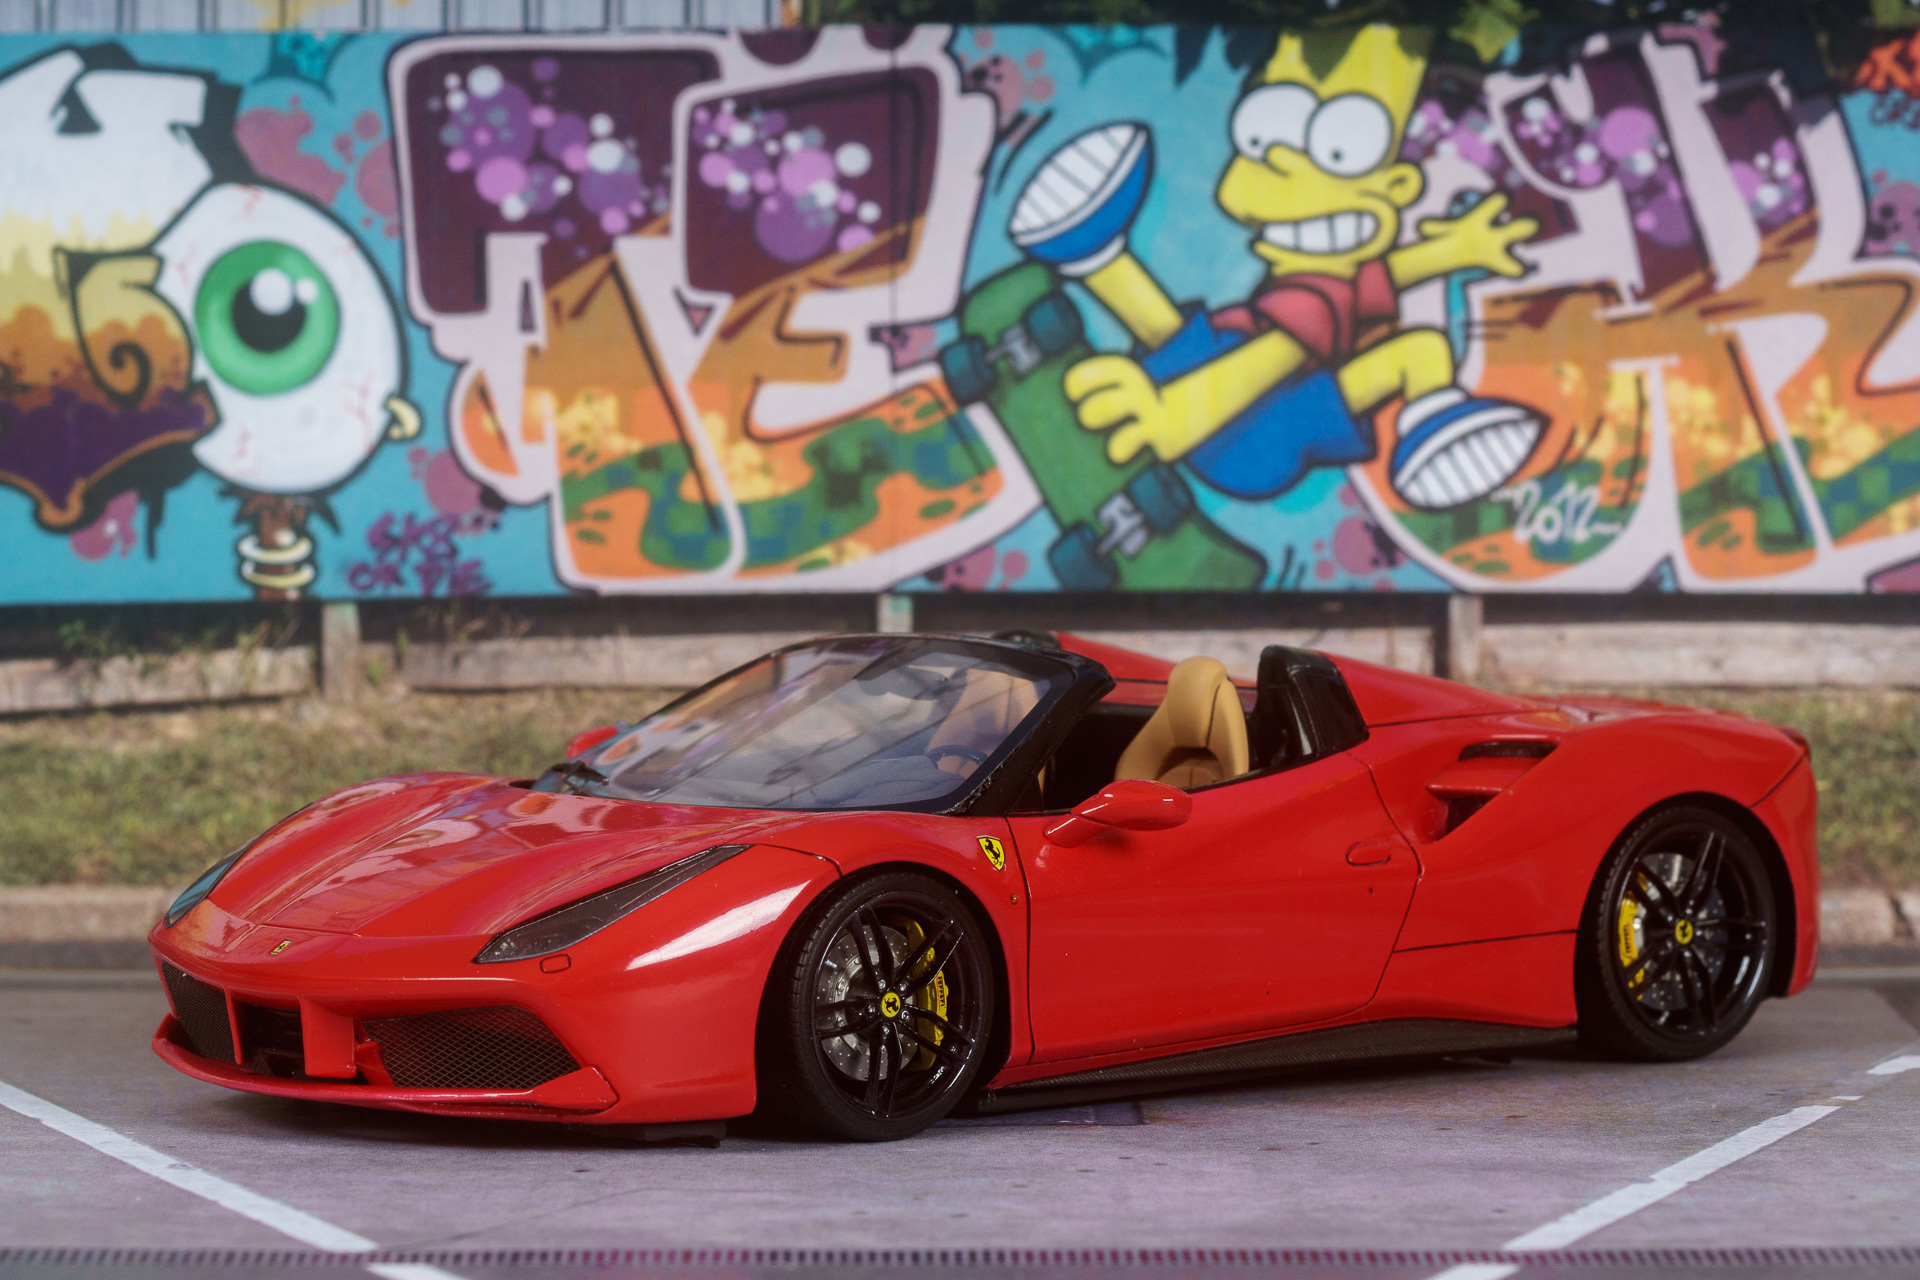
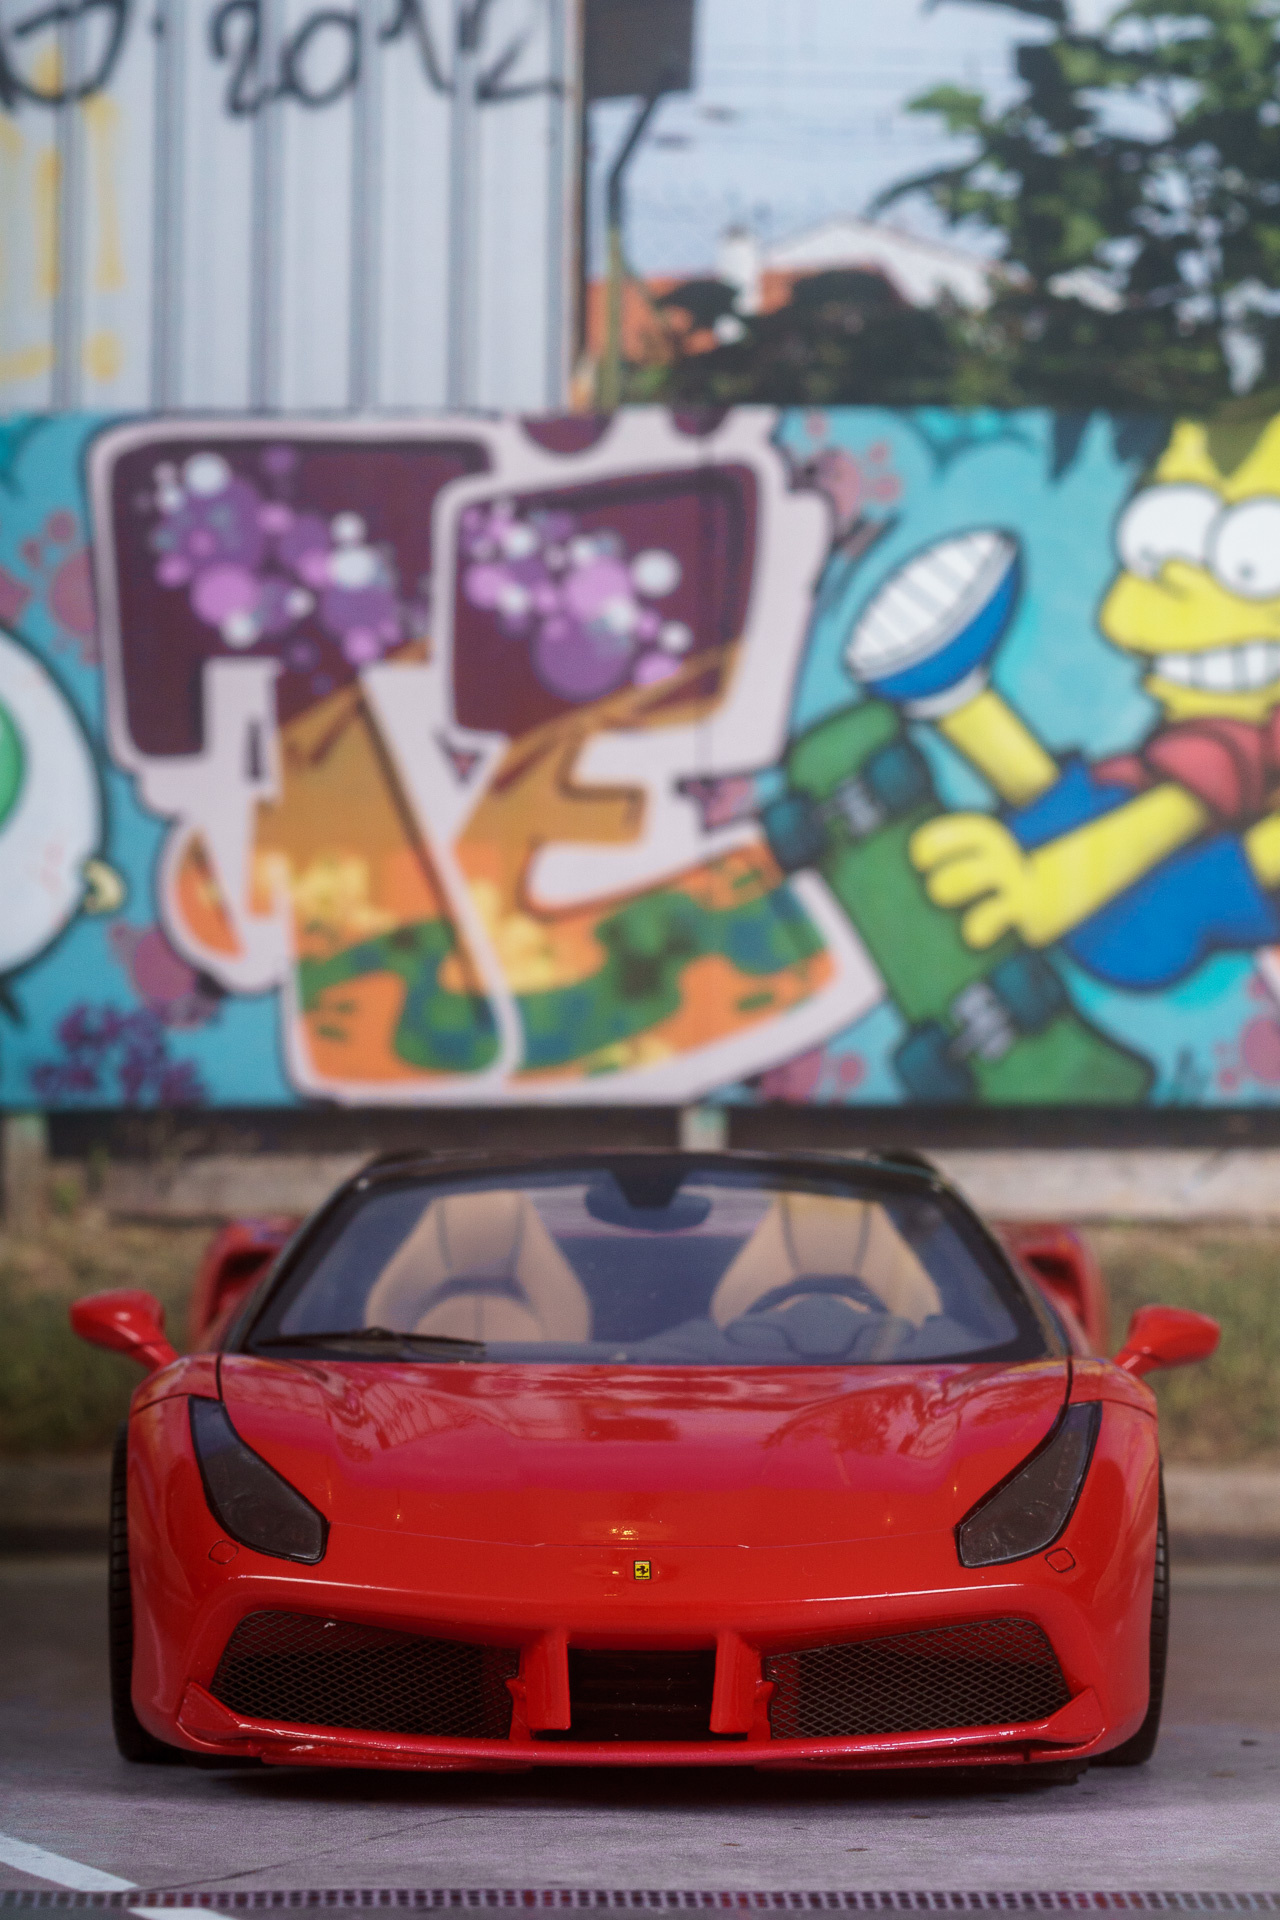
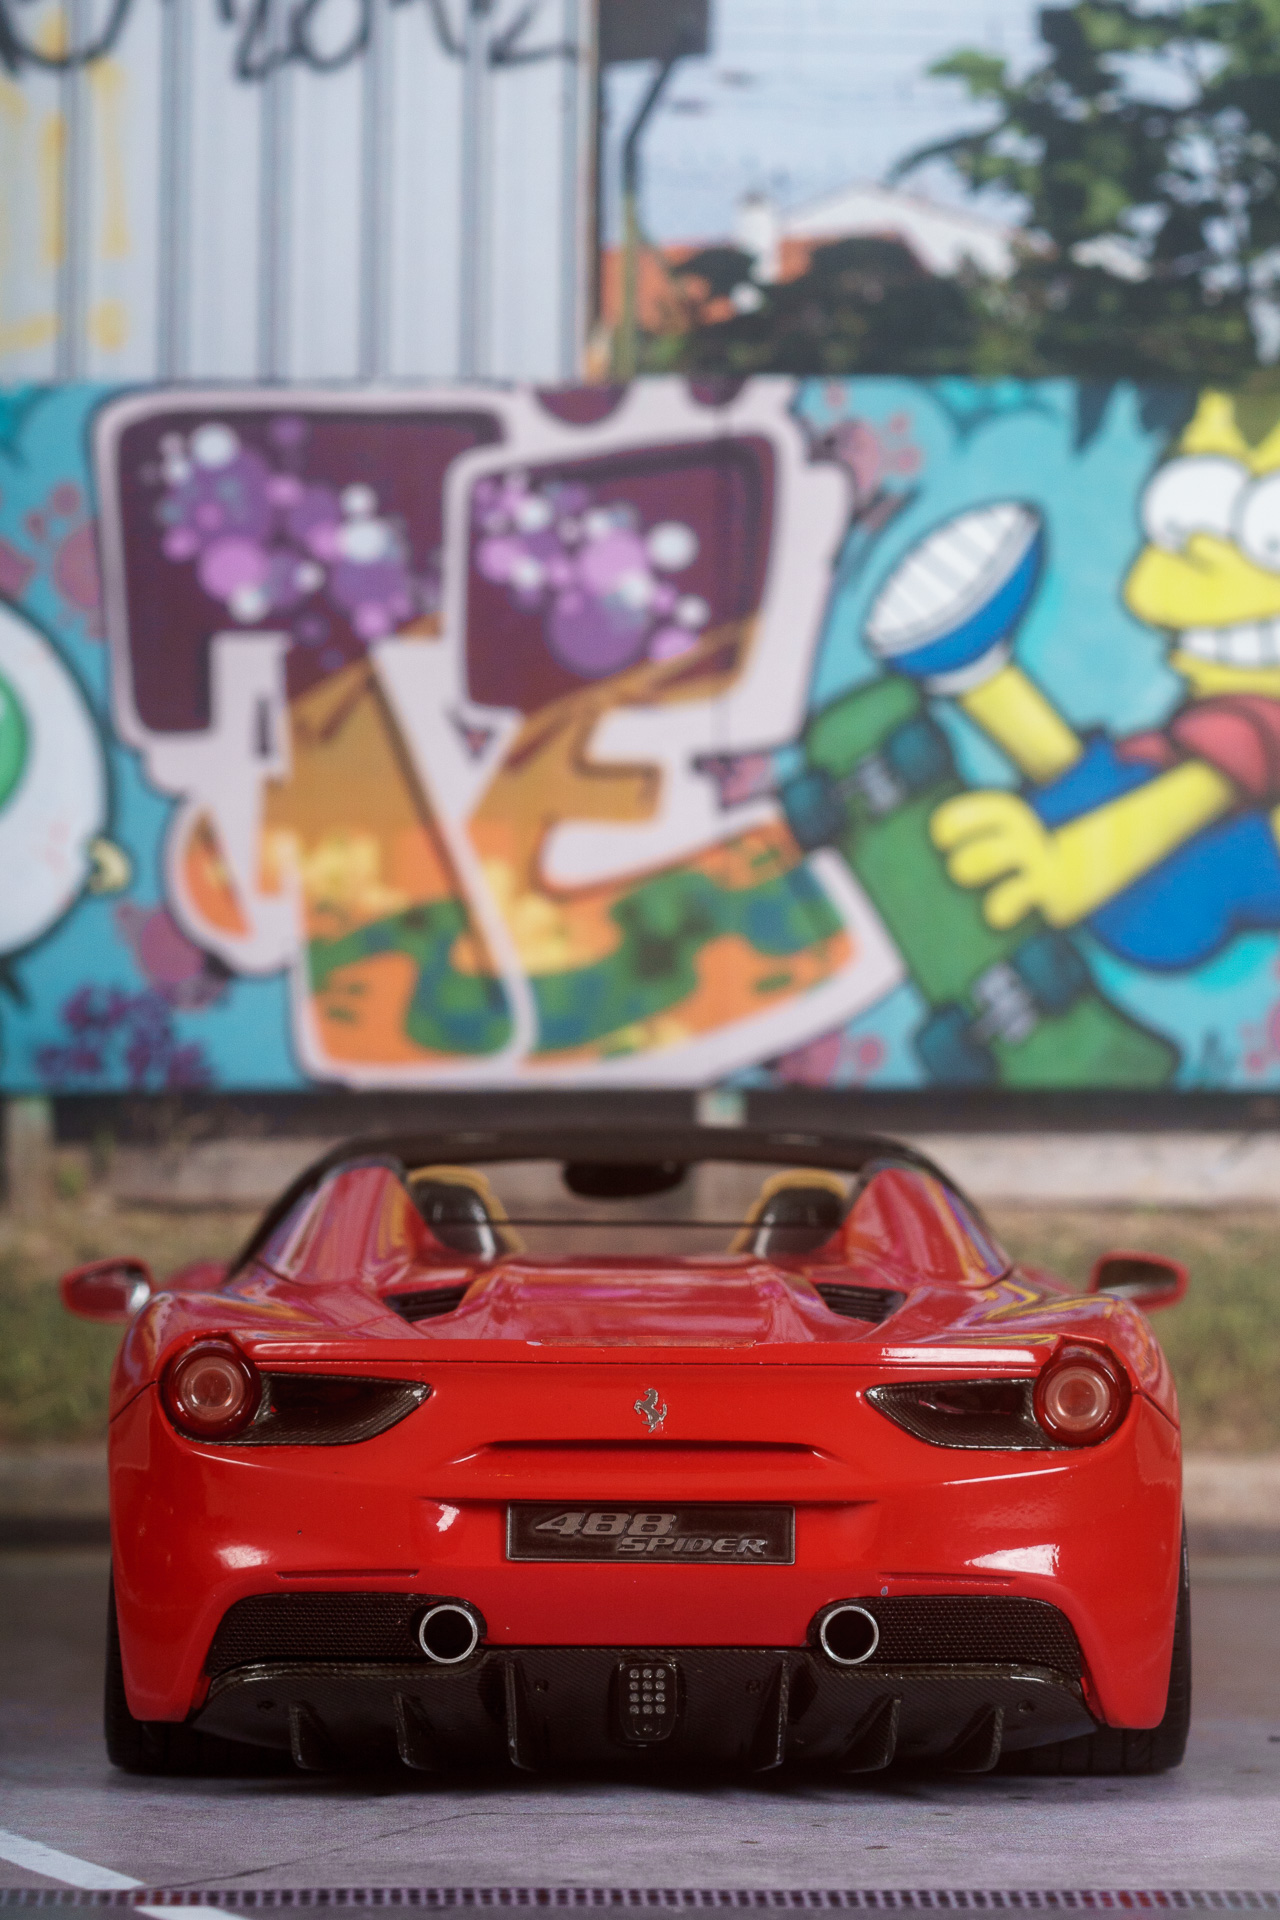
Hi all When taking gallery pictures for my Lamborghini Veneno I noticed that I didn't had some gallery pics for my Ferrari 488 Spider neither. So I decided to change that and took the Ferrari out of the display cabinet und put it on the photo background. The work in progress can be found here: I hope you like the pictures Urs
- 12 replies
-
- 1
-
-
- alpha models
- ferrari
- (and 1 more)
-
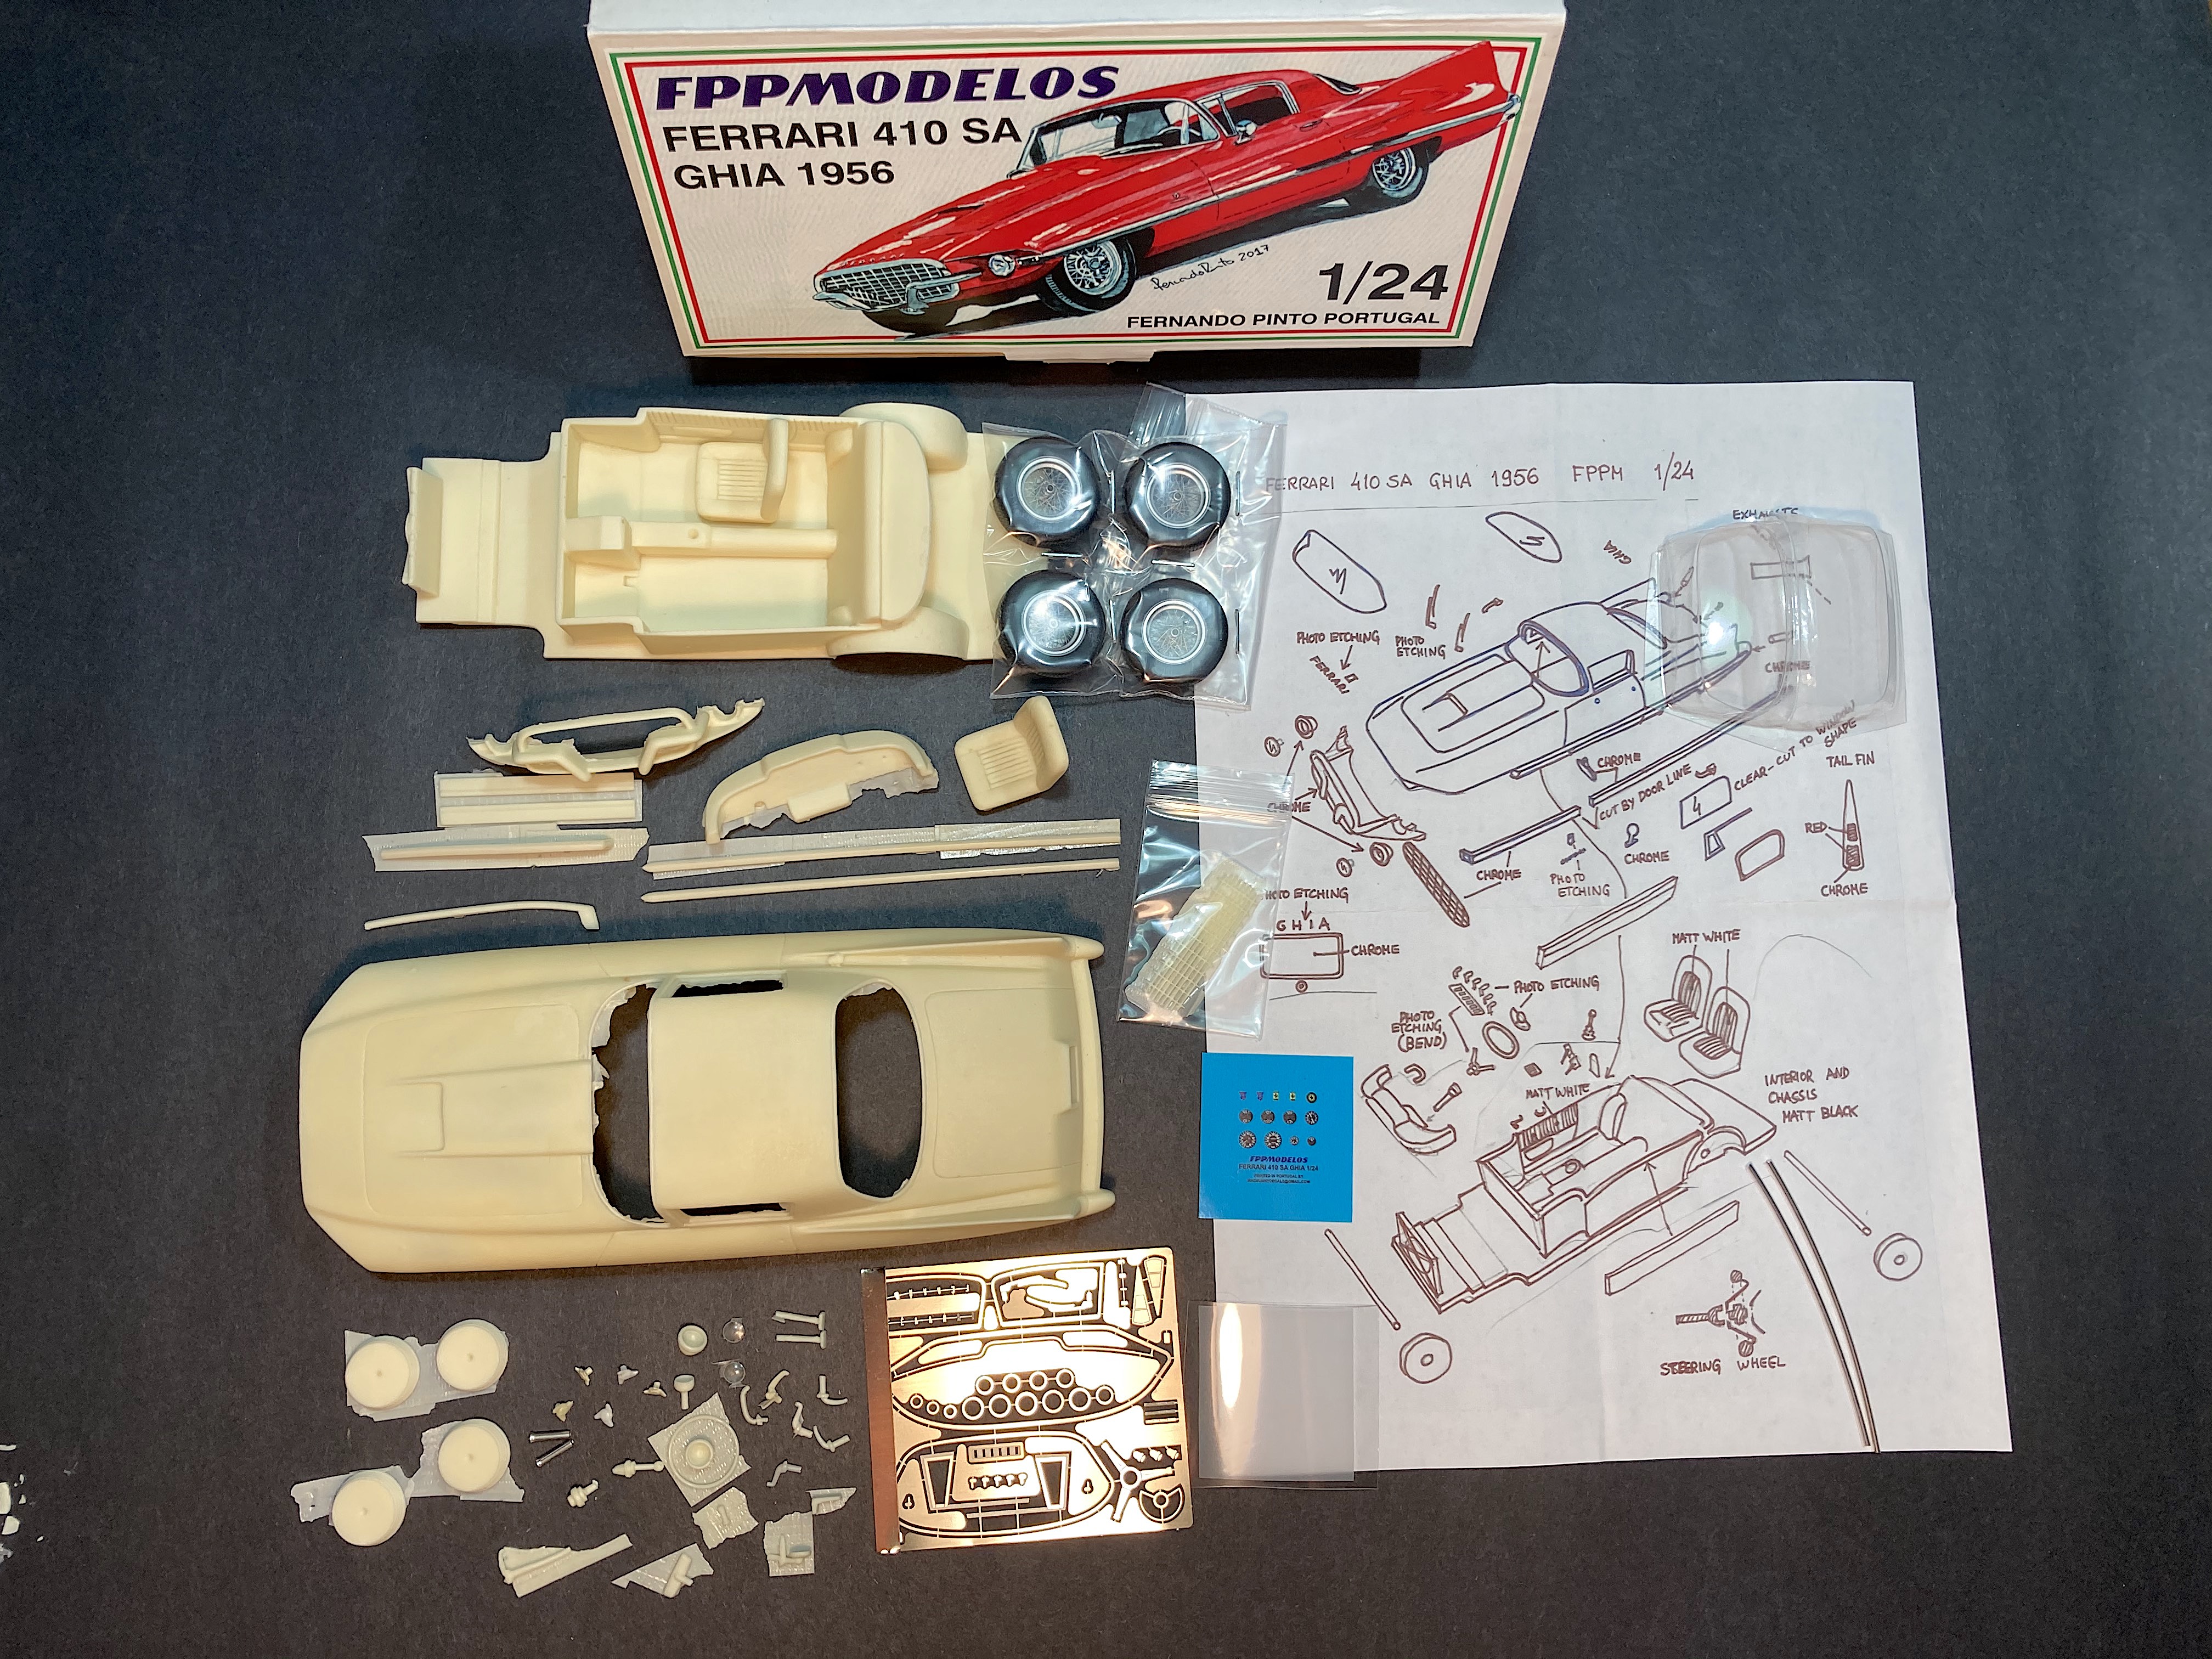
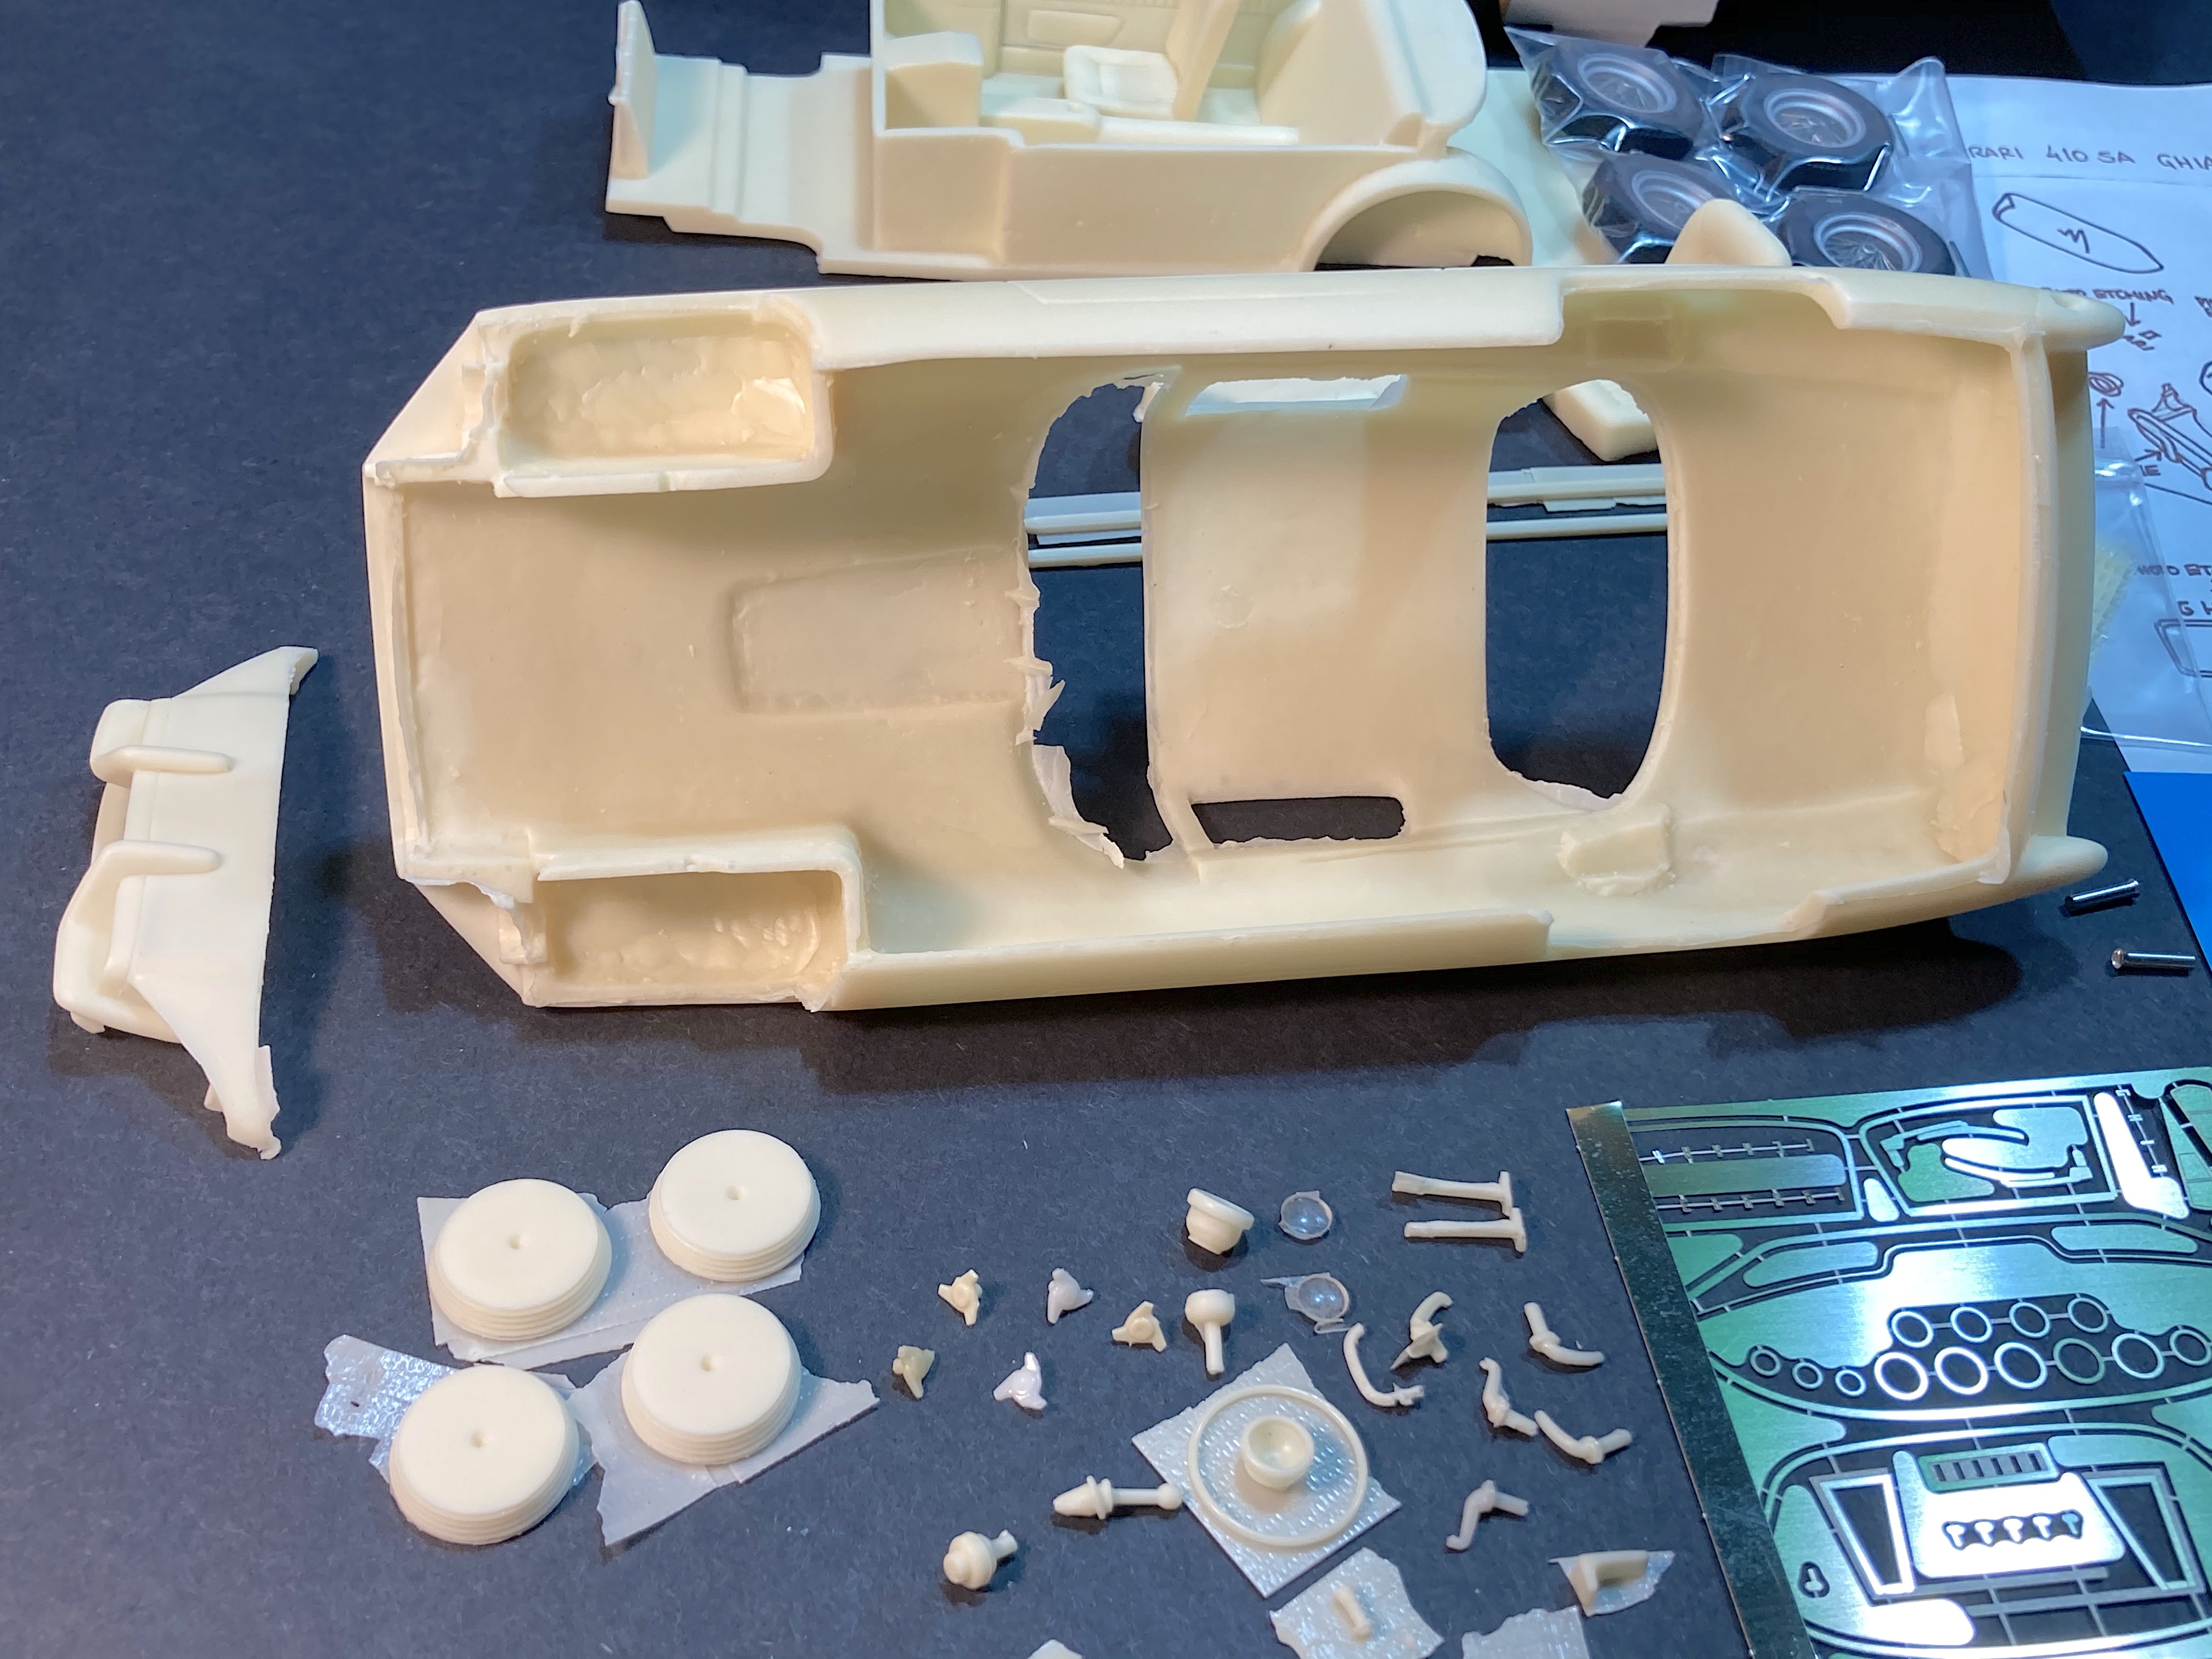
Ferrari 410 SA Ghia 1956 by Fernando Pinto Portugal
89AKurt posted a topic in Car Kit News & Reviews
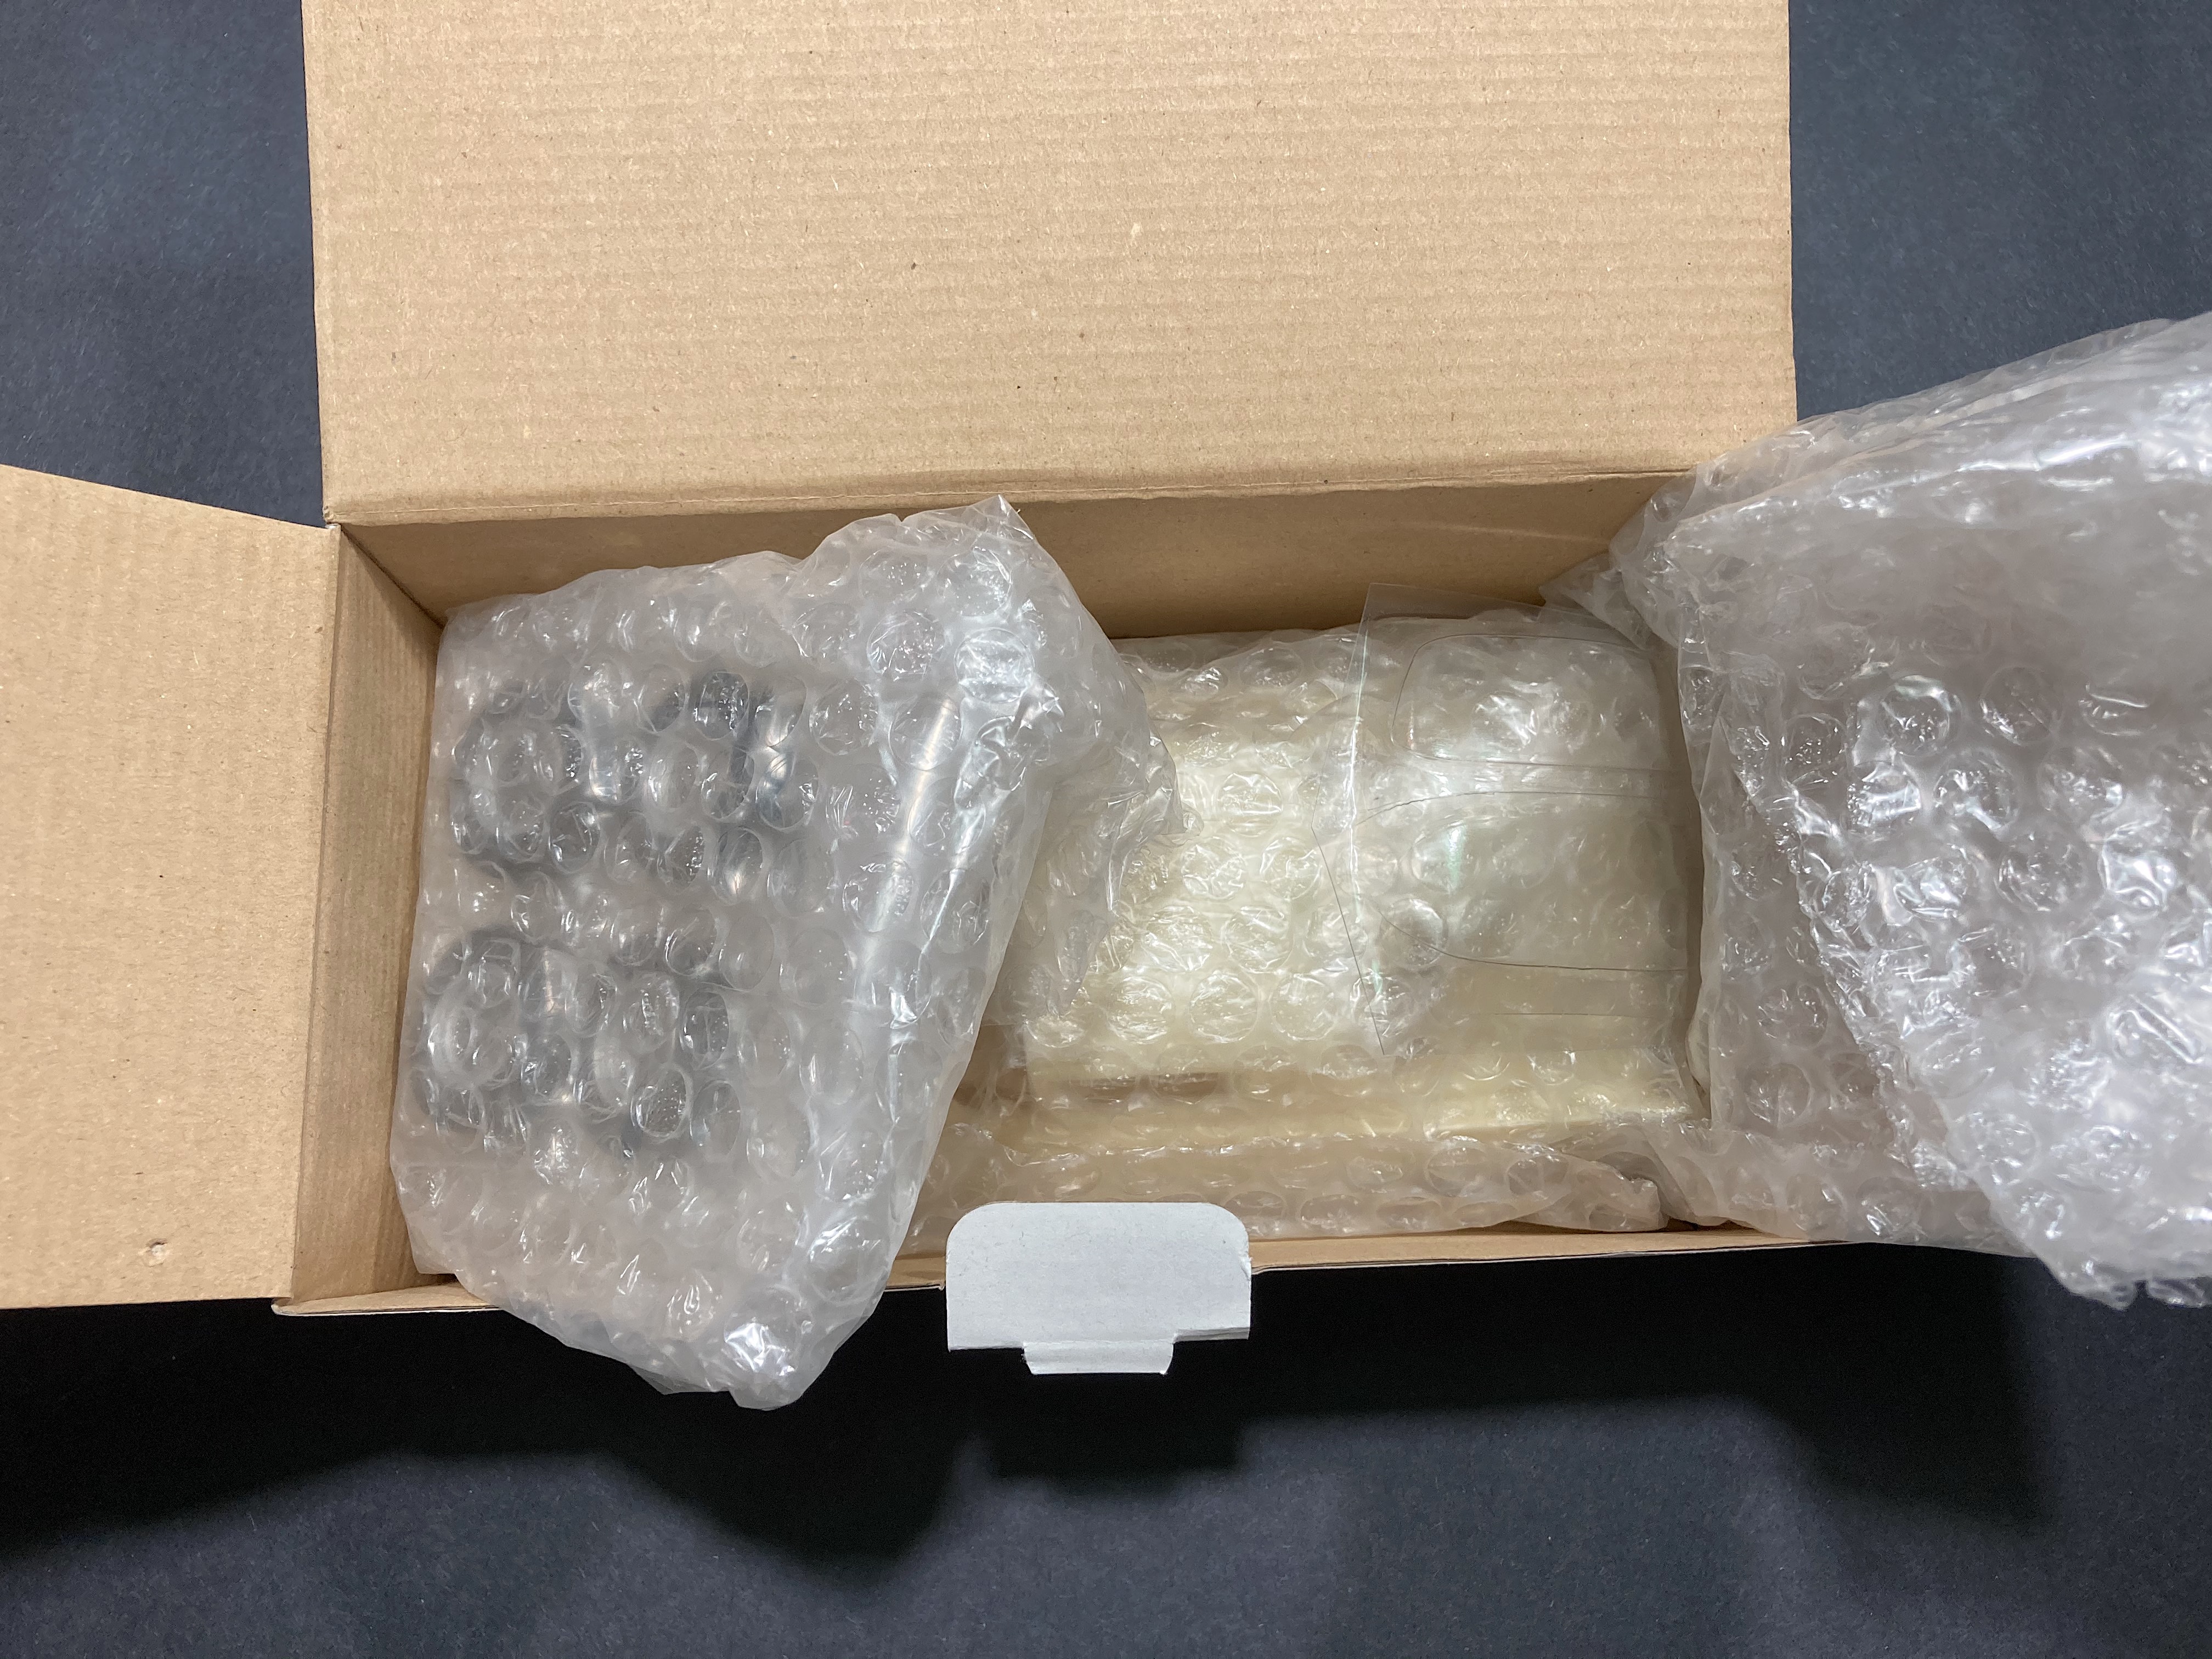
Brand new resin kit of the unusual Ferrari 410 Superamerica Ghia. I've kept my eye on his Facebook page, after several years he posted that this was about ready, so I PMed him to say I was interested. I said that I look for his eBay listings, he said don't do that, he gave me the price and made the sale that way. Ordered August 4, seems like the usual across the ocean service. Nice cardboard box with his artwork top and one end. Well packed in bubblewrap. It's a curbside, but I have plans. You can tell it's handmade, not too thick a body. His famous real wire wheels, rims are painted, and the resin tires have an authentic looking tread. Nice decals. The grill is resin; I asked if he considered doing that with photo-etch, he said this is laser cut. The photo-etch is top notch. I've had this book a long time, so have a great start for reference. This is my plan (of mice and men), restorod! The Revell 2005 575M Maranello based Superamerica is a little shorter in wheelbase, but the width is about the same. Only a nut like me would think of making an already challenging resin kit more so by kitbashing. 🤔 I'm also considering painting turquoise, just to avoid RED. But who knows, I have so many other future projects where I thought the same thing. I've learned to get what I want, NOW, such as the Fisher Alfa Romeo BAT5.
- 17 replies
-
- 1
-

-
- ferrari
- 410 sa ghia
- (and 2 more)
-
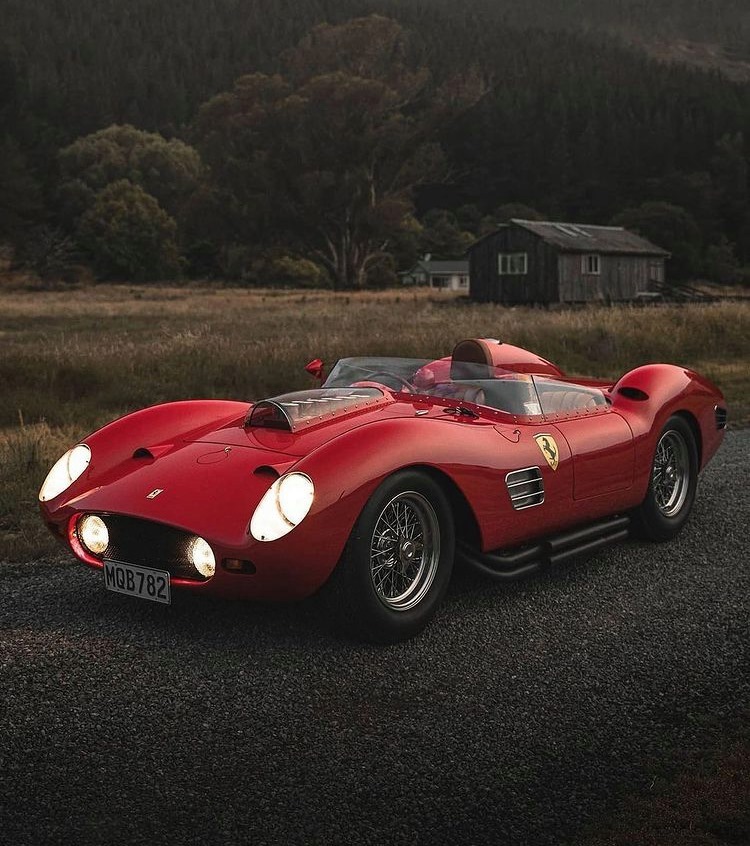
Been seeing more Ferraris that are not original, but recreations based on modern Ferrari drivetrains. It's a theme that I have already built one model as, an outlaw or resto-rod. Found out about this car, built by a shop in New Zealand, a 1959 TR 250 Representation. Seem like a good point to launch this topic.
-
Old Monogram kit, 1965. Bought it at the 2019 IPMS kit swap. Classic build, ie, no PE or aftermarket resin. A simple, not particularly accurate kit, but went together well. I find that when I'm struggling to make time for kit building, finding a "low-parts count kit" (20-30 count) helps get me over the motivation hump. Finished with Tamiya primer, Tamiya Ferrari Red spray can & Mr. Hobby clear. Used Bare Metal Foil for chrome.
-
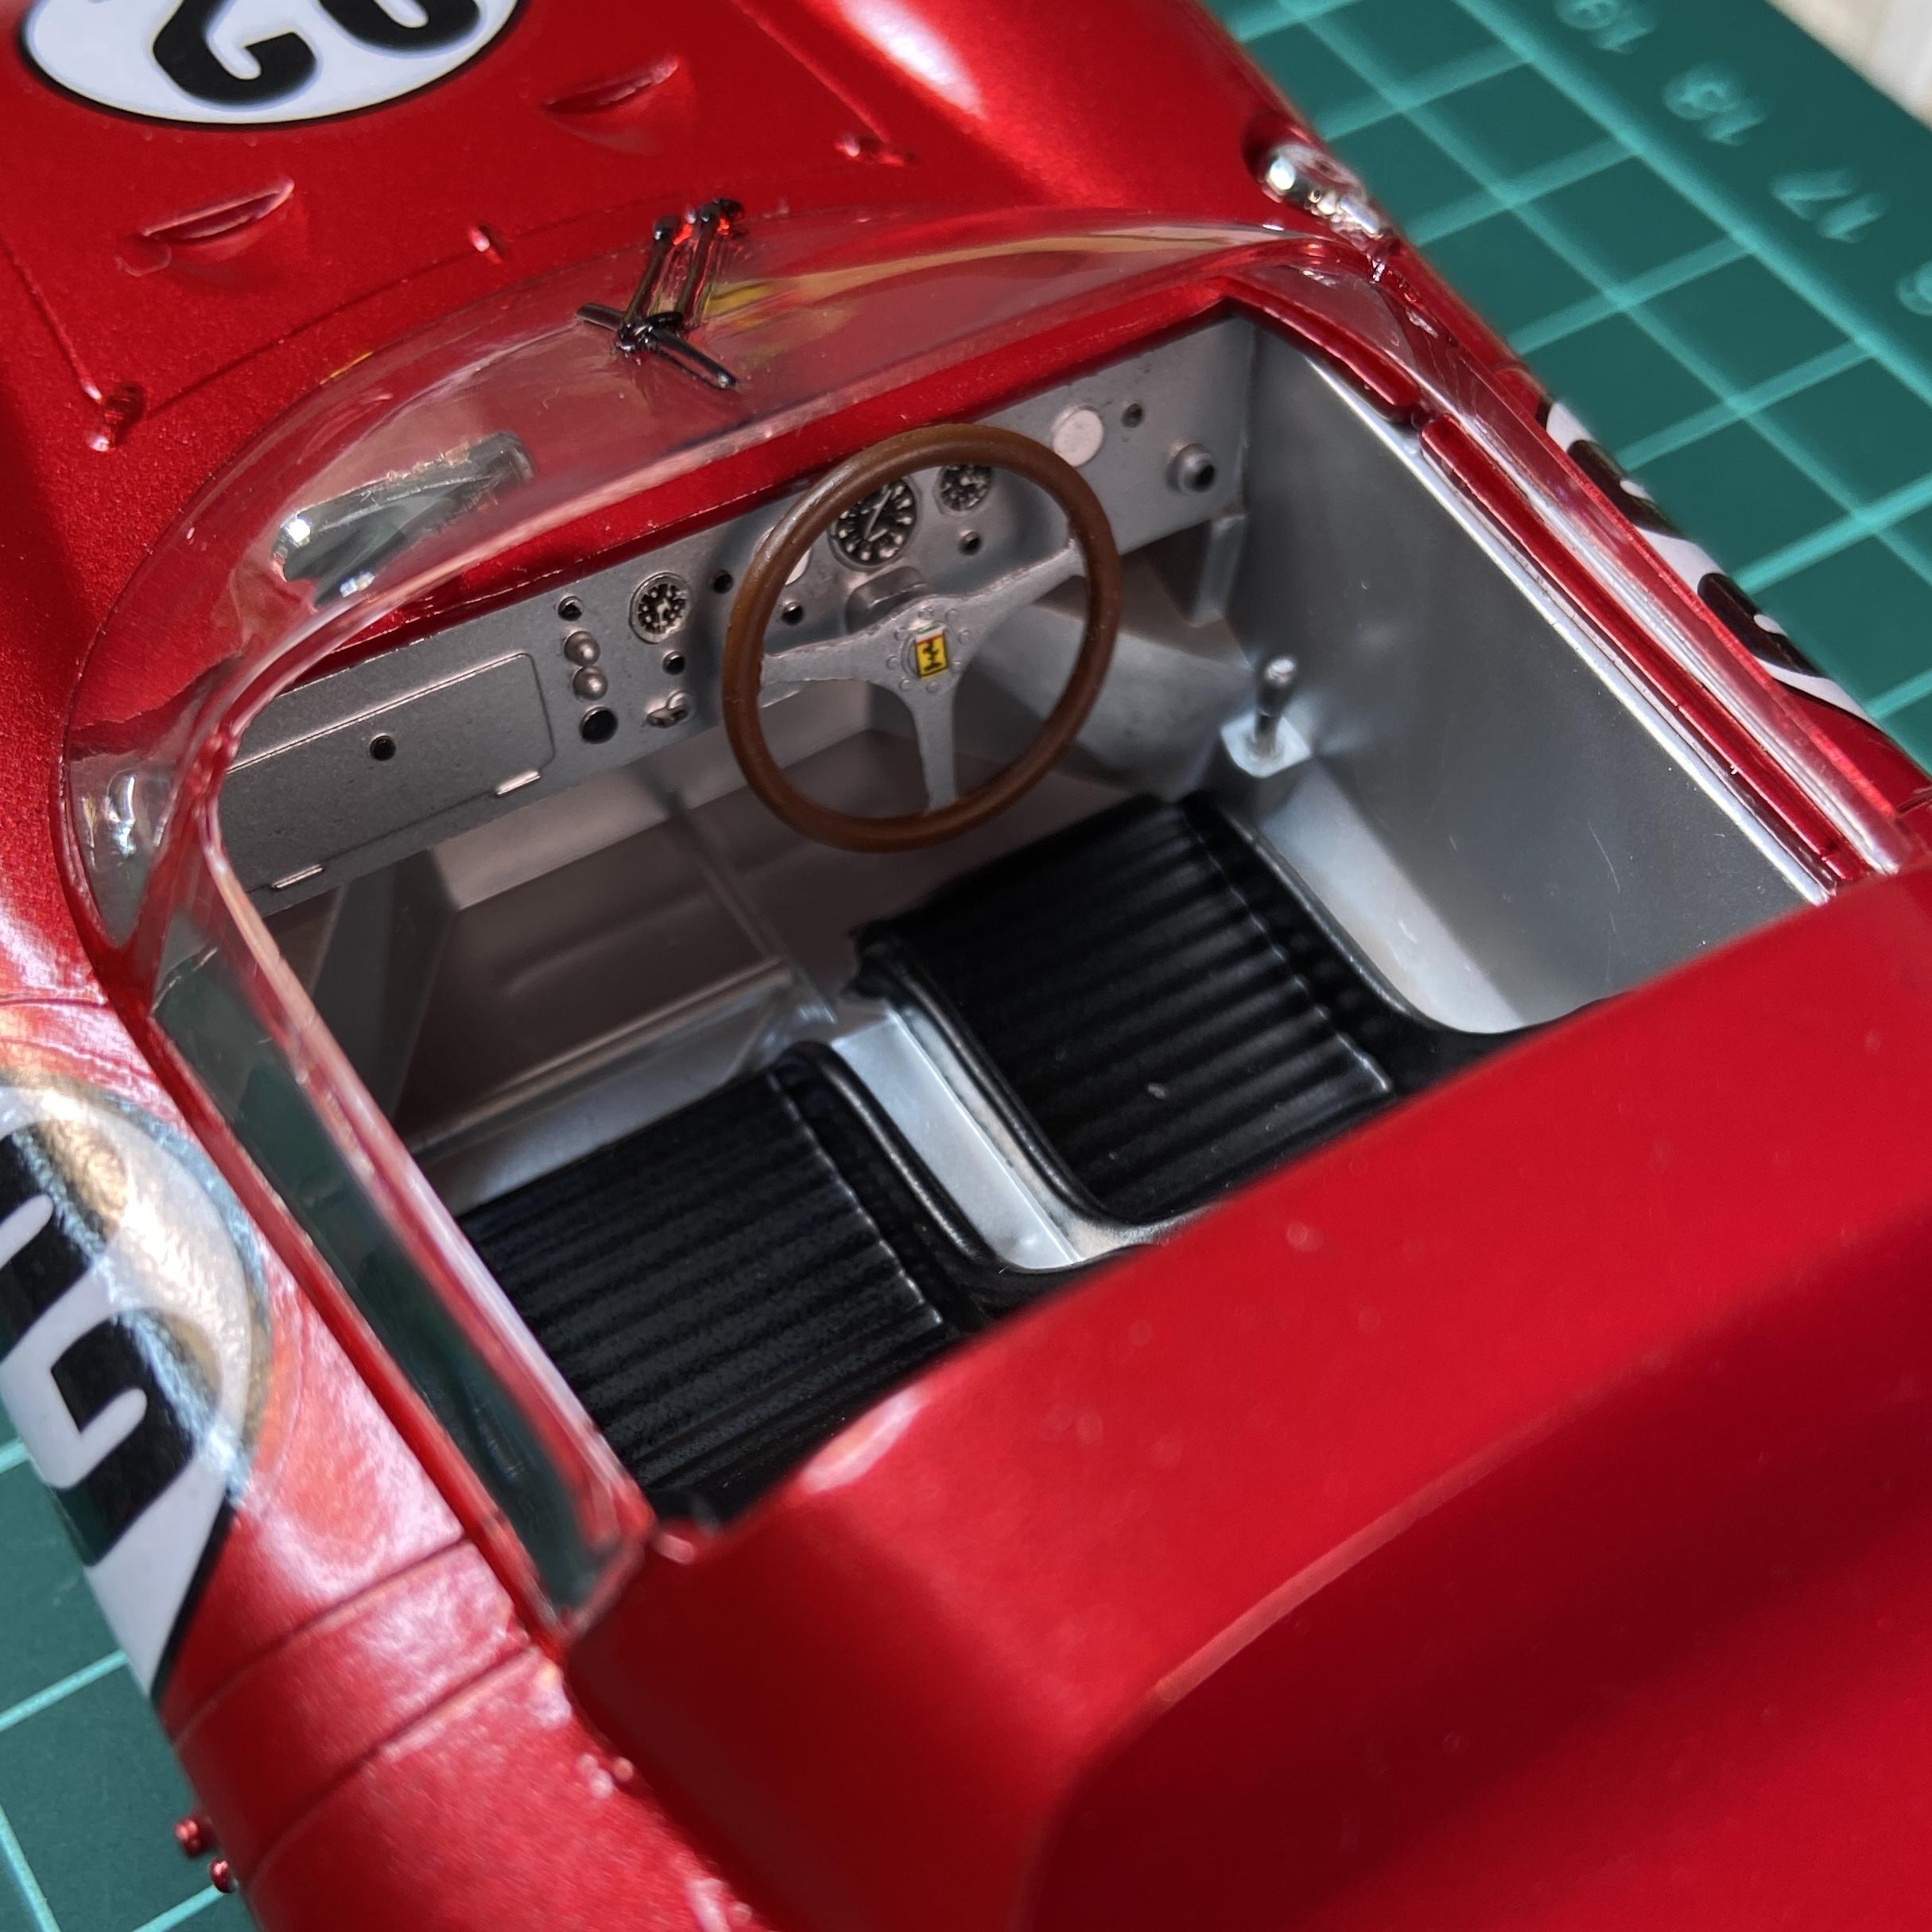
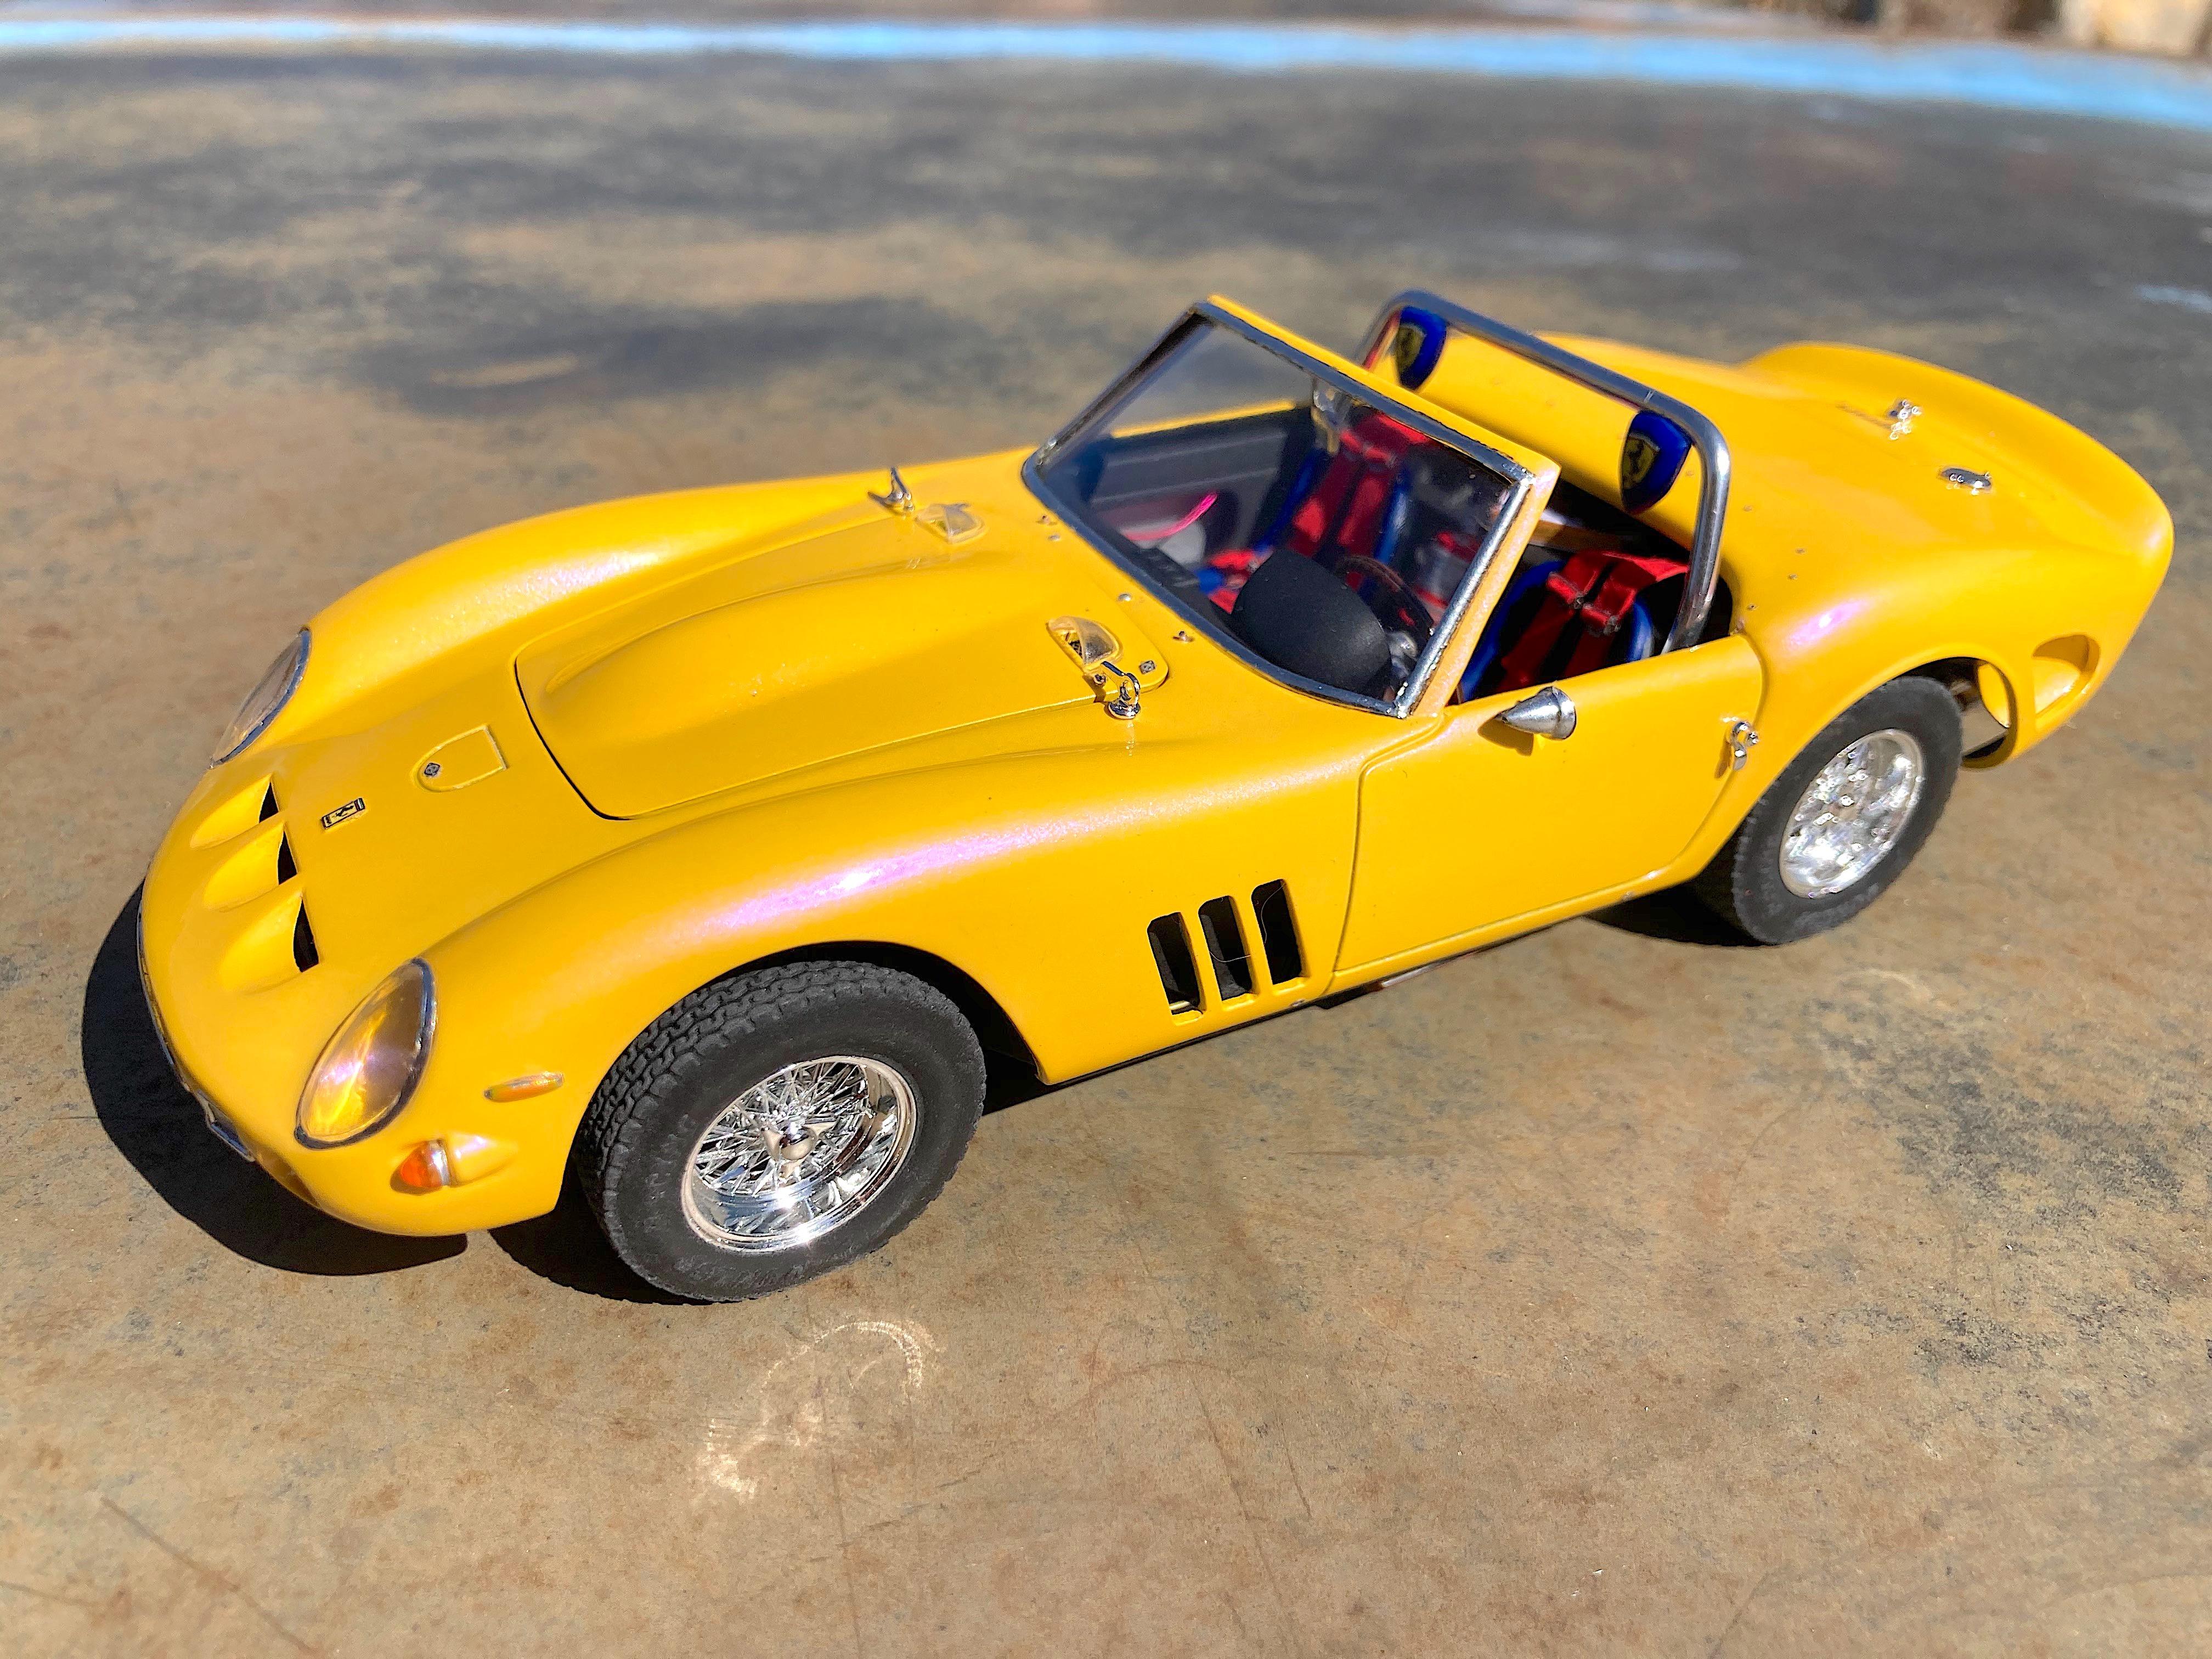
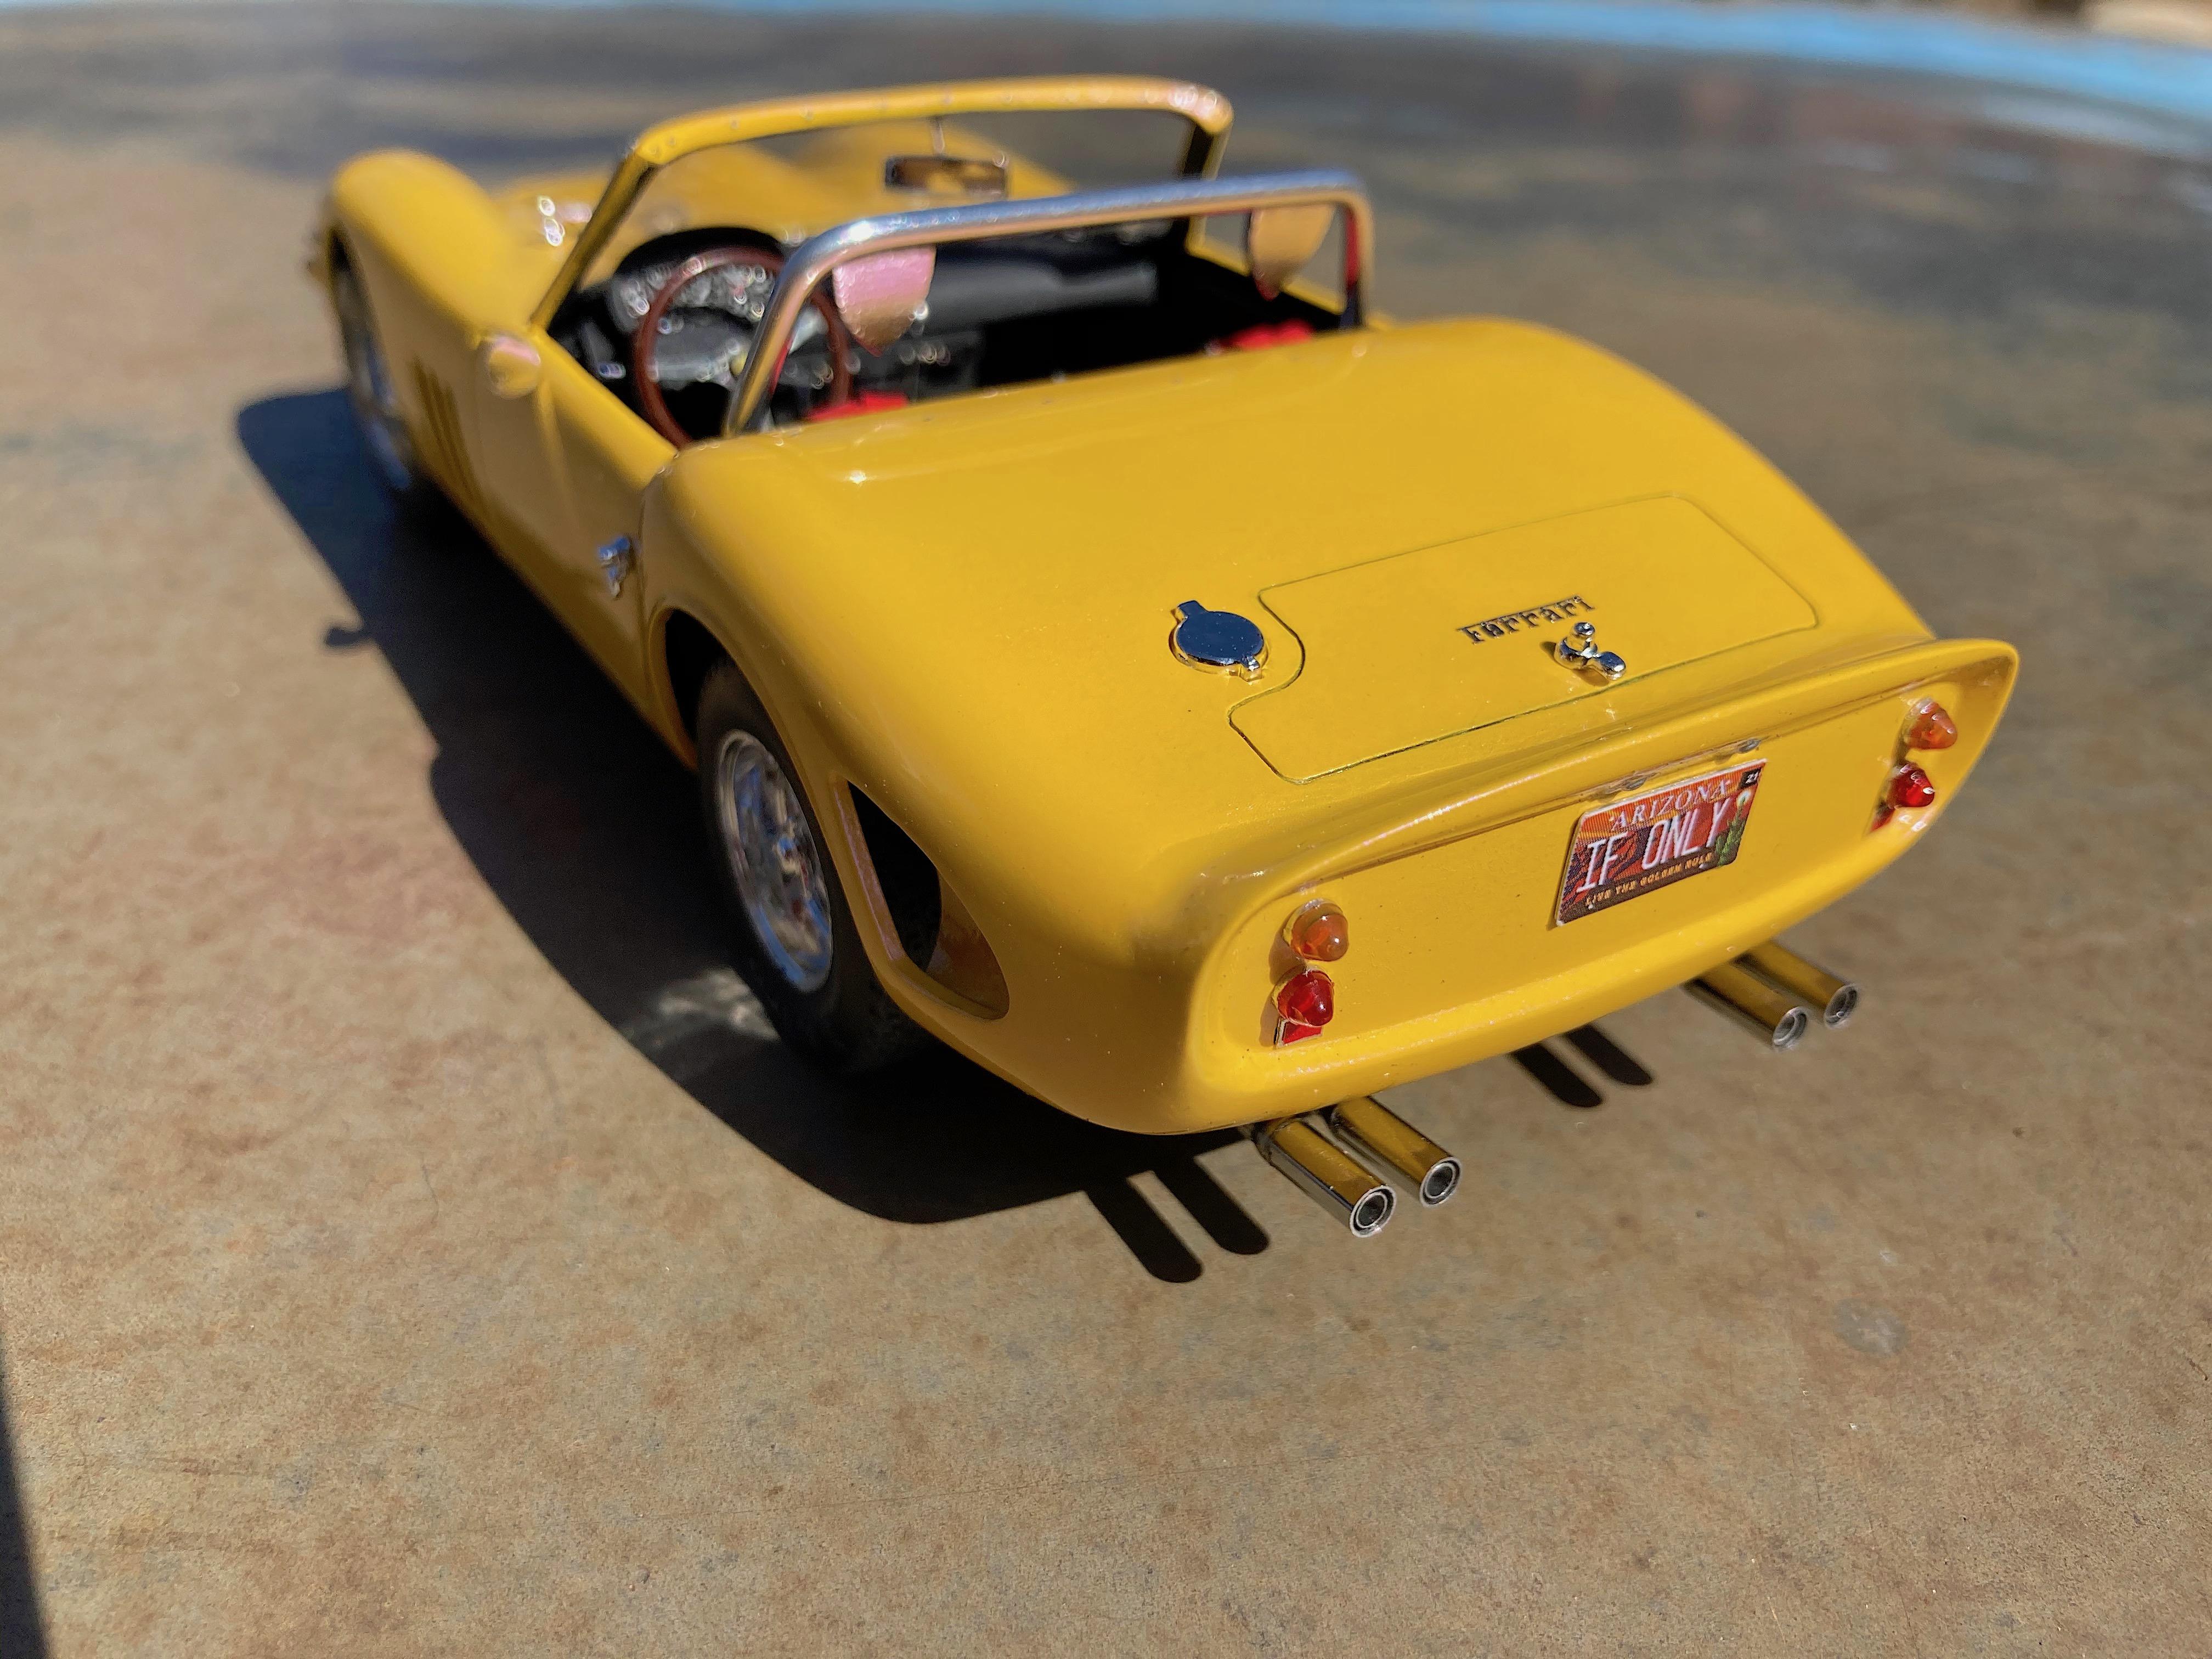
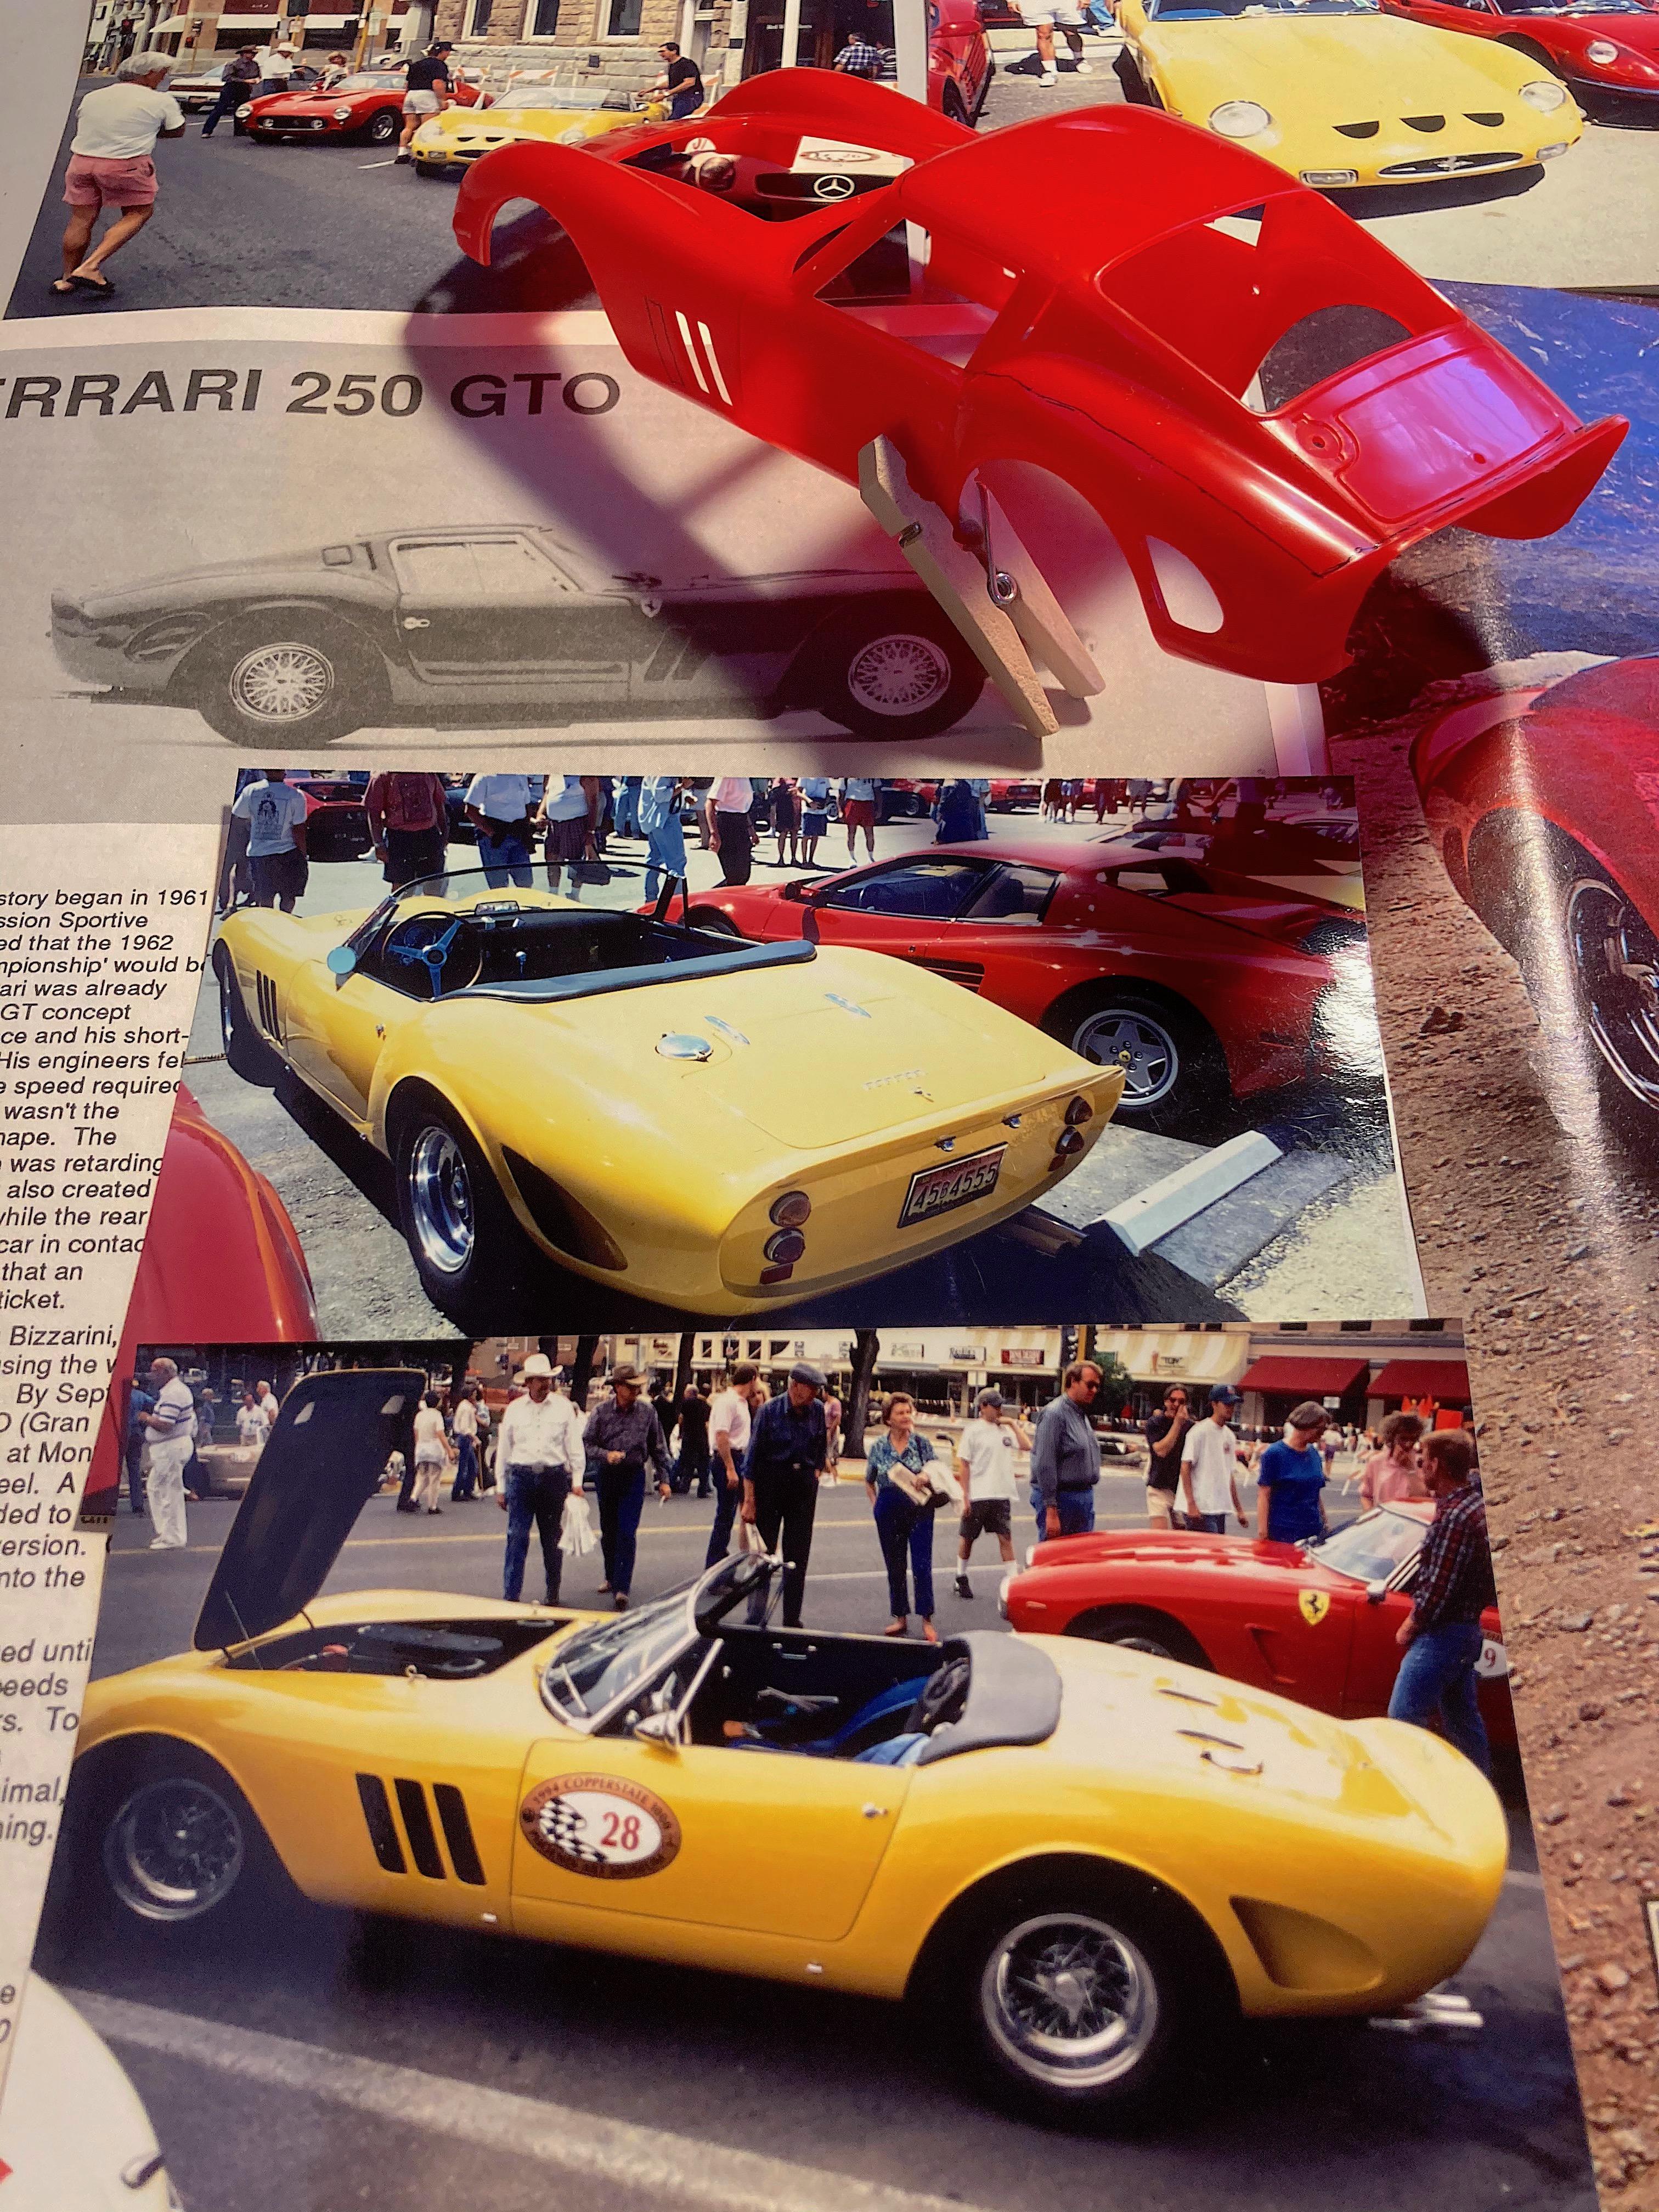
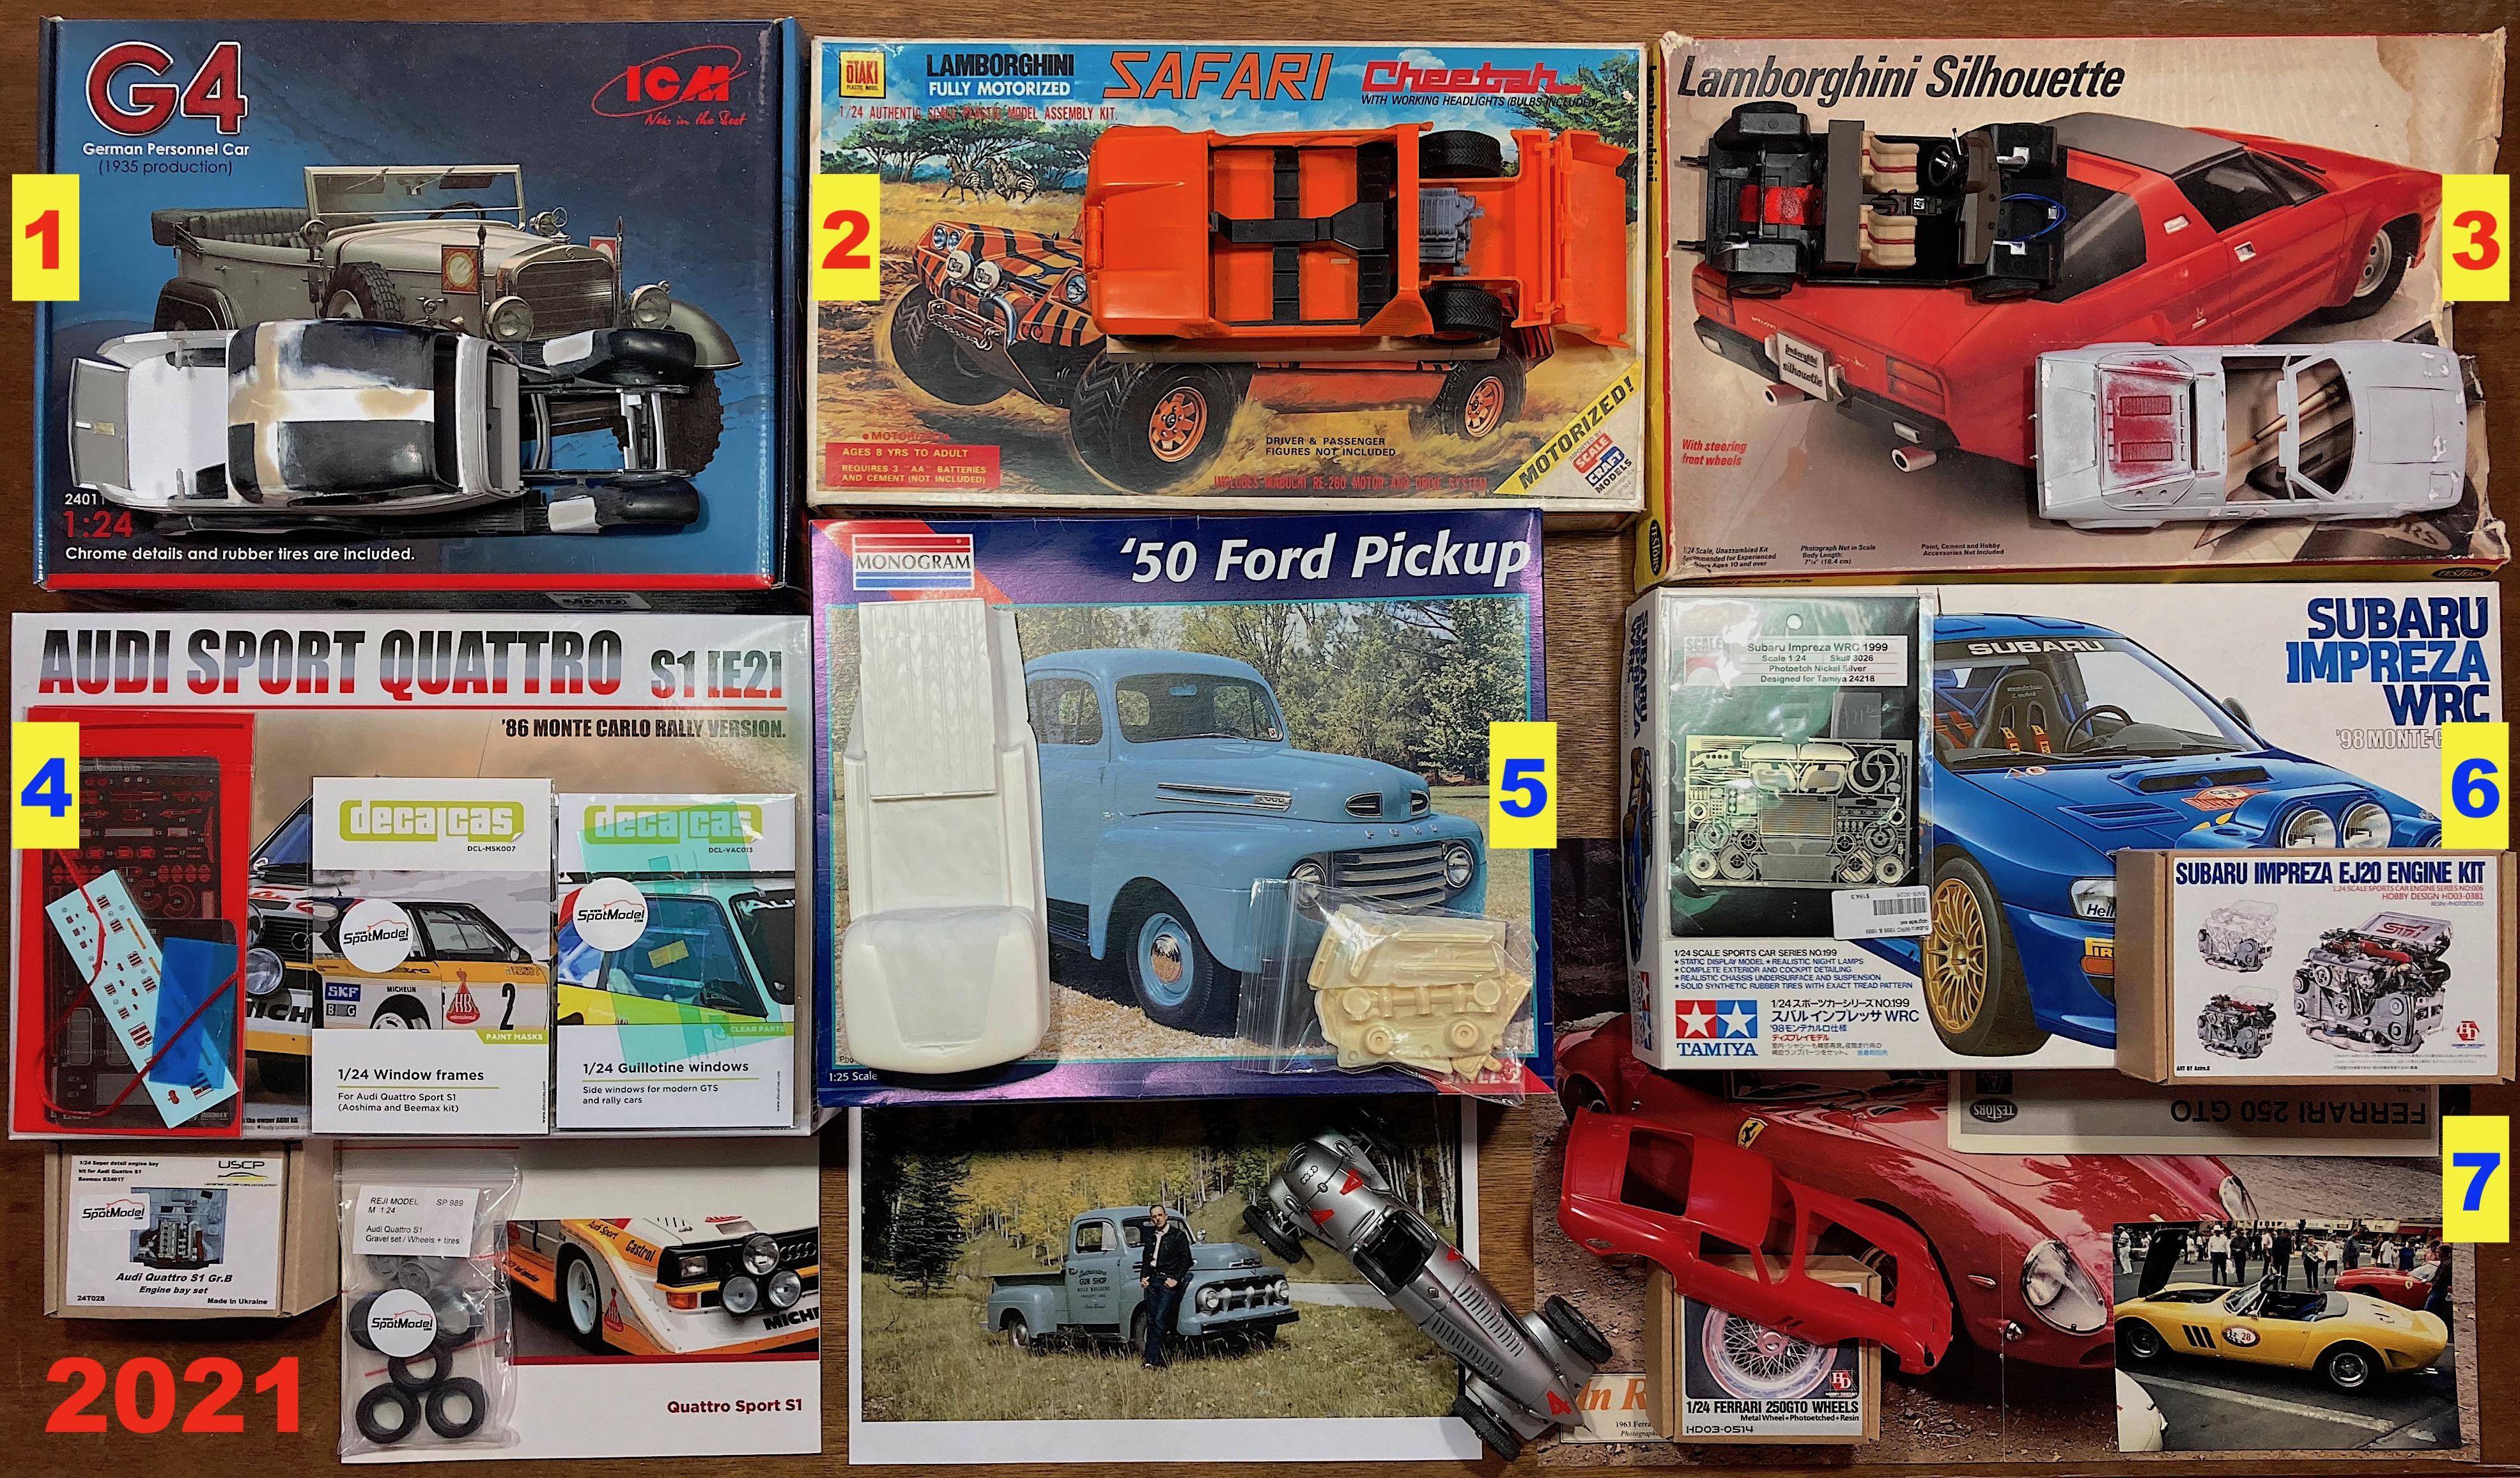
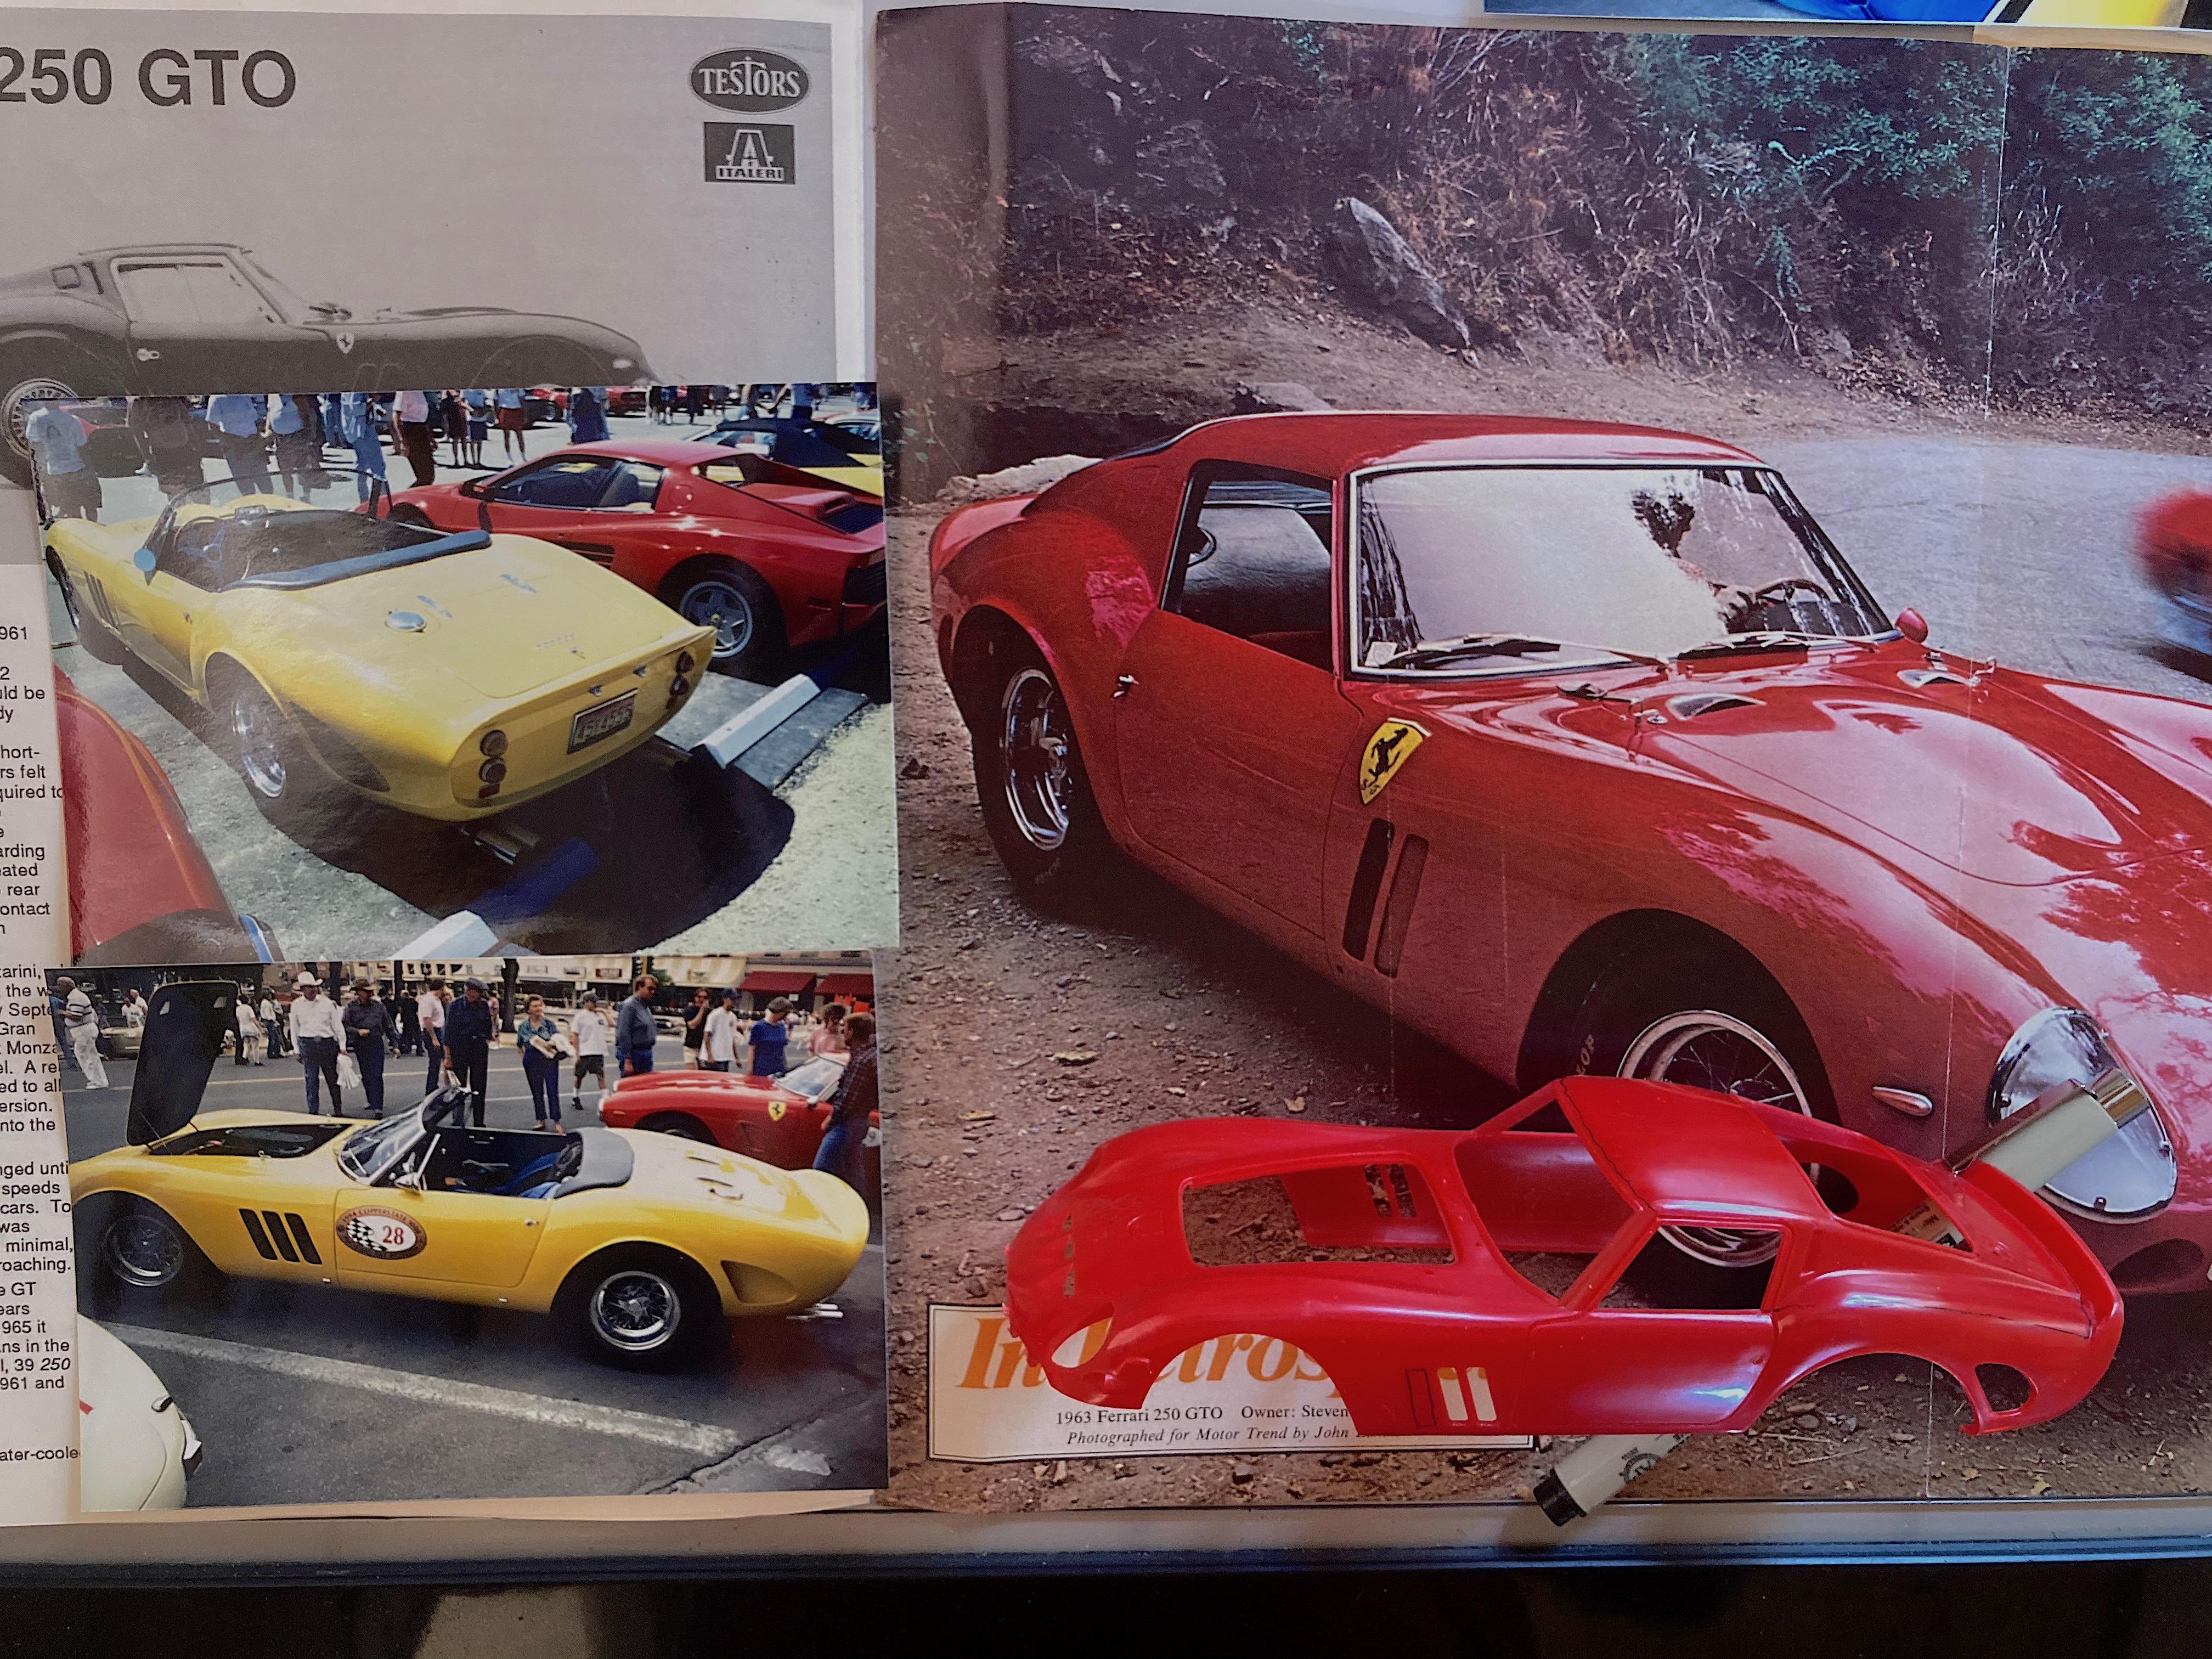
Unofficial reveal, of the Italeri (Testors) Ferrari 250 GTO Spyder. WIP: Italeri/Testors Ferrari 250 GTO Spyder The factory never built a Spyder of the famous GTO, two cars were coach built on average Ferrari chassis (is there such a thing?). I saw the convertible twice, once in my town when the Copperstate Rally parked downtown, and at a Monterrey Historics. This is not an exact replica, added some features such as the roll bar. I will take better pictures when the weather cooperates.
-
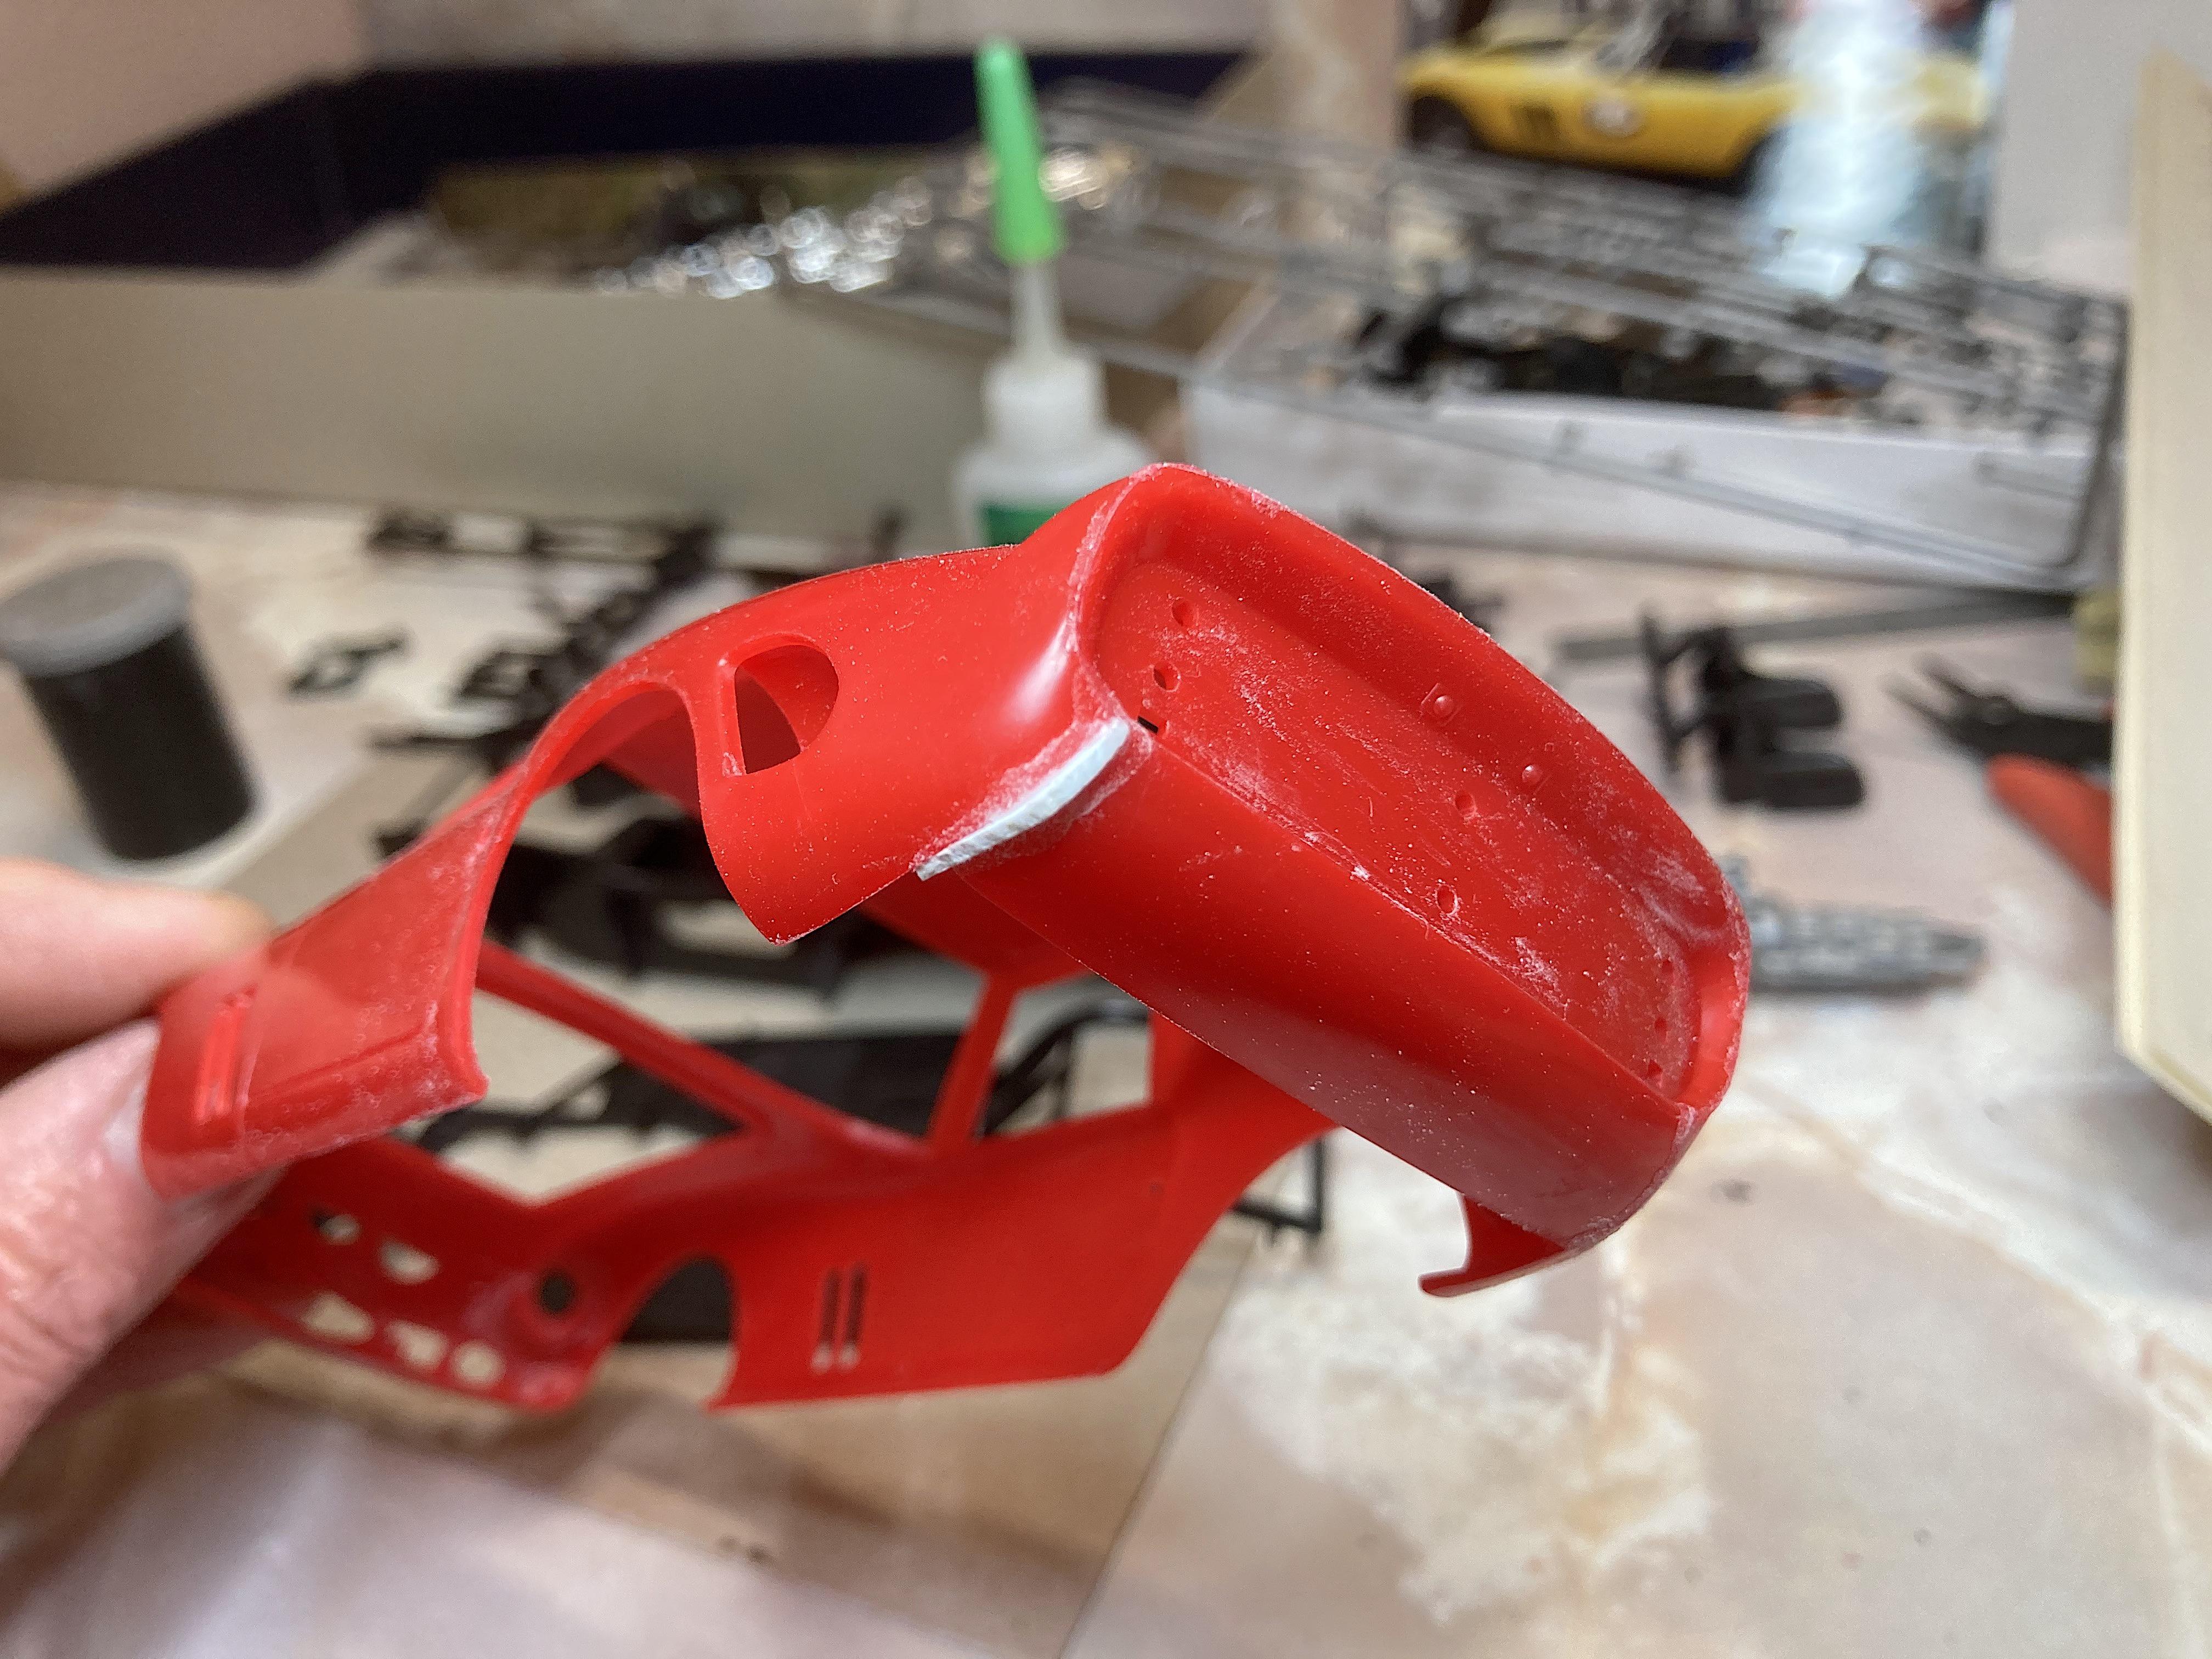
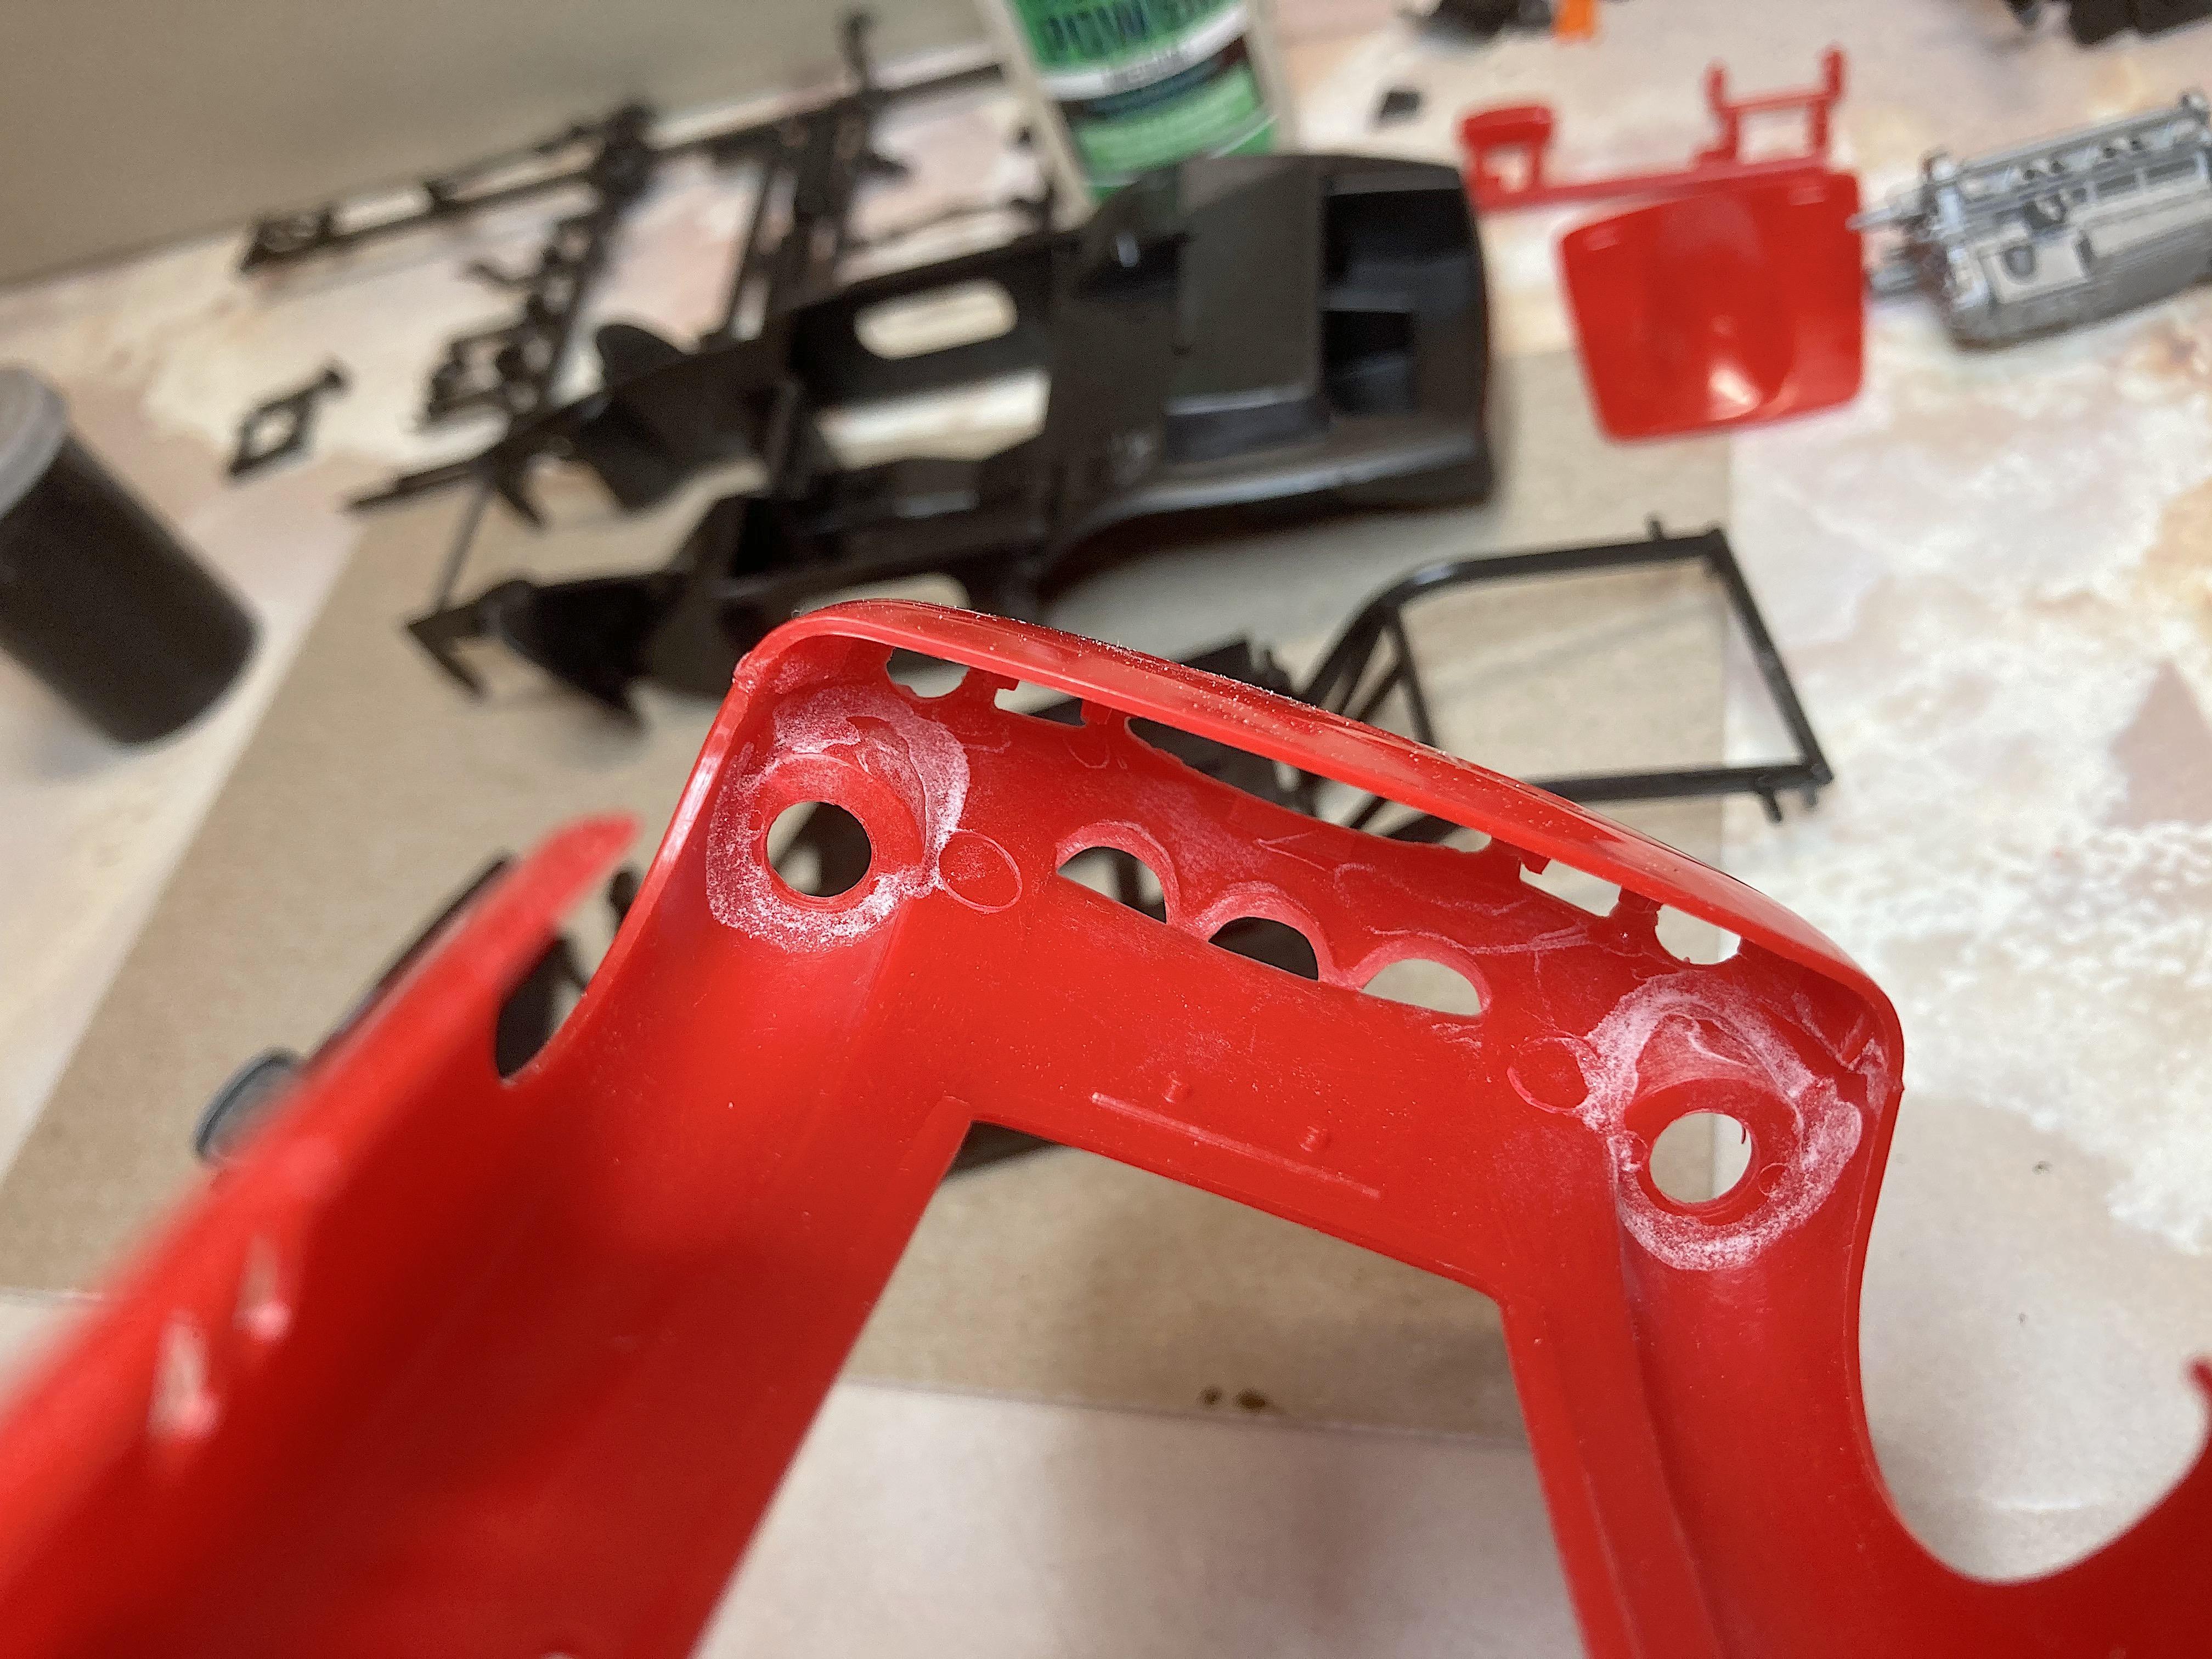
Because a Facebook group is having a Ferrari theme group build, it lit the fuse to get this done. I've only been wanting to build this 250 GTO Spyder for about 18 years. The pictures I took were in Prescott at a Cooper State rally, and the Monterey Historics 1994 when Ferrari was featured. There isn't much on the web about this particular car. It's not a real GTO for starters. This kit was chosen just because it was a bagged kit (no box), found at a model show. I have 3 other brand kits still in the stash, so I could build a real authentic model, someday. I had decided to build it this year anyway, so it got bumped up in my priority list. Comparison between kits (Fujimi kit was bought after taking this picture): My 2021 Resolutions list: Taking a look before starting: First session, got the body, interior tub, and short block glued together. It's a nice kit, so far everything fit together. Exception is a big gap filled with plastic, not a big deal. The headlight buckets needed some work to fit snug. All joints are lots of superglue with baking soda. Rough cut lines drawn on the body. I might do the whole deck with one piece of sheet styrene.
-
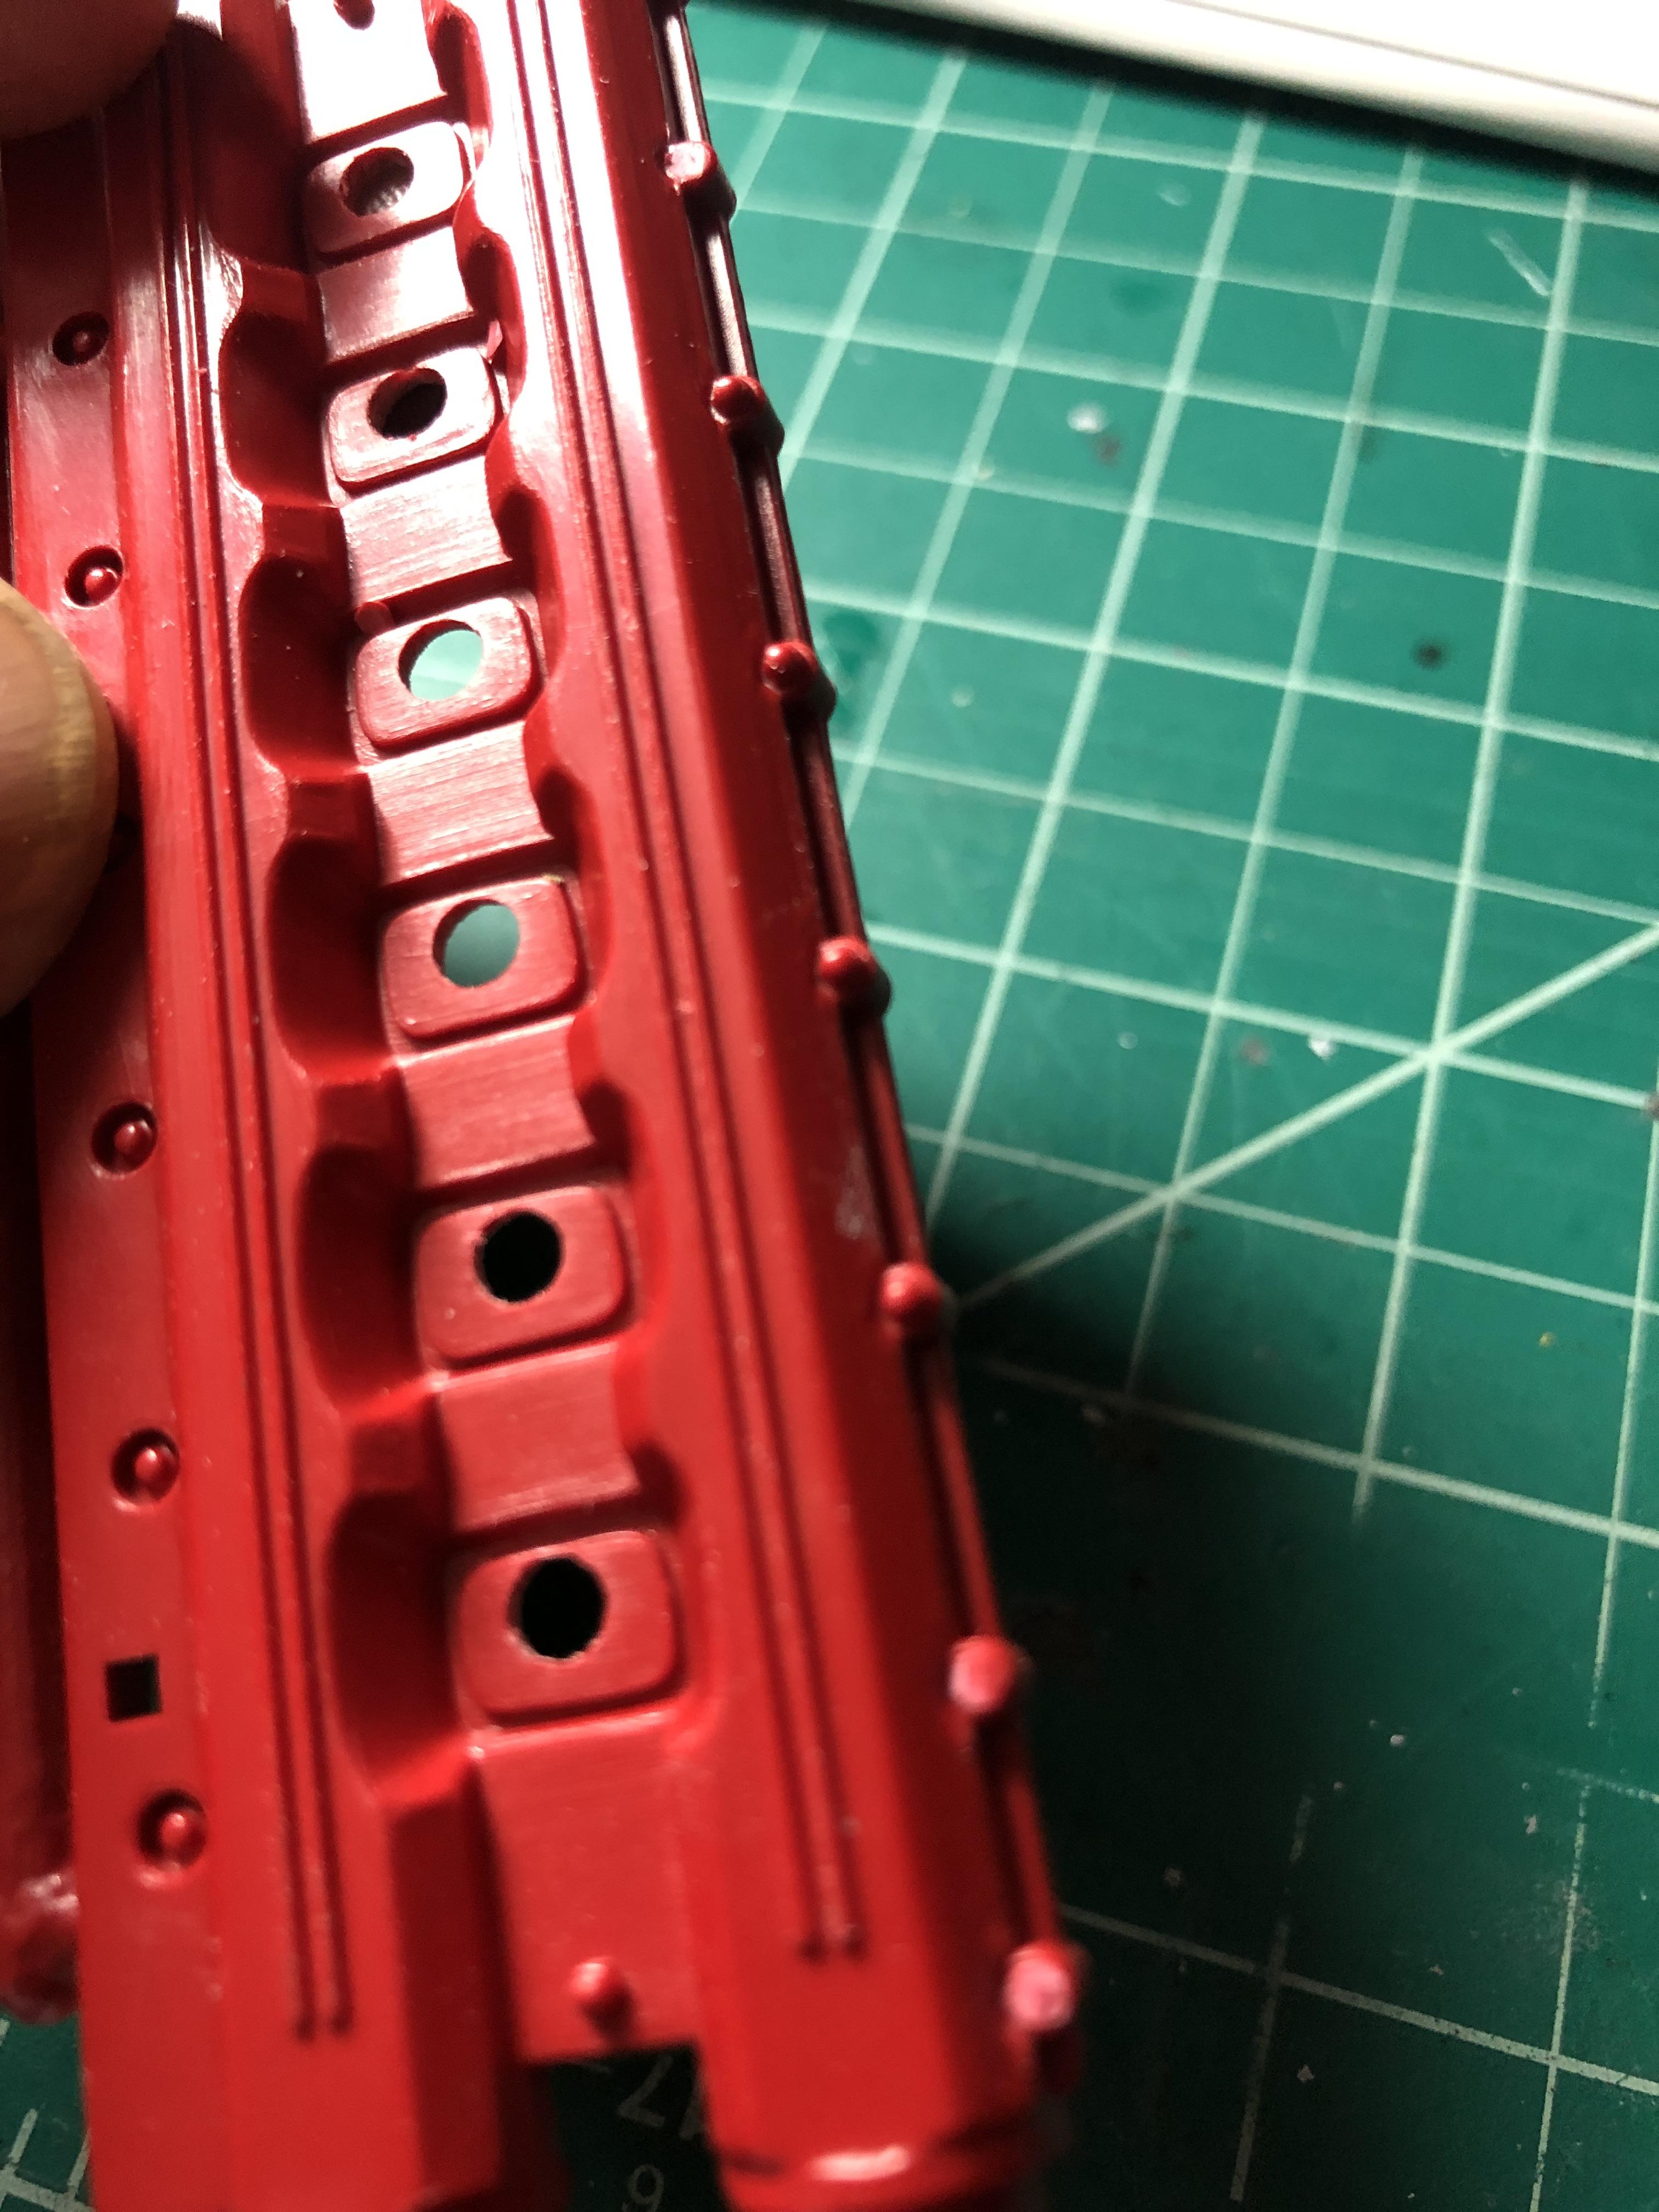
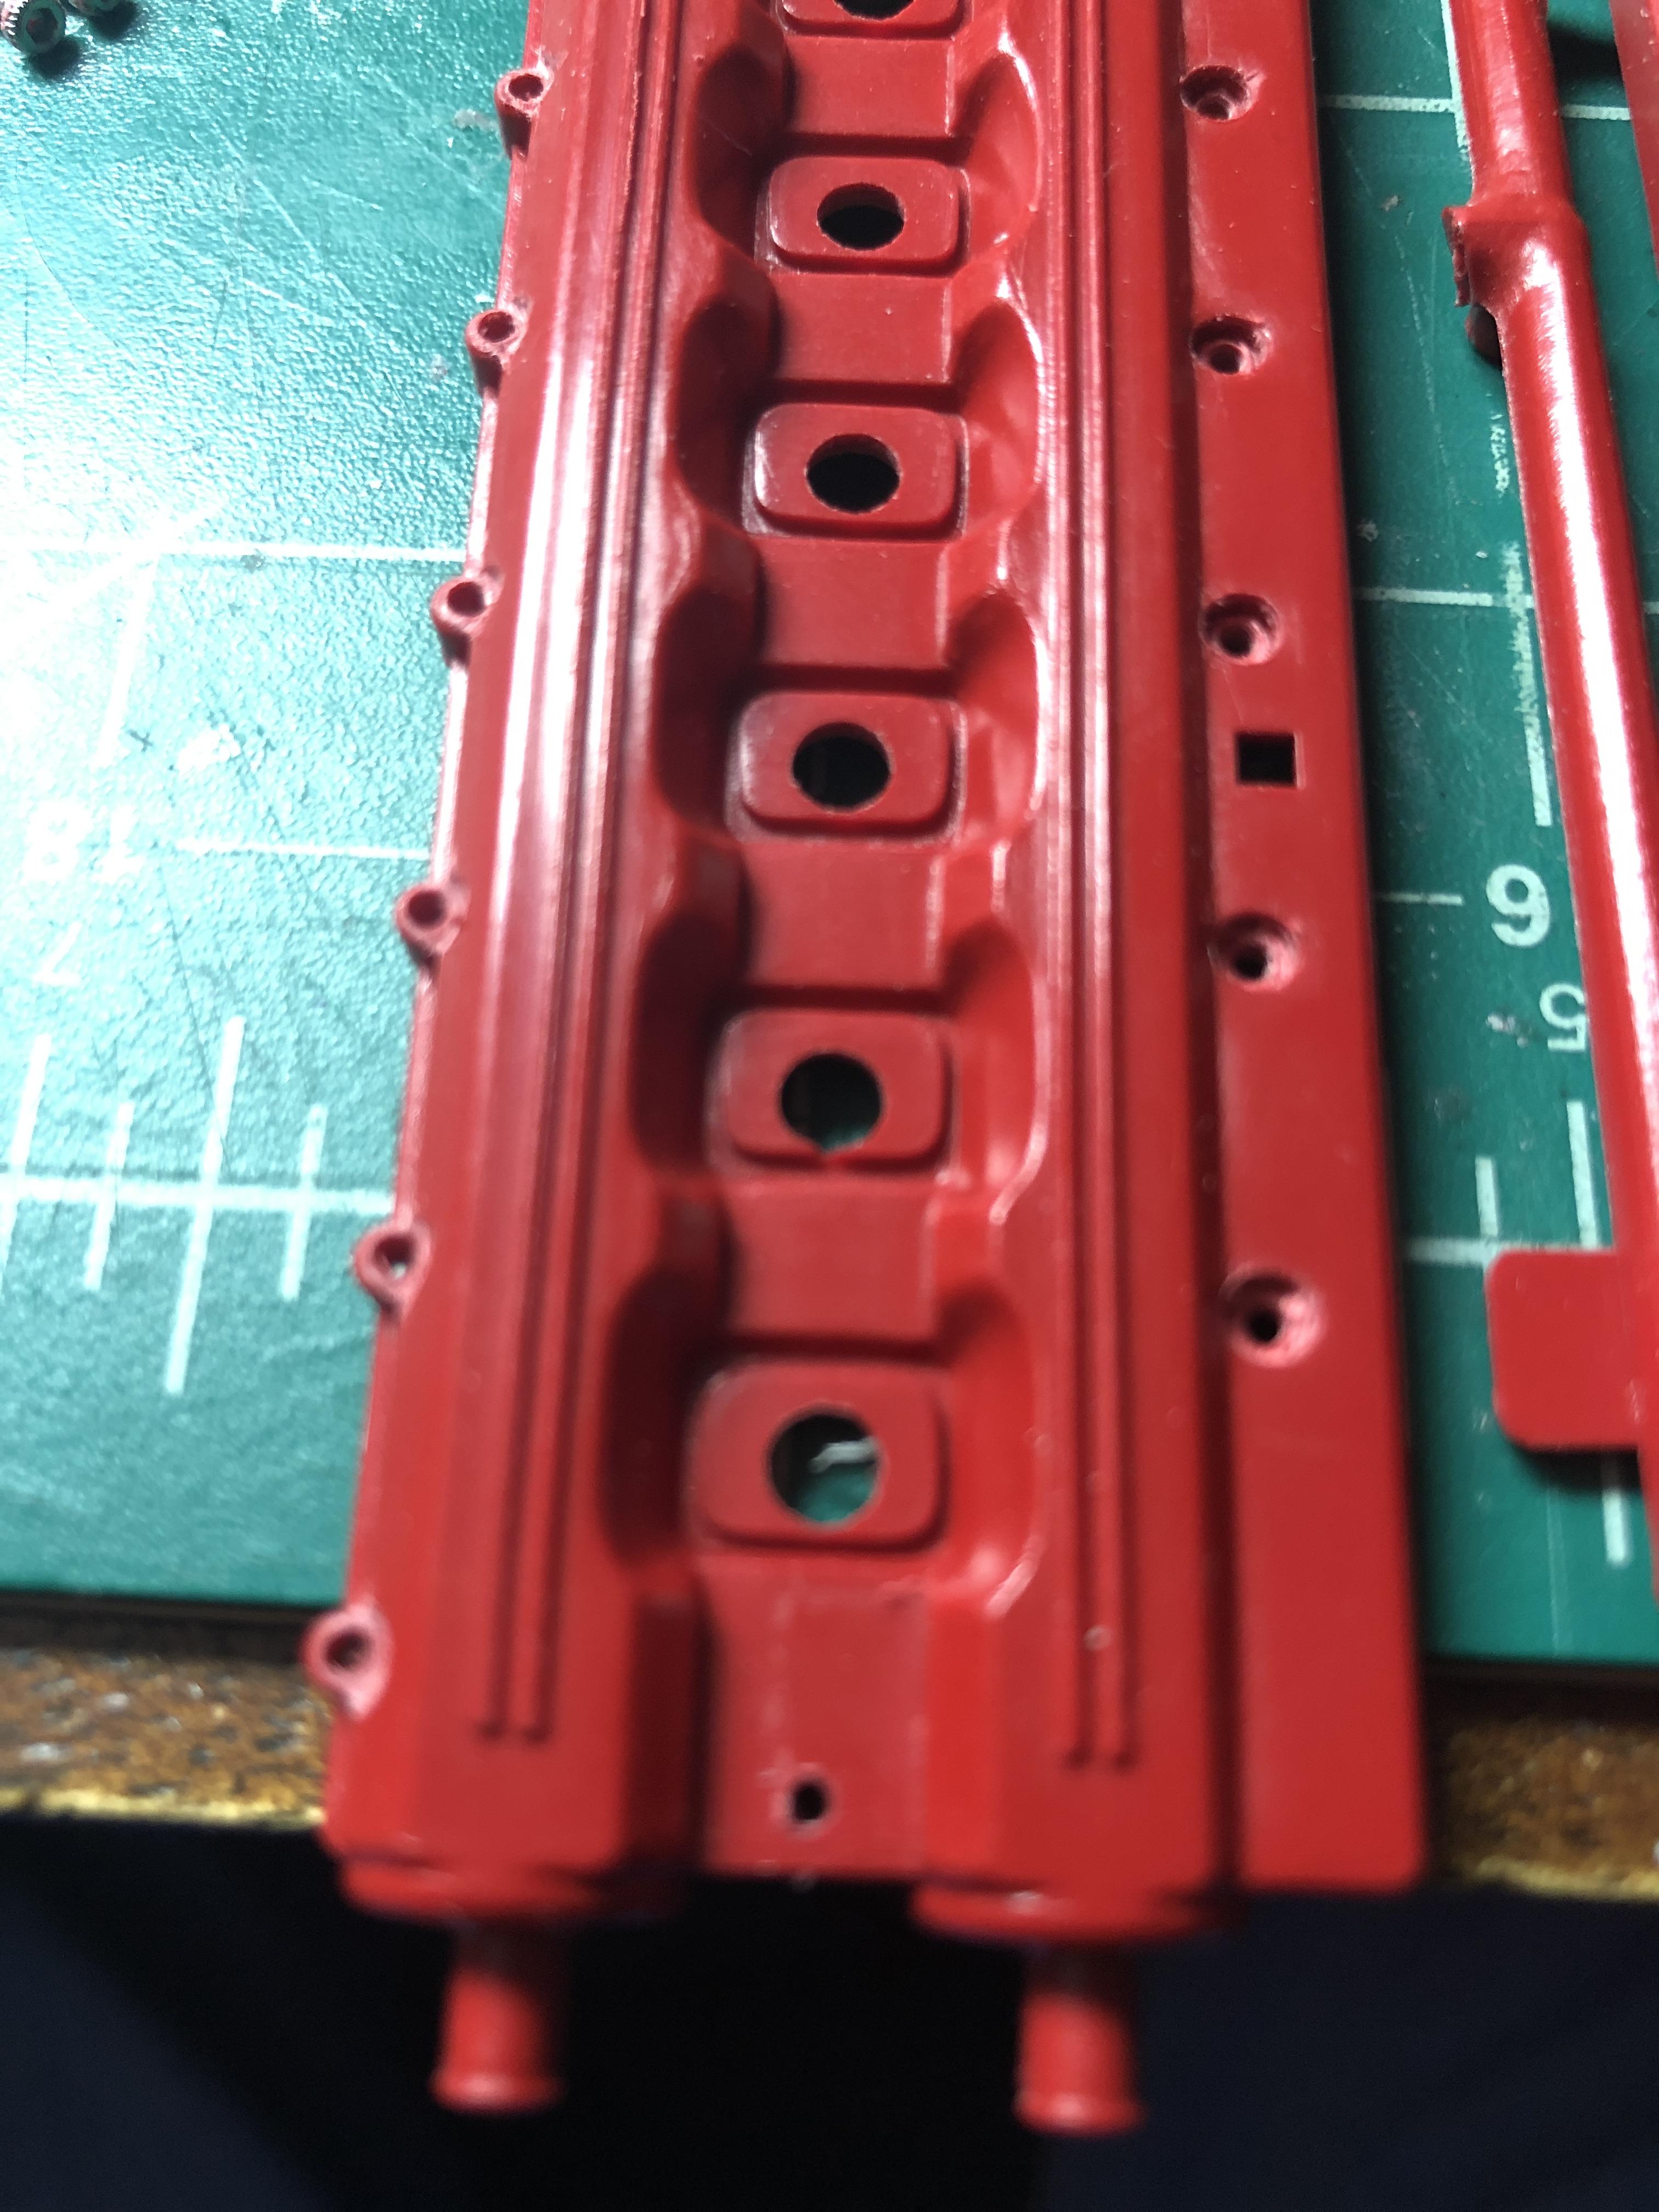
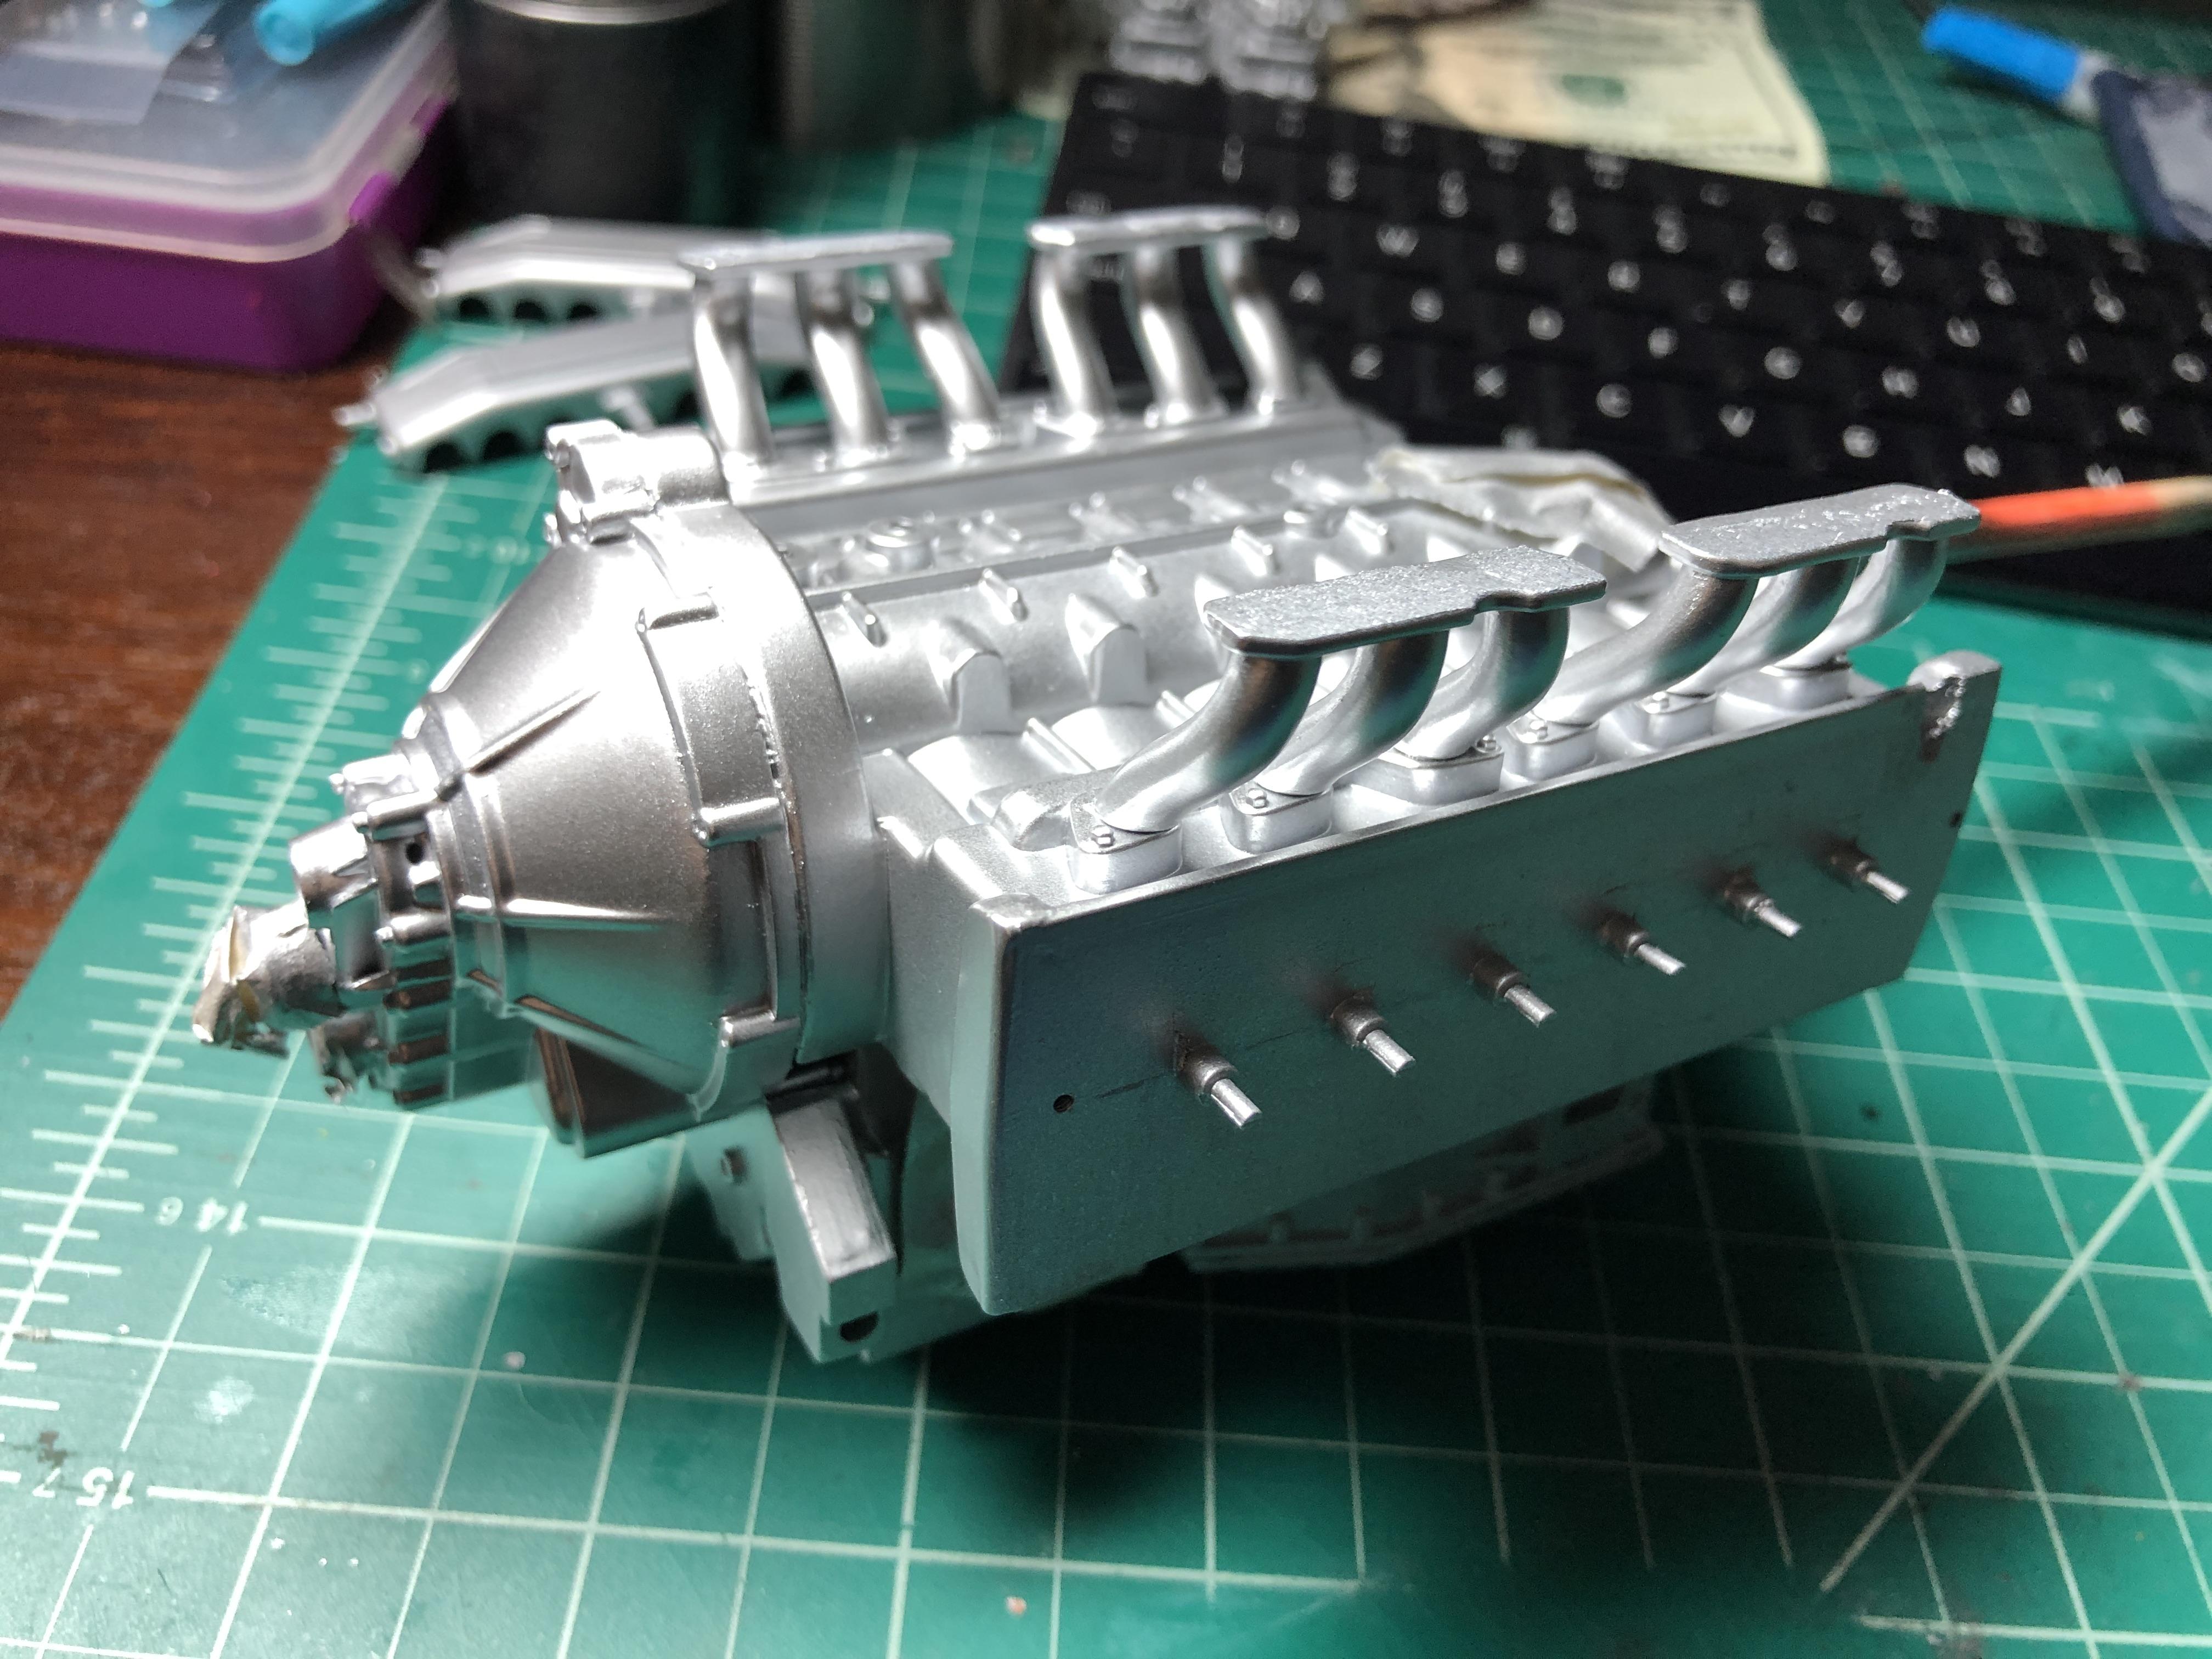
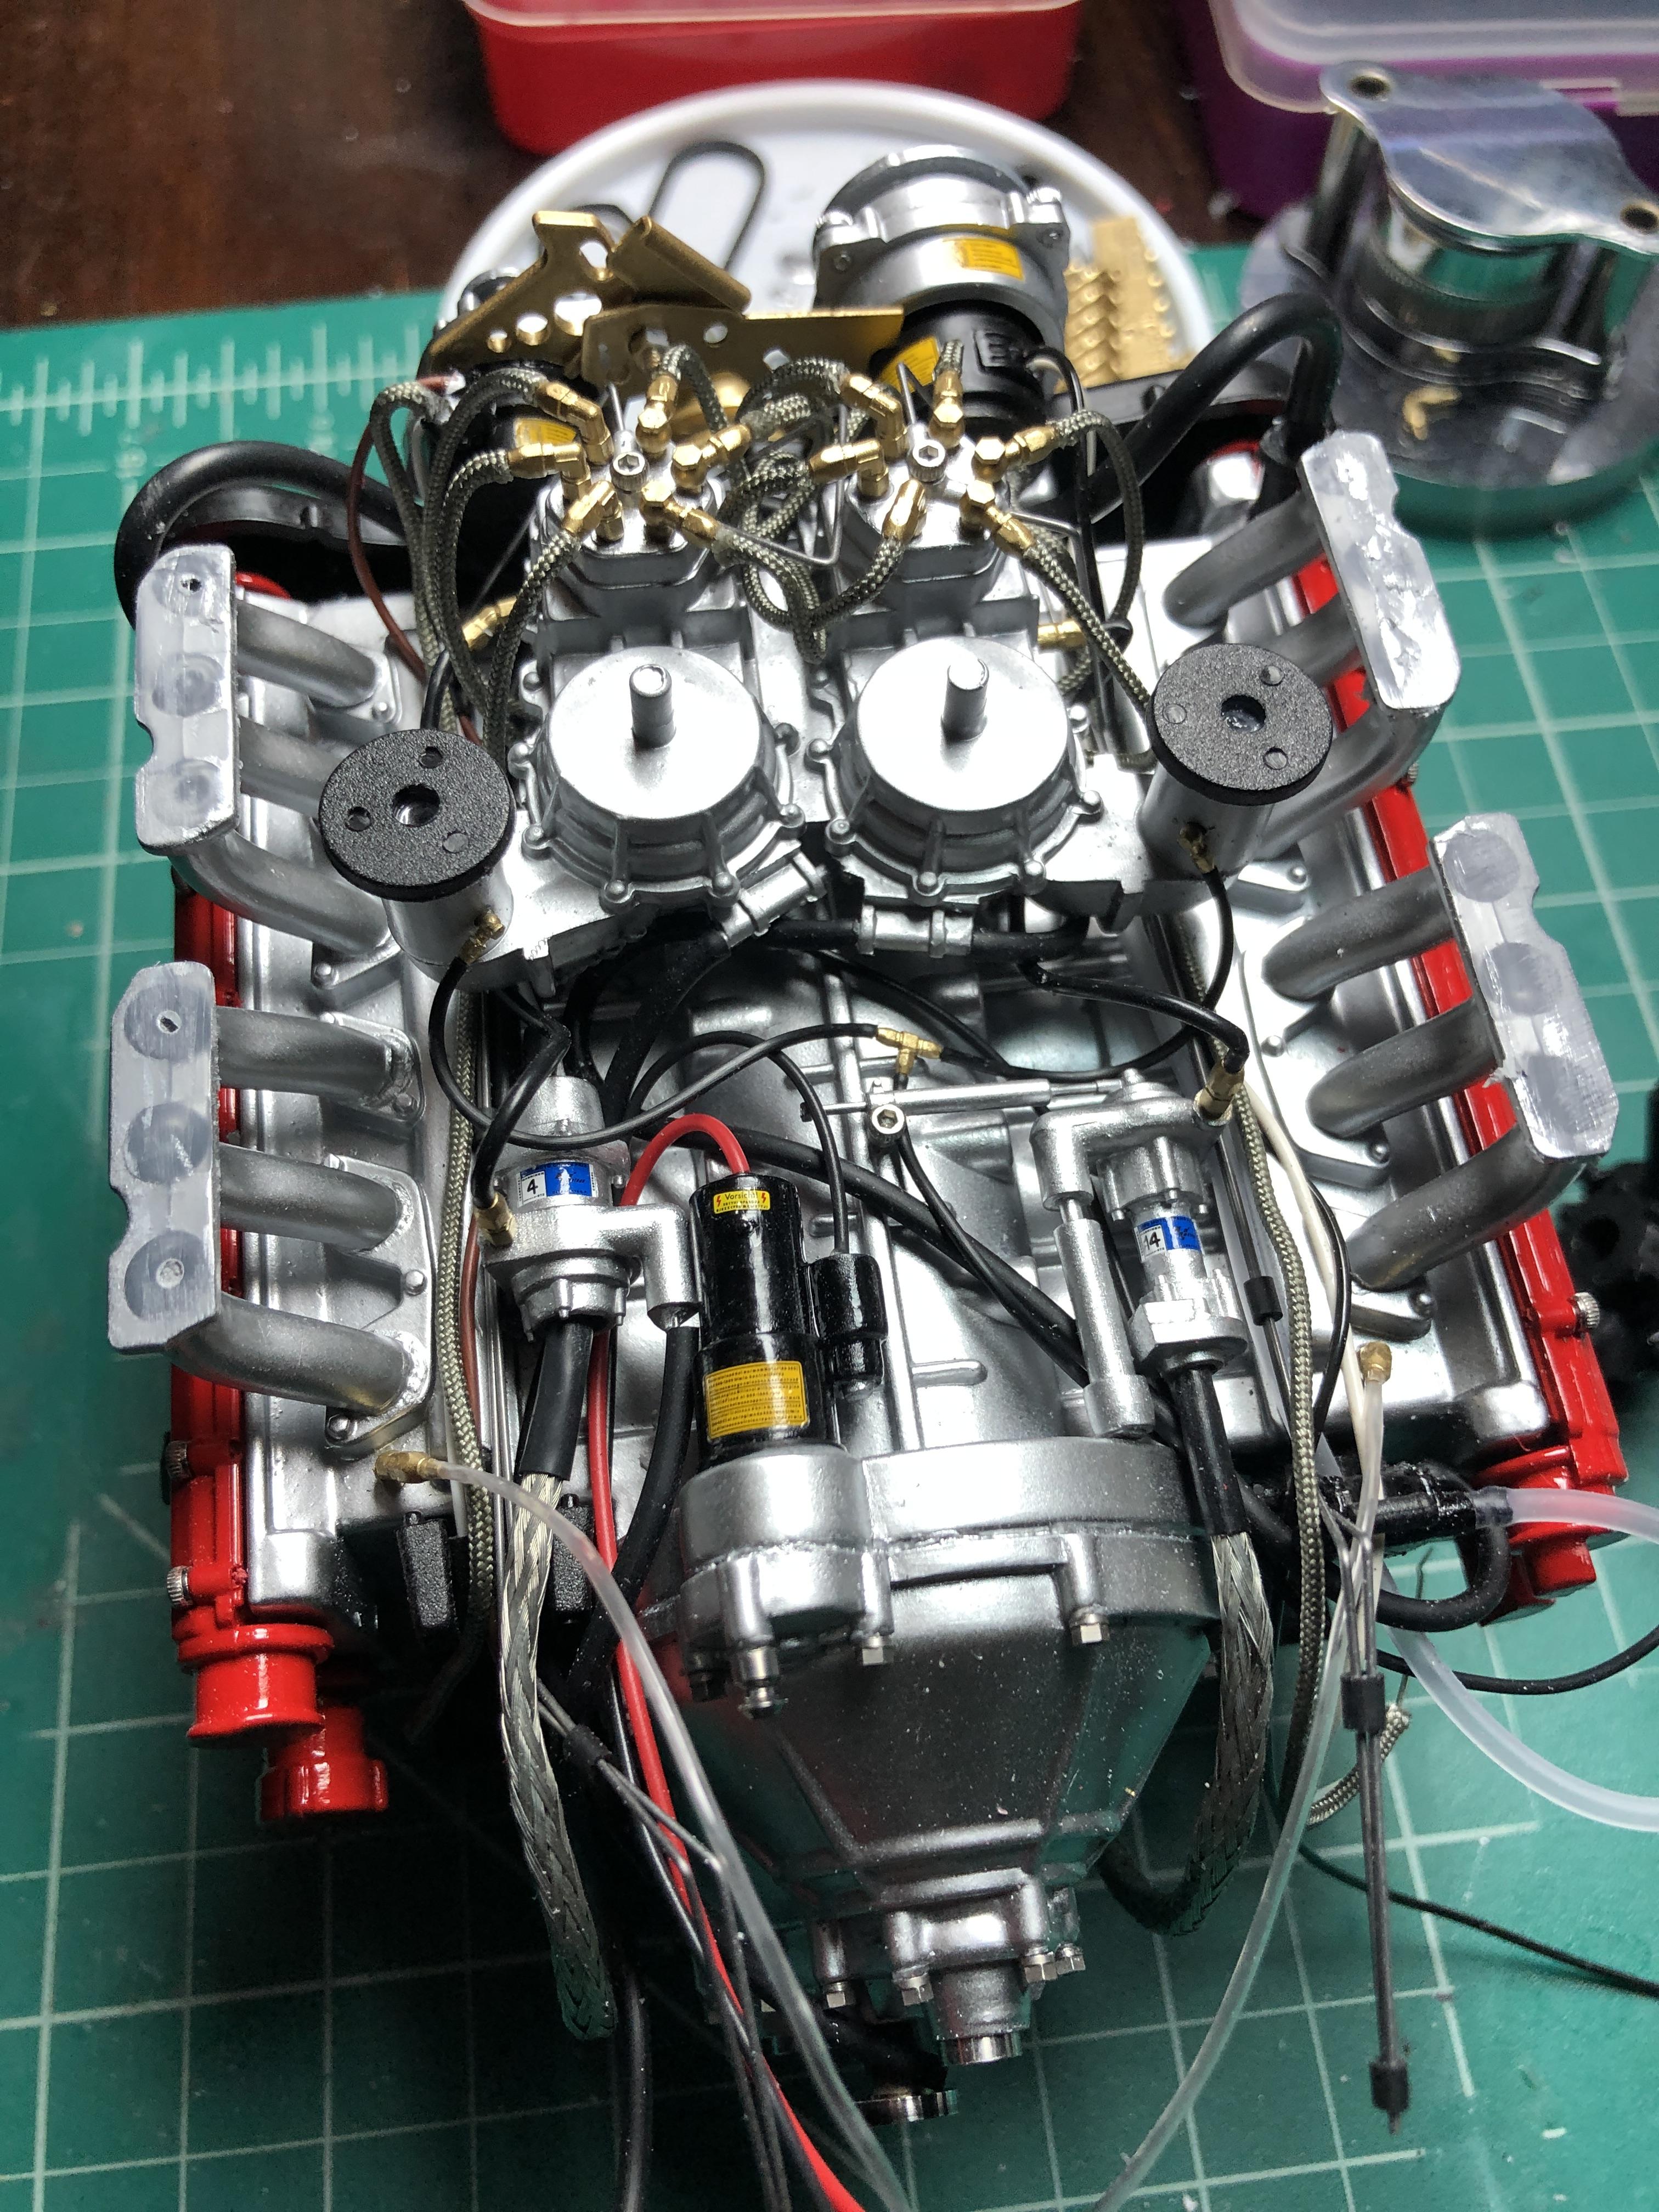
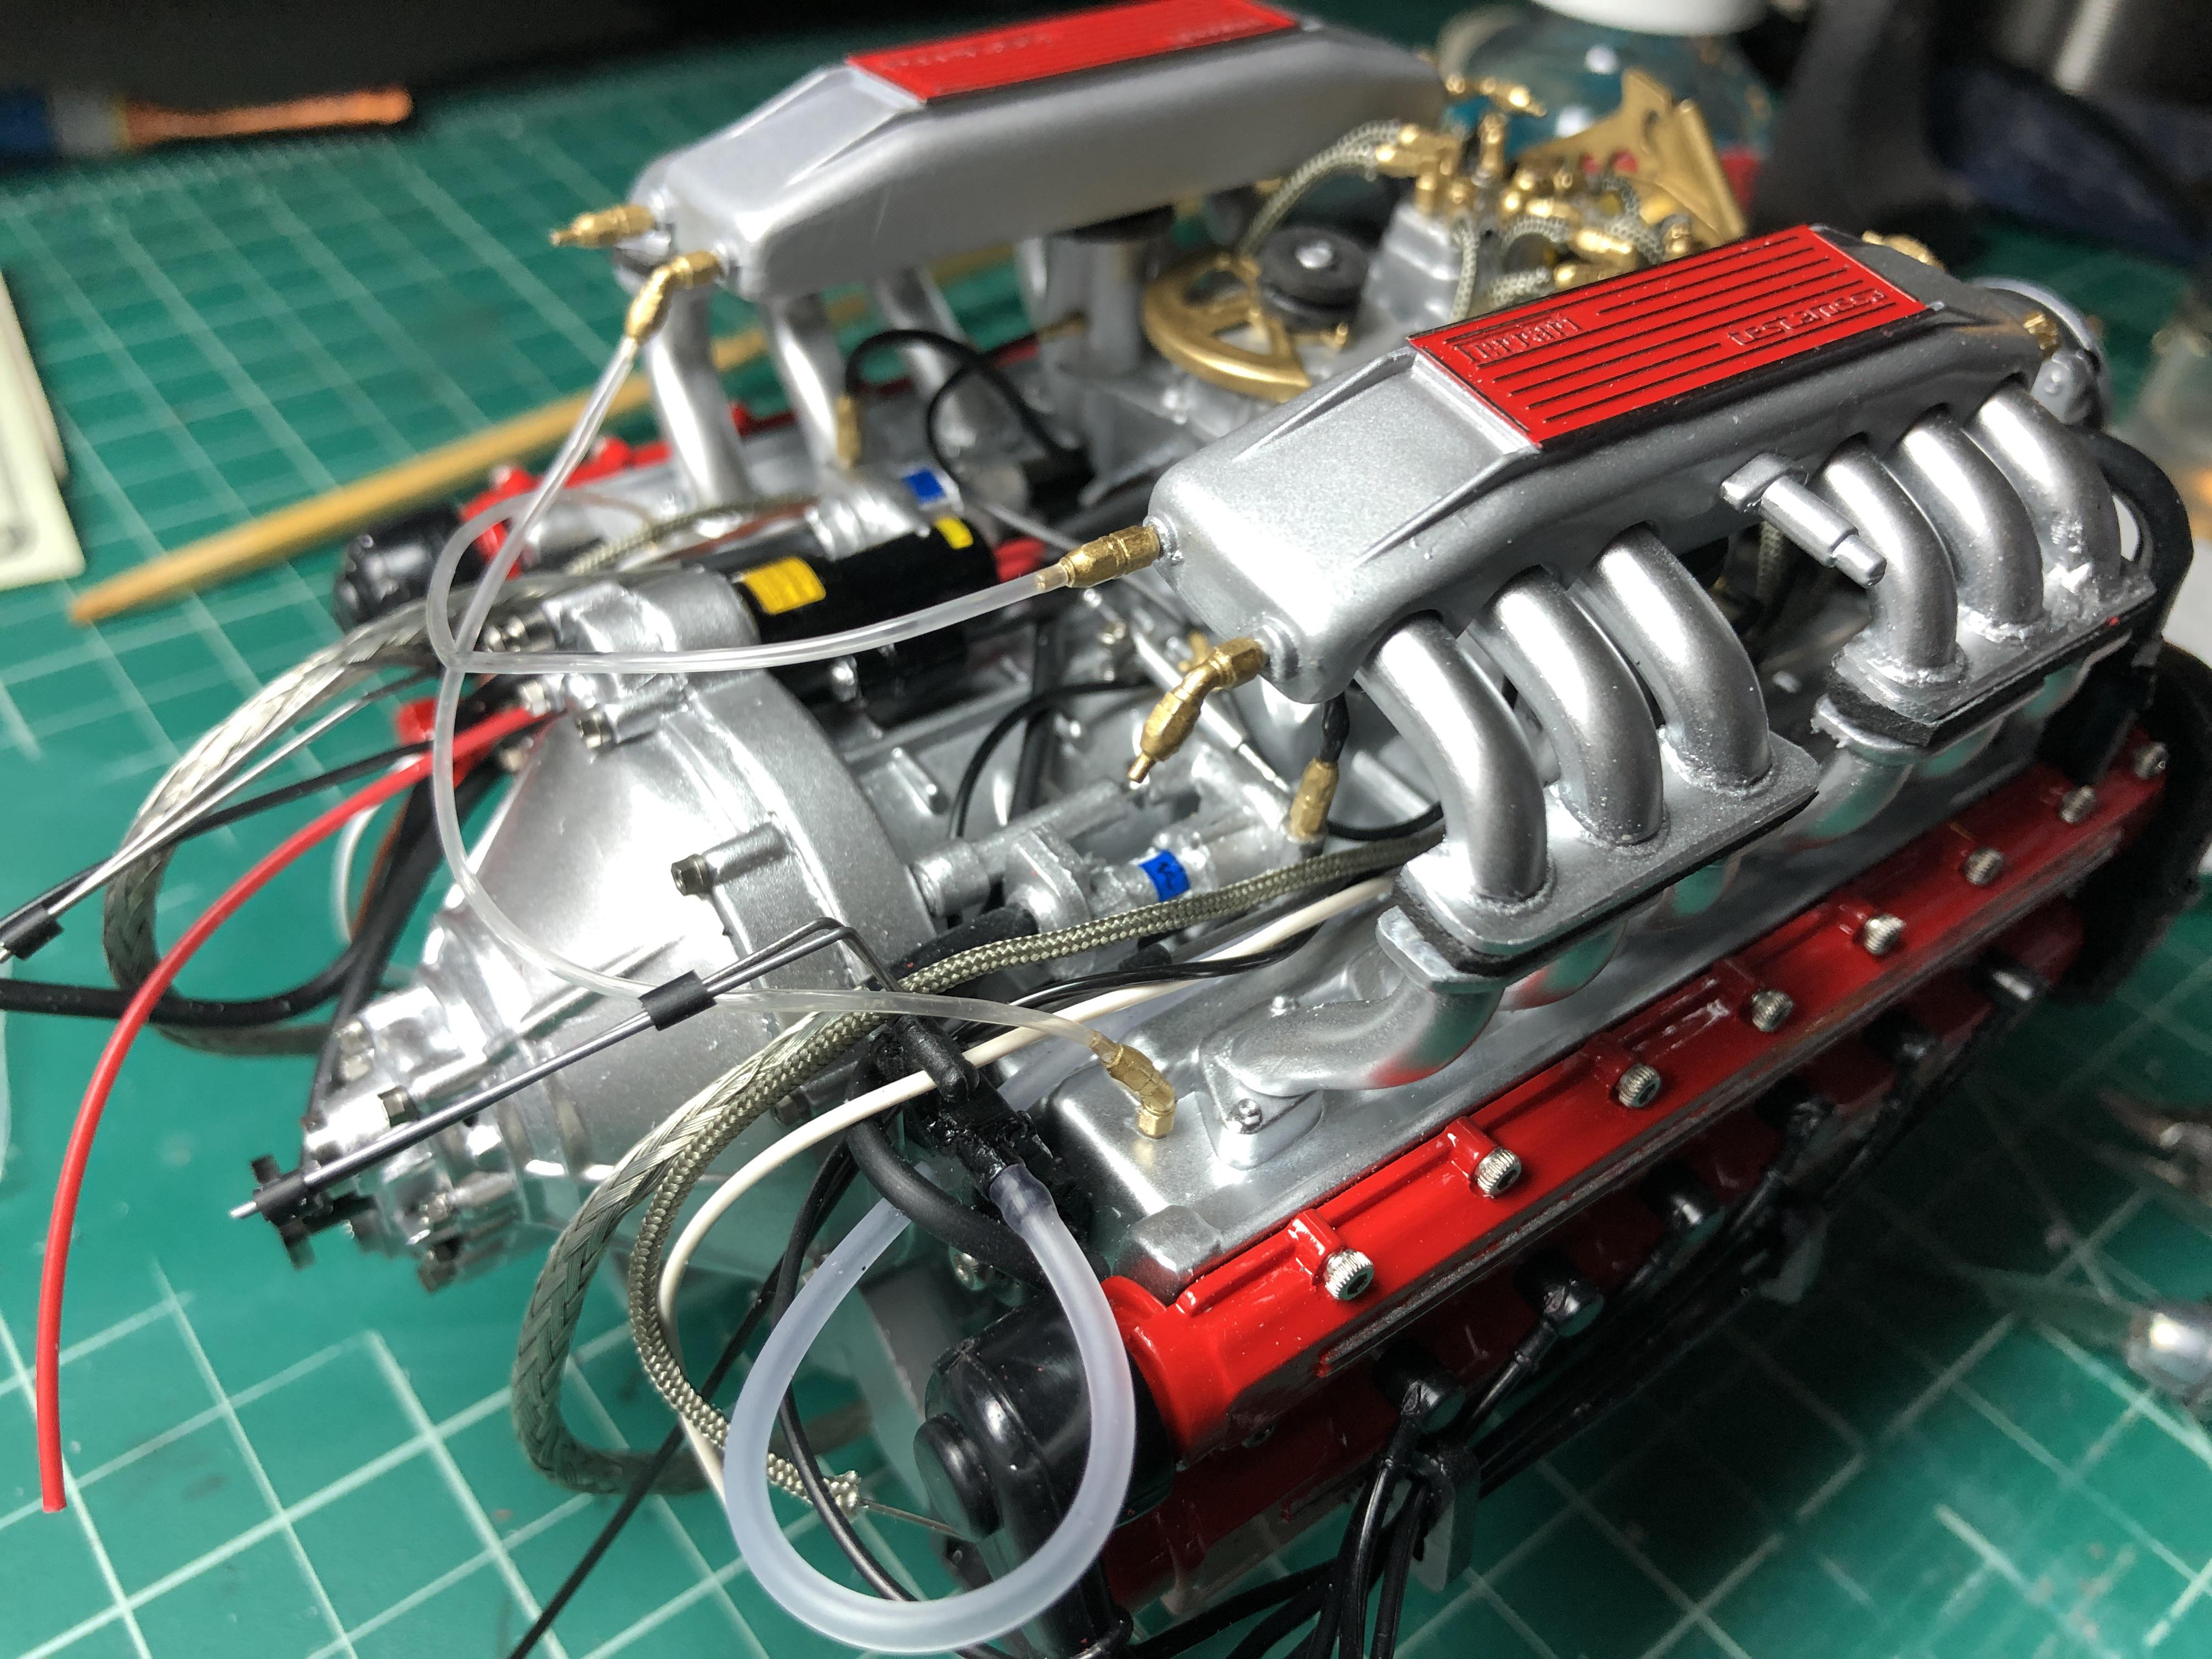
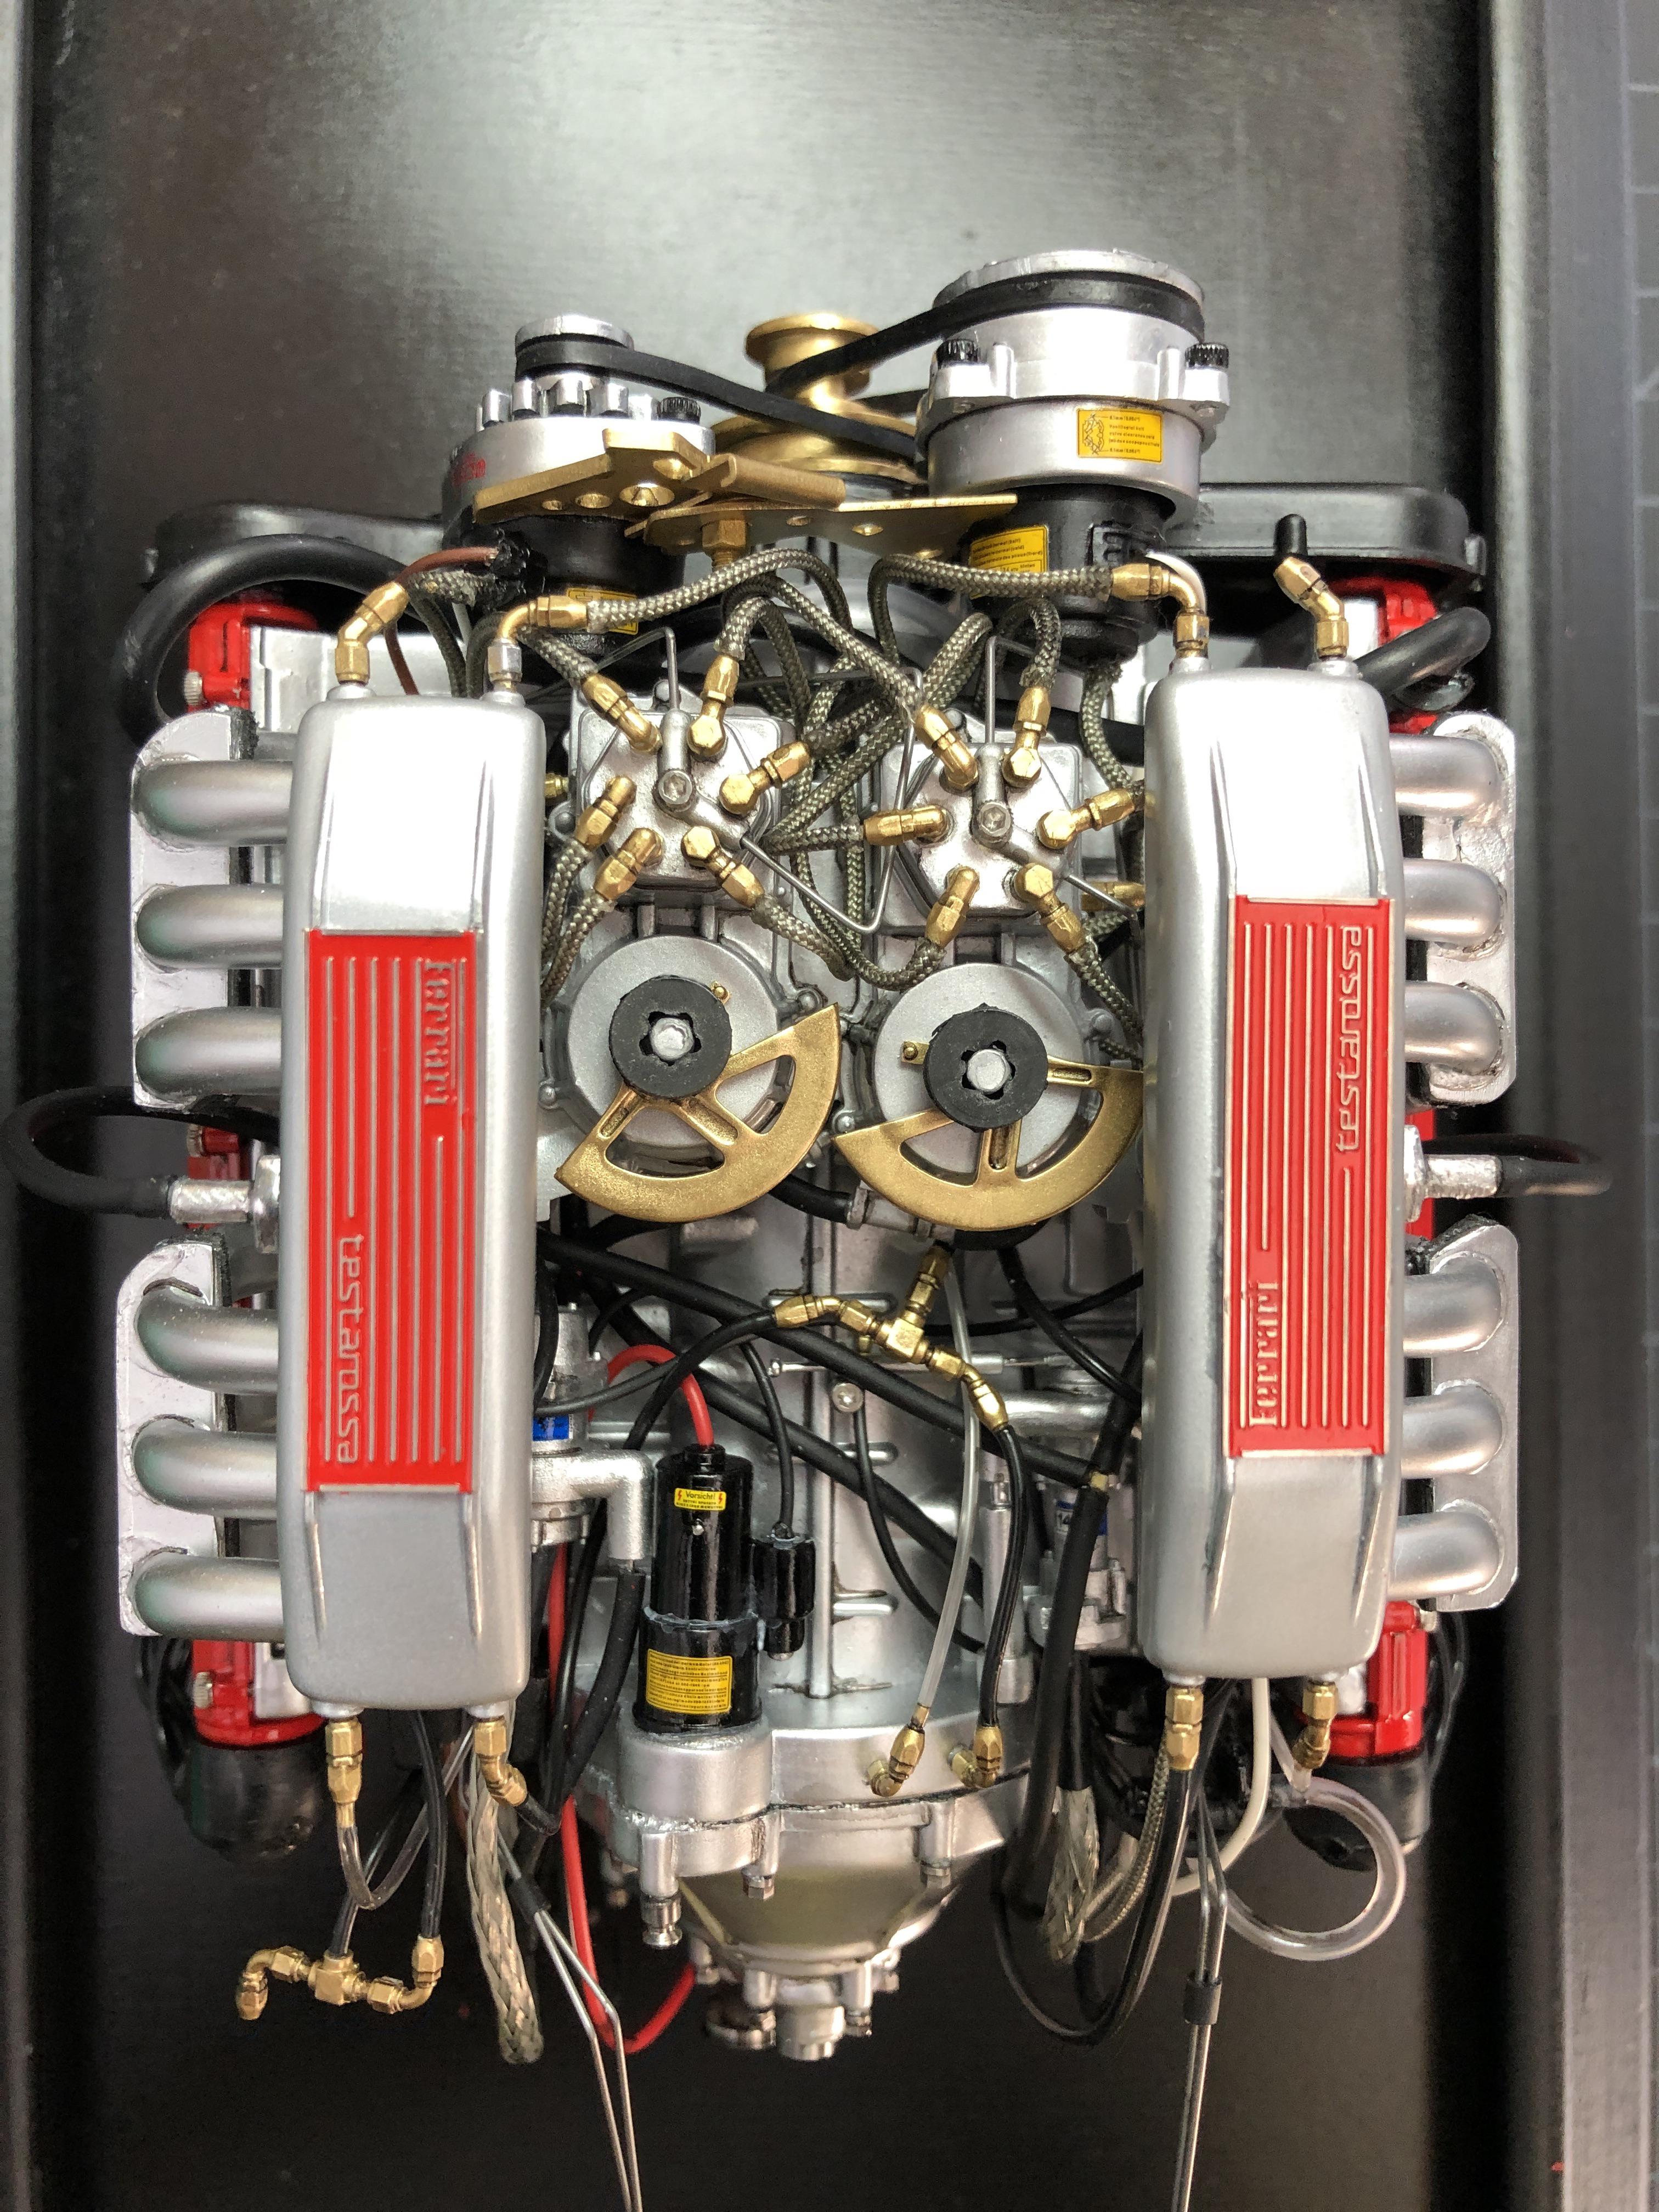
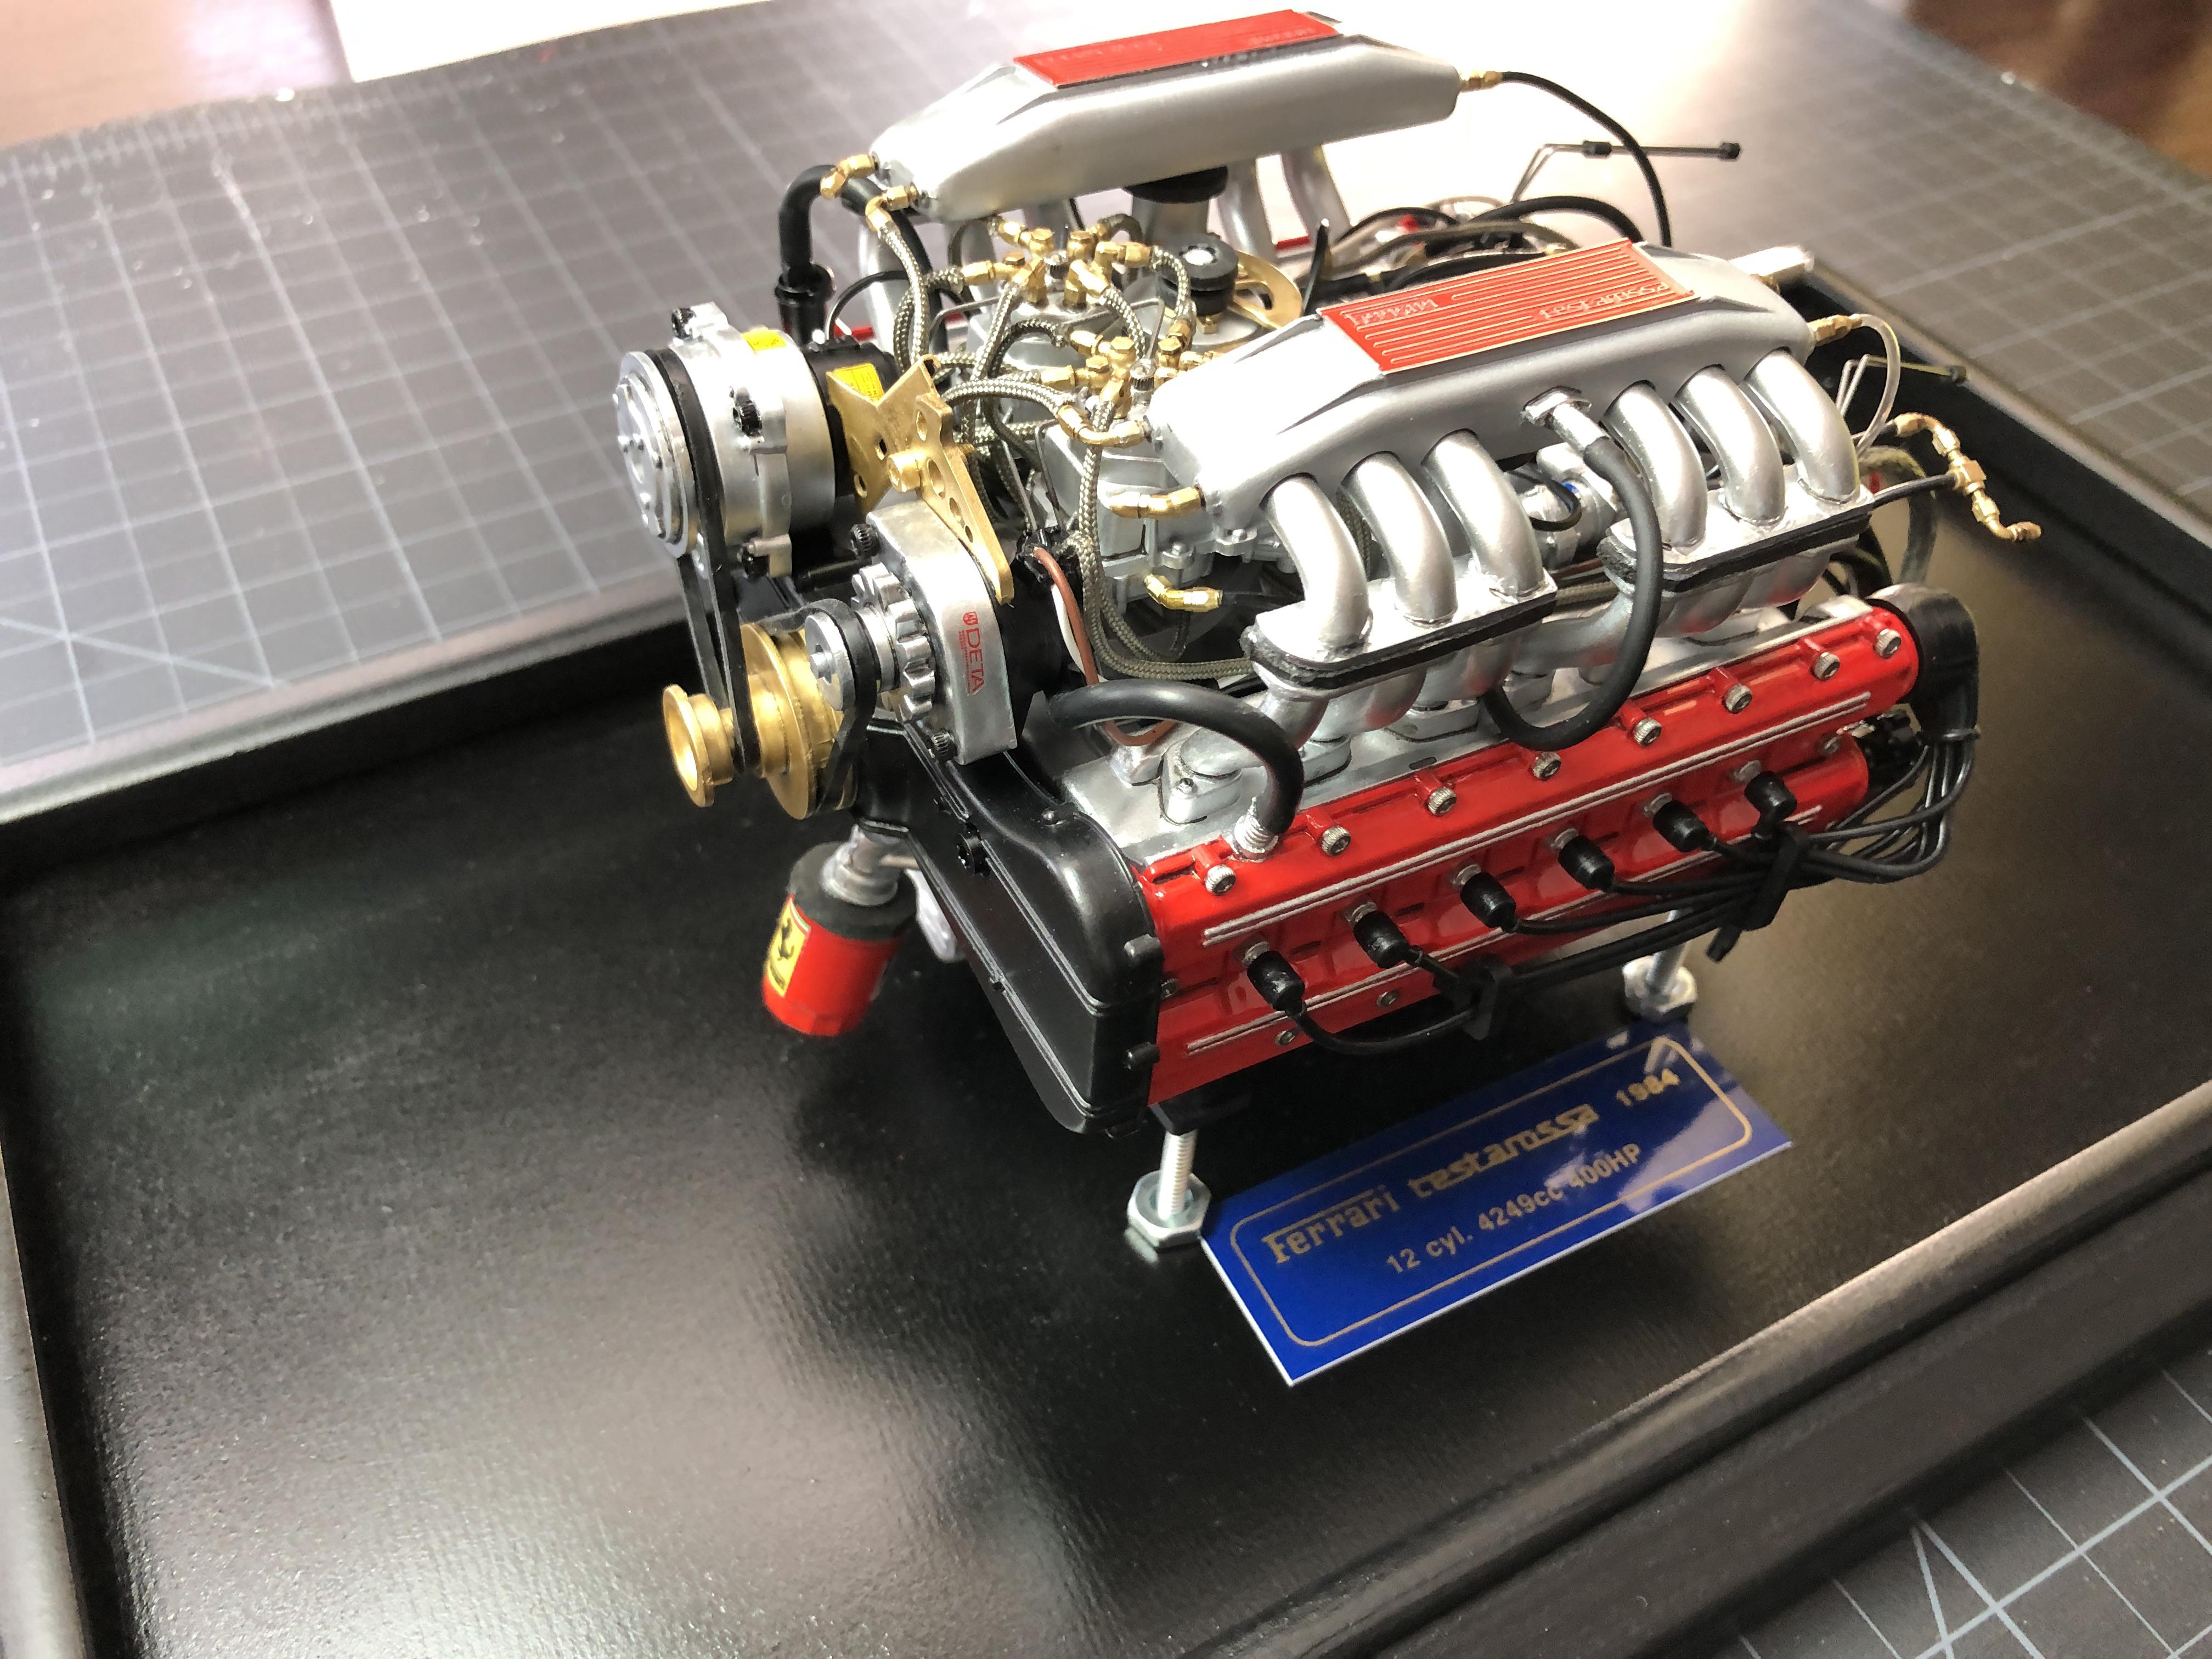
 Guys and Gals...The Pocher kit was a mere 20- 30 parts at best and it looked like a toy when assembled. Therefore I wanted to share what I did to it from a kit with some heavy modifications to attain a sense of realism. I know that a lot of this isn't exact to detail...but 90% of the people wont know the difference but its close...I wanted to capture as realistic as I could. Believe it or not...I used old MacBook Pro and Mac Pro screws, old parts from model kits, parts from a DVD player...Ethernet cables...and bits and pieces from all over to attain something a little different but close to the real engine. I'll post the top of the box so you can see what it was supposed to look like and all that I did...enjoy.