Search the Community
Showing results for tags 'Revell'.
-
LOOKIT DAT, LOOK AT THAT!!!!!
-
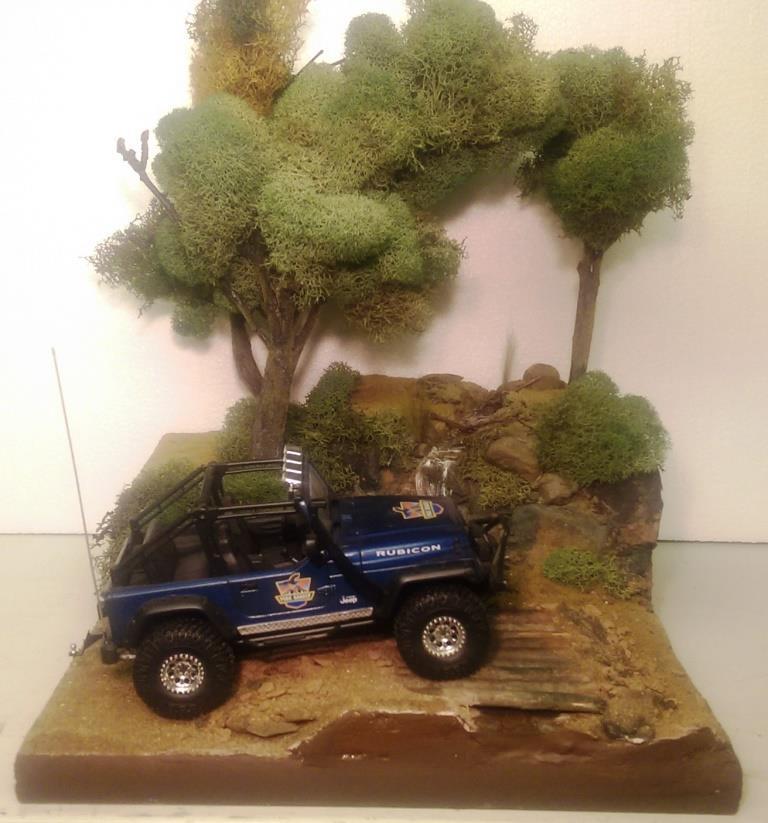
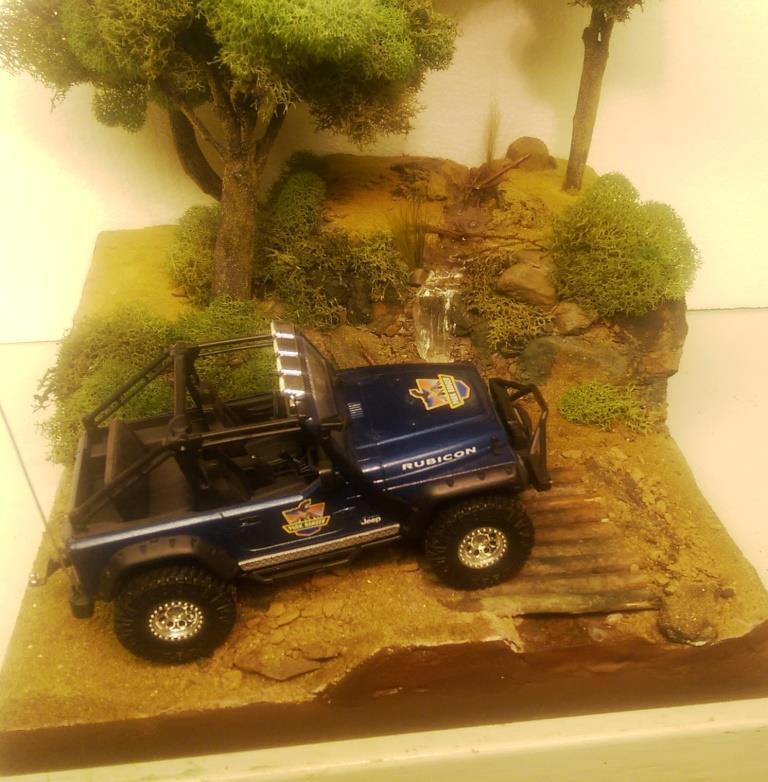
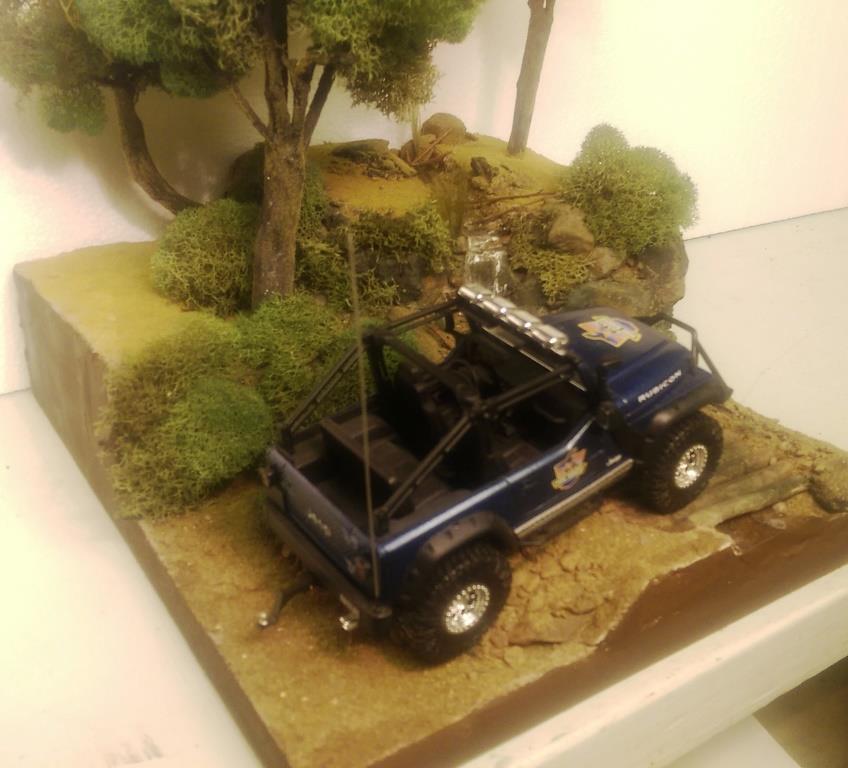
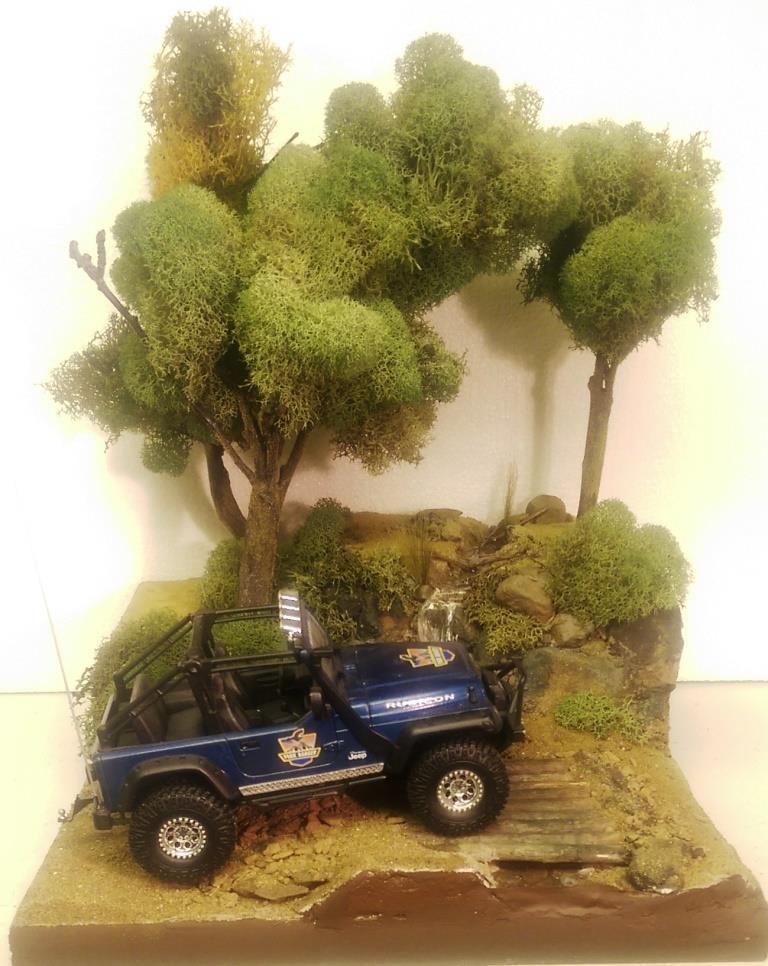
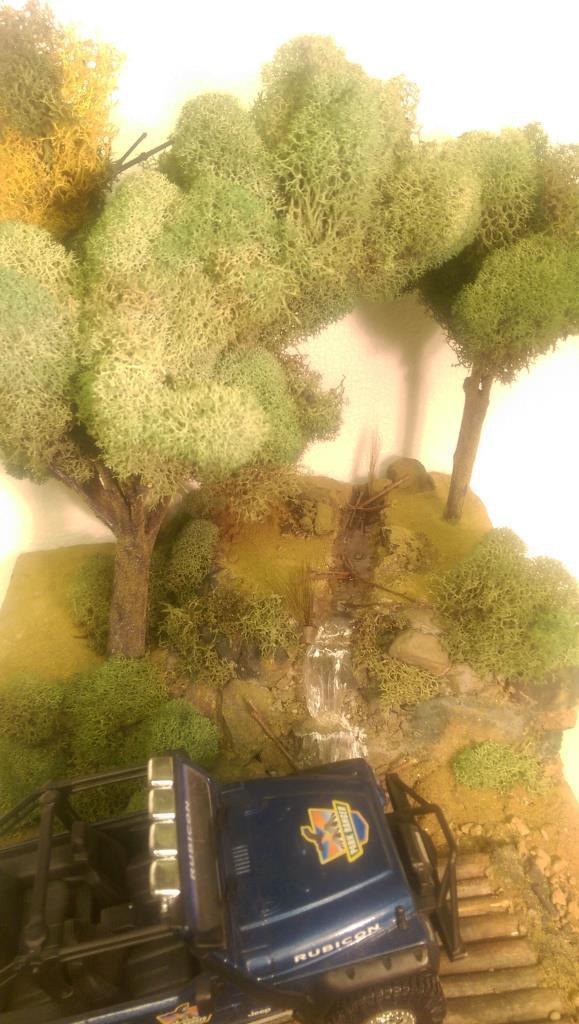
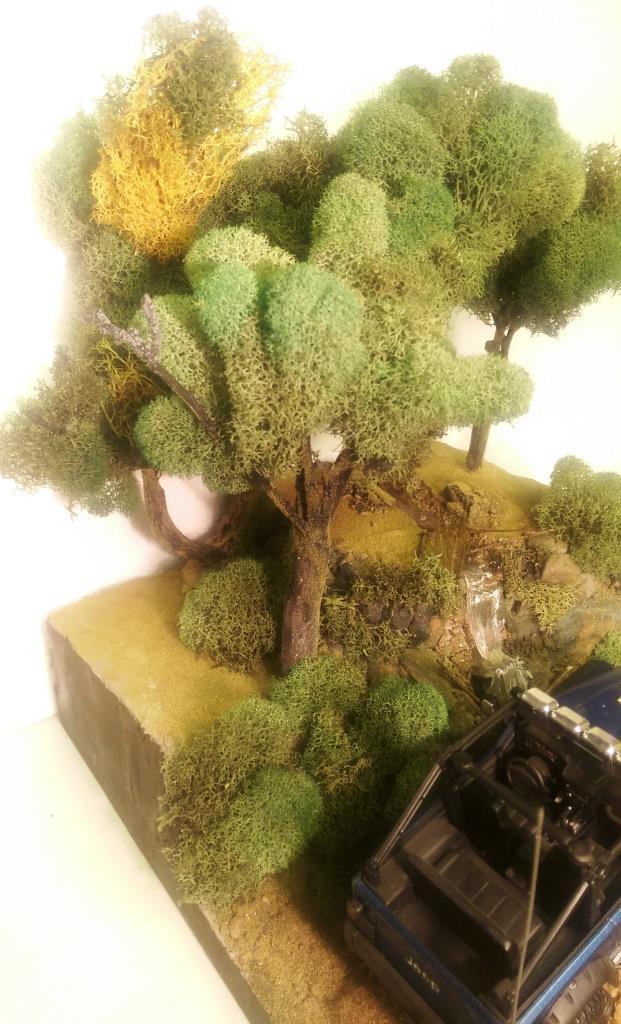
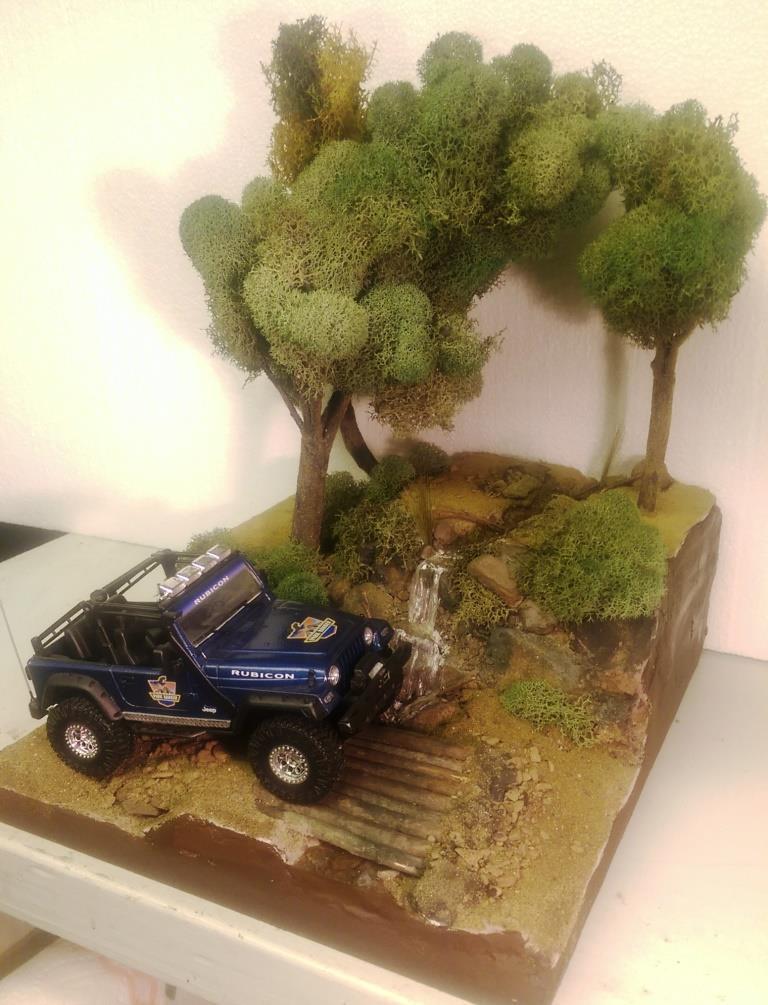
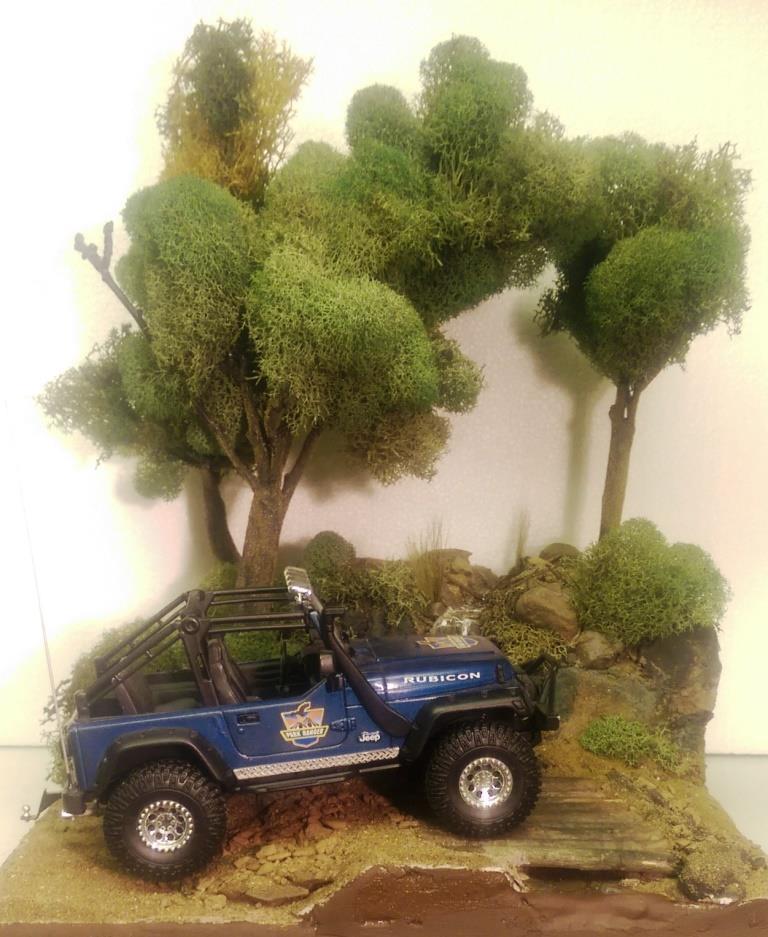
I was looking at the 1/25 Jeep Wrangler Rubicon that I put together sometime ago and had a great idea for a diorama. I started out with the idea of making a desert scene and have the jeep climbing a hill. However I got a little carried away and built it up too tall. So I decided to make a stream and waterfall instead. I started with a wood base, sealed it and glued 2 layers of that pink styrofoam on top of each other. I then covered the entire thing in tinted joint compound. Some rock gathering at a local park proved to work out well. I painted the rocks and dusted the entire thing with sand and blended turf for model railroading. The bridge is made out of similar sized maple branches I found in the back of my property. I used Scene A Rama Ripplin' Water Kit for the stream and waterfall. The three trees turned out the best. I used a thick wire I had, attached several tree branches found laying around the property to the wire using florist tape. Then I "painted" a couple of thin layers of joint compound on the trunks to blend them together. Once it was dry I painted the entire tree the same color, then added some variations in coloring with washes. I then took some stuff I got from my local craft store called Reindeer Moss and glued it to the branches. The final step in making the trees involved spraying them with diluted white glue the help hold them together and sprinkling some blended turf on the trunks to make then look like moss. The trees were then attached in holes with some foam-safe CA glue.
-
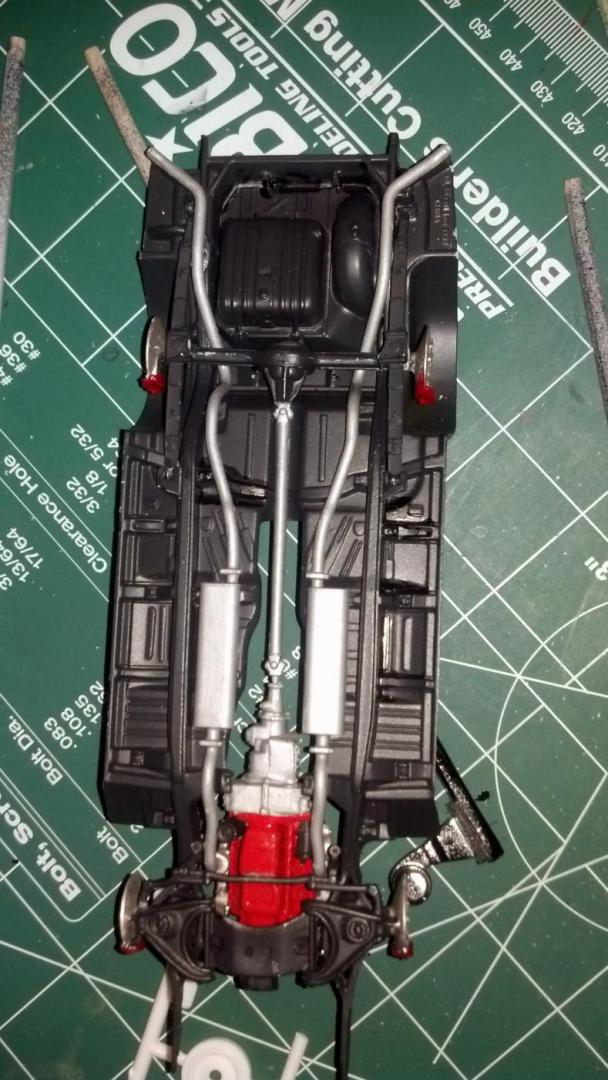
My first Tri-Five build. This is the old Revell kit with the crummy molded chassis. I did a lot of mods to this version of a Pro-Touring restomod. Left the body stock - Paint is Duplicolor Graphite top and tail and spear. Front is Duplicolor Gun Metal Gray with Tamiya Clear Red over that. 6-coats of Wet Clear all polished and buffed. Lot's of BMF where chrome needed to be. Hand made custom side mirrors from tear-drop aluminum stock. PE door handles. Completely custom made interior. I used the stock tub, molded in a 1991 C4 Vette dash, center console and door panels. Molded in rear buckets with molded console and C4 front buckets. Made my own suede color mix paint for the interior. Chassis, I built a custom pan and installed the IRS from a C4 rear and front suspension, along with C4 exhaust and custom aluminum tips from tear-drop aluminum stock. Wheels are stock C4 ZR1 wheel I inserted into Pegasus chrome sleeves, I think it gives it a "stock-custom appearance. Engine is C4 ZR1 with custom made dual-horn aluminum cold air intake. hand made radiator. I think I gave this old kit a fresh updated restomod appearance. Before After Build pic chassis Custom pan, exhaust, fuel tank and C4 IRS
- 17 replies
-
- 1956 belair
- custom
-
(and 2 more)
Tagged with:
-
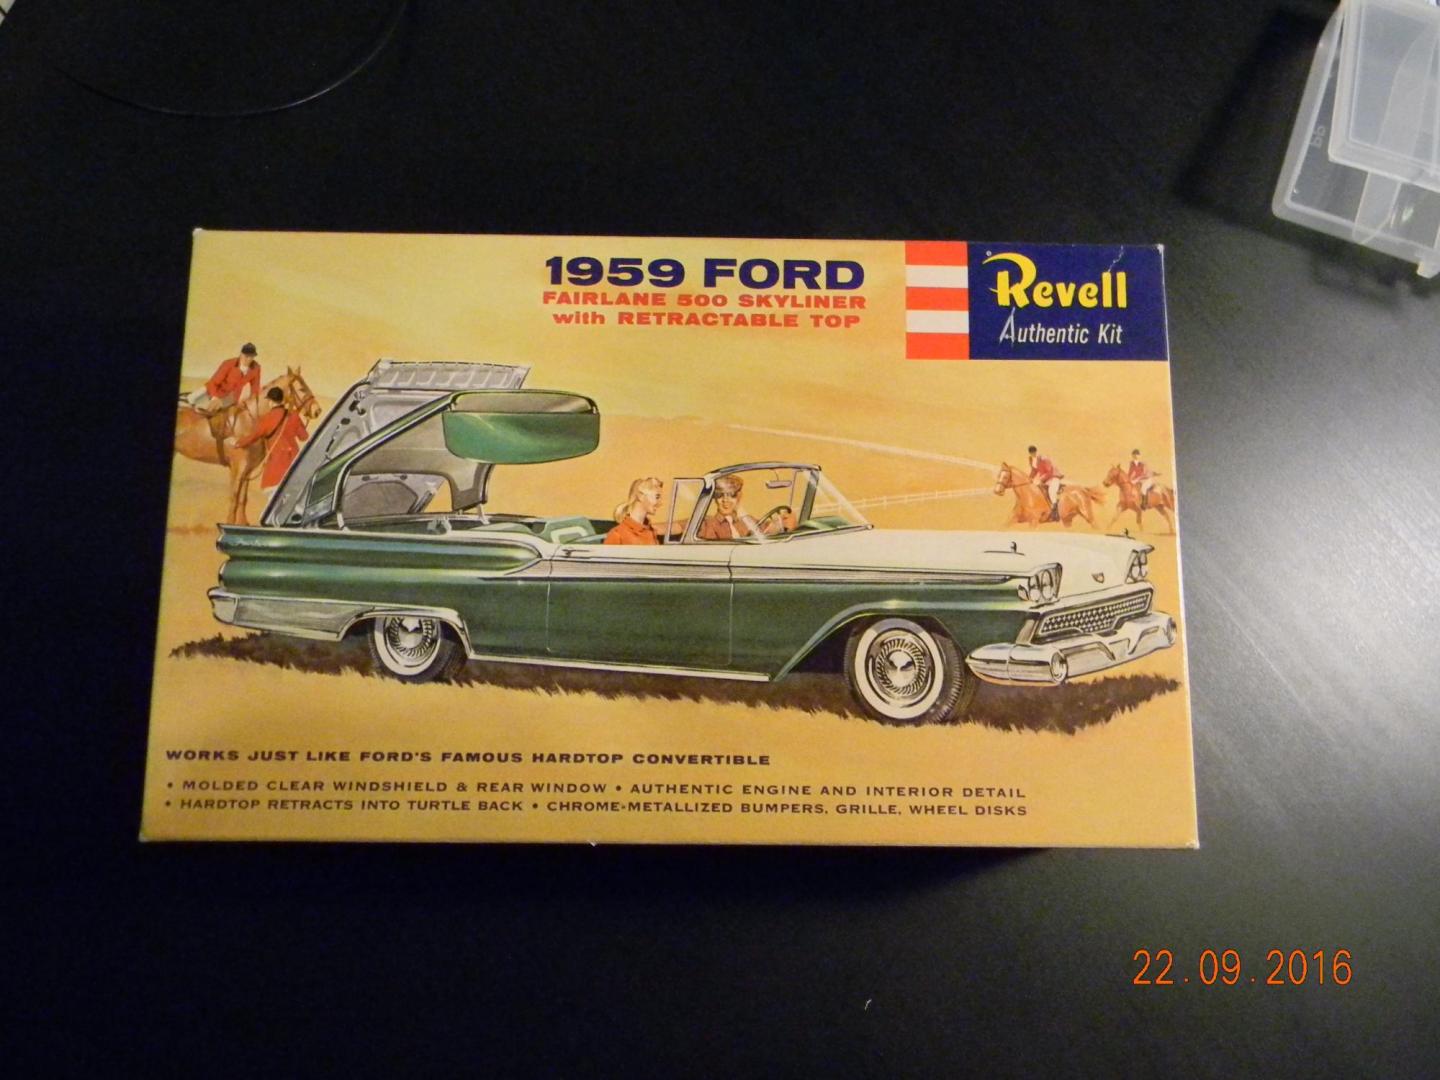
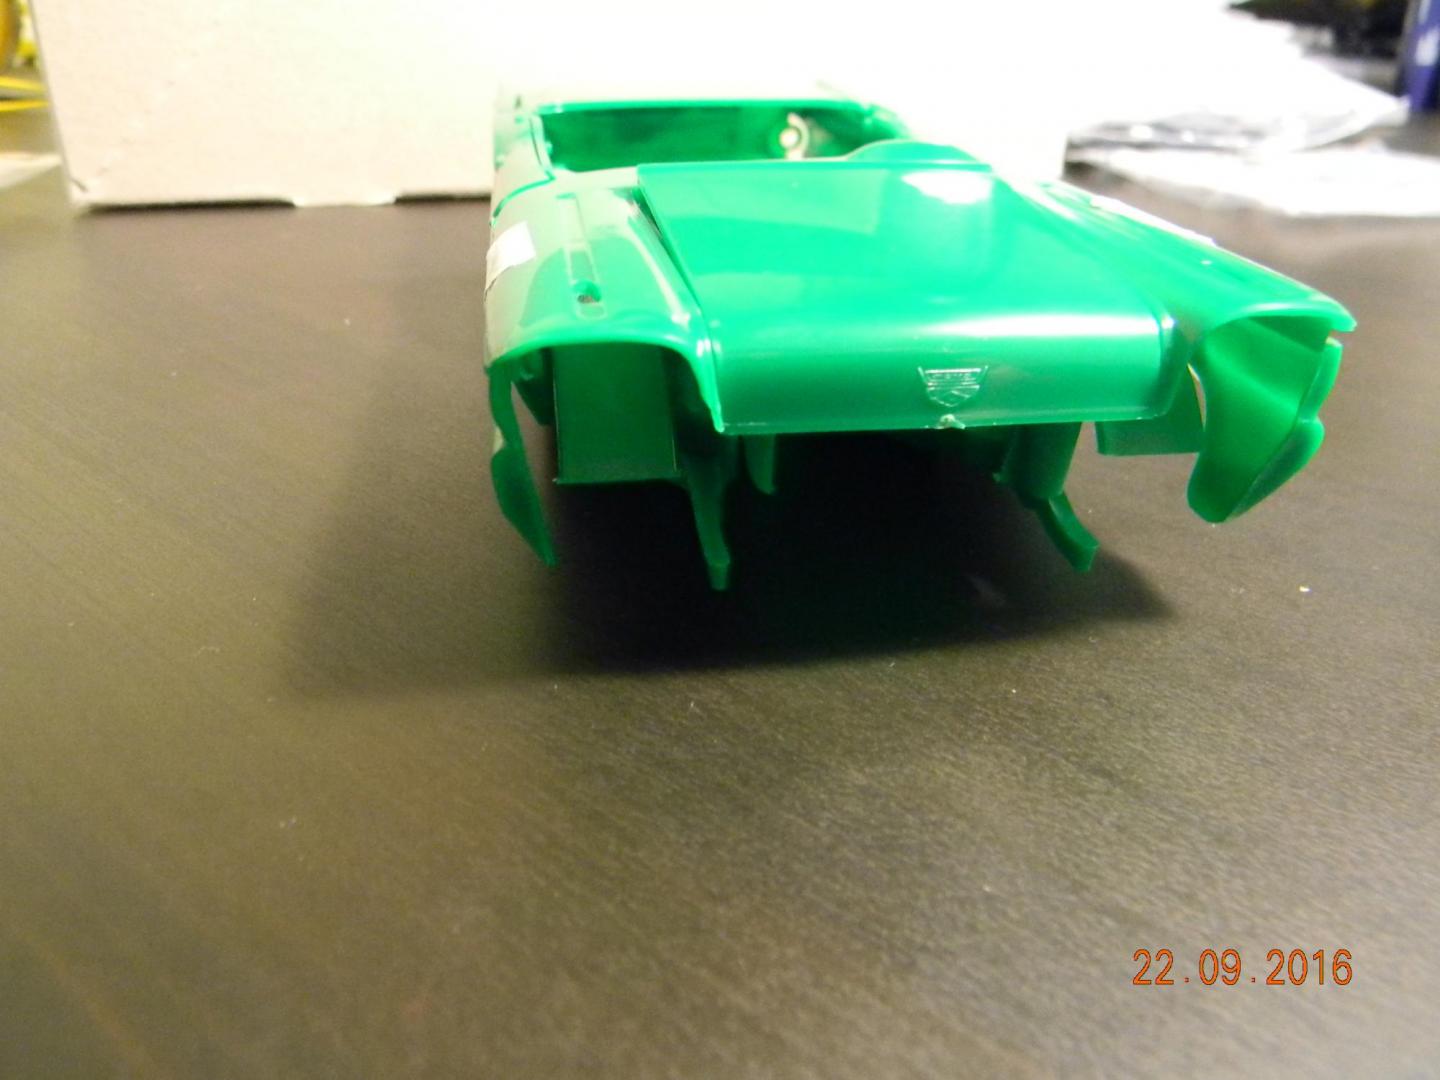
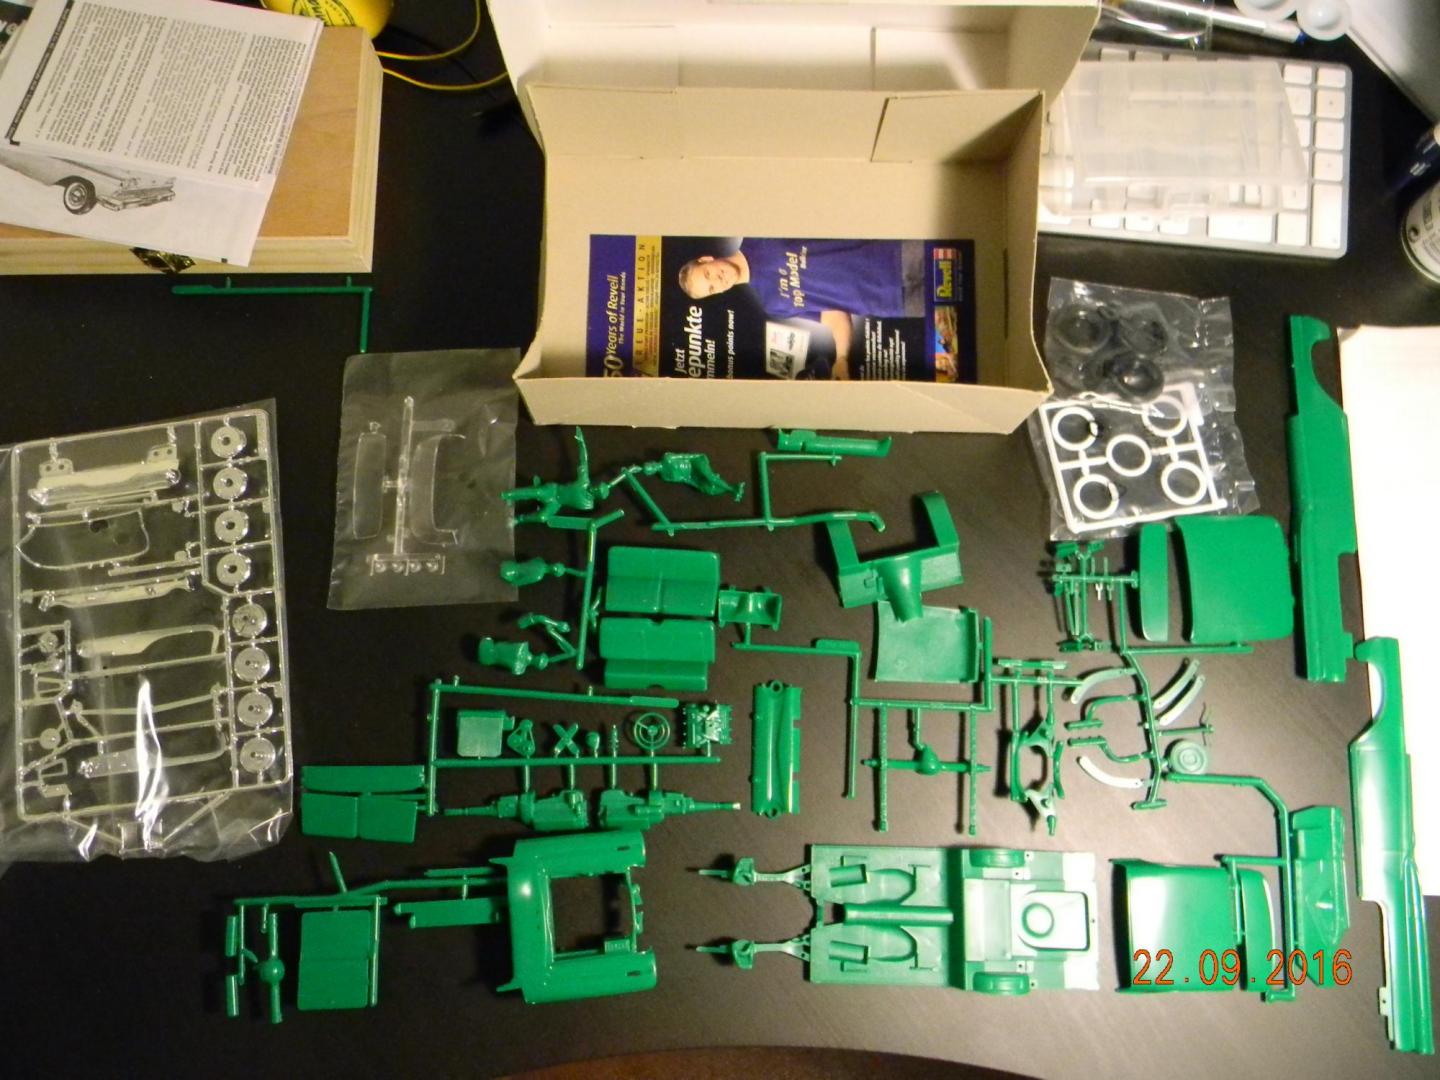
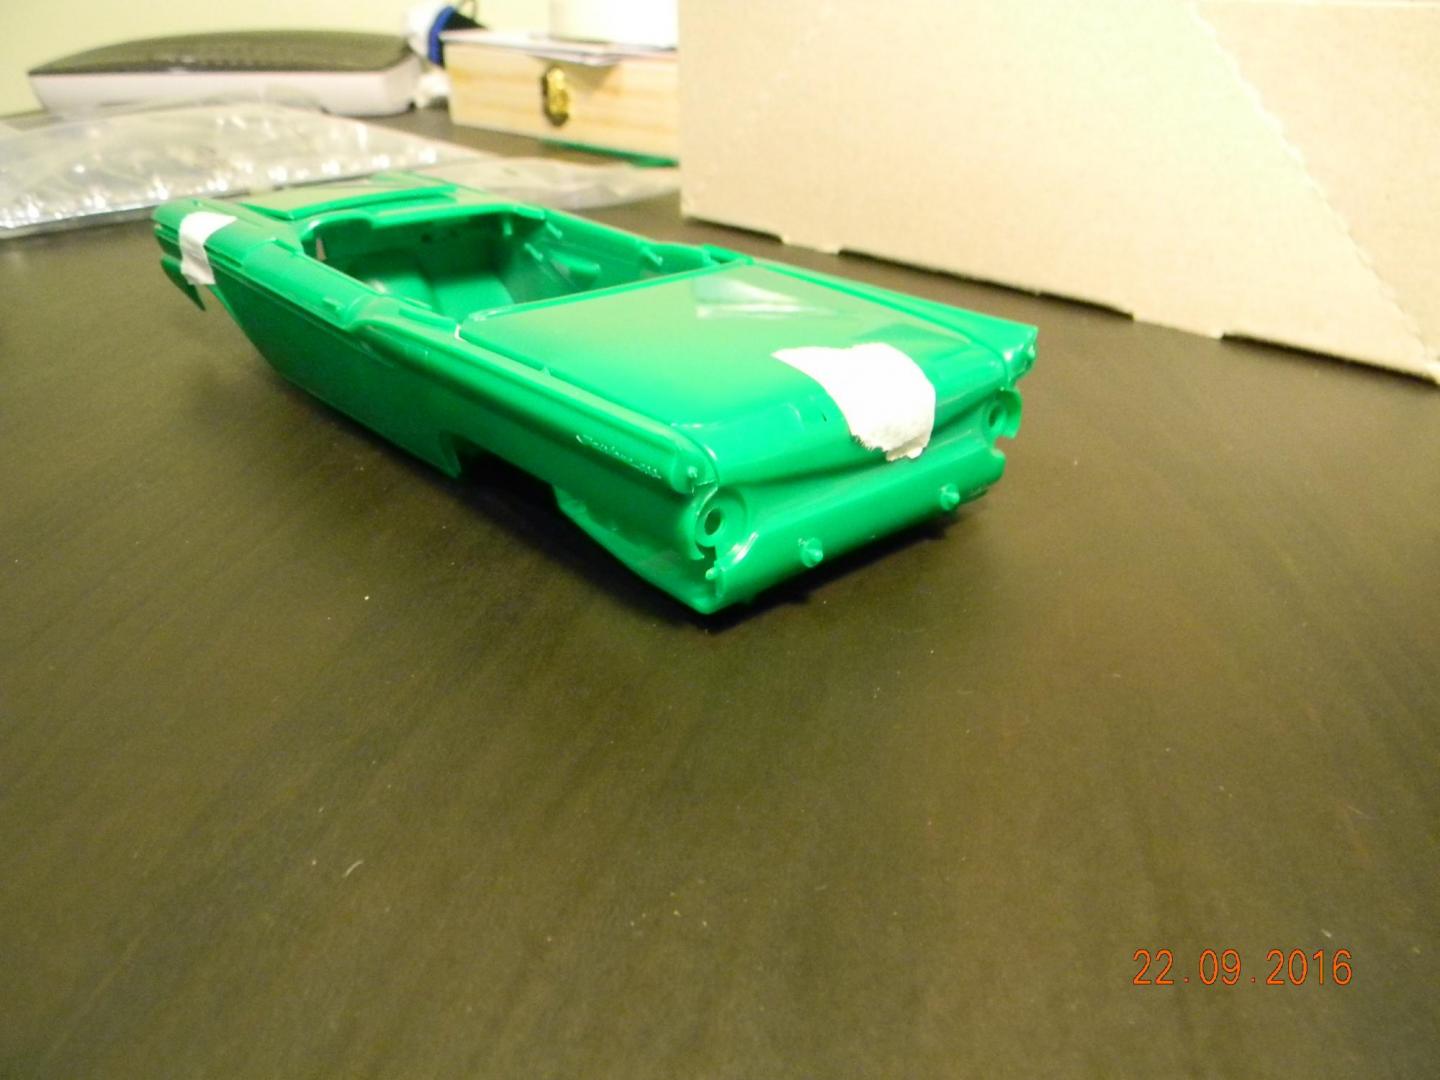
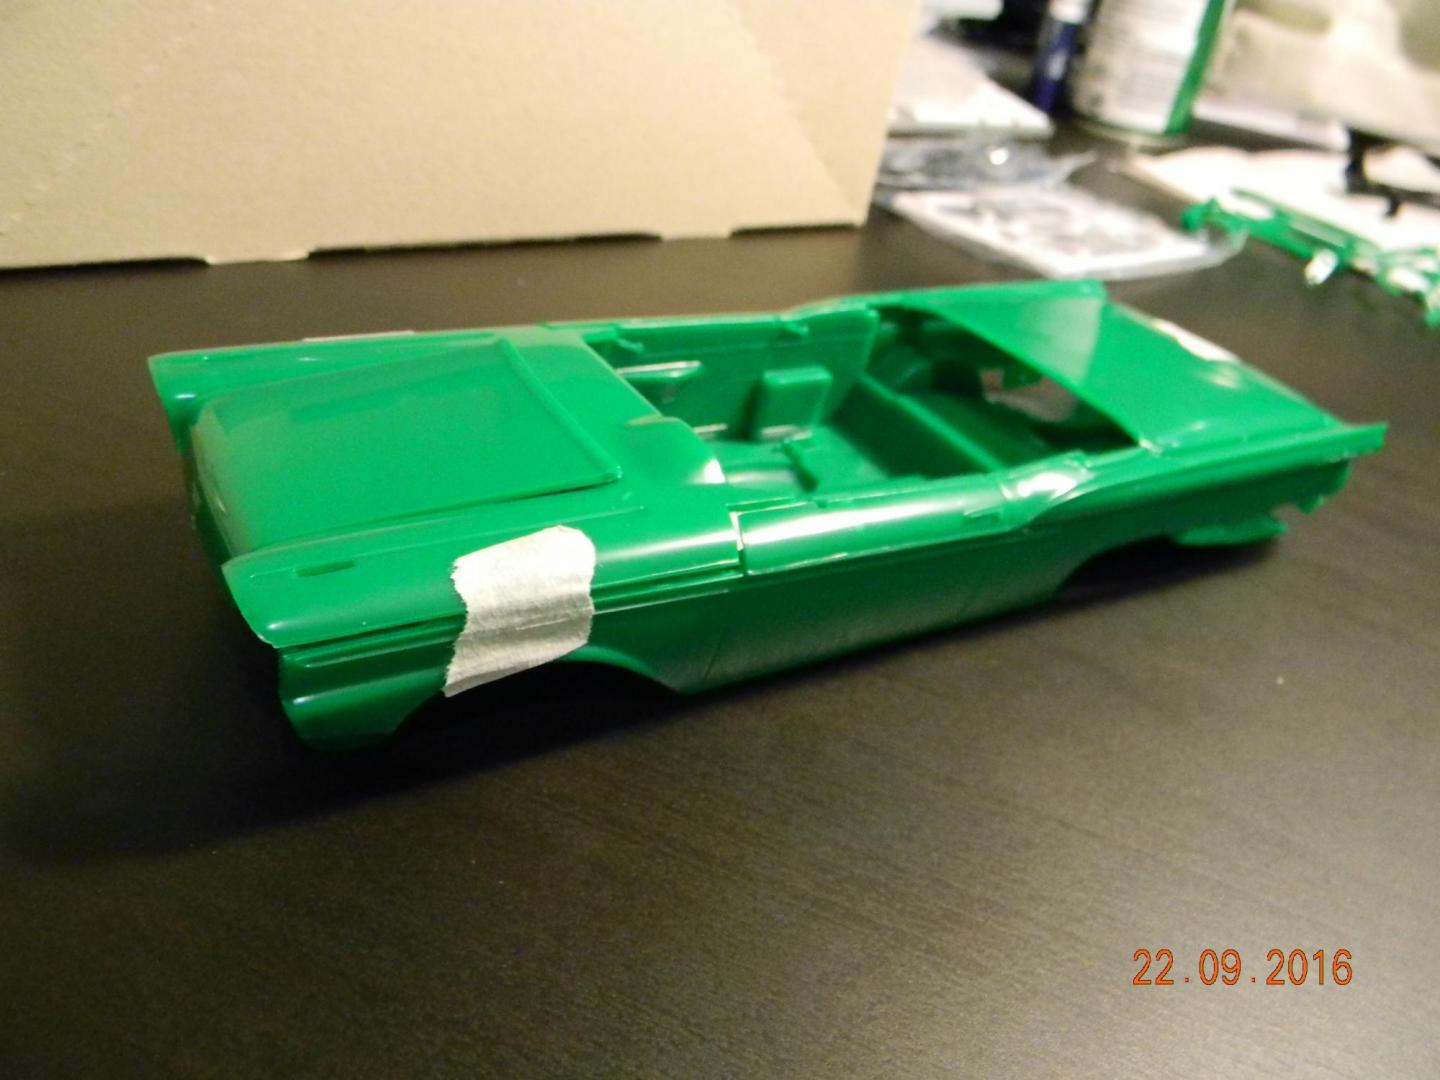
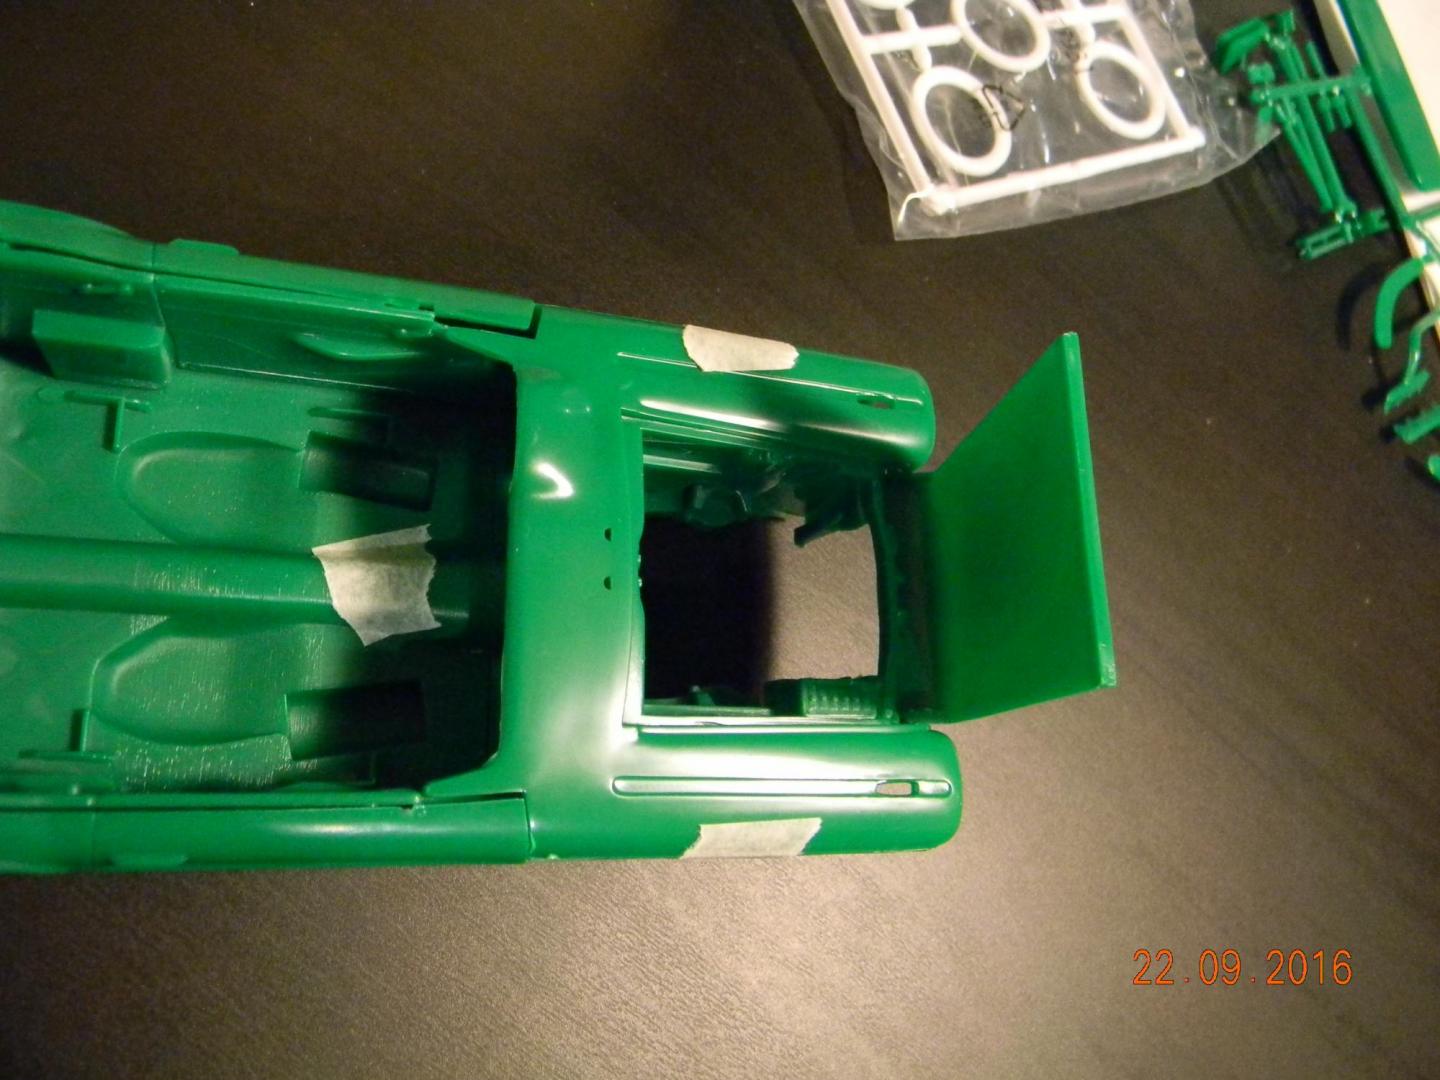
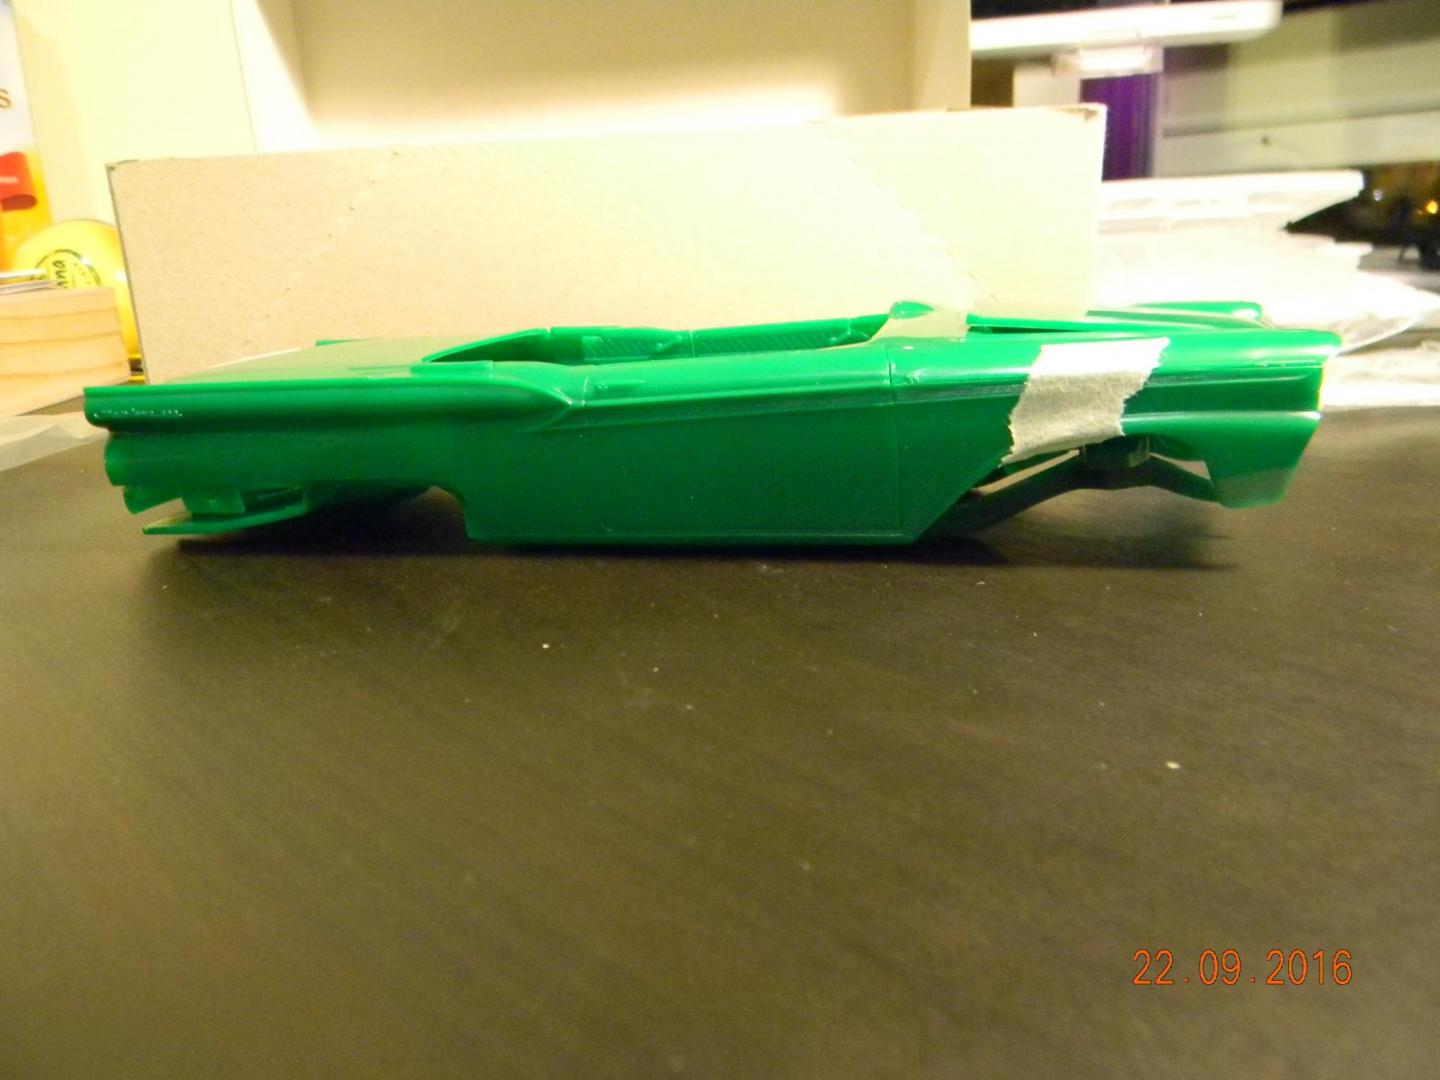
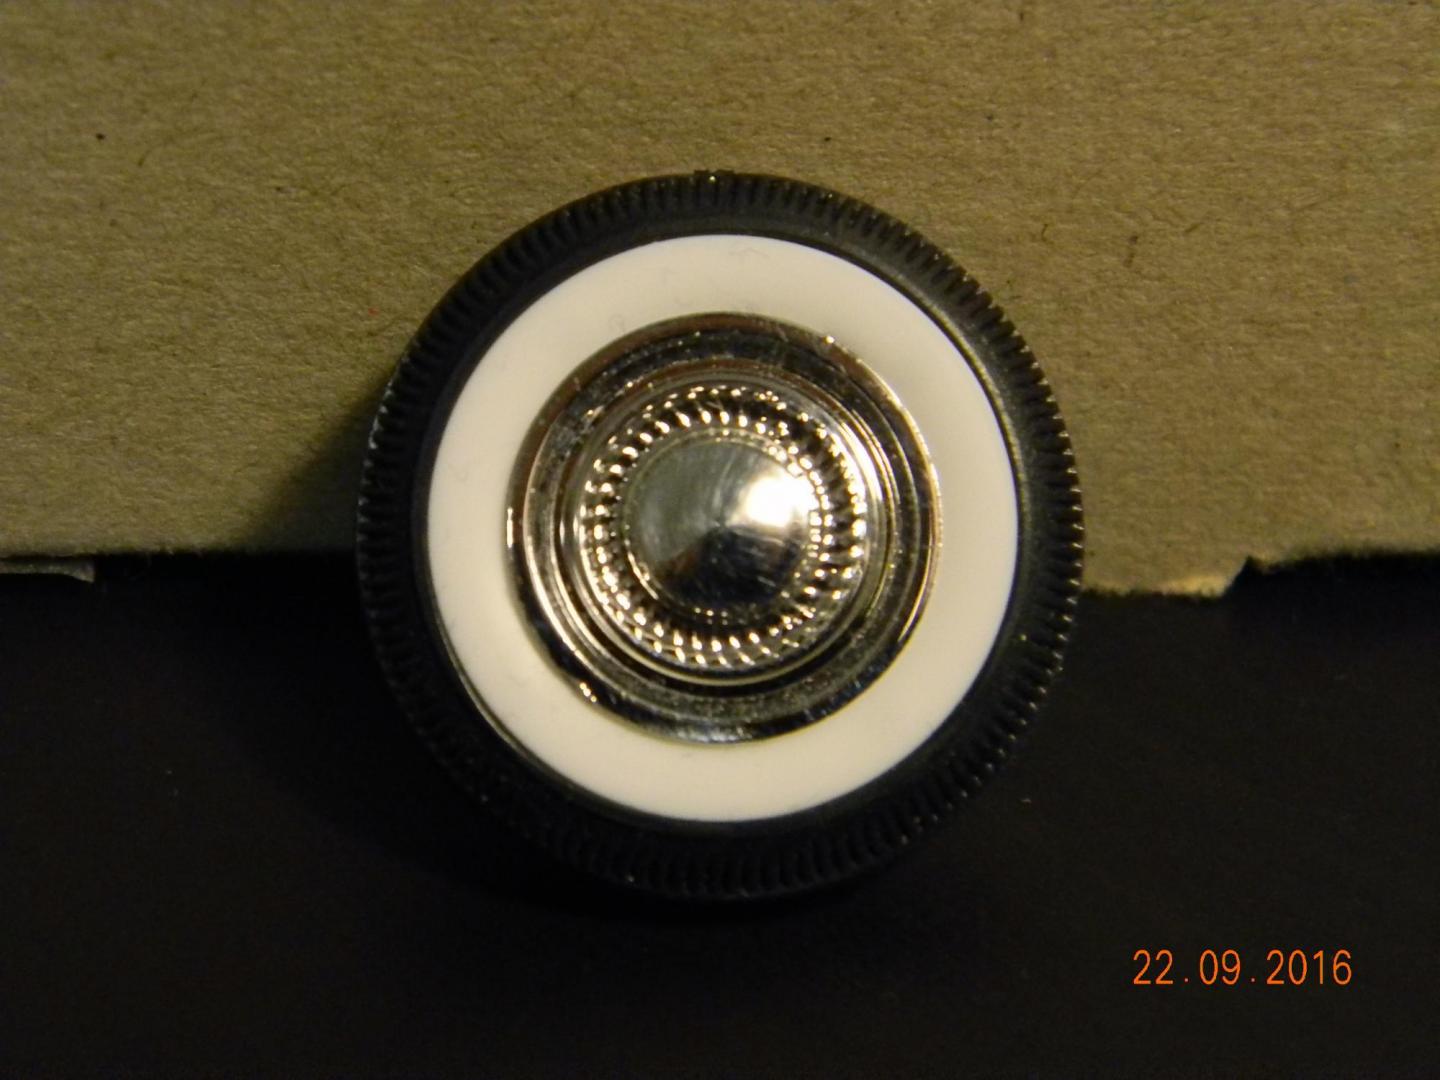
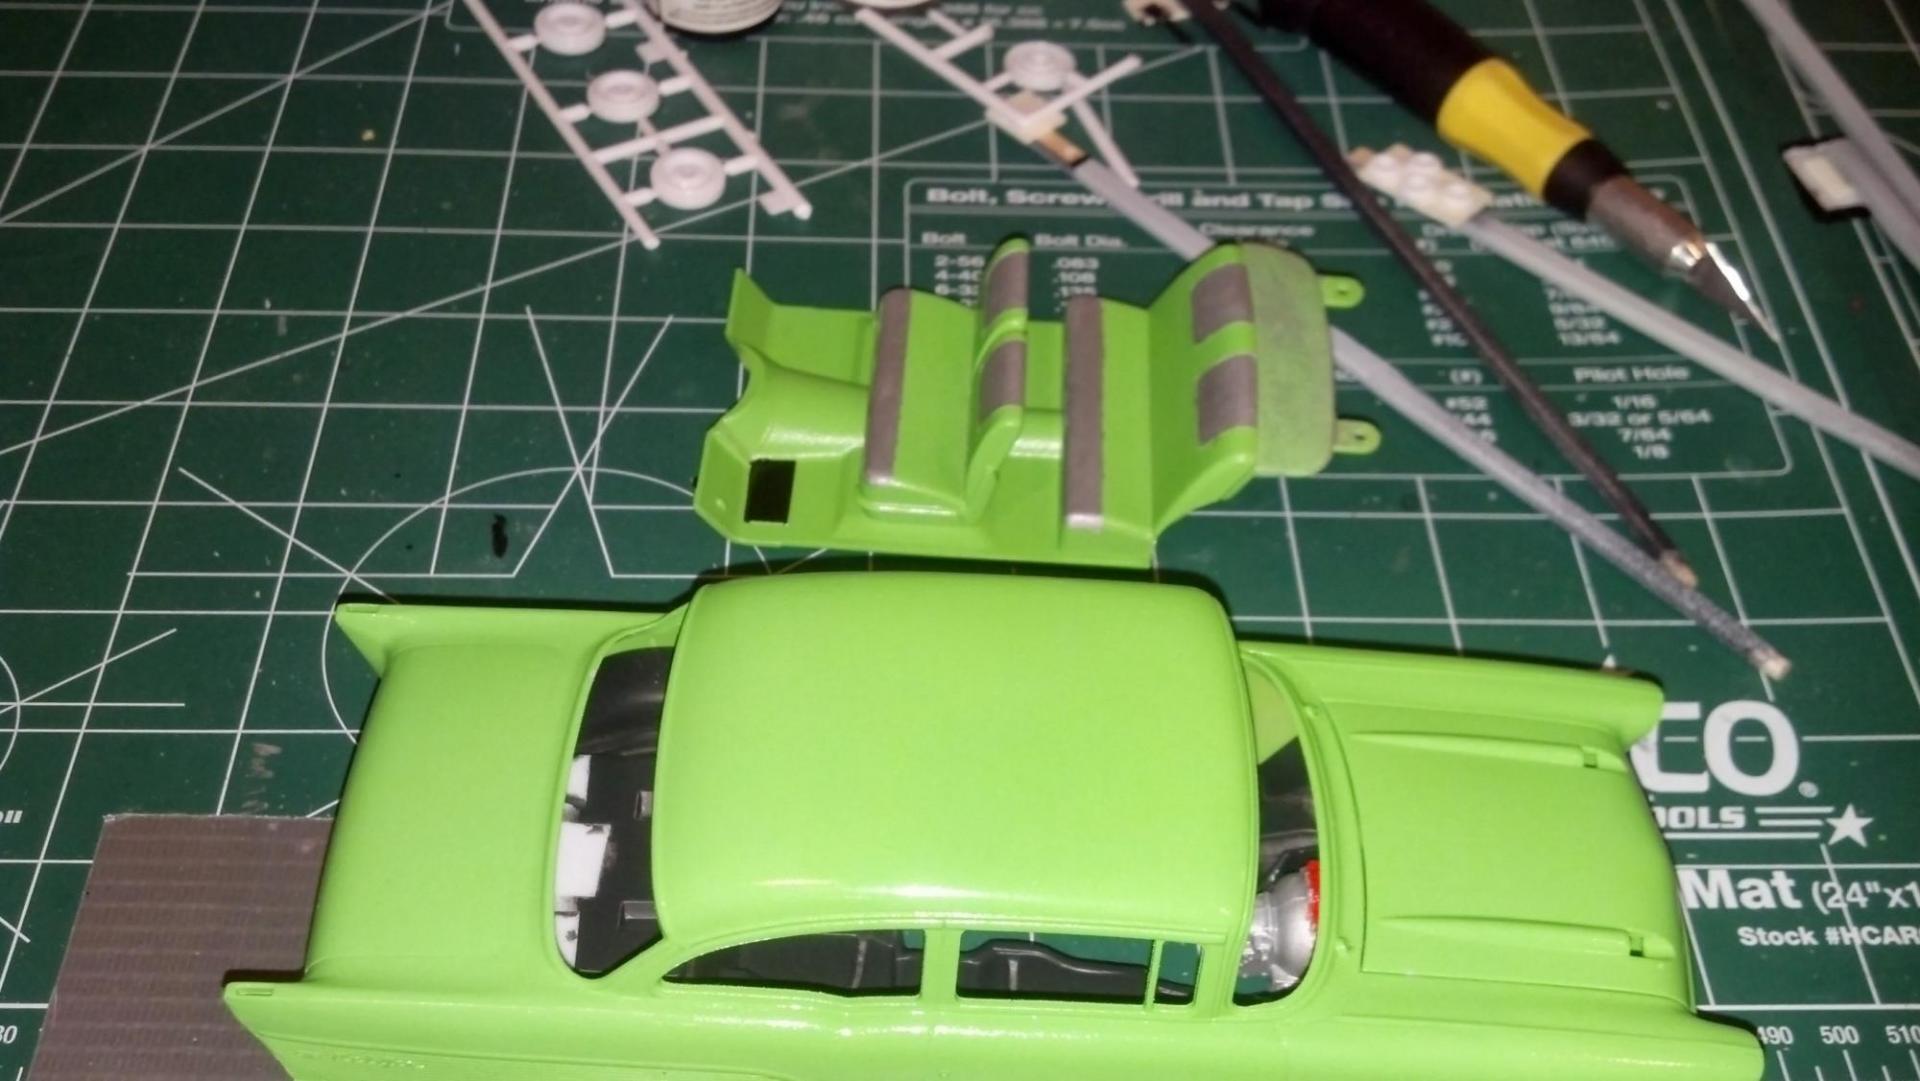
So.. first build post, and first build in oh.. 3 years. Total builds before this = 3 (spread out over 20 or so years!), so not a super experienced builder by any means. I go this kit at a local hobby shop, which I went to with my son. He left with an airplane, and I had this. Pictures so far is of me having taken it out the box and taped the sides and chassis together so I could see what it looks like. I was born in South Africa and lived there till 3 months ago, and have never seen a car of this vintage in real life. I am particularly impressed by the chrome wheels, I thought they might not look good assembled, but with the whitewall insert I actually quite like it! This will be an OOB and seeing as I have no tools / paint or real experience the bar is set pretty low. Going to have to brush paint it as there is no way I am buying an airbrush for quite some time! Comments and guidance most welcome!
- 44 replies
-
- revell
- ford fairlane
-
(and 1 more)
Tagged with:
-
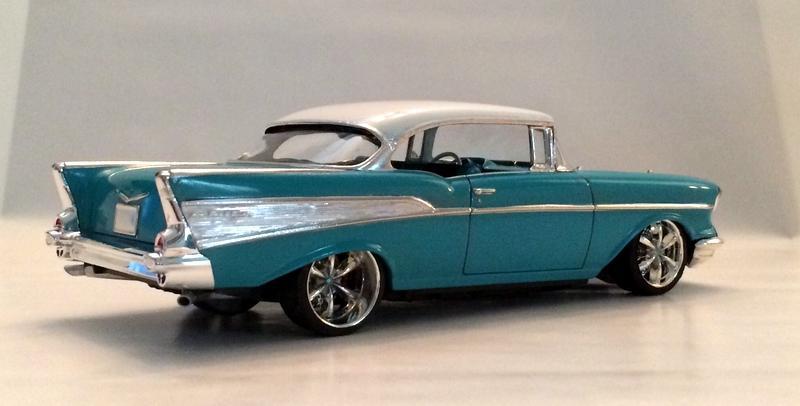
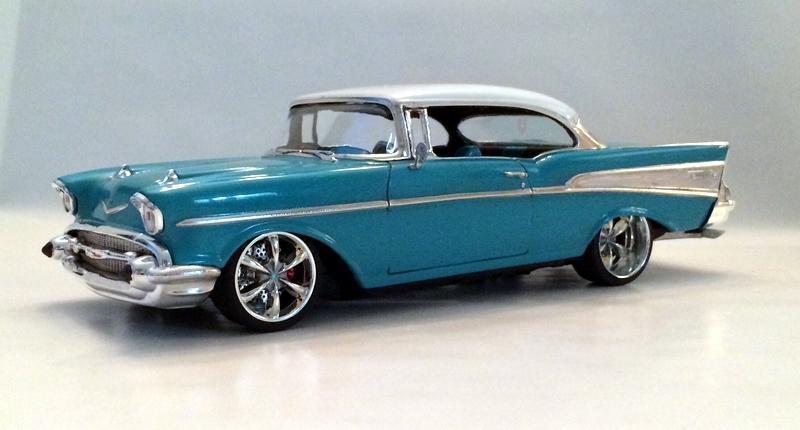
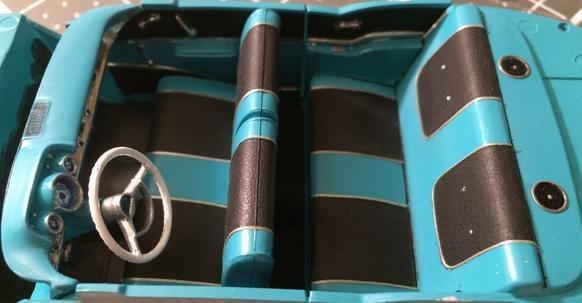
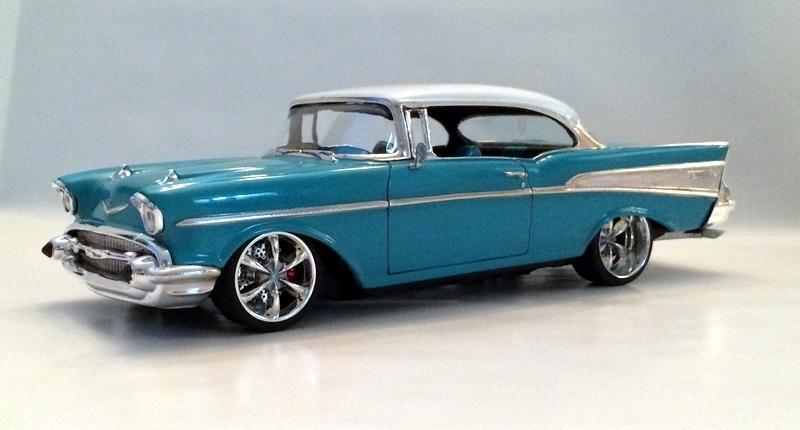
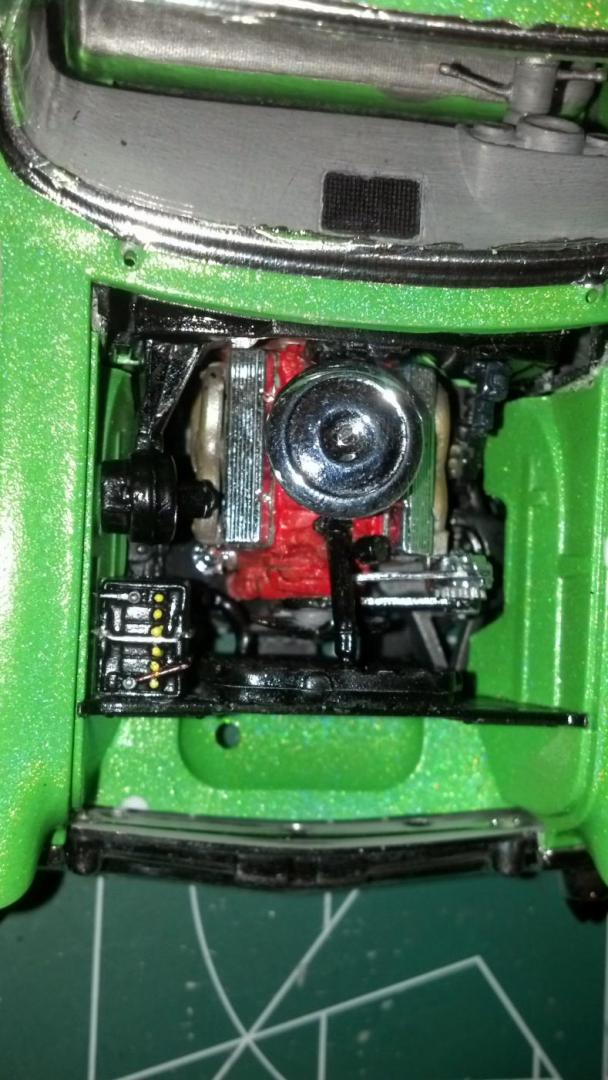
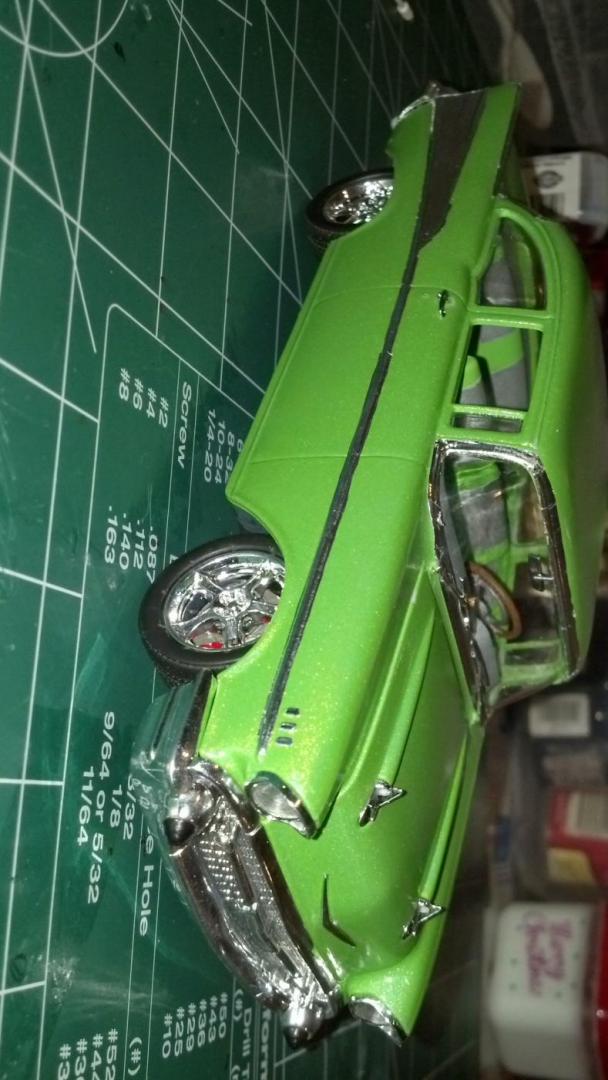
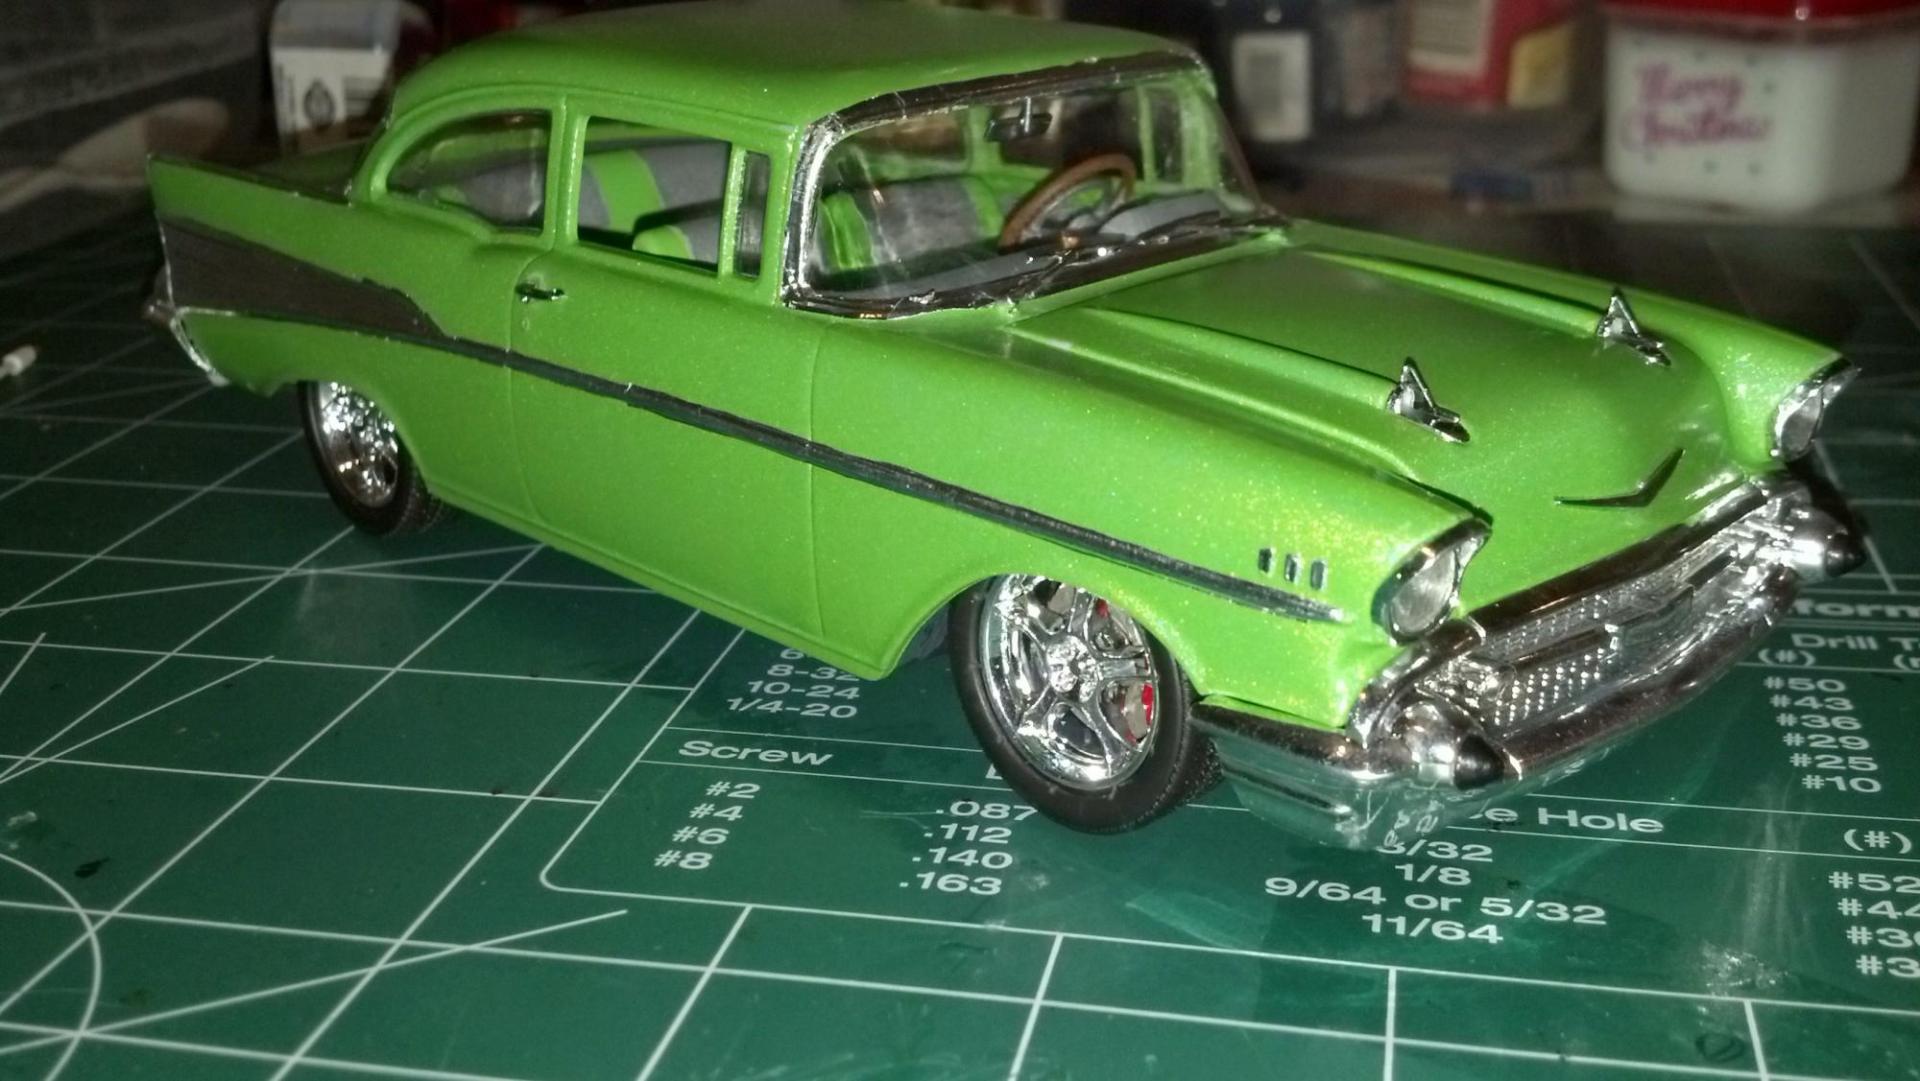
This was a fun couple of days quickie build of a 57 Belair I just finished. Traditional colors, lot's of BMF, detailed the interior with tape-piping, deep dish staggered custom wheels and handmade side mirror, as I understand mirrors make a model more realistic..
- 6 replies
-
- 1957 belair
- chevy belair
-
(and 1 more)
Tagged with:
-
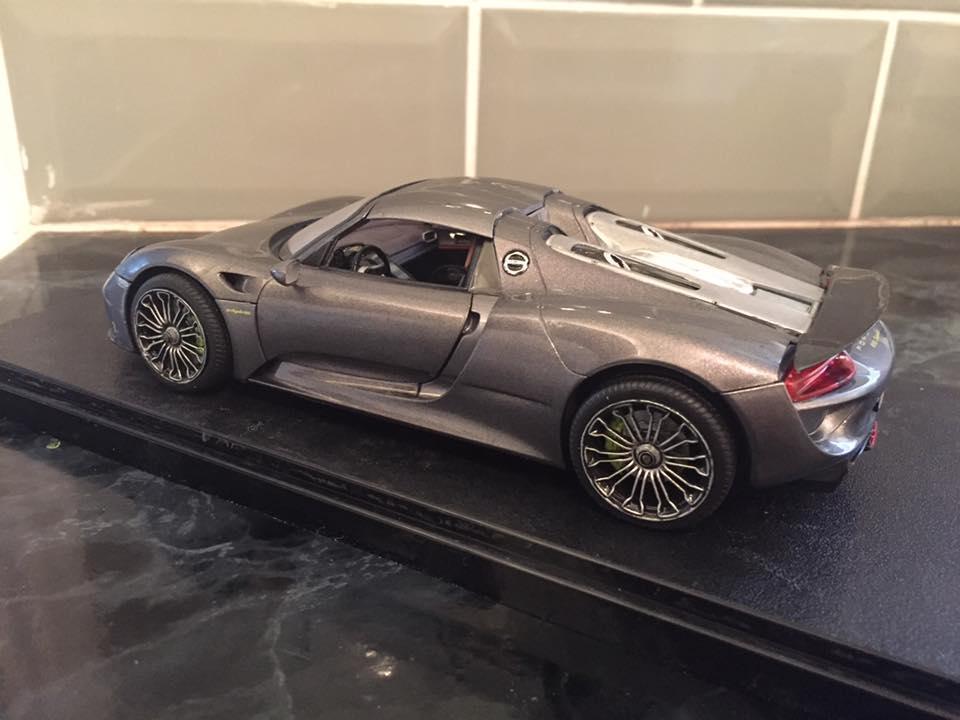
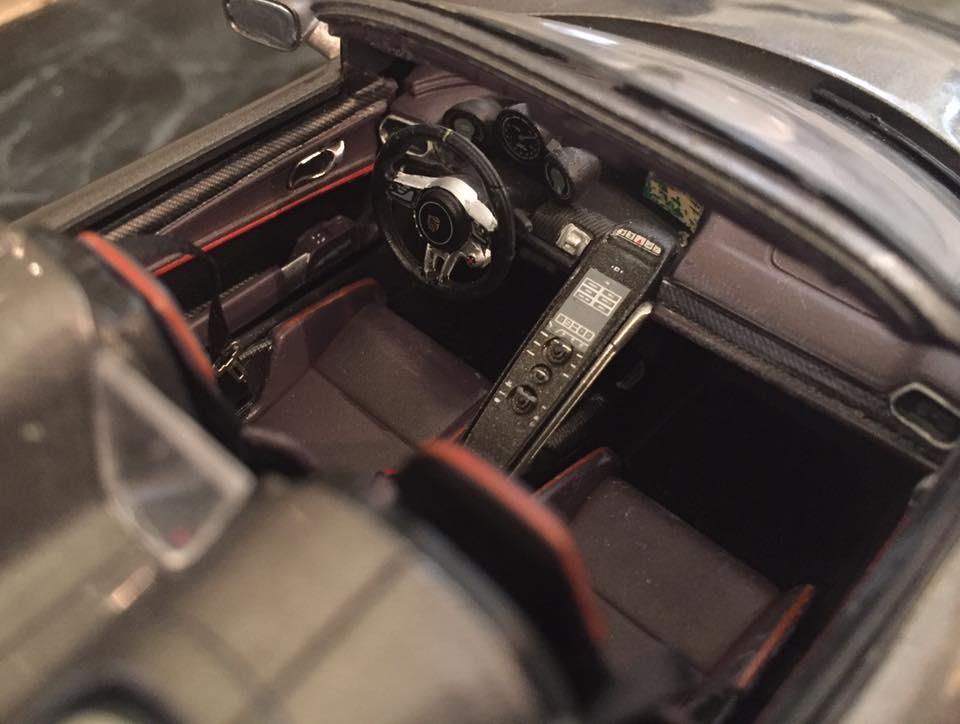
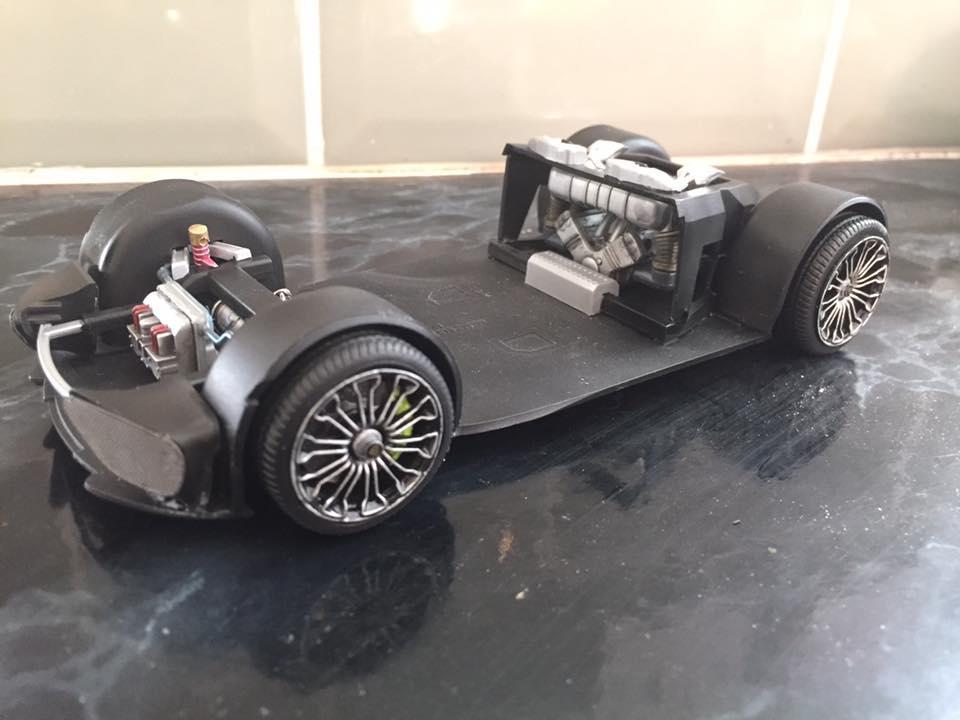
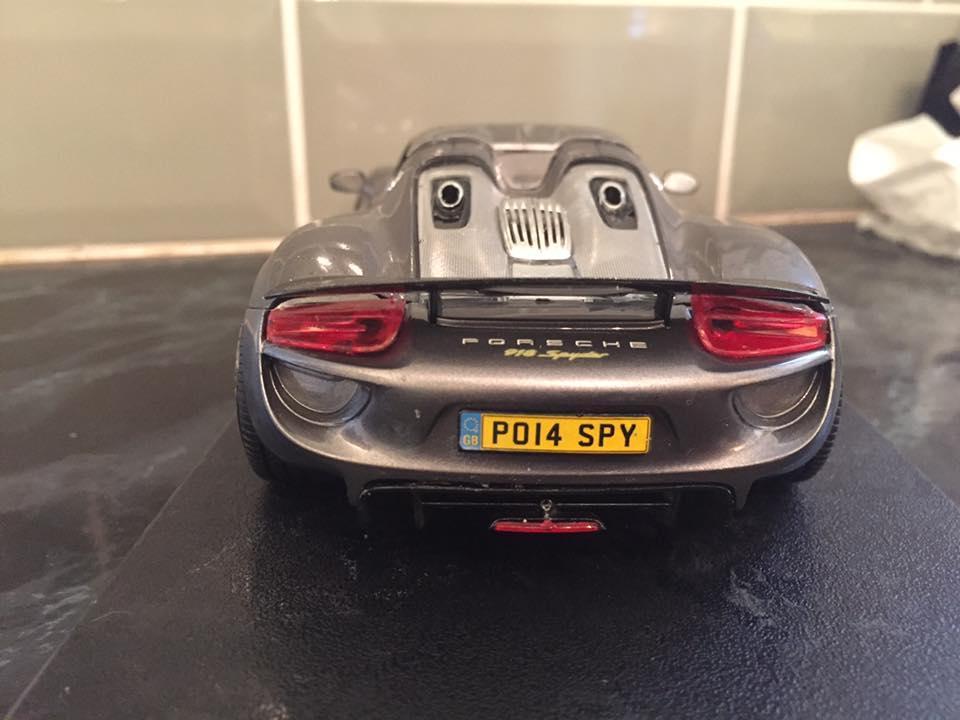
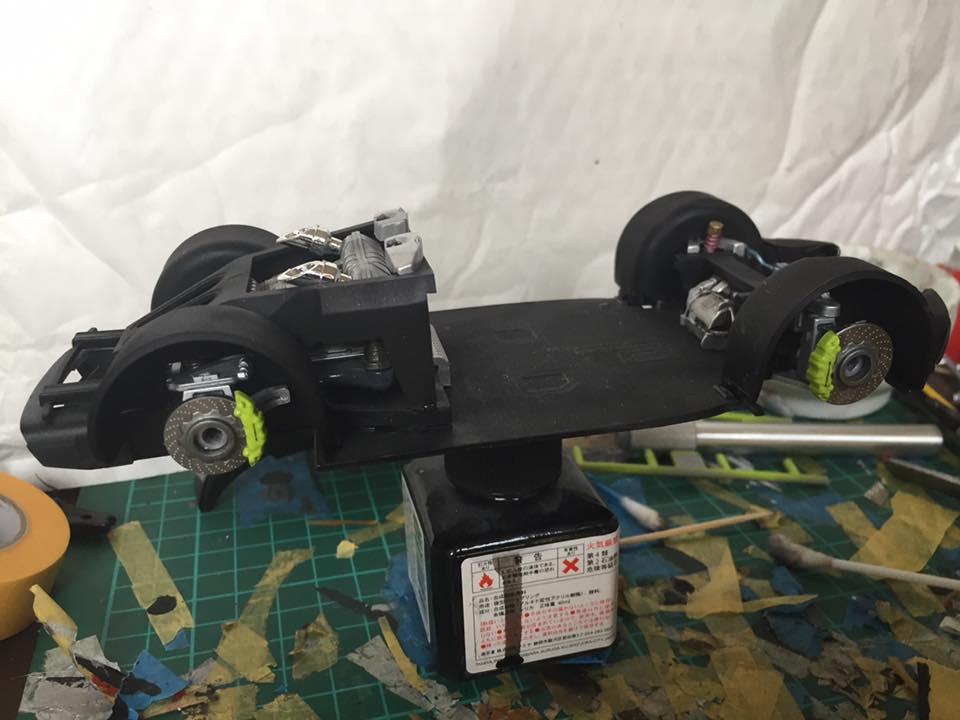
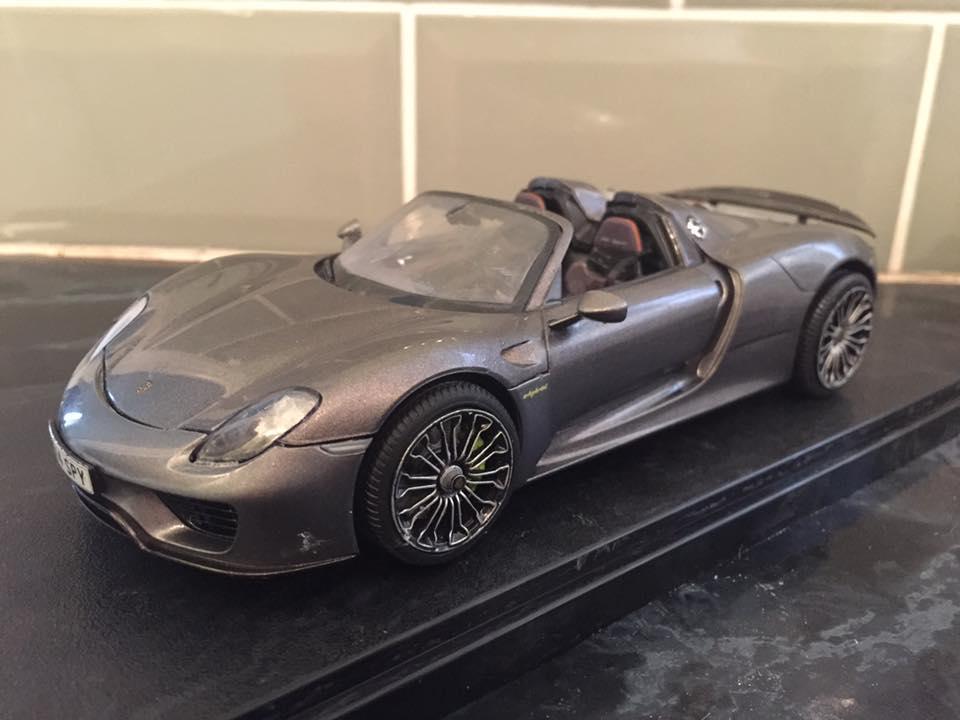
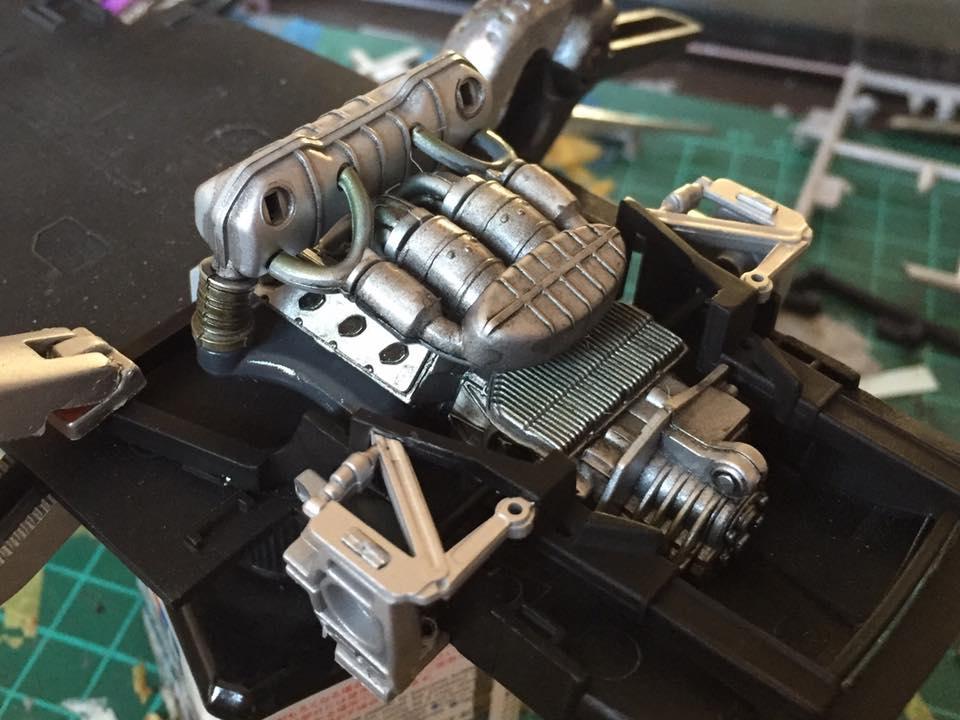
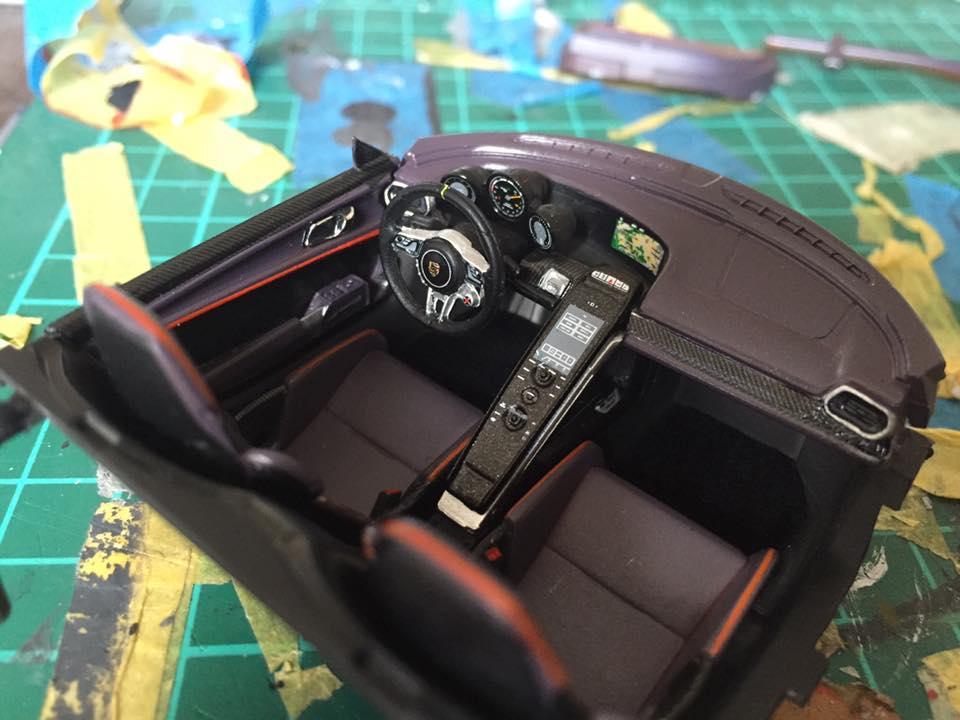
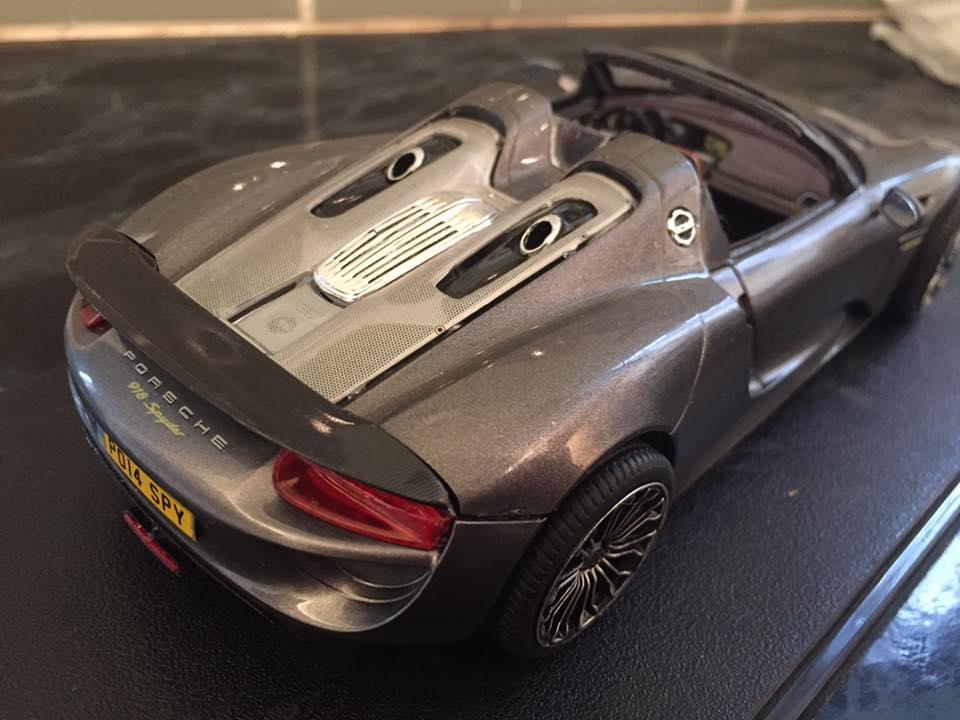
Hi this is my 4th model the Revell 918 Spyder. I have used some scal carbon fibre and Plamoz wheels which was not from the Kit, Gravity and Zero colors for paint. I like the final result i am happy with it unfortunately it was rushed as i had a due date to finish but there arnt really many imperfections to be seen by the eye. any feed back is appreciated i may build another one of these in the future as a very enjoyable detailed model.
-
-
-
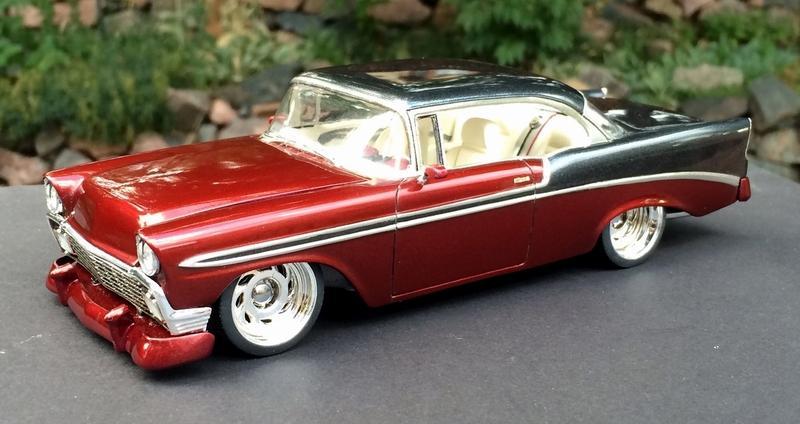
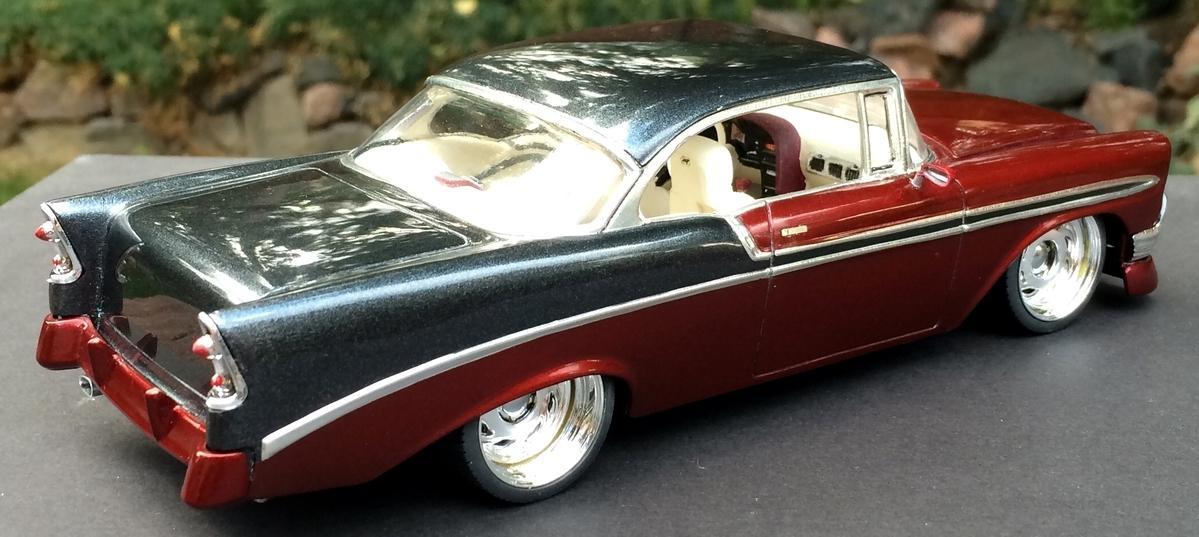
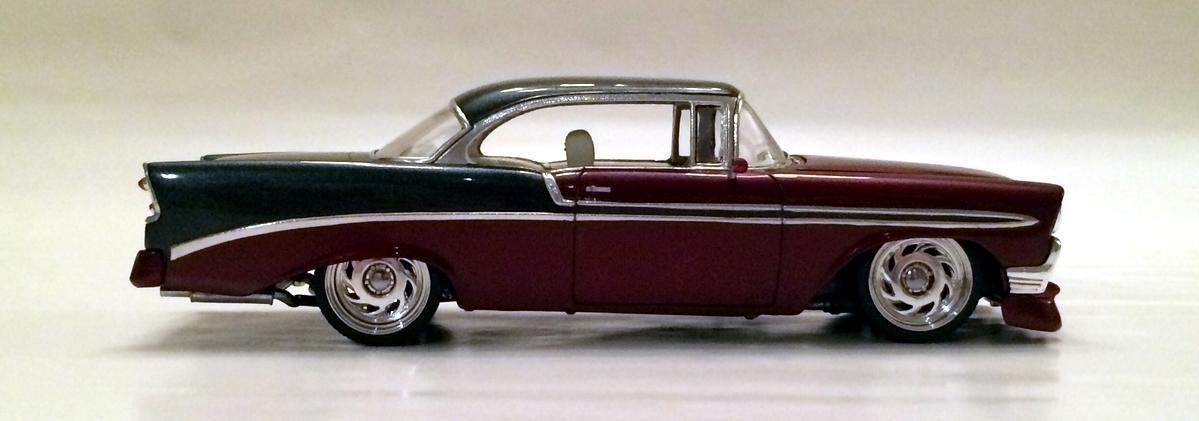
Finished this kit tonight. I really liked how this one went together, no fit issues at all, very good detail throughout. I picked a 50's themed color scheme but reversed what you would normally see (black roof, black on bottom). I think it came out pretty well. Comments welcome, thanks for looking.
-
Actually built this last Fall but with gold center Pegasus wheels. Didn't like how those looked and decided to color change to dark gray, and added some more offset to the rear wheels. Now I think it looks more like the C7 Z06. Painted with Model Master Aztec Gold with Tamiya Pearl Clear BEFORE with Gold wheels AFTER
- 26 replies
-
- 2014 corvette
- c7 corvette
-
(and 1 more)
Tagged with:
-
So, in anticipation of the Revell '30 kit I had saved up some parts to build a highboy with hemi power, but I just wasn't feelin' it once the parts were mocked up. The Revell '30 sort of wants to be either a modern neo-traditional hot rod, the kind of thing you might see competing for the Ridler or America's Most Beautiful trophies, or a rat rod. The custom top insert and chromed suspension components do suggest a third route, however: a late 50s/early 60s show rod. I'd been wanting to build a chrome-laden show car for some time, and have a bunch of kits to rob parts from, so here goes: -Revell '30 body with cowl band removed, channeled over the "A" style frame. I'll probably make some other adjustments too. -Frame Z'd in front and back...rear will probably get a transverse leaf spring adapted to the kit axle. -Ala Kart front axle -Revell '29 roadster channeled interior panels, modified to fit the coupe. -Monogram '30 Woody dash (fits perfectly) -Monogram '30 Woody chrome firewall (fits perfectly but had to be trimmed for frame/engine clearance because of the channel job) -MPC deuce grille hollowed out and filled with drawer-pull panel from Aurora Custom Grilles Parts Pack. -AMT '57 Ford V8 with parts box "thunderbird" logo valve covers, chrome pulleys from Revell Ford 427 parts pack, and 6x2 carbs from either the Tweedy Pie or Lil Coffin. -Revell '30 Tudor seats, cut down. -AMT '57 chrysler rear tires and hubcaps all 'round...Revell-Monogram tires up front (from '50 Ford pickup, or '59 Chevy Impala..probably other kits too) -going to tunnel metal exhaust tips from Monogram '30 Touring into the kit's taillight locations, and slide in bullet-shaped lenses made from sprue.
-
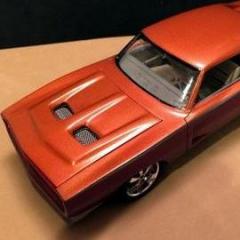
What's up guys and girls? I have another Charger for you! This is the yellow labeled pro modeler 1969 Dodge Charger. Did not do any body modifications other than cutting the motor mounts to make the massive Hemi sit right in the bay. The wheels may not be the right year for the car but it is what i had on hand and they where free! They came from the 1968 Charger kit. Details include wired spark plugs, battery, firewall, and brake booster. I added real rubber hoses for the heater and radiator. Interior came out to be my best yet! Made seat belts using craft ribbon and BMF. The floor board was flocked using nail flocking (really cheap on eBay, $10 for an assortment of 10 colors). Center console also has a little BMF added. The chassis is pretty simple, just some painted on details. First time trying the over spray look, probably went a little over board. Pint is all rustoleum rattle can with the vinyl top being one of their satin finishes. Can not remember the exact colors but can find out if needed. Don't be scared to point any flaws, only makes me better. Hope ya'll like it! Thanks!
-
Found this kit at a flea market not to long ago. To my surprise it's complete other than a decal sheet if it came with one. Was wondering if anyone has any information or interest in this kit. Can't find any for sale on eBay Is it rare or has been reproduced in the recent past? Thanks!
-
My idea of what a new Striped Tomato might look like if the Starsky and Hutch cop TV show was to come back today. Of course started with the Revell kit, which I will say is an excellent kit, very detailed, little flash, really none, and fitment was excellent throughout the build. I of course made several mods to this build, first was tucking and narrowing the huge front and rear stock bumpers. Added a air-dam effect to the front with plastic and putty. added the Eliminator hood scoop to keep Starsky from sliding across the hood, which of course drove Hutch crazy, you're welcome Hutch... Gave the boys new RECARO seats instead of the cozy bench seat, again you're both welcome... I think... Ha... Did minor engine detail, wires and hoses and basic chassis. Added some different exhaust tips to exit the corners. Stayed with the overall theme but I honestly never liked the look of the huge stripe, it never seemed to fit the lines of the car to me, so redesigned and painted my own. Decided to keep the chrome look, but shaved door handles. Paint is Duplicolor Electric Current Metallic Pearl Red with Tamiya Pearl White for the stripe and lot's of Testors Wet Look Clear cut and polished several times. Updated the wheels to a newer version "5-slot" style, and custom deep-dished the rears for a staggered resto-mod look, and gave them huge disc brakes. Had a lot of fun building this one, thanks for looking
- 36 replies
-
- starskyhutch
- torino
-
(and 2 more)
Tagged with:
-
....just wondered if the Revel Model King BAD NOOZE 53/54 Chevy gasser issued in 2006,,,,,then reissued again in 2013 have any differences in kit mold quality, chrome, basically anything........I ask because I may buy the lastest one, but seem to recall checking out a 2006 issue a few years ago and not thinking the overall quality of the kit was very nice, being quite rough generally...... any thoughts here from our members would be welcomed....thanks, the Ace...
-
Hello Everyone, this is my Revell Ferrari California OpenTop, first one this 2016...Revell paints, funny kit, hope you like it! thanks for watching!!
-
This was a fun quickie build in between more complex builds I did last Fall. (This is a curbside Revell Snaptite) Added the fat-tires, PE side vents, and custom dual exhaust.
-
Calling this one done for now (it's missing the radiator support bar in these pics, I'll make another that fits better). Thanks for all the comments on the WIP, it's been a long road (2009-now) so it's great to finally have this one on the shelf. There are about 13 other projects waiting for time on the bench now! A brief summary: -Body and interior: Revell 32 Tudor, interior floorpan partially scratchbuilt. Chopped, channeled. Chopped grille shell. -Scratchbuilt frame (styrene) and gas tank (balsa) -Wheels and front tires: AMT 34 Ford -Rear tires: die cast 56 Thunderbird -Engine: Revell '41 Chevy Pickup. Carbs: resin copies of AMT 34 Ford parts. Air cleaners: Revell '49 Mercury custom. Headers and radiator hoses are solder. -Taillights: indicators from 57 Corvette ( I think) -scratchbuilt chopped windshield frame, acetate windows -front radius rods made from rear wishbones of AMT '31 Ford woody -finned drum brakes made from cut-down toothepaste caps -brake backing plates: resin copies of parts from Monogram '32 roadster -grille insert: metal from an office door nameplate, drilled and polished
-
It may be a simplified kit, but a little bit of work yields a nice result... A grand total of five parts in that interior! Colour is Zero Paints. I started out with "Protonic Blue", (a BMW i8 colour), but decided it was too pale, so I overcoated it lightly with Blu Dino. It looks nicely zingy to me now. There's a reasonable amount of detail to paint, even through construction is very simplified. I put carved a centreline channel in the engine covers, and striped the chrome from the headlights before repainting with the complexity of the real thing. And I had to add a bottom to the steering wheel -- I don't know where mine went, short shot, broken or just not there...? The 2005 GT (actually a 720 Mirage...) is a Polar Lights snap kit, titivated, and the 'vette is the recent Revell Germany release of another snap kit. Just goes to show that there's nothing inherently wrong with them, and that a bit of detailing work with pain can really lift them. bestest, M.
-
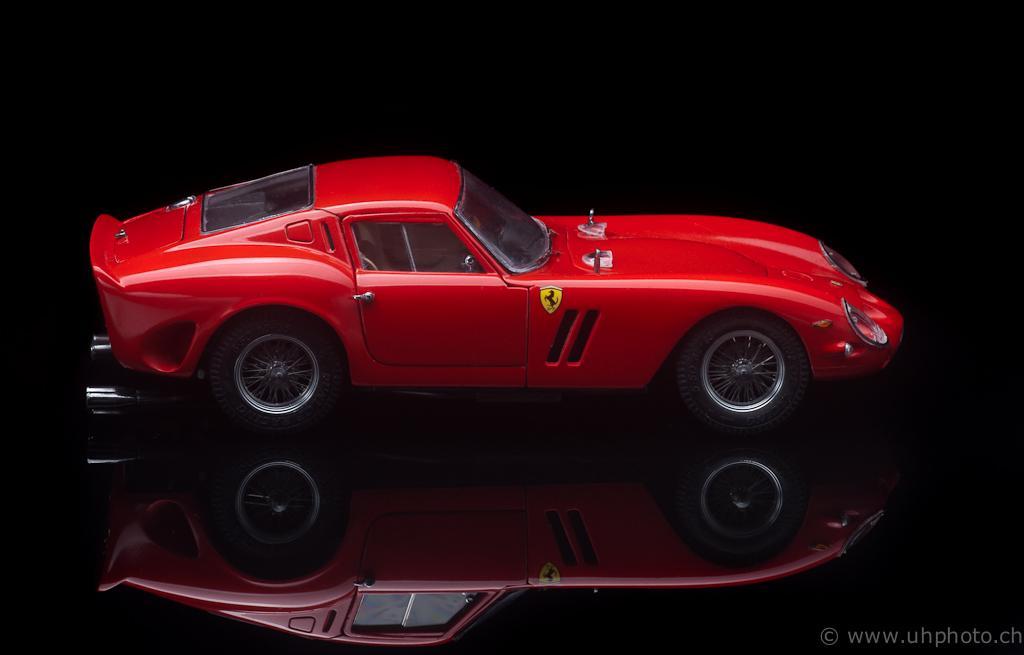
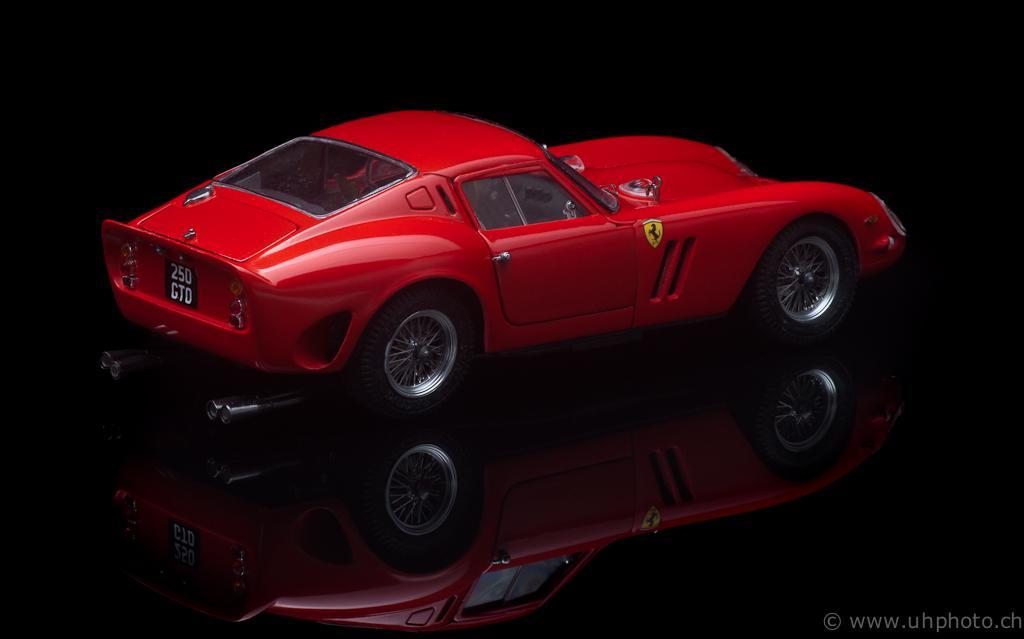
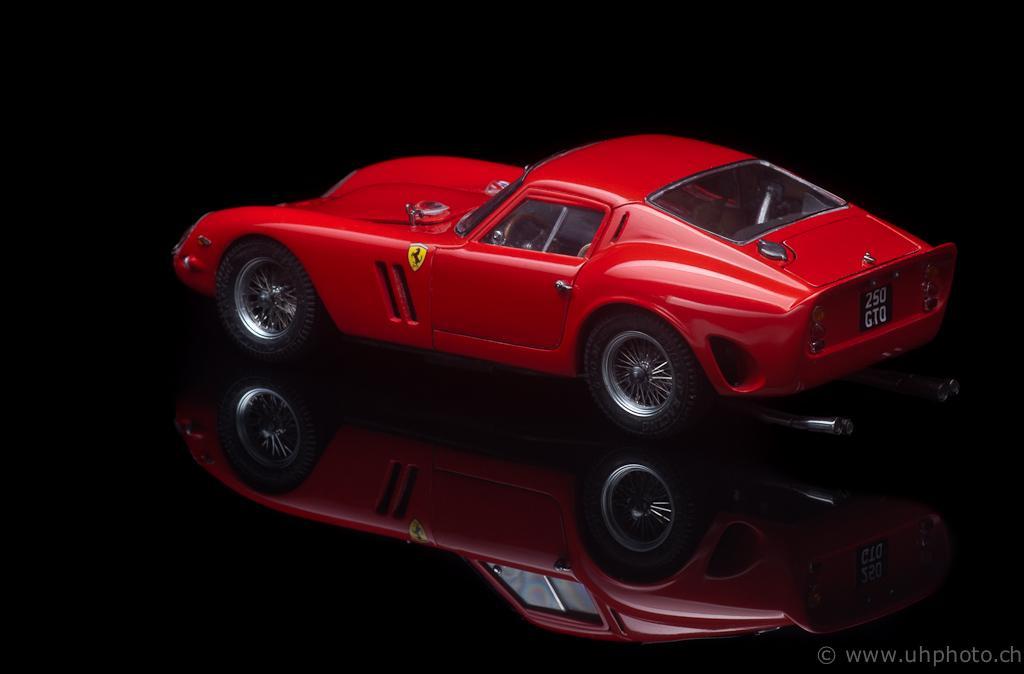
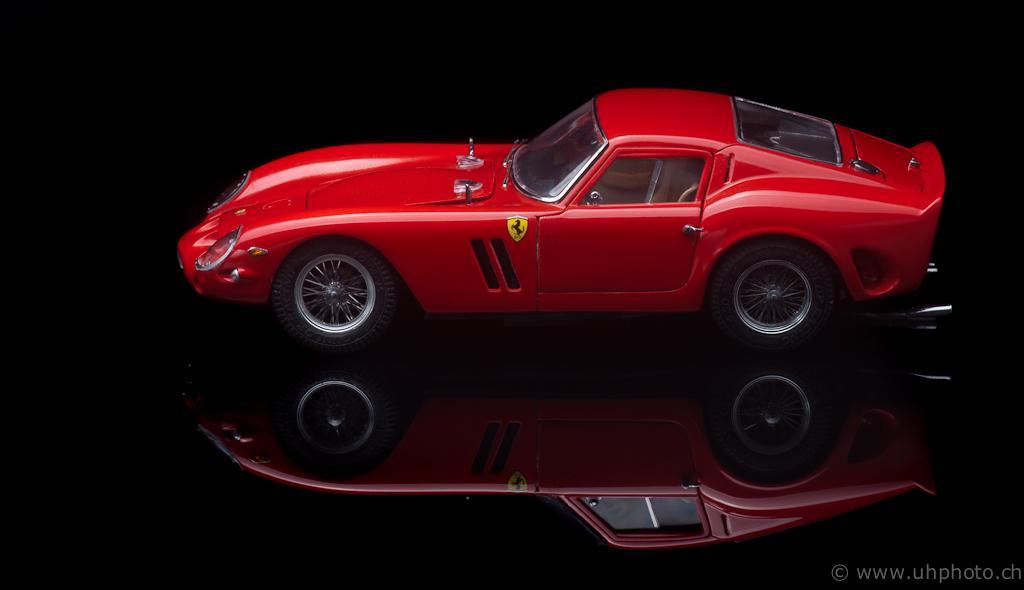
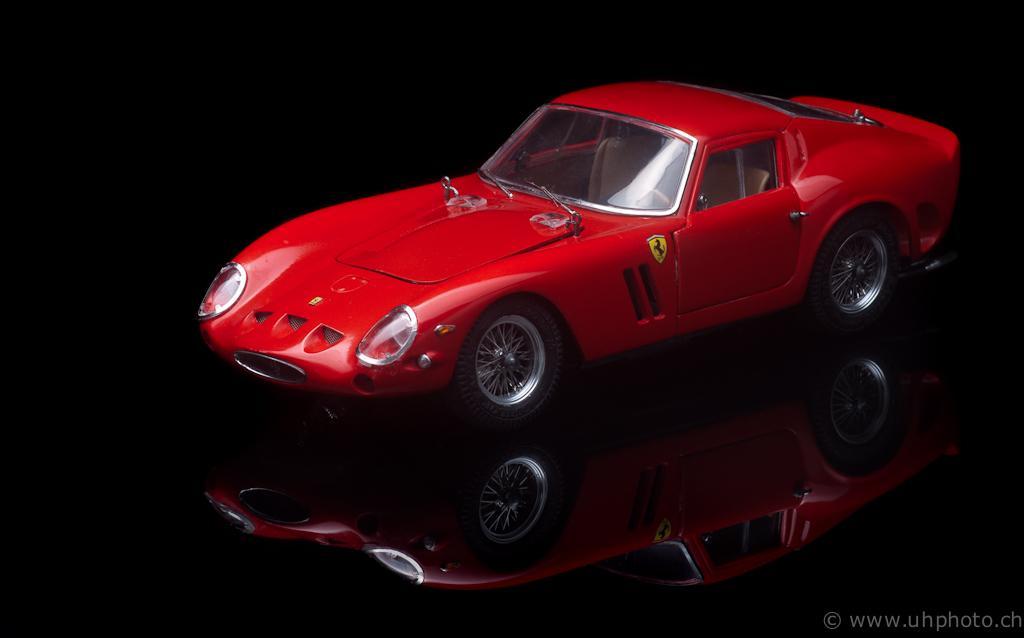
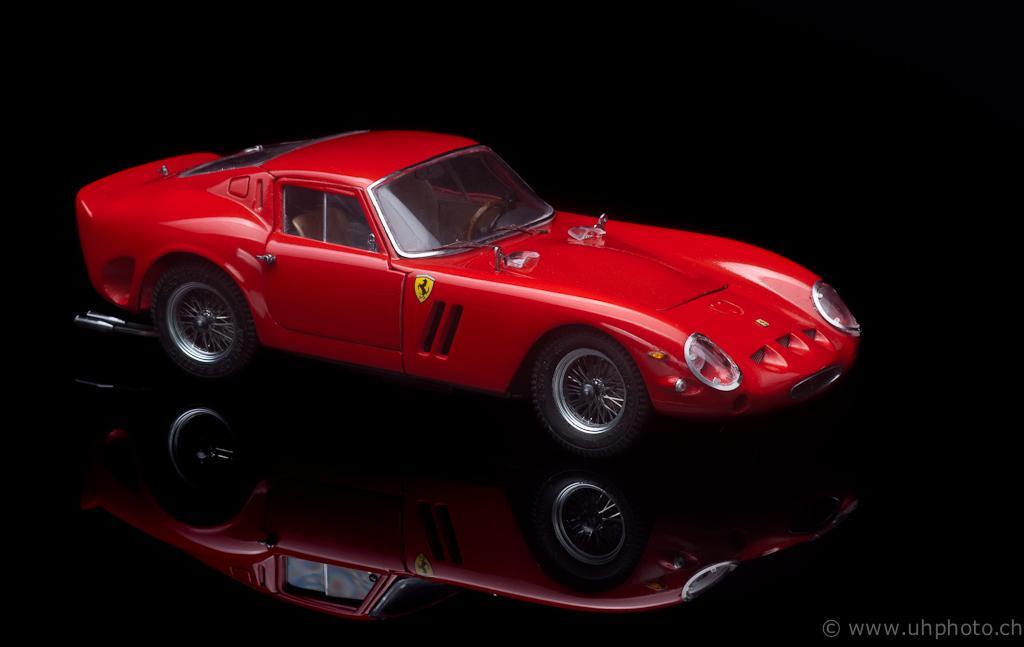
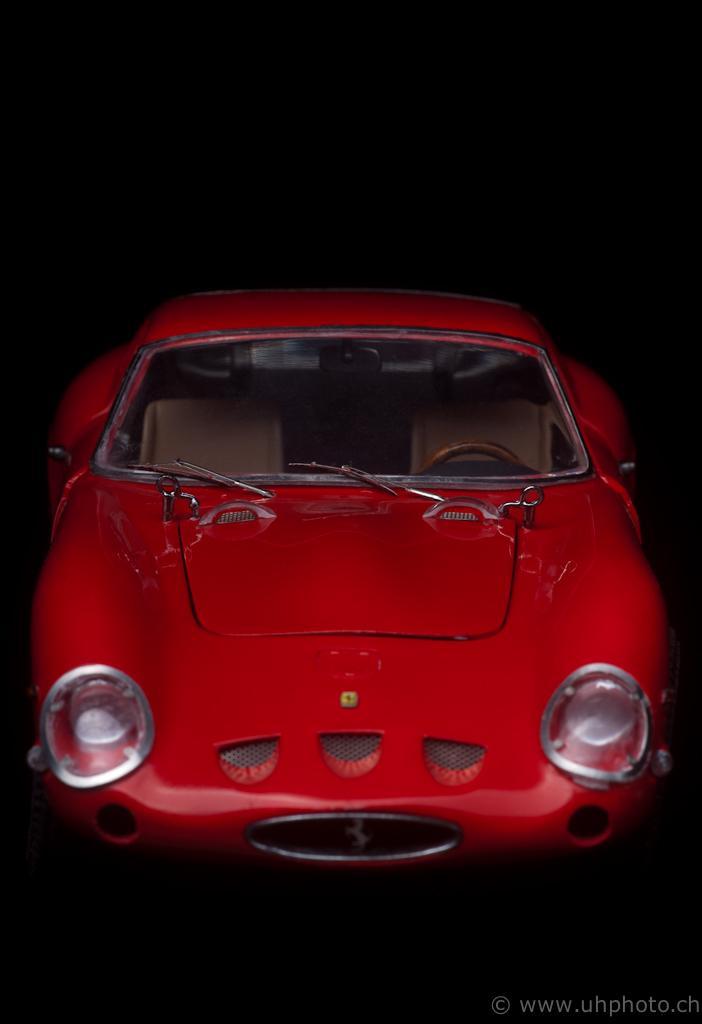
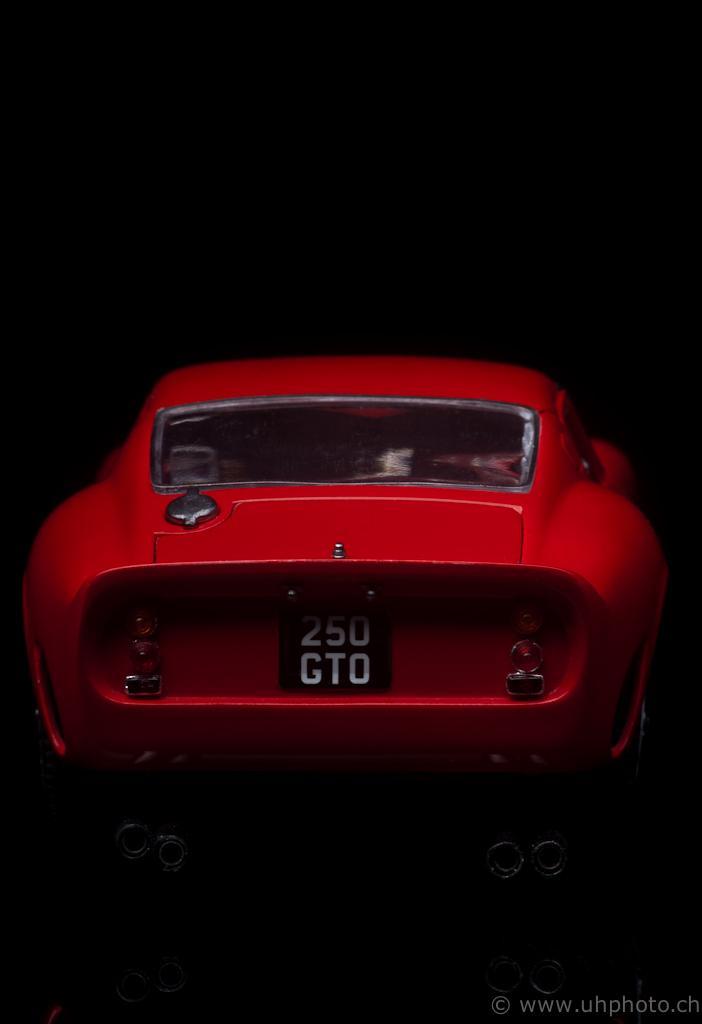
Hello This is my first contribution to this forum. It's a Ferrari 250 GTO by Revell with the PE set by HobbyDesign and Hasegawa's Spoke Wheel set for the Ferrari 250 Testarossa. Building took about one year, as dealing with PE parts was completely new to me. Regards, Urs
-
Here's an old unfinished built that is finally nearing completion. In 2009, I started a Revell '32 Tudor by chopping the top (my 2nd chop ever, and first sedan chop) and dropping it on a scratchbuilt frame with a Revell '41 Chevy PU stovebolt 6 engine. It was only my second build after re-entering the model car hobby in '09. The initial plan was to run straight pipes and have rear airbags and a very low stance, like the rat rods of the day but with nicer paint. I tossed around a number of ideas for paint color, from brown and black to metallic aqua and red. Eventually I settled on a Duplicolor metallic red. In 2009 I didn't know where to get tall rear bias-ply tires, so I spent ages looking for discount toys and was ecstatic to find the 1:24 diecast T-bird tires for the rear. 6 years later, I know how many options are available online, and also which kits have the best traditional-style tires. The build languished half-built for years, and last year I pulled it out to fix some problems with the paint, and chop the grille shell. Then it sat again. Finally this year I pulled it out and am assembling it. Because I didn't plan as well in 2009 as I do now, assembly has been frustrating and there were several minor disasters with glue and fitment. In the end, I've mounted the body higher than originally intended, and changed the exhaust to a set of sweeping dual pipes made from solder. The original setup: Building the frame: Modifying the interior, scratchbuilt windshield frame: How it sat for years: Getting another coat of paint: Updated exhaust made from solder: How it stands today, just needs some radiator hoses and other small details:
-
I have this kit now and have done a video review of the parts. Enjoy.
- 13 replies
-
- review
- oldsmobile
-
(and 2 more)
Tagged with:
-
Just finished this new quick builder. I did spend some time doing a few extra detail items. First cutout all the grill areas and replaced with PE diamond mesh. Had to do some trimming of the clear headlight lenses to fit flush, if you don't, they will sit low and not flush. Also painted the headlight details to match close to the actual, however the molded detail is good, it's not exact. Pegasus wheels with knock-offs. I modified the rears for a slightly deeper off-set for the wider tires the kit comes with. The supplied painted rear taillights just didn't look real to me so I made my own from clear tubing and used a red sharpie. The paint is Duplicolor light blue with black base for the Testors blazing orange Gulf inspired stripes. 8 coats of polished Duplicolor clear.
-
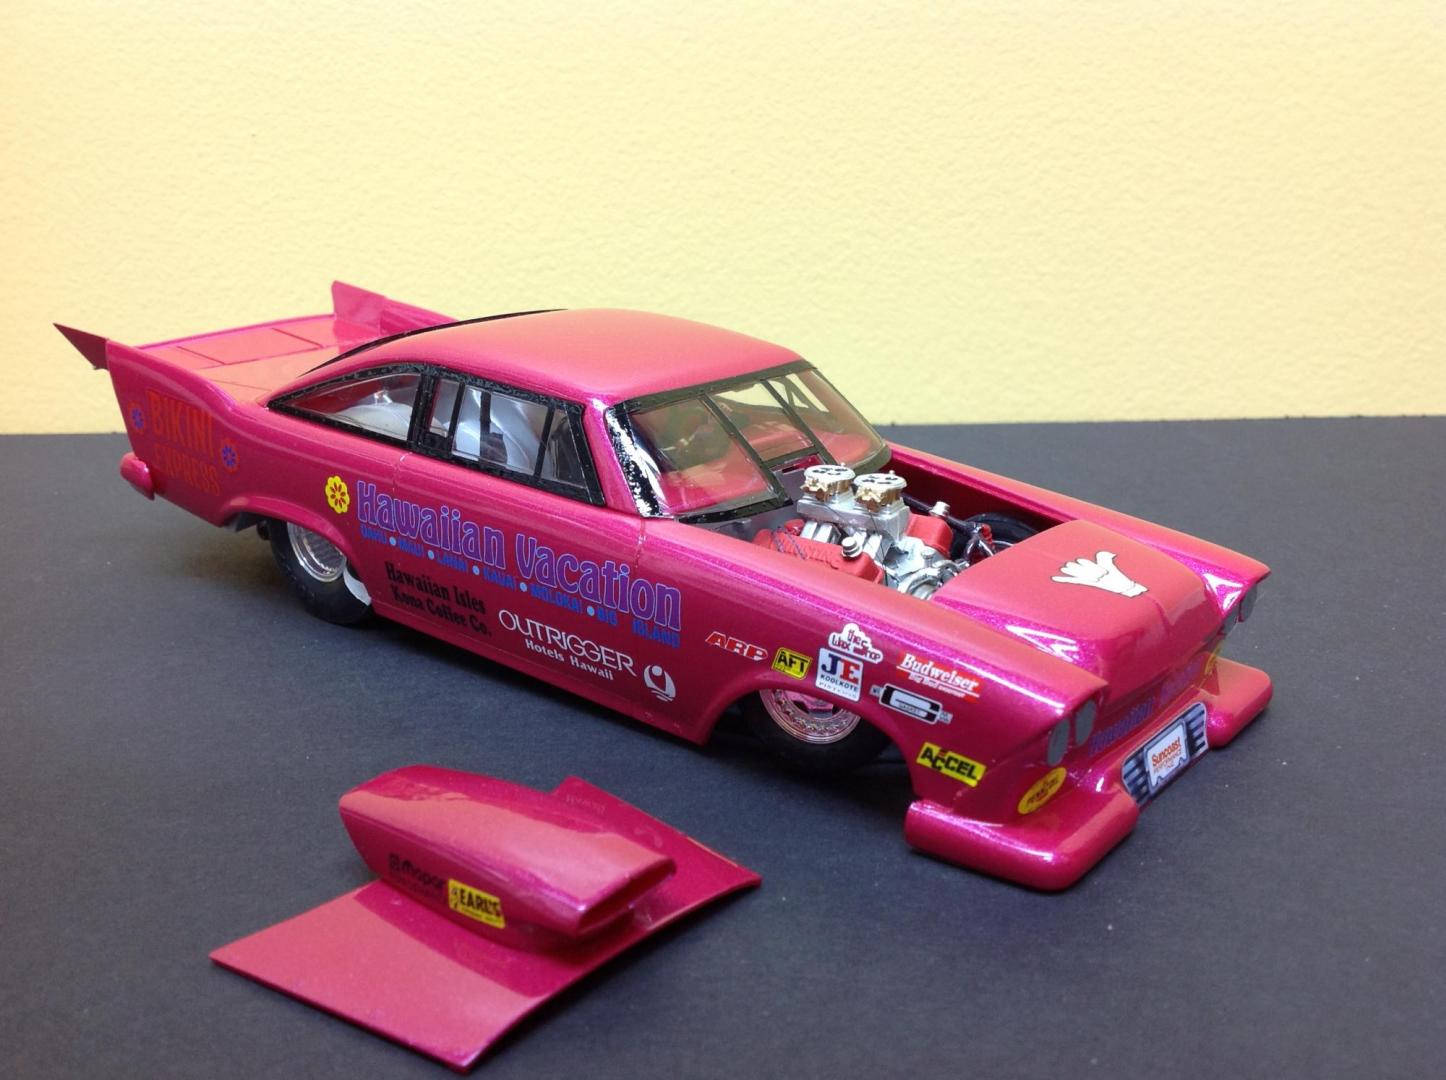
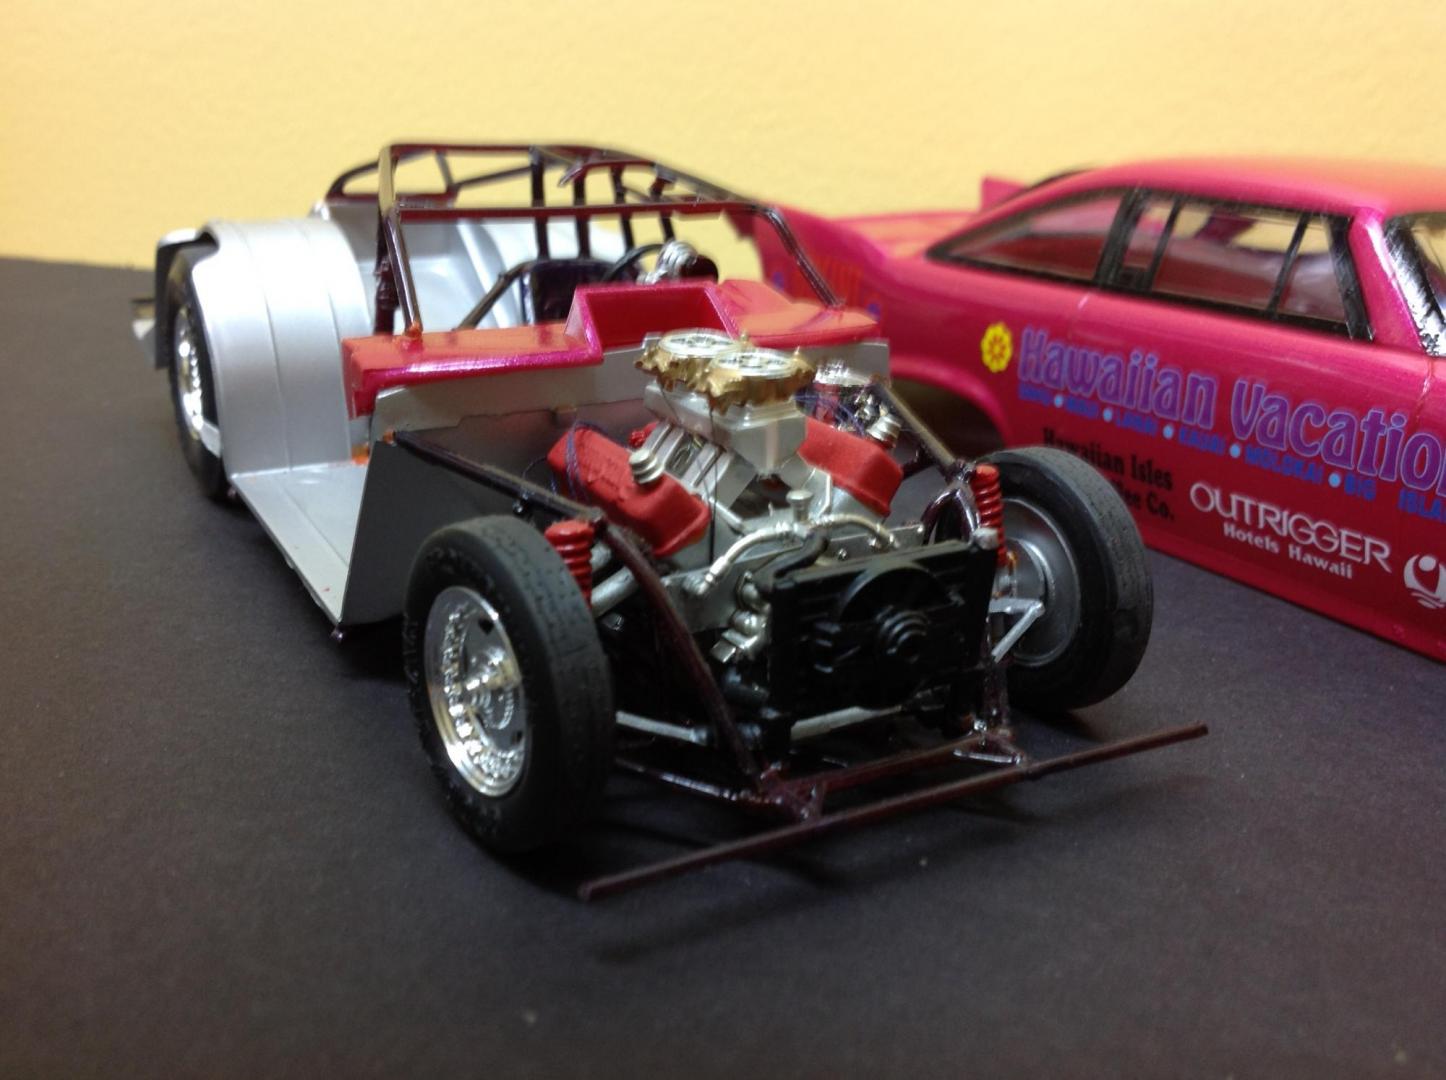
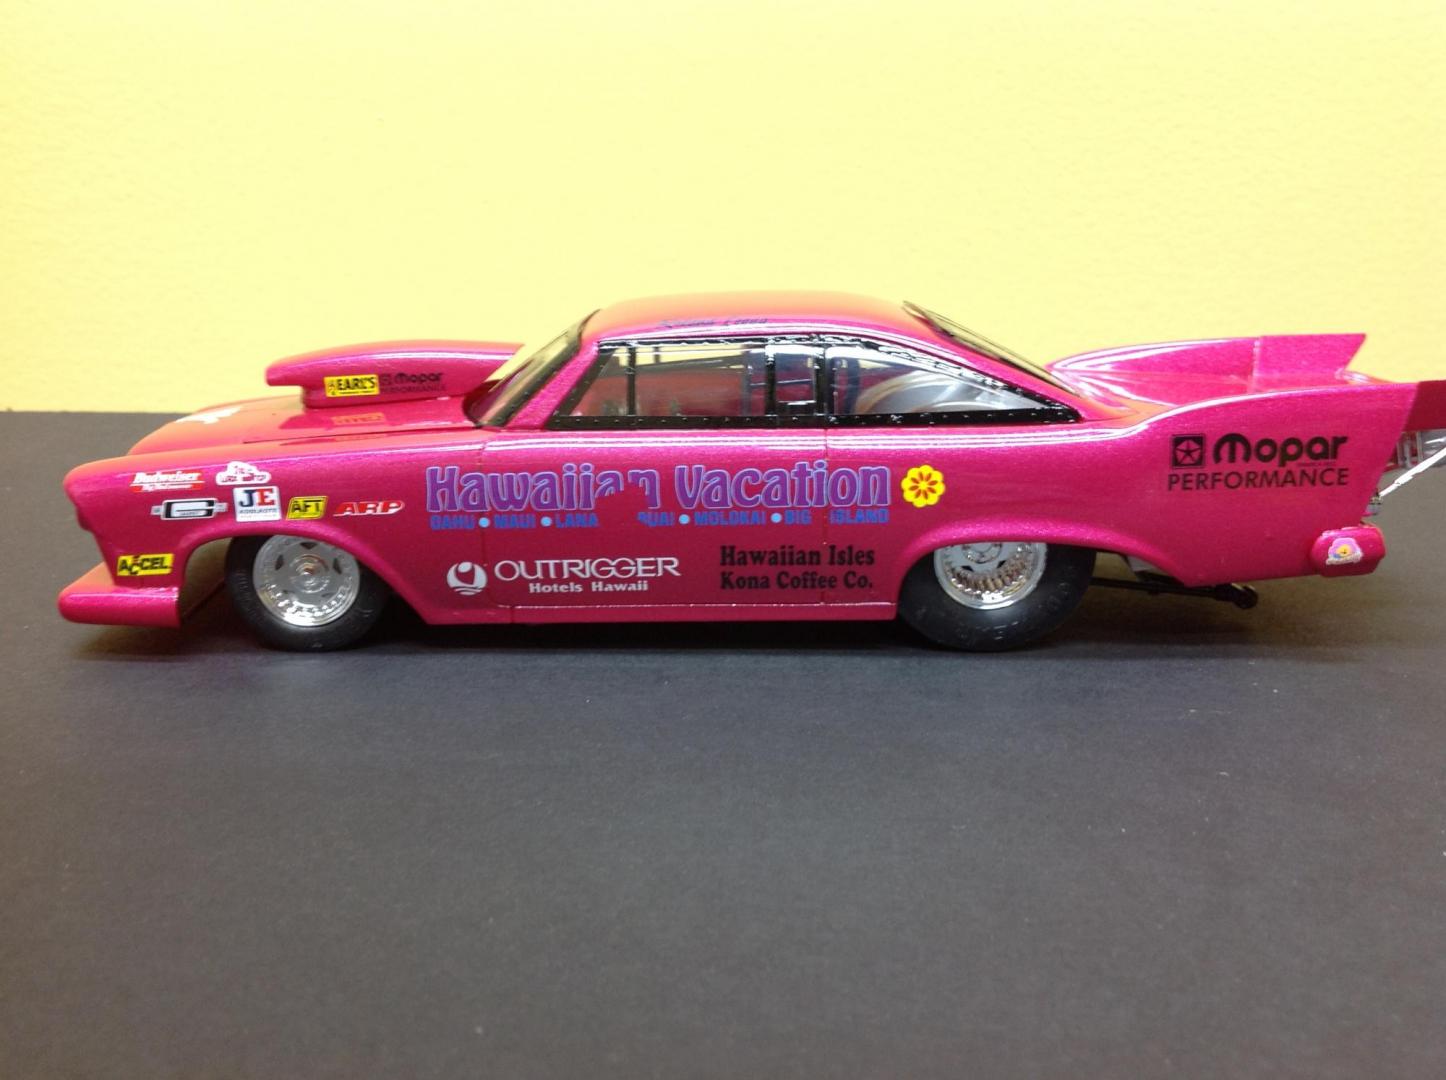
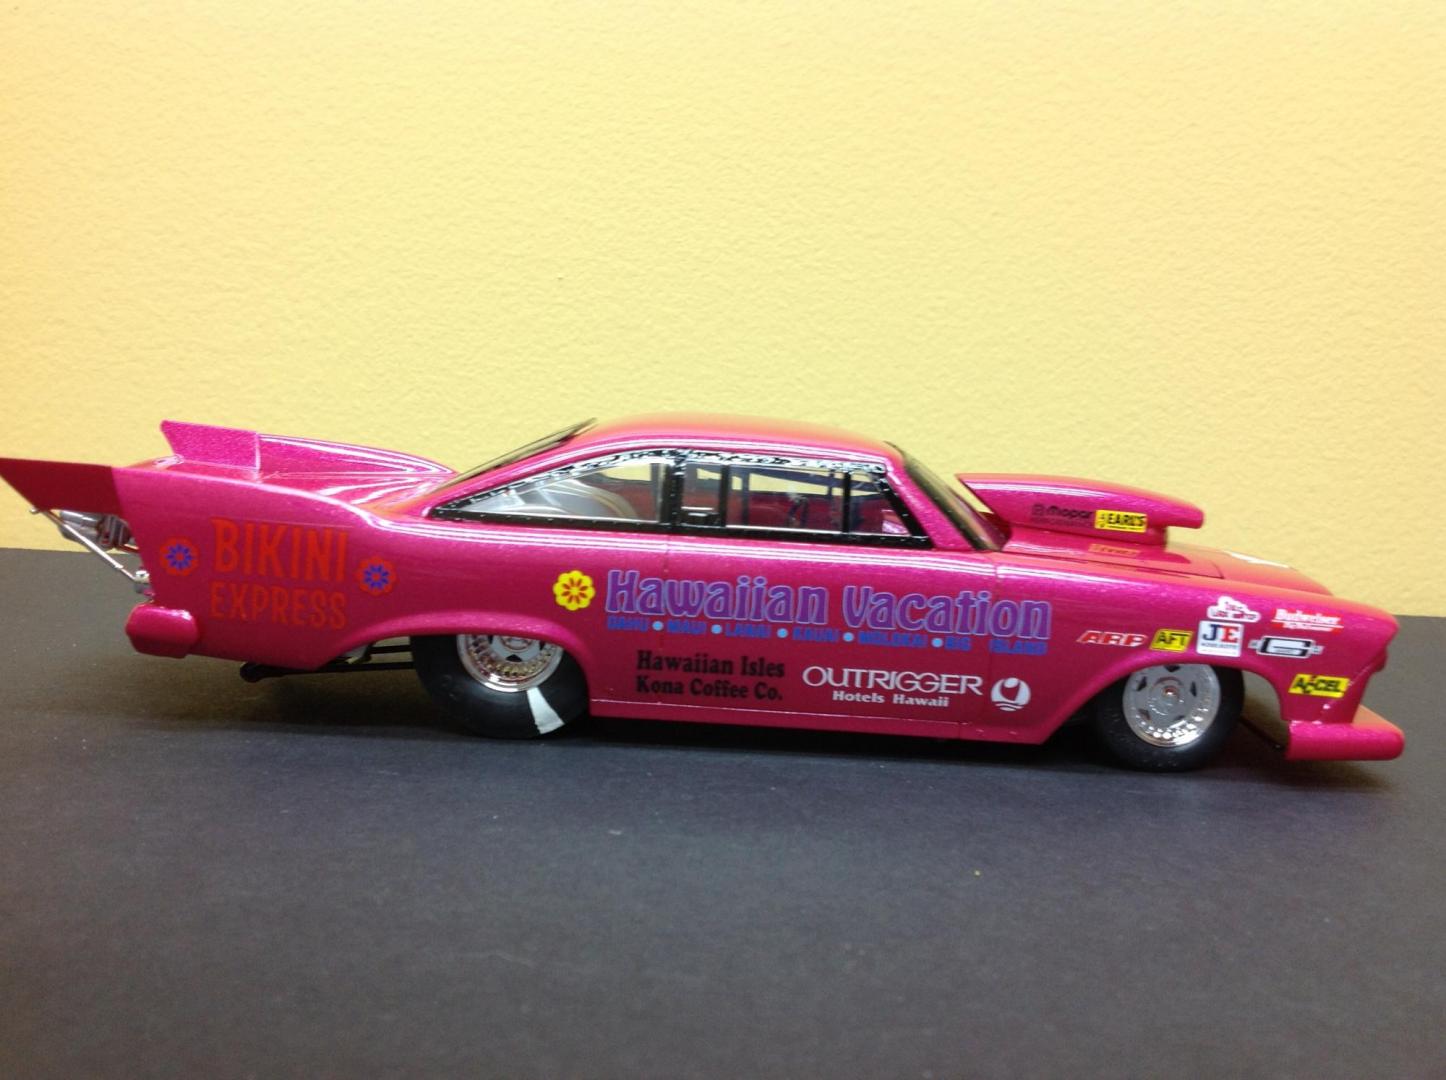
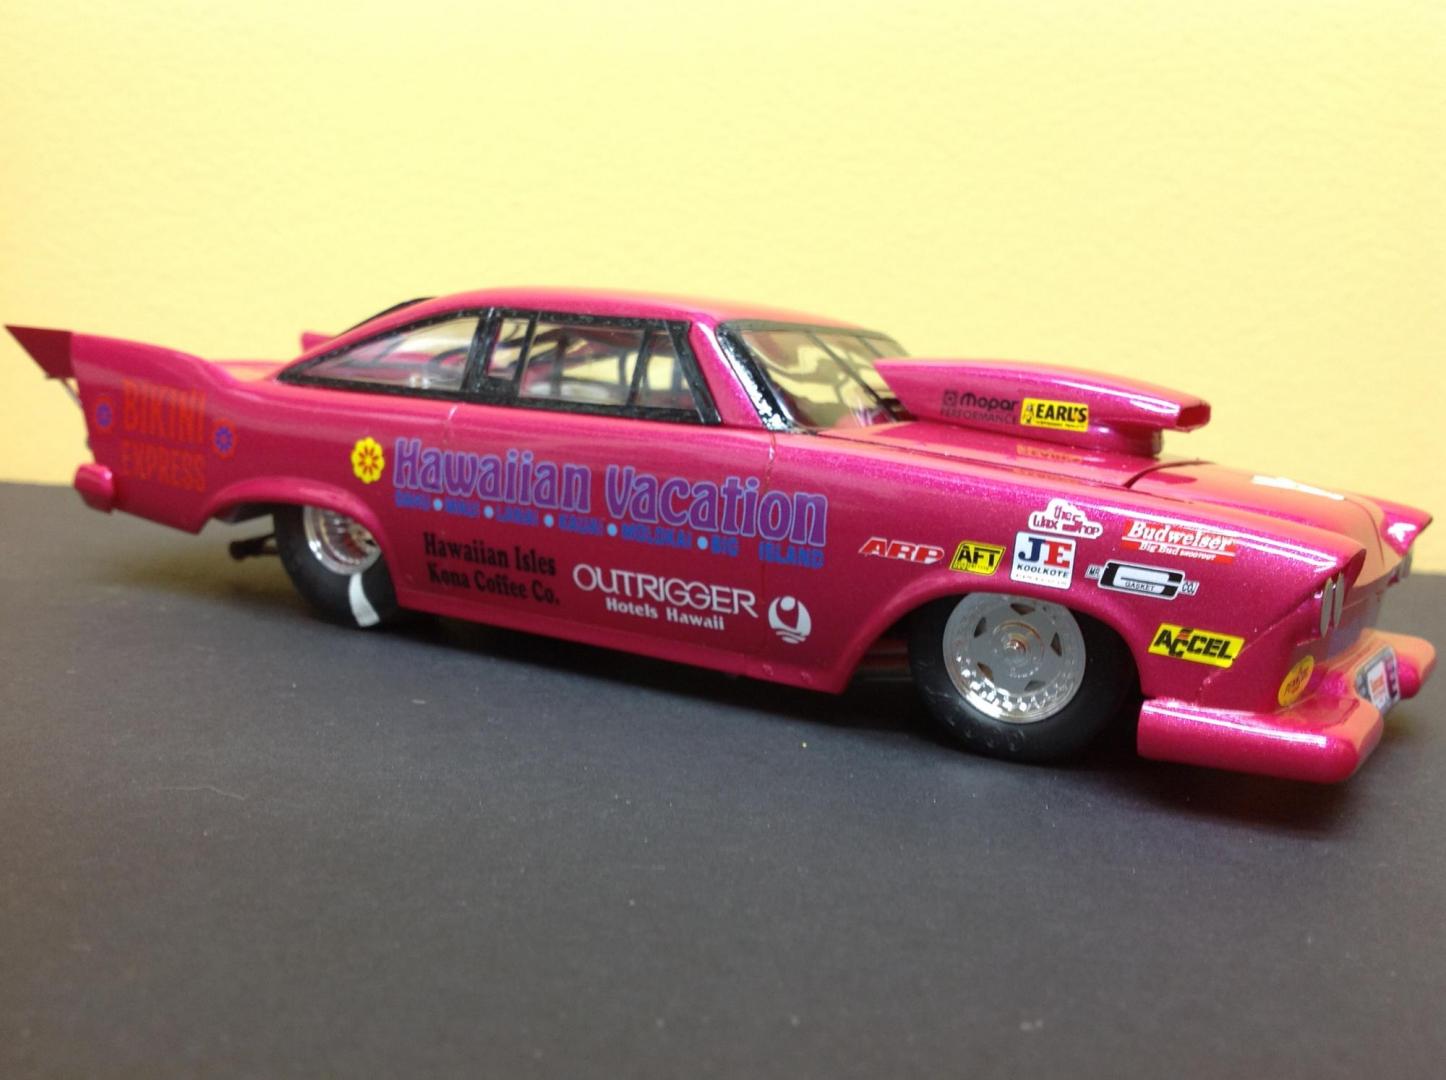
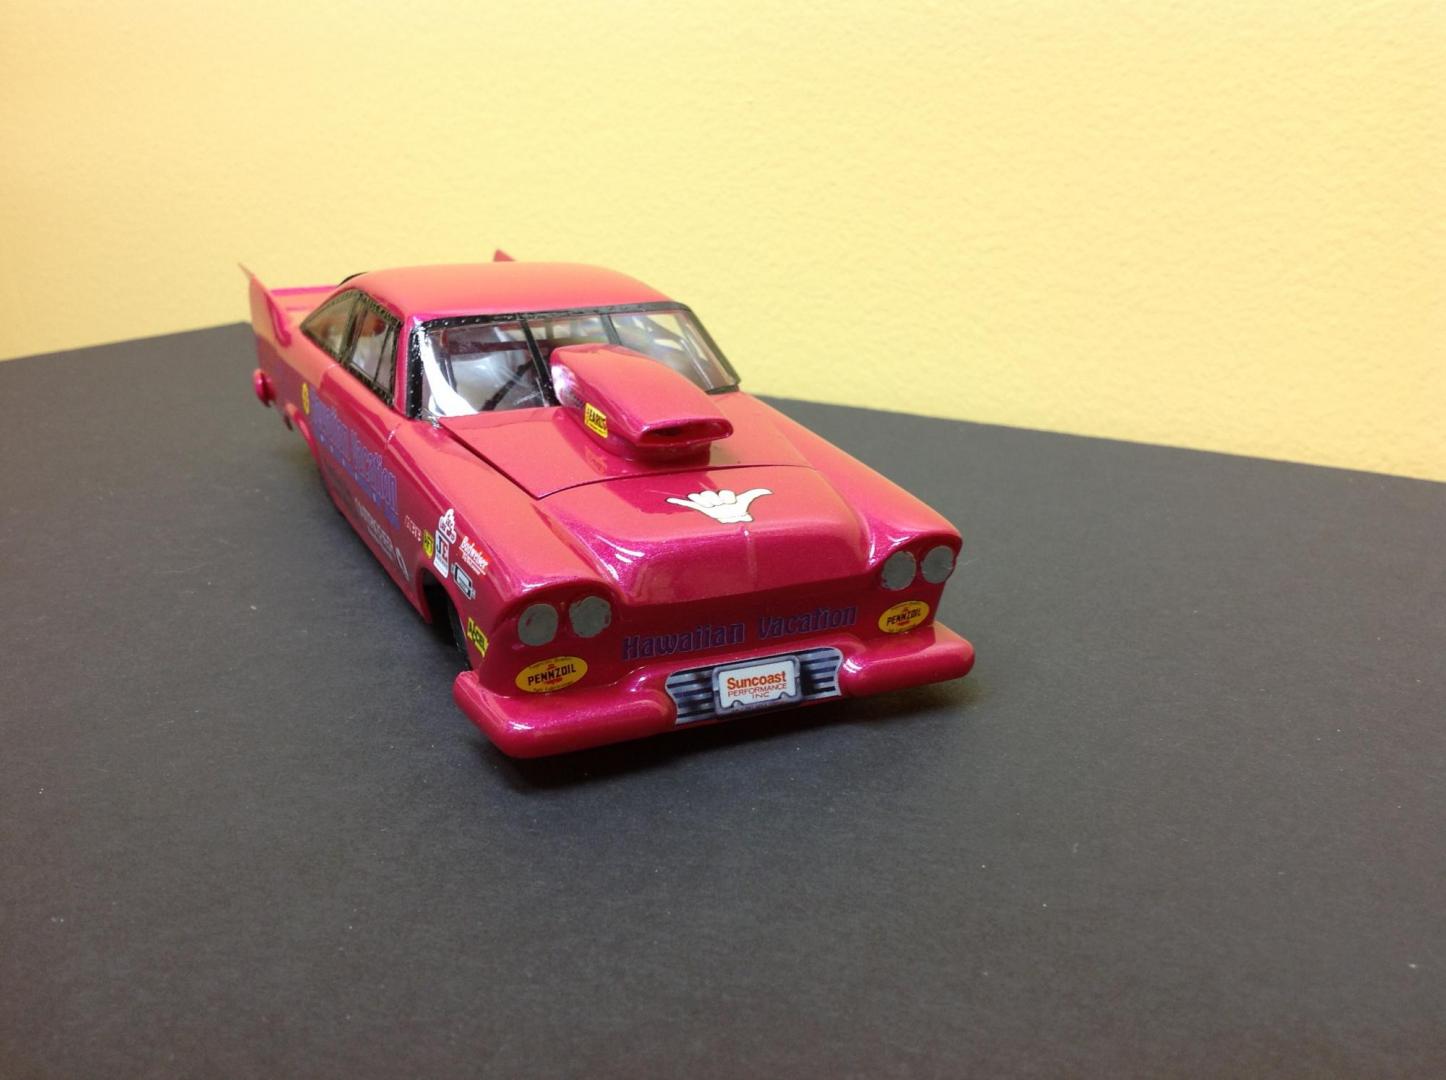
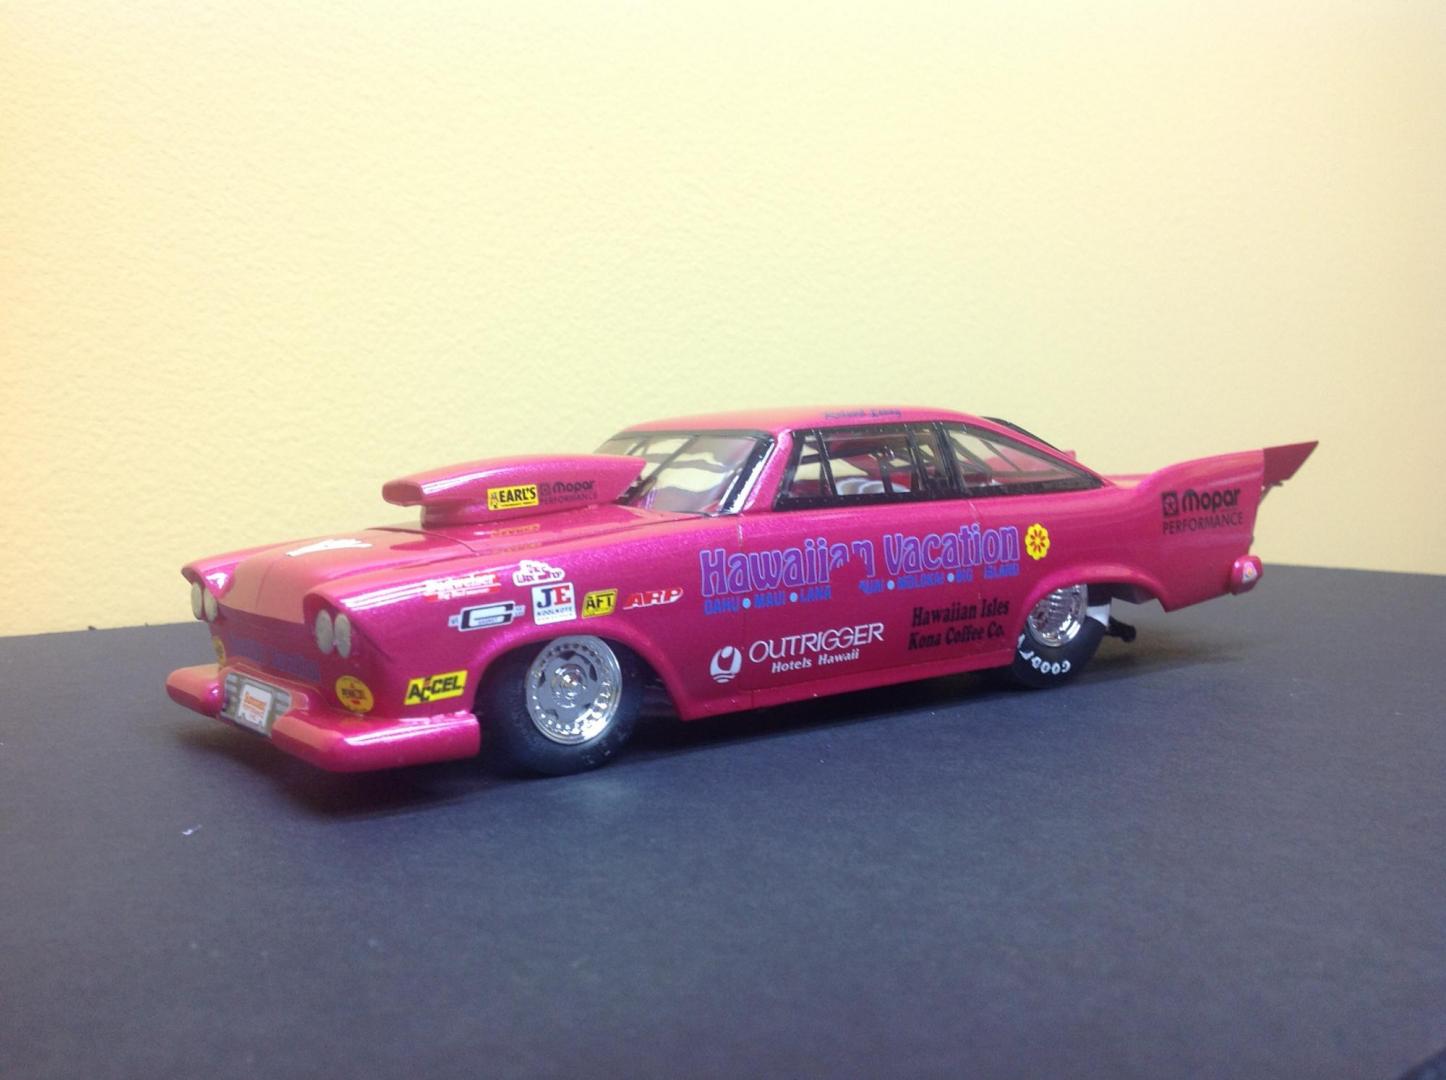
This Revell kit started out as a "Christine" Pro-Mod. Before losing all interest in building models my son finished the engine and chassis some 20 years ago. He allowed me to finish it so I got it done in late 2015. The kit decals were very yellowed and unusable so I decided to go with an Hawaiian theme from Slixx Decals. Painted with Testors electric pink. I learned on the drivers side not to use tape to hold windows in while the glue drys. Removed my Pledge Future and decal when tape removed, talk about a let down. So now it's only displayed from the right side. Also ruined the Mopar Performance decal so had to use the bikini express decal from my AMT Fruit Wagon kit on the right quarter panel.
-
Hello all, I have completed my build up of the Revell of Germany London Bus. This is definitely a time consuming kit and not for the faint of heart. All-in-all it was a fun build bit it took me 6 1/2 months to complete and I am glad it is over. The whole thing is painted with acrylic paint. The body is cleared with Krylon Gloss clear. I detailed the engine with some parts from Pro-tech. I also made my own umbrellas, breifcase, sling shot, and magazines for the interior. I hope you enjoy. Thanks, Paul
.thumb.jpg.17f701b8a4d356e2a26e818e9fcfd58a.jpg)
.thumb.jpg.0ab9b7eff6360b00fd08bbf41dff3387.jpg)
.thumb.jpg.43f41579546500753f17a3148728321b.jpg)
.thumb.jpg.e95b7df7be1d0542b1a40f0e33f2c751.jpg)
.thumb.jpg.9ede17e60c99641937b06bc9640d5a14.jpg)
