Search the Community
Showing results for tags 'Revell'.
-
Snaptite kit. Tamiya TS-11 Maroon. Wheels Pegasus Chrome T's 19' 23' combo and Pegasus disc brakes. Nice and low just how I like them.
-
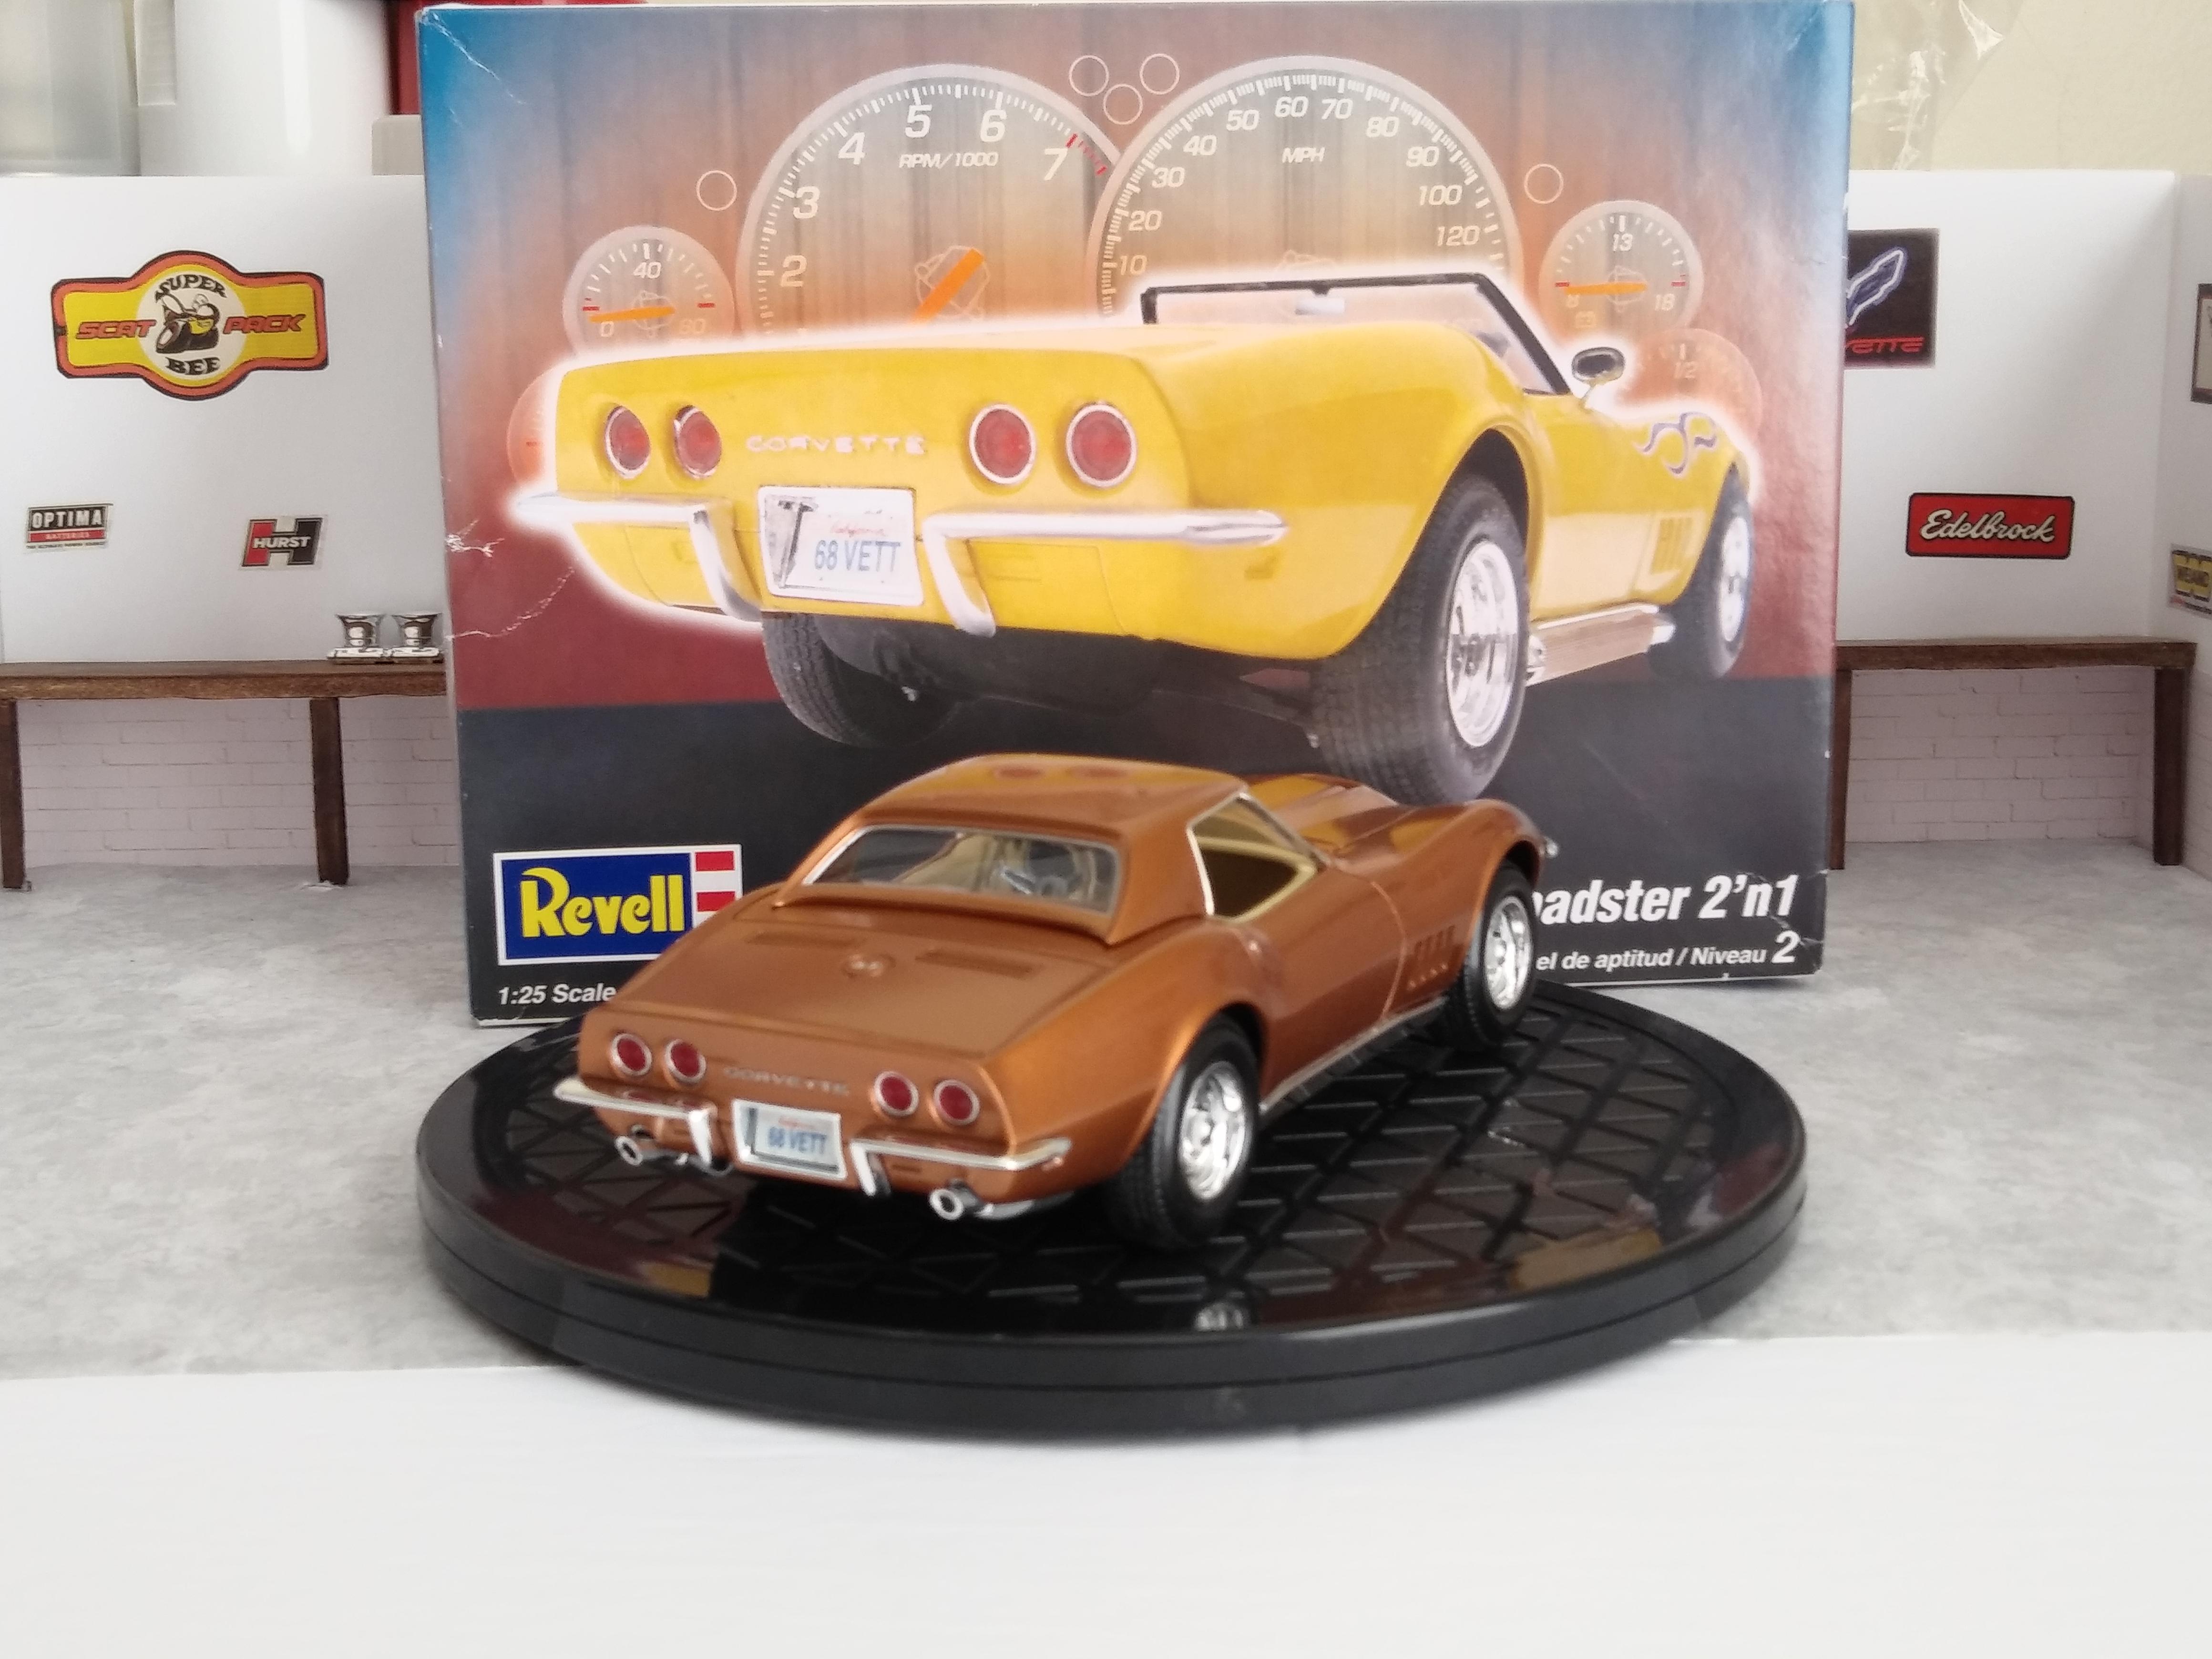
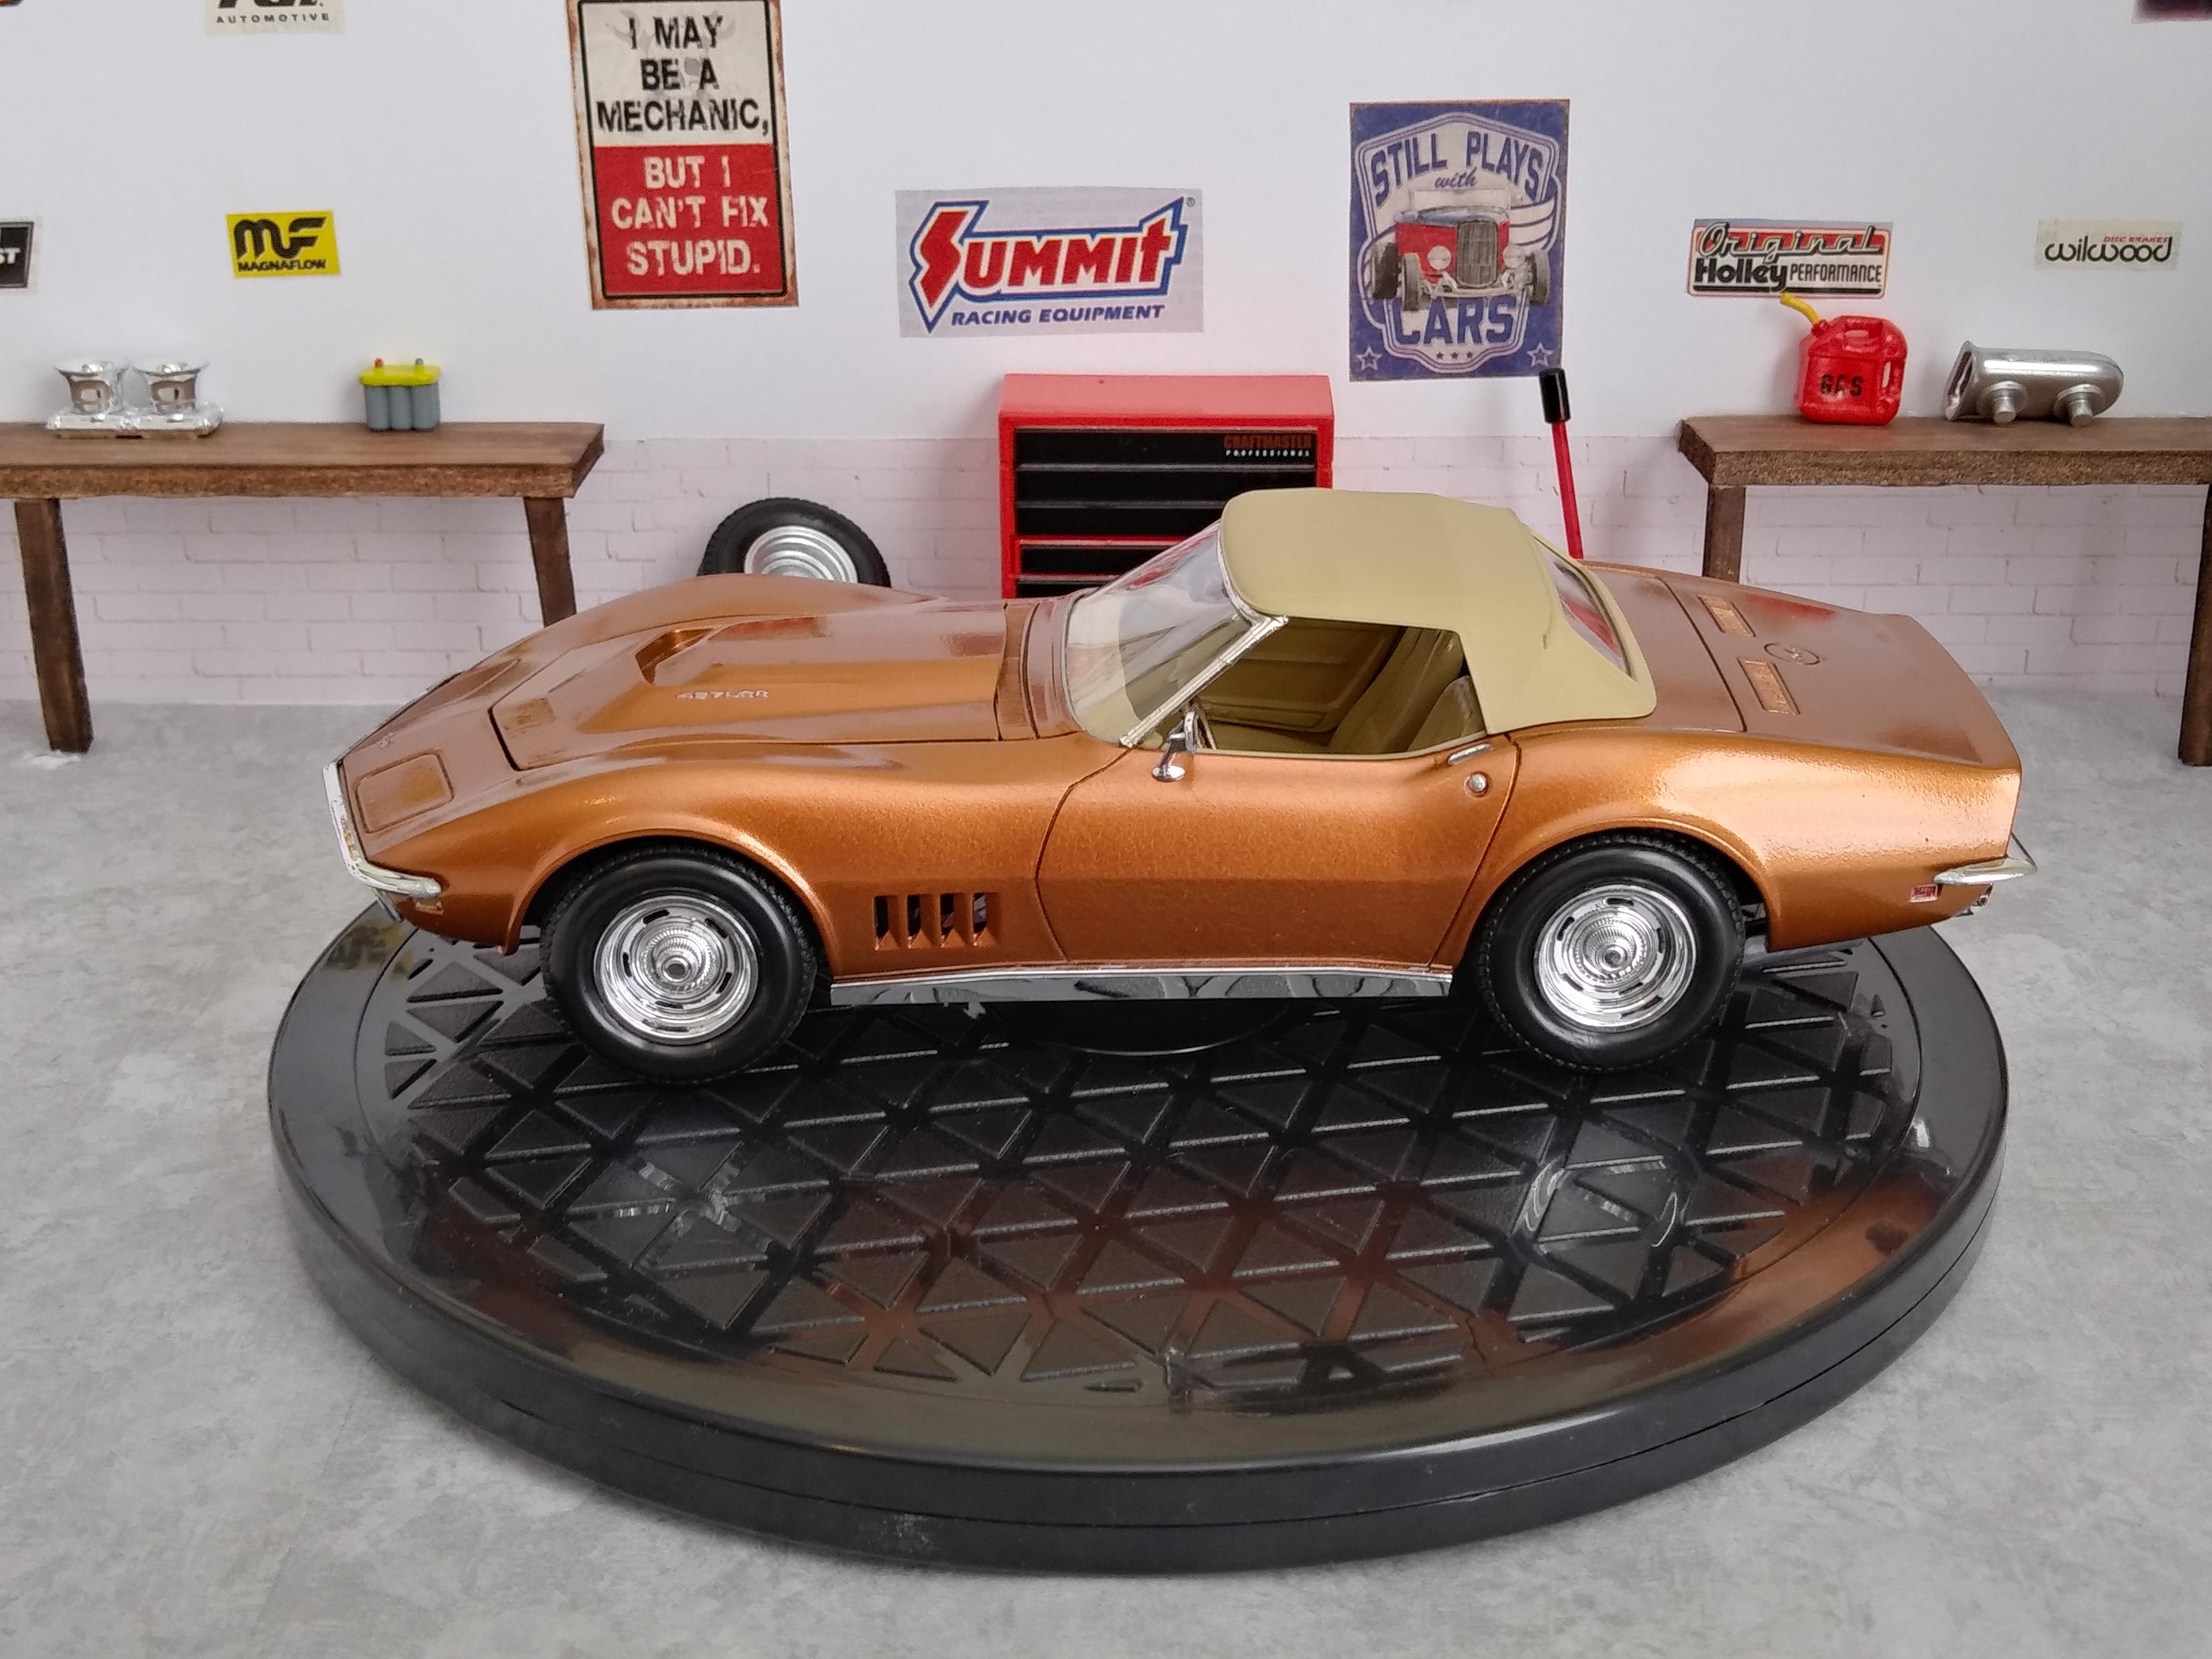
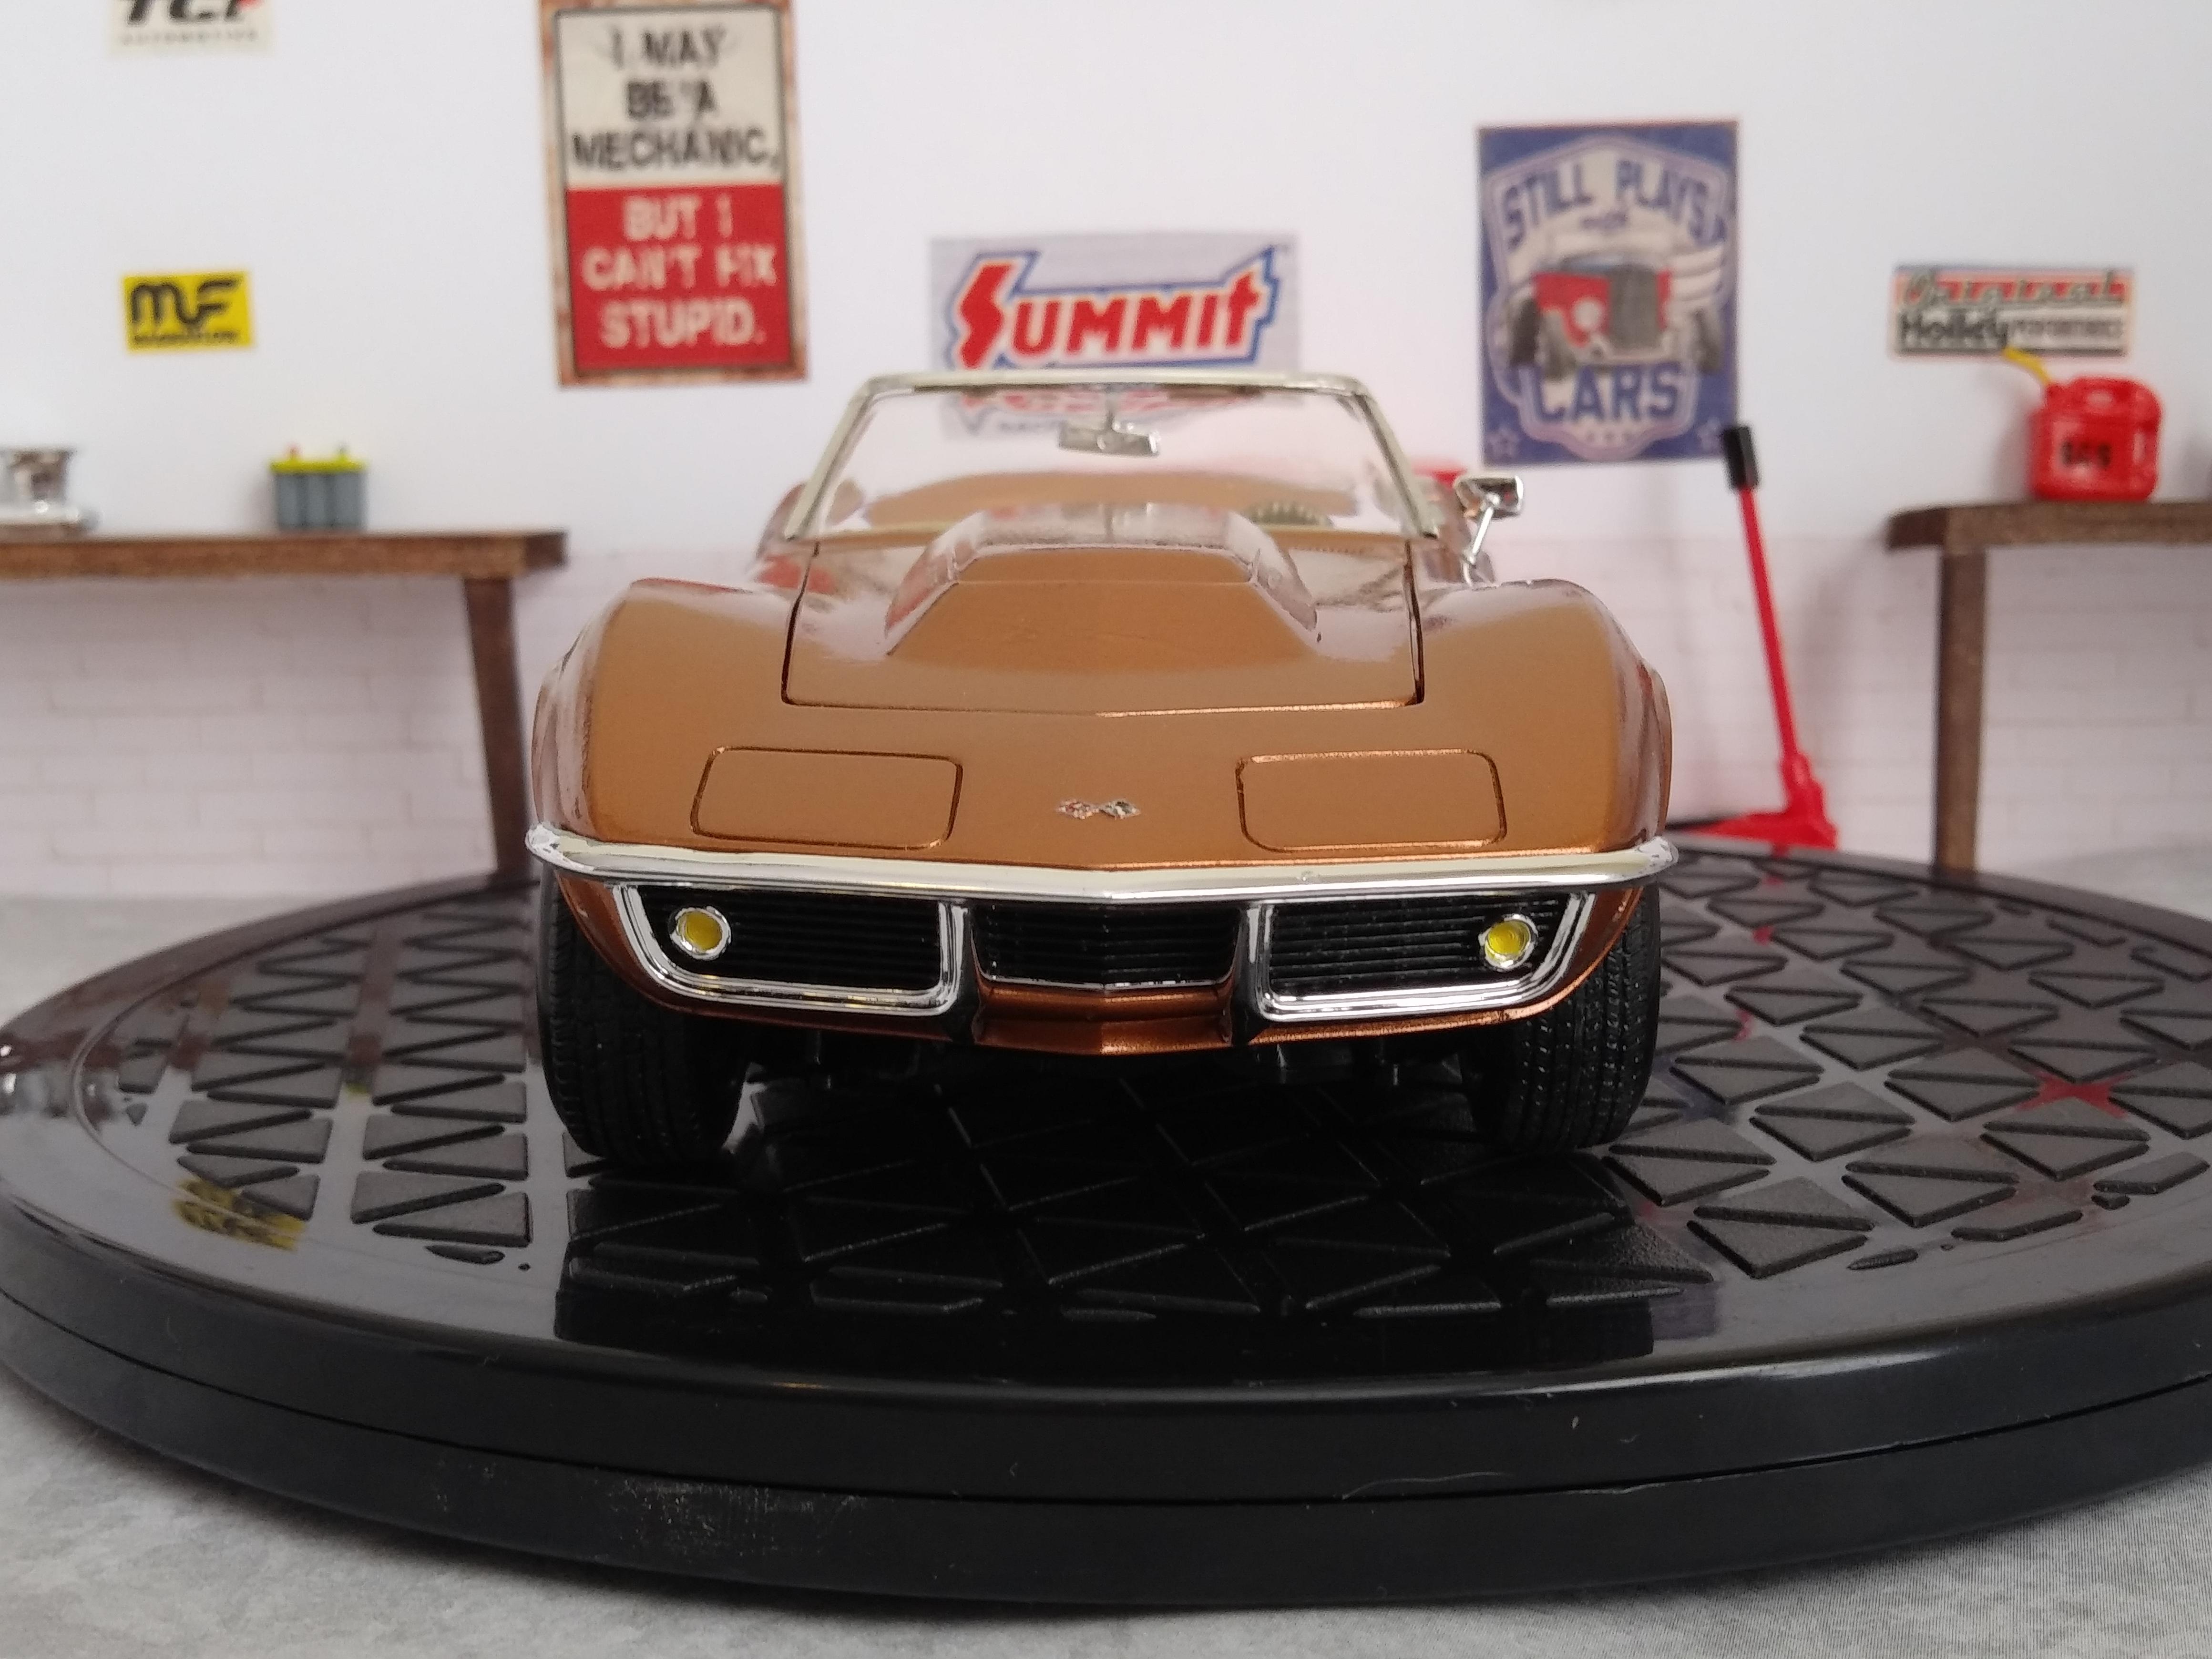
 Finished this one up a couple of weeks ago, but I didn't post any pics until now since it was for a box stock build-off for one of my facebook groups that ended on Dec. 1. It's the Revell 1968 Corvette Roadster done box stock with the only addition being approved BMF for the trim. This is a really nice kit and I had a lot of fun building it. The kit was painted with Chroma Molten Metals Acrylic craft paint custom mixed by my wife which I then sprayed through my airbrush, making it my very first airbrush paint job. The interior was also craft paint through my airbrush, as was the chassis. In fact, everything except a few small parts and certain details was done with craft paints (about 95% of the car) and mostly sprayed through the airbrush. The toughest part of the whole thing , I think, was picking out which pics to use for the contest. I like the looks of each variation-- No top, Soft top and Hard top-- so I ended up using one pic of each for the three allotted body shot angles. I am still learning new things, but the biggest thing I still need to learn is to be more patient and not to rush. Thanks for looking!
-
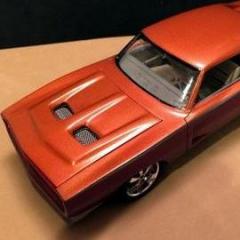
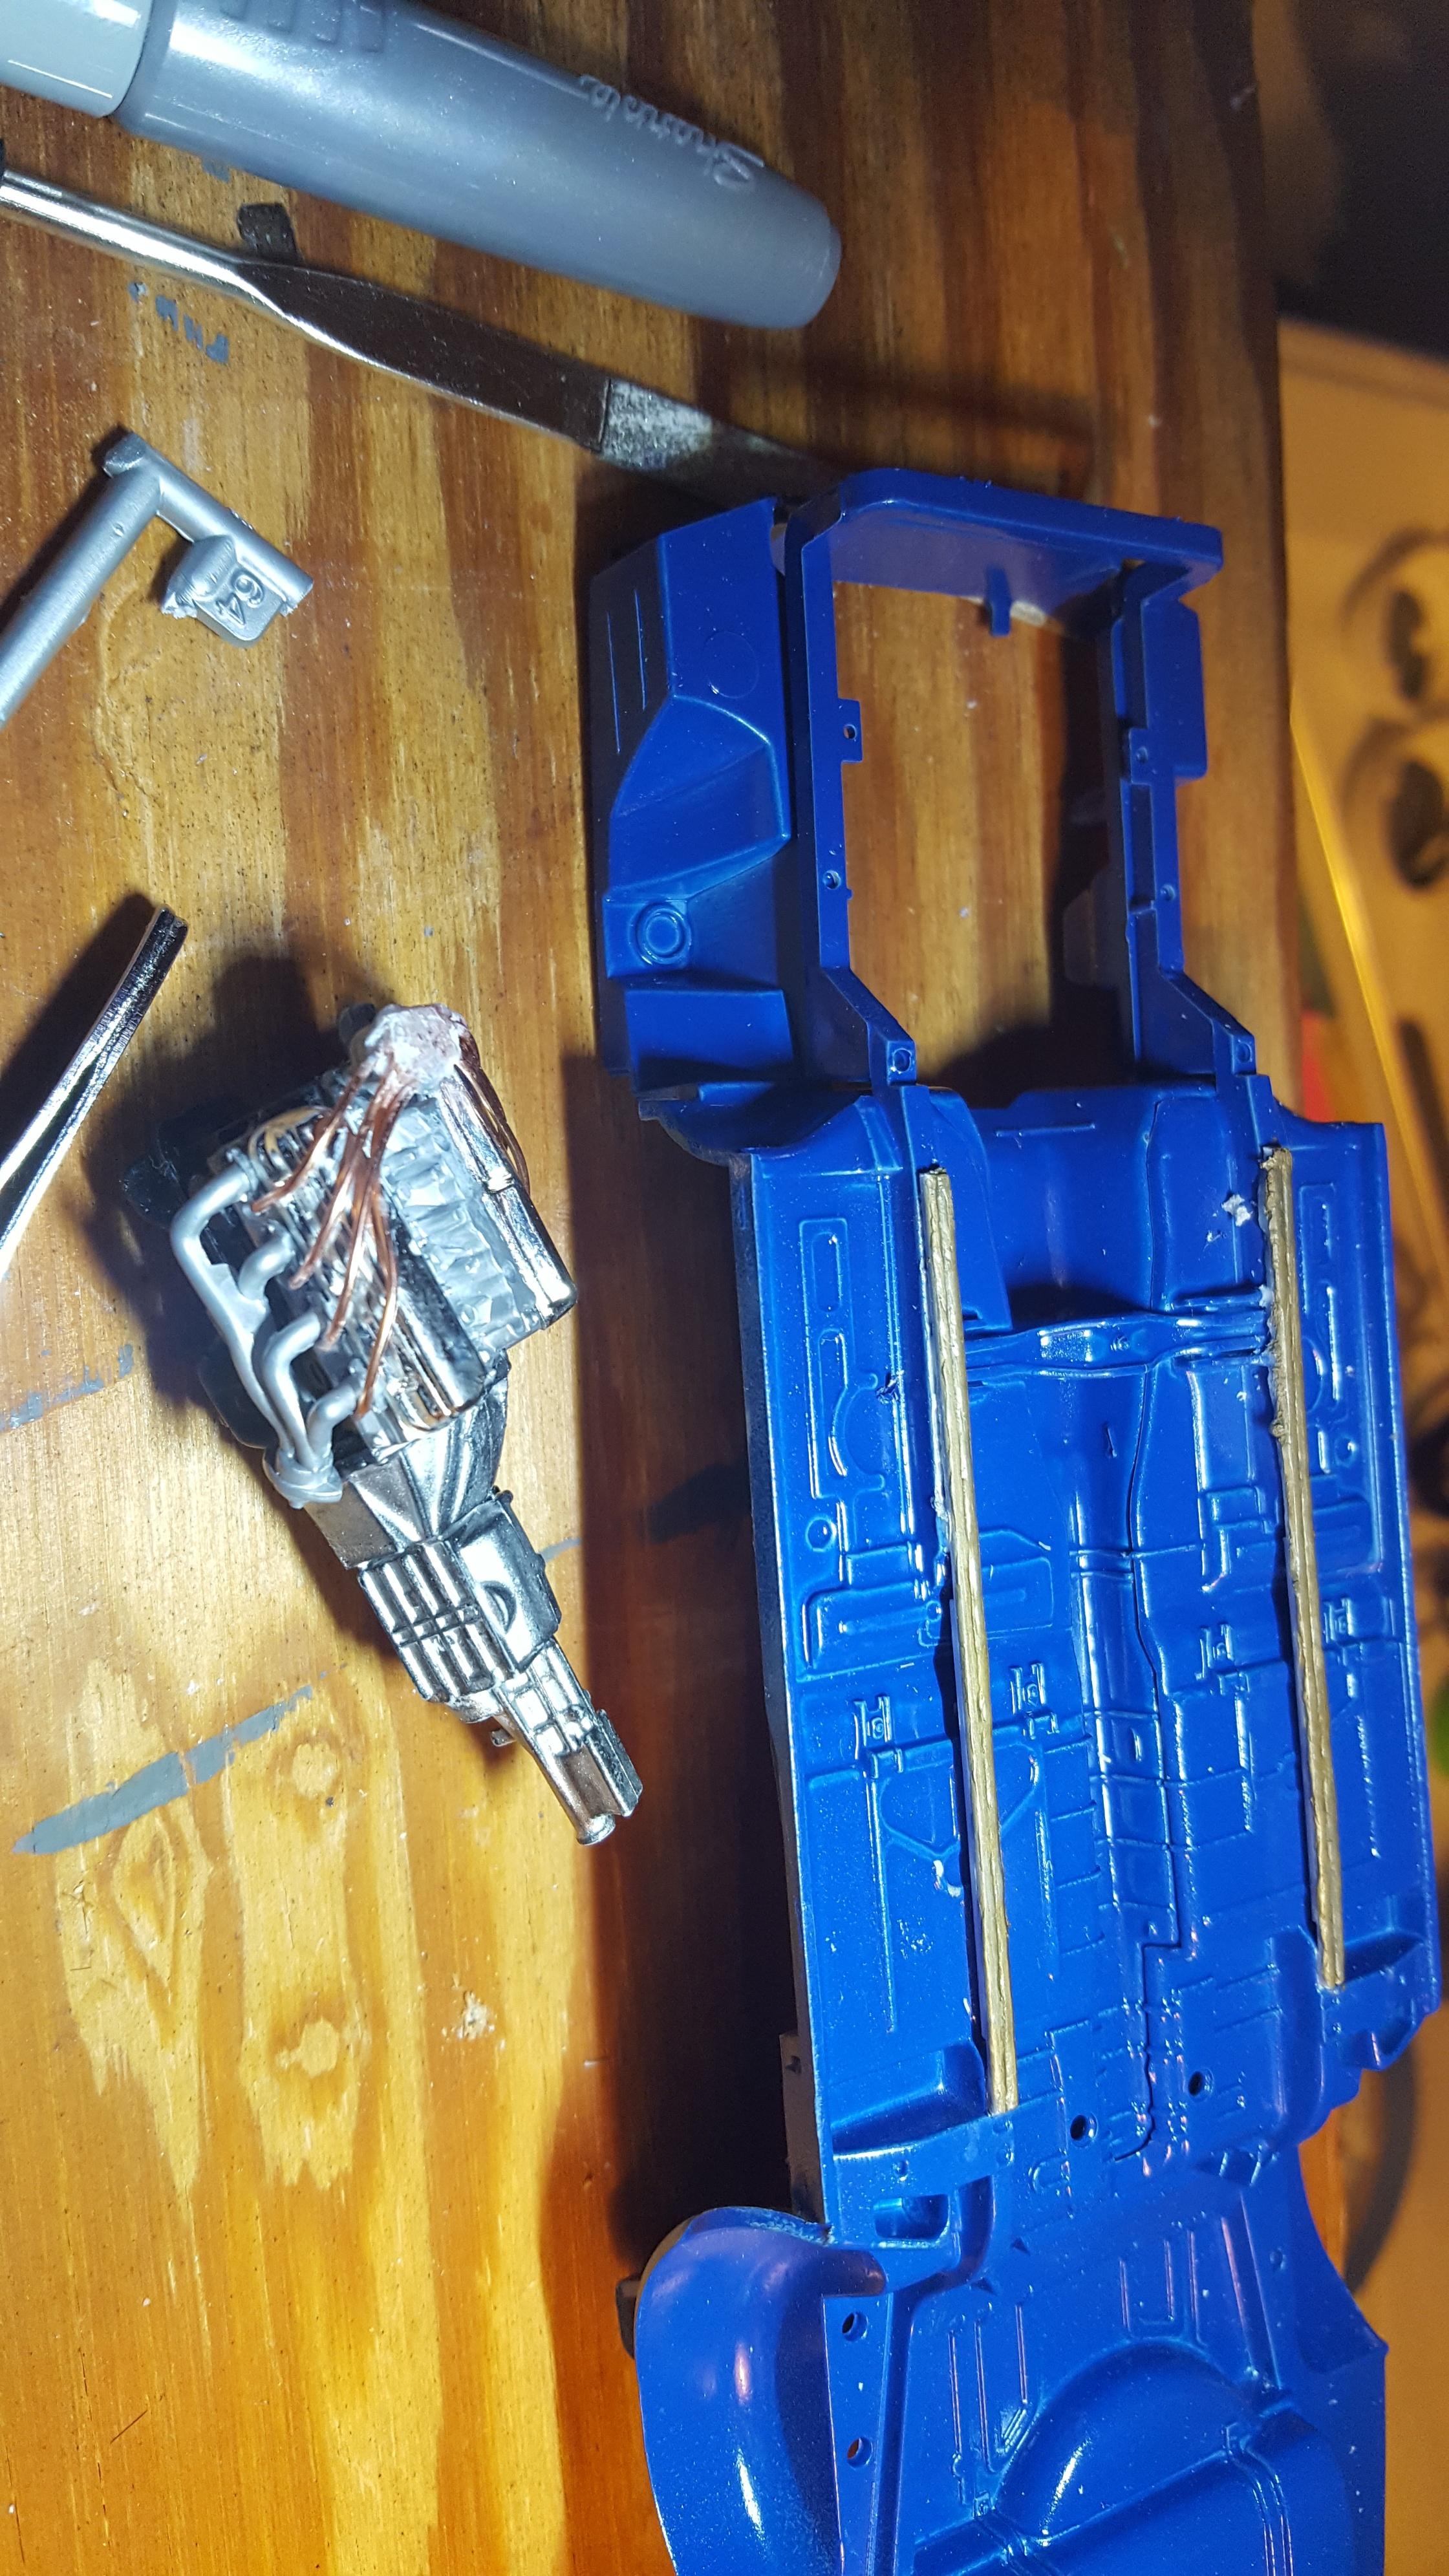
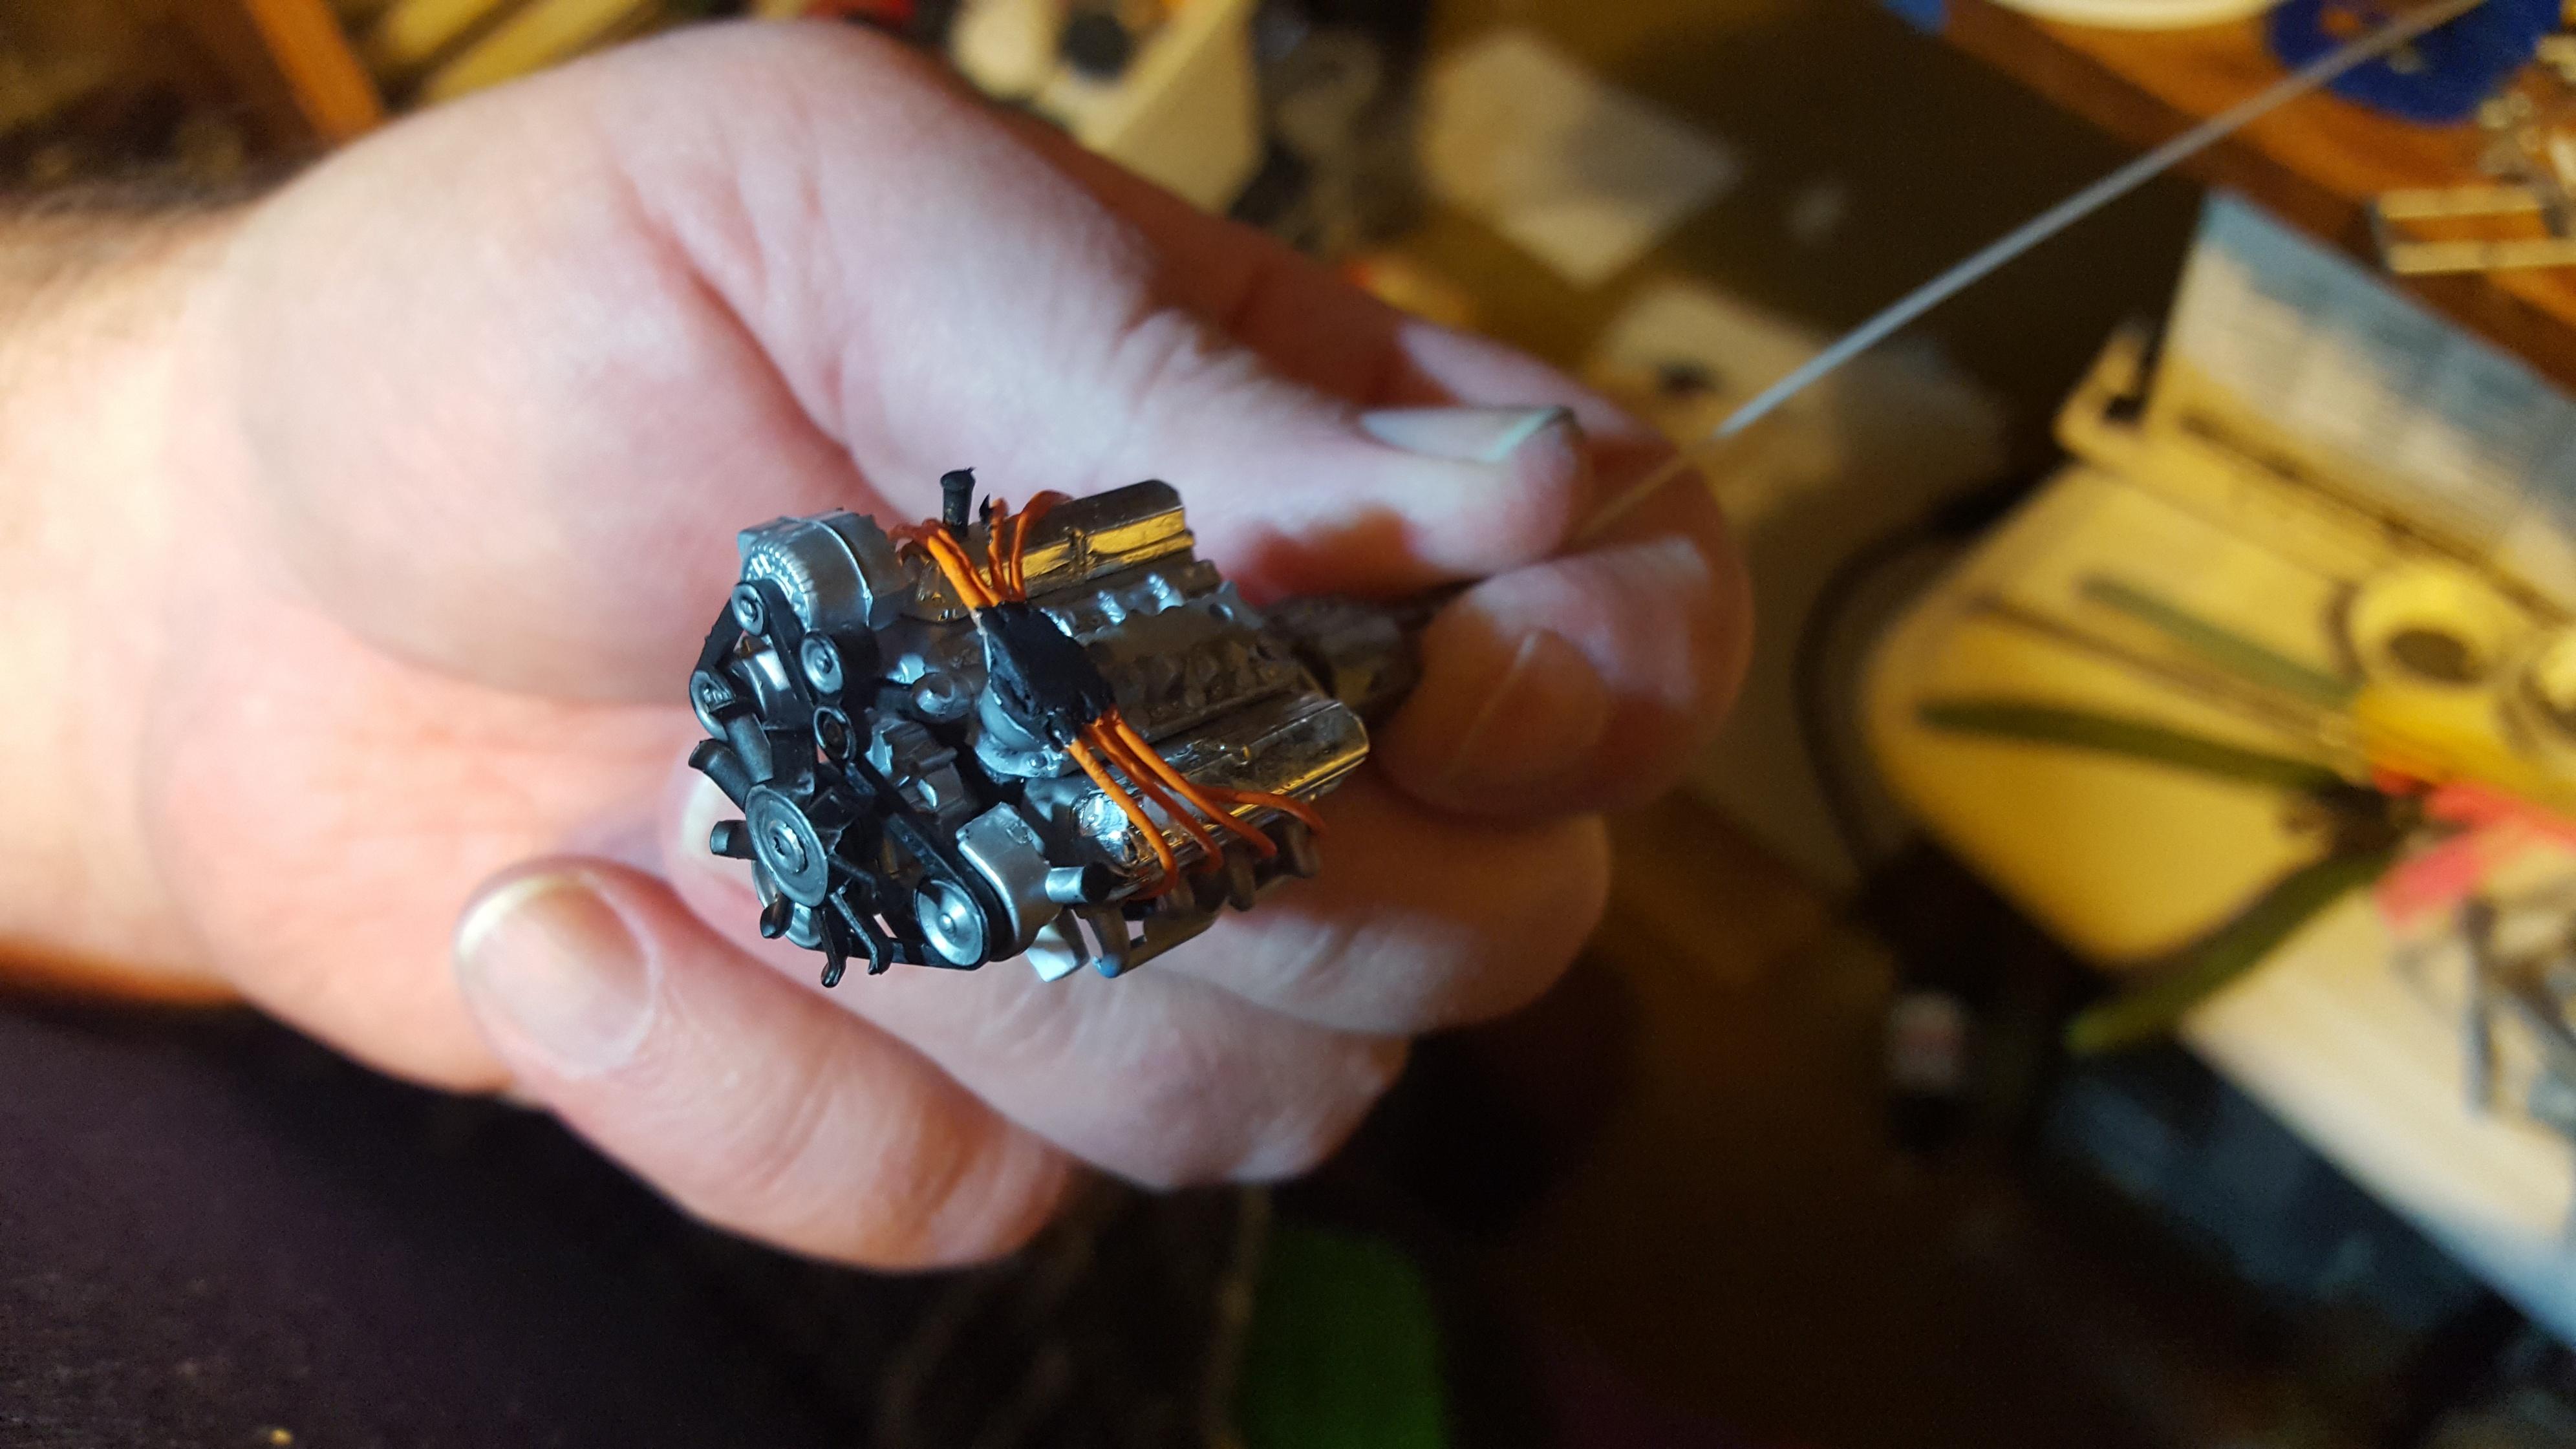
While the Charger is swimming in the pond, I thought I'd start another project. First pic is the underside of the chassis with the subframe connectors. Second is plug wire detail. Third is engine in color and my grubby mitt.
-
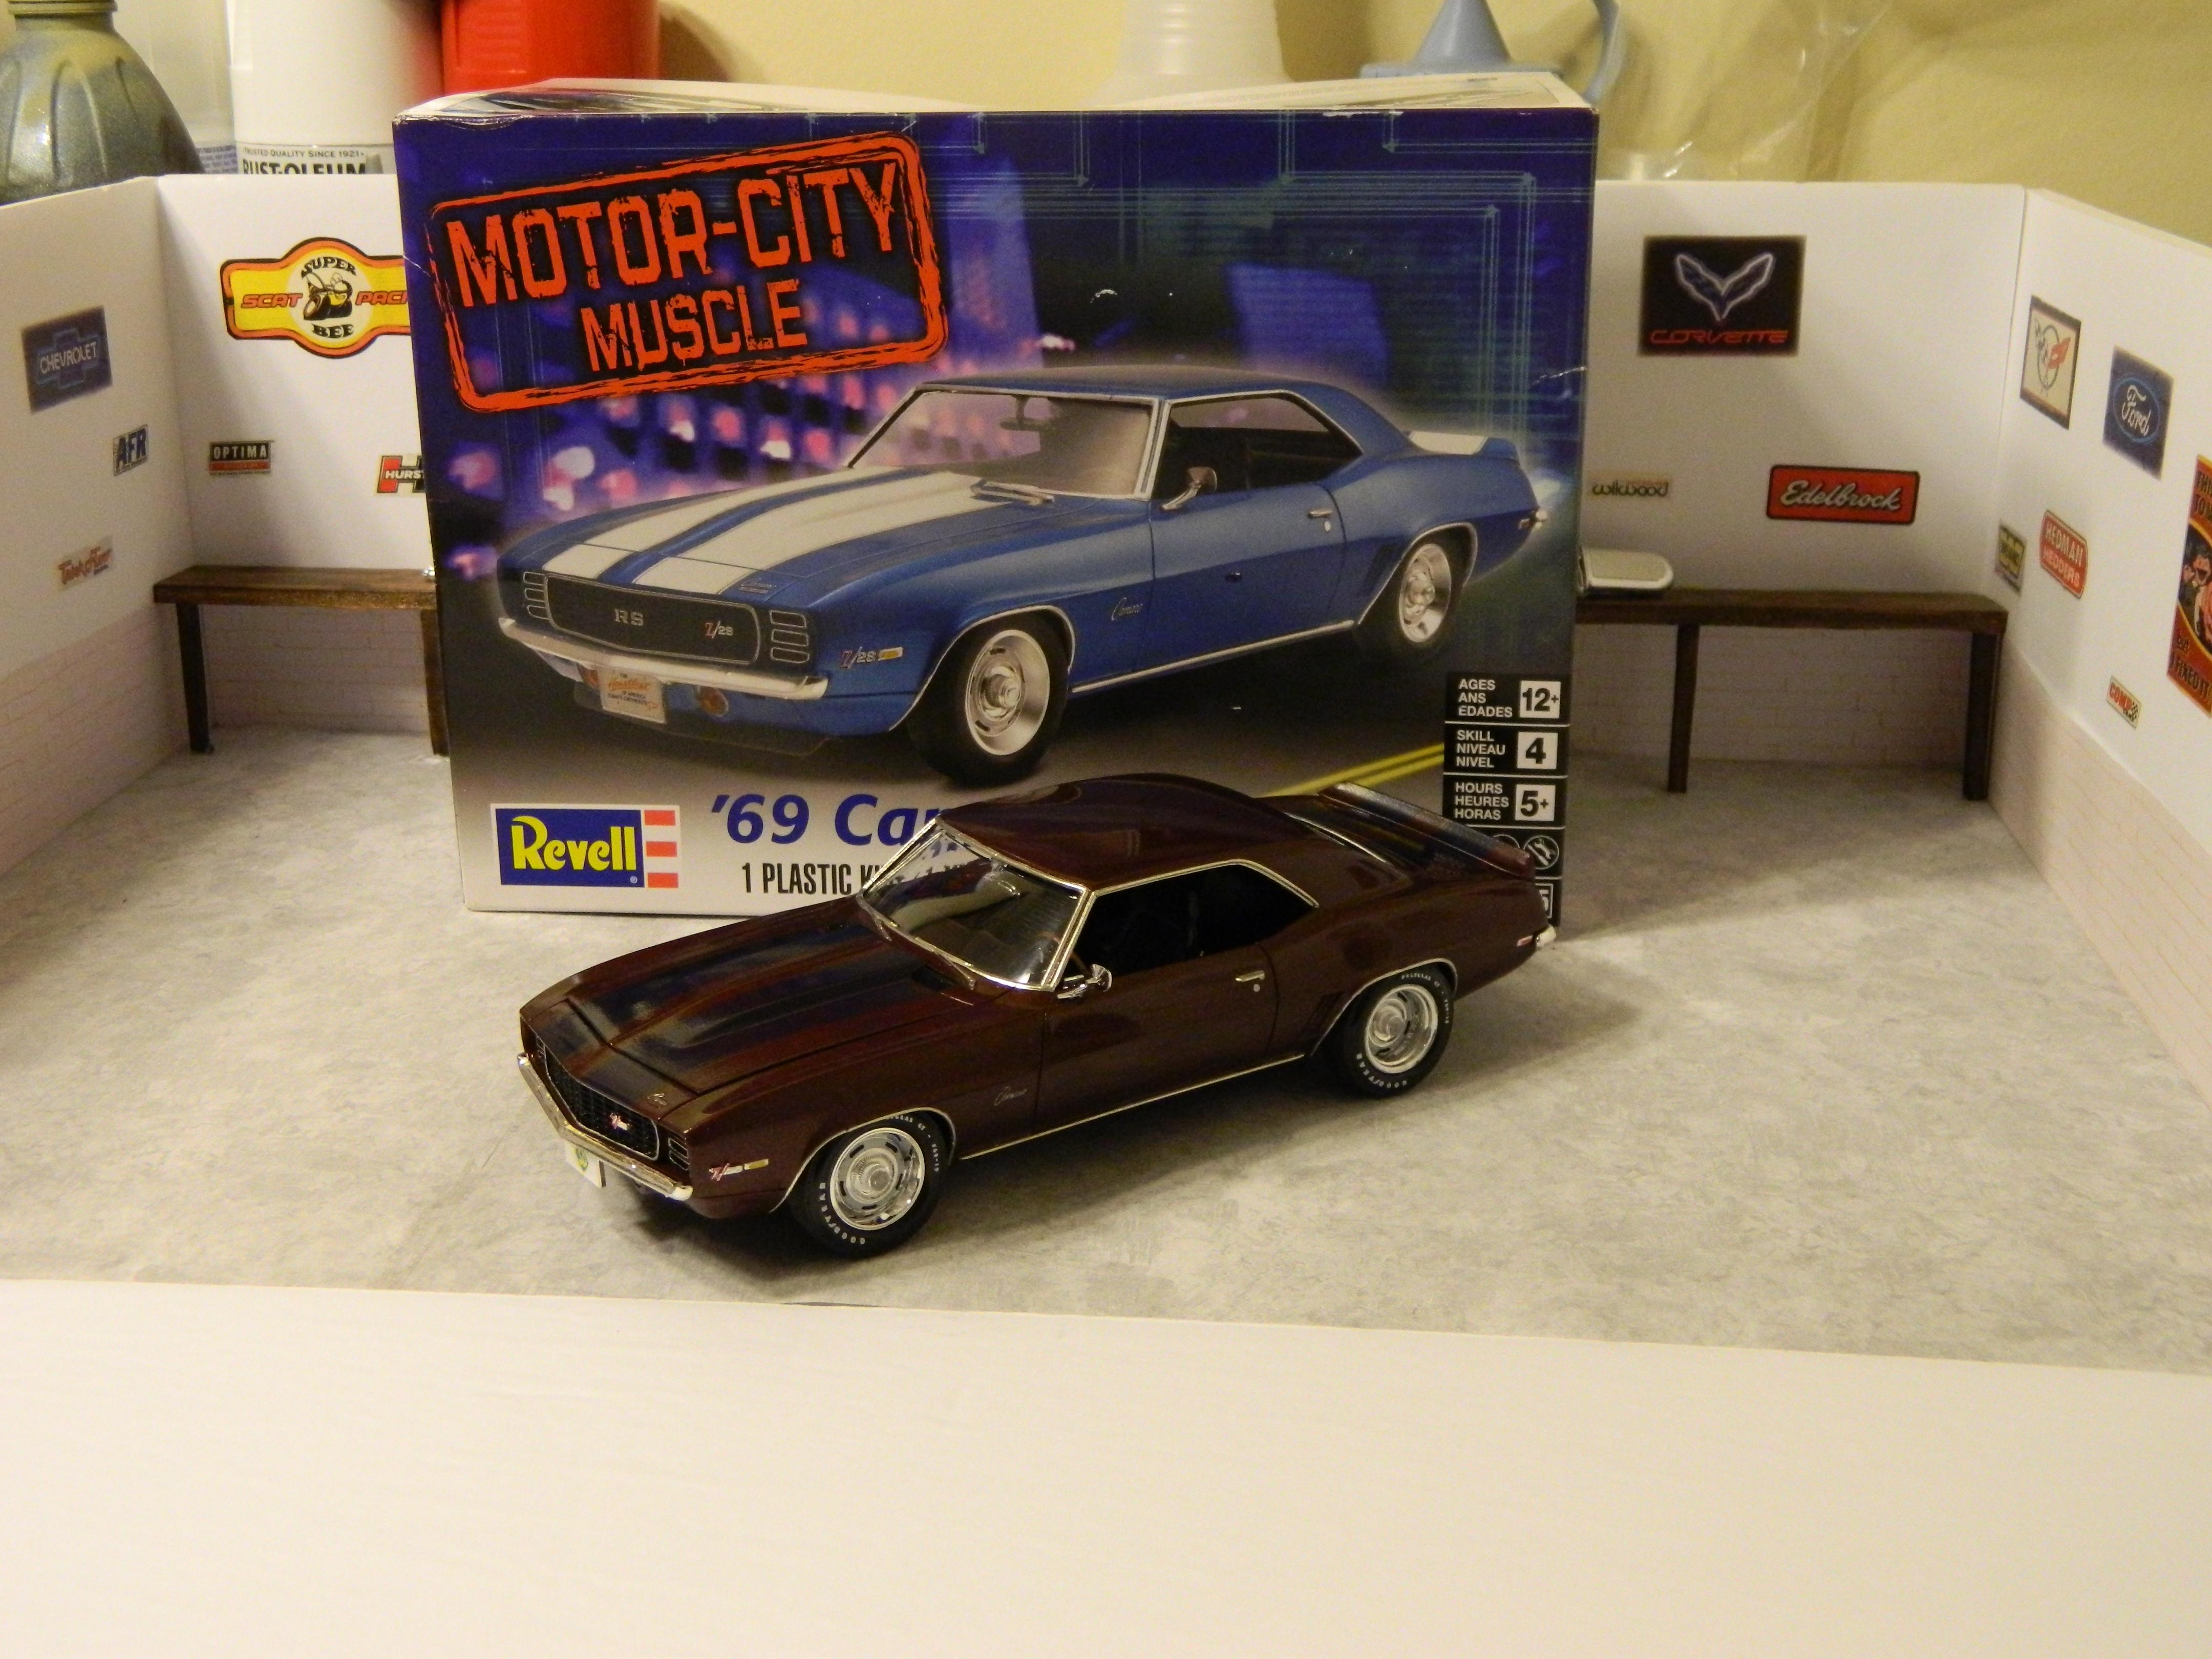
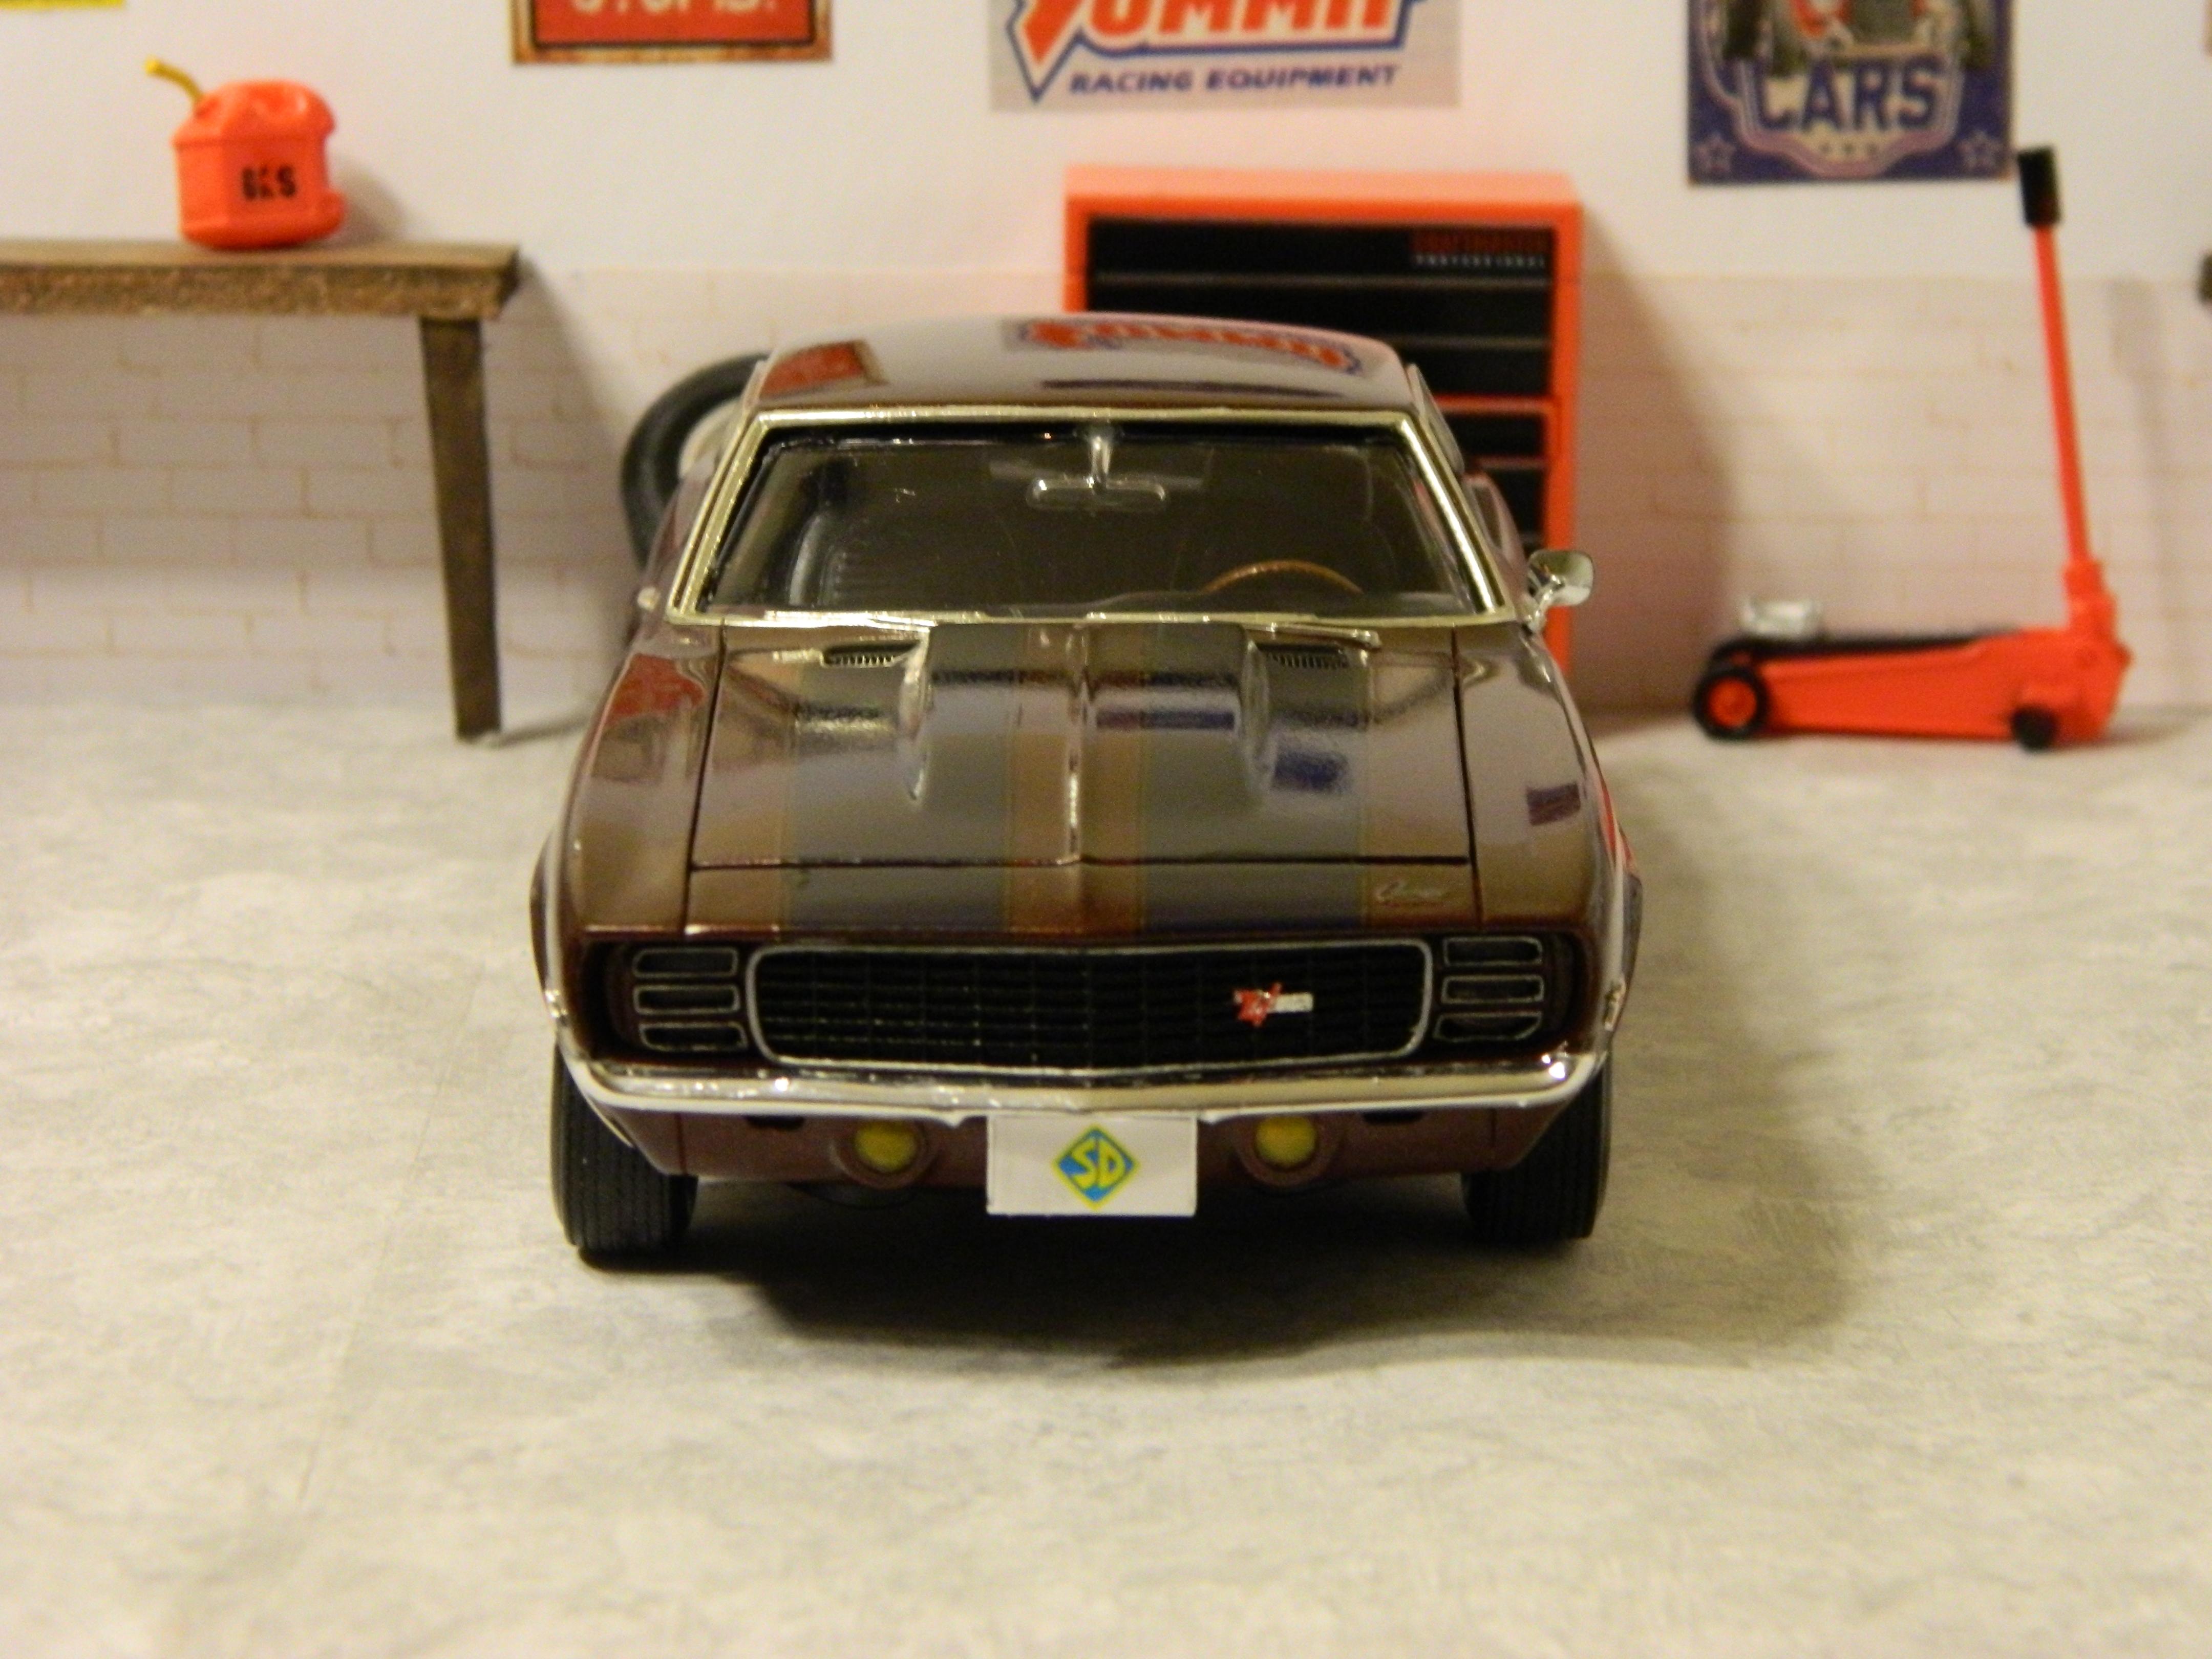
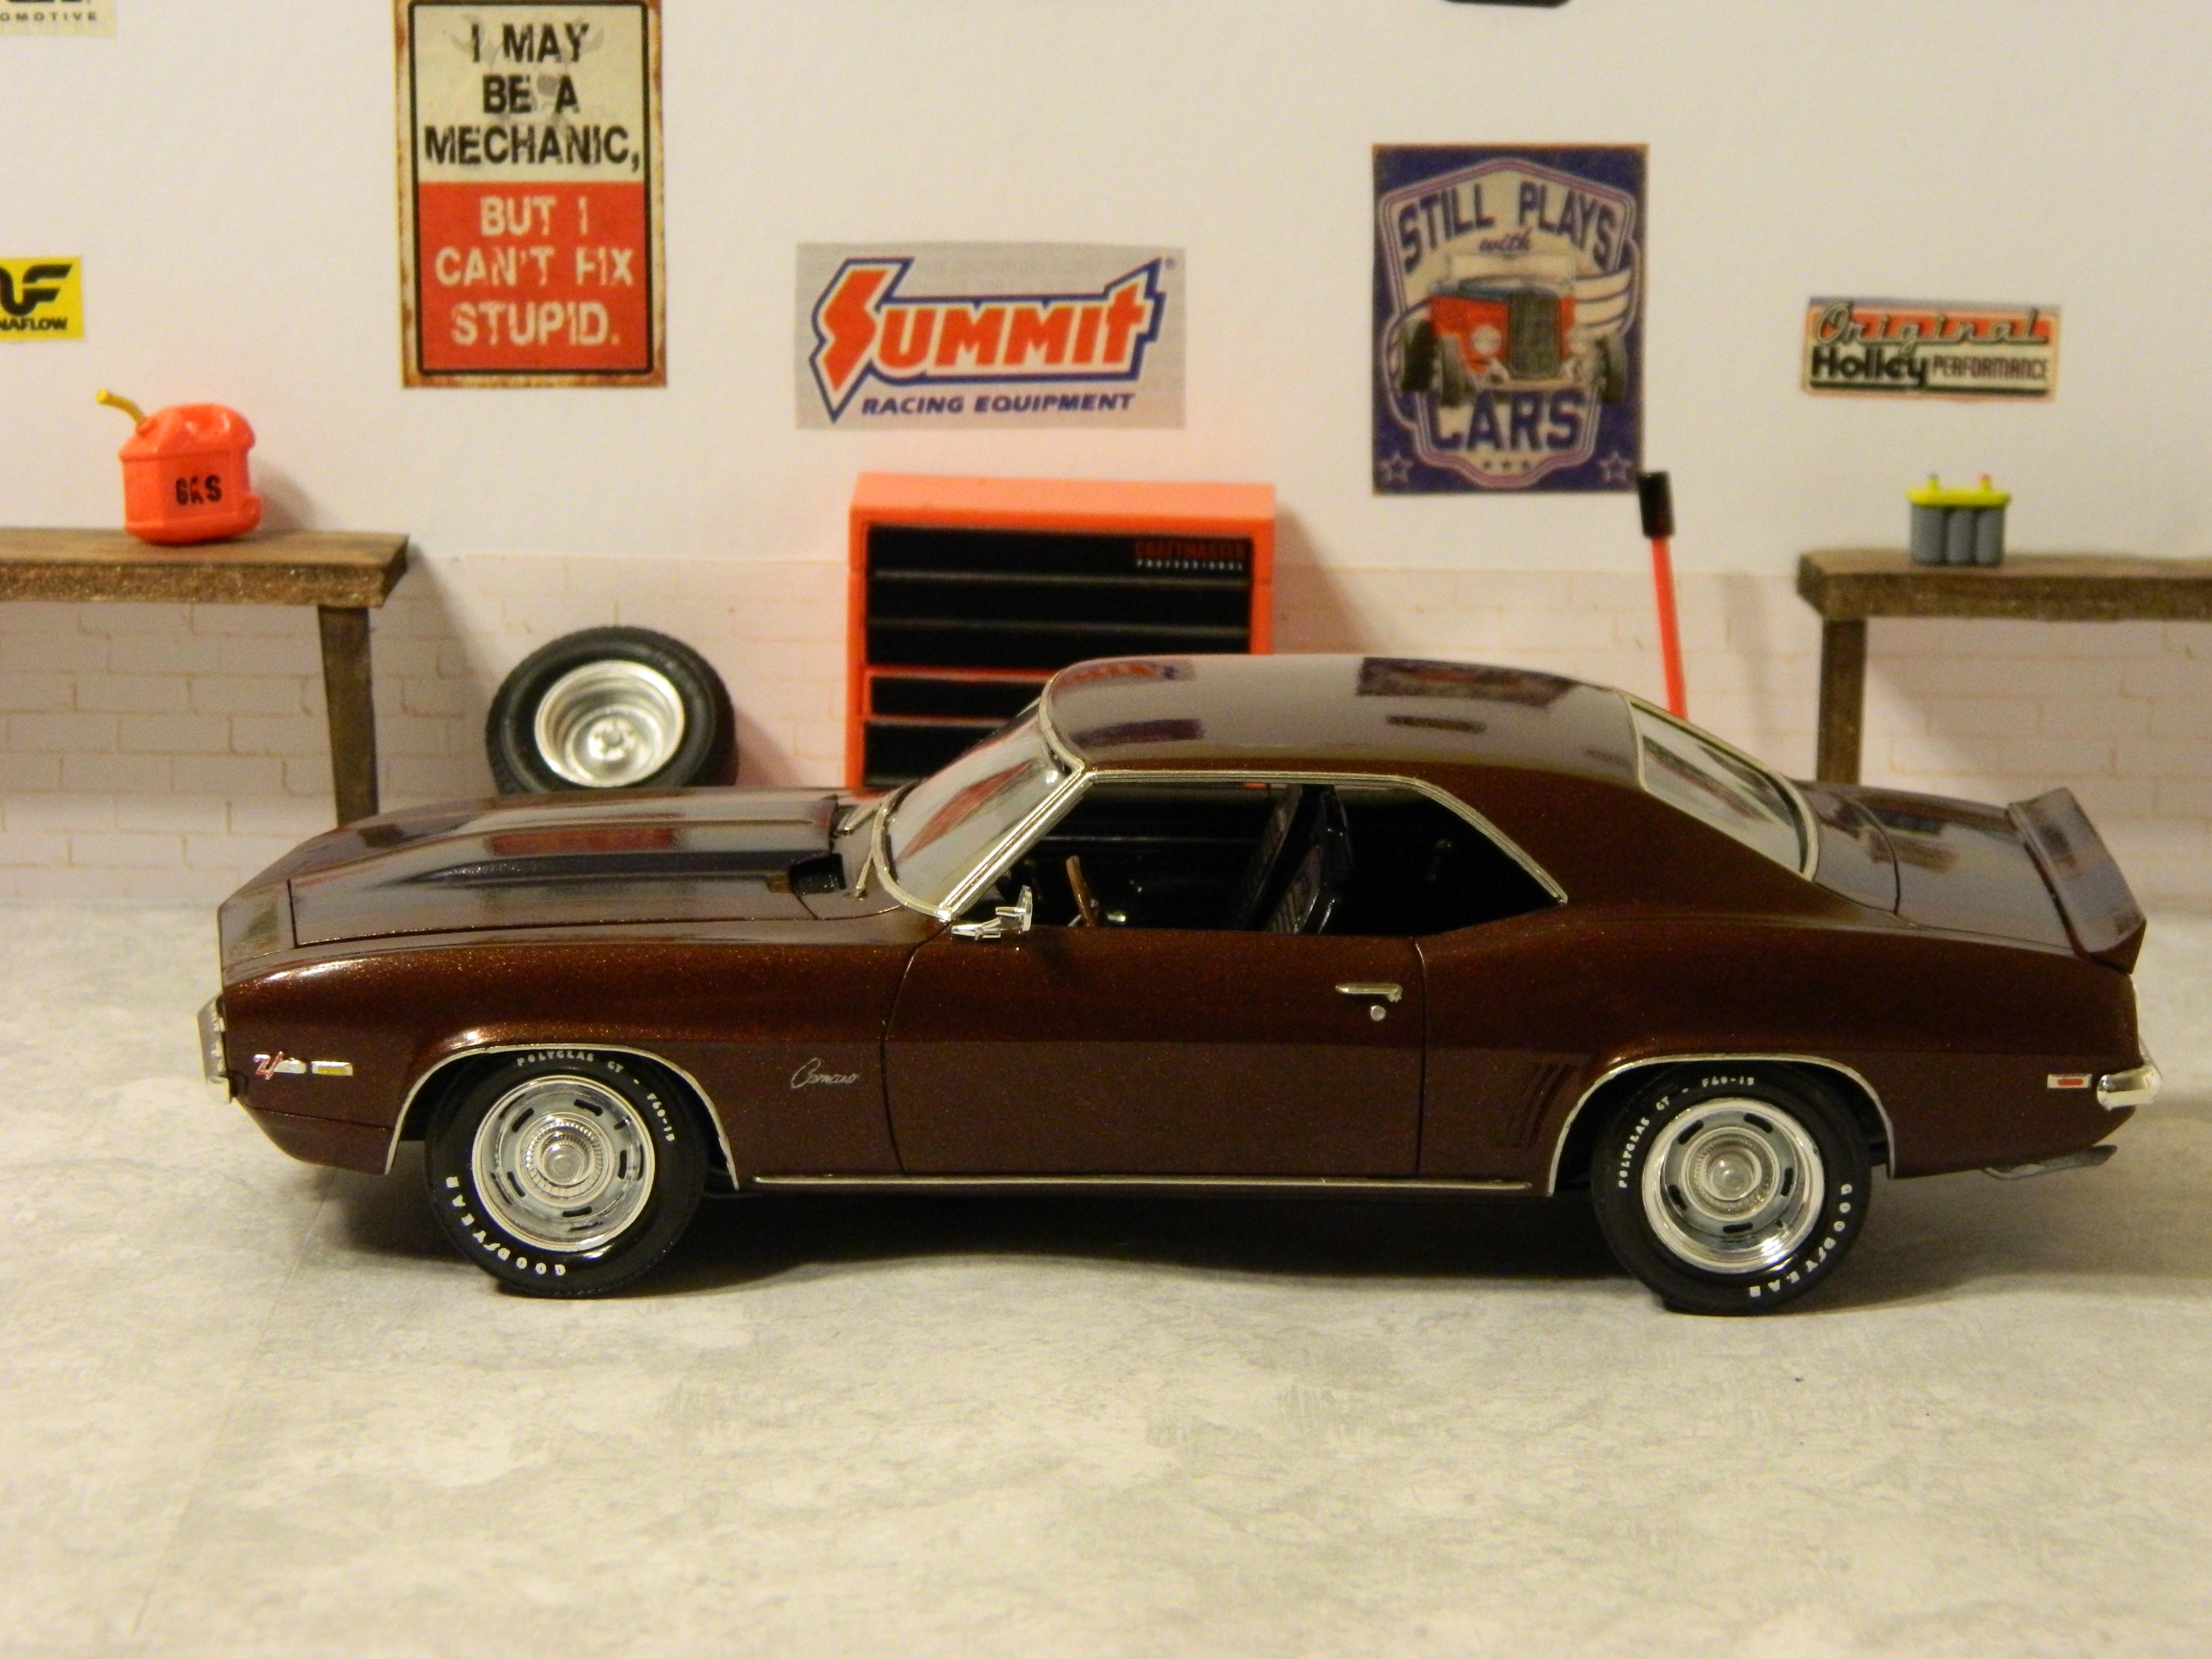
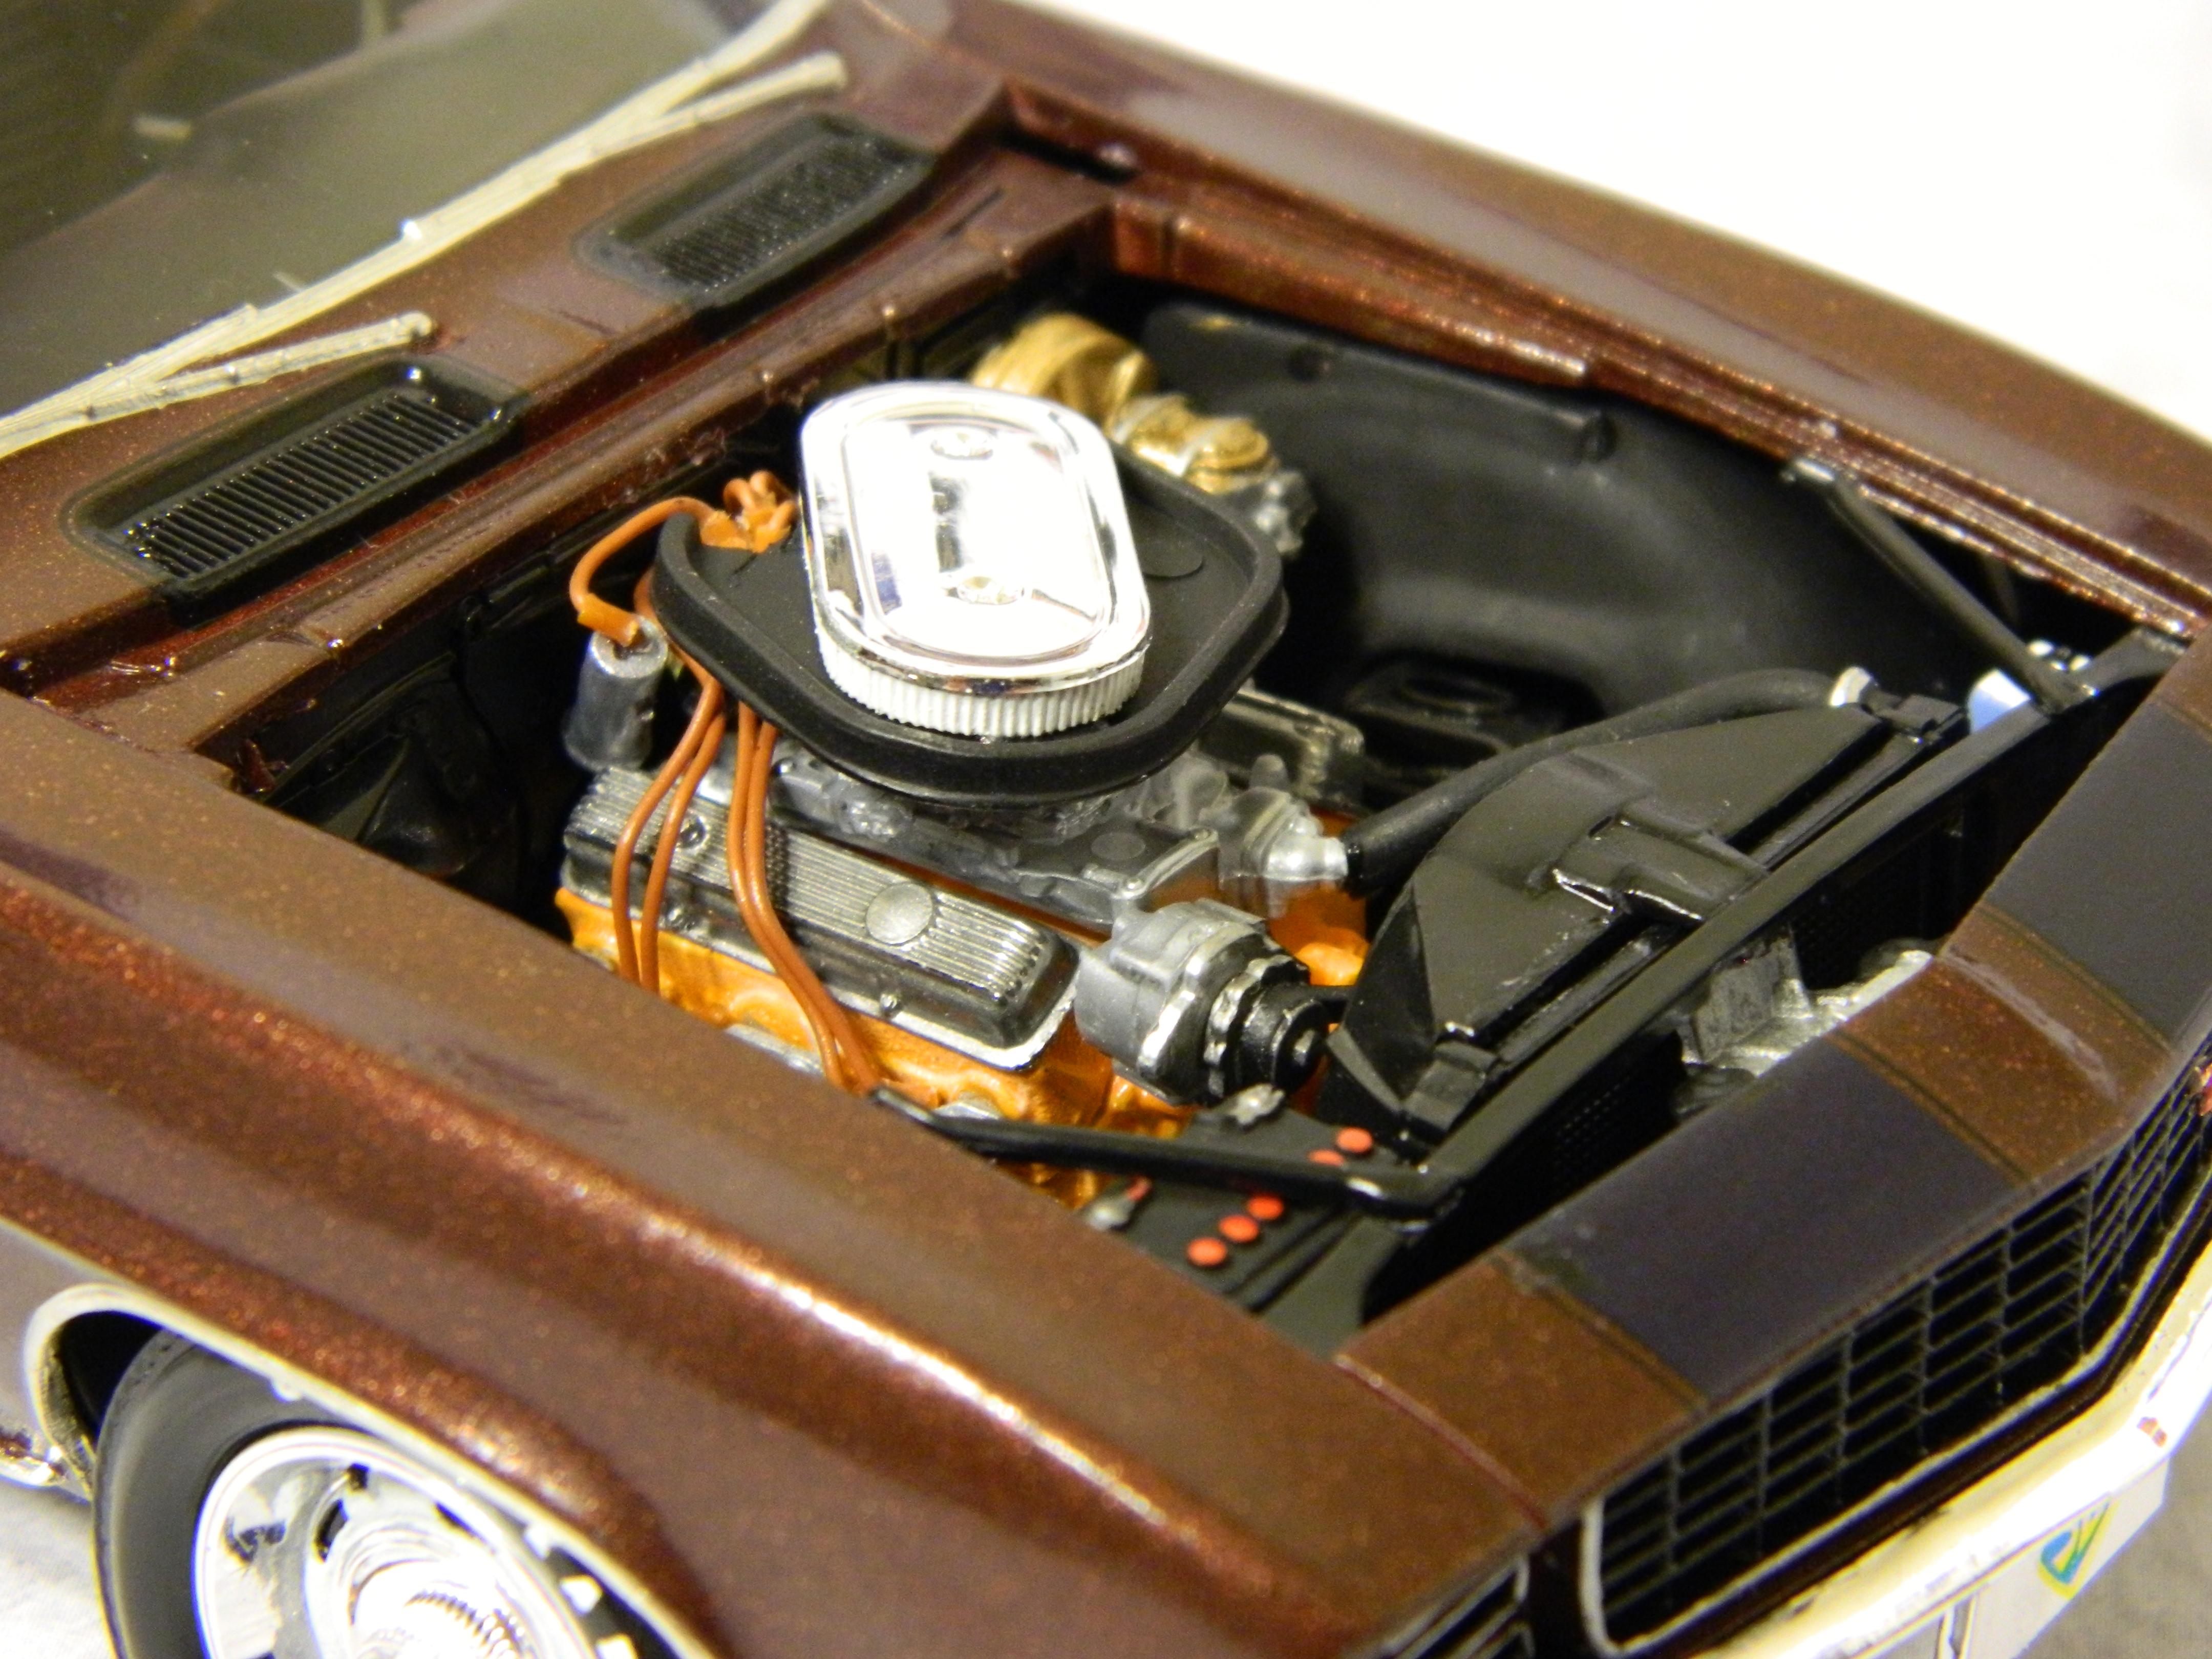
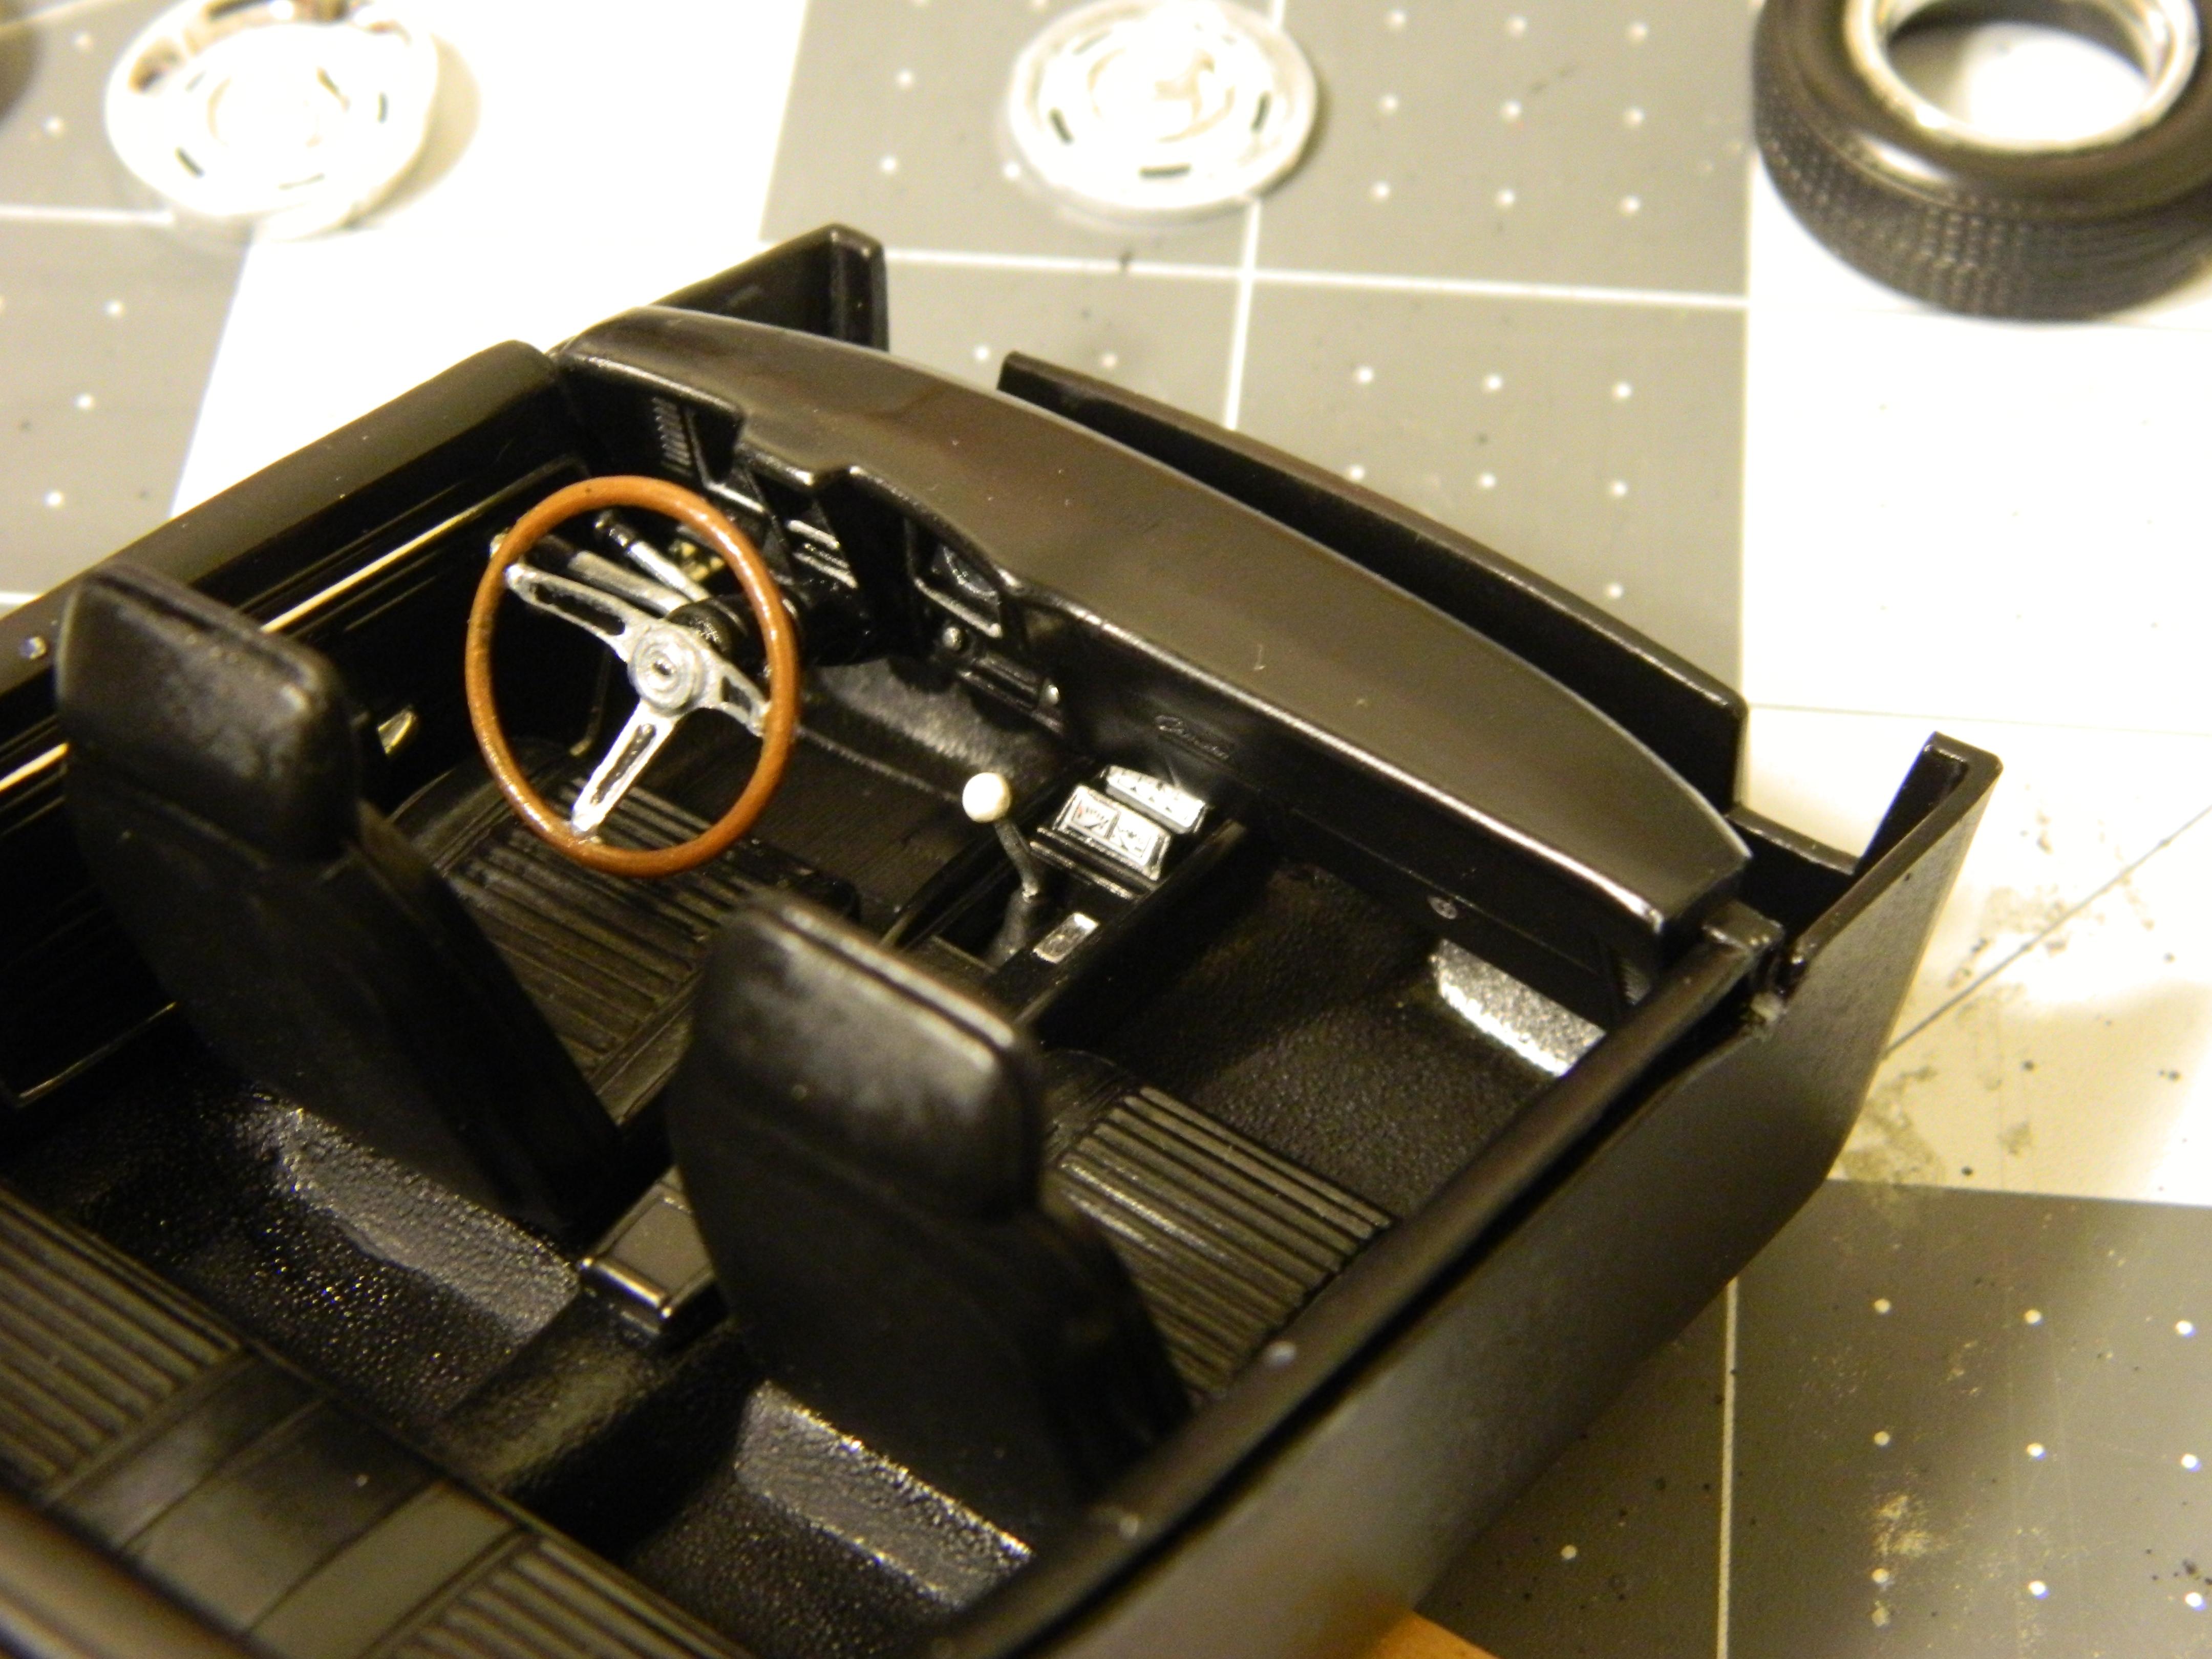
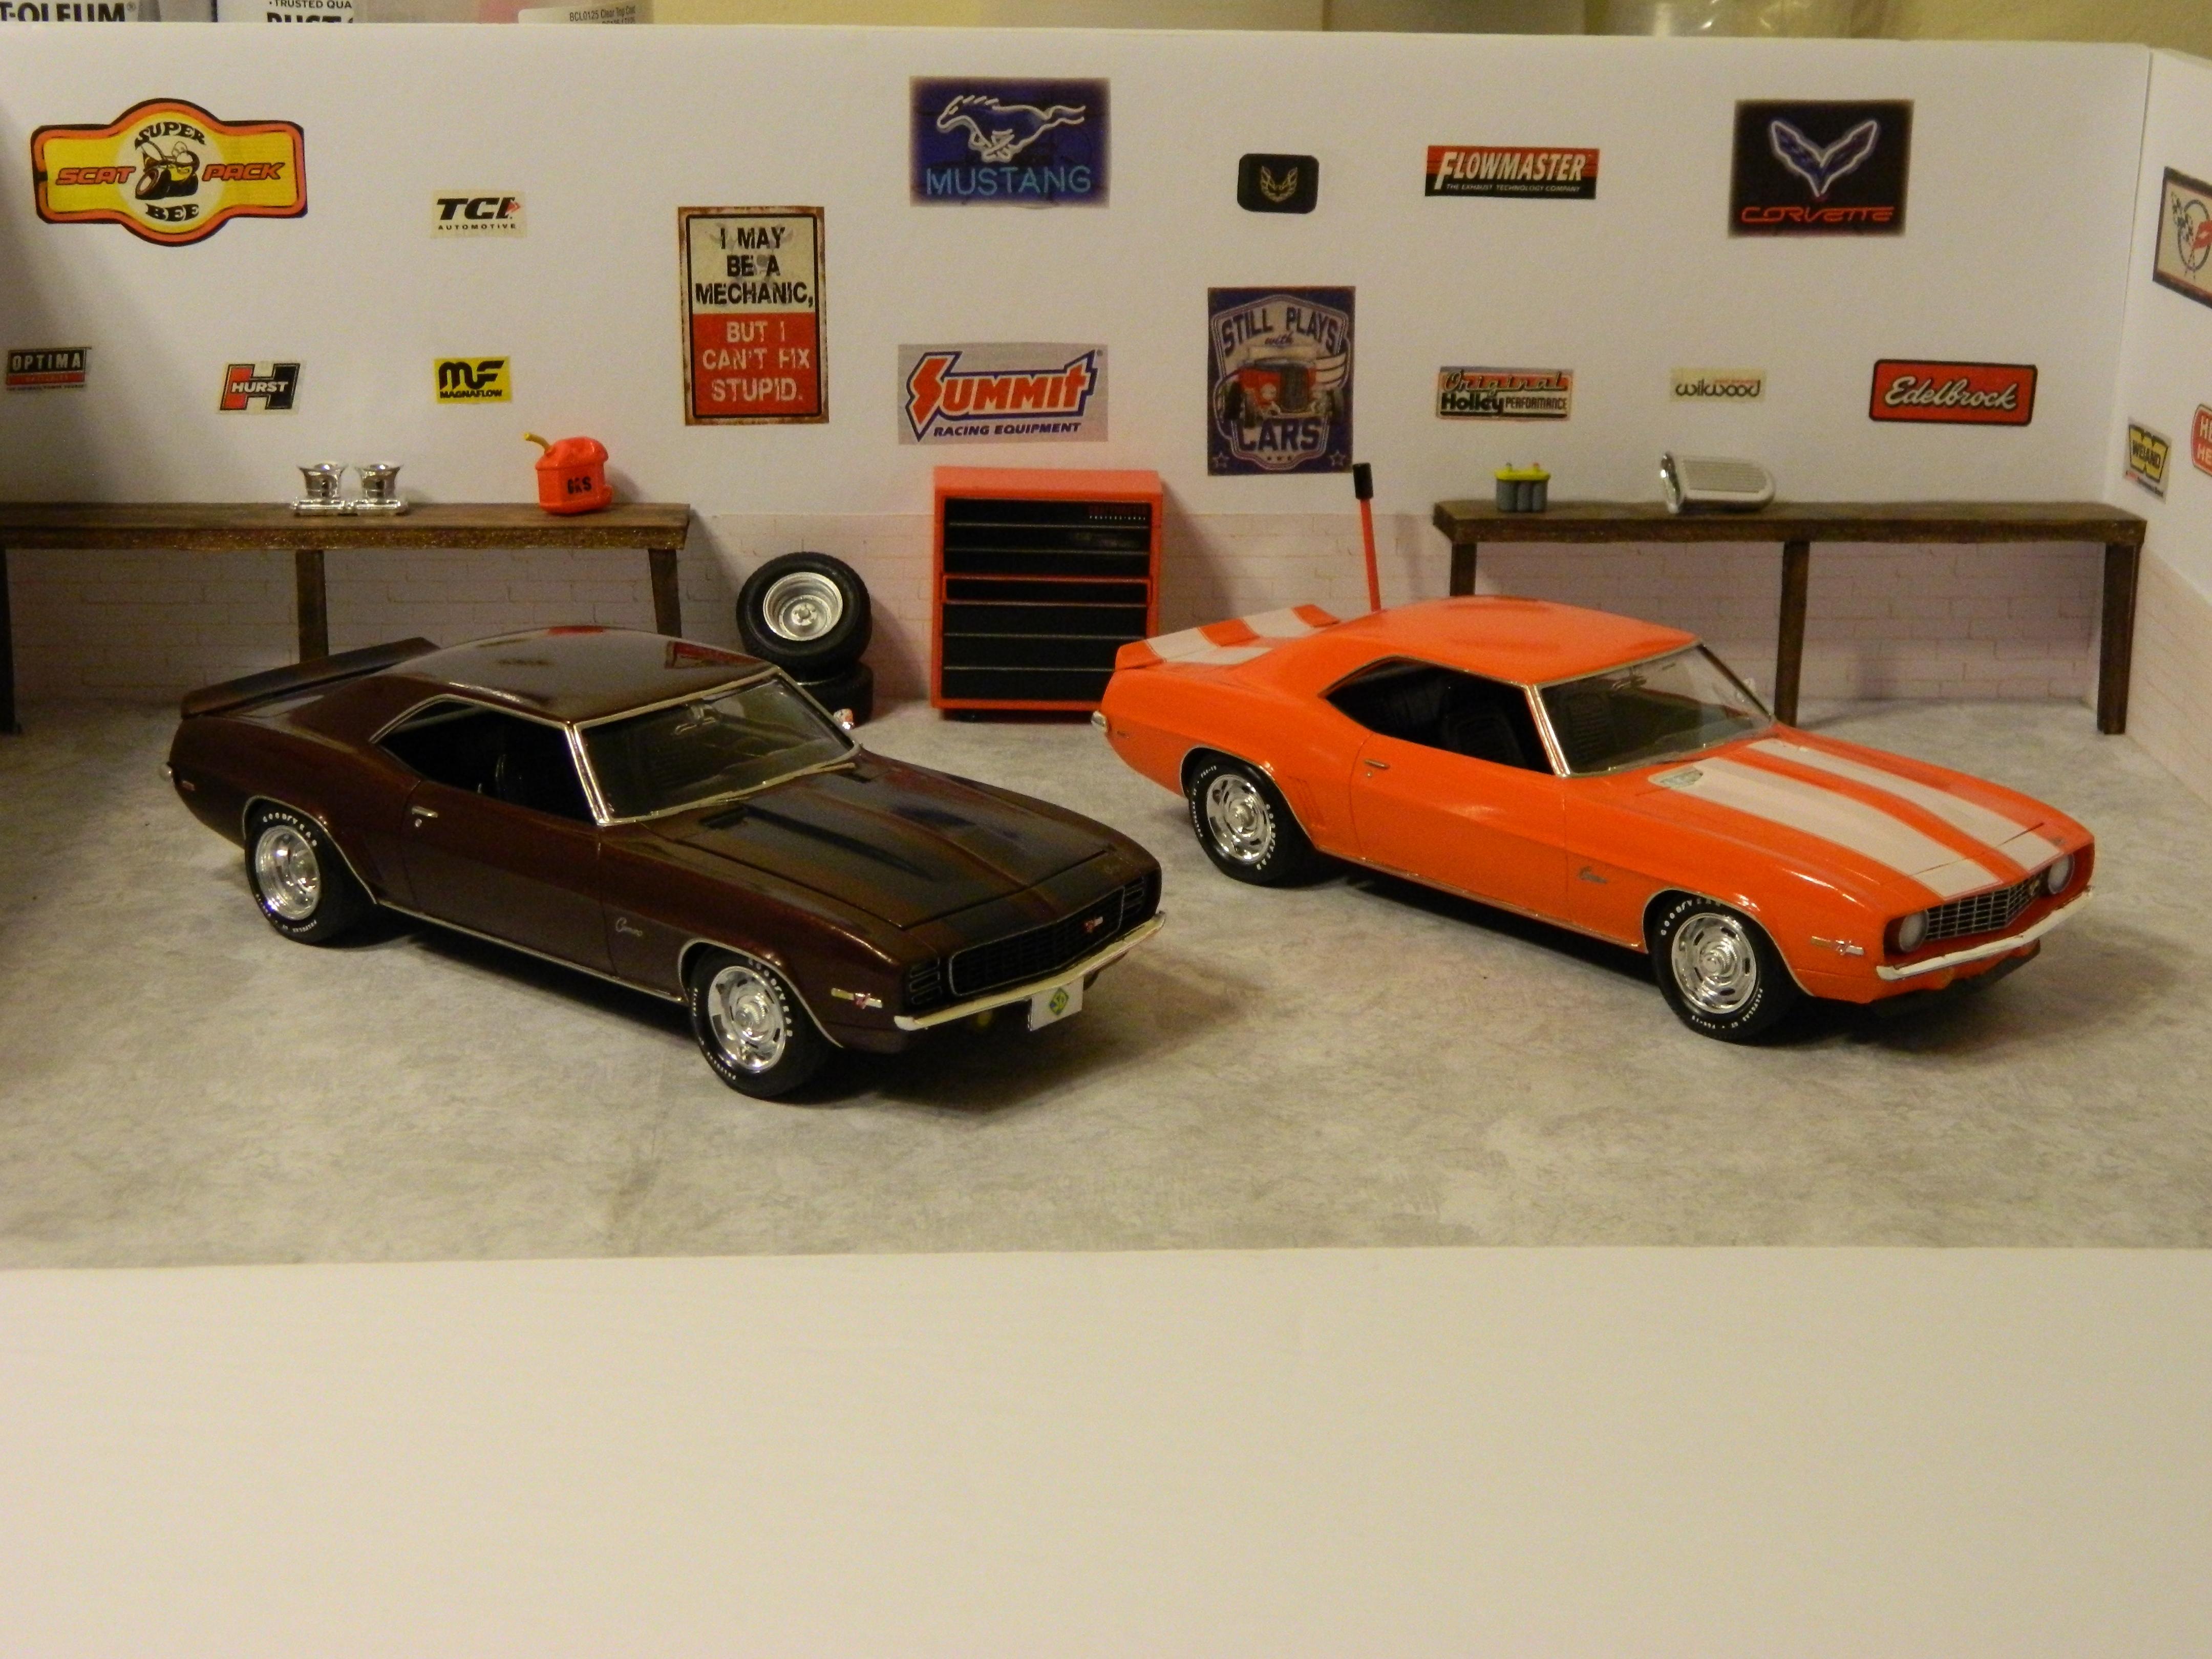
Finished with my Scooby Doo tribute build for his 50th "birthday". Revell 1969 Camaro Z28 done in Testors Root Beer One Coat Lacquer and finished with Testors Wet Look Clear. Interior is done in Rustoleum Satin Canyon Black with some BMF on the door panels. I added plug wires on the engine for added detail there and used a Metallic Silver Sharpie on the molded in brake and fuel lines. I did add a few more details on this one that I haven't done before. Thanks to some help on this forum I was able to make a pair of deep dish rims for the rear. I added valve stems on all four wheels thanks to Pat Cardinal from one of the Facebook model groups I'm in for that tutorial. I also added door lock knobs on the door panels using pretty much the same technique as the valve stems. You might not be able to tell in the pics, but I also drilled out the hidden headlight doors to show the headlights. This one fought me a little bit even though I had no problems building the same kit last year. Most of the problems were self inflicted due to rushing the project. For some reason I kept repeating my mistakes and will chalk this one up to sometimes things just don't go your way. I have to say that despite the self inflicted issues, I'm pretty happy with my Scooby Doo Tribute Car. Thanks for looking!
-
My latest project, a Revell '64 Impala SS done as a street machine. I am taking the engine and tires/wheels from the AMT 68 El Camino Street Machine kit and transporting them onto the Revell Chevy. I am going to use the lowered suspension for this build. The tires are big and littles so I will have a rake once it's done. Color I think will be Mythical Maroon. 396 Big block with street blower from El Camino kit. I'm still in the process of building the engine. Tires, wheels, from El Camino kit with headers from AMT 70 Impala kit. I had to move the transmission crossmember back for proper alignment of the engine.
-
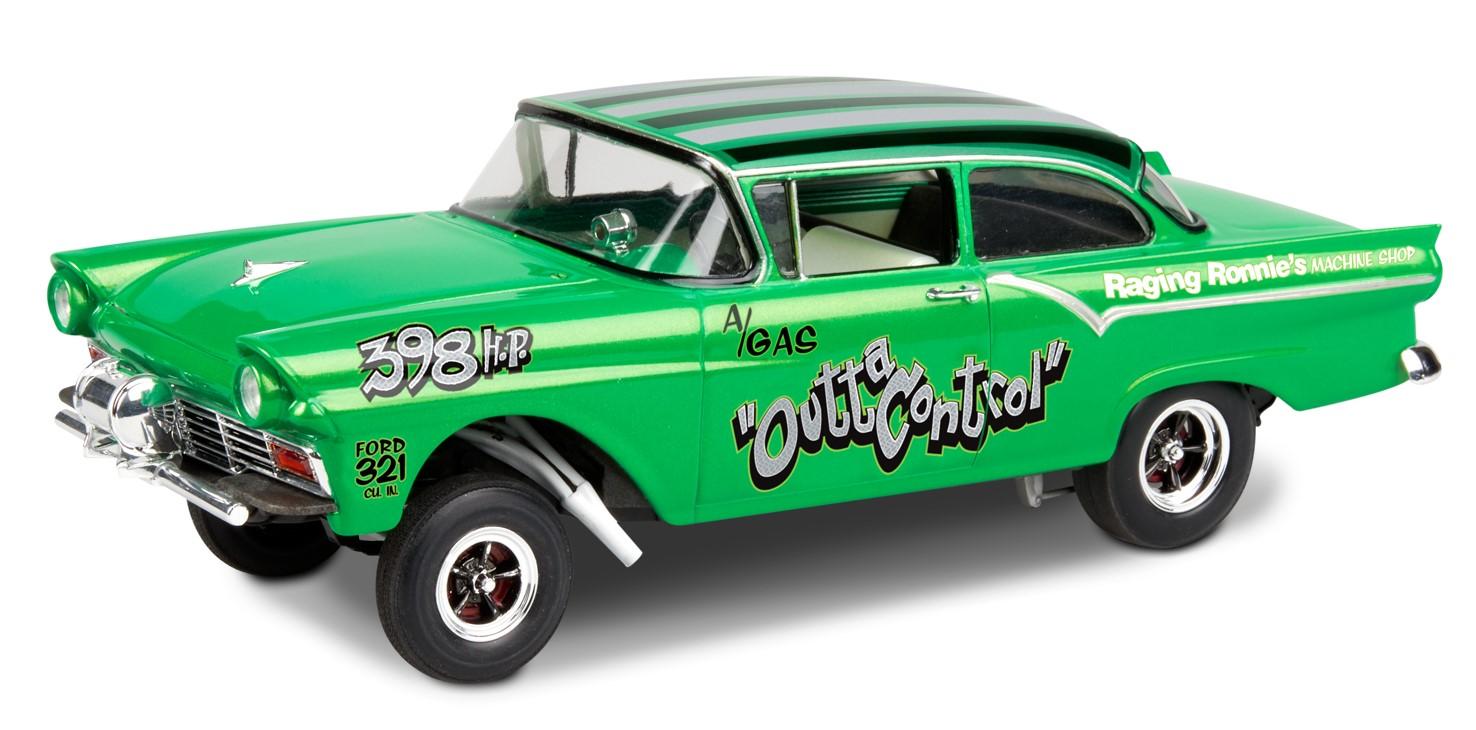
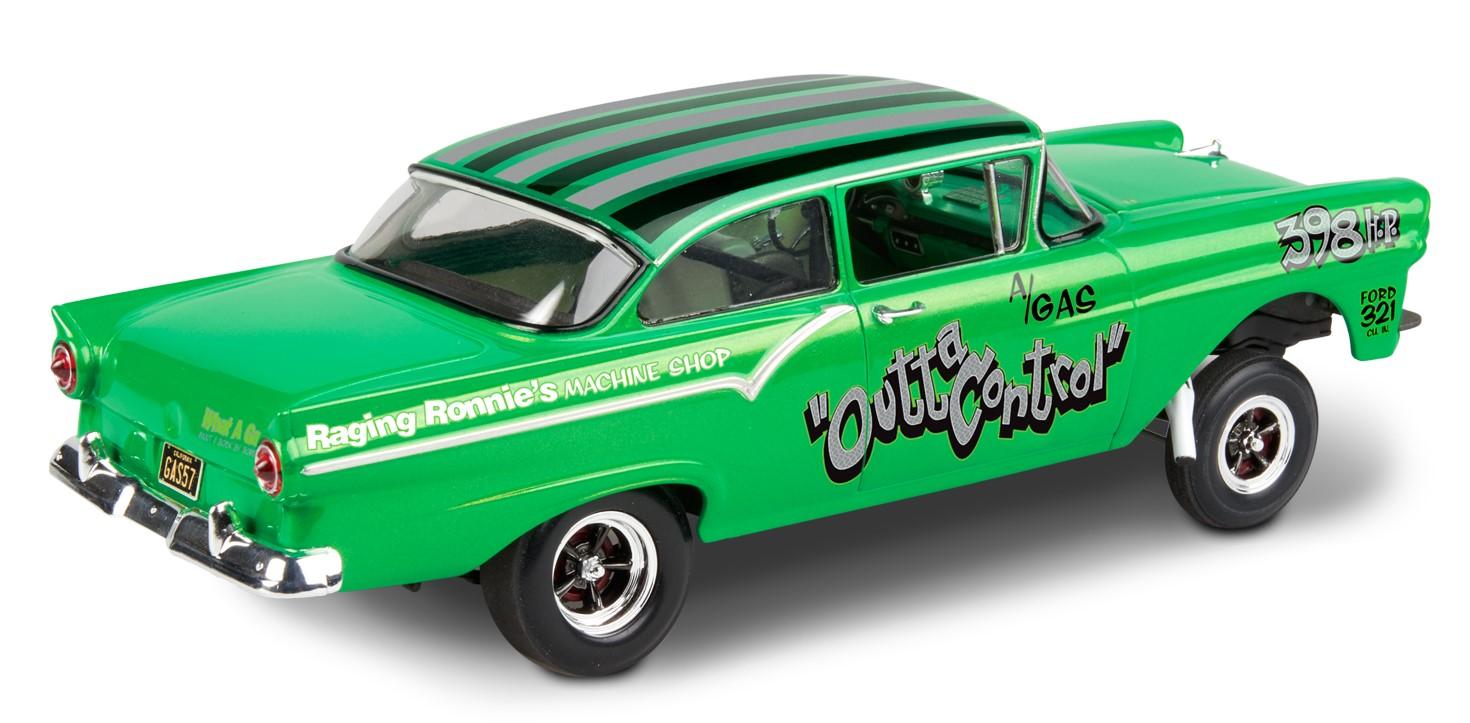
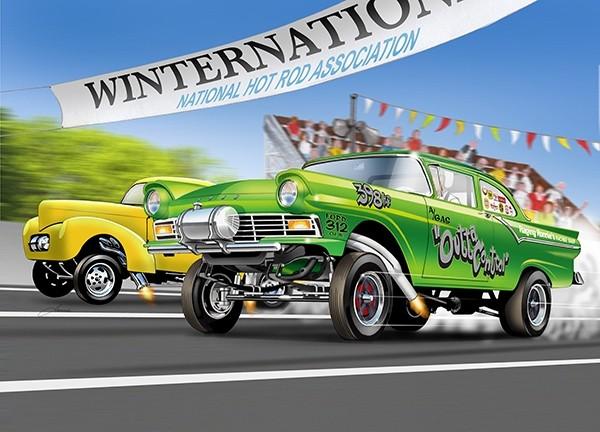
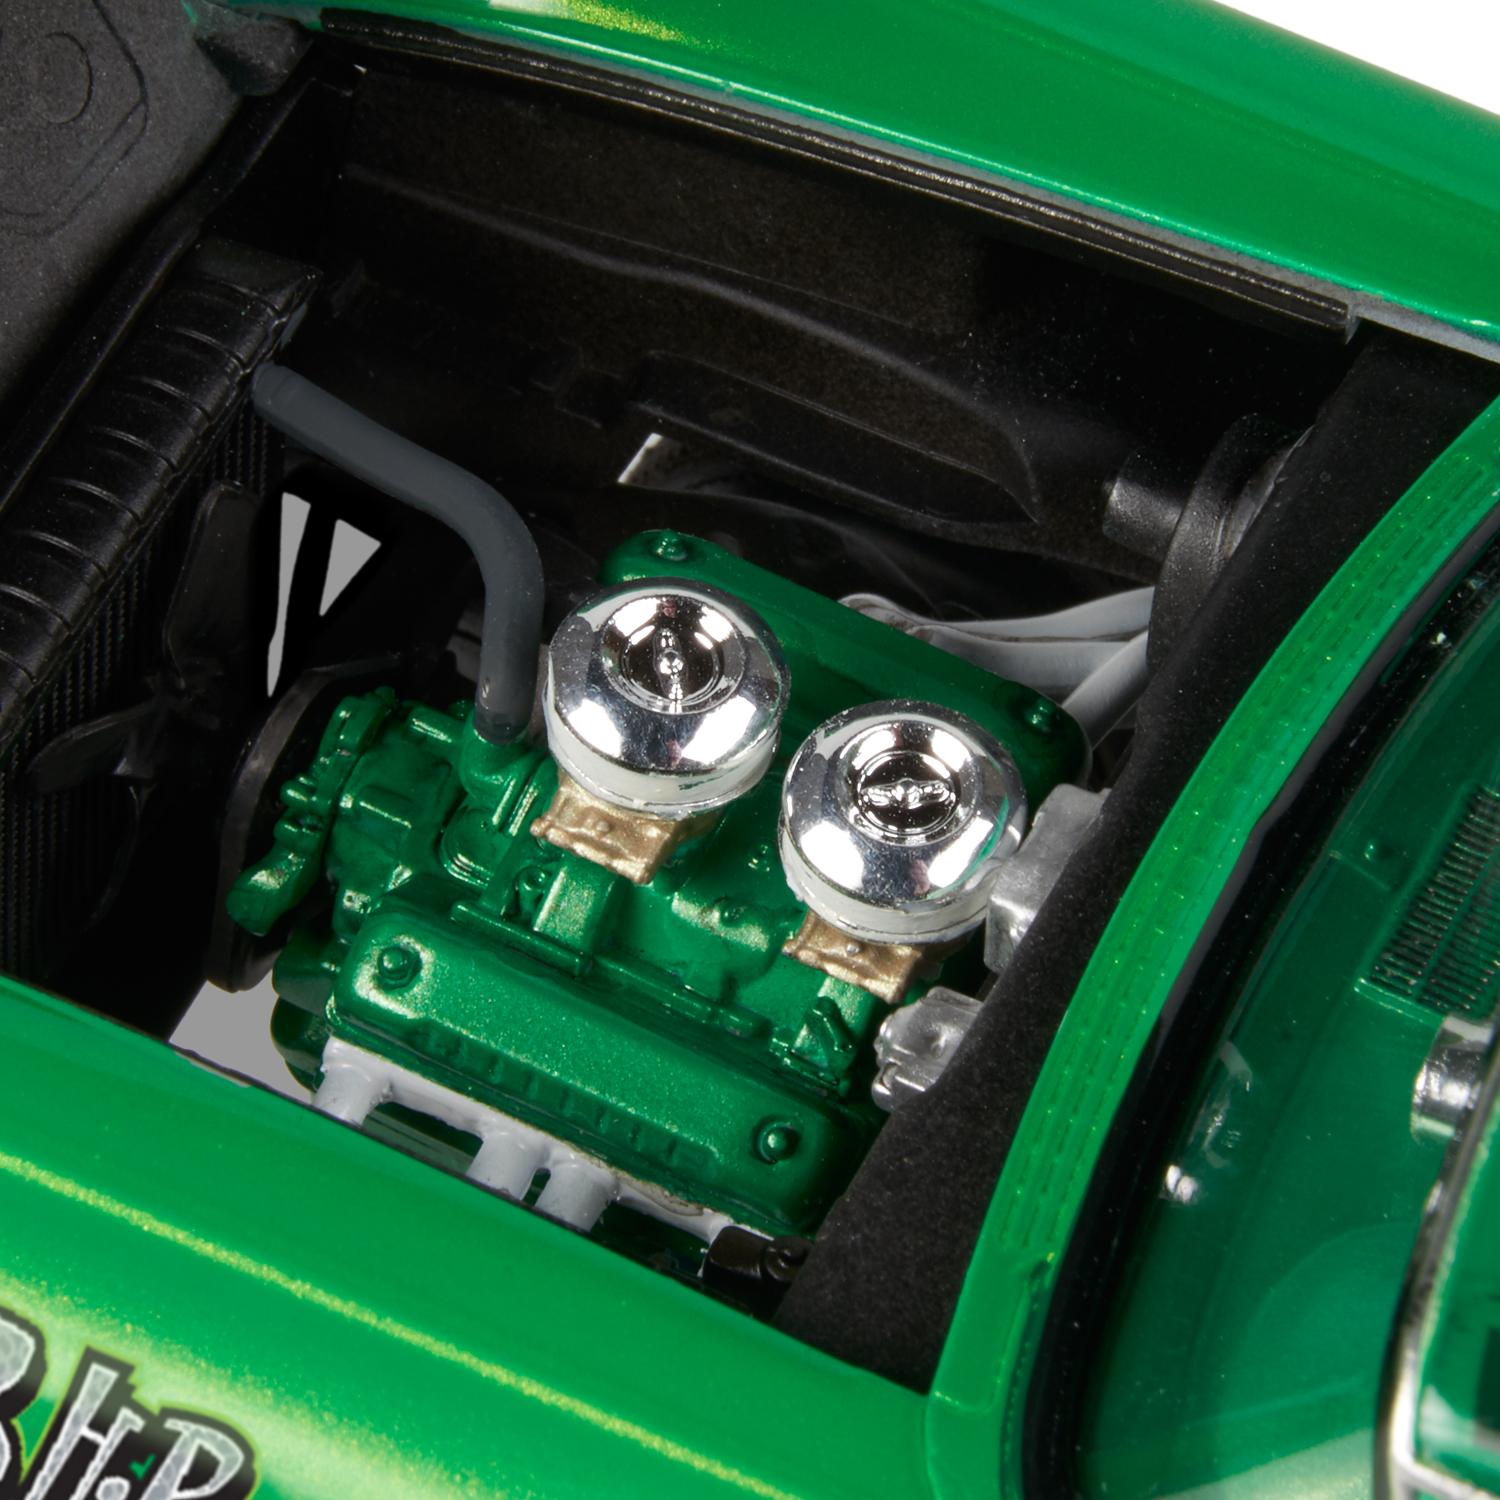
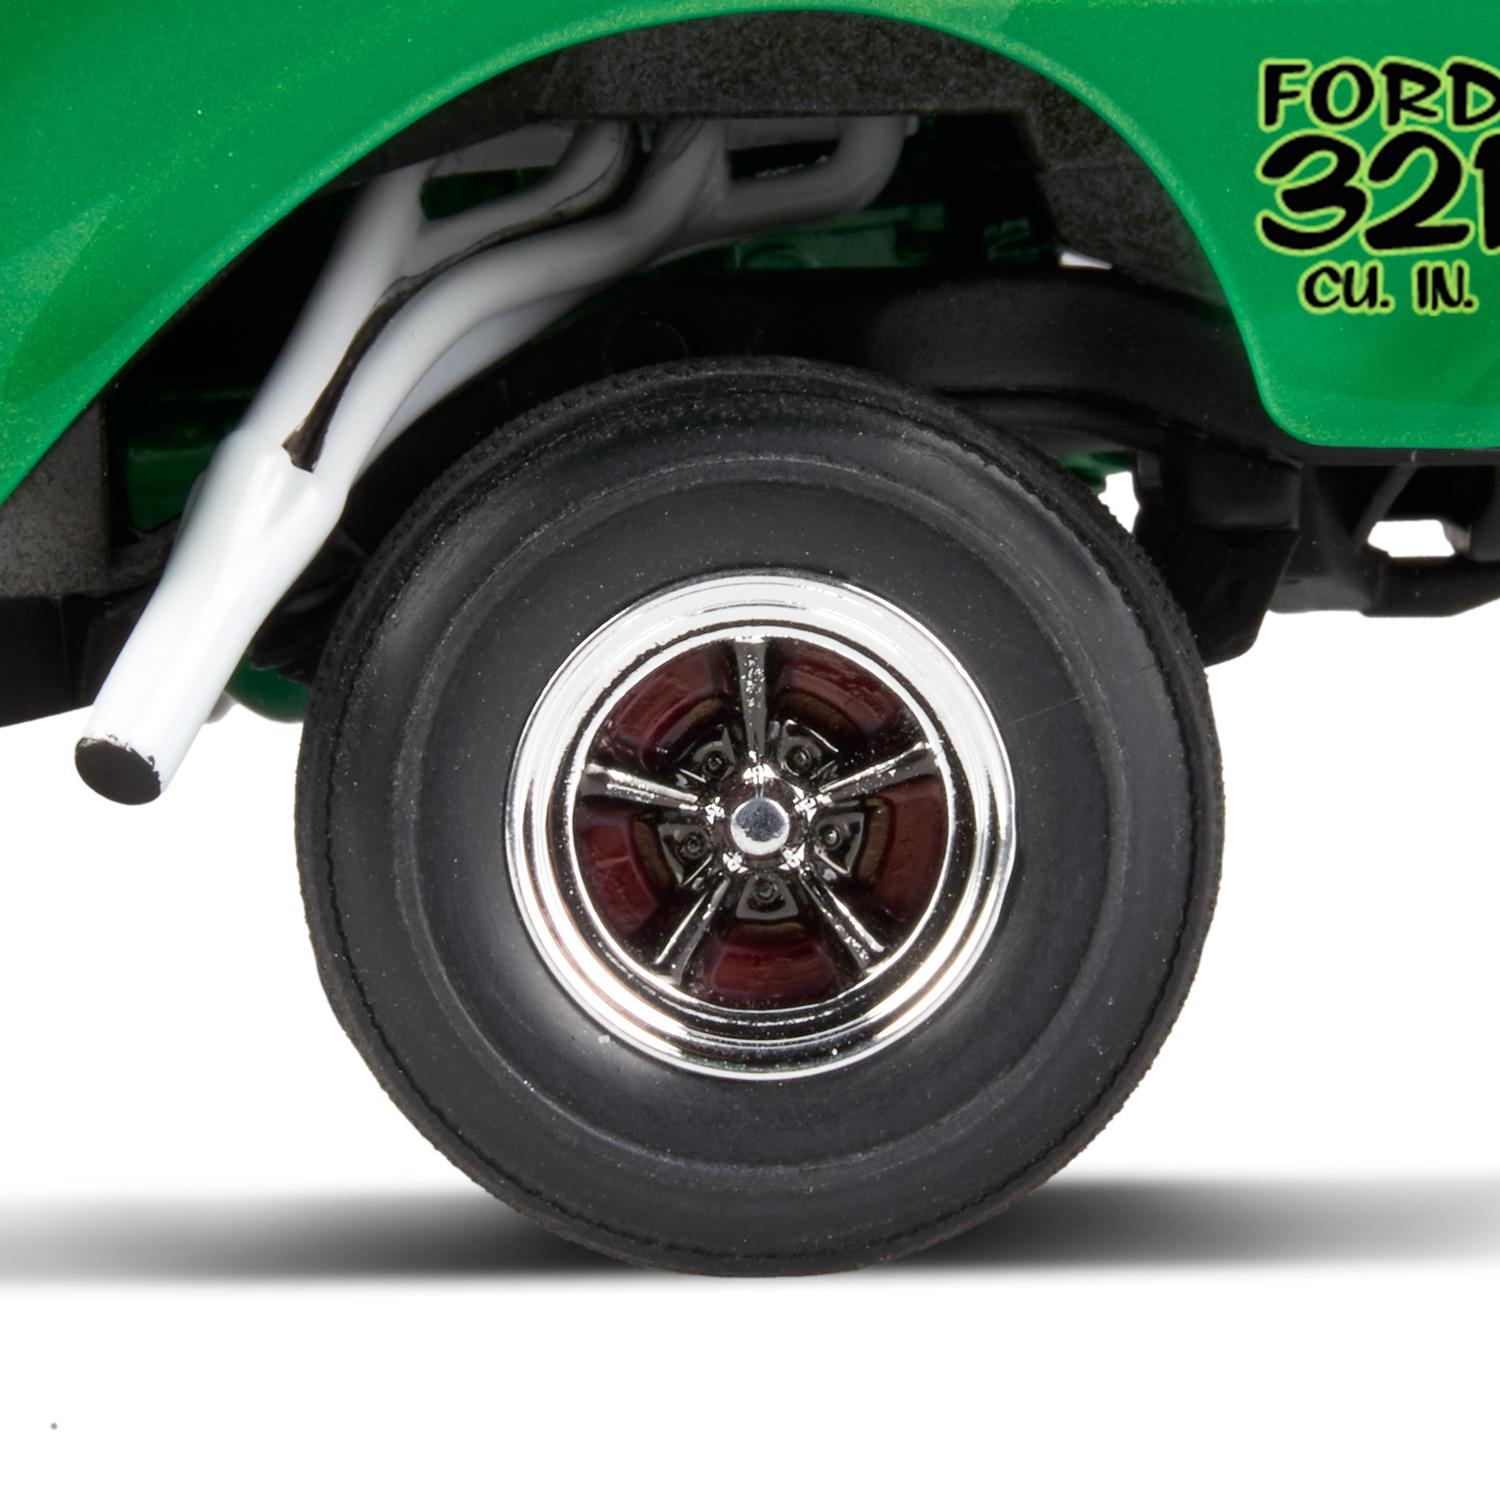
The 1/25 Revell '57 Ford Sedan Gasser kit seems to have slipped through the cracks, so now it has its own dedicated topic. It was mentioned (hunted at, more accurately) by Tim Boyd here...: ....that this (and it looks like another or a slightly different) variant had been planned, but never released, until now. Here are some images of the completed box stock model, courtesy of the Revell website: Chris/hpiguy has a video review, too:
-
Hi, Well, the Revell 1990 5.0 Mustang "Drag Car" was coming along beautifully, and I got to the point of applying the suspension/steering components. While I thought I had all the parts cleaned up and painted, I realized I had not taken part # 30, the front sway bar off the sprue. As you could guess, the thing snapped in two, even though I used nippers to remove it. While often these things can be repaired, I could not do it with this. This front sway bar is part # 30, and identical with Revell's kit 4195 ('90 Mustang Drag Racer) and kit 4252 ('90 Mustang 2 in 1- police version). So I got on Revell's site and submitted a plea for a replacement. The site indicated they were "swamped" and it would be a week before I got a reply. Well, its been longer than that and my hope is failing. I realize this part will likely never be noticed as missing, but its driving me nuts. Anyone have any idea on where/how to secure one? Thank you, Bill Anderson
-
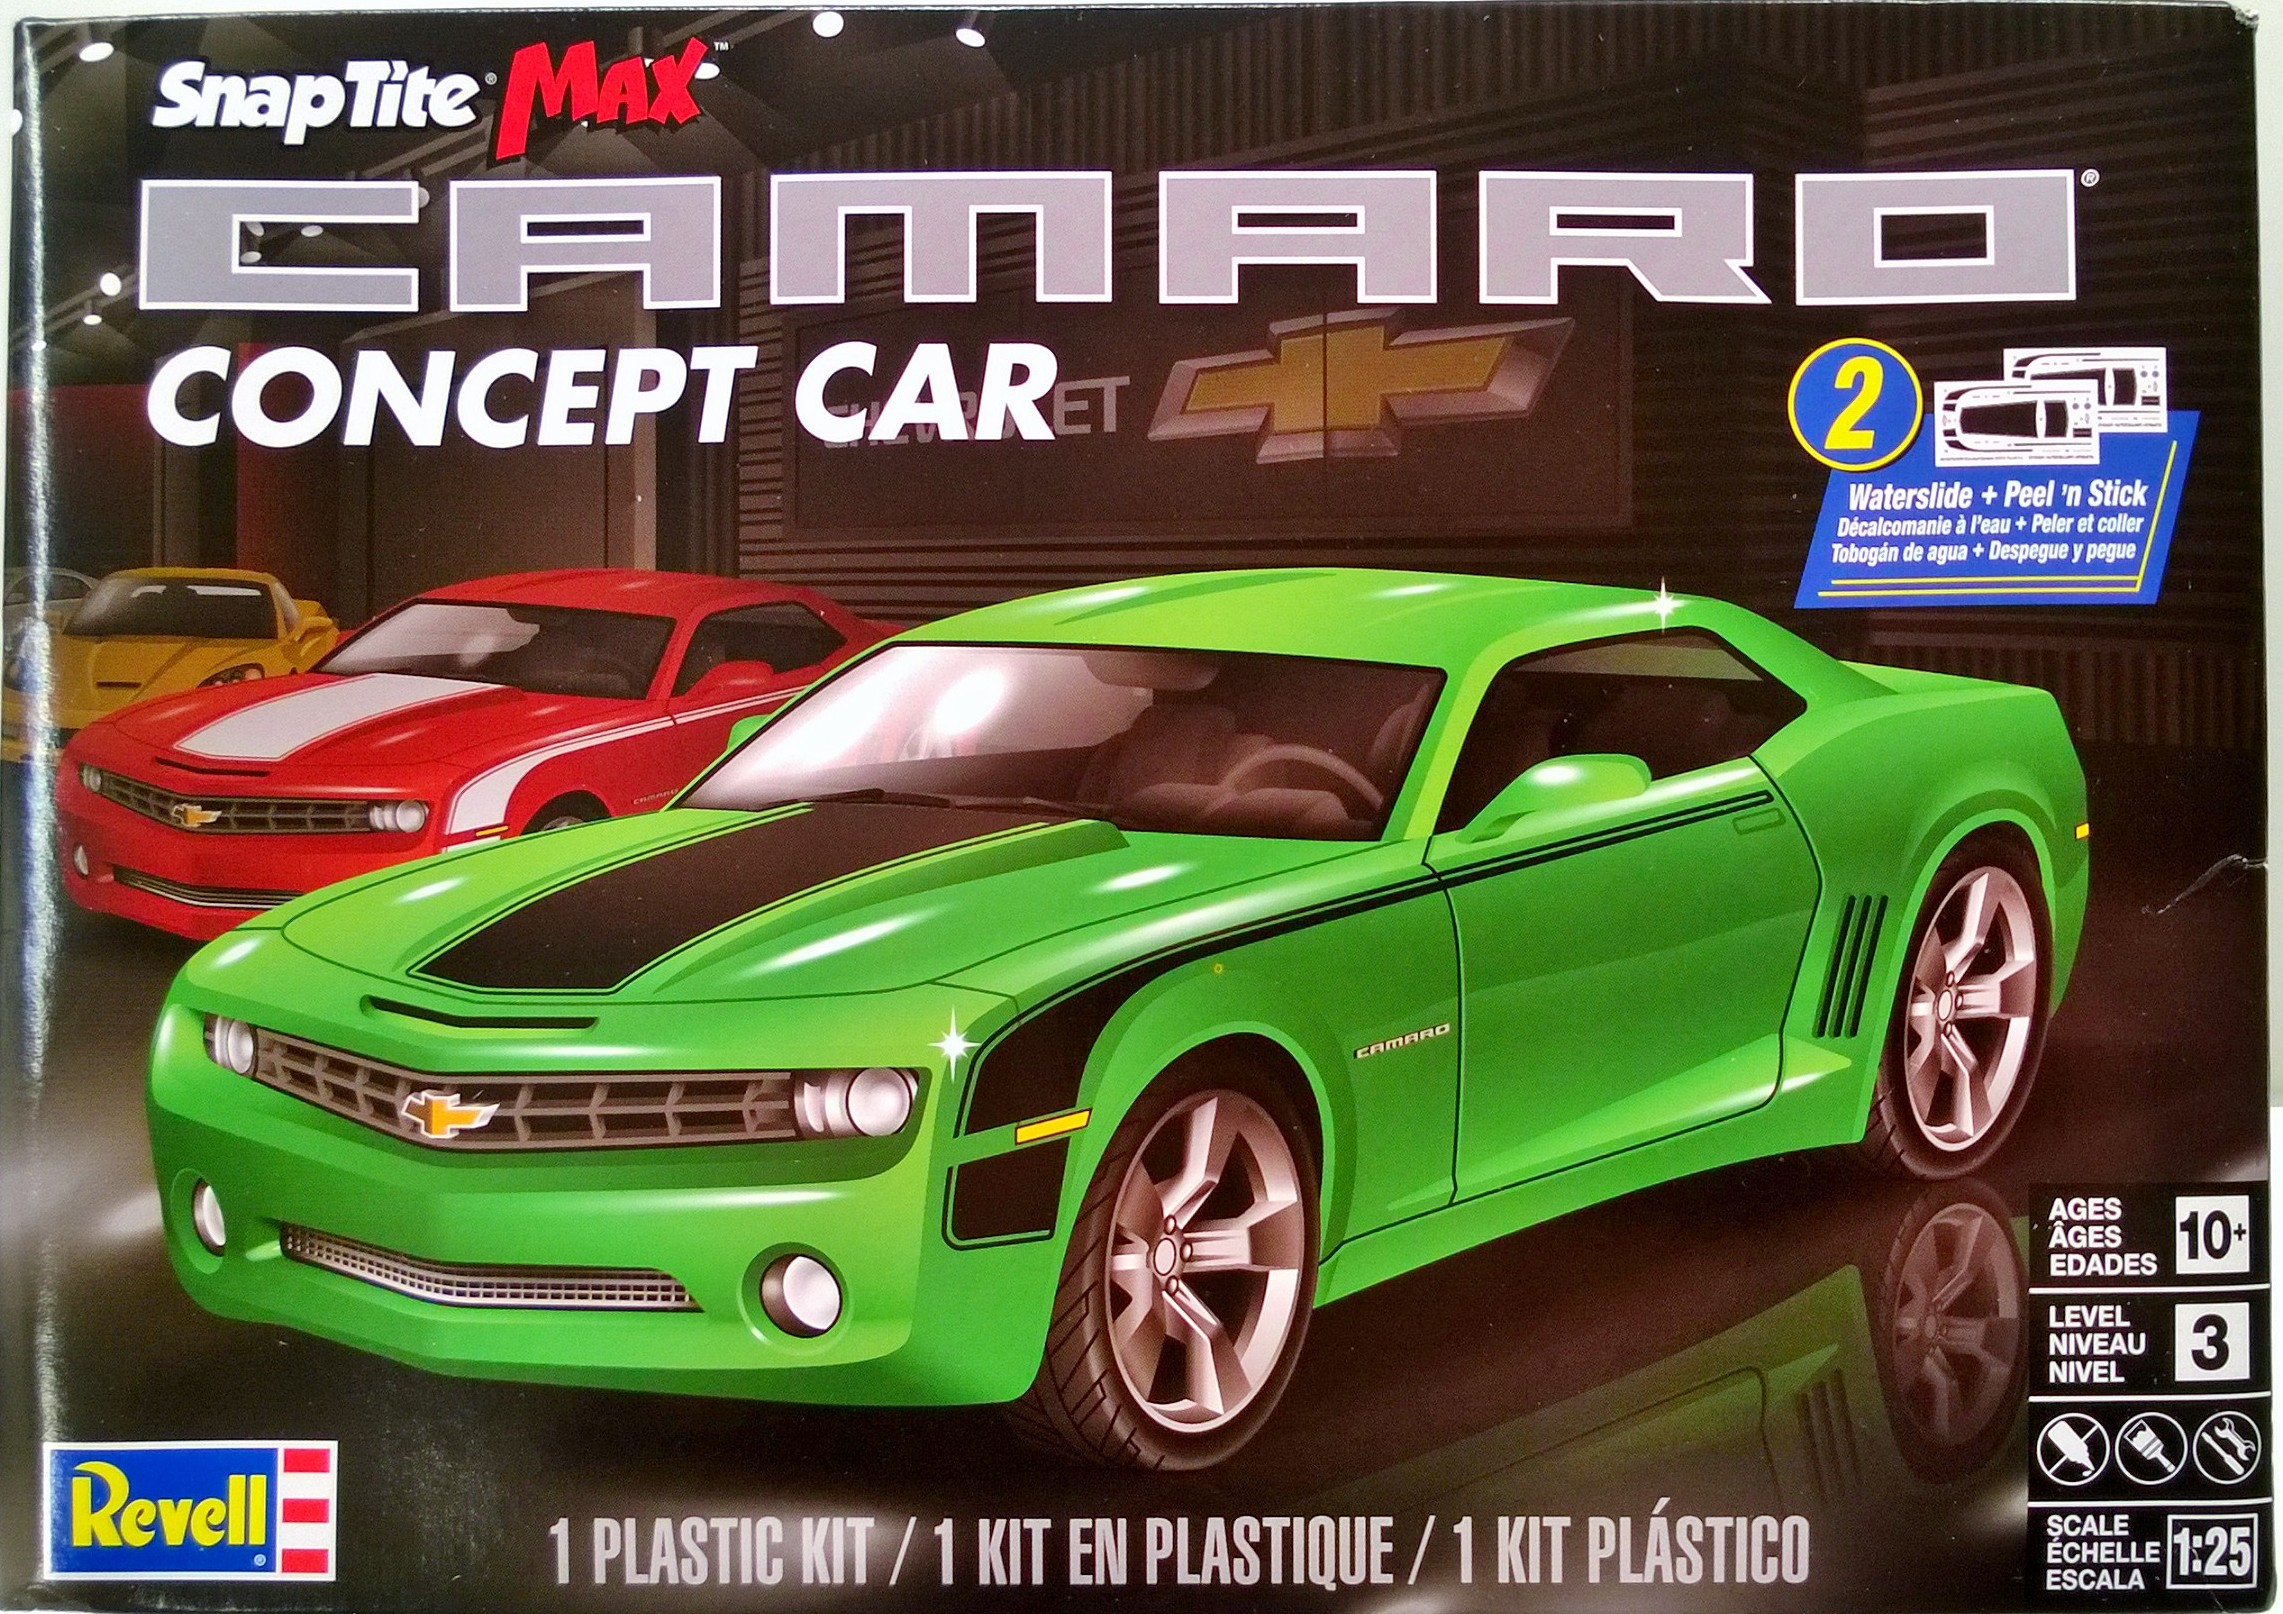
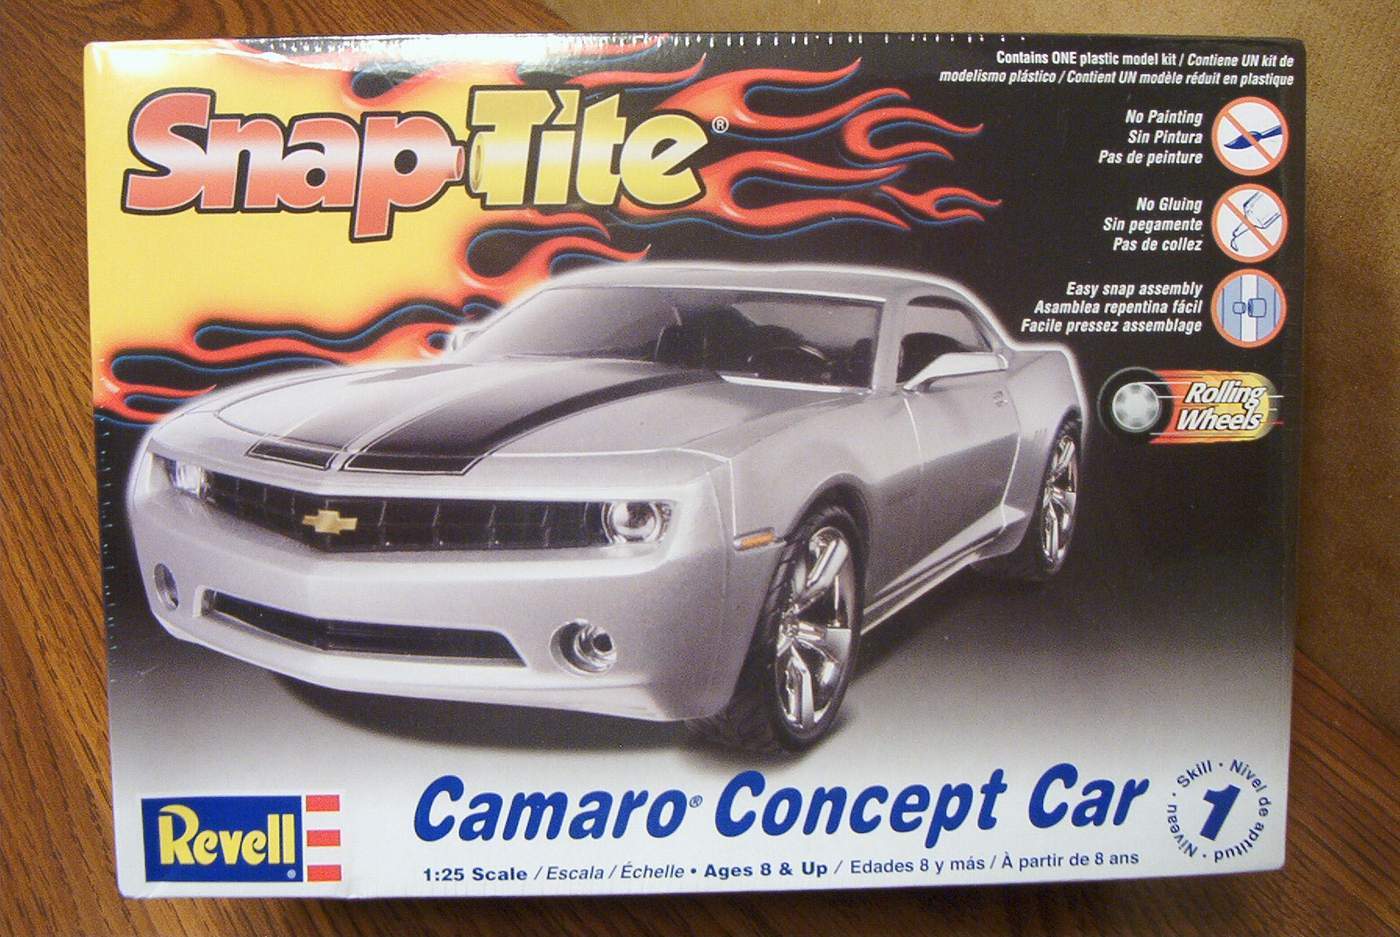
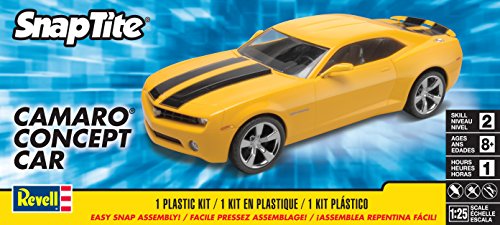
Here's a look at what's inside the 1/25 Revell Camaro Concept SnapTite Max, kit 85-1527, this time molded in lime green, and with both water slide decals and stickers included: http://modelkitreviews.proboards.com/thread/957/revell-1527-camaro-concept-snaptite This is pretty much the same Revell Camaro Concept kit first released back in 2006, with some minor changes as noted above. Previous kit versions were molded with silver, orange, and yellow bodies, and I believe the silver version was also offered in Revell's Build & Play program, too:
-
Got the frame and engine done on this bad boy. I am using the chambered exhaust from a Revell 69 Camaaro kit along with the headers. I needed to shorting the carb a bit to get the air cleaner to fit below the hood and I need to fix one of the pipes coming out of the mufflers. The chambered exhaust did not fit very well and needed some modifications to get it to fit. Thanks for looking.
-
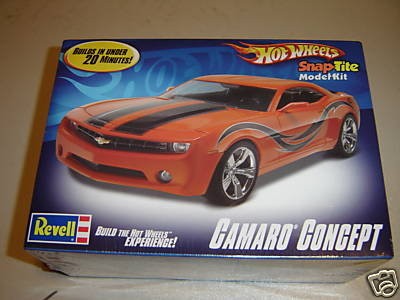
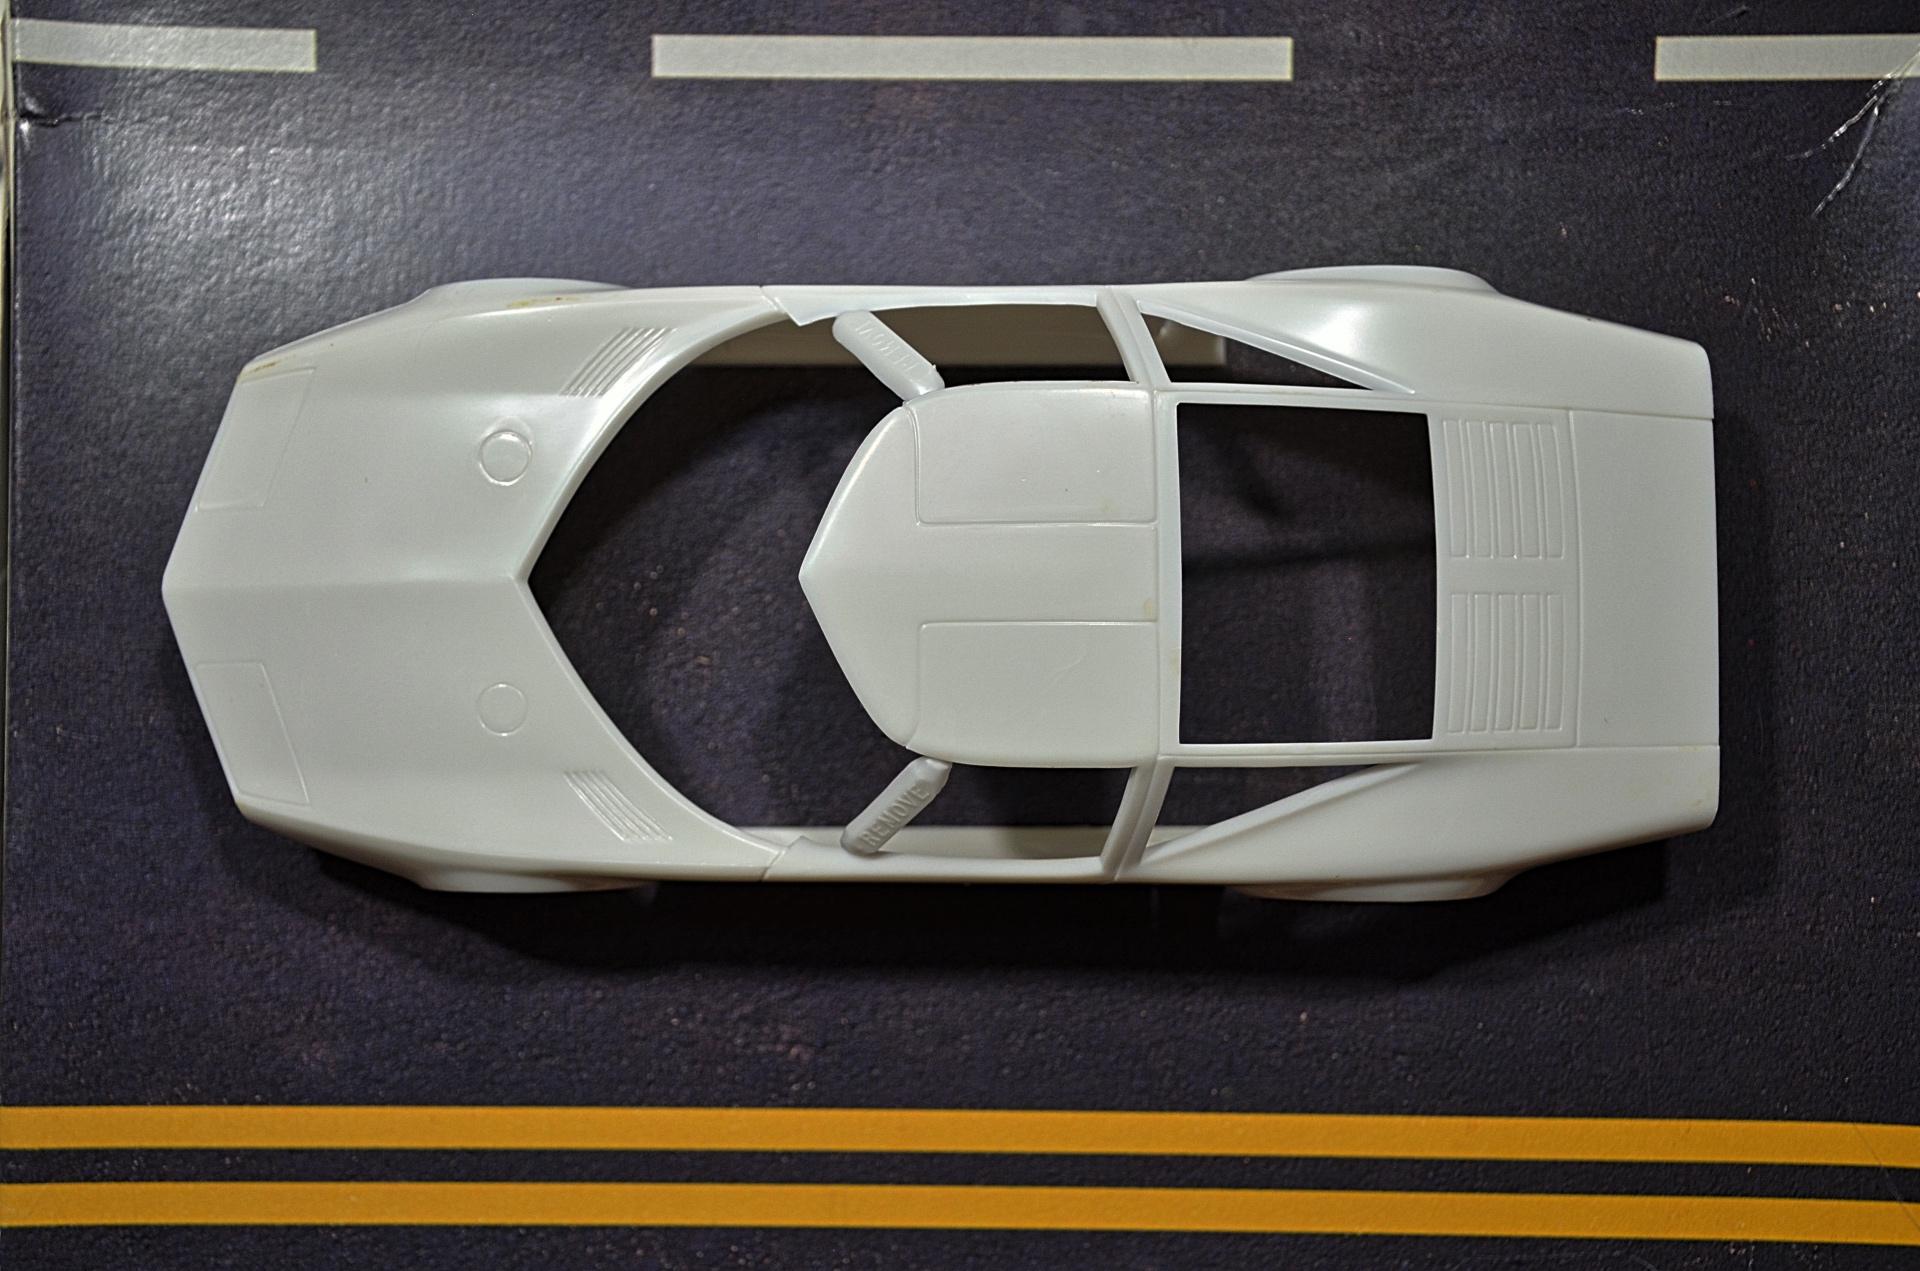
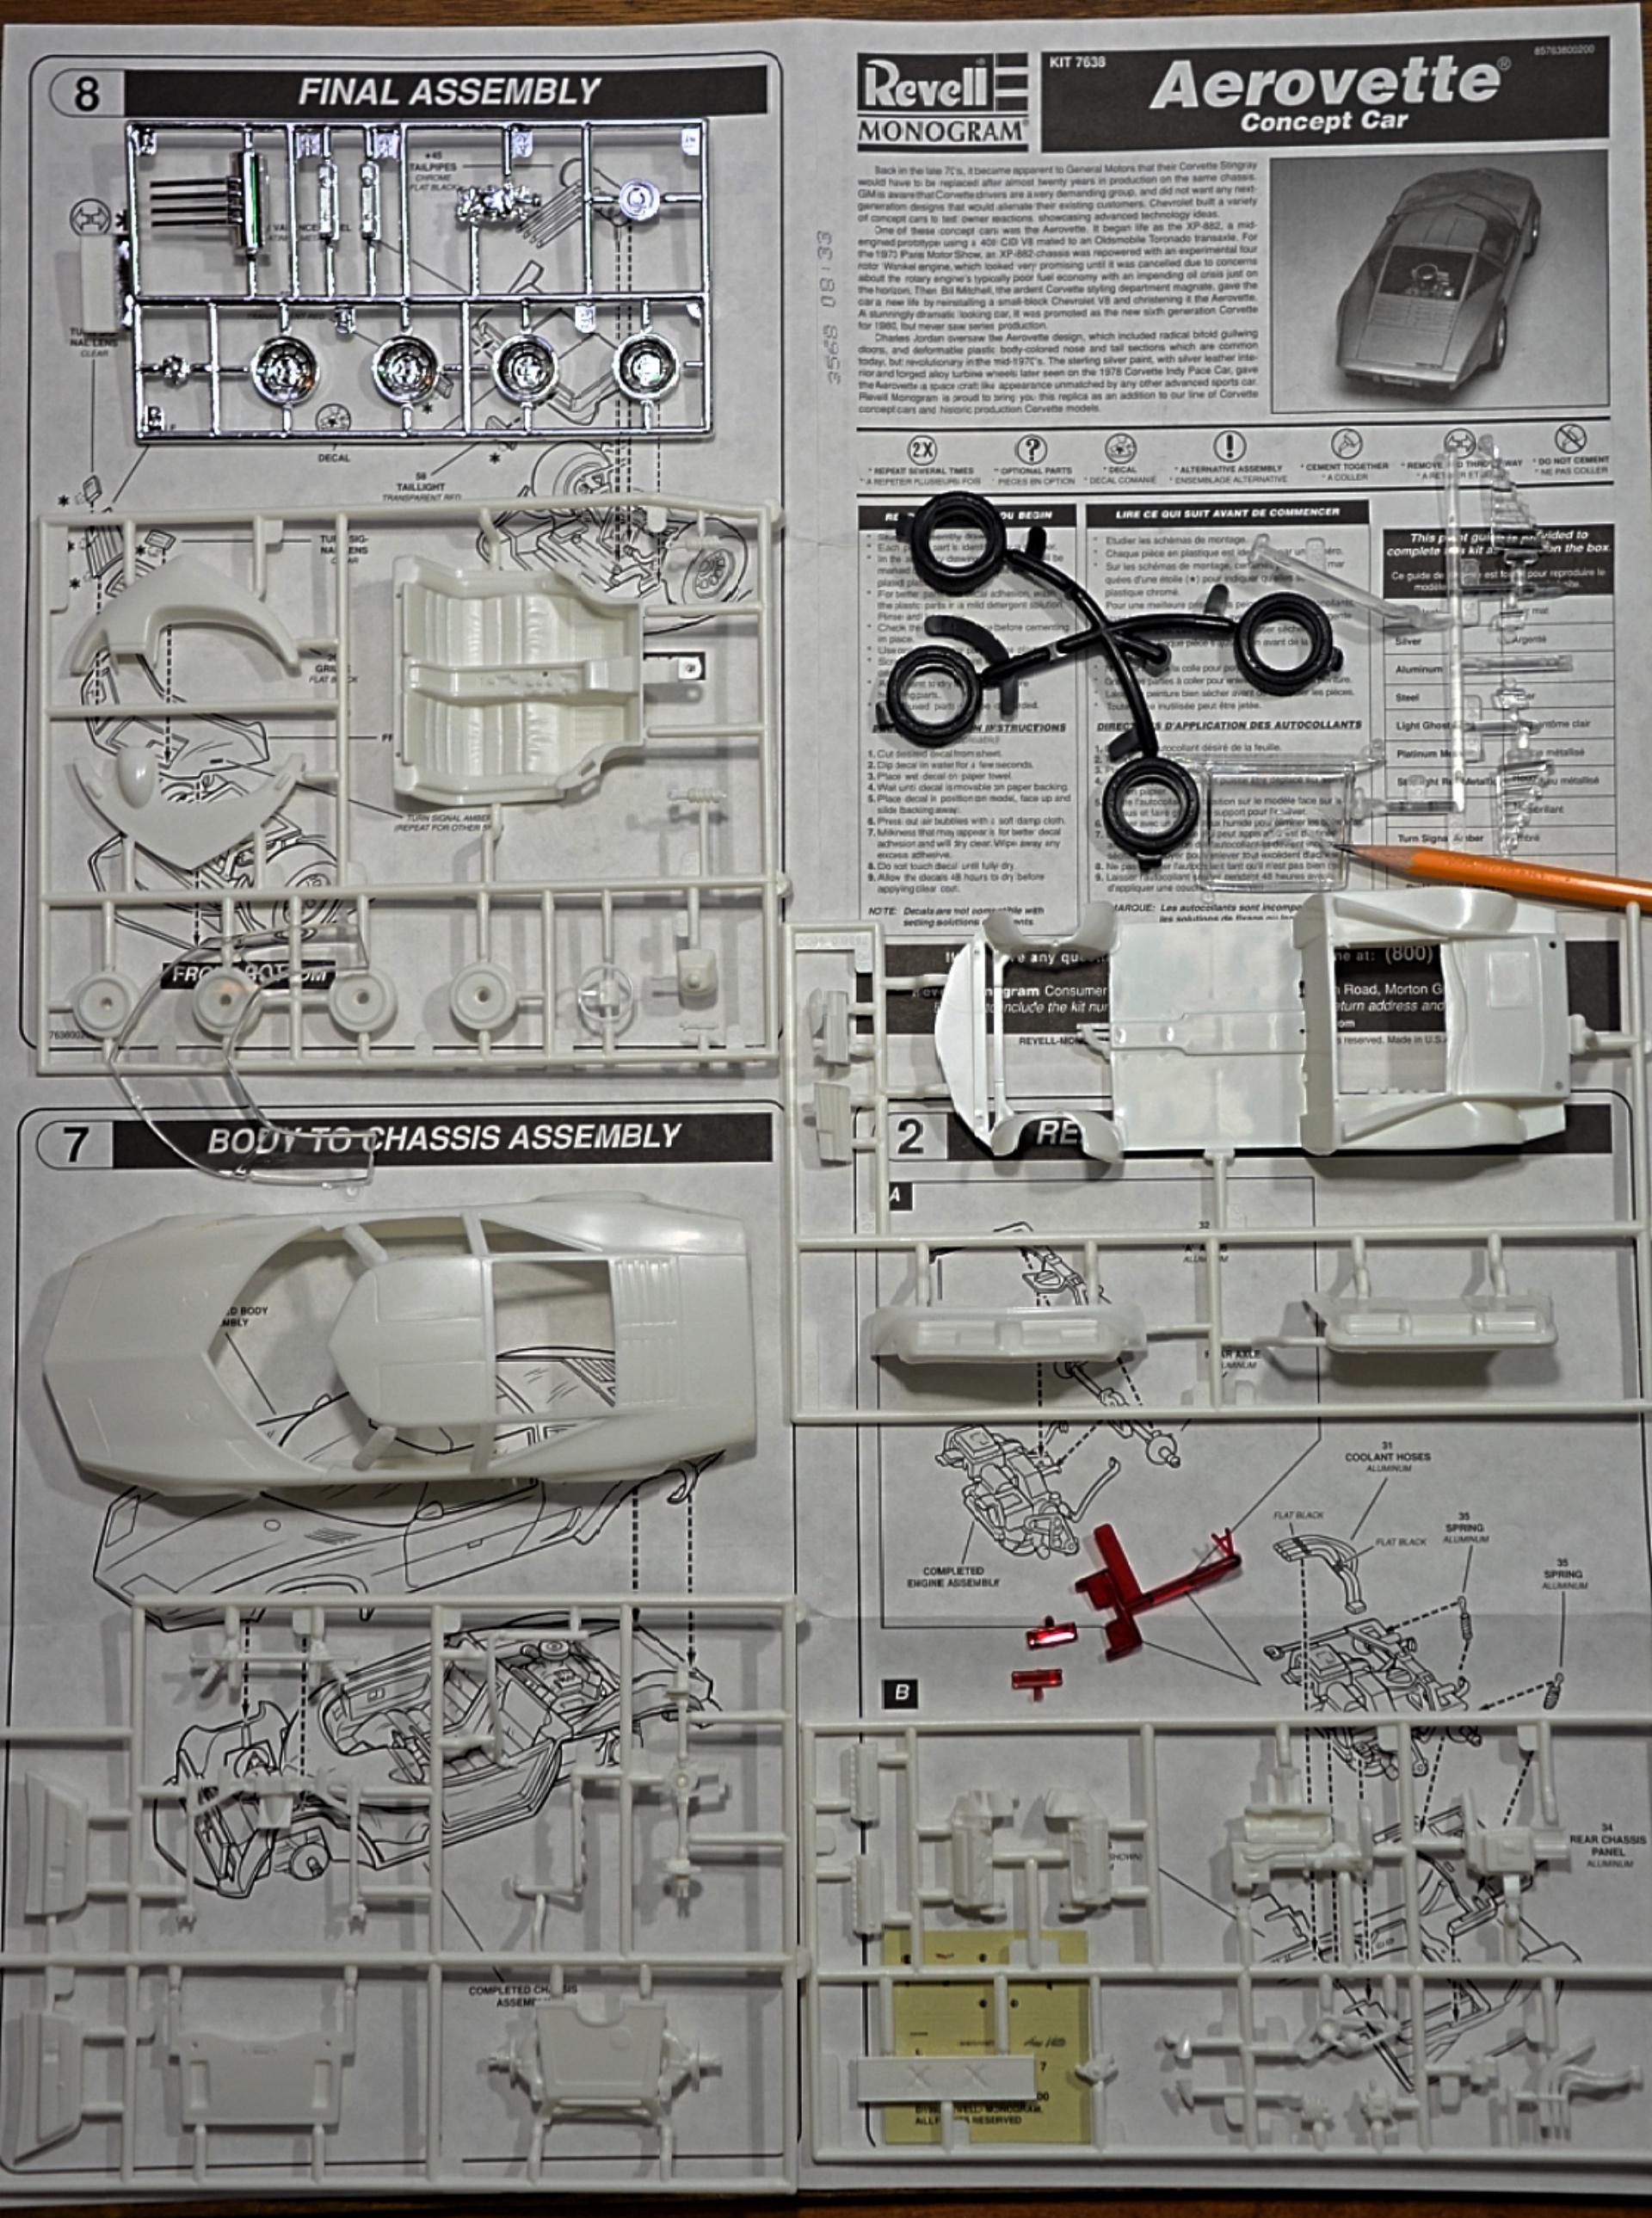
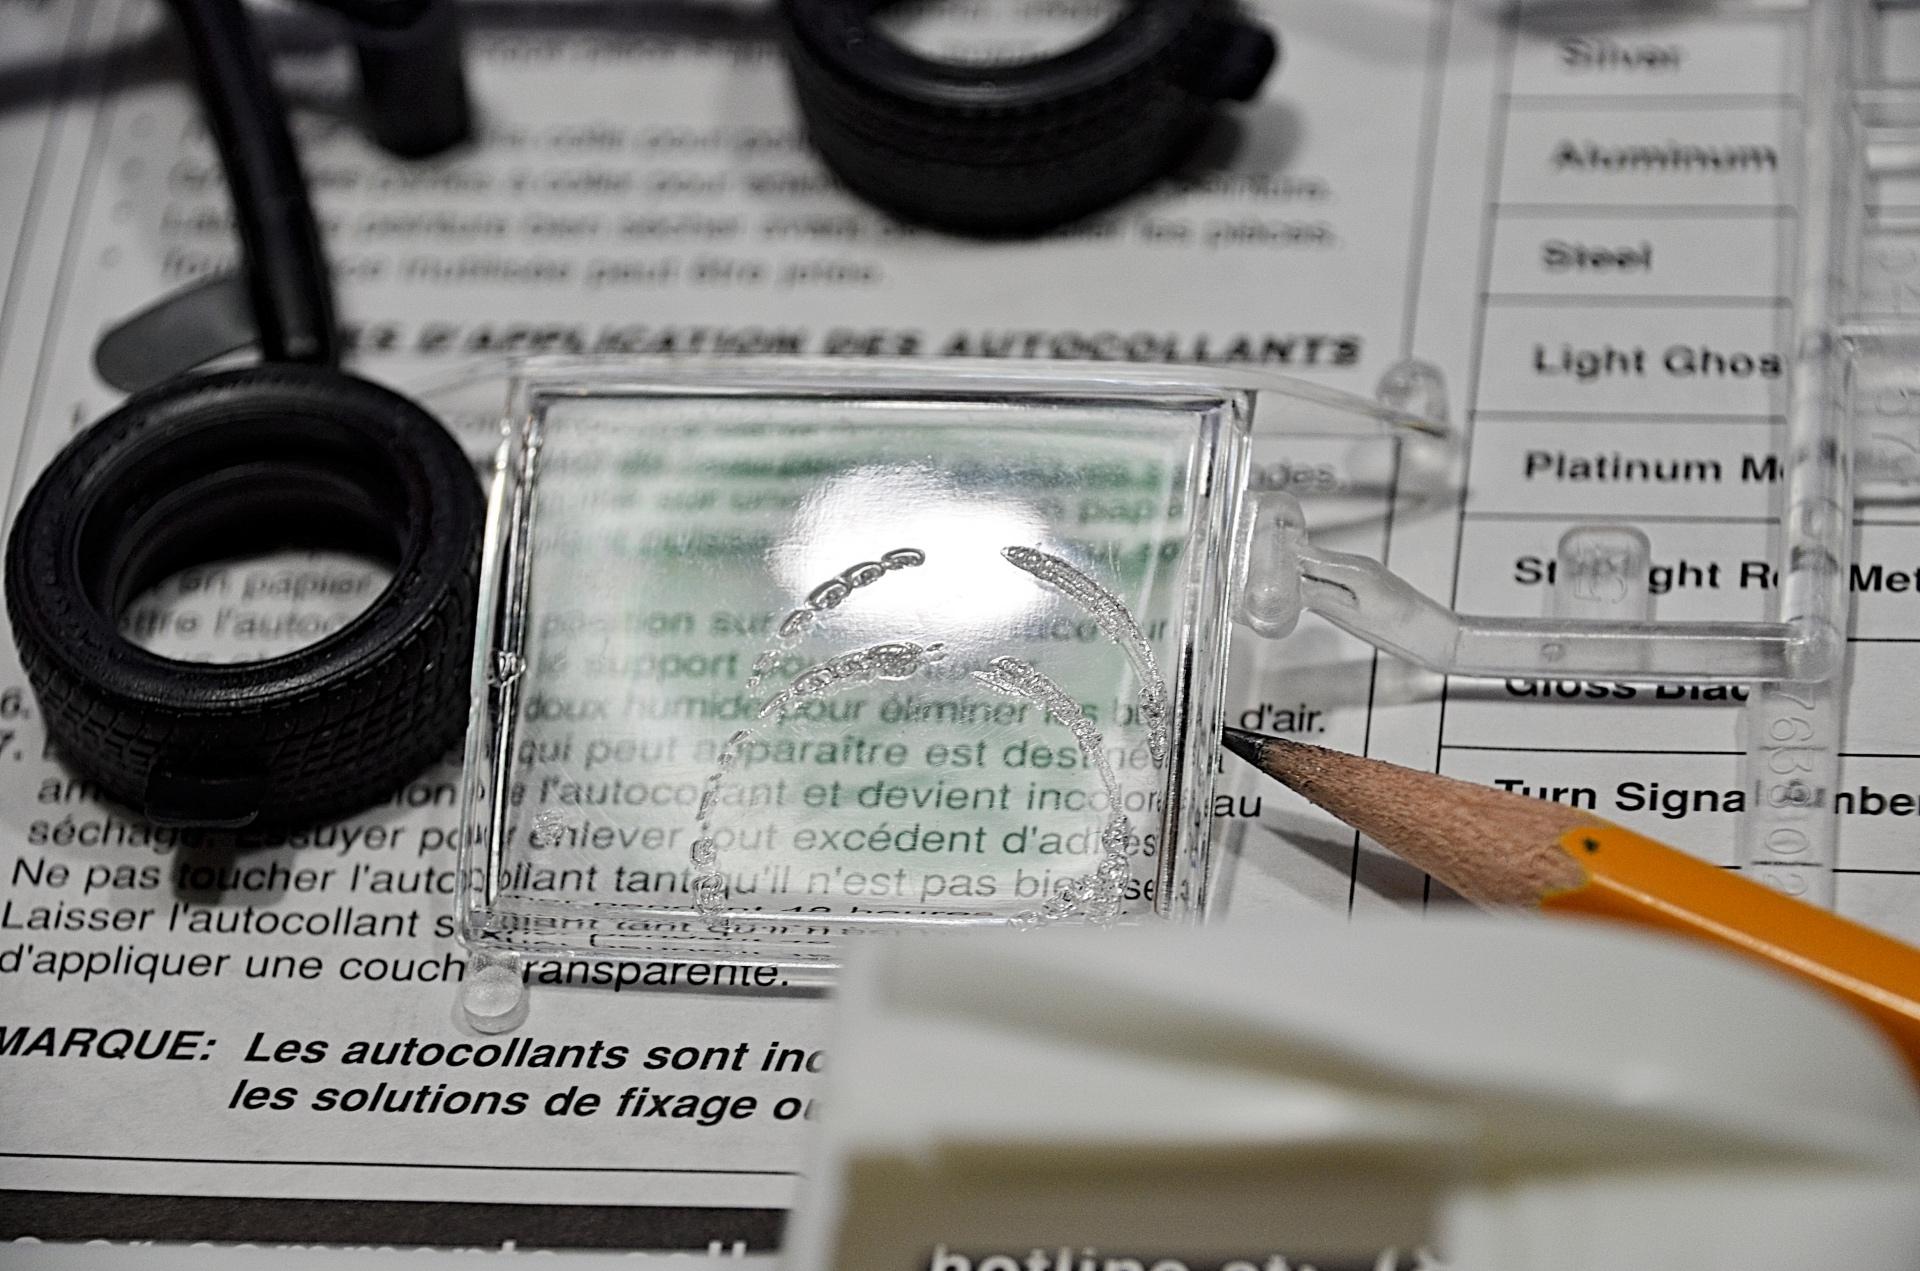
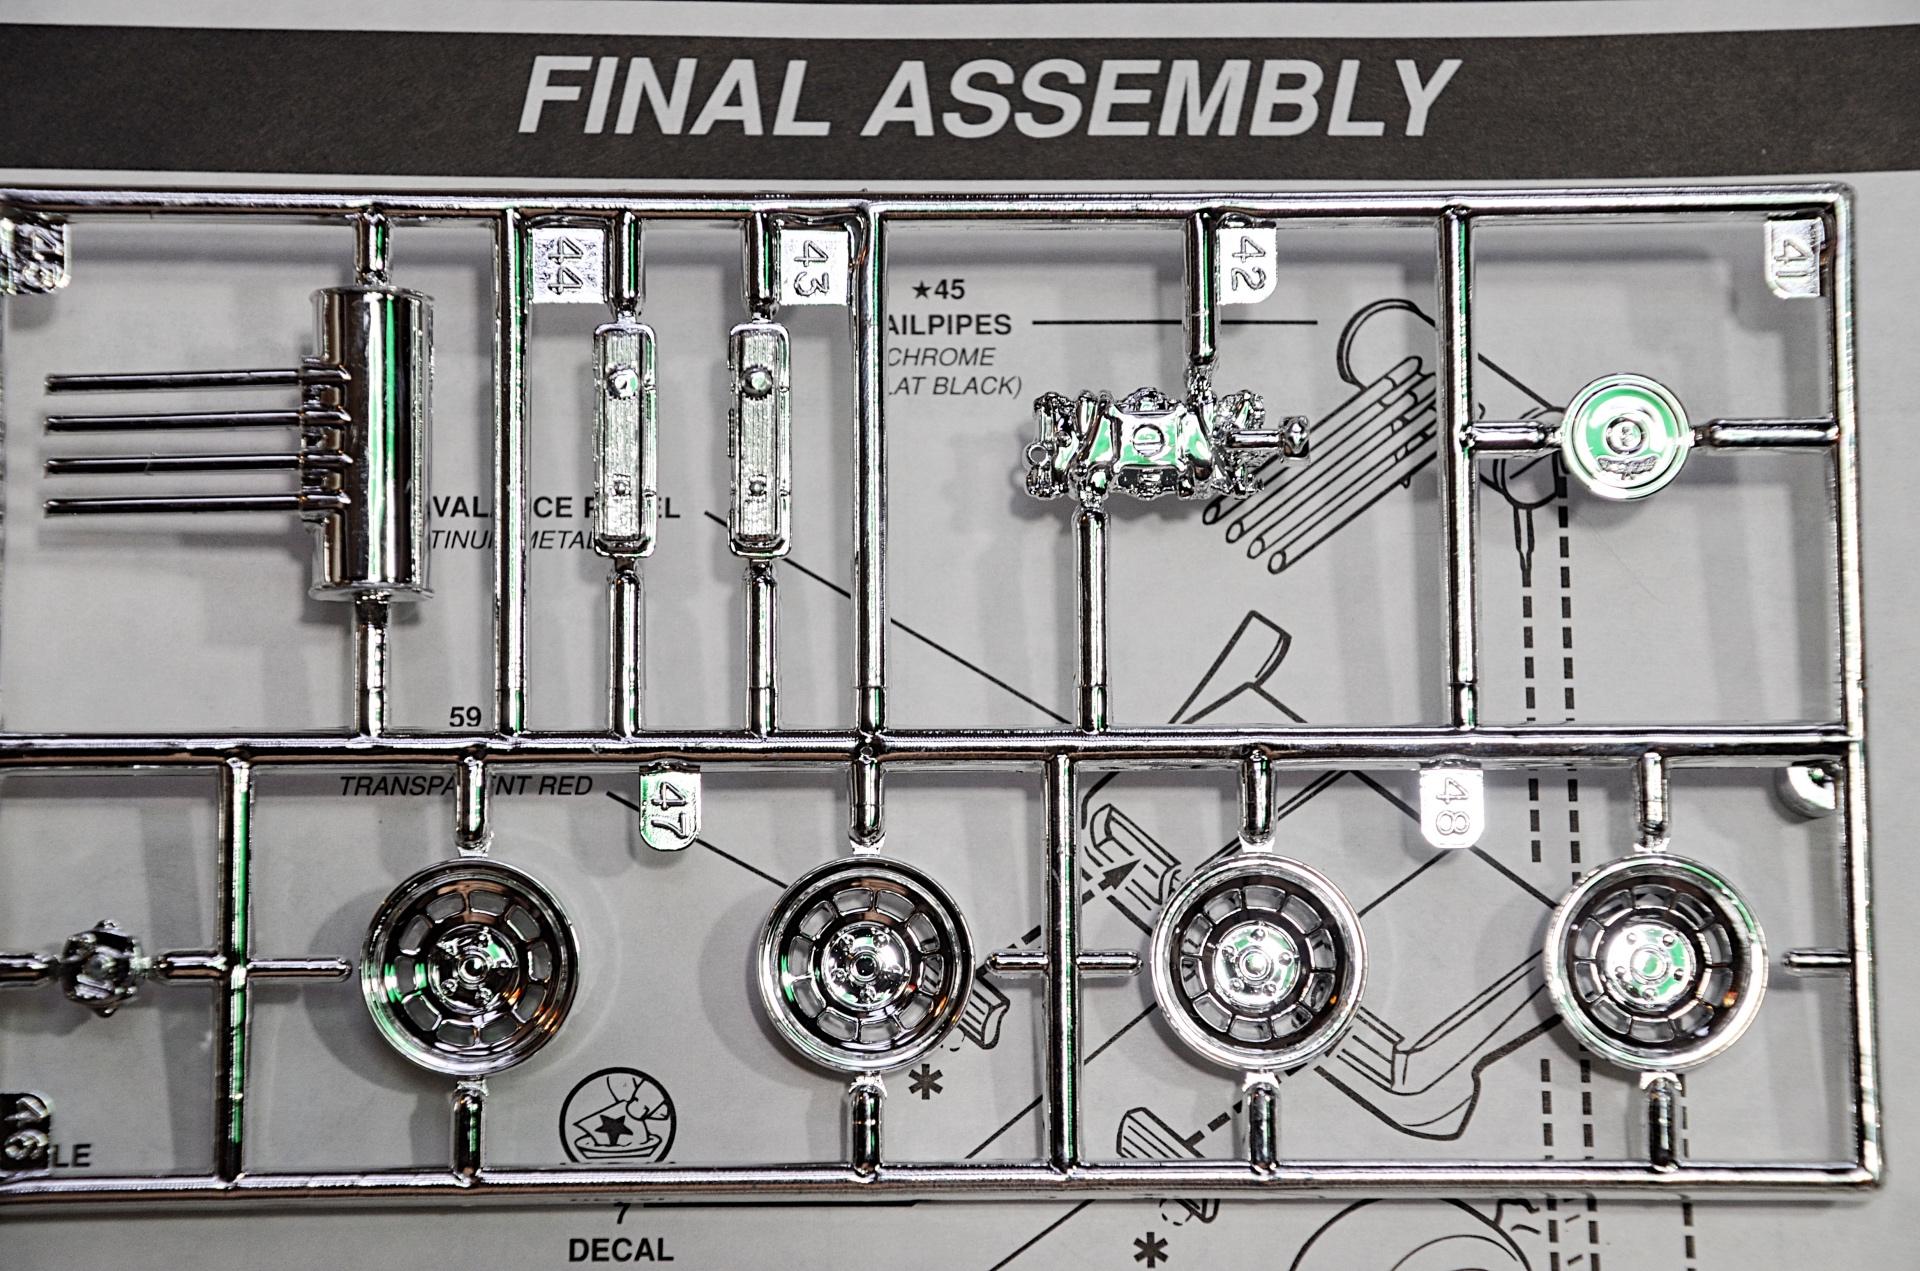
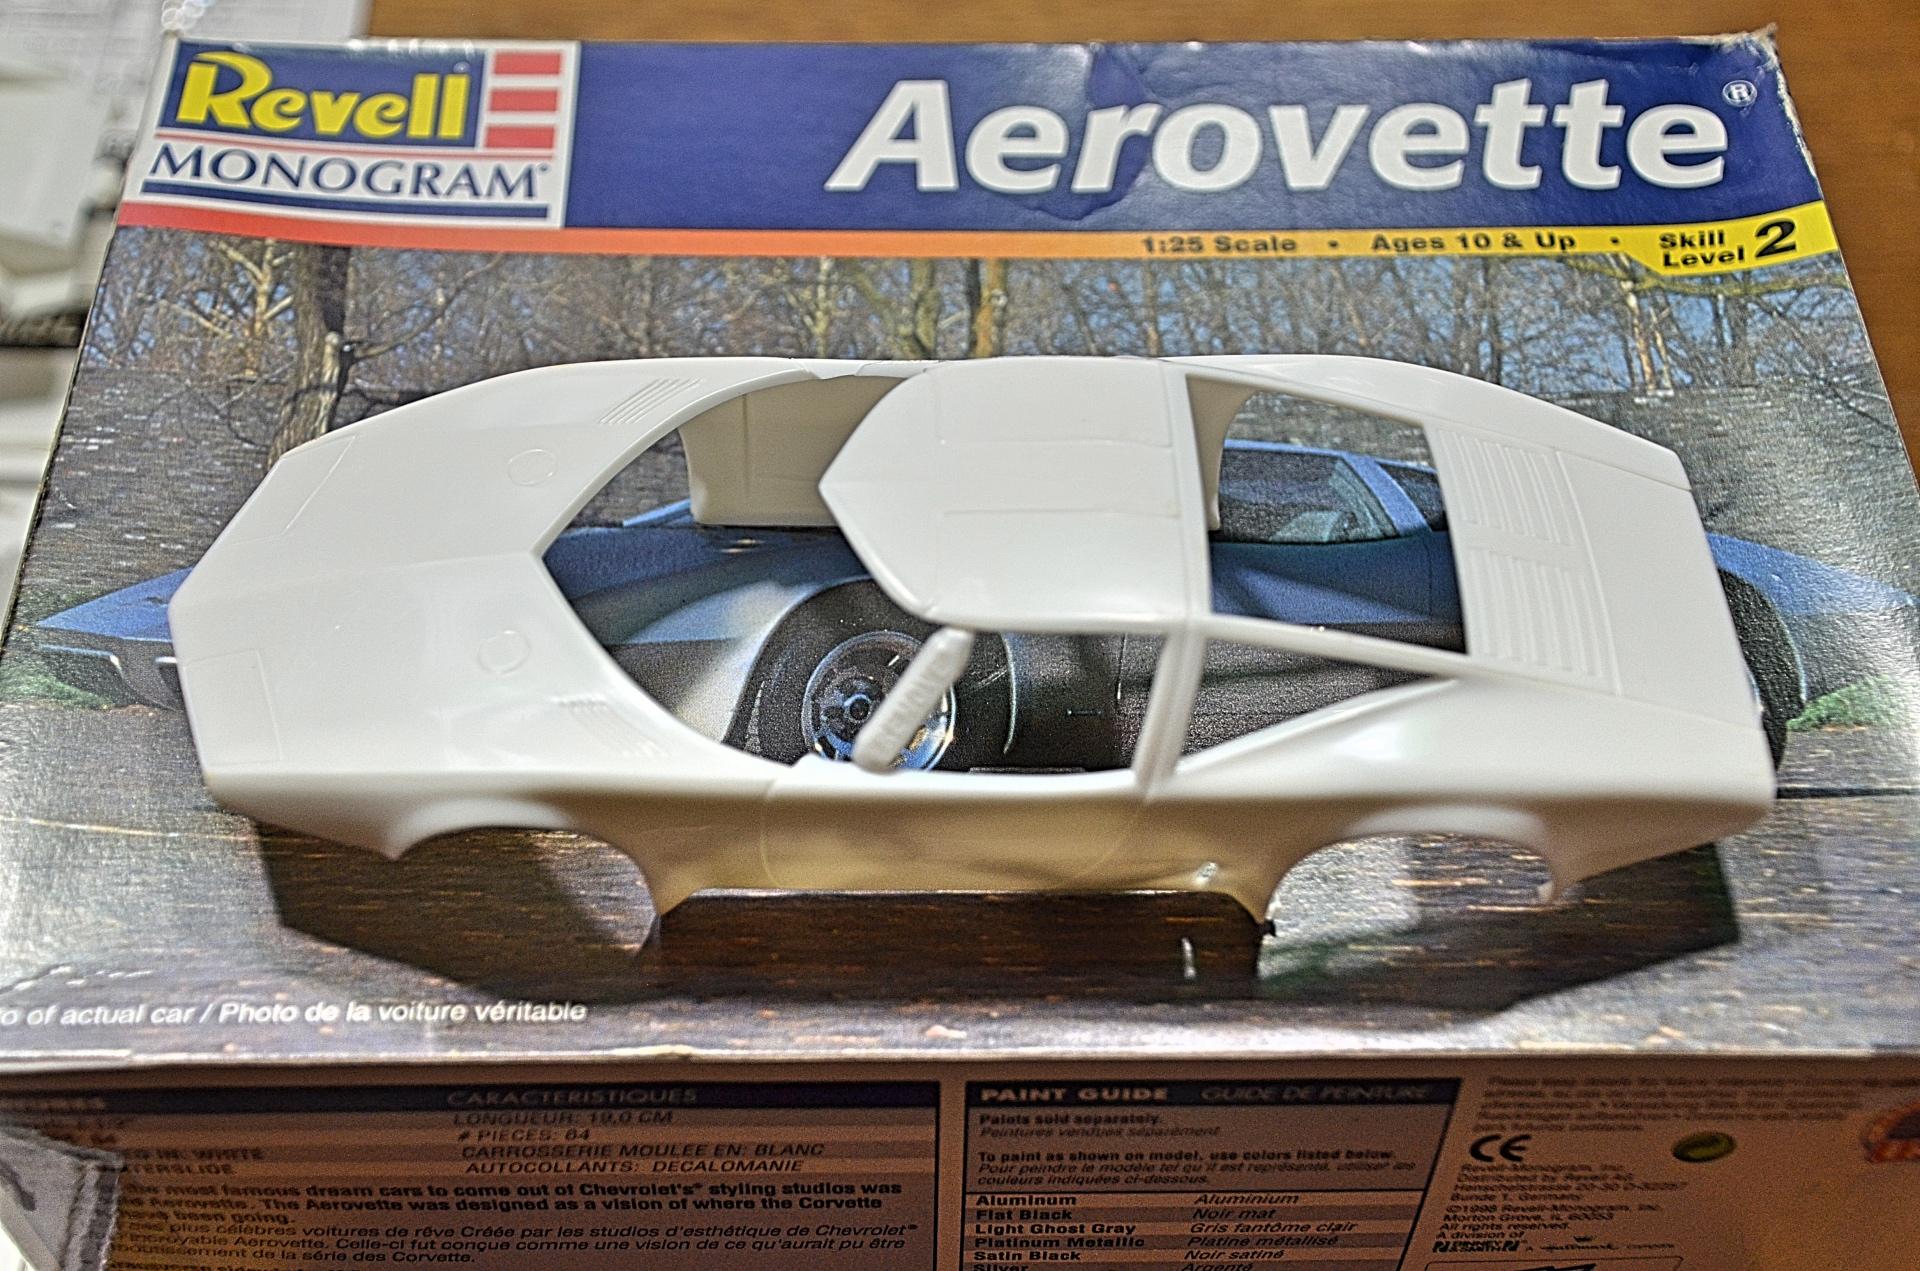
Since everyone is getting excited about Chevrolet finally producing a mid-engine Corvette, dragged this Aerovette out to take a look. It was 1980 (39 years ago) when they ditched the wankel engine and put in a proper V8. I like the design, including the Jalousie windows, and you can see some styling cues were carried into the production cars. Revell produced this in 1998. It's typical Revell quality, some flash, simplified parts, but what is most annoying is the folding box! ? But it does have the highway for display. ? The usual amount of parts. Turbine wheels, not really defined enough at first glance. Now this is what ticks me off about how Revell packaged their kits, I bought it sealed, figuring it could be somewhat collectible. Read about "tire burn" in this forum, opened it up and sure enough. ? I don't want to spend a lot of time correcting or detailing this, just want to build Box Stock. Would replacing the window with sheet plastic disqualify for such a contest class? It would take a bunch of sanding and polishing to fix this, and cause distortion. Have the Bring Out Your Dead project to finish, before I dive into this. Also thinking of painting copper, since I live in Arizona. ?
-
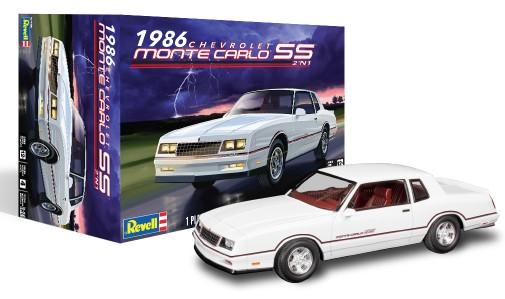
Revell #4496, 1/24 1986 Chevy Monte Carlo SS 2'n1, coming...soon? ?
-
Well the adventure has begun. I've taken a 4 year hiatus from model building but the bug has bit again after dusting off my neglected ones recently. My re-entry is a 57 Chevy nomad which I first built as a young kid. I loved that car so much I used to take it everywhere with me. Eventually it met it's end when I left it on the dash of my aunt's car during a hot summer day. Back then I just assembled the kits without paint but was still deeply upset when I found the twisted/warped remains after a day at the zoo. So off to fleabay and I found this opened kit for a good price and pulled the trigger. For the past 20 years I've built primarily tamiya and fujimi kits because they are straight and require little work to get them to piece together correctly. Having started on this nomad I'm reminded how terrible these older kits are in comparison. Some of the injection molding did not take completely and the chrome is awful with satin mottling everywhere as well as excessive flashing. Then there is the molded trim which is uneven and blends into the body at places. Fortunately I've been able to correct most of the body issues but the engine which suffered most from the improper injections is going in the garbage. Instead I've order a resin kit of a 400 small block chevy from BNL resins. I'm also going to try my hand at re-chroming the trim parts with molotow and an airbrush. I've never used that stuff before so this will be an experience that I hope brings satisfactory results. If not I'm going to black out the car so I haven't yet decided what the paint will be yet. I'm also going to try my hand at building leaf springs for the rear suspension using styrene strips and am pulling out the stops for all the other detailing items I typically skip over. This means it will be a slow build. So far I'm happy with the shell after 12 or so hours of filing, sanding and fitting parts. As a kid I recall it was tricky to get all the opening parts to line up so this time I've spent extra time to ensure I get the gaps even. Getting the headlight trim to sit flush has been a challenge. I'm going to have to fill and my 15 year old tube of model putty is no good so back to the hobby store. Going to toss the hood and get a resin high rise with chrome delete instead. This will allow me to toss the hood hinge and fill in the firewall where the hinge openings are currently. Finally I need some wheels. Don't want to go 20" low profile but would like to get something a little more updated. Haven't decided on anything yet so if there are suggestions please let me know your thoughts. Anyways this is the start of what I hope to be my best build yet.
-
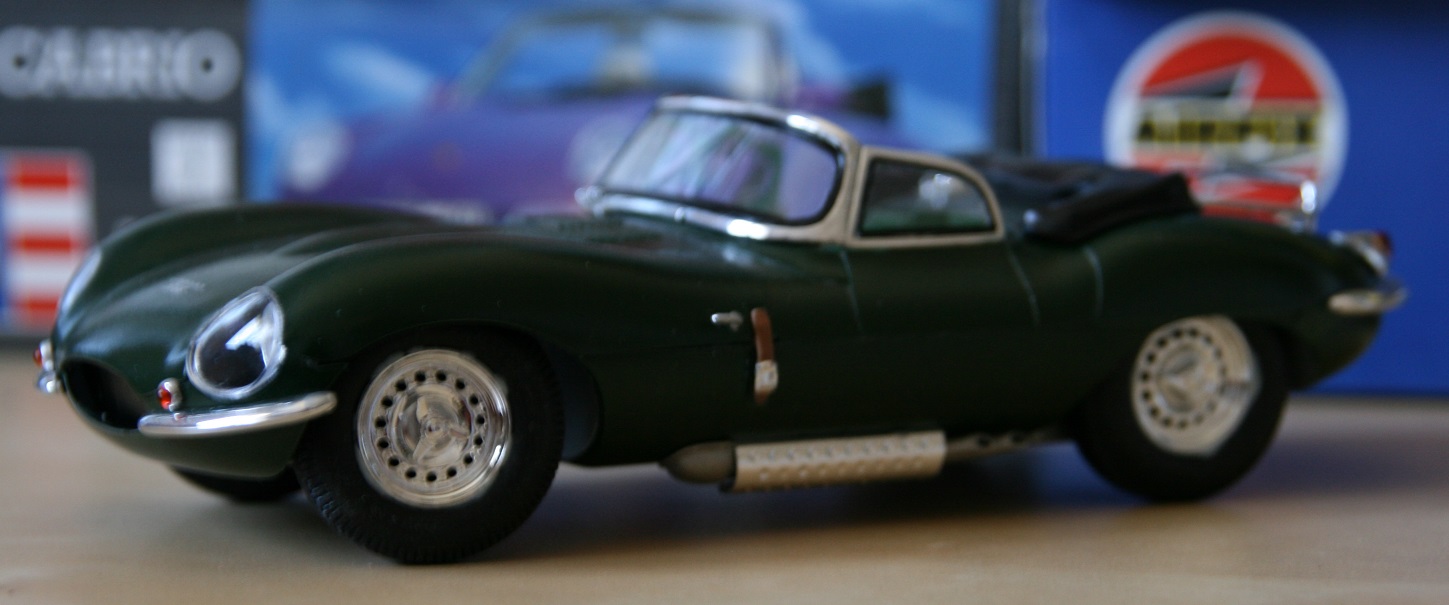
The last today. One of my favorits in my collection, Also a kit from Revell what made a lot of fun to build. I built it in October last year and primary i bought it because of the very cool decals. But the decals were not to old, no, they broke, when i put it into the water. Irreparably. So i built it in Street legal version. Last week i took him again and made it lower to the groung. Looks better for me. Enough of words, here we go - Pictures please: ...
-
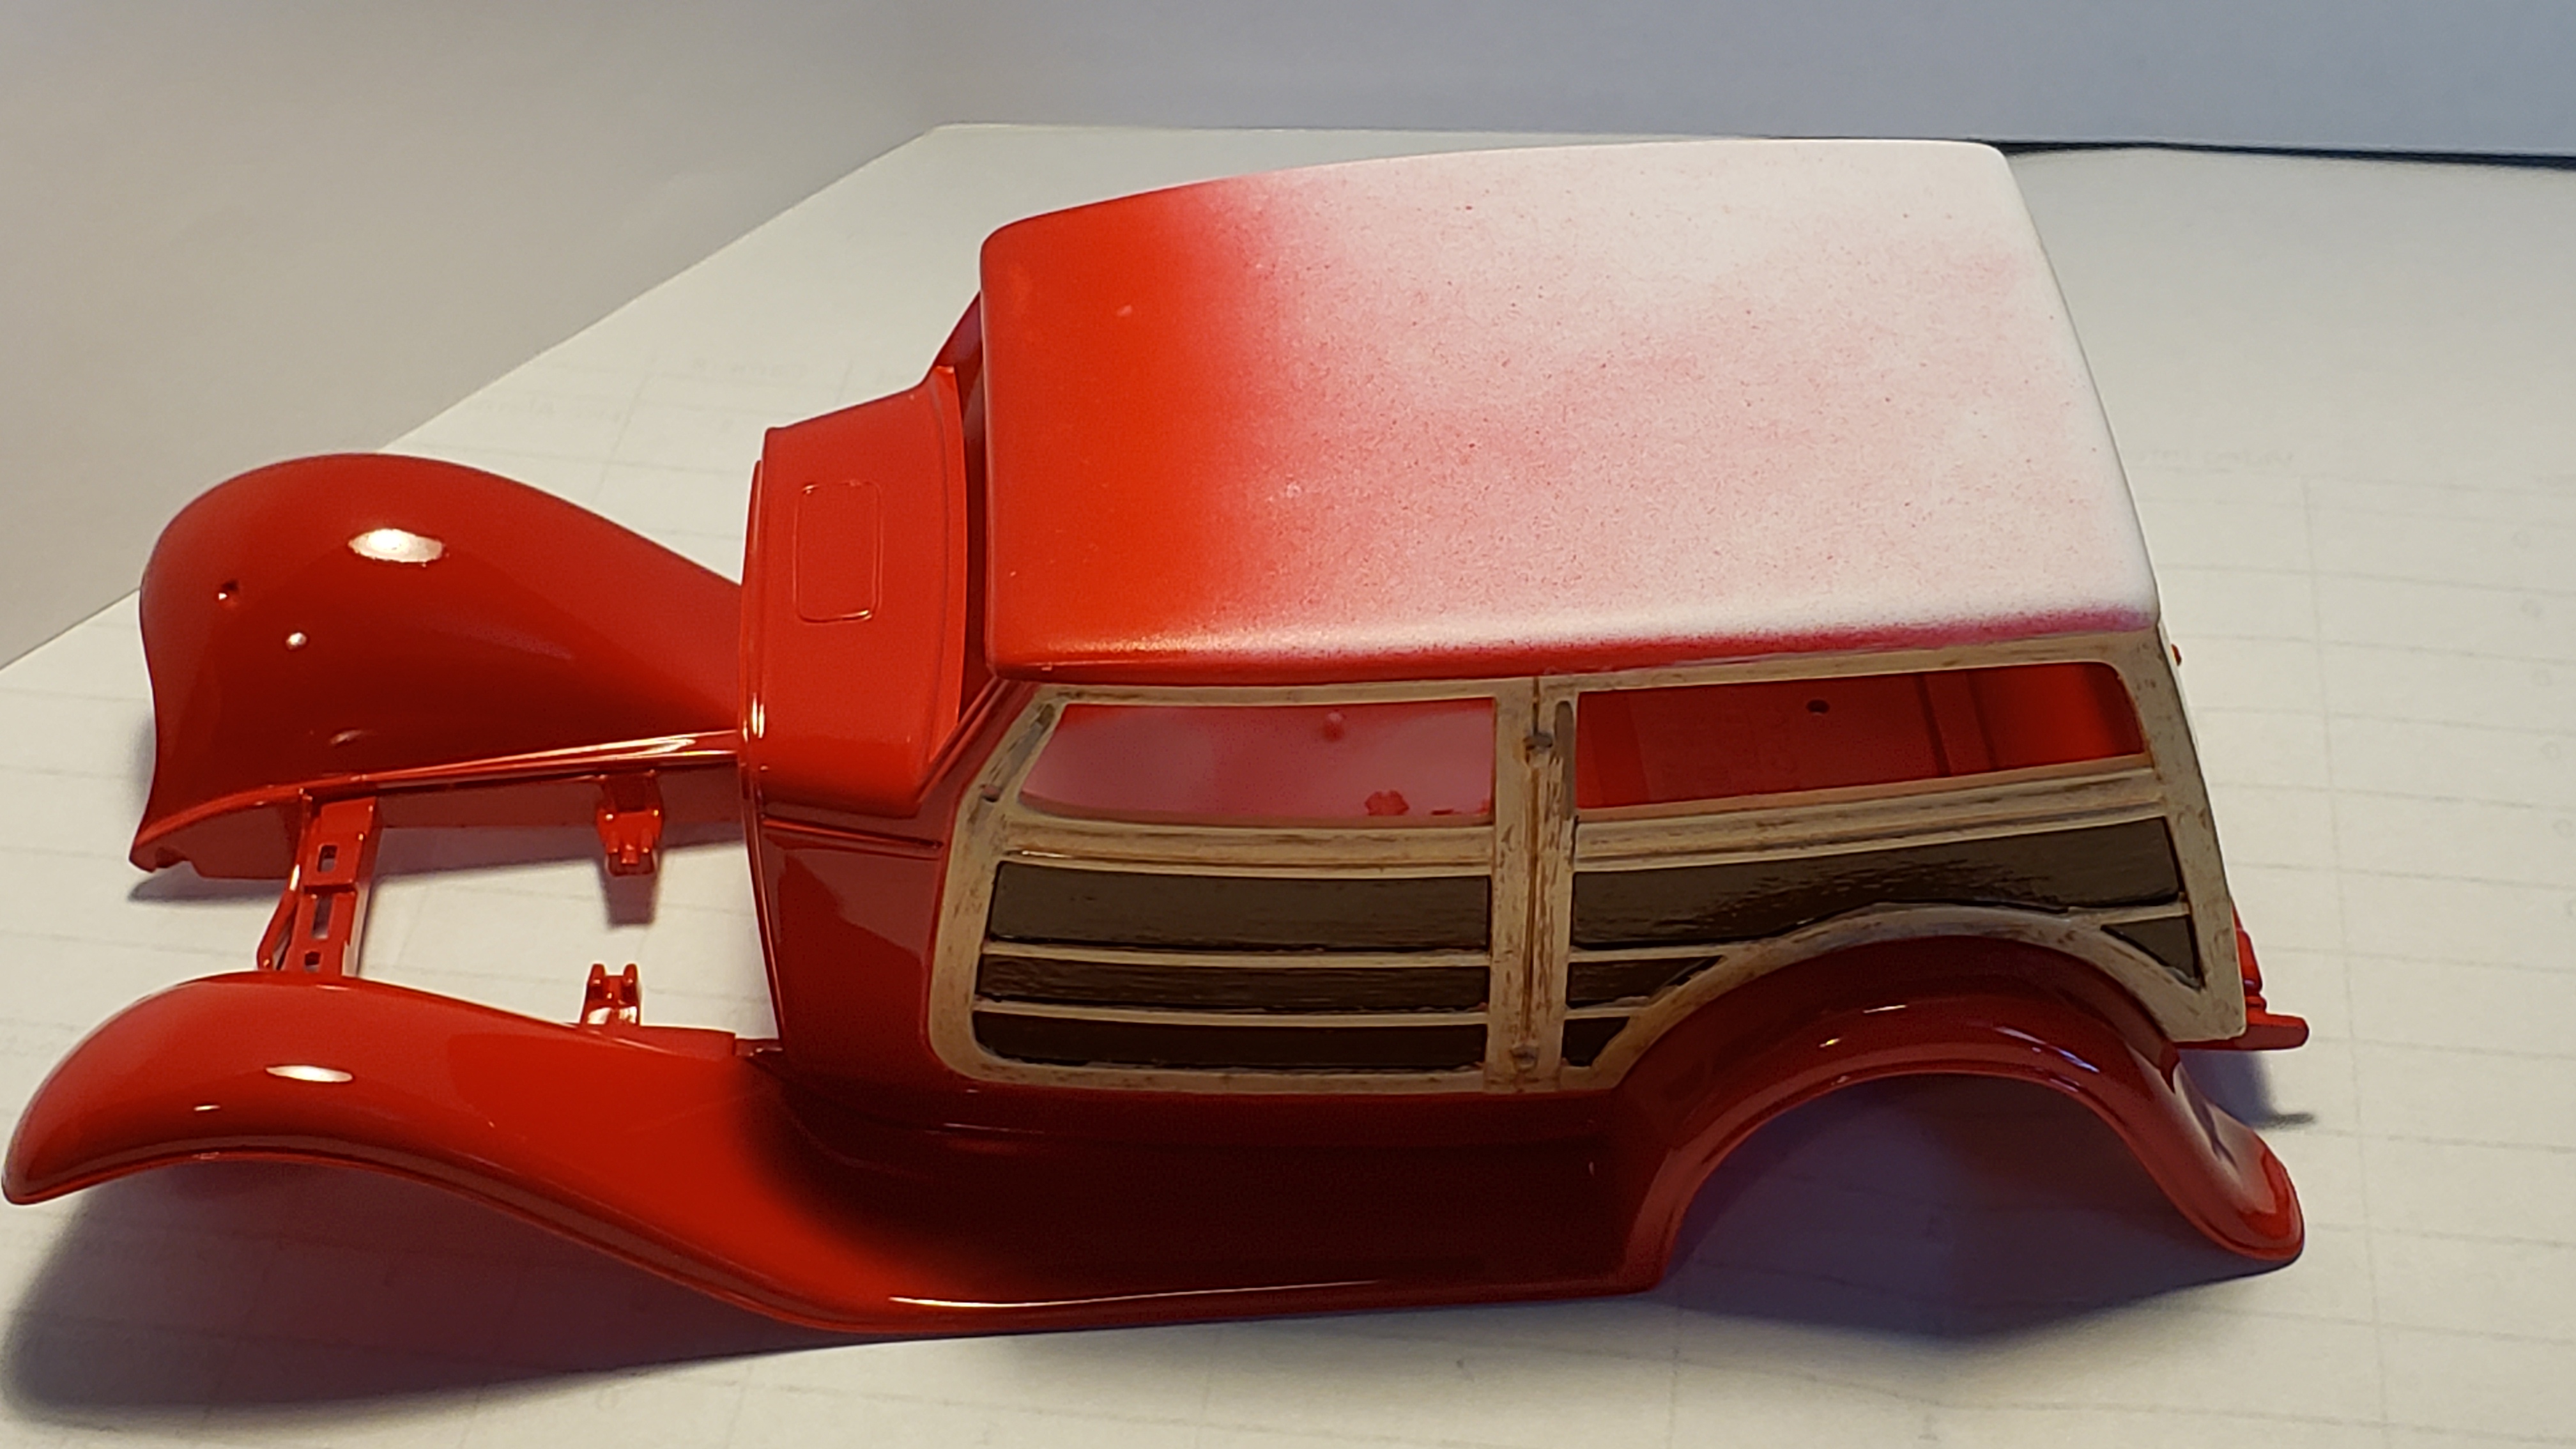
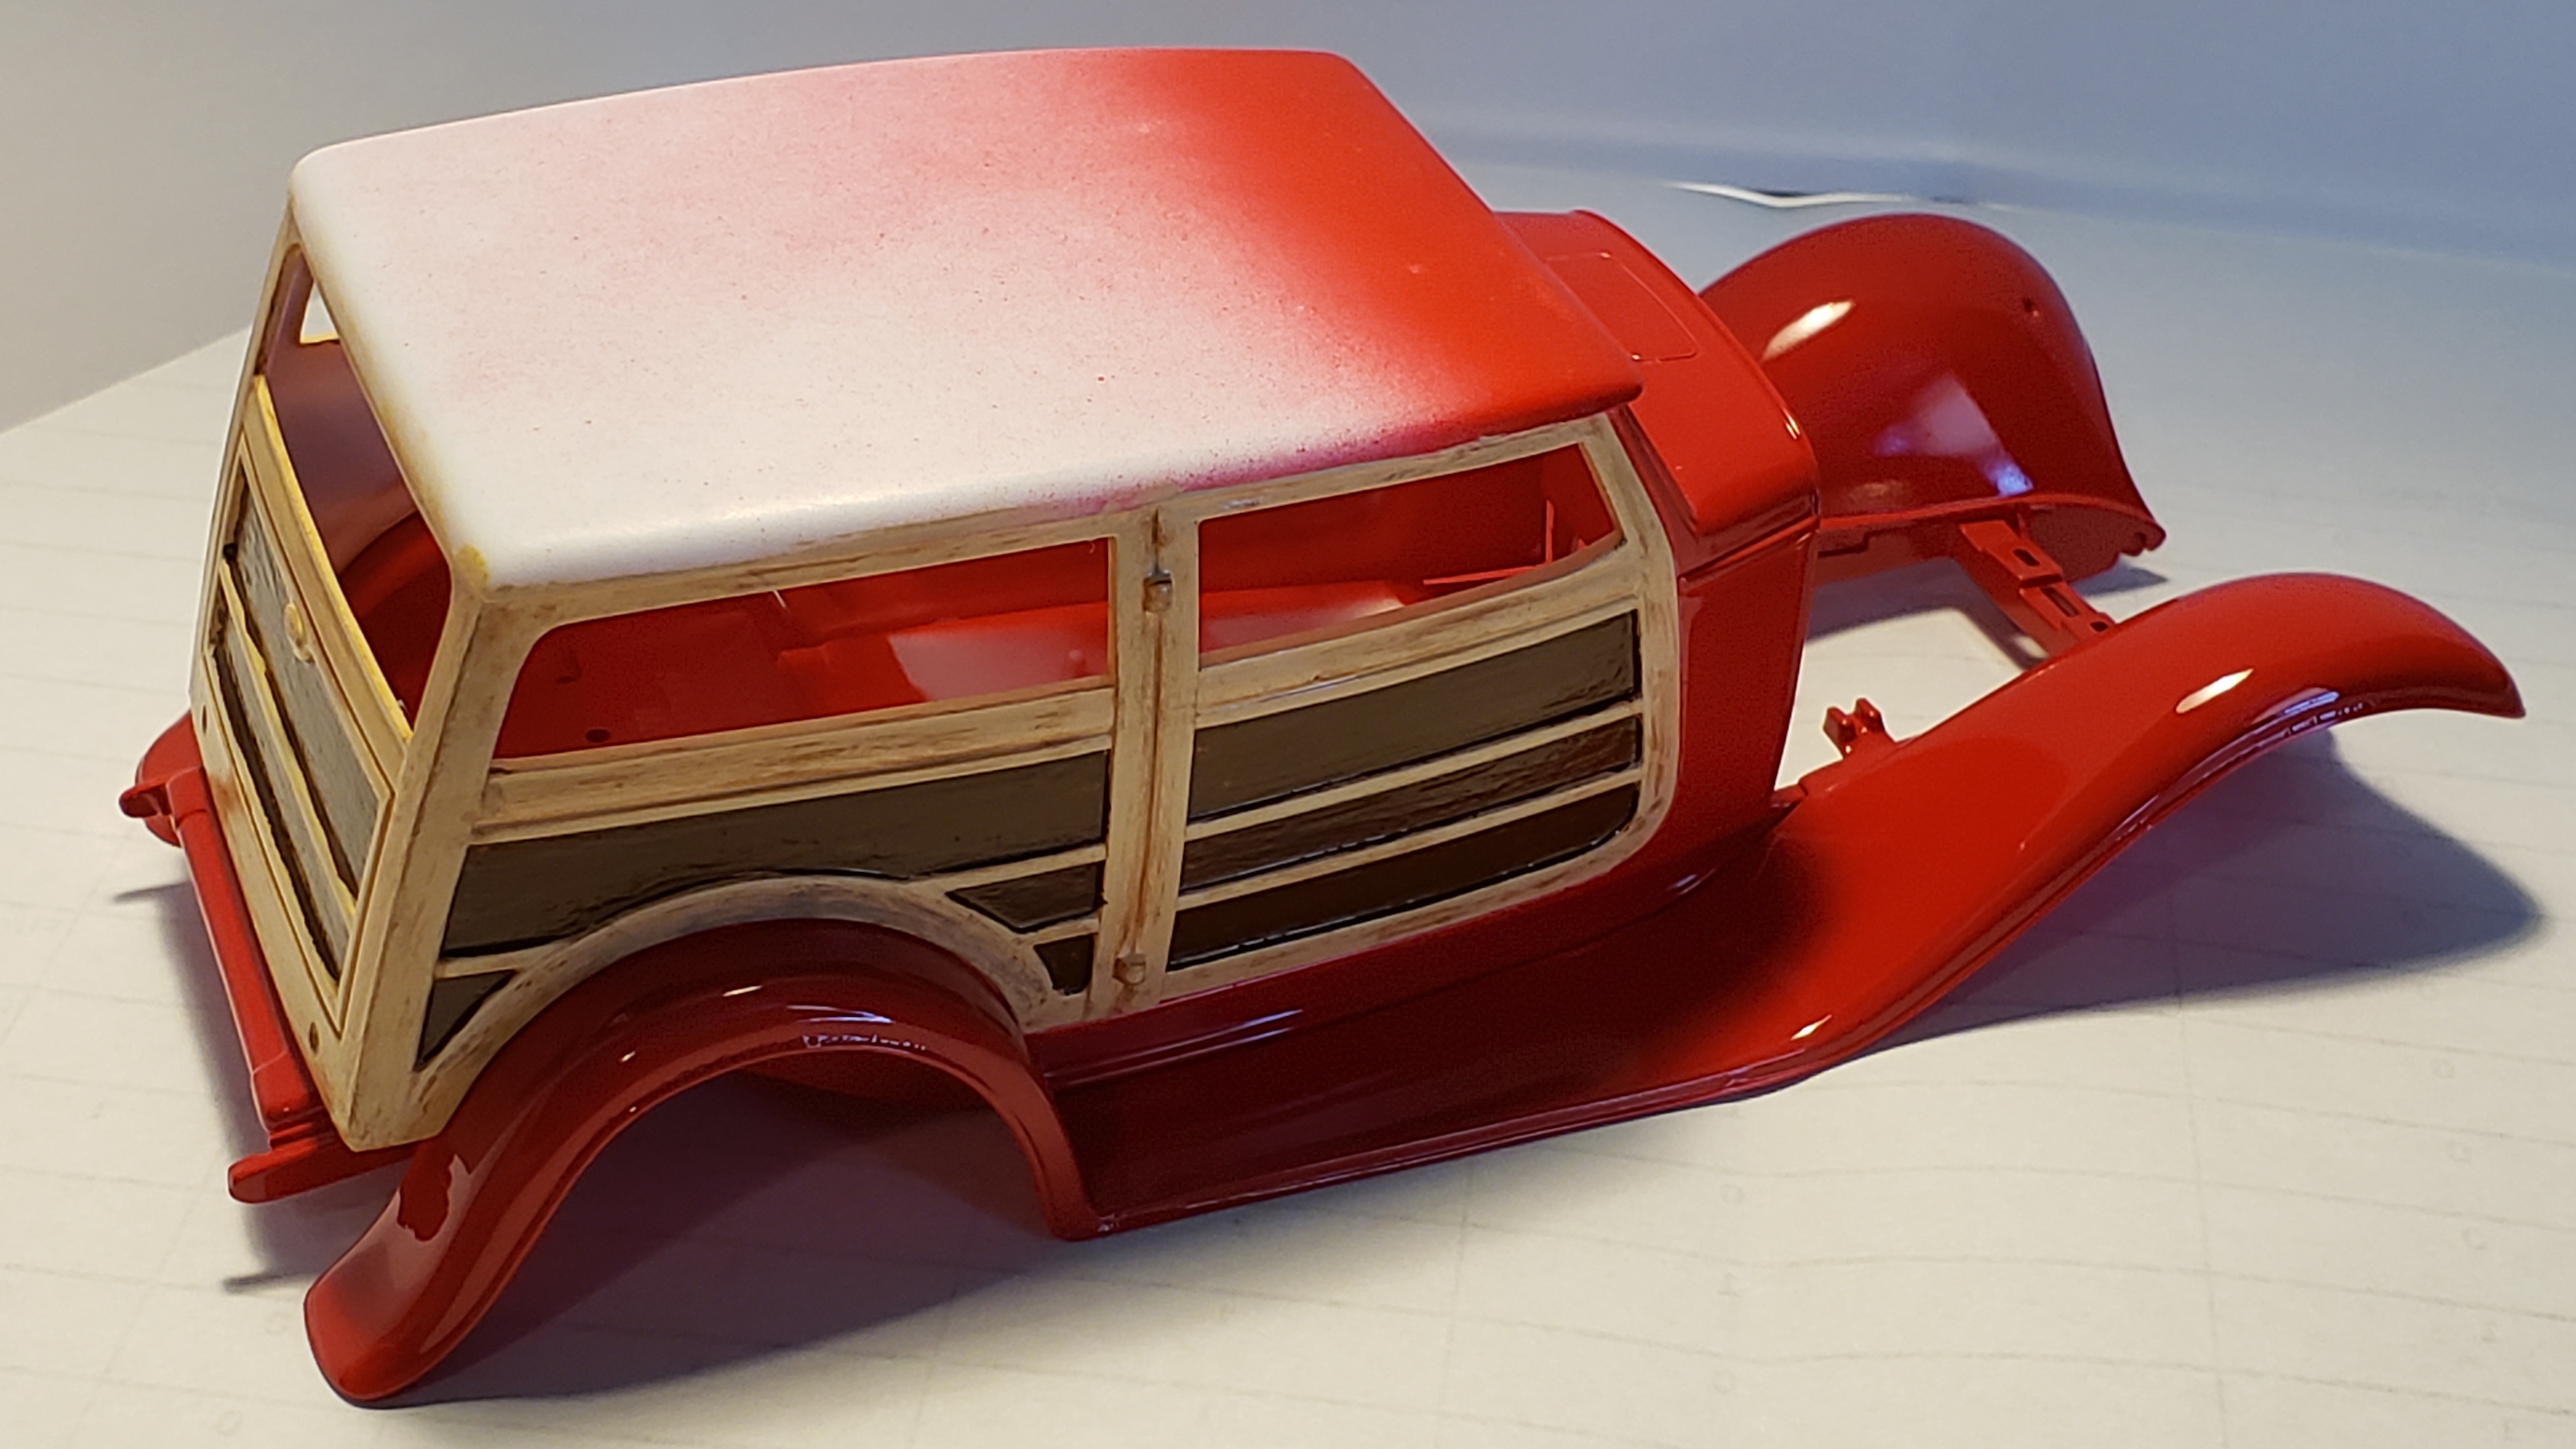
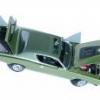
I picked up this sealed kit at the Carlisle Chrysler Nationals this year for $12. Primed and painted Tamiya Italian Red, brushed painted the wood (need to apply decals in the panels yet) with enamels. Used a light Tan and the dry brushed Dark Tan for some wood grain. Used Leather color for panels in case the decals are a little small for the panels. Cleared with Tamiya Clear. Debating on Black or Dark Tan roof. Interior will be Tan of some sorts.
-
I'd been wanting to build a replica of an early Miata for a while, and I saw the original 1989 Miata showcar on the Mazda display at the New York auto show a couple of months back and took a bunch of pics to make a replica of the first of these cars that the world got to see. I used the Revell kit - from looking at pics online the Tamiya kit of the same model Miata looks a LOT better but is curbside, so I wanted to try one of these to get an idea of how it goes together and to see what I could learn about it for the next time I build one (or bash one from the Revell AND Tamiya kits). The kit goes together ok - you need to remove about 1/16th - 1/8th of an inch from the bottom of the windshield or it won't assemble properly, and I removed about a scale inch from the subframes to get it sitting more like the ride height of a stock Miata too. Even so, it looks a touch high, but then unlowered Miatas often do. The bumpers don't fit on there well...actually, they fit GREAT, they snap right into place but the gaps between them and the body are a little big for my liking, the rear lights would be better off being replaced with some vacuum formed ones in clear plastic (so you can paint them how Mazda intended a little easier) or the Tamiya ones would probably fit pretty well too. My kit also had a BUNCH of short-shotted parts - I had to make some engine parts from scratch, both of the windshield wipers were completely useless (so they're not on there, but that's not too obvious at least with the hood open, which is how I planned to display it anyway) and next time I do one I'd like to sand off those oversized doorhandles and get some more in-scale ones 3d printed. That said, this was a fun build, and I miss my 1:1 Miatas, so it was cool to get to put one on my shelf! I used Createx bright red paint for the body, replaced the Revell gauge decals with a photo-reduced copy from a real Miata, added some missing plumbing and wiring to the engine bay and used a couple of little photo etched pieces where a part was missing or looked a little clunky. I'll definitely be building another, even with the various shortcomings that I didn't enjoy with this kit, and it makes me want to go blast around some winding roads on a warm day with the roof down! Thanks for looking!
-
So this kit has been in my built kit cabinet for a few years, and then I noticed this goo pouring out of the wheels. it looks like the rubber is attacking the plastic, and the plastic pours out. I didn't pay it any attention, but it just gets worst and worse. So I took the wheel off & stripped them with brake fluid
-
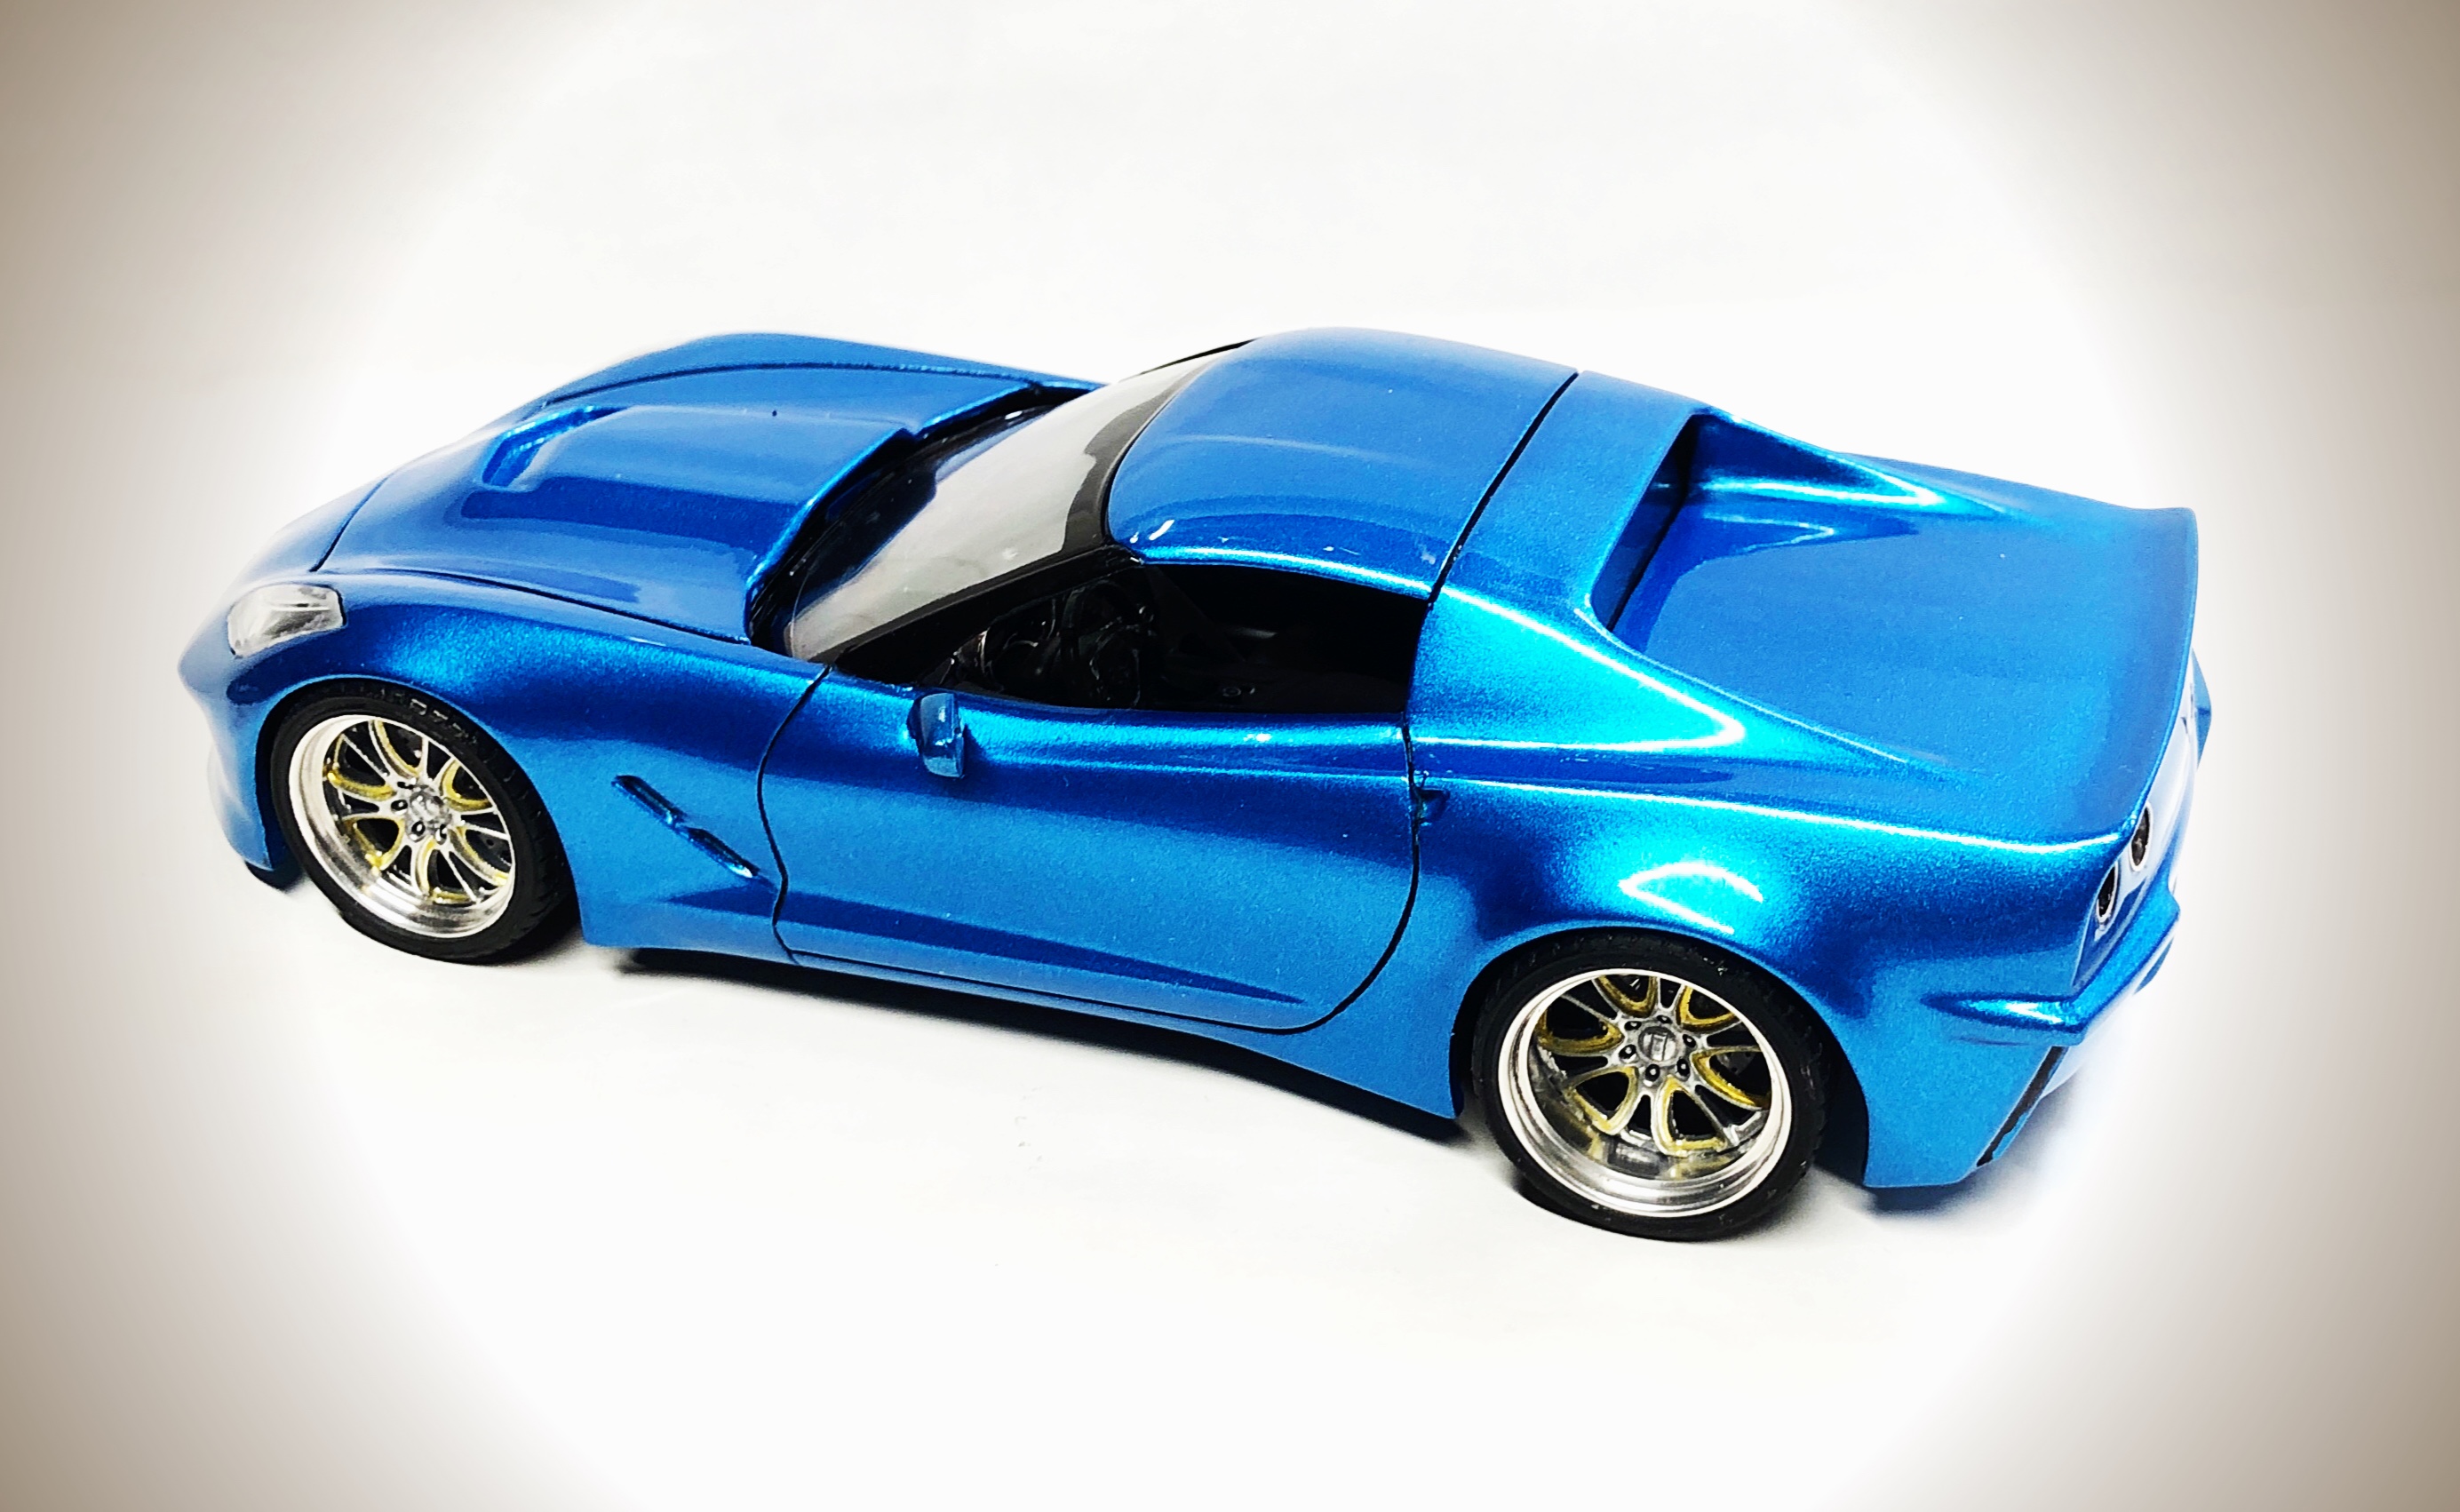
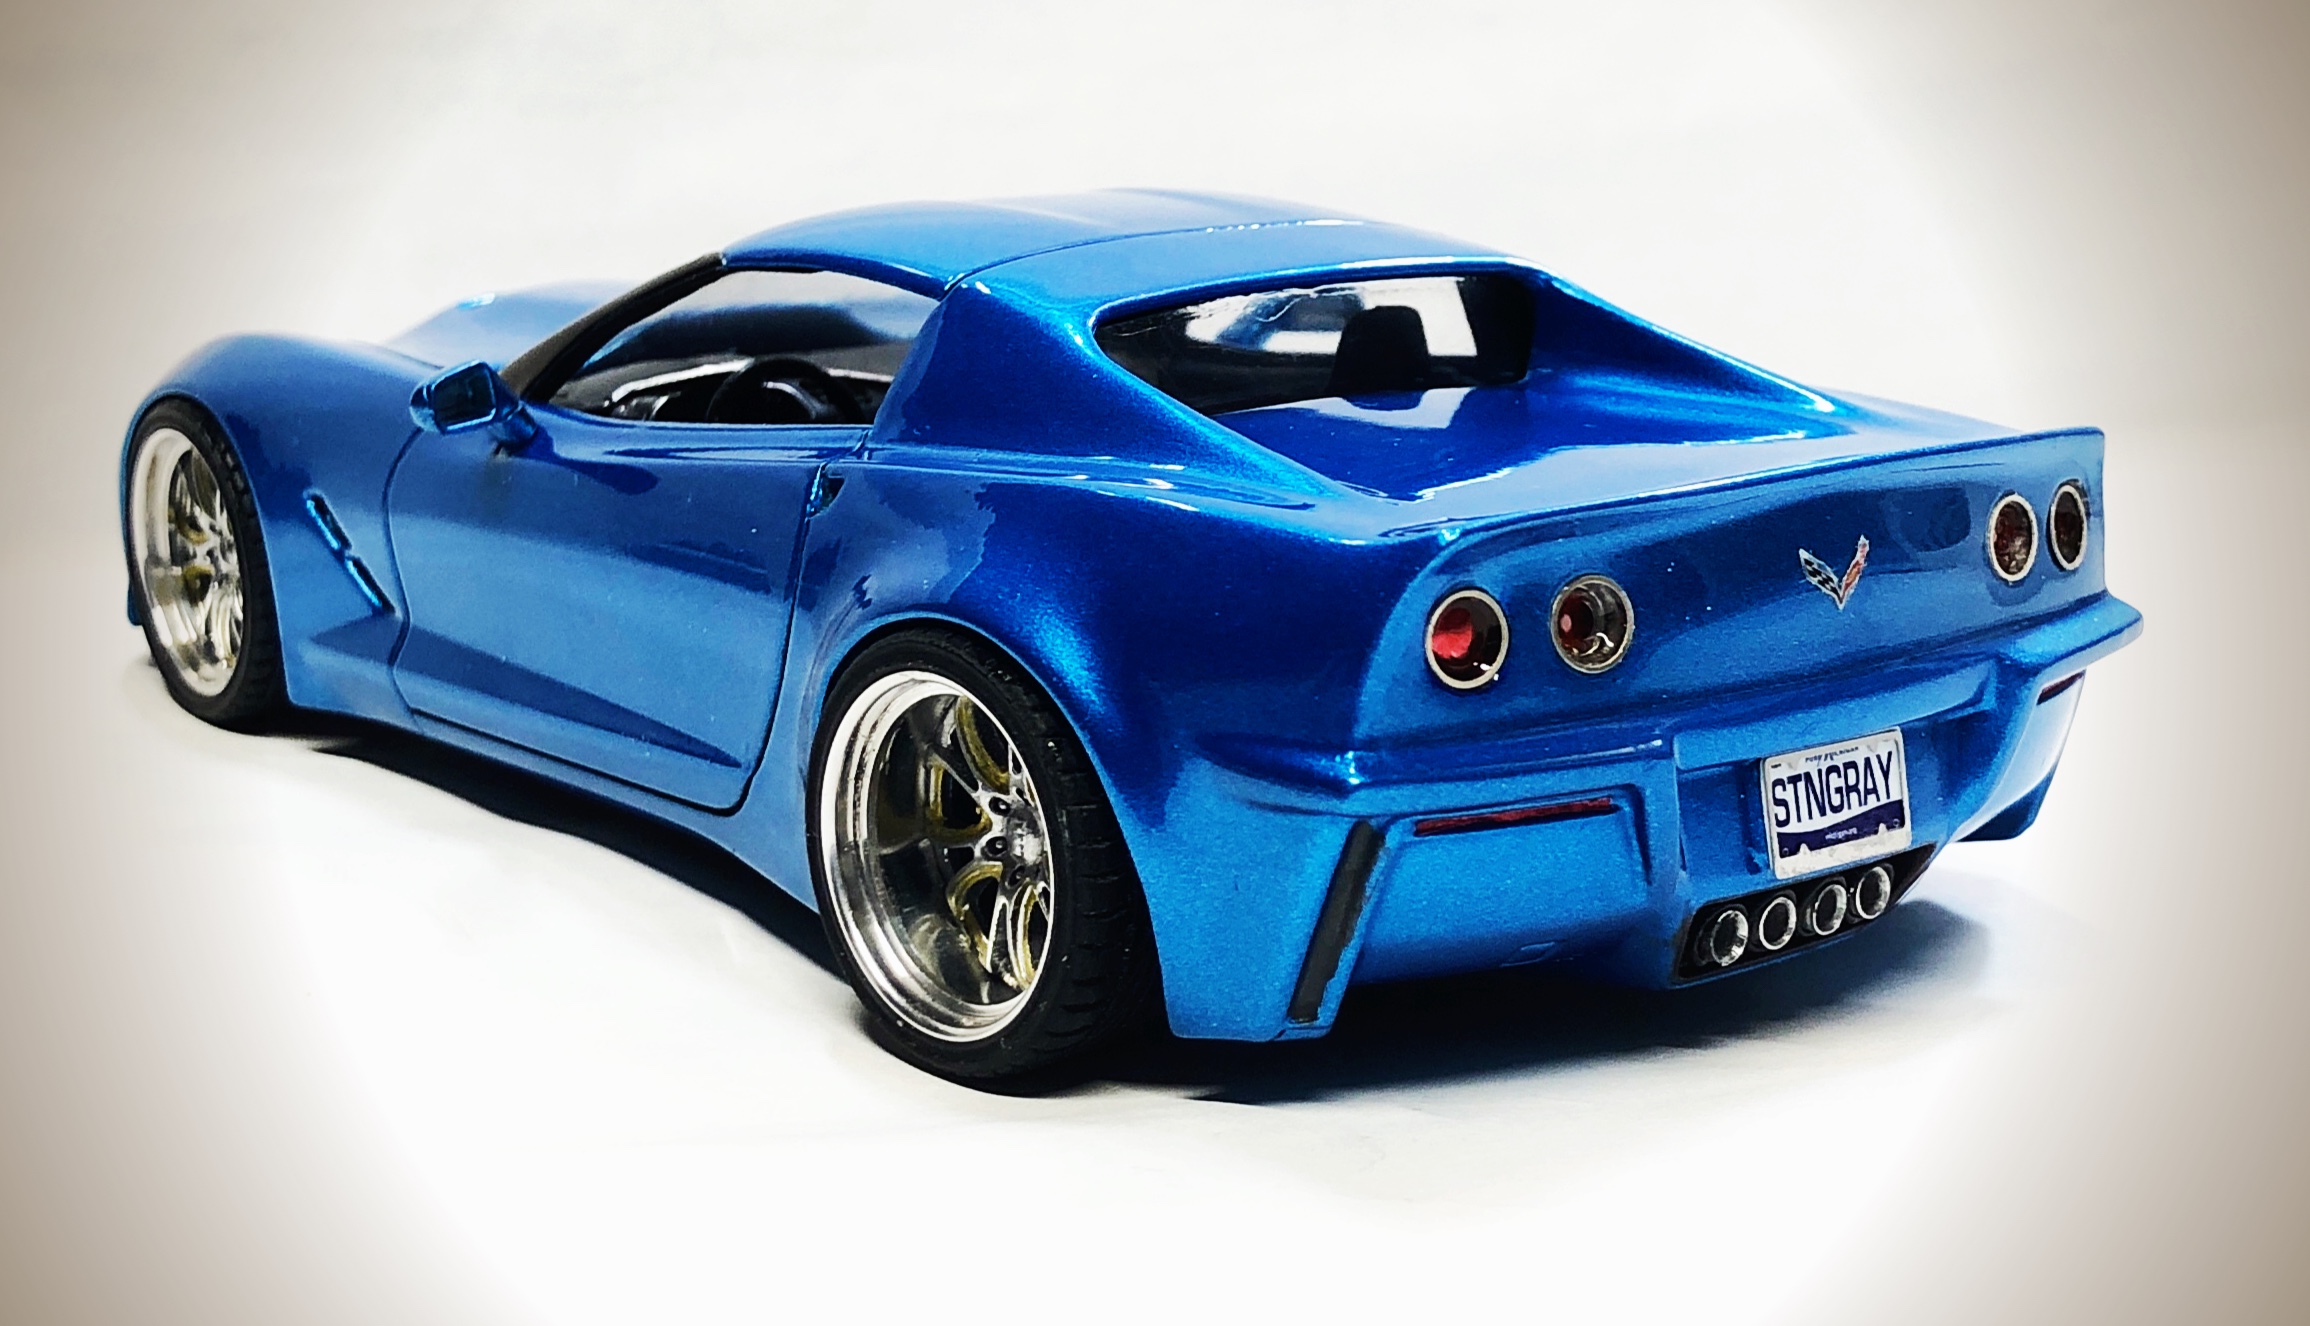
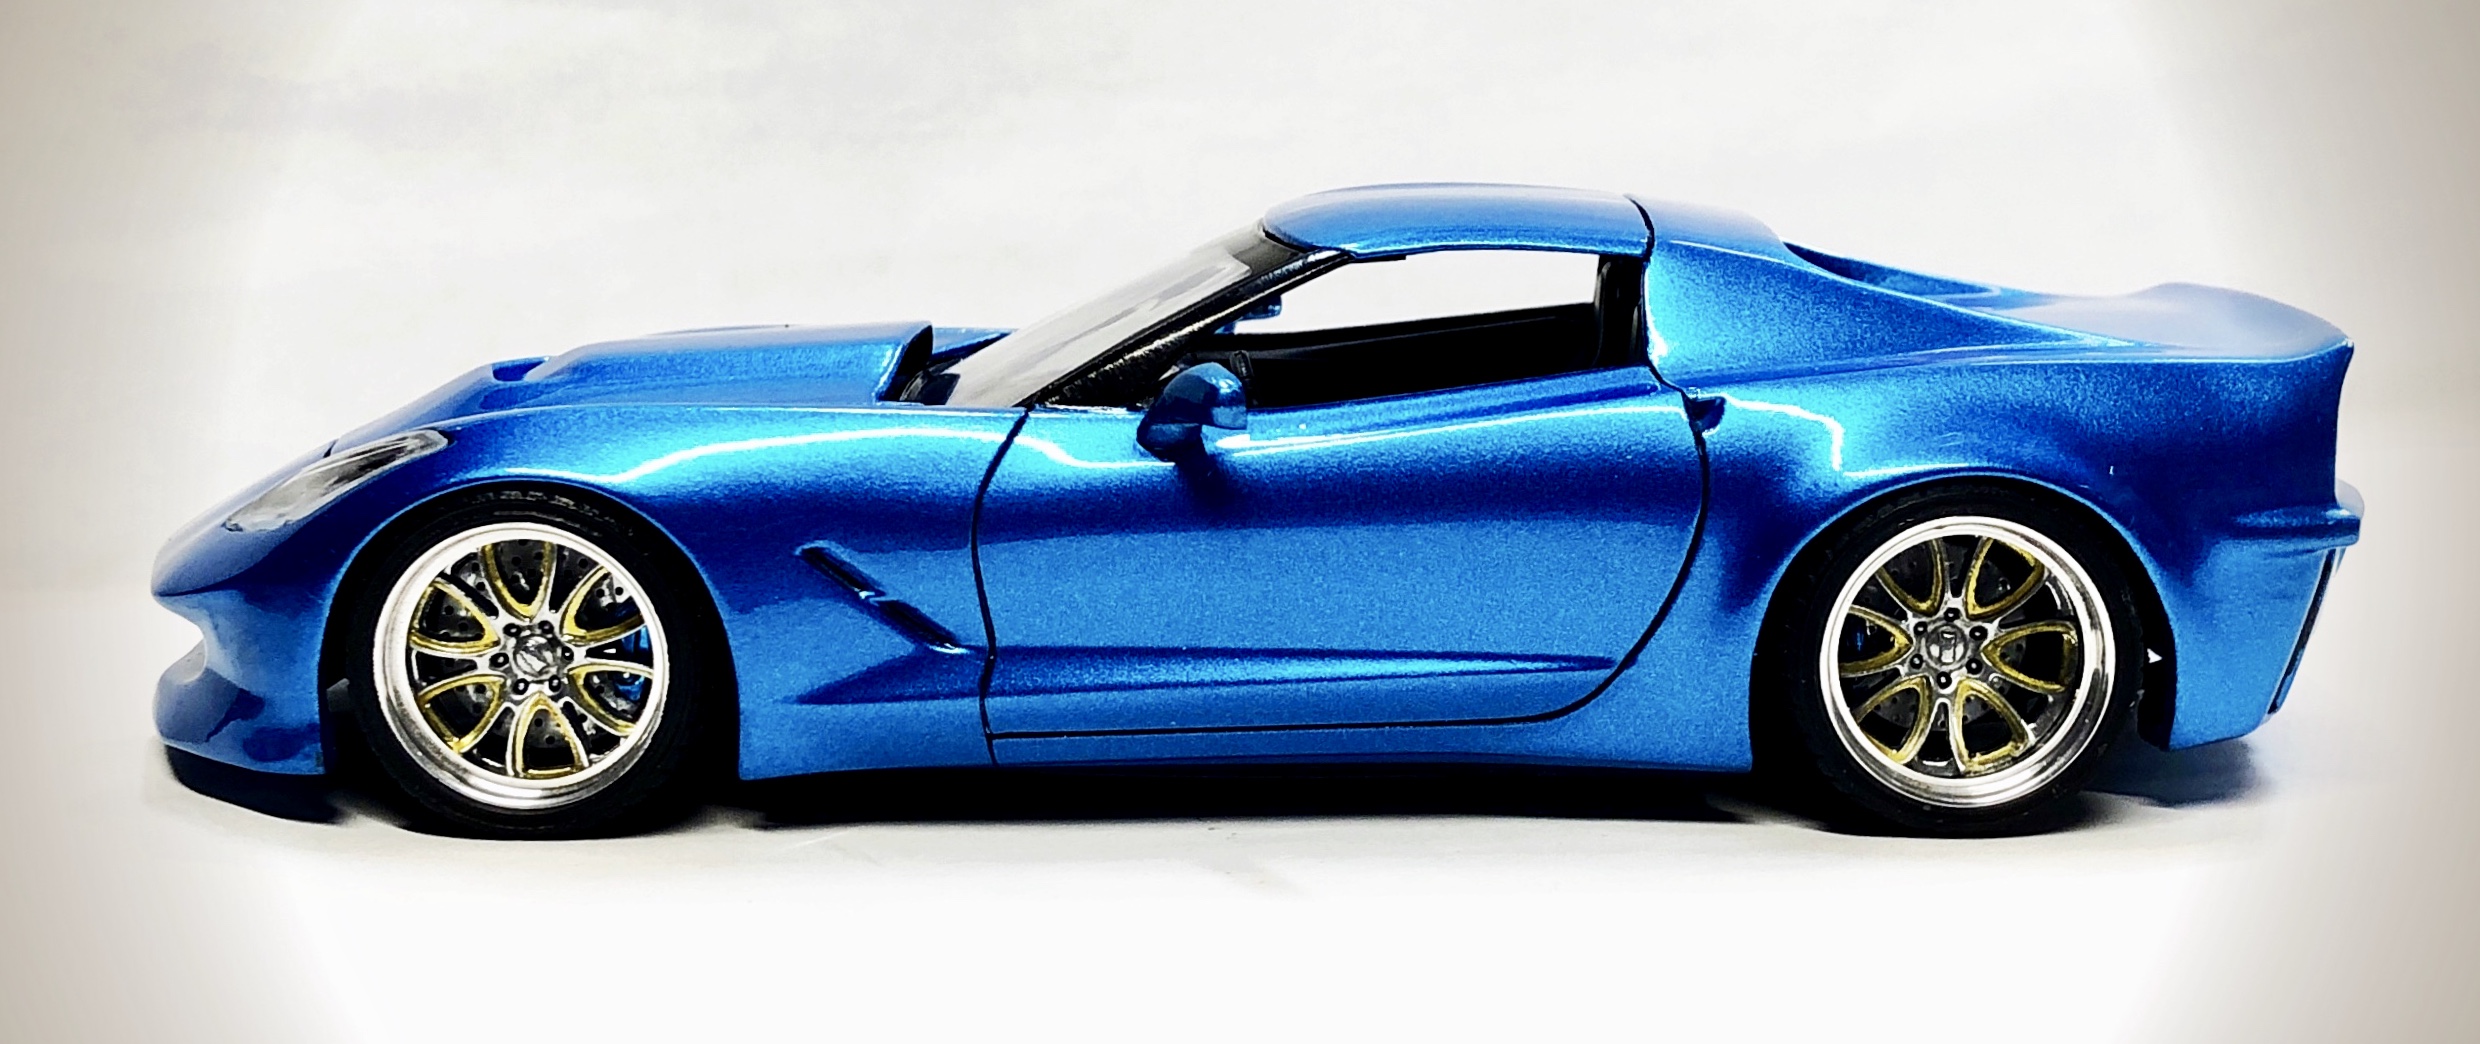
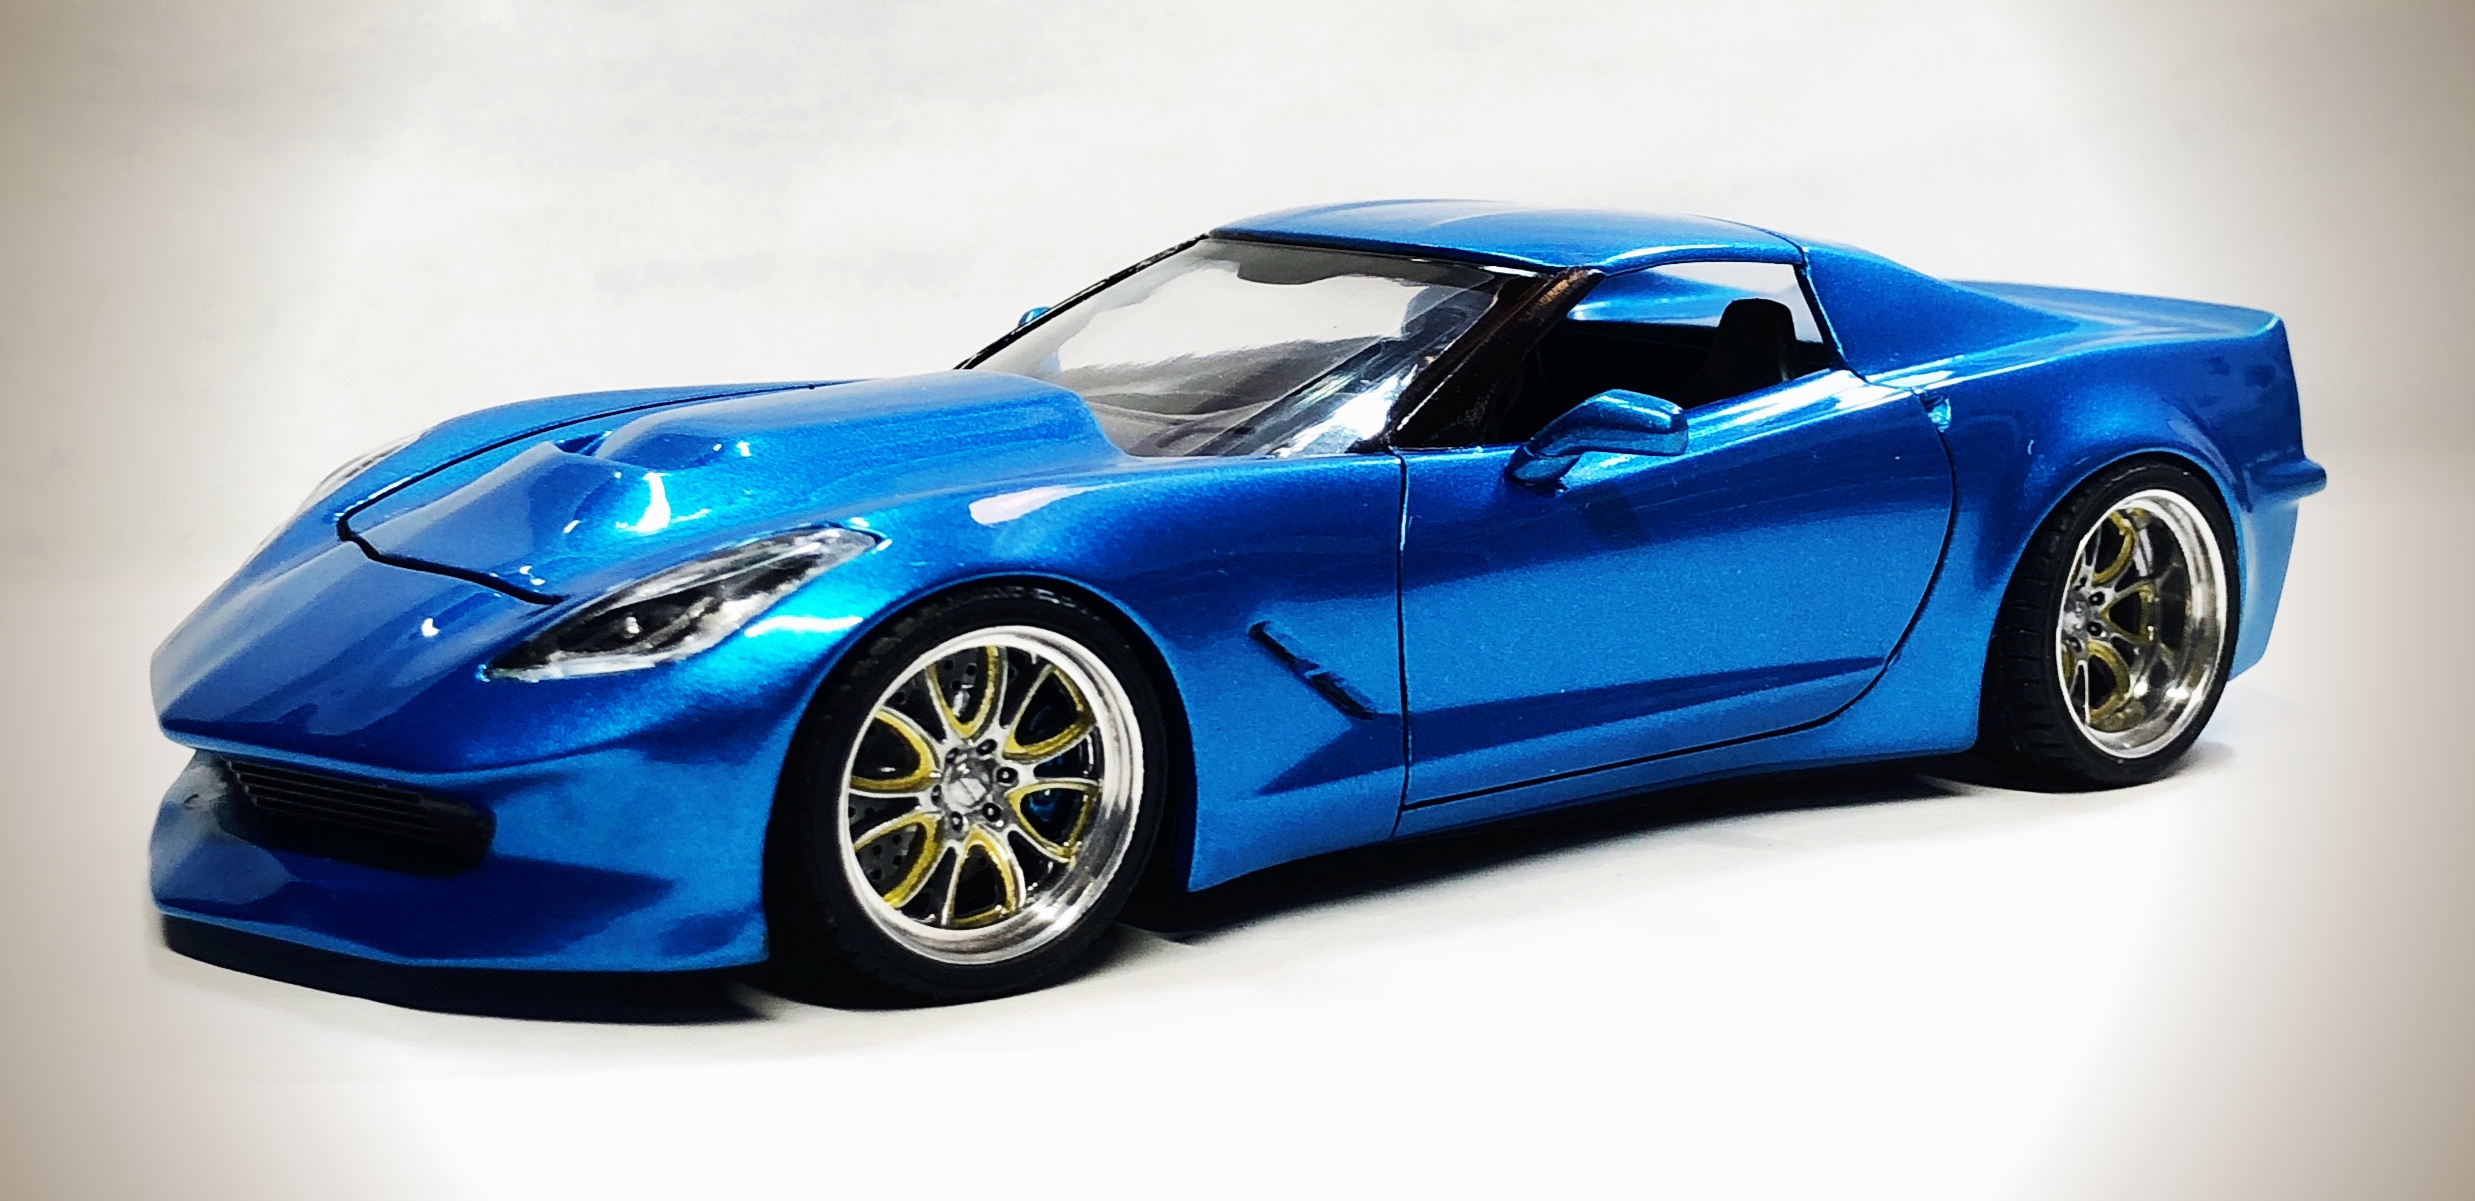
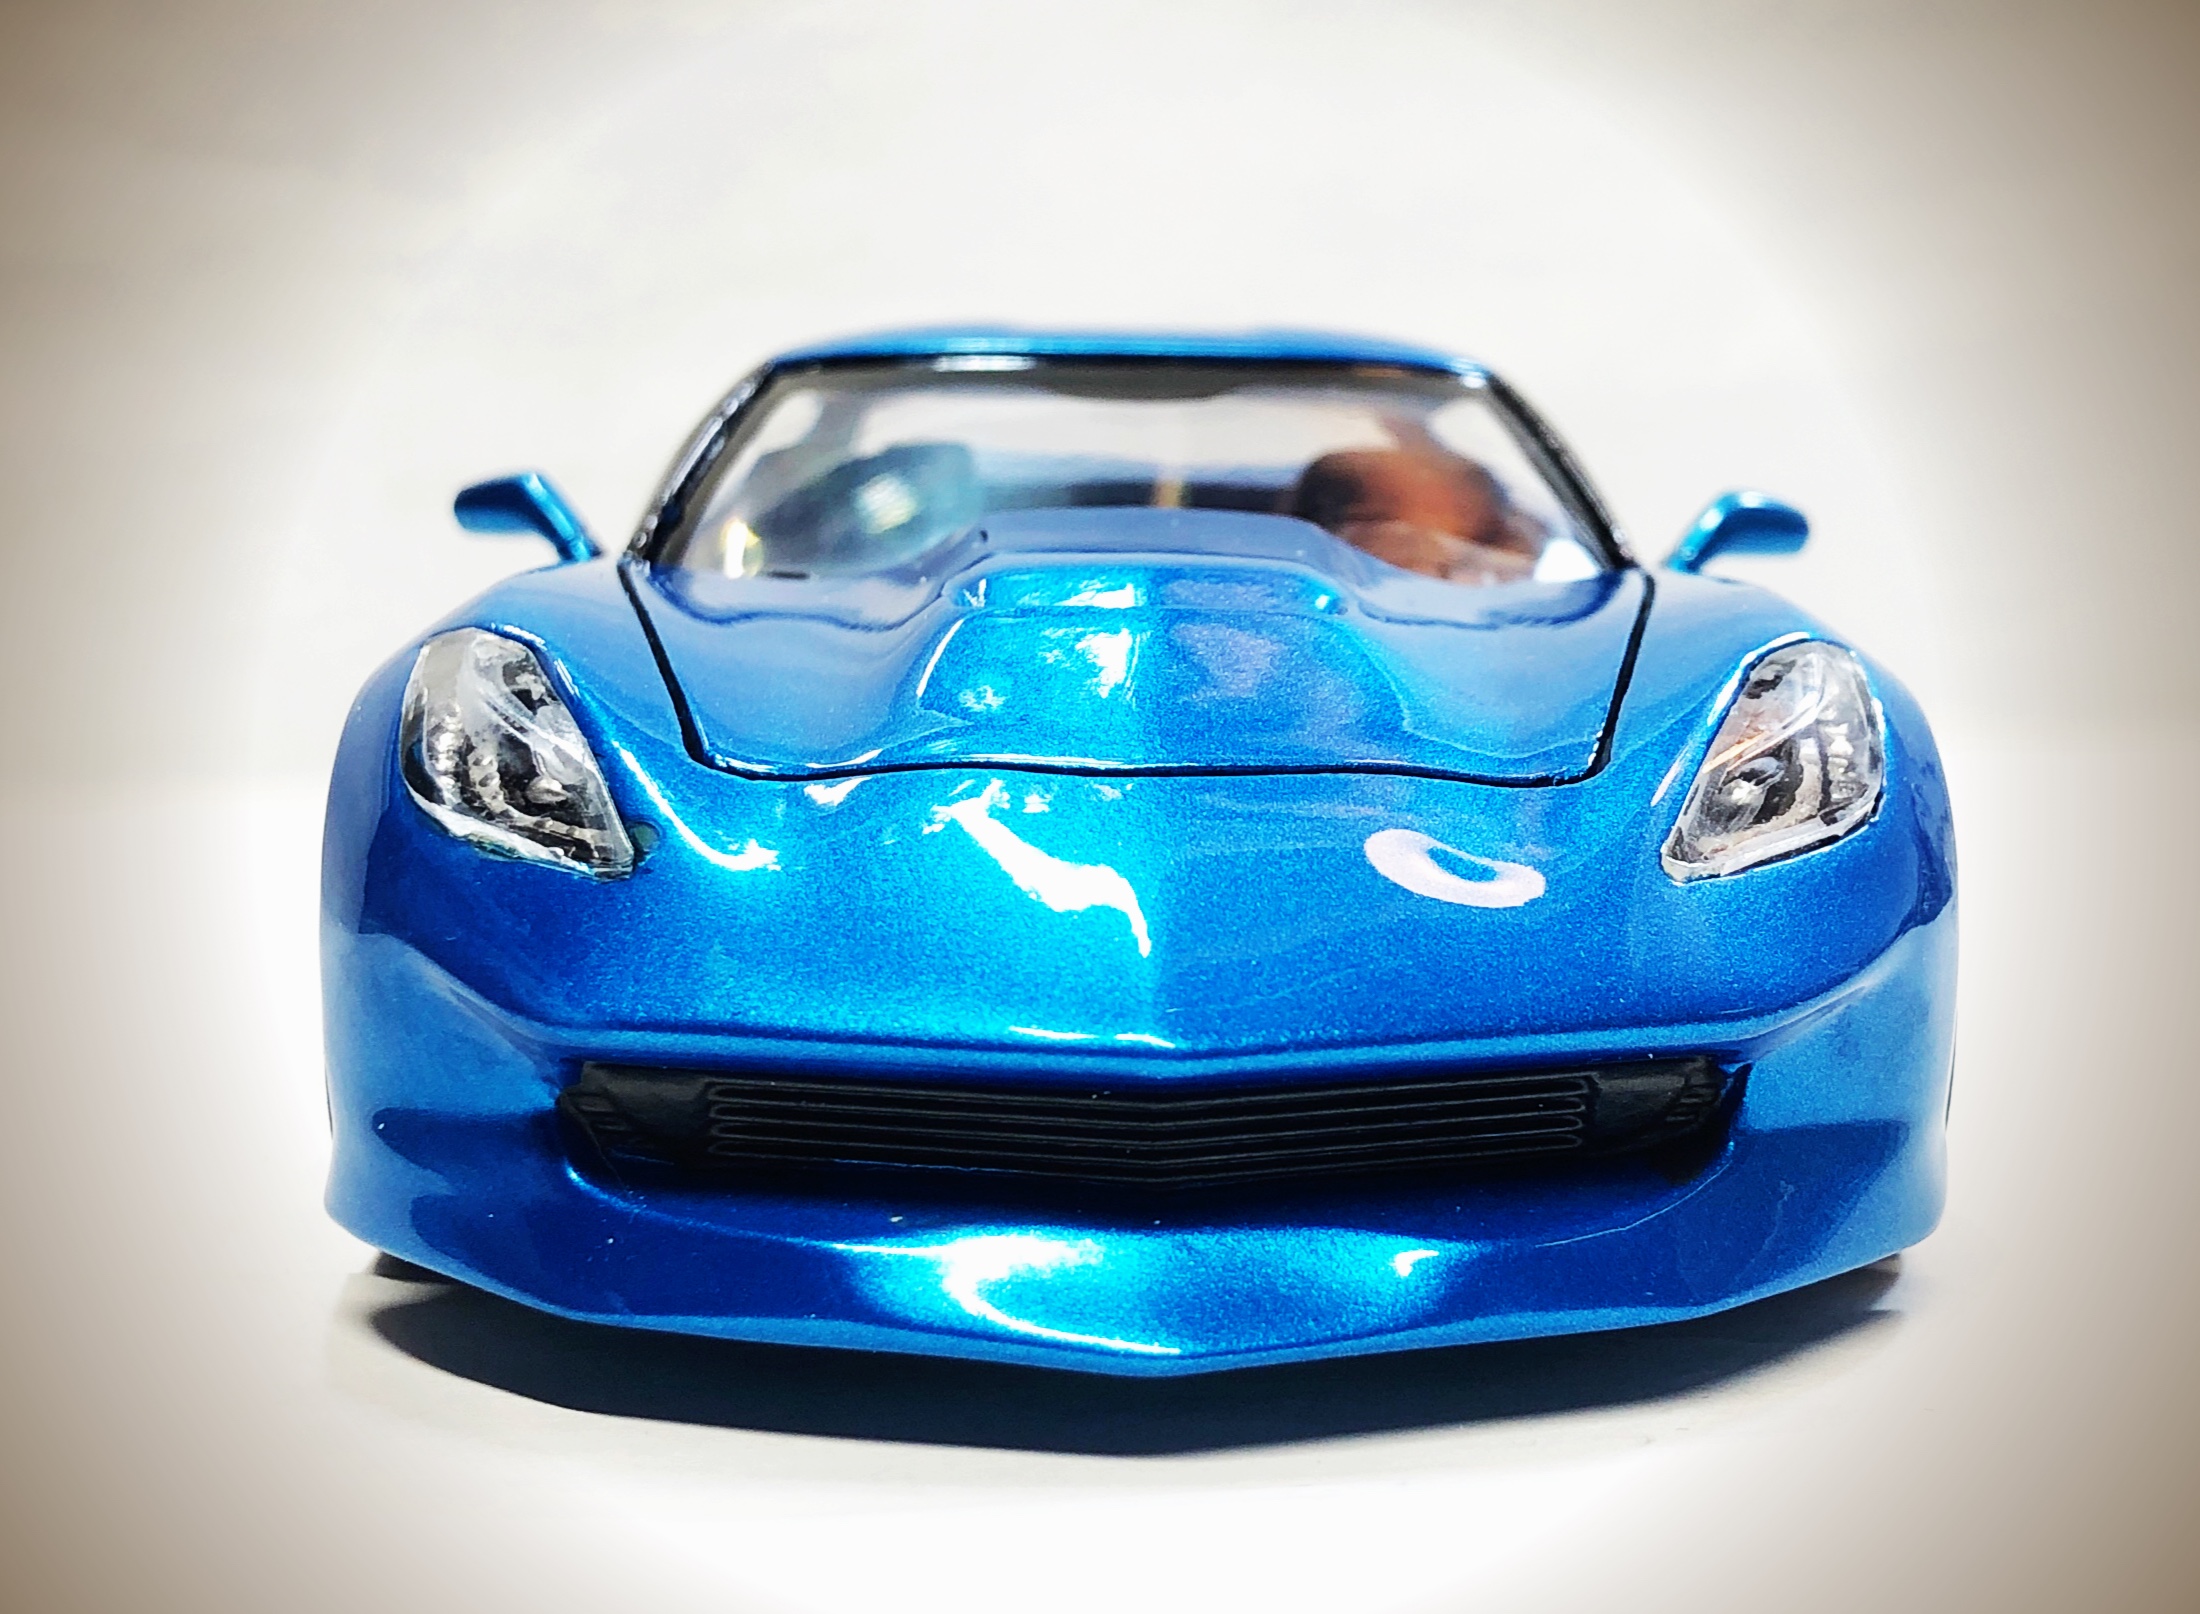
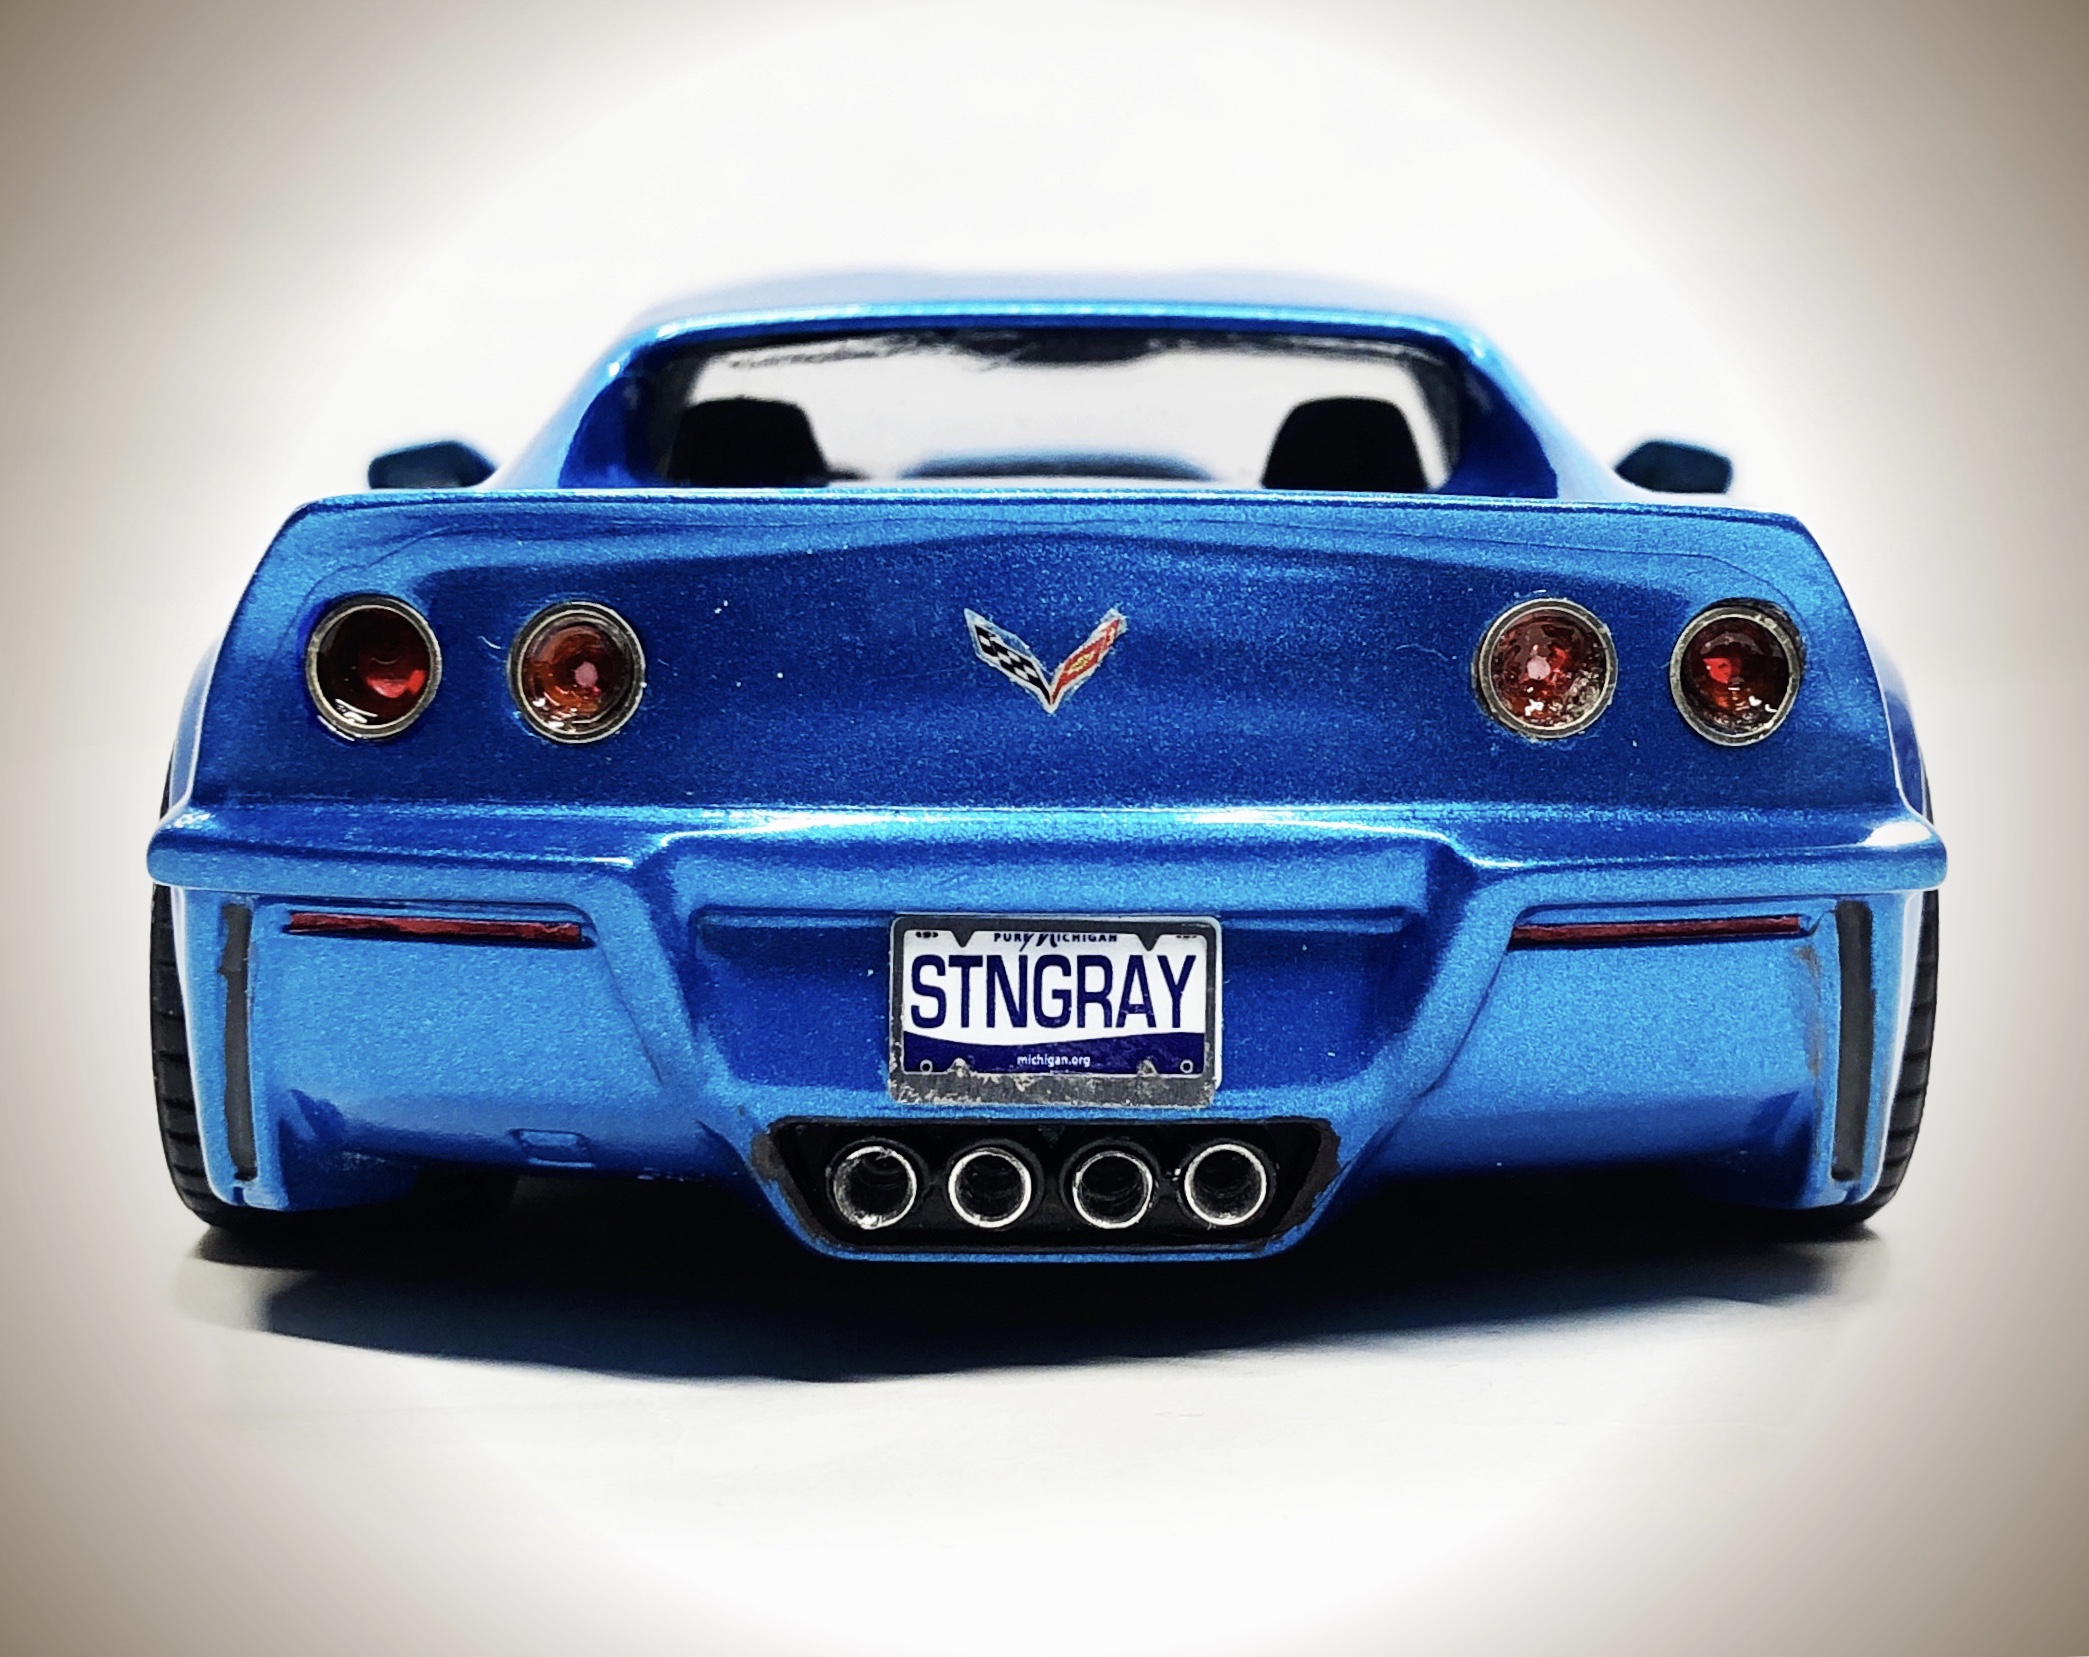
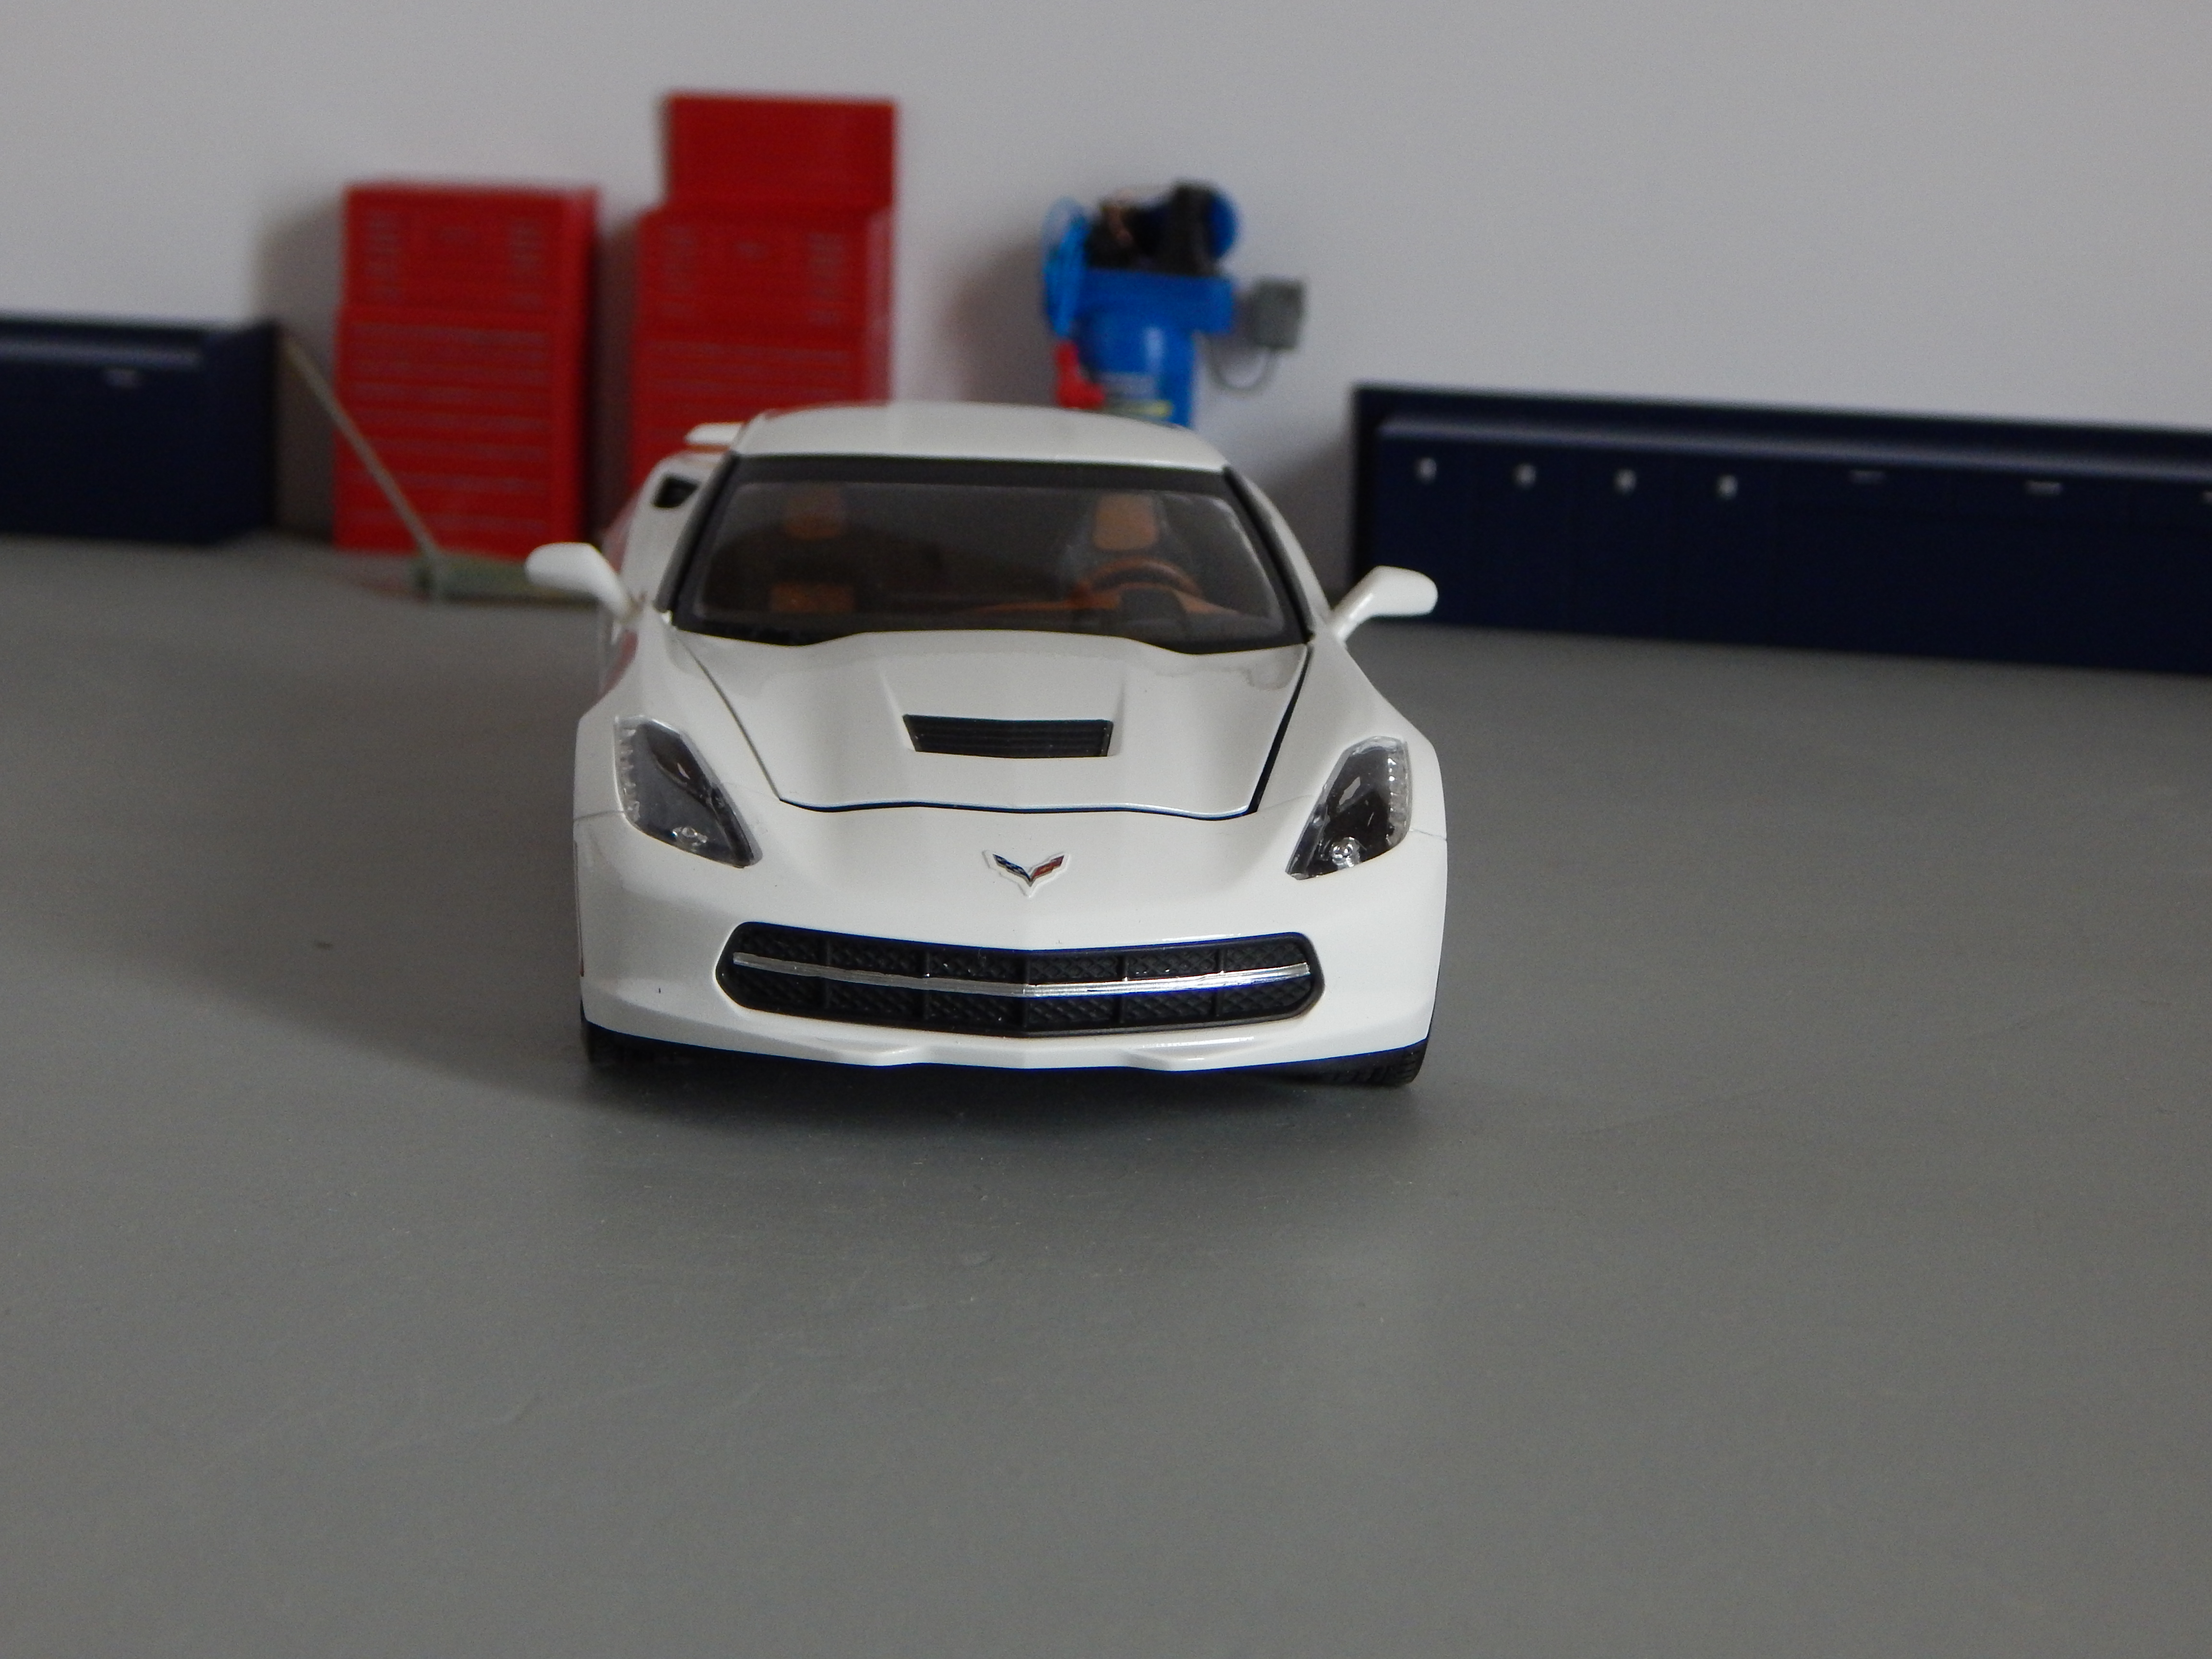
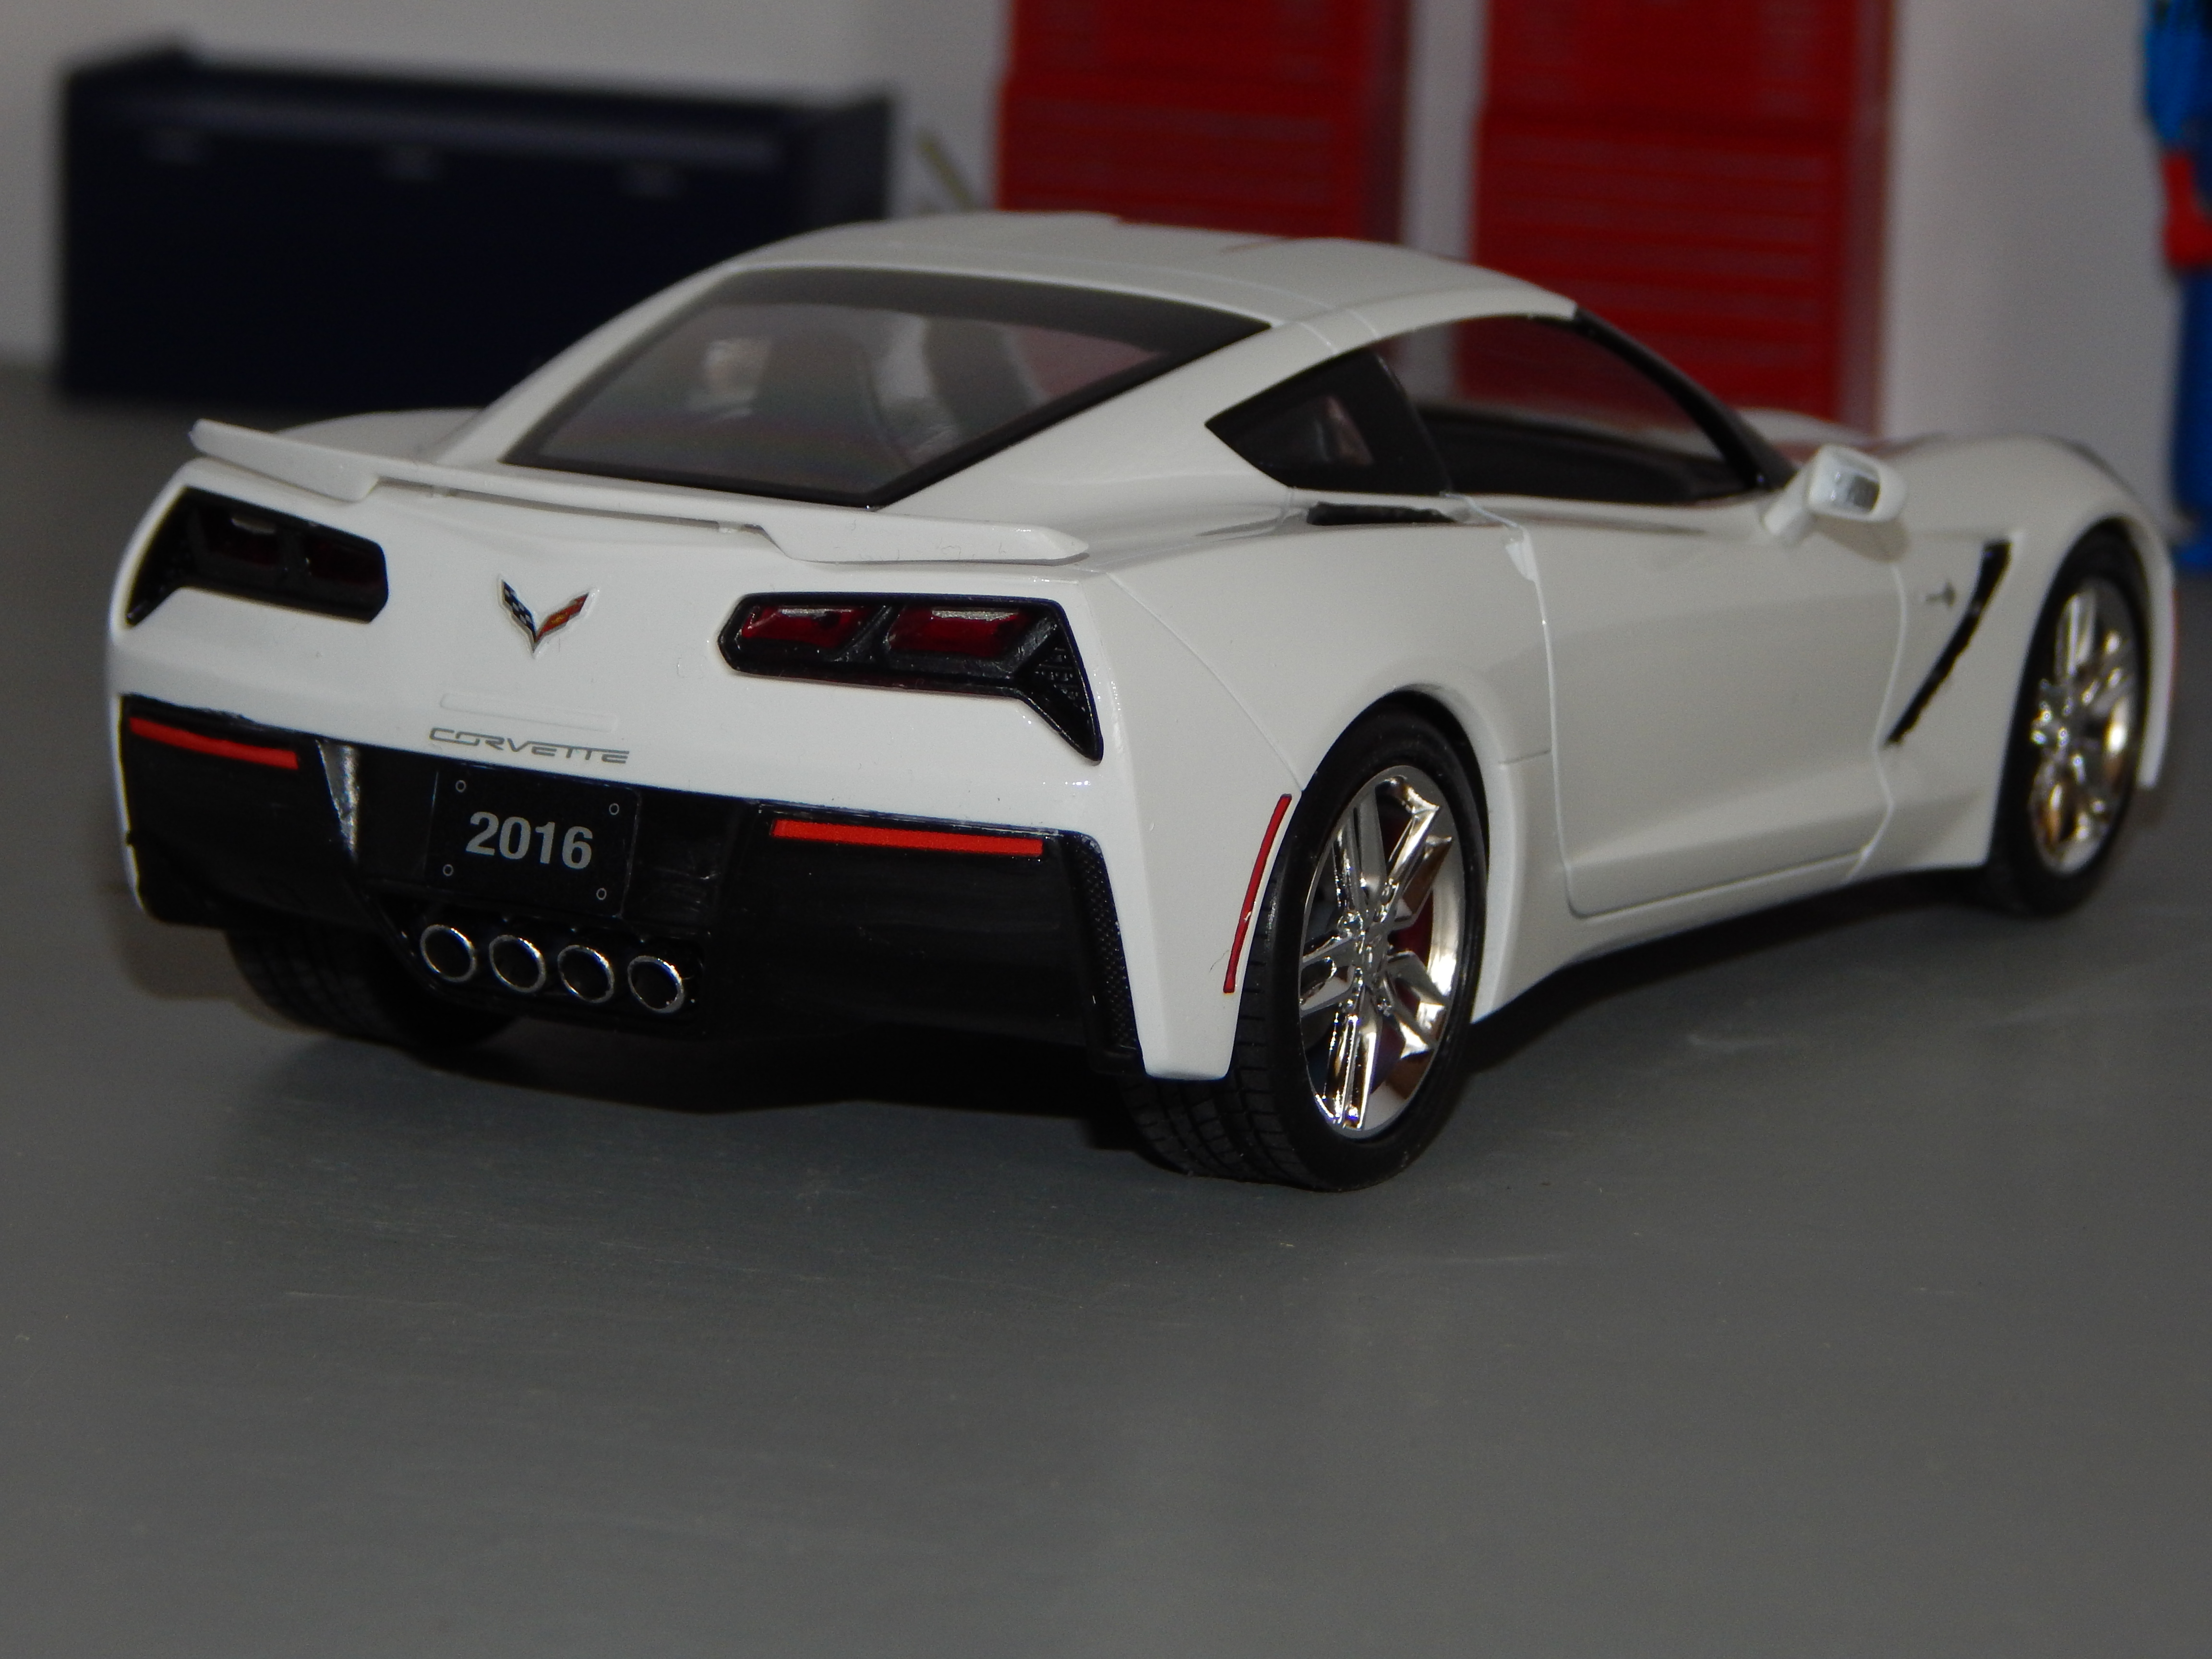
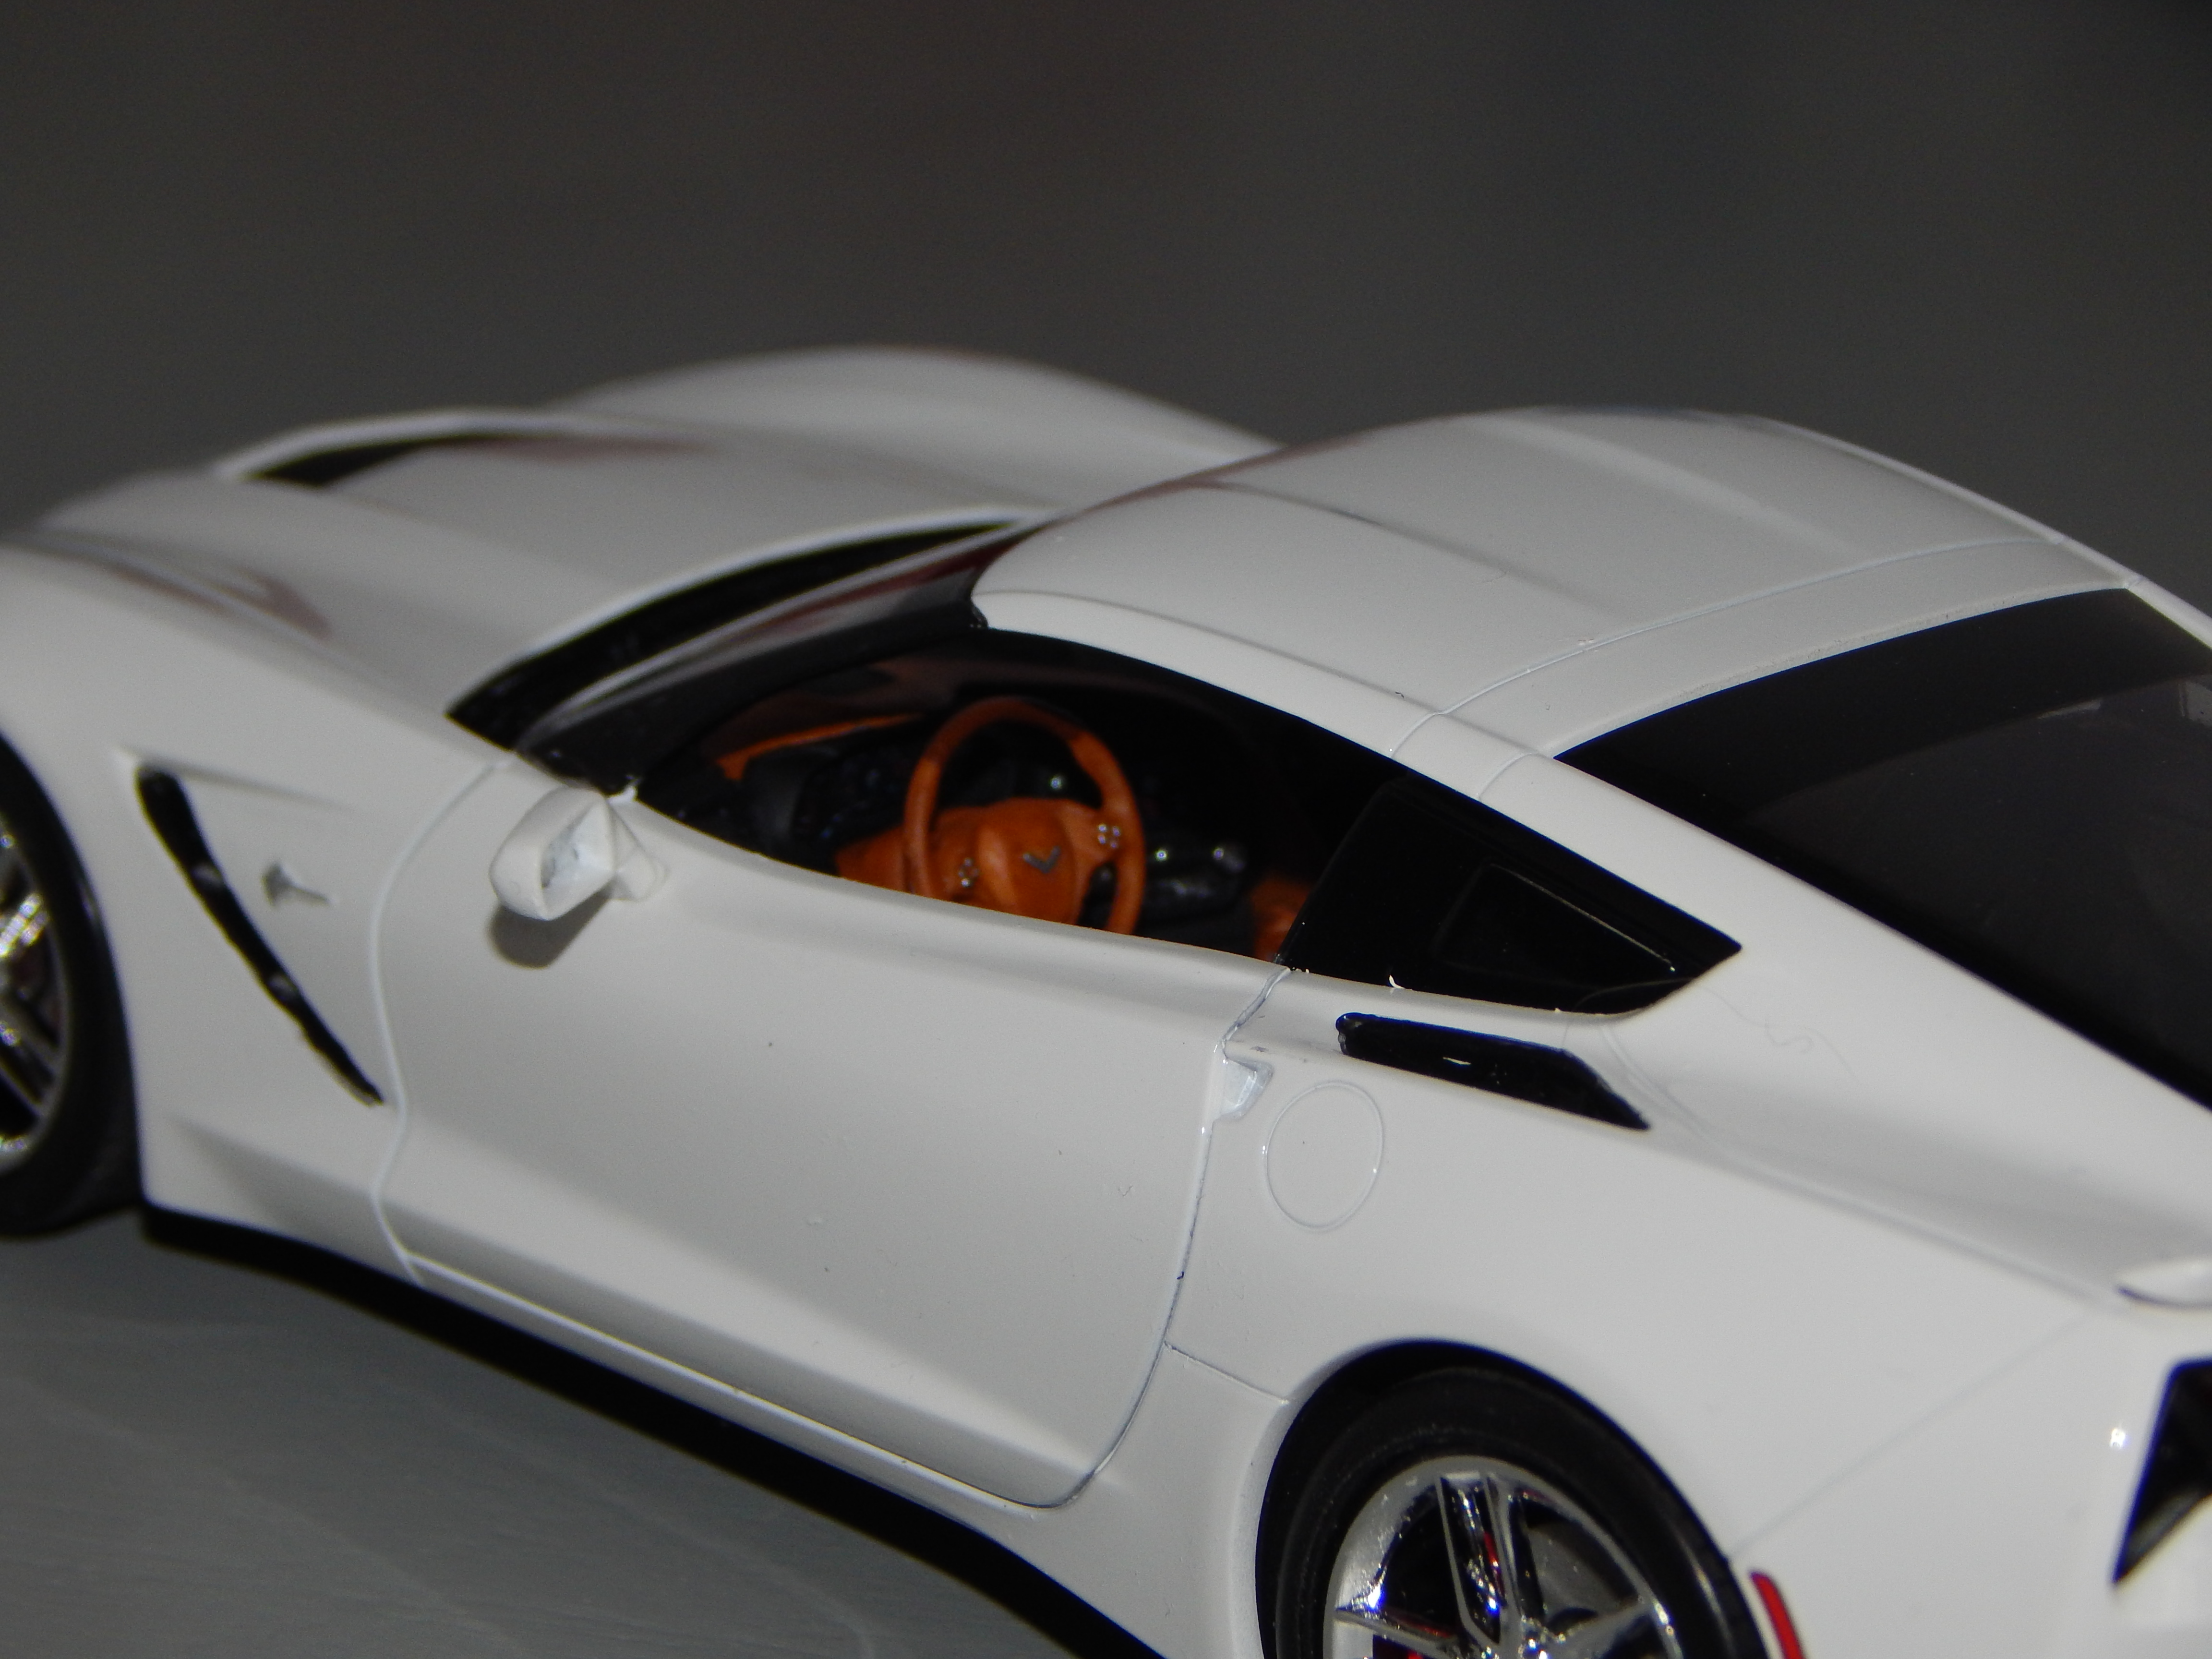
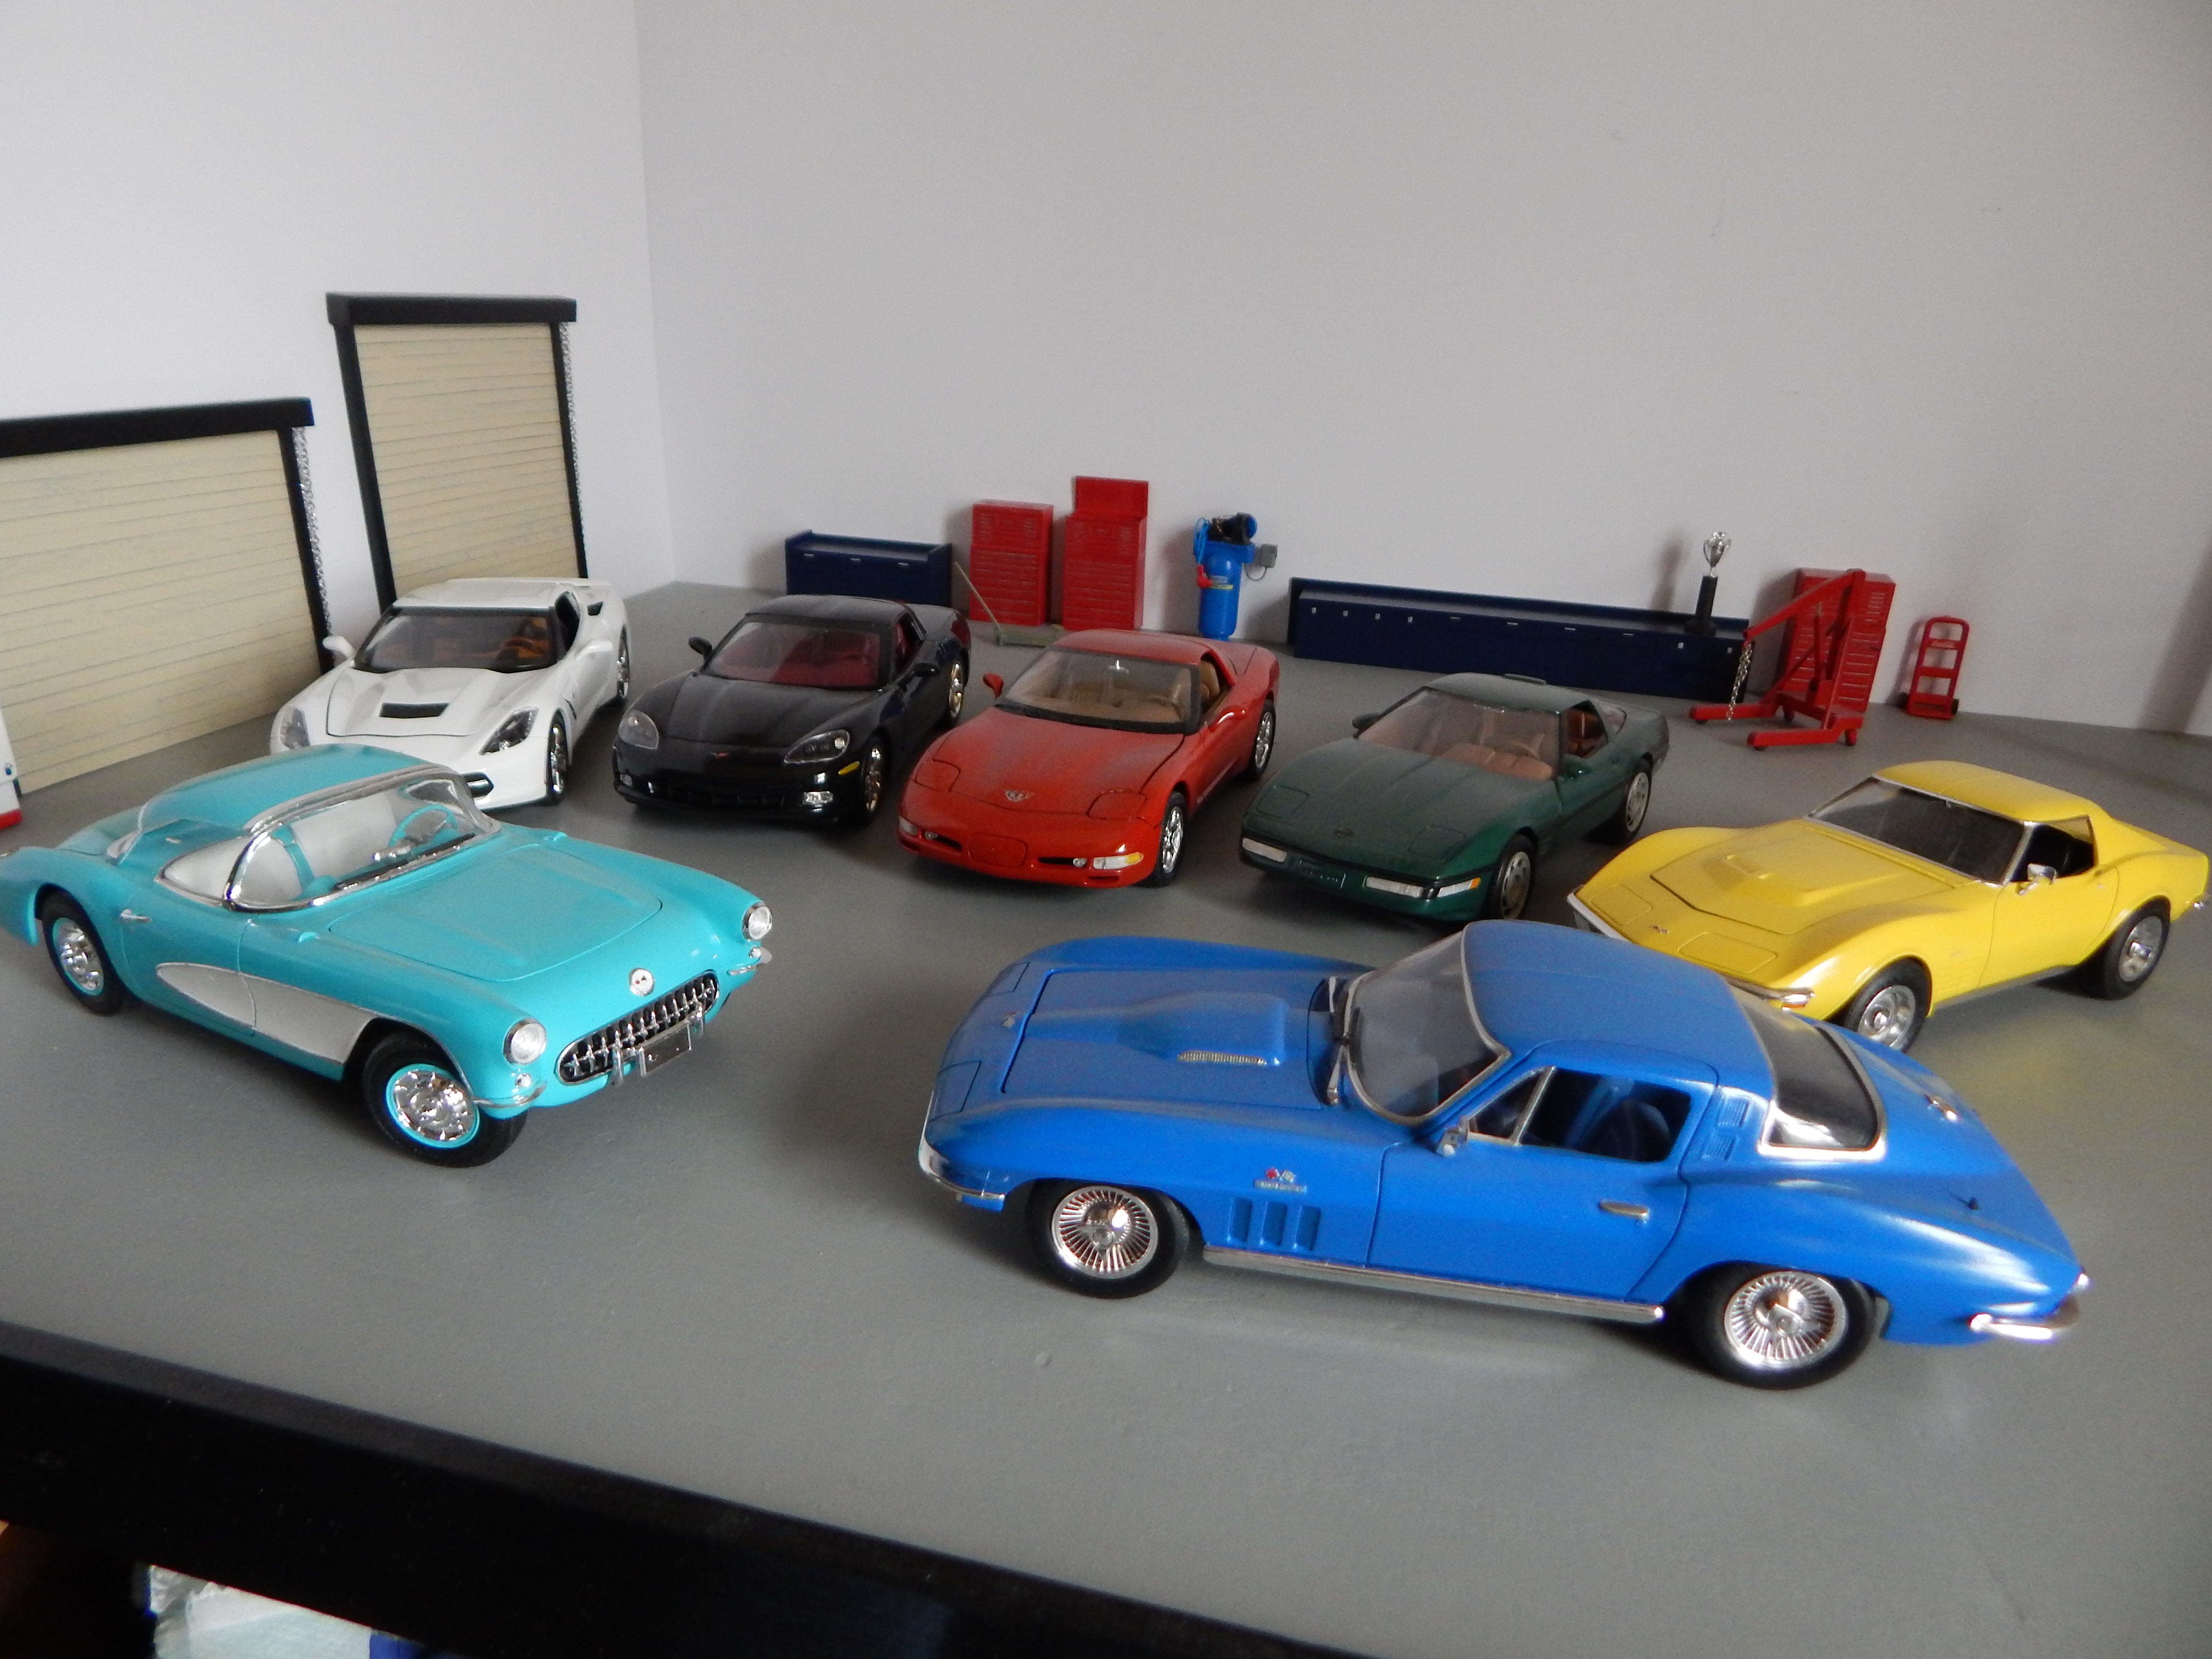
Custom C7/C3 Stingray - What the C7 should have looked like
RestoModGuy posted a topic in Model Cars
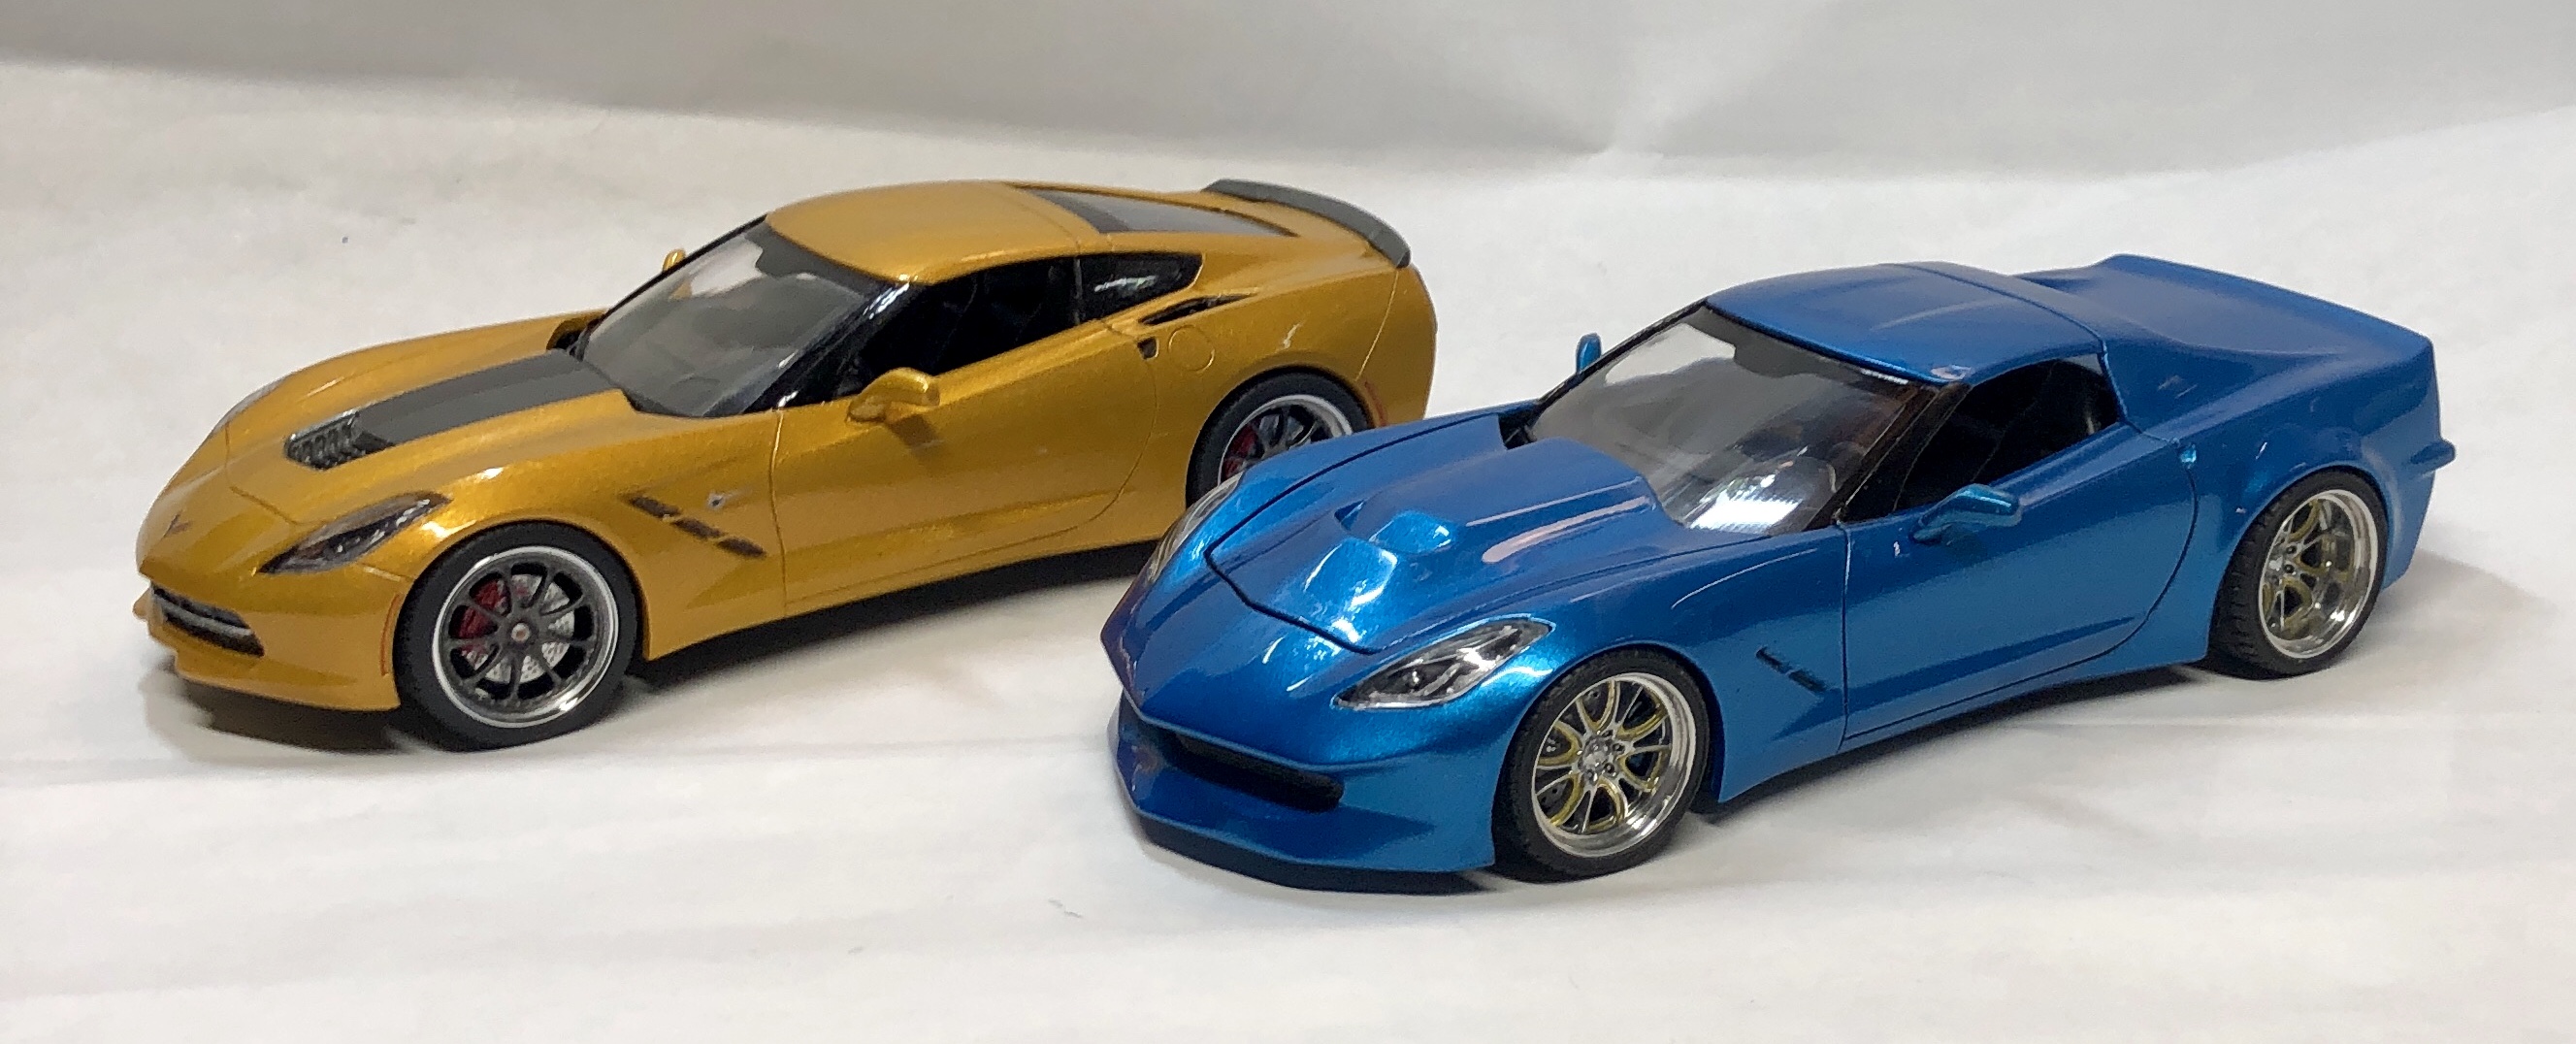
I love Corvettes and when the new generation C7 came out in 2014 I liked but not a fan of the taillights. I decided to customize one to have the classic round C3 styling and went as far to change the rear window to the original "sail-panel" rear window. Lots of modifications including a completely new nose and grafted an L88 hood. Also filled in one of the three vents in the fenders, smoothed out the hip line and added rear wheel flares and grafted rear bumperettes like the C3's have. Some build pics show some of the major bodywork I did. Paint is Duplicolor Bahama Blue Metallic. Comparison to a "stock" C7
-
RoG's McLaren 570S all done, finished in Tamiya TS21 Gold, with Semi Gloss Black and Alclad Dark Aluminium details. Interior is my own 'cream' and 'light black' acrylic mixes. The CF decals are from Ka Models of Korea (highly recommended). Not a great kit and fought me all the way to the very end - the final assembly is a proper PitA. I knew to attach the dash onto the lip BEFORE adding the interior because I'd read and seen so many build reviews. Even so, the final fit is truly dreadful... All that said, like the Ferrari 458, the finished car is truly a thing of beauty to my eye. Please feel free to make any comments or ask any questions (yes I know the exhausts aren't on yet). Best from NZ. Ian.
-
Good morning all, I finally was able to get back to the bench after a long absence do to shoulder surgery and I jumped in with the new Boss 302 kit from Revell I did like this kit and thought it went together well I started by adding the basic plug wires and heater hoses but didn't go to extreme on details as I really was using only 1 arm then at the advise of my Brother inlaw I went with a Calypso Coral paint scheme i am happy with the way it turned out please enjoy and any comments or critiques are always welcome Thank you
-
Completed this morning. Not perfect but it is done. Painted in Tamiya Park Green with a black interior. The Hemi is from a Revell 67 Dodge Coronet kit. I wanted to use an AMT Hemi from the 68 Road Runner kit but the placement of the exhaust manifolds on the AMT heads did not line up properly with the exhaust pipes so I had to use one from a spare Coronet kit I had. "Hemi" door decals are from a spare Revell 68 Dodge Charger kit. Not much more to say, everything else came from the Daytona kit itself. Thanks for looking.
-
Finished the last in the series. I like this kit, although its fairly simplified it went together well. The tough part was painting the black out ducts on the body. Comments welcome, thanks for looking.
-
Does anyone make this hood in resin or 3d printed. Also looking for the decals as well in white or gold. GOD Bless, Thanks for Any Help ....
-
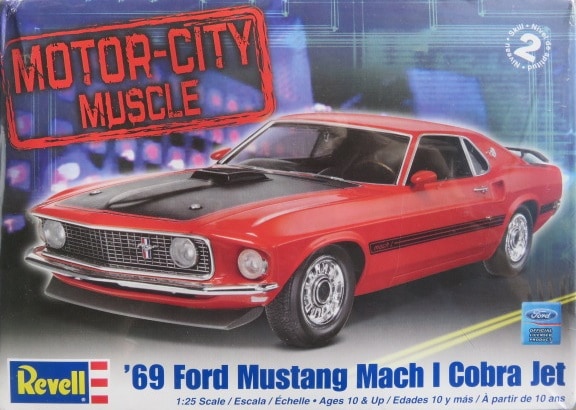
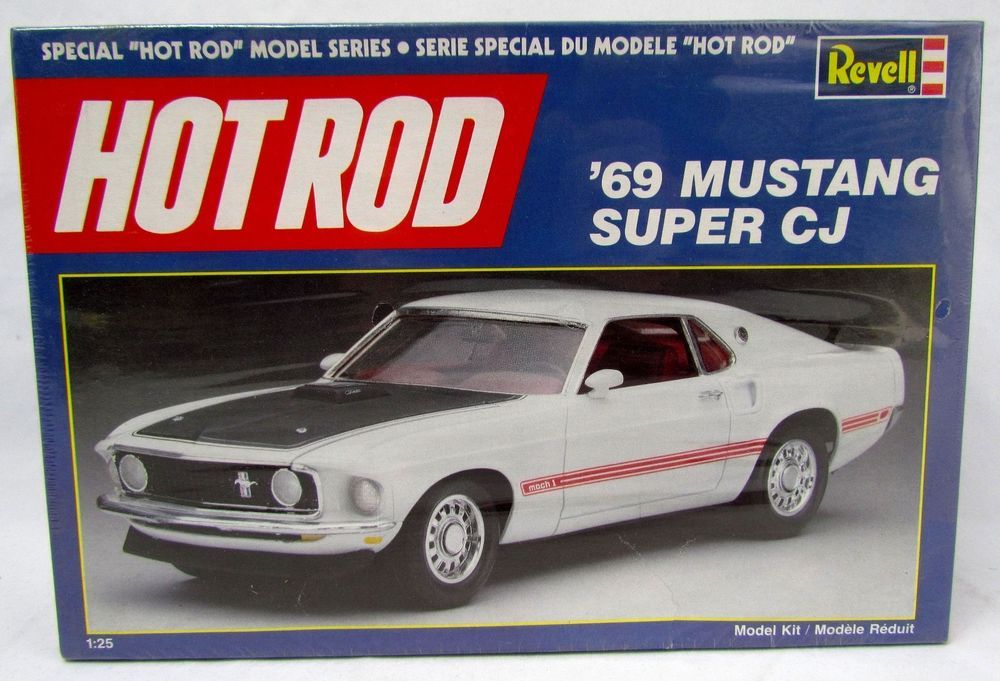
 I’m looking at options for the 50 Years of Mach 1 CBP, and I was wondering - is there a difference between these kits? If so, what is different? Thanks in advance!
-
Rolled her off the assembly line this morning, not to happy with the final paint finish, or the ill fitting hood, but it's done and I can go on to the other Chargers I have. Painted with Testors' Sub Lime green and wet look clear, roof is Tamiya semi gloss black white the interior is Testors' lacquer primer white and Tamiya semi gloss black door panels and dash. The Hemi came from the Revell 68 Charger kit and I had to modify the exhaust system to work with the headers. Rear Frame supports (black things in front of the rear sprigs) came from a Revell 70 Charger kit. Thank you and all comments welcomed! Now, on with the show! Thanks again!
-
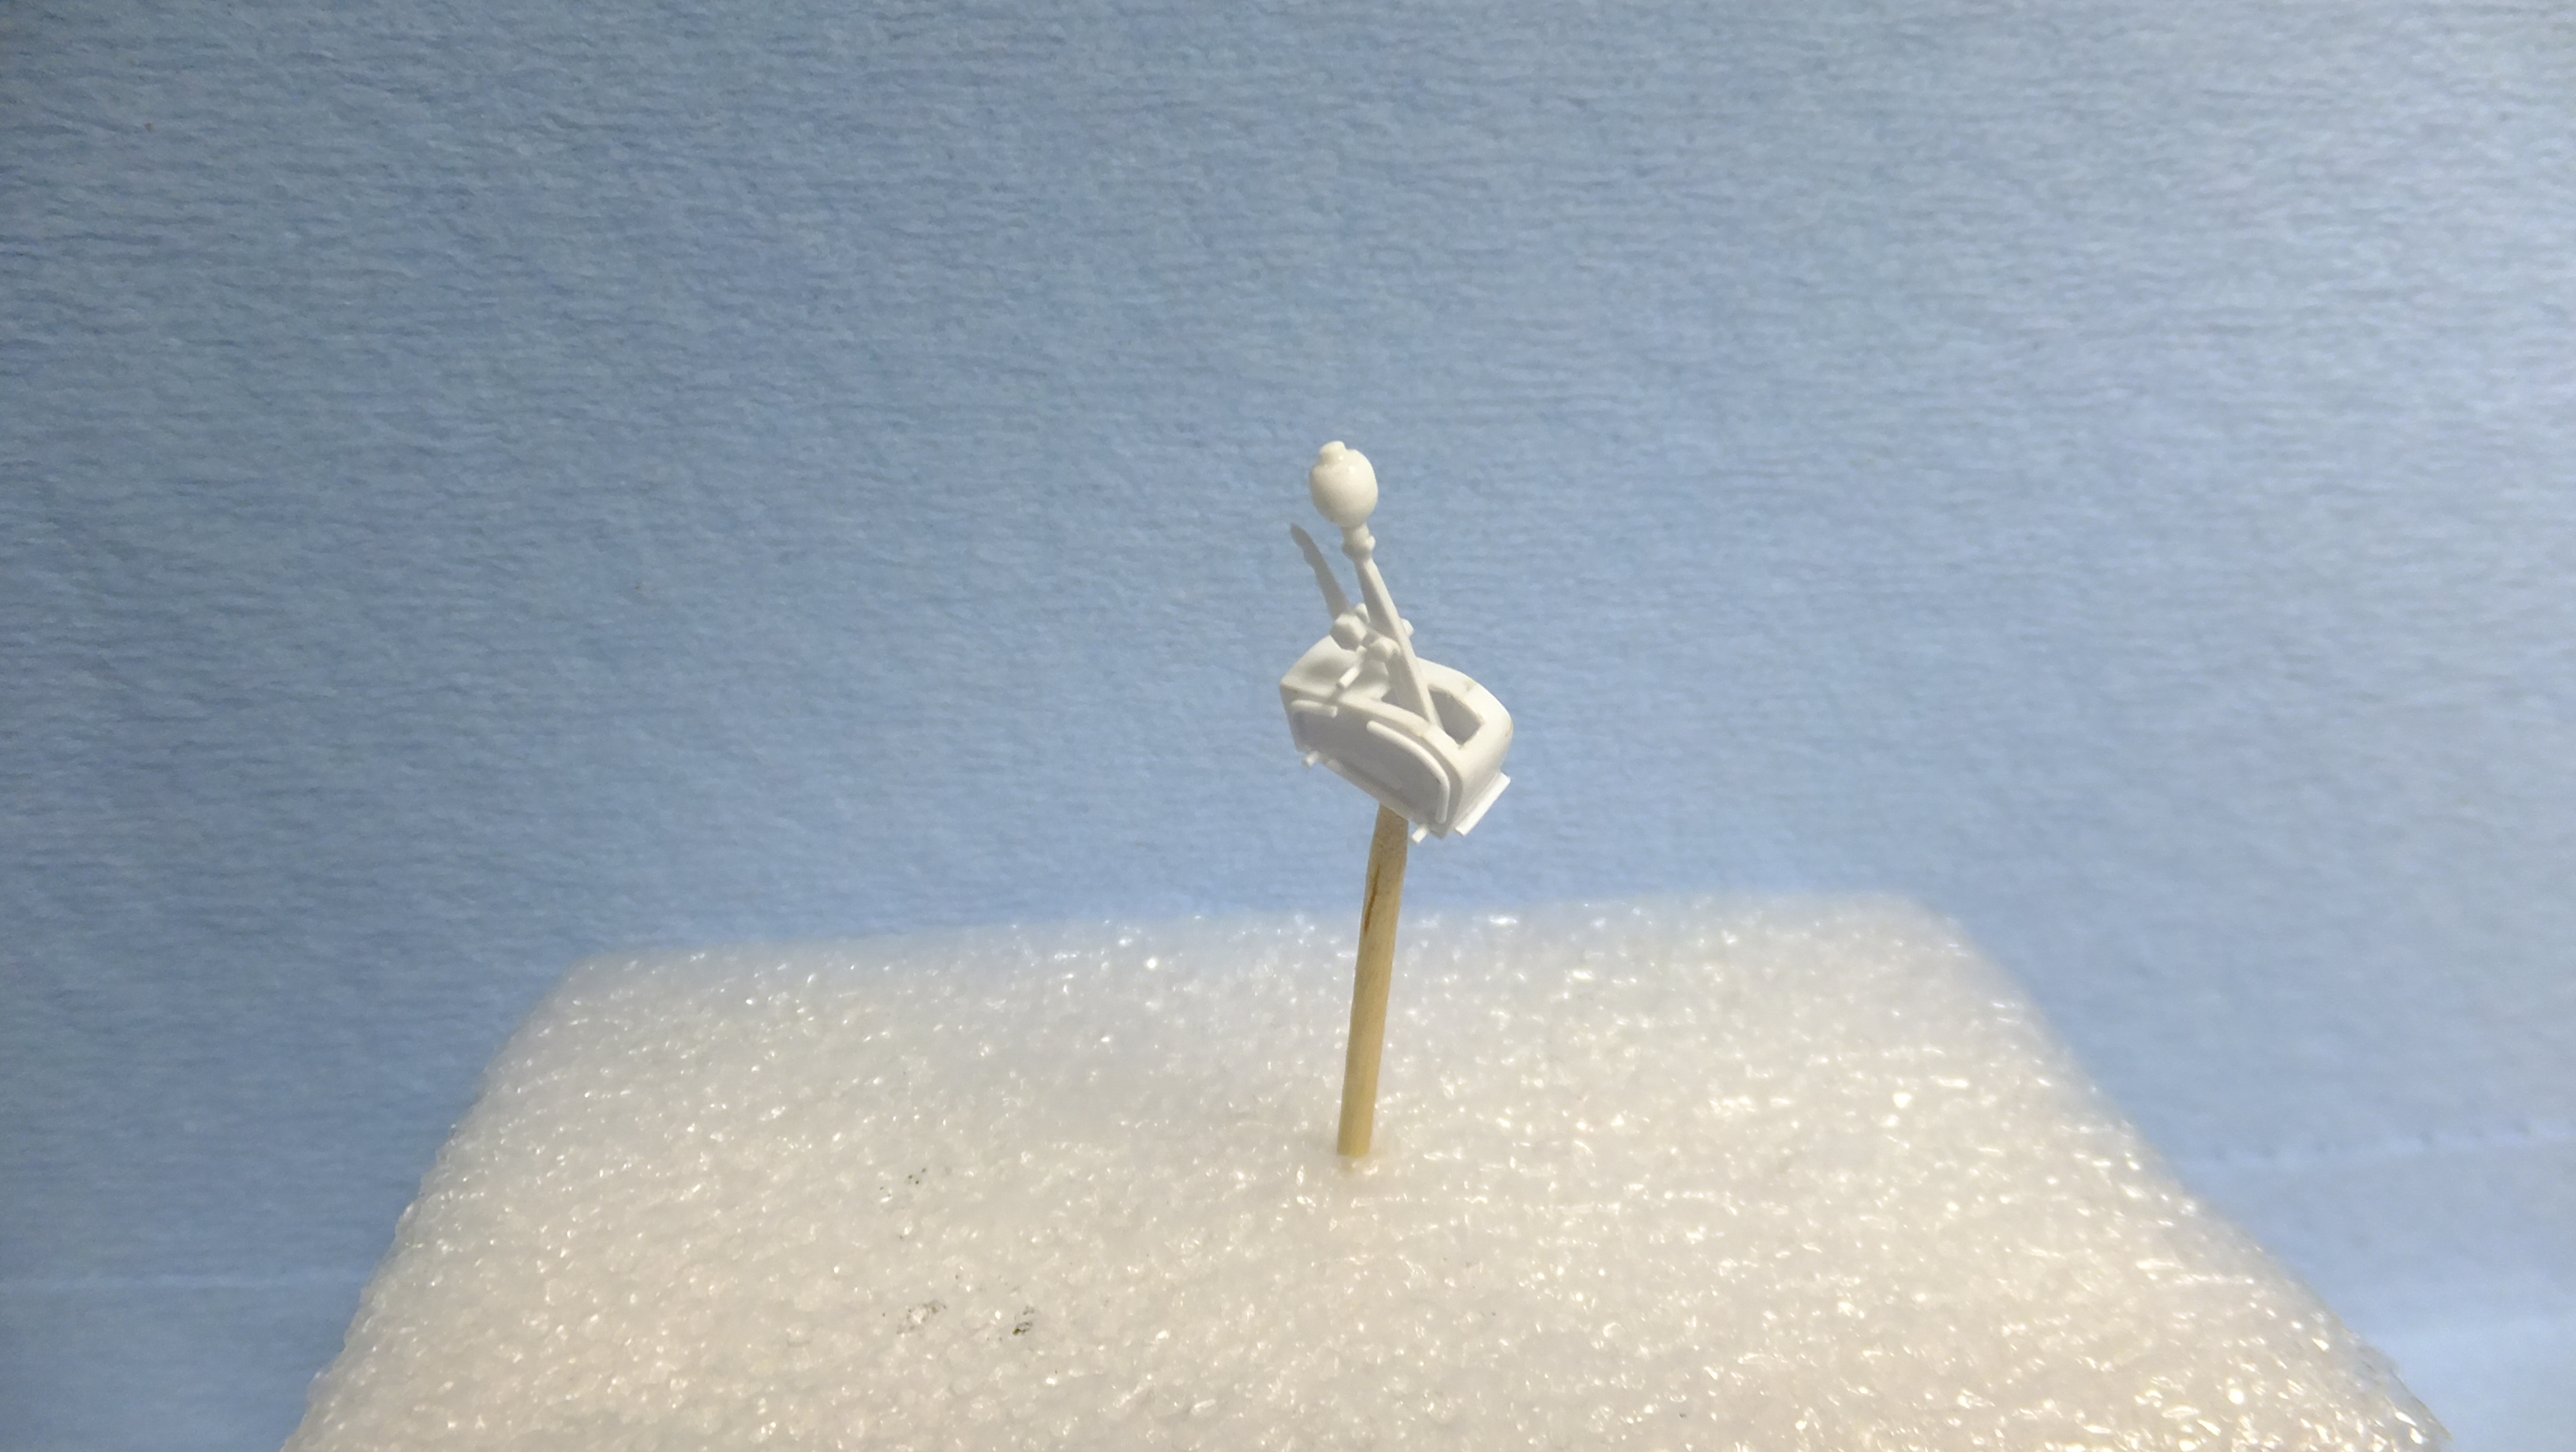
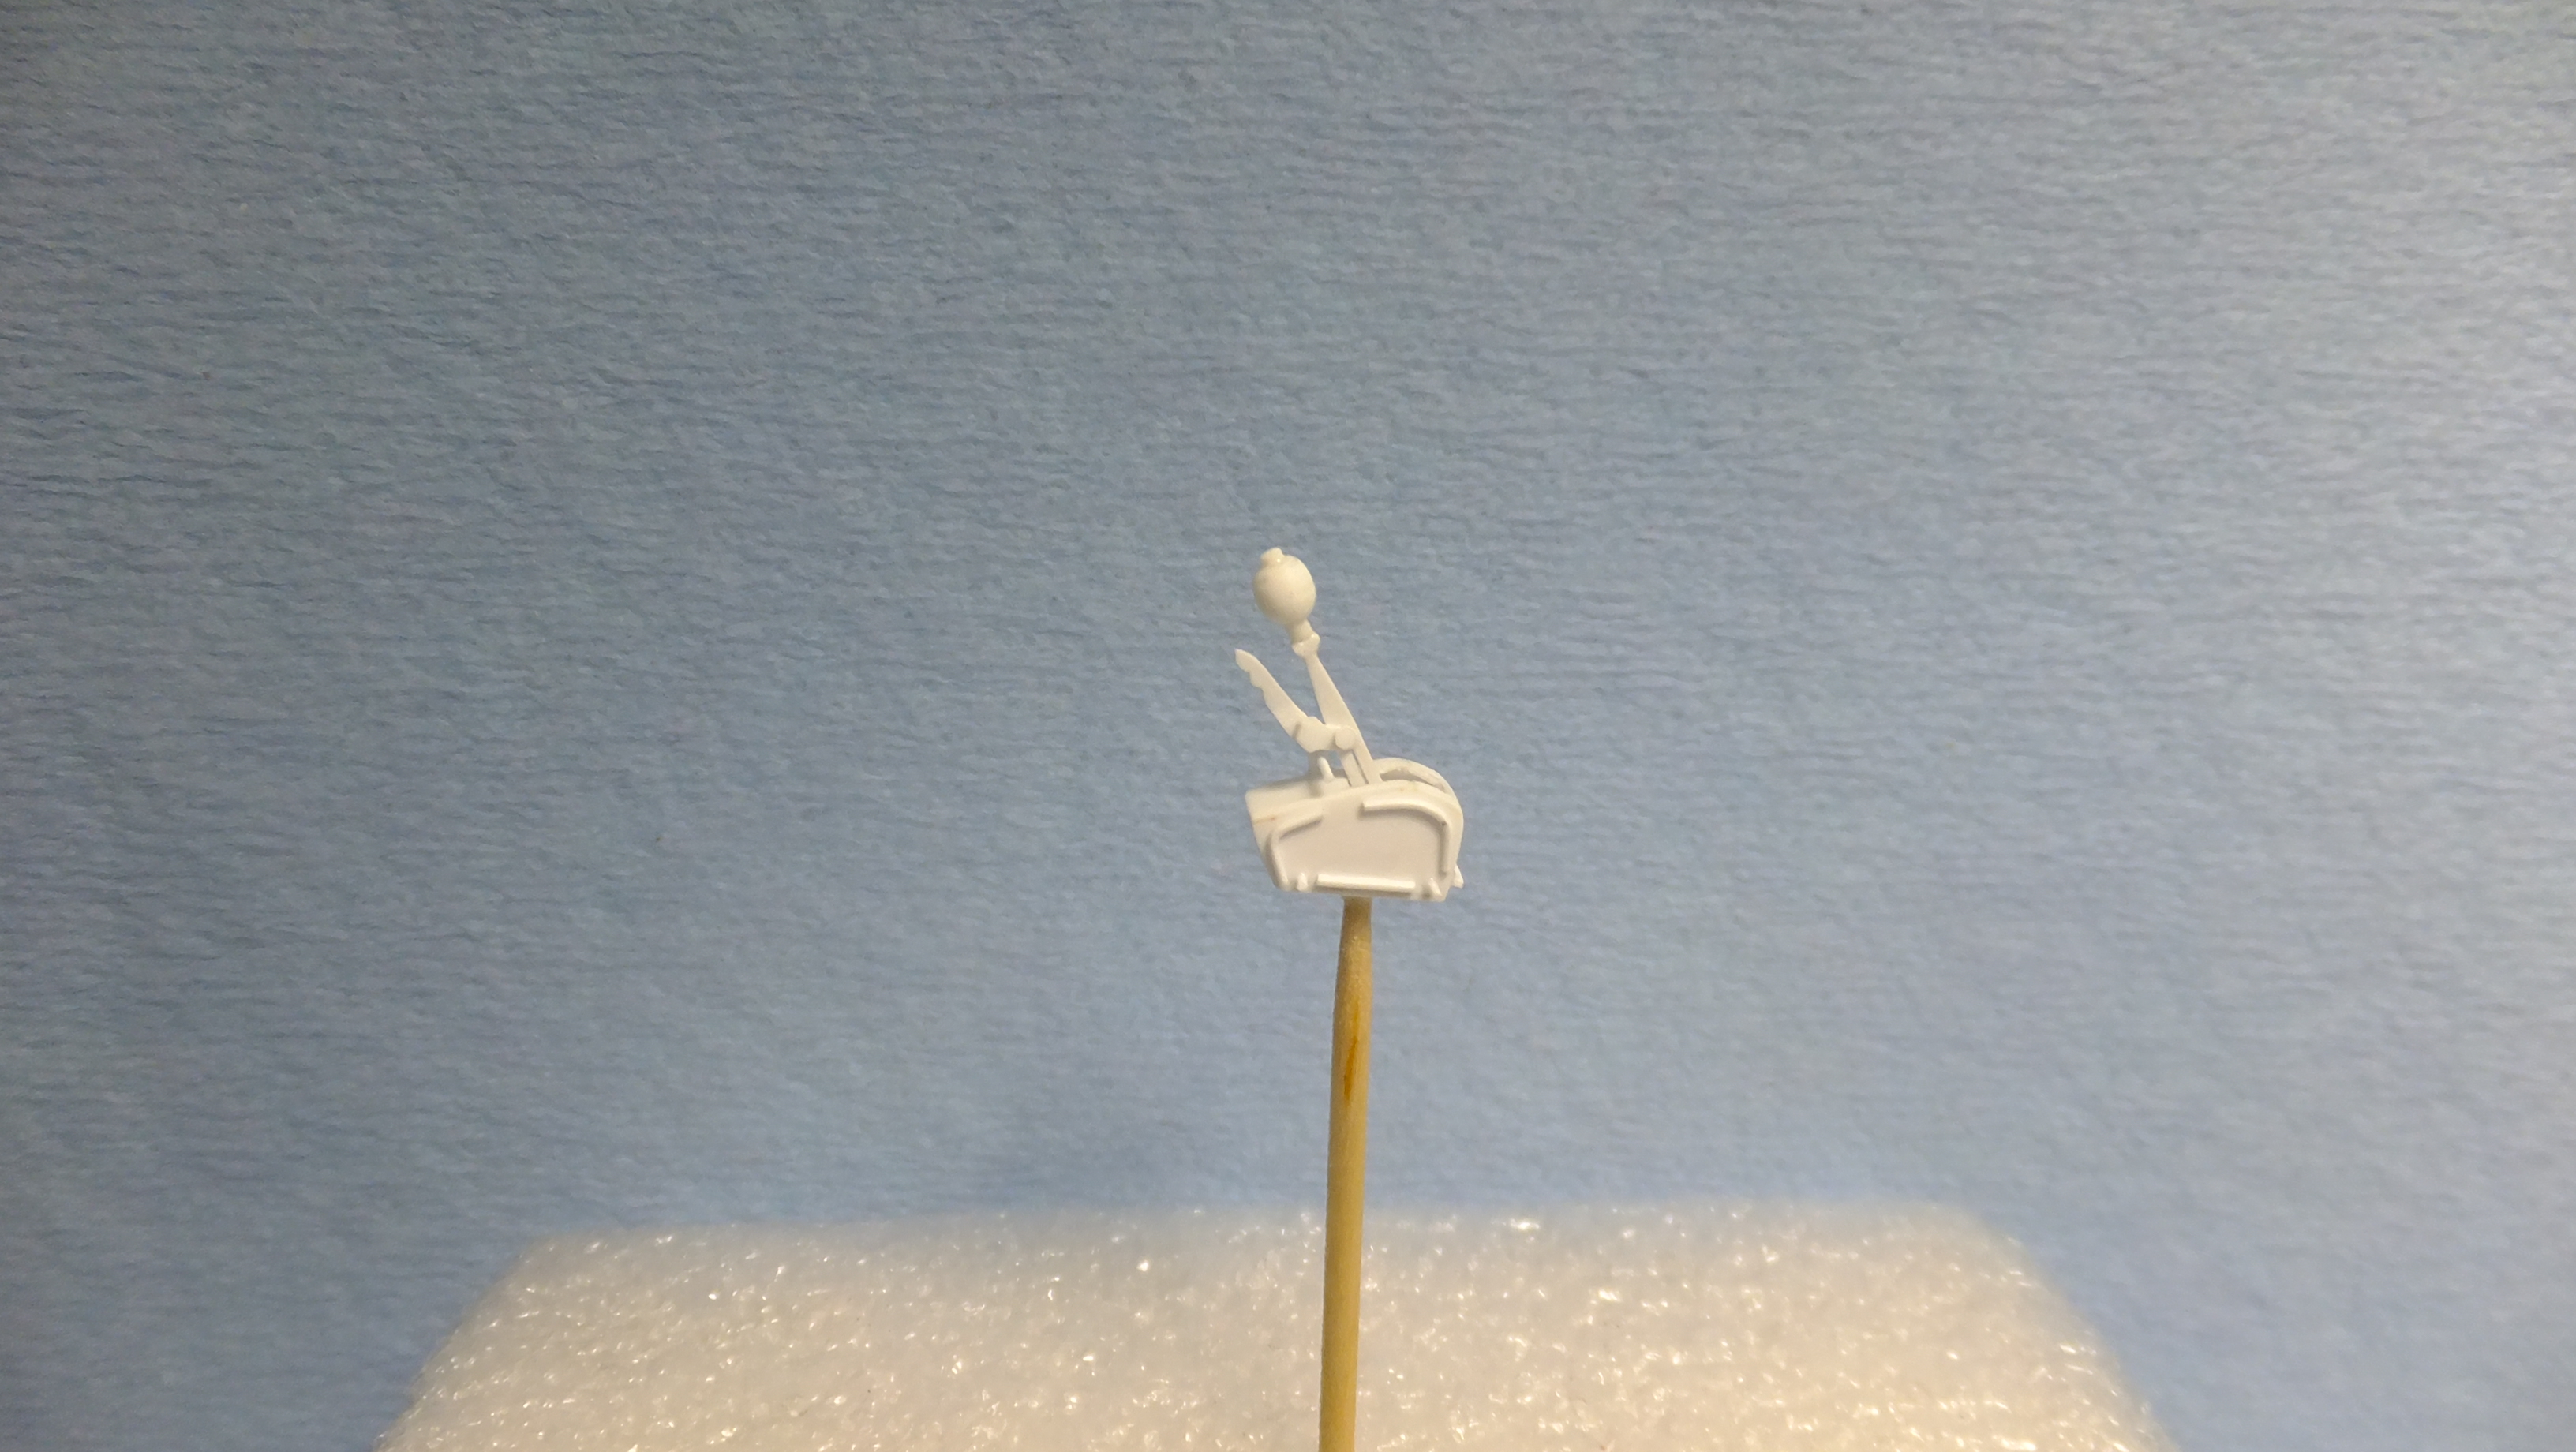
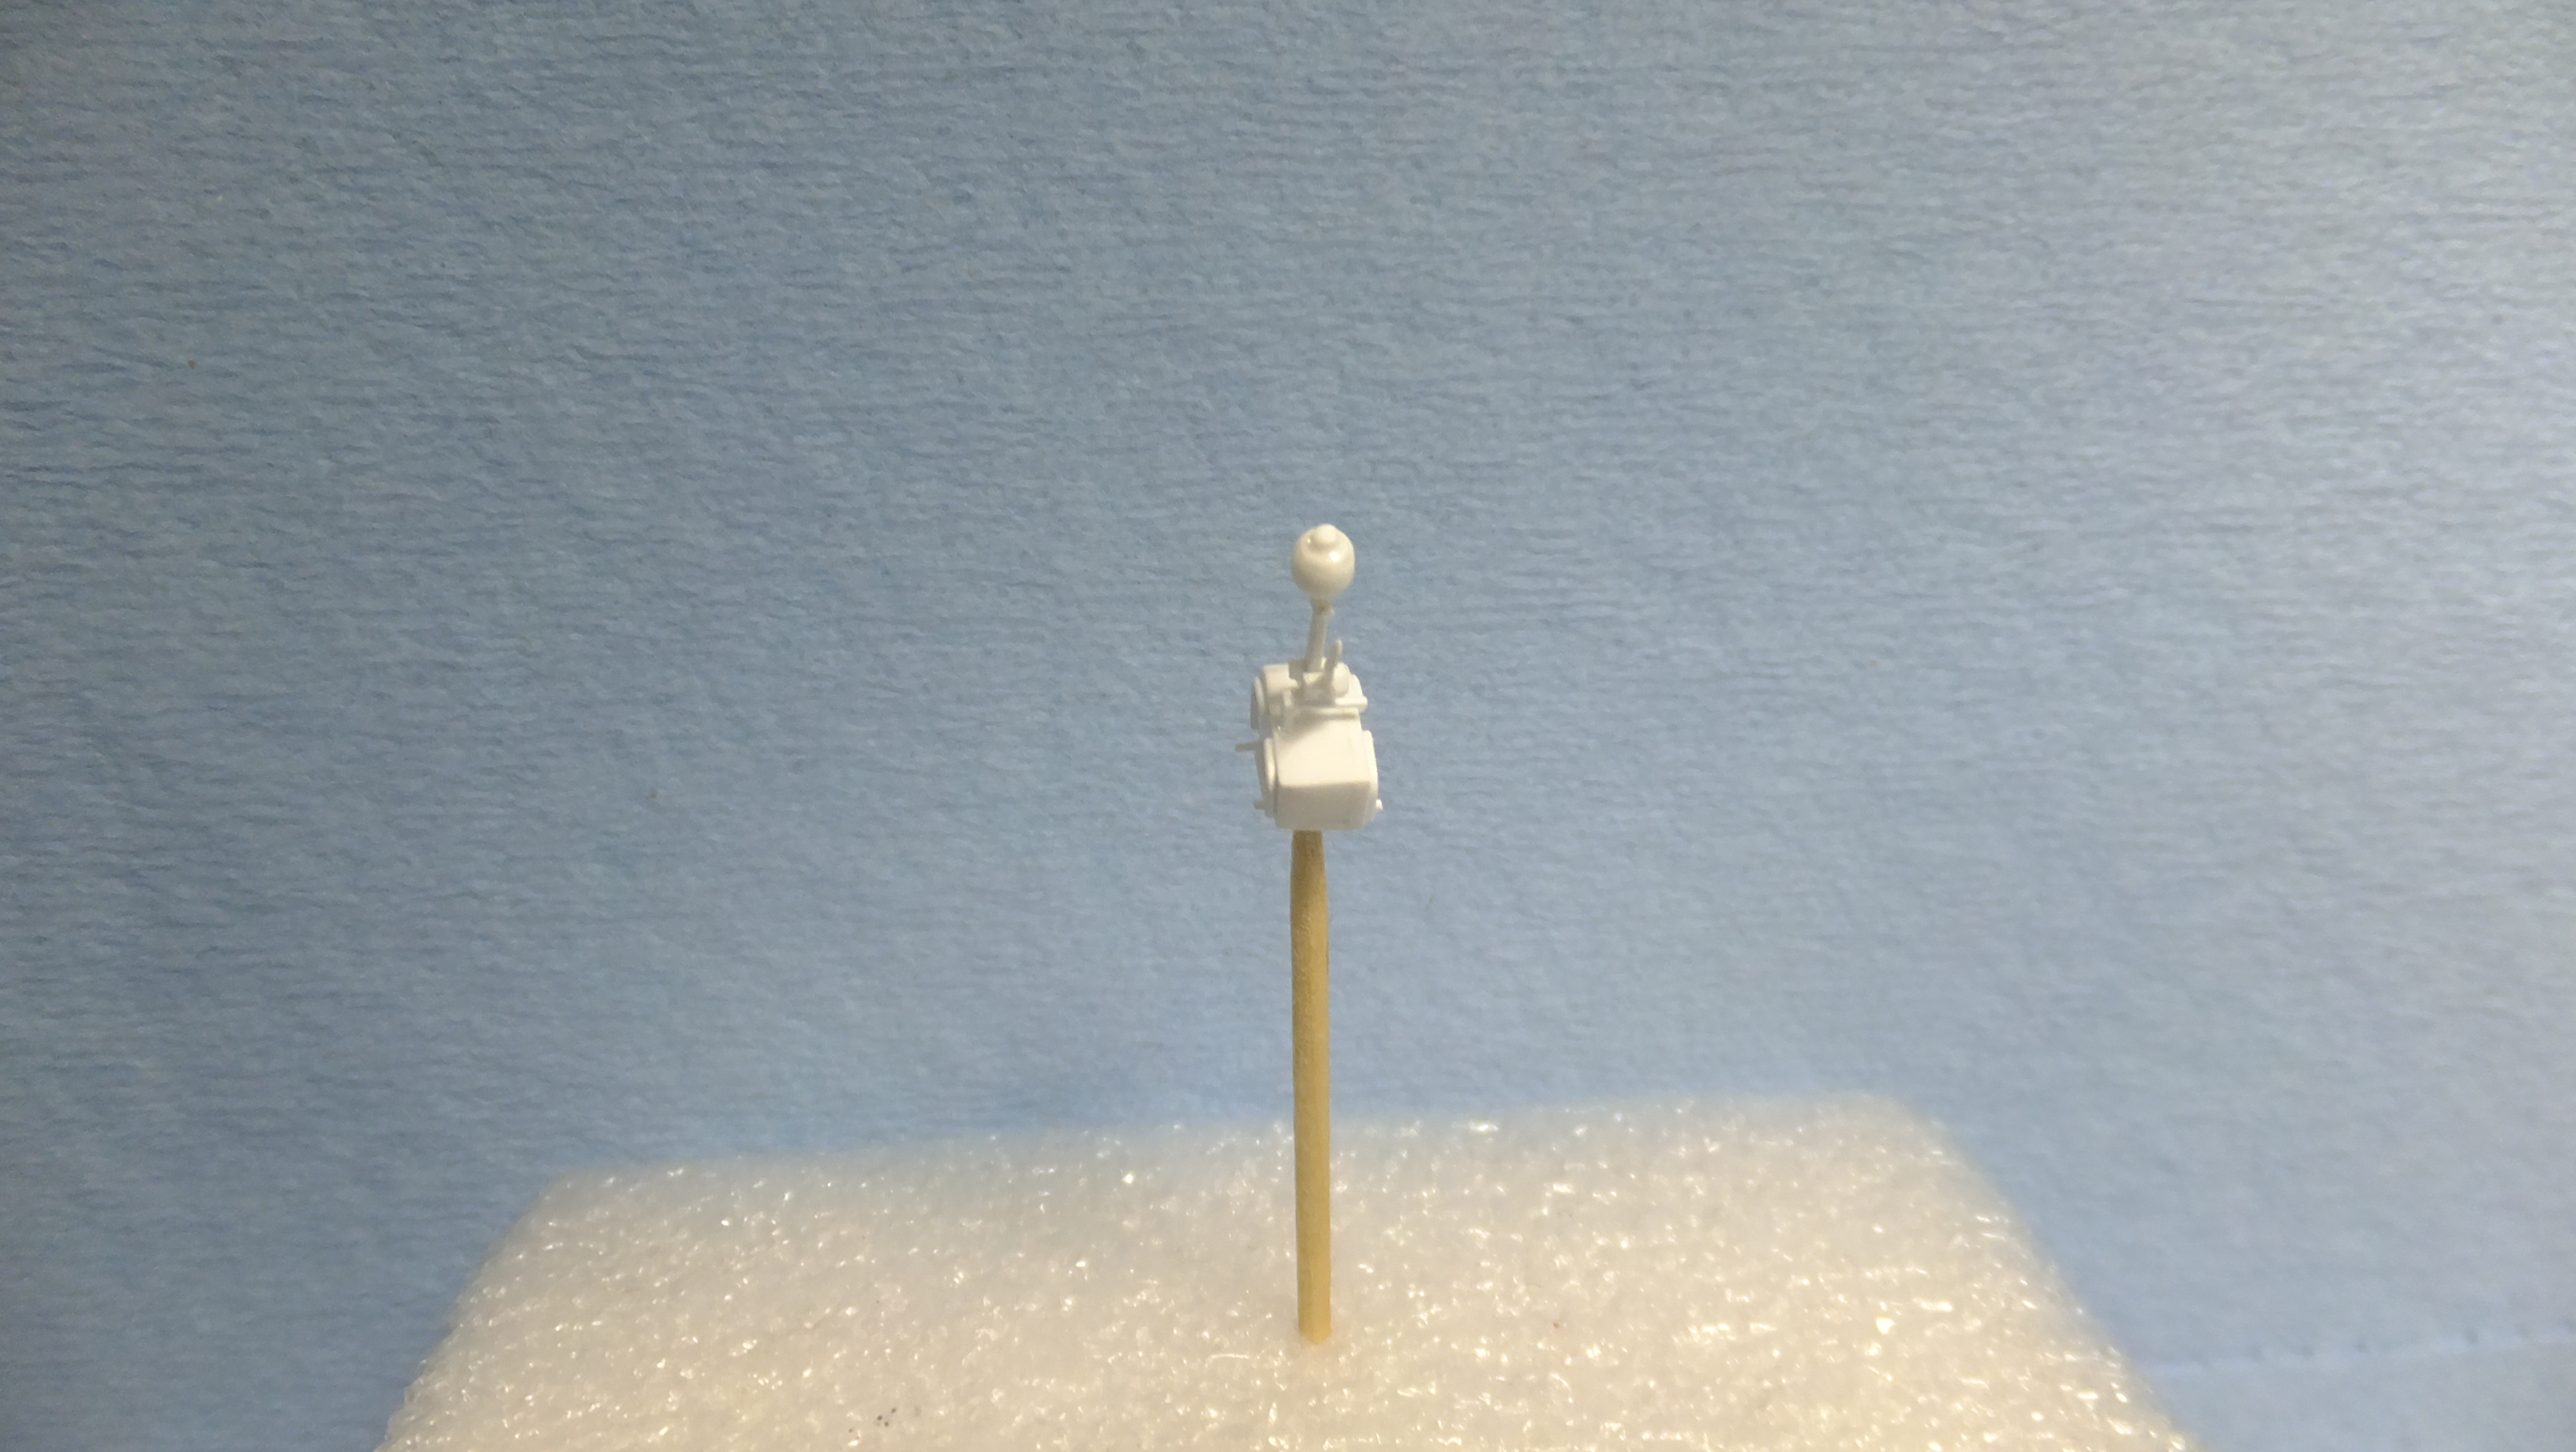
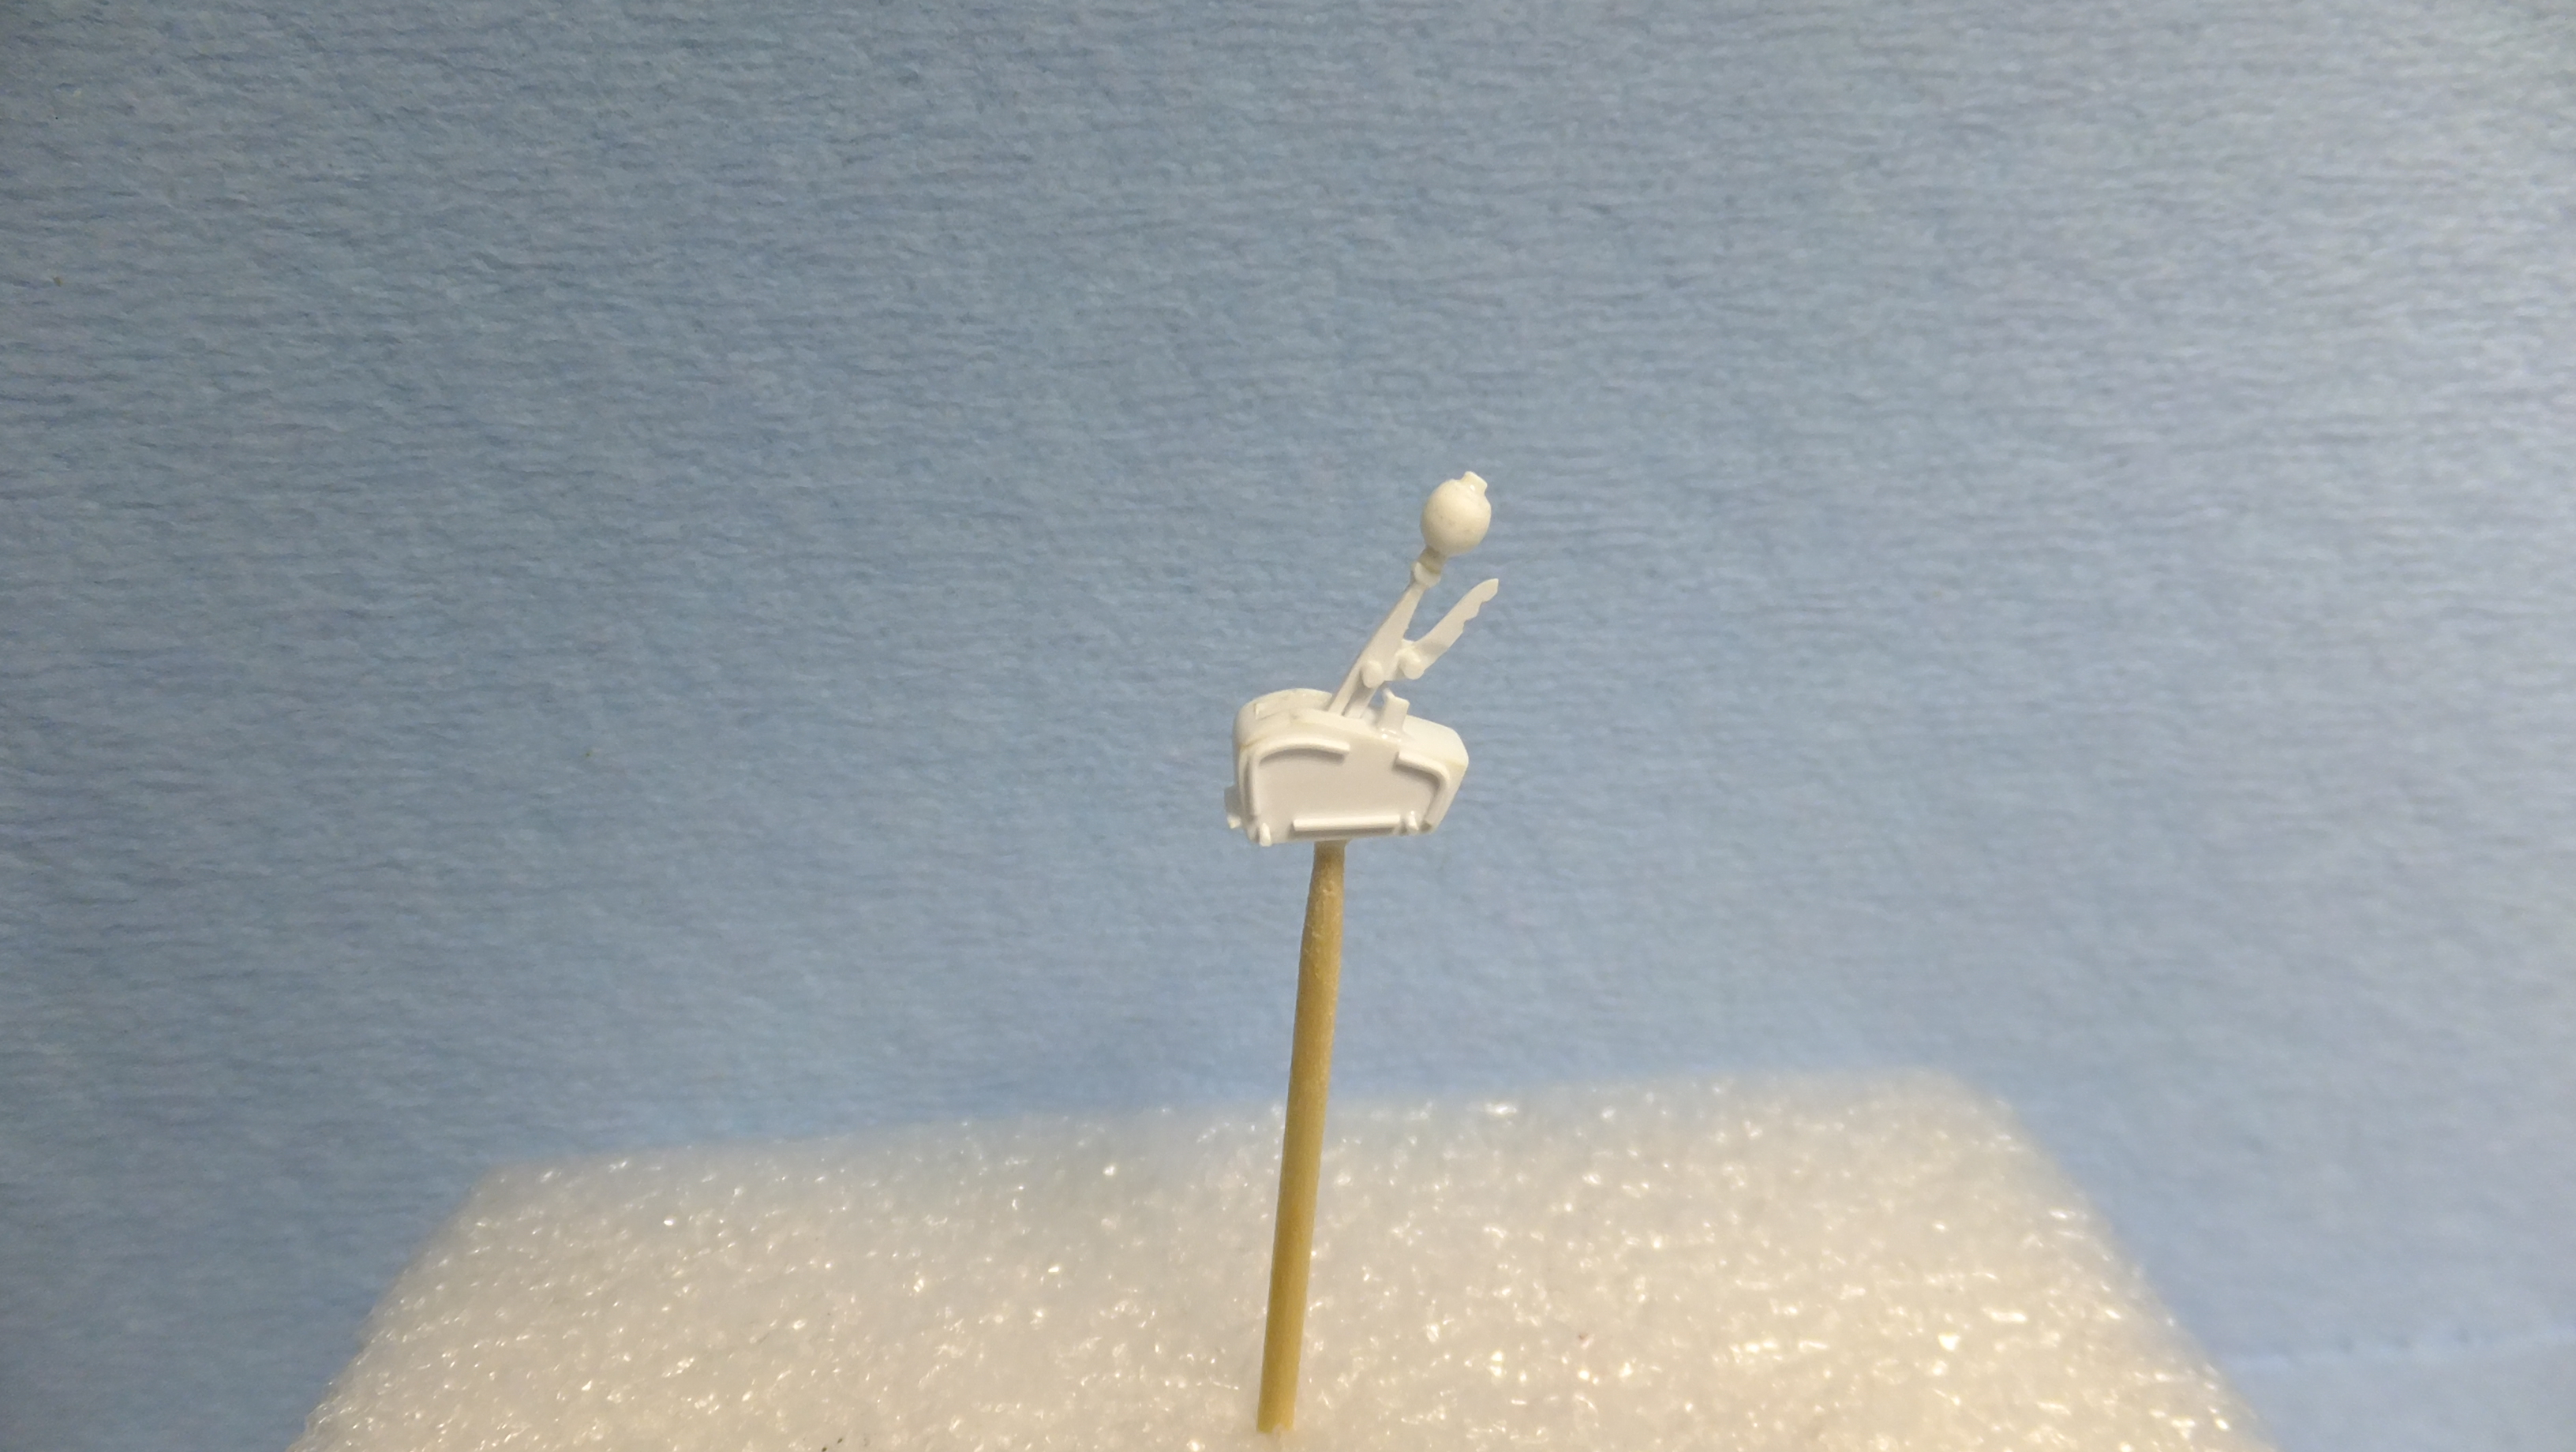
 Hey, everyone!, I just wanted to show you the shifter I made for a friend. It was a fun project - in itself...a model all its own...Hope you like, thanks for looking!!


.thumb.jpg.e0420fe52e683c60d19e843462316523.jpg)