Search the Community
Showing results for tags 'Revell'.
-
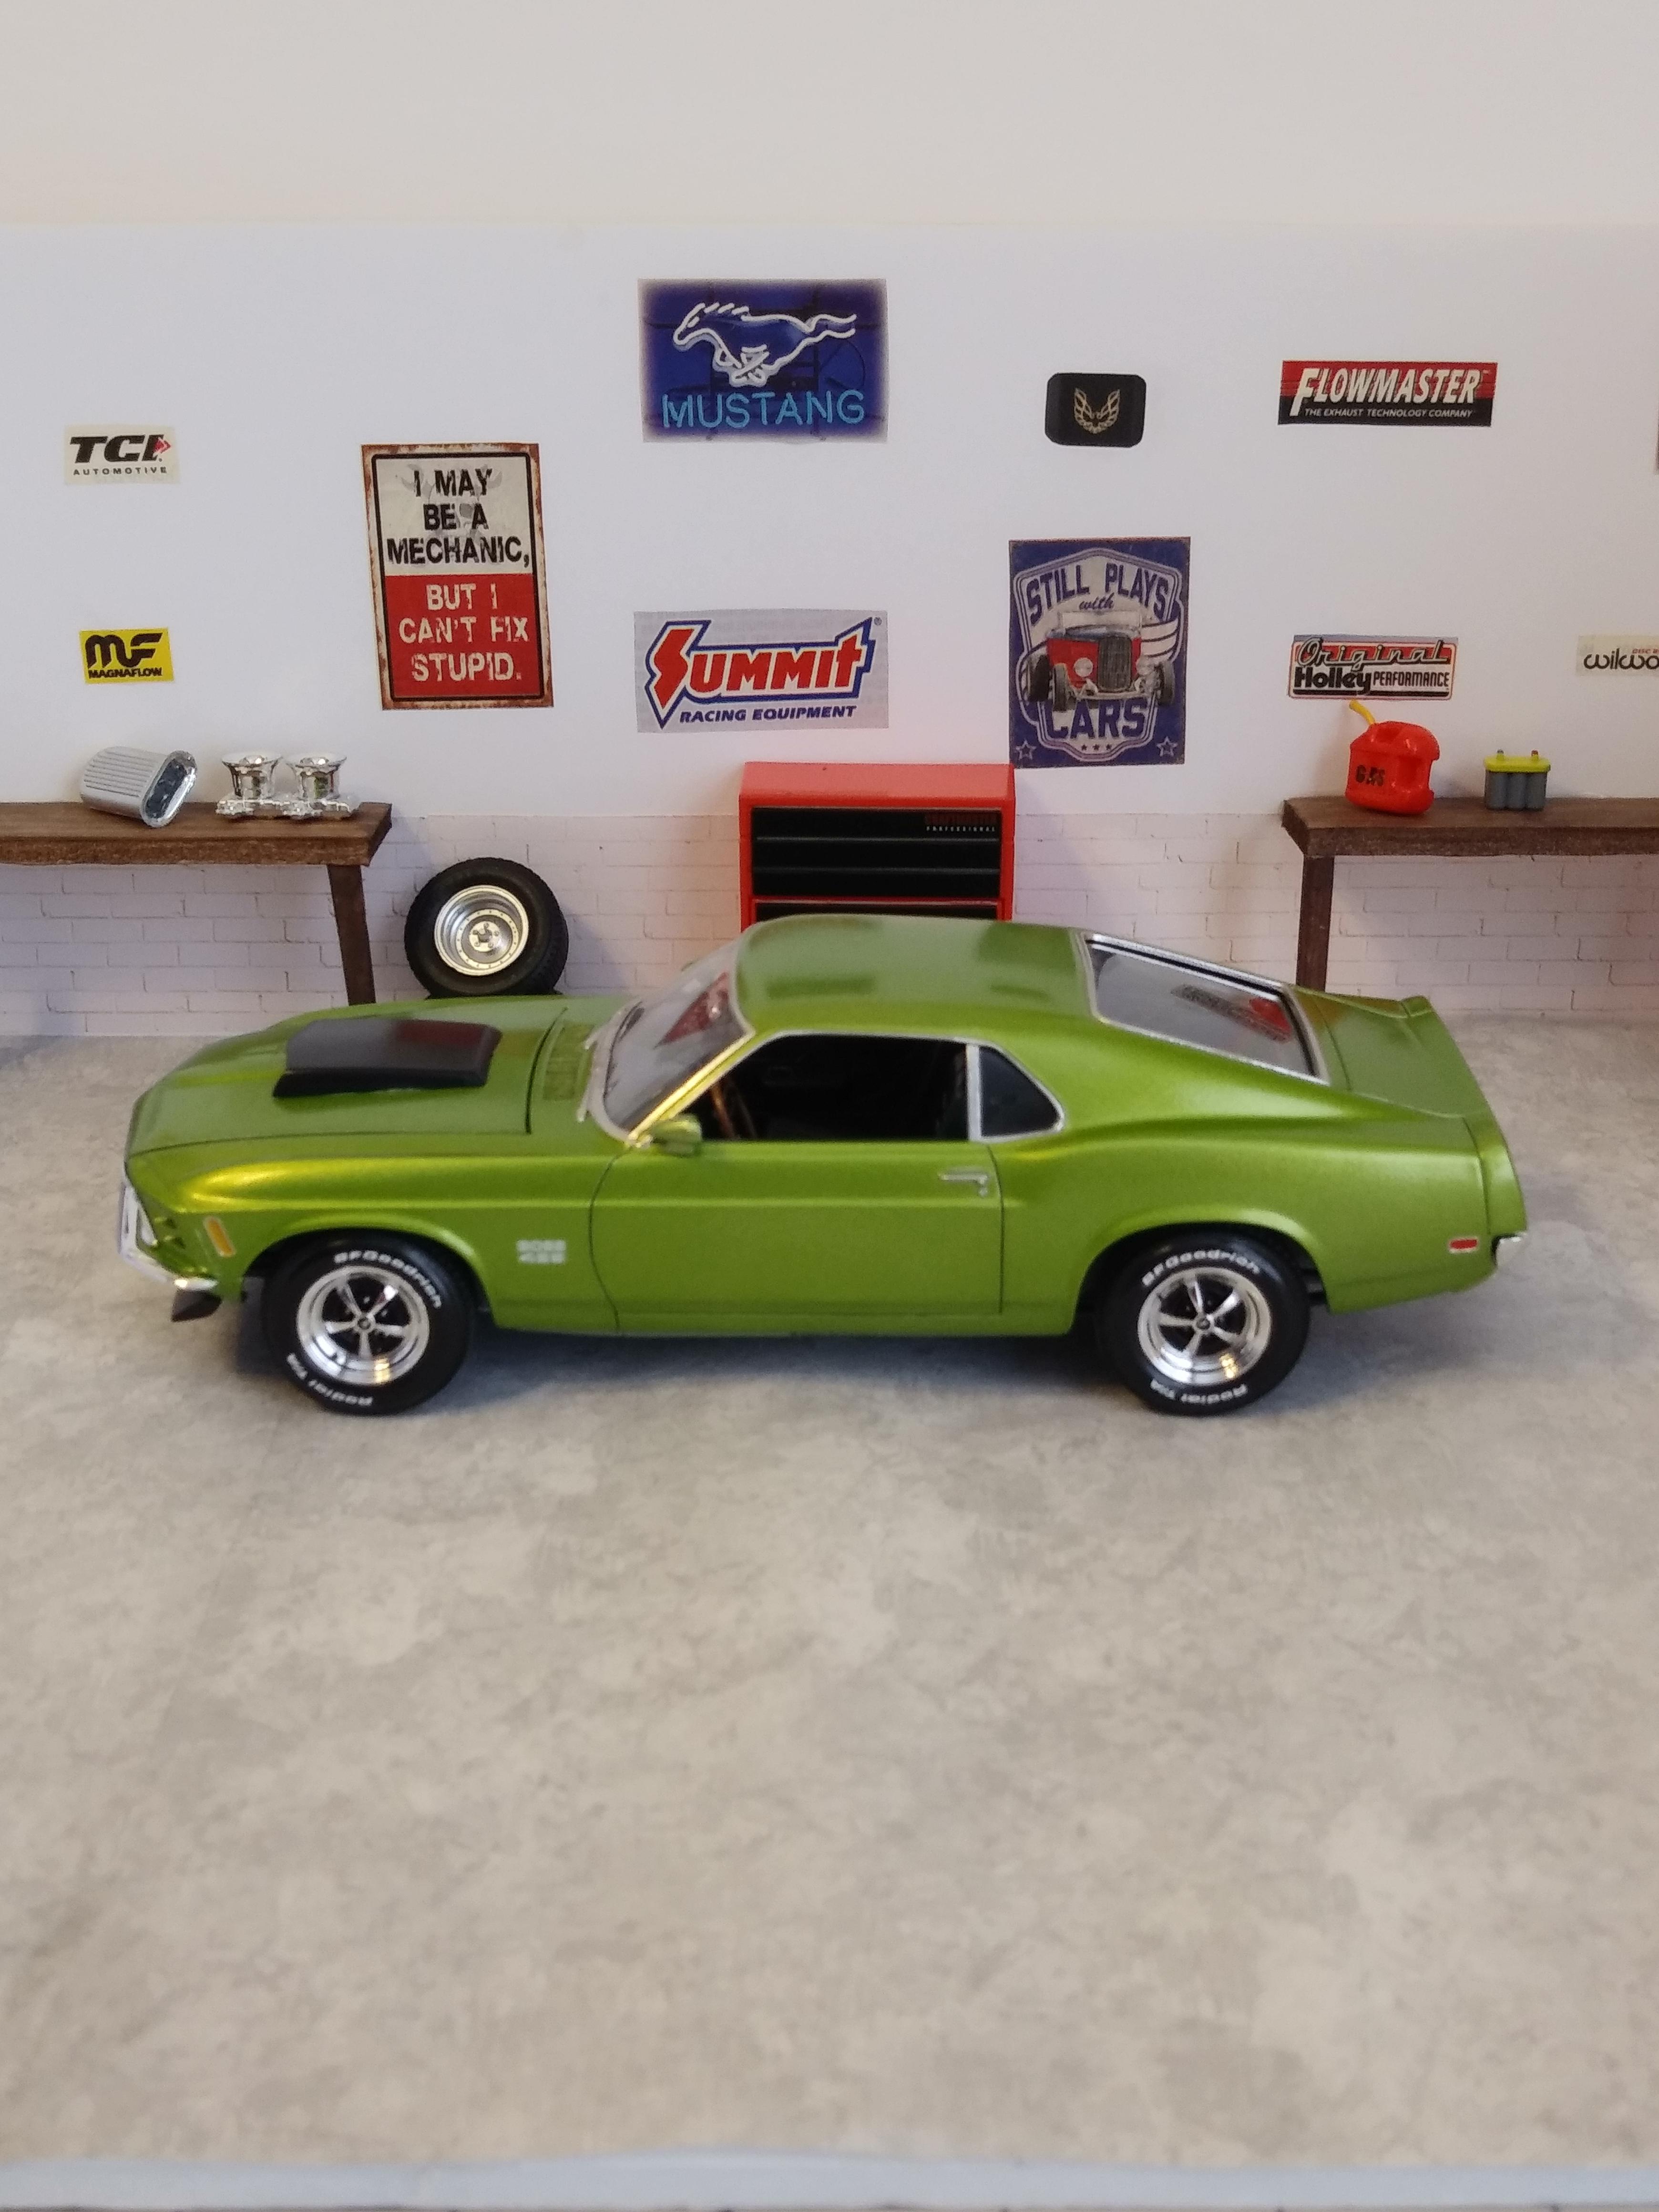
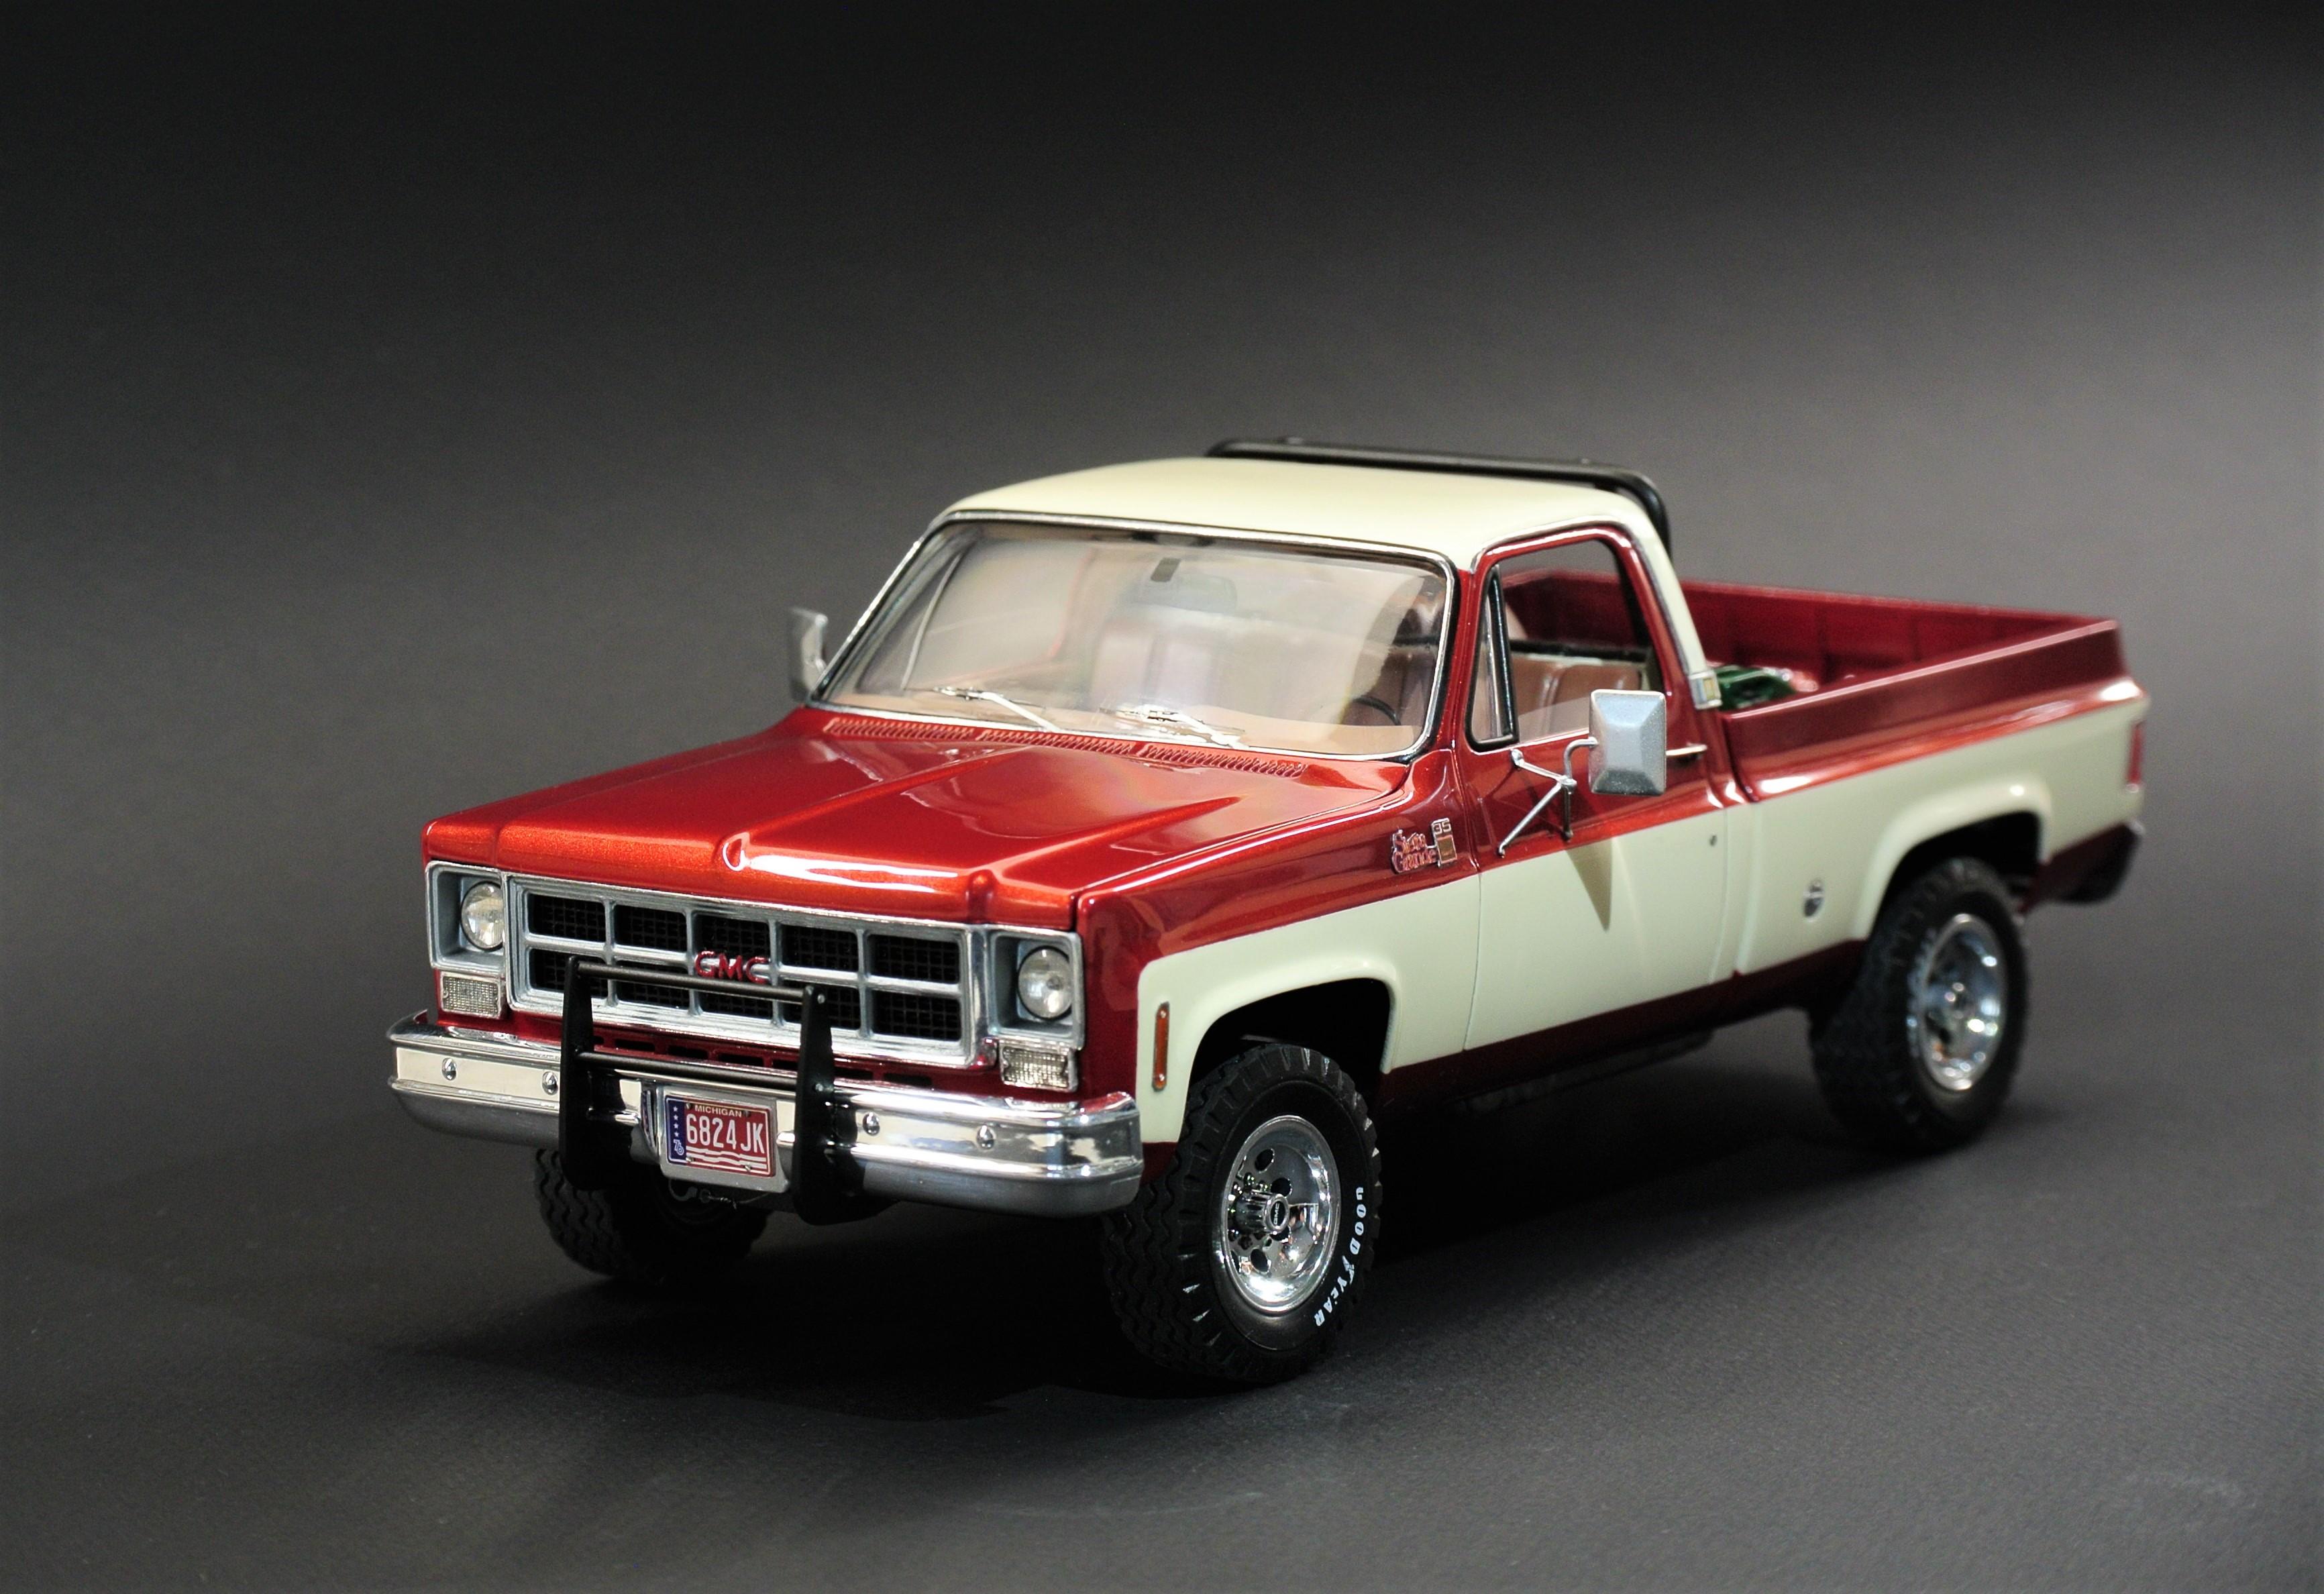
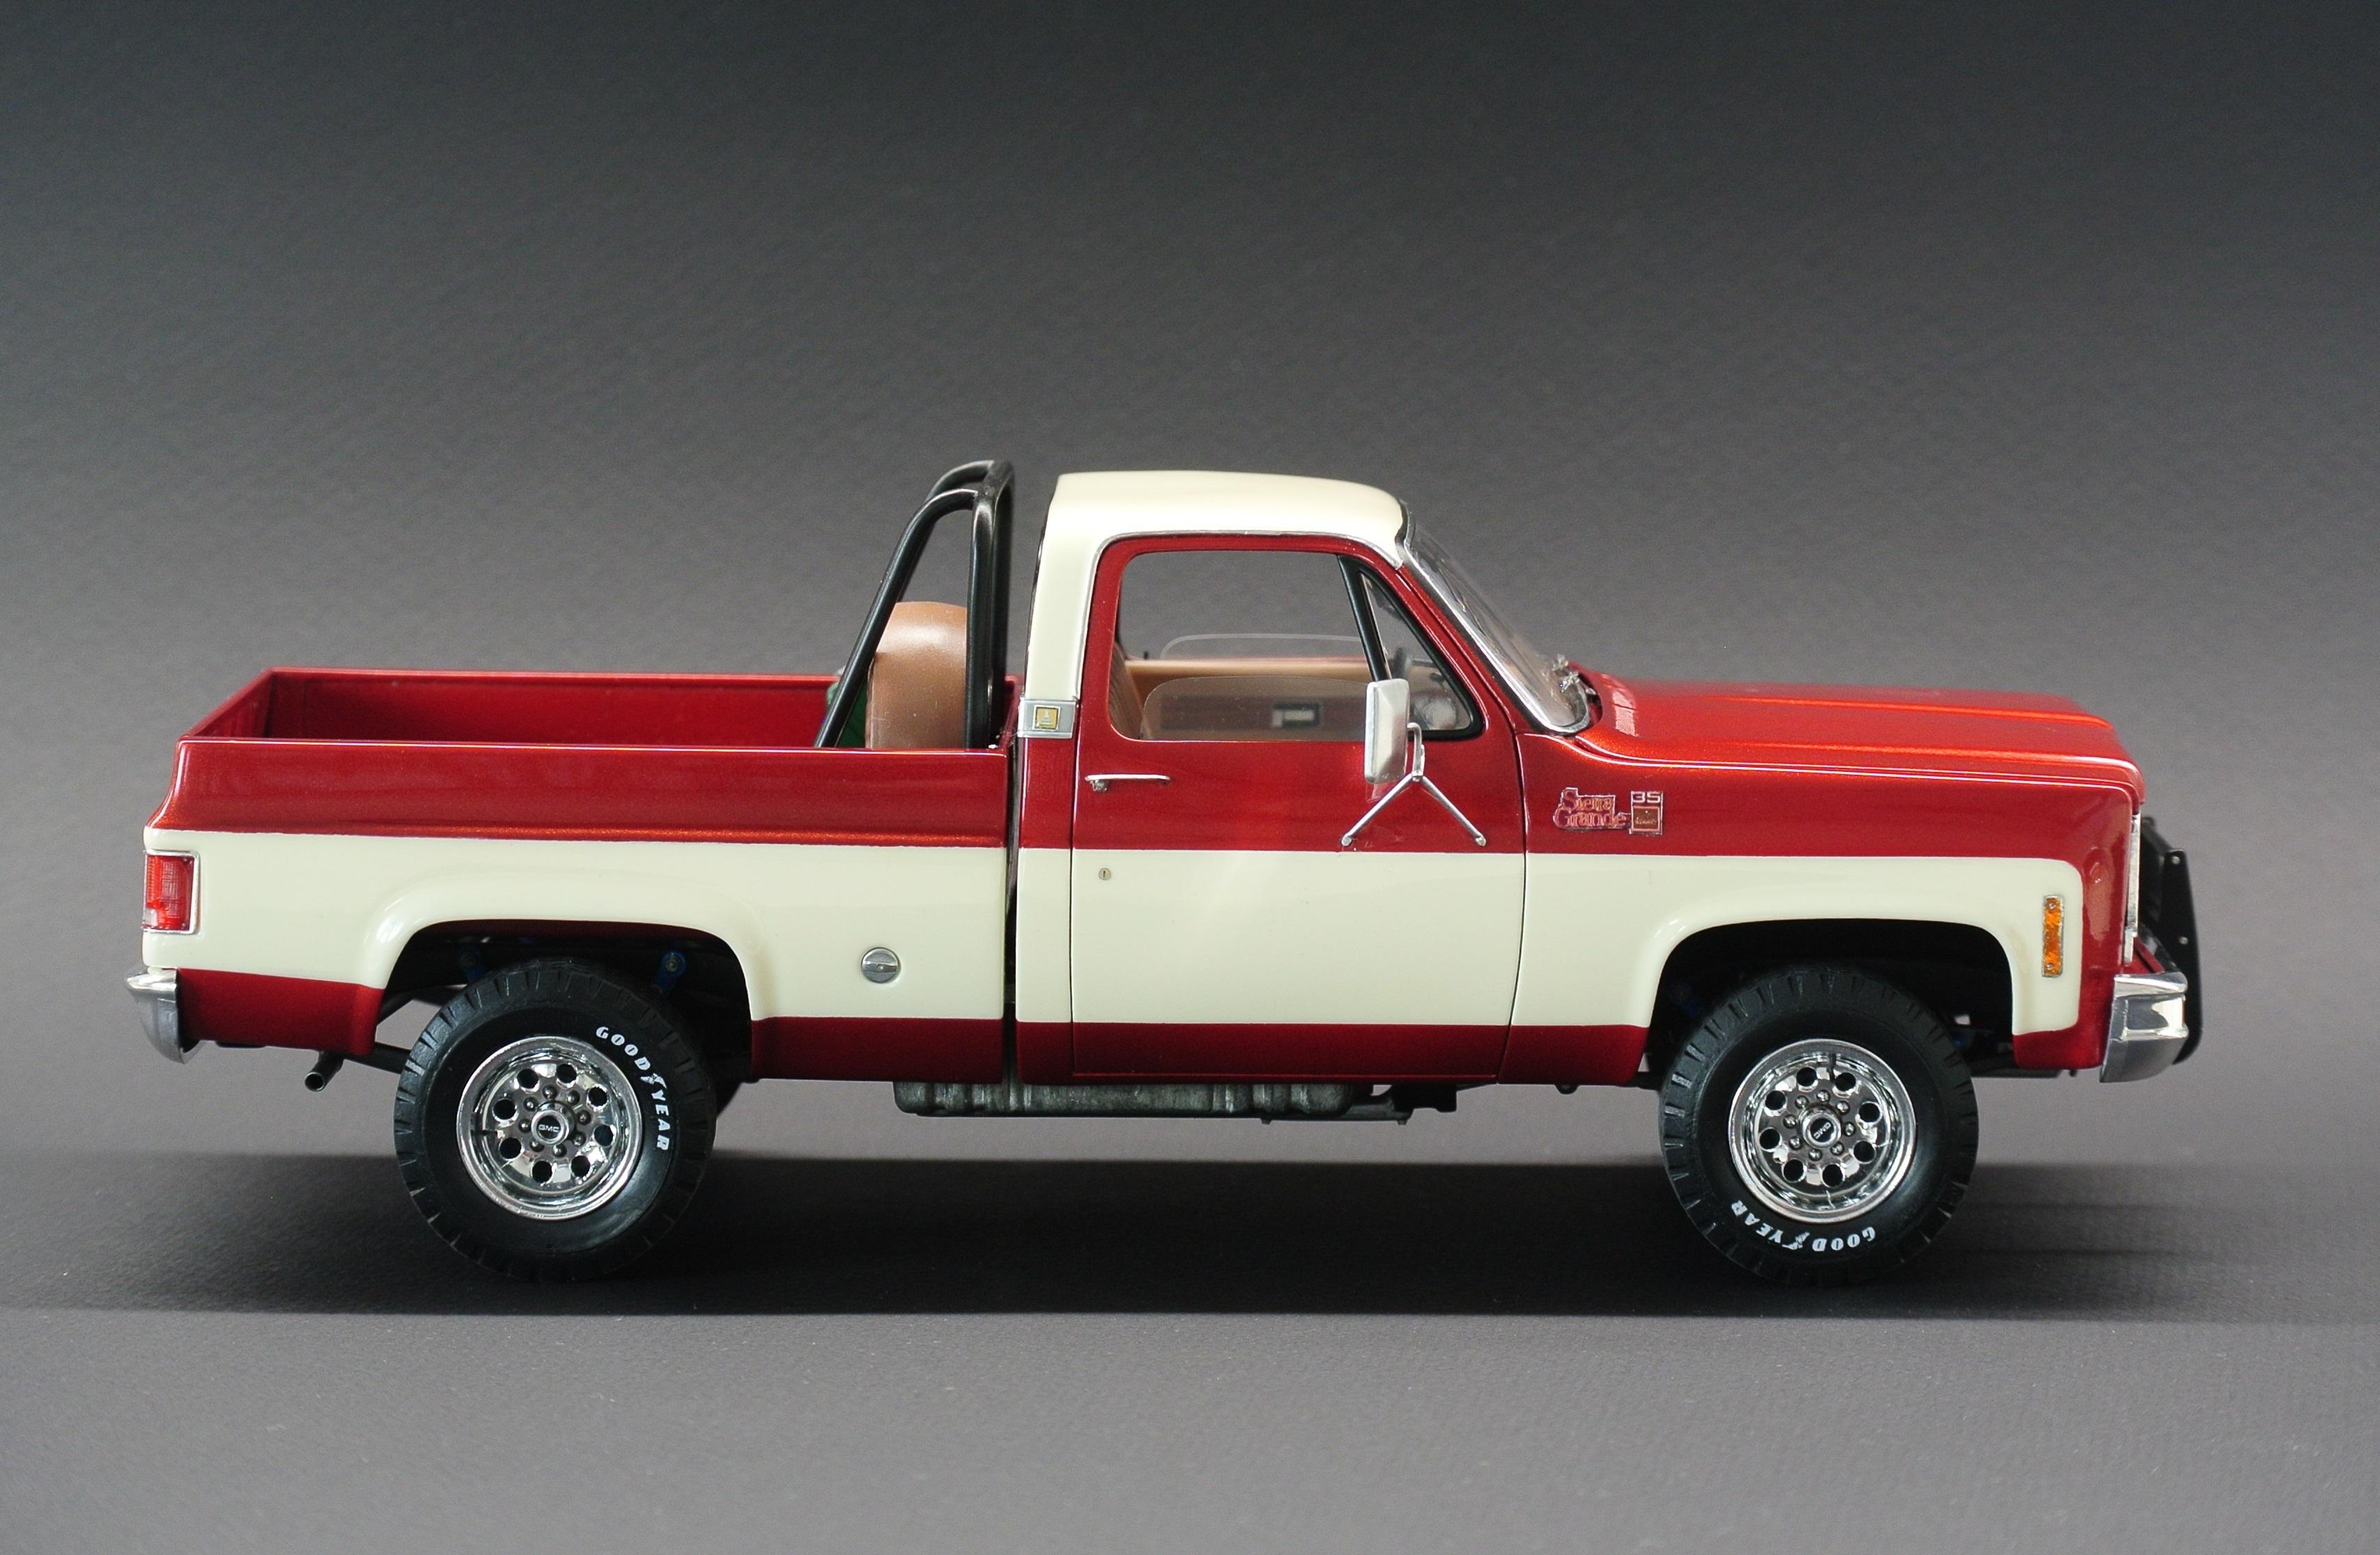
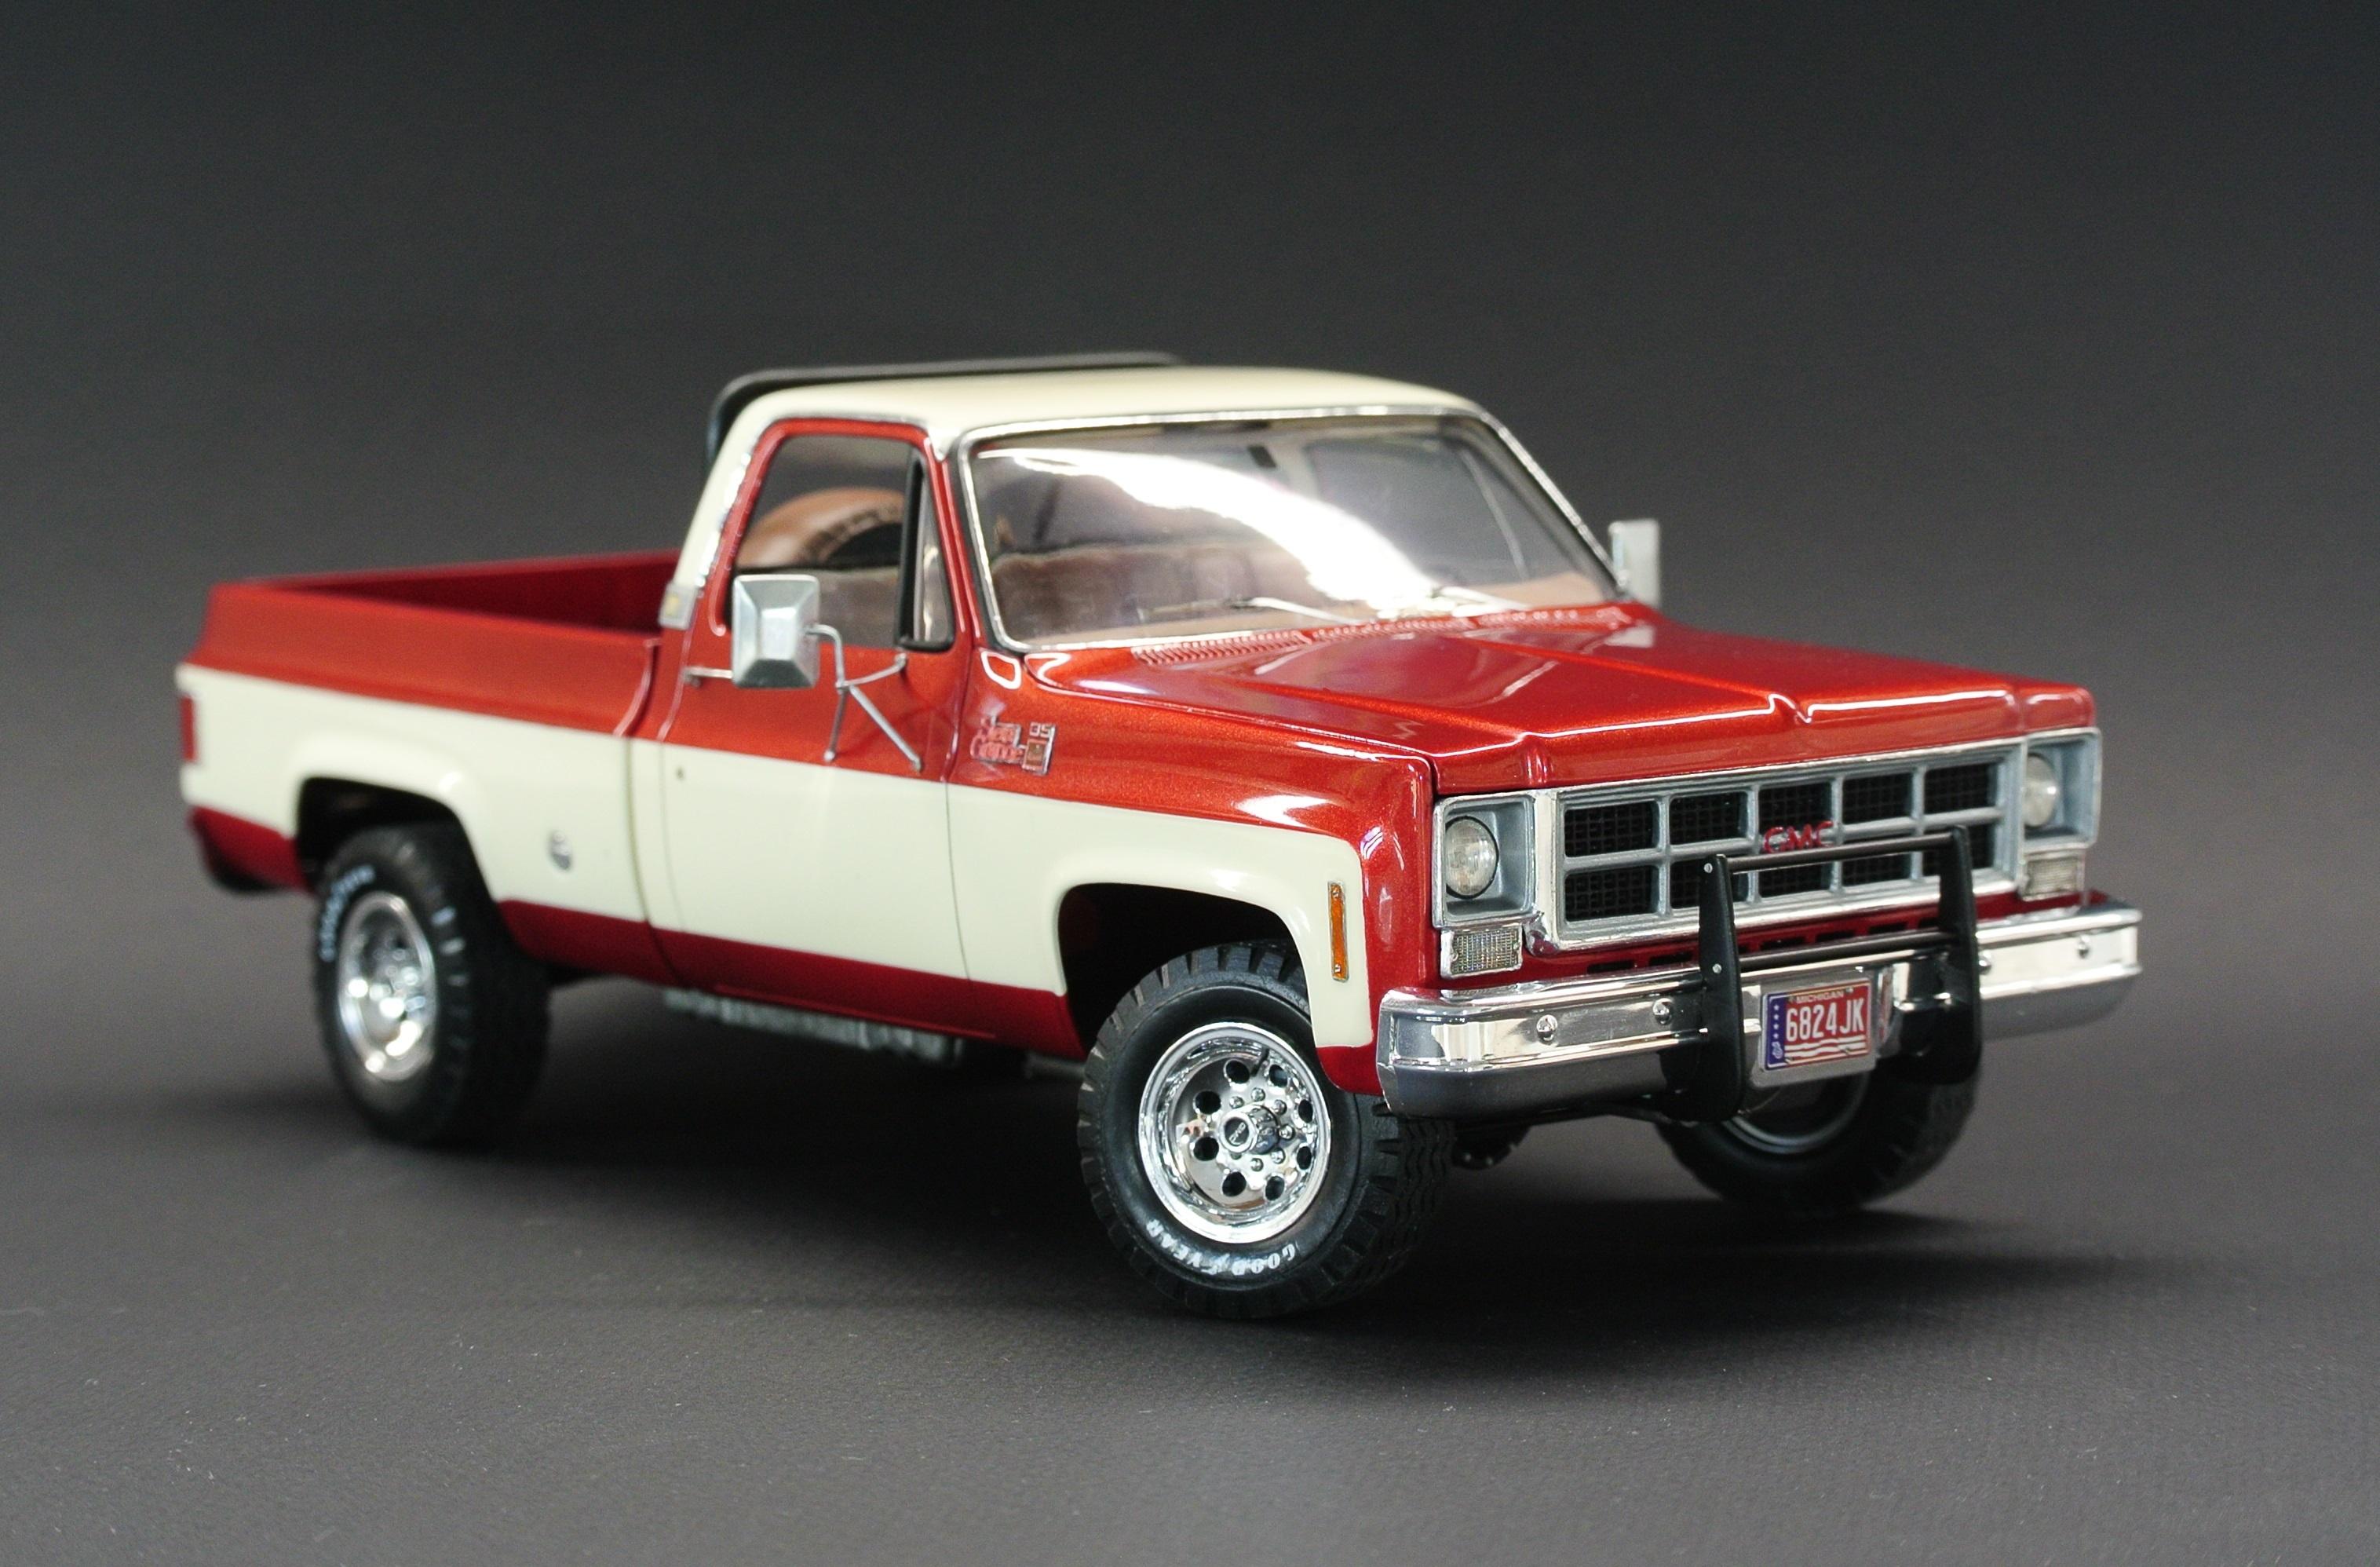
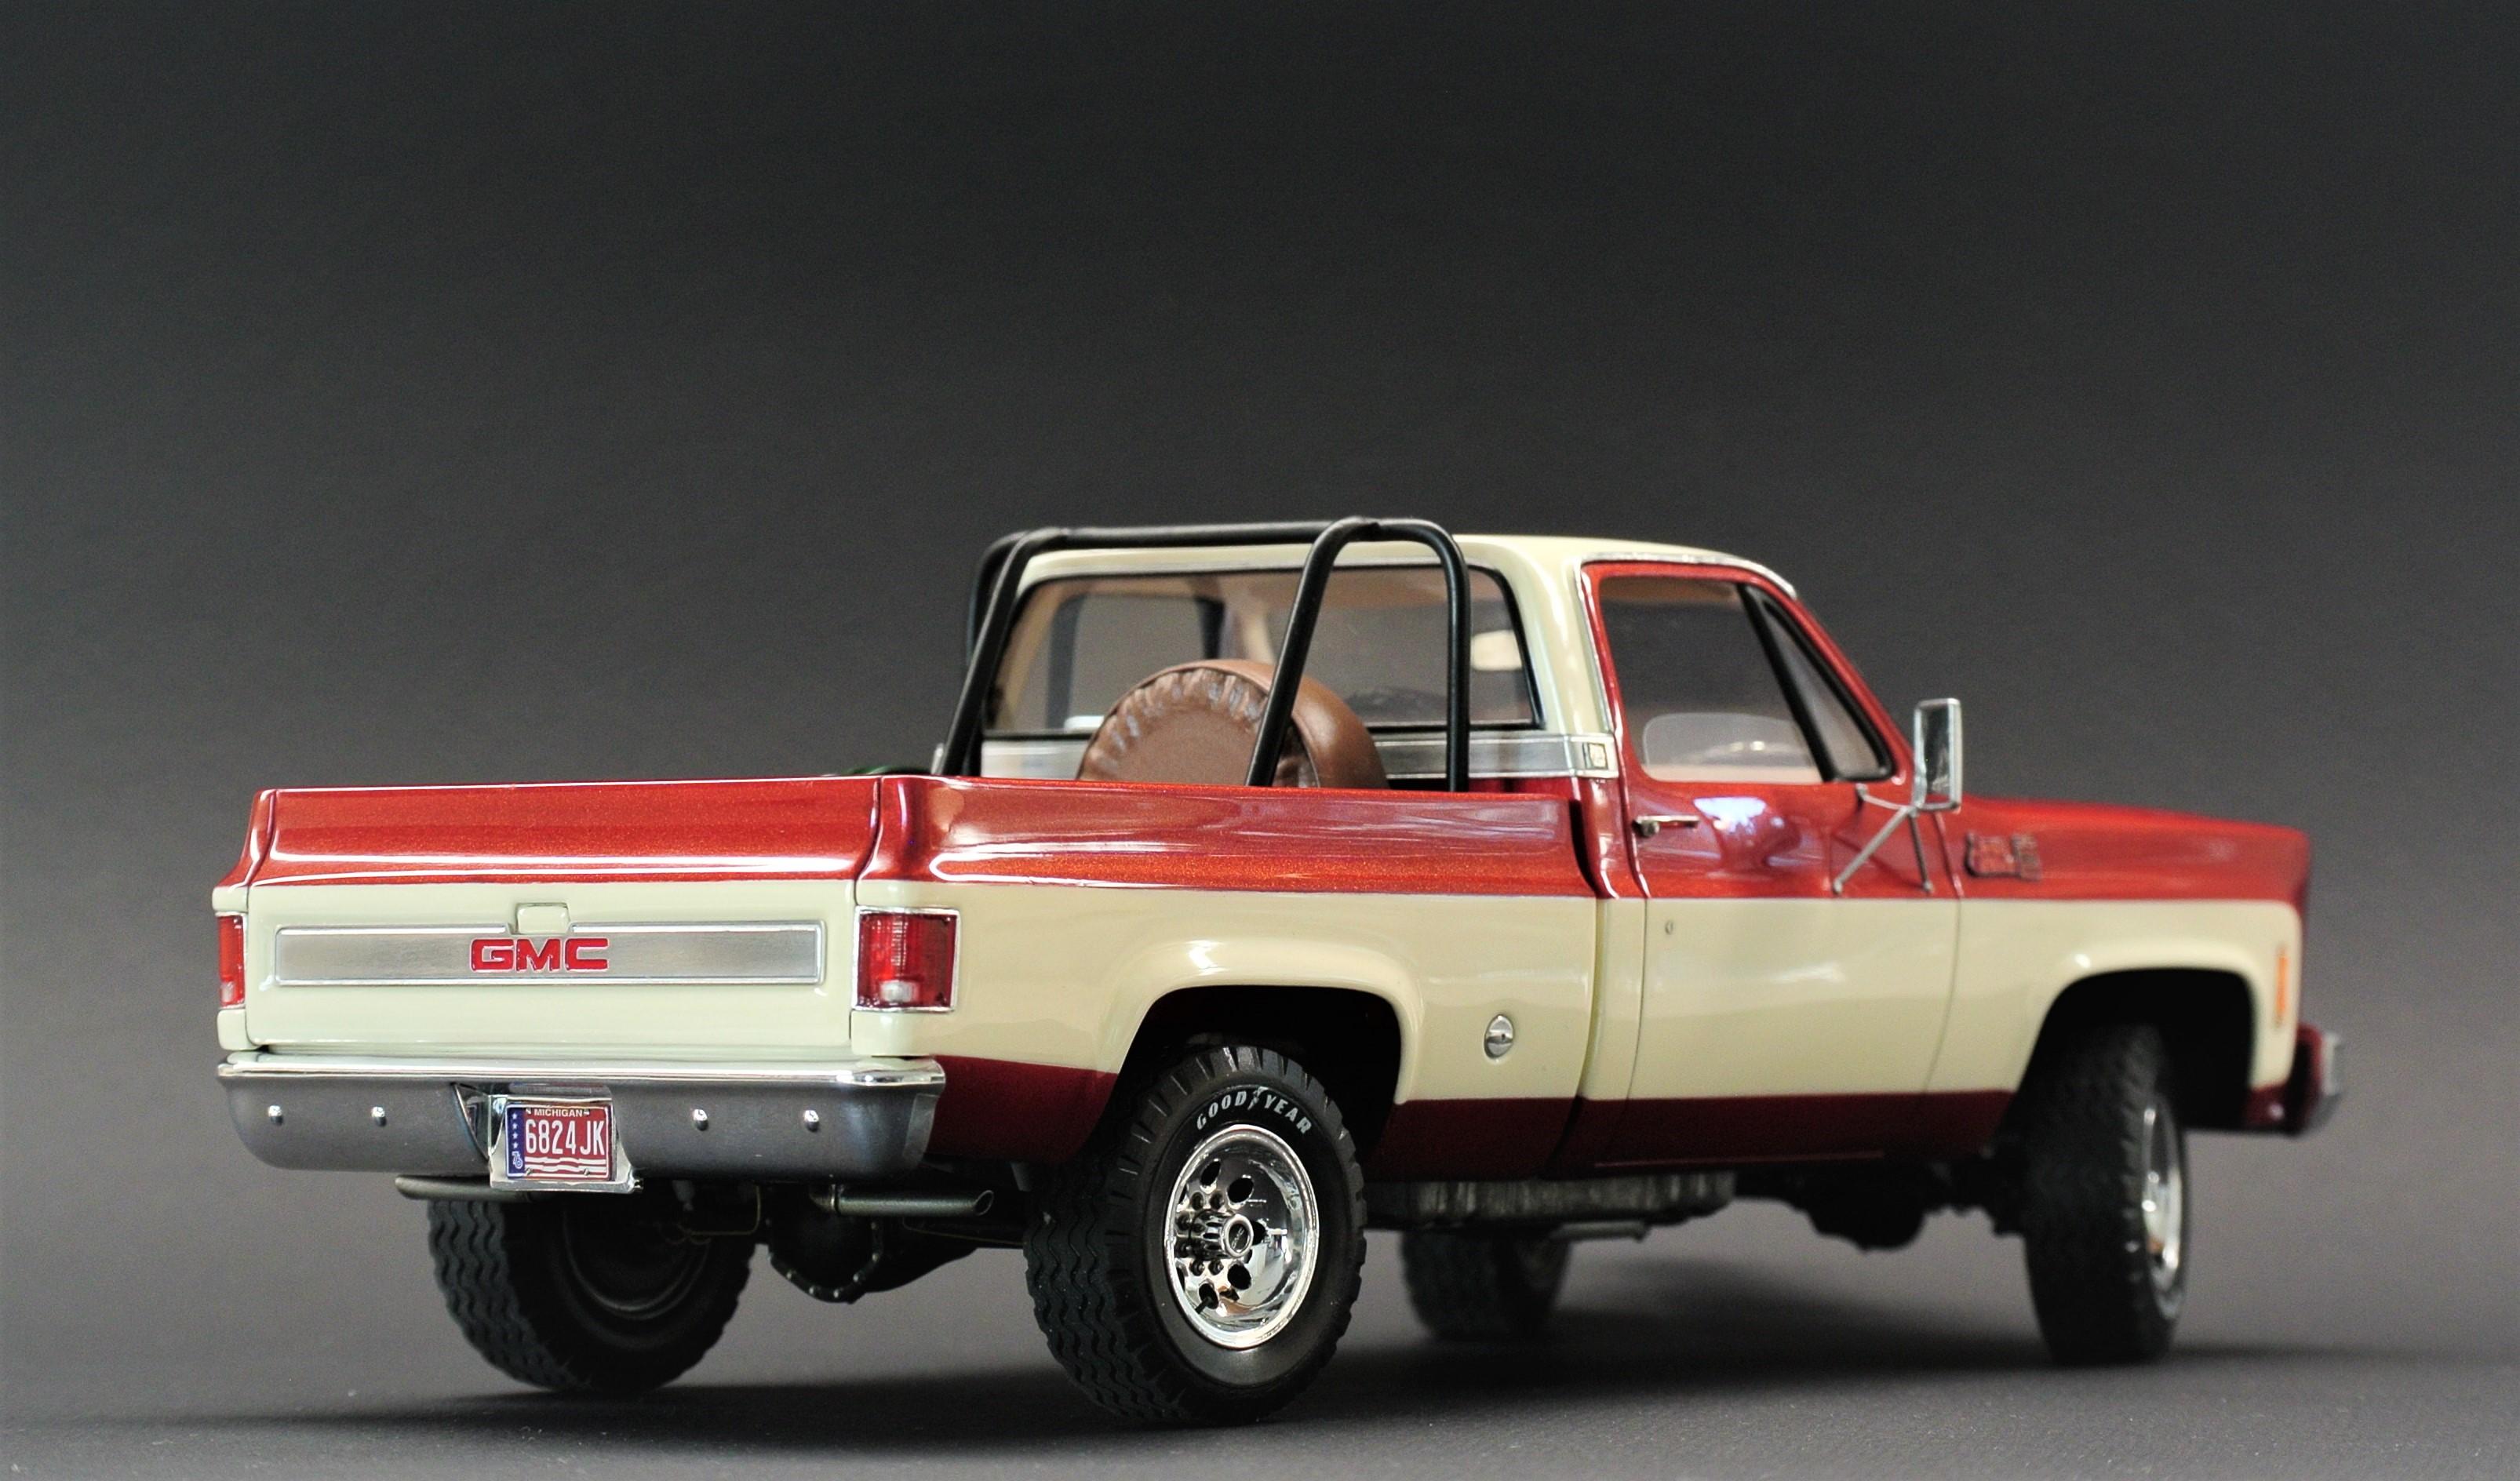
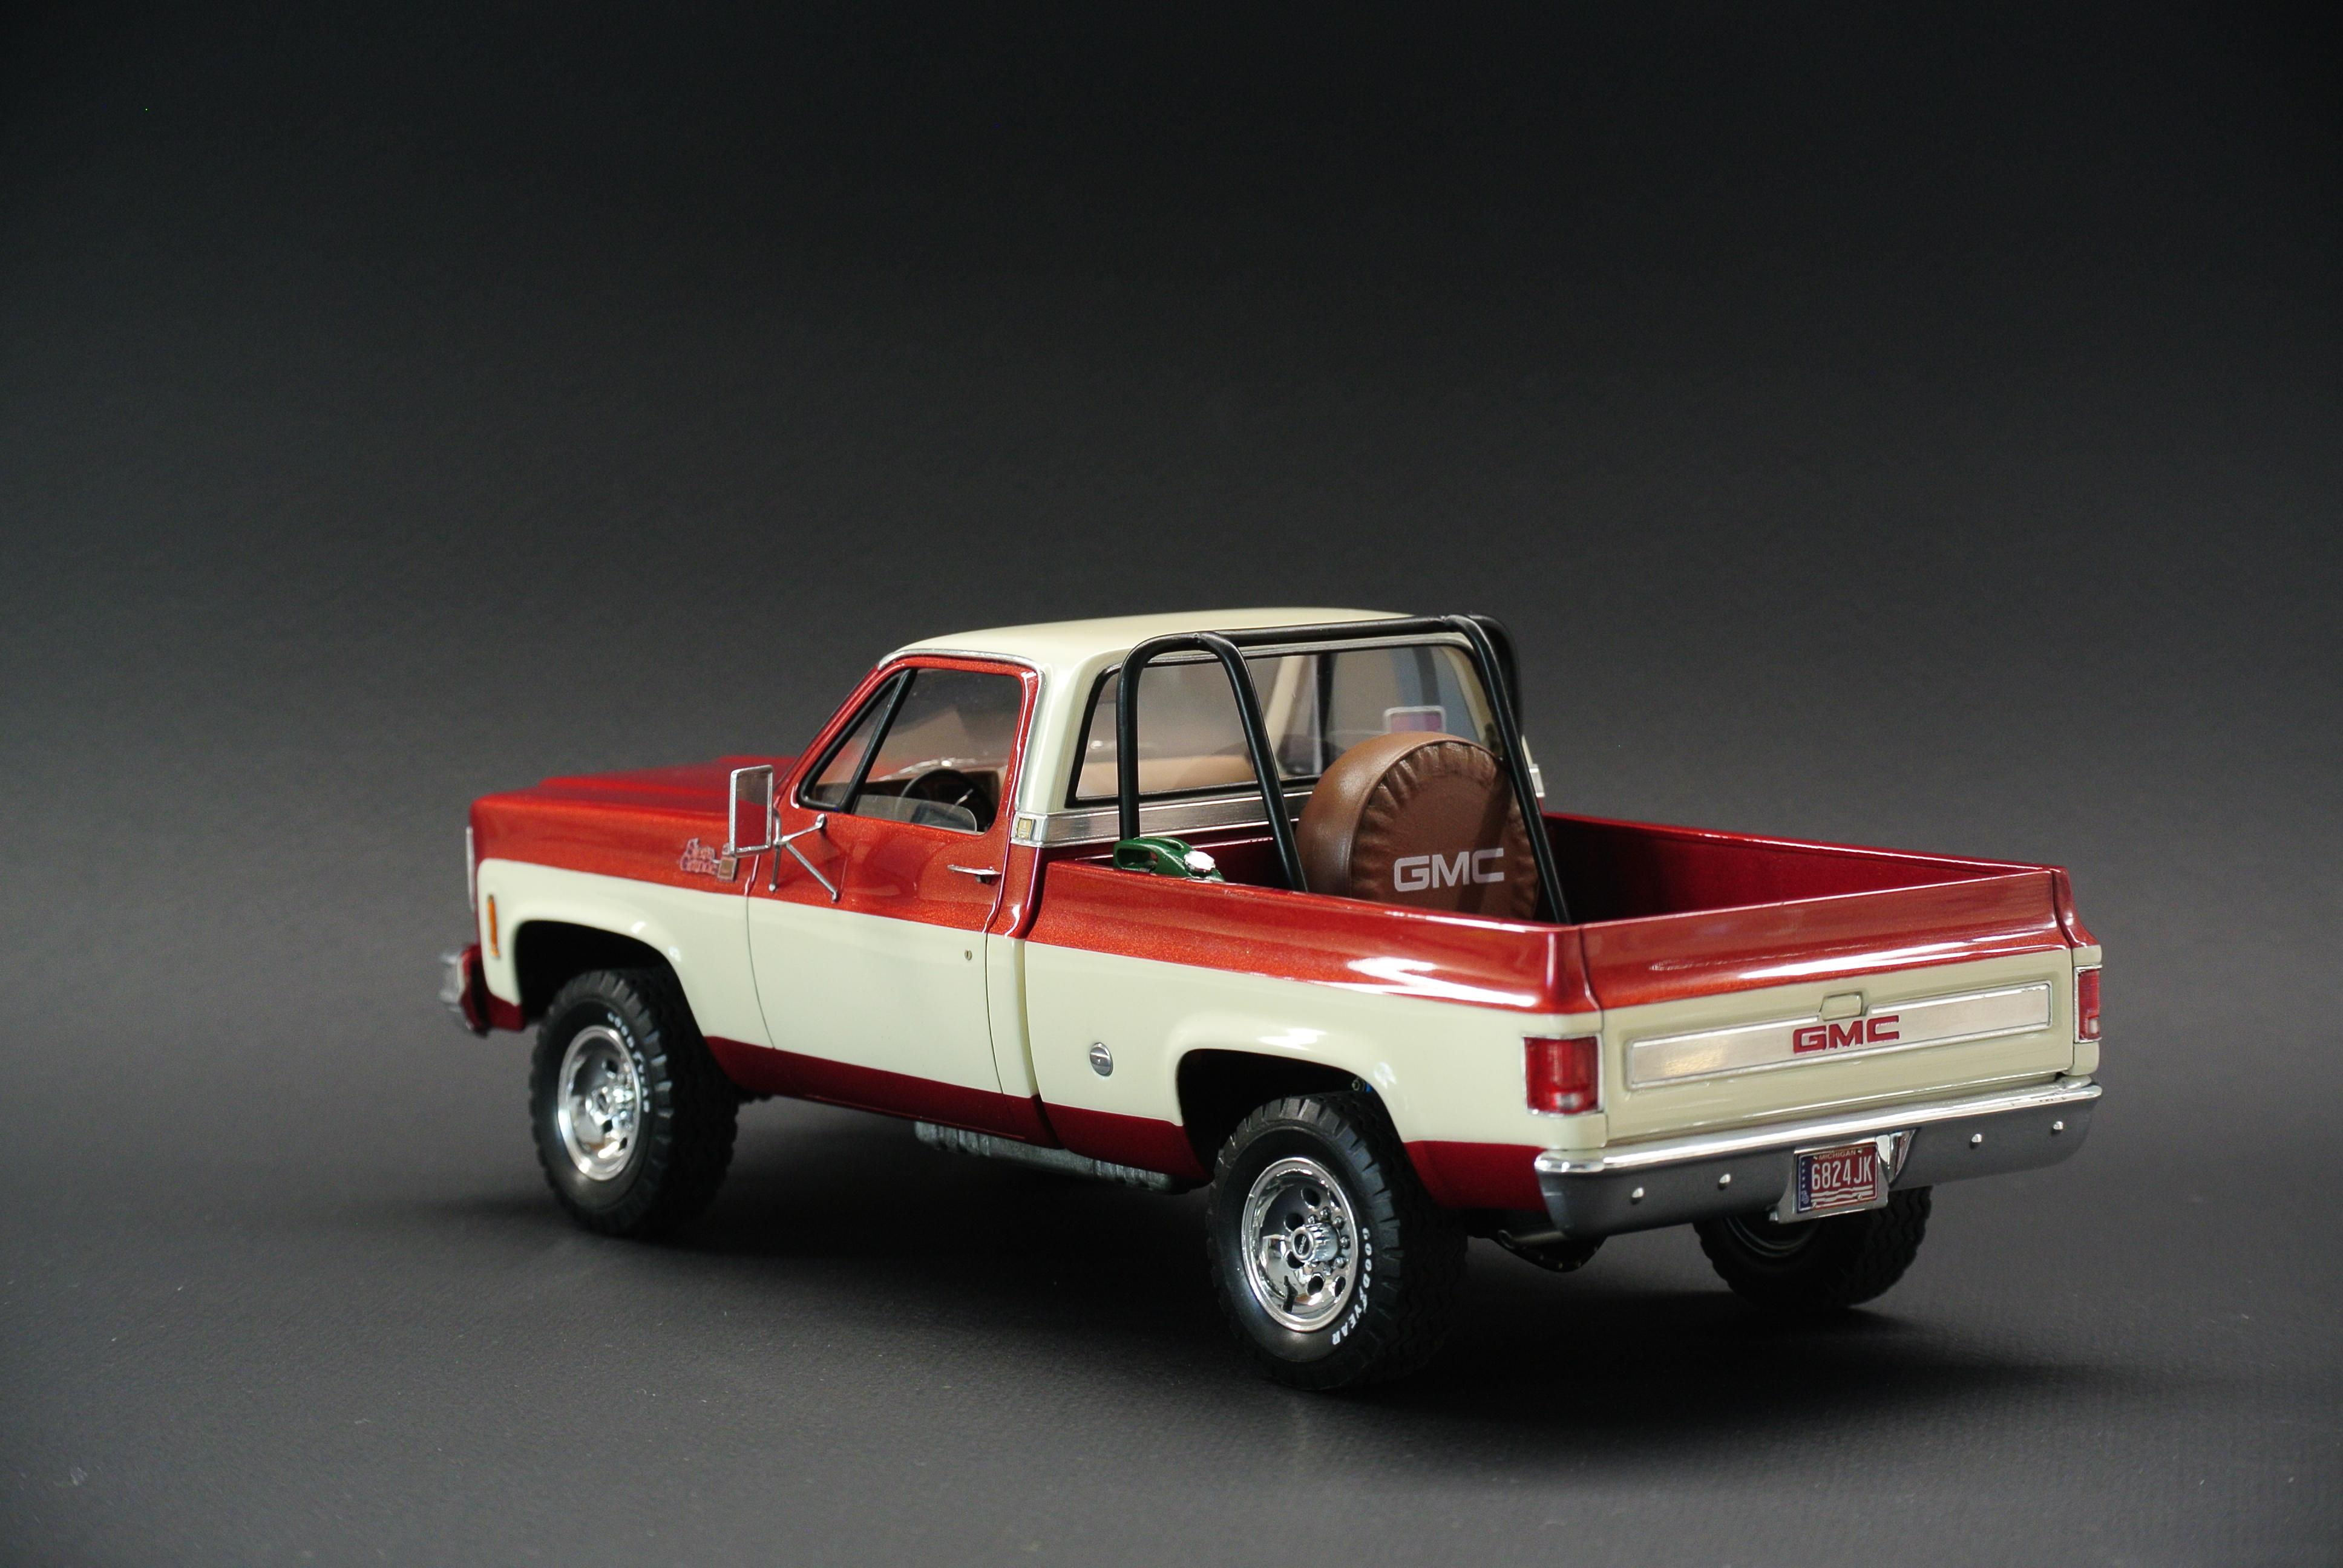
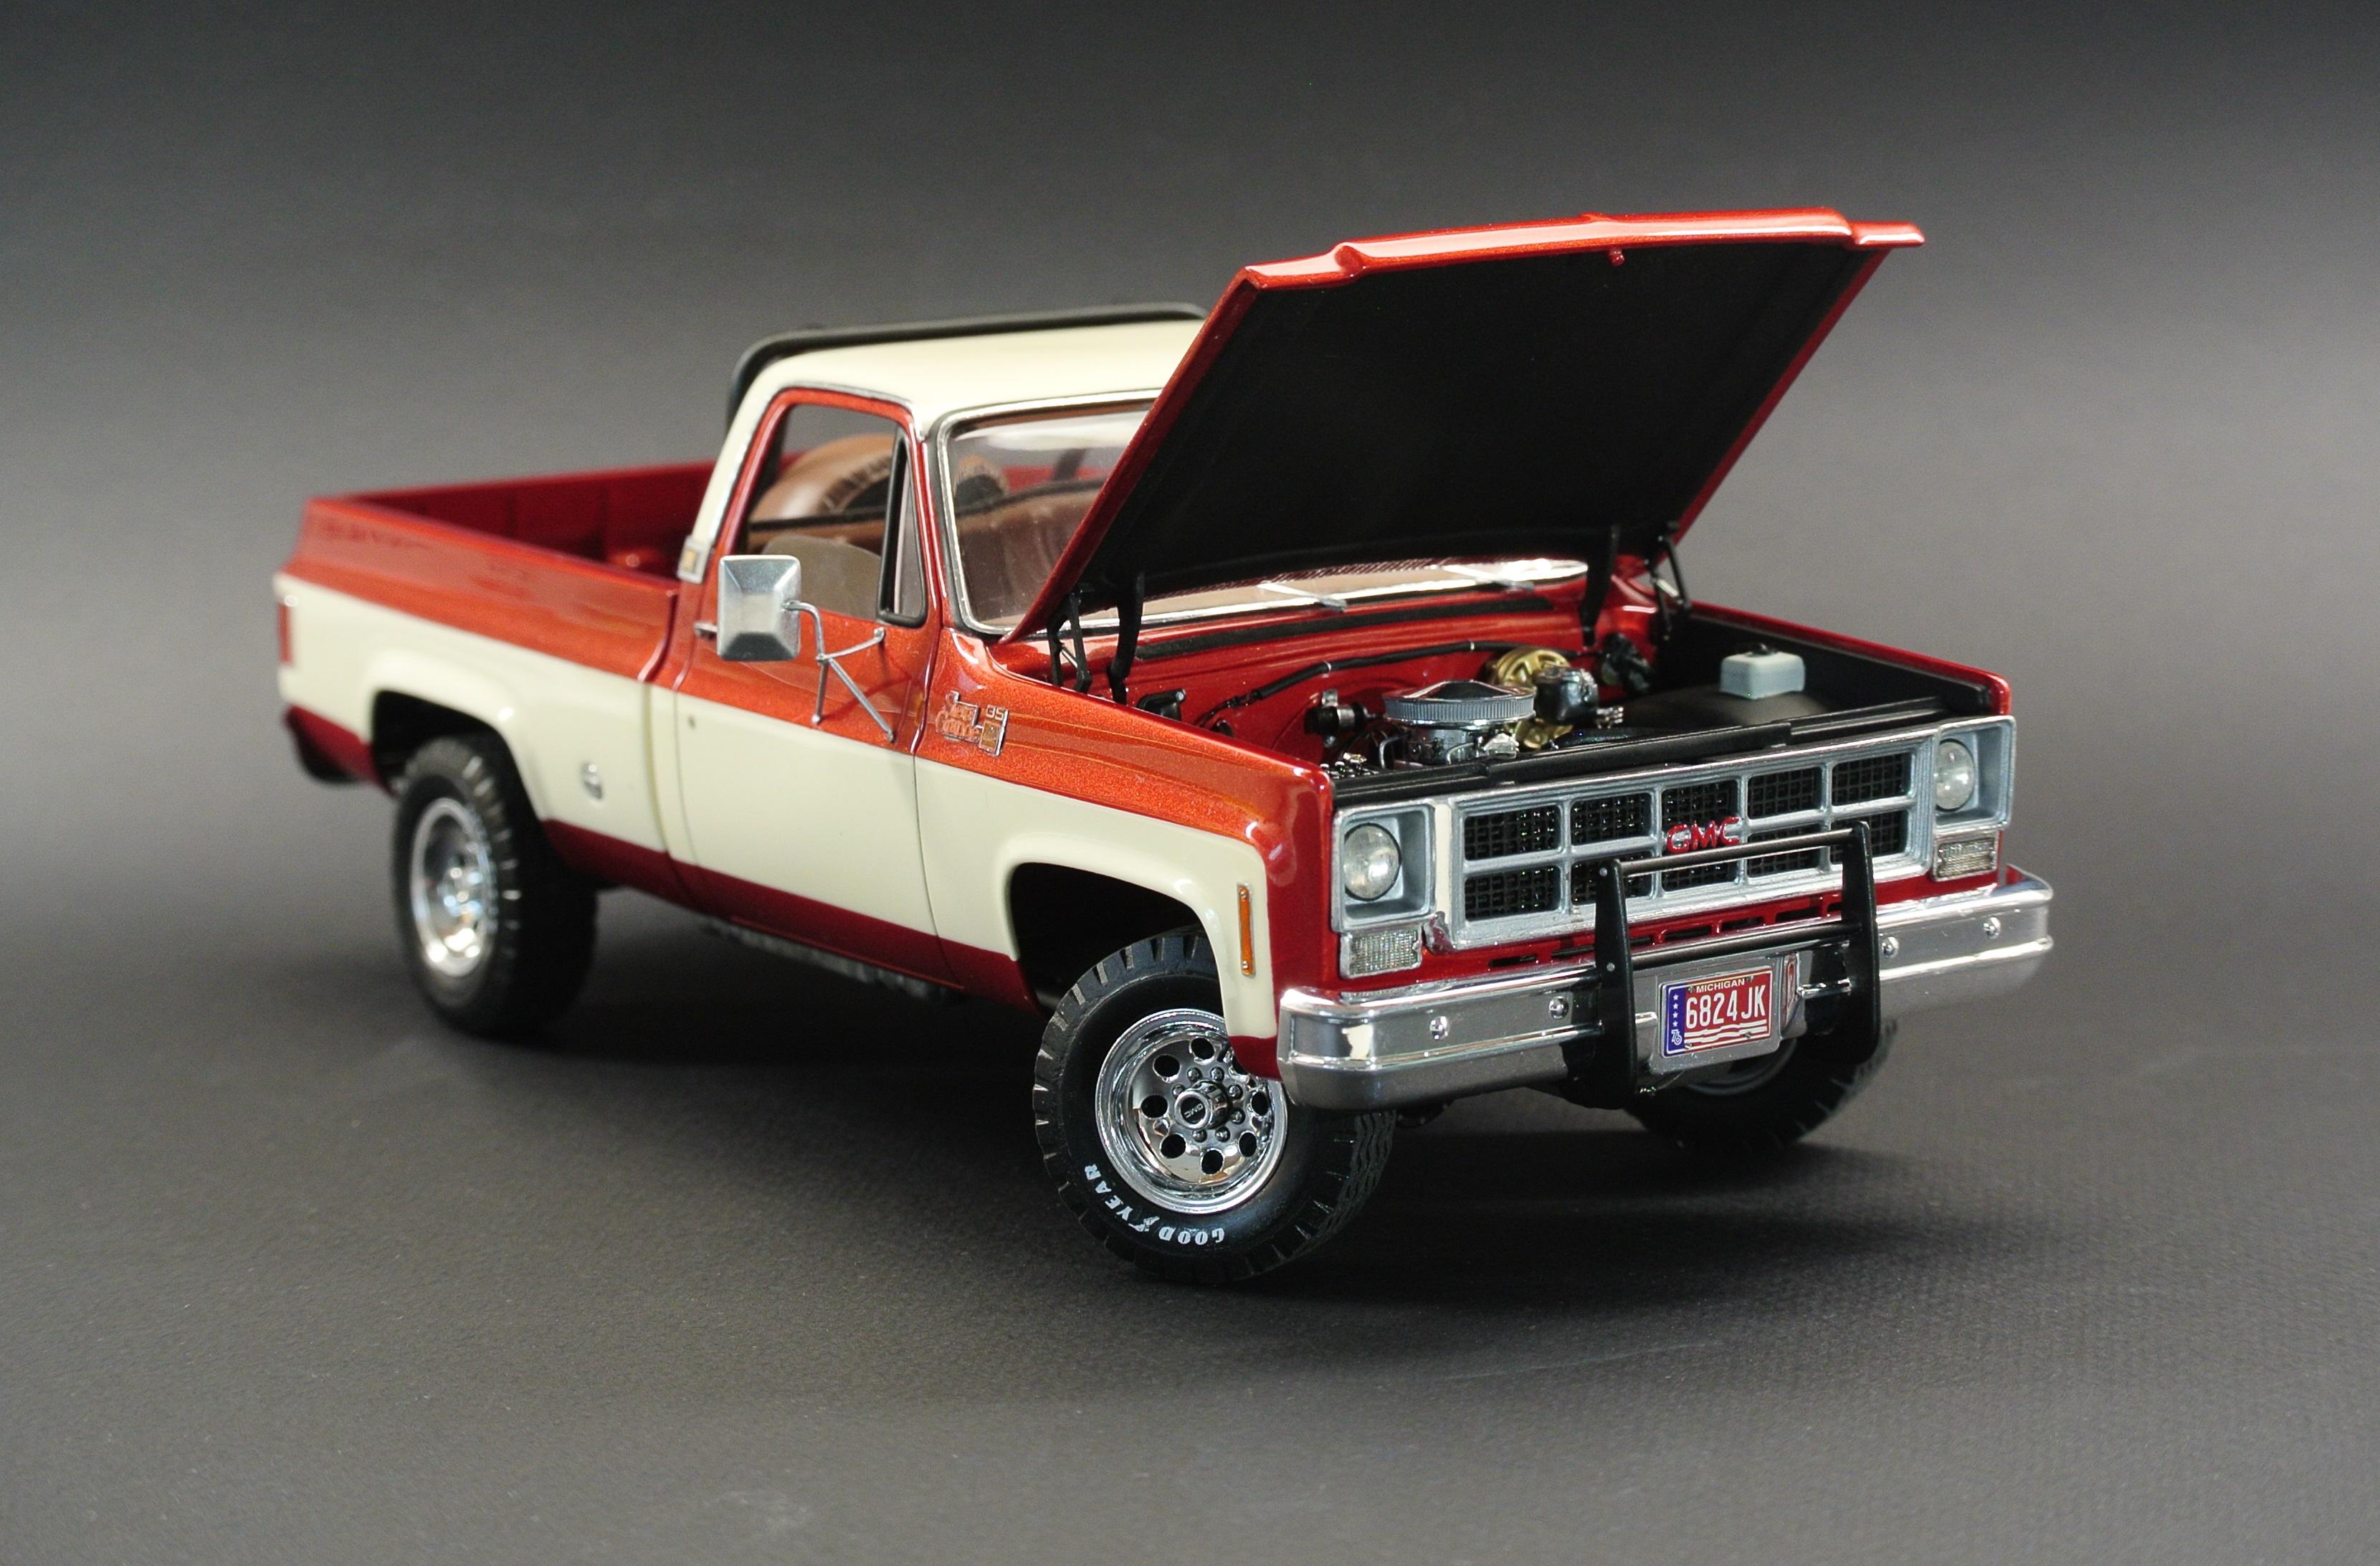
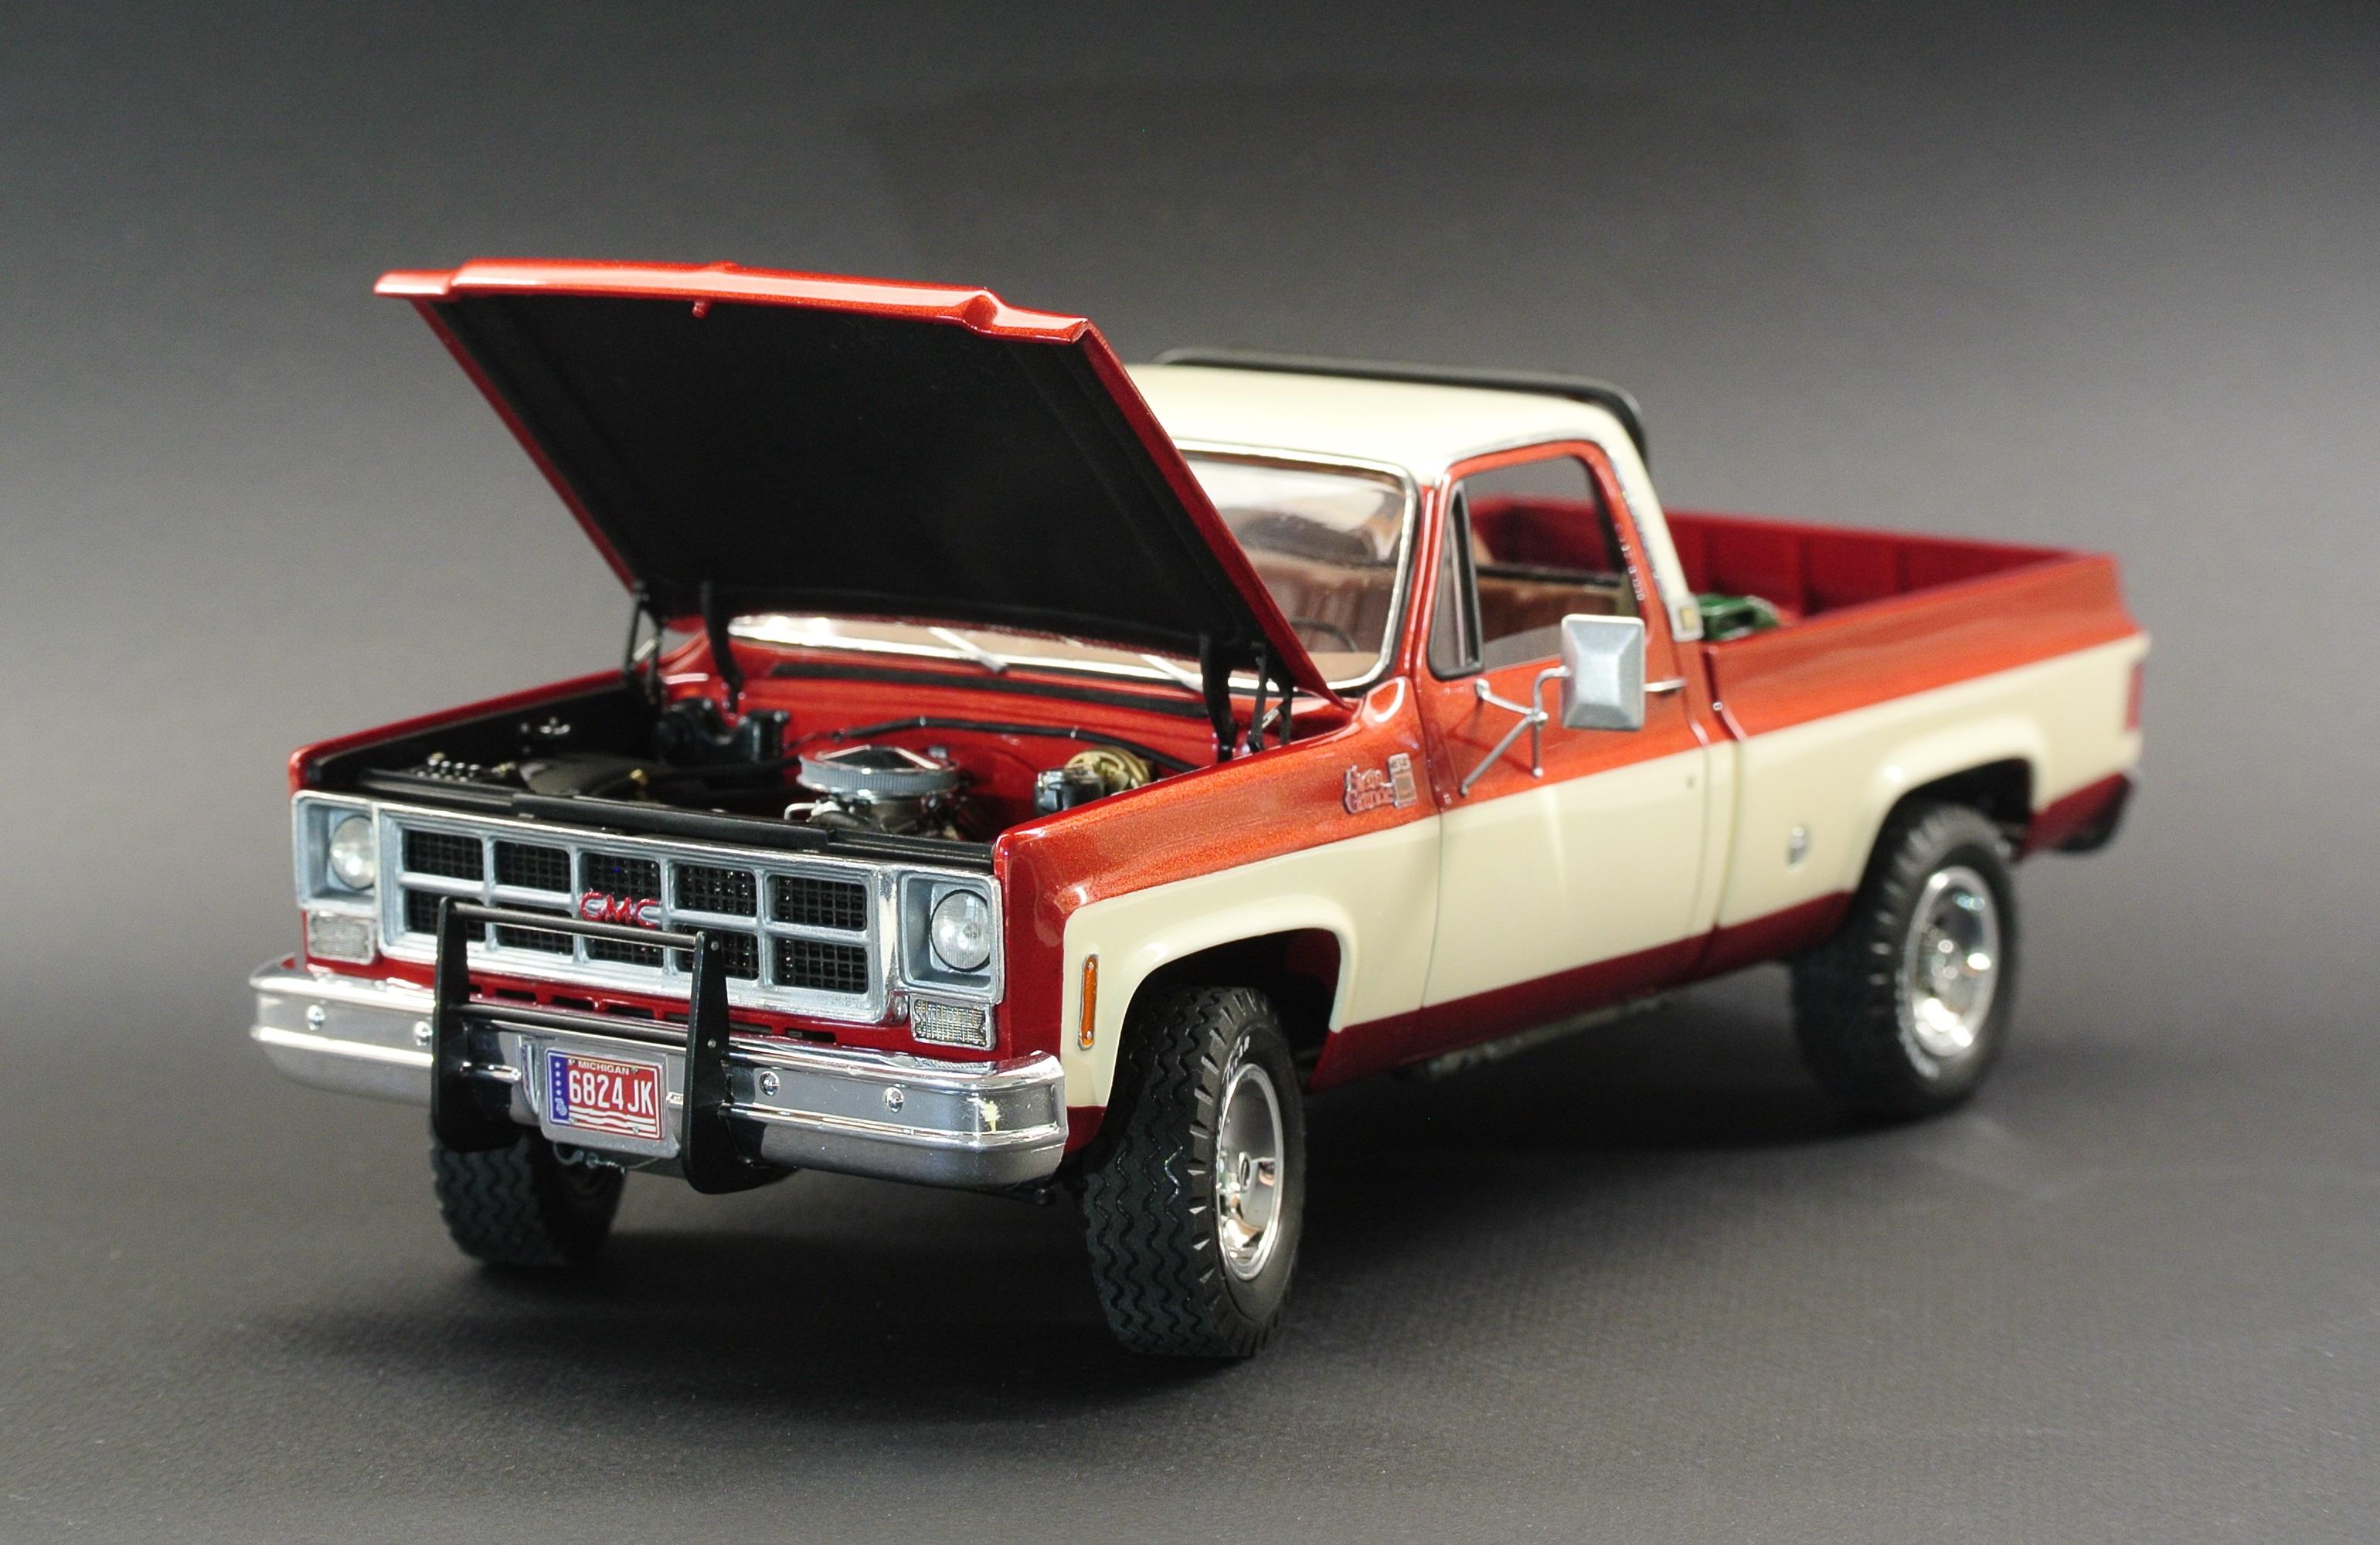
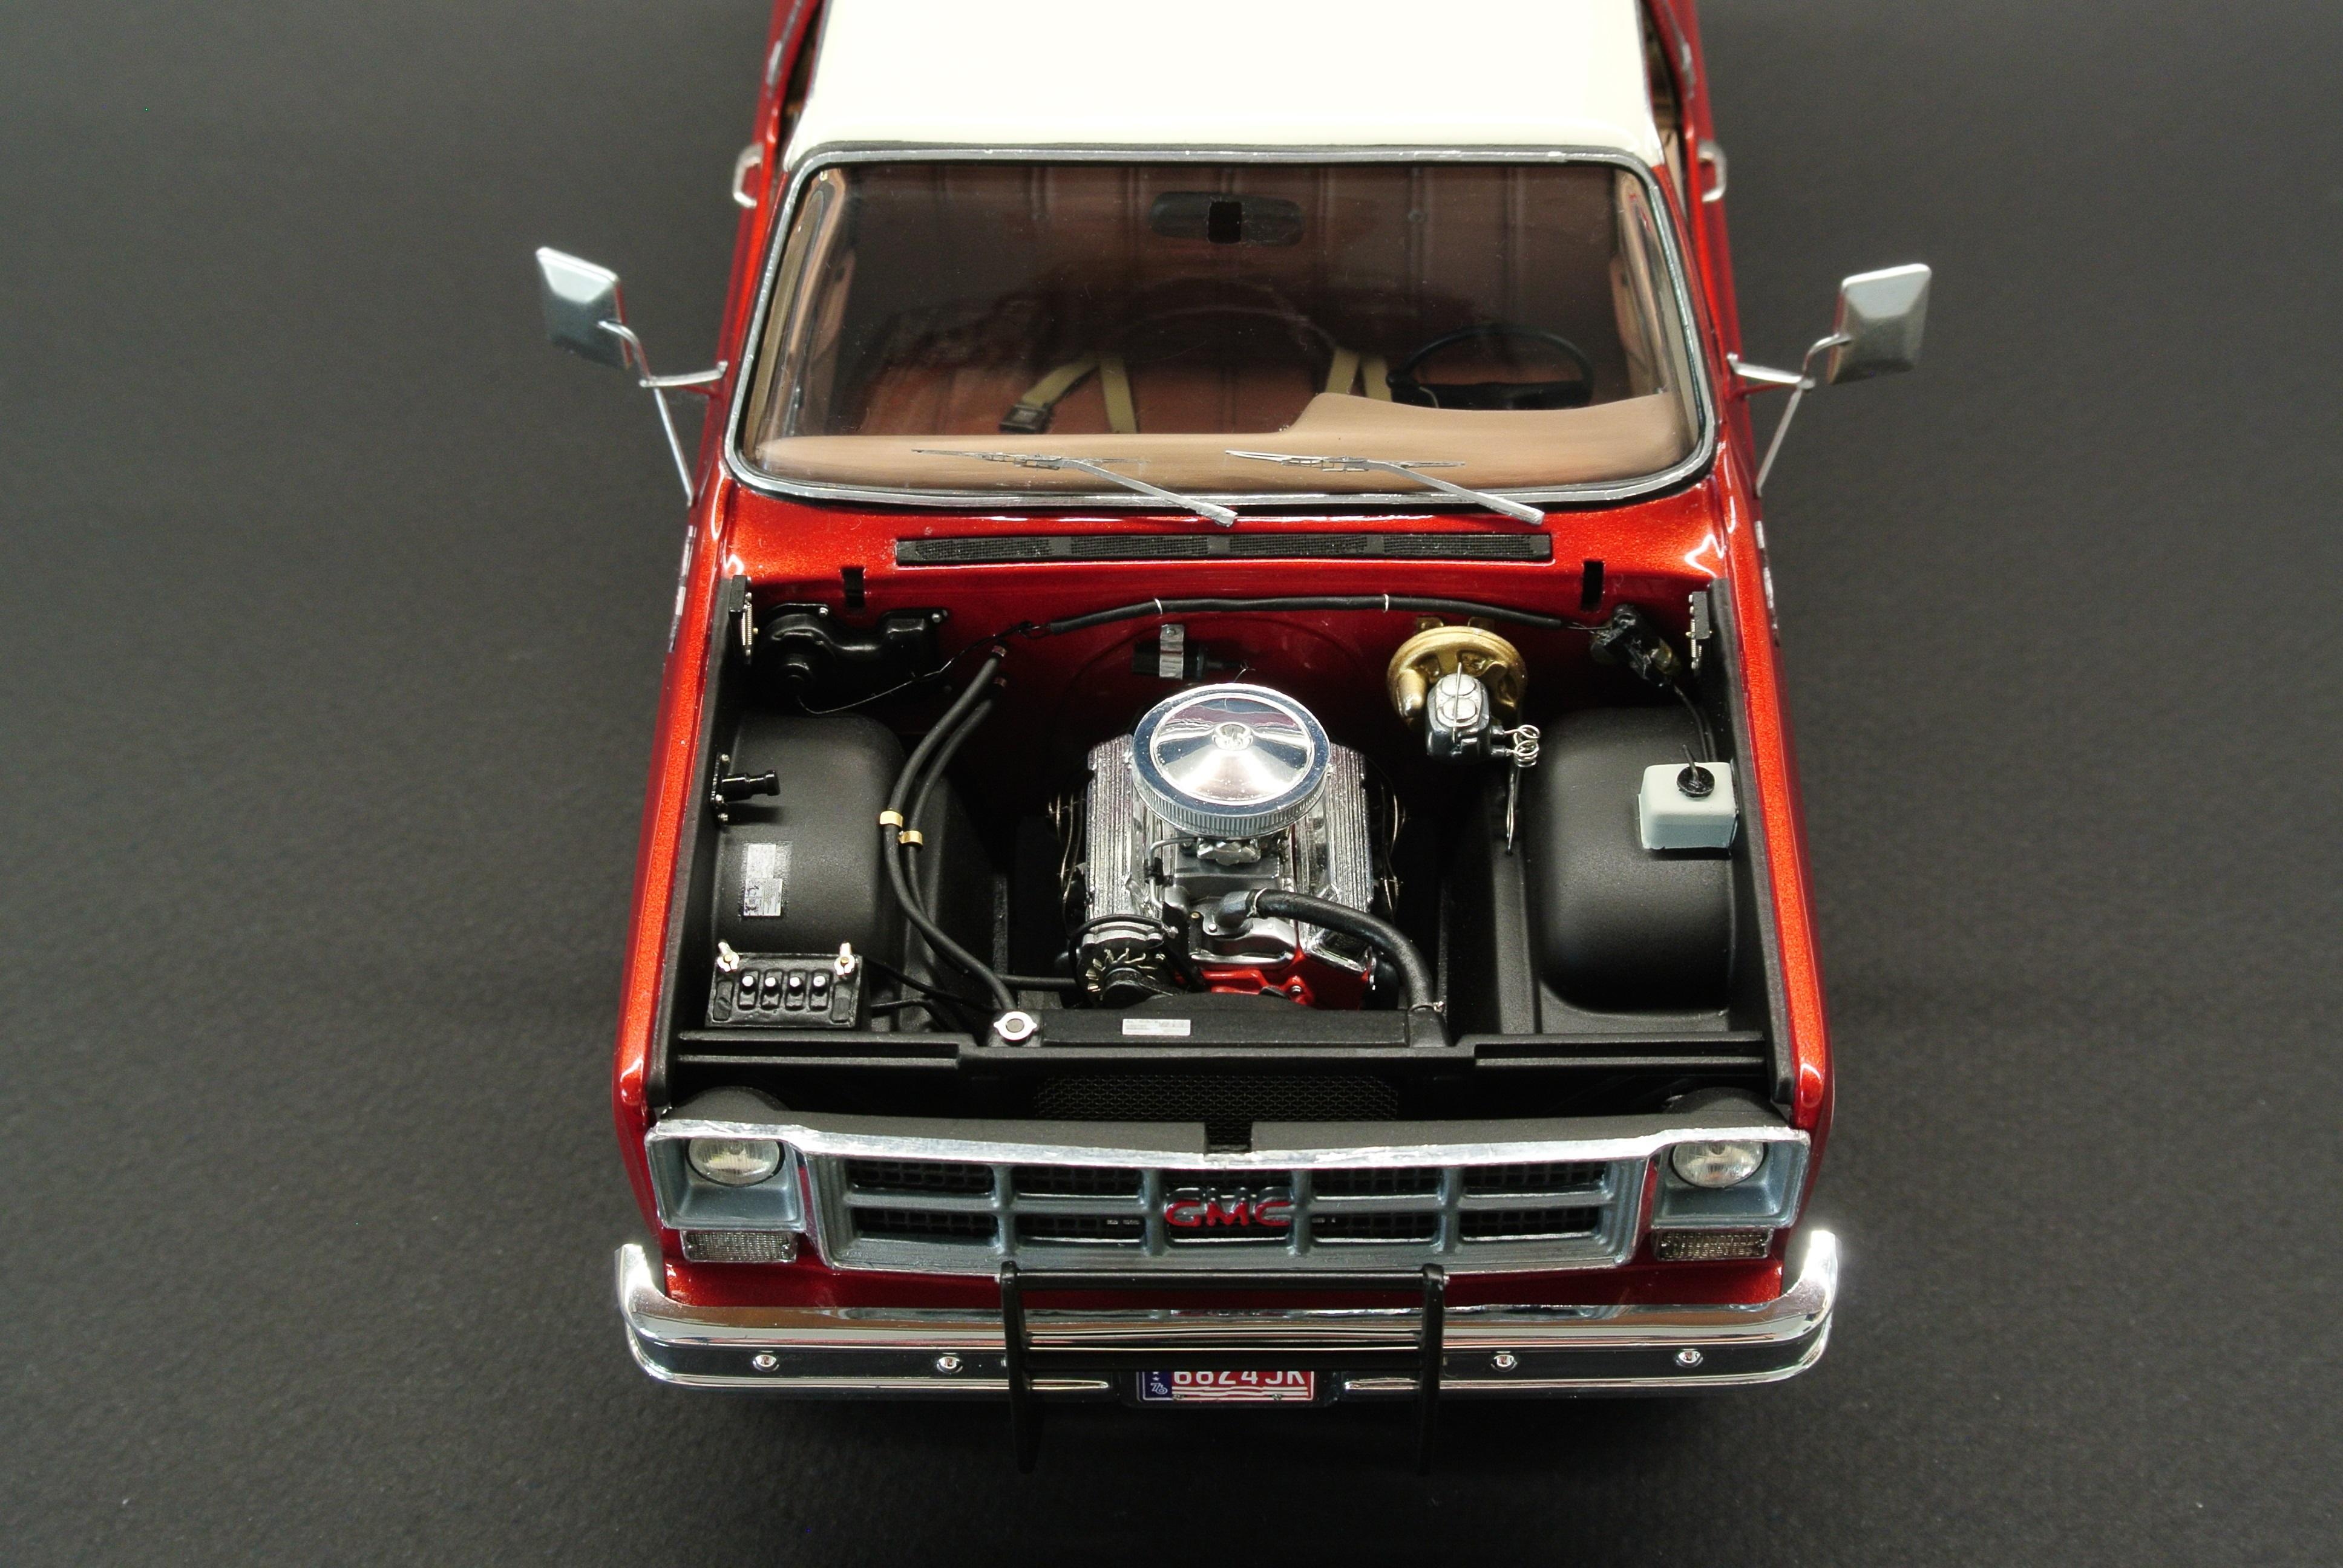
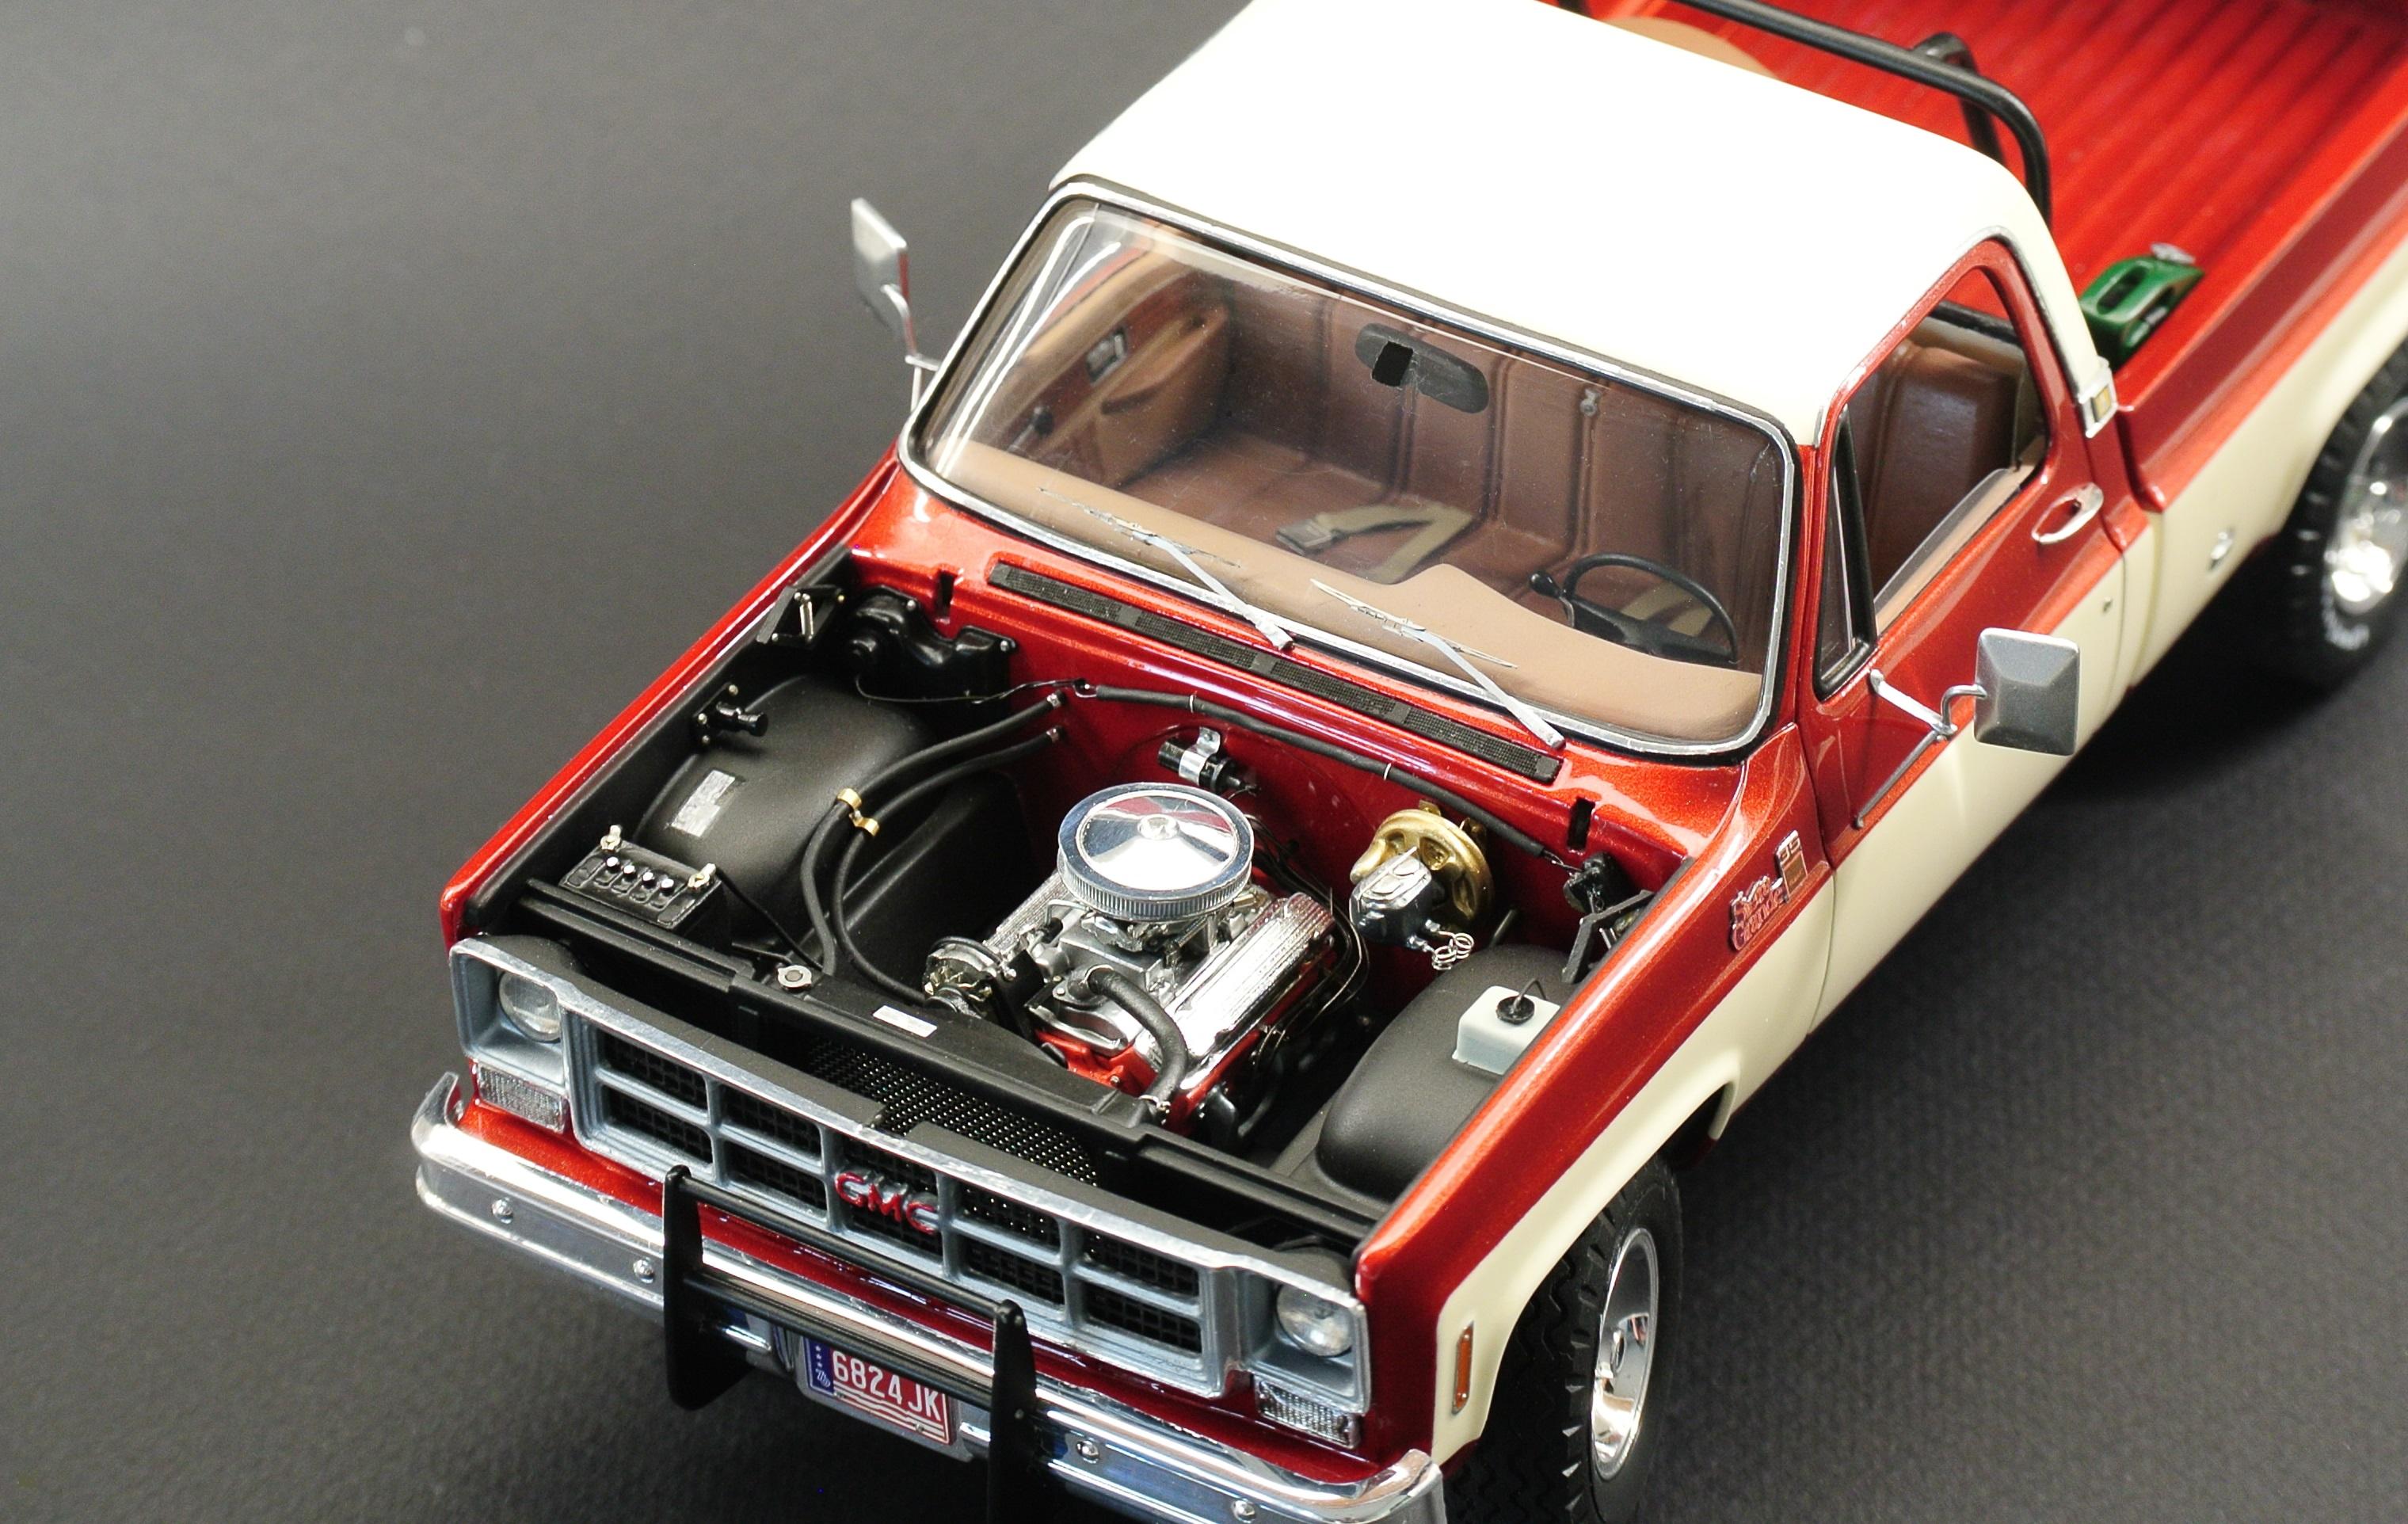
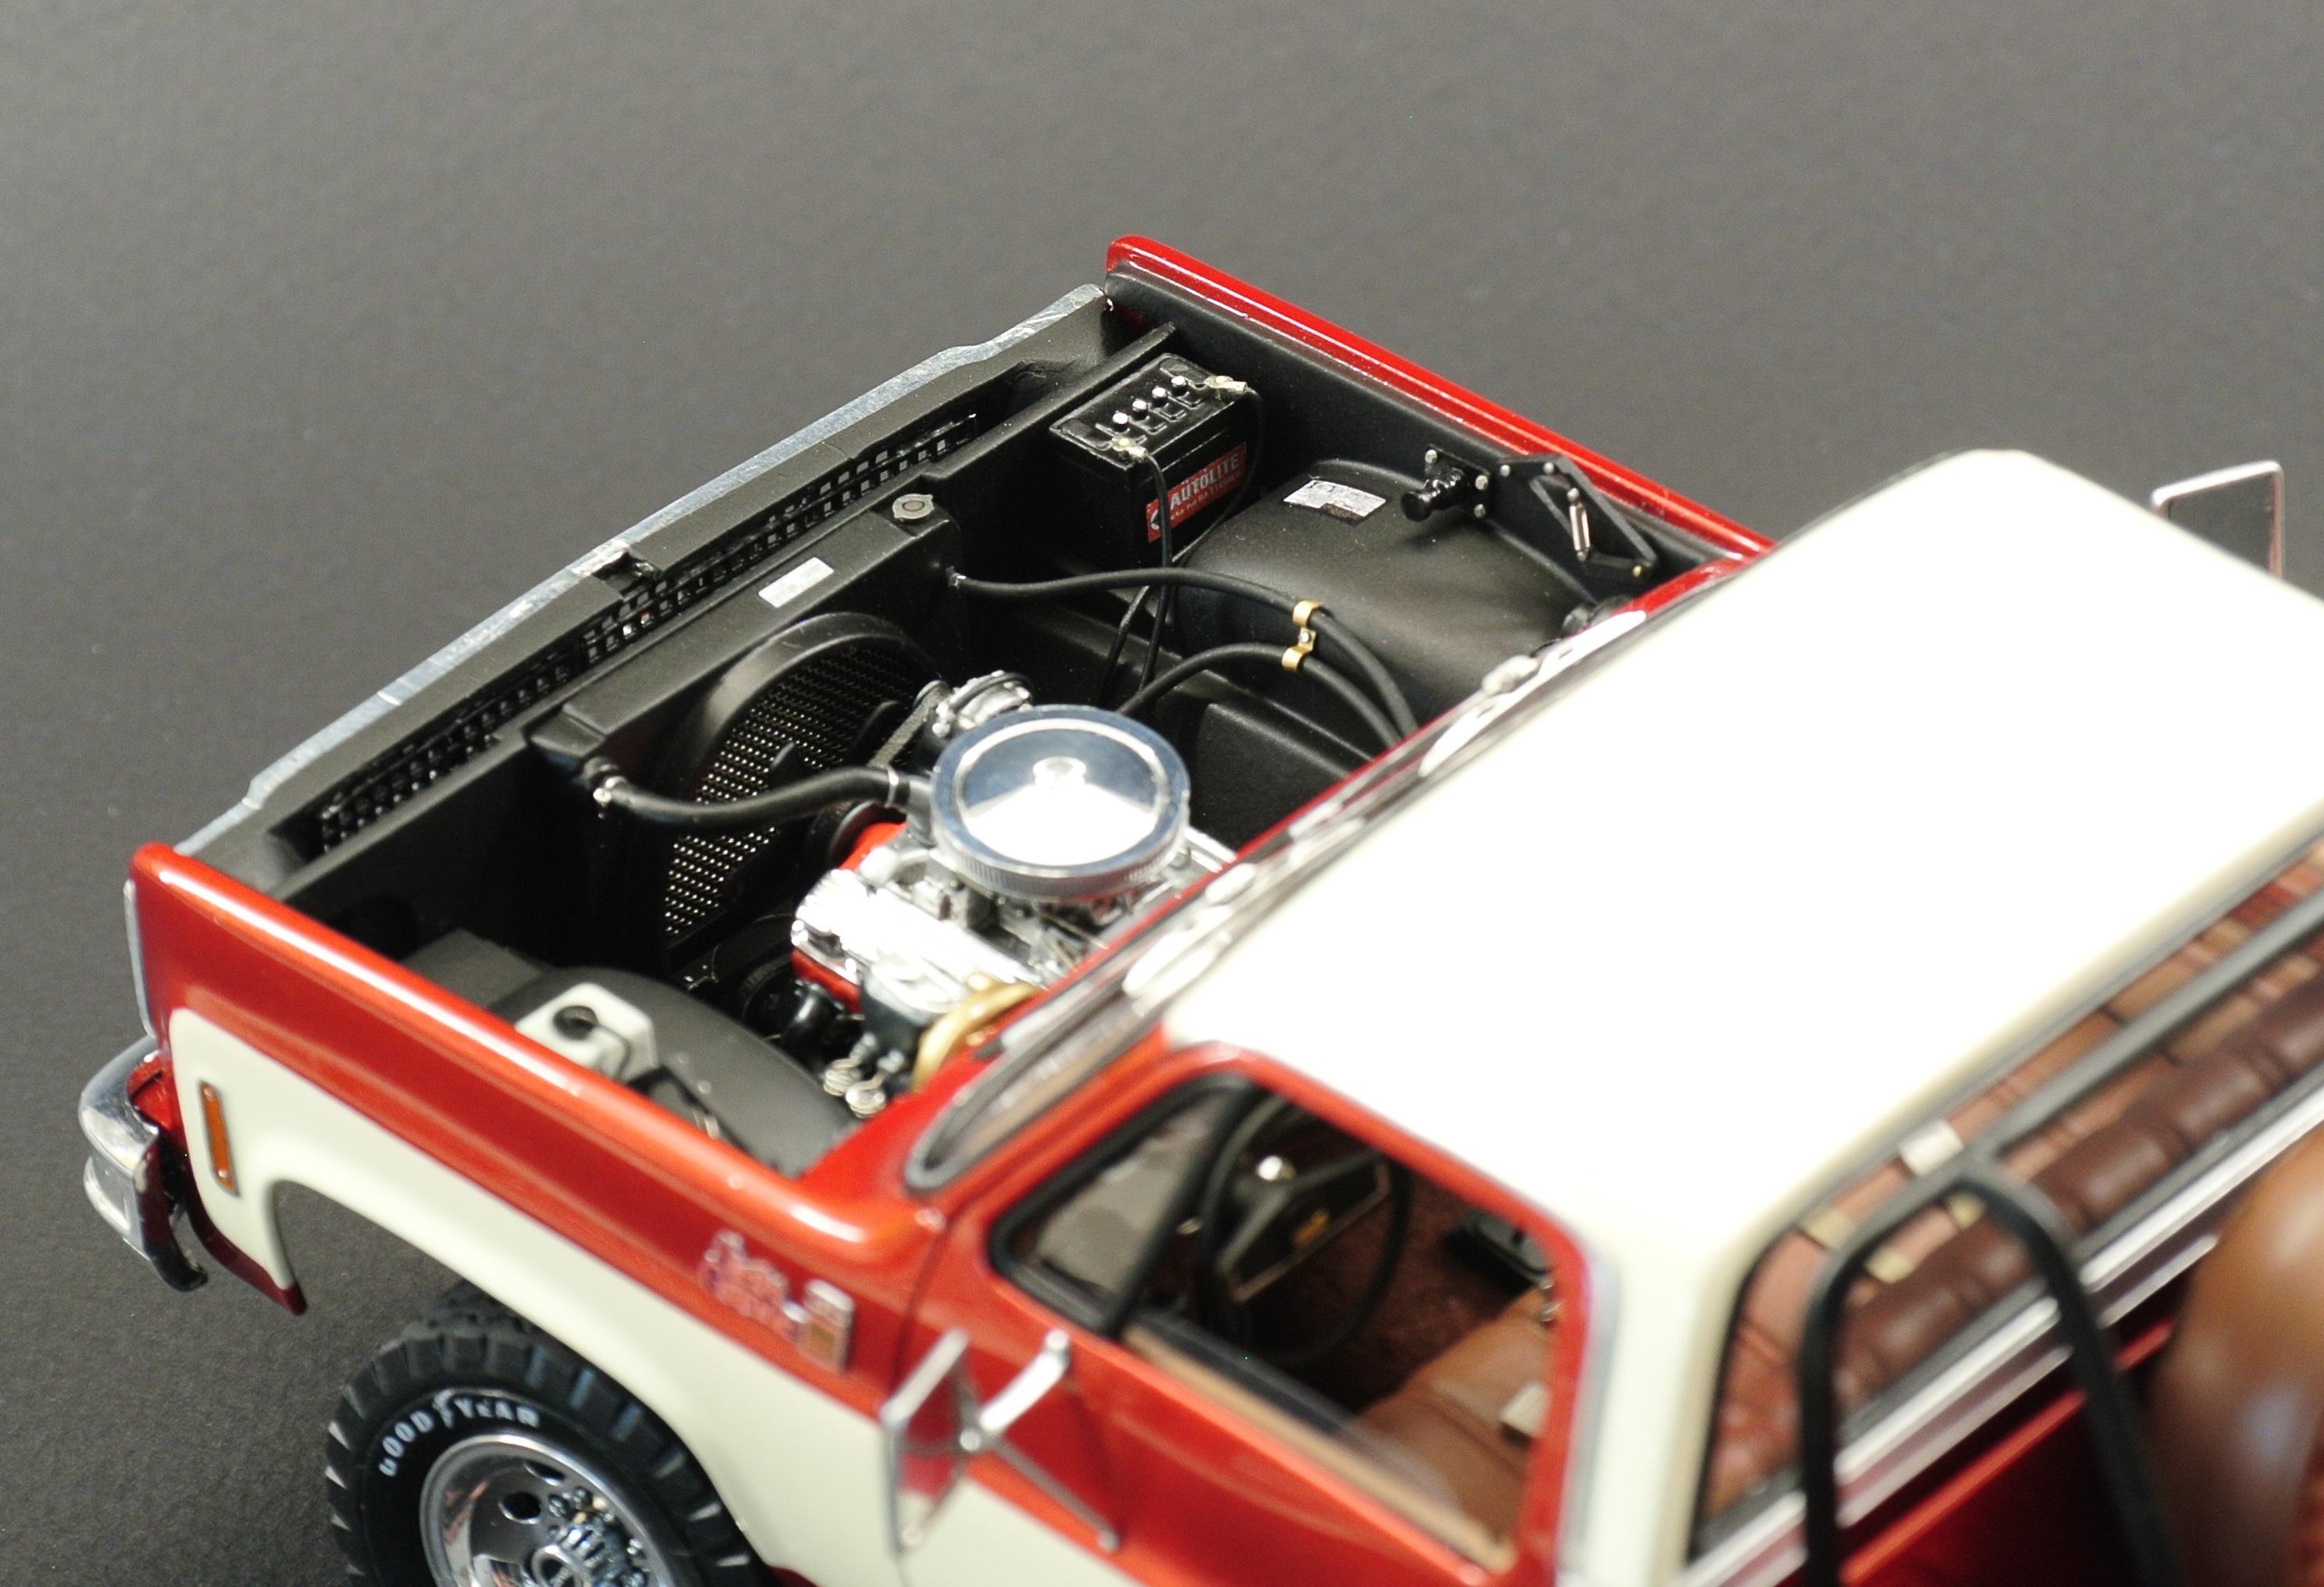
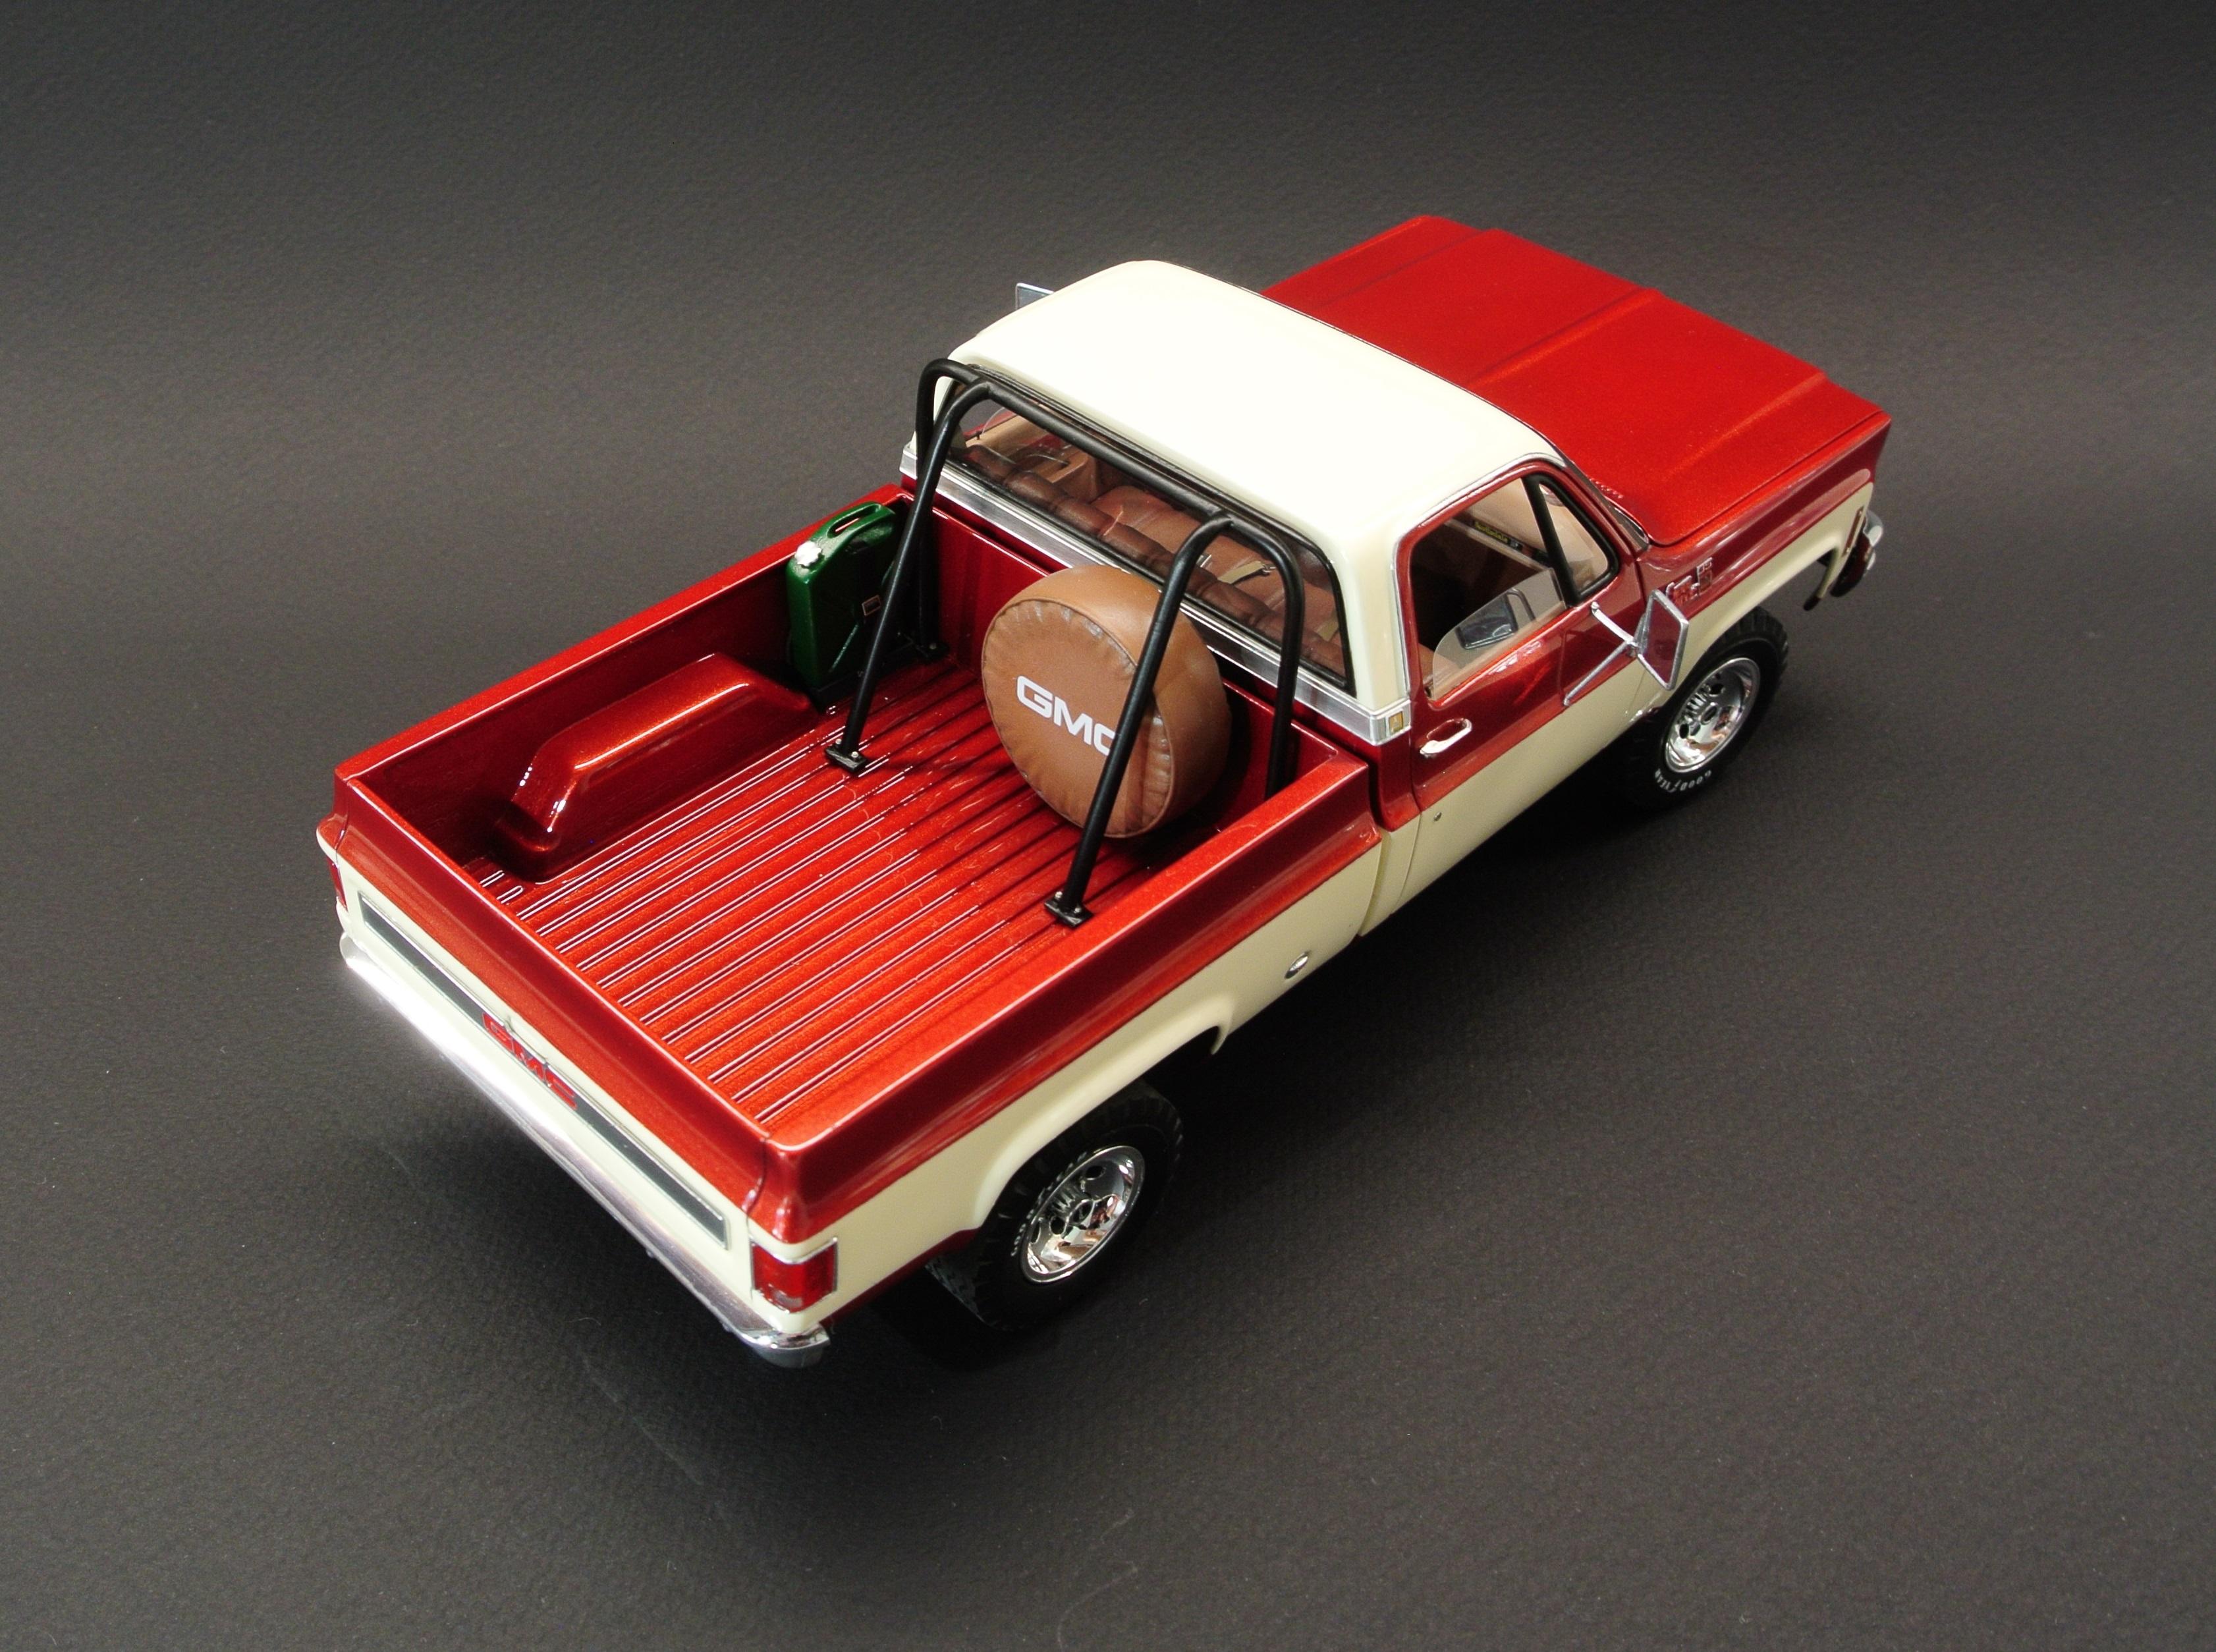
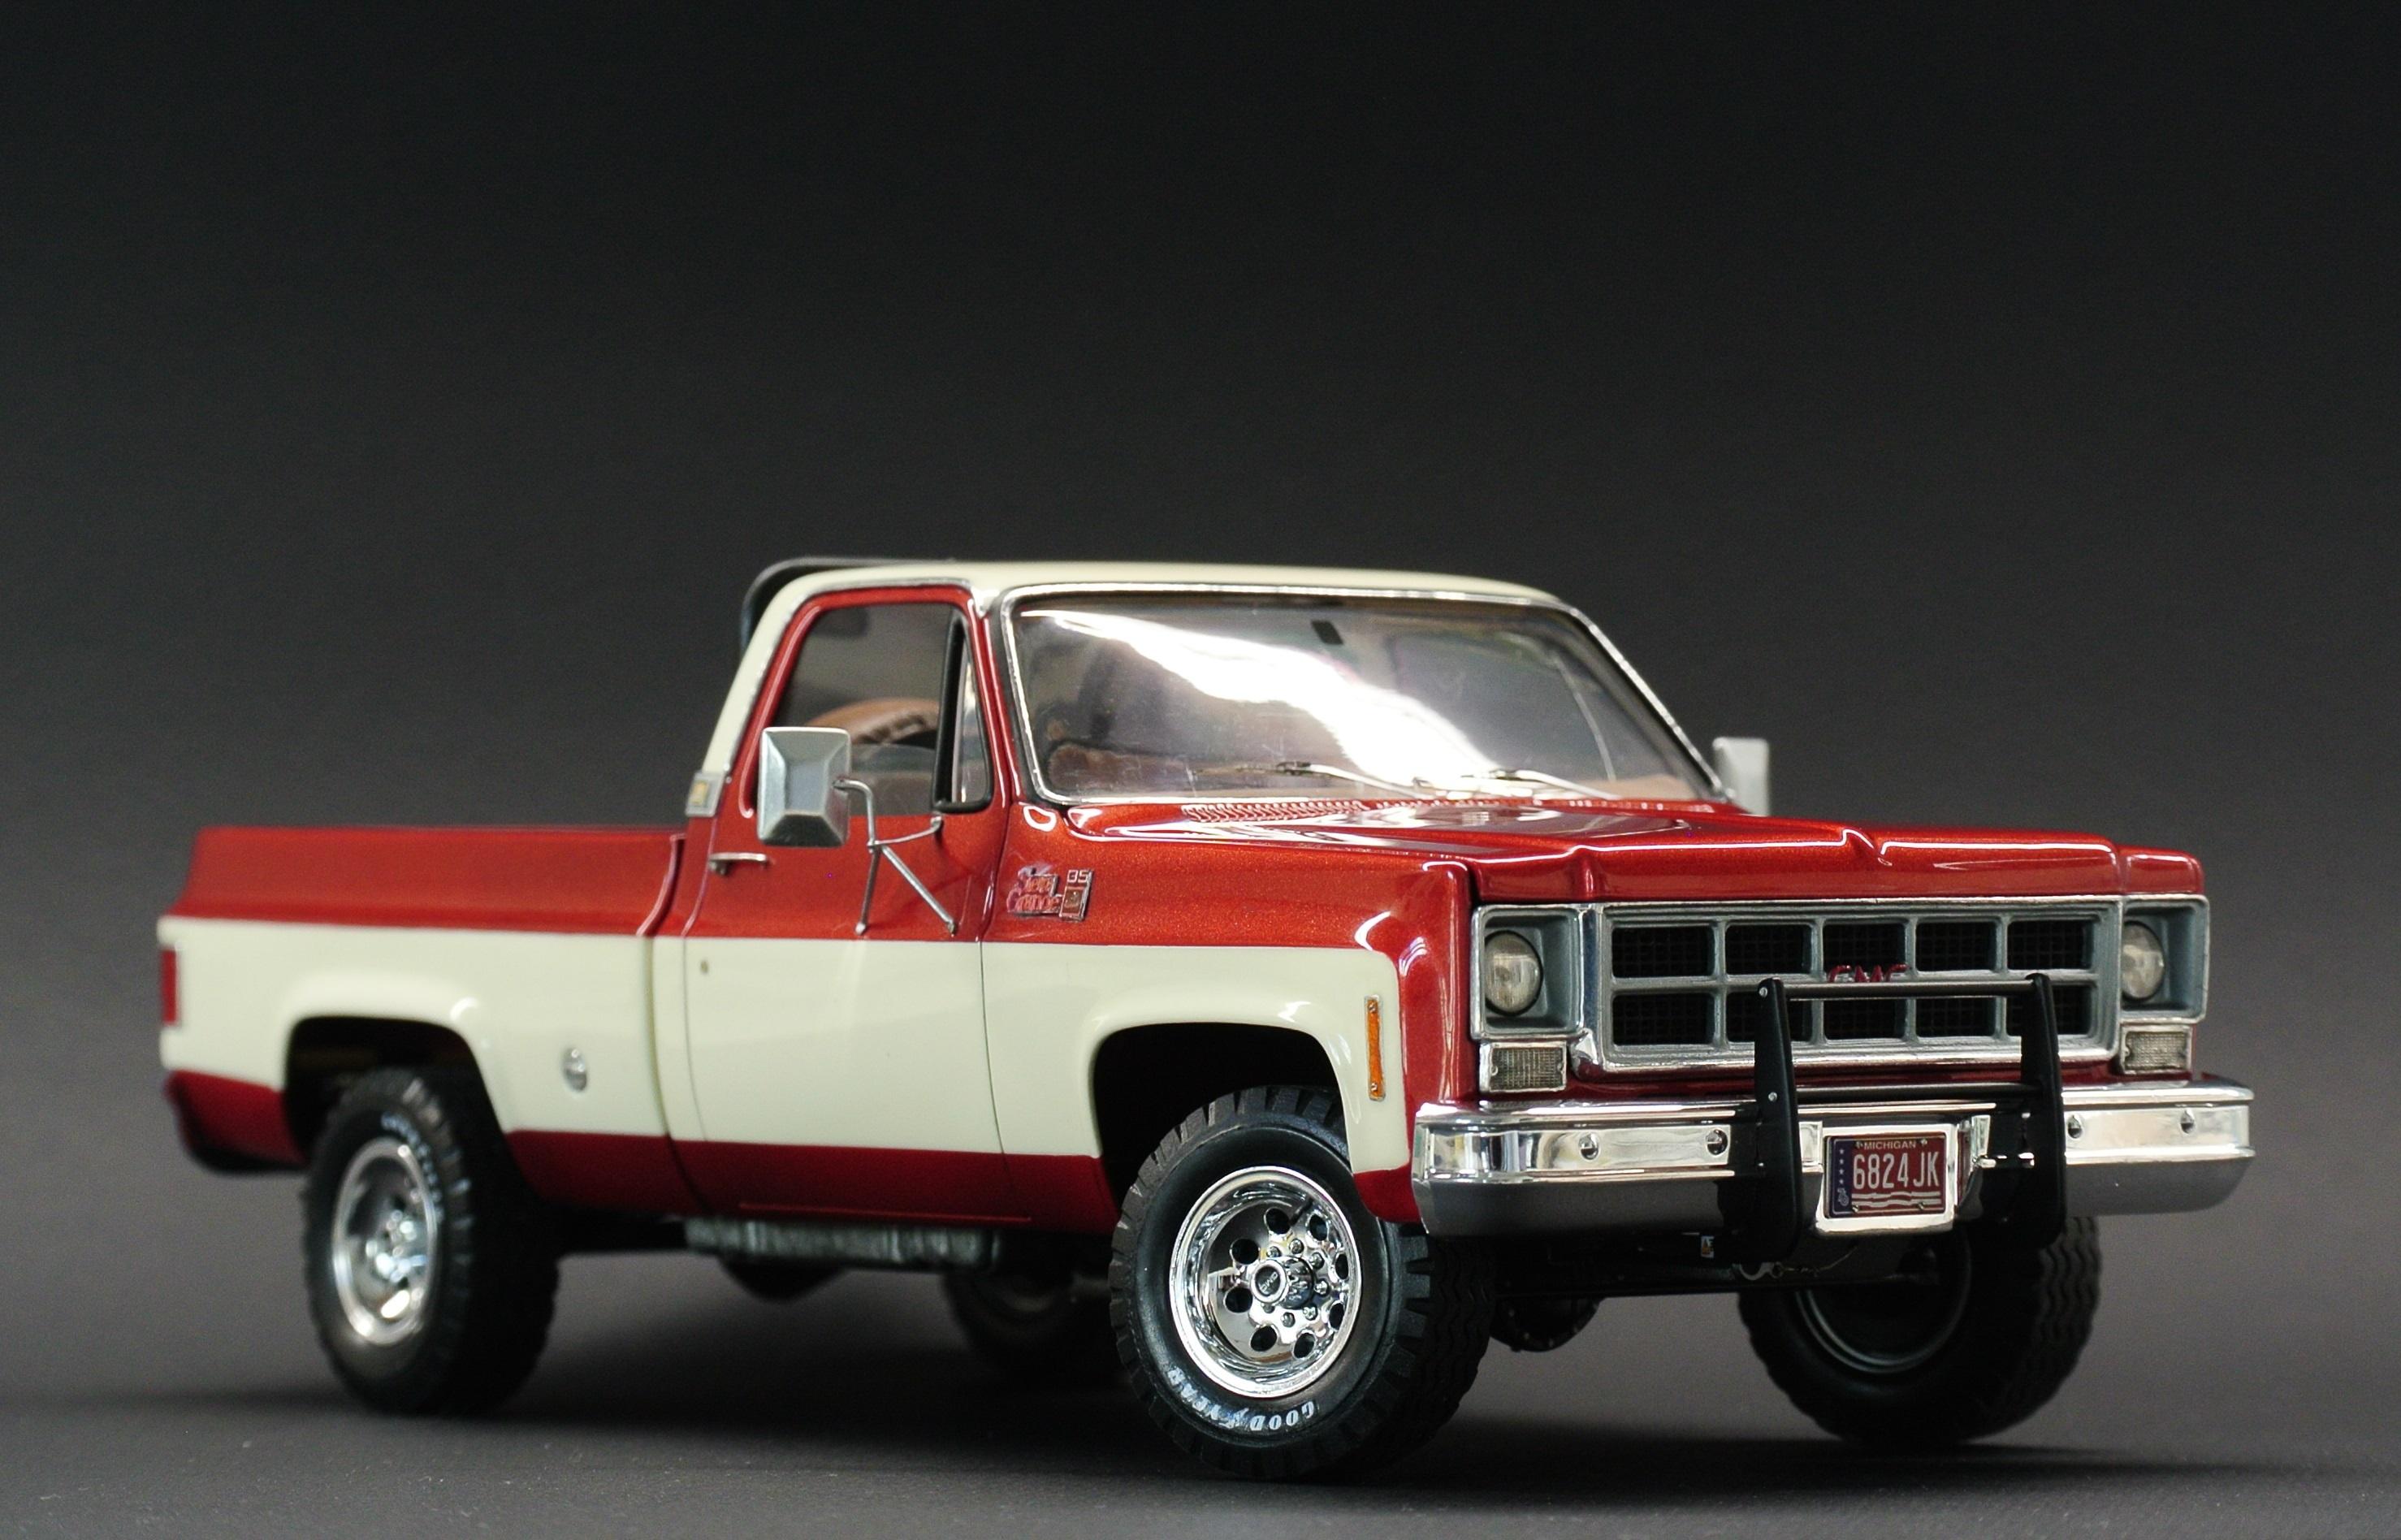
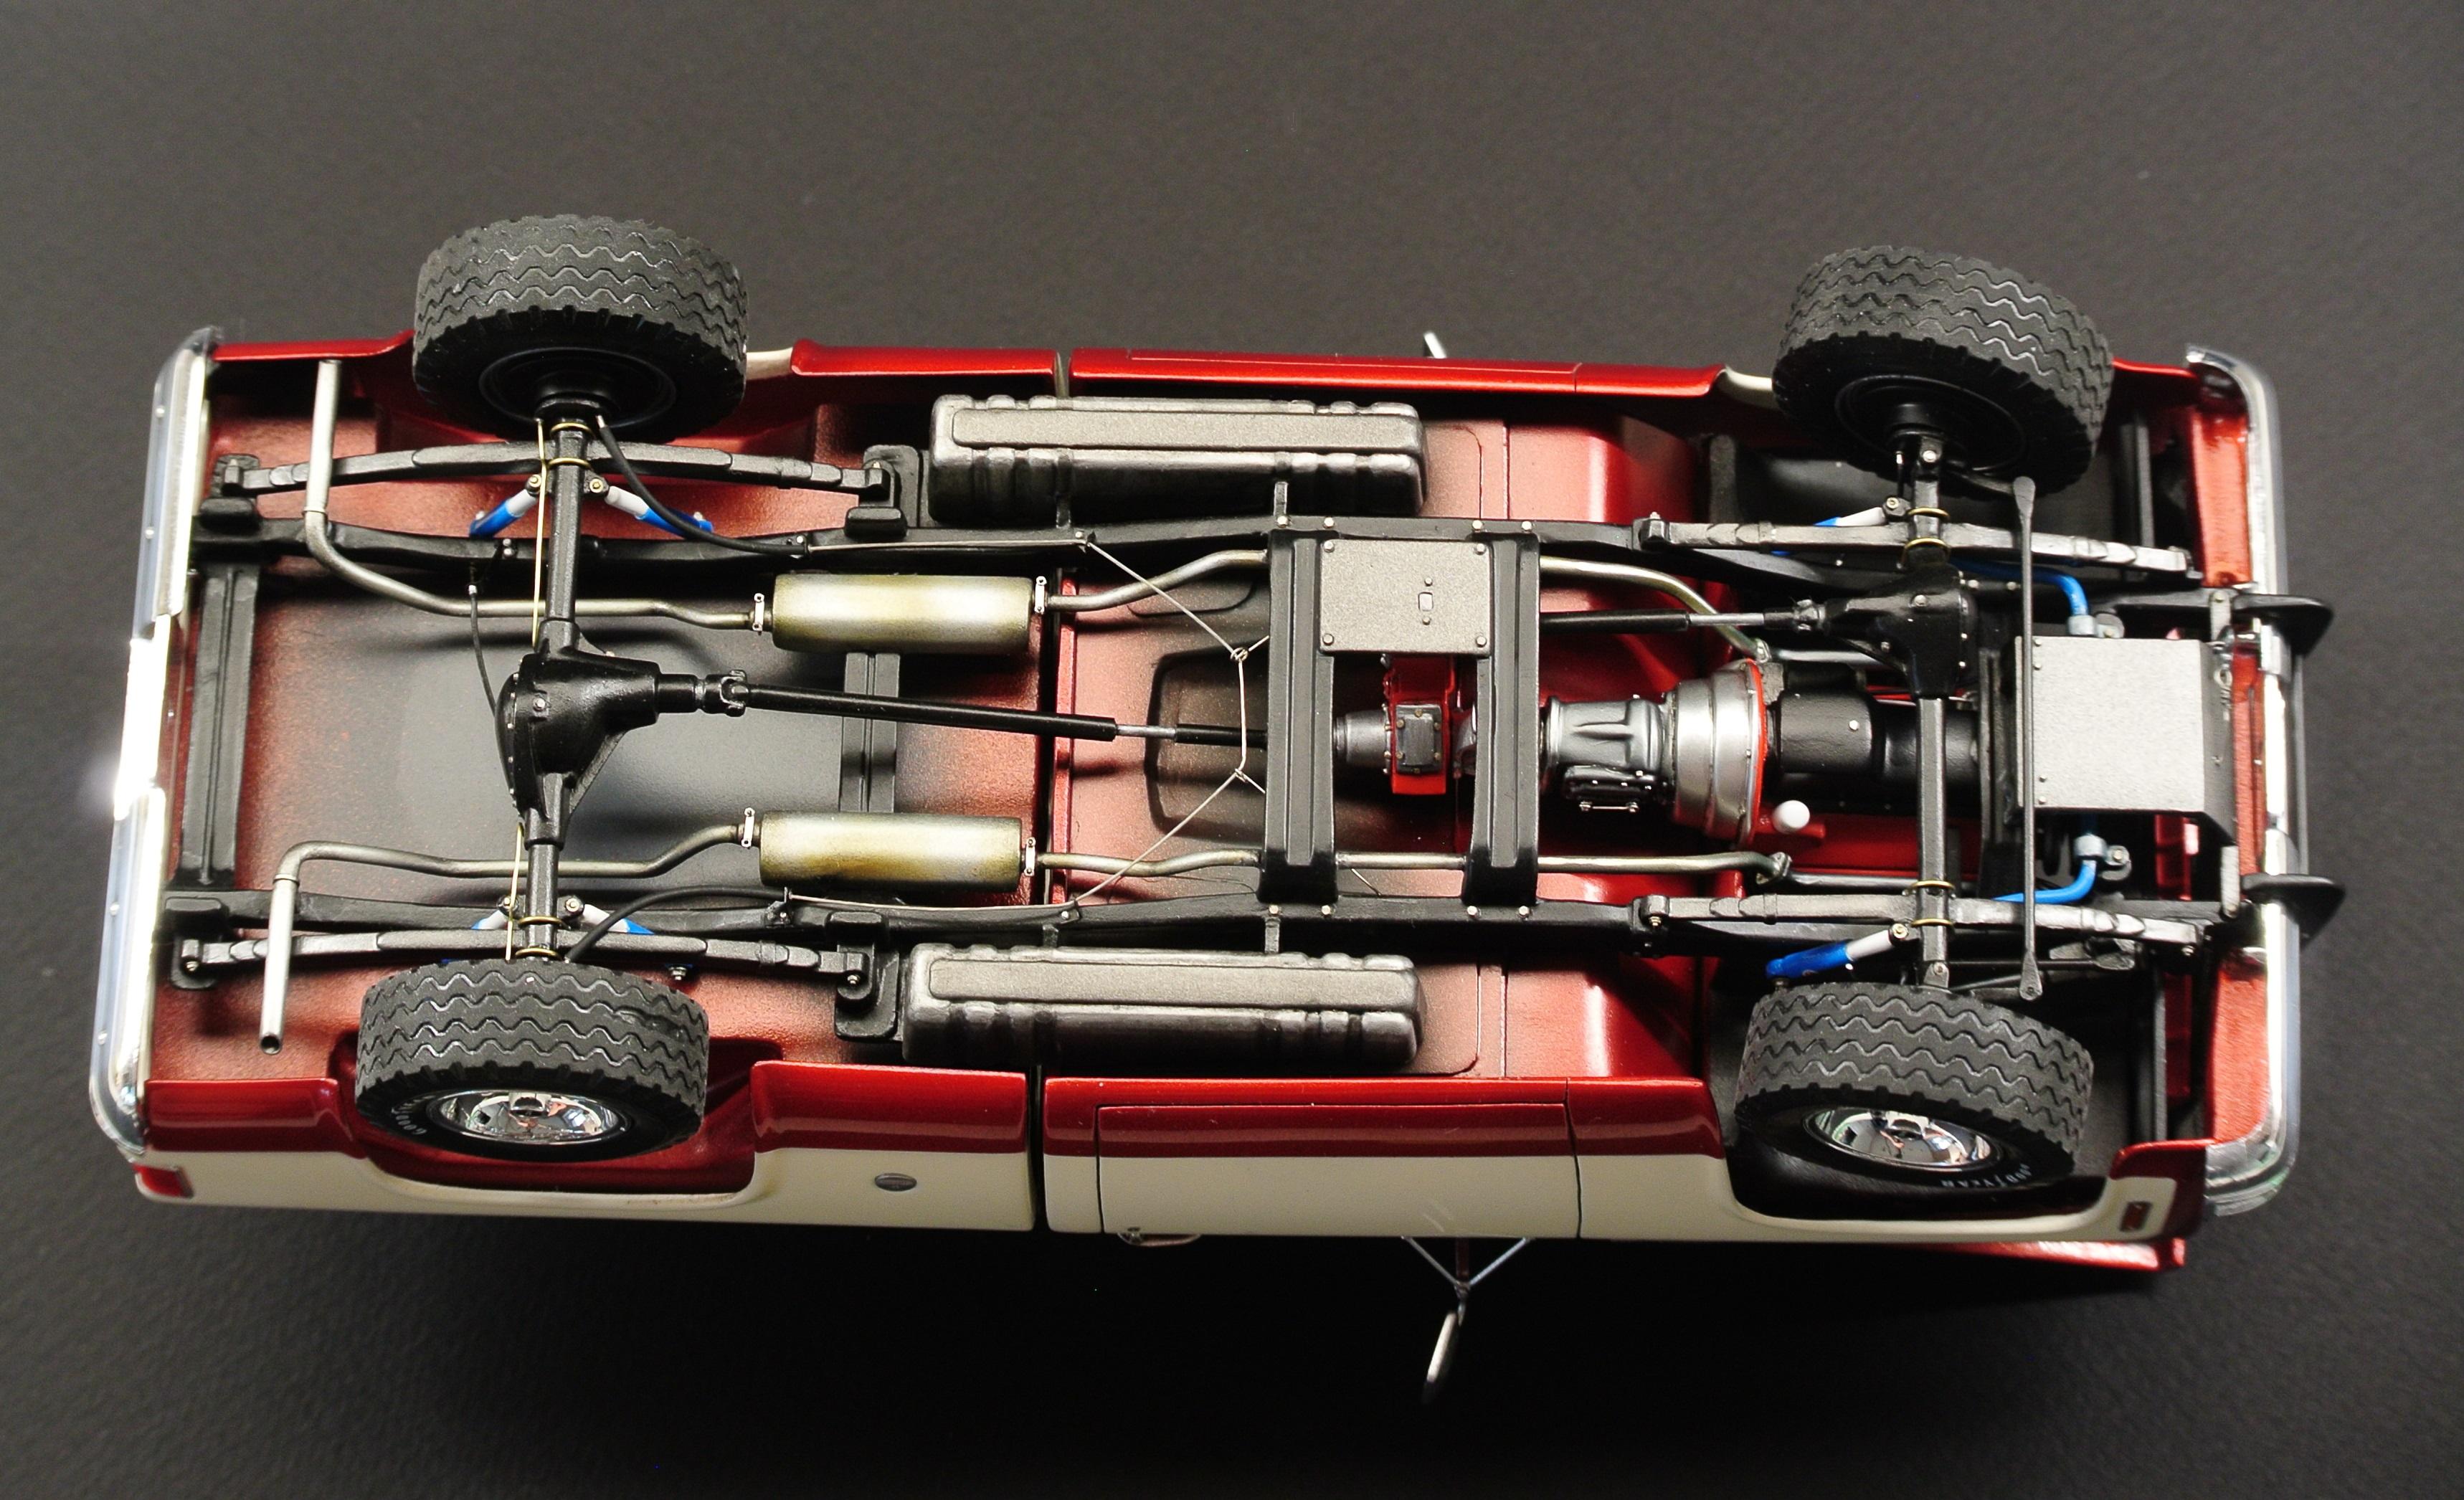
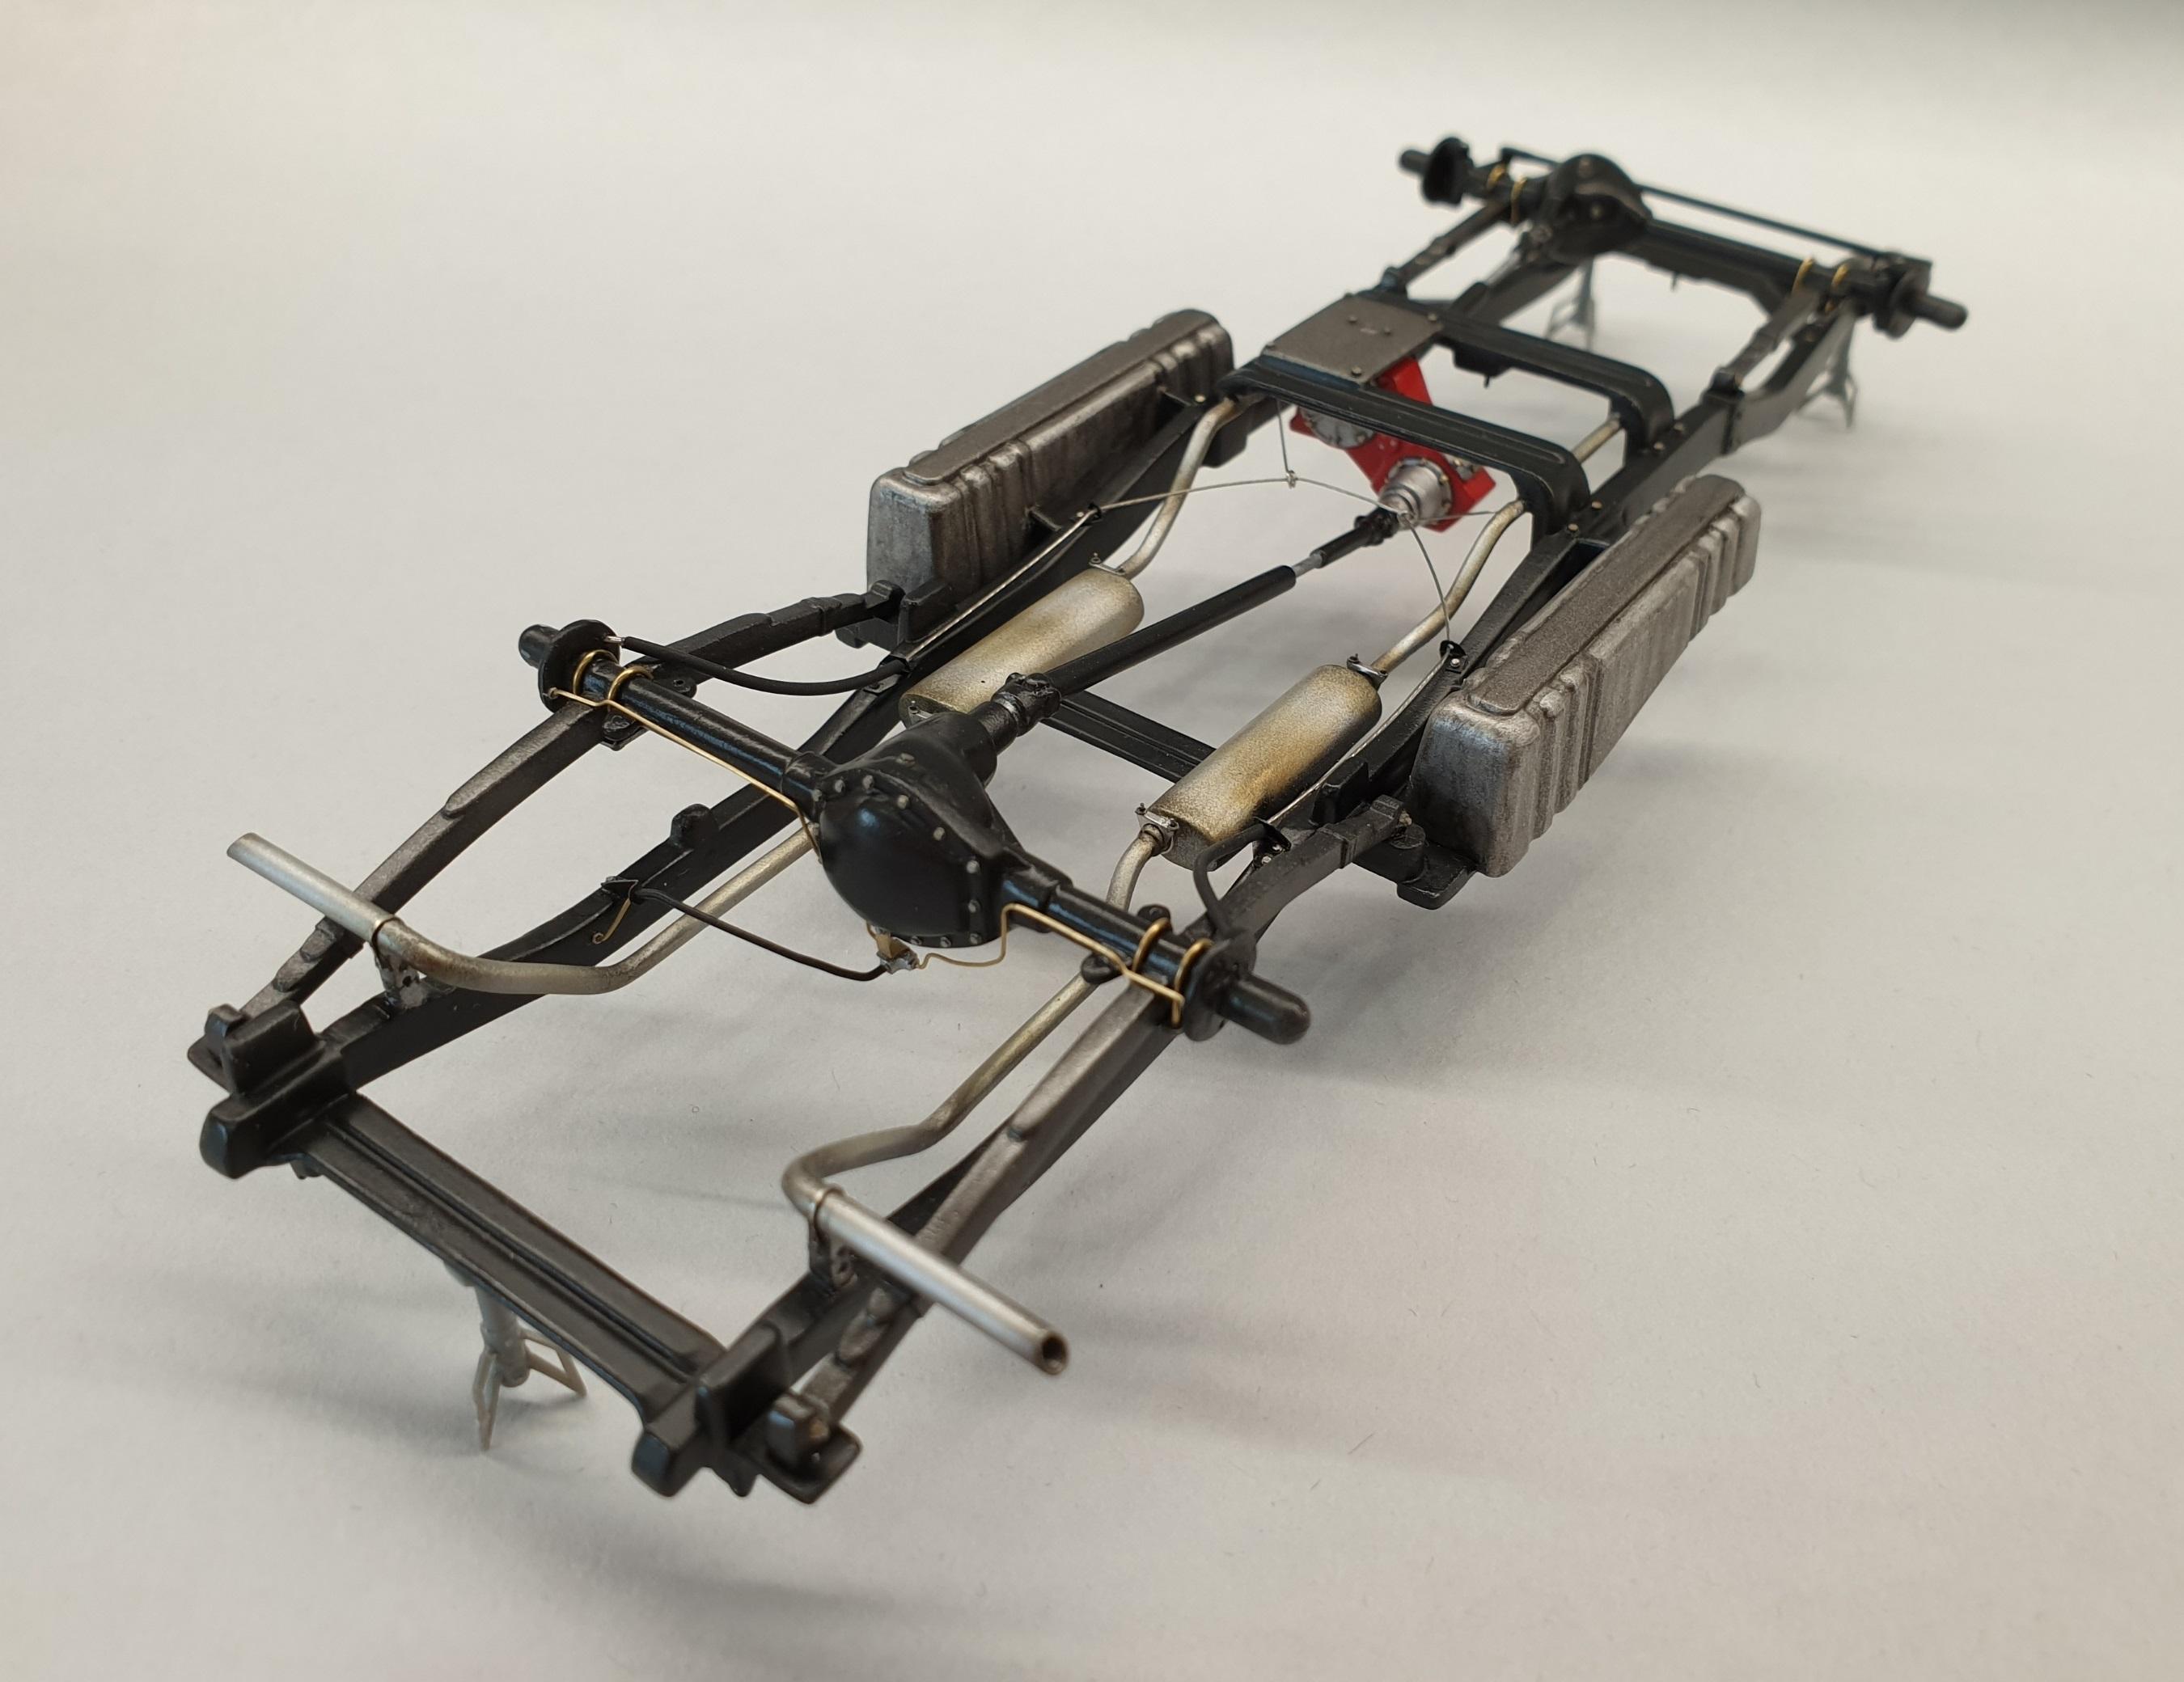
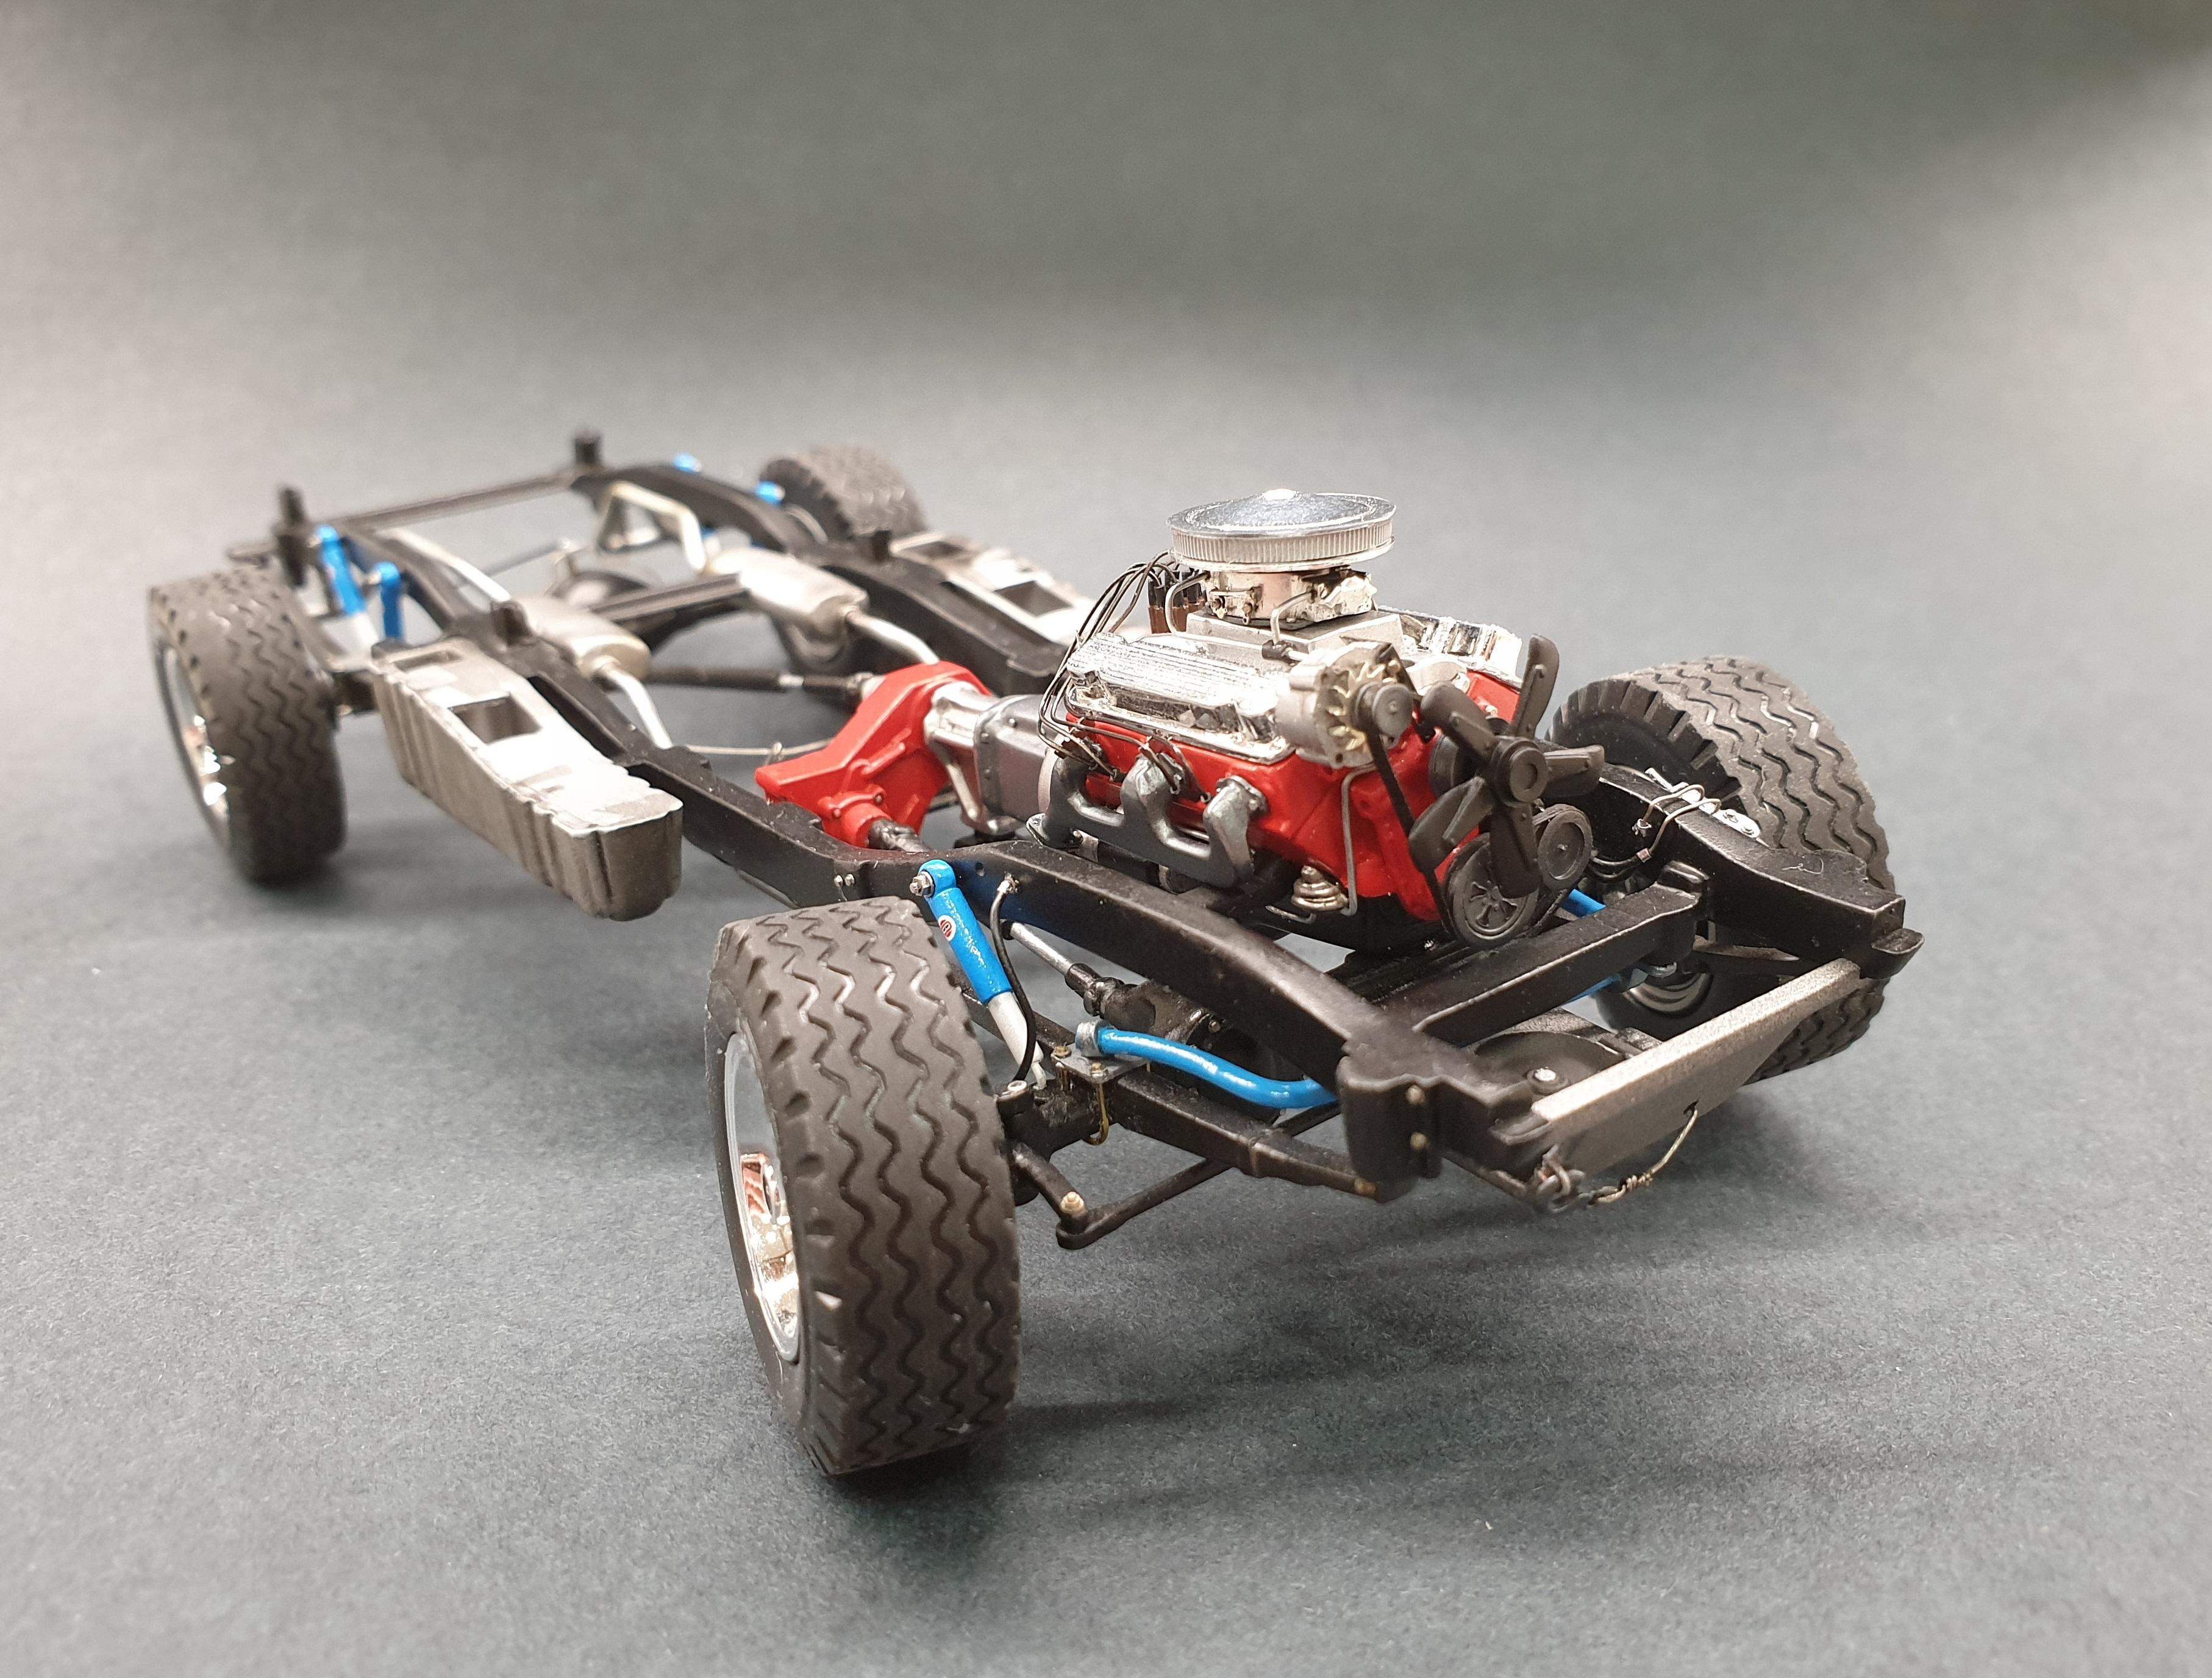
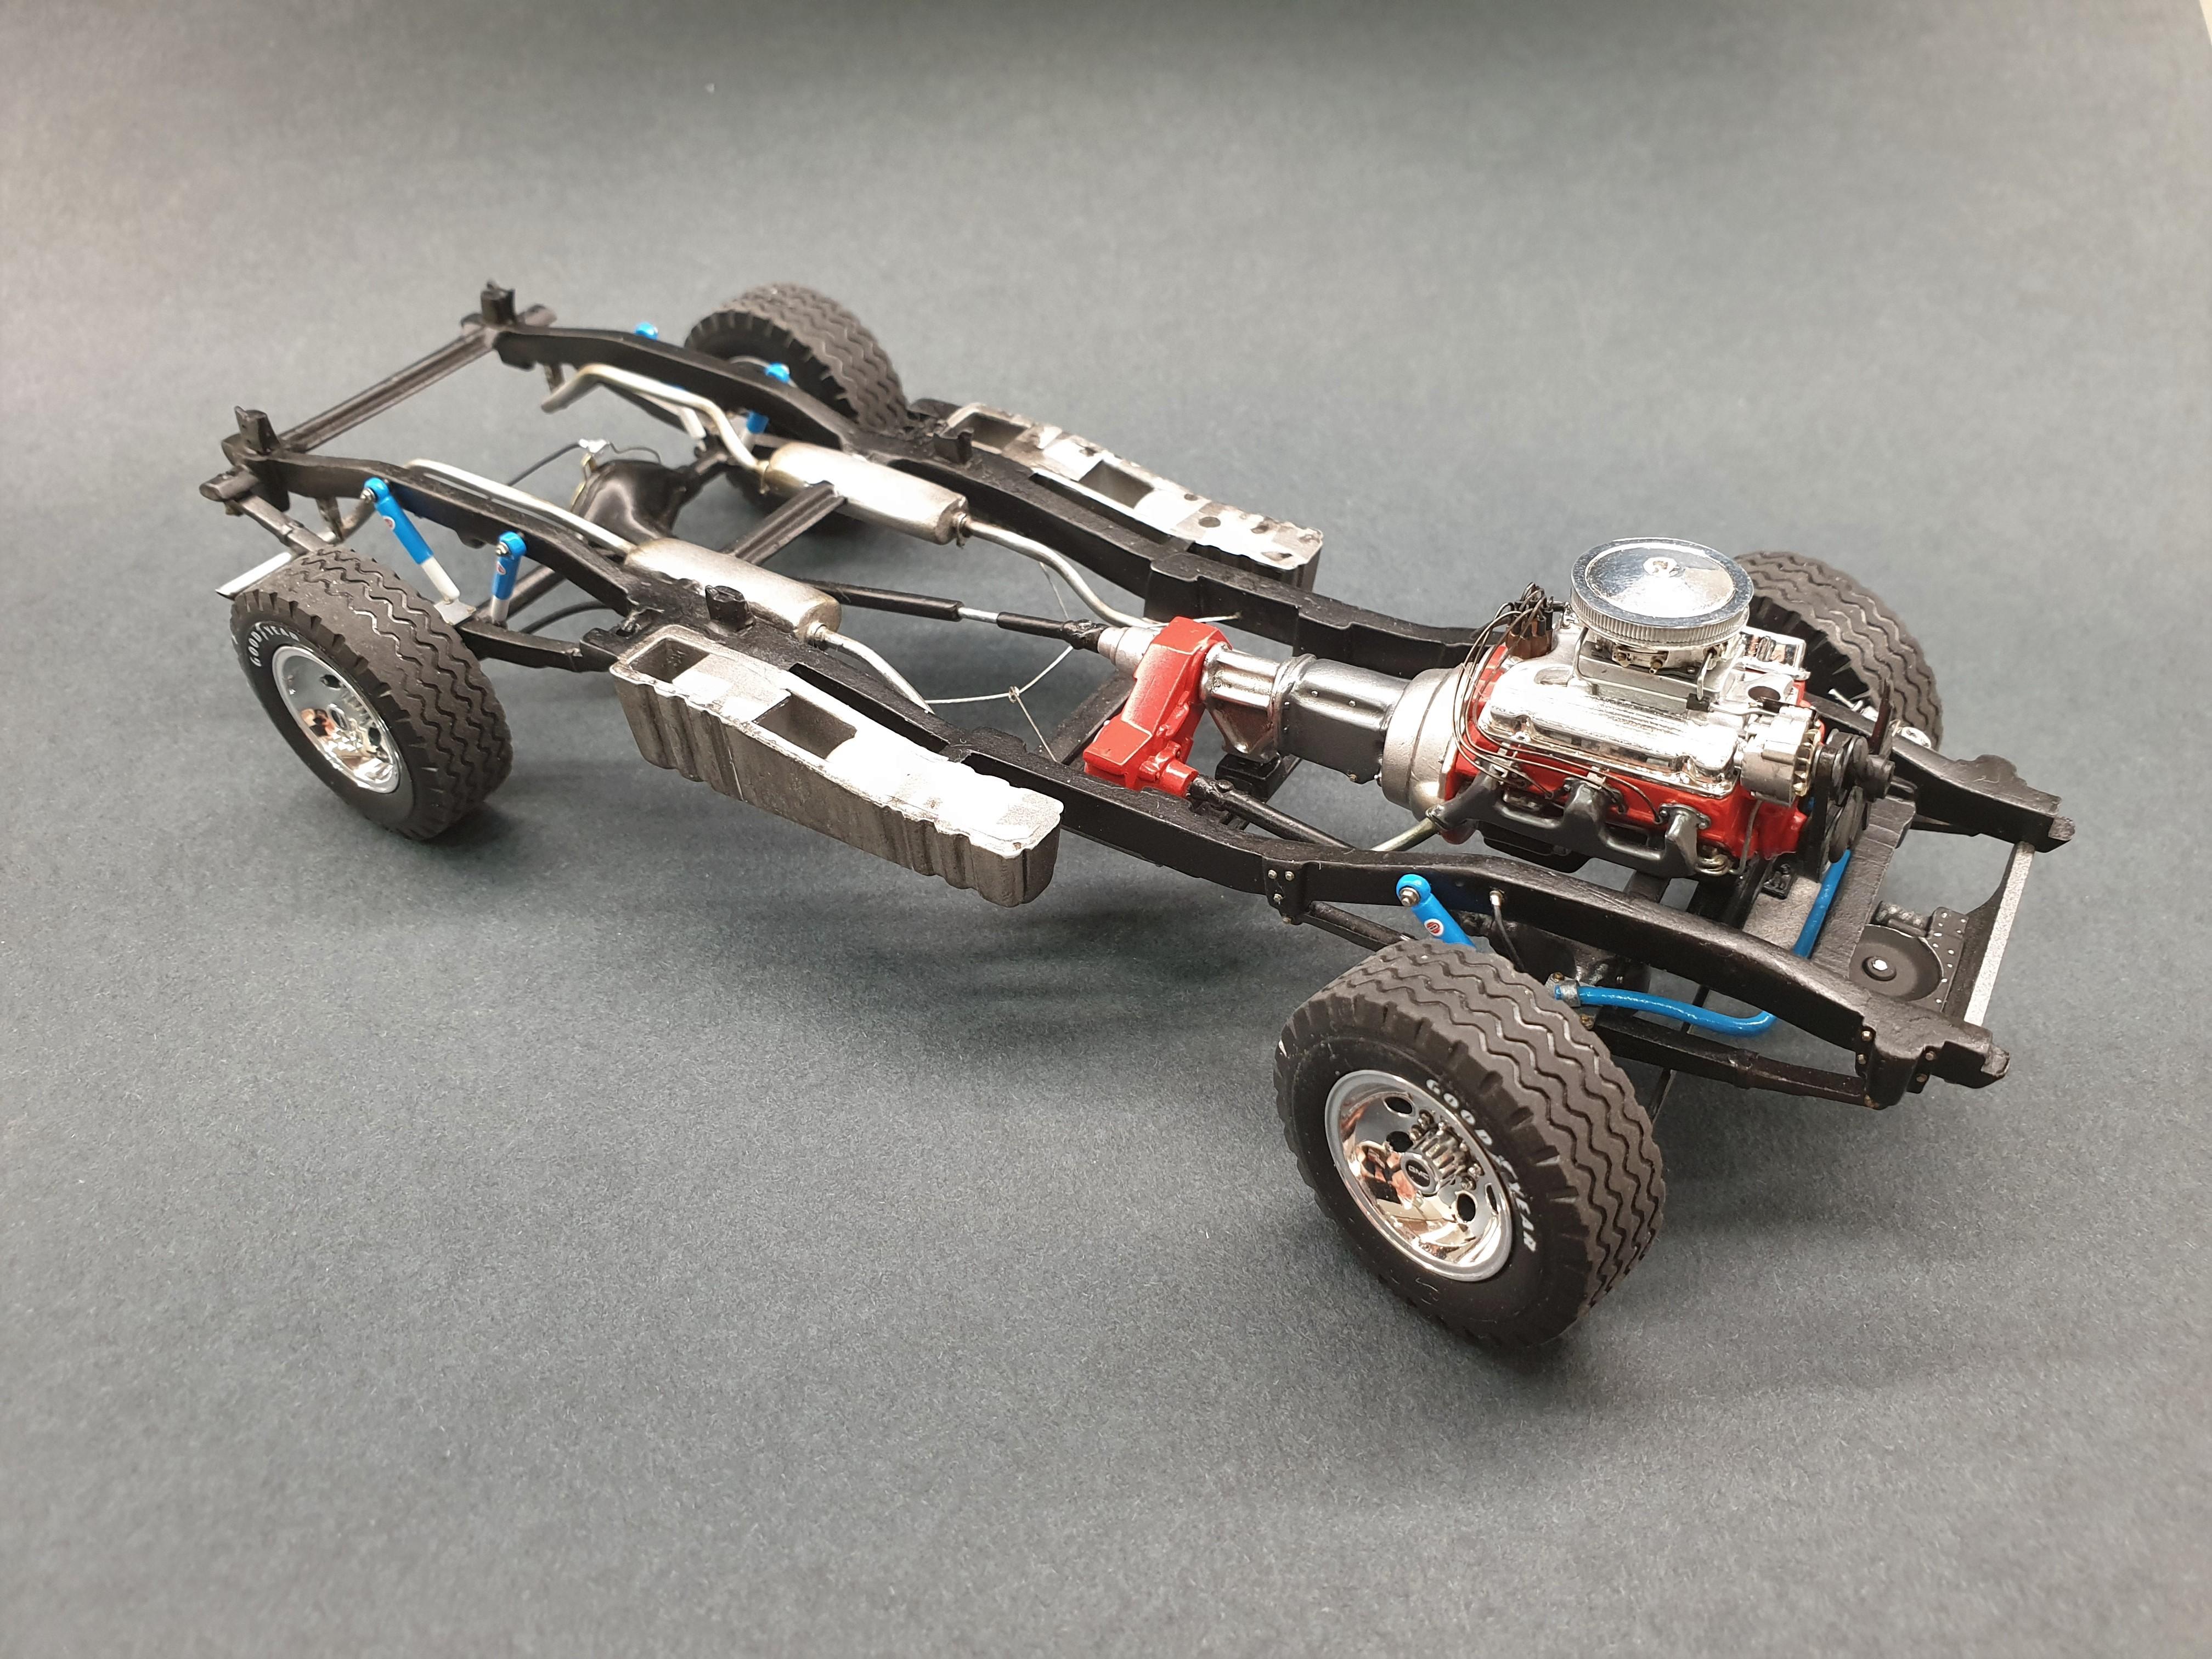
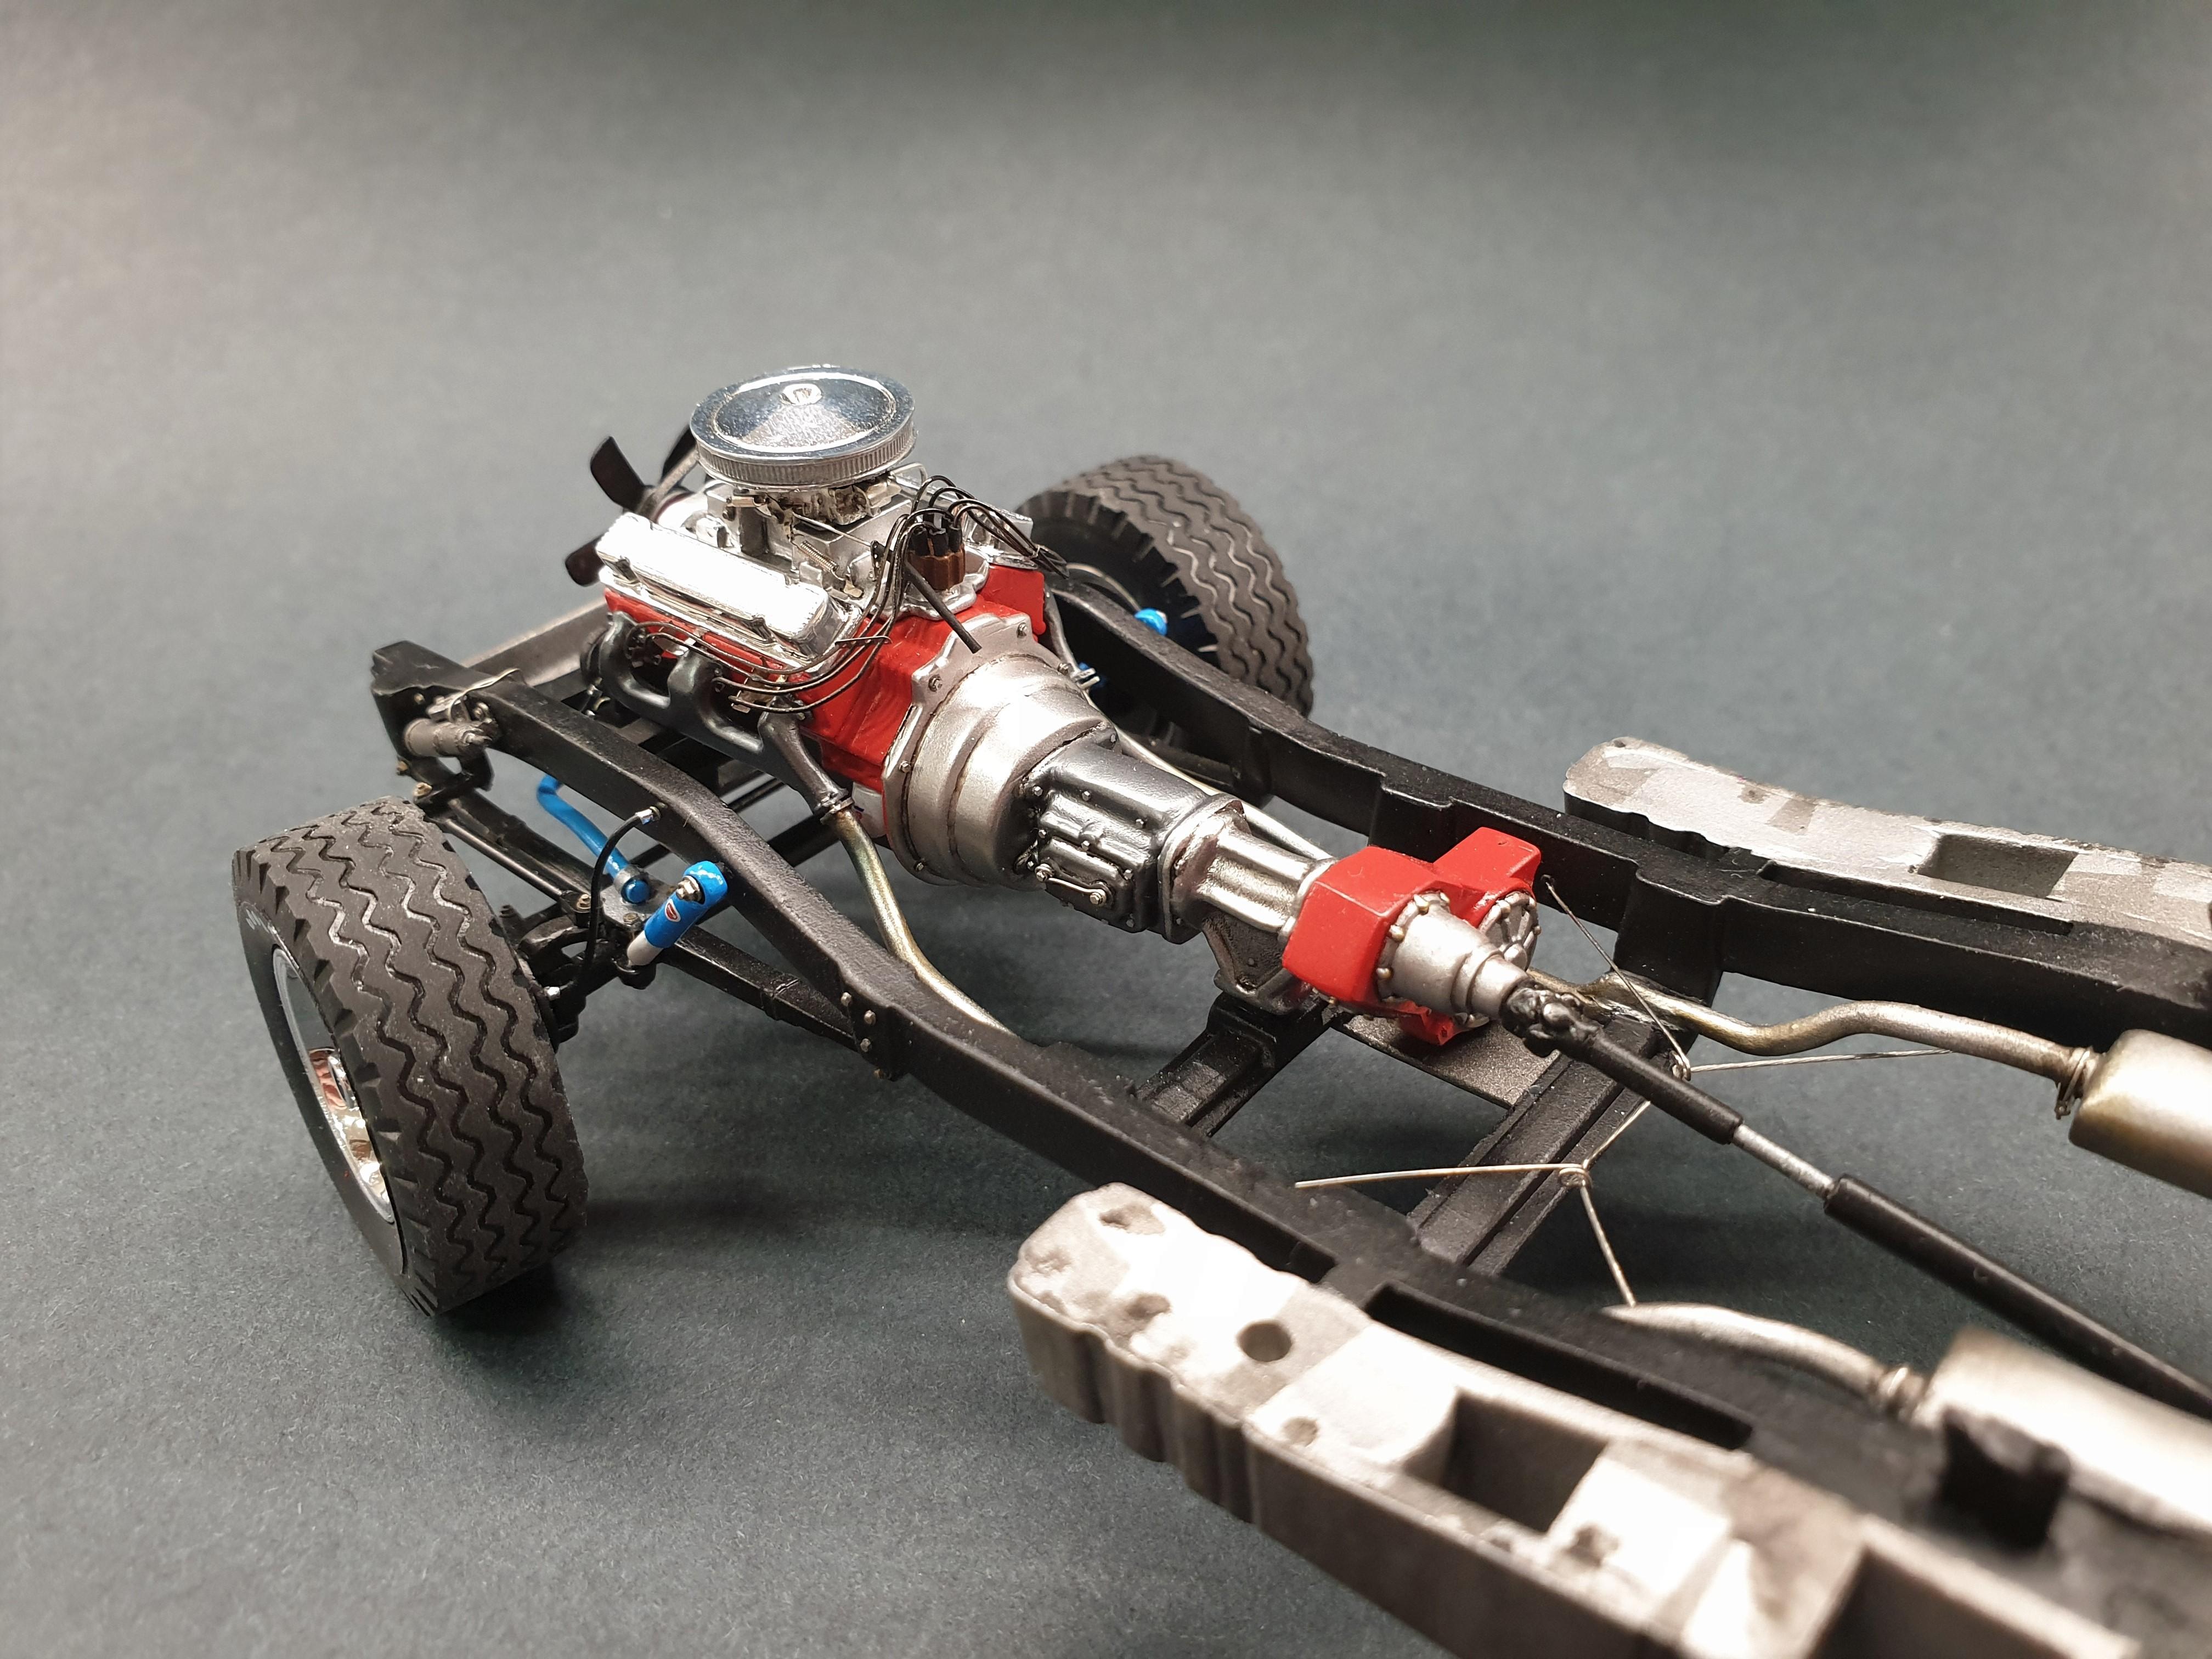
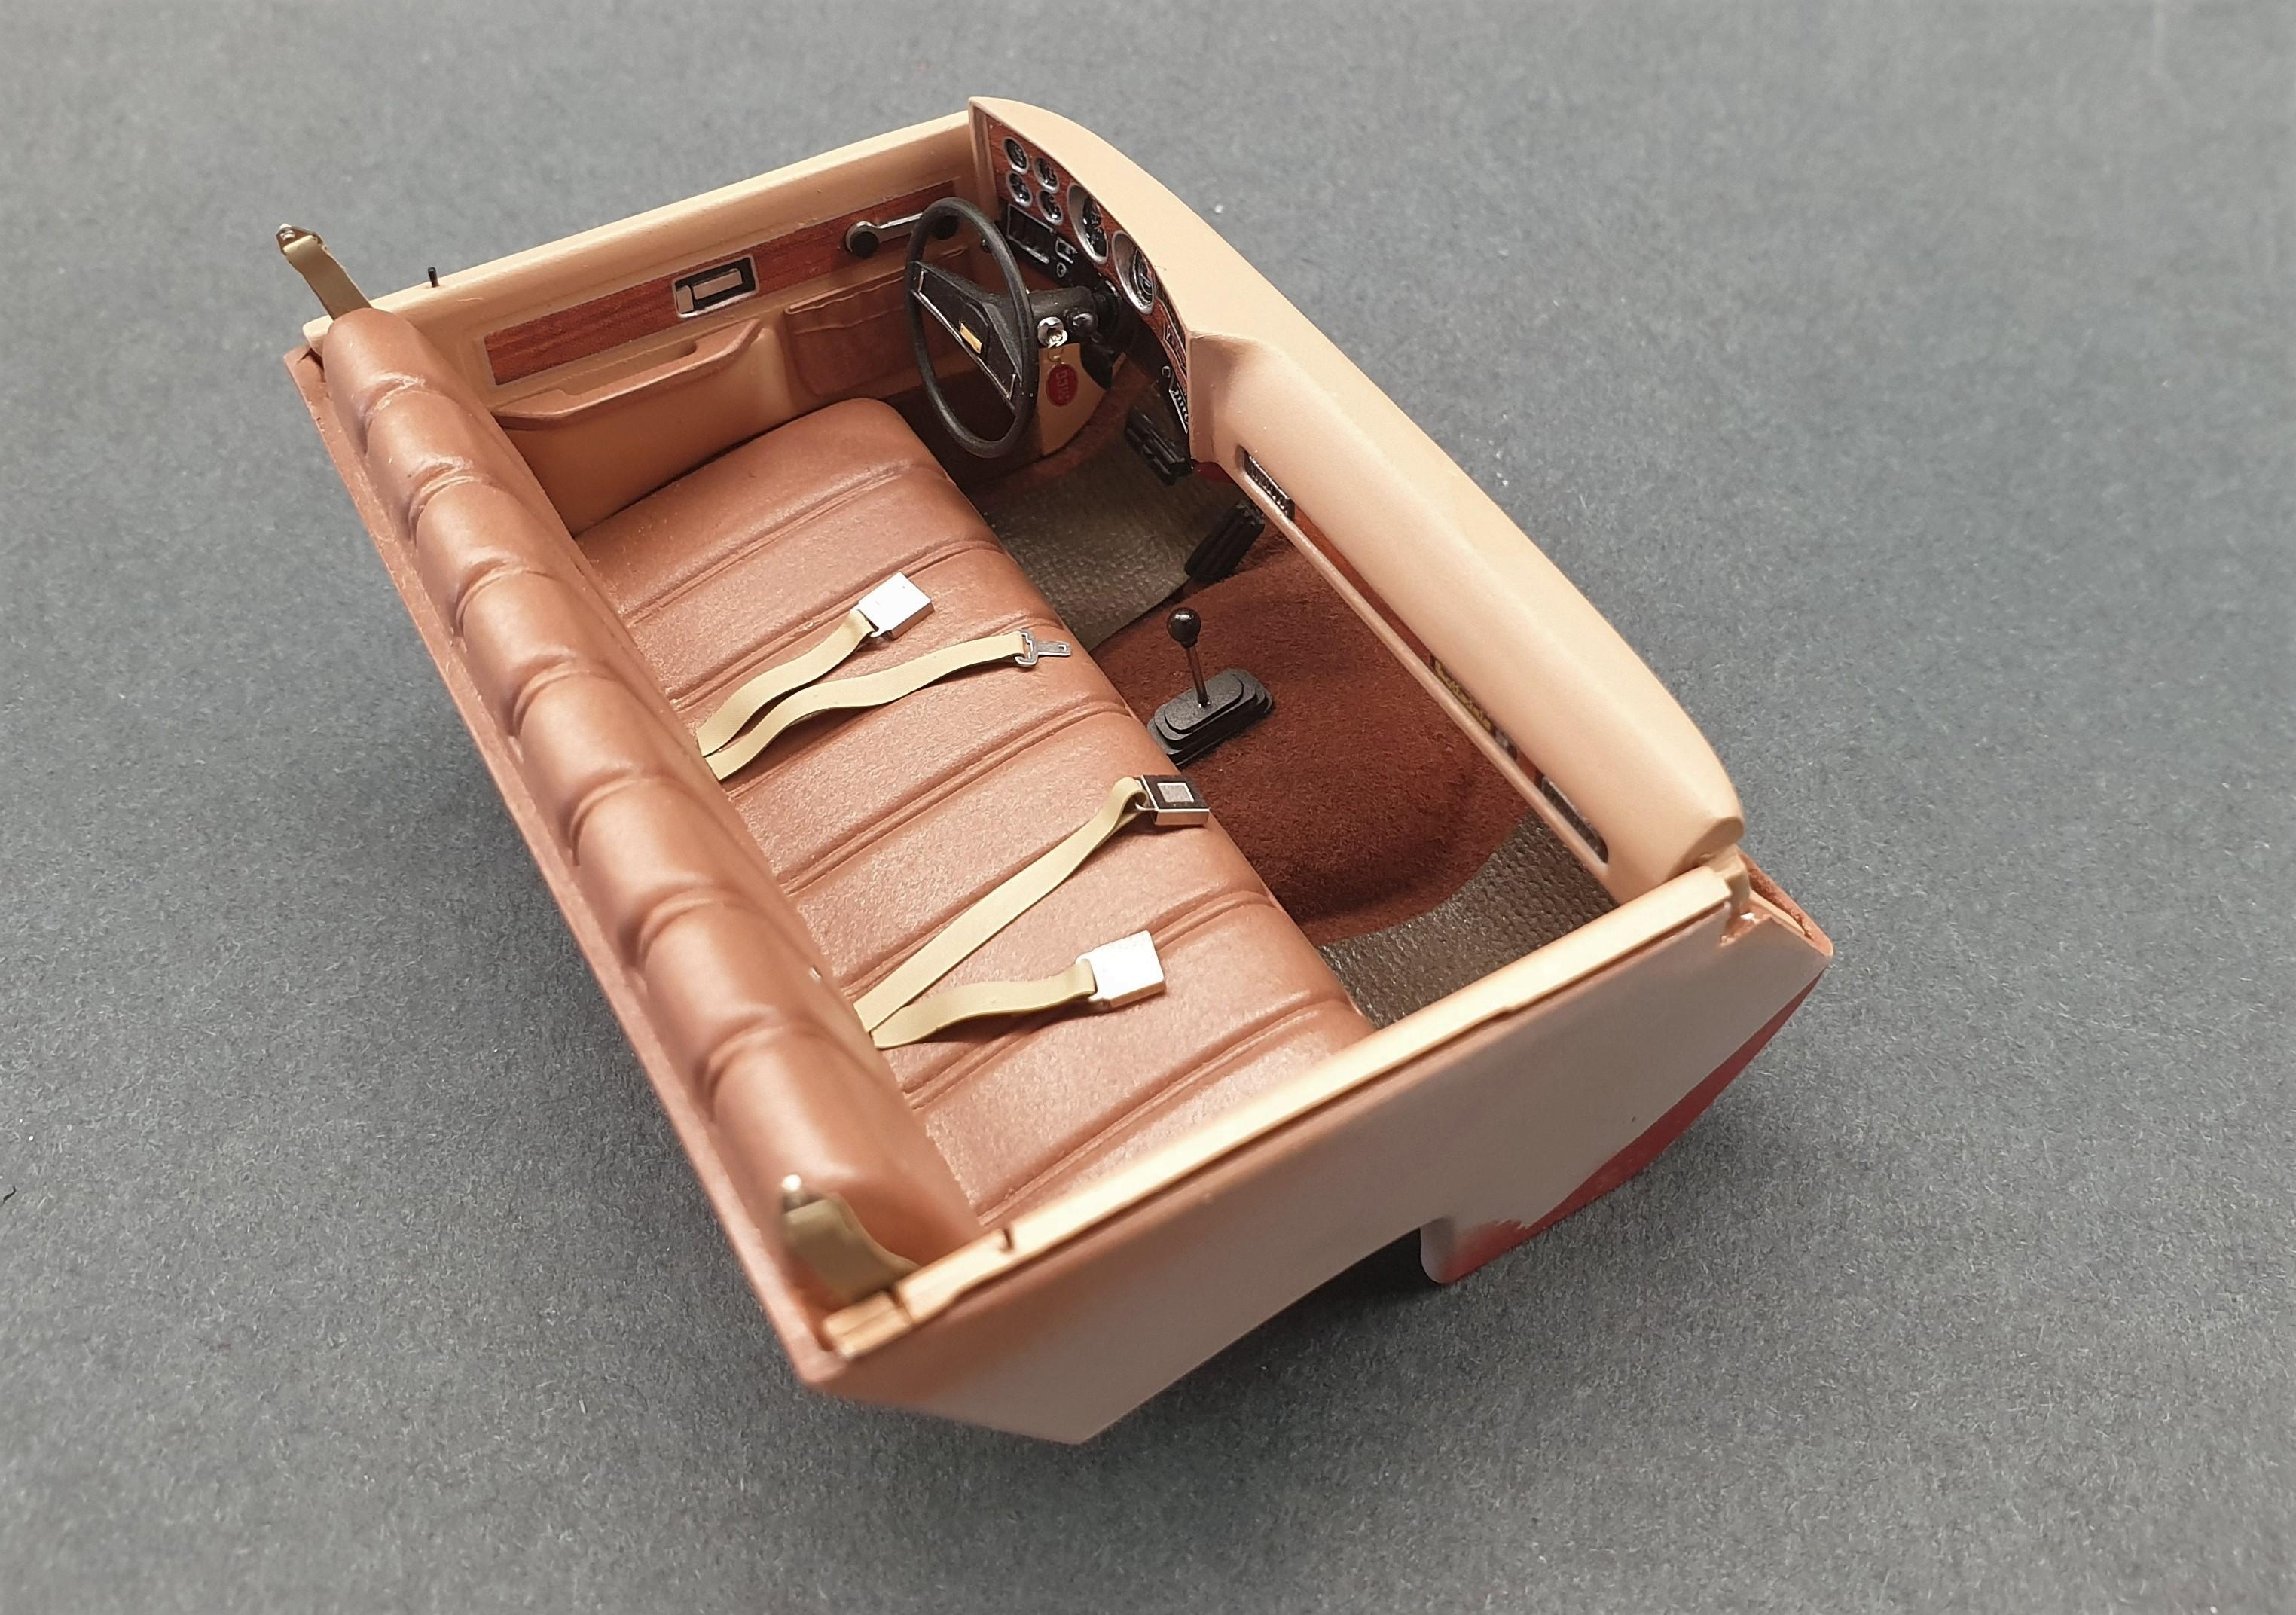
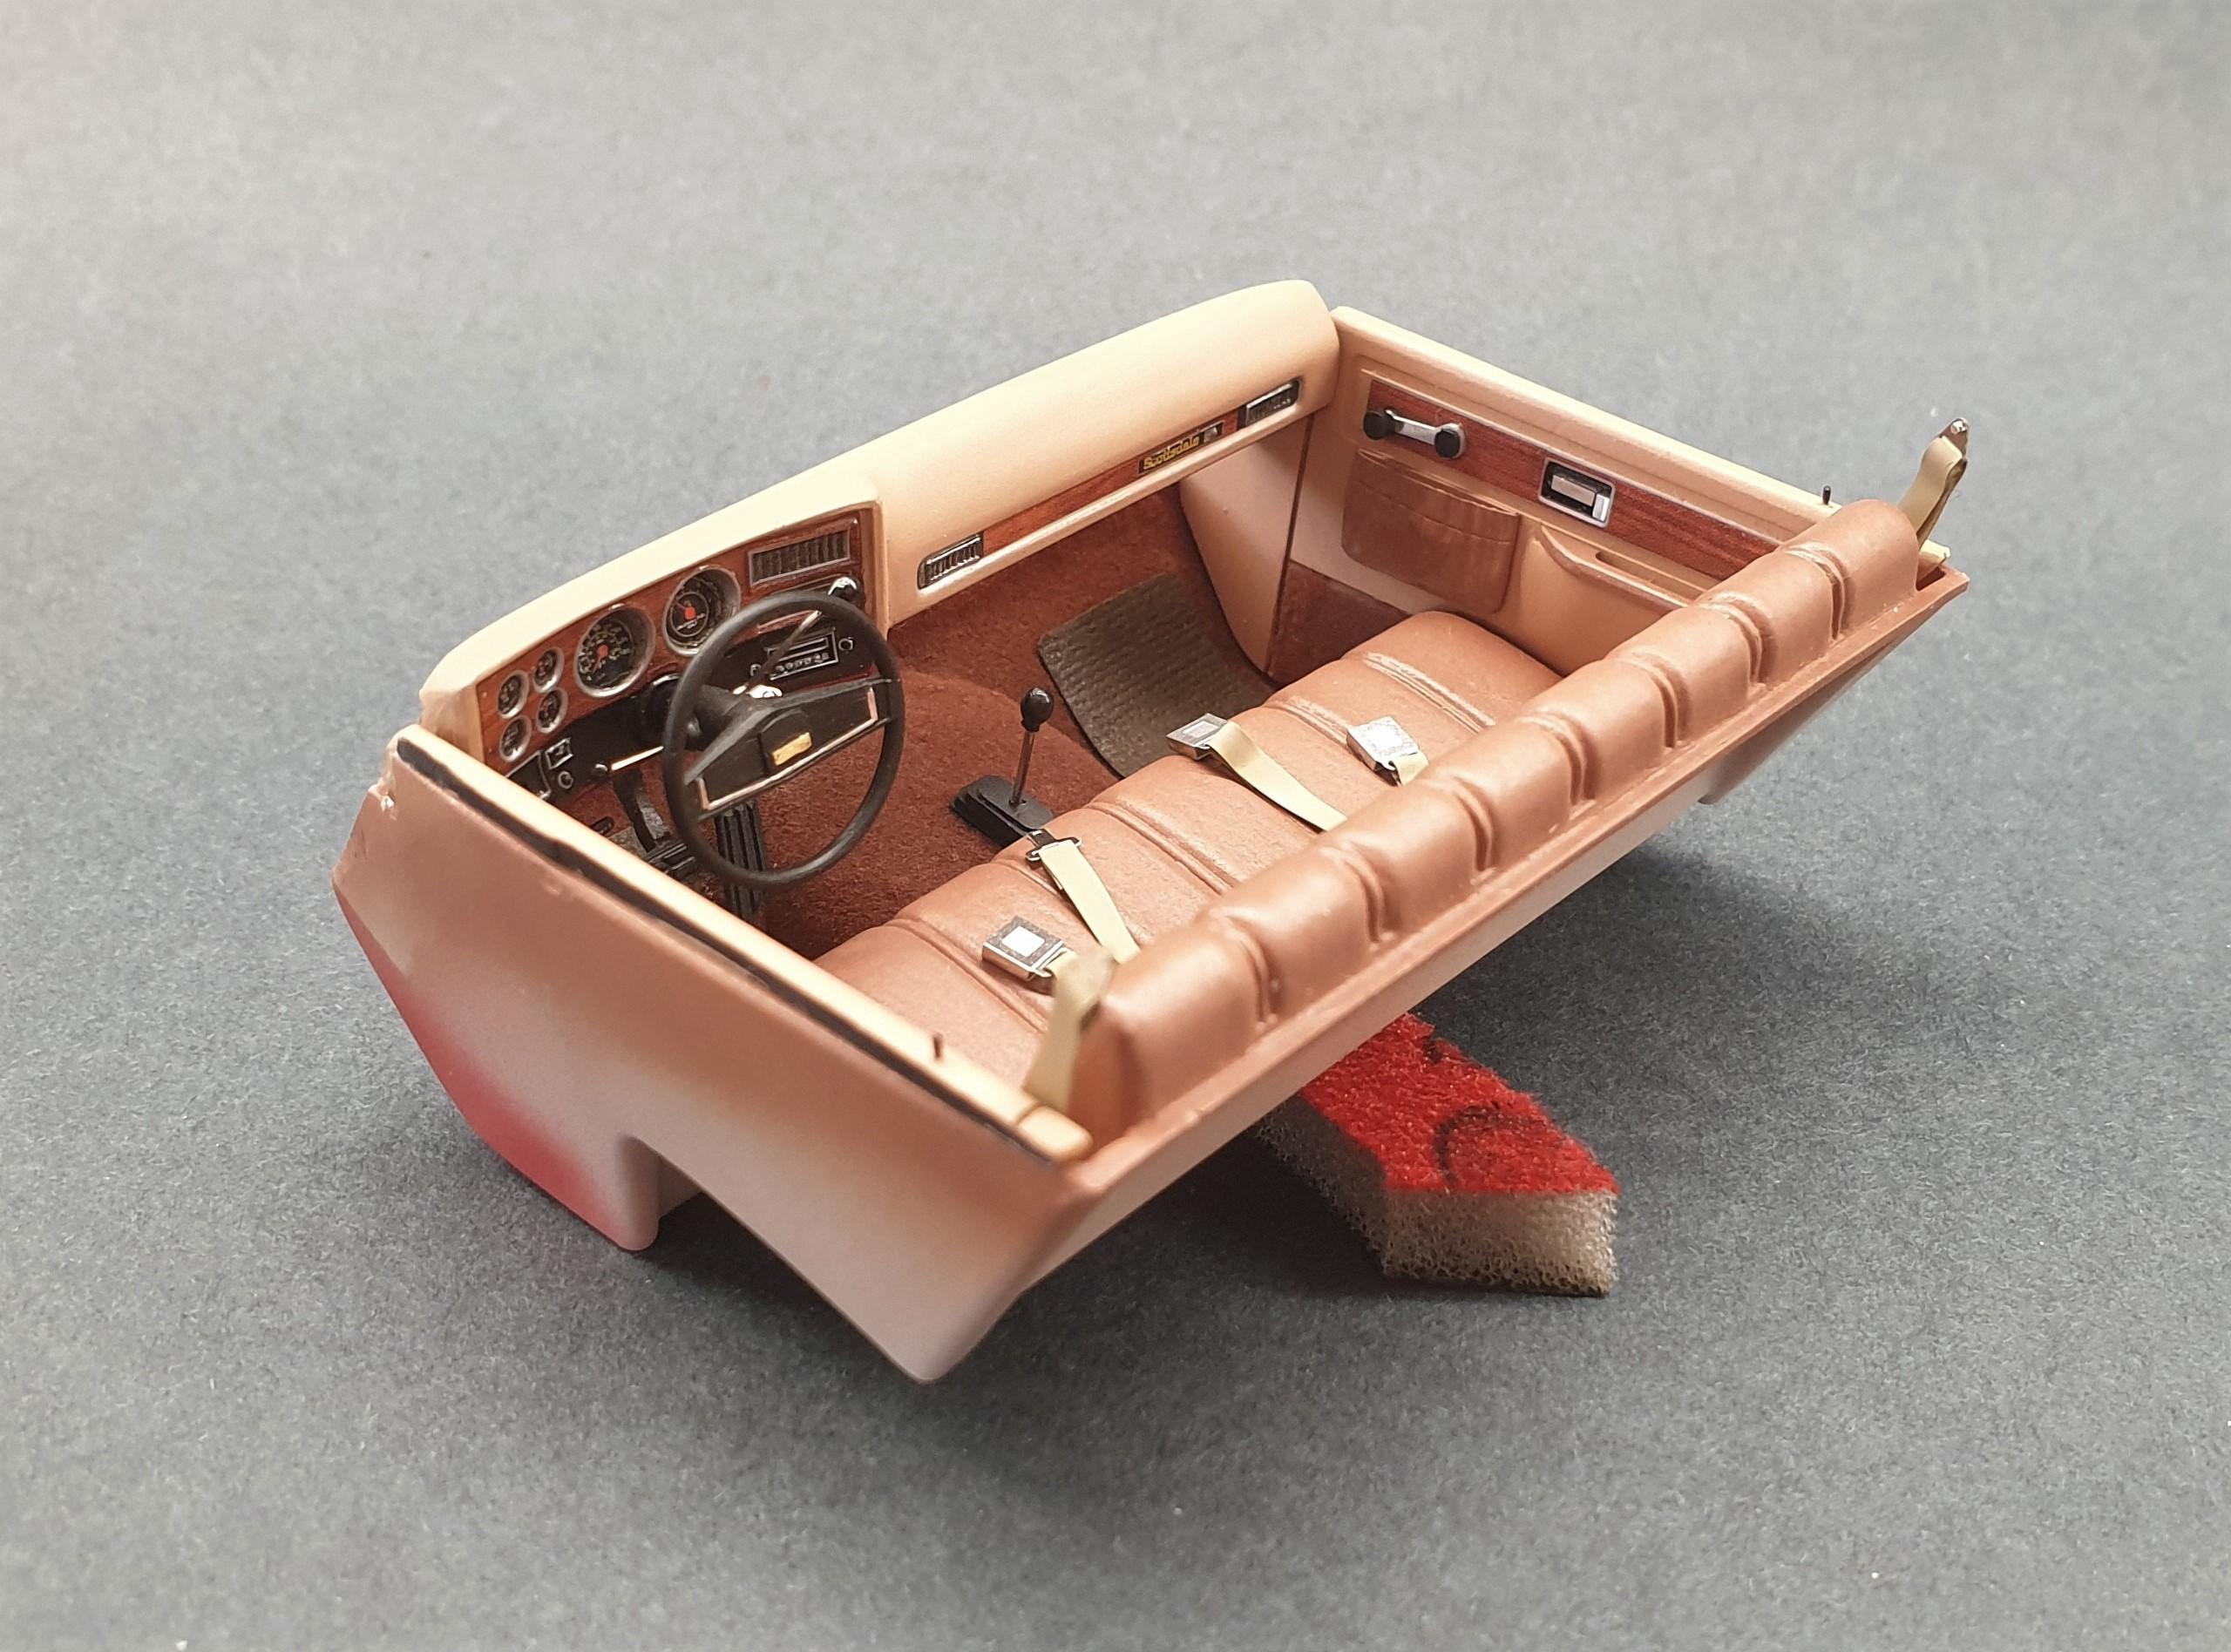
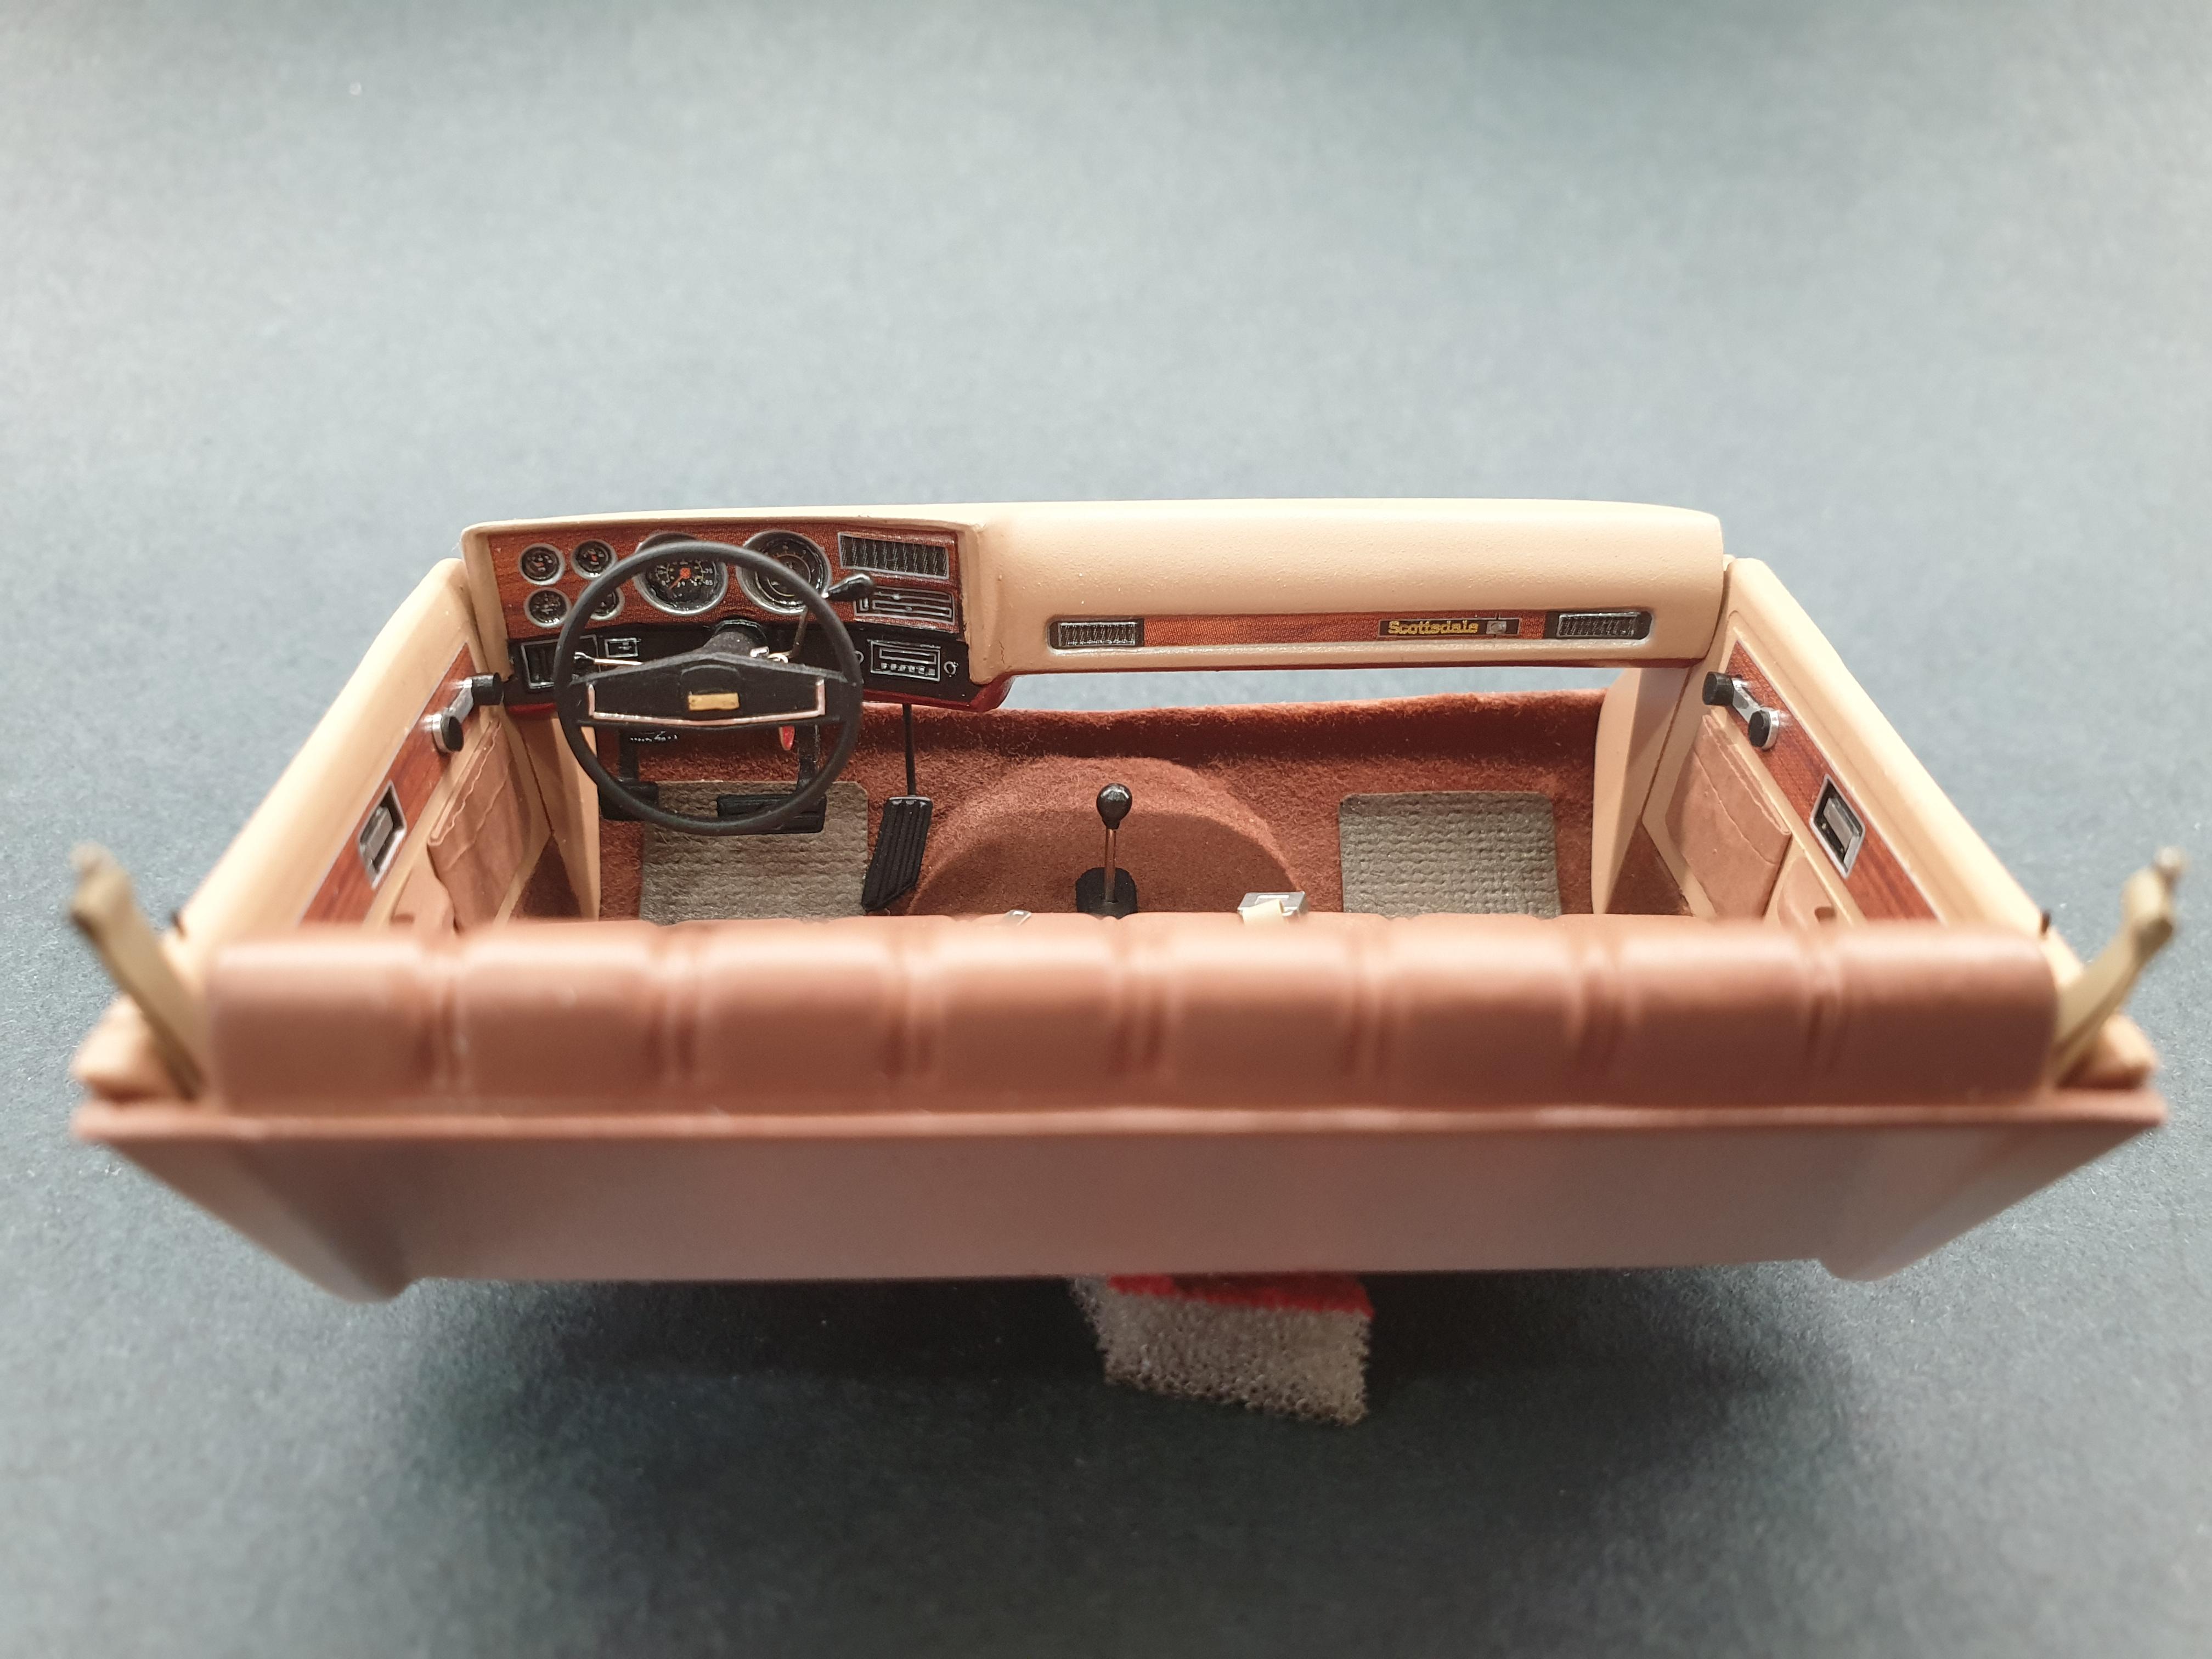
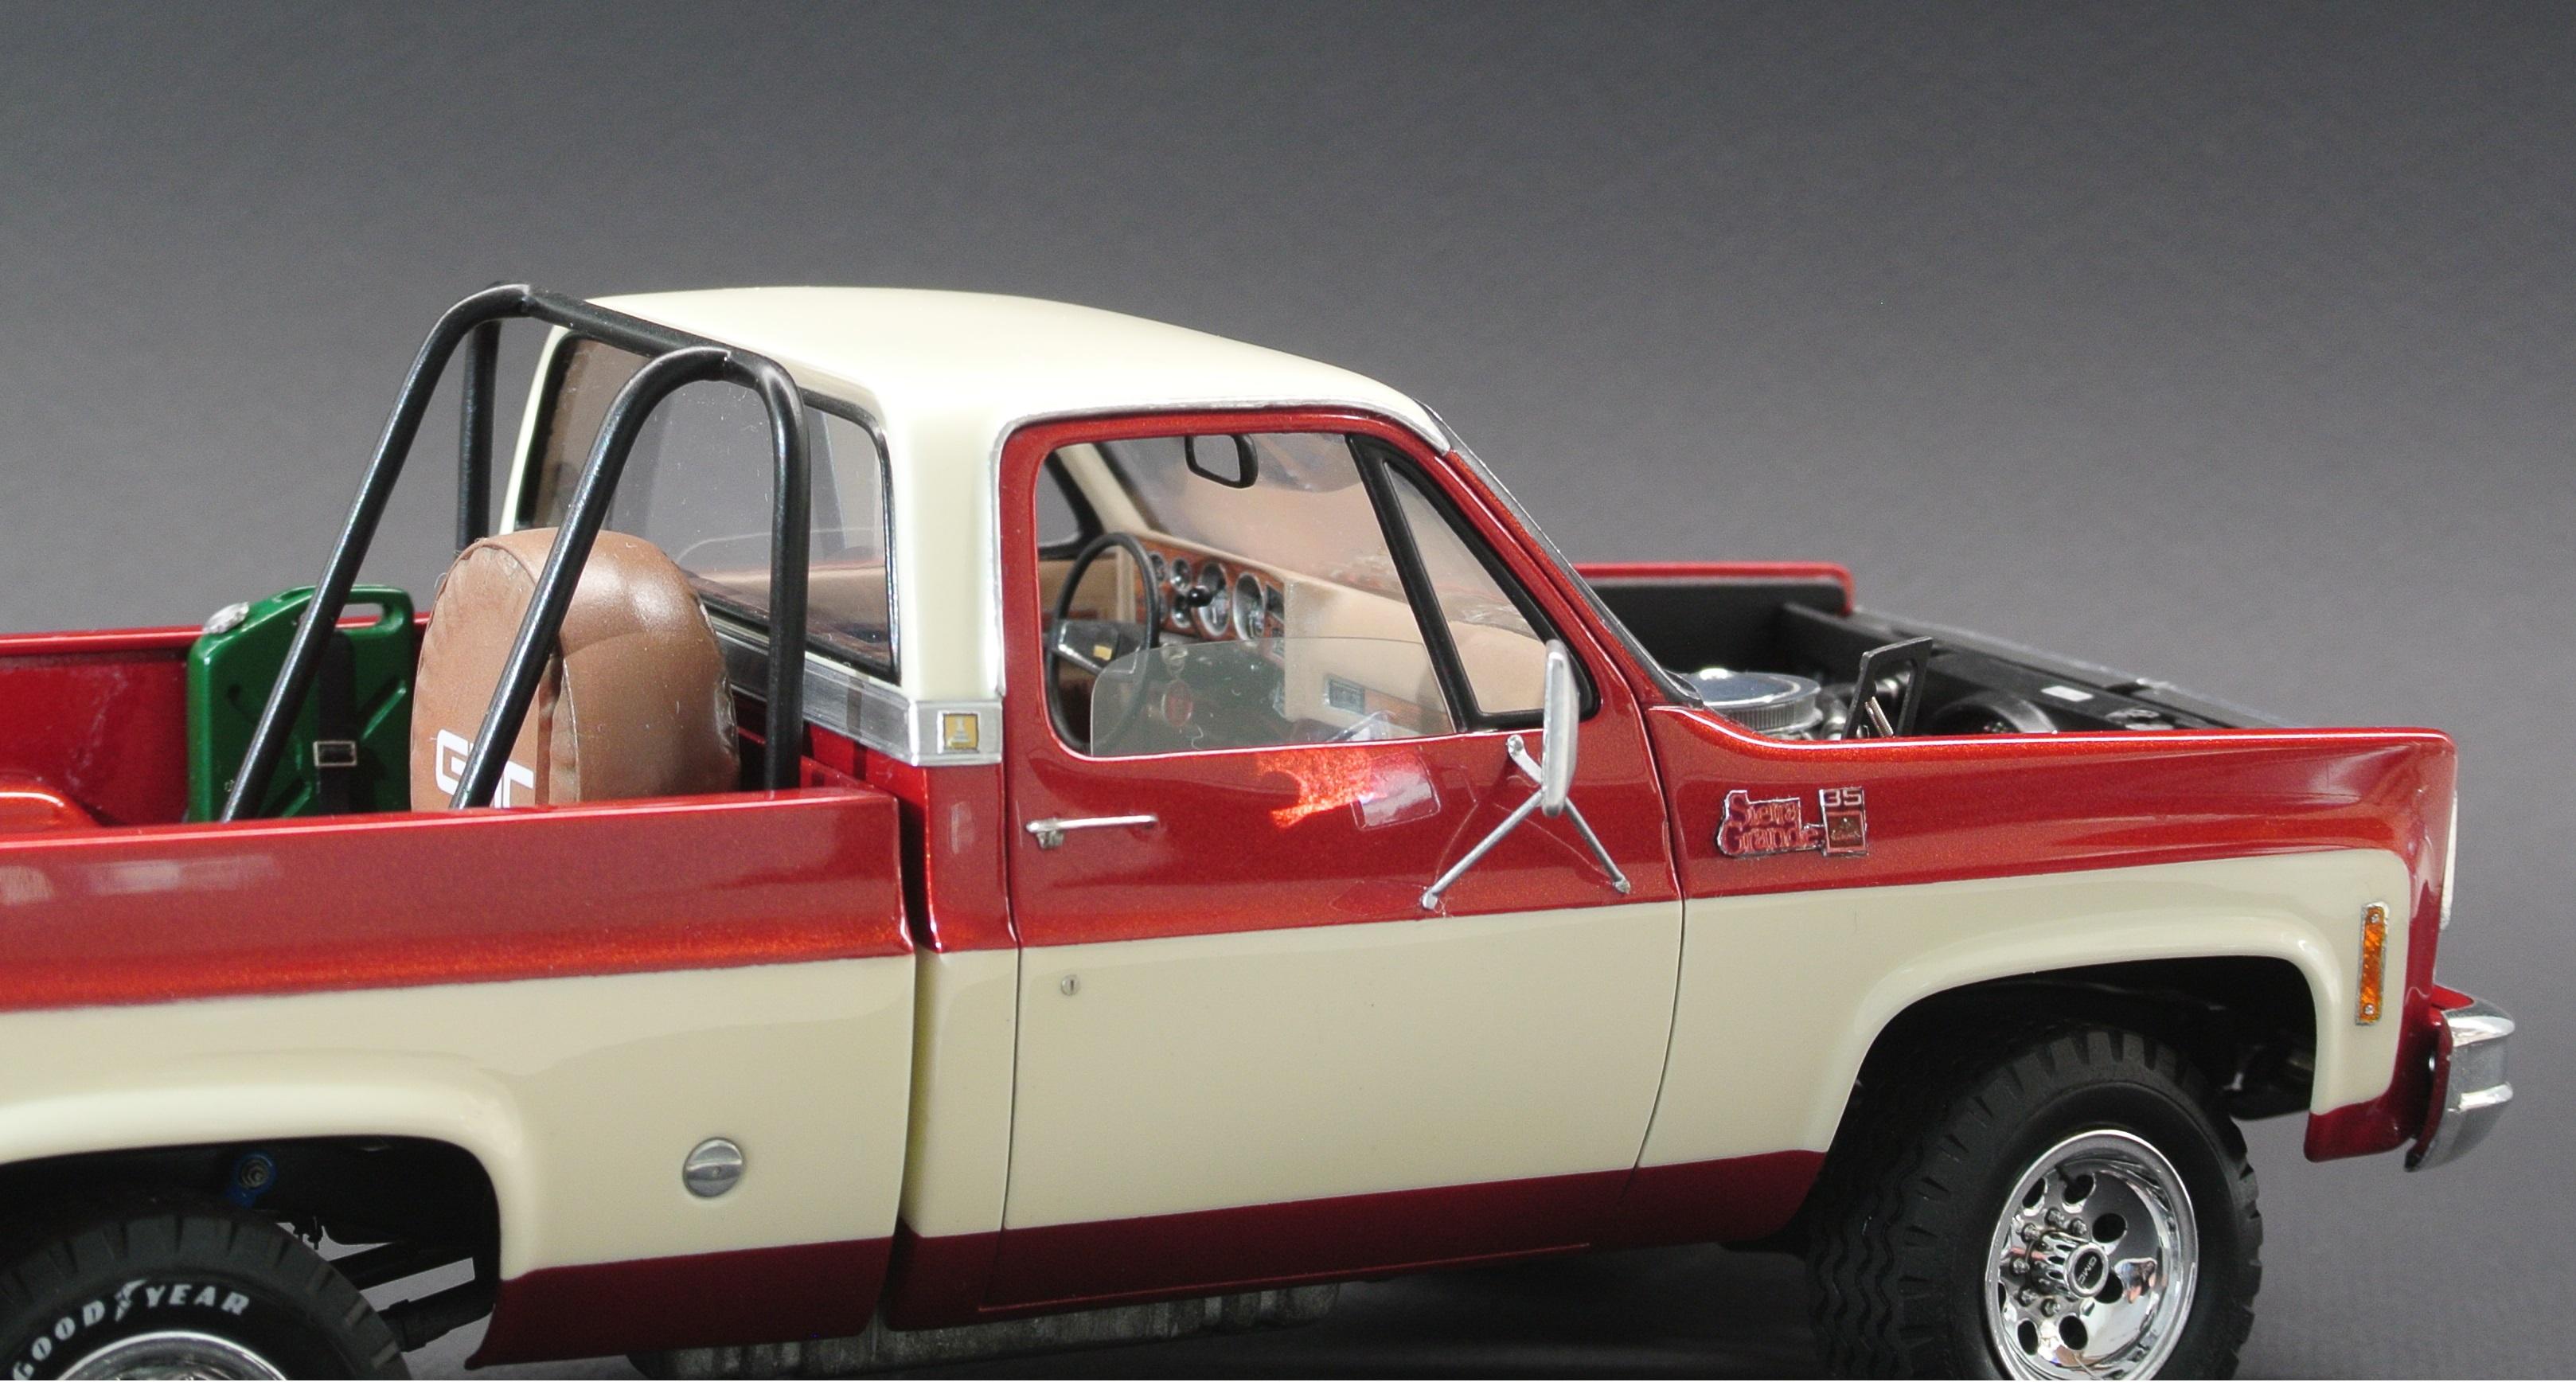
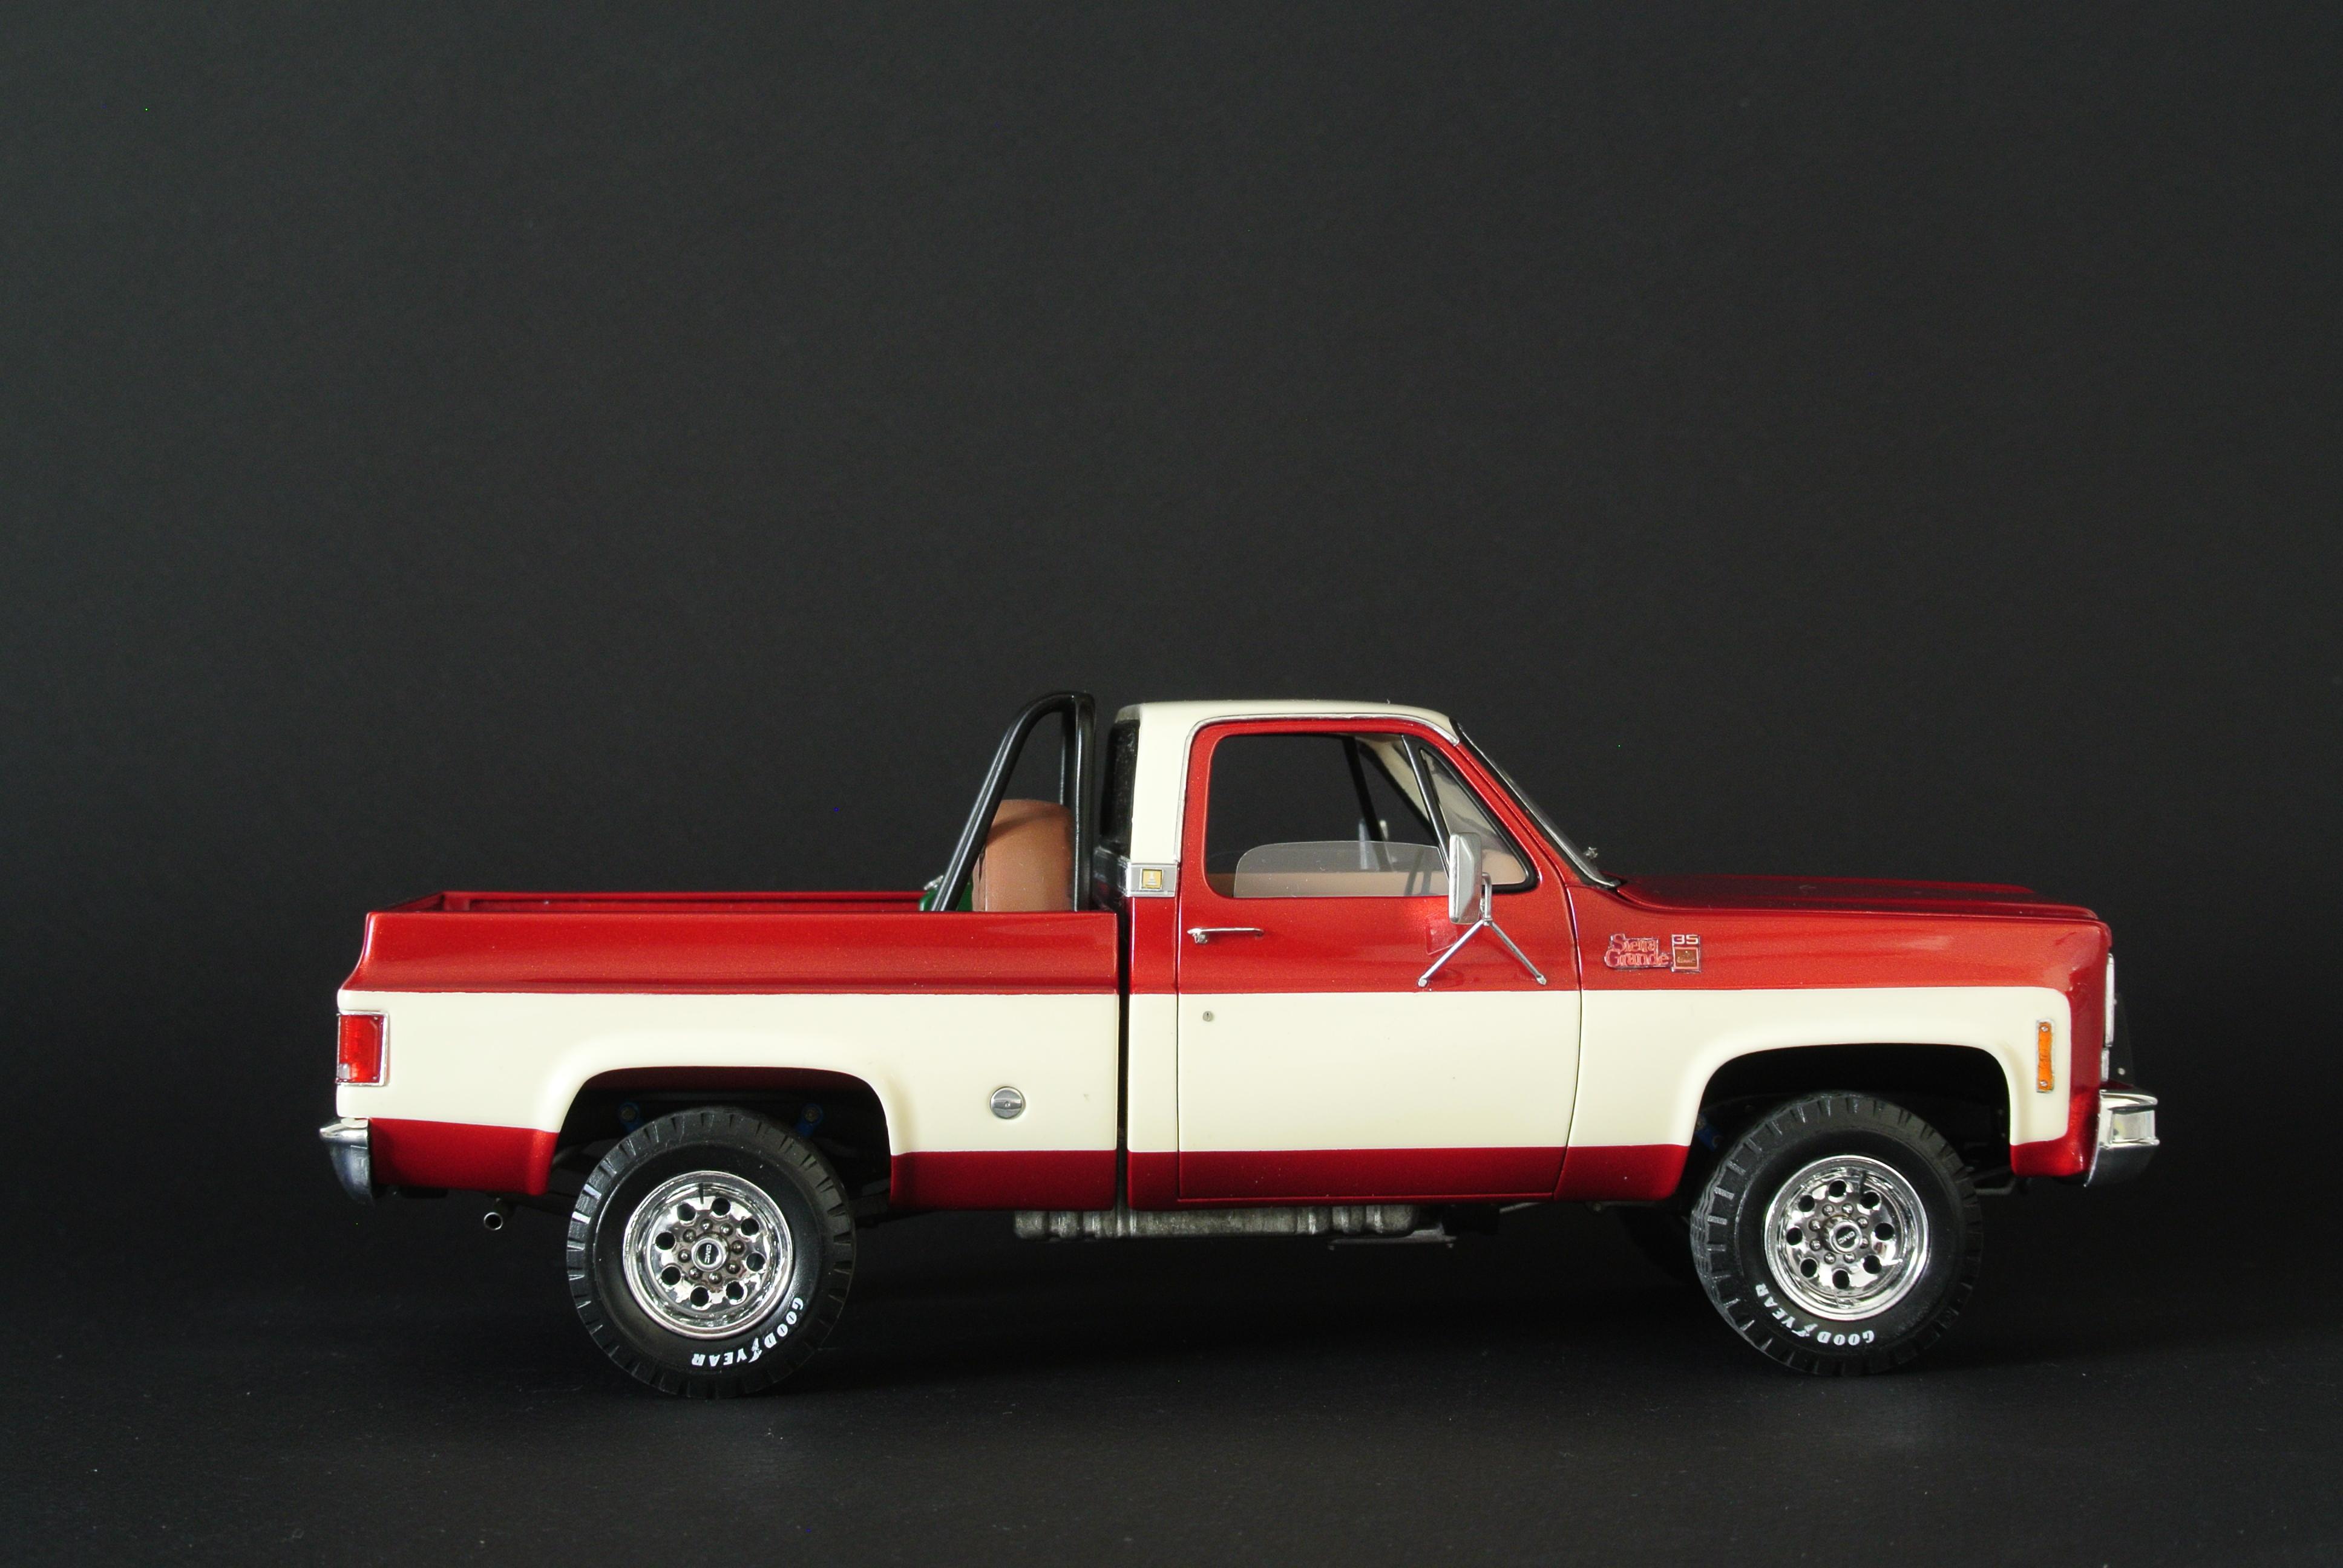
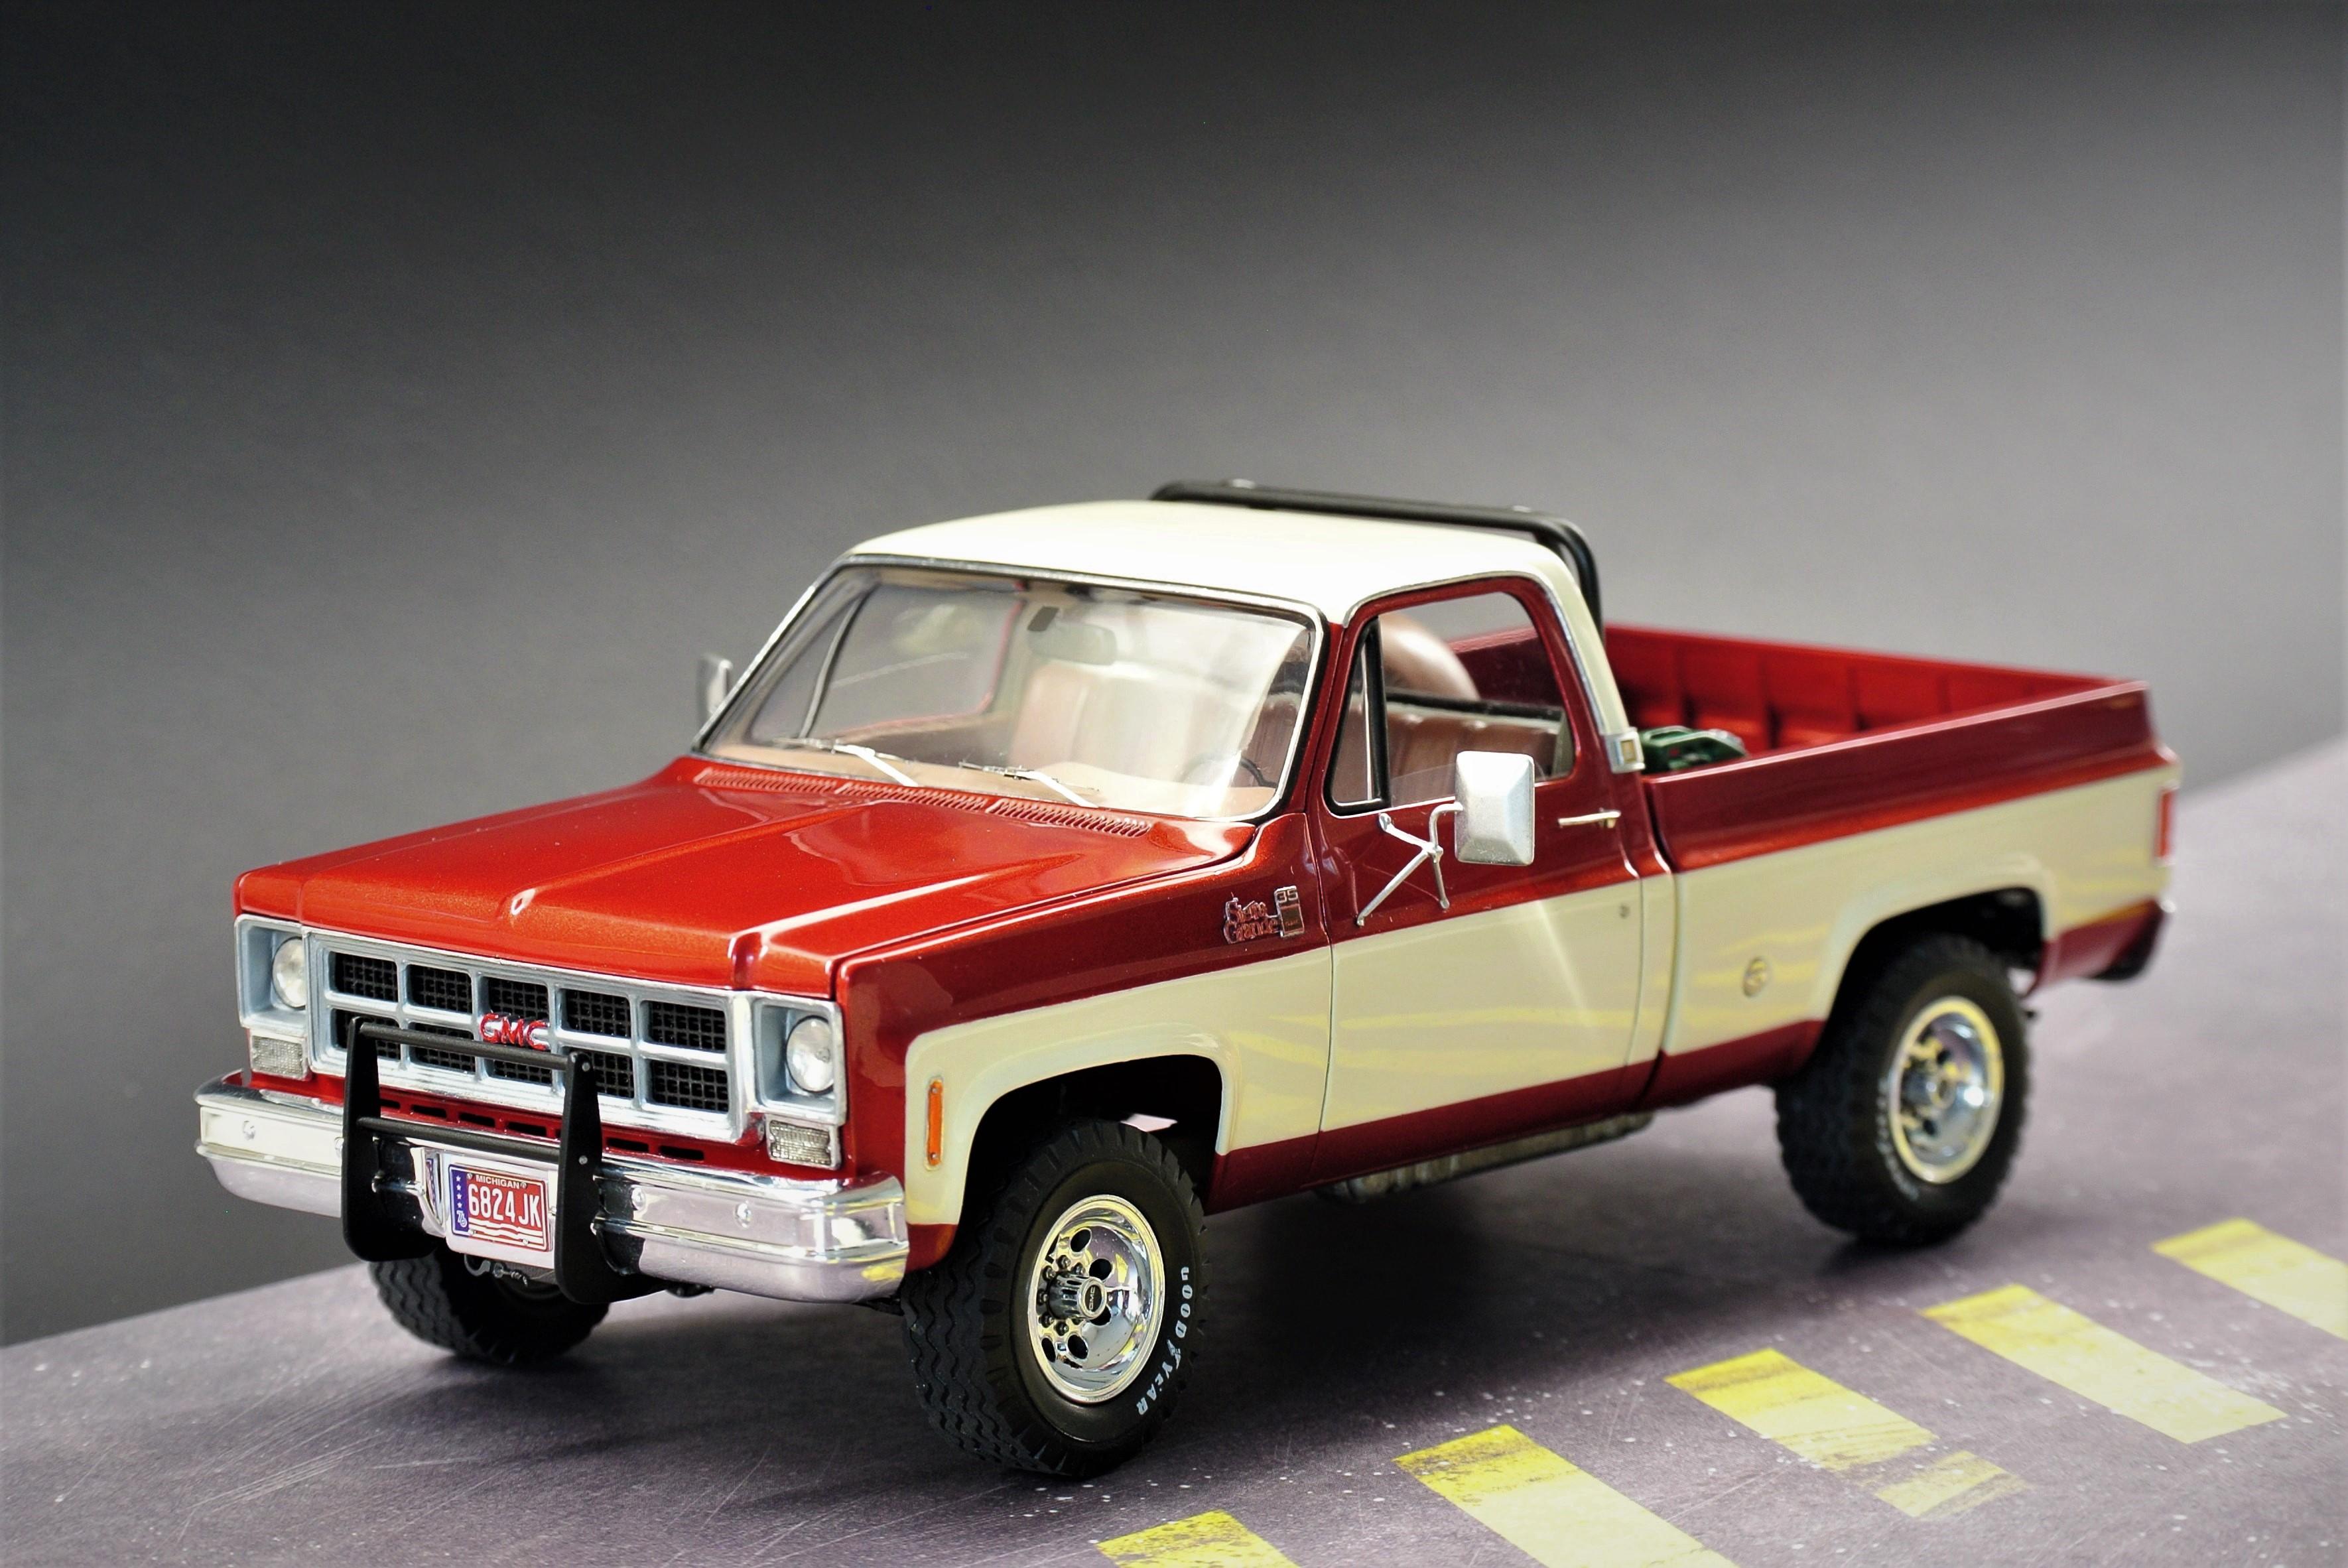
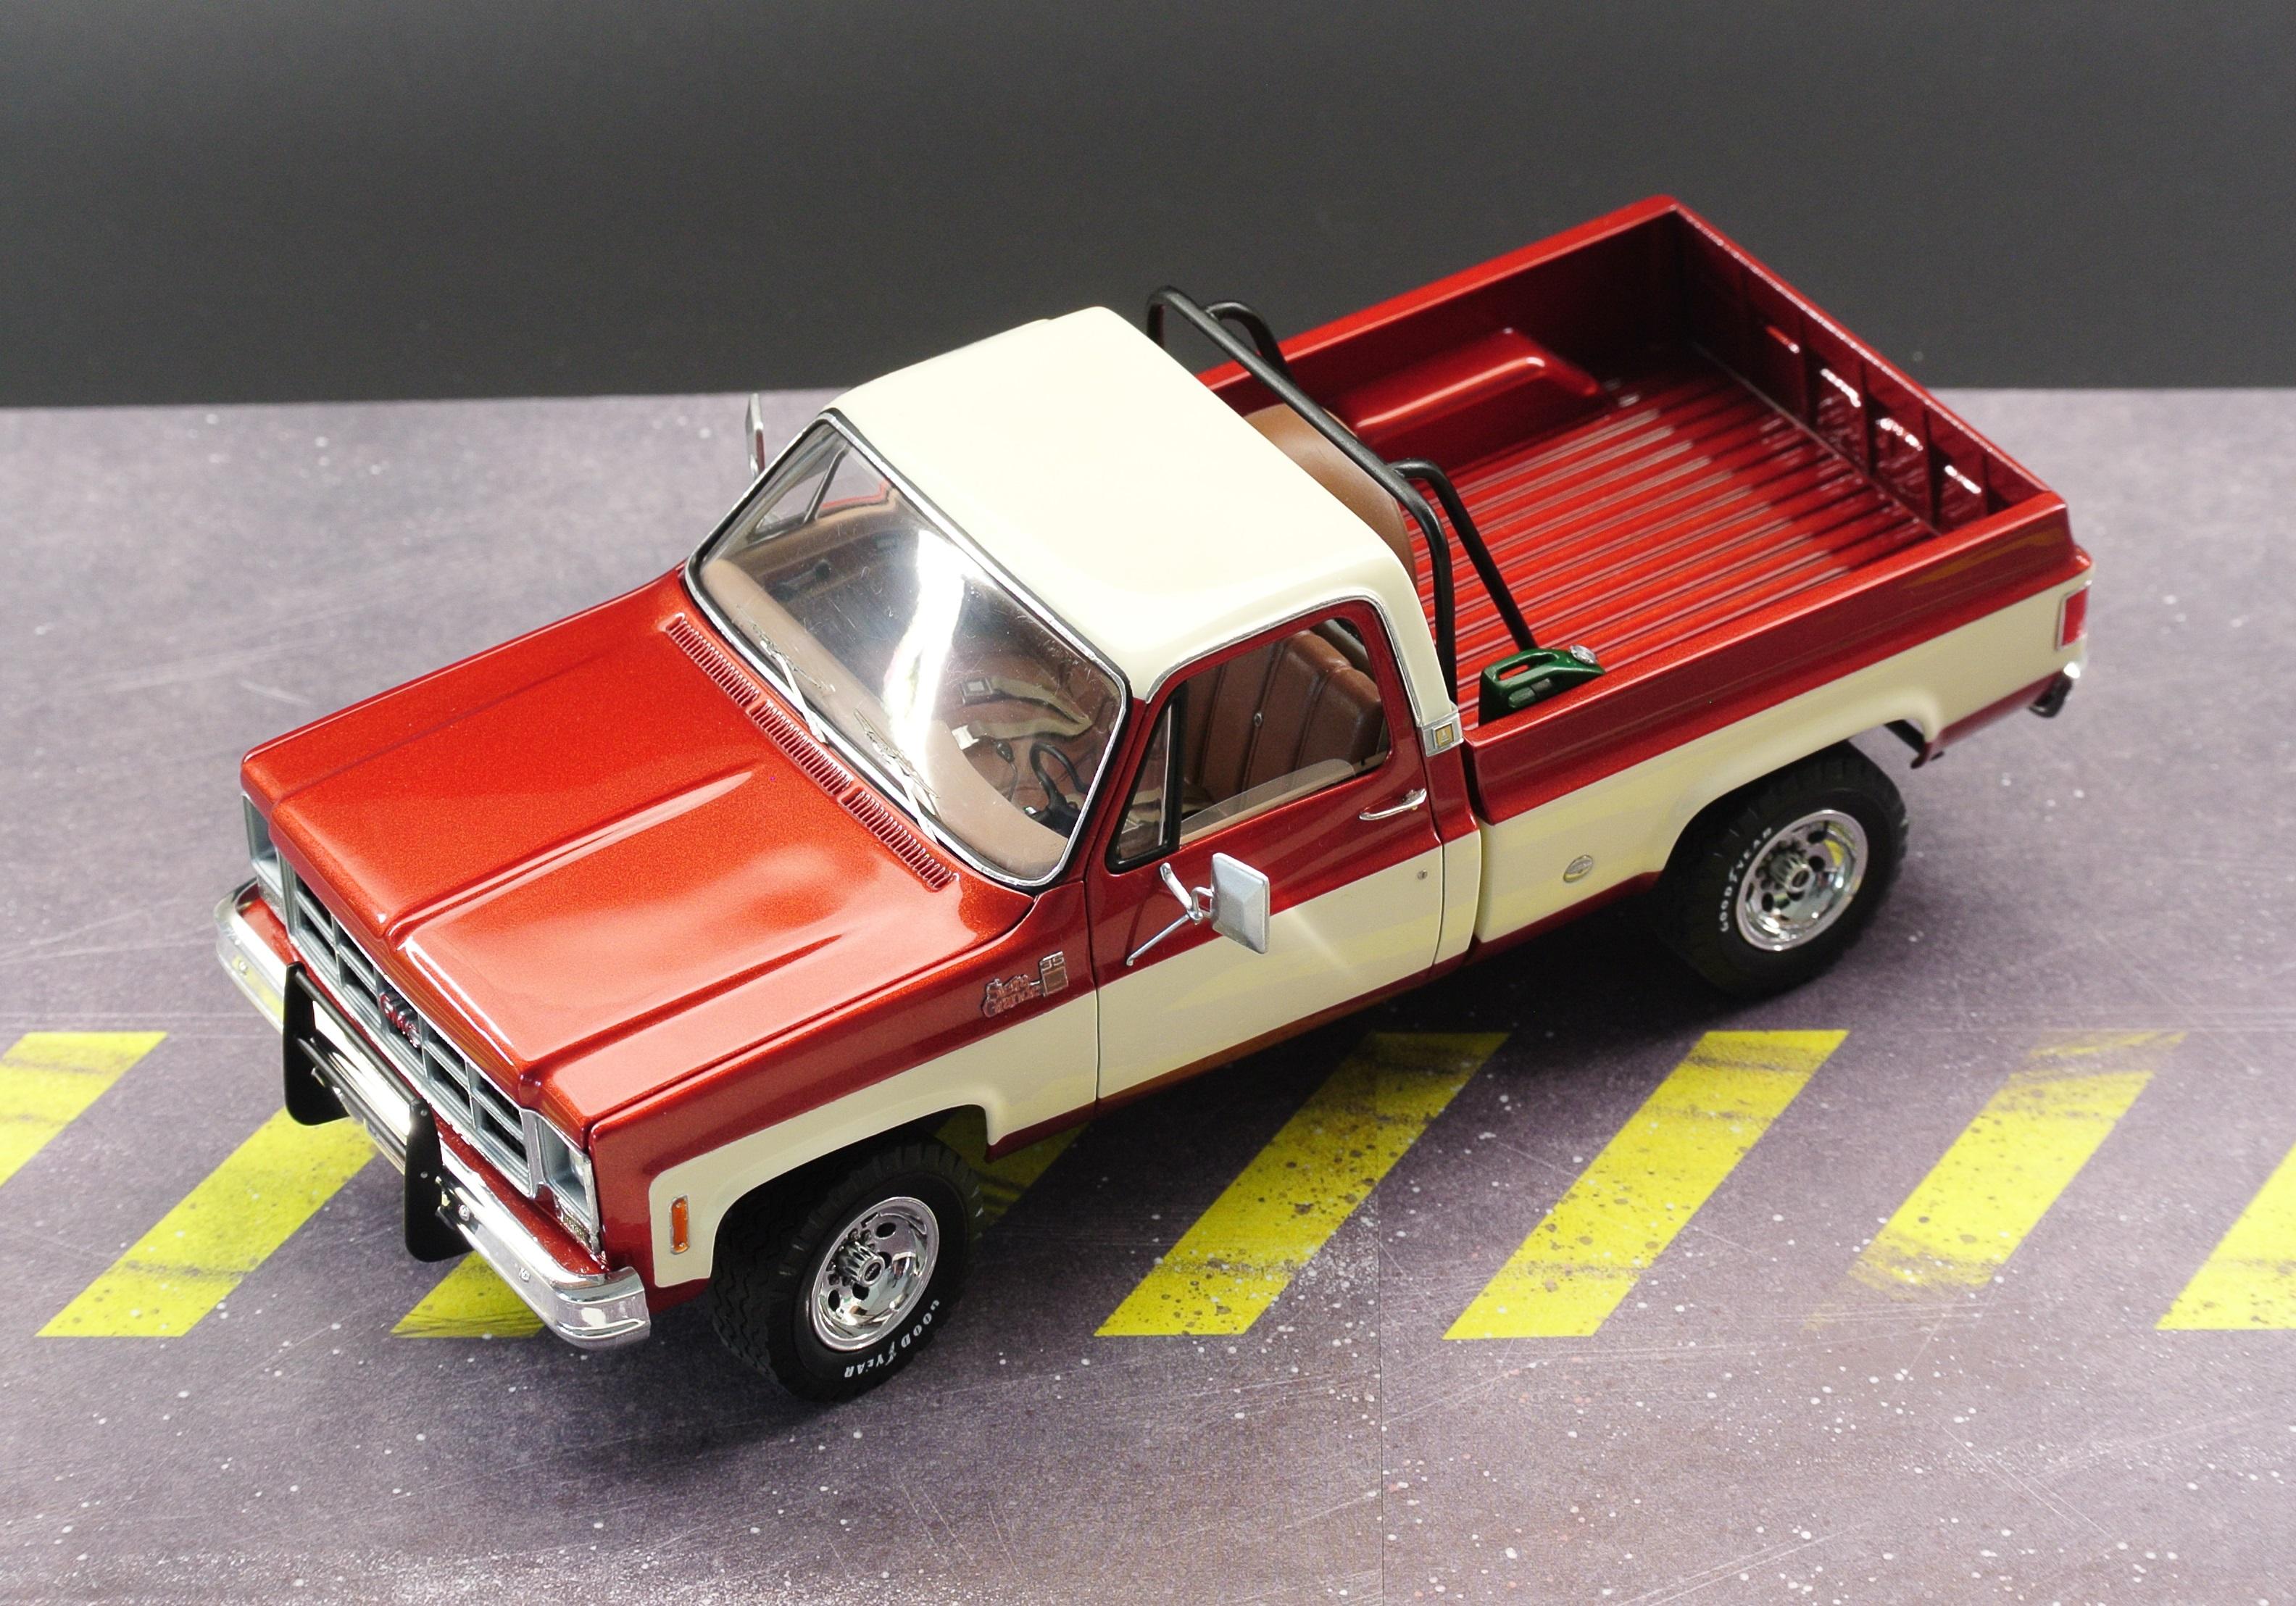
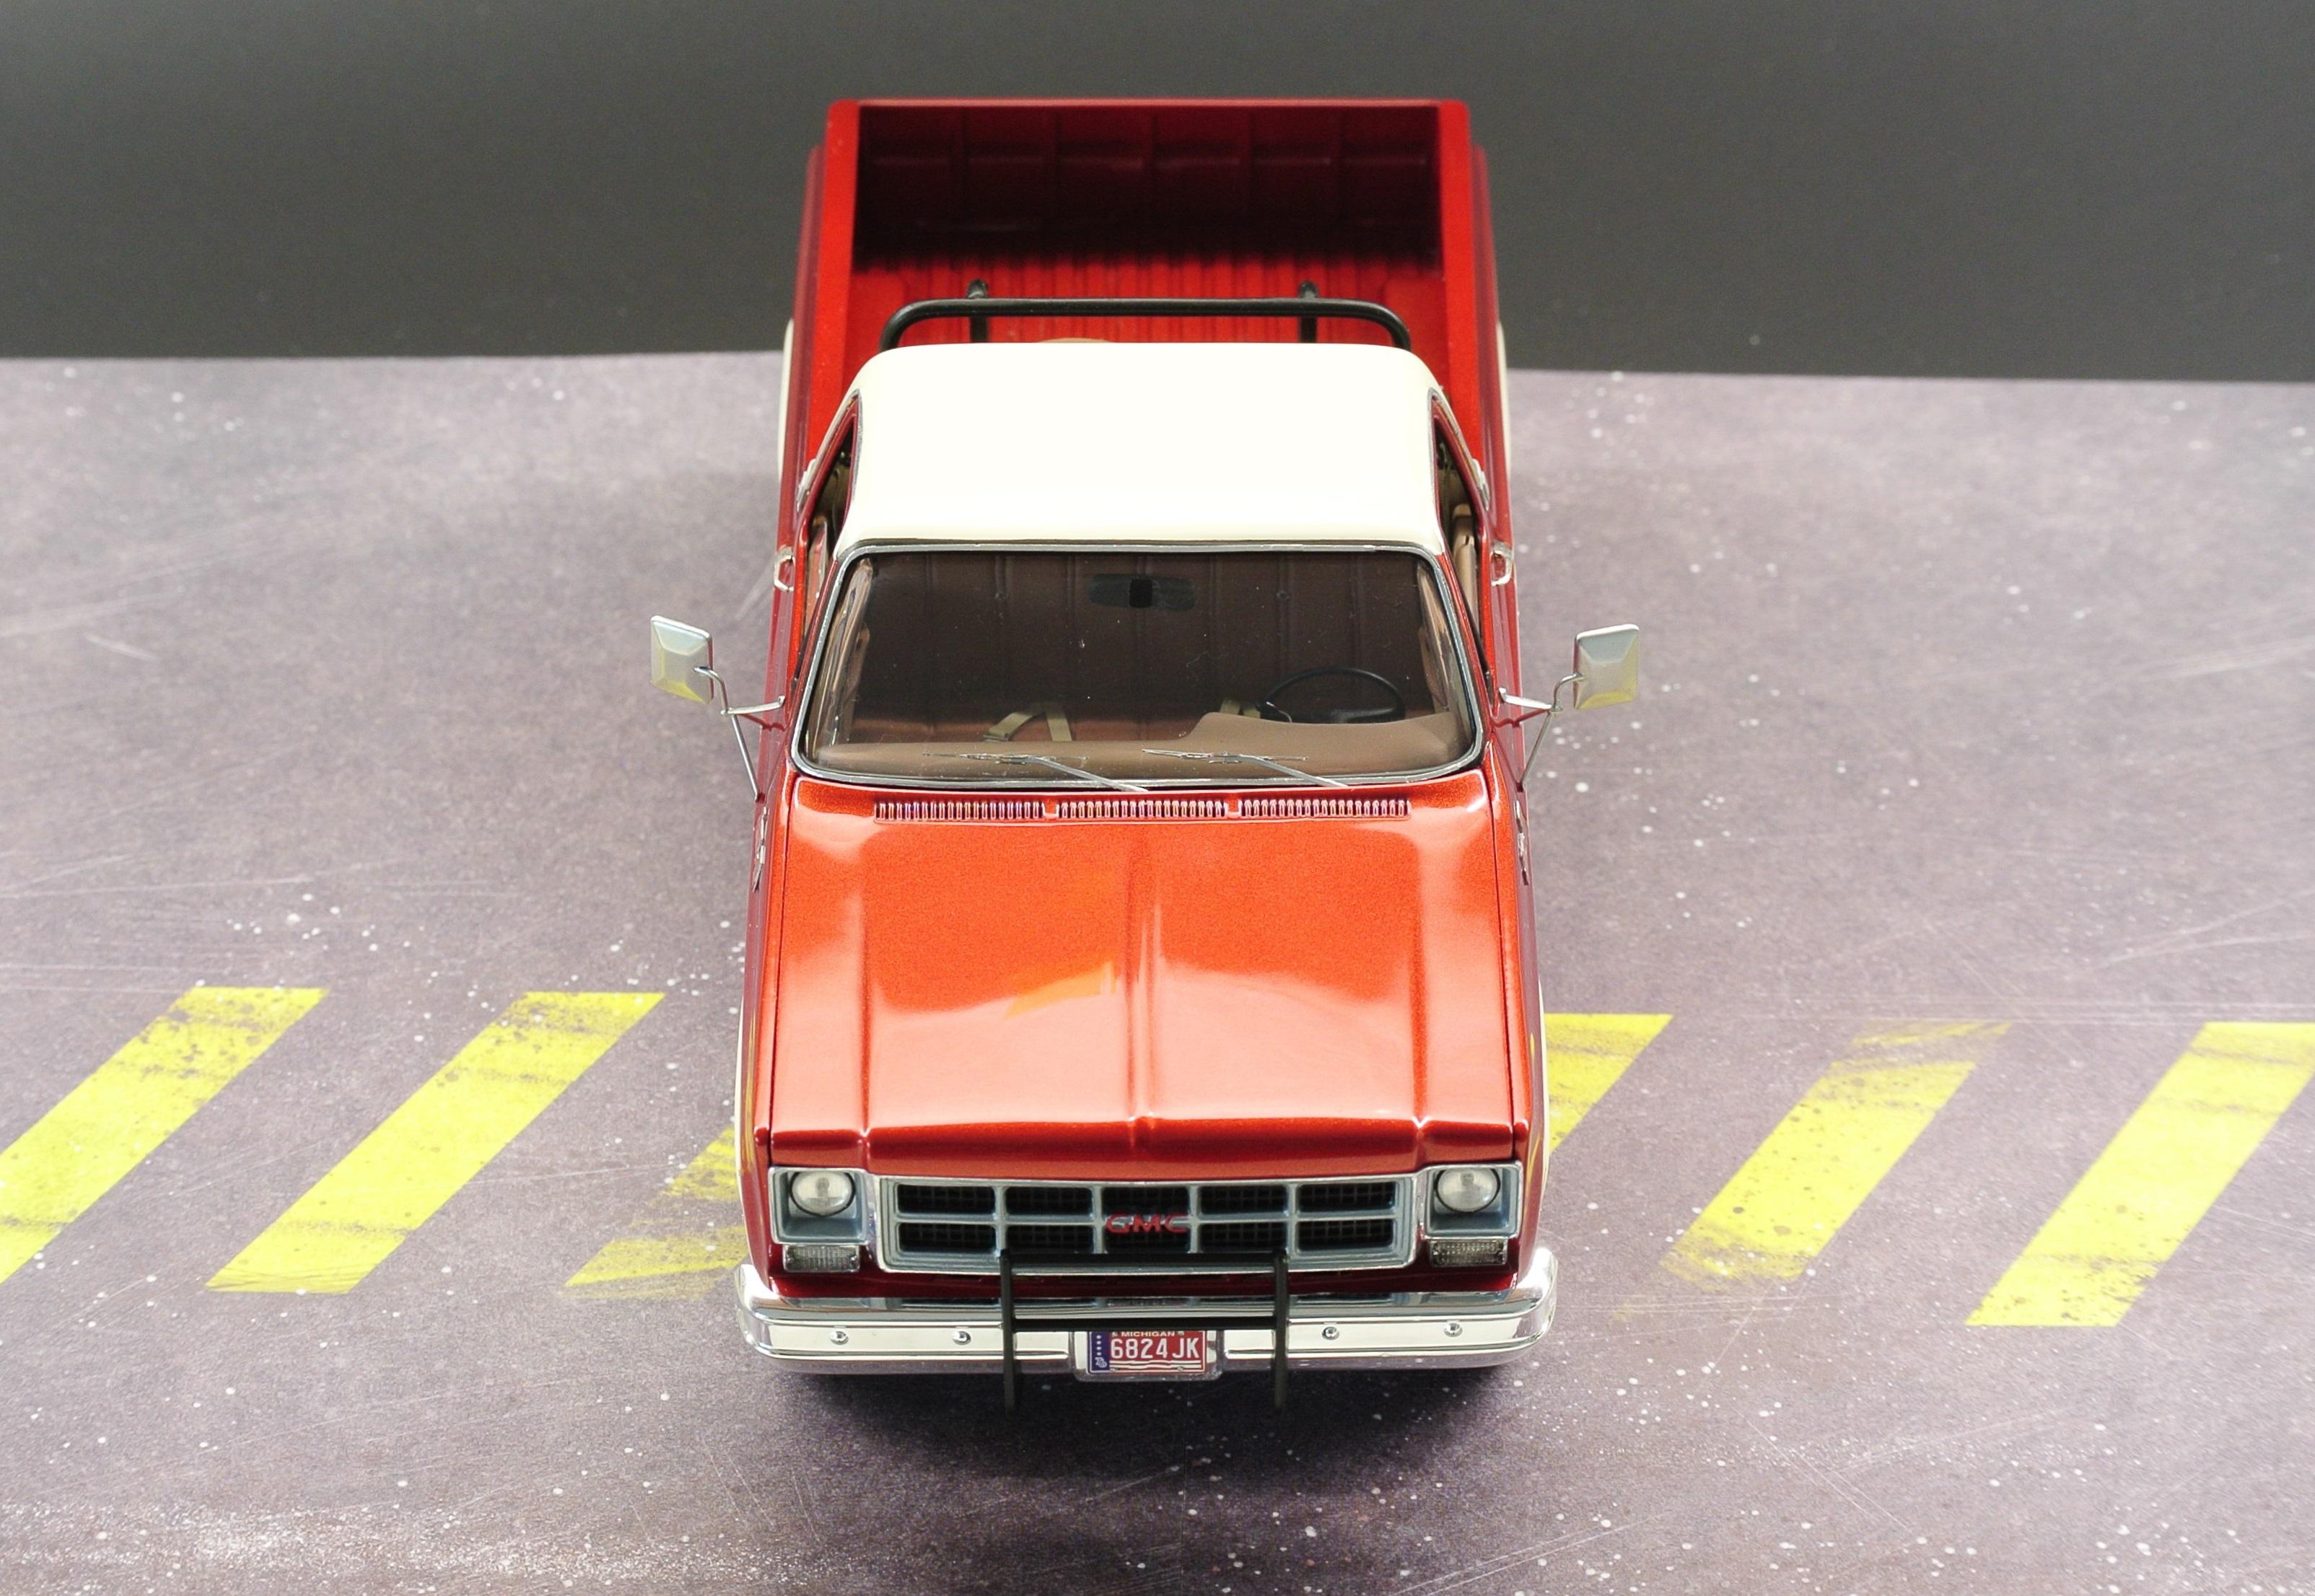
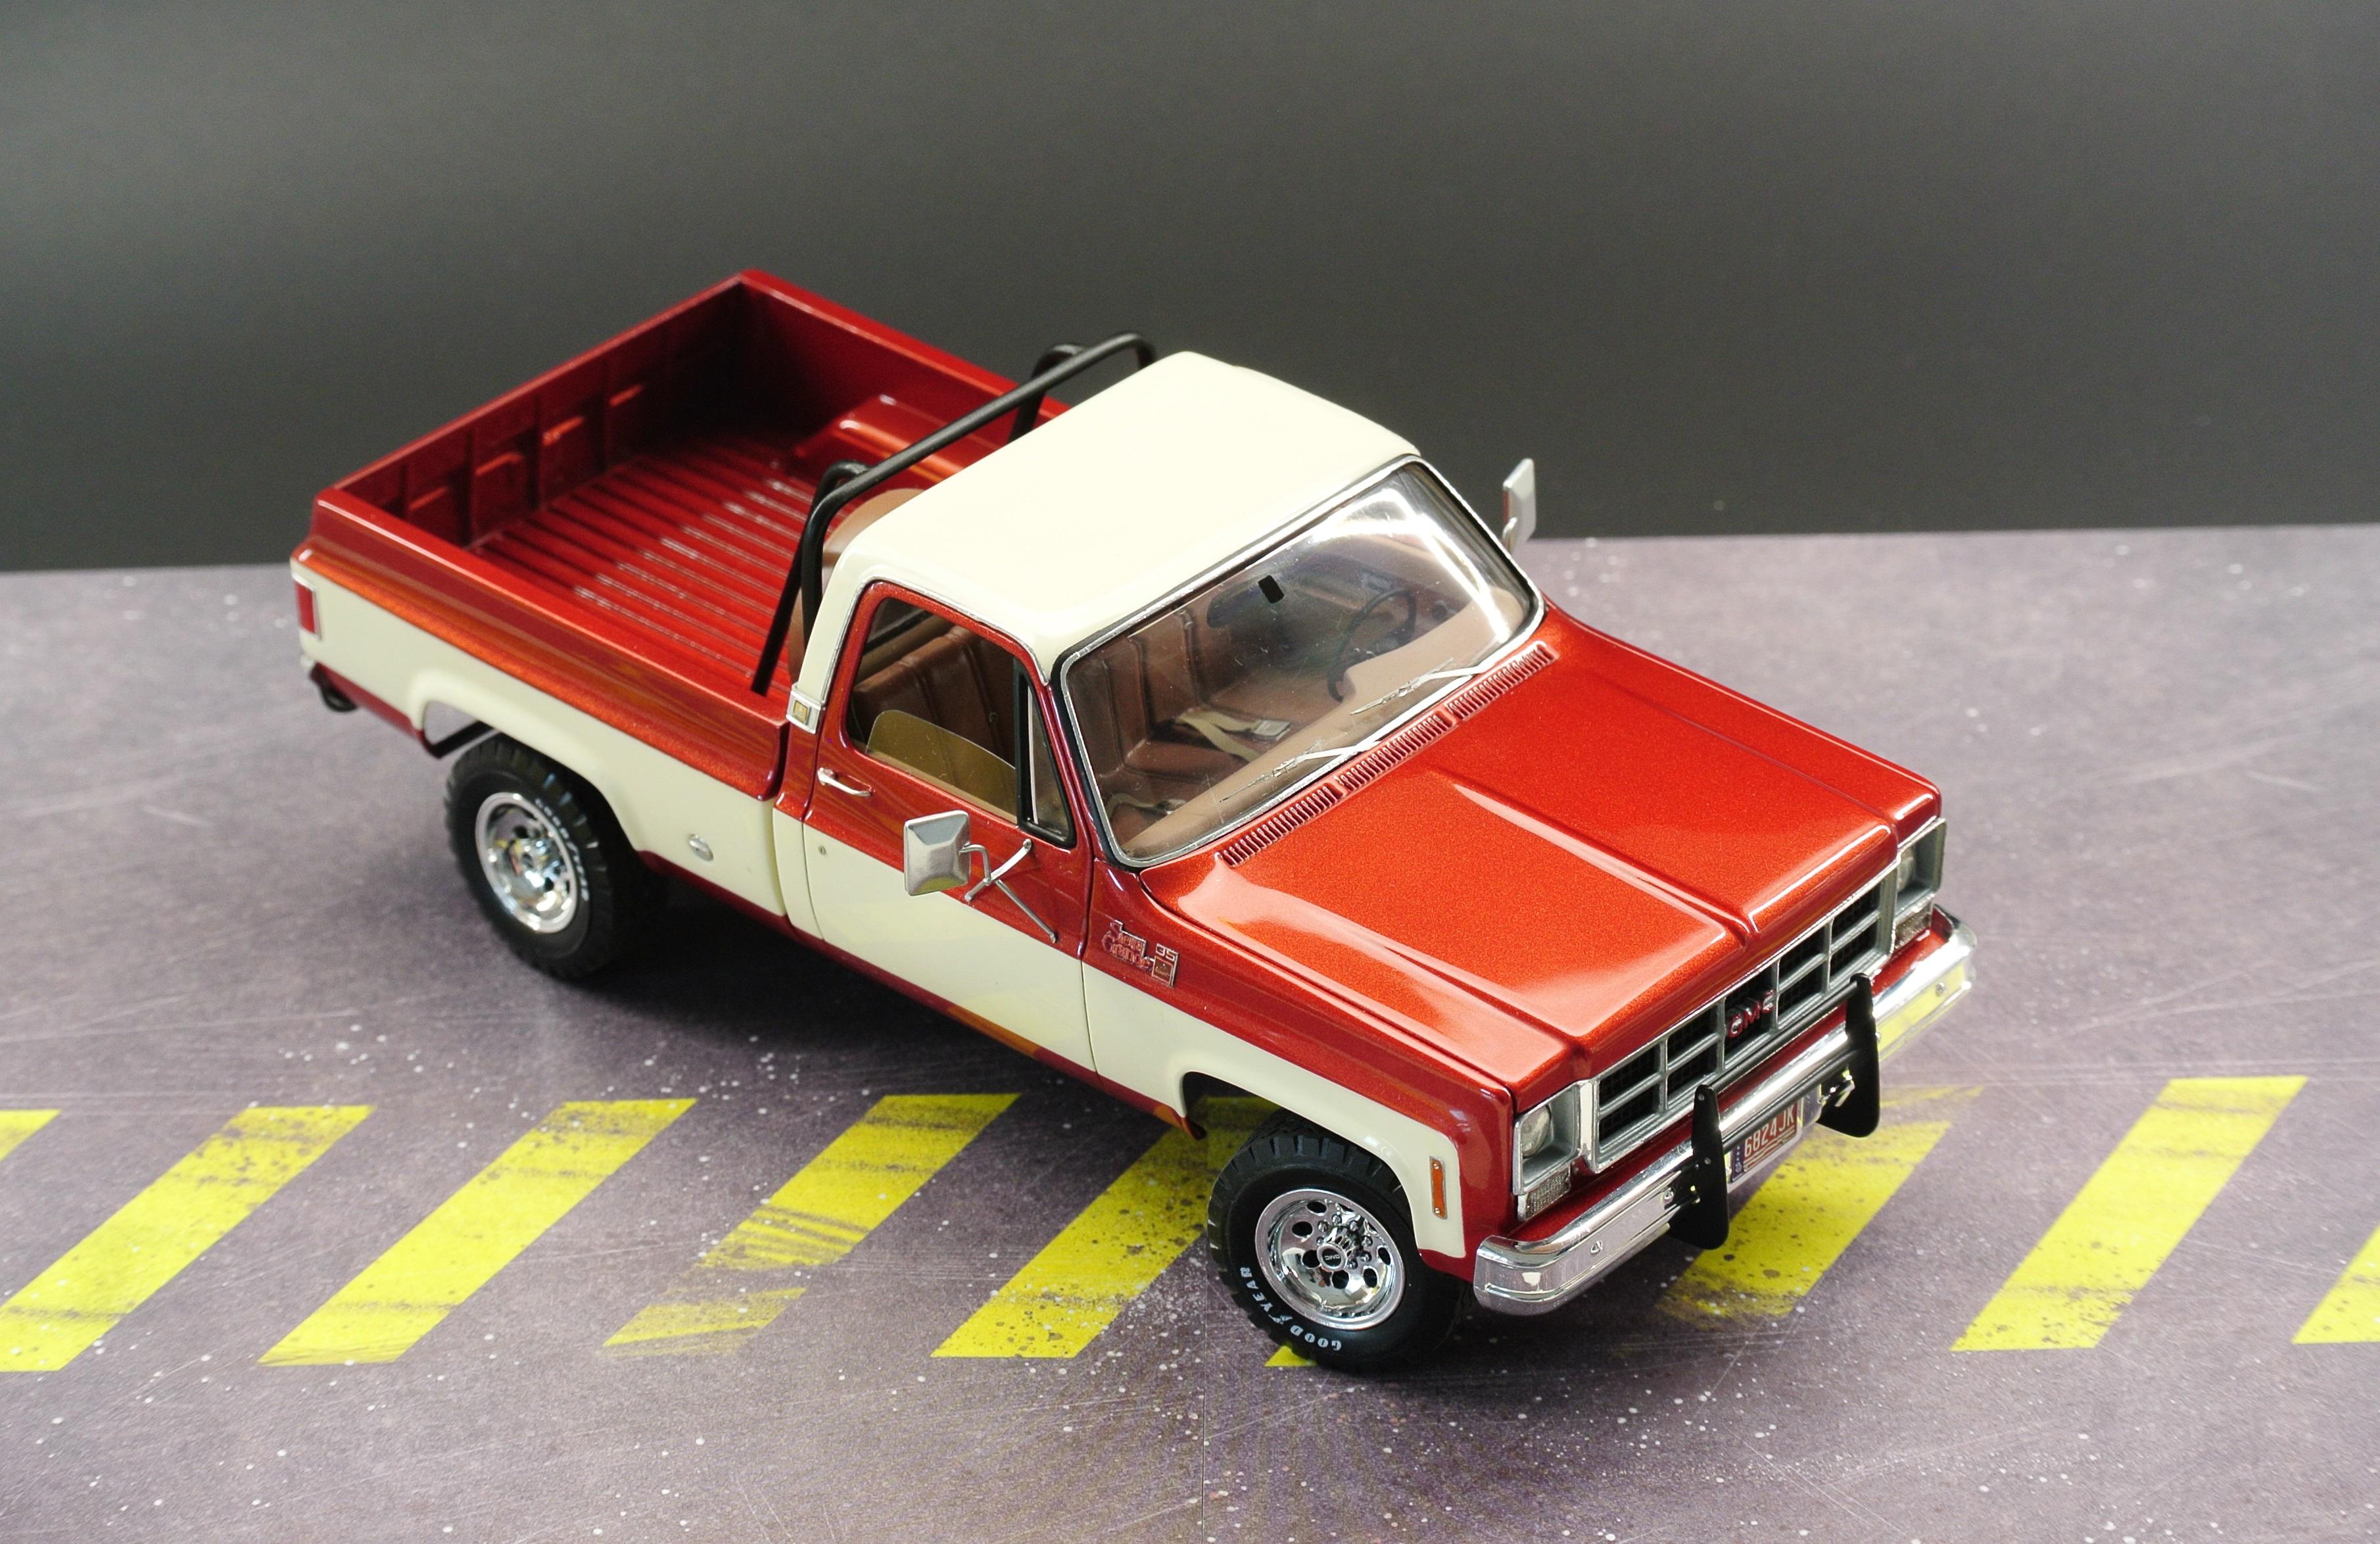
 Hi all! I would like to show you my latest build - Kit from Revell GMC Pickup with snow plow but built in civil version. Initial kit is pure on interior details and in engine bay. It required a lot of improvements and parts manufacturing from scratch. Some of the extеrior parts were machined from aluminum. Aftermarket was also used. For interior I machined door panels. Wooden finish decals were user from the equal Chevy 4x4 kit. Steering wheel whom Chevy SS kit but restyled to GMC shape. Pedals, gear selector are scratched. Chassis were detailed with wire, bolts and brake lines, steering gear also added. Engine detailed with scratched parts and aftermarket. Body painted in two colors an finished with 2k clear cote. Please have a look on a results and hope you enjoy it..
-
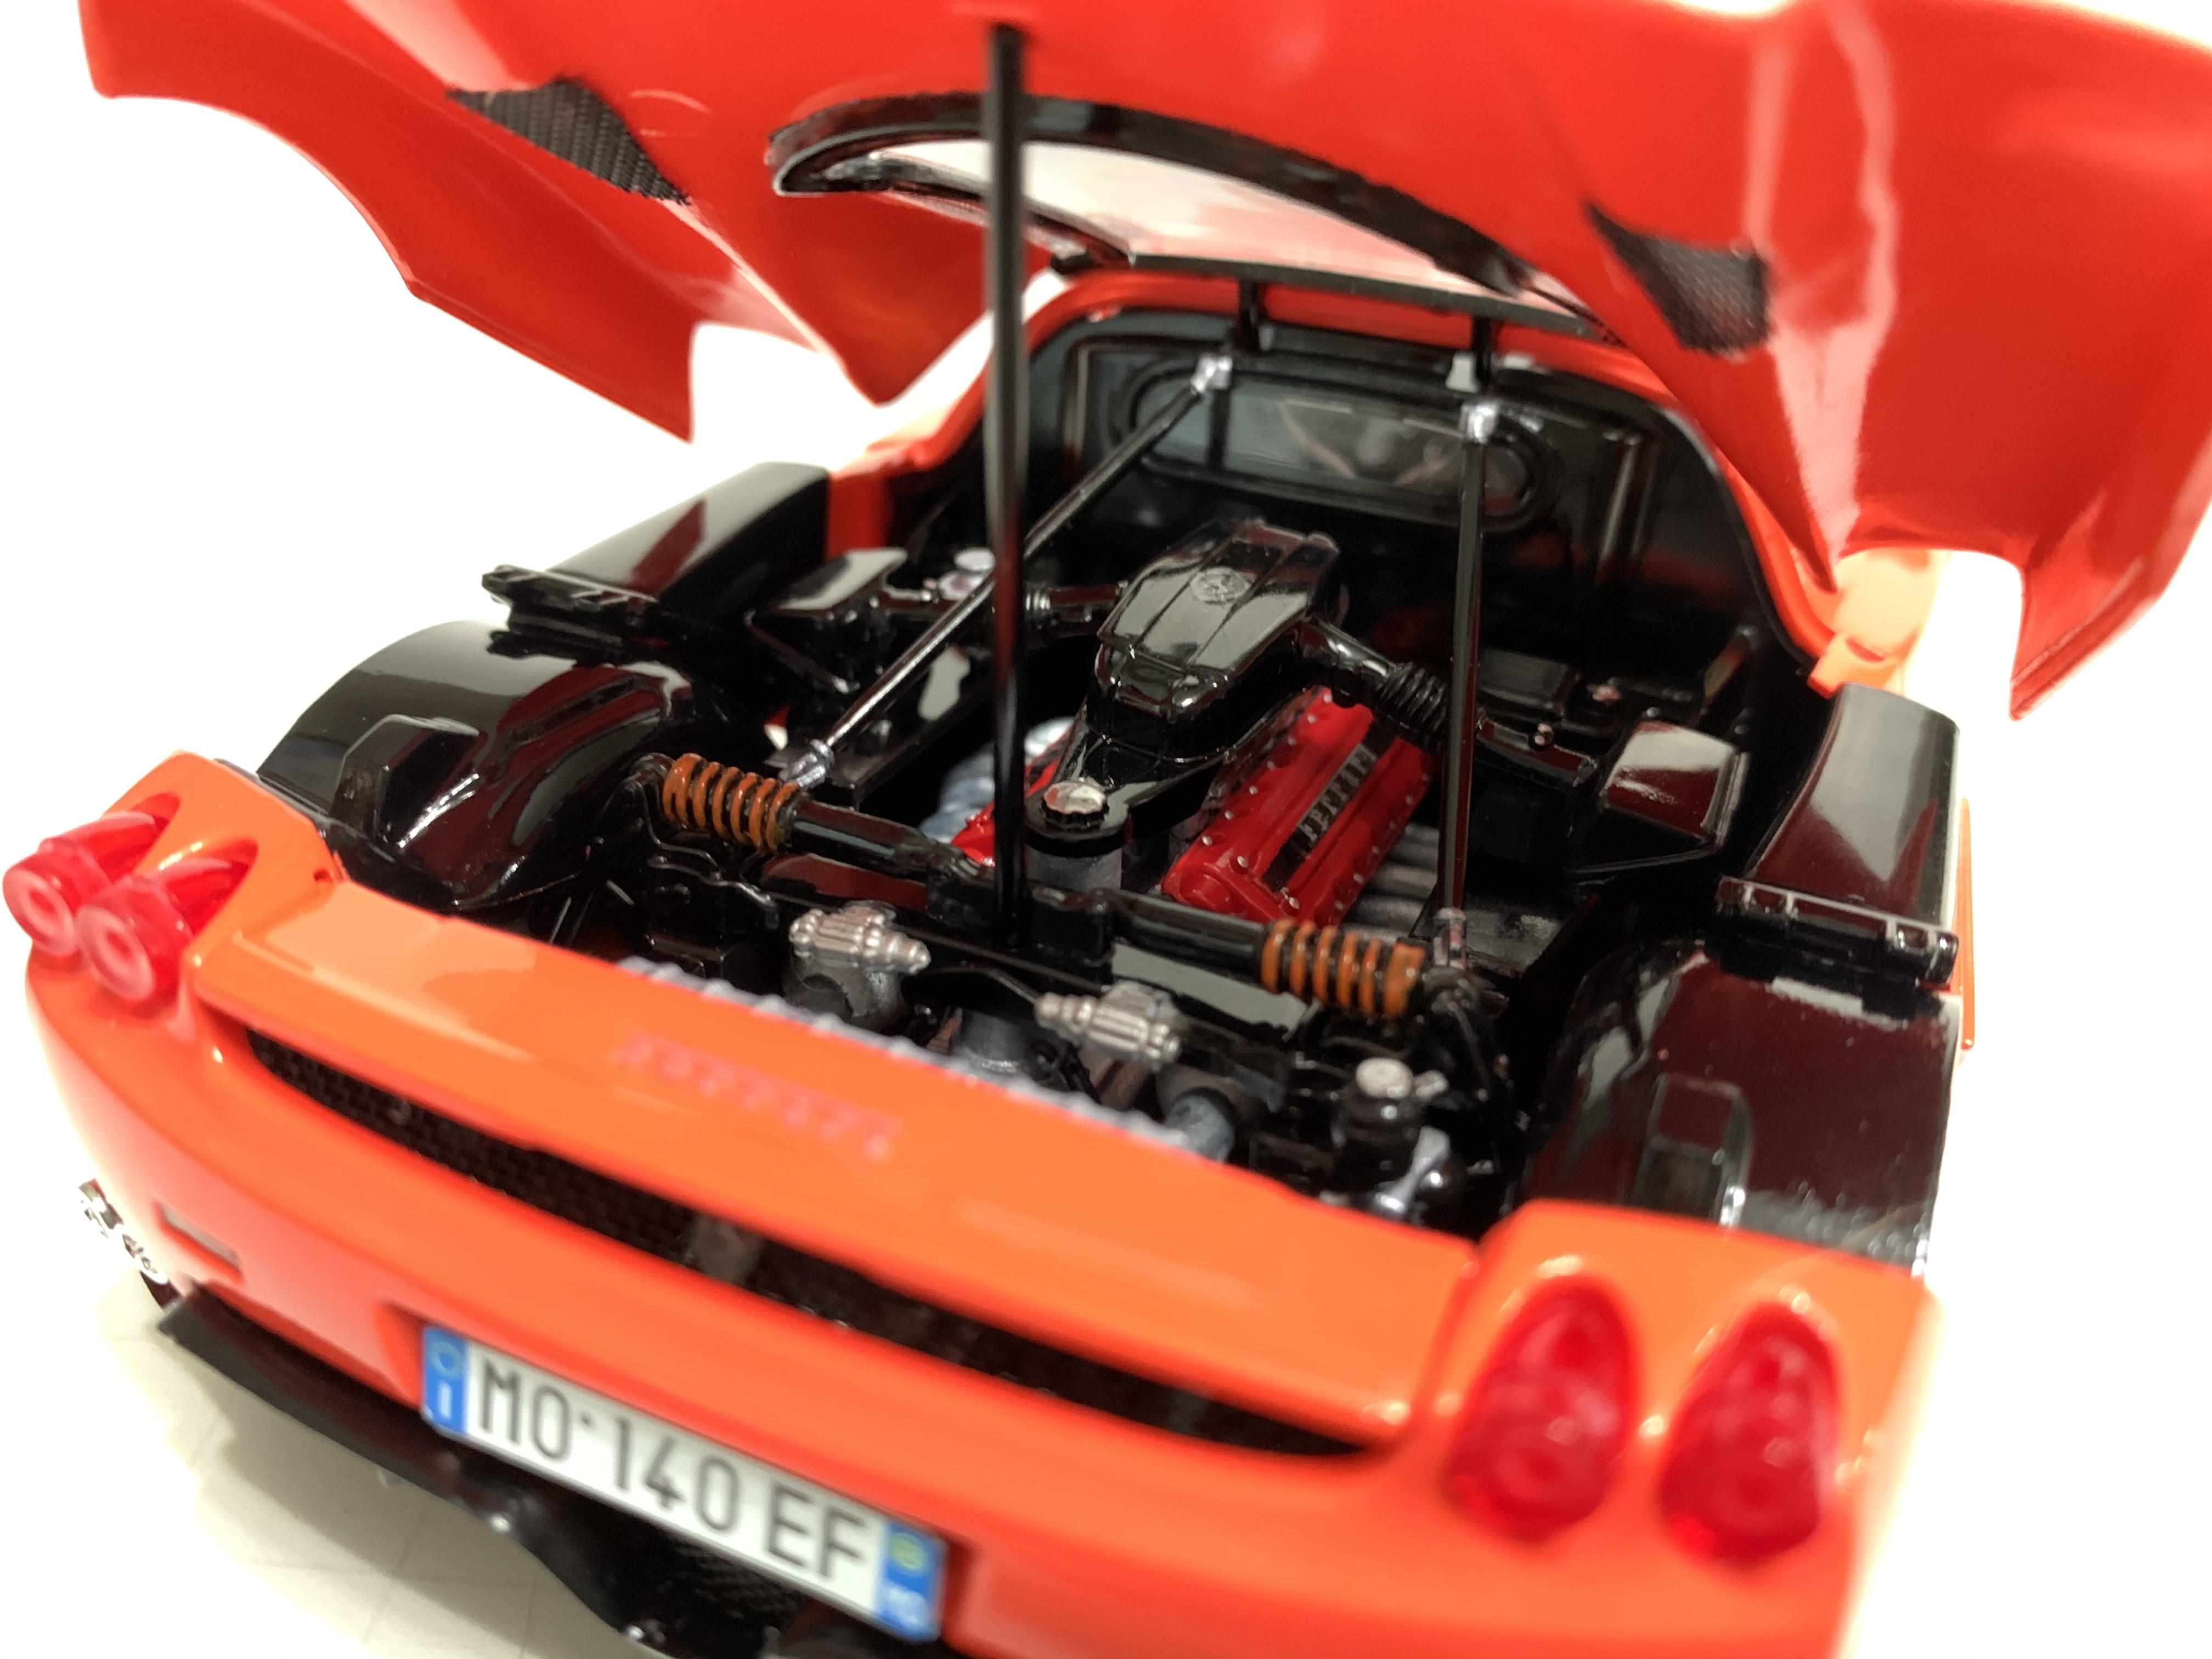
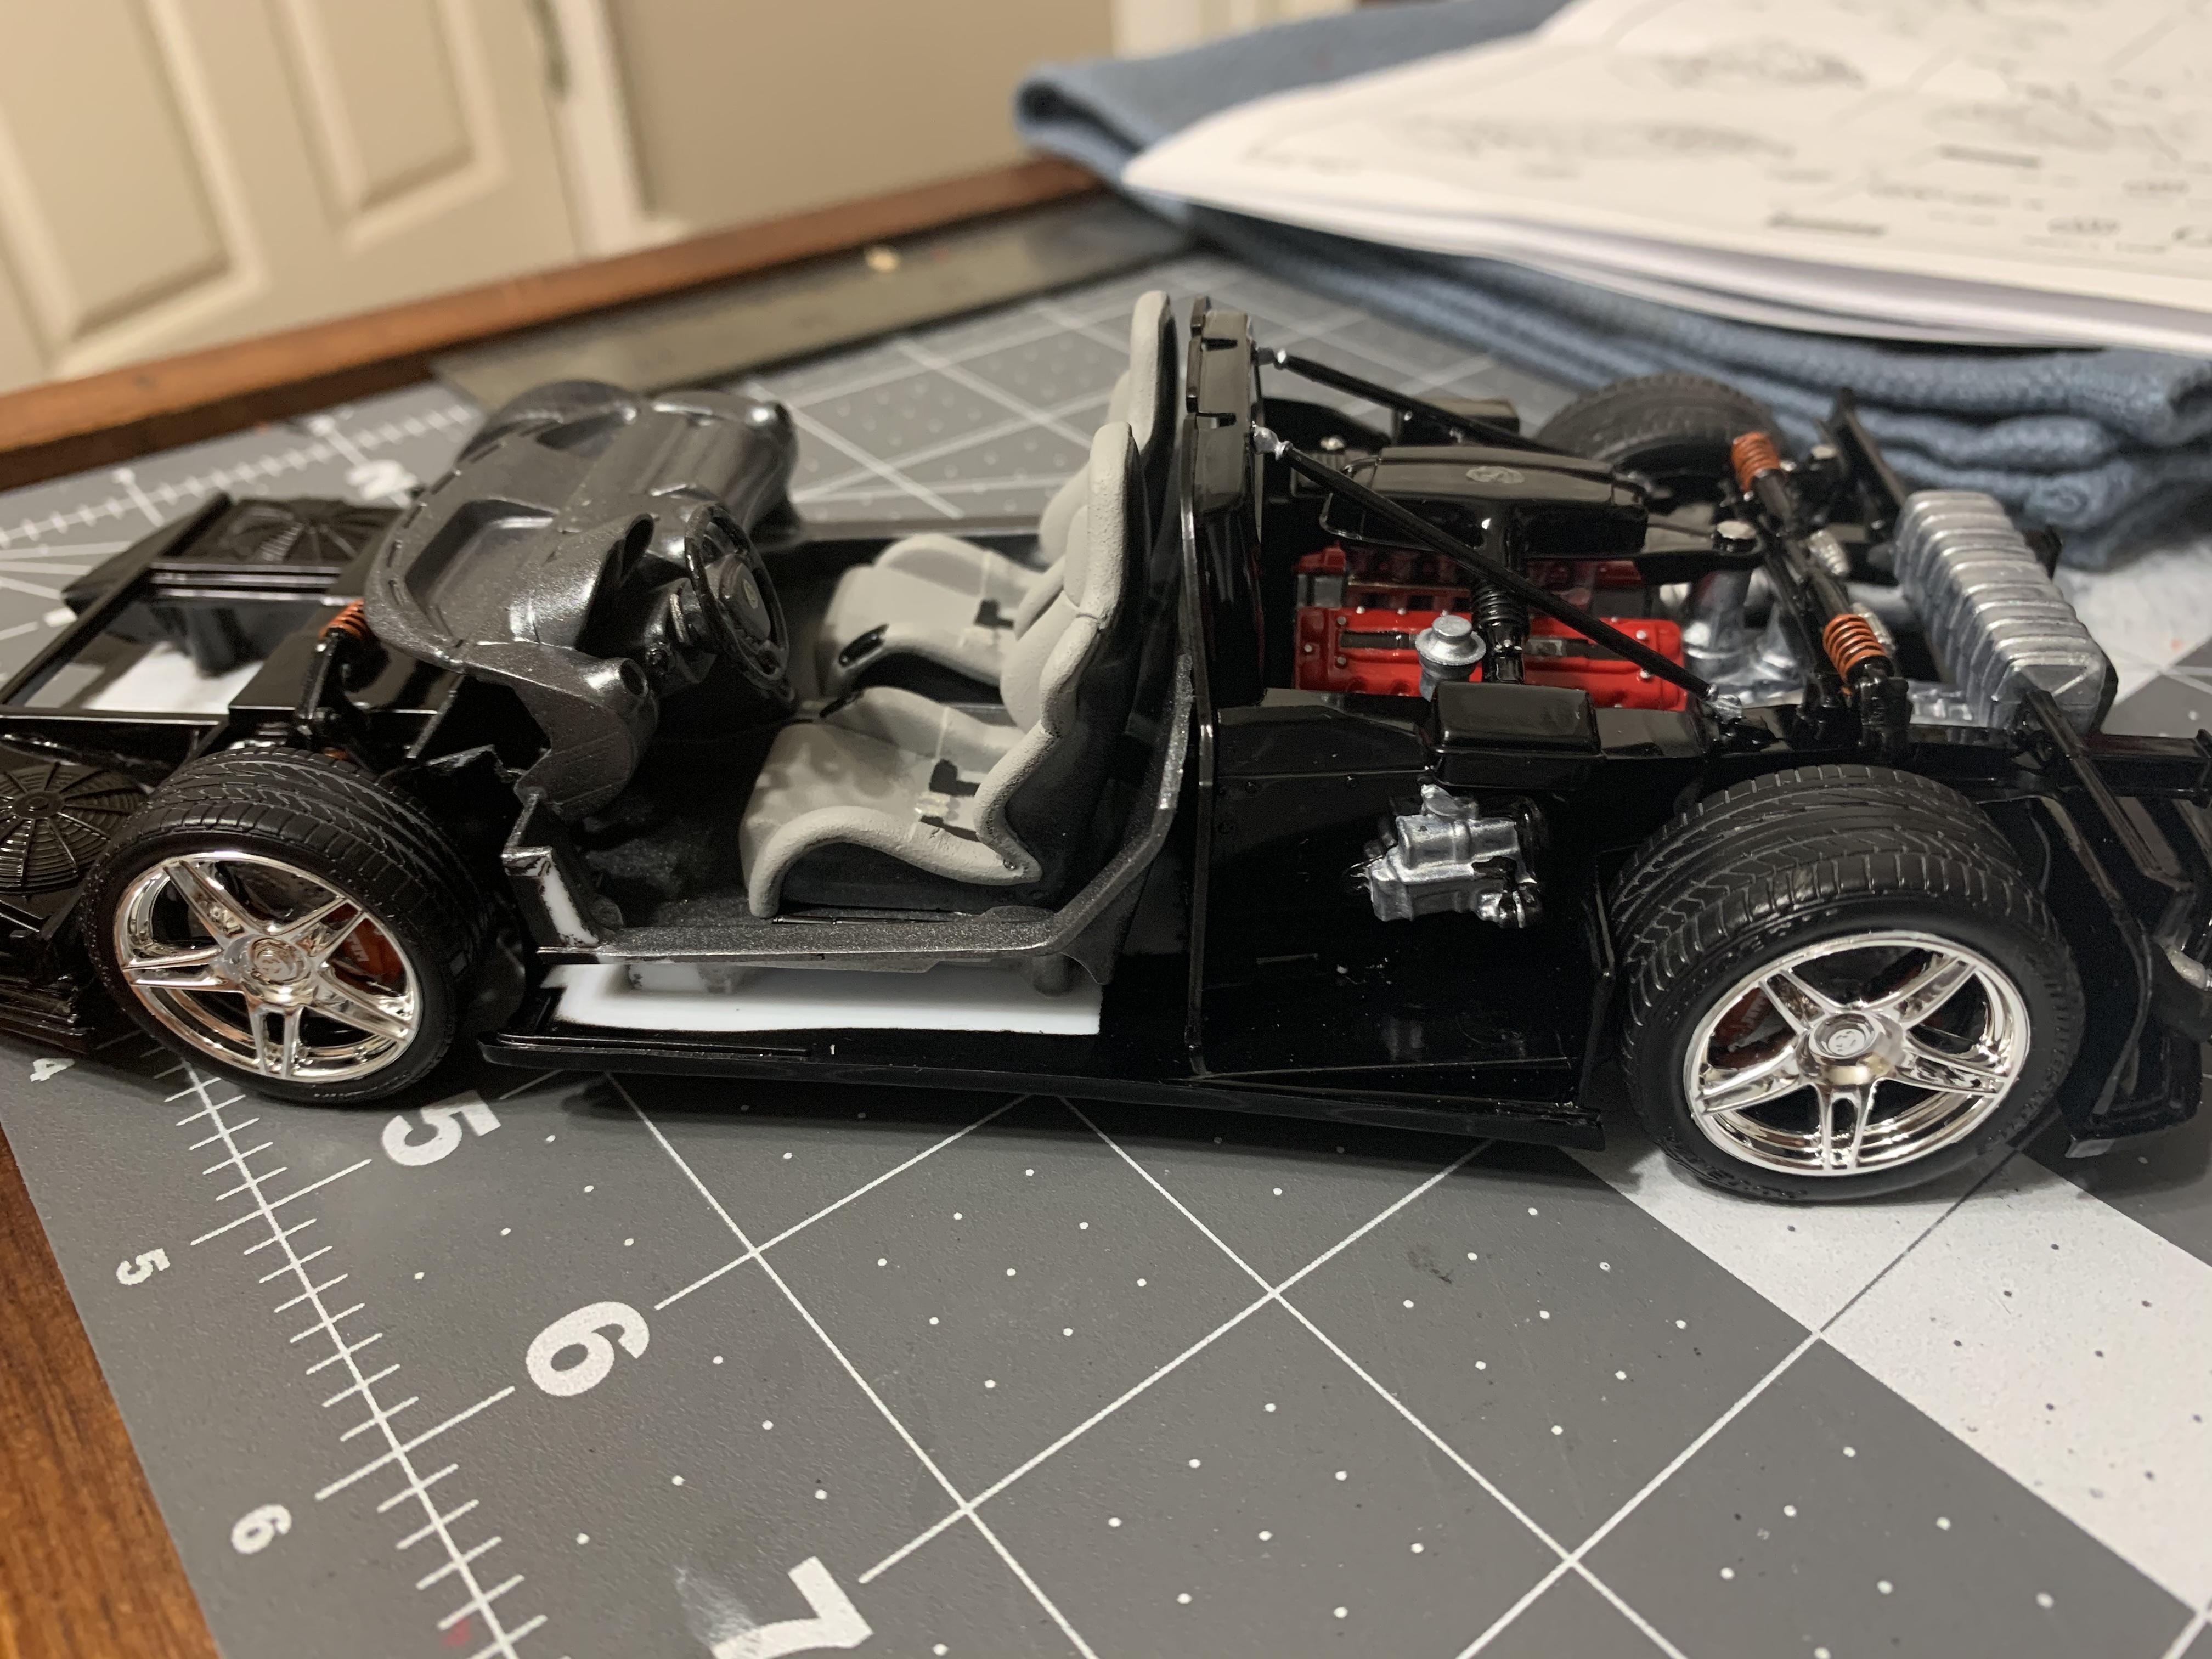
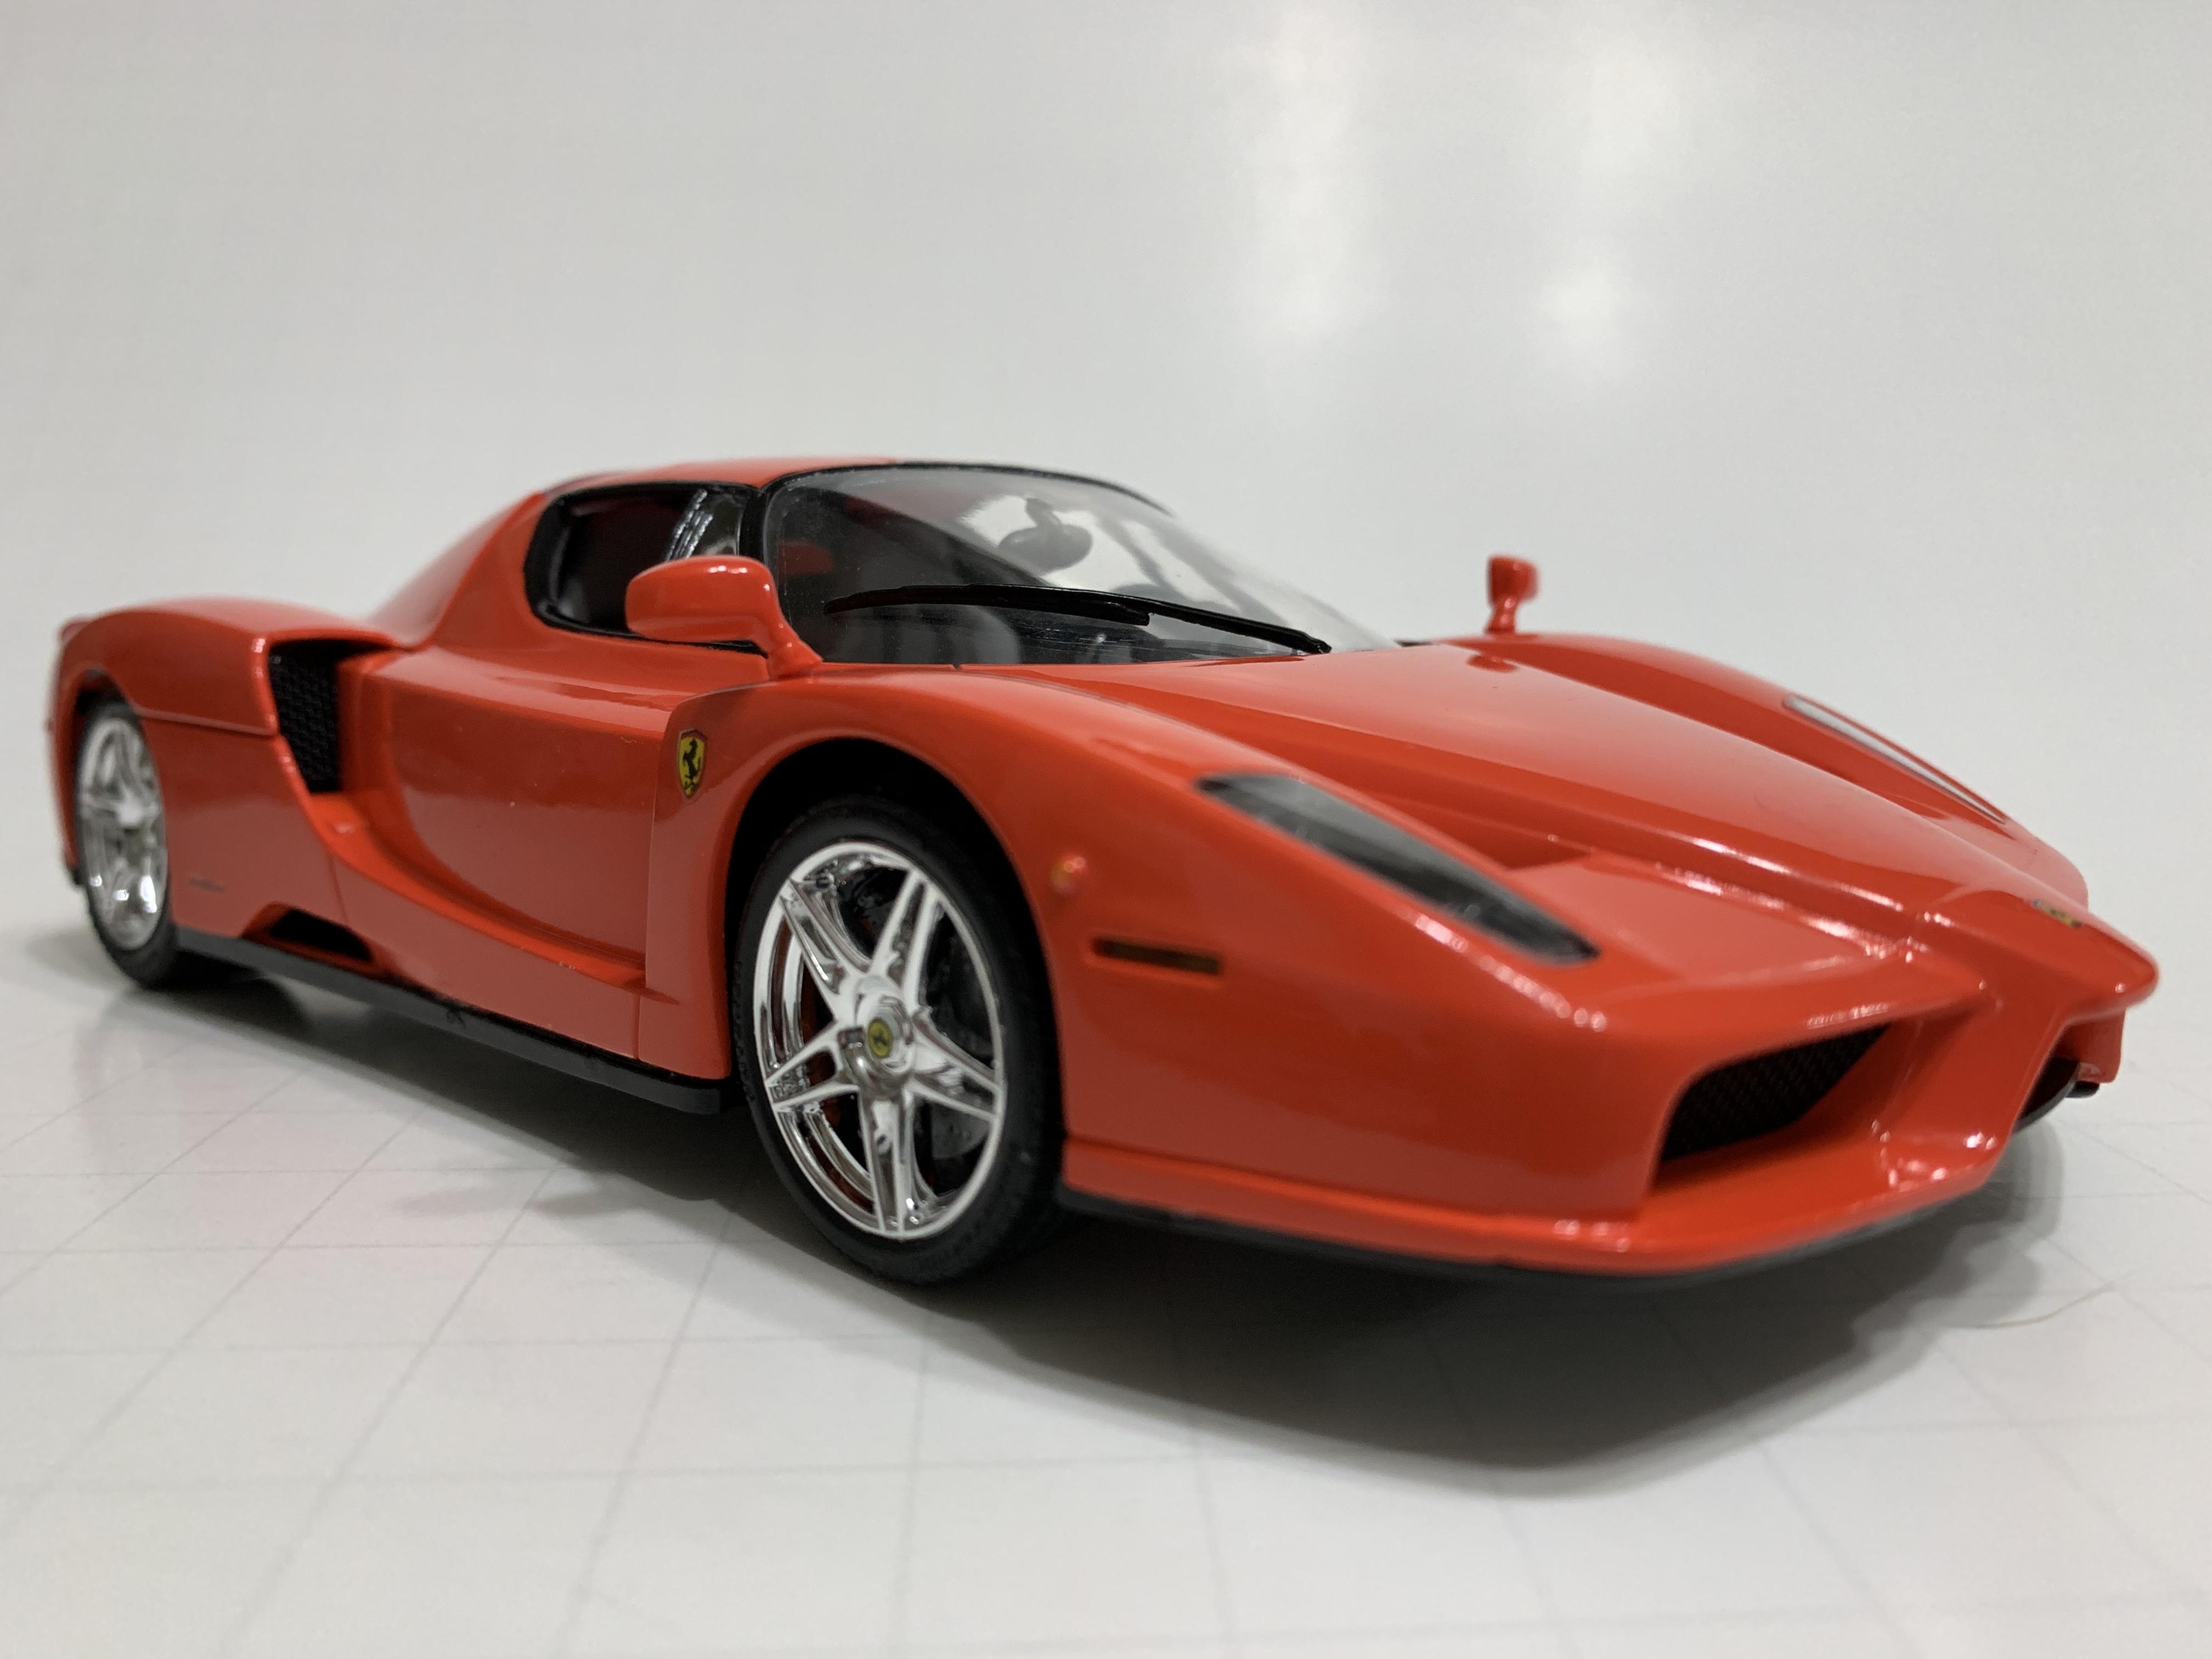
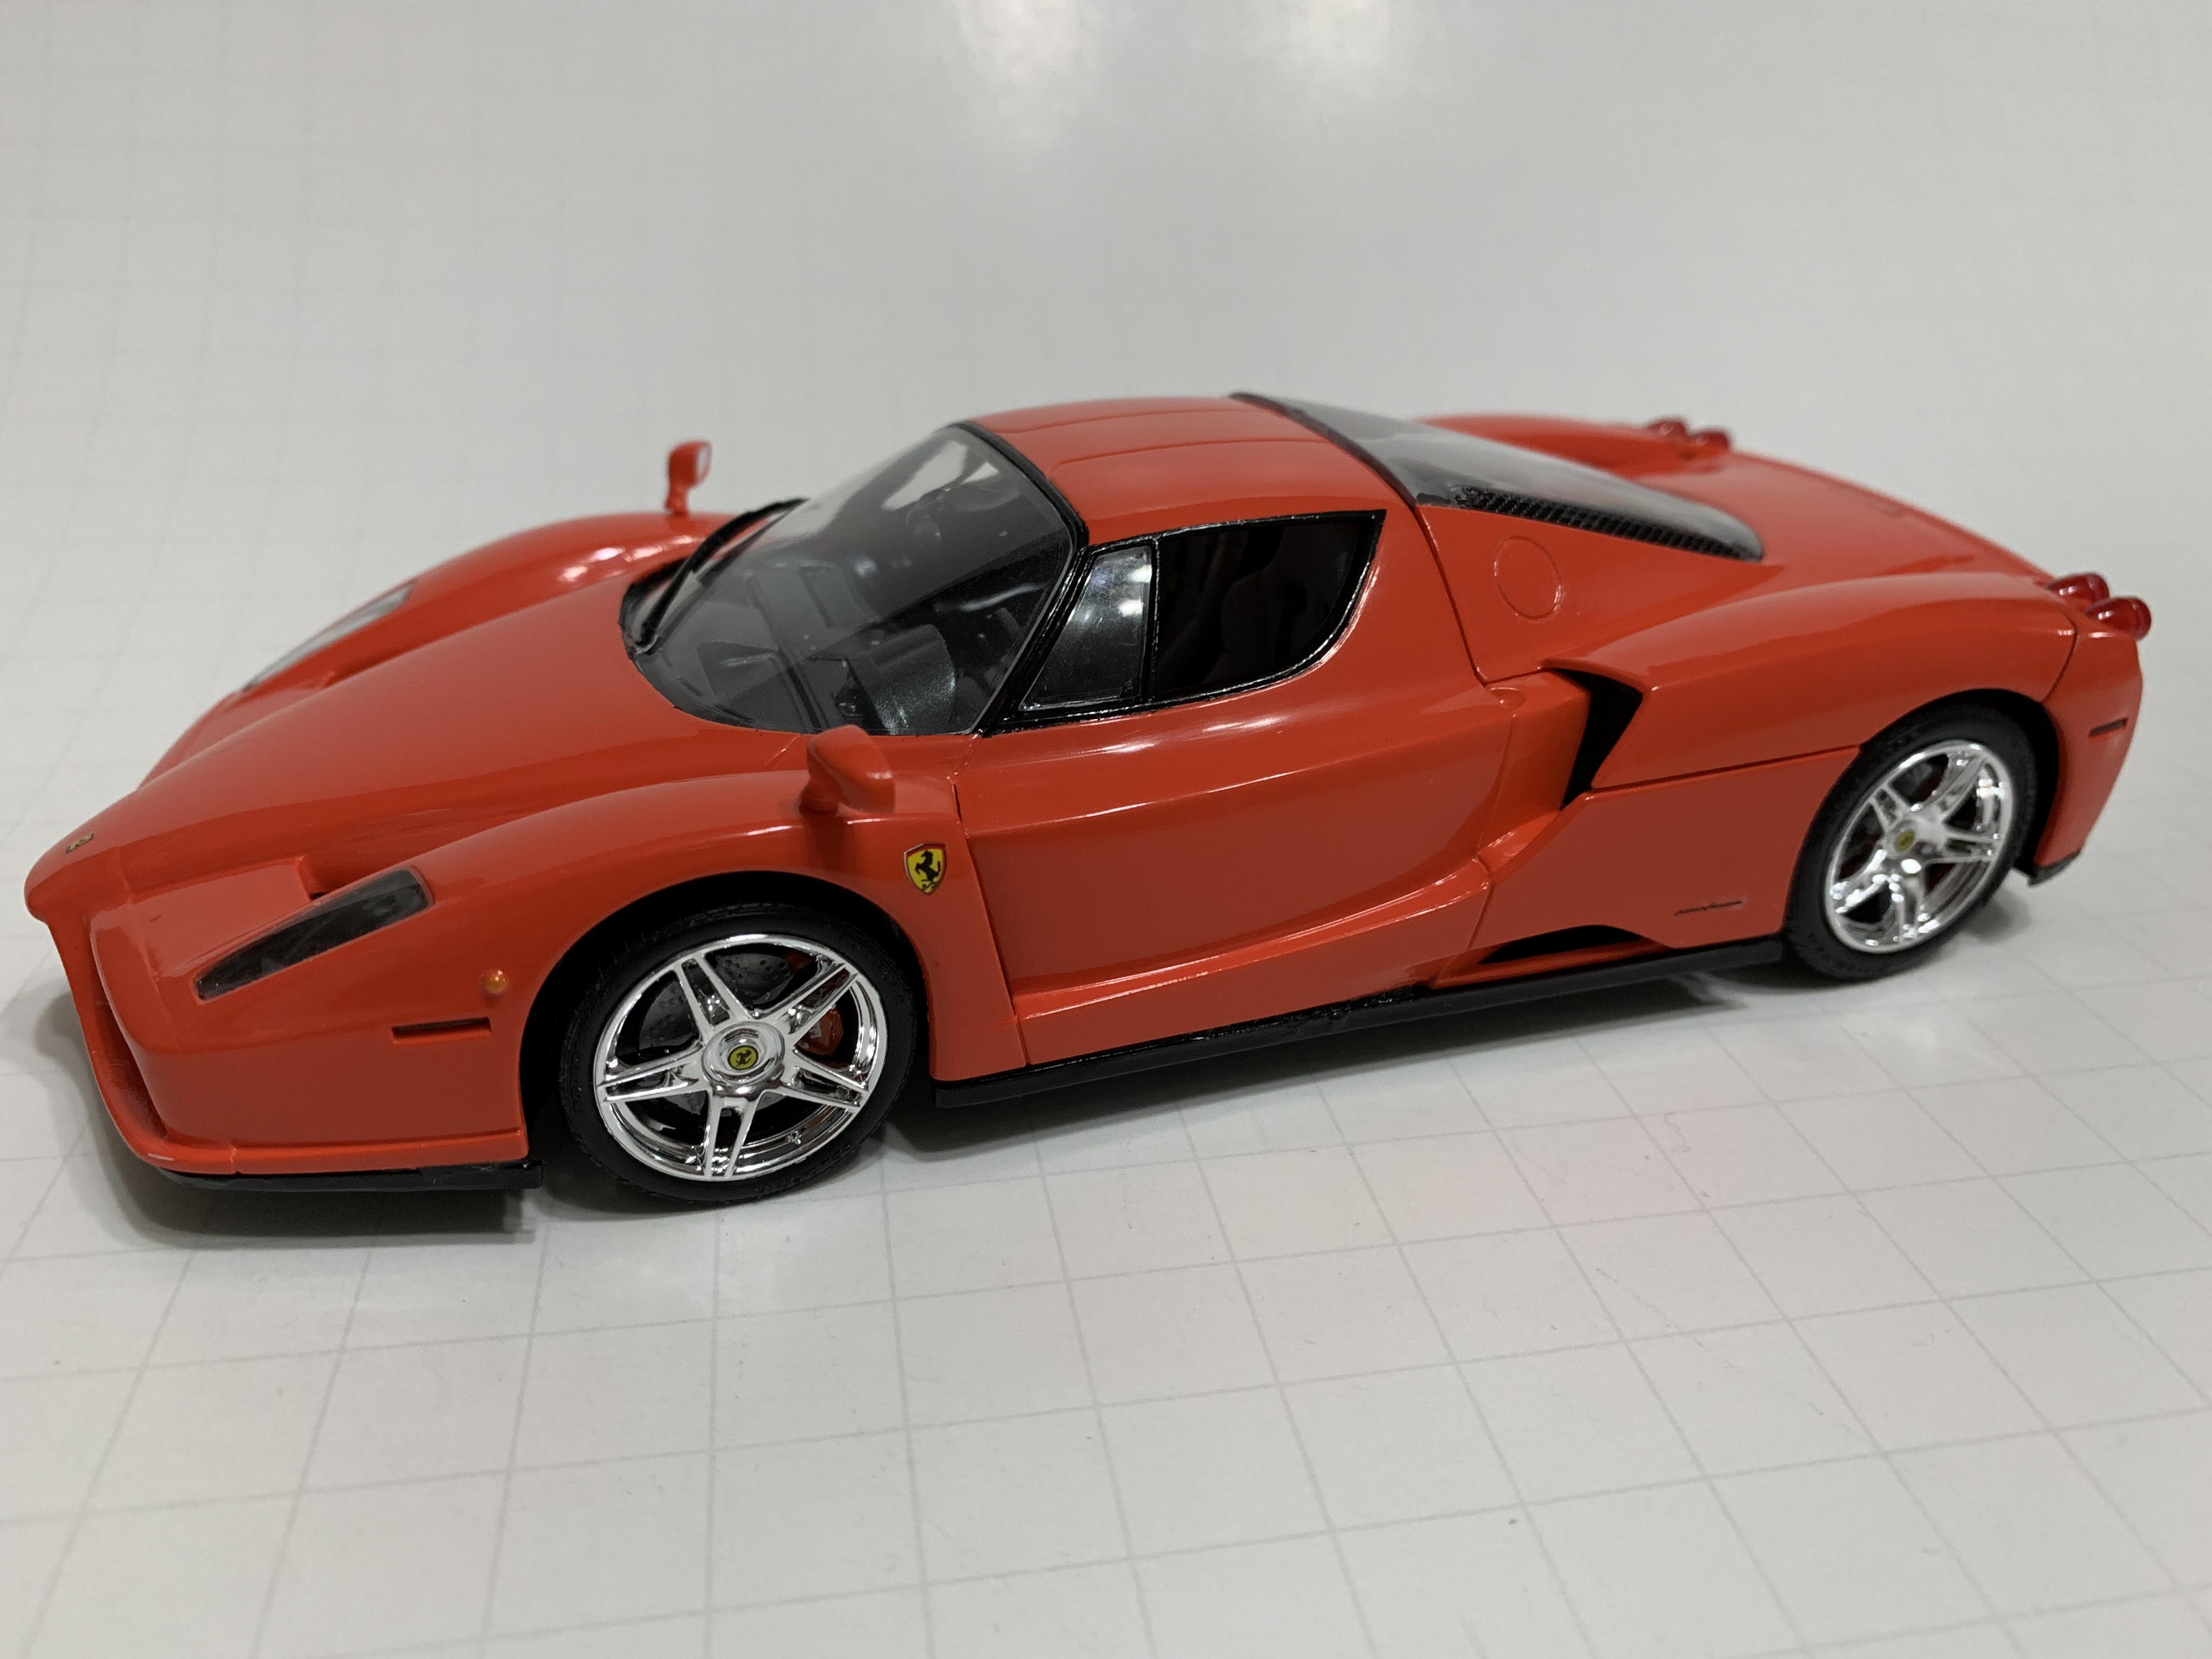
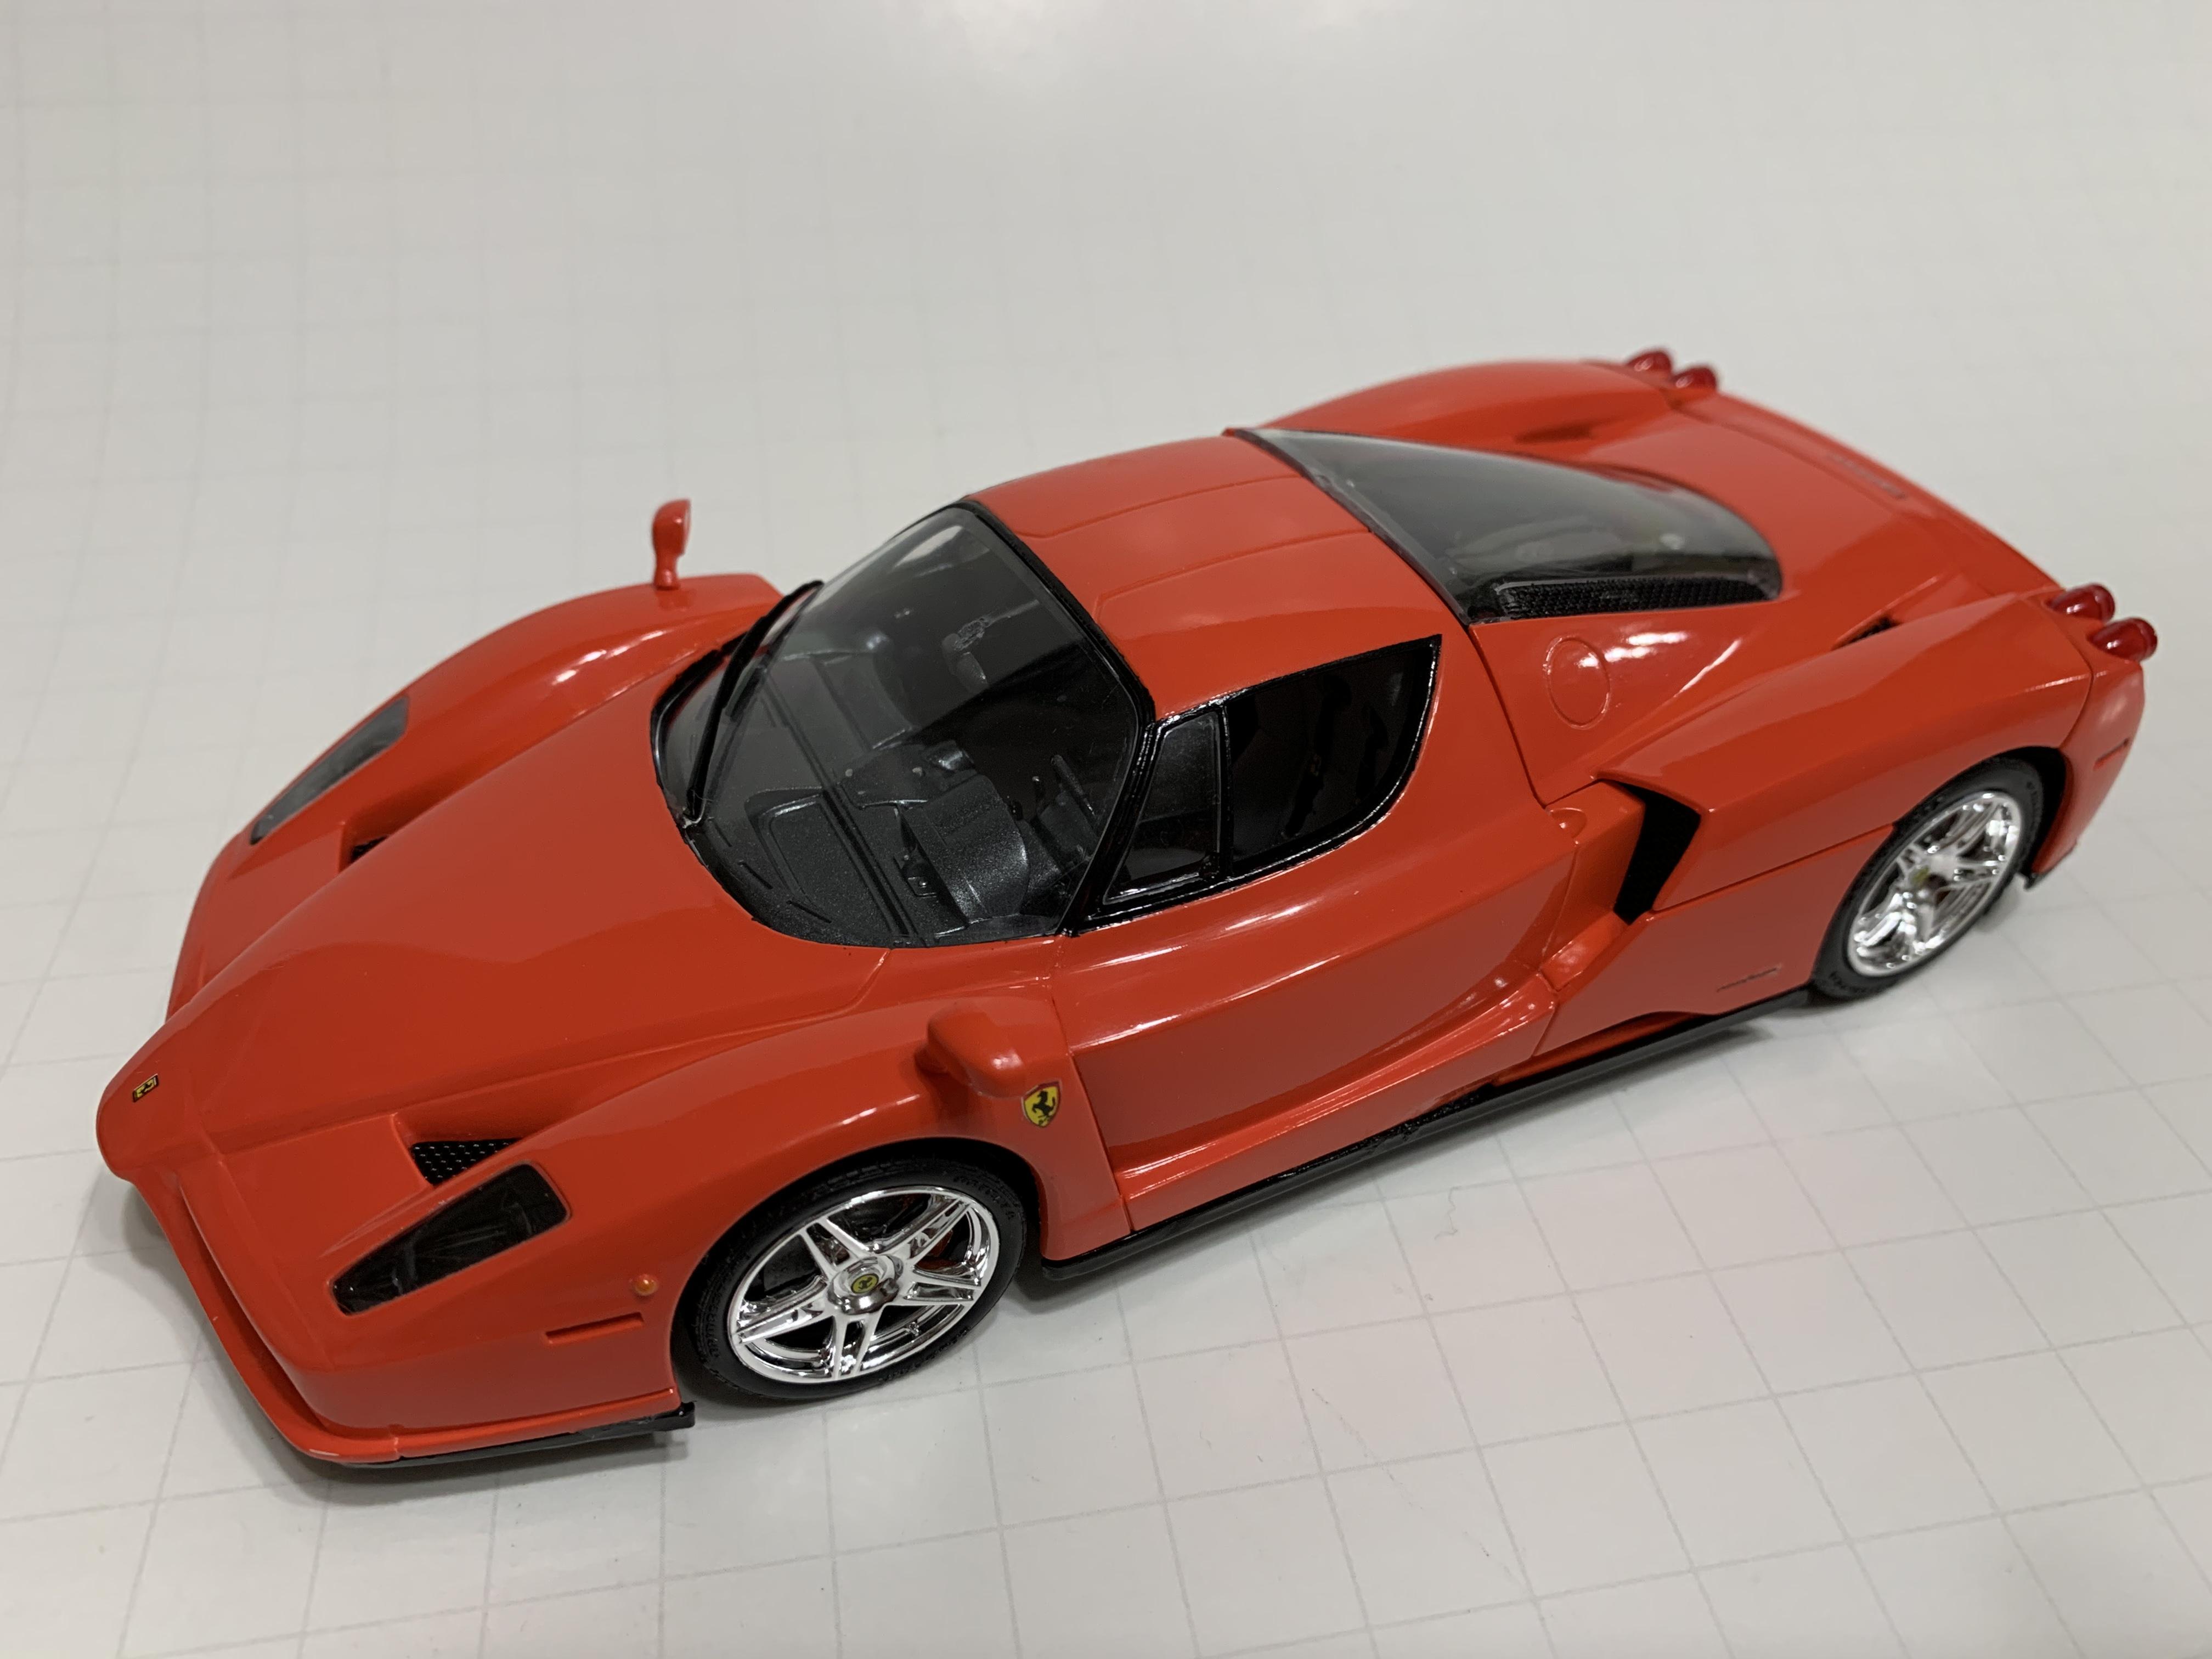
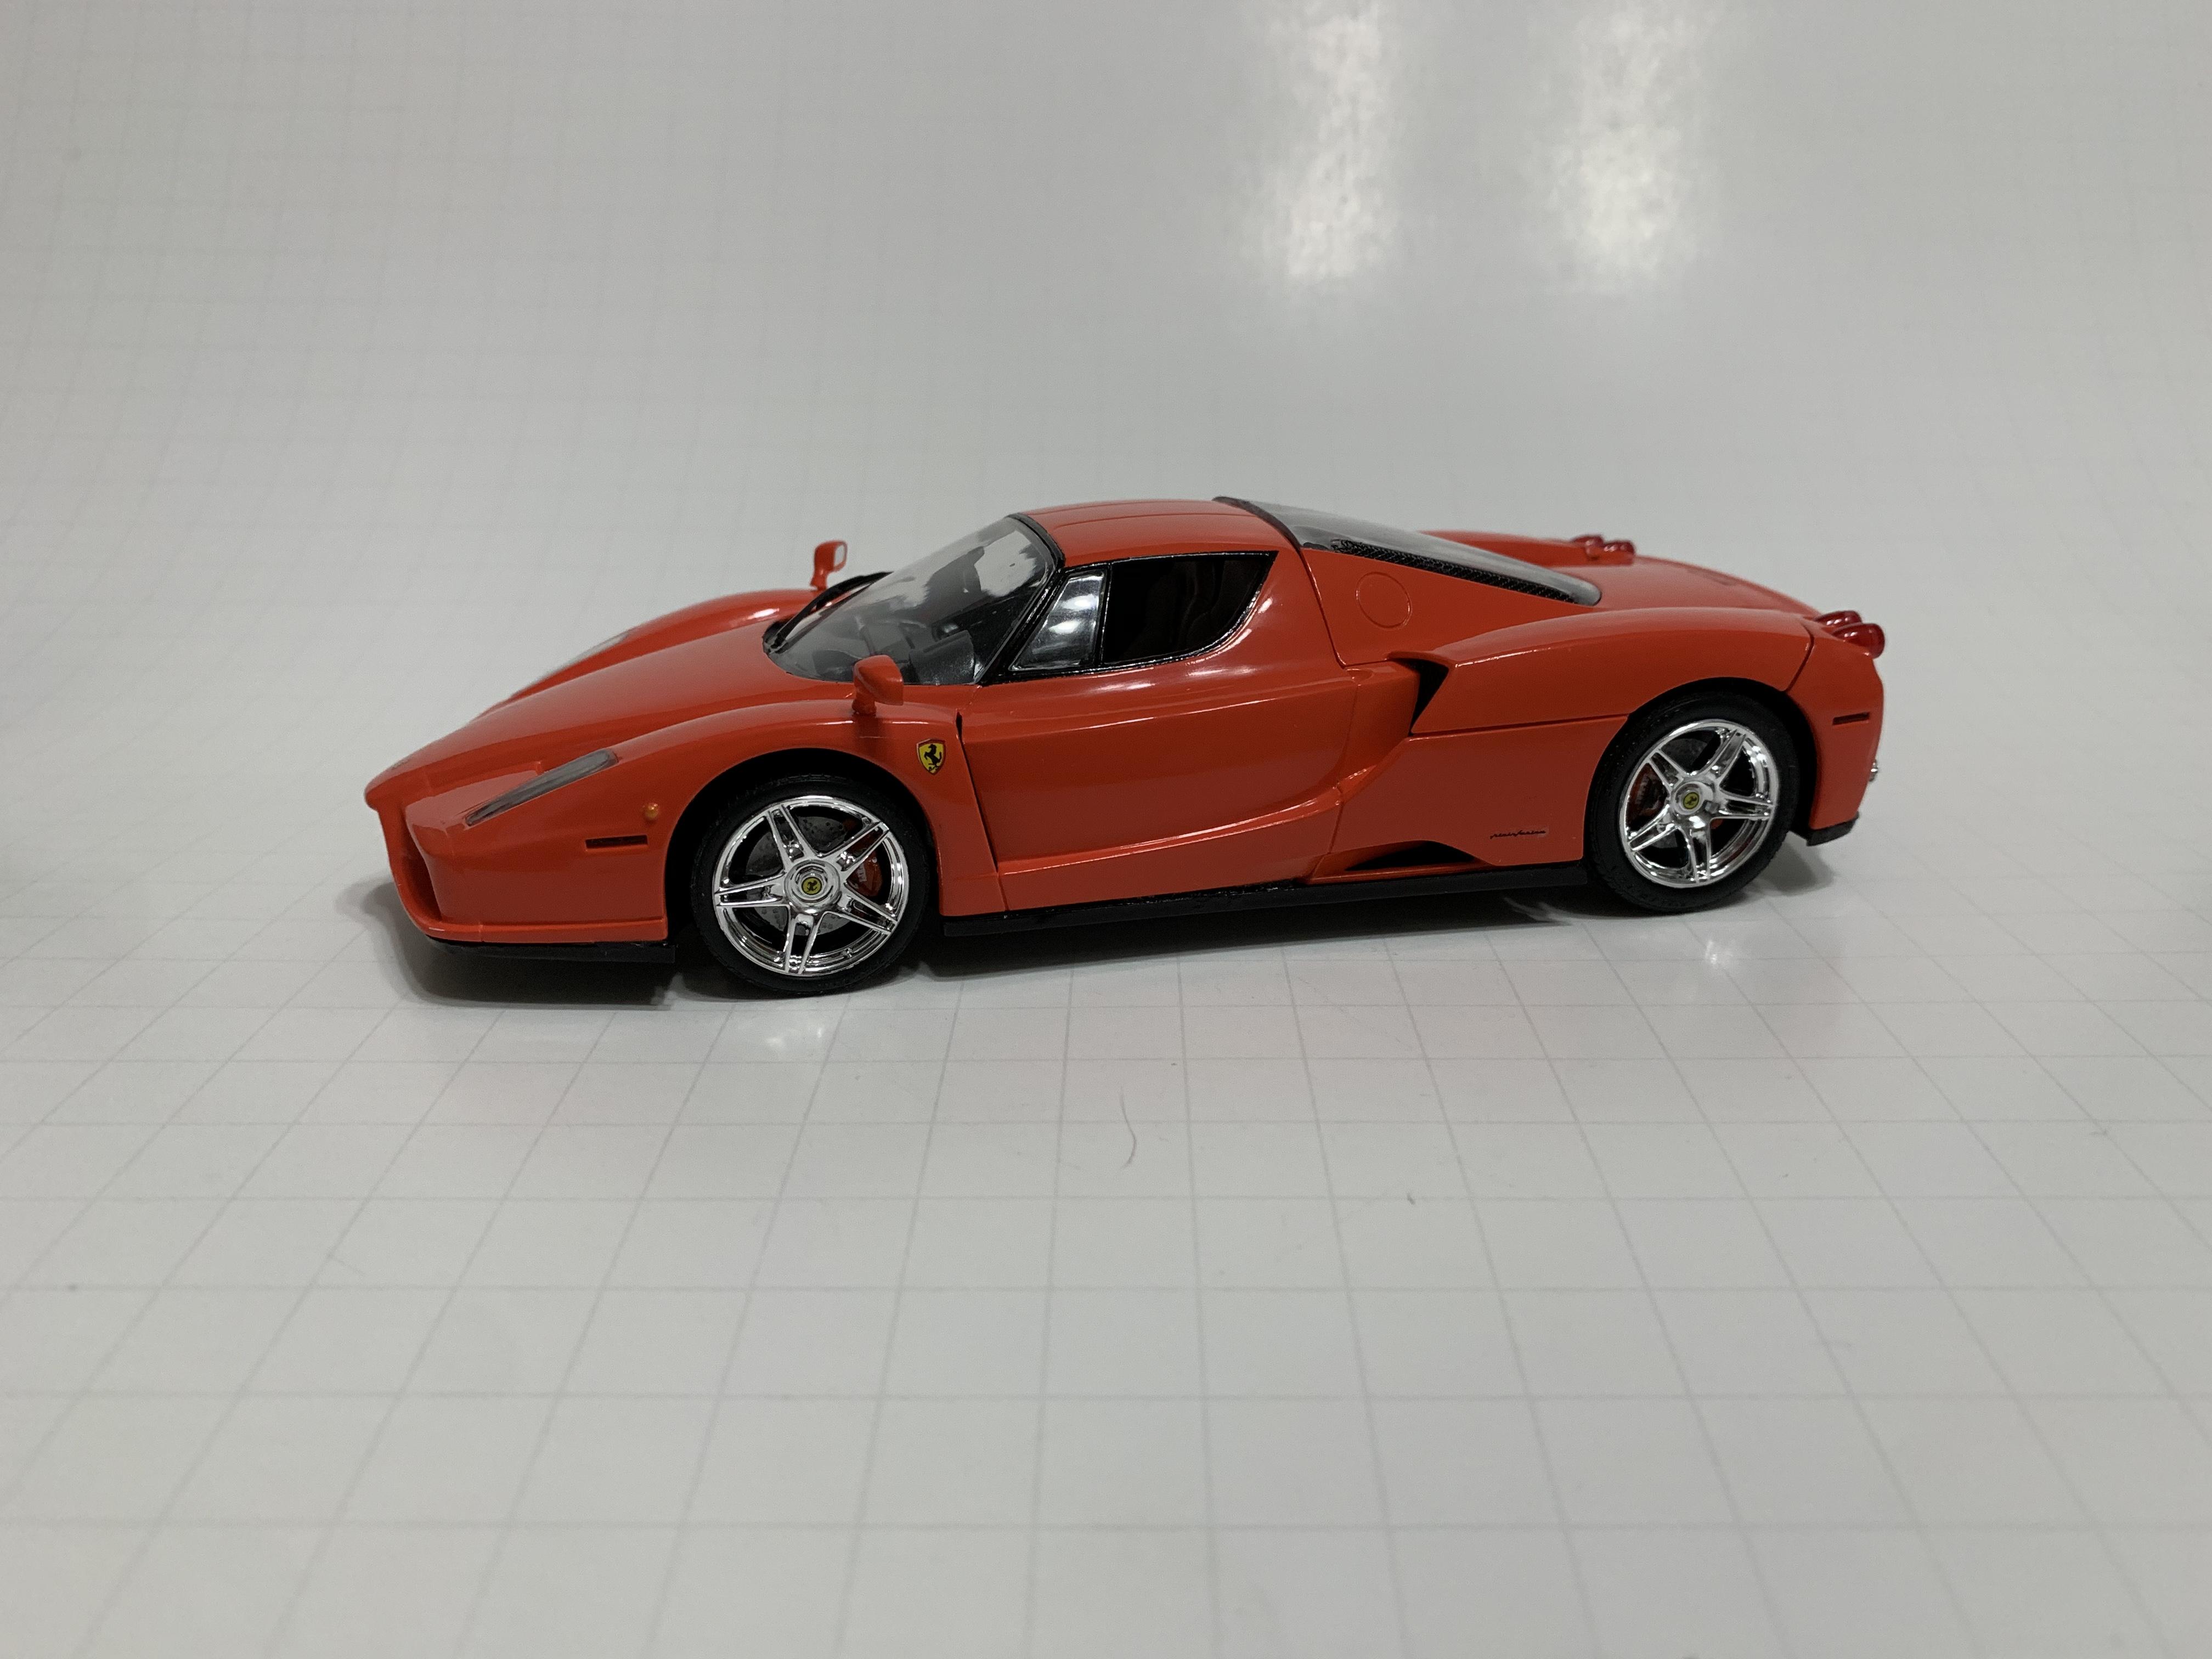
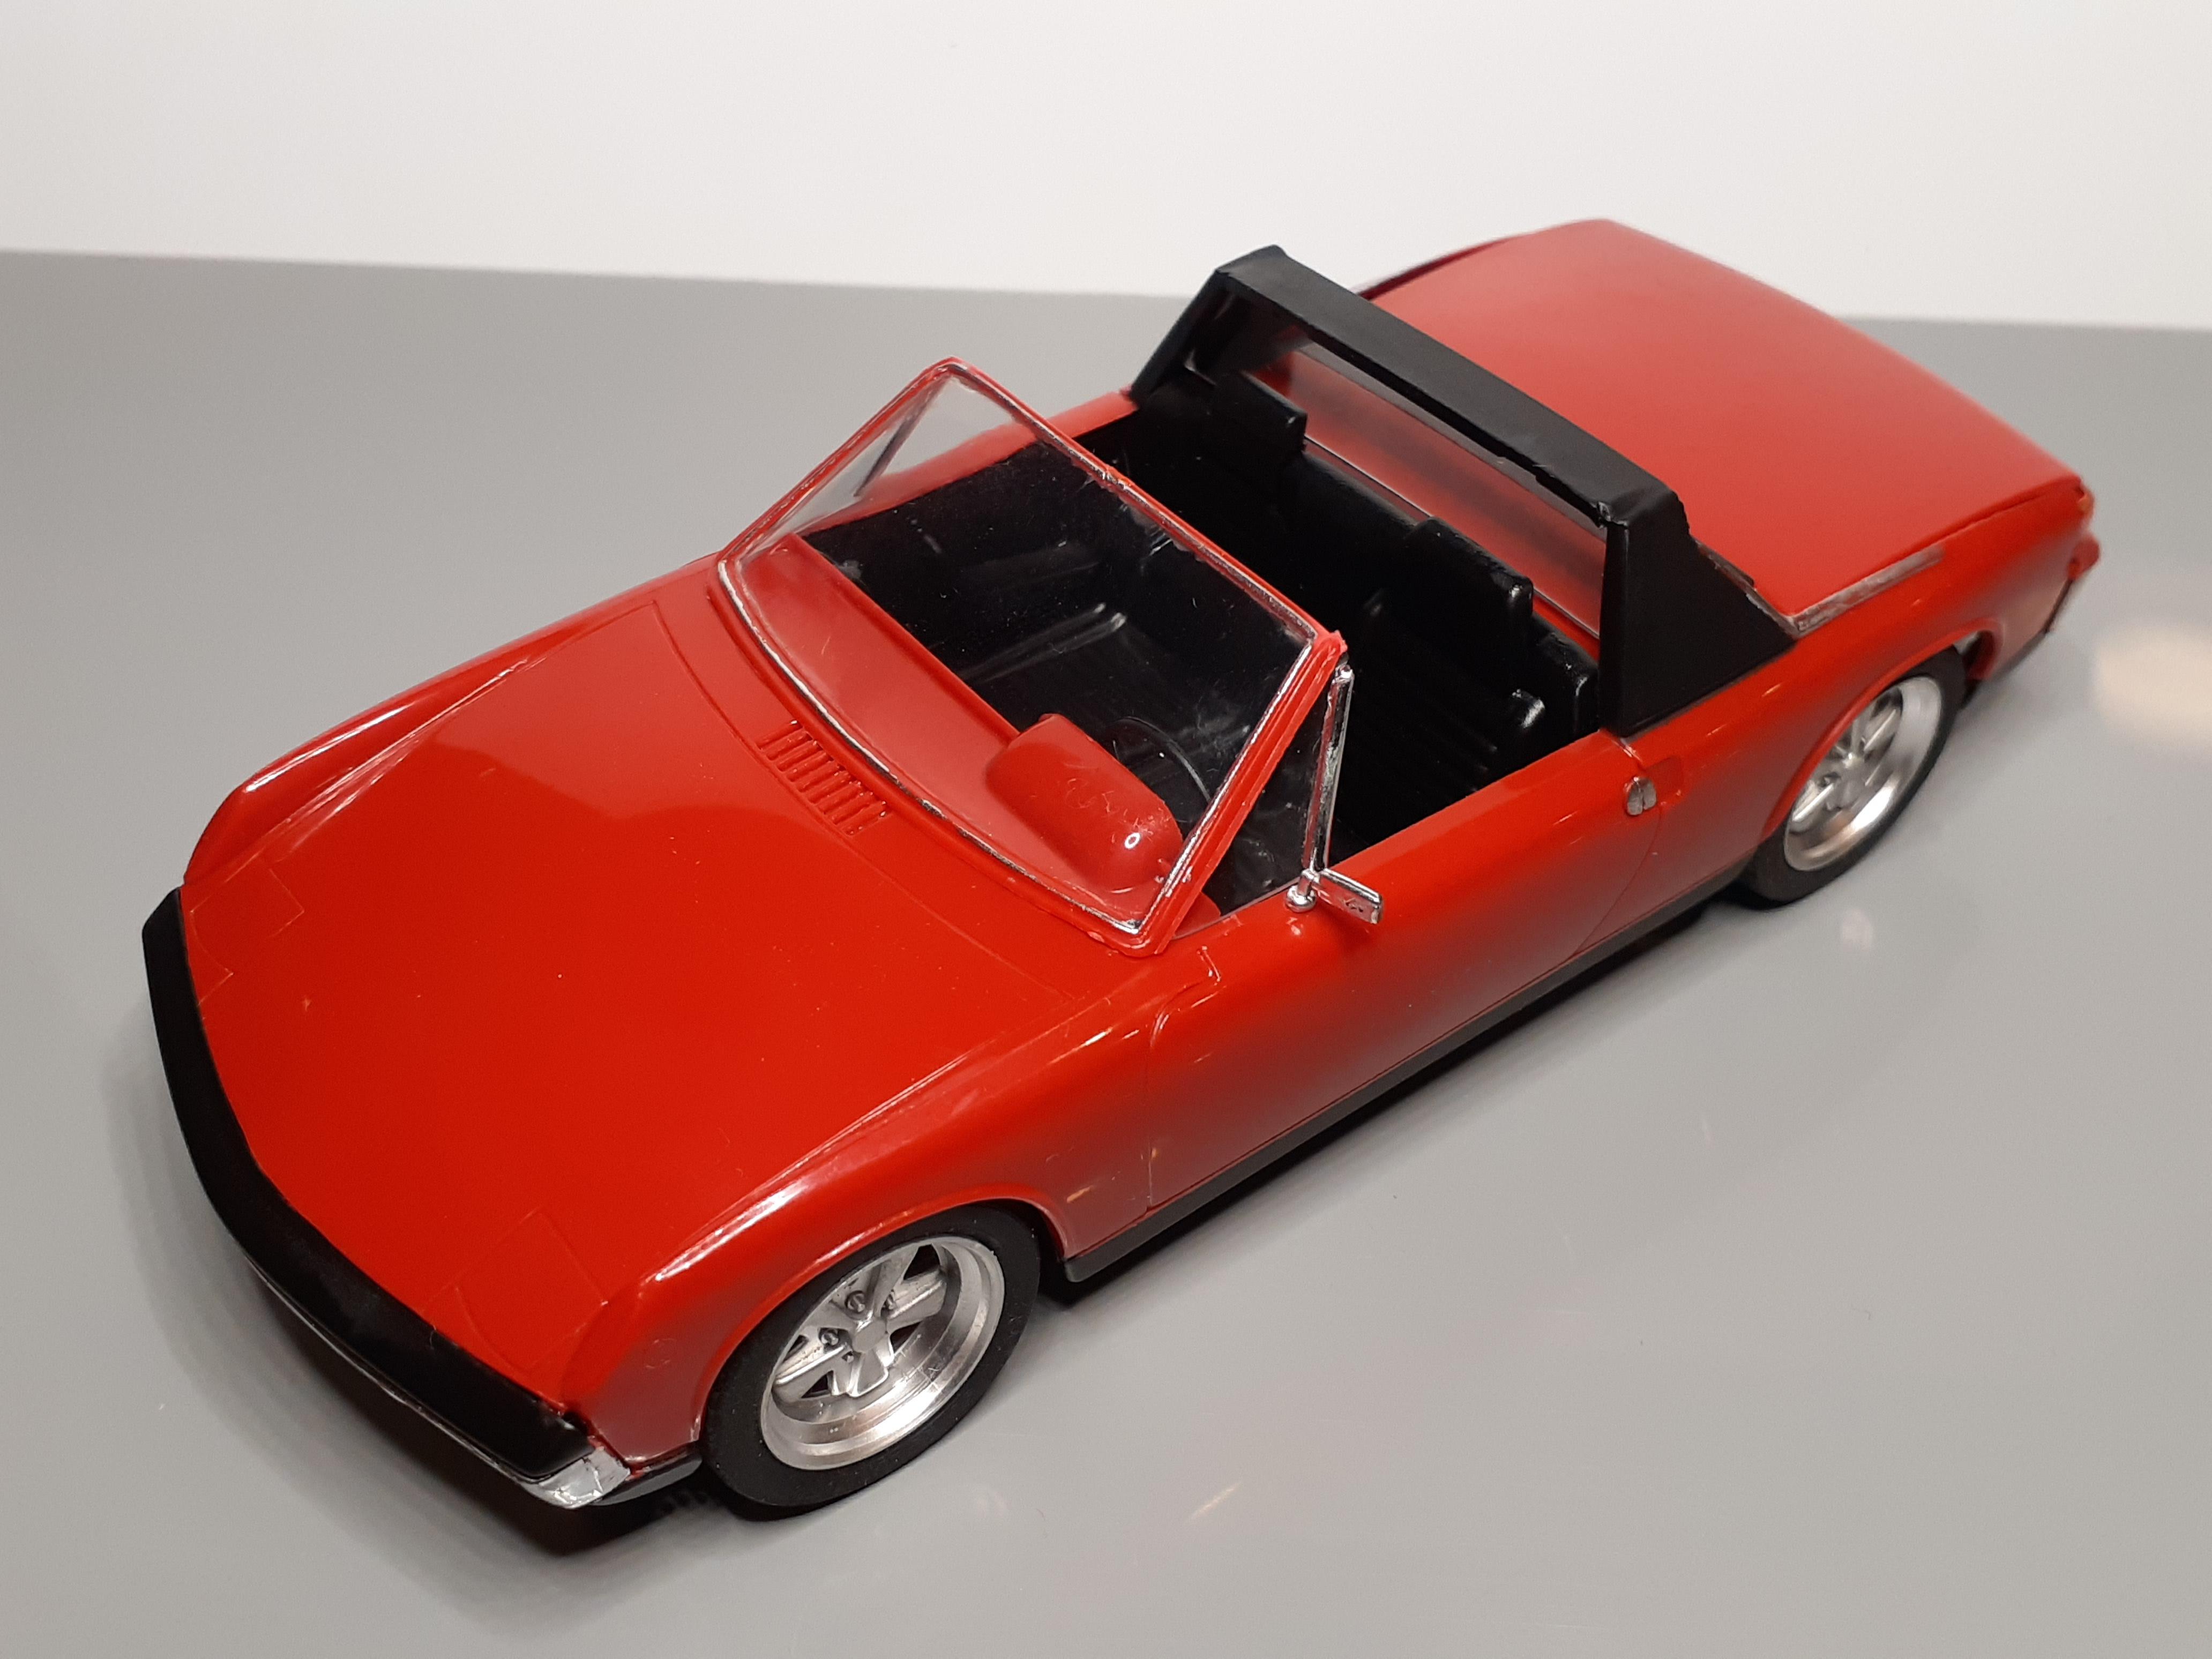
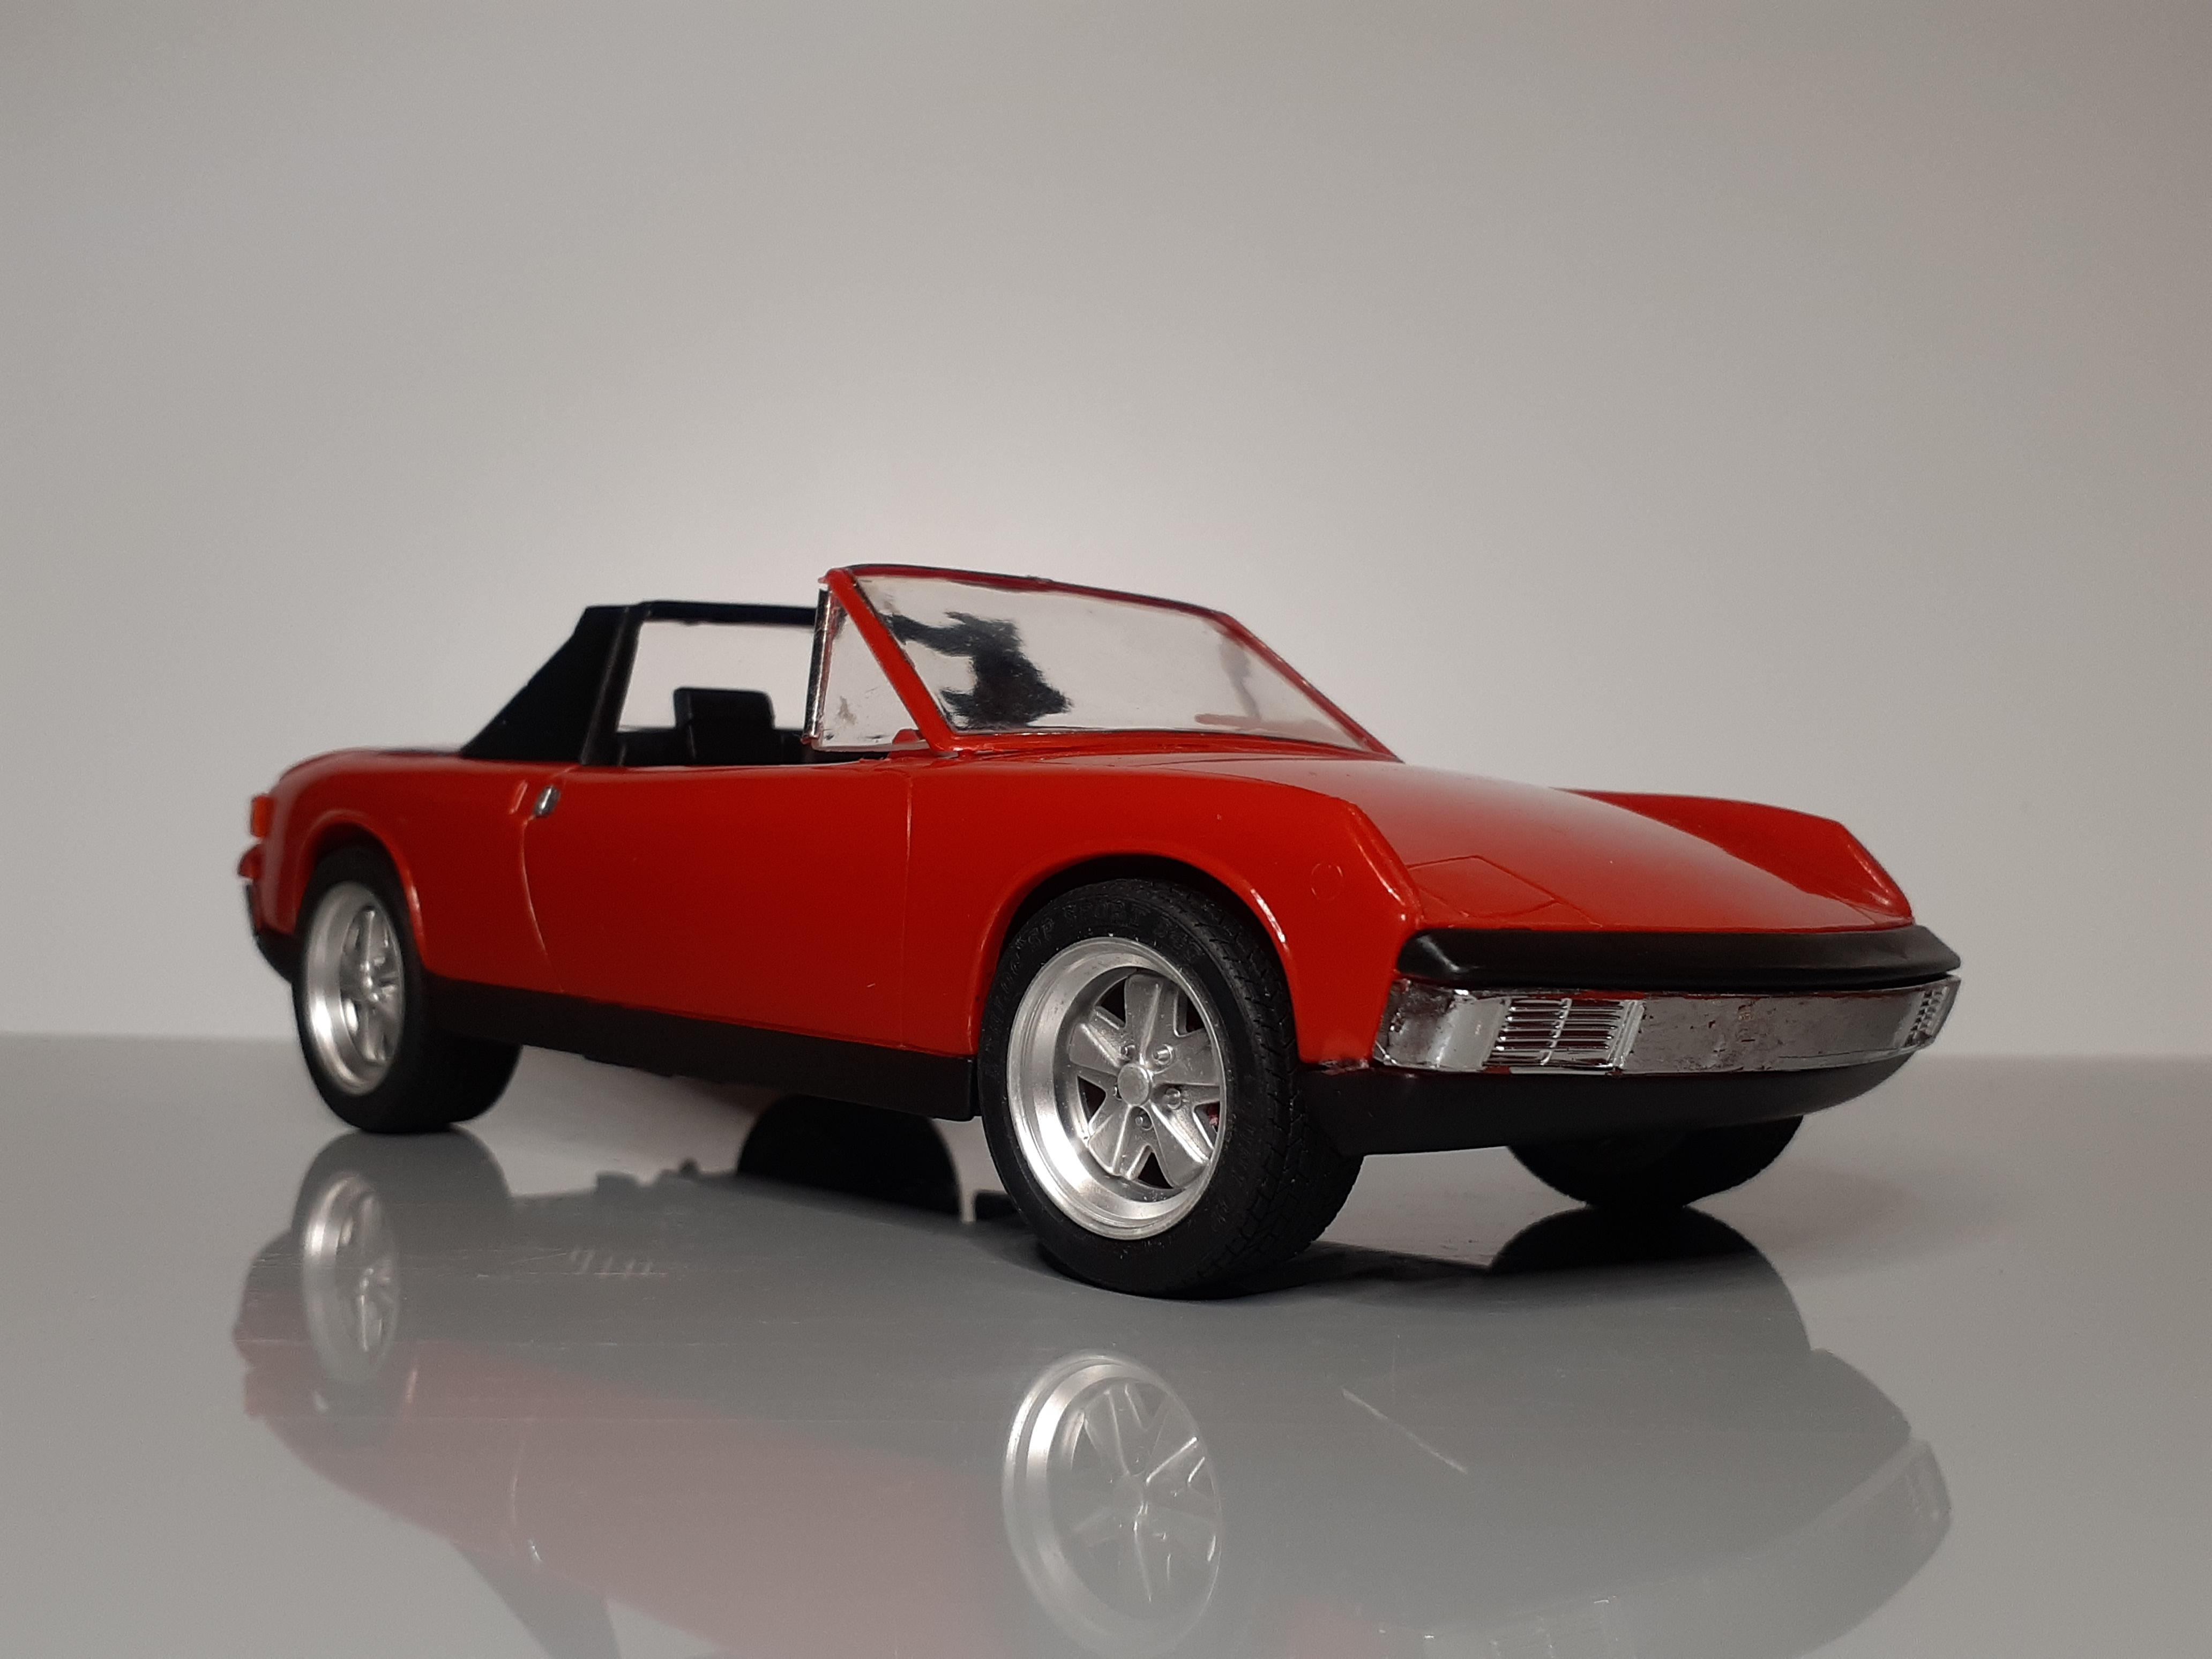
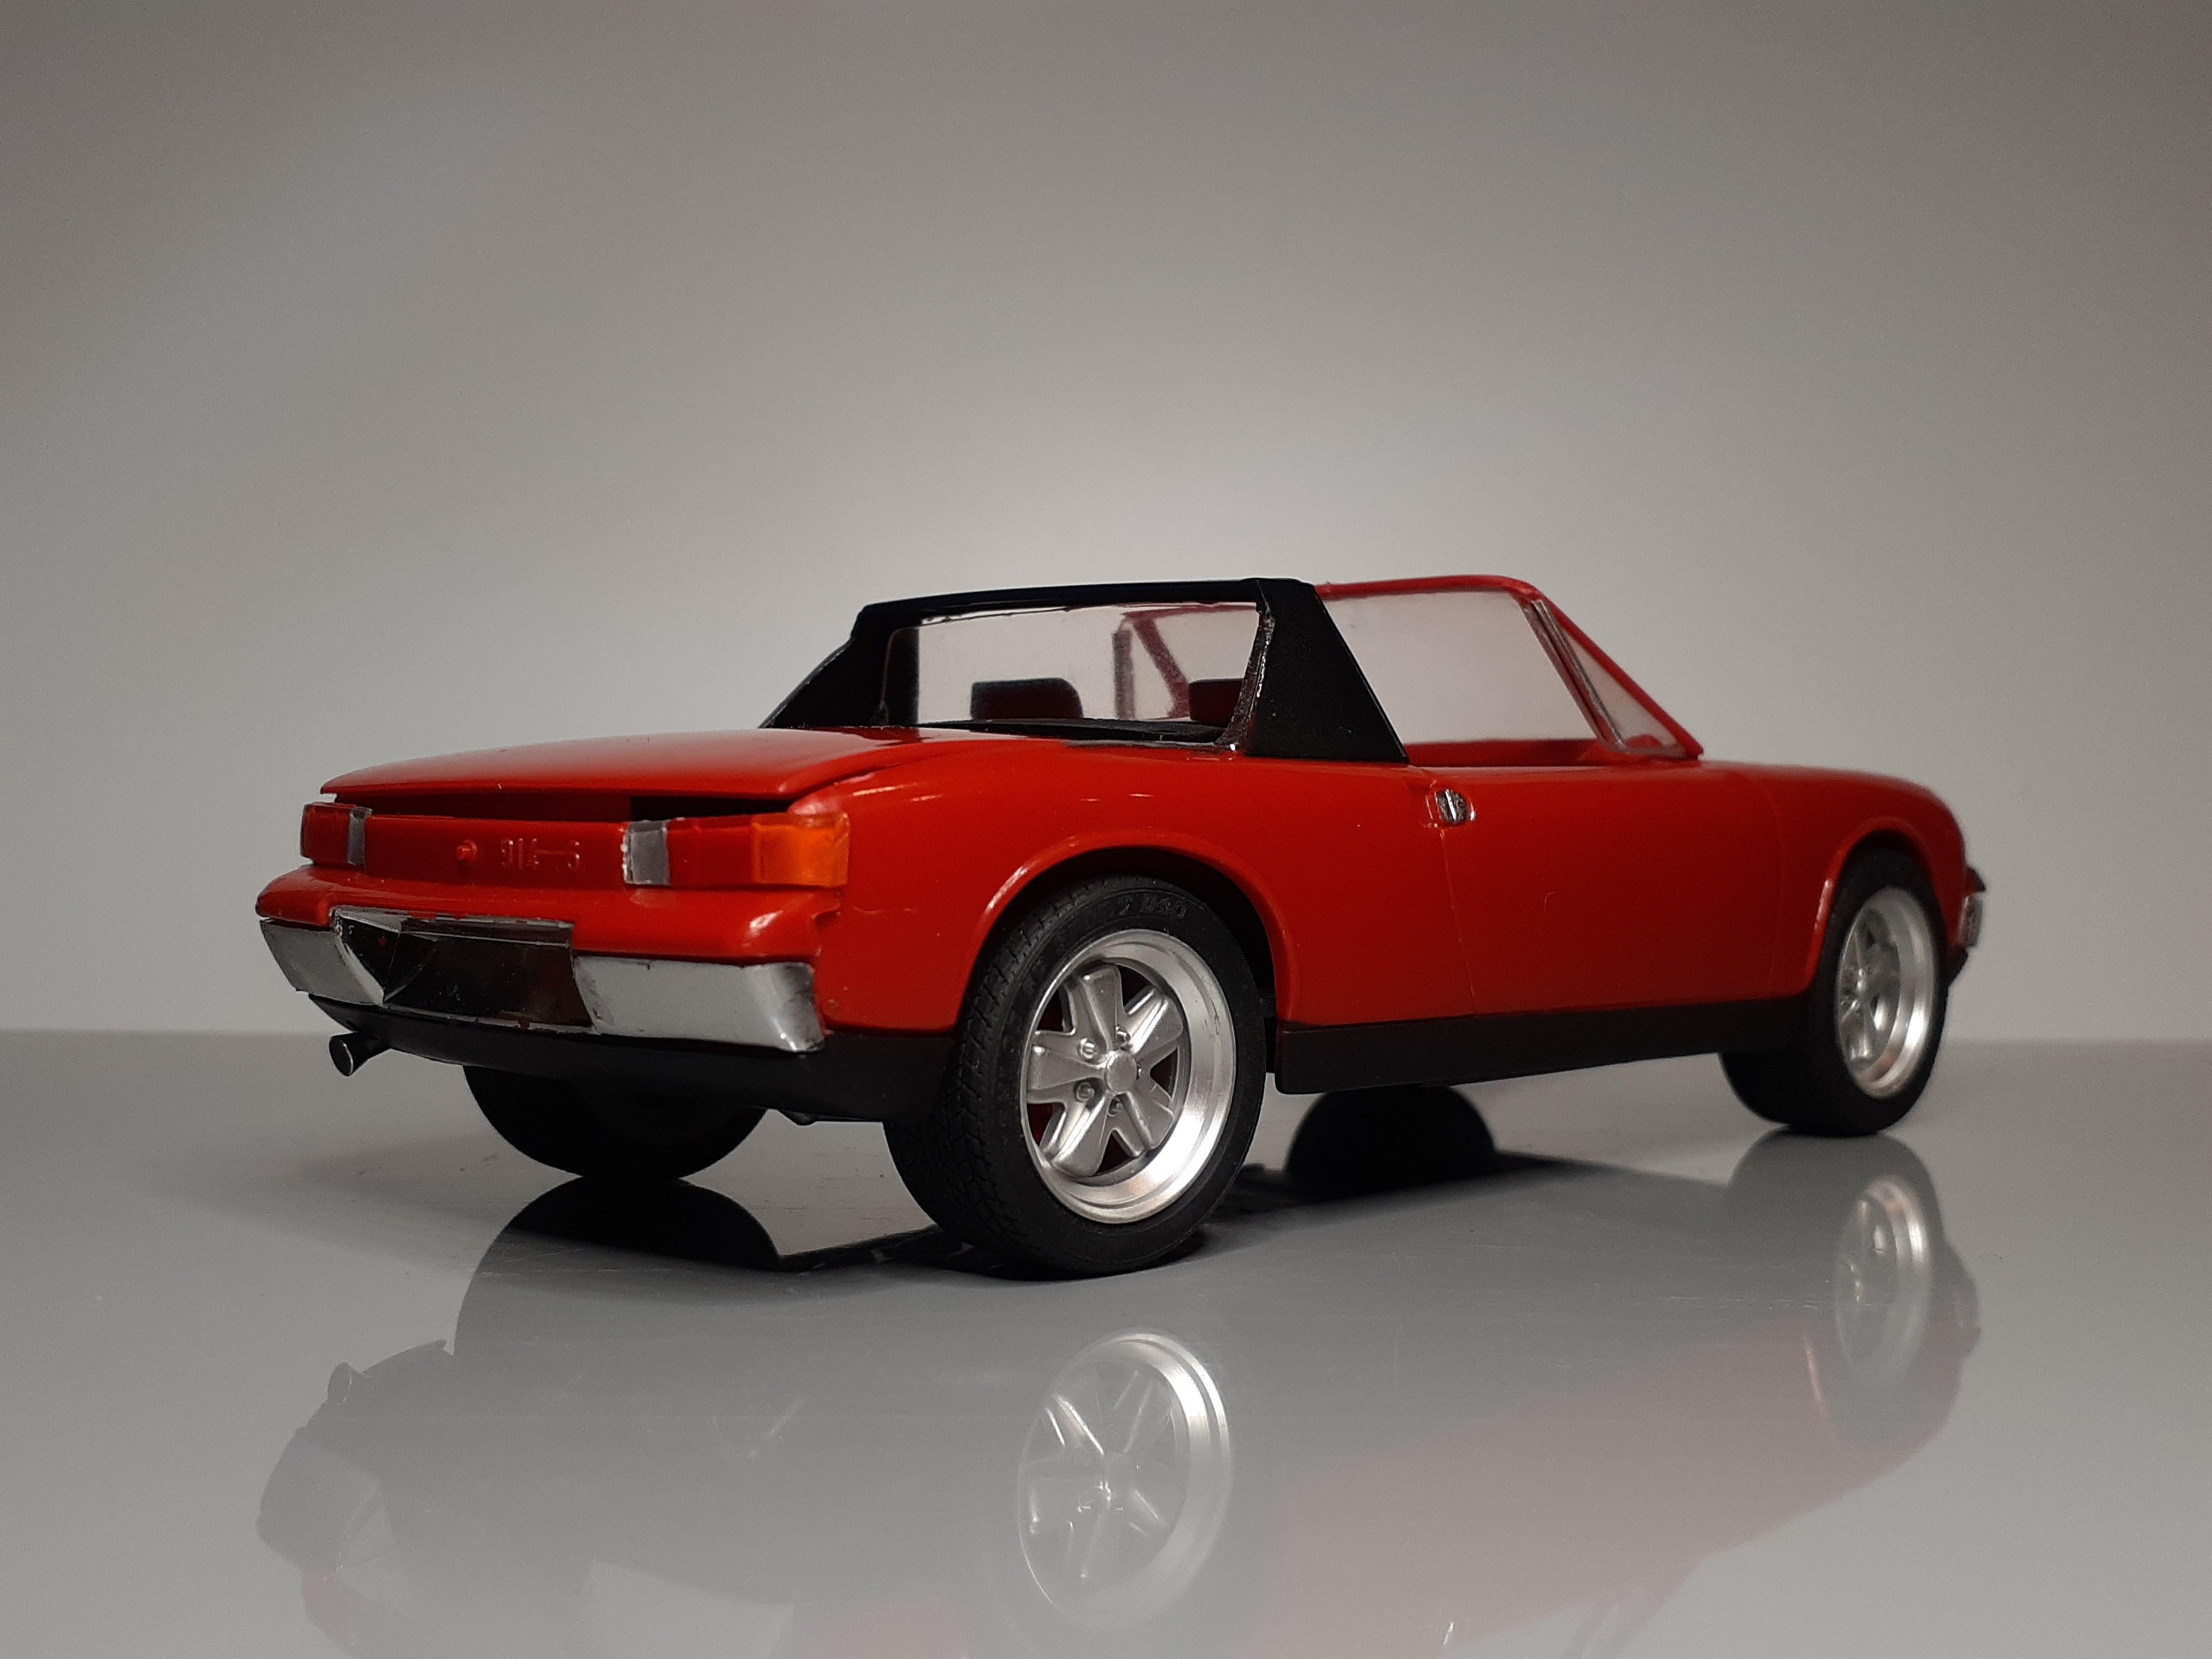
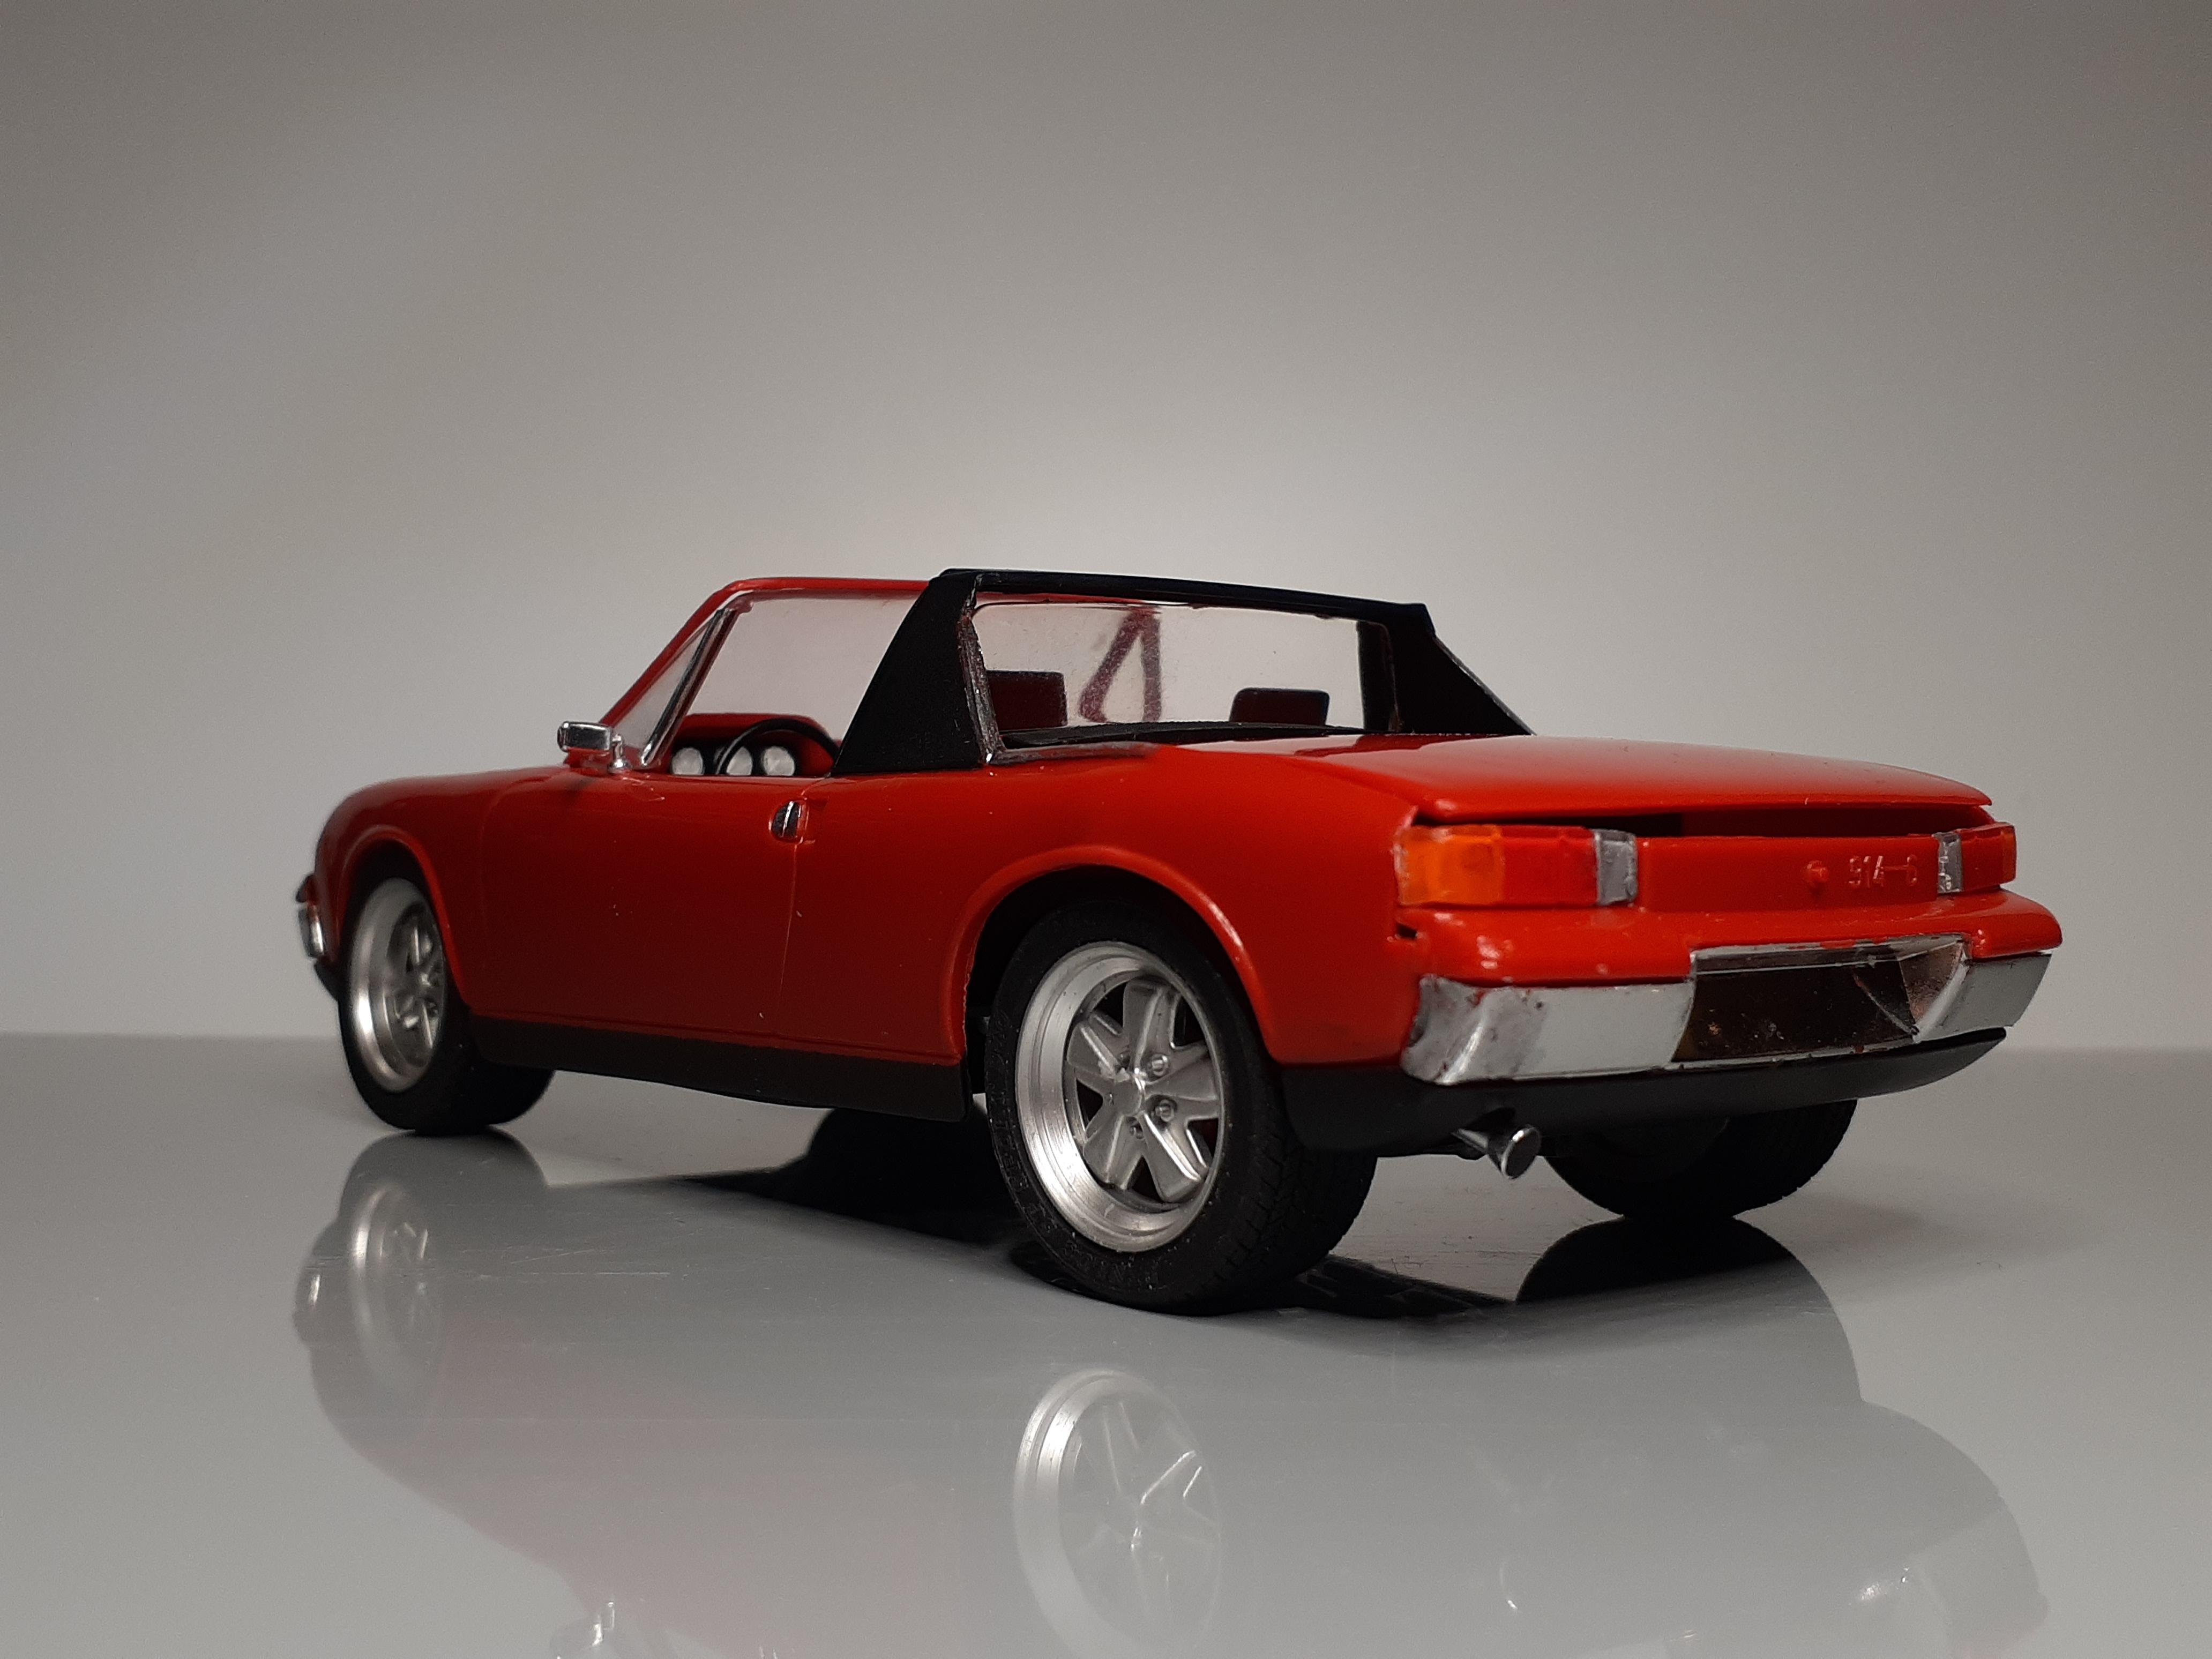
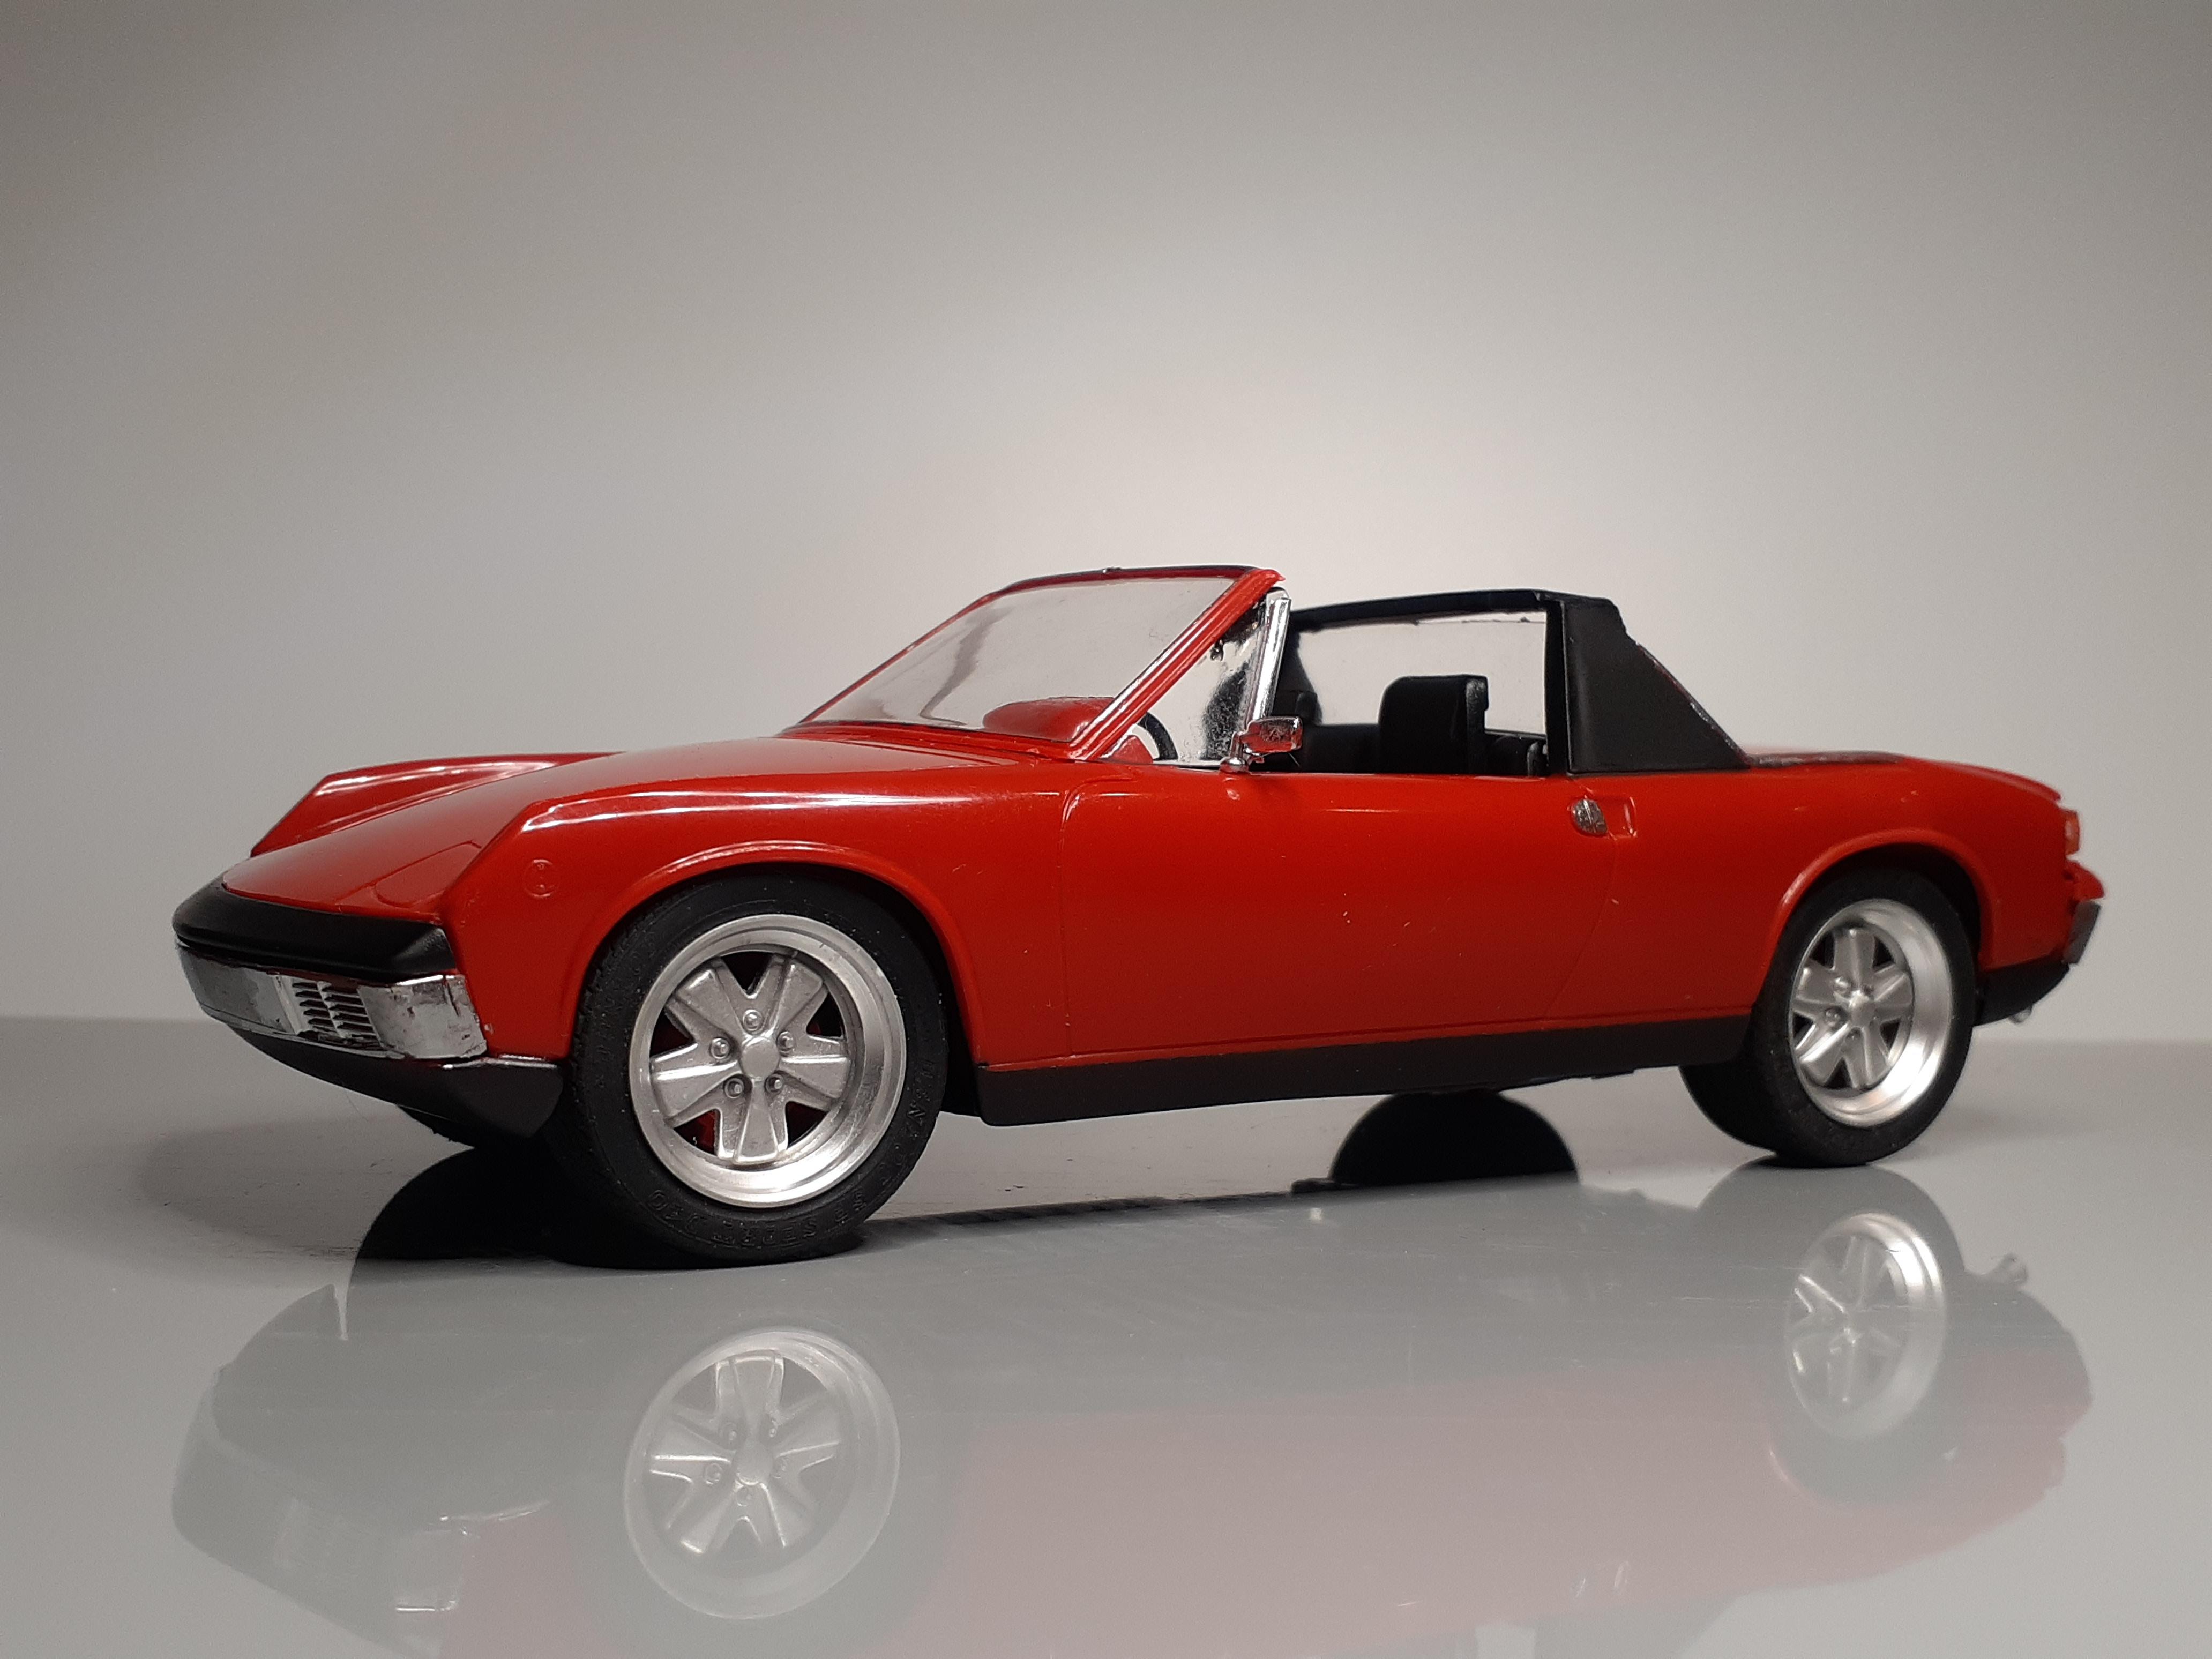
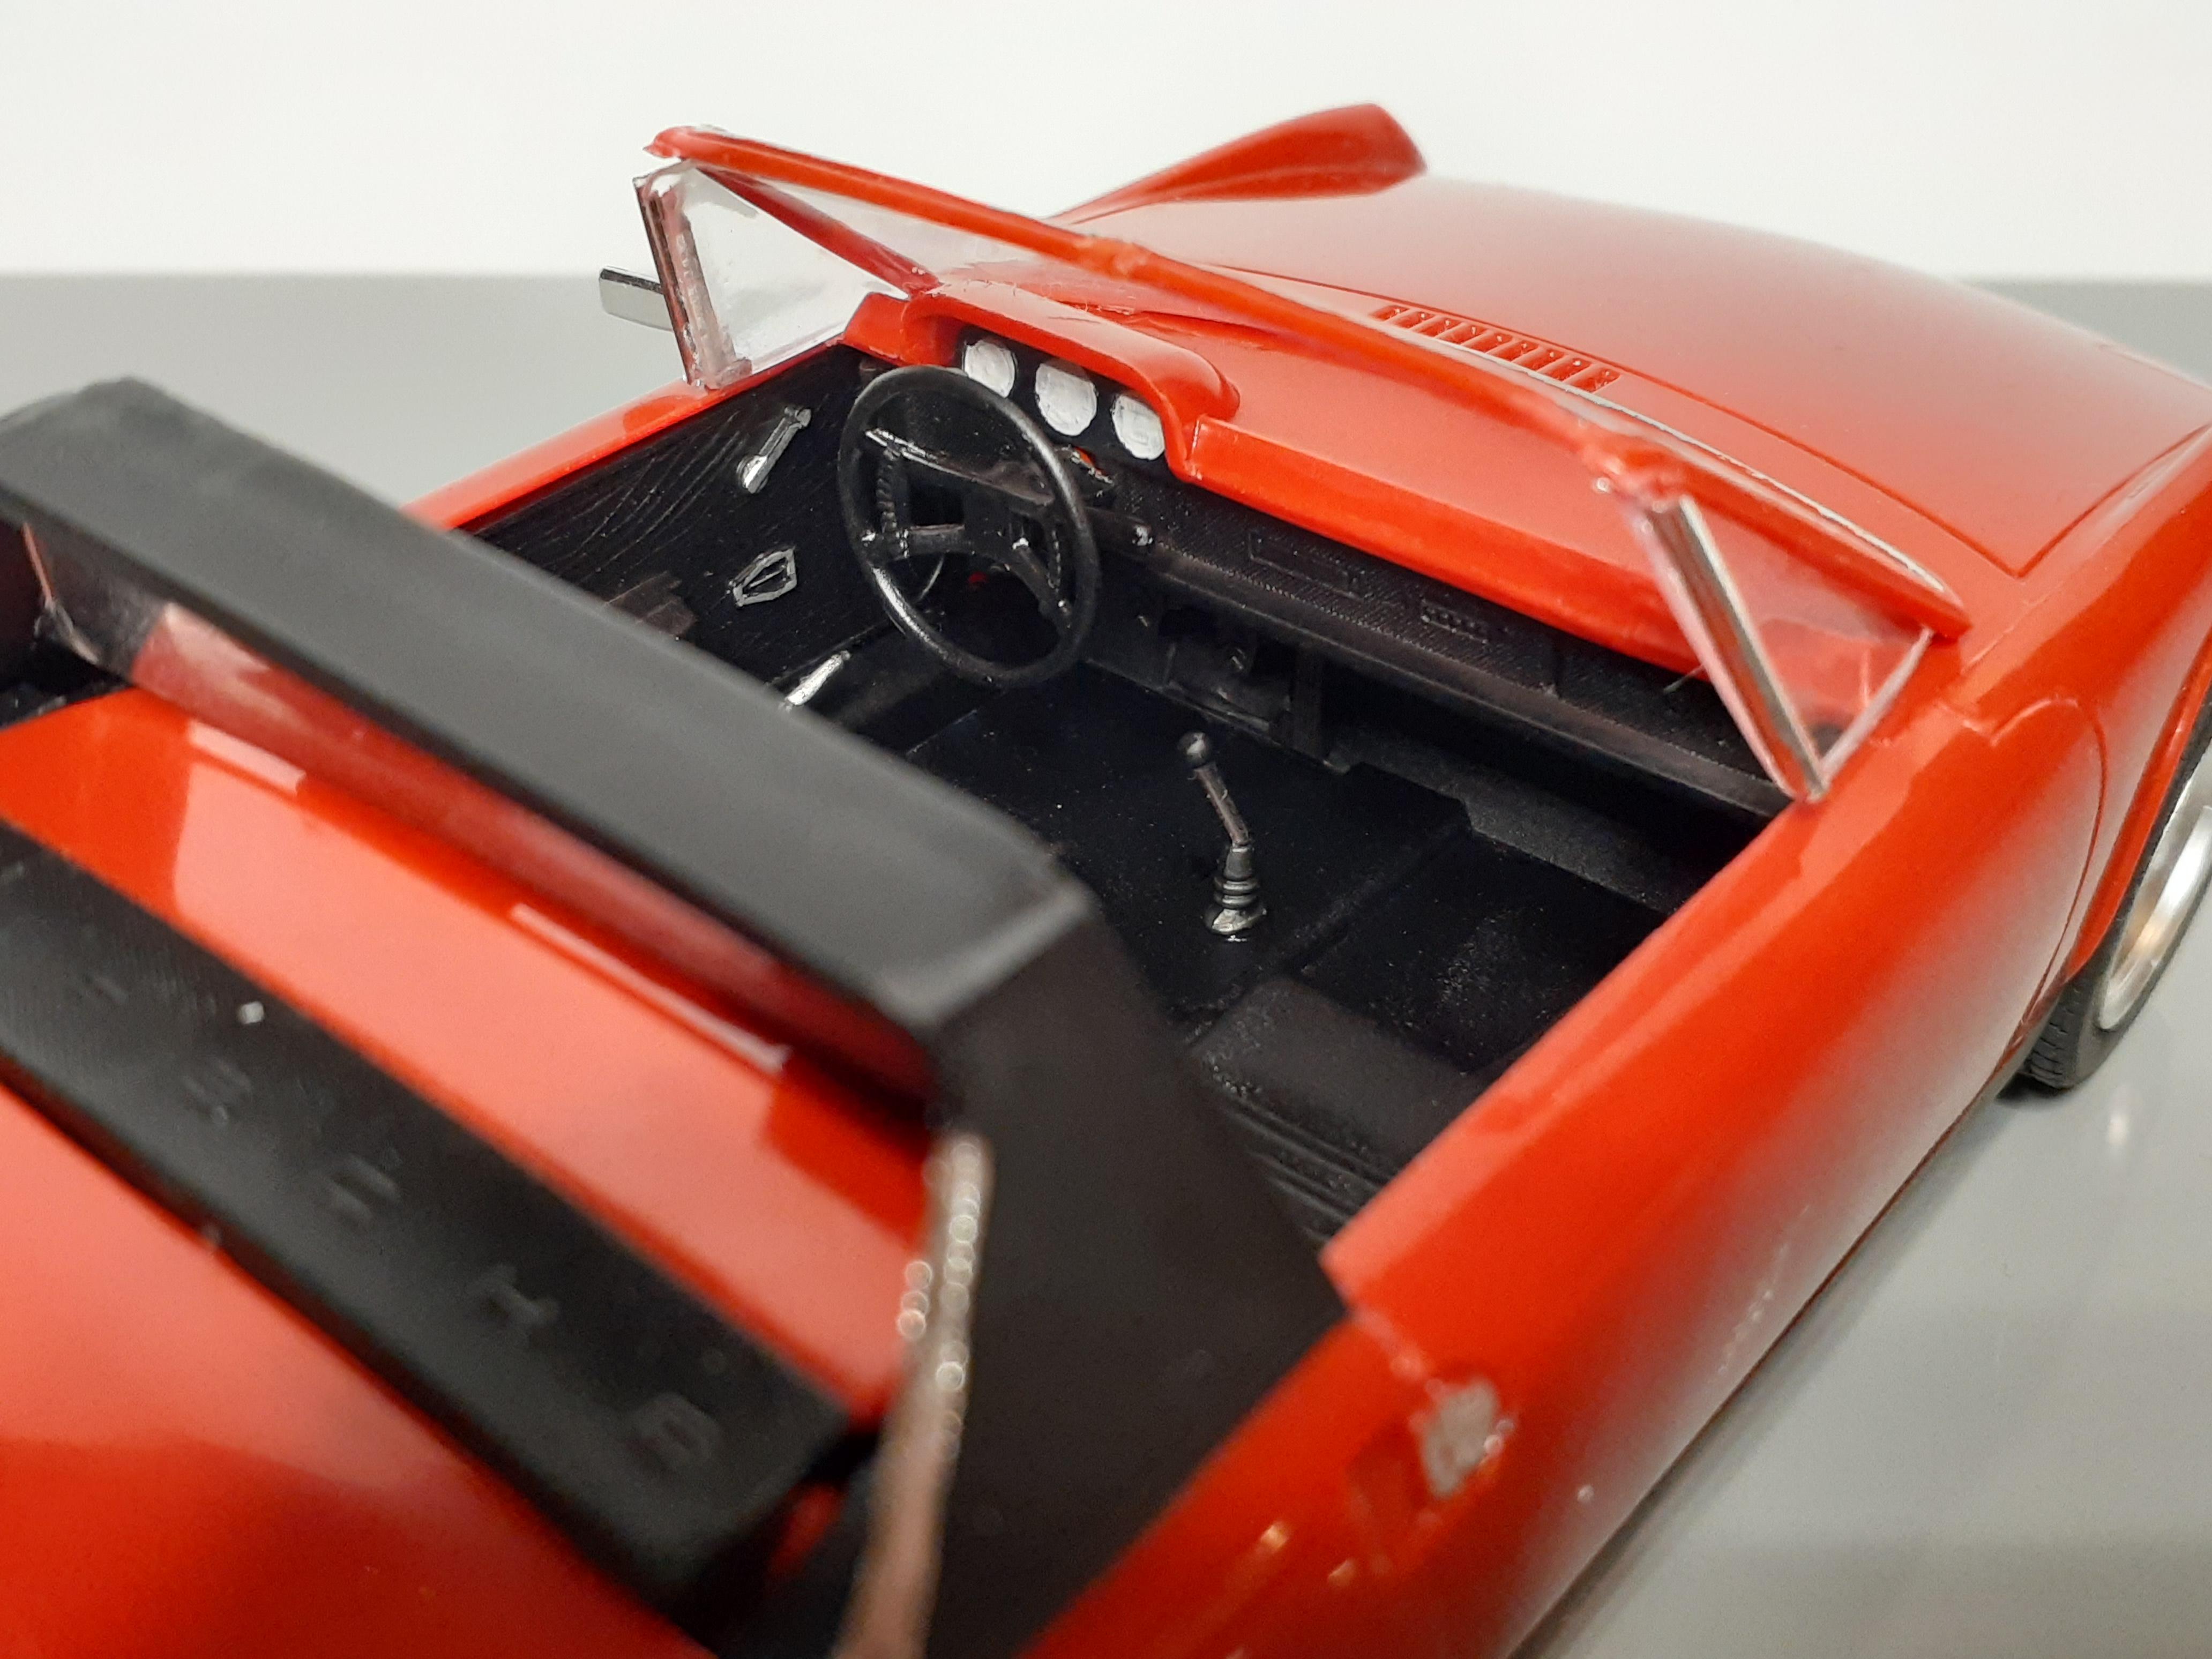
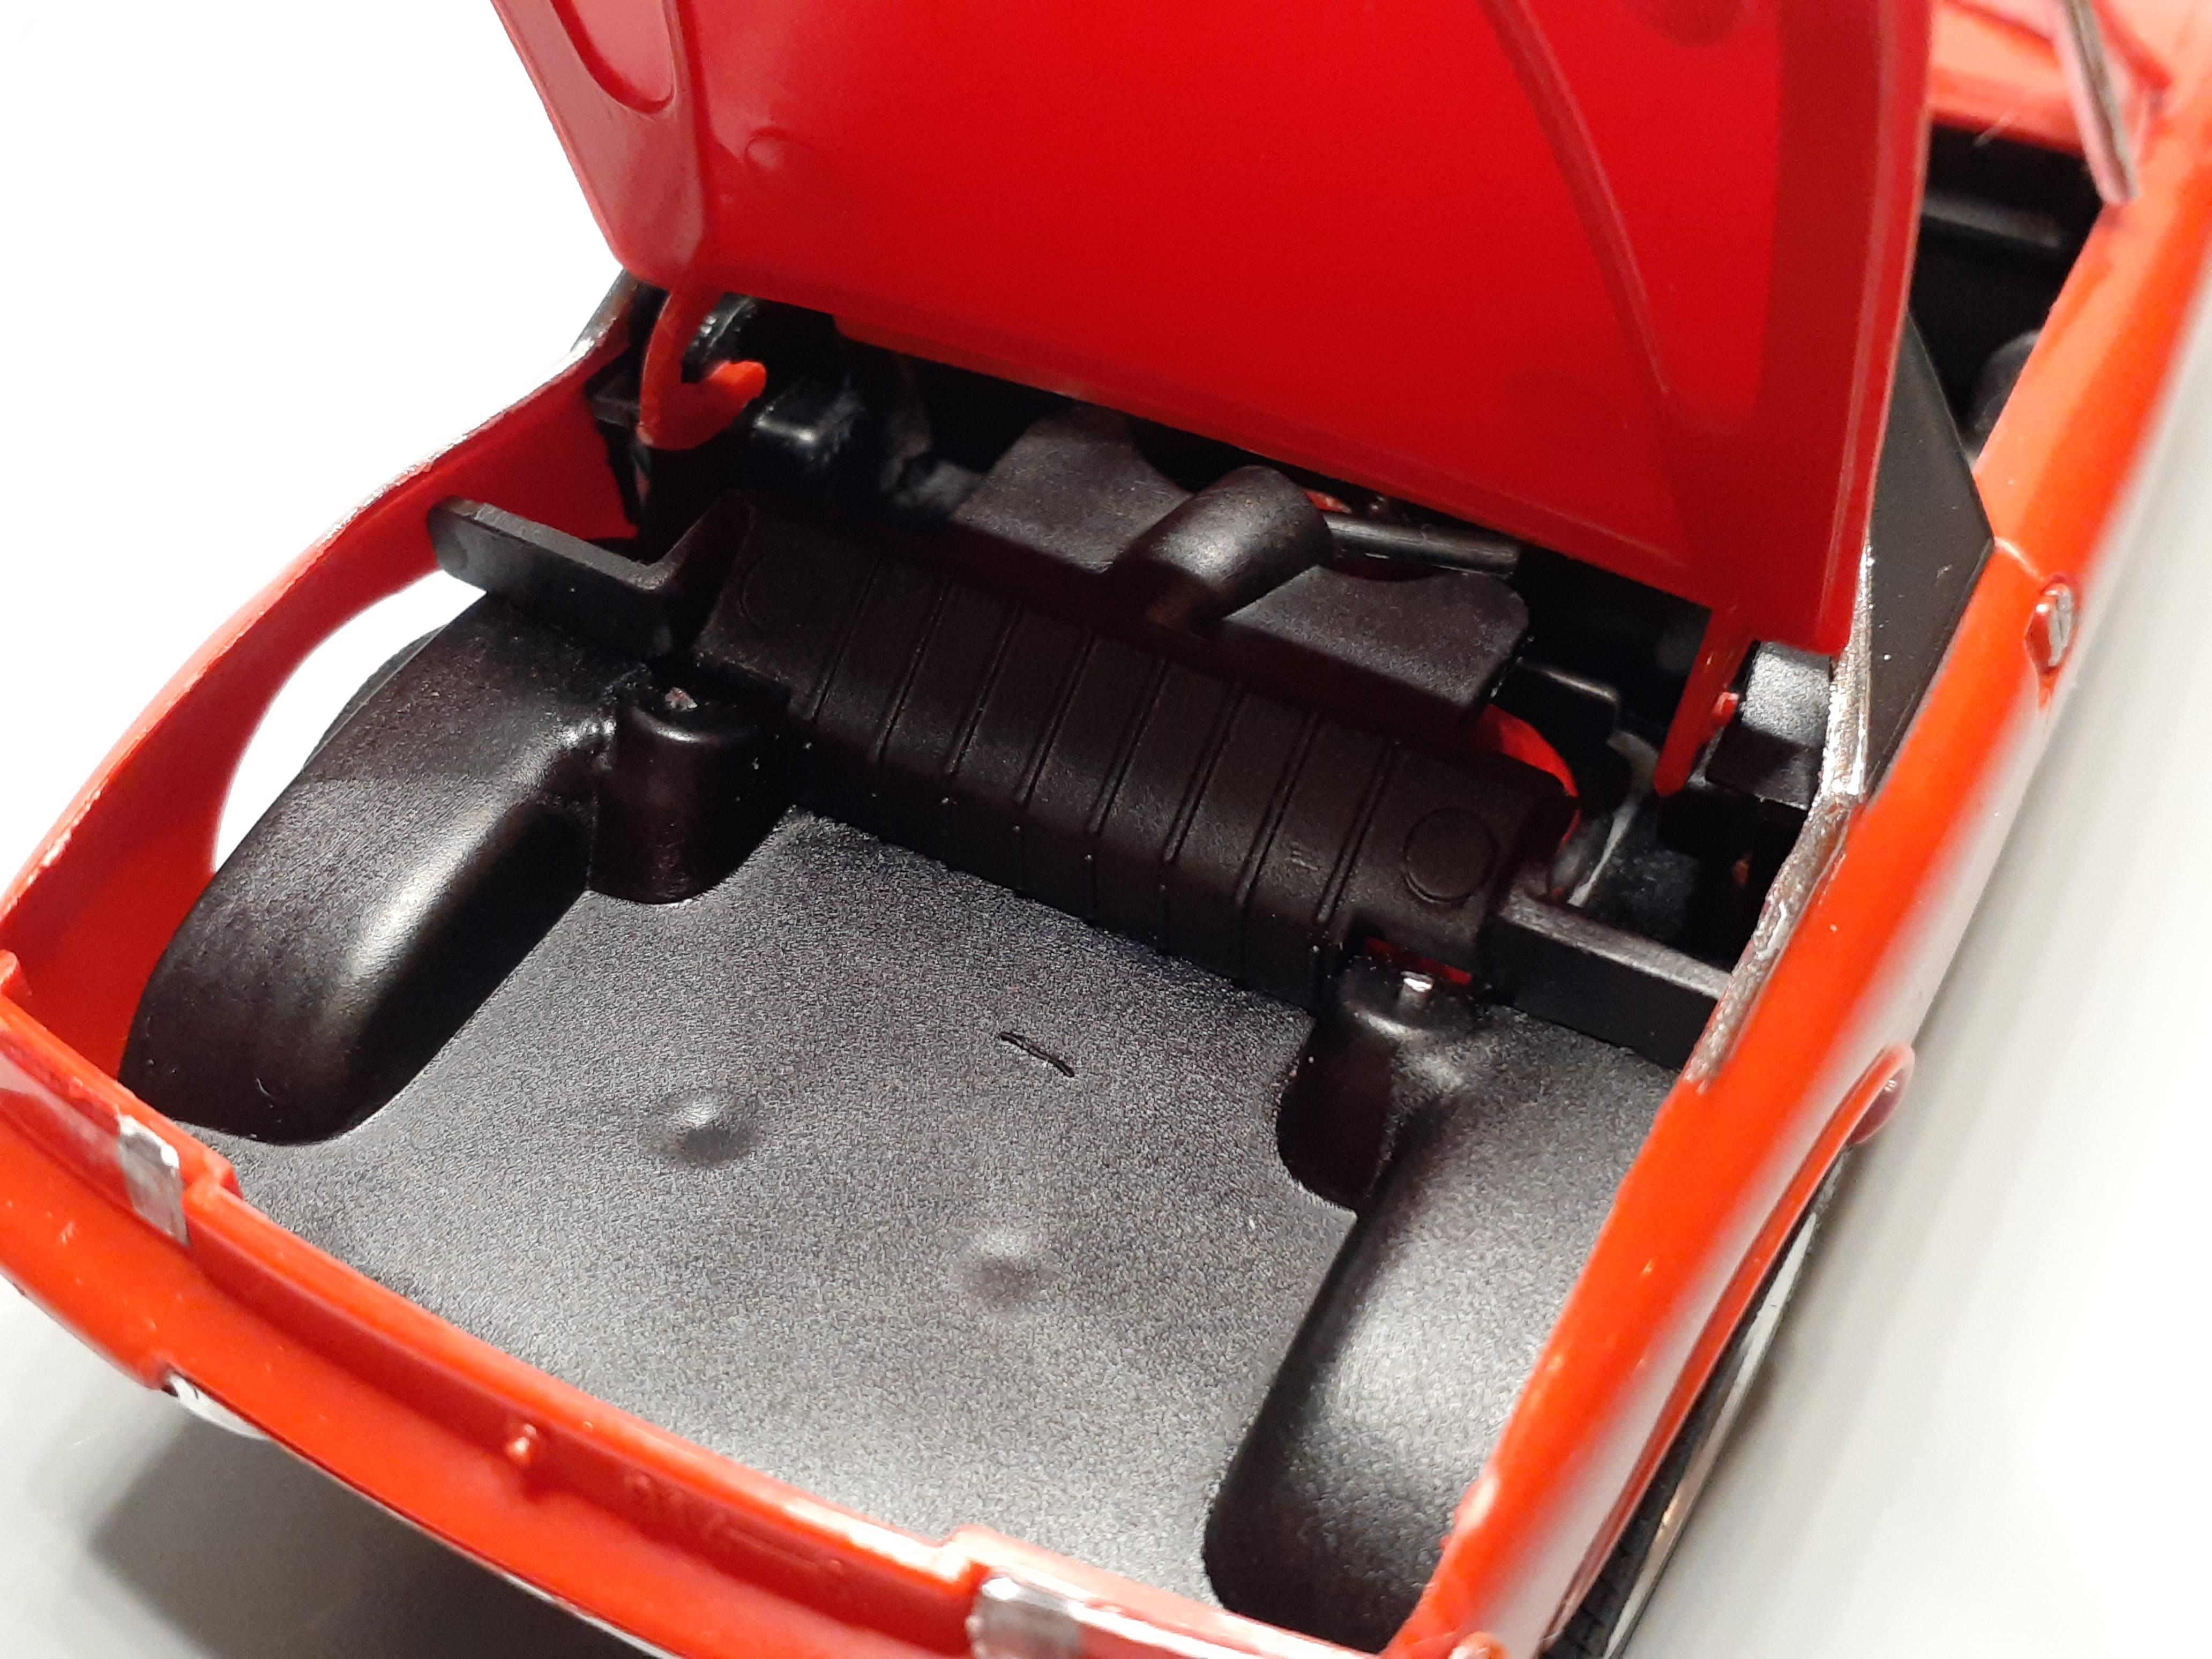
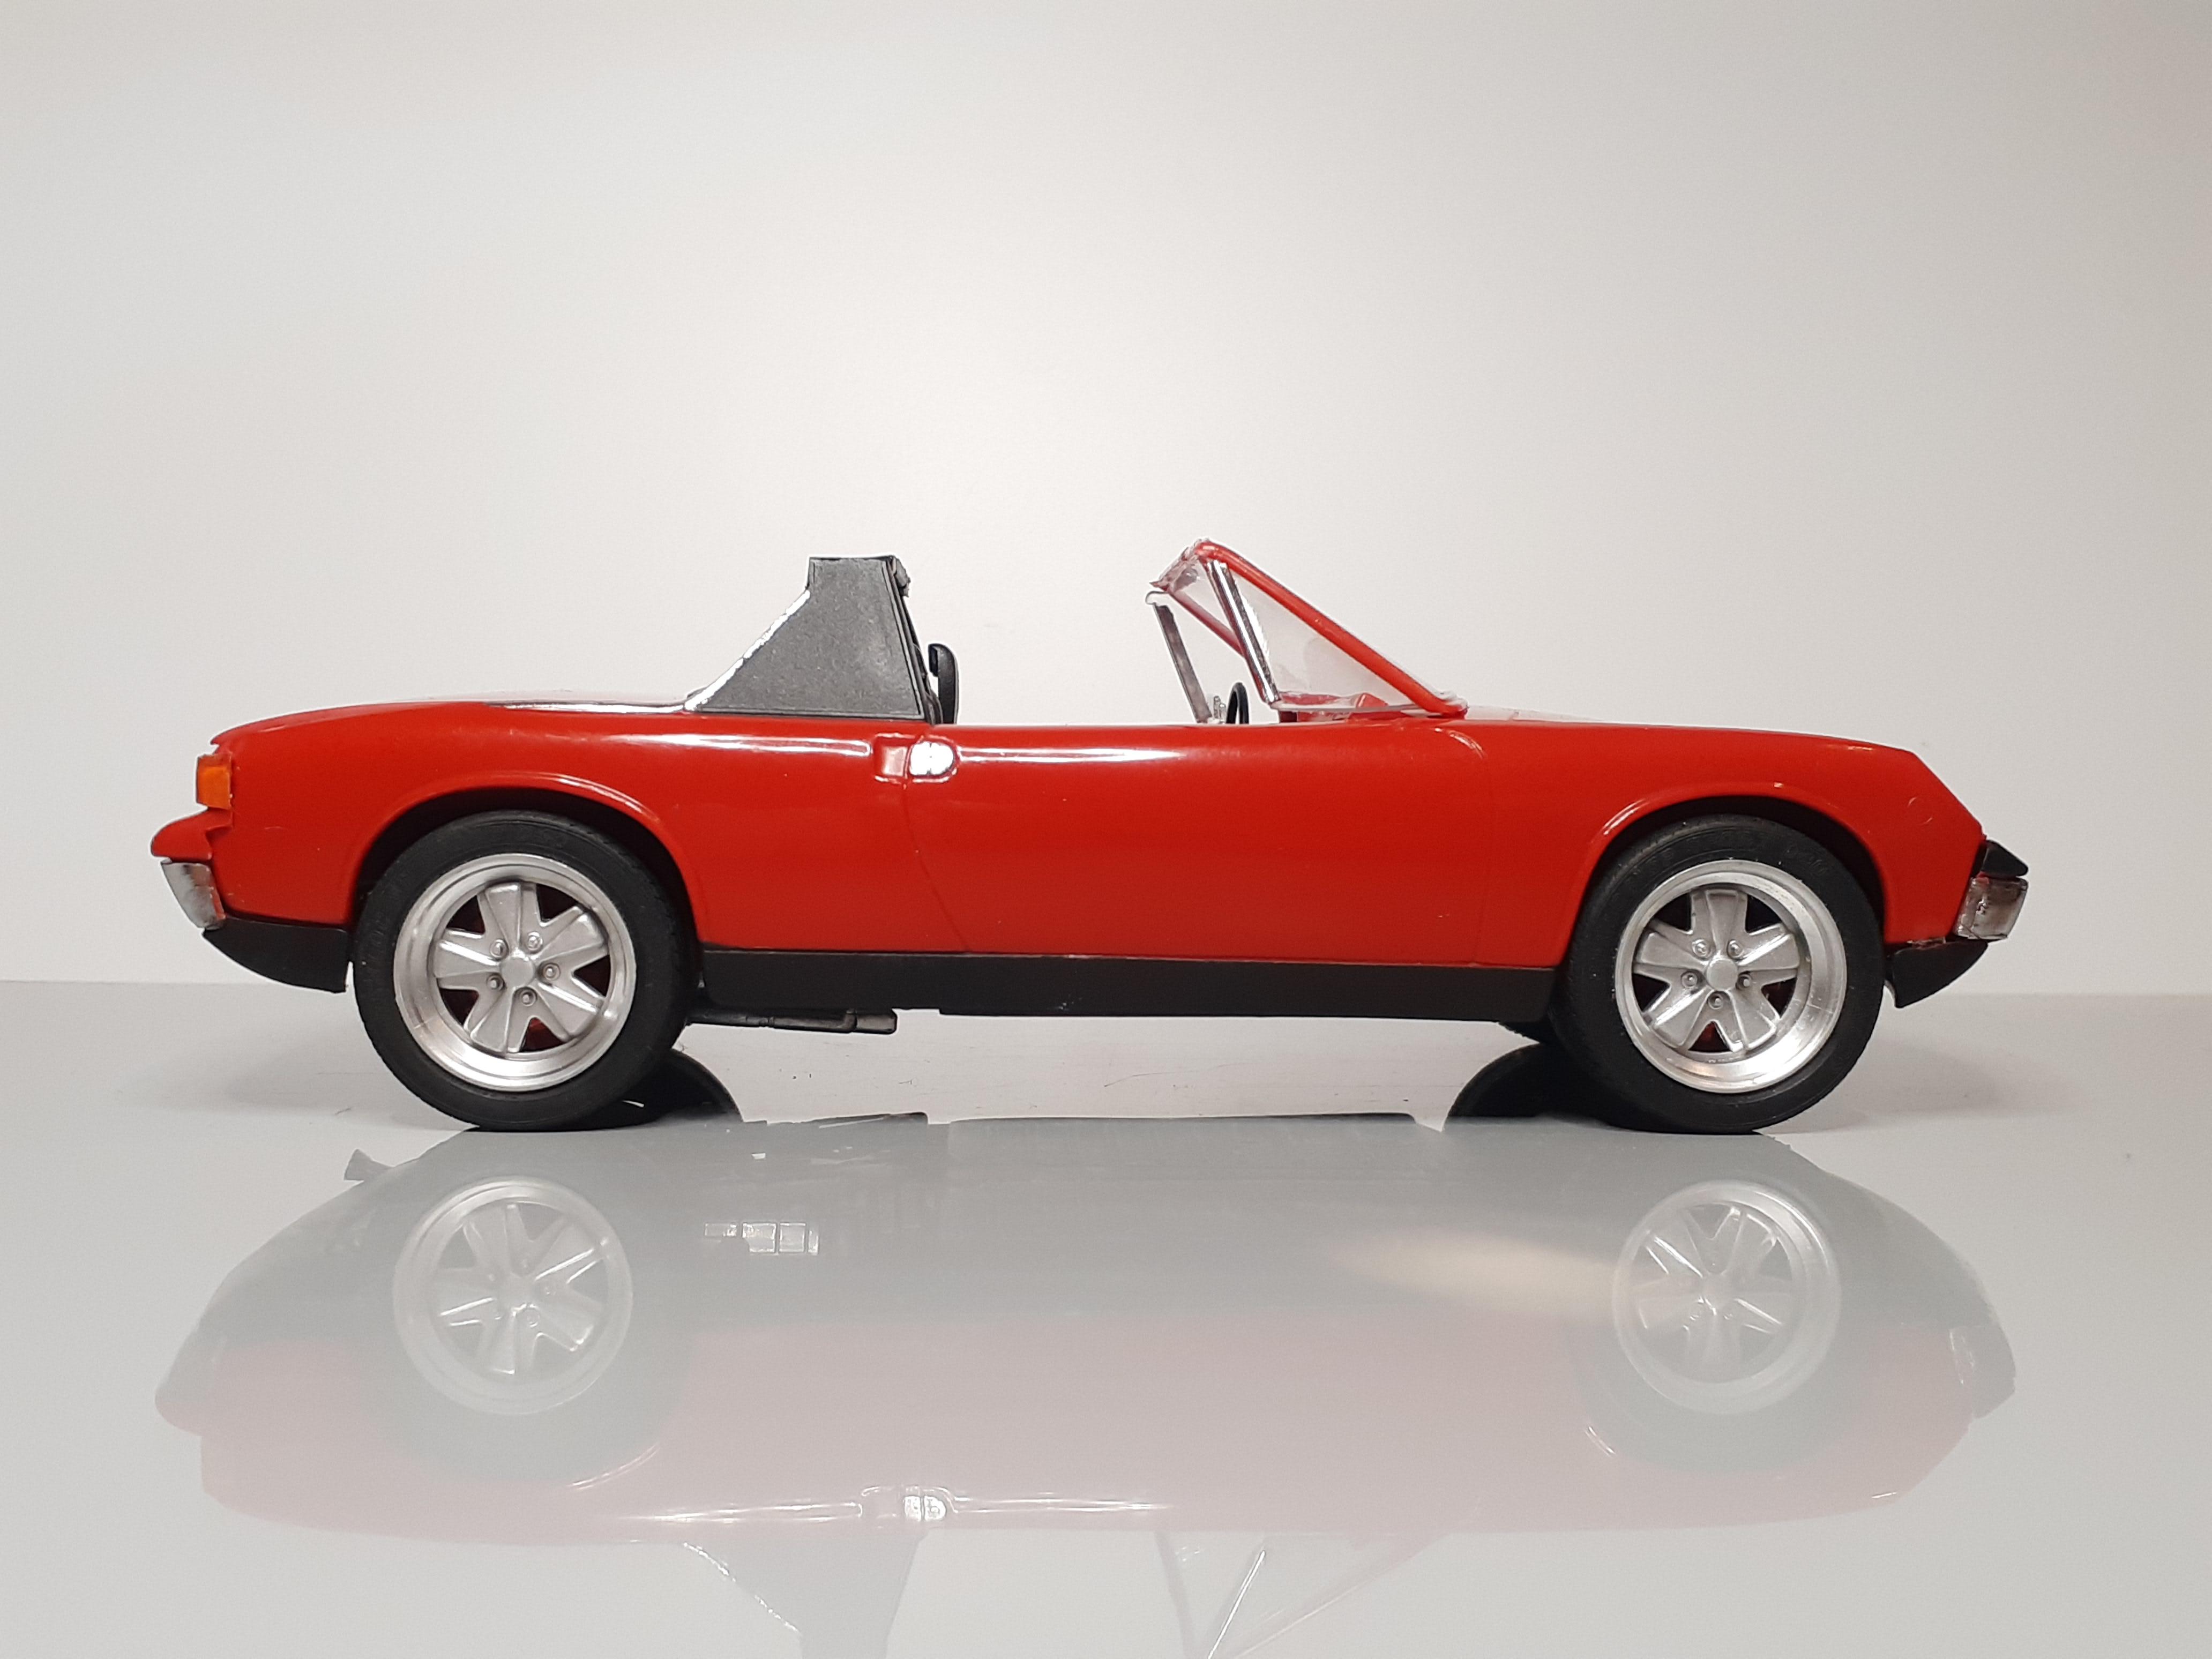
I decided to stray from my comfort zone to try my hand at a supercar. Really a nicely done kit, cut to tight tolerances. The whole way through the build I was worried that it was going to turn out looking awful. In the end, I’m tickled with the finished product. It’s pretty far from perfect but pretty from afar. Built straight outta box. Color is Tamiya Bright Orange w/ Testor’s Wet Look.
-
After five years, it is done! I started this one back on January 15, 2015 and just now got it done August 7th of this year. Painted Testors White Lightening with wet look clear, interior is Tamiya TS-69 linoleum brown, straight out of the box. Thanks for looking, all comments welcomed.
-
 Here are some photos of a recent commission build of a Spitfire by Revell in 1:32 scale. Its a straight out of the box build using Tamiya paints. Very nice kit, well detailed and relatively simple to build. Thanks Chris www.wardsmodelbuilder.com wardsmodelbuilder@outlook.com
 -
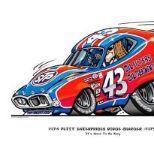
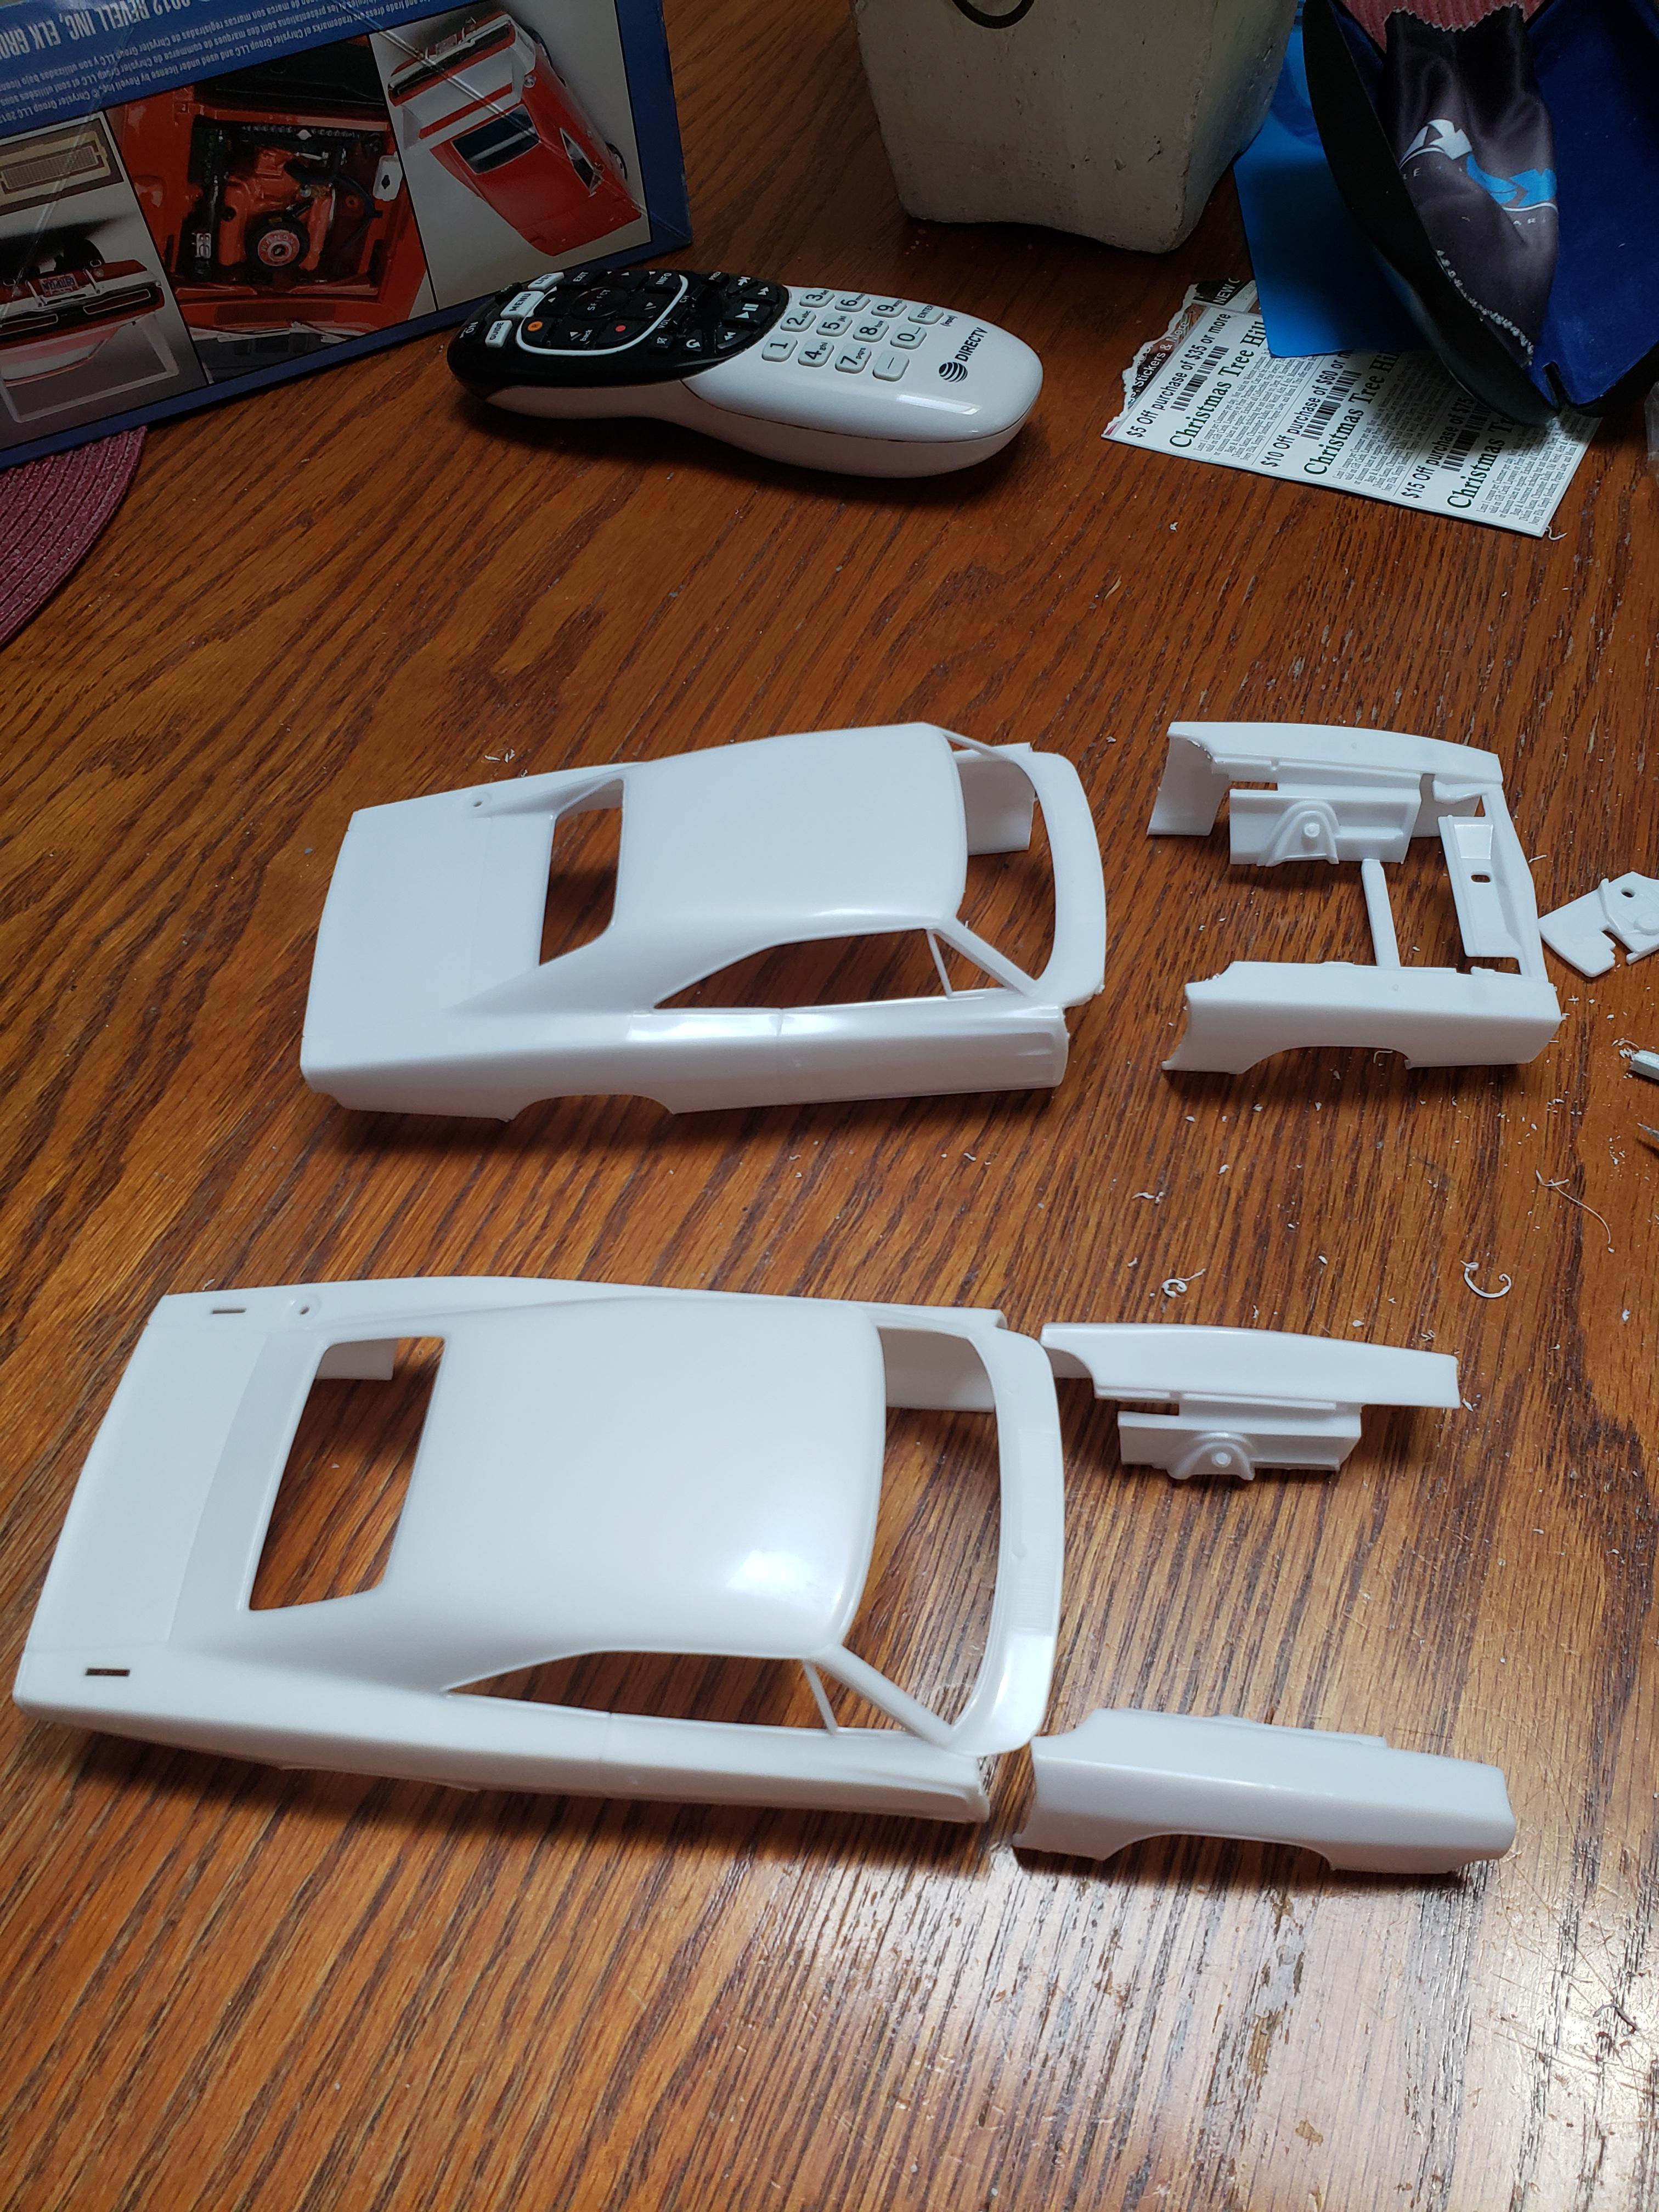
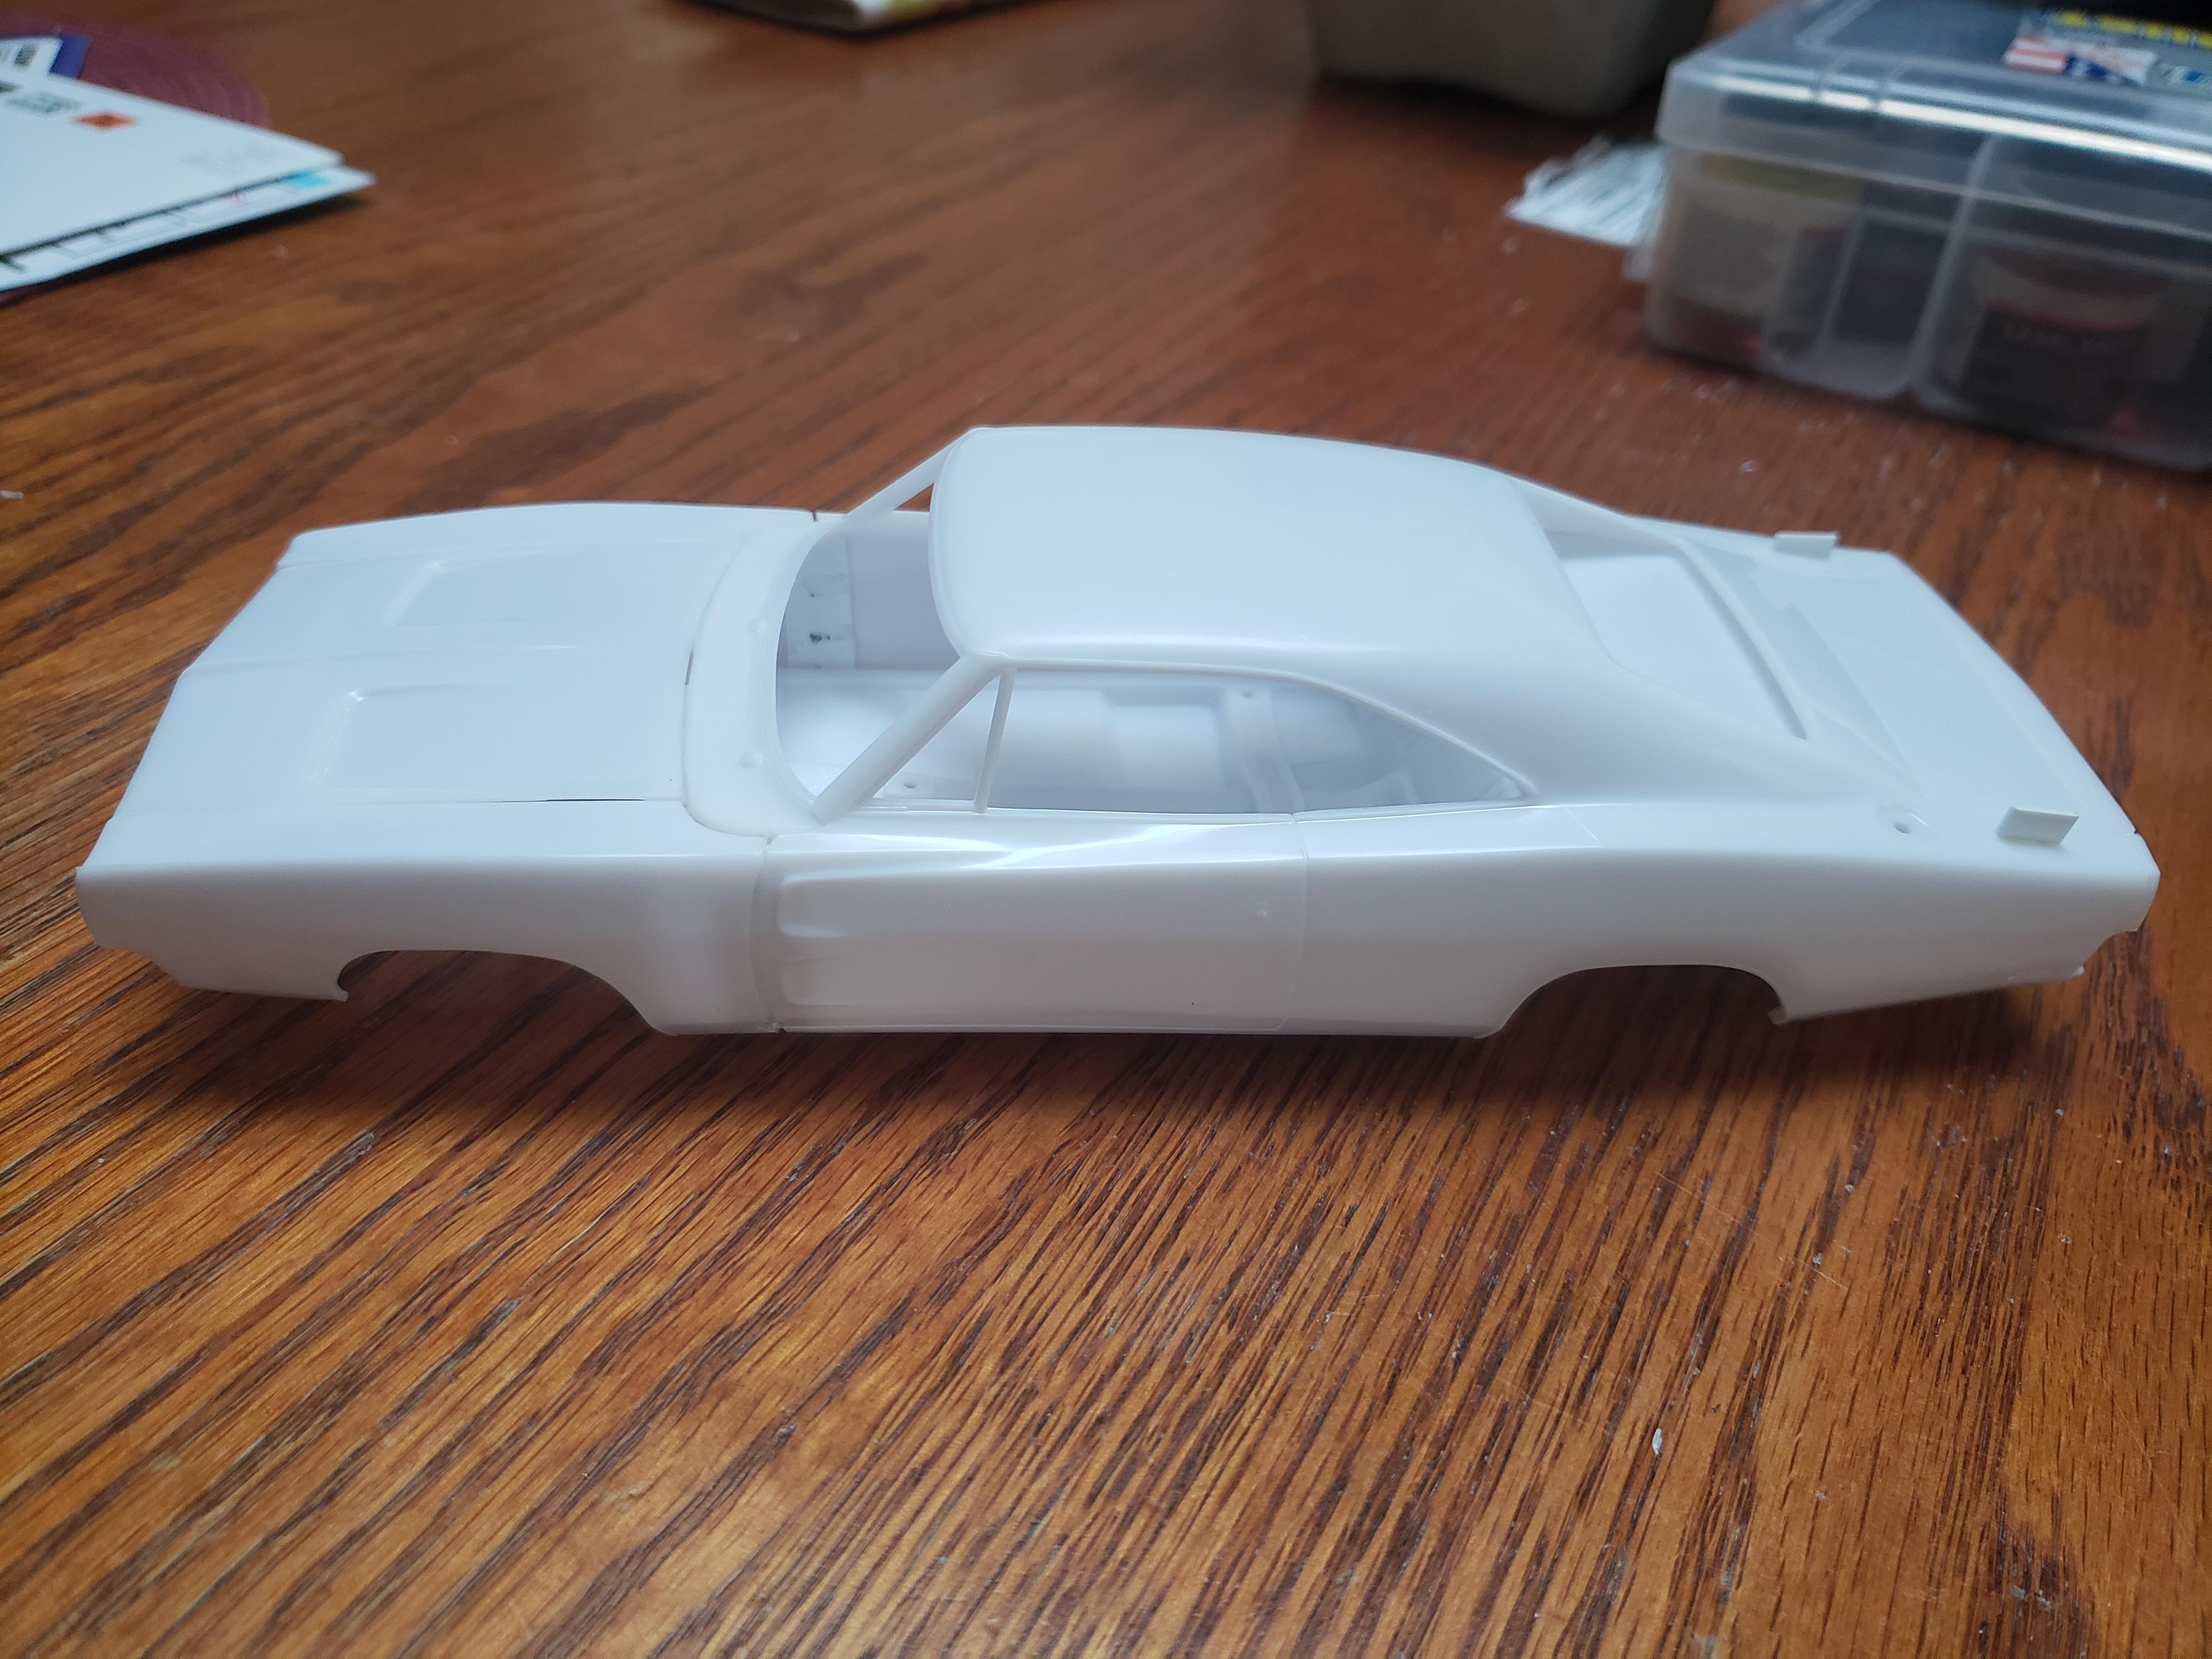
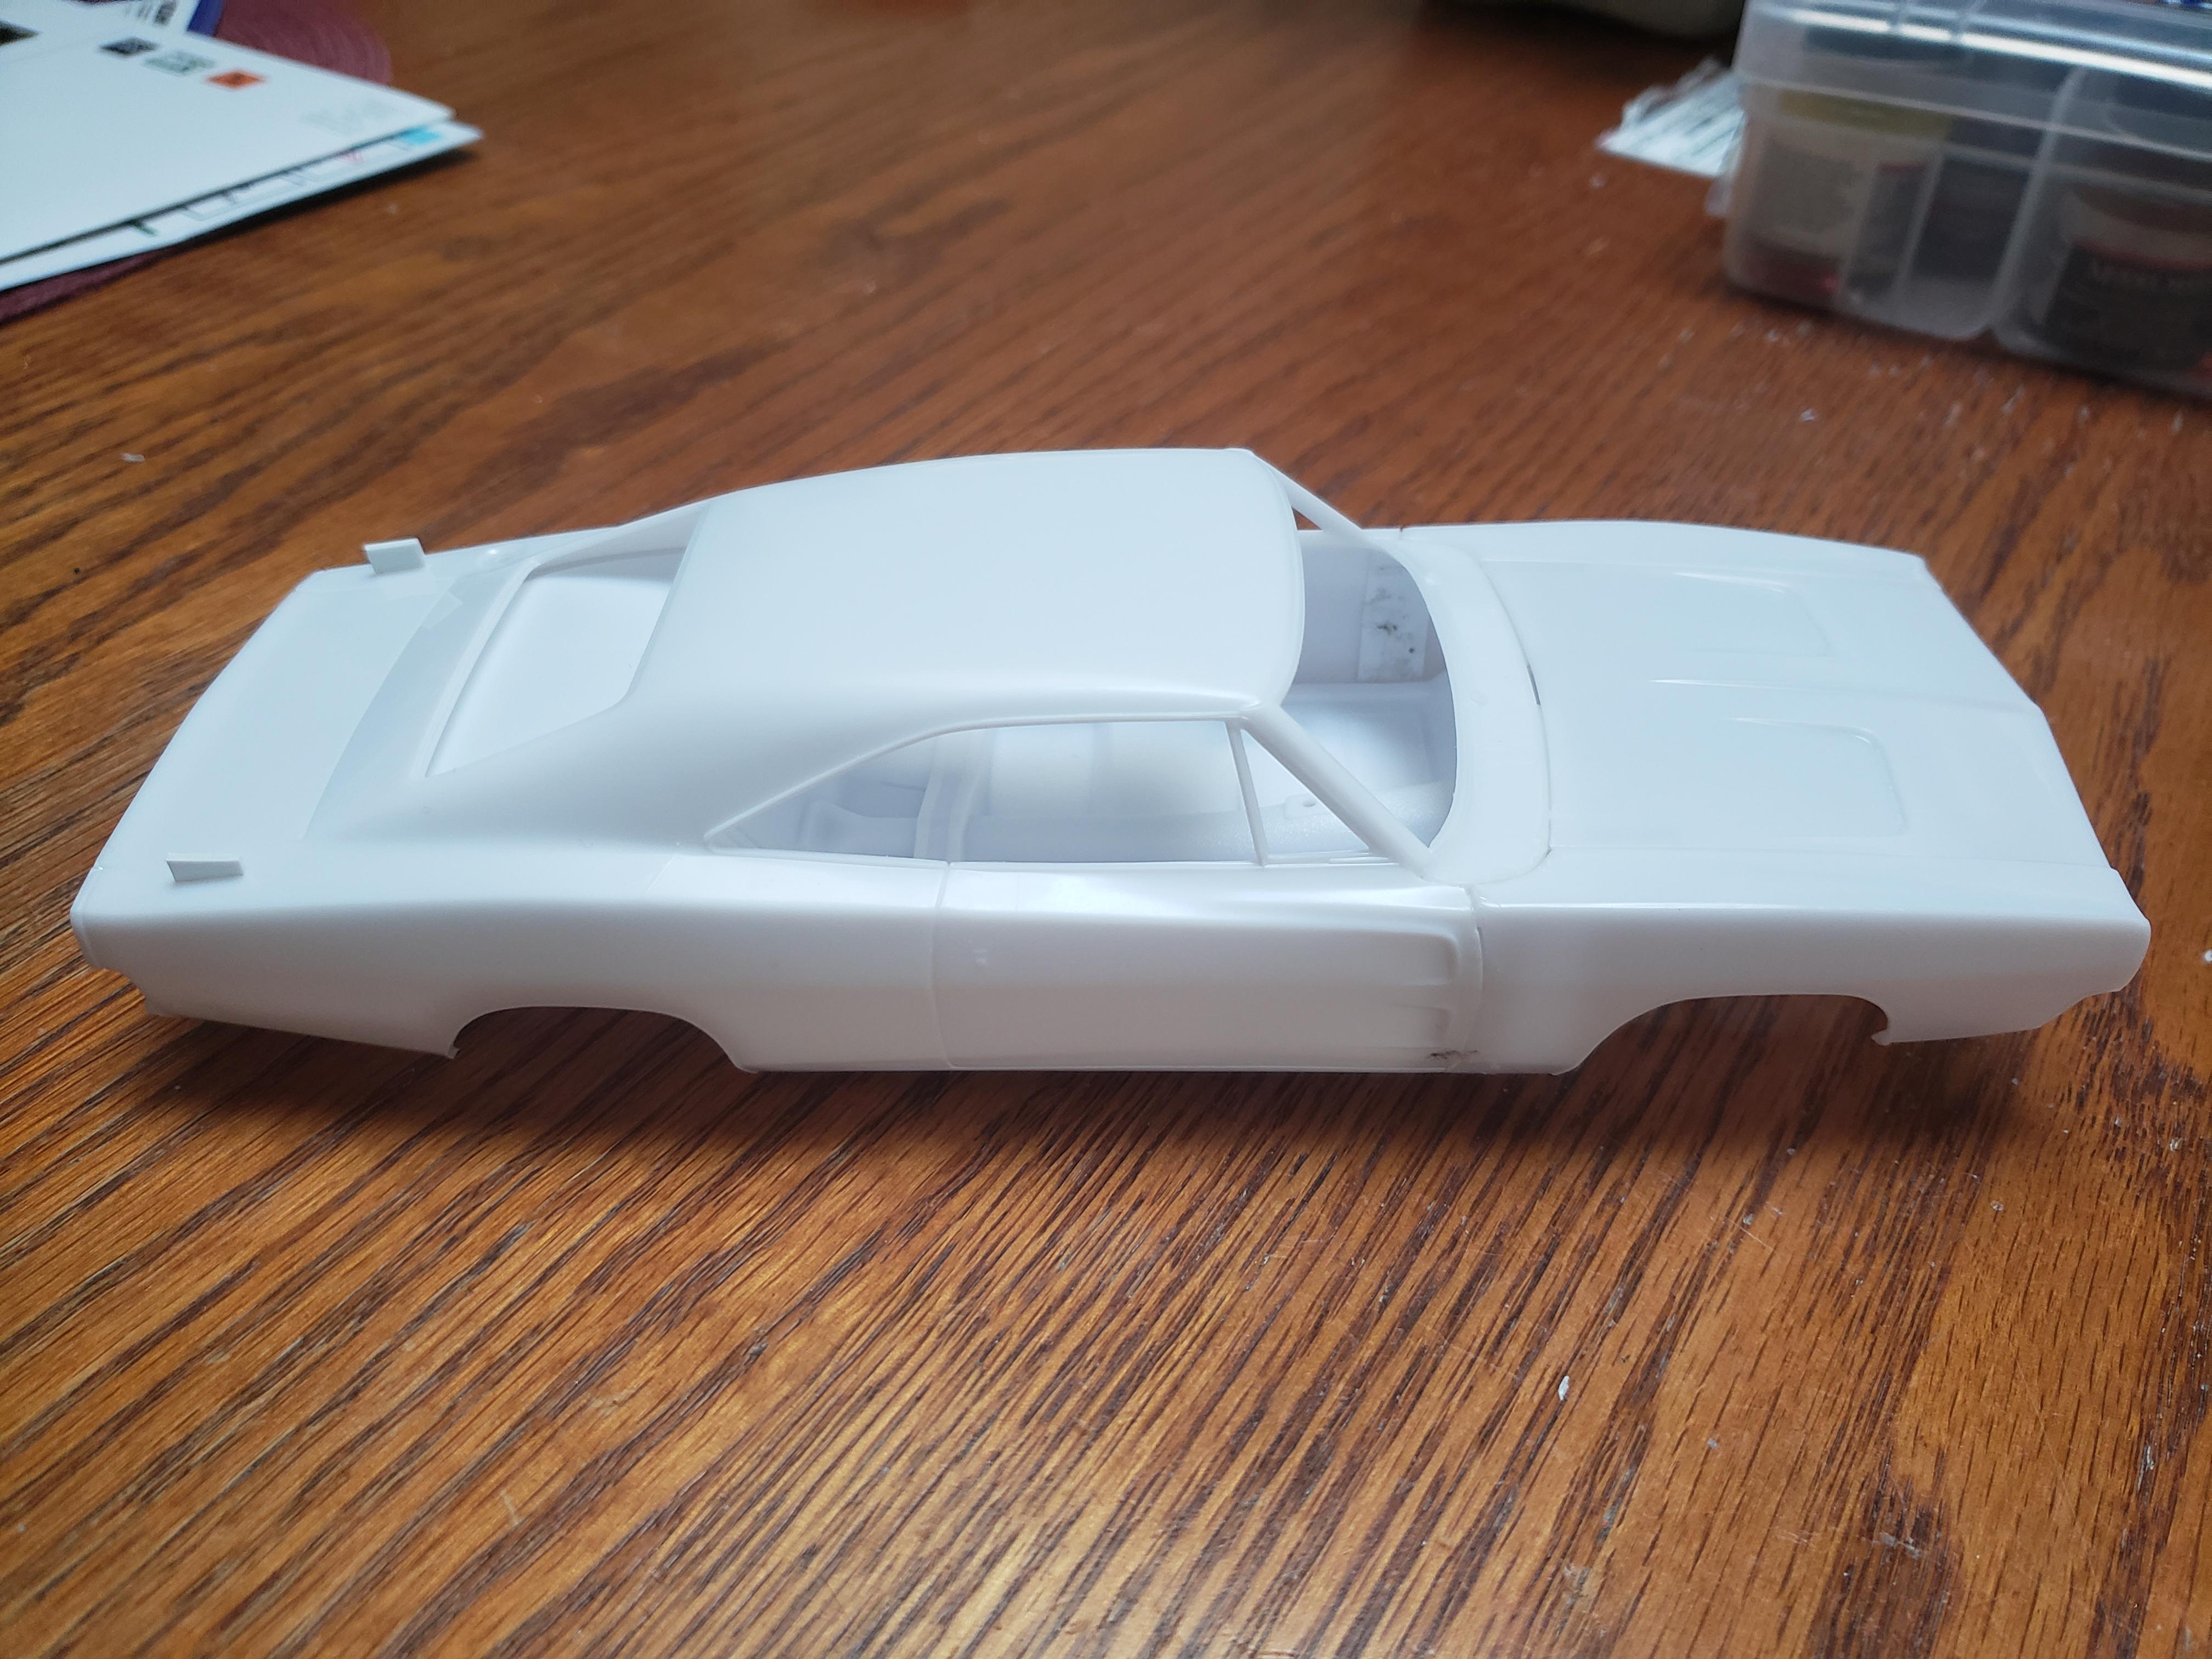
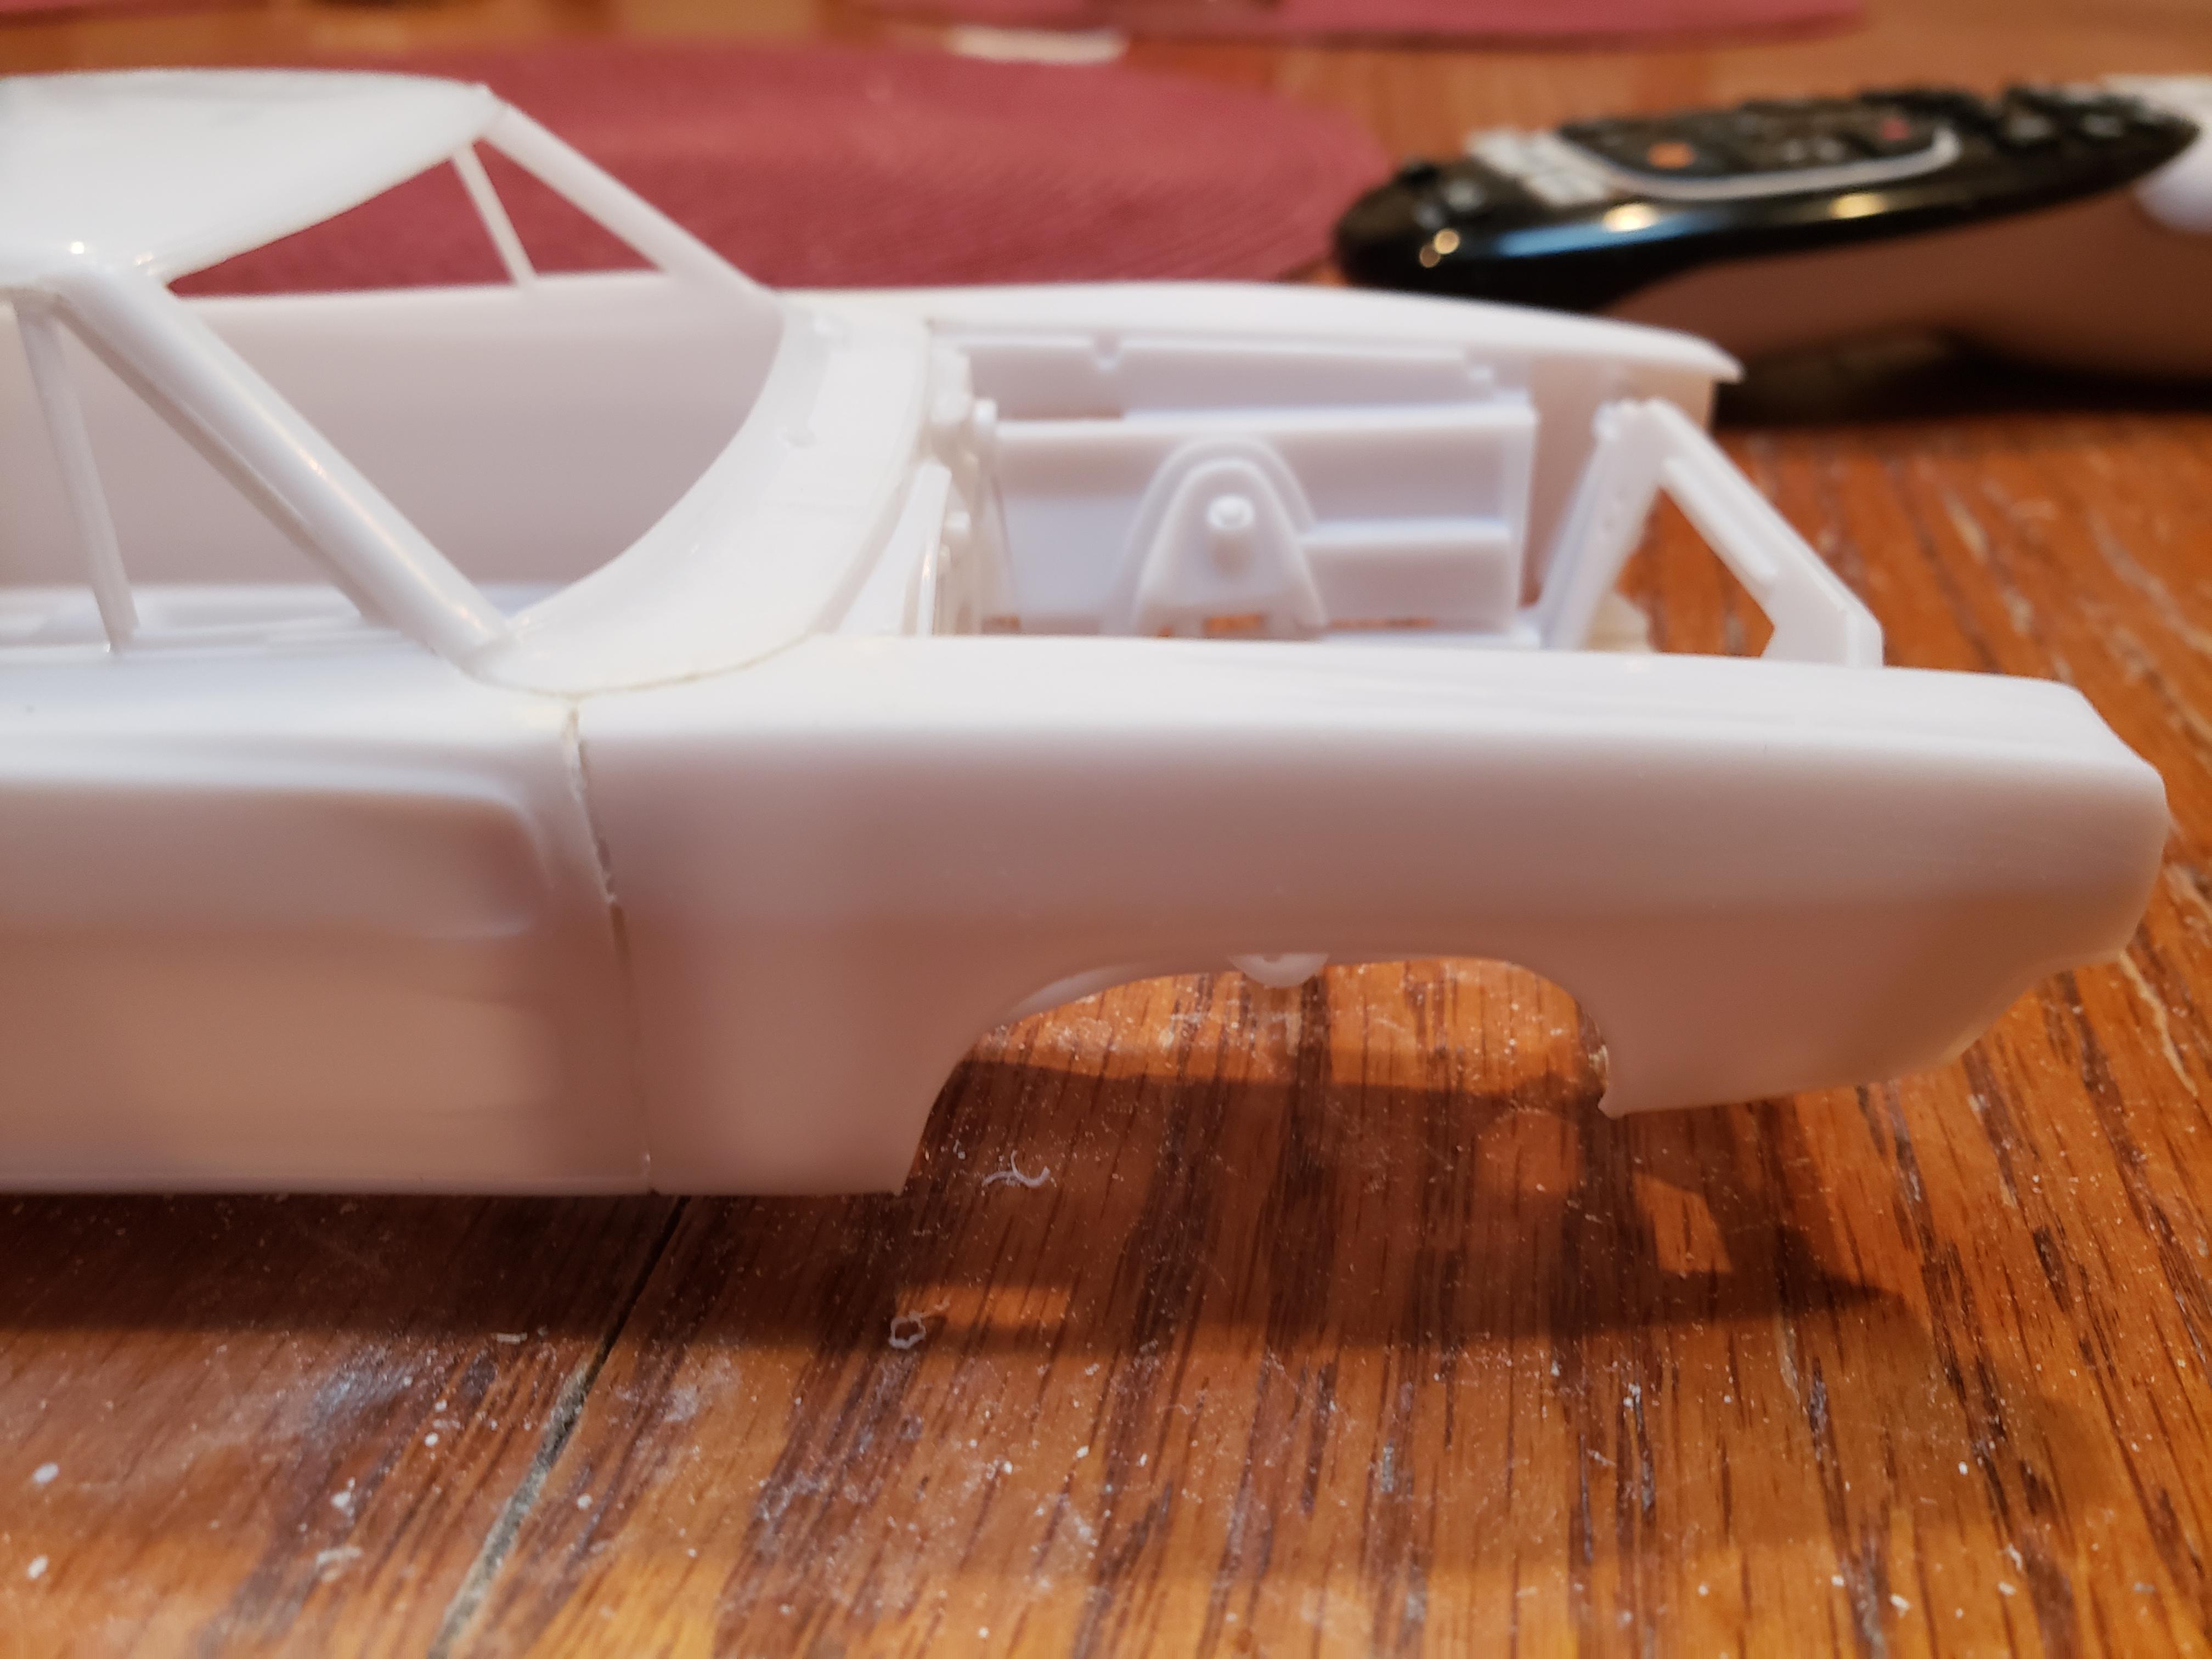
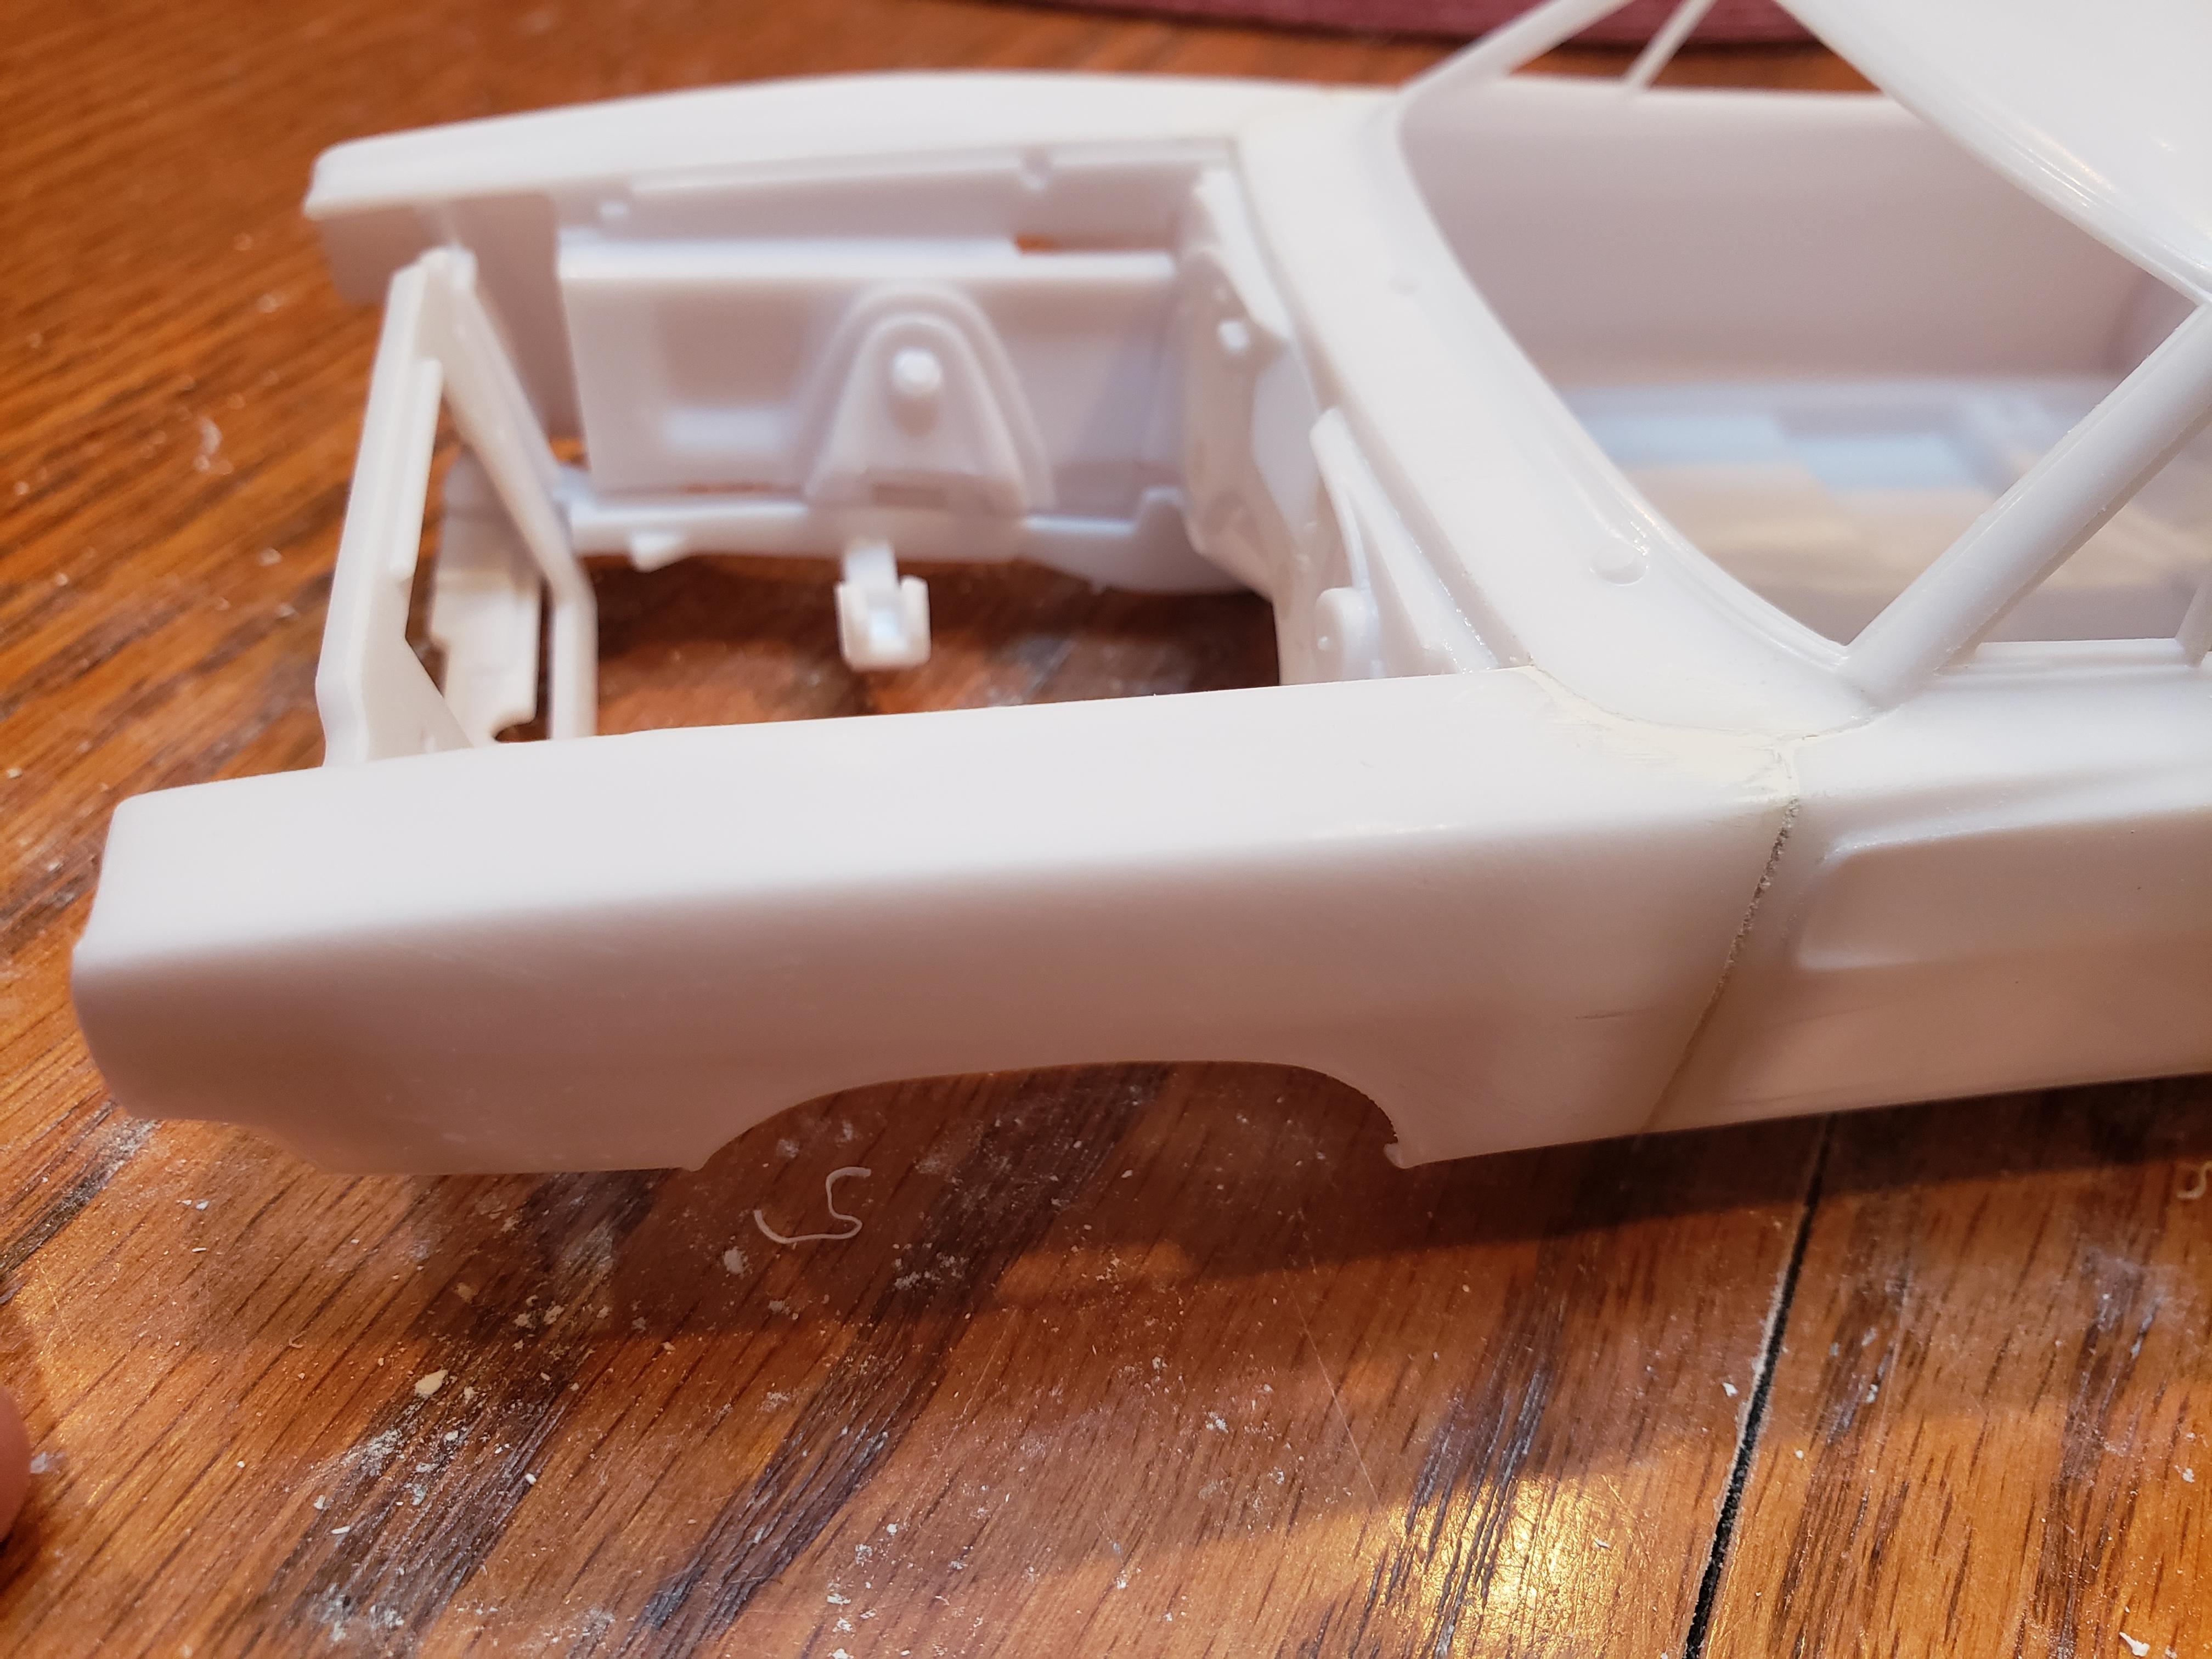
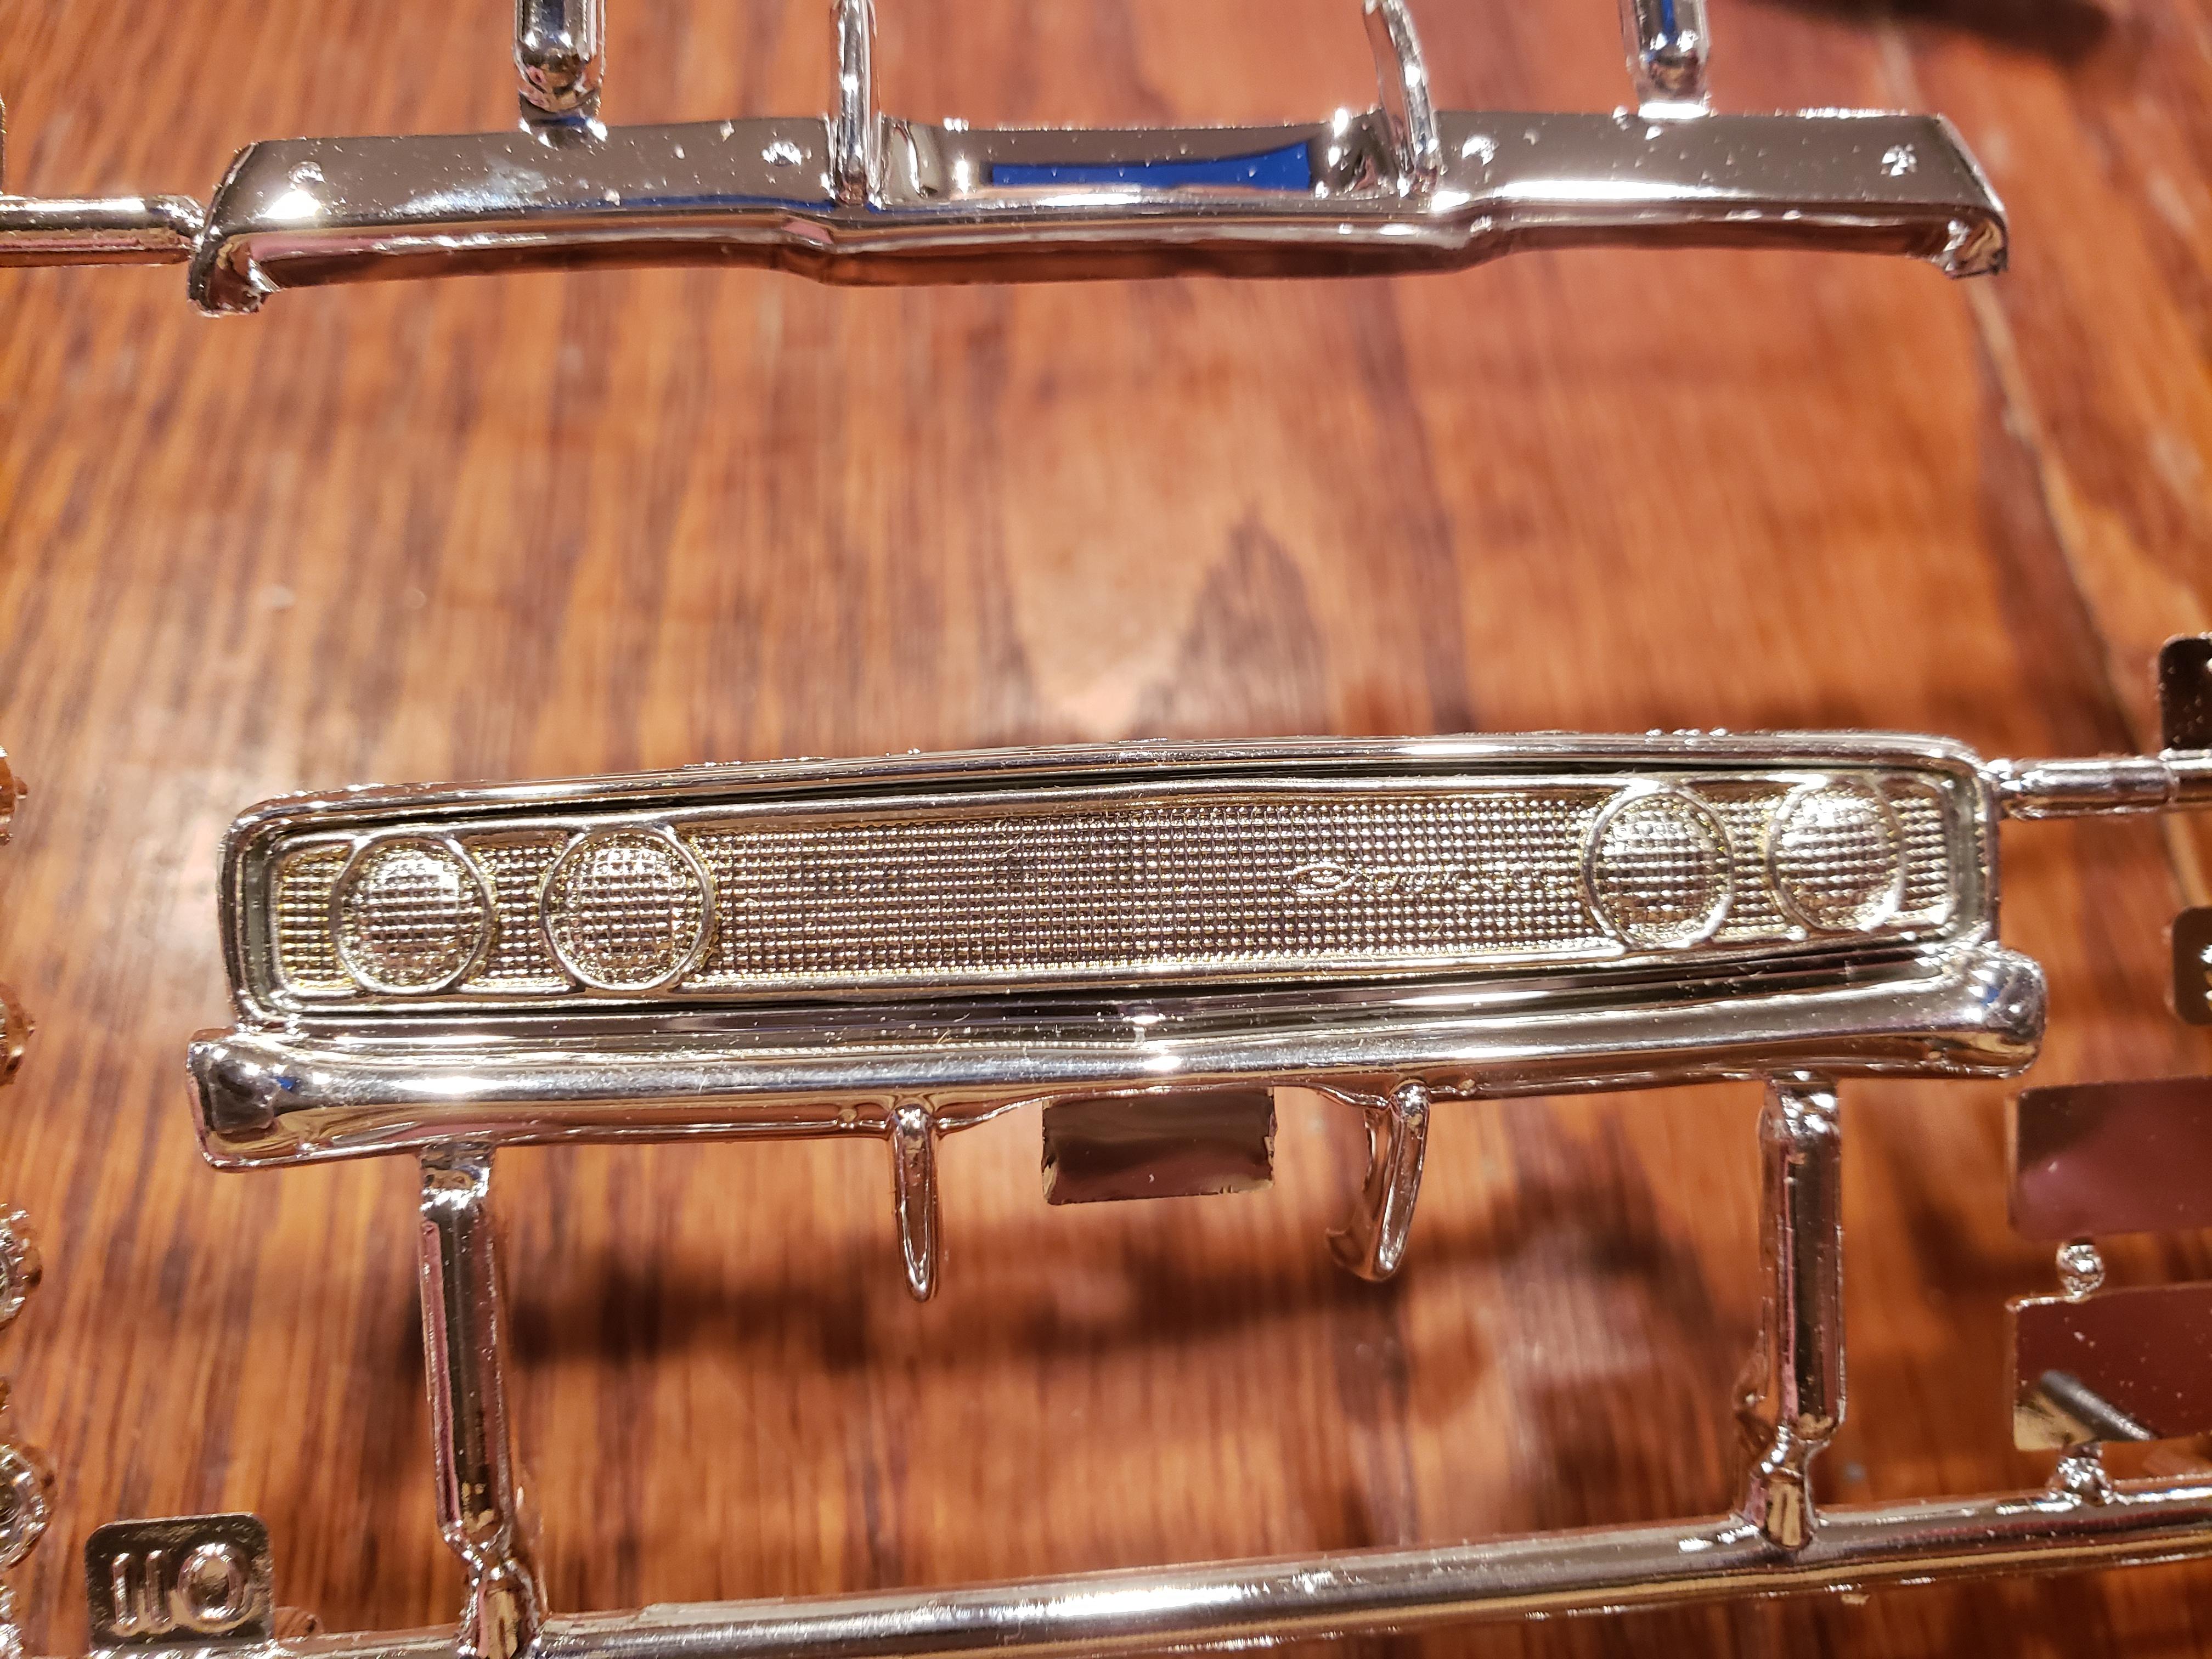
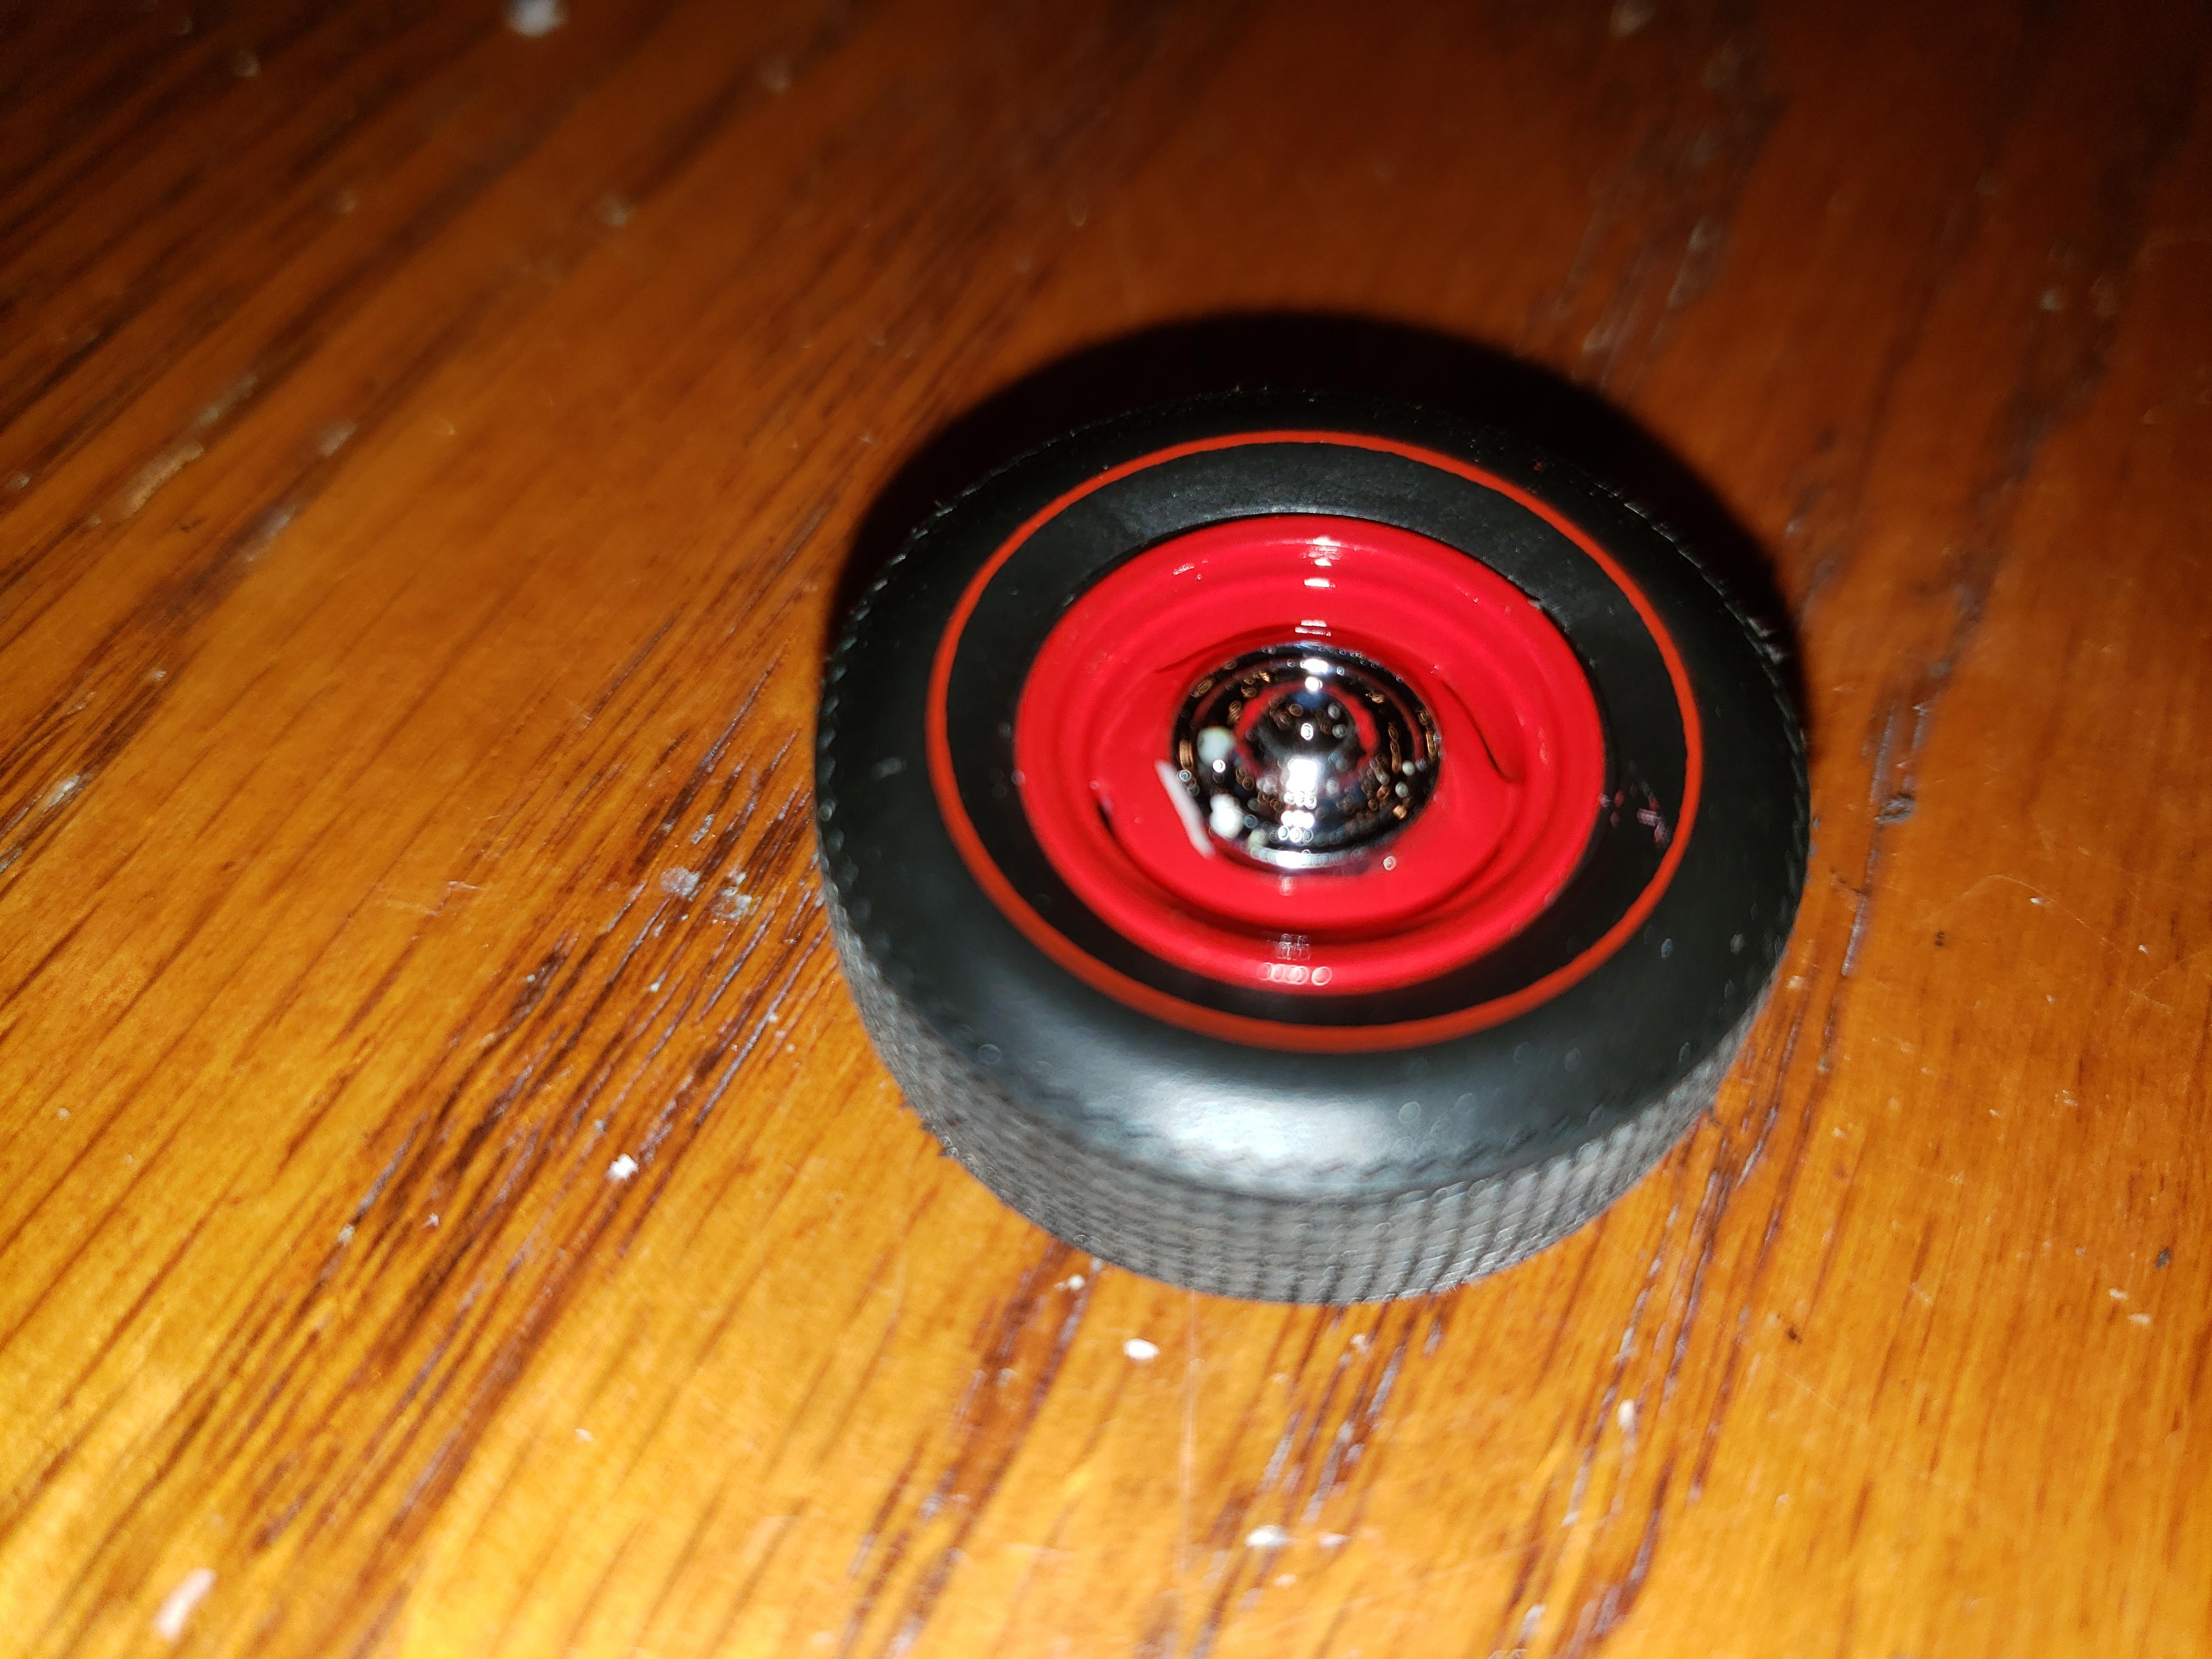
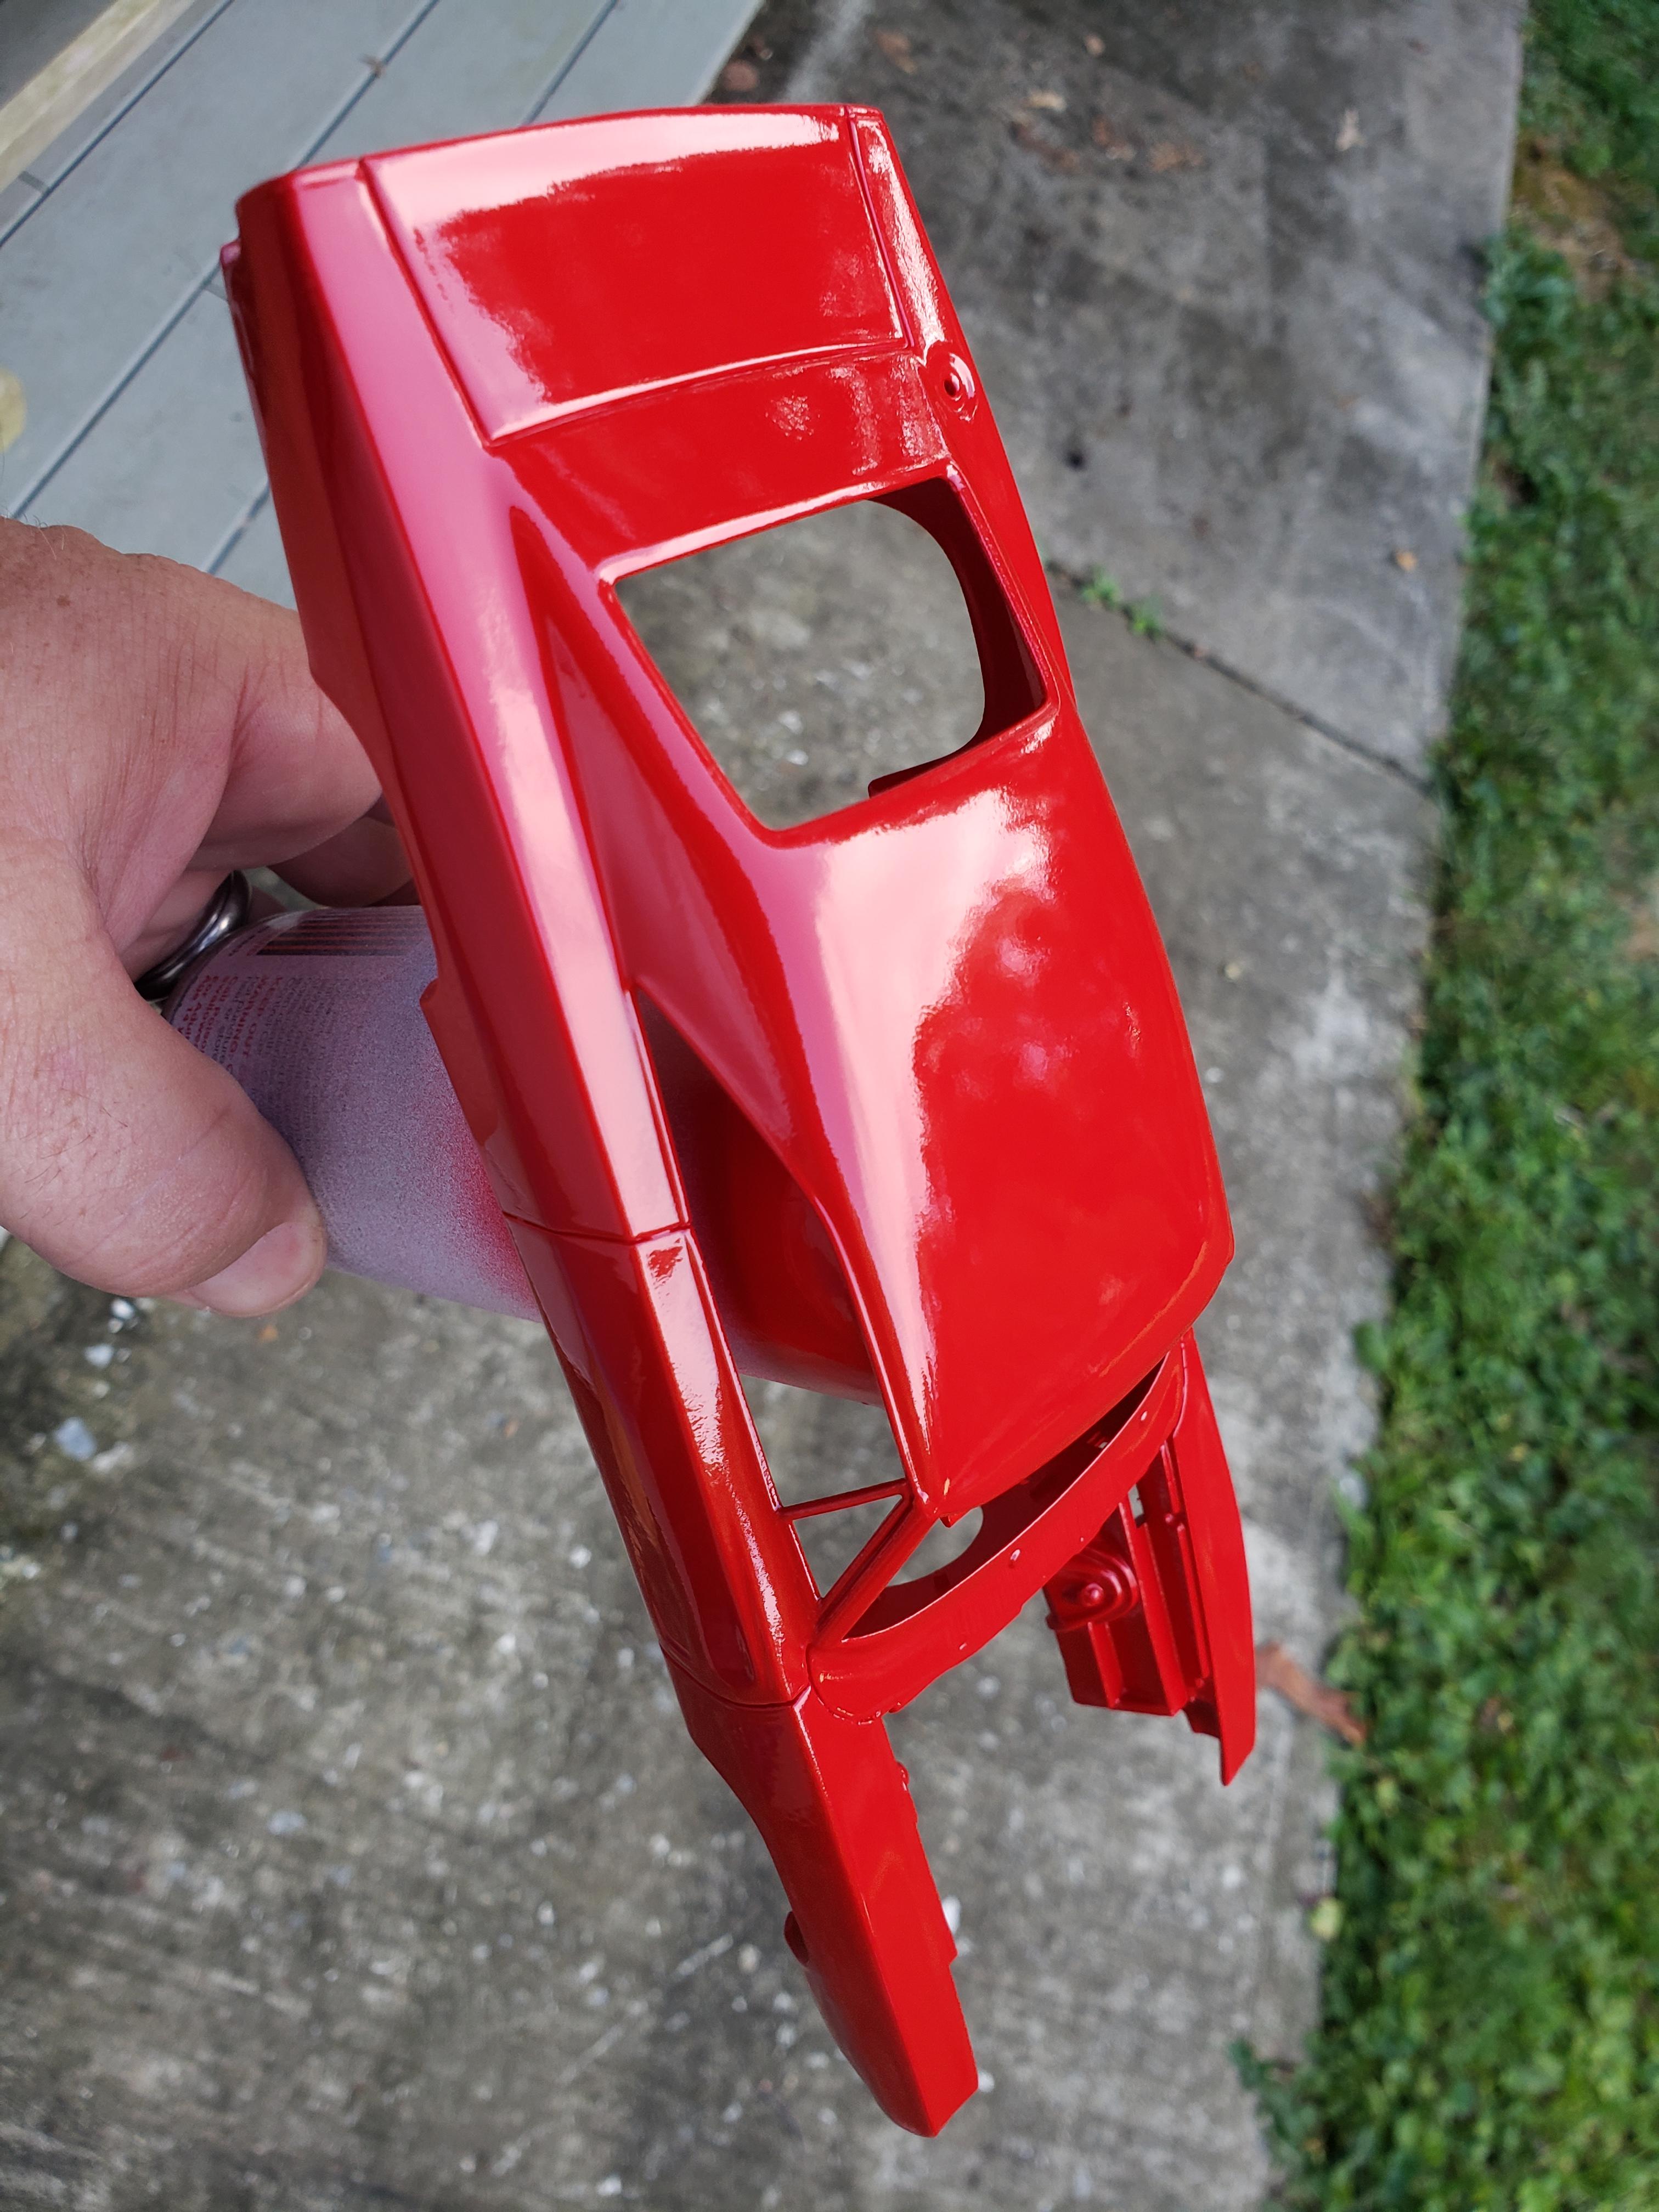
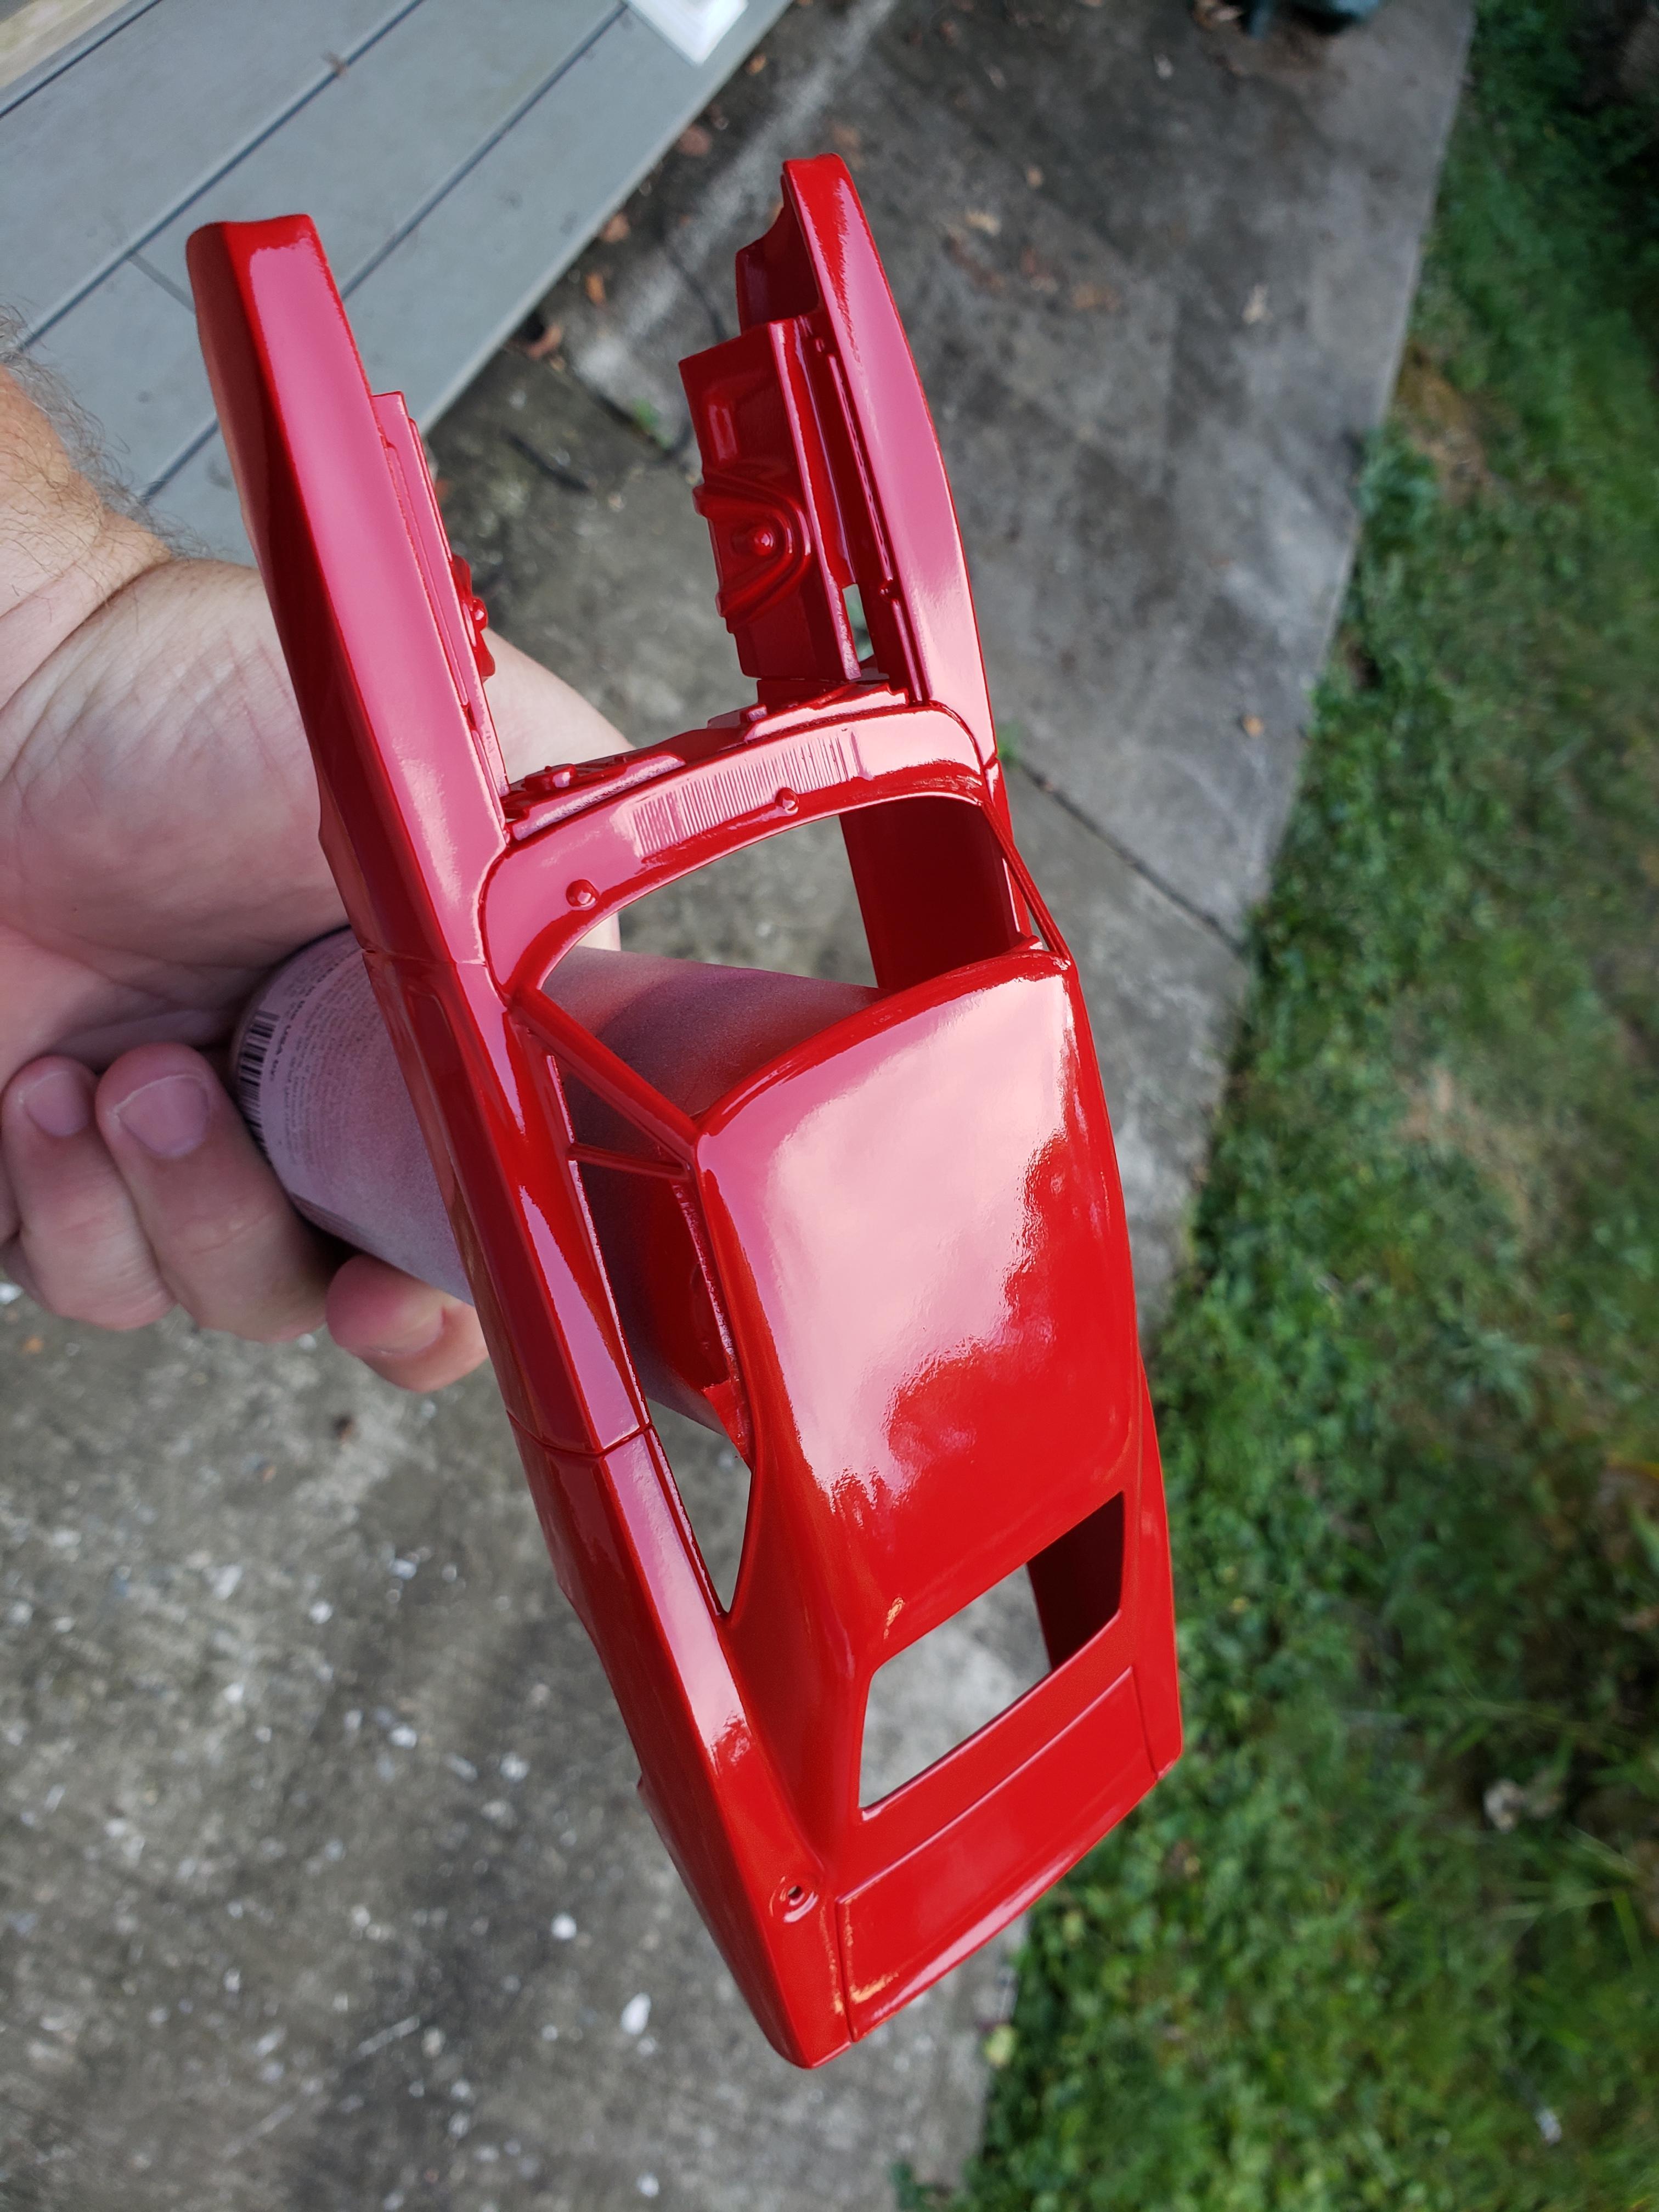
Haven't posted much on this one until now. I wanted to add a 69 Charger 500 to my Chargee shelf. Looked at the old MPC kit and thought to myself, how much trouble would it be to use a Revell kit for one? Went digging thru my stash, found Charger Daytona kit that I had held for something, found an extra 68 Charger. Cut the fenders off each and swapped the 68 fenders onto the Charger Daytona body. Alittle putty, primer, paint and clear looked good. Got it out last night to foil trim and noticed that the putty had sank into the holes that i had filled and putty for the Daytwing. Grabbed some water and sandpaper and then some wax and polished it up and looked great. Then I noticed more texture in the paint so tried the same thing, water sanded and waxed but broke thru. Had to scuff and repaint it. Hope it looks alright in the morning. Haven't posted much on this one until now. I wanted to add a 69 Charger 500 to my Chargee shelf. Looked at the old MPC kit and thought to myself, how much trouble would it be to use a Revell kit for one? Went digging thru my stash, found Charger Daytona kit that I had held for something, found an extra 68 Charger. Cut the fenders off each and swapped the 68 fenders onto the Charger Daytona body. Alittle putty, primer, paint and clear looked good. The old MPC grille fit into the surround of the 68 grille. Got it out last night to foil trim and noticed that the putty had sank into the holes that i had filled and putty for the Daytwing. Grabbed some water and sandpaper and then some wax and polished it up and looked great. Then I noticed more texture in the paint so tried the same thing, water sanded and waxed but broke thru. Had to scuff and repaint it. Hope it looks alright in the morning.
-
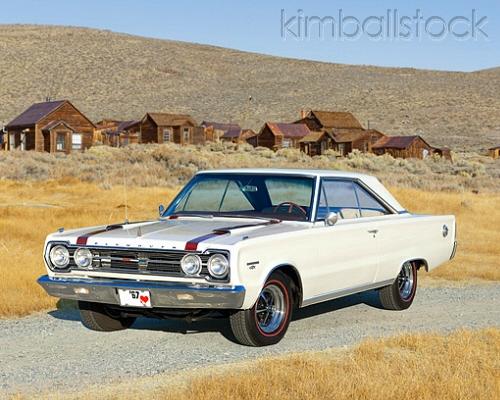
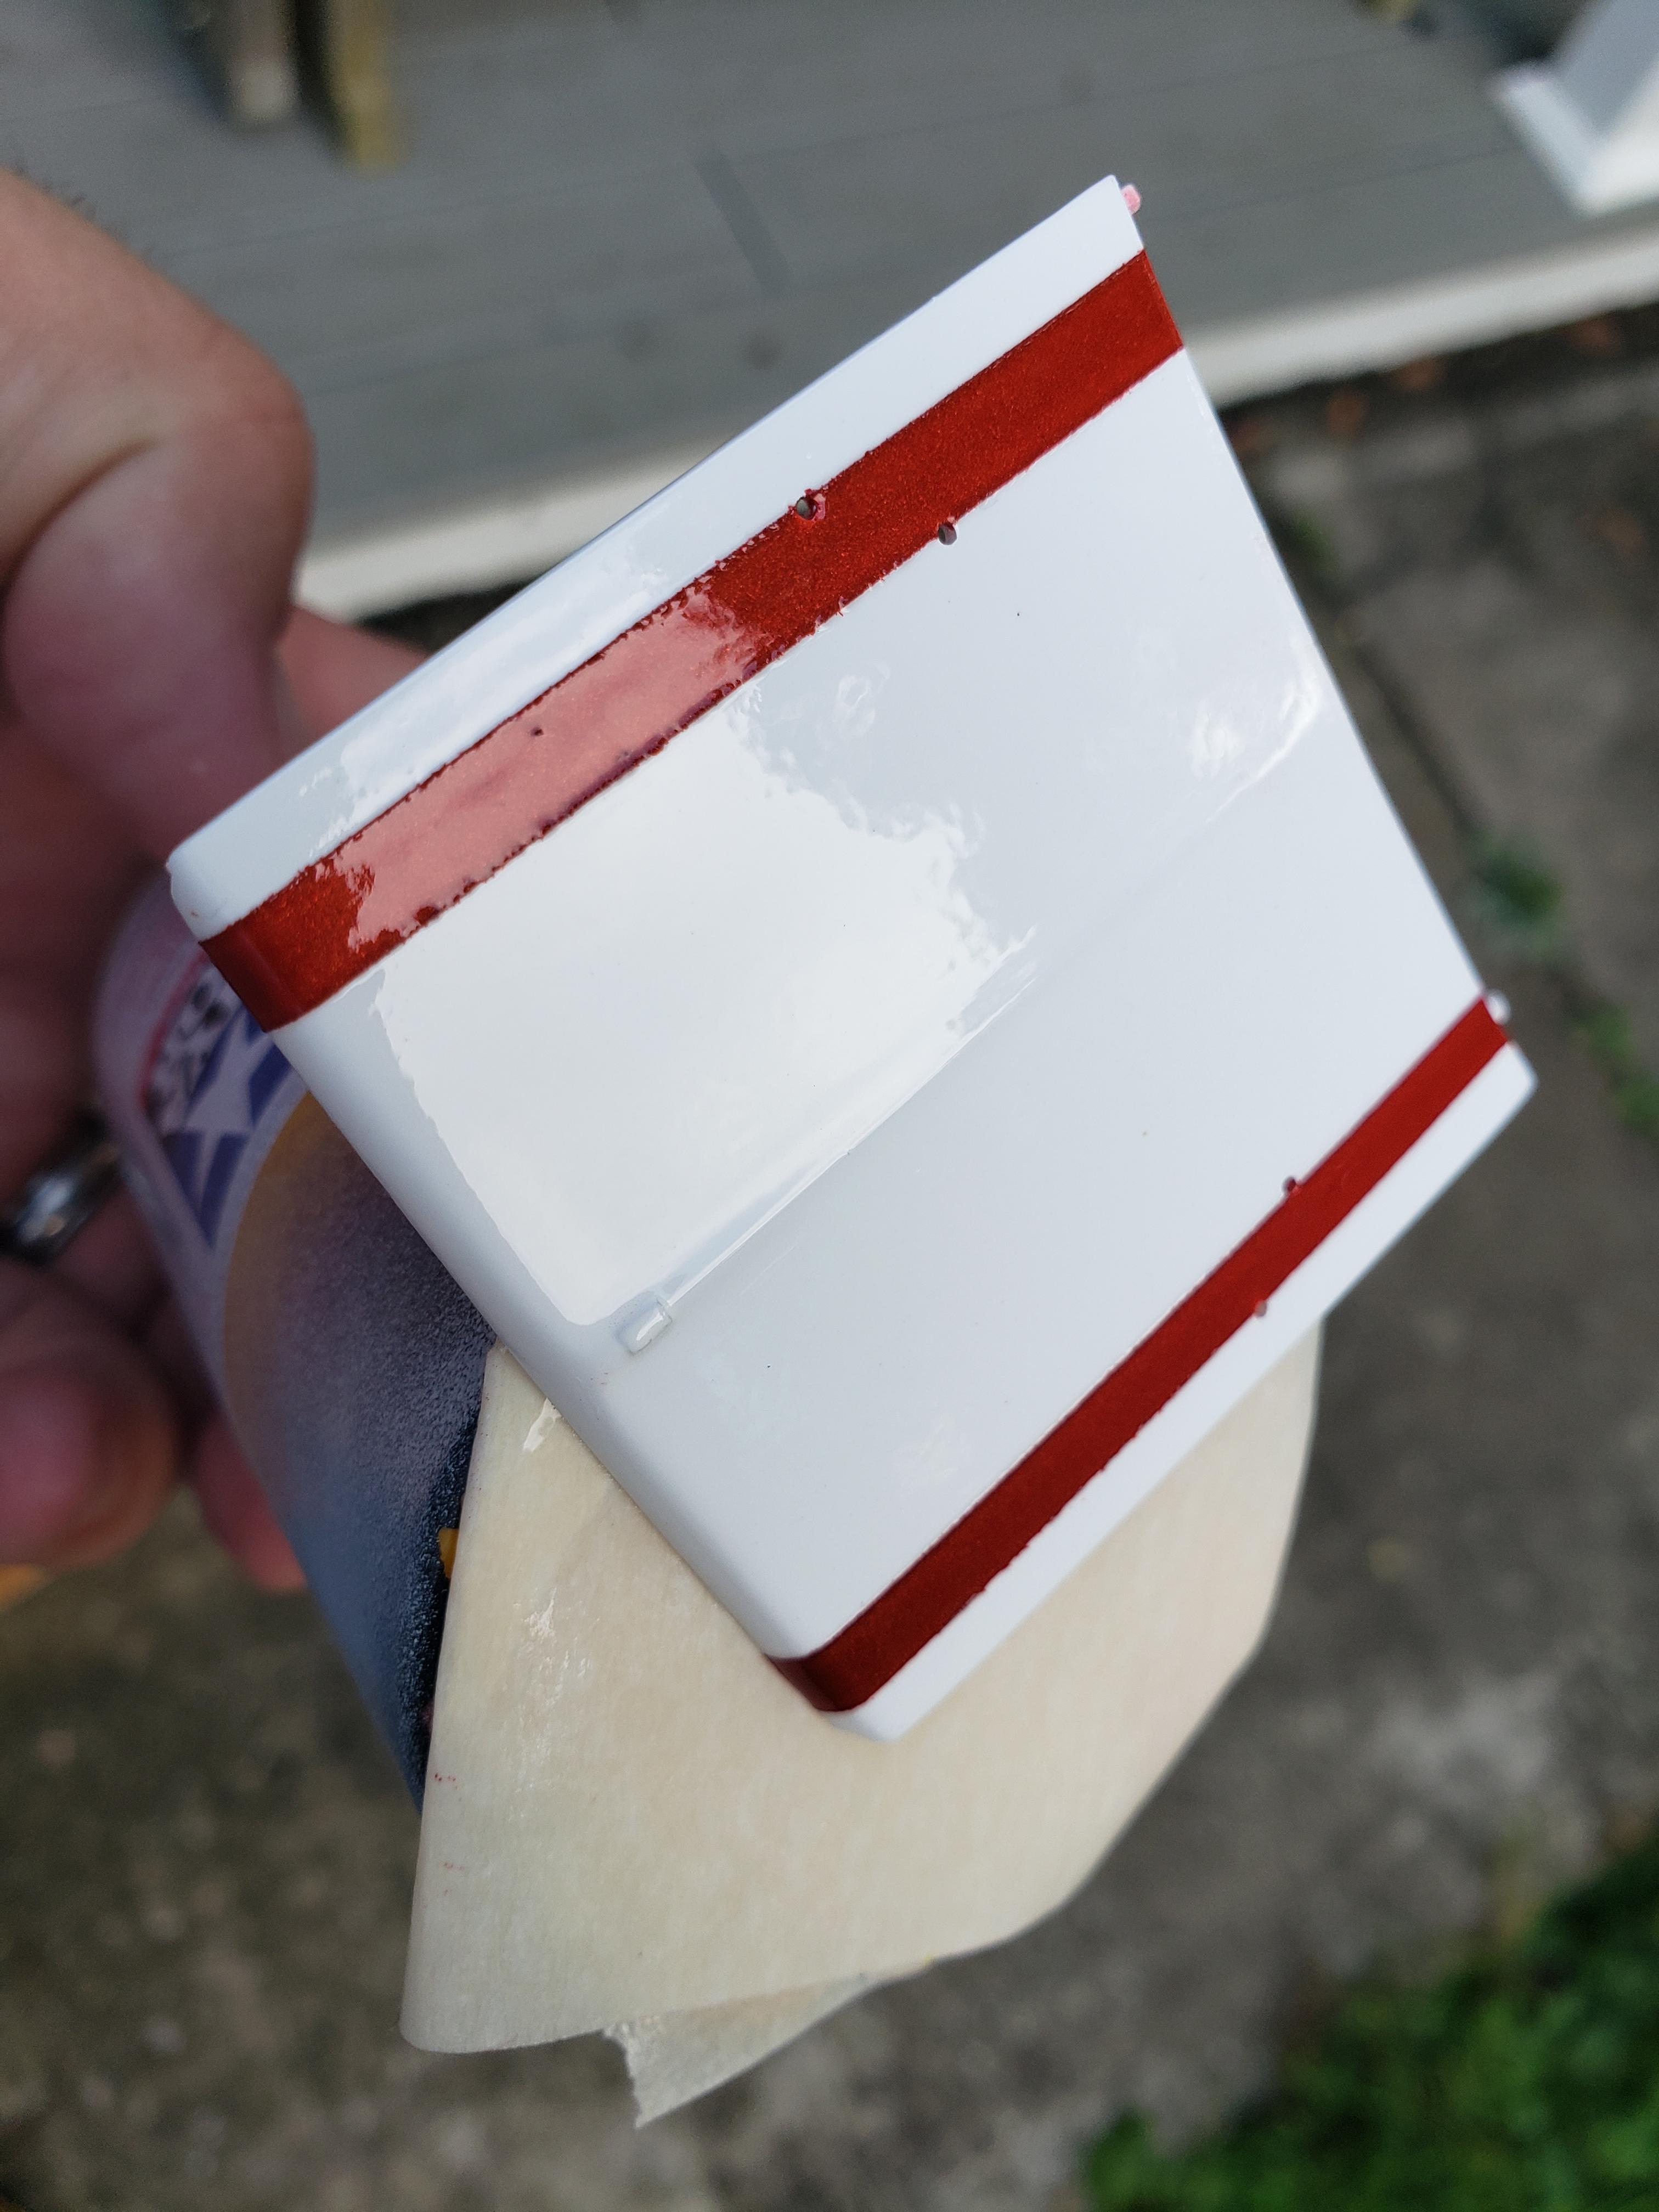
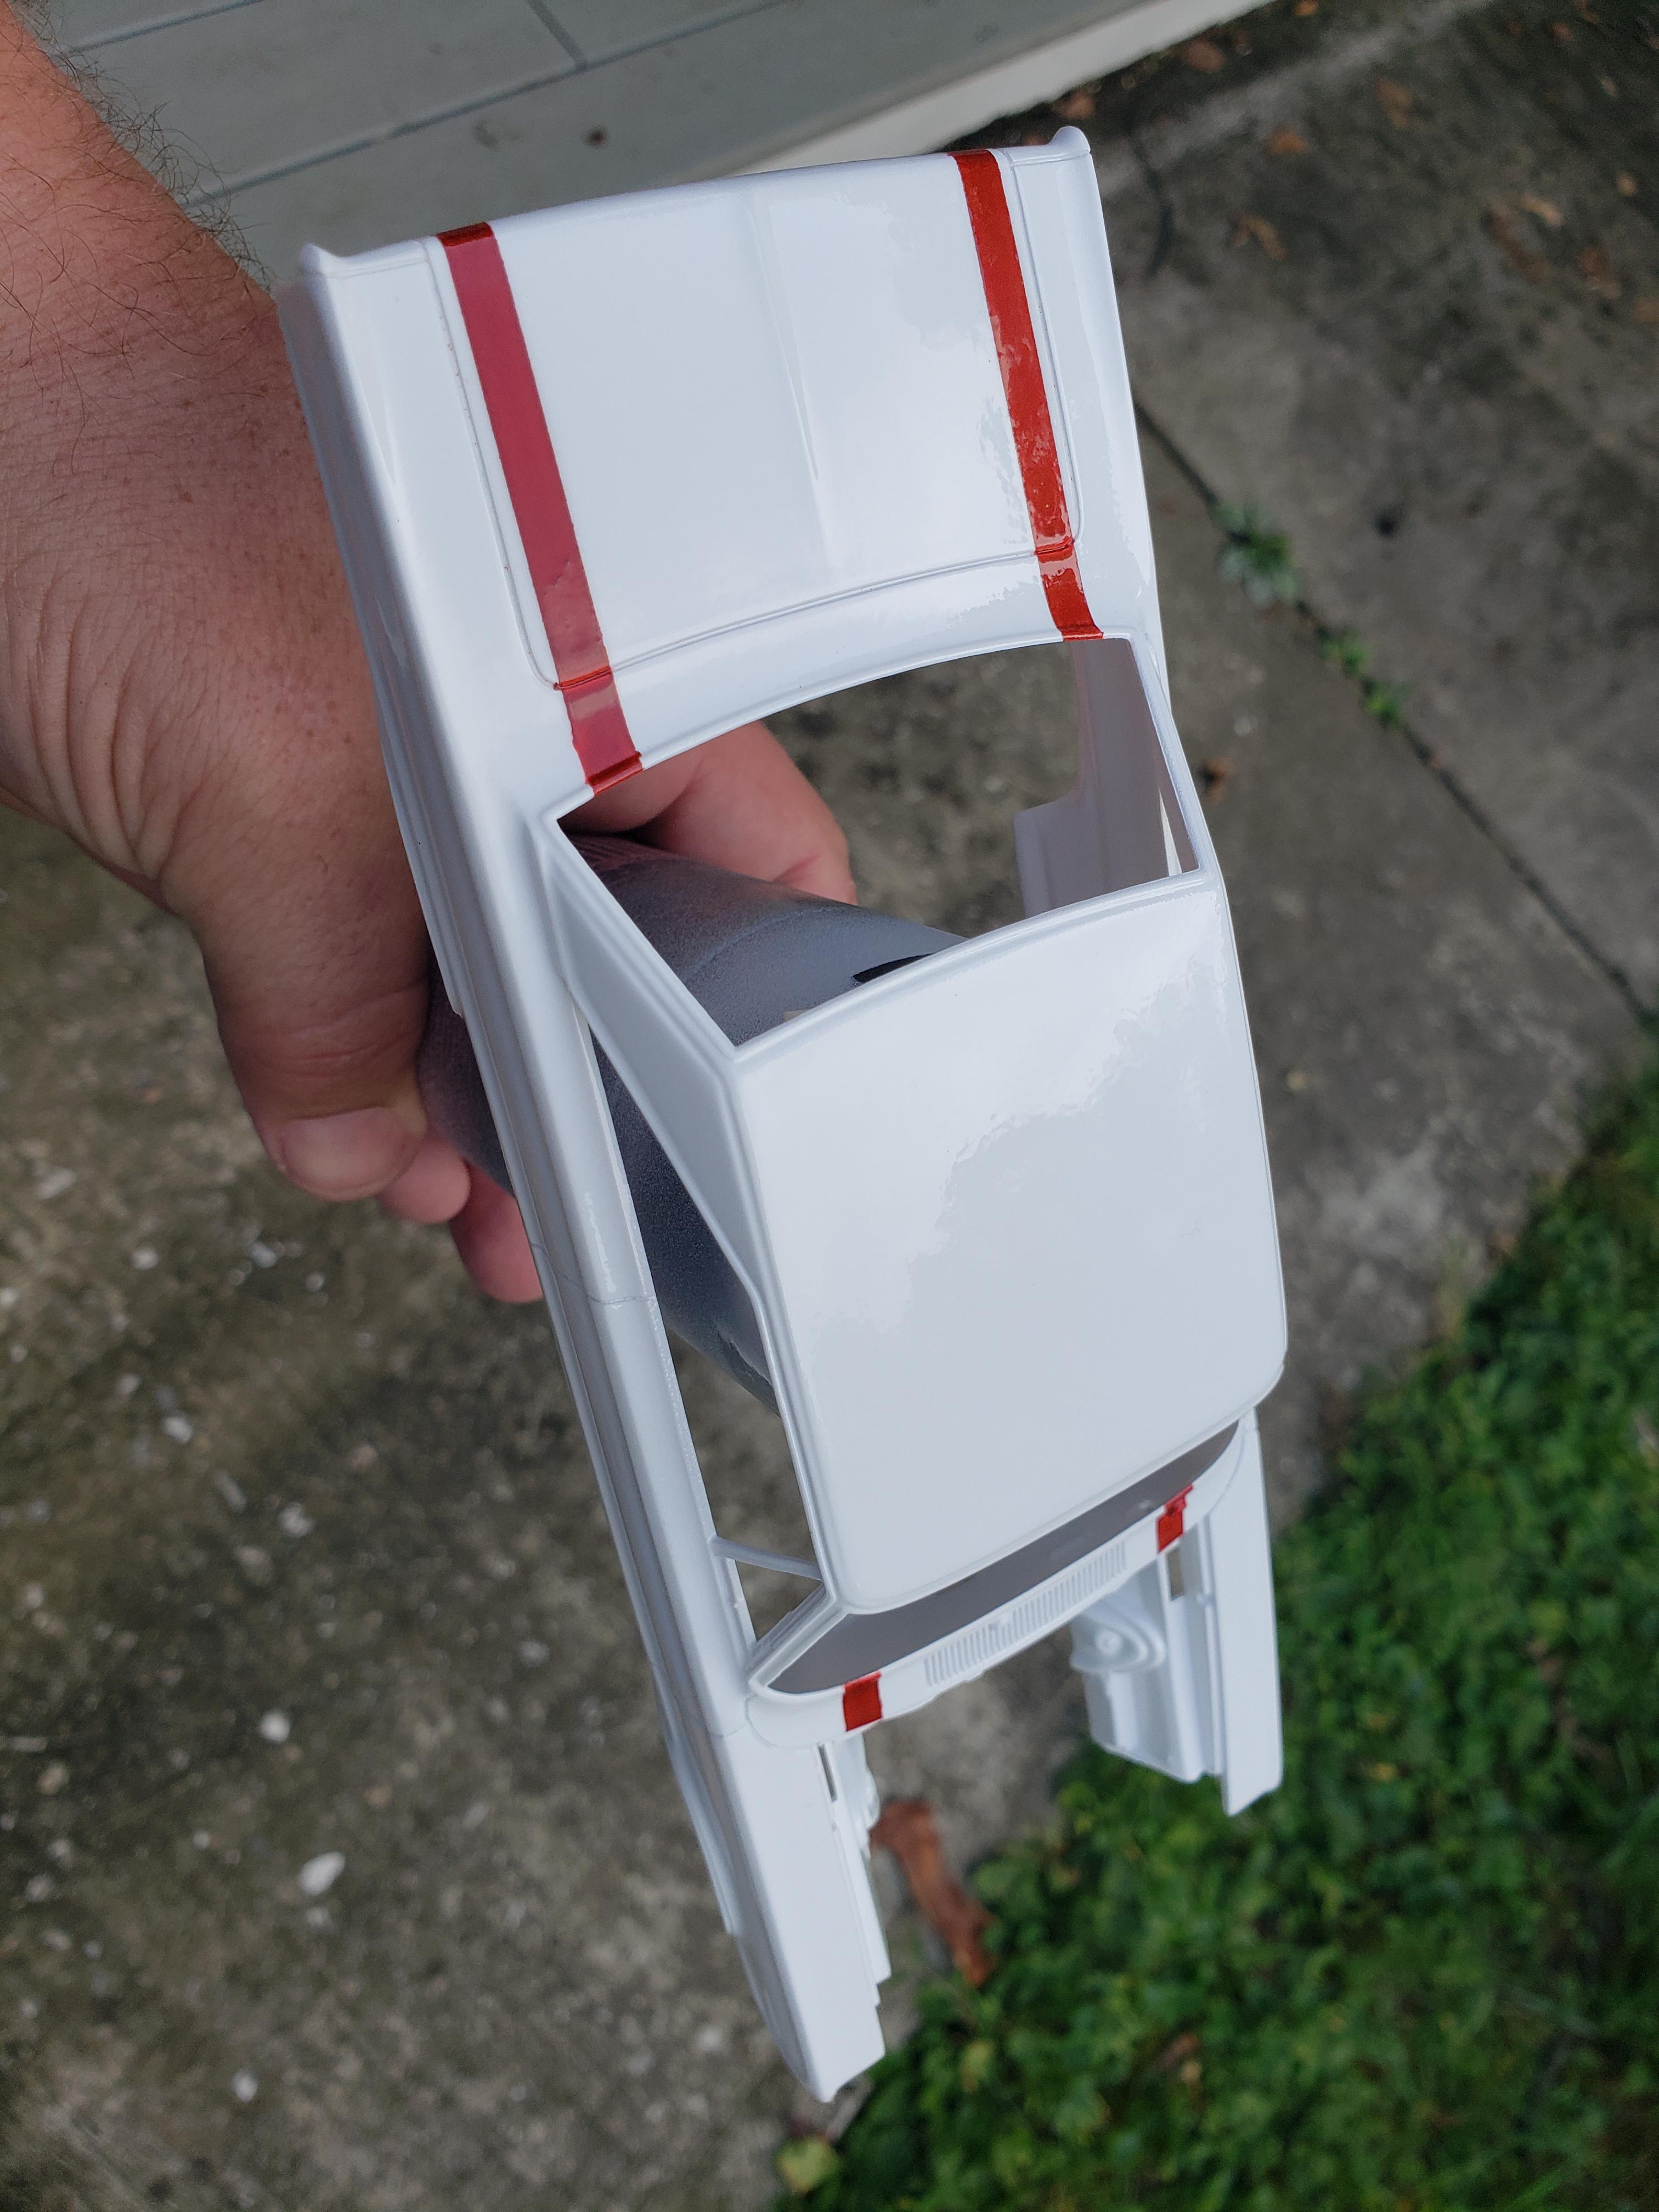
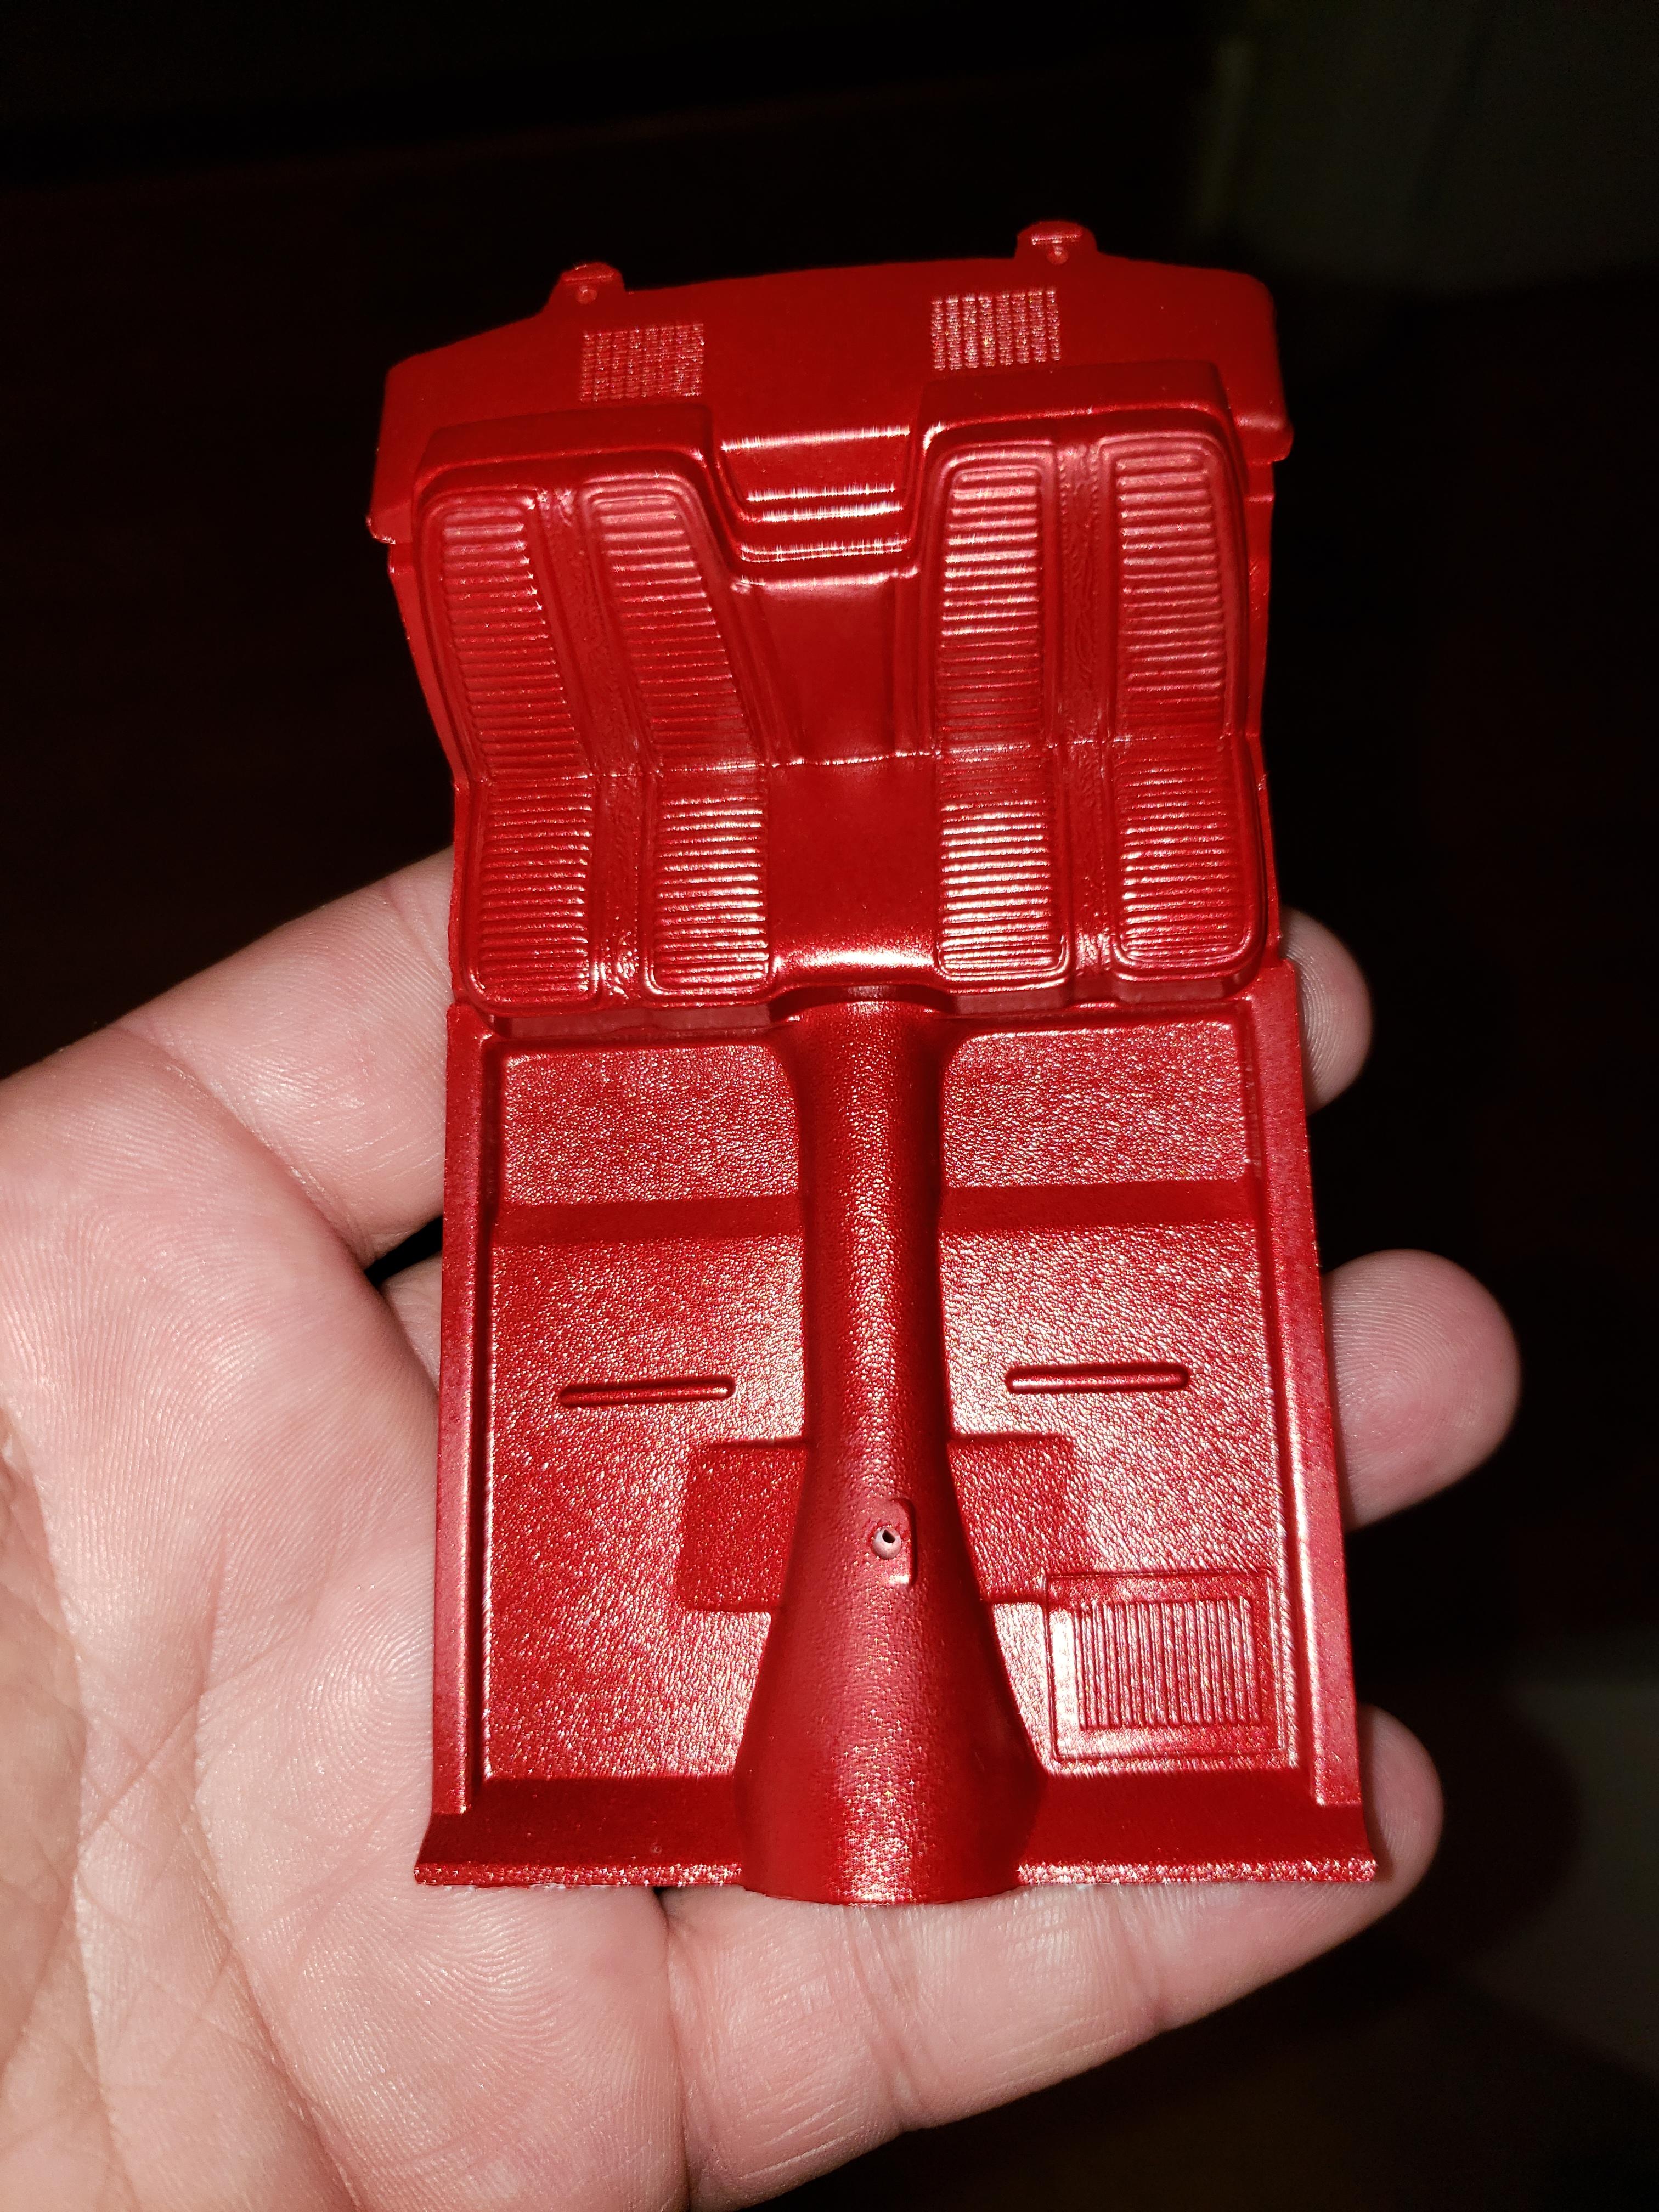
Here's another one that I have started to prep. I found a picture years ago of a White 67 GTX and fell in love with it. So, I have been planning on building a replica of it but, never got around to it. I didn't know what to do for the strips since the kit only comes with black so I taped them up and painted them. Not perfect but will do.
-
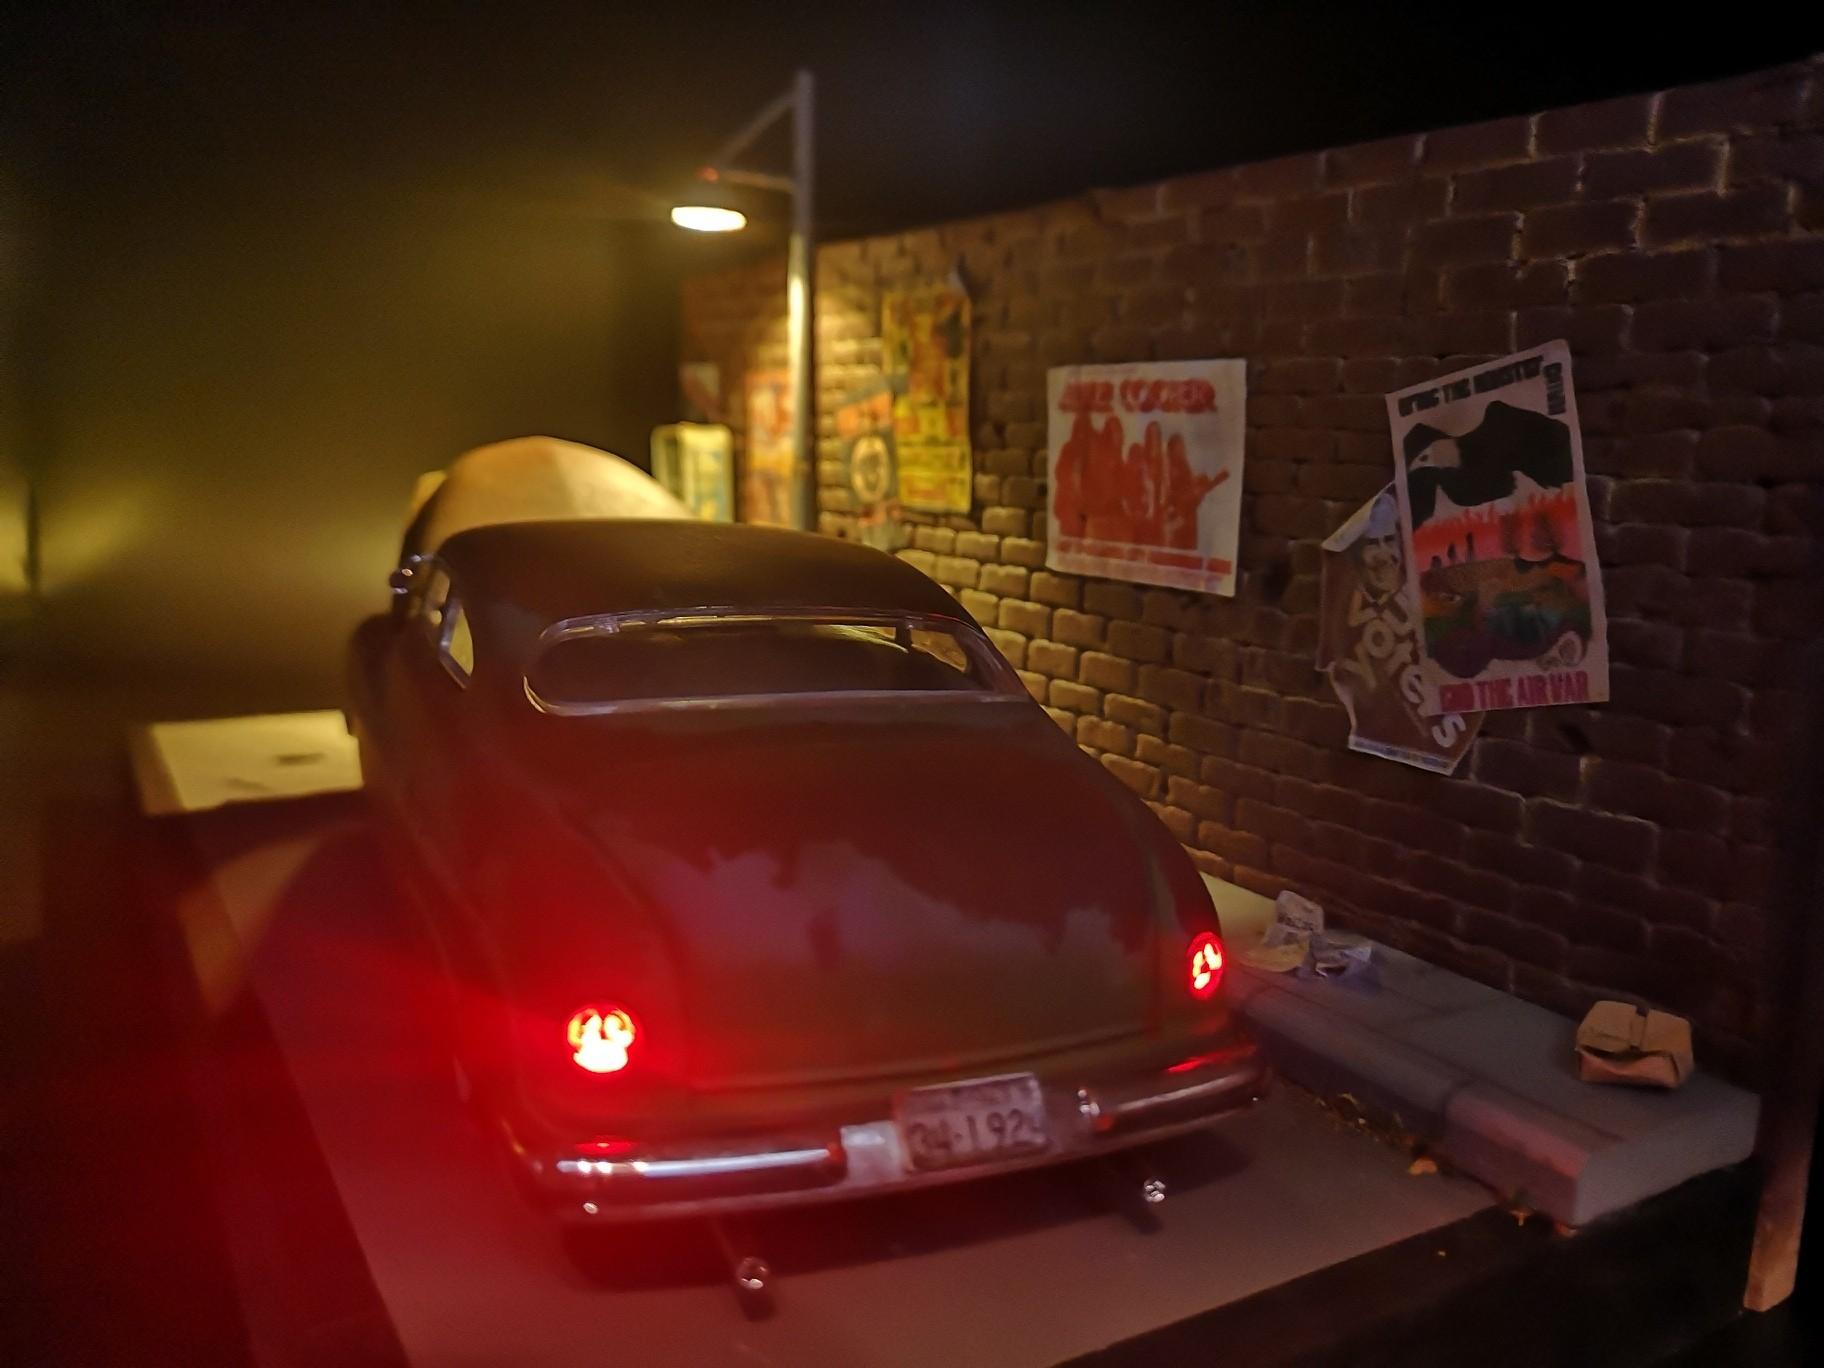
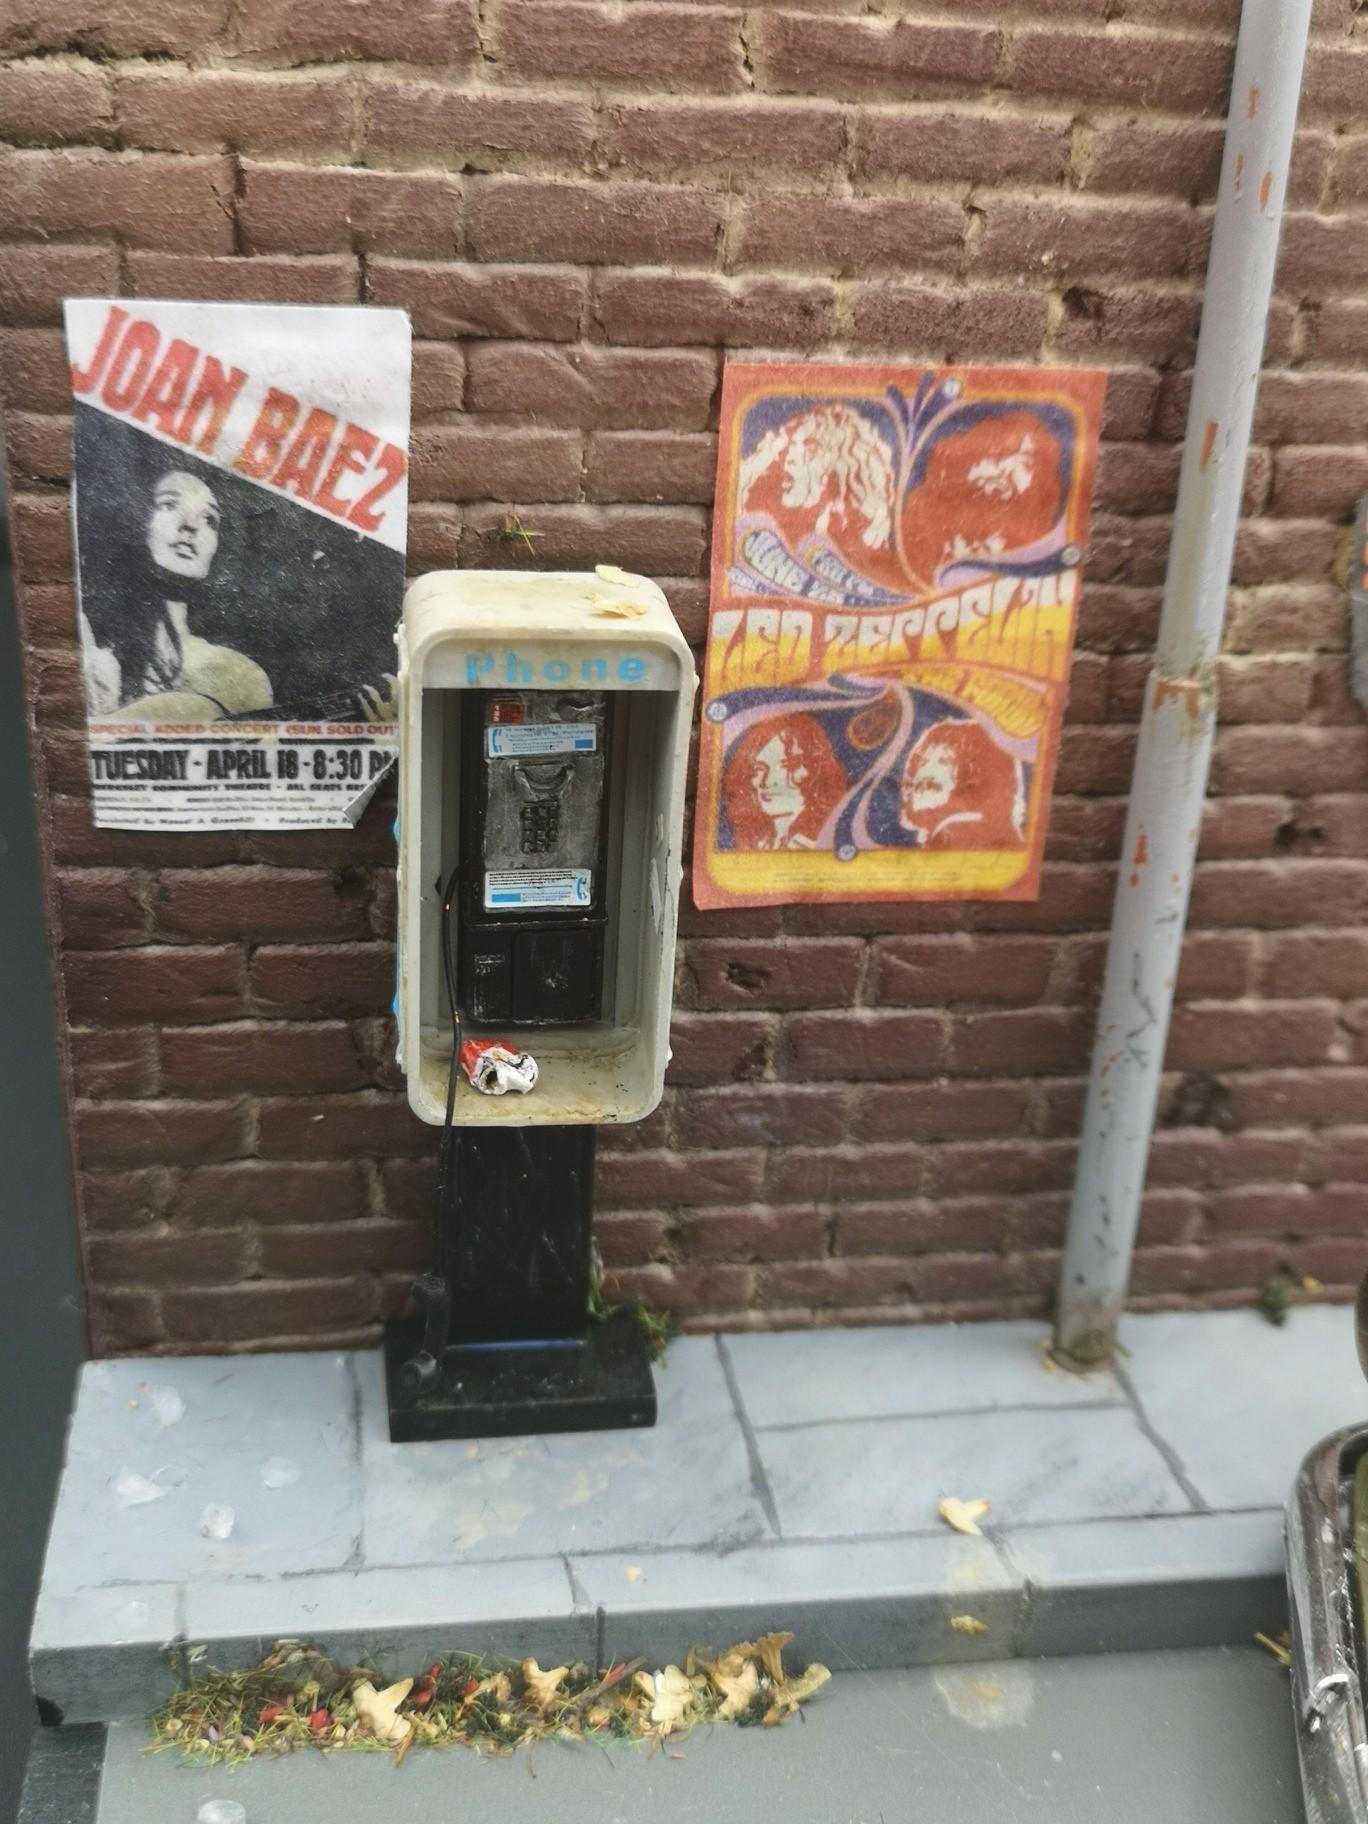
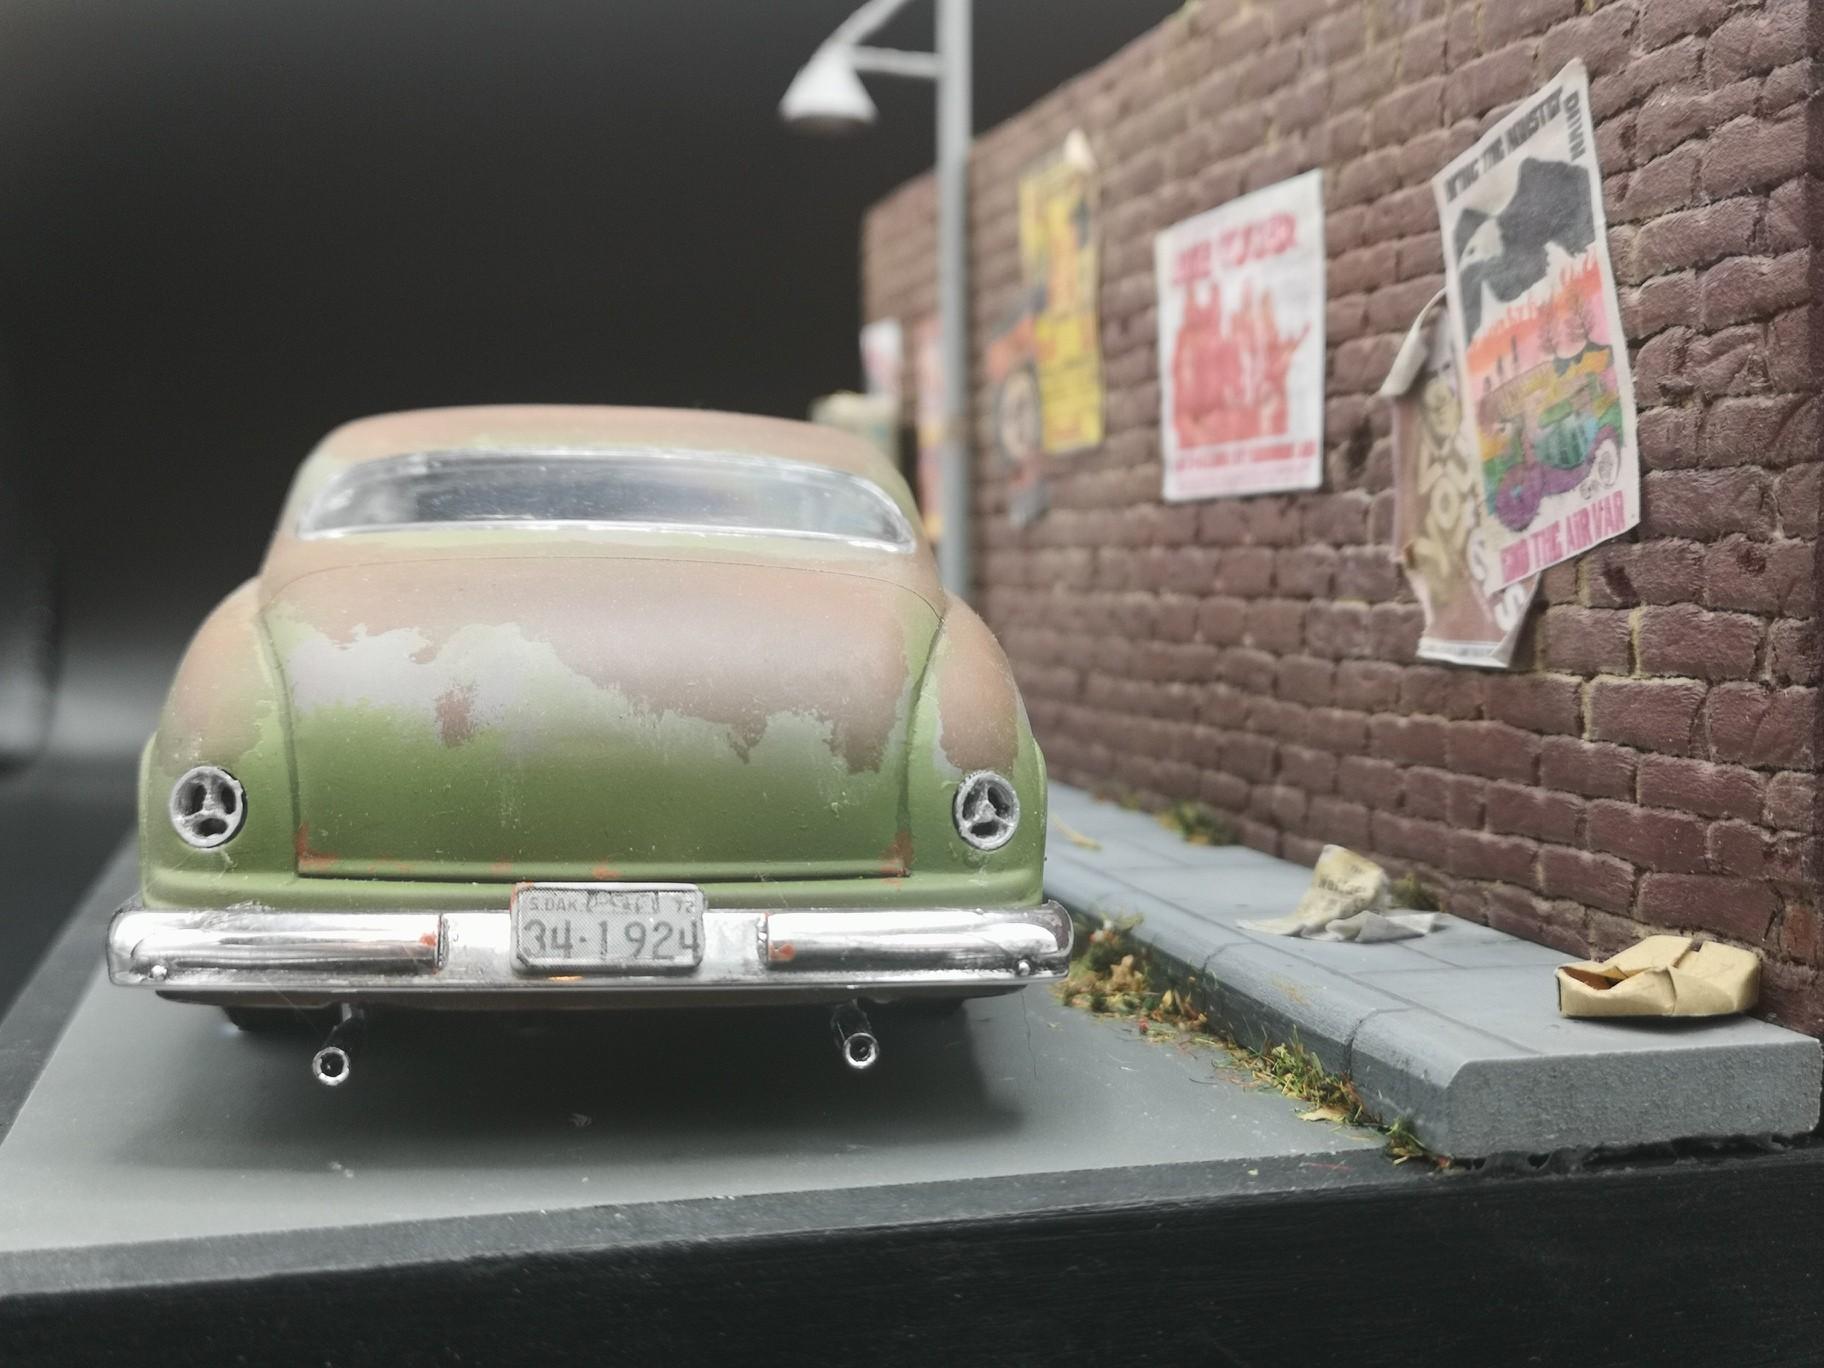
Here is a 1/25 scale Revell 1949 mercury that I did recently. Headlights and street light are LED with scratch built background and street lamp. The phone booth is from Doozy. Posters are downloaded from the web and are all from 1972, as is the licence plate. The original plan was to do a replica of the Badlands film car, but it looked to dull in plain black Painted with Mostly MIG & Vallejo acrylics + hairspray/salt and Oil weathering.
-
After all the trouble with broke, missing and warped parts I'm finally able to call this one done. Although I am still missing a front turn signal lens, she will be on my display shelf until one turns up. This was a fun little project to get me back into the hobby after a 3 year hiatus. Thanks for looking!
-
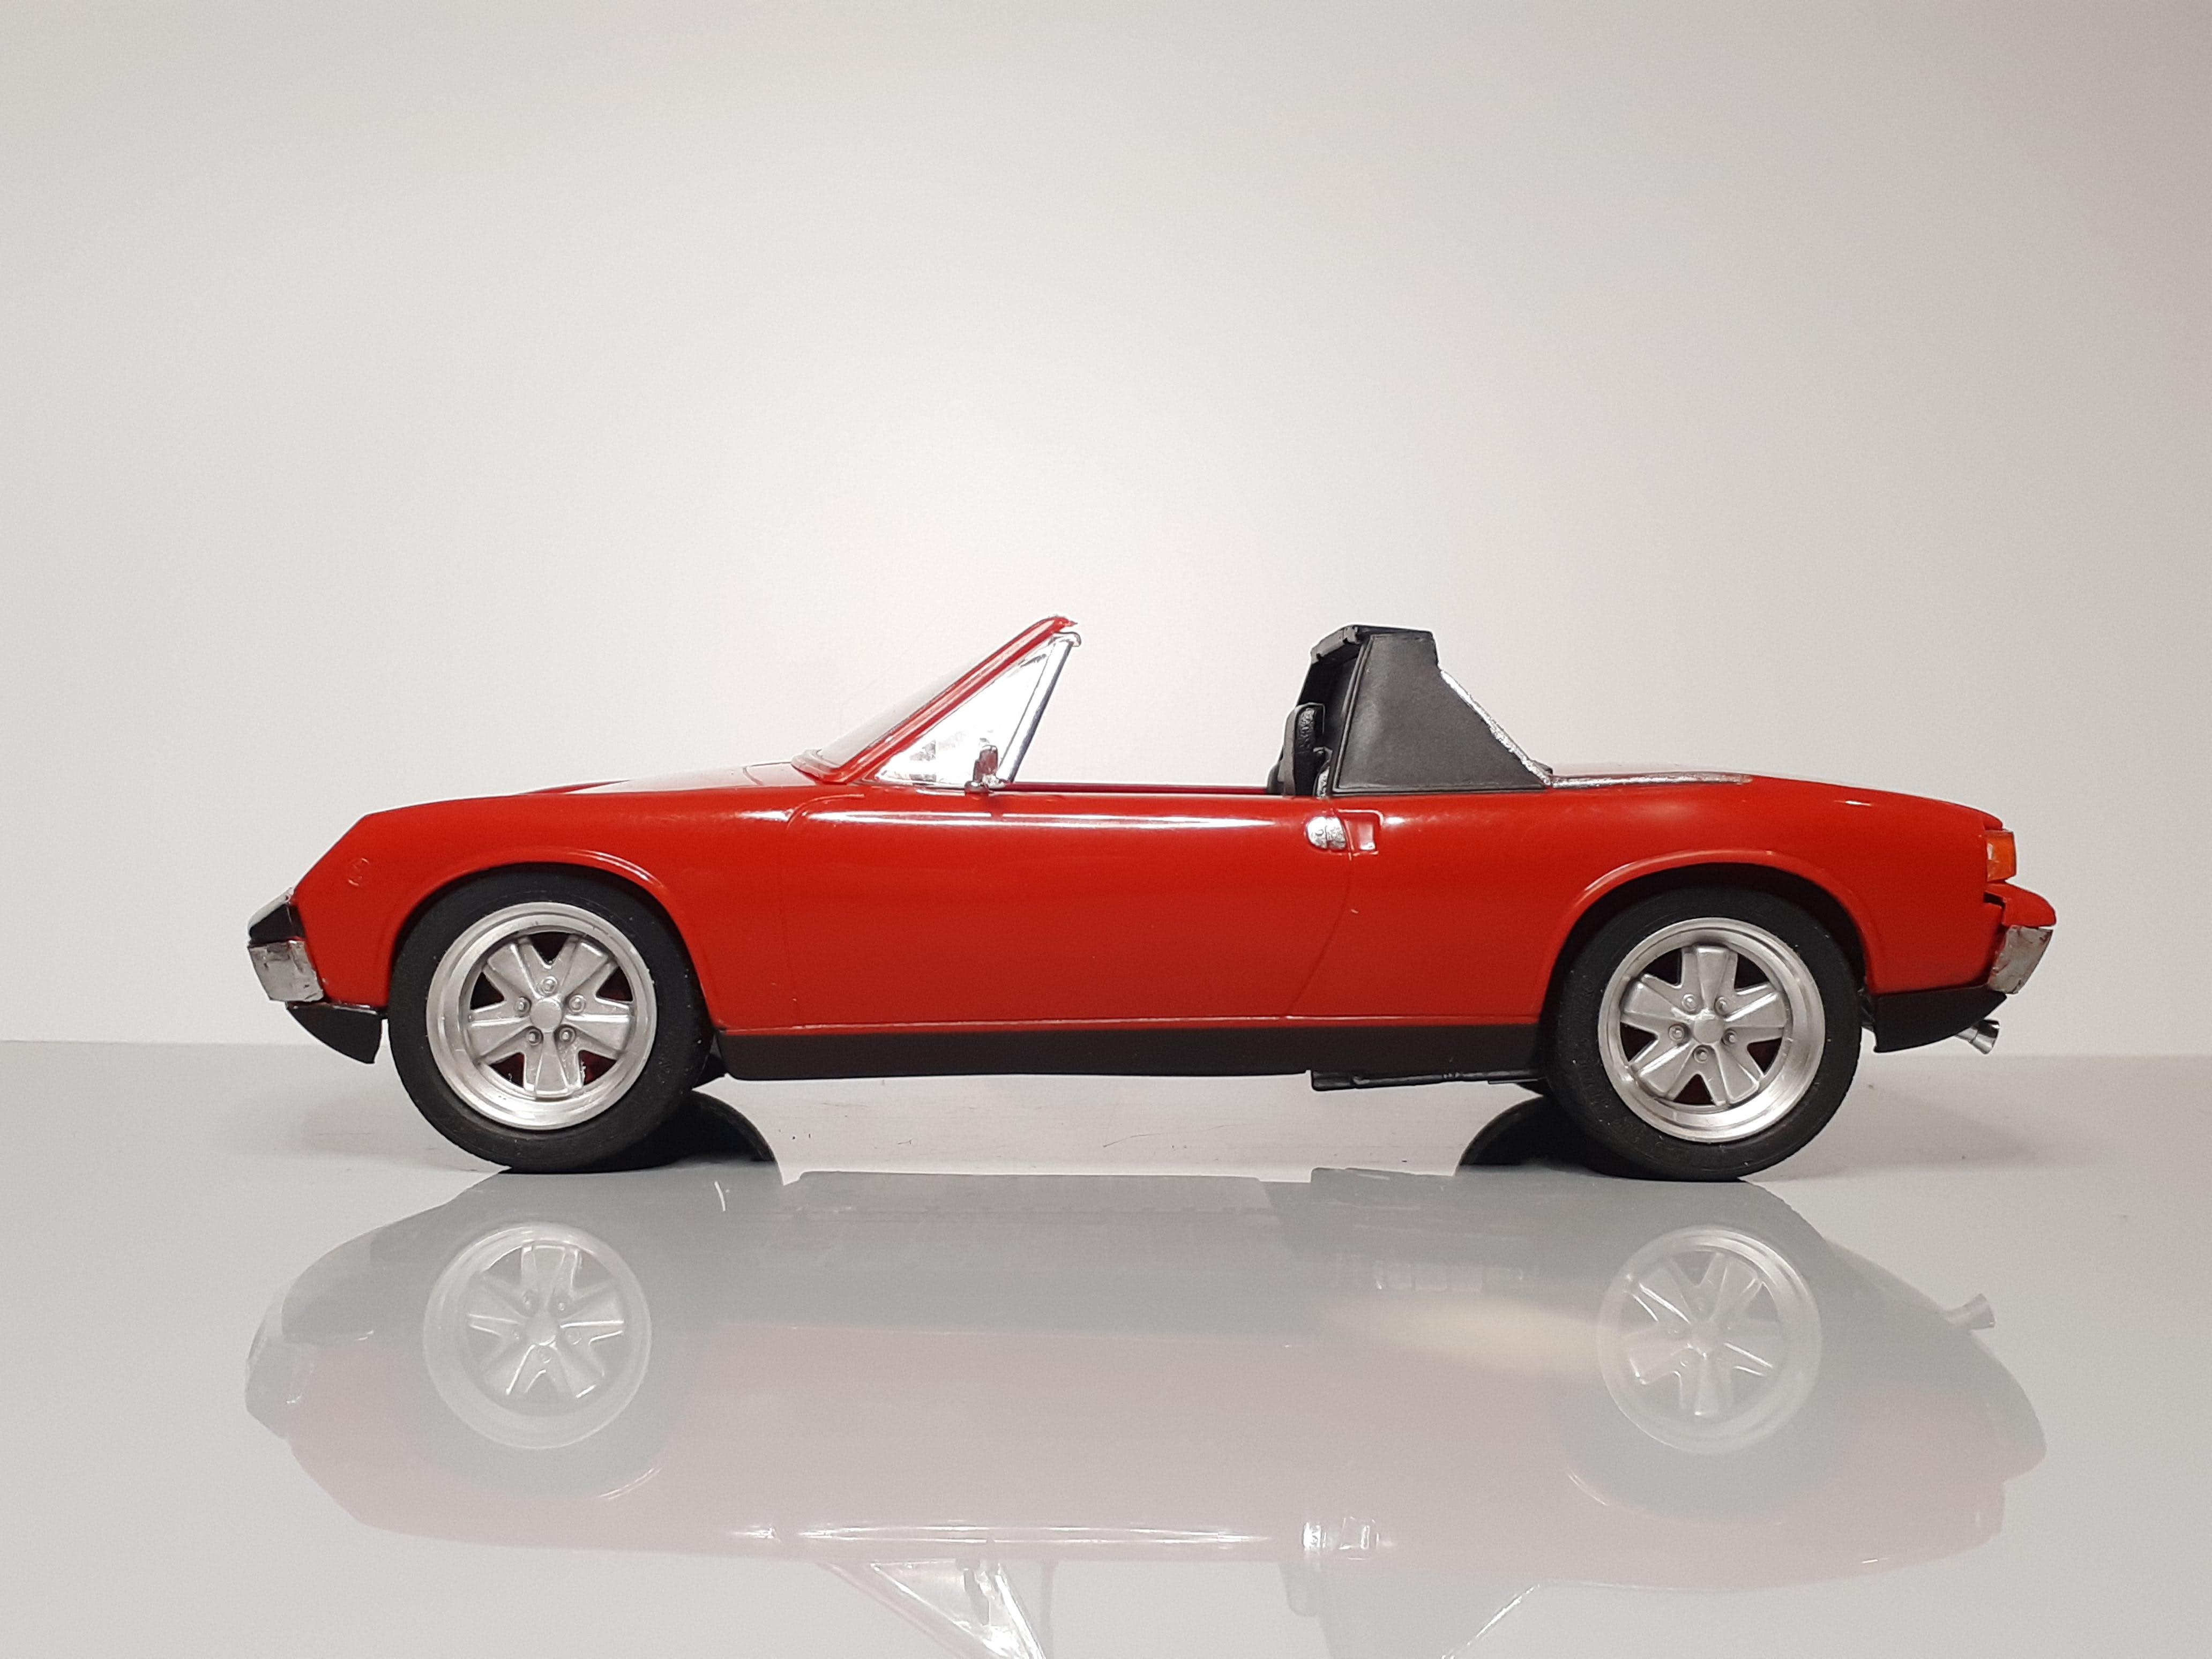
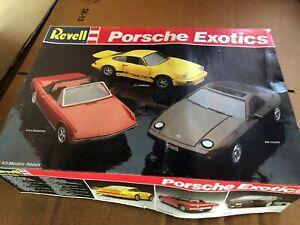
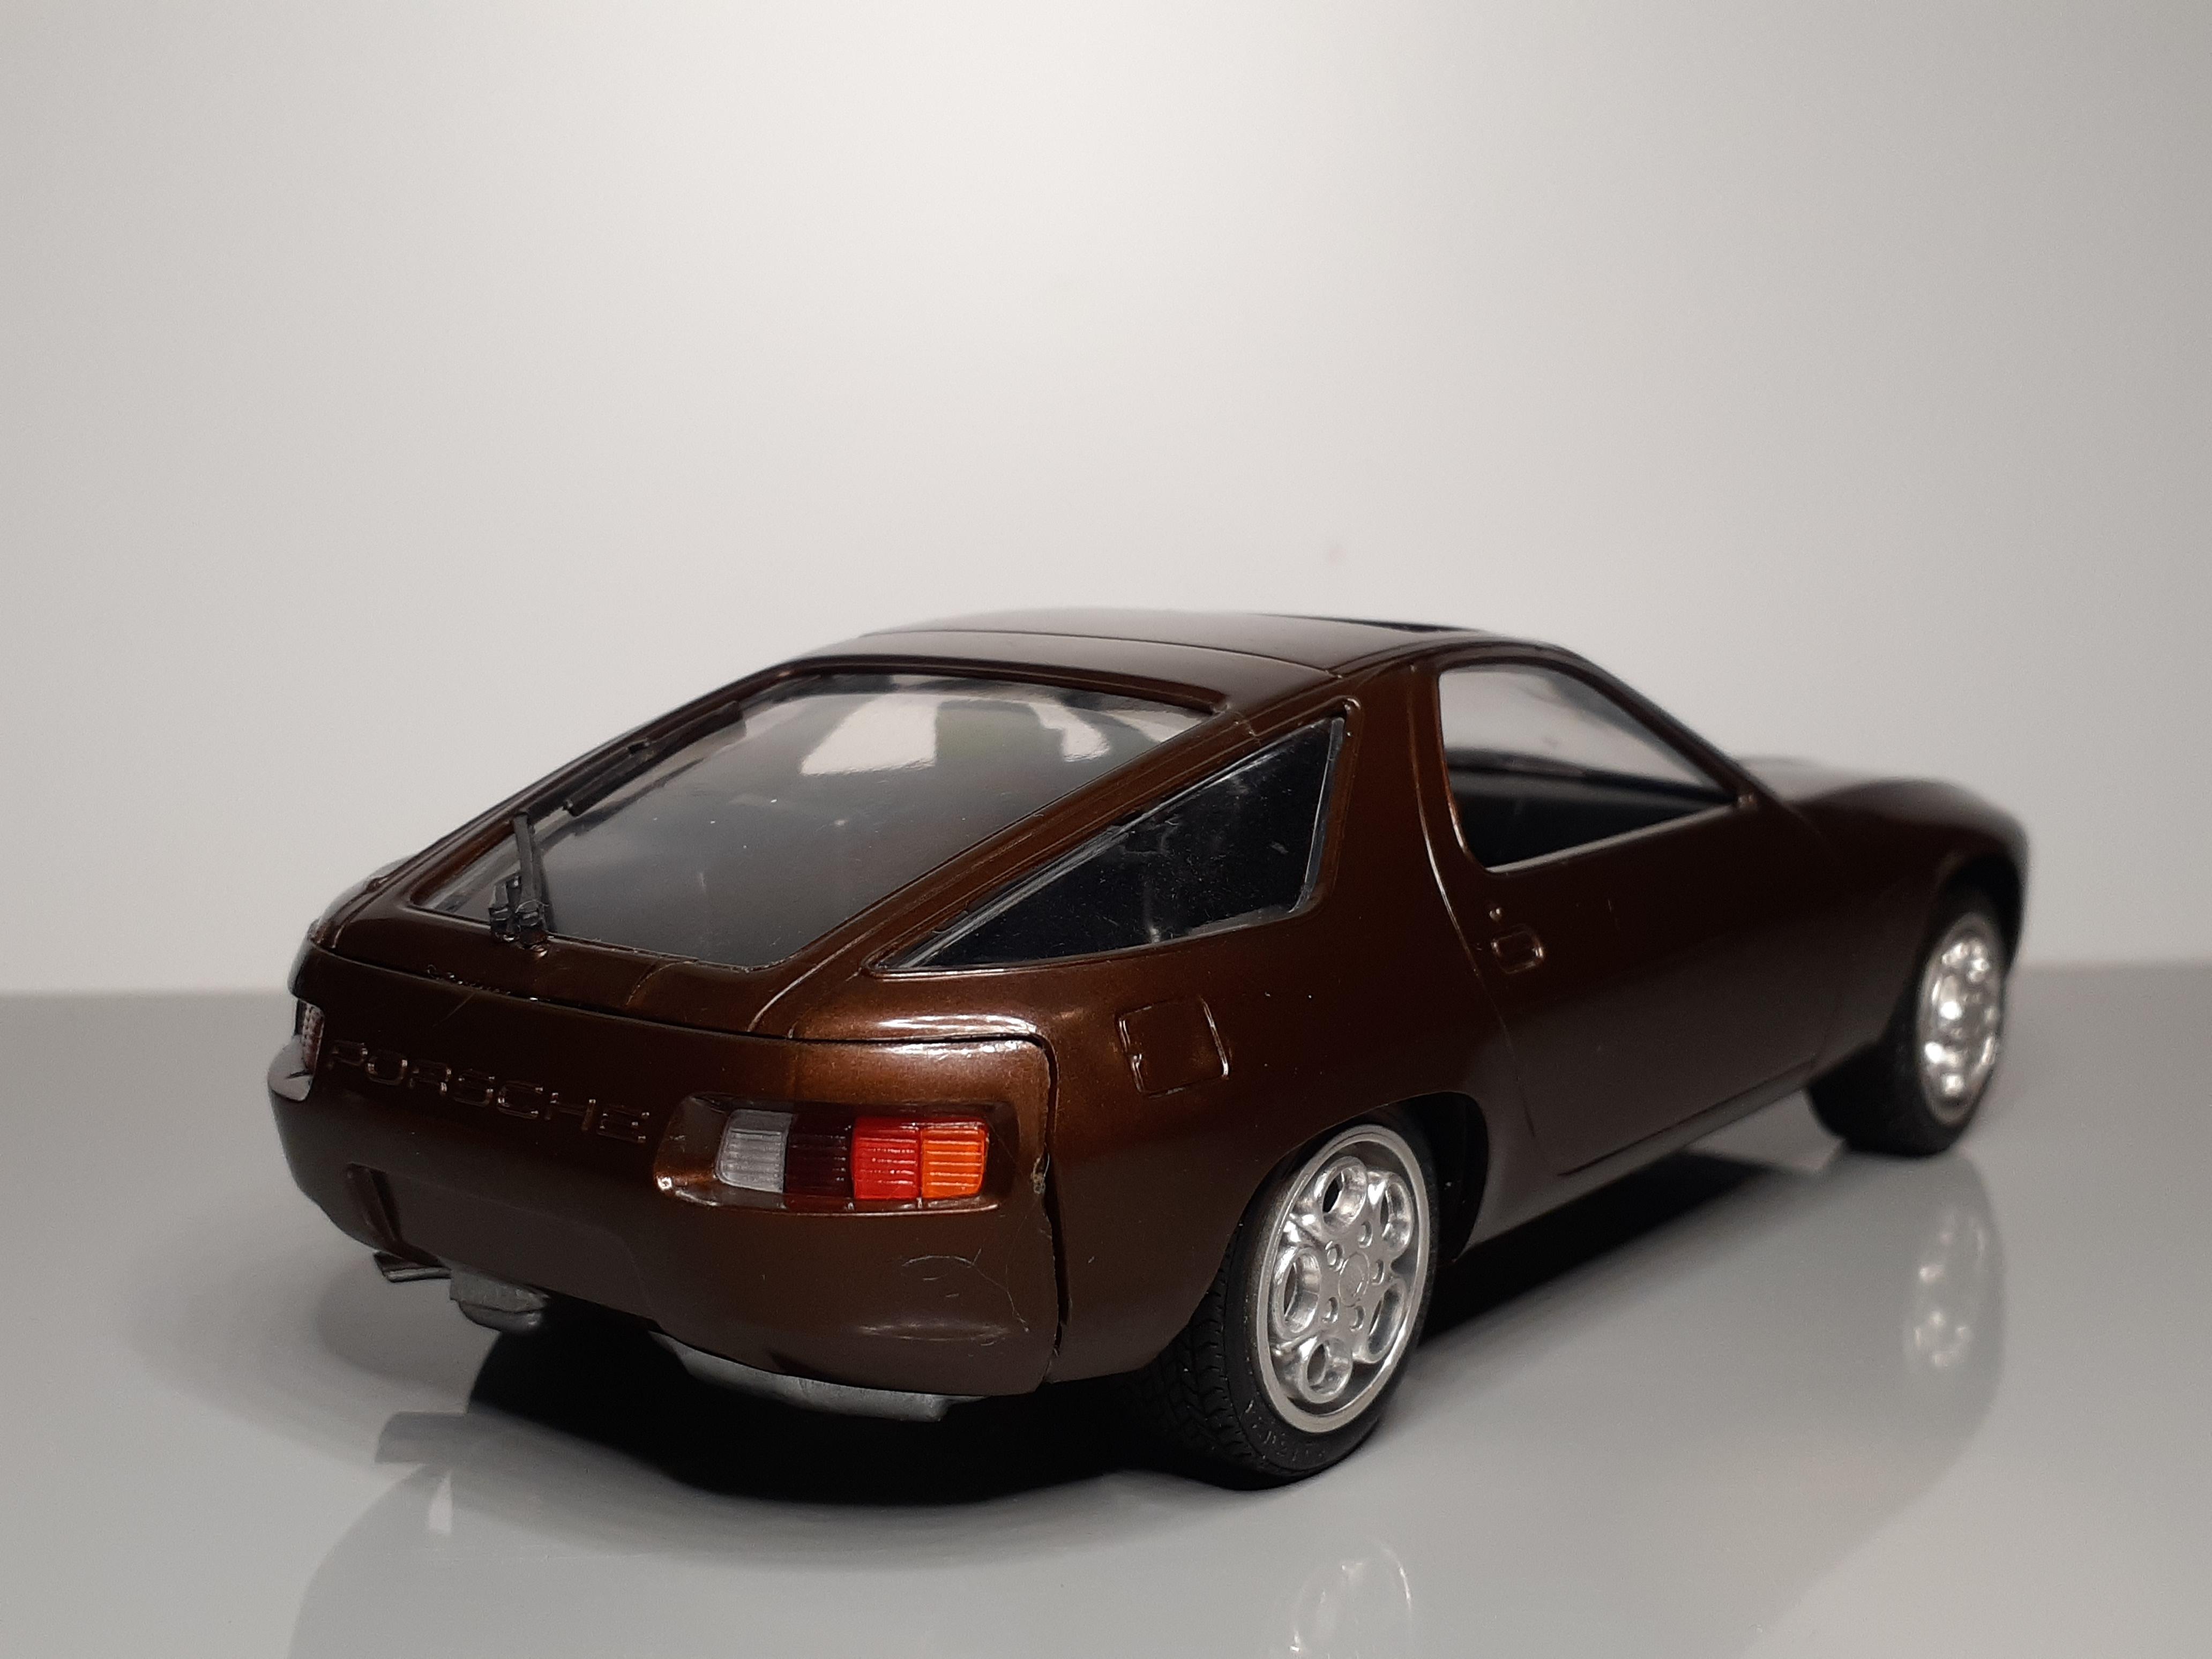
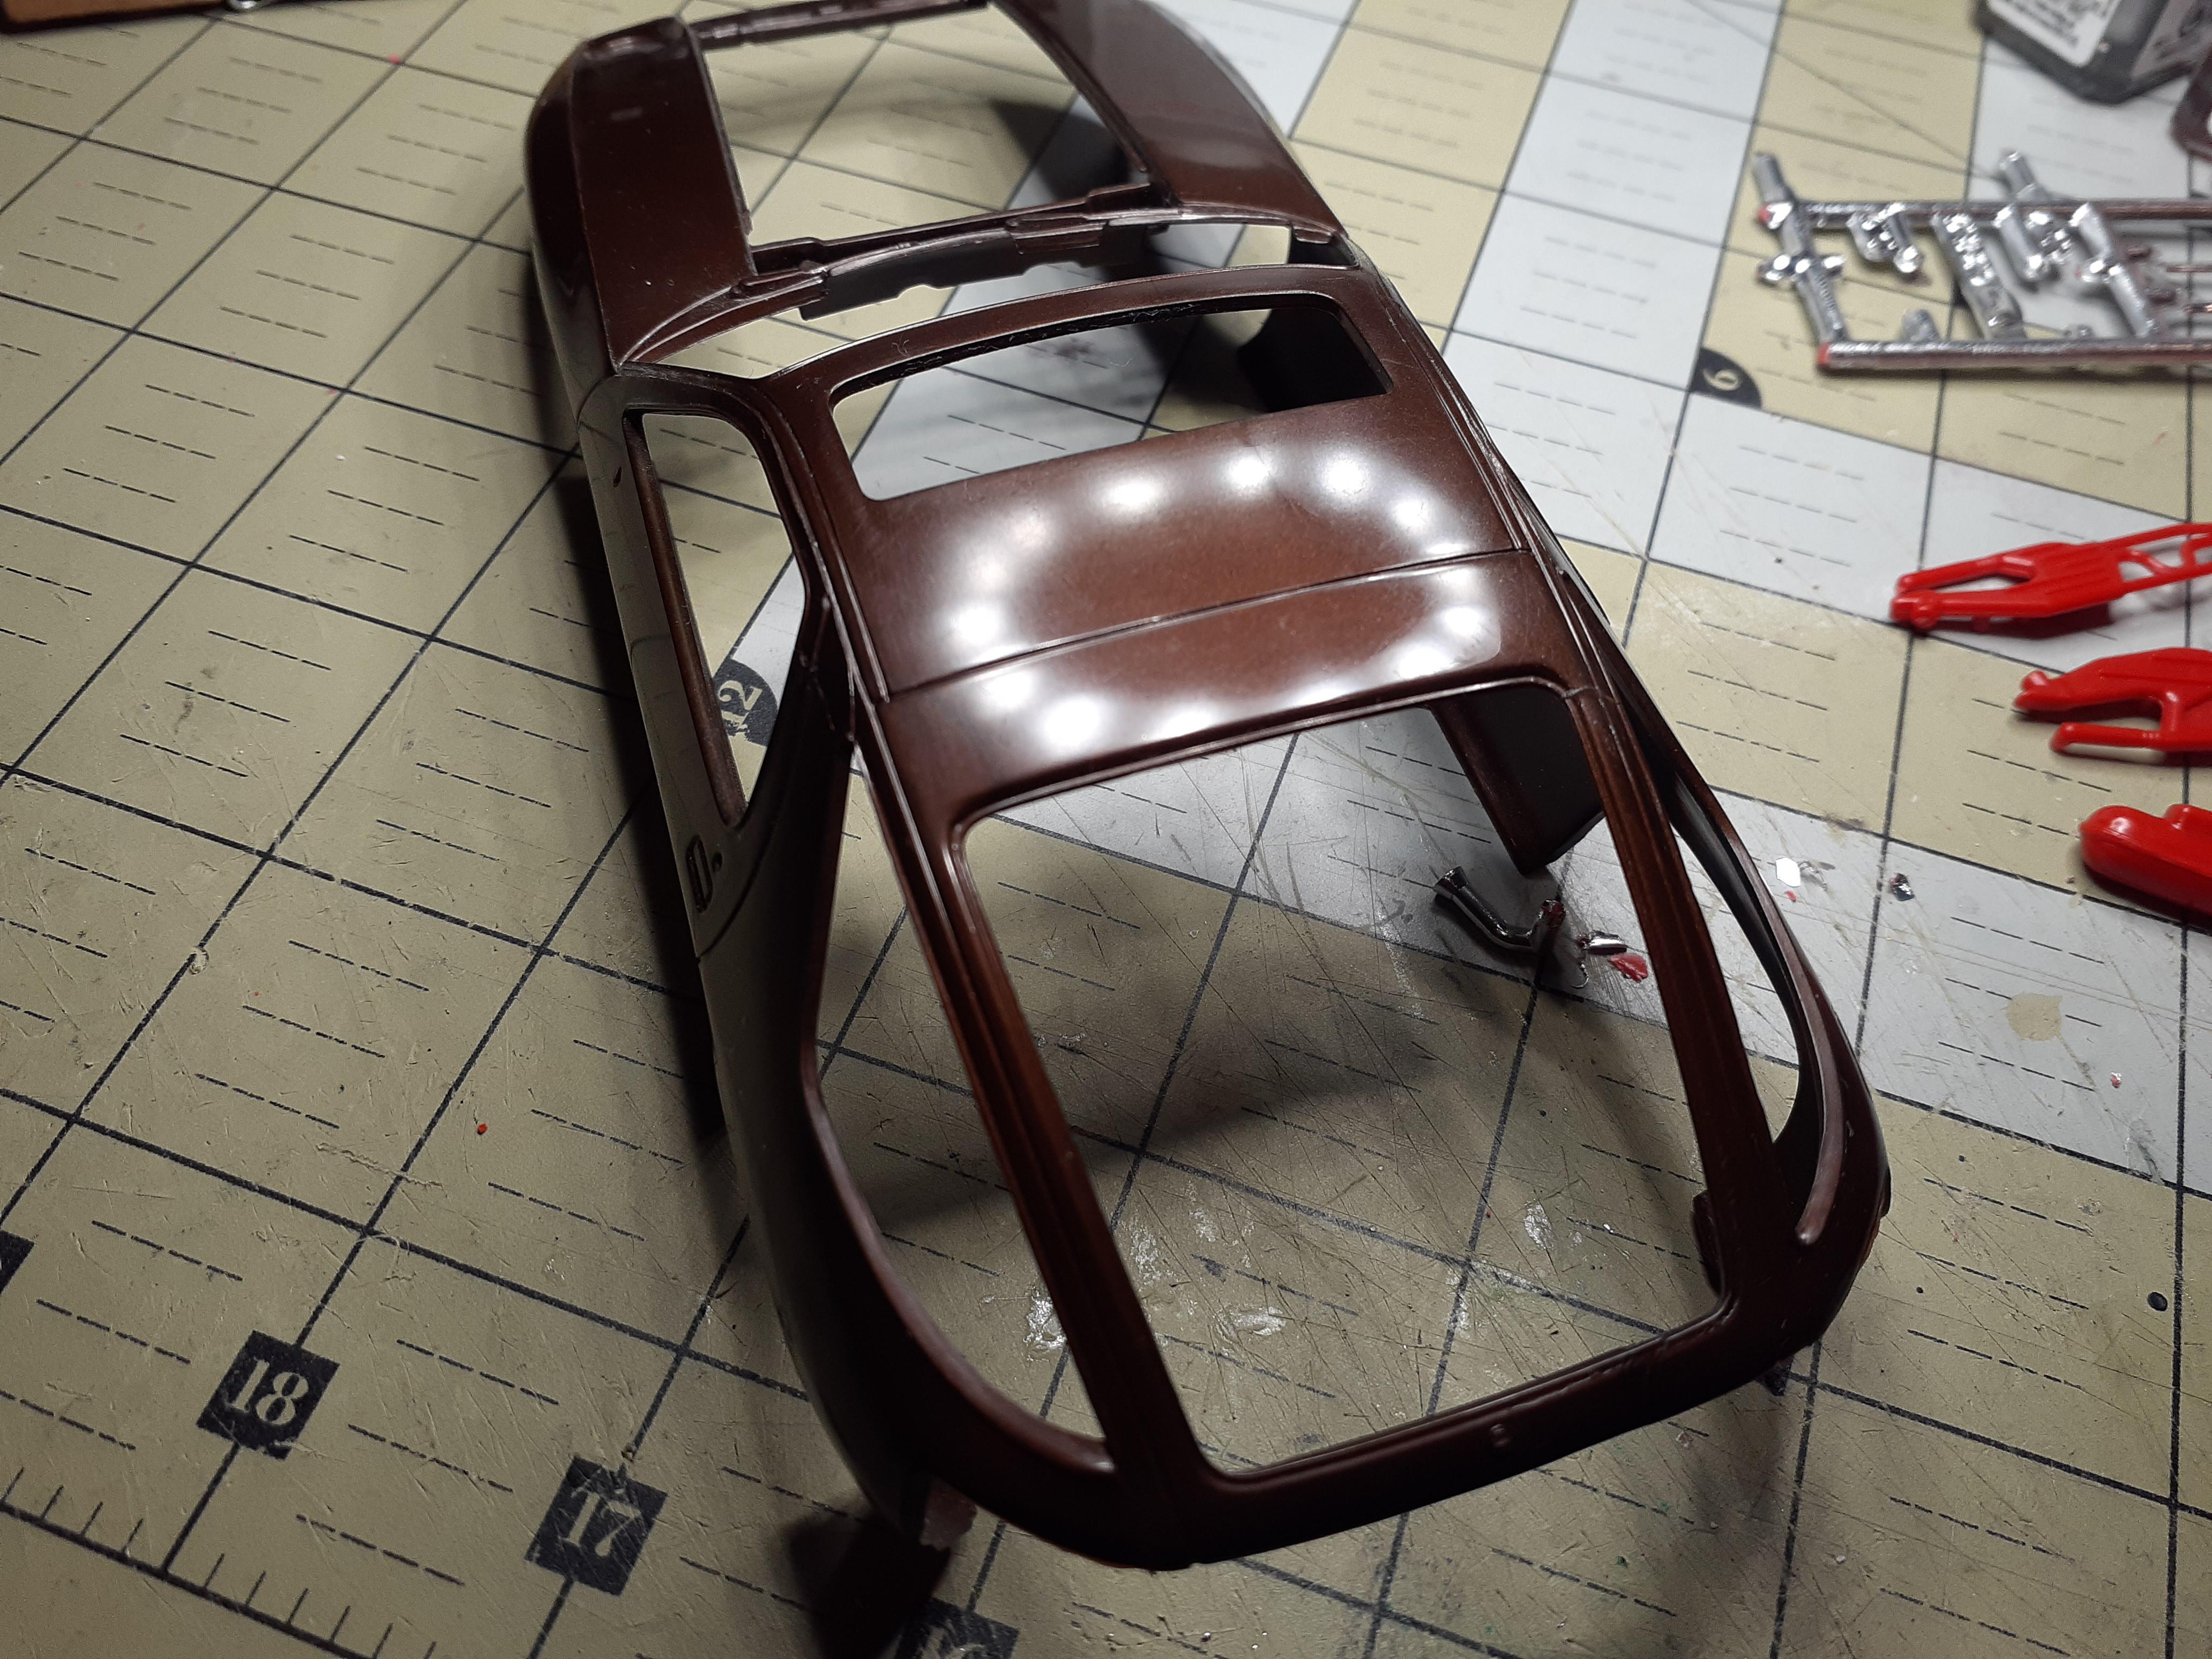
Here we have the 928 of the 3 pack of Porsche's offered back in 1988. I got this kit of 3 for close to nothing. This one was started and painted -not very well I must say. I kept this one built pretty much box stock with the exception of the wheels. They came from my parts box. The ones offered in the kit were less than desirable. I decided not to paint the body because the plastic was very nice. Thanks for looking
-
Sorry entered twice by mistake
-
Here we are with the 3rd of the 3 Porsches. Like the other 2, the plastic is so nice, I'm not gonna paint it. Here she is after a tooth paste polish. Stay Tuned...
-
Just finished this fun, quick build. It’s the Revell metal body, pre-painted kit. I used Tamiya Intermediate Blue (AS-19) on the engine. Toned down the marker and backup lights with Tamiya Smoke acrylic.
-
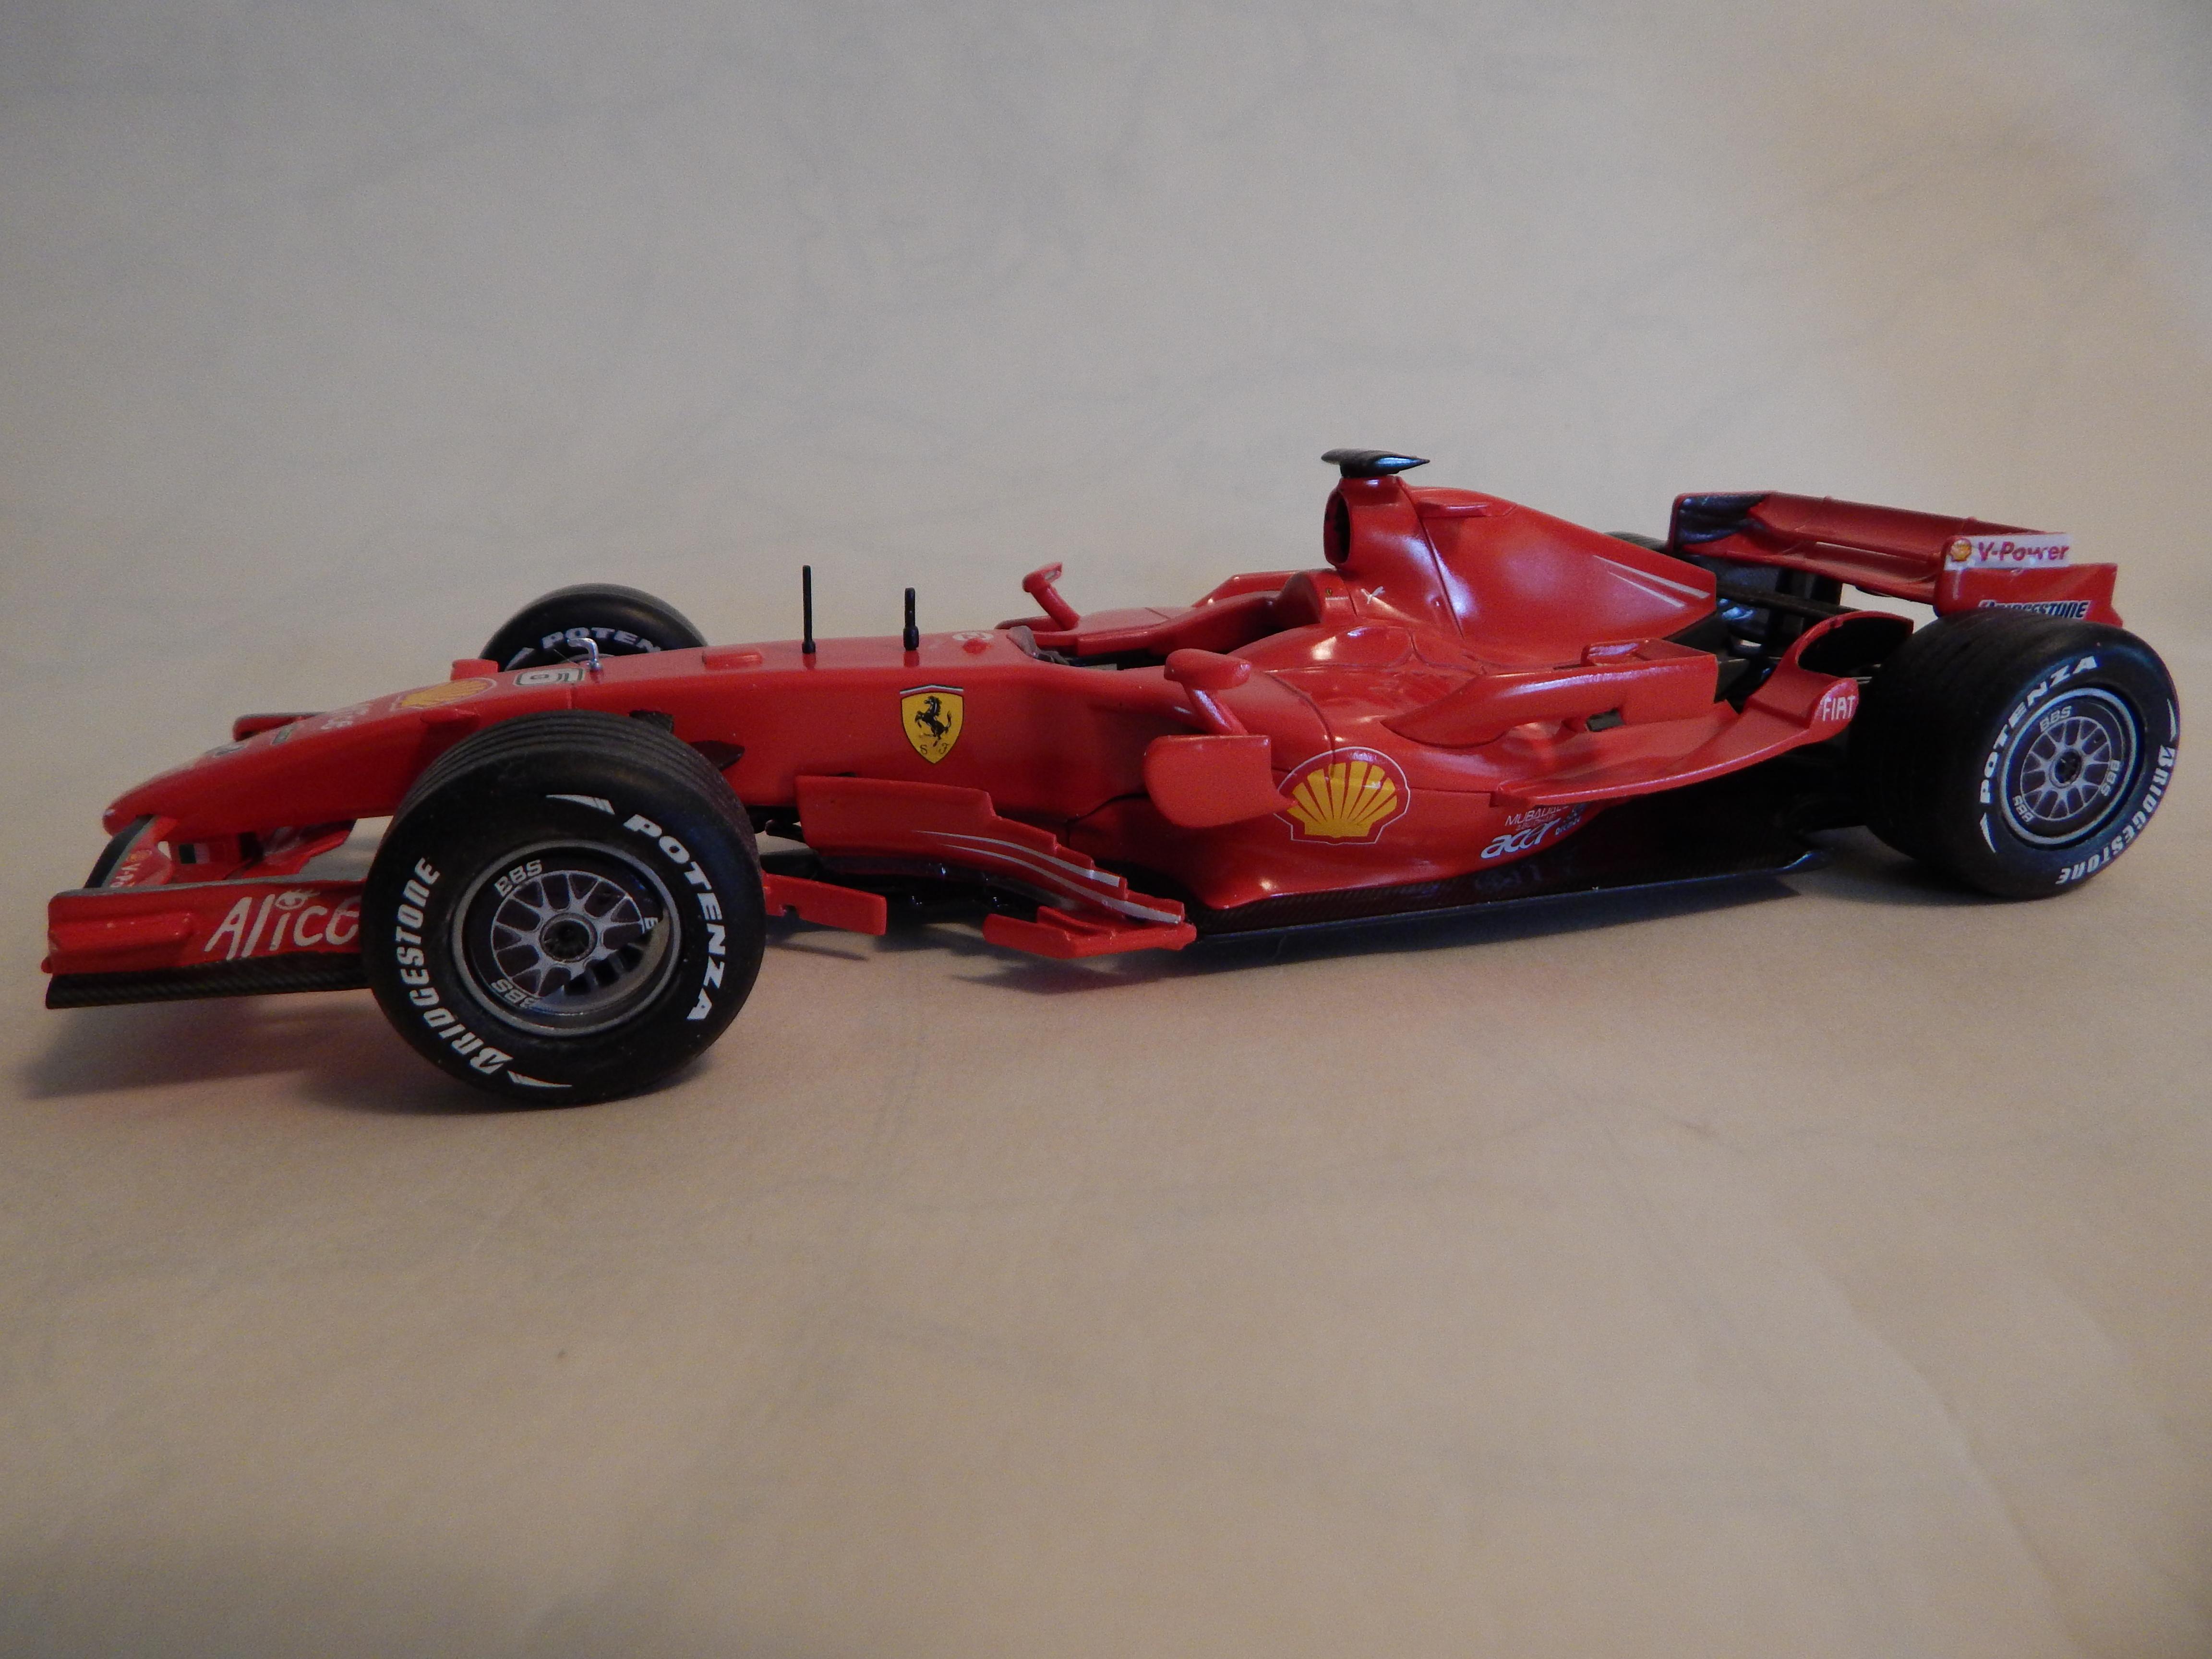
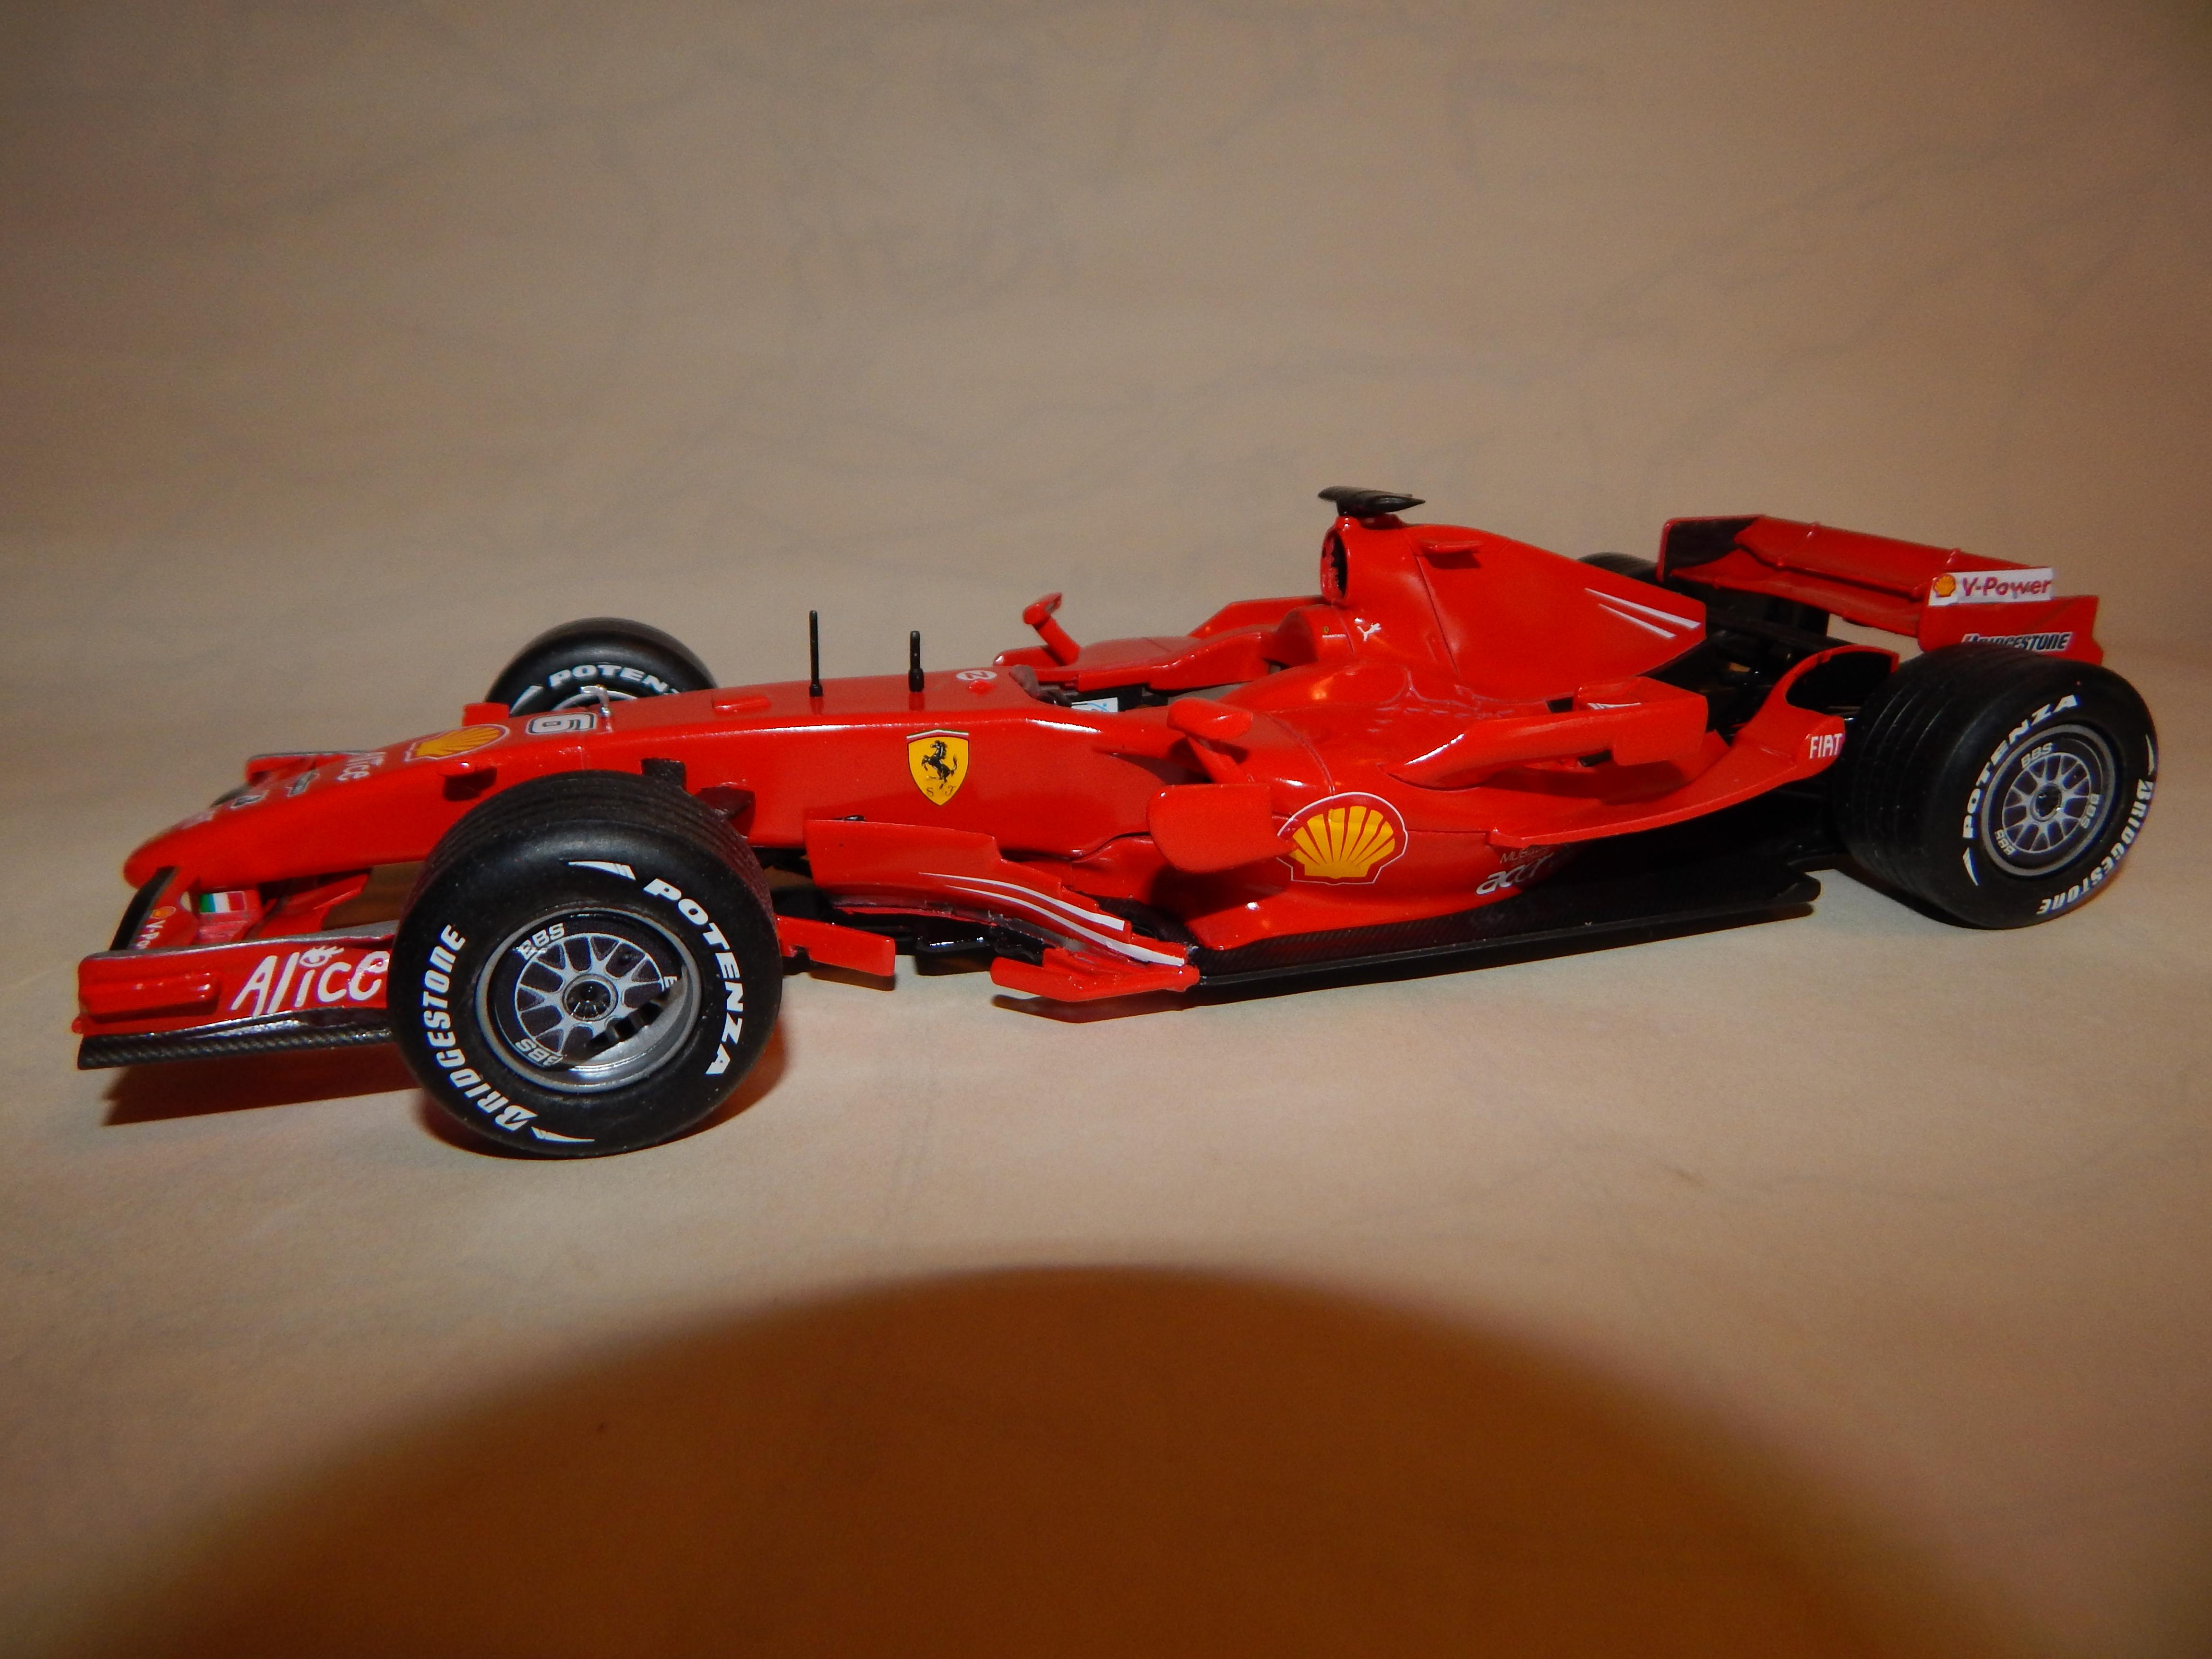
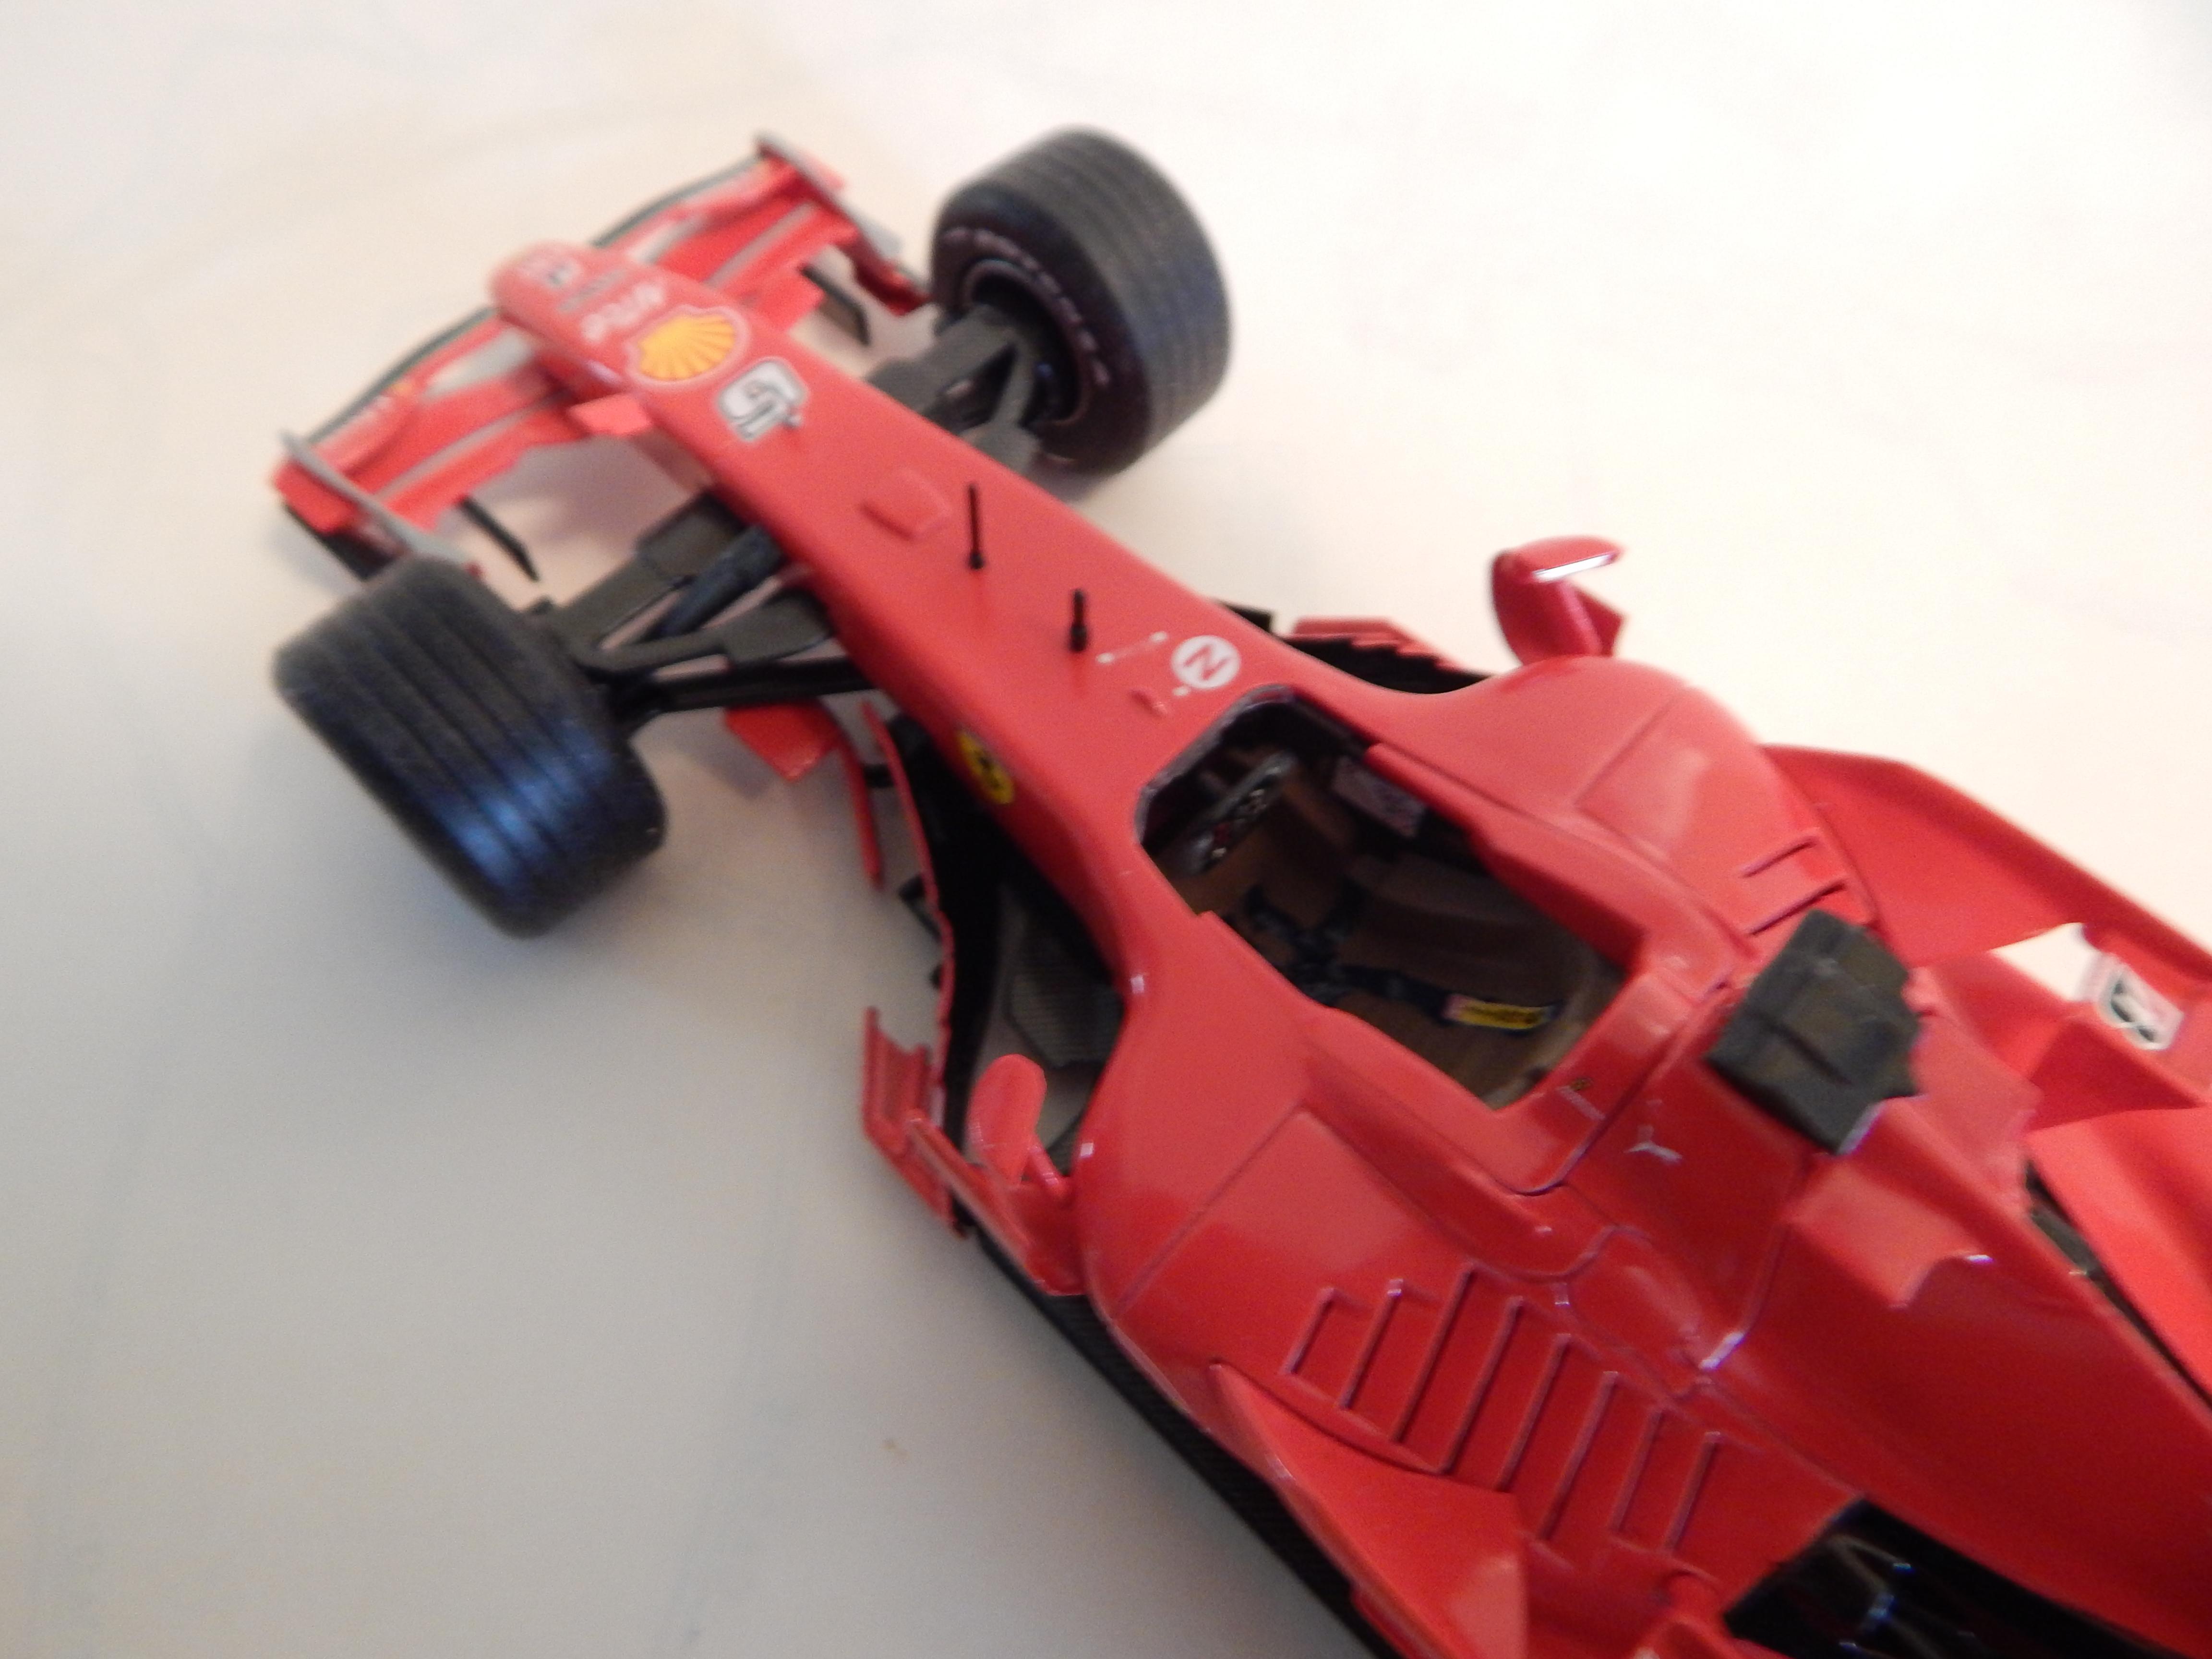
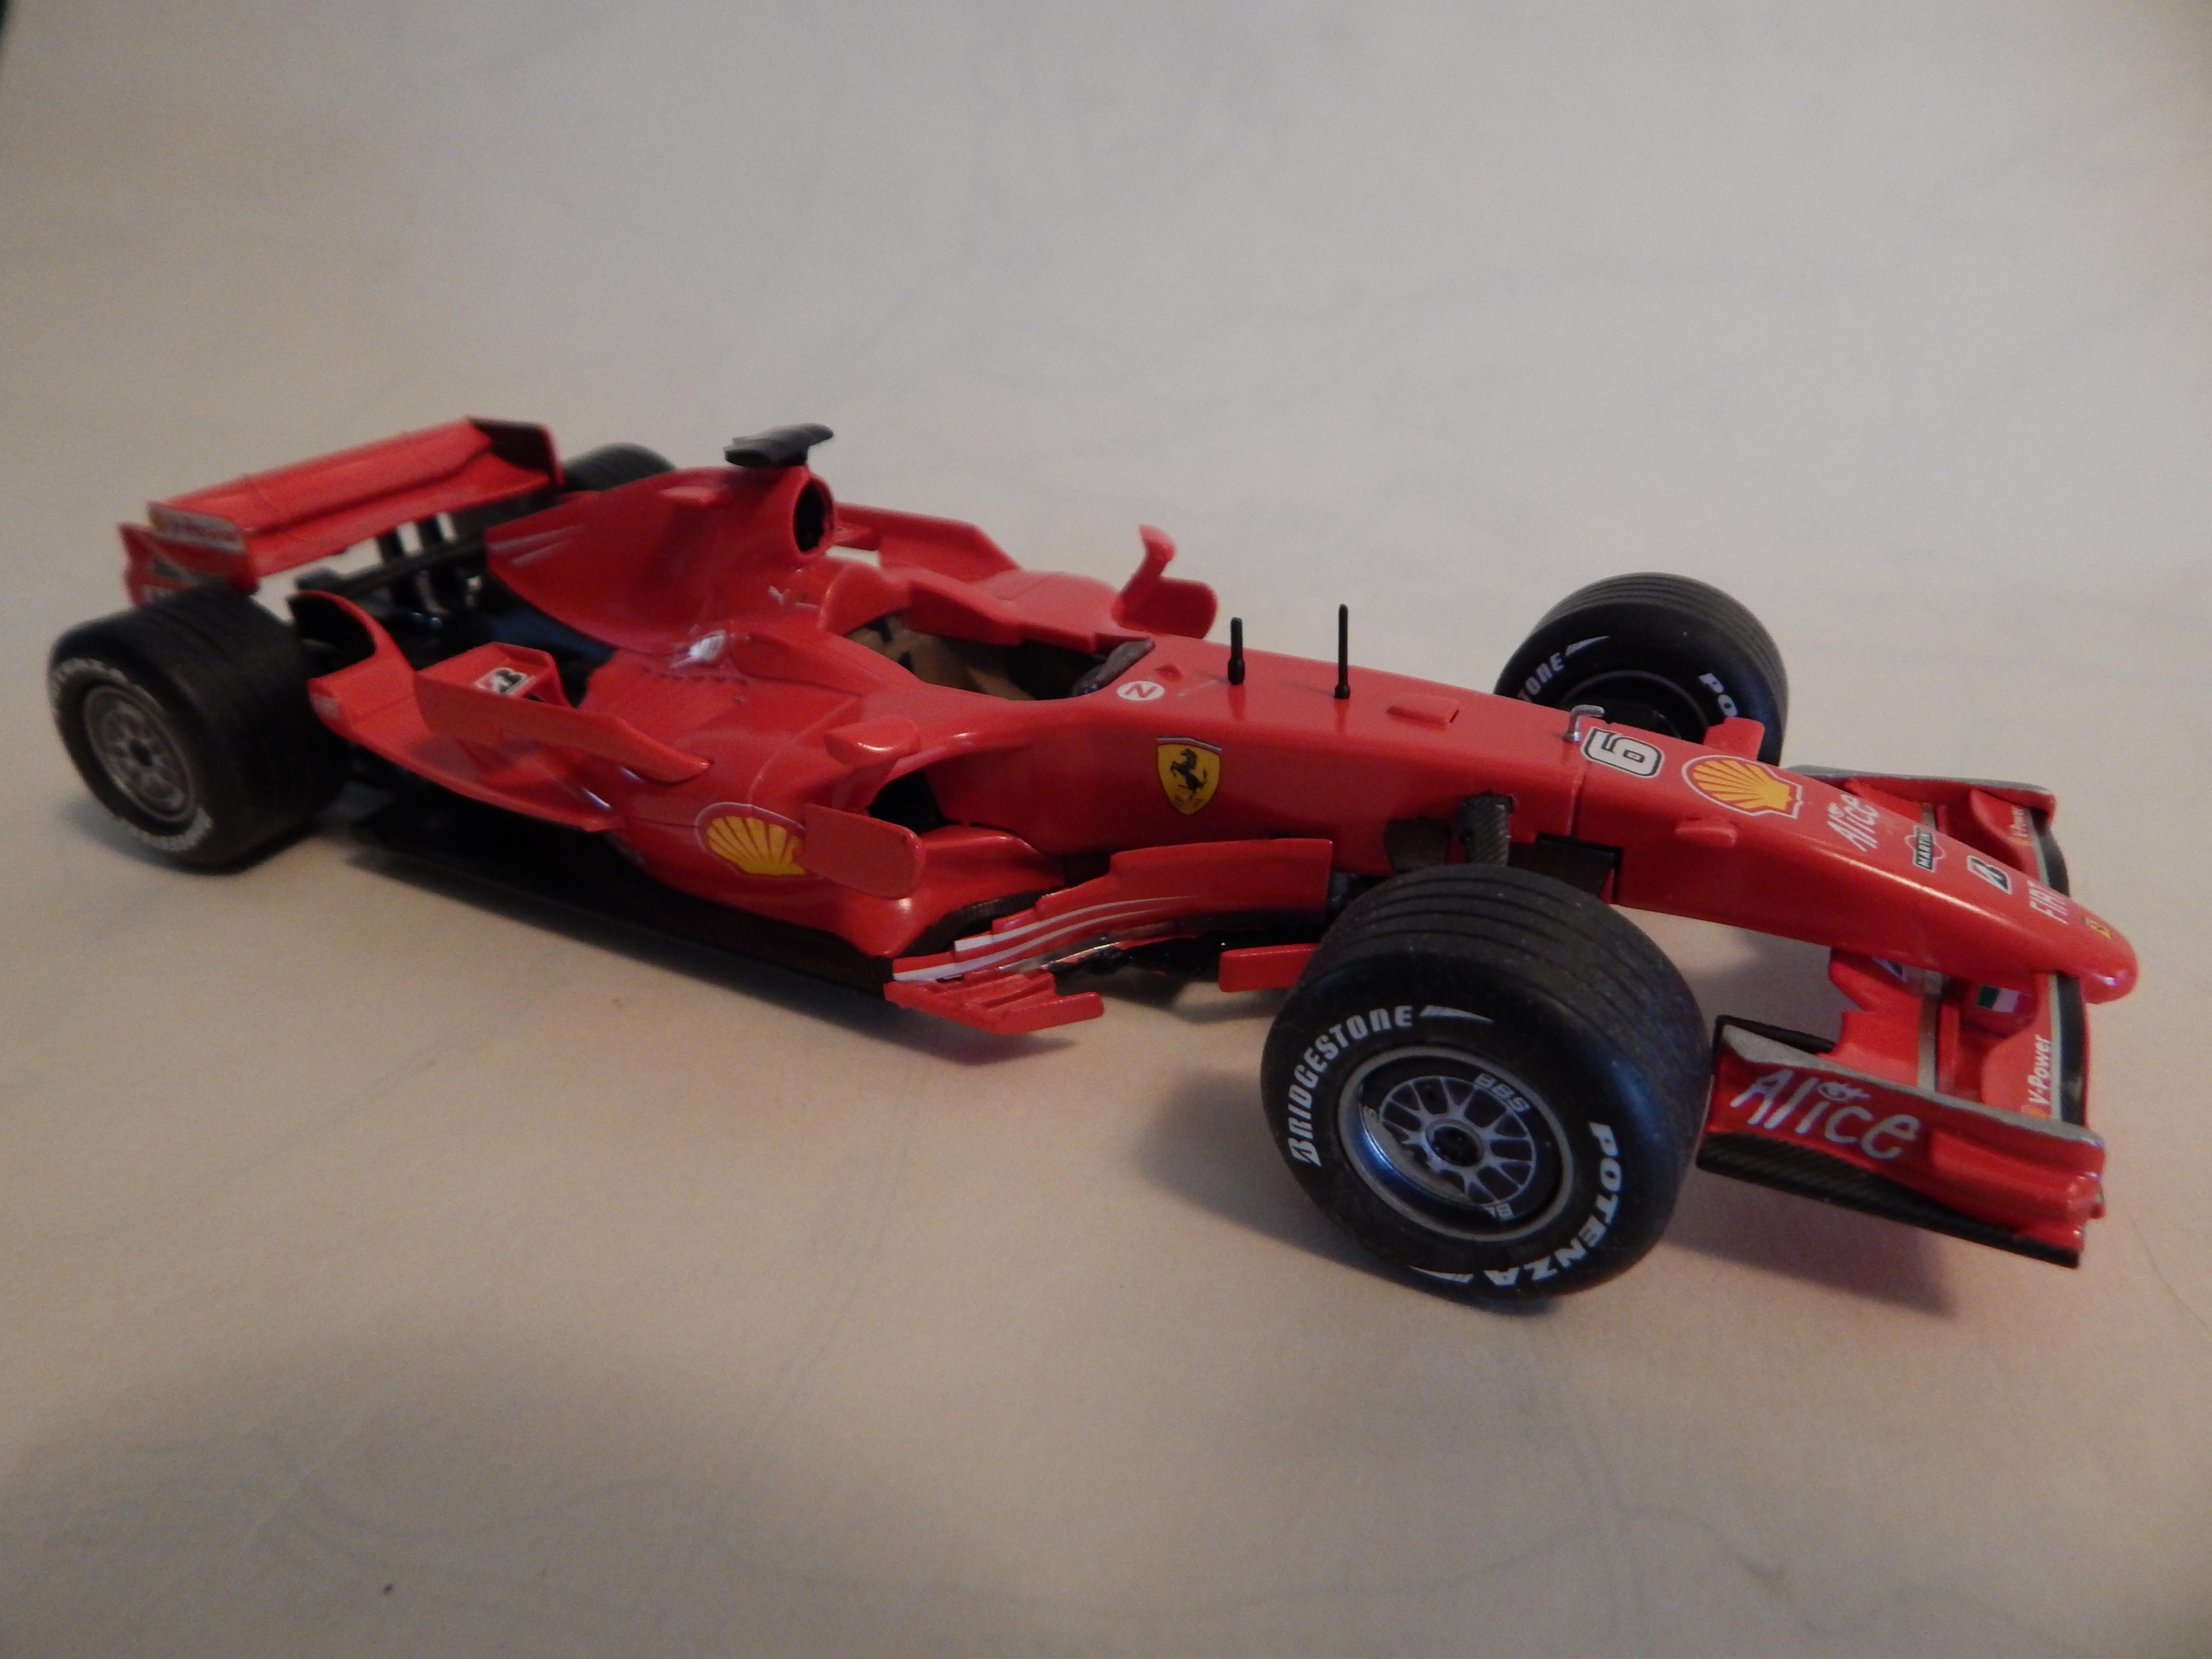
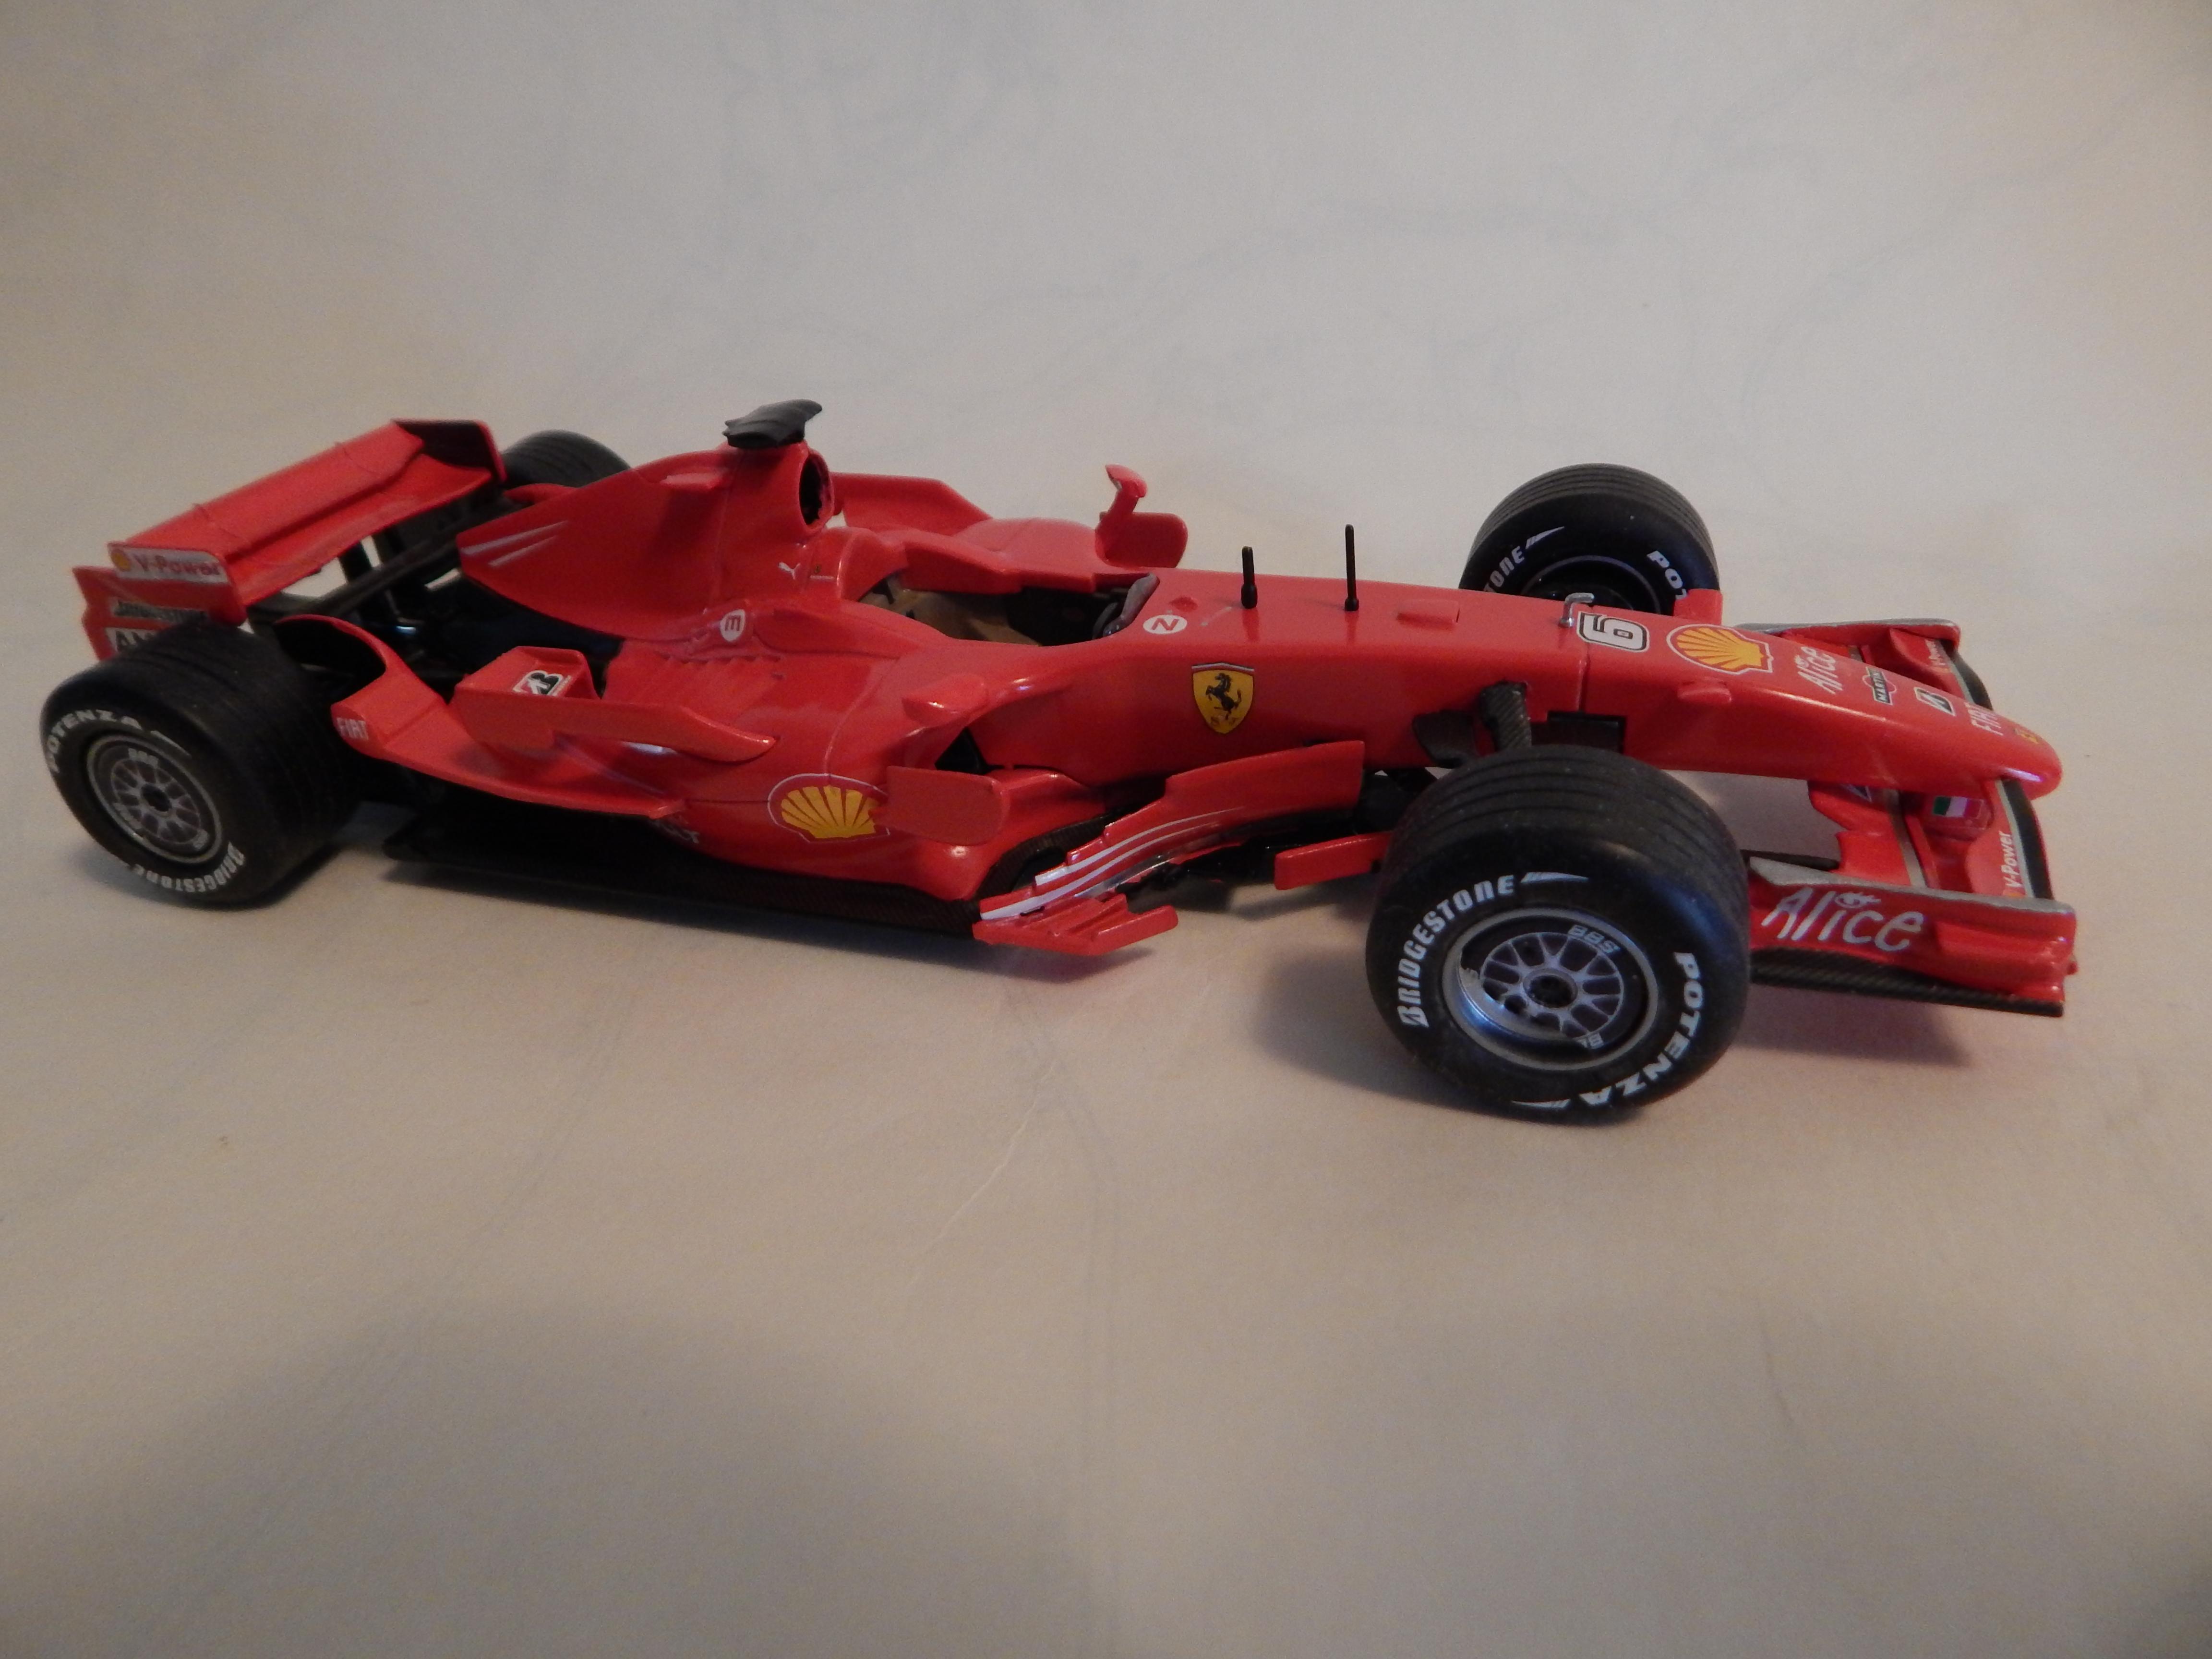
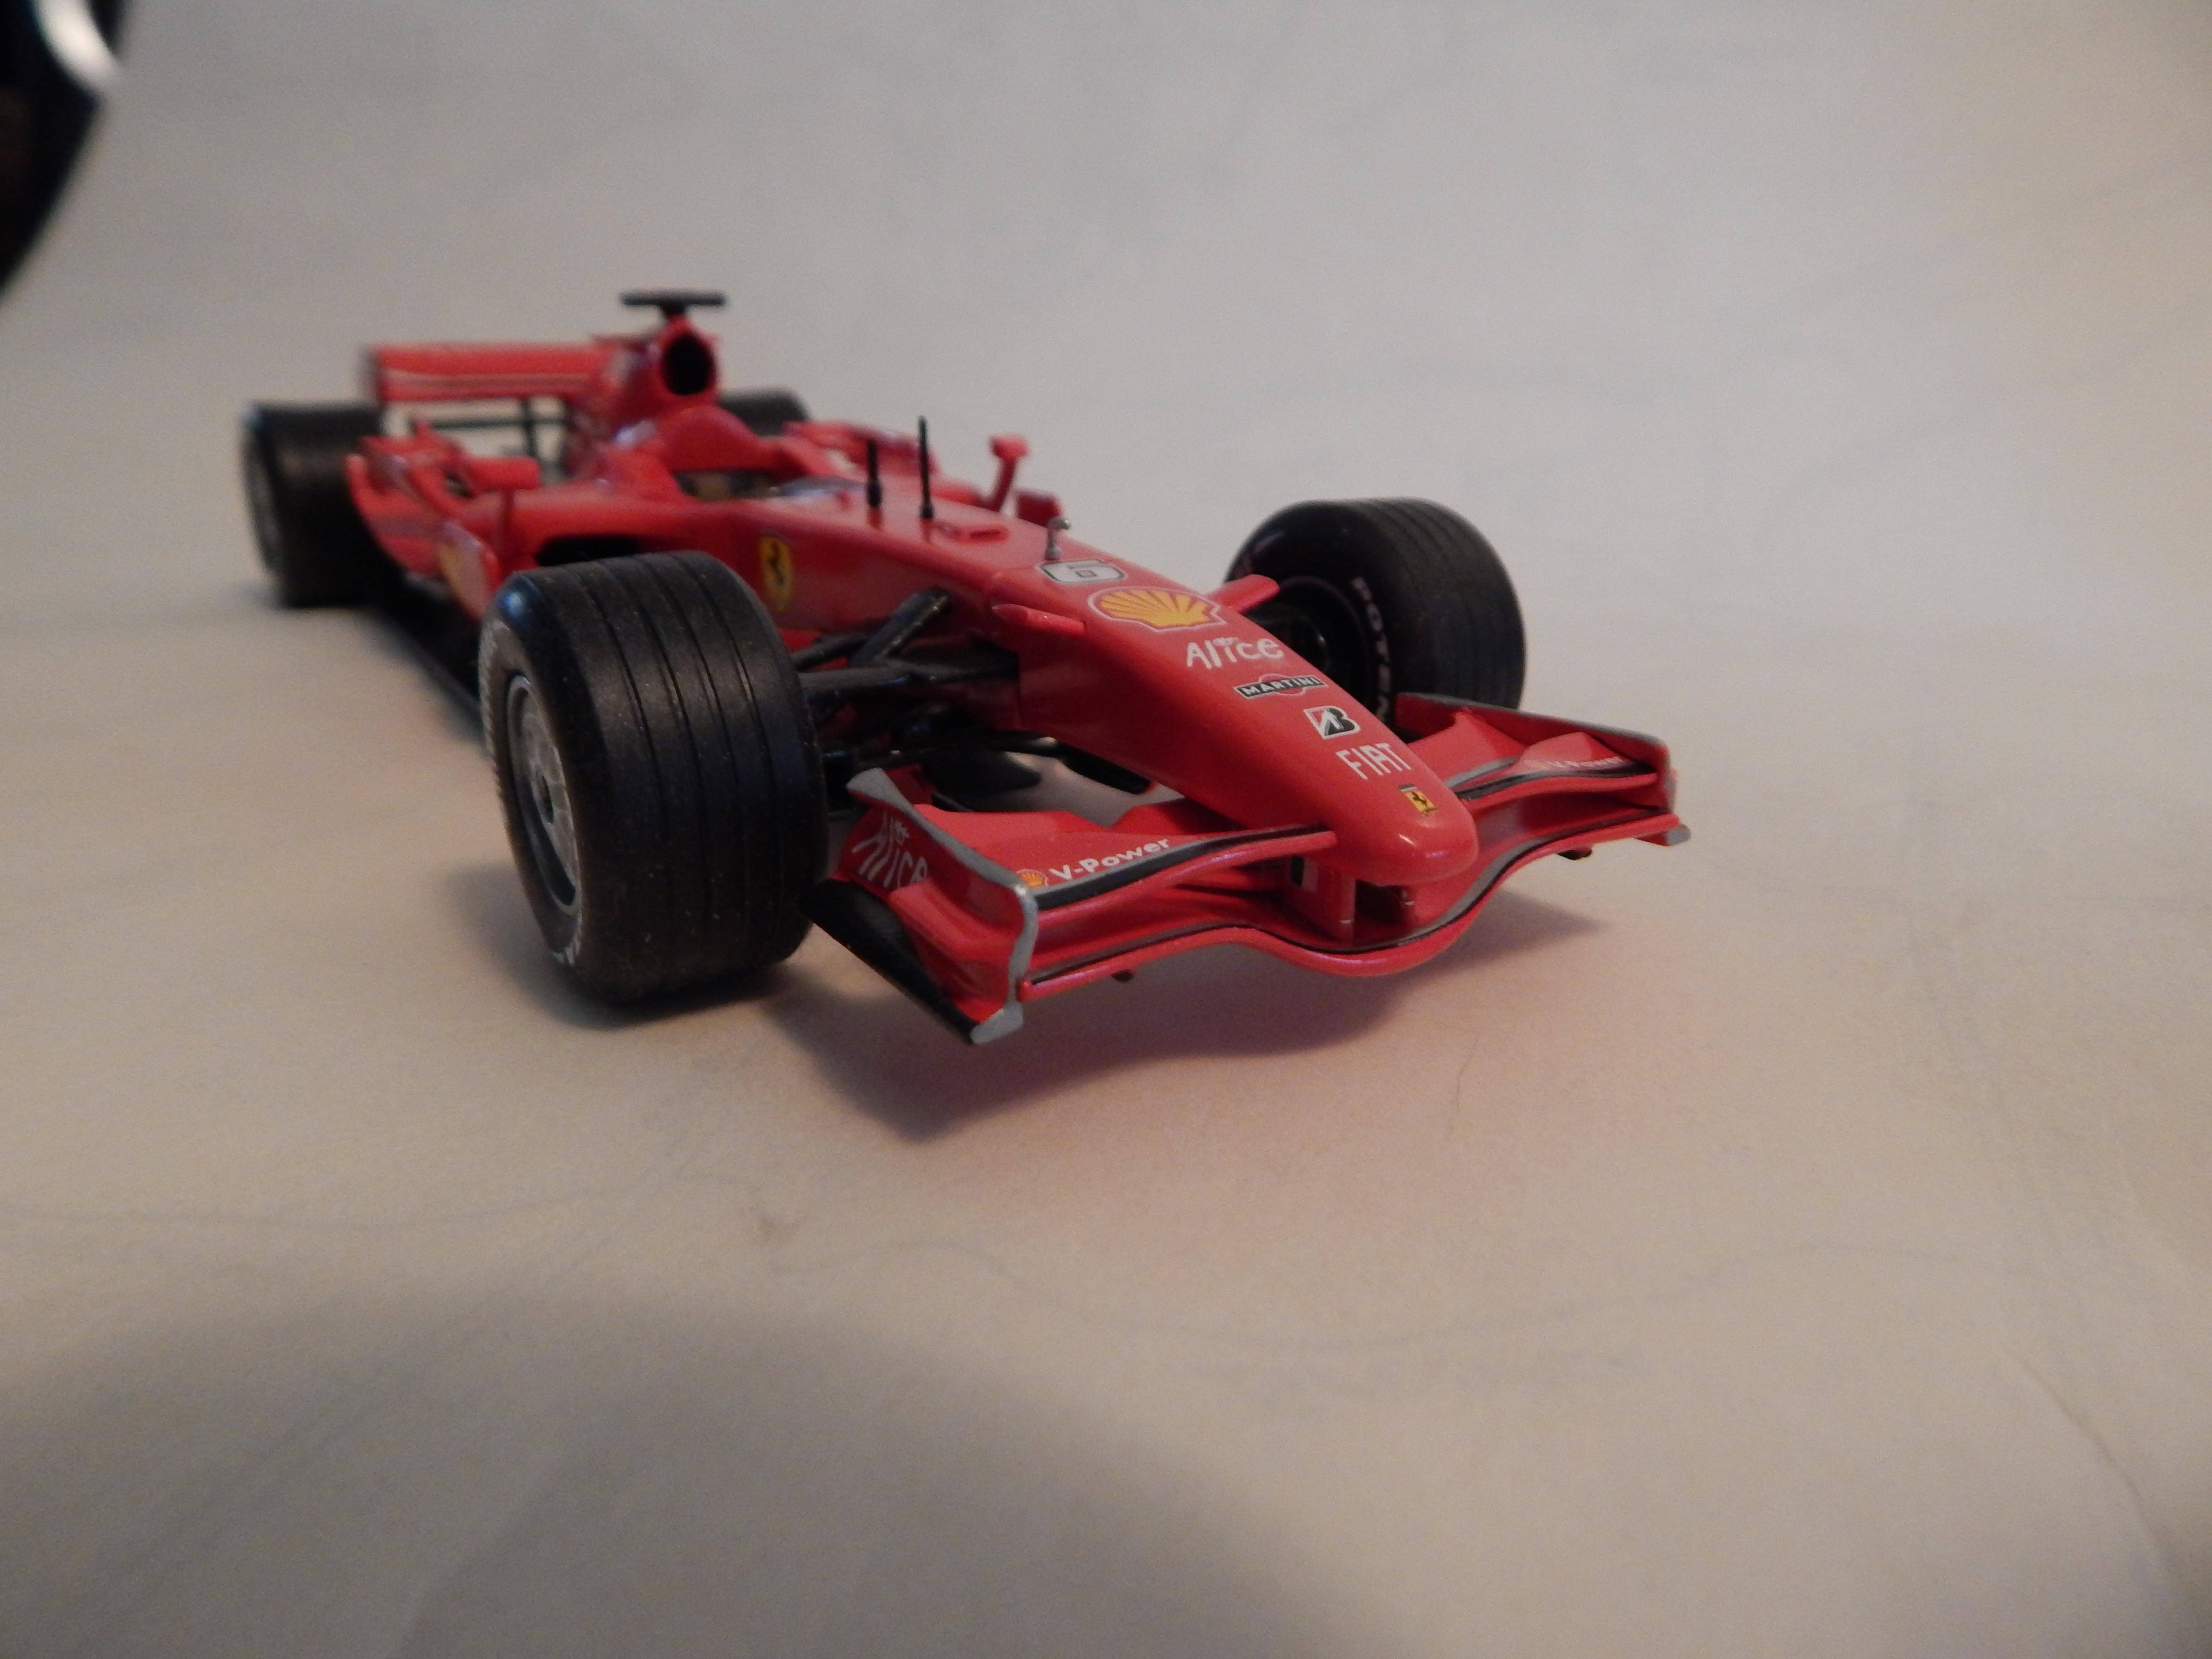
My latest off the bench. I really enjoyed building this kit, my 1st F1 car. Revell 1/24 all the parts fit well and the decals, oh so many decals, went down great with some solvent. Most of the time was putting on all the carbon fiber decals on the suspension components. Comments welcome as always and thanks for looking.
-
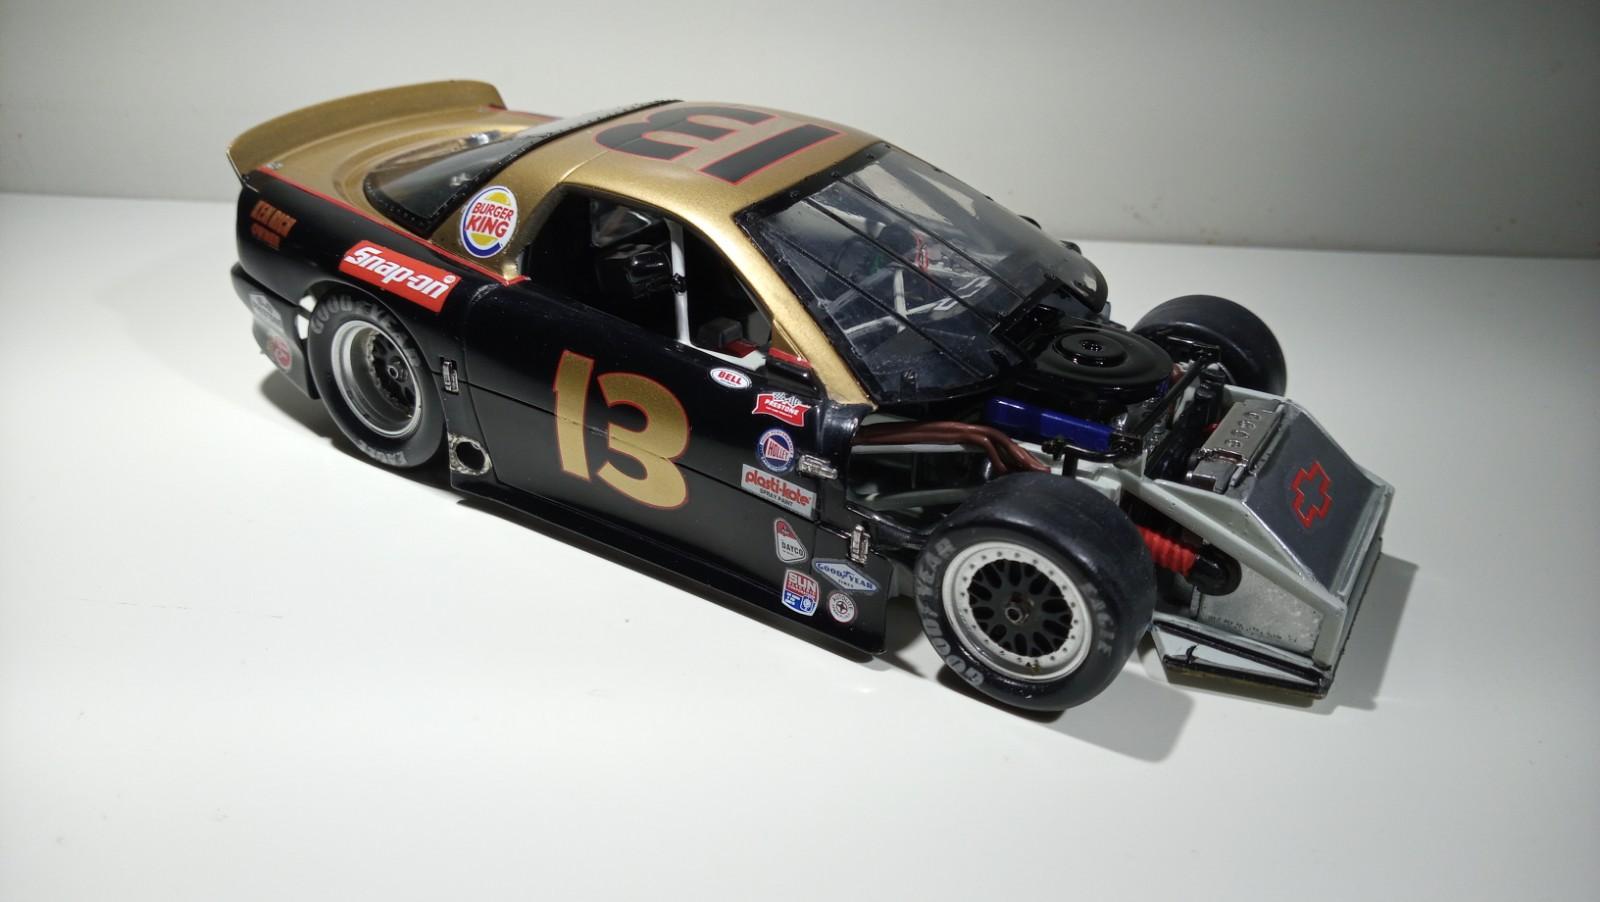
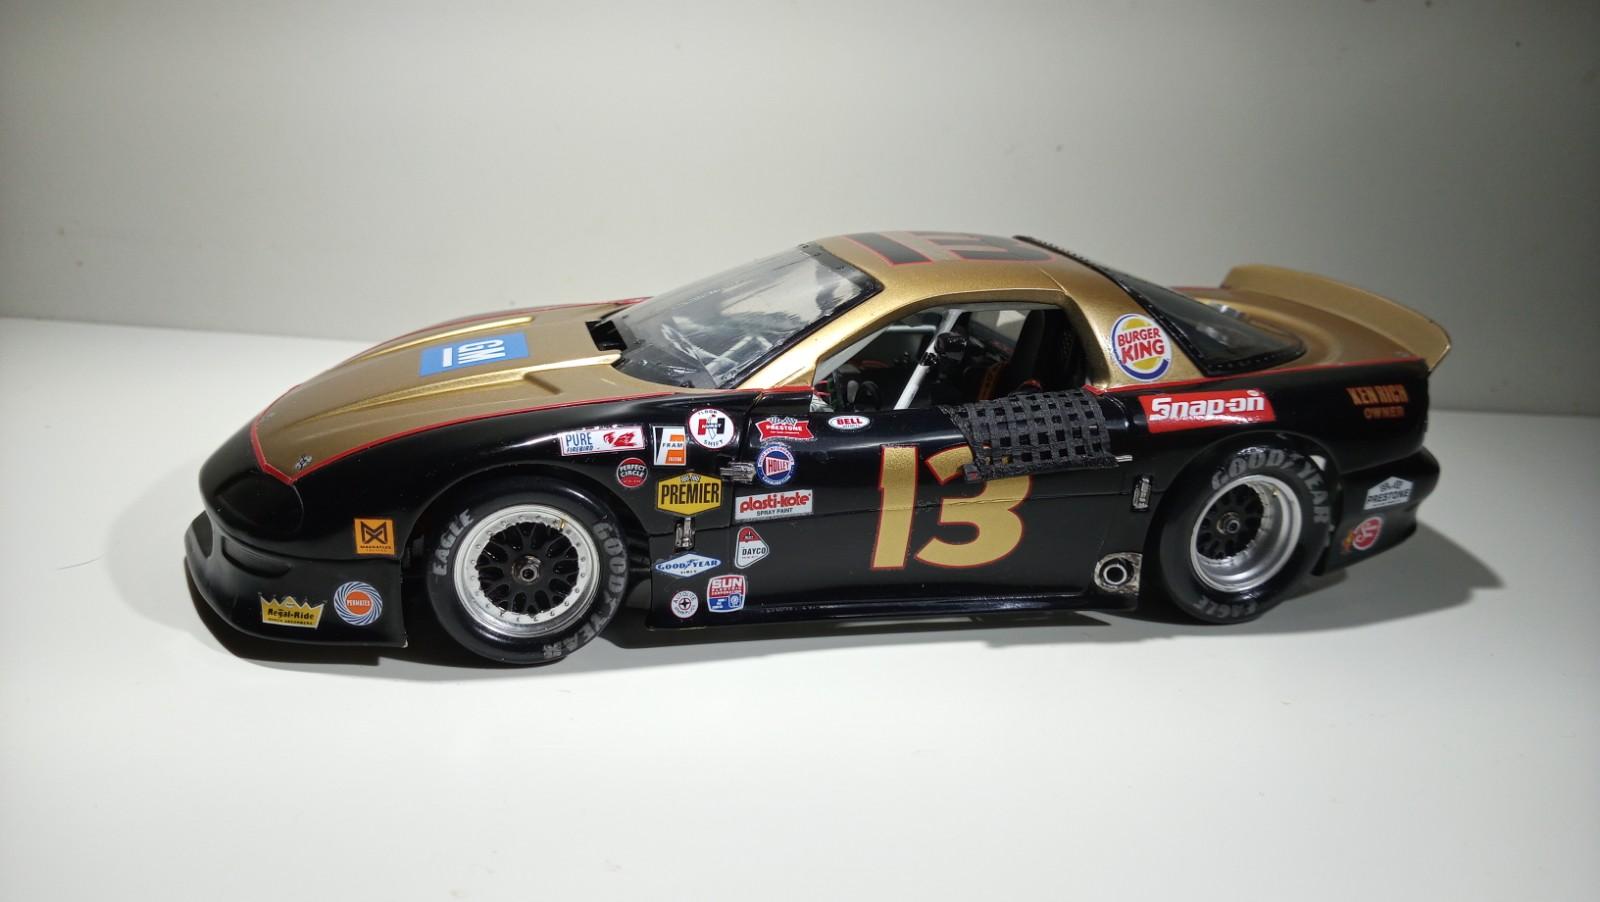
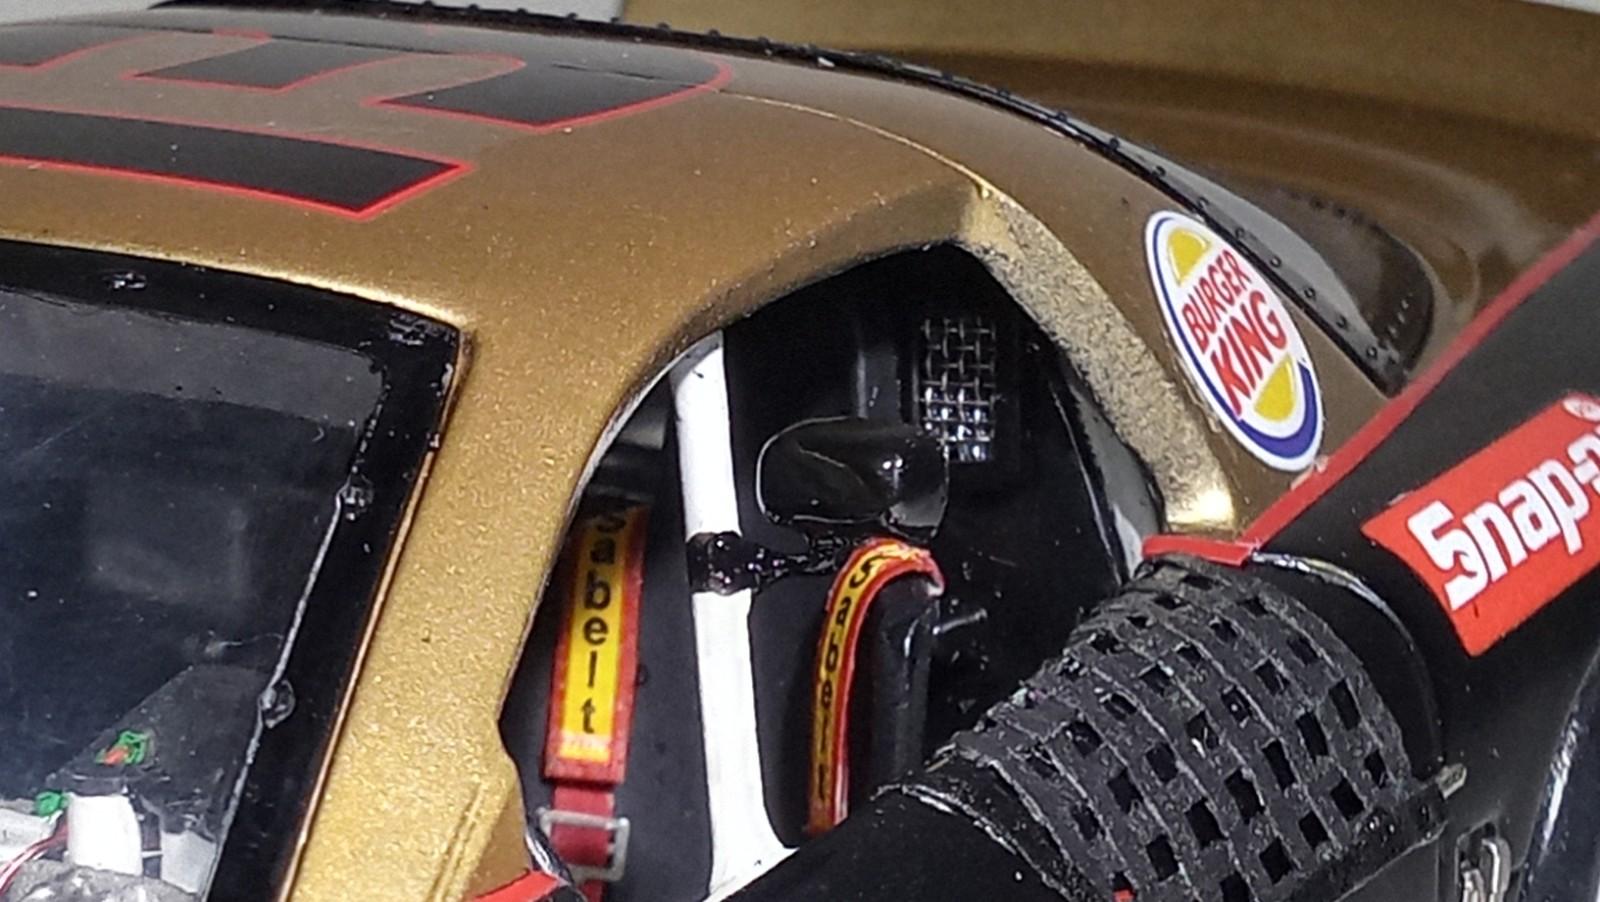
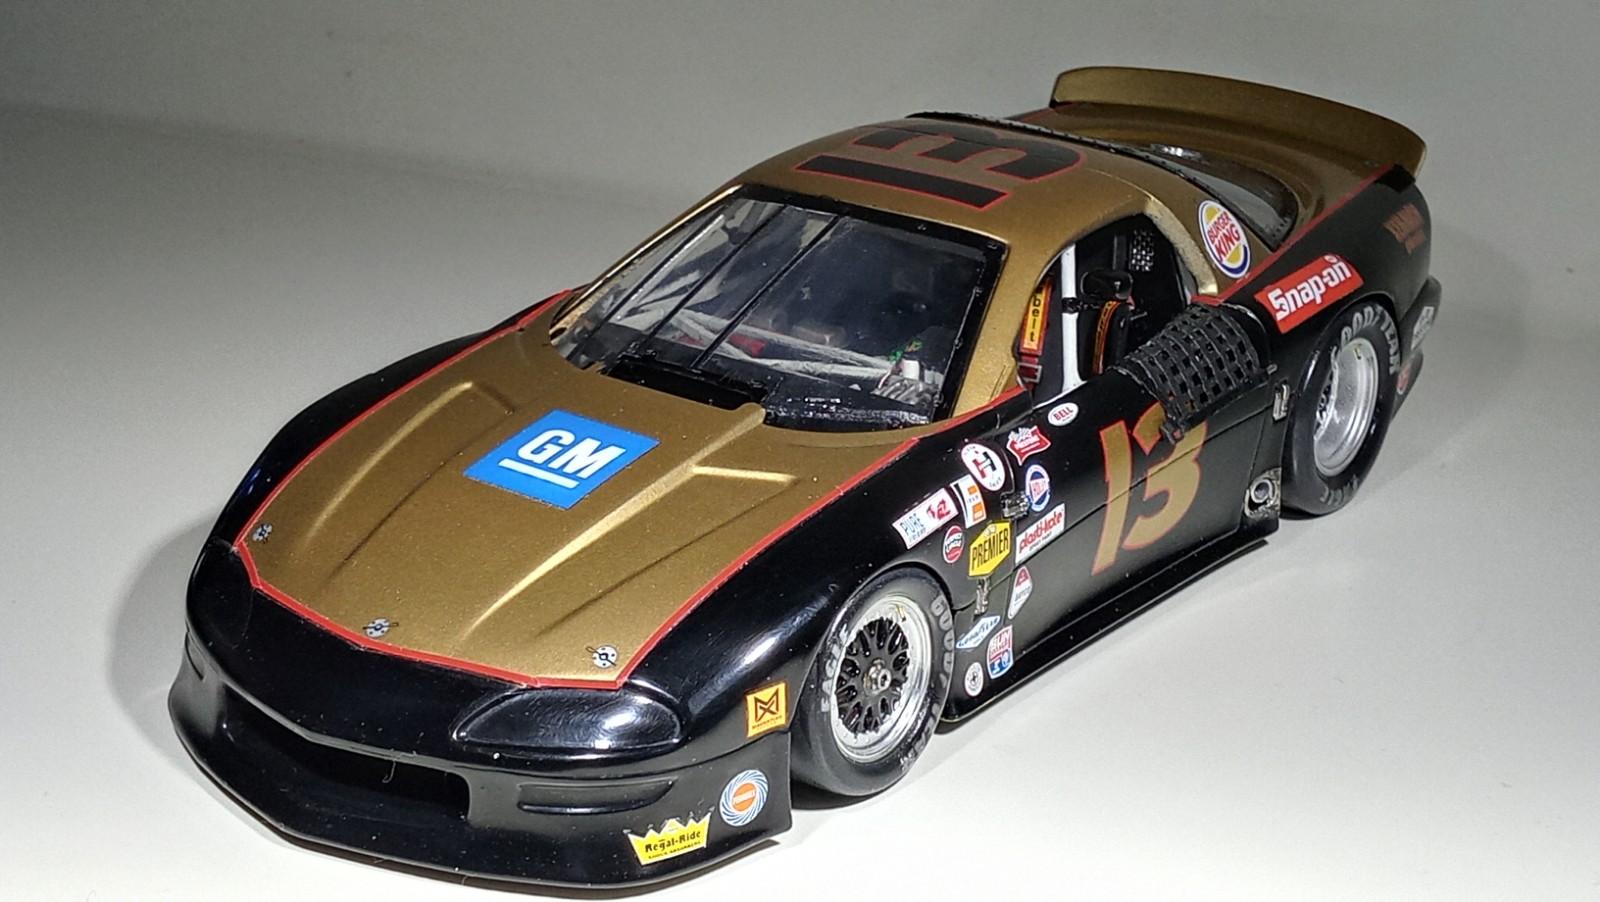
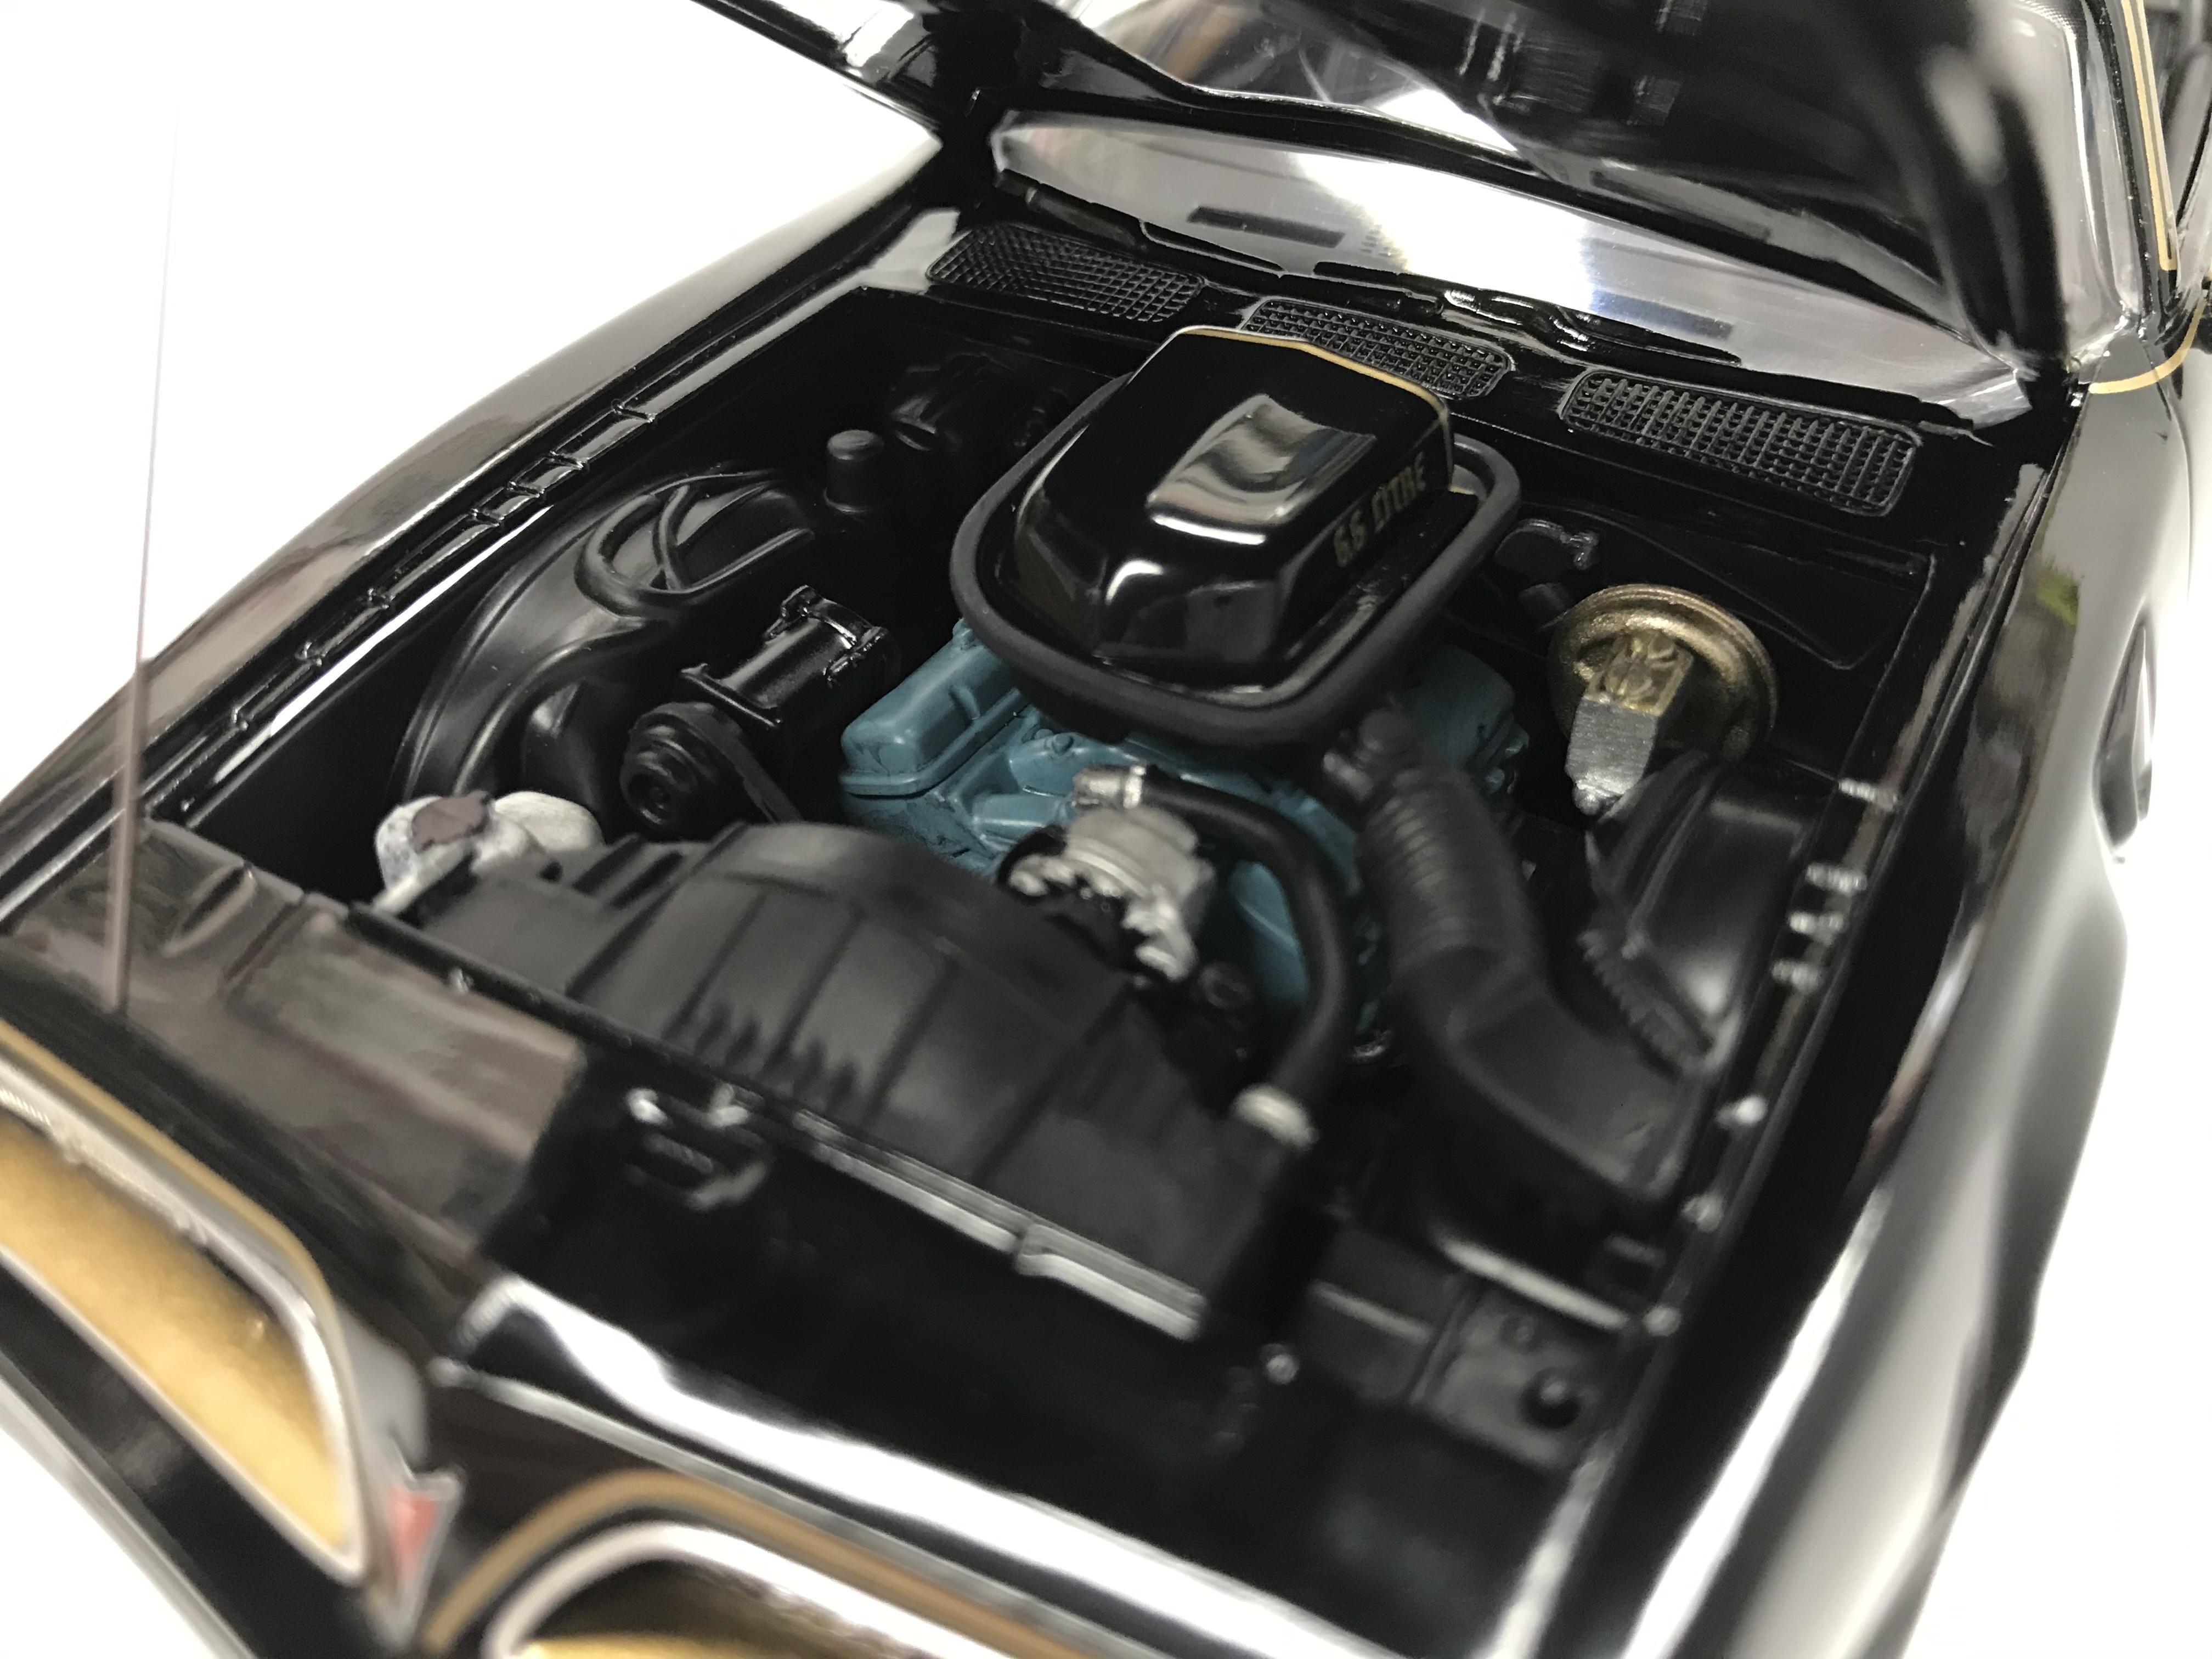
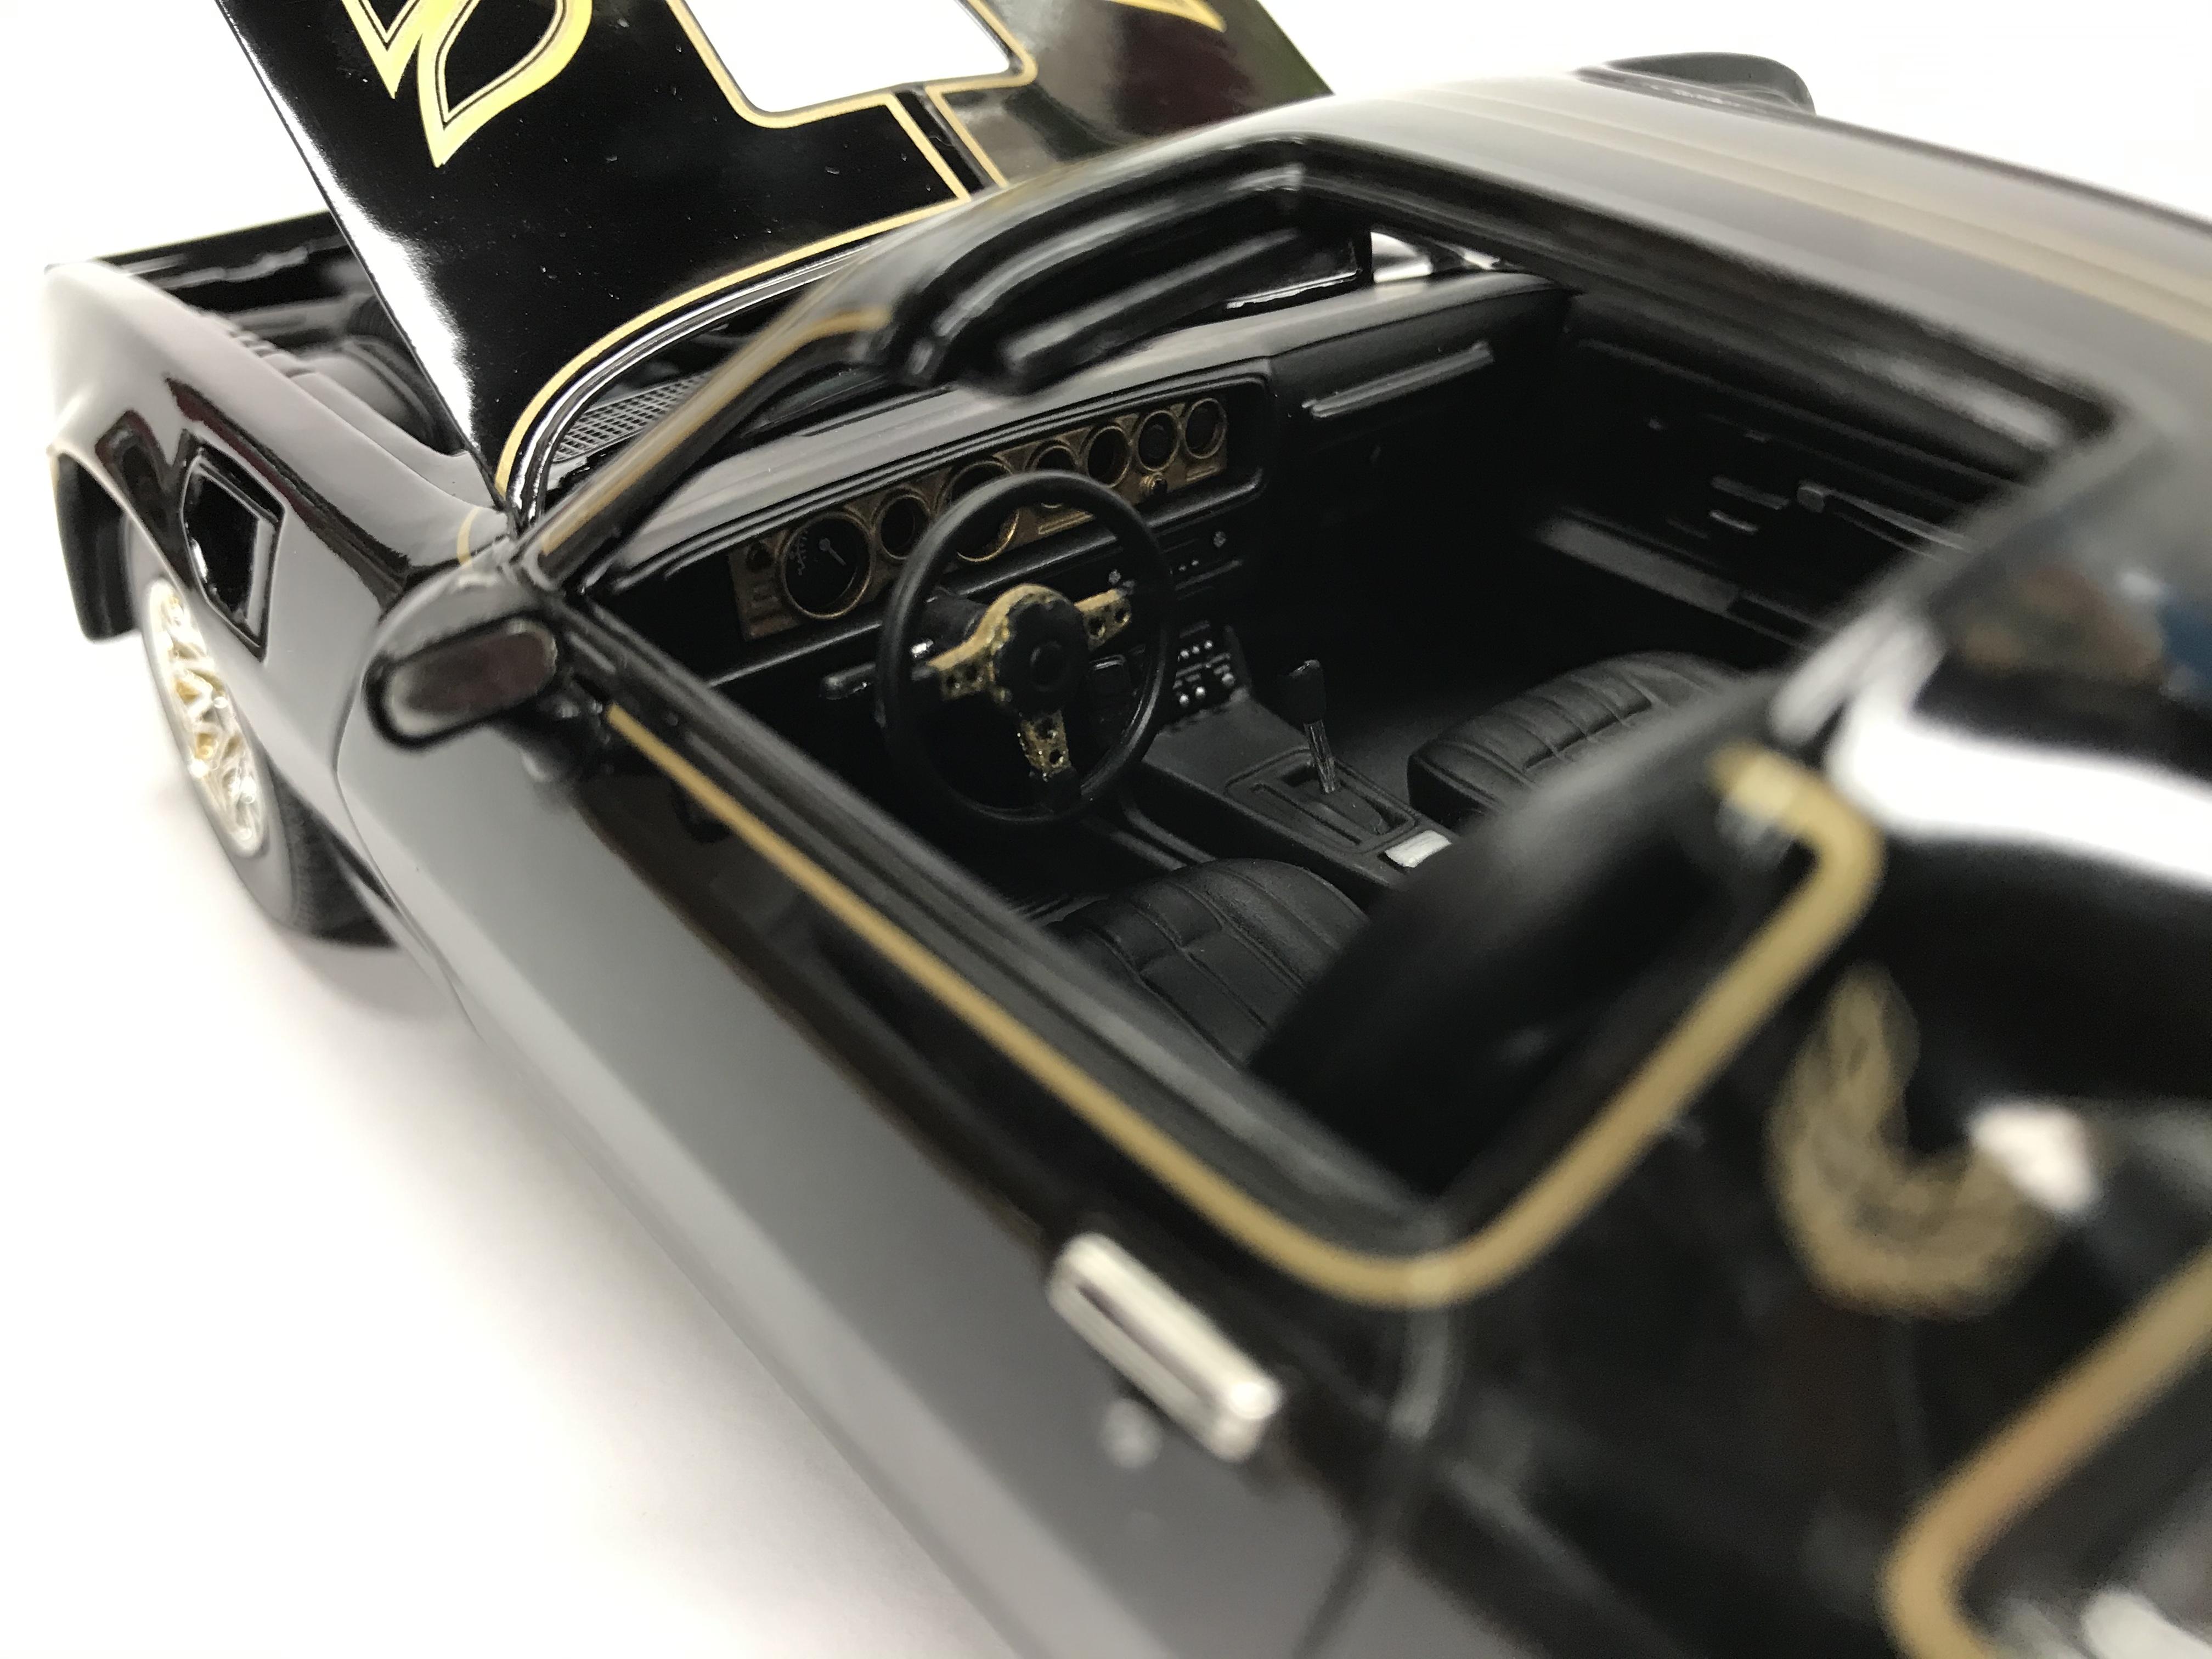
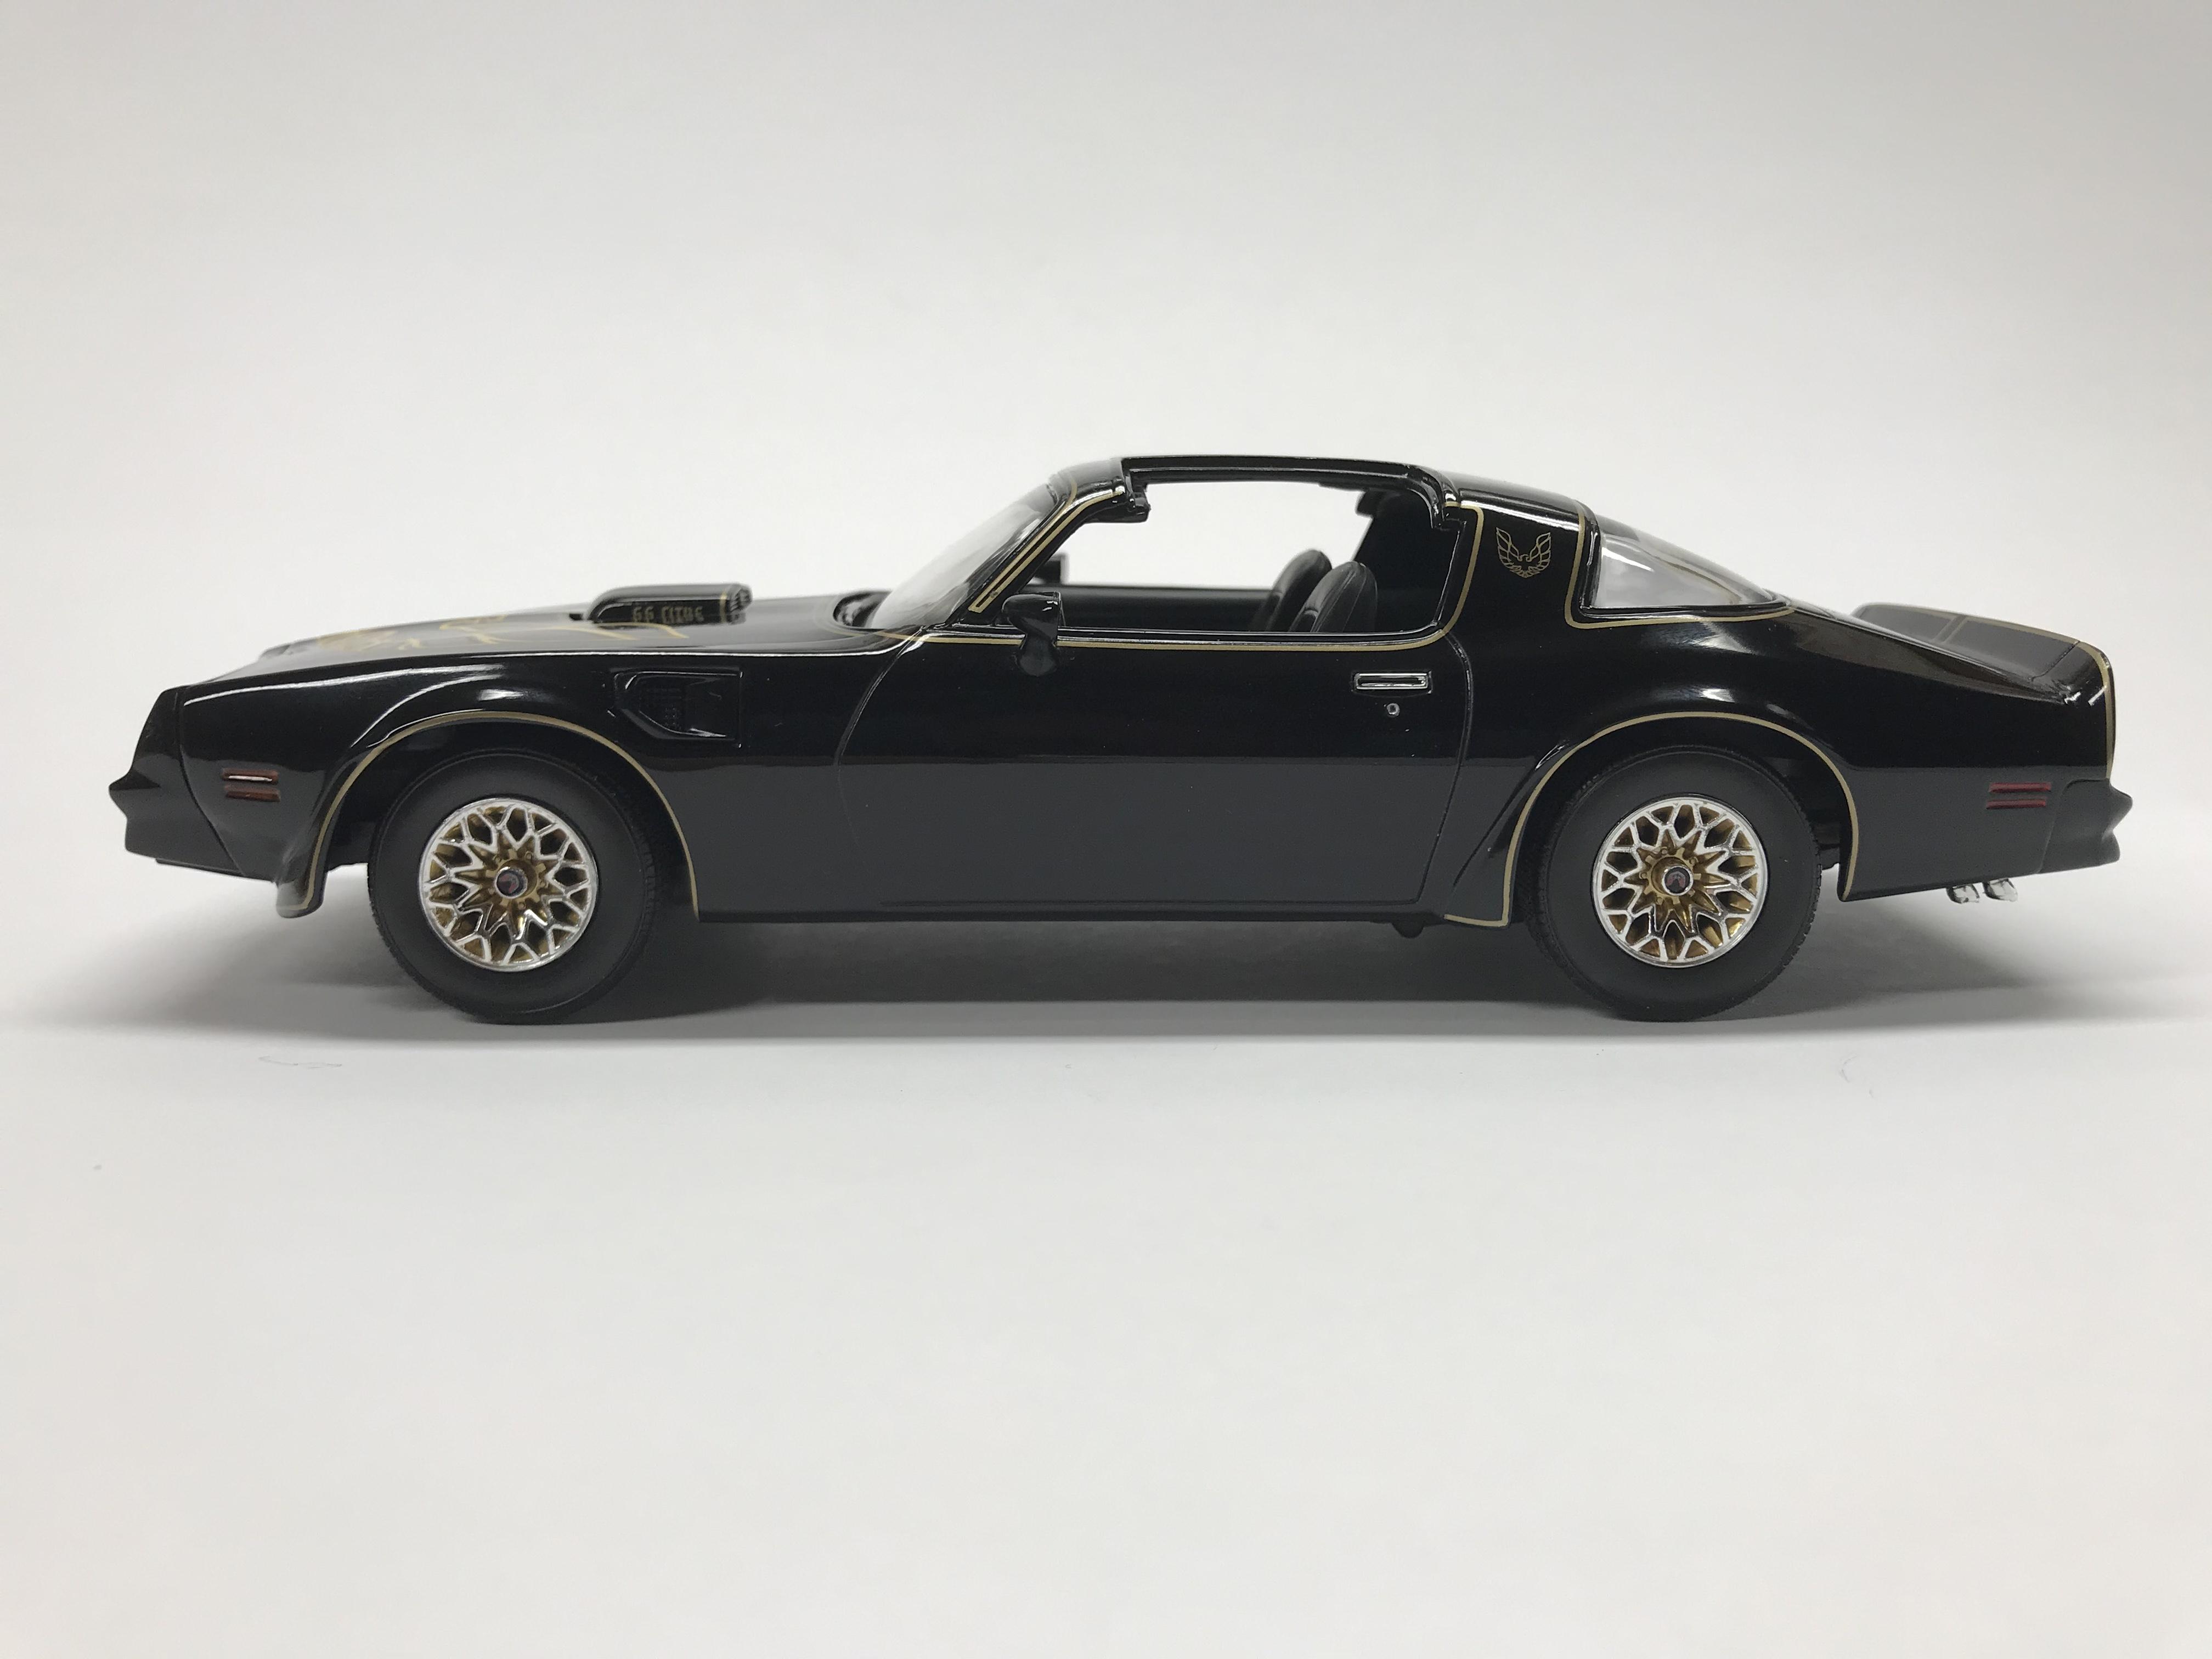
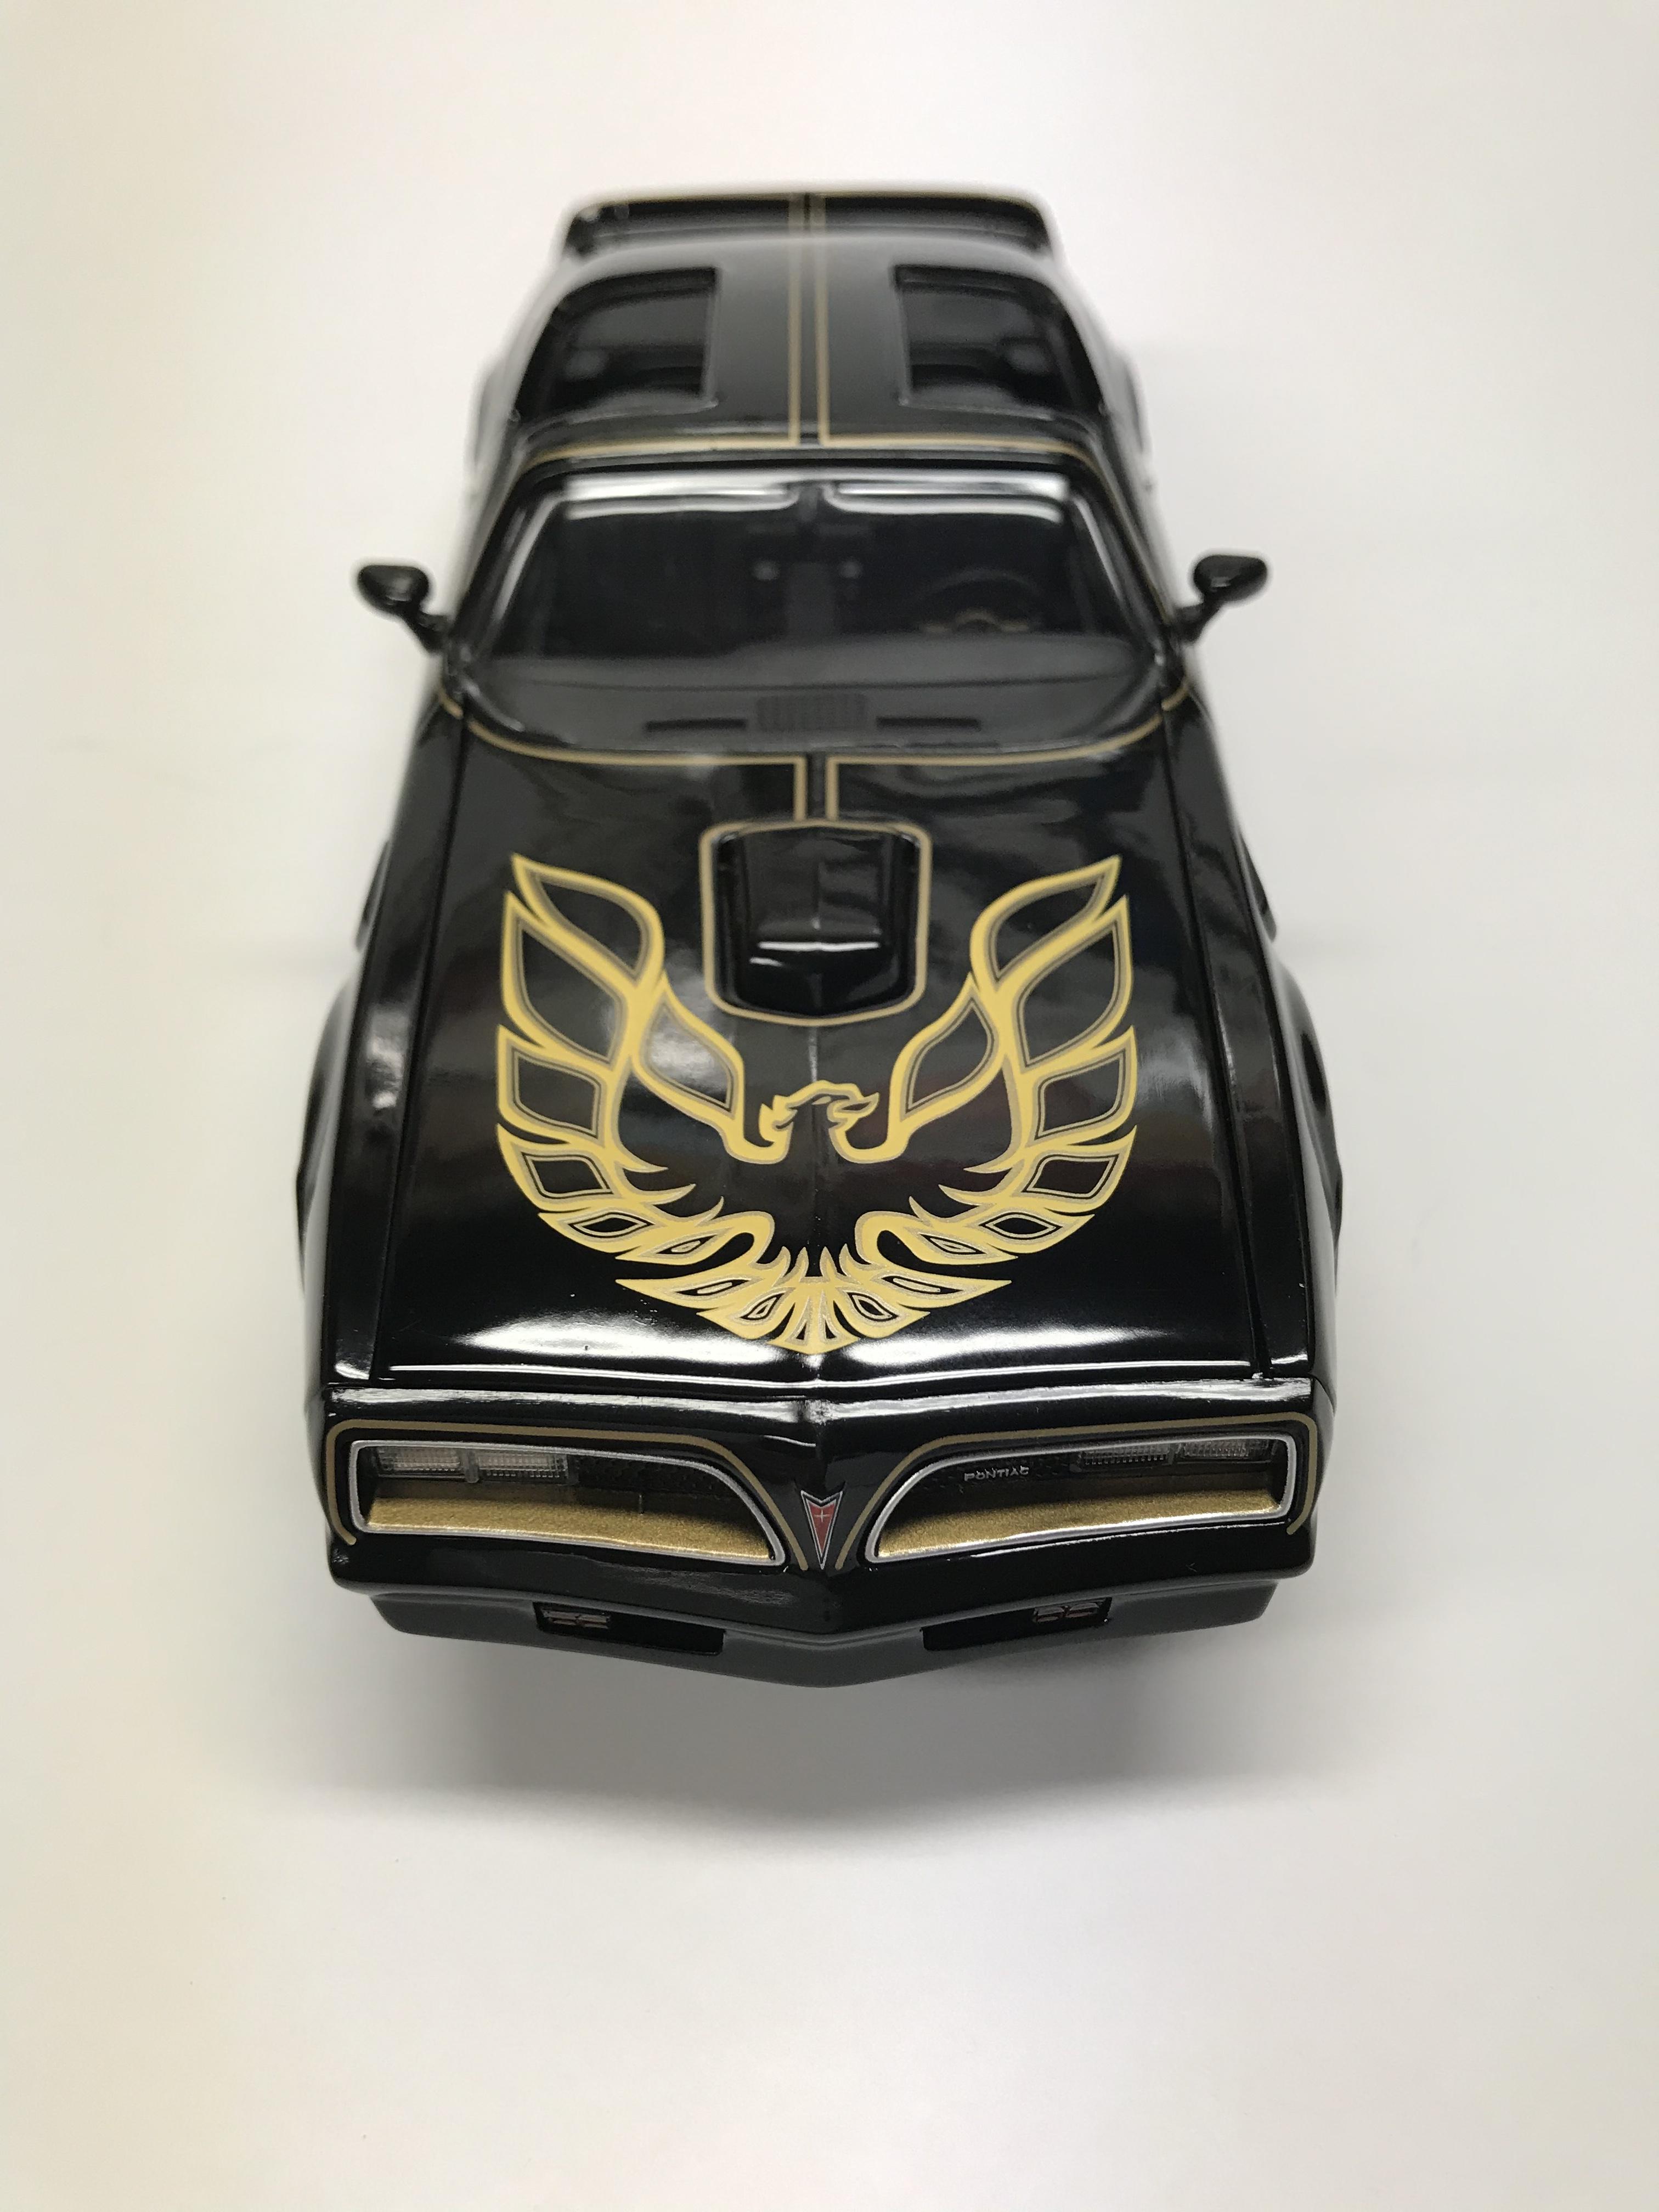
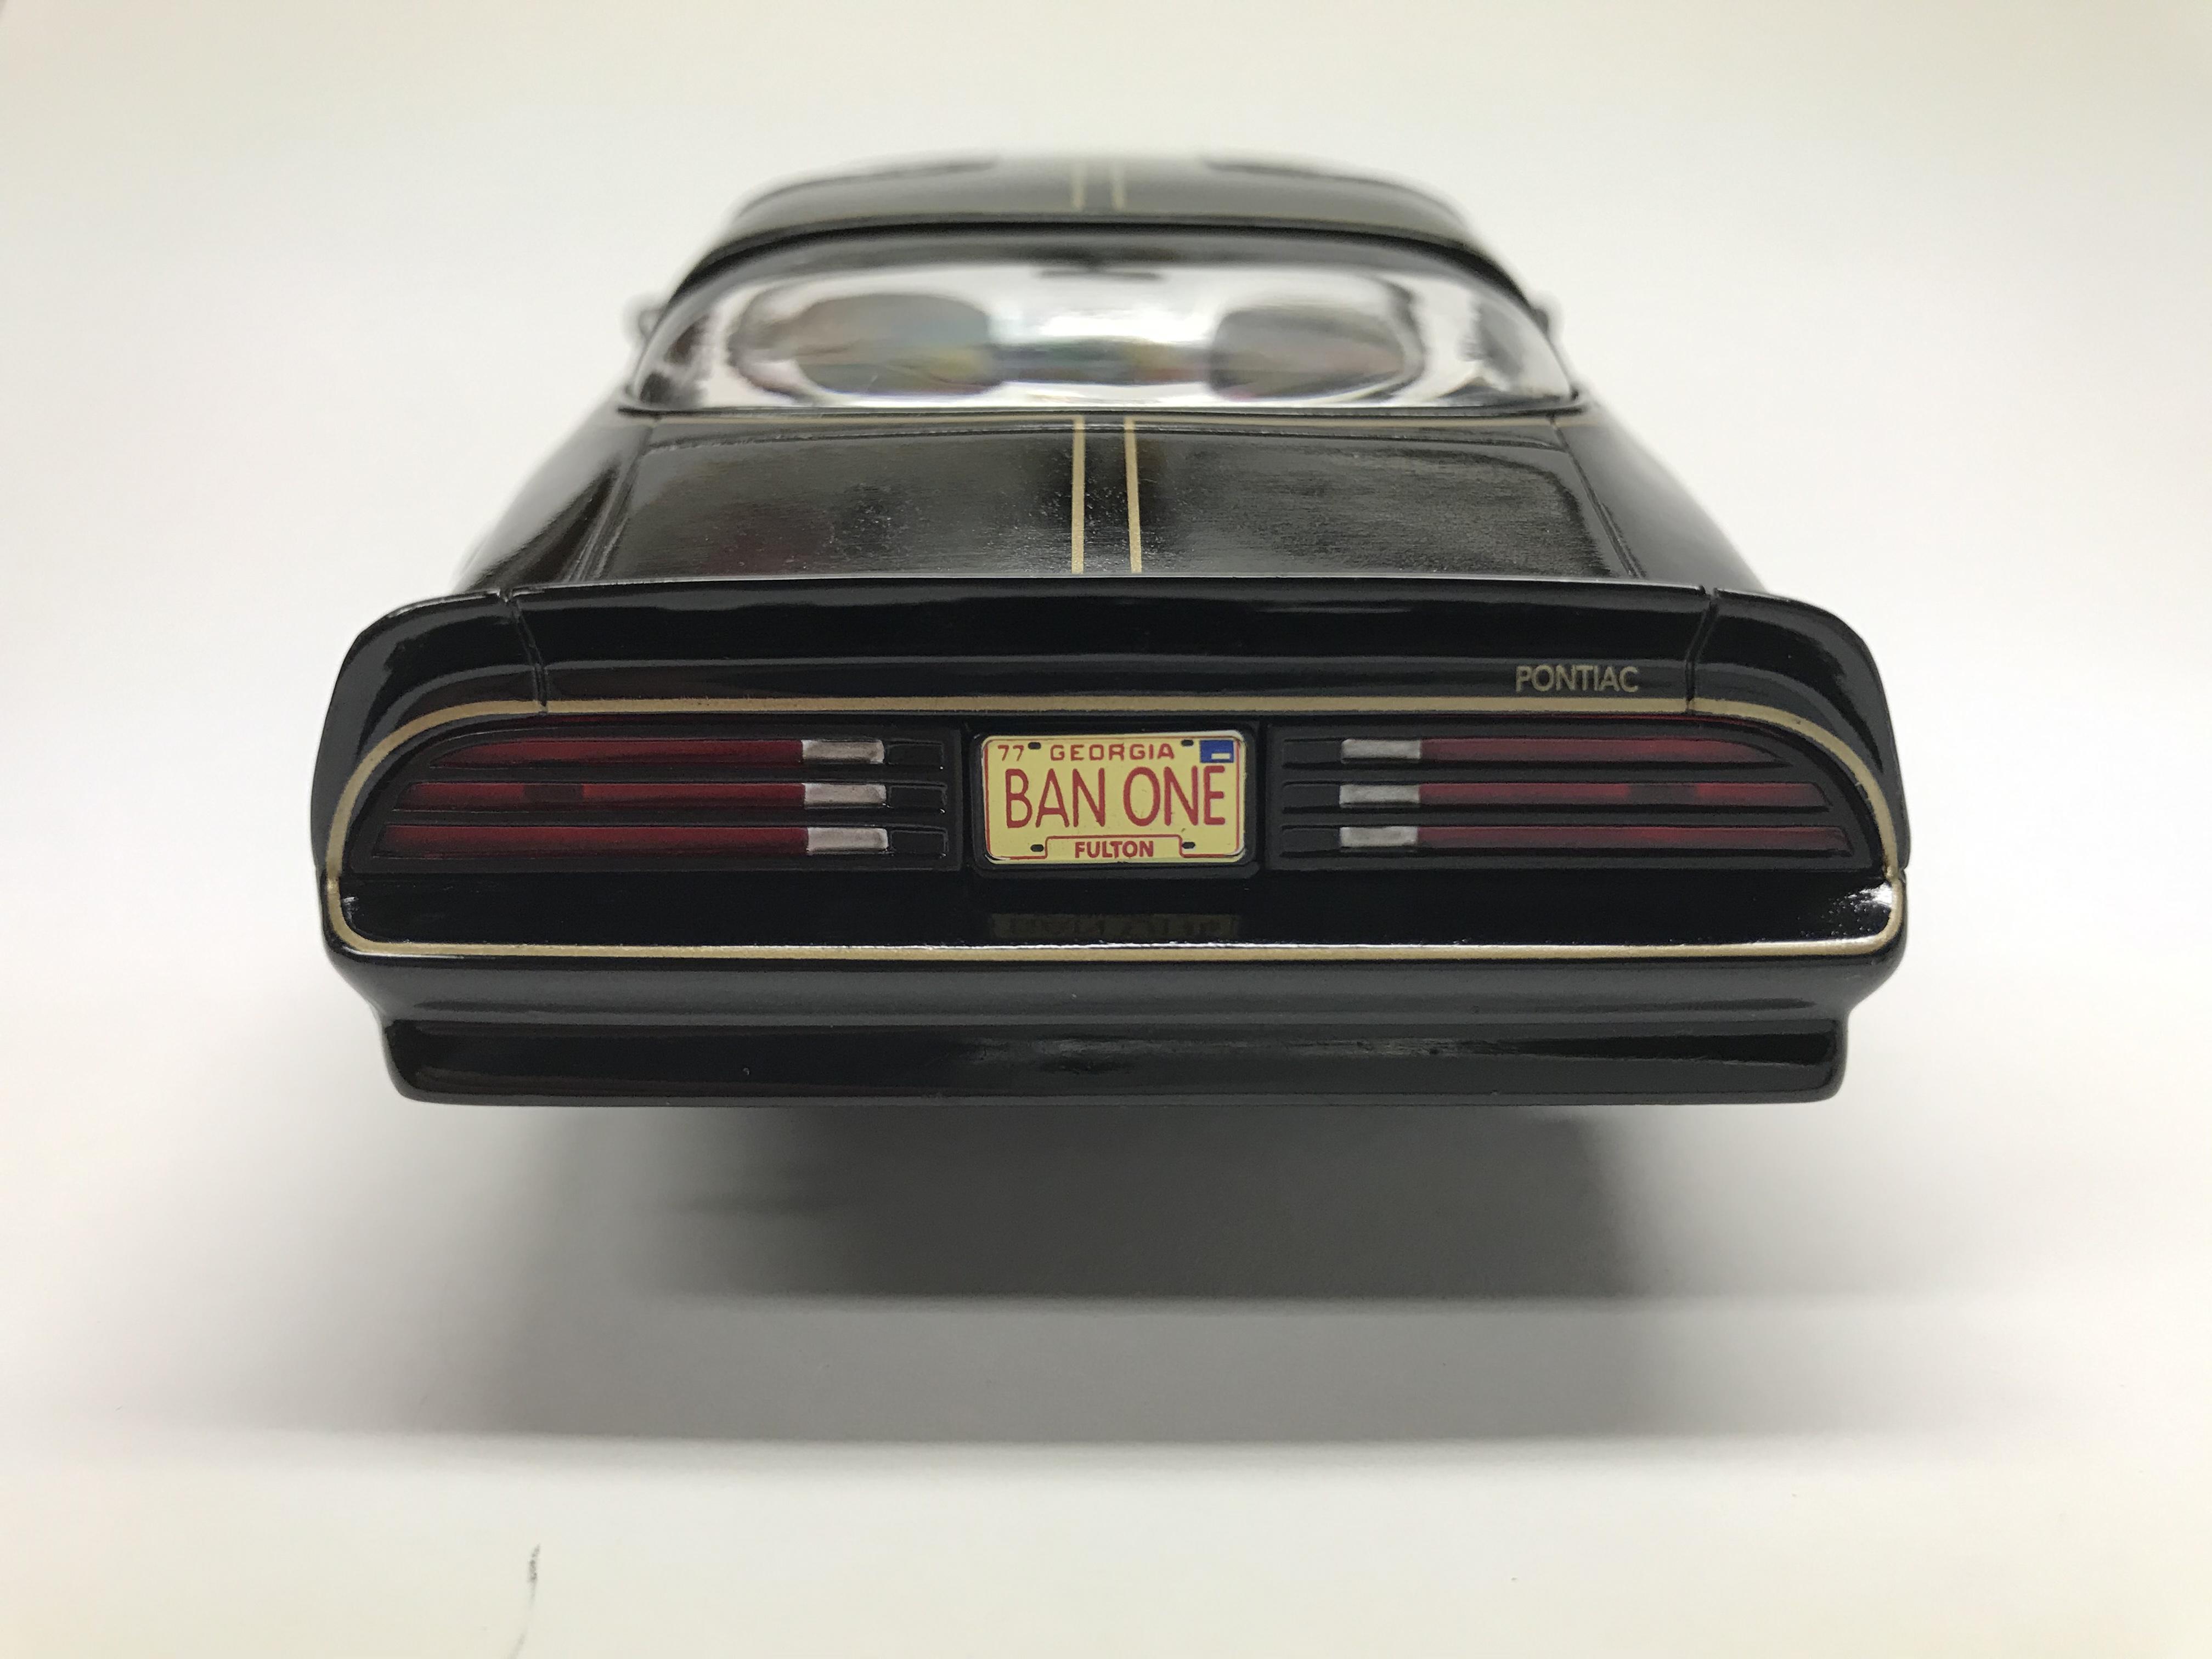
I've had this kit sitting in my collection for over a decade now, and thought it's about time I did something with it. I'm starting with the Mr Norm's Revell kit and a photo etch set from MCG. I'm not sure if this will be an exact factory stock build or a very mild custom at this stage. A quick bit of googling and I have some inspiration... I rather like the gold, but we'll see if I can find a good colour match. I've always used automotive spray cans for bodywork, but this time, I'd like to try Zero, Scale Finishes or Tamiya paints. I've never used any of these for a body, so any advice/recommendations would be welcome. First step for me has been to remove the kit hinges and make my own. I do like a precise working hinge on opening panels. I've also reduced the size of the slot in the body where the hinge fits through. According to my reference pic the slot in the kit is too wide. Its still not perfect. I guess the best way to do the hinges in the correct width would have been to make them from brass. This will have to do. Its just a start. I'll post more progress as I go (but I am the world's slowest builder!).
-
Well, calling it done, had some issues due to my impatience, and truth be told in a building sense, I wasn’t crazy about the chrome box. The box looks cool, but kind of hard to work with just because of the chrome. Painted in testors blazing black and the frame is sterling silver. I swapped out the skinny kit tires for some Double Take Replicas tires. It’s a nice looking ‘two footer’. Thanks for looking.
-
 Video and photos of the new Land Rover Series III kit, let me say, I am impressed with the kit so far, everything looks really good. And the photos, please note, these are still's from the video, so the quality is lacking and they are not color corrected like in the video.
 -
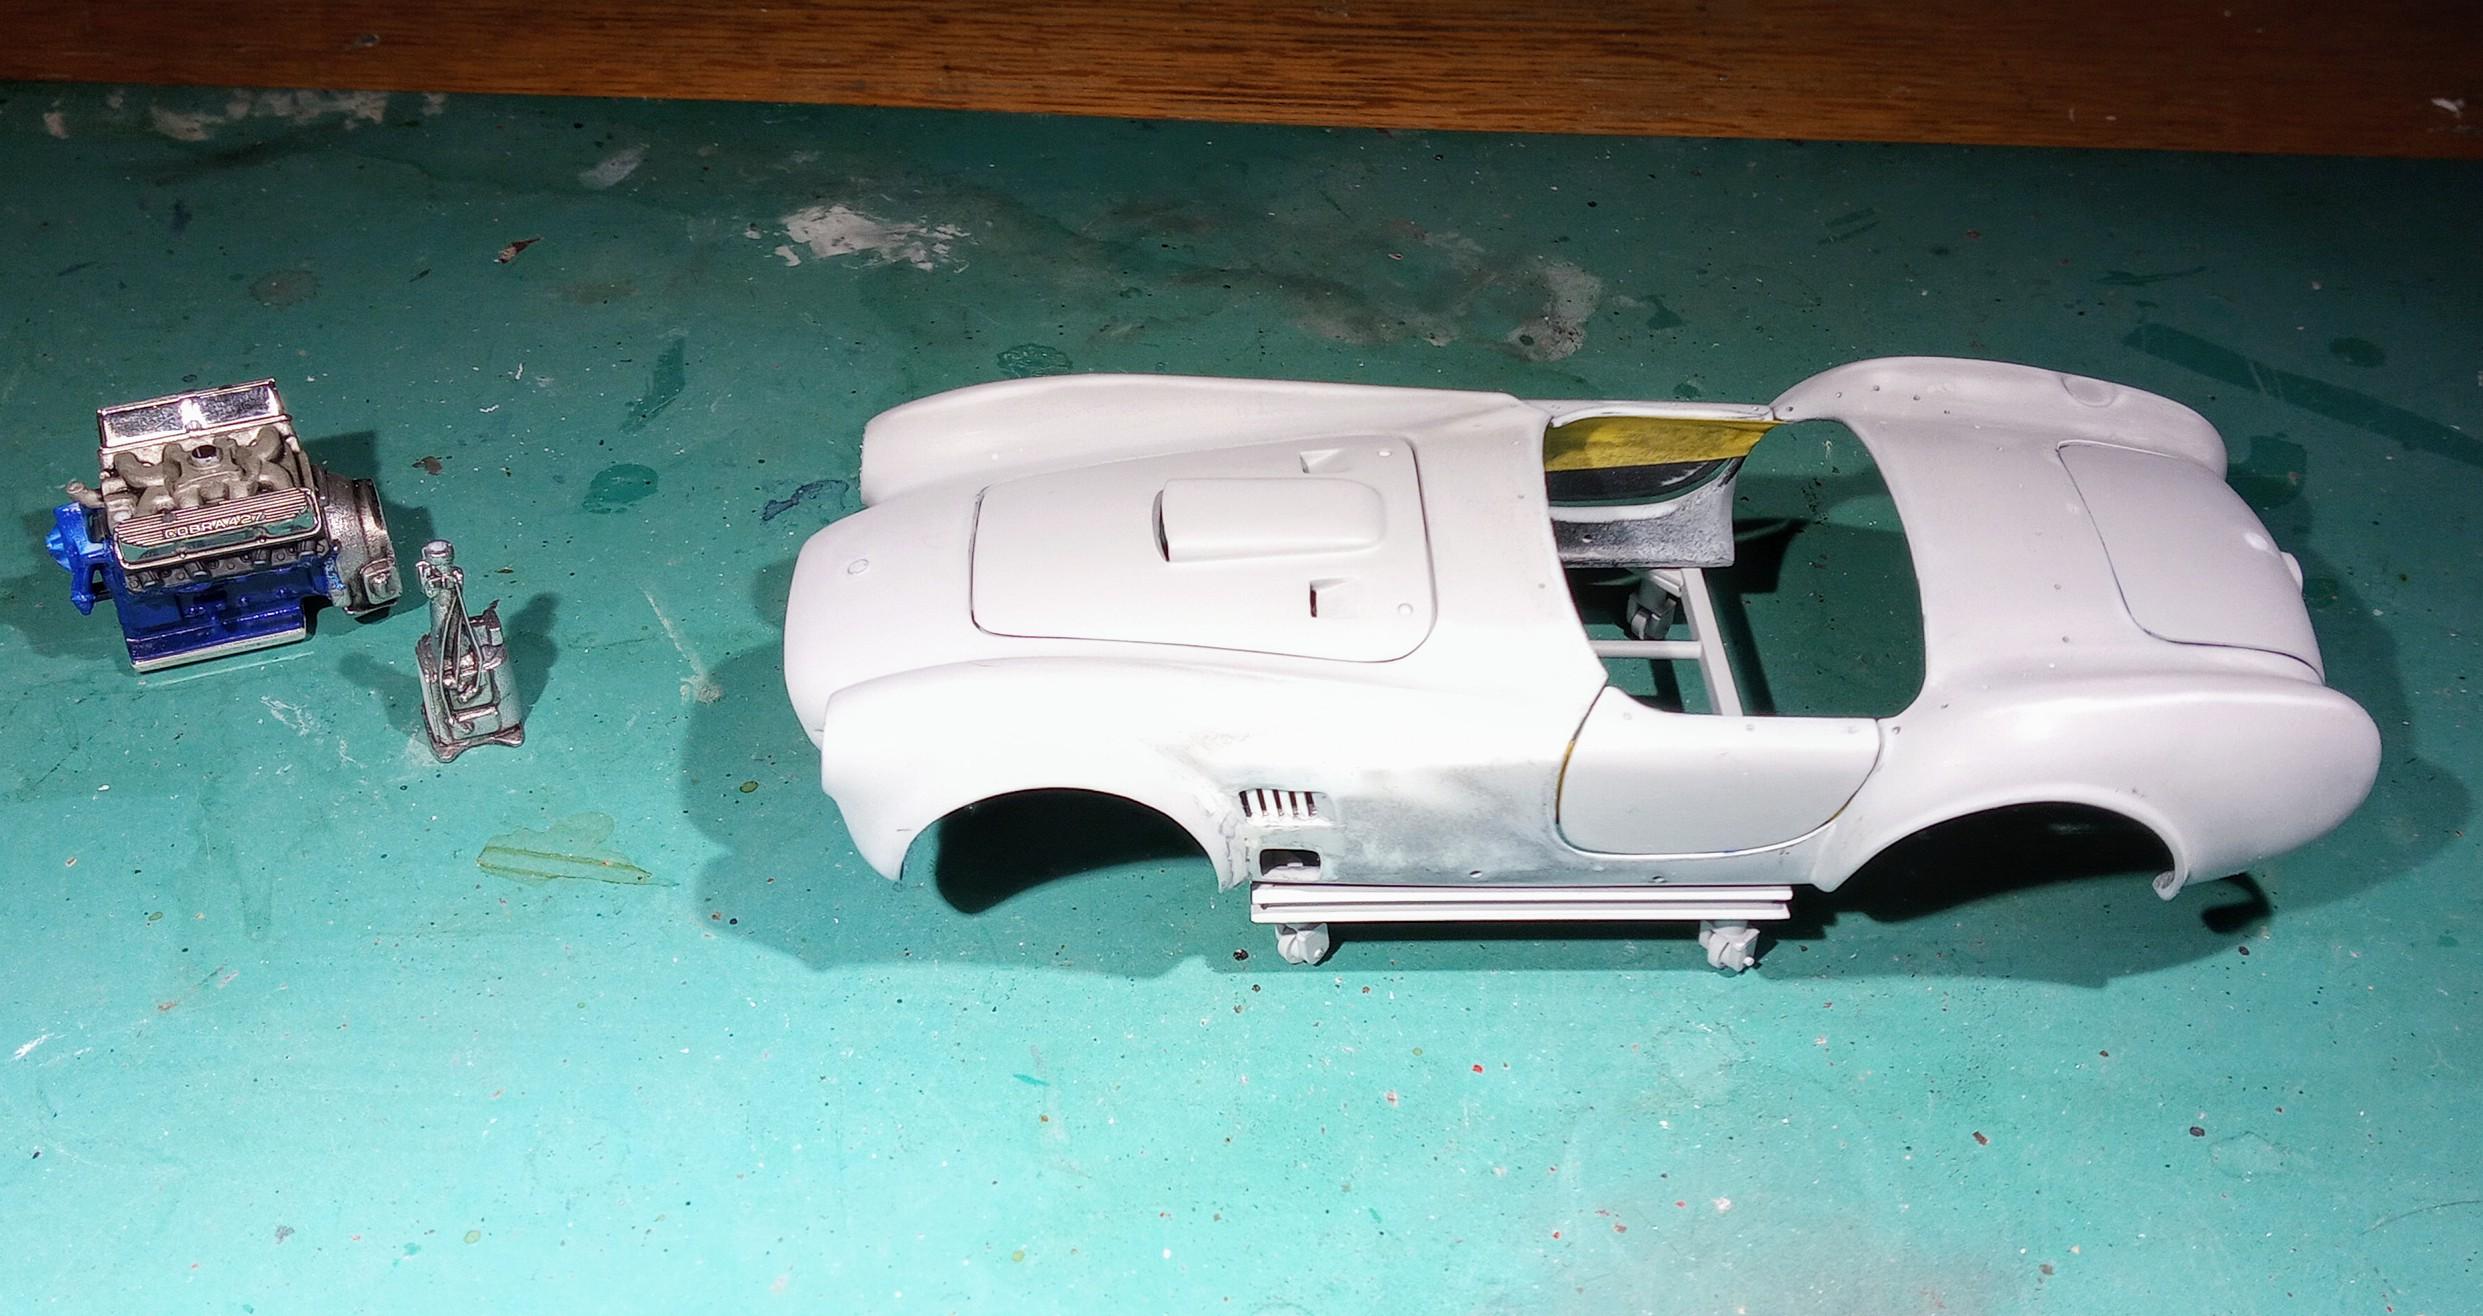
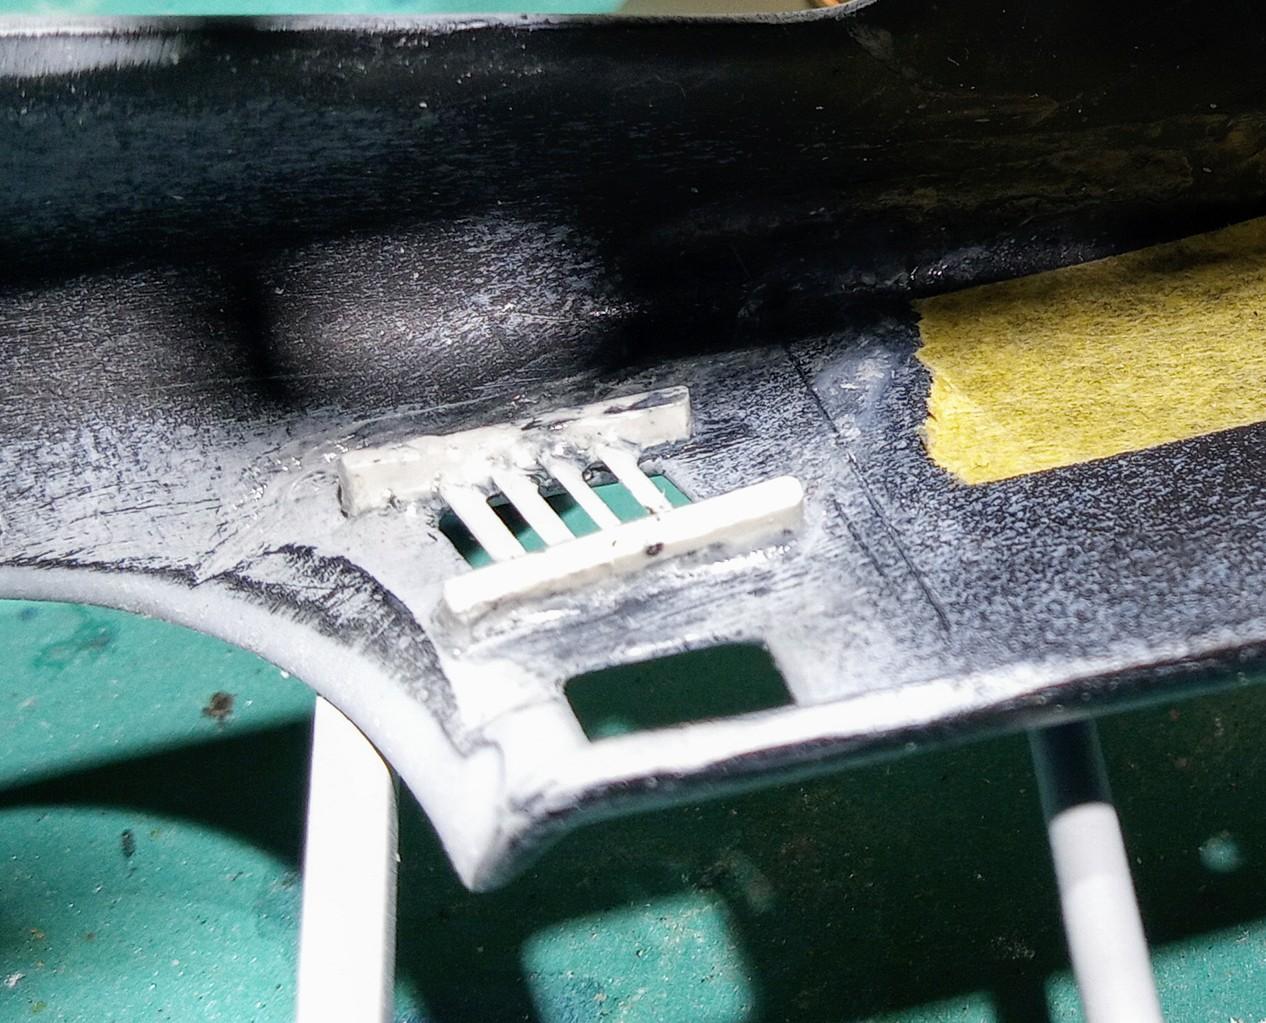
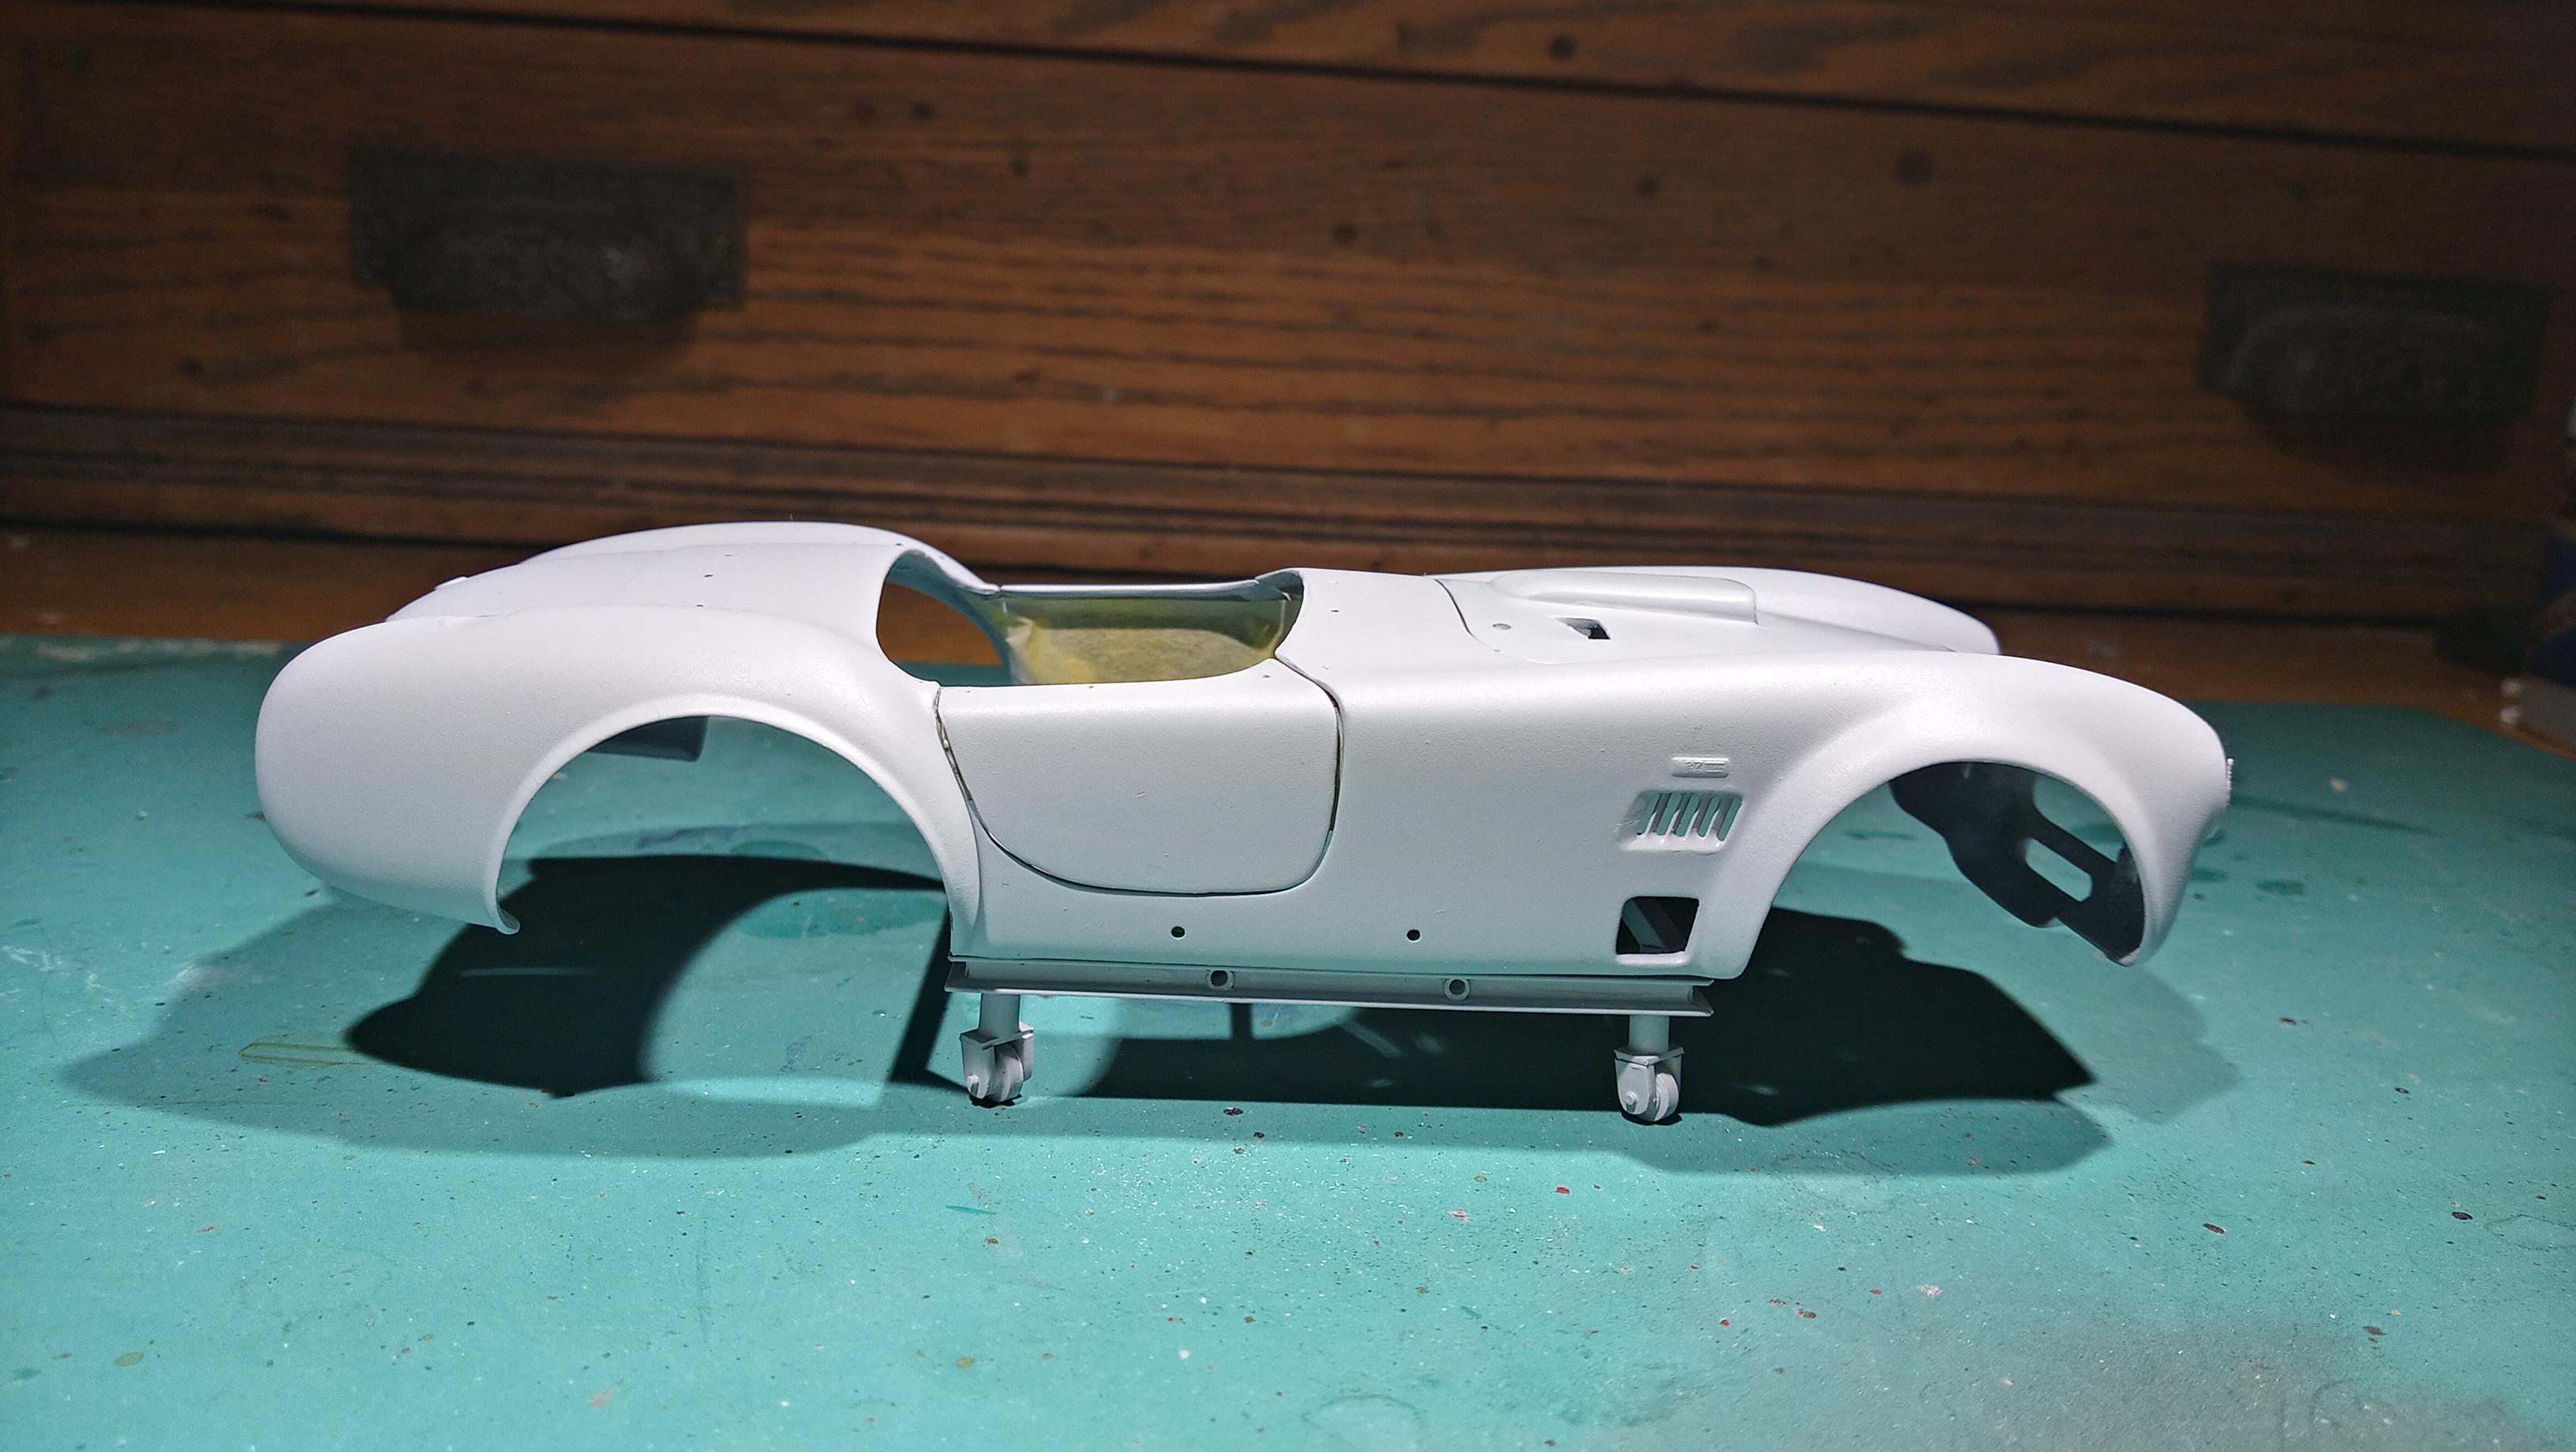
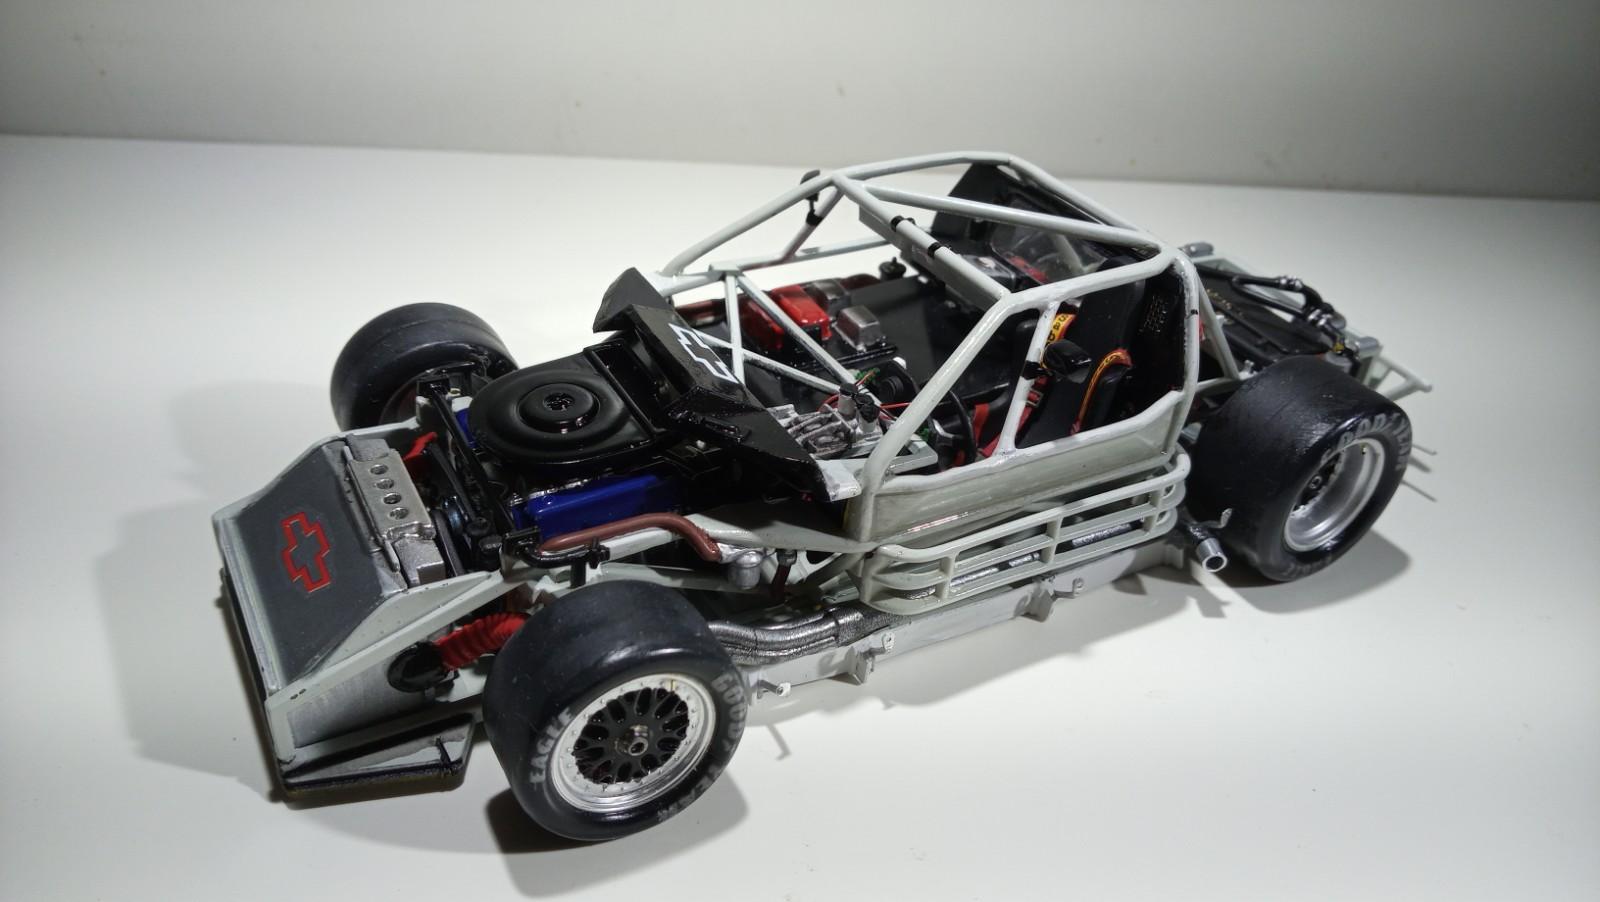
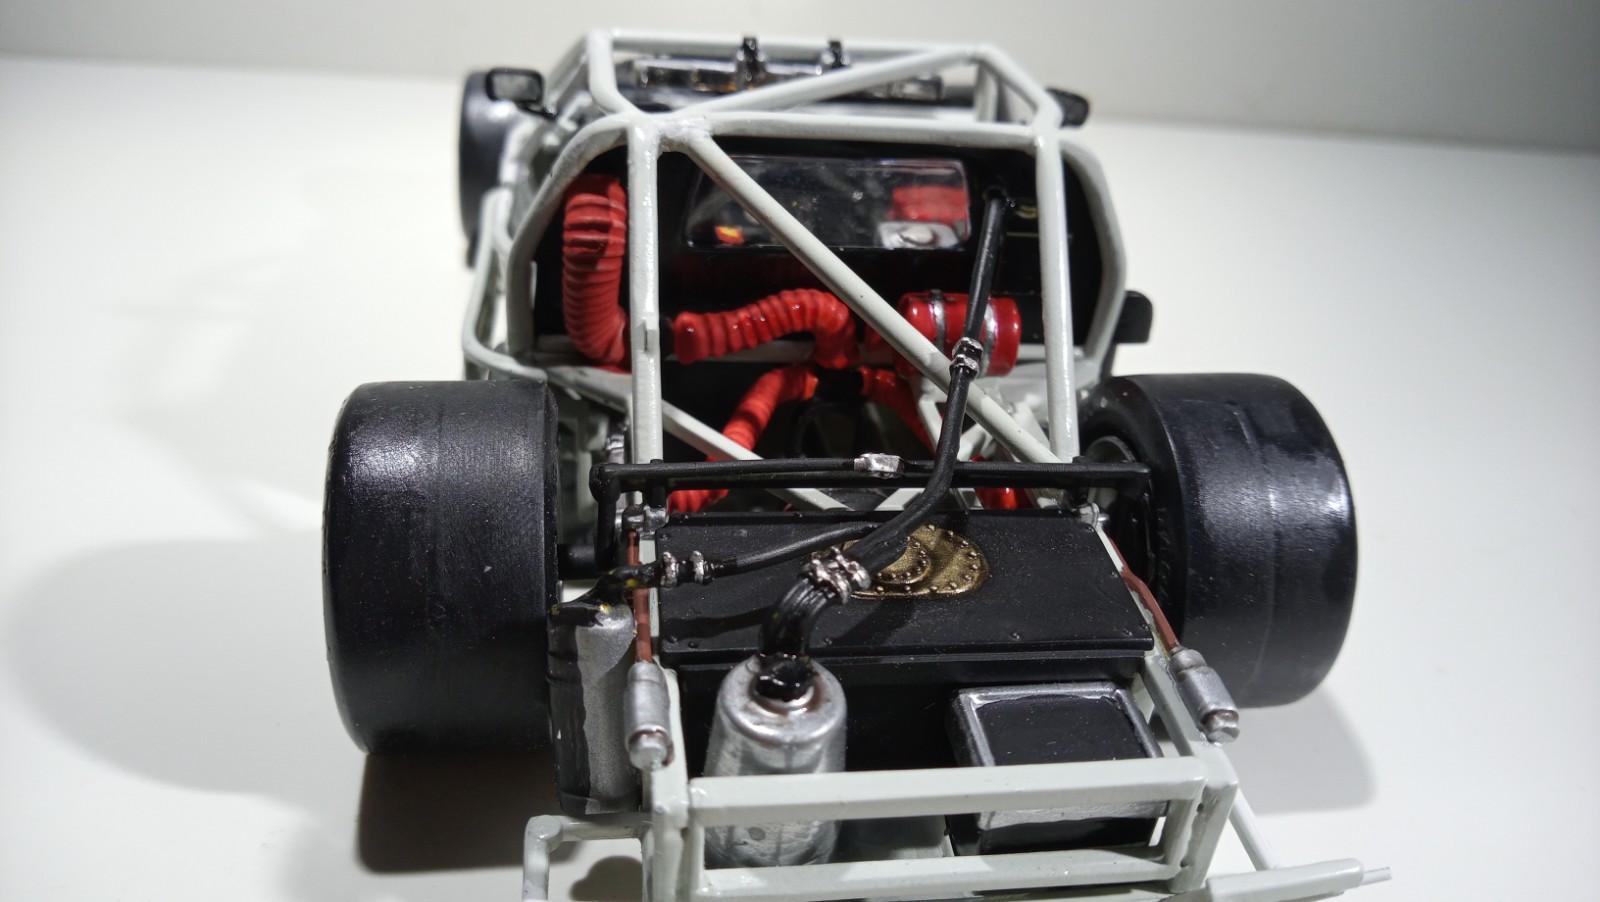
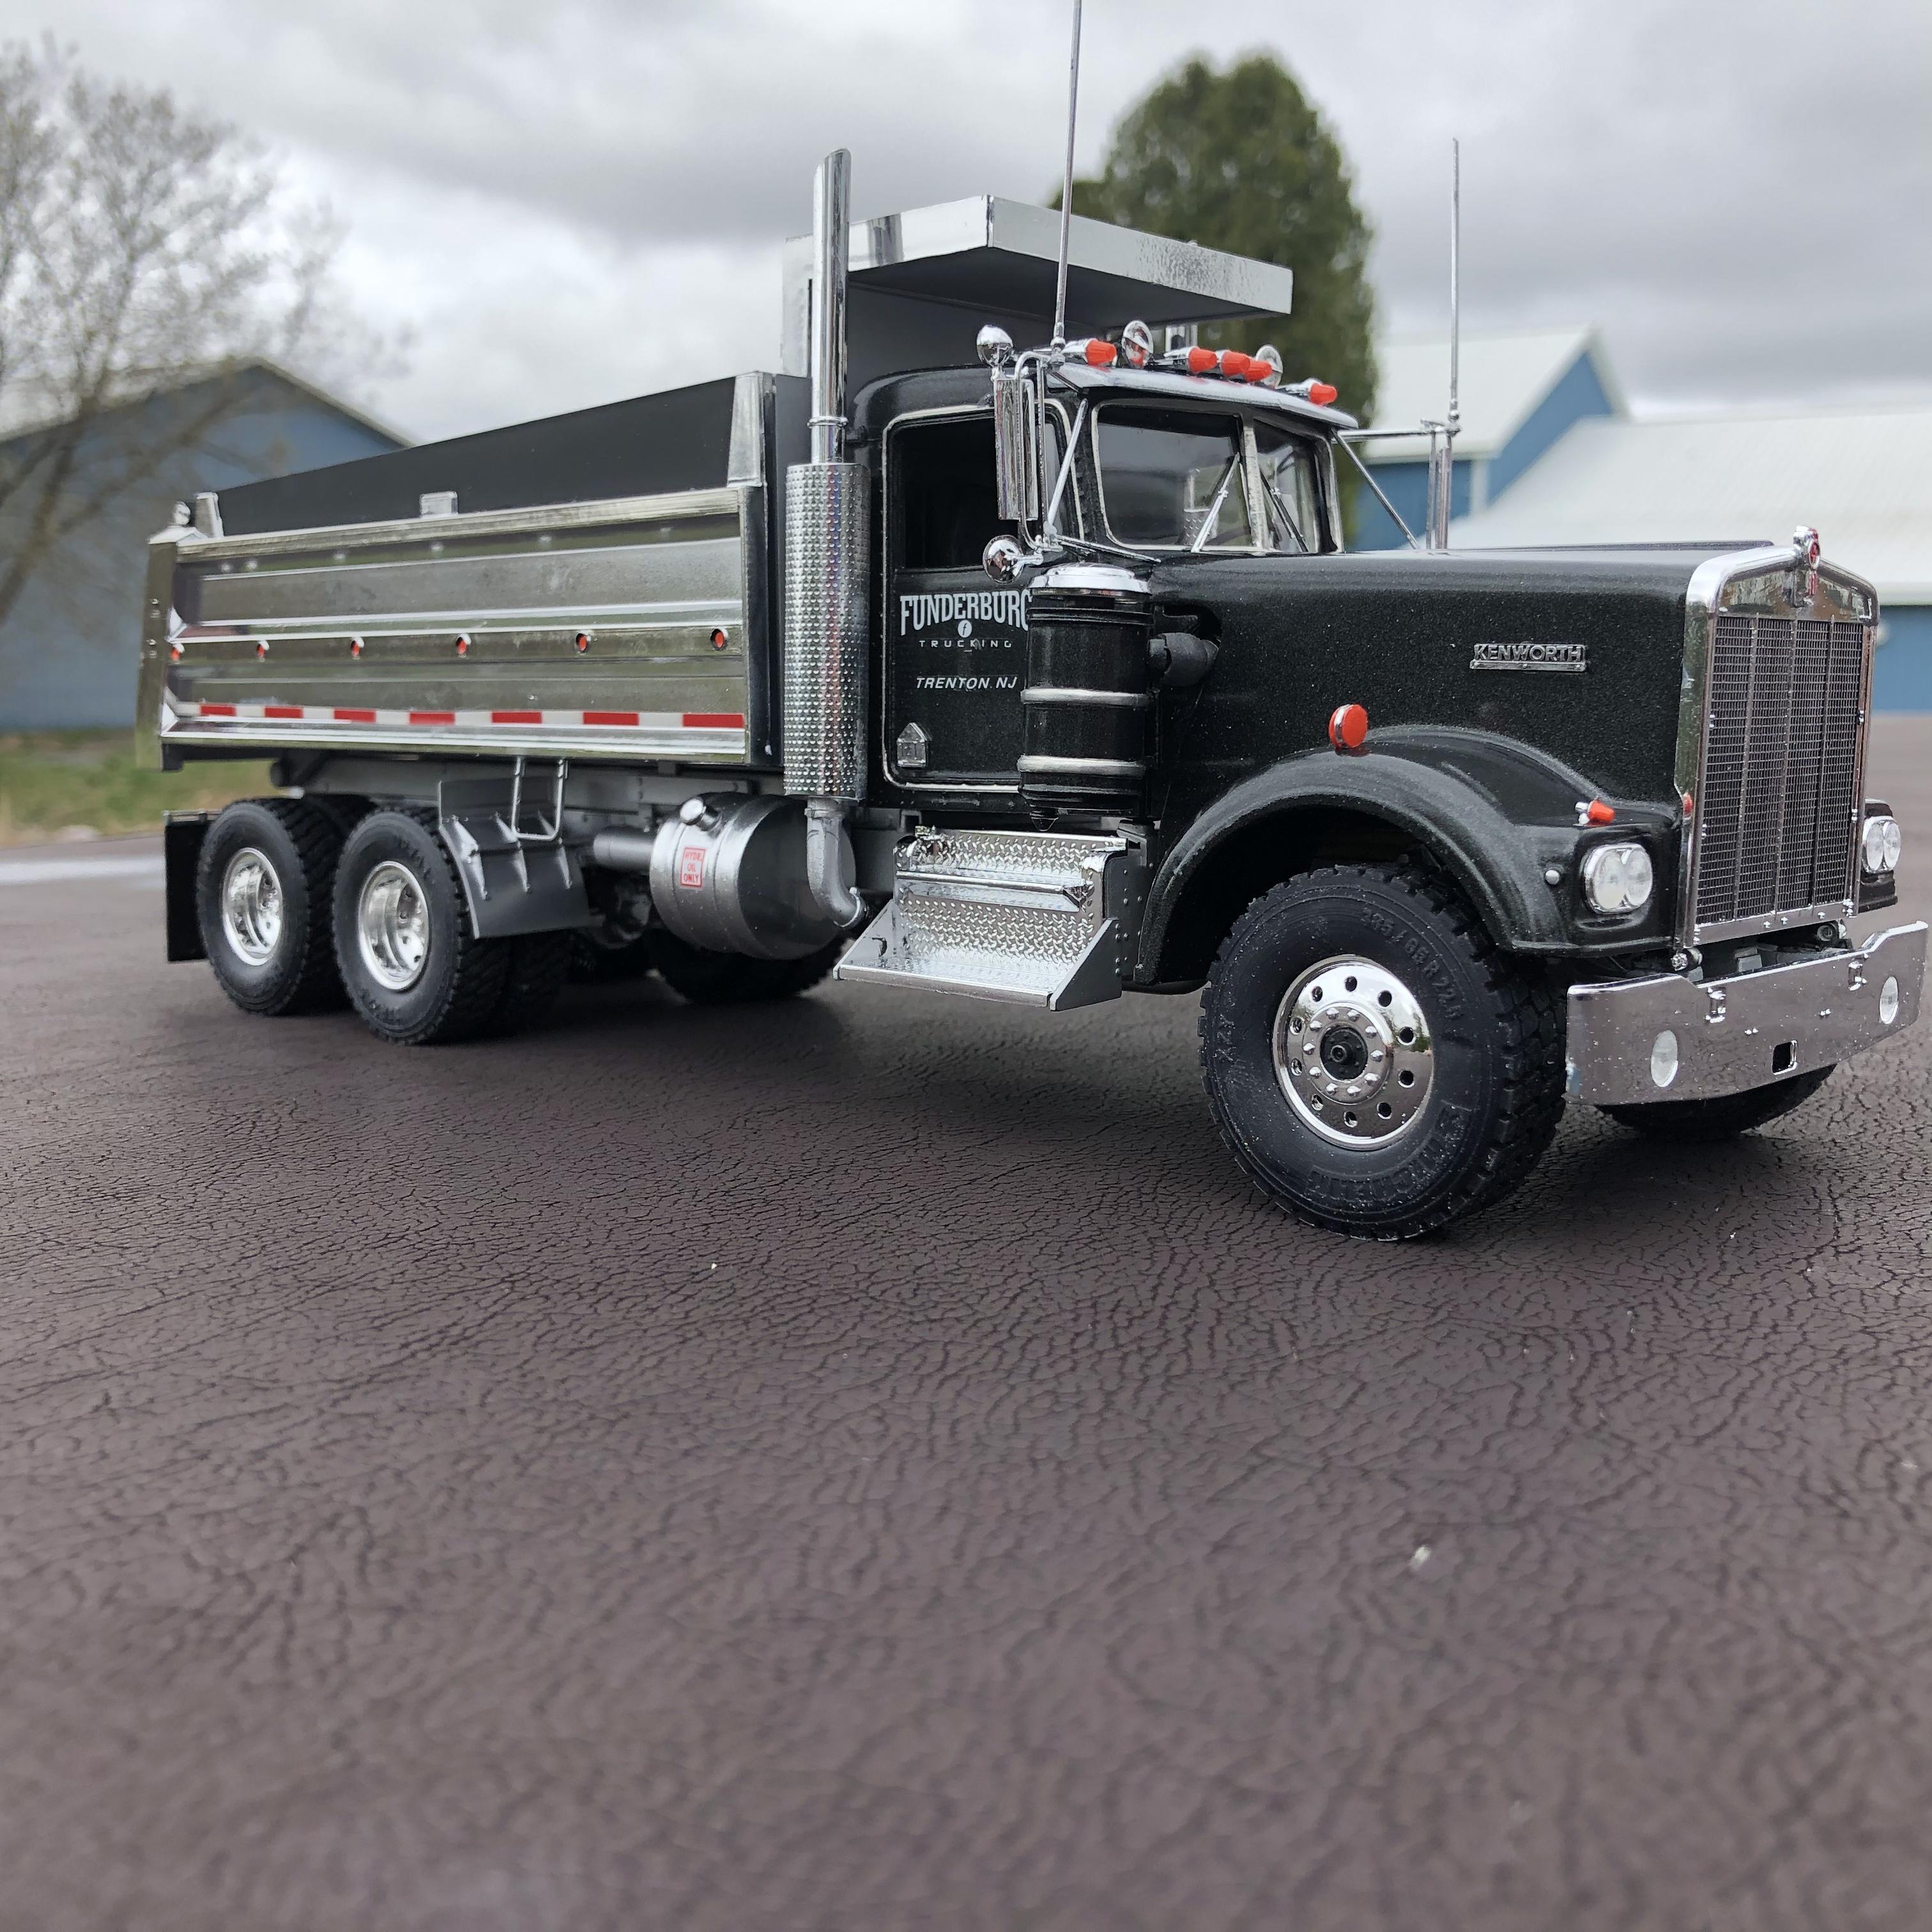
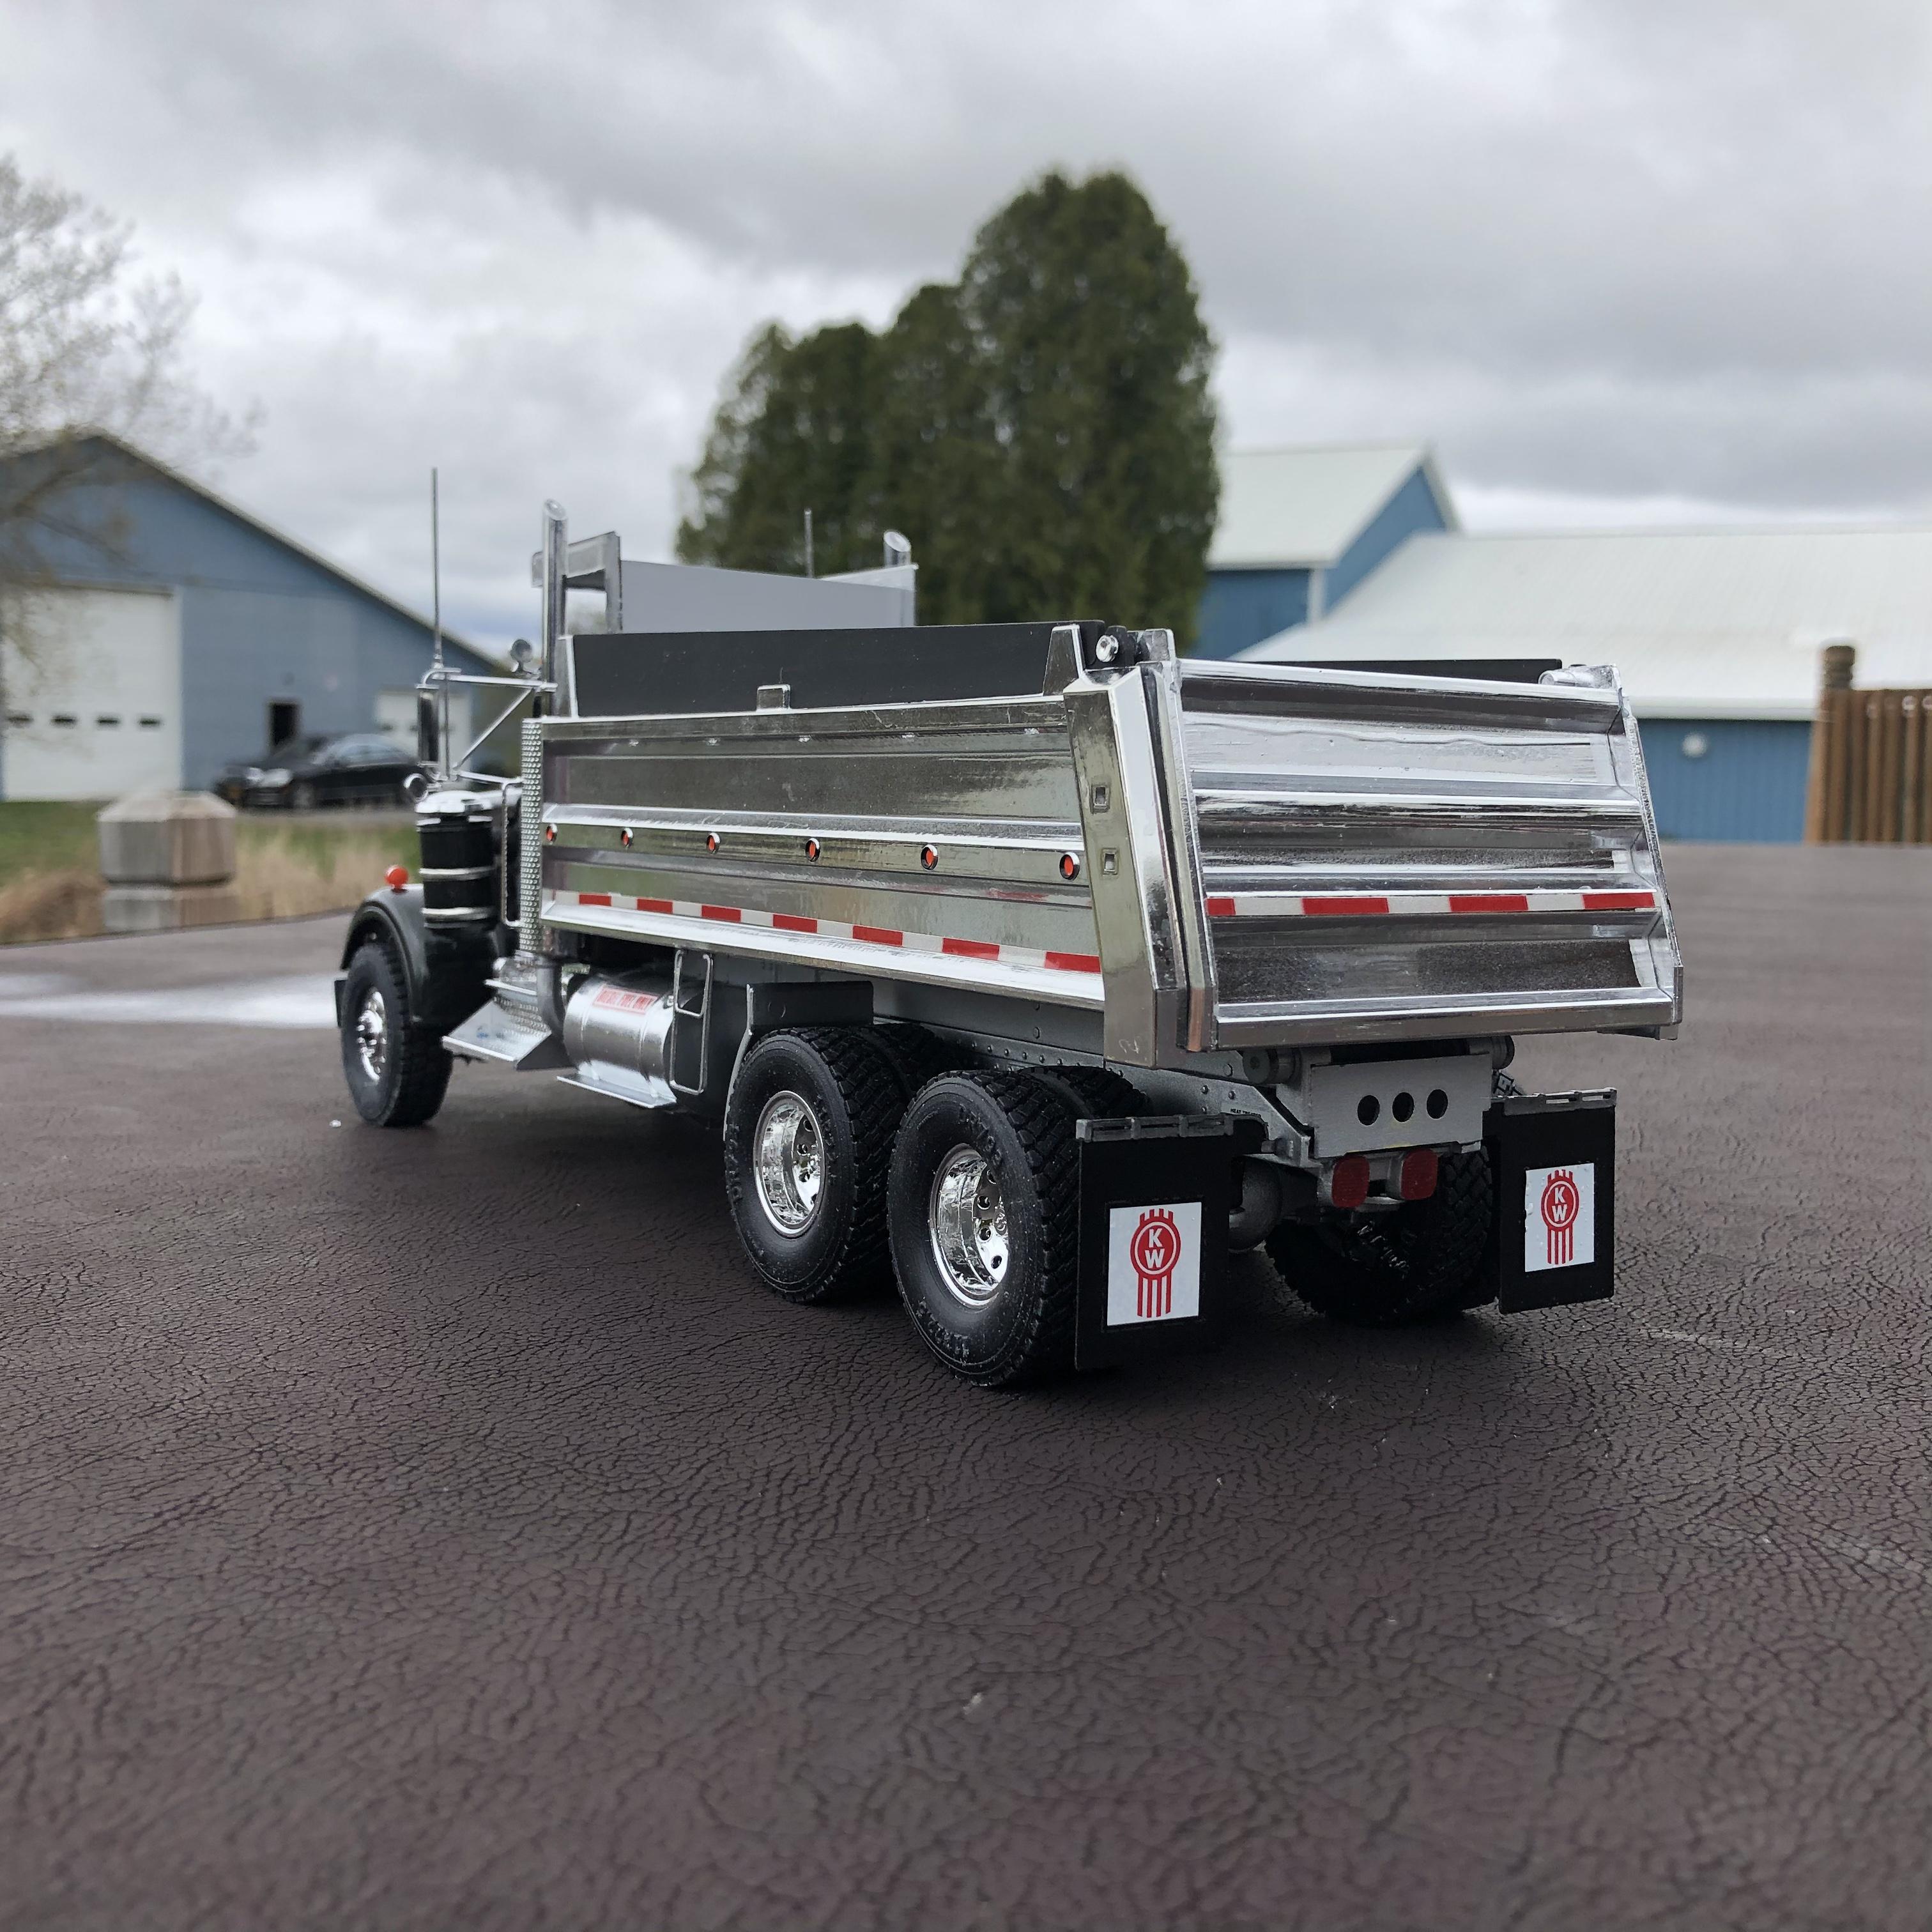
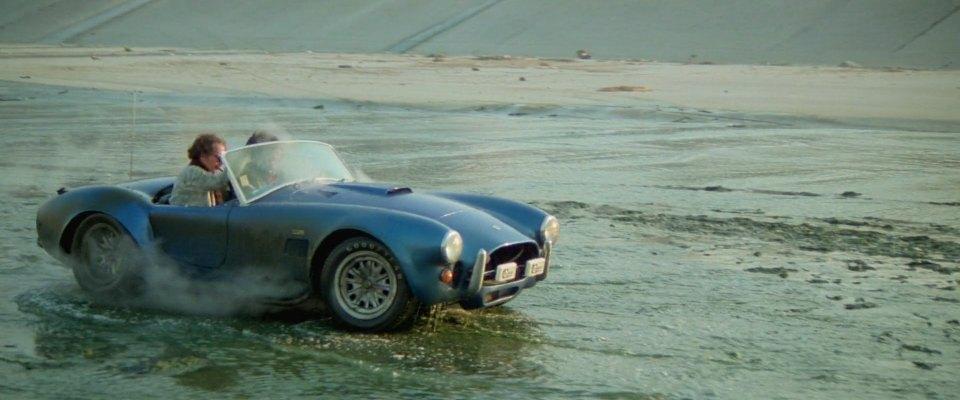
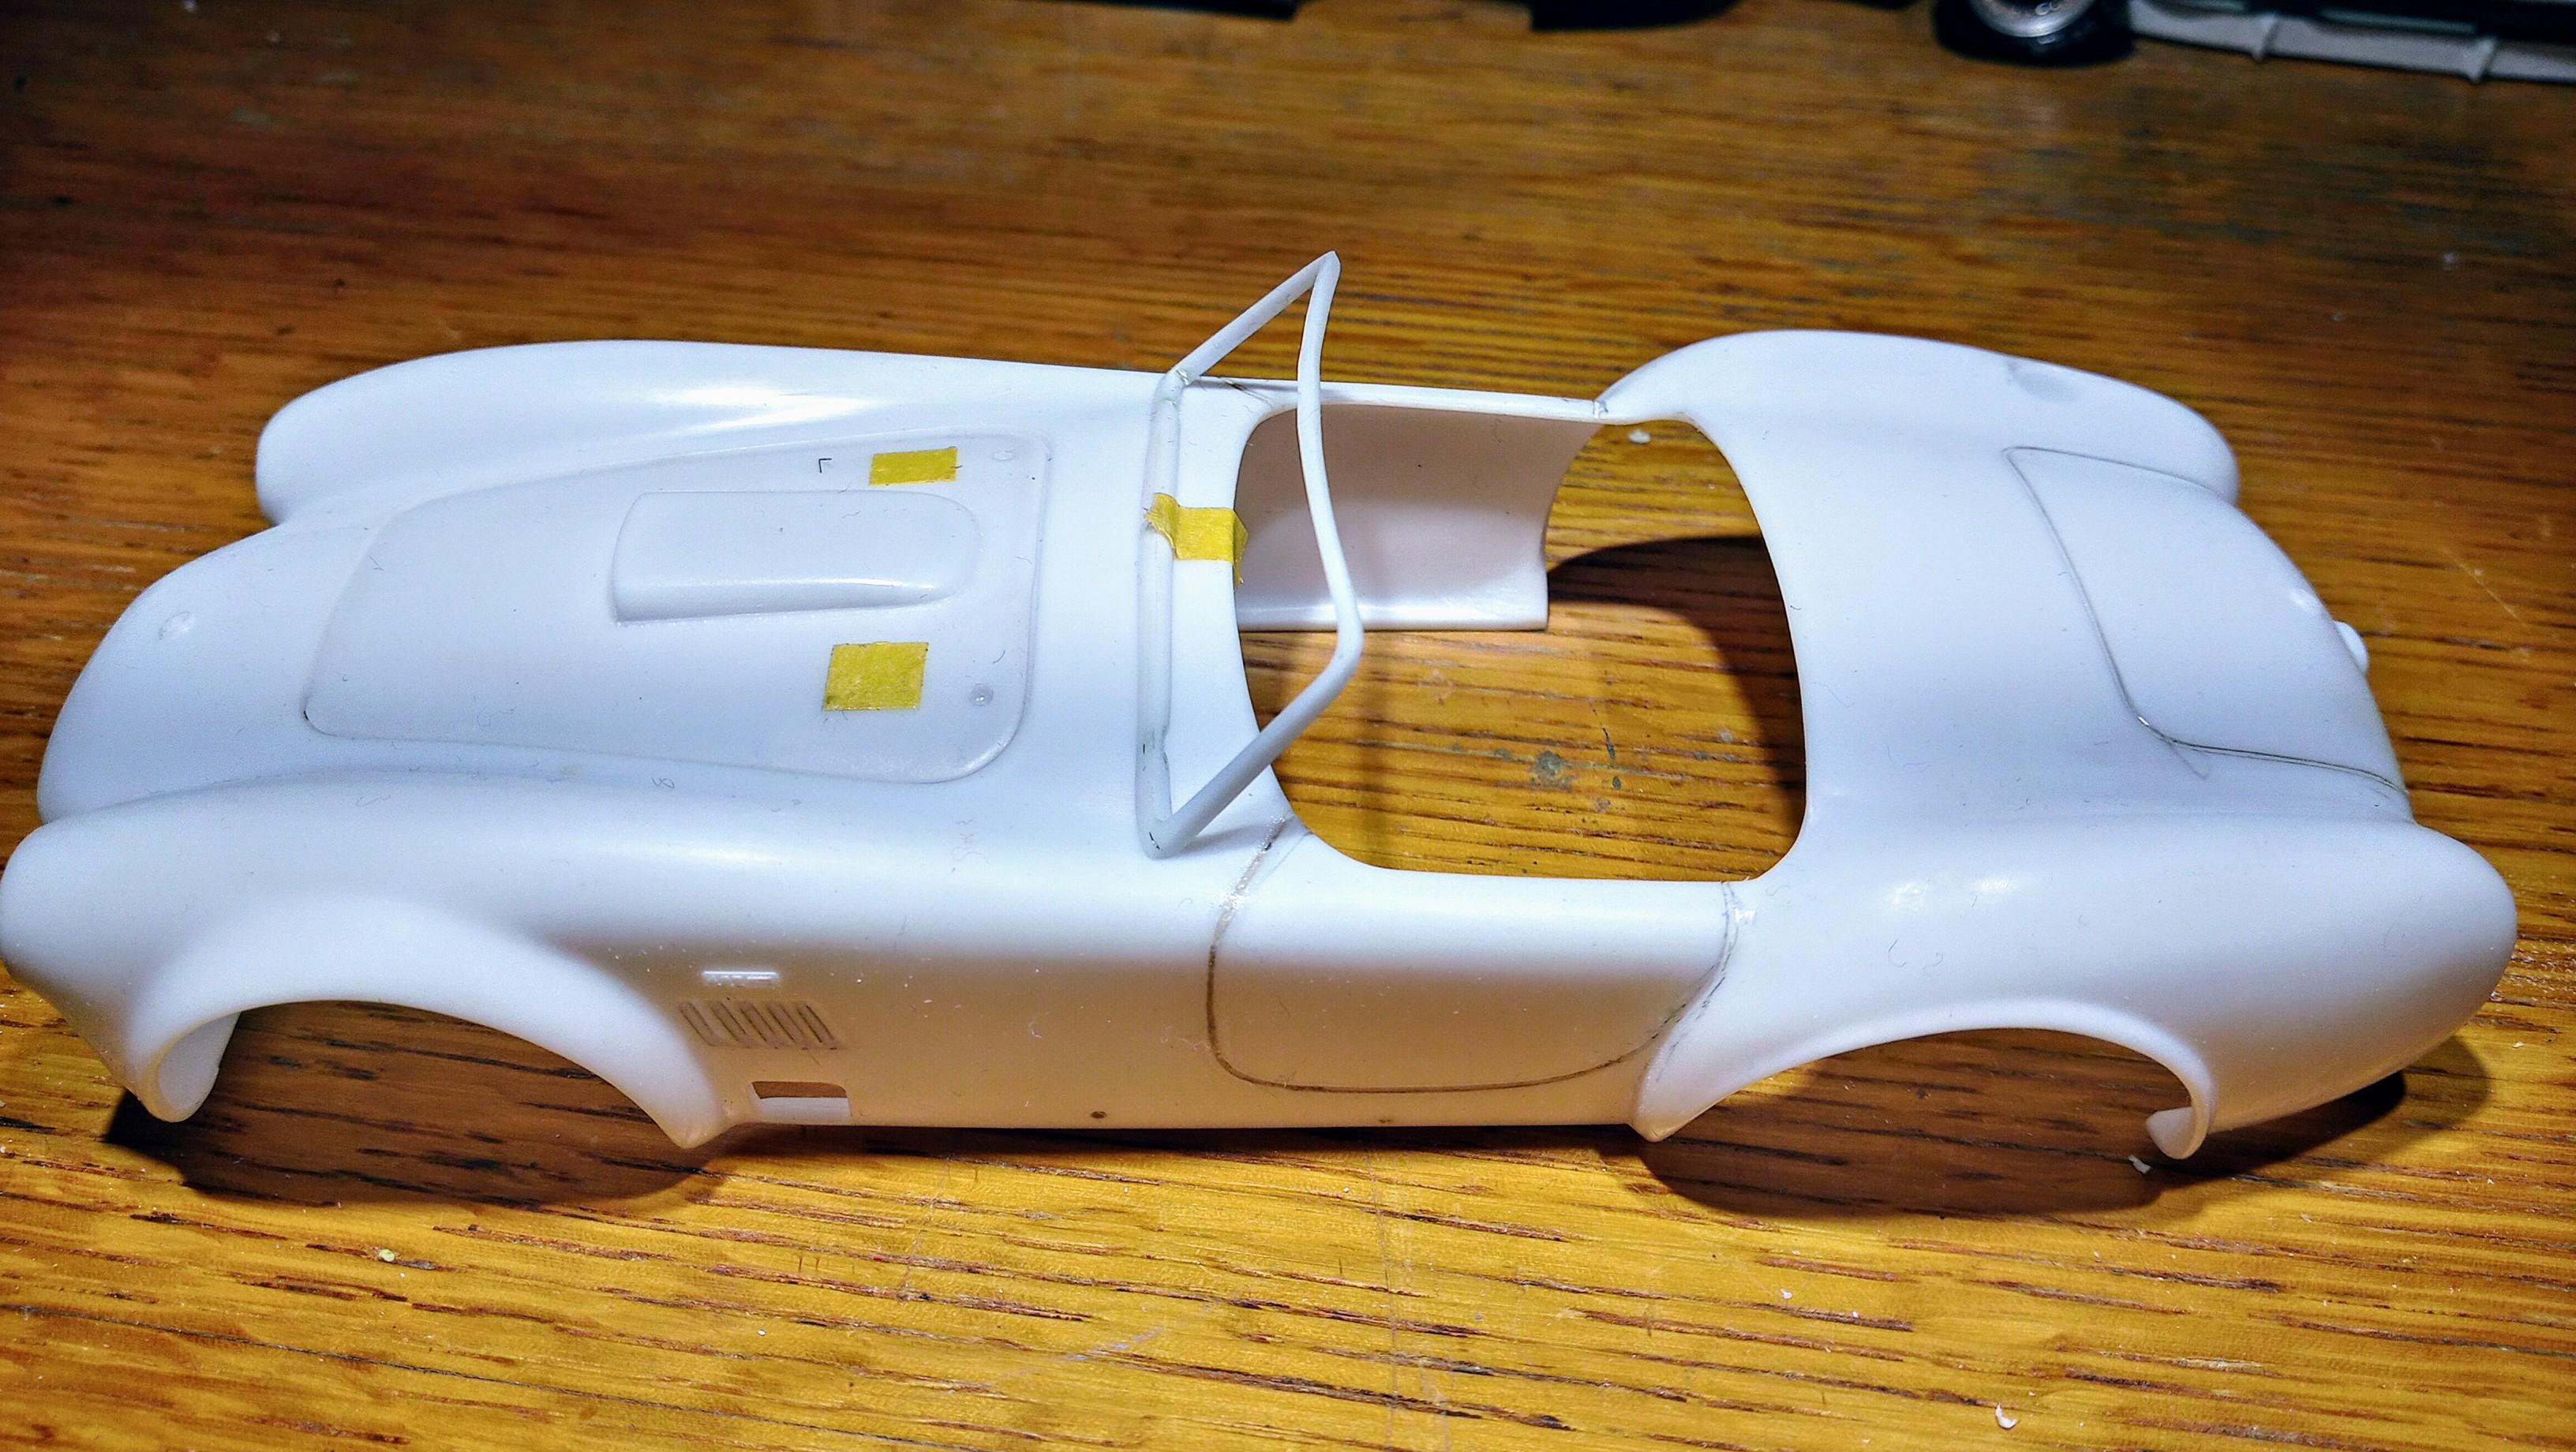
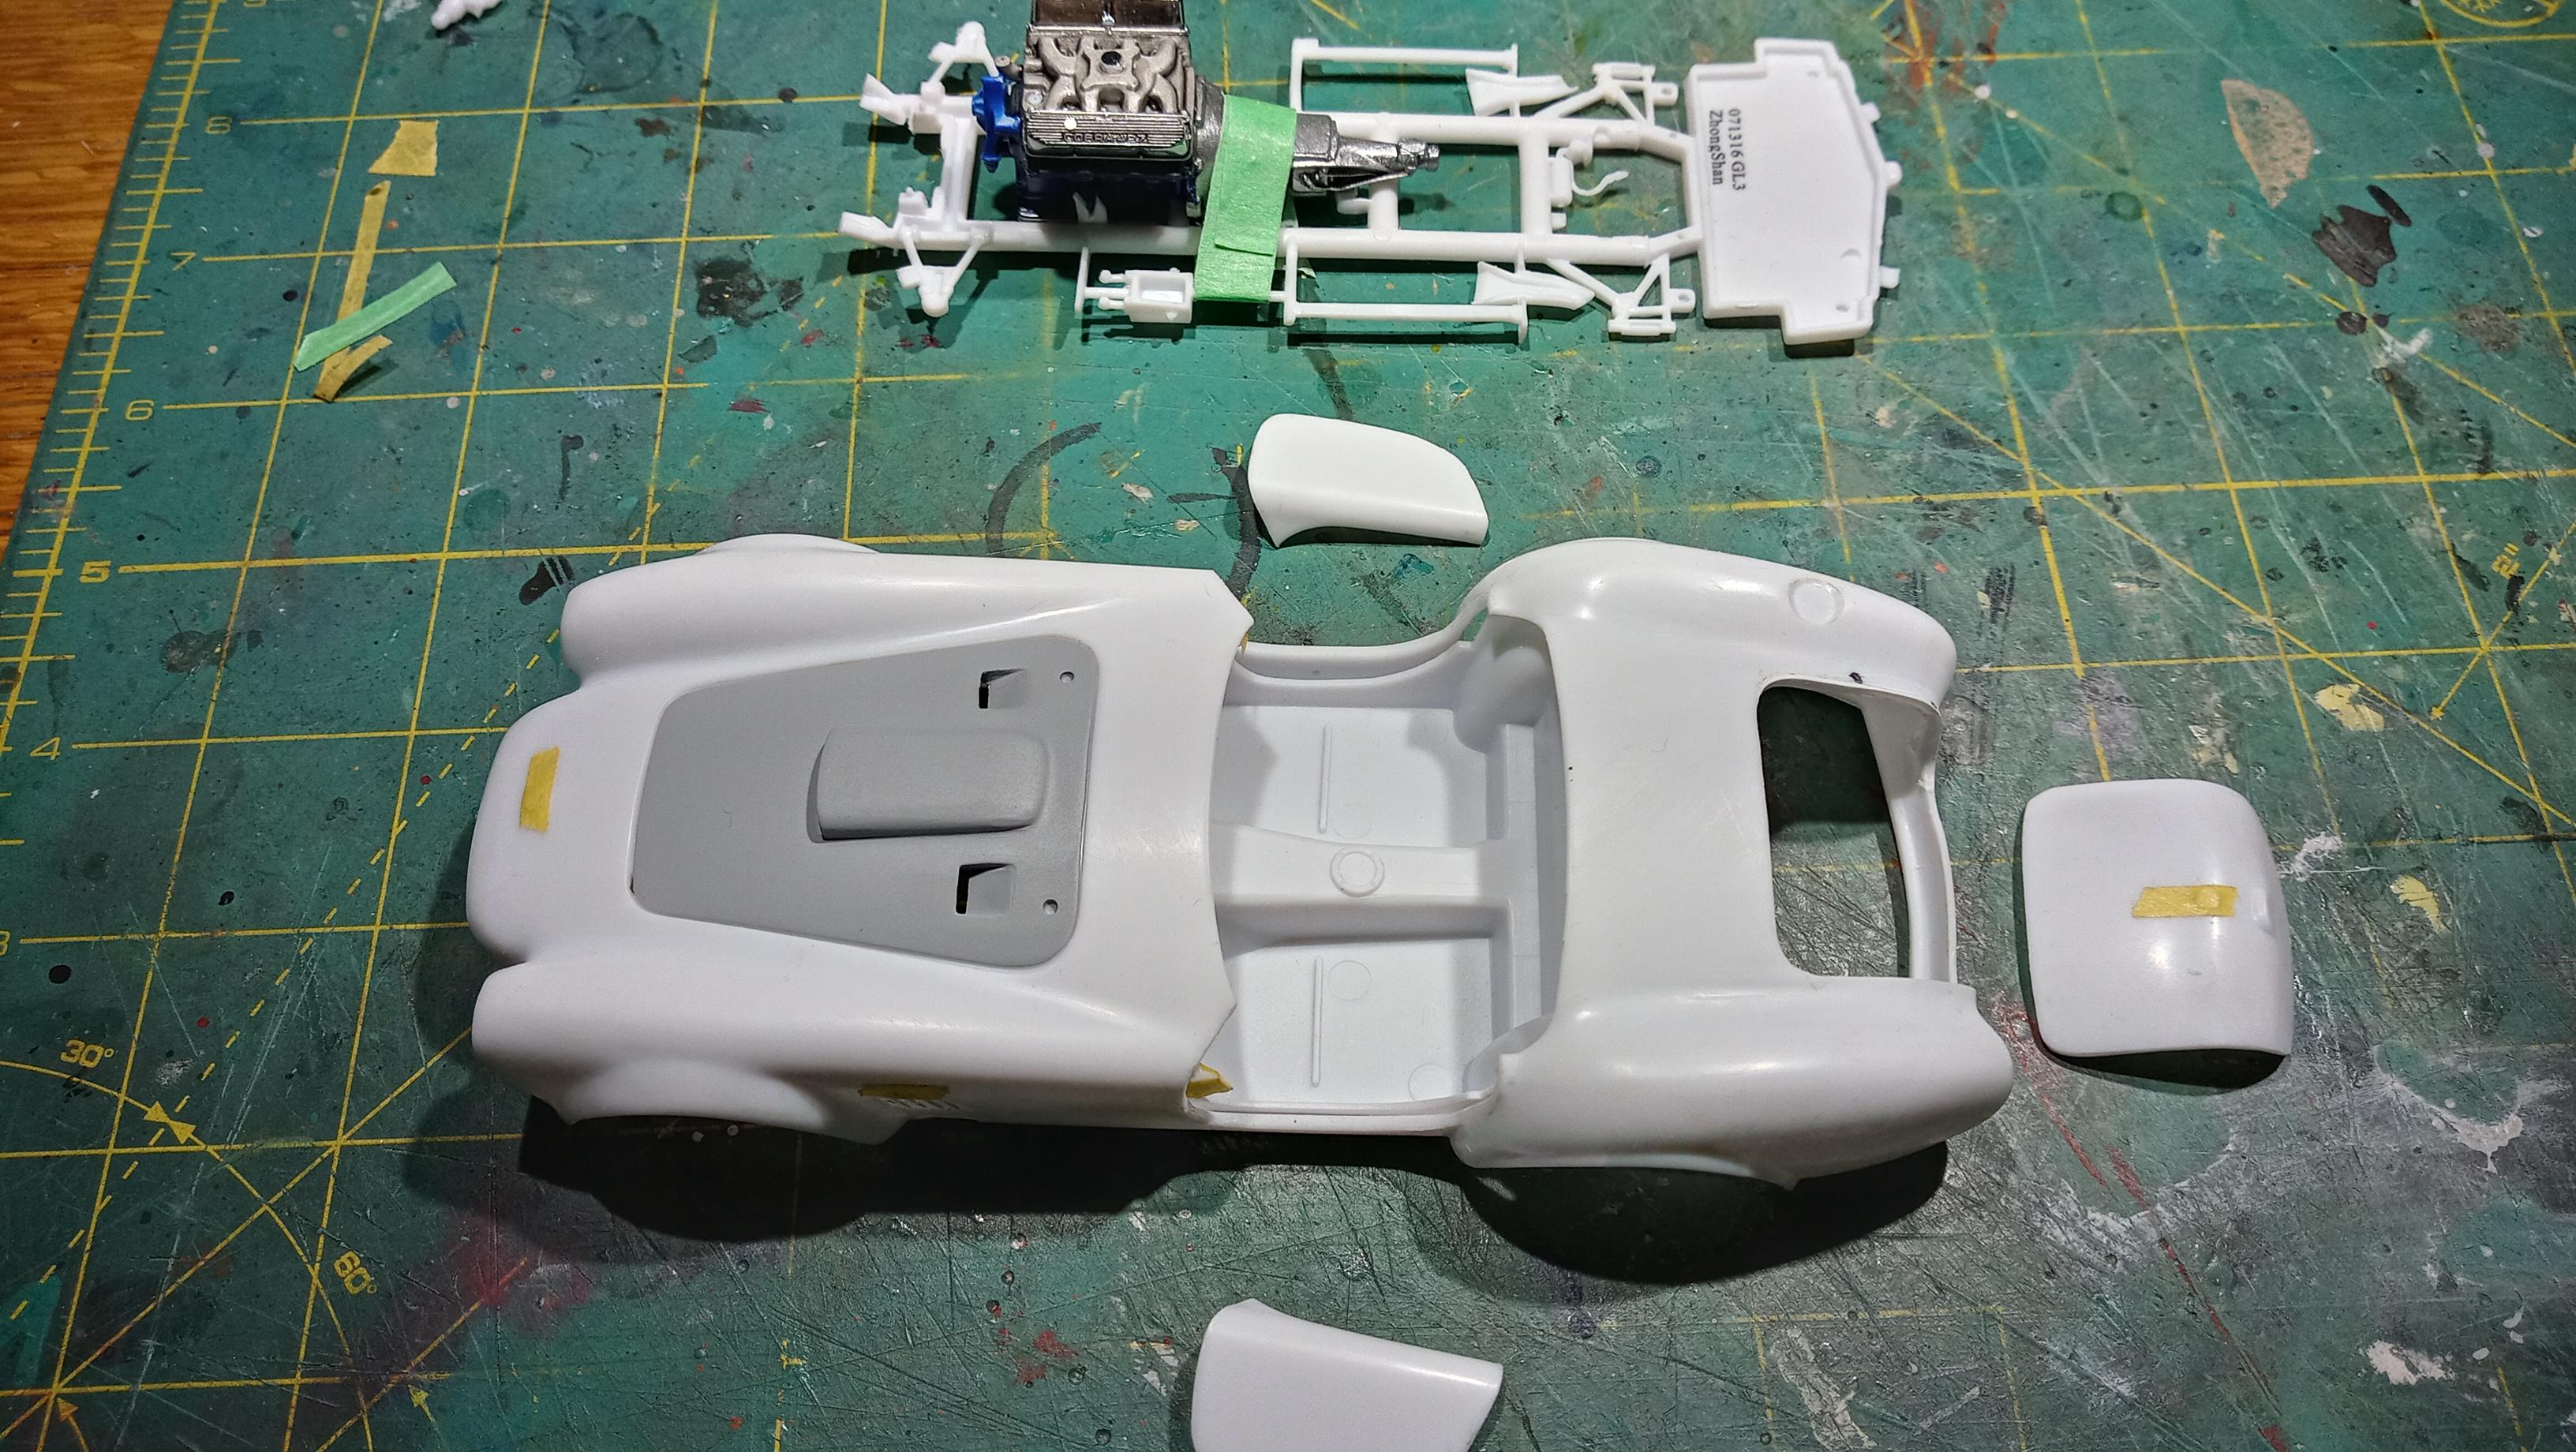
The competition is ramping up for the Cannonball 2020 down in Community builds...check it out... Cars seen in movies or on T.V. ... There are millions of ideas.. I chose to try and build the Cobra from the movie "The Gumball Rally"..because I had a Sam Feinstein Cobra in the pile. i don't think there is too much difference between the two, but,,...I'm hoping the experts will jump in on this one. The movie car colour, I believe to be Sapphire blue... a little lighter than Gaurdsman blue....I think It's a Revell of Germany kit with very vague locating points between the body, interior bucket and chassis.. The first thing I did was destroy that end entrance box ...(man those are a pain).. and got to dry fitting and sanding and filling... I decided early on that I was going to cut out the doors and trunk... the movie car had square cut outs in the hood, so This is csx3243 now after a paint job and mechanical restoration... https://colinsclassicauto.com/inventory/1967-shelby-427-cobra-csx3243-the-gumball-rally-cobra/#prettyPhoto I bought this set of BF Goodrich radial T/A's from Joseph (Fireball model works) some time ago and they are almost perfect...the front sidewalls are just a bit too tall for me... still hunting After trying to grind out the gills, I noticed I had burned right through the exhaust ports on the body so a repair was needed... then I got rid of the gills too ...( don't even ask...) Got a start on the engine And this is where we sit now.... I have also filed down the windscreen fame, thinned all visible body edges, and sanded about 4 linear miles of tubular frame mould lines... my carpal tunnel is plugged More to come as it happens... Please Q+ C +C's welcome Cheers
-
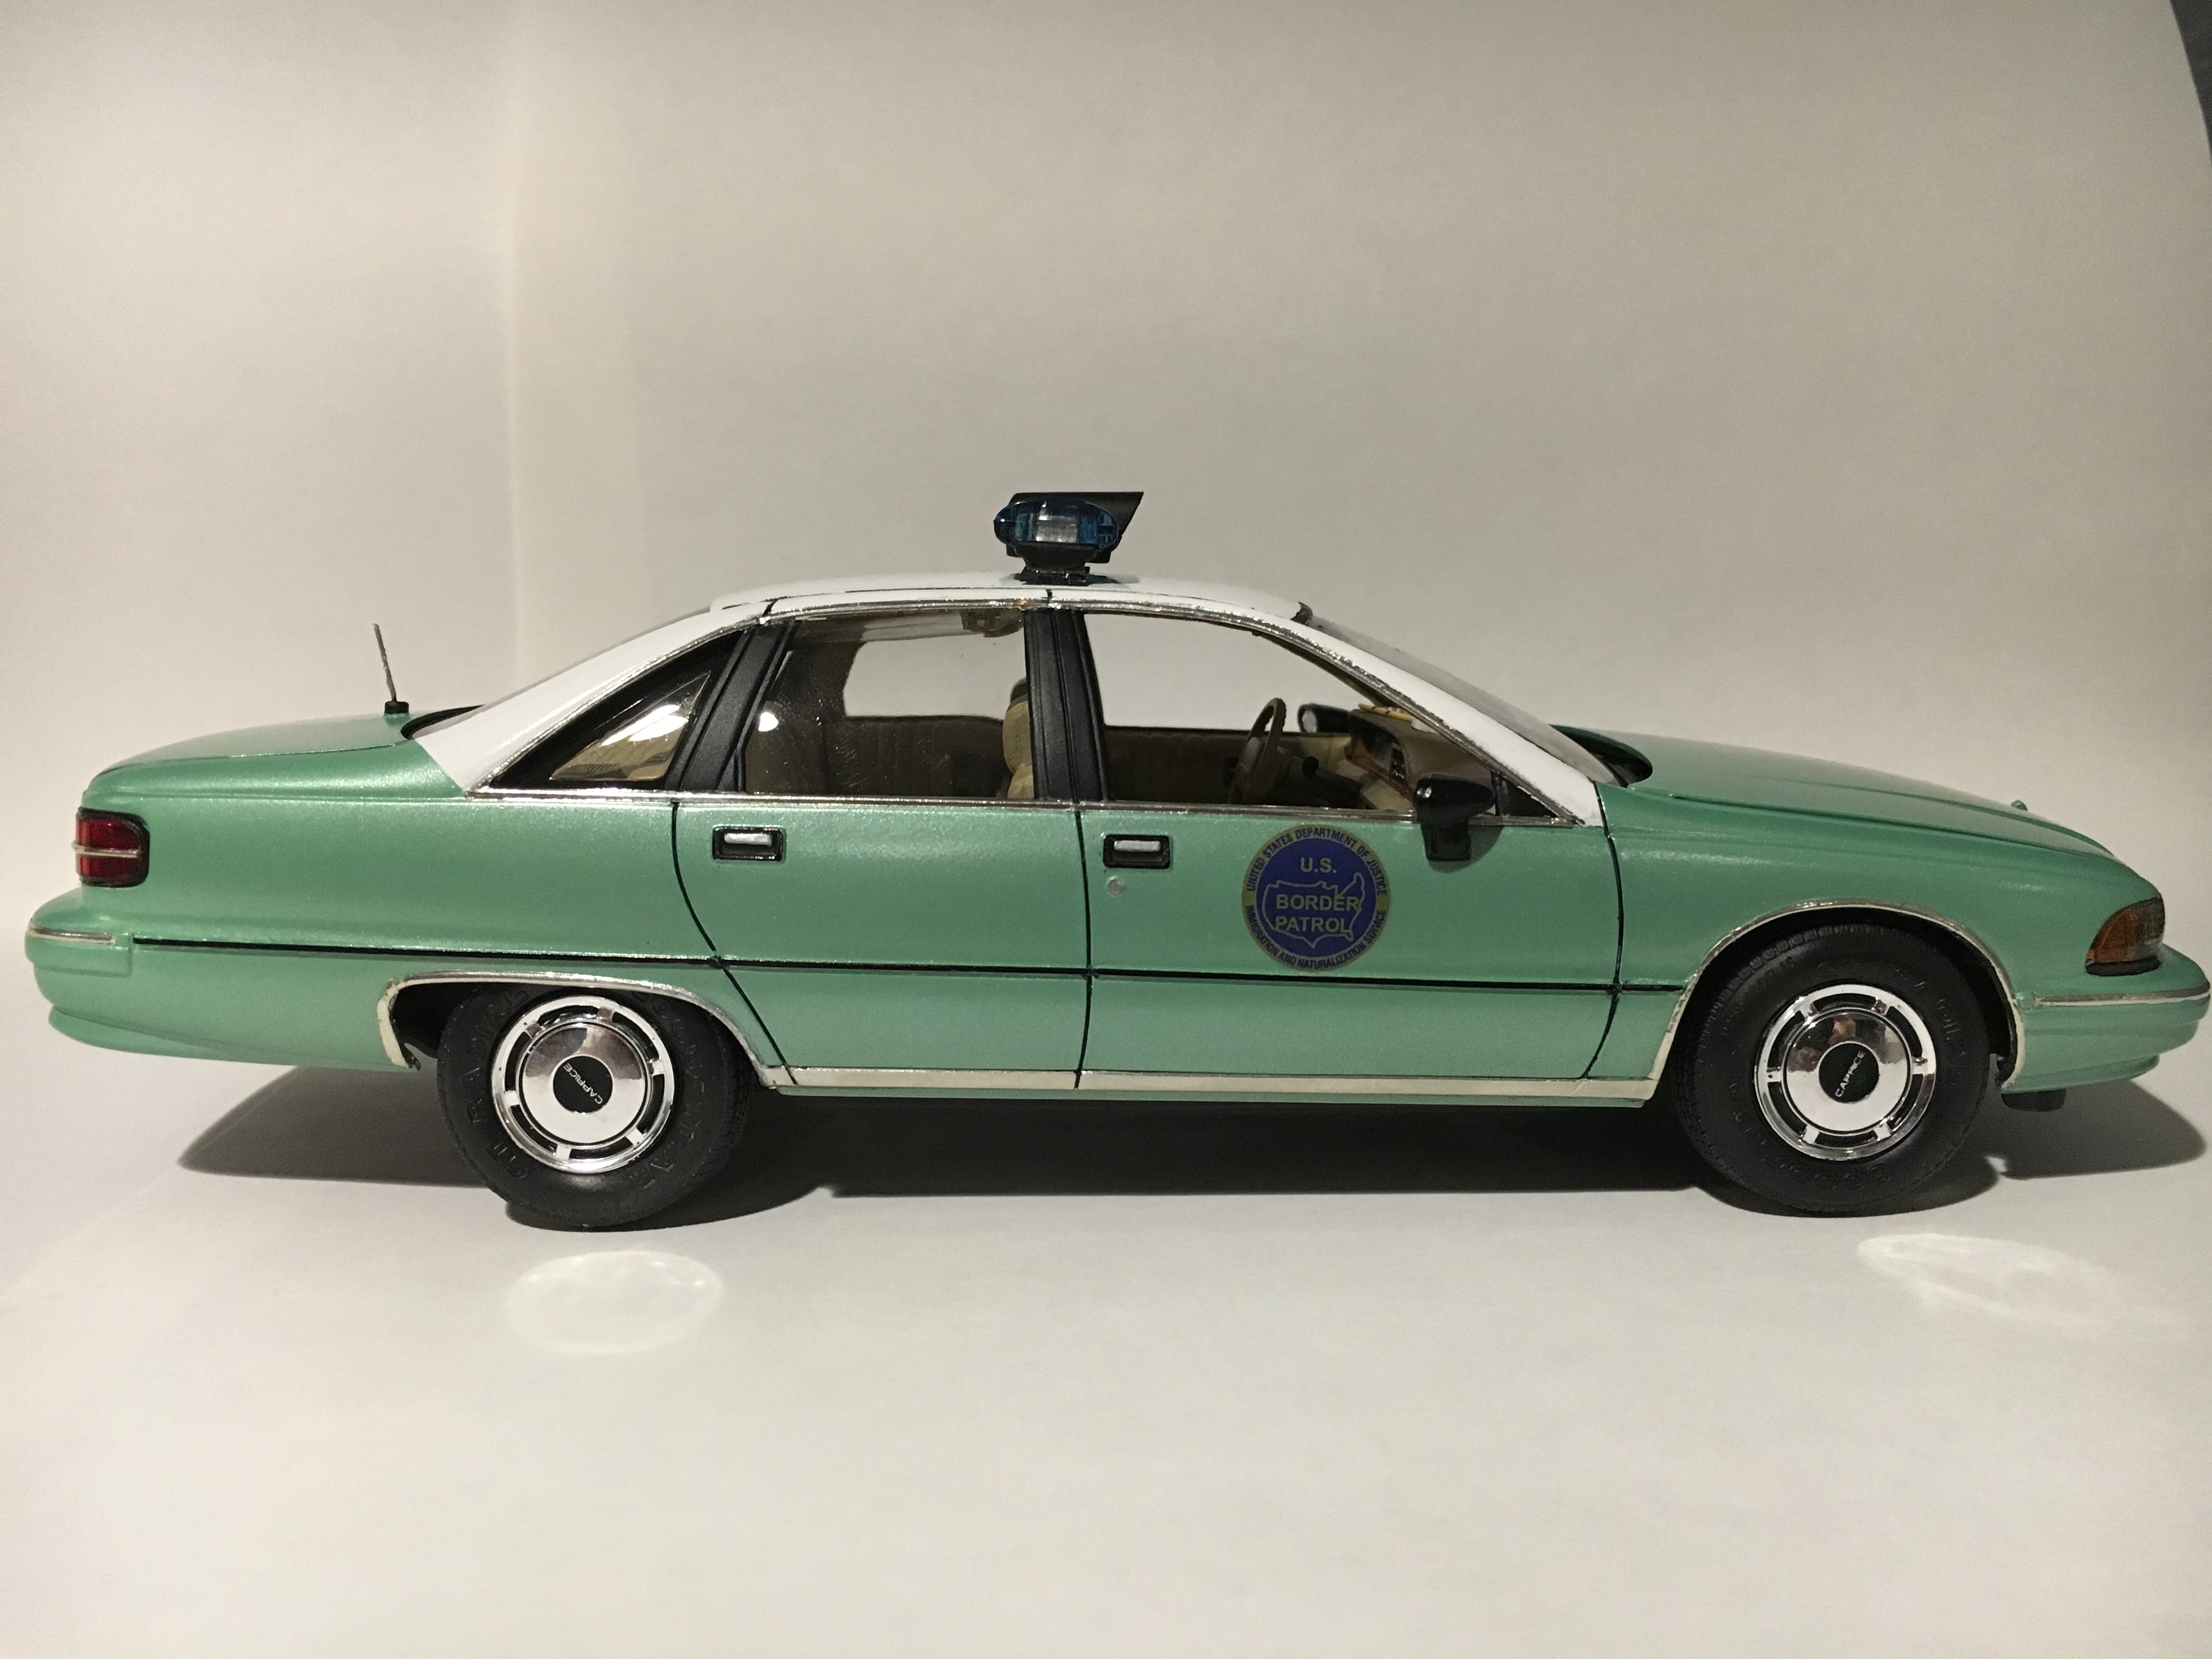
1991 was the last model year that the United States Border Patrol painted their vehicles white over light green (I don't know the exact paint code). Since the BP bought Caprices as their basic patrol sedan that year, they were the last sedans to utilize this paint scheme before the agency switched to all-white cars with a green stripe the following year. The kit is from Revell, Jetsonic light bar is from the AMT Ford Taurus police car kit, and decals are from Billbozo. Paint is Tamiya Pure White over Tamiya Pearl Green and the side molding was made from Evergreen stock. In retrospect, I should have added a cage for prisoner transport but we will just say this is a supervisor's car. This is my second complete kit and again, I learned a lot from it. I mostly got to work on my BMF techniques. The only real mess up I had was that I accidentally spilled glue on the front windshield, something I was not able to fix. The real deal (courtesy of copcar.com):
-
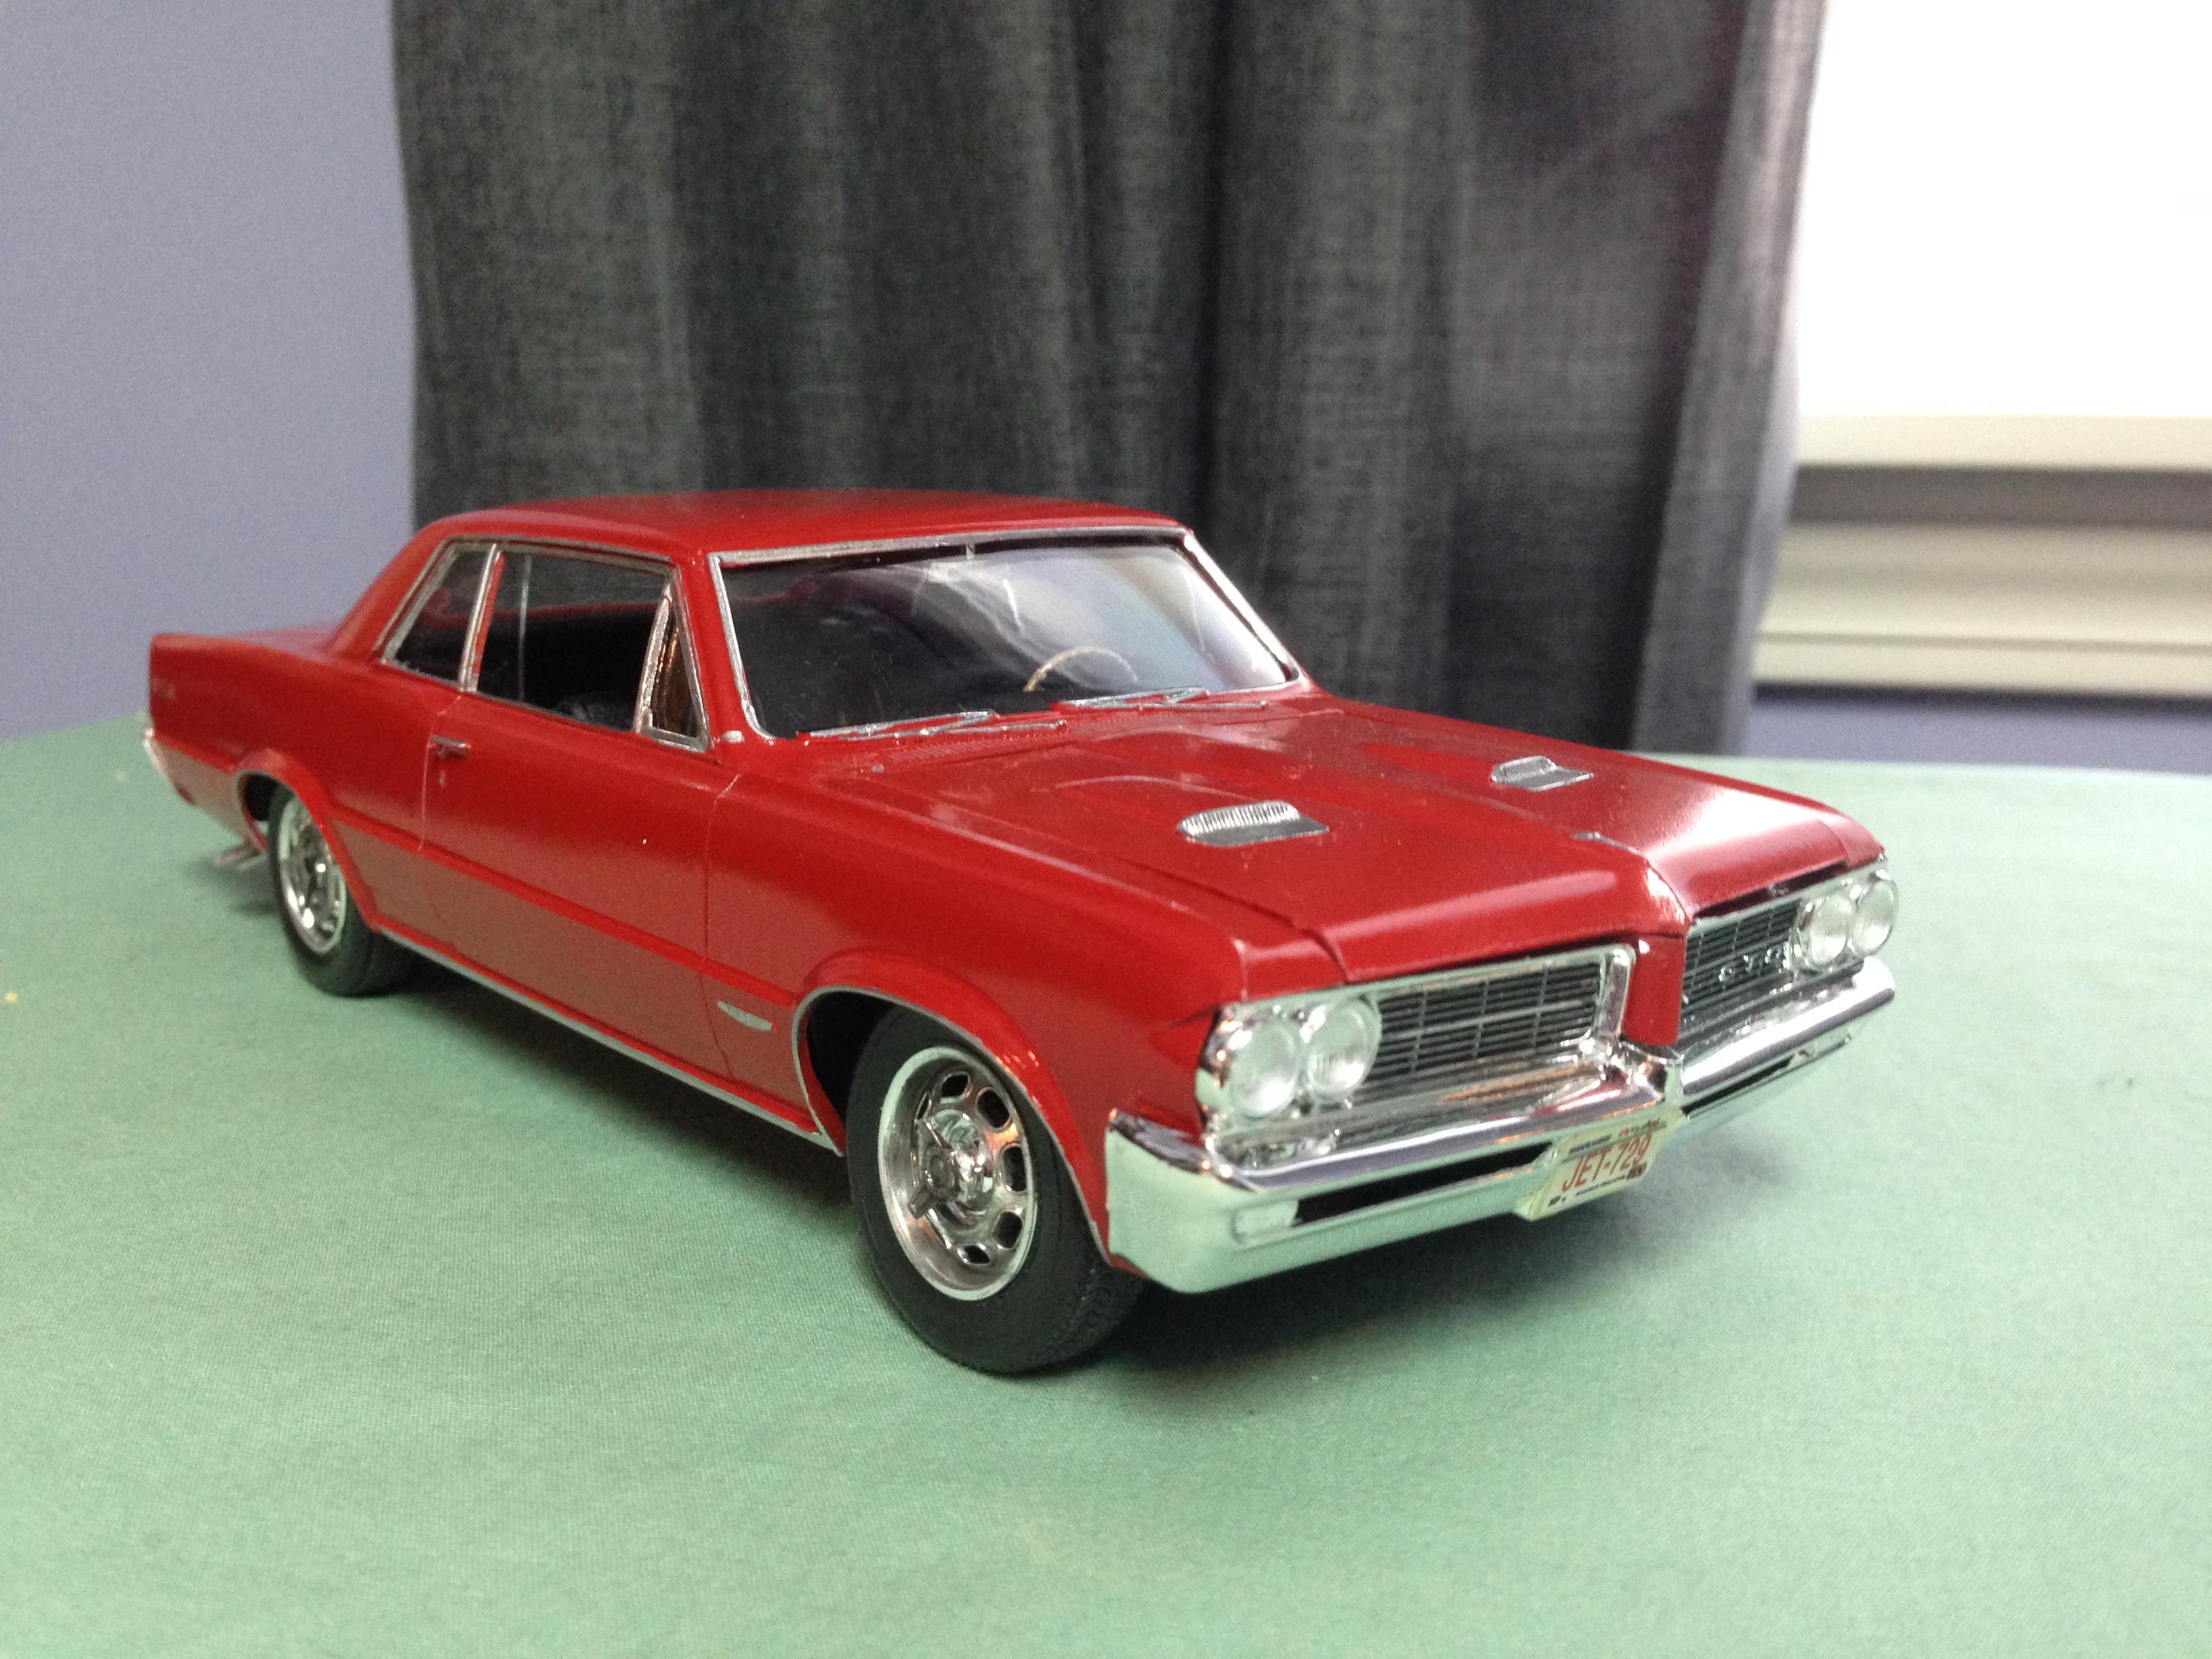
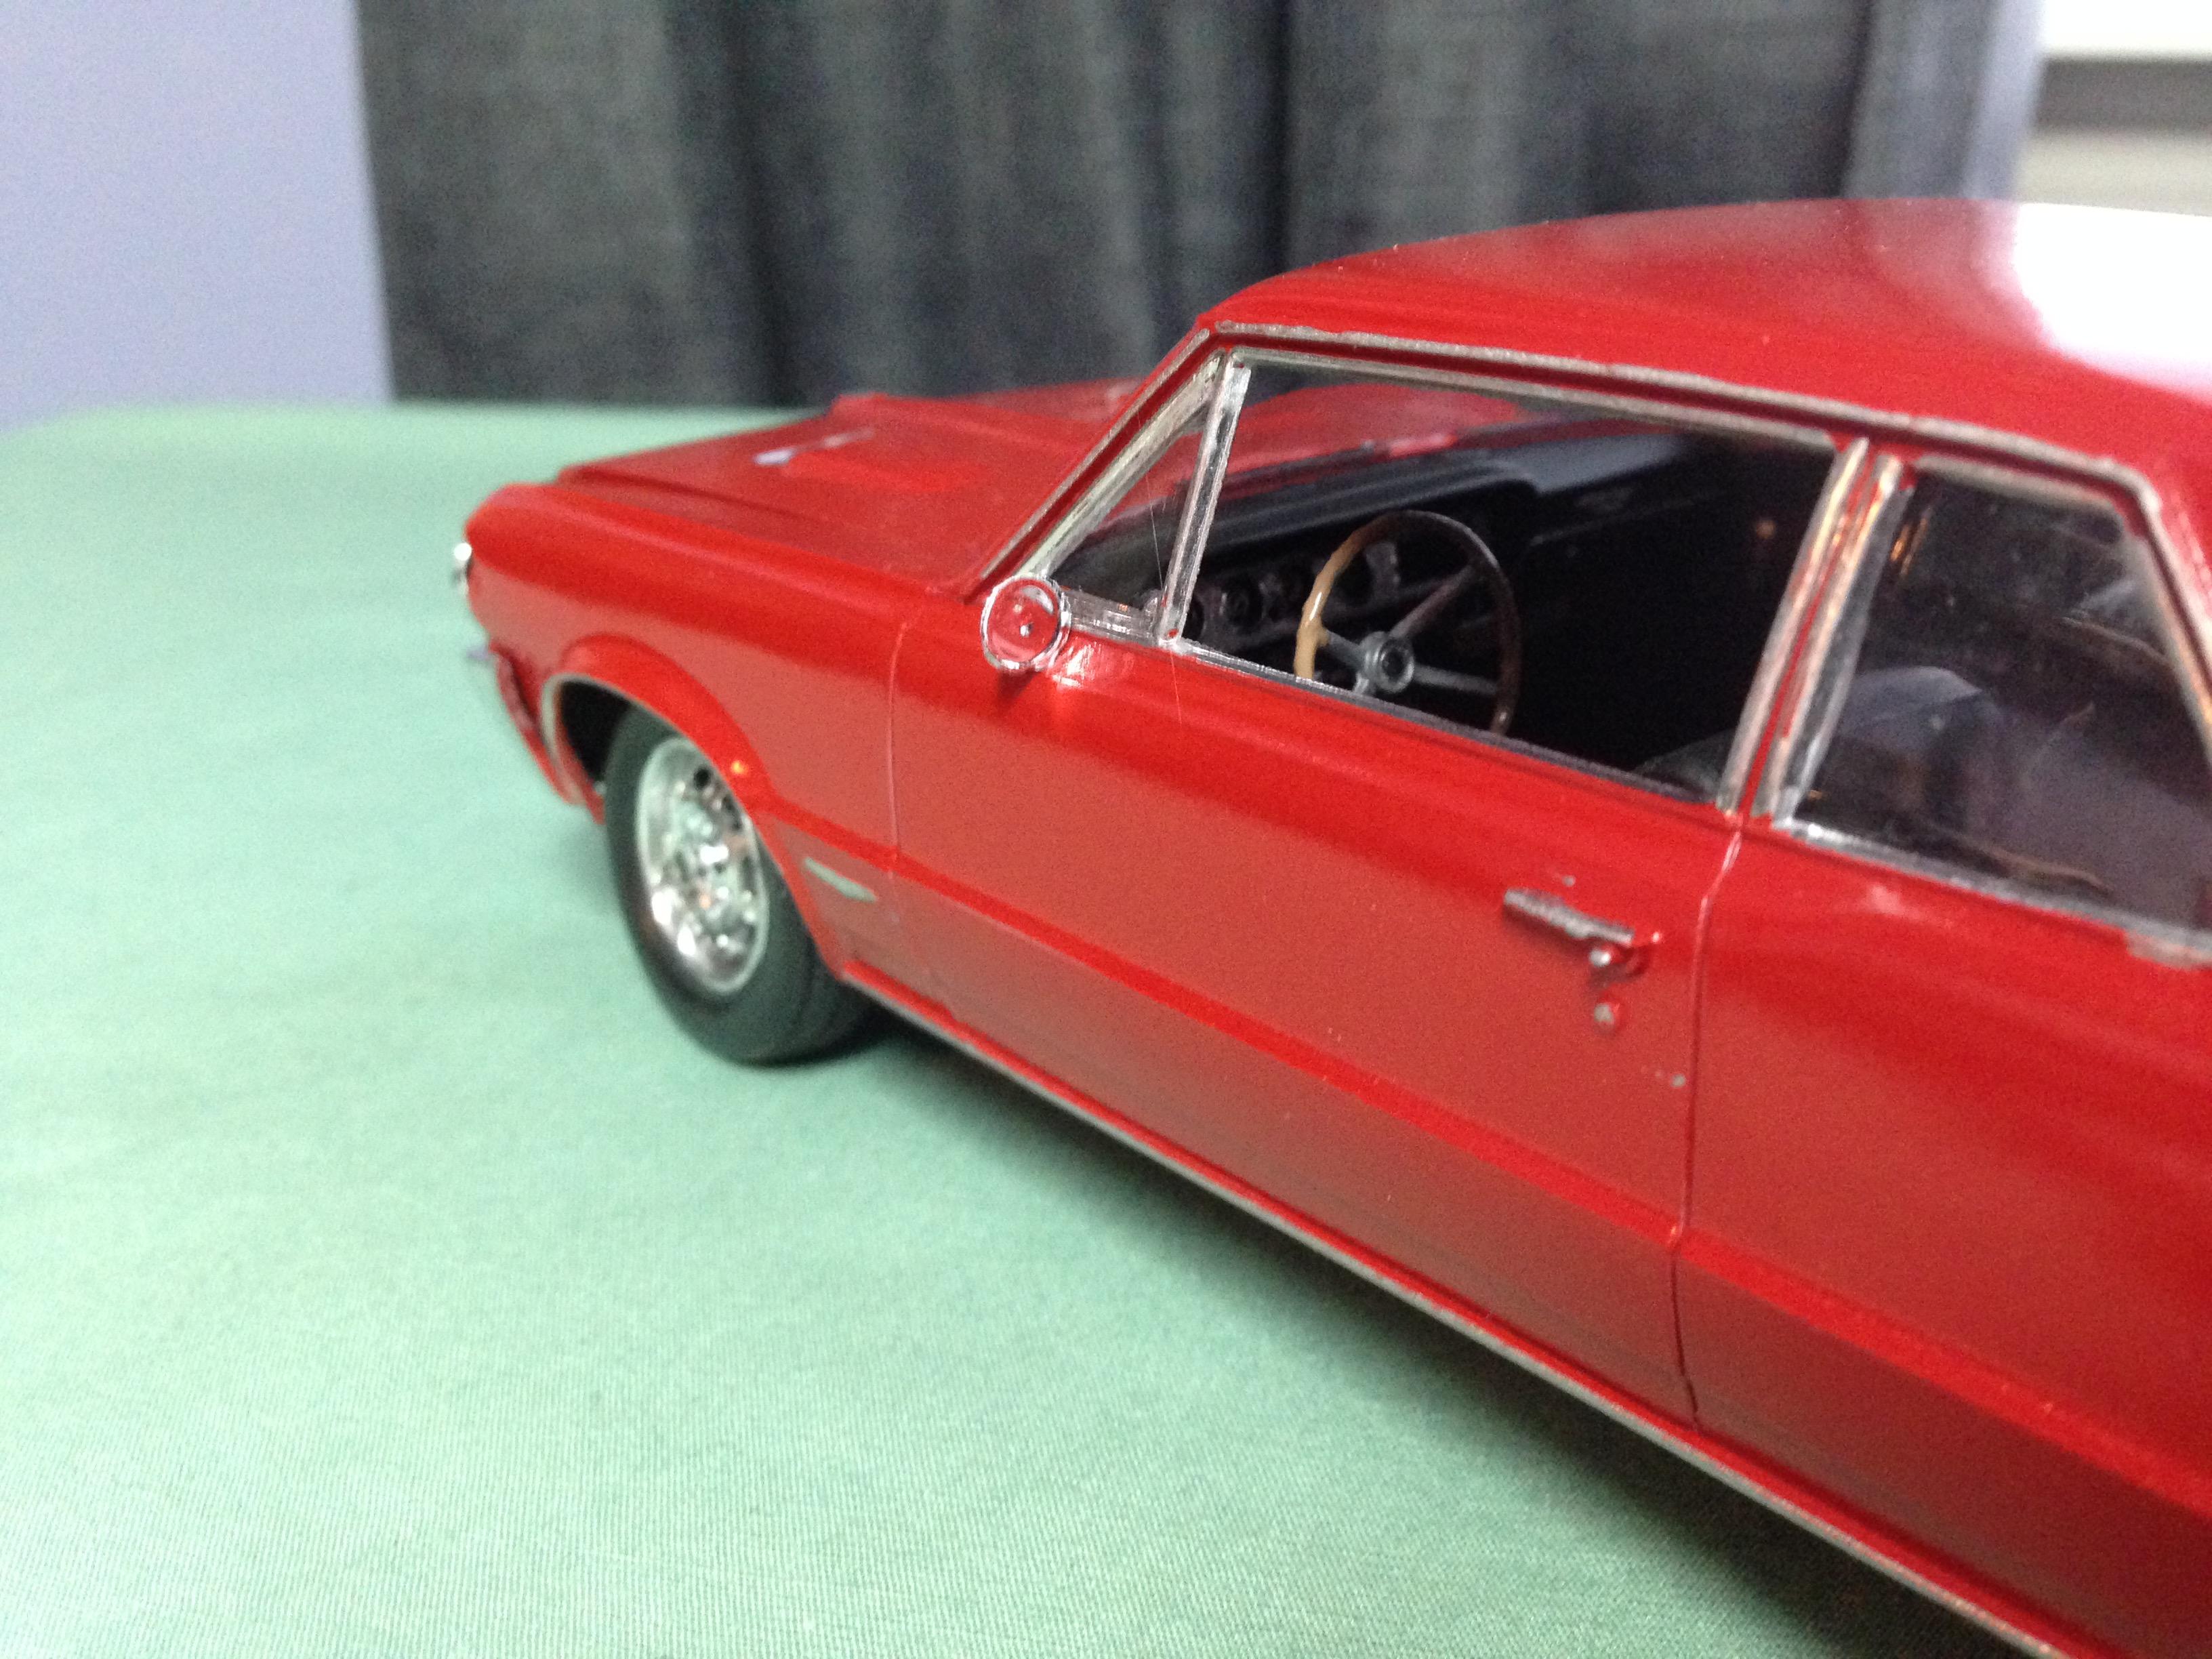
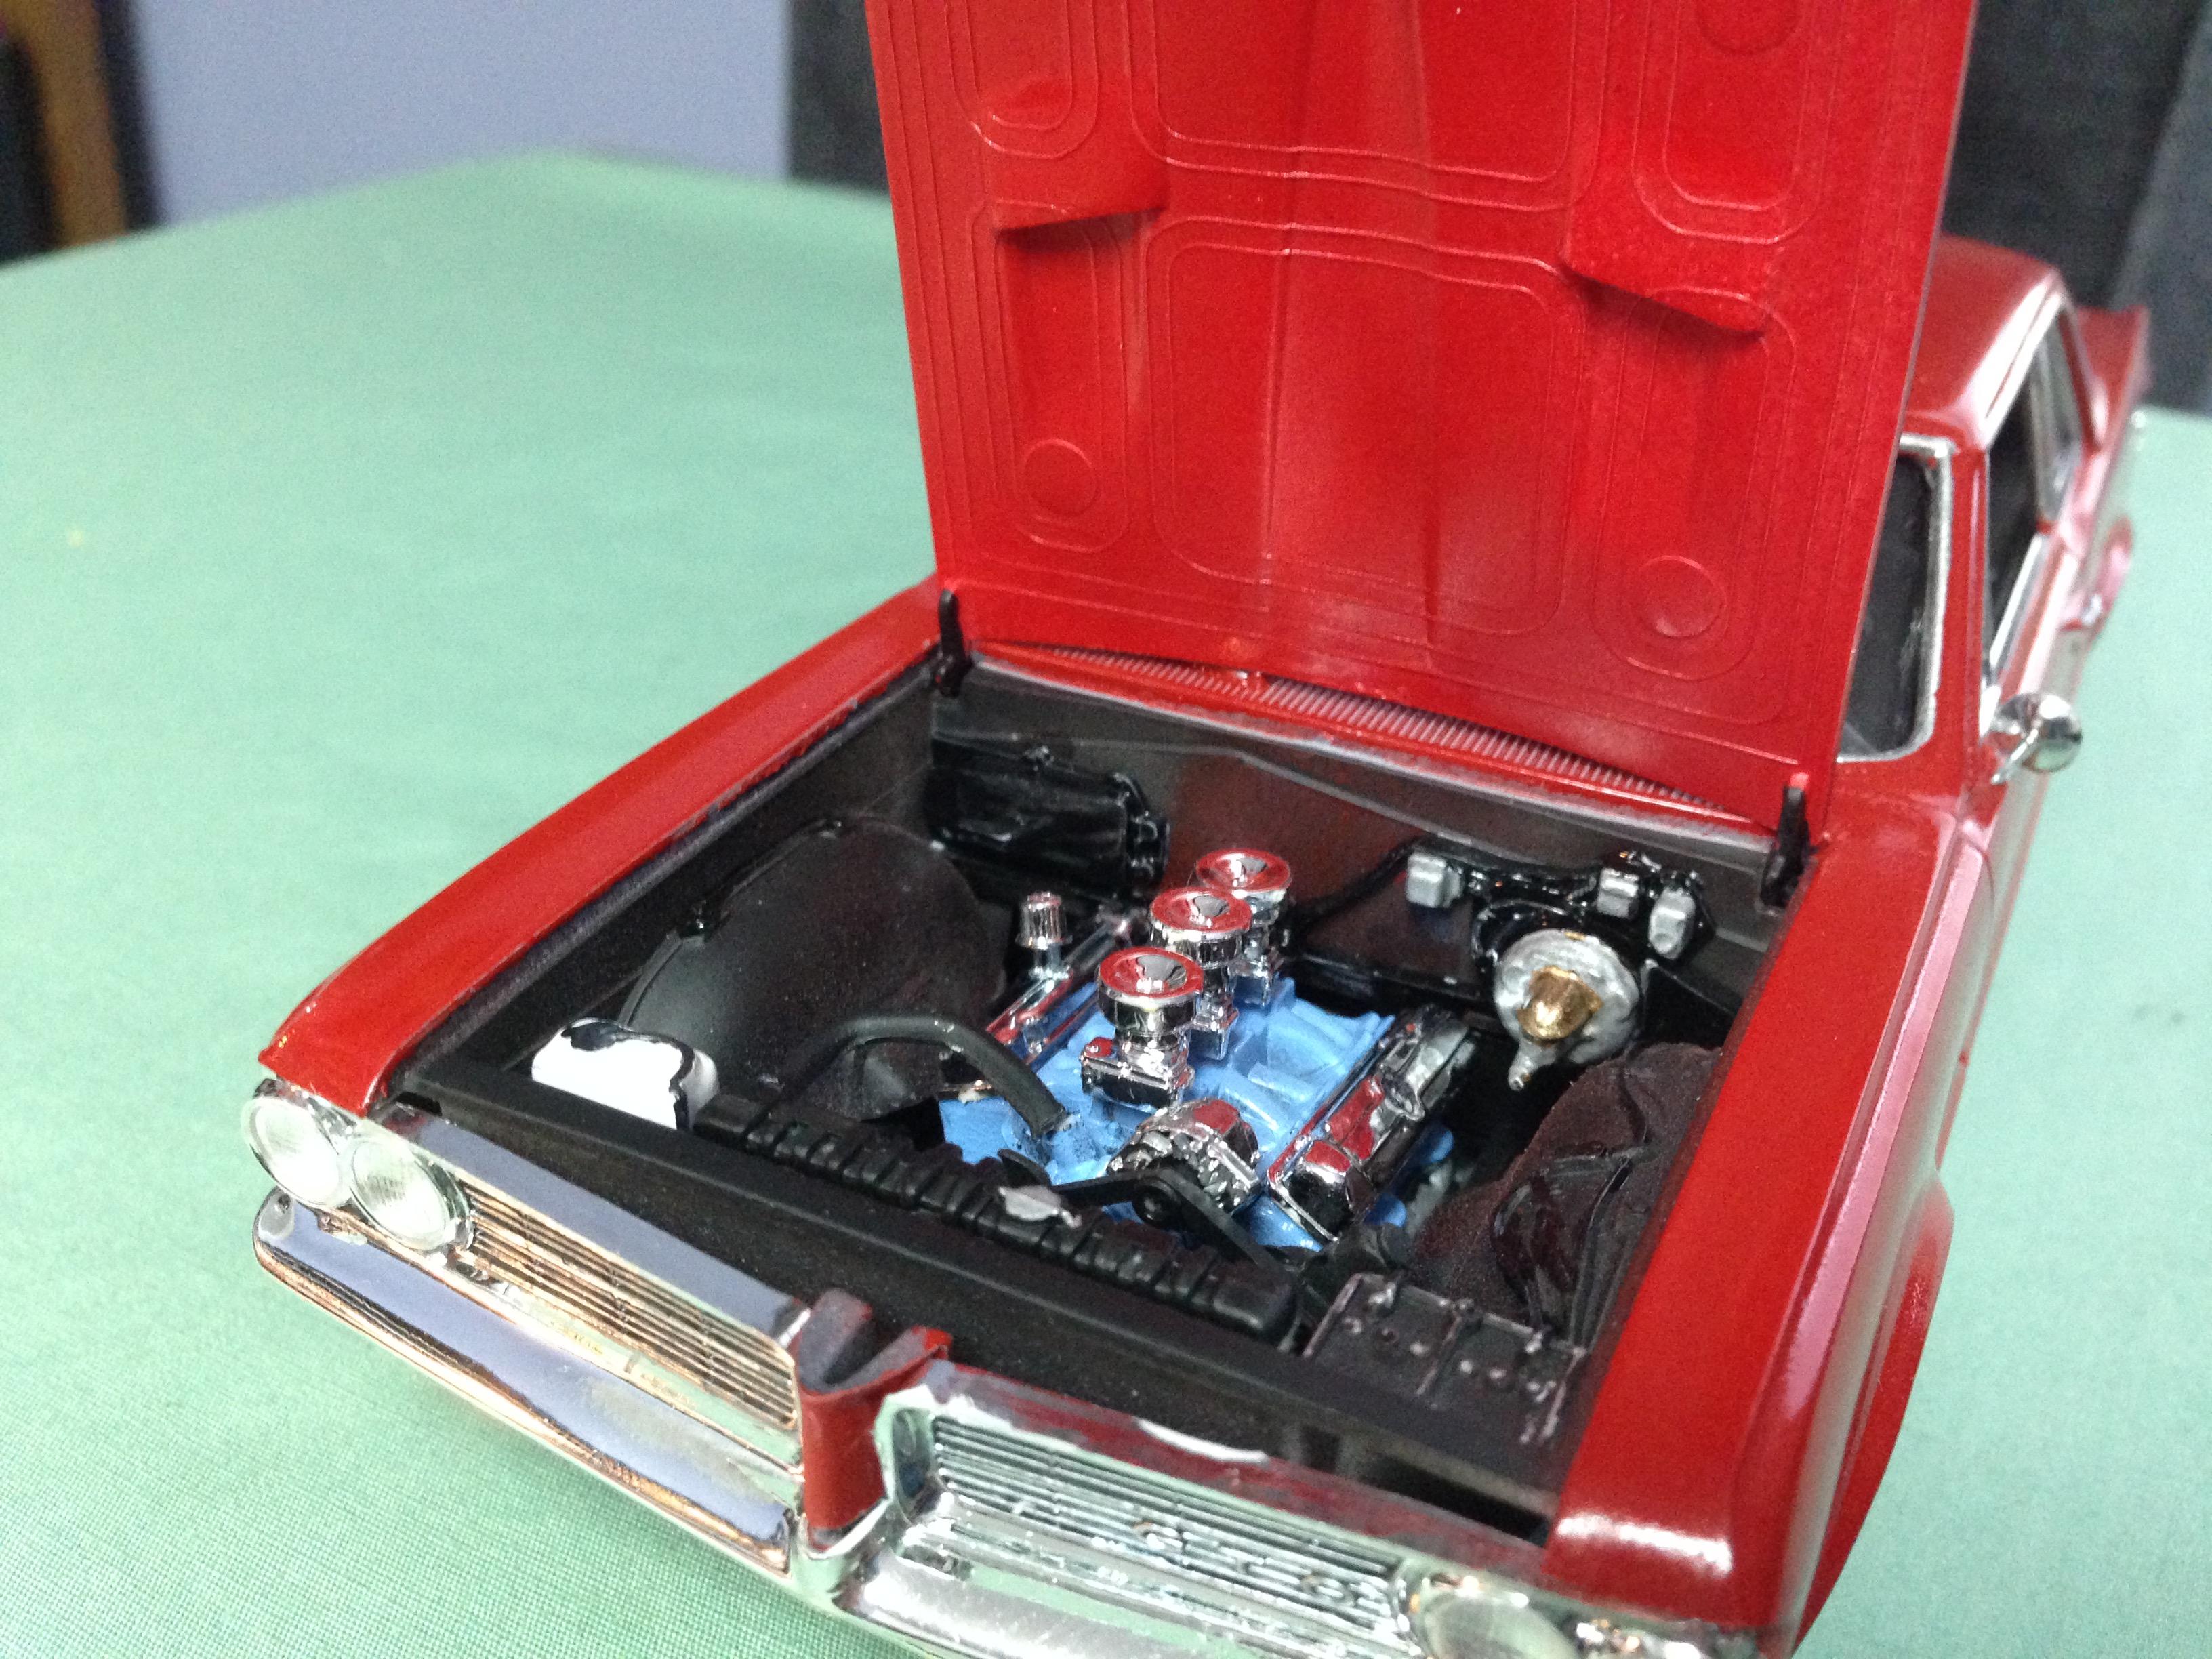
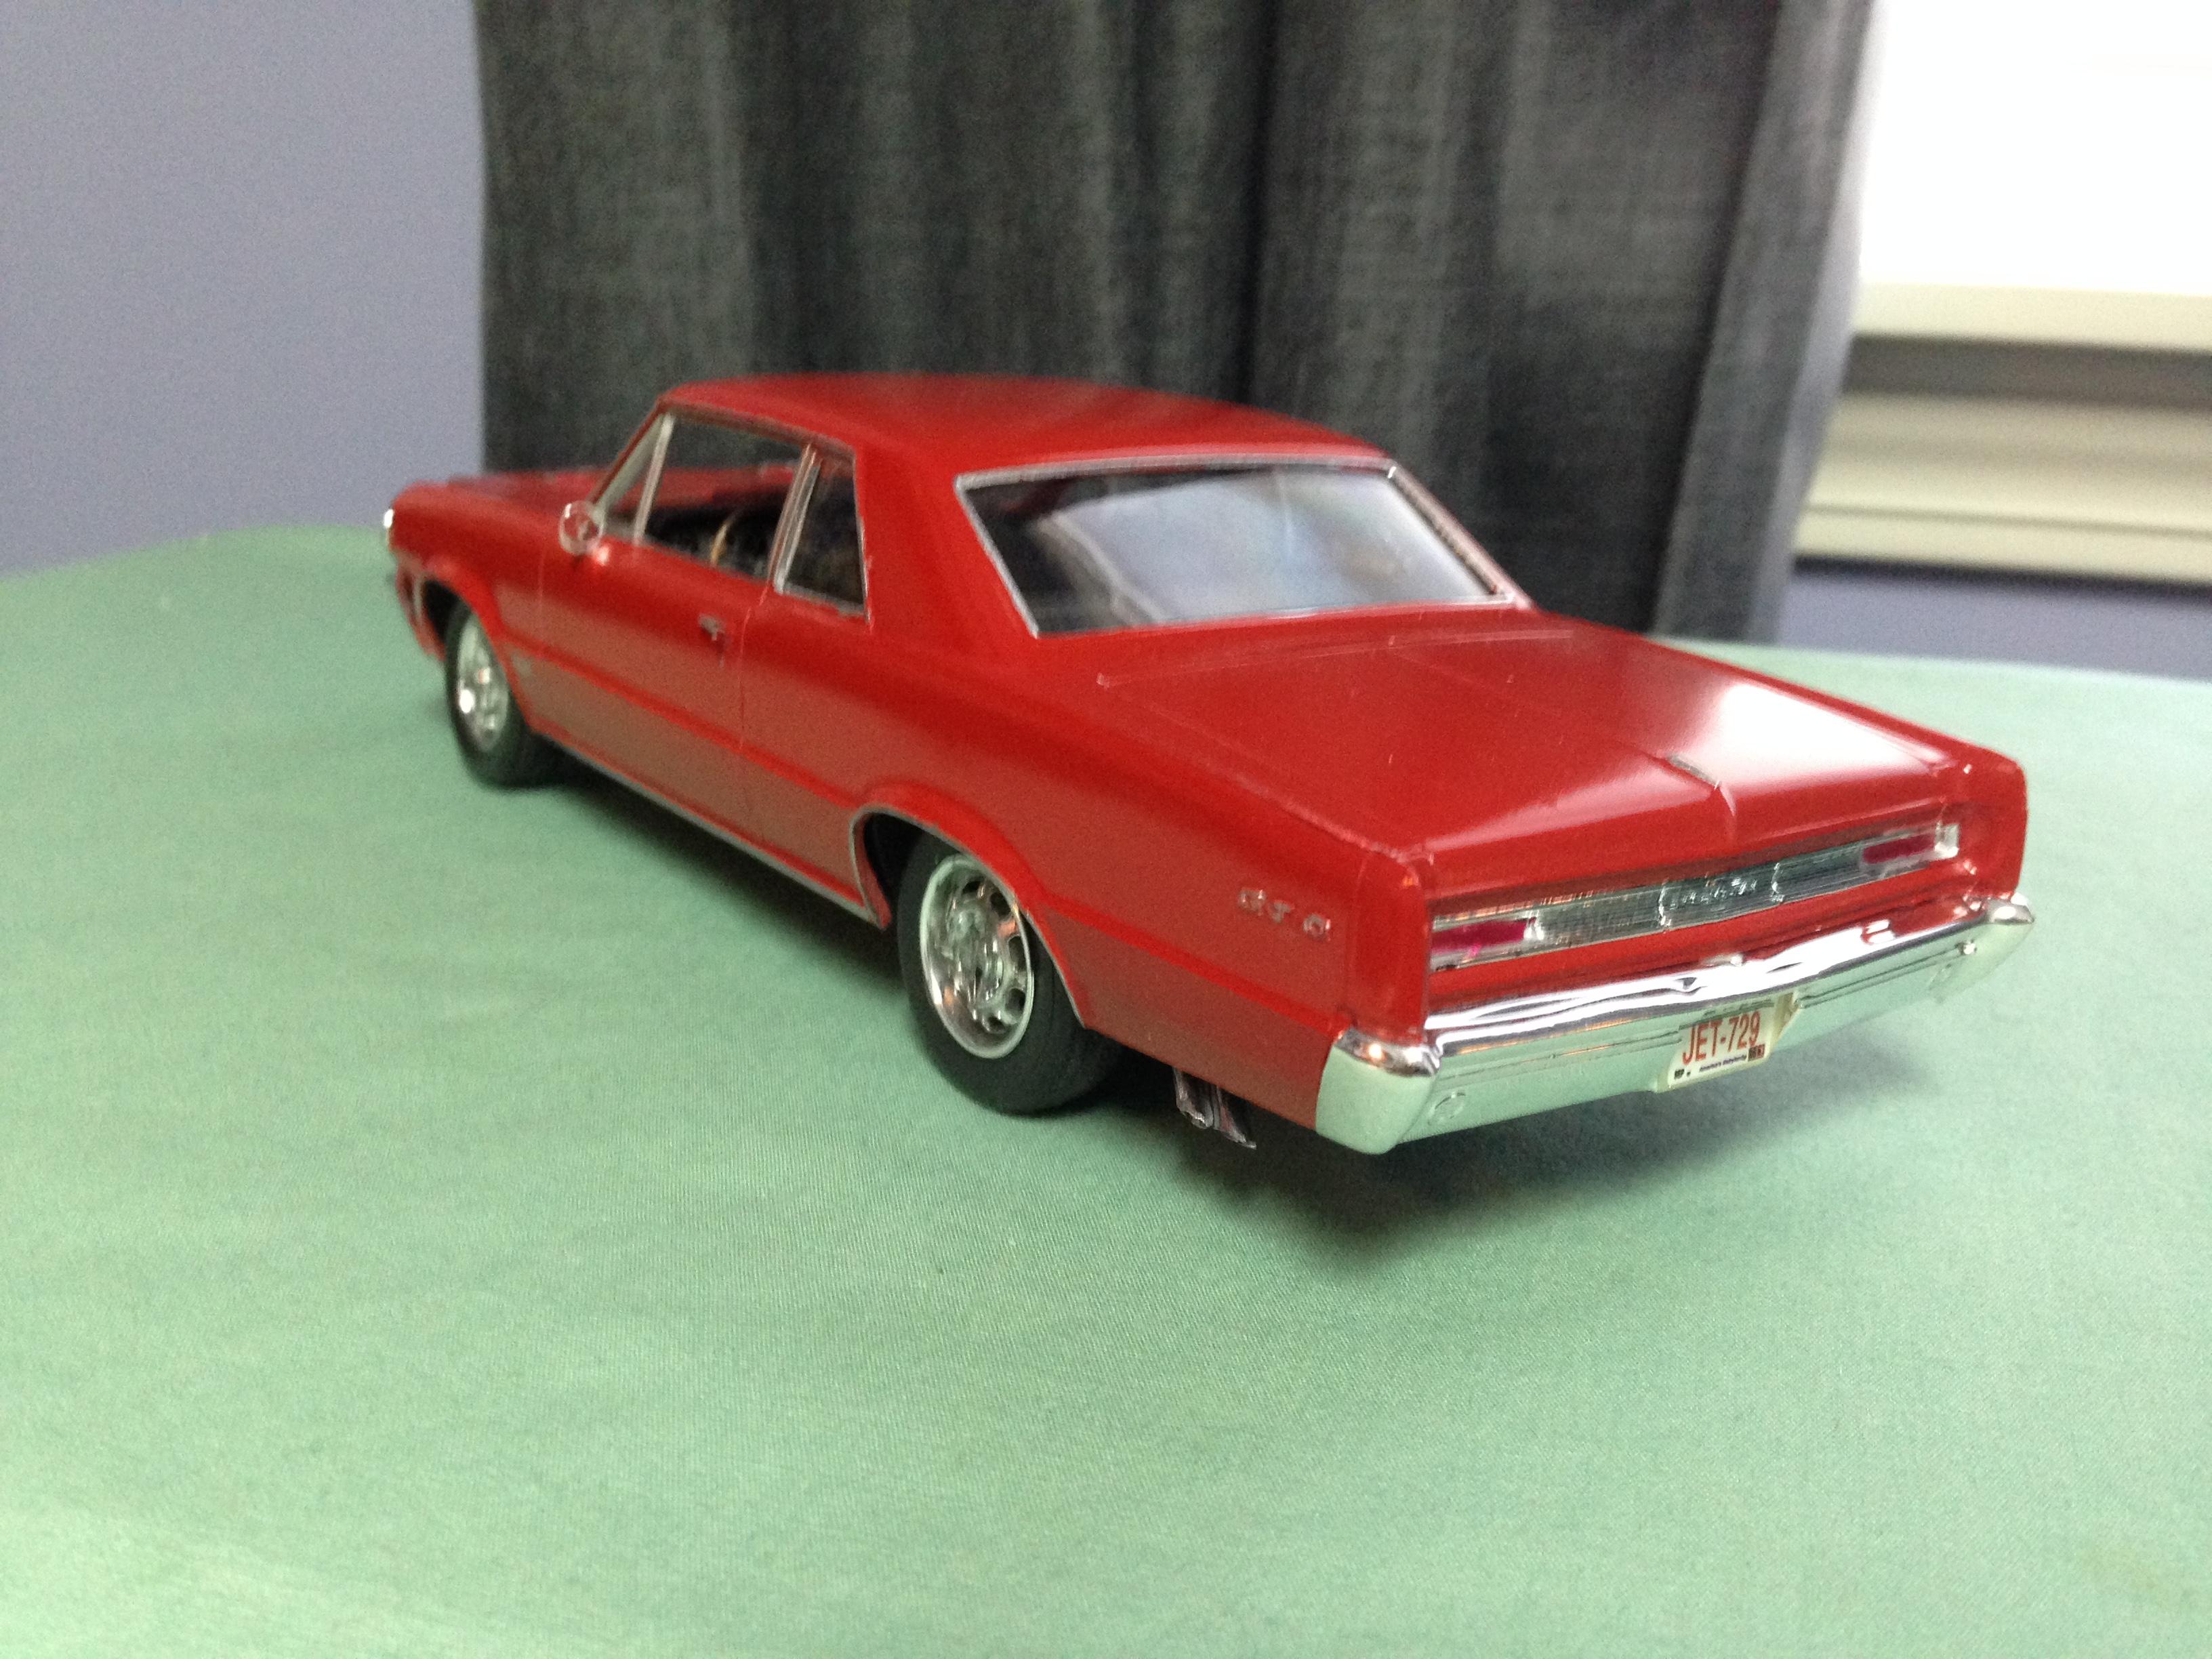
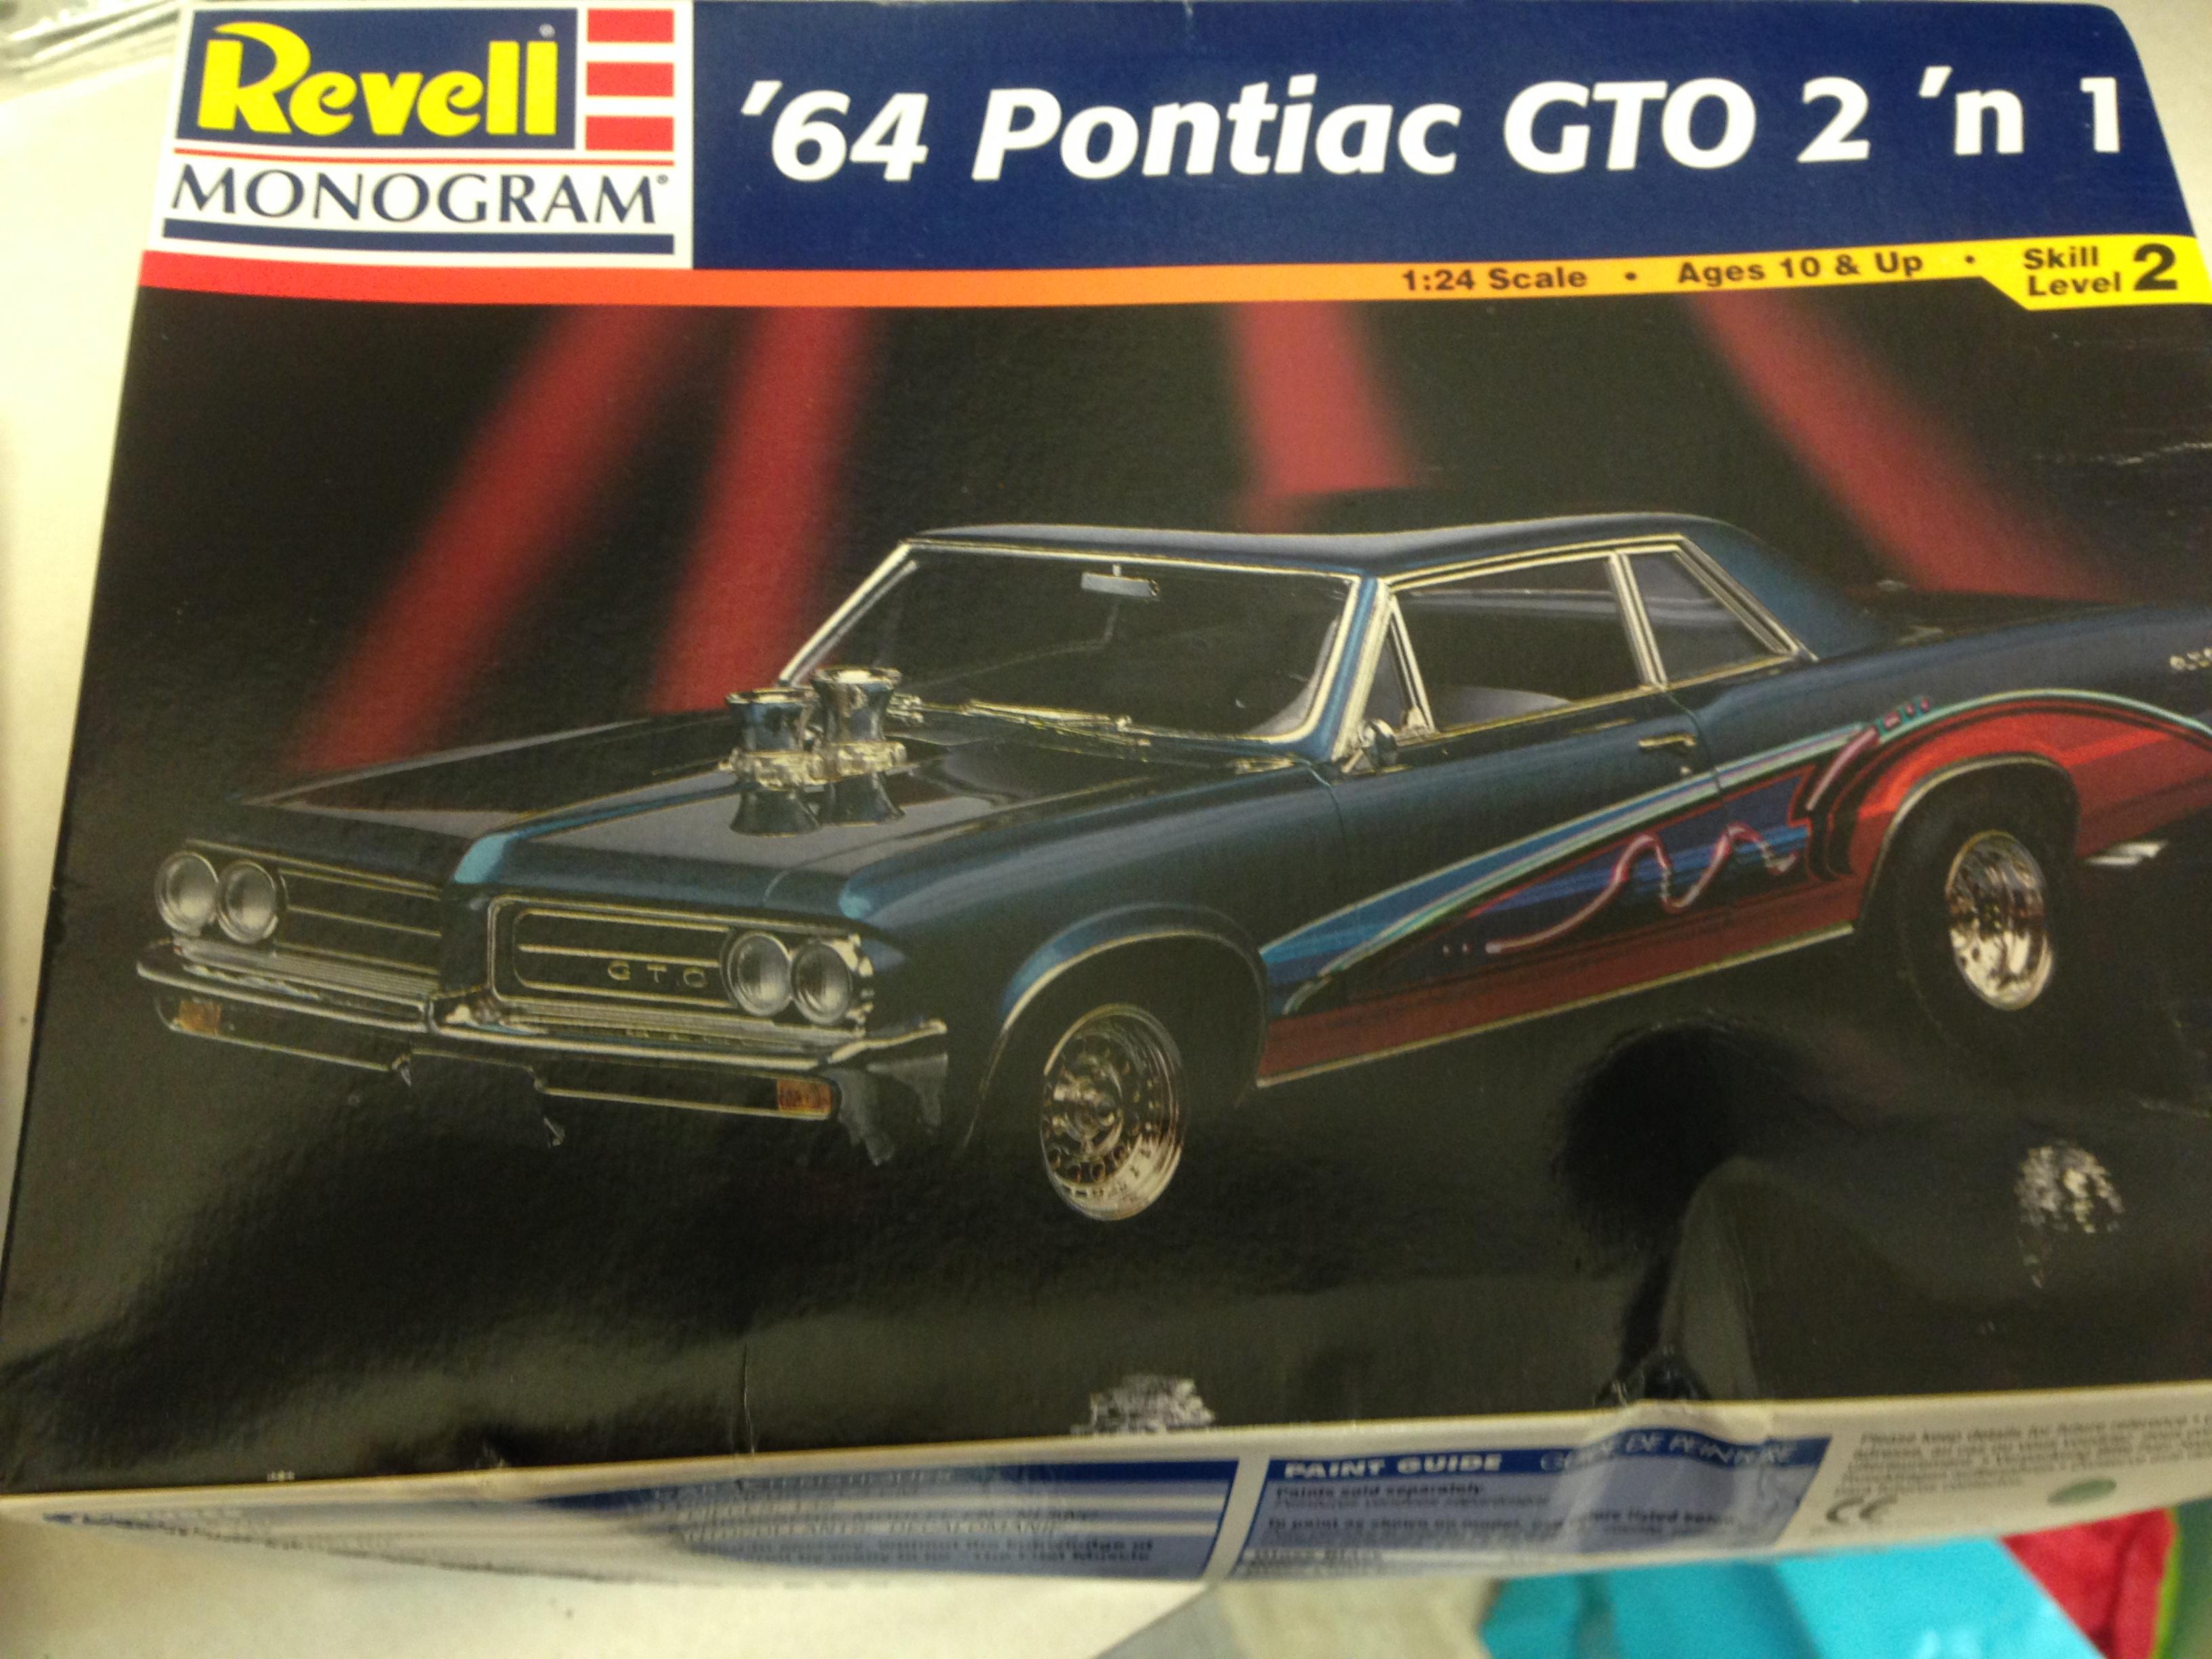
It's been a long time since I've posted anything, but the other day I pulled from my stash Revell's 1964 GTO. This kit is dated 1998, and I really didn't have a lot of interest in it. But I was pleasantly surprised at how well it went together and how solid it feels! I'm not the best builder, but I really like the way it turned out. I guess one good thing about CoronaVirus is that it got me thinking about old kits. I hope you are all staying well and enjoying some extra building time.
-
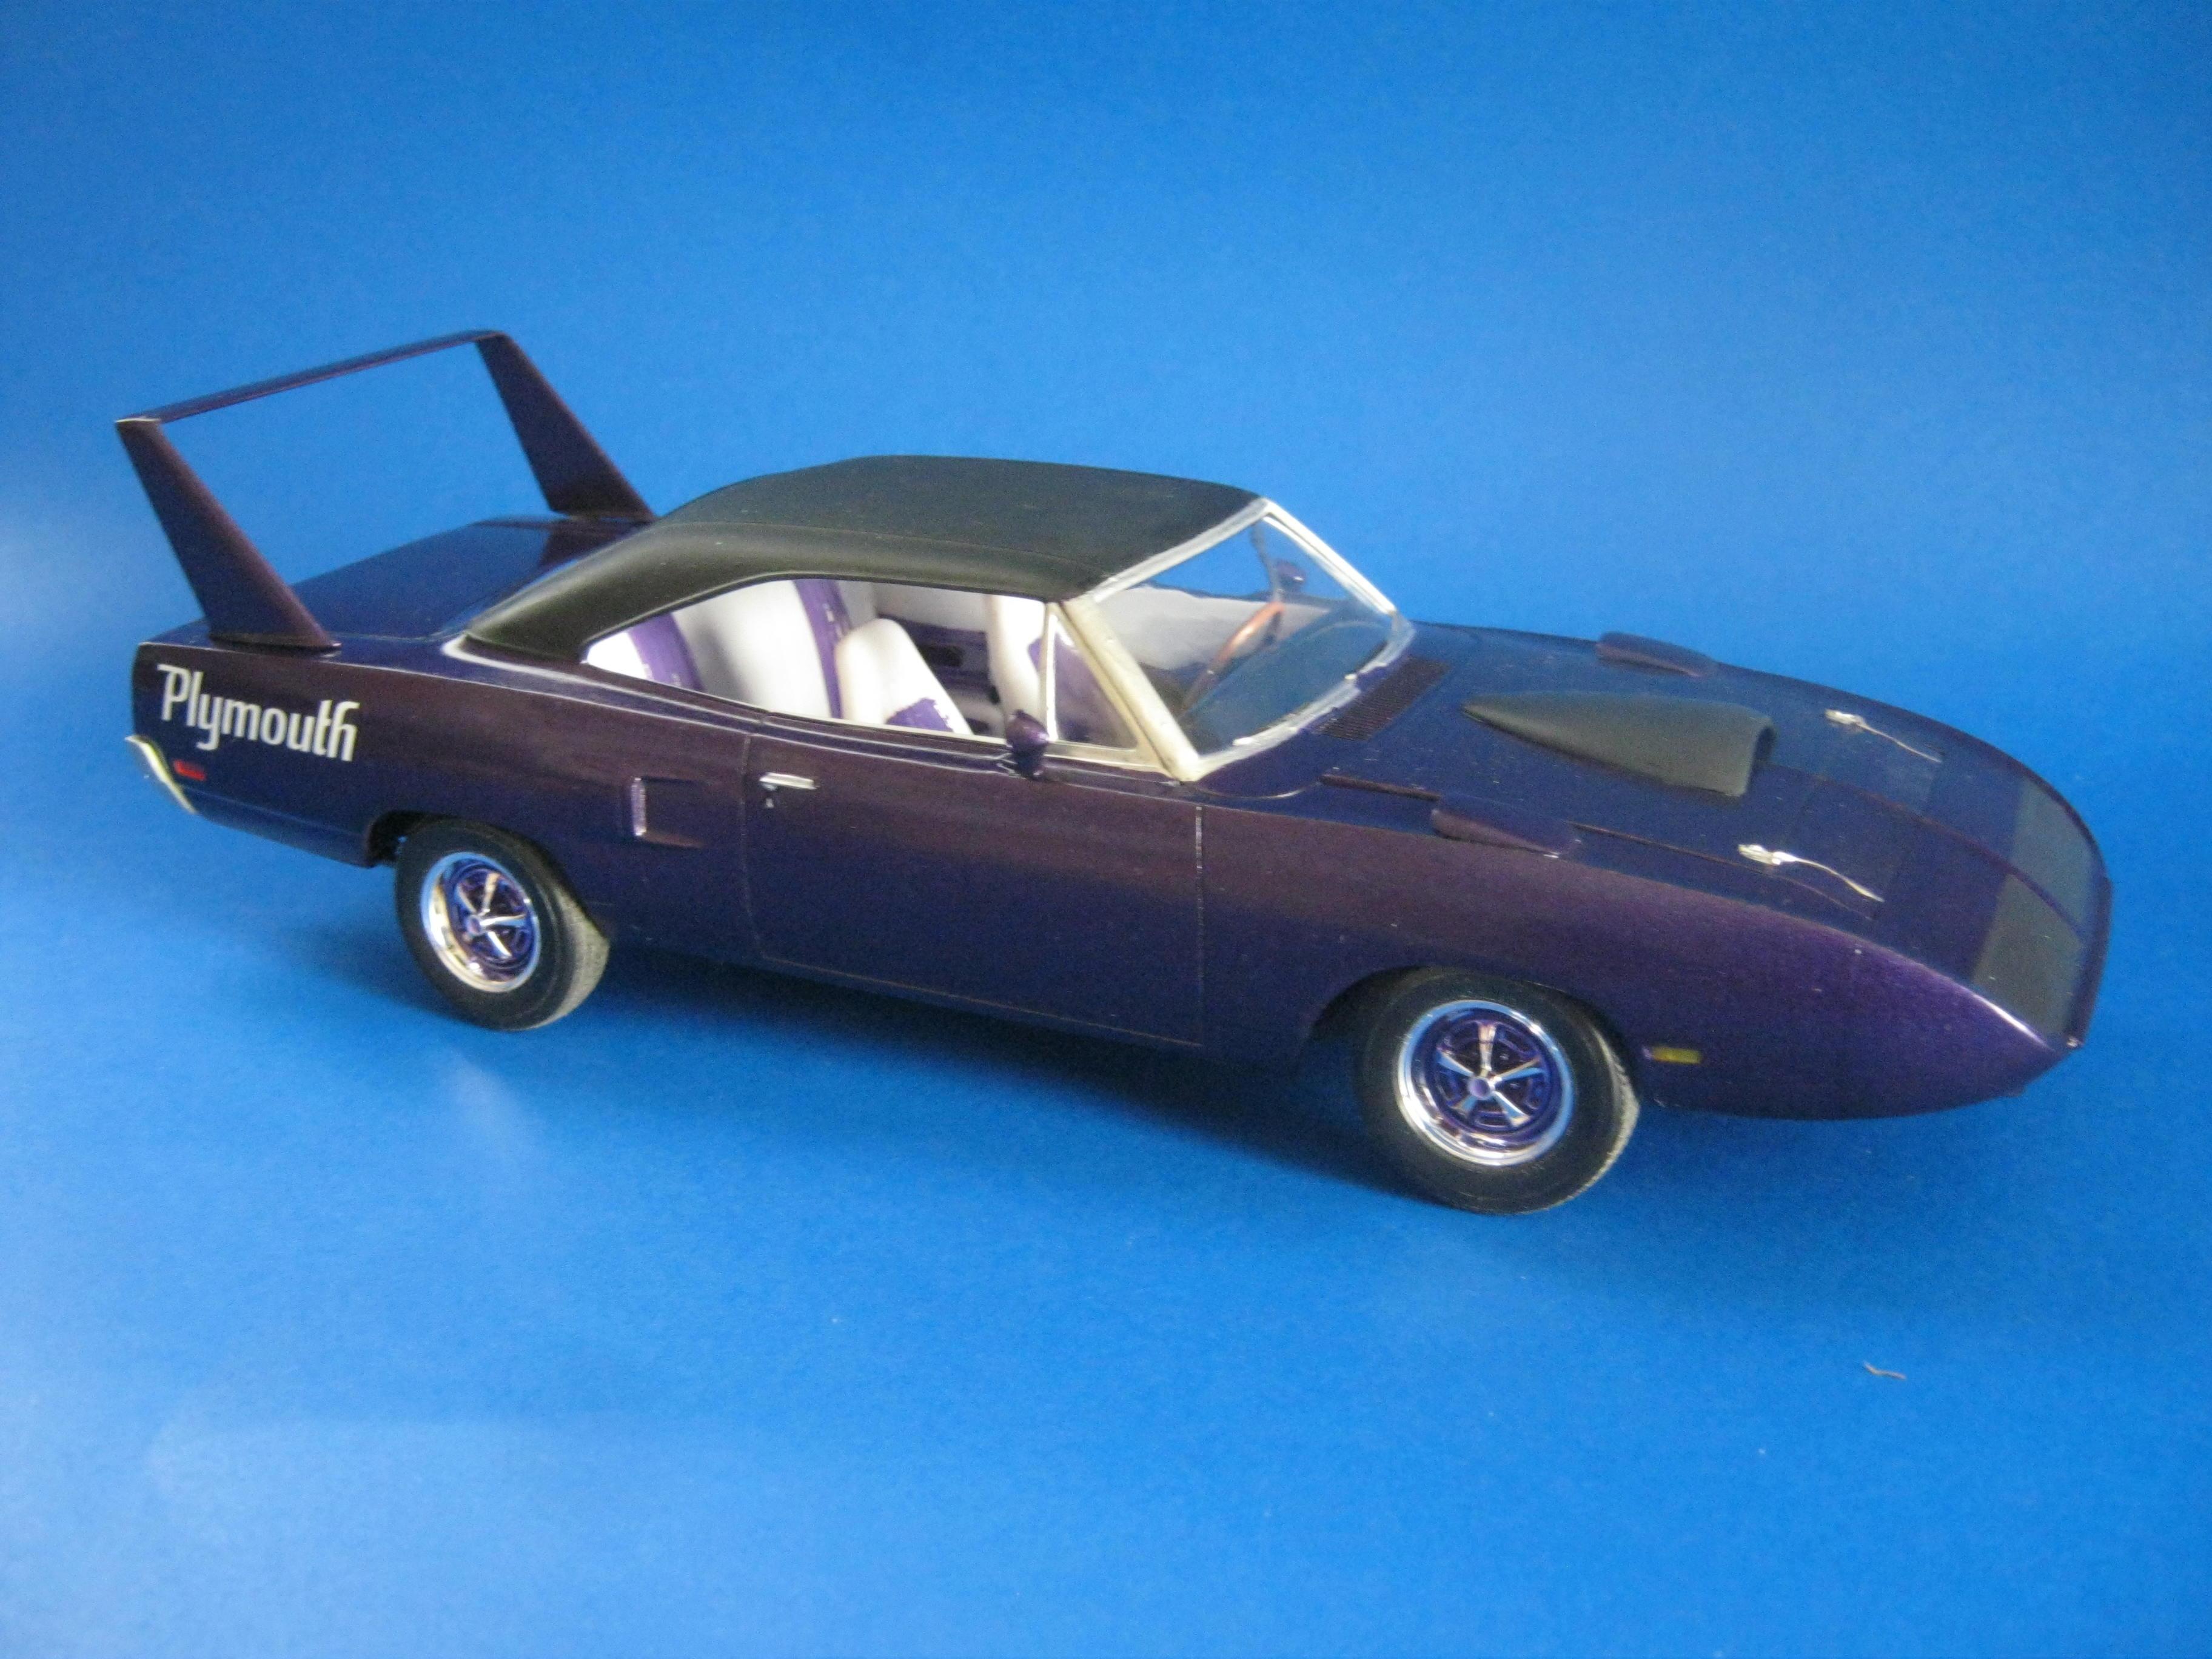
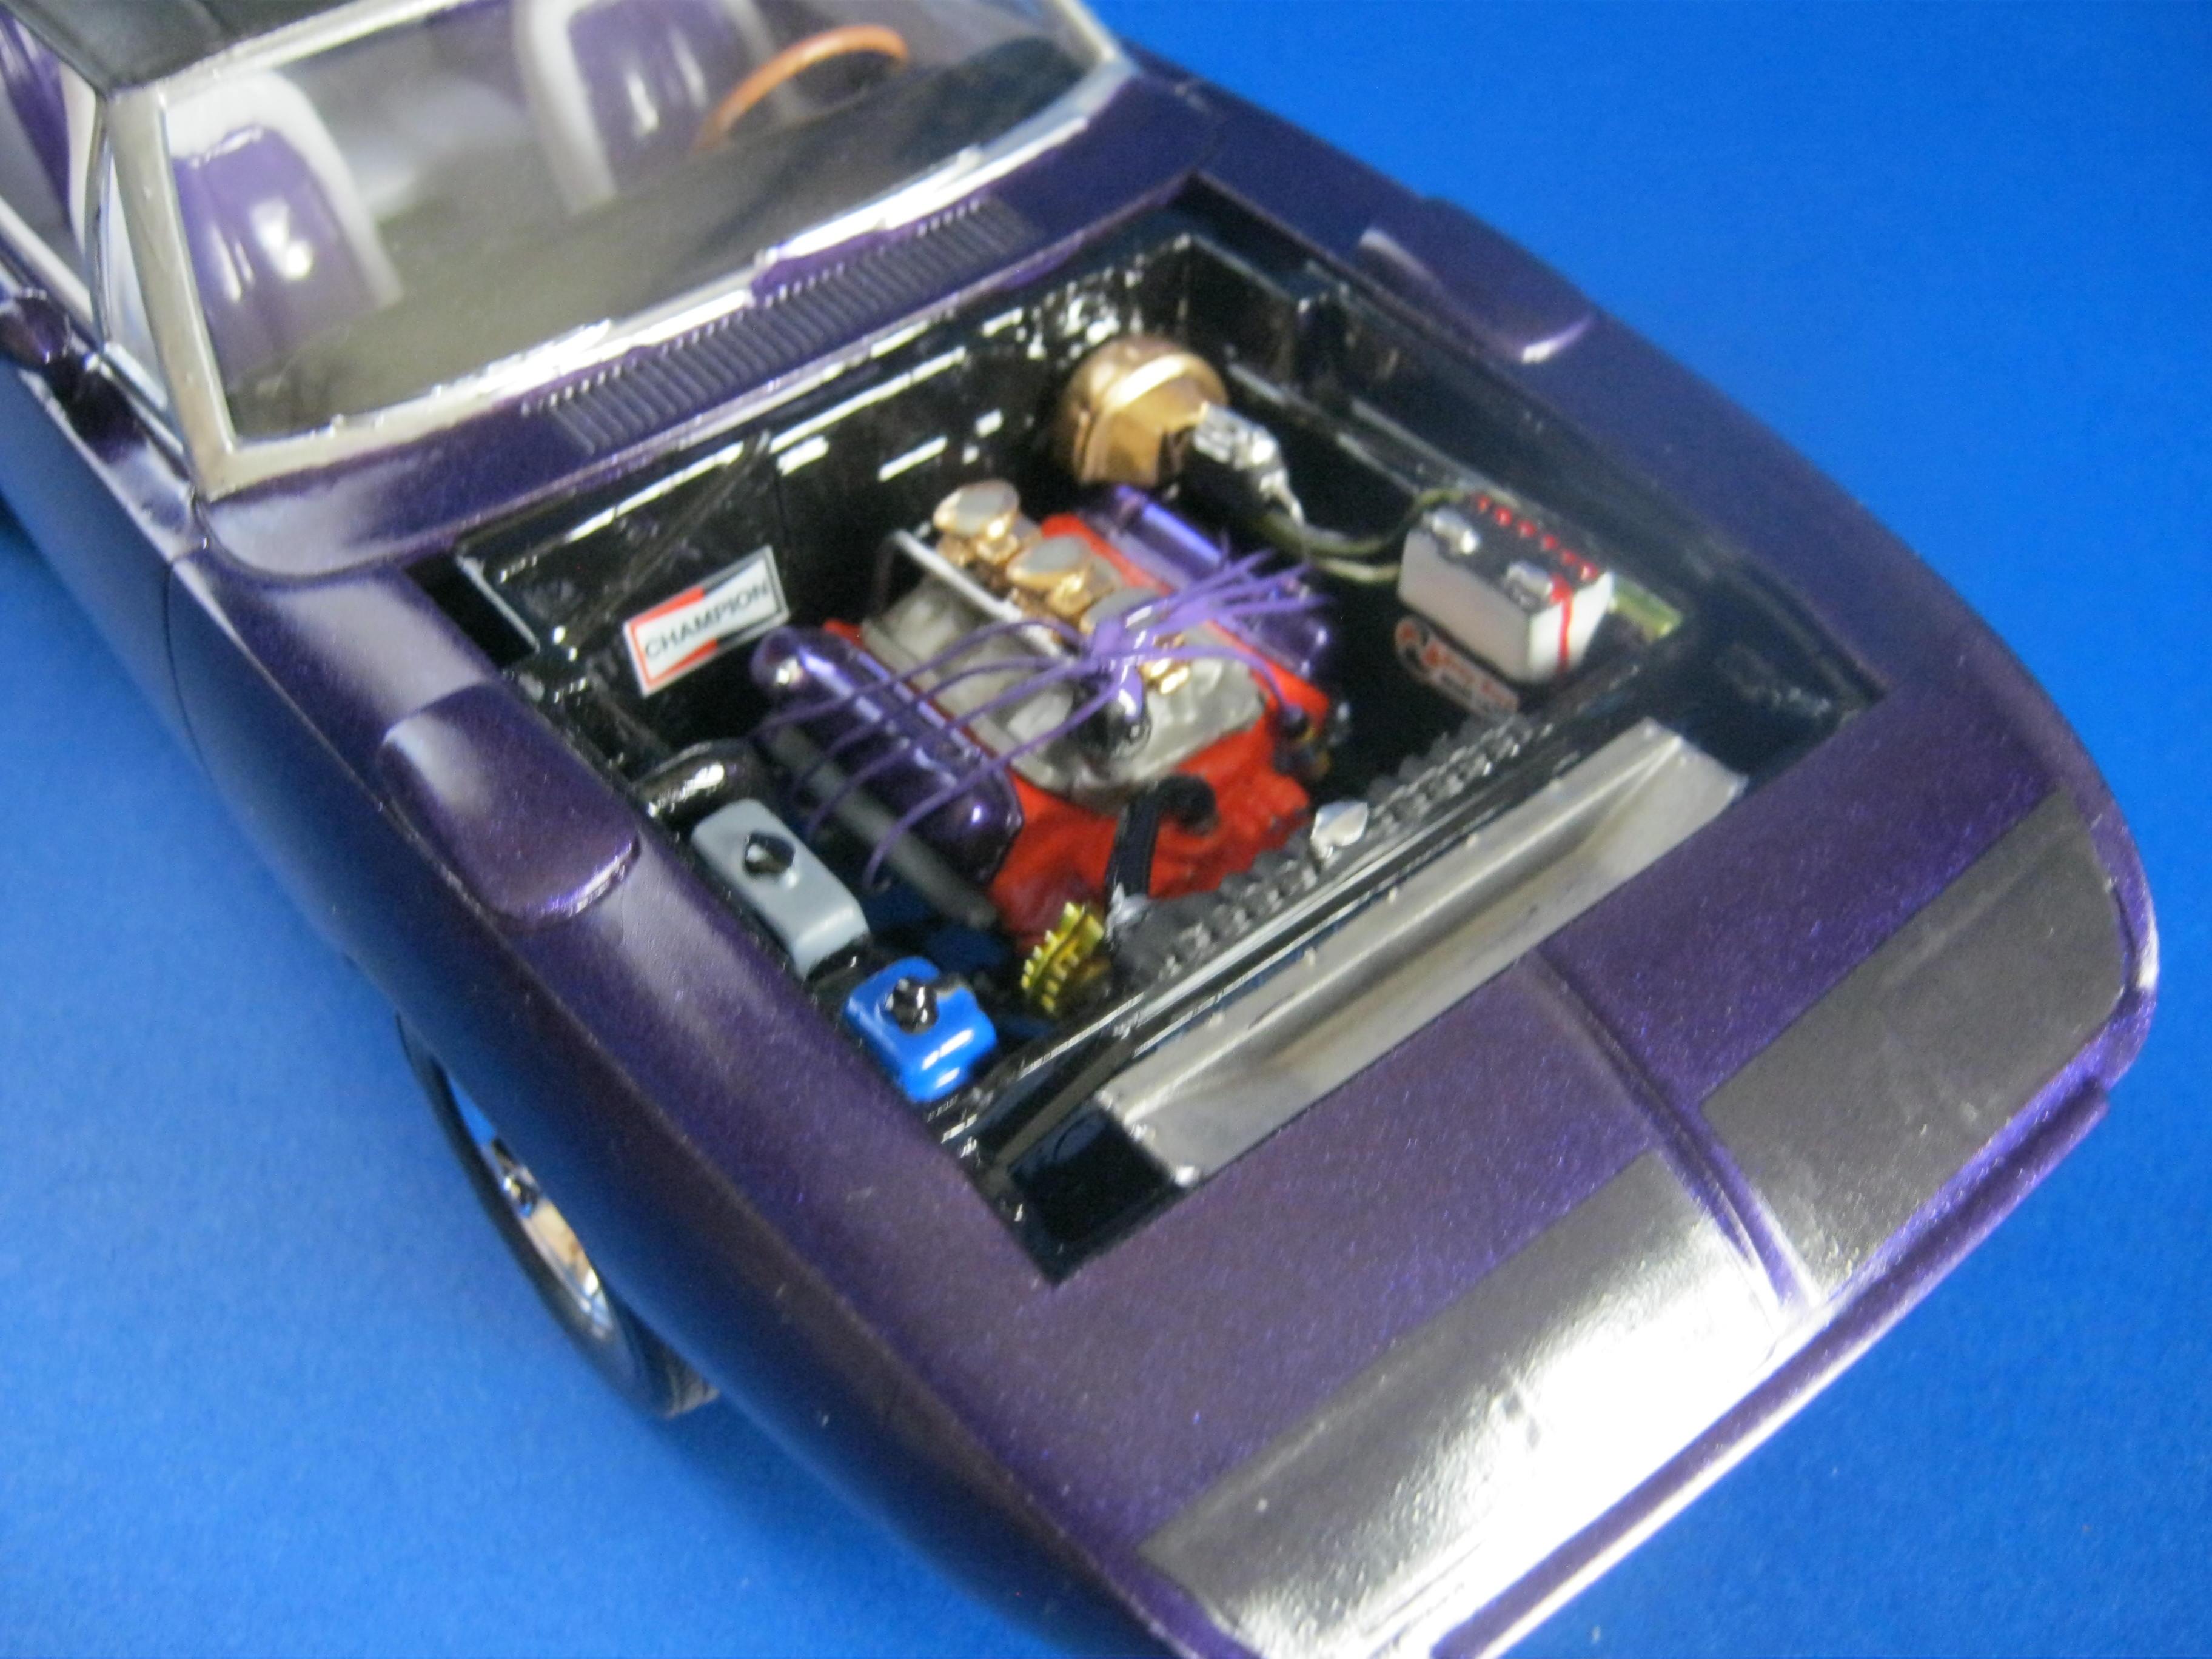
Hi all,,hope alls well for ya during this madness we see around us everyday,,I guess we all get more time to build during this,,the plus side I guess. So,,dug this out a few weeks ago,,Revells Street burner series 70' Superbird. Painted with Testors quikdry rattle can,,,some minor wiring/plumblng,,added a hood scoop{it looked kindof neat when I mocked it up} Hand painted all else. Funny though,,there was no Rdrunner cartoon decal for the side rear wing spars/supports,,maybe a licensing thingee. Anyways,,stay safe,,and enjoy whatever building you do get a chance to do.
-
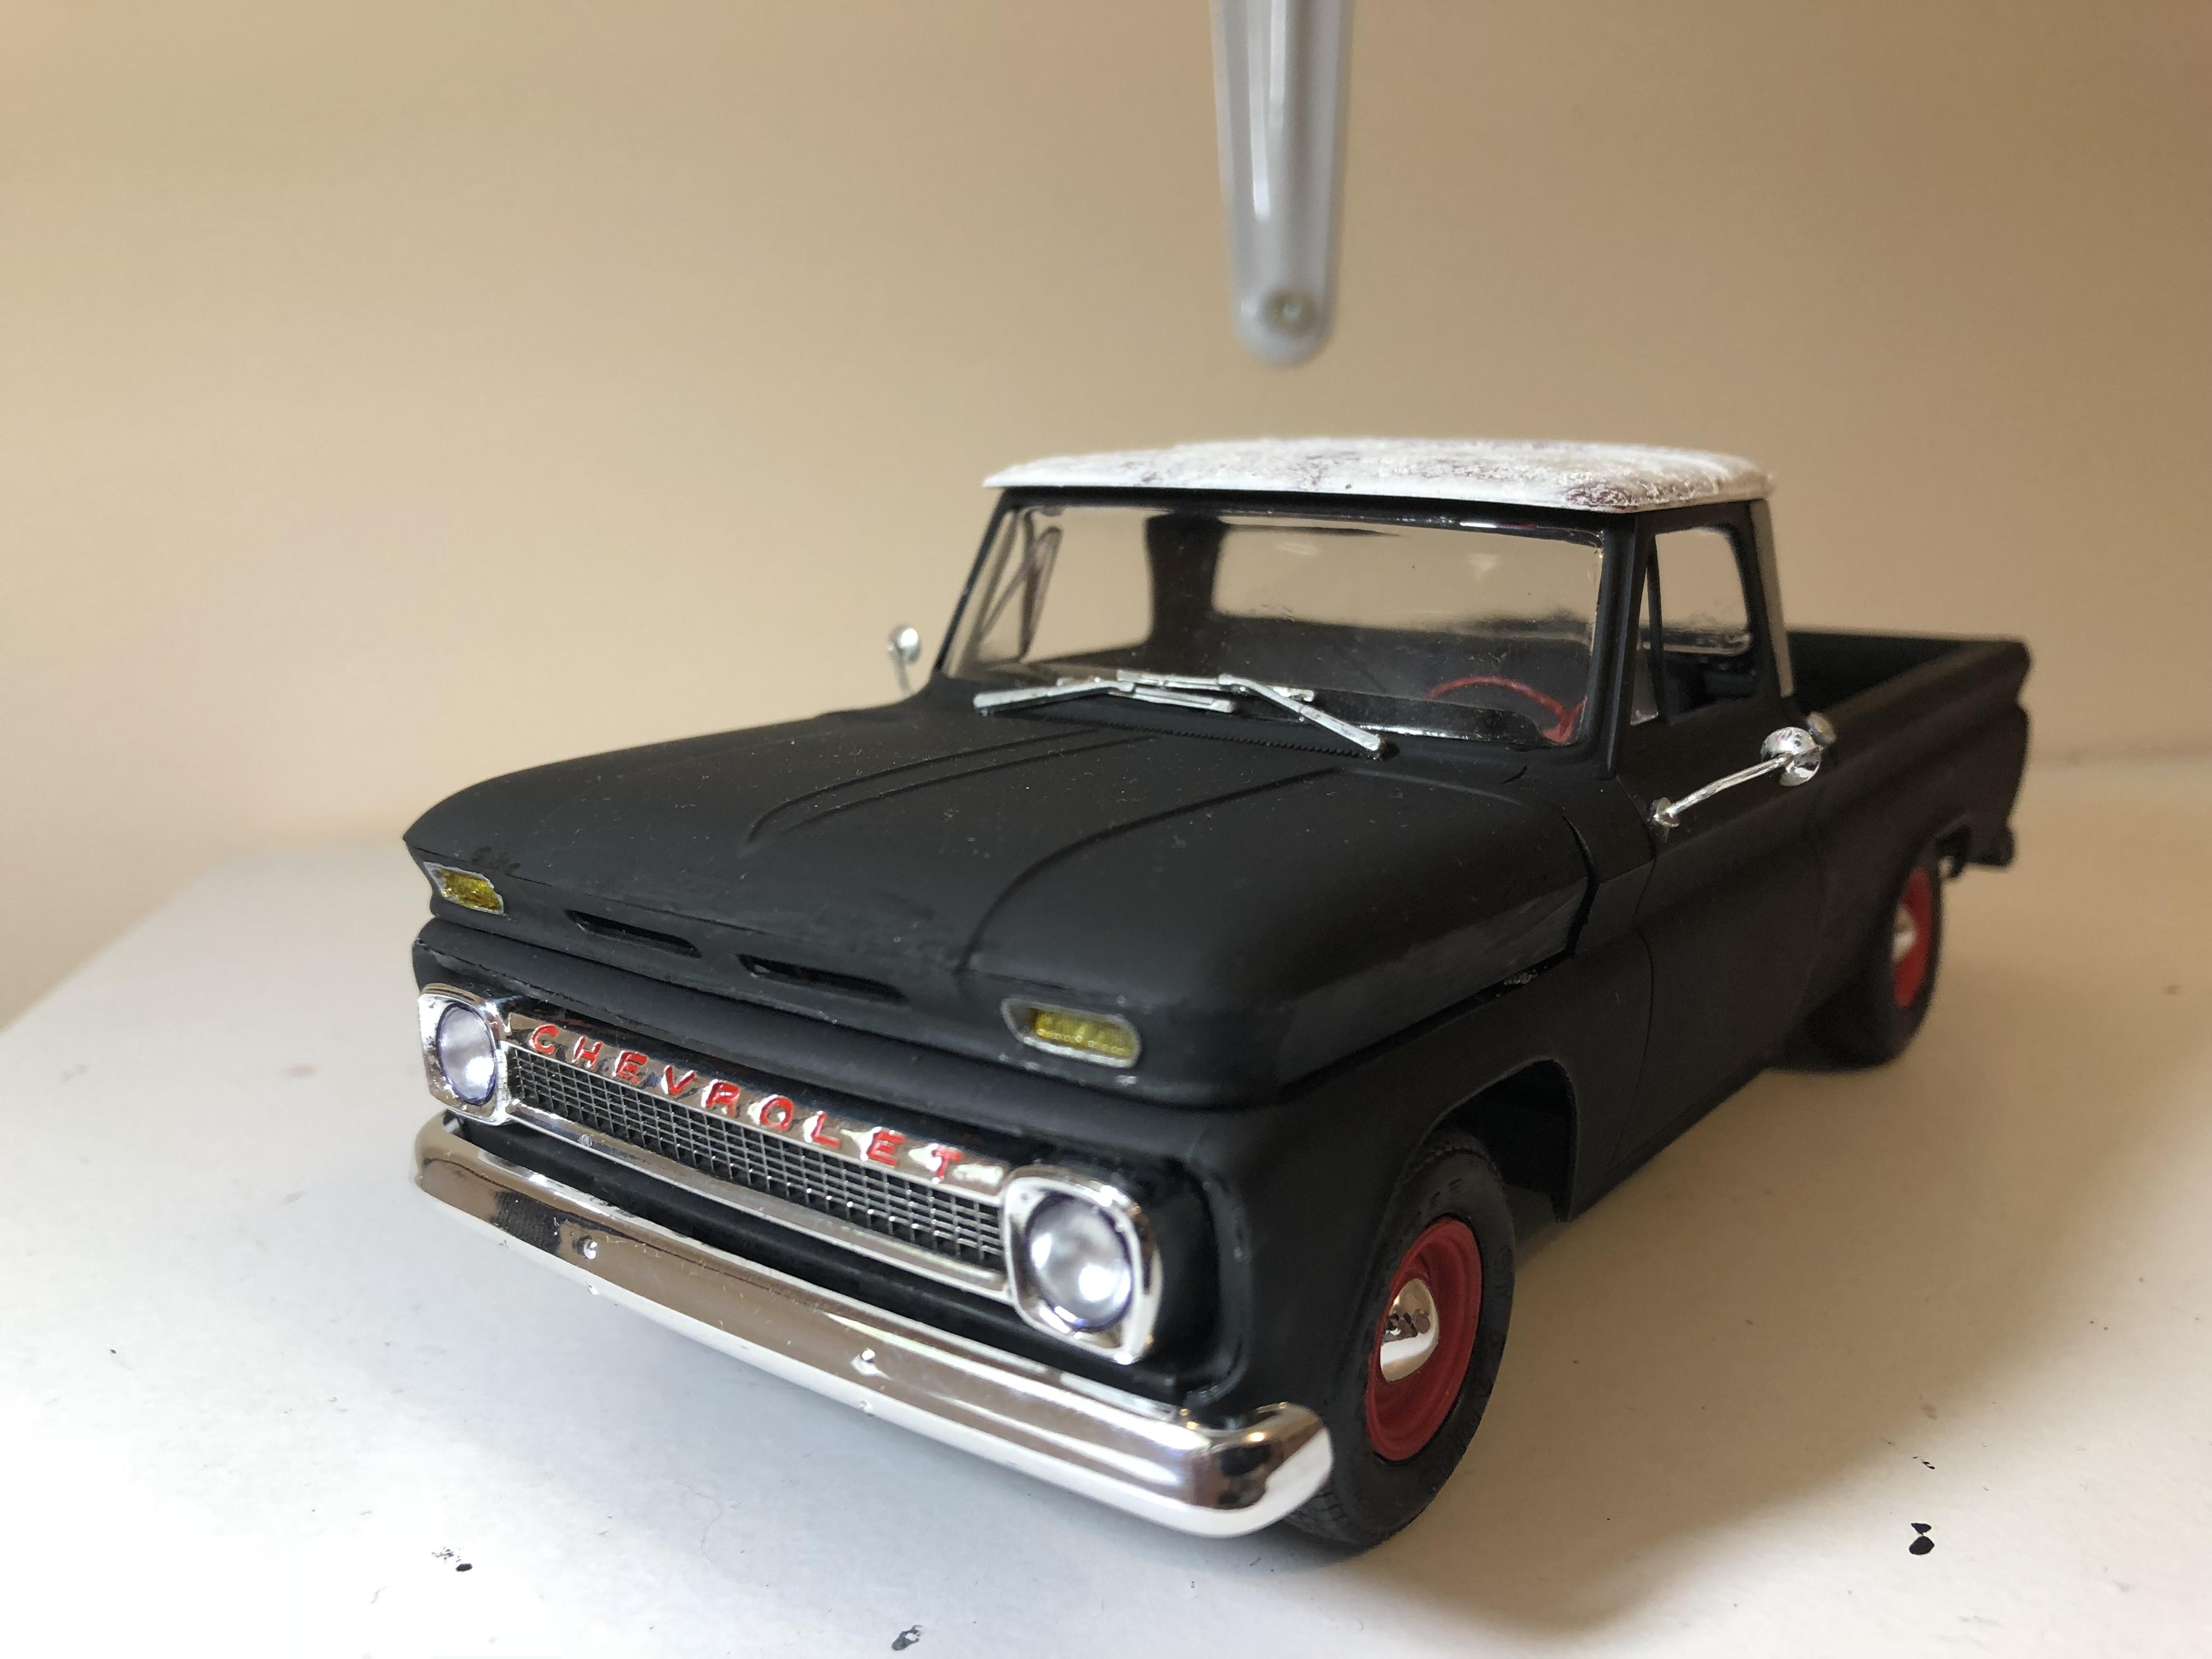
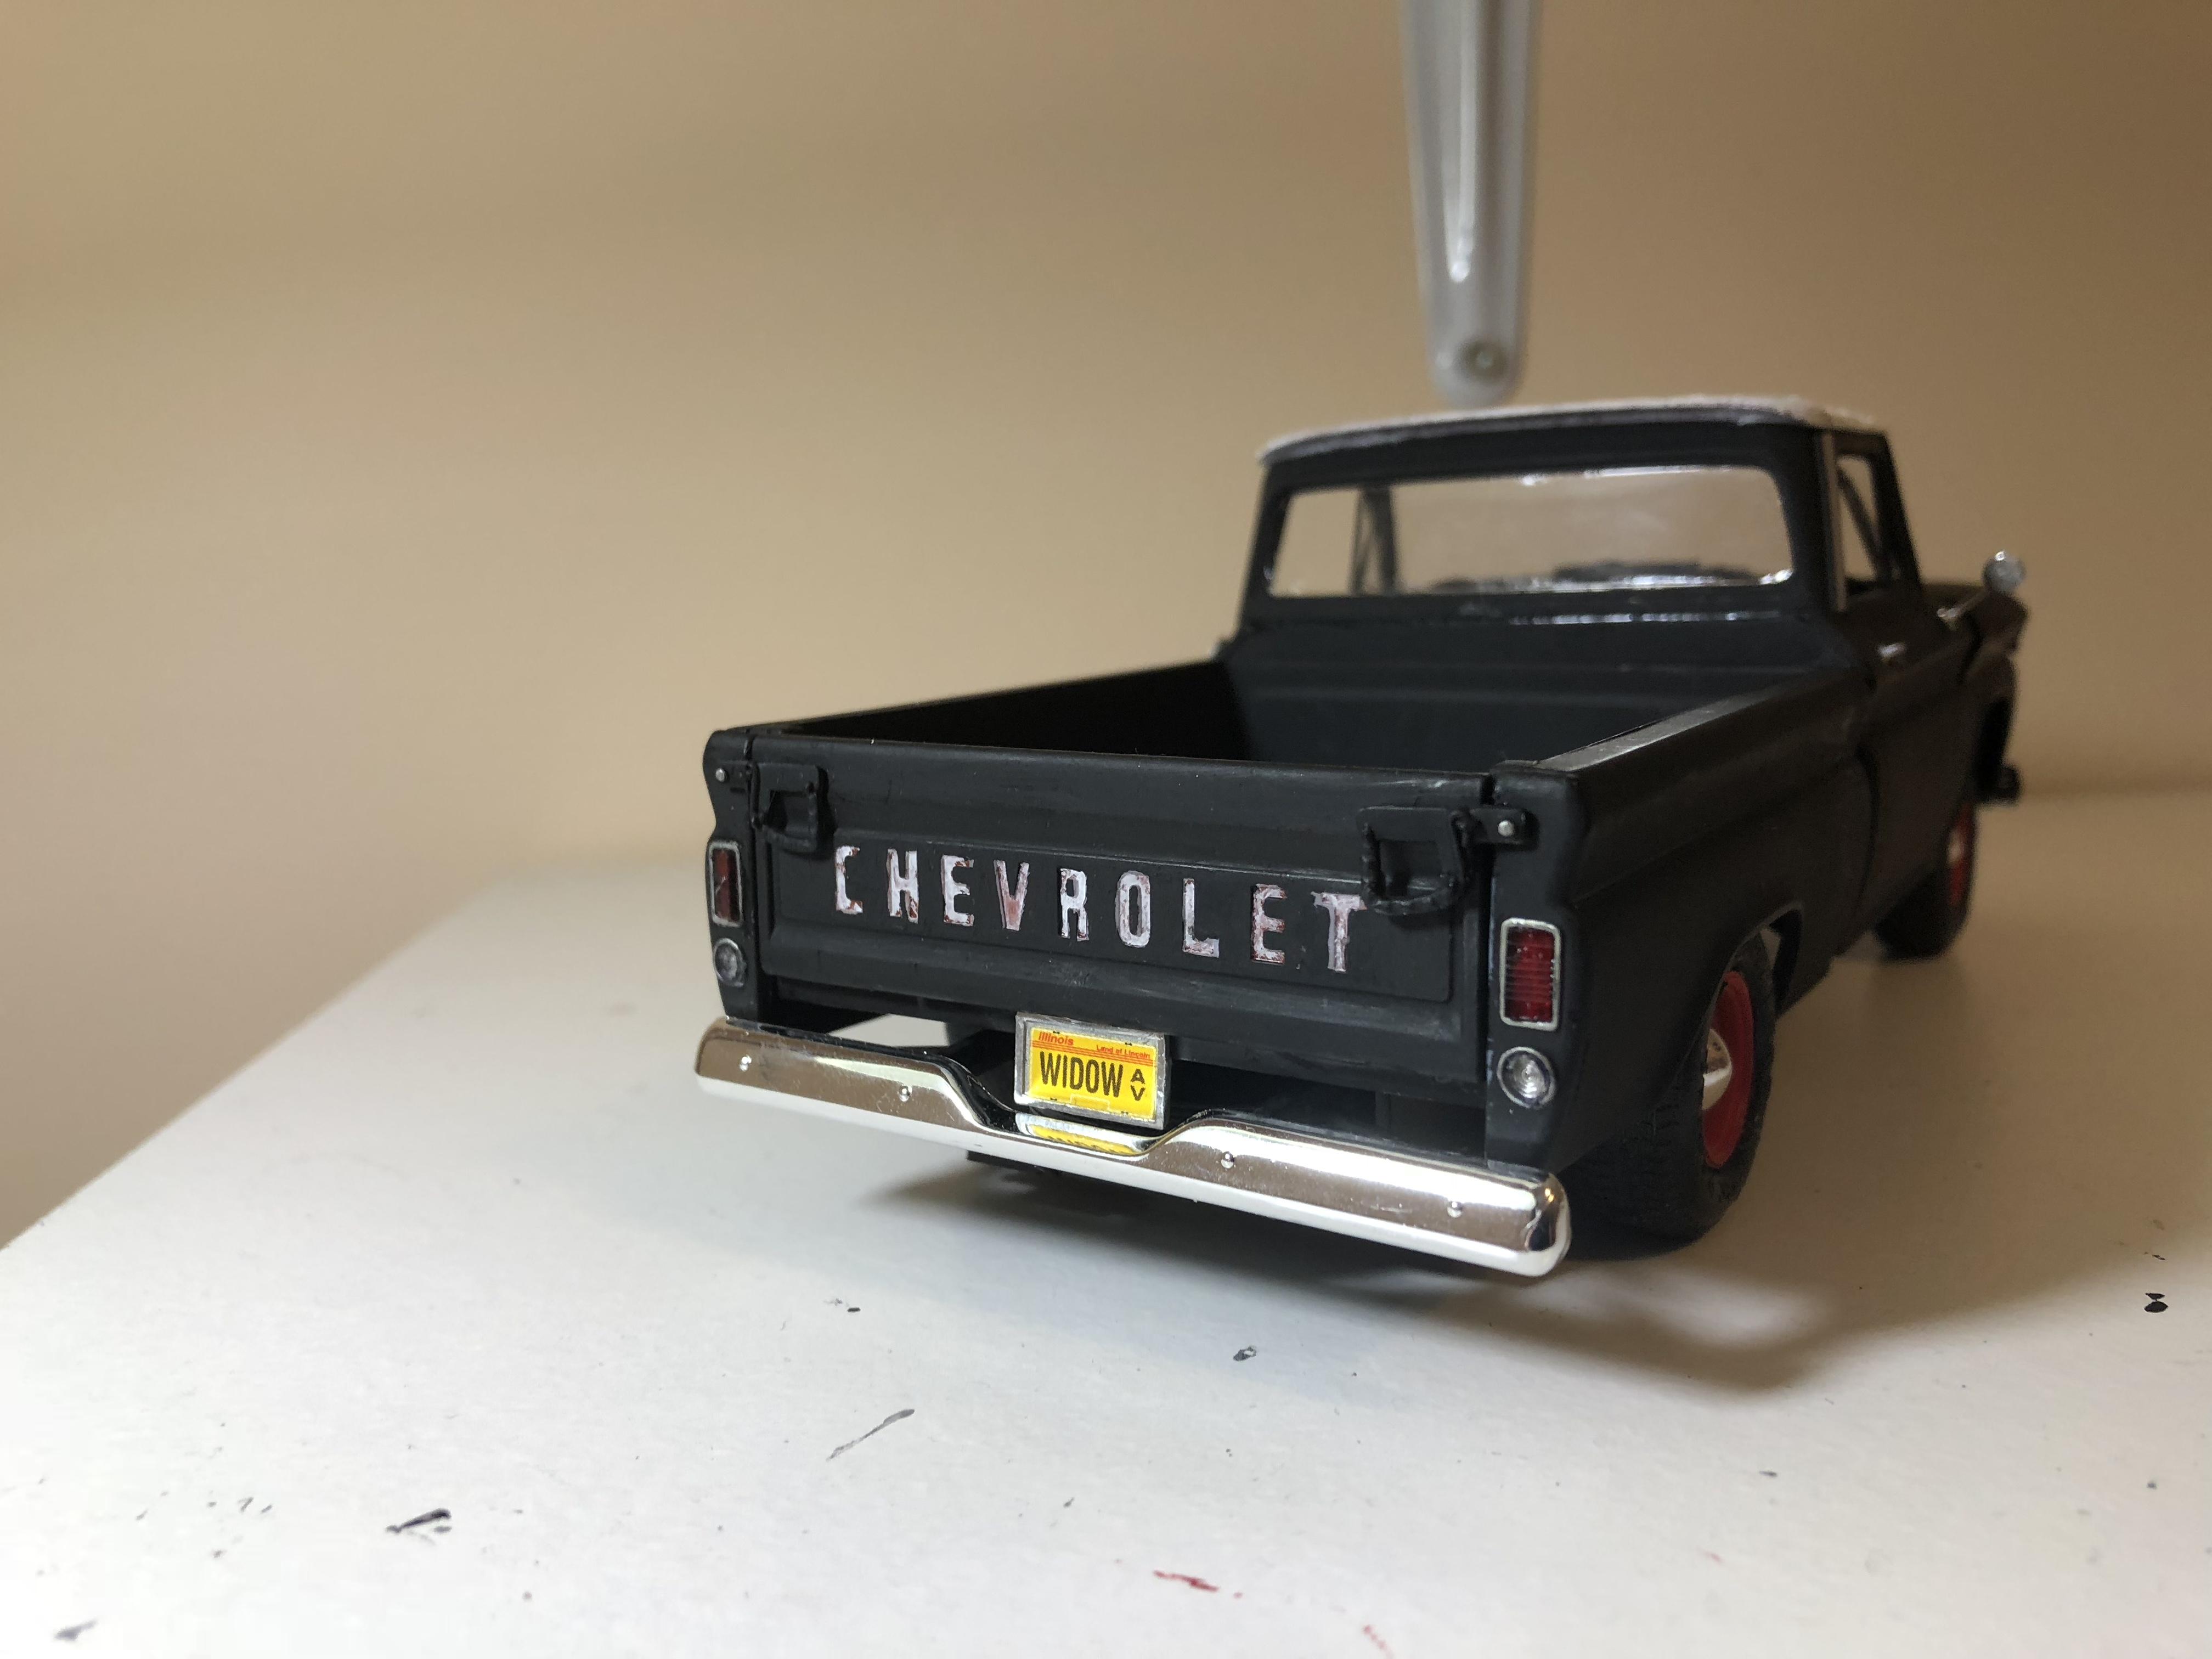
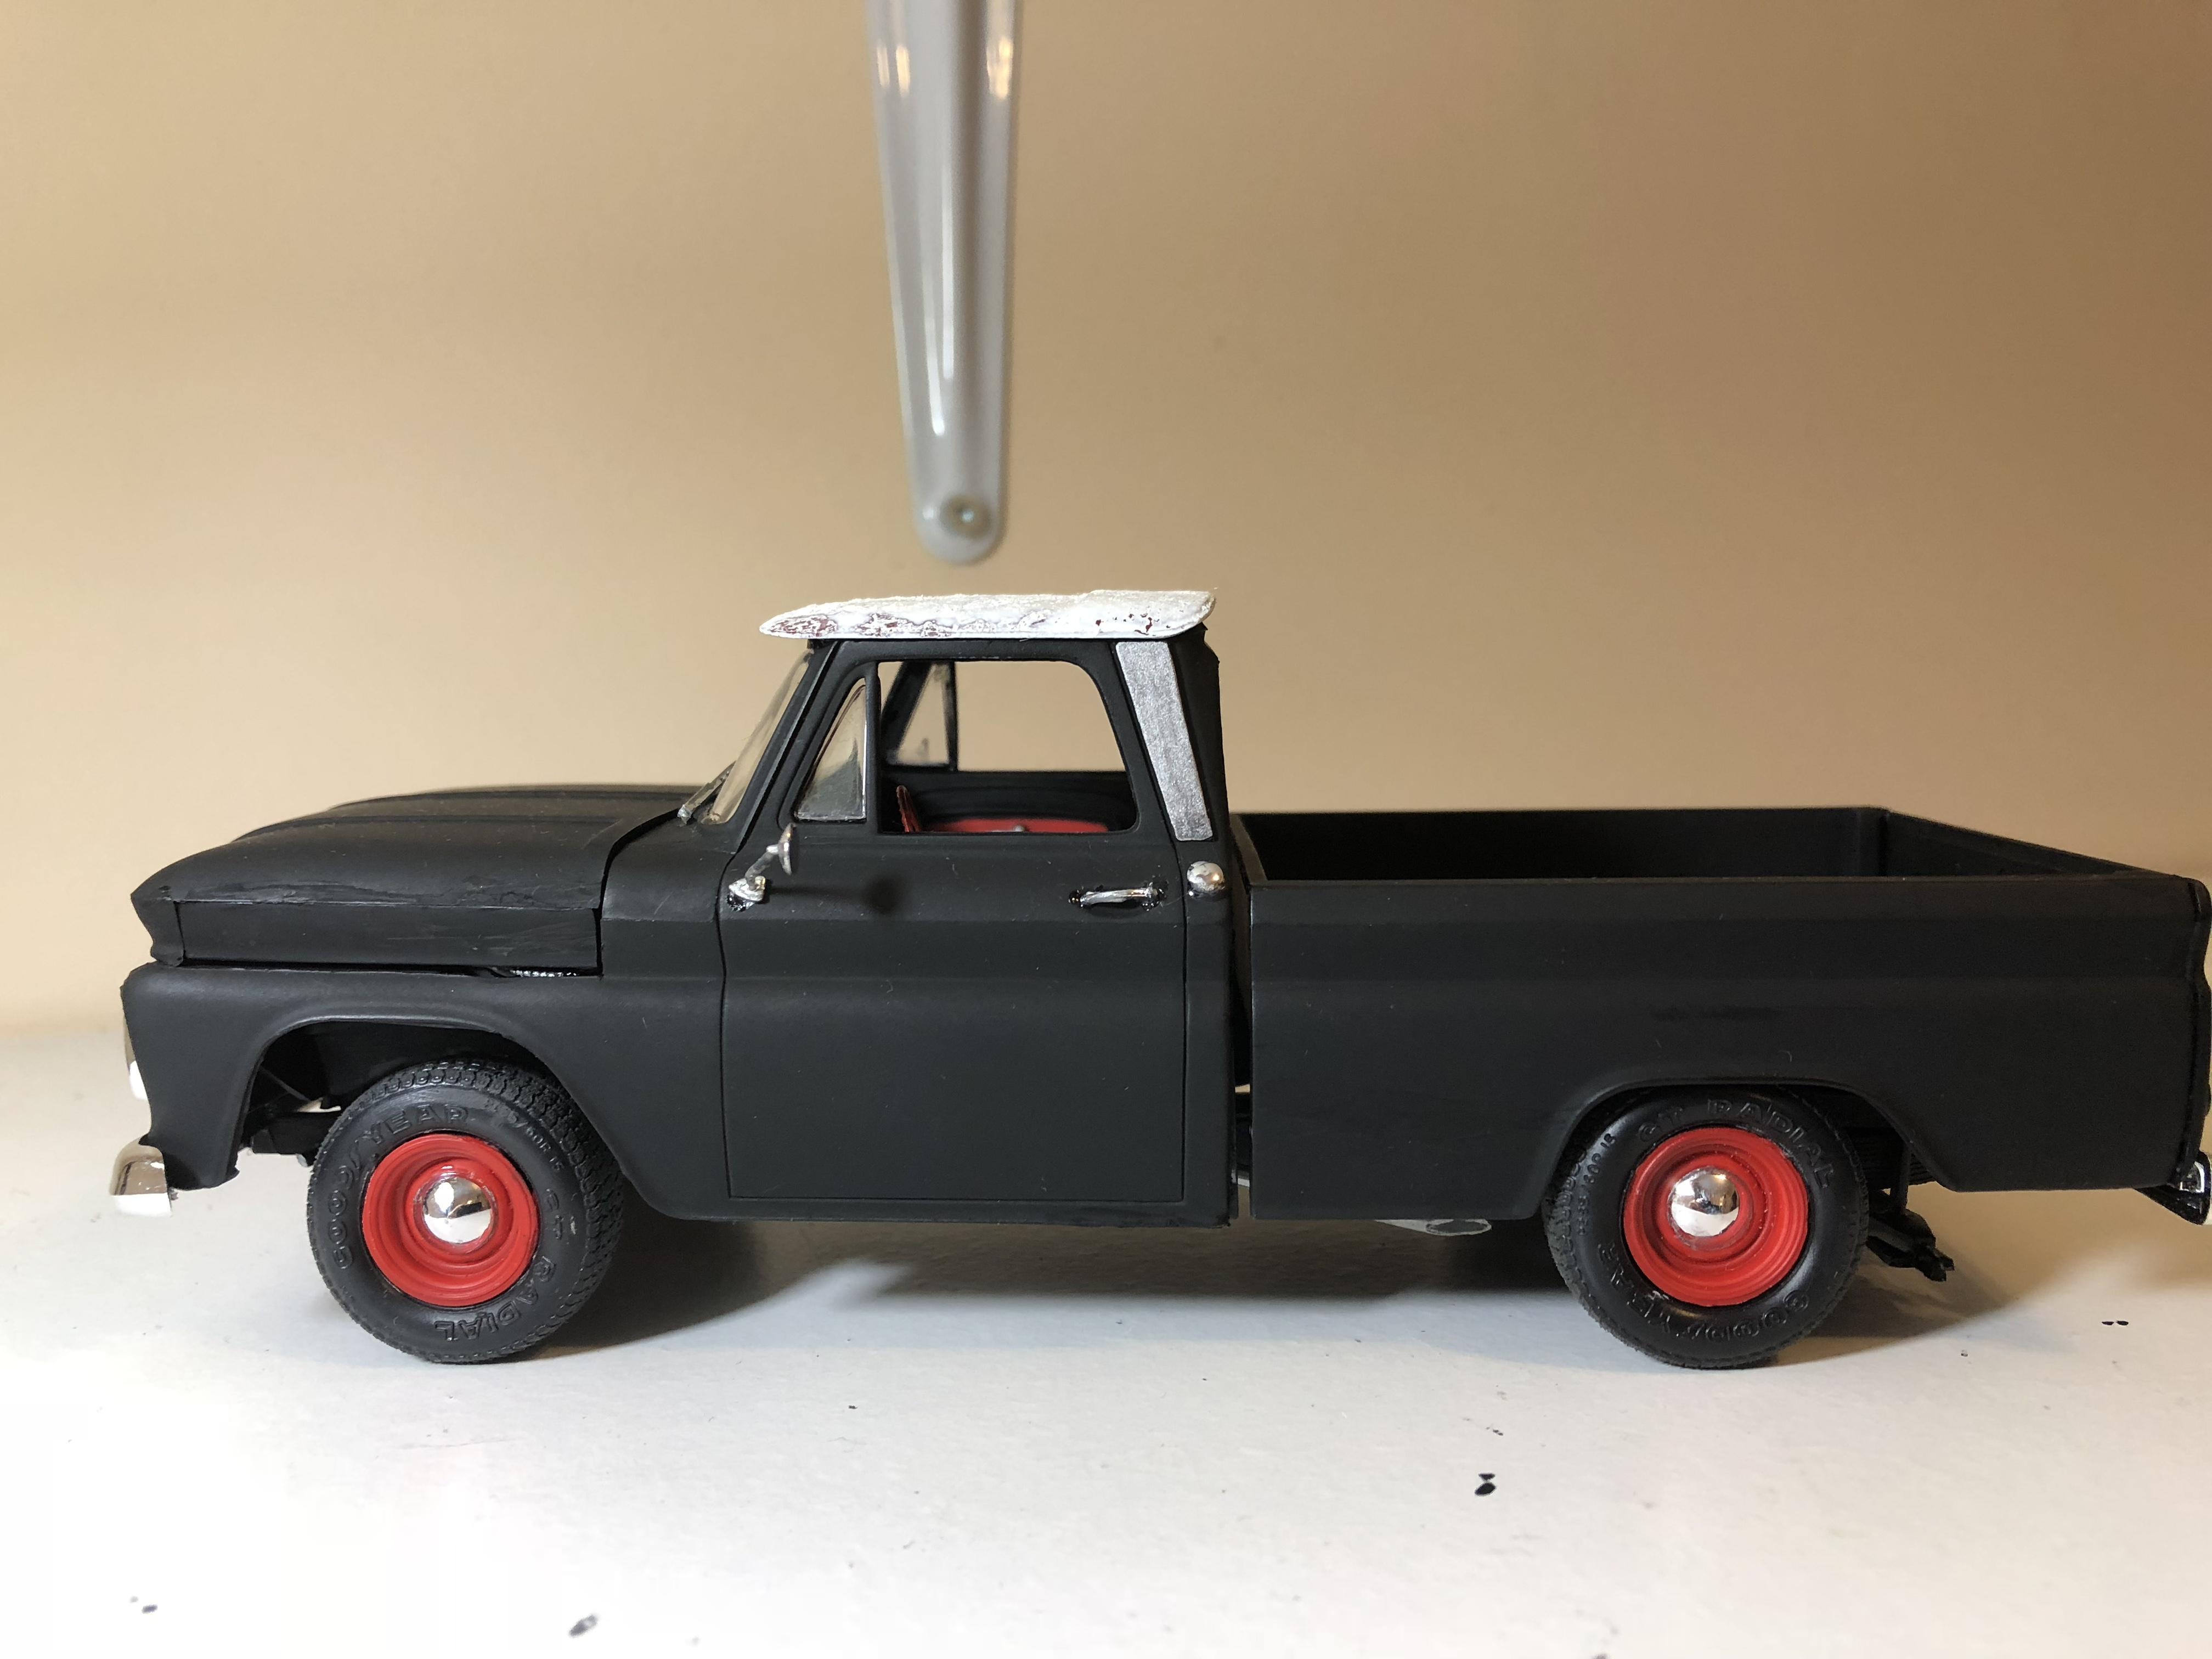
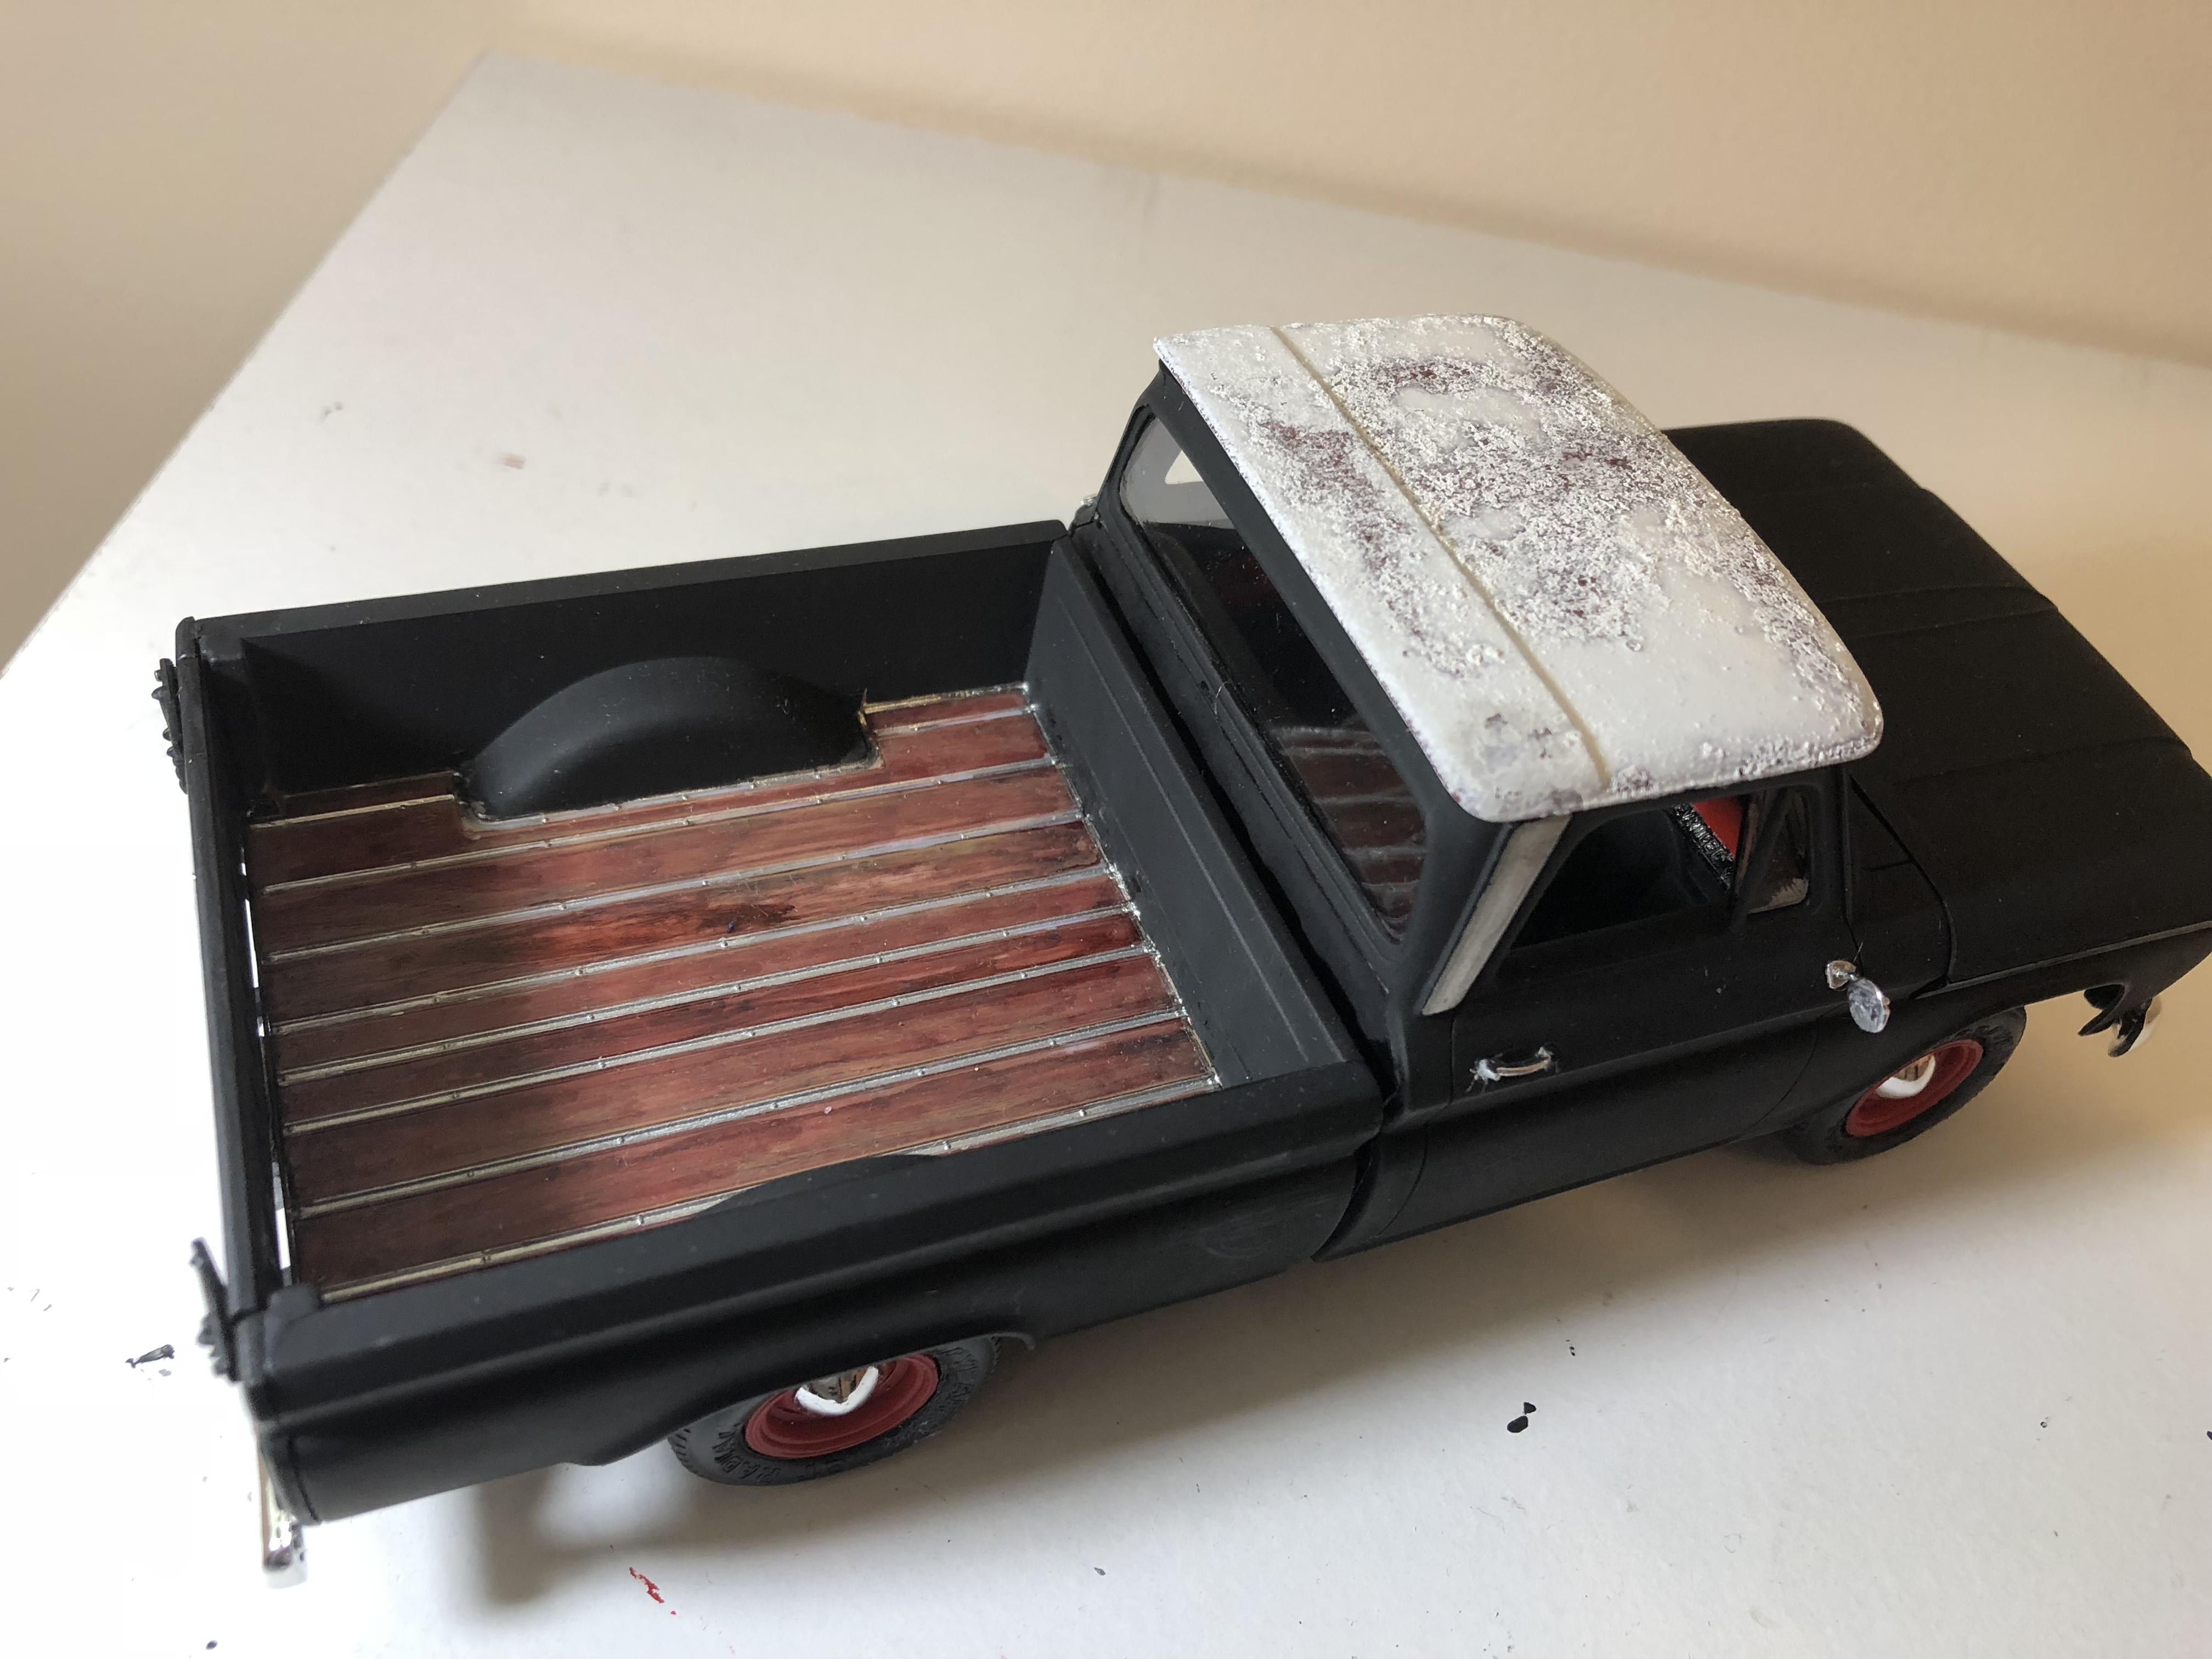
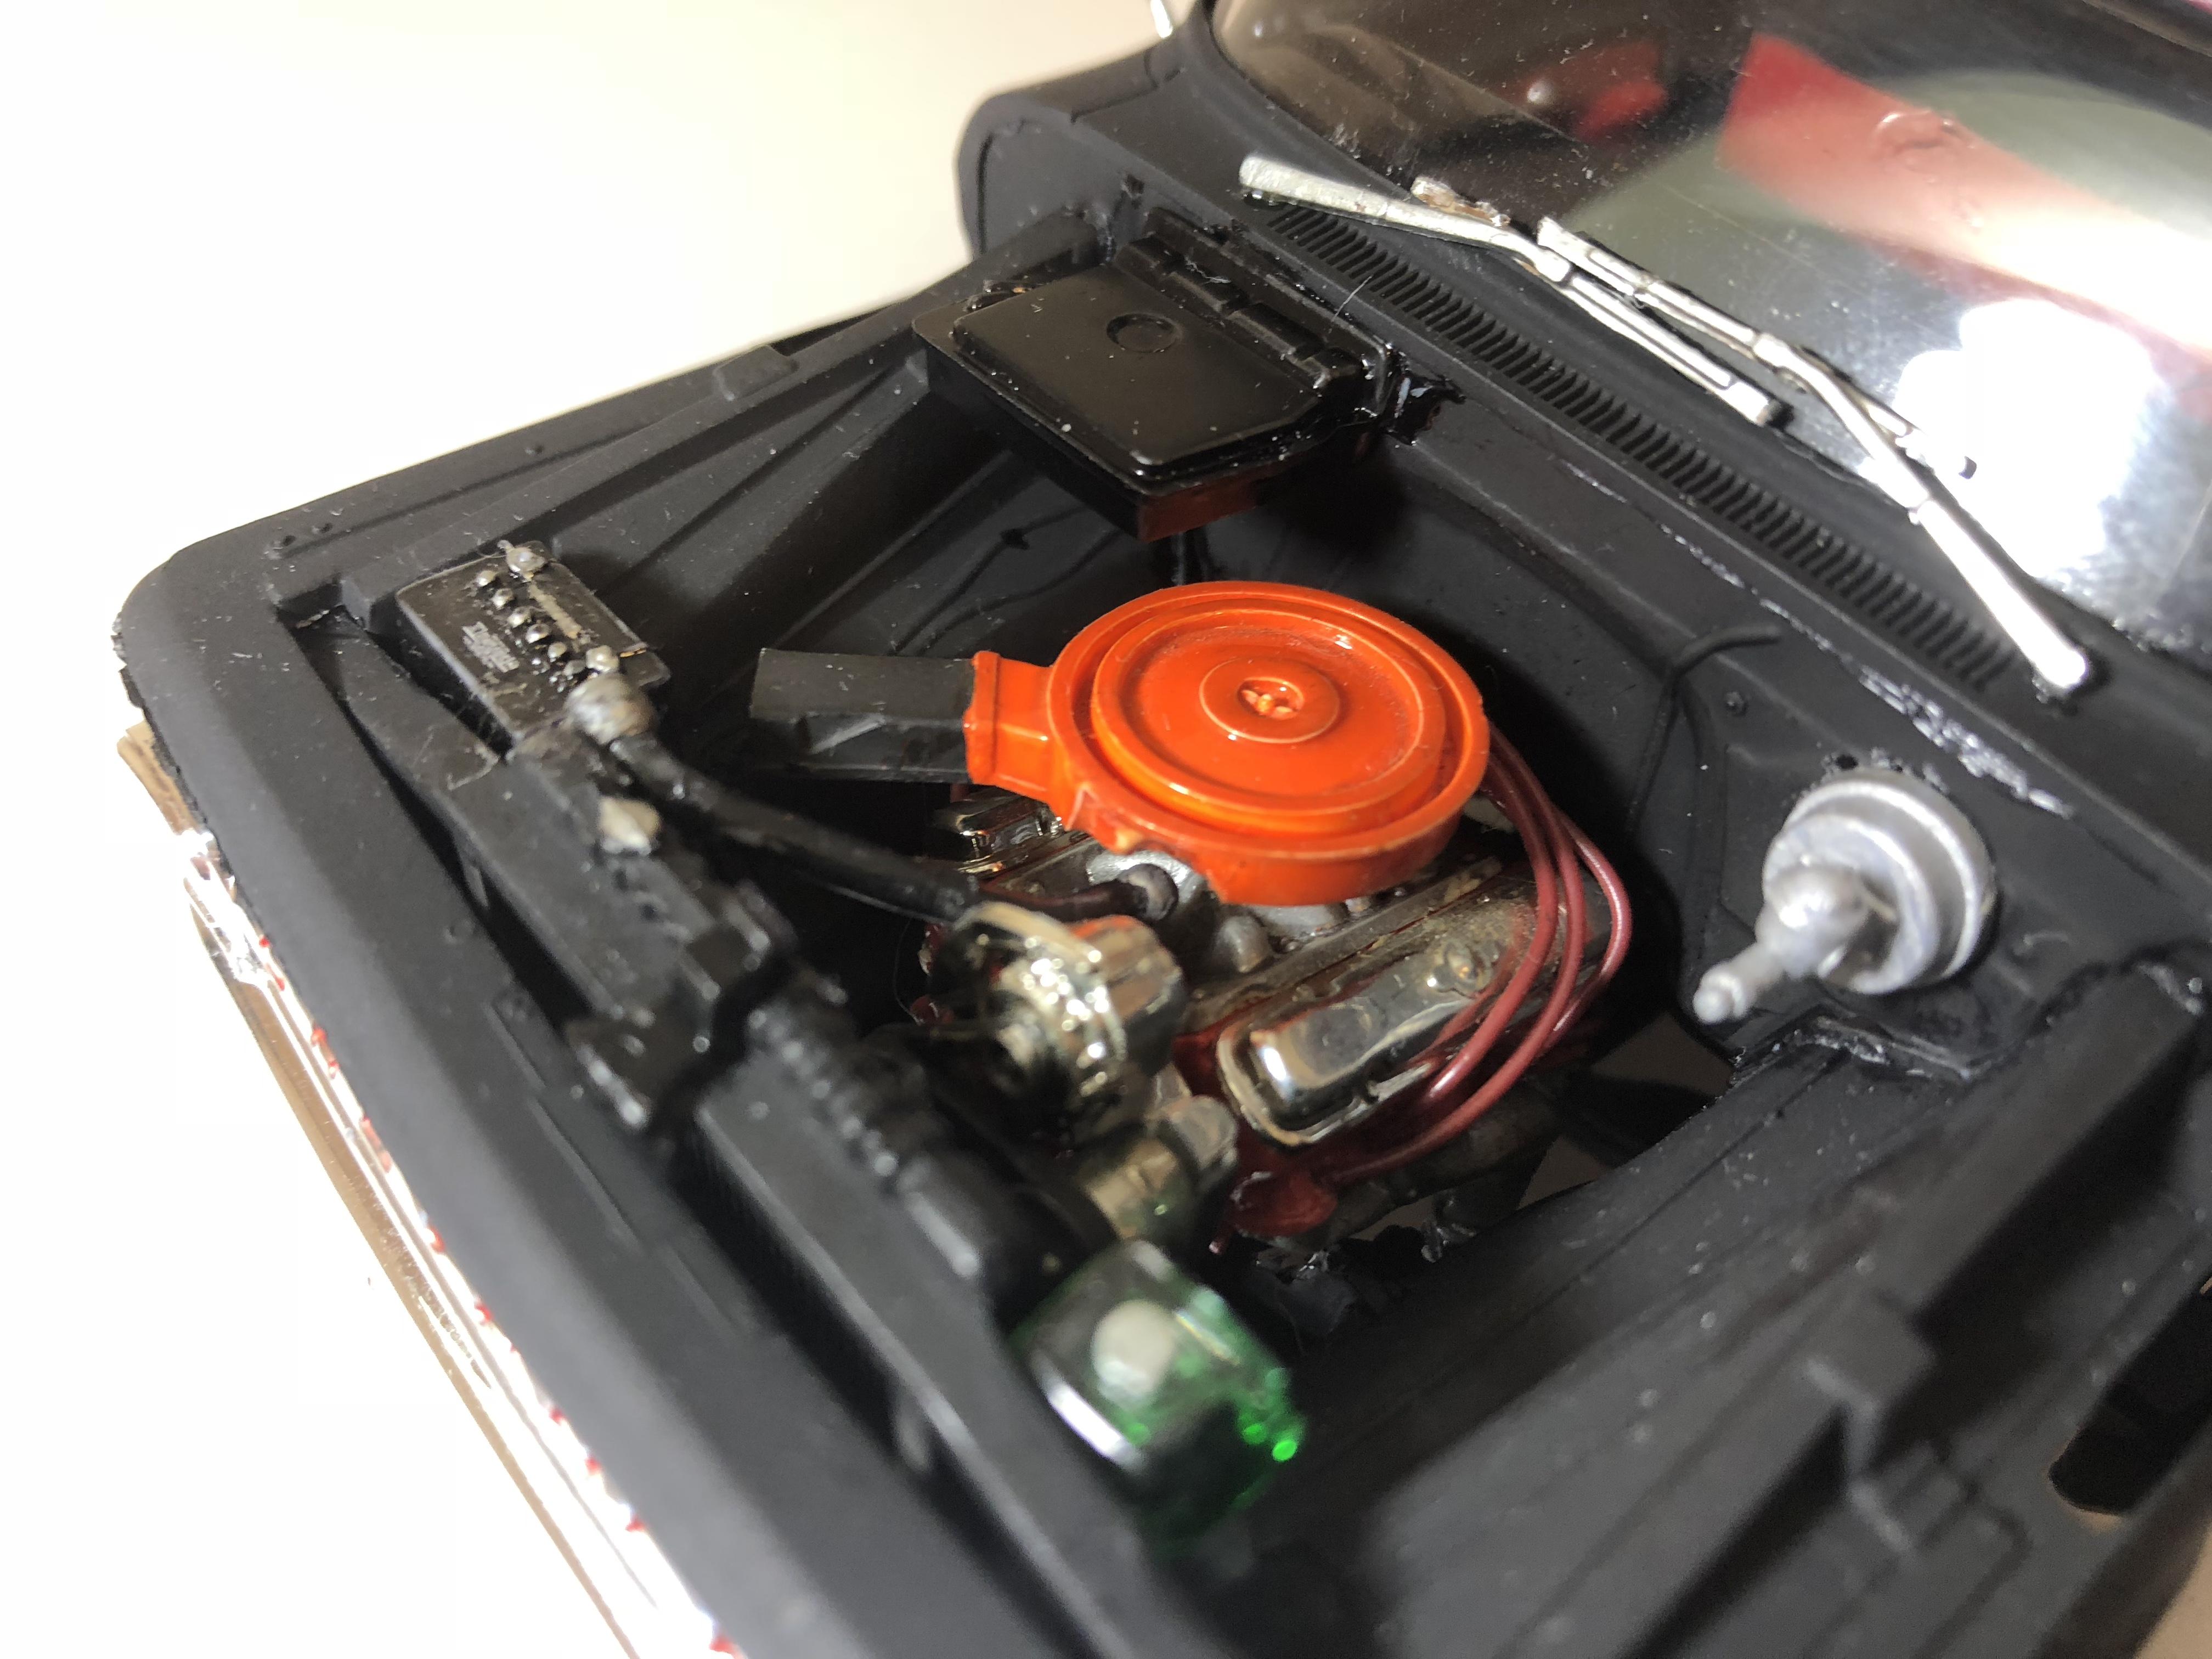
 This is my 66 fleetside. Tried the salt rusting method on the roof. First time trying. I can see how very realistic results with practice can achieve. One day. Did custome exaughst for silent running moving shine. Also has 455 big block auto trans. Thabks for looking.
-
2015 issue of Revell BRE Datsun 240z racer. On top of having some warped spots (that were partially fixed without breaking another hood or set of glass into two), most parts needed massaging, hollowing, and trimming to lay in place. Main offender was the dashboard being too tall and making the body look like a lift up funny car. That and the firewall needed to be trimmed to get the body to frame/interior fit in line. It's not perfect, but acceptable considering the warping didn't help a kinda messy 70s era Revell kit. Following modifications were made: Upgraded wheels/tires + brakes from an Aoshima lightsports series MX5 Miata. Wheels were painted Rustoluem Metallics Pure Gold Custom built twin turbo and FI system using Tamiya Toyota Supra 2Jz header Custom built intercooler Frame/interior paint is Rustoluem Universal Aluminum. Exterior is an unknown (can had no label) brand of Satan Black. I figured this color combo would replicate a stealth jet lightweight racer design.
-
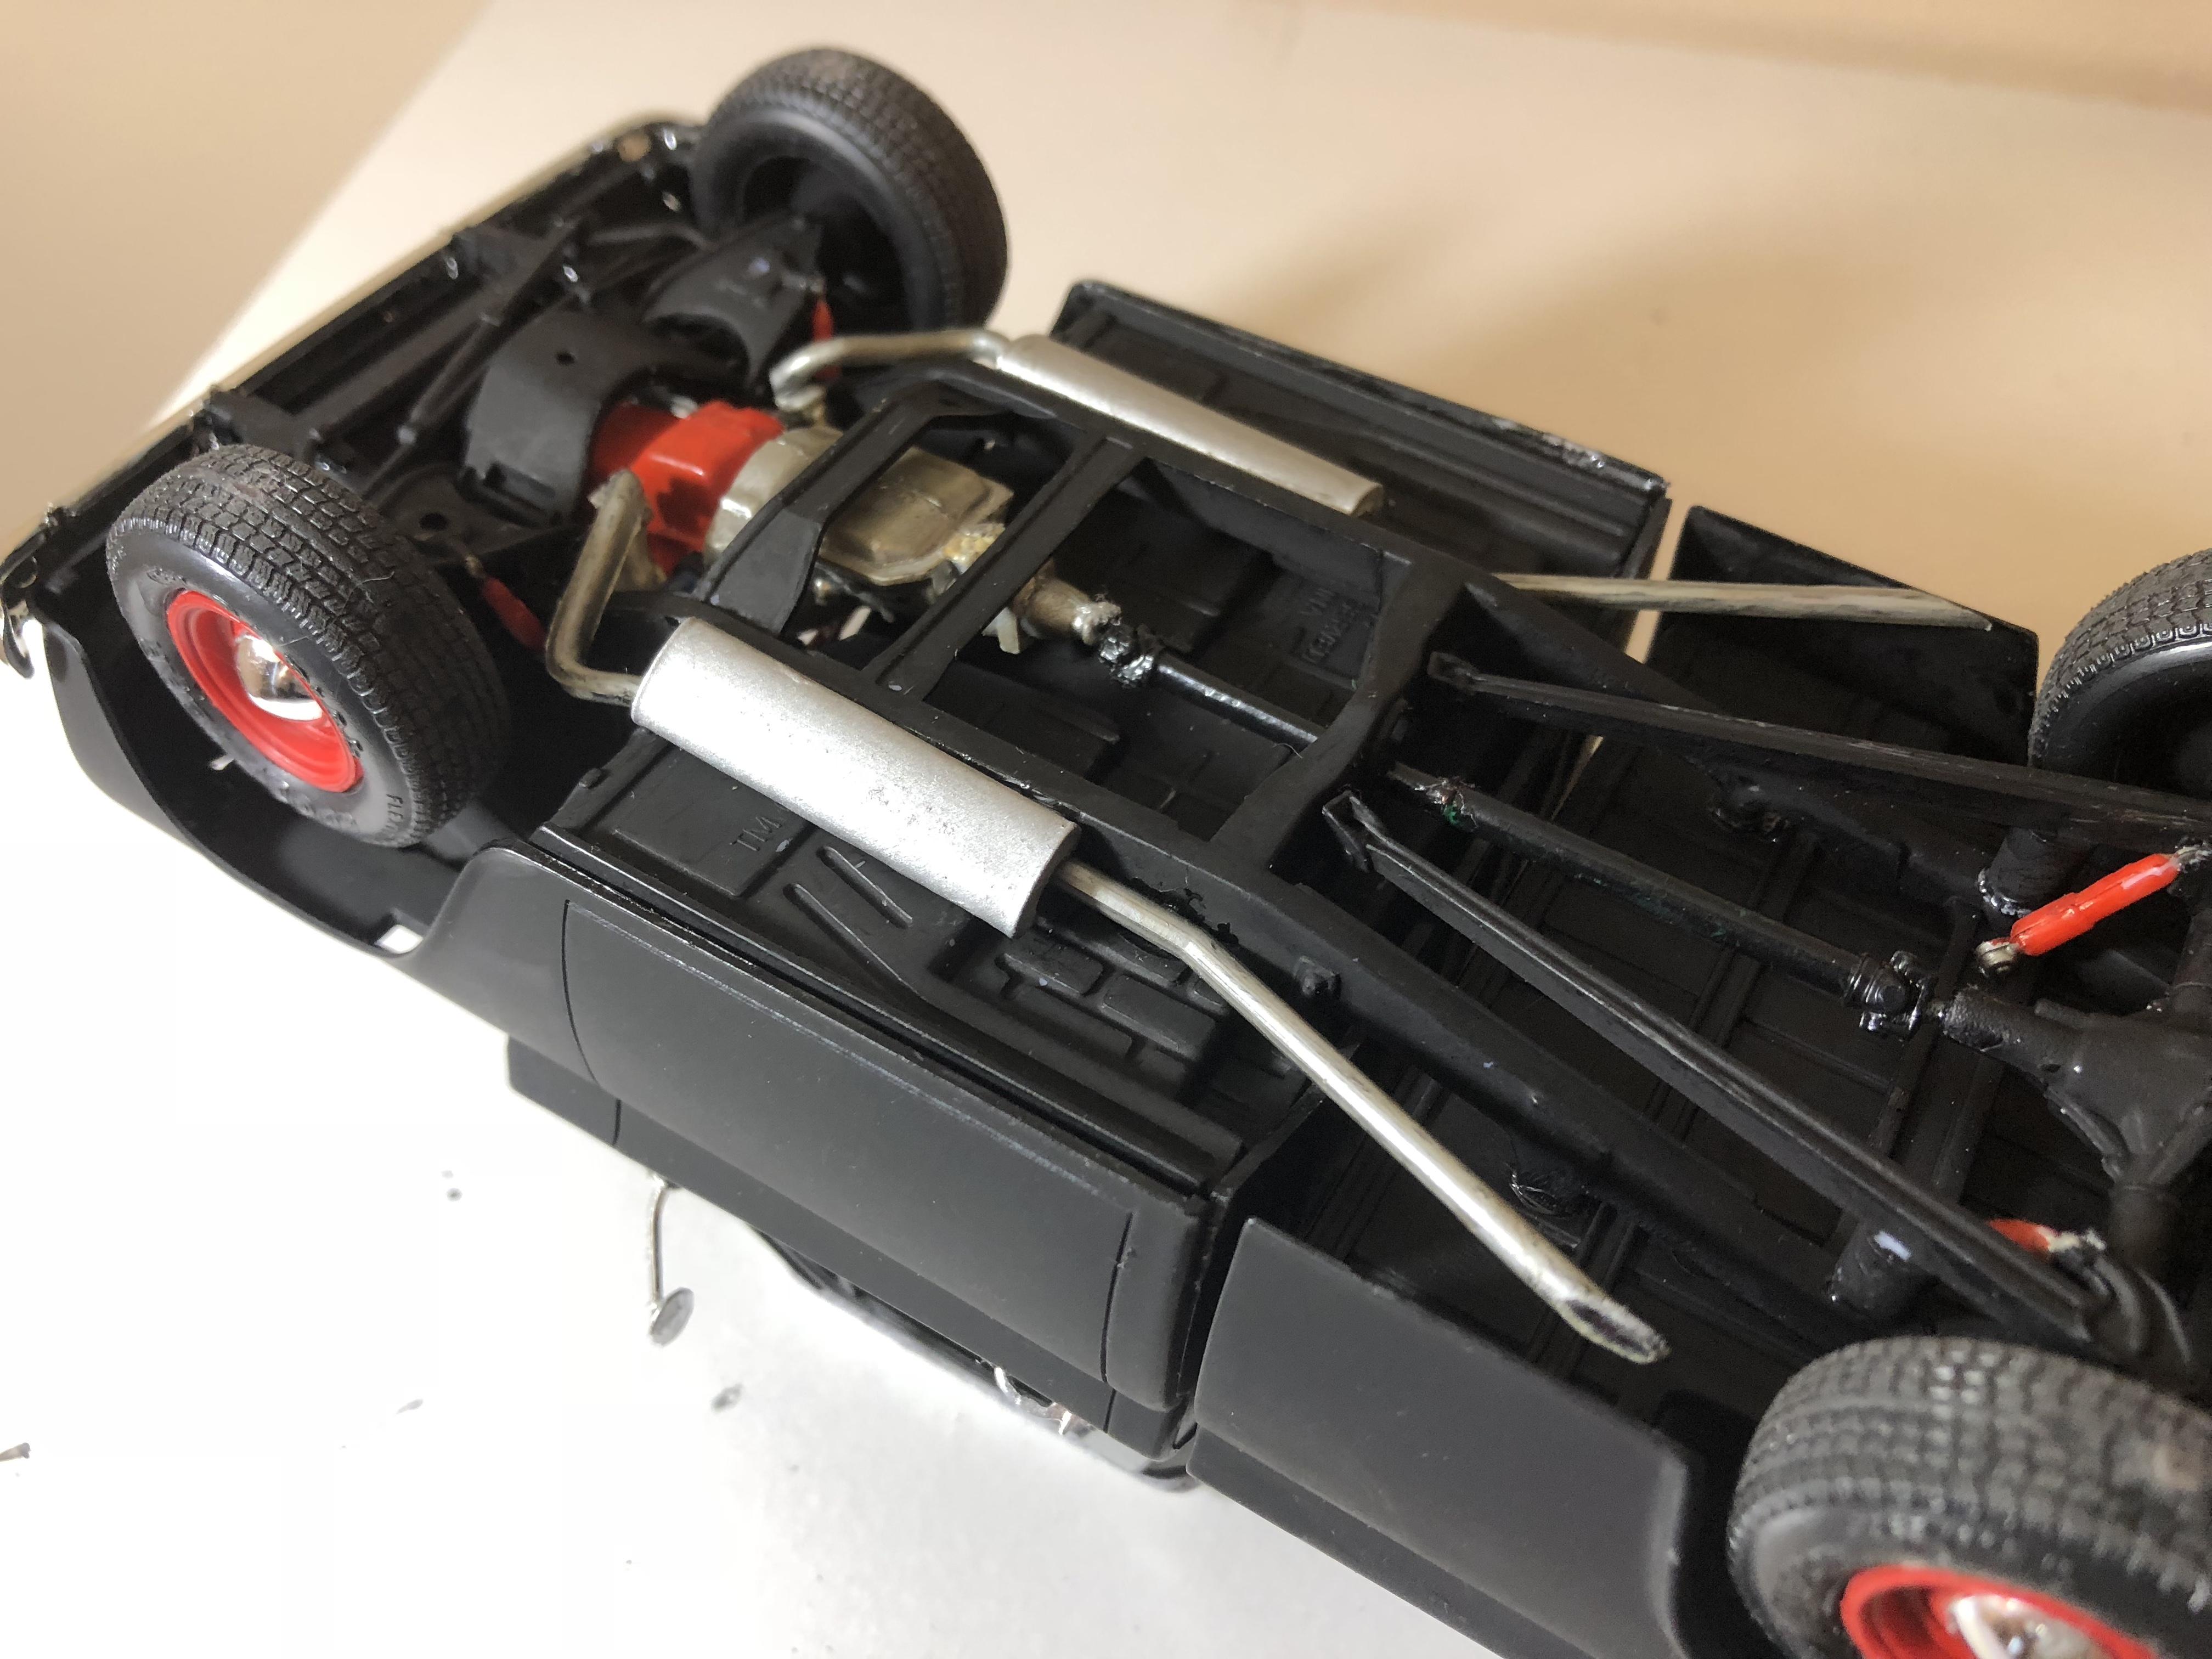
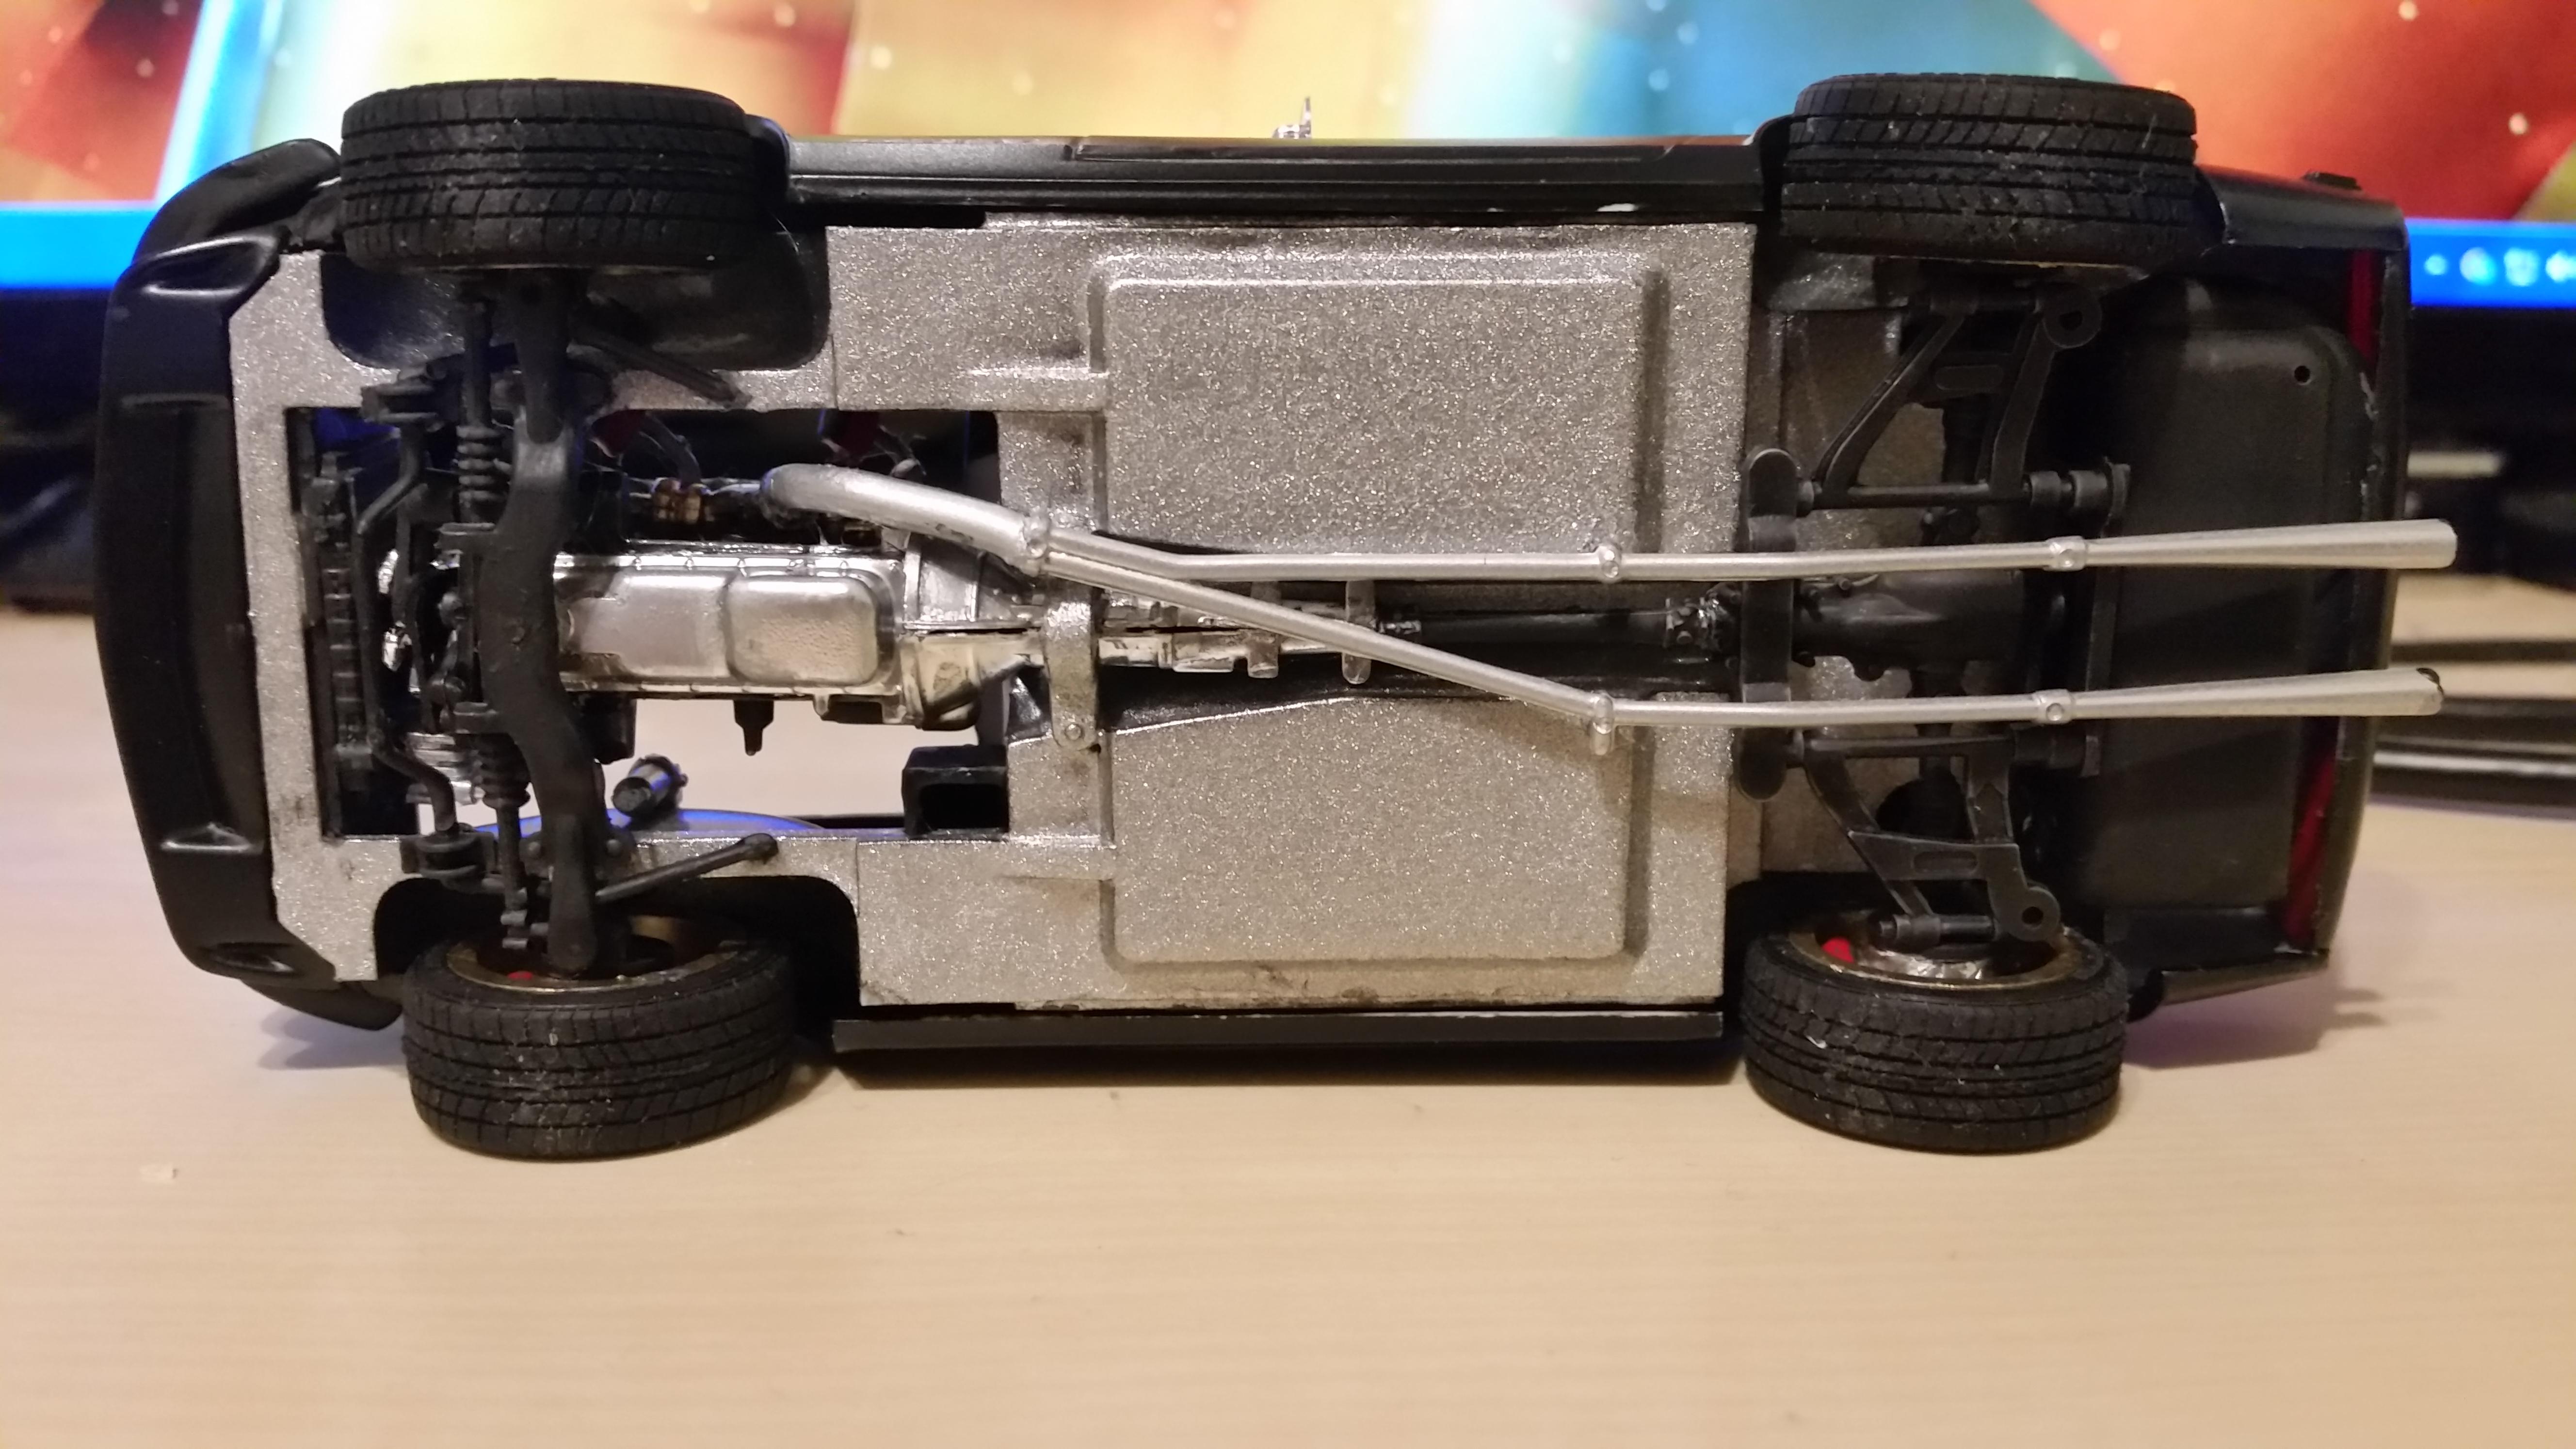
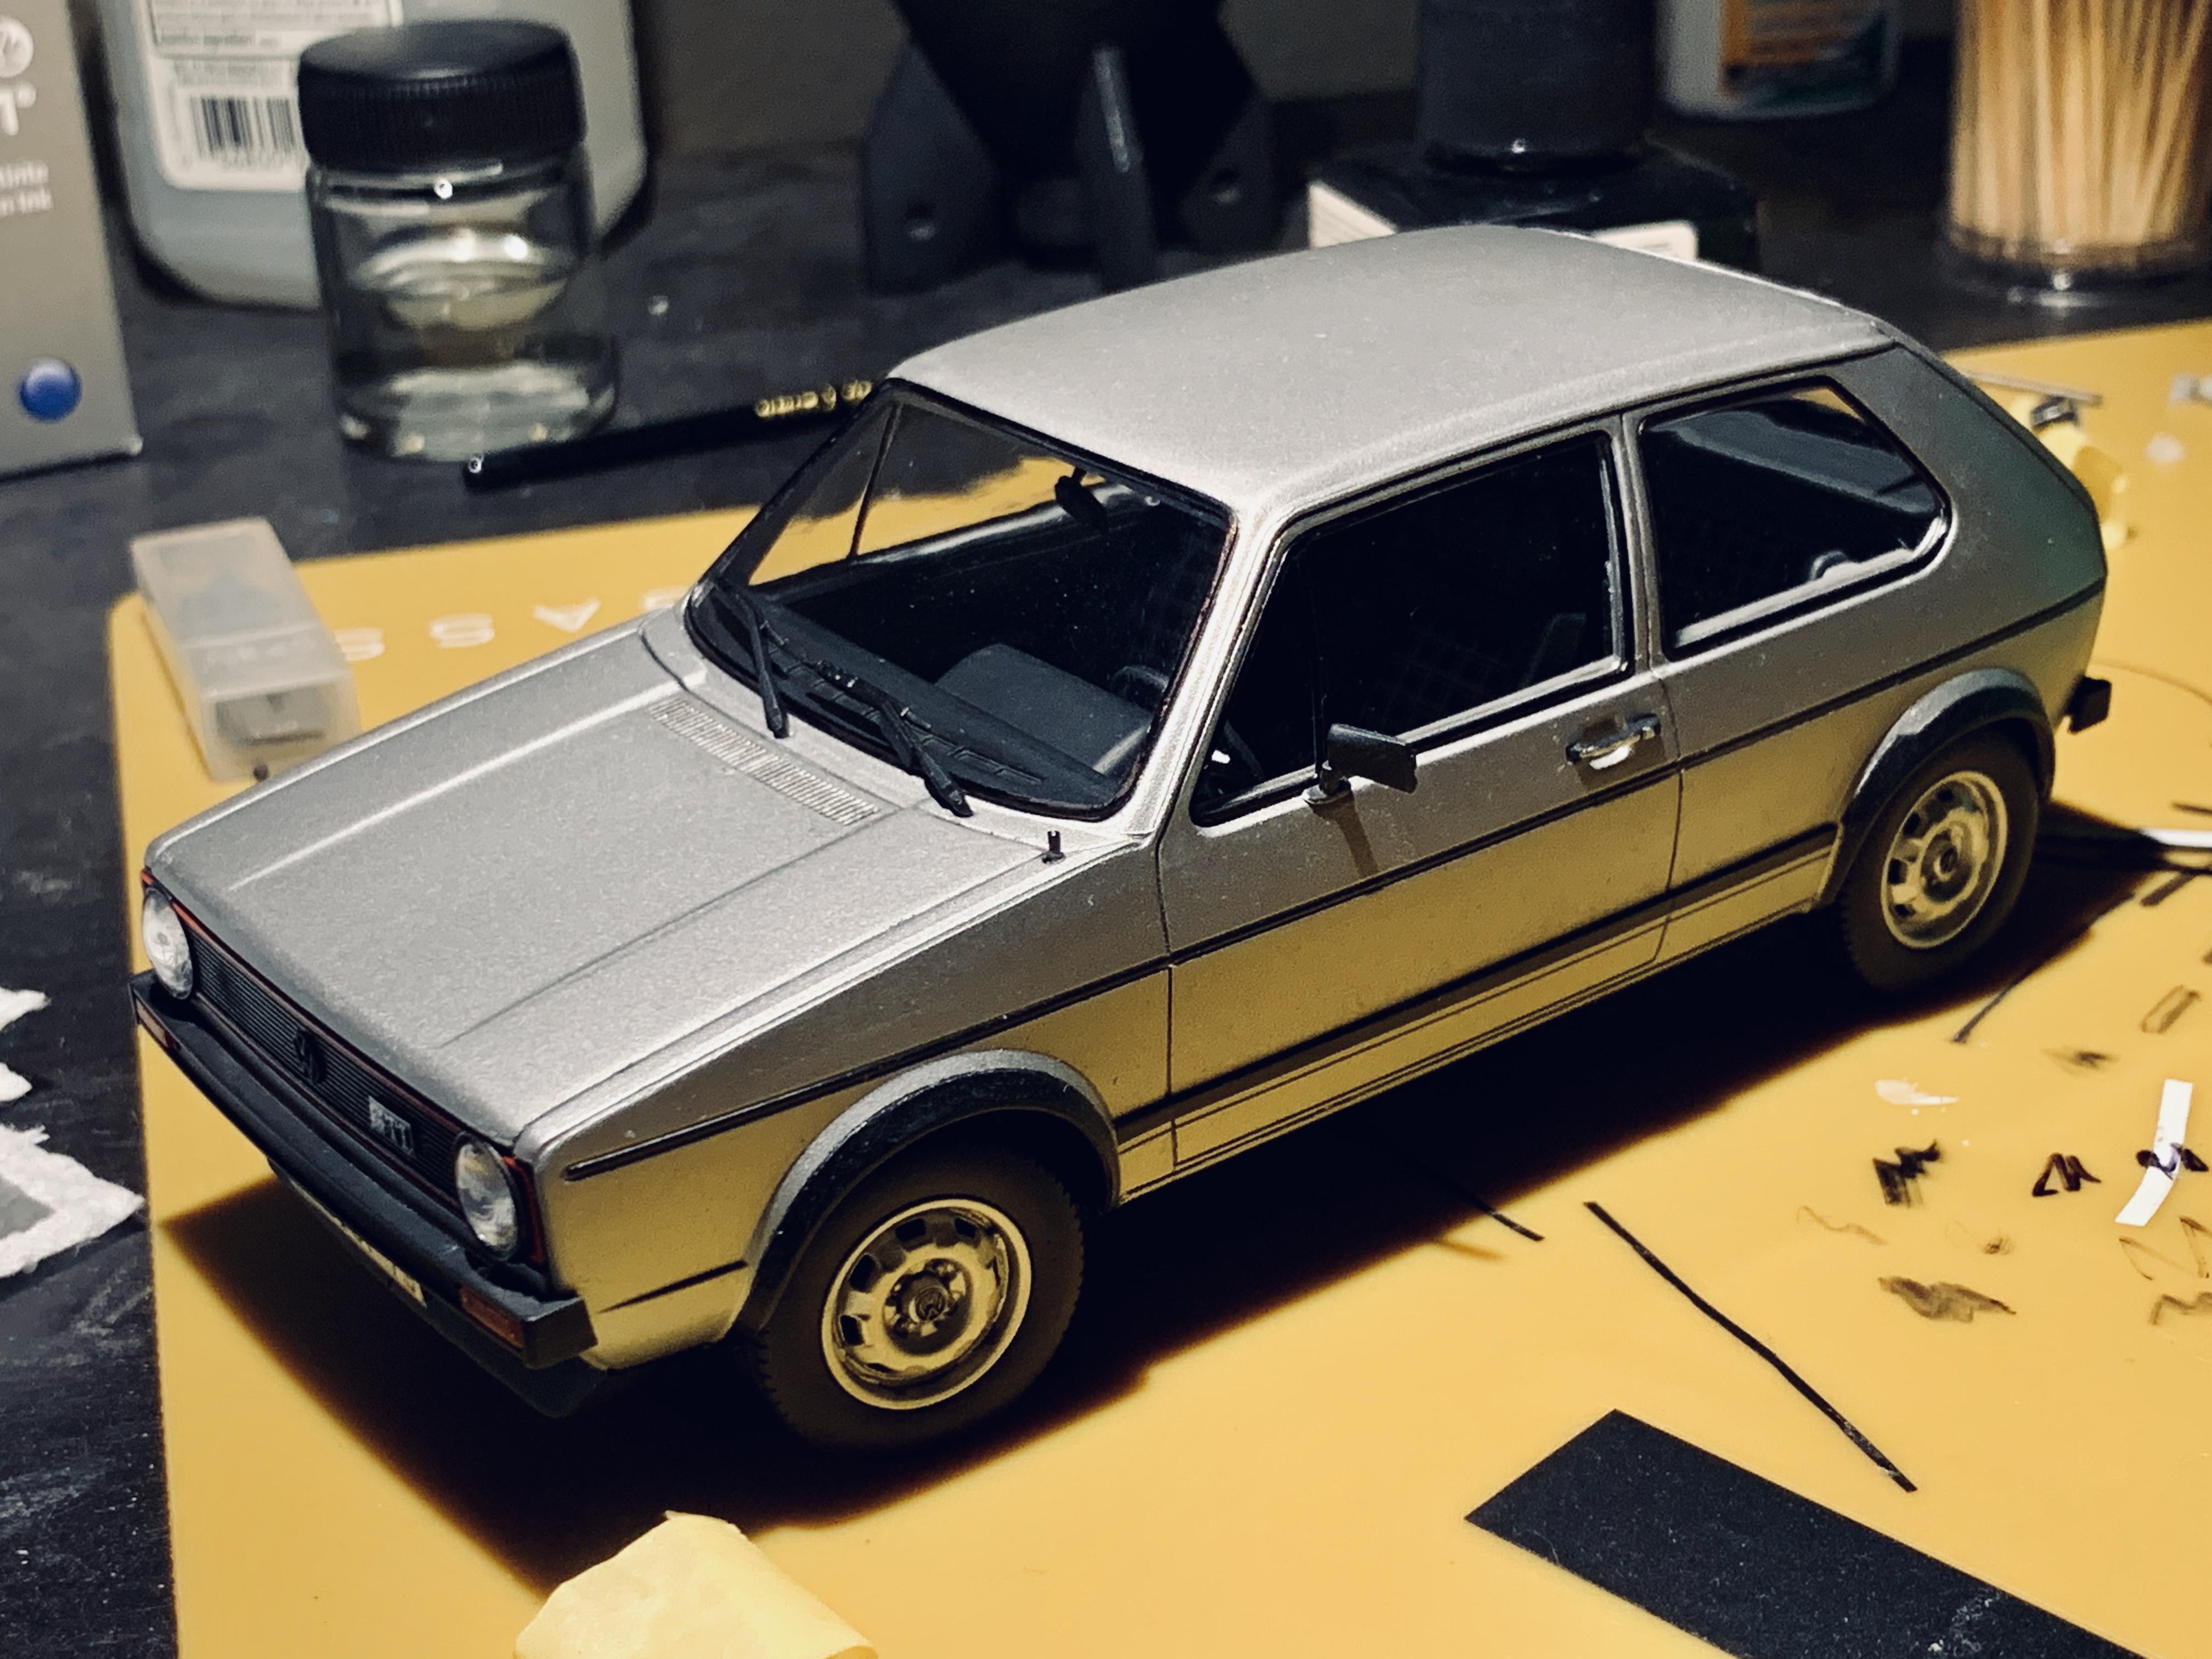
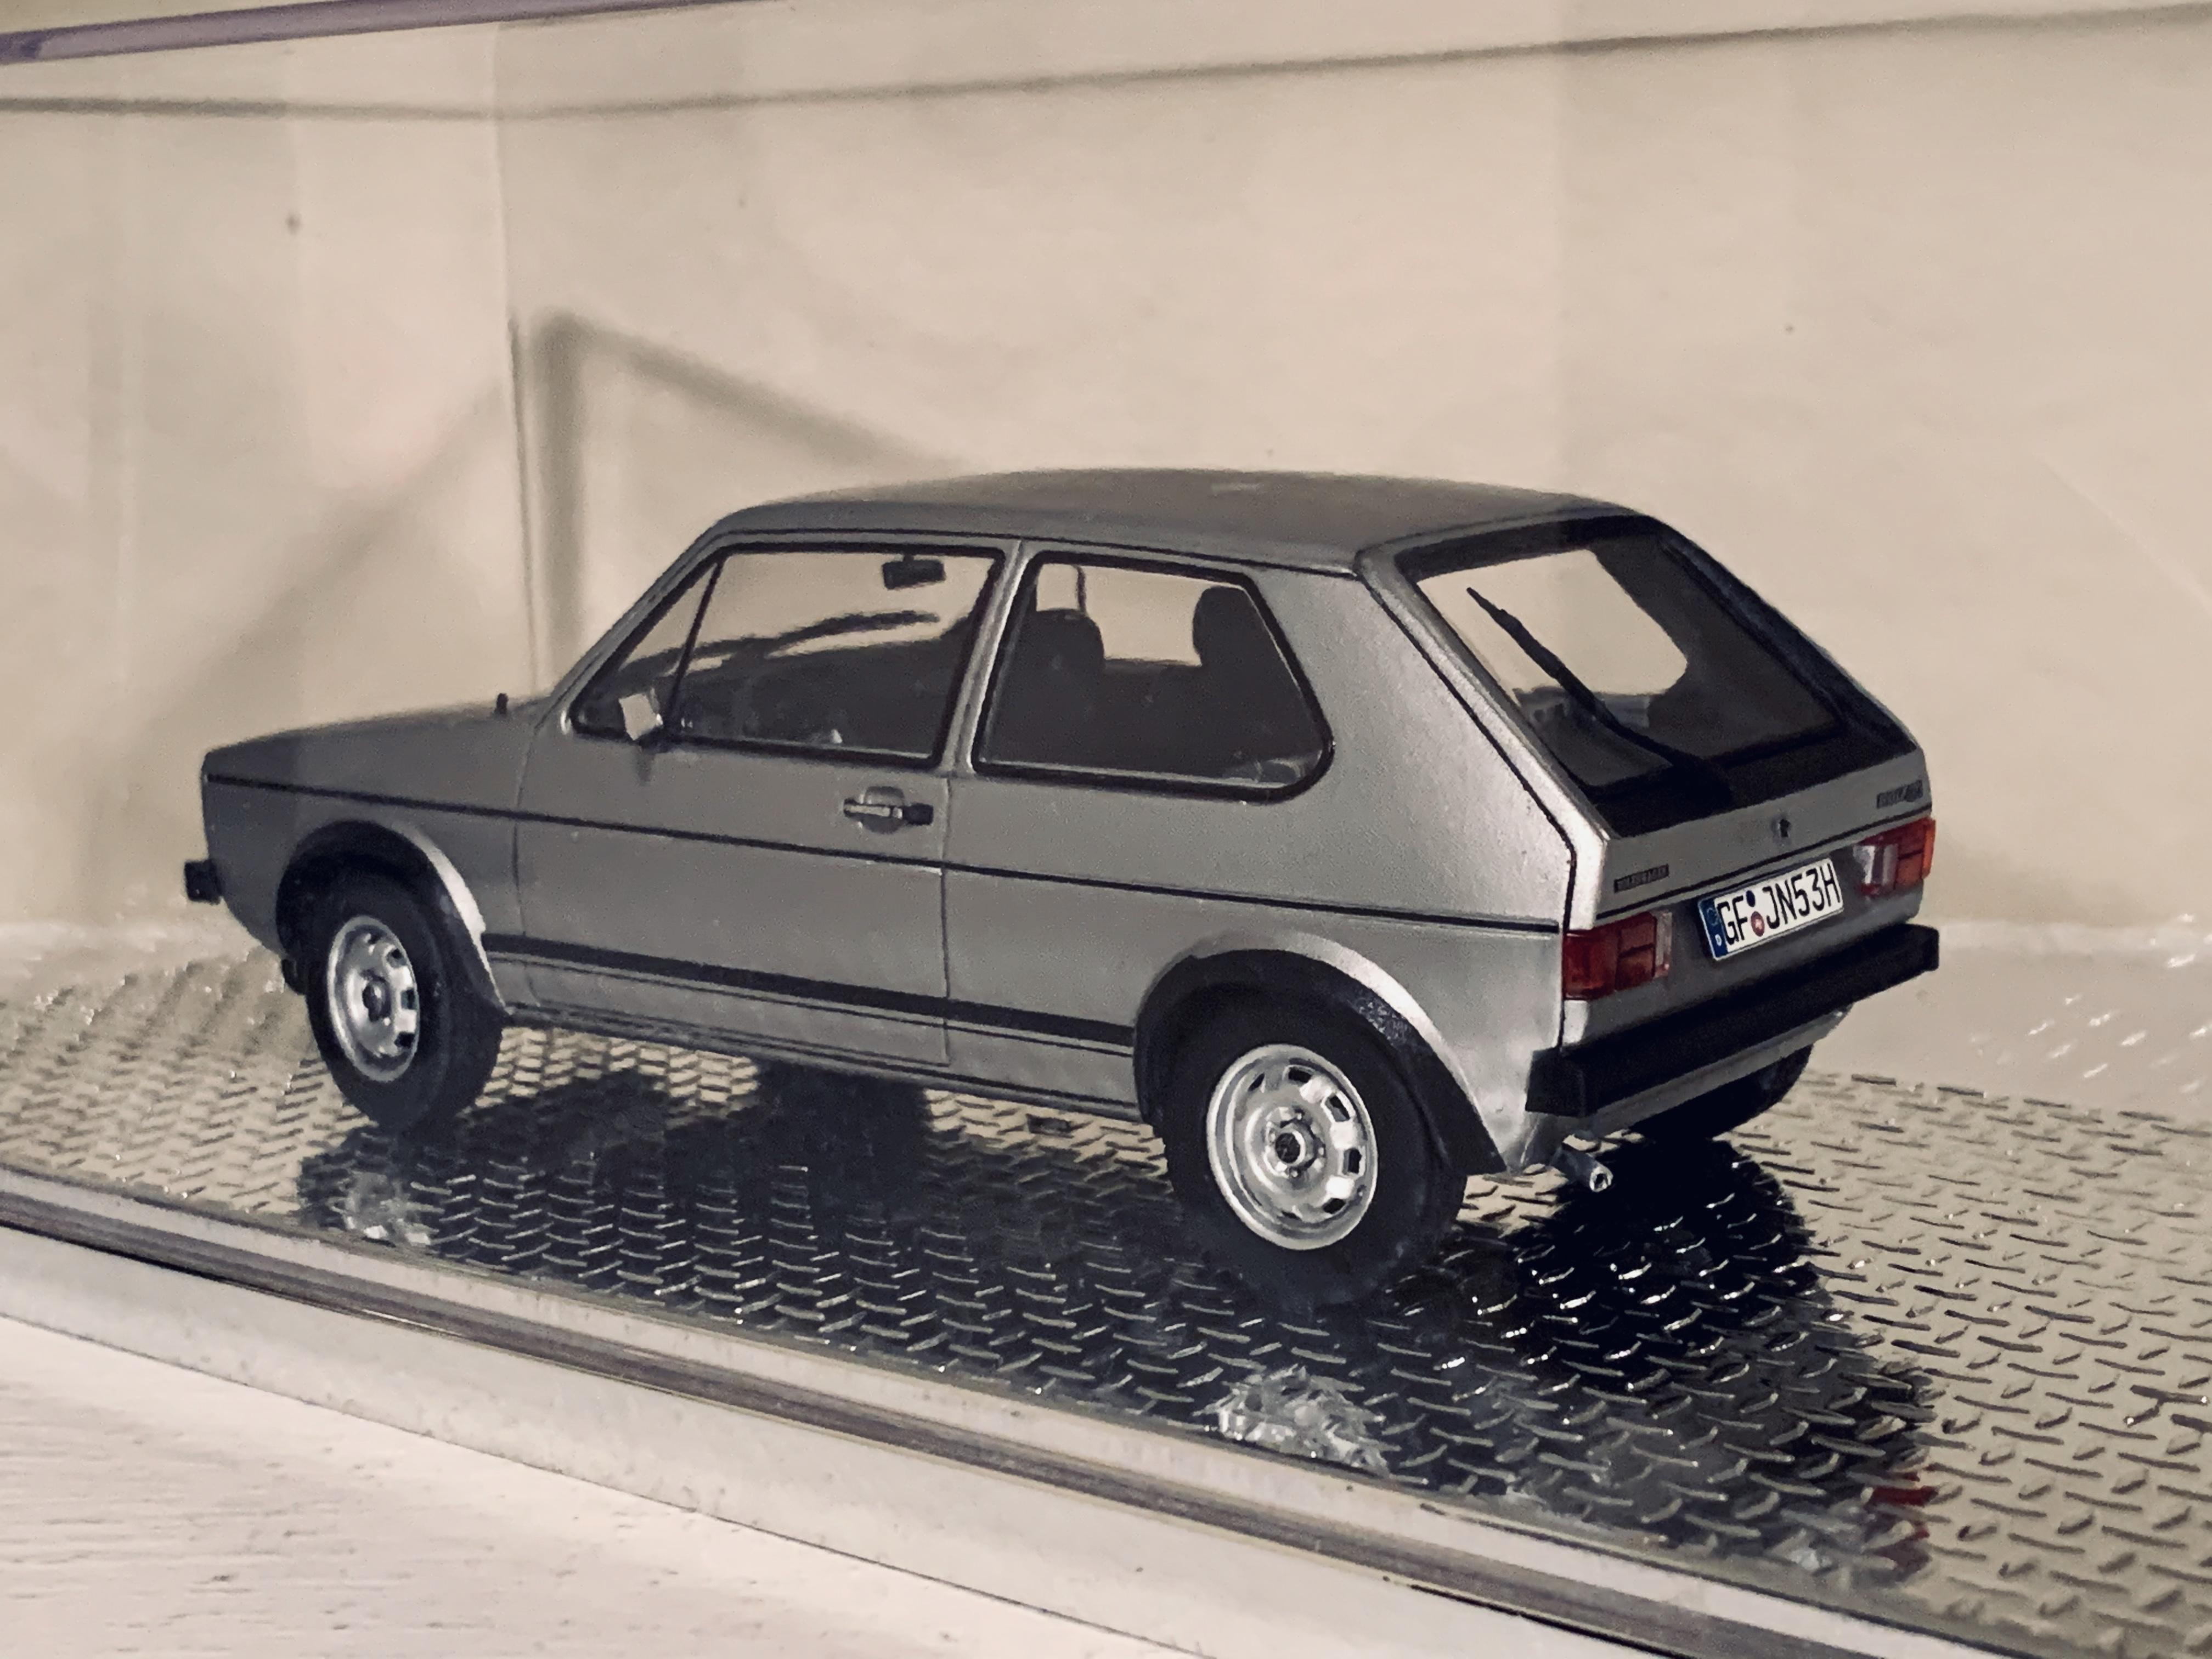
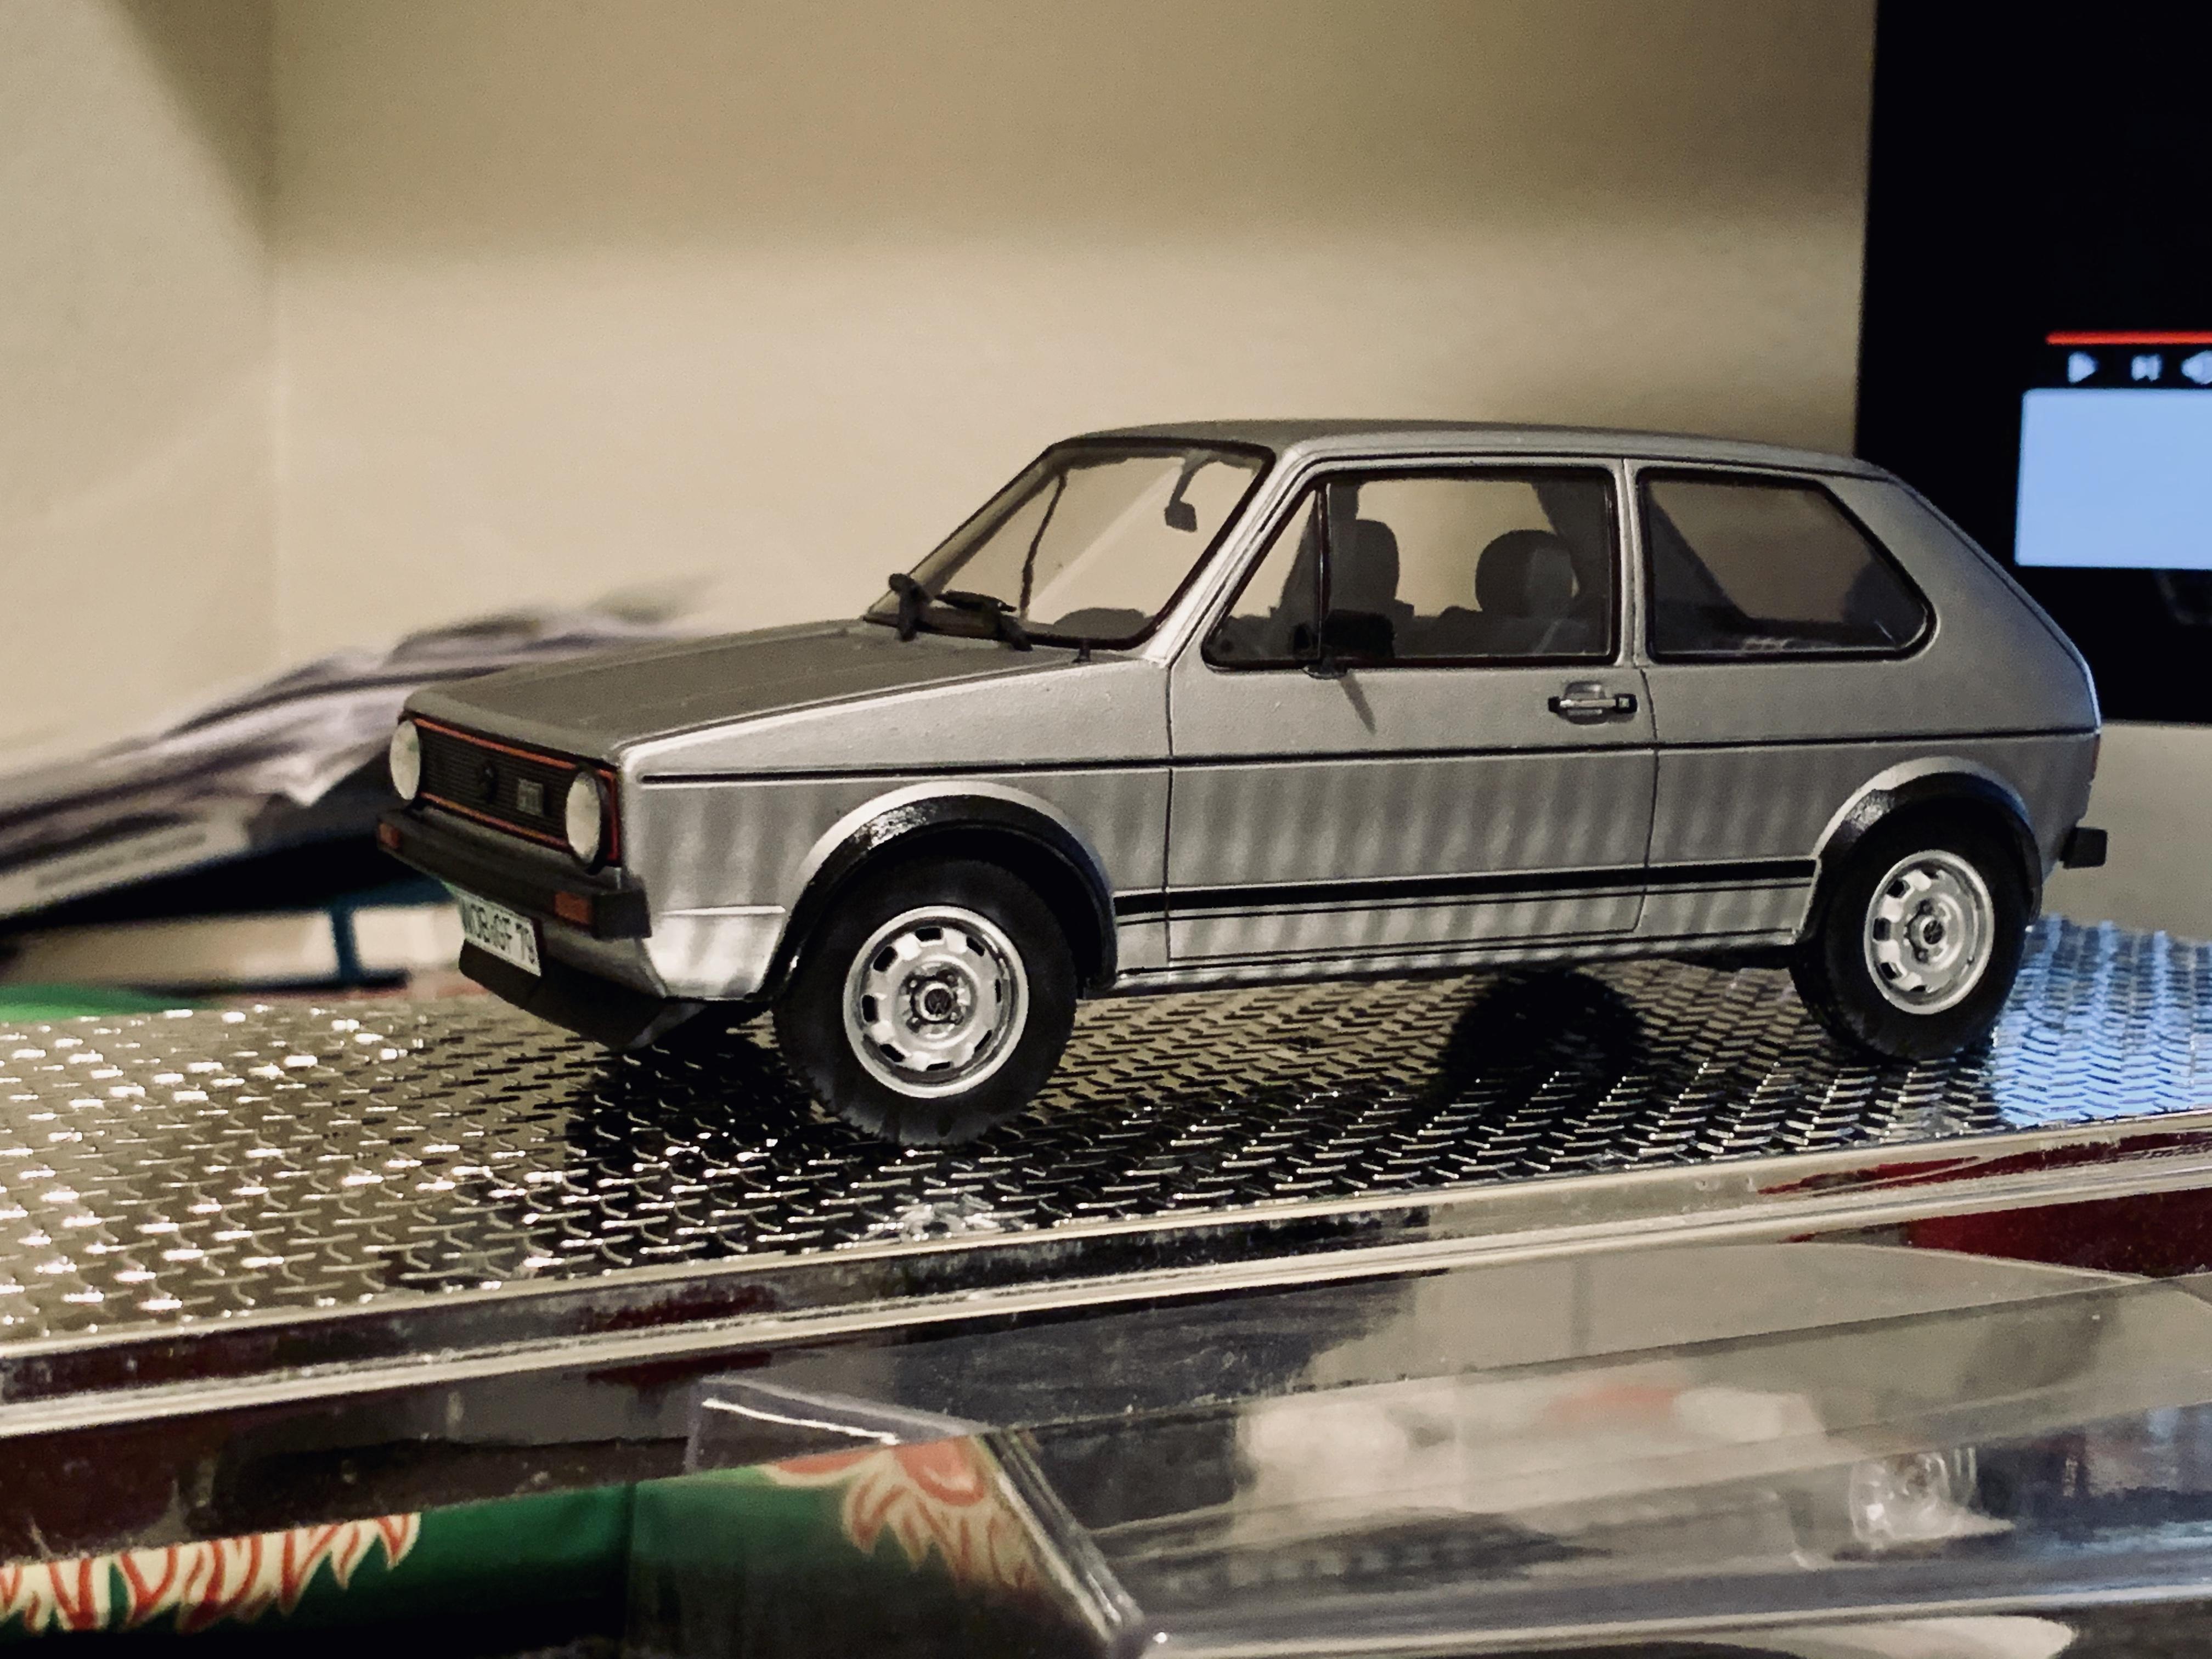
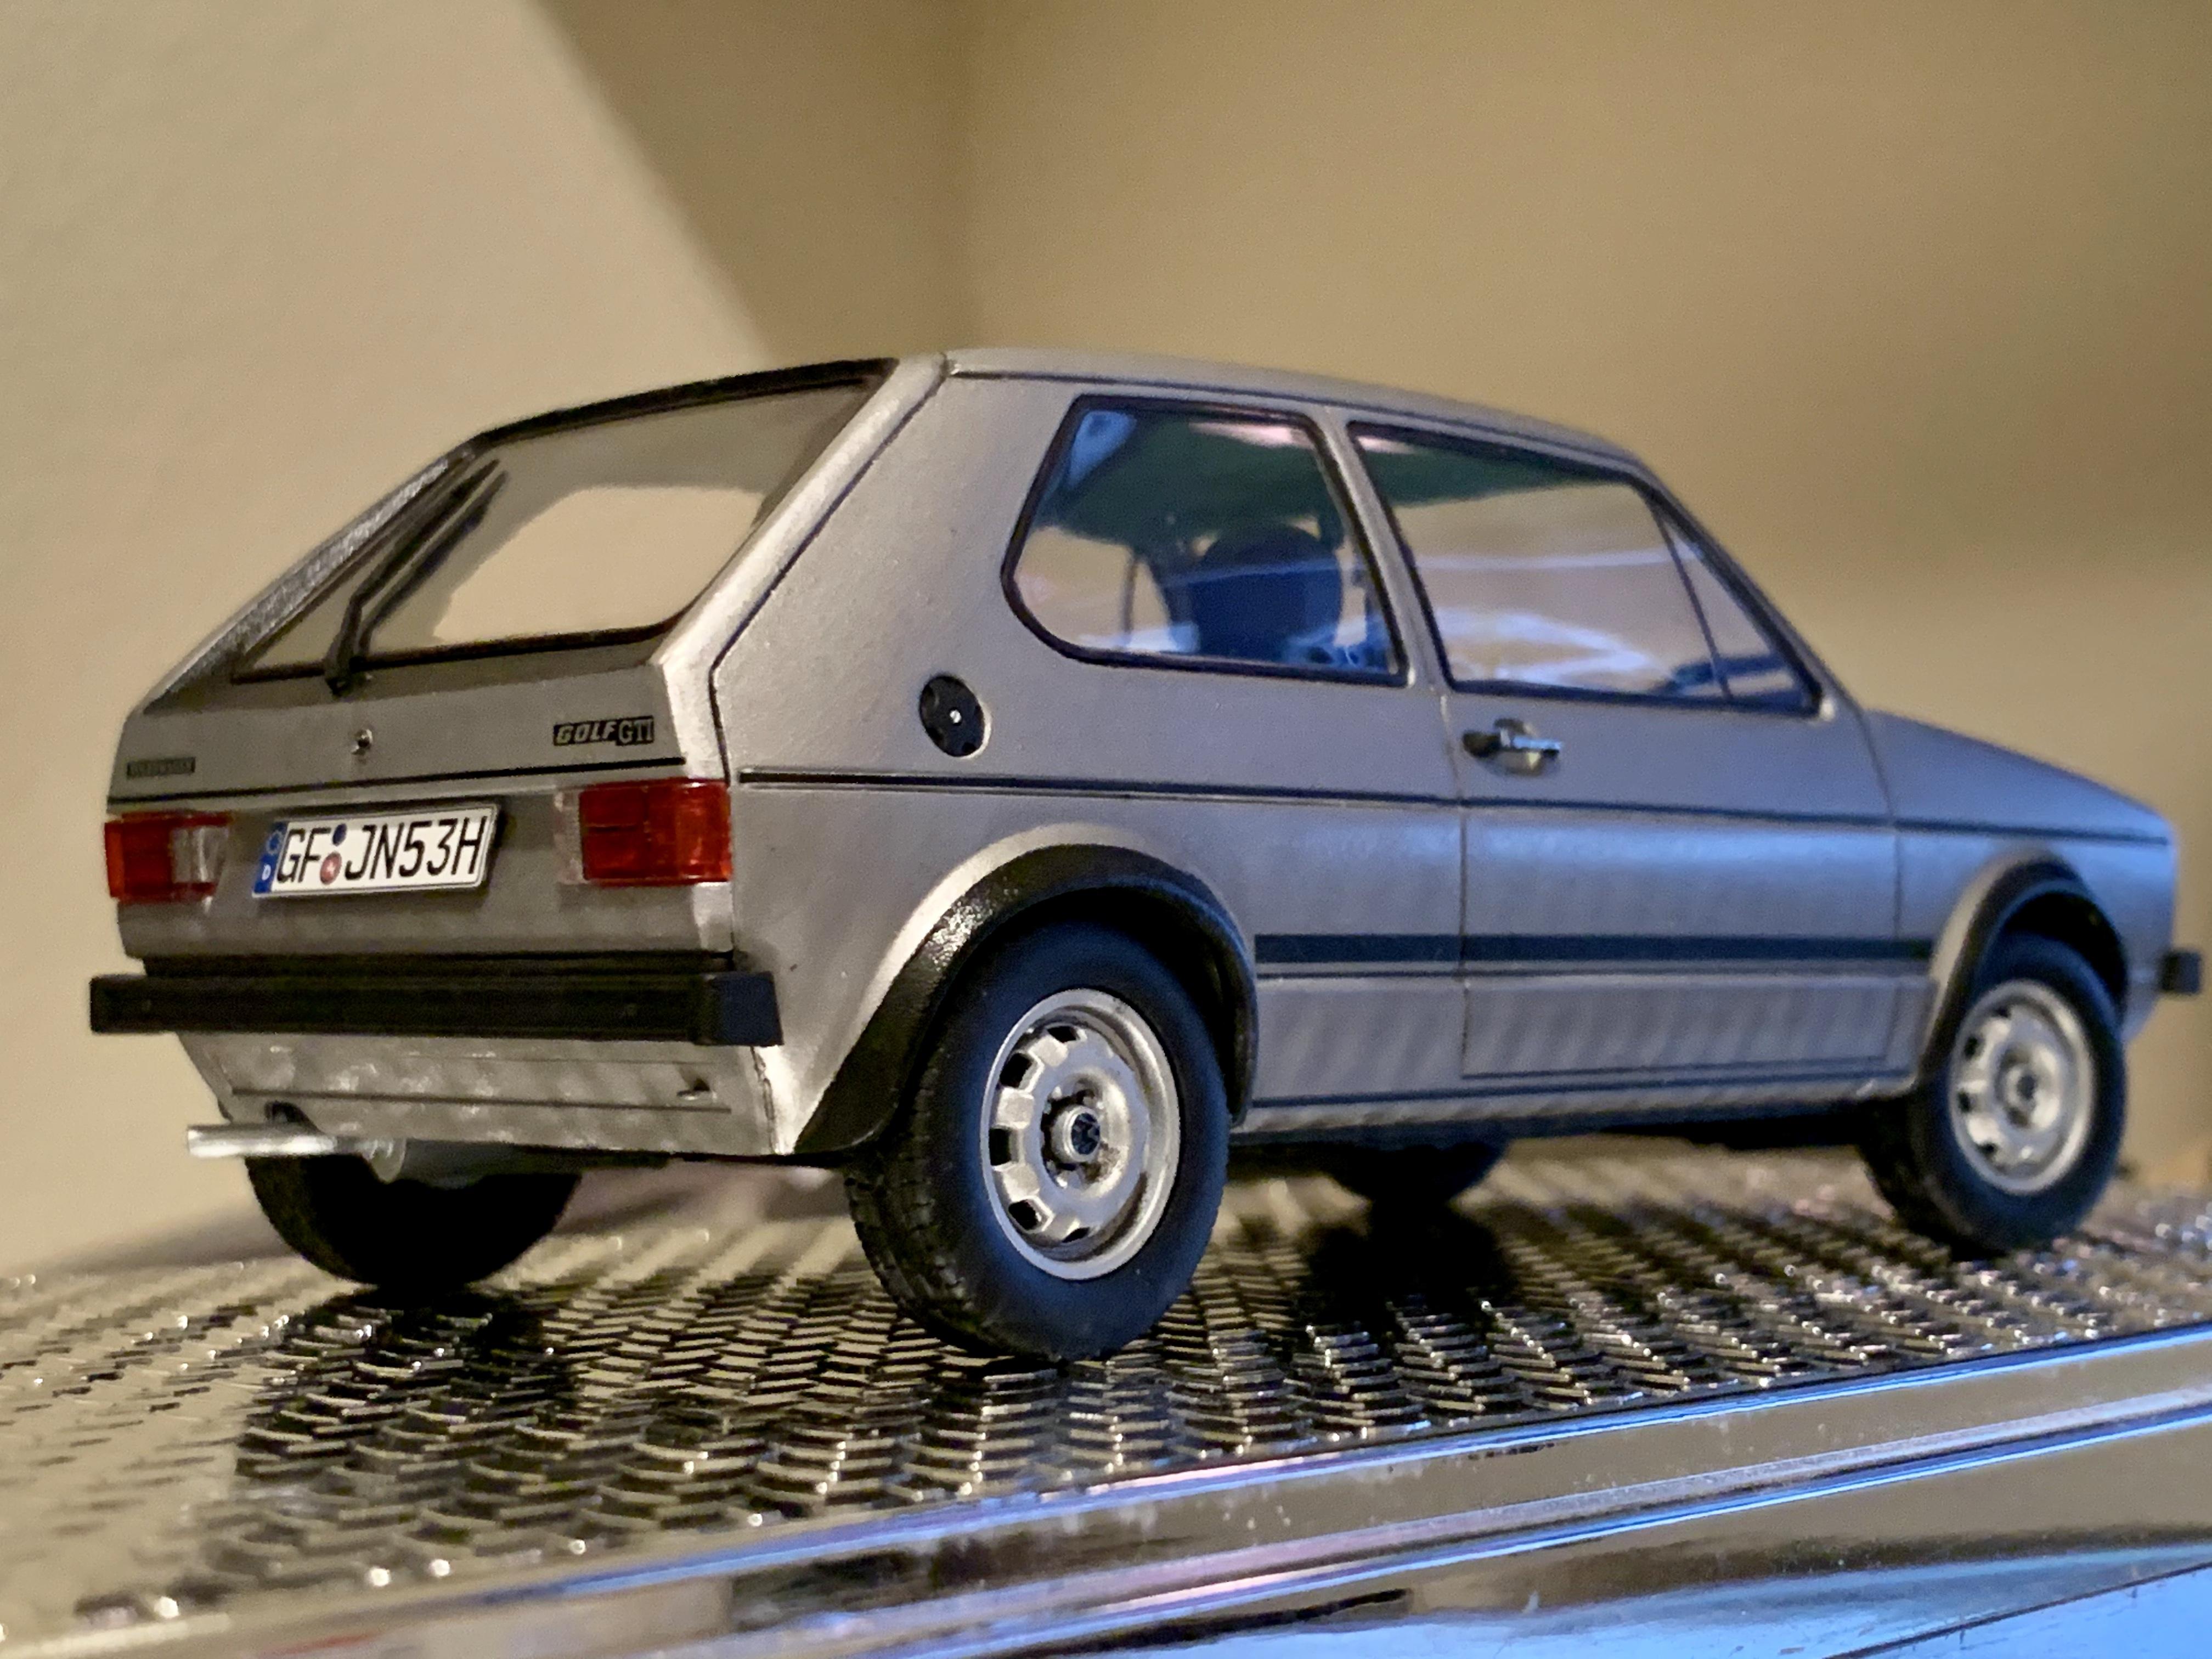
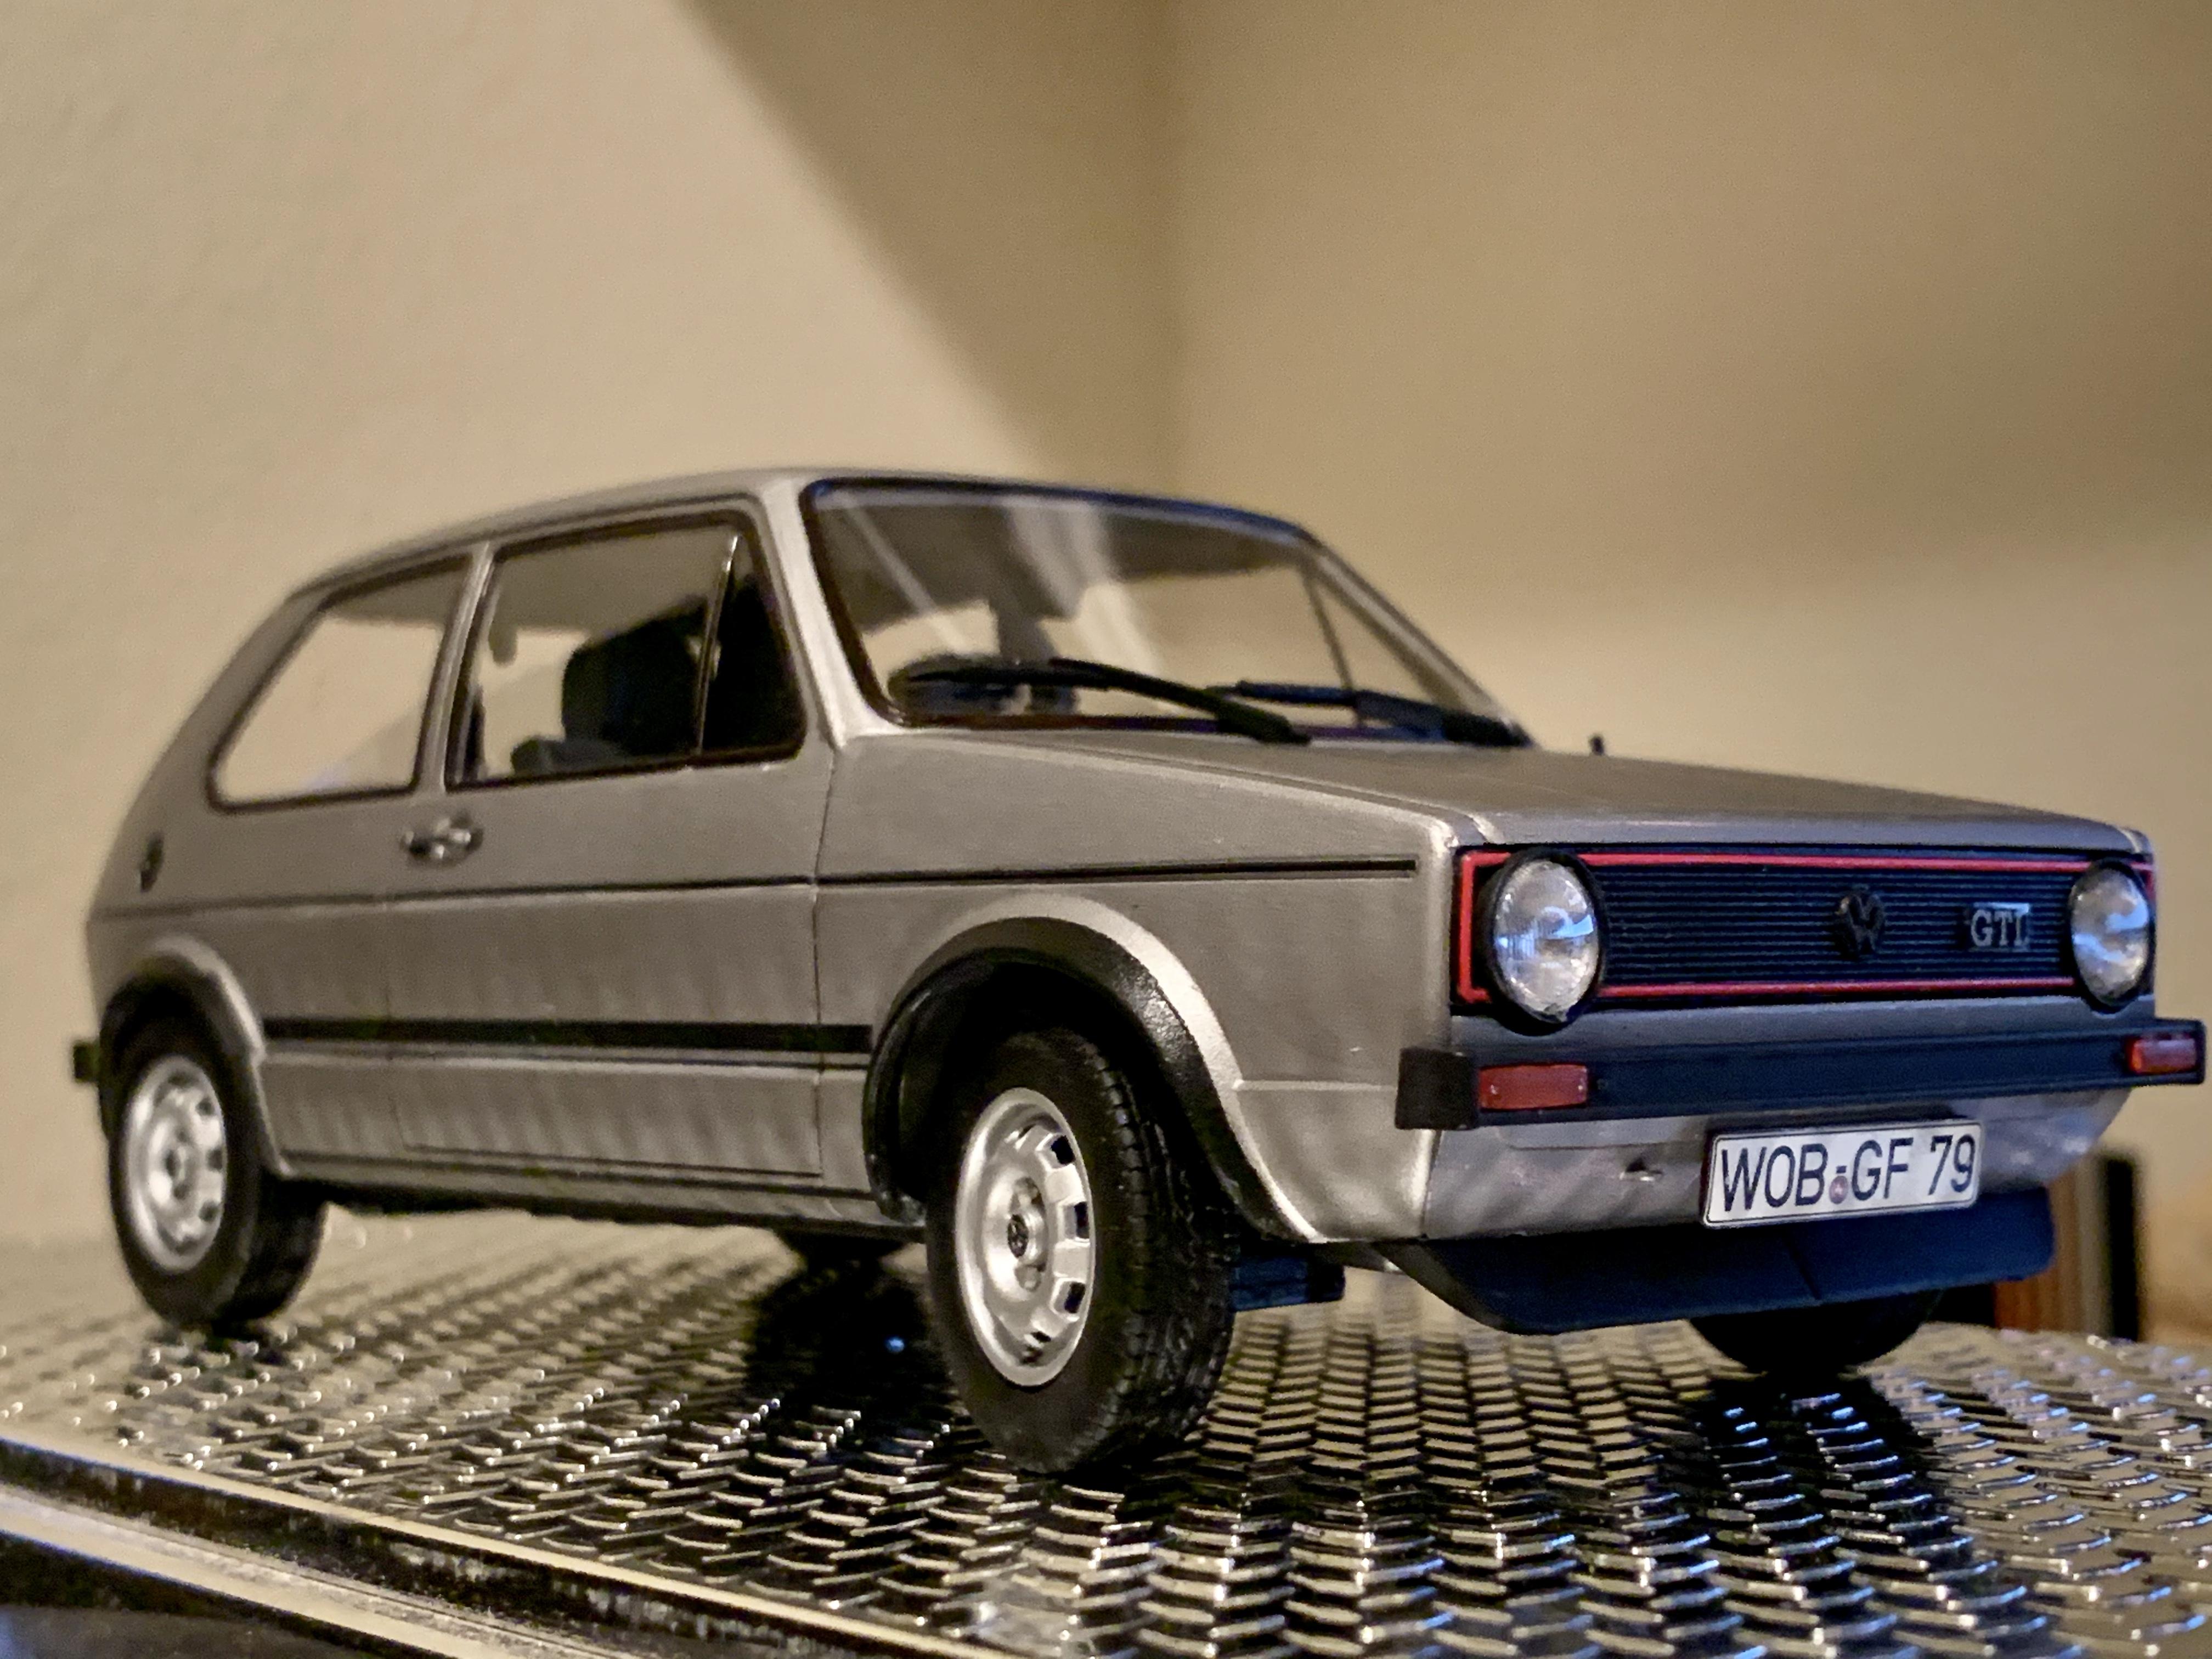
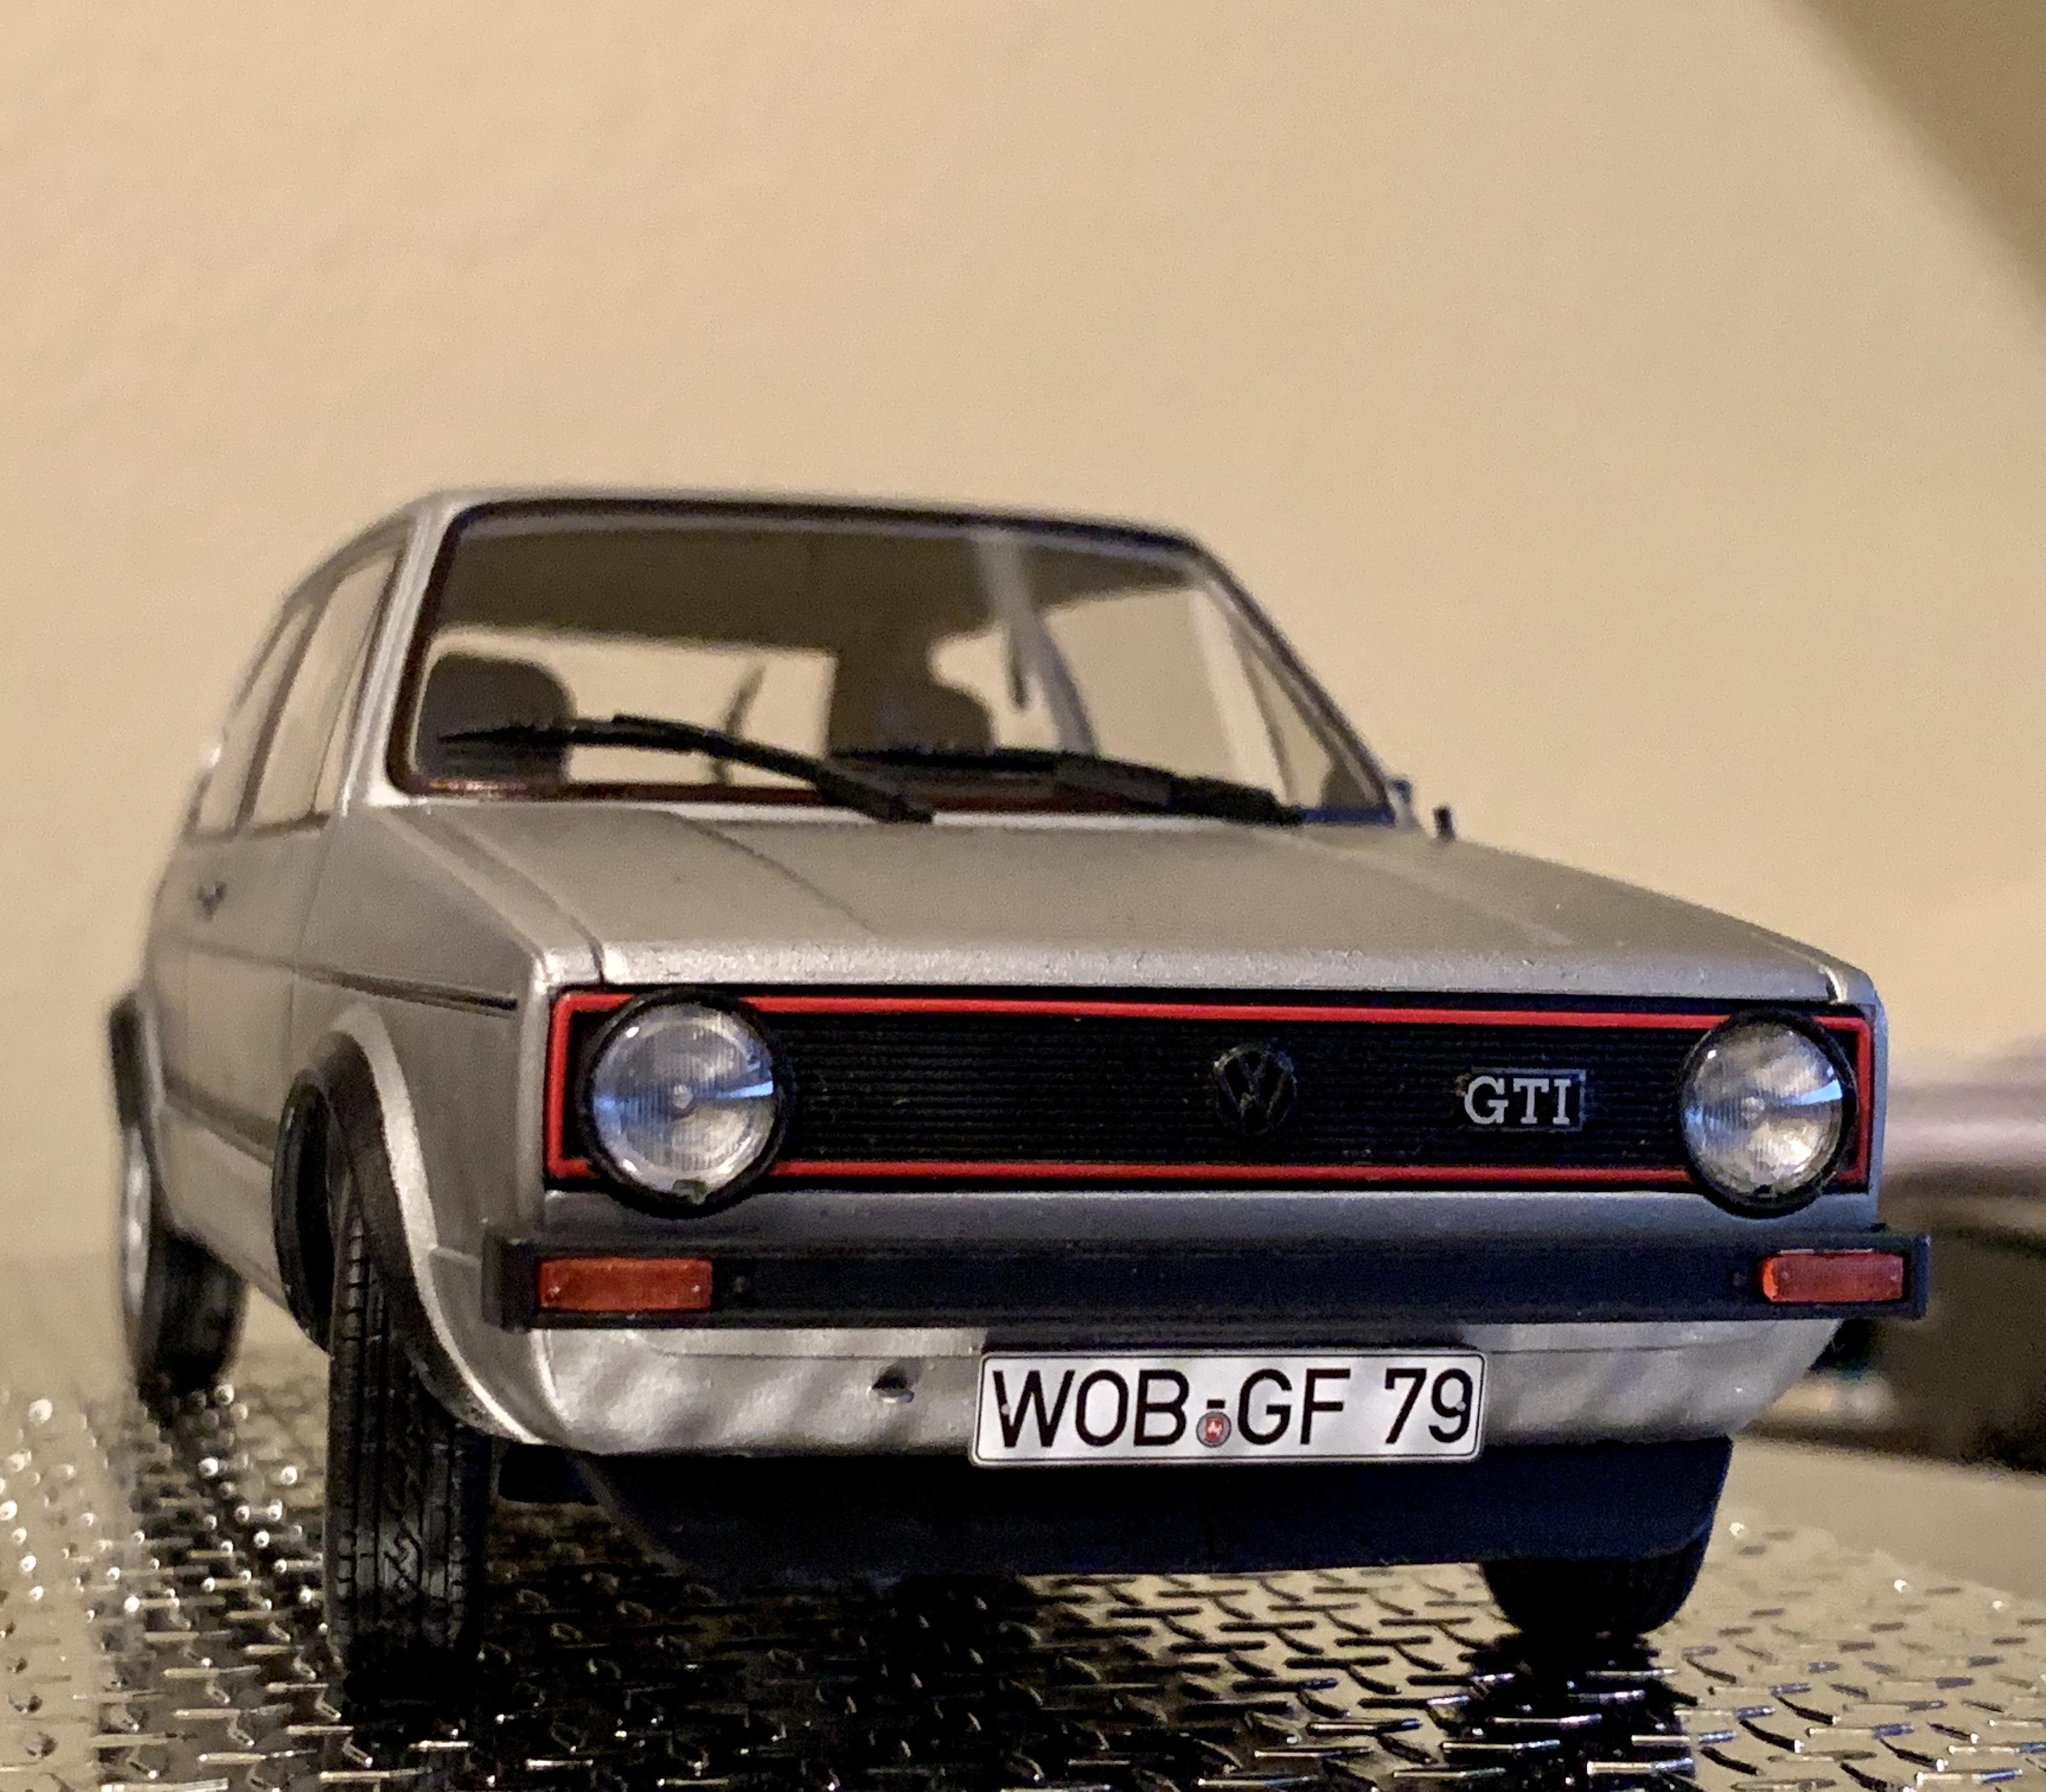
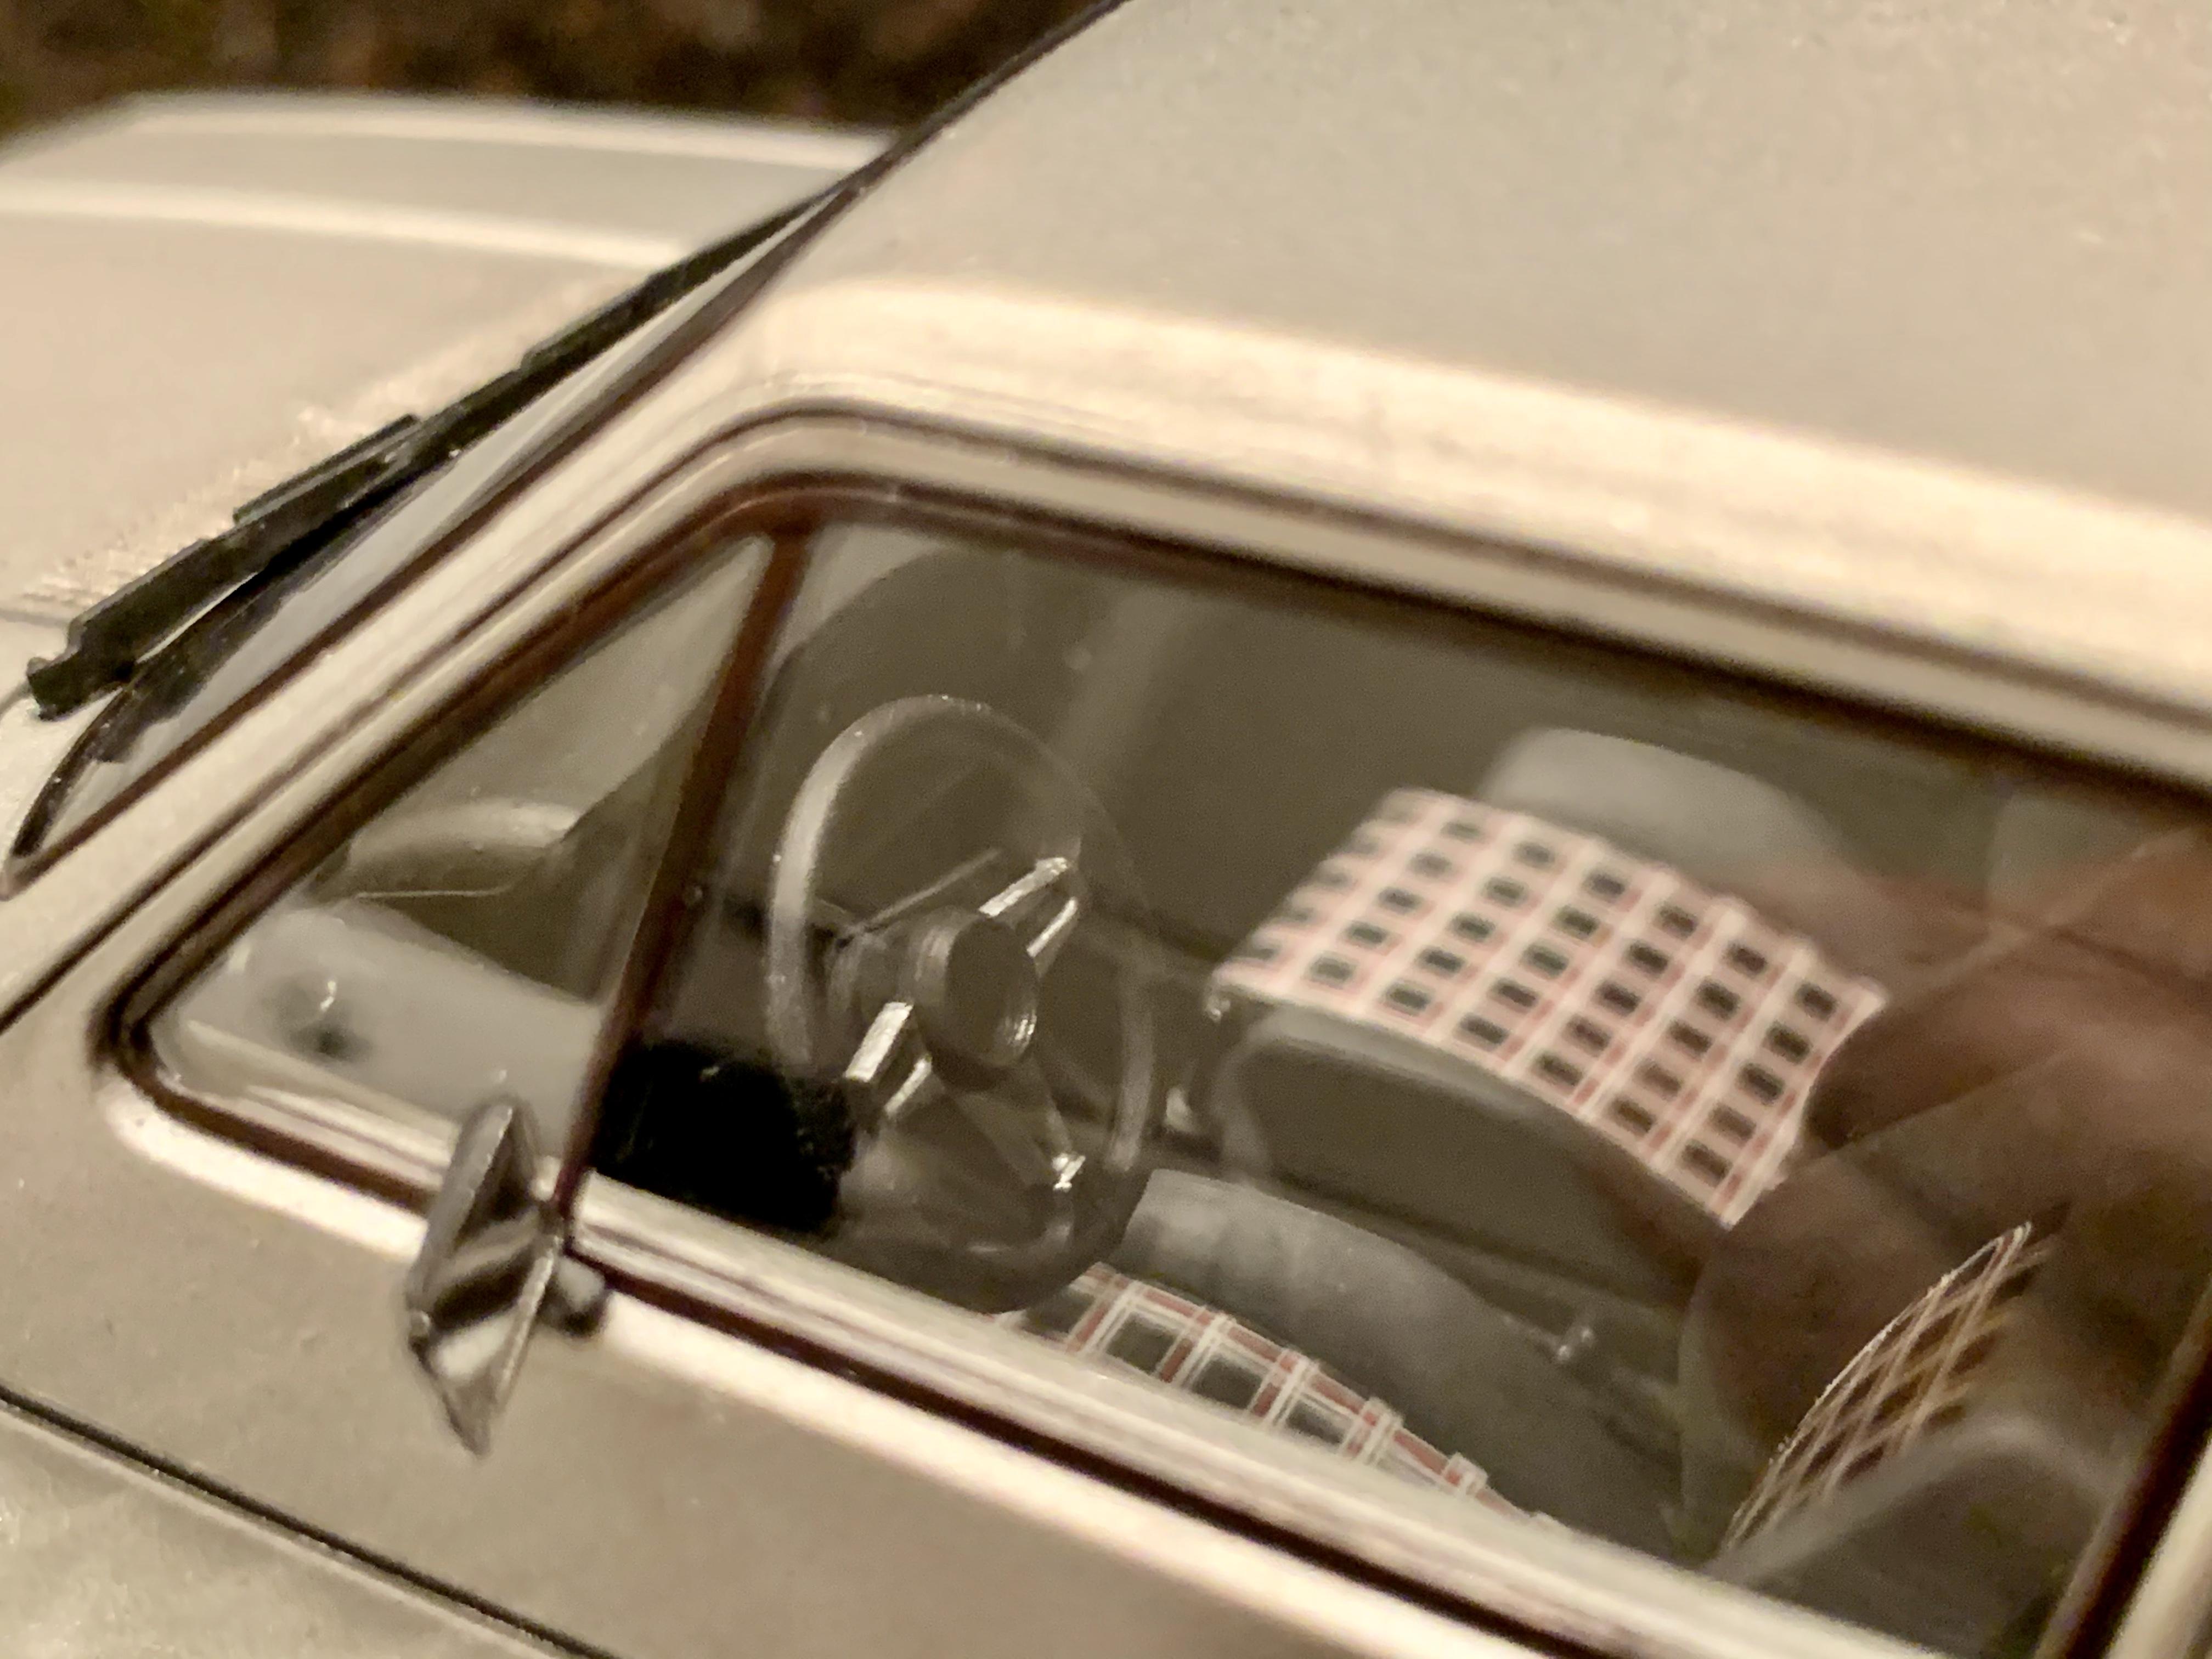
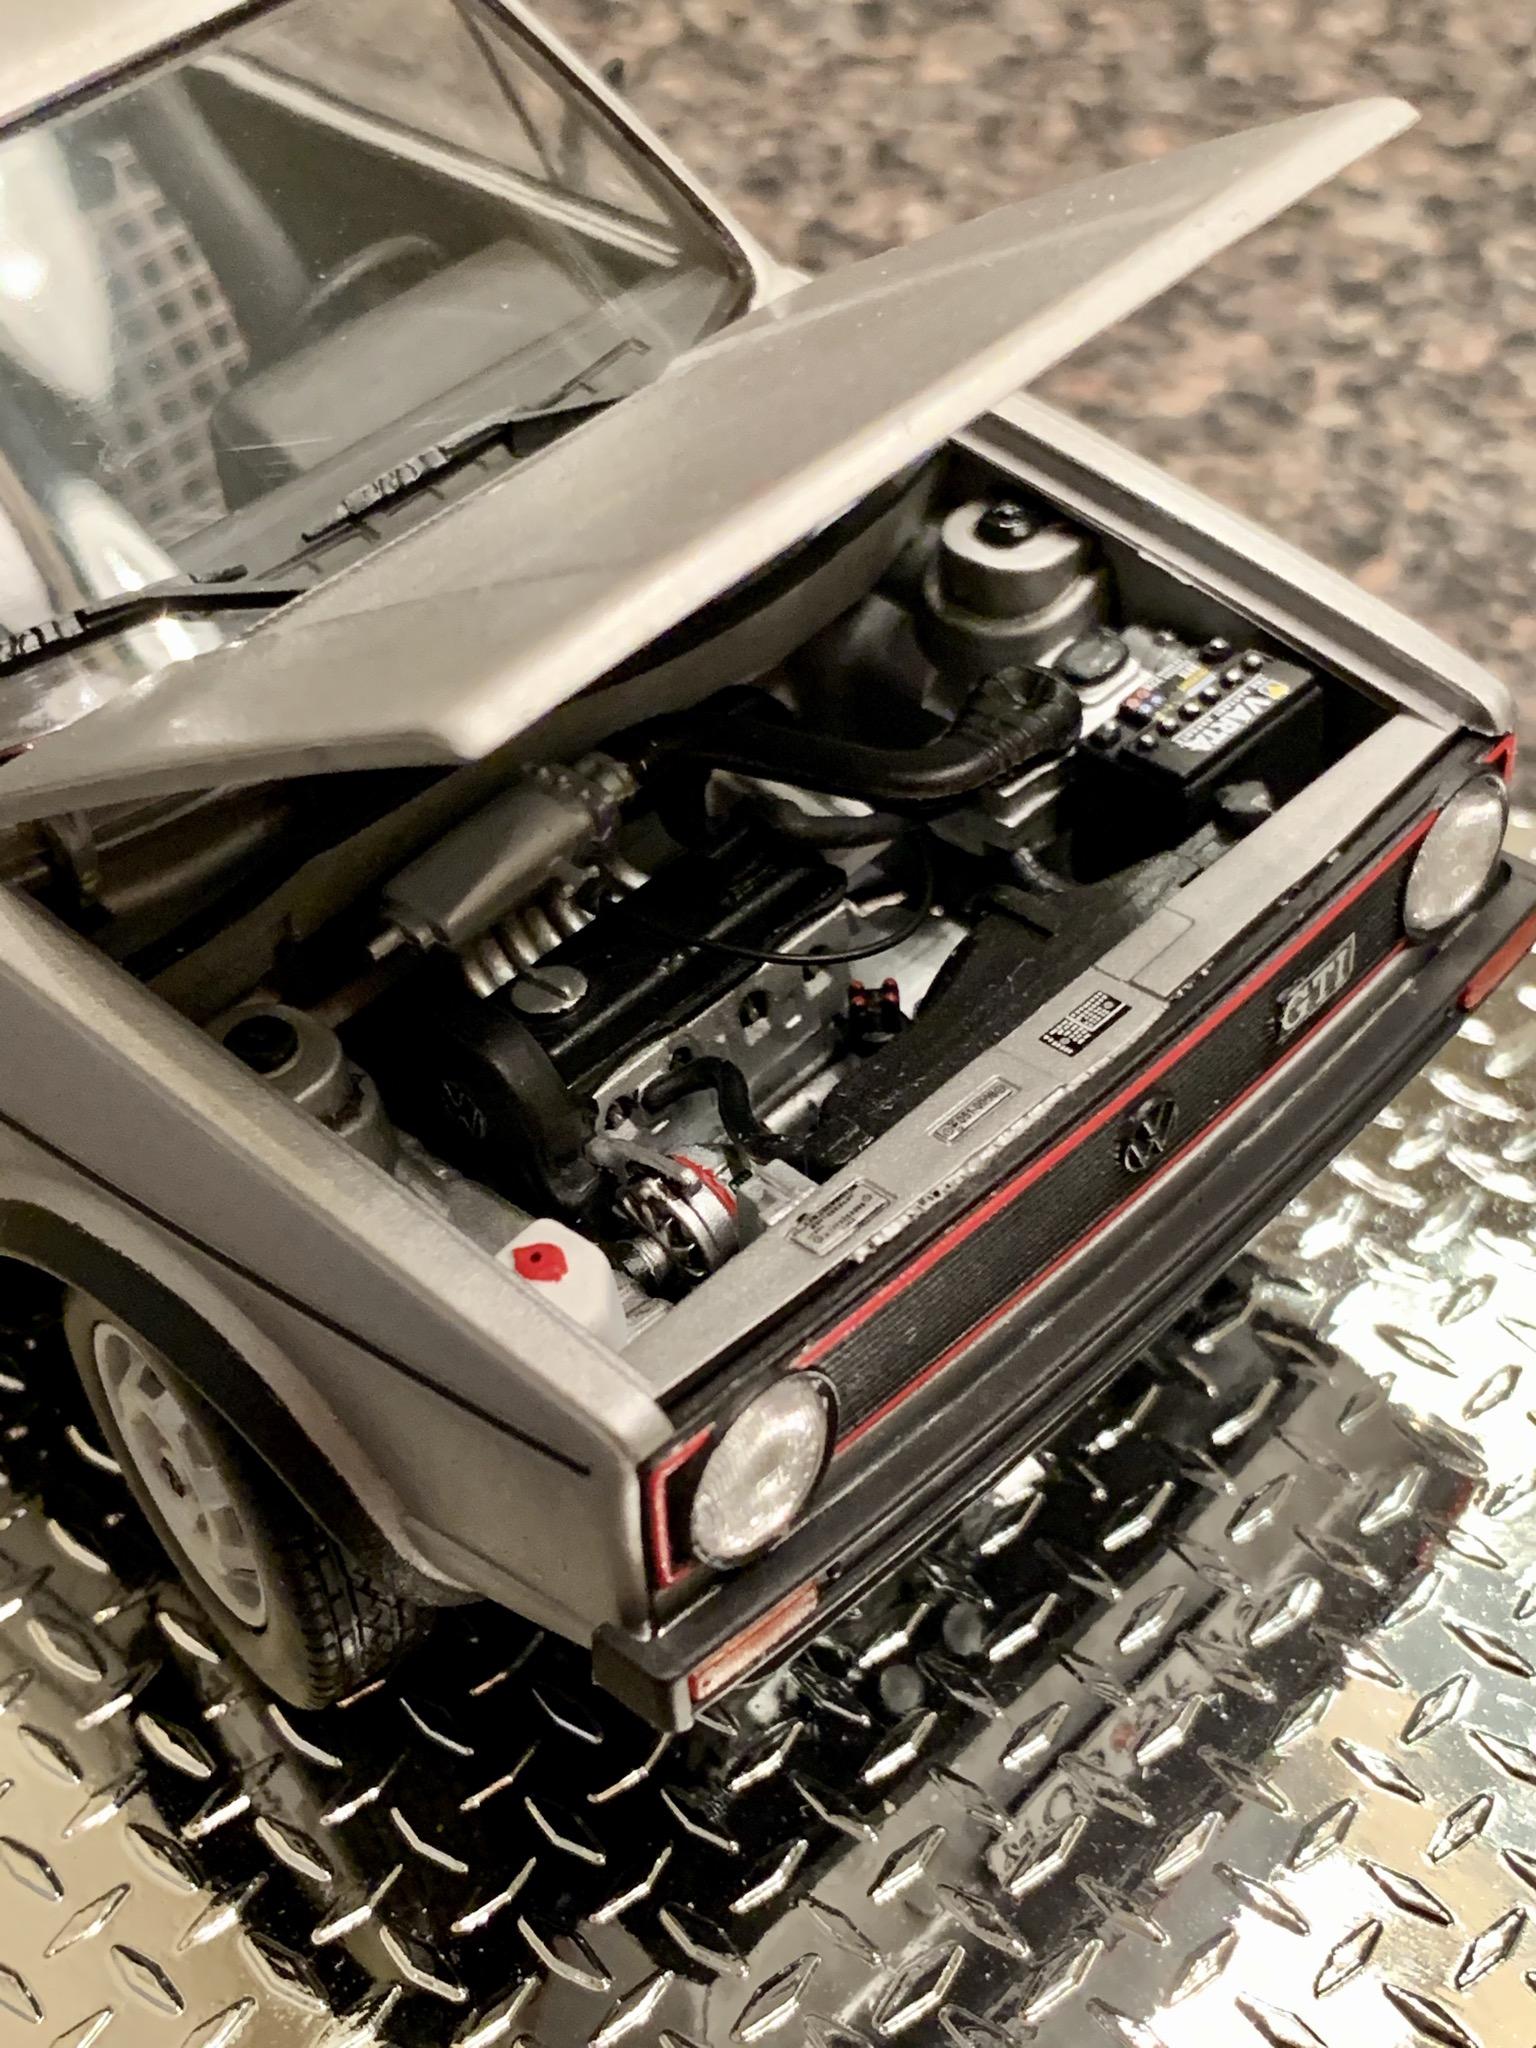
Hello all Let me please introduce myself, I am Raul. New here and posting for the first time. Very excited by this forum and looking forward to learning from you all and sharing my models and experience too. I used to build models as a kid, but took a long hiatus and trying to get back to the hobby. Started off with a Mk 1 Golf GTI from Revell. The subject was interesting as I own a Mk 6 GTI at present. The kit is a great one, quite detailed at level 4. The fit and engineering is great and the details made me realize how many styling cues the present GTIs share with this my 1. Here are some quick and dirty shots. Hope to make better ones some time. Overall I enjoyed building this one and getting back to the hobby we all love. Now working on a Porsche 959. Feedback and comments welcome.
-
Built this up from the Scott Sharp Rain-X Camaro kit...no real problems with the kit...the decals were pooched, so had a little fun with it. Oh ya, I had to grind about a 1/4" off the front of the dash where it meets the inside of the window Decals camre from Mike's decals.com and are Ace Decals, There are enough on the sheet to do another,...maybe an actual '66 Chevelle next time? Line O tape supplied the 1/32" red pin stripe tape, but I have some 1/64" on it's way,... so I may replace For some reason my Tamiya flat gloss XF 86 dried semi gloss on the tire sidewalls...hmm Primer and paints, Duplicolor, cleared with Alclad Aqua Gloss Clear ALC 600 Always loved the colour combo on his cars.. Cheers Oops ....admins if you feel the need to move me to NASCAR ...thats cool
-
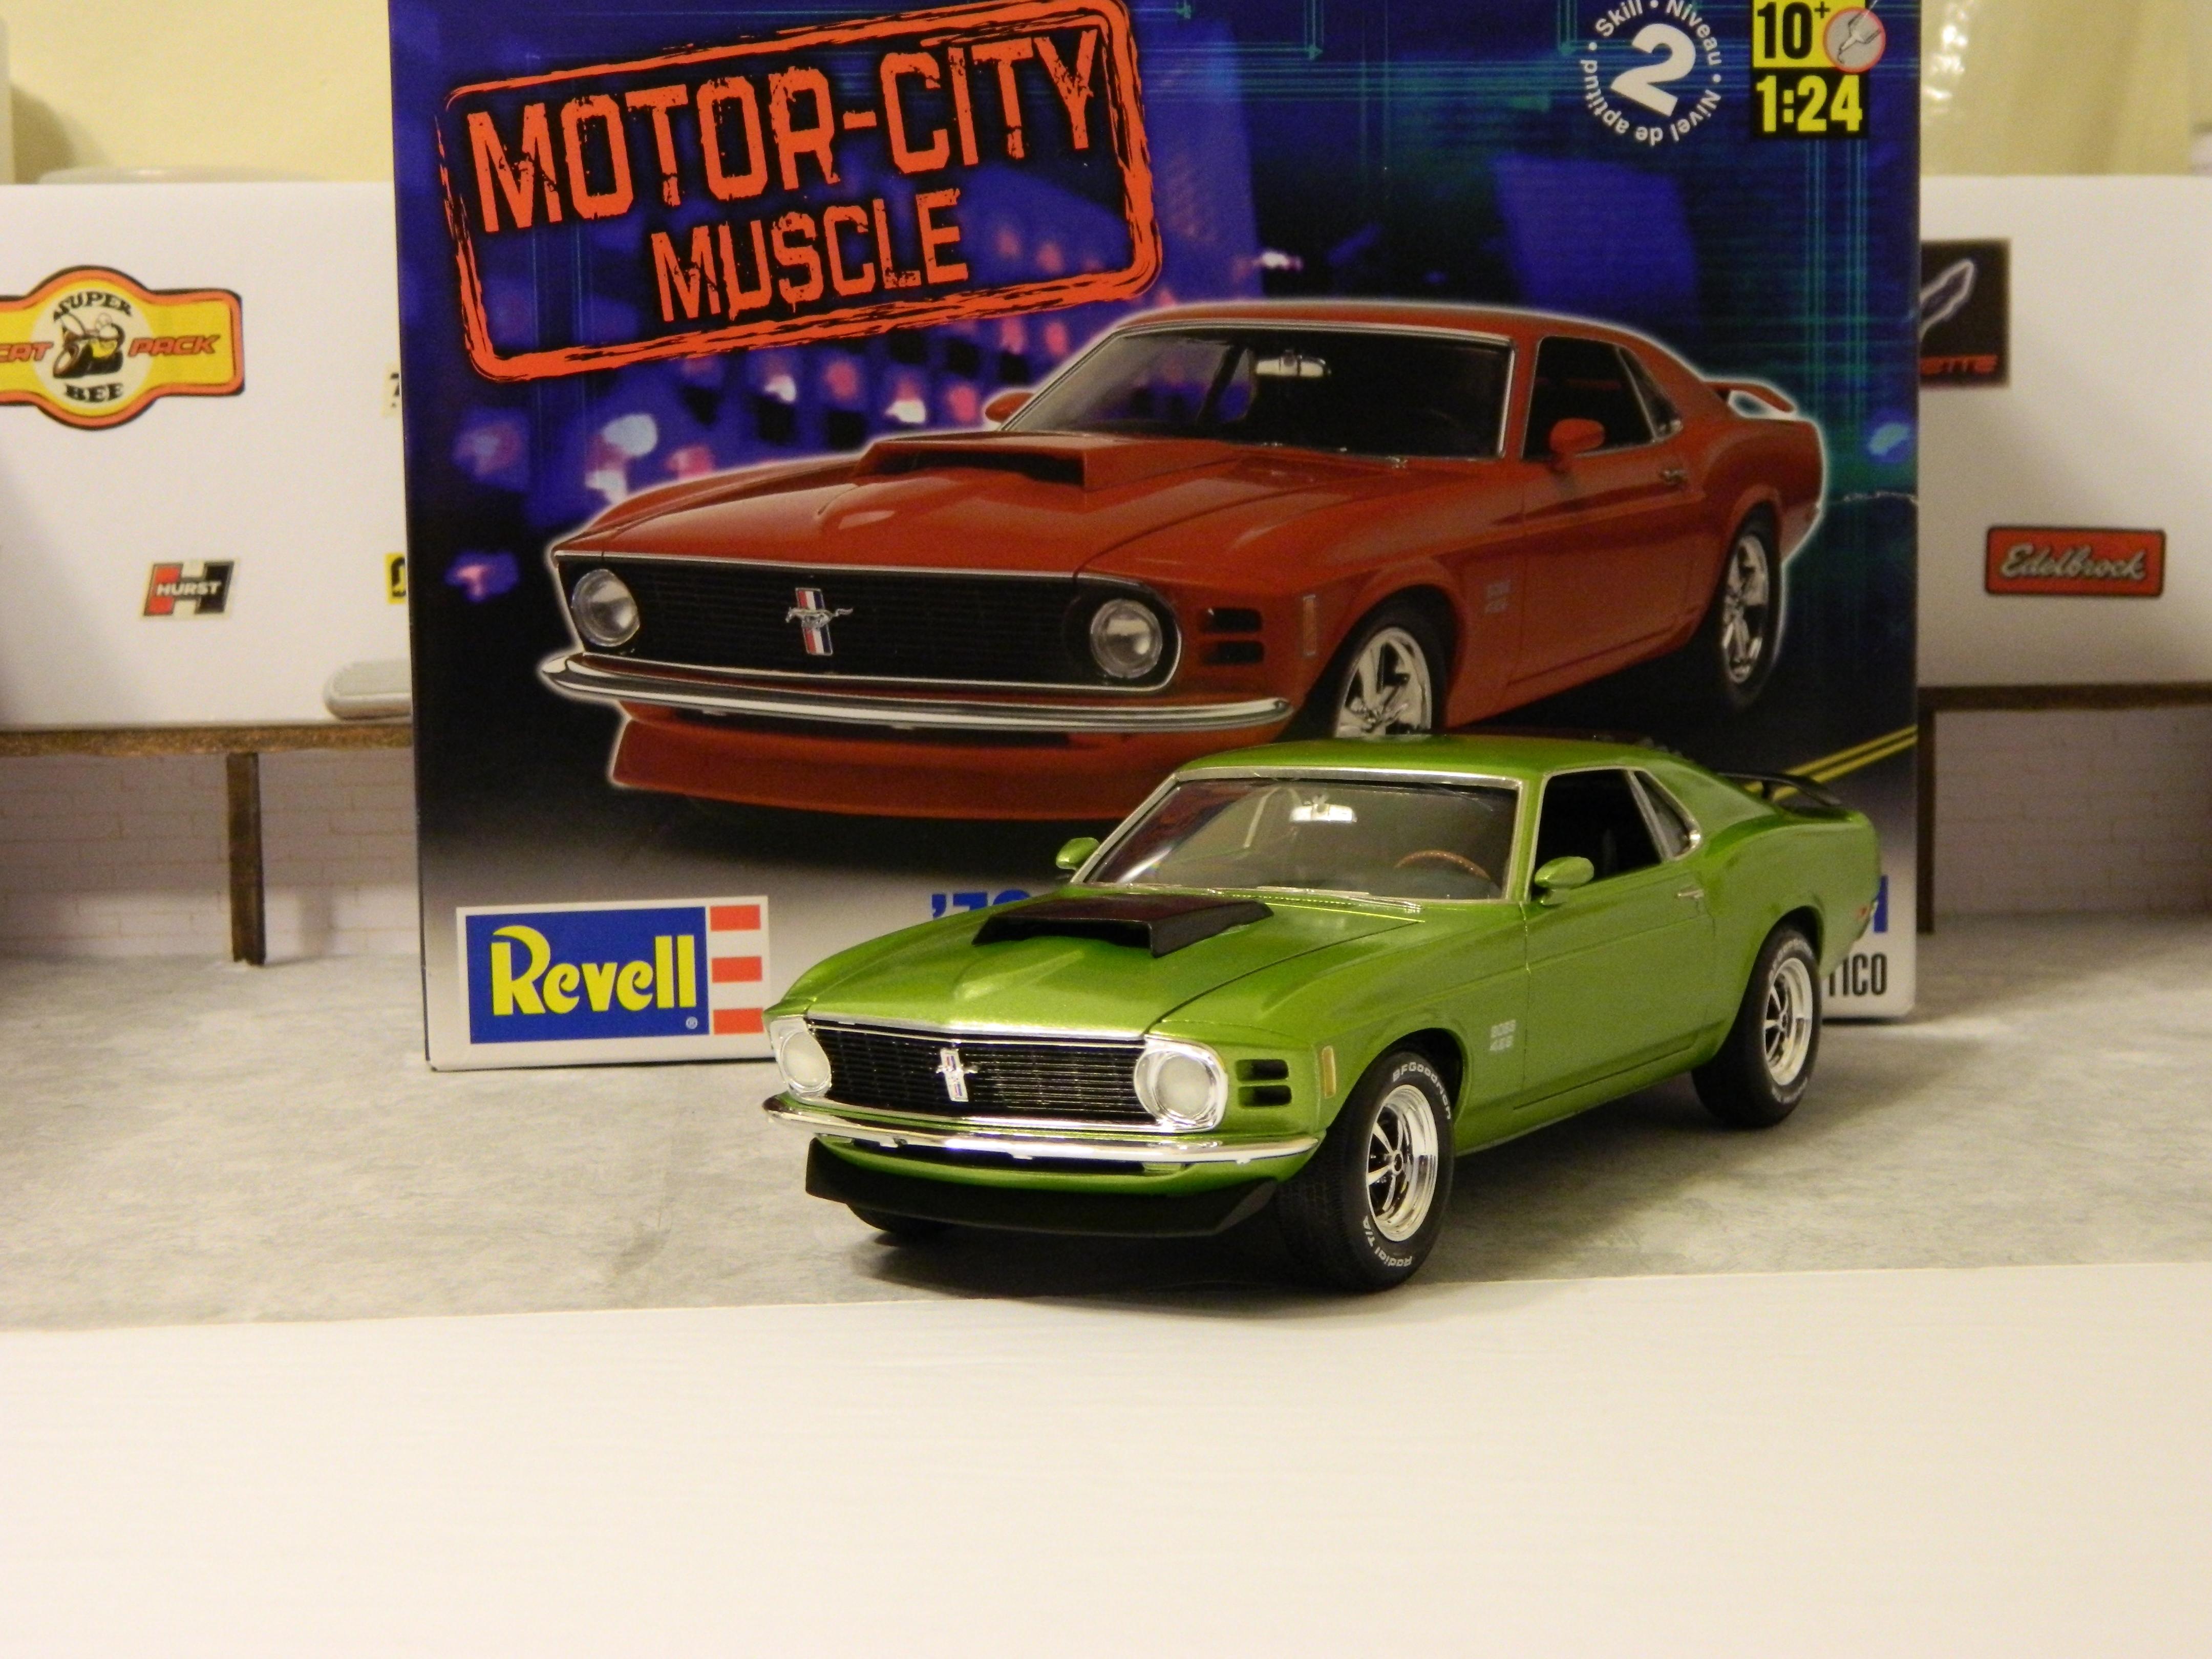
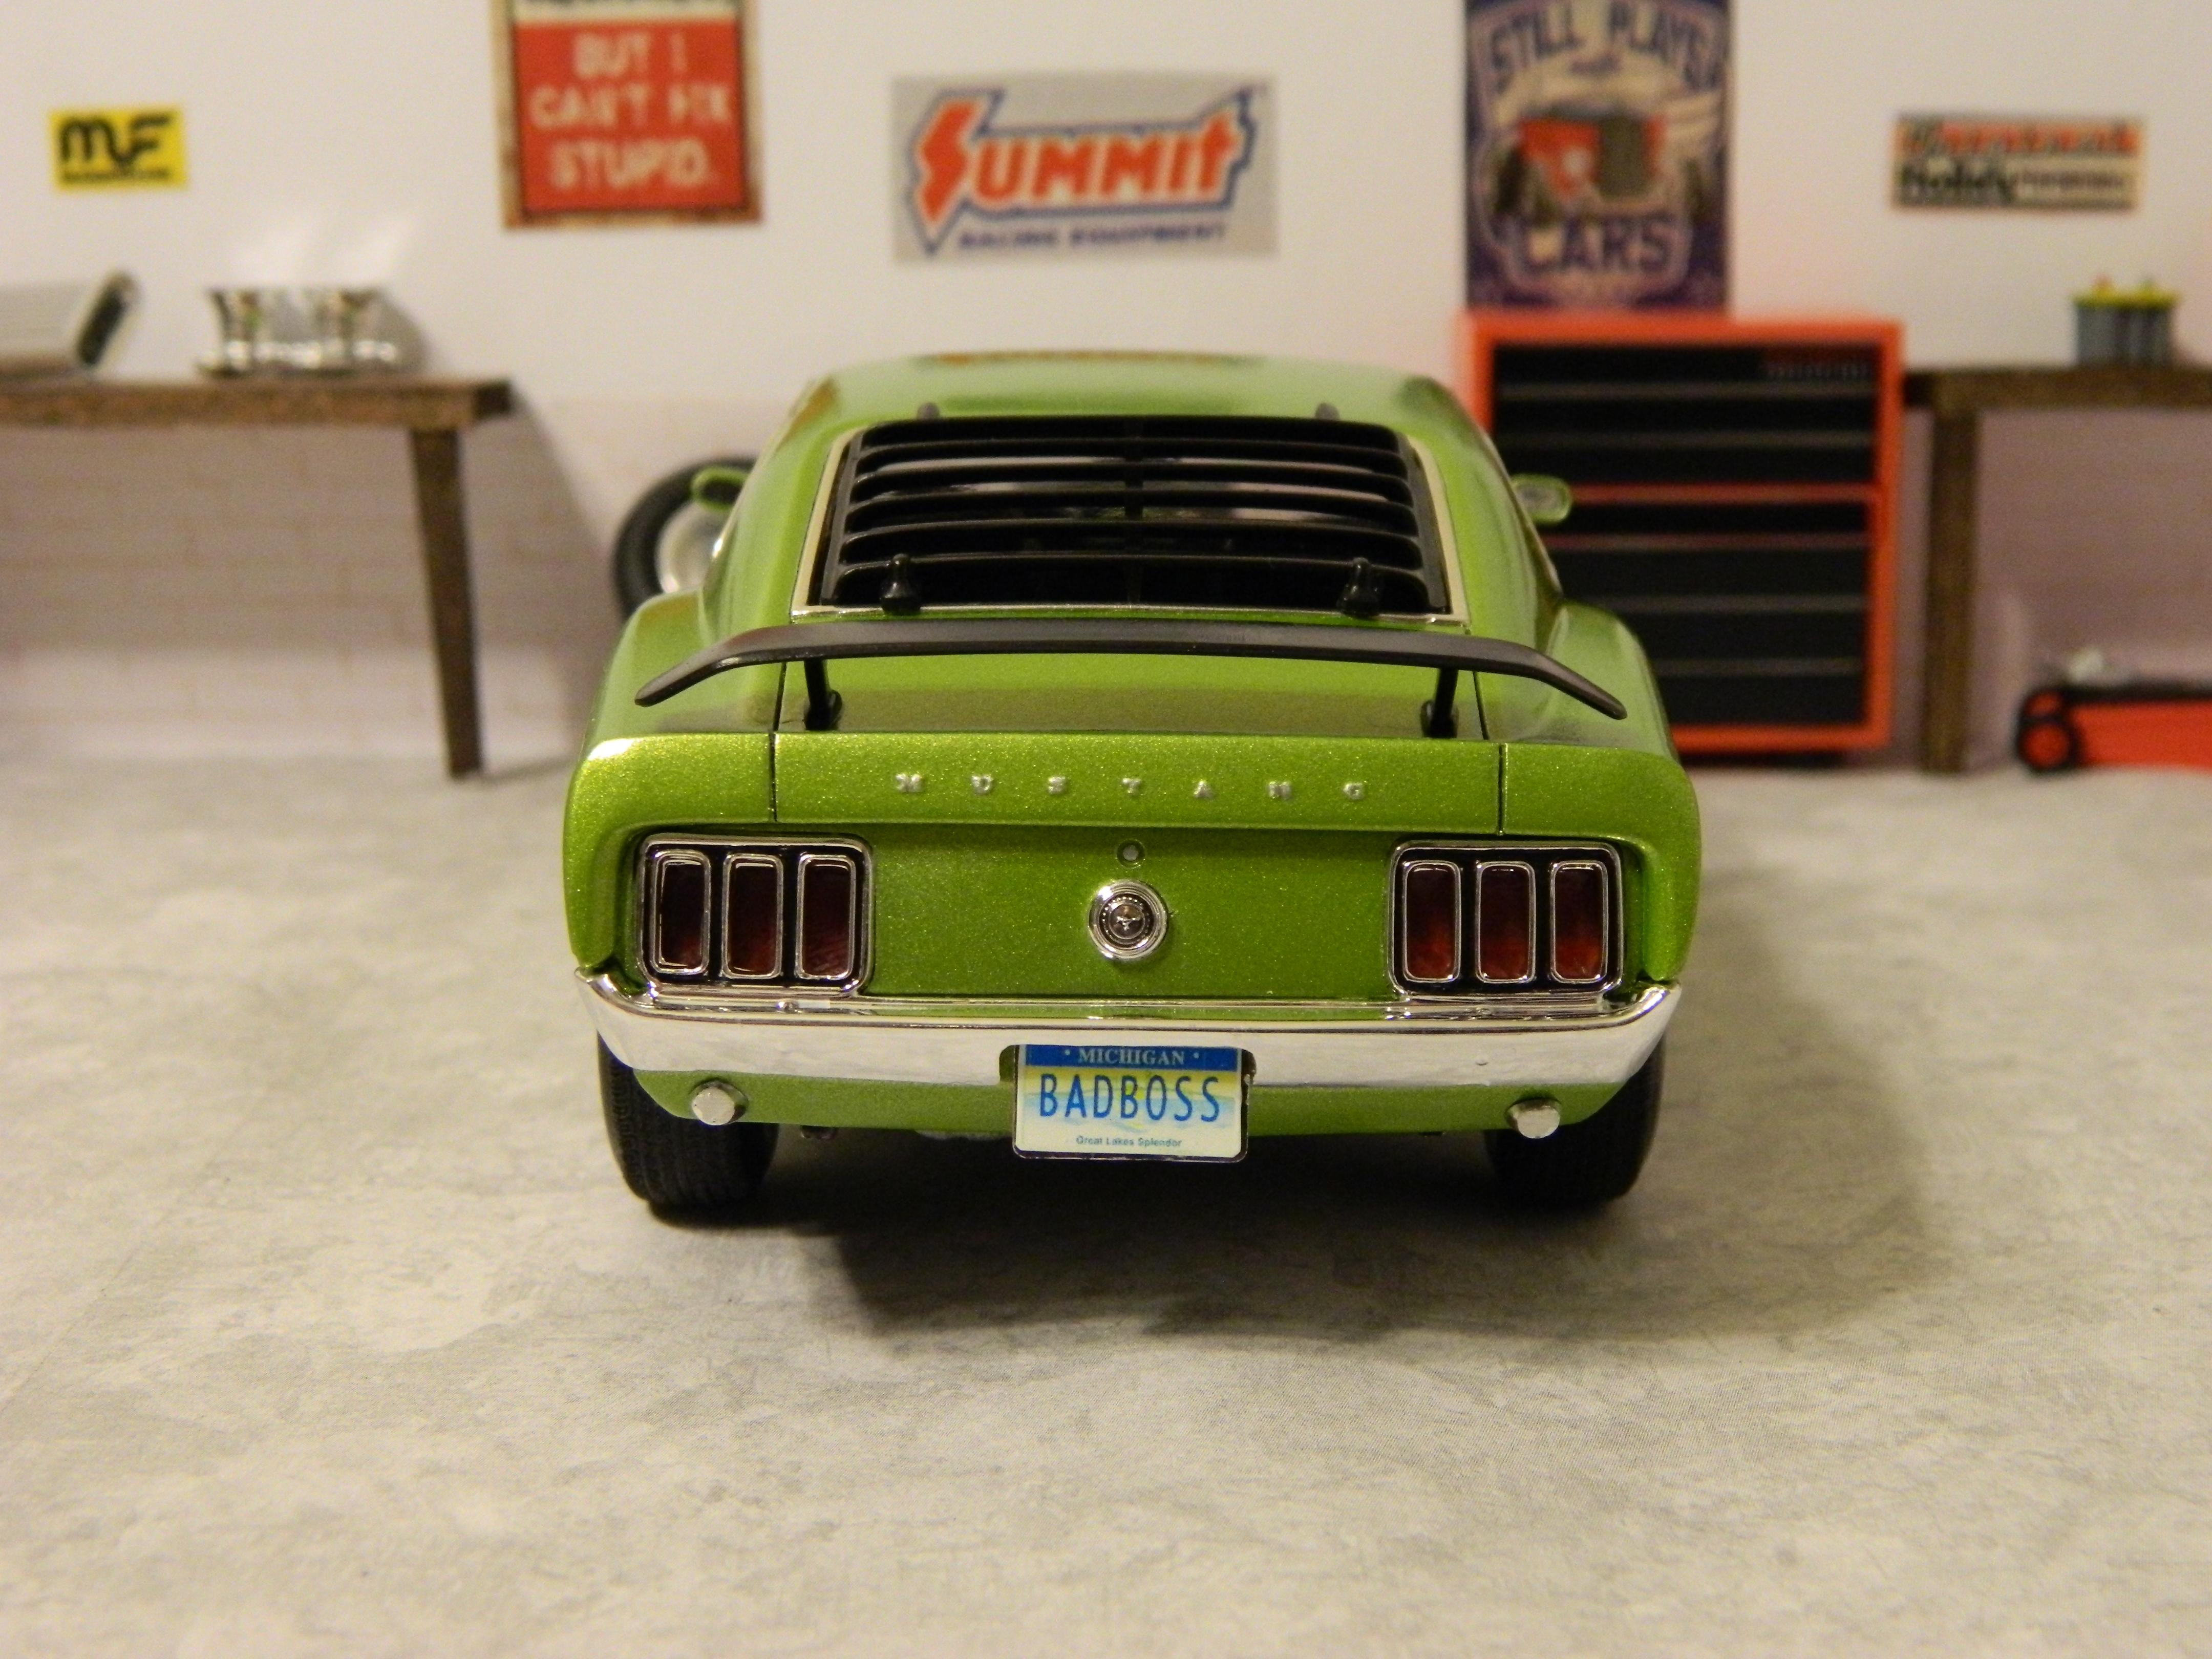
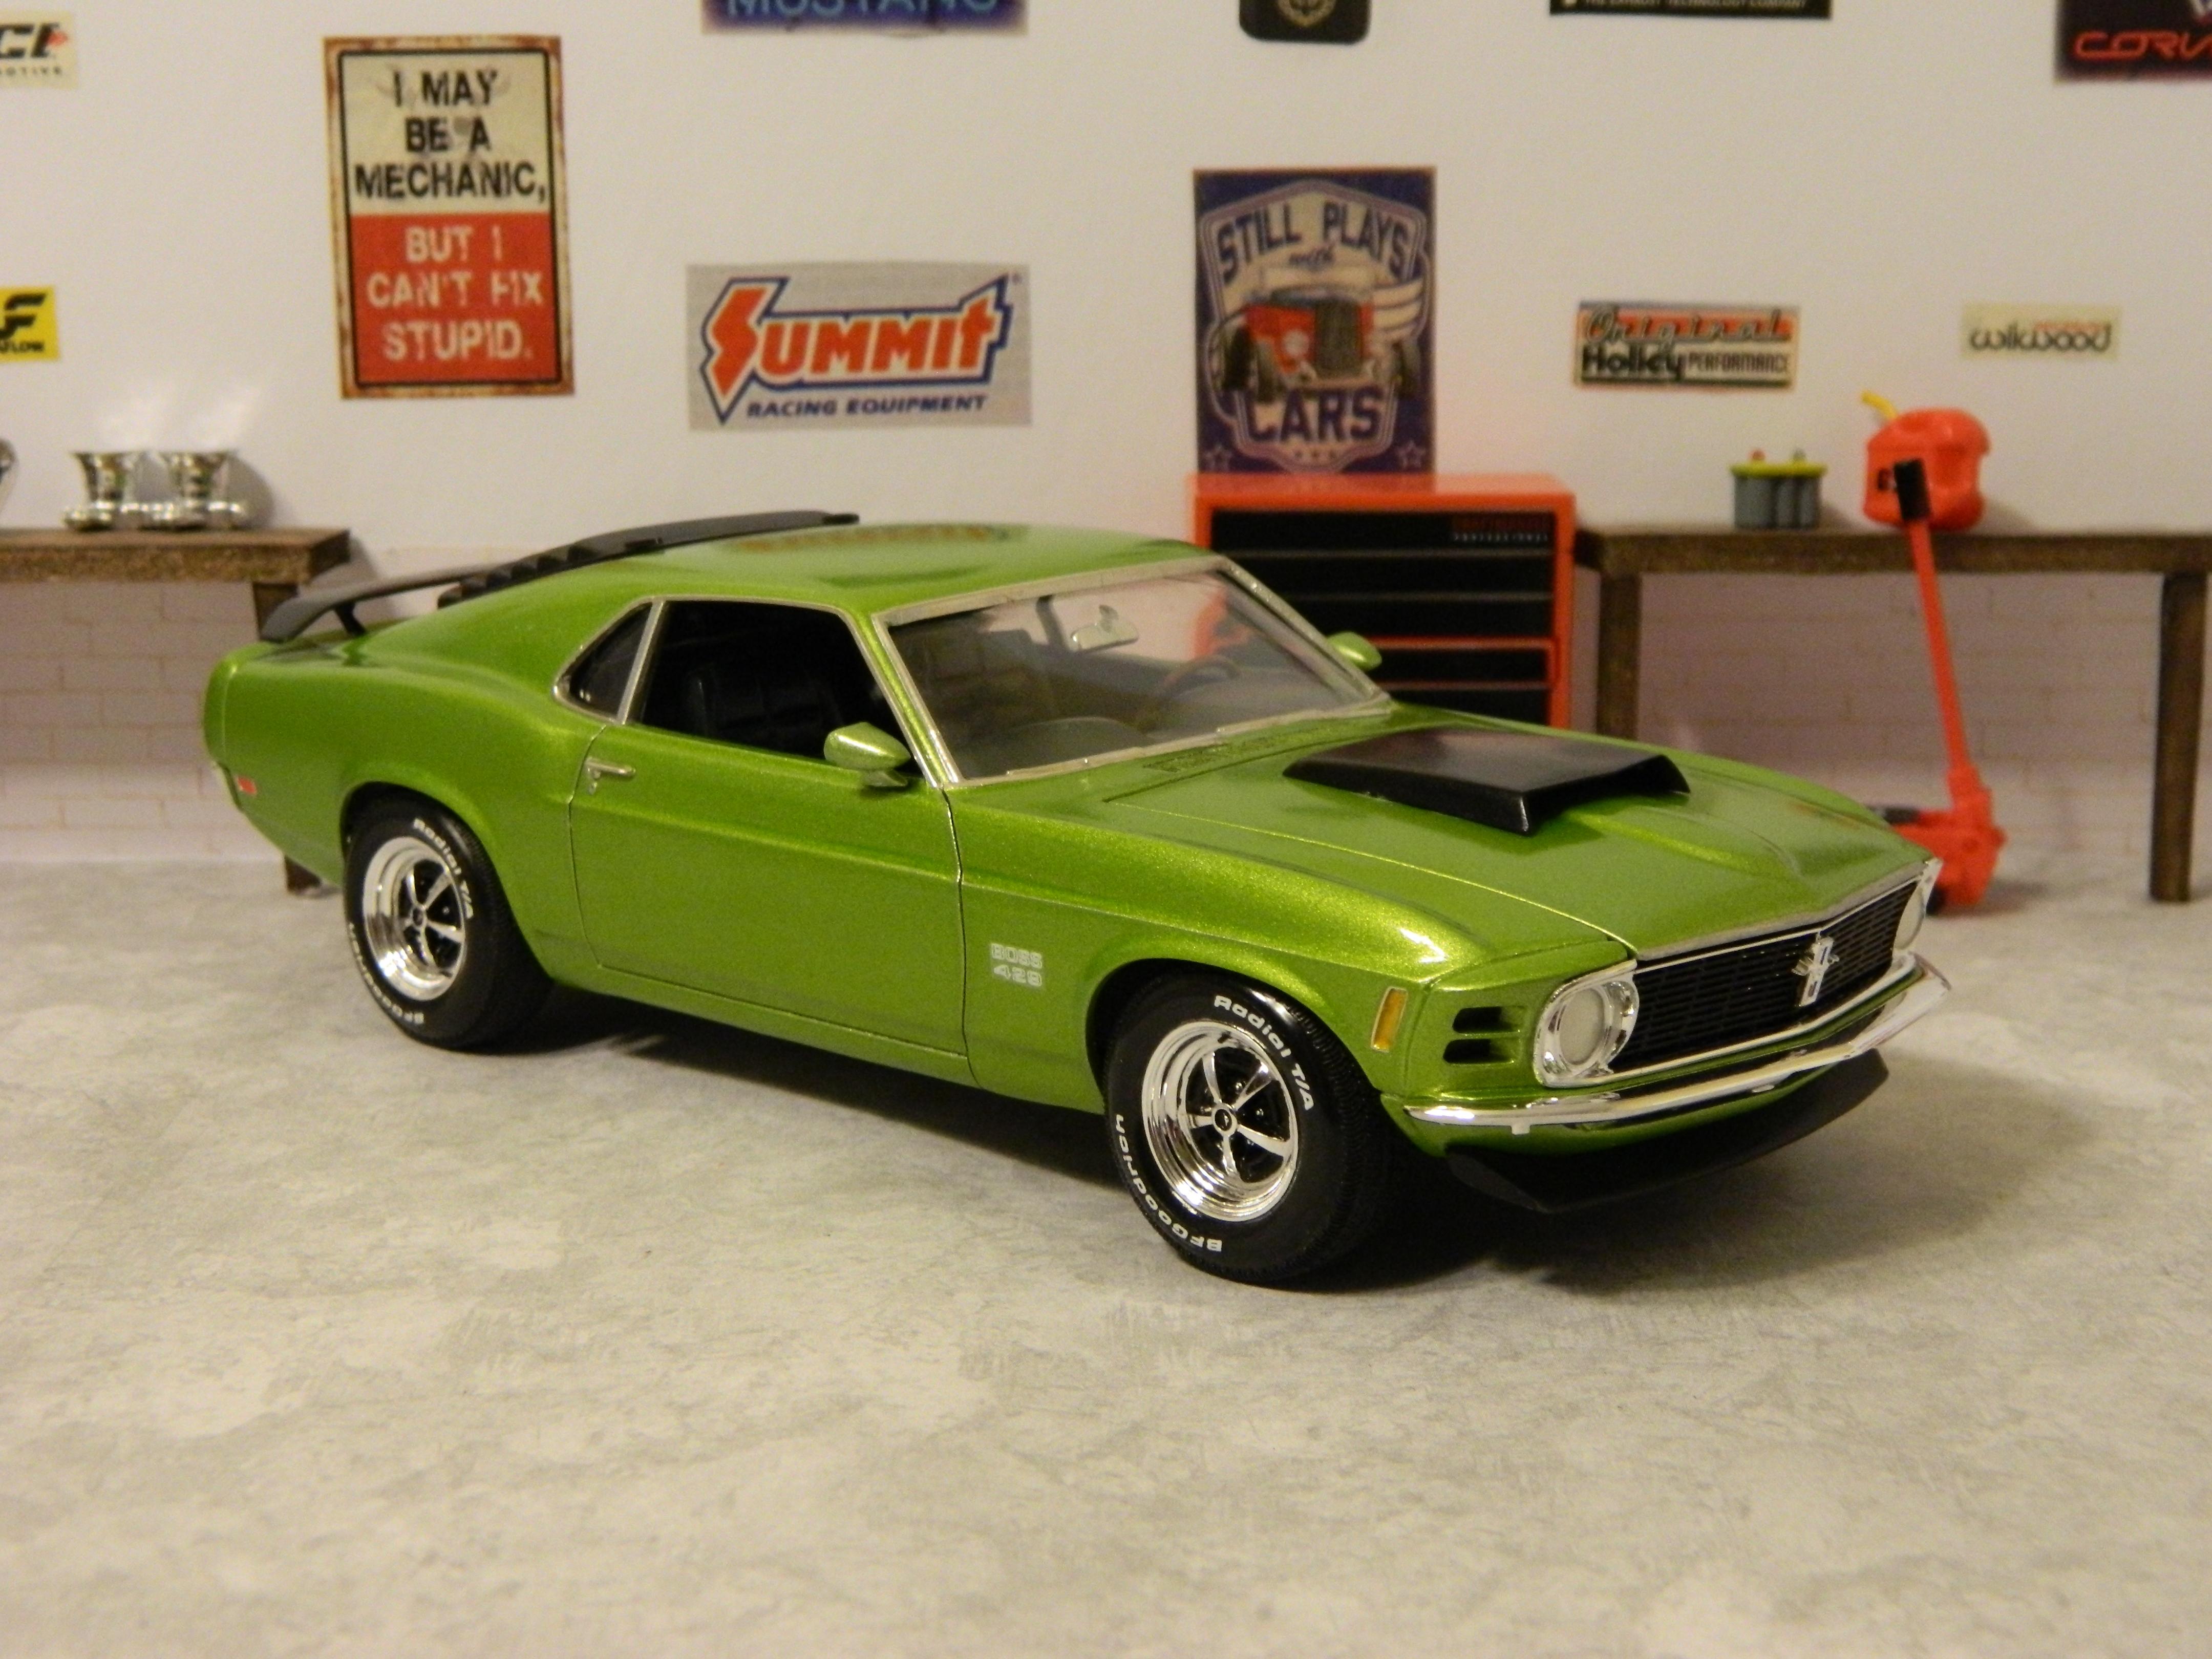
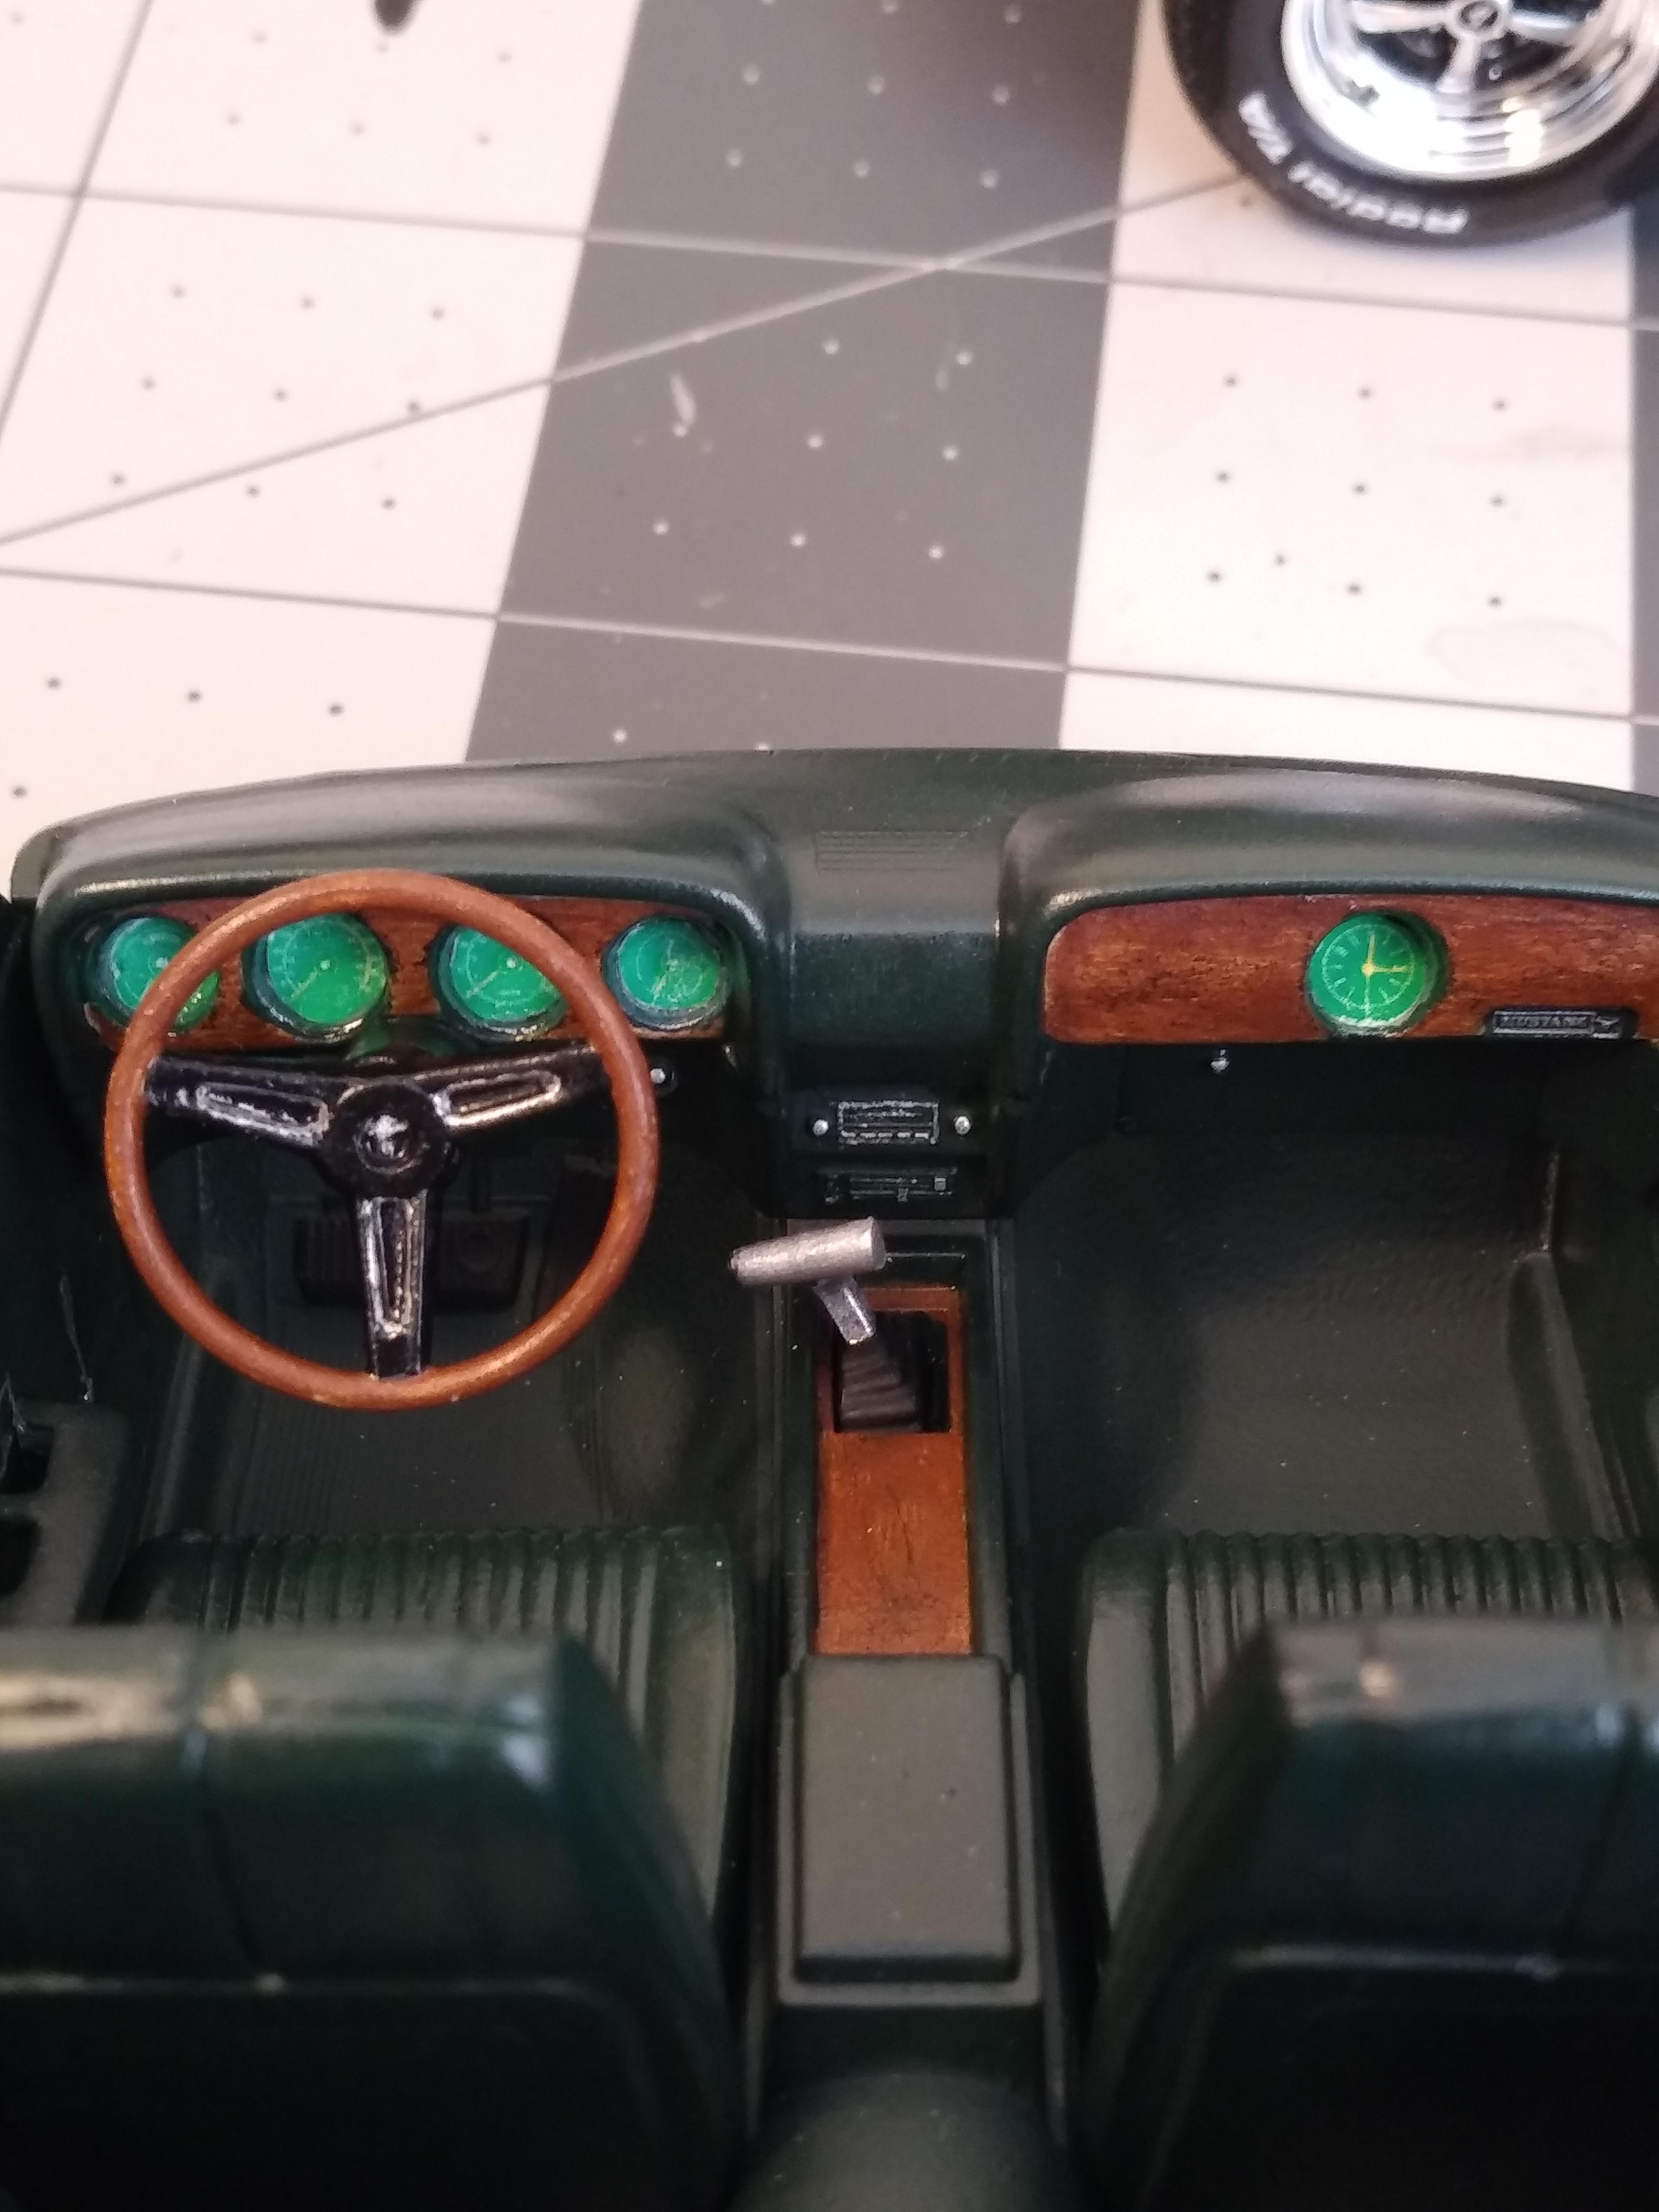
This one is done in Model Master Citrus Yellow Metallic over Testors One Coat Lacquer Diamond Dust, and cleared with Model Master Gloss Clear. Some of the extras include ignition wires, vacuum advance line, valve stems and white letters on the tires from Fireball Modelworks. I initially wasn't going to put the spoiler or louvers on, but went ahead and put them on "temporarily" with some clear elmer's glue. The interior is a custom mixture and is done in craft paints. I printed my own gauges for the dash, but my printer wasn't up to the challenge for doing the black background and they came out with a green tint. At least they go with the green theme of the car, LOL. They actually look like they are illuminated at night, so I'll go with that. The chassis was sprayed with craft paint also, as was the "overspray", although I don't think I put enough on. Even though the interior lacks detail and I would like to see some more suspension parts, I really like this kit. I did three of them in my younger days that I don't still have, and will probably add more to my current collection. Thanks for looking!


.jpg.8f0b74b159002dac36b7b69544330165.jpg)

.jpg.825e240a2912a5e089dd46a21aeab37f.jpg)