Search the Community
Showing results for tags 'Revell'.
-
Finished this one up yesterday! Not a bad kit at all and easy to convert to a street machine. Painted Testors' Go Mango with Tamiya TS-65 Pearl clear. Interior seats were taken from a Revell 68 Charger along with the exhaust pipes which were cut down to fit onto the kit supplied headers. I had an extra 68 so I used the tail light panel from it to make a hybrid 68/70 Charger. Thanks for looking and all comments welcomed.
-
My latest addition to my Charger stable is this Fast & Furious version. I found a set of really wide treaded tires that would fit the kit wheels. I only had to use some #14 spacers from an MRC tire pack between the rear axle and brake plates to get them to fit without rubbing the springs. I'm actually going to have some fun with this one, as I have a 68 tail light panel and interior to put in it. So it will be a 68 Charger with a 70 nose. I will paint this one Go Mango with a black interior, like the 74 Road Runner I just rebuilt. It will have full exhaust so it will be a street car instead of a drag car. Below is just a mock up of how it's going to sit.
-
I got all the rear stripes put on the Chargers now. Check them out. 68 Flame Red 69 Sublime green 70 F&F Go Mango 70 Sun Yellow 70 Panther Pink Thanks for looking, comments welcomed.
-
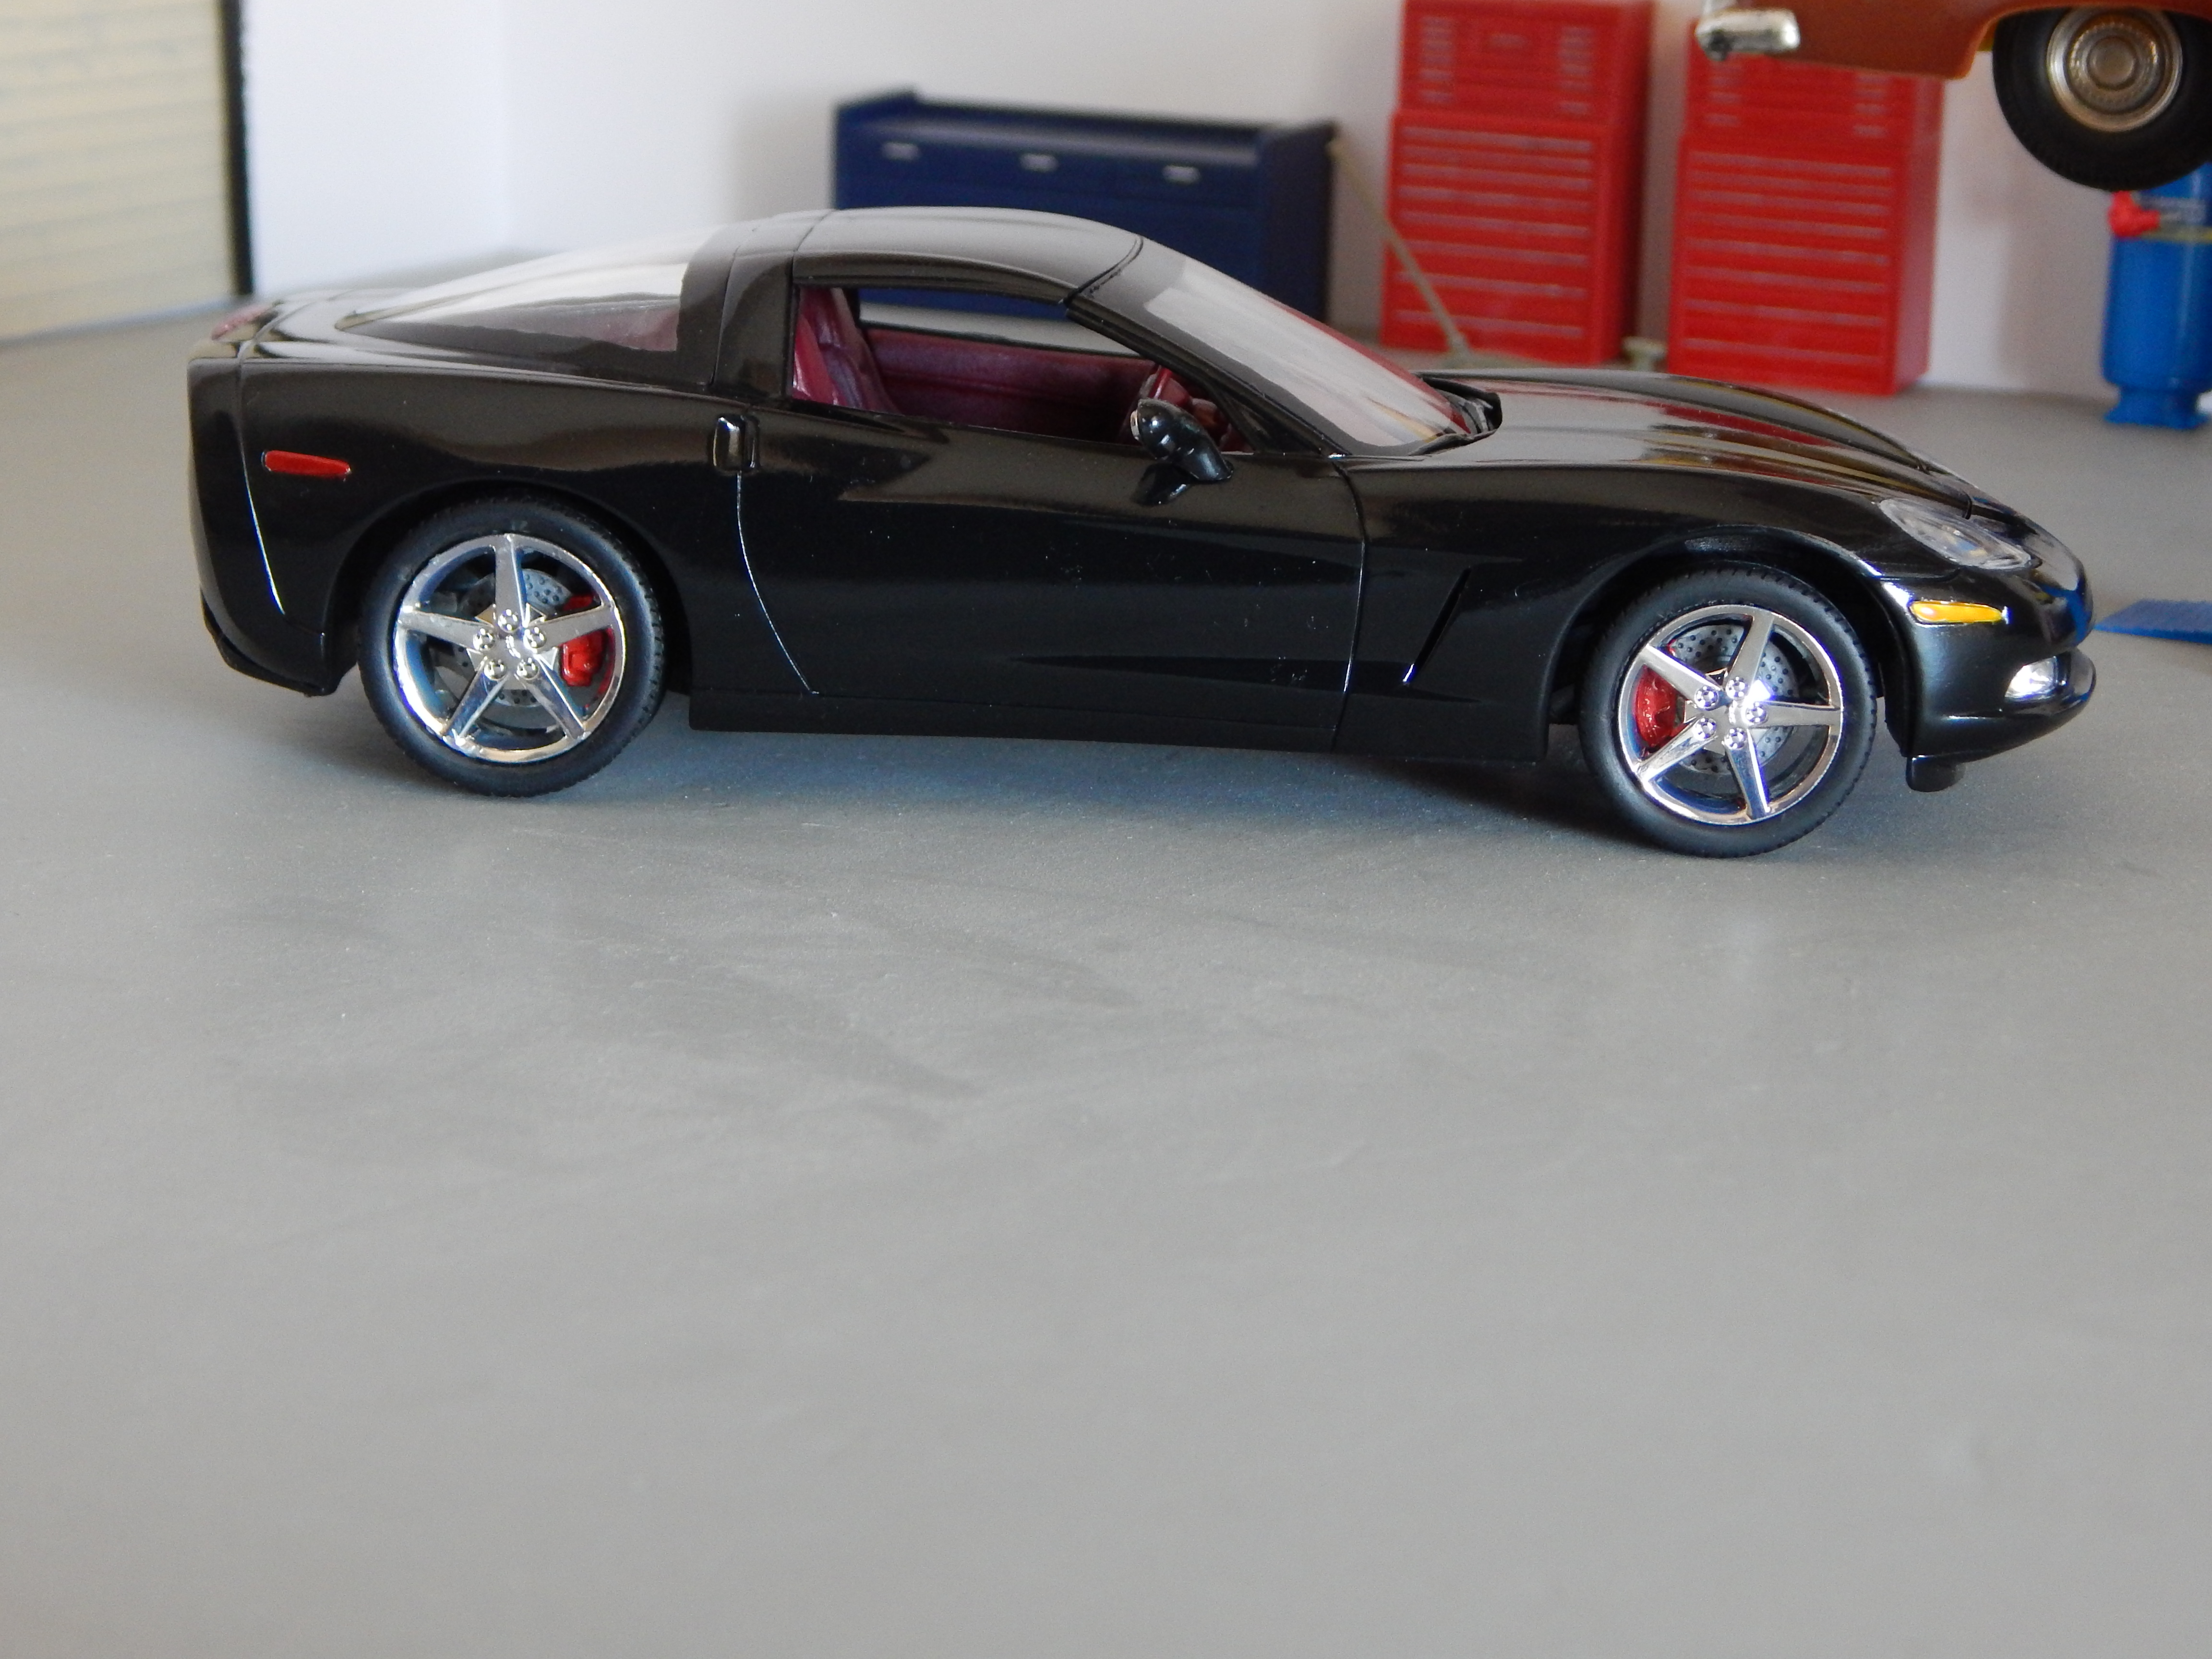
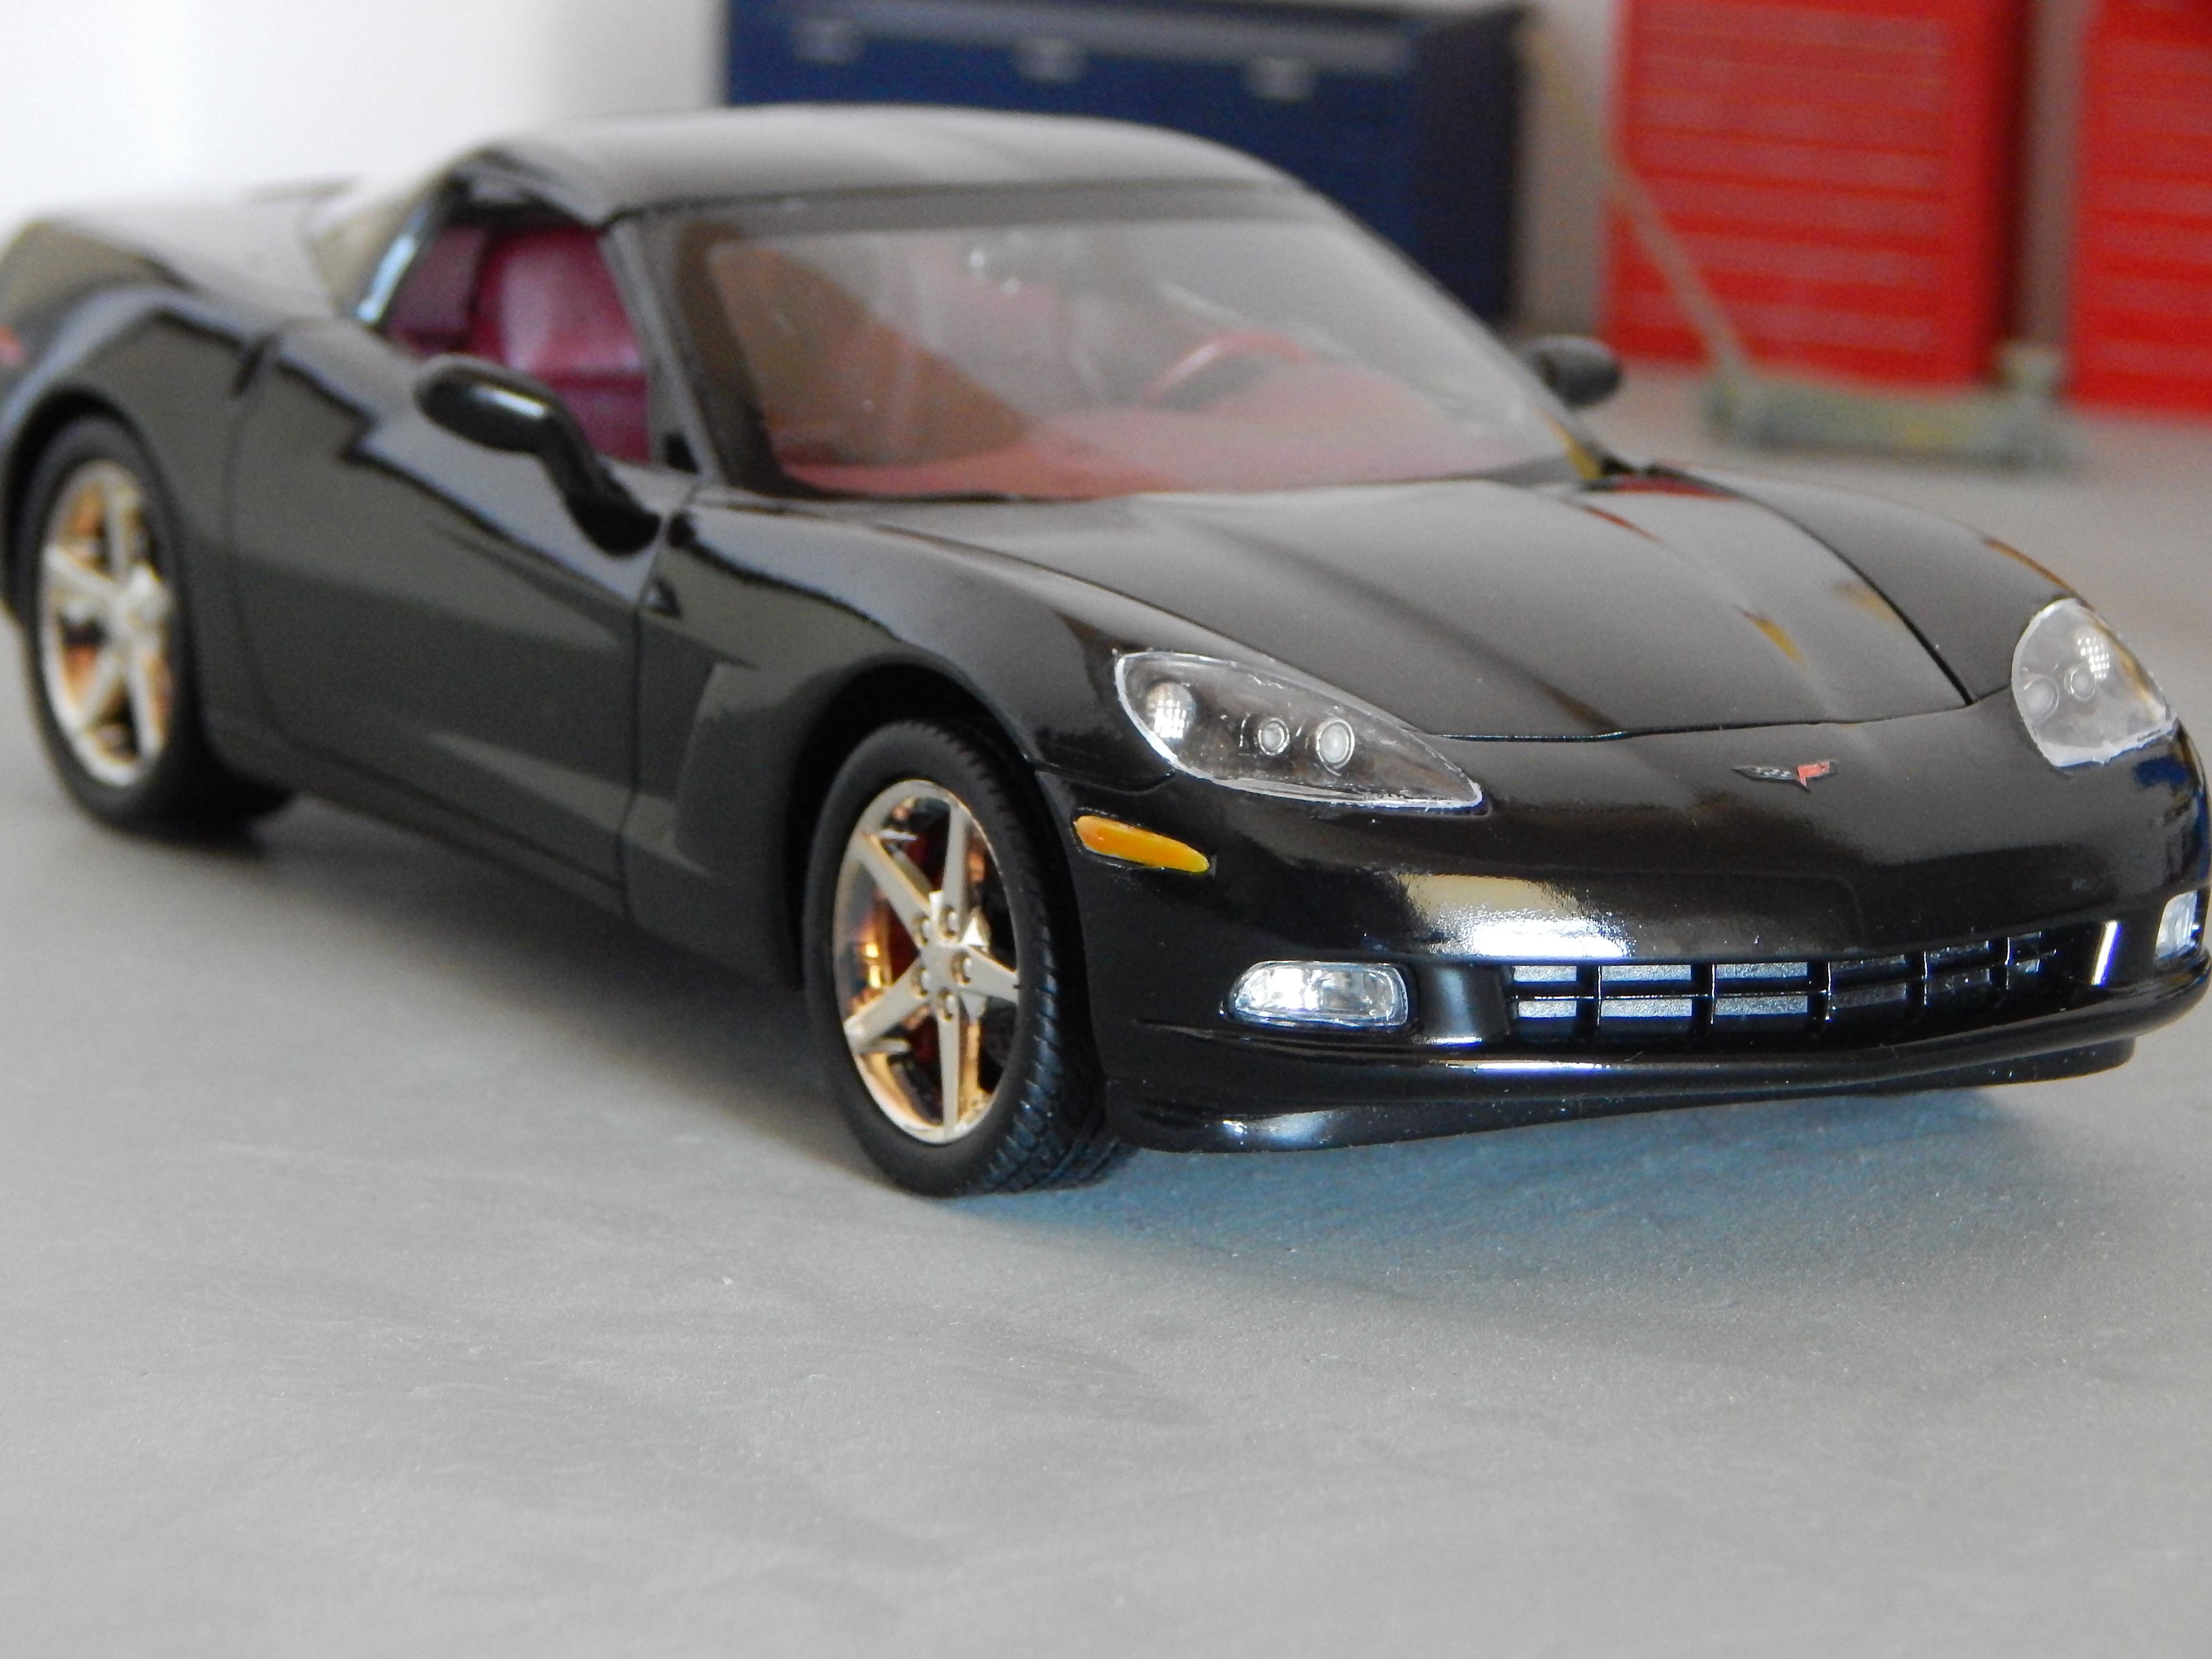
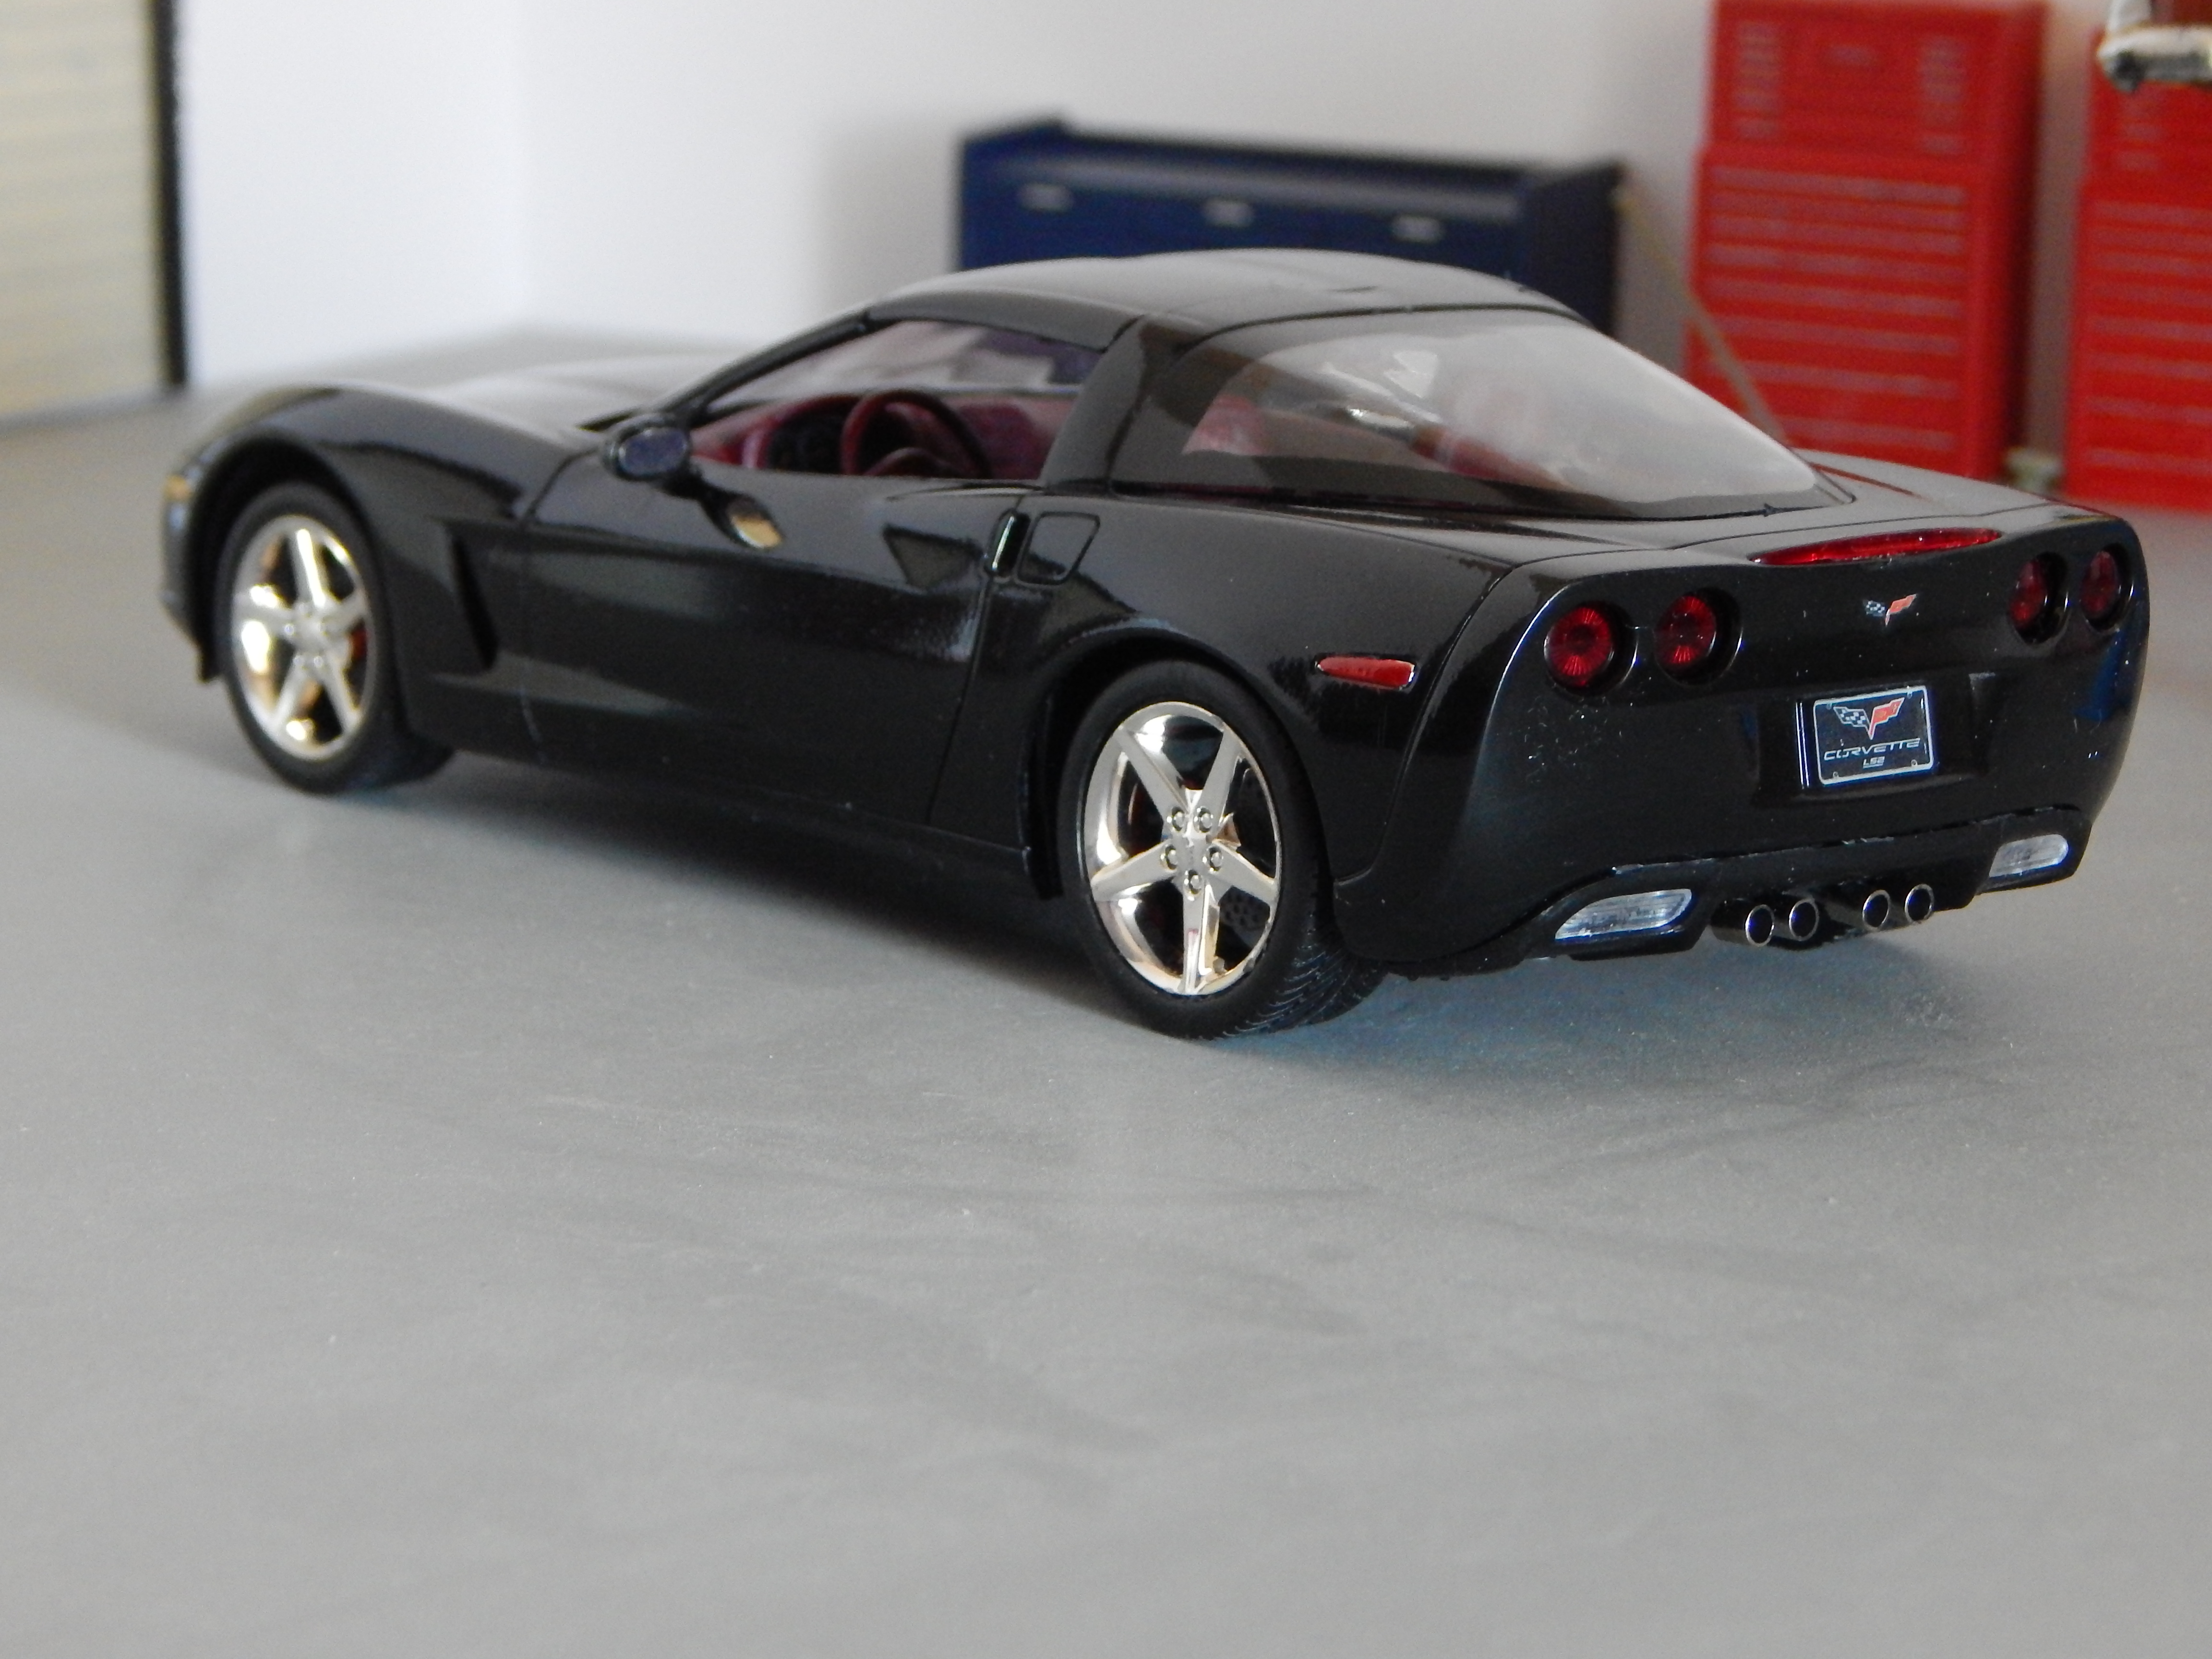
The latest in my series to build all generations of Corvettes, the C6. Fairly simplified kit, but it goes together well. Only 1 left to go! Comments welcome, thanks for looking.

-
I finally got a finish on this body that I can live with! Interior is almost done as well. This will have a 440 six pack with the carb setup from Fireball Model works. Thanks for looking! Comments welcomed.
-
I got my Fireball Model works six pack intakes in the other day. Unfortunately they are just a little big to fit on the AMT & Revell 1/25 440 engines. That's okay though because I have a couple of Monogram 1/24 scale MOPARS that those intakes will fit. I went through some boxes and found some six pack intakes that would fit the engines though, so all is still good. Here is the one for the AMT 71 Charger, I forget where I got this intake from, but it is molded in yellow. The tires/wheels for this build I also picked up another 71 Charger, this one is the street machine version with the Hemi. Here is the set of tires/wheels I finally decided for this one. The wheels are some MPC units from something while the tires are those Goodyear Raised White Letter 15s.
-

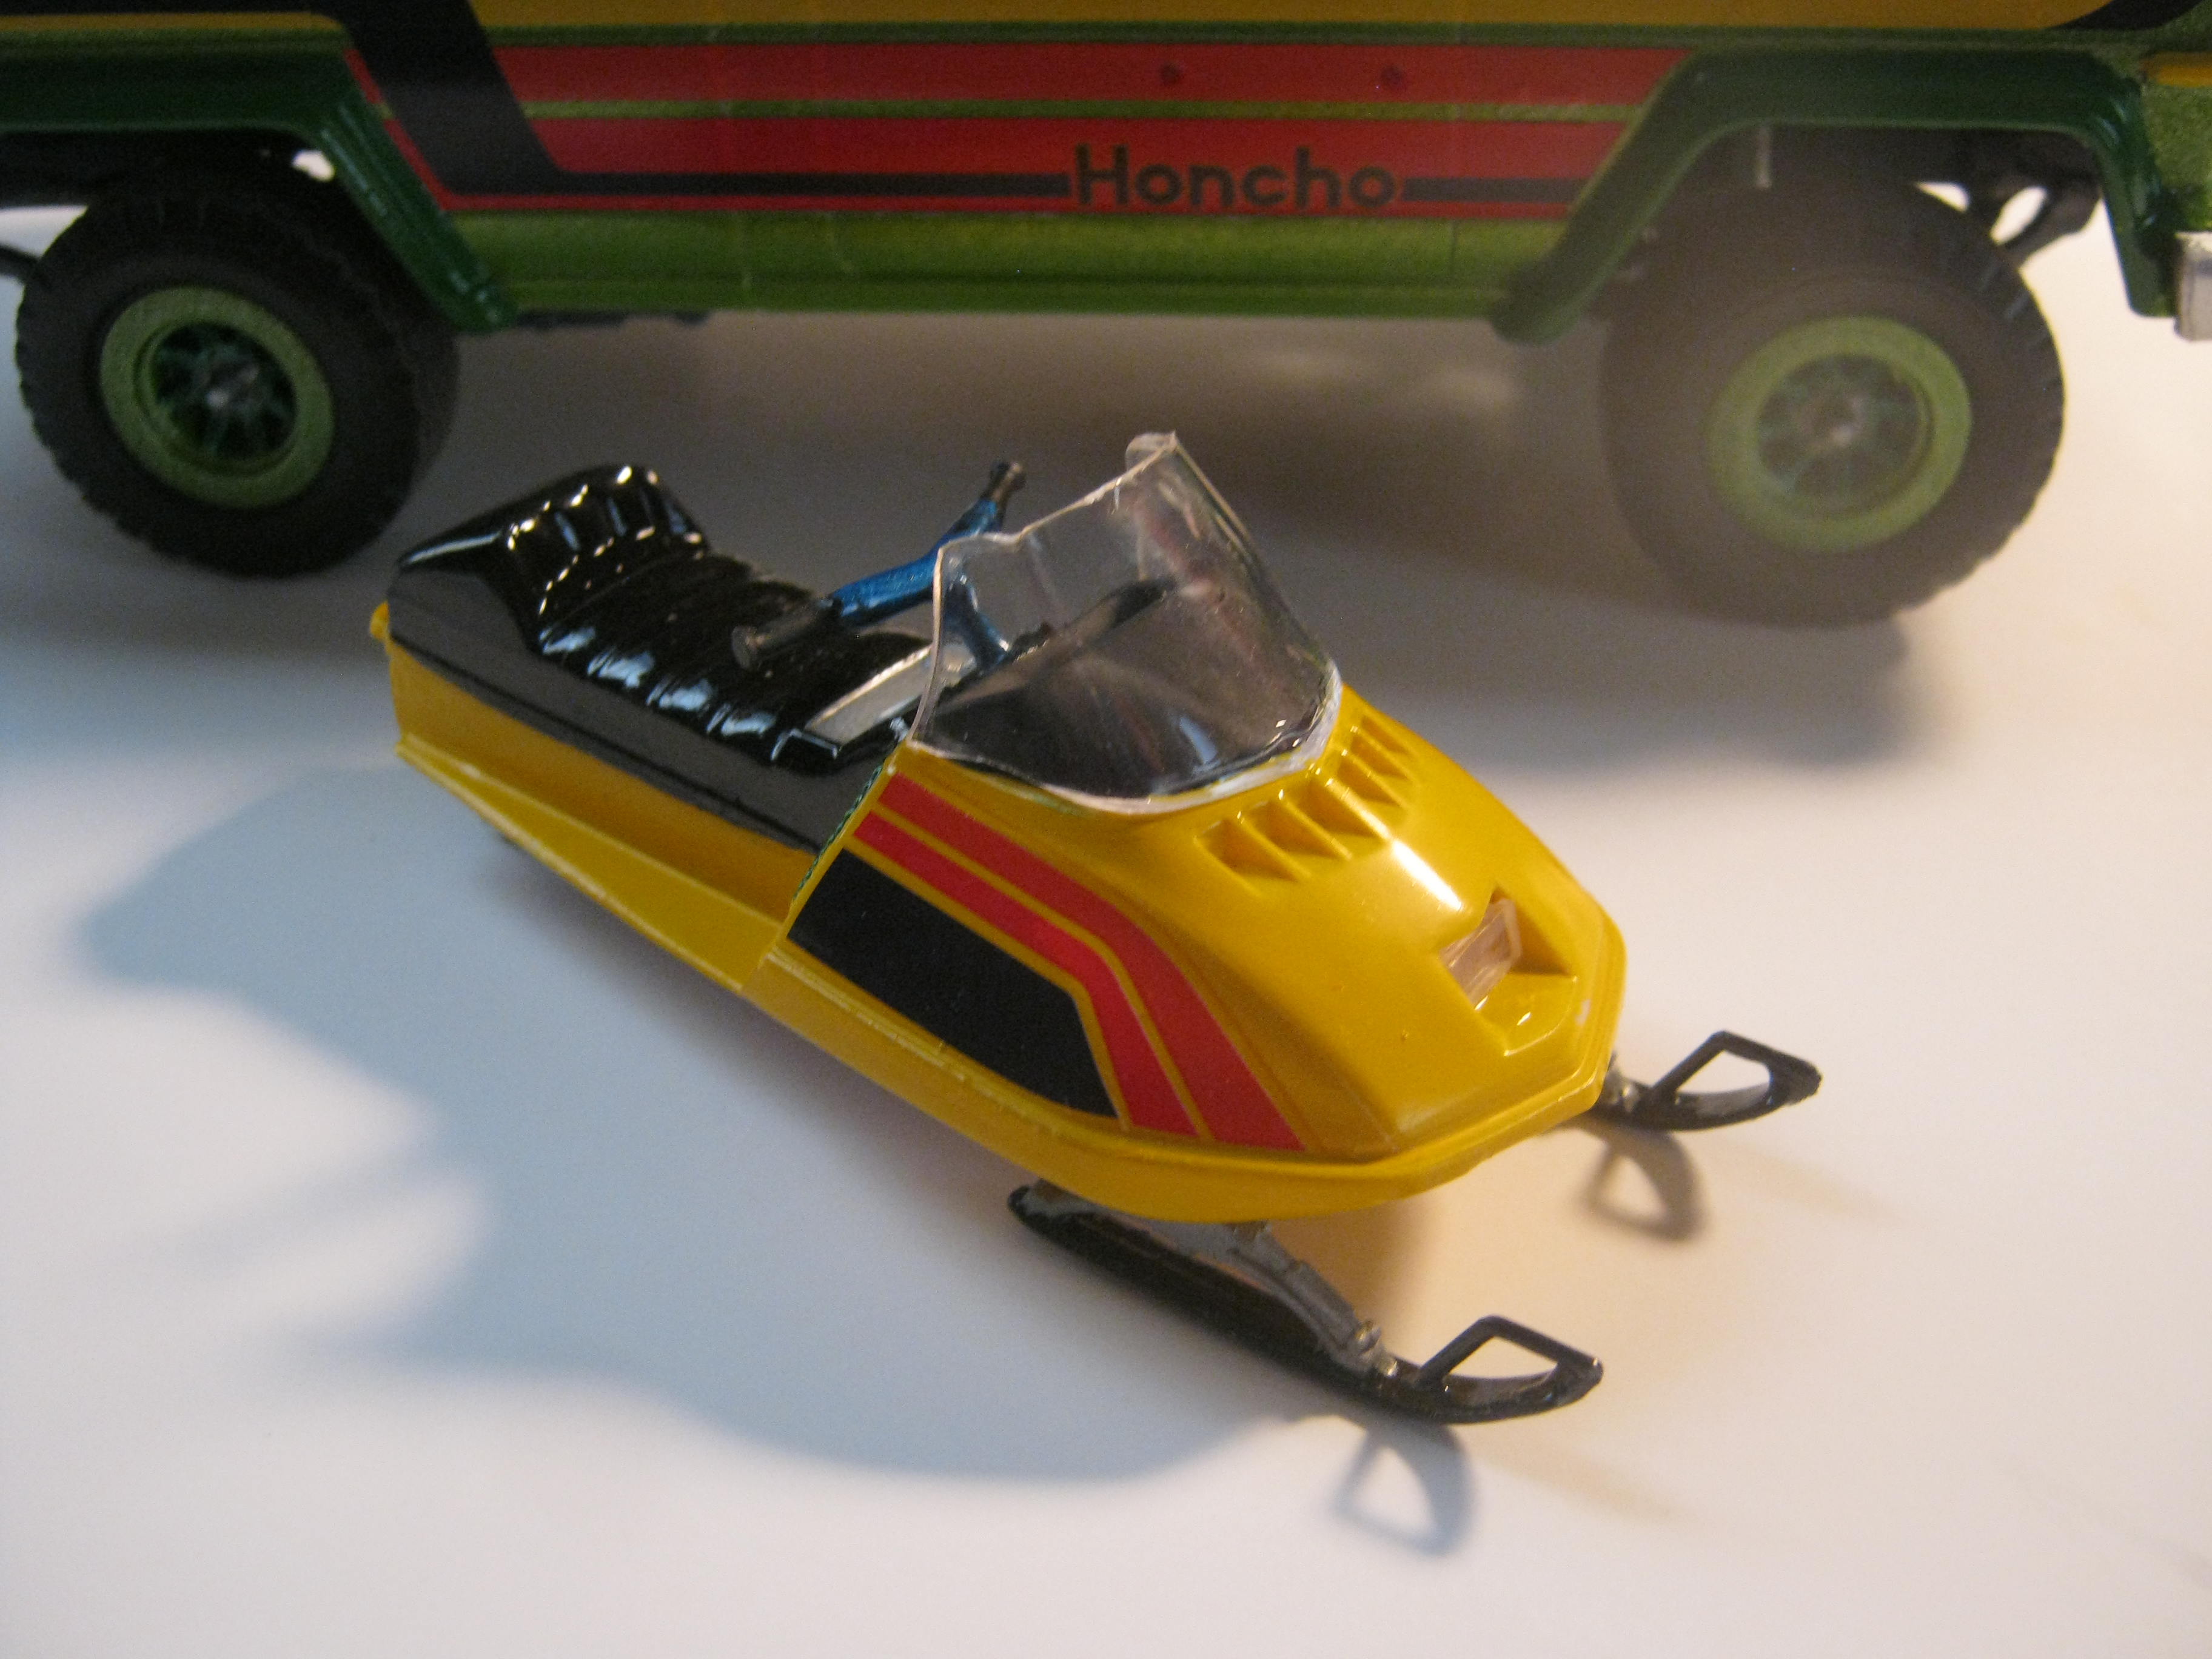
Little Green Honcho
skymnky721 posted a topic in Model Trucks: Pickups, Vans, SUVs, Light Commercial
Hi all,hope alls well for ya,,I just finished this Revell "Ice Patrol" kit. Fun kit to do,,sprayed w/Testors "Lime Ice" quickdry enamel,,and some basic wiring and such. Always enjoyed the early 70's AMC products,,my grandpa had a Blue + white interior Jeep Wagoneer ,,had many a fun trip in that one. Enjoy the builds here,,Build on!
-
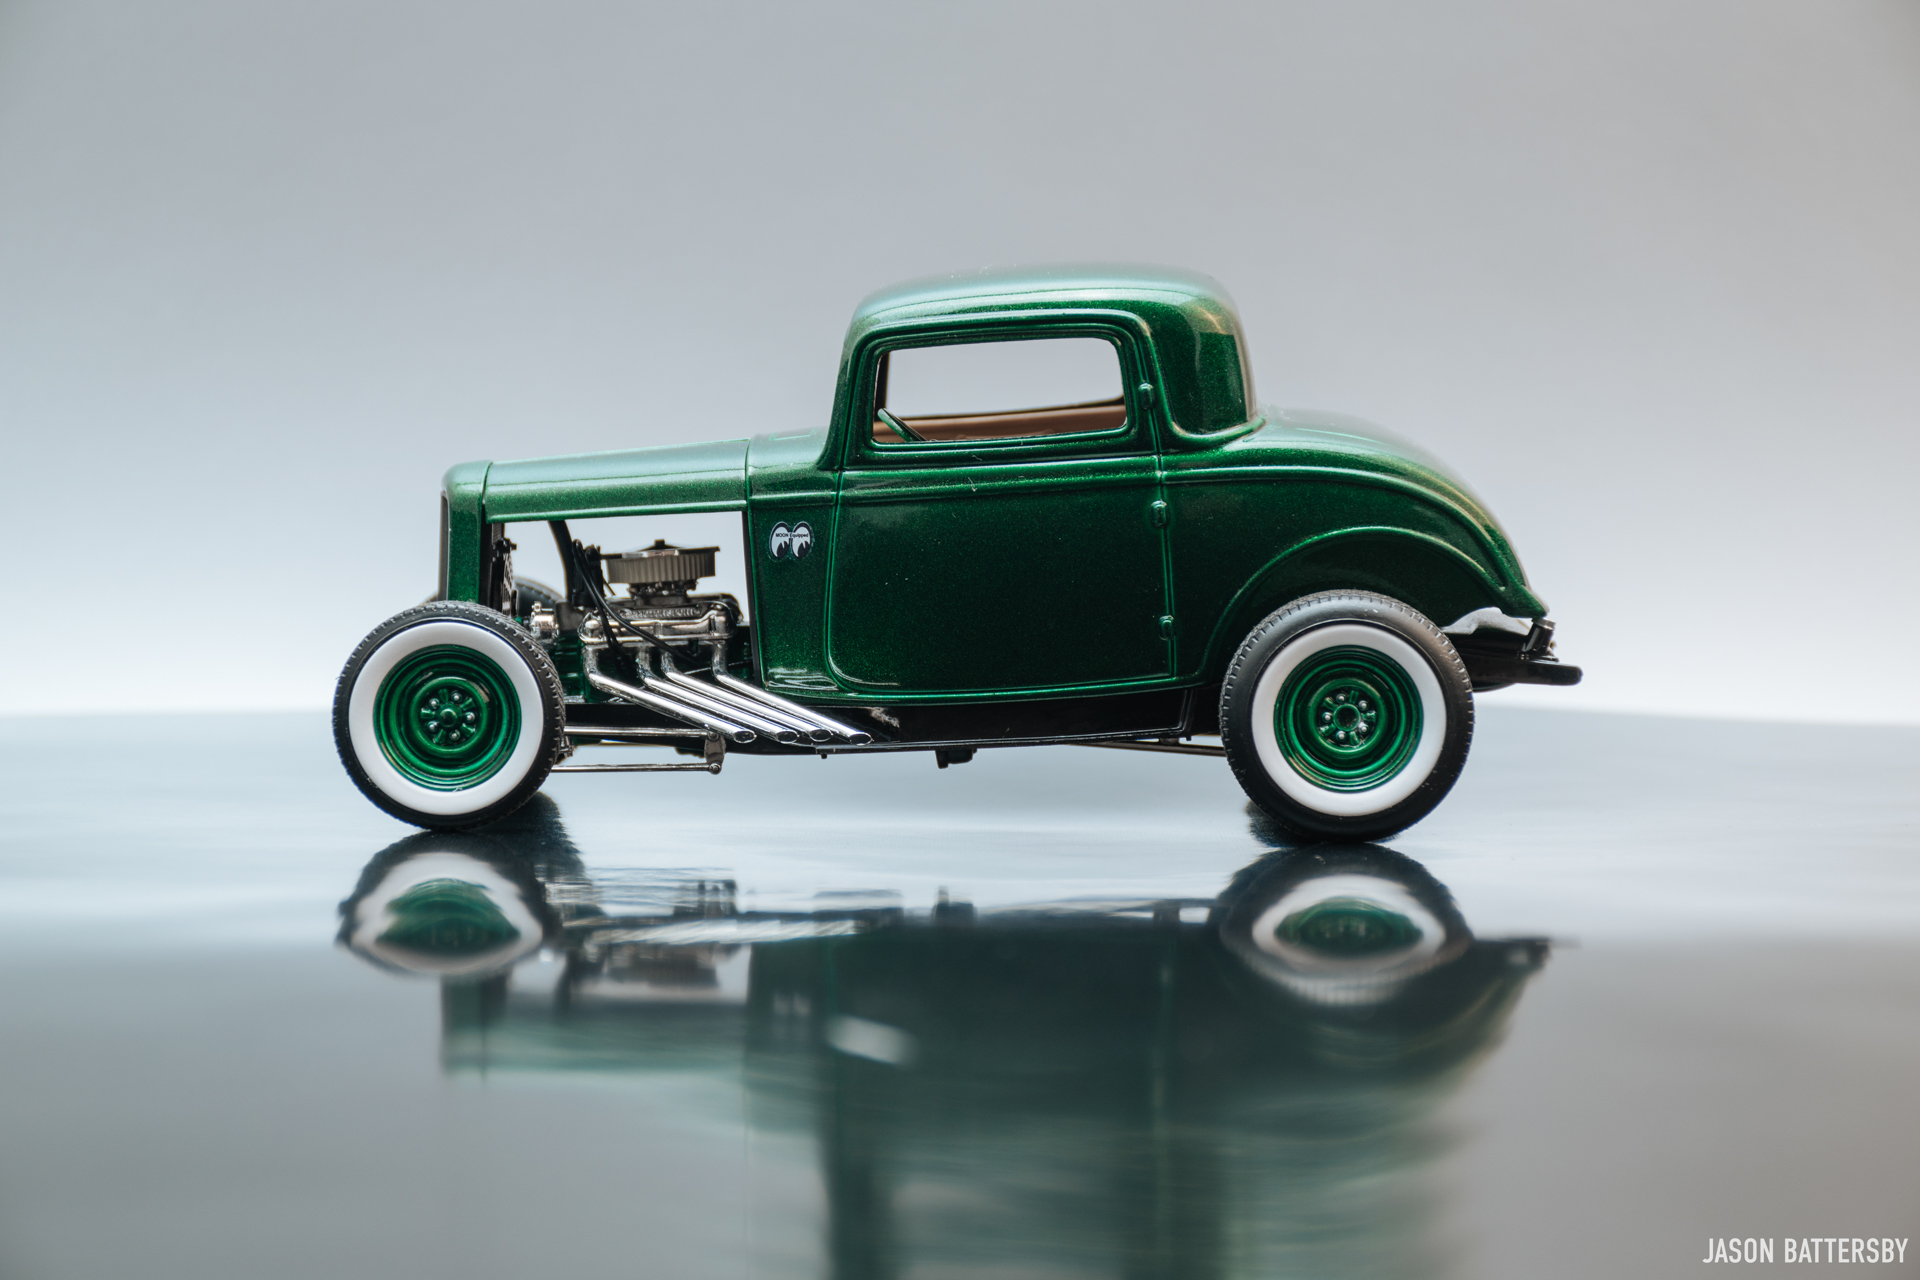
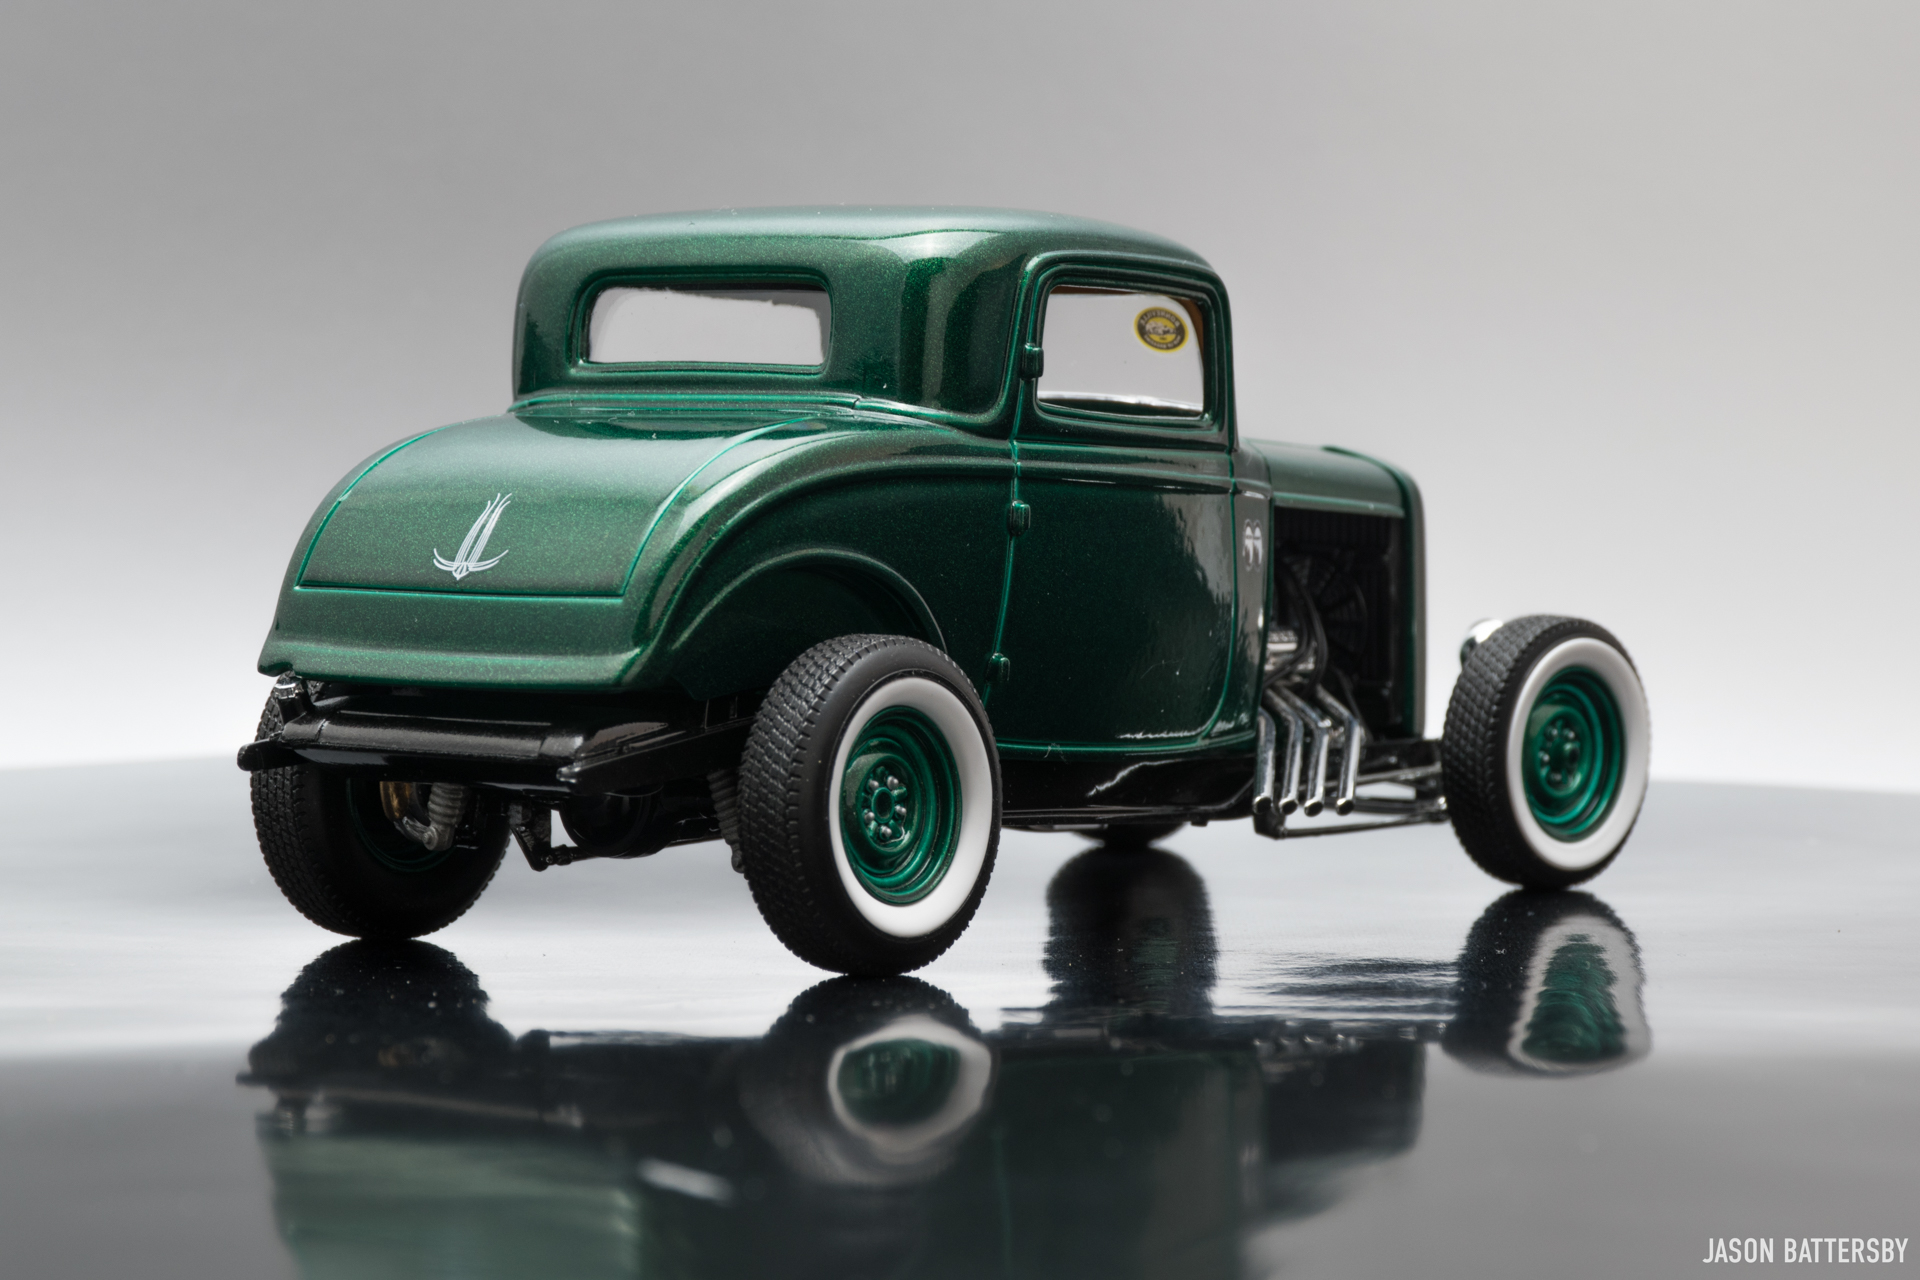
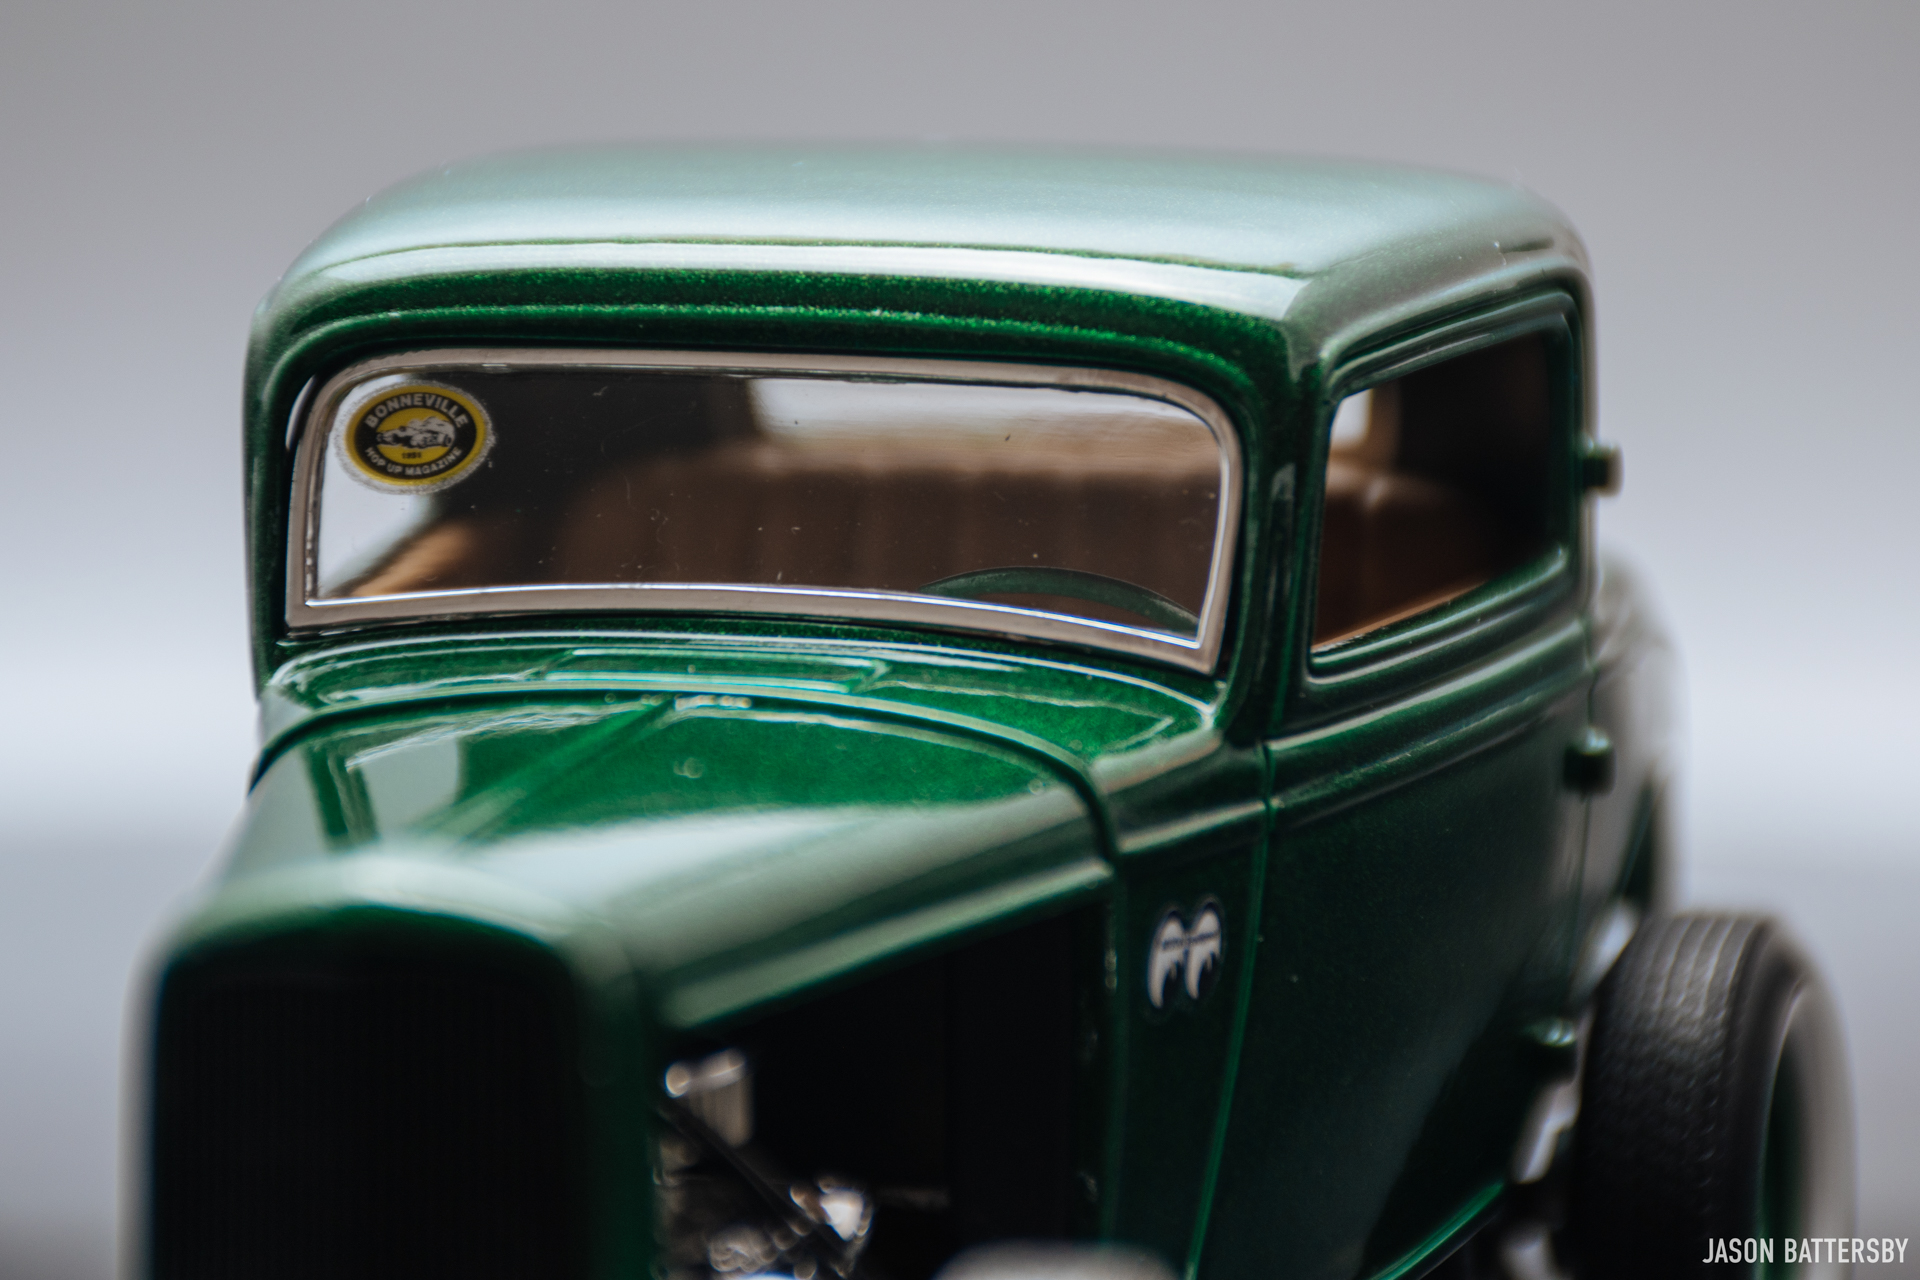
Hi all, it's been a long time since I posted a finished build here on the forum, but finally I found the time to upload some images. The Bonneville Coupe as I call it is basically a box stock 1932 Ford 3-Window Coupe without the fenders. Modifications are the wheel and tire combo, and the straight pipe headers. The paint is Testors Green Metal Flake(1630) from a can, no clear overtop. For more updates on my builds, please follow me on Instagram @scaled_models as I update there regularly. Cheers!
-
The maroon 68 has morphed into a flame red one! I had so much problems with the maroon that I chucked it into the pond and bought another kit. This is the paint job after a dip in the pond as well. The 68 turned out to be a problem child. I have some hood clearance problems with the air cleaner that I will fix. Thanks for looking, all comments welcomed!
-
I wanted to work on something bright, so I got out this 70 Charger for a quick build (I hope). Painted Odds & Ends sun yellow with wet look clear coat. Thanks for looking, all comments welcomed.
-
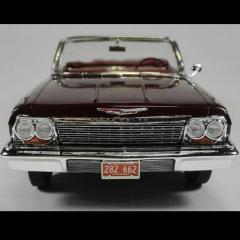
I broke down and got a new one the other day along with some Testor's Revving red. I was quite surprised when I saw instrument decals on the sheet along with a neat set of red line tires and some nifty Crager mags! Red lines and Cragers, hum. So sixties! Backing plates are painted with Mr. Color #3 red. Here it is with the paint finished, Testor's Revving Red with clear coat. The chrome air cleaner base is from the Revell 68 Charger kit. I am using the chrome round air cleaner from the 67 on the 68 to give it the look of a stock 426 Hemi equipped car. Thanks for looking, all comments welcomed.
-
This is one I started back in 2002. Originally I had painted it with auto touch up paint. Did not like how it turned out so got another body and finally painted it with Tamiya TS-54 light metallic blue today. Thanks for looking, comments welcomed!
-
Painted Tamiya TS-11 Maroon Interior will be either black and white or maroon and white. Still got some fixing to do to the body. Thanks for looking, all comments welcomed.
-
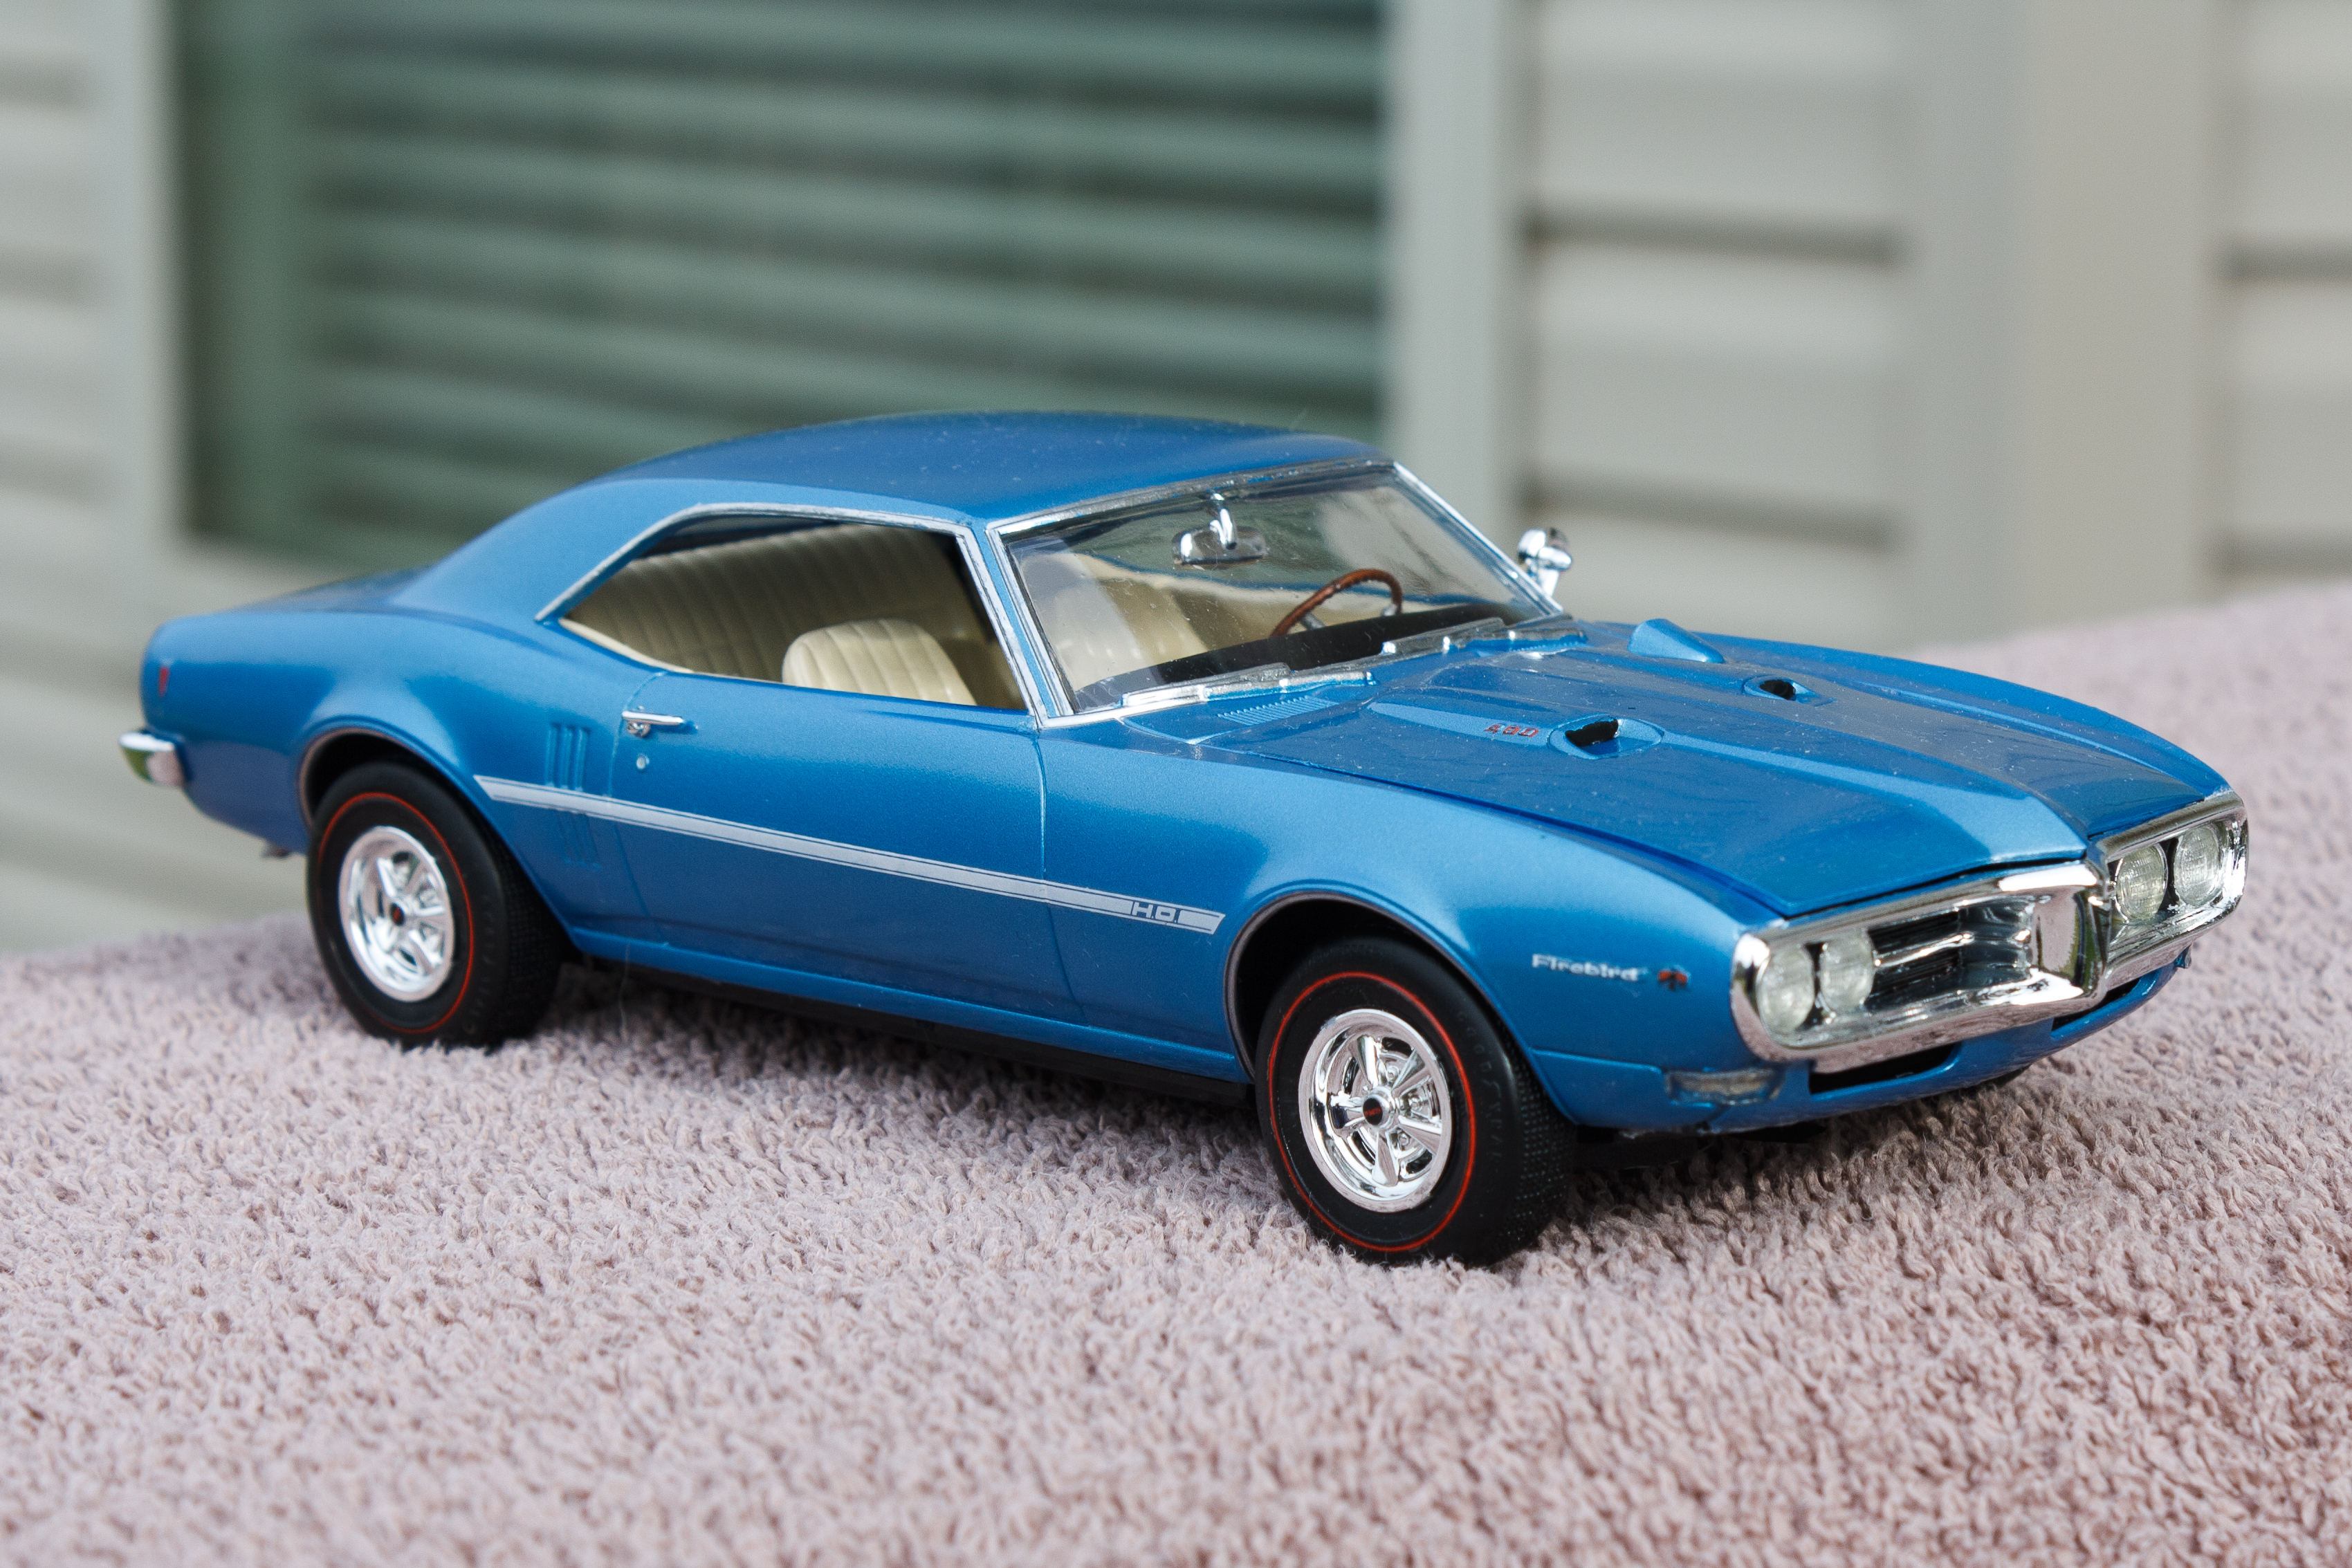
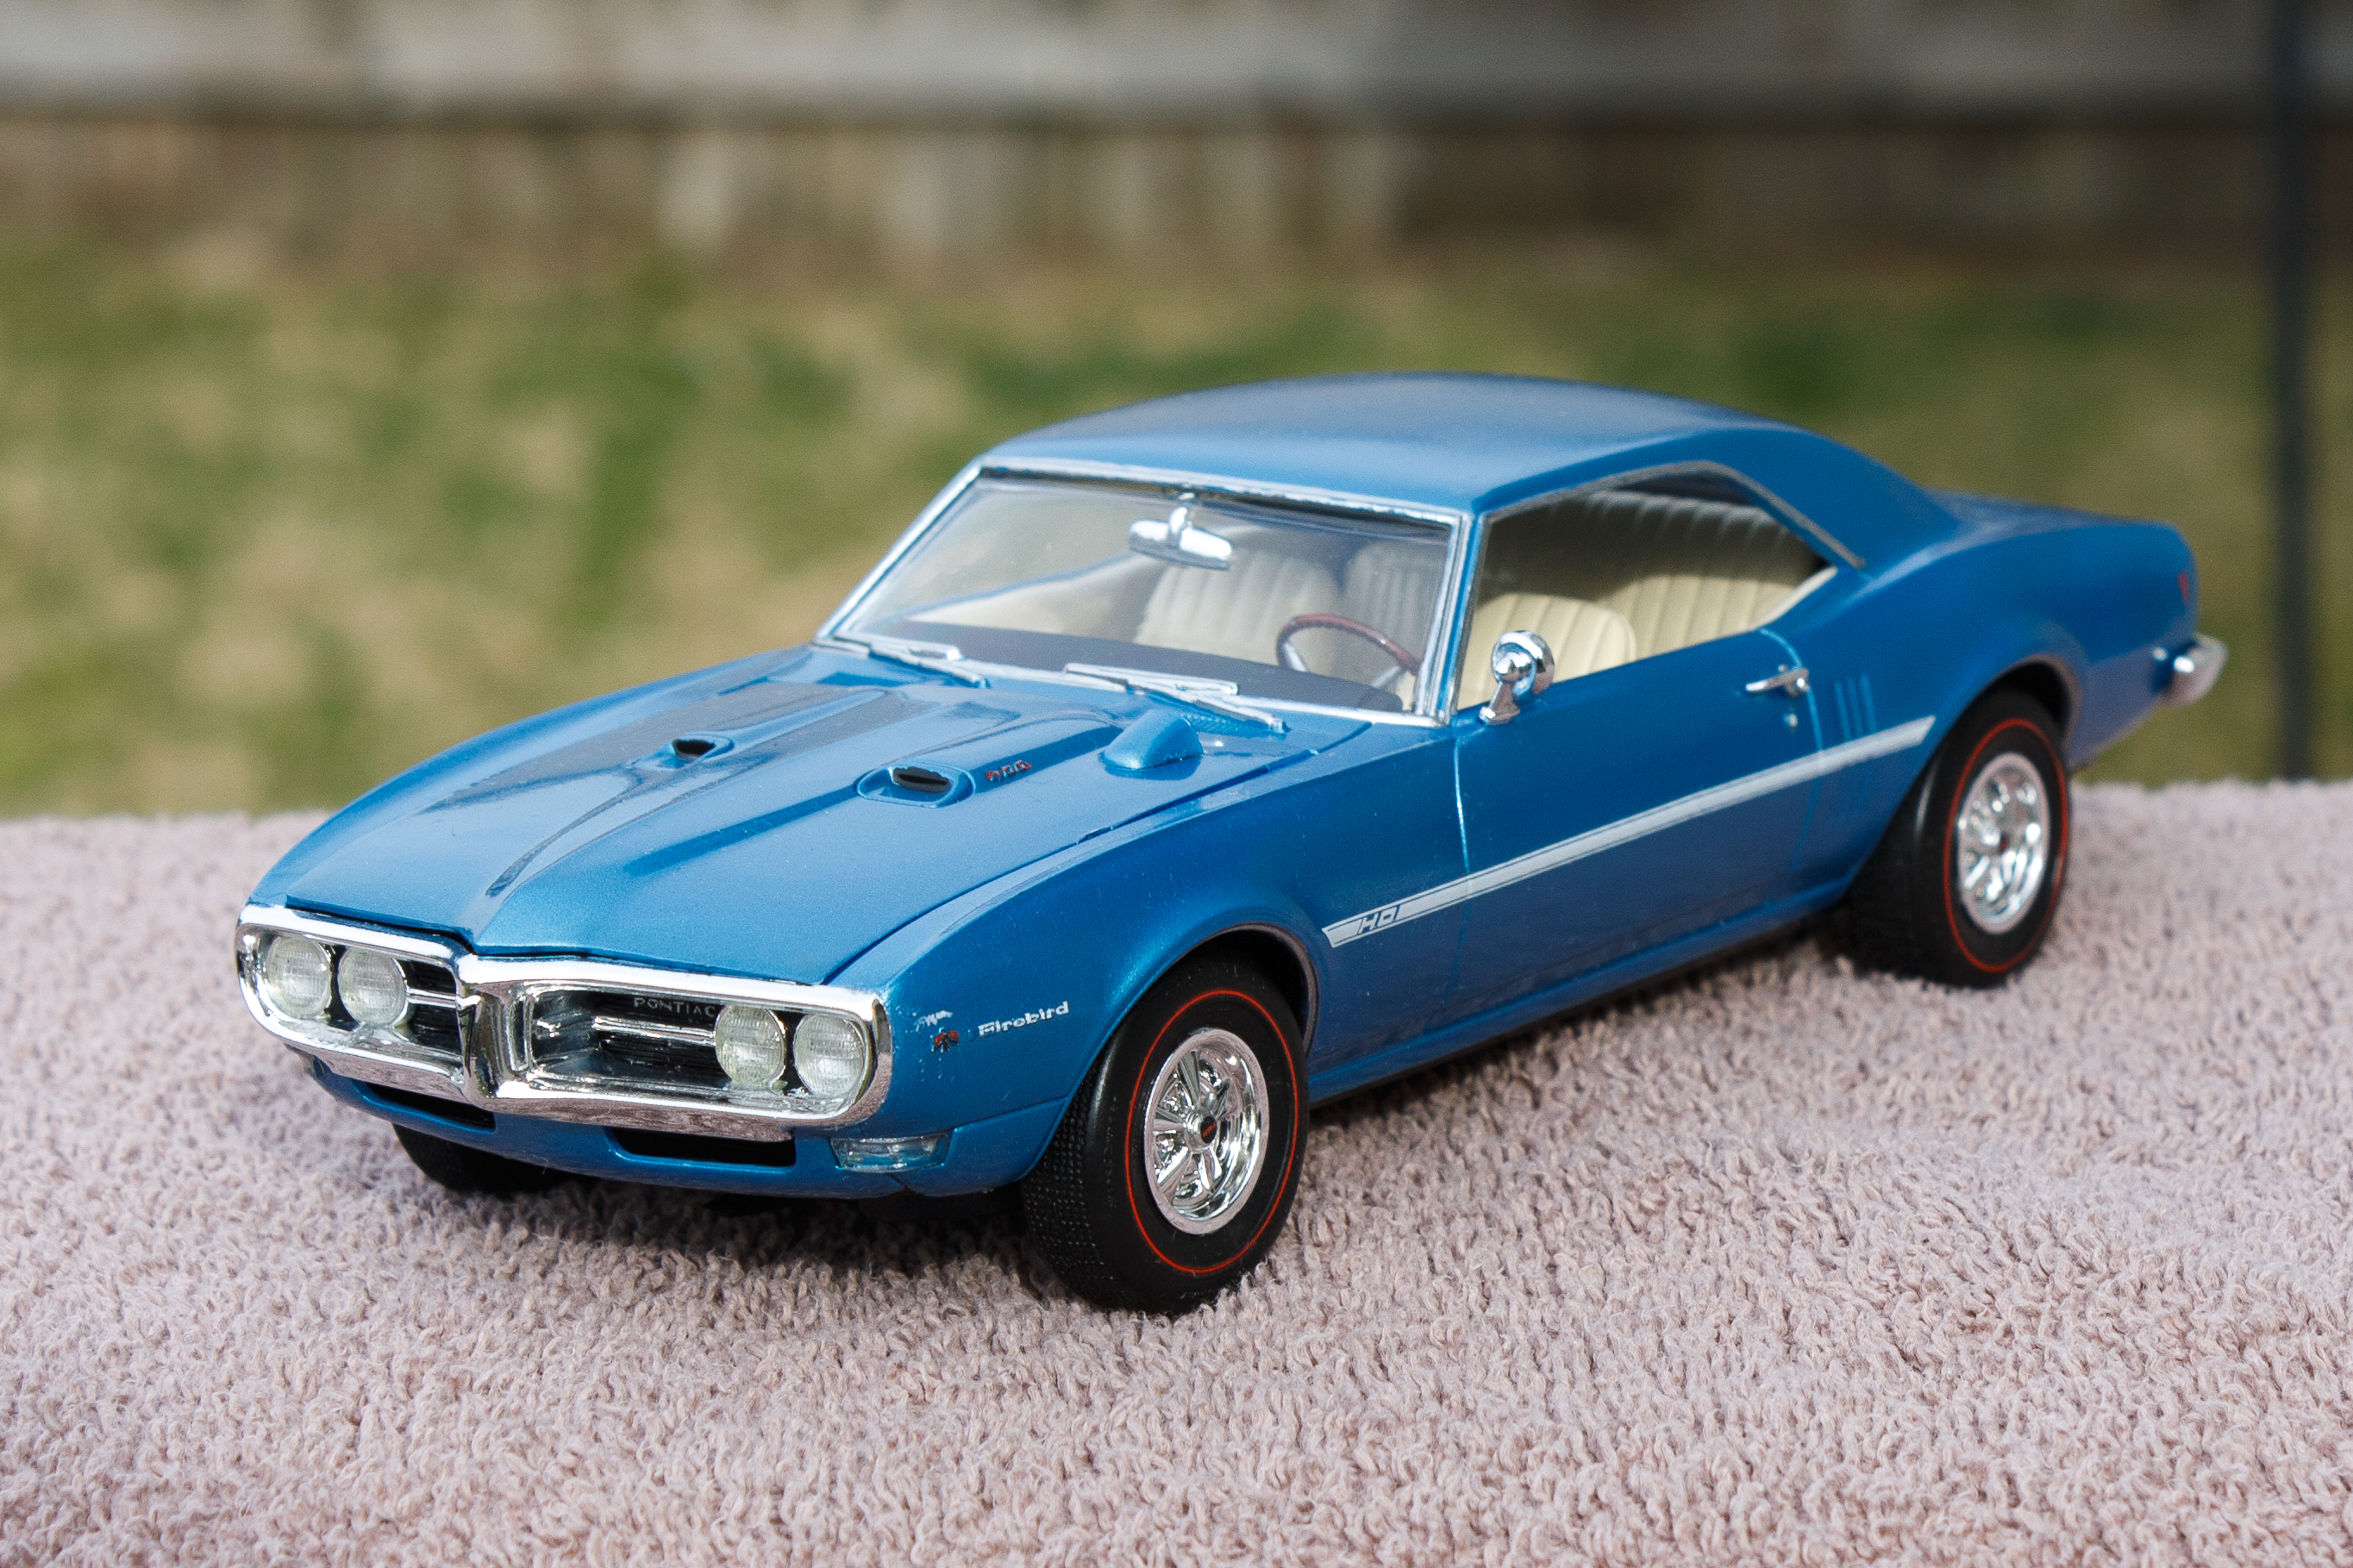
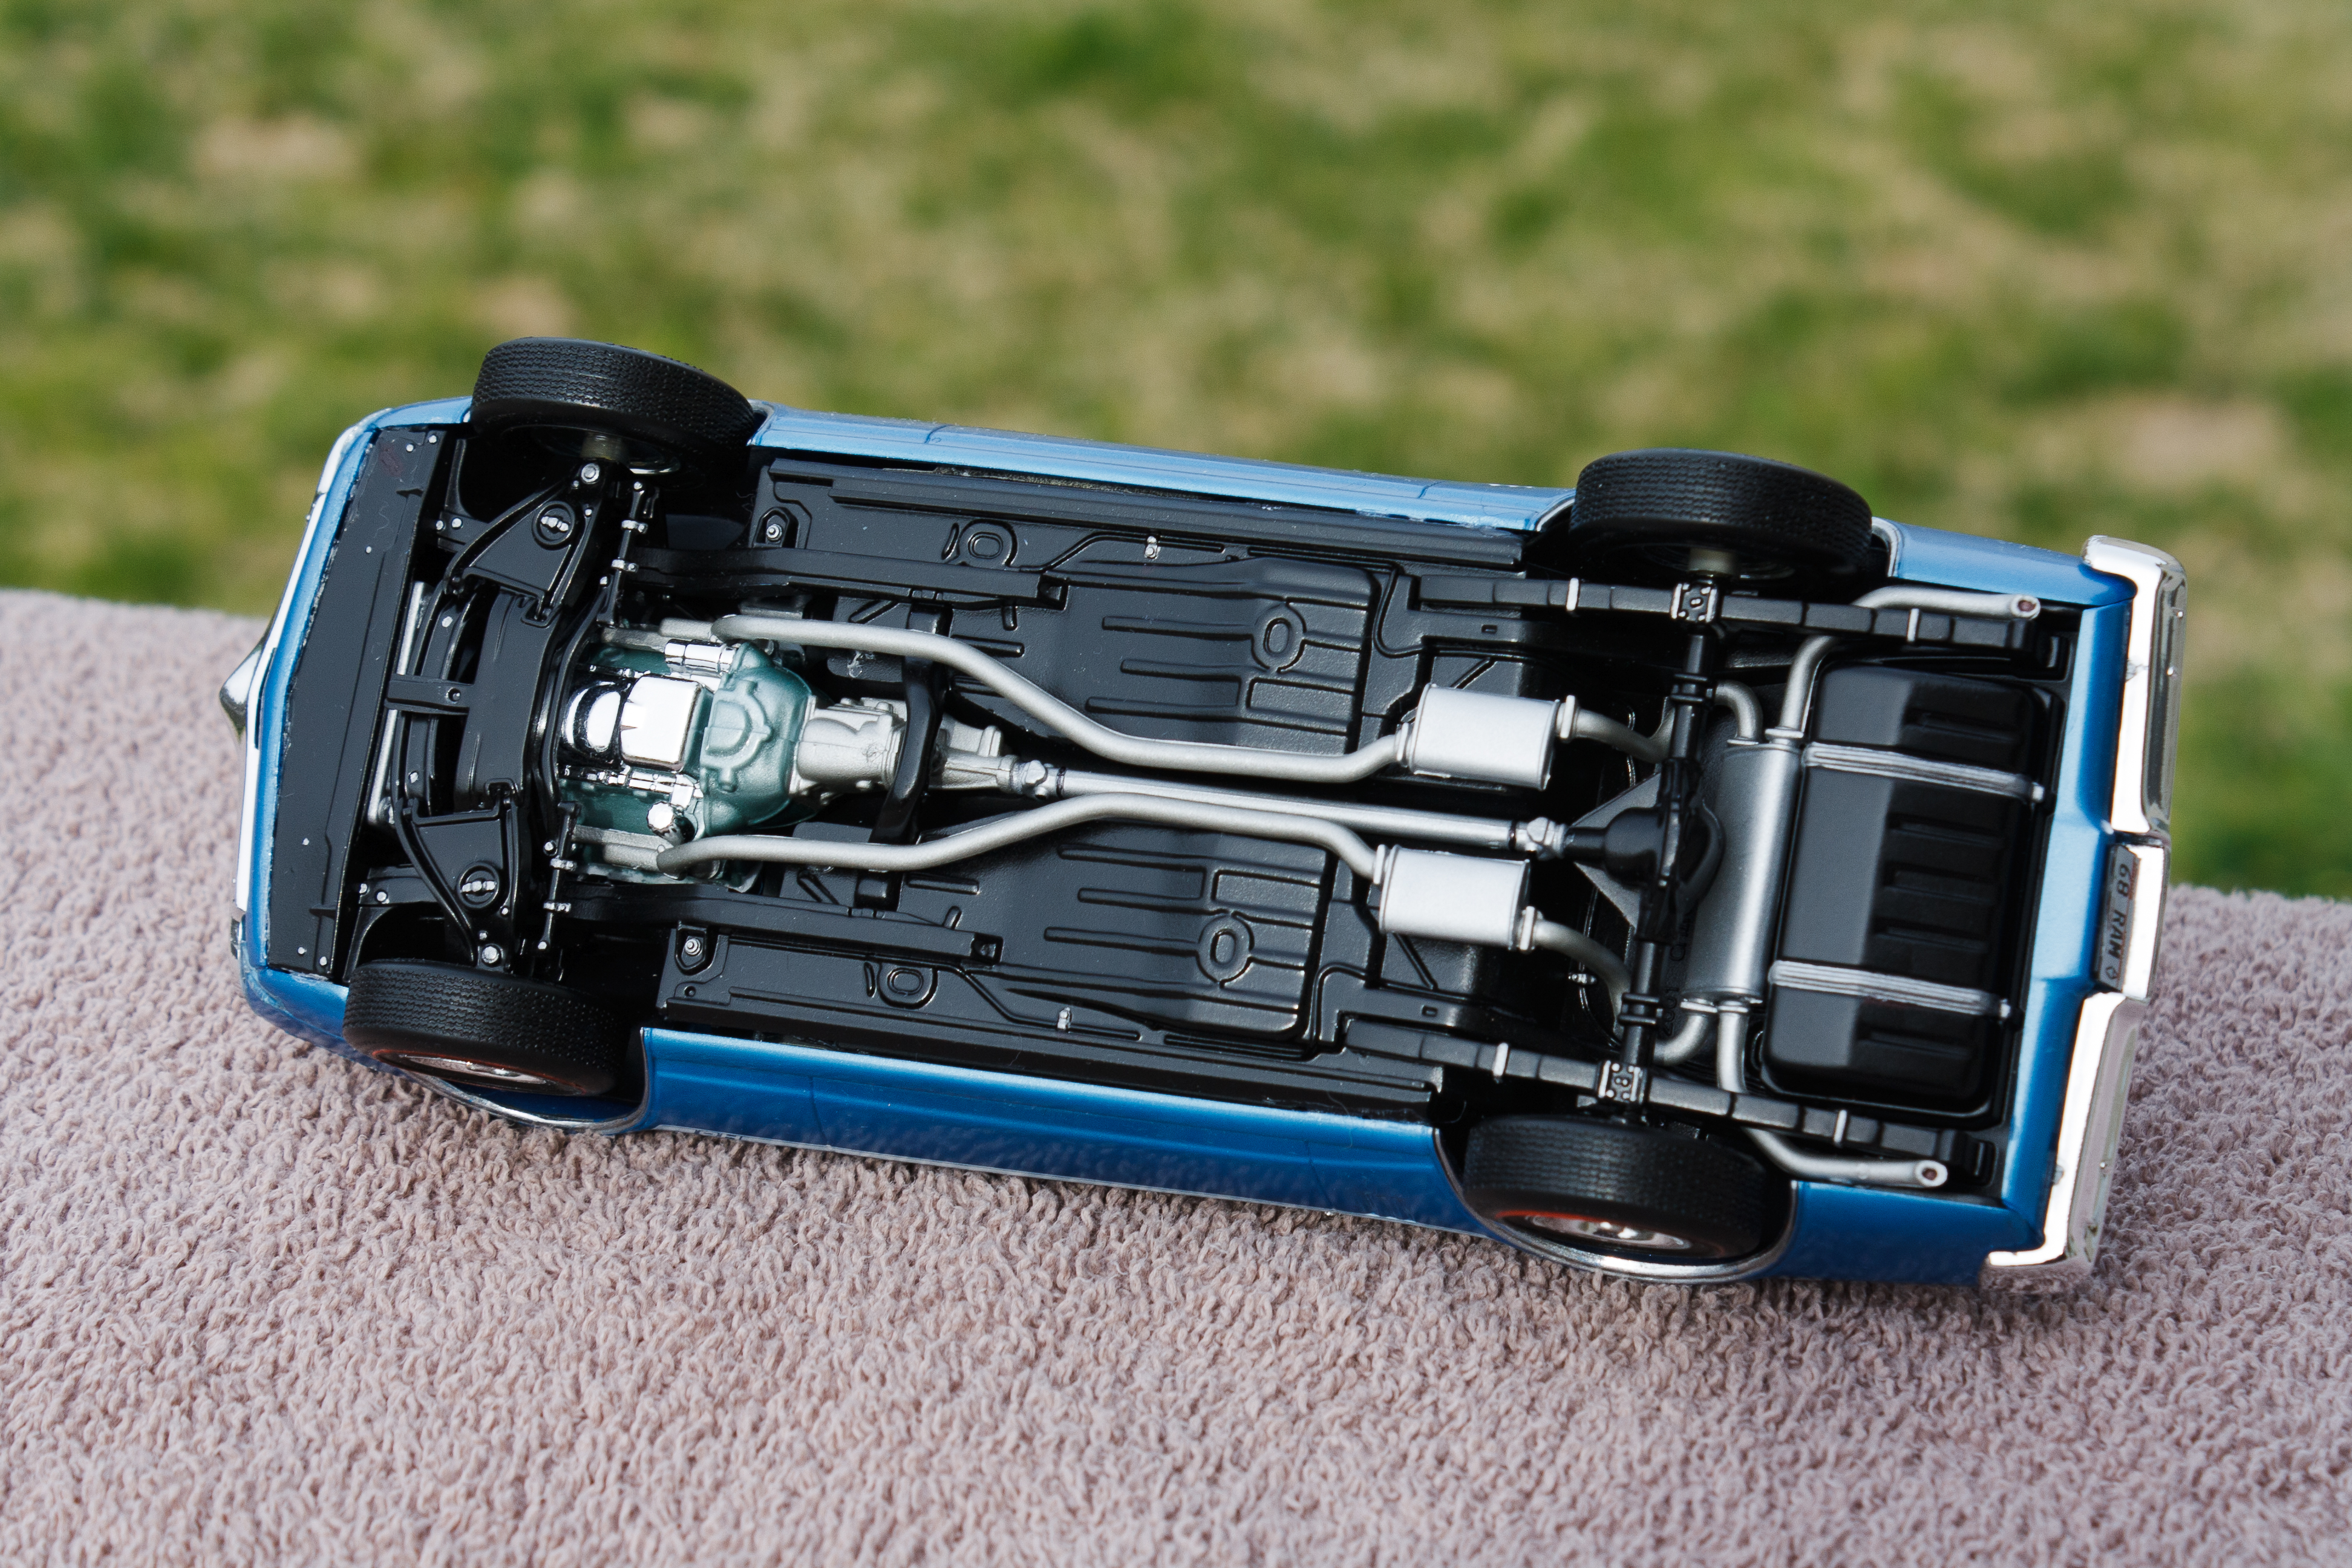
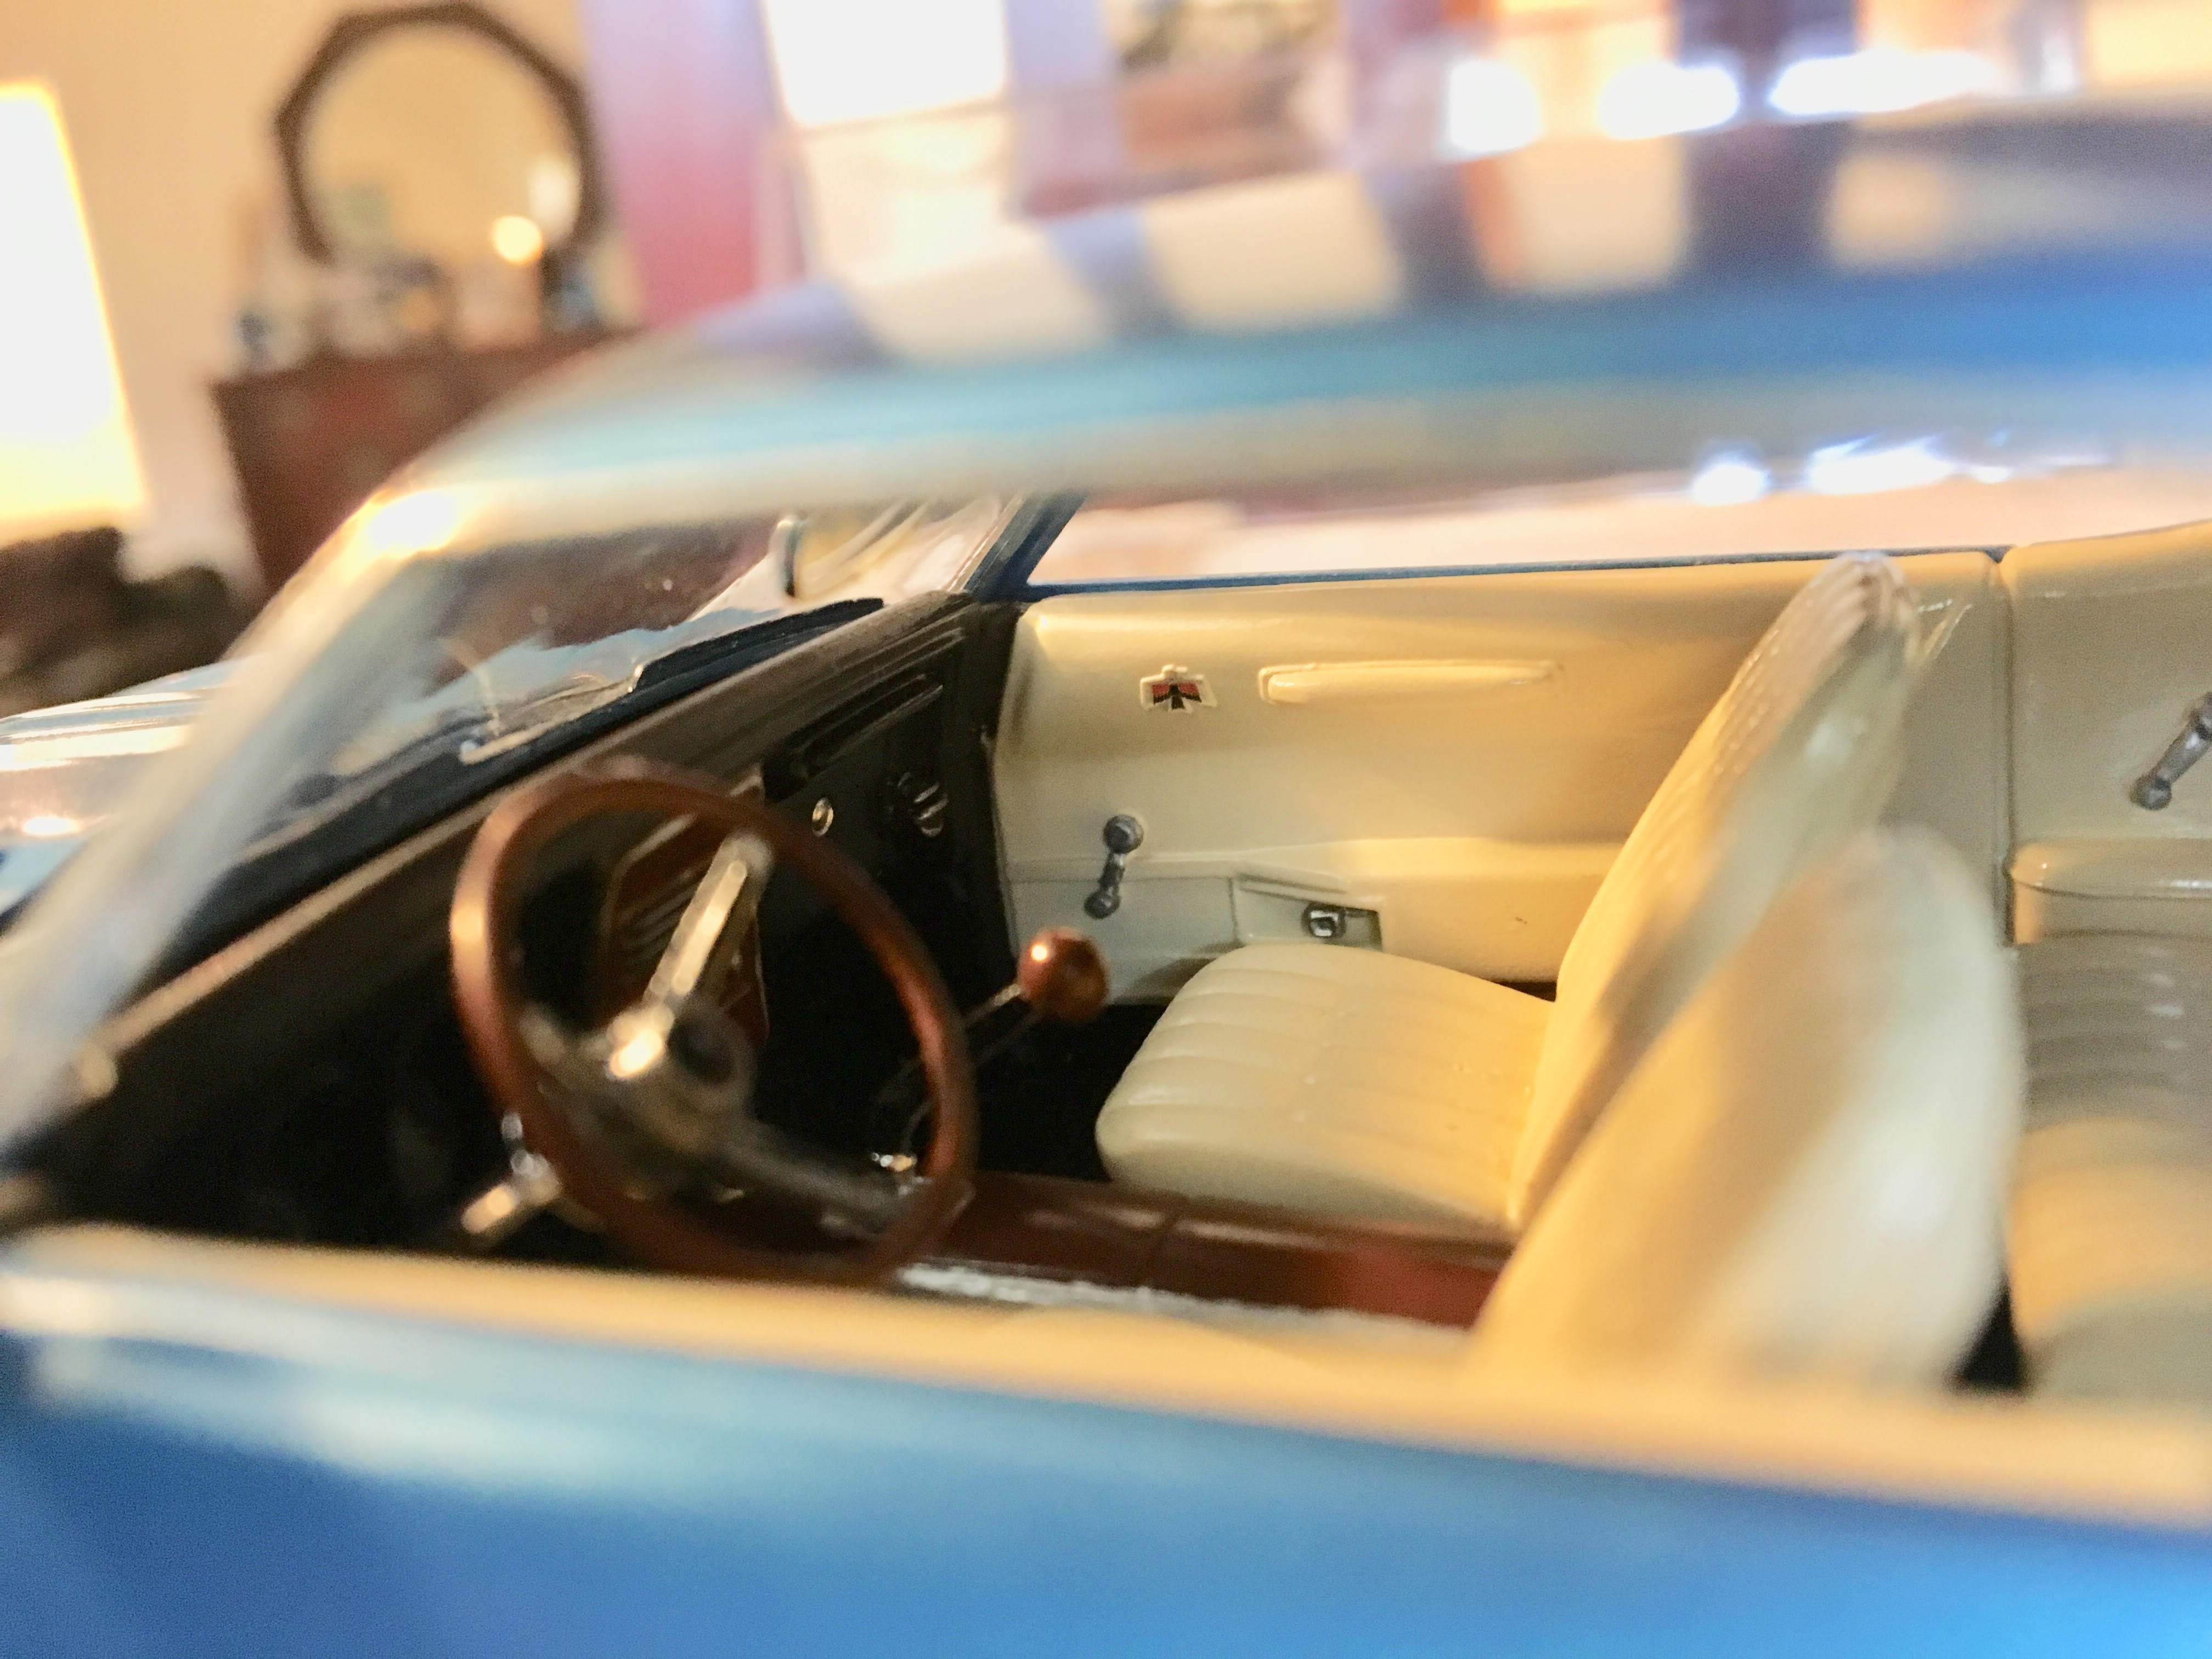
Here is my finished Firebird 400 model (Revell kit). Body is Model Master metallic blue, and interior is Model Master light ivory. Enjoy! The workbench thread is below.
-
Interior is complete! There is almost too much detail on this kit. Someone could spend hours on the interior alone. I have all the outside chrome put on, now I am just working with the windows and I am hoping it will be done tomorrow. Thanks for looking! Comments welcomed.
-
I had started working on this one before I was sidetracked by the 60 Impala. Finally got the door panels and flooring done and now I can concentrate on getting to completed. Thanks for looking, all comments welcomed.
-
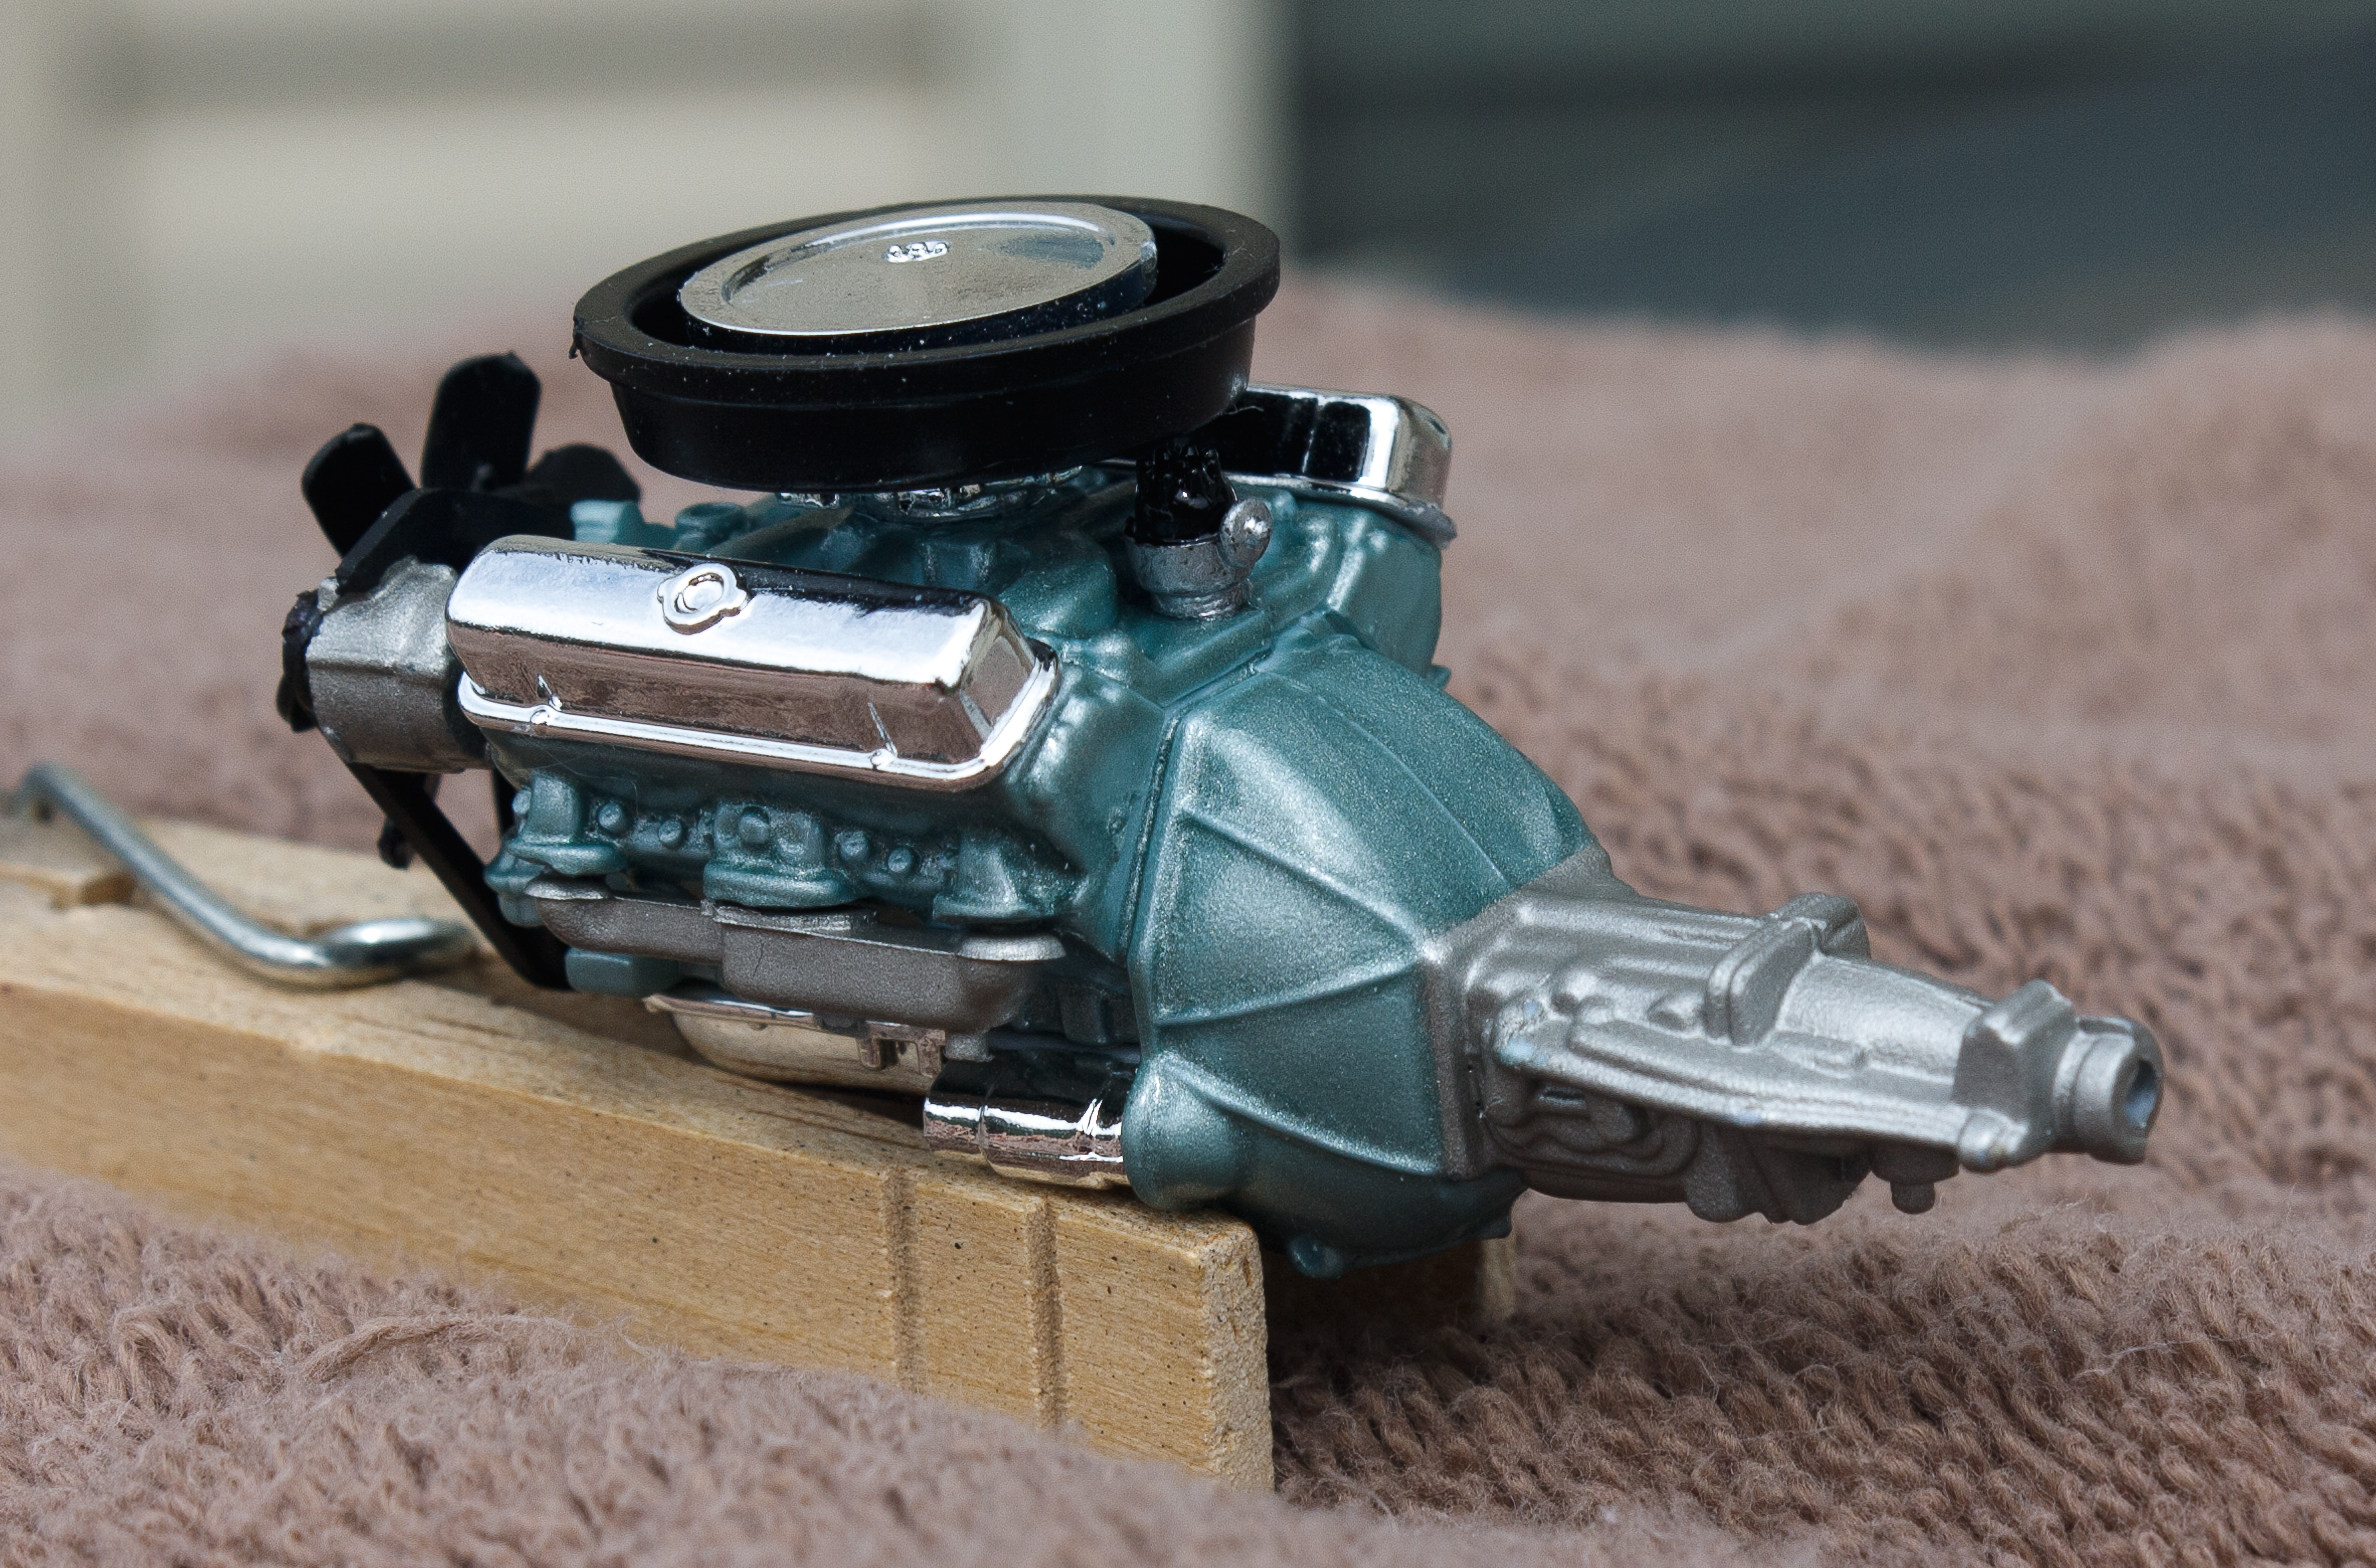
The '68 Firebird 400 by Revell is the latest model I've been working on. This kit allows you to build a stock or drag version. I'm going with the stock. I've finished all the airbrushing and I've started on the detailing. I've also finished assembling the engine. The body color is Model Master metallic blue 2768, which was hard to find. It's based on a real body color for this car. The interior is going to be Model Master light ivory to simulate a real interior color for this car called parchment.
-
 Hello everyone, i finally got this Fleetside project done, and its about time to post it here. I used a lot of aftermarket photoetching parts from High light model studio and had much fun with detailing and painting progress. I did learn alot about weathering techniques and all painting is done with brush. Im already looking forward to my next project. But less talk now and more photos Workbench topic:
 -
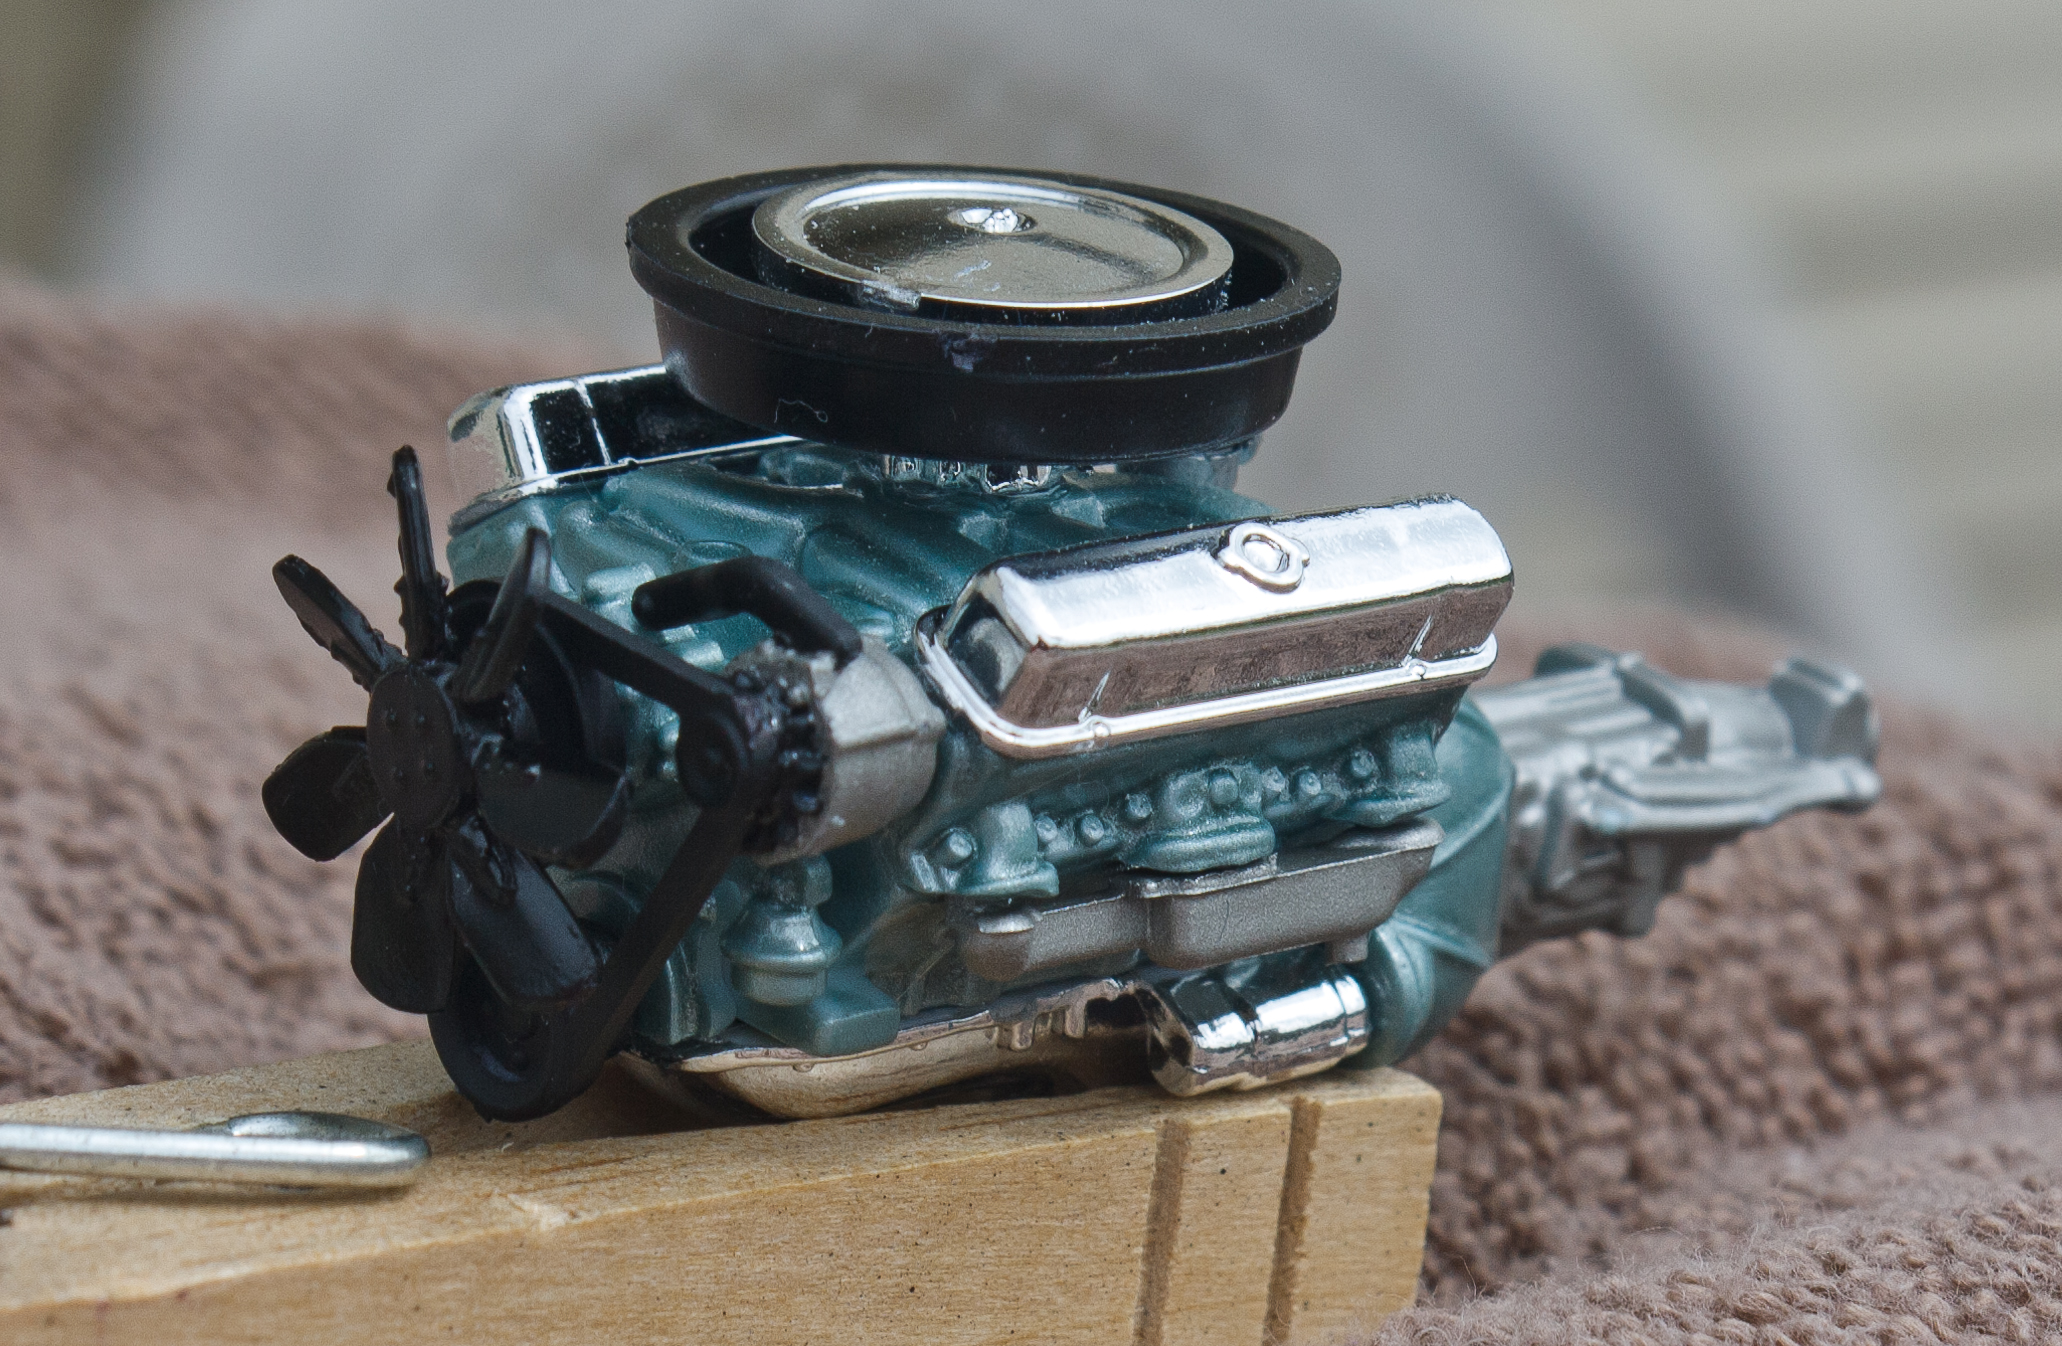
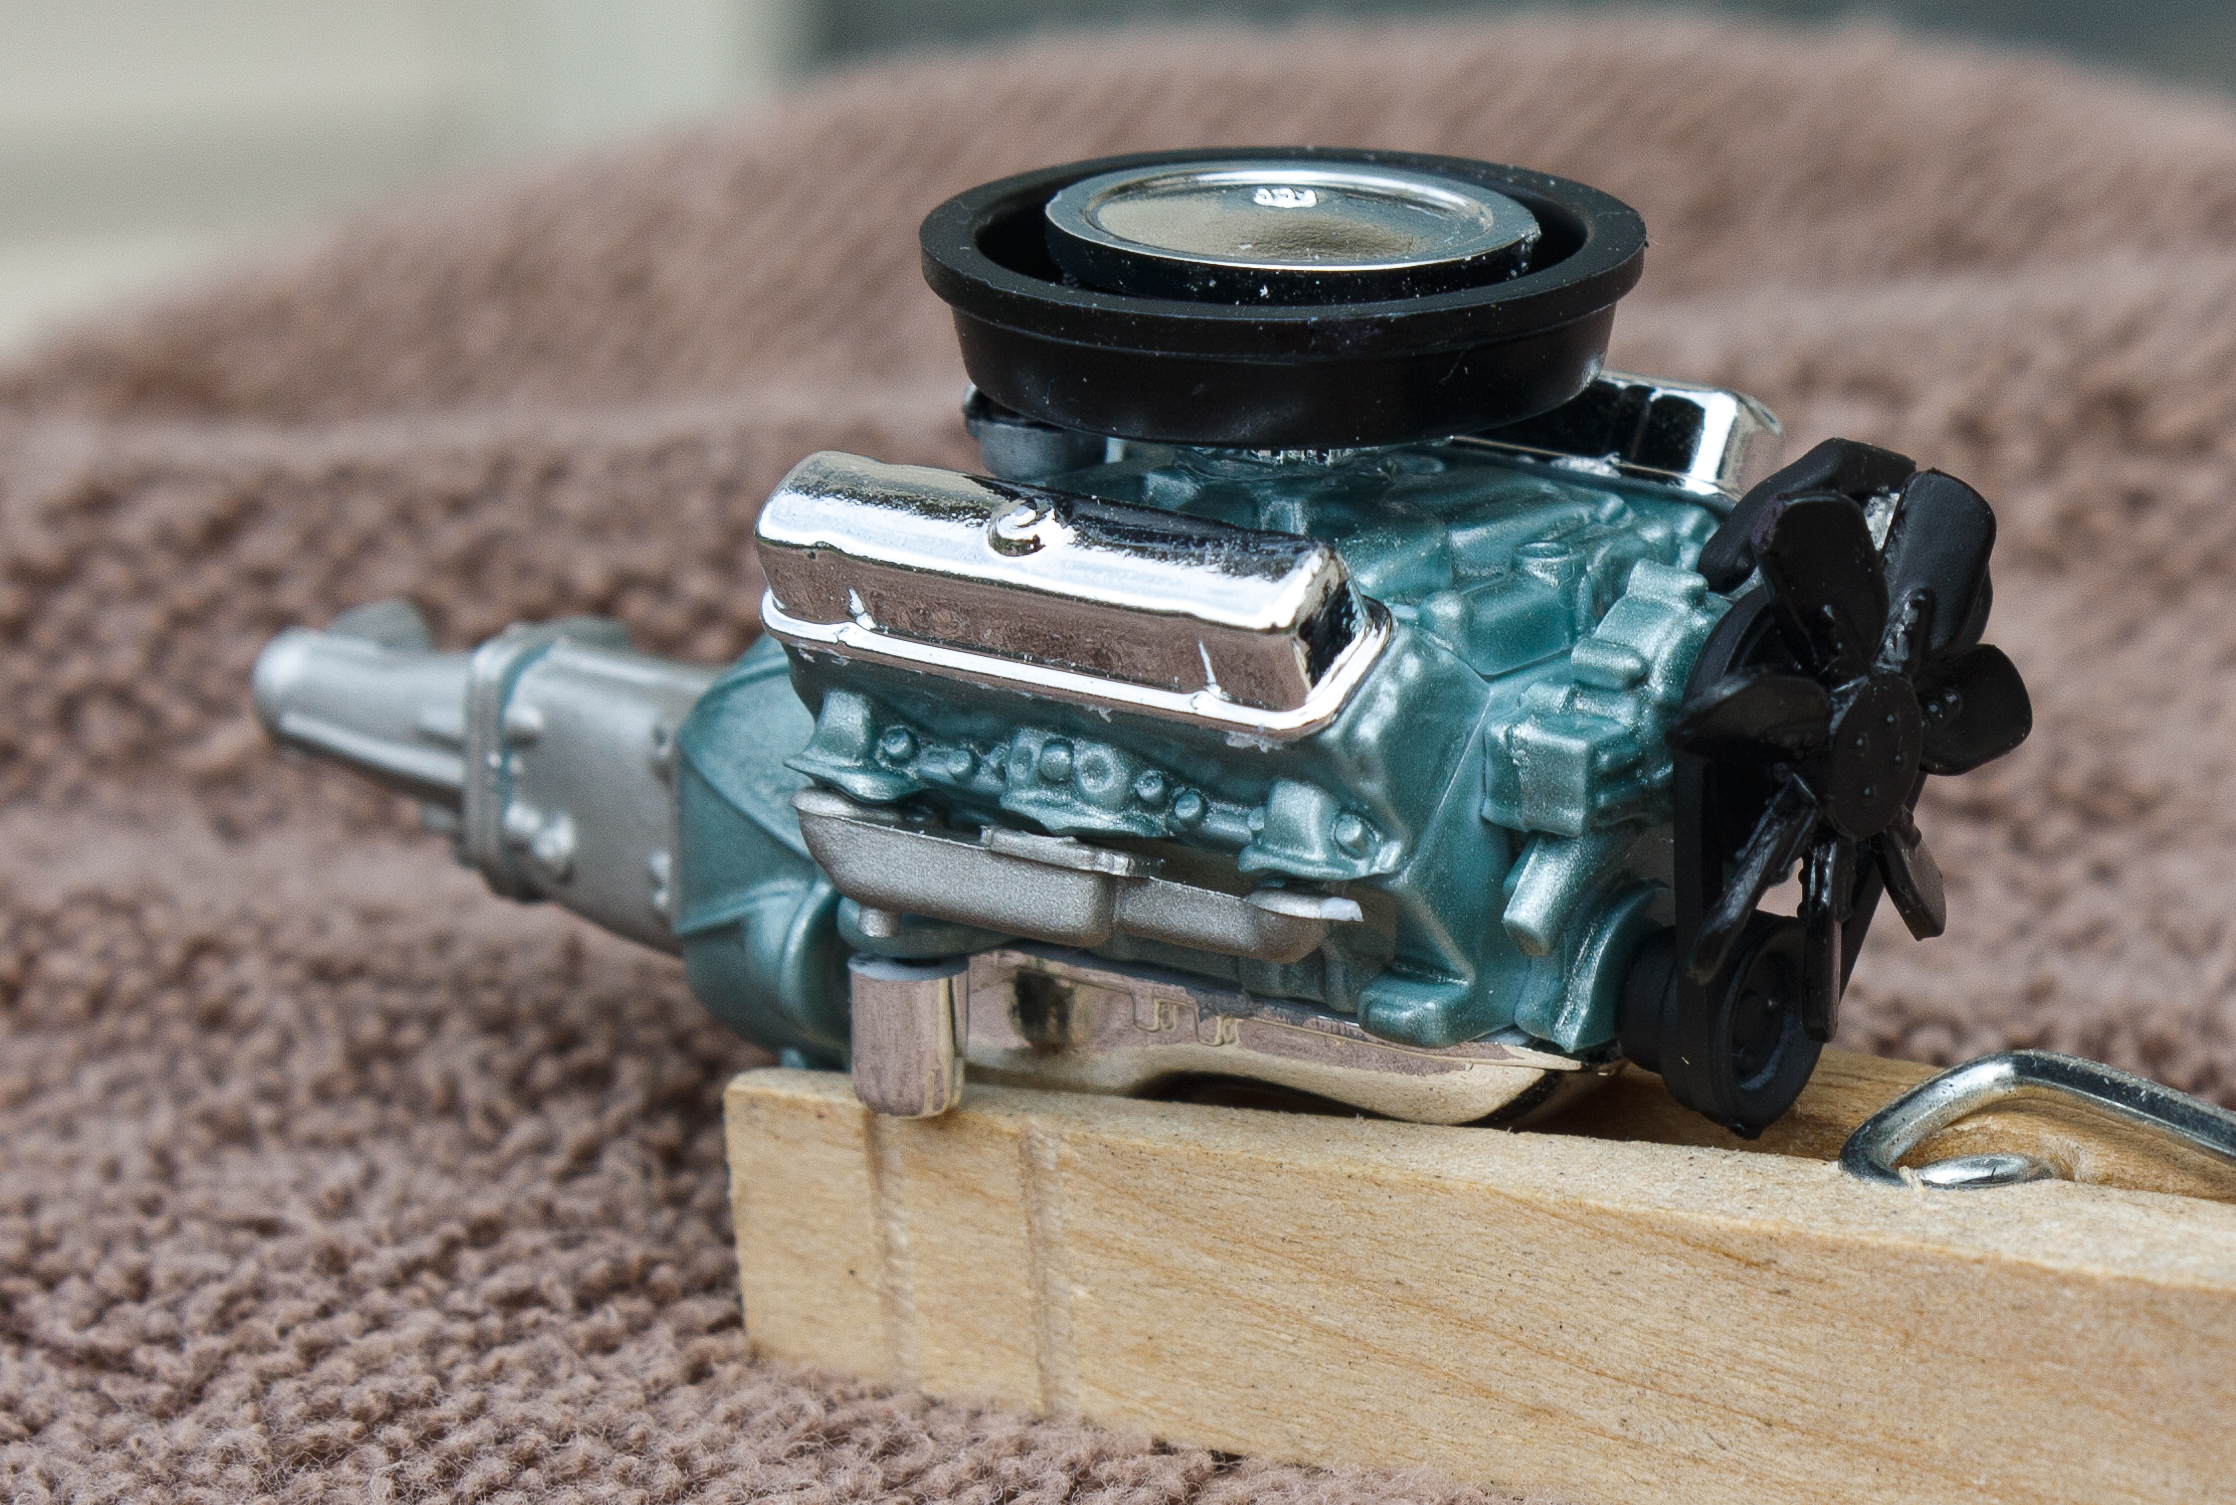
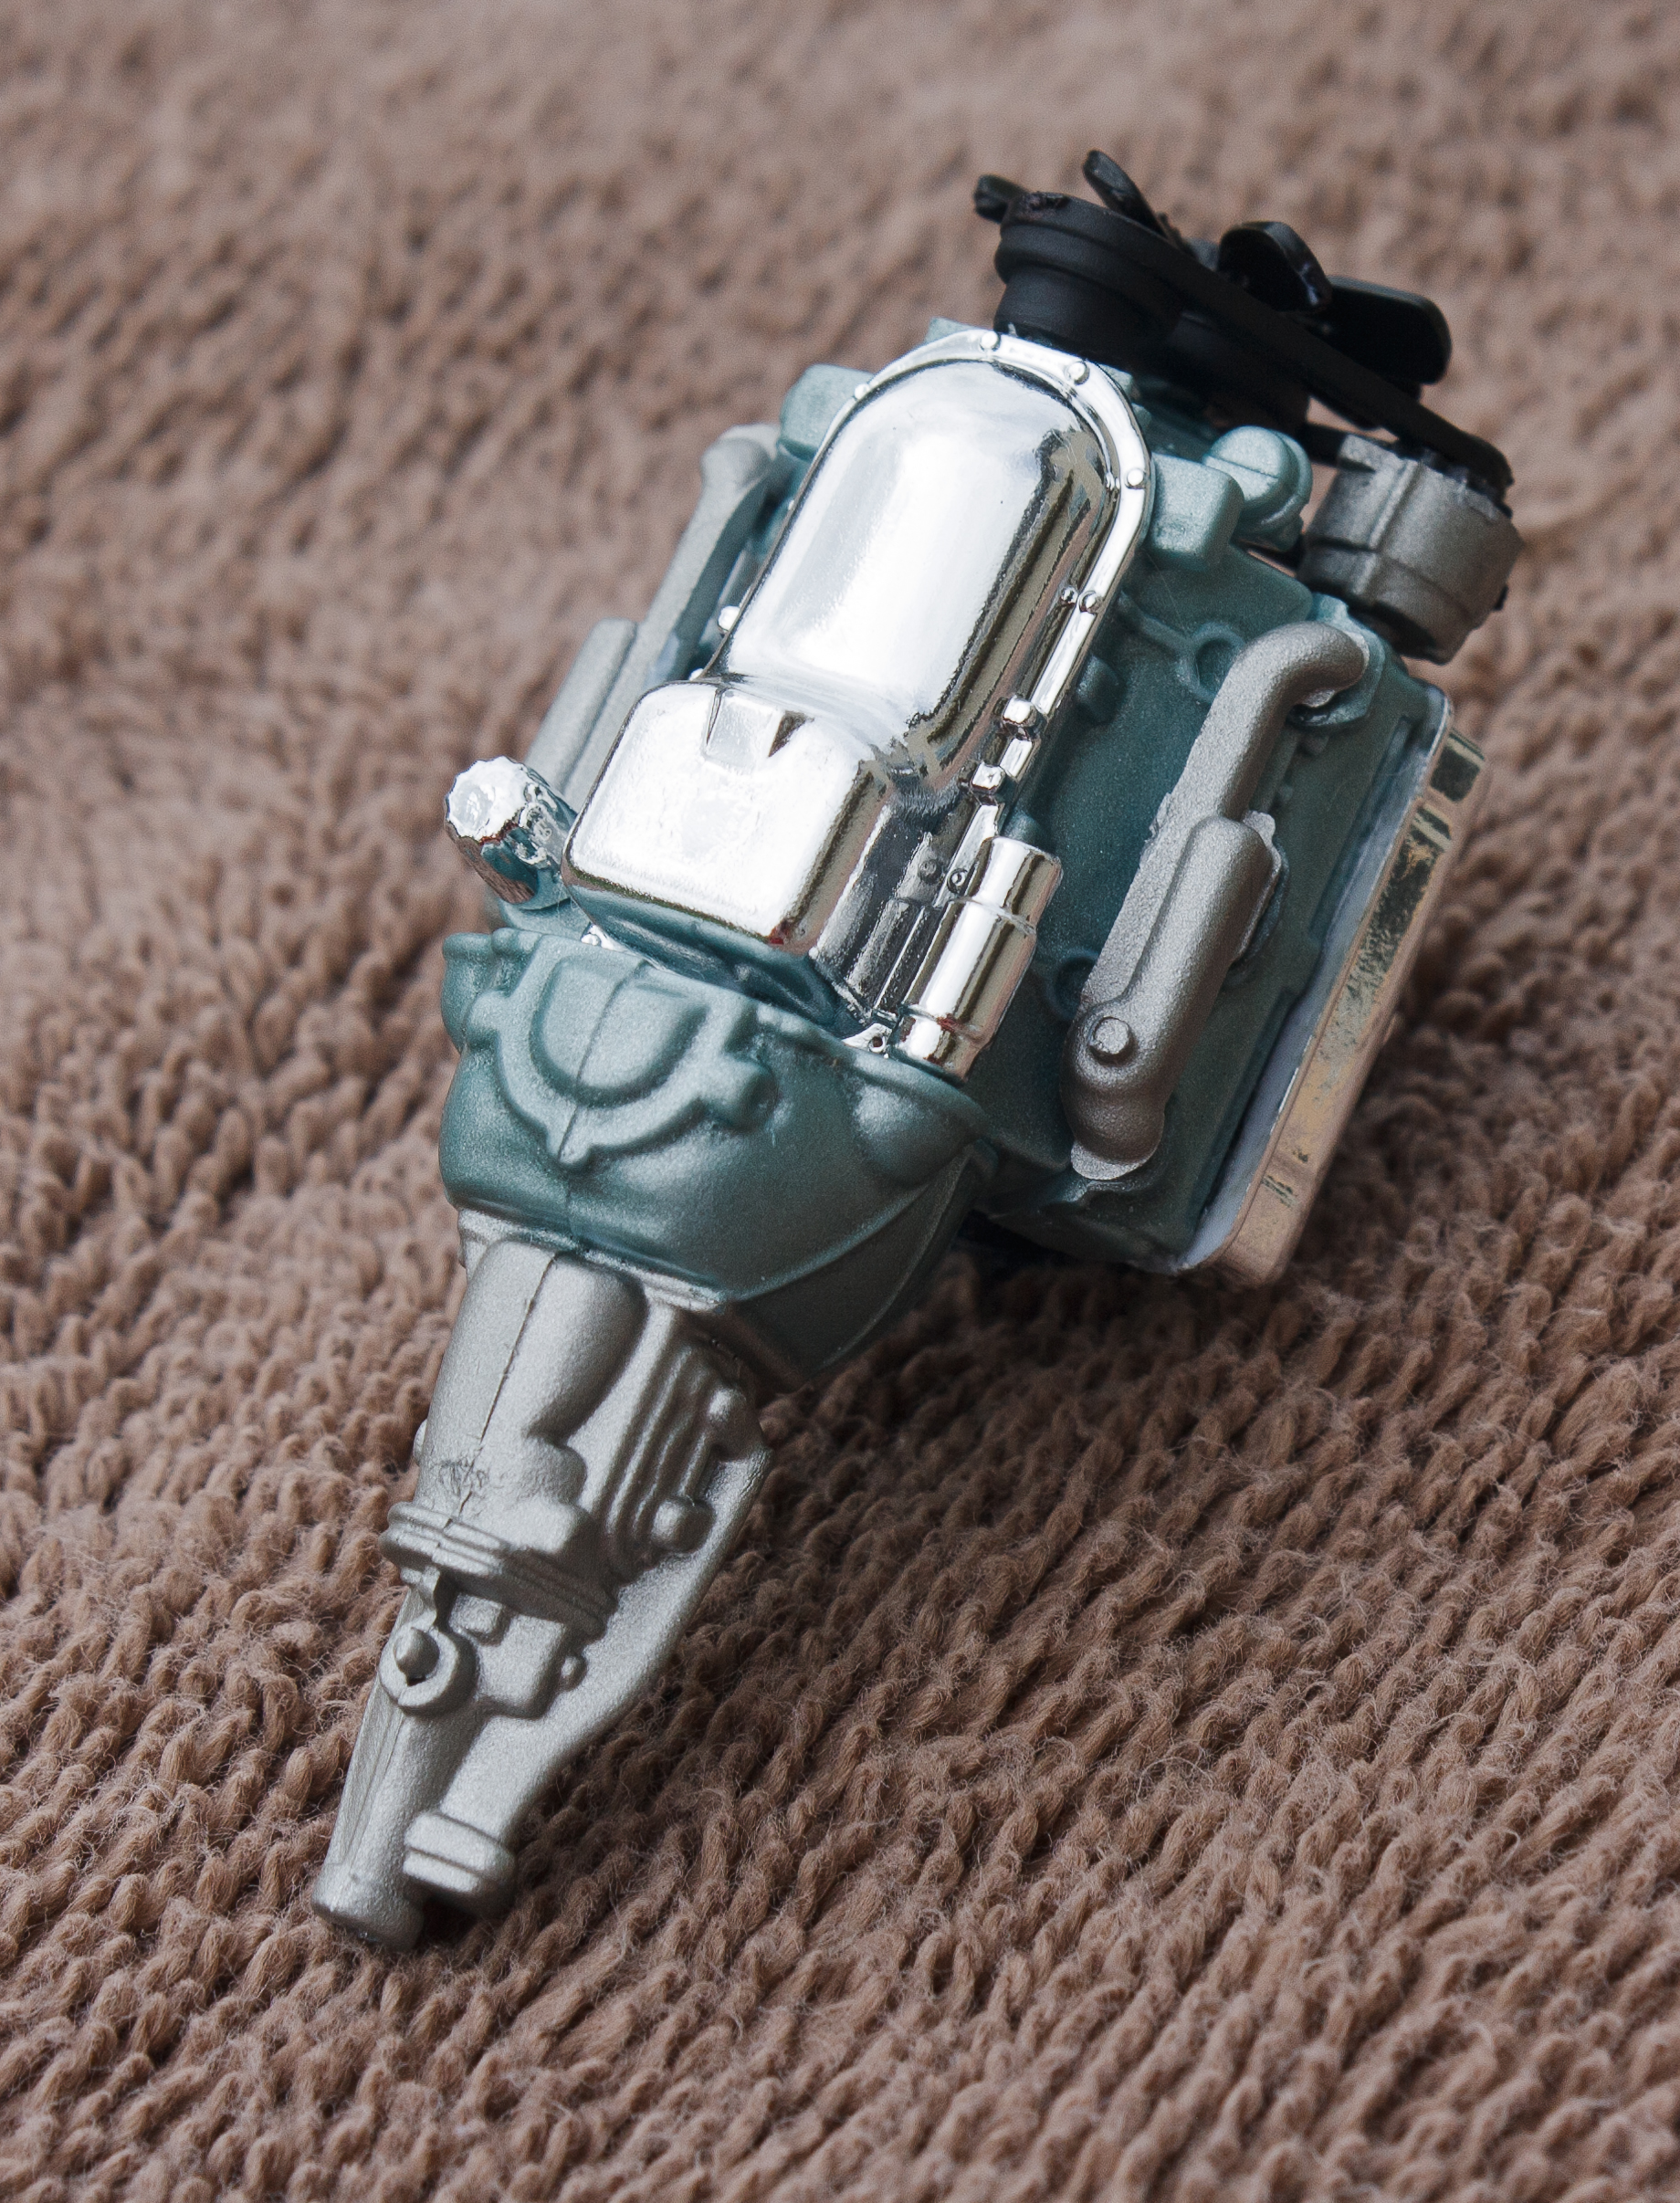
My new project! Im going to use alot of time for detailing and painting and every progress. Hopefully its my masterpiece when its finished and done. So shortly, Its going to be something special Engine has started for progress.. Not much happened so far but maybe on next week i have more time to make some serious progress.. Engine is from kit, and those Edelbrock valvecovers are from some AMT model kit, i believe its `55 Chevy Stepside.. Im using Highlight Model Studio detailing parts for this build, and here are especially photoetch set designed for 64-66 Chevy pick ups.. First i started modifying tail lights, i am filling original places with glue and plastic sprue number plates, then i will sand them smooth and use filler later for really smooth finish.. PE light will be glued there, just when im about doing final detailing.. Body work first..
-
I started this one way back in 2009, I painted it with a large can of red paint but decided I didn't like that color. I dragged it out today and did a quick color change using Tamiya TS-11 maroon. Before and after shots. I discovered I have another 60 in the box that I want to paint turquoise, so instead of repainting the wheels again, I borrowed them from this project car. Thinking about what to do with the project car, I shot it TS-11 maroon and put some tires and wheels on it from the Revell 59 Corvette kit. Plans call for a grey interior and bucket seats and center console from the parts car AMT 67 SS 427 kit. Thanks for looking, all comments welcomed.
-
Finished after 8 years, painted Testors Emerald Green with clear coat.
-
I decided to get some better pictures of this (with my iPhone!) to share. This build has held up pretty well considering I built it in 1995! Painted Testors' sky blue with a clear coat. All enamels I believe. I had not heard of Tamiya paint, and just did discover BMF, what a time capsule! Thanks for looking, all comments welcomed.
-
Started in 2011, not touched since 2013, I think it might be time to finish this, what do you all think? This is how it was on Wednesday. Thanks for looking, all comments welcomed.
-
Lessons learned on my first time, keep it simple. Single color interior, have EVERYTHING in the box or within reach. I spent about an hour total looking for stuff I decided I needed to add. Do a simple tire/wheel change if your going to do that. I spent probably 40 minutes getting those Aoshima wheels, tires, and brakes adapted to the Impala. Perhaps the Impala was not the best kit to select, lots of little parts and loads of opportunity to do detailing ate up time. However, my total build time for this model was, 20 hours, so If I could have worked right on through, I might have gotten it done. I had loads of fun though, and that is what counts.
-
After 17 years, this one finally got dragged over the finish line today. Painted Auto touch up Ultra Marine blue with Kens fuzzy fur carpet and white plastic seats. Thanks for looking.