Search the Community
Showing results for tags 'Tamiya'.
-
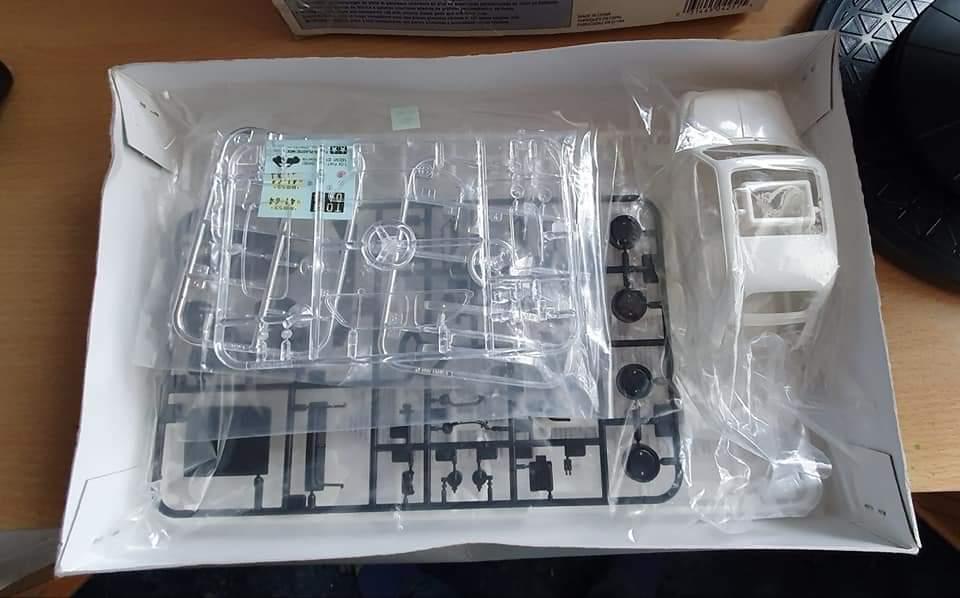
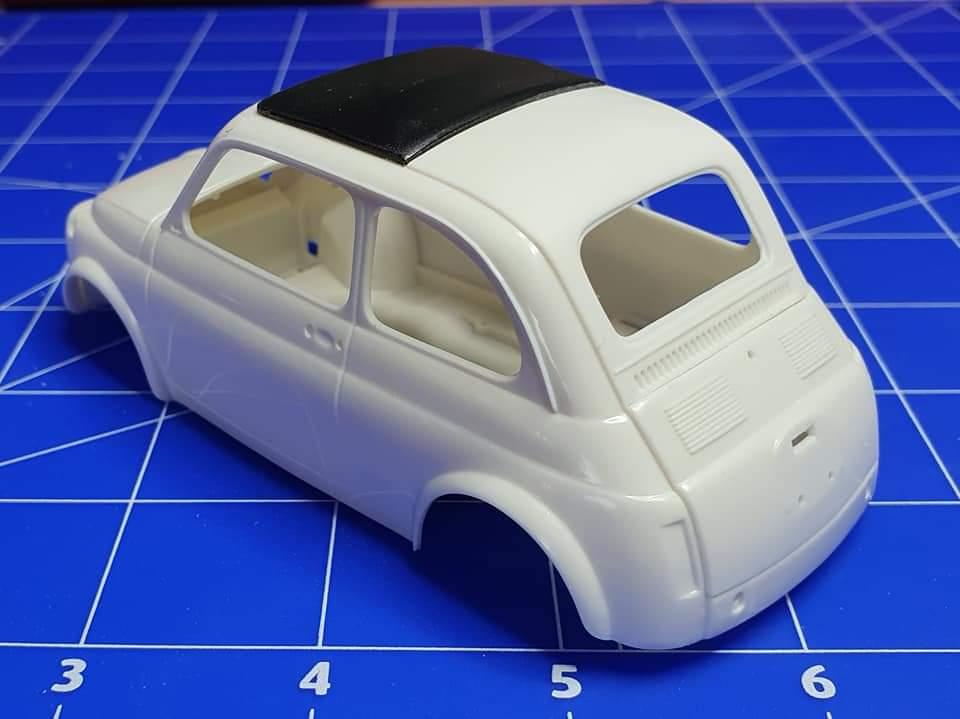
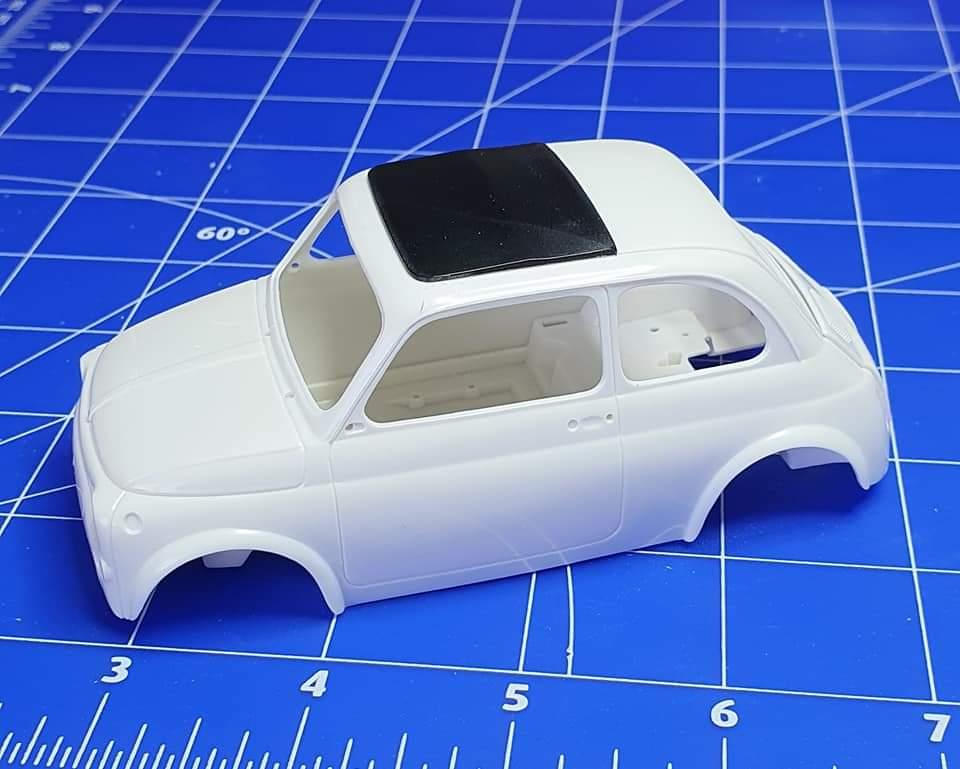
I've had this one sitting on the side for a while, after buying it on eBay, sadly when it arrived the tyres and polycaps were missing, a good friend got in touch with me to say he had the parts I needed, so as I've got a few models on the backburner ready for airbrushing, I'm going to make a start on this one, I've had the paint mixed up for a few years, Positano yellow, which was the colour of my second car, a Fiat 128. it's been a while since I've built a Tamiya model kit, I think the last one was the Citroen 2cv, I think I need to build more of my Tamiya kits in the stash, the parts fit is superb, just a very fine mould line to remove running along the top of the rear window, but the rest of the bodyshell is devoid of any more mould lines, the engine cover and sunroof are only dry fitted at the moment.

-
 Here are some photos of a recent commission build of a Spitfire by Revell in 1:32 scale. Its a straight out of the box build using Tamiya paints. Very nice kit, well detailed and relatively simple to build. Thanks Chris www.wardsmodelbuilder.com wardsmodelbuilder@outlook.com
 -
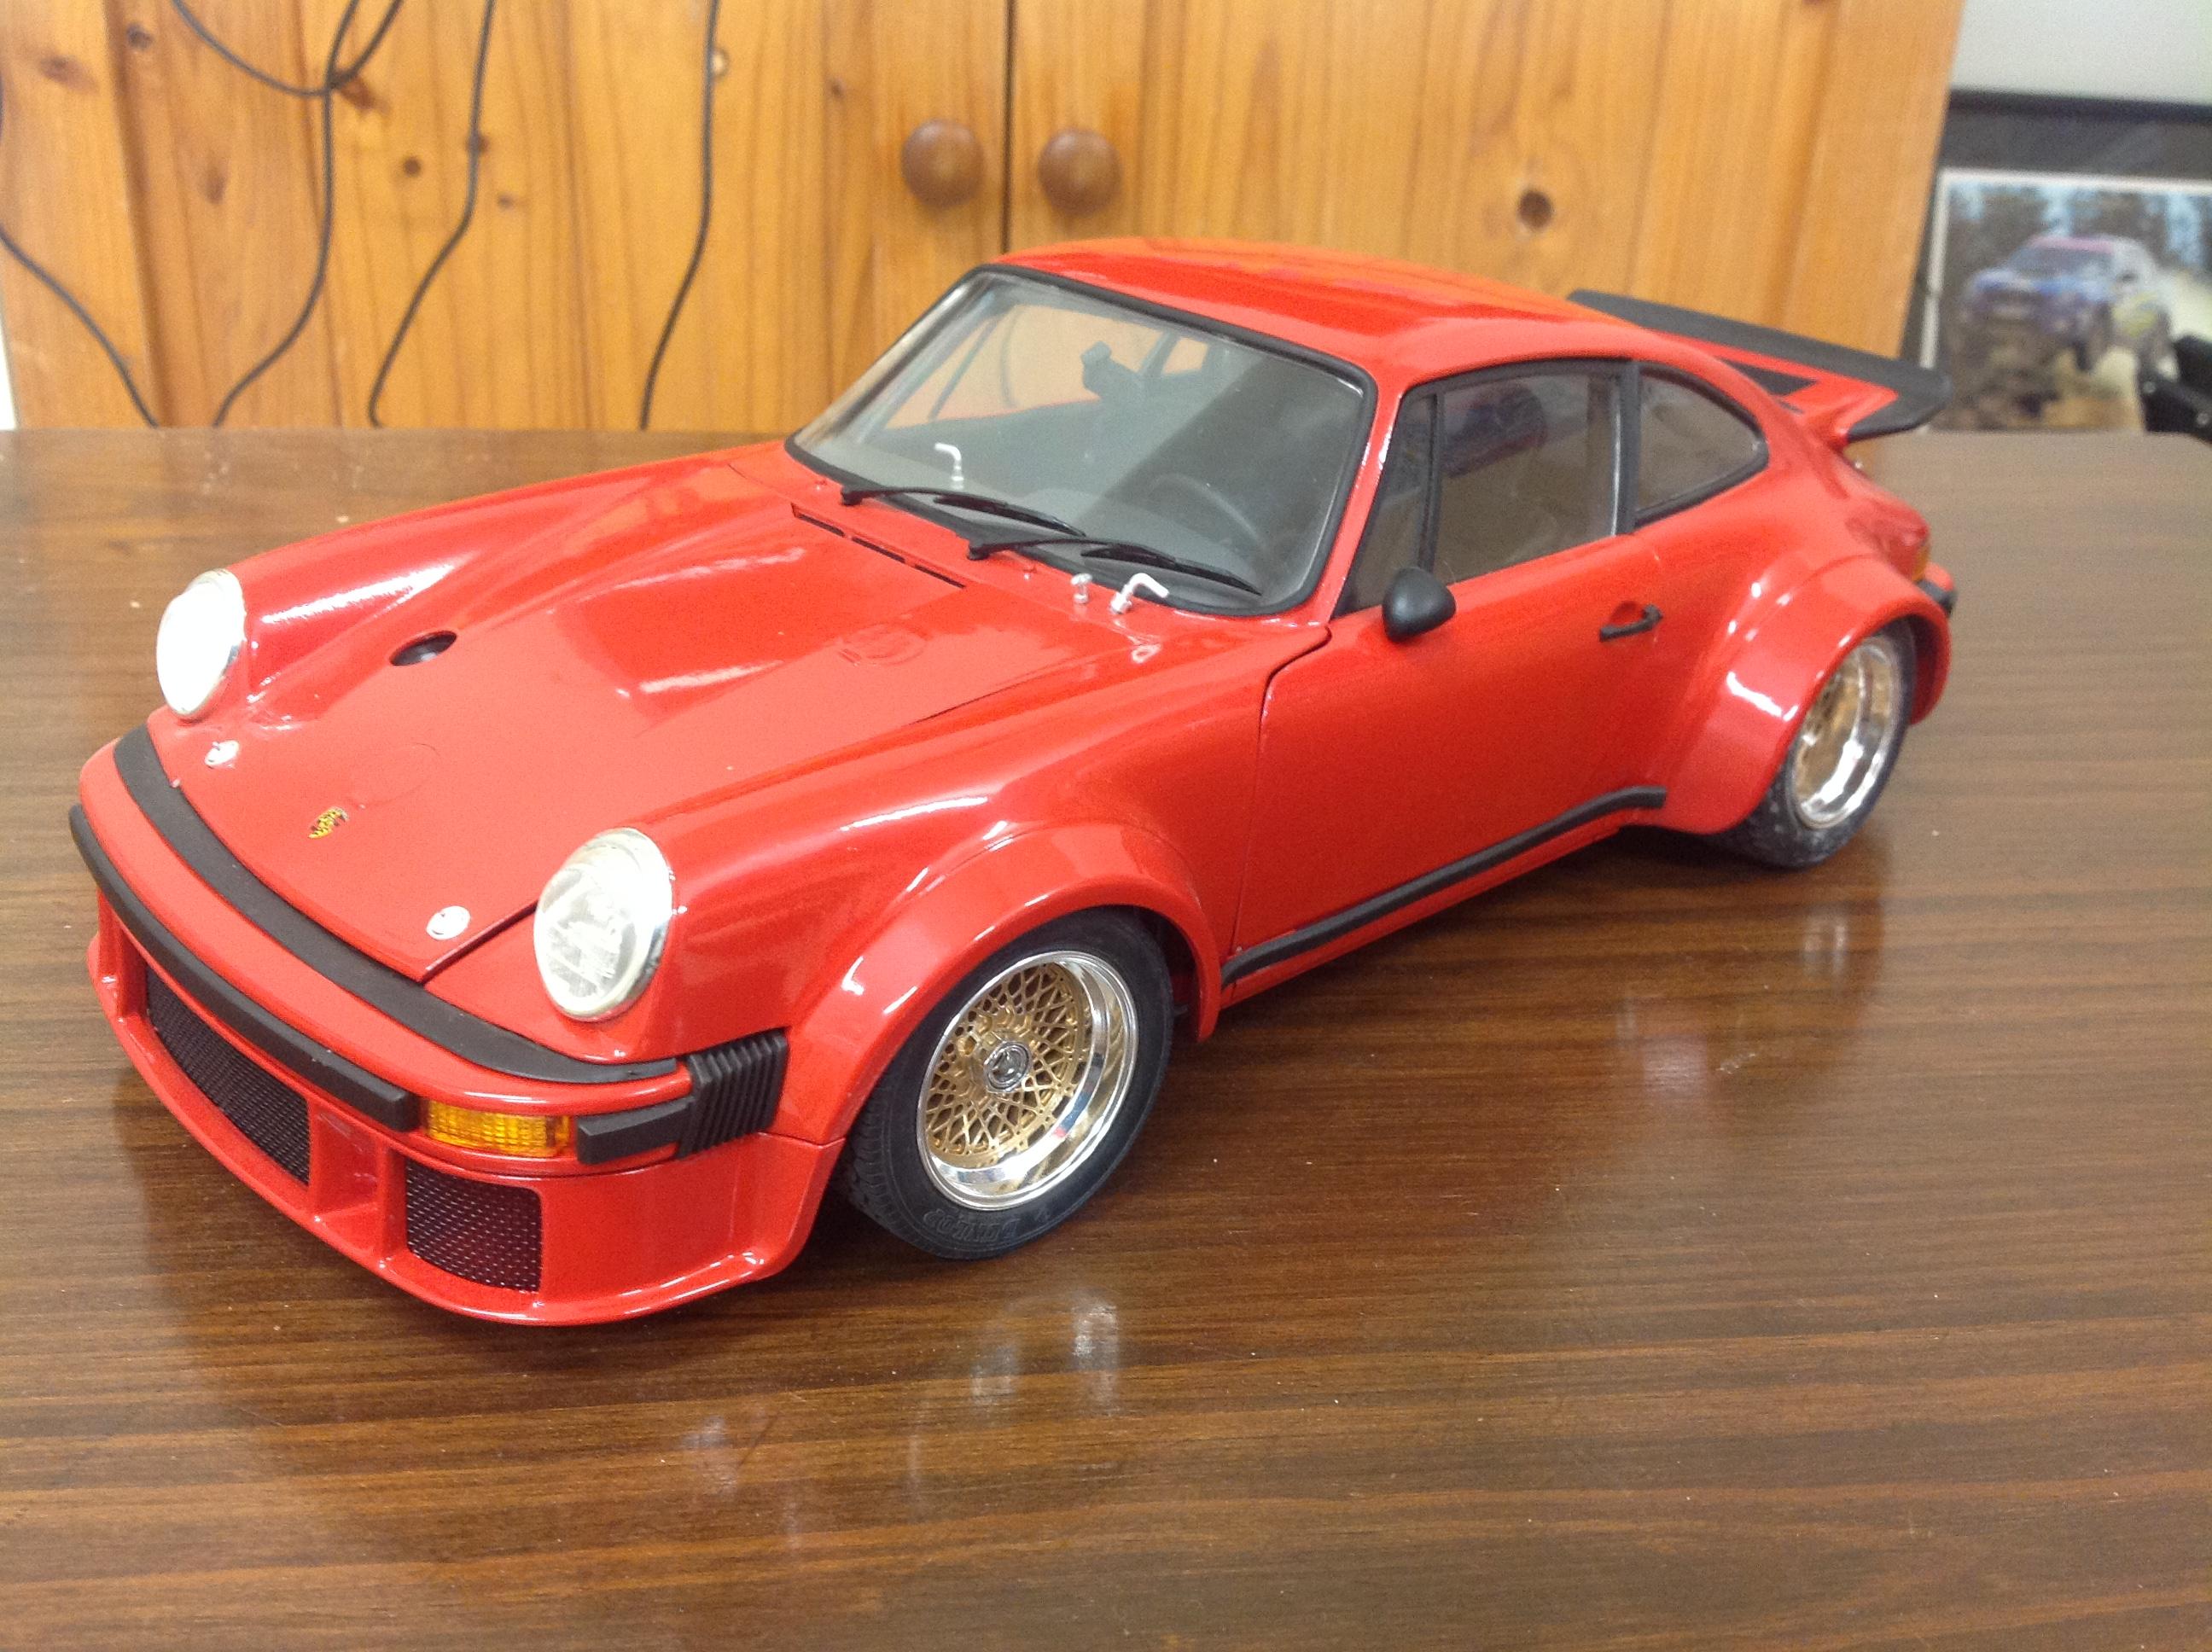
Built this one many, many years ago from the original release 1/12 scale kit by Tamiya. Built box stock with a Guards Red rattle can finish by Testors from memory (no clear coat). Enjoy! Cheers....Geoff
-
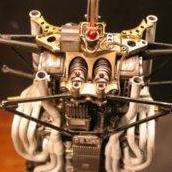
Well, everyone, i could not resist starting another car....when you feel motivated this strongly, you gotta go with it, right?! This will be another Uber build for me, and like always, i have some different suprises up my sleeve. What i will tell you now, is that it will be a road car, and it will be semi-gloss white. I spent hours, and hours trying to find detailed photos of the engine, and suspension, but couldnt find that much, so i will do my best with what i did find. I started off by doing as many pre-assembly things i could, and filling seams. I havent started sanding yet, but later today, i will have photos of all those bits.
-

Tamiya McLaren MP4/6 build
Josie posted a topic in WIP: Other Racing: Road Racing, Land Speed Racers
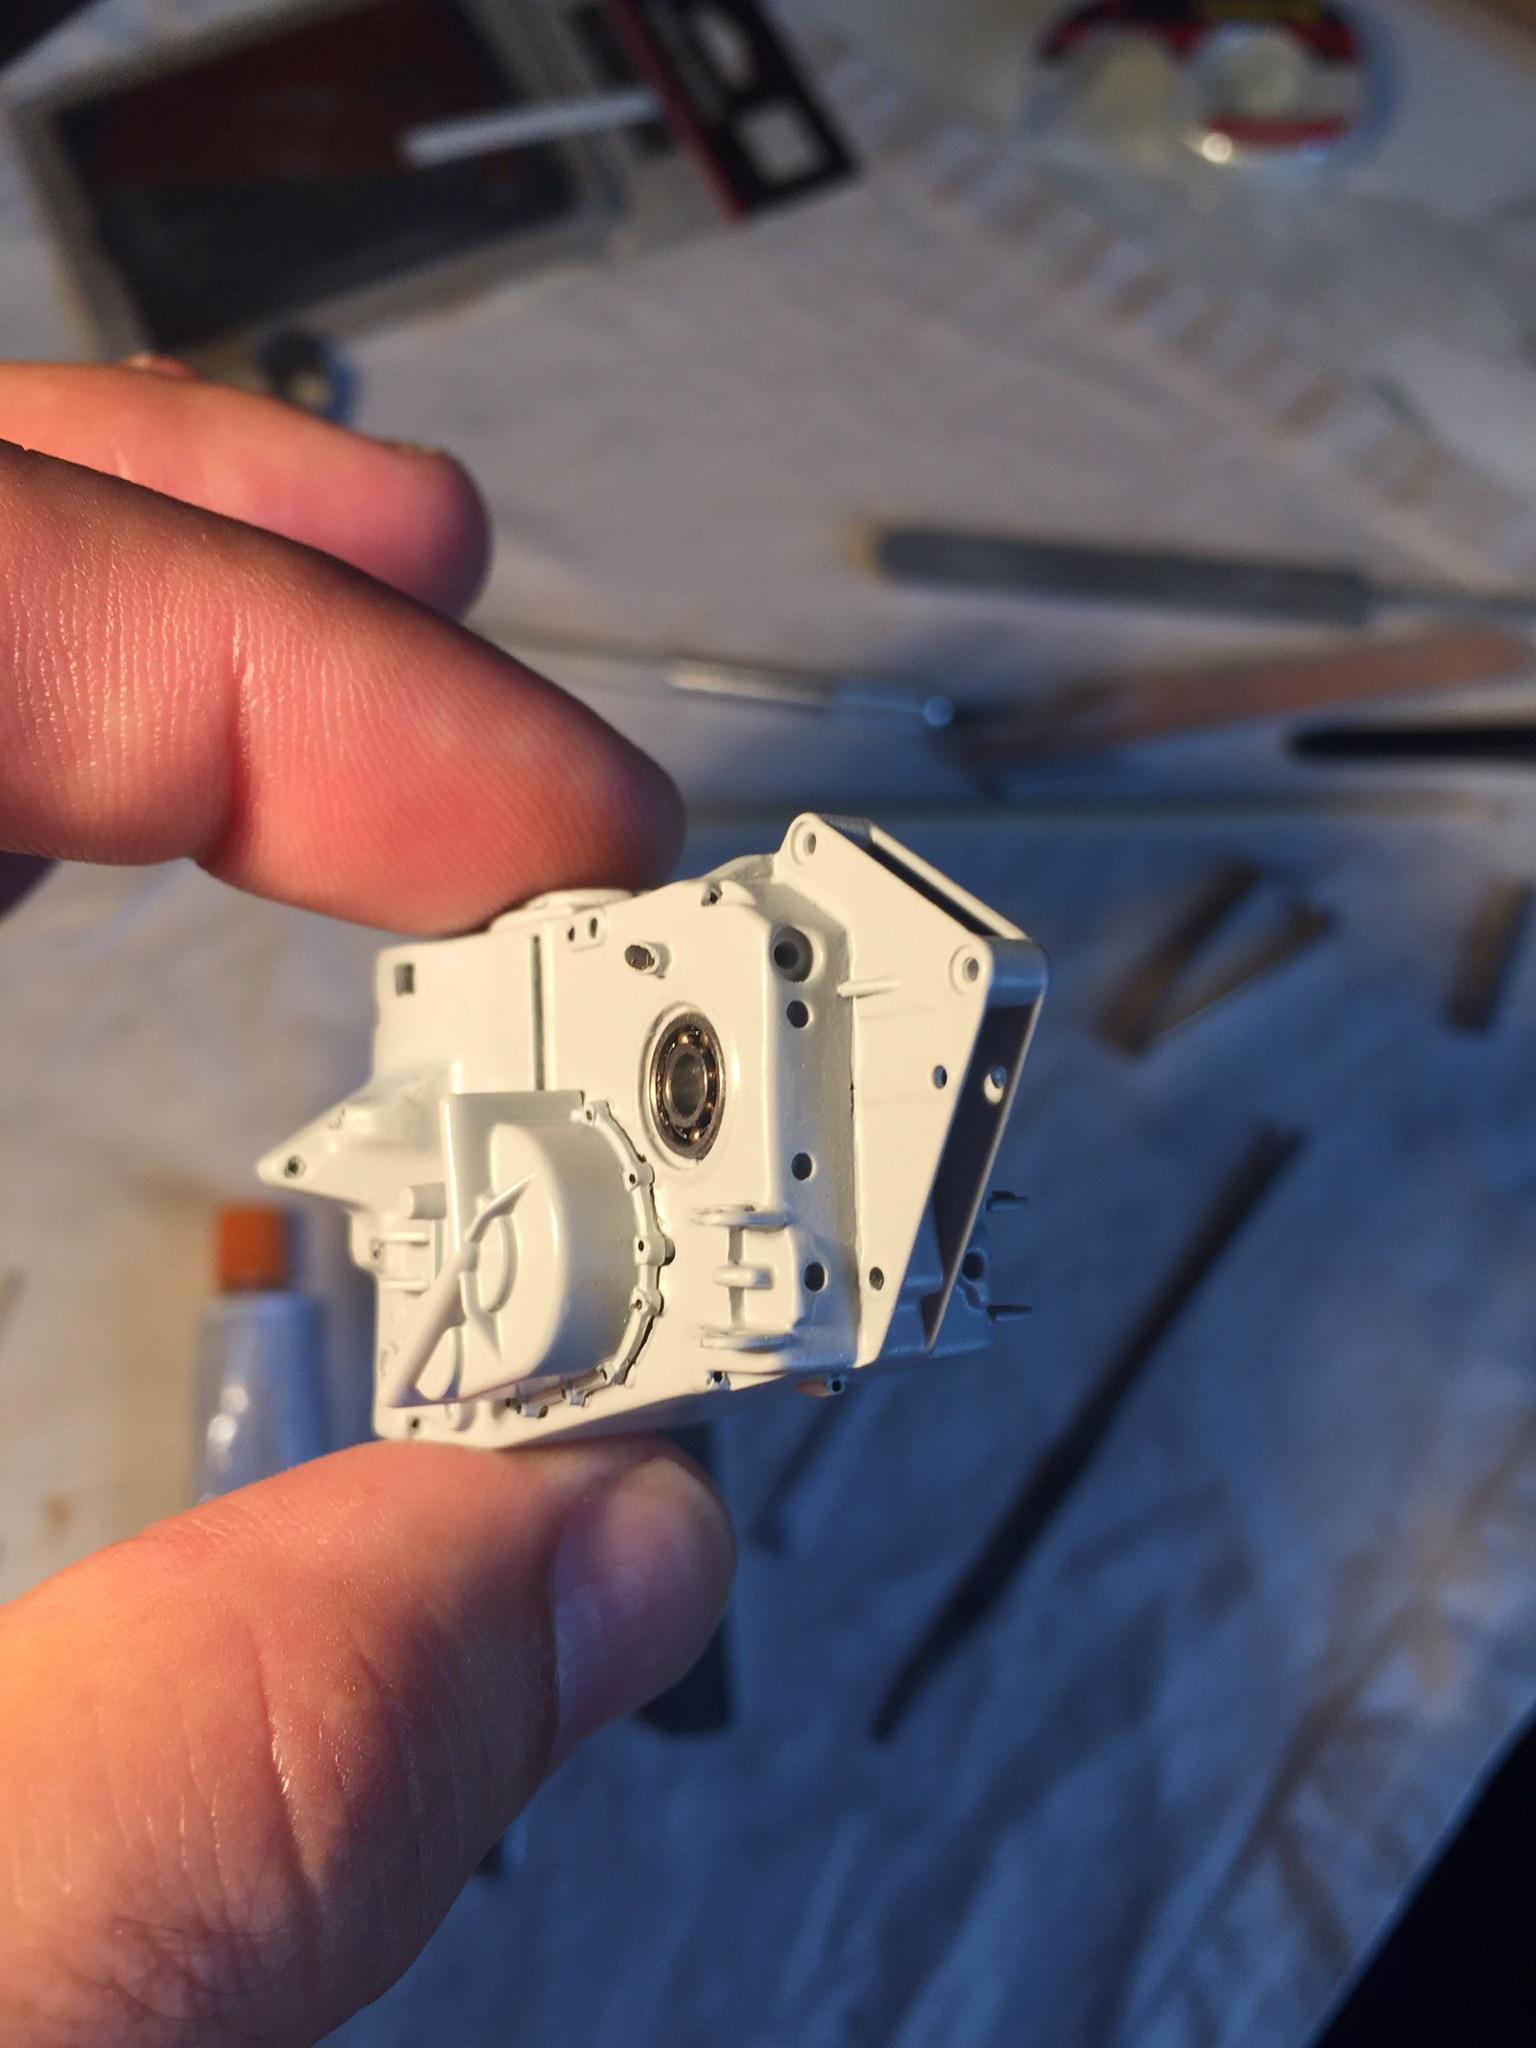
So a little bit of background for you guys about me. I’ve been building model cars since I was in my teens thanks to my mom who bought my first kit thinking it was already built but surprise surprise it was in bits so guess what? Yep I had to build it myself. Back then I must have just used glue, a knife and maybe some paint and that was the extend of my modeling tools. I then concentrated on building war planes but then my passion for race cars increased so I started building Tamiya 1/12 scale models. I then took a long long break from modeling because of my profession which was bring a race car mechanic and later engineer. So anyways back to the model. I’m a fan of Senna and saw him race numerous times when I was a mechanic so I decided to build his championship winning McLaren. I bought the kit and also the Top Studio upgrade bits to make a more realistic model. I try to aim for realism as much as I can. Being a mechanic I know how and where those parts go but more importantly what they should look like. Now my methods are a bit unorthodox as I don’t build the car according to the instructions because to me it doesn’t make sense. So for example I started with the gearbox but I separated the gearbox from the engine. I’m basically building it like I would a real race car. Hopefully you modelers will like the build and feel free to comment as I go along.
-
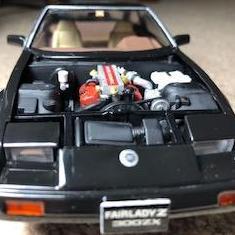
Finally took some pictures of the finished Z. Great Tamiya kit. Its a testament to great engineering, when 20+ years after you built it as your FIRST EVER Tamiya kit you build it again, and you are as impressed and happy. Box stock, custom mix of White Pearl for the body, and Tamiya acrylics for interior.
-
Since I finished with Miata, time to pick another quick box stock to keep the ball rolling. I have a few kits that I do want to build and put on the shelf, but I don't want to superdetail or spend way too much time on them - so these Tamiya box-stockers are perfect way to do just that. This is another Nissan that I have built close to 20 years ago when I just started getting hooked on these Tamiya kits, and it also did suffer at the hands of my nephews long time ago and was blown to bits probably at some point. Time to build another one. IMG_1601 by Italian Horses, on Flickr When I buy kits that were re-issued at some point, I always try to get an original release - for the history of it first, and the fact that molds are usually much better than subsequent re-releases. The only case where that might not be the best way to go is with older race cars, where original decals might be a problem - they usually do deteriorate over time. This one doesn't have many decals, thank fully. Just like I like it - original Tamiya release of 1989 in a grey bottom box with original catalogs, crinkly tamiya plastic, yellowed instruction sheet and that unforgettable smell of a 90-s kit! IMG_1602 by Italian Horses, on Flickr The kit is curbside, rather simple, but that is not the point here. S13 is a legend, and look at that shape! 80-s minimalism at its finest! IMG_1604 by Italian Horses, on Flickr Will be painted factory Bluish Silver with gun-metal skirts. Wish me luck!
-
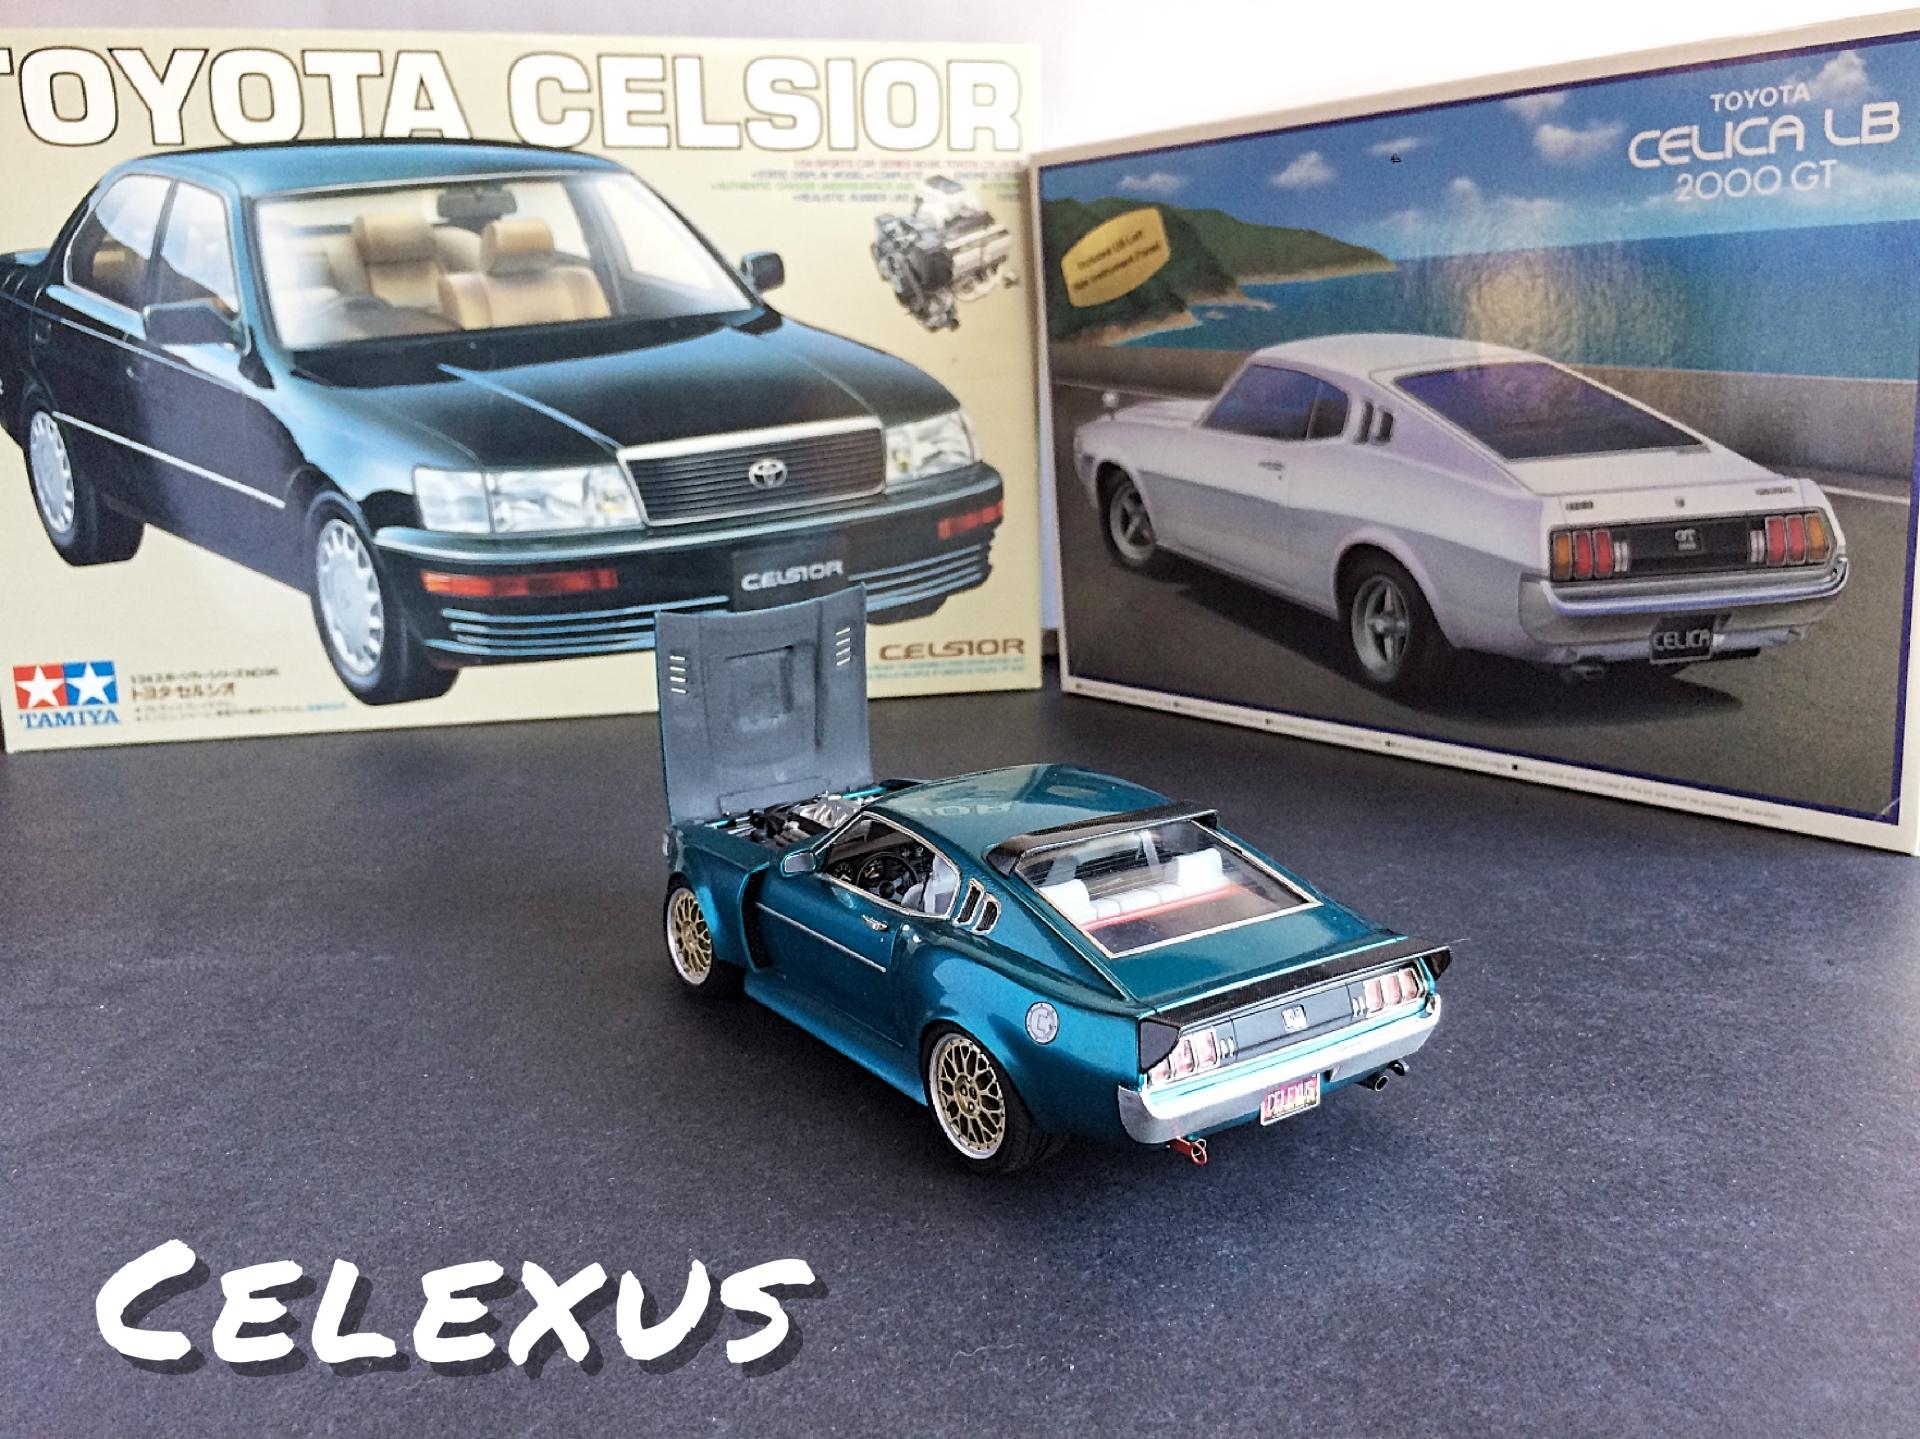
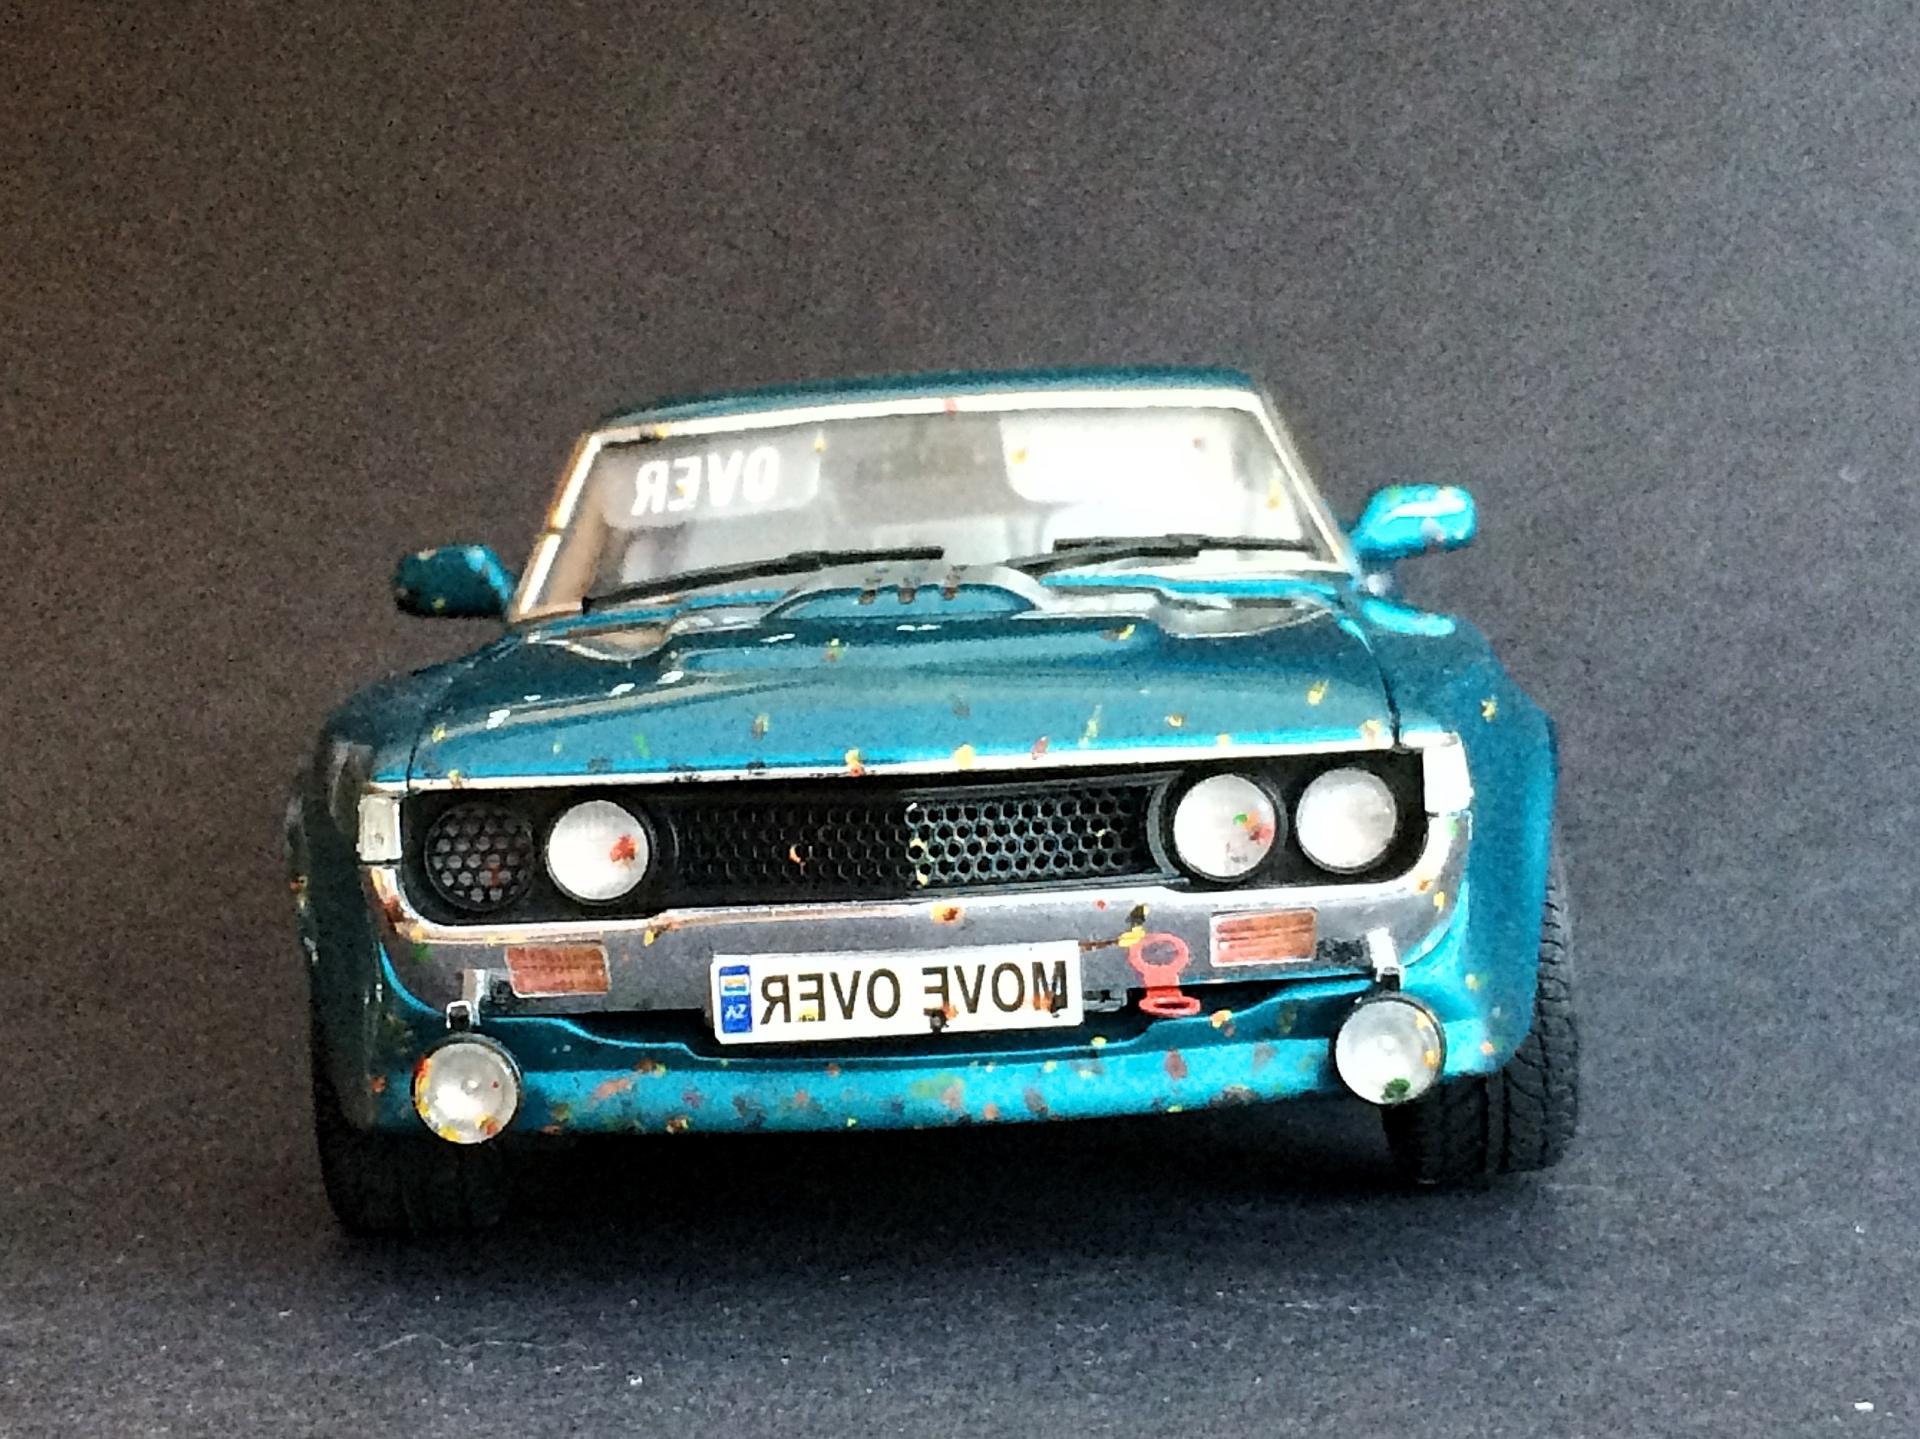
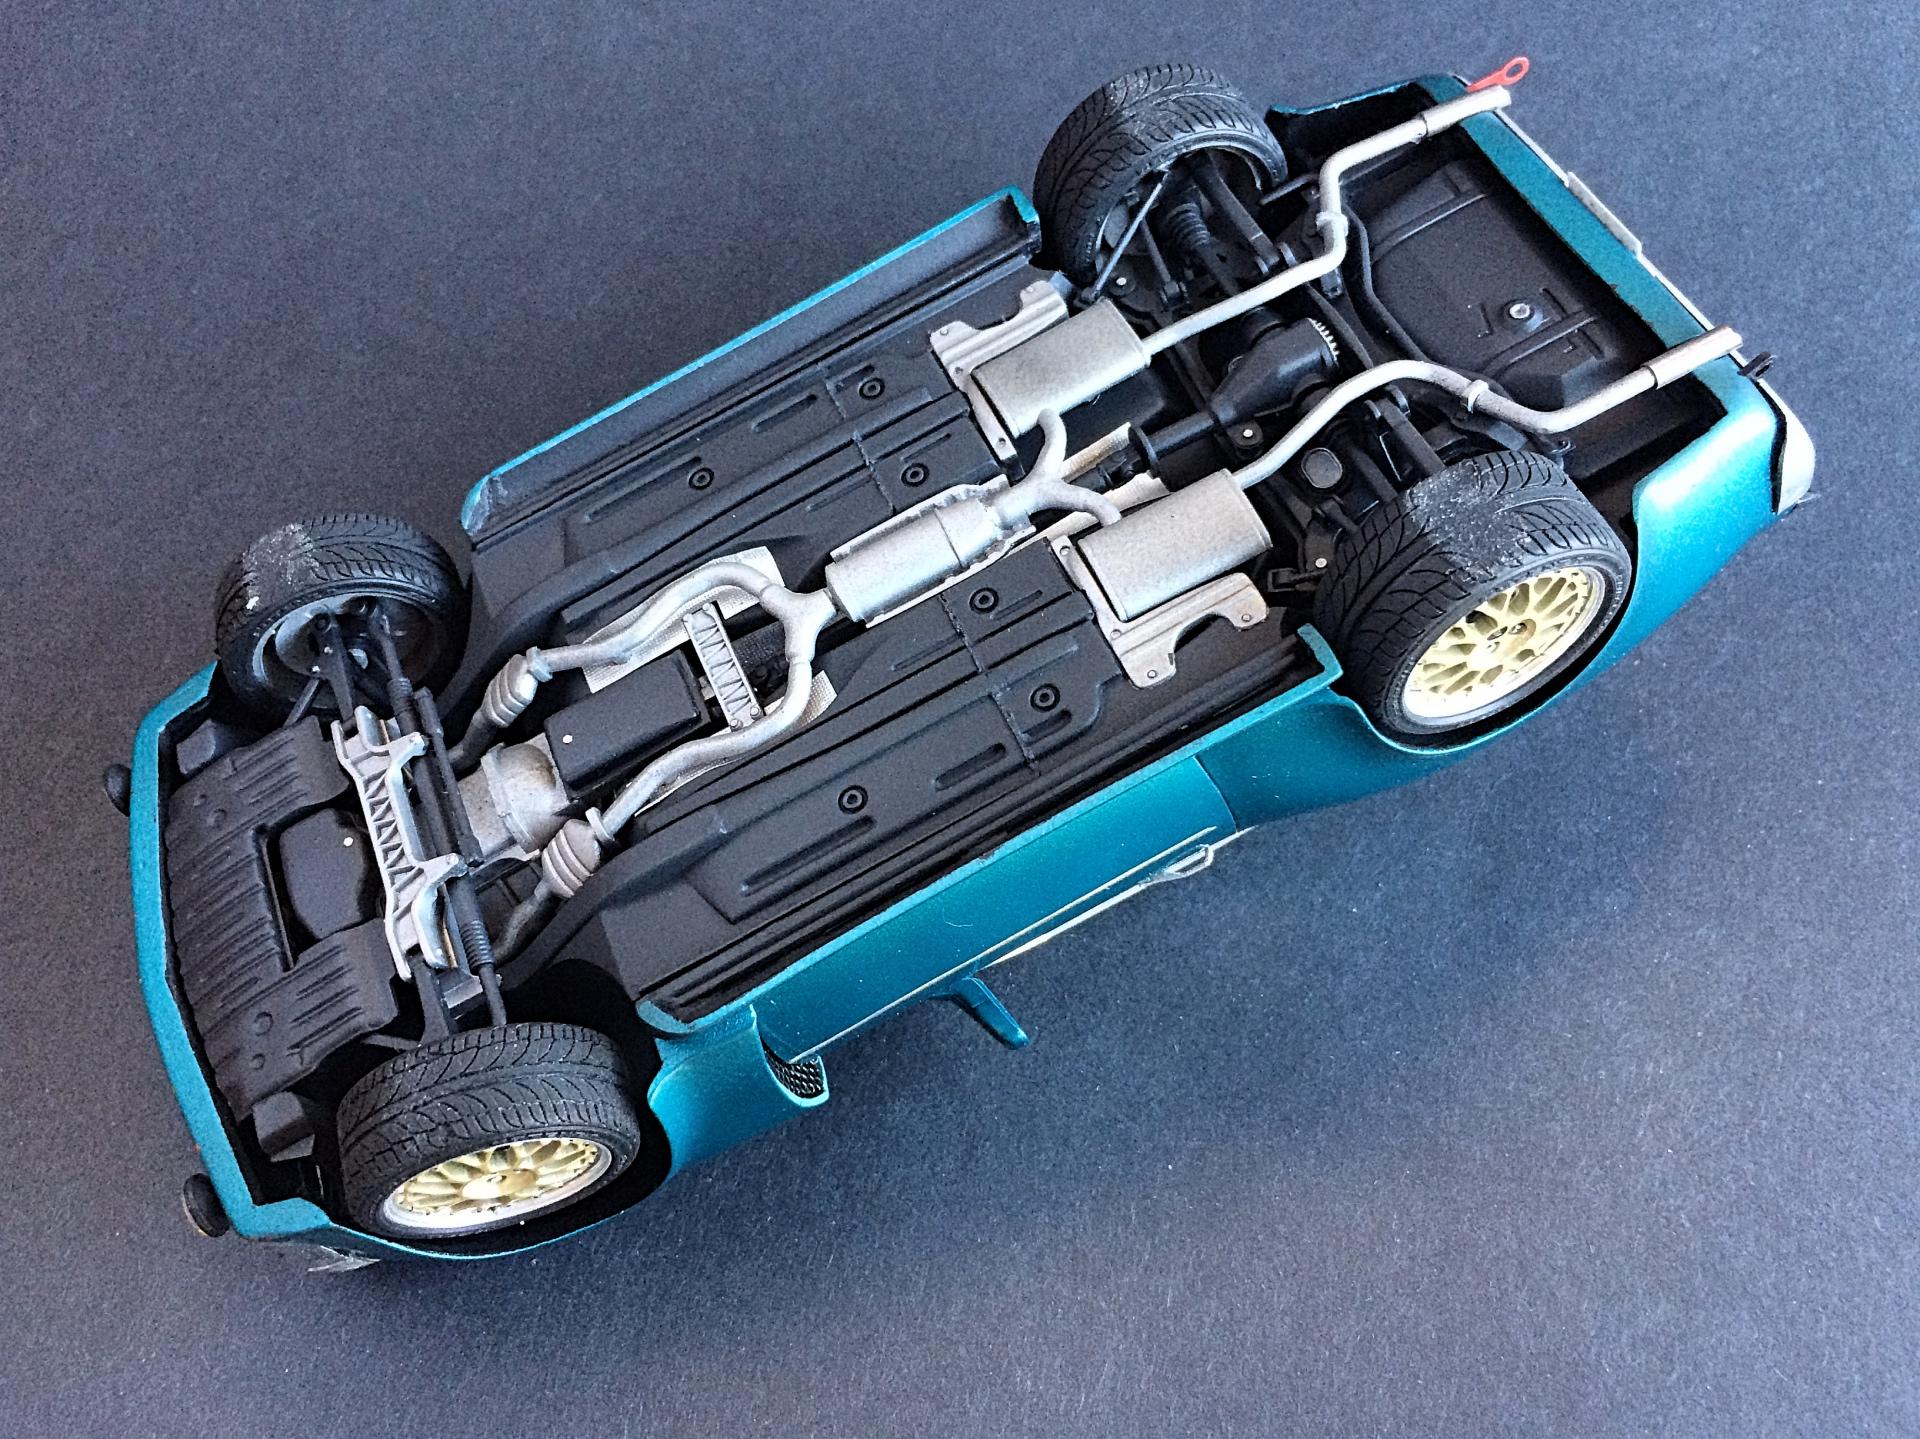
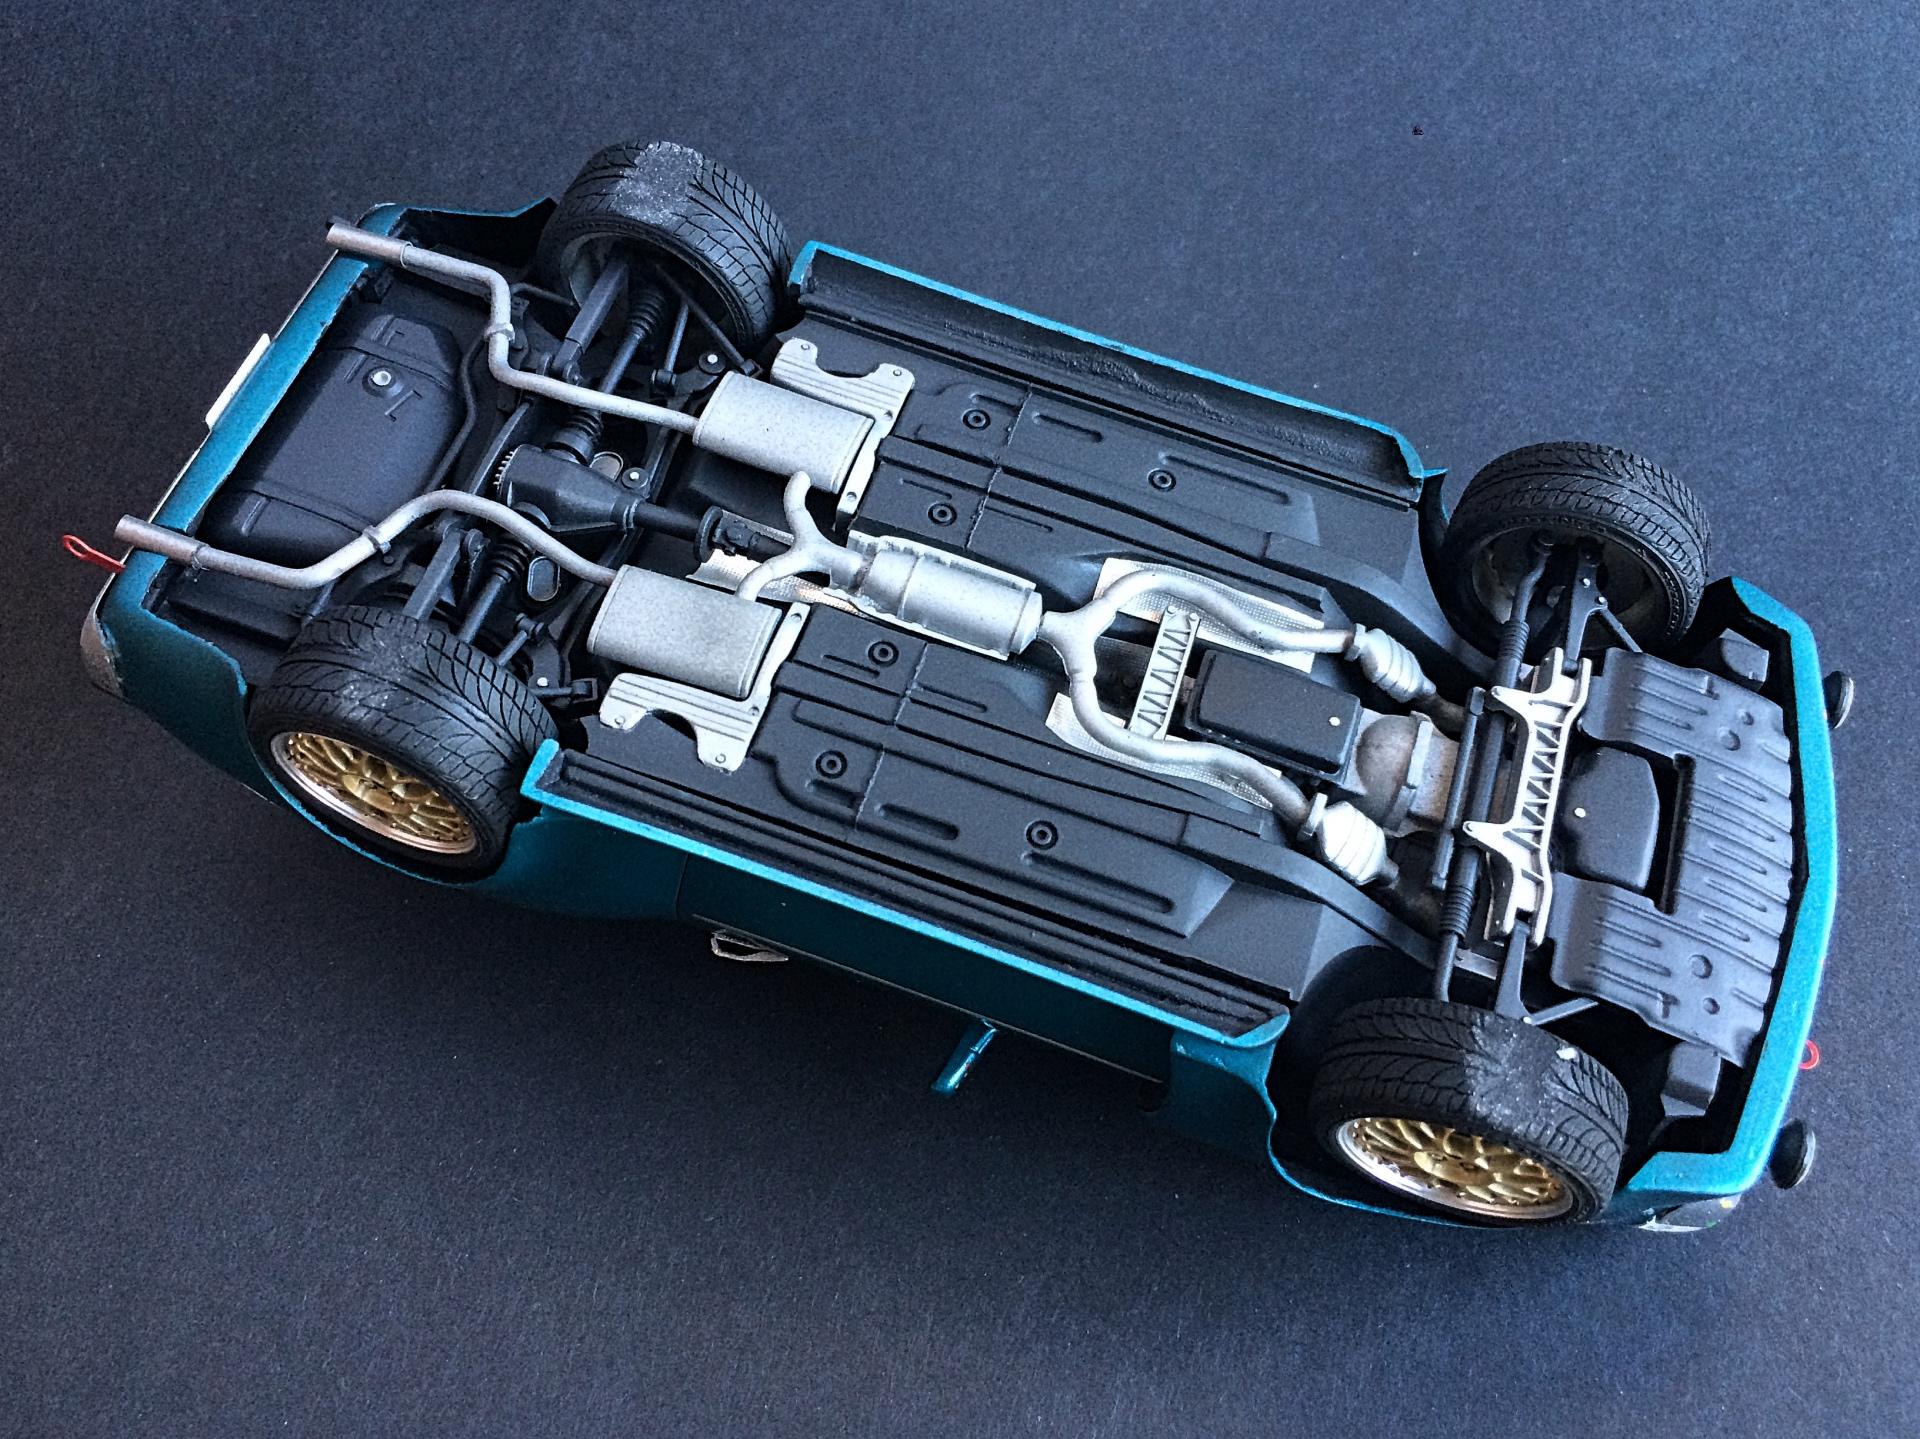
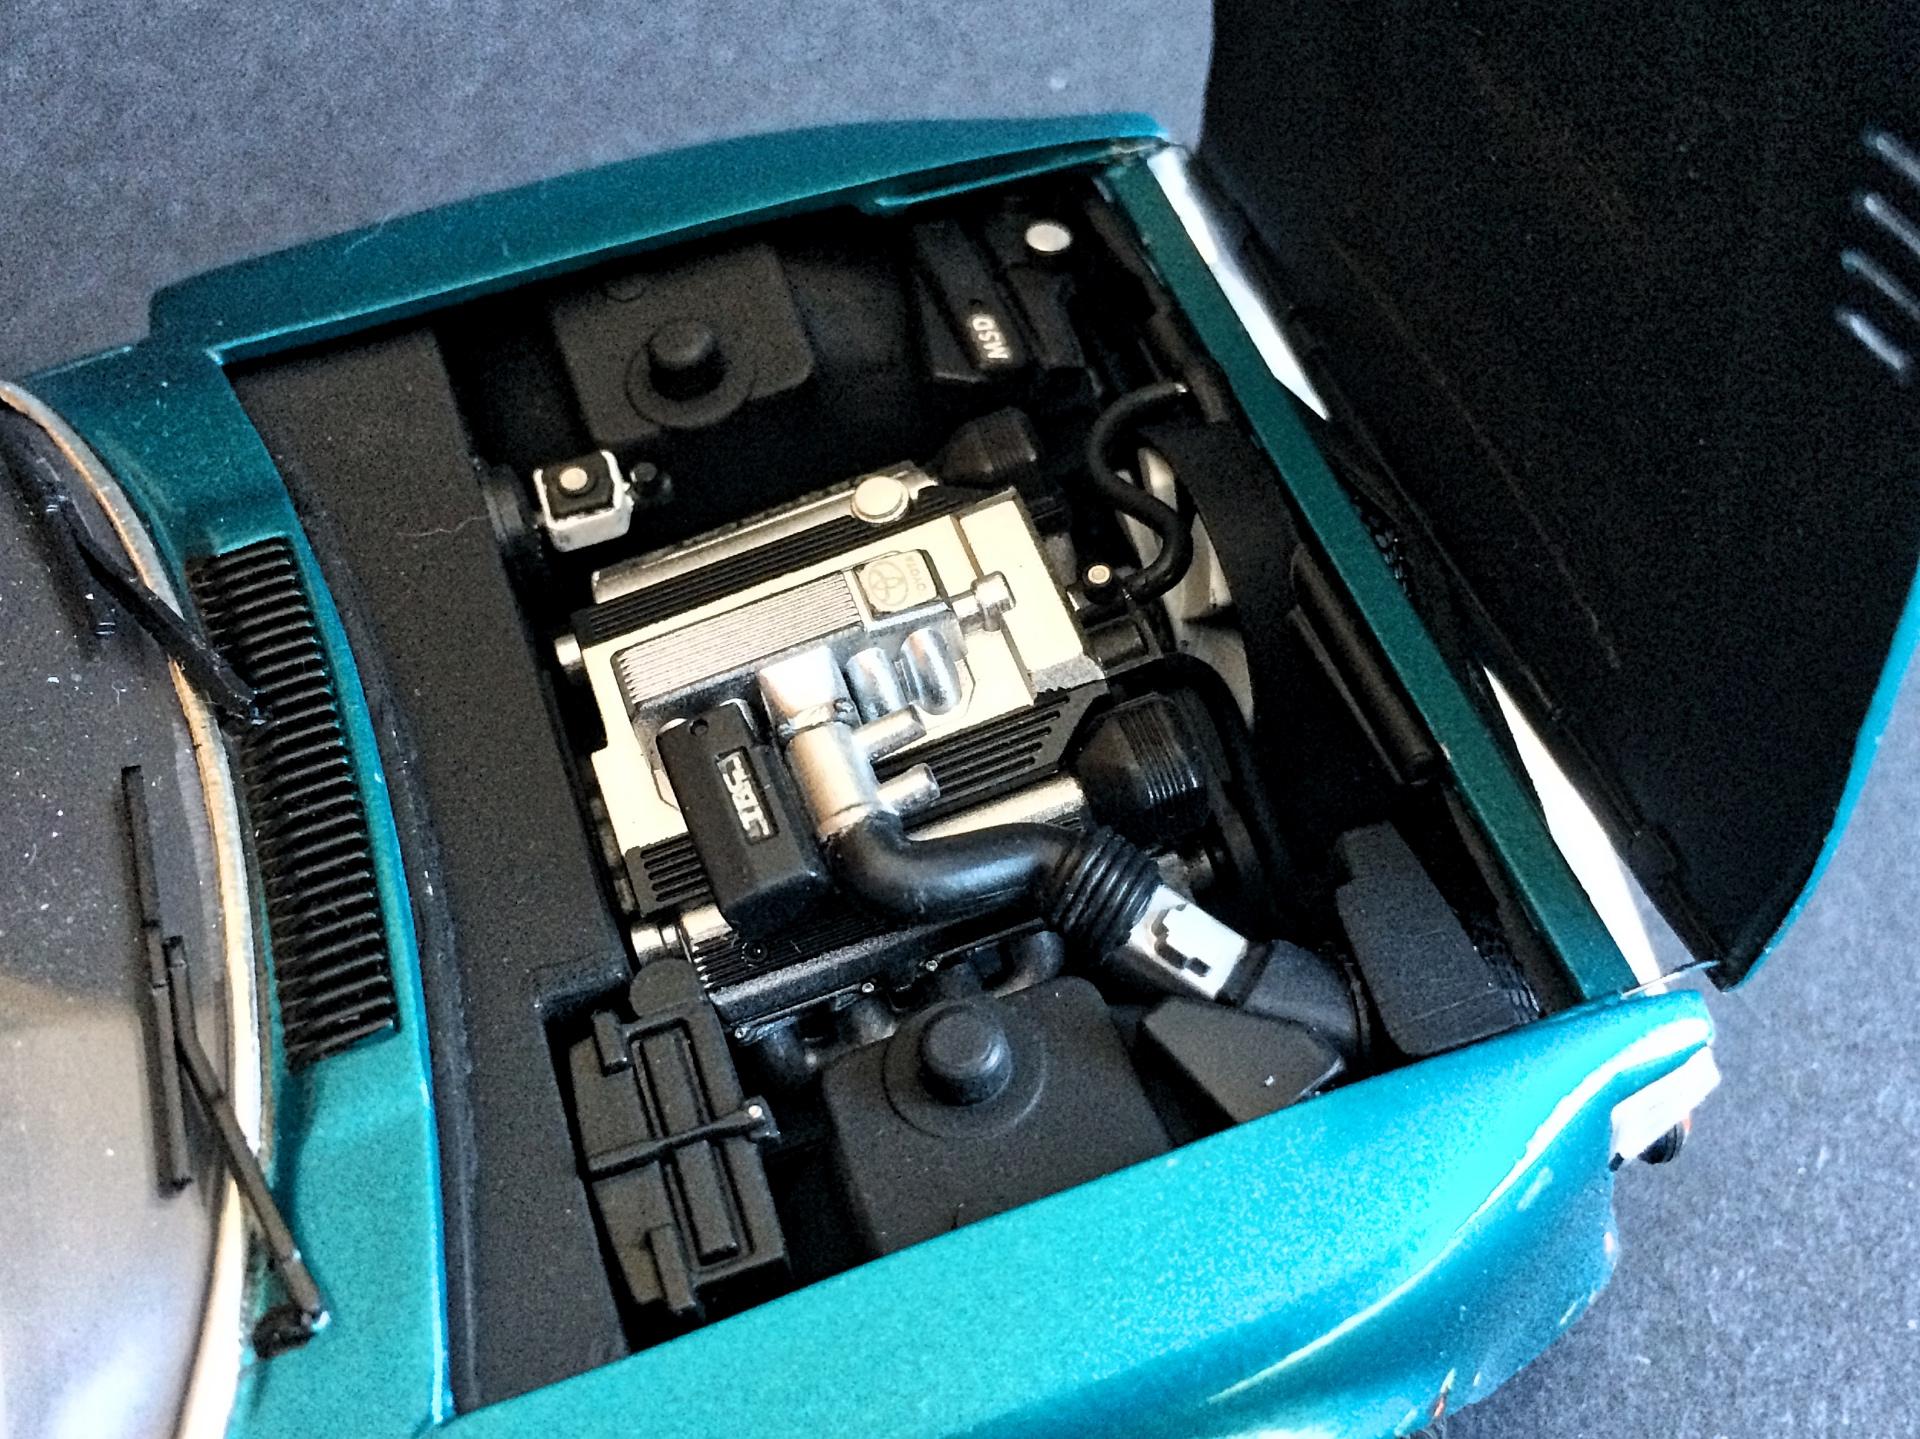
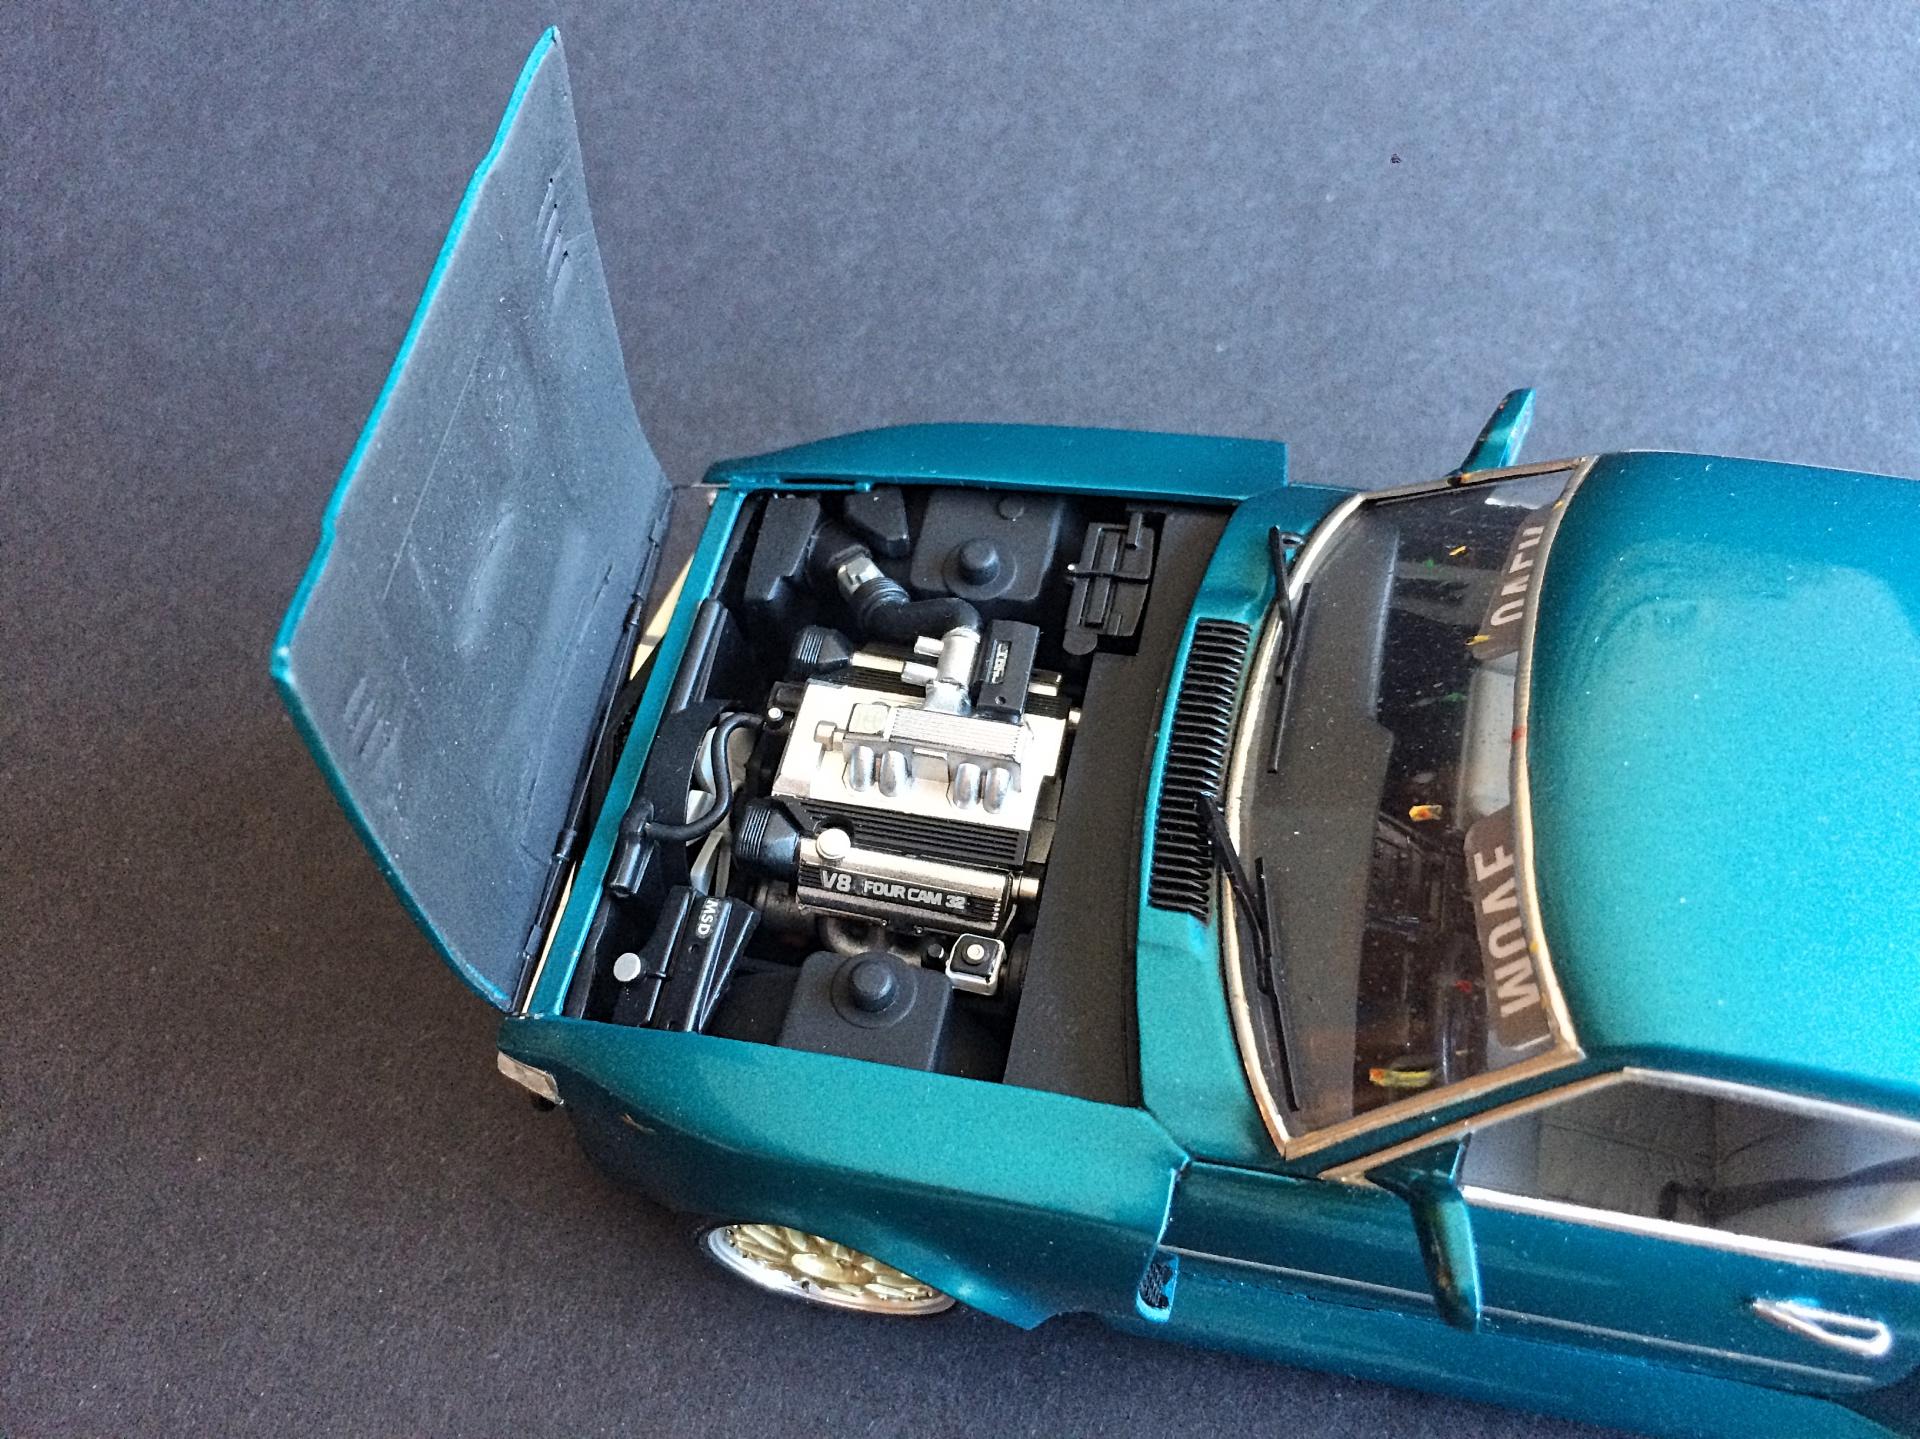
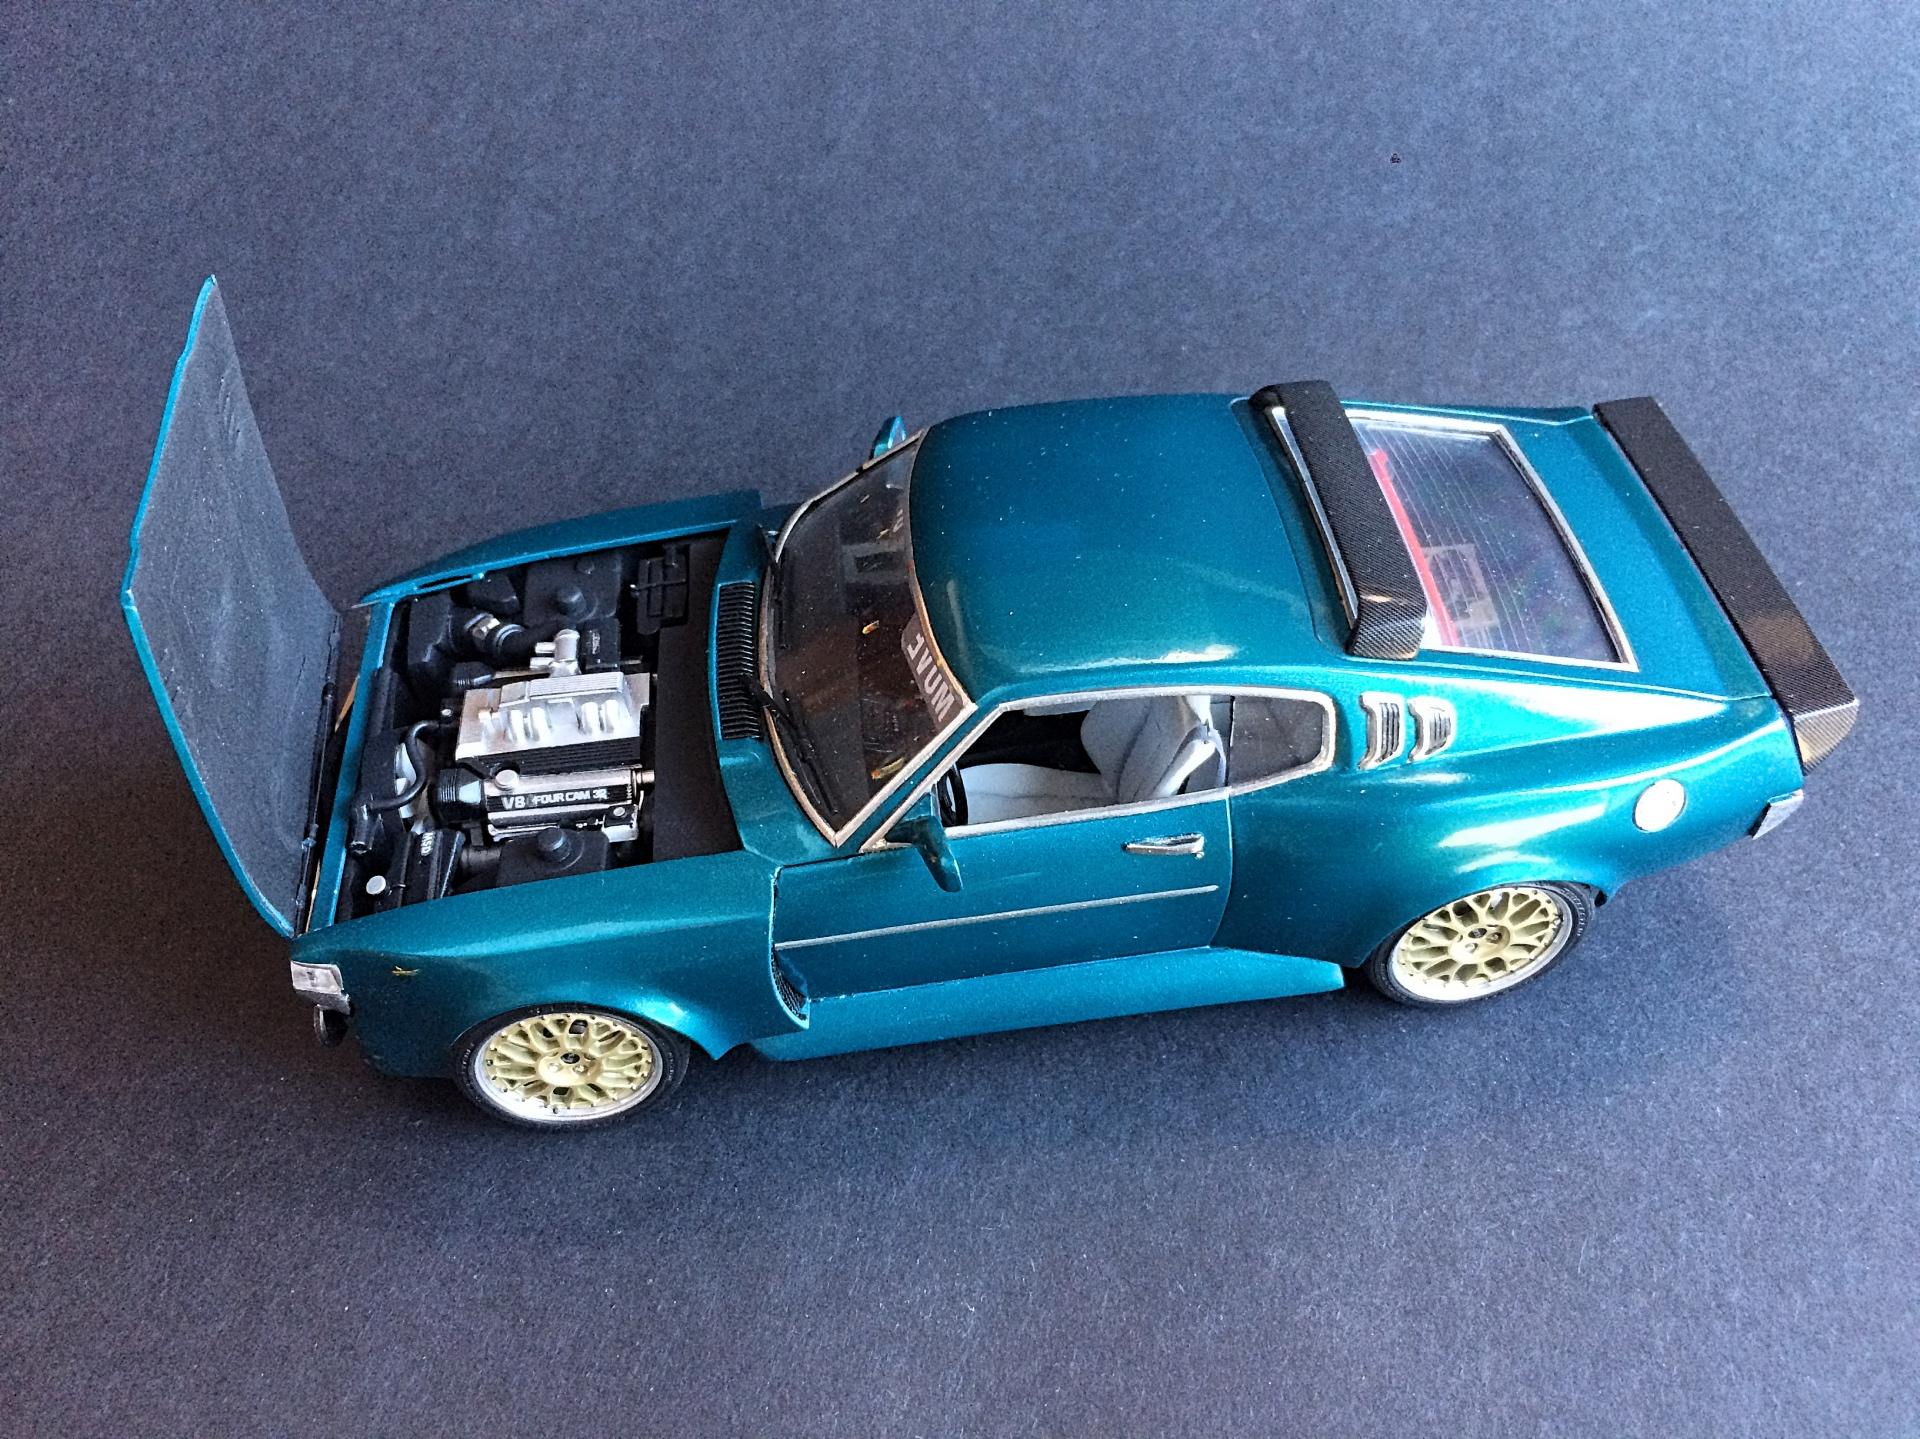
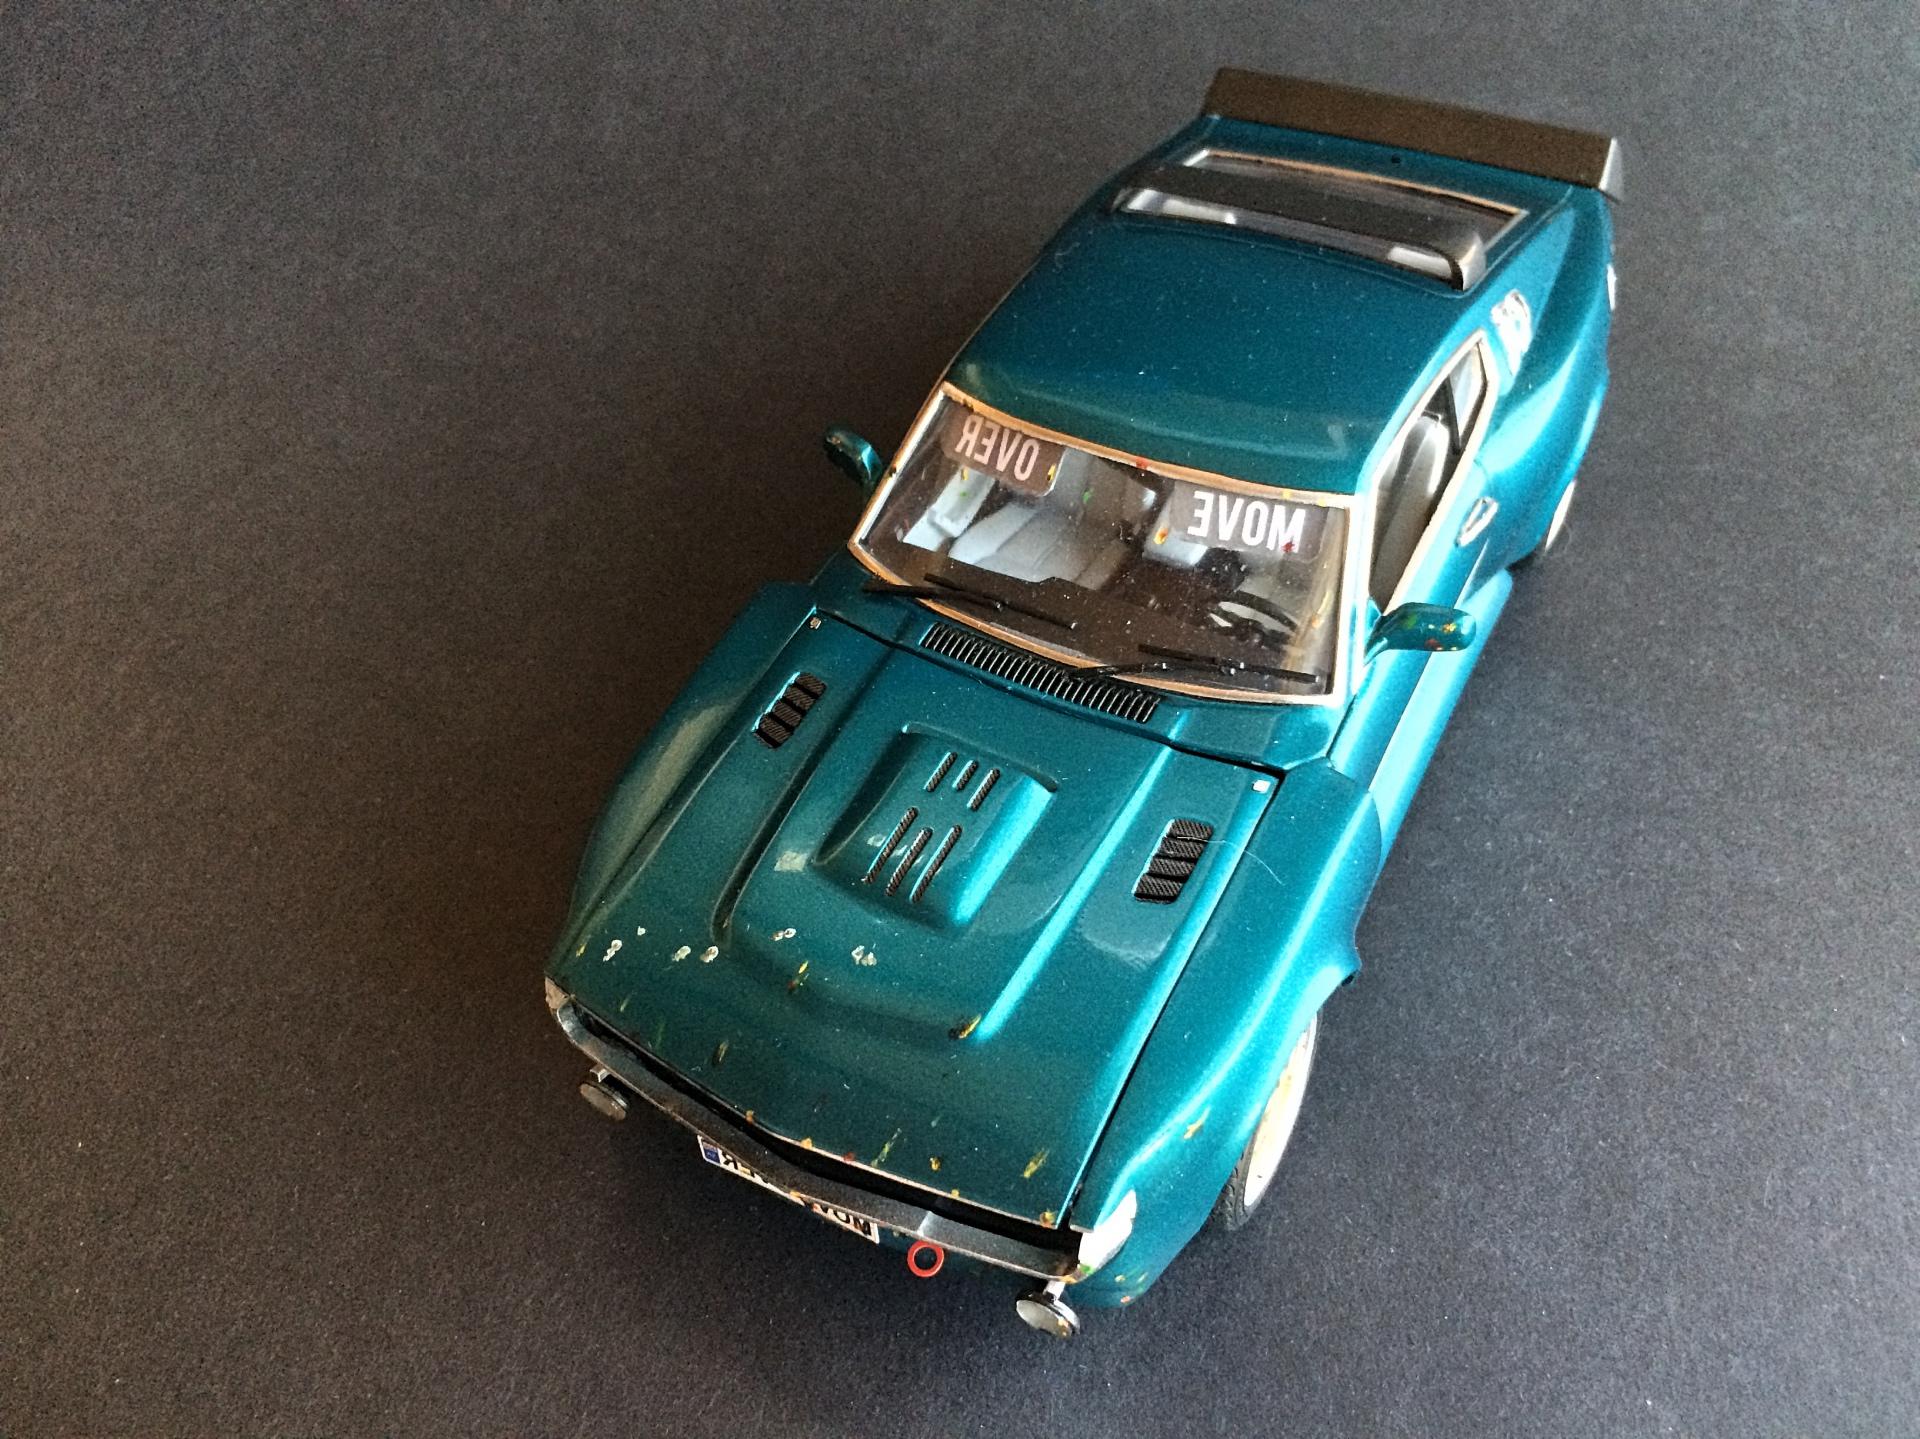
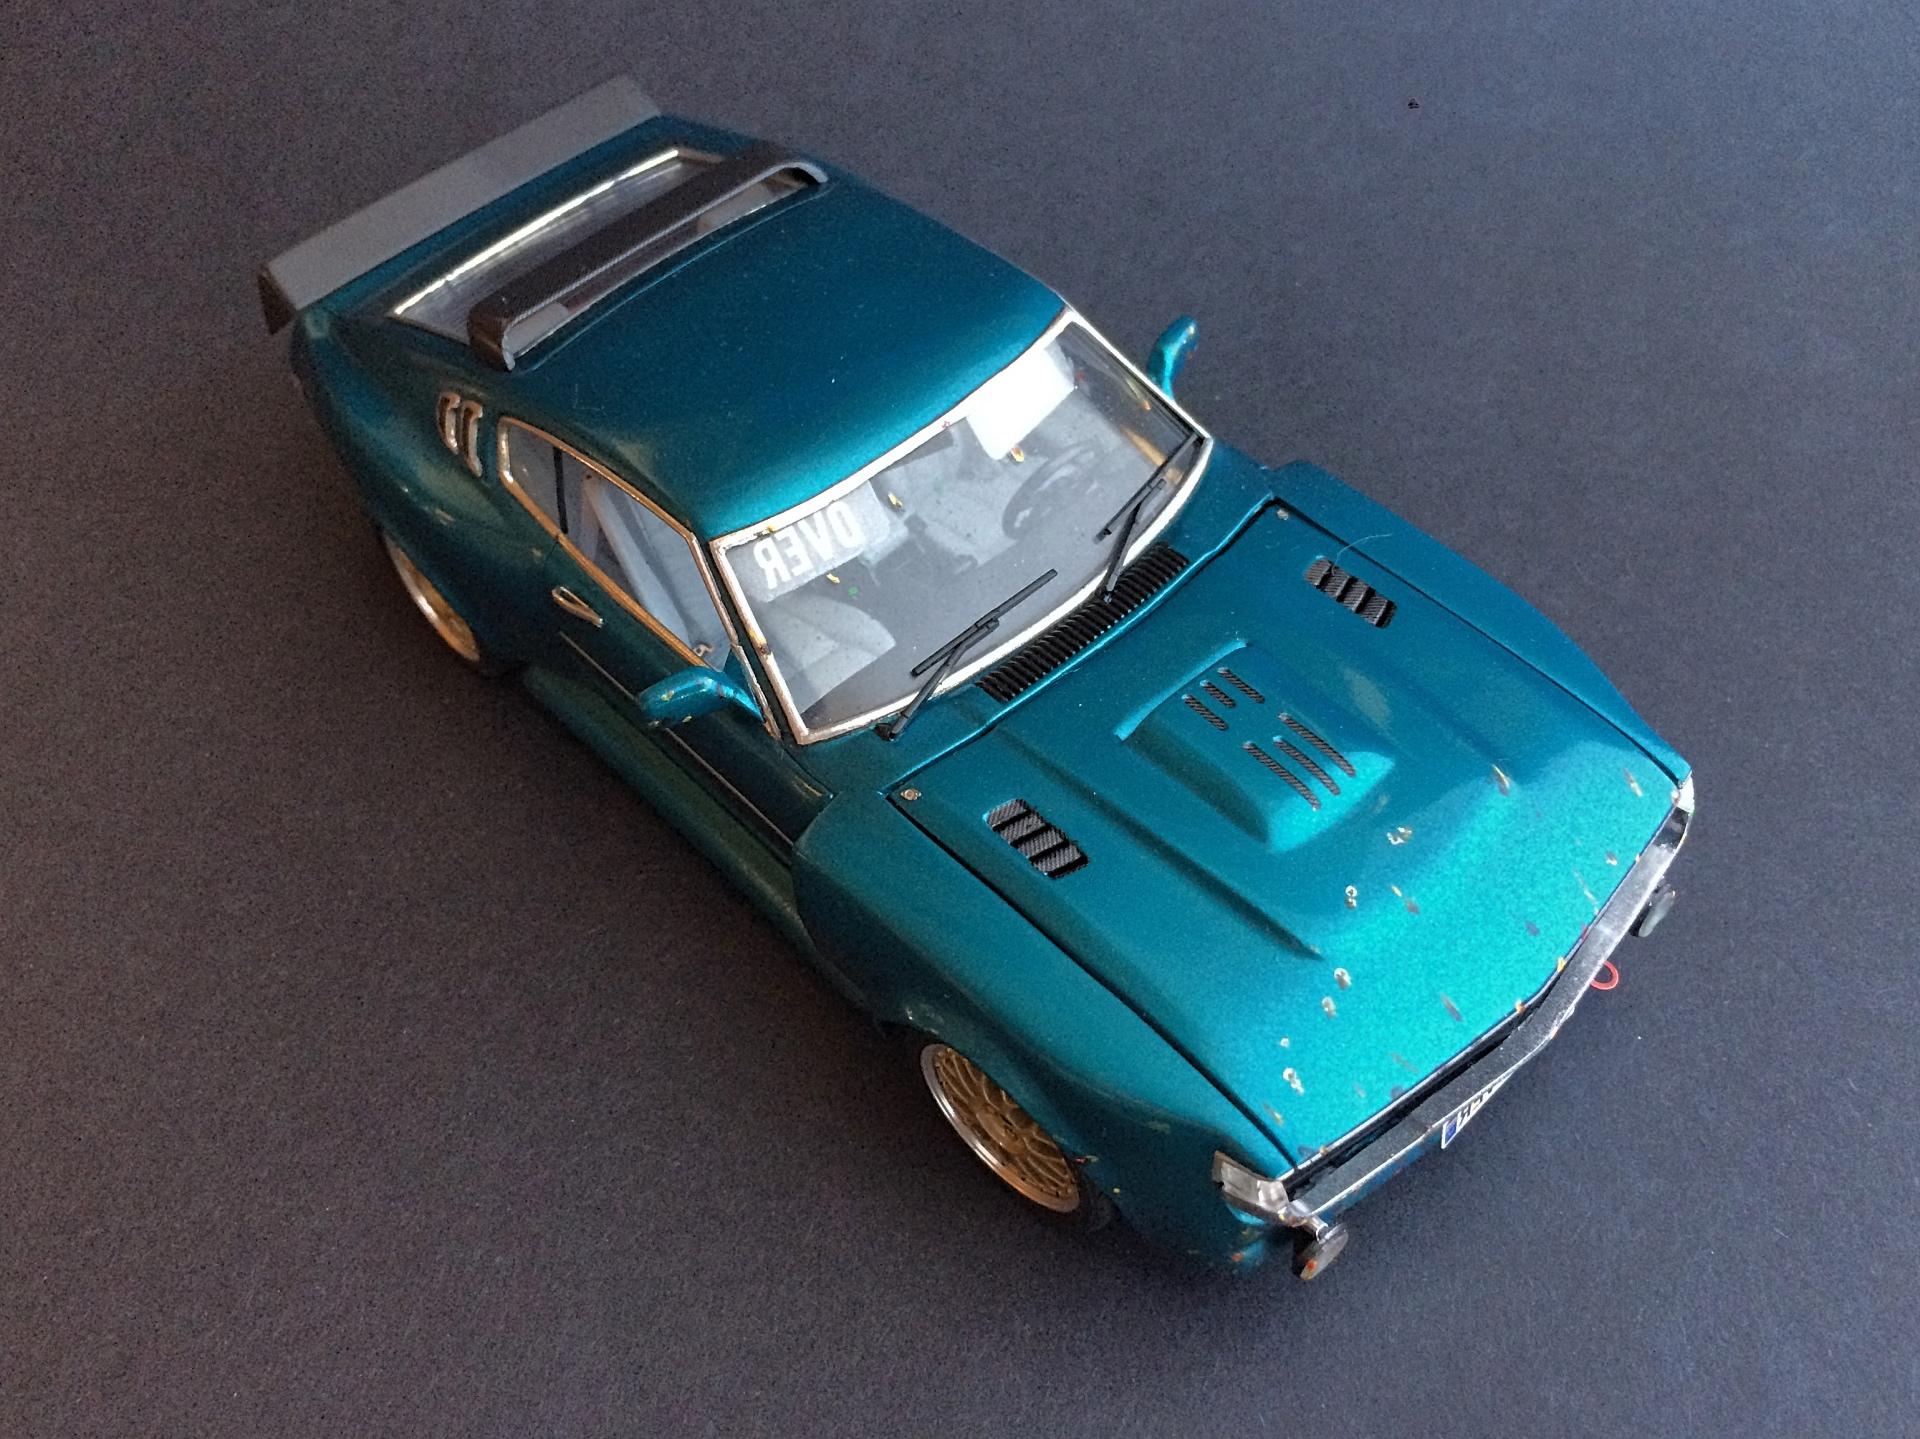
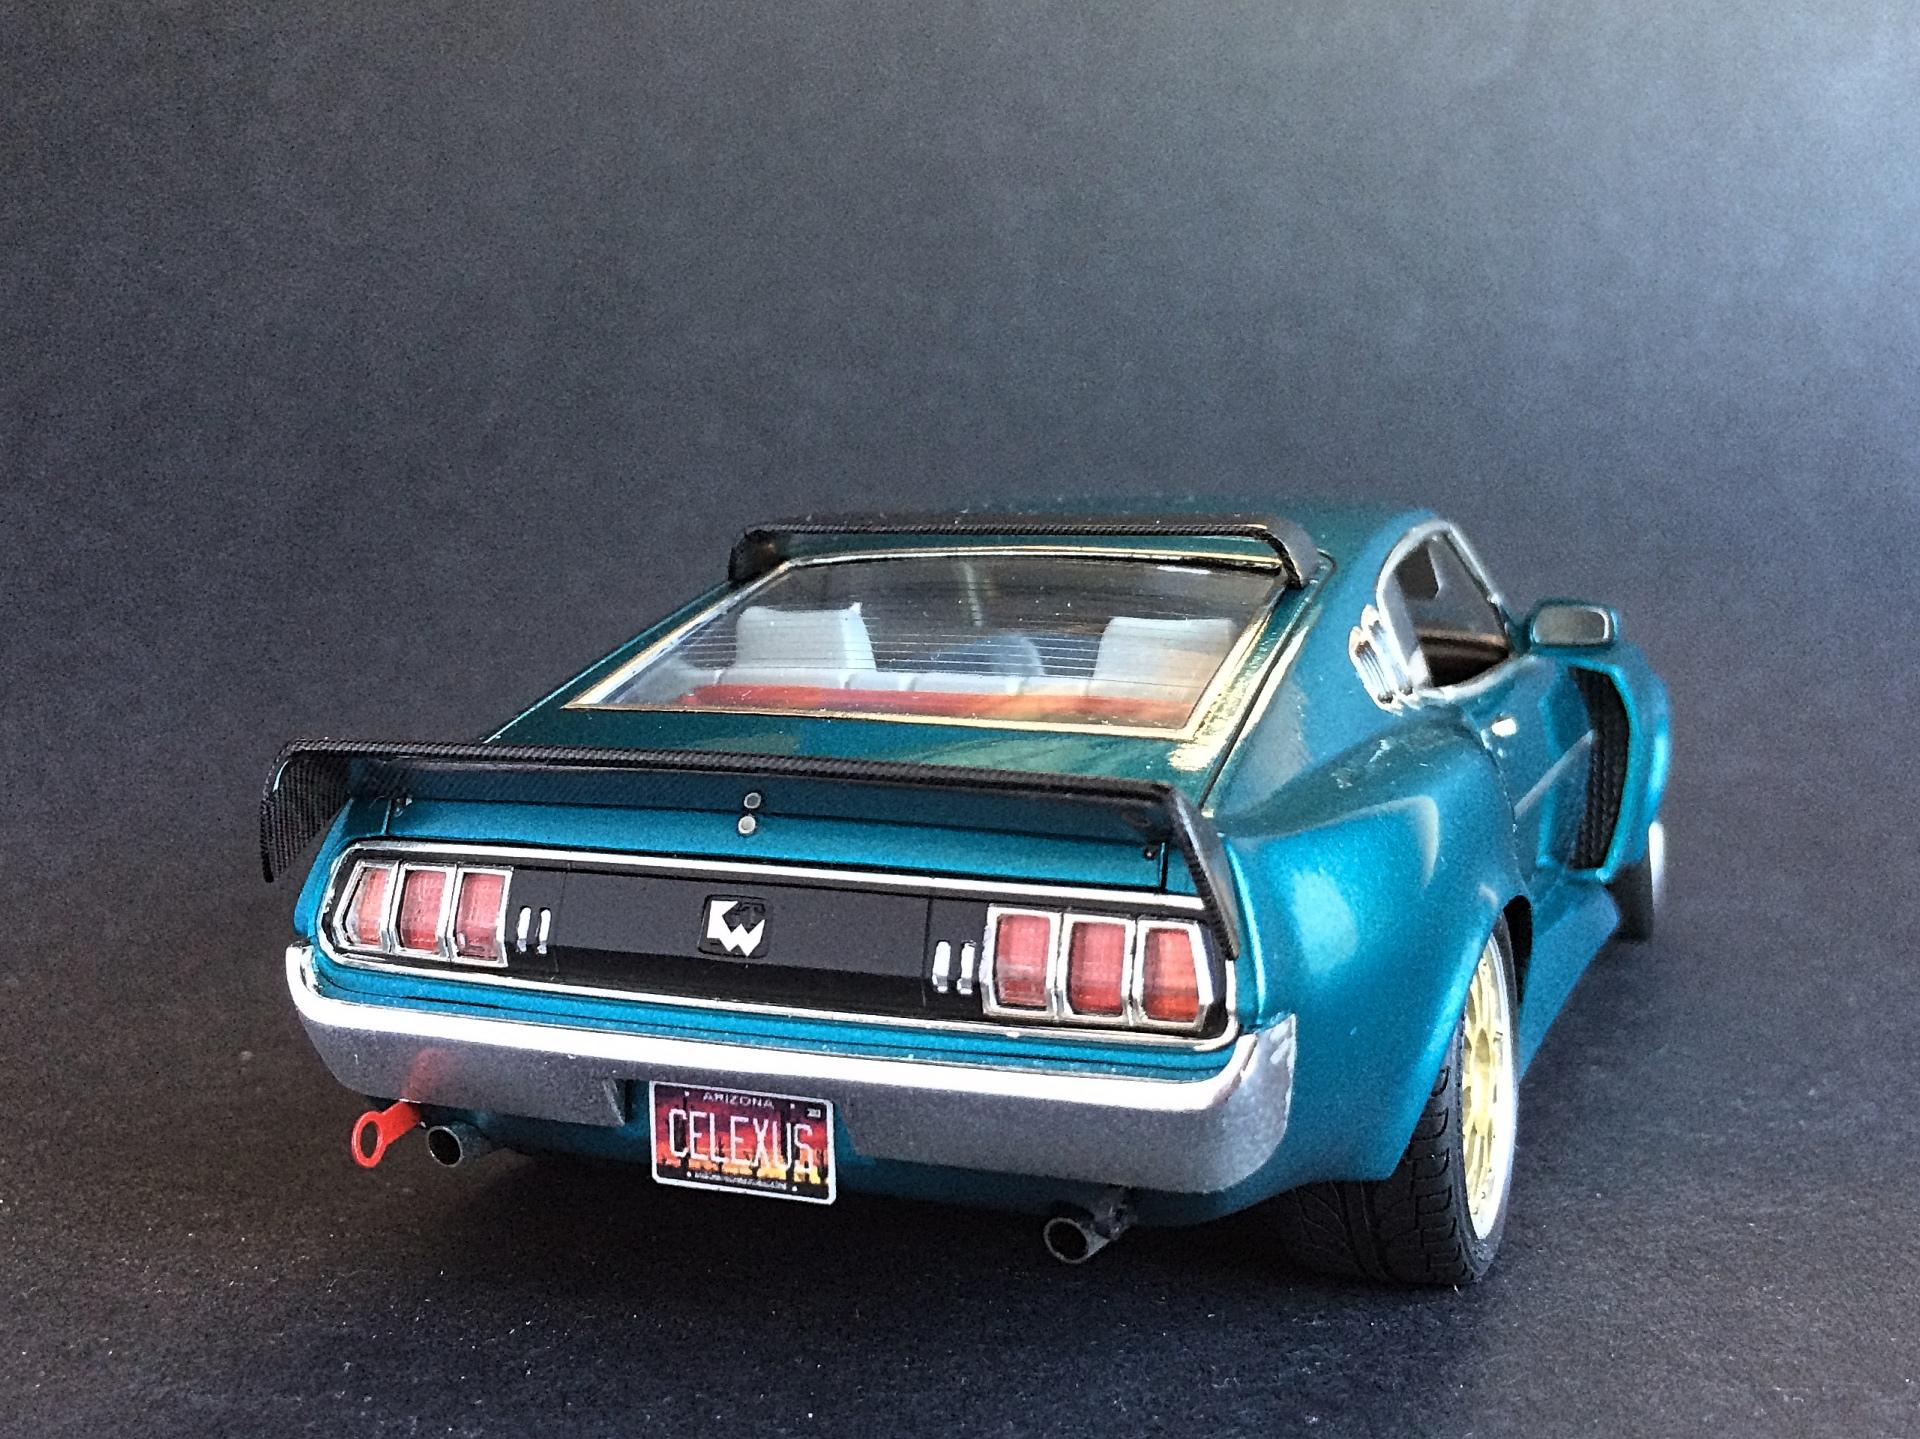
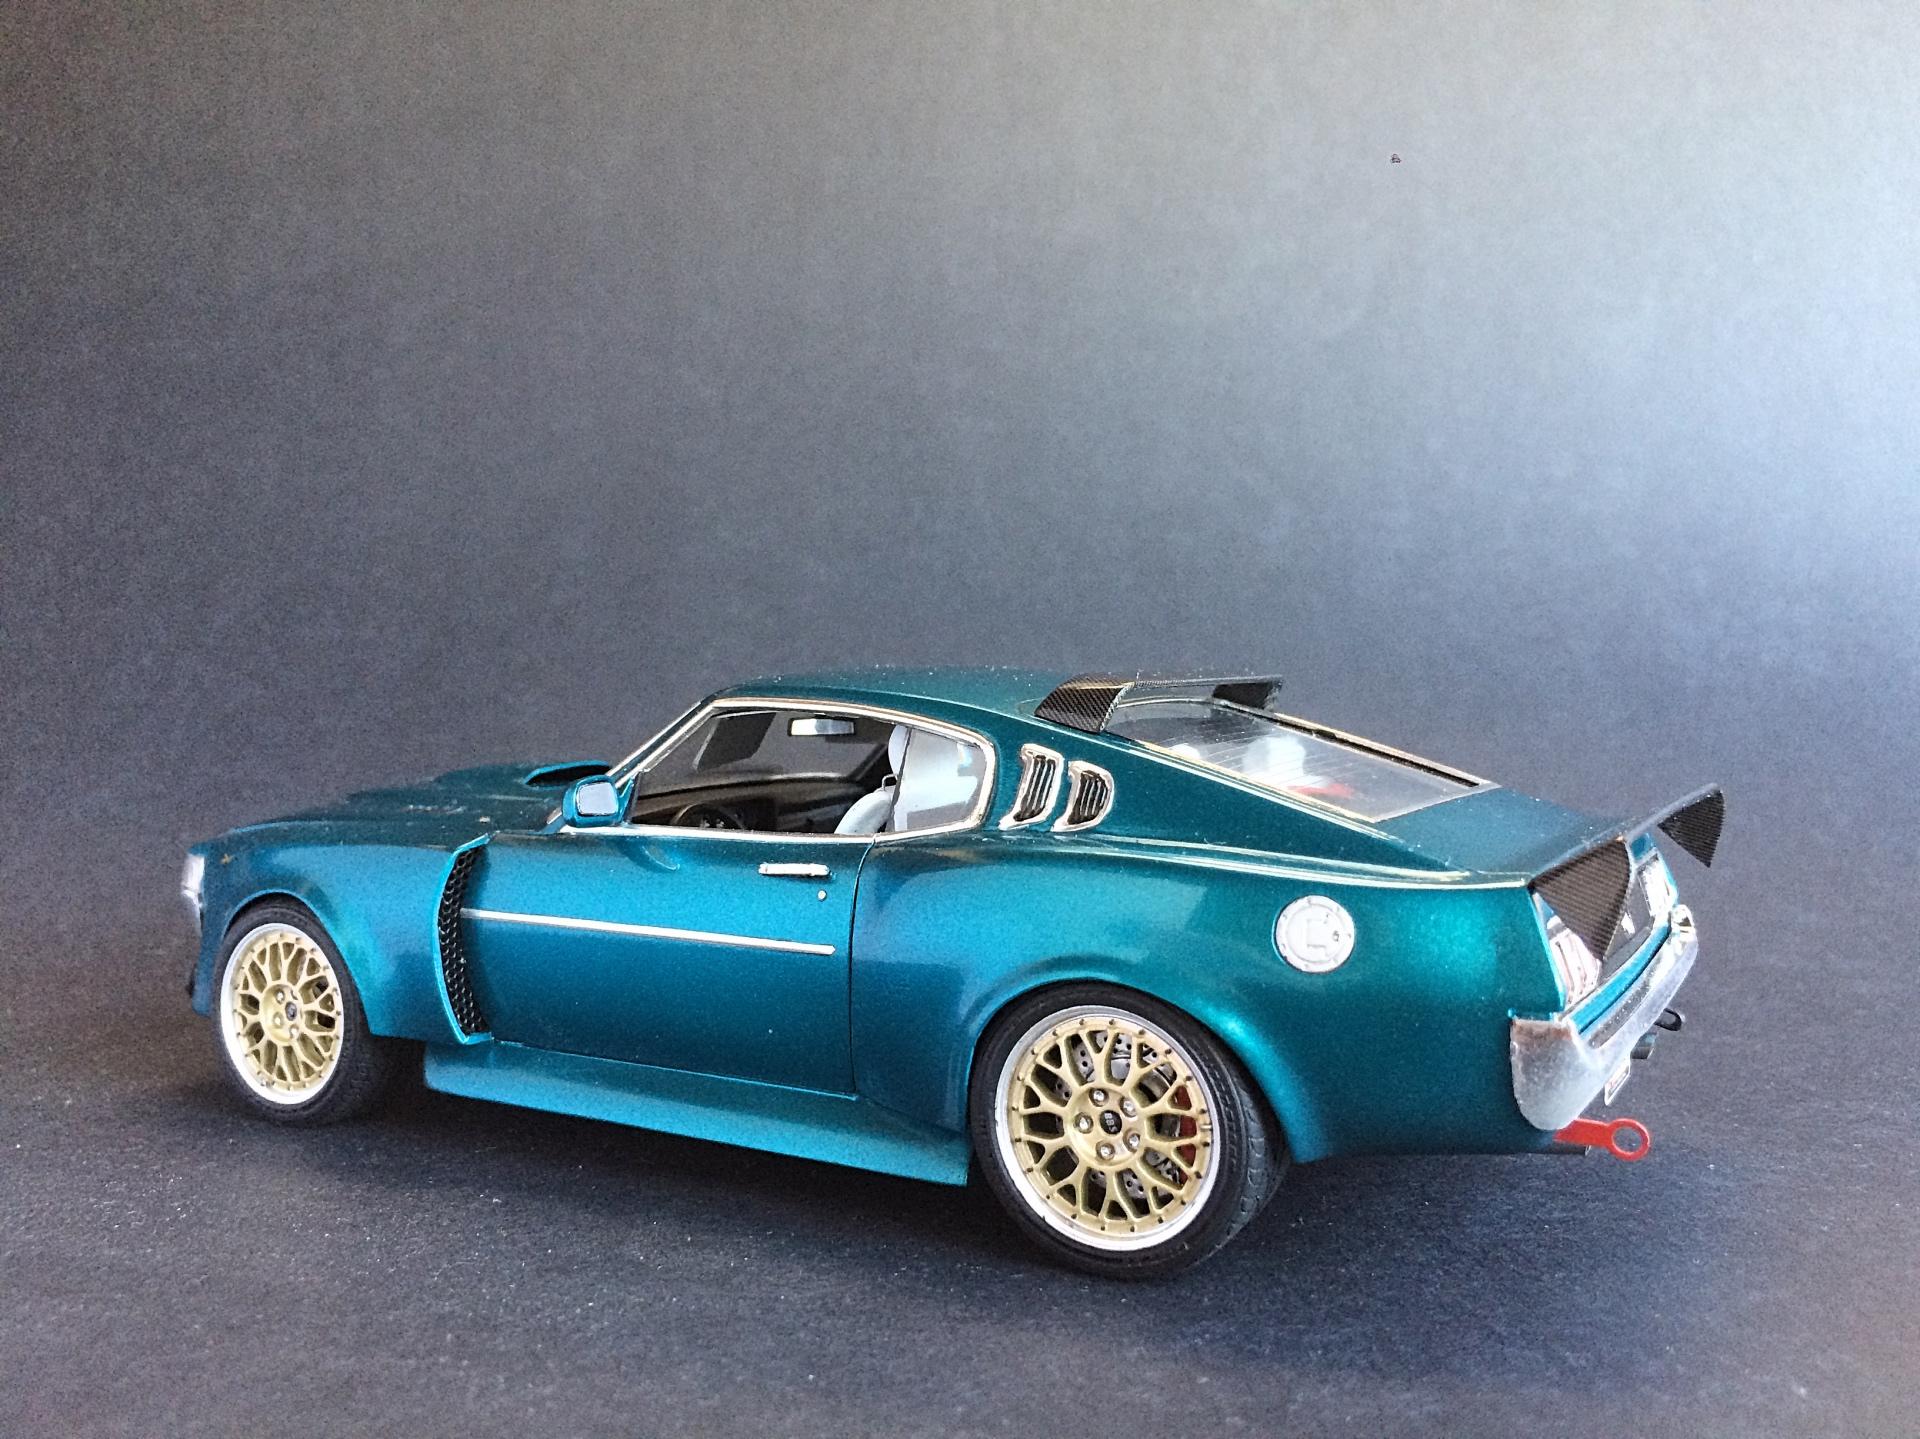
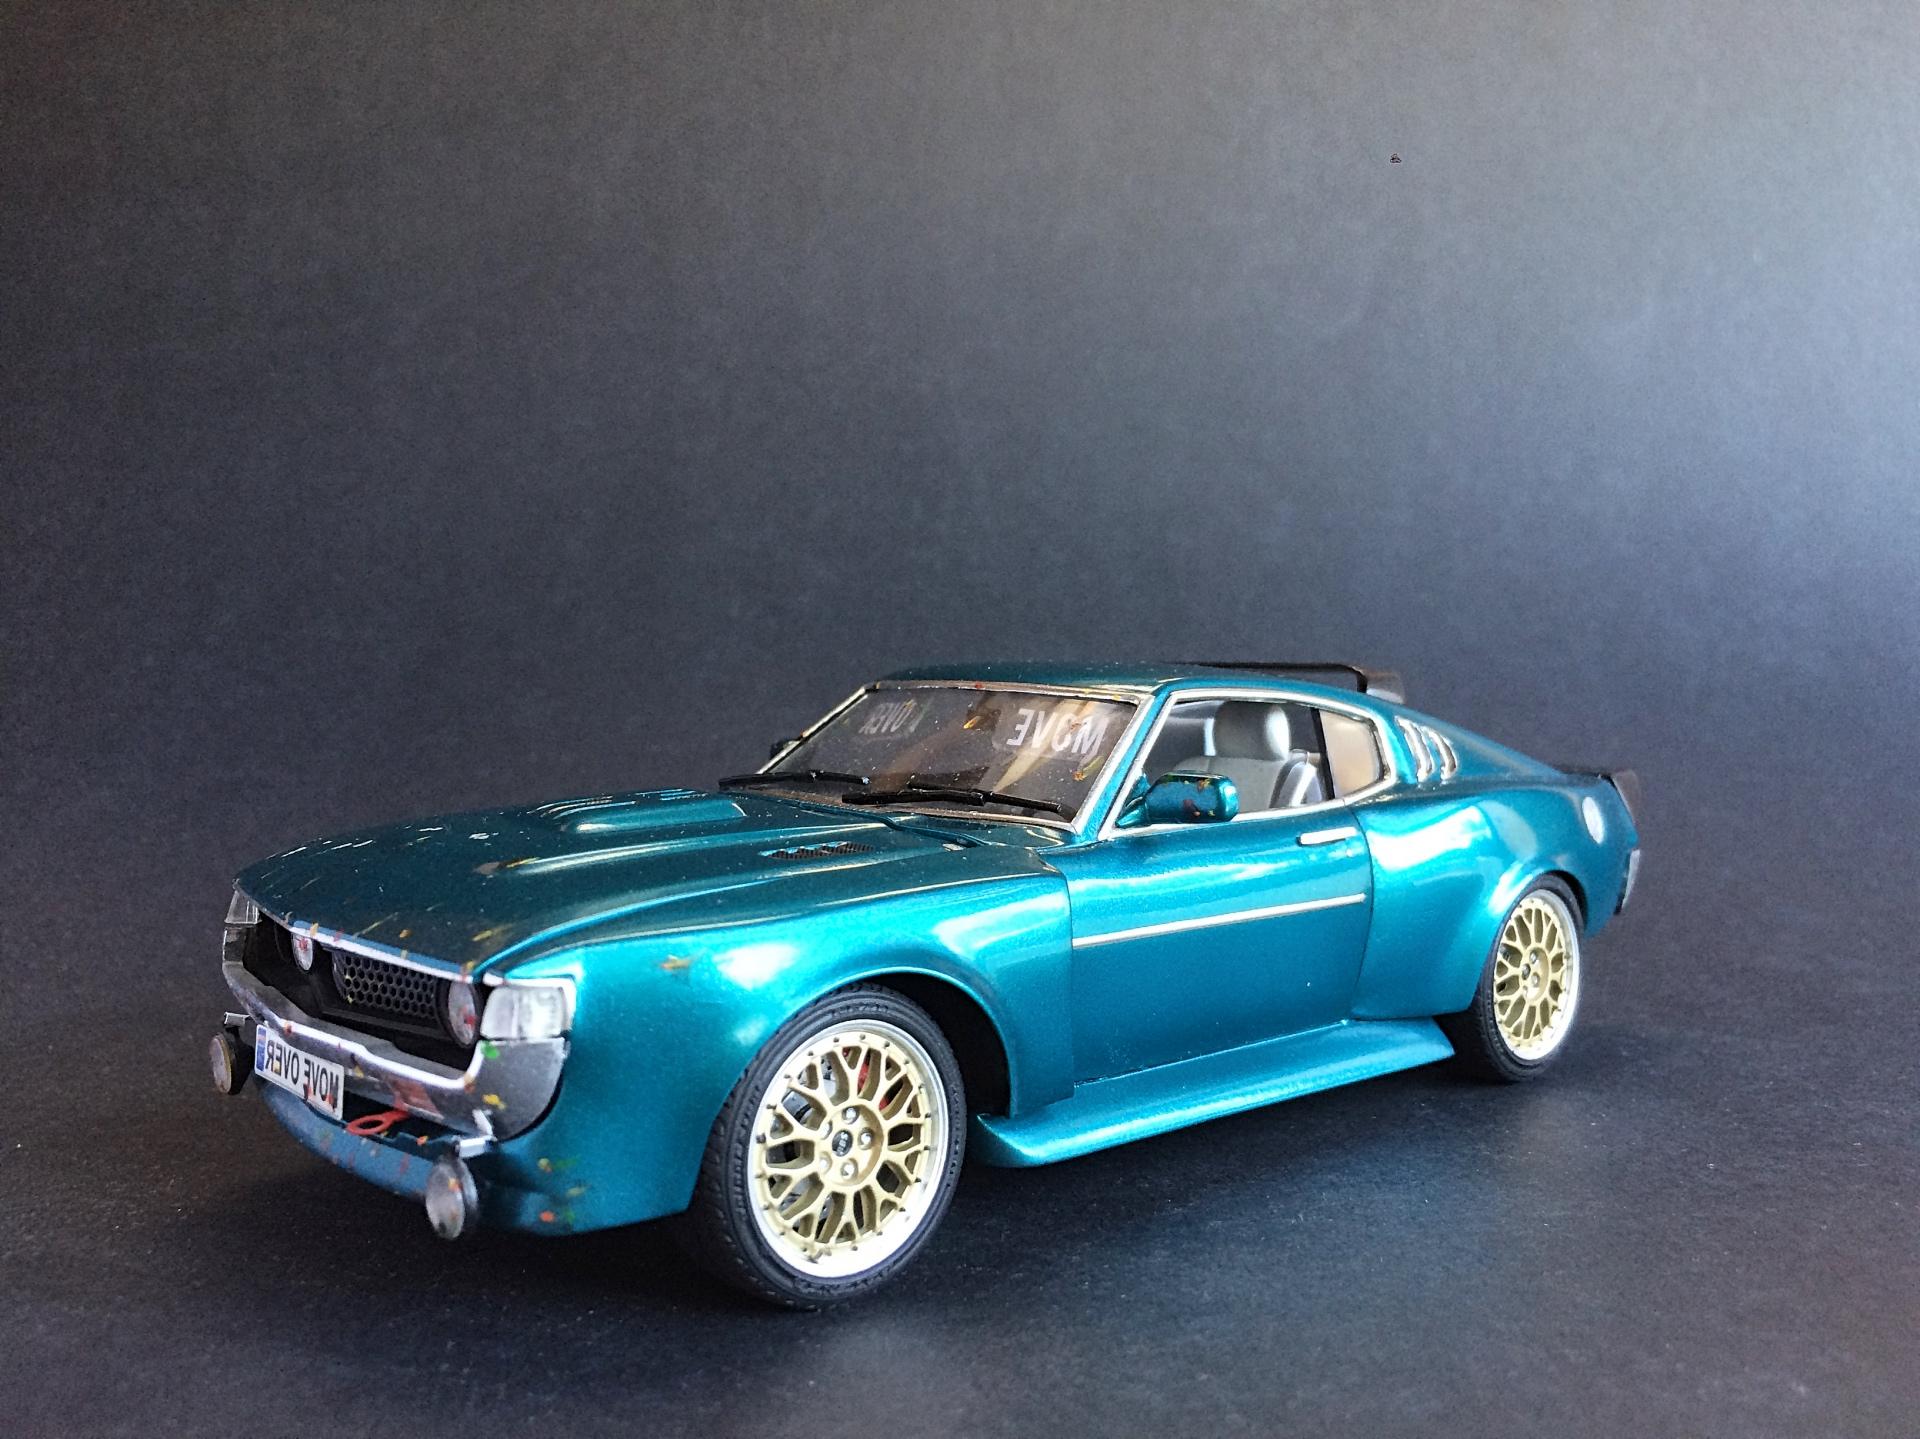
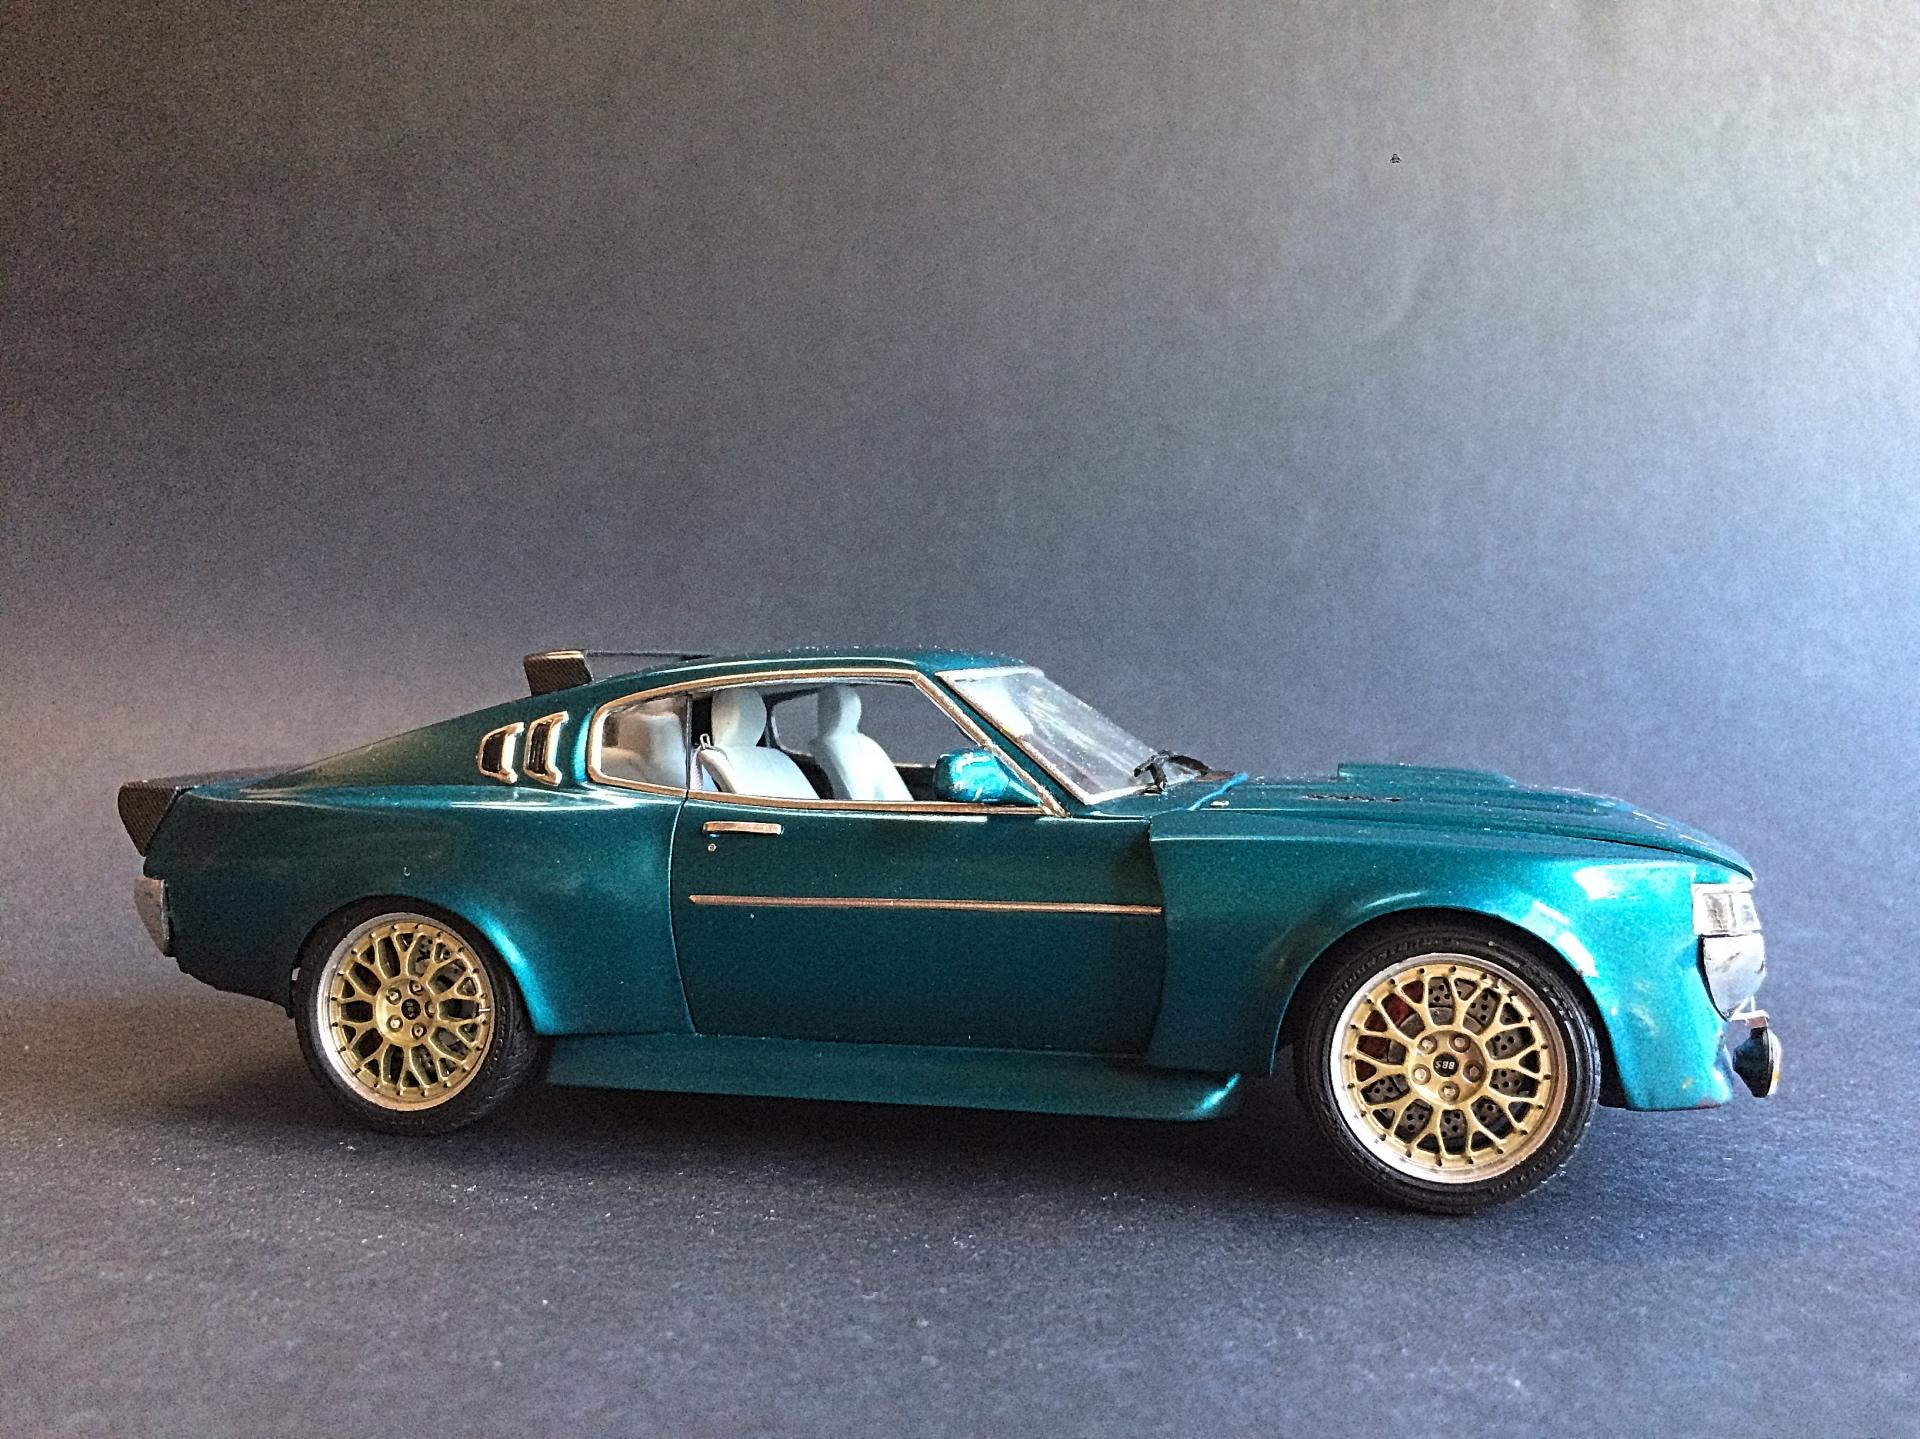
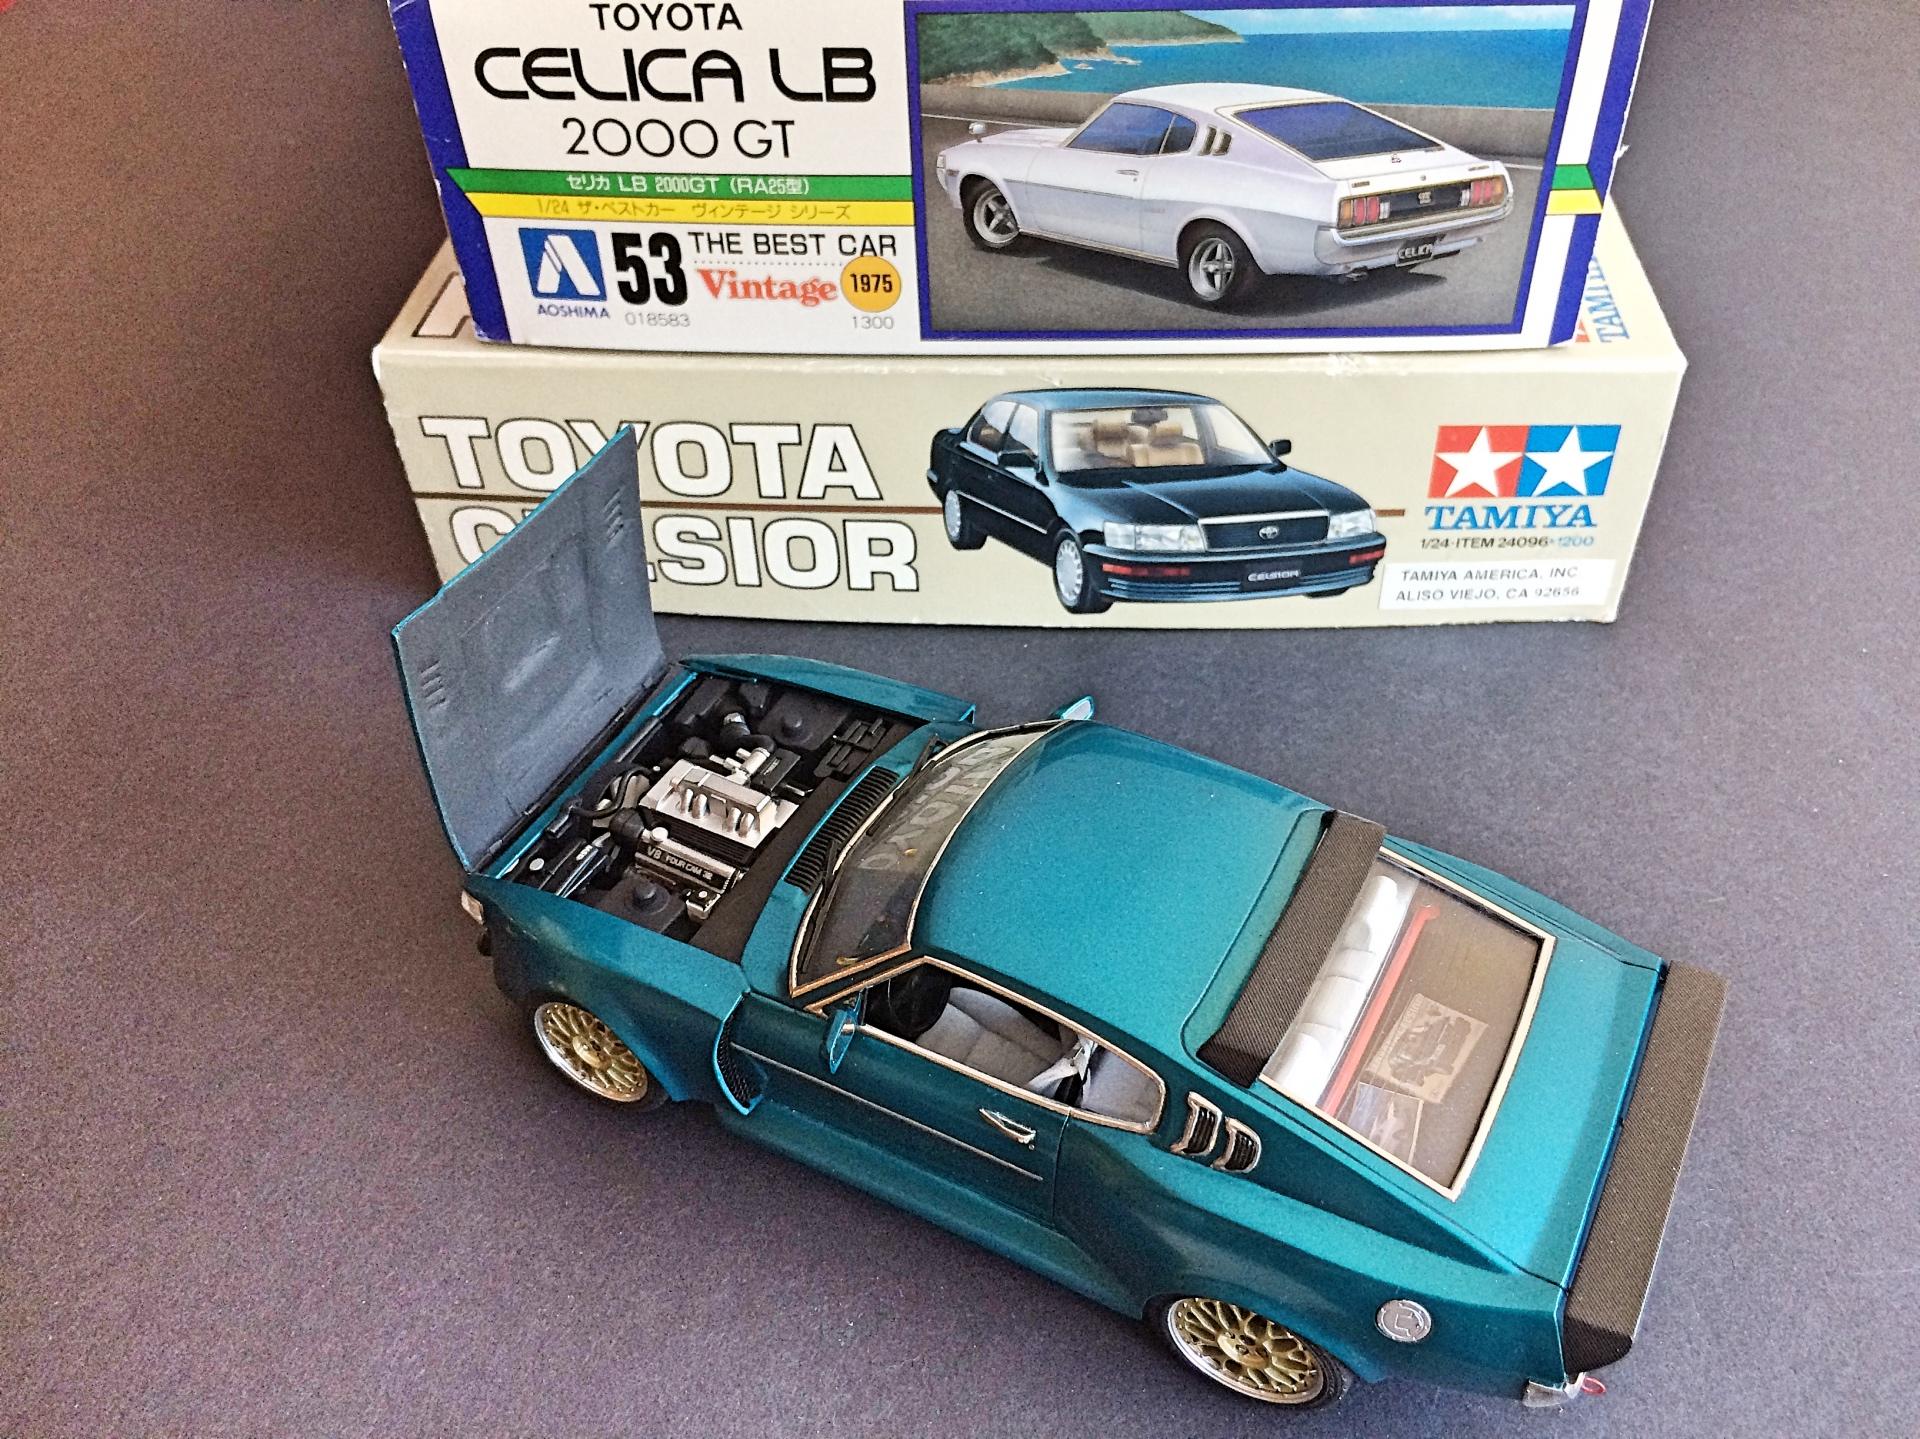
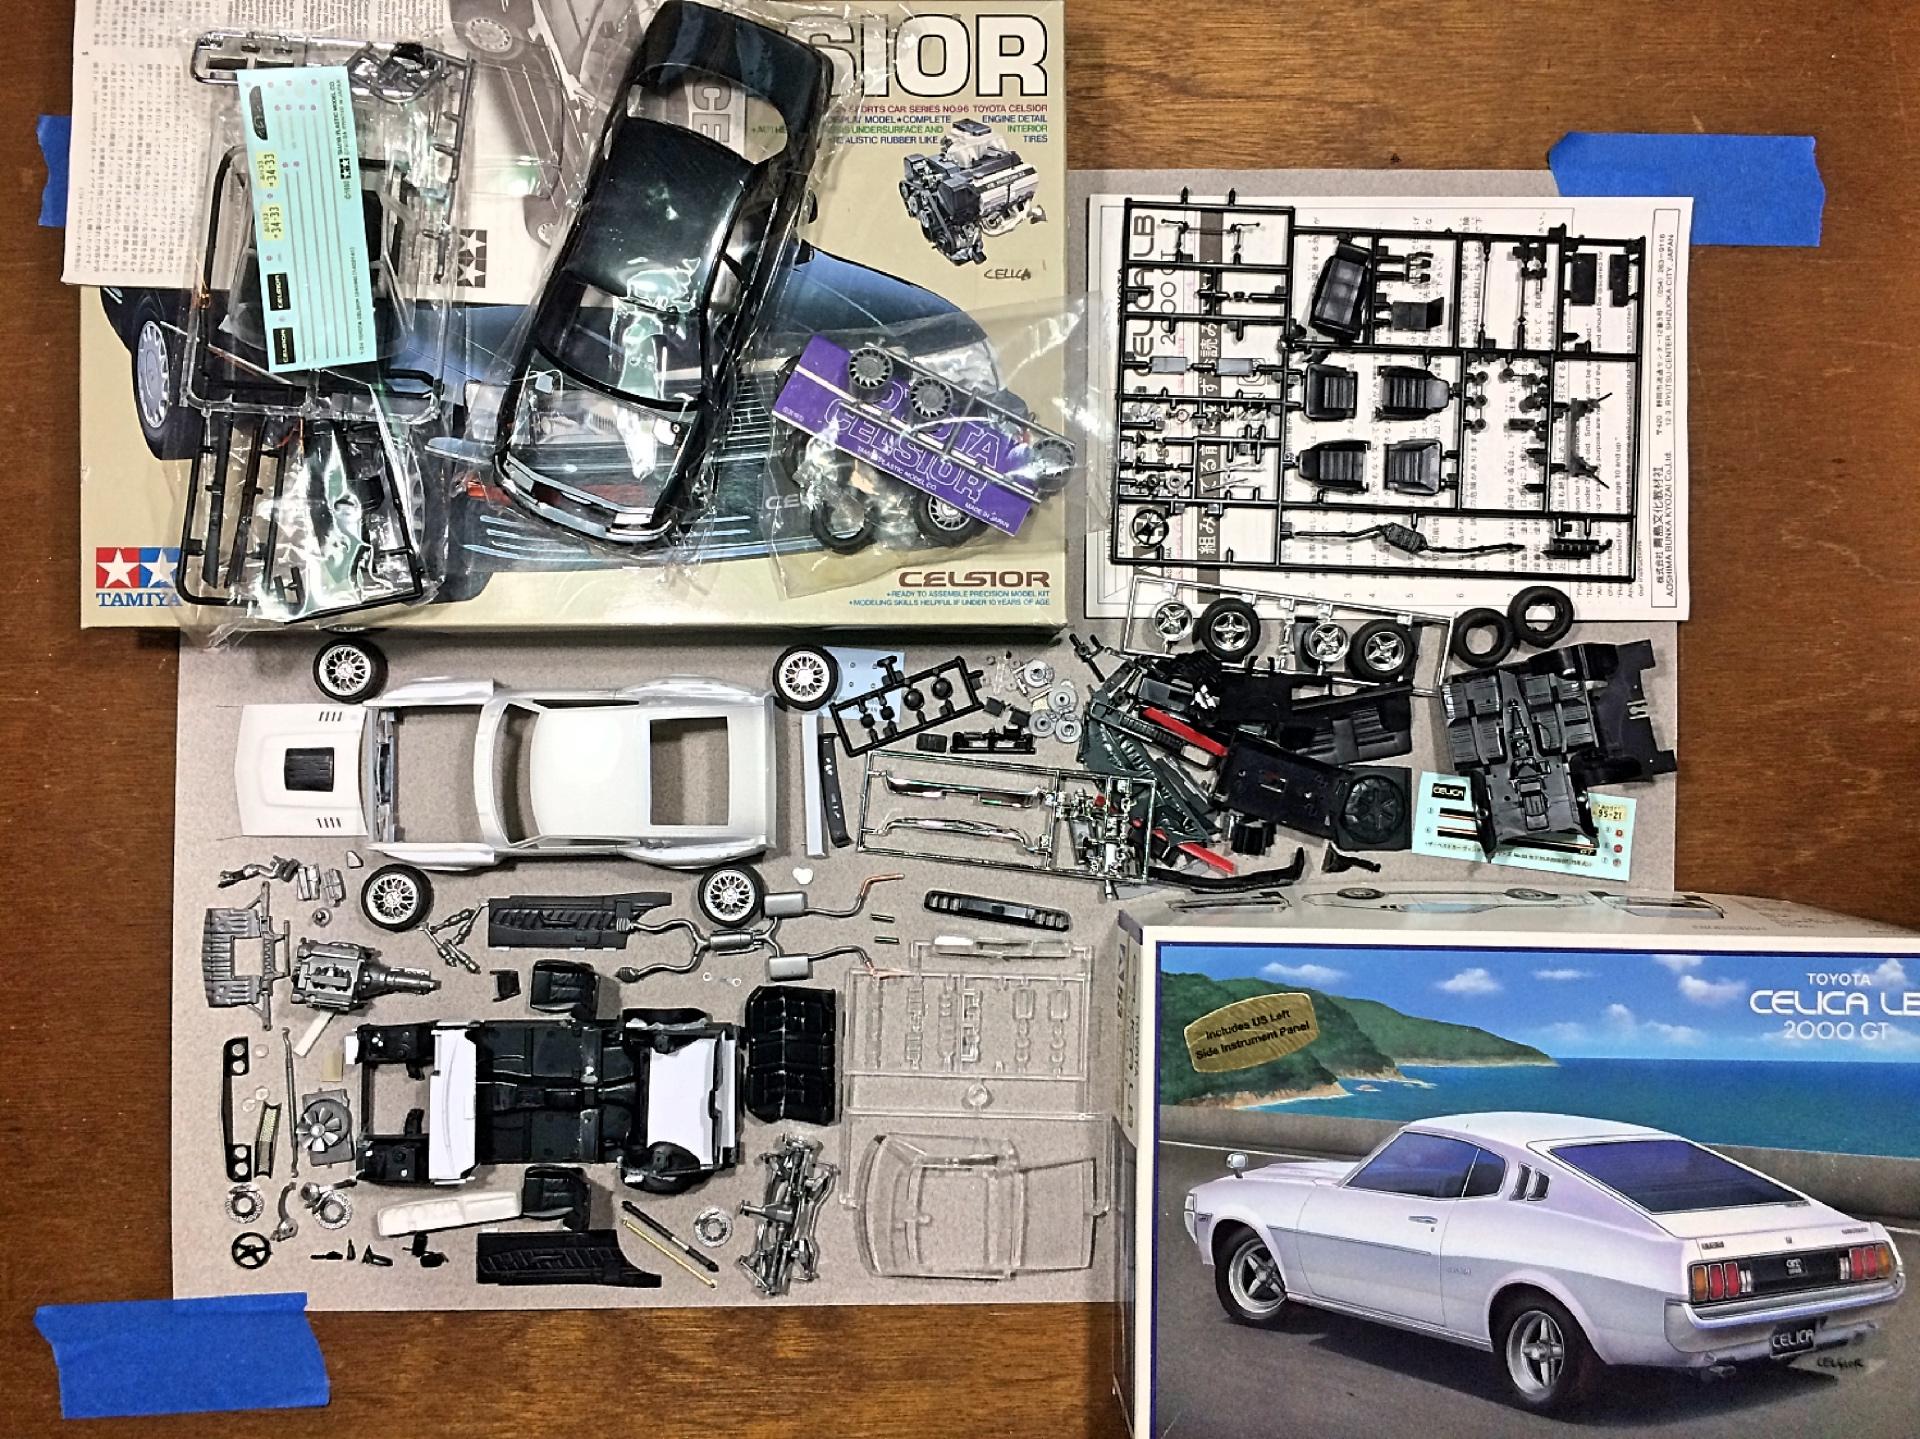
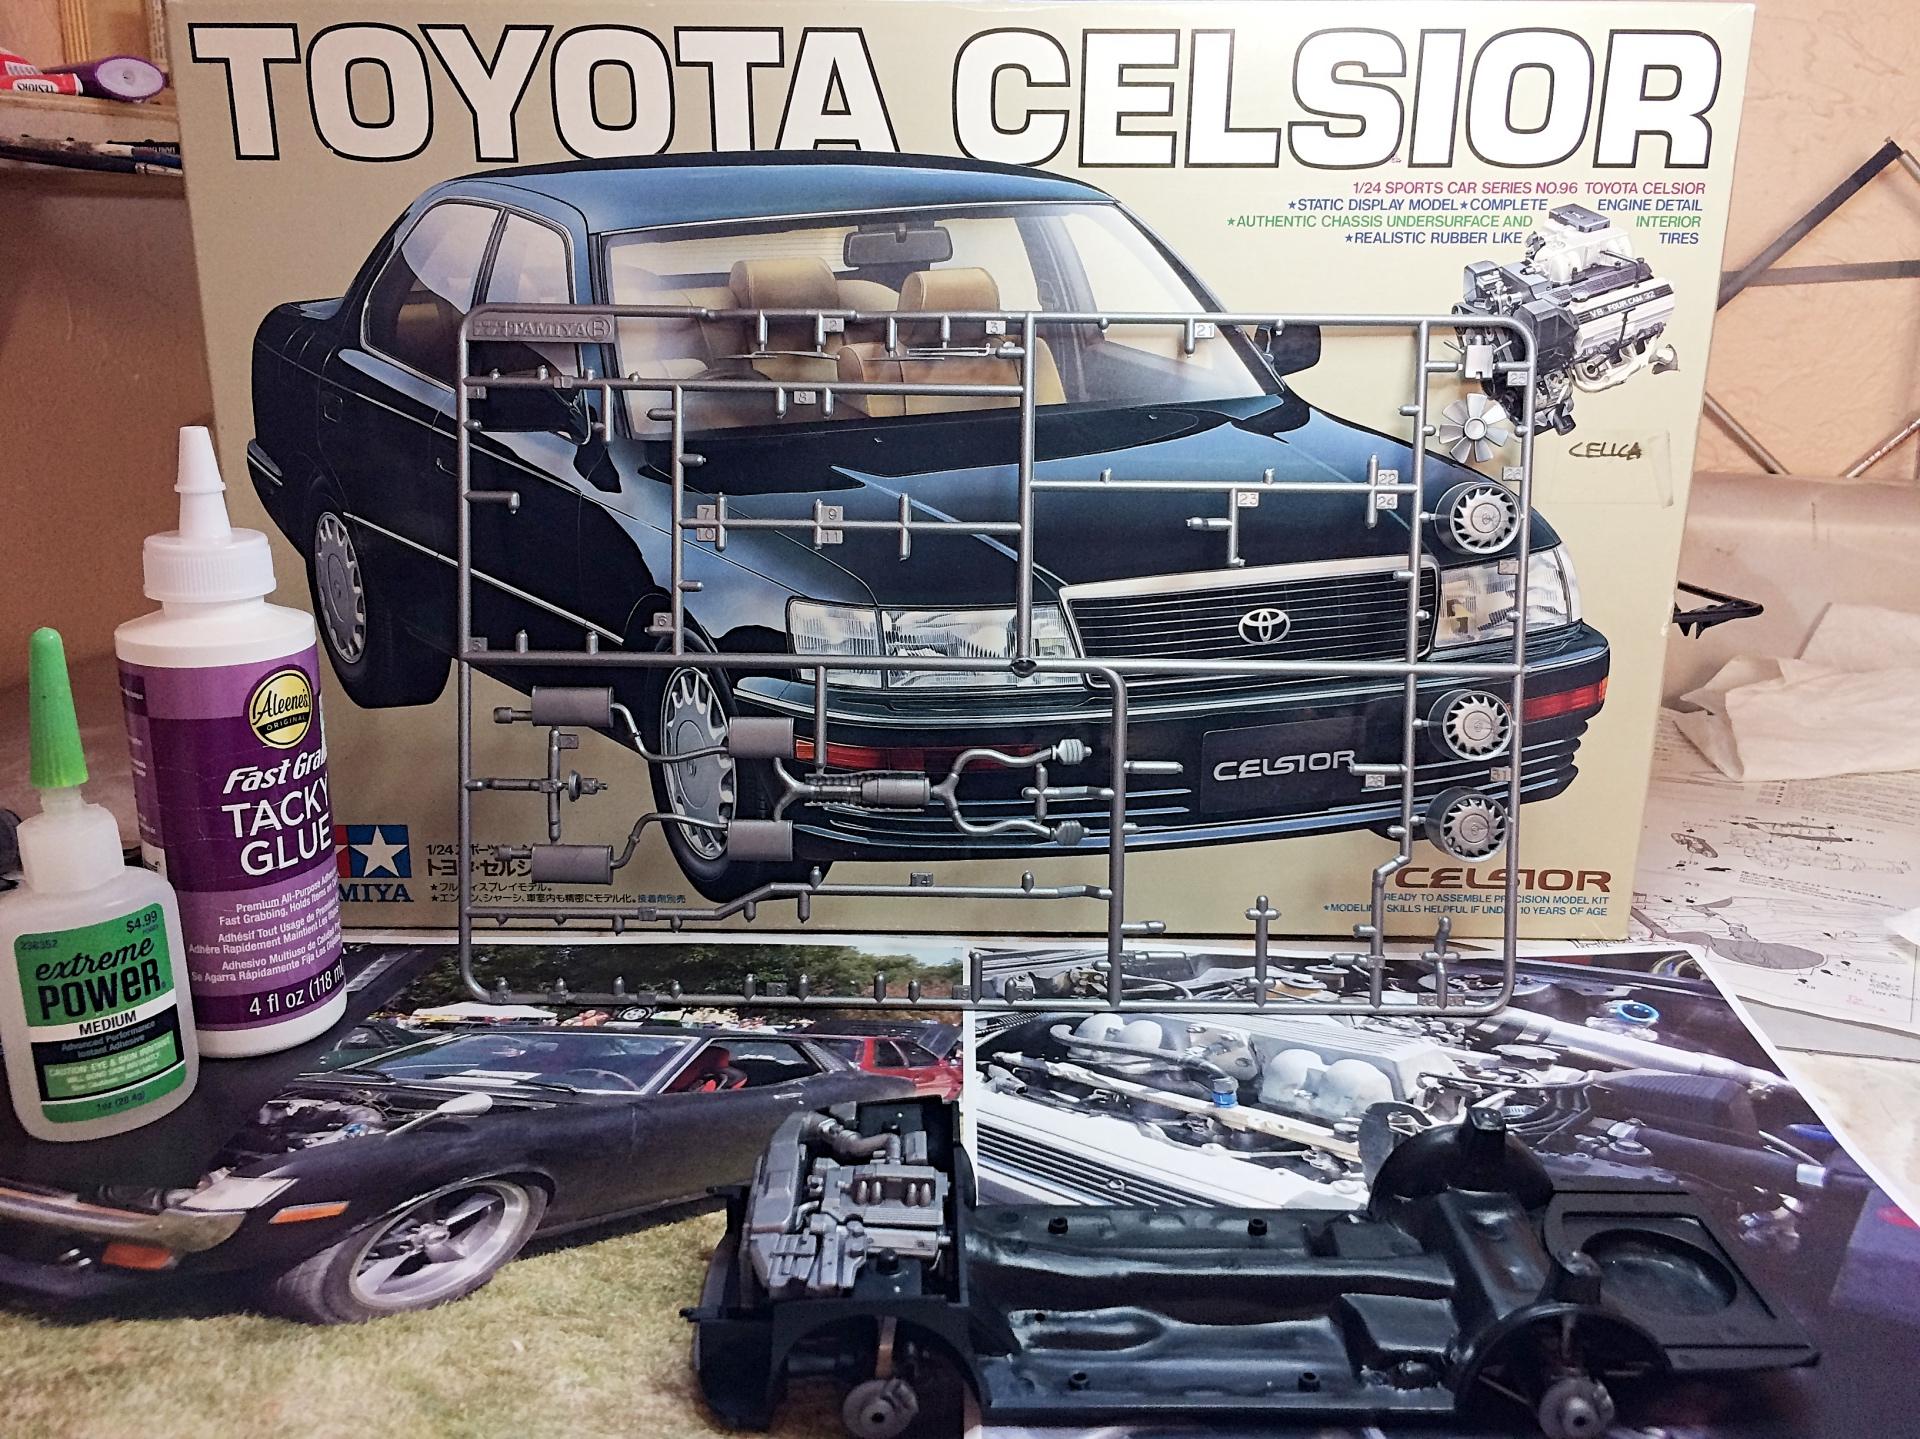
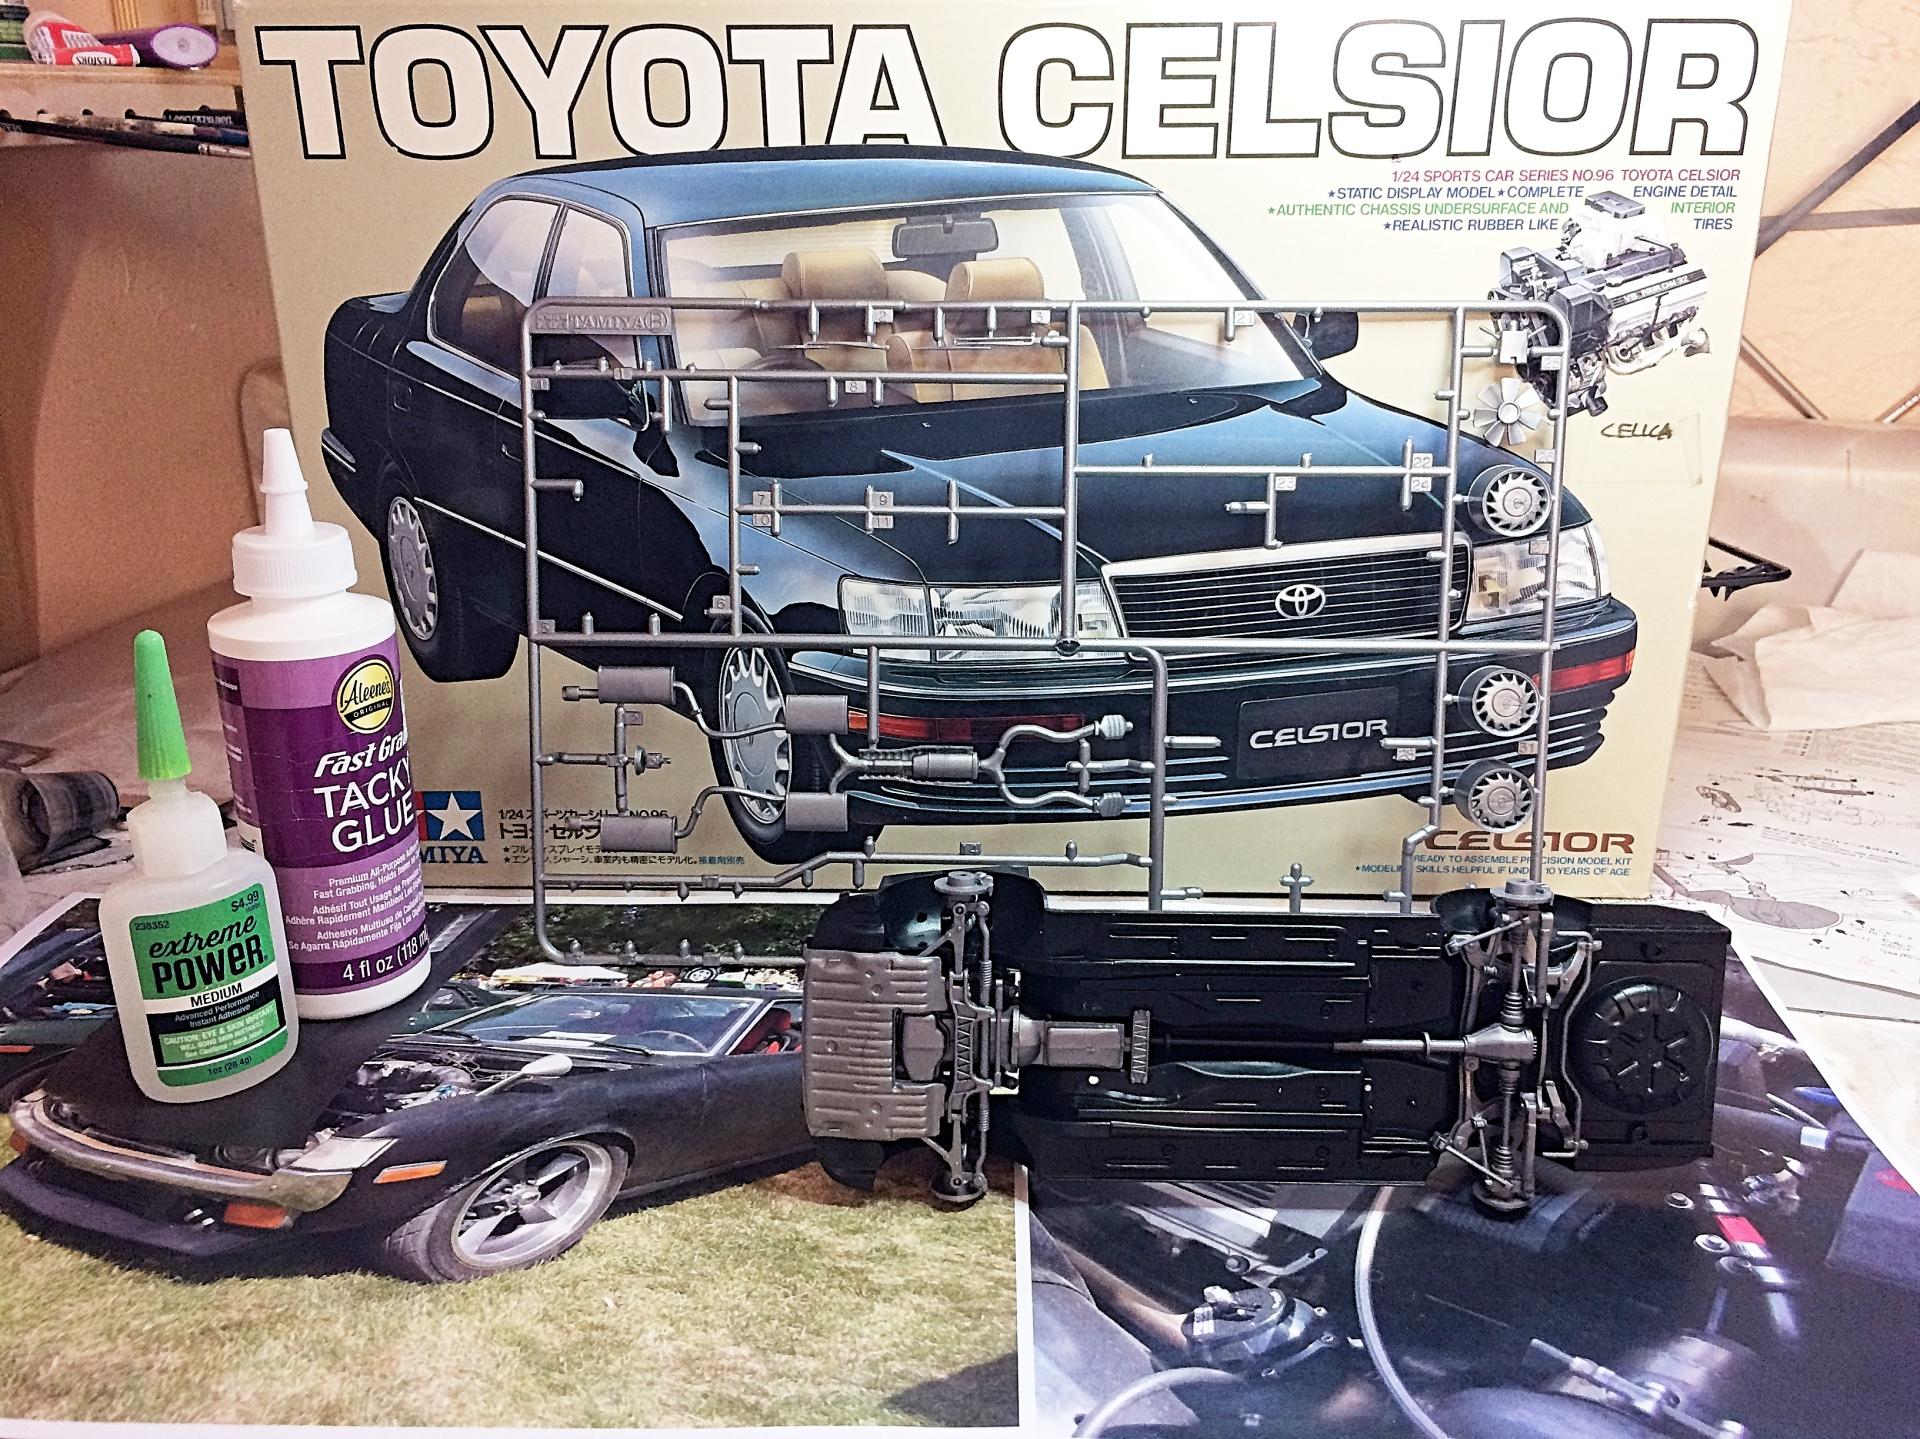
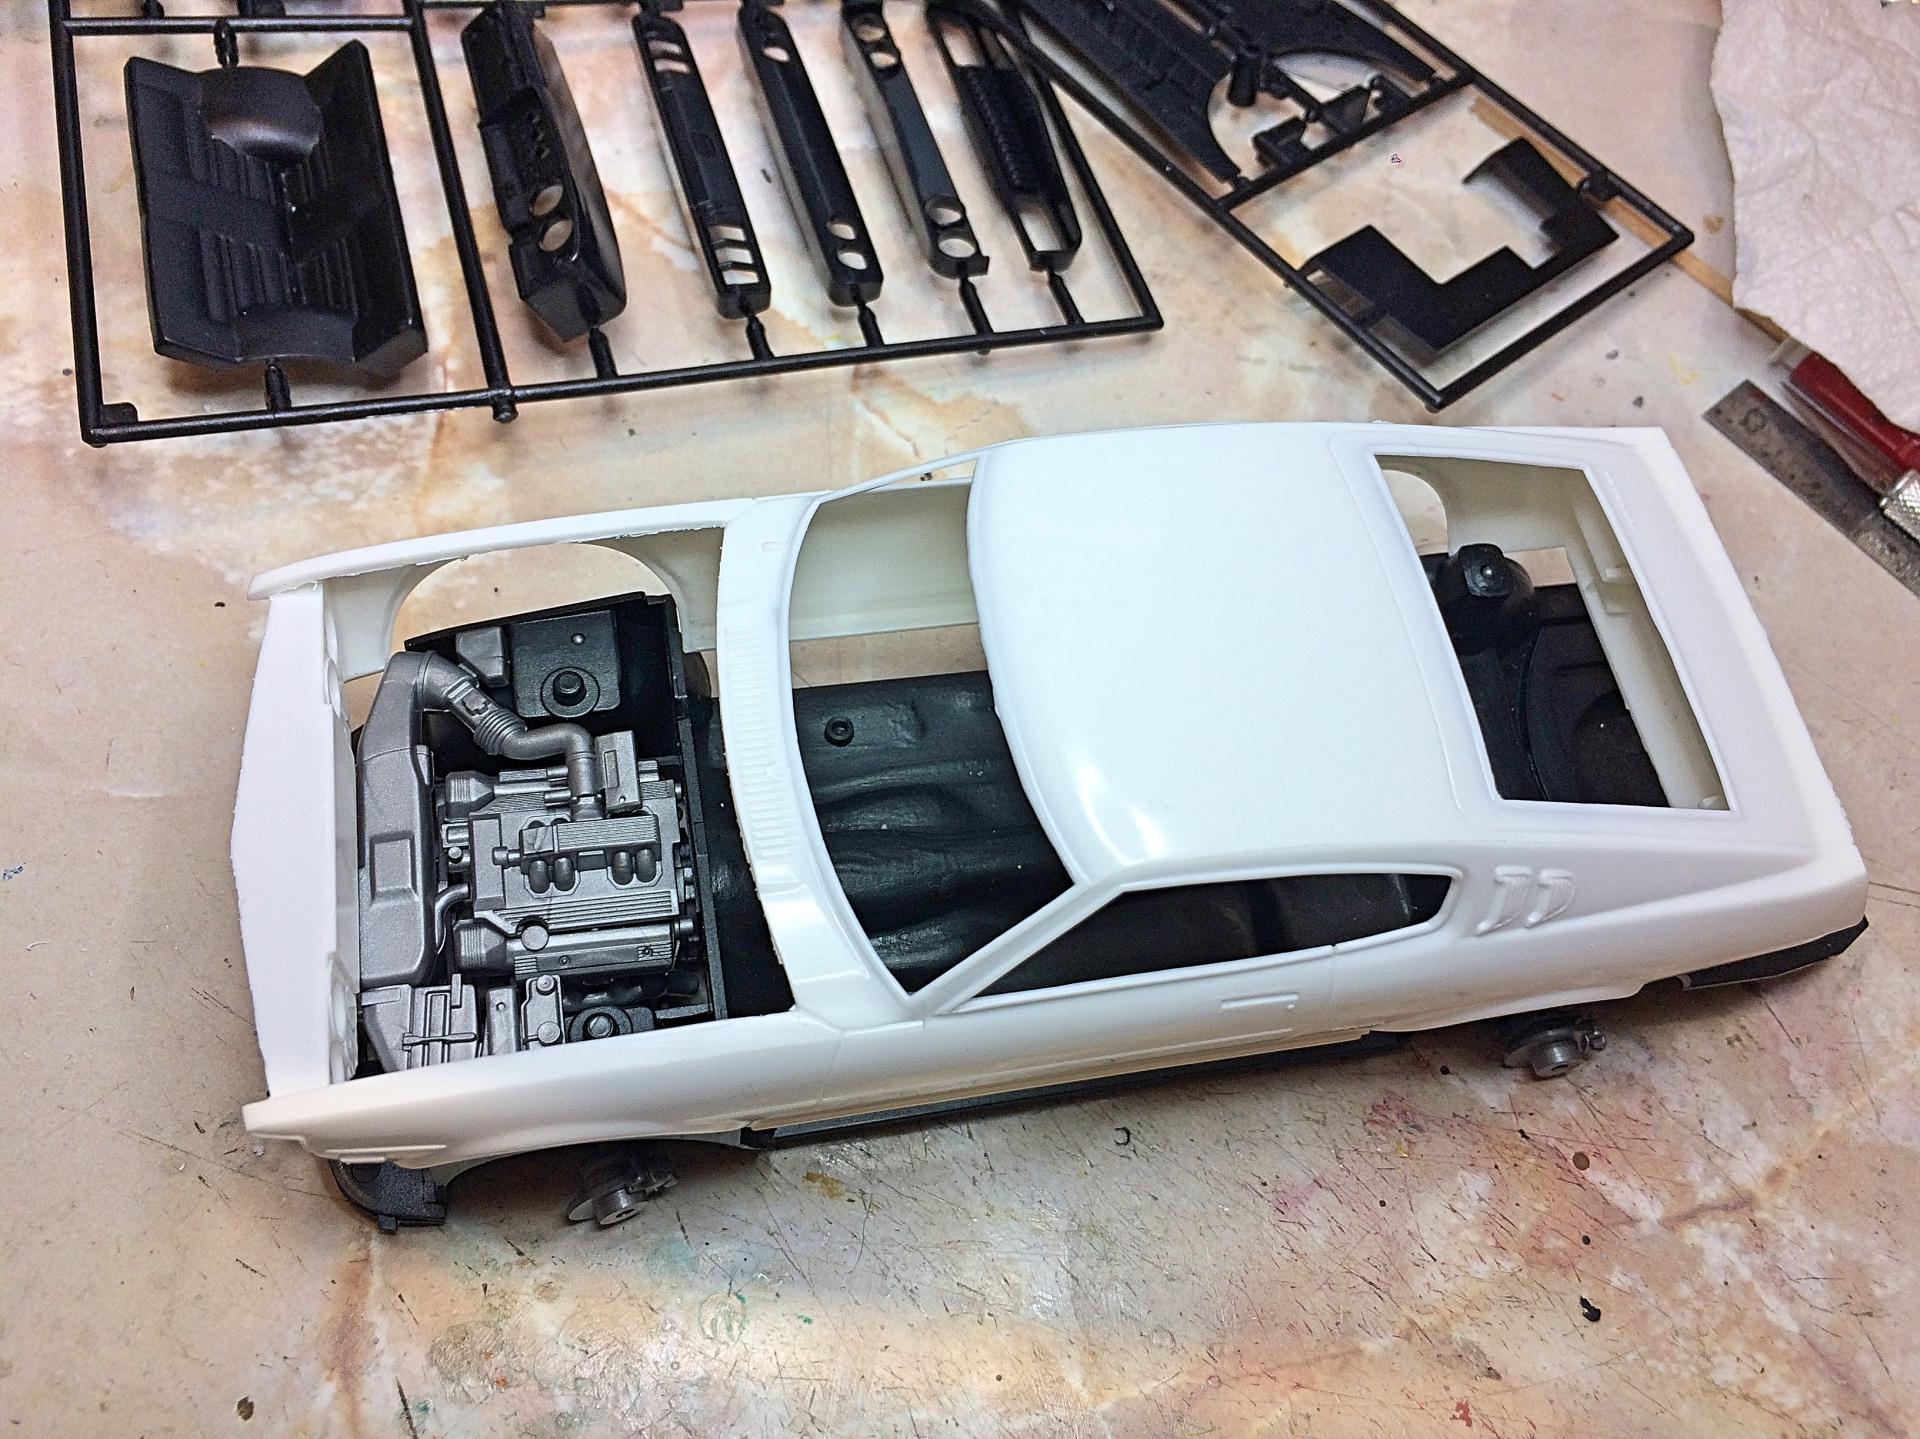
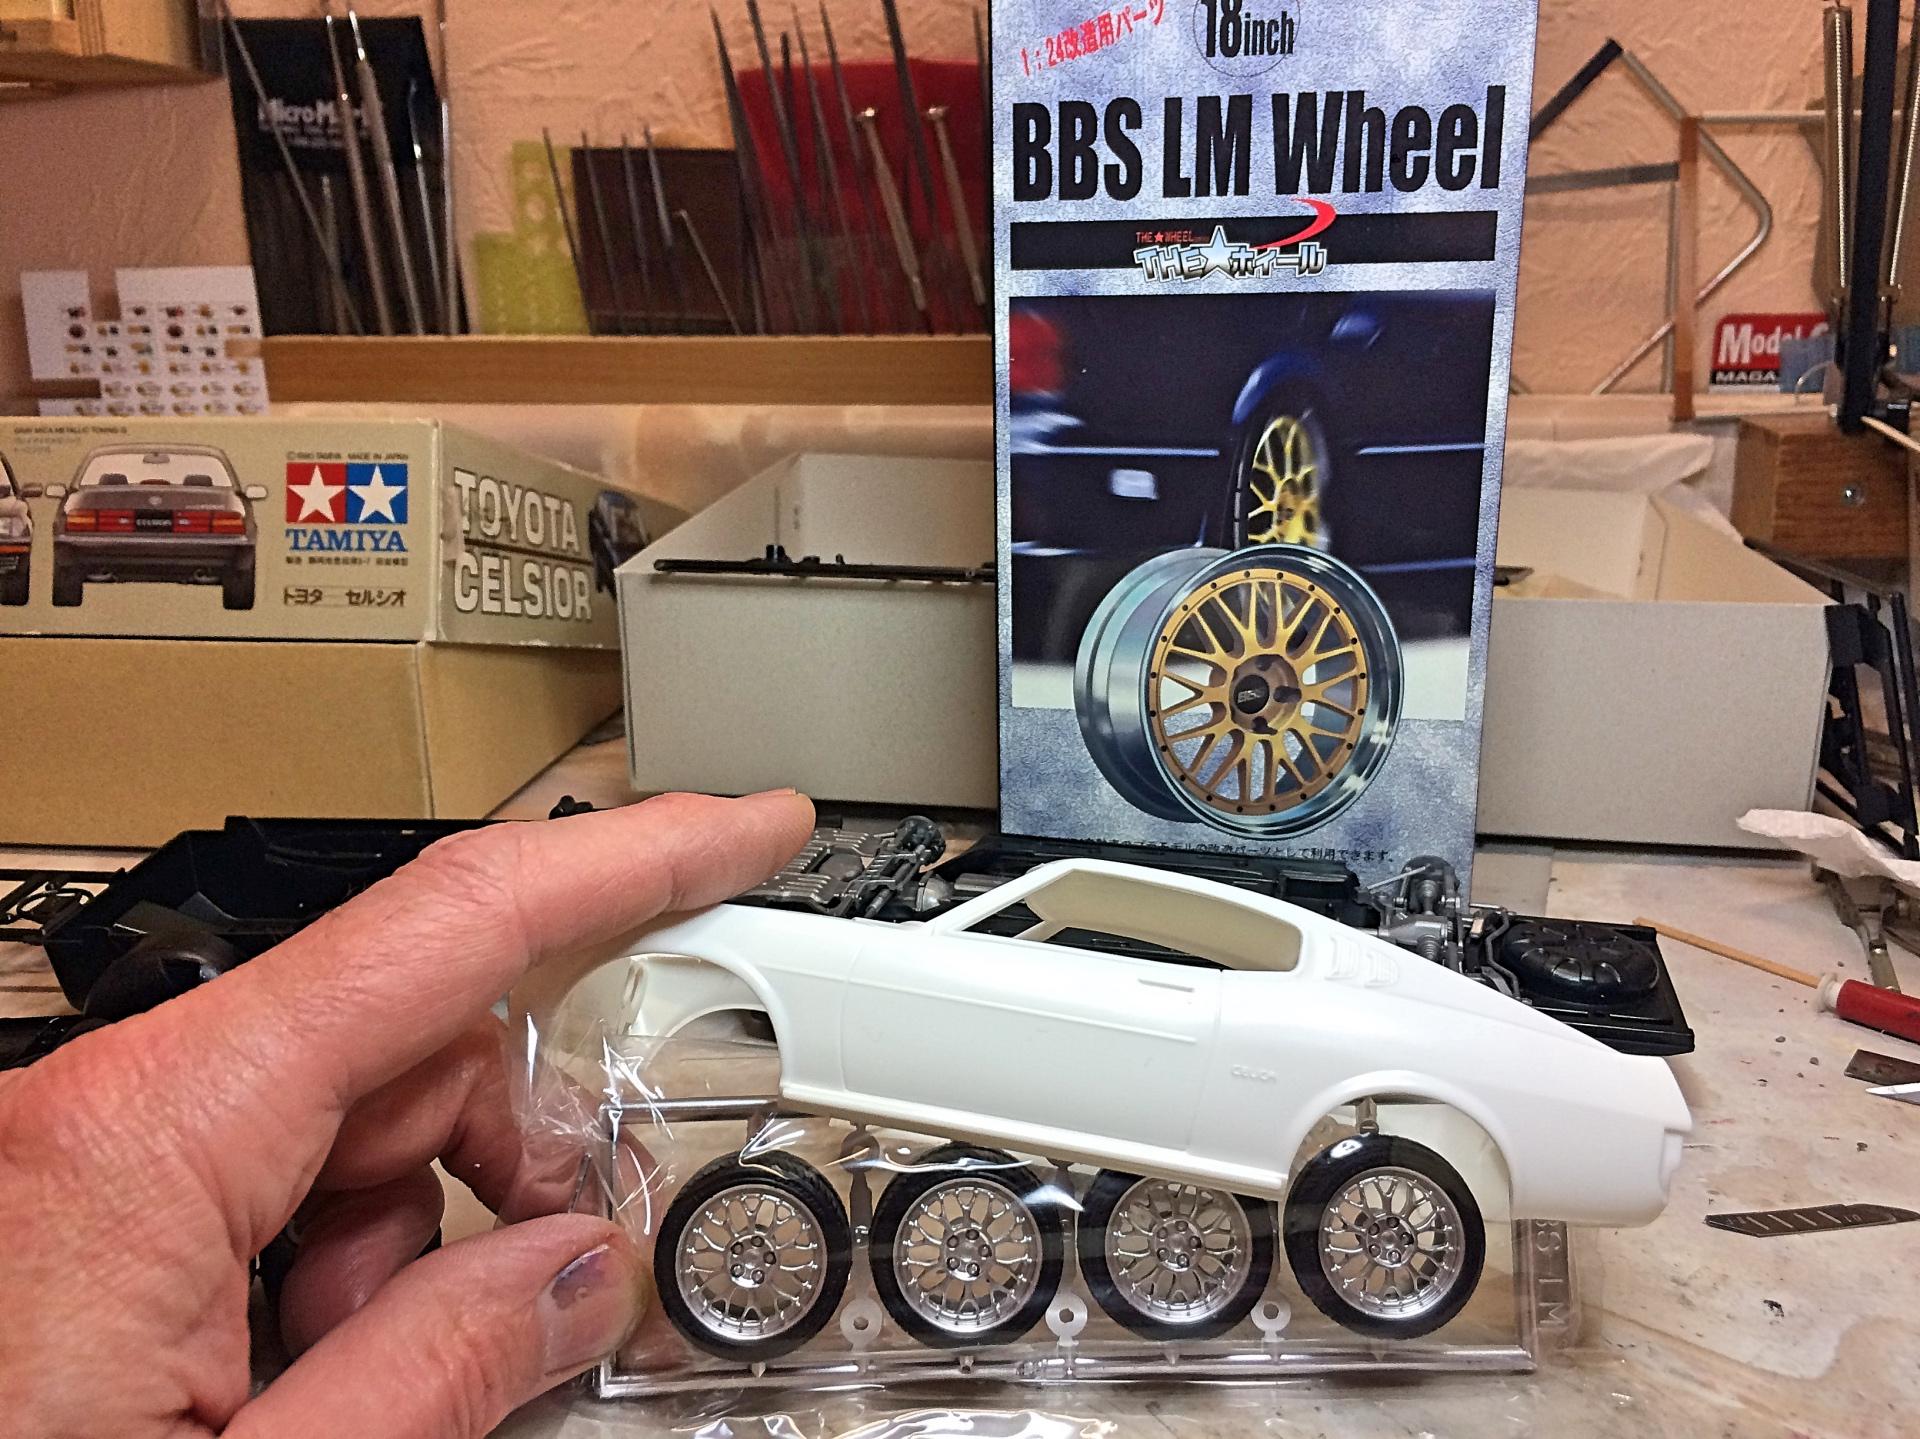
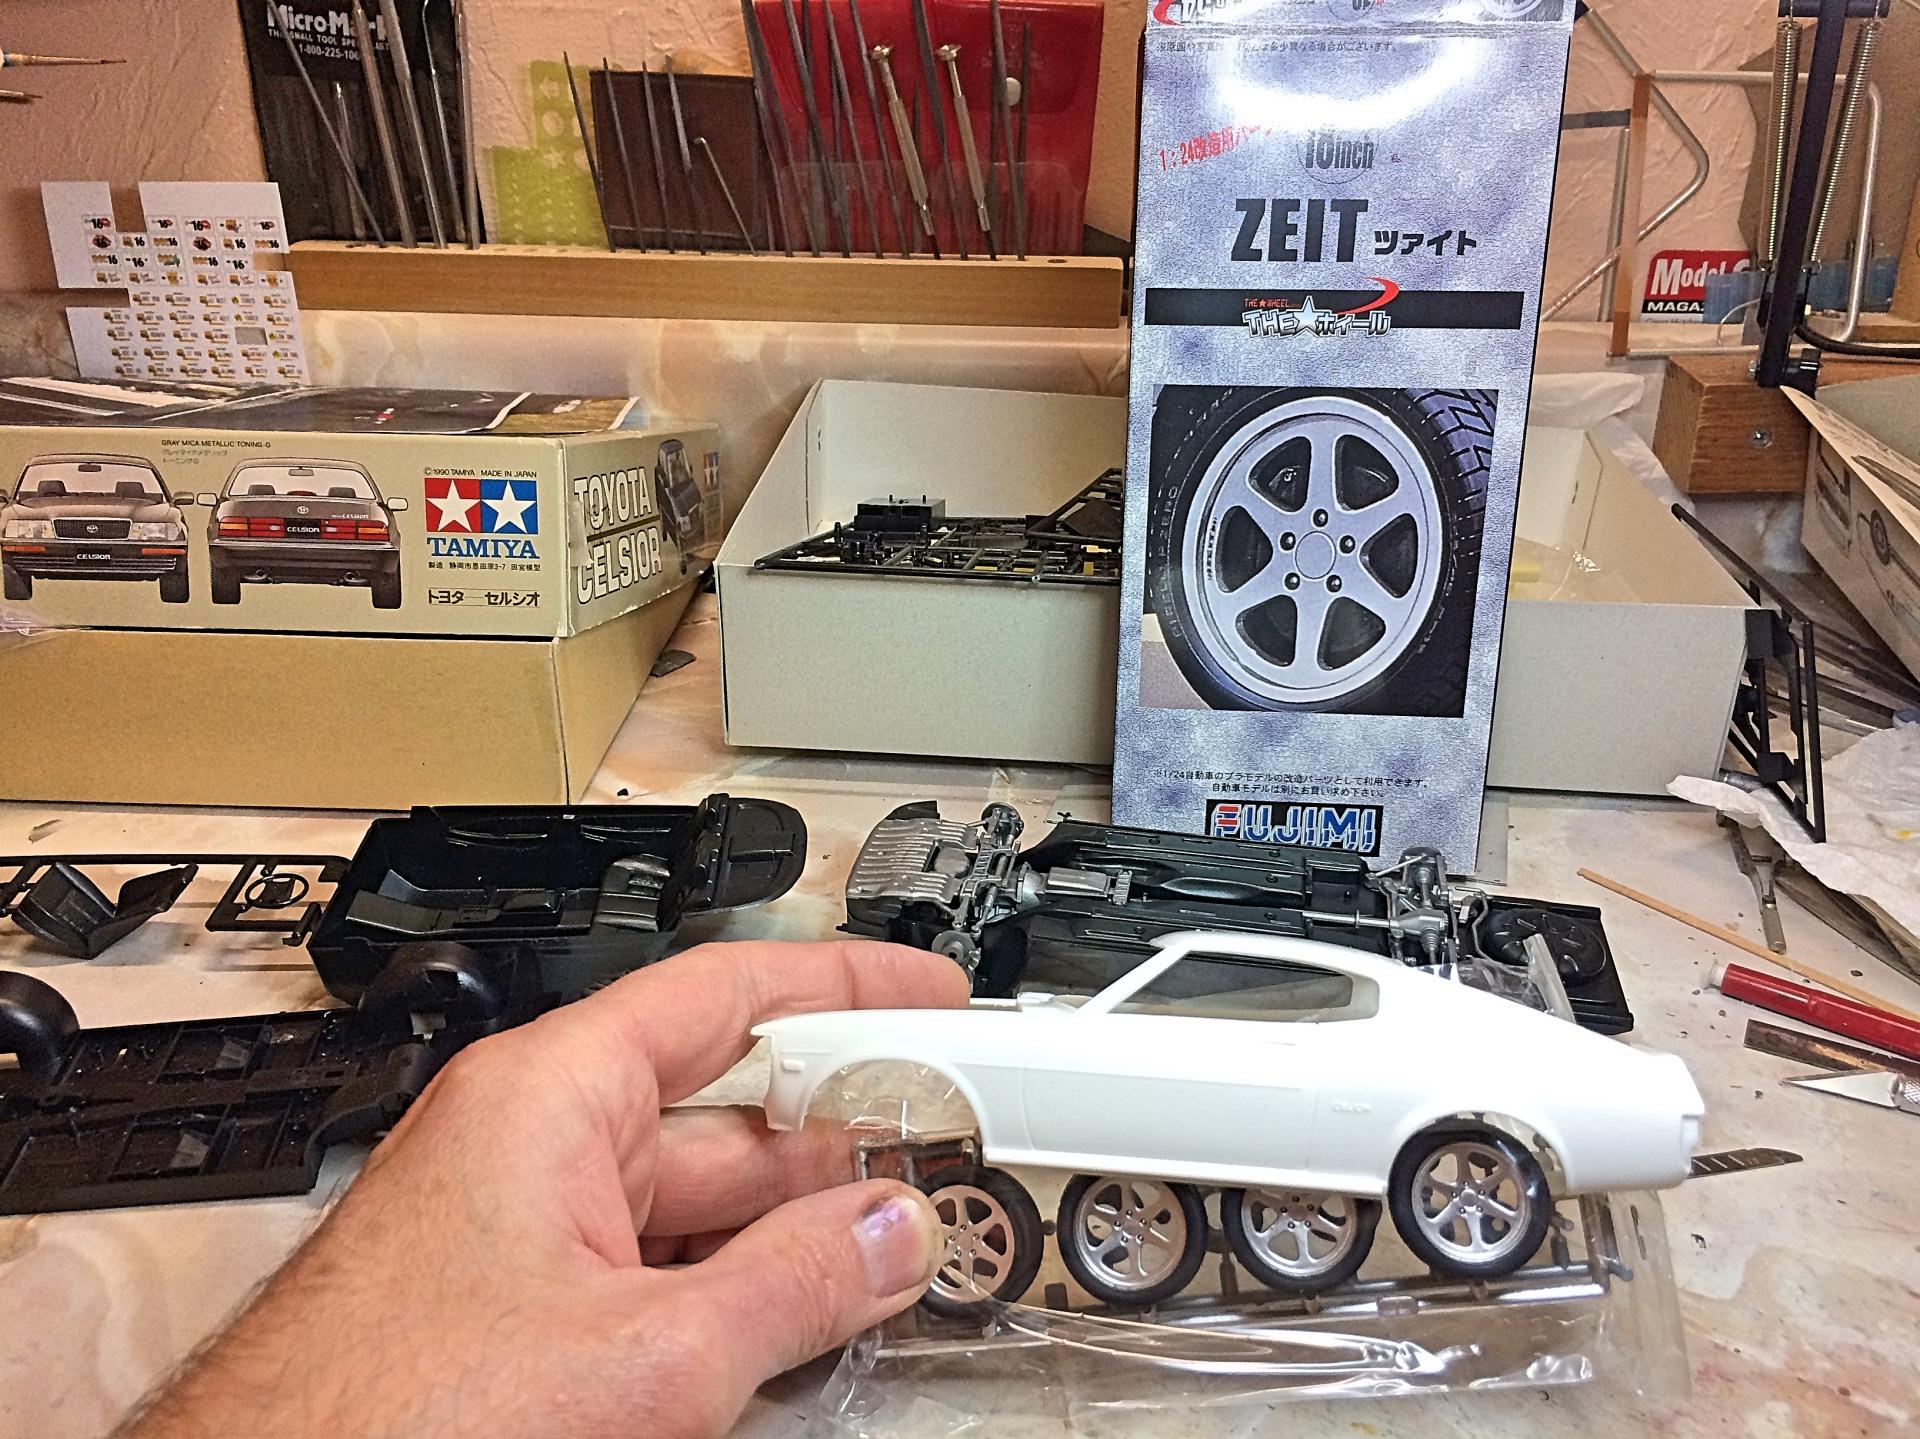
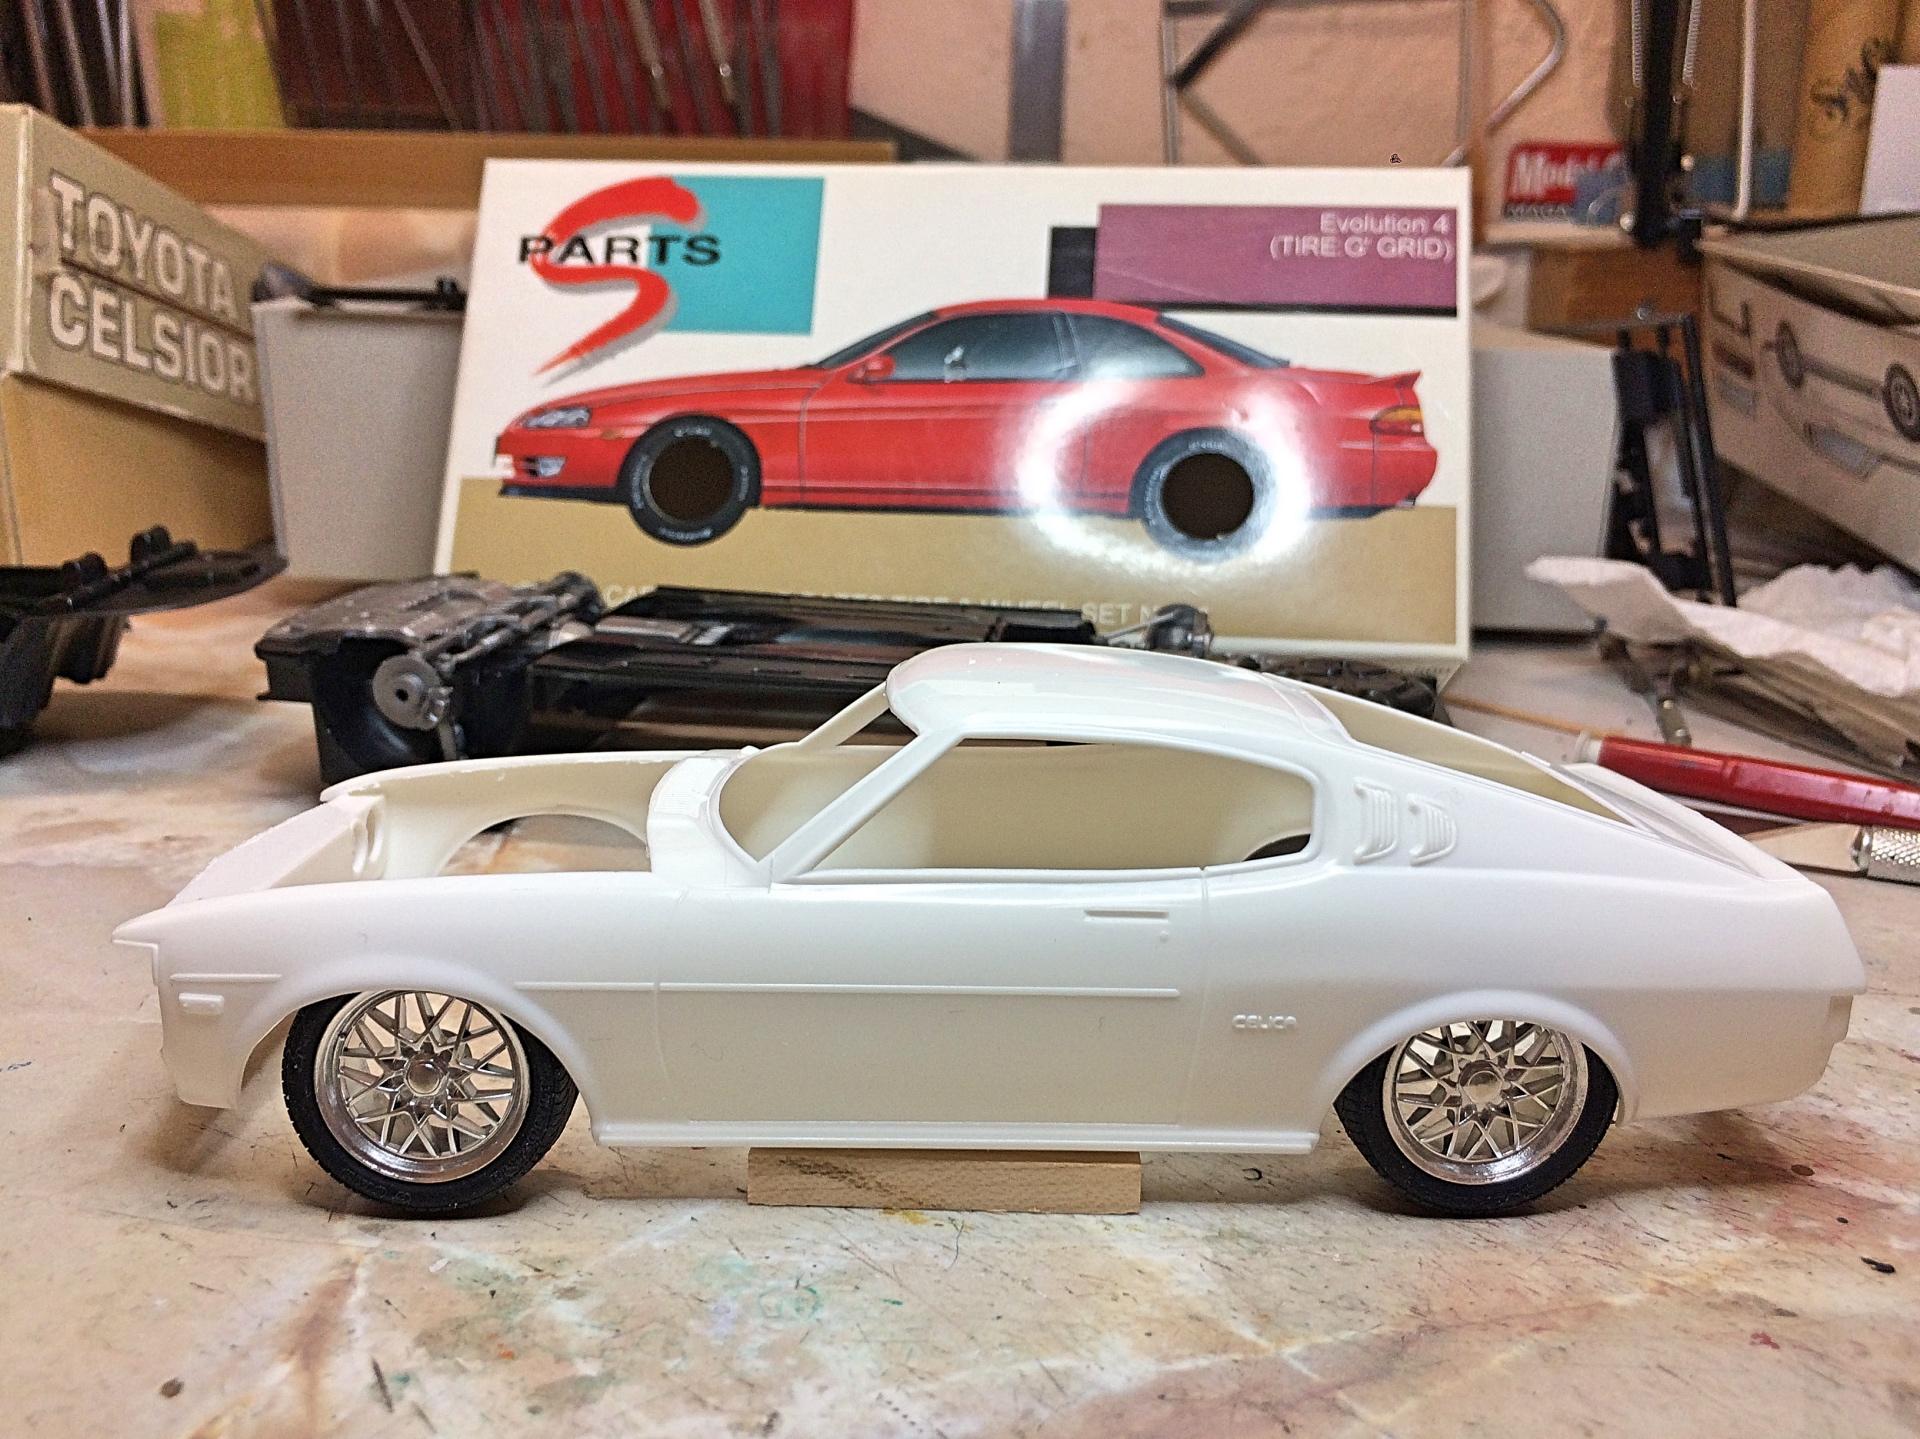
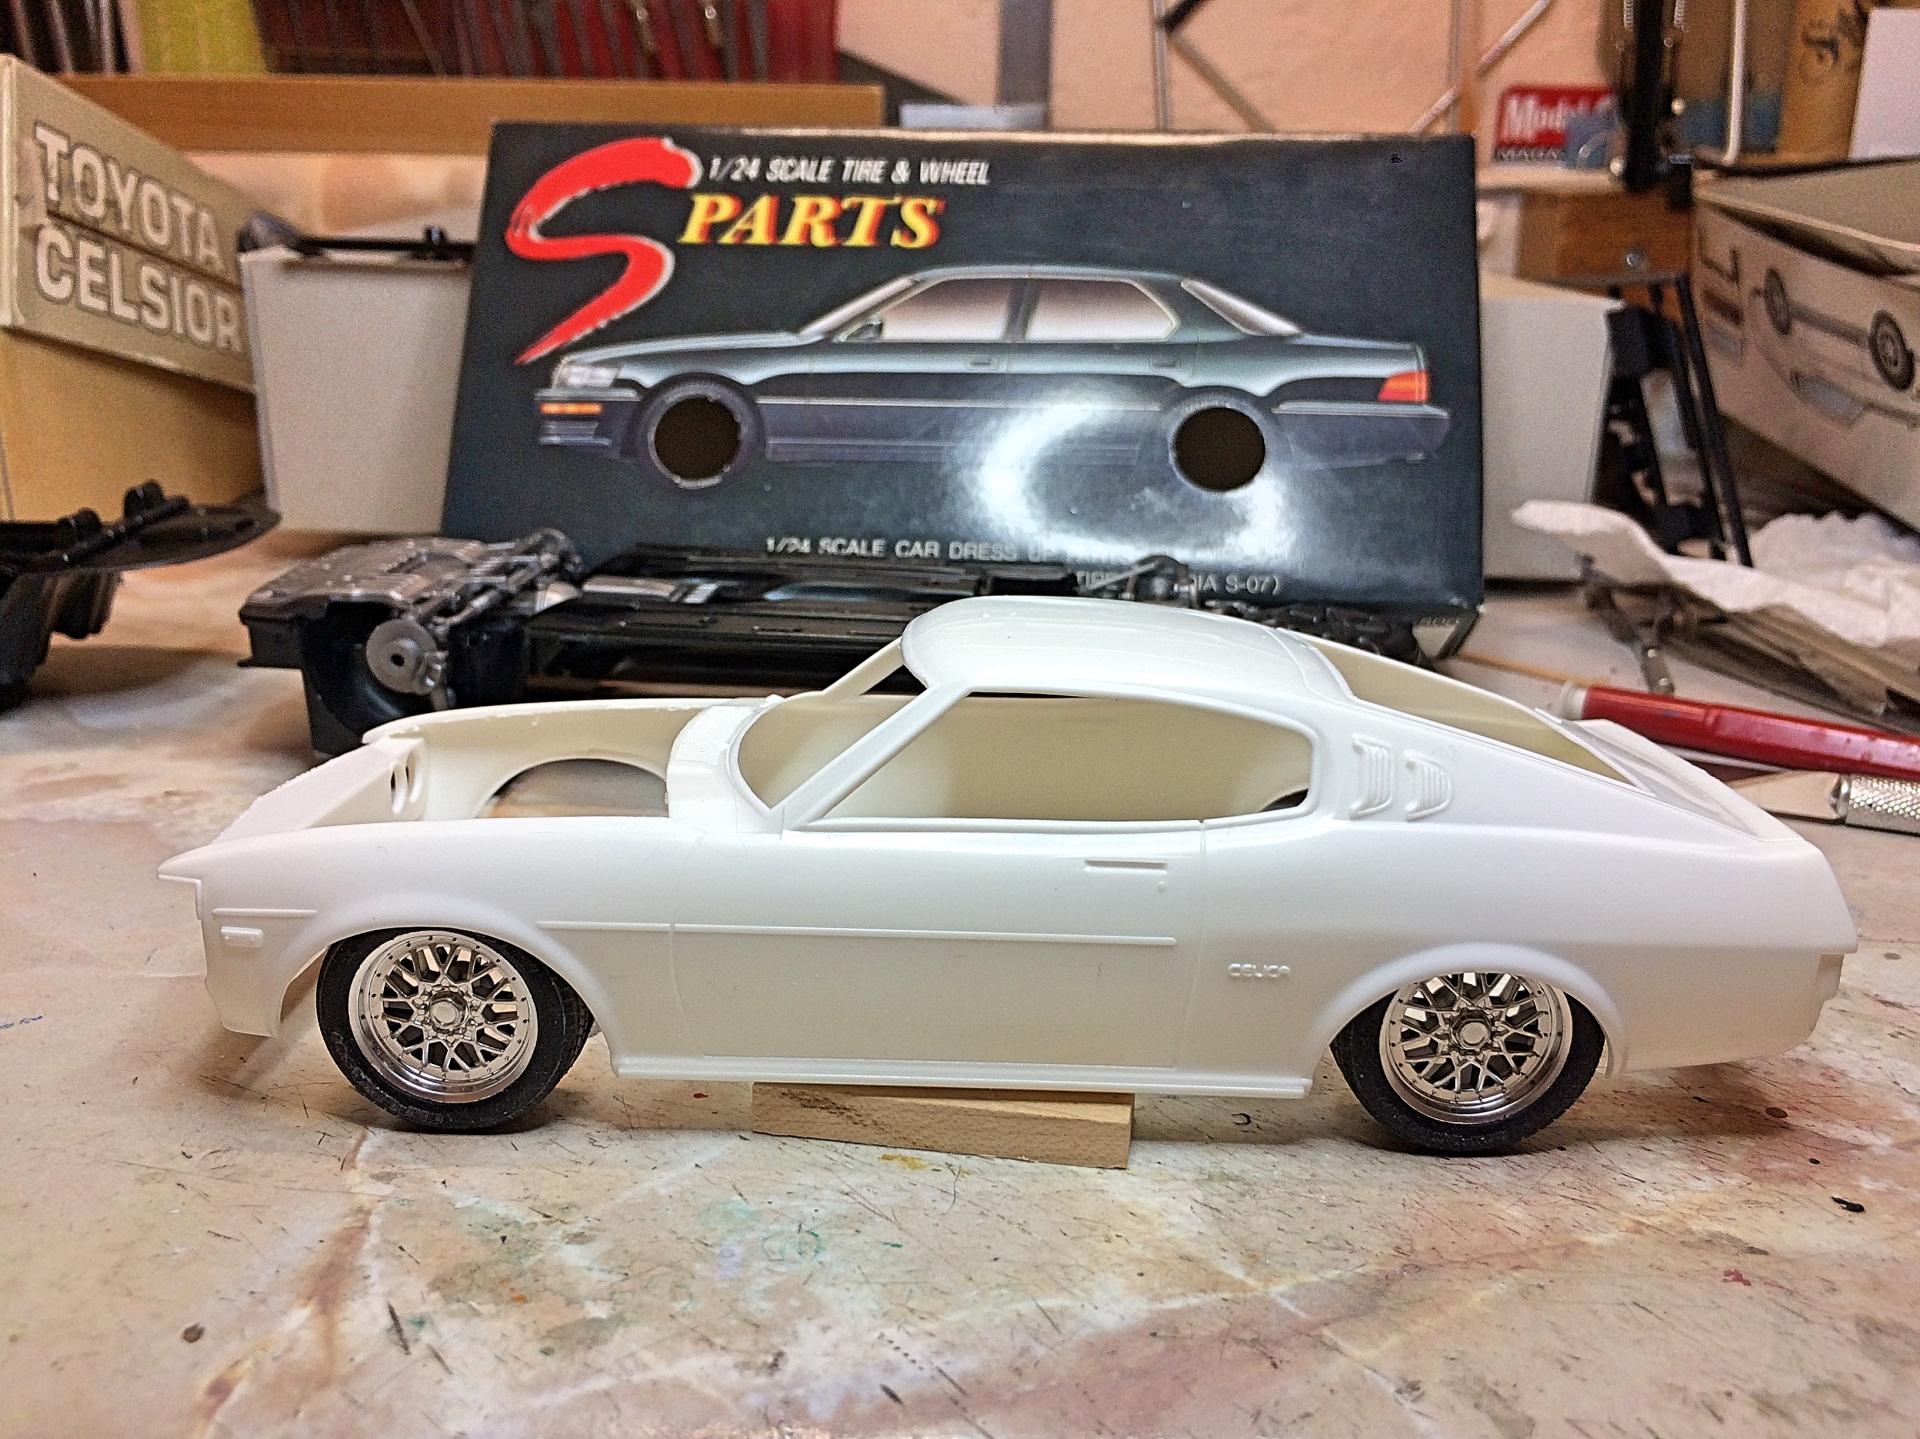
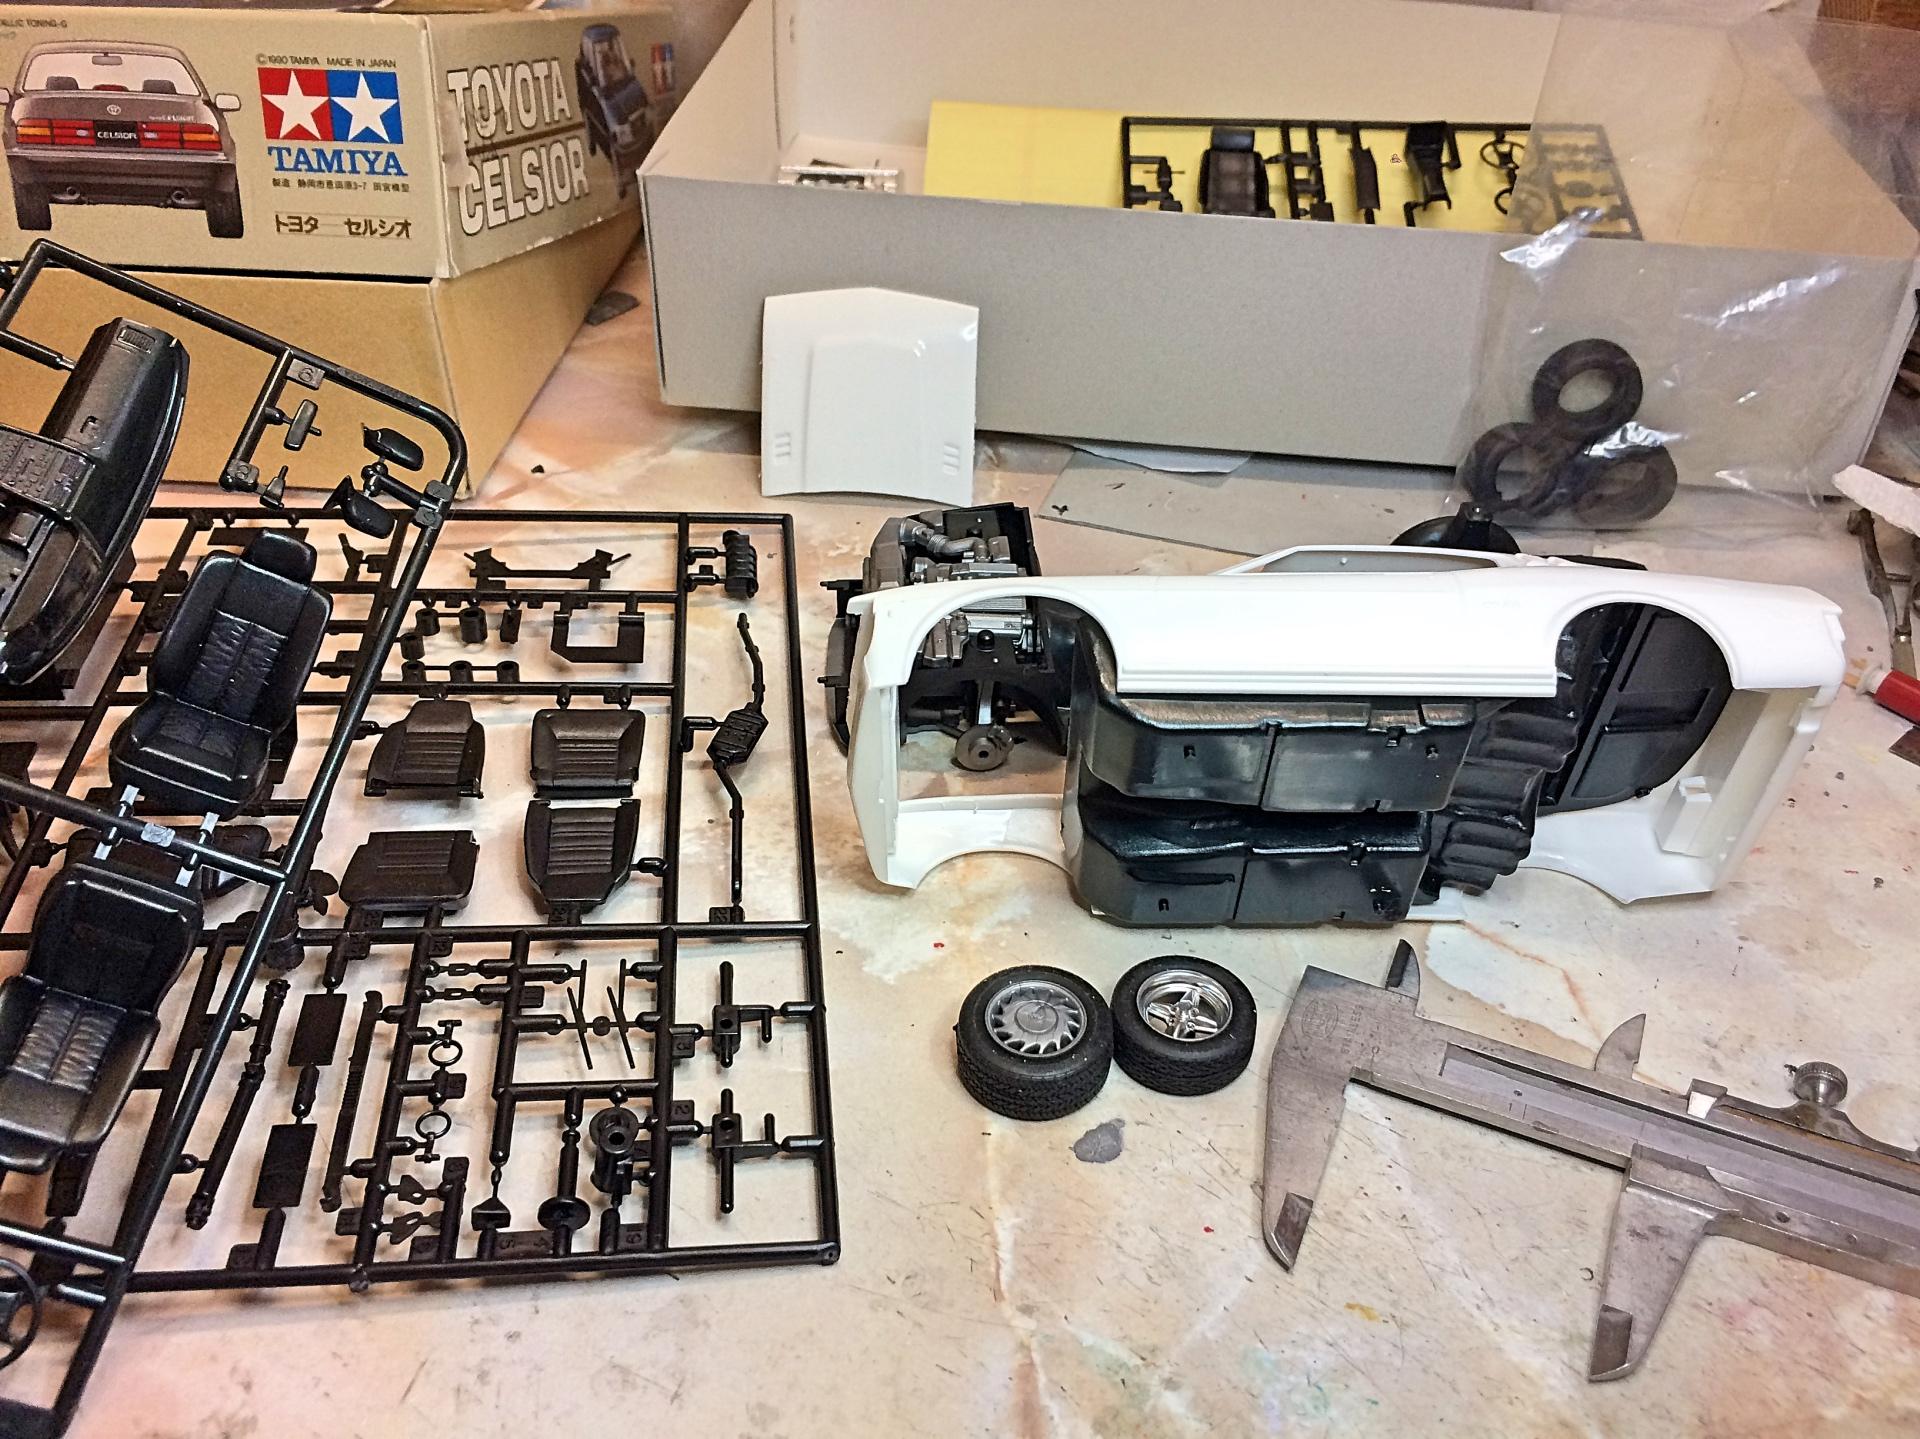
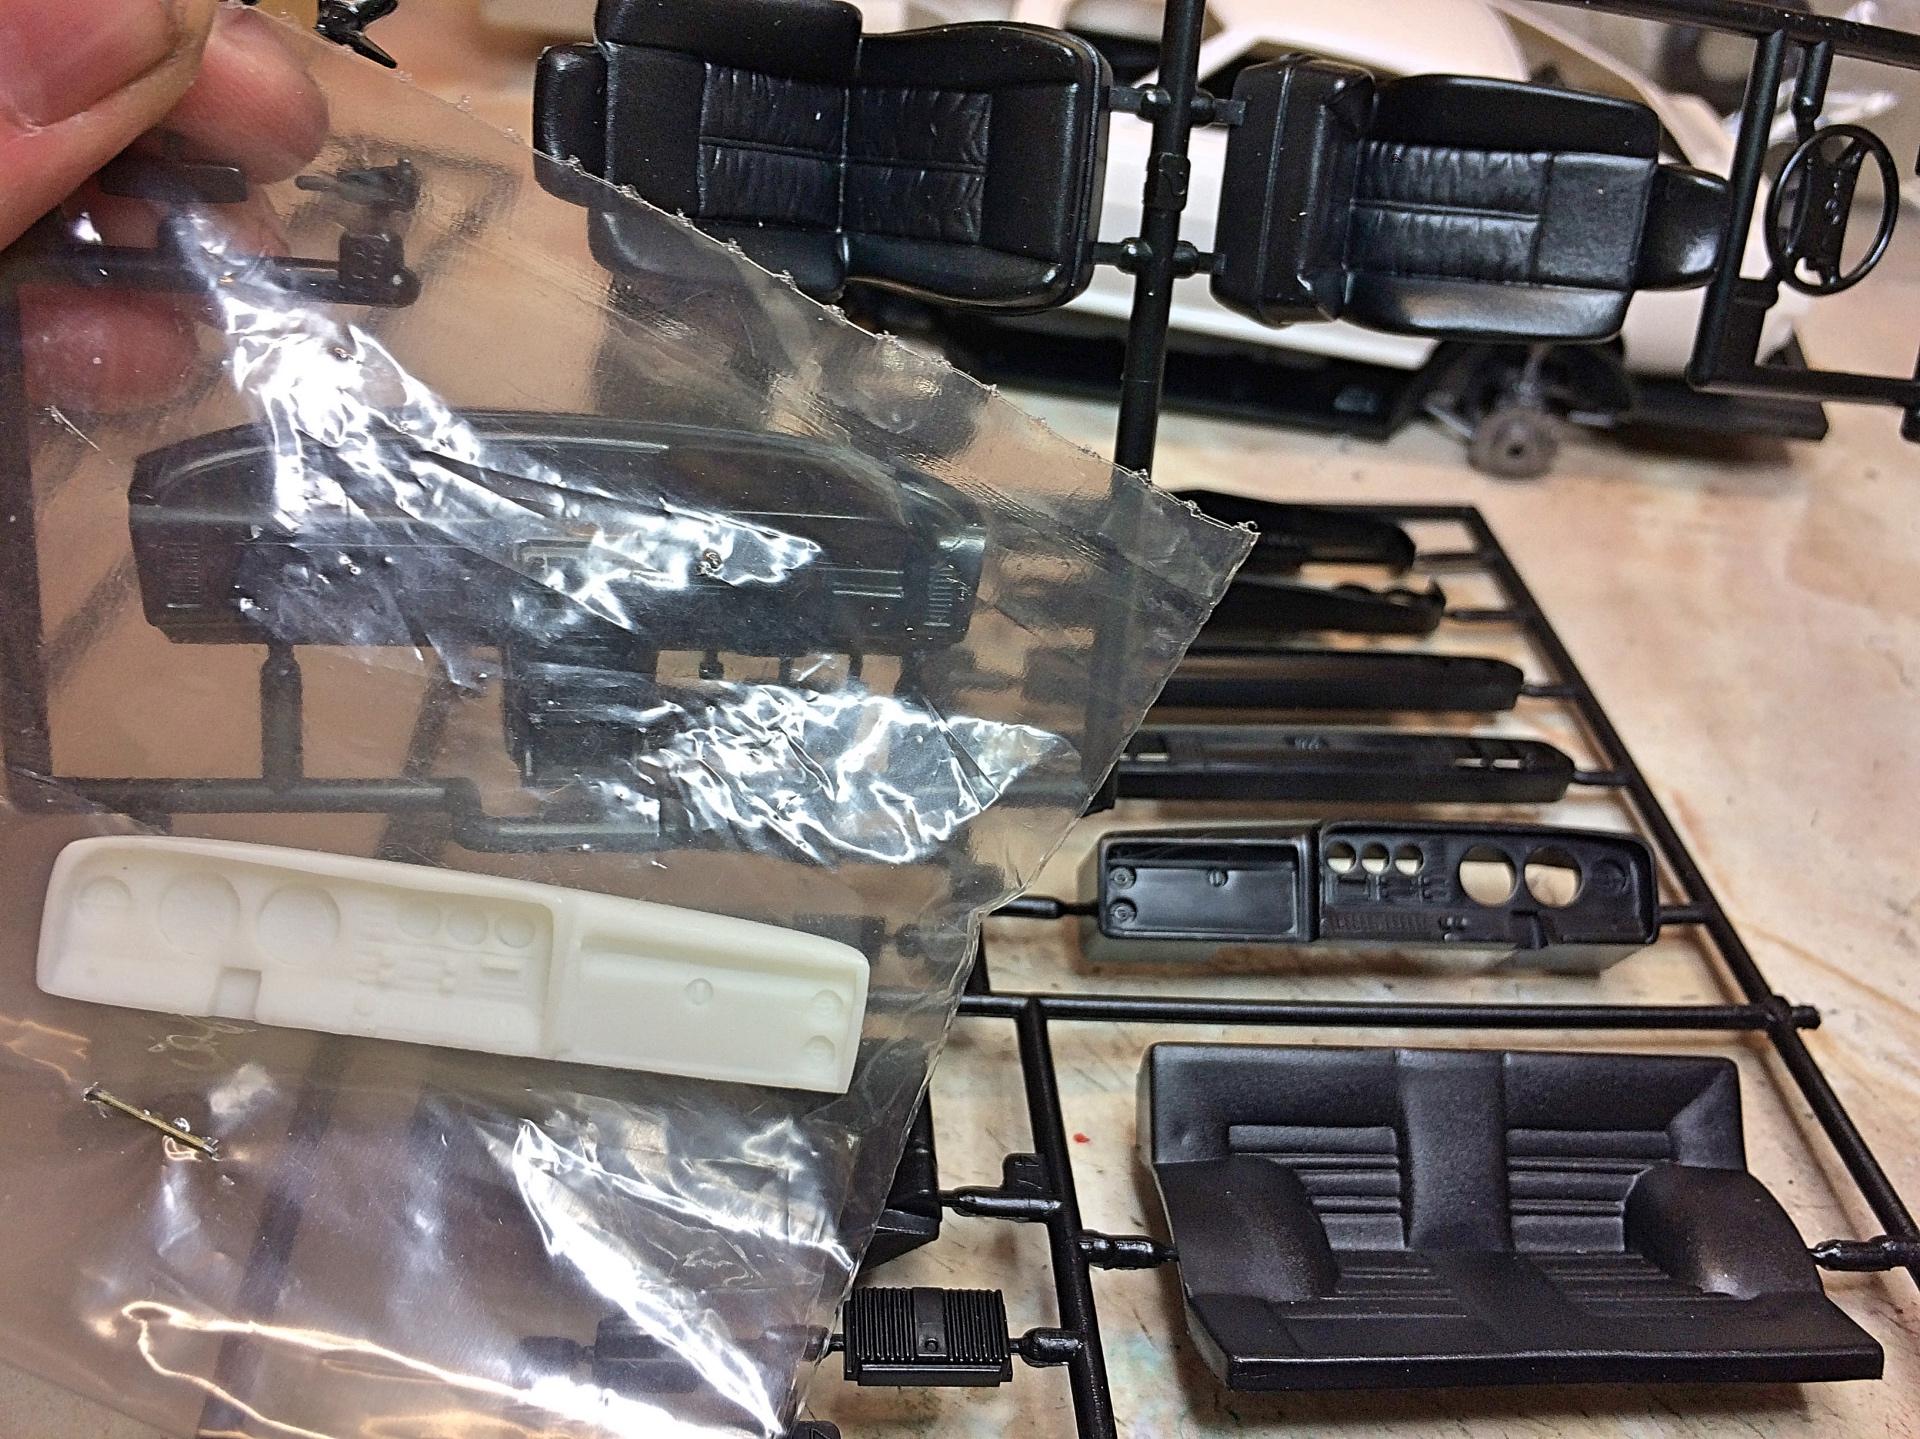
Kitbash of the Aoshima Toyota Celica GT2000 Liftback, and the Tamiya Toyota Celsior V8, chassis, and interior (Lexus LS400 in the USA), Celica + Lexus. WIP thread The V8 is very popular for street rodding Corollas, some Celicas have also been done. Had this idea since July 2003, started April 21 and finished in a little over 110 hours. The basic architecture of the two cars is similar, the sedan wheelbase was shortened about 5/8", Celica body widened about 5 MM each side. Not sure what class this would fit into at some contests, 'Tuners' are usually Japanese turbocharged 4 cylinders, 'Street Machines' are usually American cars with V8s, 'Customs' are usually Lead Sleds. ? The Aoshima came with the American Satco LHD dashboard. Wheels are a Fujimi set, that came with Brembo brakes. Nail 'polish' paint. There are some things that did not work out perfectly, but good enough for something different. I use a hot-wire to cut most of the time, in this case kept the jagged edge to simulate a weld line. Engine is mostly stock, exception was cutting the intake tract with accessories apart. Front has a Mercedes 190 airdam blended in, photo-etch grill, intake air filter is being missing headlight. I designed the moveable spoiler, the intent is have it go up when braking. Scanned and reduced kit boxes to scale. Cargo area is all scratch-built, including strut brace. This Celica was touted as the Japanese Pony Car, now that I modified the fenders and installed a V8, it looks the part. To hide some blemishes, have "weathered". Can scratch this off my 2020 Resolution list, #4. ?
-
Kitbash of the Aoshima Toyota Celica LB 2000GT Liftback and the Tamiya Toyota Celsior (USA market Lexus LS400). Been thinking of this project for some time. Have a couple of photos found on the web of a Celica with a turbocharged Lexus V8, so that is where I started. Assembled the chassis and engine, mostly with Tacky glue. Cut off the hood, using the Tamiya scriber. I knew there might need to be flares, design pending. Chassis pan will be shortened in the middle, cut off the back, and much of the front overhang removed. Looked at my choice of wheels. This is my first choice, has two widths of tires, and Brembo brakes. I like the look, but same width tires. Maybe, but no brakes. Only because the box shows the Lexus. Interior tub width is a very close fit. Planning to chop off the back seat, and fabricate a simple back area. Lexus seats are really nice. The dashboard is the challenge, sort of. The Aoshima kit came via Satco, which made the resin LHD dashboard. I couldn't let the dust settle after finishing the VW Microbus, so I'm off and ruining two perfectly good kits.
-
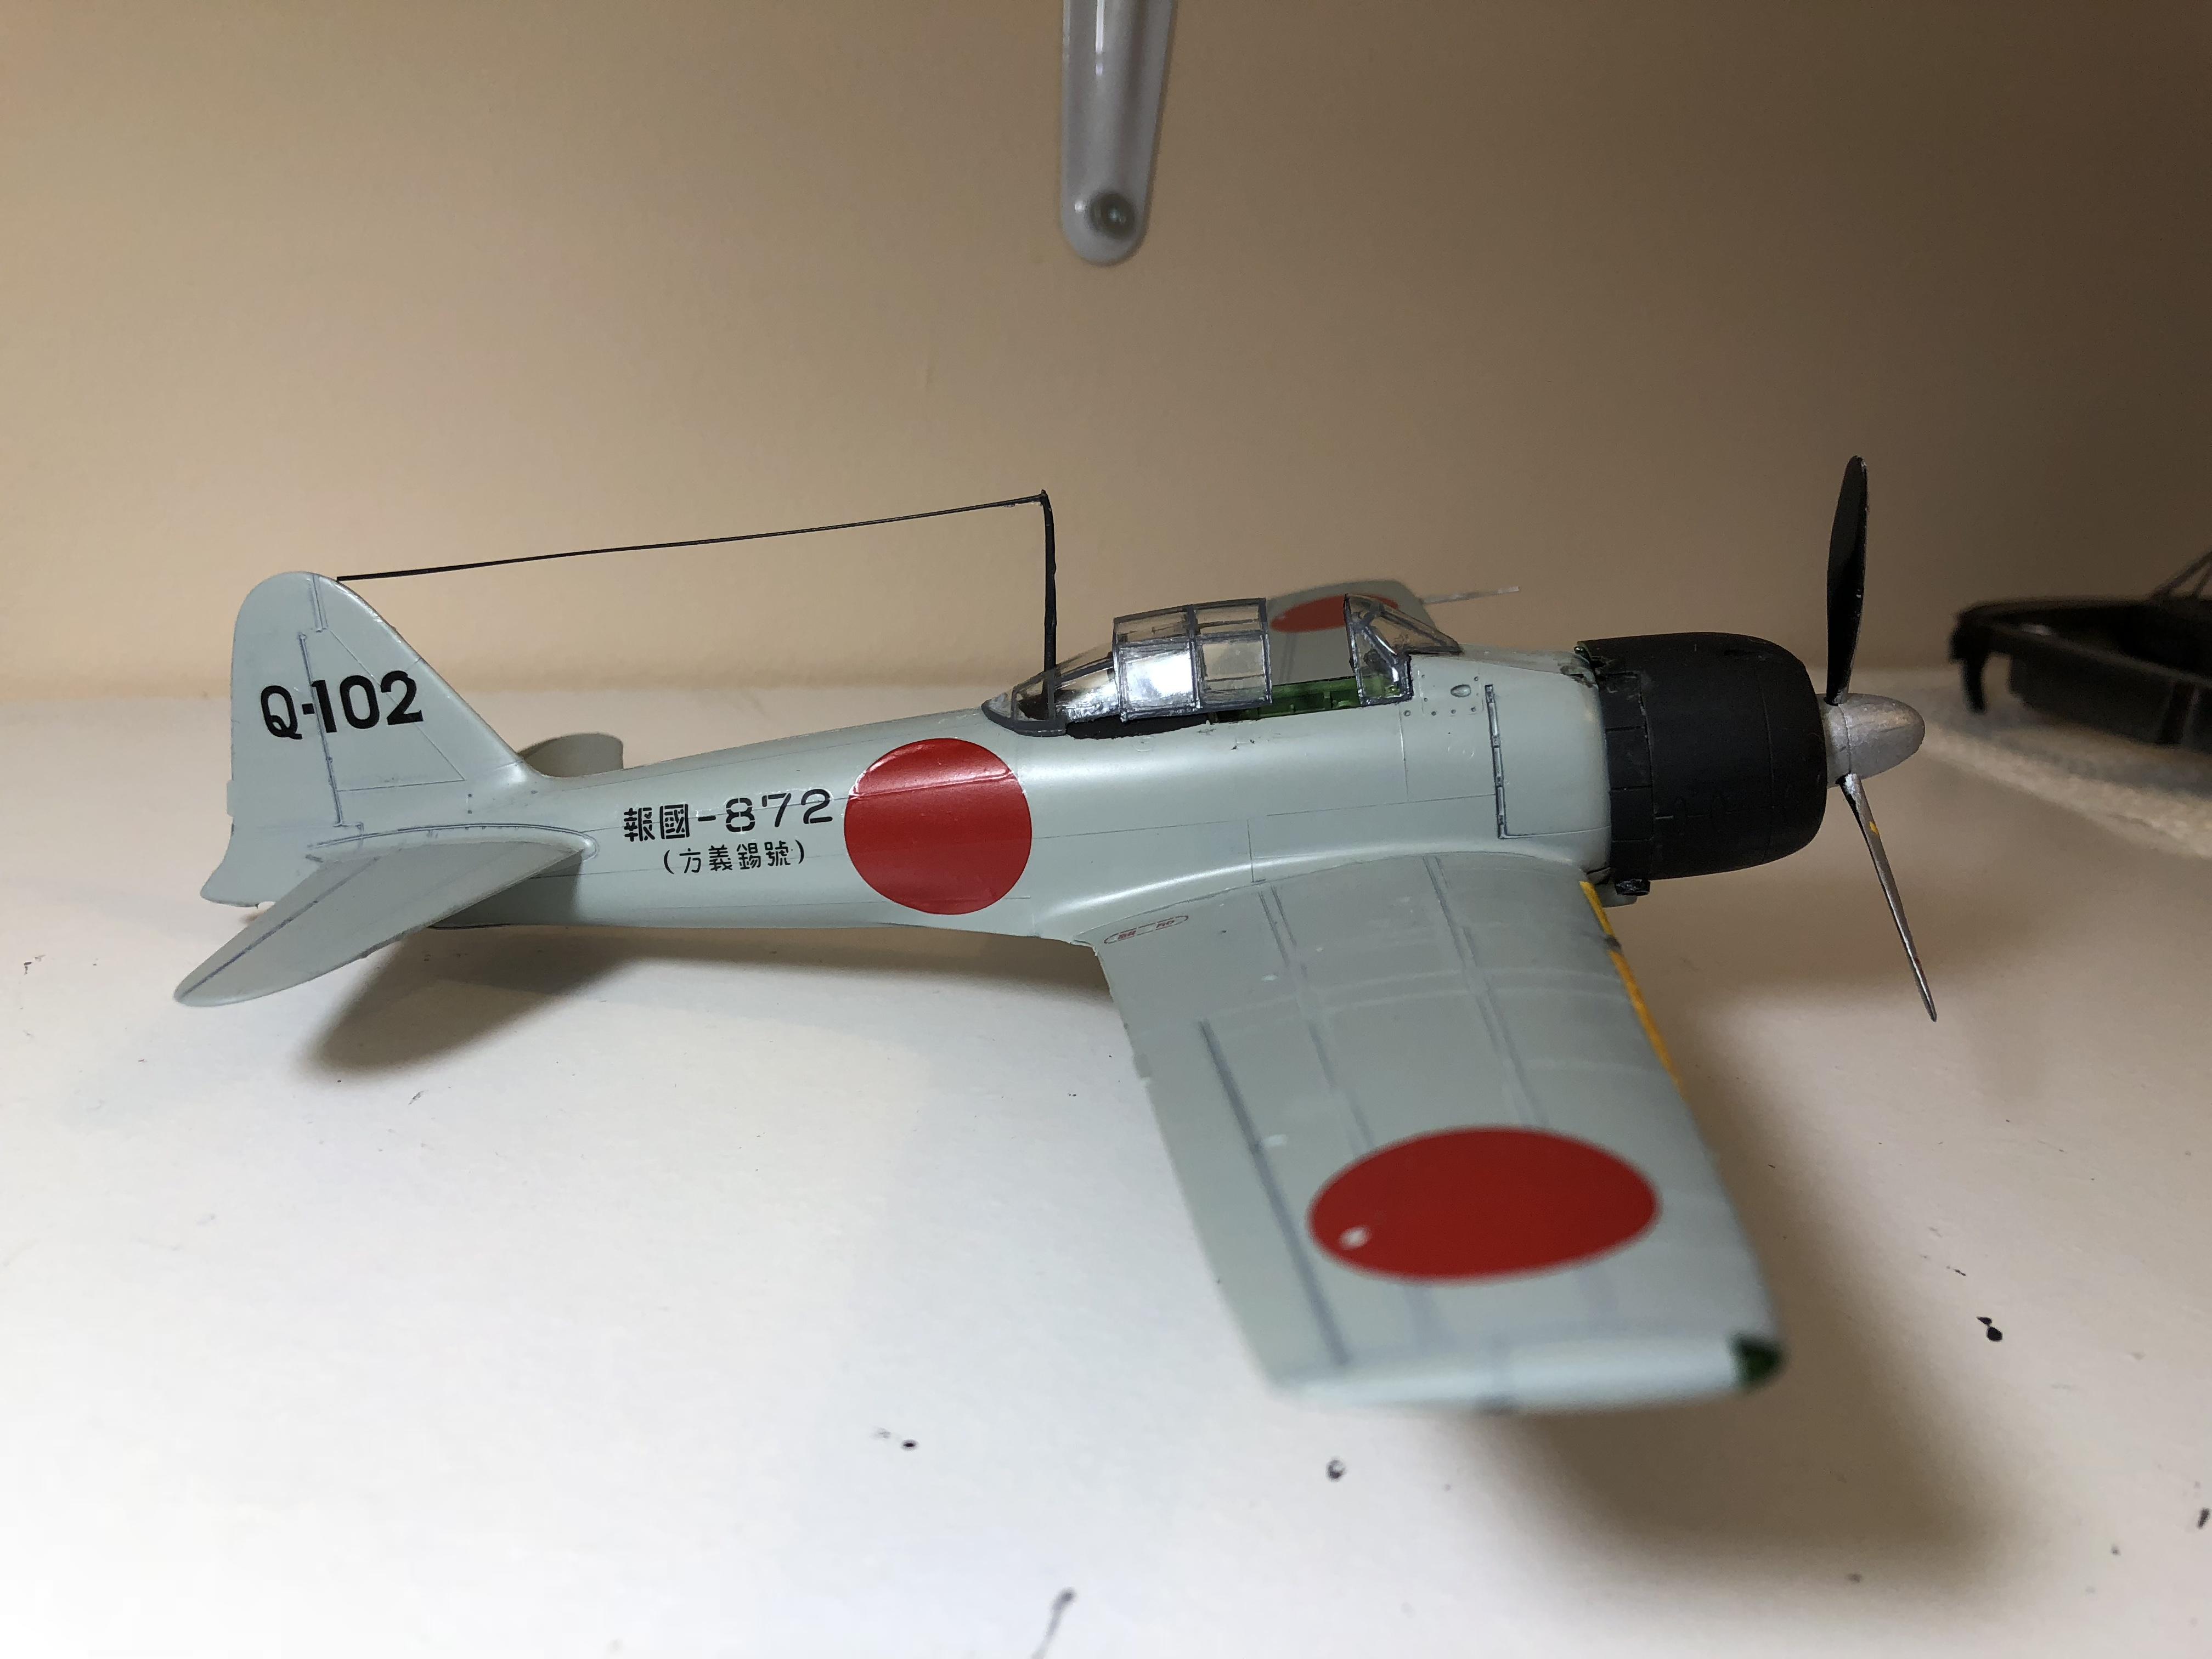
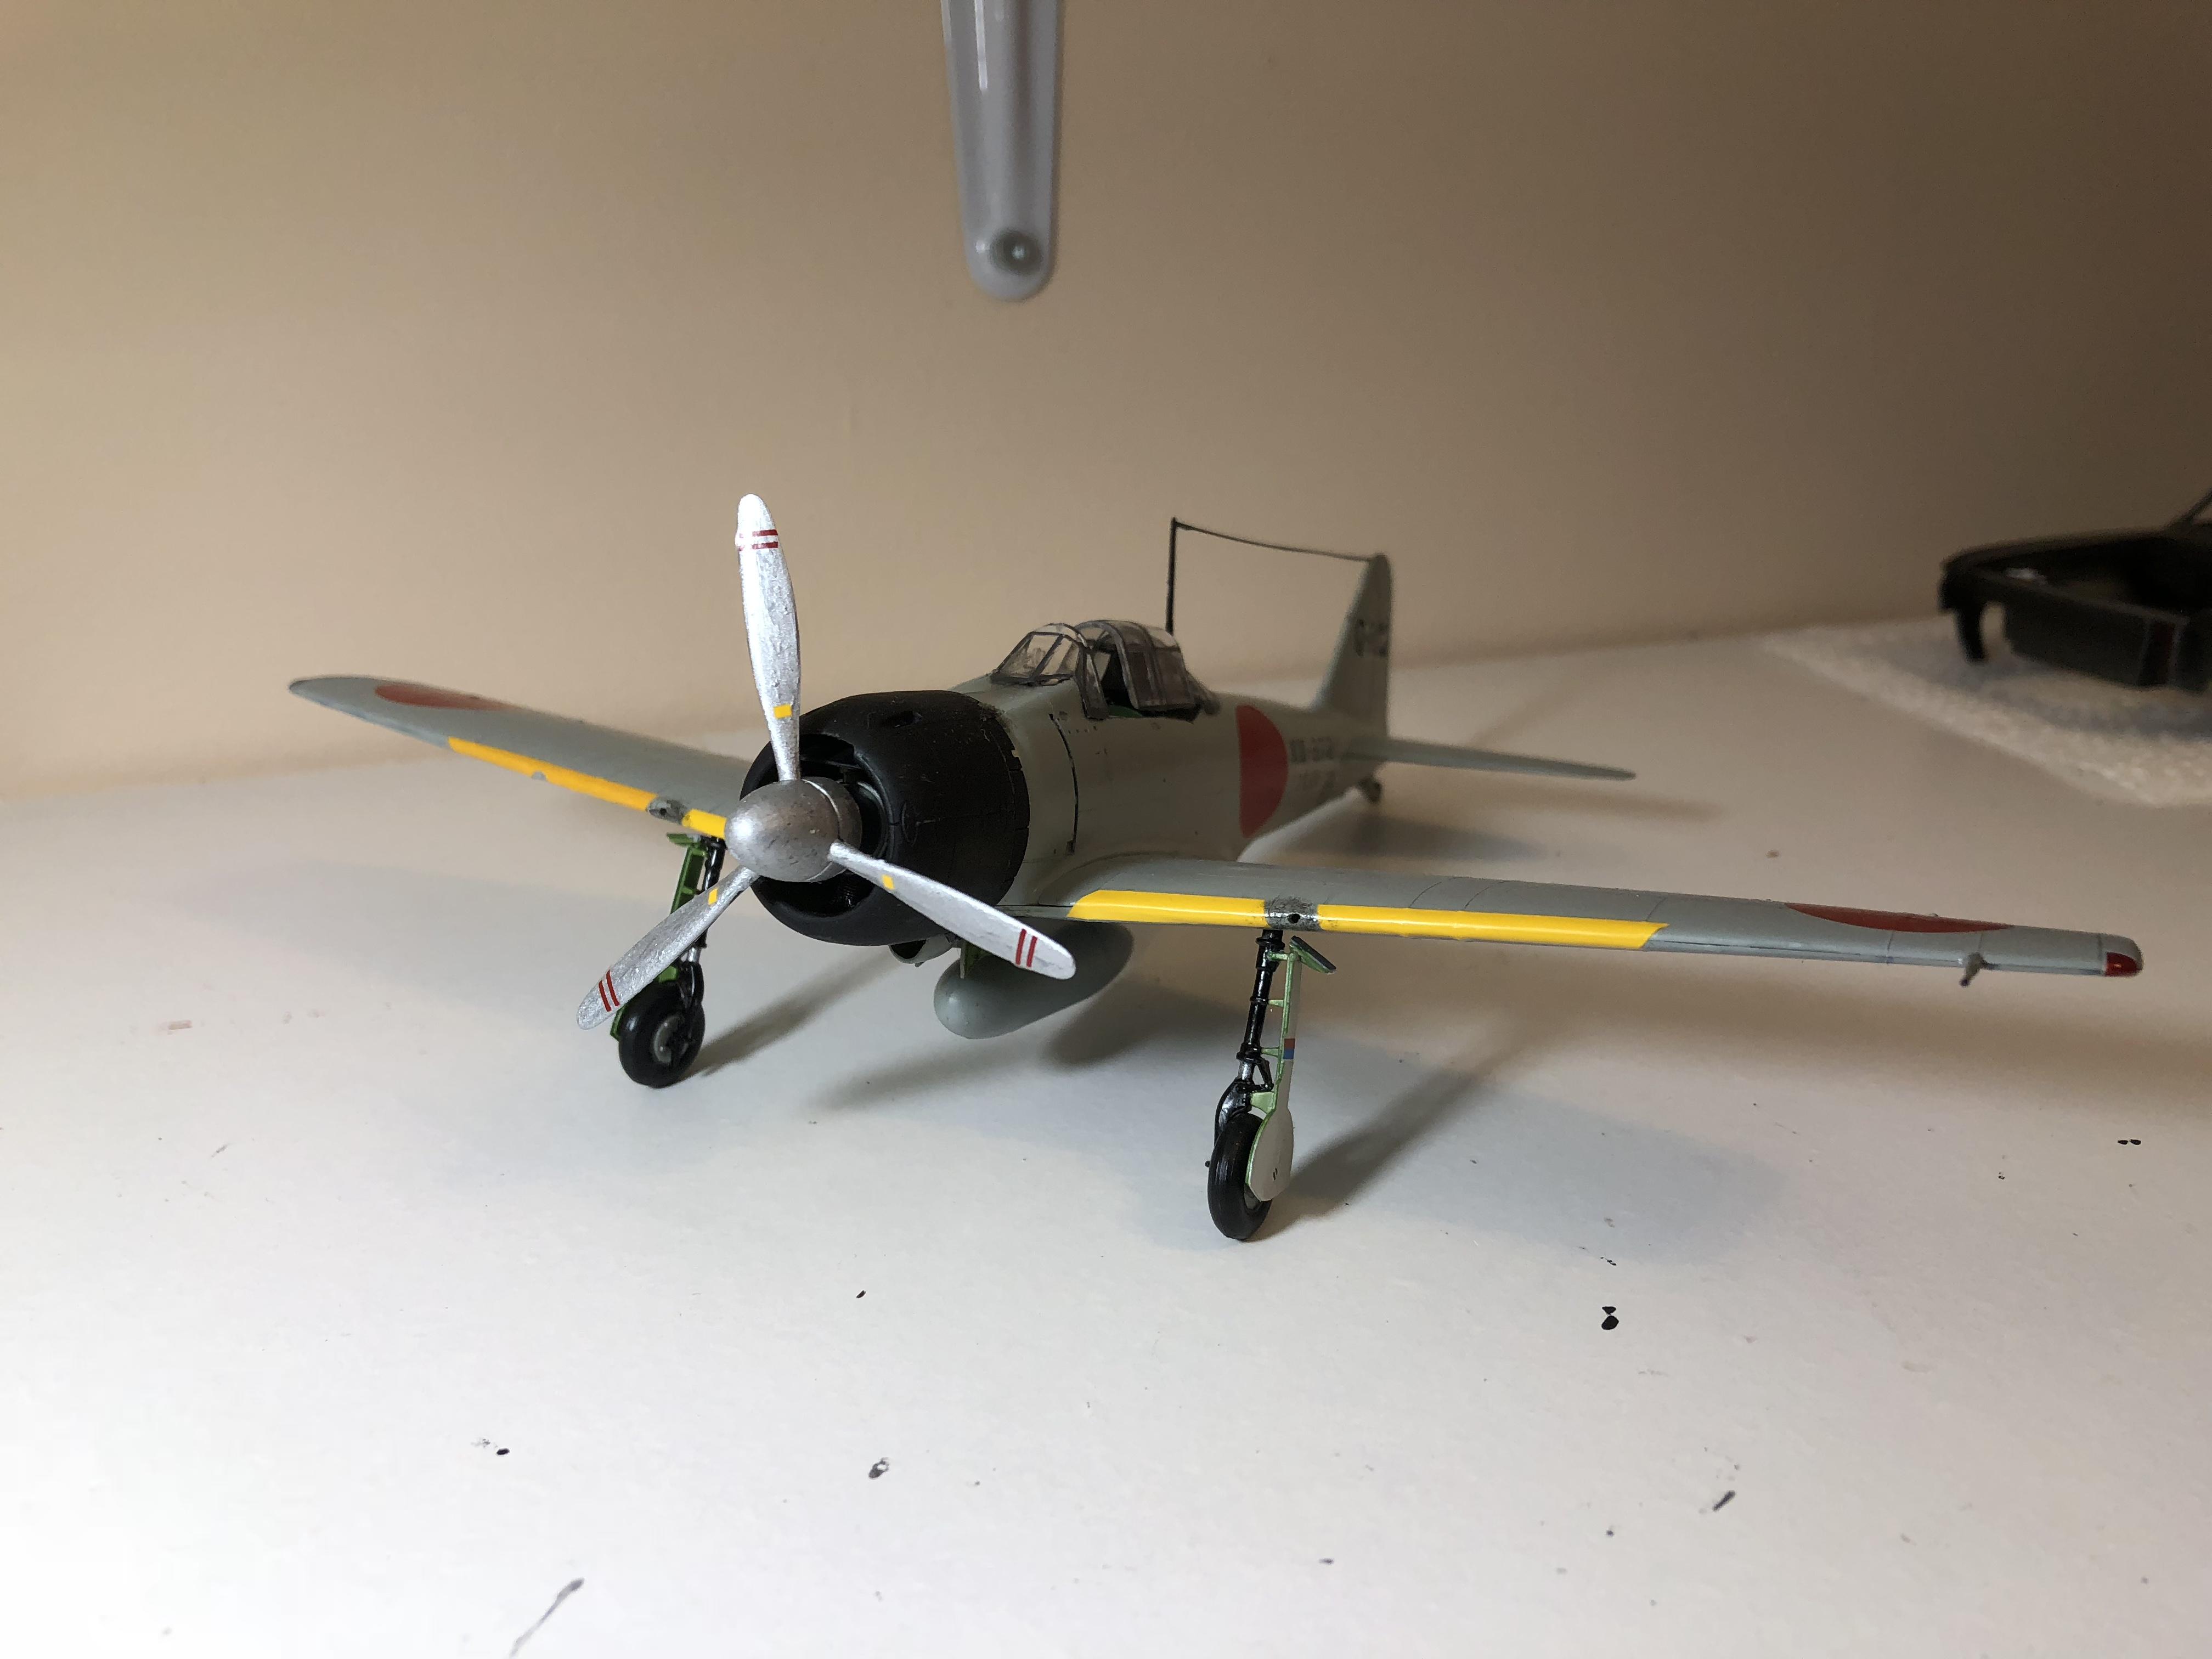
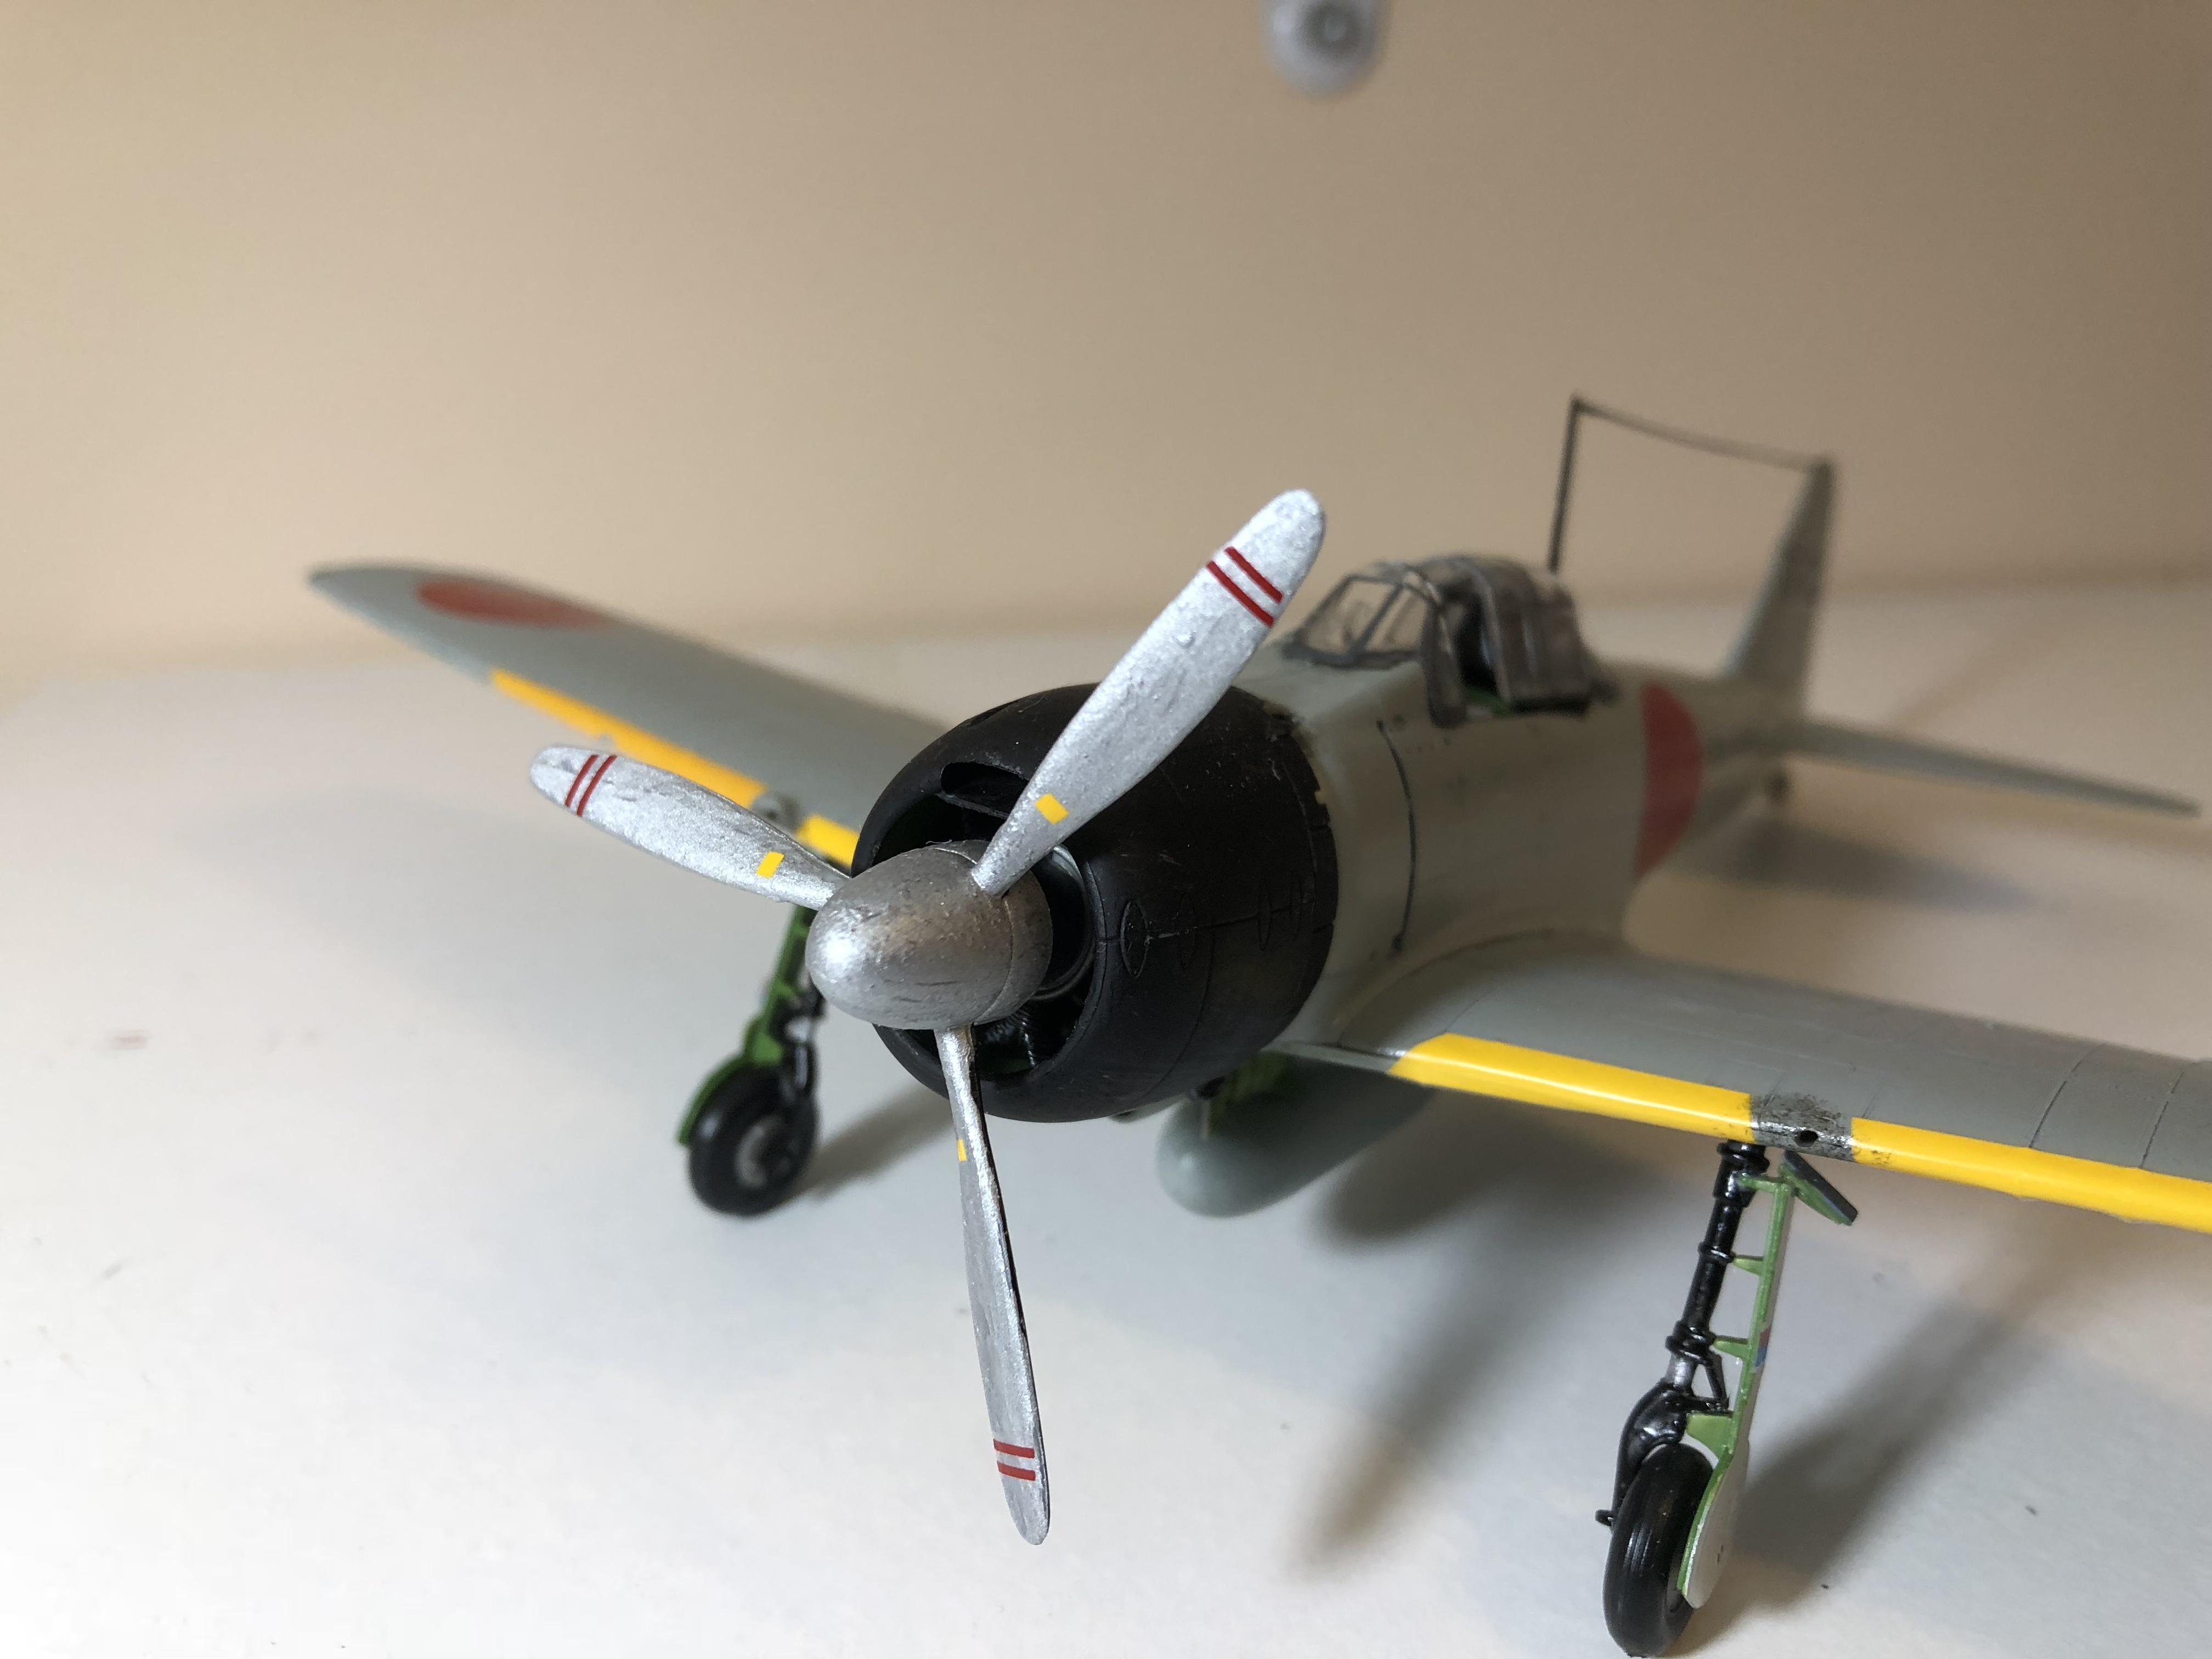
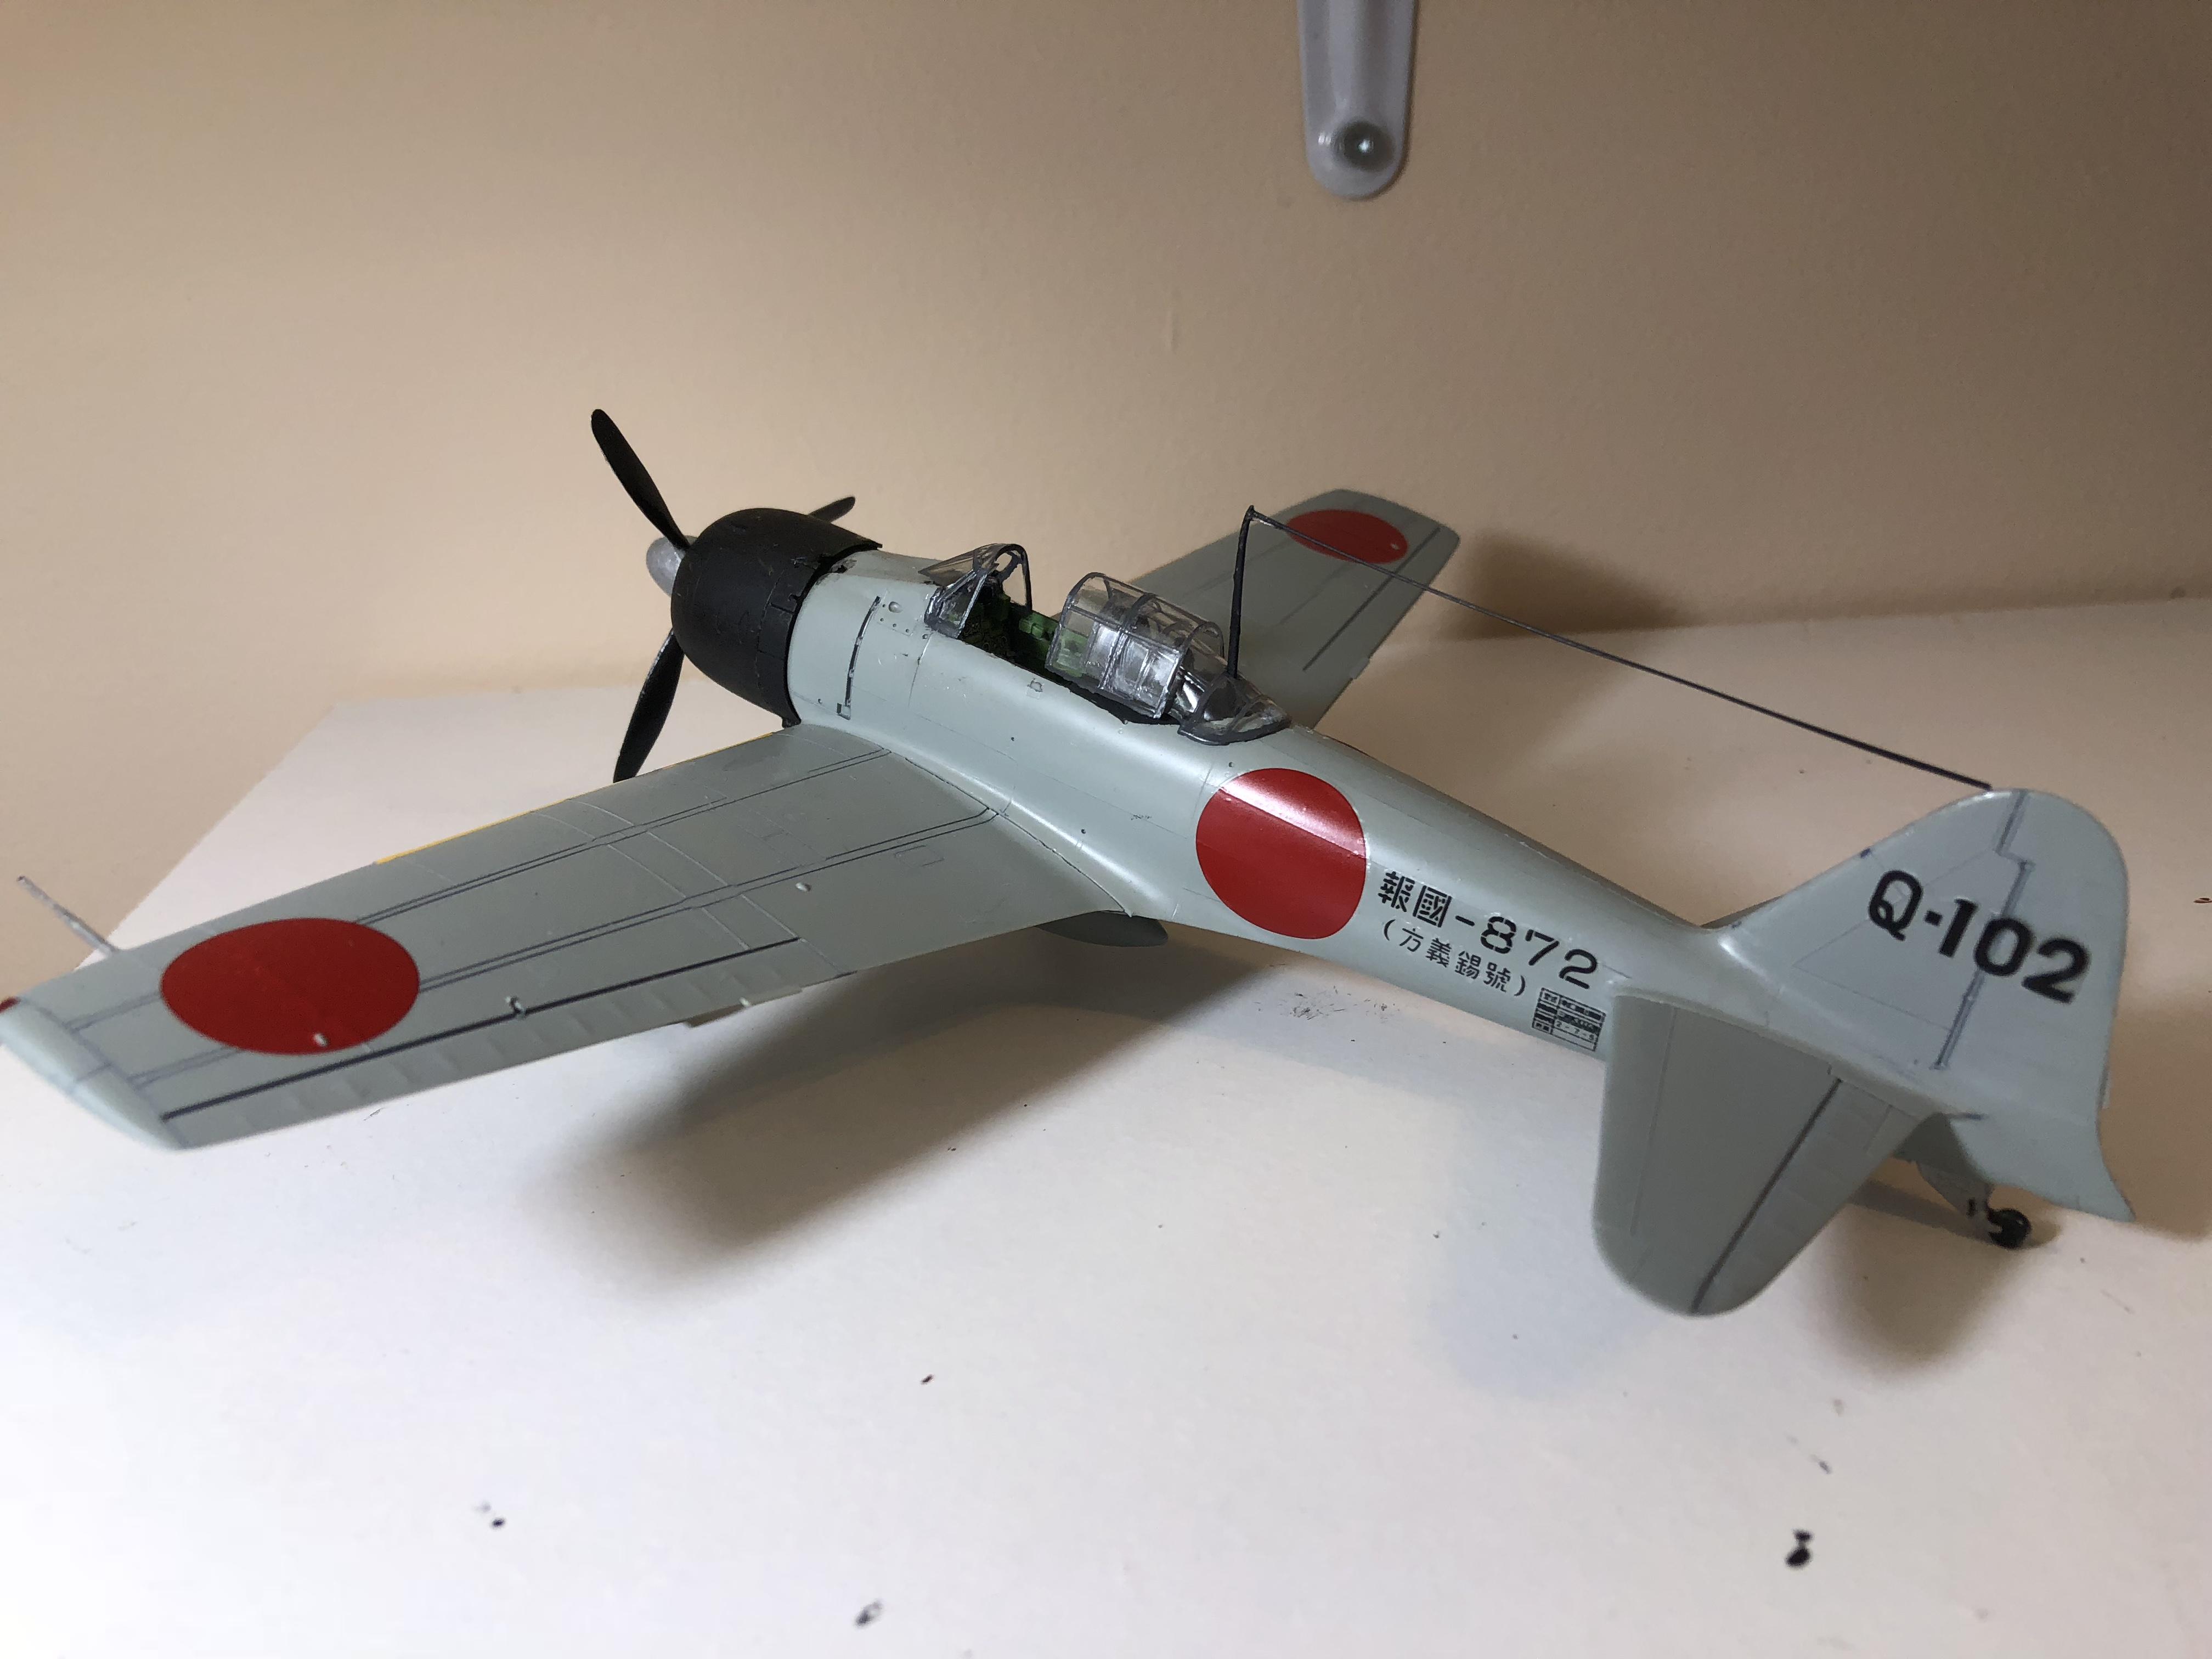
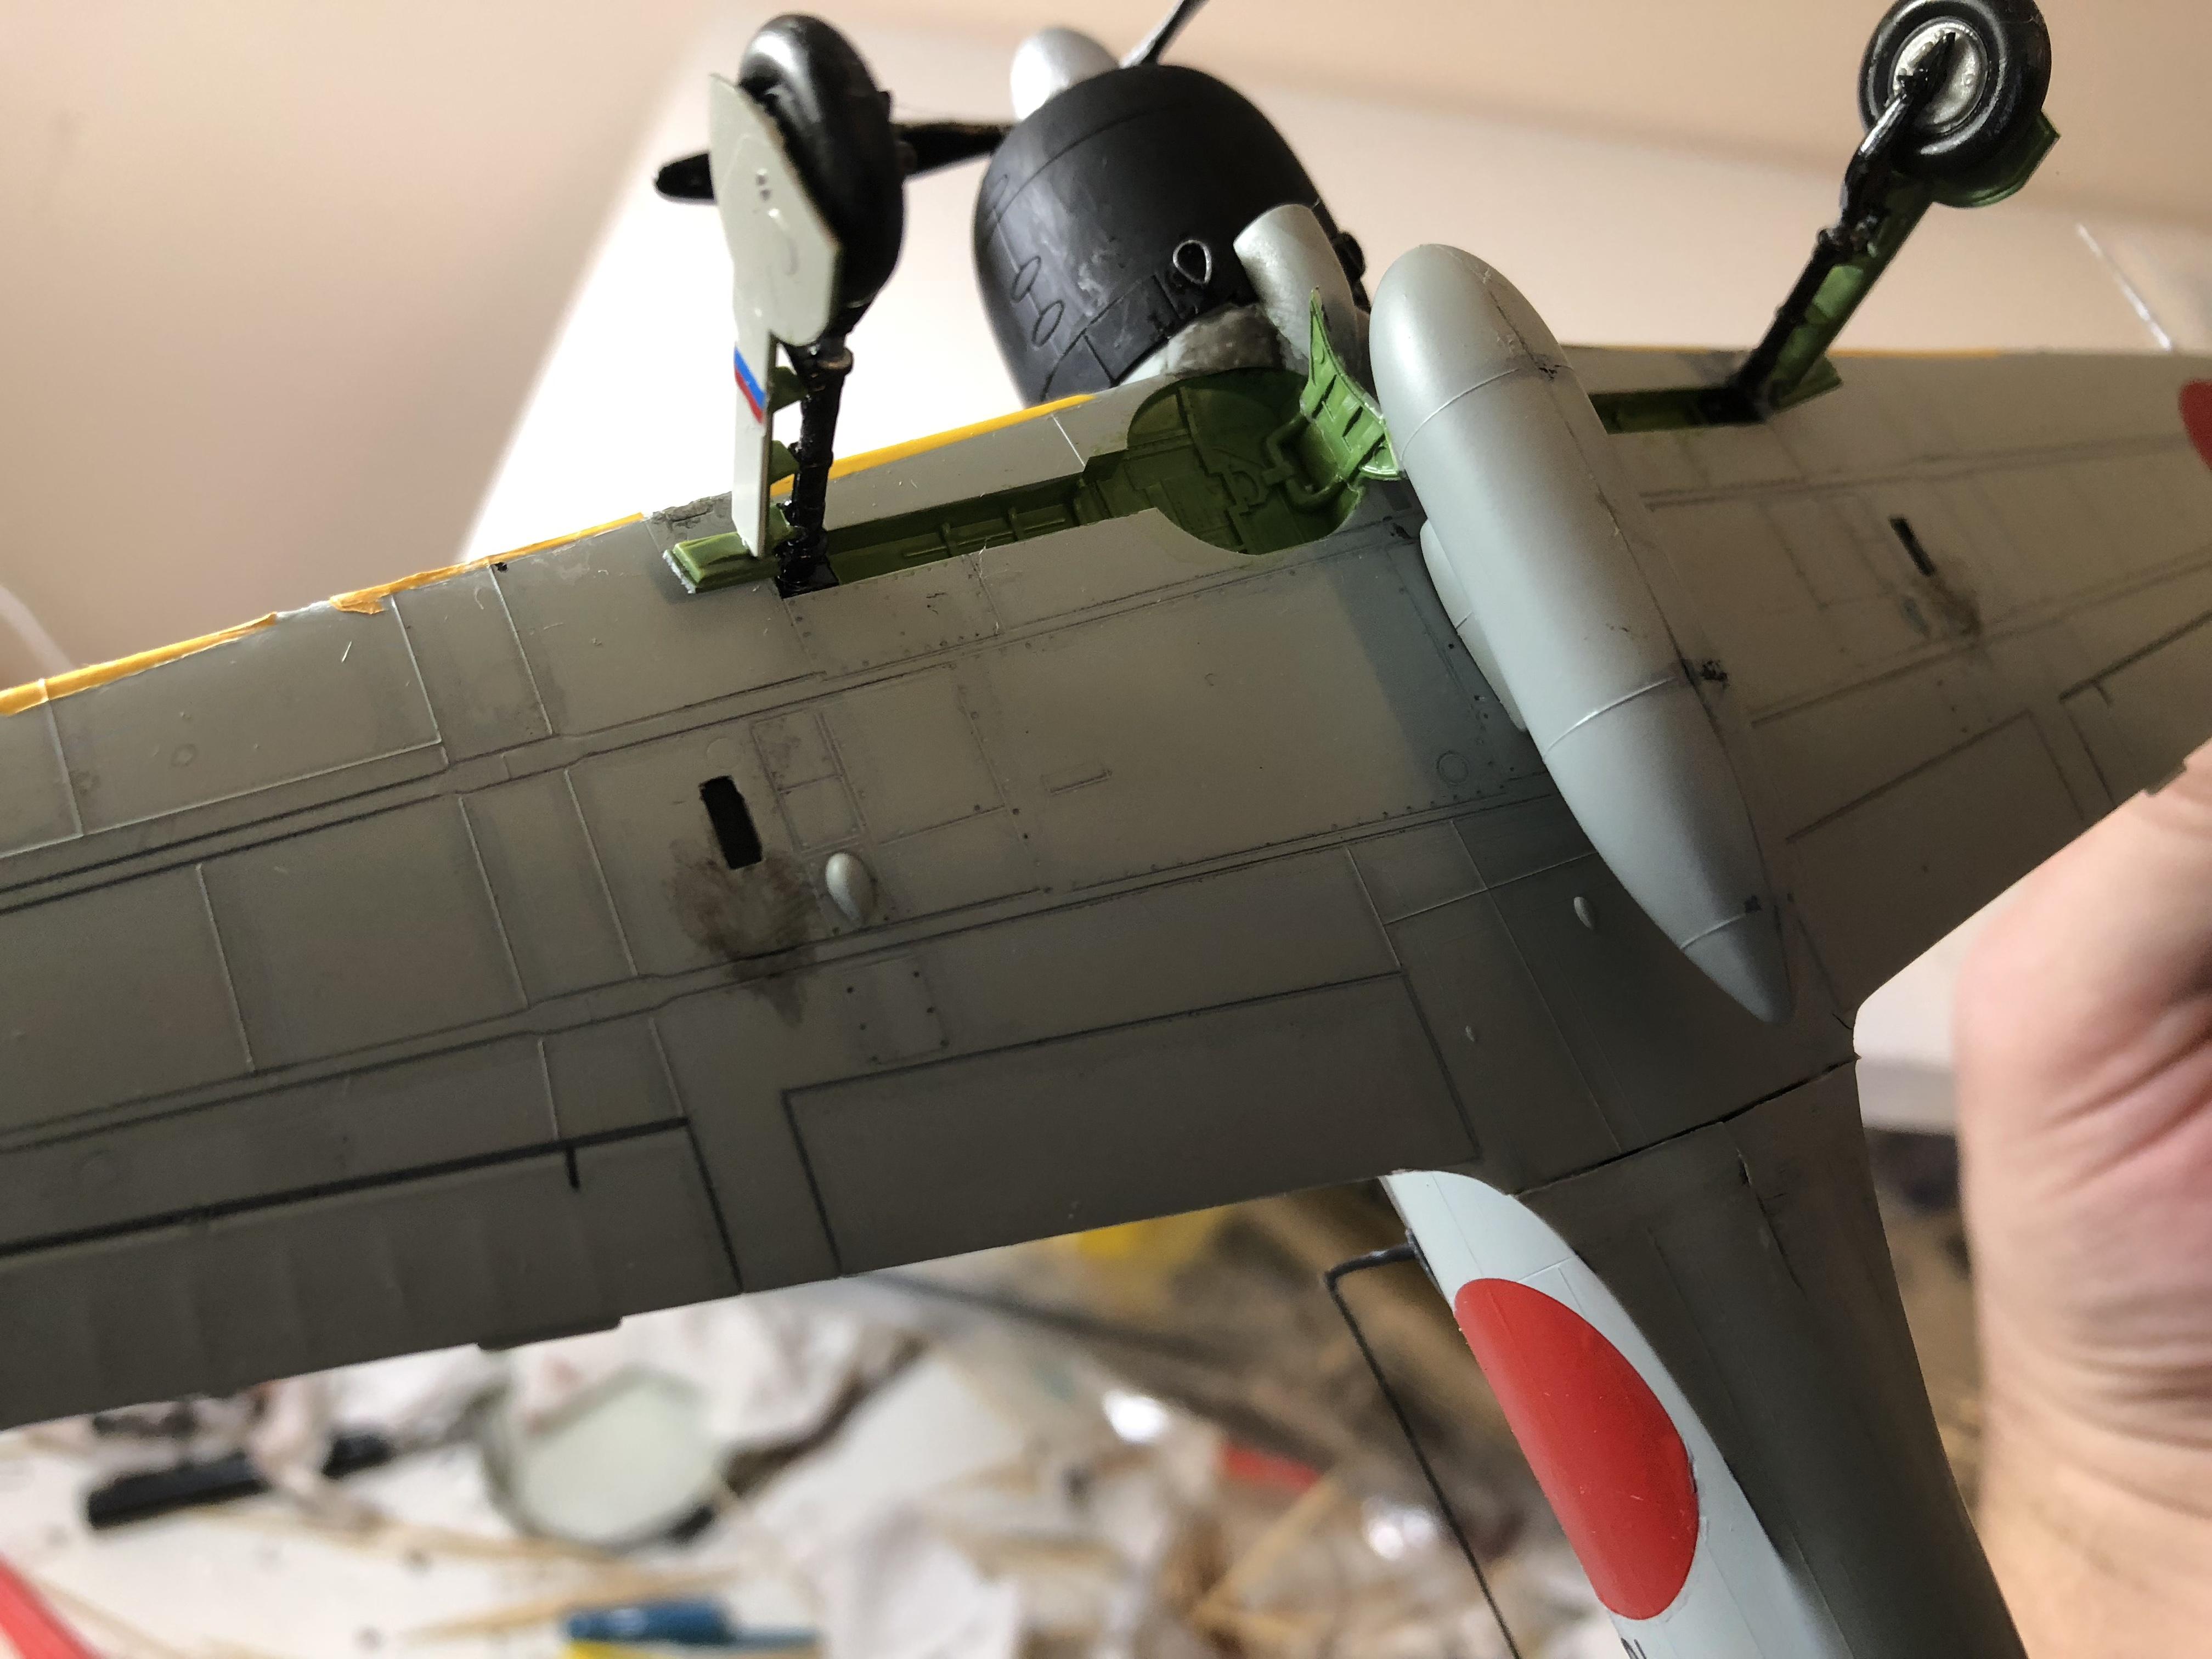
 4th completed build since physical distancing. Out of the box first 1/48 ww2 aircraft ever hope you guys like. Thanks for looking
-
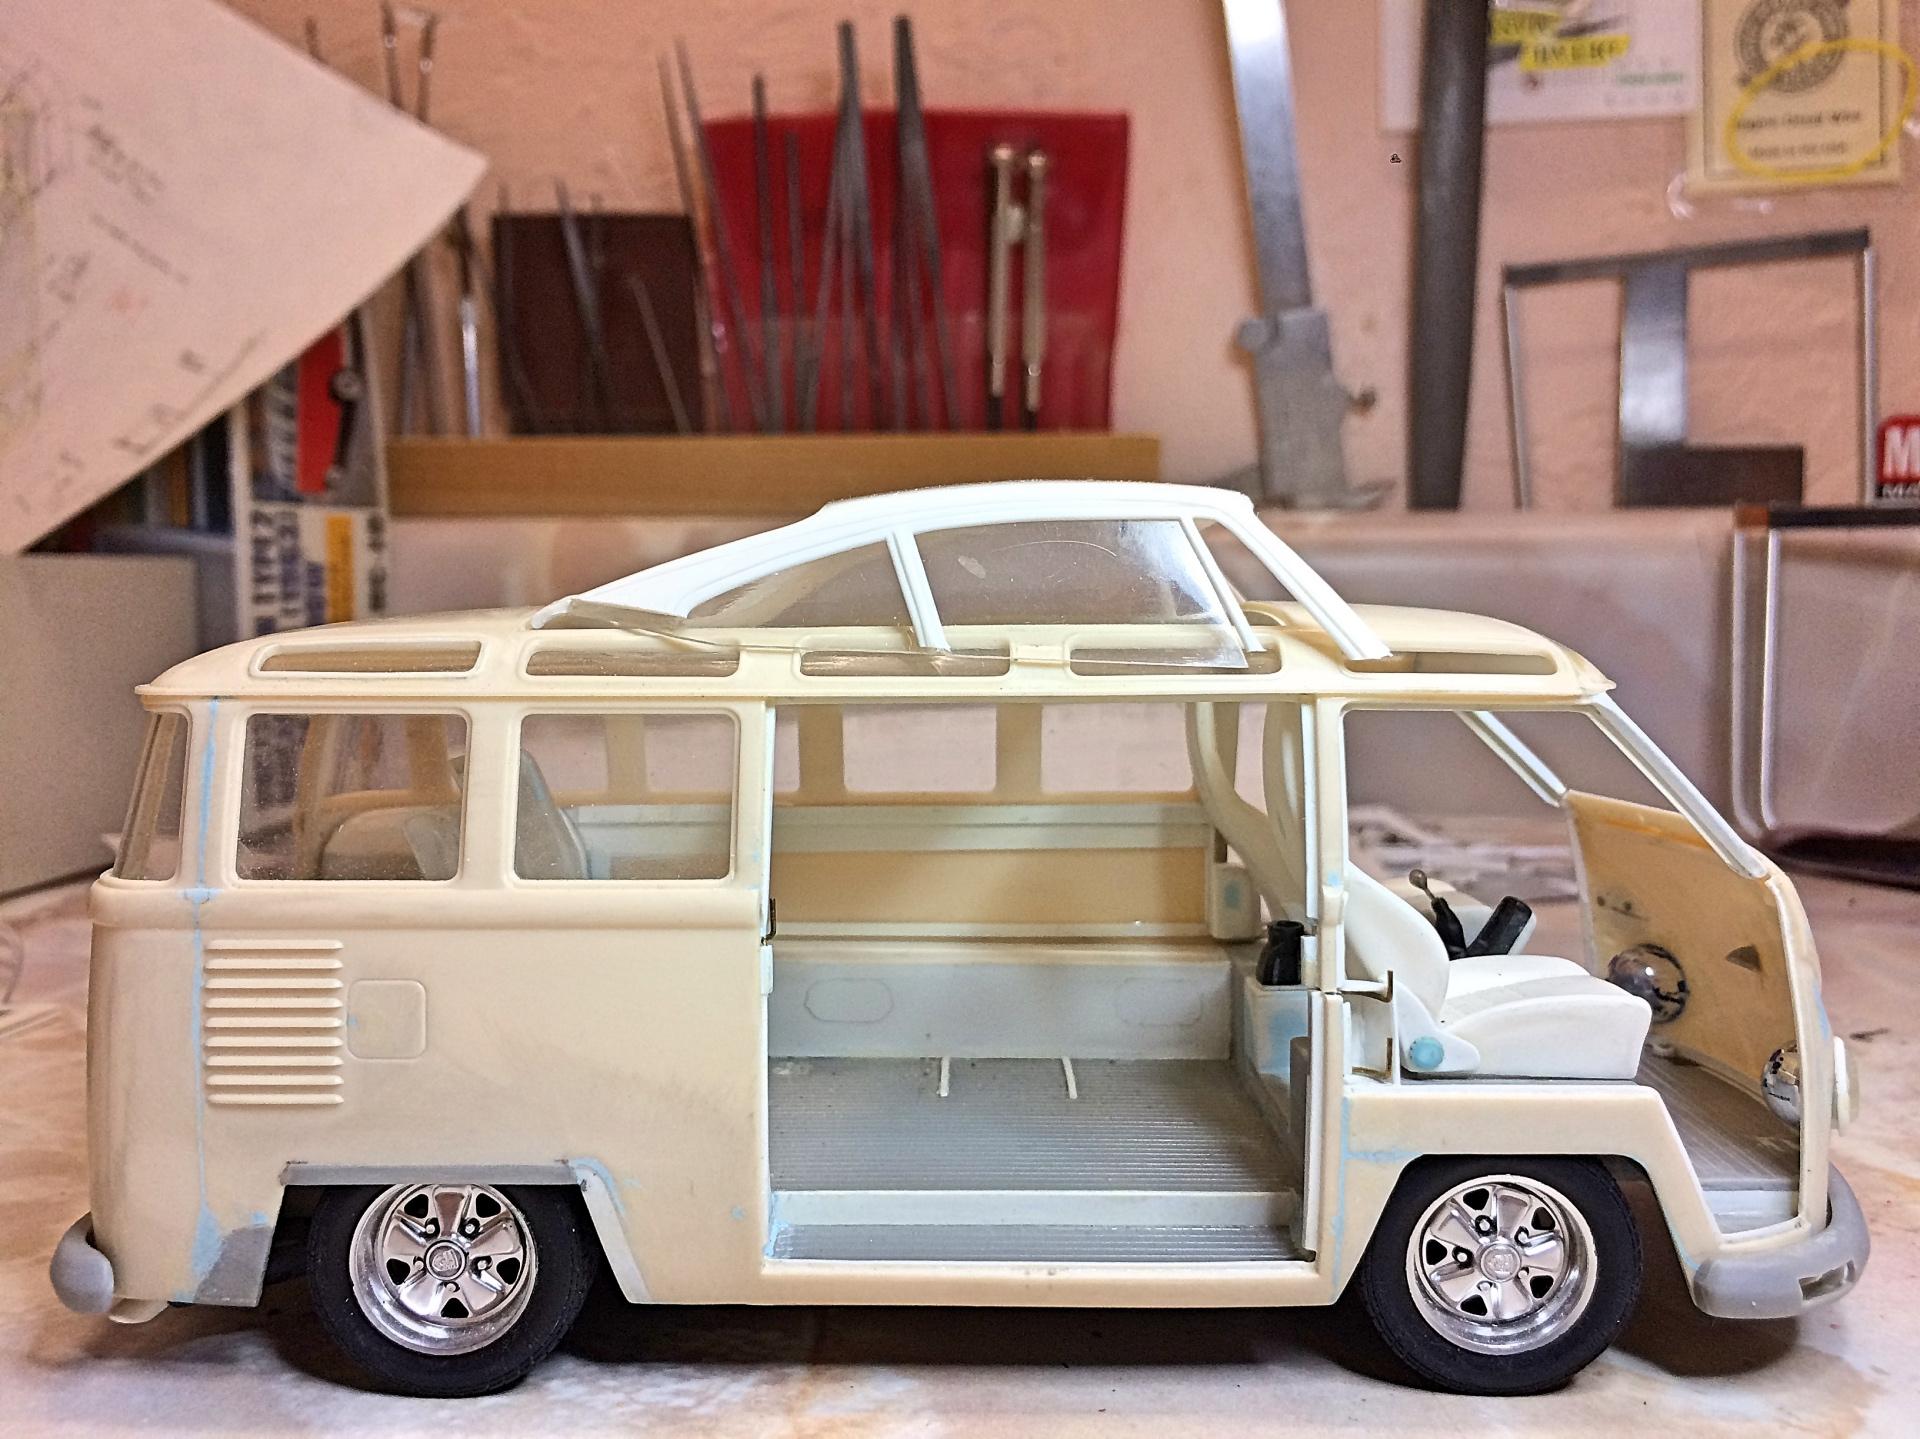
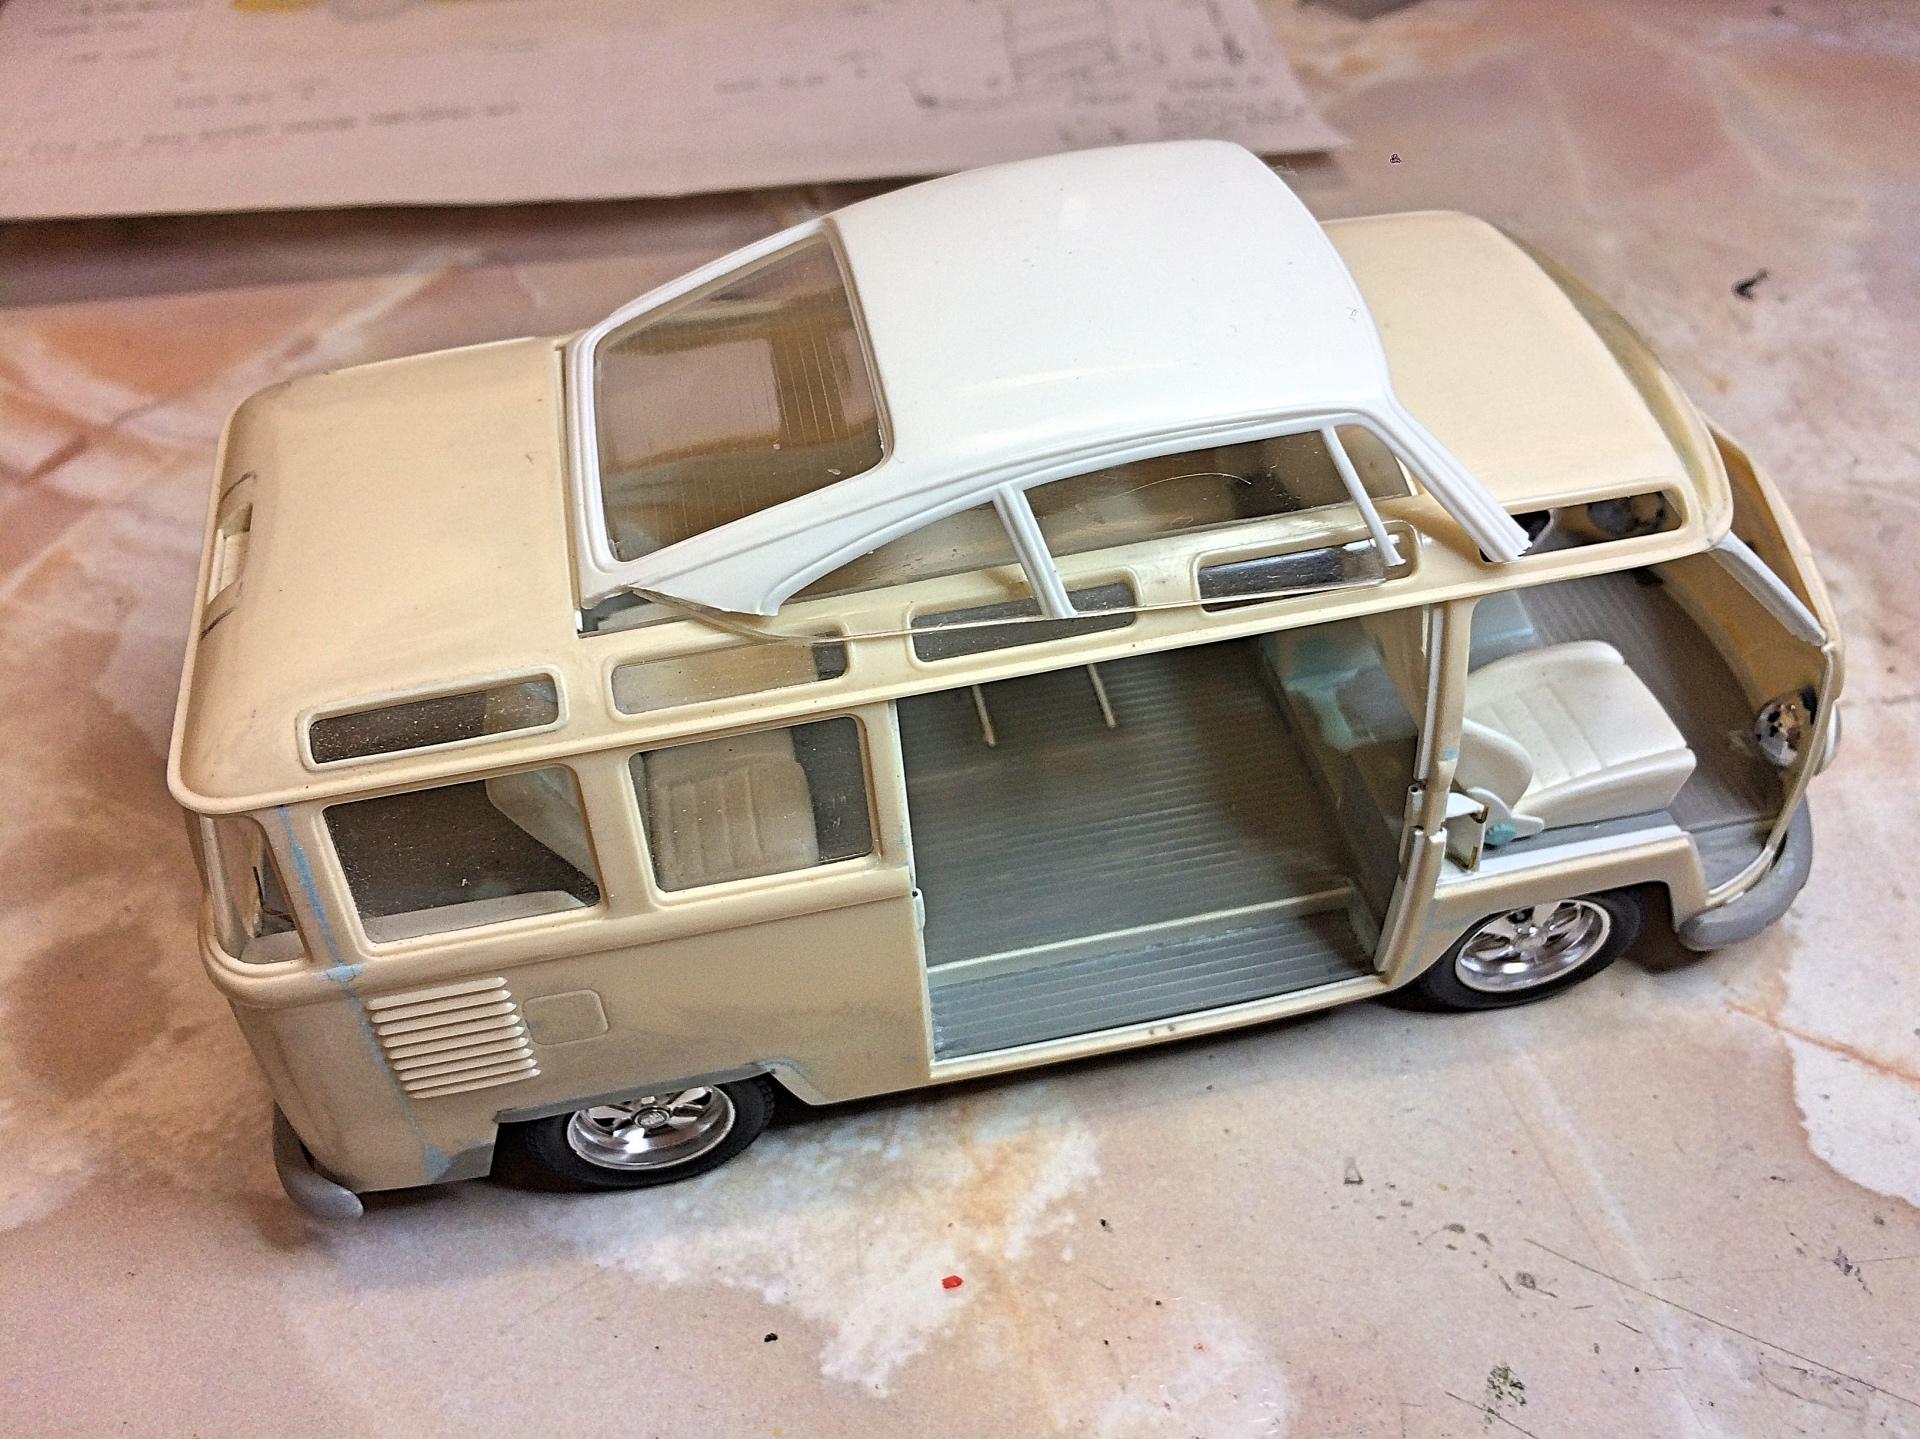
 Resurrecting a project started in January 2003, based on the very nice Hasegawa VW Microbus Type 2 kit. I had left over parts from building a Fujimi Porsche 911 Slantnose Turbo kit-bashed with the Tamiya 911 Speedster. Made it this far without taking digital pictures of the process, so the run-down of what was done: Bus: Opened all doors, front doors are suicide with doubled-acting wire hinges. Made new panels using epoxy putty, which warped the doors so need to fix that. Side doors are also double-acting wire hinges. I'm reconsidering the hinges since I have discovered fusee chain, used on the Ferrari N.A.R.T. The engine lid for the 911 grill replaces the original access, no engine detail inside. Slanted back the windshield, re-profiled the roof using epoxy putty. The spare tire cover that was inside, is now under the front. Adding the third brake light, like it was taken from a Ford Econoline van. Reason for changing the window number, added two more of the Safari windows at the back, thus 25 Window. Adding the Porsche roof should revise to a higher number, depending on what I do with the side glass. Porsche parts: Have used the headlights, turn signals in the bumper, door mirrors, dash, seats (back seat is modified with a similar cushion pattern), Fuches wheels and Pirelli tires, and engine bottom. The Speedster had 3 seats, one was laid back for under the cover, separated and hinged so it's adjustable, and Captain swivels, and can be taken out. The dash has been modified to fit, have 3 pedal arms ready for photo-etch pads. The exhaust is modified using copper wire, will redo the tips using stainless steel tubing. The shifter console has a second parking brake that is intended to lock the front wheels, for showing off with burn-outs. The roof is from the Fujimi Slantnose project, I had been debating what to do for the roof, didn't really want to do the canvas fold/sliding thing, so this will become a carbon-fiber unit similar to a Westfalia camper unit. First thing to do is fix the A-pillars and the one B-pillar that are broken, reinforced with wire (as I did for the Ferrari N.A.R.T. Spyder windshield frame). One thing that stopped me, was knowing the giant VW emblem was going to cause problems for painting, have made resin copies, will grind off, problem solved. Designing a cool looking interior cabinet along the side with an awesome sound system, I have no clue about that stuff so need to research, have speaker grills and mesh salvaged from electronic devices. The interior needs window framing, can't just stick the glass in, so that will be new pieces, thinking of covering with carbon-fiber decal, might hinge some of the side windows. The back windows have the cage protectors, the kit has decals which would look really cheesy, so will *have to* make from wire, the back seat has wire too. Needs a steering shaft/box added. Have the crazy idea to use LED lights that came in junk mail from car dealers, with fiber optic runs to lights, very ambitious and crazy. ? I have a Coke cooler to put in now. ? Since I finished three projects recently, I couldn't let the dust settle. ? Will be thinking of a nickname...... Pictures taken long ago: When I got inspired with the LED lighting idea: When I was casting RTV and resin, used up some rubber: After finishing the '69 Chevy pickup, cleaned up the bench (I know, hard to believe): The latest idea, the Westfalia camper style roof. The interior: This little monster is getting finished! ?
-
 So Teddy Yip buys a WR3 from Walter Wolf, and, in the 11th race of 1978, the German Grand Prix,..he puts Keke Rosberg behind the wheel... Keke manages a 10th place finish,.. This is a model of that car... The next race at Silverstone, he wins the 1978 BRDC International Trophy... in the pouring rain ! The kits comes with p/e parts, white metal parts, and decals for two different cars. The donor is the Tamiya Wolf WR1. I used Duplicolor primer and paints, with a couple coats of Alclad Aqua Gloss clear coat. I didn't add much, other than fuel lines, oil lines, and some electrics.. Cheers all
 -
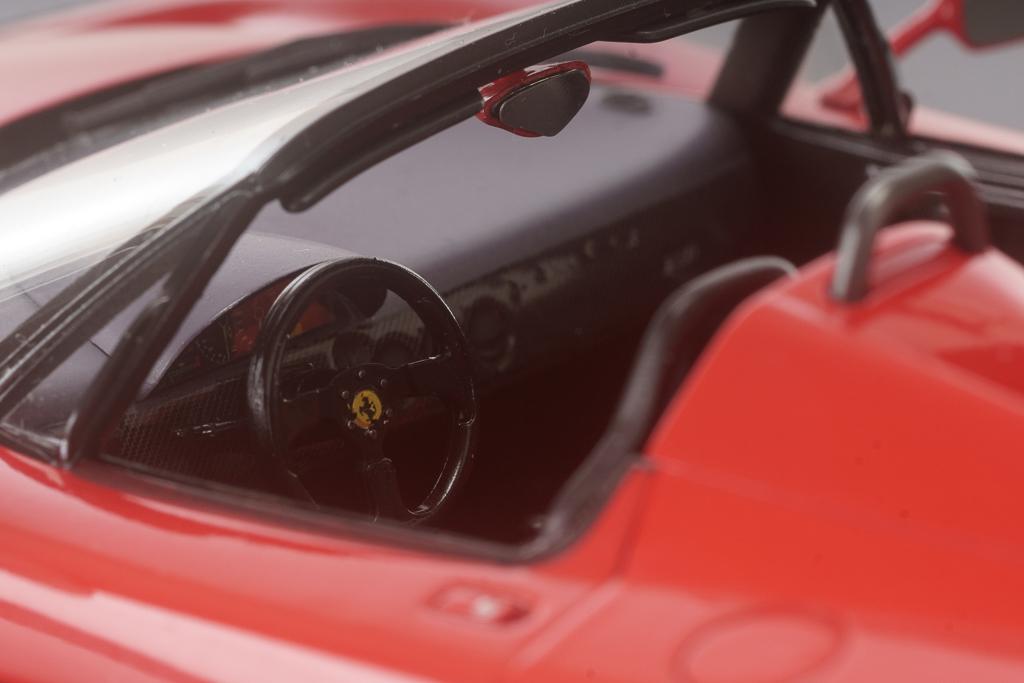
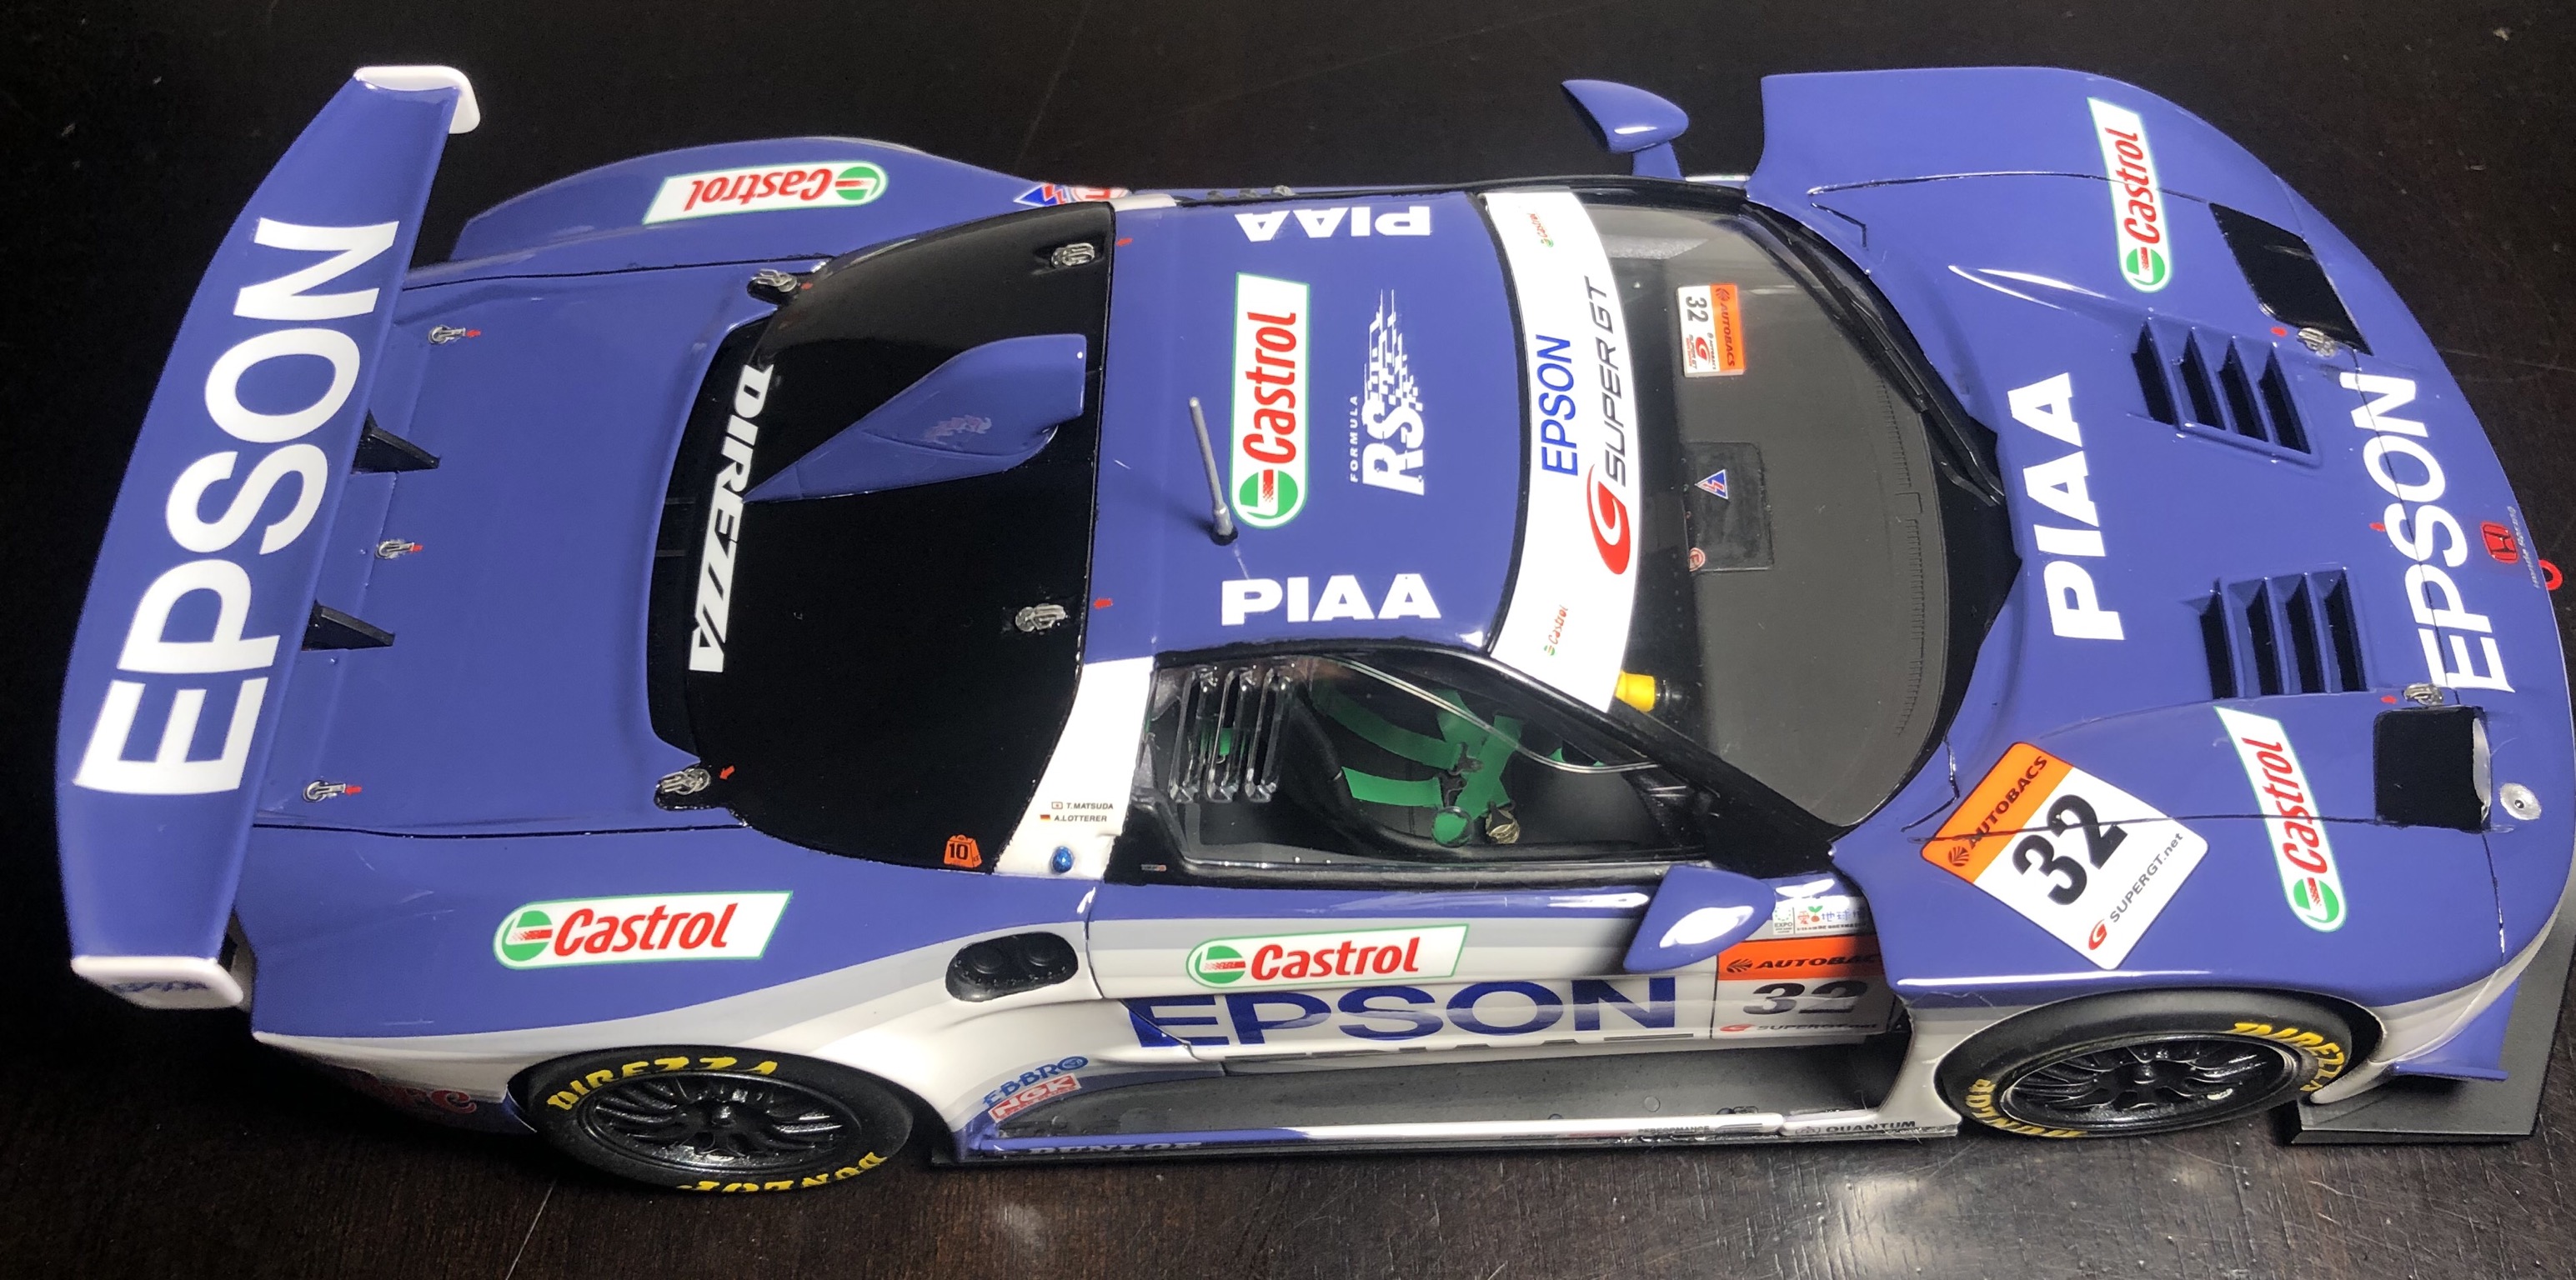
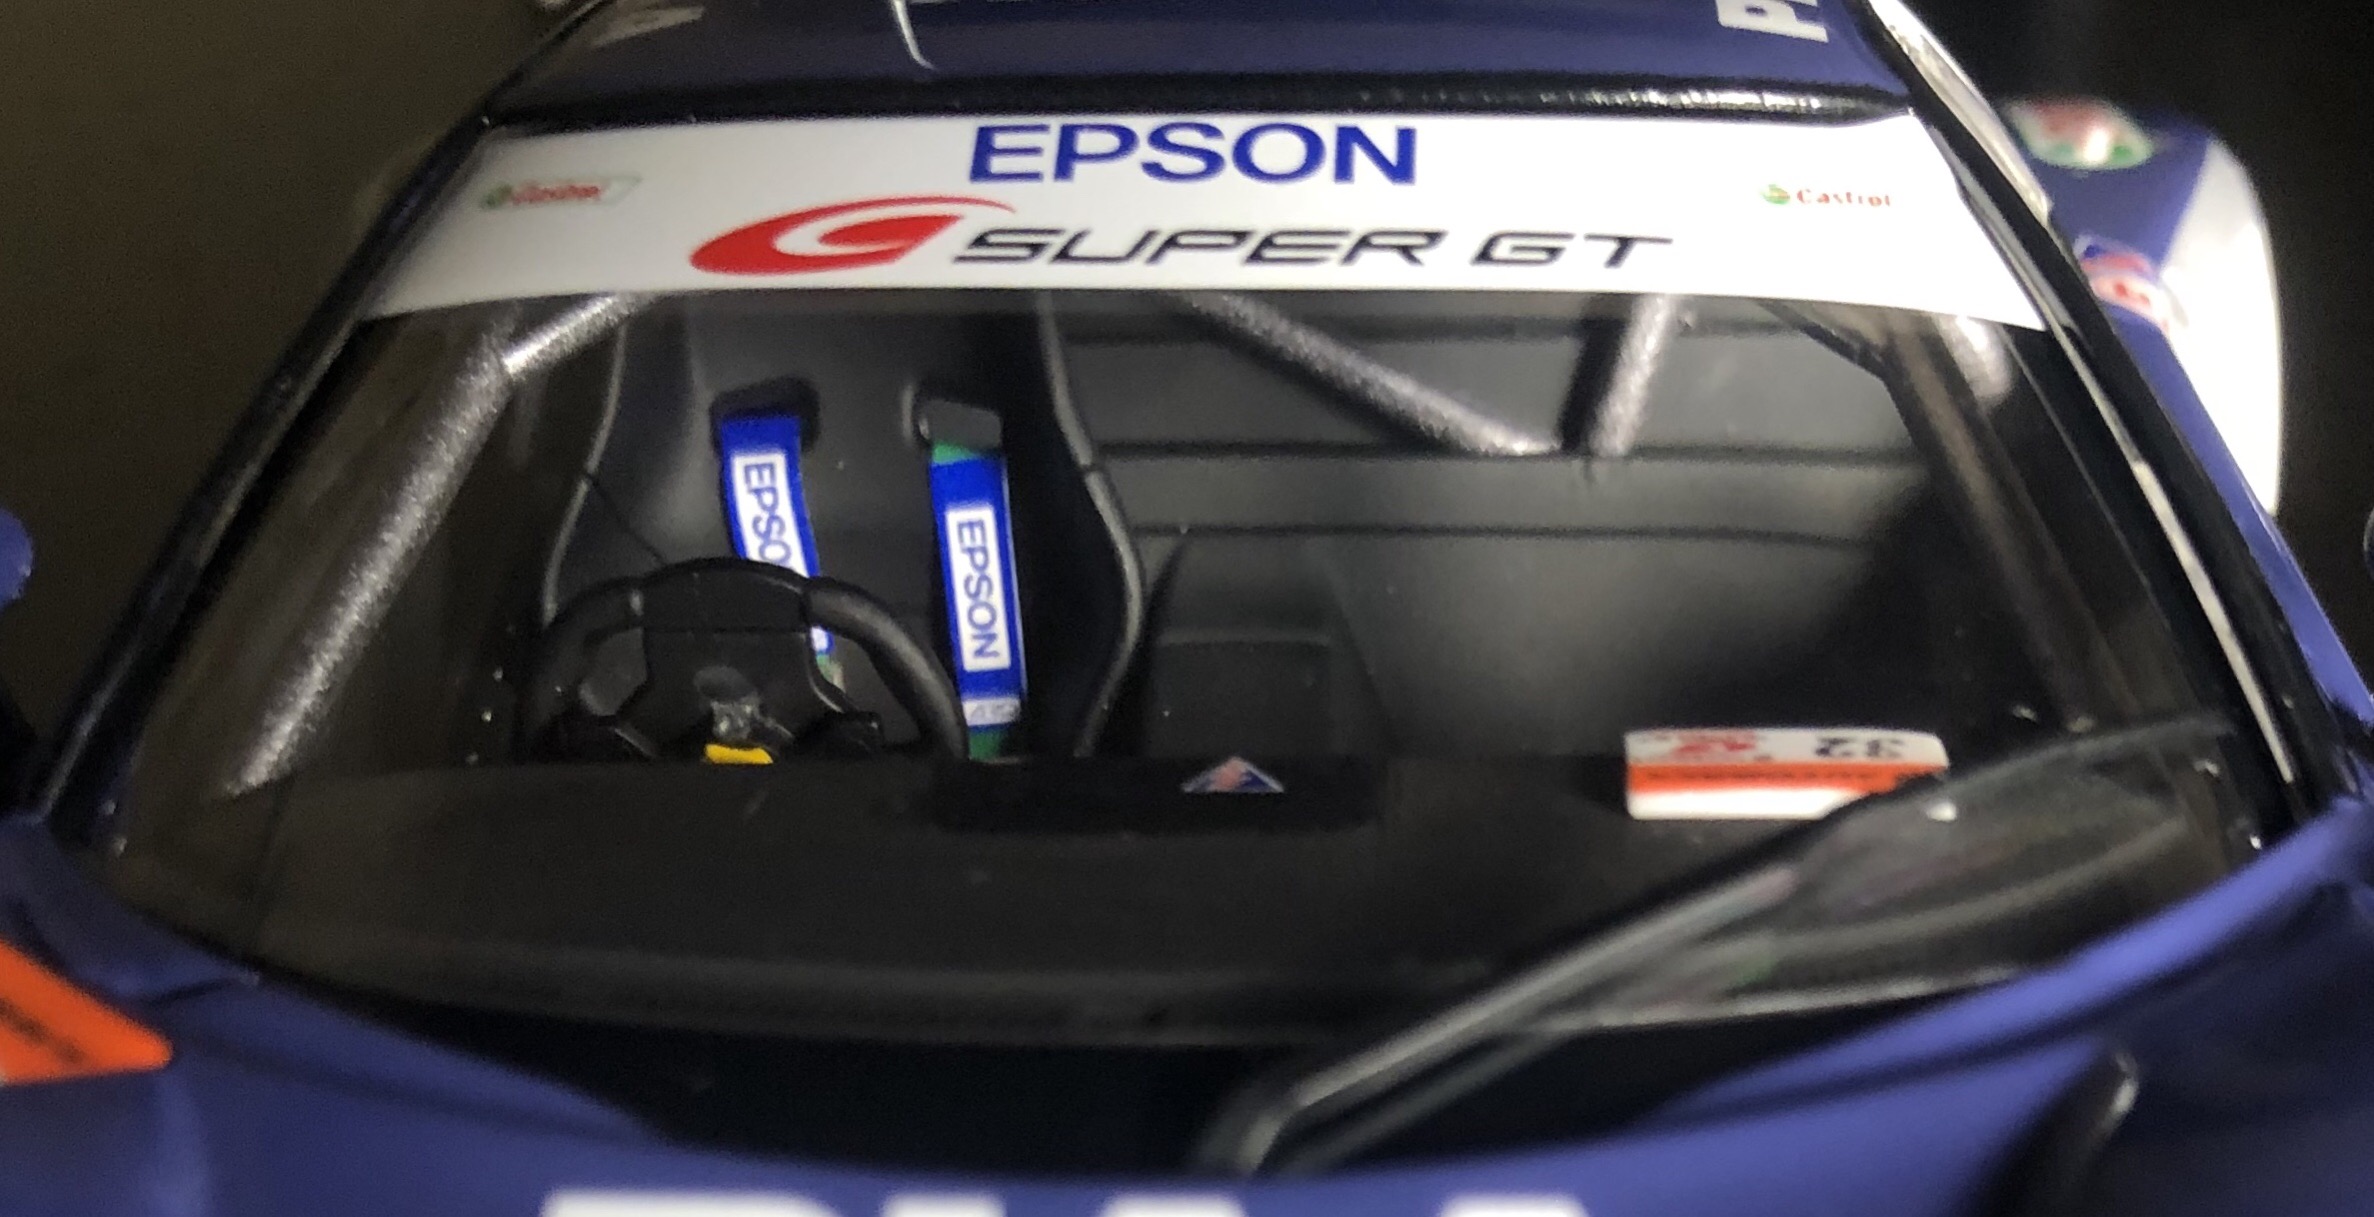
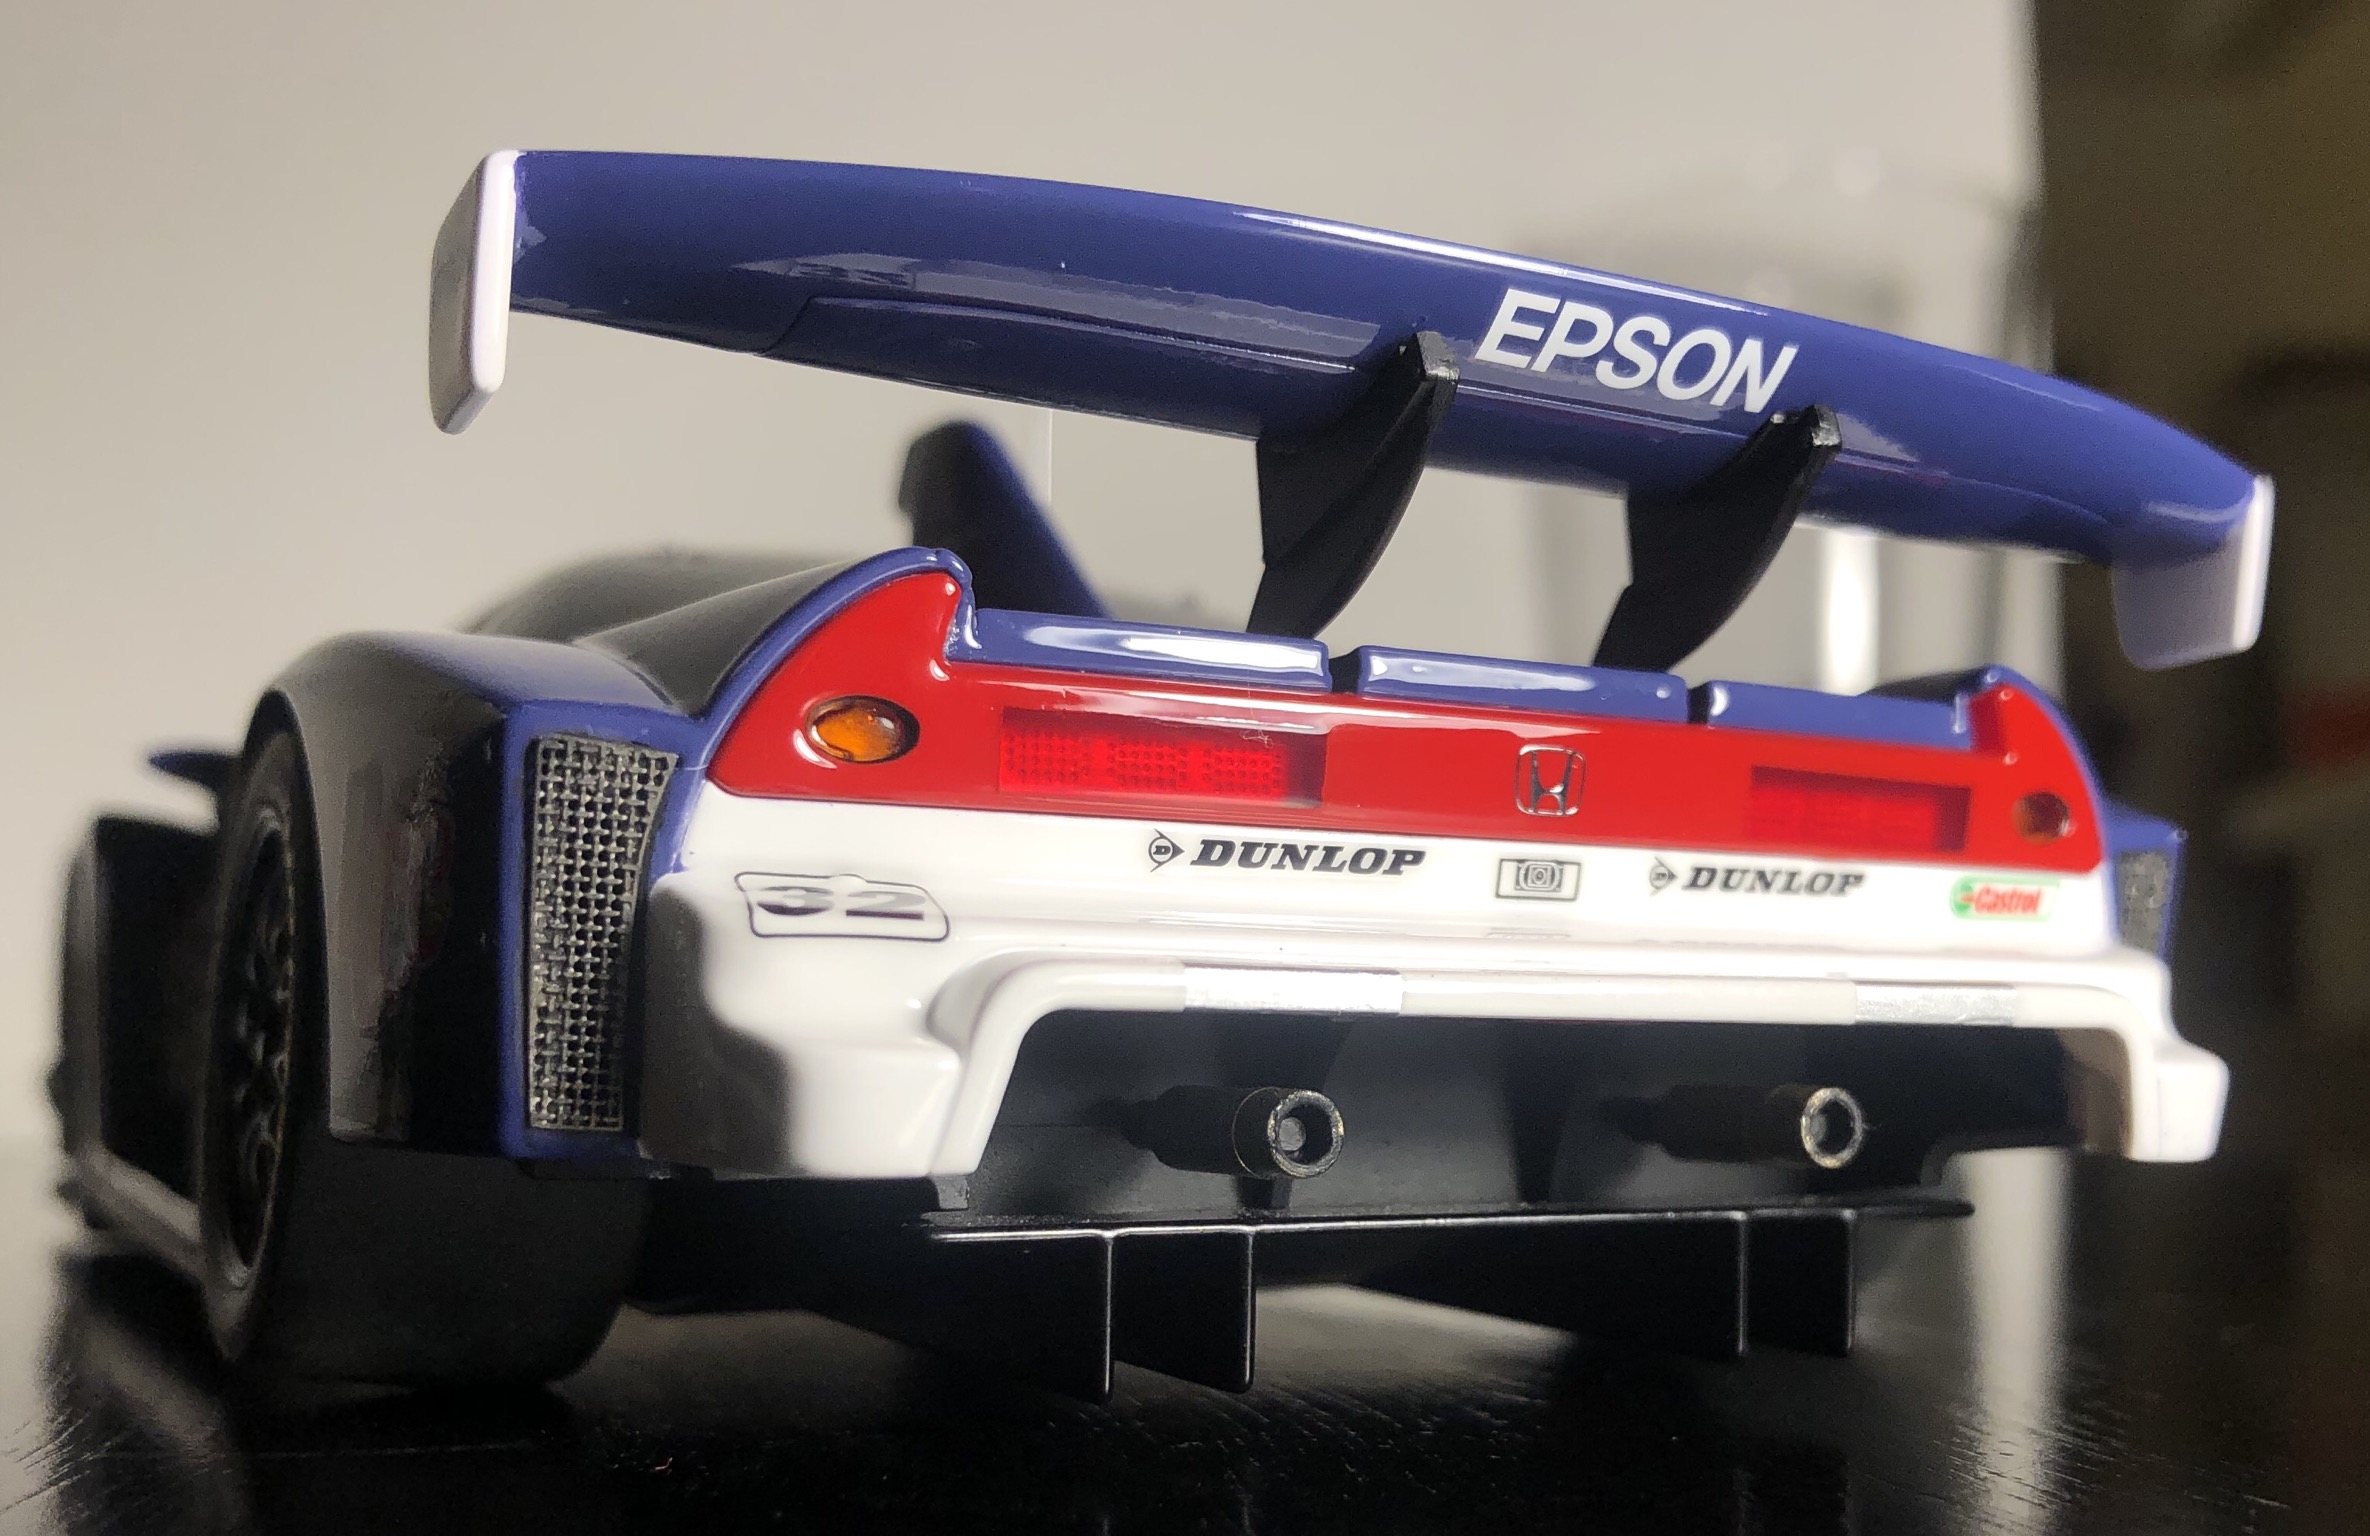
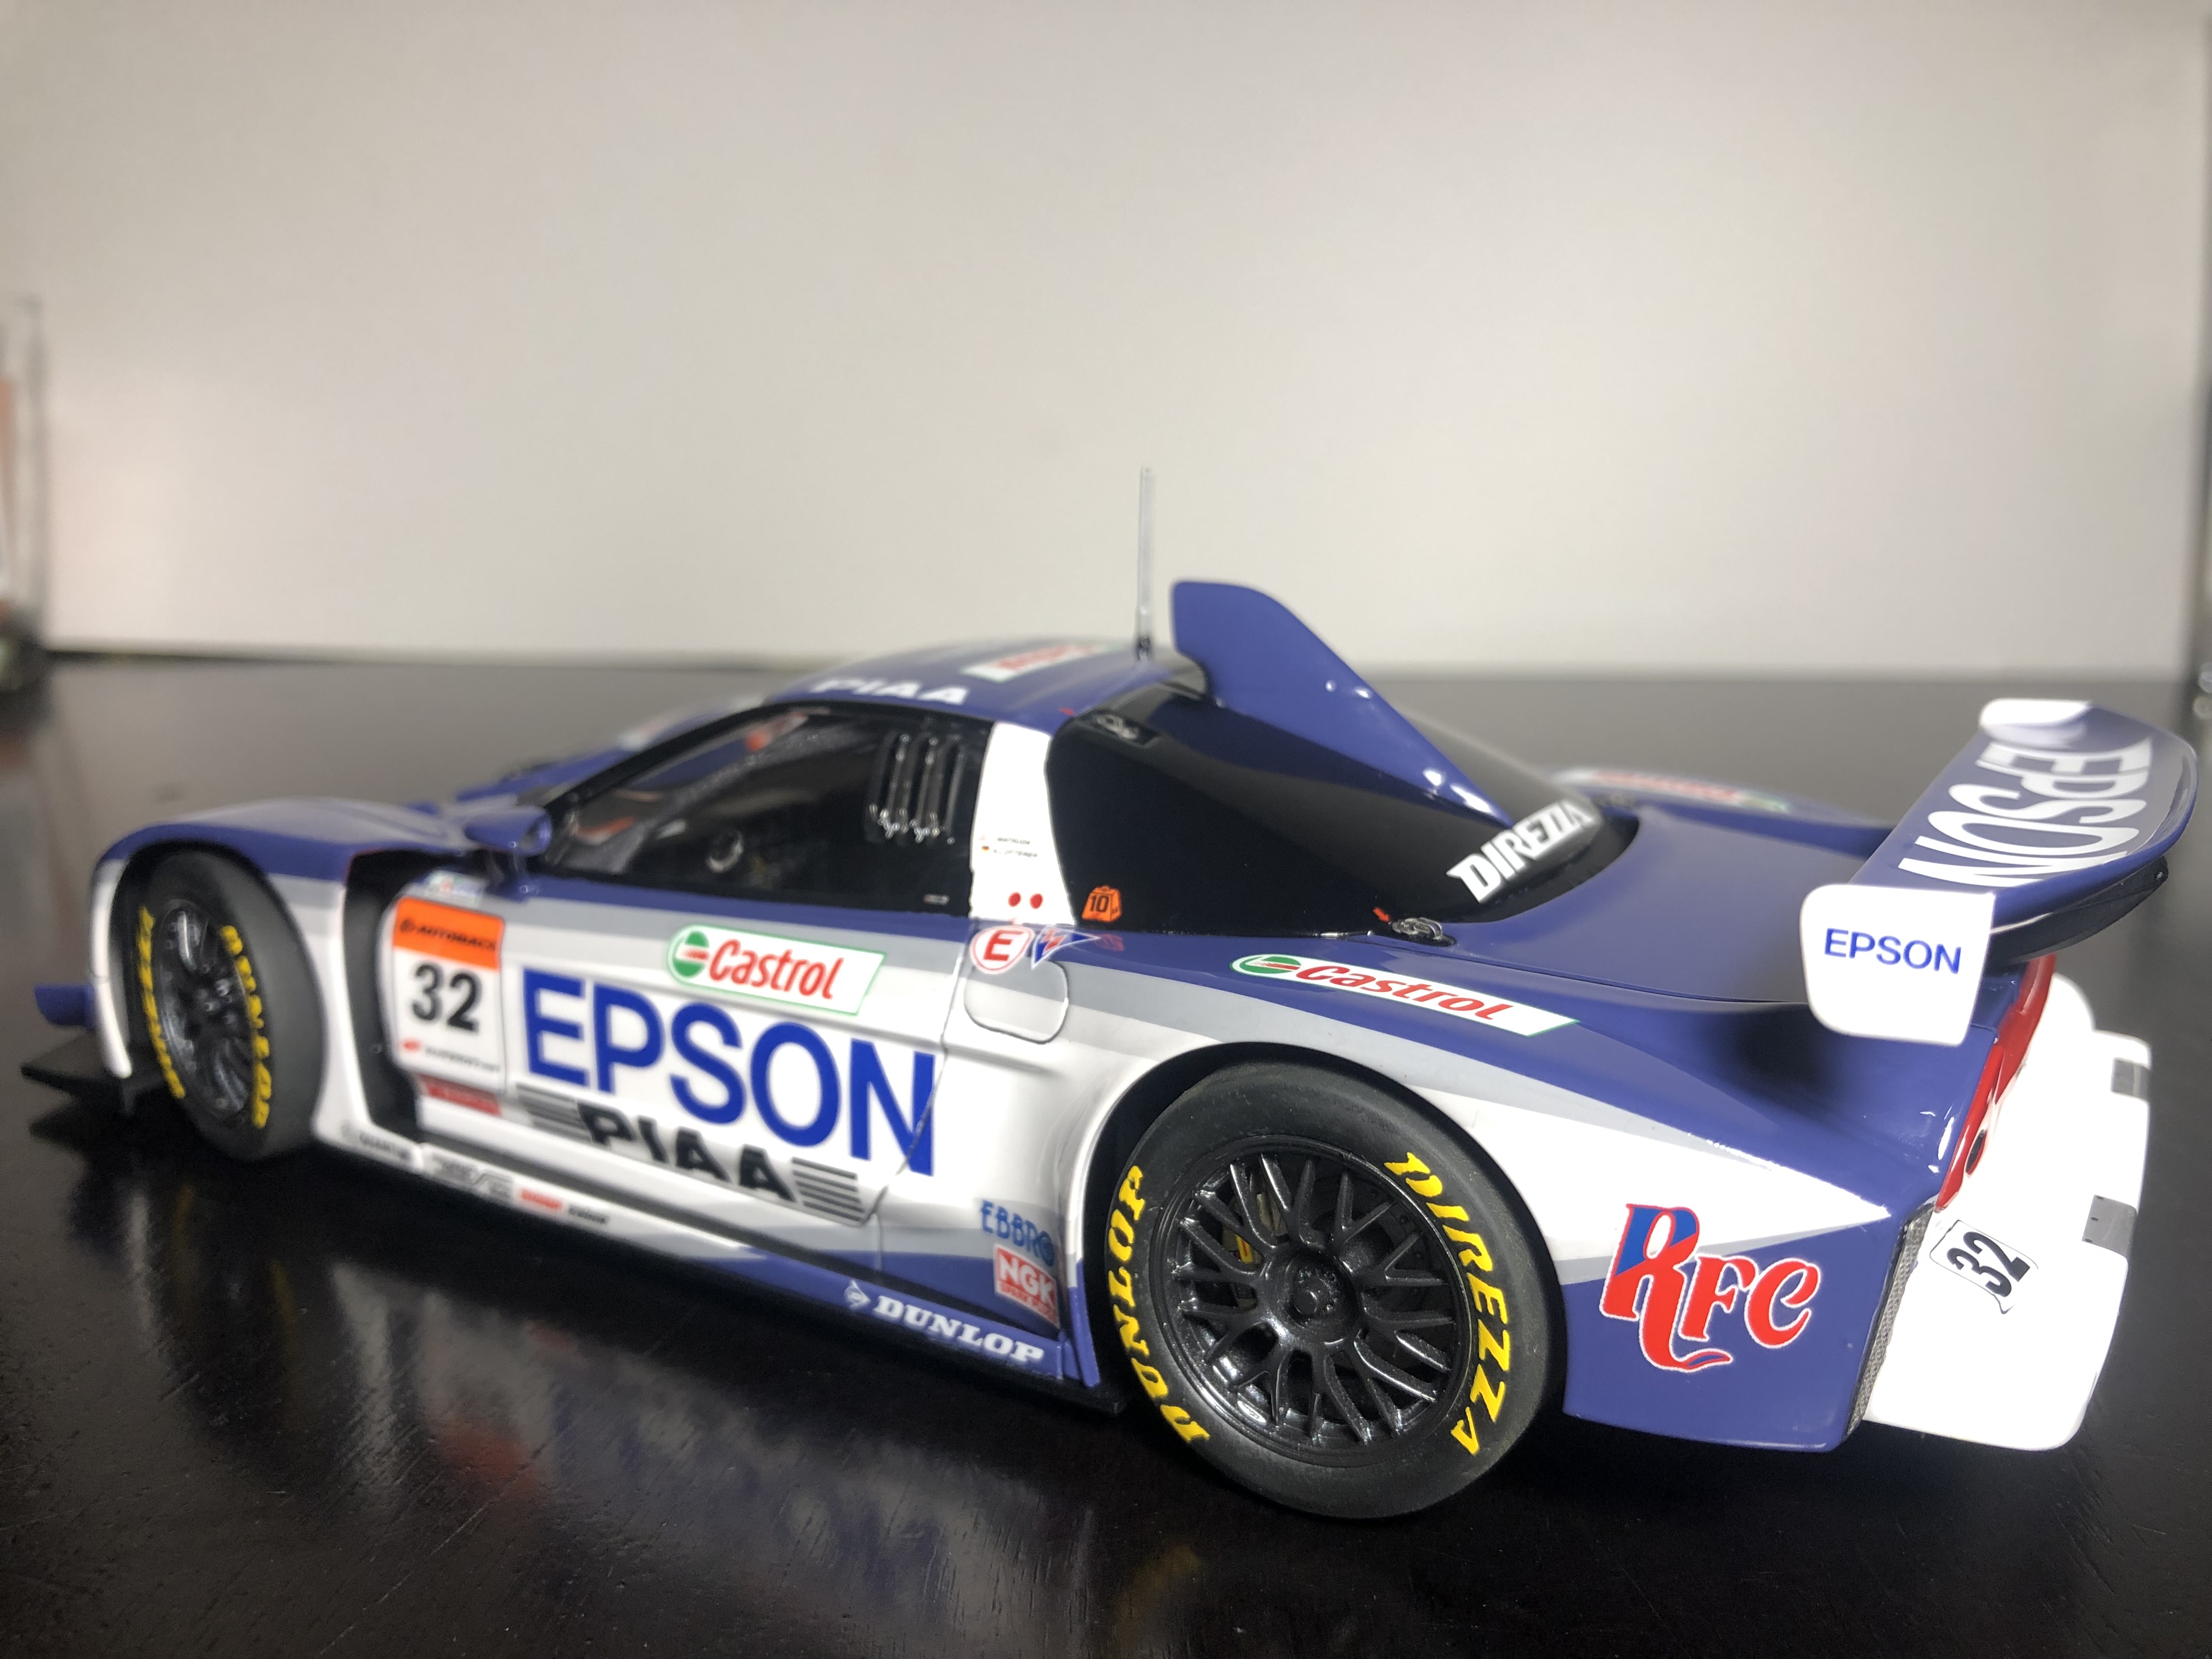
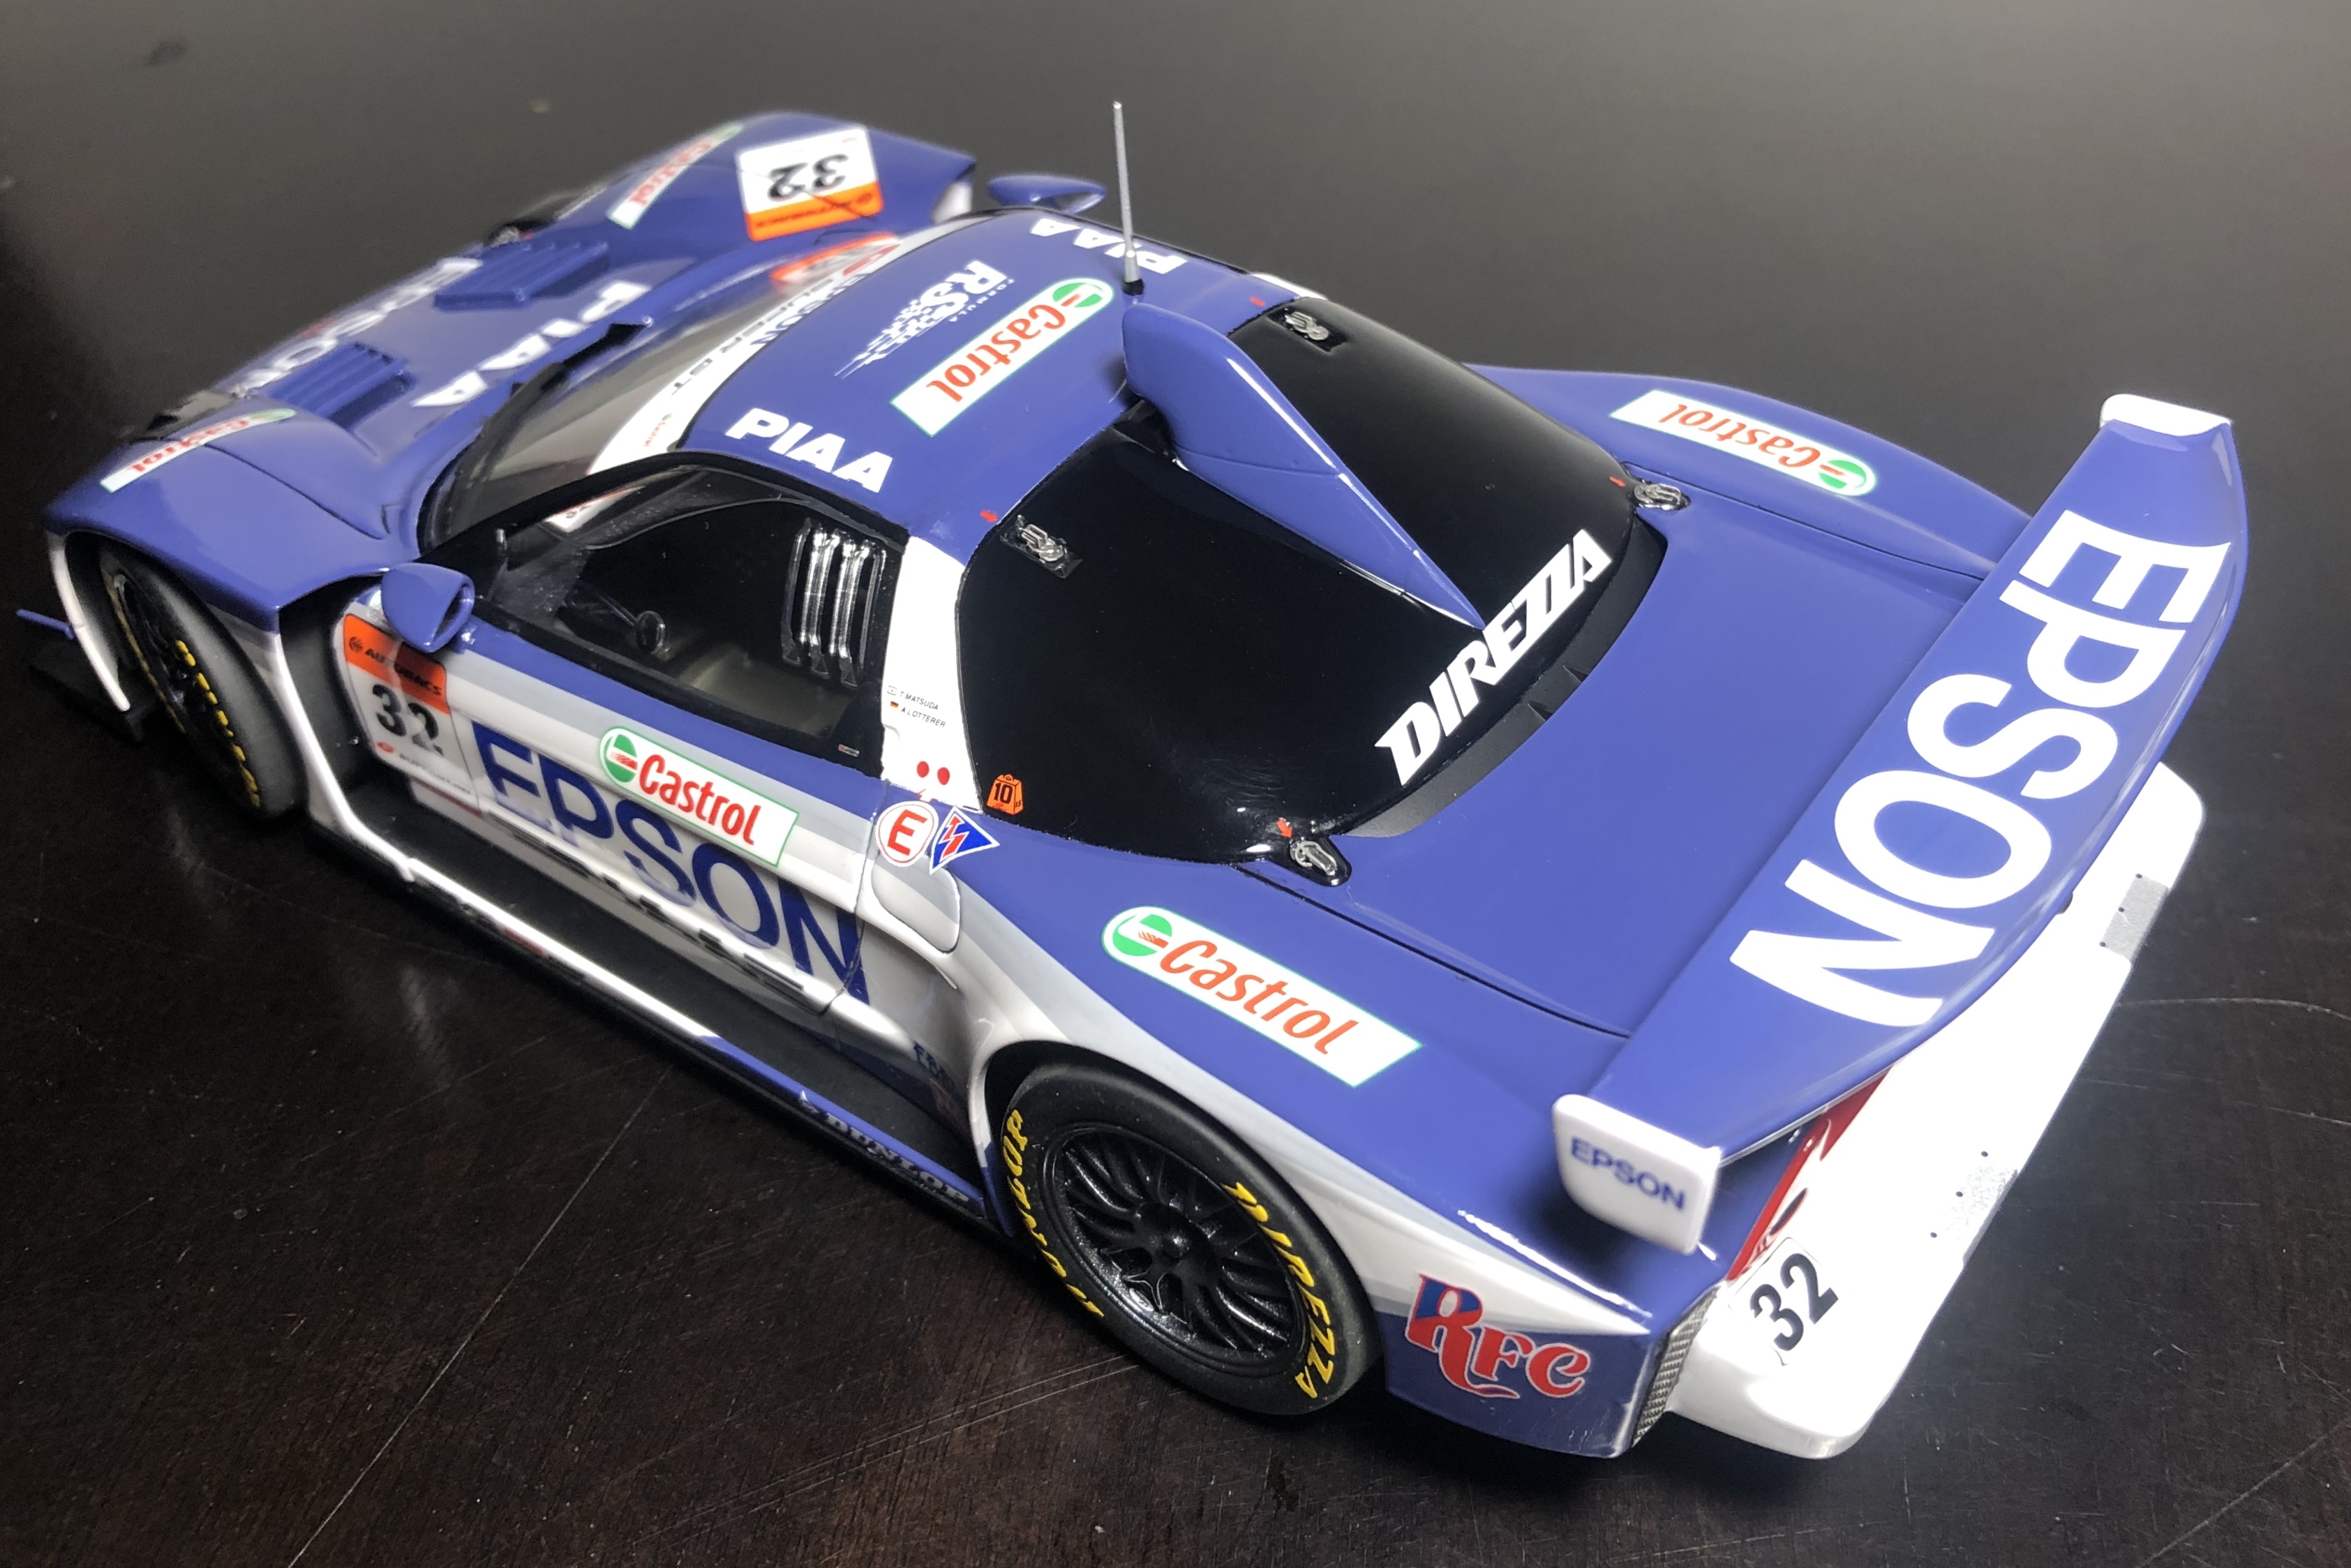
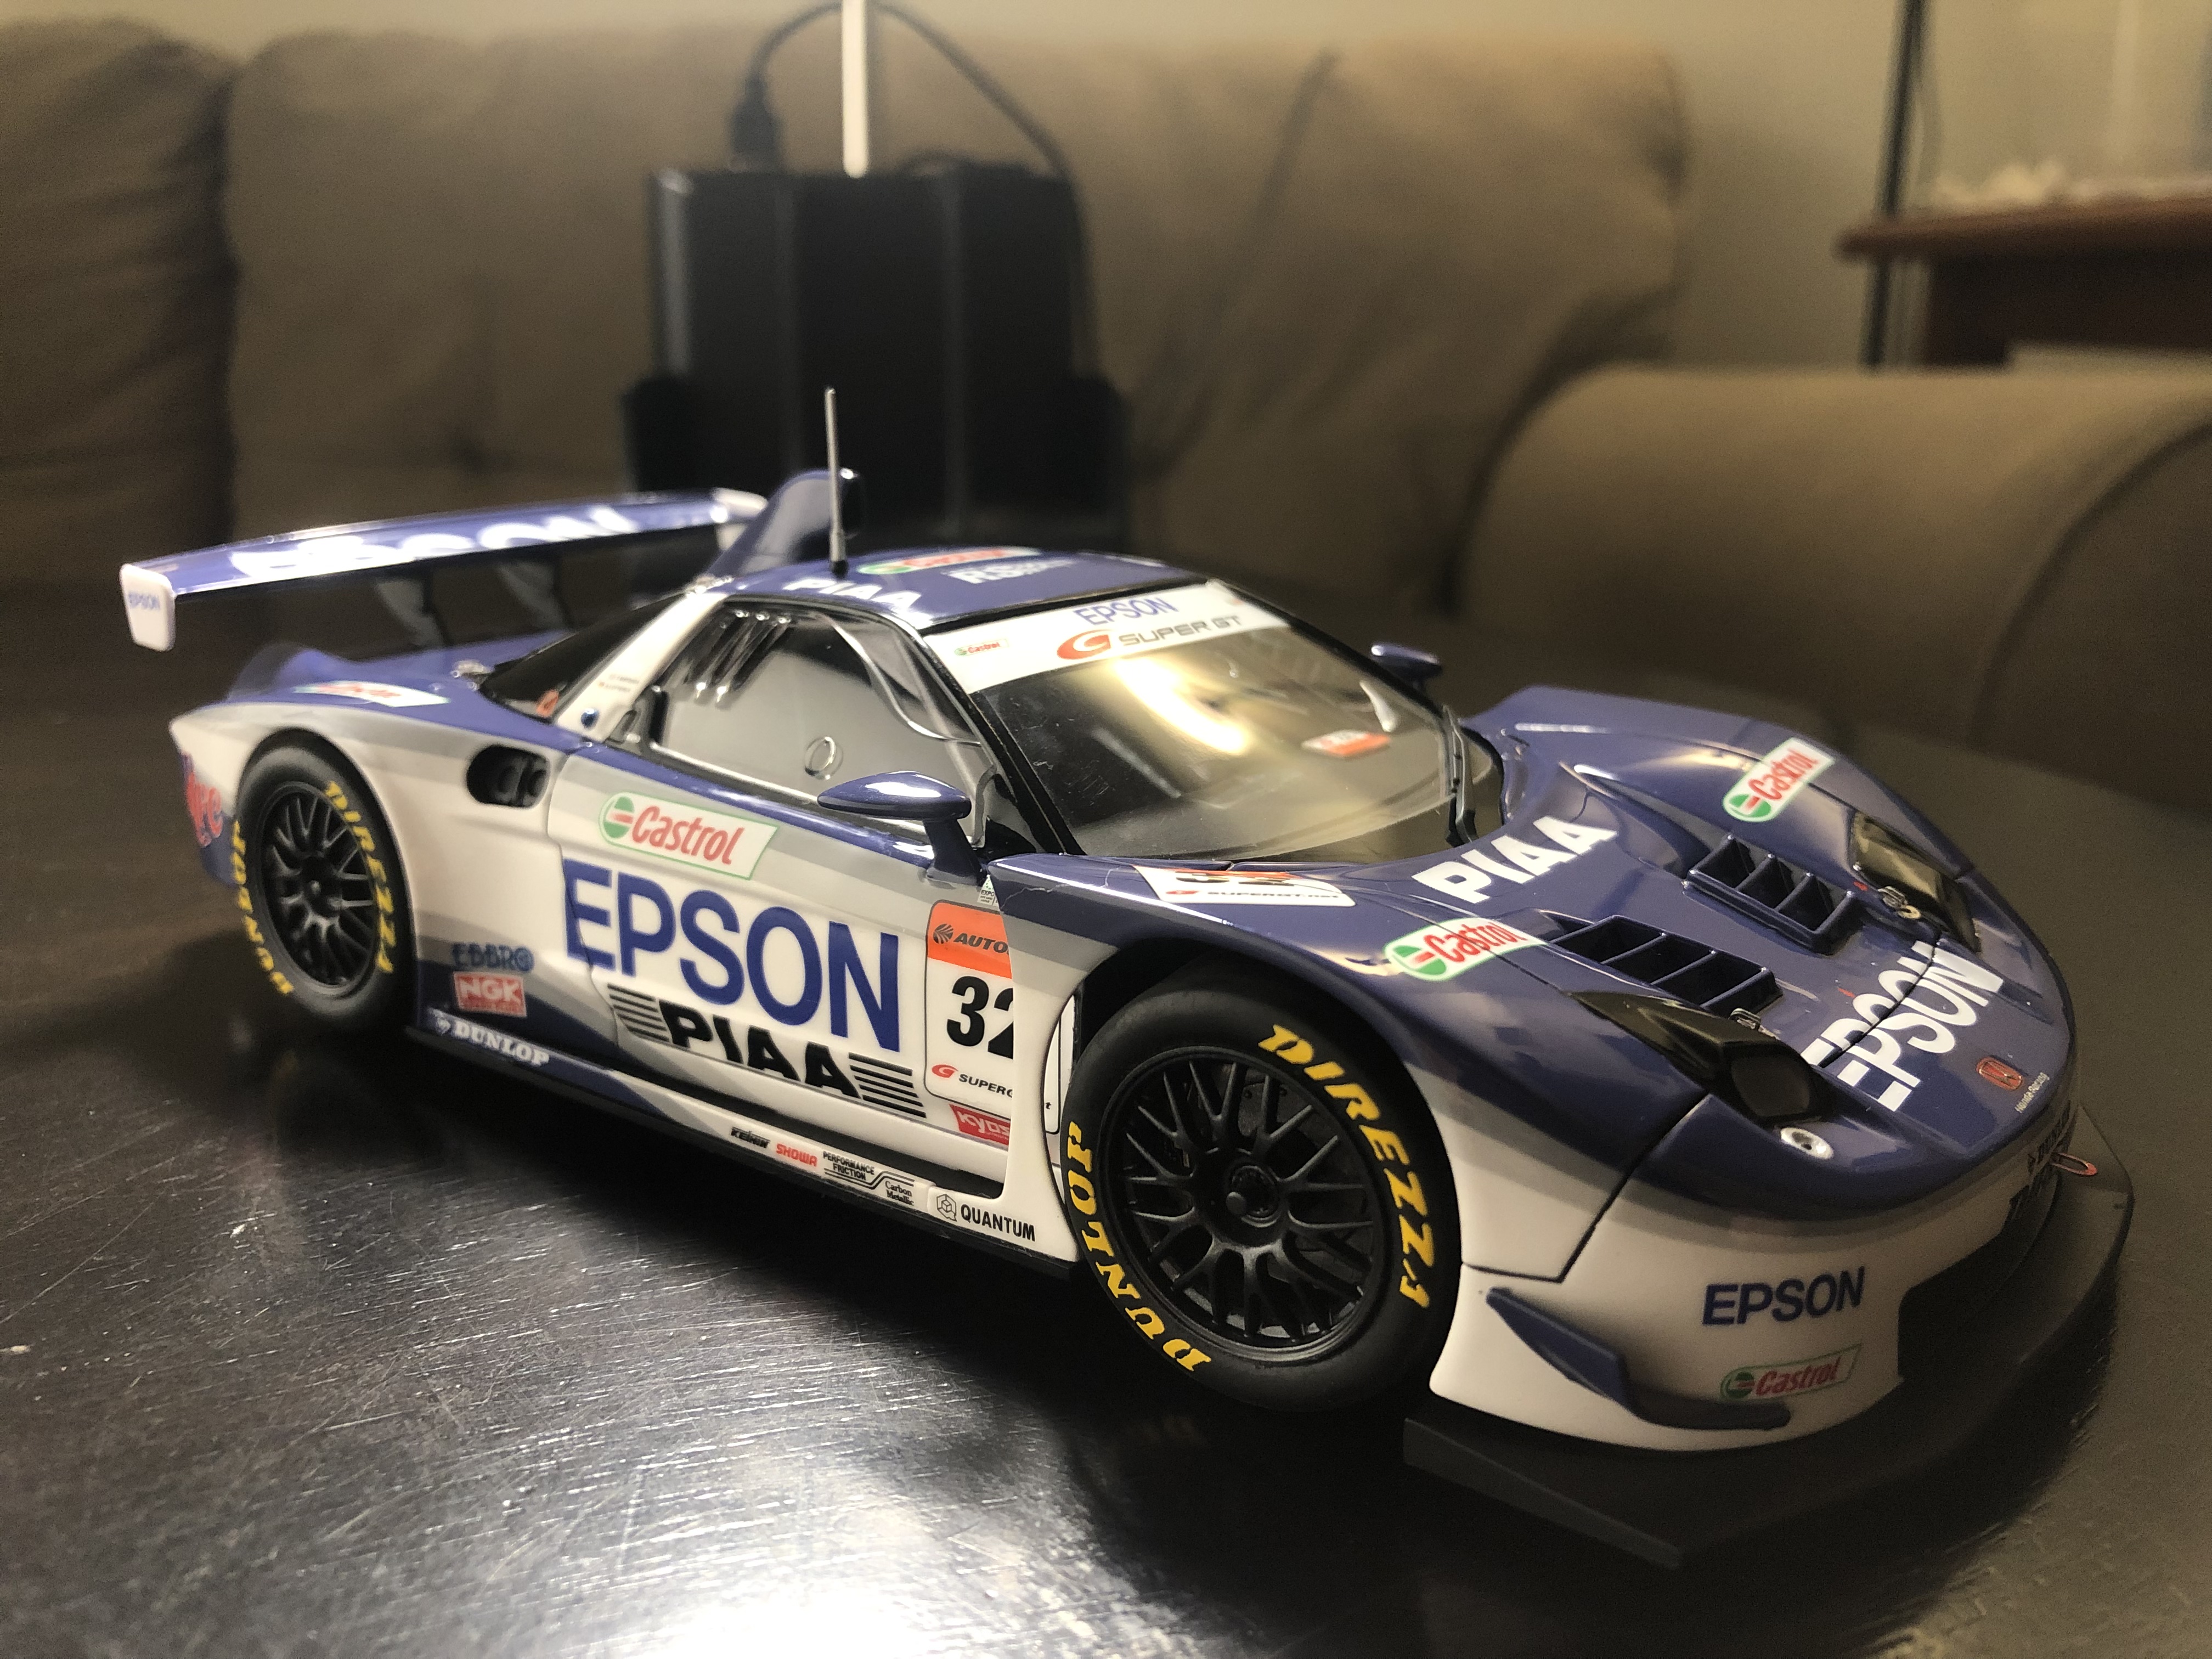
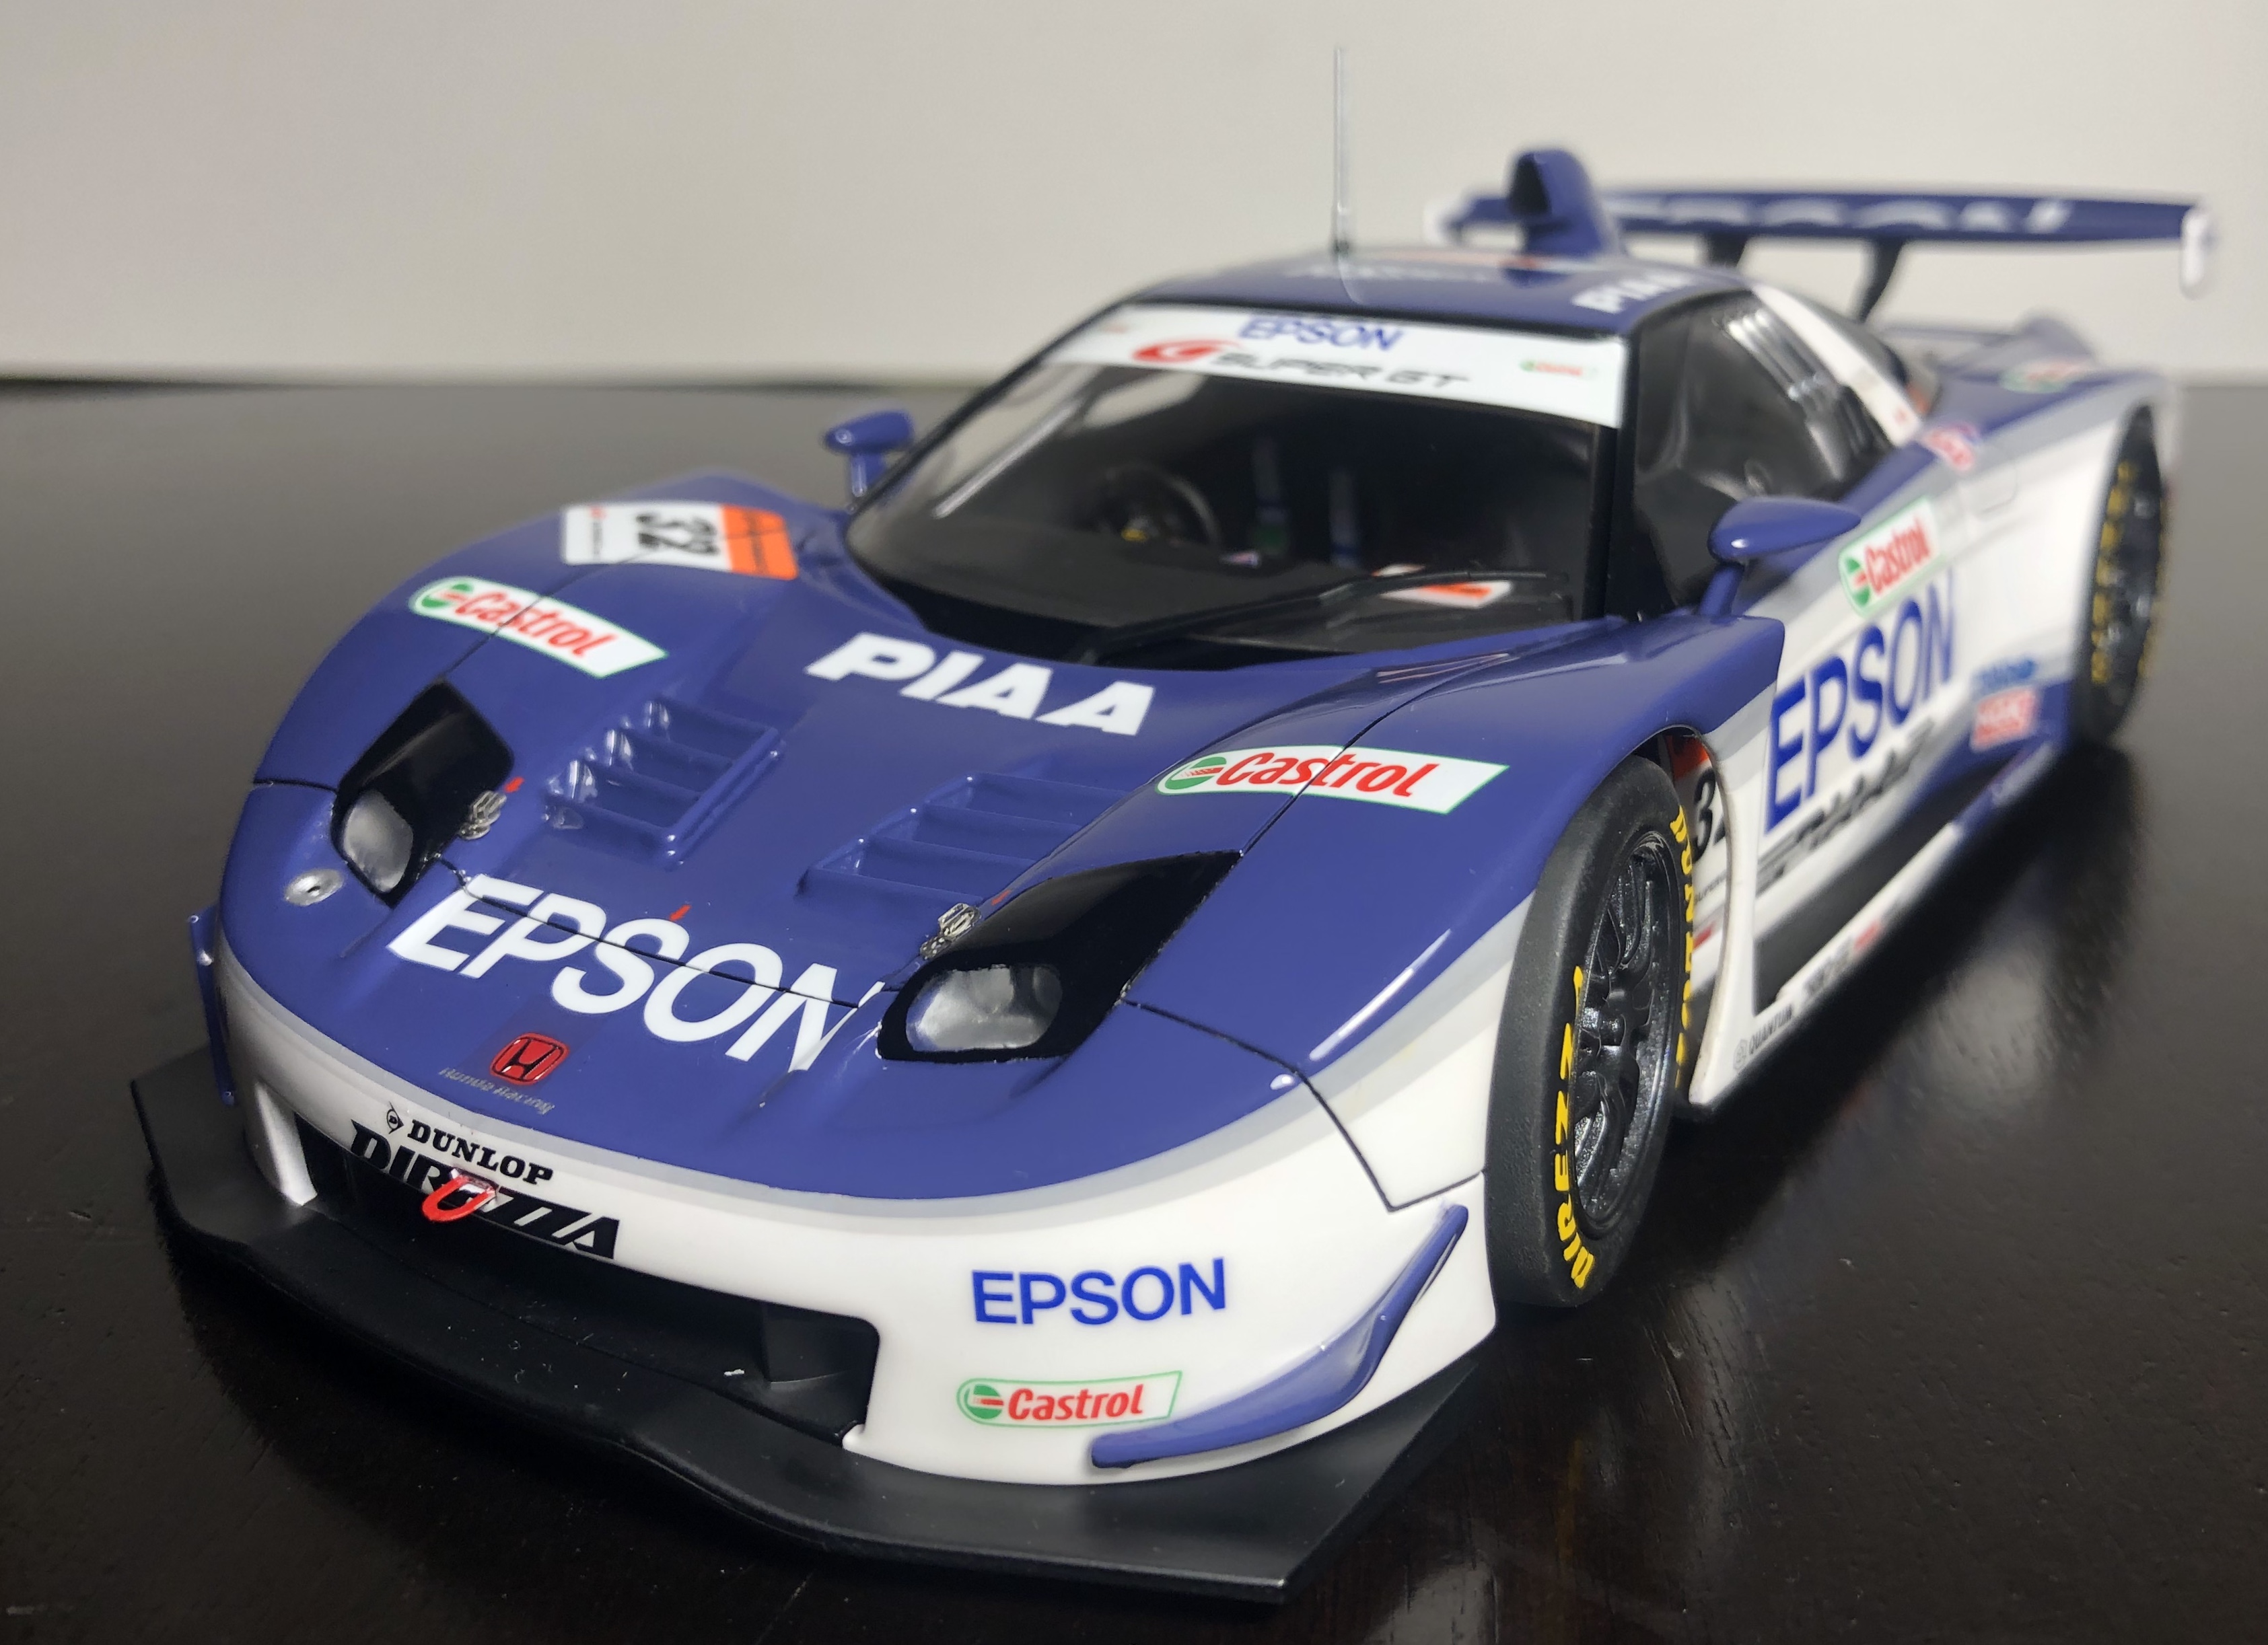
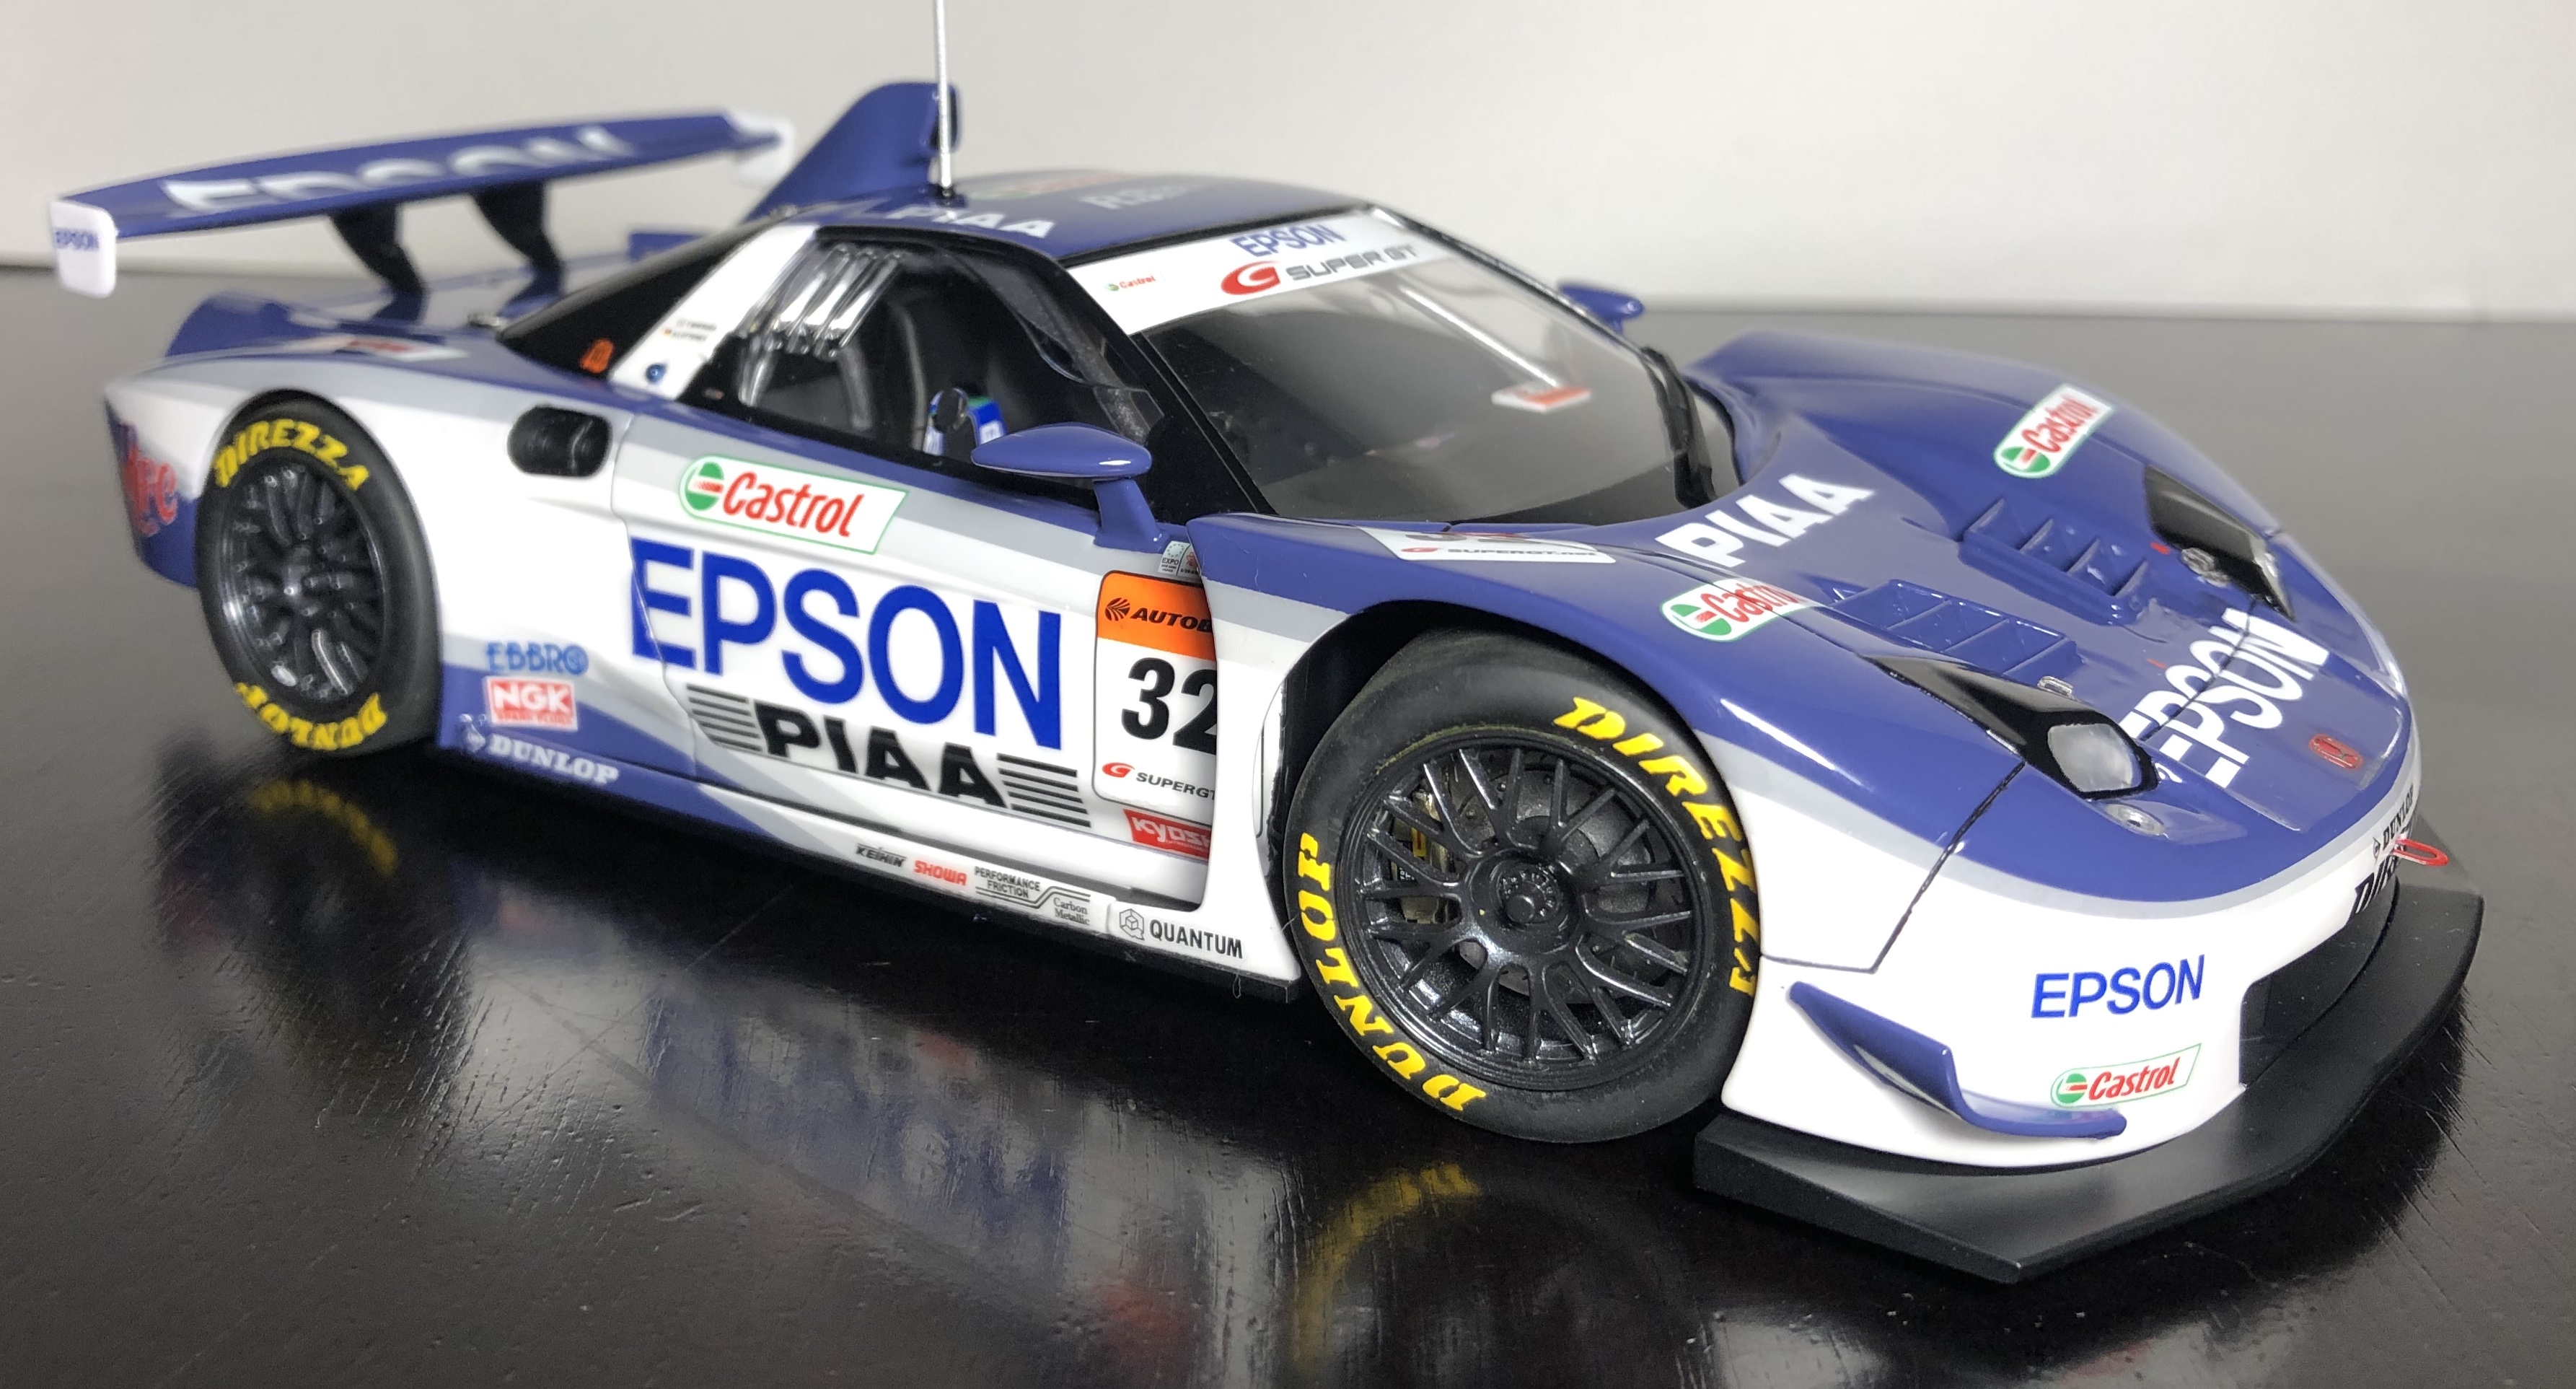
Hi all Last summer I started my first WIP (which can be found here) here on Model Cars Magazine with Tamiya's Honda NSX. Today I finally managed to take the finished model to my studio to take some gallery pictures. I hope you like the photographs of this beautiful car. Best, Urs
-
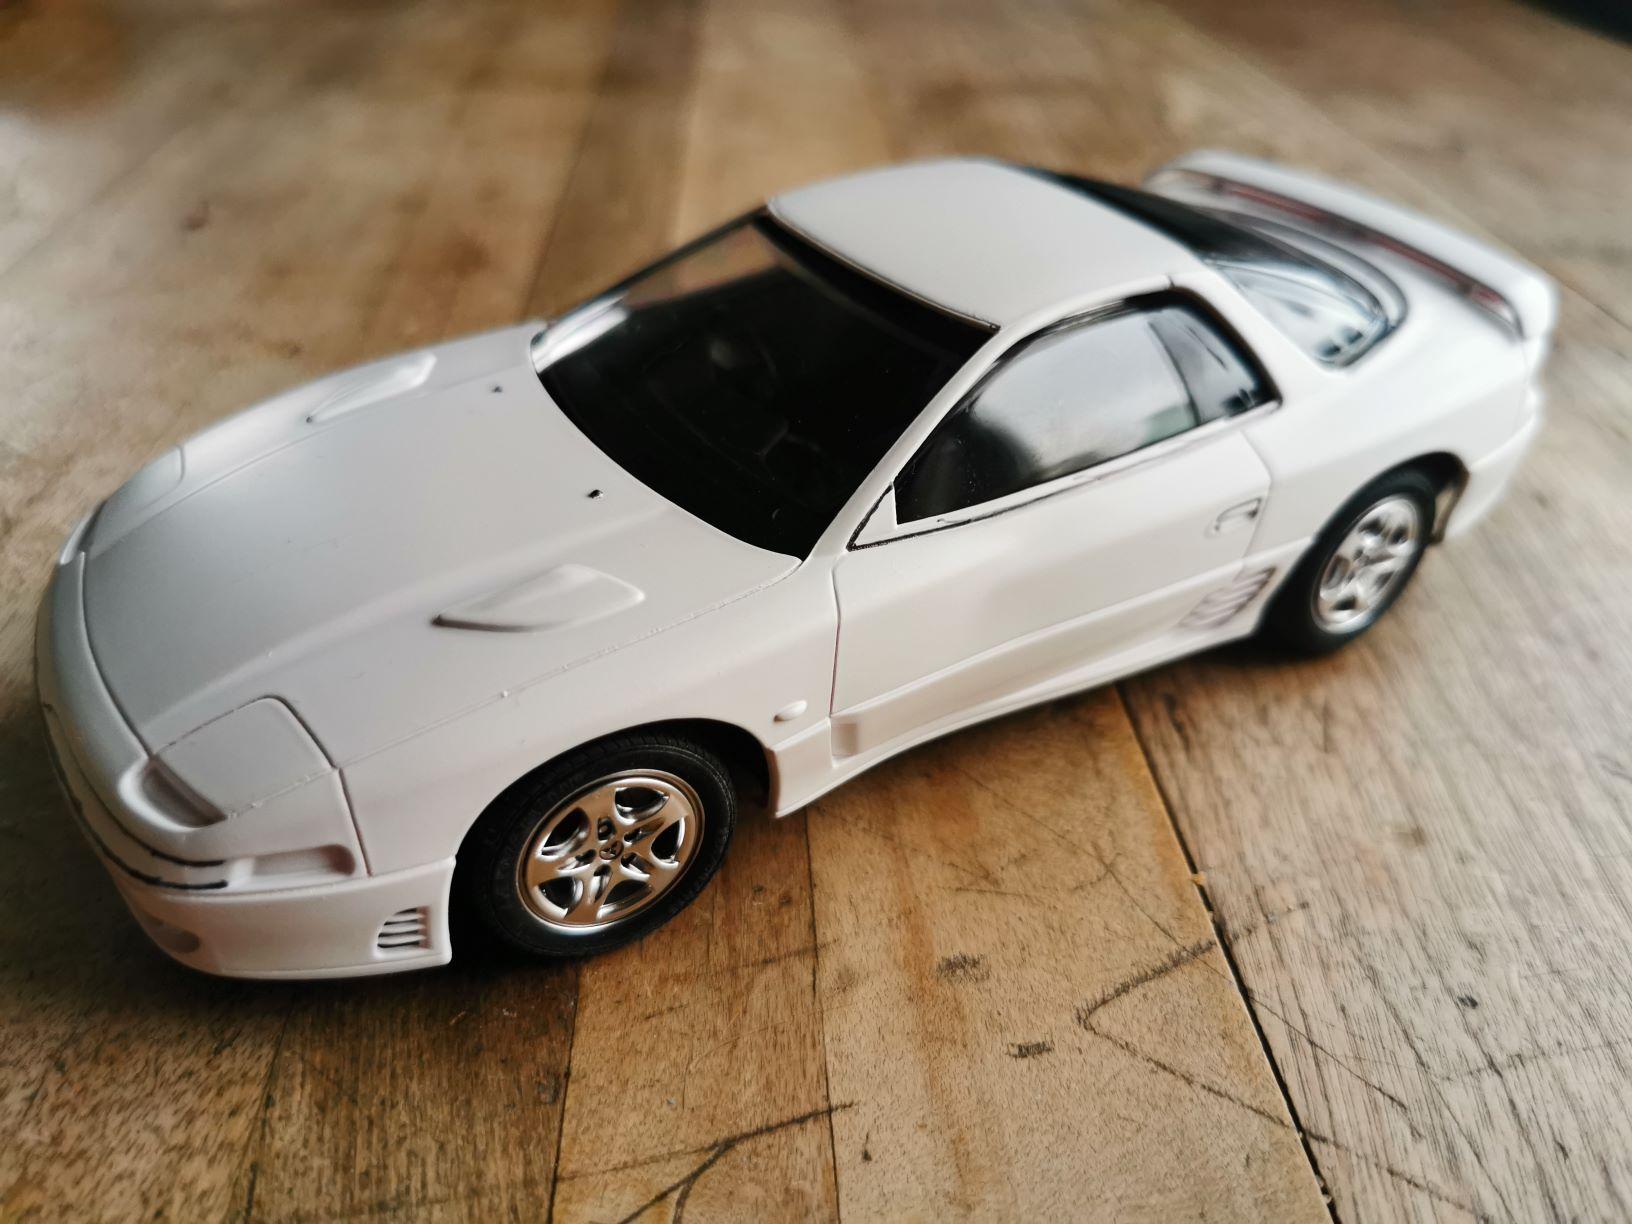
So I have been out of the car model game for quite some time but figure it is time to get back into the swing of things. It has been about 6 or 7 years since I have done anything car related. Figured I would start out simple with an OOTB build and I am a pretty big fan of the VR4 so I figured - go for it. I started a while back but did not take any photos right from the beginning but here is where I am at Interior and bottom are pretty much done. I have a thing for matte cars so doing this one in a flat white as I like the contrast of the white and black. Just finishing off some detailing and should have it all together in a few days. I have enjoyed putting this one together and it feels good to get back into things. I am still waiting for some paints and tools to arrive but hope to have them within a few weeks. I have a few others builds that I will begin right quick here as well.
-
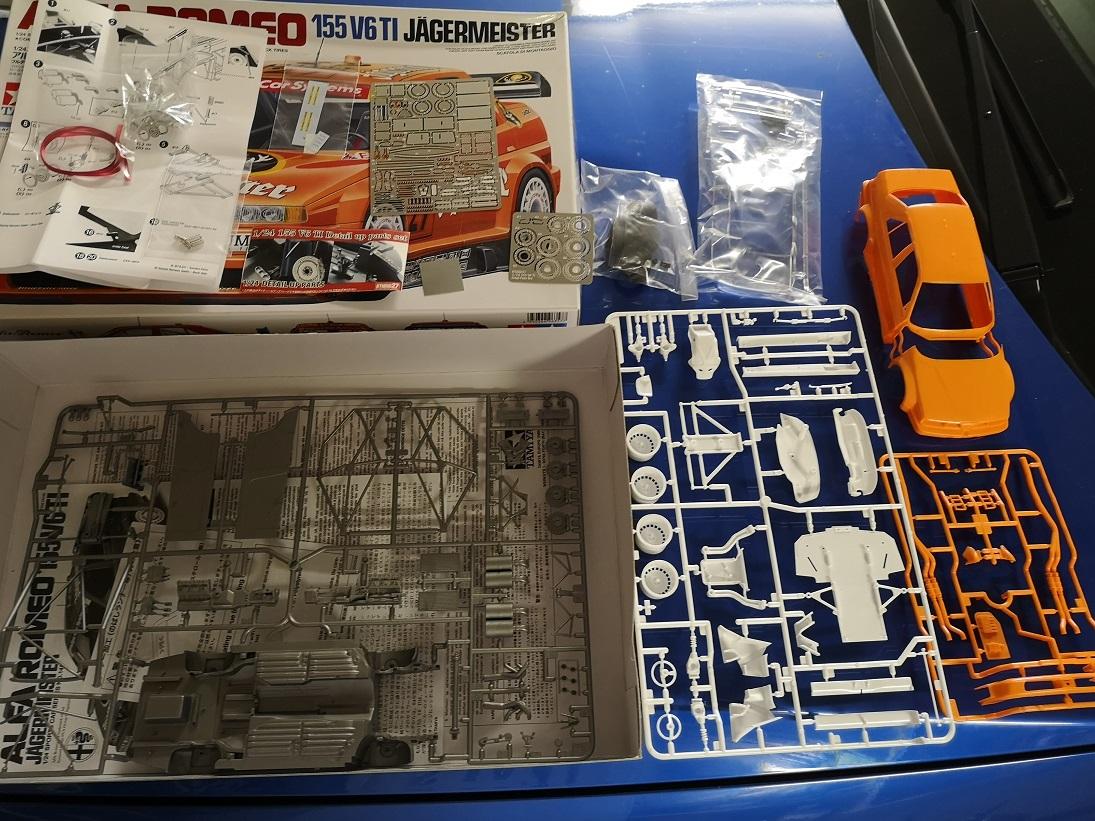
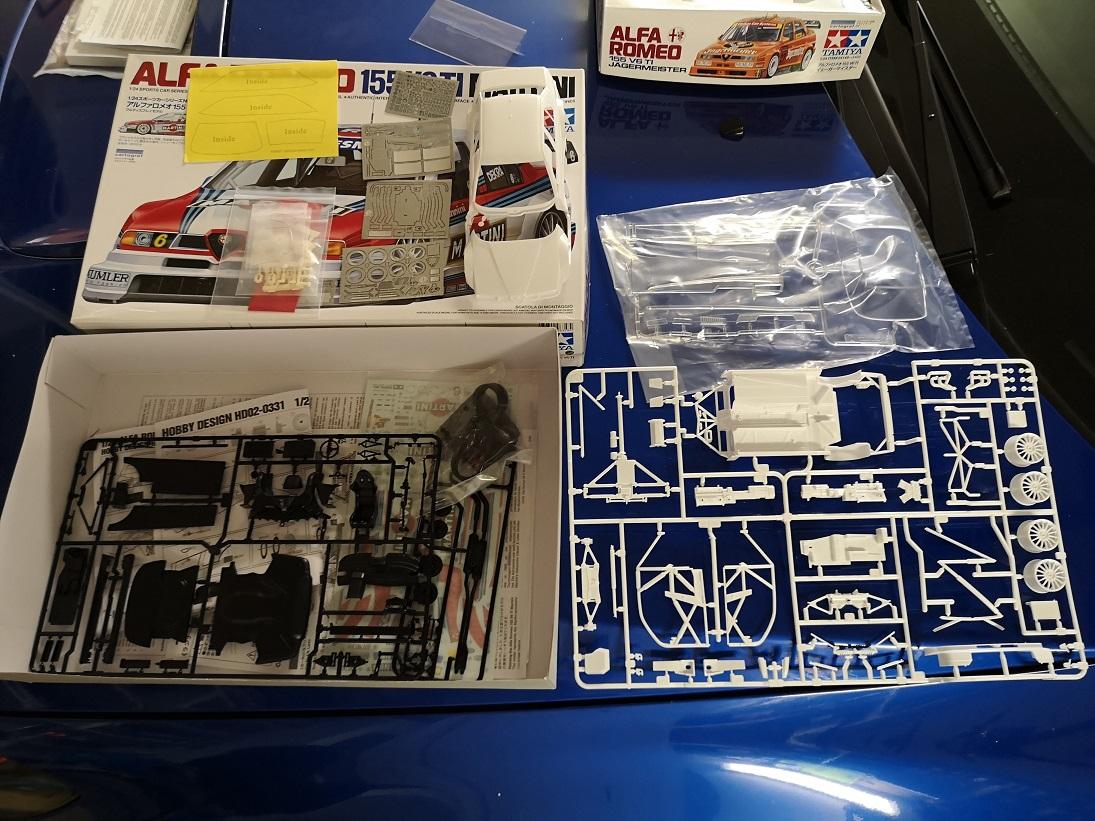
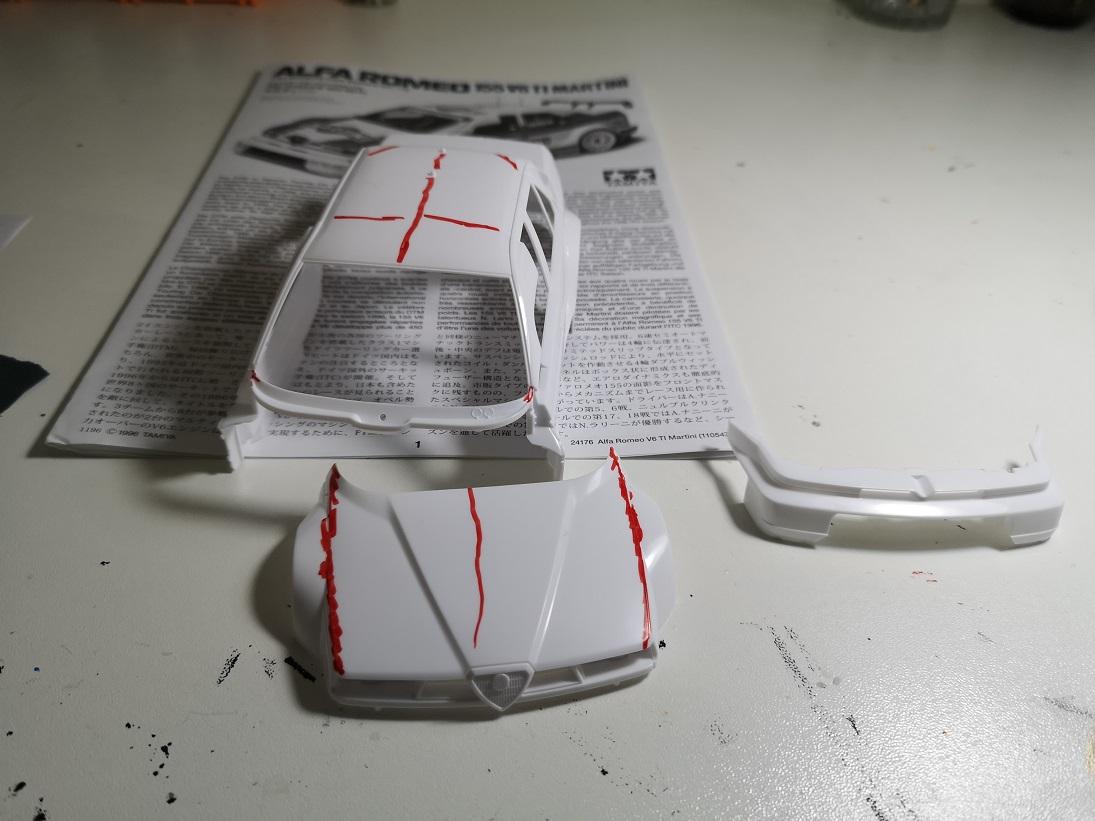
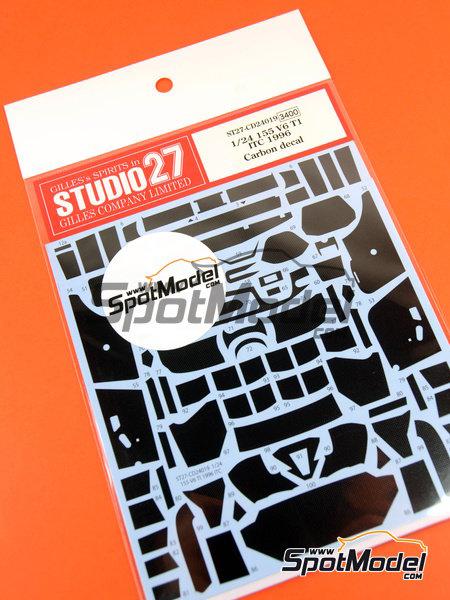
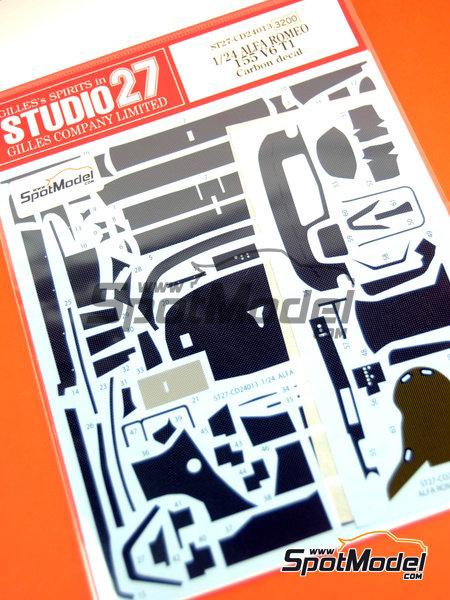
The next project is a little bigger, i want to build 2 Alfa Romeo. I bought to "Detail up set" kit to them. And I also ordered 2 "carbon fibre pattern" decals set ,but it hasn't come yet. I started the work with the body:
-
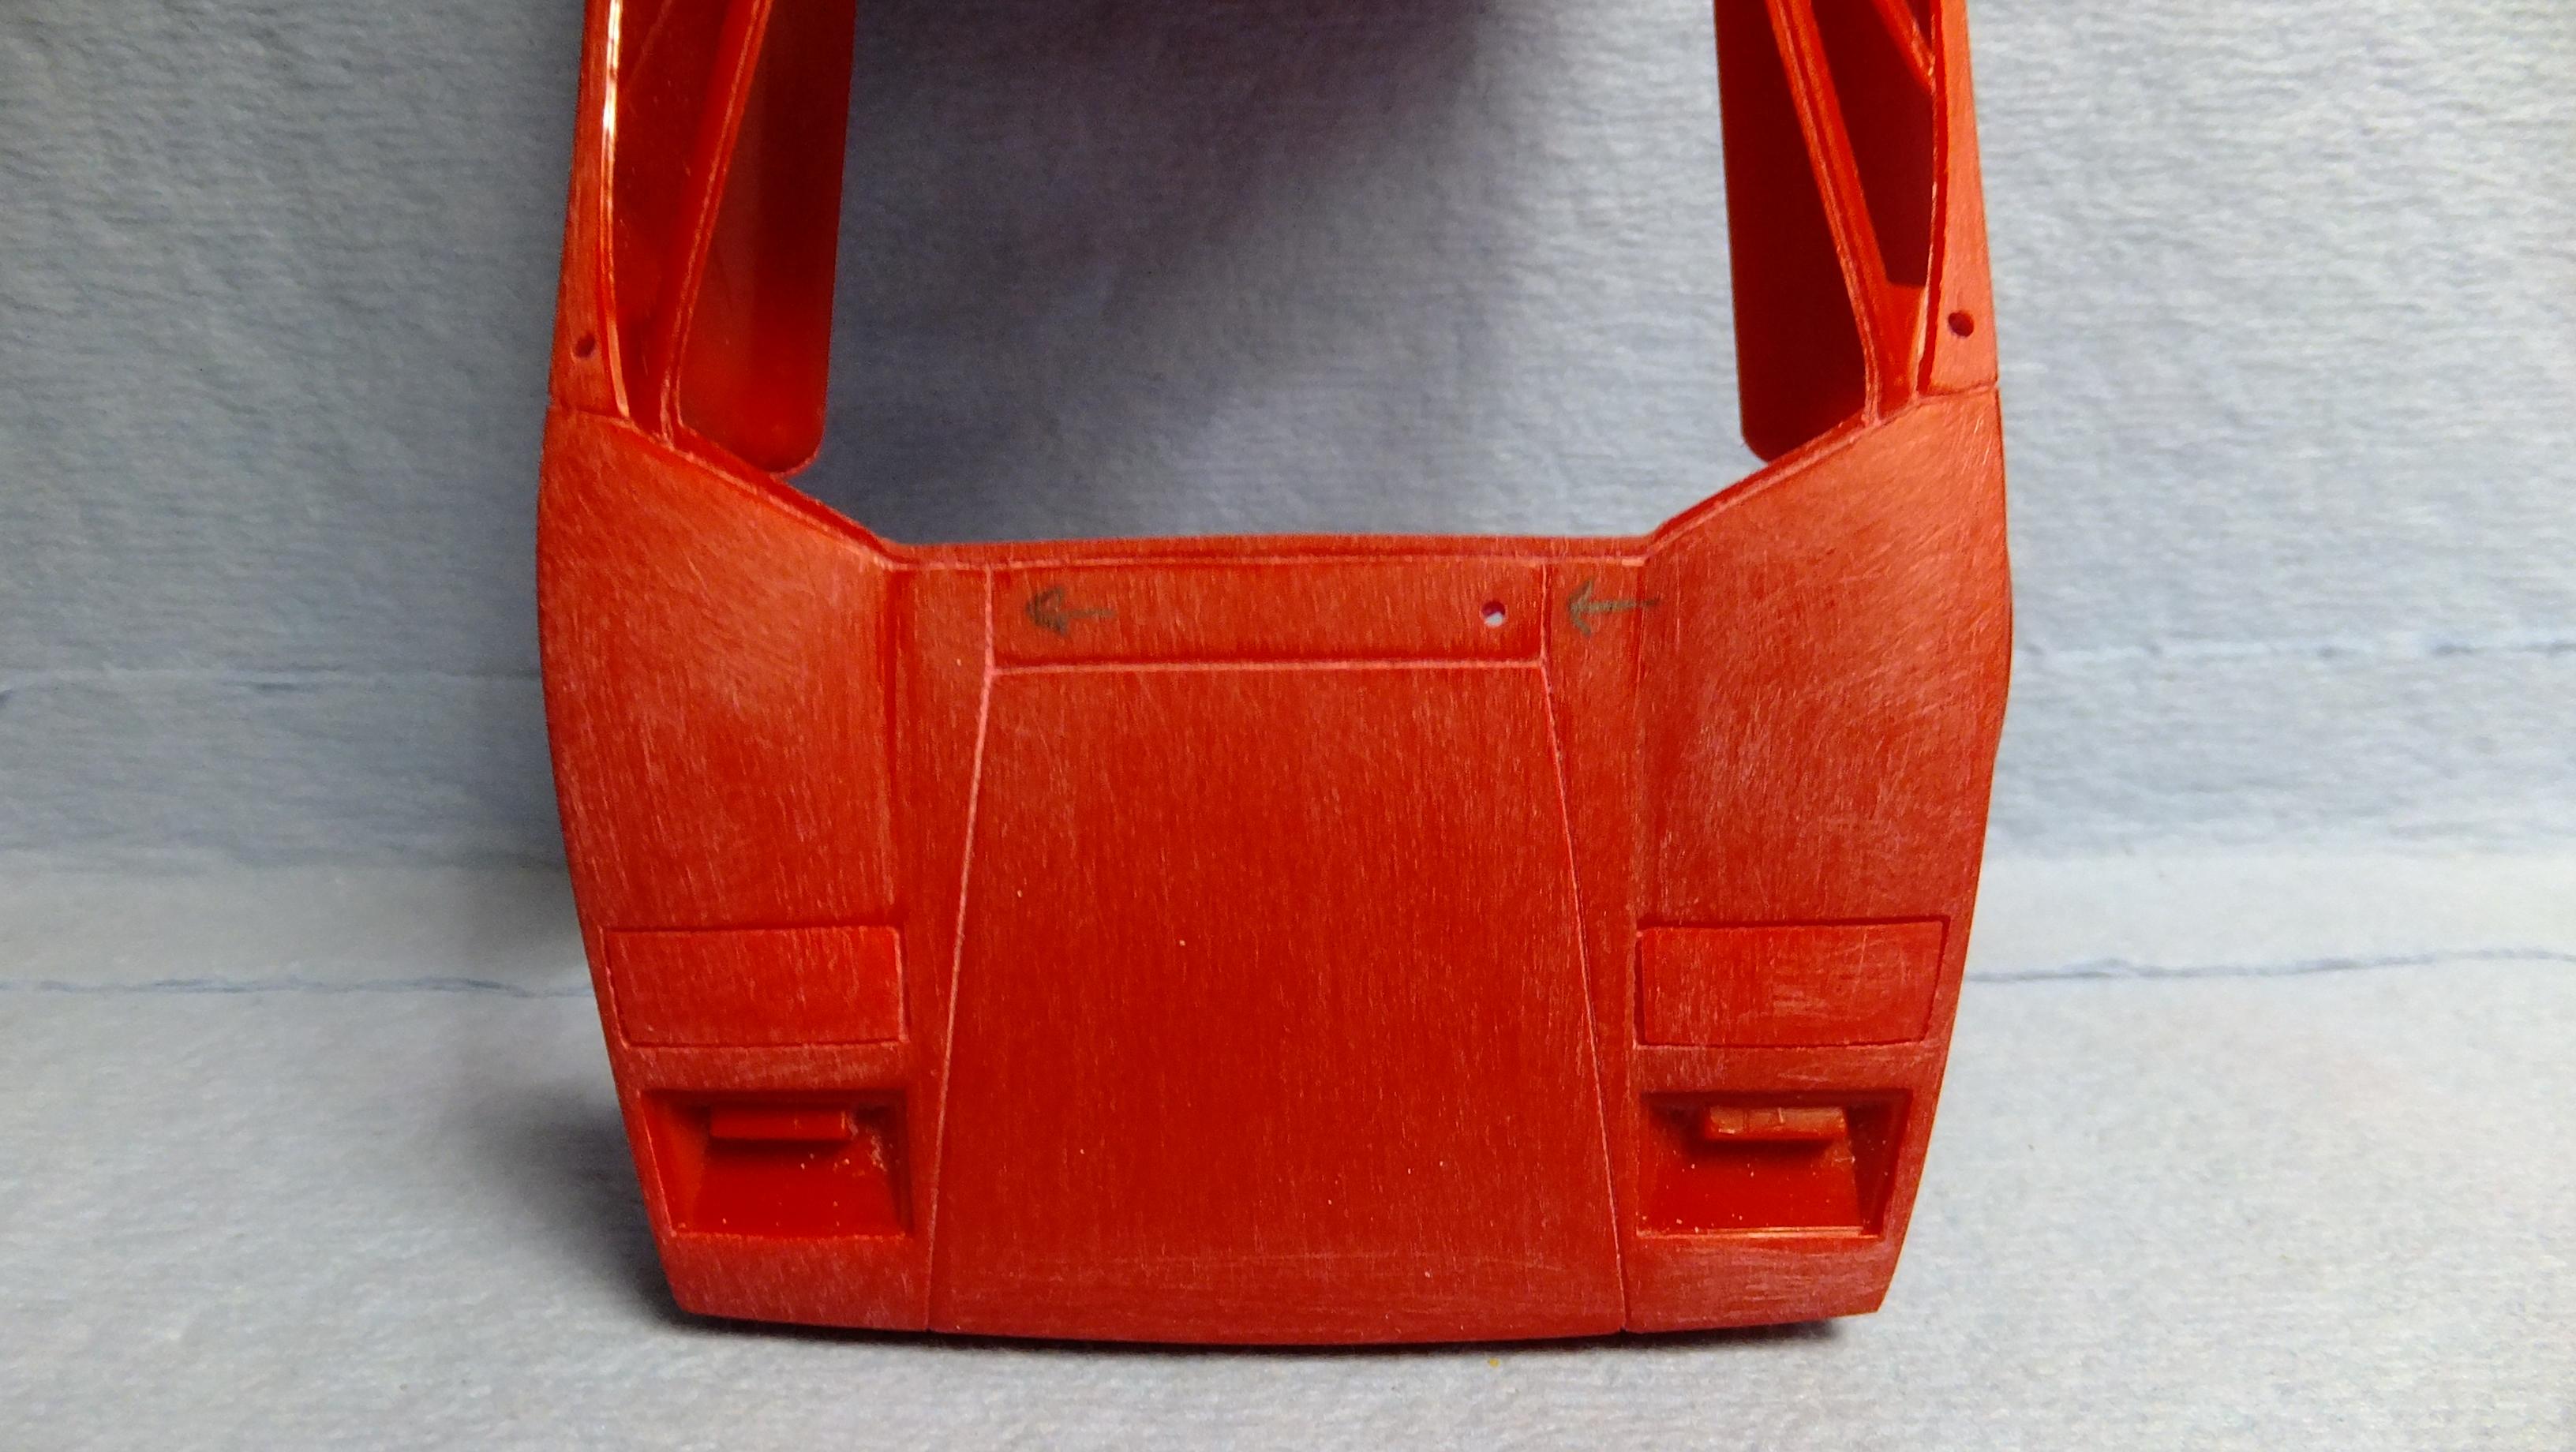
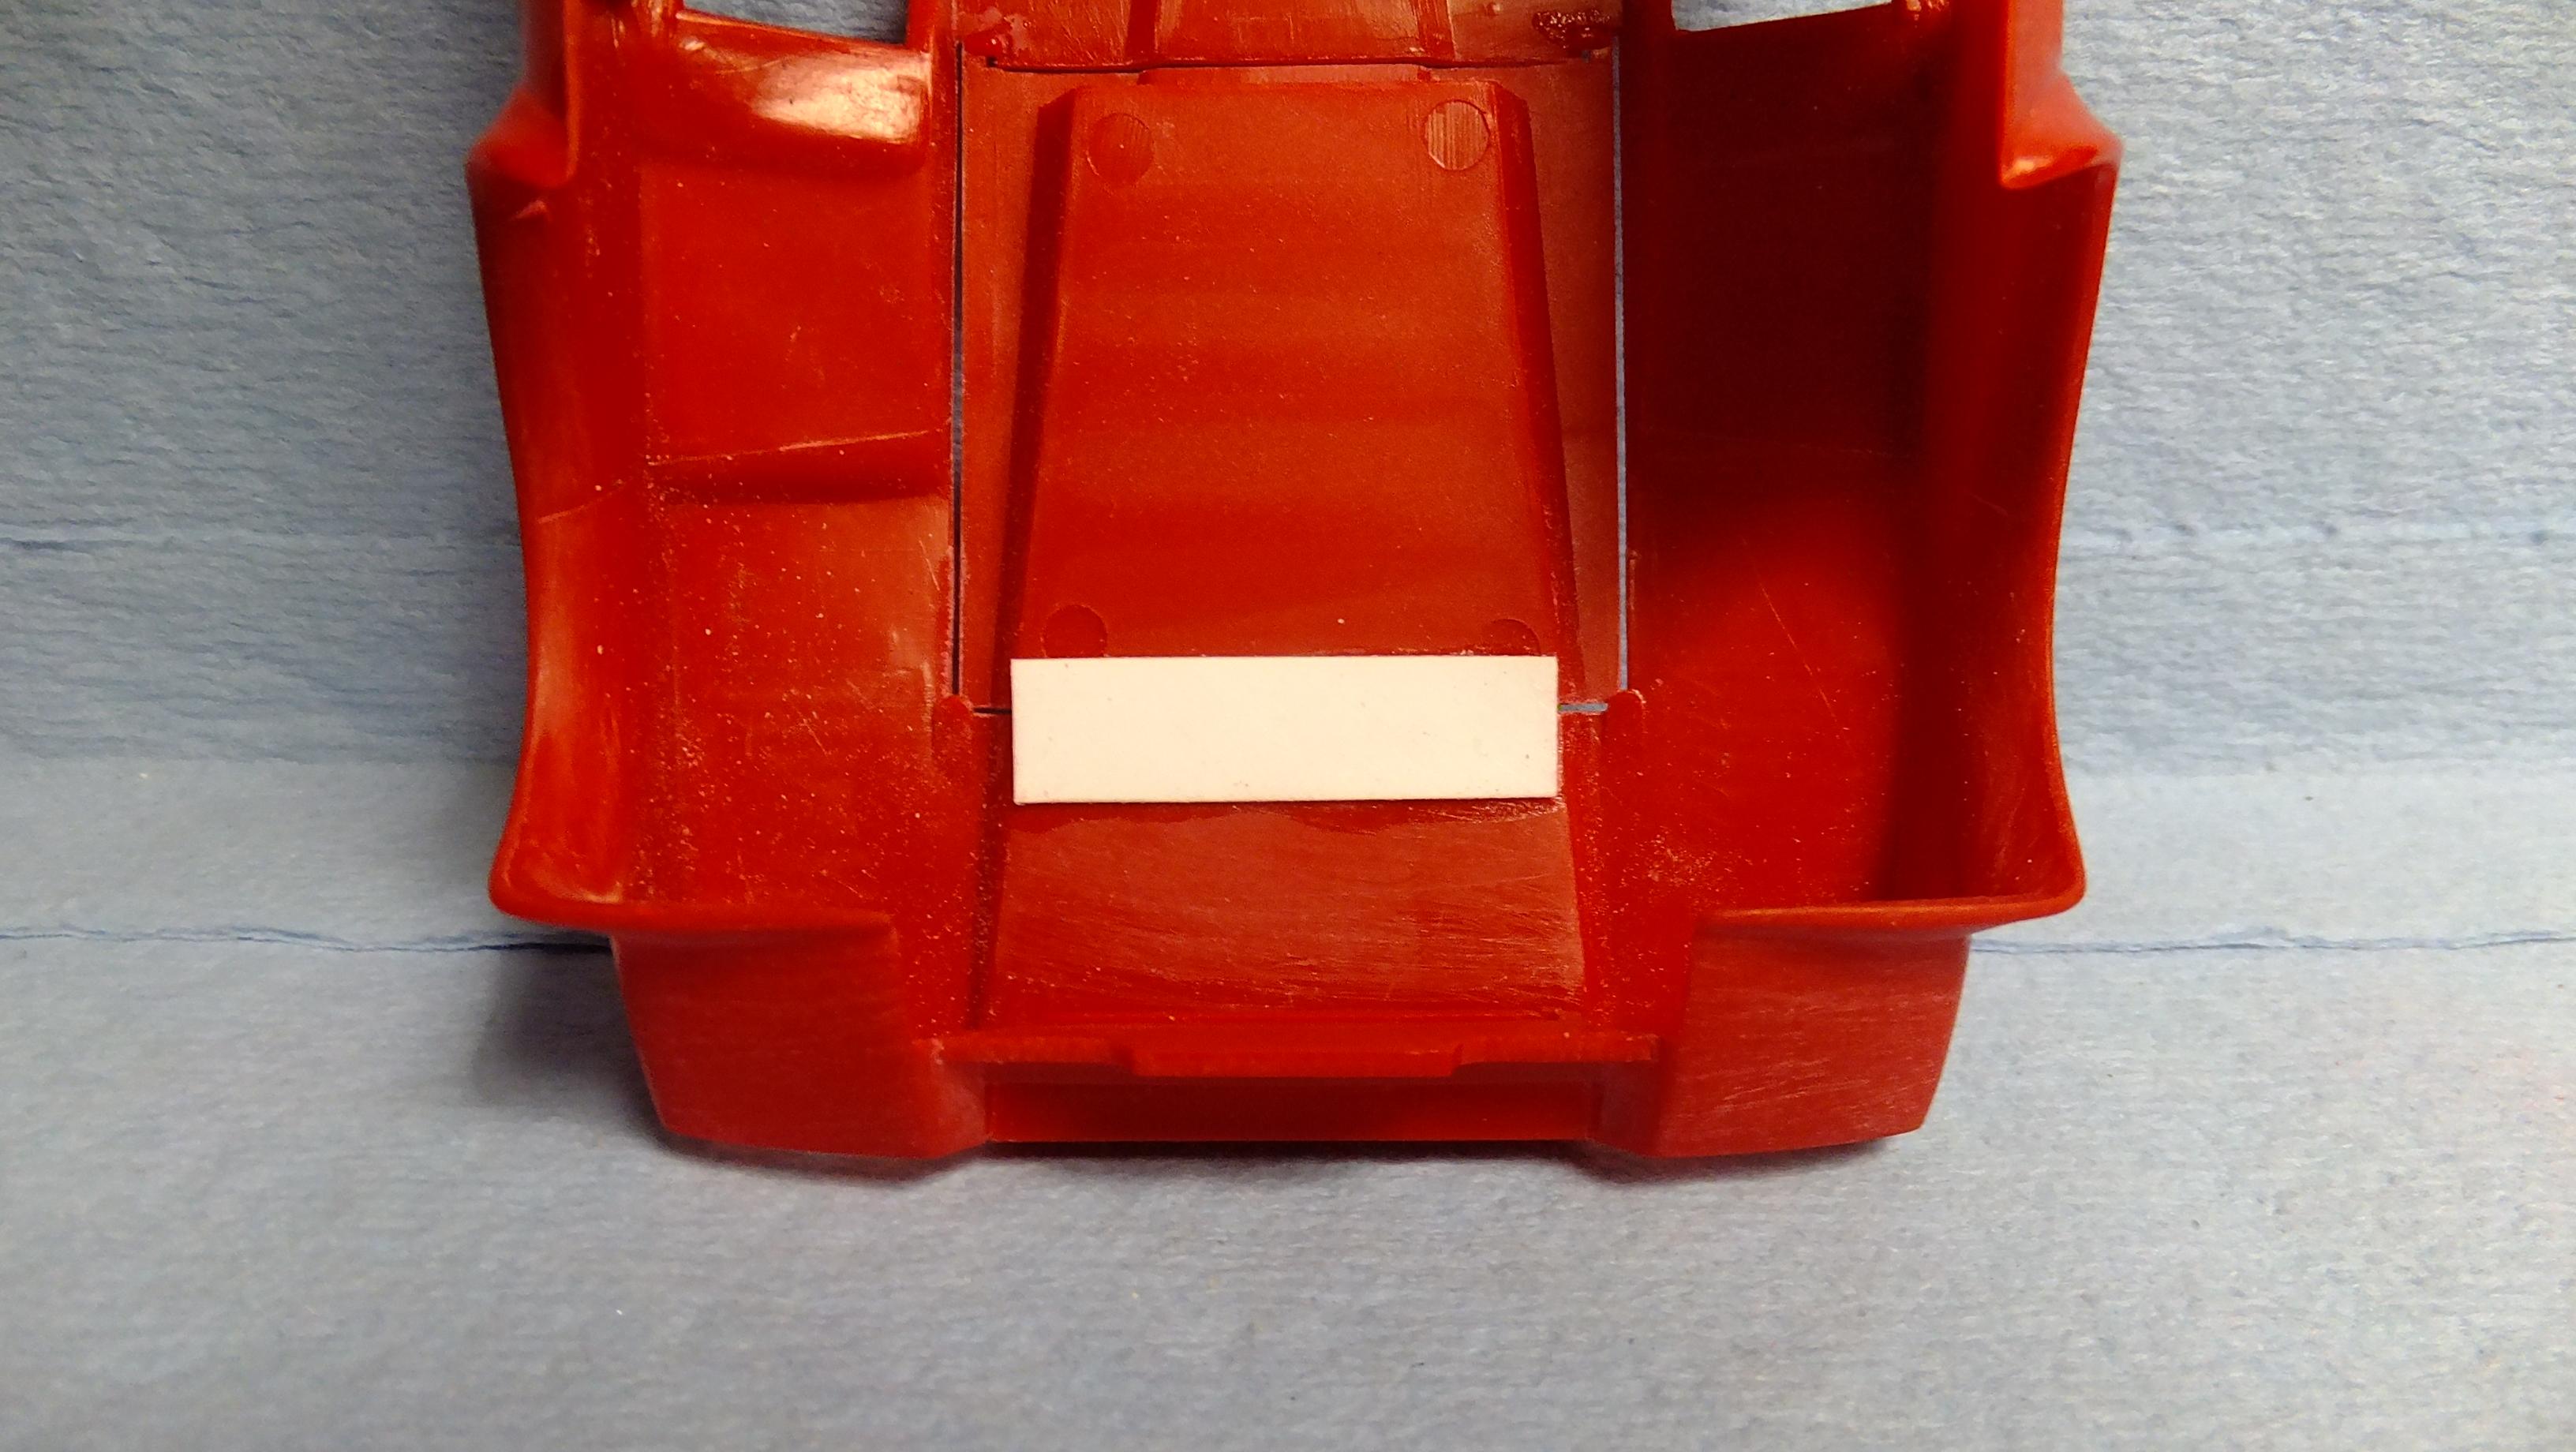
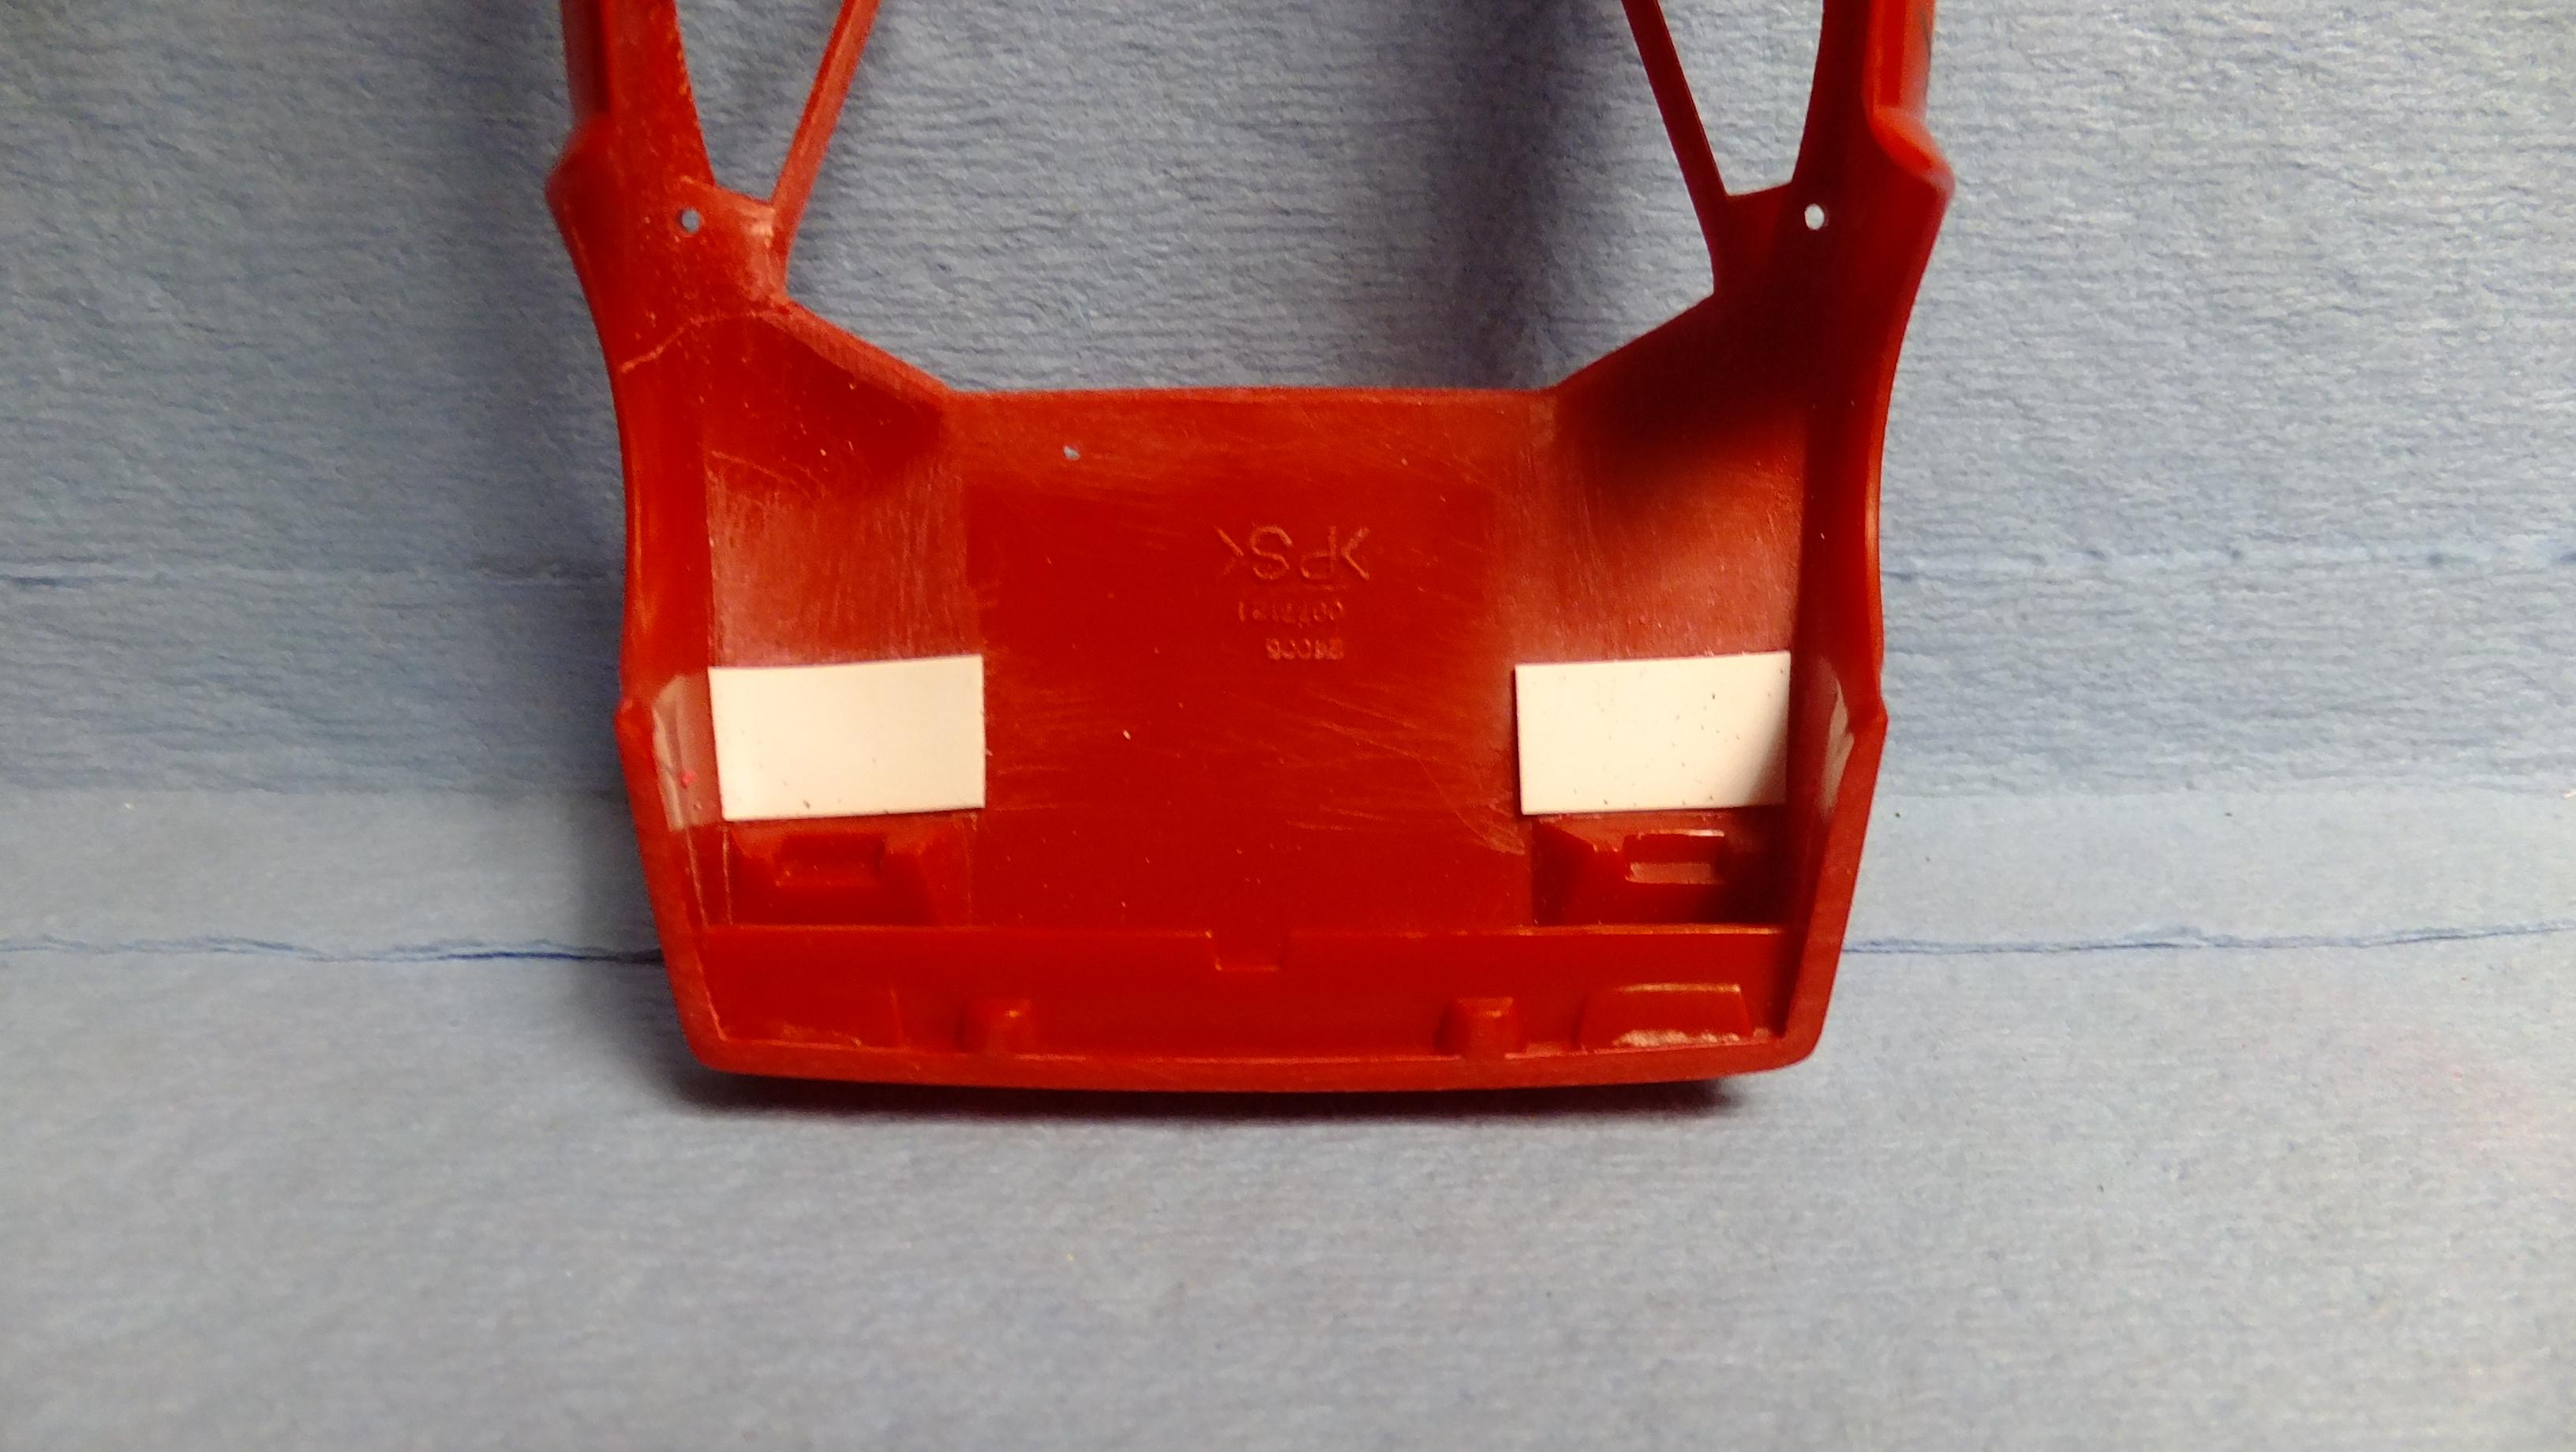
Hey, everyone!, its me again. I've decided that i will be posting WIPs on more of my started projects...hopefully it will motivate me to finally finish them. Who knows, it may even help someone whose working on one now. My objective for this kit was to just make it look a bit more realistic without having to spend too much extra money. Its actually a pretty decent representation of the actual car, and despite the kits age, it fits together well...is fun to build, and looks great when done! There are a few body style changes i made already.....basically an easier, fun build. Dont know how these photos got all mixed up, but here we go... -Photo 1, 5-7; I'm not sure how many people re-scribe every seam the same, but not all seams should be the same depth. For instance; the arrows are pointing to lines that should be shallow, since they are only body panels that dont open. Things like doors...bonnets...and boots need to be scribed deeper to show a deeper shadow insinuating space. -Photo 2; The kit -Photo 3&4; These photos show my kolor choices for this build. -Photo 8; Since i never intended to show the engine, i glued the hood shut, and needed to use styrene for extra contact. -Photo 9; The Headlamp housings dont have enough contact to be level in the closed position -in the up position they work fine. Since i wanted them down, i cut the box away, added sheet styrene to the under side , then reattached the covers centered in the openings. -Photo 10; I glued together the two-part vent boxes, sanded off the molded in front license plate, and began to SB end caps on the wing. Since i didnt like the mirrors that came with the kit, i took some spare ones from an Aoshima Countach kit. -Photo 11; I glued in the exhaust pipes, and used styrene to fill in the unrealistic openings above them. -Photo 12; Here i filled in the remote control switch, and since i wanted to use a newer version wheel from an Aoshima kit, i had to styrene rods that will fit into the backs of the wheels. -Photo 13; Here are the interior bits i am starting with.
-
Built this using Splash paints Pearl white and 2K gloss clear. One of my most recent builds IMG_6365.CR2 IMG_6370.CR2
- 6 replies
-
- 1
-

-
- tamiya
- tamiya kit
- (and 2 more)
-
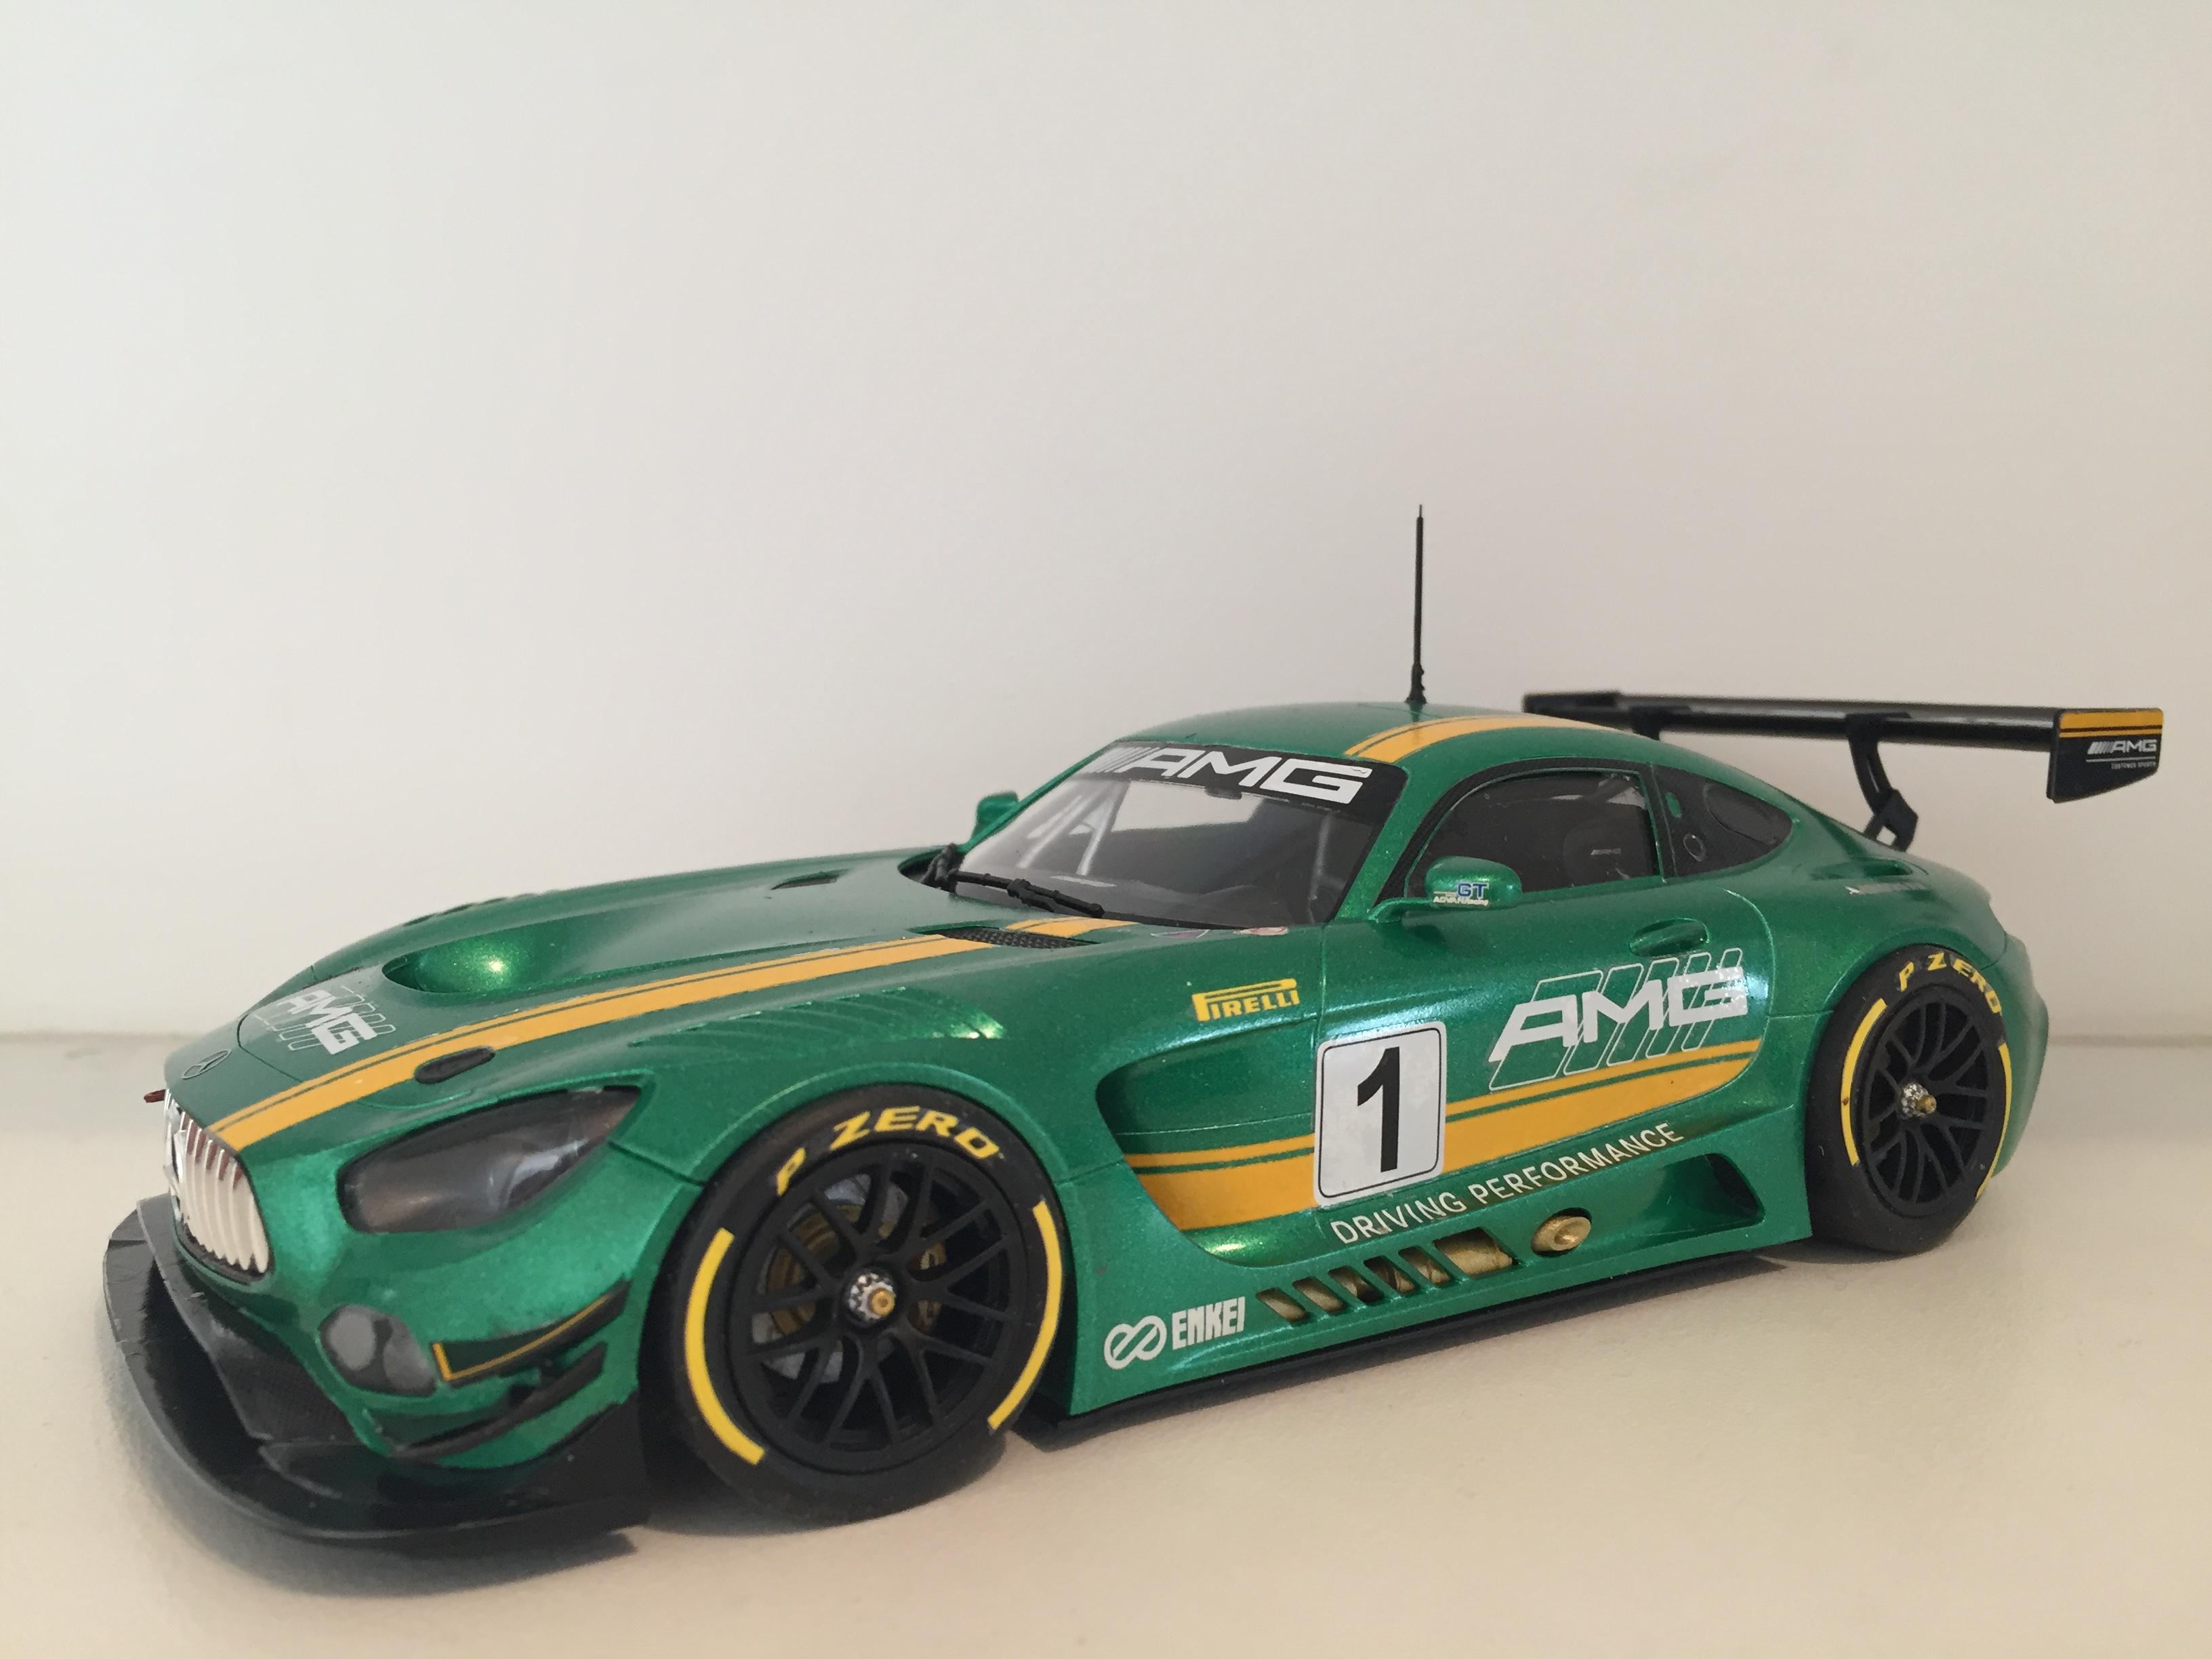
Tamiya Mercedes AMG GT3 in metallic green
-
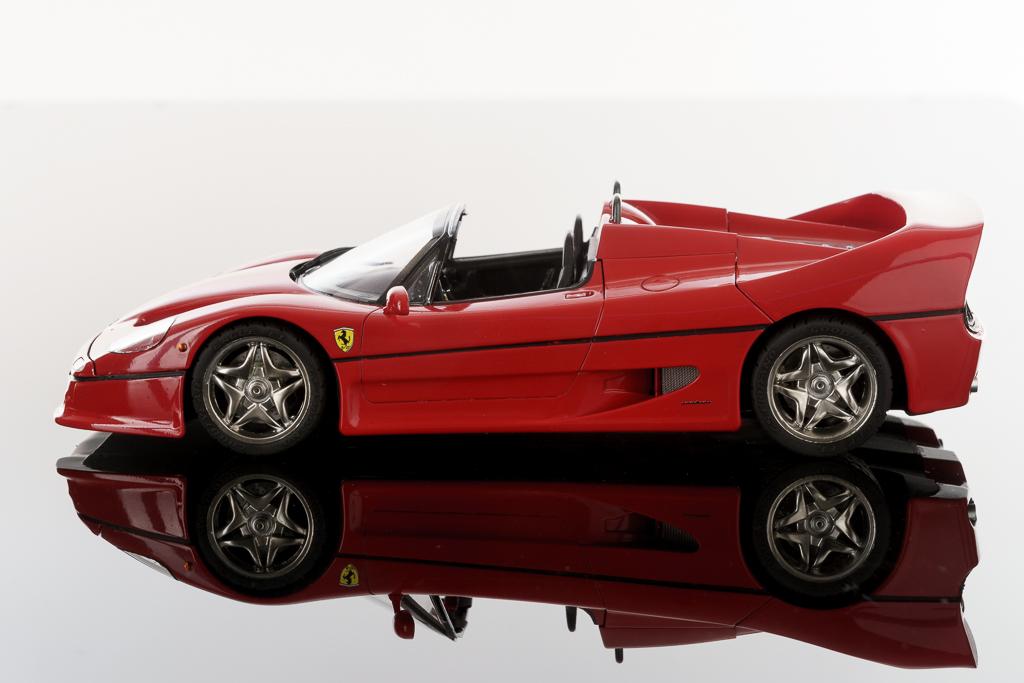
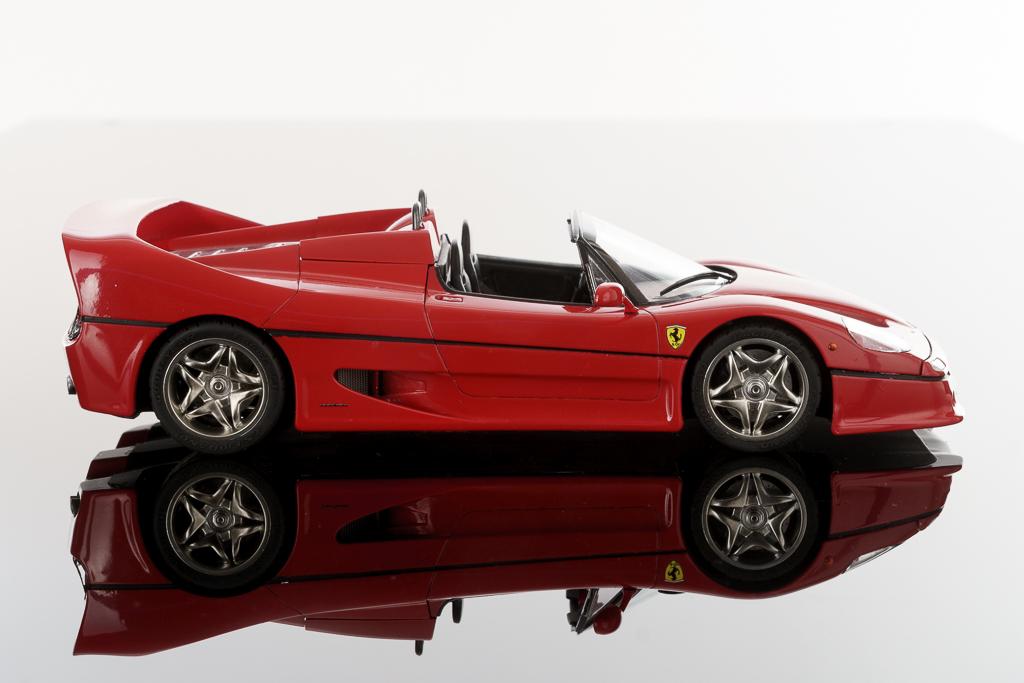
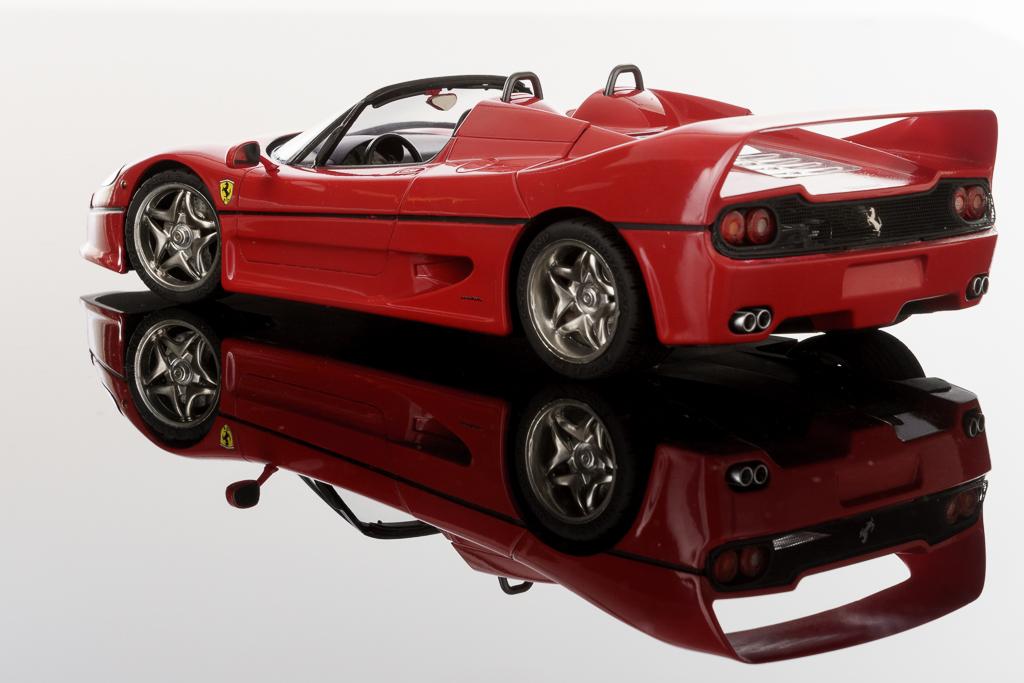
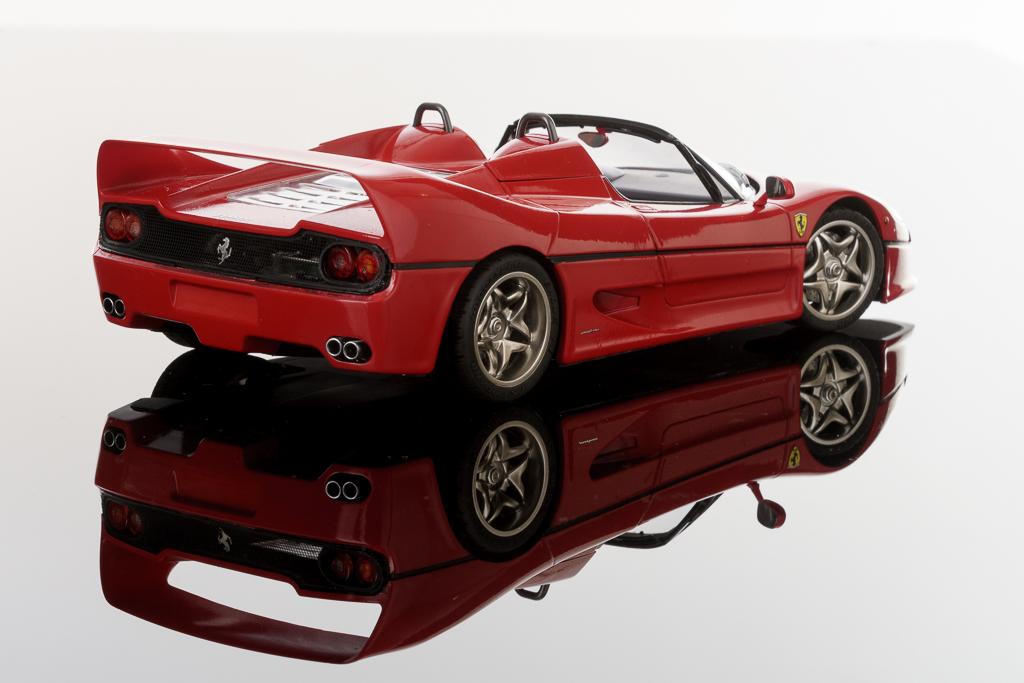
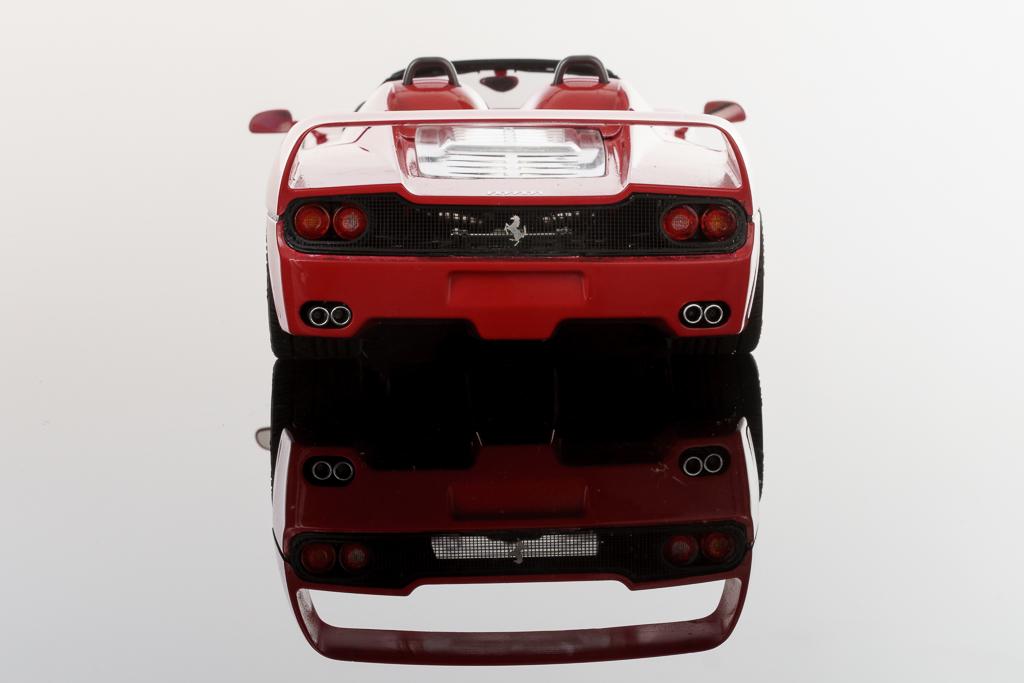
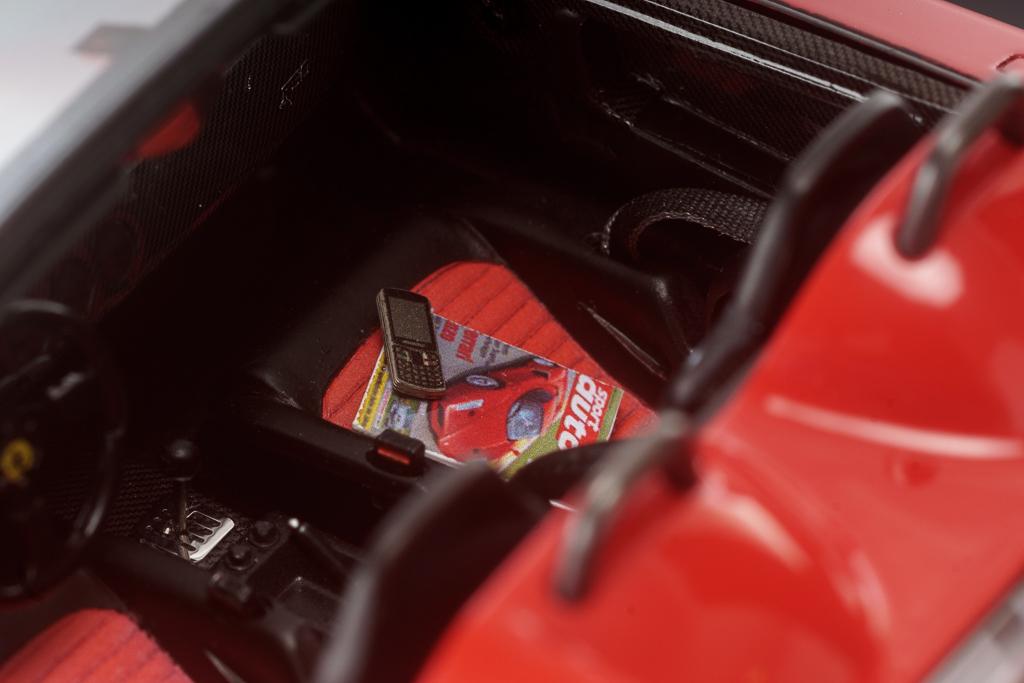
Hi all I just noticed that I promised more pics from my last visit at the studio's long time ago and didn't show anything. Here are now the pics from my Ferrari F50. The kit was from Tamiya, enhanced with the detail set by Hobby Design and a mobile phone by Czech Truck Model. Regards, Urs
-
I’m finally done! This was the most difficult kit I have ever built. I purchased the Tamiya PE set along with the kit. Tons of amazing details, and the kit went together like a dream. The difficulty on the two-tone paint, decals and masking was something I struggled with for two months. I destroyed one body on account of a failed primer adhesion, and repainted countless times to get it right. Had to get a whole new kit to replace parts and decals that had failed along the way. My kids recently have becomes obsessed with the “slug bug” VW beetle, so that will be next hope you enjoy! Have not seen anyone else do this kit or it’s sisters on the forum.
-
Project R32 Red/White/Blue, Tamiya Nismo Custom R32 kit, paint from Scalefinishes, this is was done as semi replica of a 1:1 replica of the Group A R32 raced in Toohey's 1000 in the early 90's What I was semi replicating
-
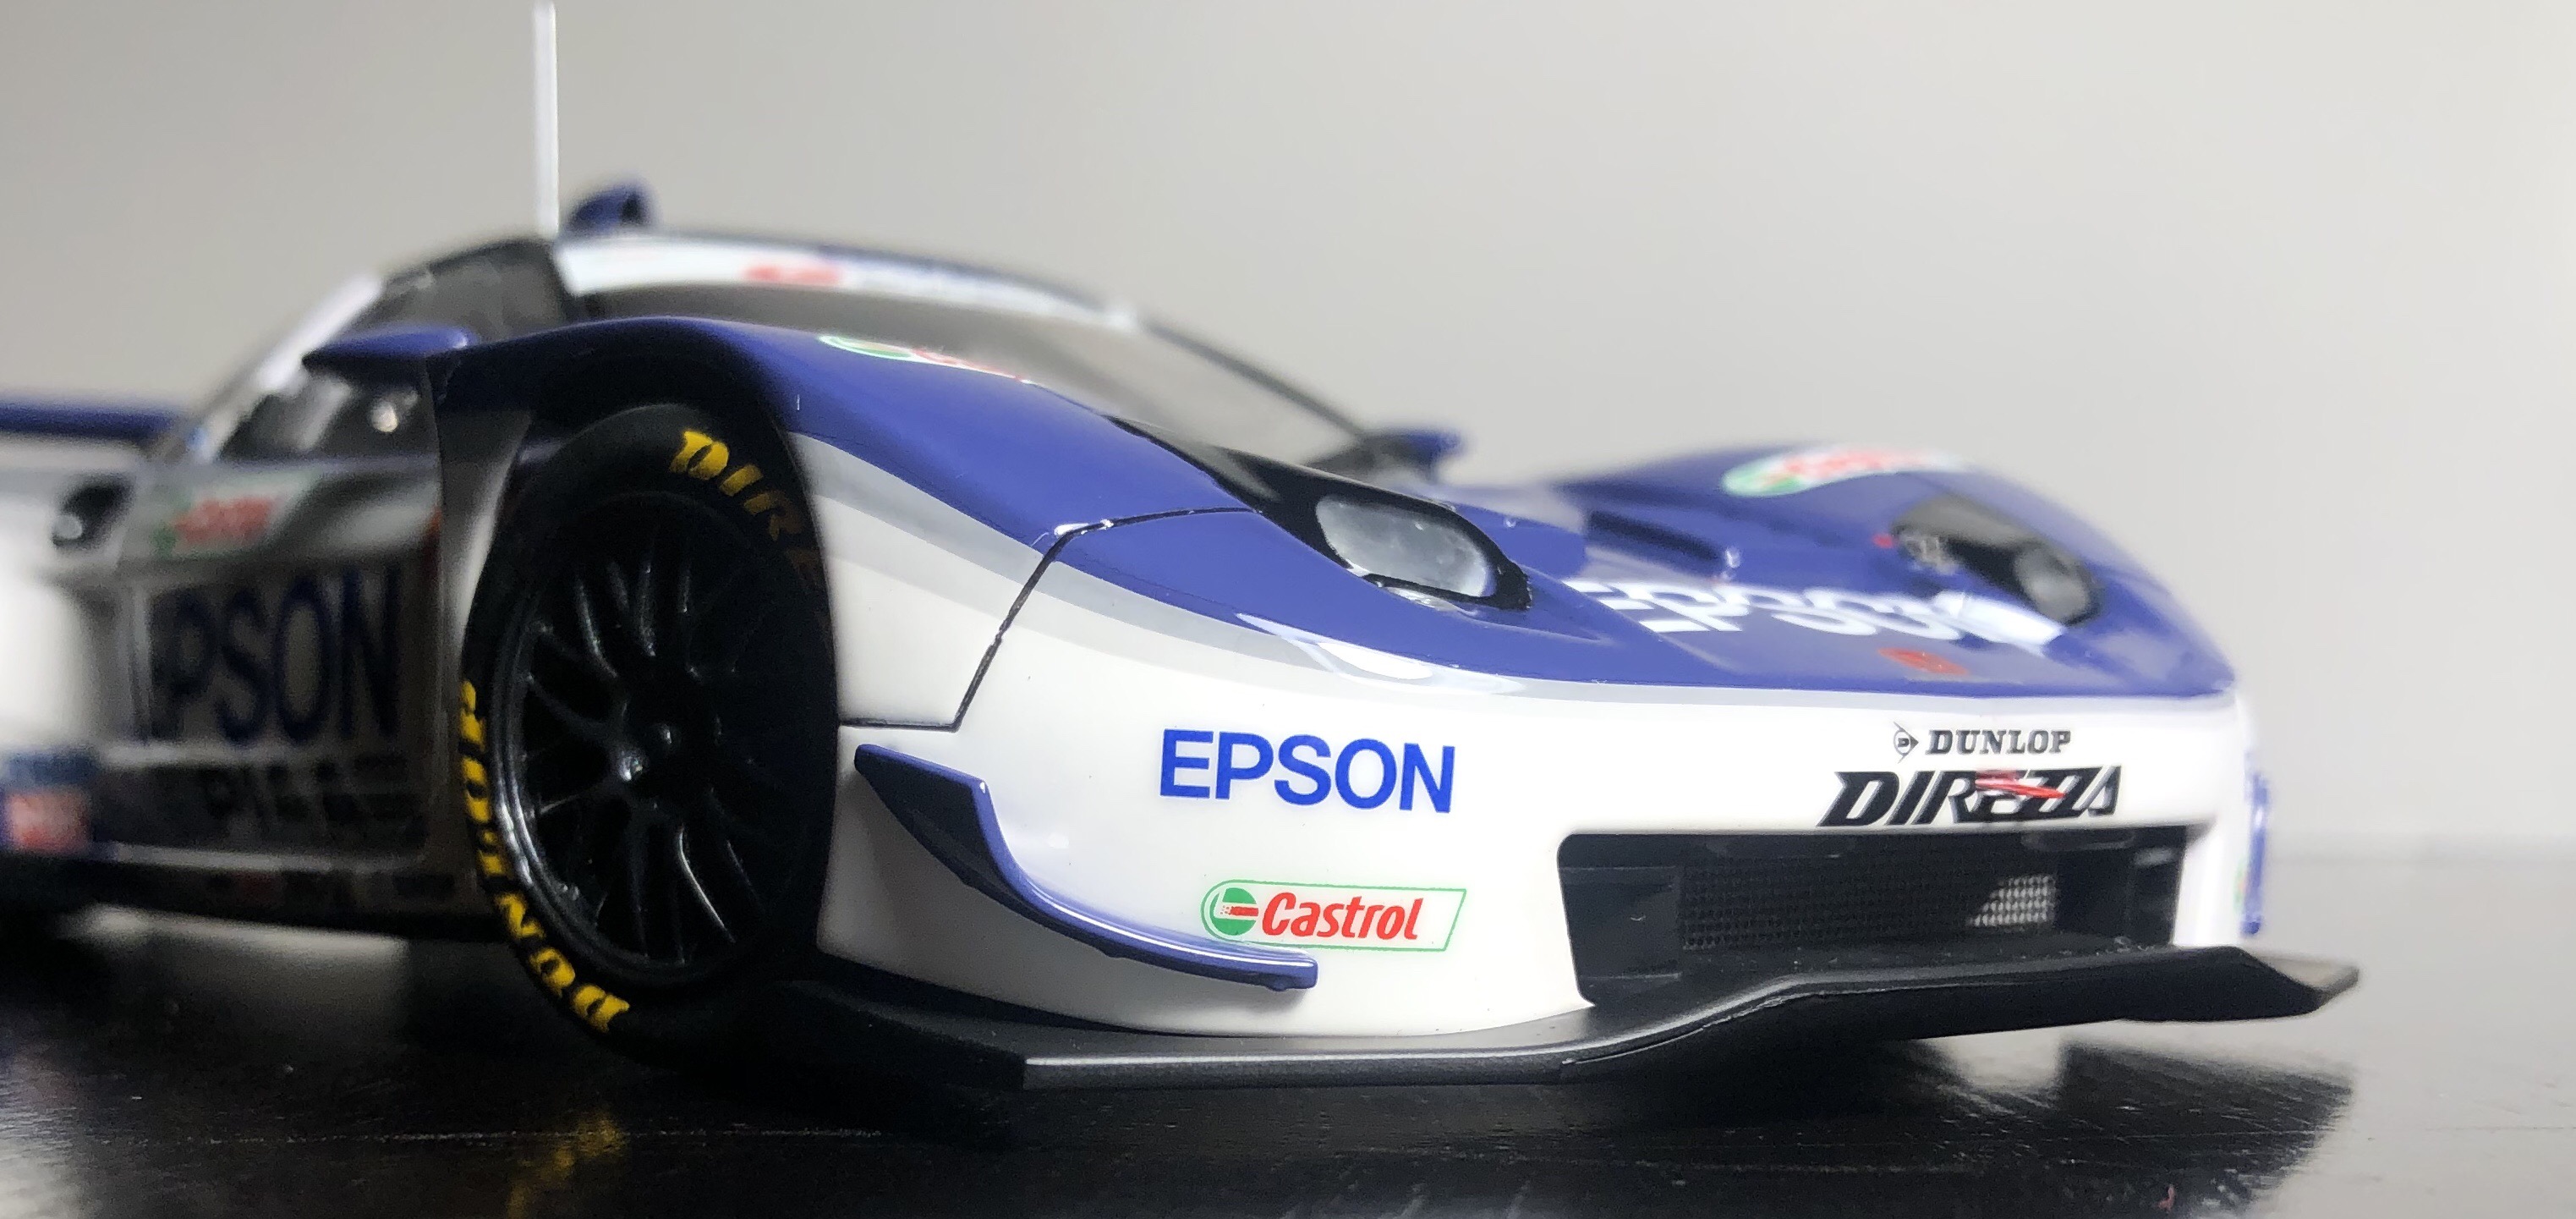
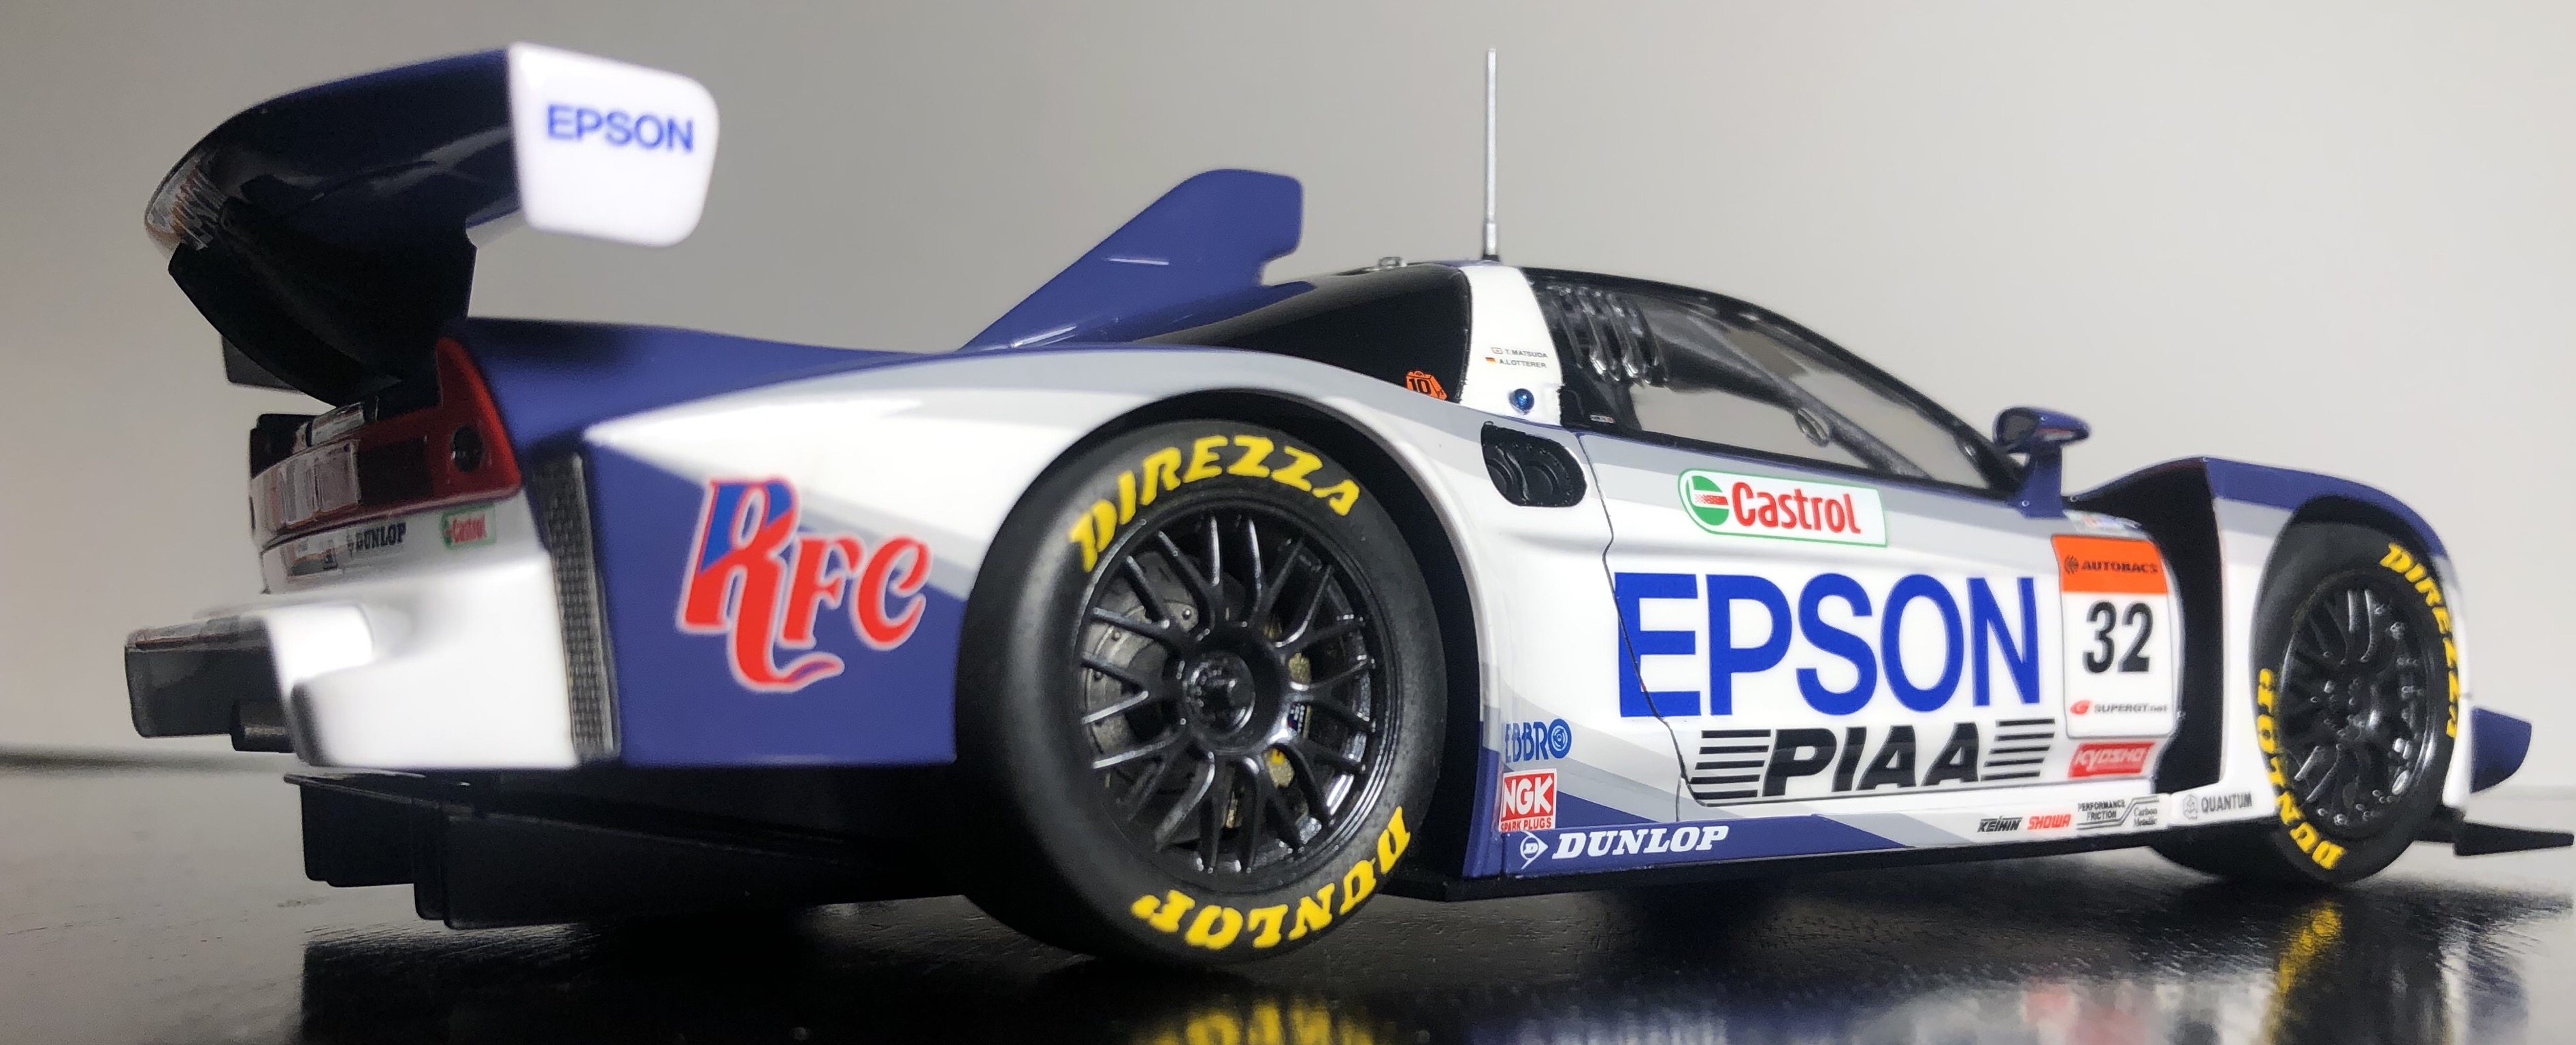
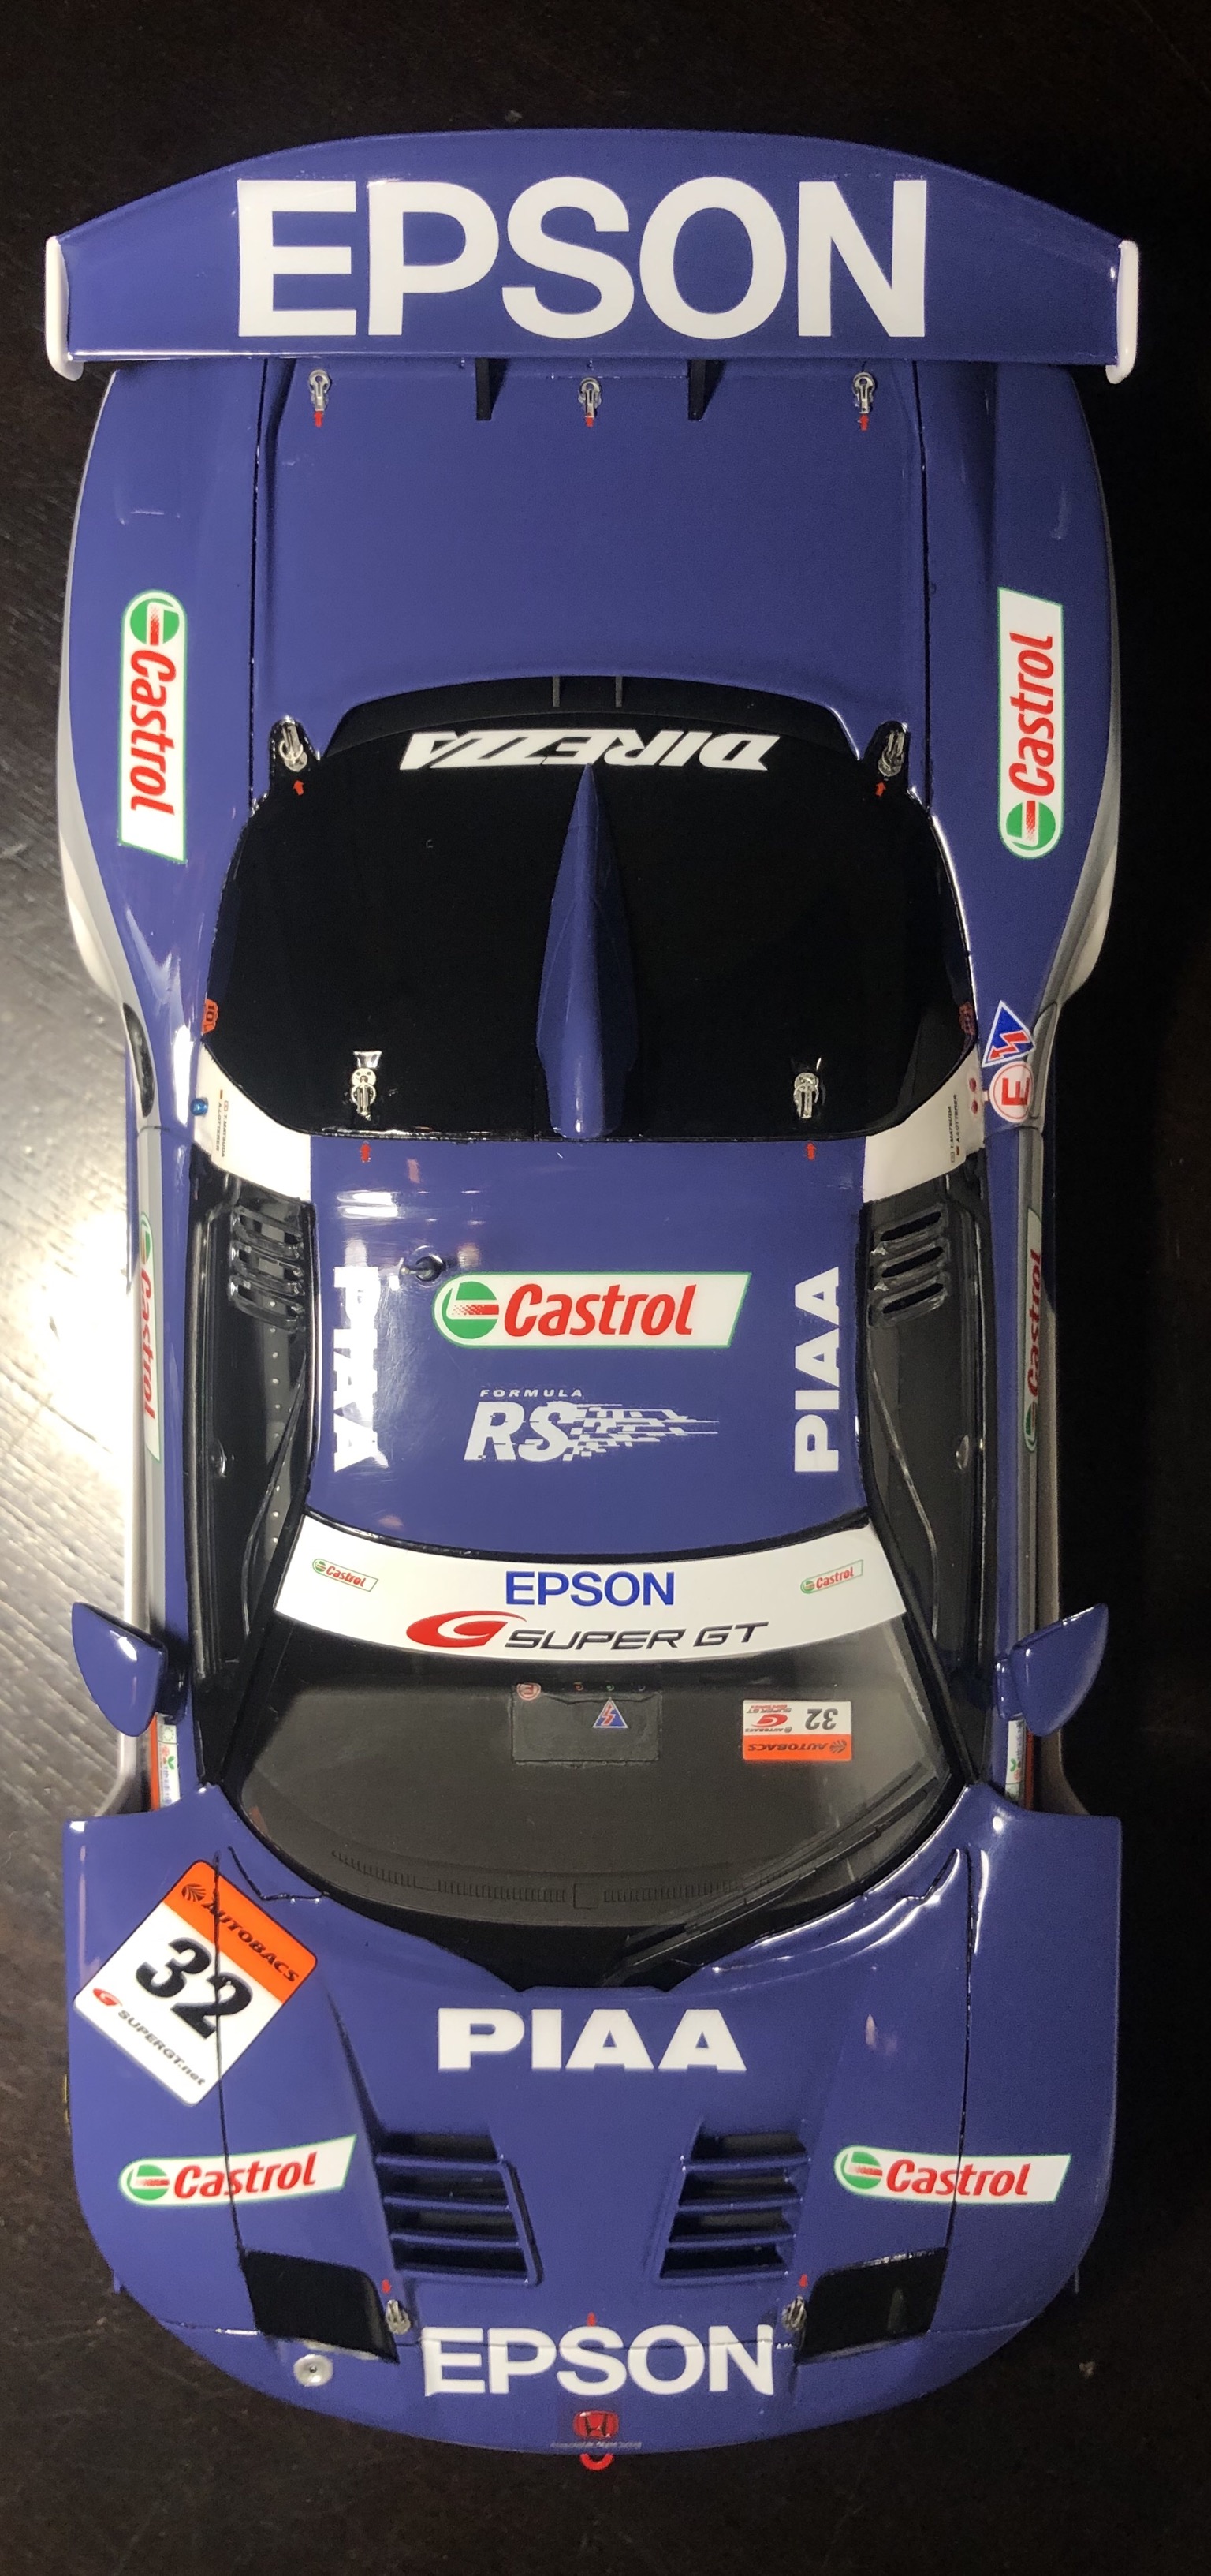
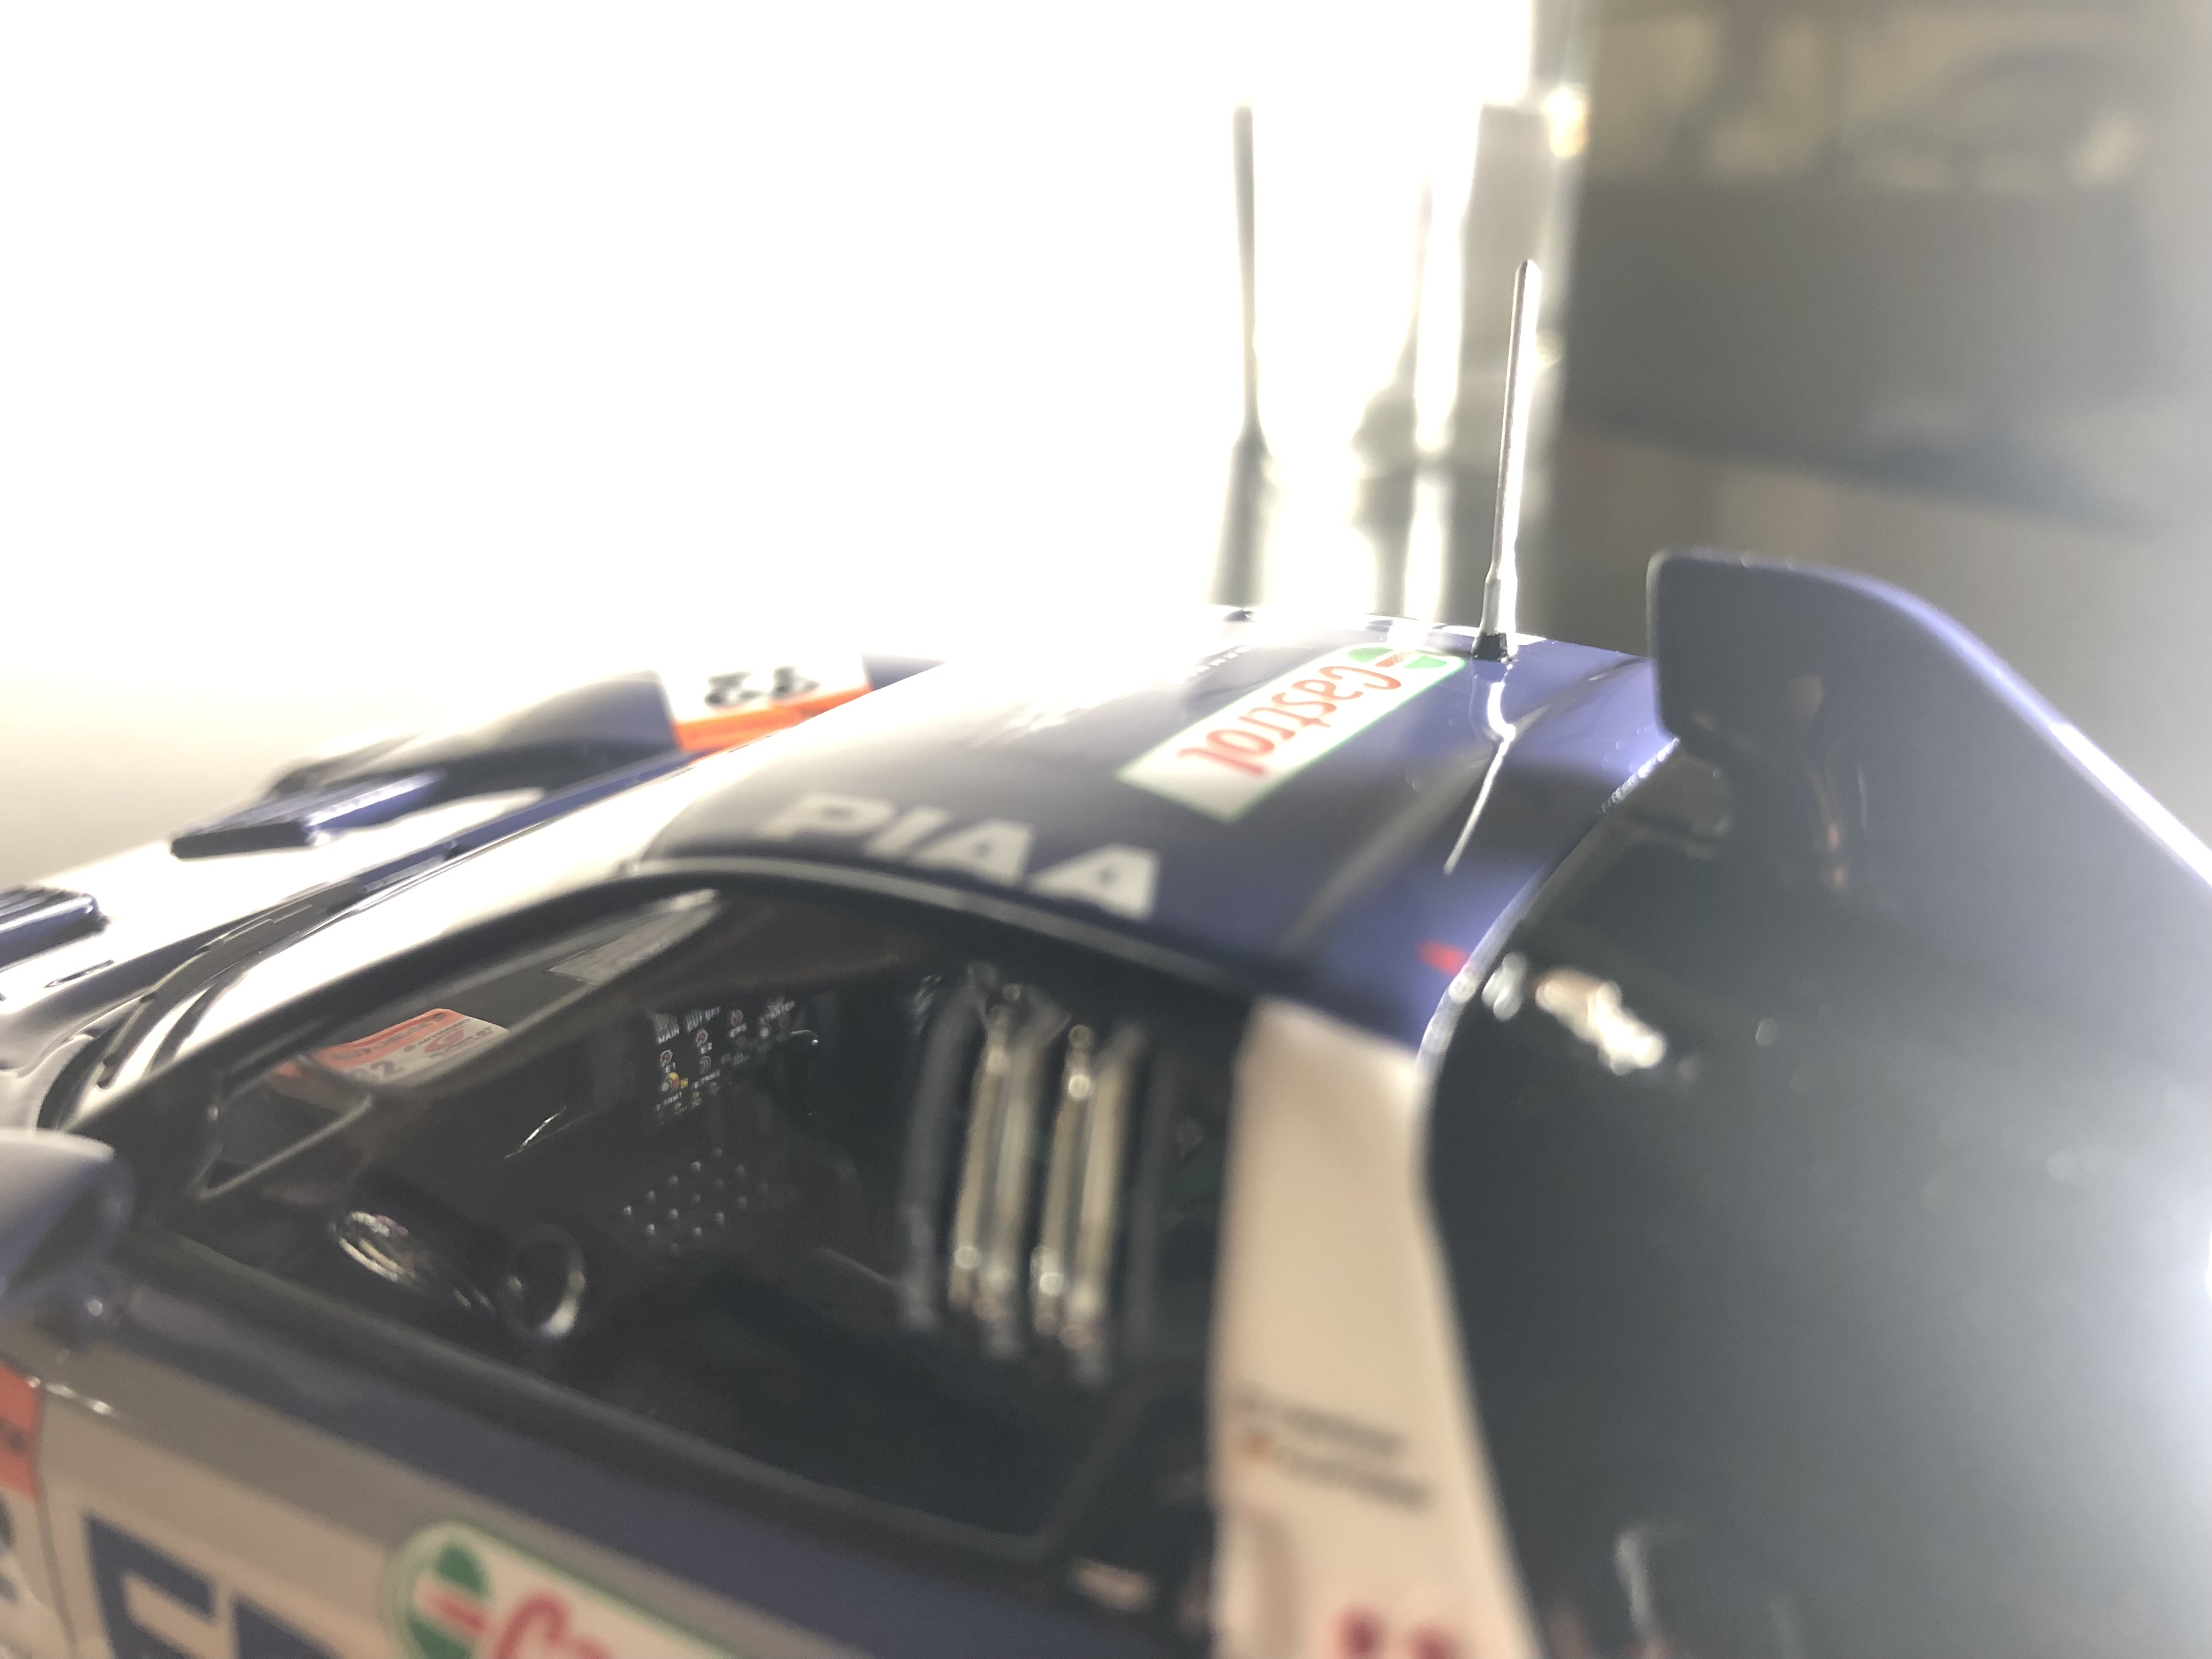
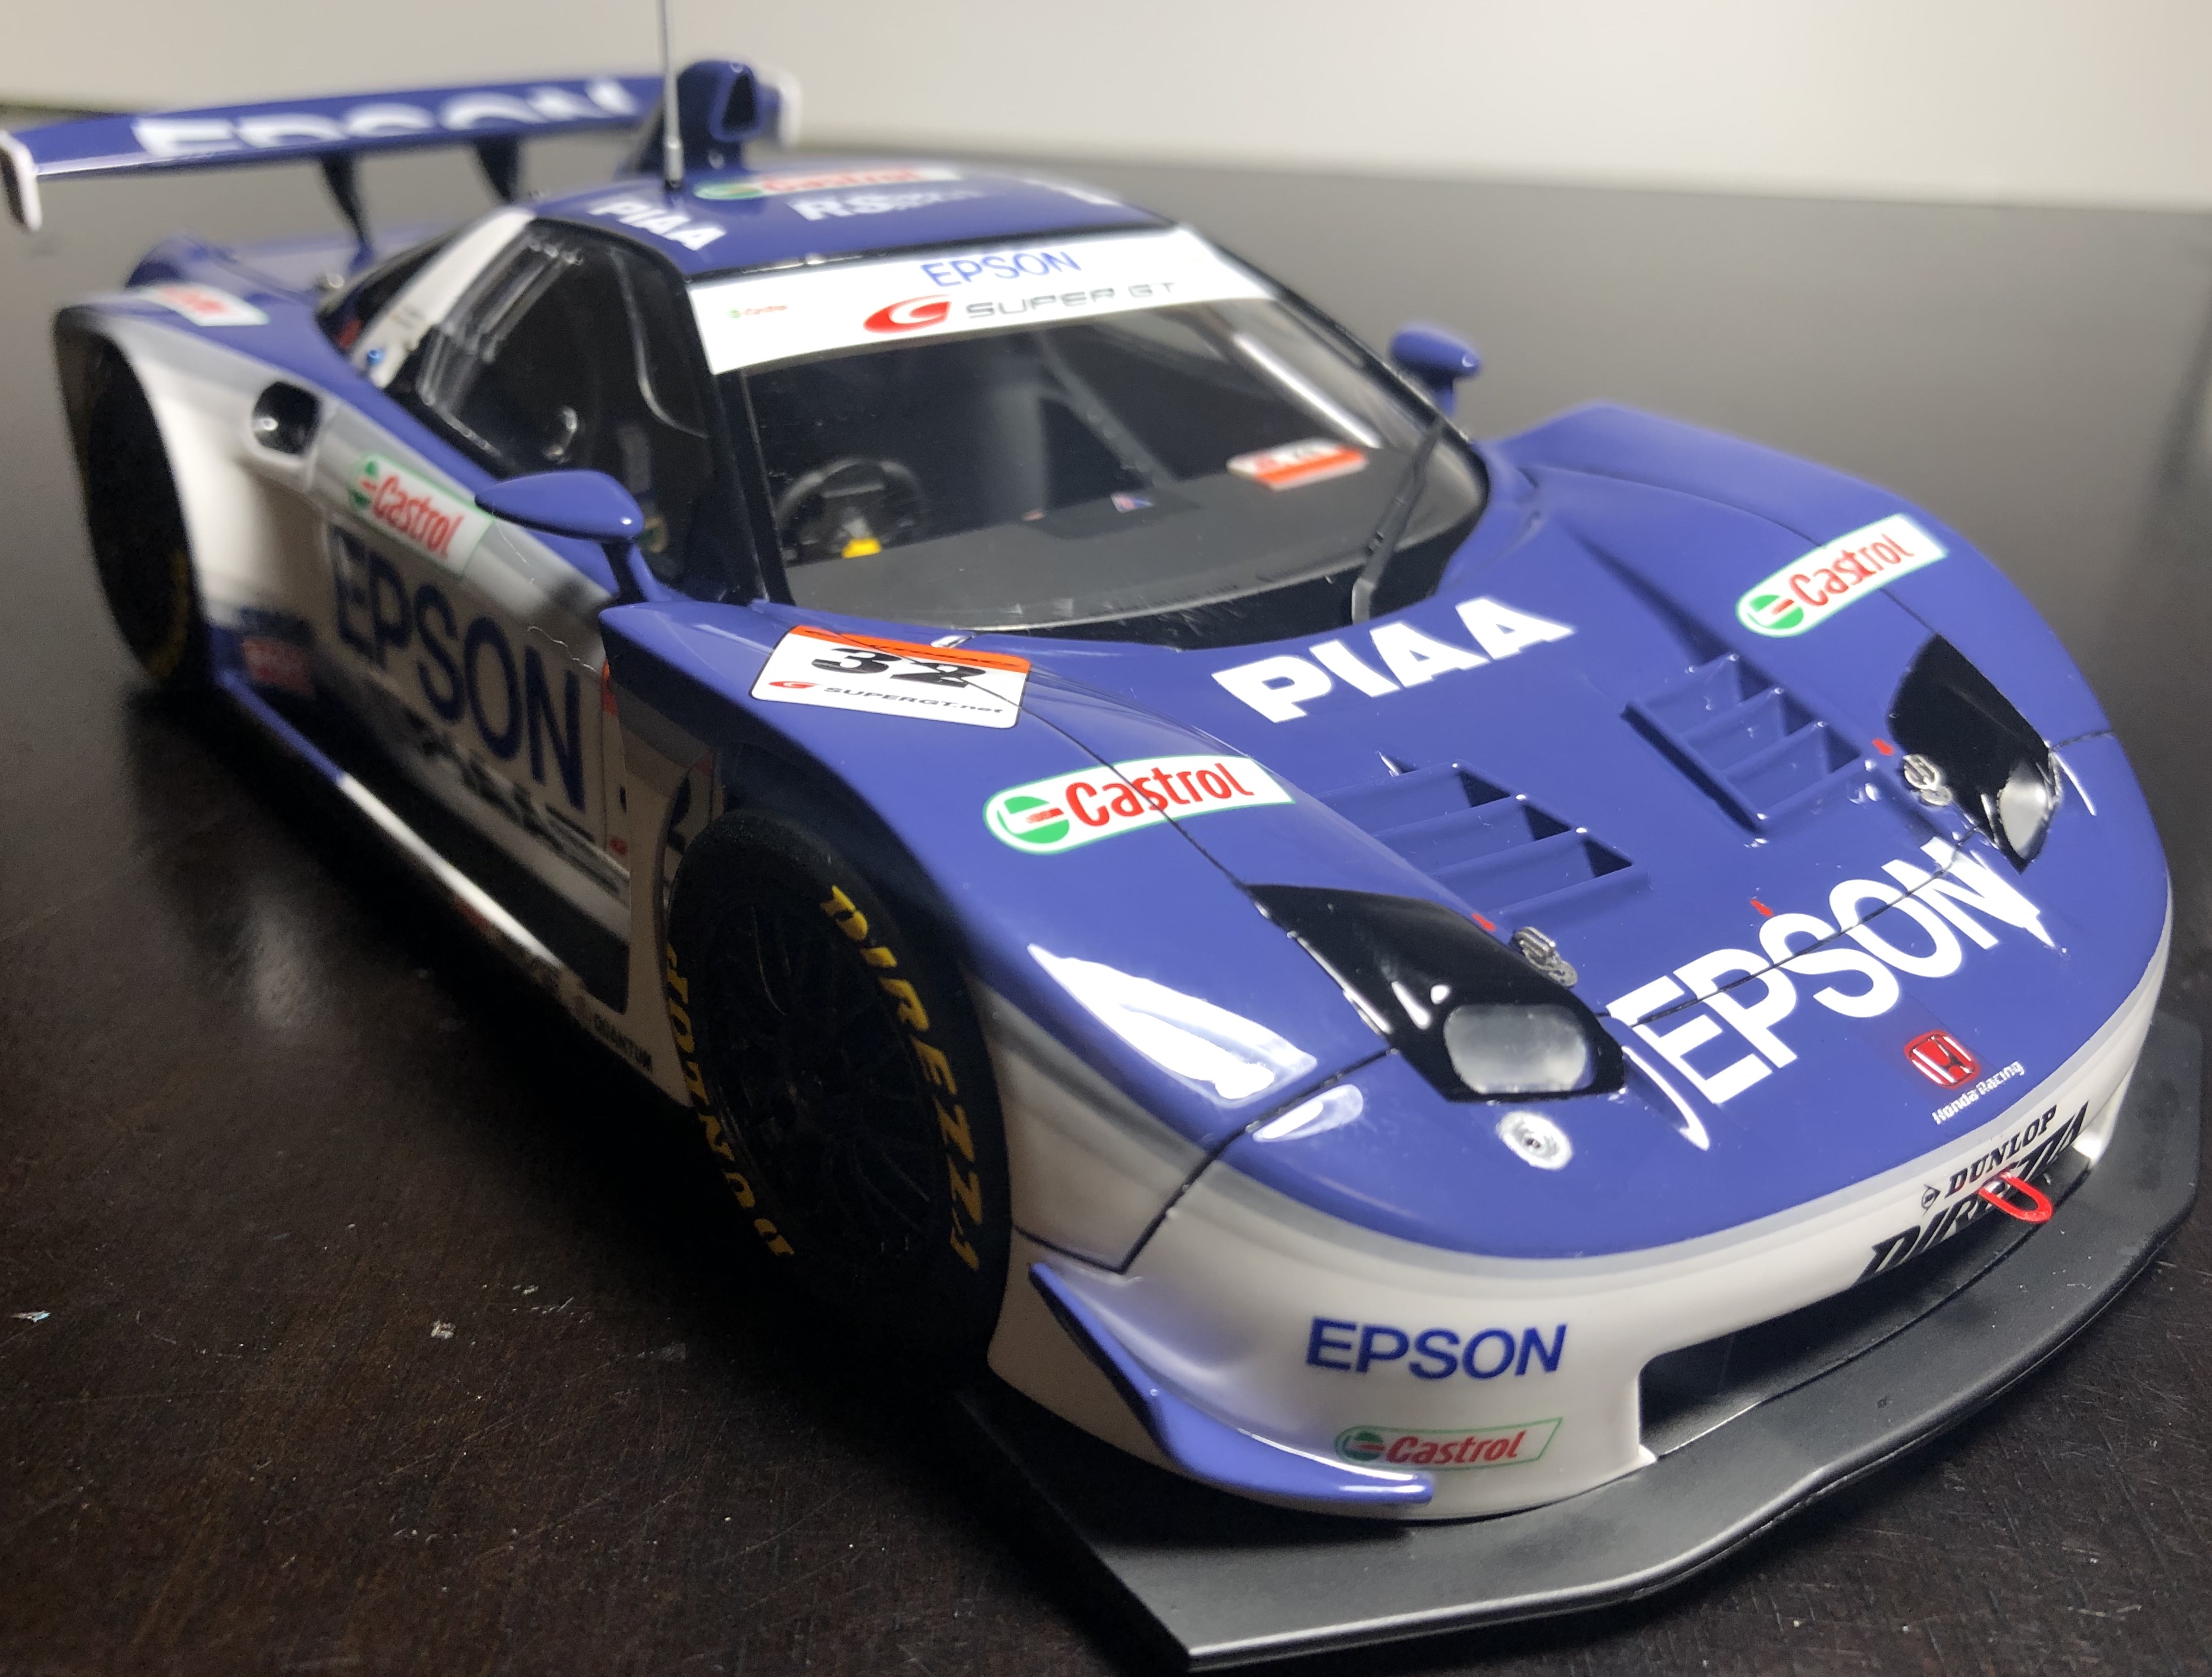
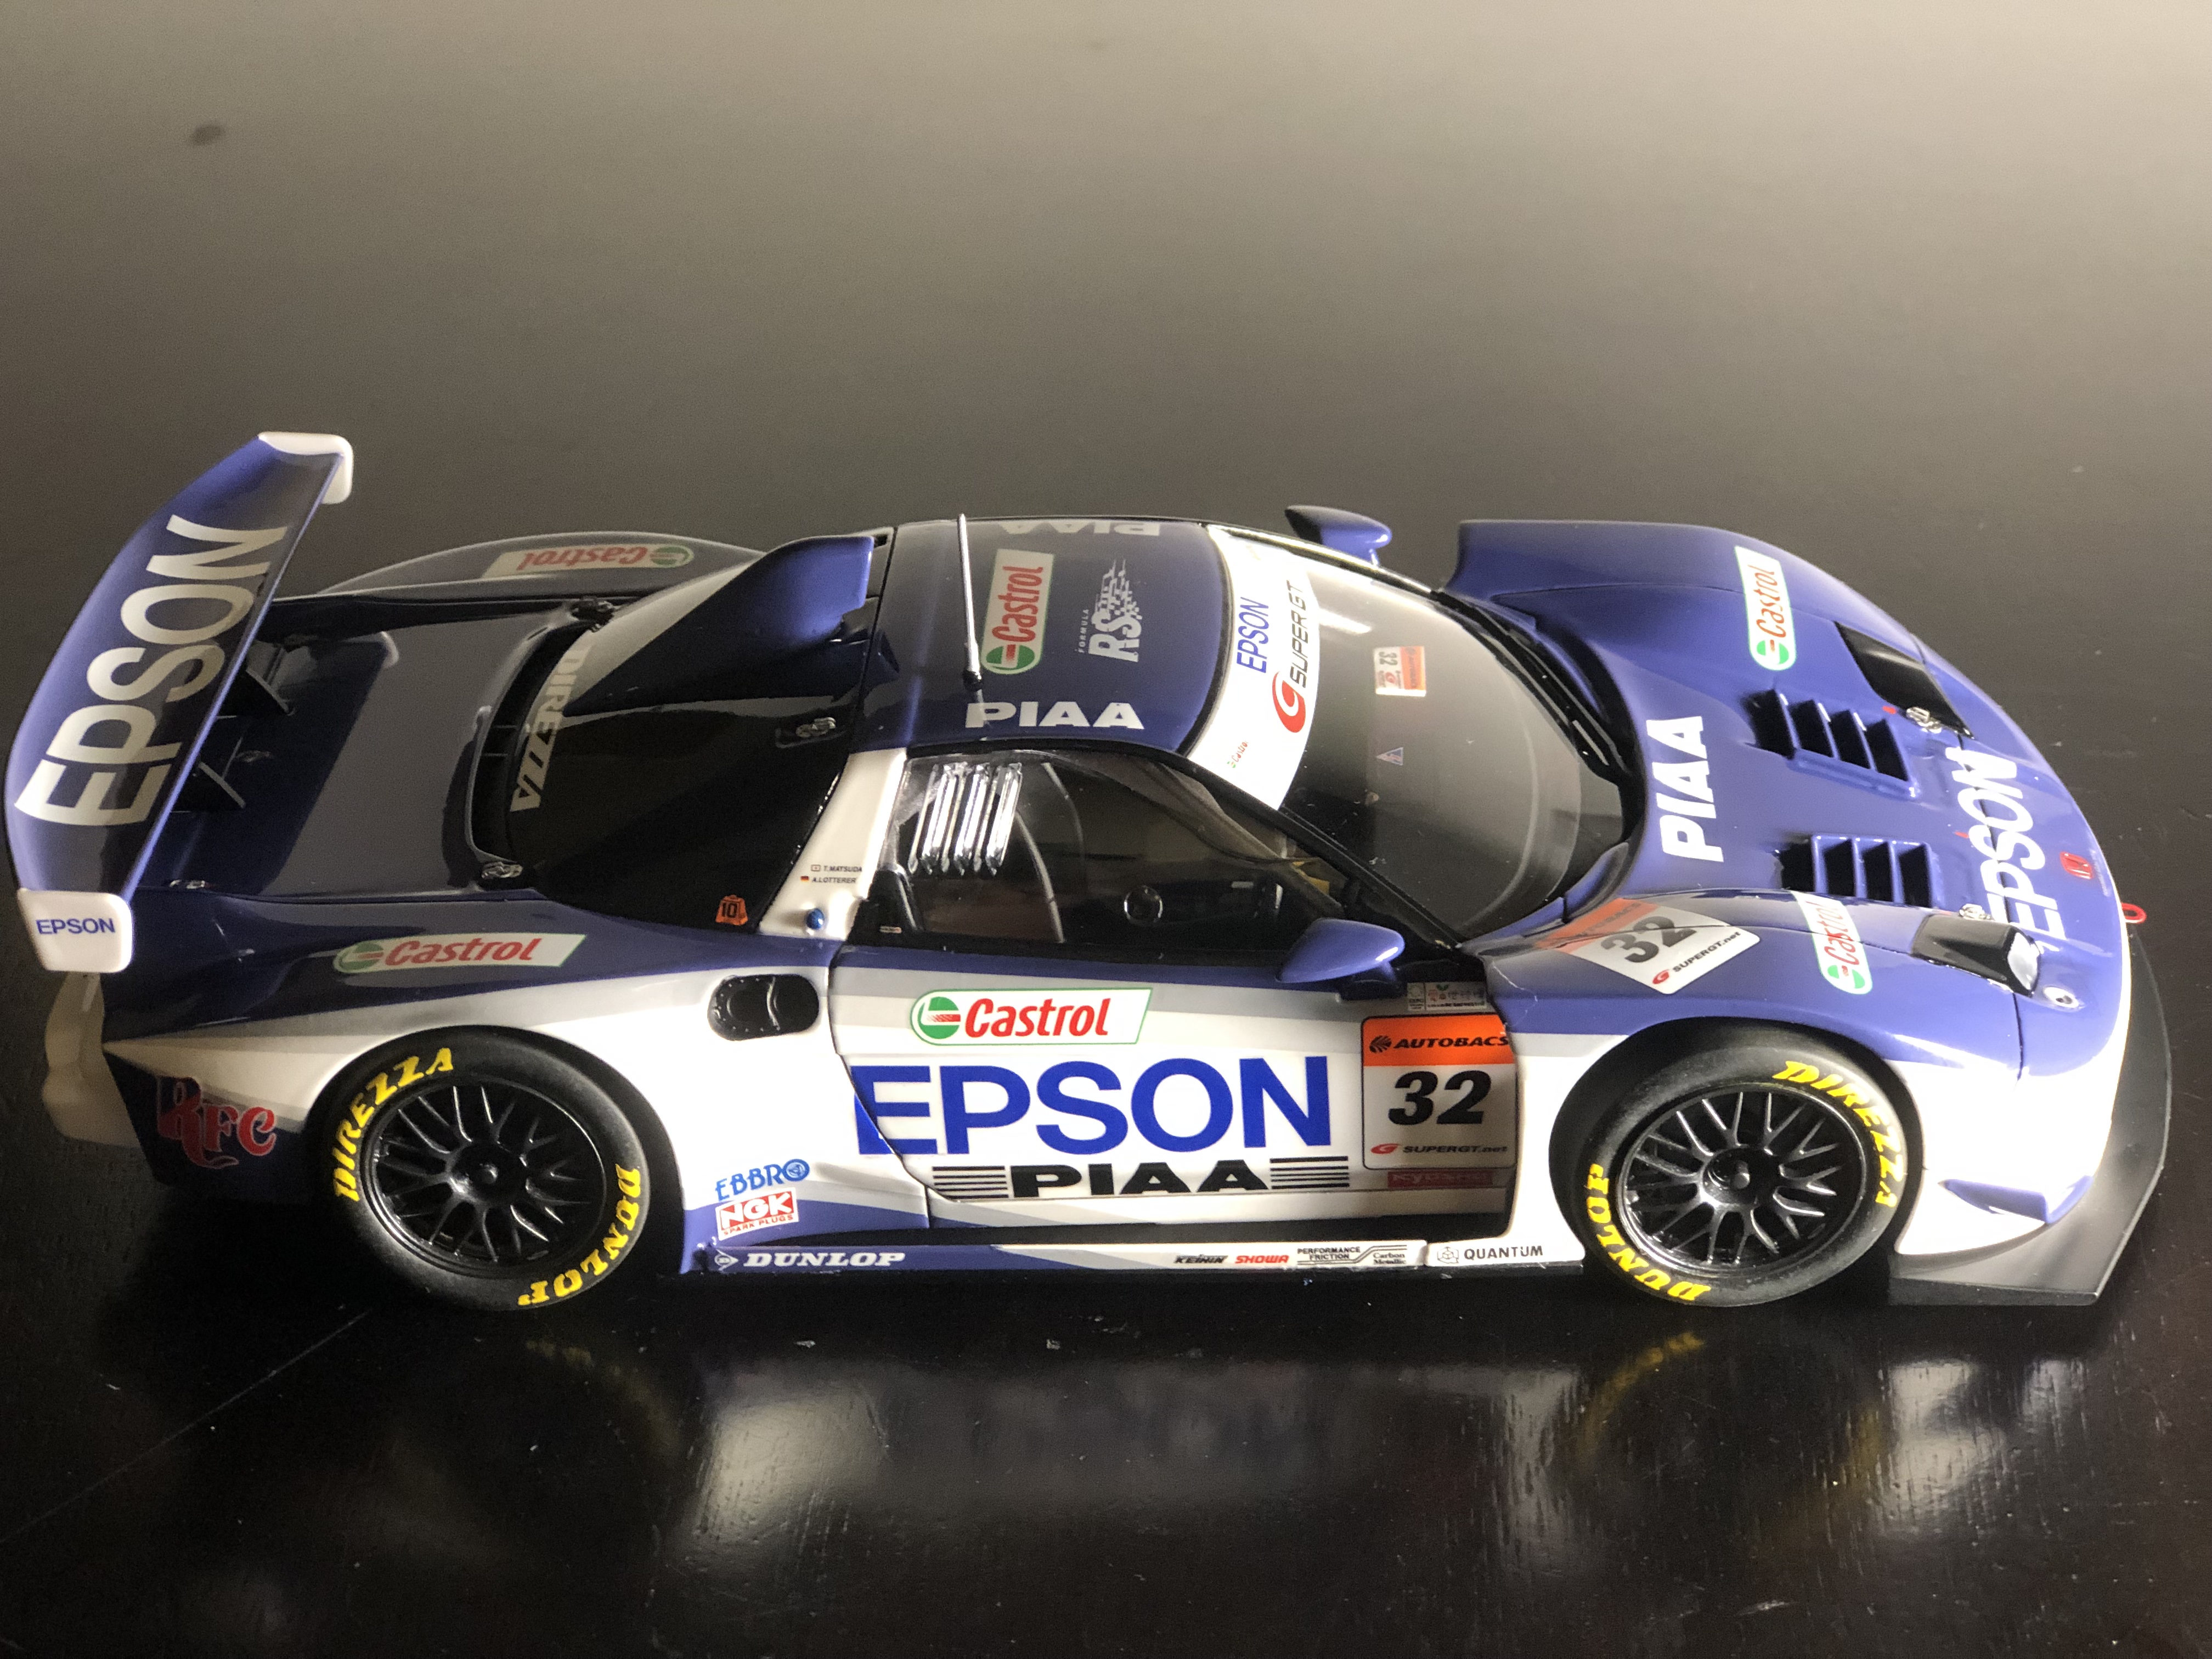
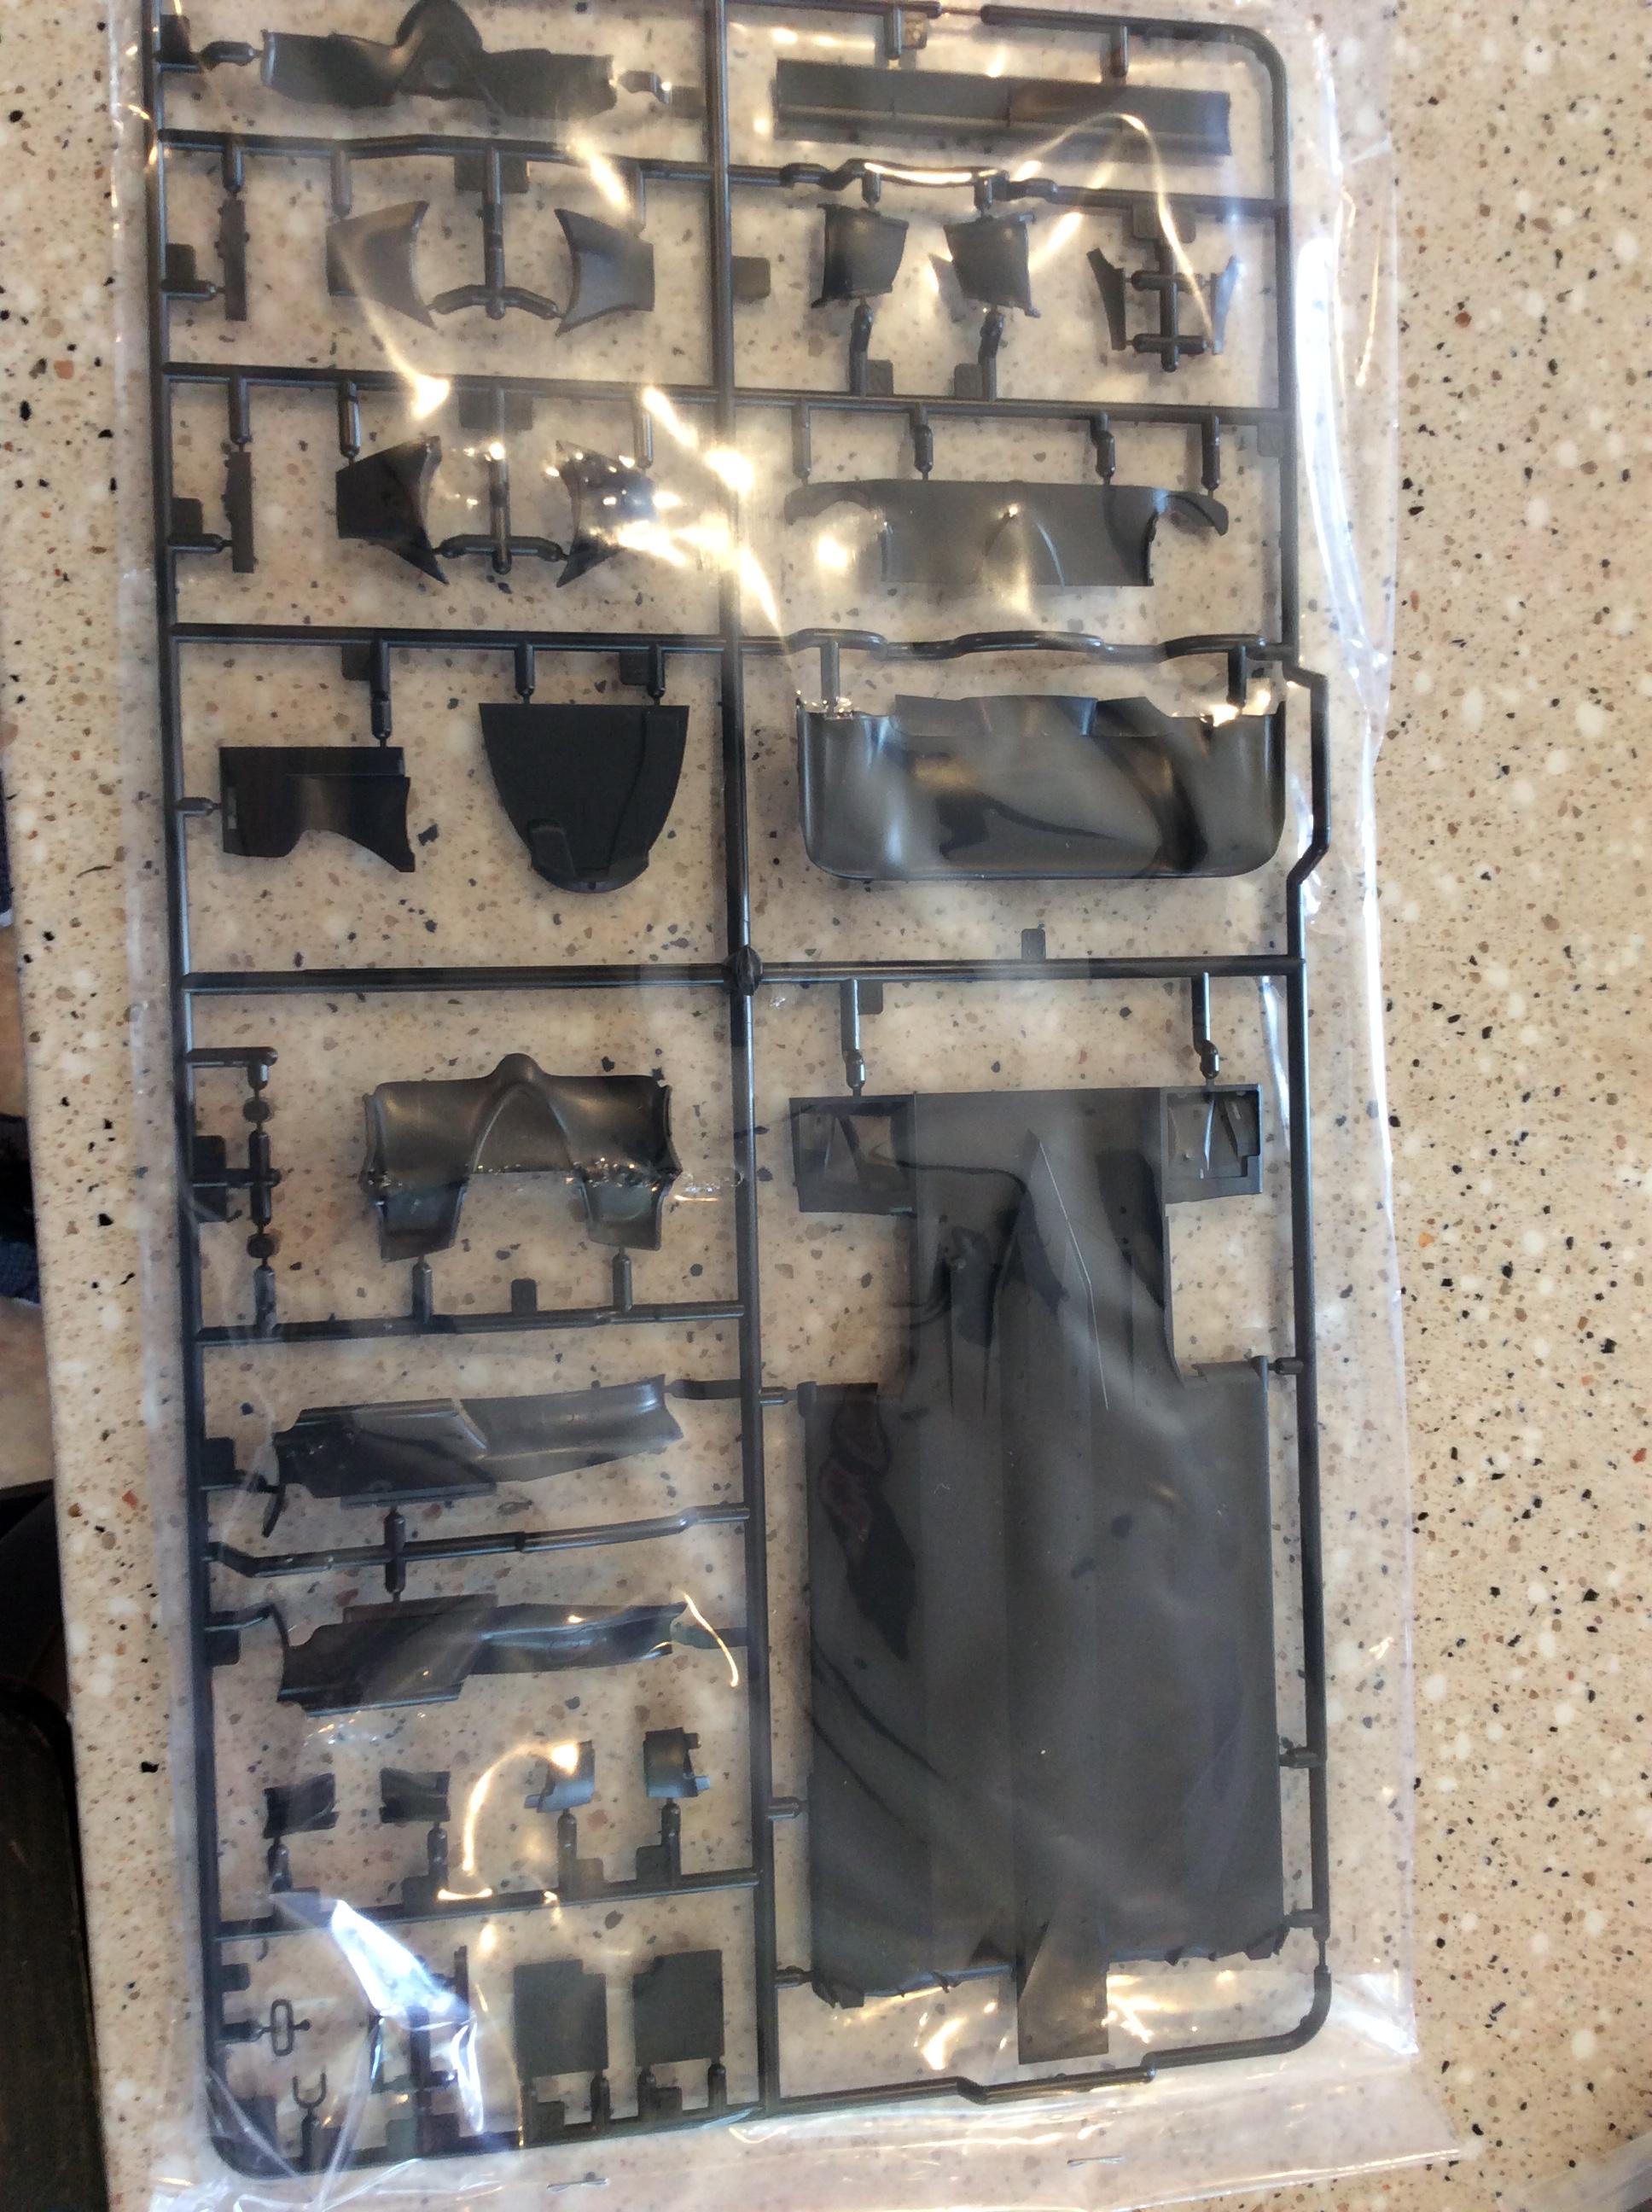
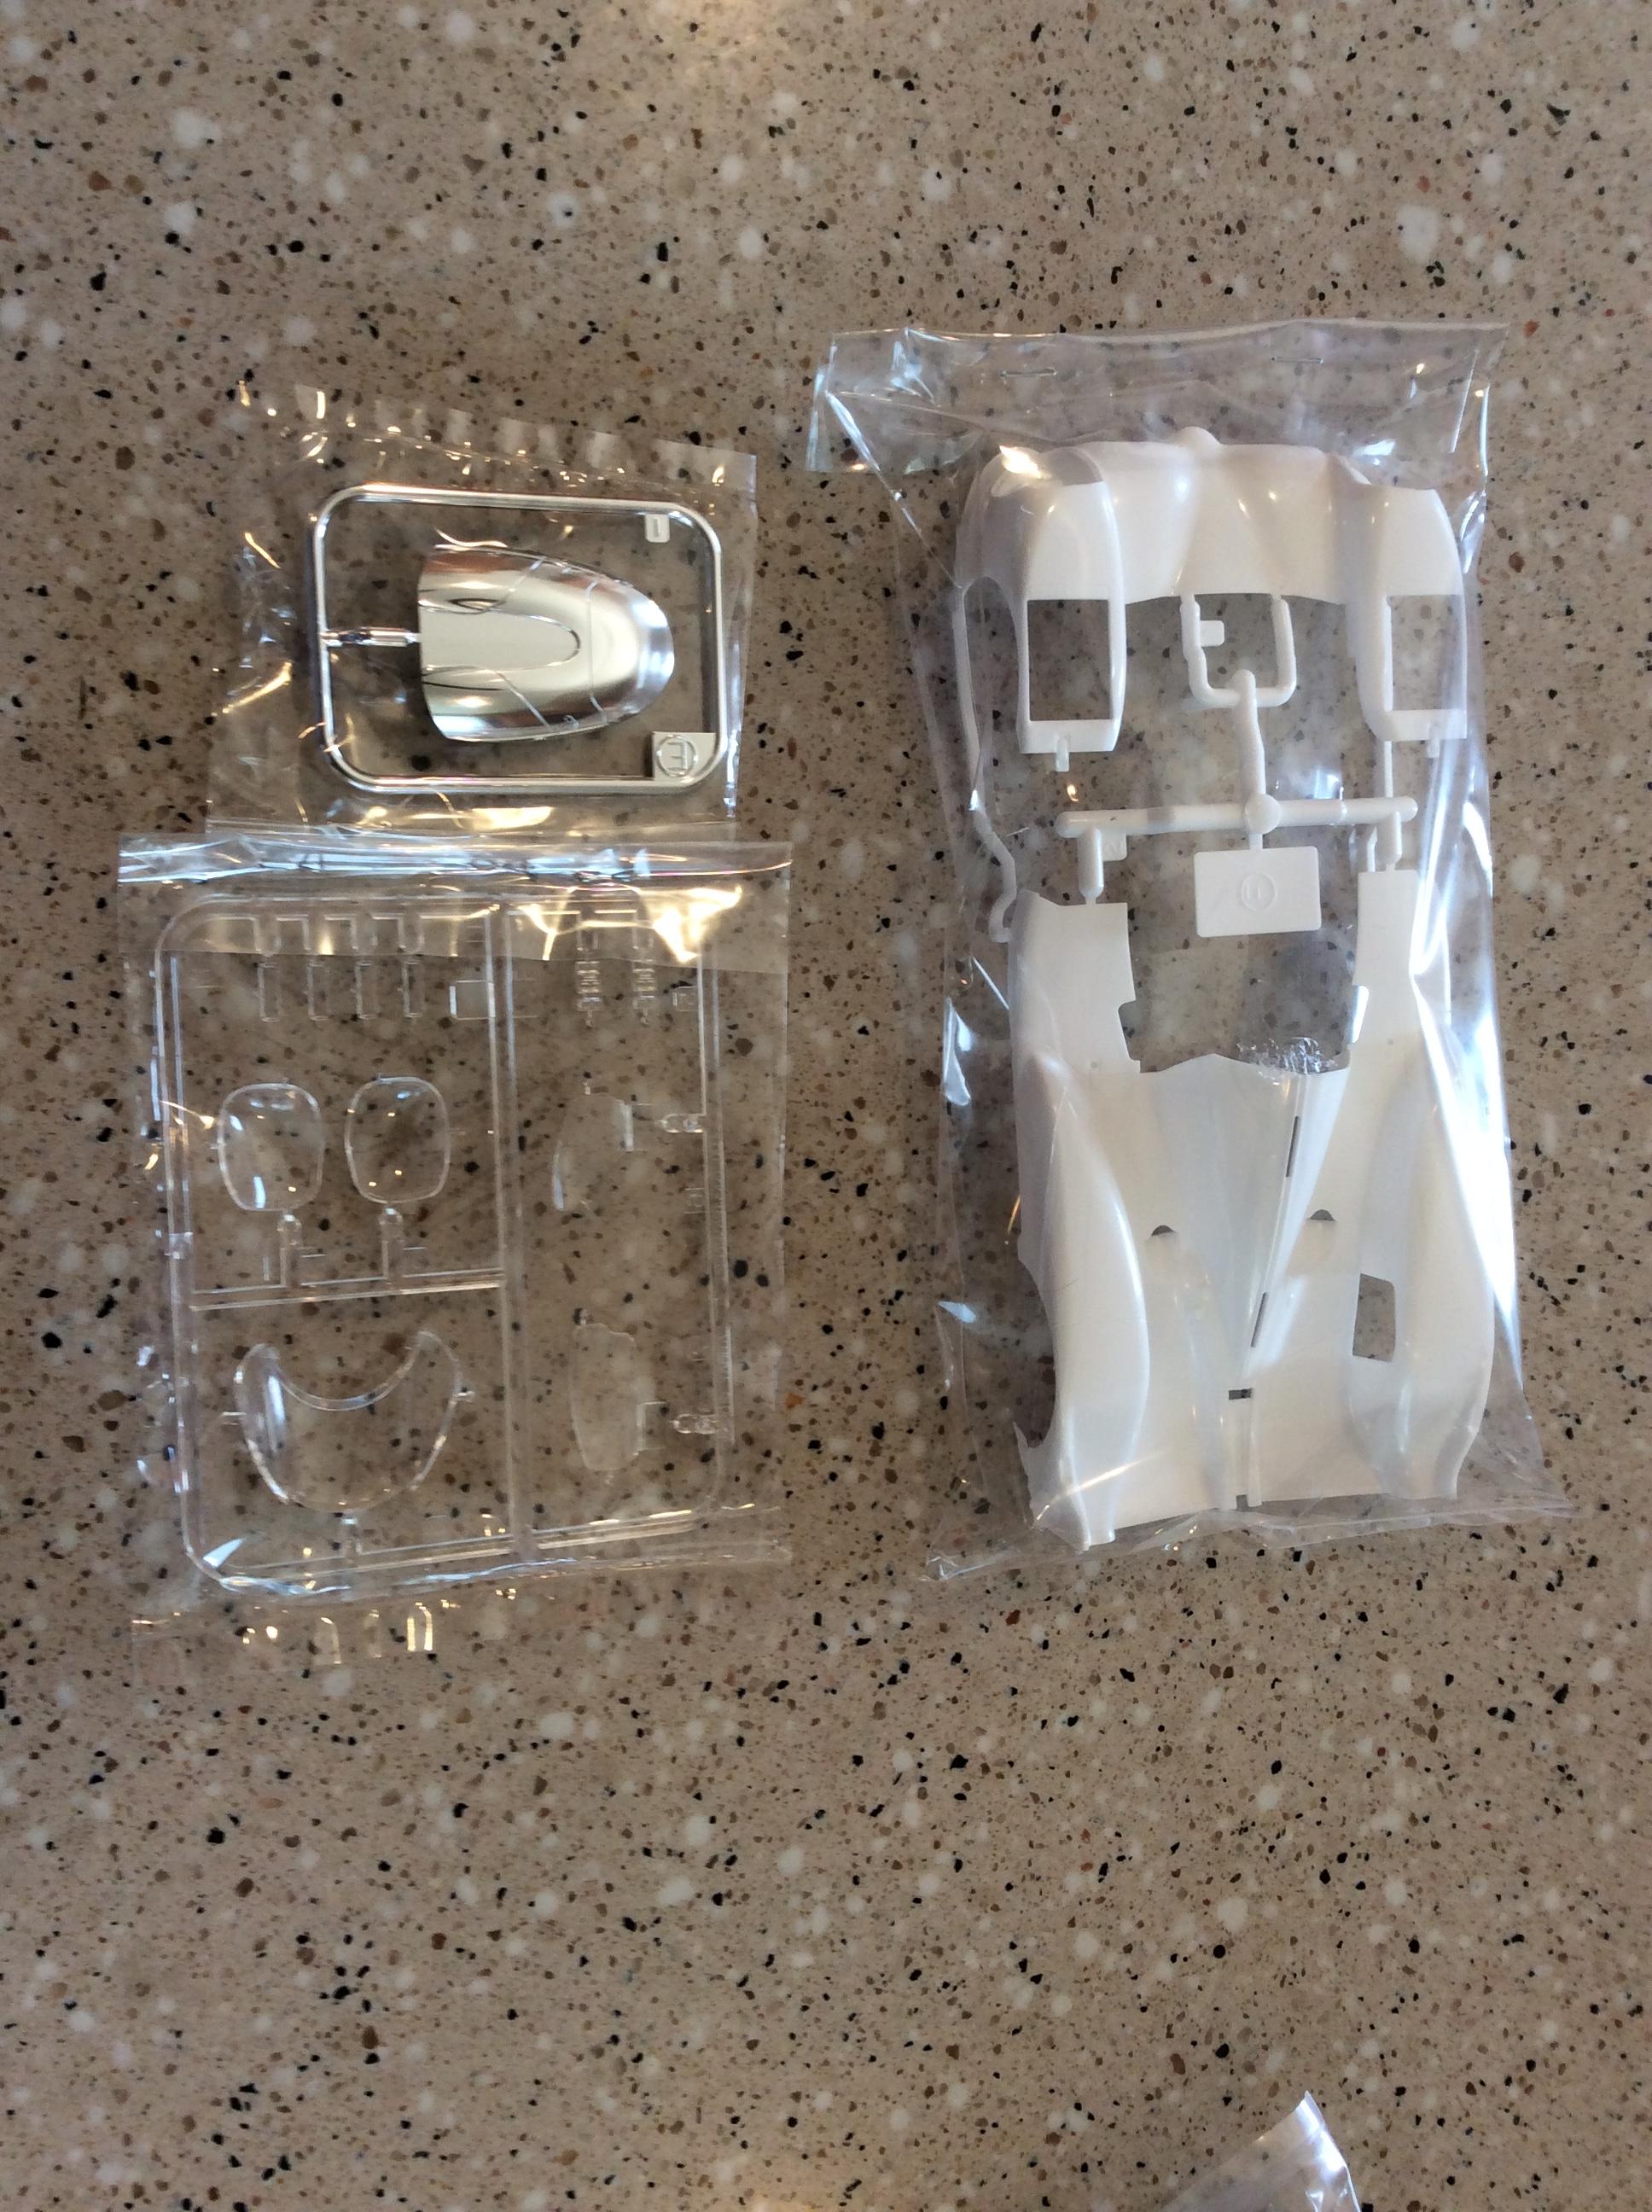
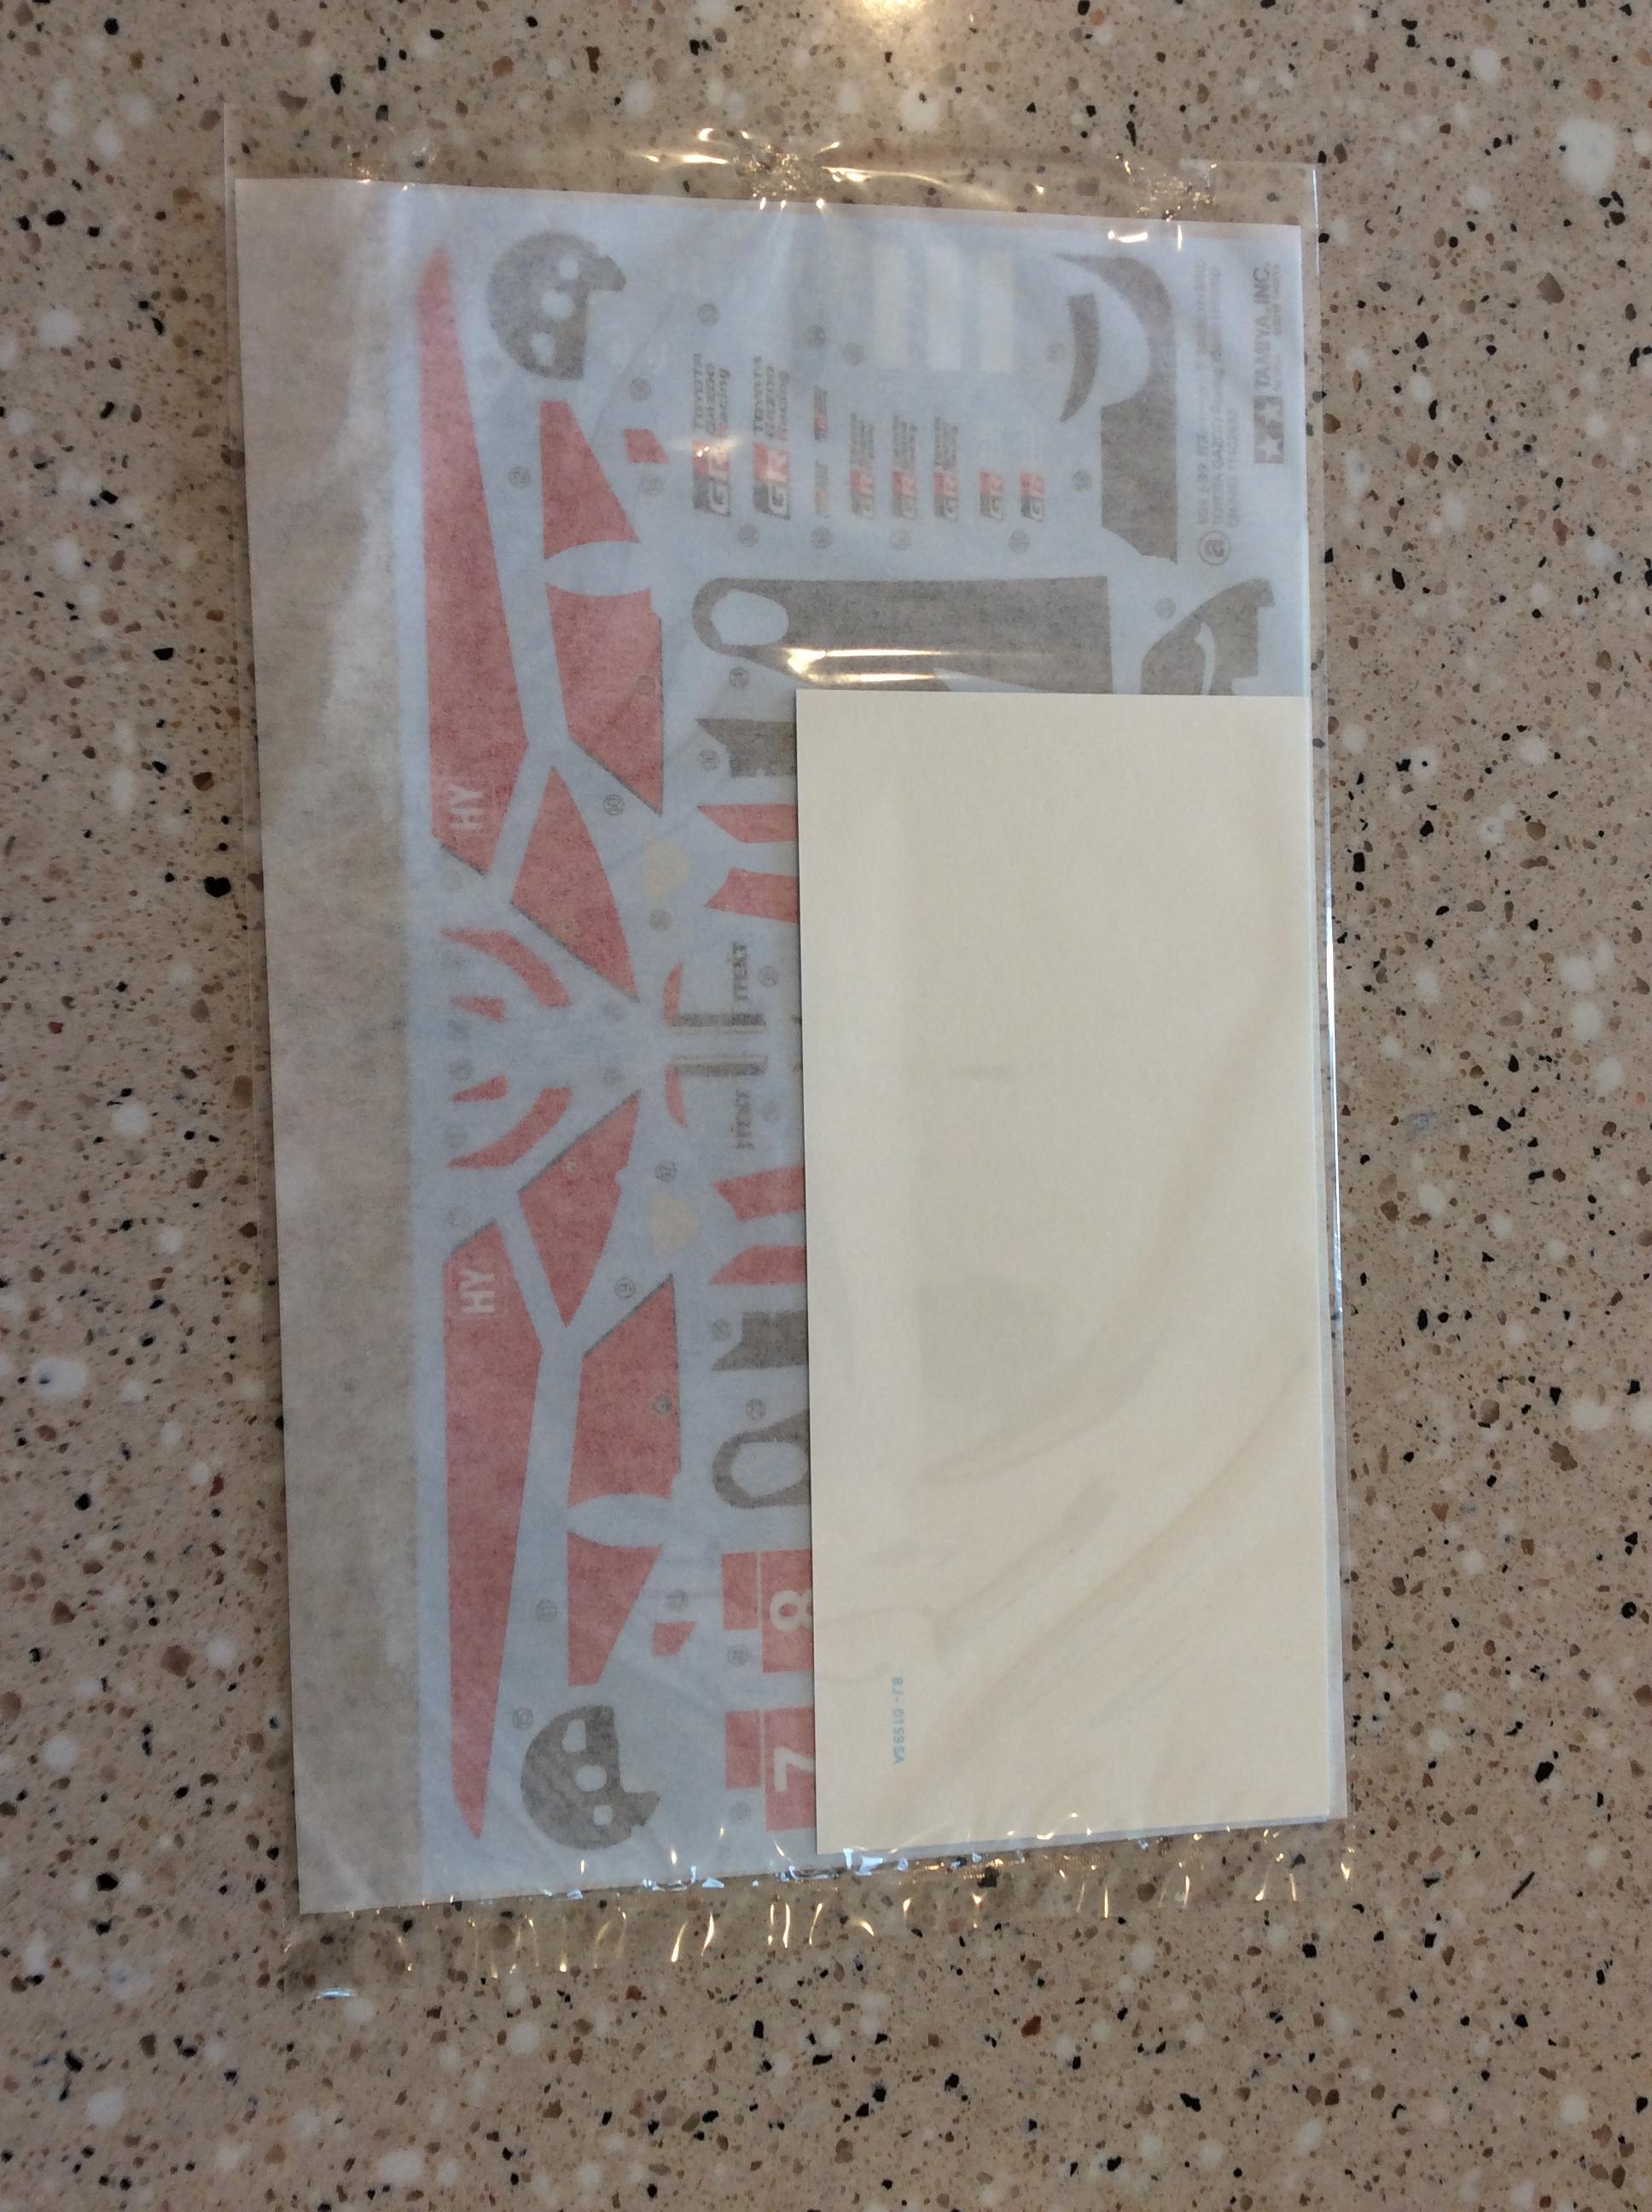
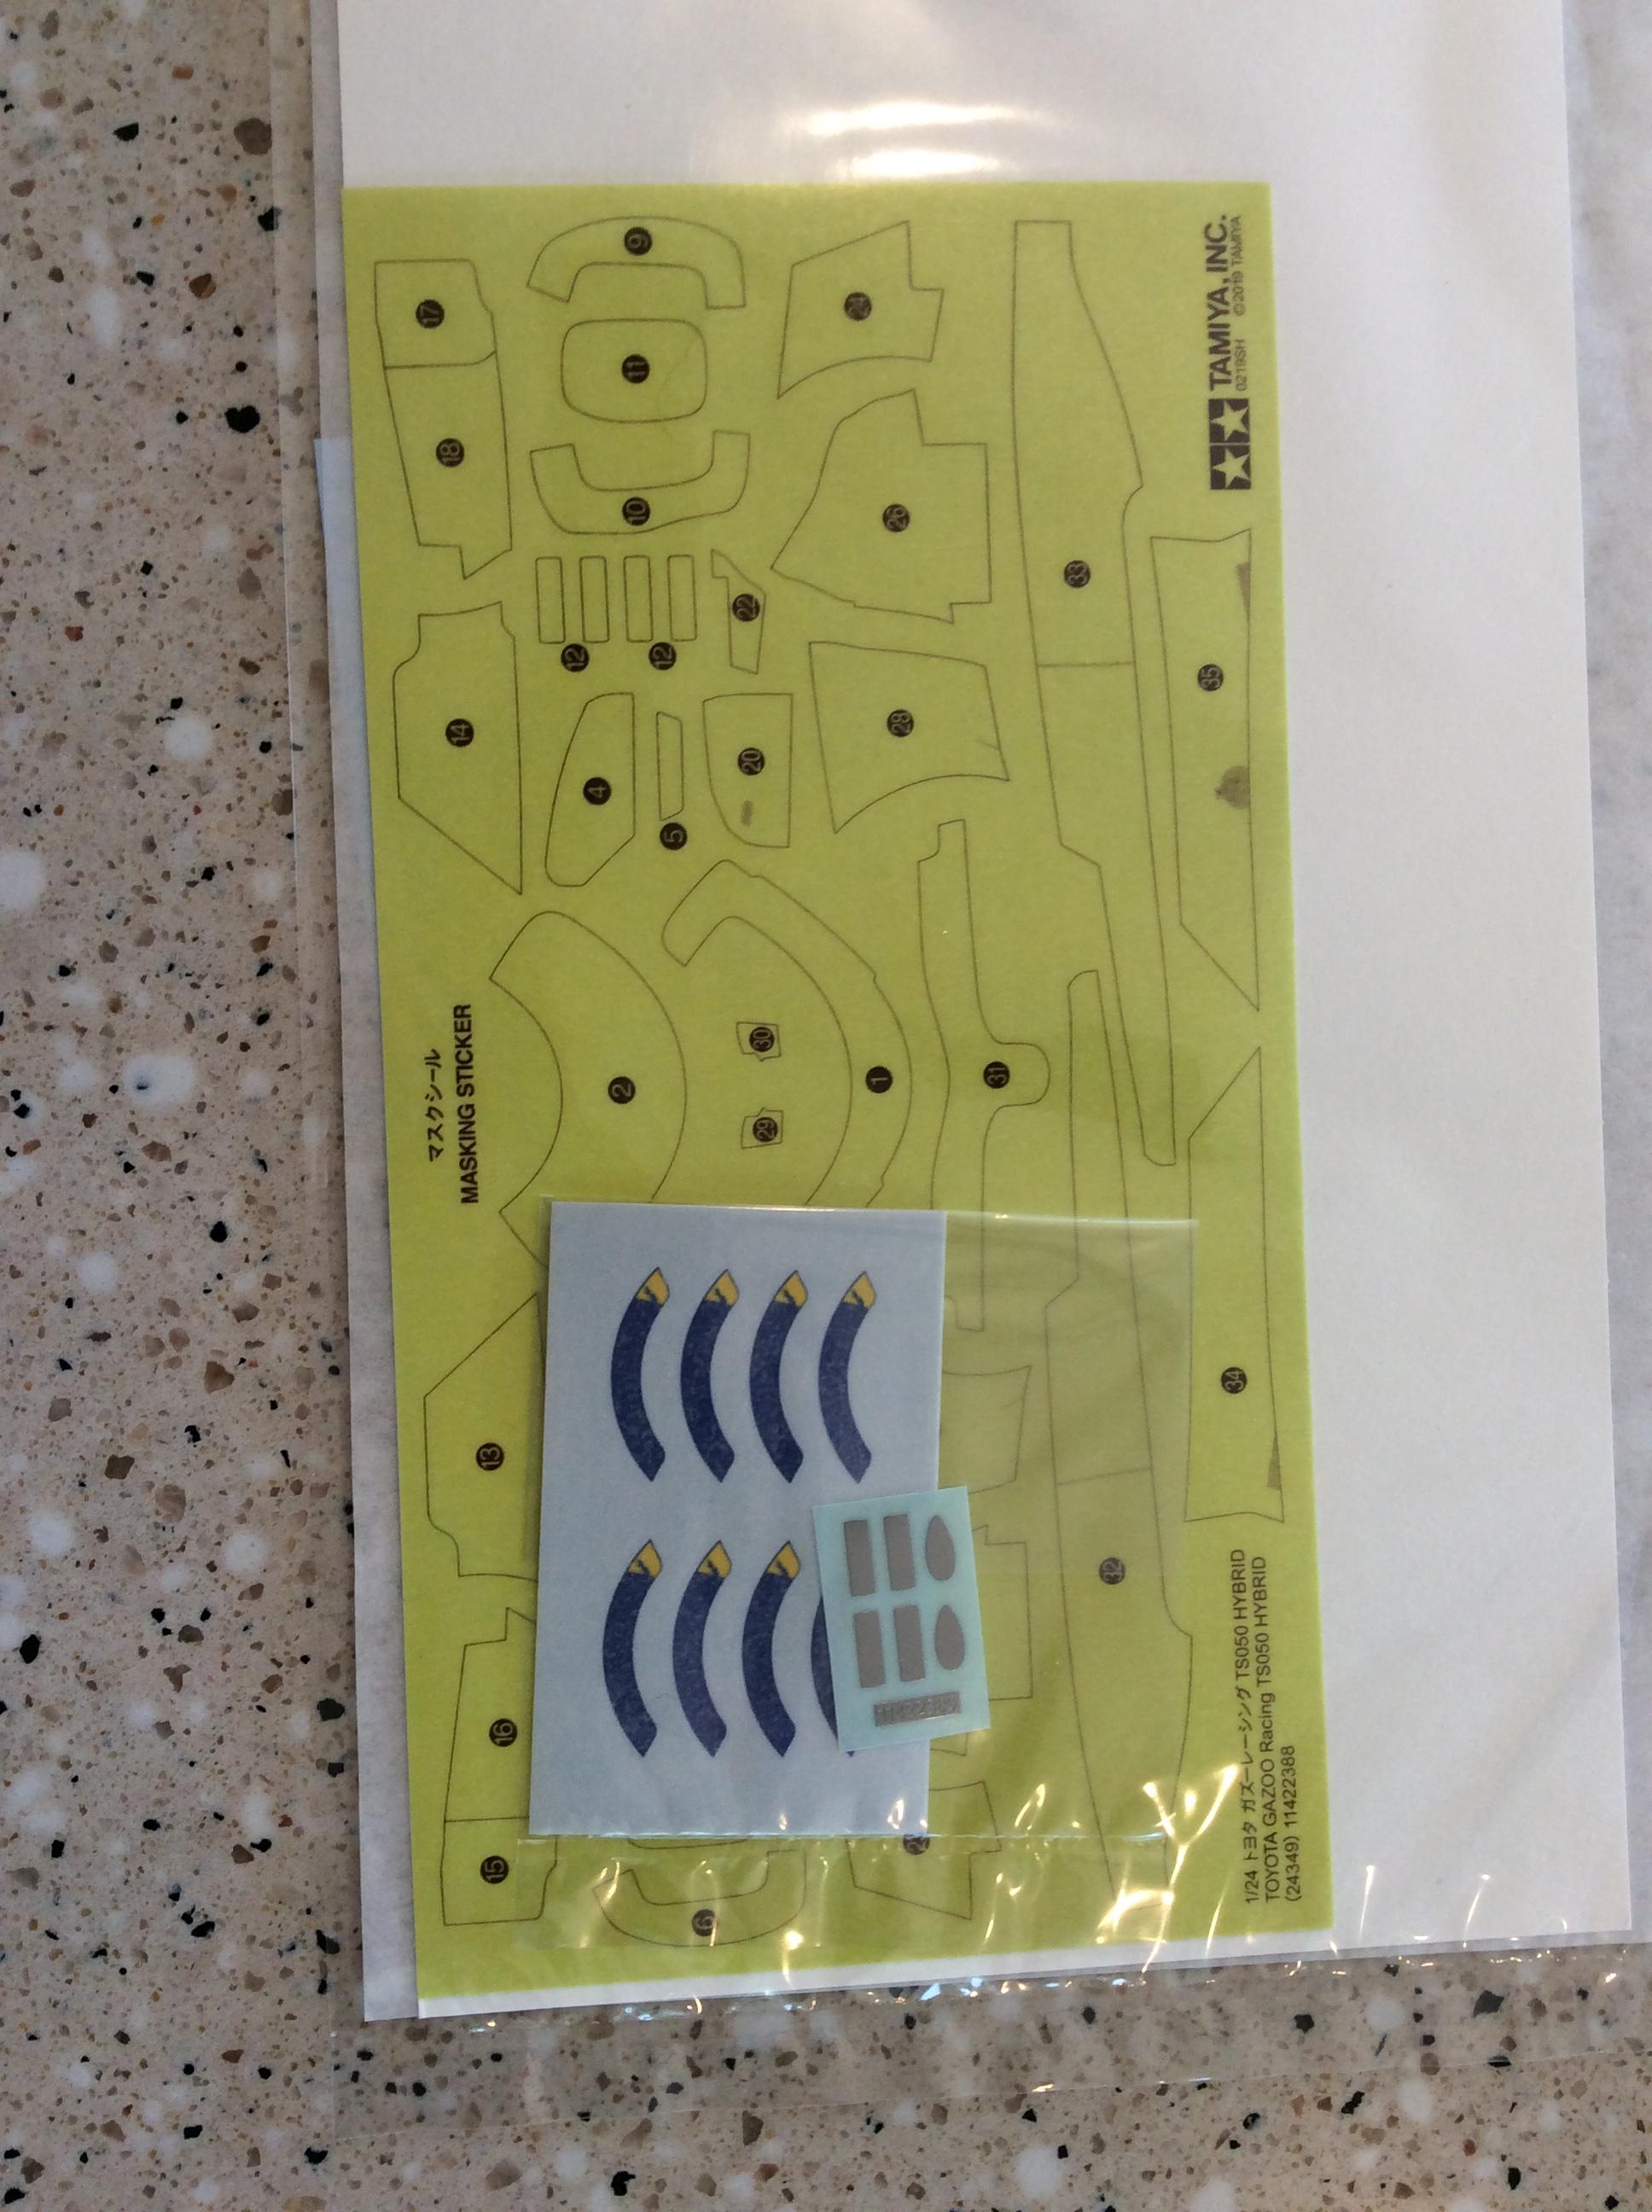
This just arrived via japan today. A great surprise to find at the front door. Curbside kit with some great detail. All the black on the body looks like it’s painted. Paint masked are supplied. The color separating lines are in the panels. Makes lining up the template easier. A weird car. I wish they raced it in the old Gurney colors of White , Orange, Red. The roof is a satin chrome
-
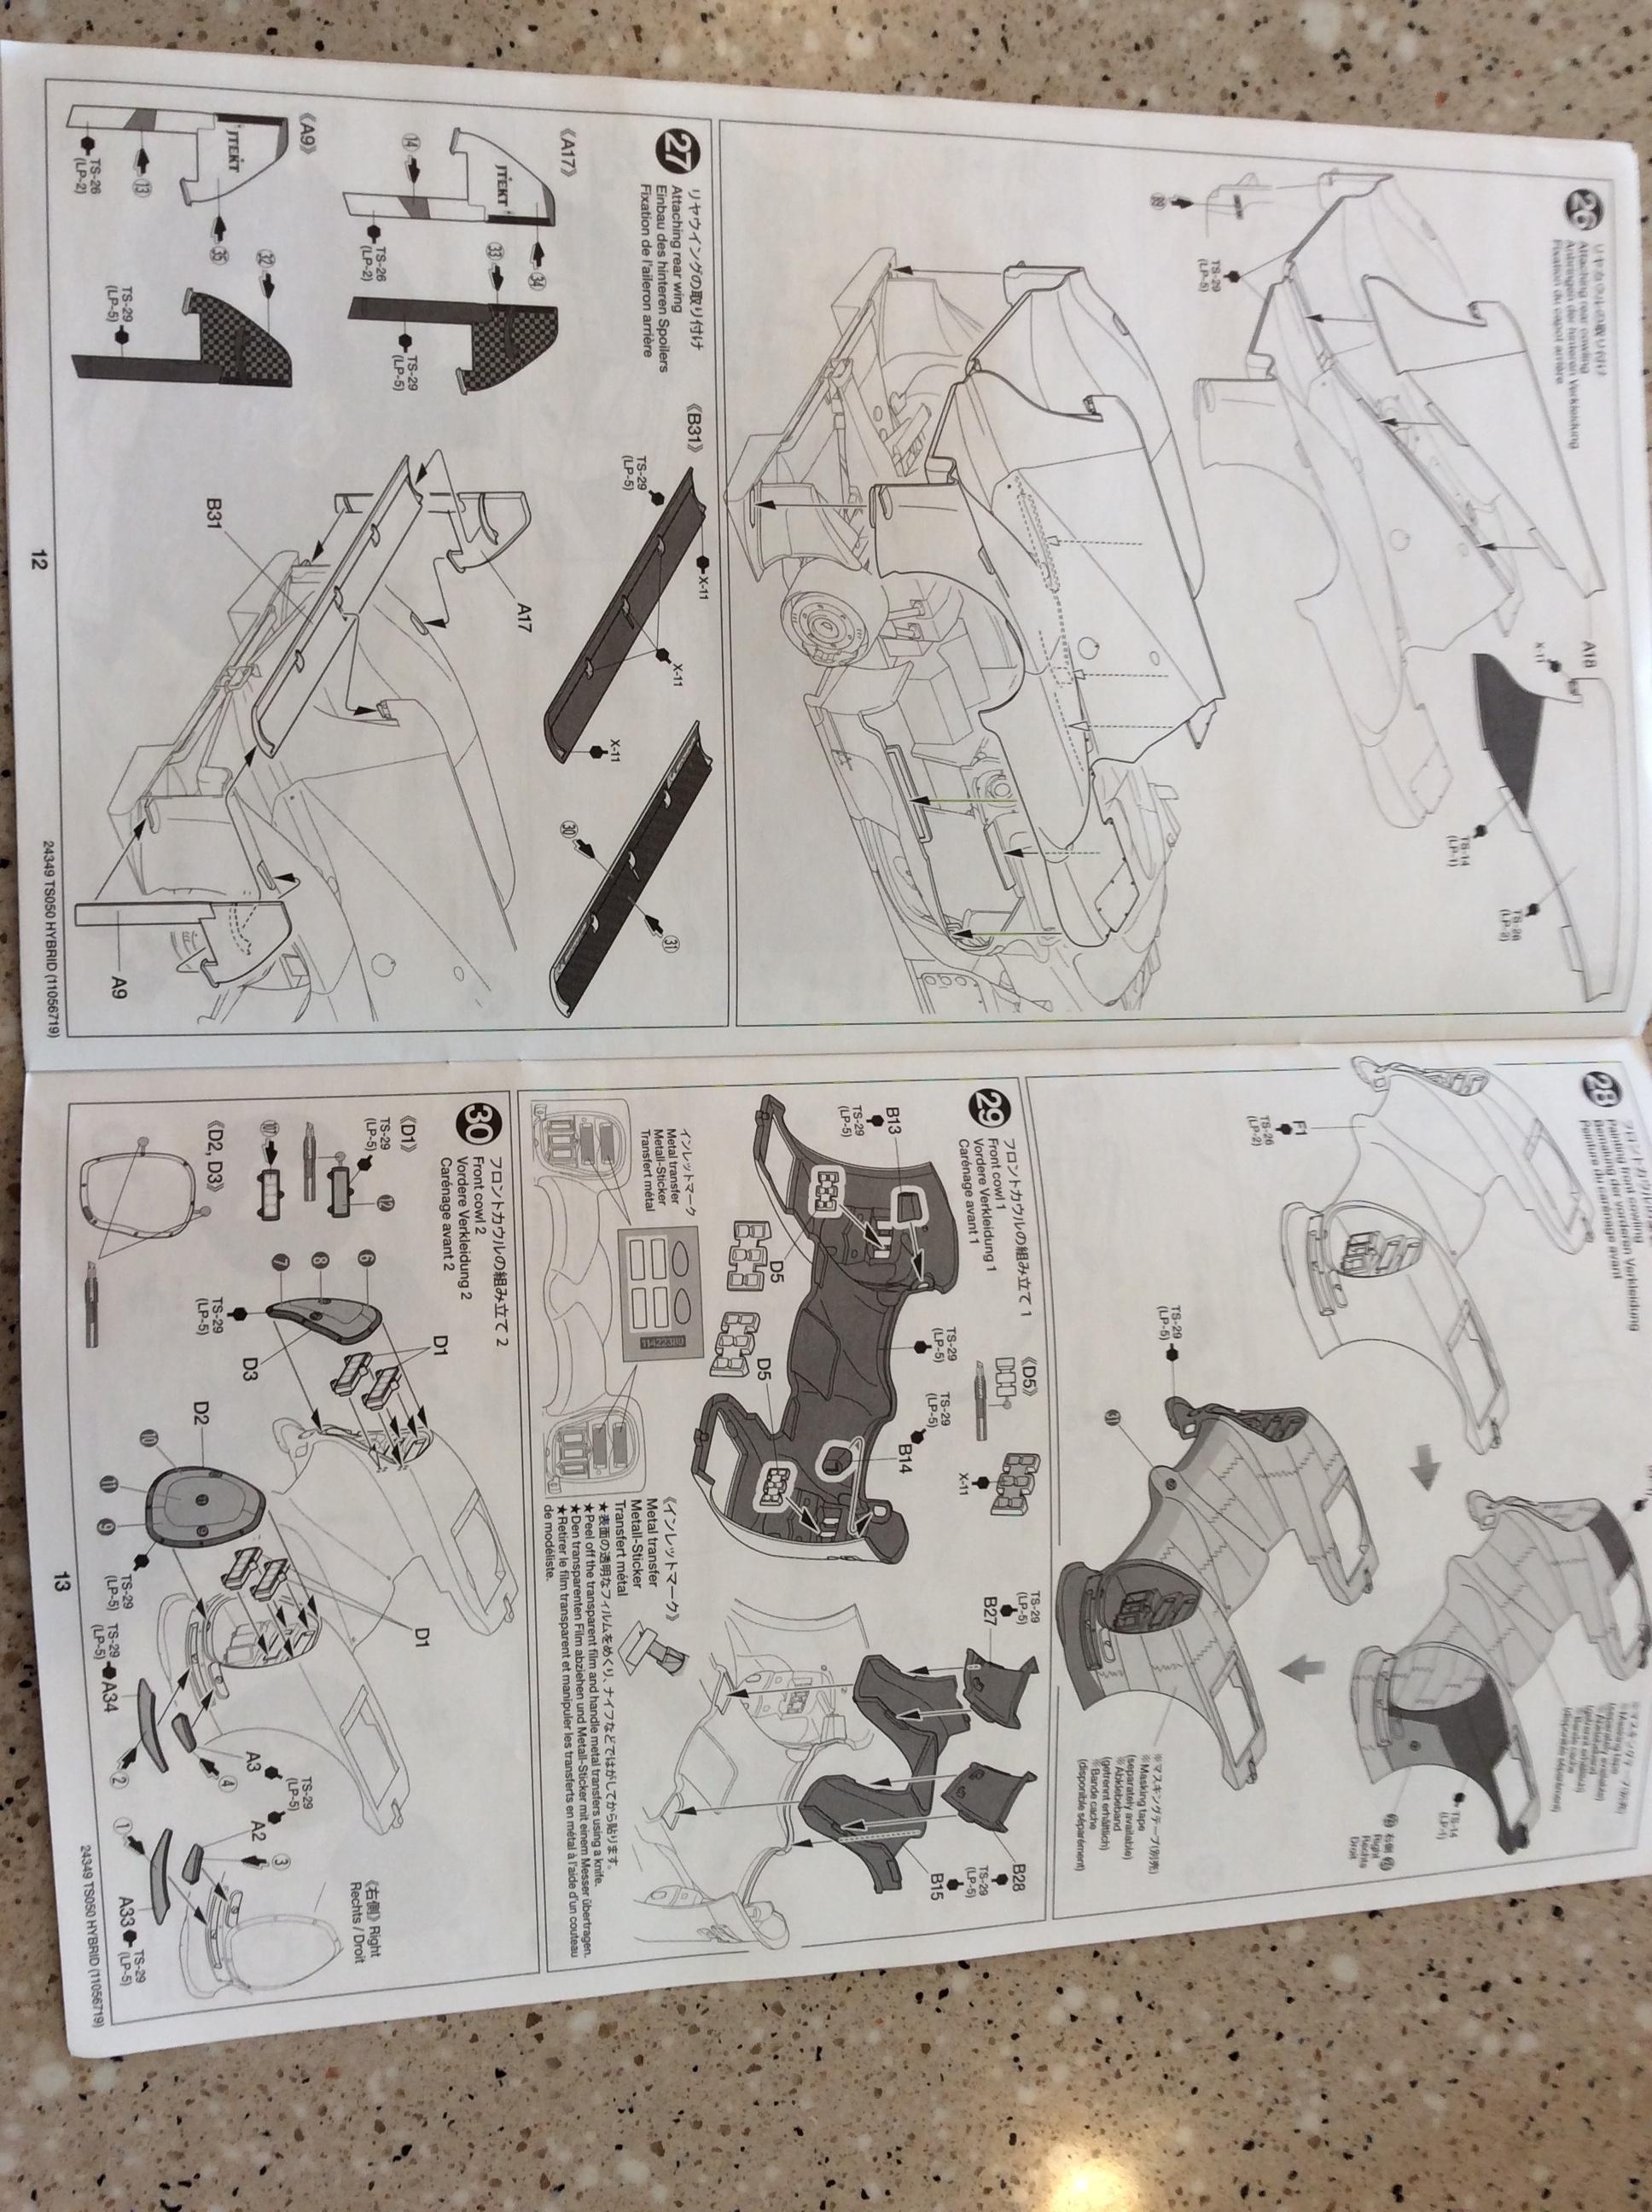
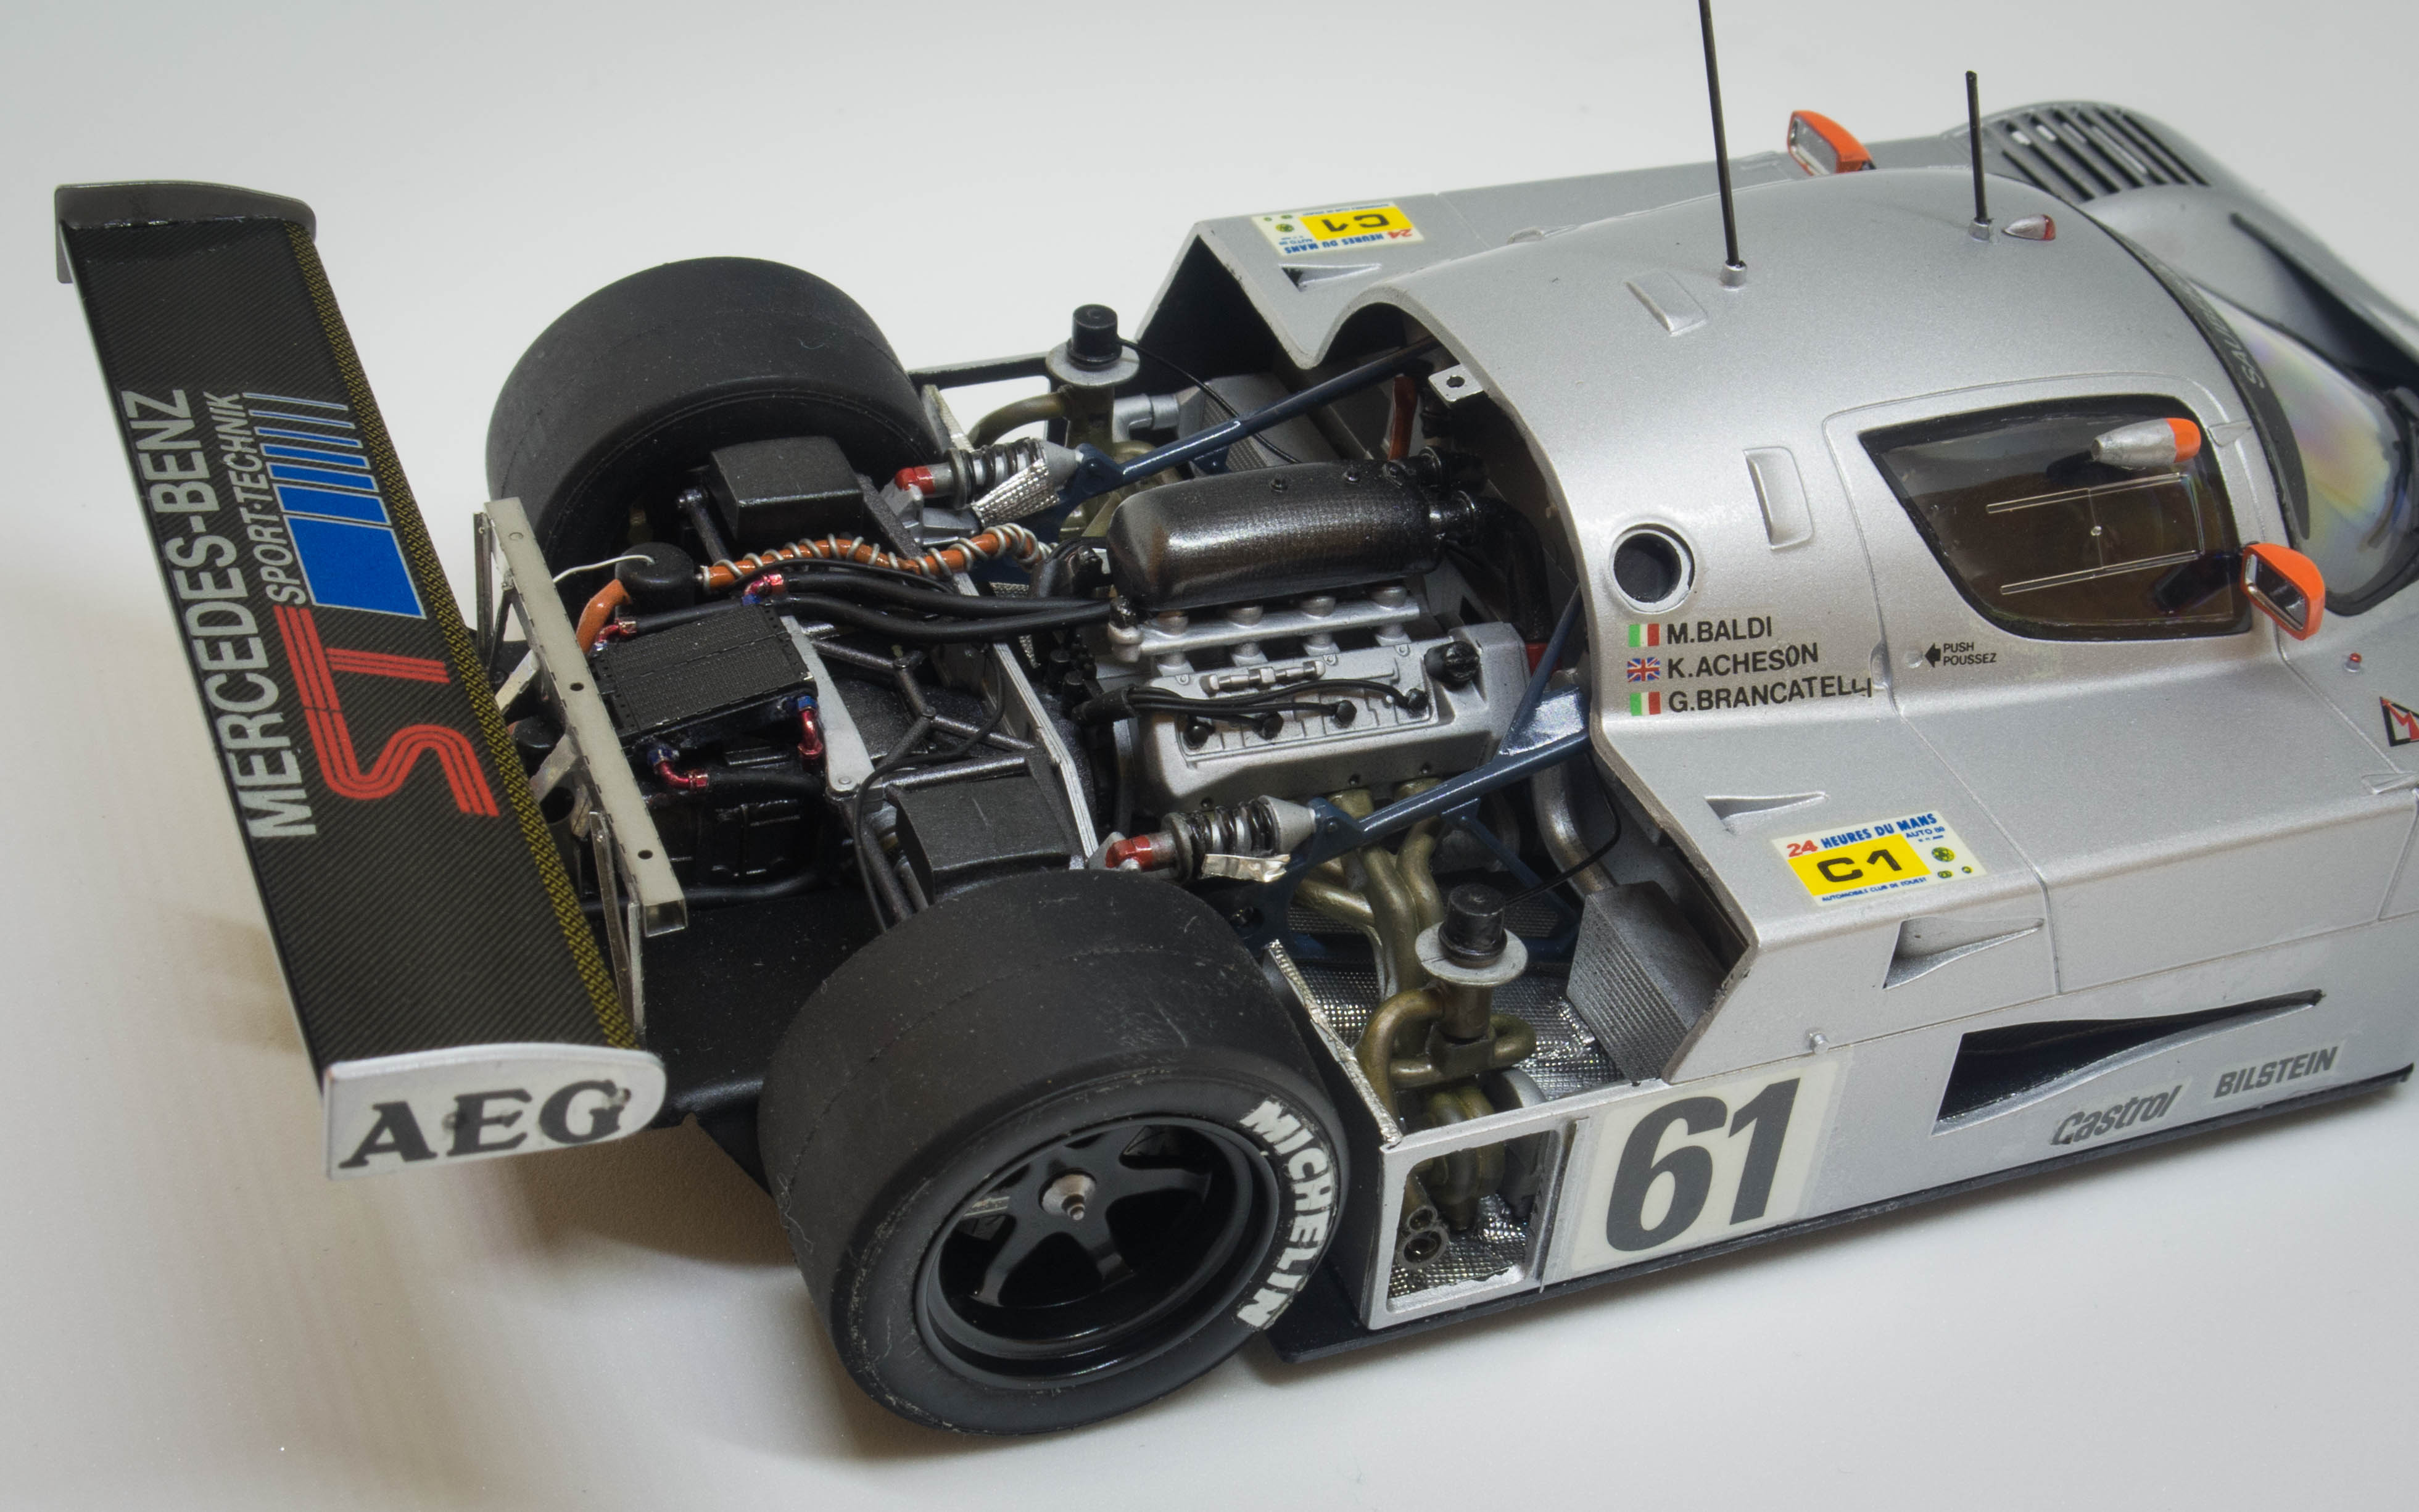
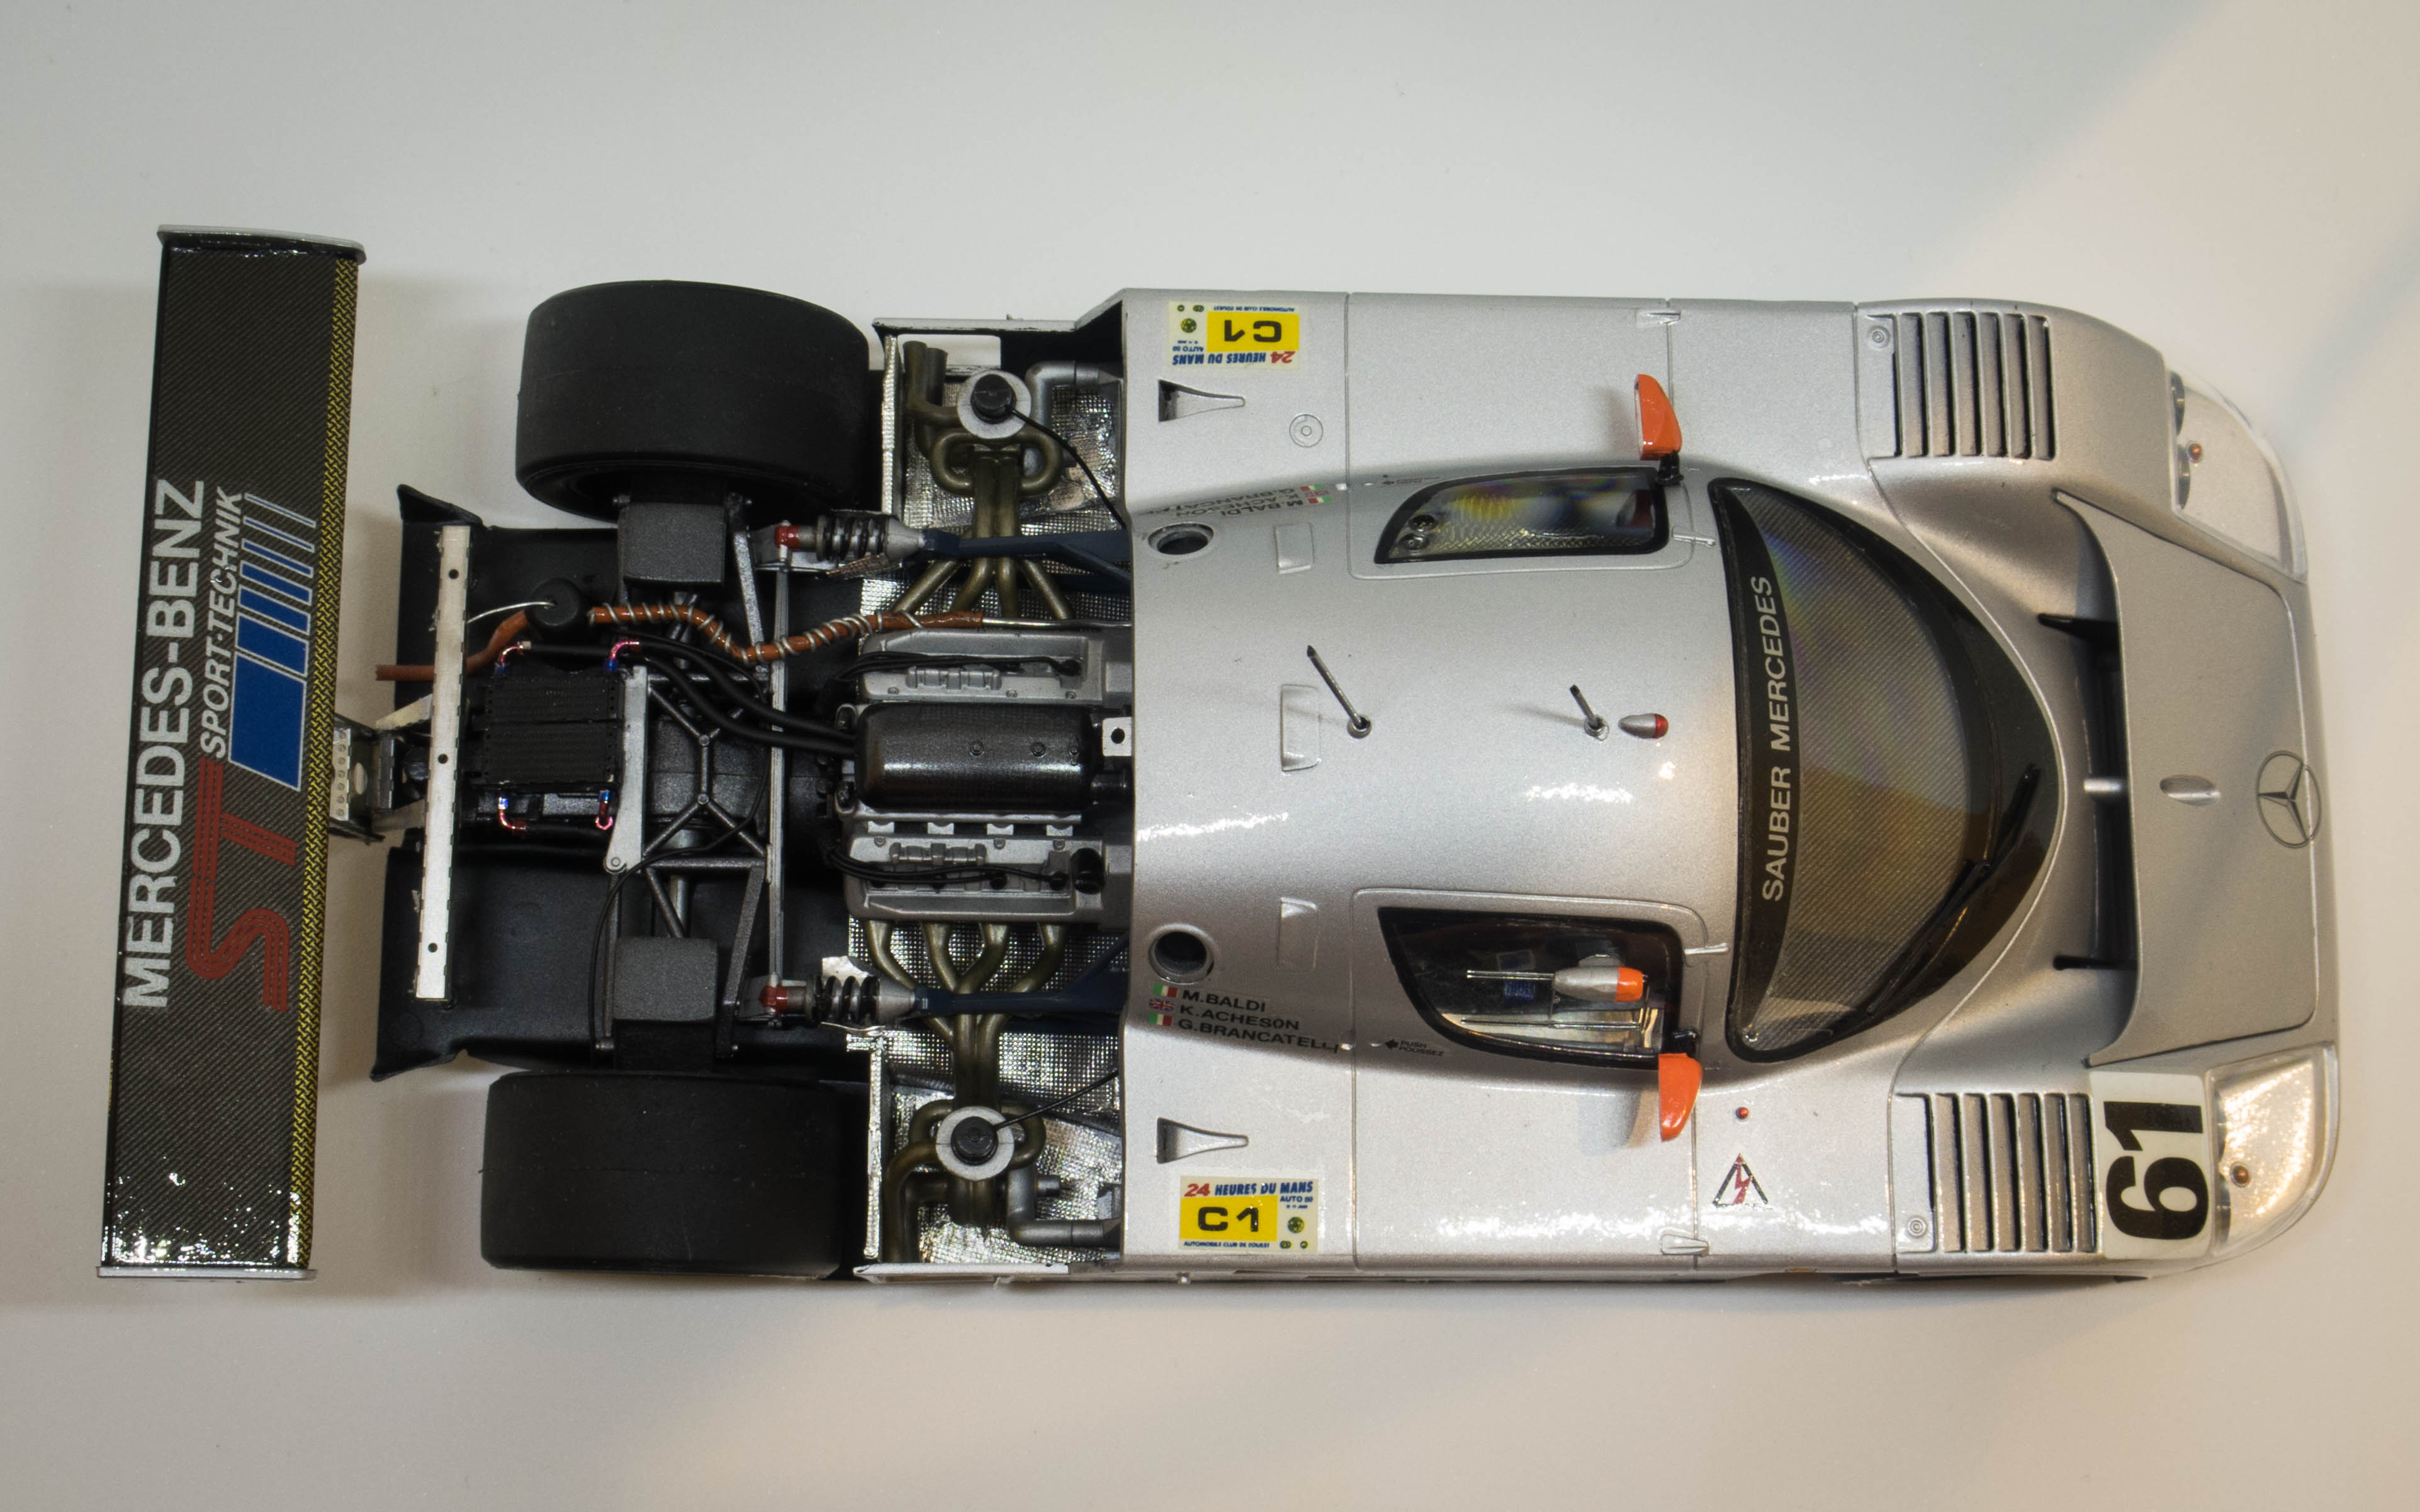
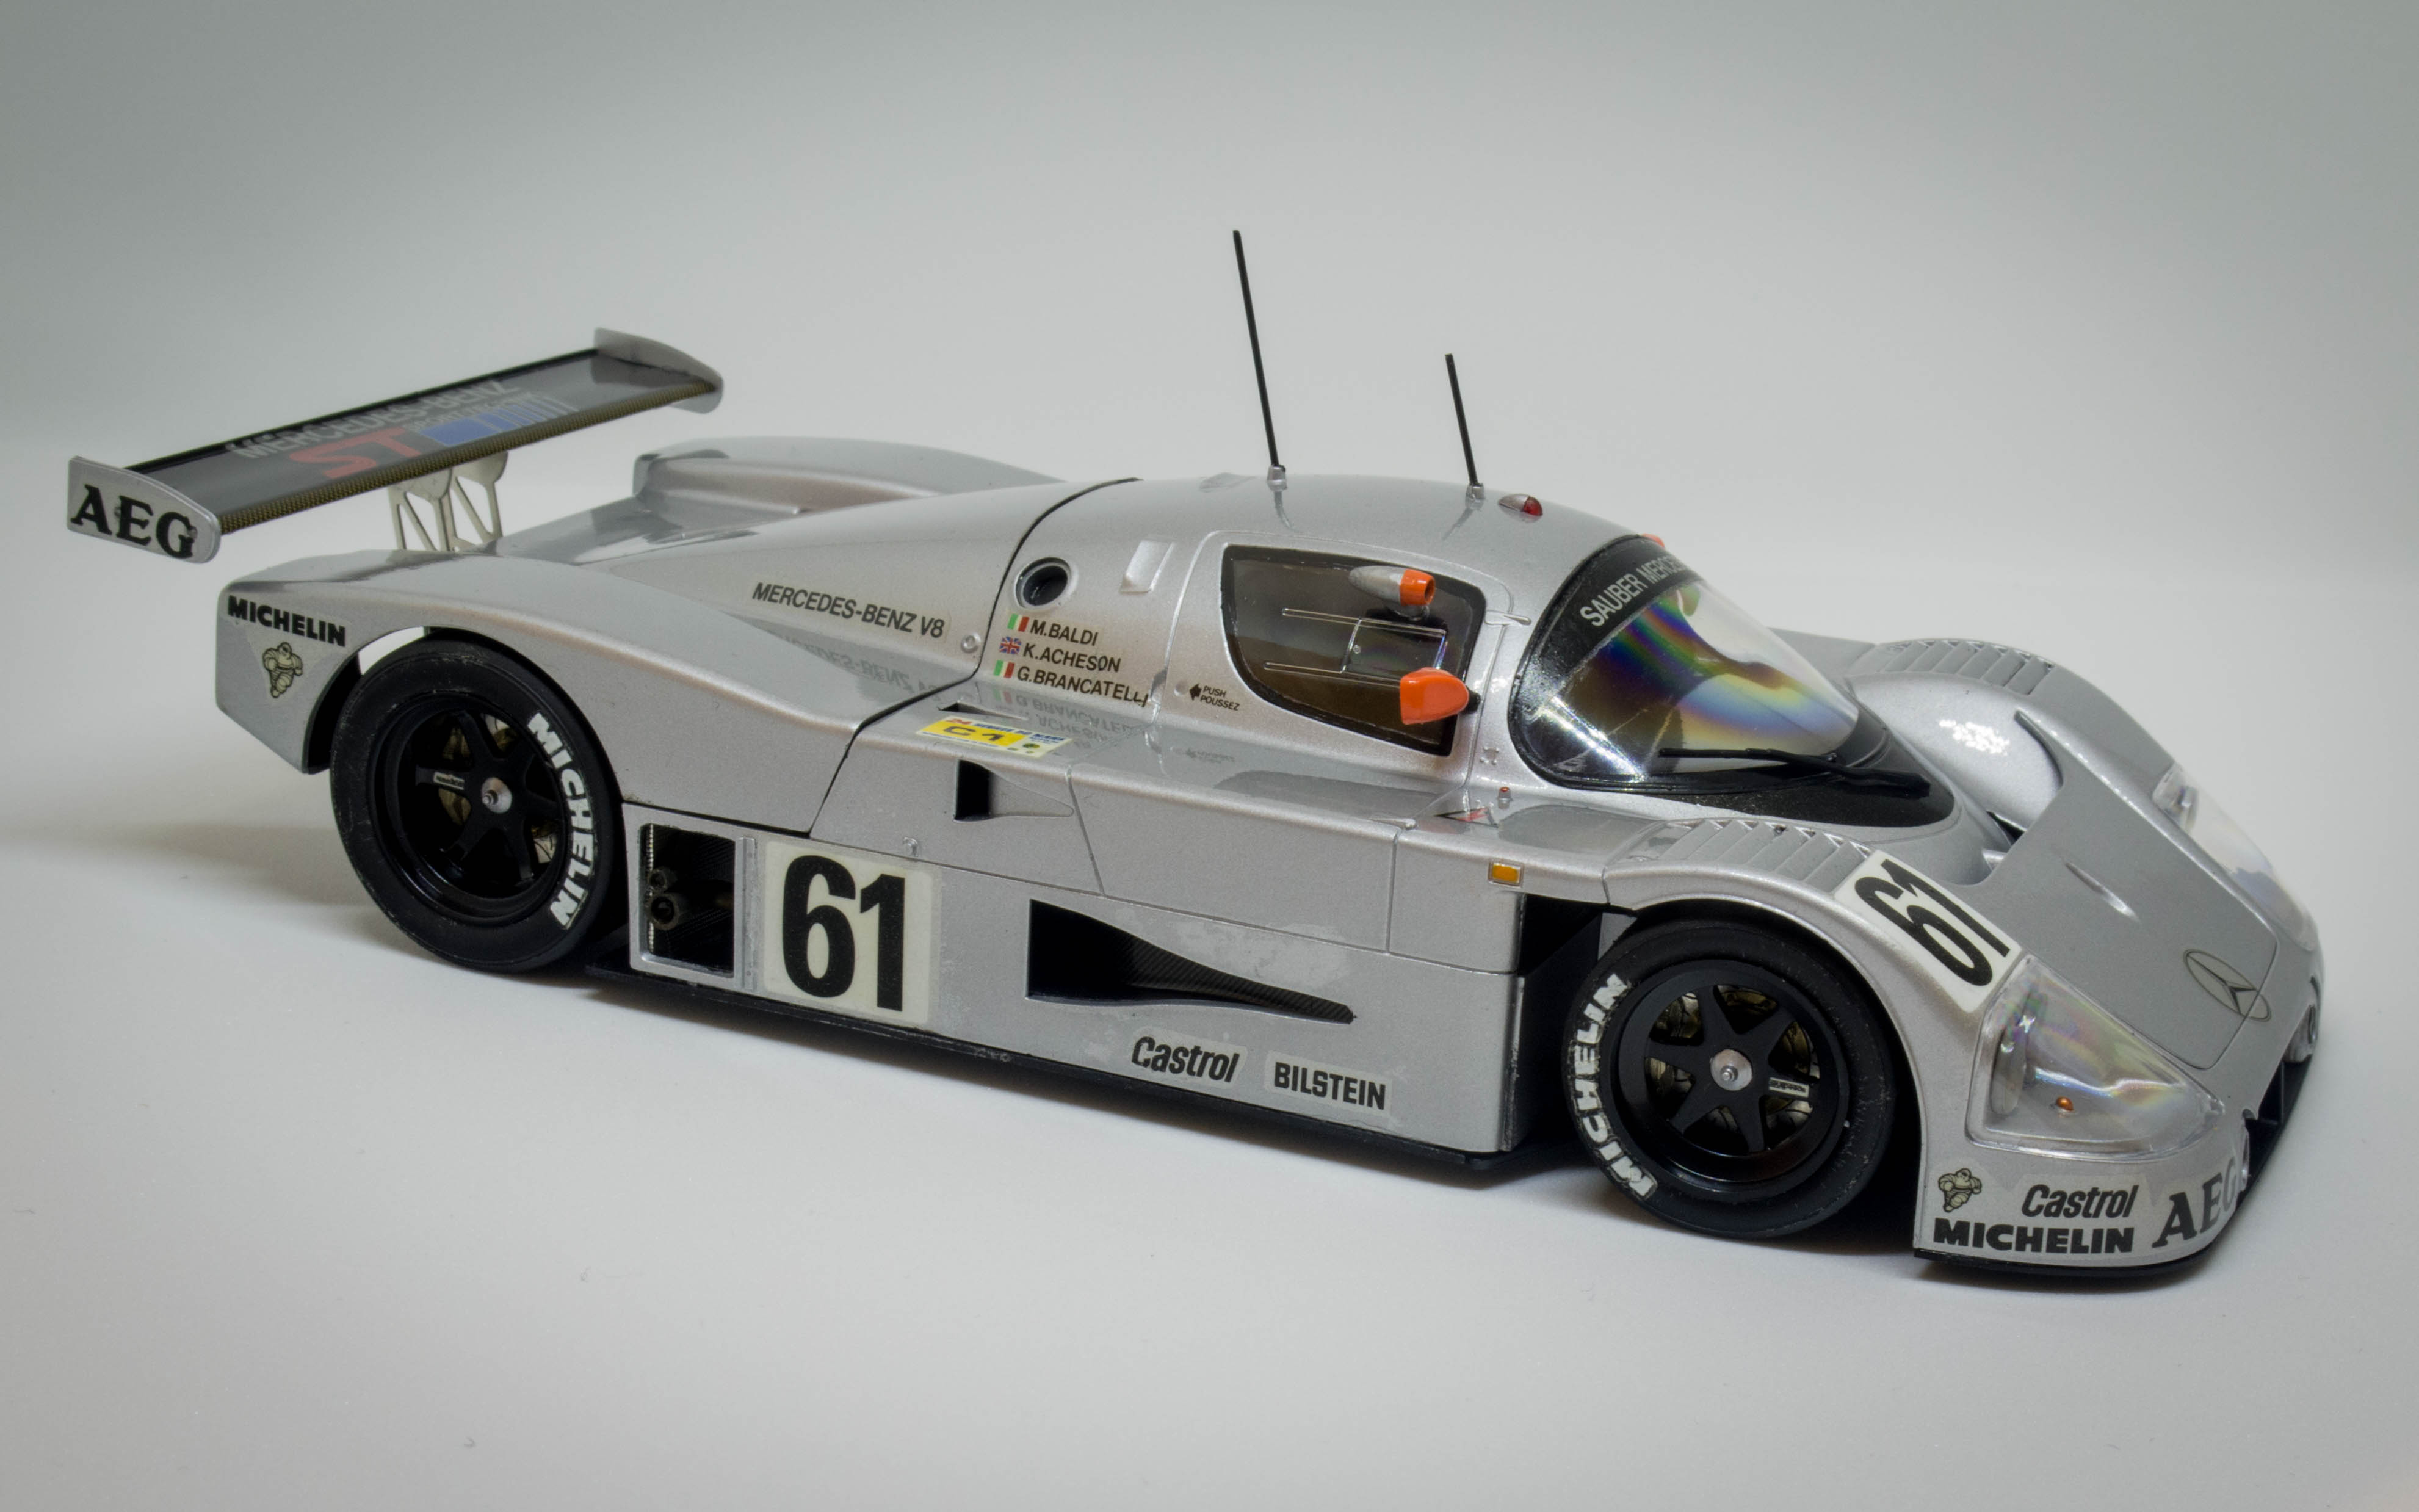
Hi All, Today i finally finished the Sauber C9. I started this kit about 10 months ago, but took a long break, due to life getting very busy. Anyway, i have linked my WIP thread, if anyone wants to see some of my progress though this build. Going into this build, i wanted it to be the most detailed kit i had ever done, and i think i have completed what i set out to do. I am very pleased with the final outcome of the build. Thanks for looking Nathan
-
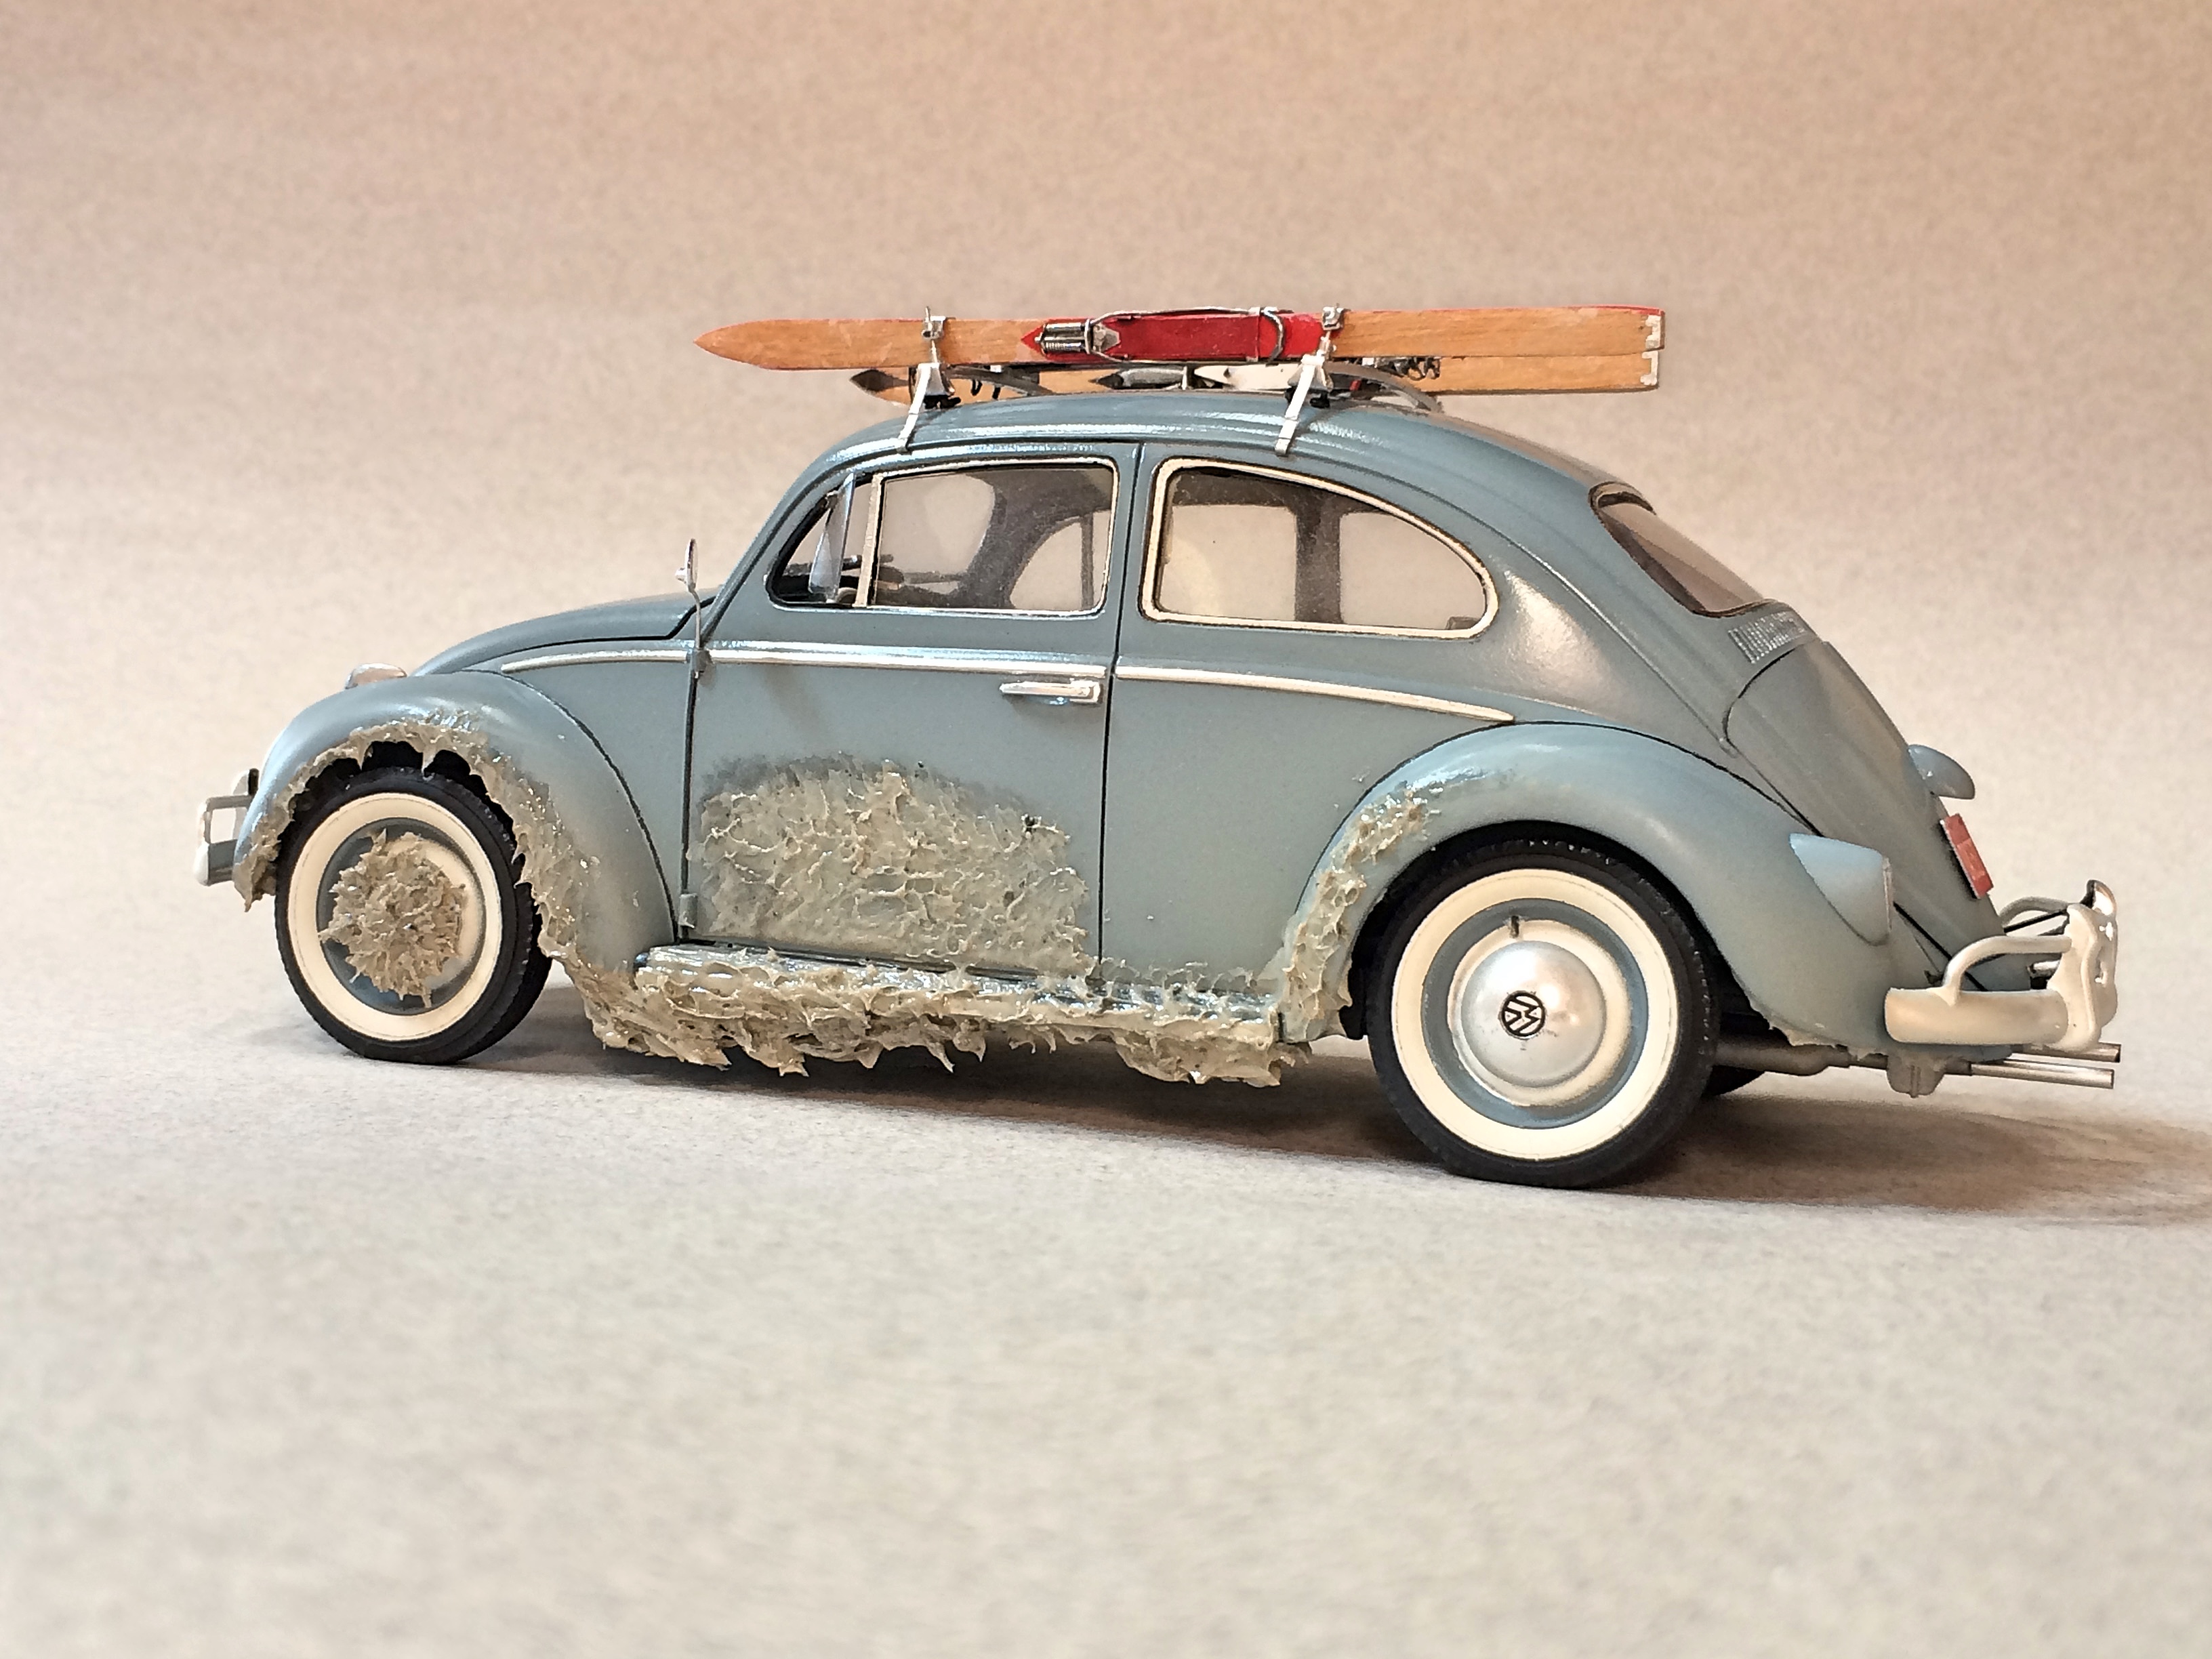
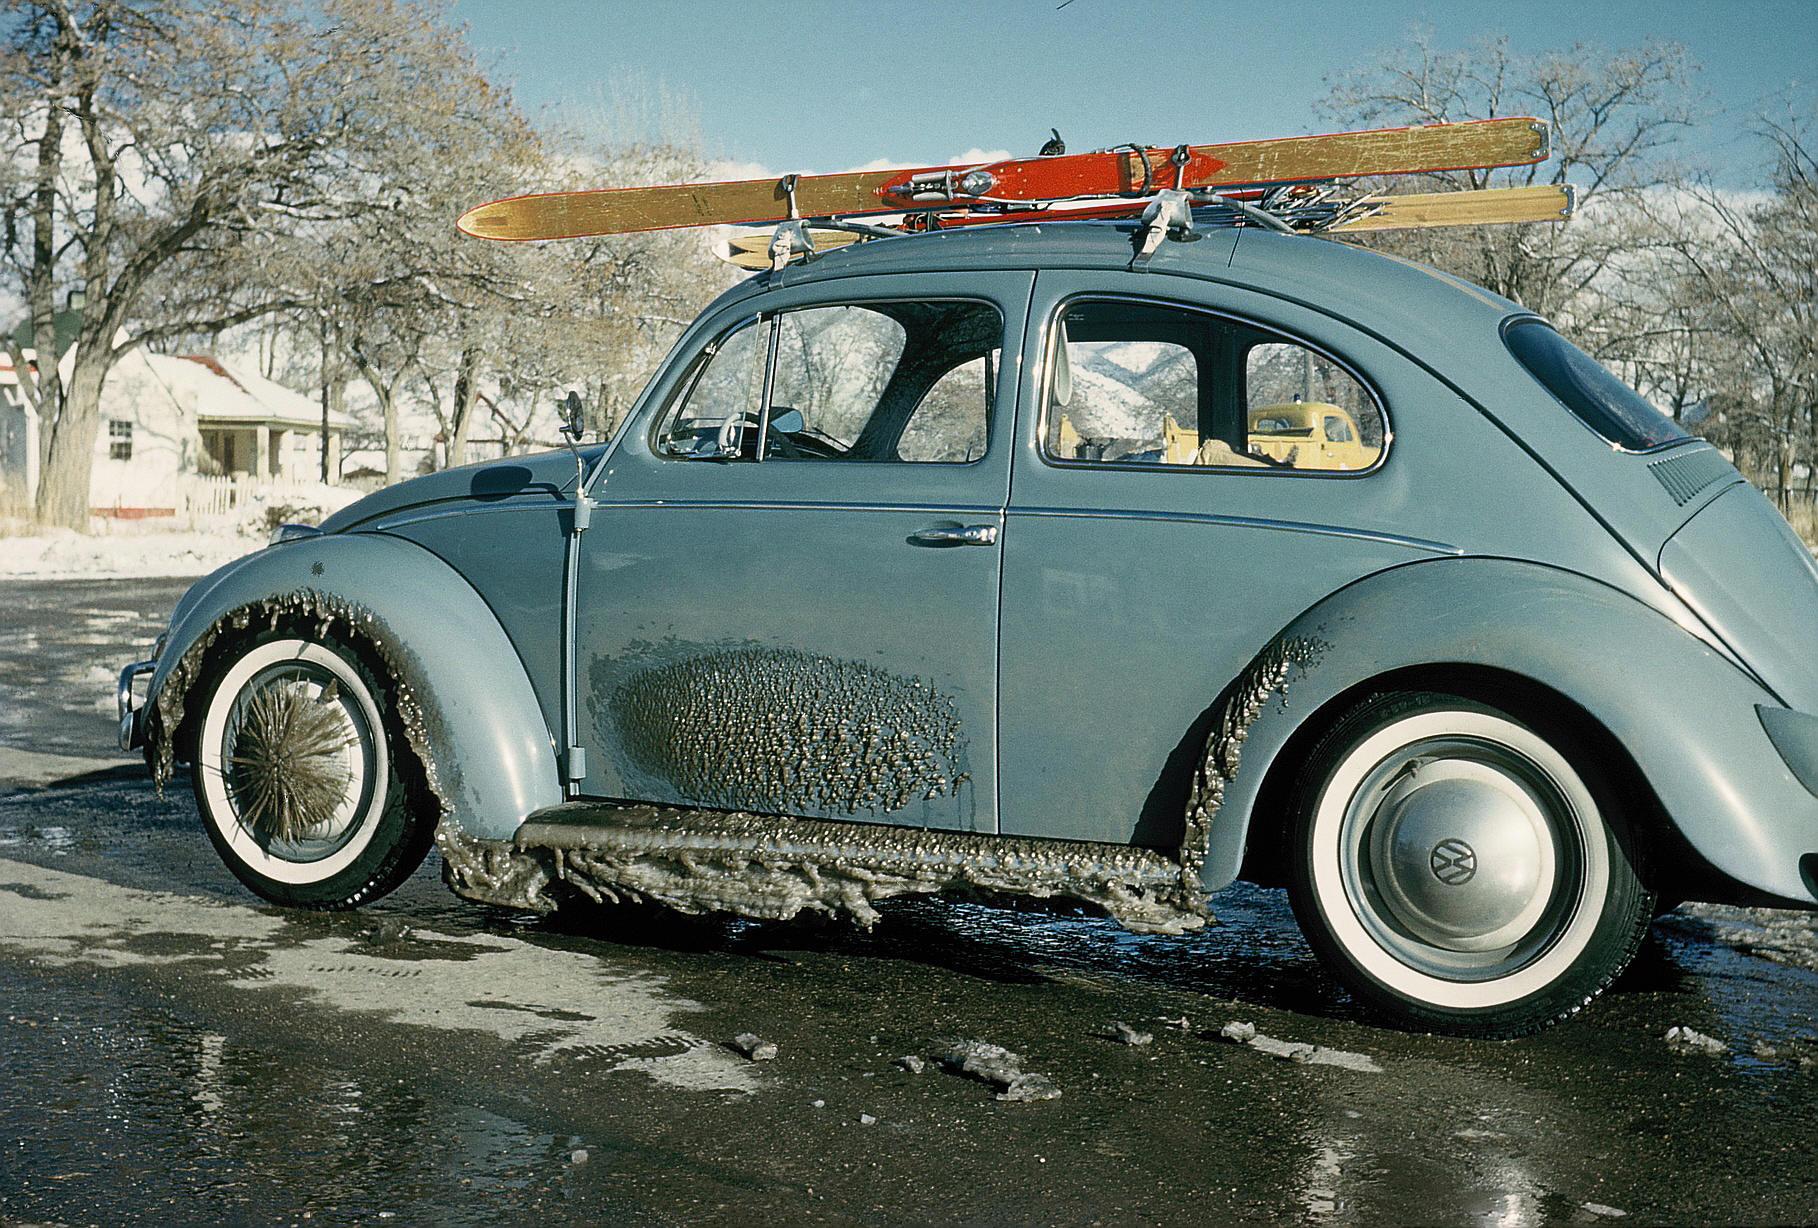
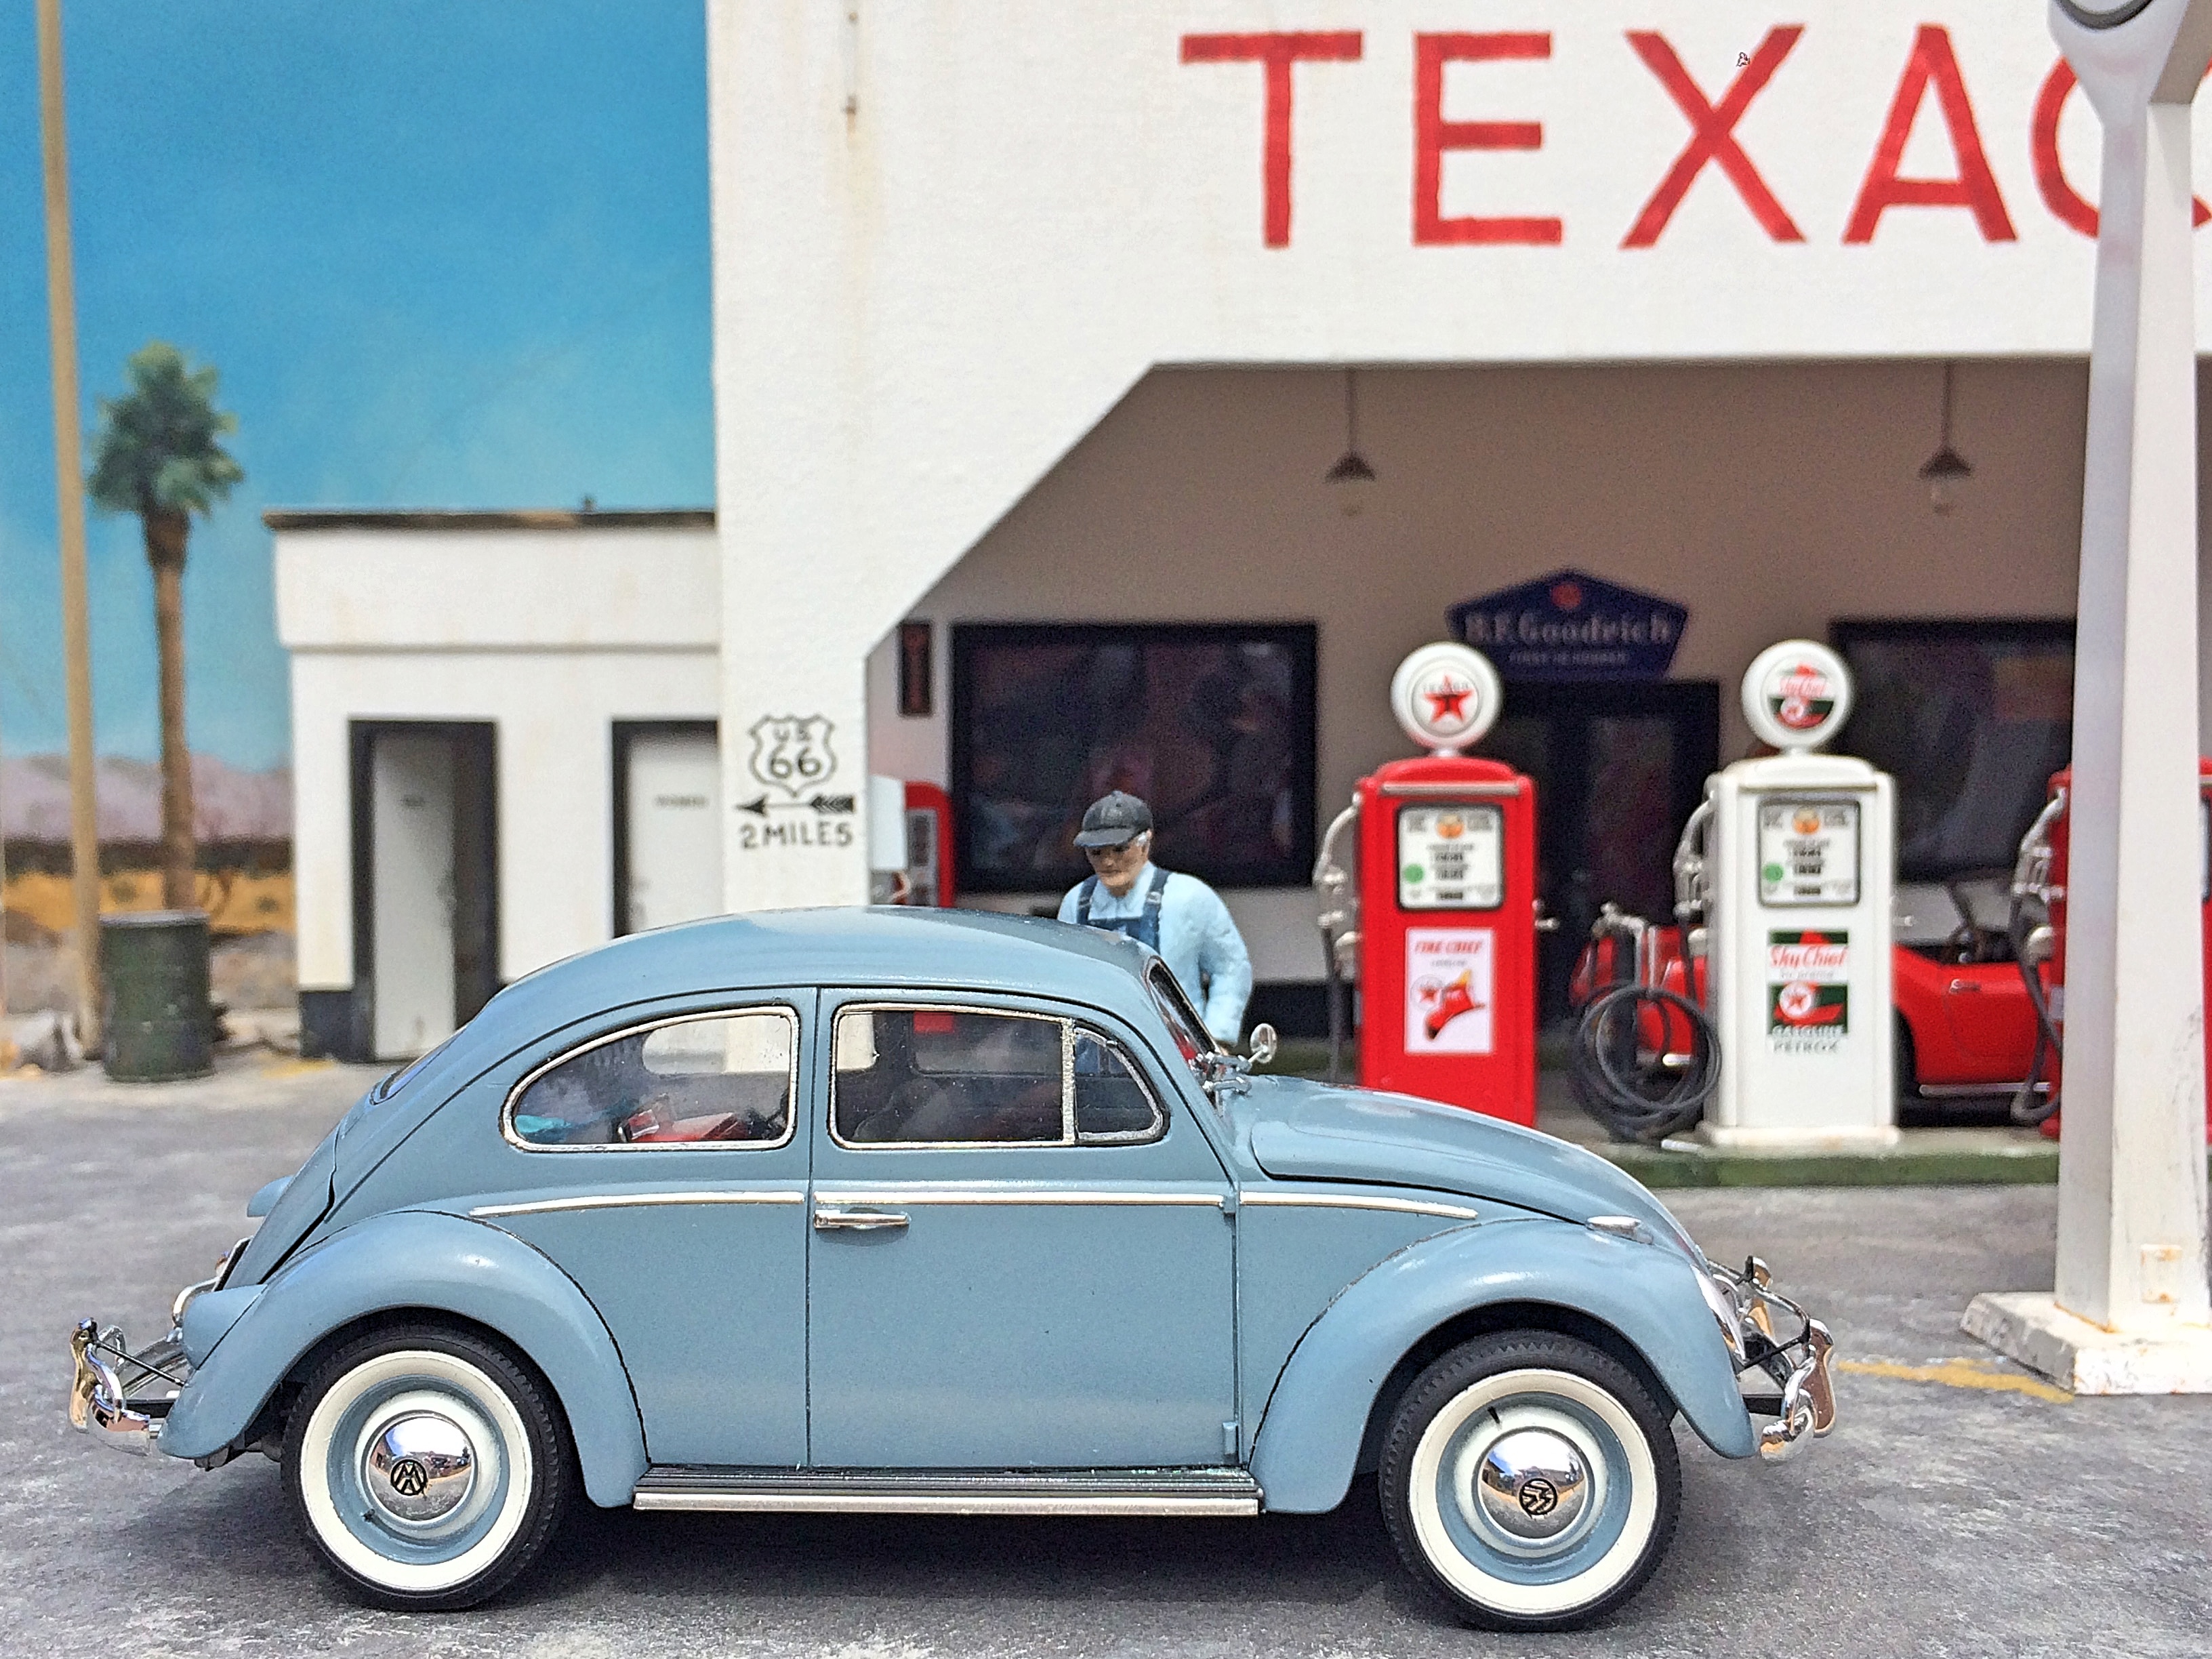
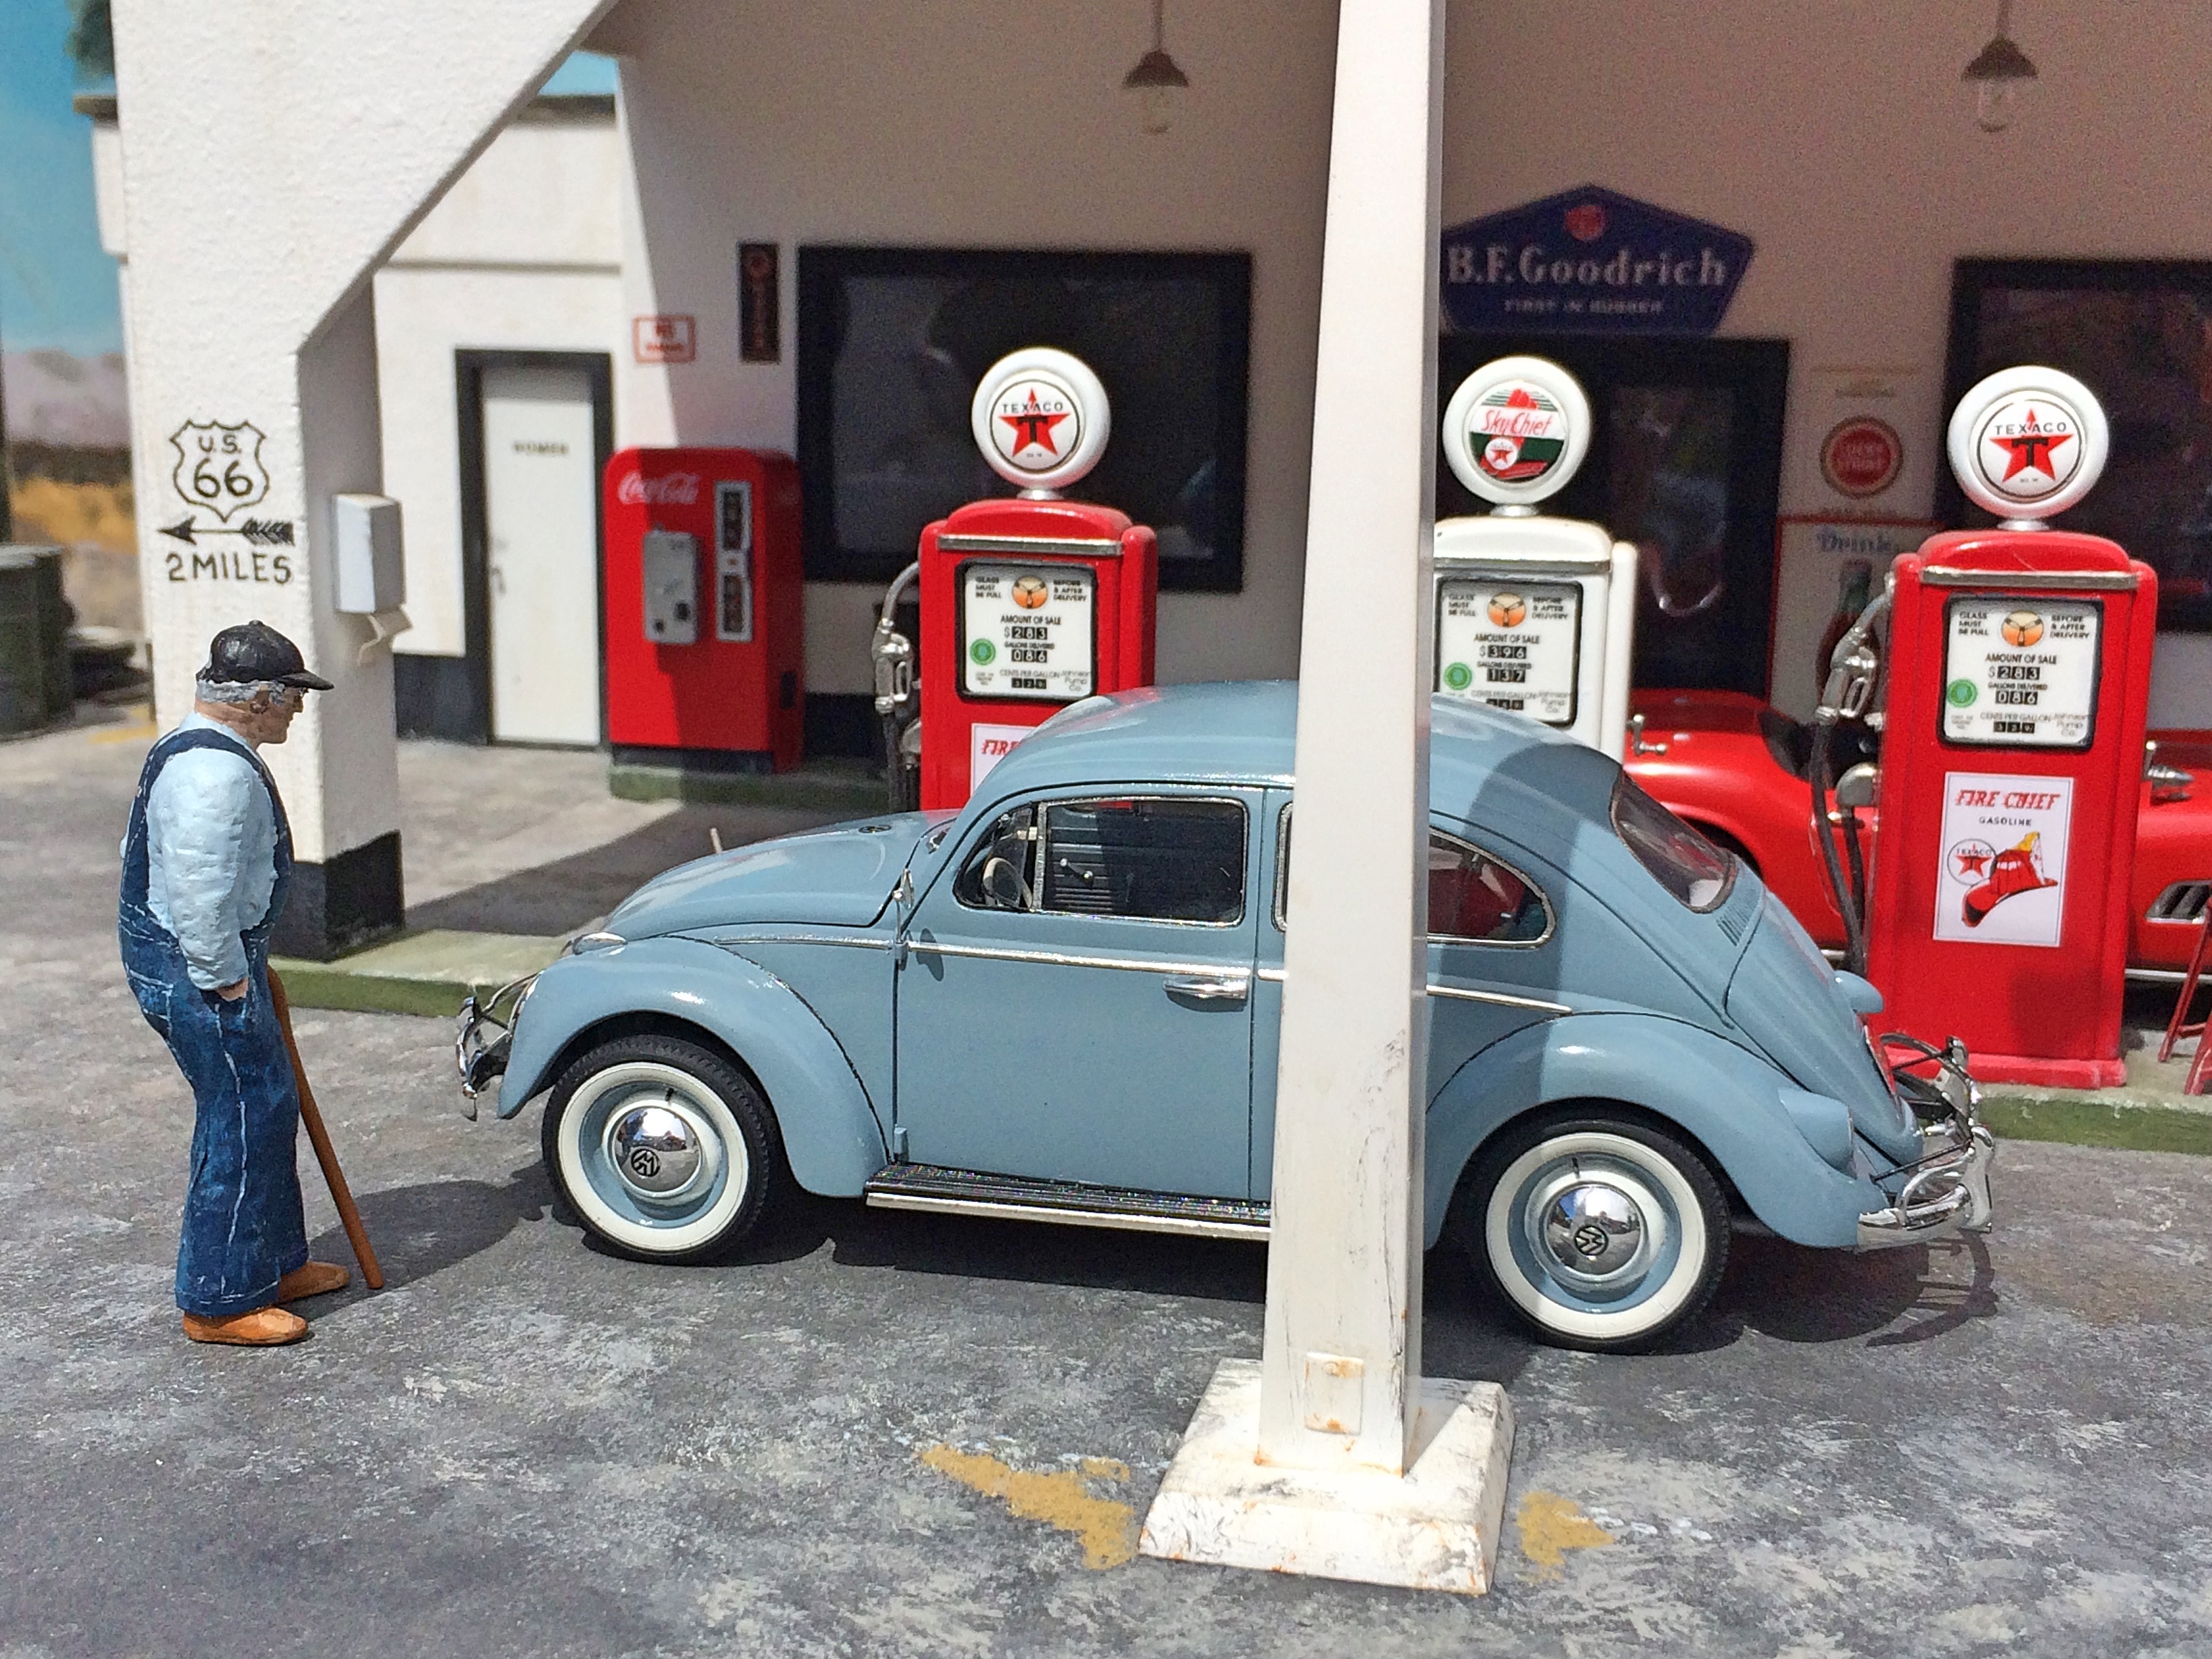
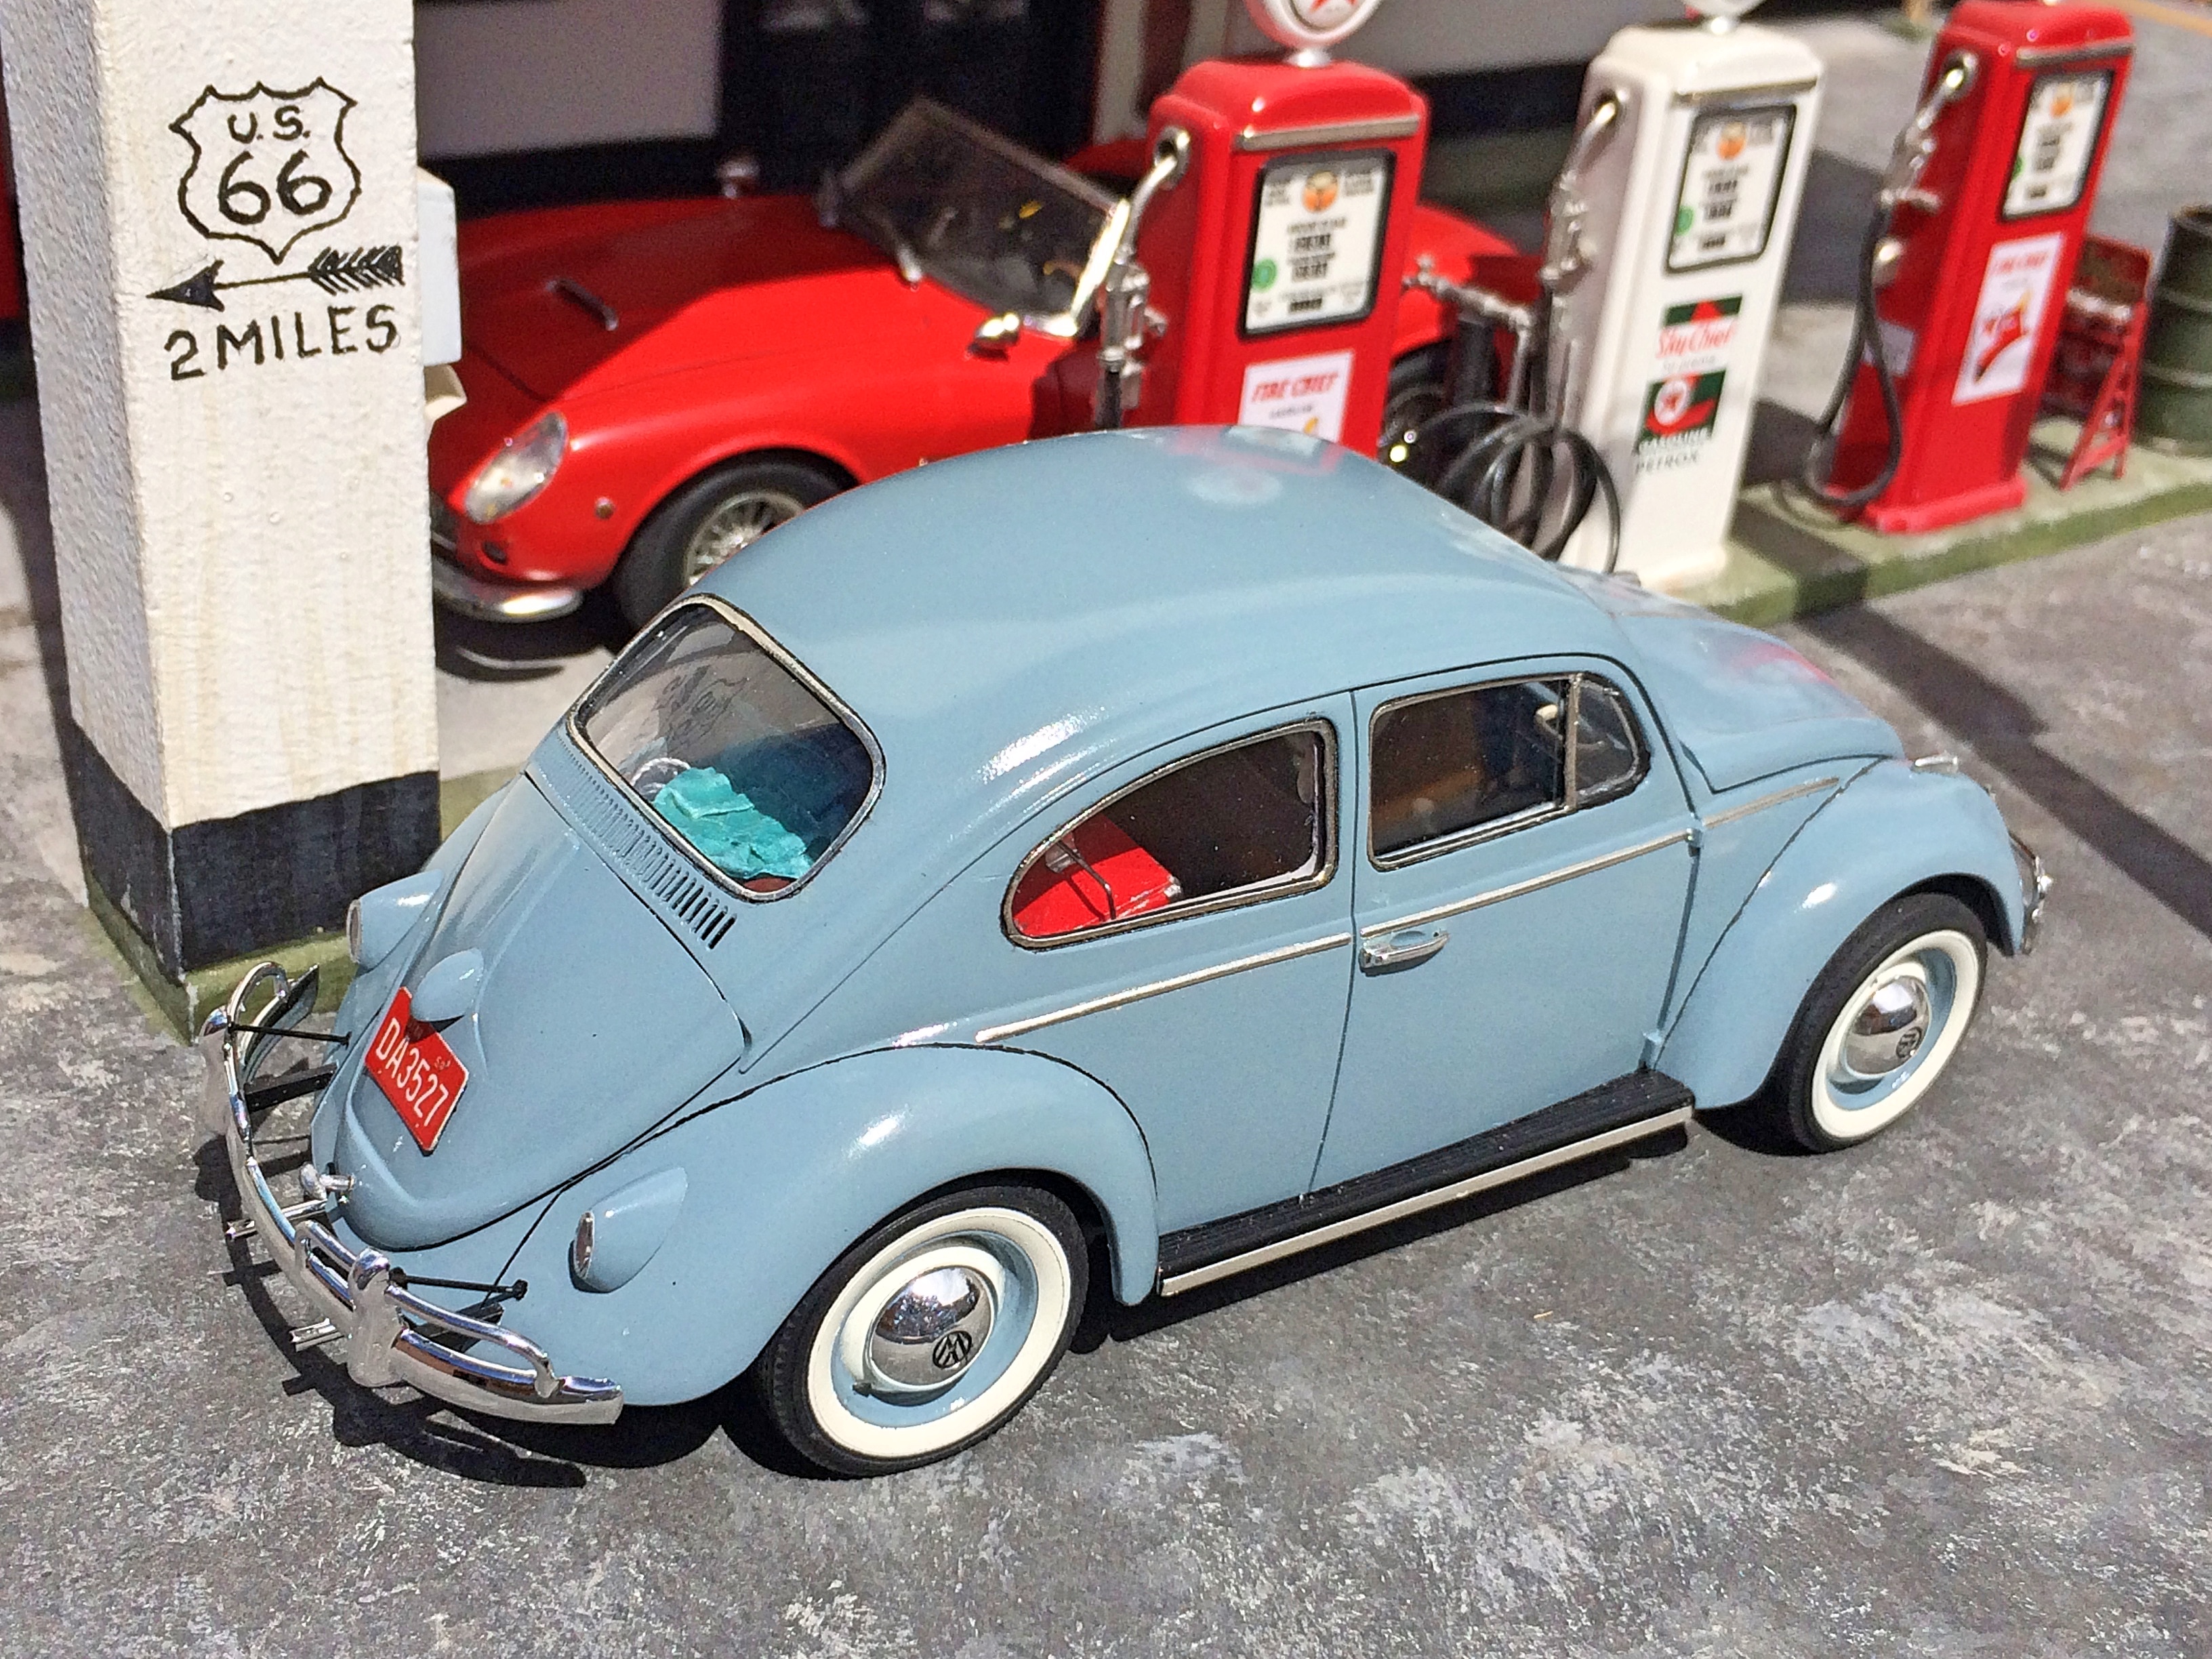
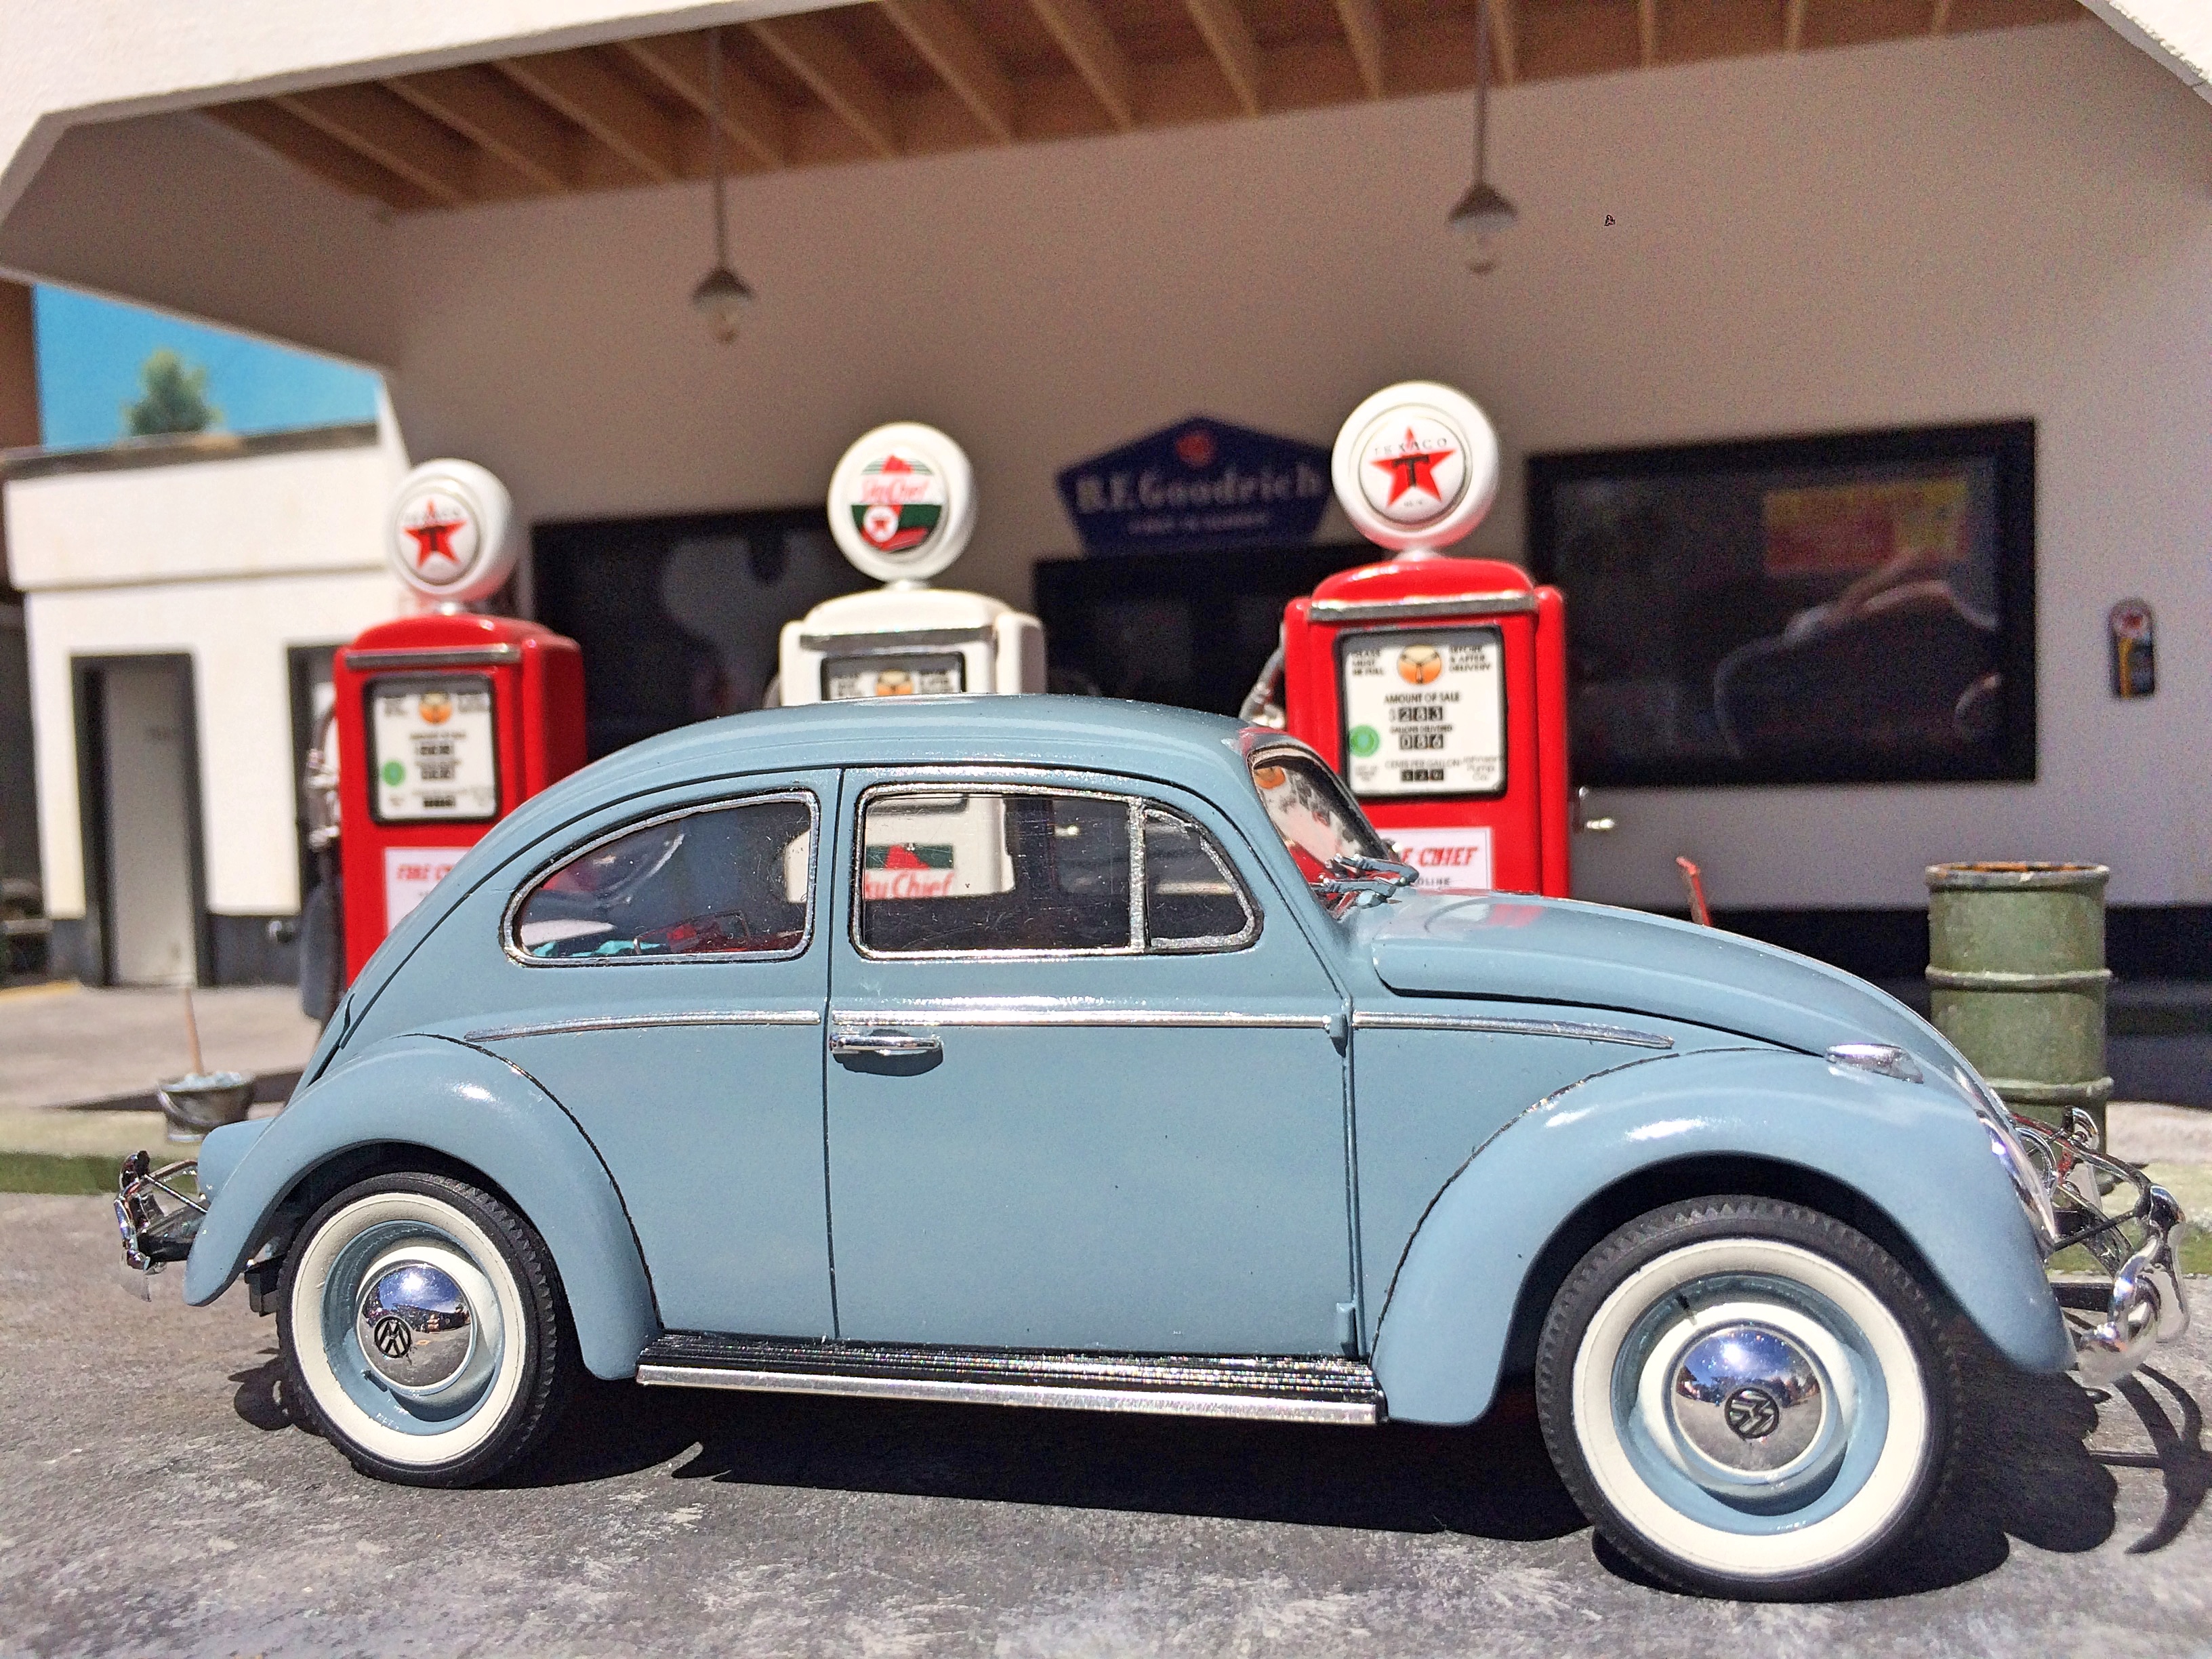
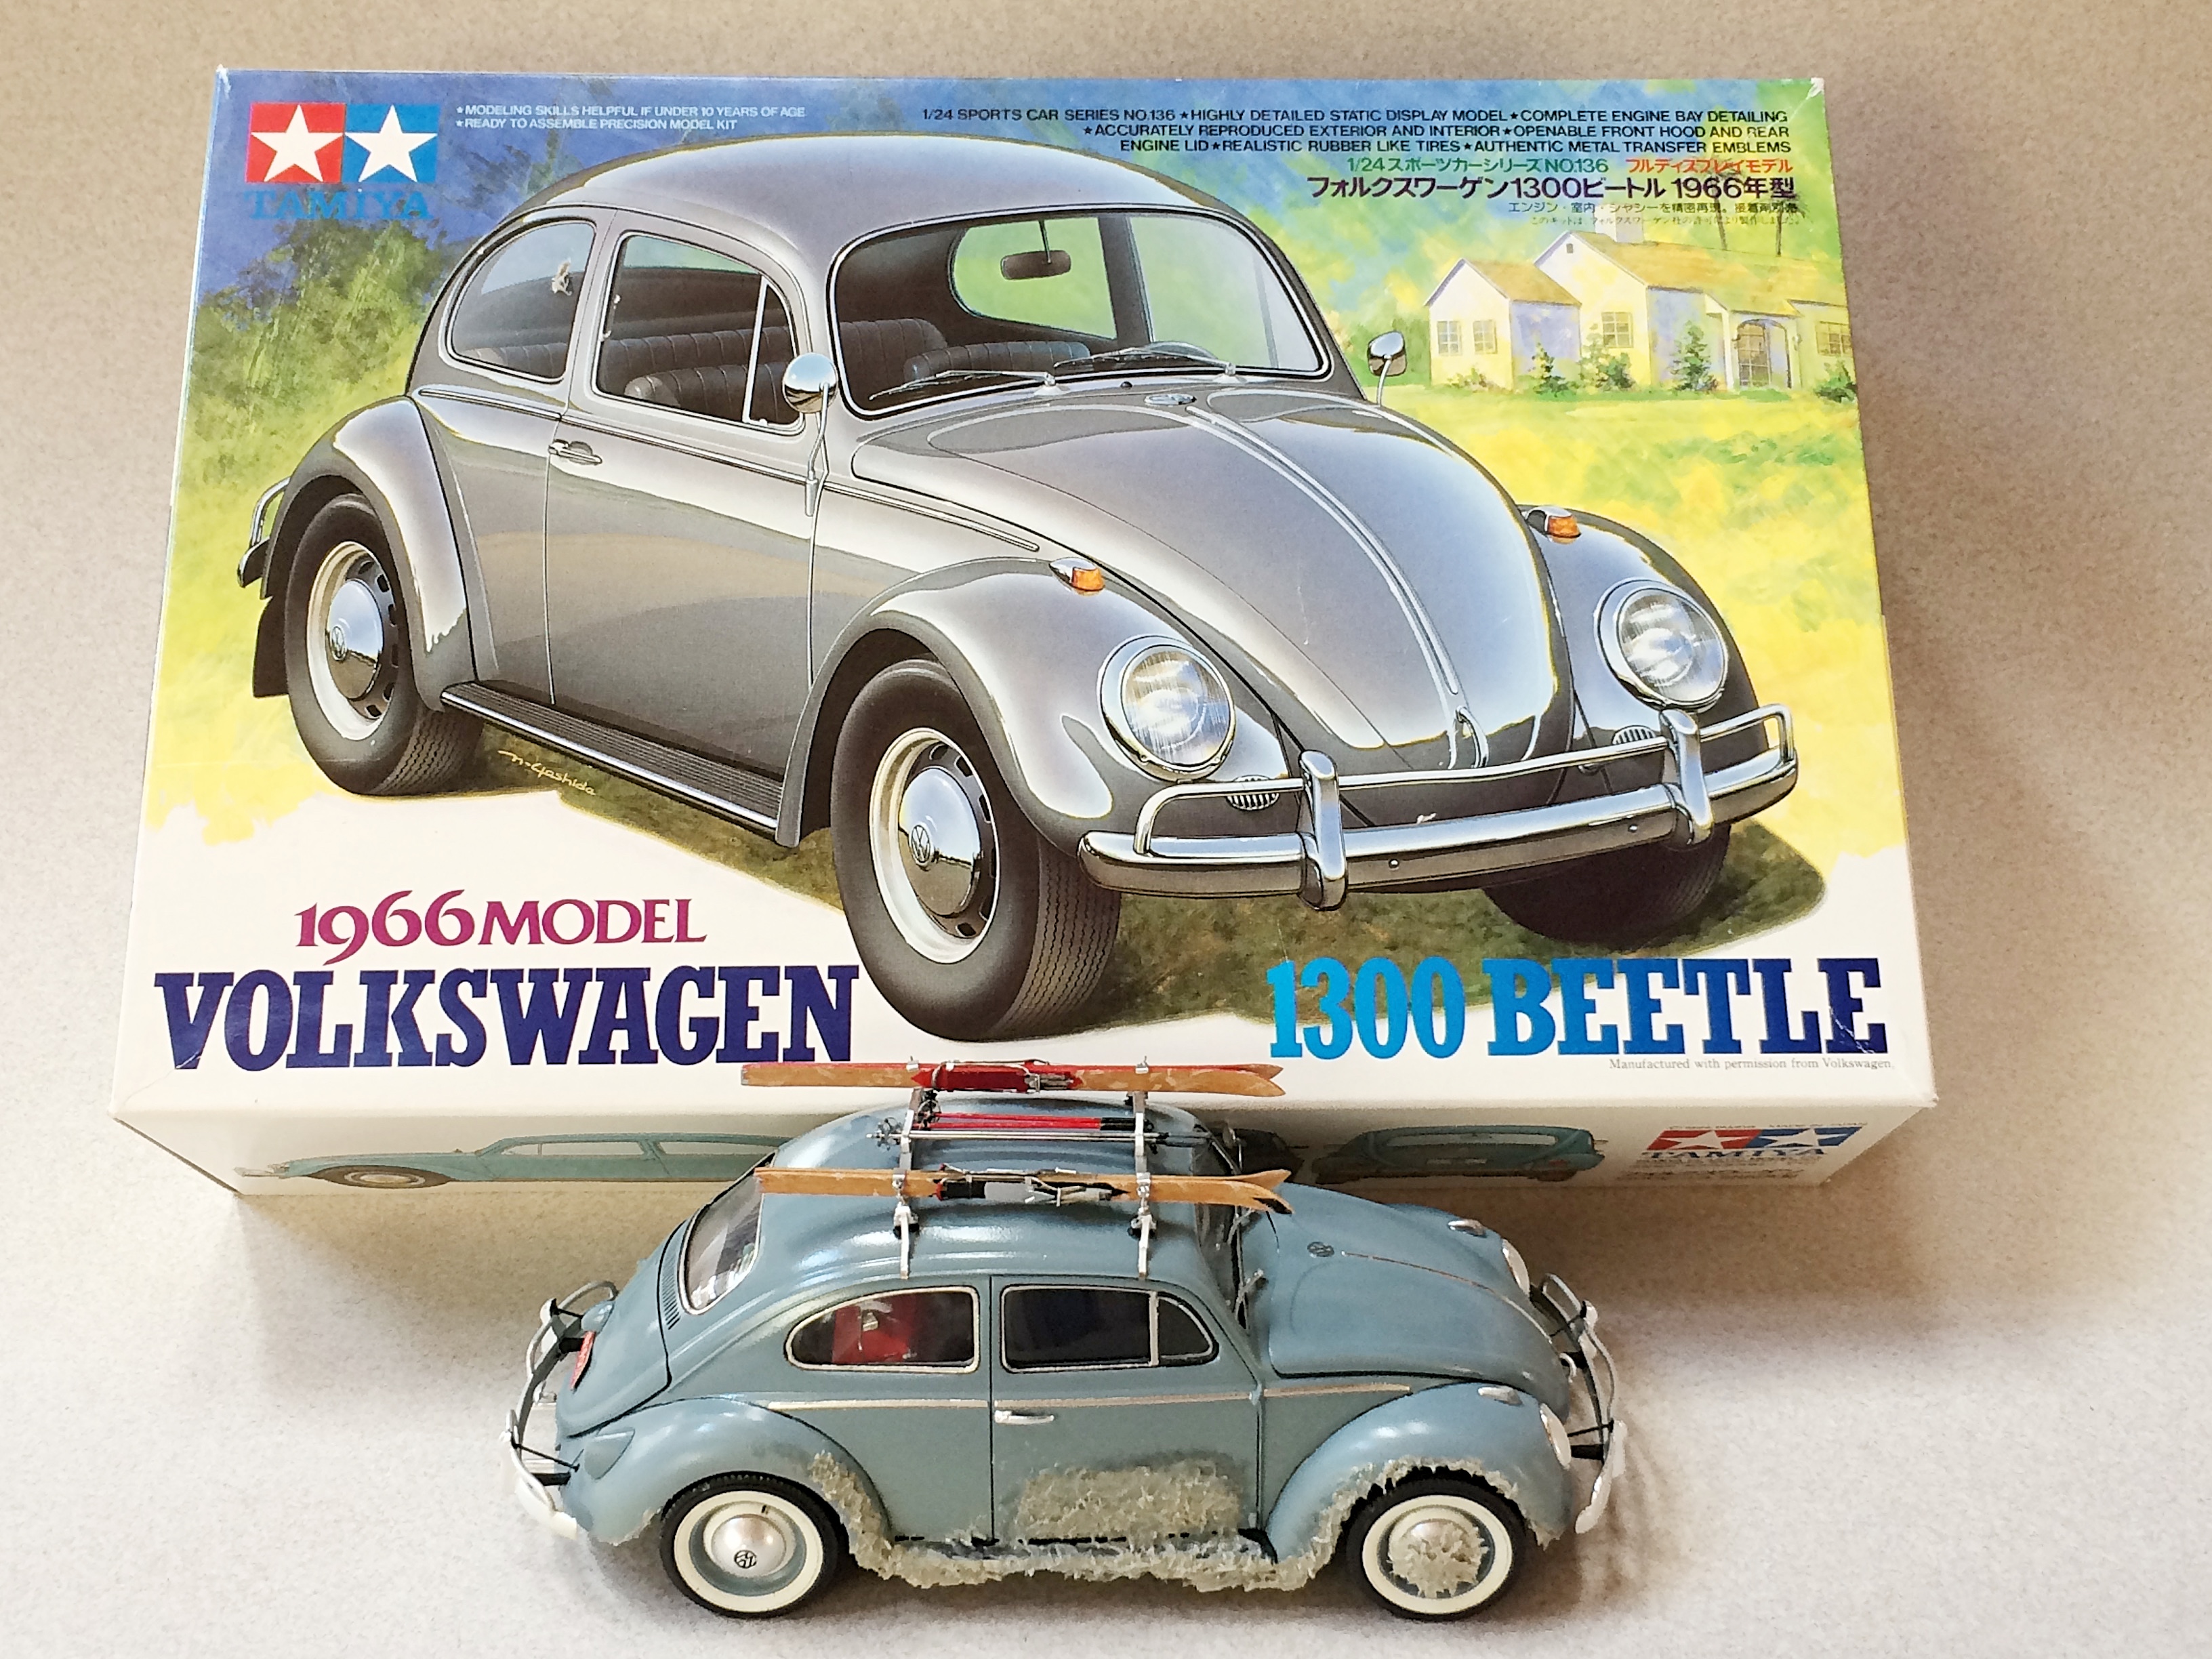
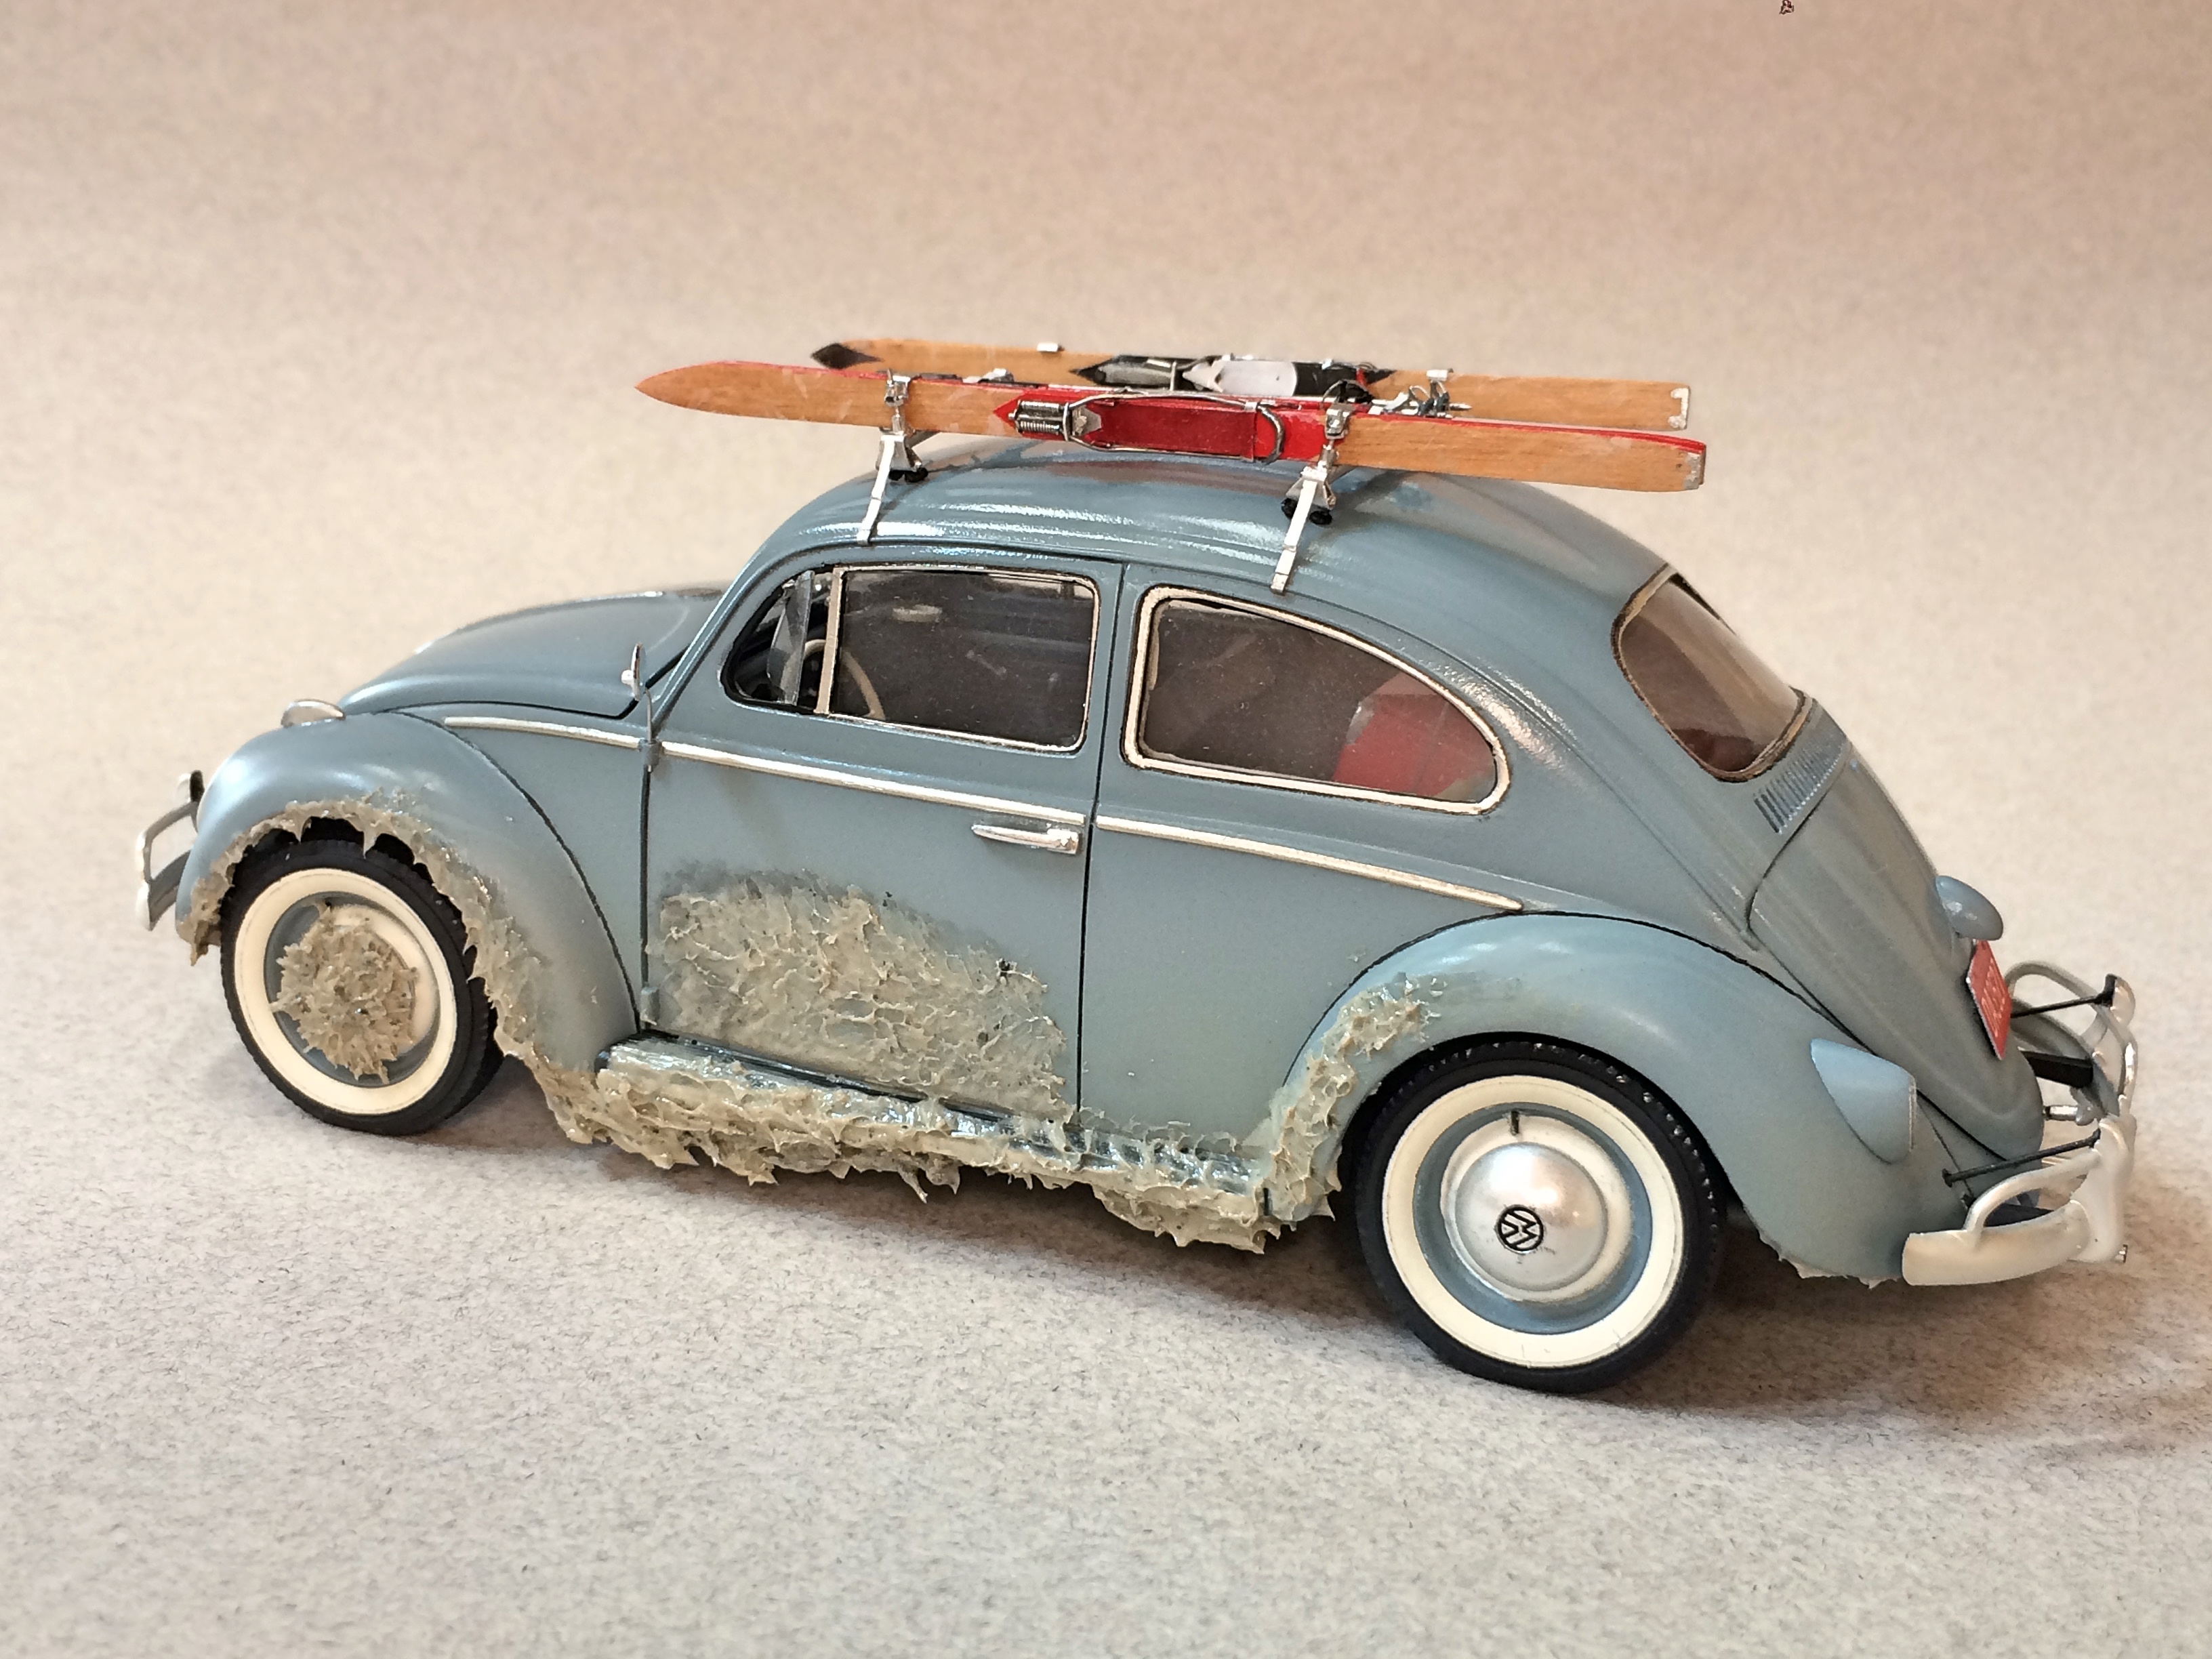
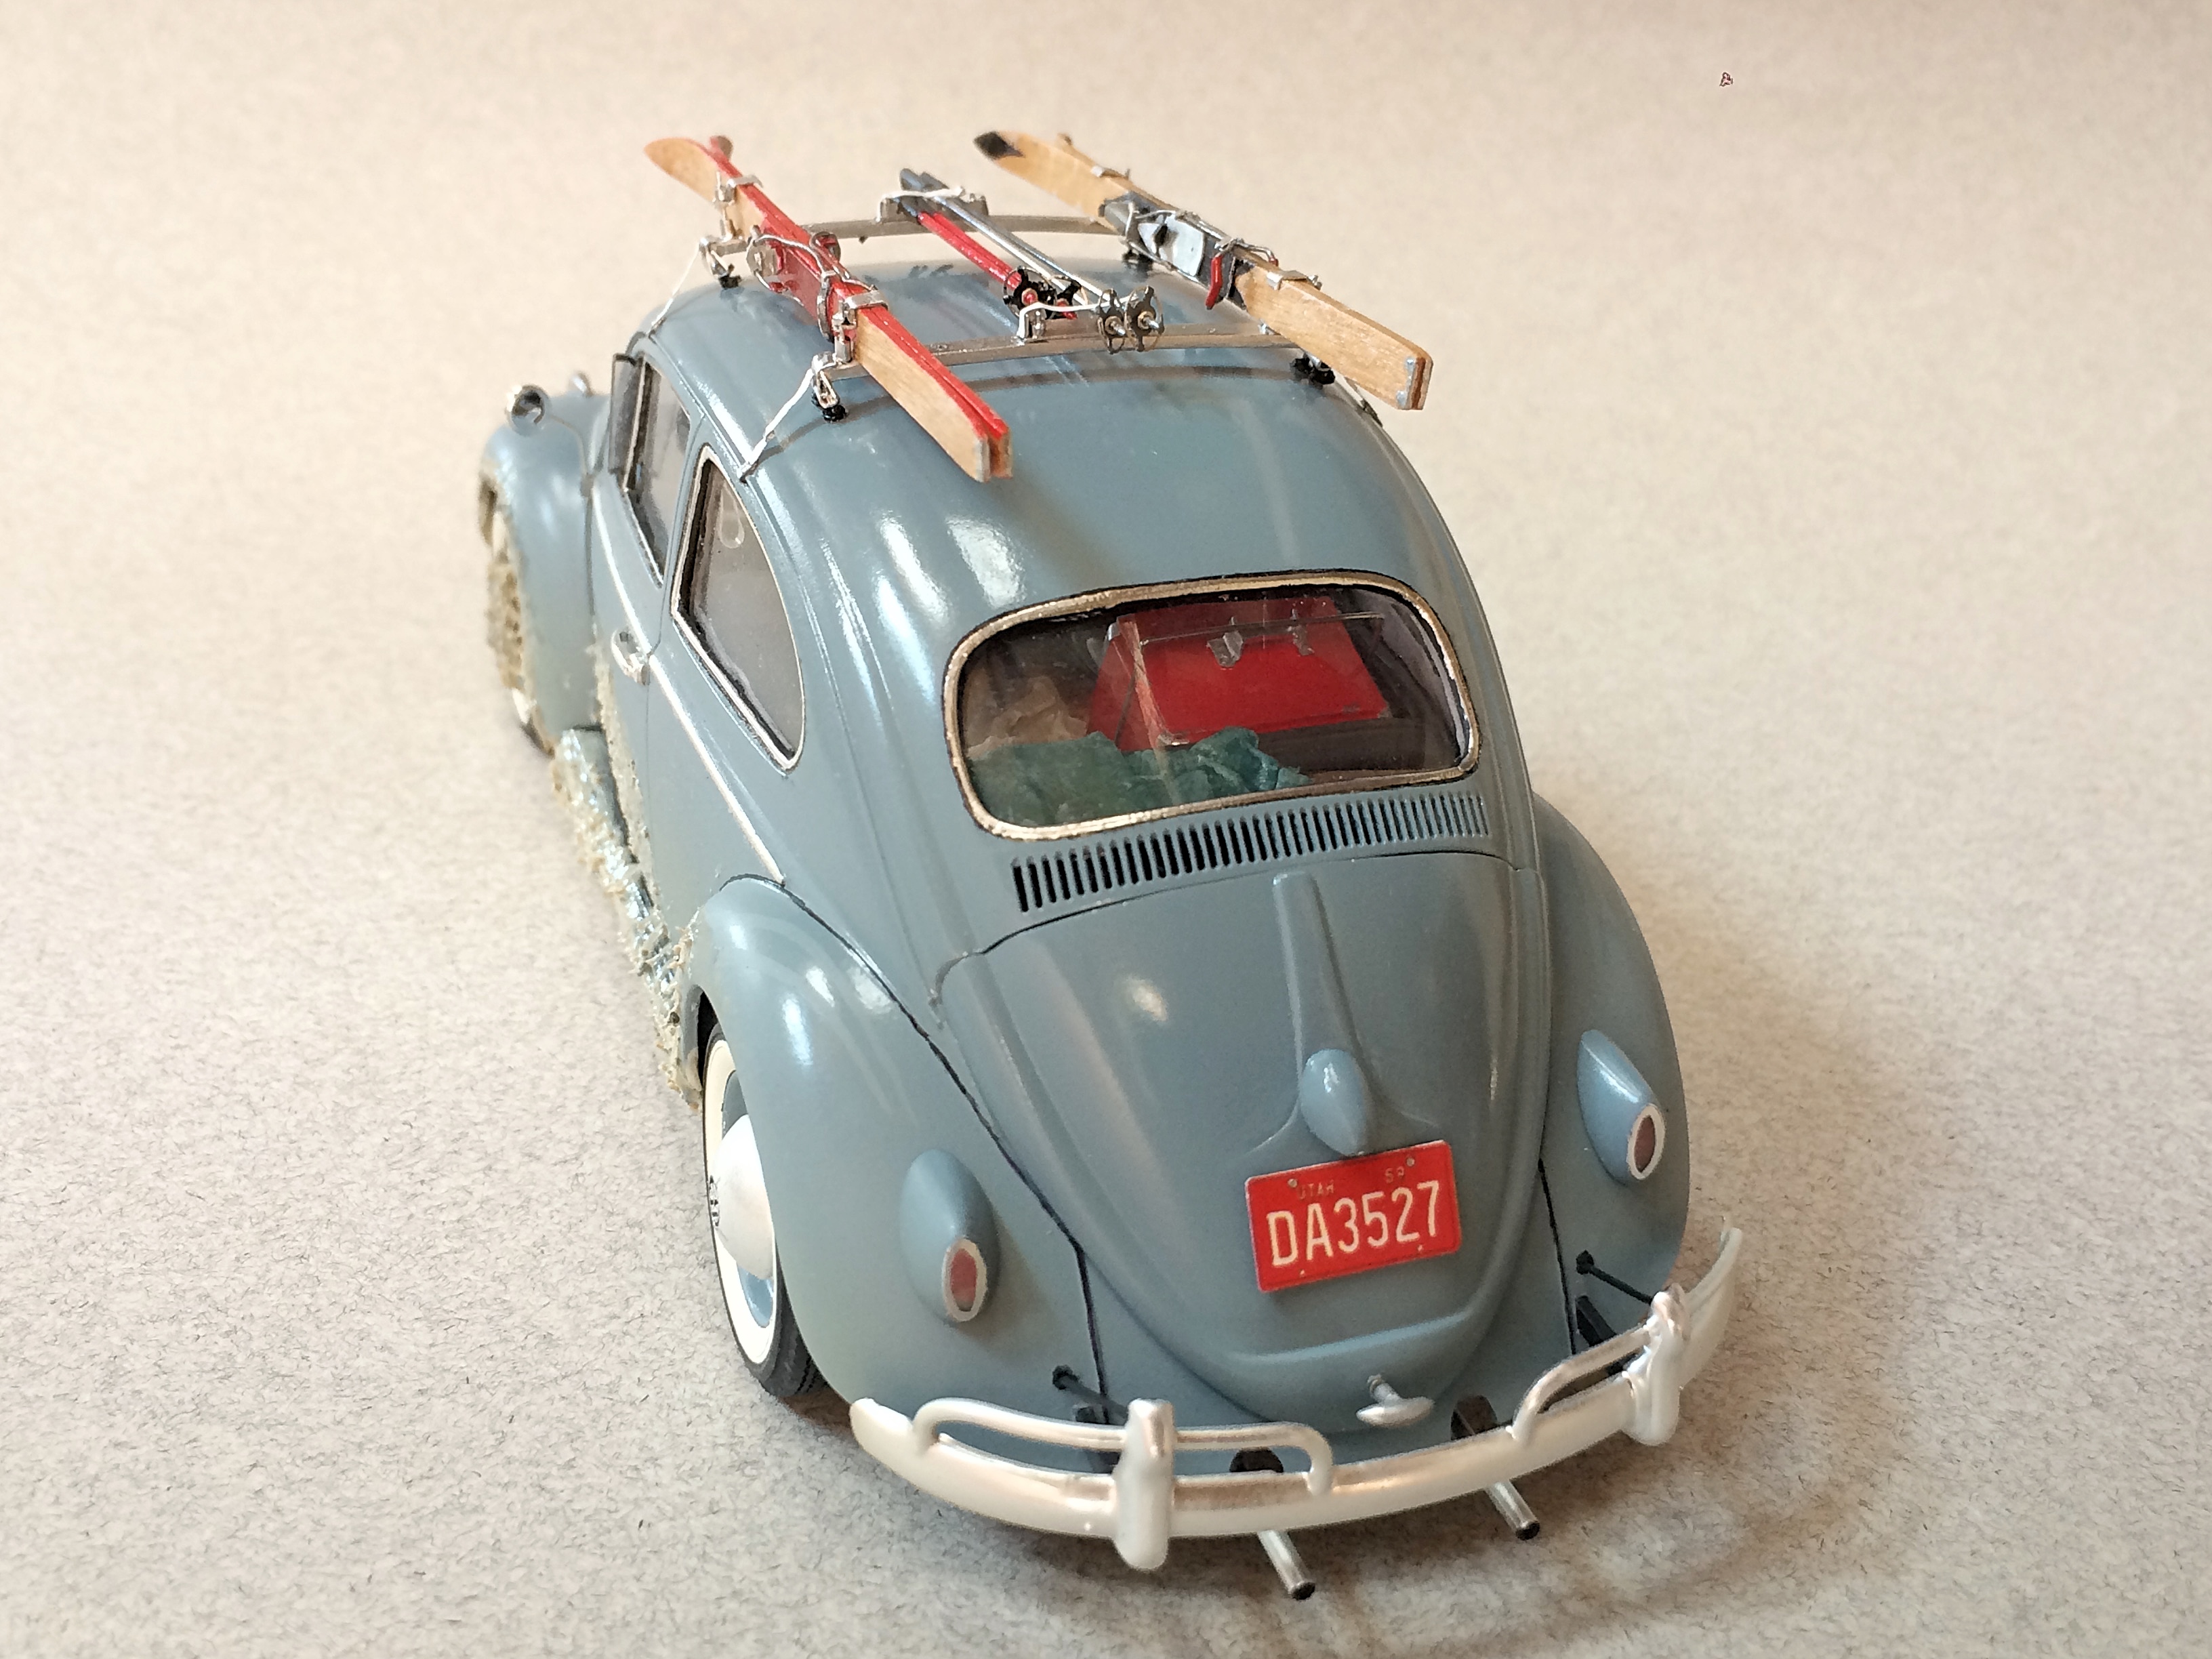
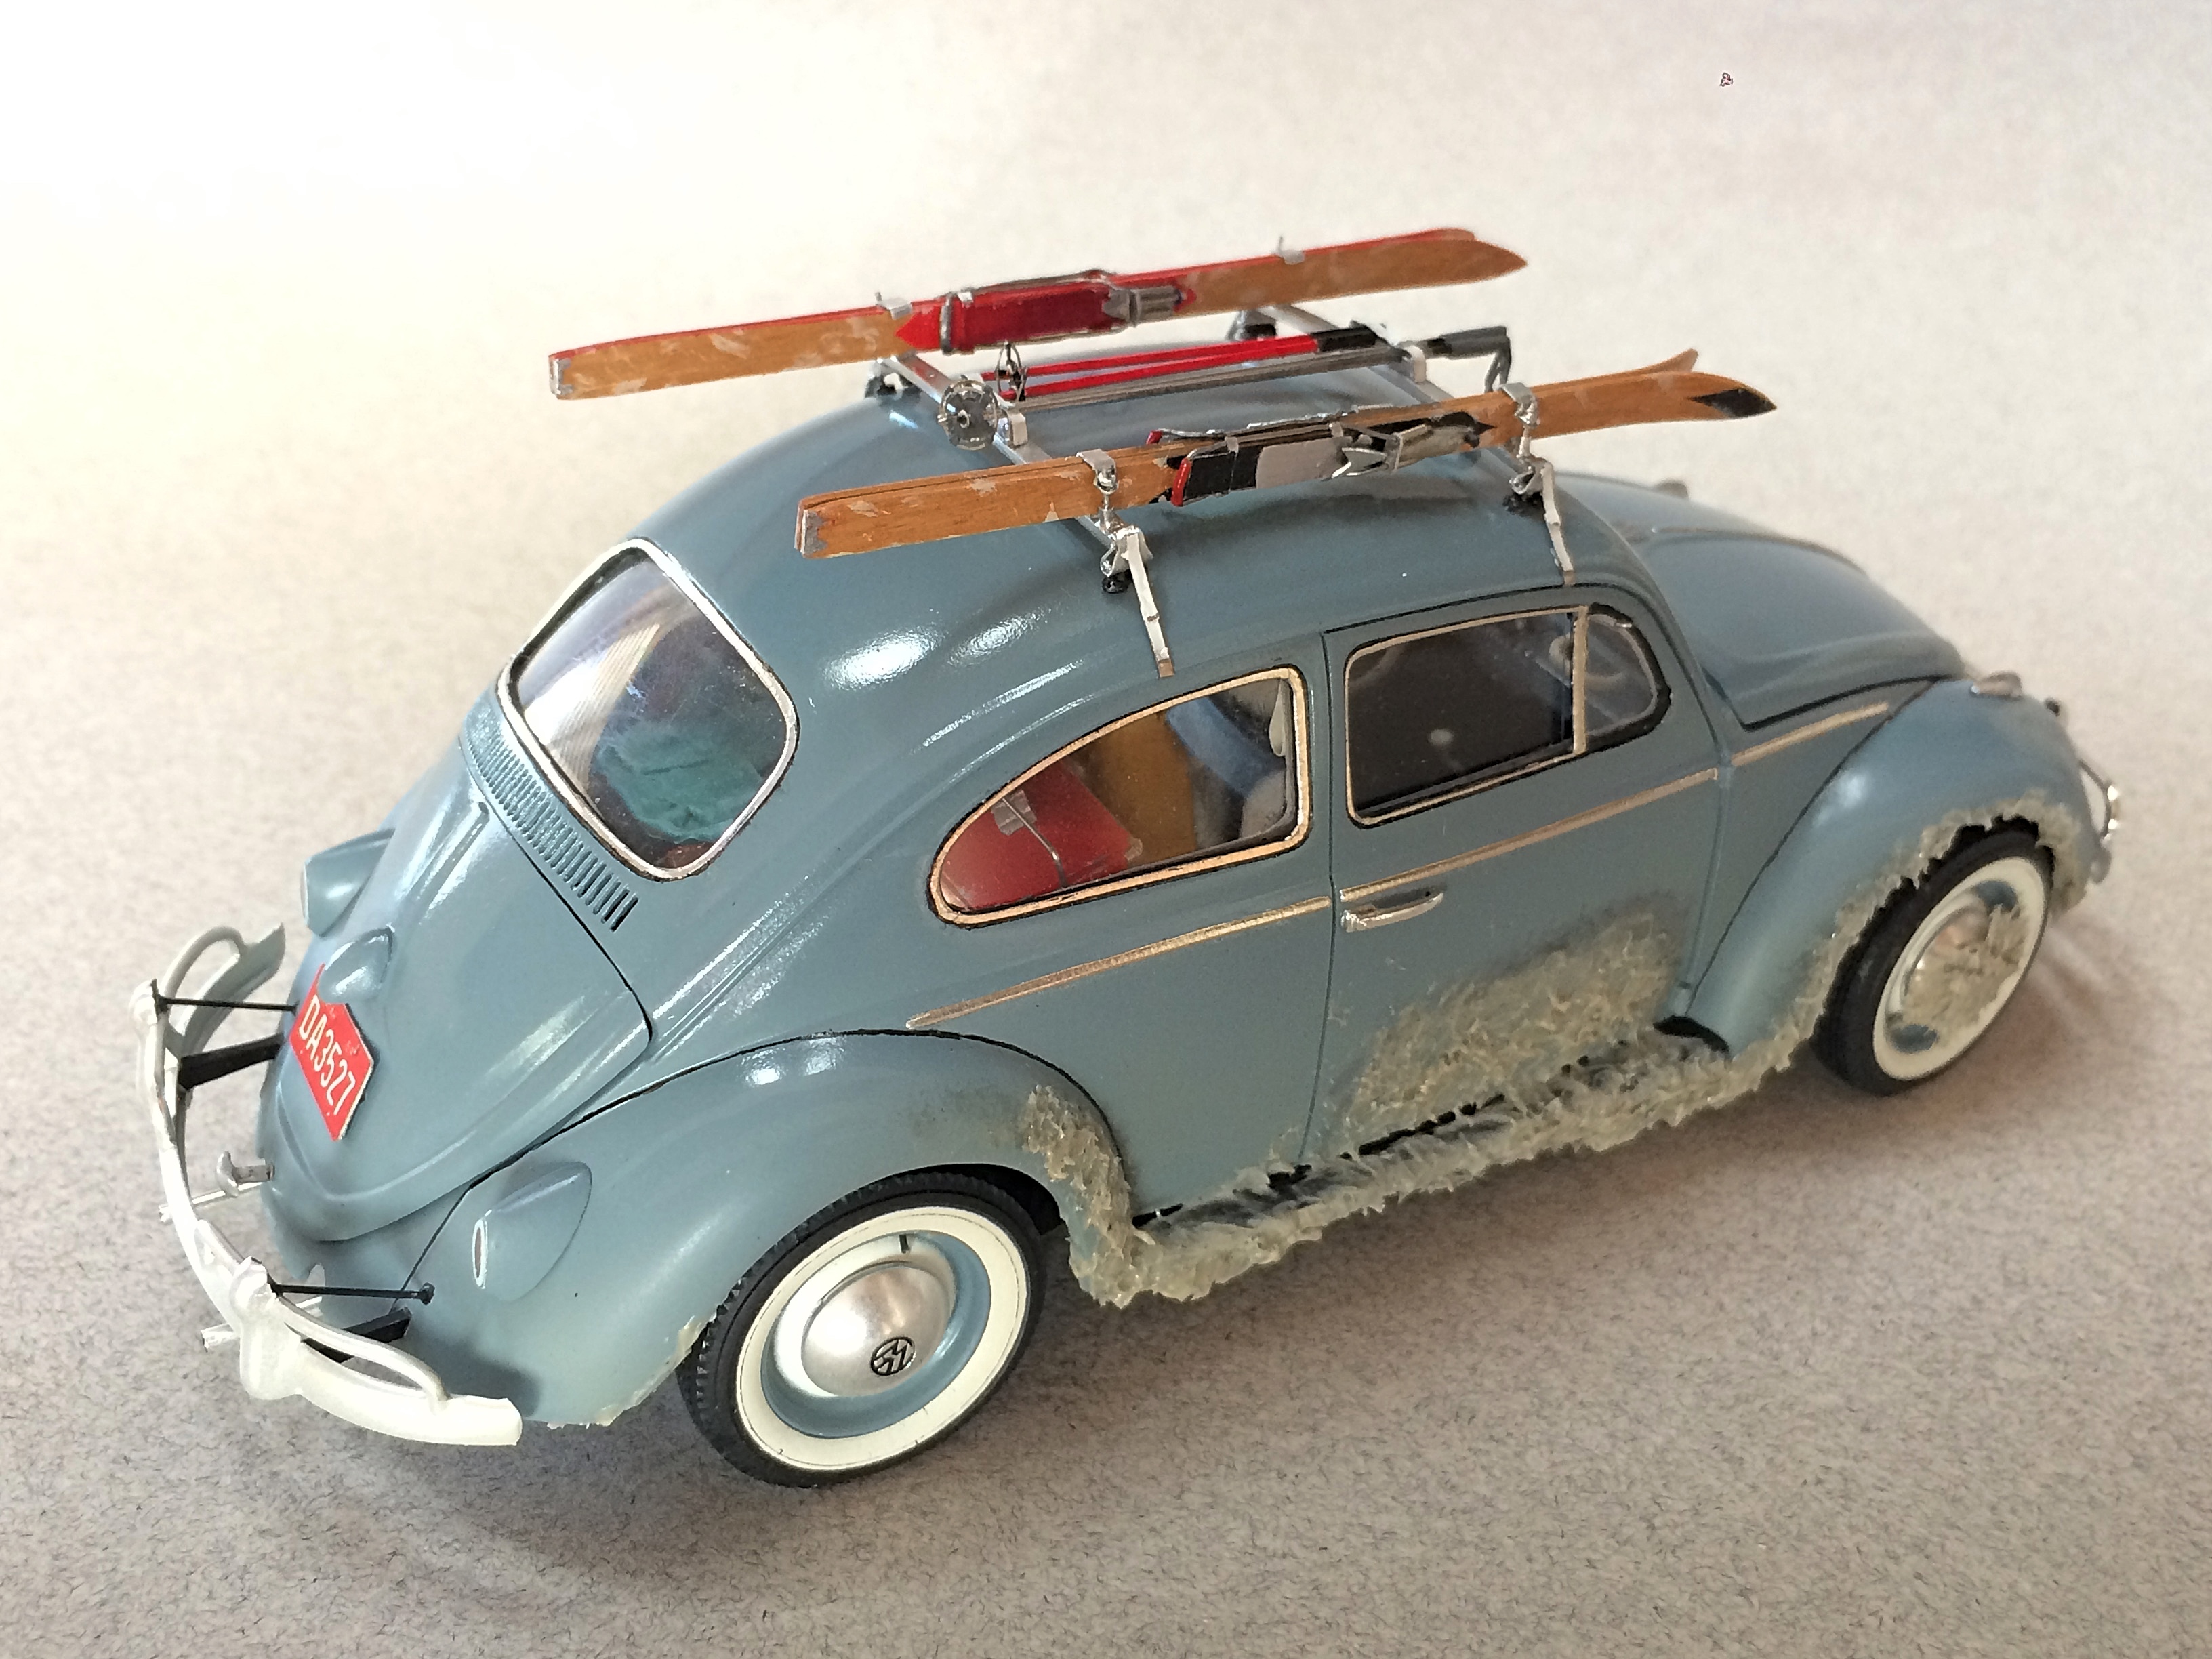
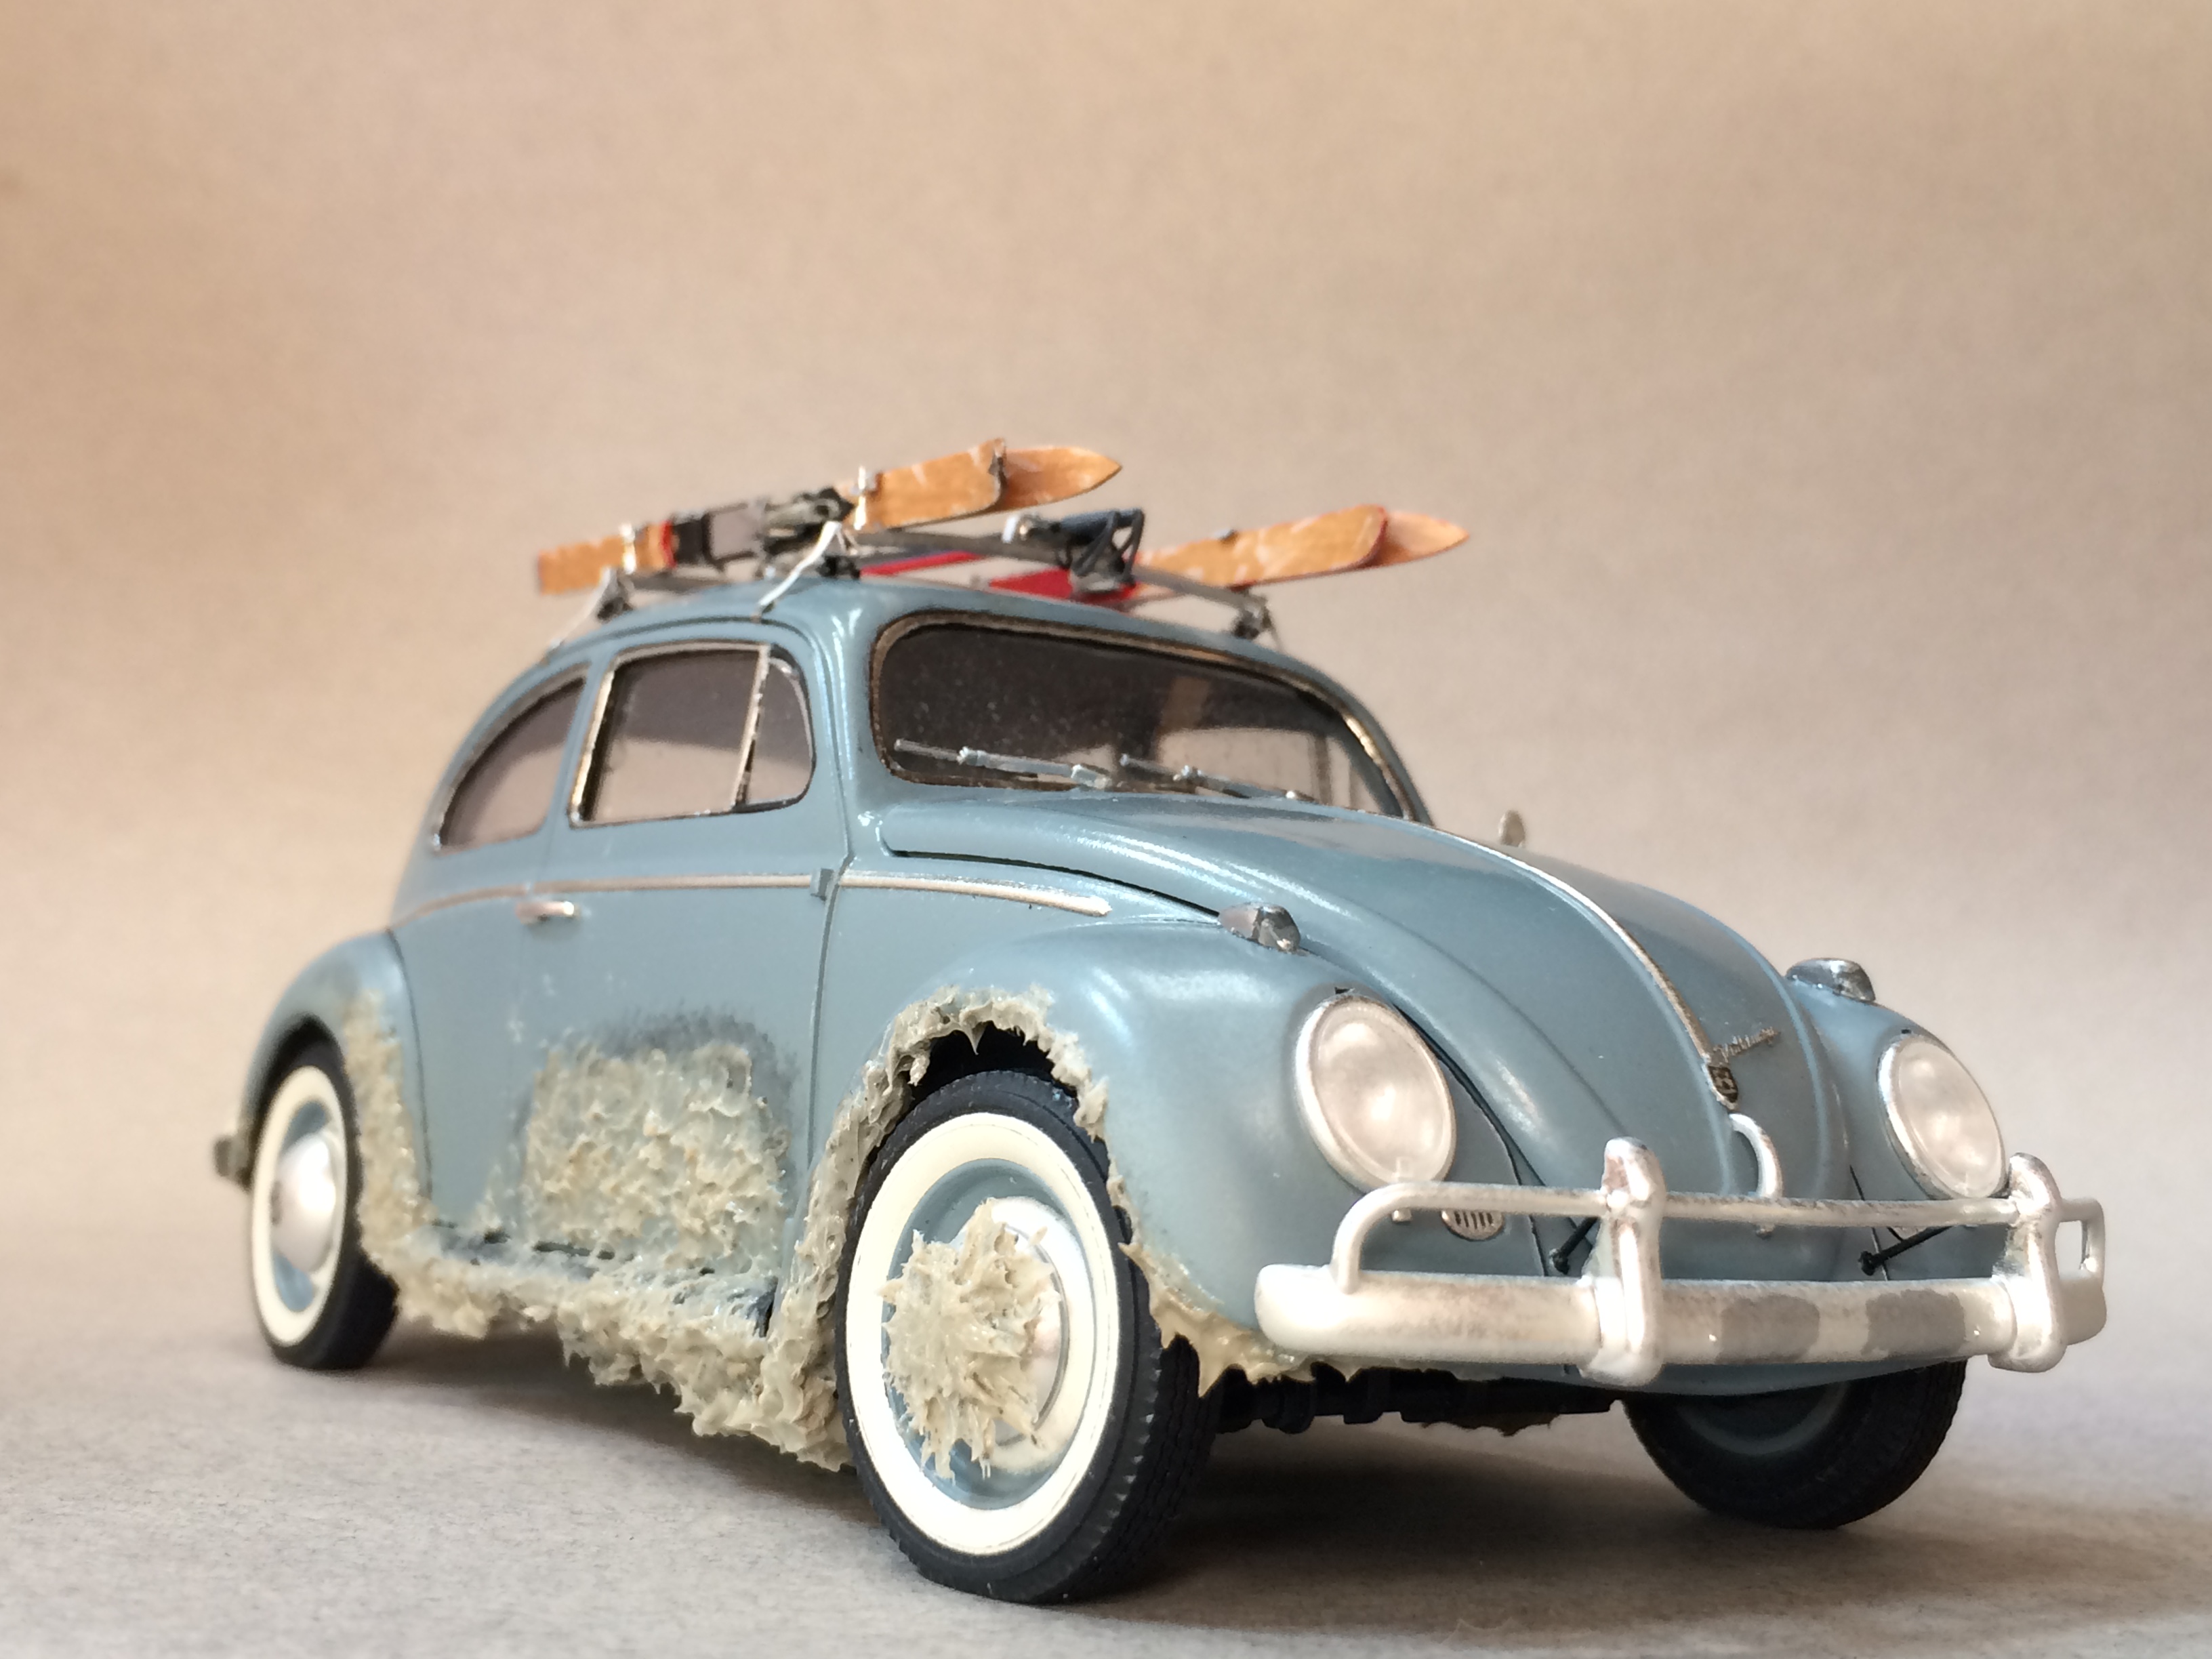
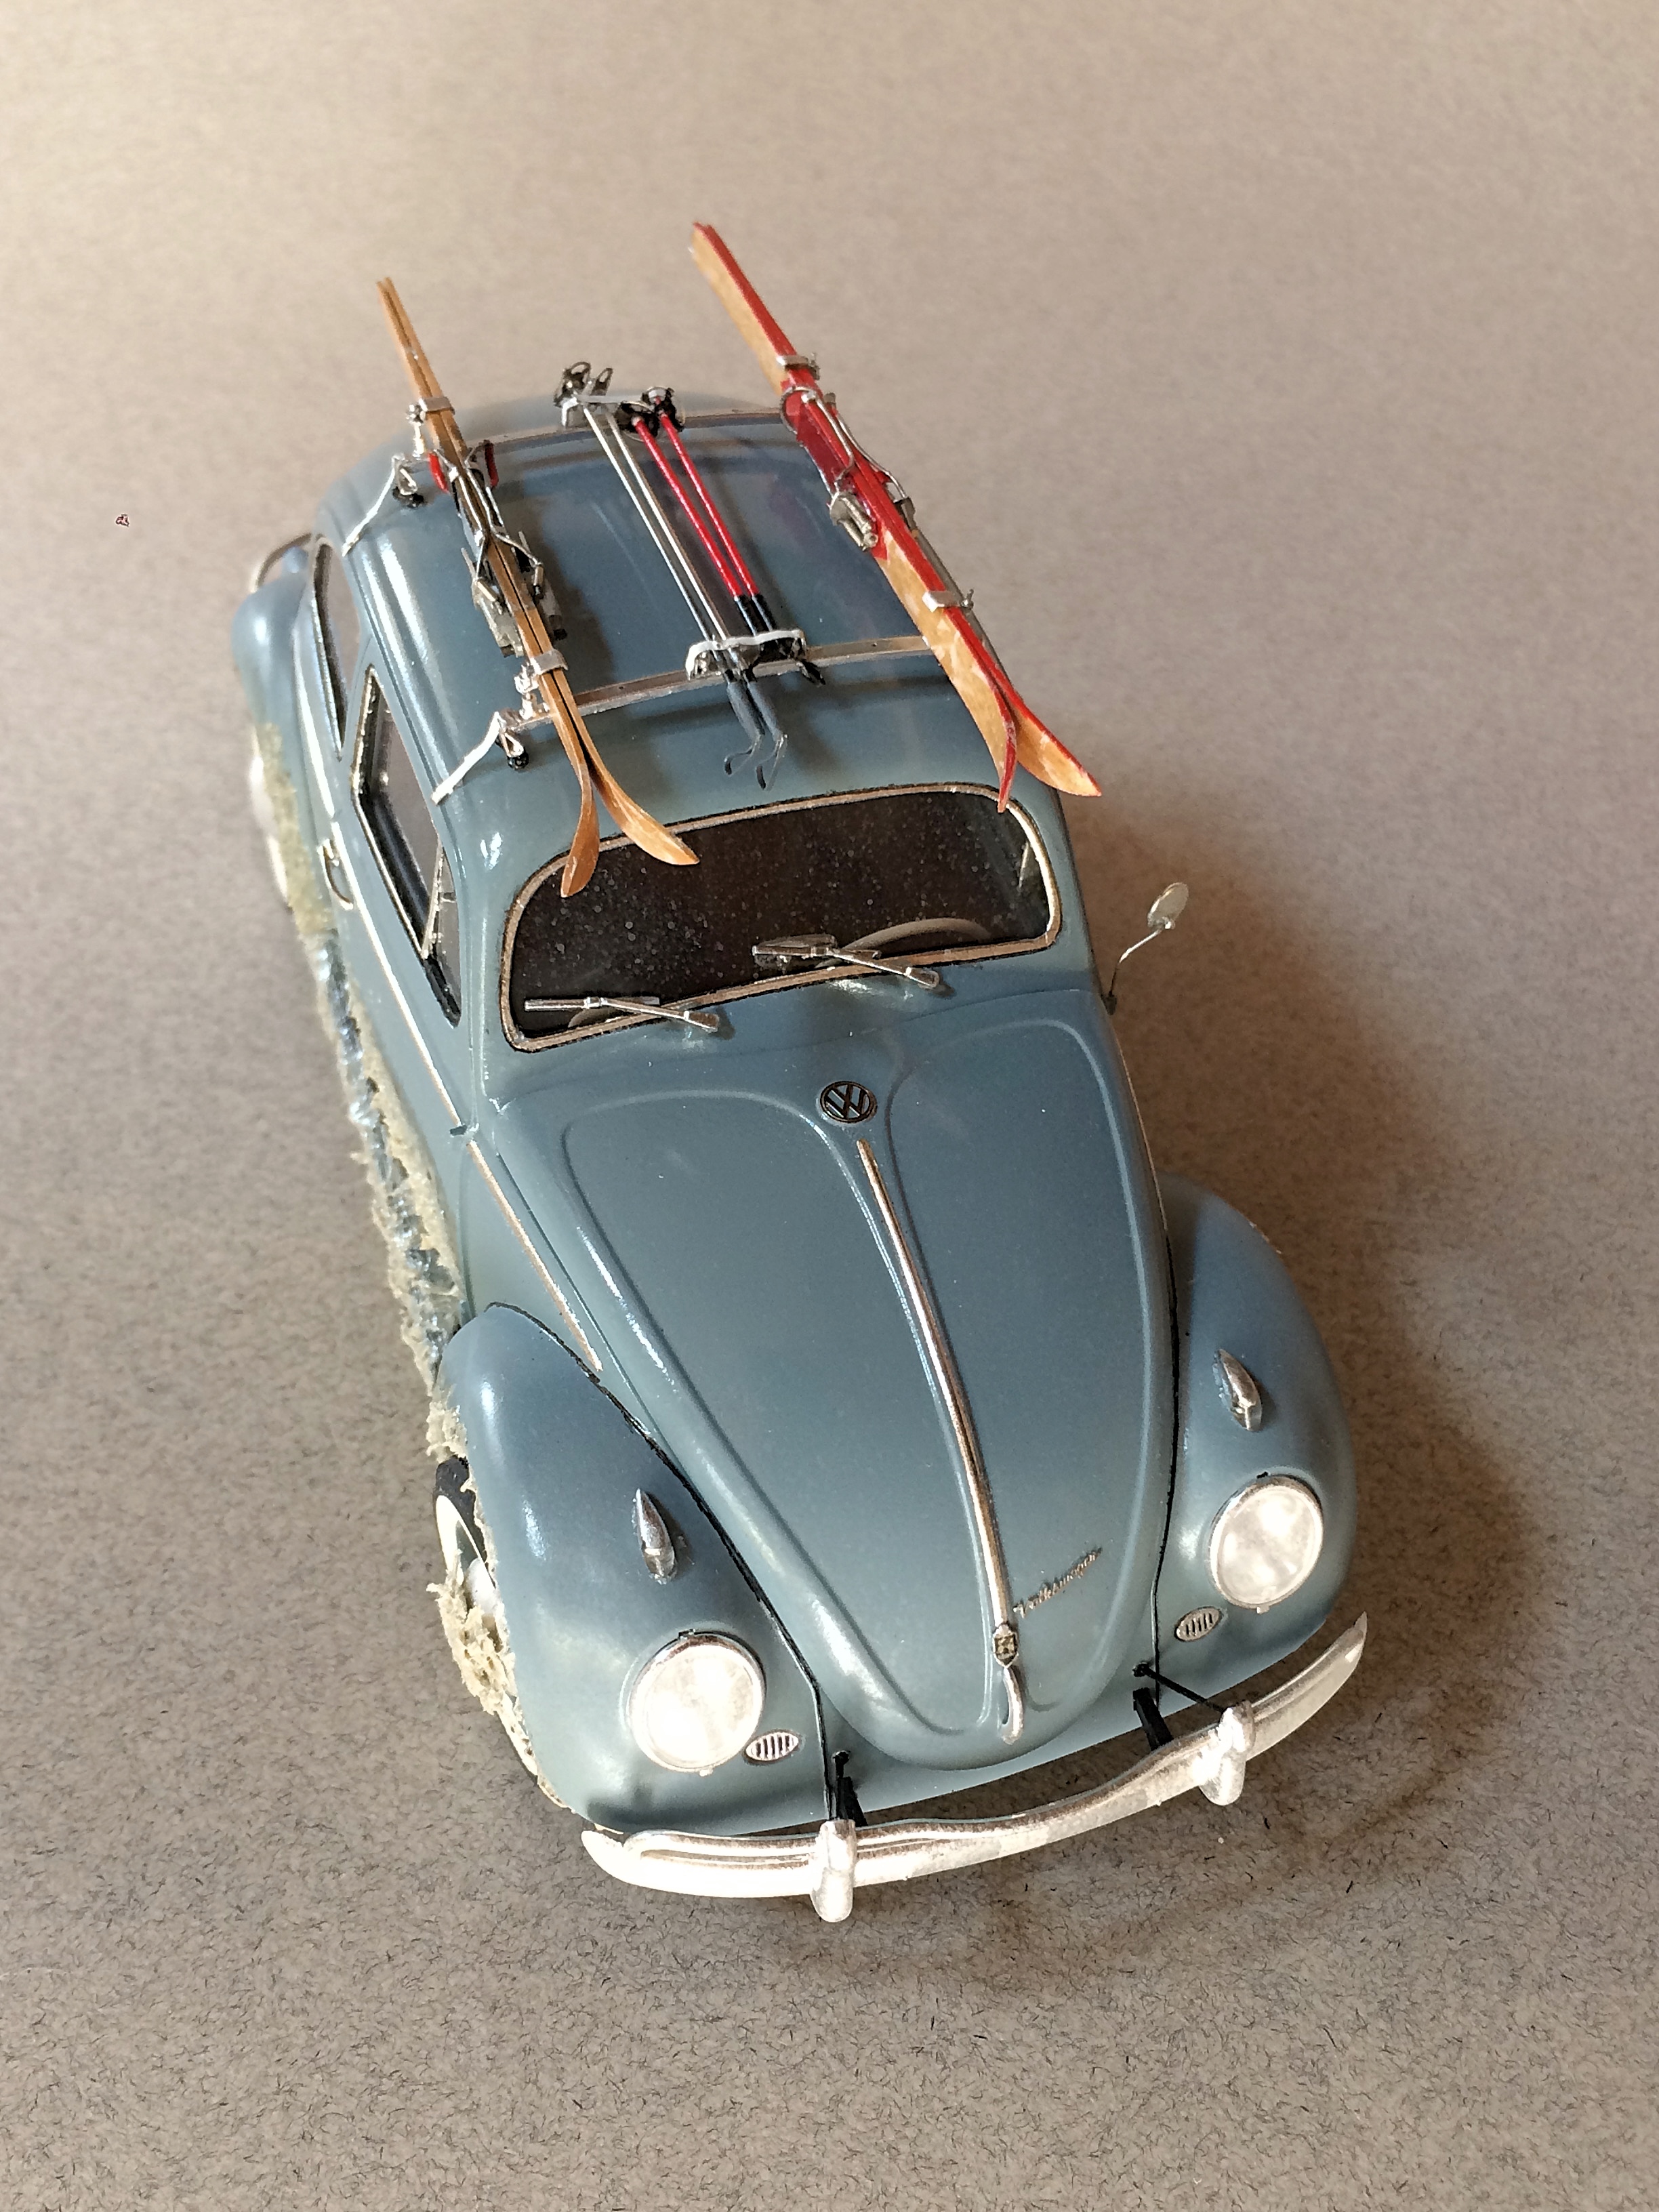
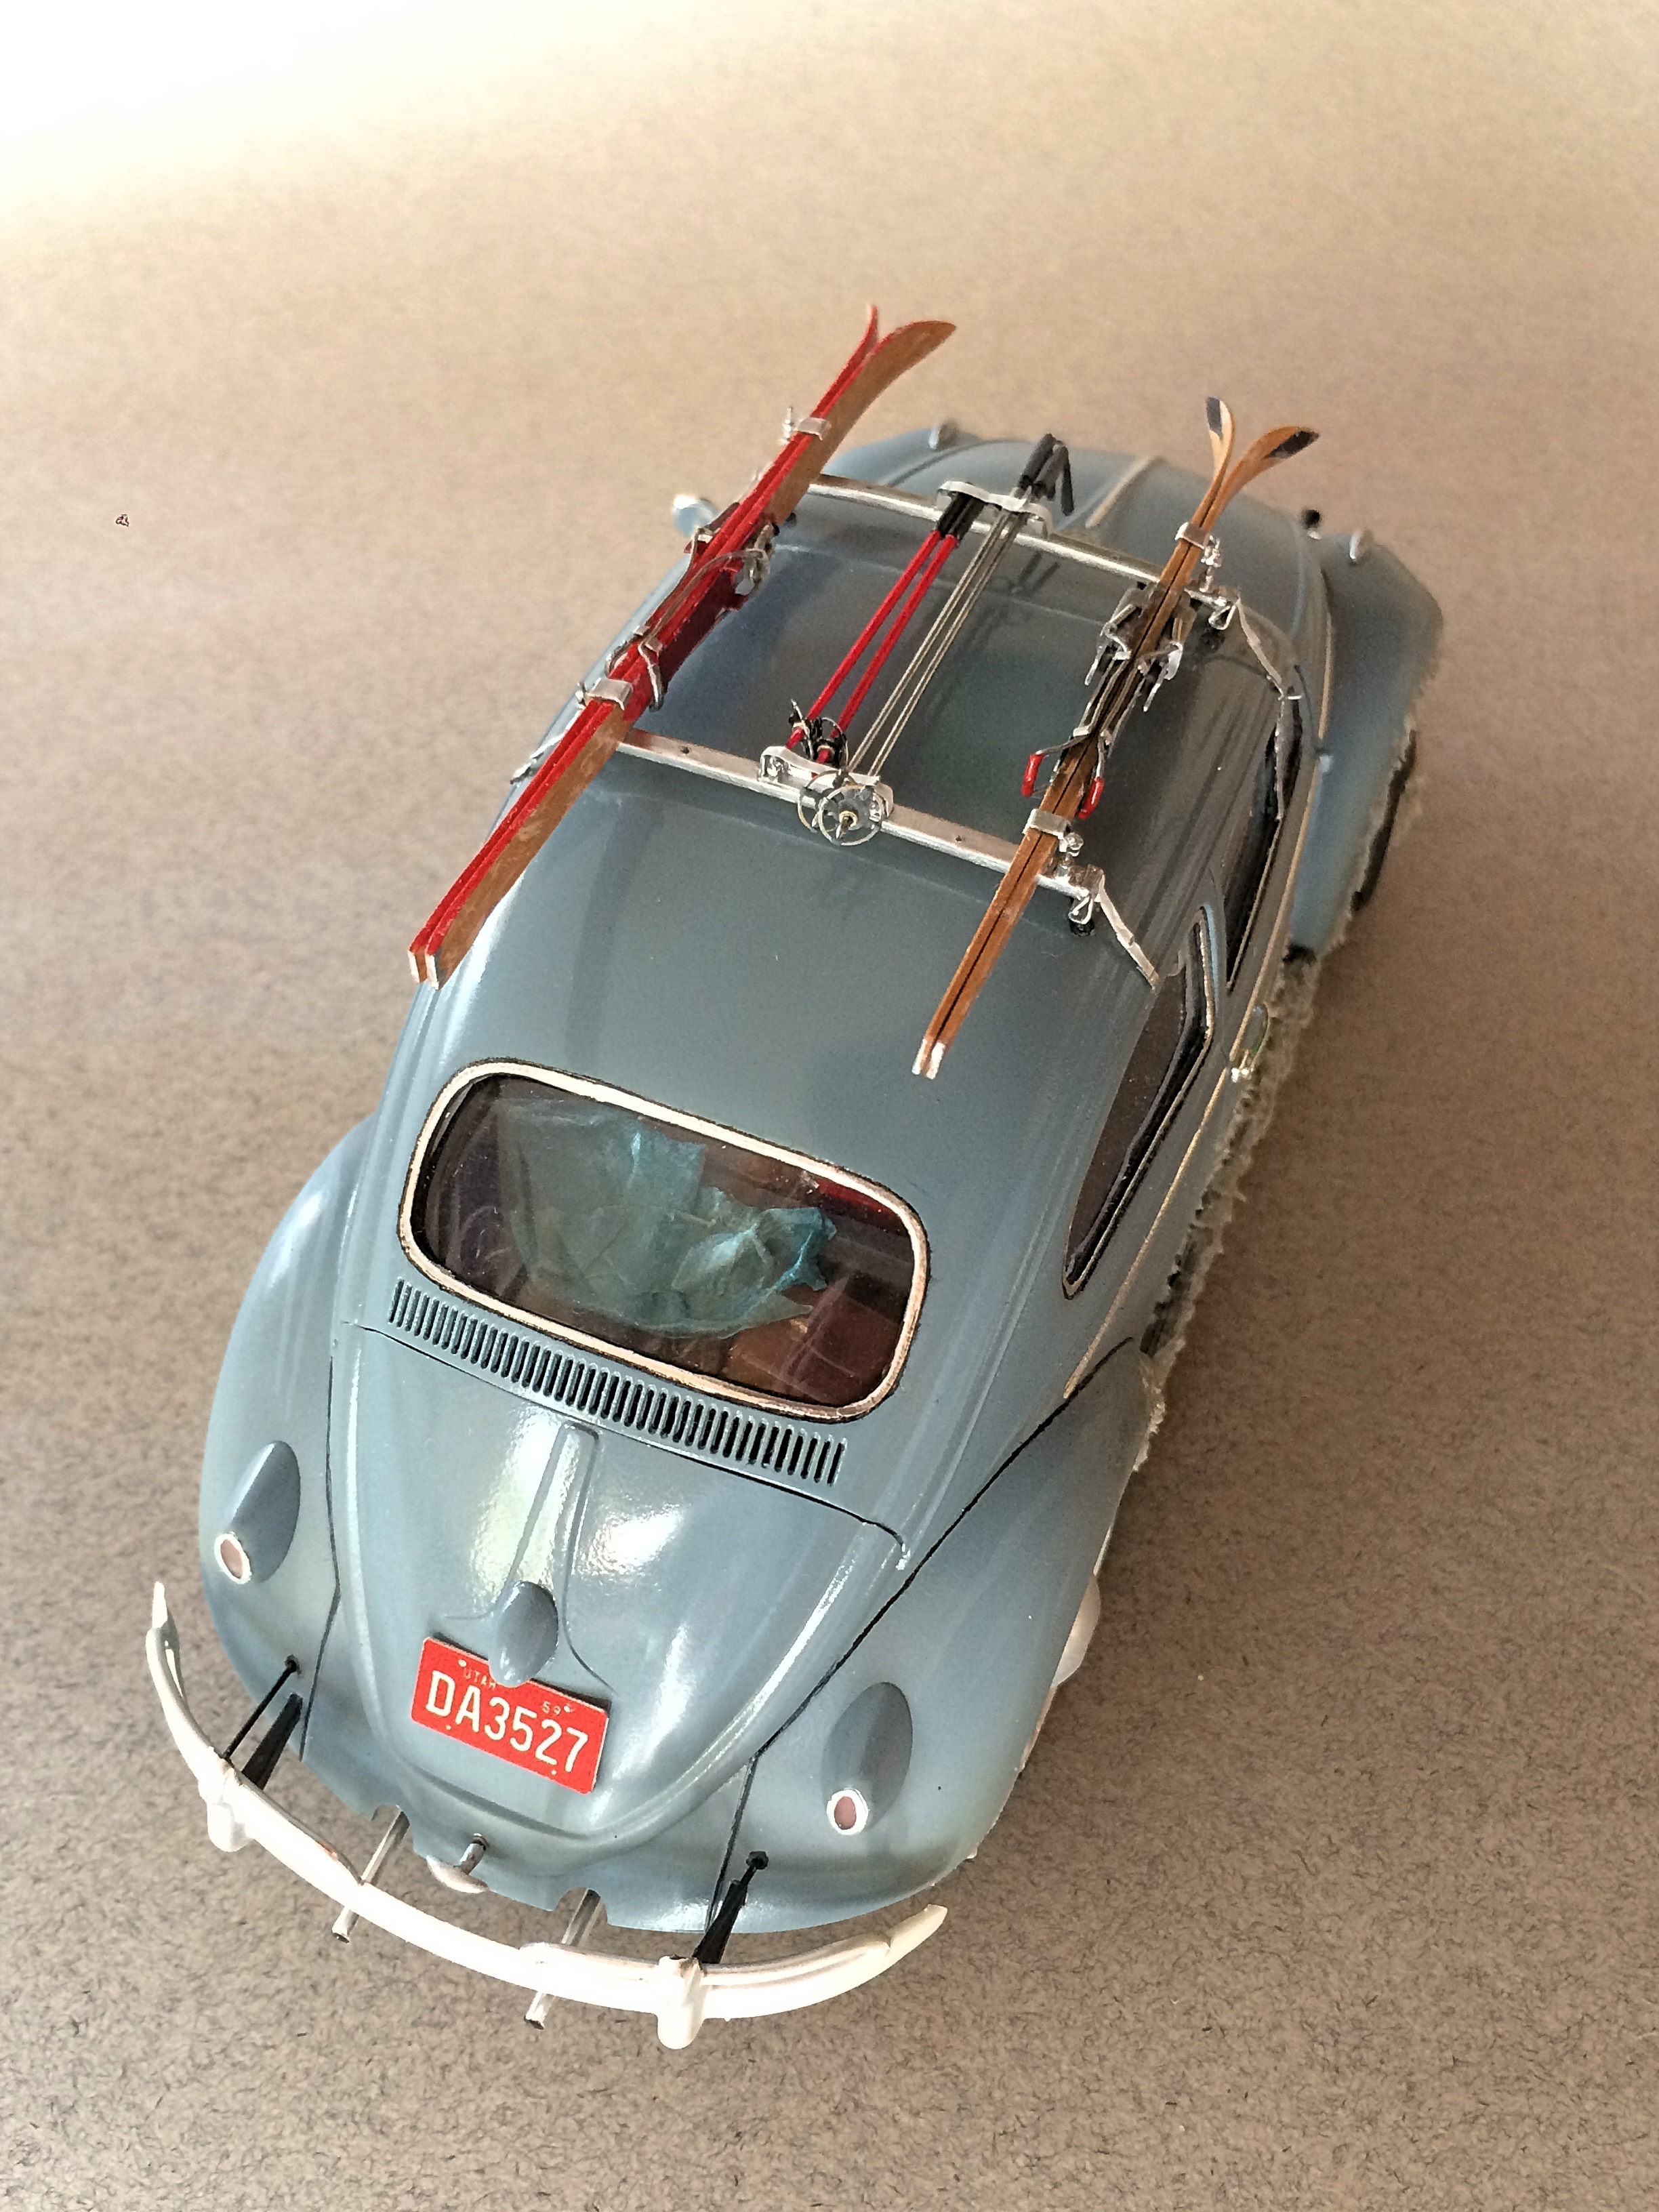
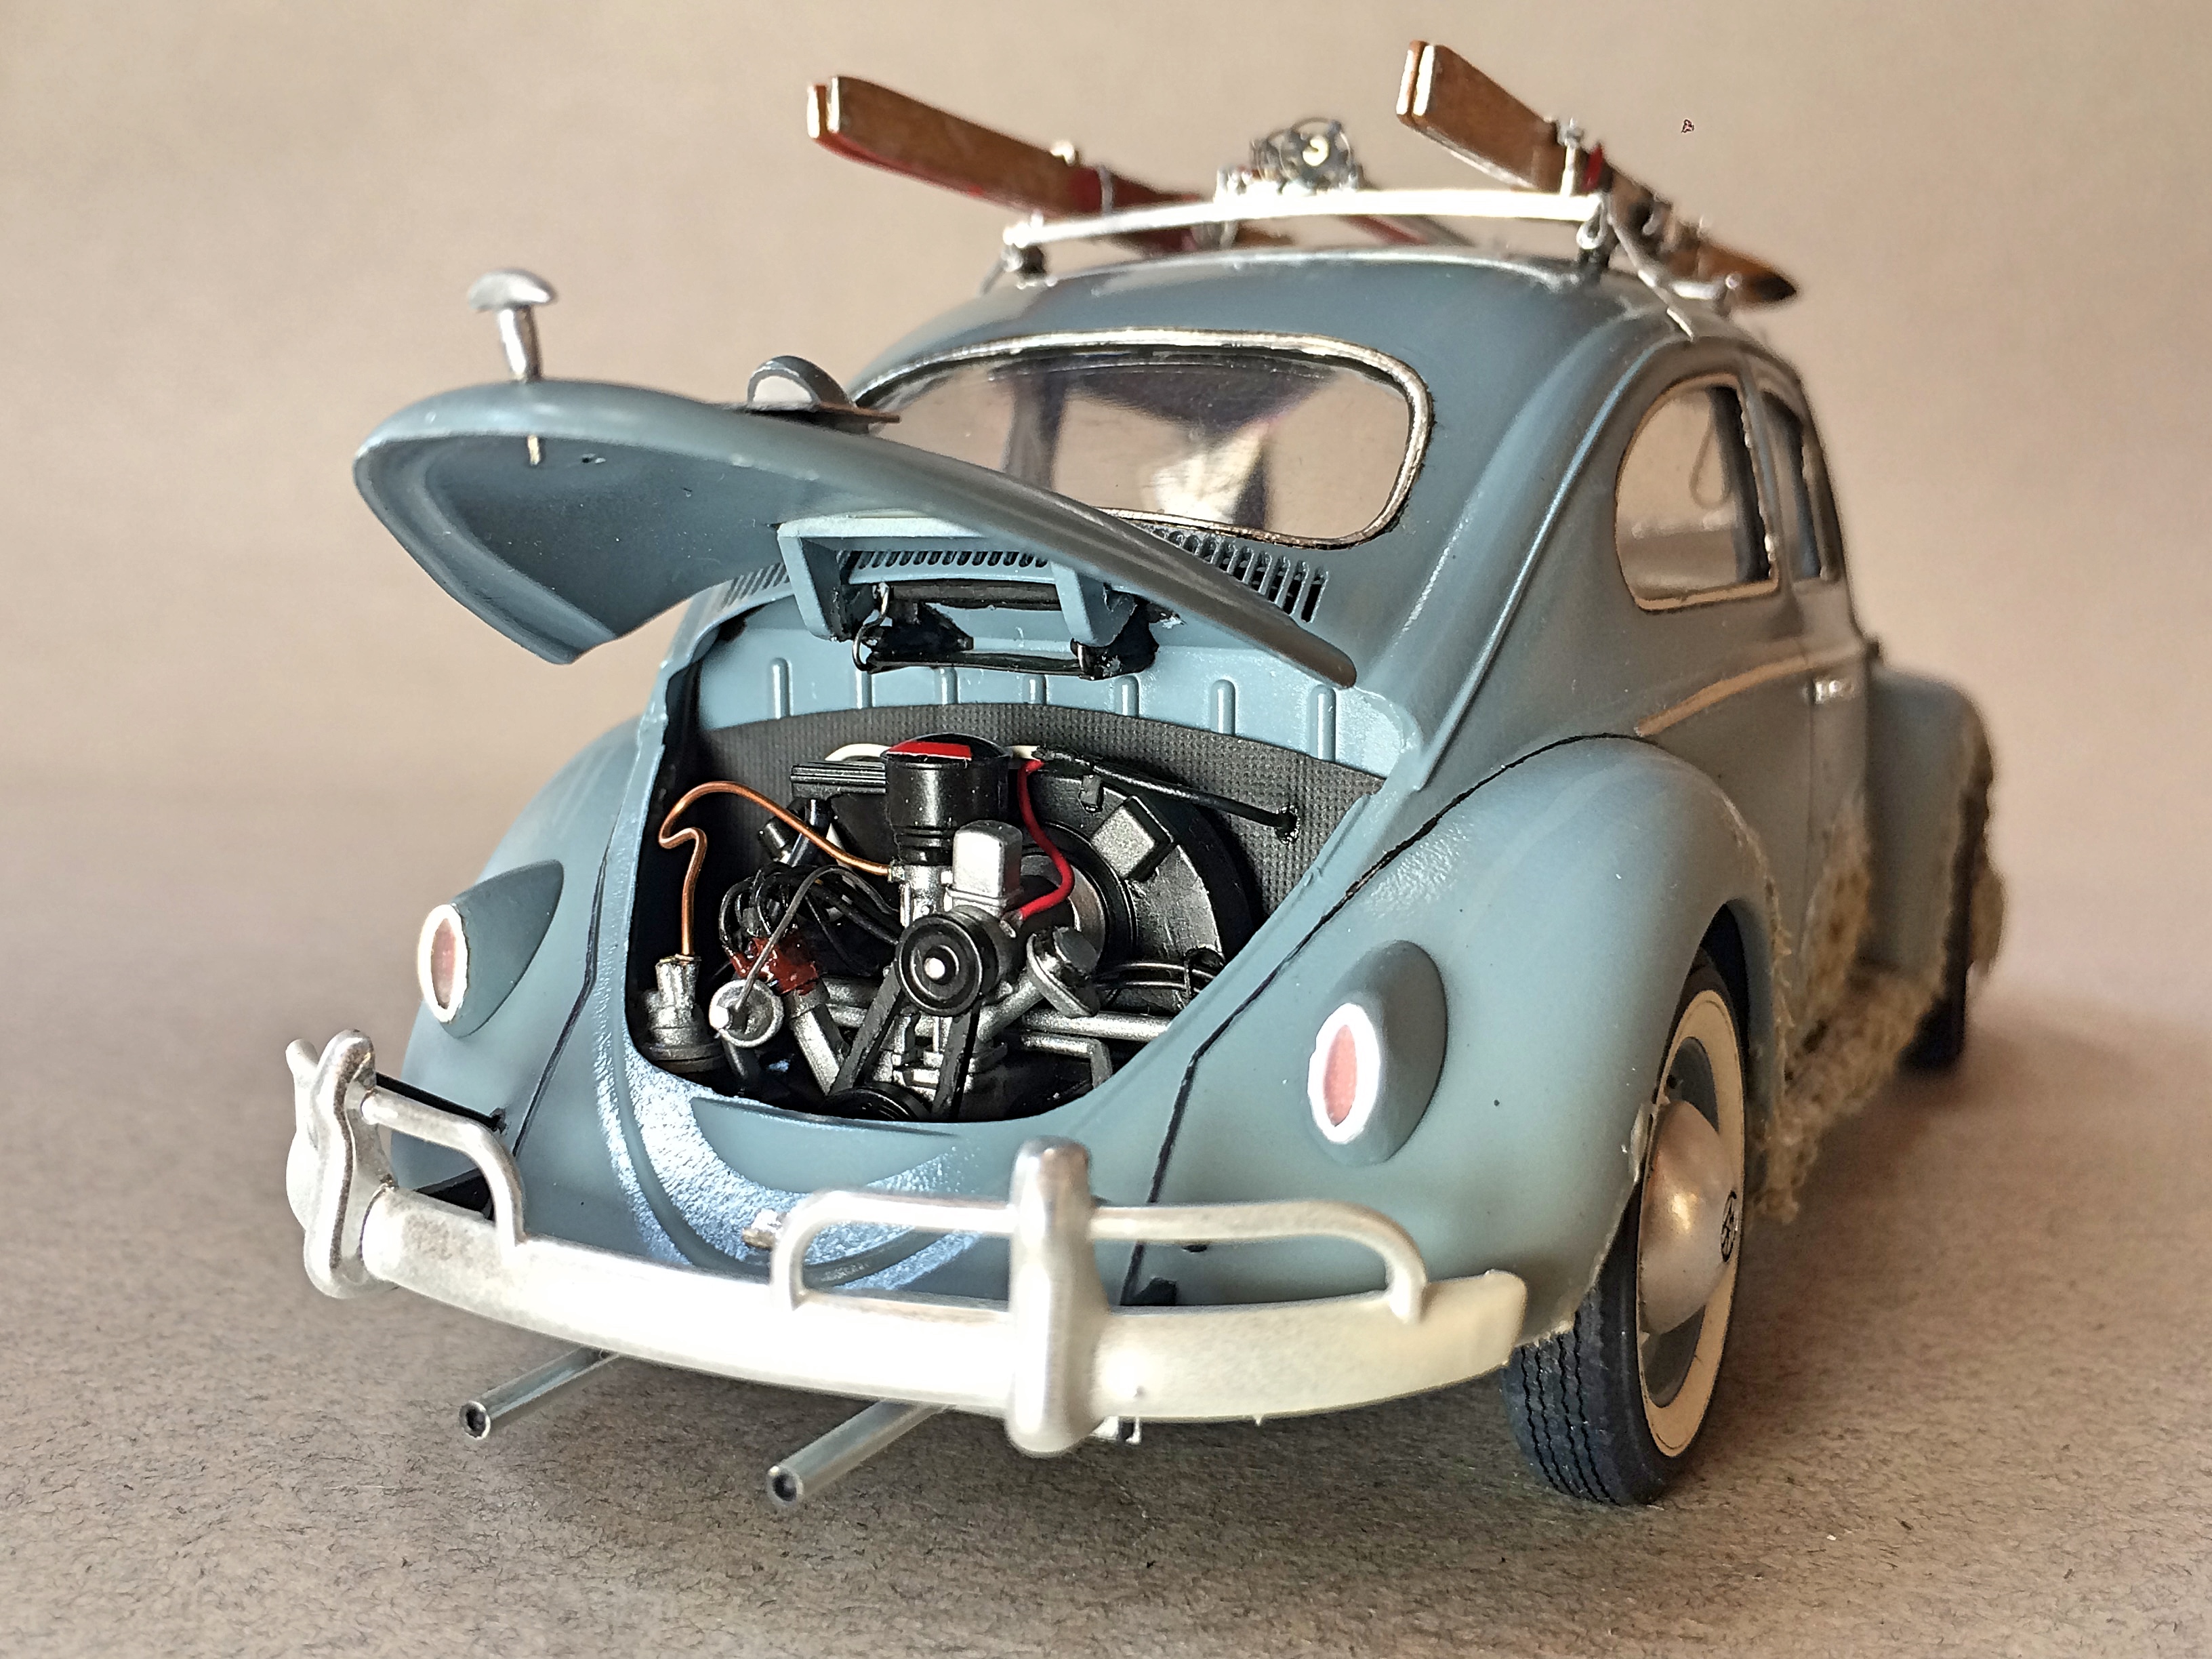
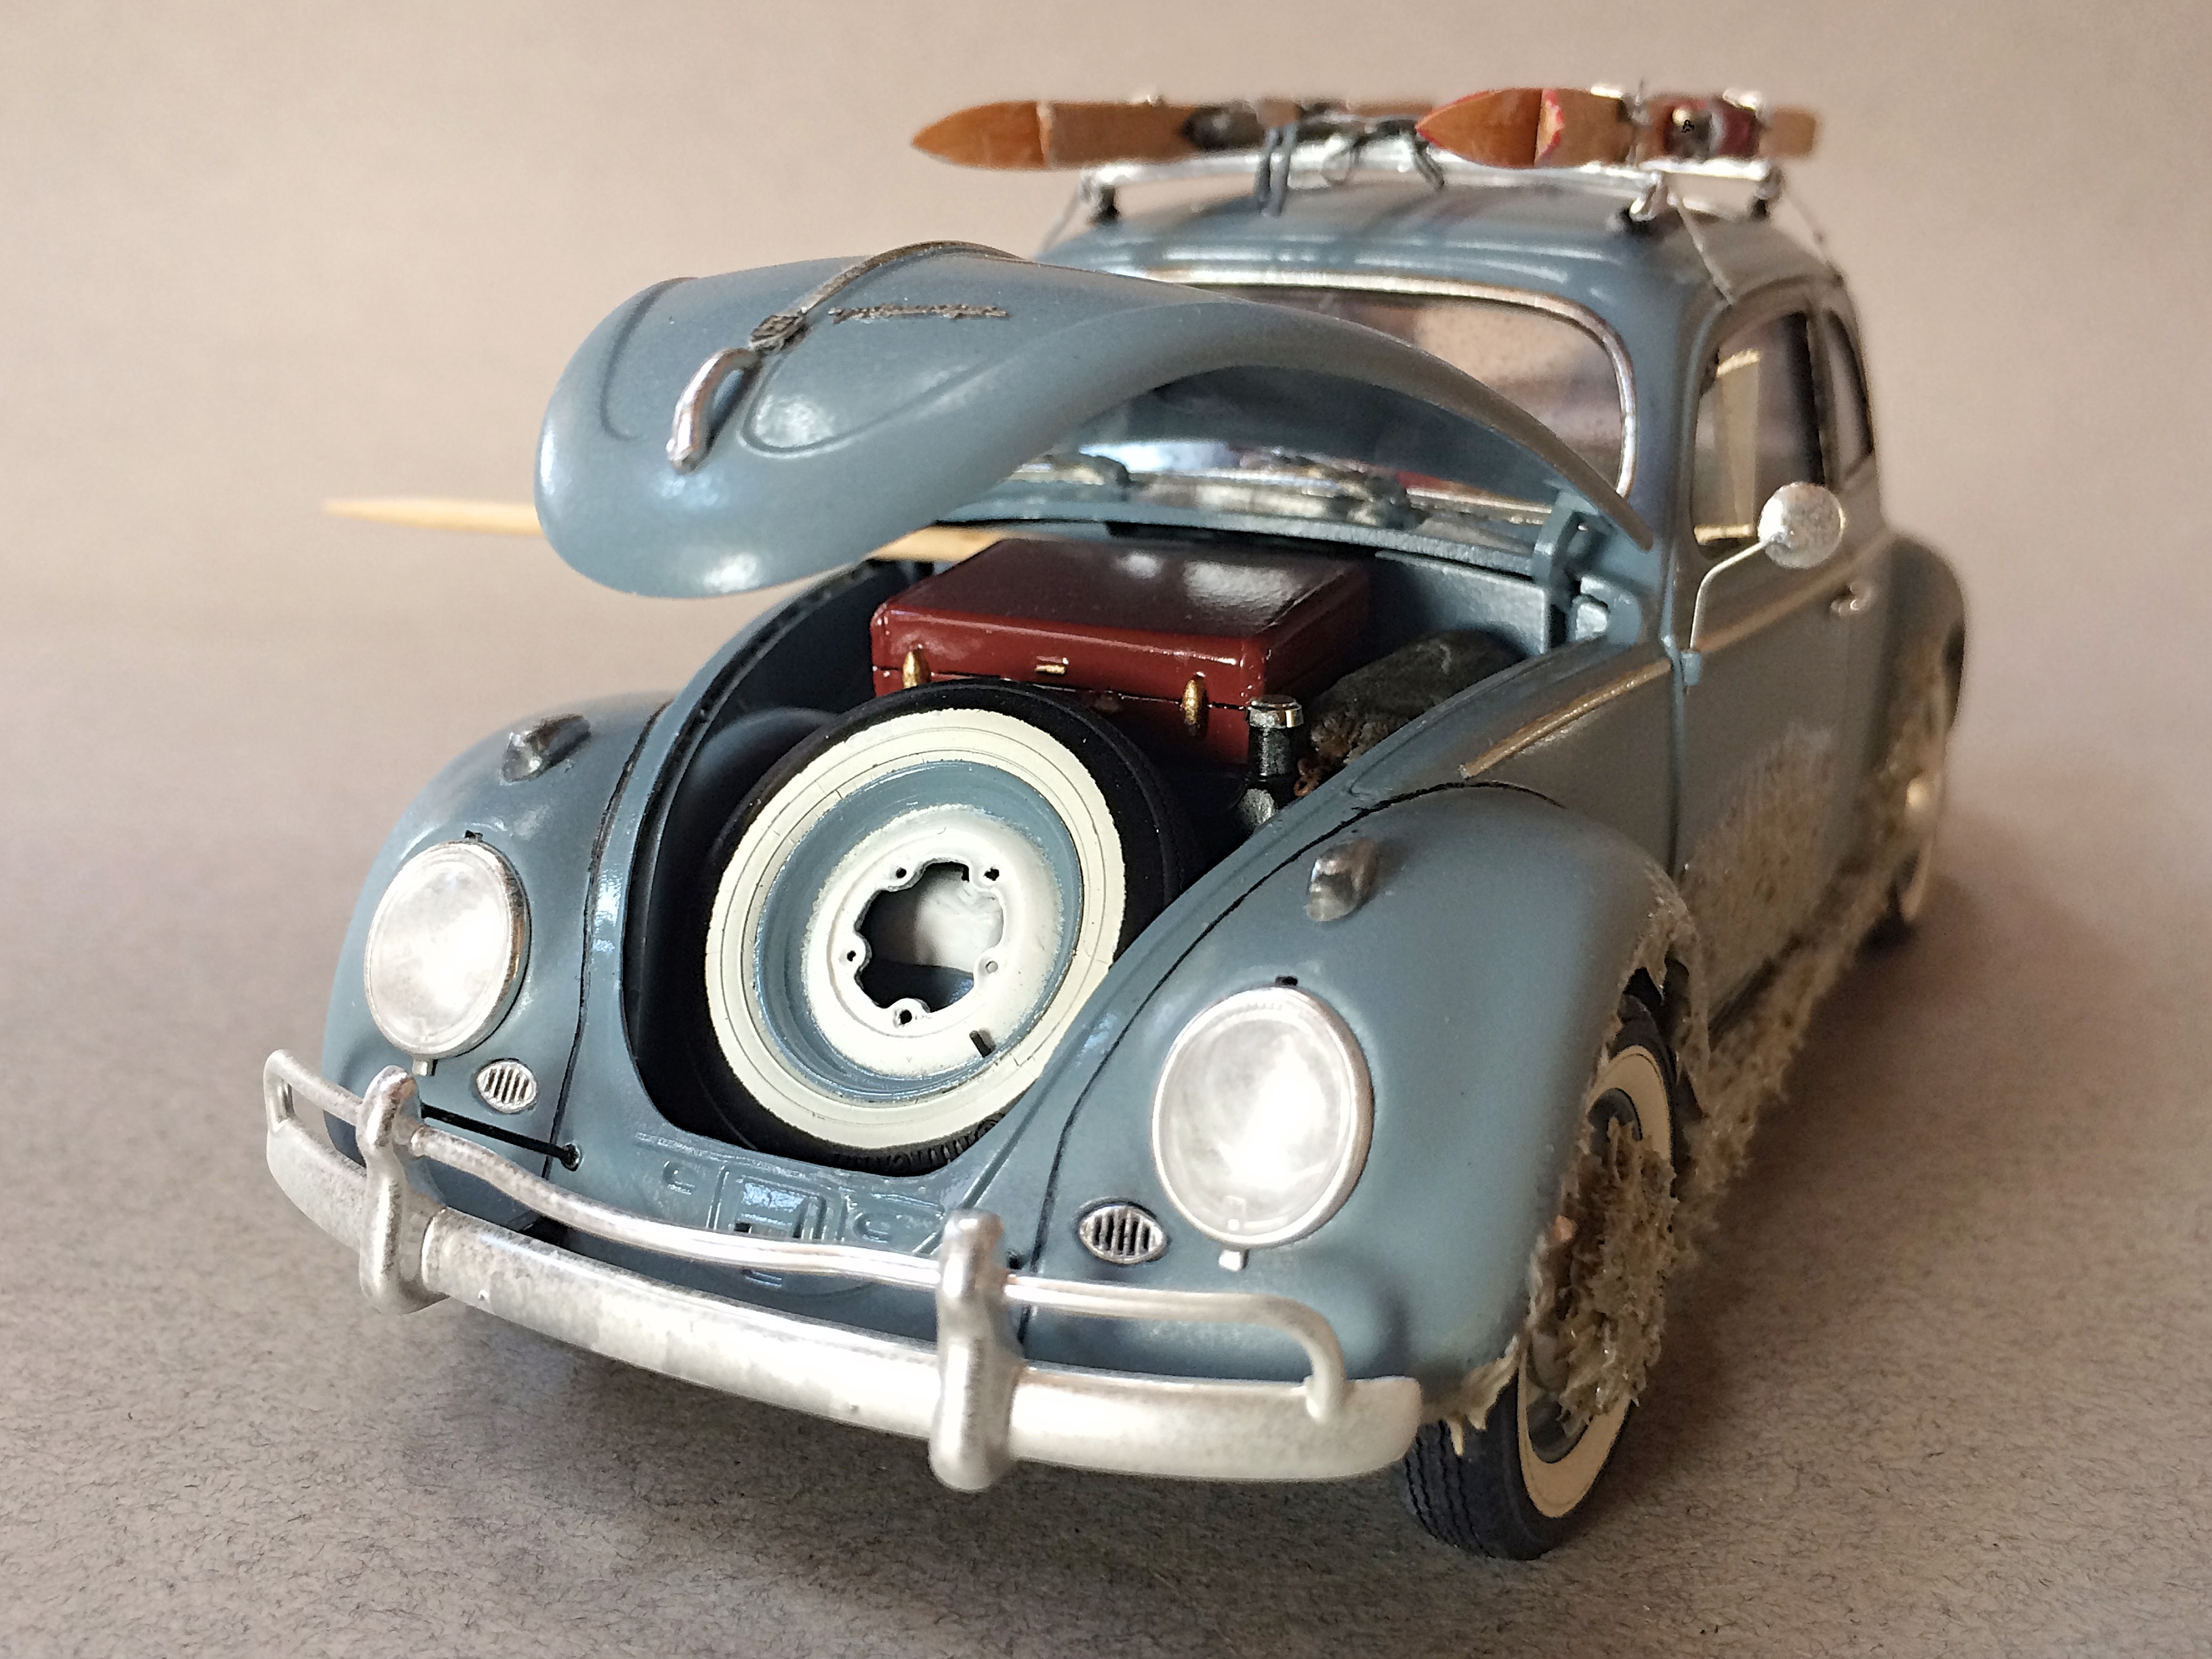
Work In Progress Thanks to everyone who stopped by! Glad that GSL picked the Tamiya VW Beetle for the Common Kit. I've entered that category three times. I suspect there will be more entries than ever because everyone loves Bugs! I'm calling this FROZEN IN TIME, a tribute model of the 1960 Beetle my parents had before I was born. I'm into weathering my builds, this is extreme without having any rust. But I took some pictures before I ruined it. LOL There are some things I'm not happy with, but oh well, IT'S FINISHED! I detailed the engine, though the lid will be closed all the time except at shows. Question to everyone who built this, the front hood is a tight fit and challenge to get opened? I reworked the engine lid hinge, no toothpick required to stay open.
-
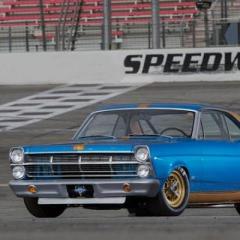
Here is mine, finally got it finished up, now I know I use this a line alot, but It really could of turned out a lot better, had to do the paint over because mass debris in the clear coat, and it just went down hill from there, had some fit issues but that was my doing, this kit really has some very tight tolerances when it comes to some of the body pieces. Had wet sand and polish a small area of the windscreen to remove some glue I got on it because carelessness on my part. It is what is , I am still happy with it. Paint, Ford Liquid Blue from Scalefinishes.


.jpg.b7a433b7c9d320889ea33237e3fd1978.jpg)
.jpg.47d1ed9e242d5b3c10f8d3aaf3364e8f.jpg)
.jpg.00bfff429a8443af6025a2aae14e5158.jpg)


.jpg.b38589eb0a8a2f1d4e86570e957707c3.jpg)