Search the Community
Showing results for tags 'amt'.
-
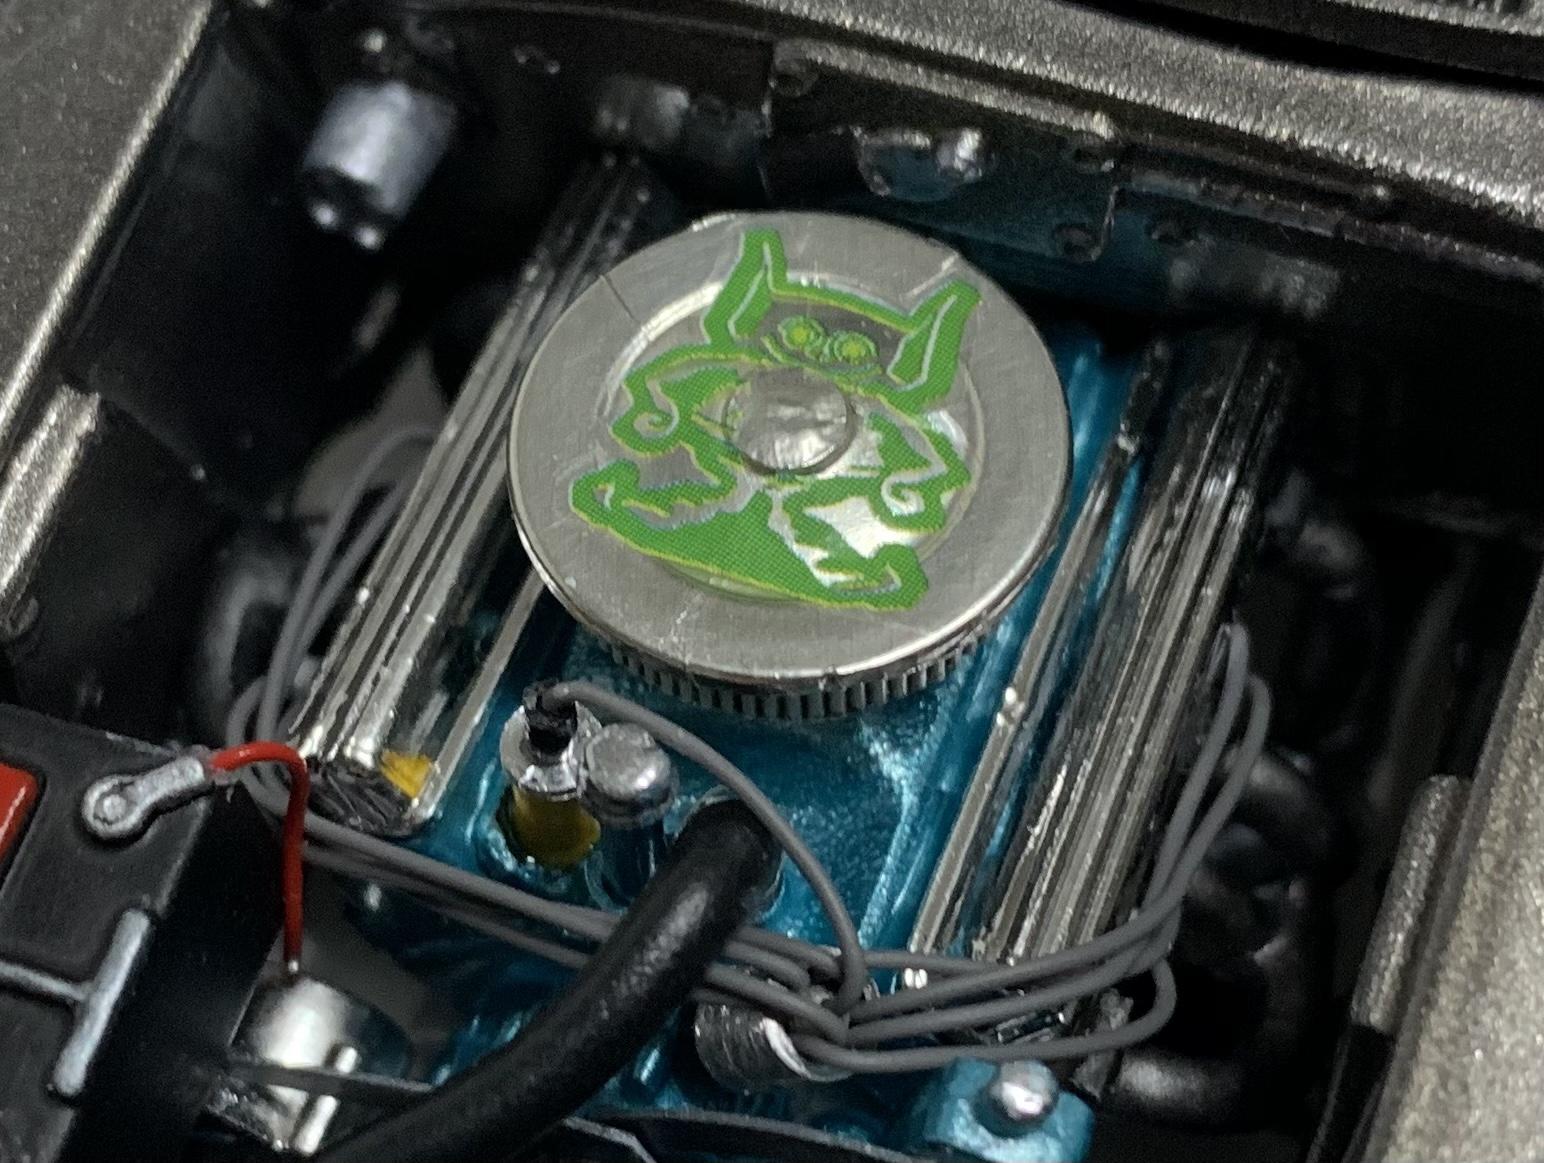
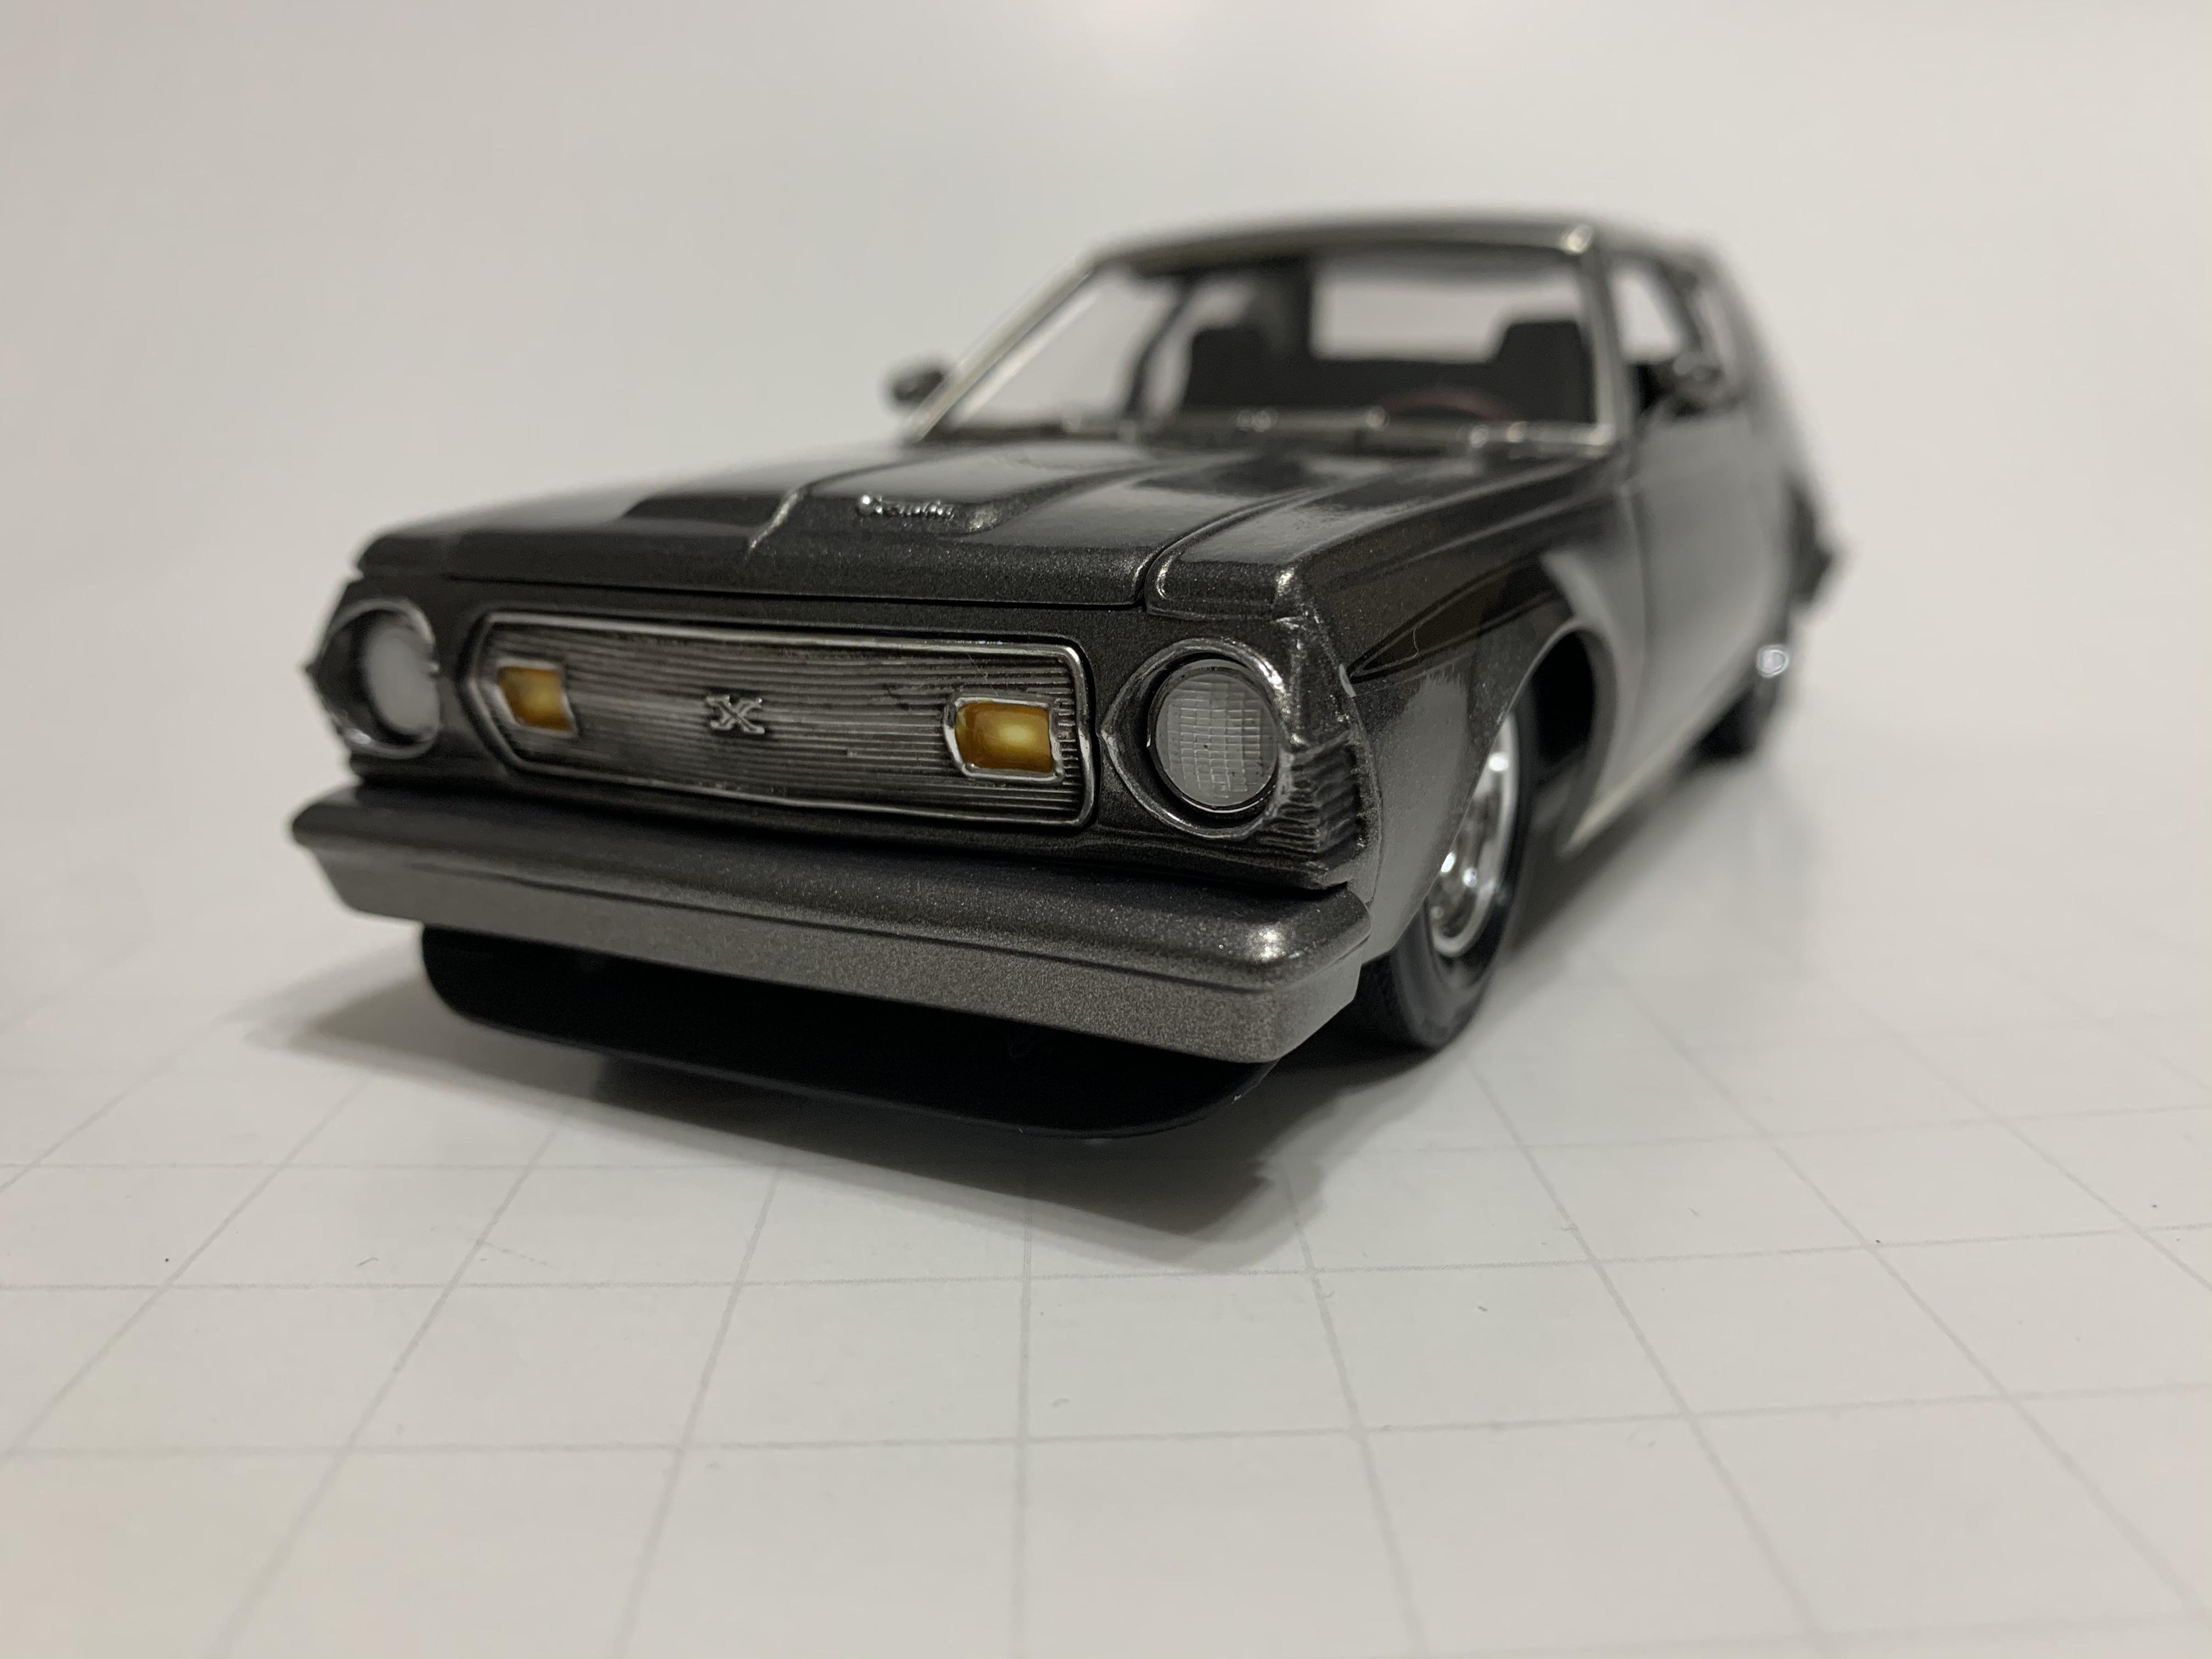
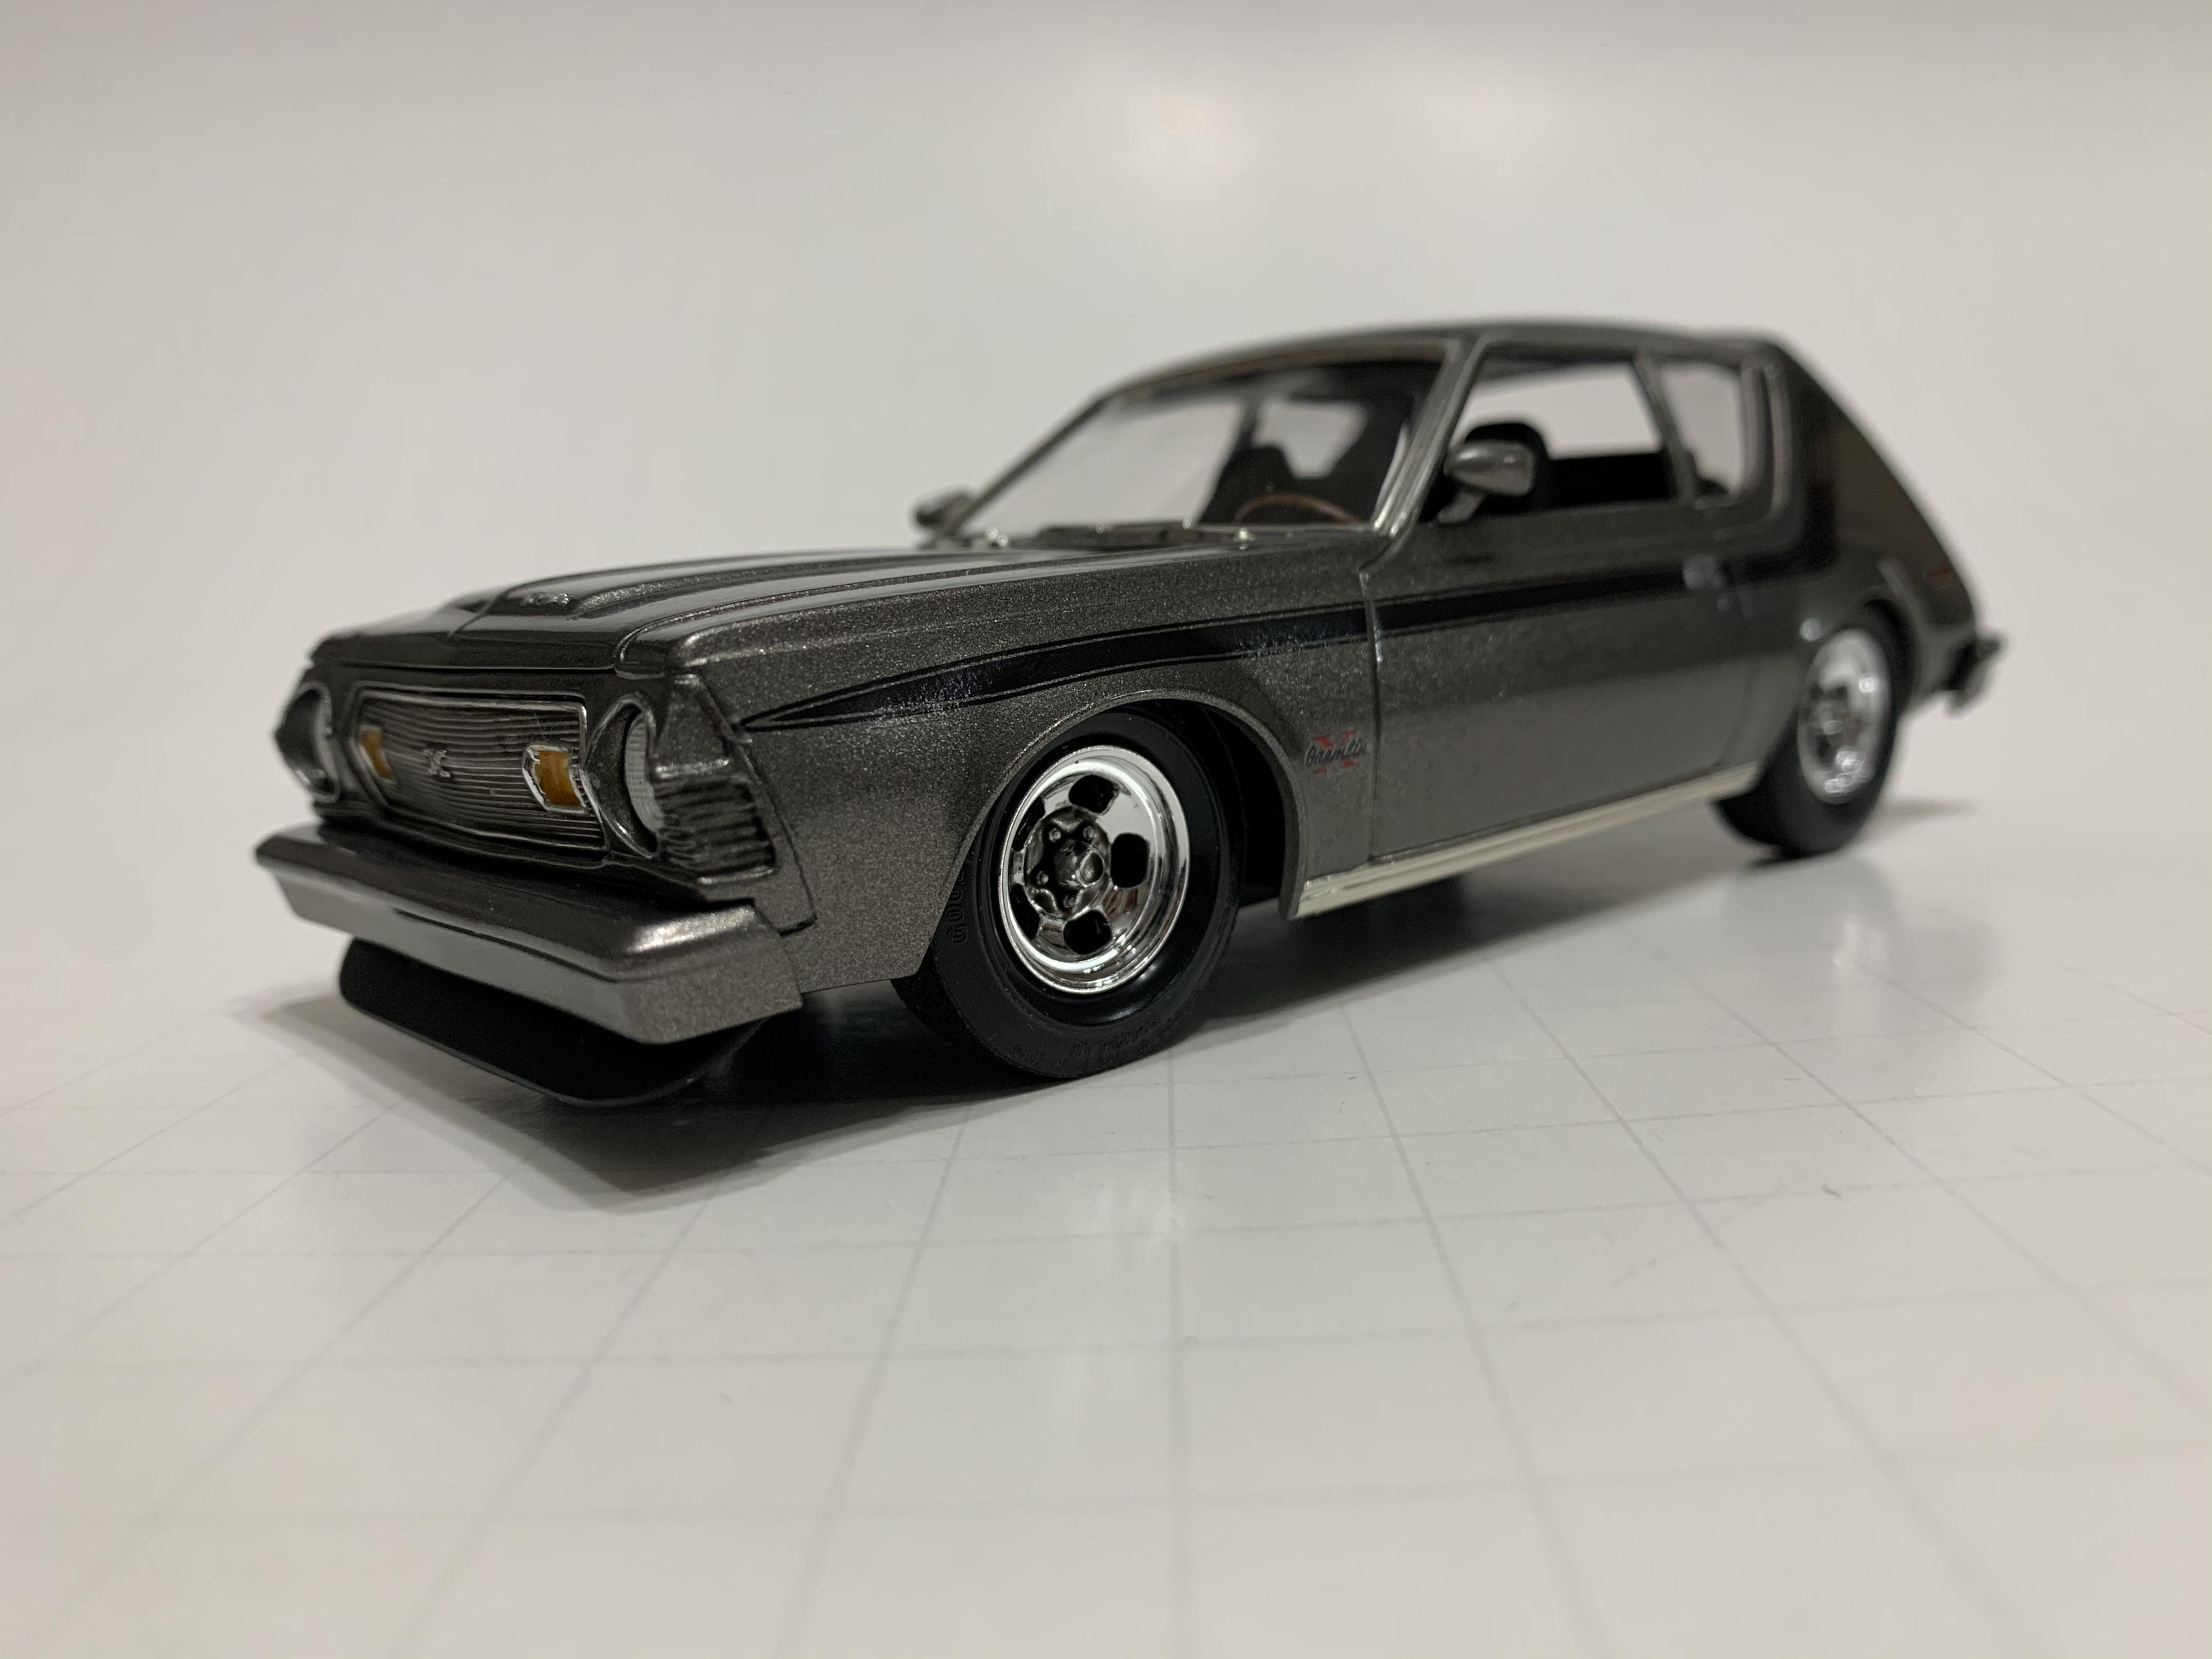
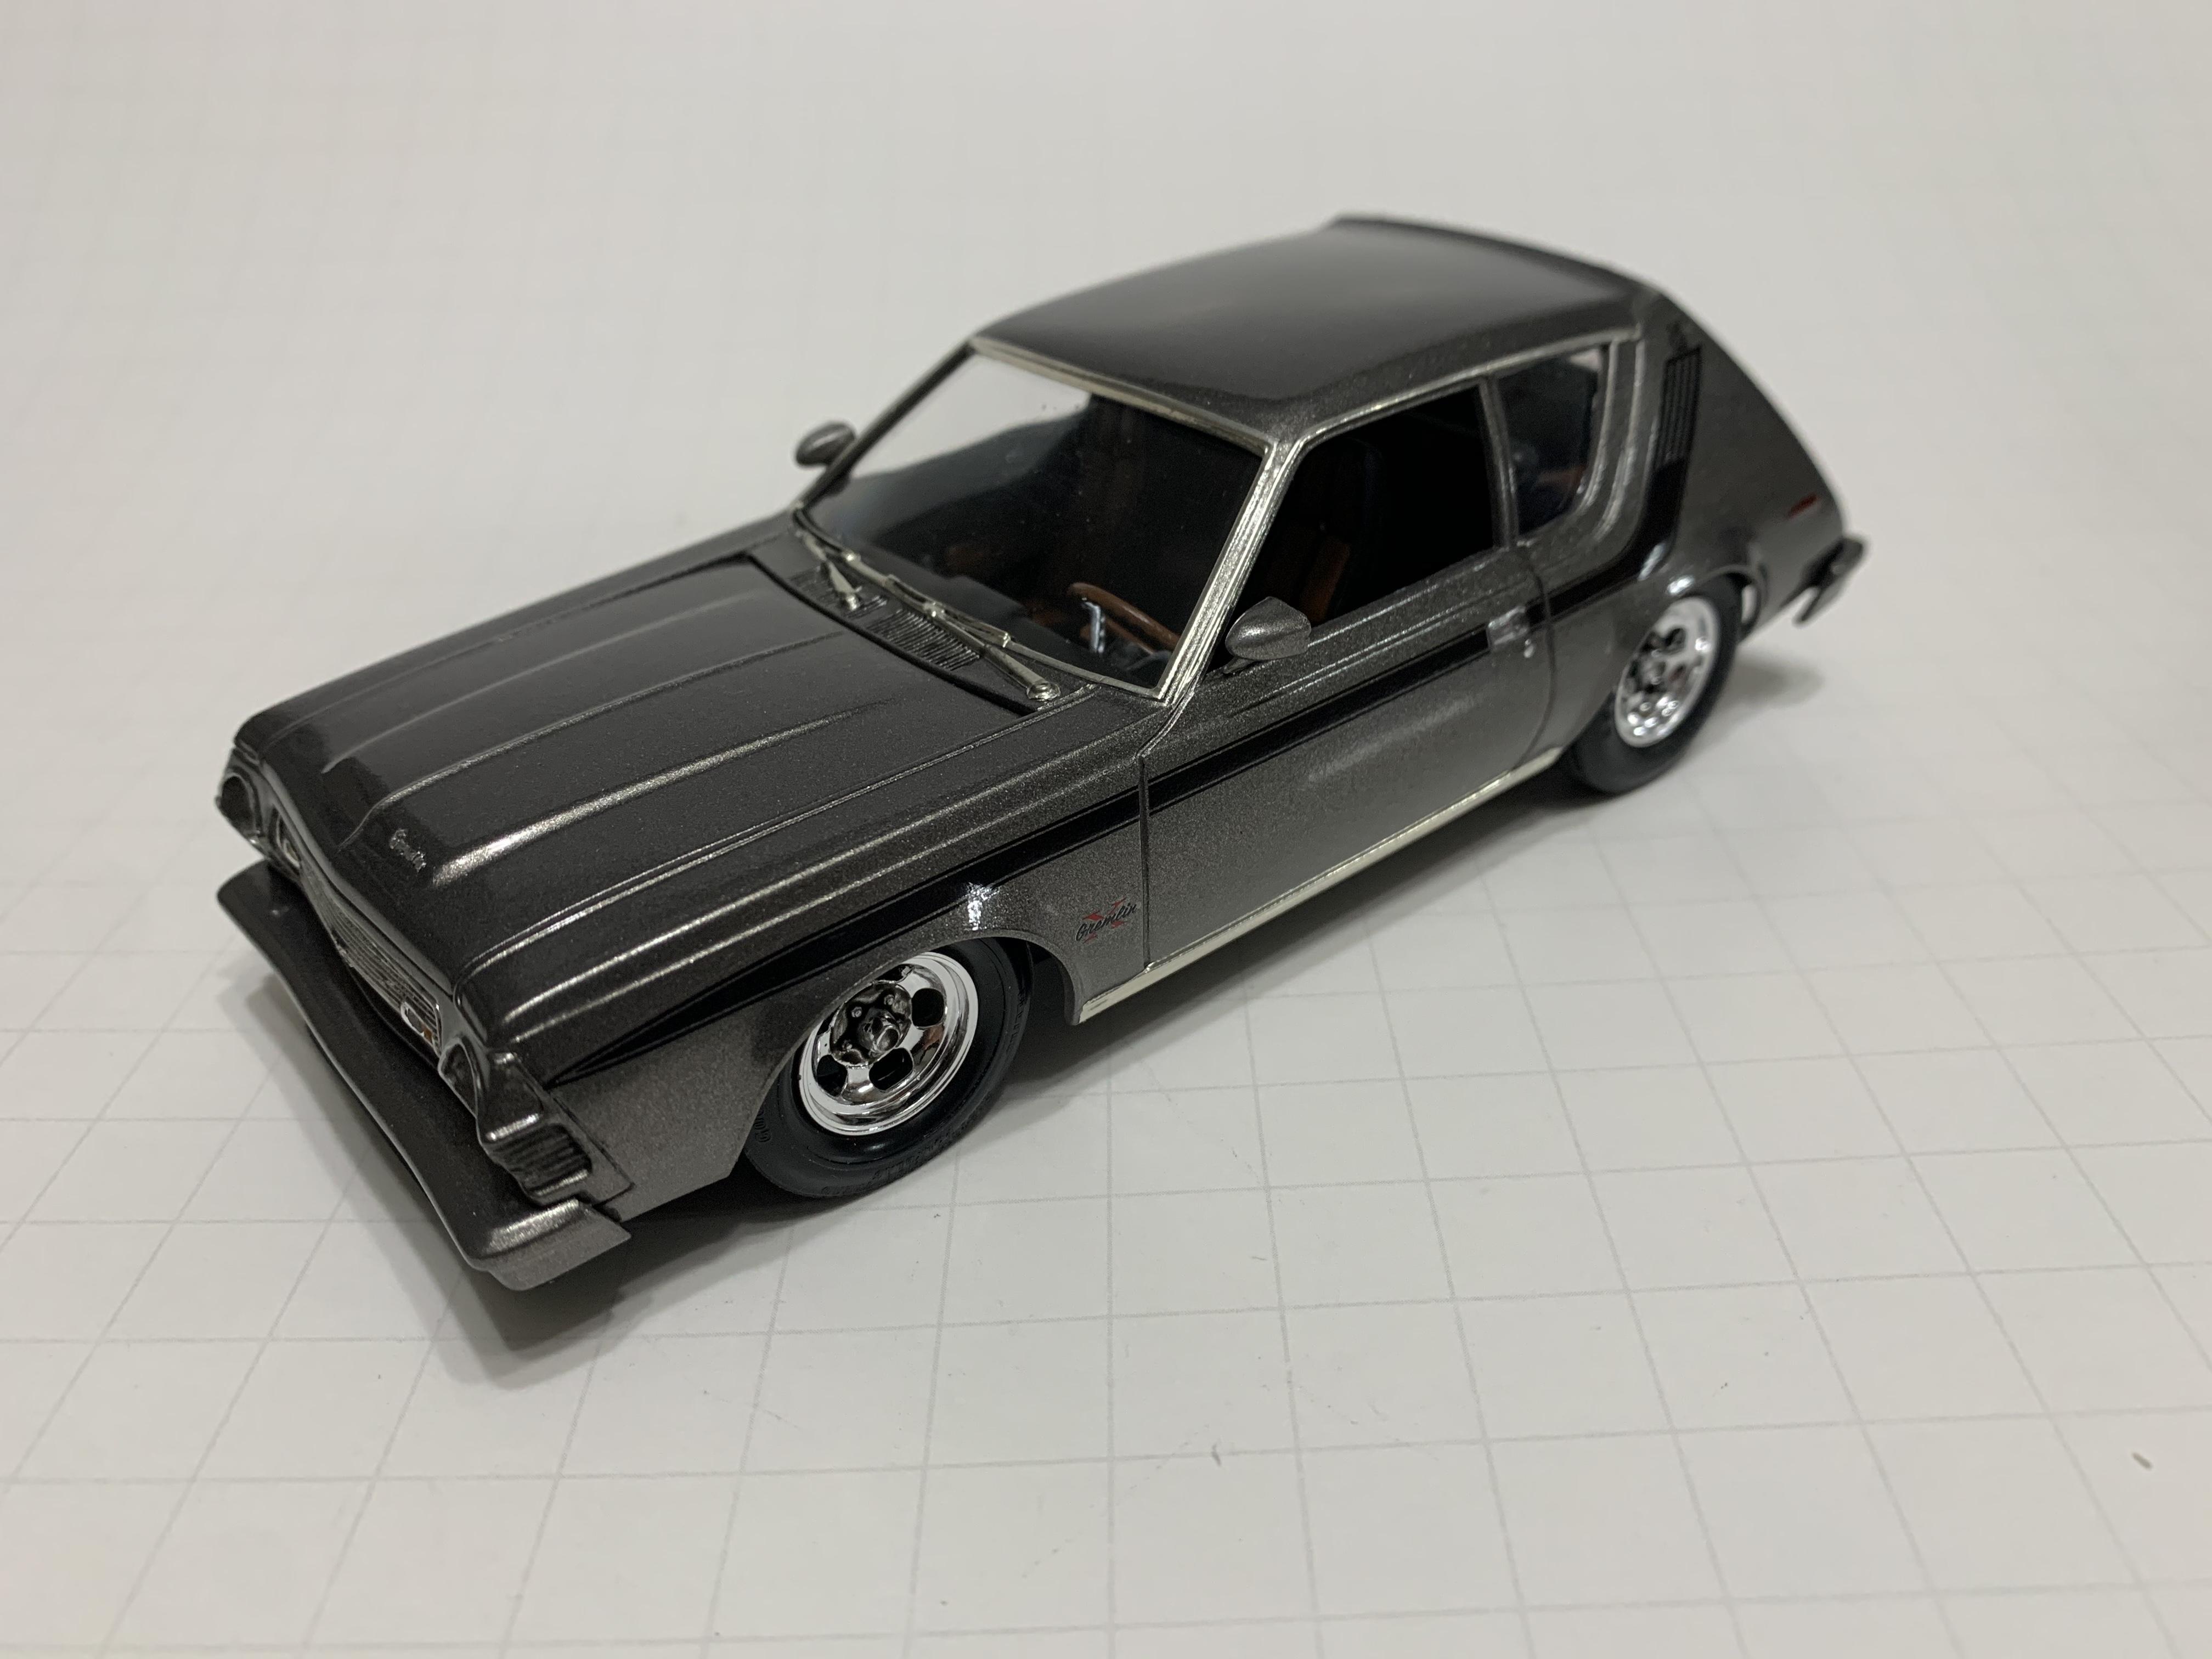
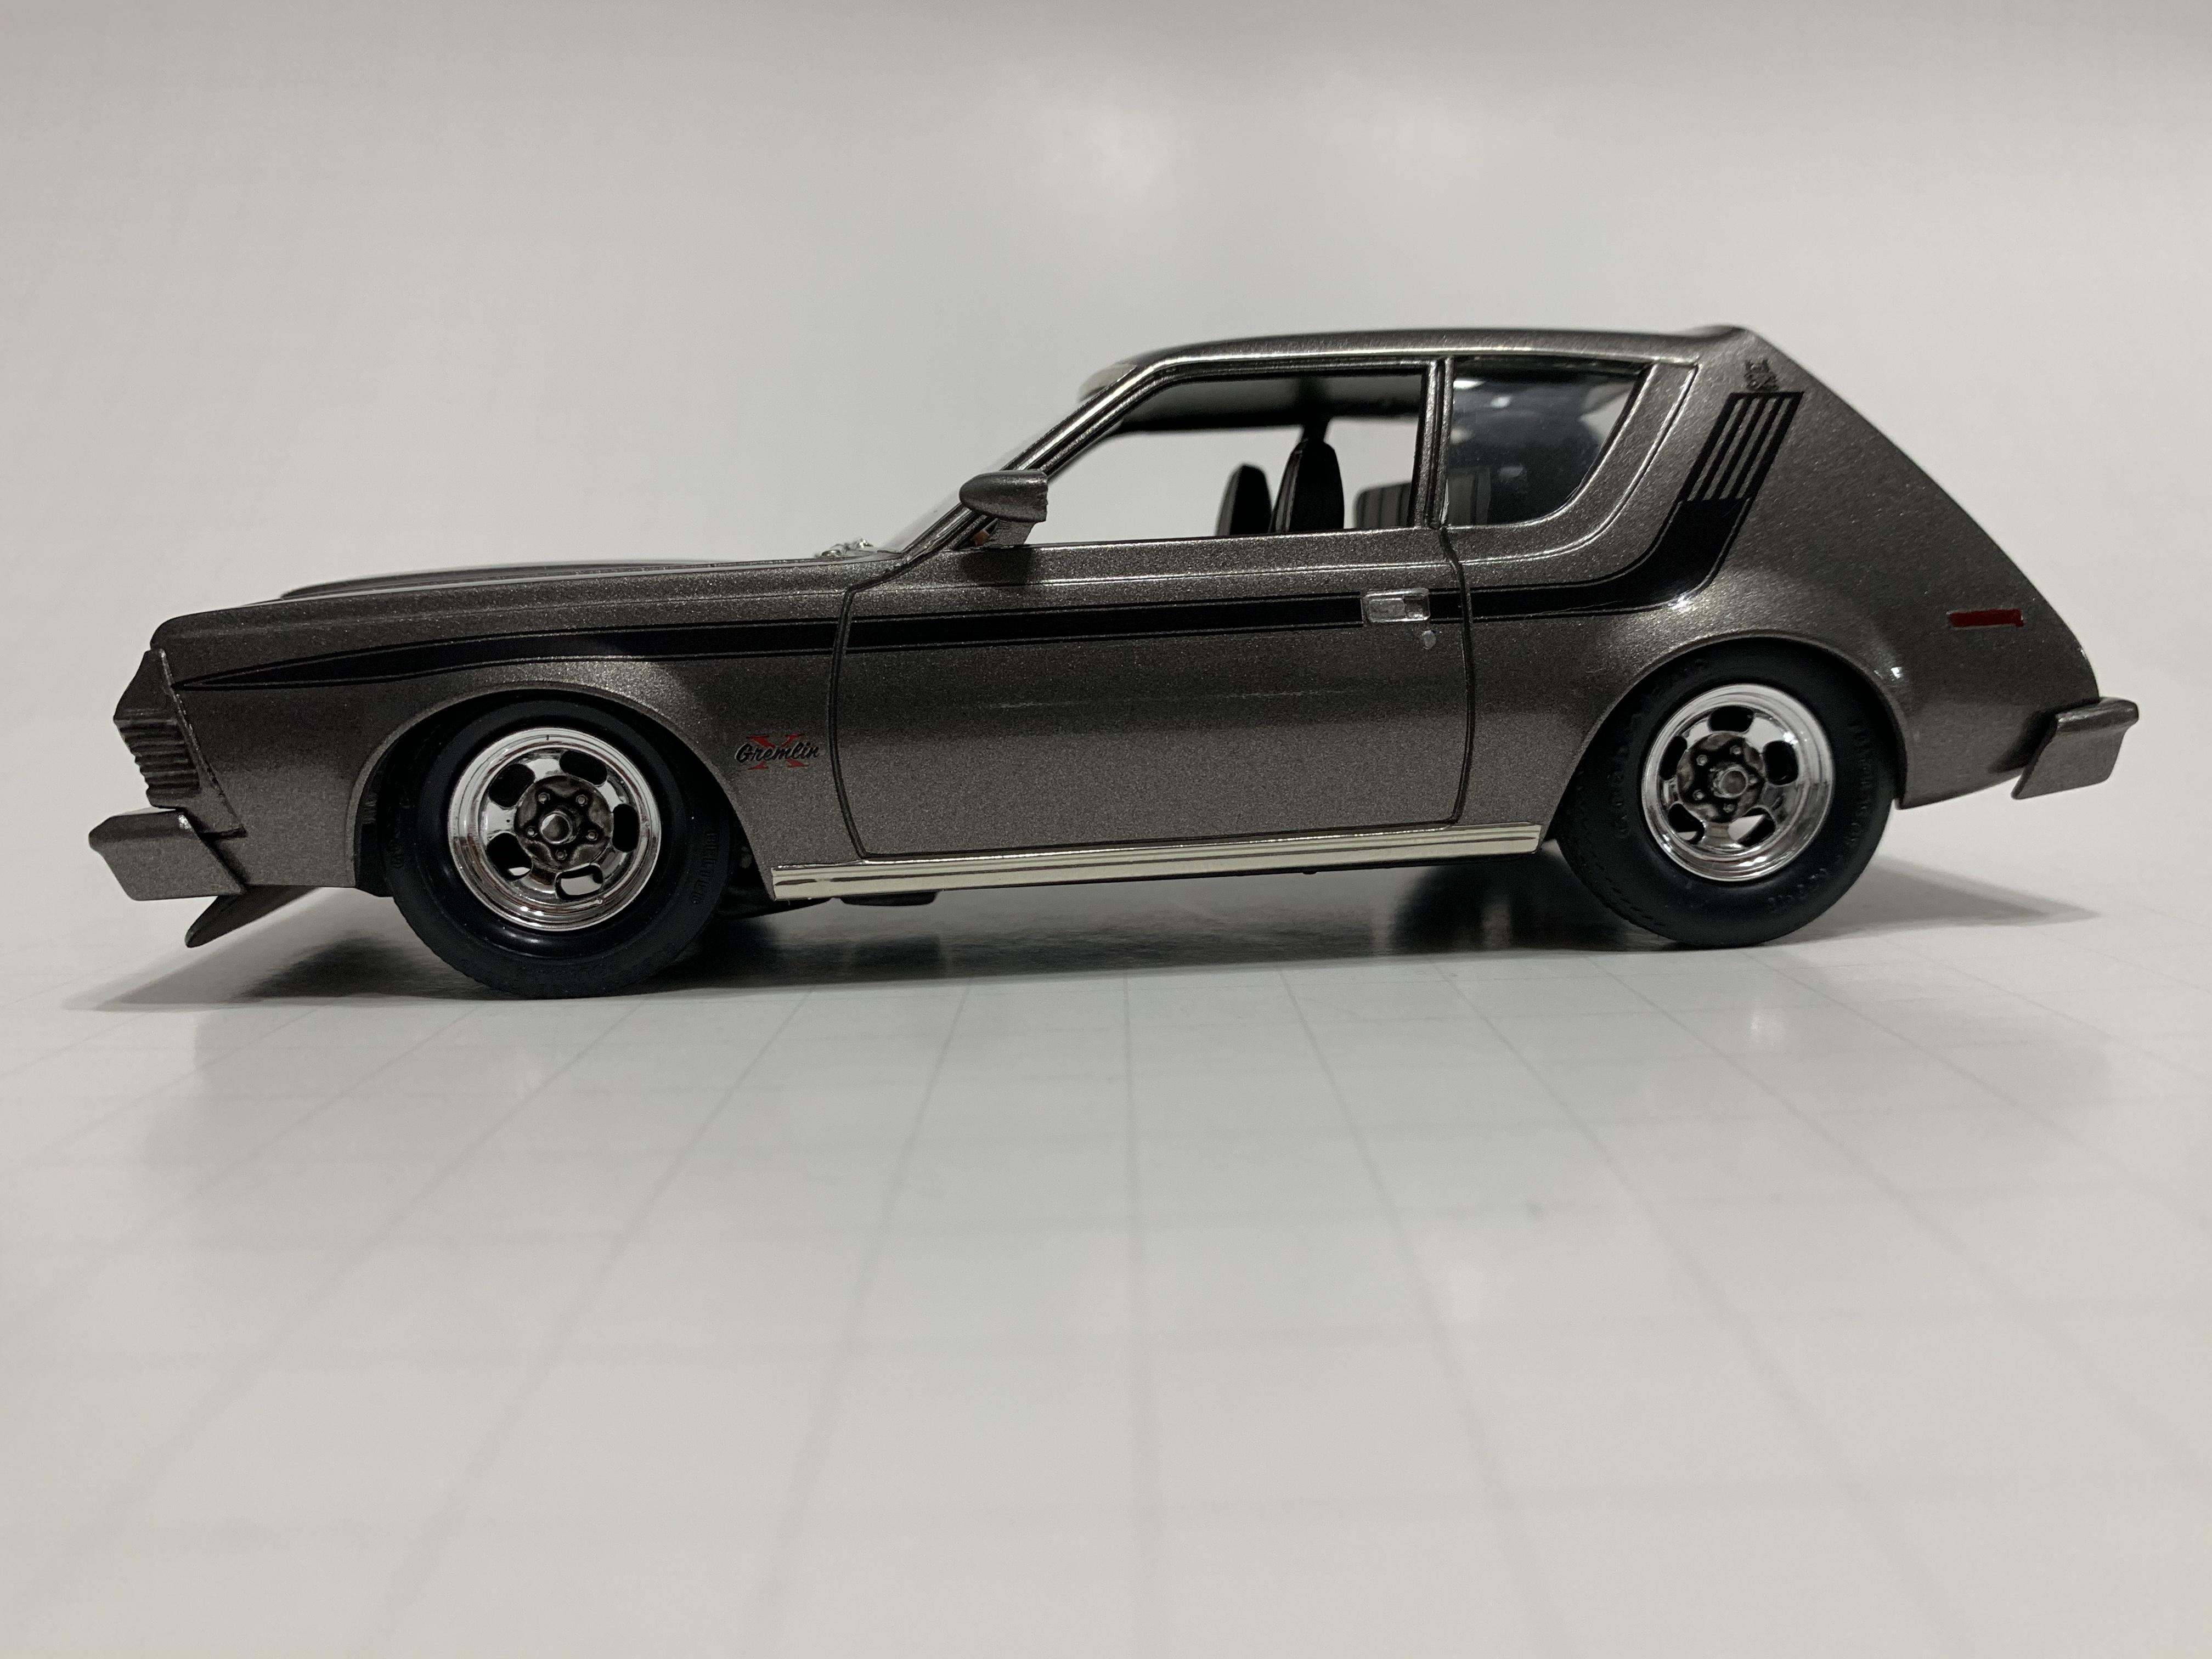
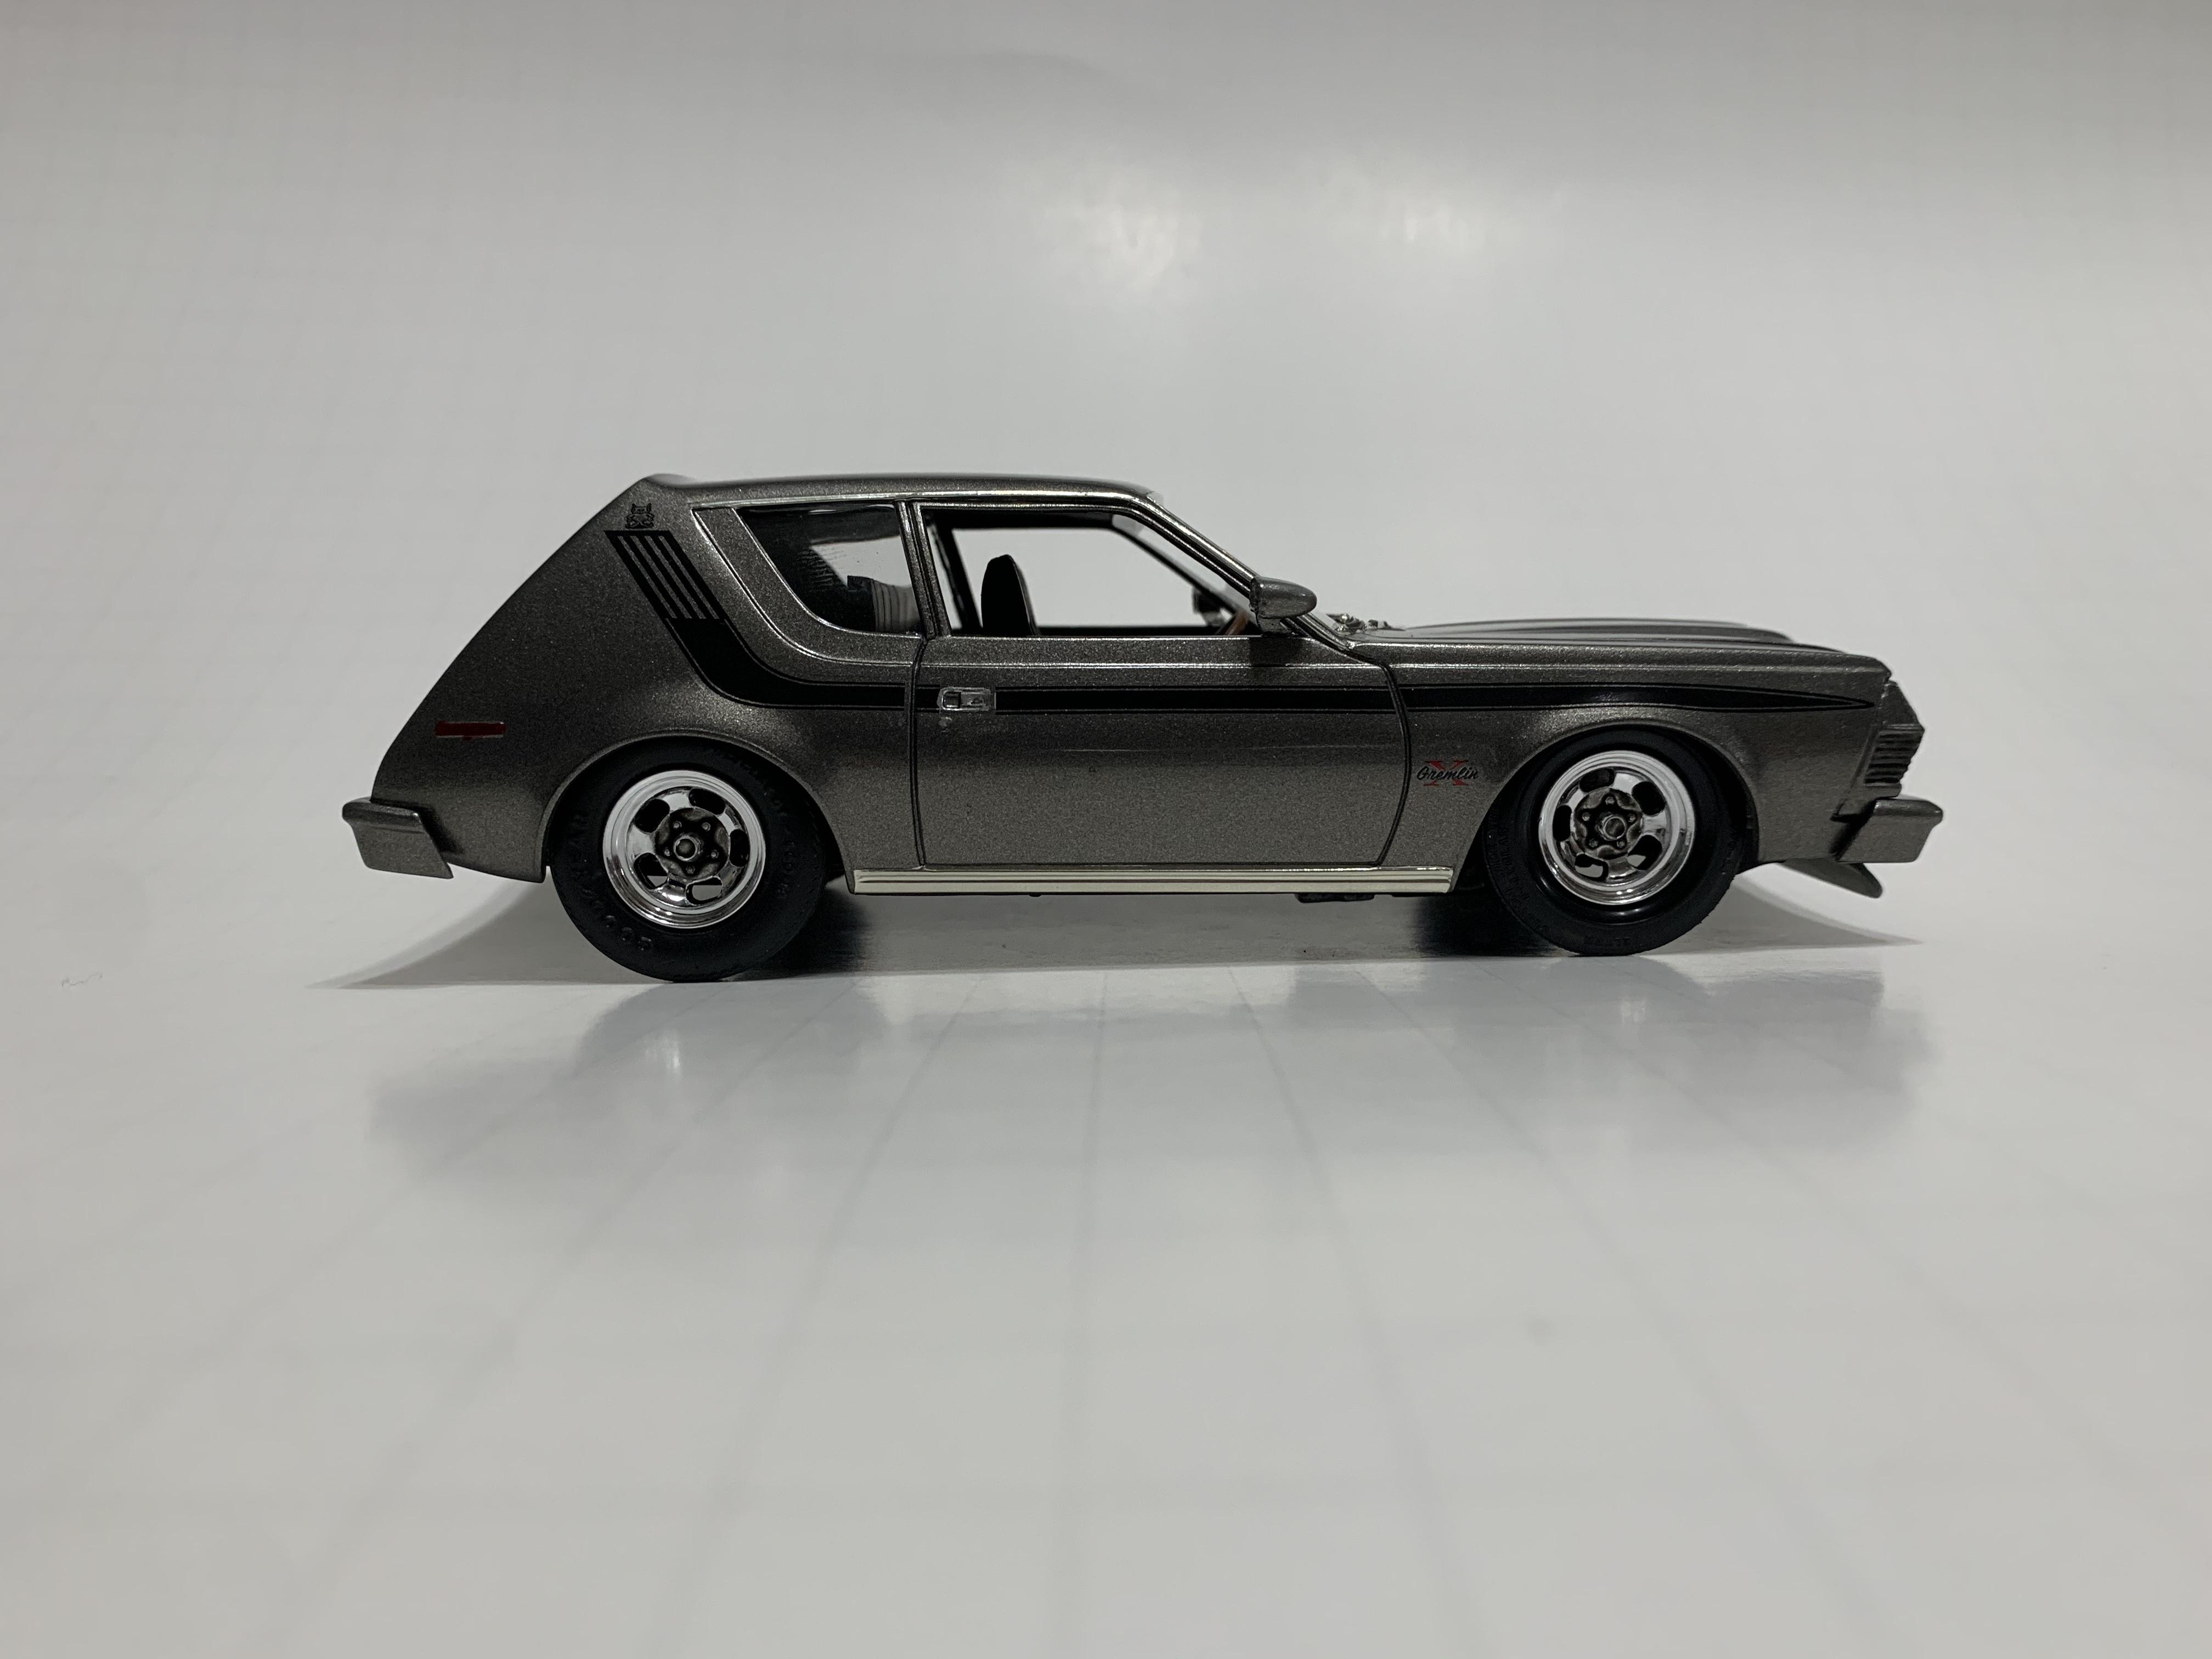
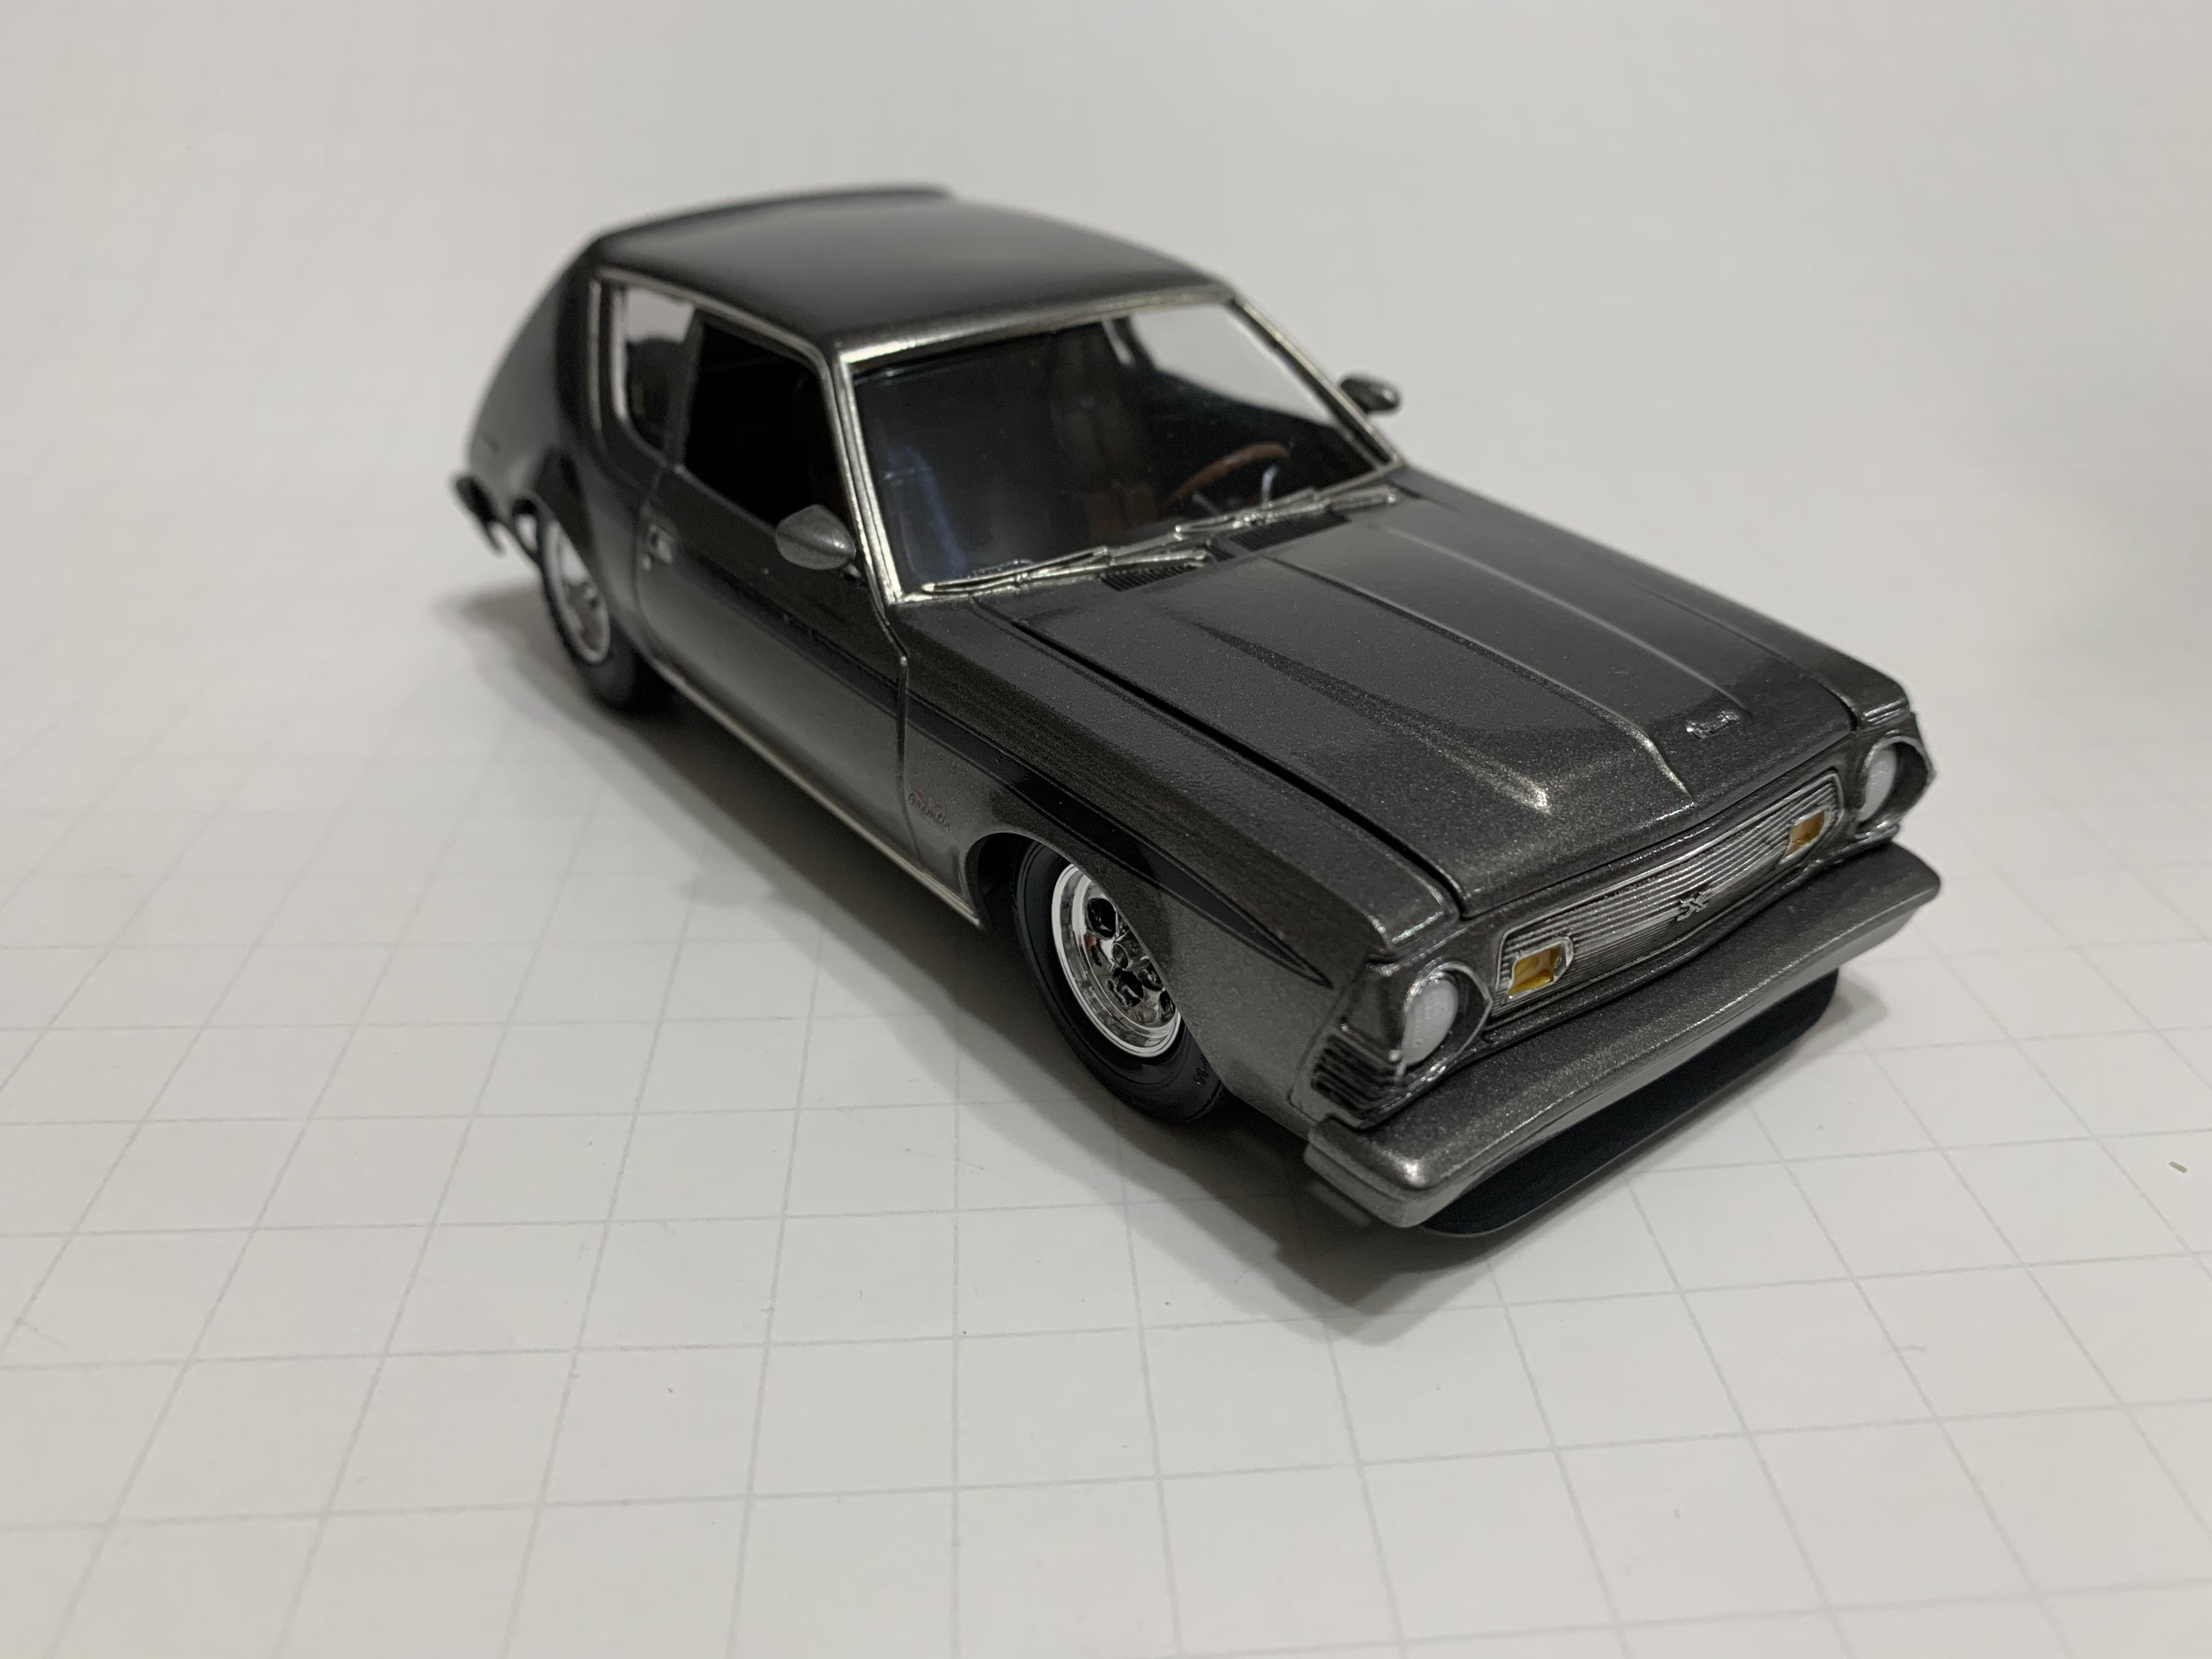
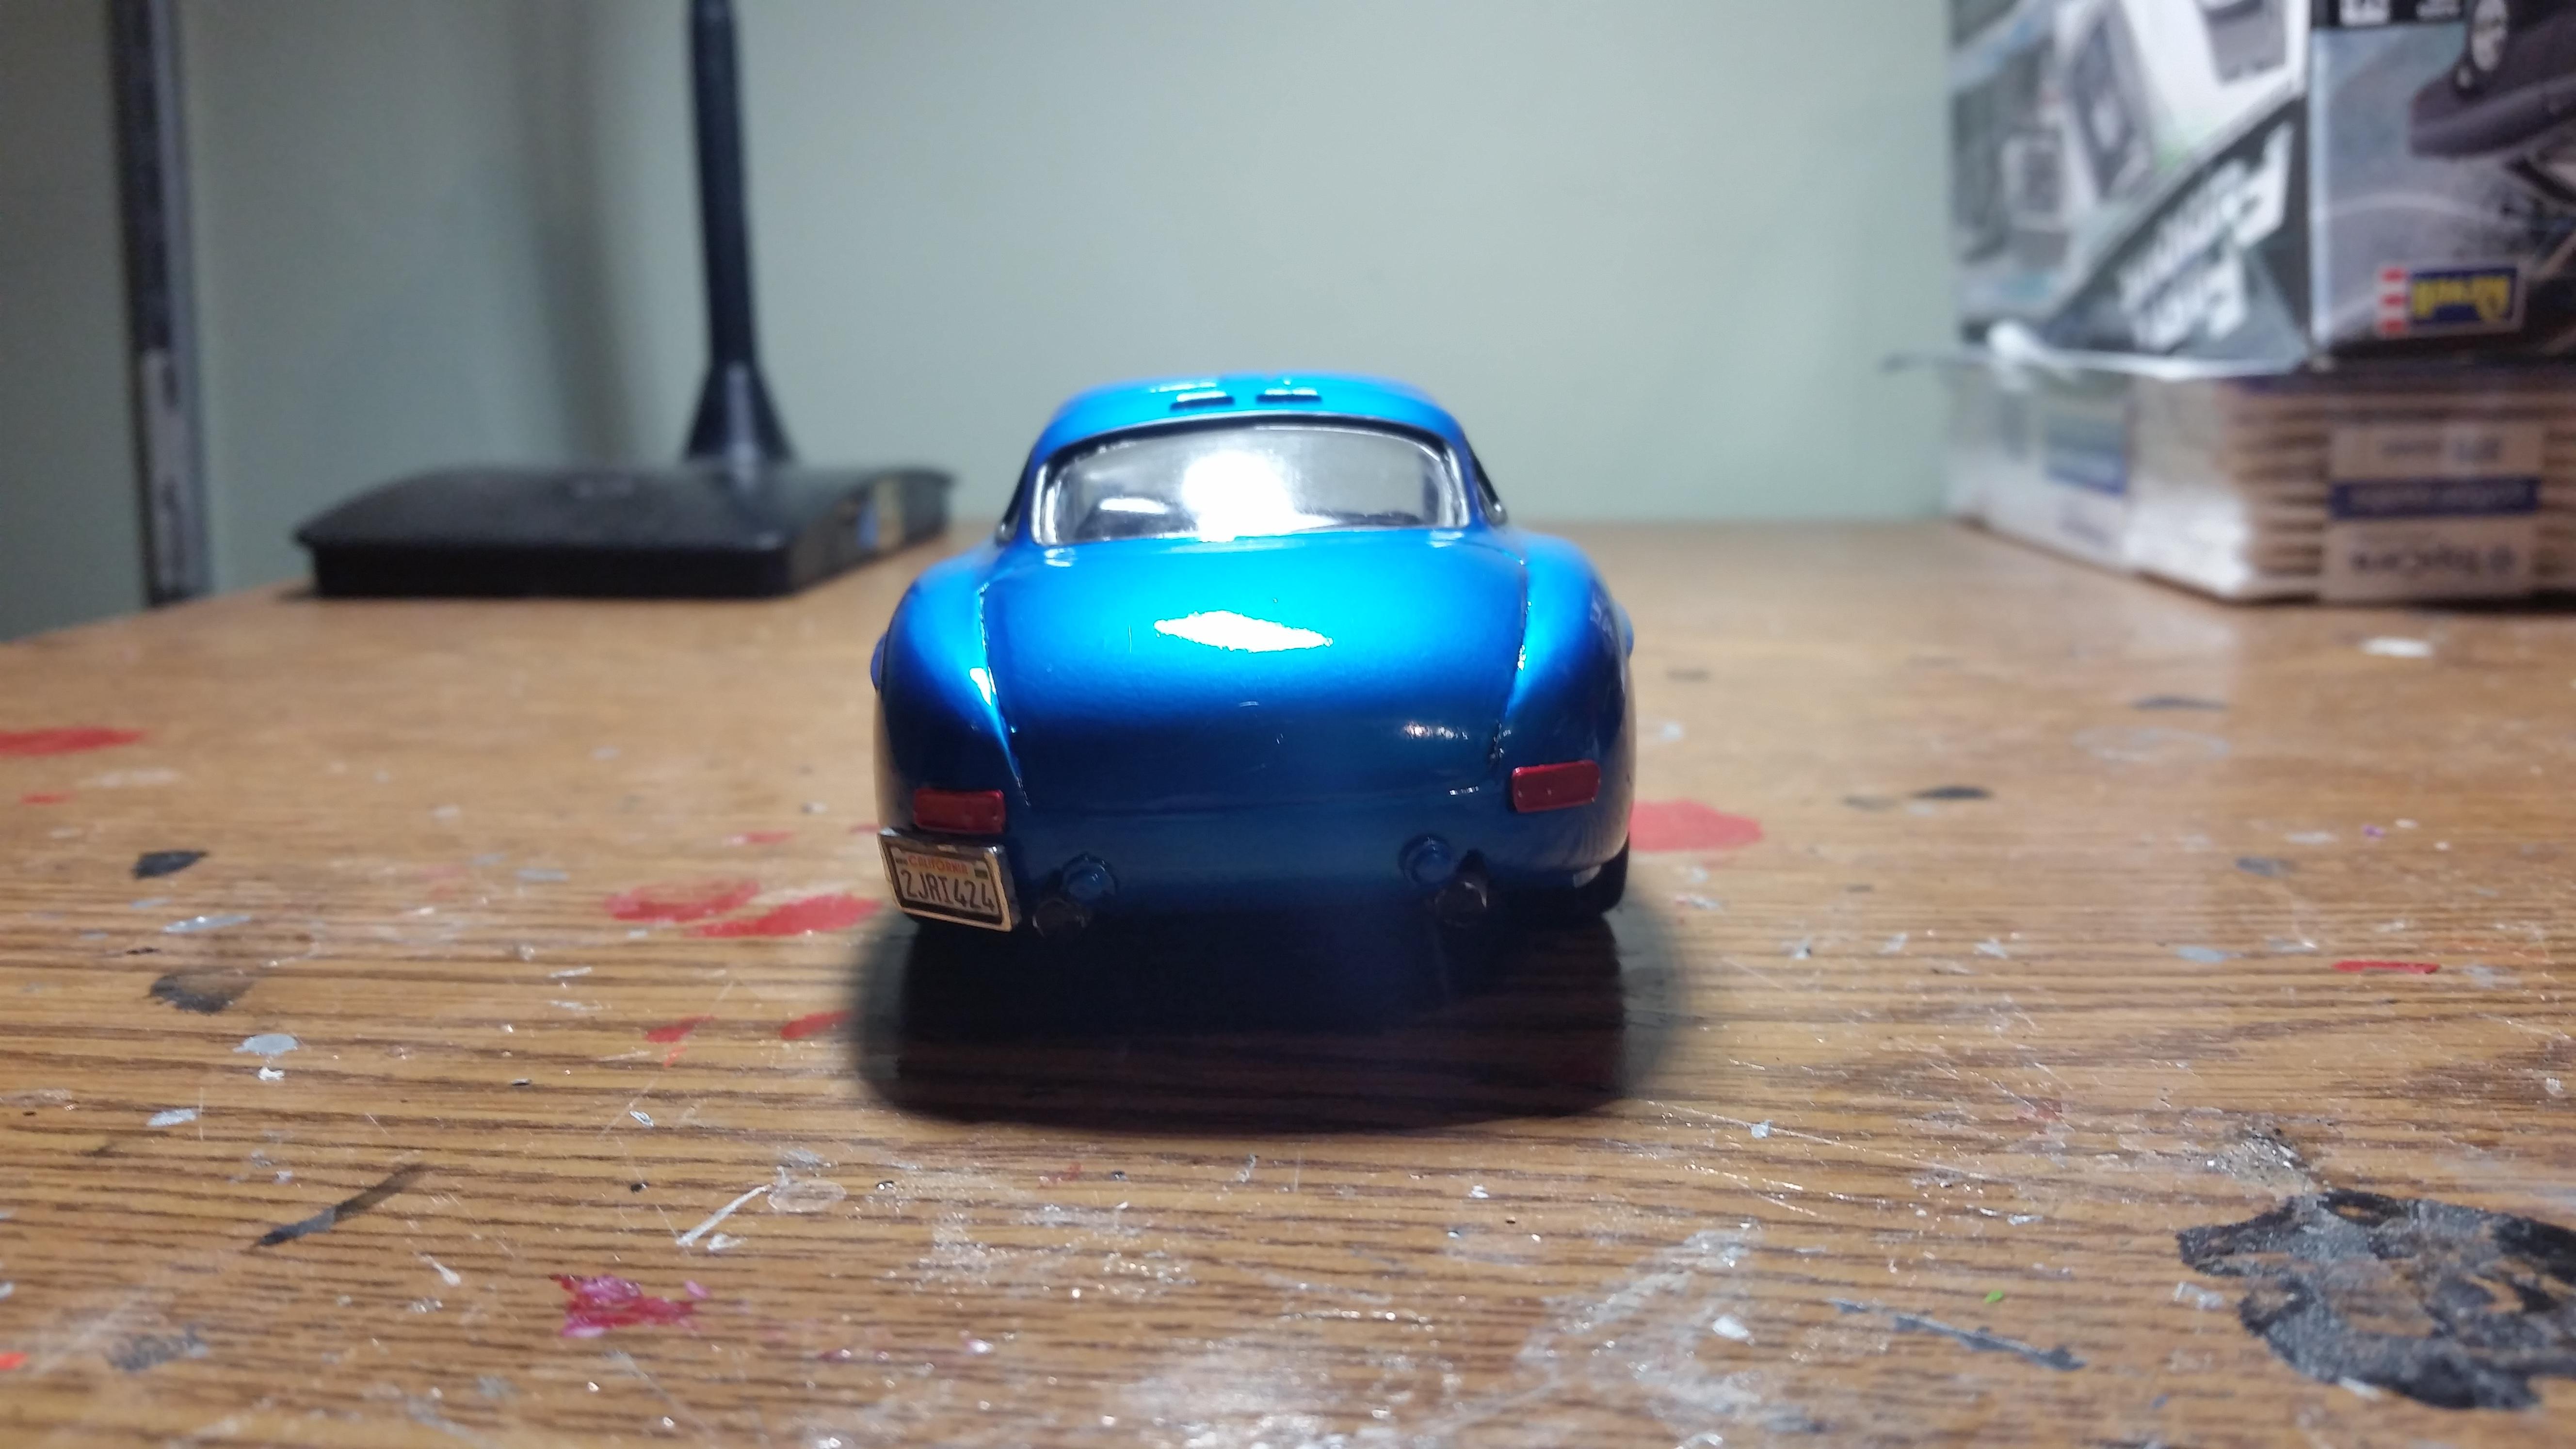
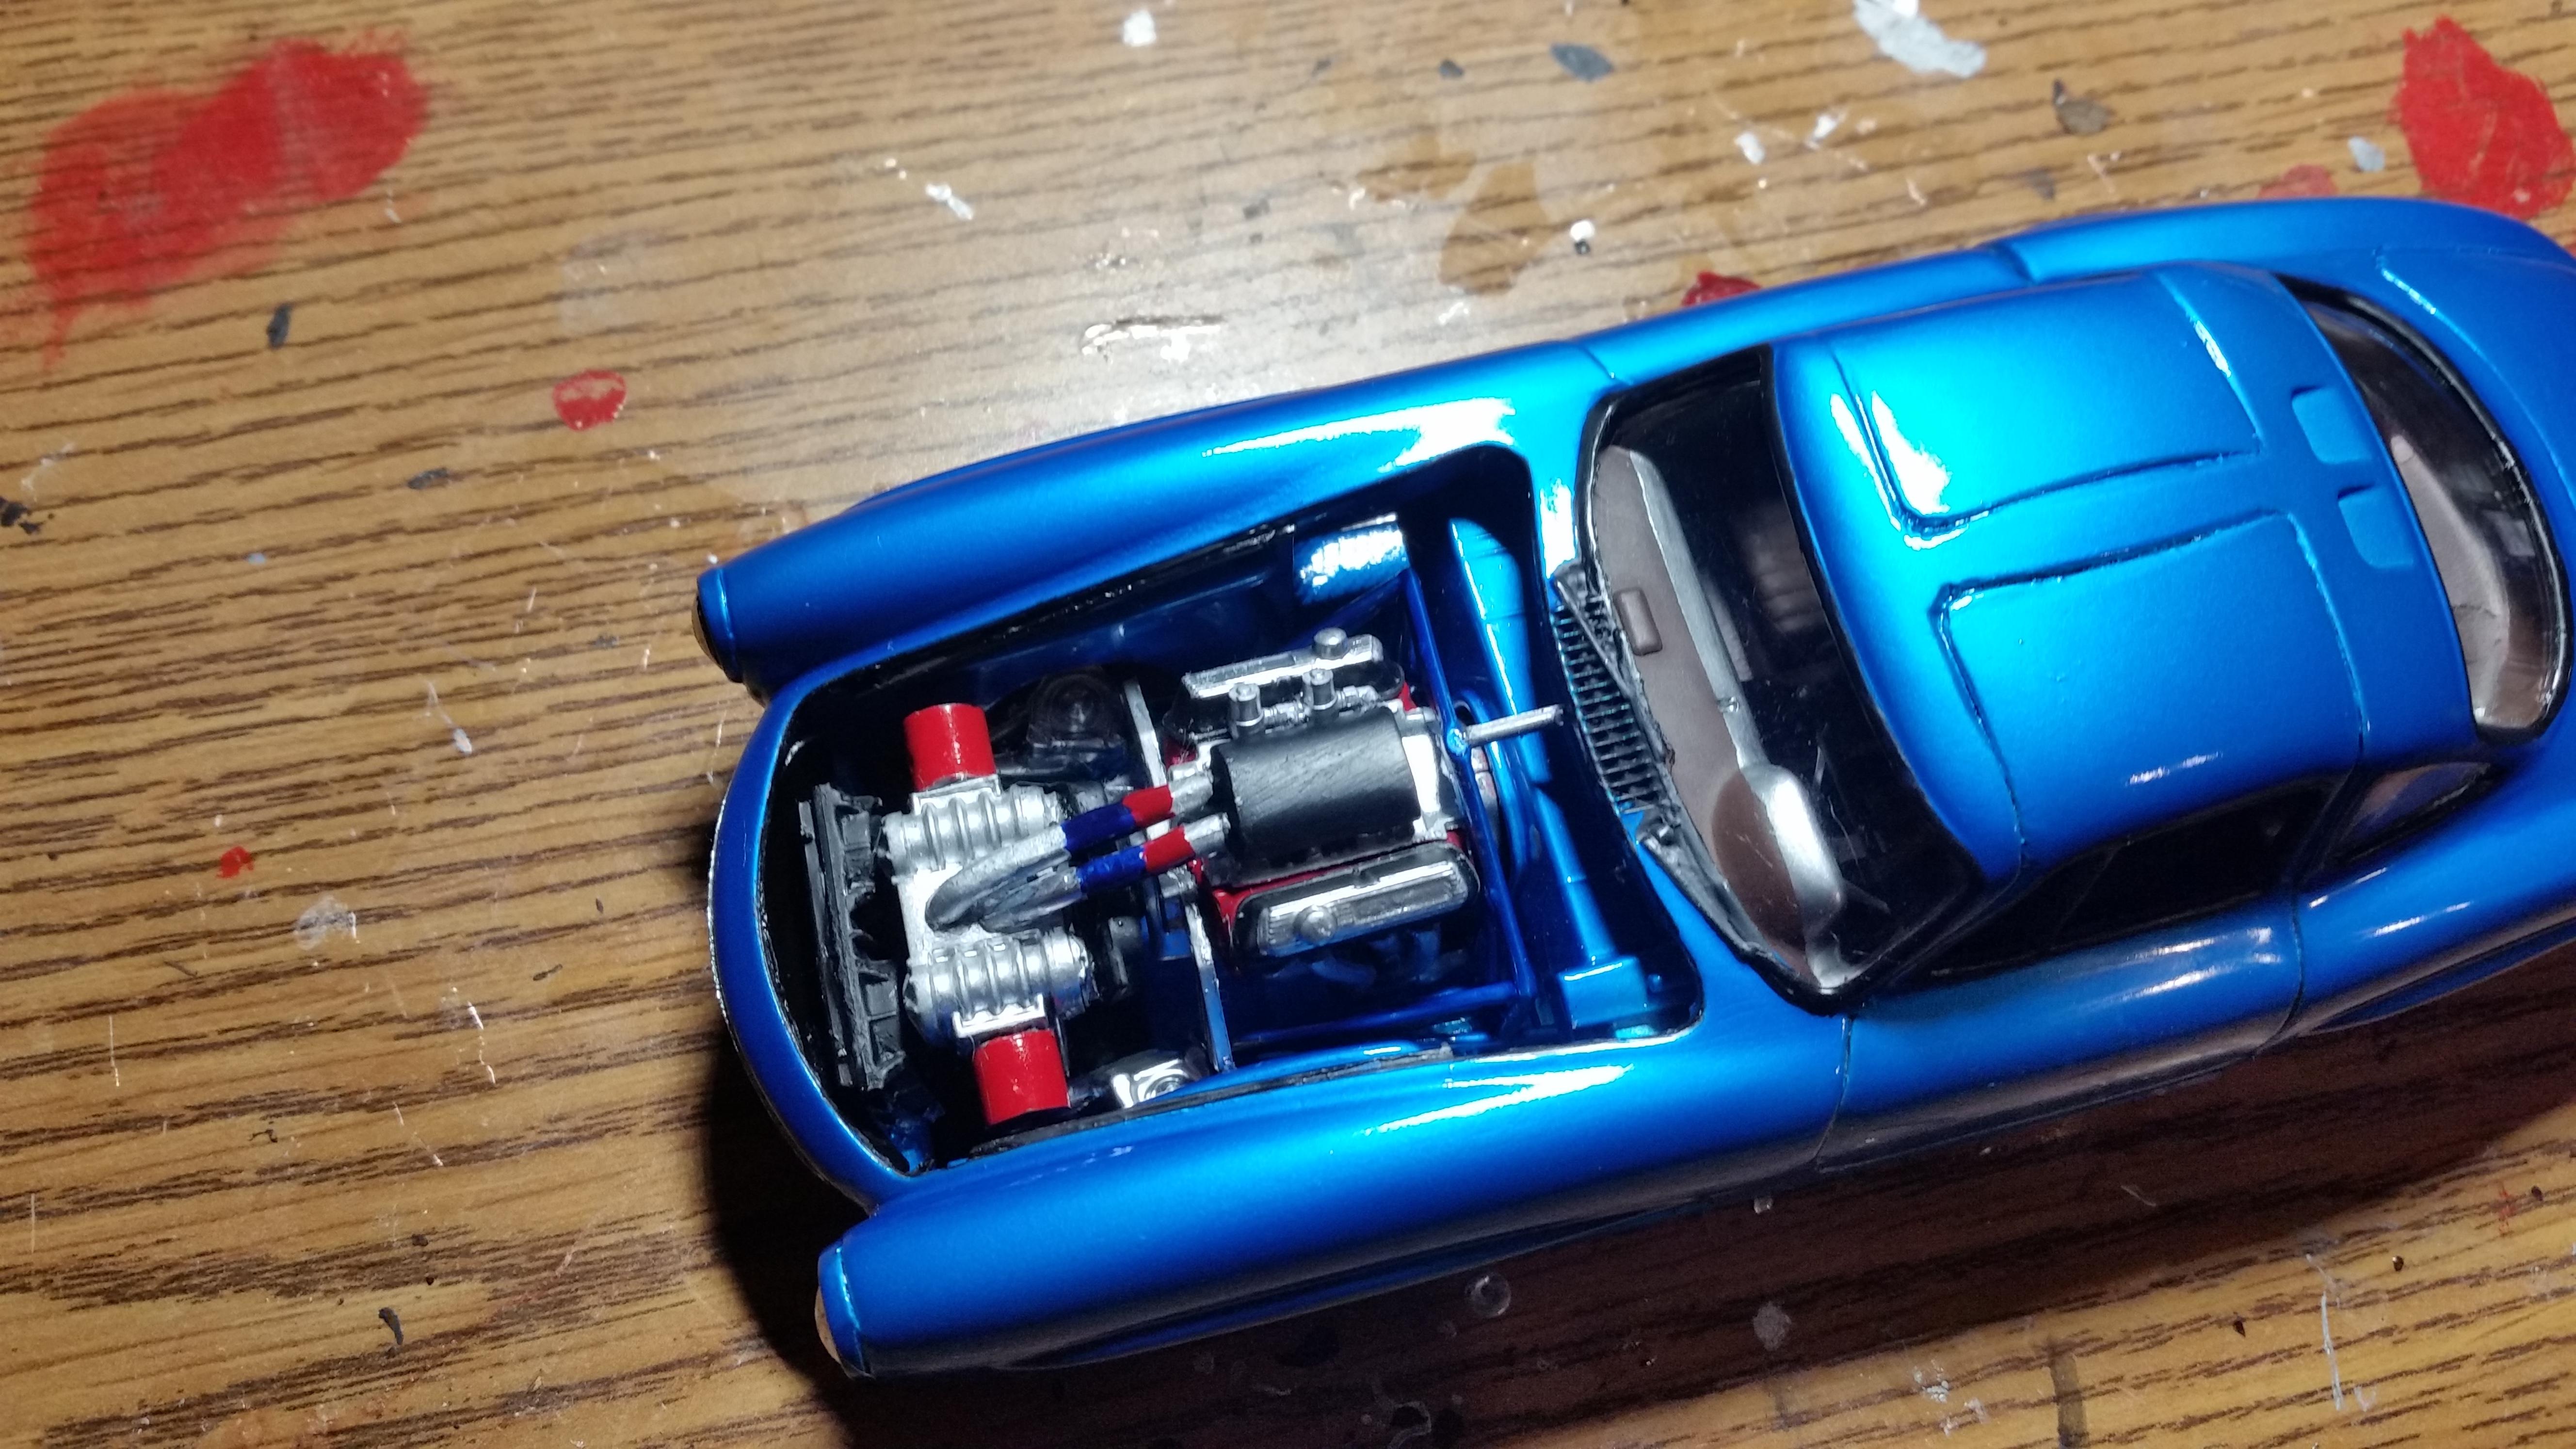
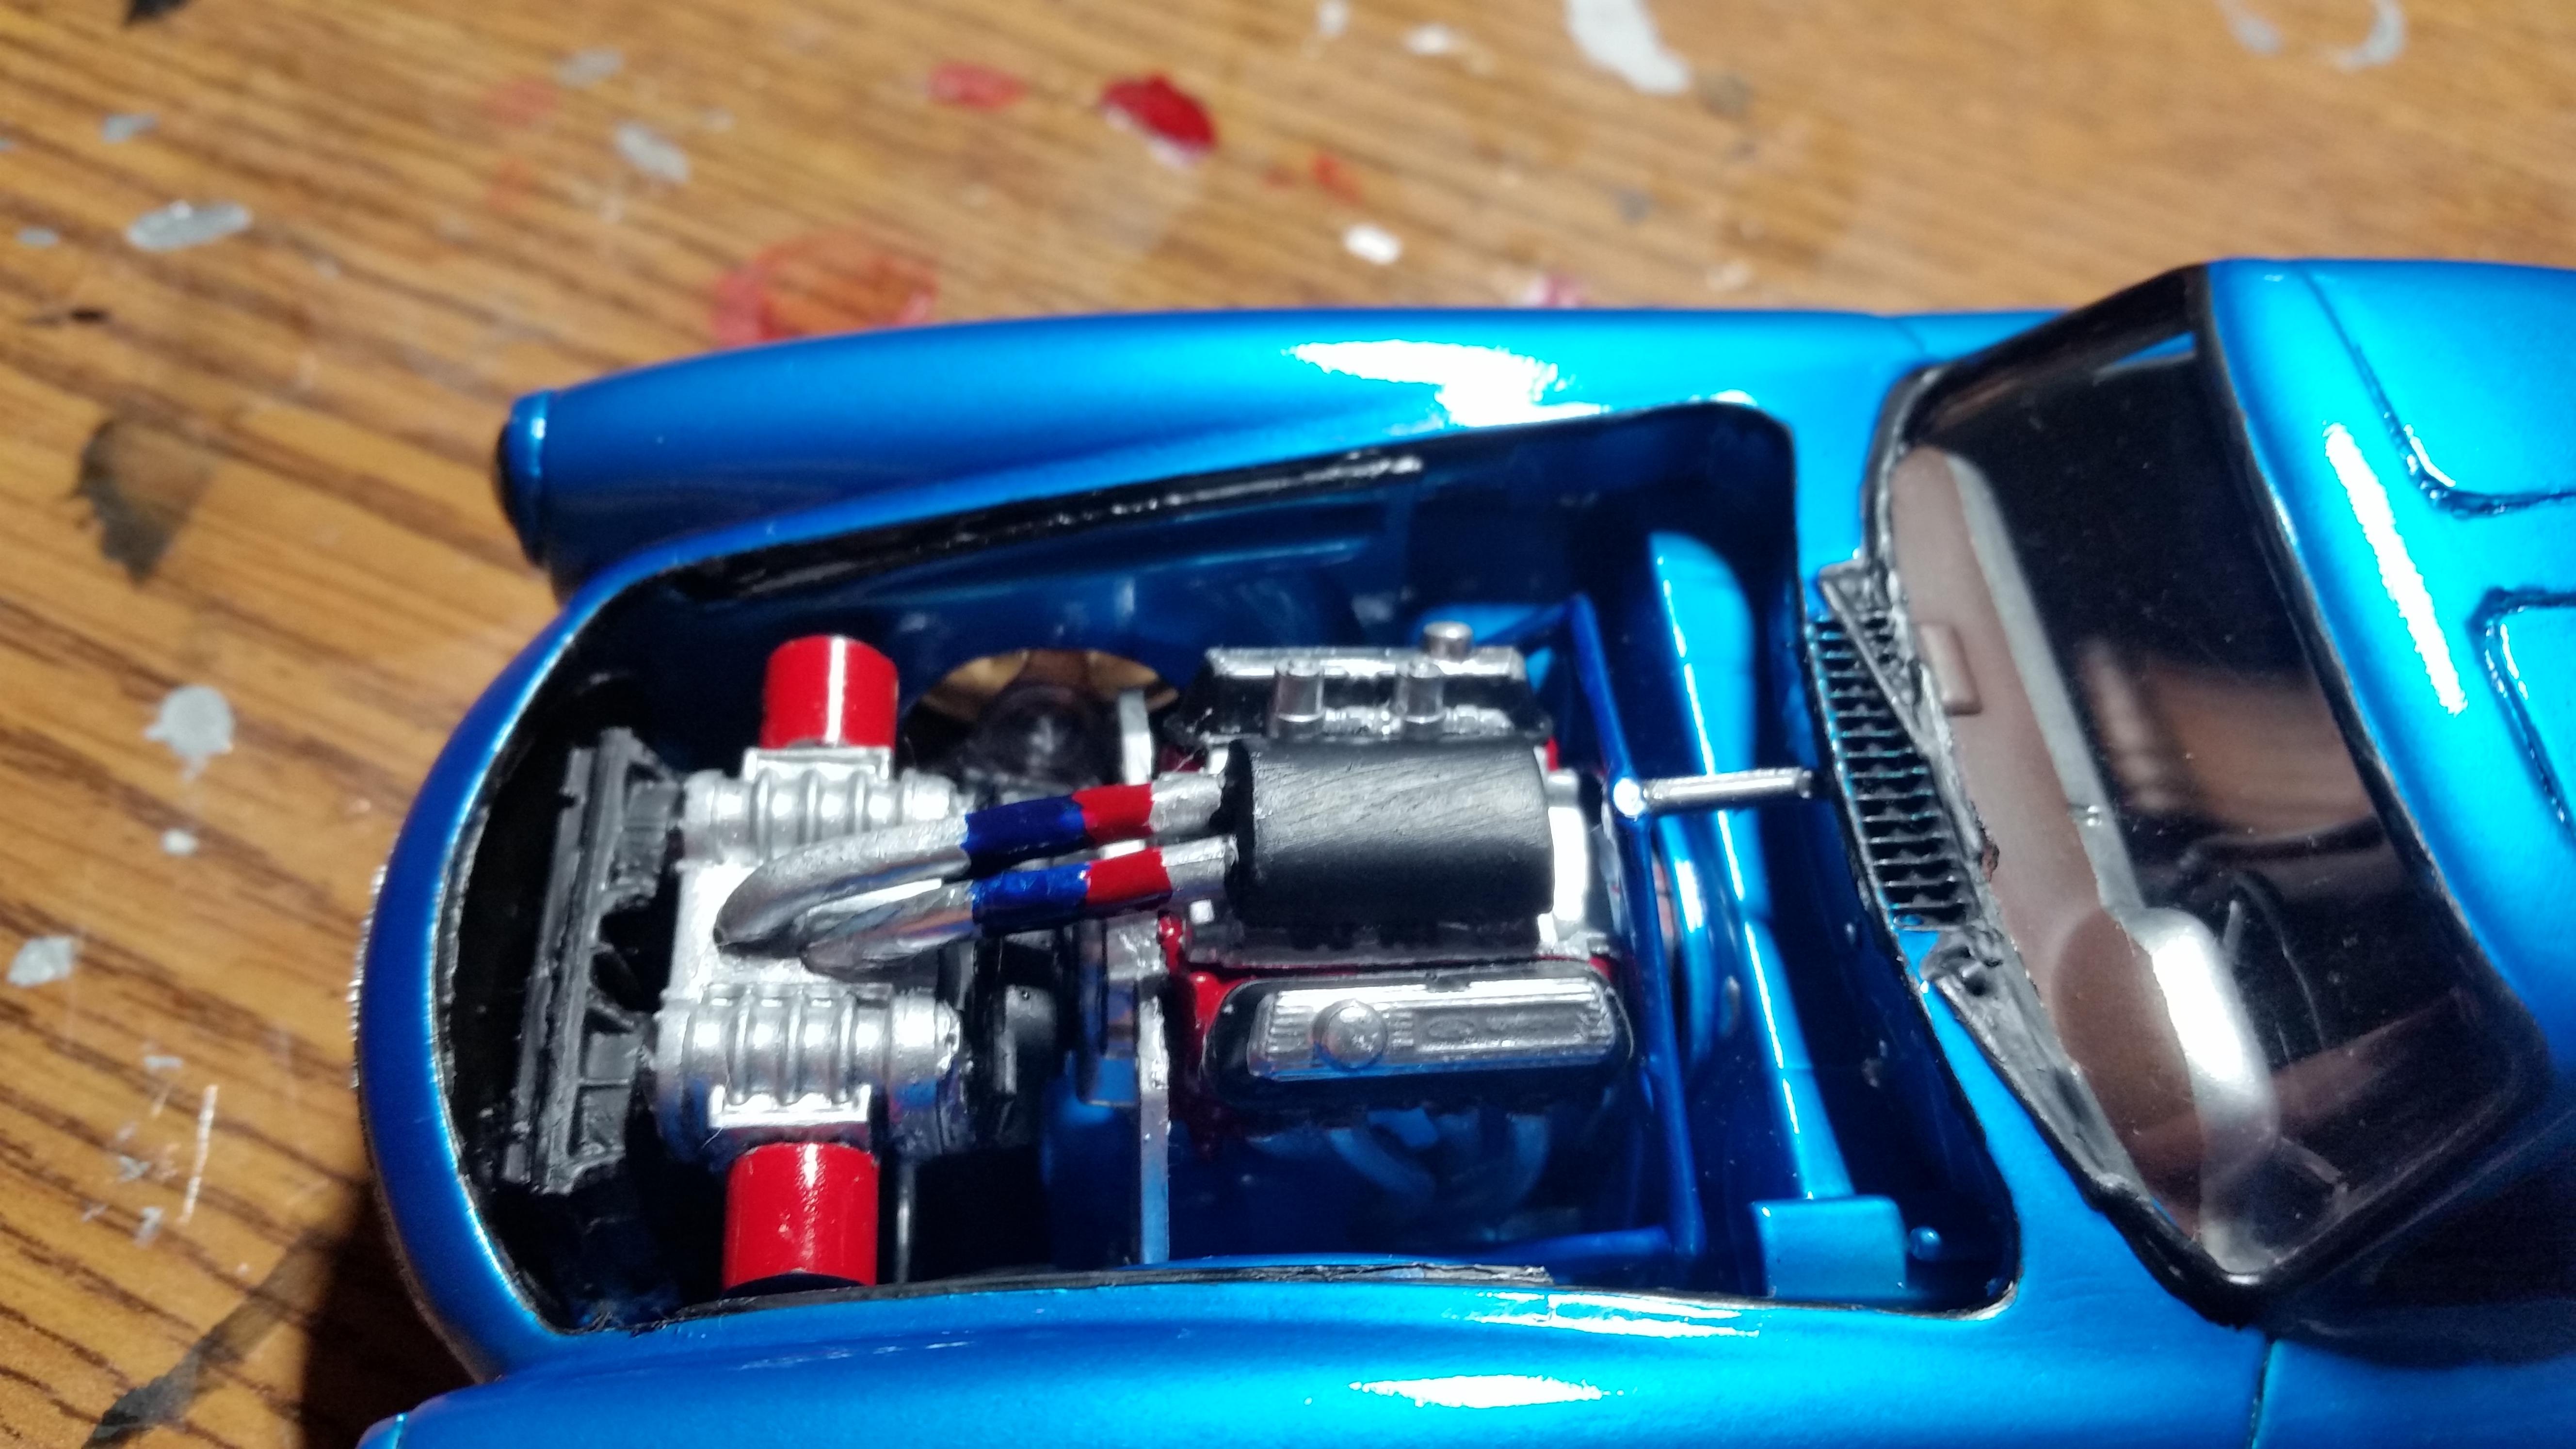
I pulled this one out of the stash looking to build something fun and not so serious. A whole lot more fabrication and re-engineering was required than I had imagined. Just a gnarly, ill-fitting, warped, blobulous mess of a kit. I lowered the overall ride. I moved the inner fenders inward to provide some clearance for the front tires. I smoothed out the bumpers by removing the guards then color matched them to the body. The paint is a Nissan color from ScaleFinishes, KAC Titanium with Wet Look clear. The rims are Pegasus and tires are Goodyear bigs and little from the parts box. Overall, I’m happy with the finished product. I swear I didn’t feed it after midnight! Thanks for looking. Comments, questions, tips, pointers or critiques are always welcome.

-
Those of you that may have a few years on you might remember The Munsters. Grandpa had to build a race car and win a drag race to get back the Munster Koach that Herman lost. I remember watching it as a kid. I built the DRAG-U-LA for FB group Halloween theme build. It was a fun model to build. I added a few aftermarket pieces to enhance its appearance. I hope it puts a smile on your face!
-
Well this one is all done! Amt 94 sonoma. Converted it to a 97. Changed the steering wheel, intake manifold, intake and some underhood stuff. Slammed on pegasus wheels with painted centers and painted a factory color for 97-00. I love the way this one turned out. I just need to add rear shocks lol.
-
I do not want to say this was an easy build. It had it's moments when stuff did not want to fit correct. I used the flame decals from an old t-bucket kit I had laying around. I also created a custom exhaust.
-
Some of you regulars know that I used to build box art models for AMT back during the Ertl days. I built display models ranging from mostly cars to even Star Wars from 1990 to 1995. The last three cars I did were for the Chevrolet Classics set shown below. Once they were built, as always I would hand them over to the Ertl Company and I might occasionally see them on the box, in the catalogs, or in the Blueprinter. When Ertl was finished with them, they would raffle or auction them off at model car events, then donate the proceeds to the Model Car Museum in Salt Lake City, Utah. I have no idea where most of them went after their box art days, but one day, while perusing Spotlight Hobby's predecessor, the Hobby Heaven Message Board, I saw a post by the late "Viper" Dave McGaughey showing the 1958 Chevy Impala I built for the box. I contacted Dave a few times over the years, inquiring about purchasing it, but his reply was always "it's in a good home". Sadly, David McGaughey passed away in 2018. I reached out to one of his sons asking about the model, but never got a reply. Then I reached out to mutual friend Ted "Chopper" Lear, who informed me that Dave had sold much of his collection to Richard Geis. So I messaged Richard in 2018 and asked if he knew of the model in question. Two years later, I got a Facebook message from Richard, apologizing for the delayed response, as he had recently just got back on Facebook. He had the model all along, having won a raffle for it, and that he would be happy to sell it back to me for what he had in it, plus shipping. Needless to say, the deal was consummated, and I am happy to report that one of my very favorite builds has returned, and Richard had indeed given it a very good home over these past two decades. And so here it is! You are probably wondering where the glass is. Most box art builds for Ertl were done sans glass, as it induced glare and distortion. Instead, the retouchers airbrushed (and later Photoshopped) the glass in. Box art models can lead rather rough lives during their travels. A sharp eye will reveal that during Ertl's ownership, it had been damaged, and the front hood and grille trim rather crudely glued back on. (It didn't leave my house with those big glue smudges on the hood!) Fortunately that old Krylon Teal paint is pretty robust, and I was able to polish a lot of that out after this photo was taken. At some point I'll be fixing the trim, along with the now glued solid steering. And the missing wind splits will be replaced on the fenders. The radiator hose and oil filler were there when it was delivered to Ertl. They will be replaced. Given the tight time constraints, these were no contest models. I built all three in about a week. So things that didn't show, like drive shafts, shocks, and on this one, even the exhaust were left off. In retrospect, I probably should have added the exhaust. And who knows, that could still happen. I've got a few extra 58 Impalas in the stash. it was a very different world a quarter of a century ago in 1995 when I built this model. My oldest two kids, now in their mid 30s were 8 and 9 years old, my mom and dad were both still alive, and I was a long haired guy going to college for an Engineering degree. Looking at this 58 Impala brings me right back to those days... I want to thank Tom Carter for the creating Hobby Heaven, and now Spotlight Hobbies Message Board for making this reunion possible, Ted Lear for hooking me up with Richard Geis, and especially Richard, for not only taking such great care of it, but being kind enough to reunite me with this bit of my history, one that I will be able to pass on to my son. And I want to thank anyone who took the time to let me share this story with them.
-
 Started working on an AMT 53 Ford Pickup about a week ago, have seen a lot of nice builds and always wanted to get one going. Doing all the basics right now, soaked the body and main parts in some dawn and water, scrubbed the stuff down, scribed out the doors, vent and windshield. Removed the door handles, locks and filling in the gas filling area. Also smoothed out the running boards, have them glazed with some Evercoat at the moment. Looking at the chassis and stance at the moment, started assembling the engine. My goal is build a nice 60's style cruiser out of this. I've also been posting a bit more on my Instagram, if anyone is there feel free to drop in at qstick99
 -
Looks like i found another old project that needs to get done. It will be a full detail build with parts from a Revell 66 GTO.
-
This is my first build in 35+ years,since I was a kid. AMT Ecto 1A Ghostbusters It´s build out of the box...haven´t painted the body otherwise everything else is painted mainly to instrictions.Have also seen a couple of videos on Youtube of other builds of the car. 95% of all is painted with brush using Vallejo Air paint. Only chassis and main interieur was airbrushed. No clear coat either. I know that Slimey and Marshmellow Man is featured in "Ghostbusters 1" movie and Ecto 1A is from "Ghostbusters 2" The figures was found on wish.com
- 15 replies
-
- 1
-

-
- ecto
- ghostbusters
- (and 1 more)
-
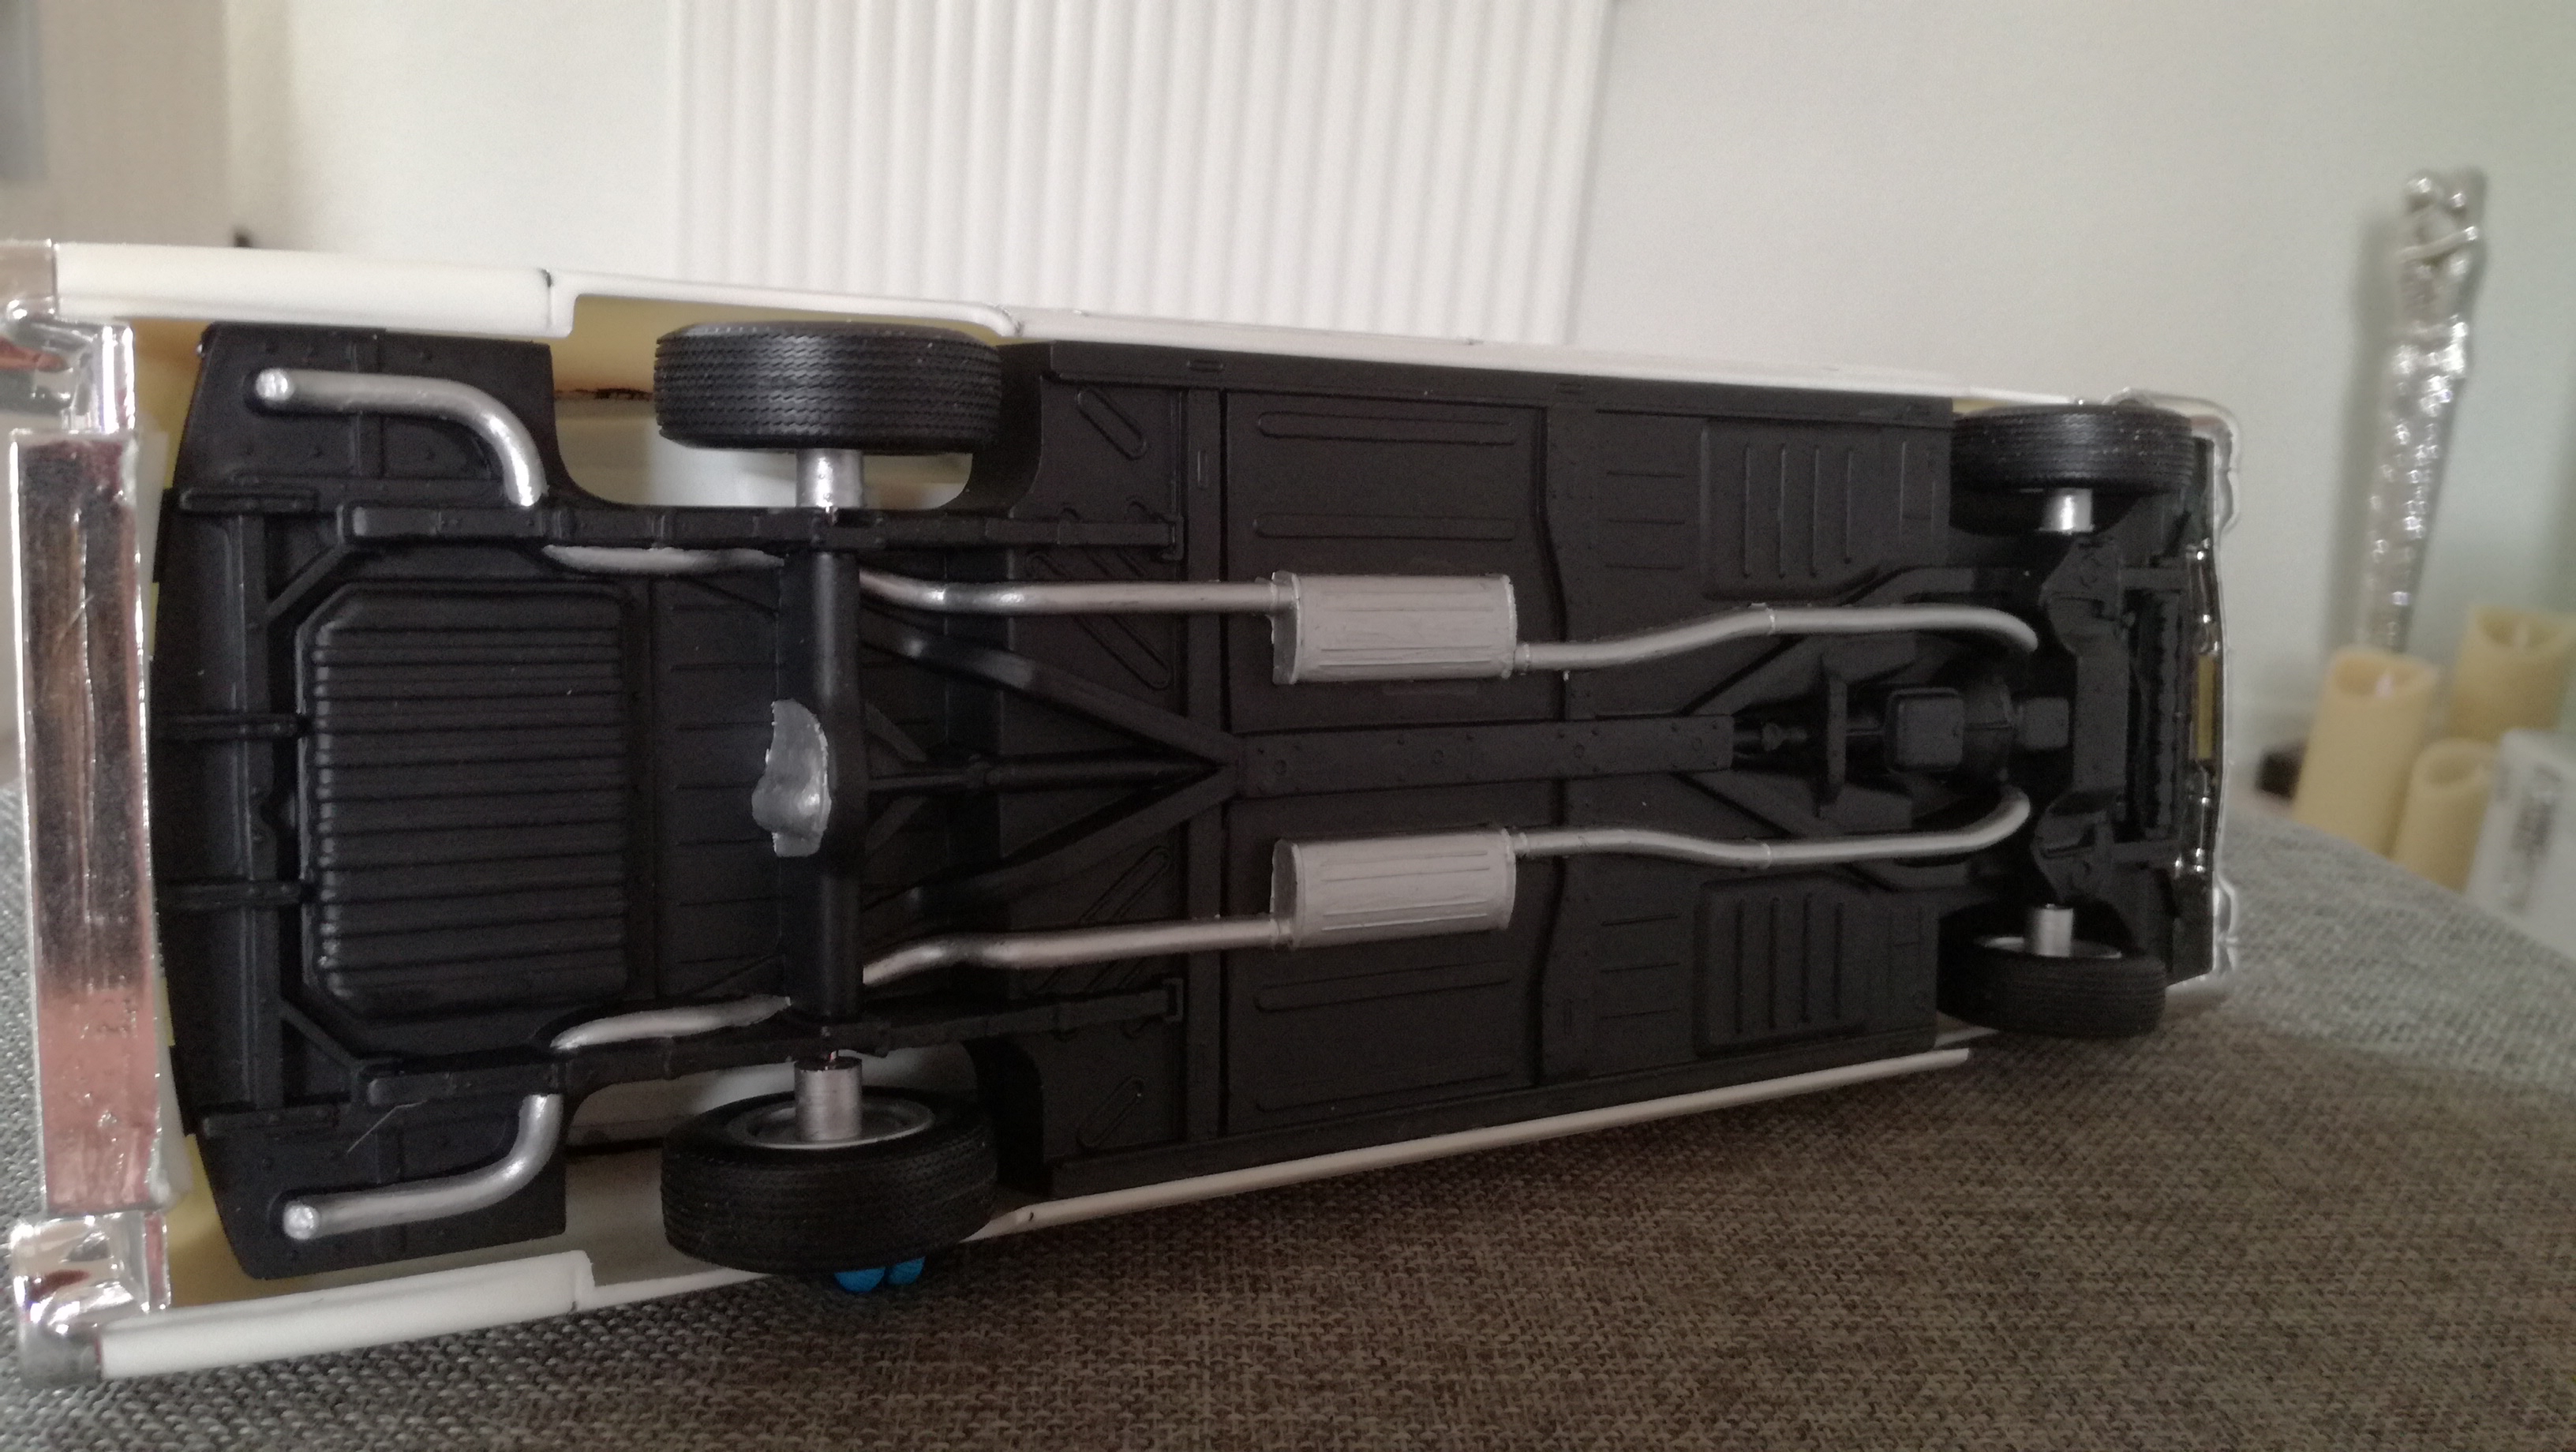
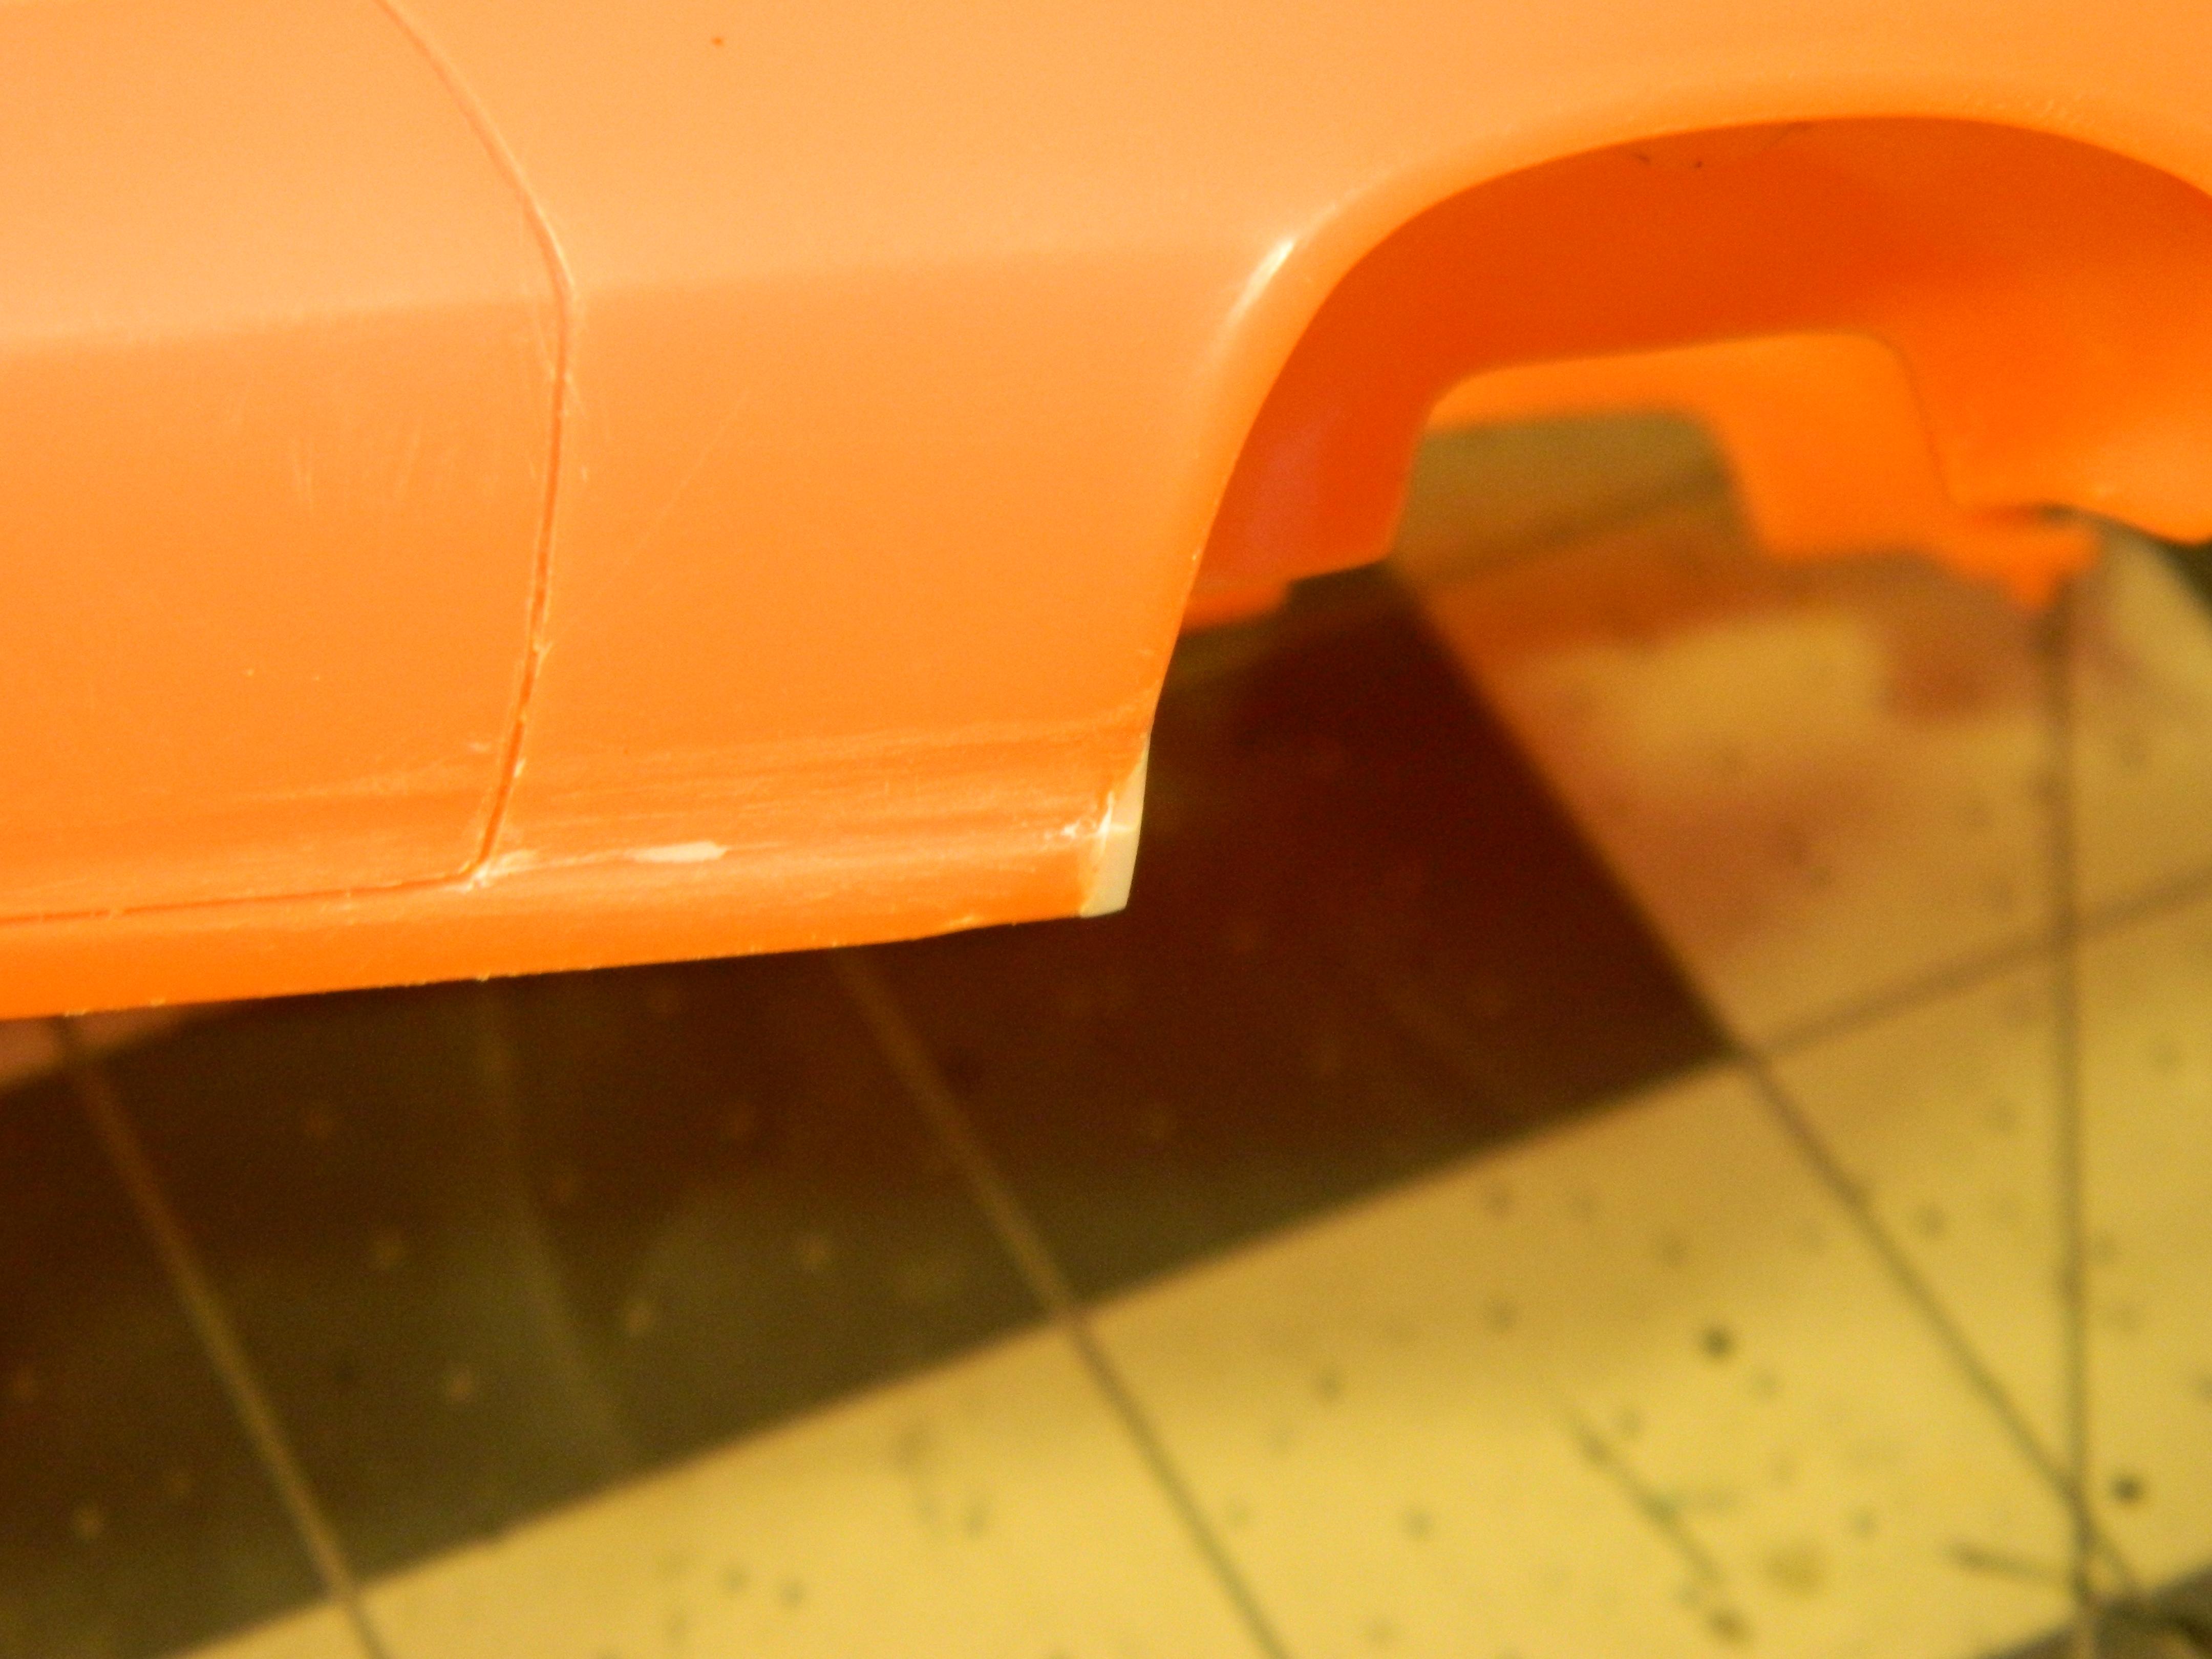
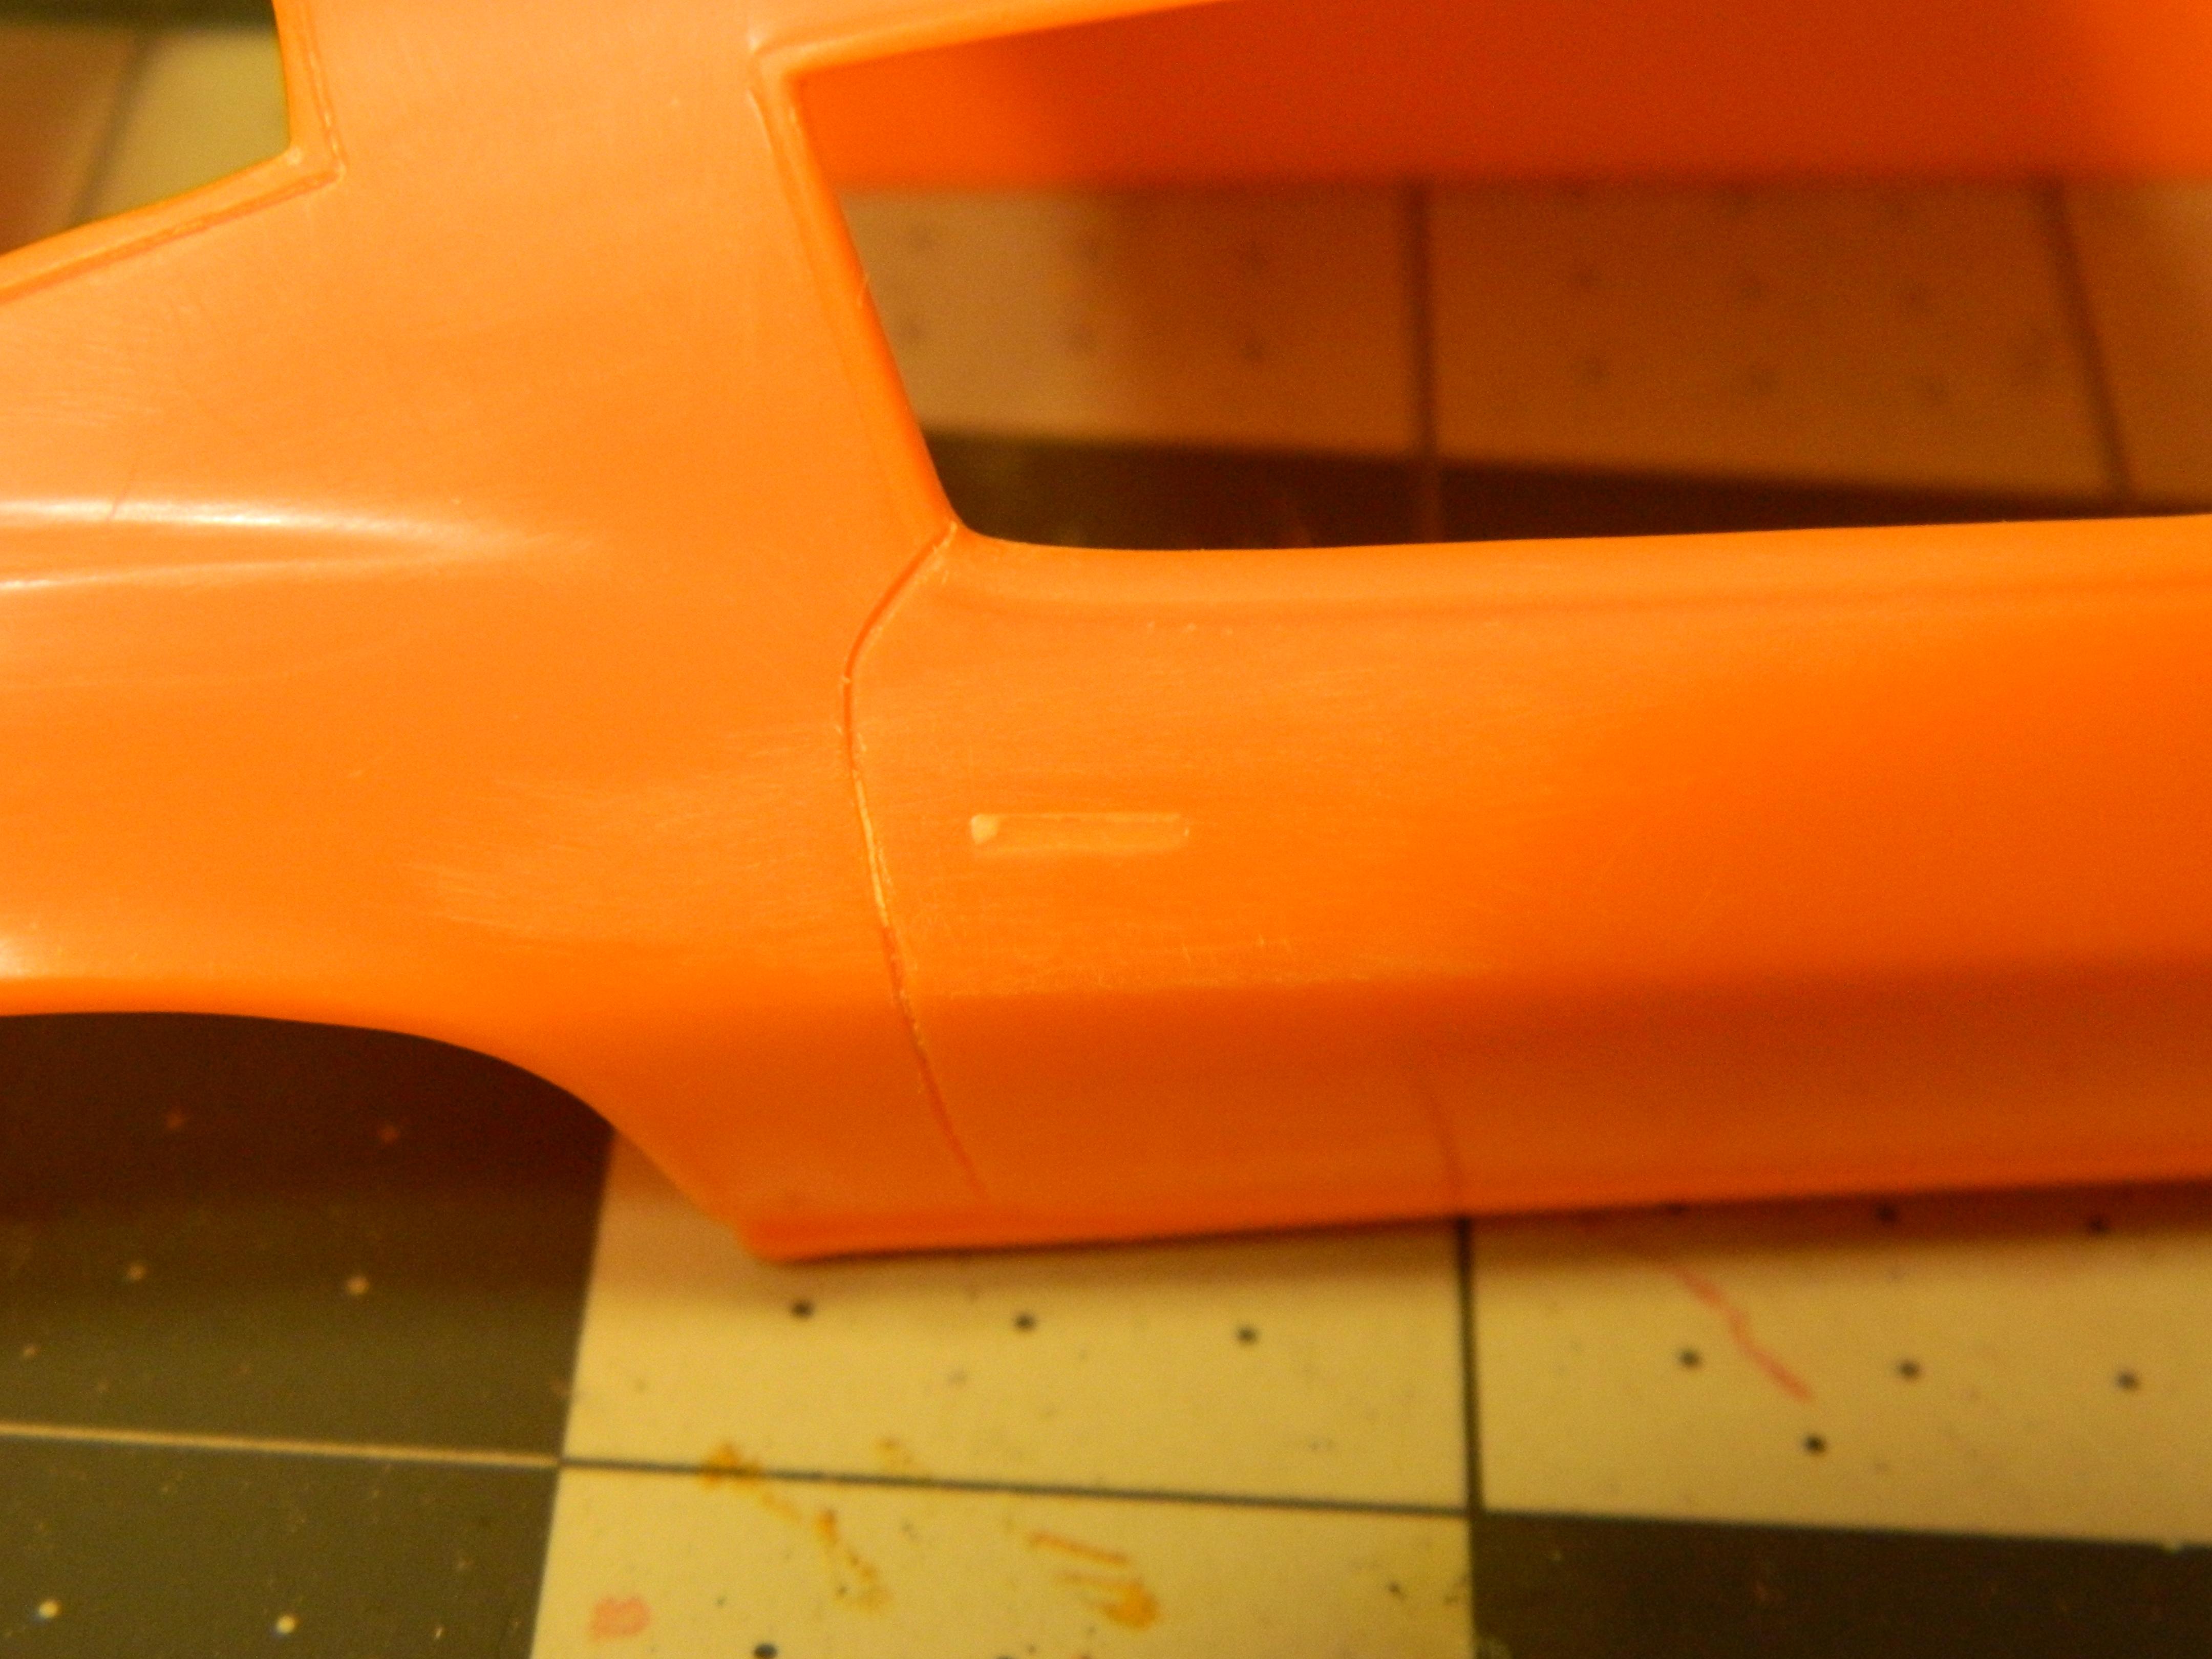
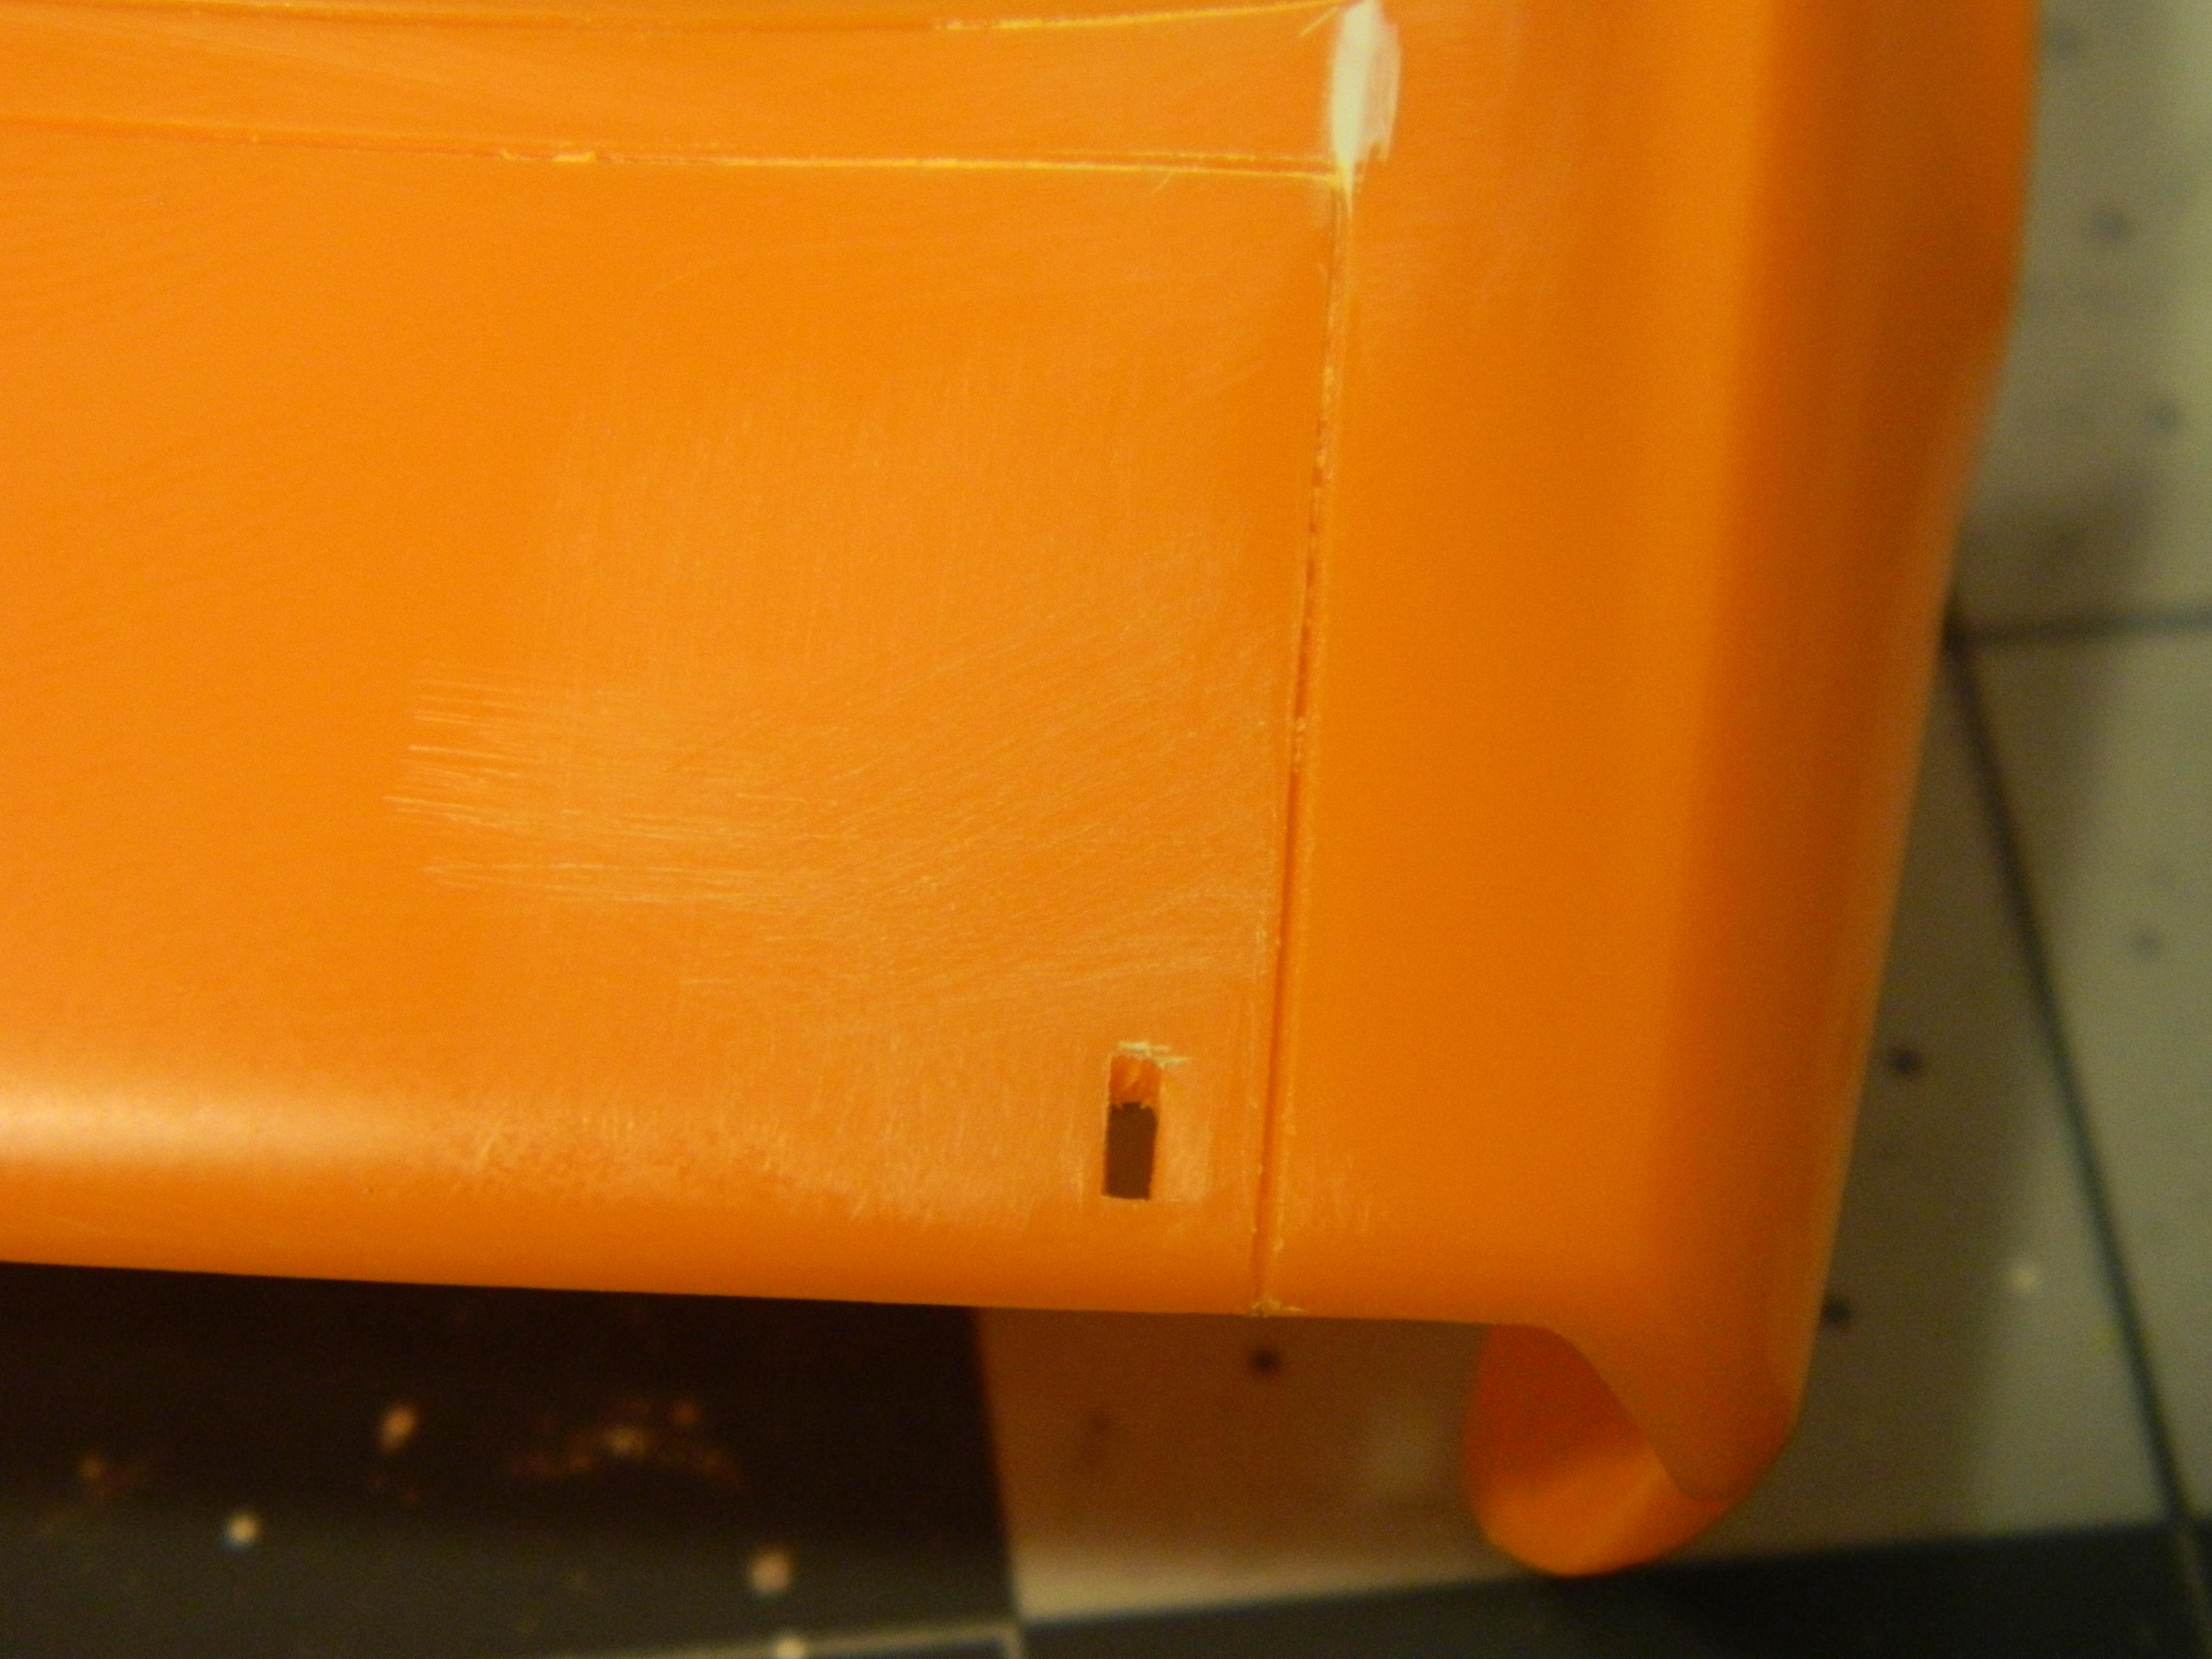
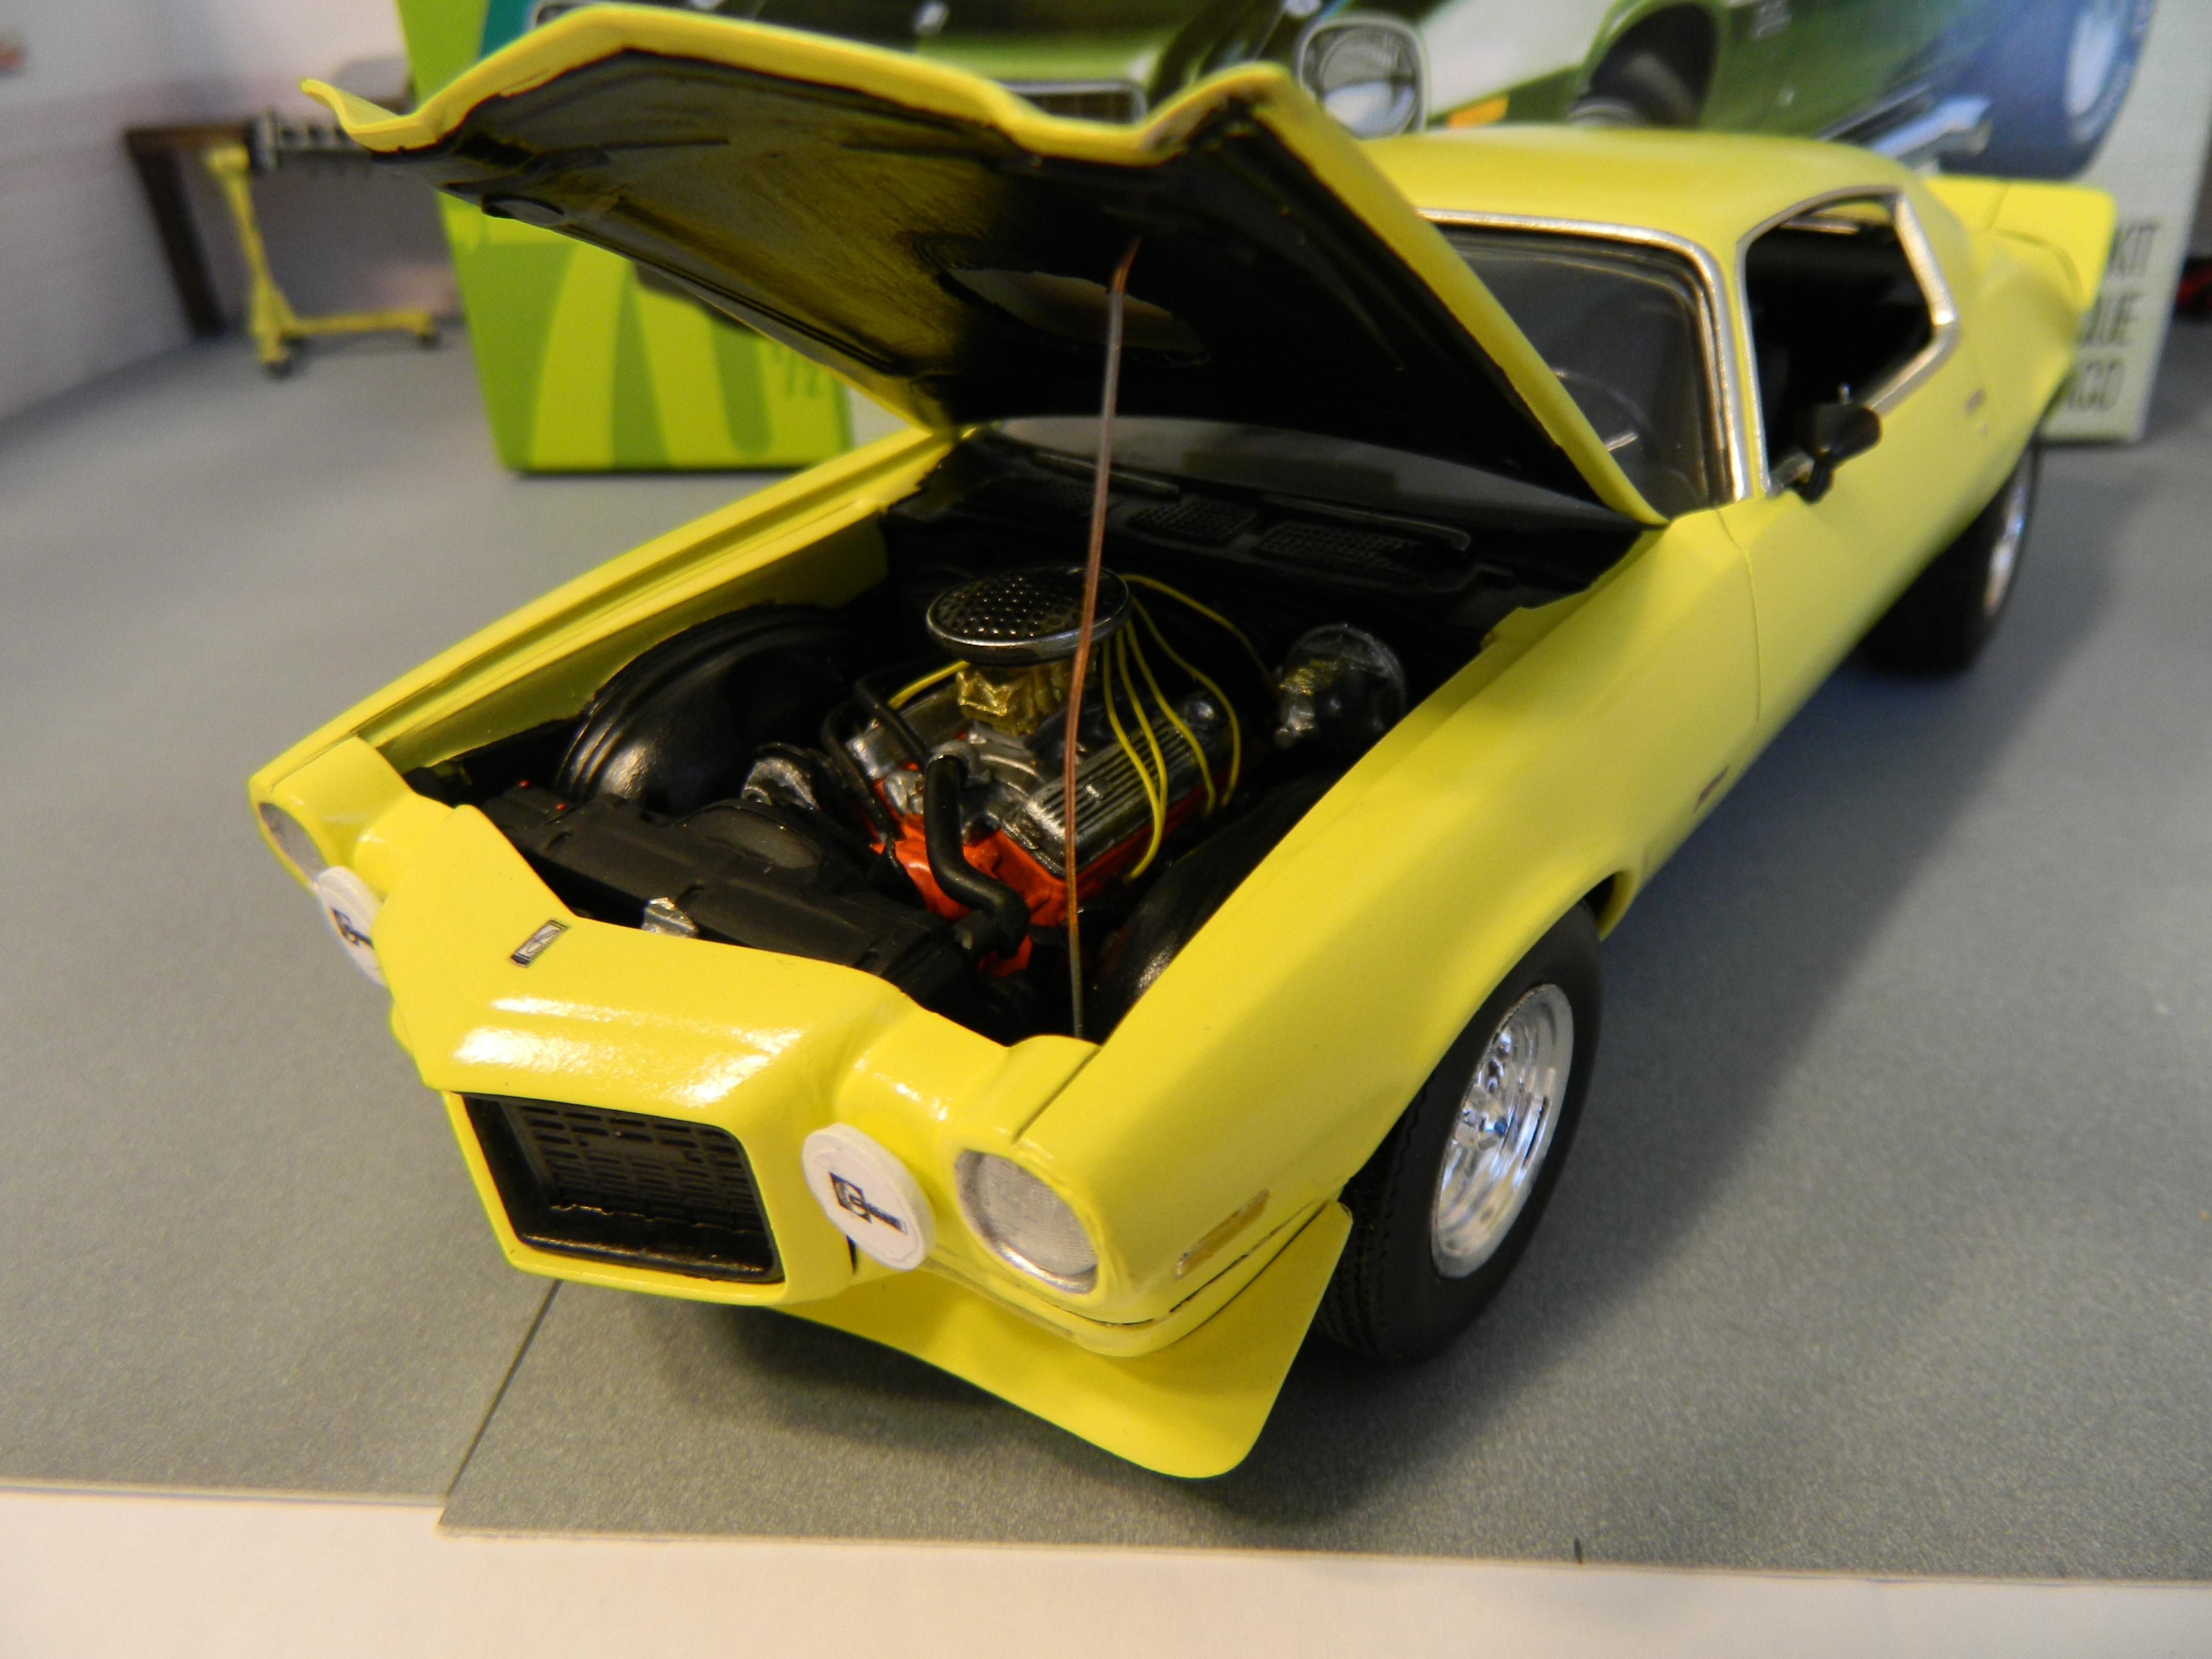
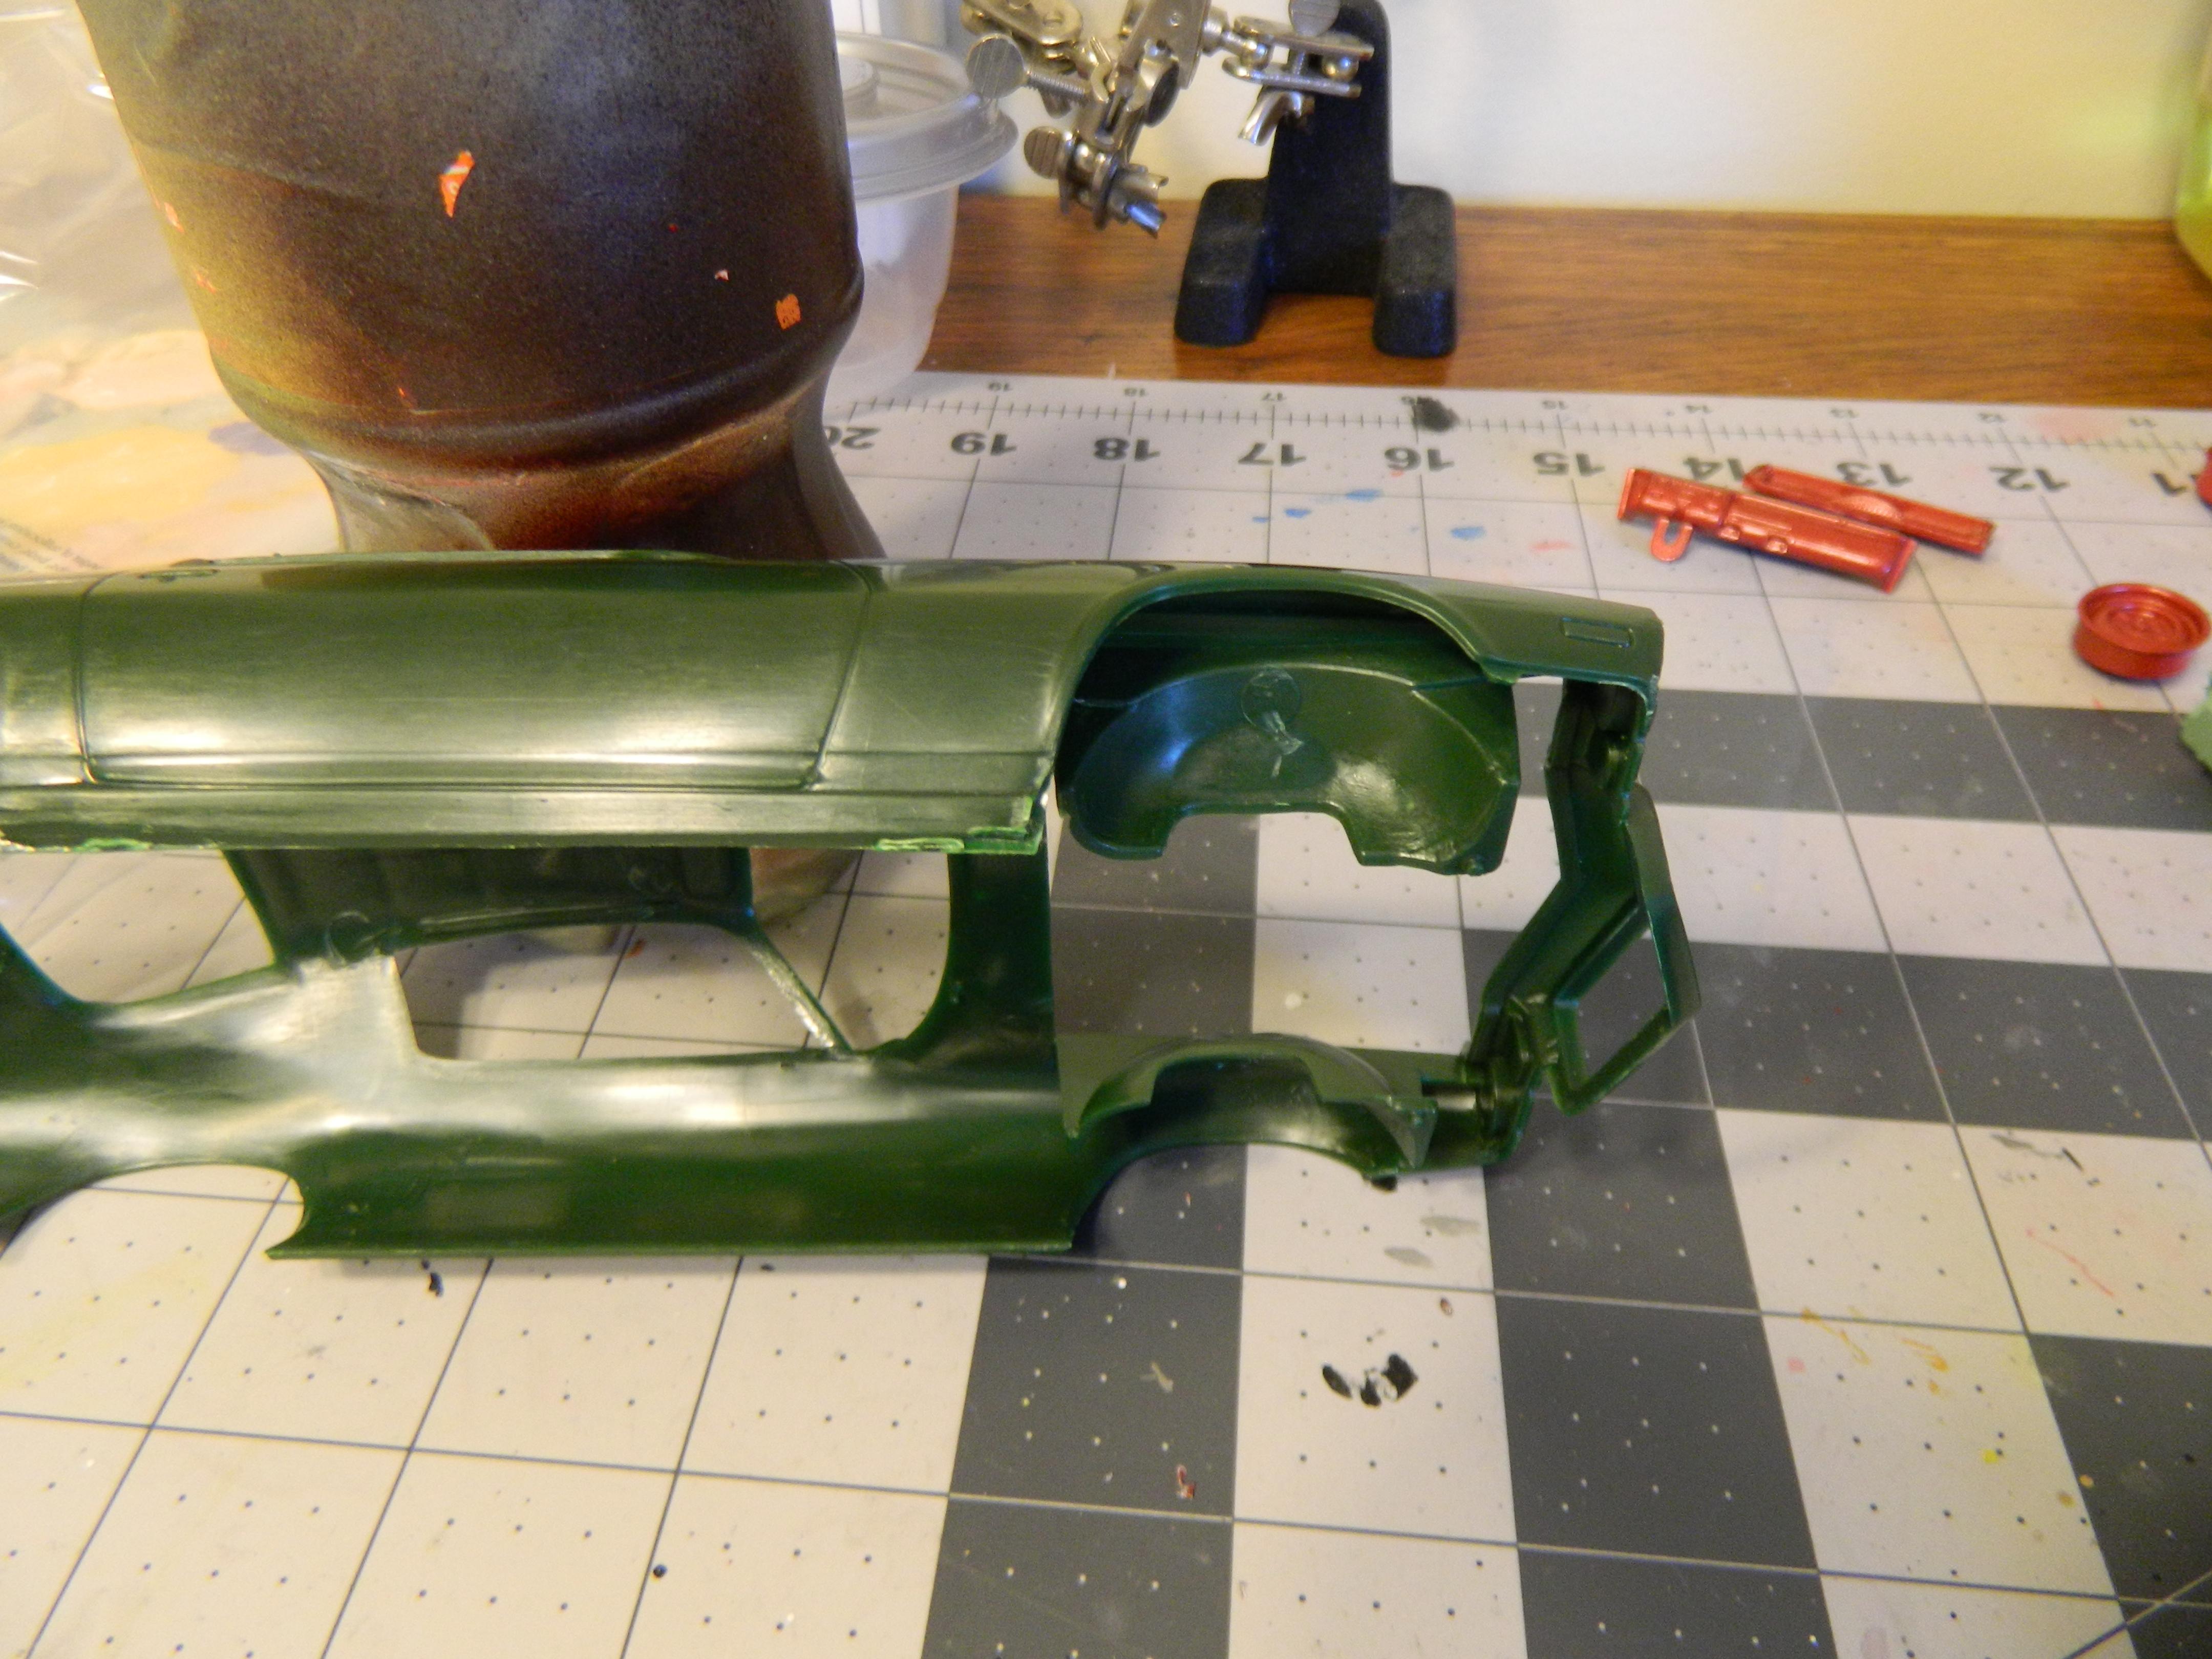
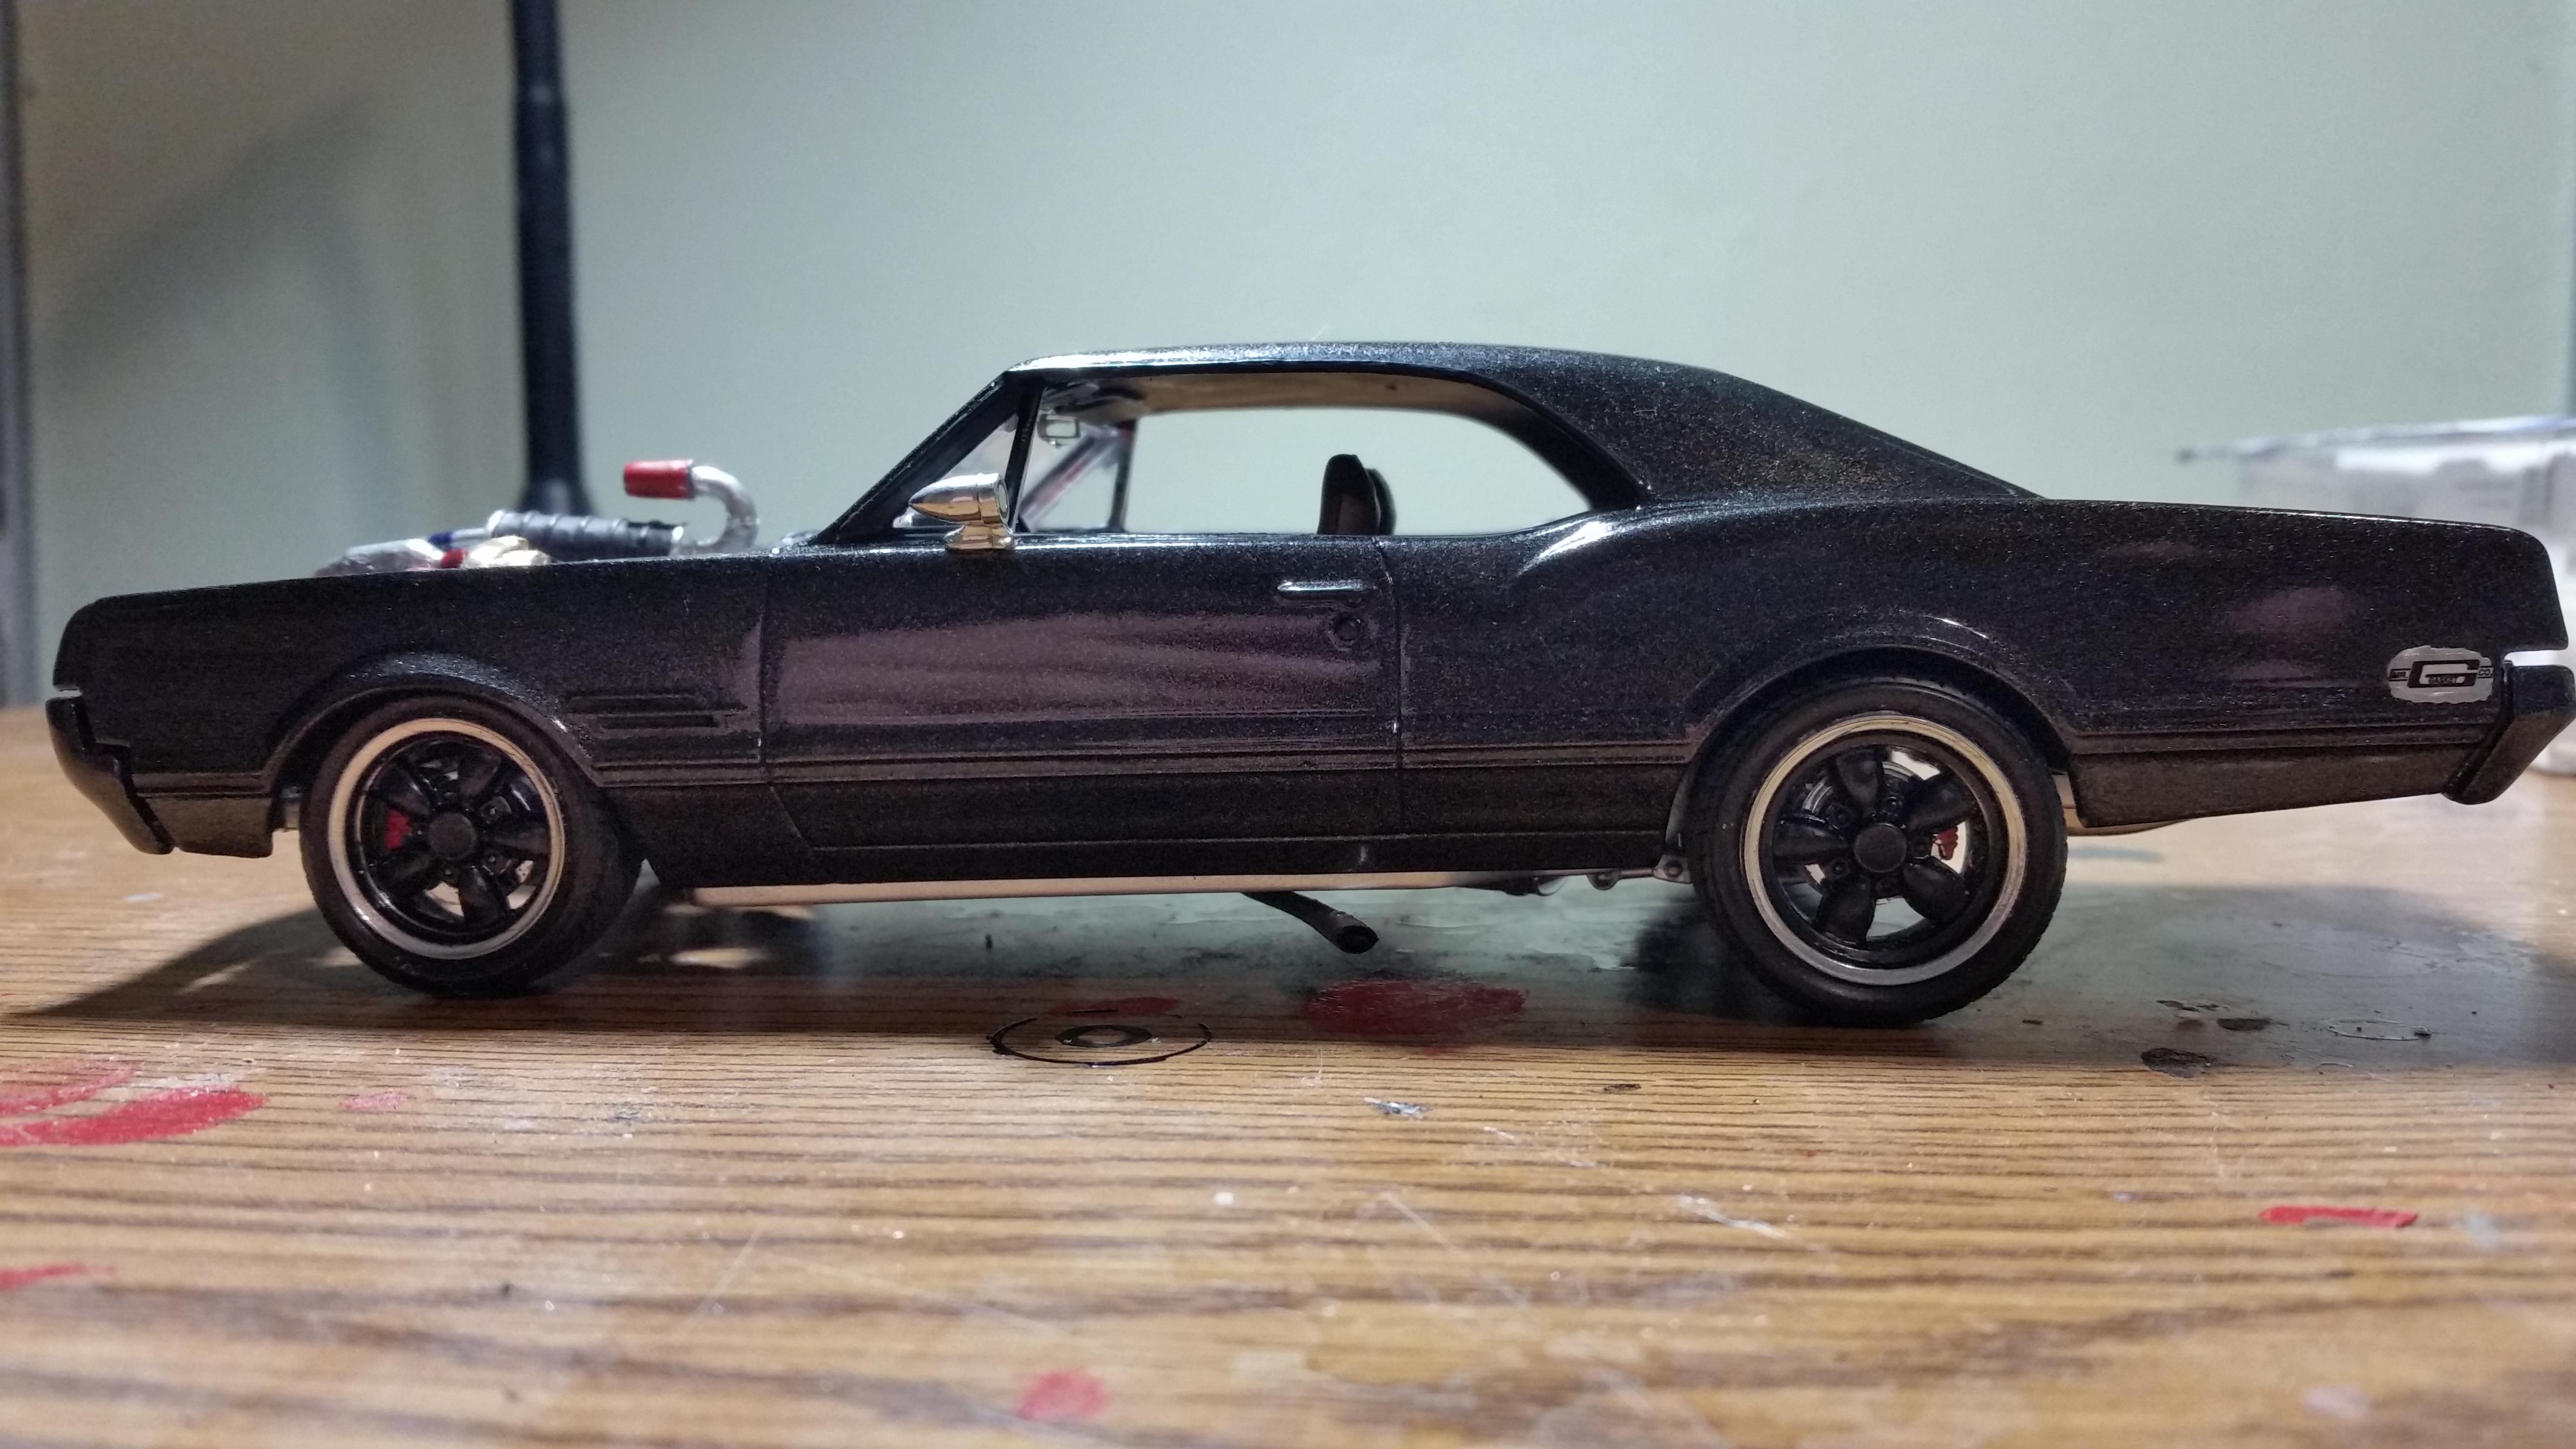
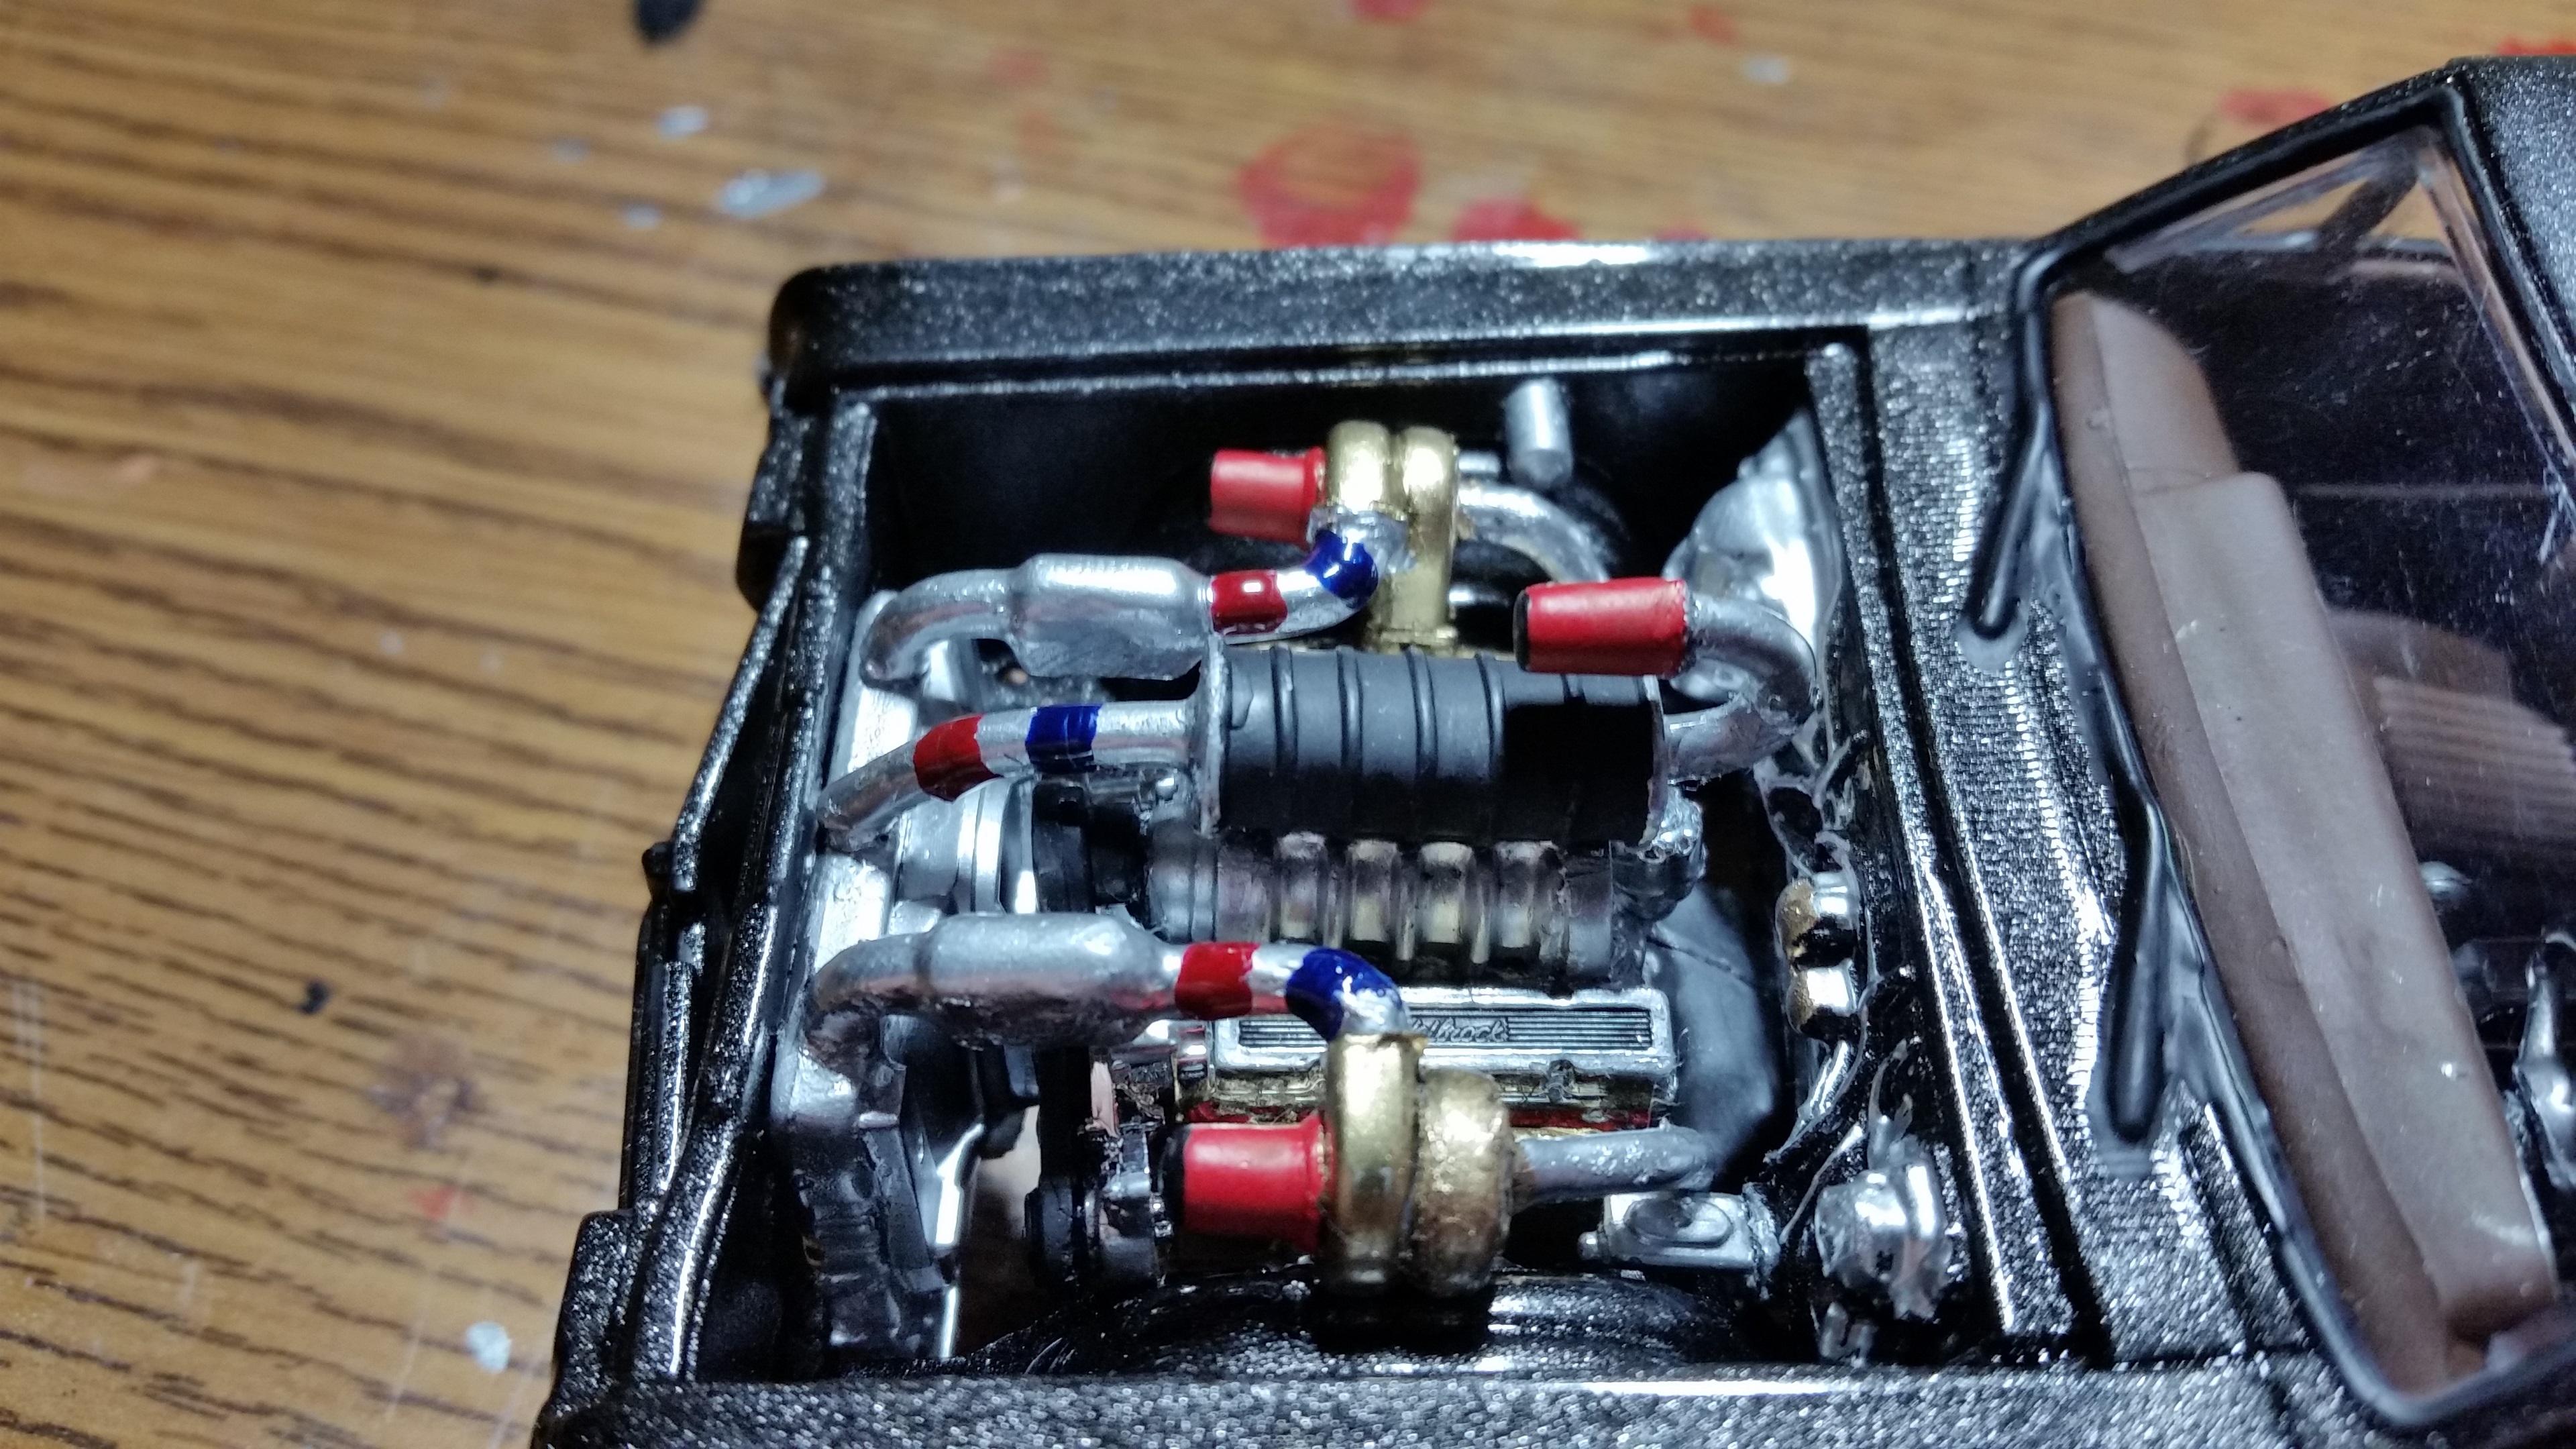
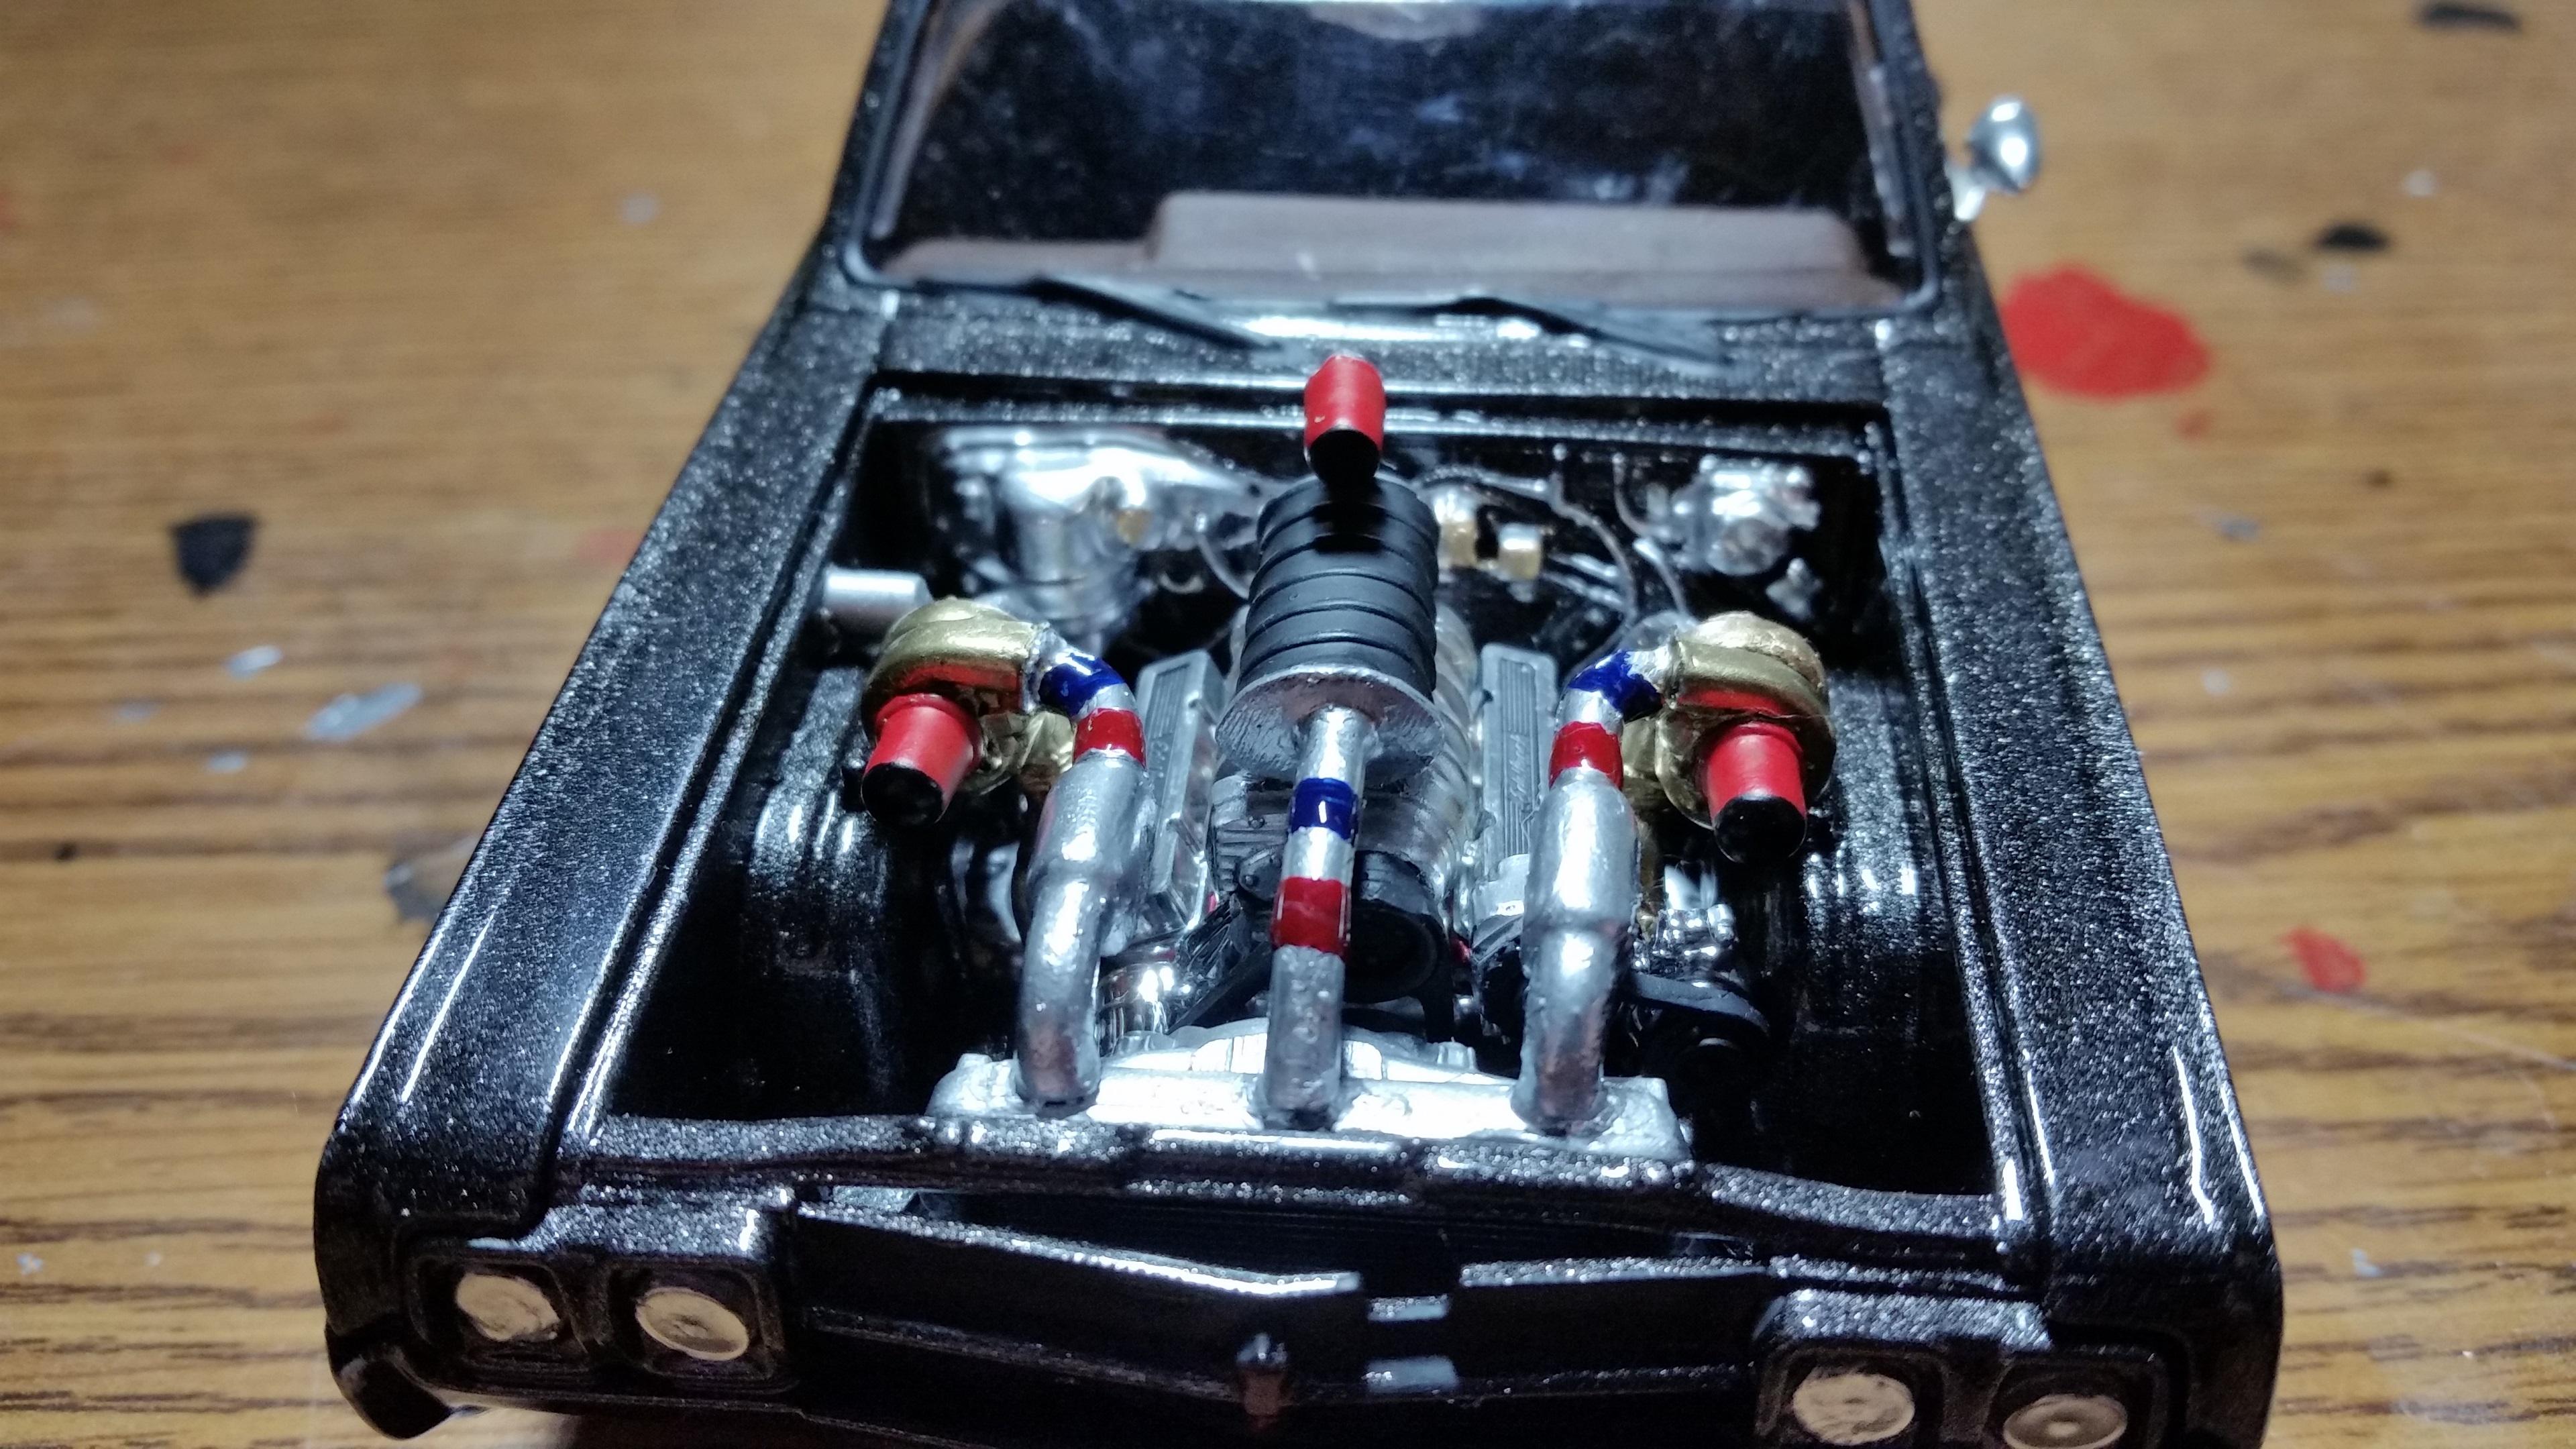
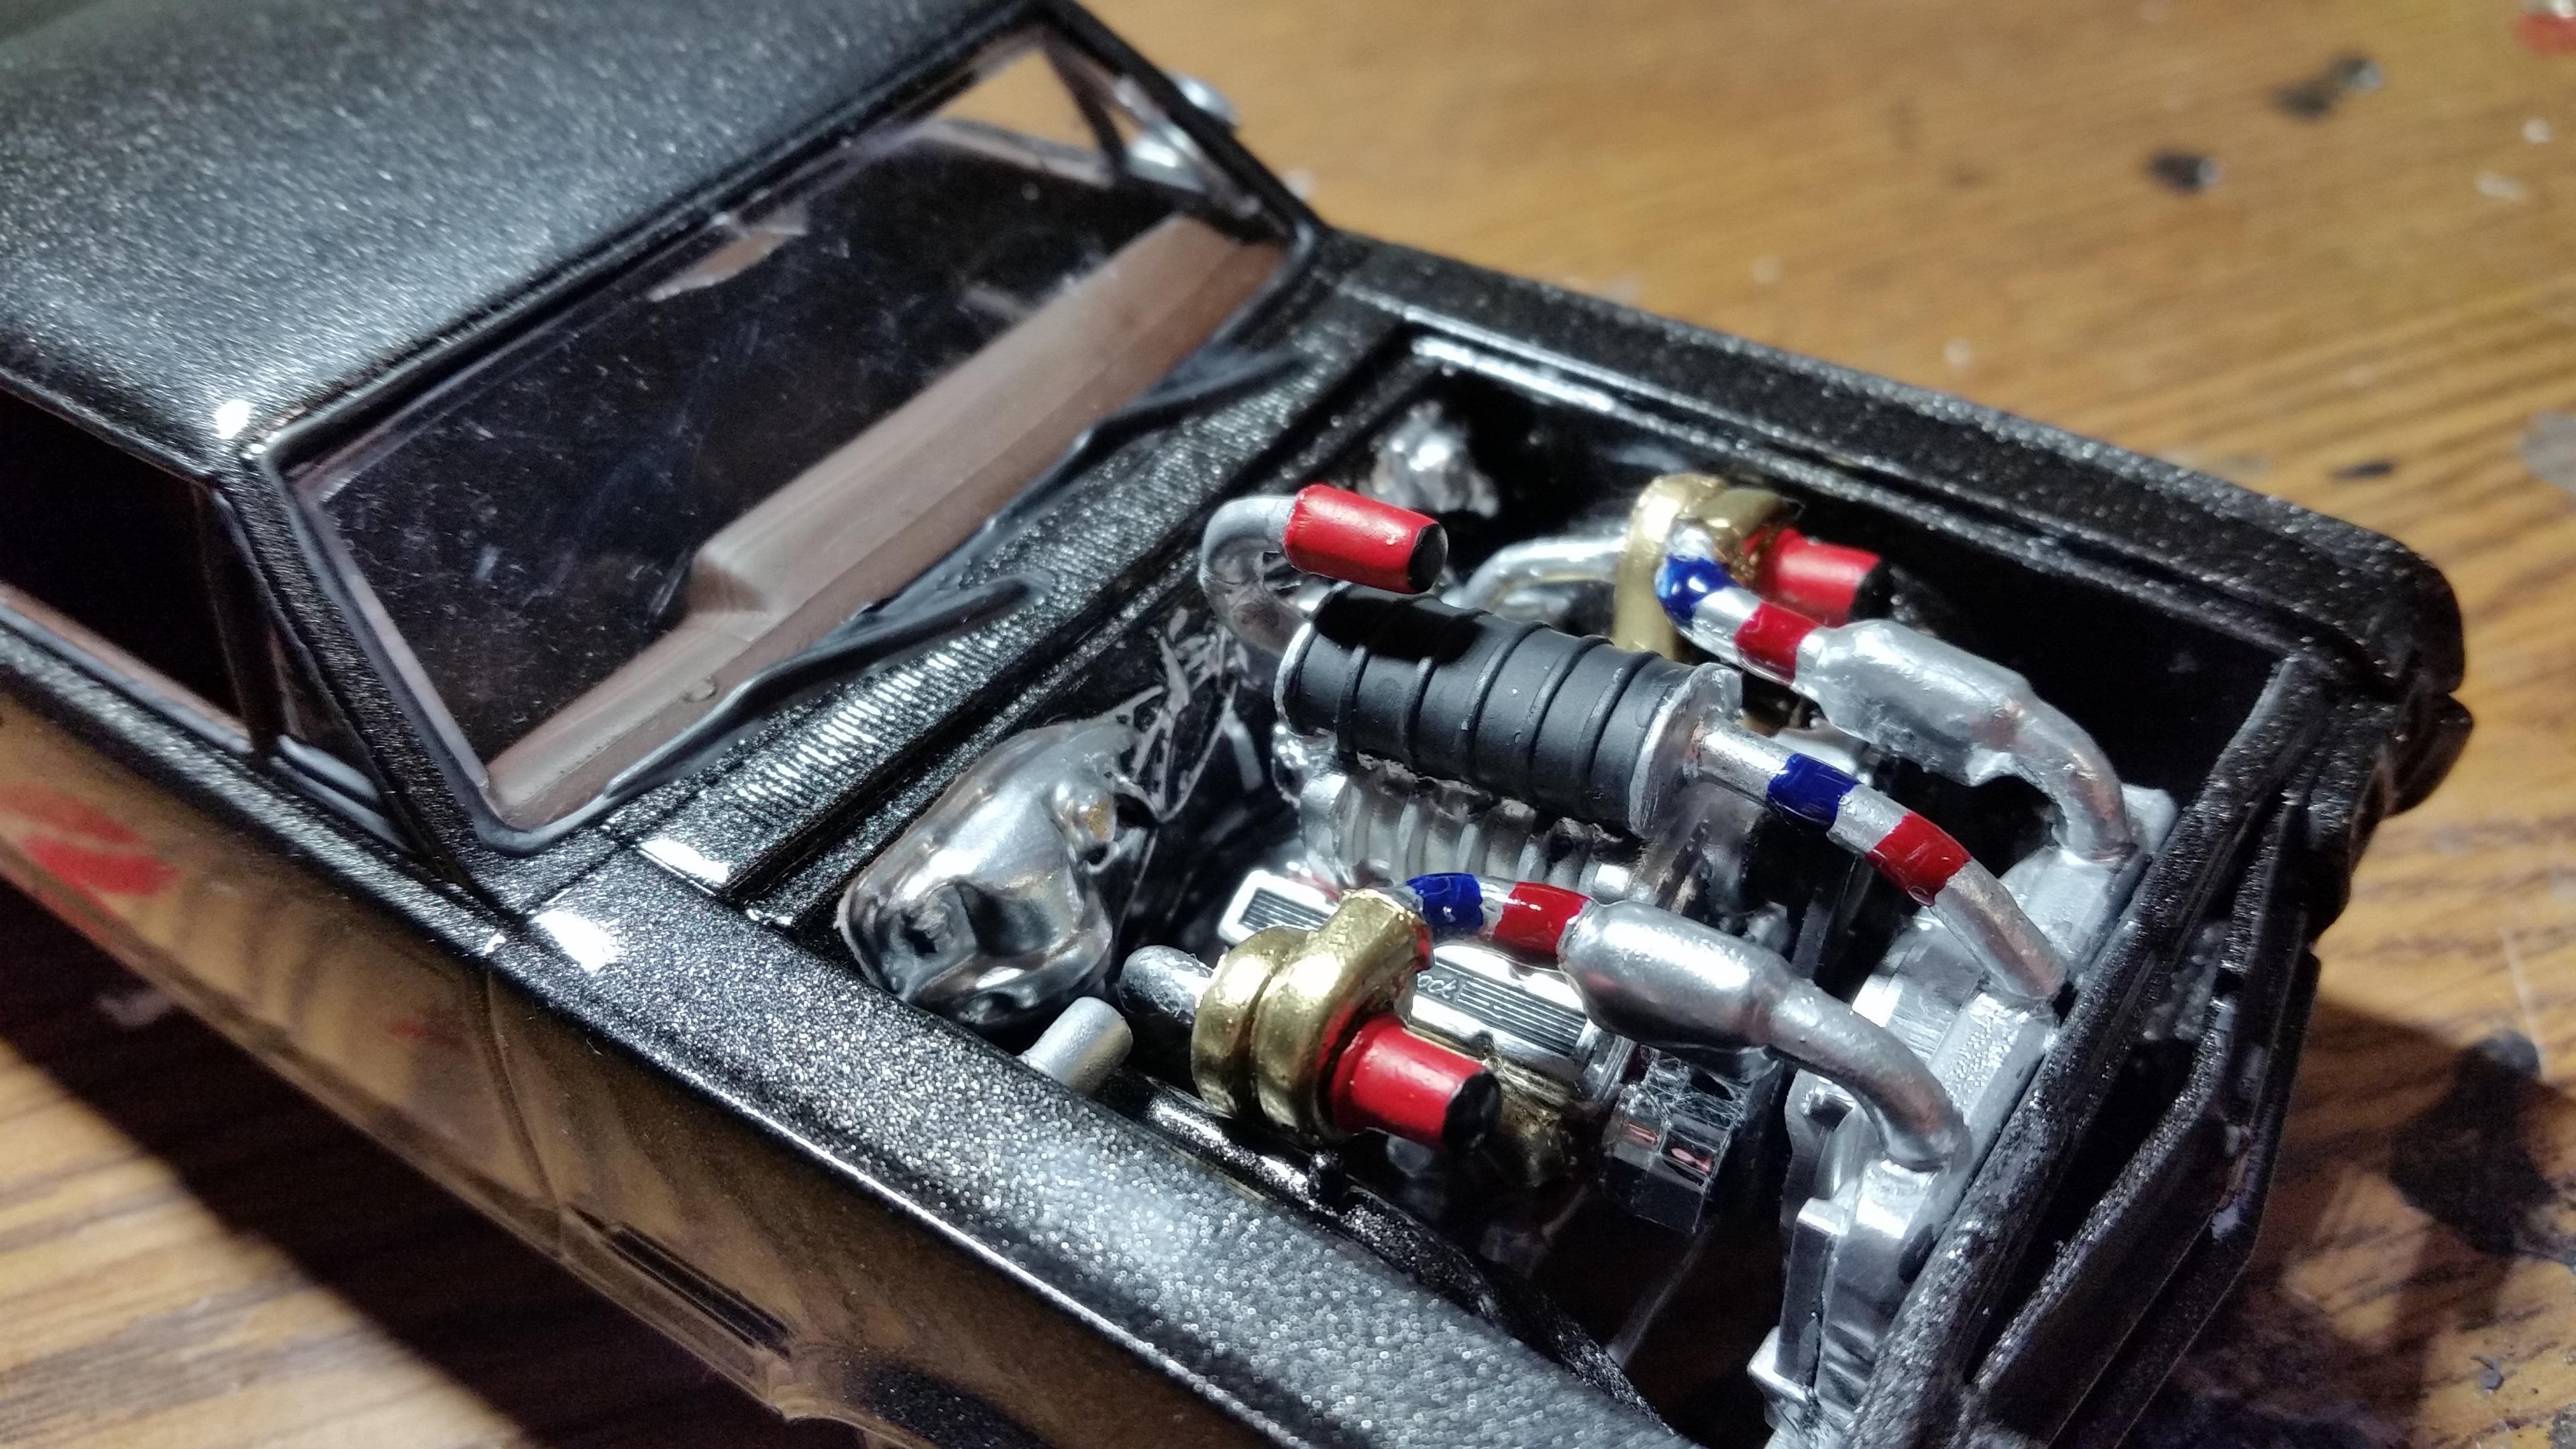
I bought the 1970 1/2 Z28 kit when I bought the Baldwin-Motion kit in order to build the Gumball Rally Camaro, as I needed the stock hood and small block motor not included in the Motion kit. With that project done, it's time to turn my attention to building the Z28 kit. It's going to be Pro-Touring/Resto-Mod styled with a Cowl Induction hood from Lex's Scale Modeling, the LS motor from a Revell Chevy SSR kit and the custom rims/tires from the Revell '67 Chevelle SS396 Streetburner kit. The parts layout before the motor was pilfered for the Yellow Camaro: Here we see that this kit has the same mold issue as the Motion kit, so I fiddled with a small piece of styrene and some putty to attach it to the fender, and after some sanding I have a repair: Next up, I shaved the door handles, and emblems. I'm still undecided on removing the drip rails from above the doors: Some test fitting showed me that I needed to raise the fenderwells up in the engine bay. I wanted to still have the fenderwells, so I carefully cut them out much like one would cut out doors and trunks and sanded them to sit flush in their raised location. I used some Bob Smith gap-filling insta-cure to ensure no gaps when I prime the body: I had also previously dropped the front and rear bumpers in a bath of LA's Totally Awesome overnight to strip the chrome and attached them to the body so I can get a clean and uniform all one color look for the body:
-
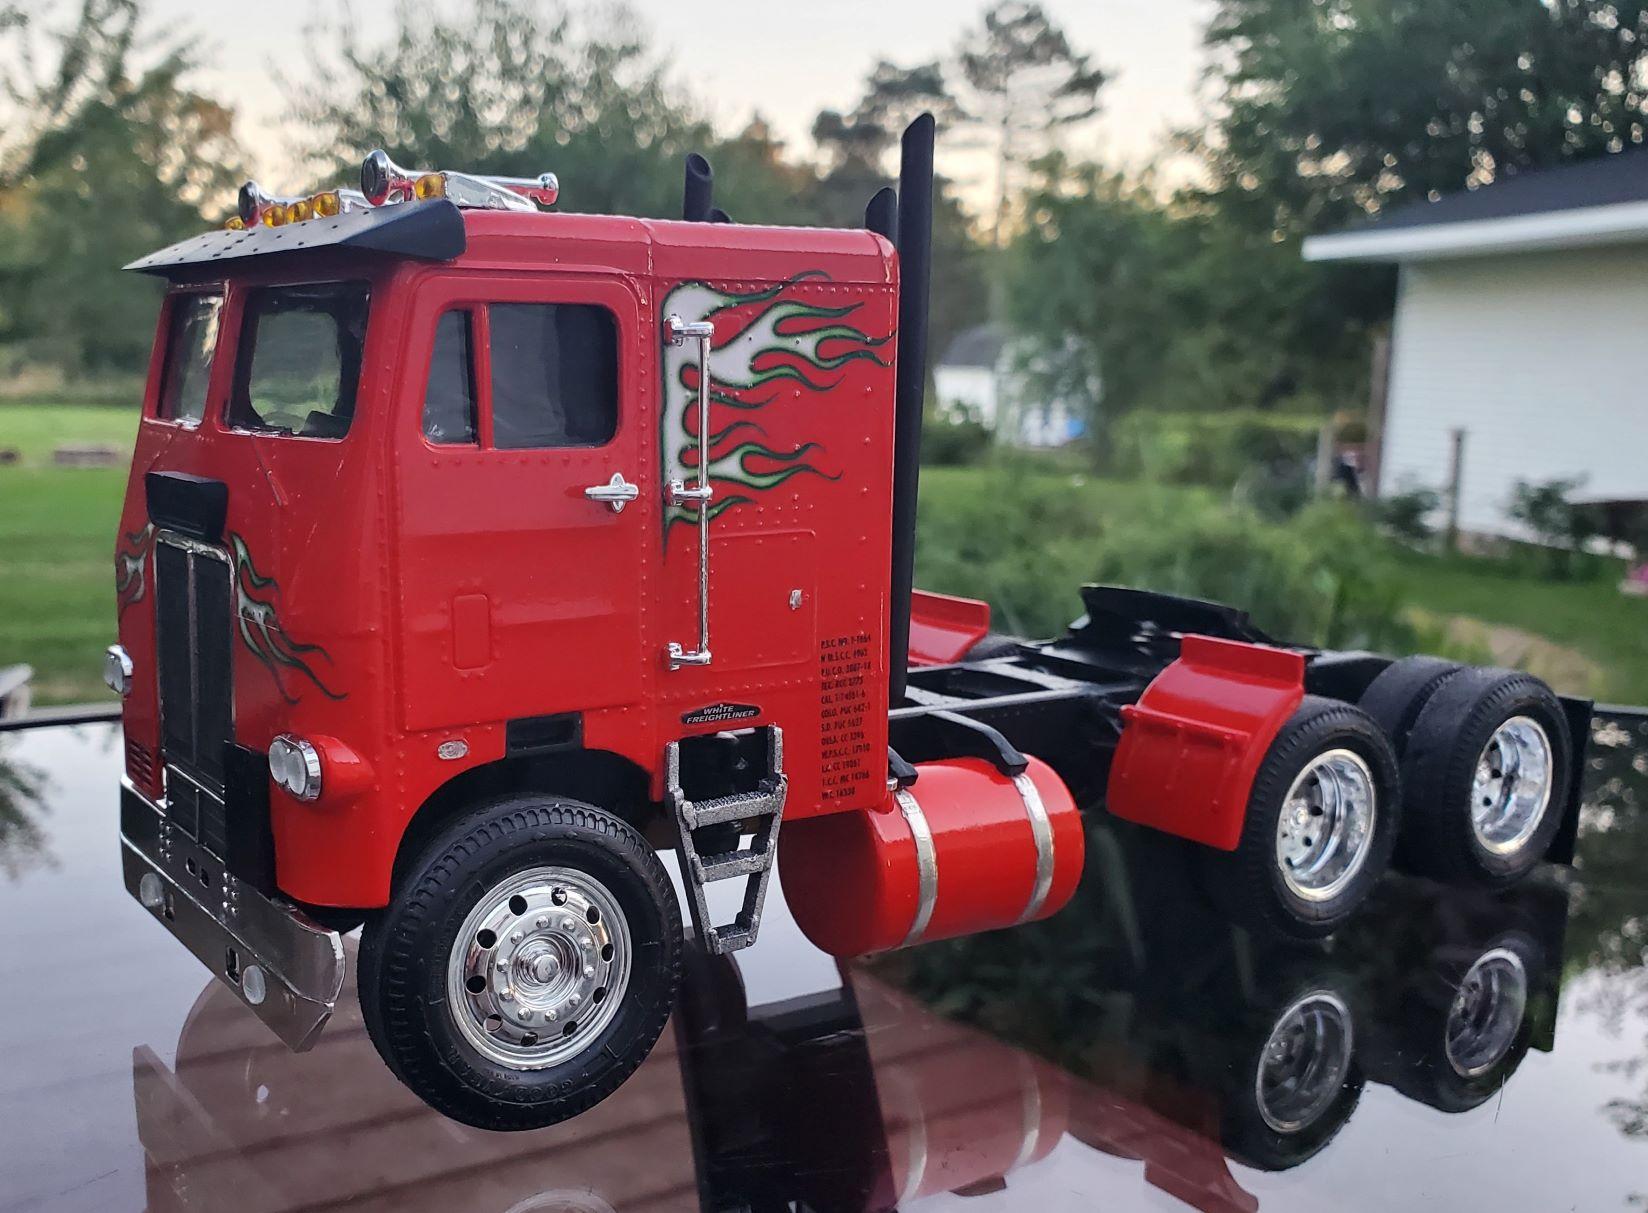
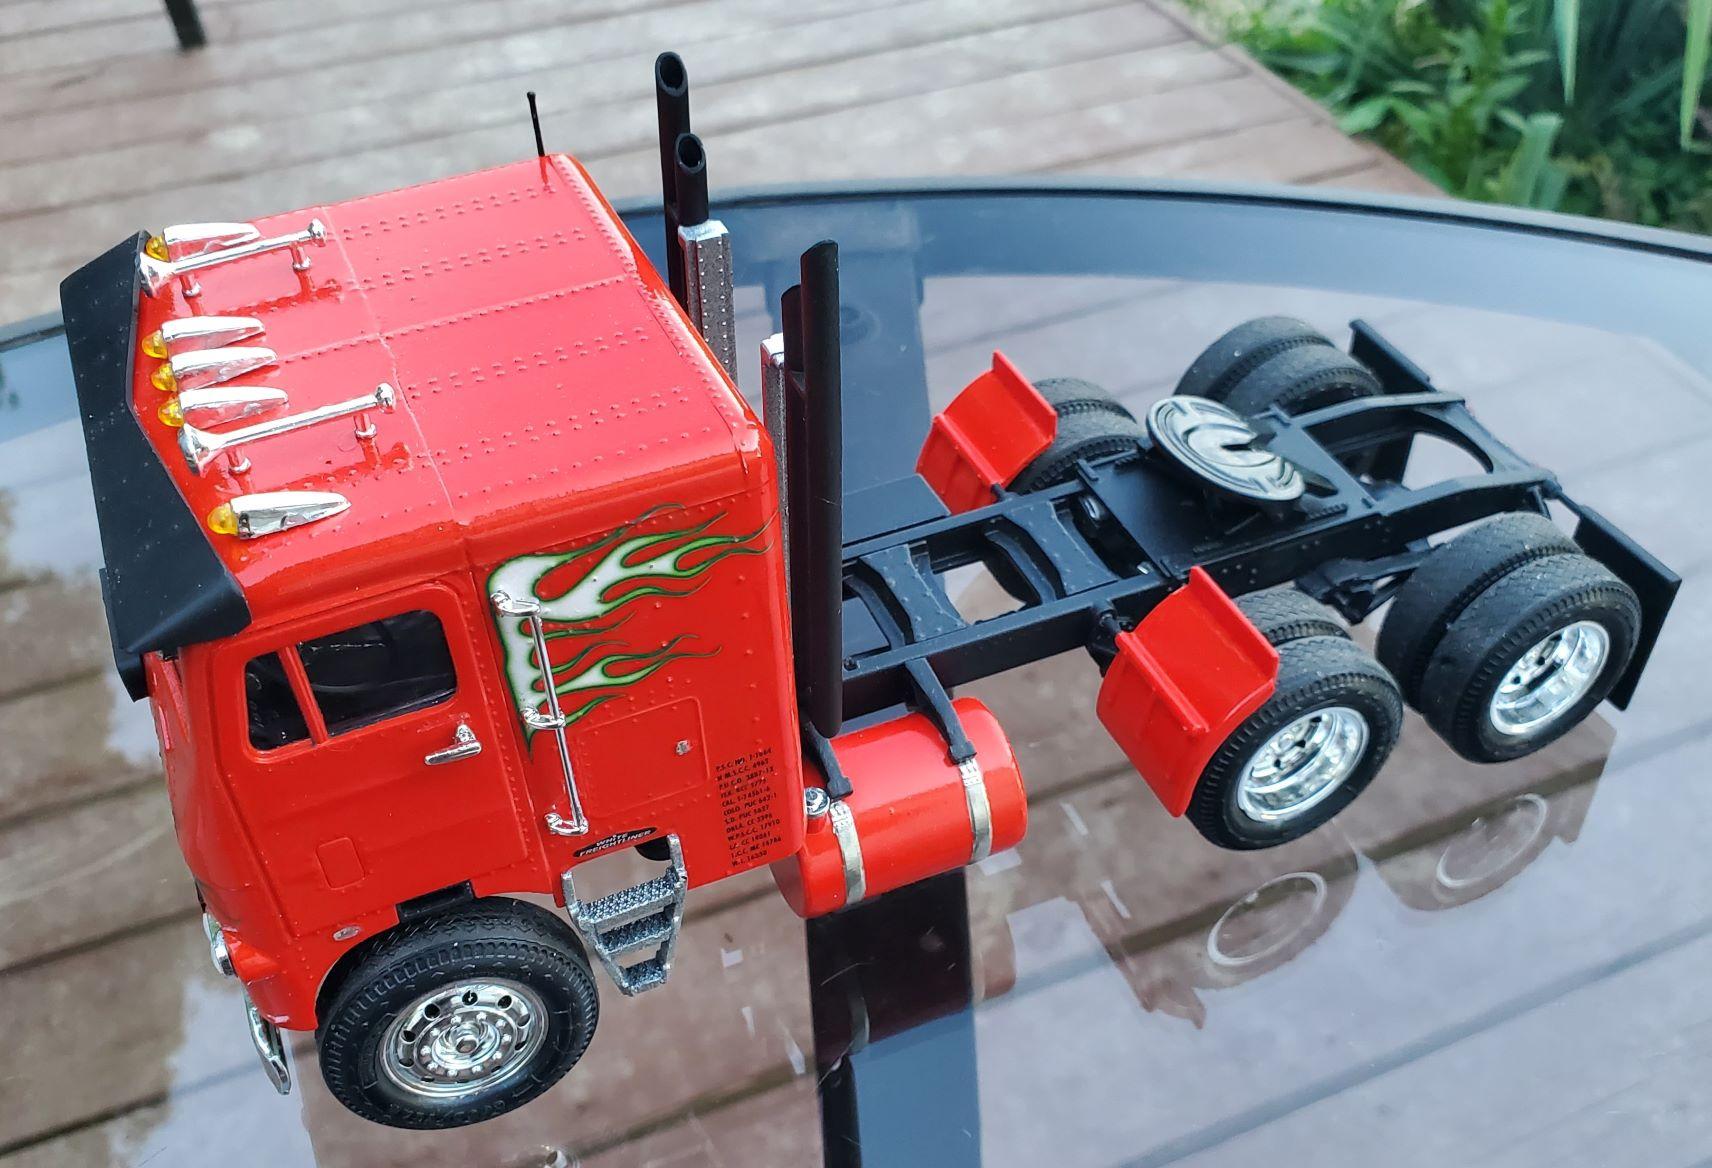
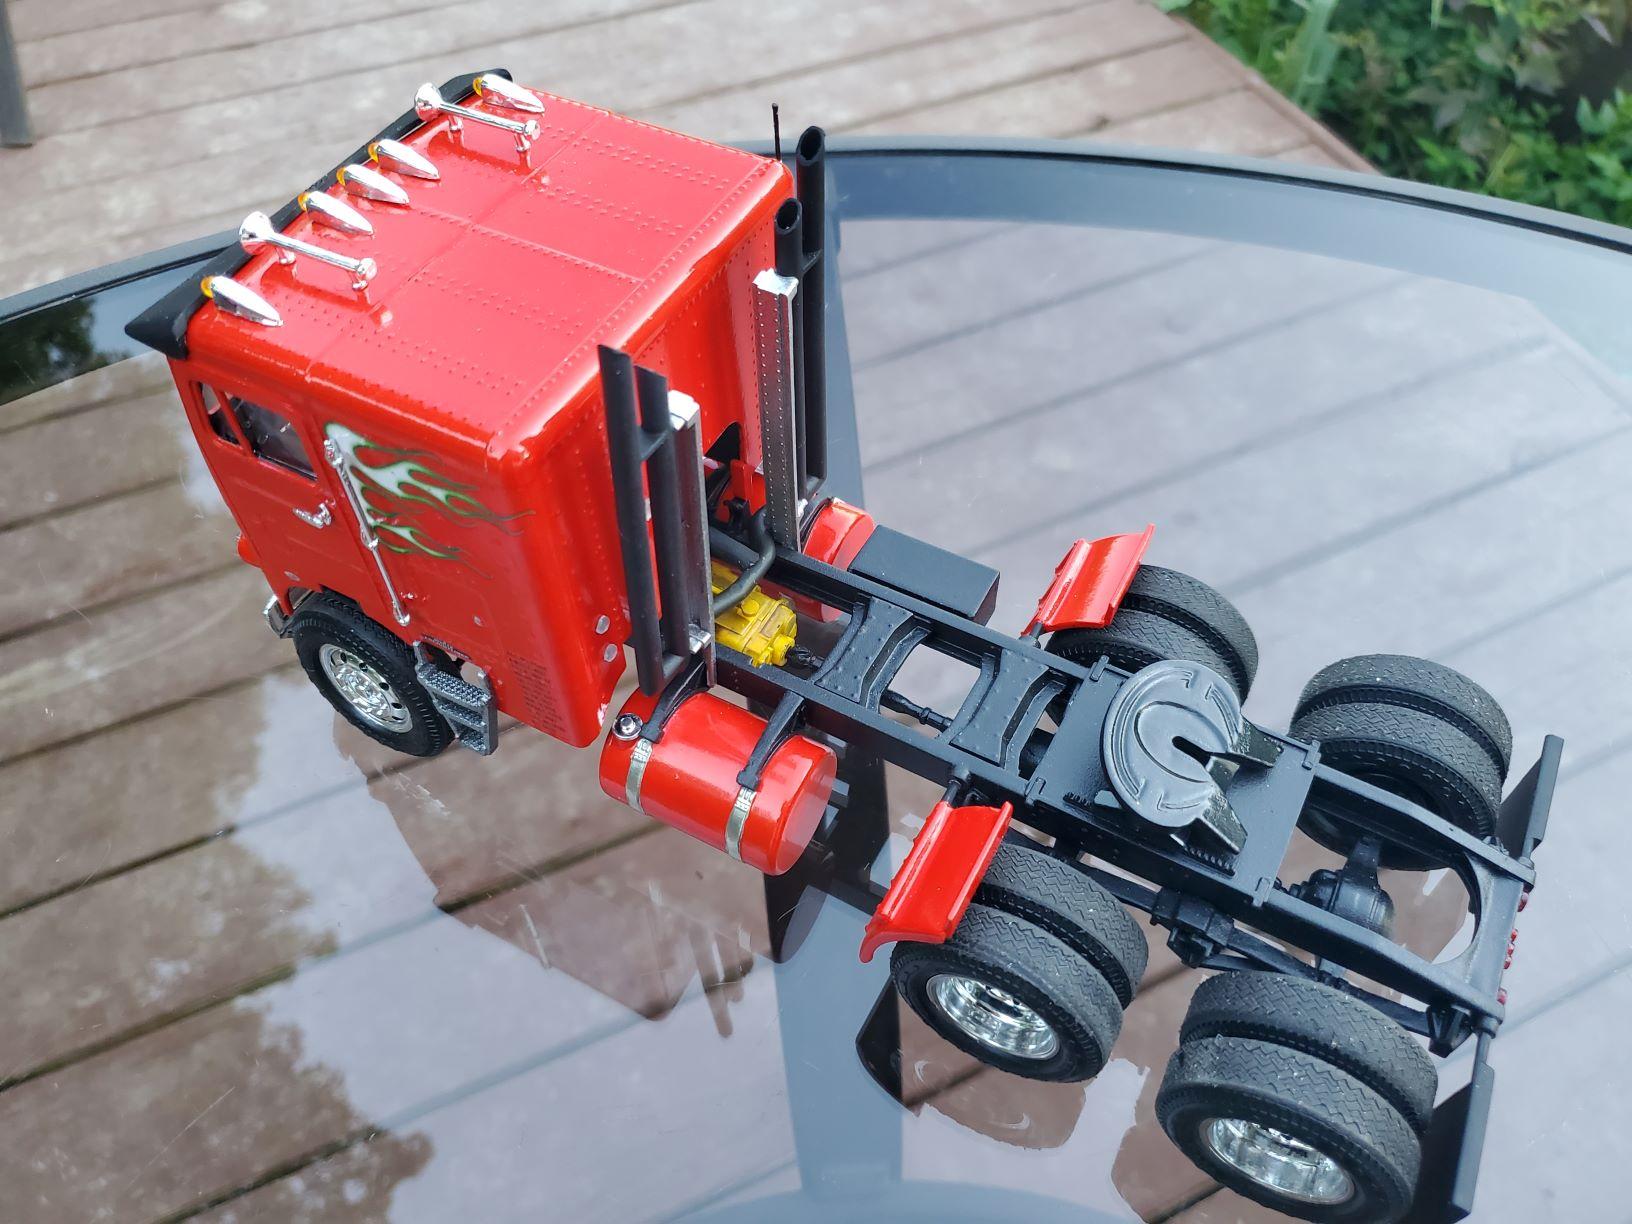
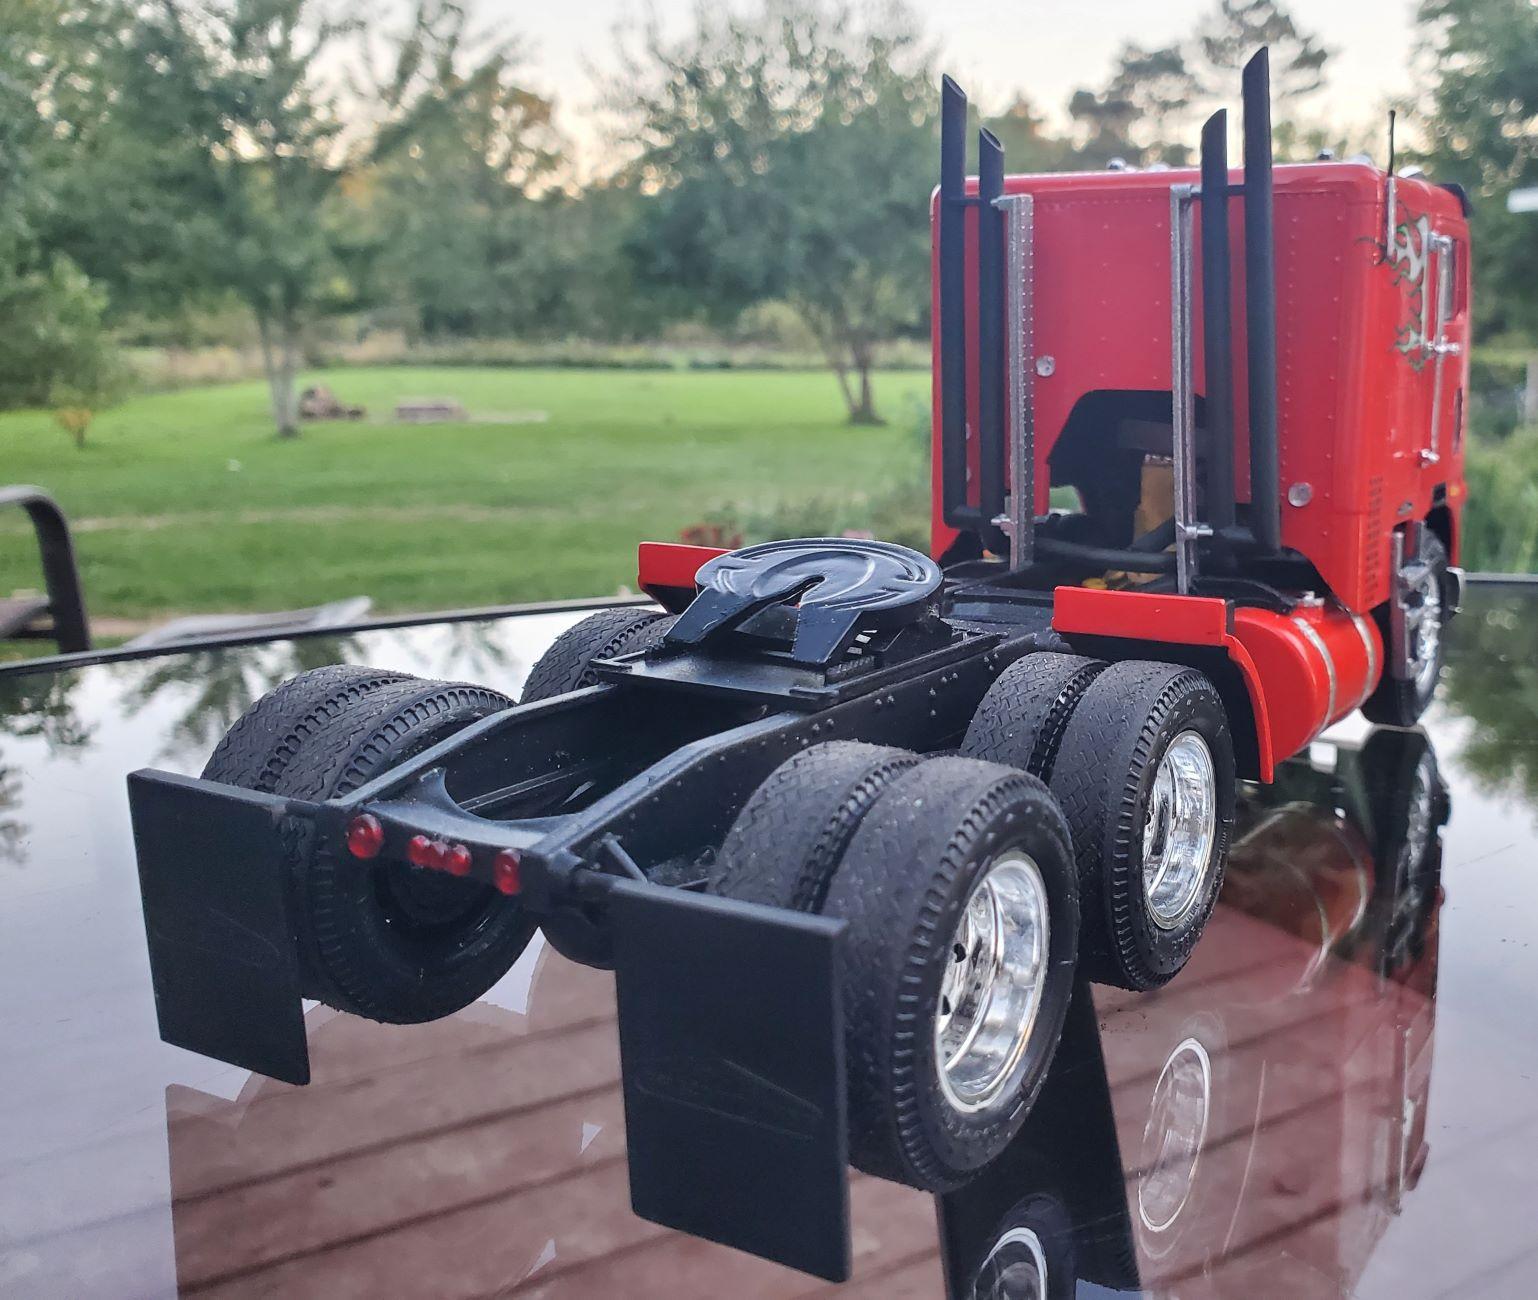
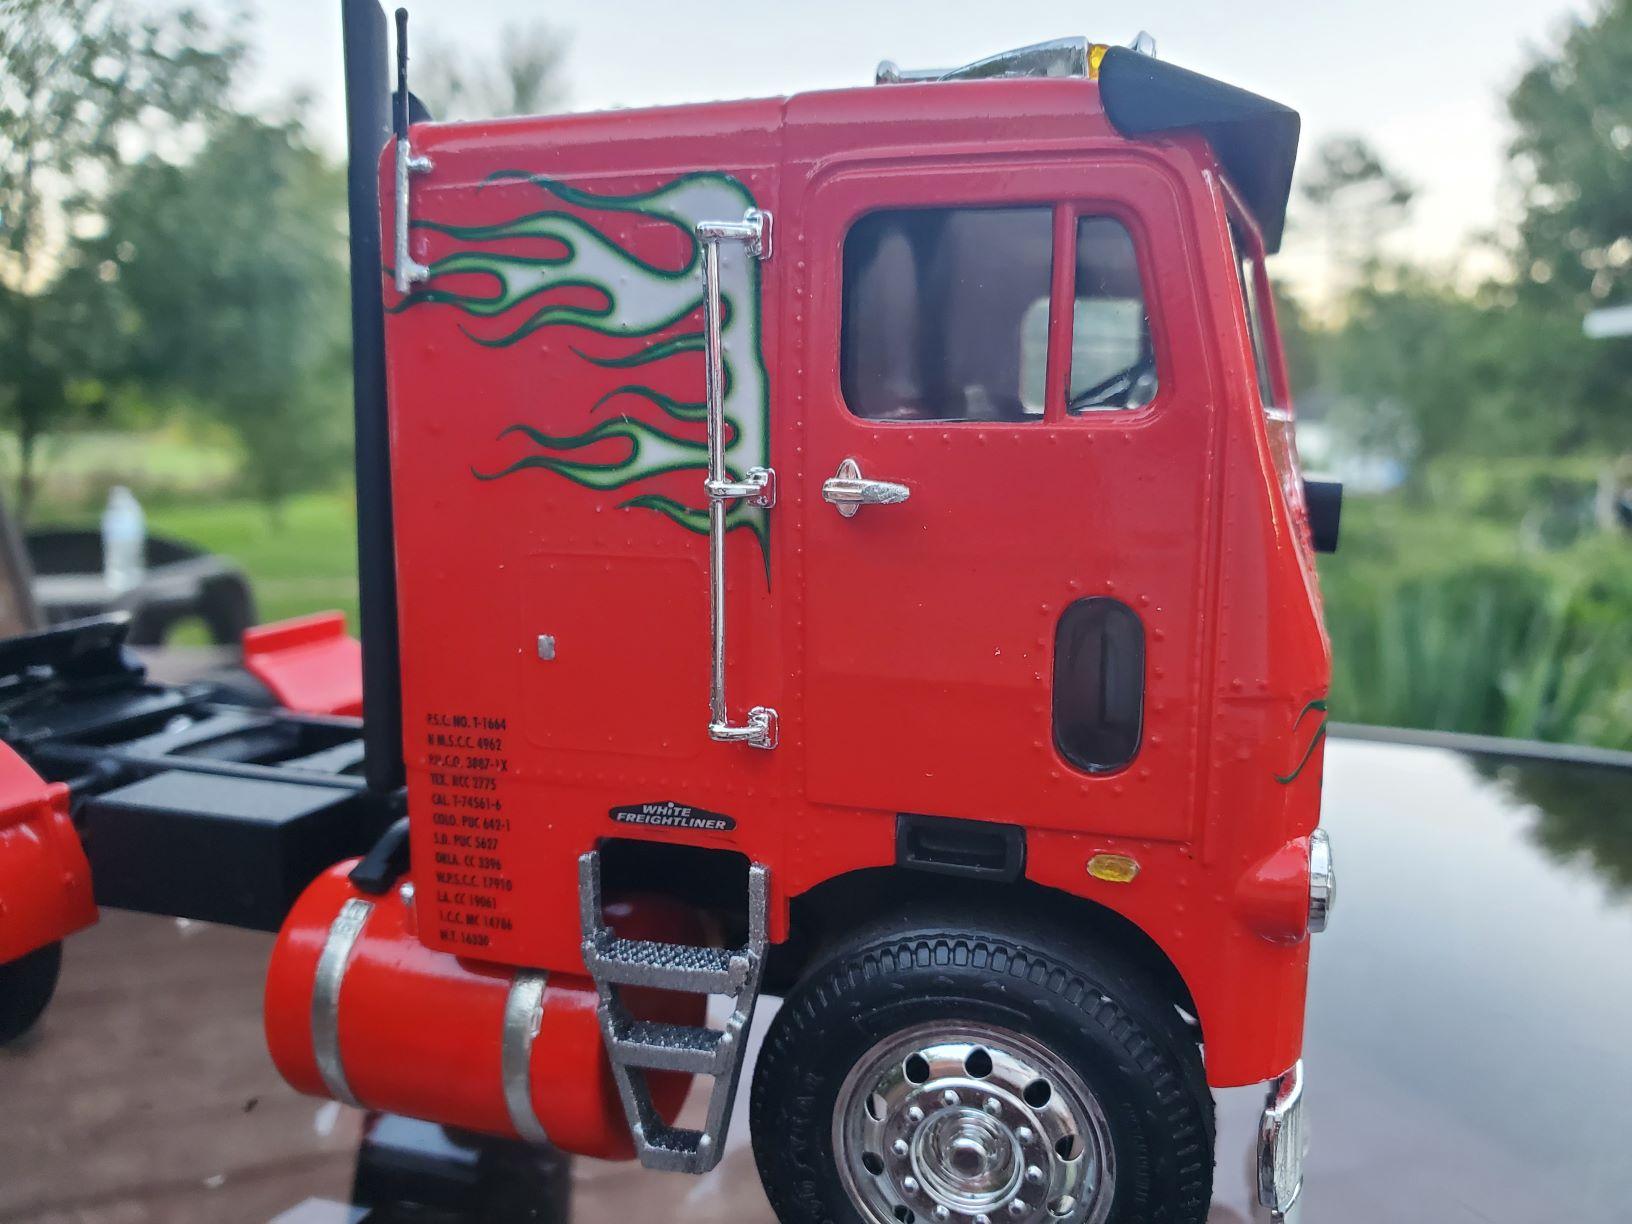
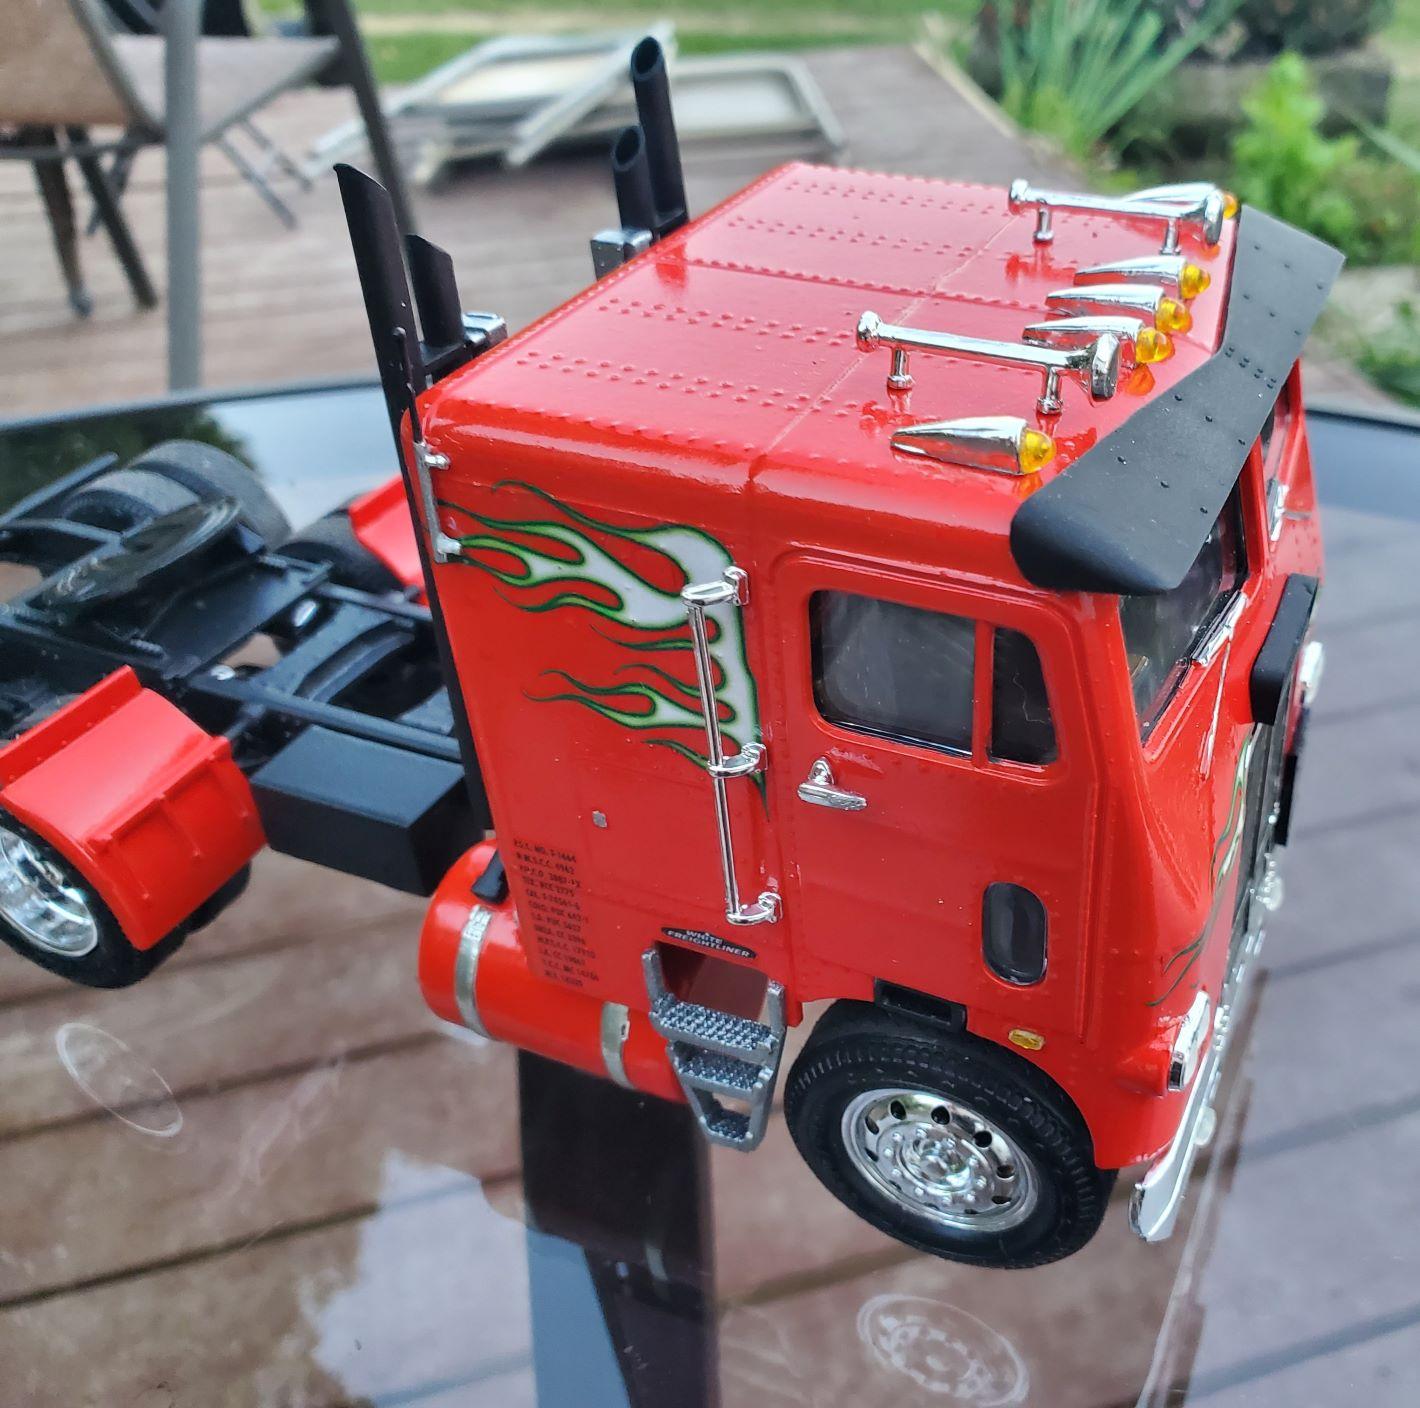
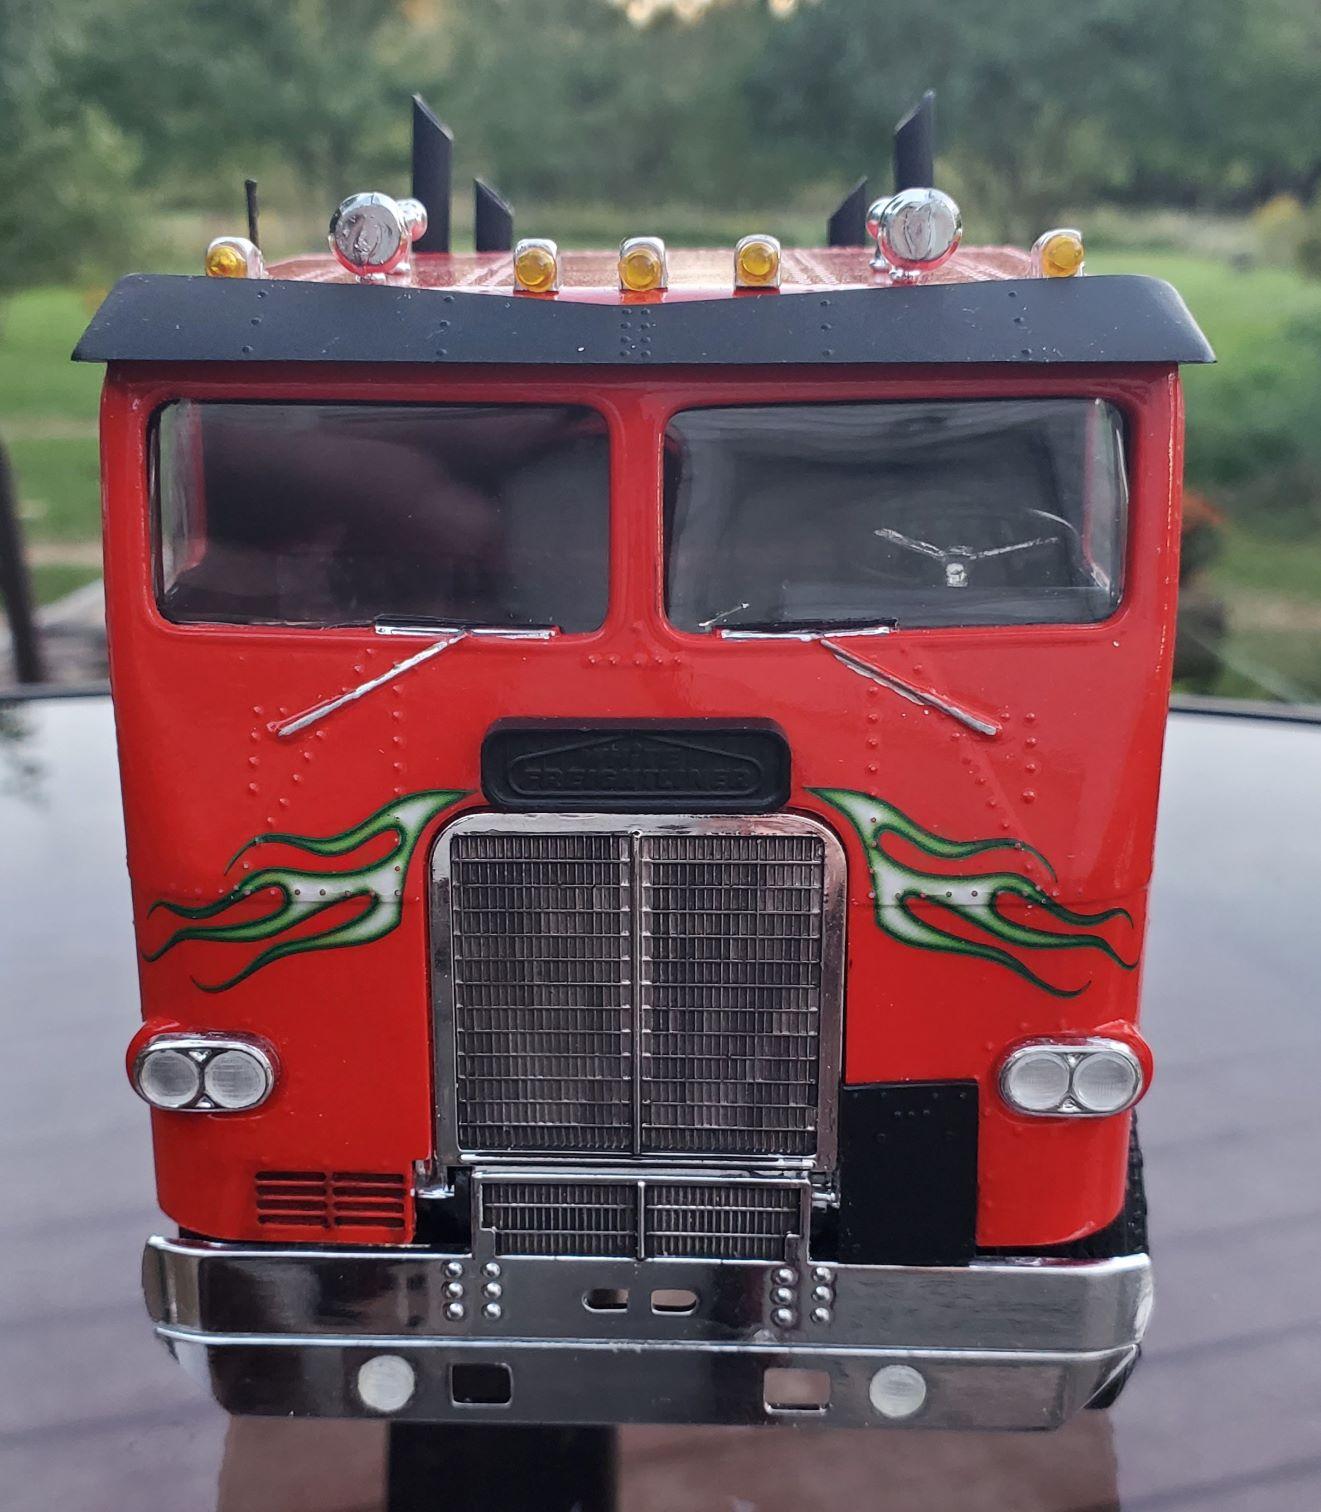
 Kenworth Tanker / Monogram / AMT Hello friends ! Today I'd like to introduce you to my recently completed Kenworth tanker truck. The tractor is the Kenworth Aerodyne Snap Kit in 1:25. Matching the AMT tank semi-trailer to the same scale. In the Kenworth I have also made a sun visor, and an insect deflector on the hood. Mudflaps from an old bicycle tube were cut from the front and attached to the fenders. On the trailer there is a lot more modifications done. The tank was covered with chrome adhesive foil from the sauna area. There were still long front fenders mounted, as it is regulation in the US. I have seen these additional fenders on every tanker during my travels to the USA. They are designed to protect against whirling stones from the tractor. A second ladder has been added to the front right side. There are then the red-white reflector strips have been attached. The filling fittings at the pump were provided with a protective box and a tool box to be opened. The tanker has gotten the logo of Union 76 on the ladder at the back. In addition, I have some homemade decals attached. The semi-trailer I built more than 3 years ago, had not yet the right tractor. Have fun watching . Greetings from Jan
 -
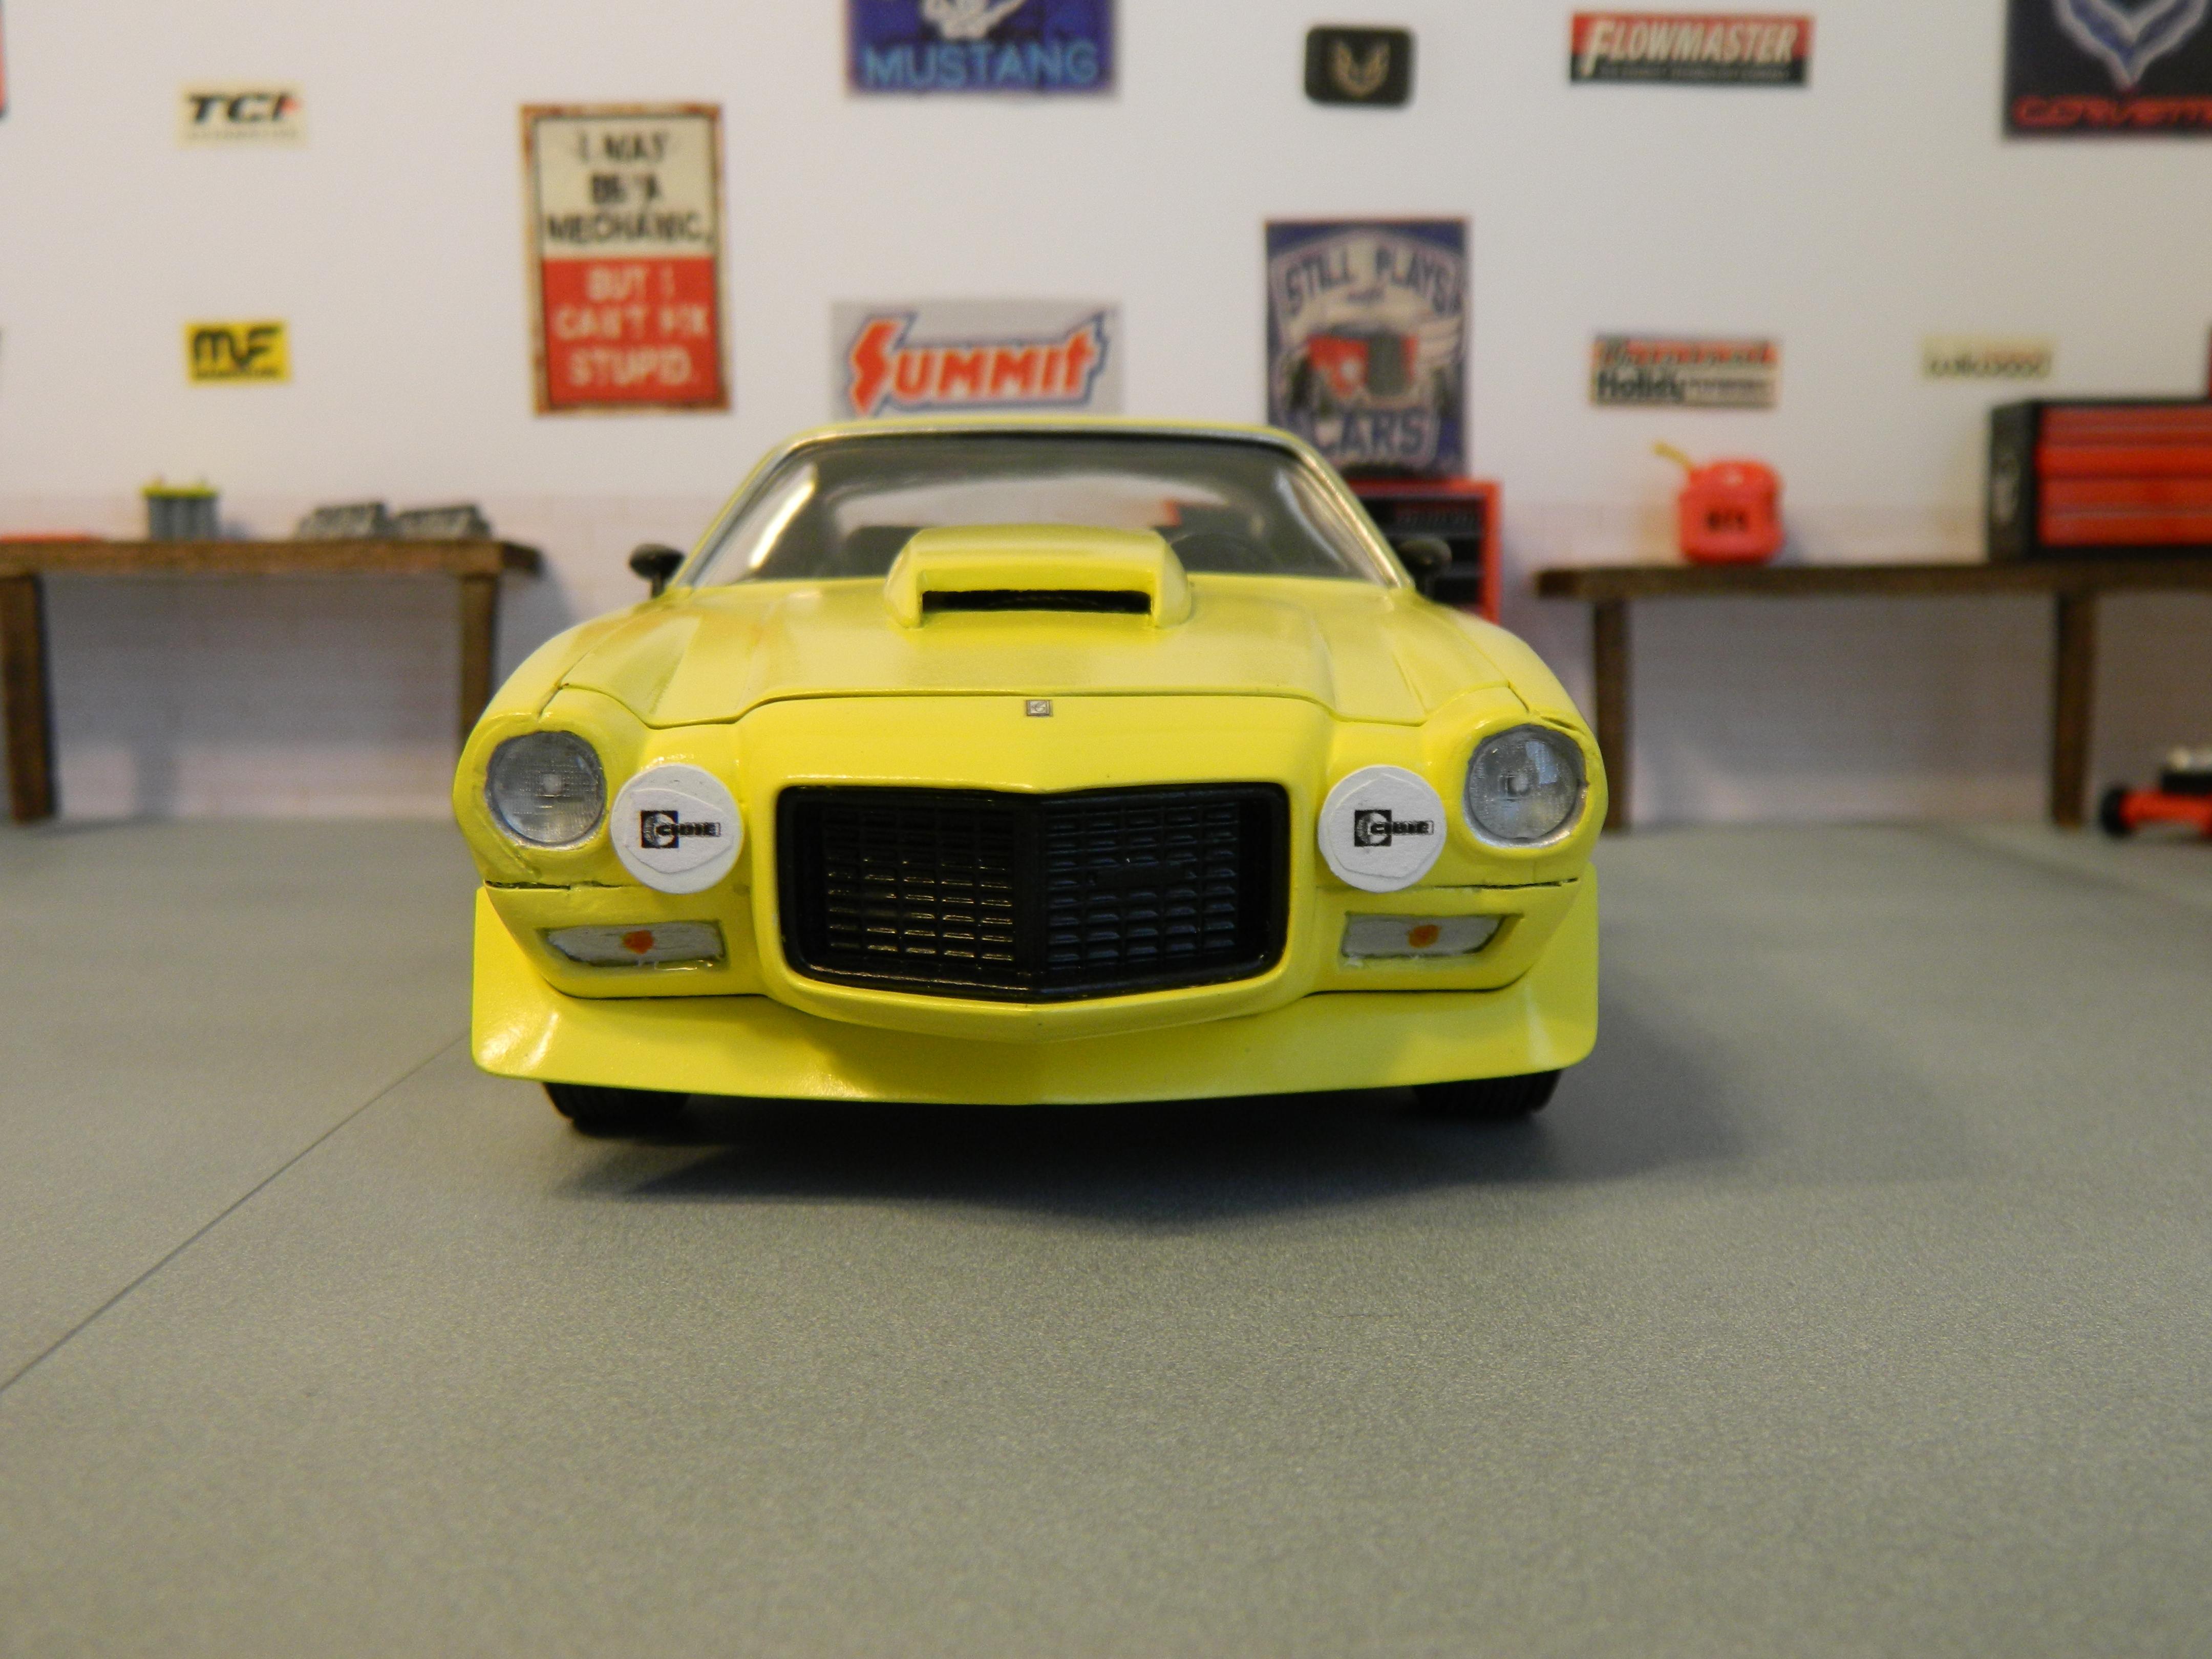
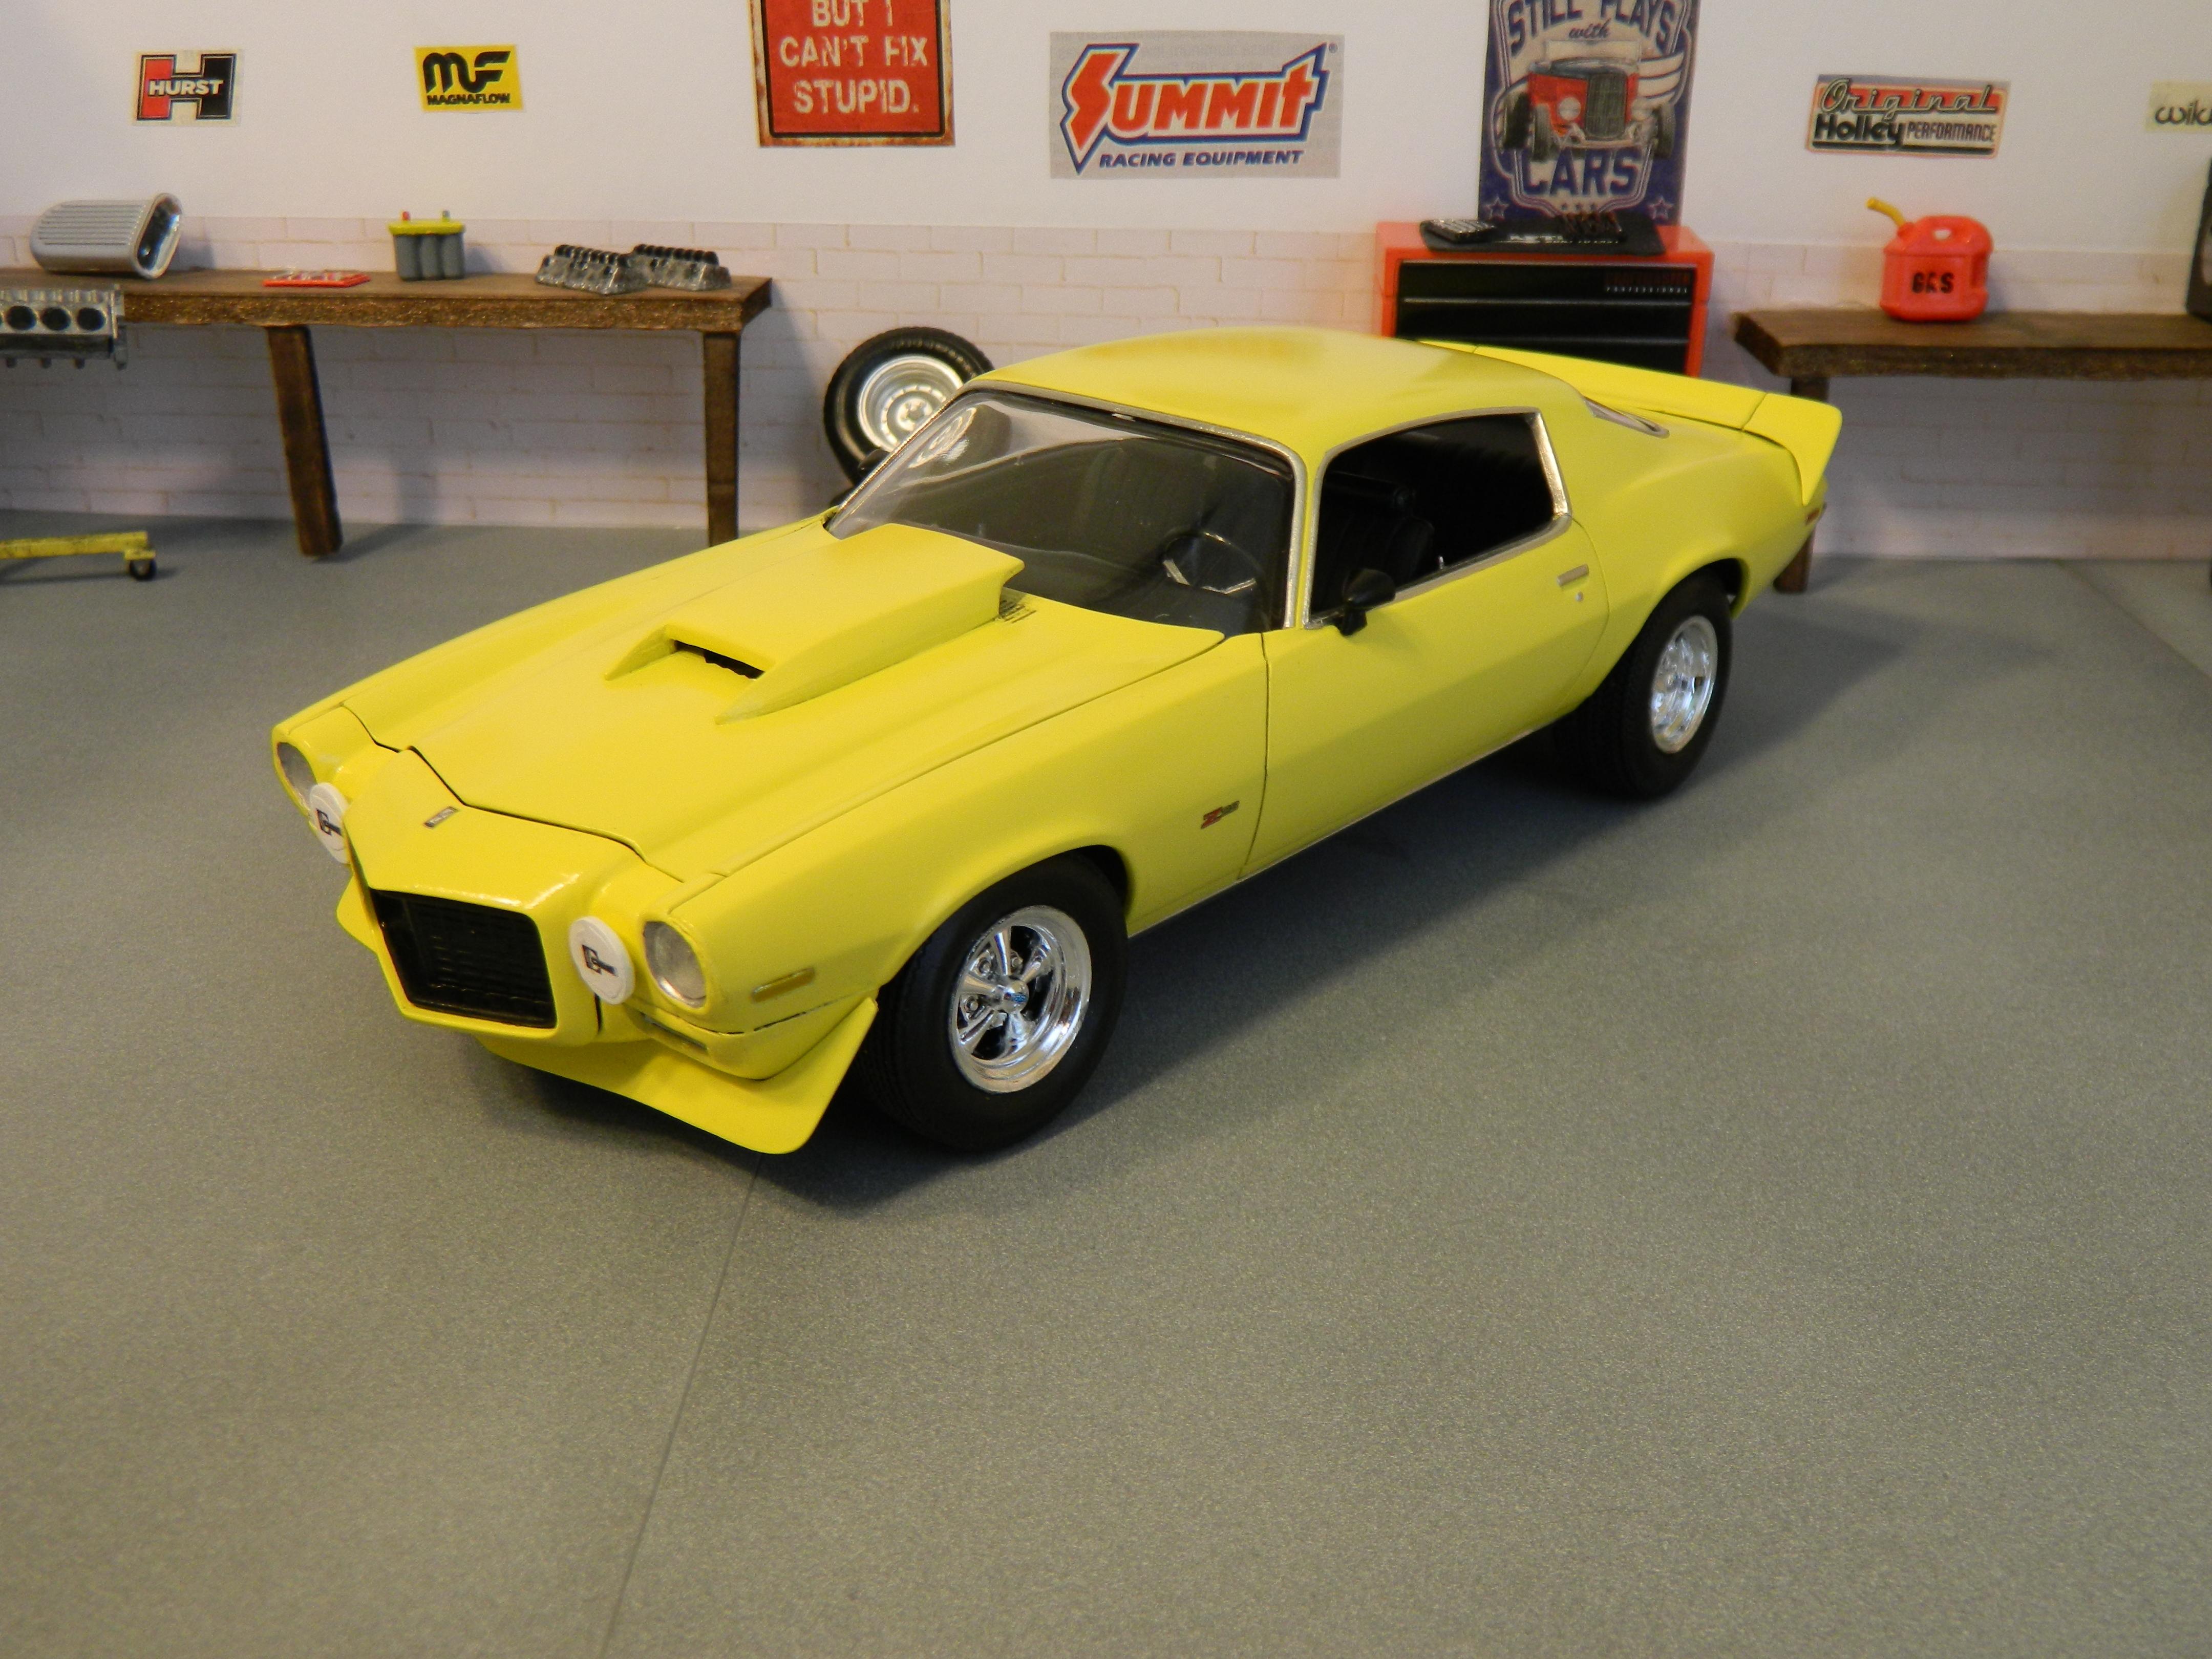
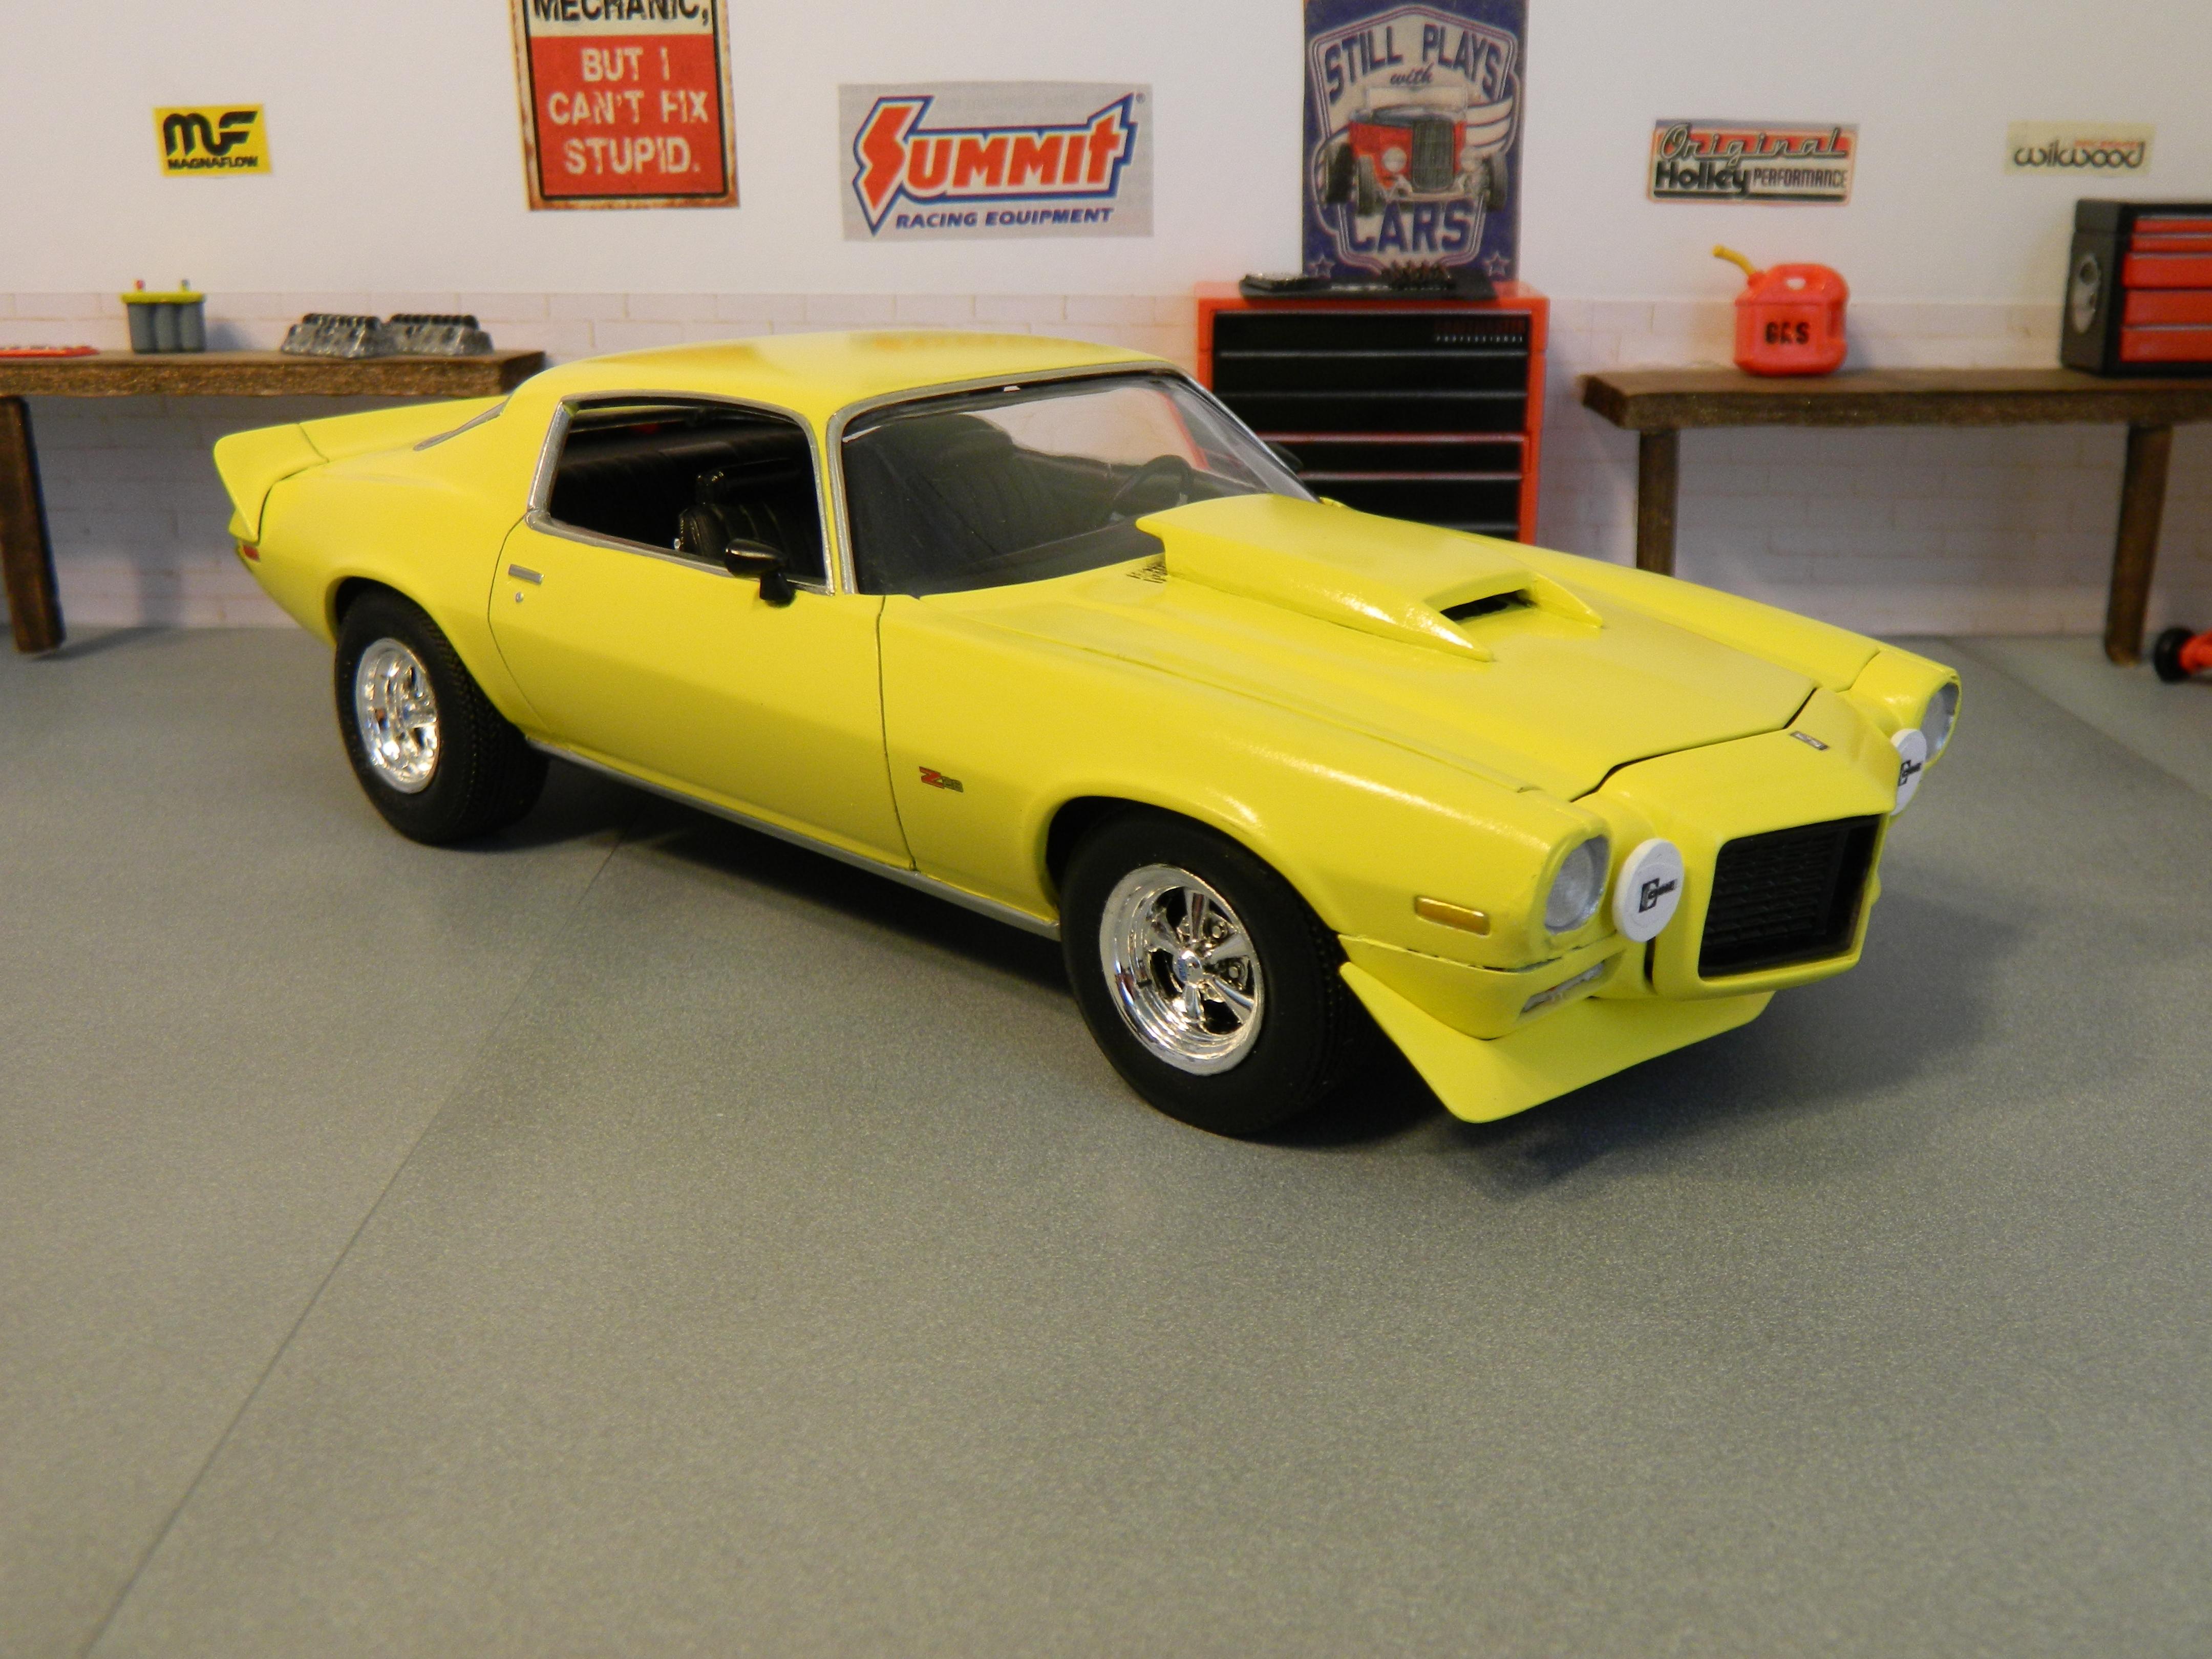
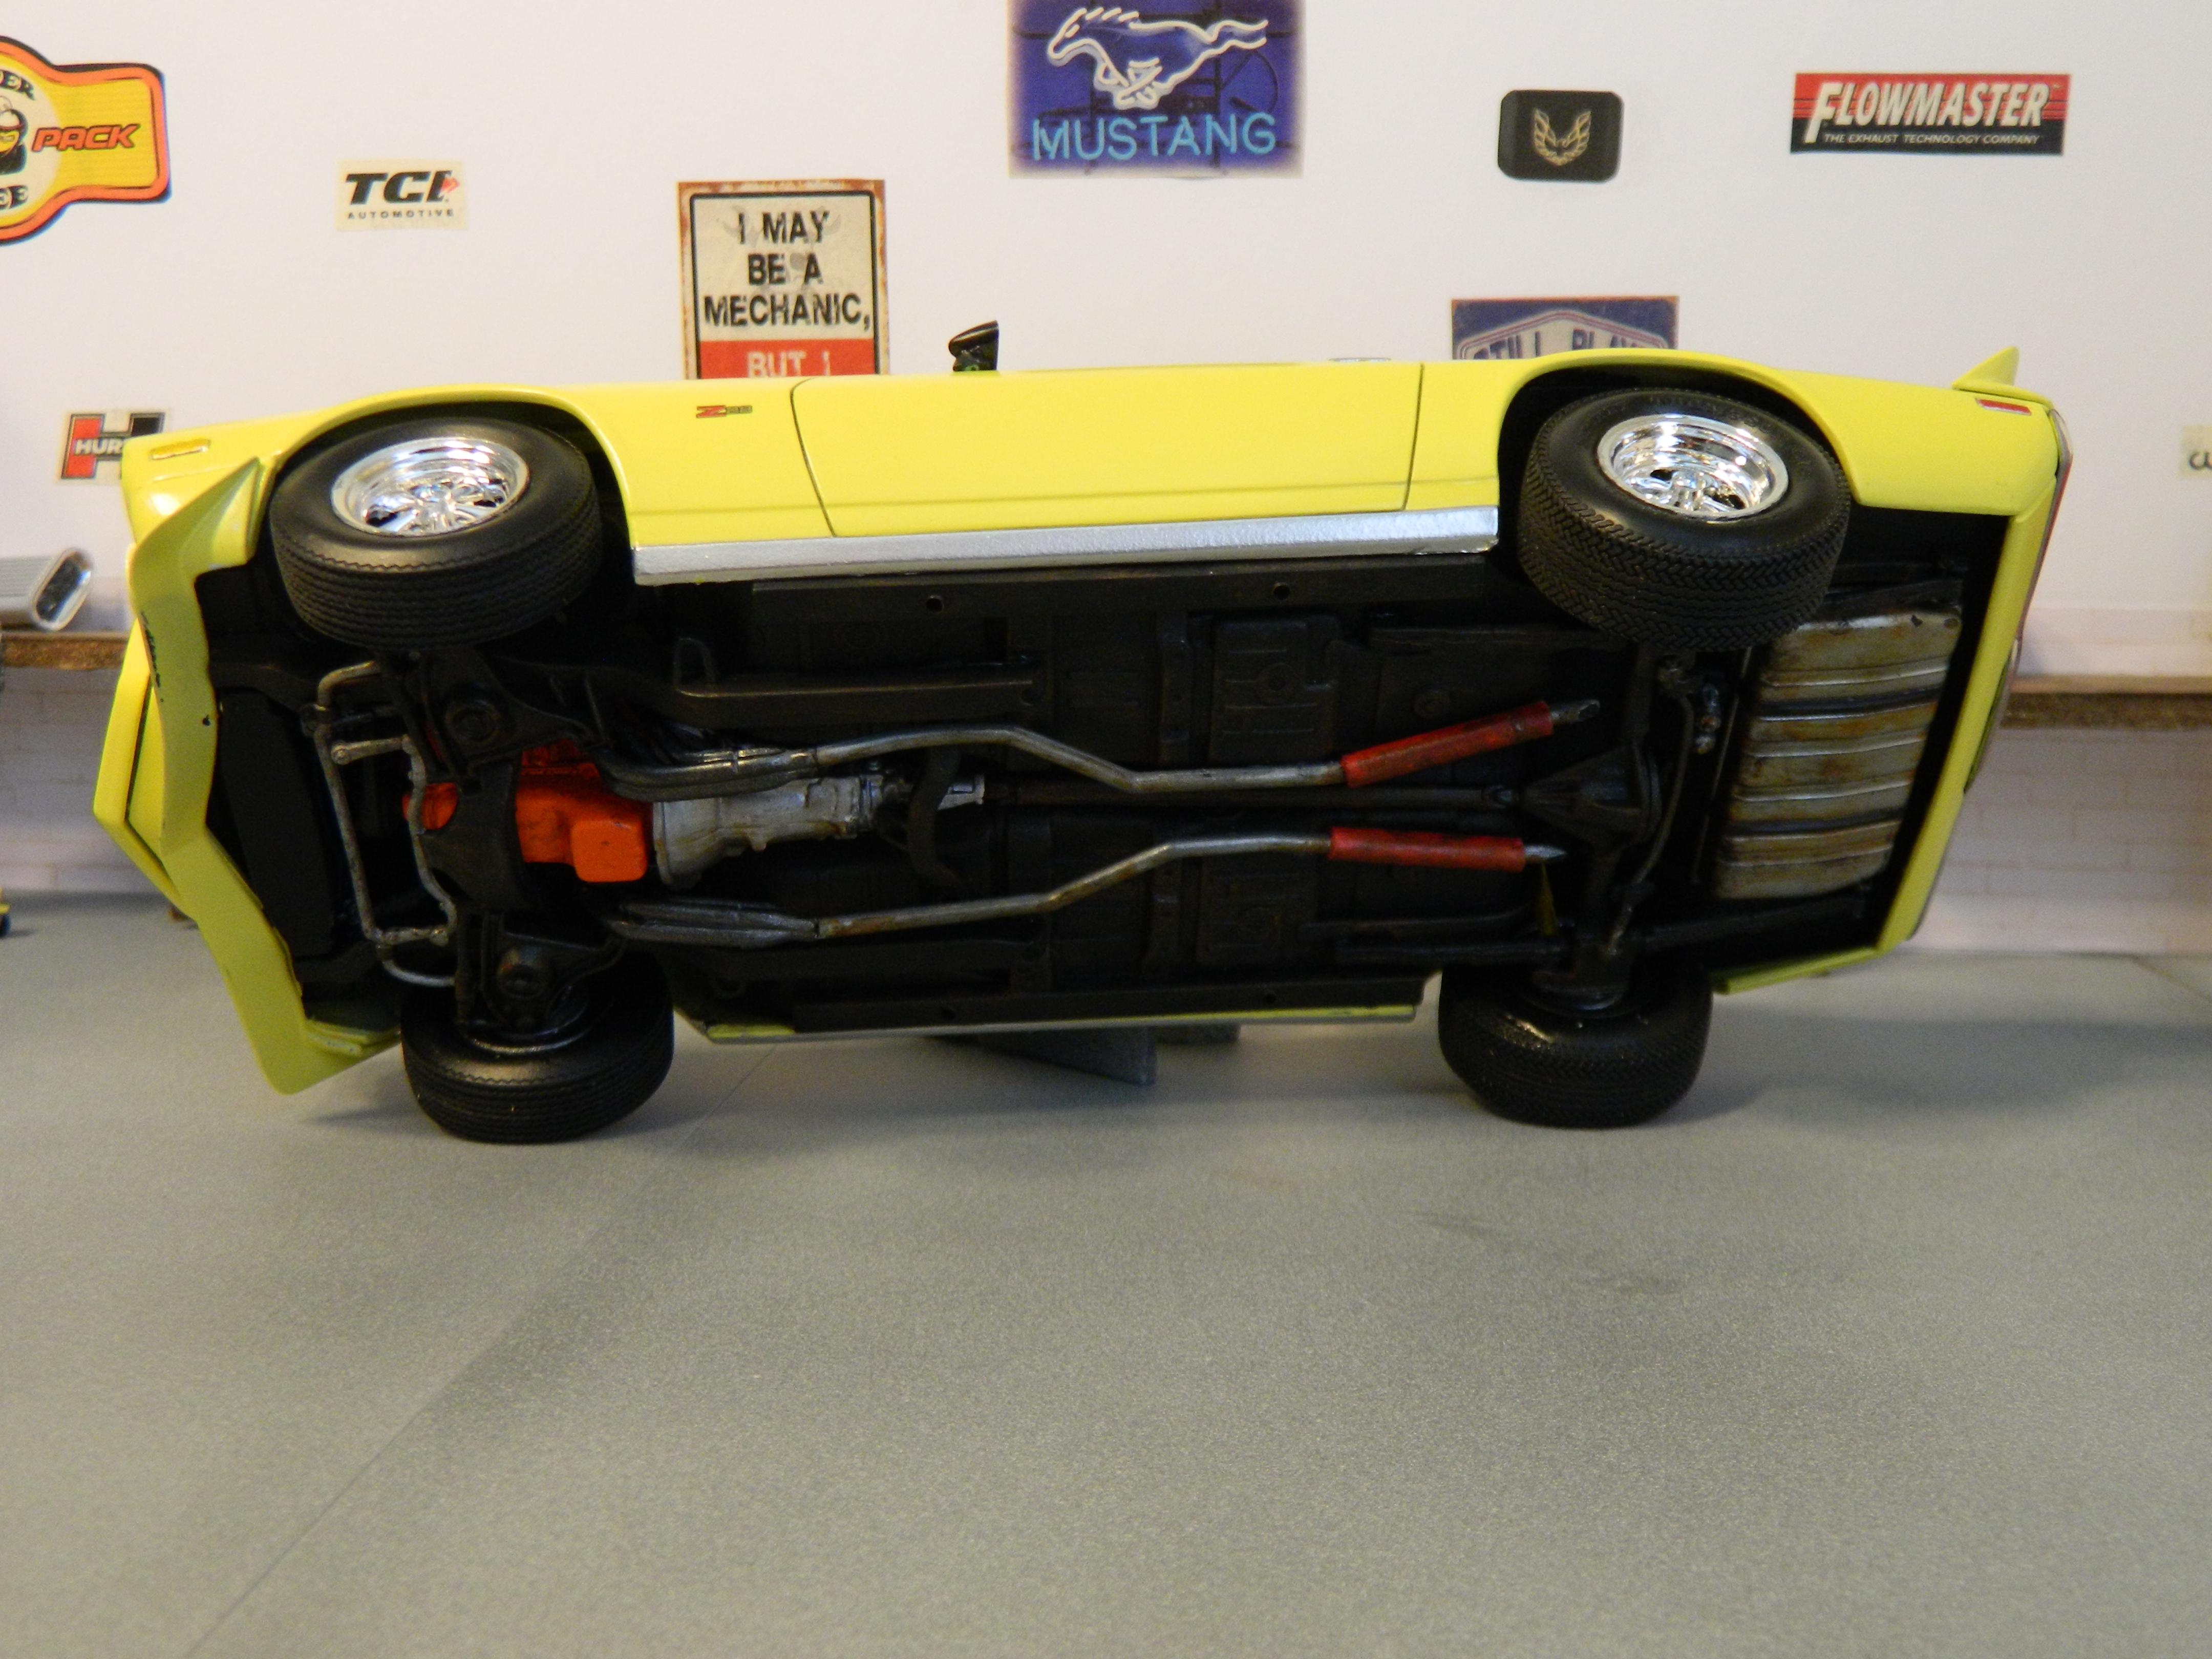
 All finished with the Yellow Camaro from one of my all time favorite movies, The Gumball Rally. This one includes a few firsts for me building and detail wise. I kit-bashed my own custom hood, cut out the front valance for the parking lights, and added heater hoses, all for the first time. I also used a lot of parts from other kits to get the most accurate representation that I could. The body is done in Vallejo Model Colors Light Yellow that didn't turn out as pale as I had hoped, but still looks fairly close to the movie car. I used pledge/future for my clear, and added BMF for the window trim and did other various details. The hood was made with the stock hood from the AMT '70 1/2 Z28 kit and the scoop from the Revell '67 Nickey Camaro kits' stinger hood. The interior is actually just done in Stynylrez black primer for the seats, with Jet Black craft paint for the dash, door panels, and seat trim, with a satin varnish giving some gloss. The CB radio and underdash gauge cluster were "borrowed" from unstarted kits that I didn't plan on using them for anyways. The motor is also from the Z28 kit, as I needed a small block for this project. I added plug wires and heater hoses for some extra detail. The headers came from the Revell '67 Chevelle Pro Street kit. The chassis is also just Stynylrez black primer with Jet Black suspension pieces. I made the "cherry bombs" from parts of an unused roll cage in my parts box. I did have to lower the front end to get a decent ride height, and tried my hand at doing some weathering that I think turned out fairly decent. I could have done a little better on the hood, the scoop sits a little high and isn't as smoothly done as it could have been. I don't know if I'm completely happy with the headlights and parking lights, either. All in all though, I am very happy with the overall results and still just need to exercise more patience to do a better job. Although I was initially a little disappointed with the mold issues on the passenger side of the body that I think I was able to fix fairly well, this kit was a pretty good and fun build and I really enjoyed it. I can't wait to get started on the Z28 kit that I plan on doing as a pro touring car, and I'll probably buy more so I can do some stock-ish versions as well, since this is my favorite Camaro body style. Sorry for the long post, thanks for looking!
-
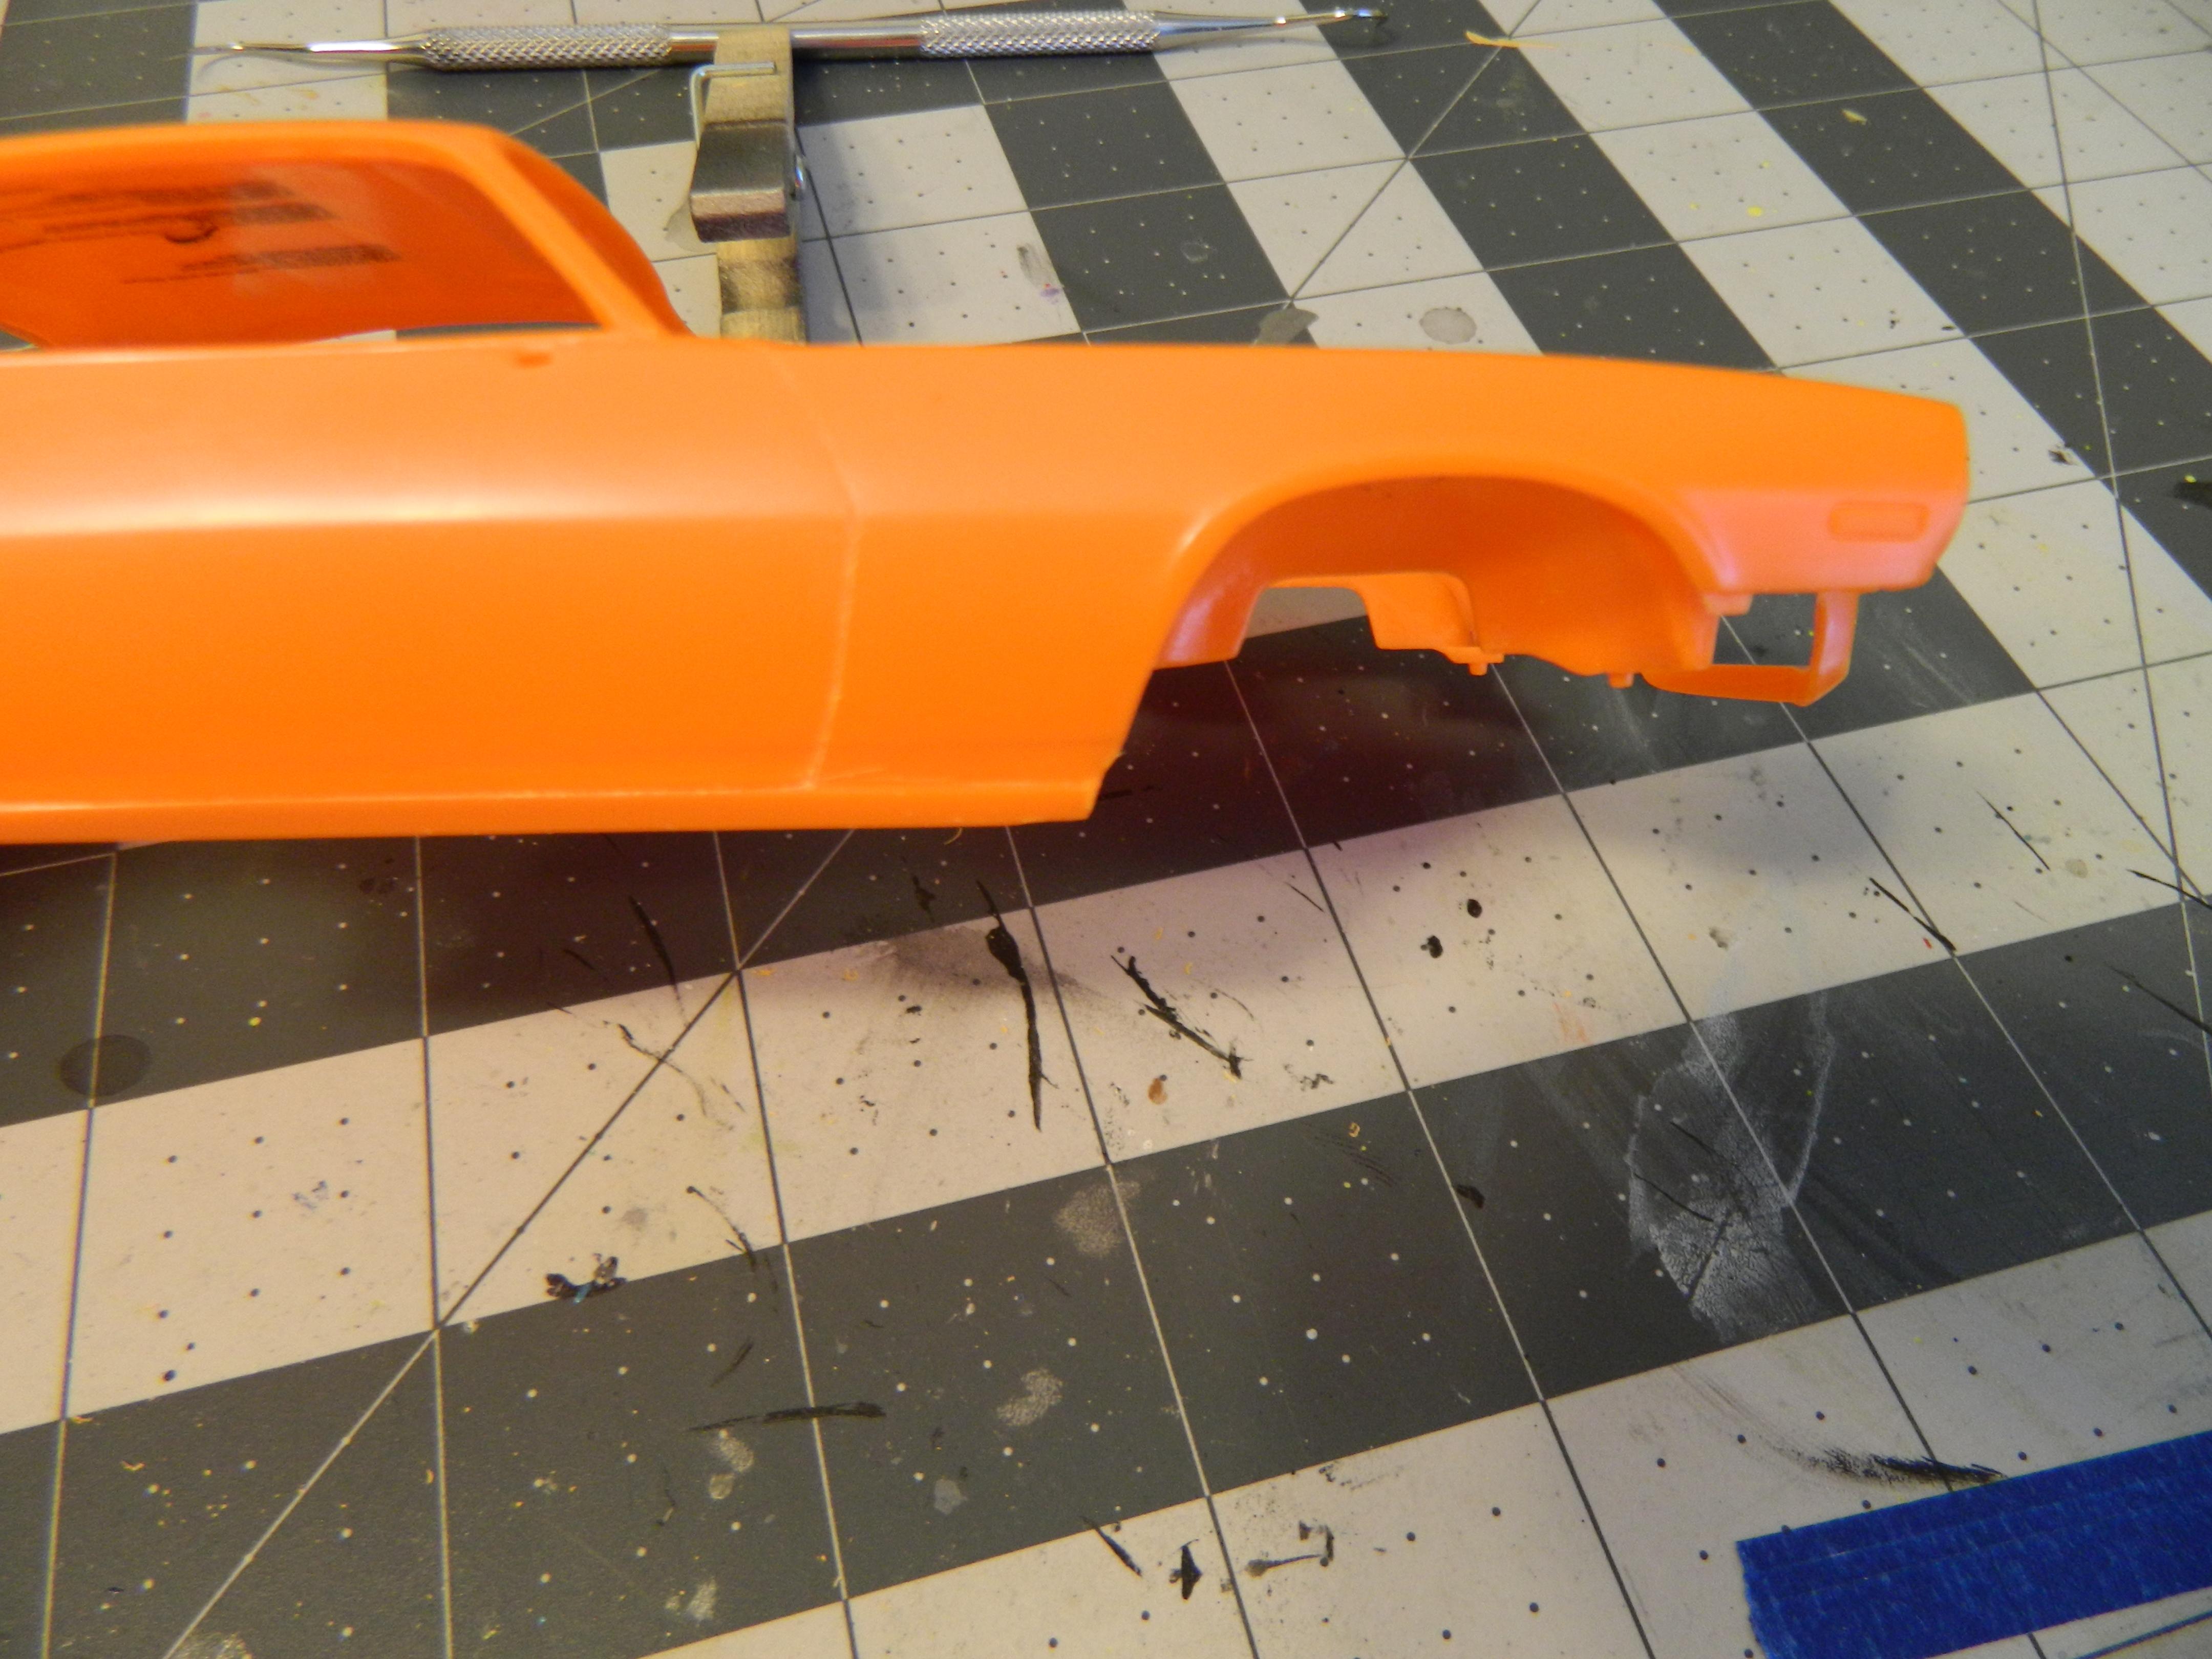
I just laughed when I unwrapped the bubble wrap and saw the same molding flaw on this body that was on the original body from the kit. I'm not complaining, just kind of wondering if they're aware or want to be aware of the flaw in their molds. It's the AMT 1970 1/2 Baldwin-Motion kit, and the AMT 1970 1/2 Z28 kit that obviously is basically the same mold has the same issue. Makes me wonder if the "new" 1970 Full Bumper Camaro is basically the same mold and that's the reason it's release has been delayed, that they finally "discovered" the mold flaw and are finally going to try to fix the issue. In no way is this going to stop me from buying more AMT/Round 2 kits as there are too many of their kits I want to build, and I will probably still buy more of the Camaro kits, as I really enjoyed building the Motion kit and it went together really well. First pic is the kit body, second pic is the replacement body from Round2. I'll end up fixing this one too, I just had to laugh and had to share.
-
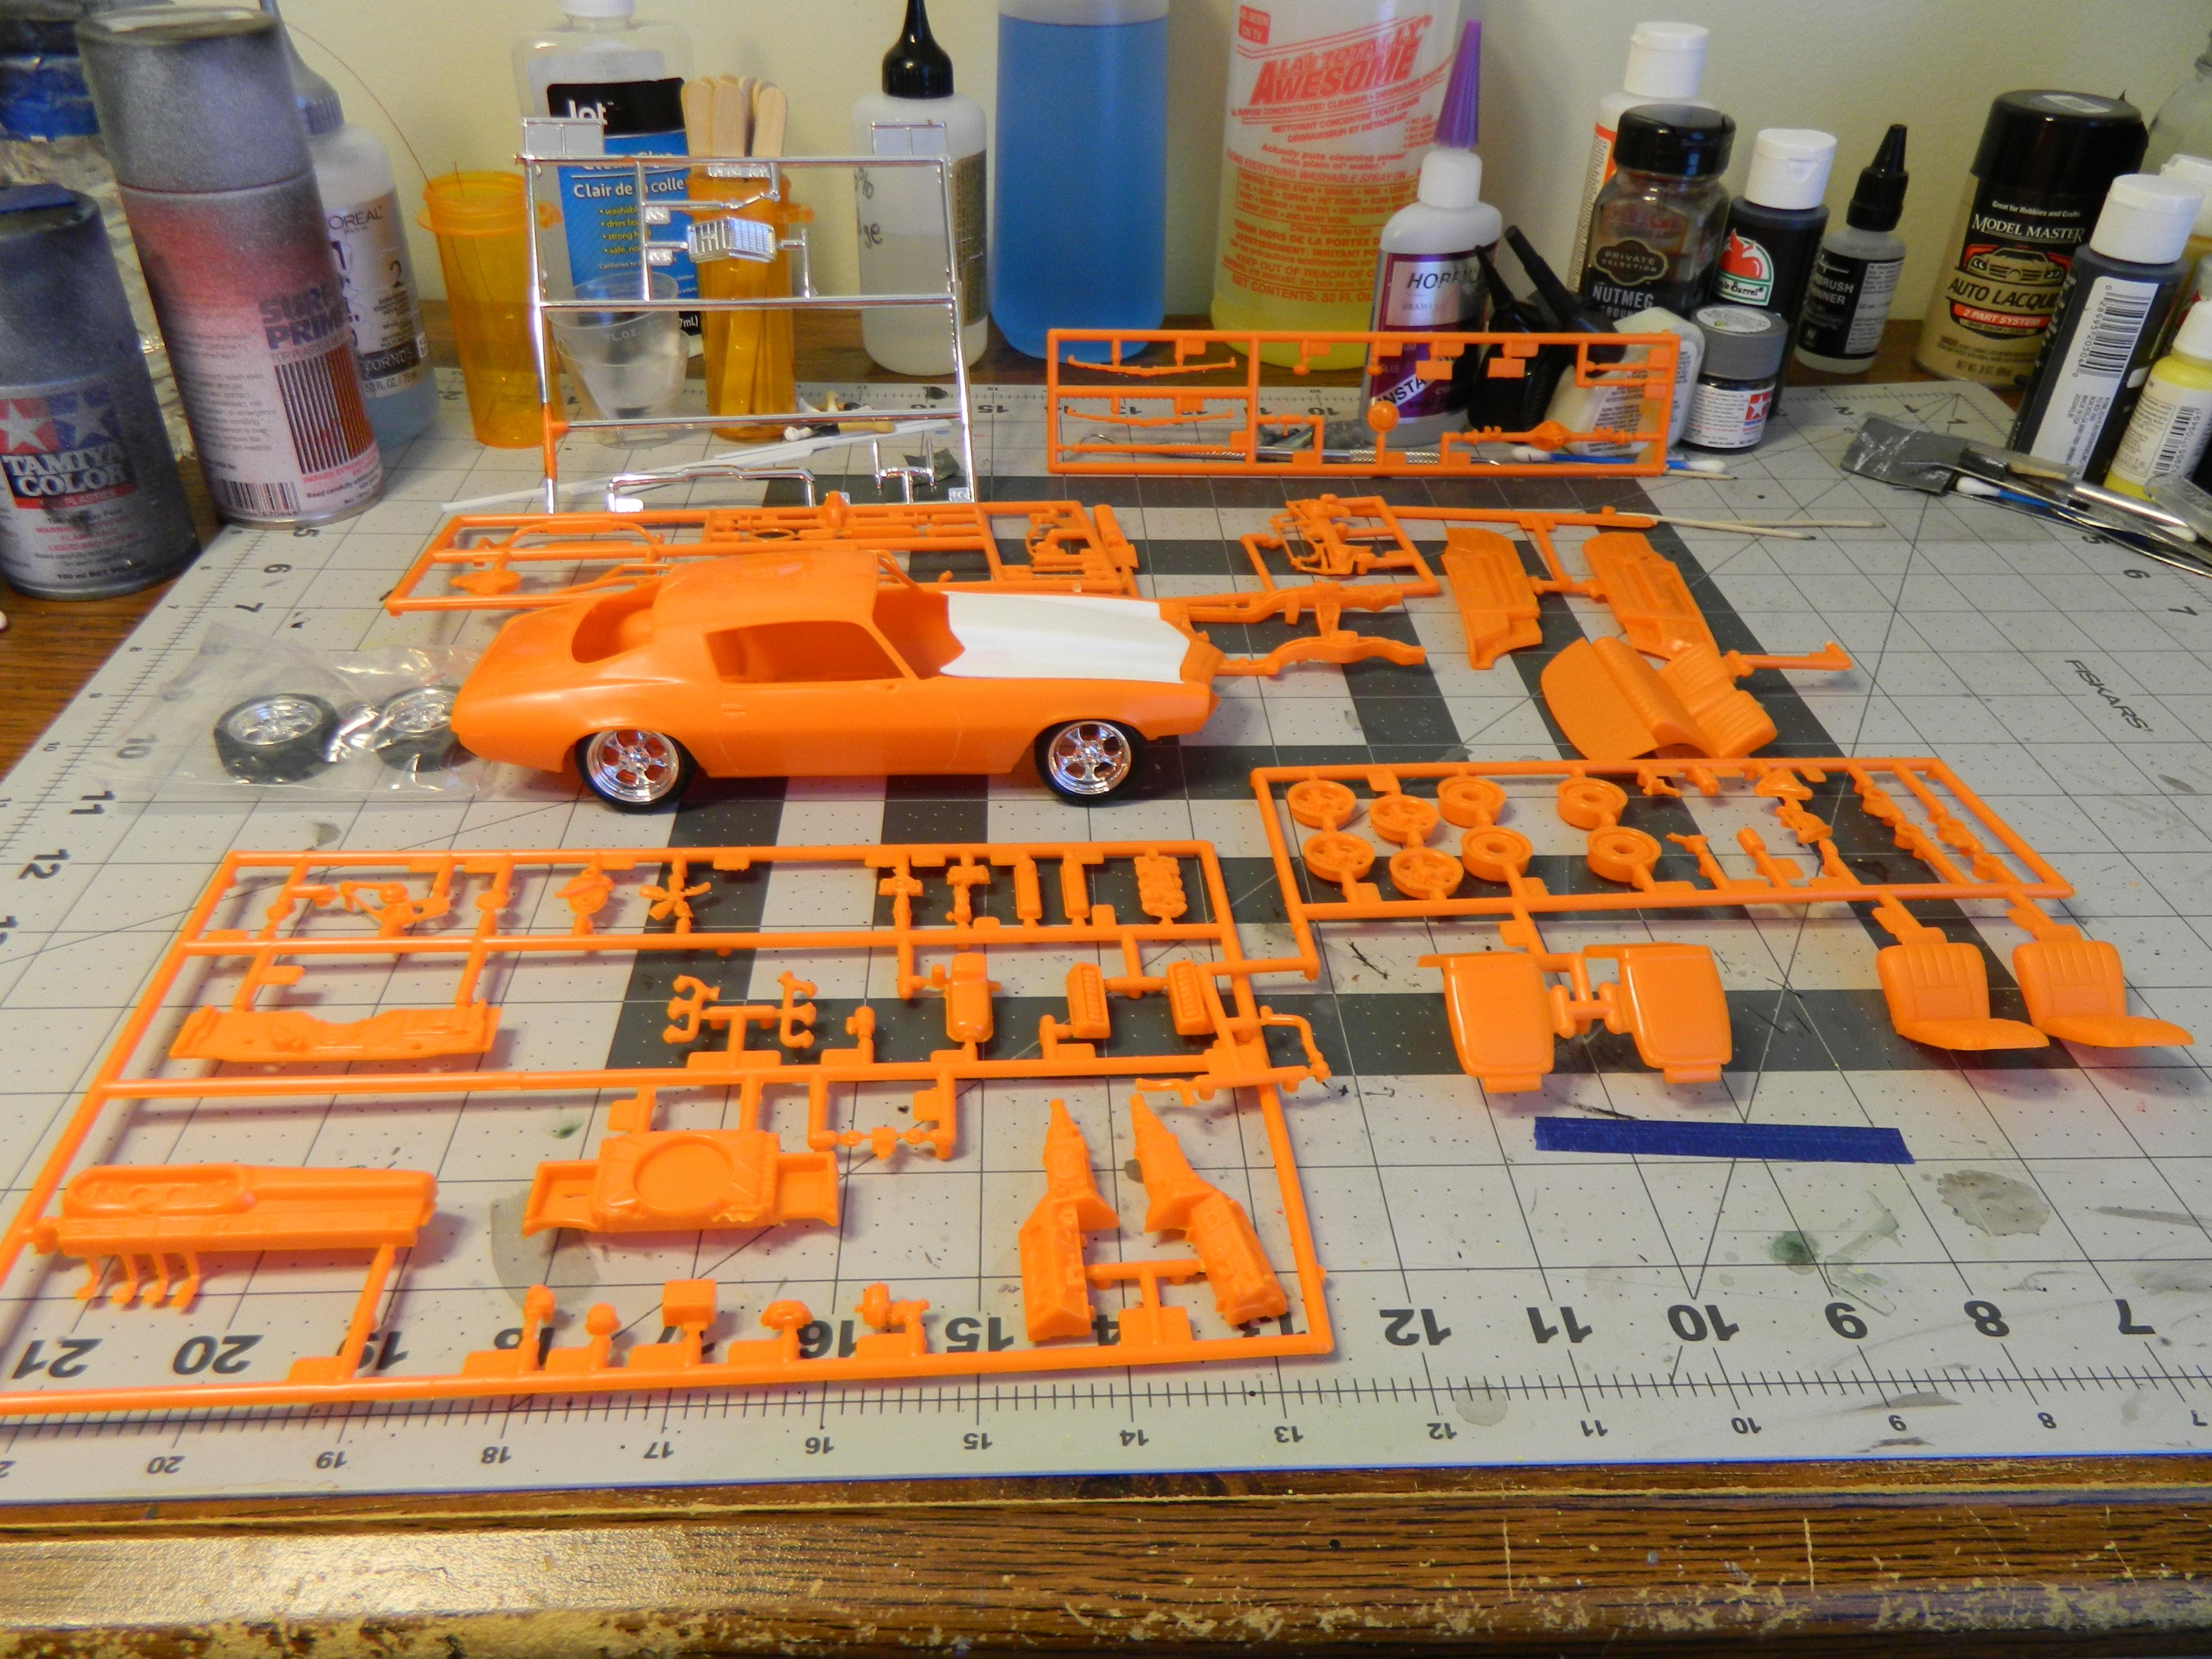
Getting started on my next project, the Yellow Camaro from Gumball Rally. I haven't really done a continuous in-progress topic yet, so hopefully I can remember to take pics and update my progress in a reasonable fashion. I also hope I can put up some decent work and not embarrass myself with shoddy work and results?. I thought about waiting a while on this build until the new full bumper Camaro kit from AMT came out for better turn signal accuracy, but I'm hearing it's going to be delayed until at least September and I really don't want to wait til then at minimum, so it'll be a test of my skills for sure. First thing I have to do is fix the shoddy mold on the passenger front fender. Thanks for looking!
-
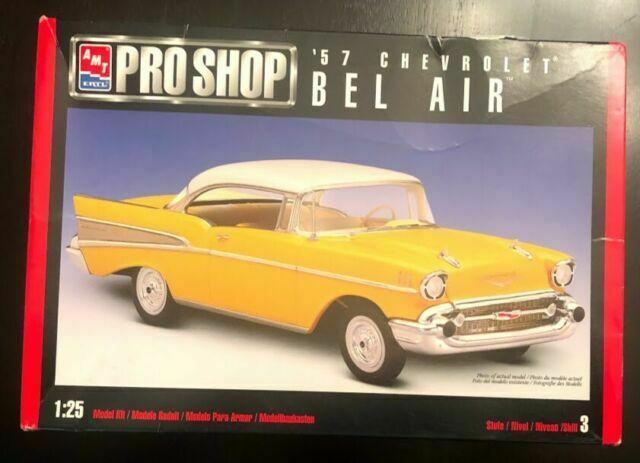
I'd be interested in knowing who has built the AMT '57 Chevy Pro Shop kit. What started out as a great kit now has fitment issues.
-
Built from 1989 issue Prestige kit. Several parts had extremely poor placement and fit on top of being warped. The opening doors and trunk were the worst offenders, so those were glued shut and rescribed. Also, some parts were missing due to rattling in a battered holey box for 30 years. Nonetheless, I was customizing anyway with mods as followed: Twin Supercharged Ford V8 swap comes from Mathew and Debbie Heys T-Bird Pro Street, with a custom made intake as the original munti-piece chrome unit kept hitting the Mercedes hood. Styrene scrap trees bent as intake tubes and oil filters turned into air filters as the original pieces were missing. Electronic fan/radiator comes was also sourced from a Revell Acura Integra. T-Bird Pro Street's side exhaust was used with heavy modifications to exit at the rear Steering wheels comes from AMT Silhouette Mesh screening was used in lieu of kit's vent piece, which was an ill fitting heap when it hit's the inner fenders Front and rear bumpers were omitted to created cleaner look, bumper pins were used to cover up mounting holes. Badging and such were shaved and smoothed. Custom wheels form unknown Revell source, with front tires being Toyos from Revell Honda Civic and rear tires from Revell C5 Corvette. Disc brakes were used from a Revell Corvette Sting Ray III Interior paint is Rustoluem Advanced Formula Flat Brown. Exterior is Tamiya TS-72 Clear Blue over Rustoluem Silver cleared with Pledge
-
Hey, everyone!, I recently had an old friend move here from Santa Cruz, California. We use to build together over a decade ago, and now he wants to start it up again! I asked him which car he wanted to build, and he chose AMT's 1970 Baldwin Motion Camaro, so that's what we're doing. I mostly build exotics, but I do have a TON of muscle car kits, this however, will be my very first GM build.....i'm pretty stoked!! The 1970 Camaro is my favorite year for that car, in fact, 1970 was the BEST year for muscle cars from ALL the manufacturers! If you are familiar with how I build, this will come as no surprise....its almost imposable for me to NOT change things. This is no exception, lol. He will build his in a more traditional Hot rod way, which I will also post here as we go. Heres a riddle for mine; what do you get when mix the following cars, and styles together?...
-
Somewhat of a grail for me, just got it in the mail today! More pictures of the box, box contents, and instructions below
-
Now finished! Mods are as followed: Chevy 350 LT1 block (painted Tamiya TS 74 Clear Red over Rustoluem Bright Silver) and transmission from Revell 4th Gen Camaro Z28 Corvette LT1 heads, headers, and waterpump/fan belts from Monogram '92 Corvette Convertible. Edlebrock valve covers from AMT 34 Ford parts Roots drag supercharger from AMT Silhouette, intake made from ribbed muffler system of unknown source Twin Turbos from TheGameBoy Resins, and air filters from spares bin sources. Radiator/intercooler looks to be from a Monogram Nascar piece and intake pipes were made from from plastic tree sprue Side exhaust from Monogram '70 Challenger T/A Rear axle from AMT 70 Monte Carlo, some other suspension parts from '90 Mustang Drag parts. Driveshaft made from long sprue and sway bars from spares bin sources Bucket seats from Revell C5 Corvette and steering wheel from Monogram '71 Hemi Cuda. NOS bottle (also painted Tamiya TS 74 Clear Red over Rustoluem Bright Silver) and side mirror are from unknown sources from the spares bin Wheels and tires are large profile custom mag wheels from Revell '66 Chevelle Wagon. Disc brakes are from Monogram '92 Corvette Convertible Decals are source from random unused sheets. Interior is Rustoluem "Advanced Formula" Flat Brown, and exterior and floor pan are painted Rustoluem Metallic Black cleared with Pledge
-
This AMT '66 Olds started life as a very old build crica 2009. It was a mild custom painted a similar red like on the box, and had a LS1 swap from a Revell 2002 Camaro with "20 mag wheels from a Revell 66 Chevelle SS Wagon. At some point it was mined for parts, mainly the wheels and LS1 motor, to go on other projects. After a few years of sitting on the shelf in pieces, it ended up scrapped in a storage crate until being found in a parts hunt very recently. Surprisingly, most of the essential parts were there even the front+ rear glass, which is rare when finding parts to resurrect an old build. Unfortunately, I could not find the hood and the rear suspension along with small bits like the clear front lenses and clear red taillights were missing. I couldn't find the kit's 442's W30 motor it originally came with (might have given it to a club member in a trade for wheels) and I didn't feel like raiding my other mint kit for it, so I had gathered up an LT1 using a Revell 4th Gen Trans Am for the block and a Monogram '92 Corvette for the heads and fan belt/water pump setup (Monogram's Corvette motor had an auto trans and wouldn't fit properly in the Old's frame). I know it's a Chevy motor in a Olds, but it's the only complete setup I could find that would fit without major work. While I was able to find clear front lenses and make taillights from clear styrene pieces, I still couldn't find the hood after I had stripped the rest in the purple bath and that was gonna be an issue. I couldn't see myself raiding the hood from one of the mint kits in my stash (that I also plan to build someday) and refused to succumb to Ebay prices just for the hood alone. As I came up with ideas I remembered a crazy looking 67 Chevelle I saw at a car show back in 2009 that, apparently had no hood, but contained a big block Chevy with not only a fuel injected Roots high rise Supercharger with plumbing to the radiator, but was also twin turbocharged and appeared to have had the intercooler built in in the radiator. With that idea brewing, I got to work on parts hunting! I gathered up a flat manifold from an AMT Chevy 350 motor of some subject, a Roots Supercharger from the AMT Silhouette, and pulley belts from the Revell '68 Firebird's optional supercharger setup. I also sourced different 350 LT1 headers and placed them upside down to put the two resin turbos on. After finding some more tidbits and other '92 Corvette parts, there is where i'm at The front suspension was mostly intact, just needed new springs and spindles. I also cooked up a 4 link style rear suspension and plan to add a side exhaust system from an old Monogrma '71 Cuda built up. I had also found a matching set of the custom wheels from the Revell 66 Chevelle SS Wagon that were originally used and used brakes from the Monogram '92 Corvette. I had set a right height setup that looks dope dayumm, but forgot to take pics of it before I got it ready for paint! More to come soon
-
One that I picked up today, 1963 Mercury Marauder annual kit, set the way back machine to 1963! More box pictures, box contents, and instructions at this link: AMT 1963 Mercury Marauder Annual
-
Another one I just acquired. More pictures of the box, contents and instructions here Thanks for looking
-
I was going to wait a bit before I started this but, the urge was too strong!. Here it is with the beginning coats of Tamiya TS-19 Metallic Blue. Engine is almost done. And the stock wheel covers are done. Now, believe it or not, I also scored a 65 Merc with the custom pieces on it. My plan is to redo the custom with the newer custom pieces from the kit I just got. Here are some pics the seller posted on evil bay. Thanks for looking!
-
The "Buy me now" button is sometimes too hard to resist! I got this so I could use the custom pieces on the new AMT 62 Bird, and they work! Super cool eh? Others coming in the next few days are a 62 Ford Galaxie convertible, 64 Ford Thunderbird, 64 Lincoln convertible, and a 65 Thunderbird, all annuals. Then that's it, I've shot my budget for this year. Thanks, enjoy, and stay safe out there !As always, more box pics, contents, and instructions at the link.
-
Here is another one I just received, the 63 Ford Convertible annual kit. The instructions I got in the kit were bug chewed or something so they were not really photo quality. Lucky I found a set if instructions at the Drastic Plastic Foki site. More pictures of the box contents, box, and a link to the instructions at the link below
-
I got this one two days ago, surprising that except for the hardtop body, the kits contents are the same as the recently released convertible version, which will help on the building of this kit since the chrome trees are on the satin chrome side of things. Pics of contents, box art, and instructions at this link