Search the Community
Showing results for tags 'chevelle'.
-
Started on these today. Got the frames down and will wait for good weather to paint them. Thanks for looking!
-
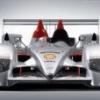
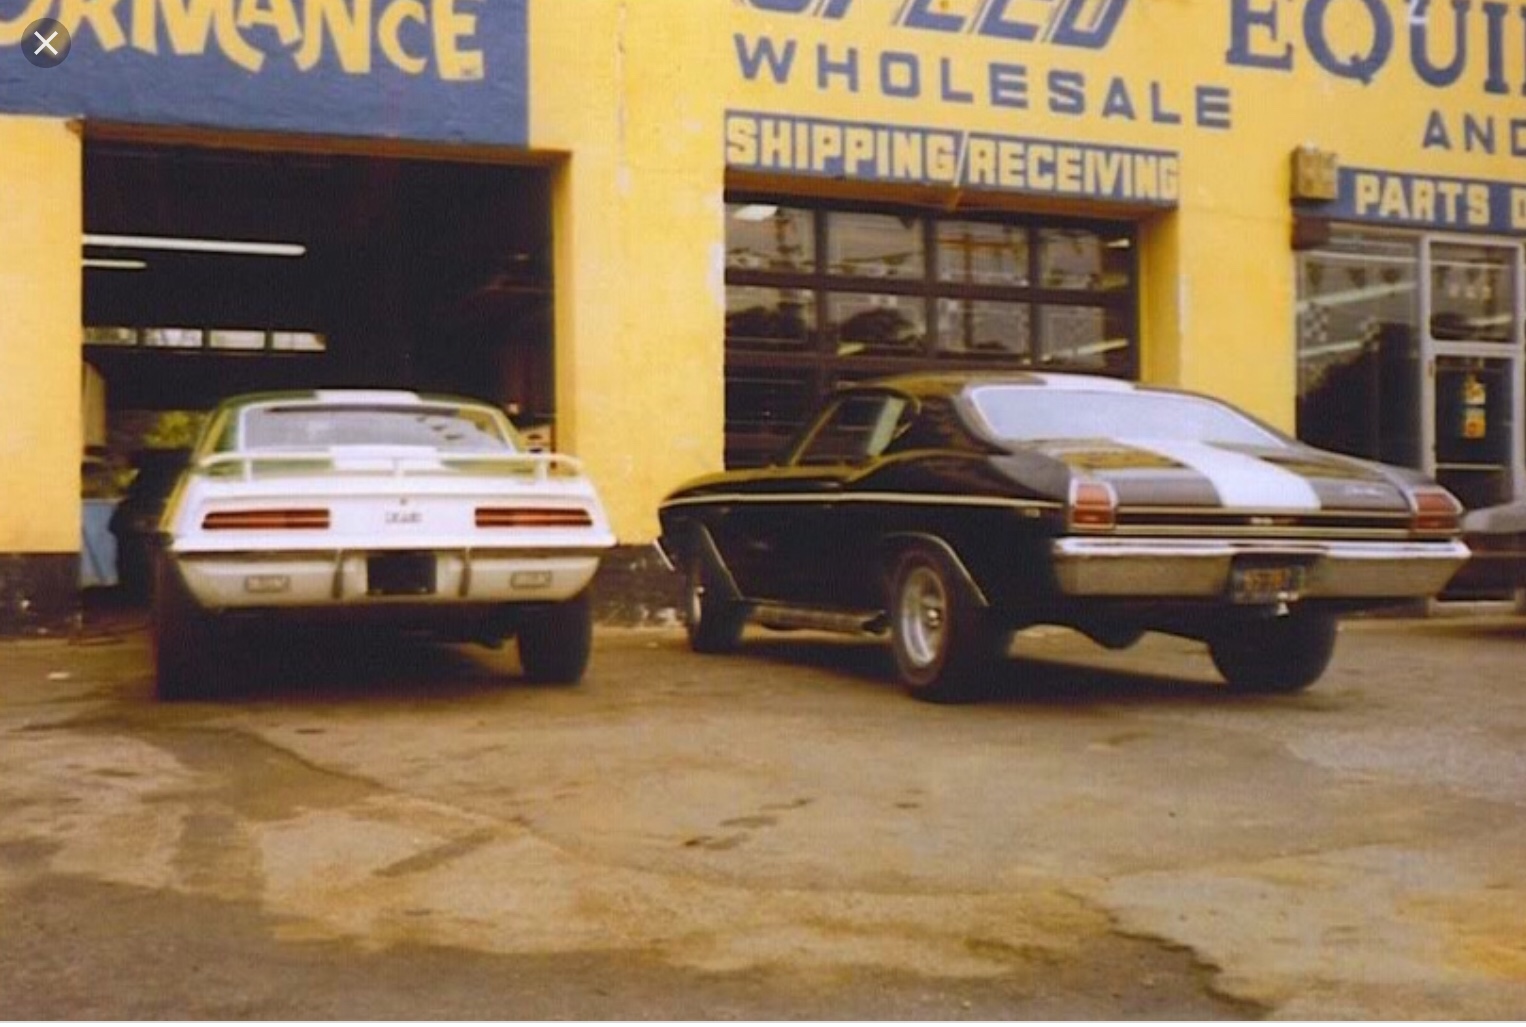
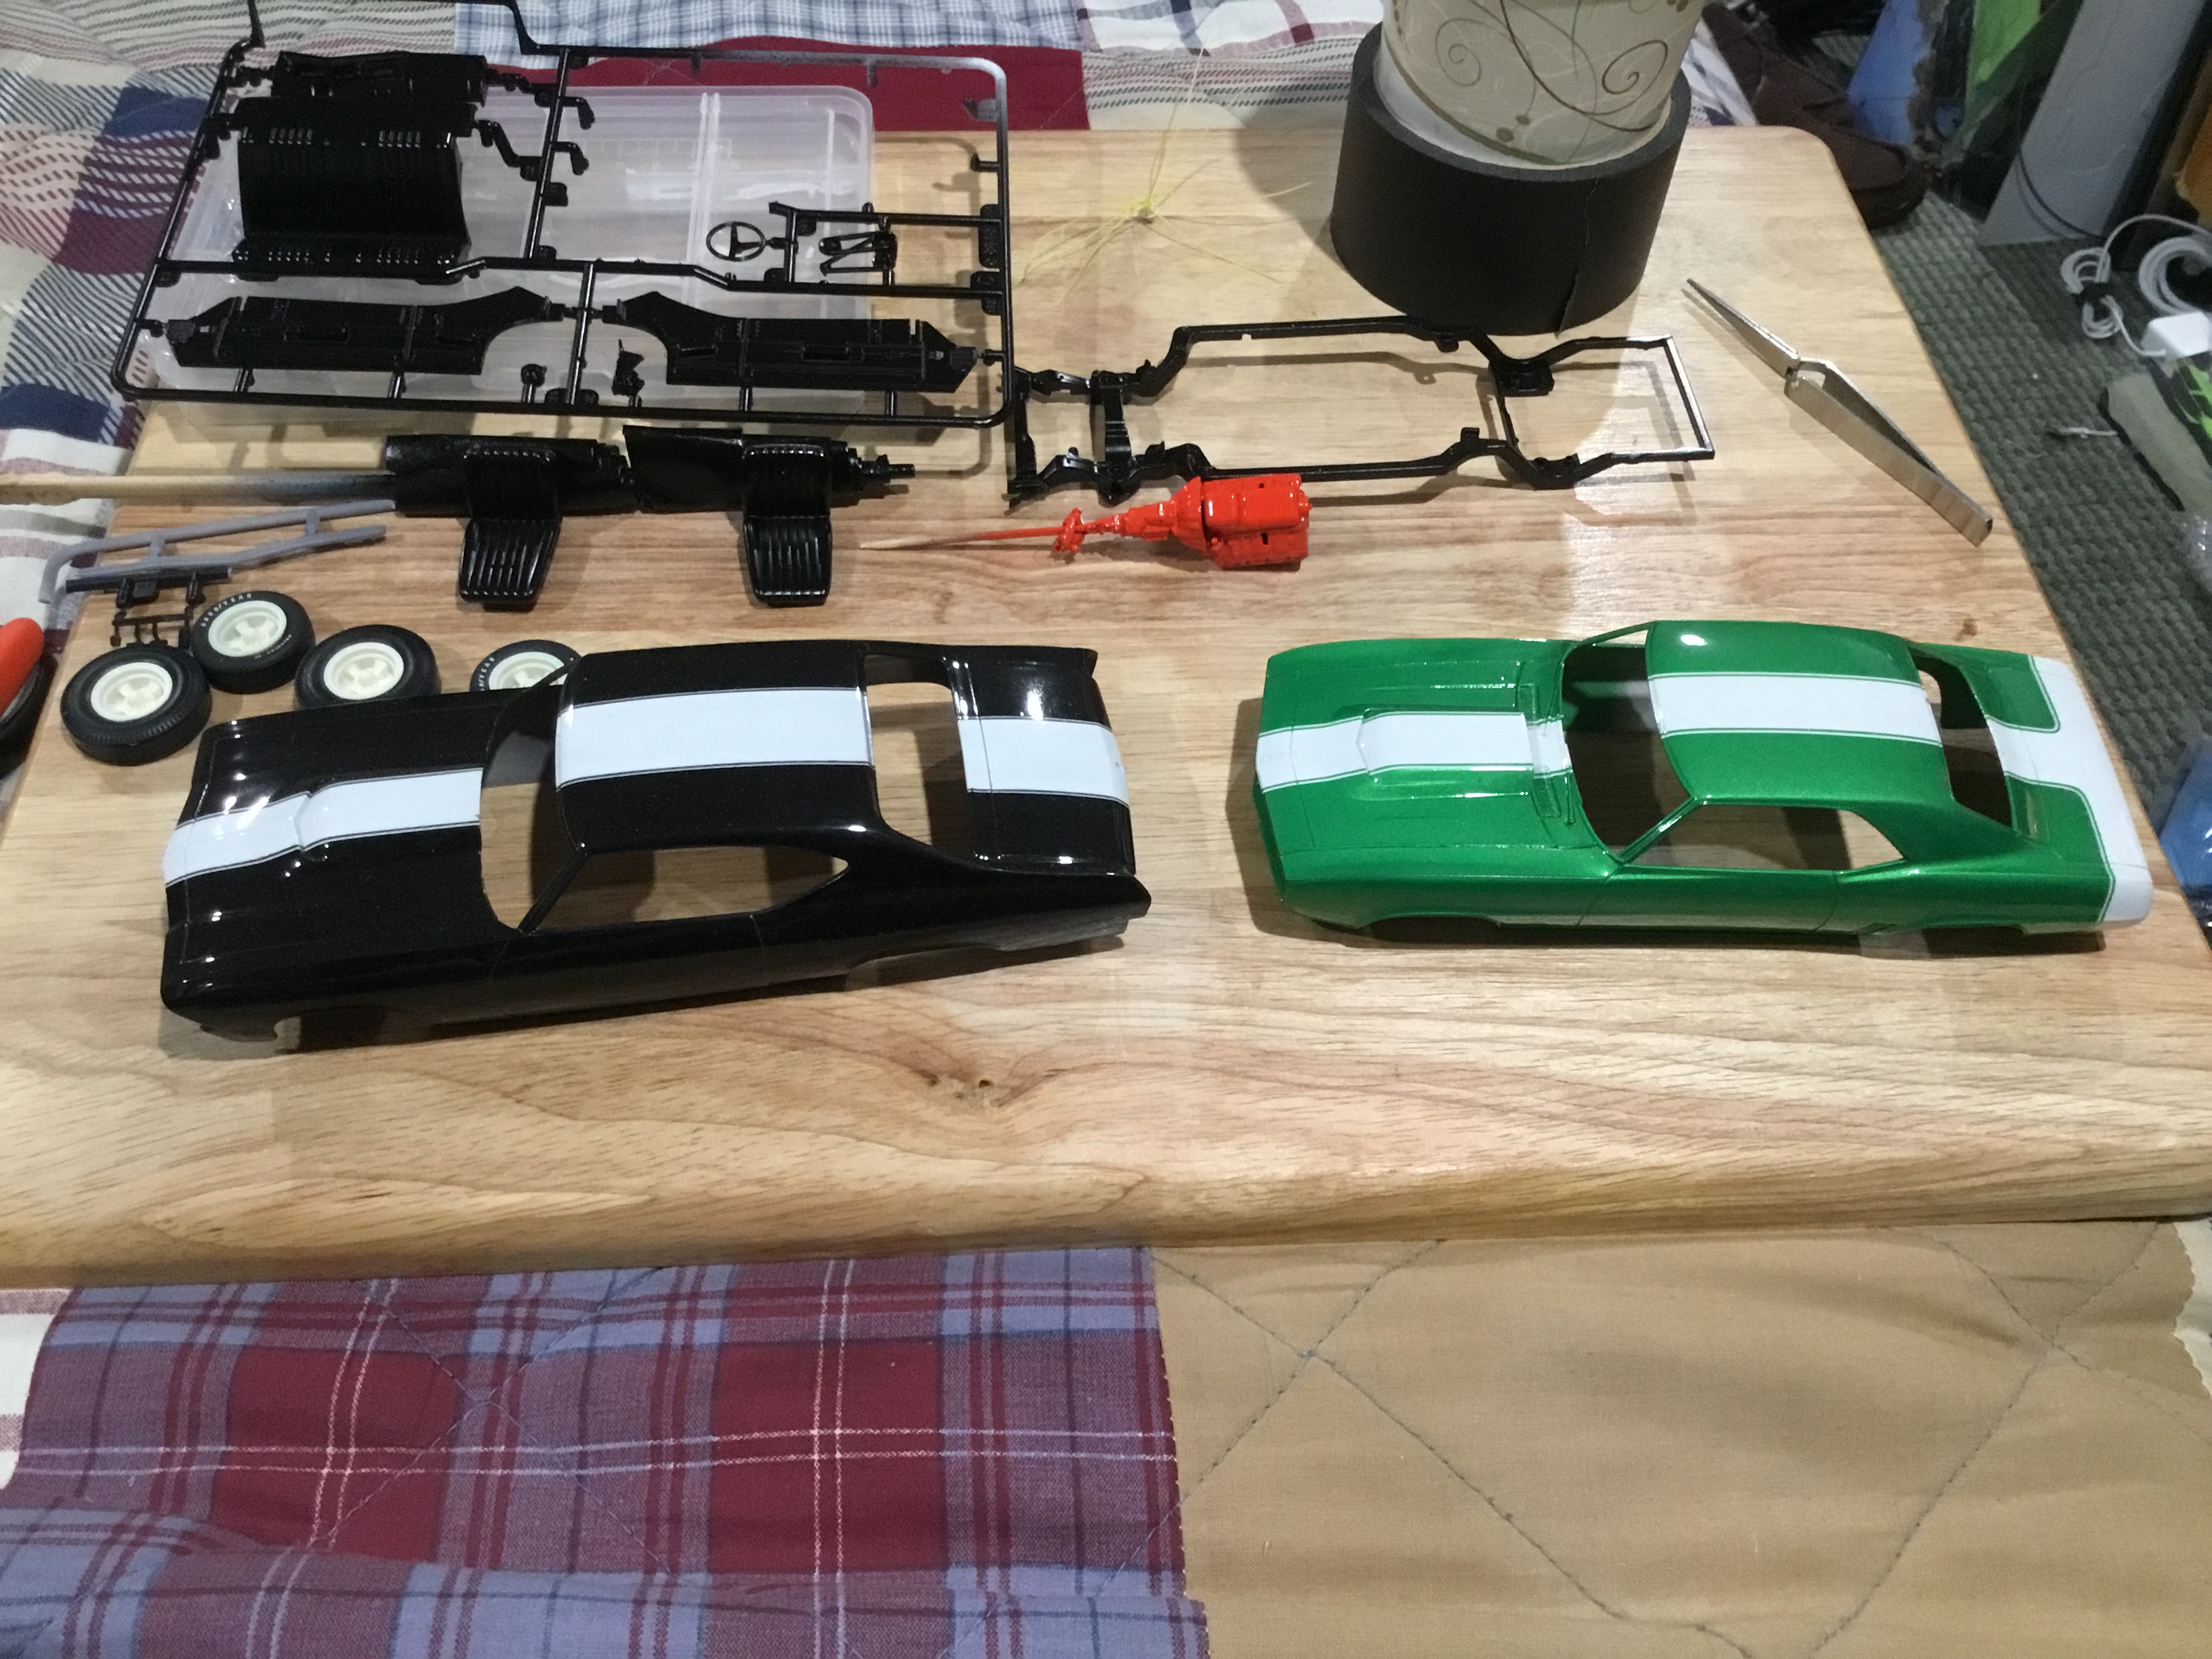
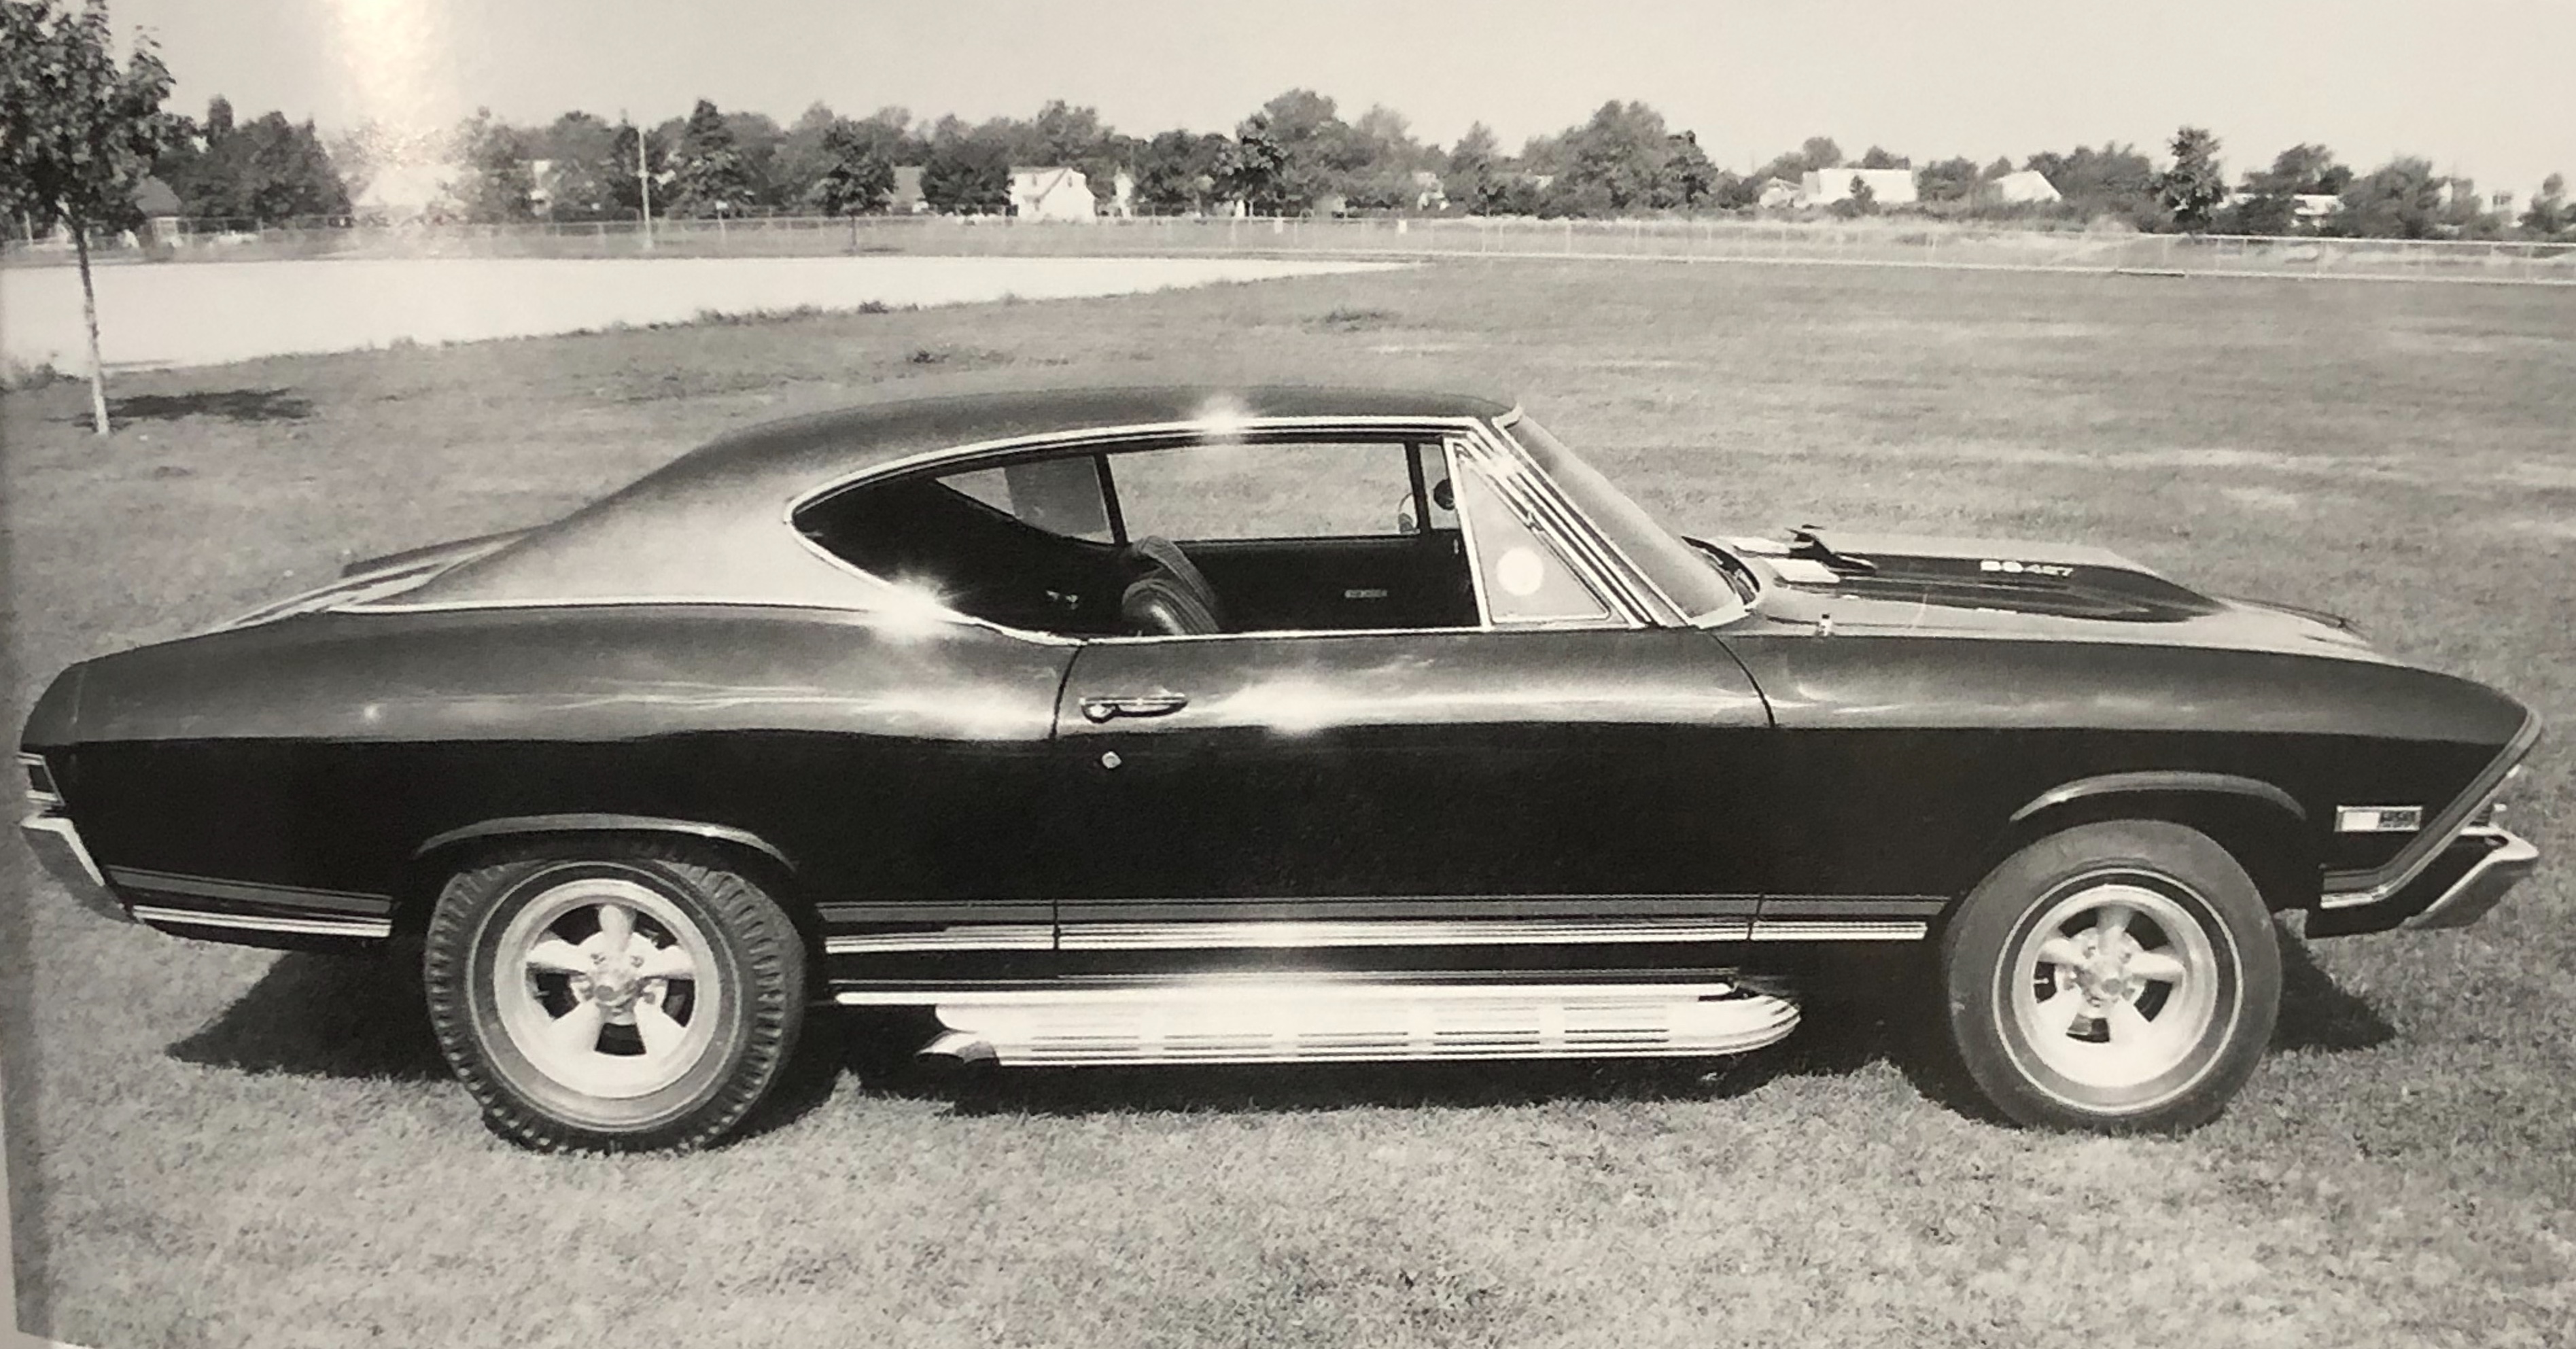
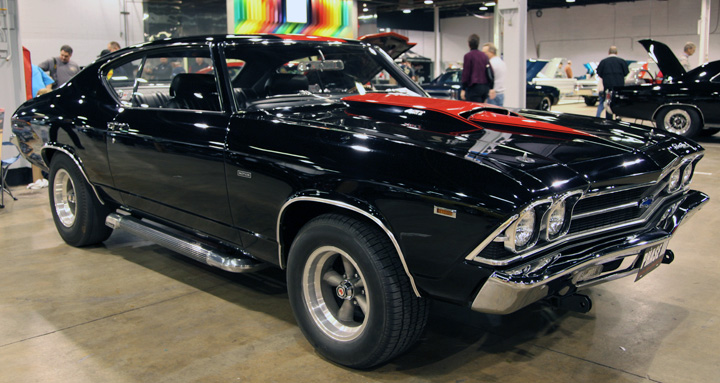
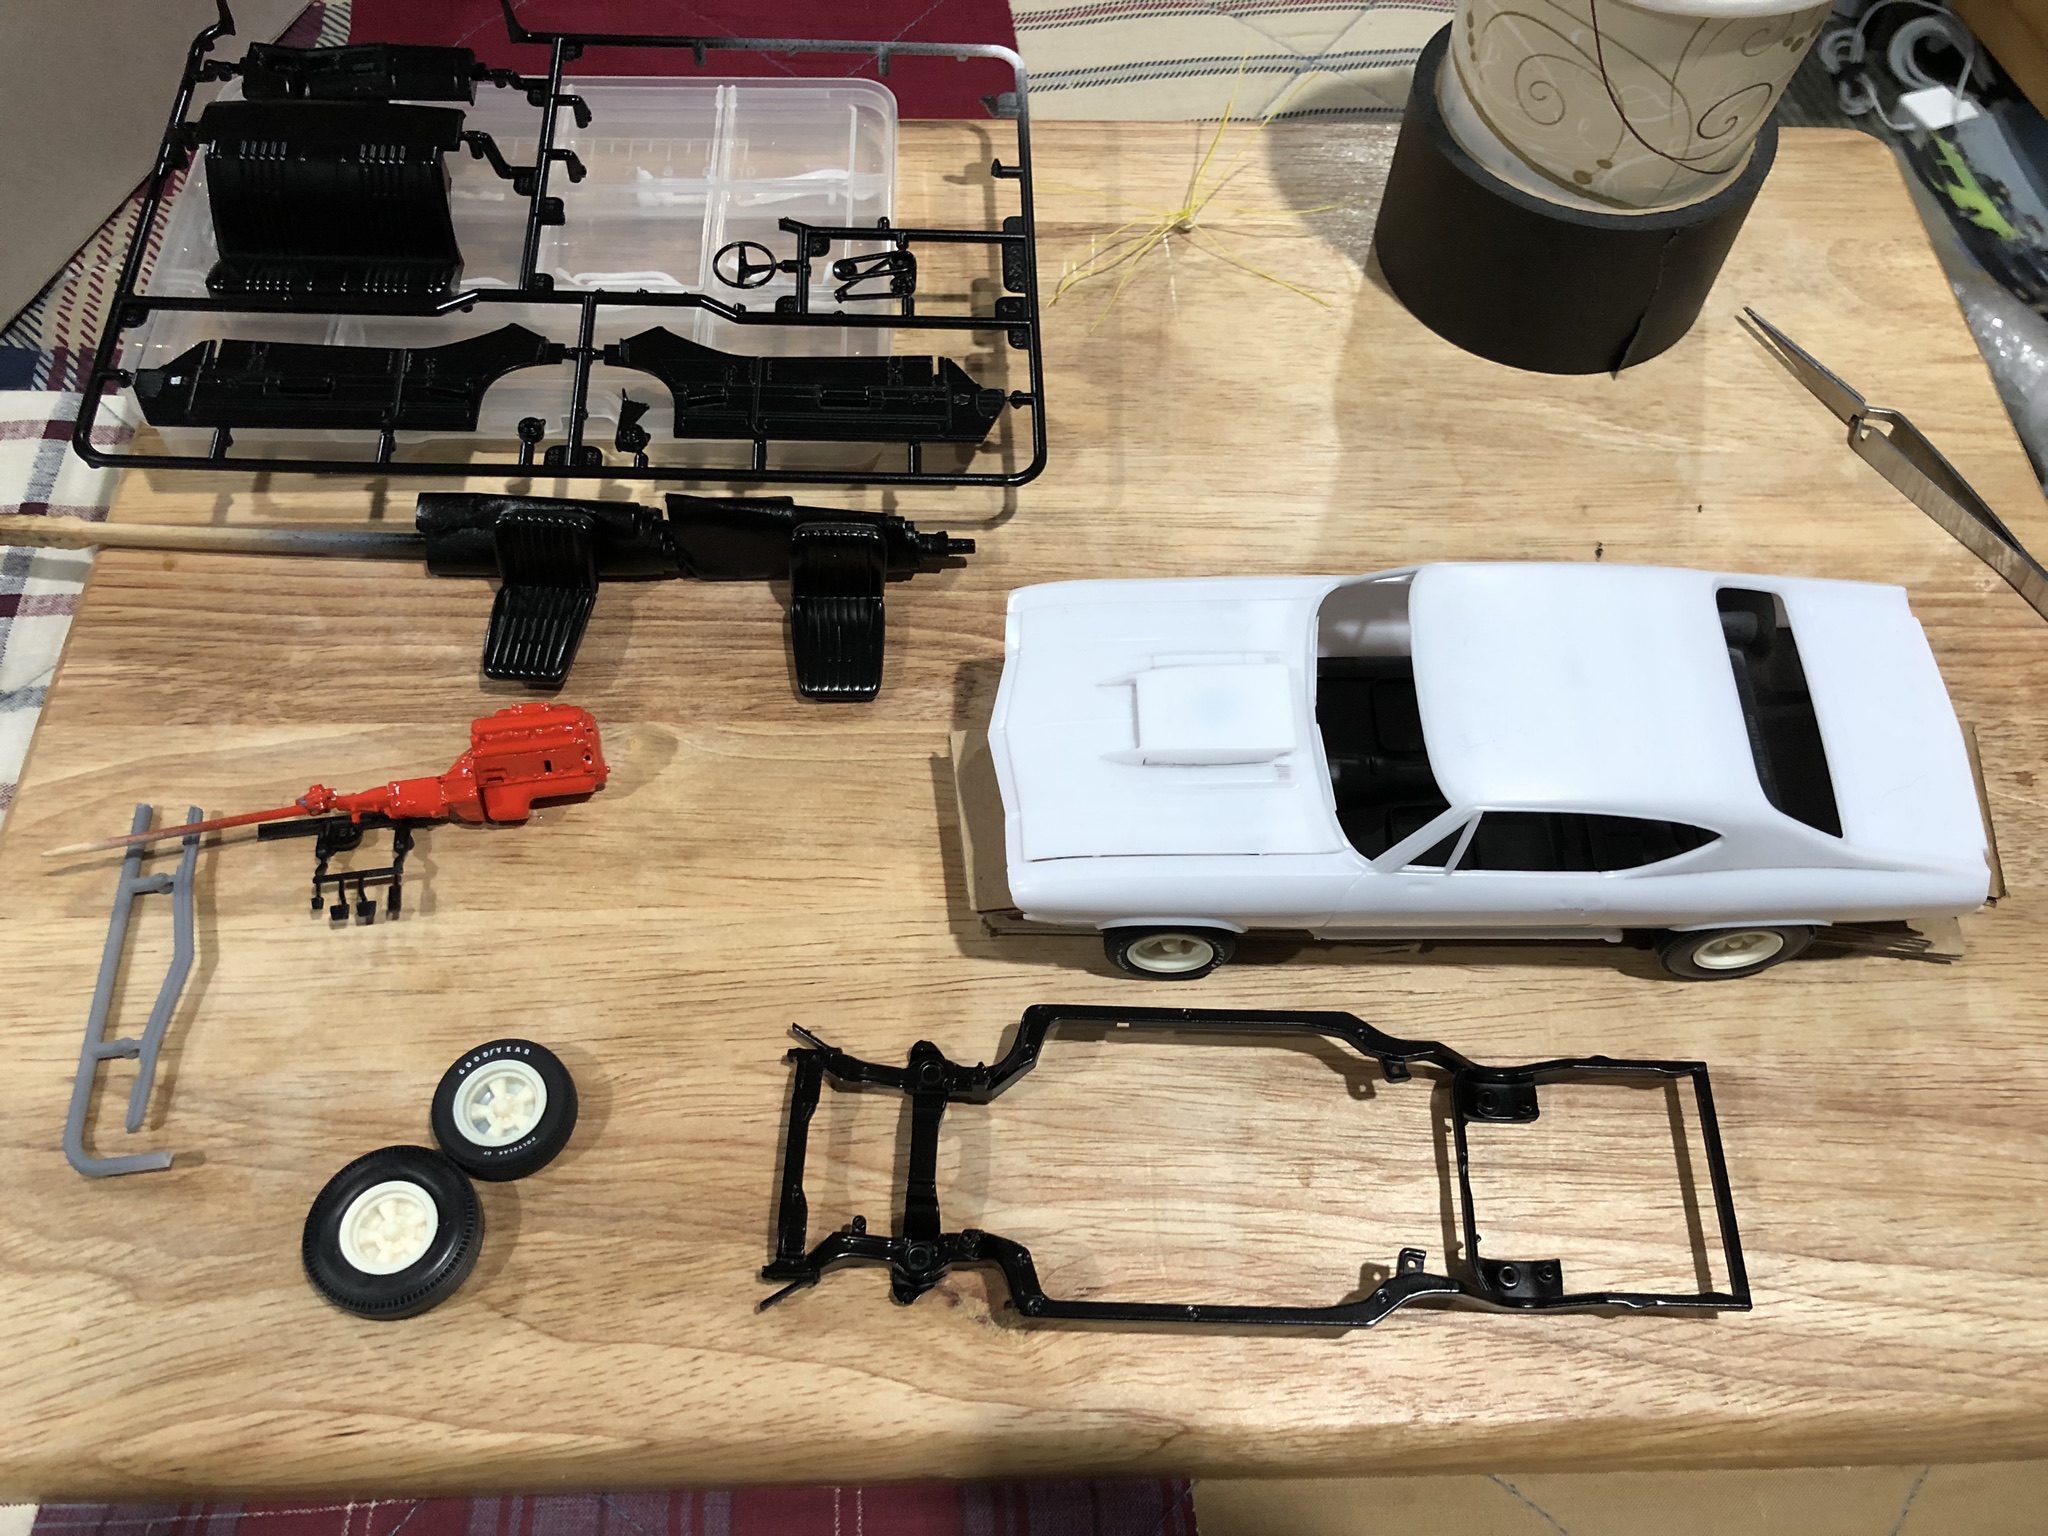
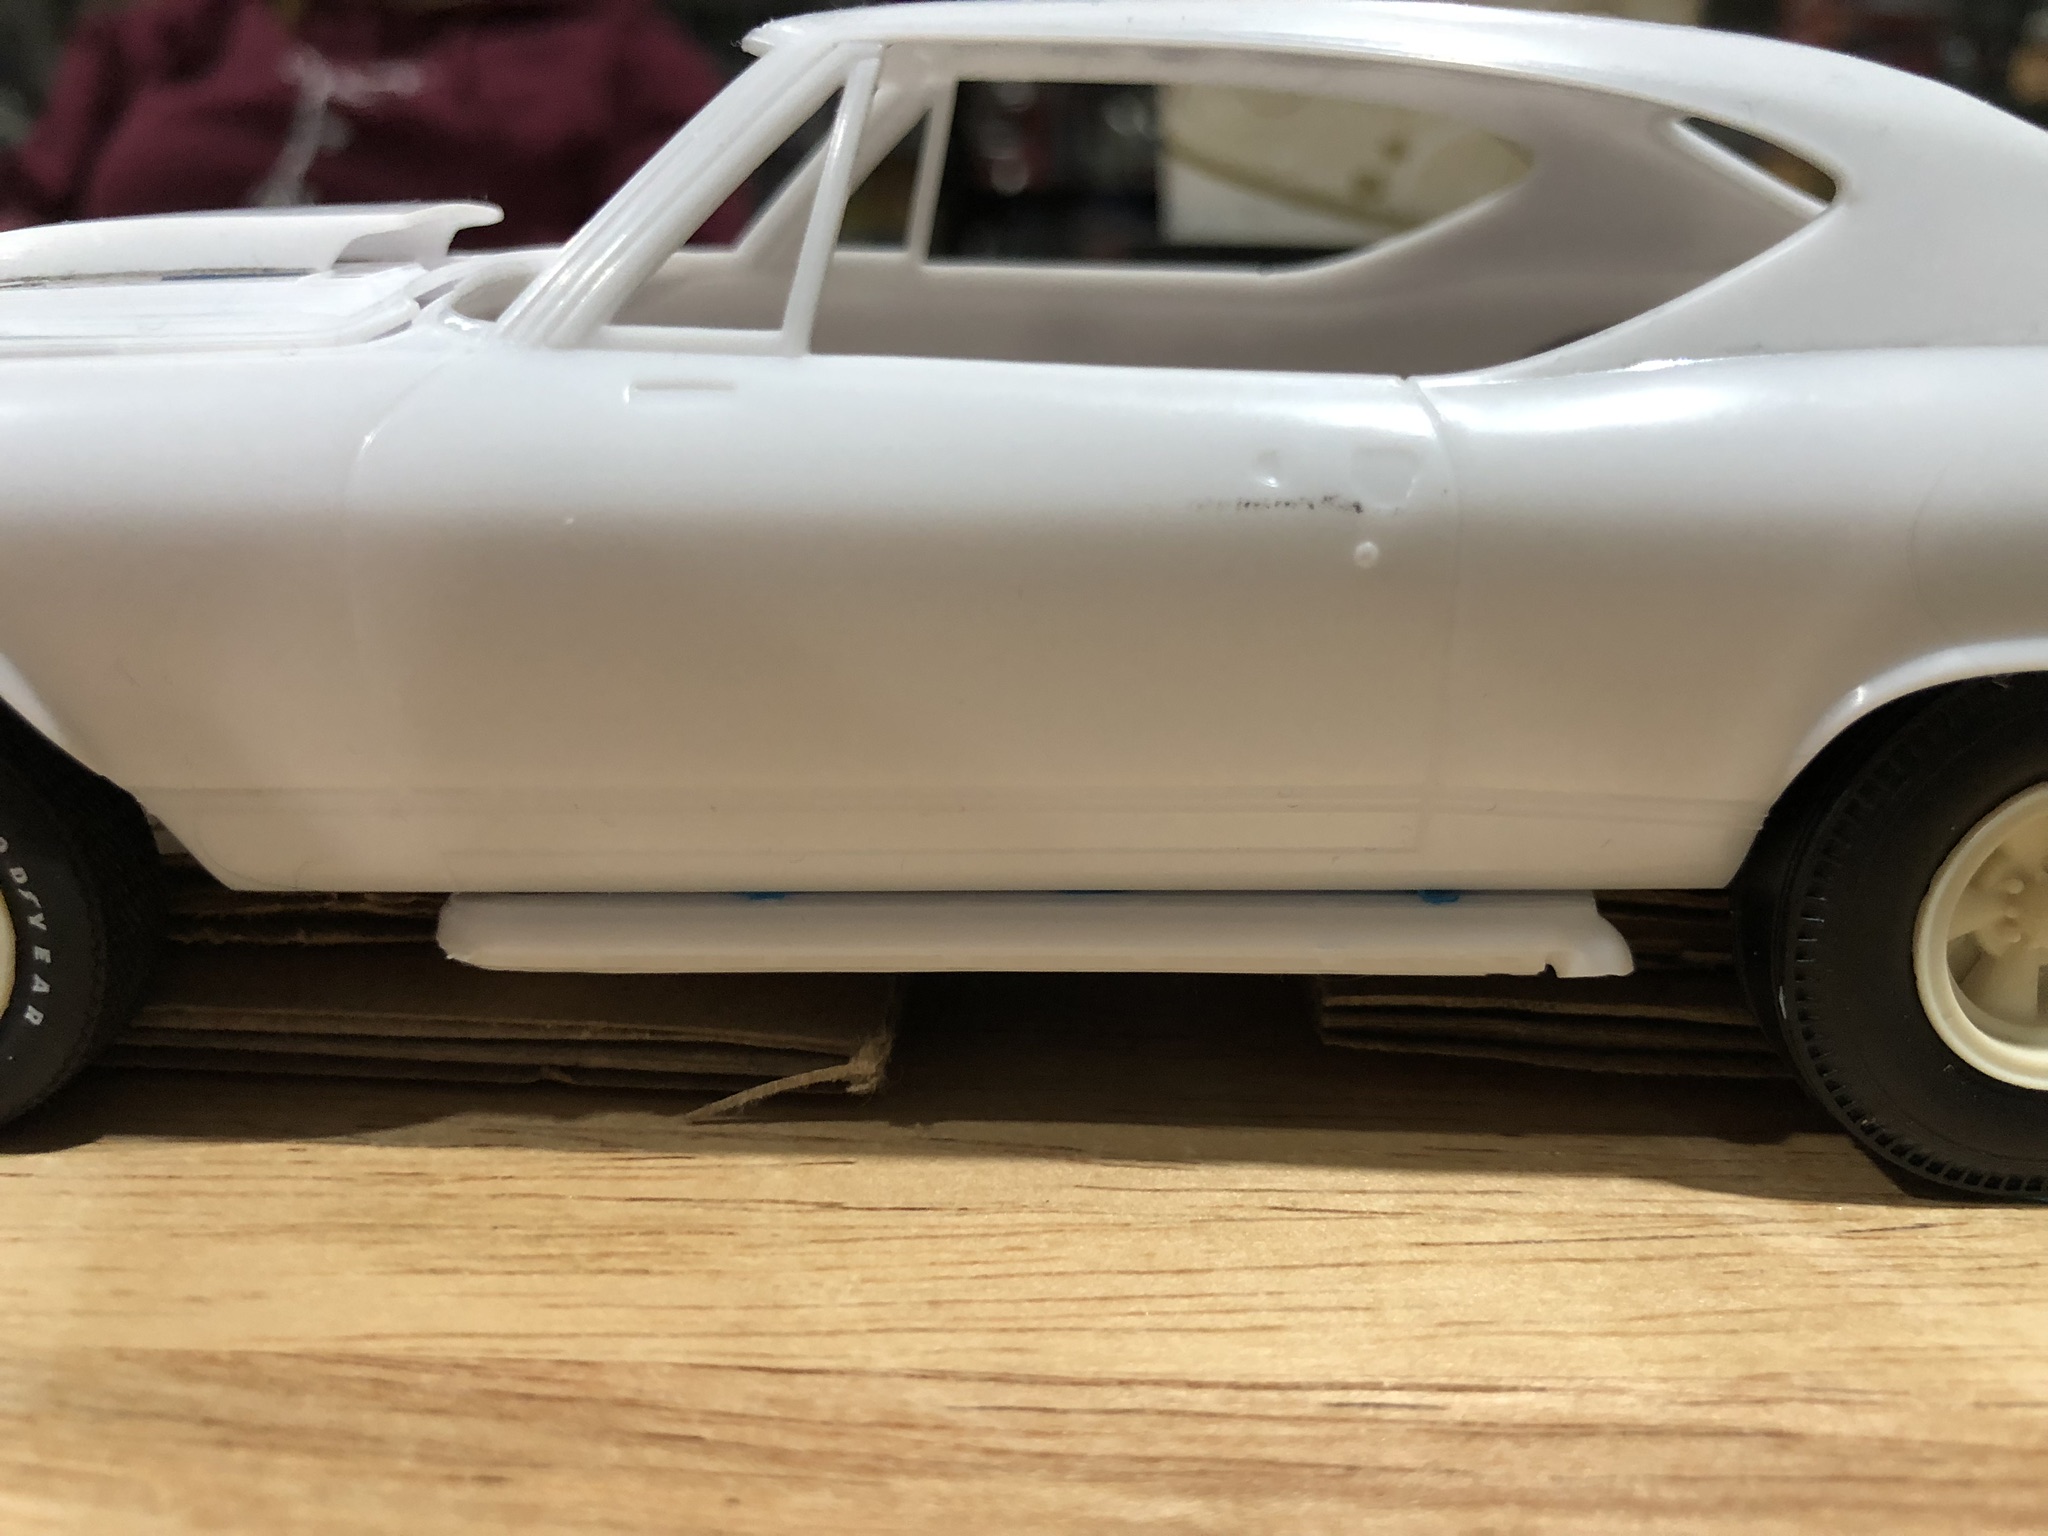
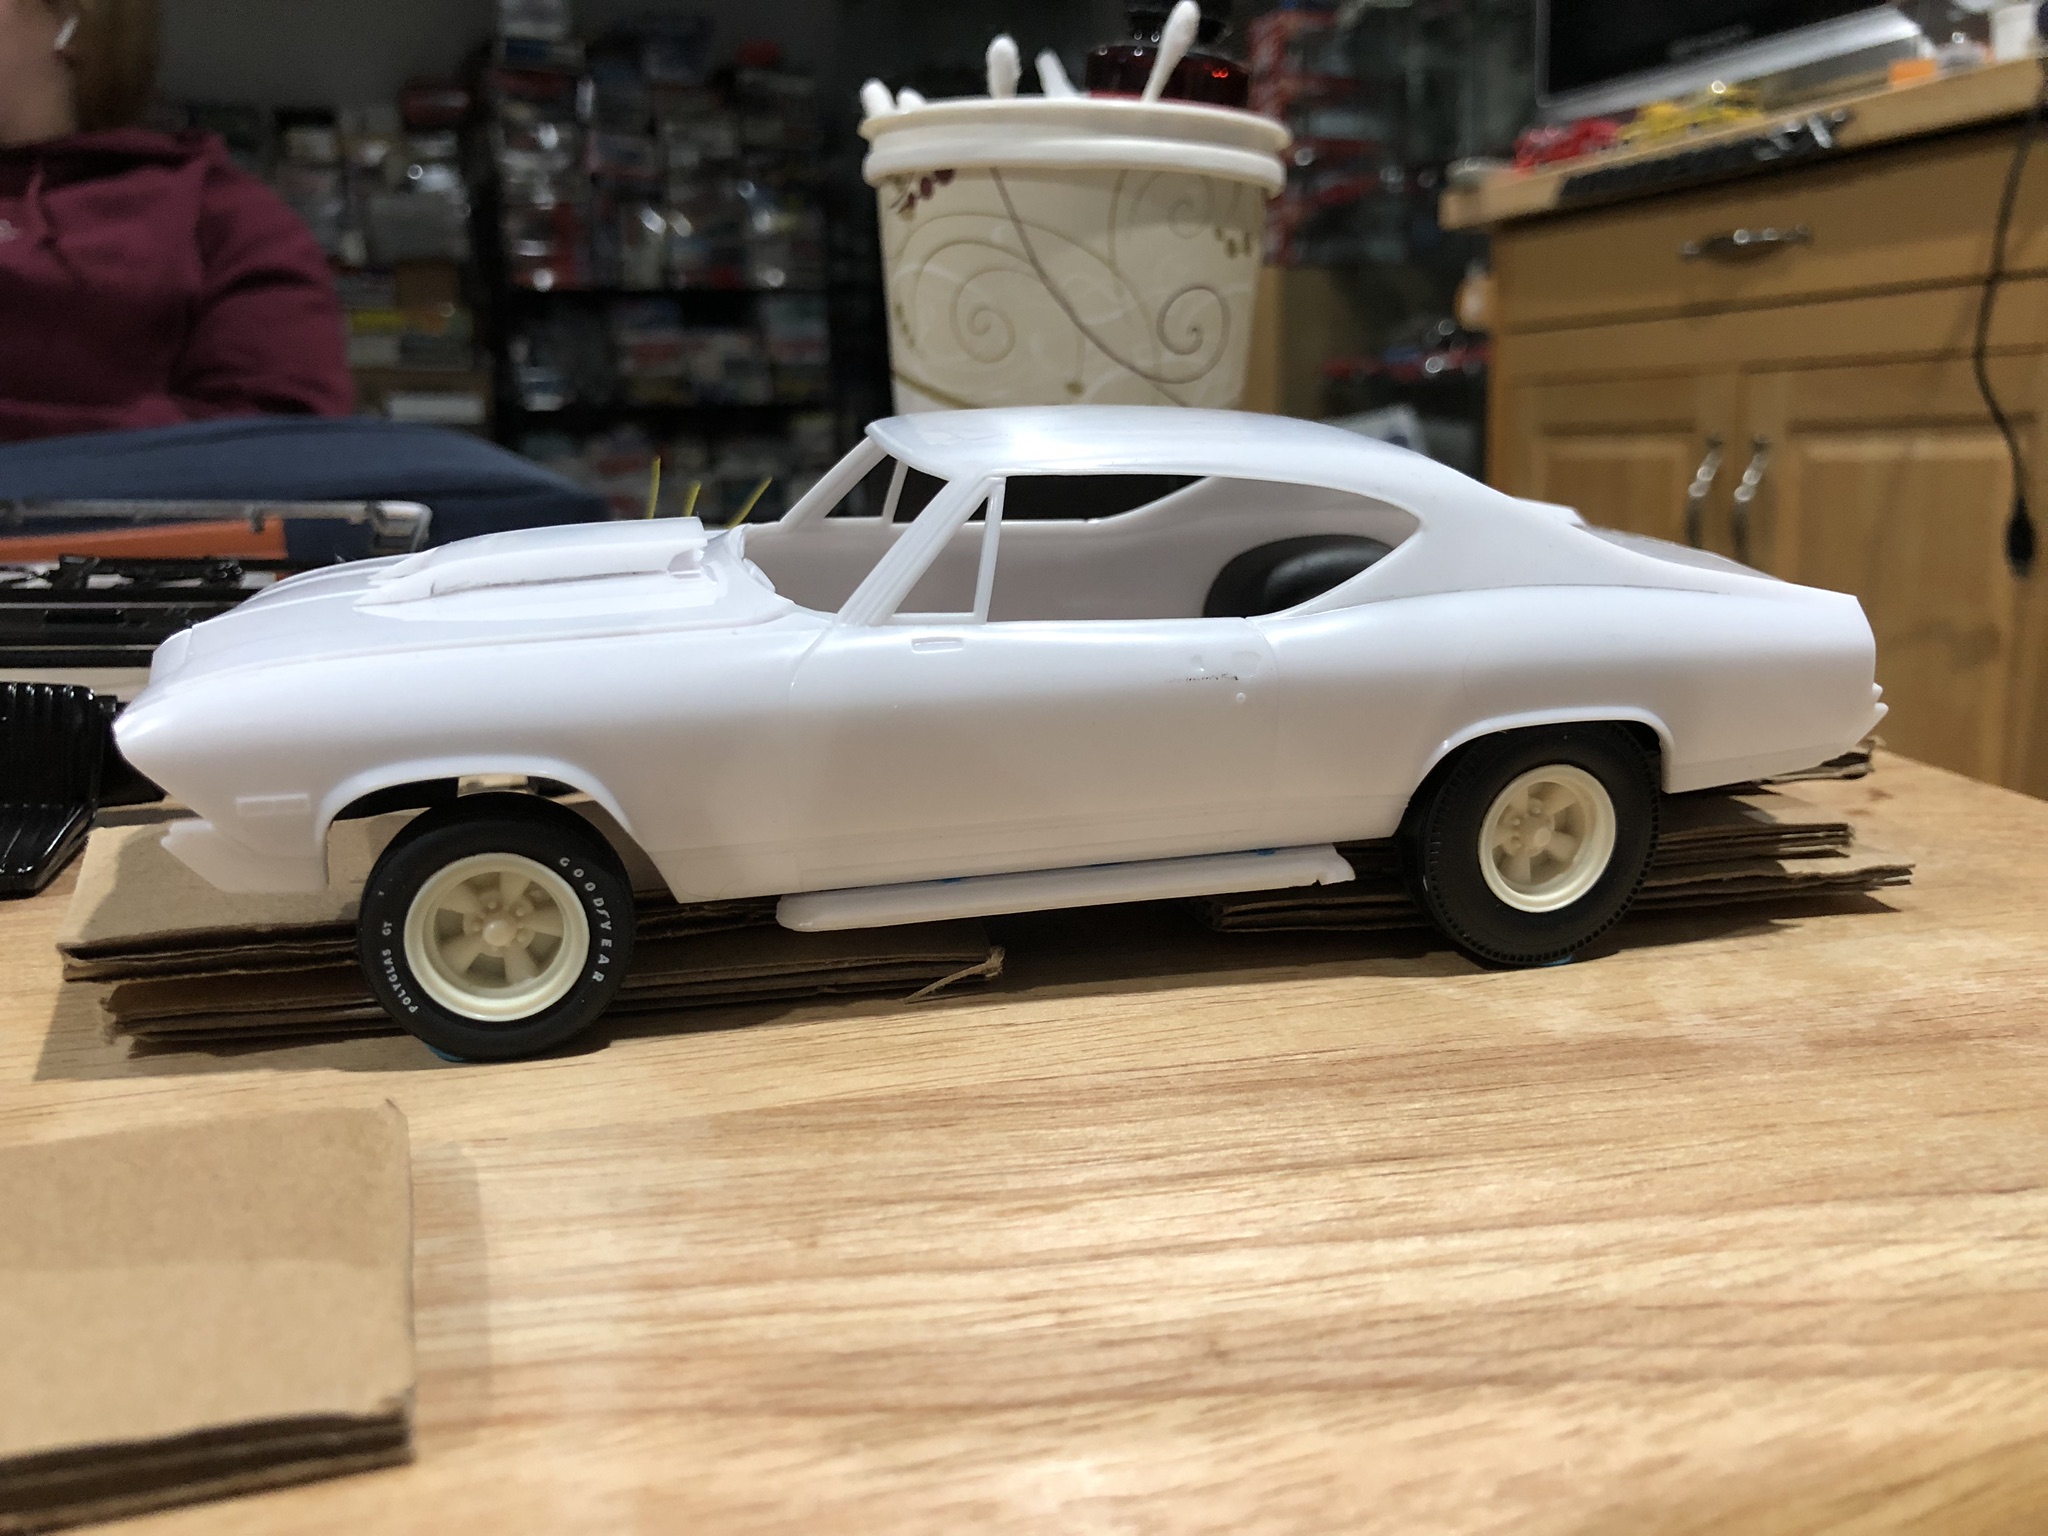
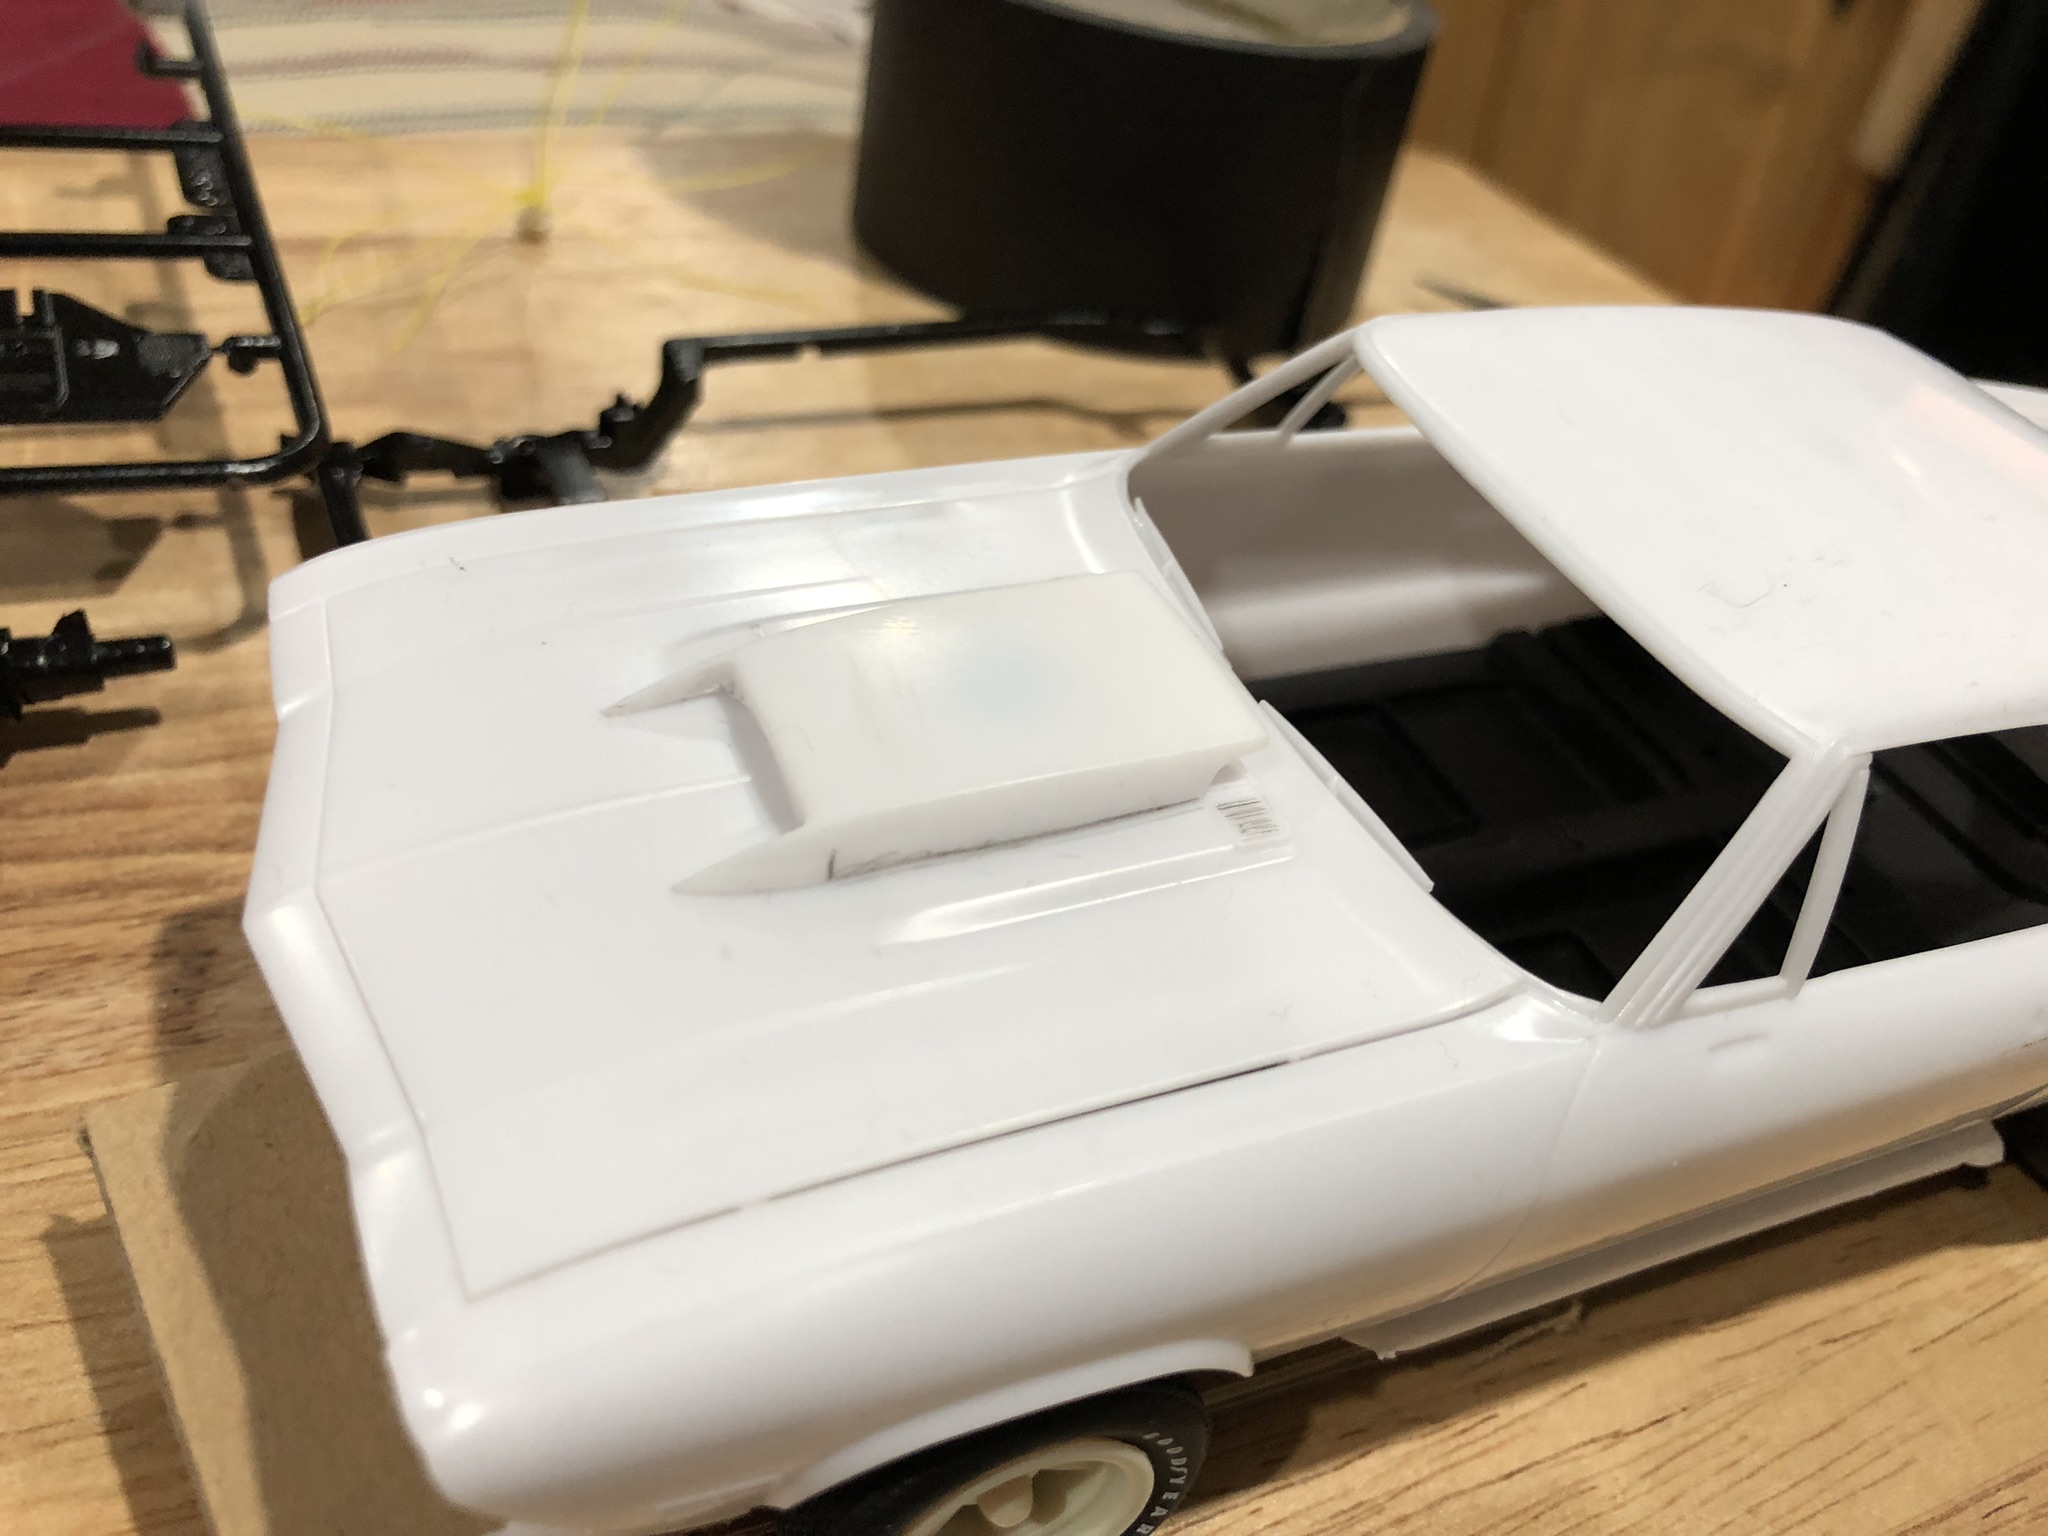
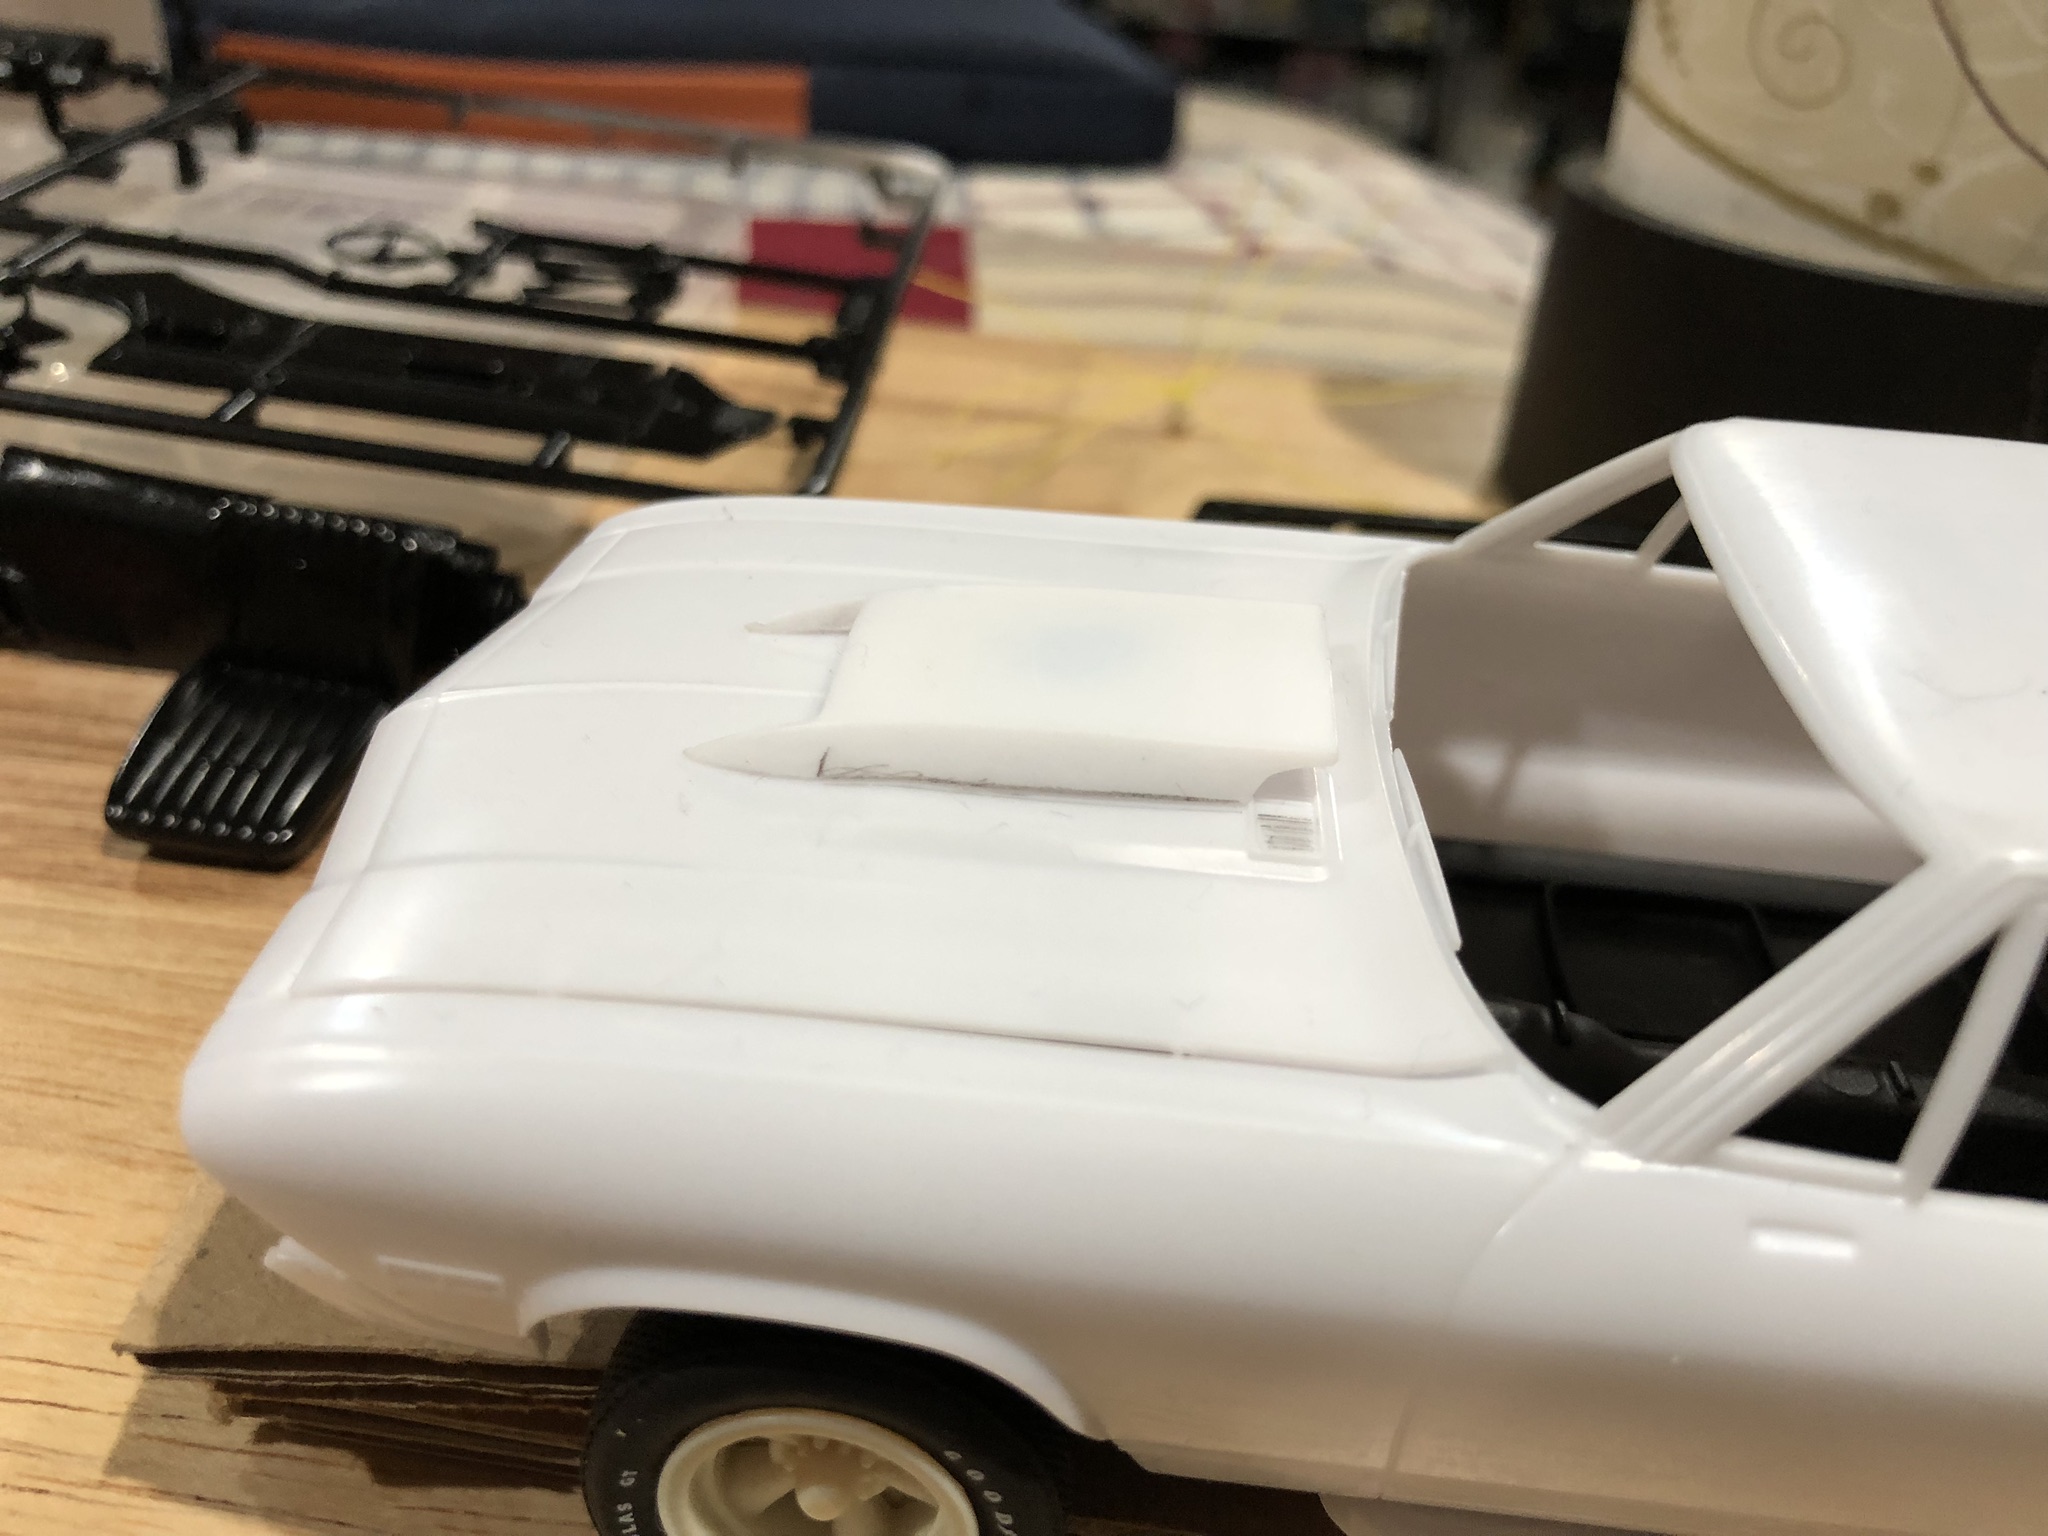
After finishing the Buick GSX, I was eager to start on the brand new 1968 Chevelle from Revell. Almost 20 years ago I painted a couple cars that were to replicate a pair of Baldwin Motion cars sold ordered by Roberto Schneider. The Camaro cost $9,300 and the Chevelle was over $7,000! The Chevelle was used by Mr. Schneider to flat tow the Camaro to Texas and eventually into Mexico. I’ve always wanted to build the pair in towing configuration and was well on my way when a couple problems arose with the Chevelle. #1 was the tail lights. They are very inaccurate. #2 was, the stipe I laid down was much narrower on the hood than the rest of the car. This fustration sidelined the project for a long time. After realizing that the new Revell Chevelle will probably be released as a 1969 down the road, I decided to continue to wait on this project. In the meantime, my love for Motion cars steered me towards what I think is the “prototype” Baldwin Motion Phase III Chevelle. One reason I believe it is the prototype is the hood. It’s the only one I have seen with Corvette scoop with no stinger portion on top of the Chevelle SS hood! The “production” fiberglass hoods were the full stinger on a flat Chevelle hood. I spoke with Joel Rosen a couple weeks ago but didn’t ask him about the 68. I have an email in to him to see if my suspicions are correct. In the meantime I started getting stuff together for this project. And here is where I’m at. The stinger scoop is from the 1967 Nickey Camaro, side exhaust is from the 1969 Motion Camaro and the wheels are from EBay. Any questions and comments are welcome!

-
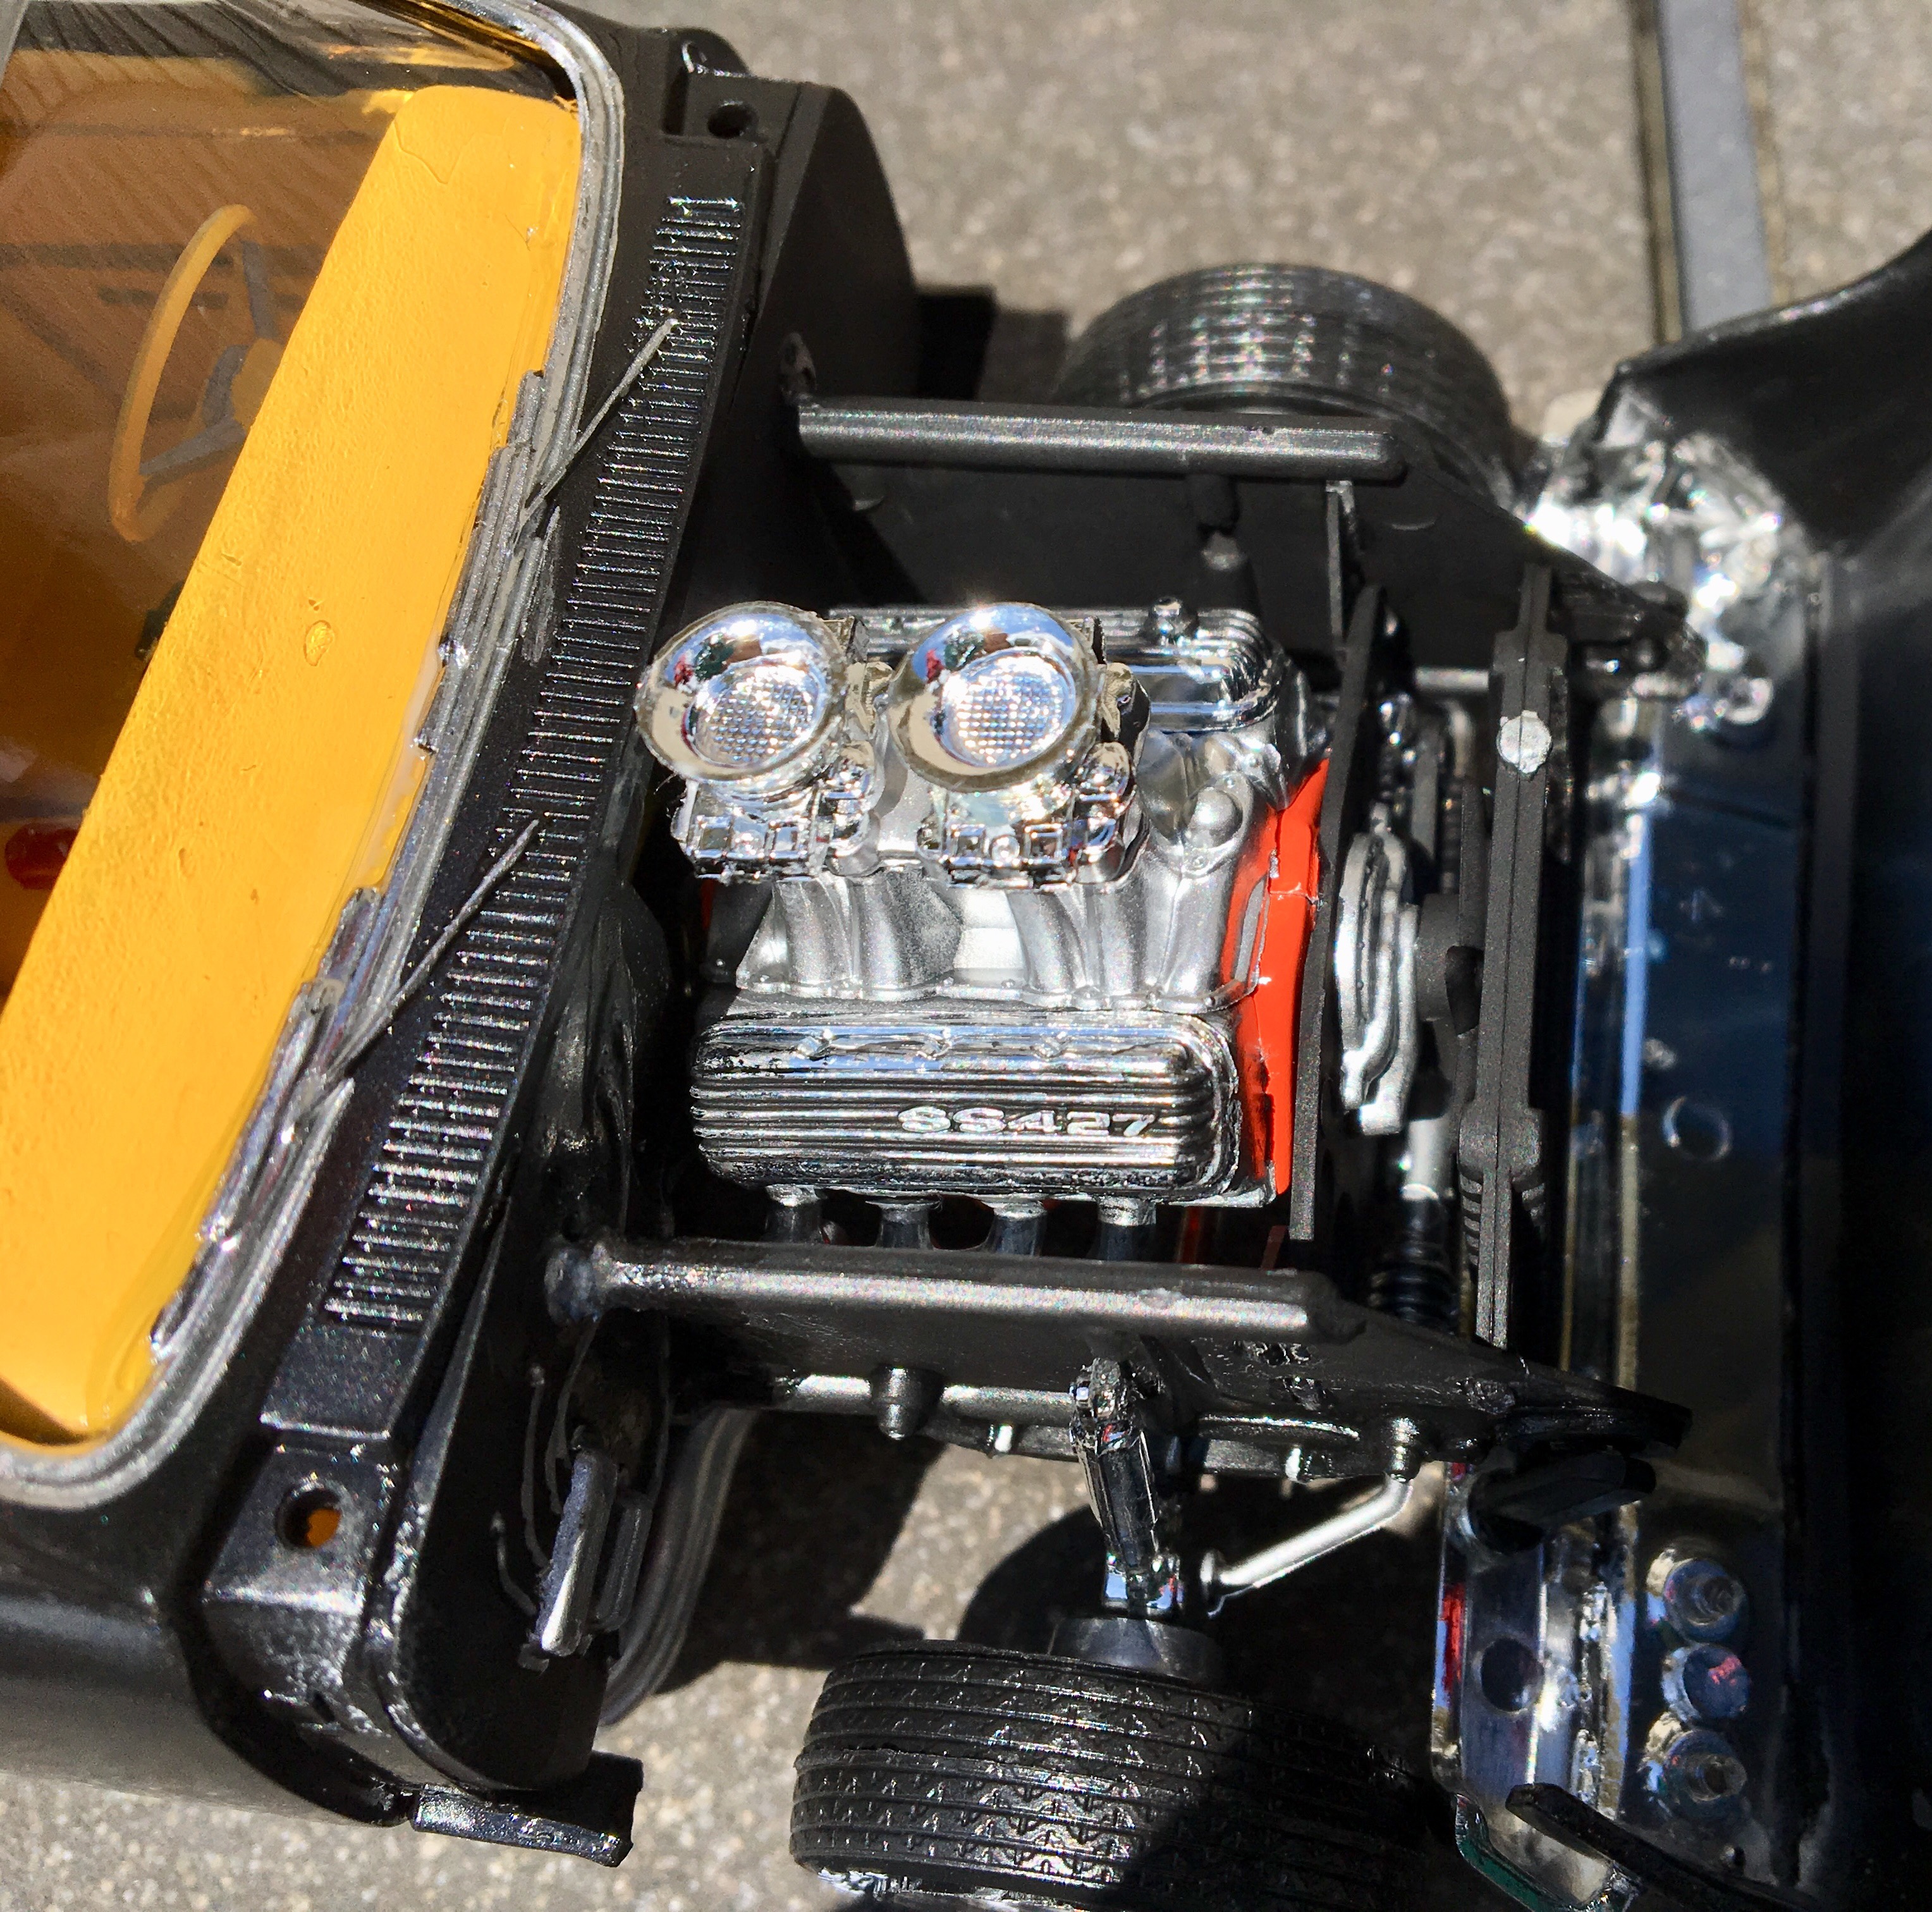
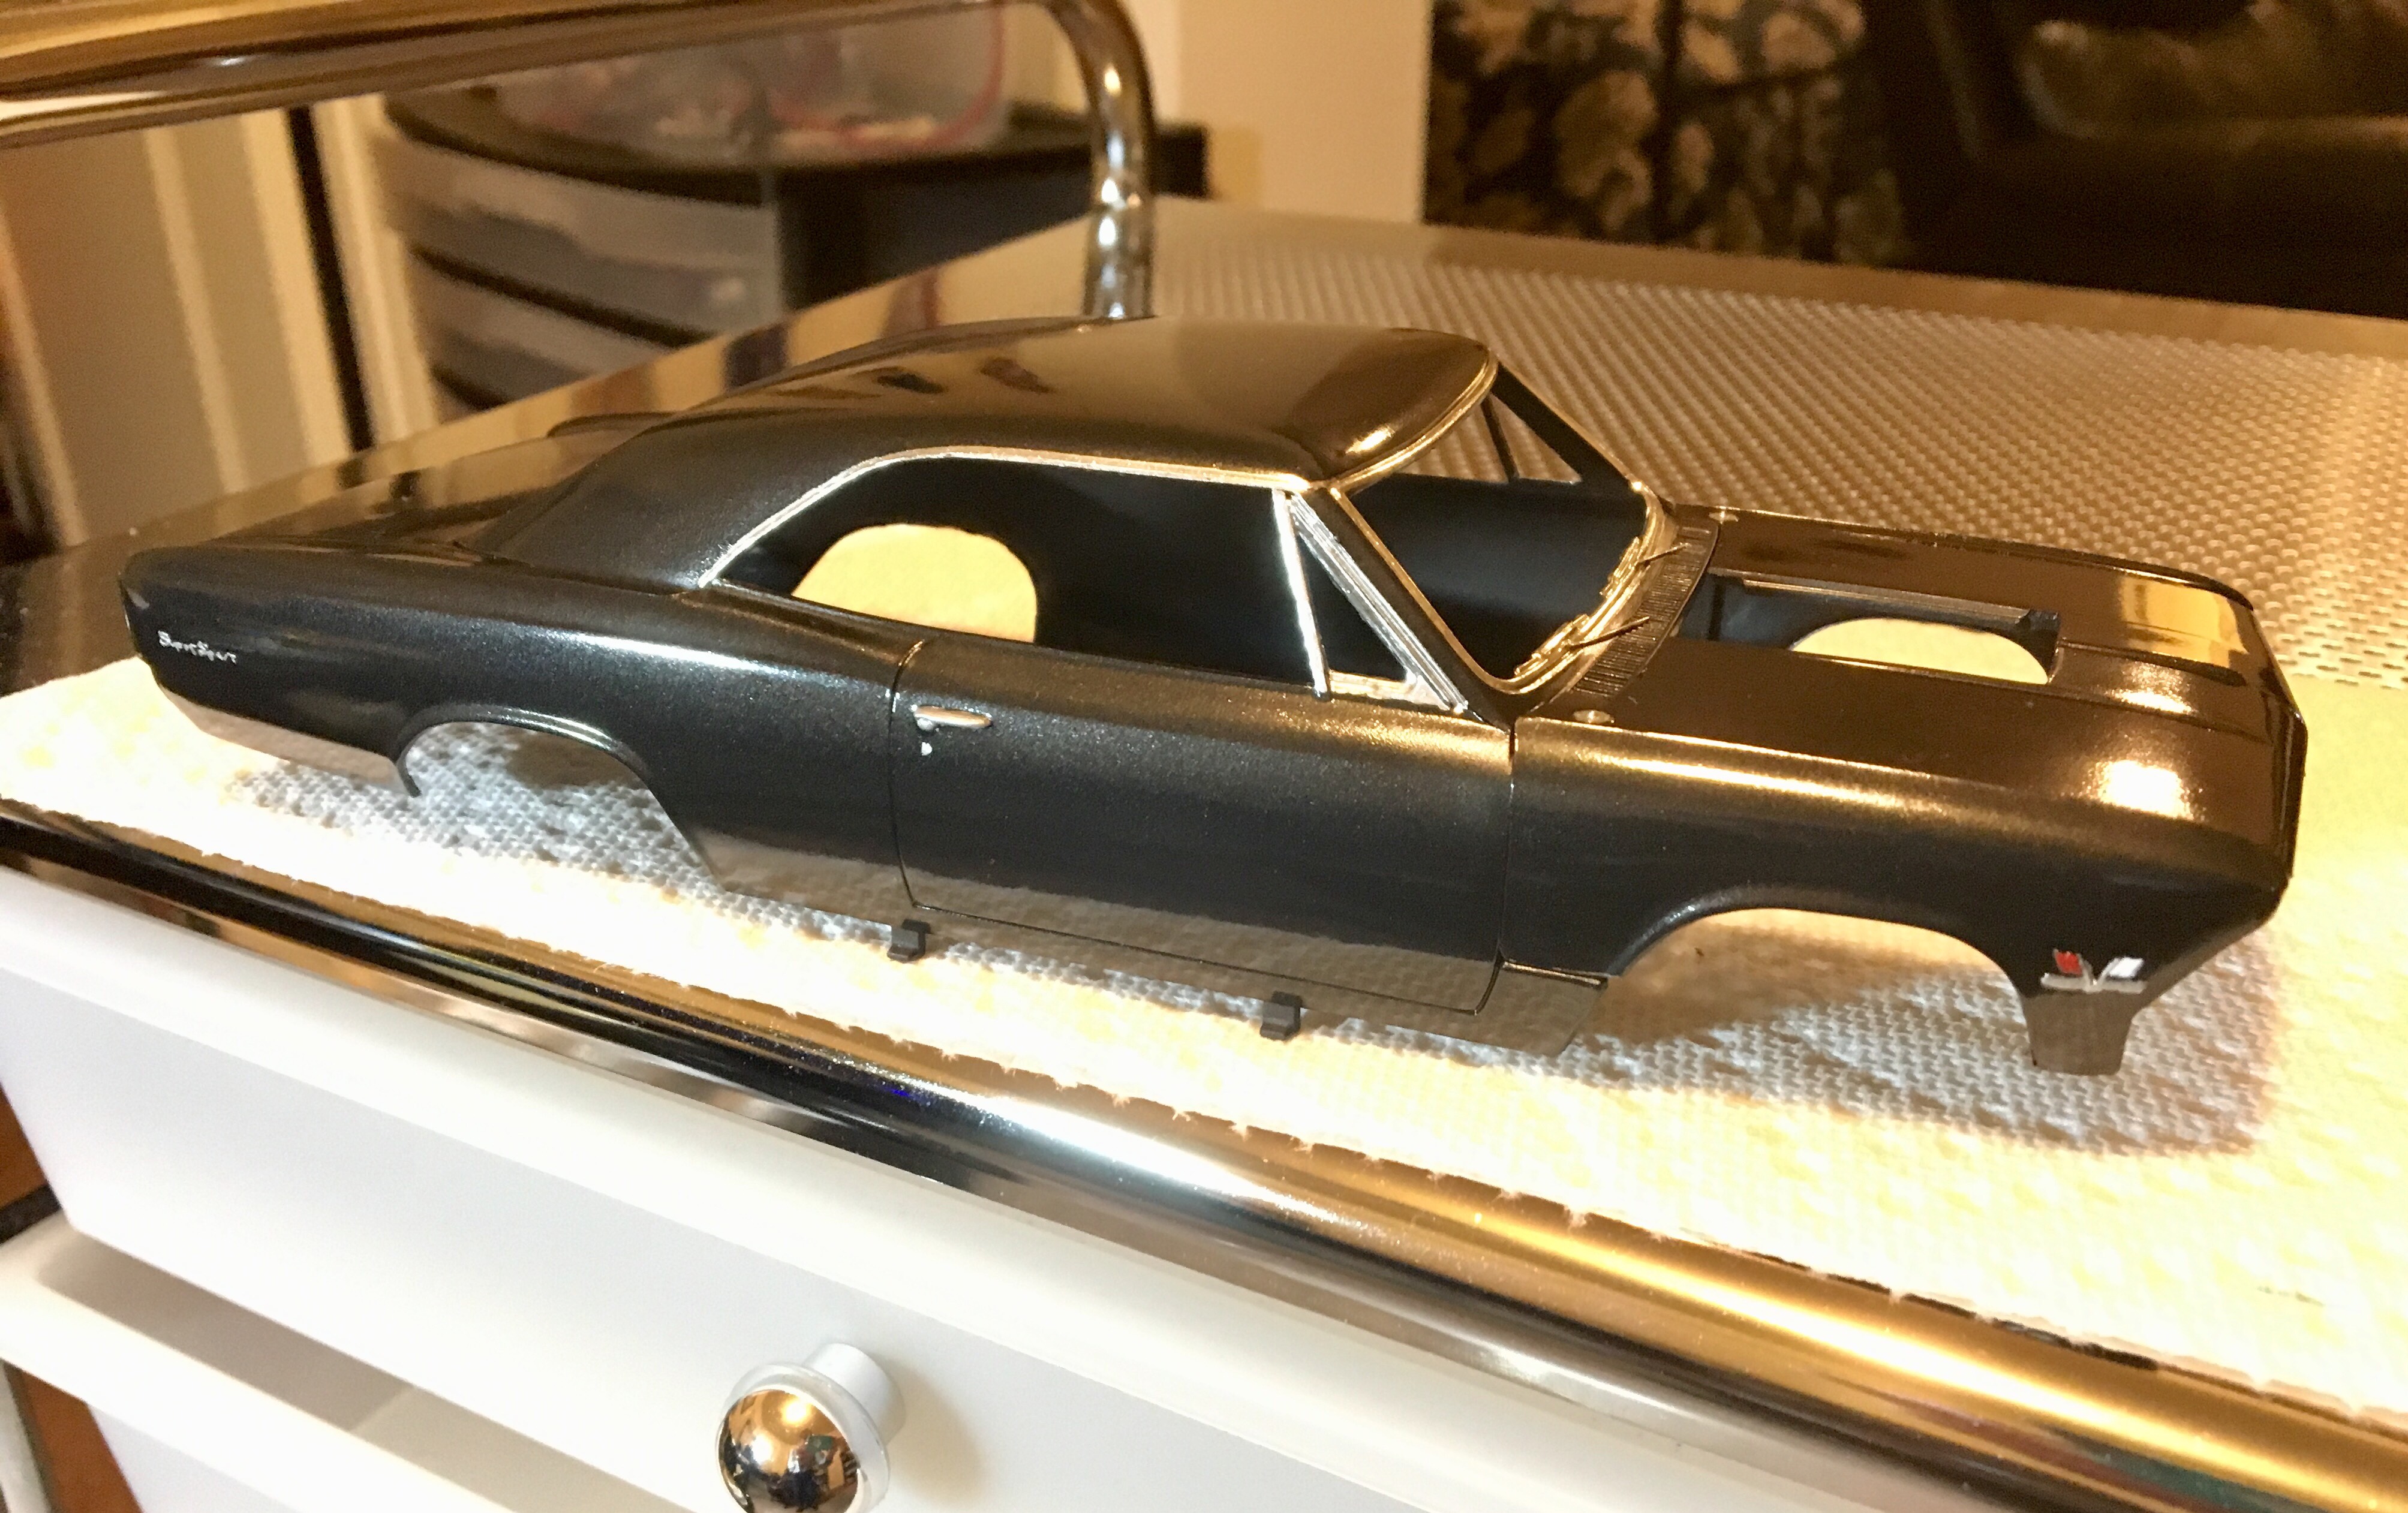
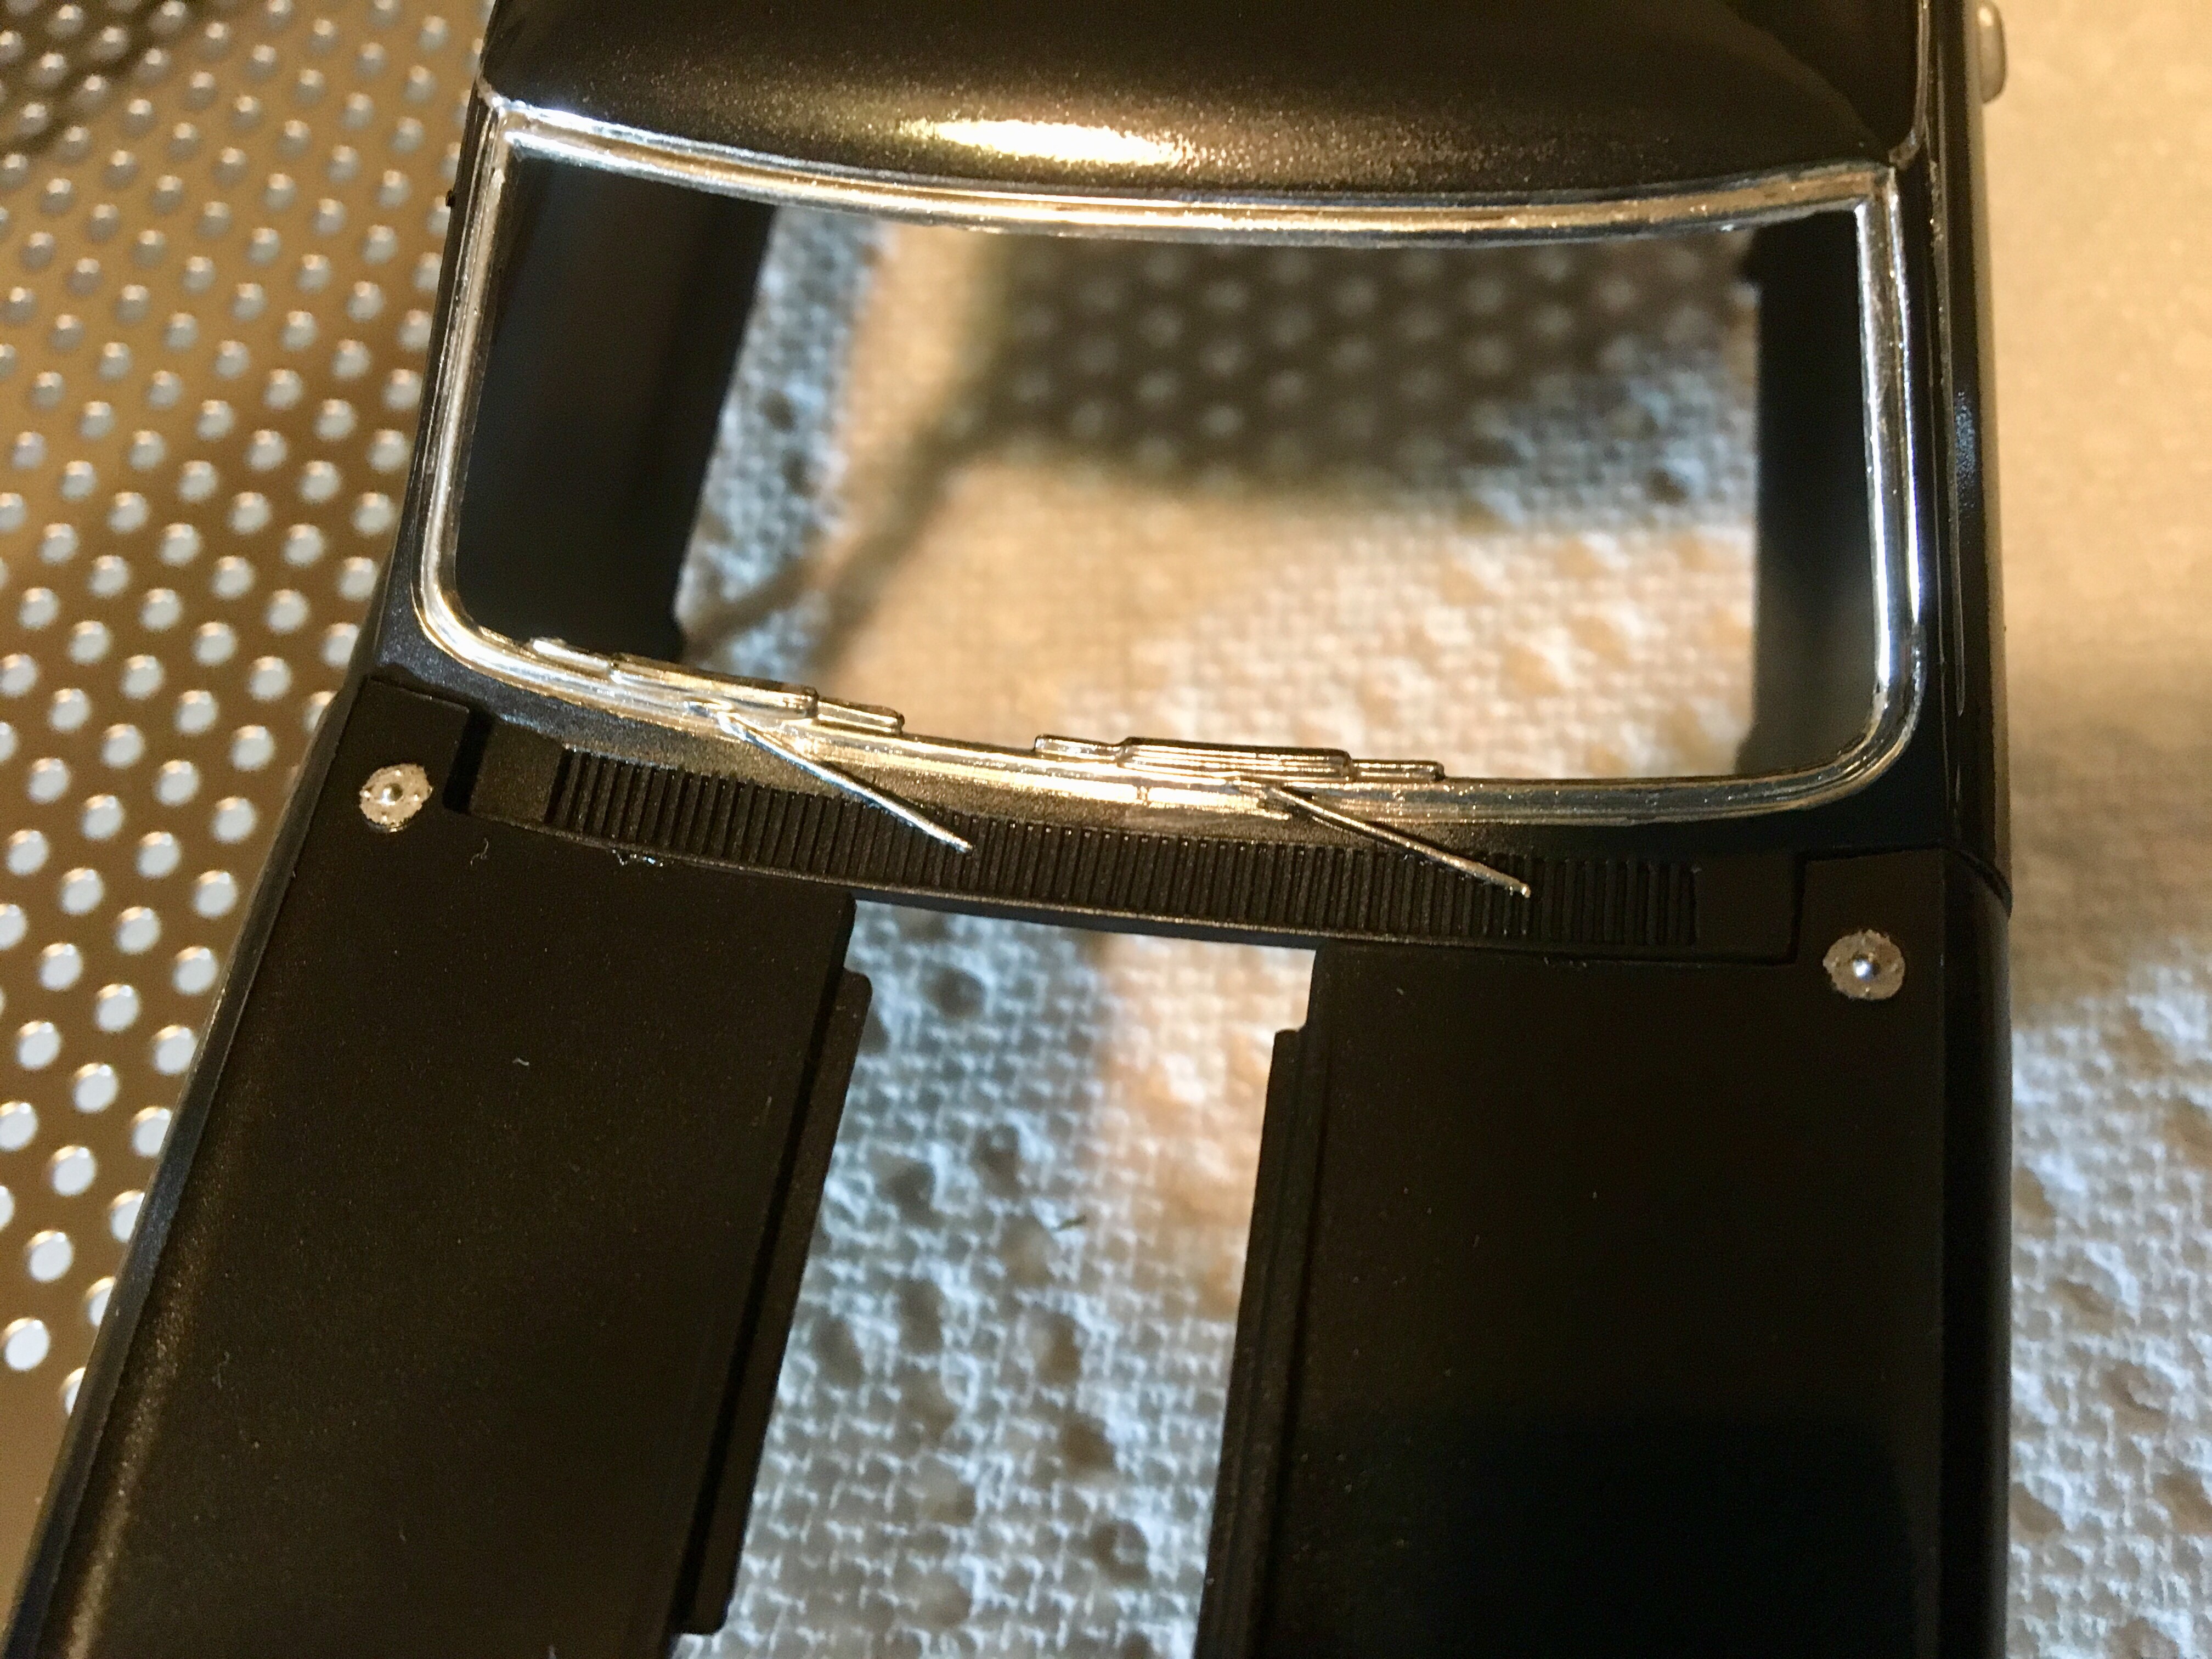
This is a '66 Malibu SS (Revell Monogram). The body paint is Testors Metallic Black enamel. The interior is Testors Yellow enamel. I used a Molotow Chrome pen on the windows. On the rear chrome I painted with Model Master flat black acrylic, and then used a toothpick to scrape off the raised letters. The lettering on the tires was originally flat white enamel, but I found after 2 weeks that it never dries. I rubbed it off with thinner and repainted with white acrylic. I used flat black acrylic in the radiator and on the engine heads. I put a coating of Future on, but didn't think it was glossy enough, so I kept layering on coatings until it became a big mess. Then I sprayed it down with Windex and ran it under the sink faucet and all the Future rubbed off easily. But not before I accidentally scraped up some of the paint. Two coatings of Future with a Q-tip eliminated almost all the scratches. This model has a poor design for fitting parts together. The side frames for the engine actually interfere with the exhaust pipes. I had a really tough time with that. Also, I had a tough time getting the front to stay on and had to end up using superglue, which unfortunately shows up on the seams. The workbench thread is here.
-
I've been working on this '66 Malibu SS by Revell Monogram. The painting is mostly done, and I've just started assembly. The kit called for a gloss black exterior and red interior. I'm using a metallic black exterior and yellow interior. The trim is done using Molotow chrome pen.
-
I will be building this one as a highly modified Grand Tourer Rest-Mod featuring independent rear suspension, custom front suspension, a ProCharged LS3 with a custom engine bay and custom interior. I started by filling all of the random unused holes on the chassis and cutting out the section of the trunk floor above the axle (seemed easier to cut that piece out and replace it rather than trying to cut out the control arms and fill the other random holes). I found the independent rear suspension setup in the parts box, I think it came from a Supra kit. Still debating on the front suspension if I should go with a typical coil over setup or maybe the front end out of a Shelby Cobra. So far with the body I have shaved all the marker lights, door handles and badging. I'm waiting to get the engine, intercooler and seats that I ordered from clearly scale before I get too wild modifying the front of the chassis and engine bay. Body 1 Chassis 2 Chassis 4 IRS 1
-
Quickie build. I've always preferred the '68-69 to the '70. Box stock, typical vintage AMT kit had fit issues. Only thing I added from the parts box, a voice in the back of my head kept saying "rearview mirror". Comments welcome, thanks for looking.
-
Hey all! This is a Chevelle that I wrapped up late last week. This was built as an auction piece to raise money for the family of a fallen model car club brother. If your interested, the auction will be hosted on my Instagram page: "detailjunkees" Exterior: custom patterned roof which was done by club brother Jesus Cardenas. patina on the lower half was done with the salt method and the Tamiya weathering kit. coon tail antenna topper. Thermador swamp cooler. Kit bashed Cragars w/ Pegasus lowrider tires. Interior: custom printed fabric sarape seat covers and headliner. scratchbuilt air ride tank and compressors using aluminum tubing and stock styrene. vintage toolbox. Detail Junkees skateboard. old school donut style steering wheel. custom gauges. flocking.
-
 I'm going to cut up and create a promod out of my prostreet chevelle. This is the first time I'm going to make a complete promod.
-
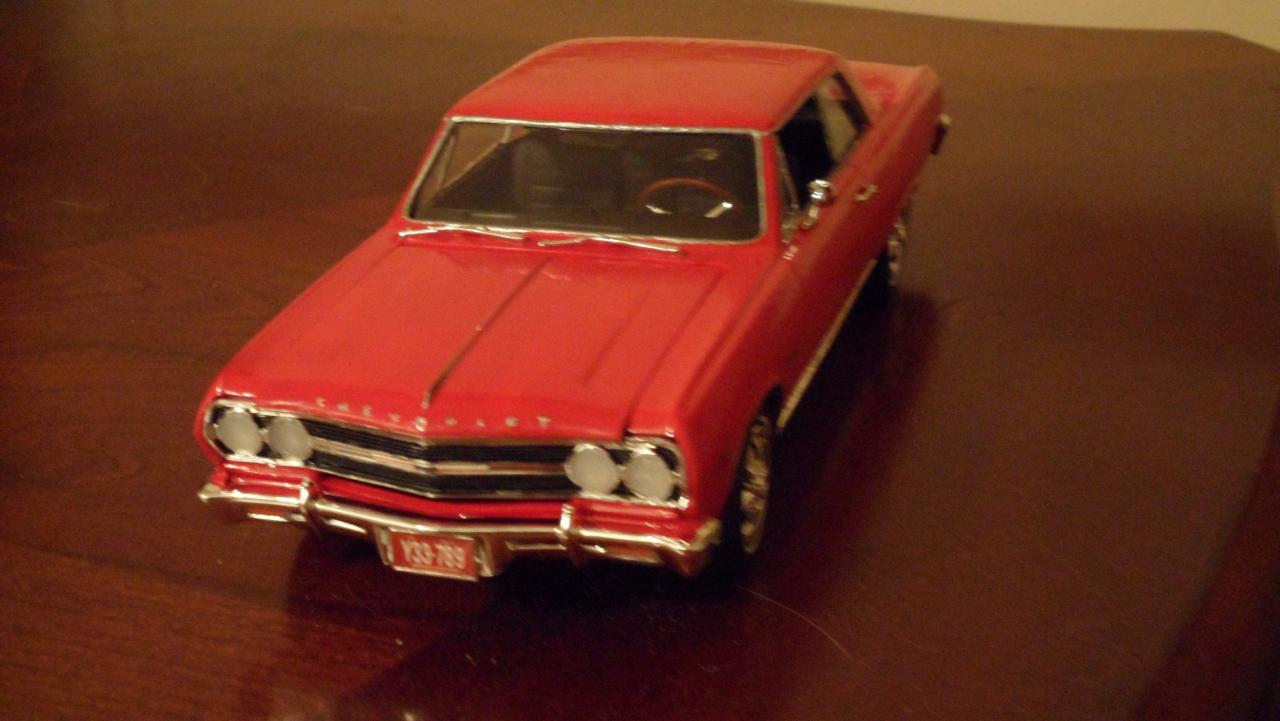
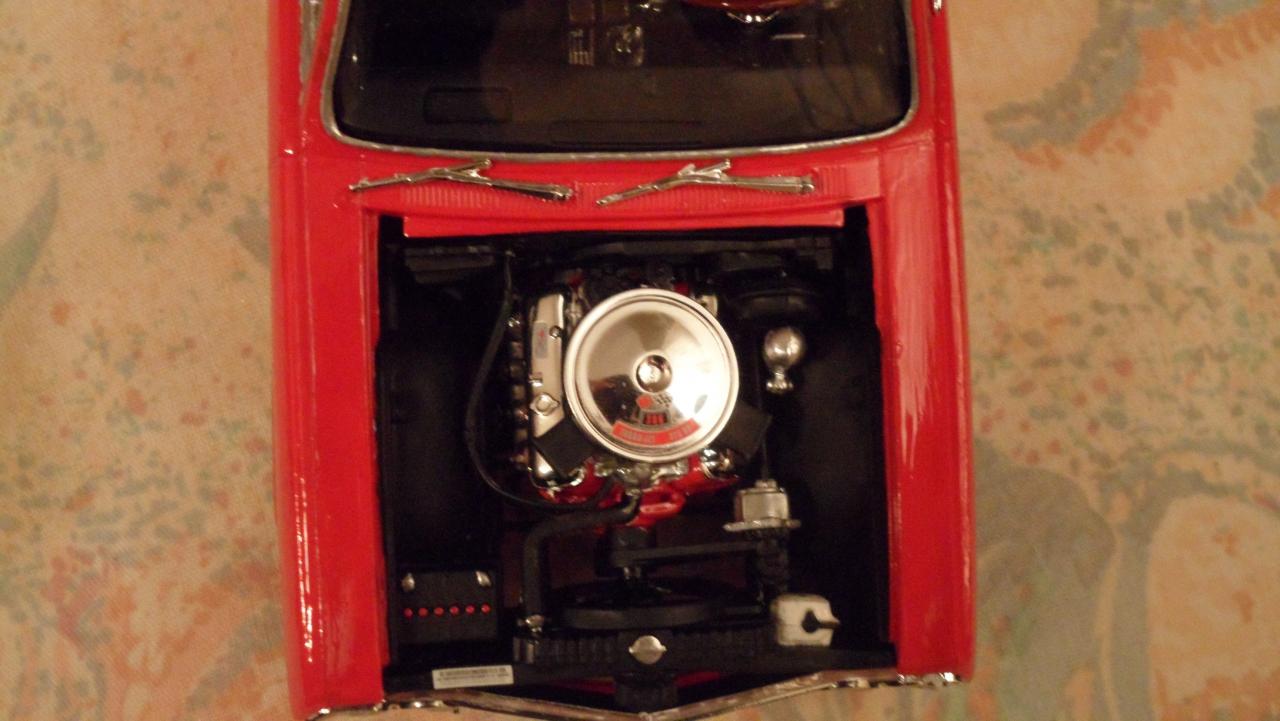
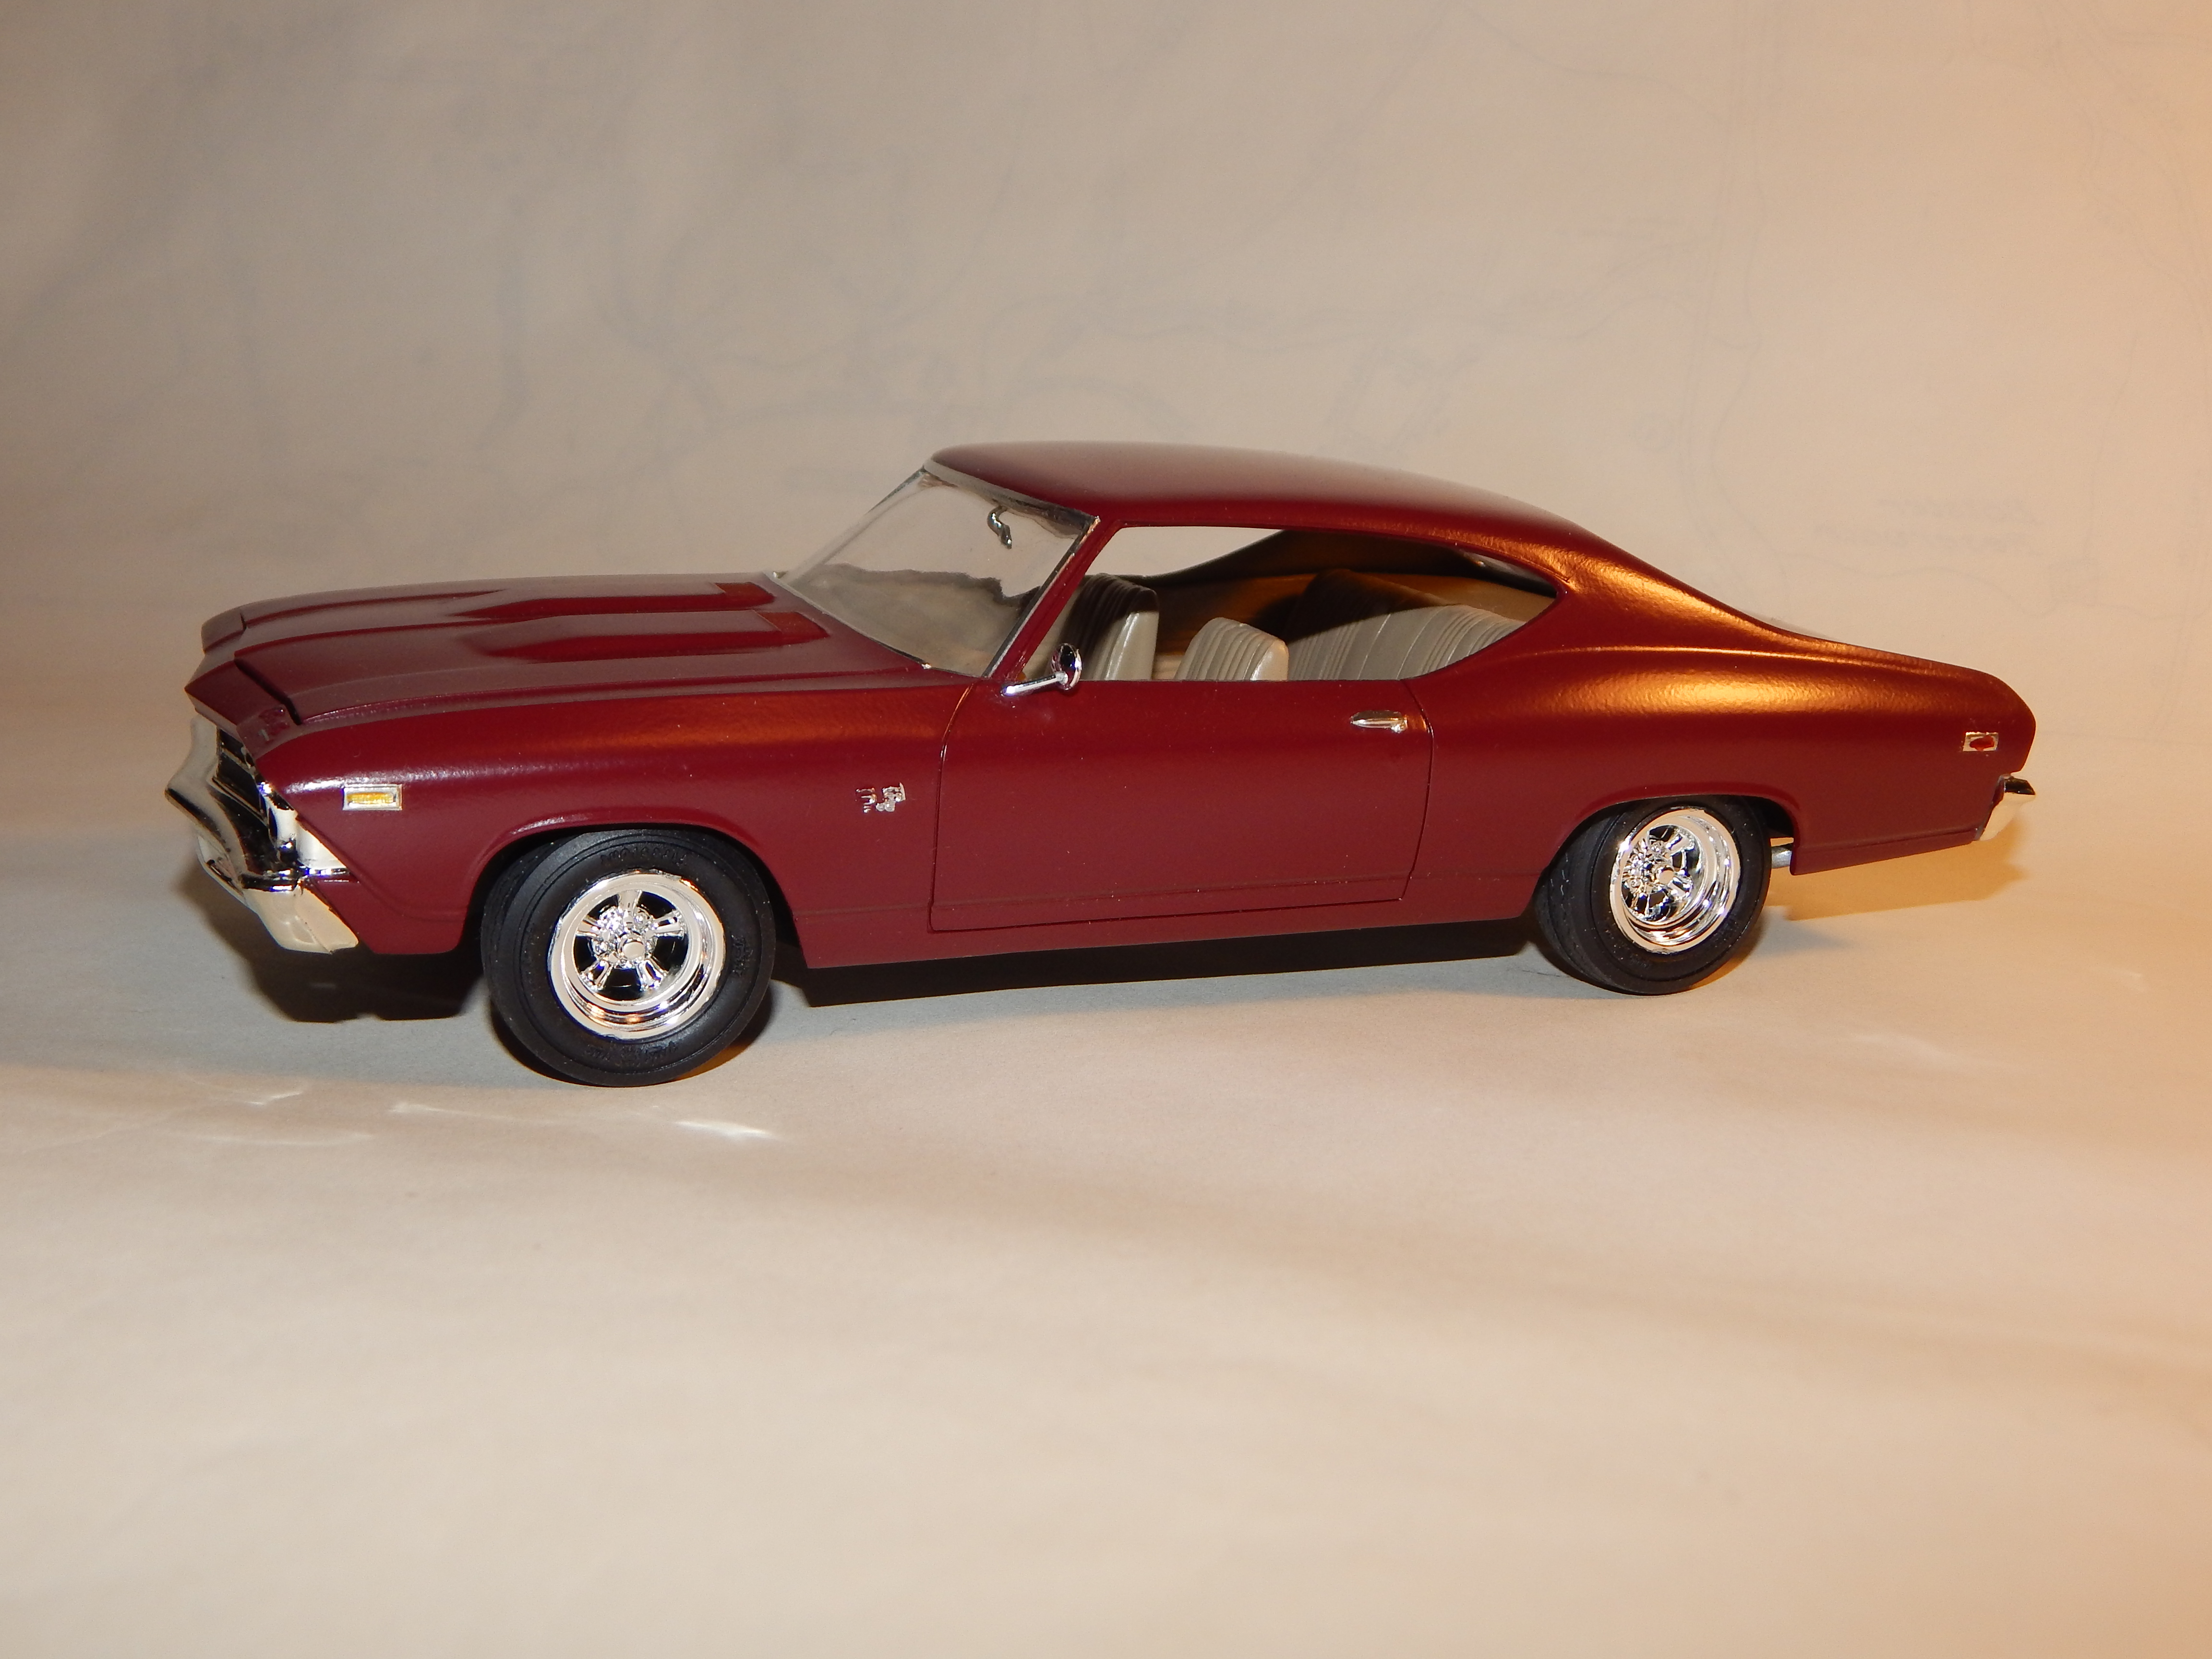
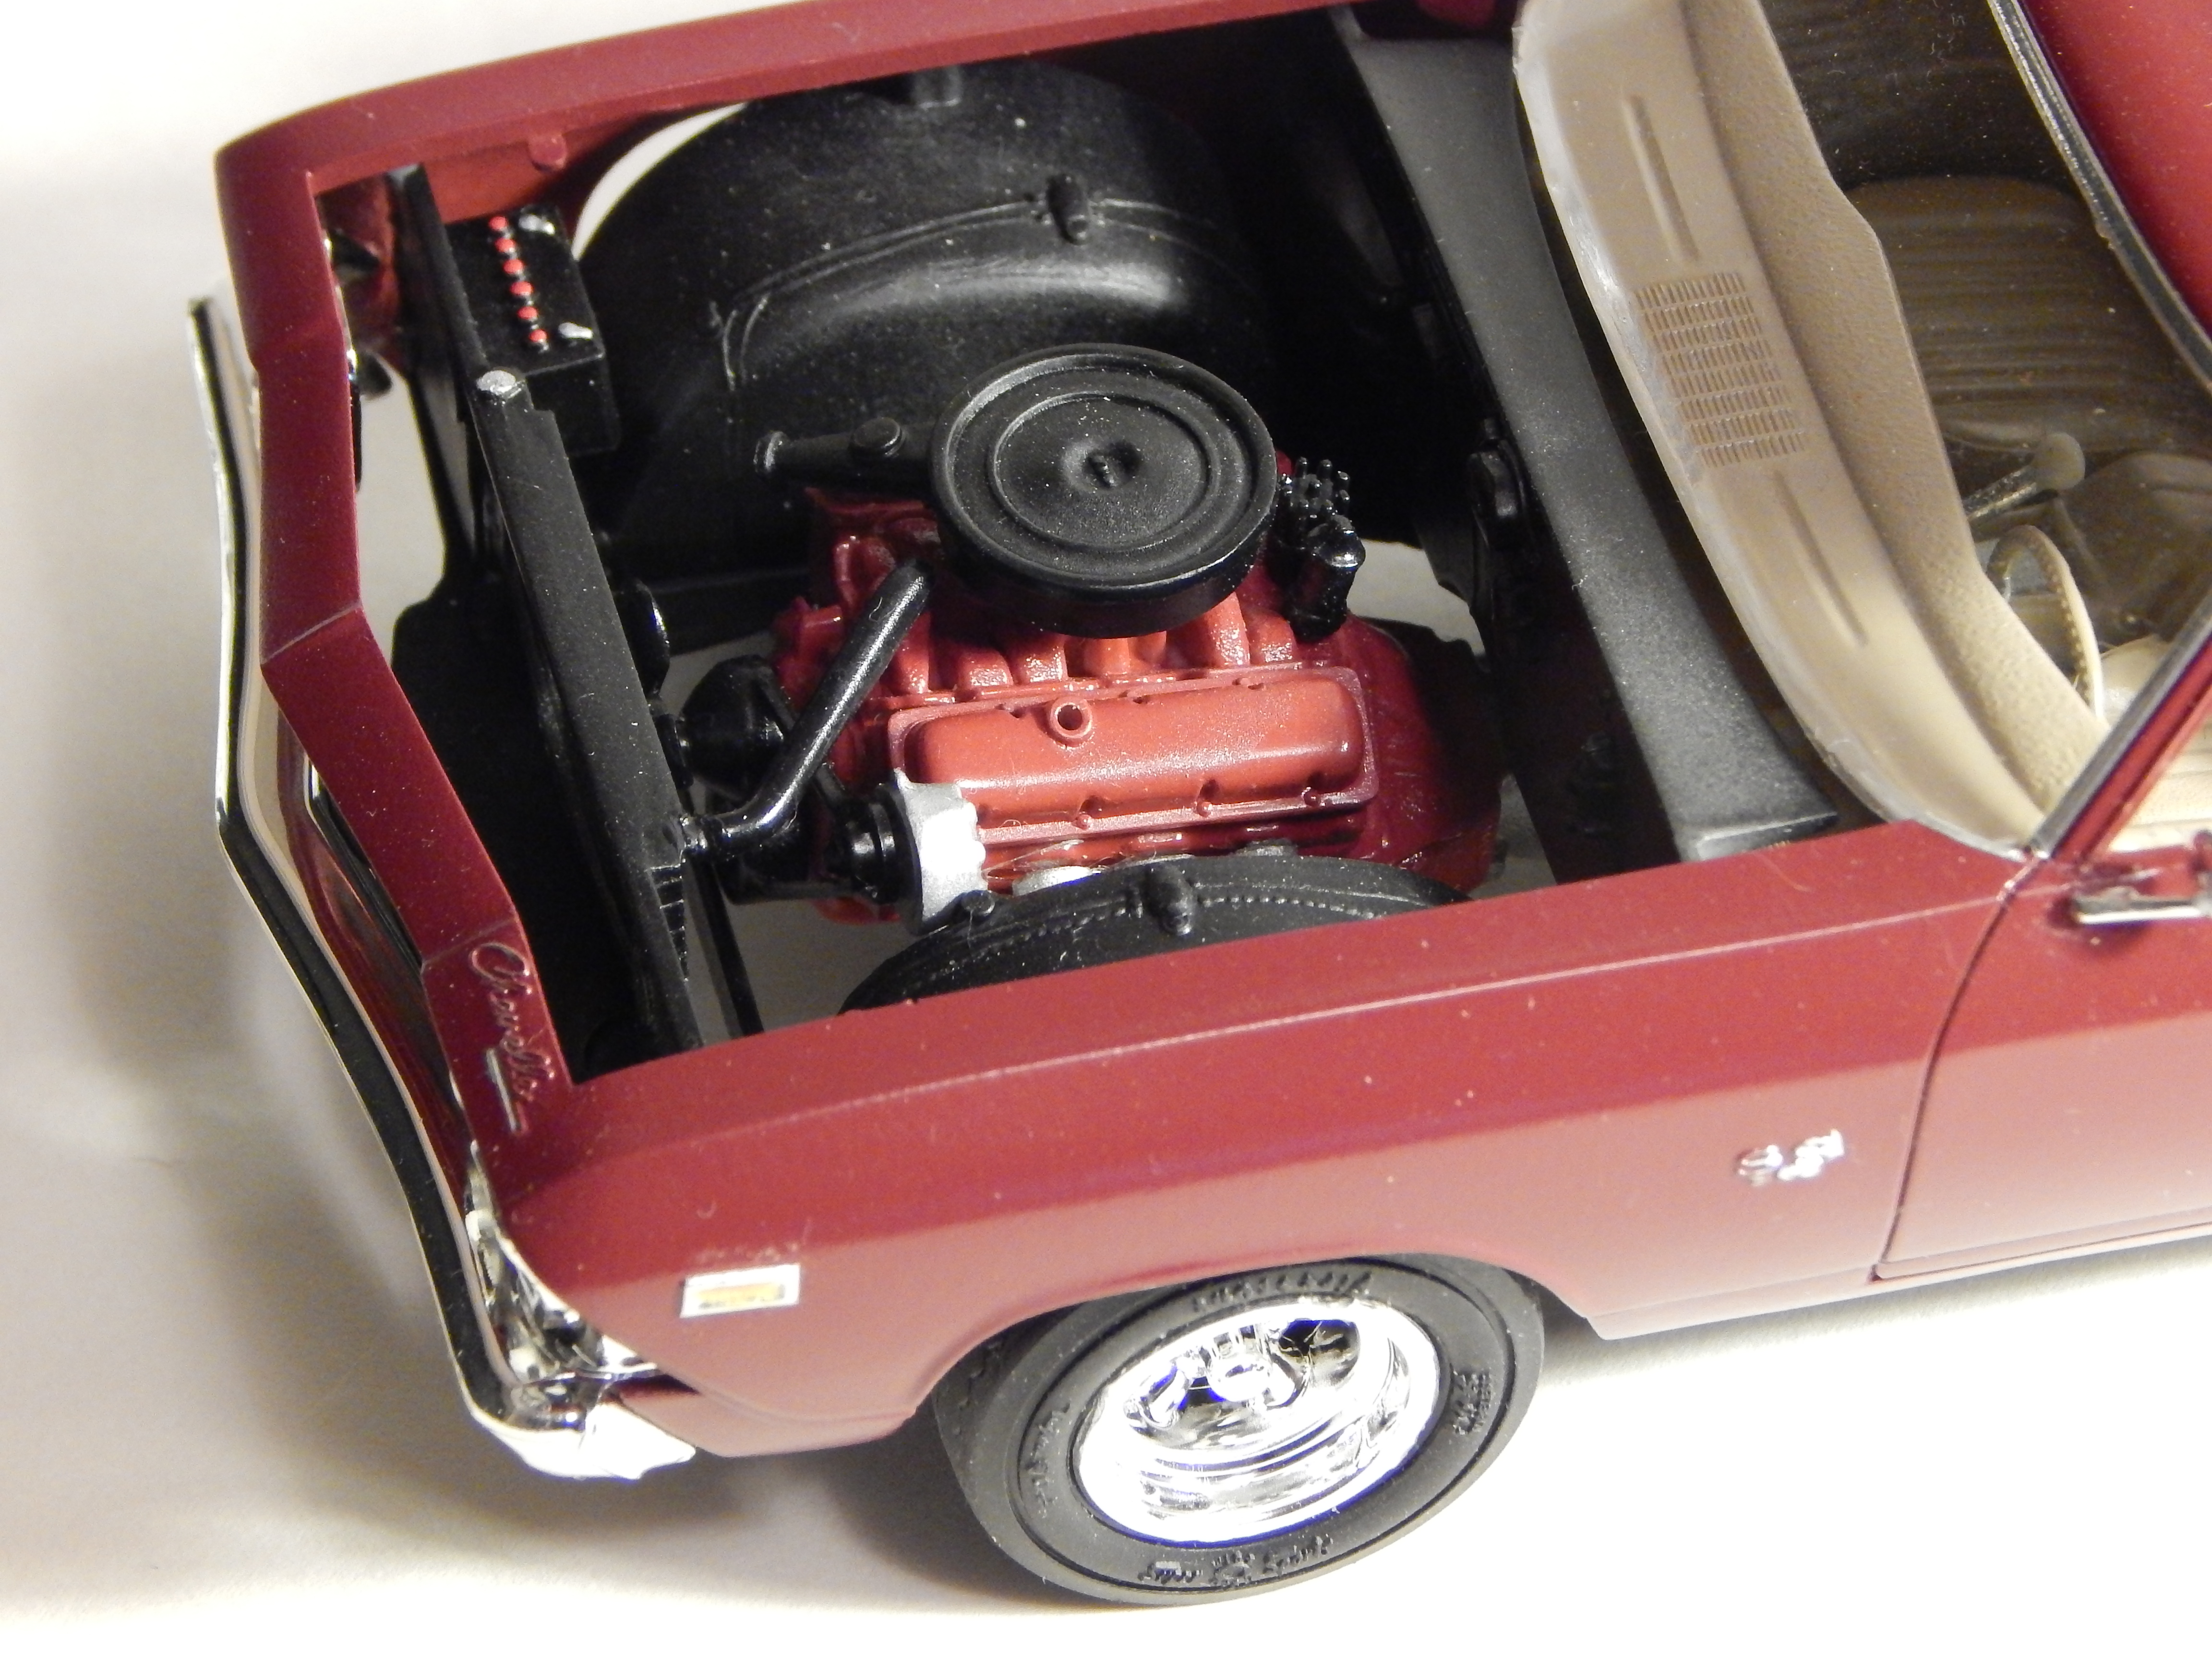
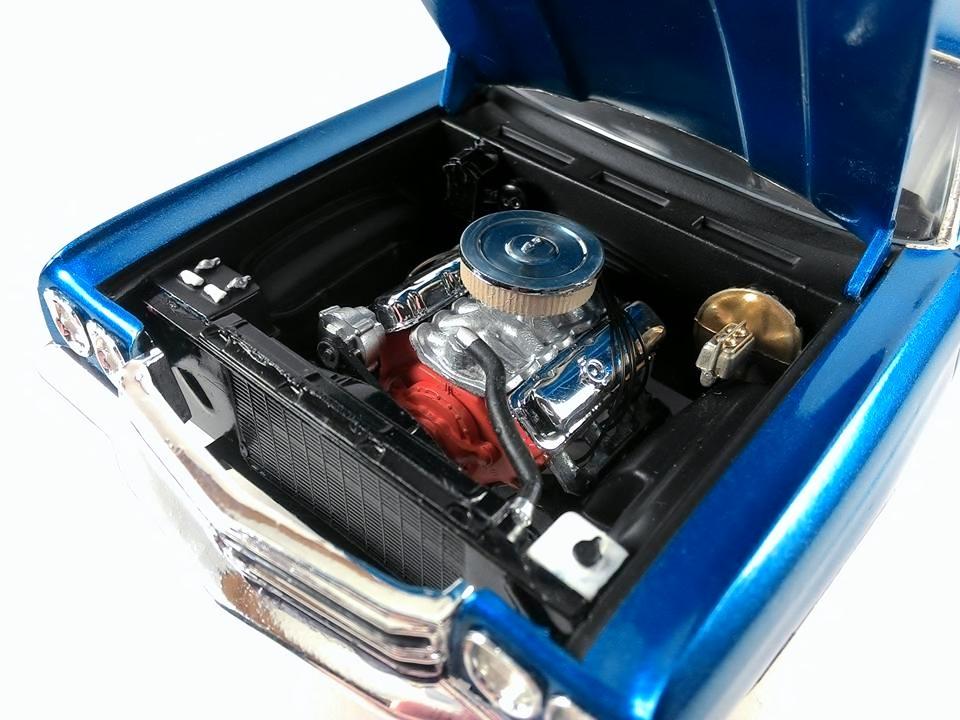
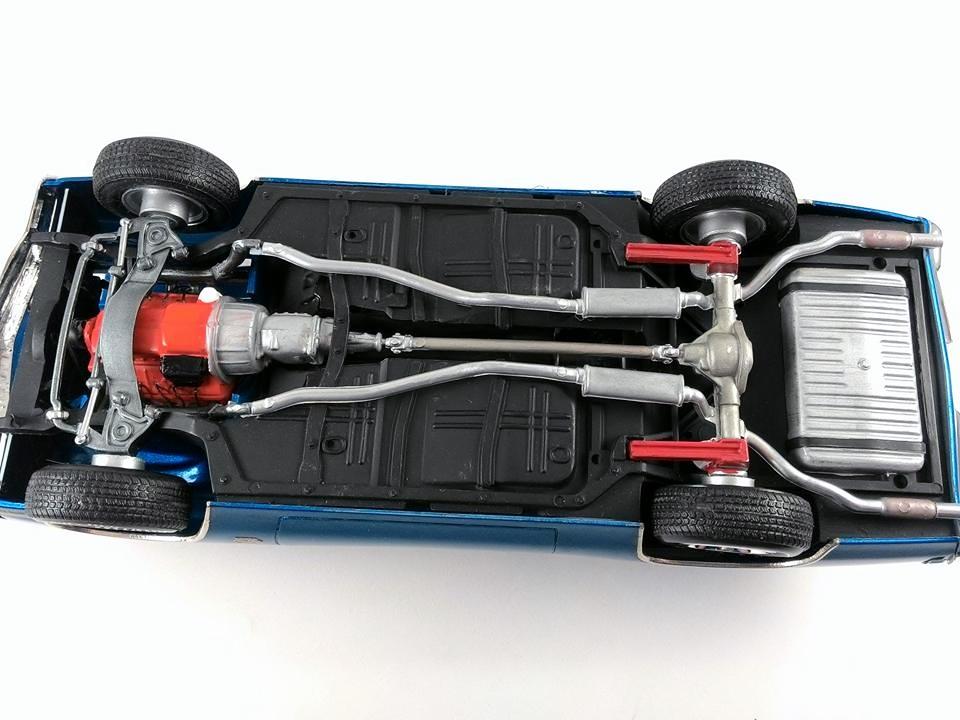
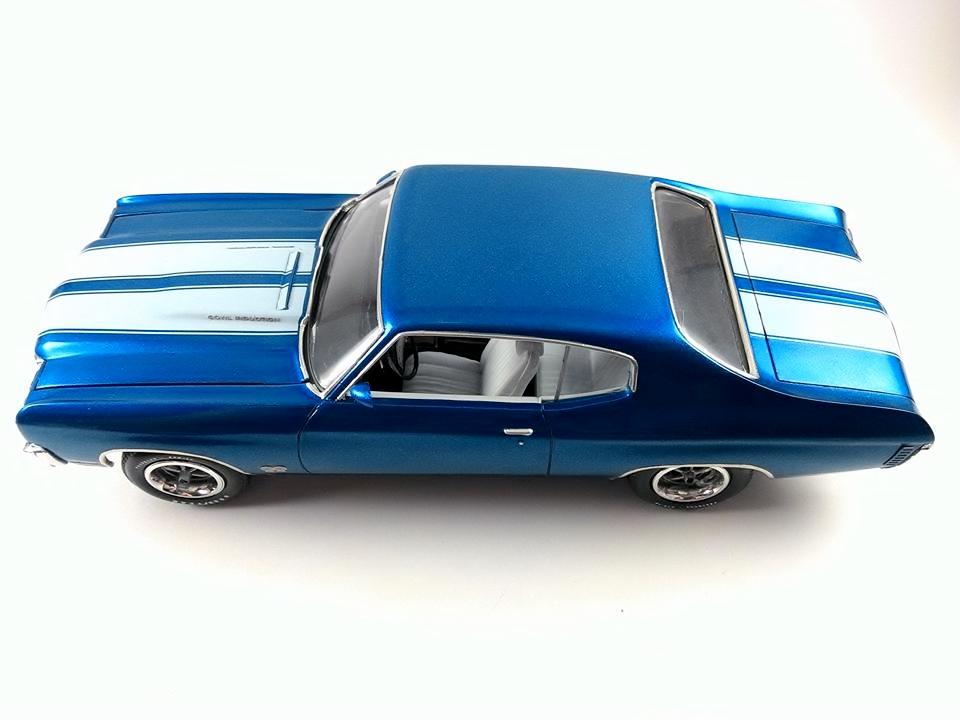
I finished this kit over 15 years ago. I don't know the col other than it's blue ;D I built her pretty much box stock with the exception of wiring up the under hood things. Back then I wasn't that much for painting up the emblems. I never wanted to make it too messy. From the first pic I can see that I added a pin head for a door lock. Too much light! GRRRRRR! Thanks for looking
-
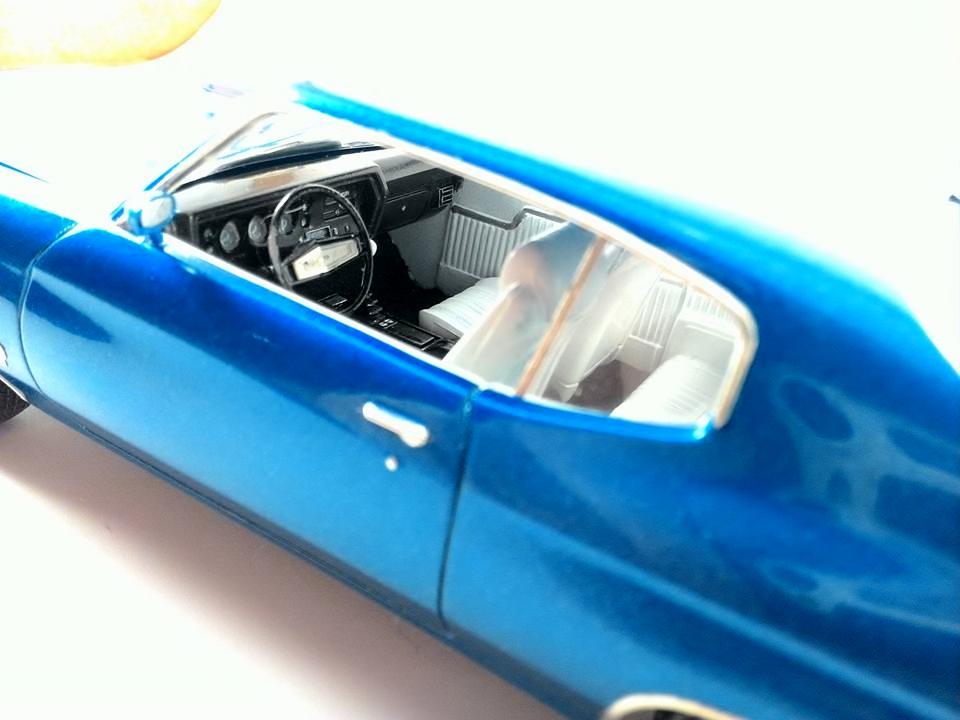
My brother introduced me to models and slot cars back in the mid '70's and I've never been into anything else except playing guitar. This kit was finished over 15 years ago. I don't remember what colors were used. No major changes to this kit with the exception of the wheels and tires. They are from the Testors Boyds Chezoom kit. Not sure about the tires. I used sewing thread to decorate the seats. Don't love the idea but I don't hate it either. BMF added but I wasn't big on painting up the emblems at the time. Thanks for looking
-
ok, to start this off... this past weekend at our Kustom Kemps meet one of the members brought in a few stahled projects and told a handful of guys to go pick one out. As he said the only one condition on this is we HAVE to build it and finish it!!!!!!!! So with that in mind I picked this one and as he put it he knew I'd grab this one!!!! Think he knows me or something?? anyway, the base is a 66 Chevelle wagon with the Monkee Mobile front clip and lower rockers and wheel wells and tail panel added to the wagon body. I'll be using a 66 Chevelle wagon chassis and interior in it. Engine is more than likely going to be a blown Big Block Chevy!! Color, I'm leaning towards a darker metallic blue of some sort...... Maybe!!?? On to the pics!!!!!! Front clip has been glued back onto the body!! Tail shot of body...
-
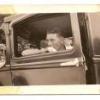
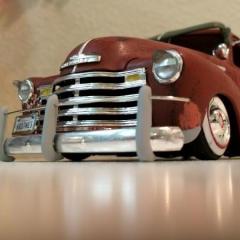
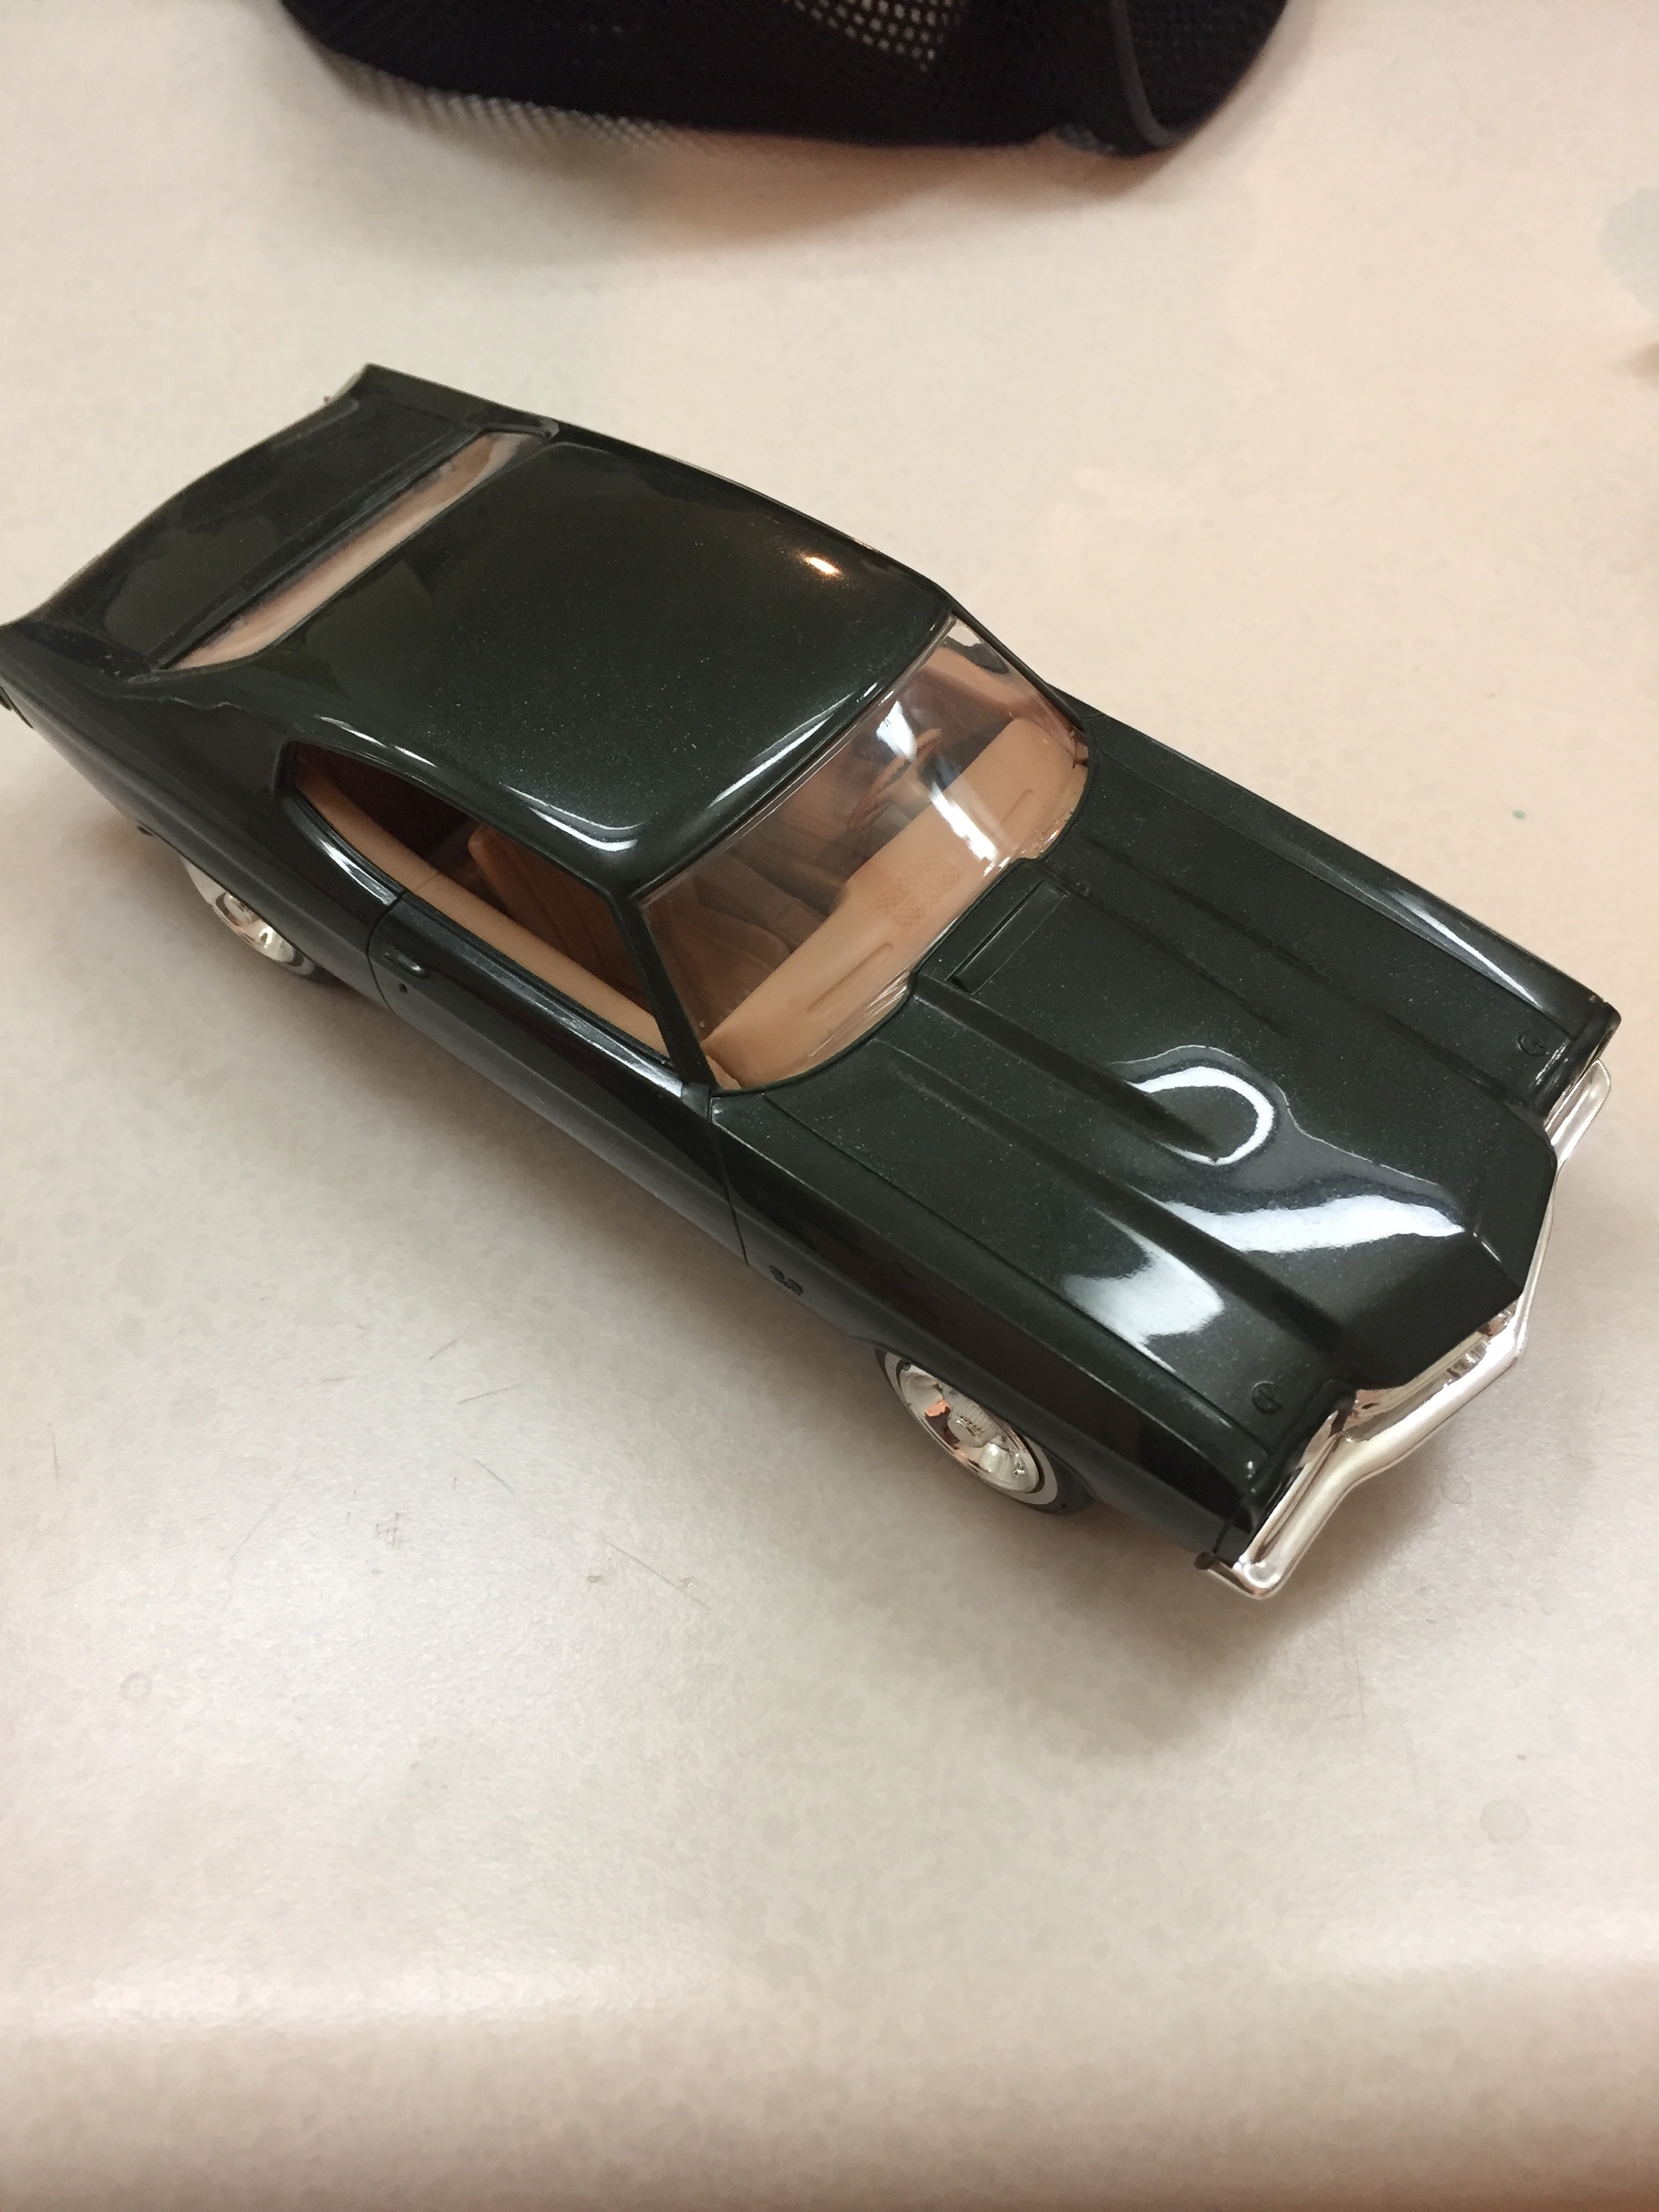
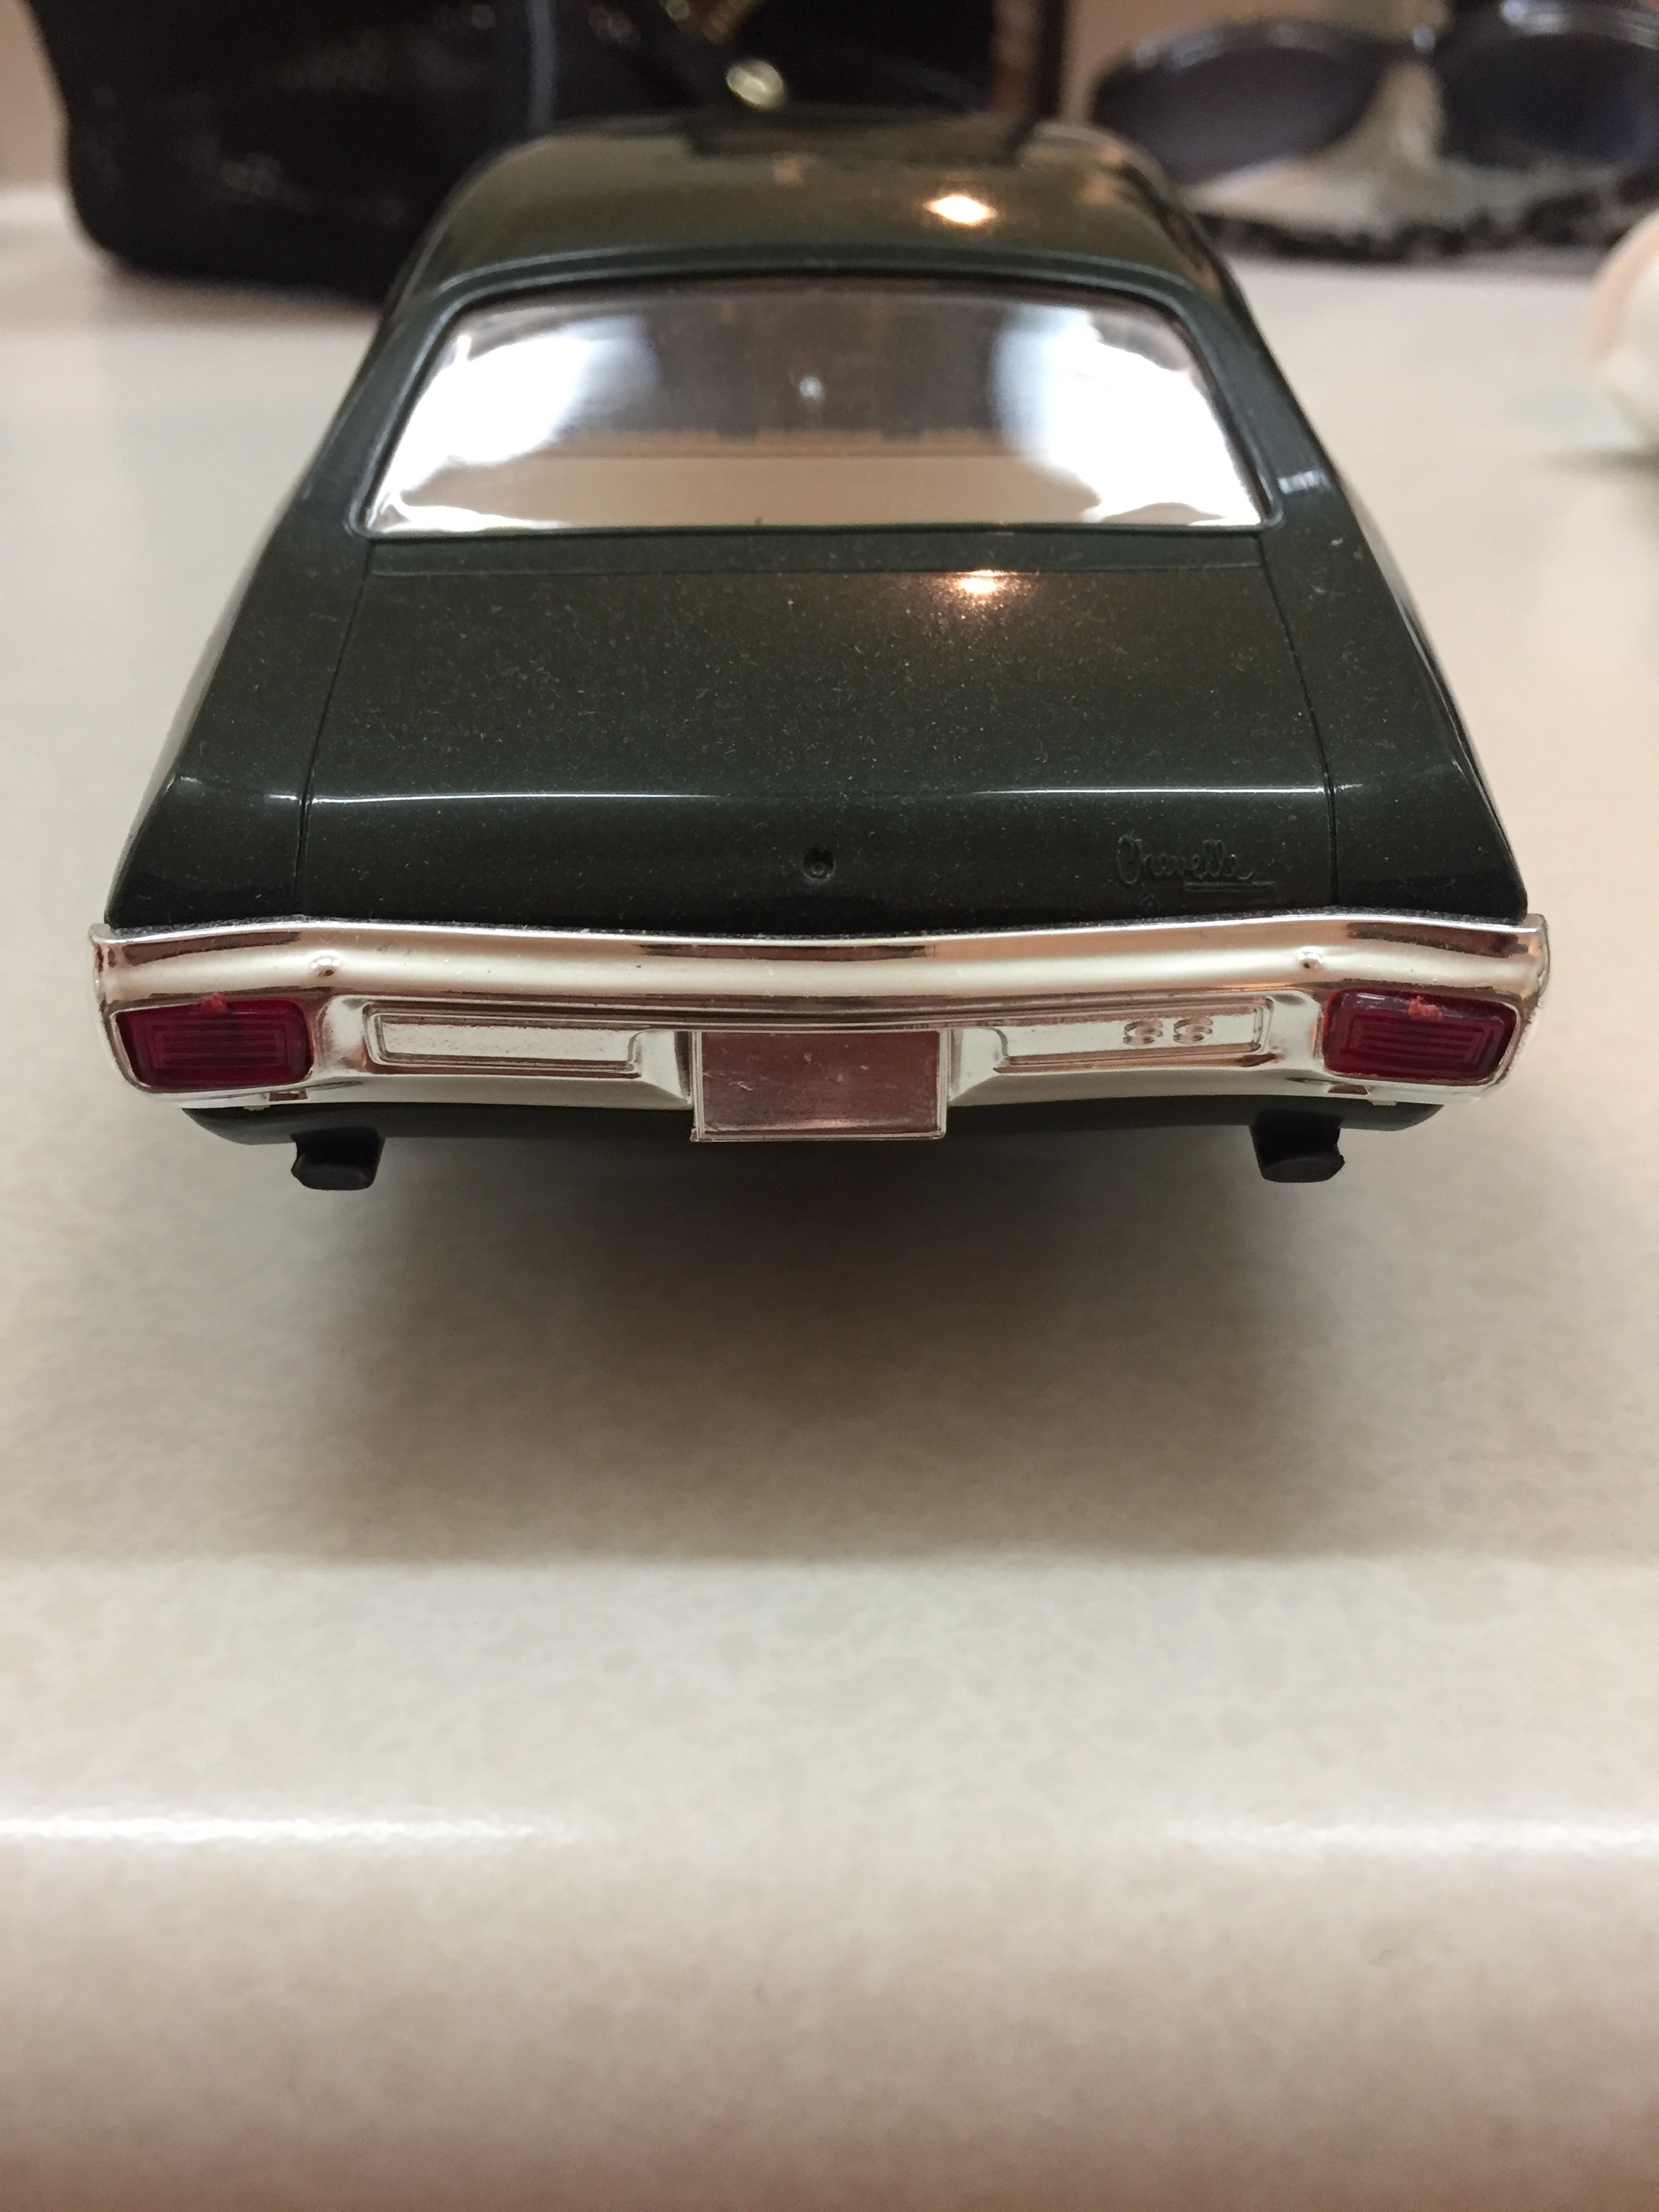
So i got some stuff from a good buddy of mine and he passed me on this what looks like a PROMO kit but i'm not too sure cause i've searched on ebay and can't seem to find one close enough promo wise to it. Can anyone help me out here and let me know what this actually is? It's a really nice clean car, well kept.
-
-

AMT 72 CHEVELLE SS QUESTION........
AC Norton posted a topic in Model Building Questions and Answers
general question for the AMT 72 CHEVELLE SS kit.....just got this kit, its stock no. is 31933, red built car on box, tan and gold checkers on box art....I have built a couple of 1970s issues 72 Chevelles of AMTs back many years ago,,,,and I notice something strange with this issue.....the chrome back bumper has the rear splash pan molded under the bumper,,,,,,,yet the kit also supplies the gray plastic, separate splash pan like the kits I built years ago.... so, asking our forum members that have built this more recent issue,,,,do I trim off the pan molded on the bumper....and then paint body color and install the gray plastic one as I did in the 70s issues,,,or,,, mask off and spray body color the chrome attached unit under the bumper I mentioned above.......I know that both AMT and MPC made many versions of 72 chevelles thru the decades, so I am left wondering if this newer kit is a combo of all the old parts and such grouped together,,,, and what you folks think the tried and true approach would be to solve this hang up....I thank you in advance on your thoughts, boys...........the Ace......... -
-
Over the weekend I completed Revell's 1966 Chevelle Wagon. The kit itself is great, fell together with much ease. I decided to ditch the big rims and tires that came with the kit (WHAT?!?!) and go with more of a sleeper / stockish appearance. Paint is Tamiya Light Blue metallic with Pledge Floor Care for clear. Interior is Tamiya aircraft USA Intermediate Blue with ZING! blue embossing powder for carpet. I'm a little unhappy with a few mistakes I made, but I'll let you find them on your own I swapped the big chrome wheels for some subtle but cool Rallye's. The only external hint that there might be a little more than you expected here is the NSRA sticker in the rear windshield. MCG supplied the alternator bracketry, Preston's distributor. What's a 4-speed without a tach and shift light? Hard to see in the pics, but I added seat belts. My first time ever working with them. Well worth the effort. As always, comments and constructive criticism are welcome.
-
I see (in someone's avatar...you know who you are ) the 1/25 Lindberg '66 Chevelle Super Sport kit is about to be reissued very soon, so until Round2 puts something up on their 'site, super-hobby has some very shots of the included parts from the last go 'round: http://www.super-hobby.com/products/1966-Chevy-Chevelle-Super-Sport.html IIRC this one one of Lindberg best offerings during their brief renaissance back in the '90s, so I'm looking forward to seeing how Round2 packages this kit this time around.
-
Hello, I just finished this model car. Took about a month total, which is the longest I have ever taken to build a model (usually takes me a week to do ). The kit is an AMT 1970 Chevelle SS (Jack Reacher Issue). I used colors from Testor's Special Value Acrylic Paint set. It has the LS6 motor in it. Had a lot of trouble putting on the front bumper, needed to shave headlight openings like instructions suggested but did not go all way due to fear of breaking it. Hood doesn't not fit on properly because I cut it into thirds and glued it back to make hole so the engine could be seen. Scratch-built Modifications include: custom roll cage, side exit exhausts, side view mirrors (kit does not come with any ), windshield decal, and rear spoiler. I had a lot of fun building it, learned a lot. On a scale of "shelf of doom" to "completely awesome" I rate it an overall "meh". Could be much better but I'm really happy with they way it turned out. Thanks for reading! Beep Beep! Here comes the pictures... Non-staged photos: wait there's more...
-
Came out Great..
-
My favorite of my Chevelles.
-
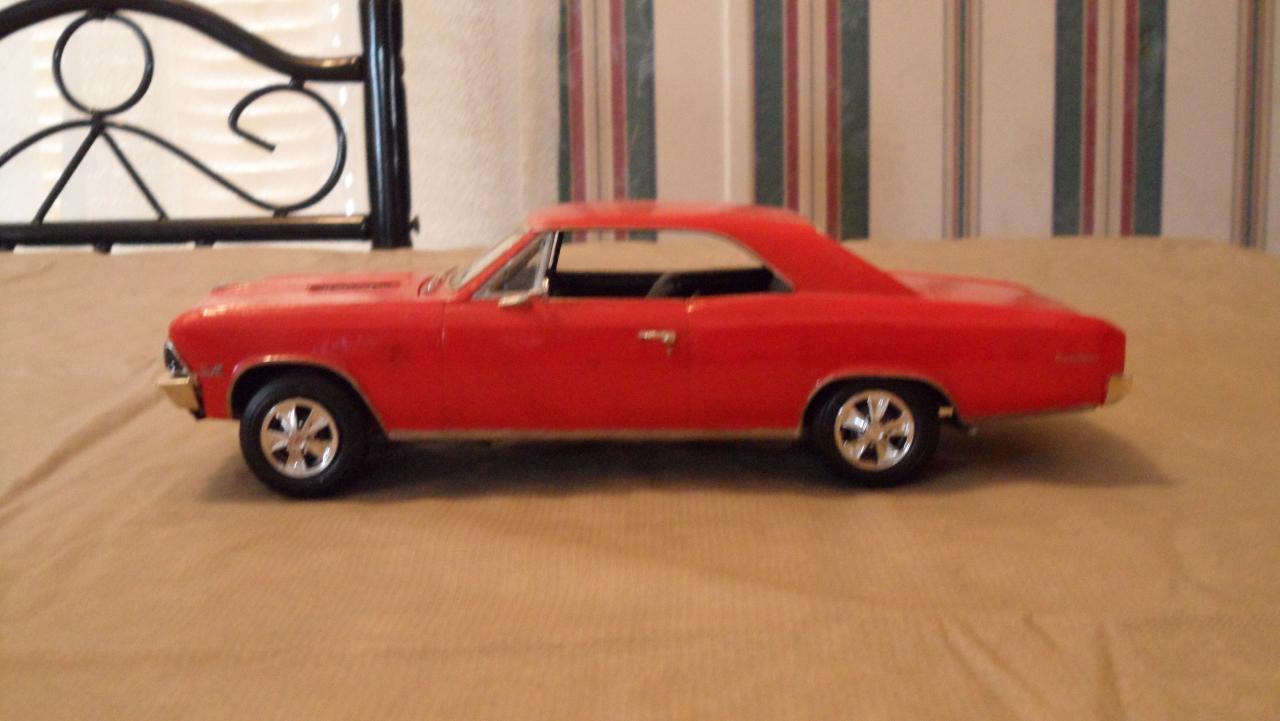
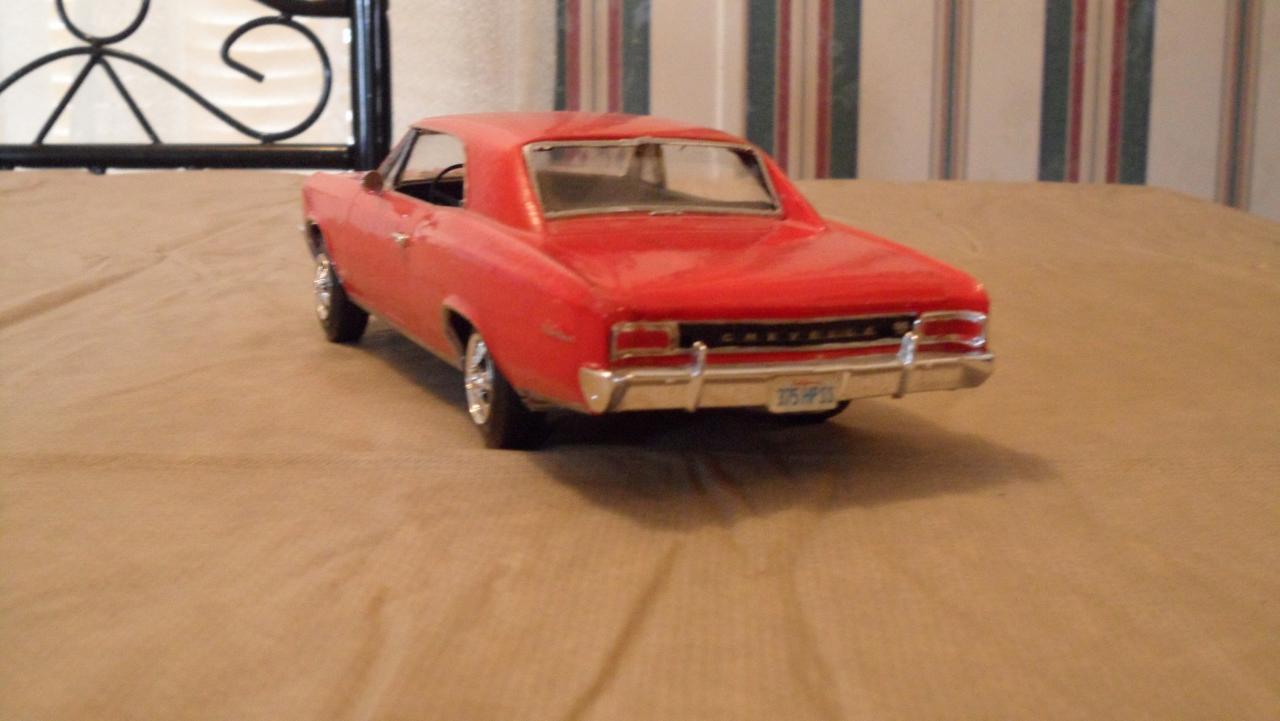
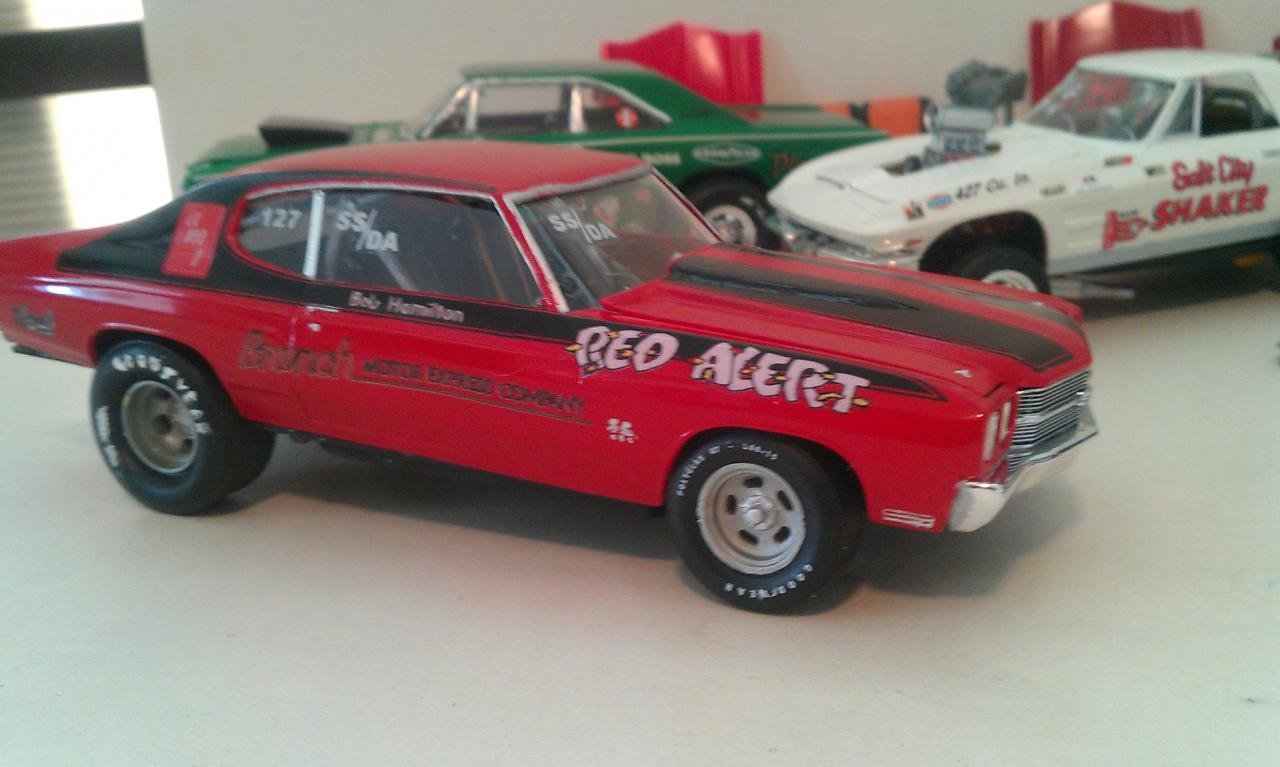
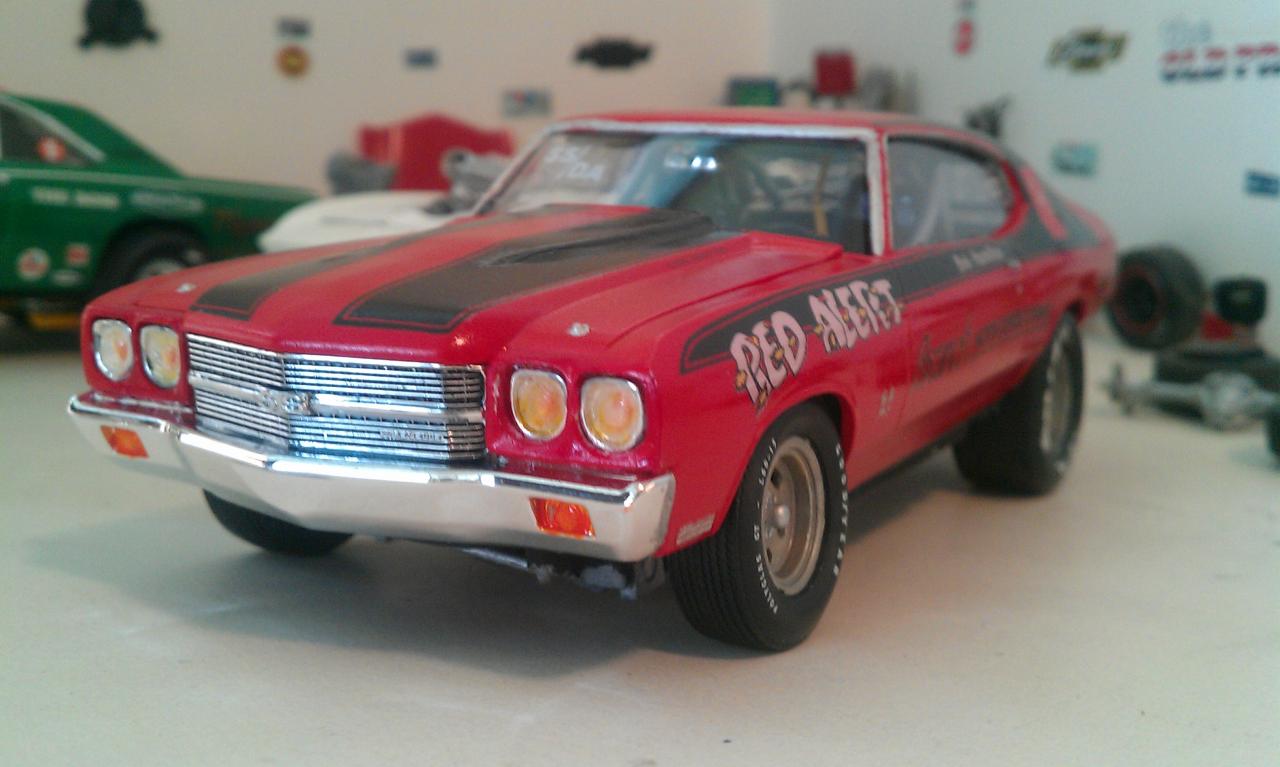
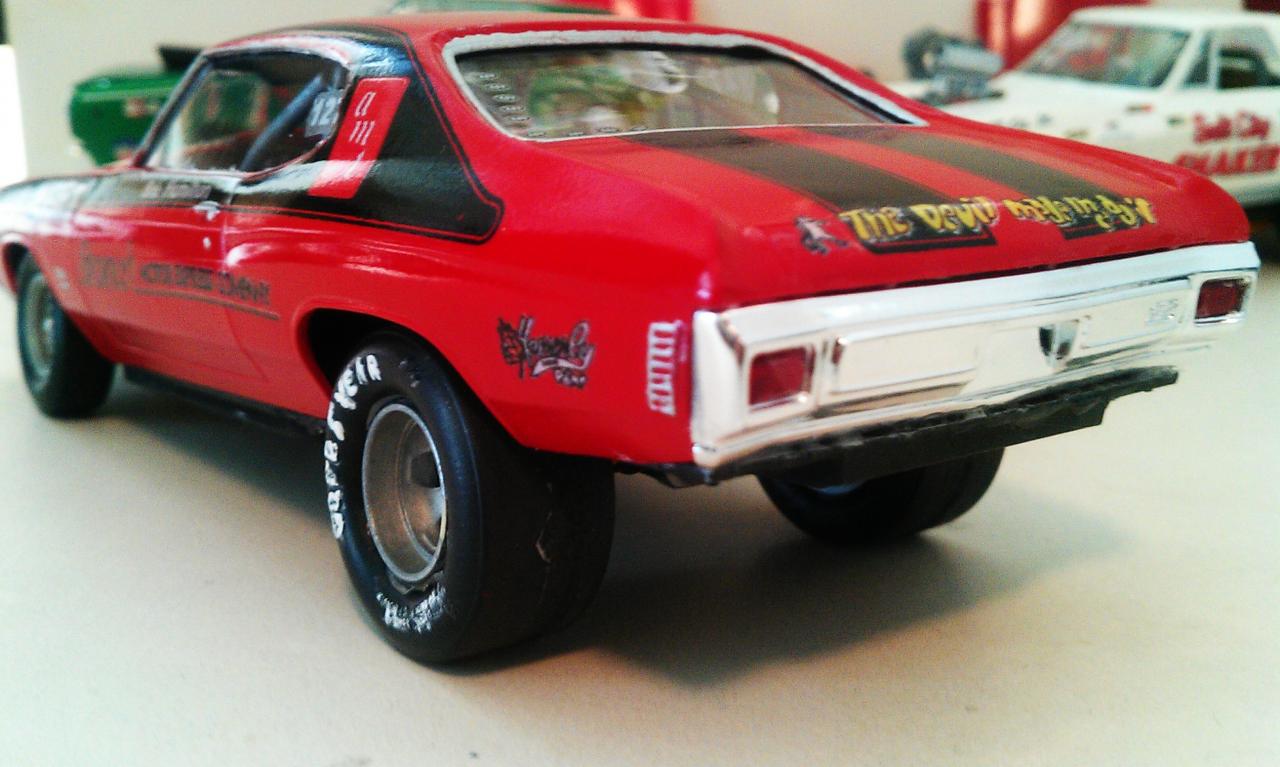
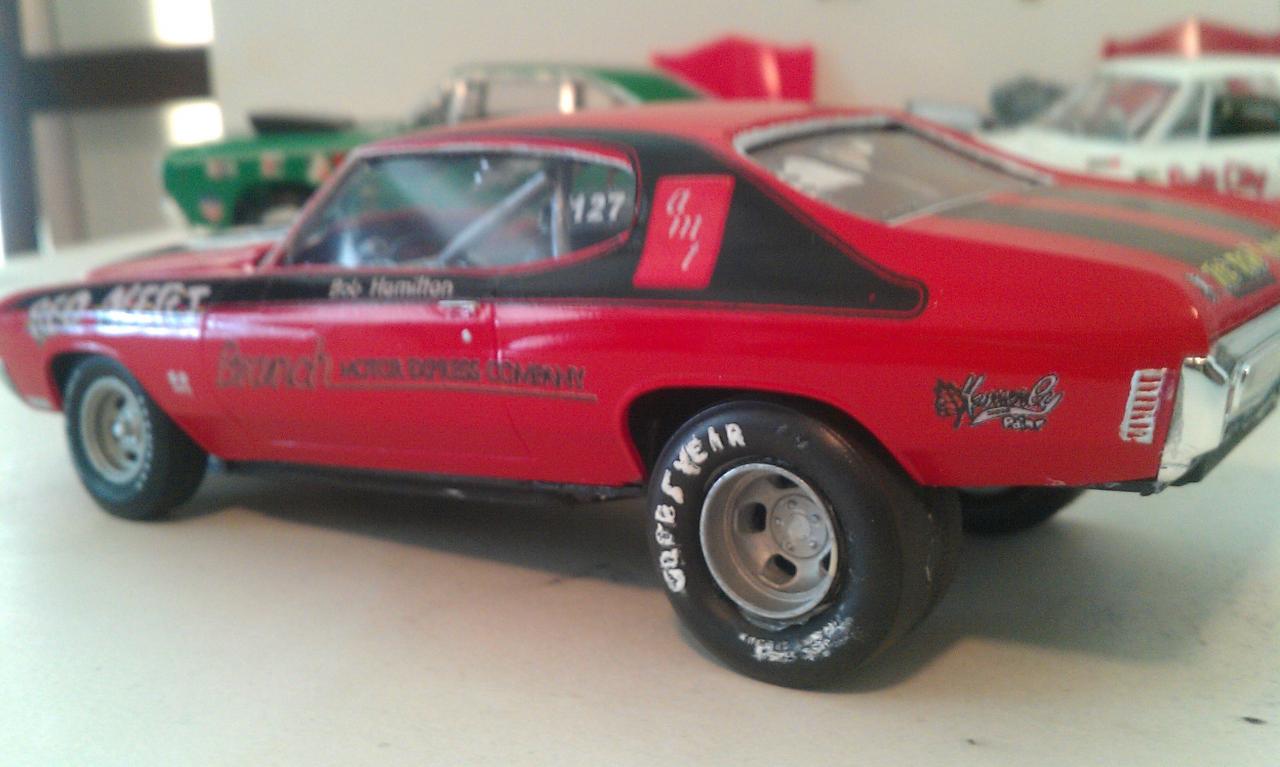
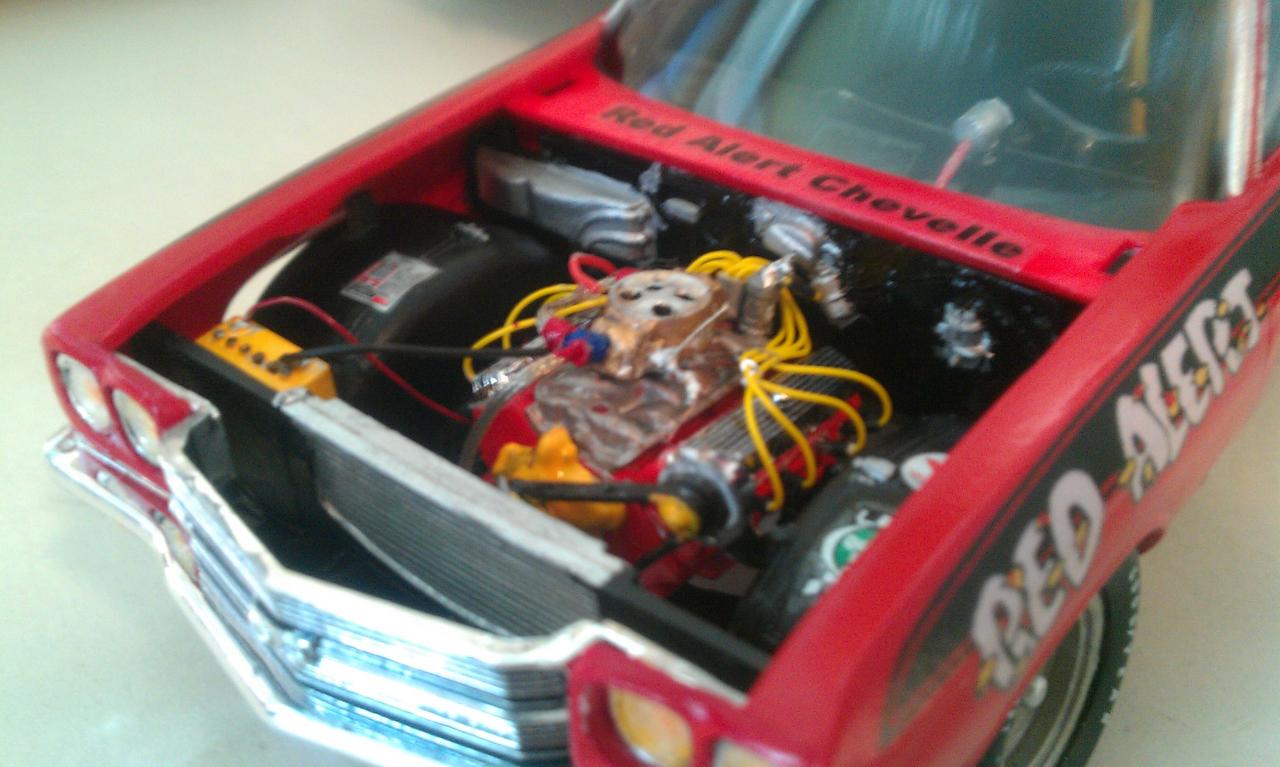
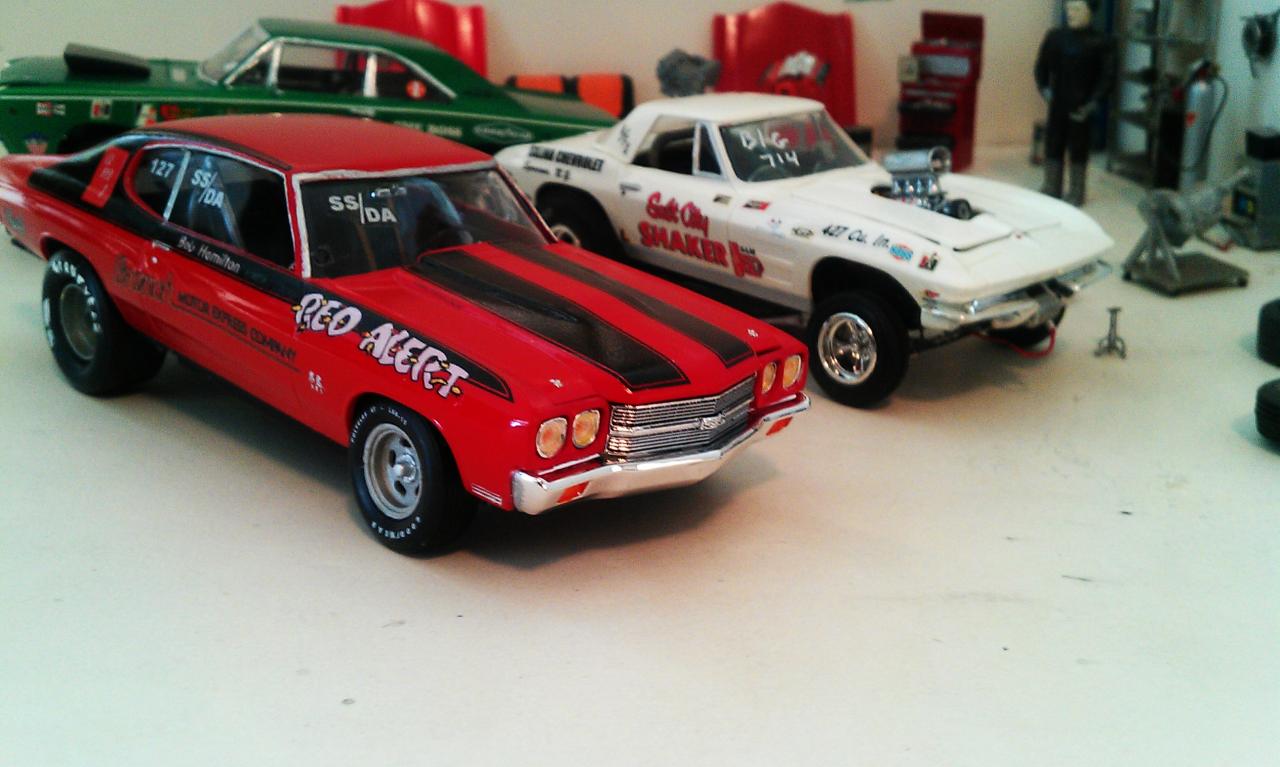
Here is bob hamaltons Red Alert Chevelle, unlike the vintage Amt kit,I built this as correct as I could, the orig kit had single headlights like a 71,72, 73, the 70 had twin lights ea side, also, the orig kit has a blown engine with a hat. Lol, also kinda big deal, the orig kit has a 4 speed. And Bobs was automatic. H handle shifter, I made one. Also went to GM dealer and got the paint code for Cranberry red, it "75" by the way, the body shop mgt even mixed me some an gave me formula, pretty cool of him. So here ya go, my Red Alert, thanks for looking,
-
Hello all, here is the Red Alert Chevelle I just completed, and as correct as I can do, unlike the Amt vintage kit this is the right year, and motor, and not a 4 speed. Yup the Amt kit has single headlights, like a 71 or 72, the 70 had twin lights ea side. The old kit has a blower set up, the real car mid high manifold and carb, also the old kit has 4 speed. Correct car is the automatic, H handle shifter. " I made one" well have a look and hope you like it as much as I do.
-
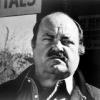
This was created box stock from a 2000 release of a Revell snapper. The color is from testors lacquer line of rattle cans. It lays on too thick and fought me the whole time. It would be nice to get an air bush sometime. Since doing my first vinyl top a few years ago I like doing them now and saw it fit to do it to this car because of deleting the stripes. Comments welcome thank you for looking! Happy Holidays!
-
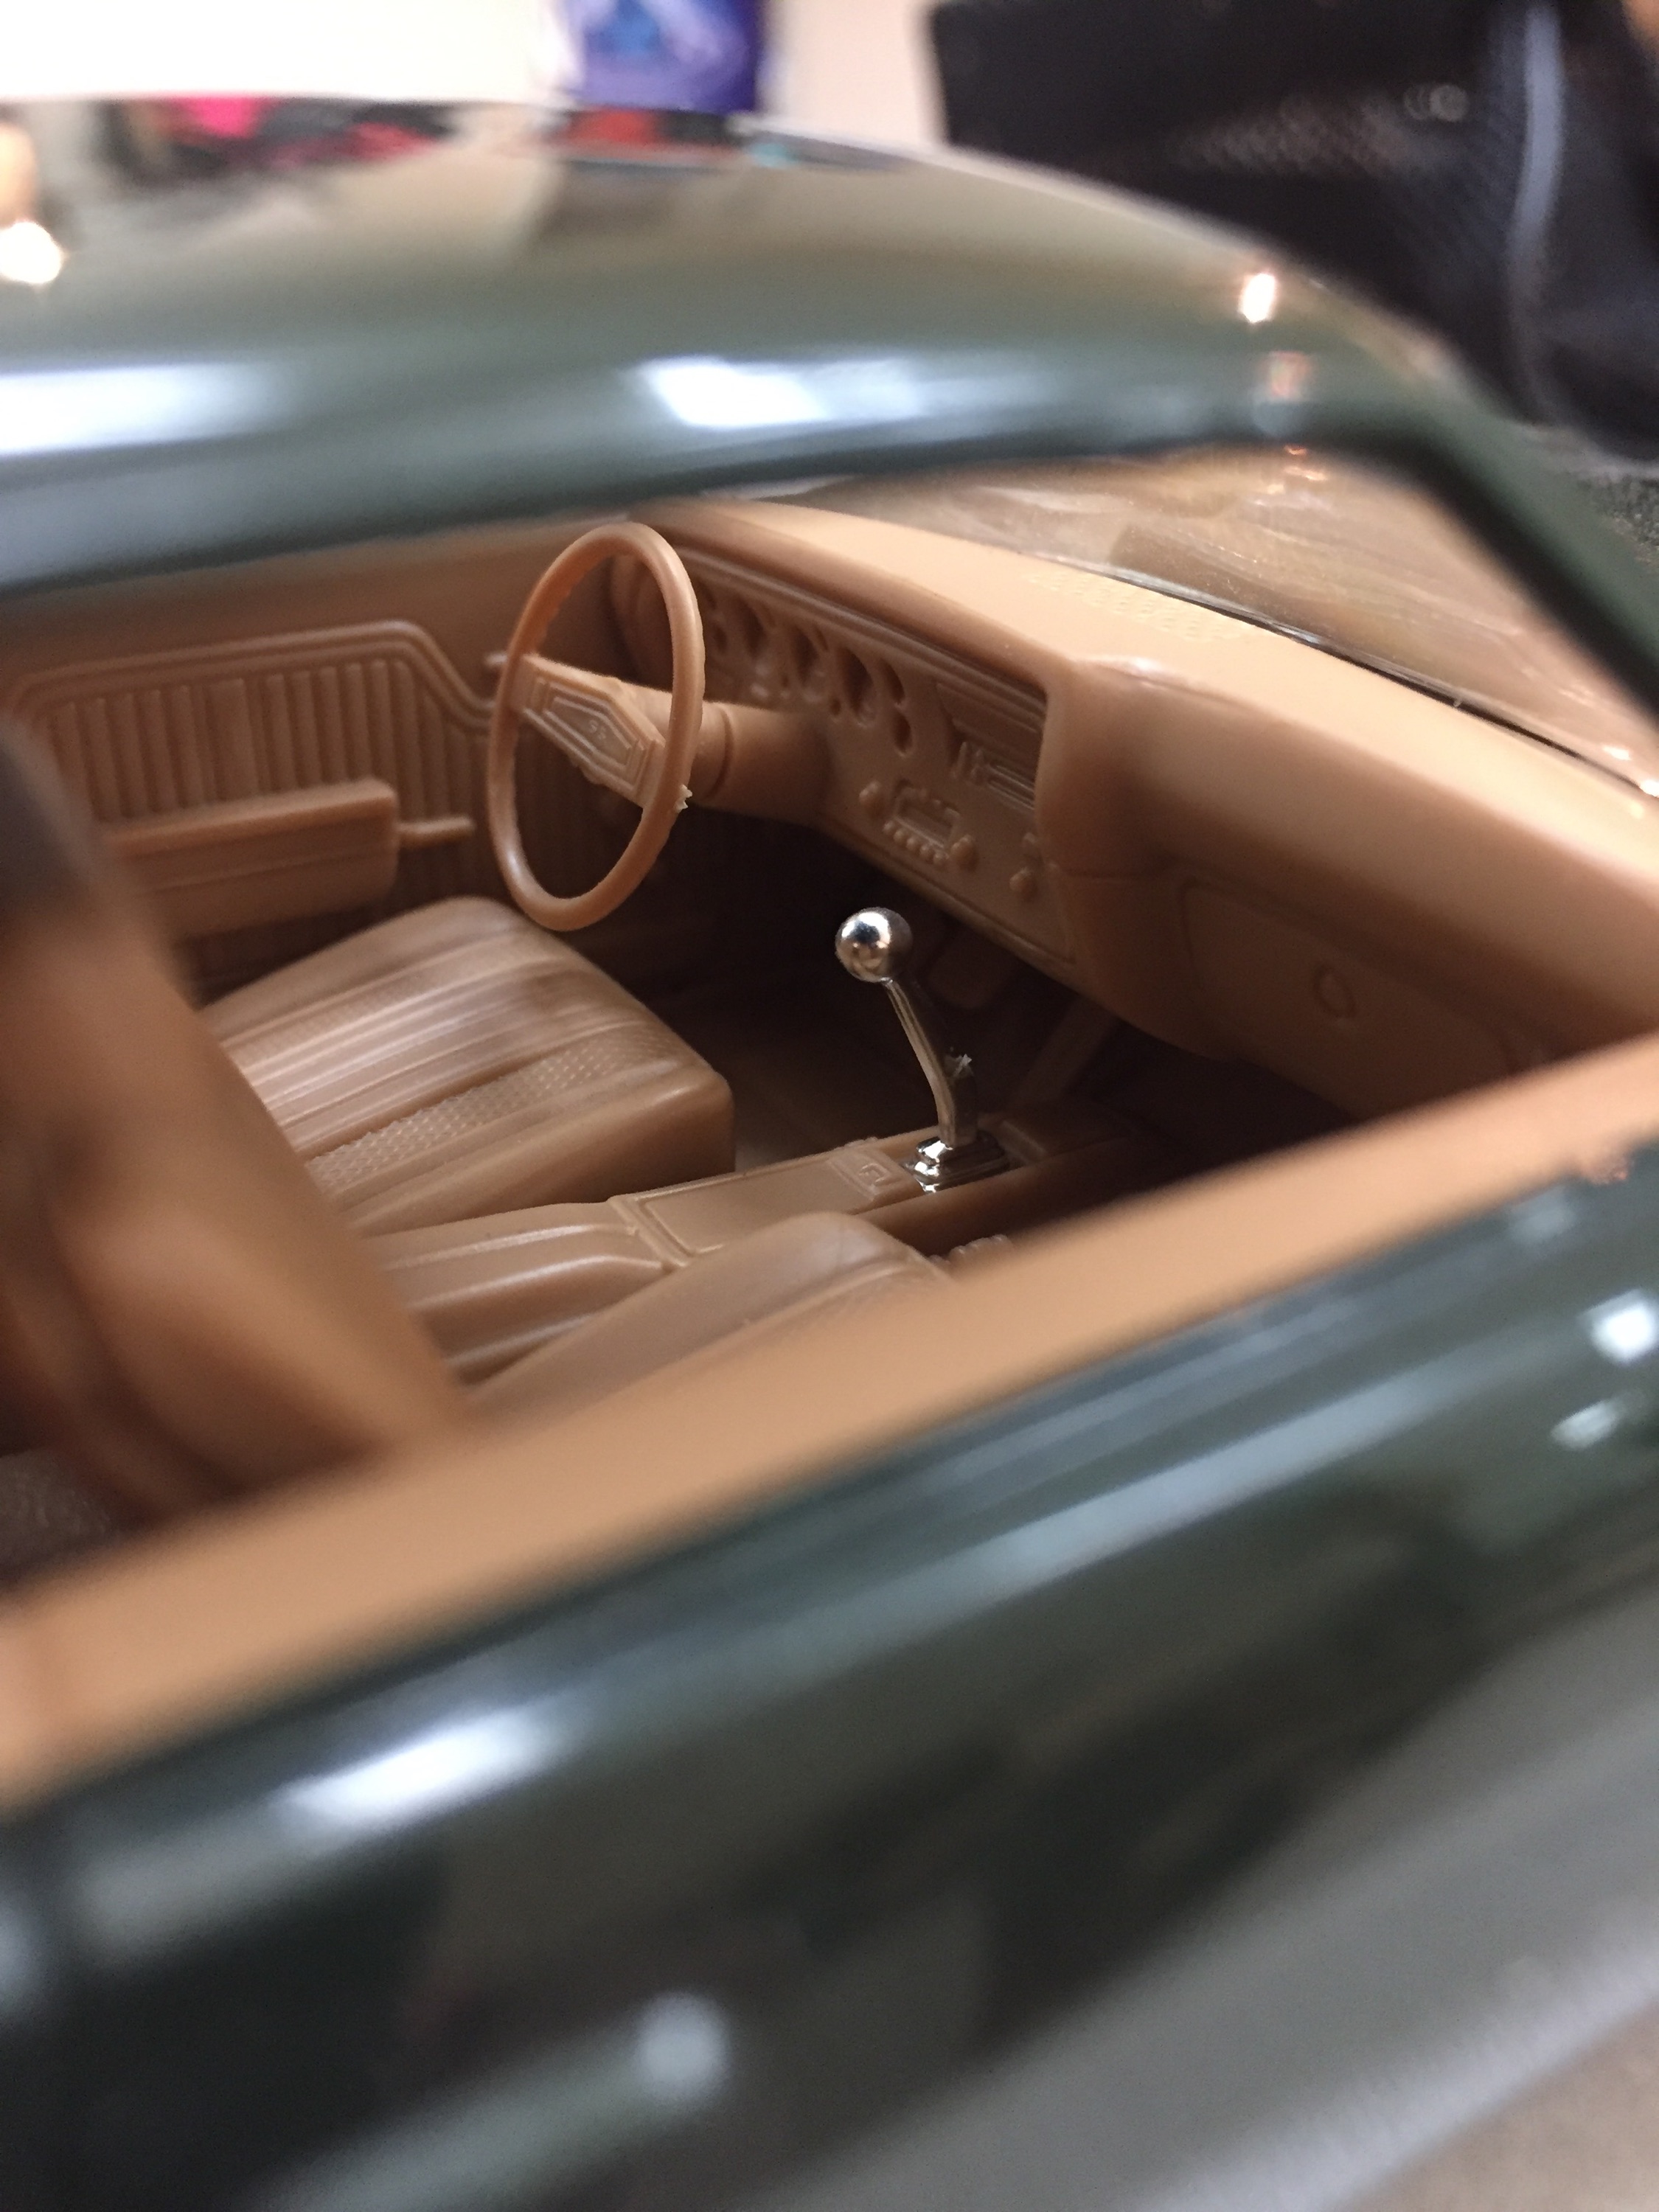
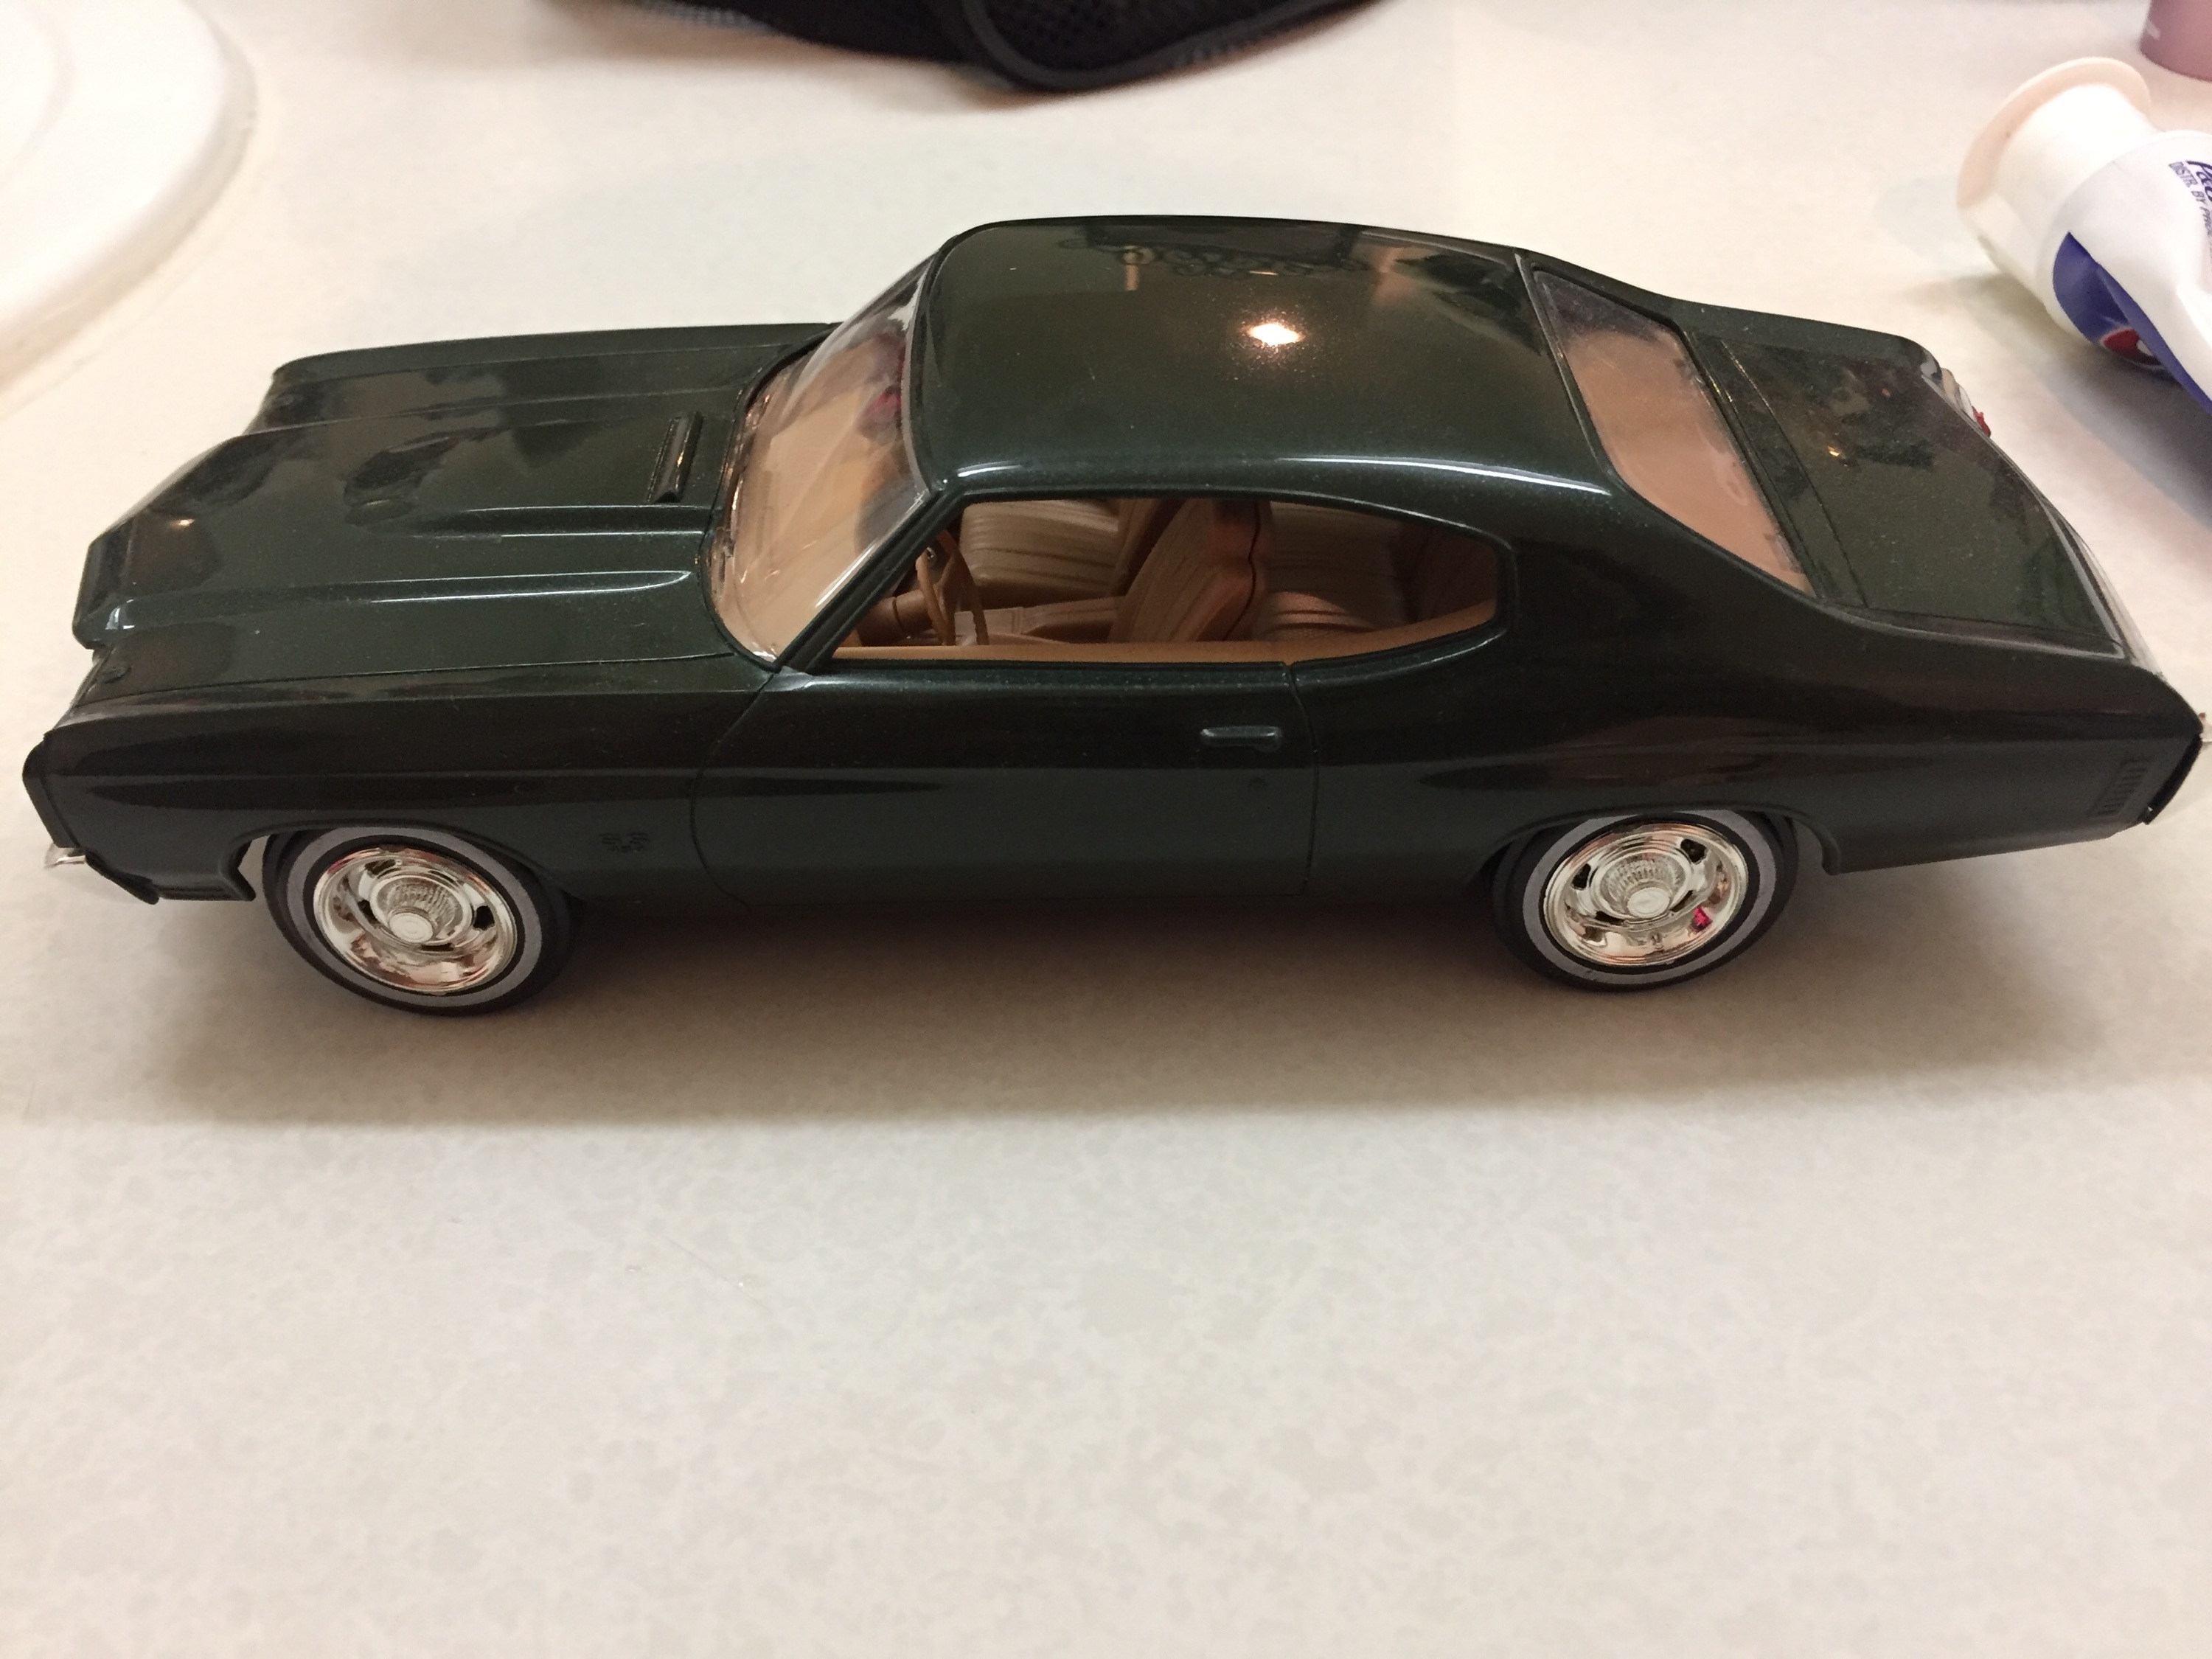
Im pretty much finished up my replica of my dads 72 chevelle 4 door he owned in 77. It was his favorite car he ever owned. All I have left is to source door handles and glue pics of his car on the back wall of its case.
-
I am going to copy a friends 1:1. I searched on this topic and it seems the only kit is the AMT that is out of production. Is there a version of the kit that is better? Different? More accurate? More part options? Thanks in advance. Dave


.jpg.7cd706354e0f409f78d2c96e6a274f60.jpg)


.thumb.jpg.e0420fe52e683c60d19e843462316523.jpg)