Search the Community
Showing results for tags 'ferrari'.
-
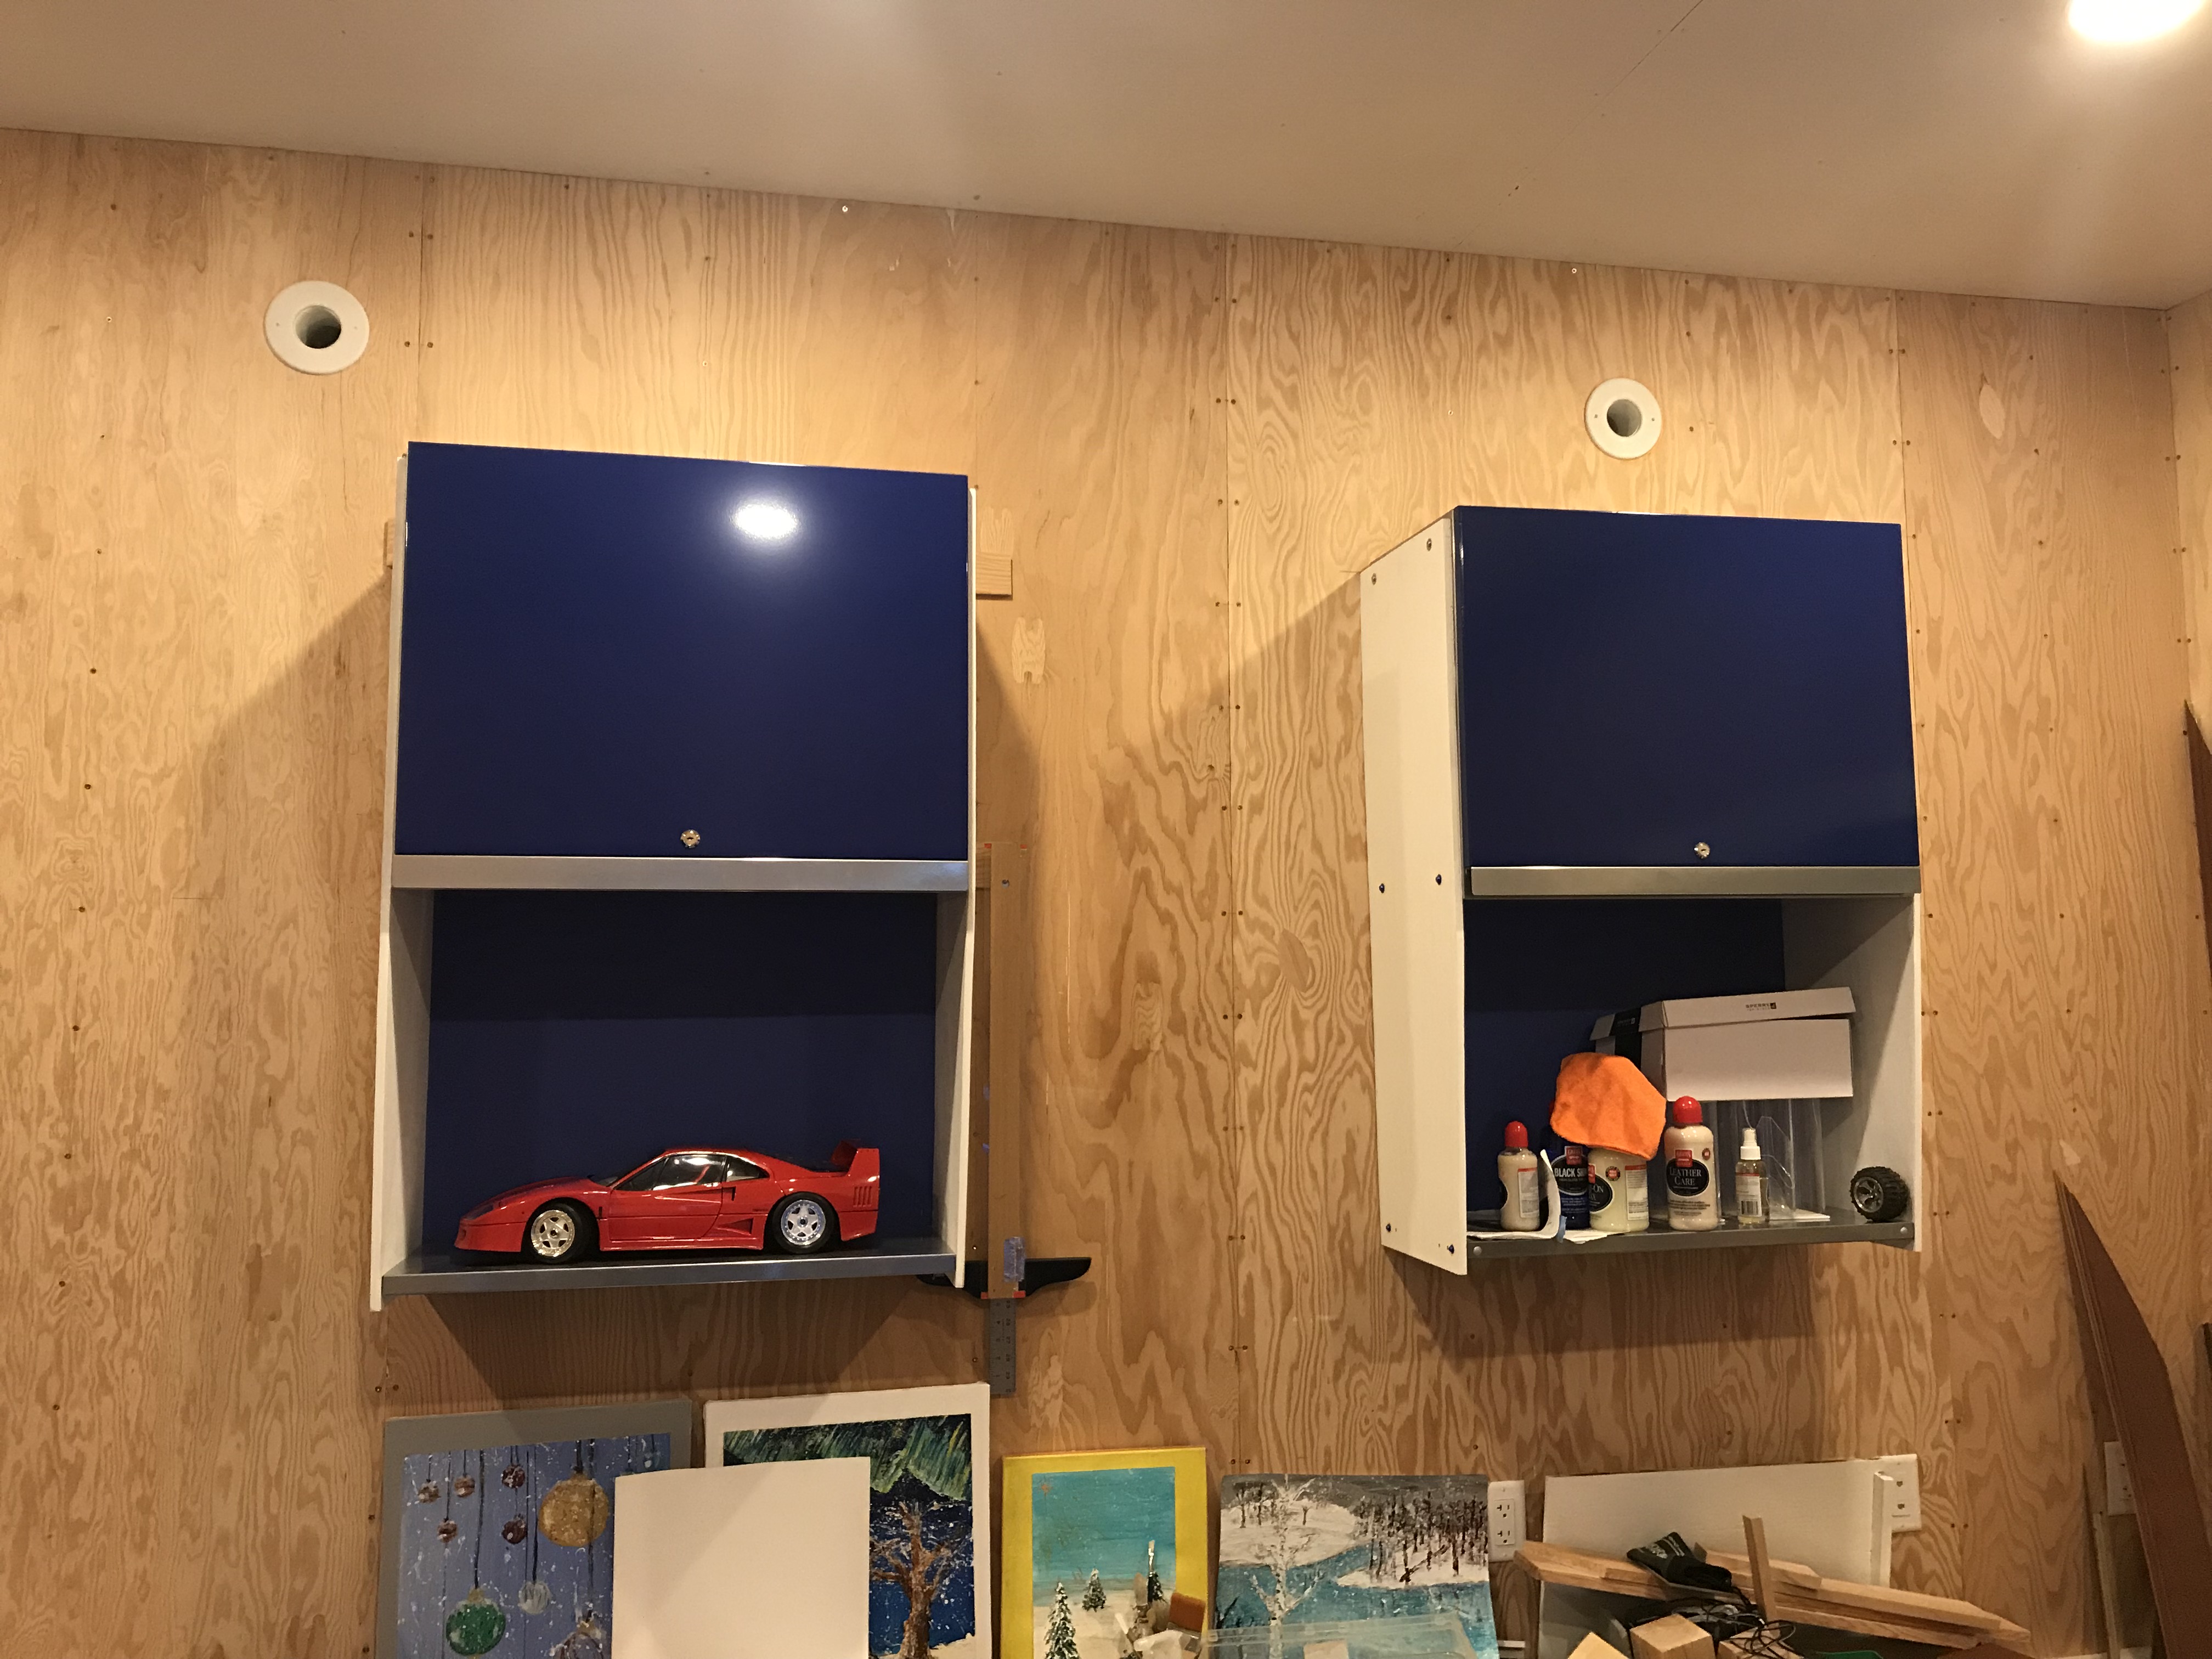
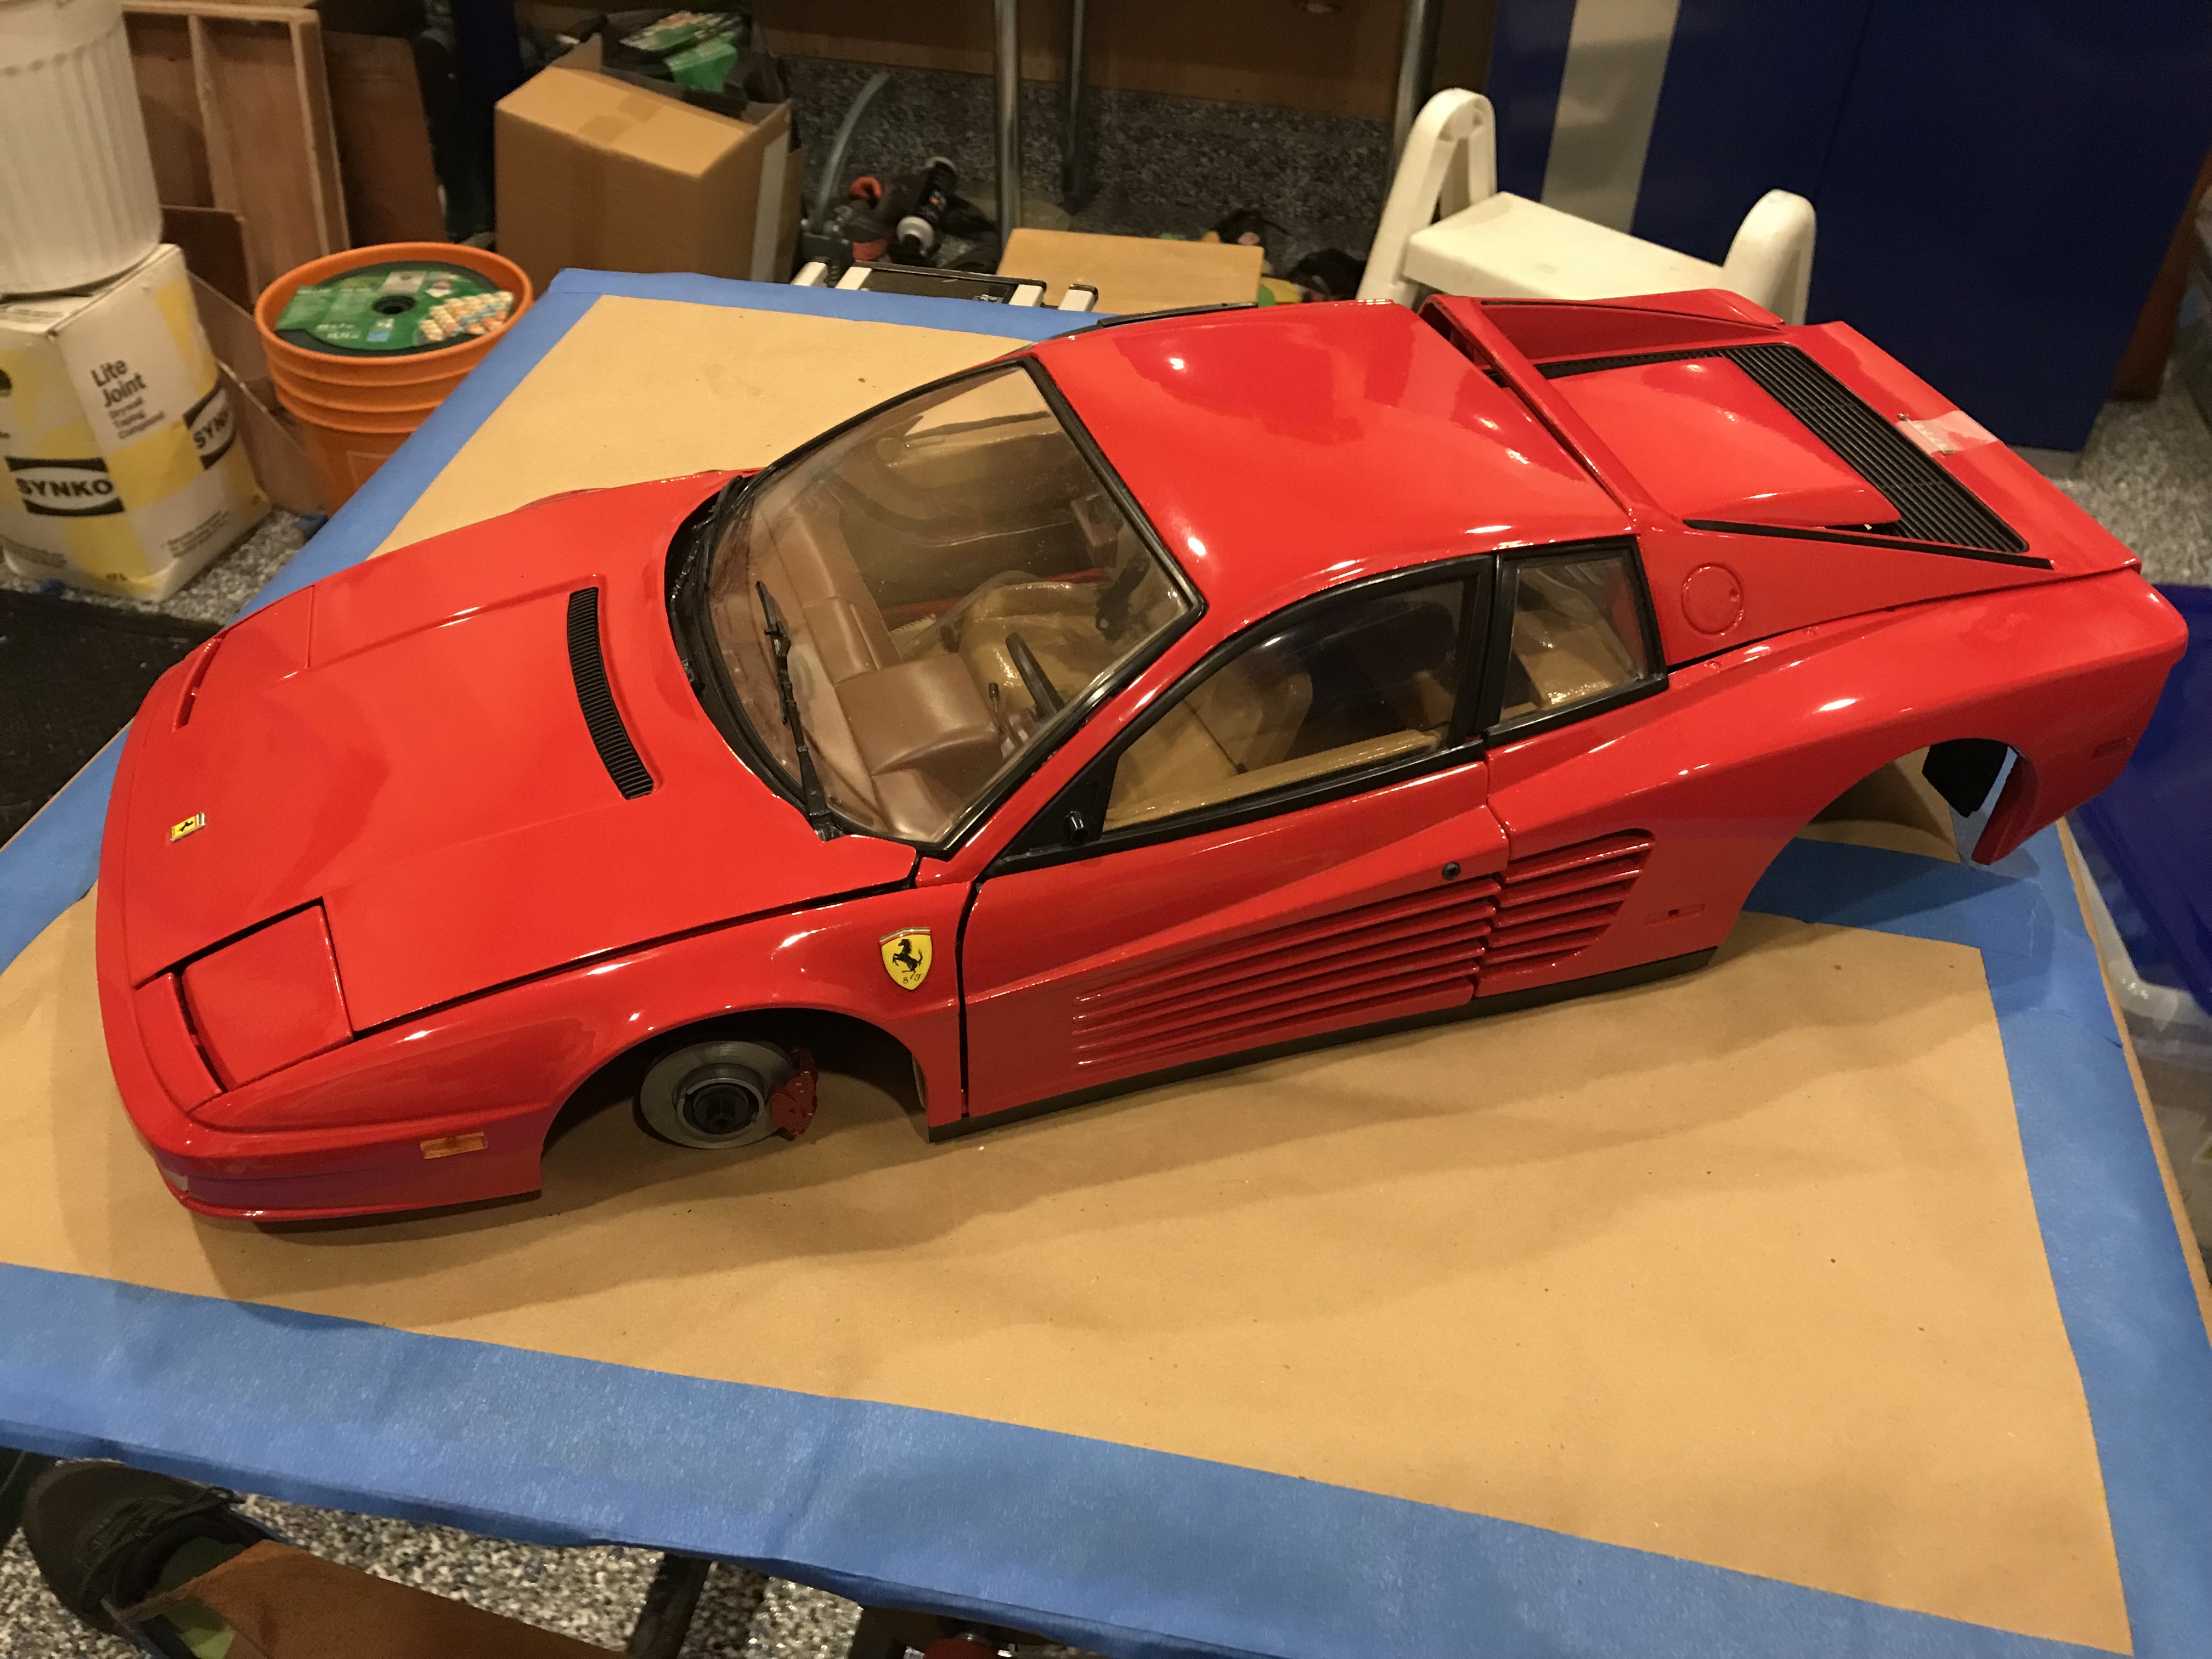
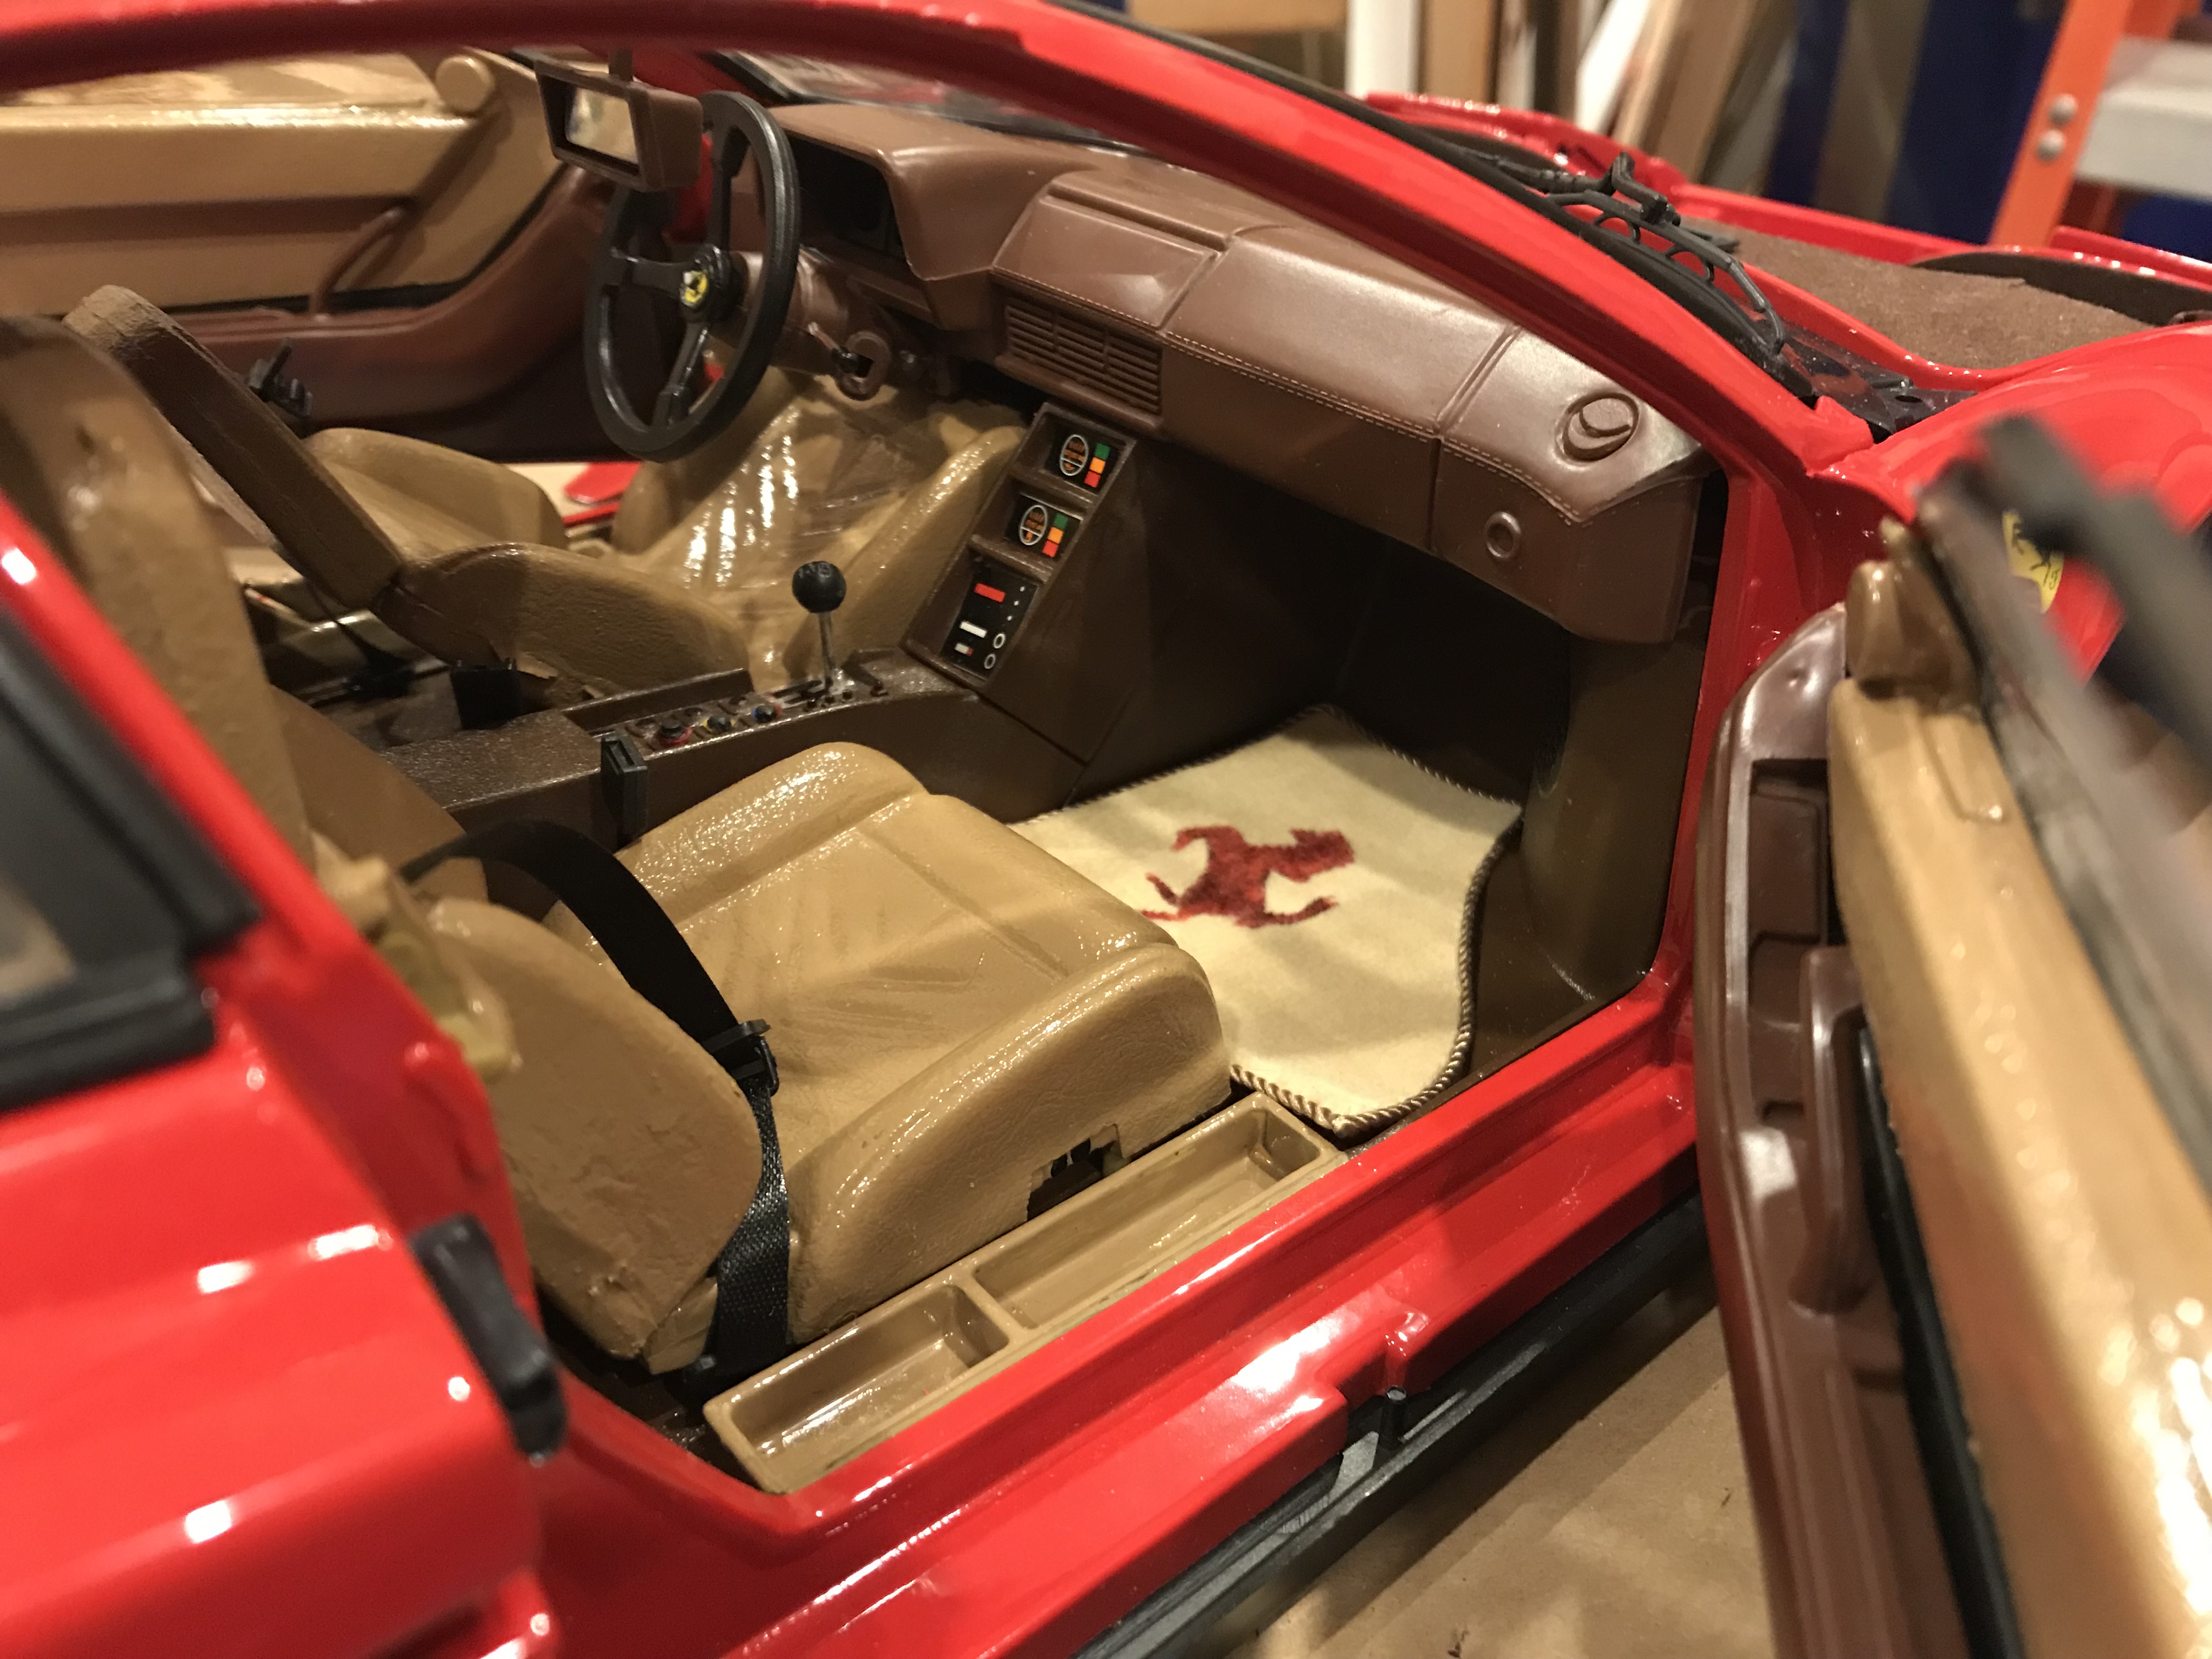
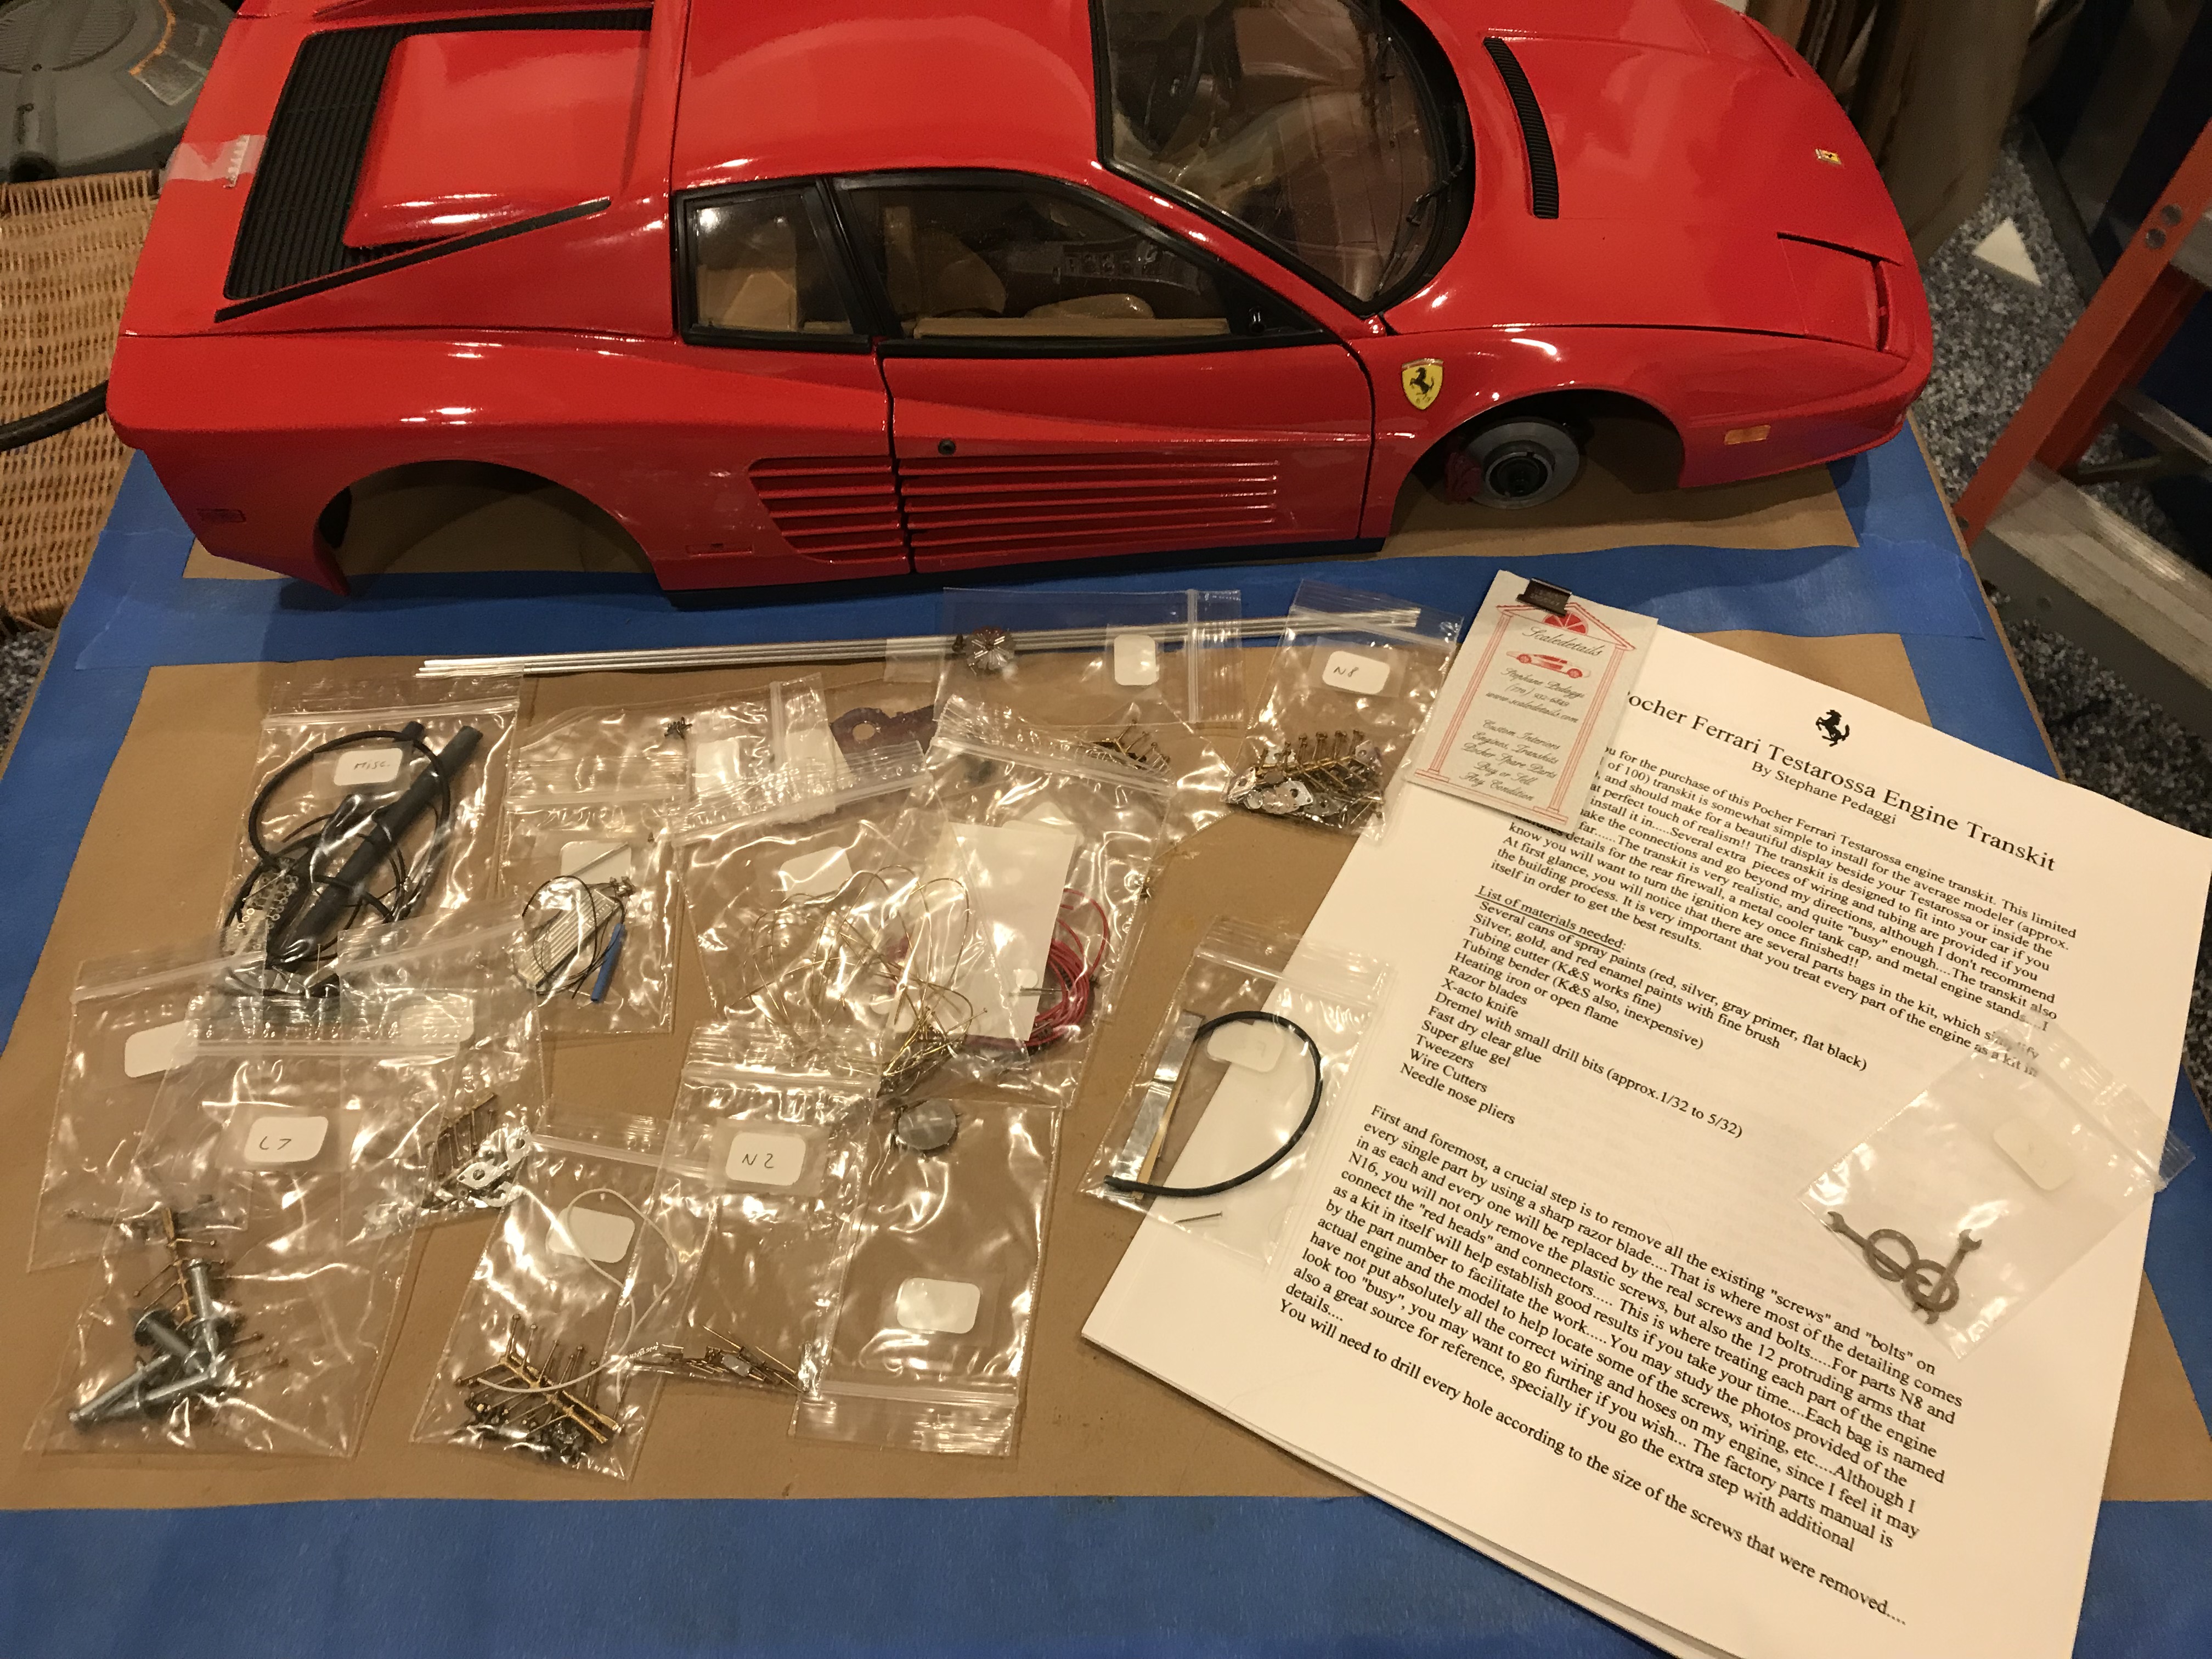
I have been building other subjects the last while and not here much. This gets my mojo running so I will post lots about it Here is my first attempt at putting together a Pocher model. Now it is a metal body/ plastic parts from the exotic collection. I can Hear Harry roll over in his grave and Cato's eyes roll back in his head, but here is where I choose to start my Pocherism So, Ferrari Testarossa, semi assembled by nice old guy in States with failing eyesight and health bought about five years ago now. Pretty clean body work and decent interior. Engine not started and a detail upgrade set provided. These are pics in my big woodworkshop as it is 16 pounds and just under 2 feet long. I plan on doing sub assembly work in my model room and put it all together in the big shop. I have an F40 that needs similar treatment and show it in the WIP display shelving for my Pocher collection....a lot messy at the moment

-
This was a pretty good kit. Minor fit issue with the grill, the radiator housing gets in the way of putting the grill piece on. There is also a fit issue with the wheel base. The model itself is painted Guards Red. SAM_0369 by Eric Lucas, on Flickr SAM_0370 by Eric Lucas, on Flickr SAM_0371 by Eric Lucas, on Flickr SAM_0372 by Eric Lucas, on Flickr SAM_0373 by Eric Lucas, on Flickr SAM_0374 by Eric Lucas, on Flickr SAM_0375 by Eric Lucas, on Flickr SAM_0376 by Eric Lucas, on Flickr SAM_0377 by Eric Lucas, on Flickr
-
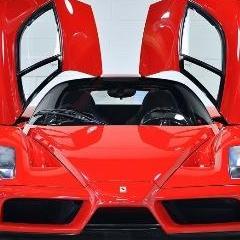
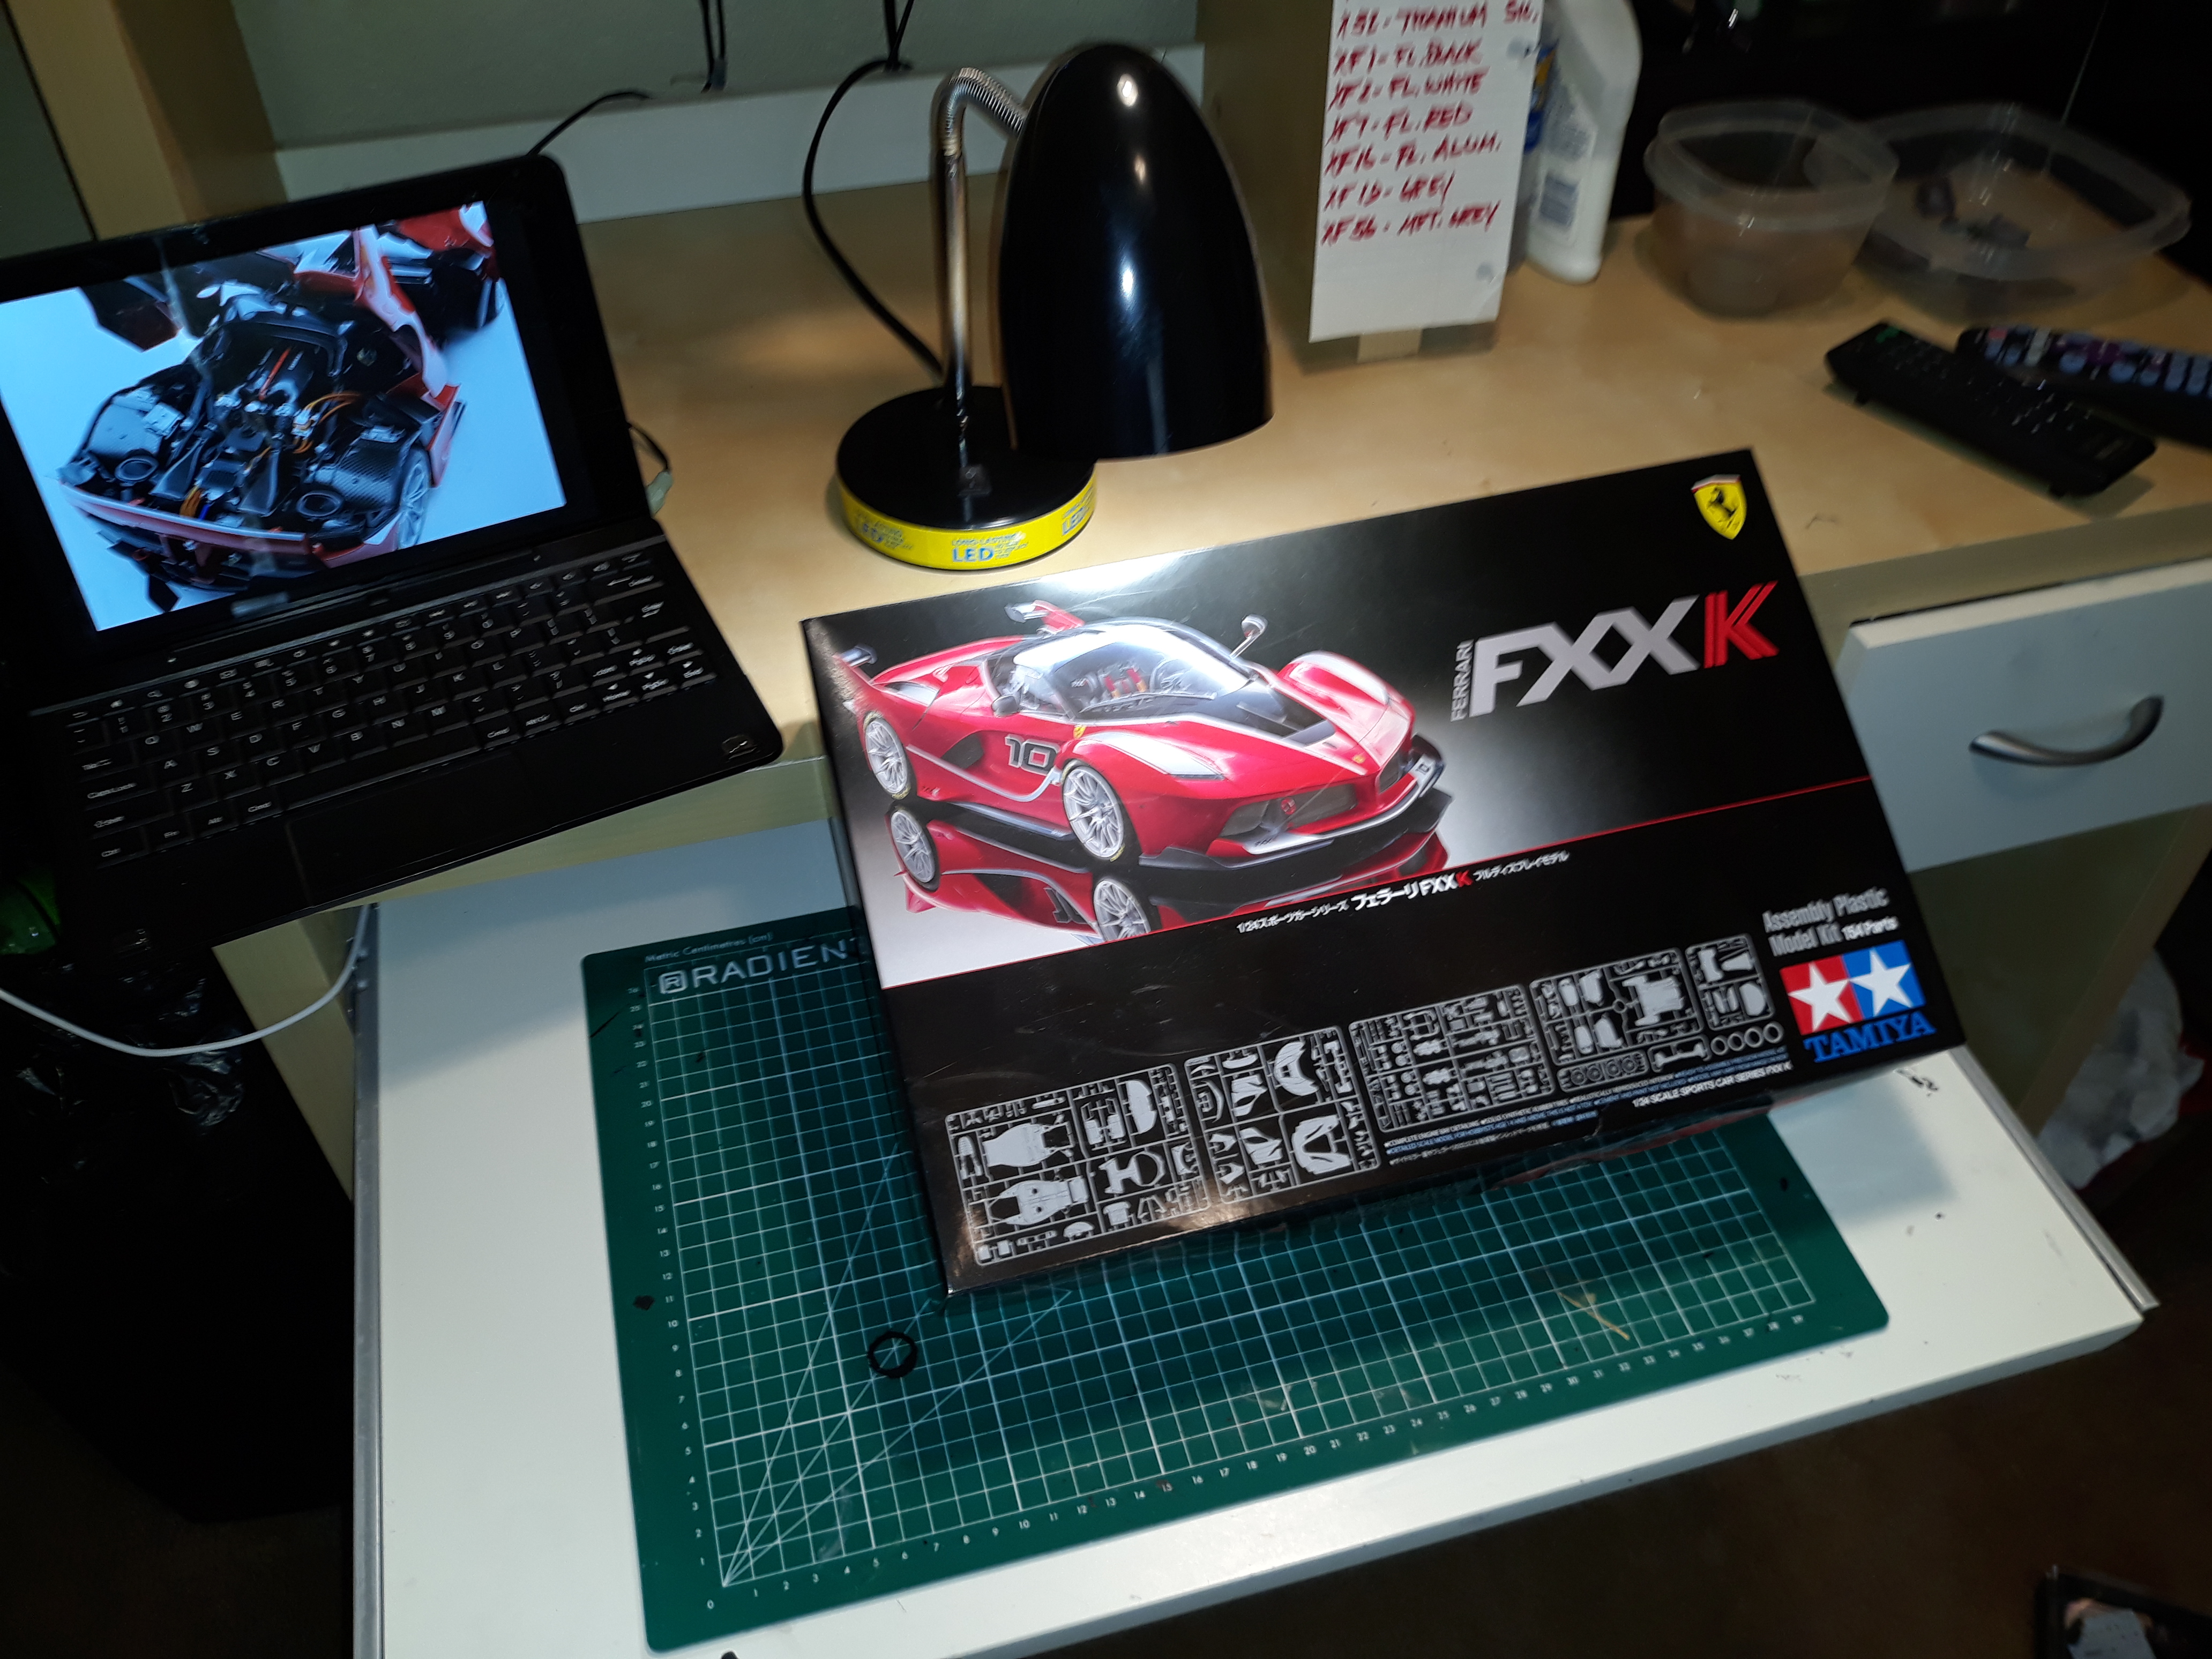
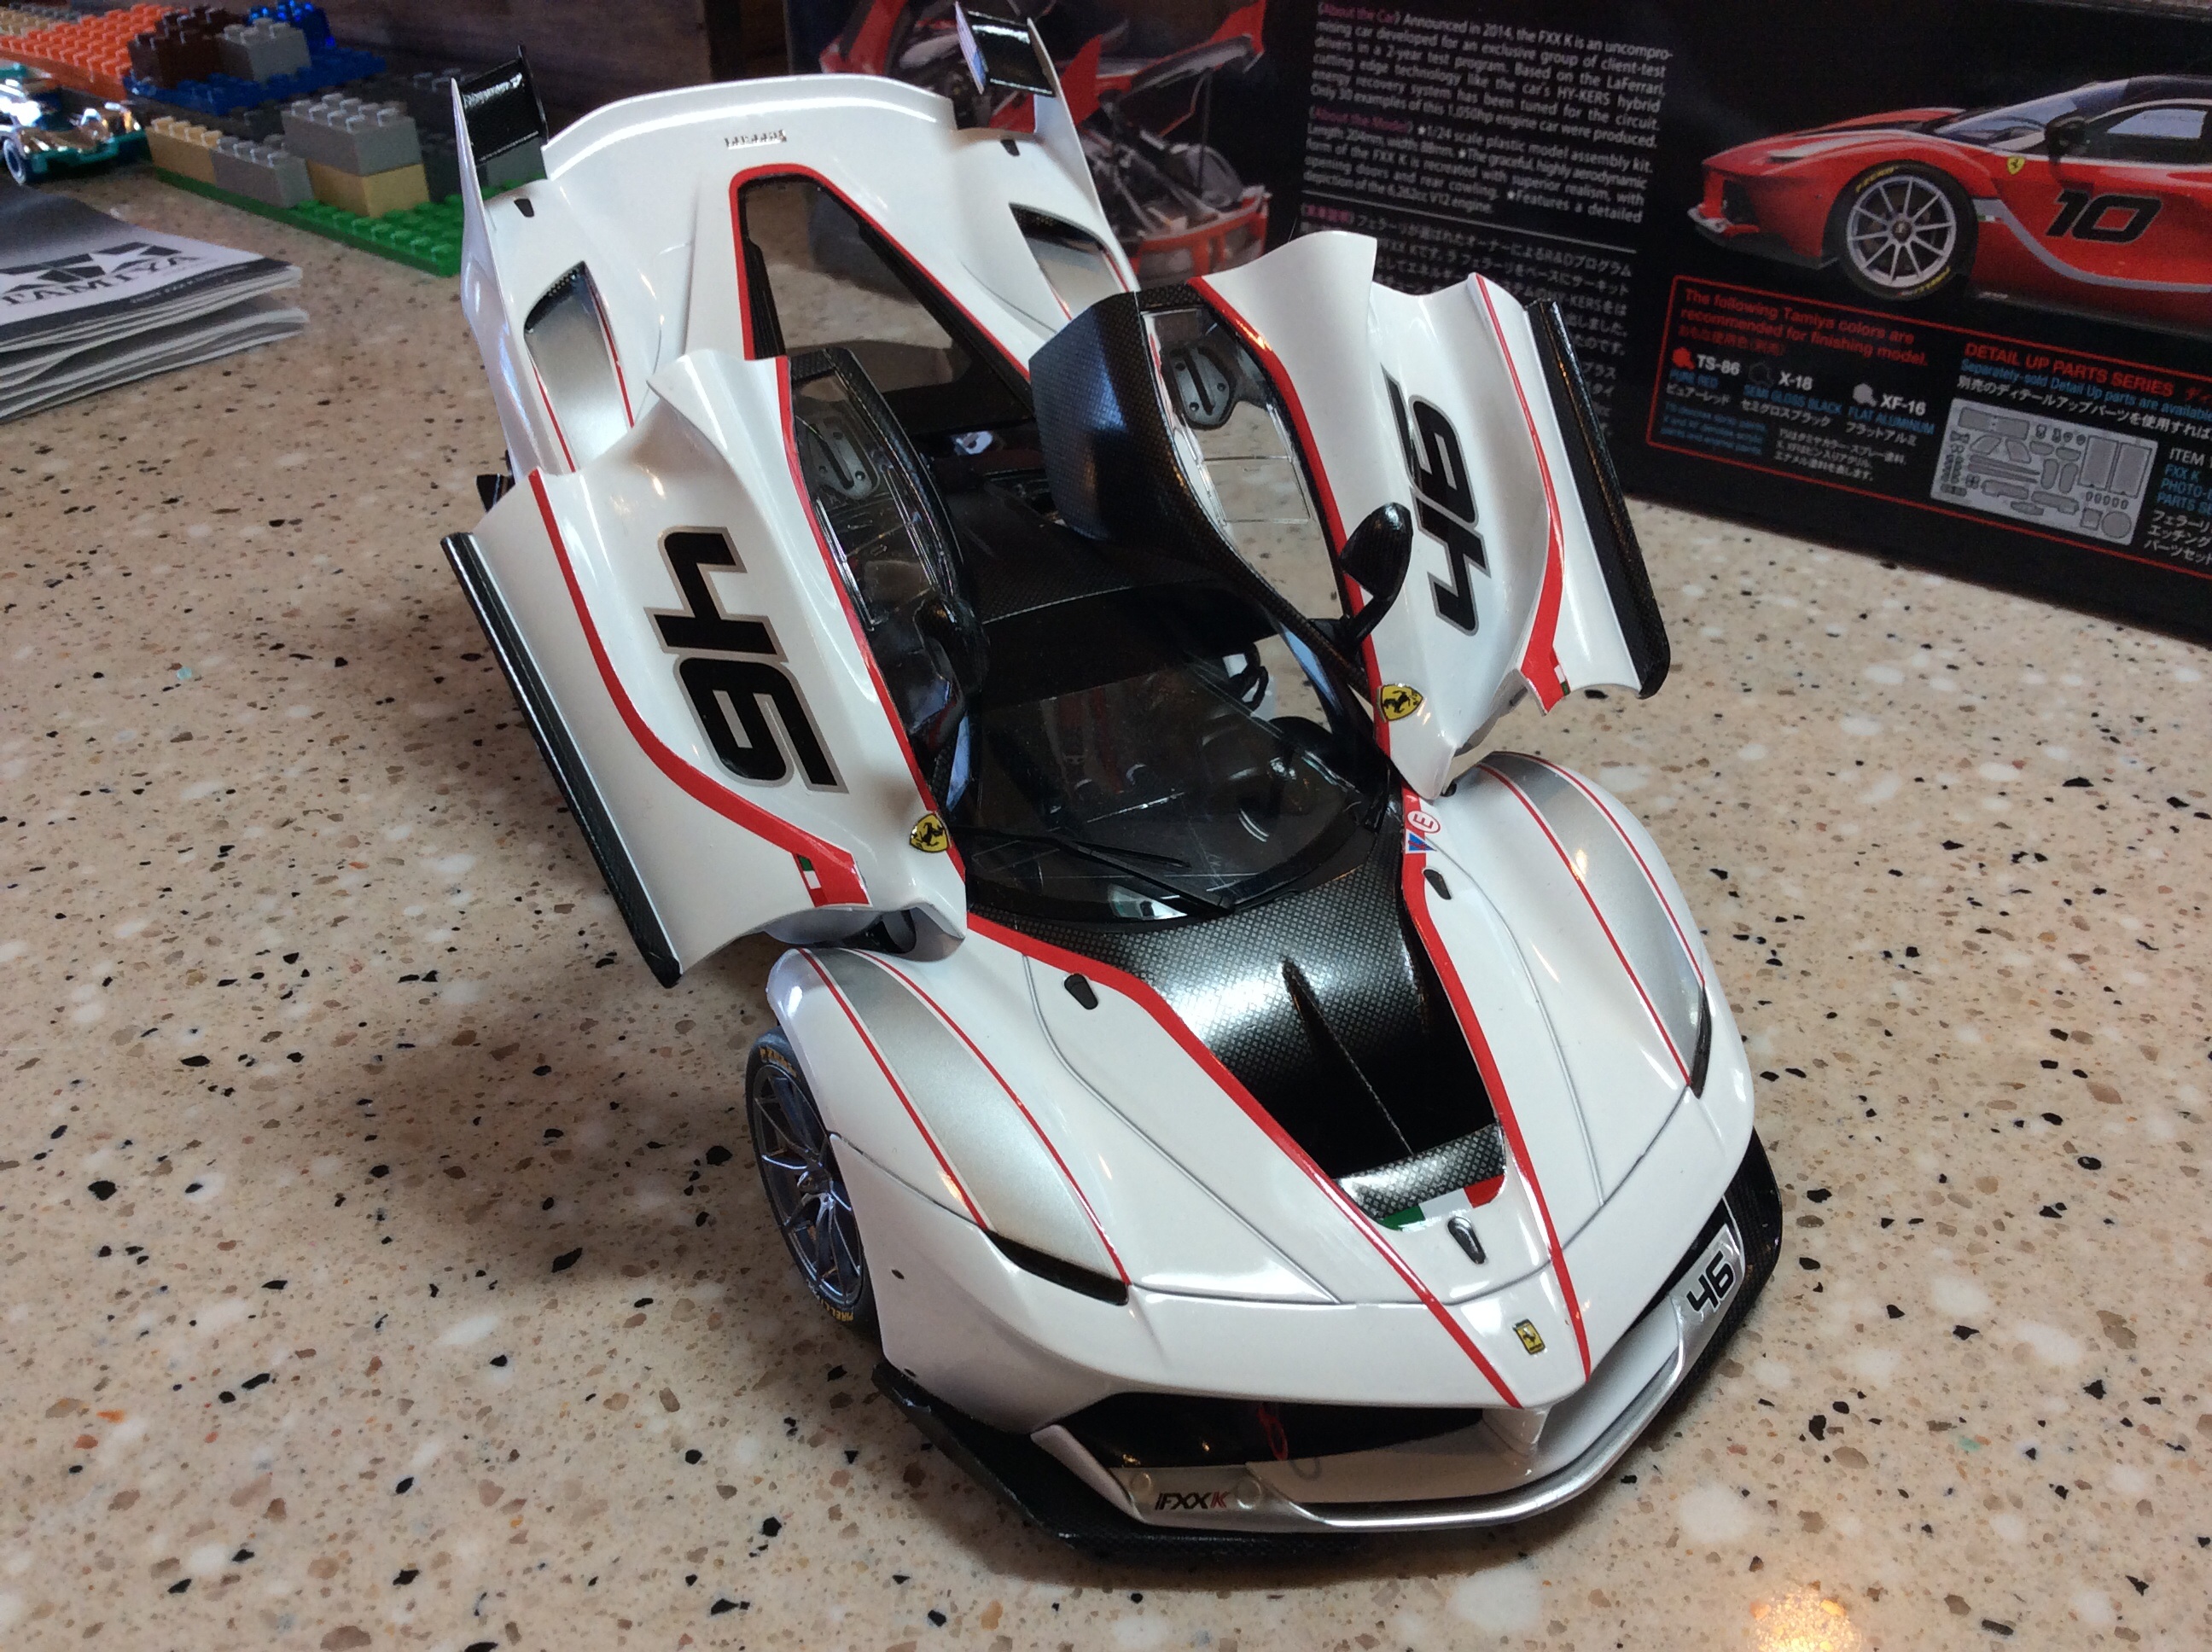
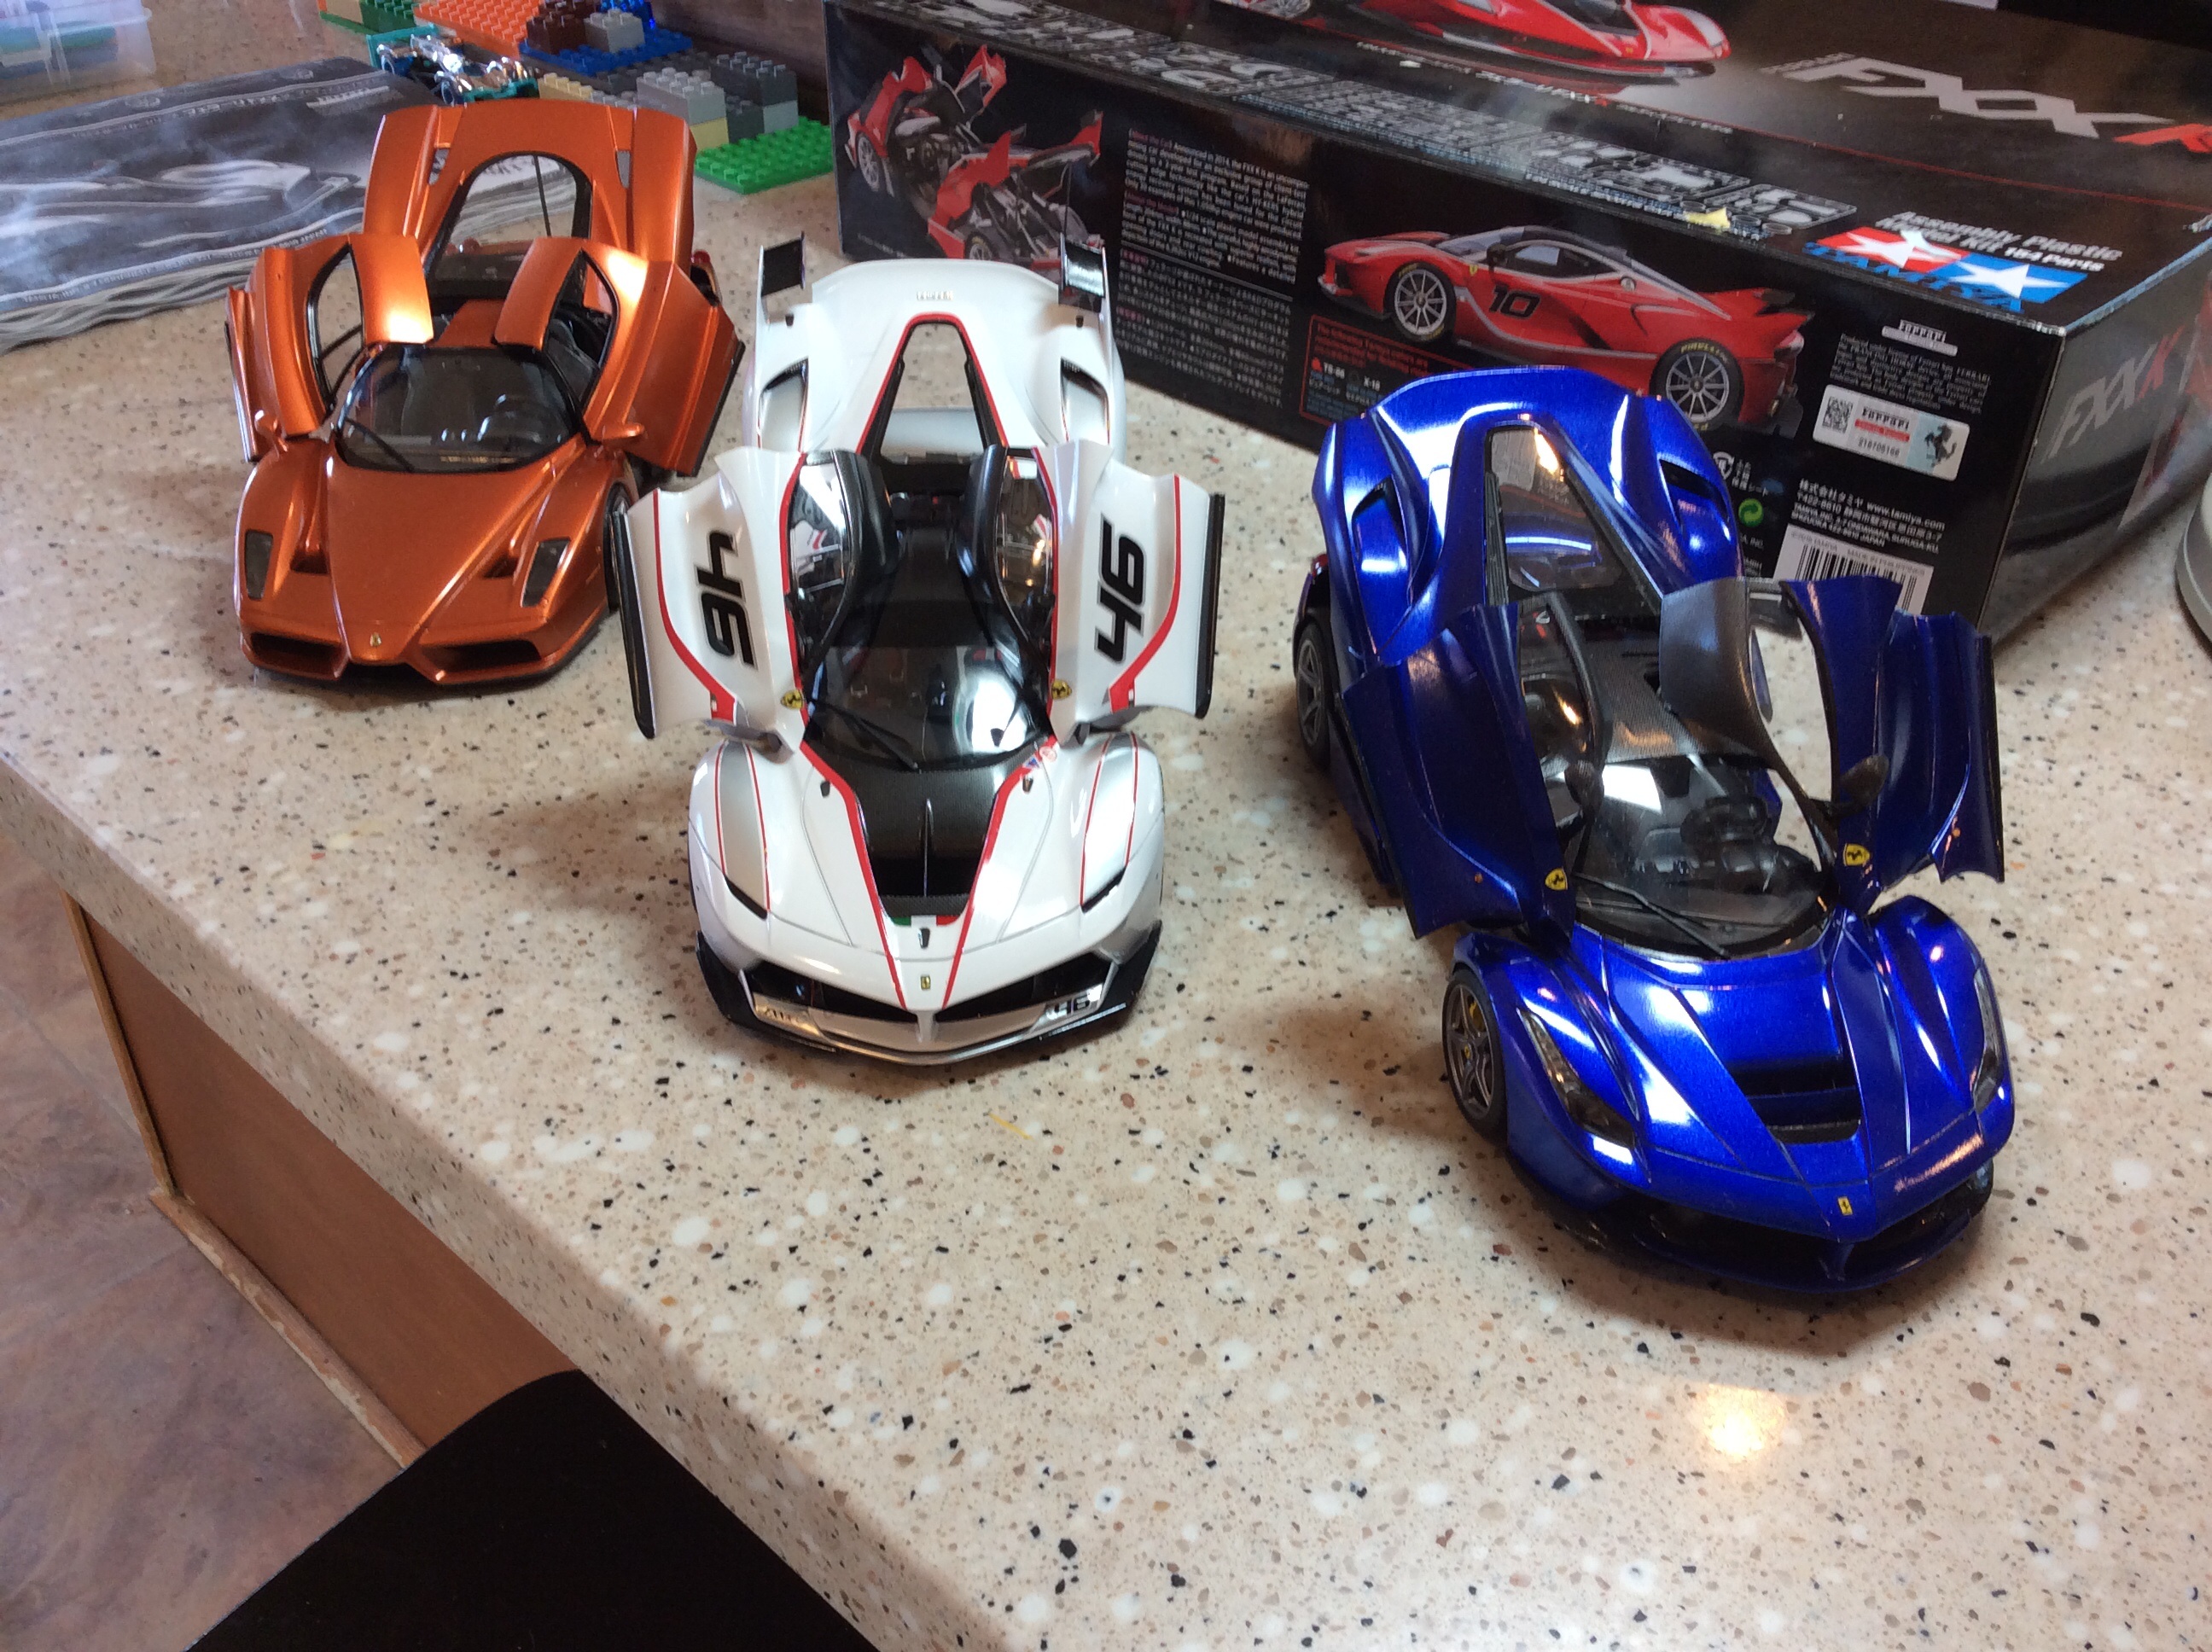
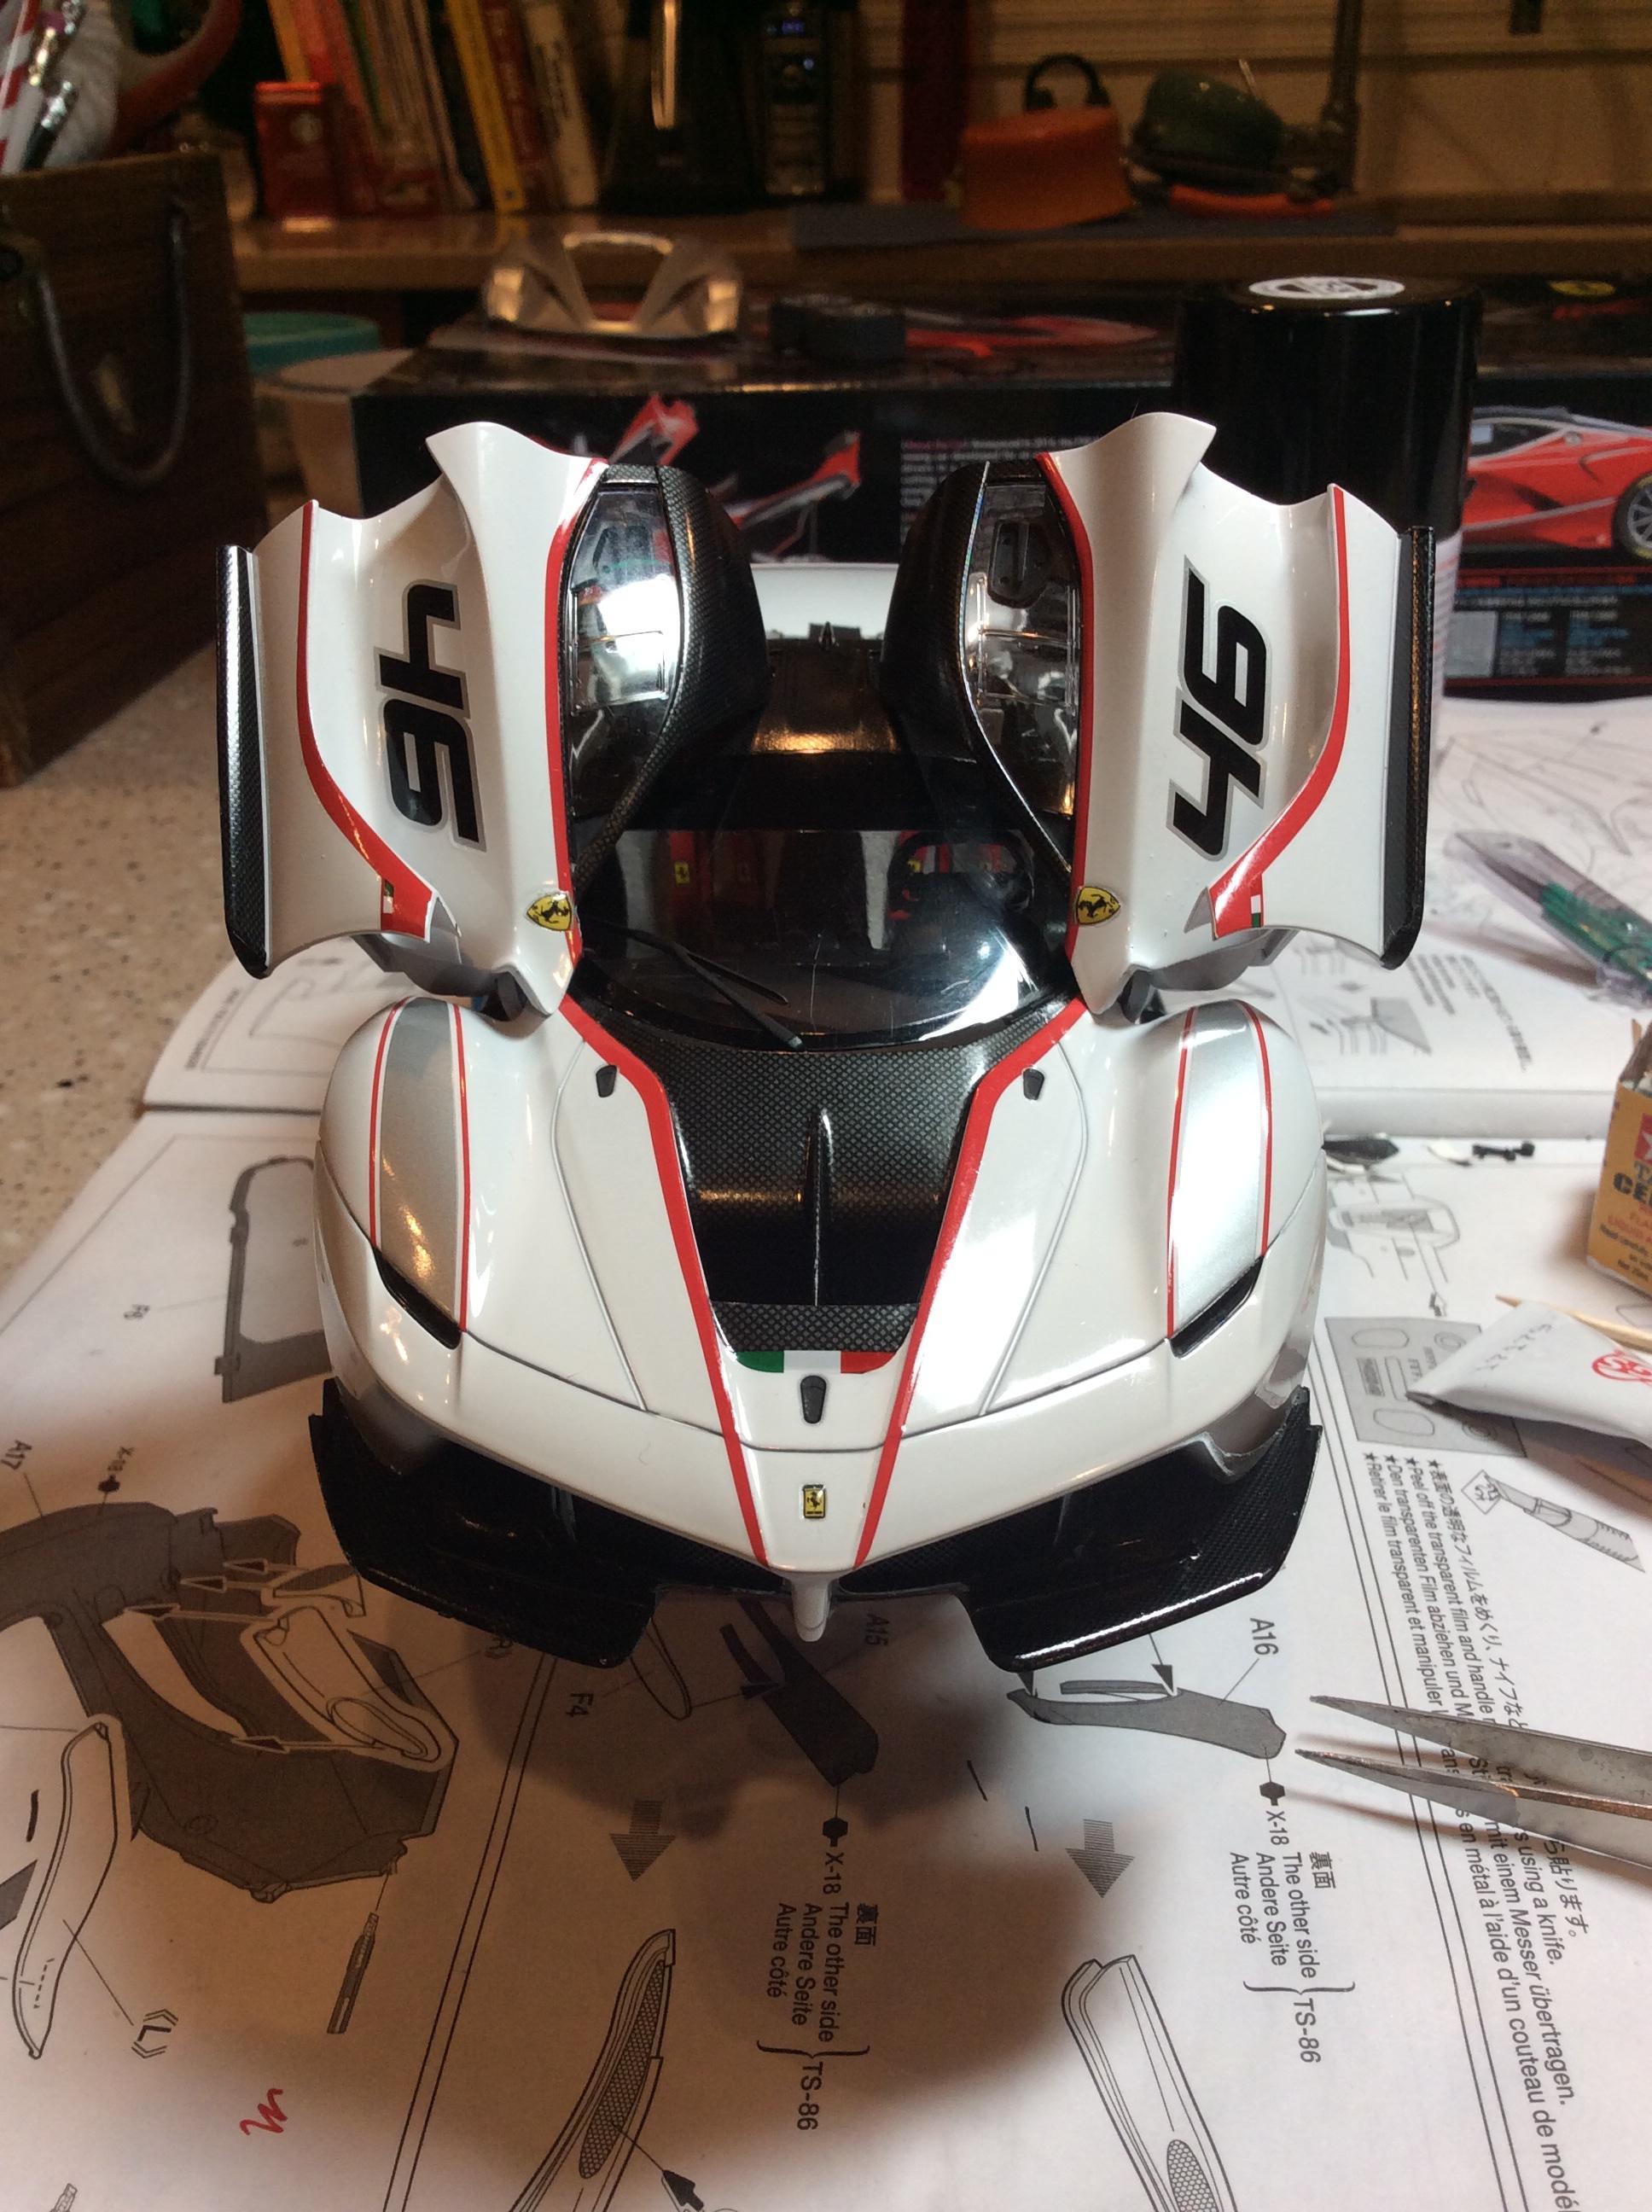
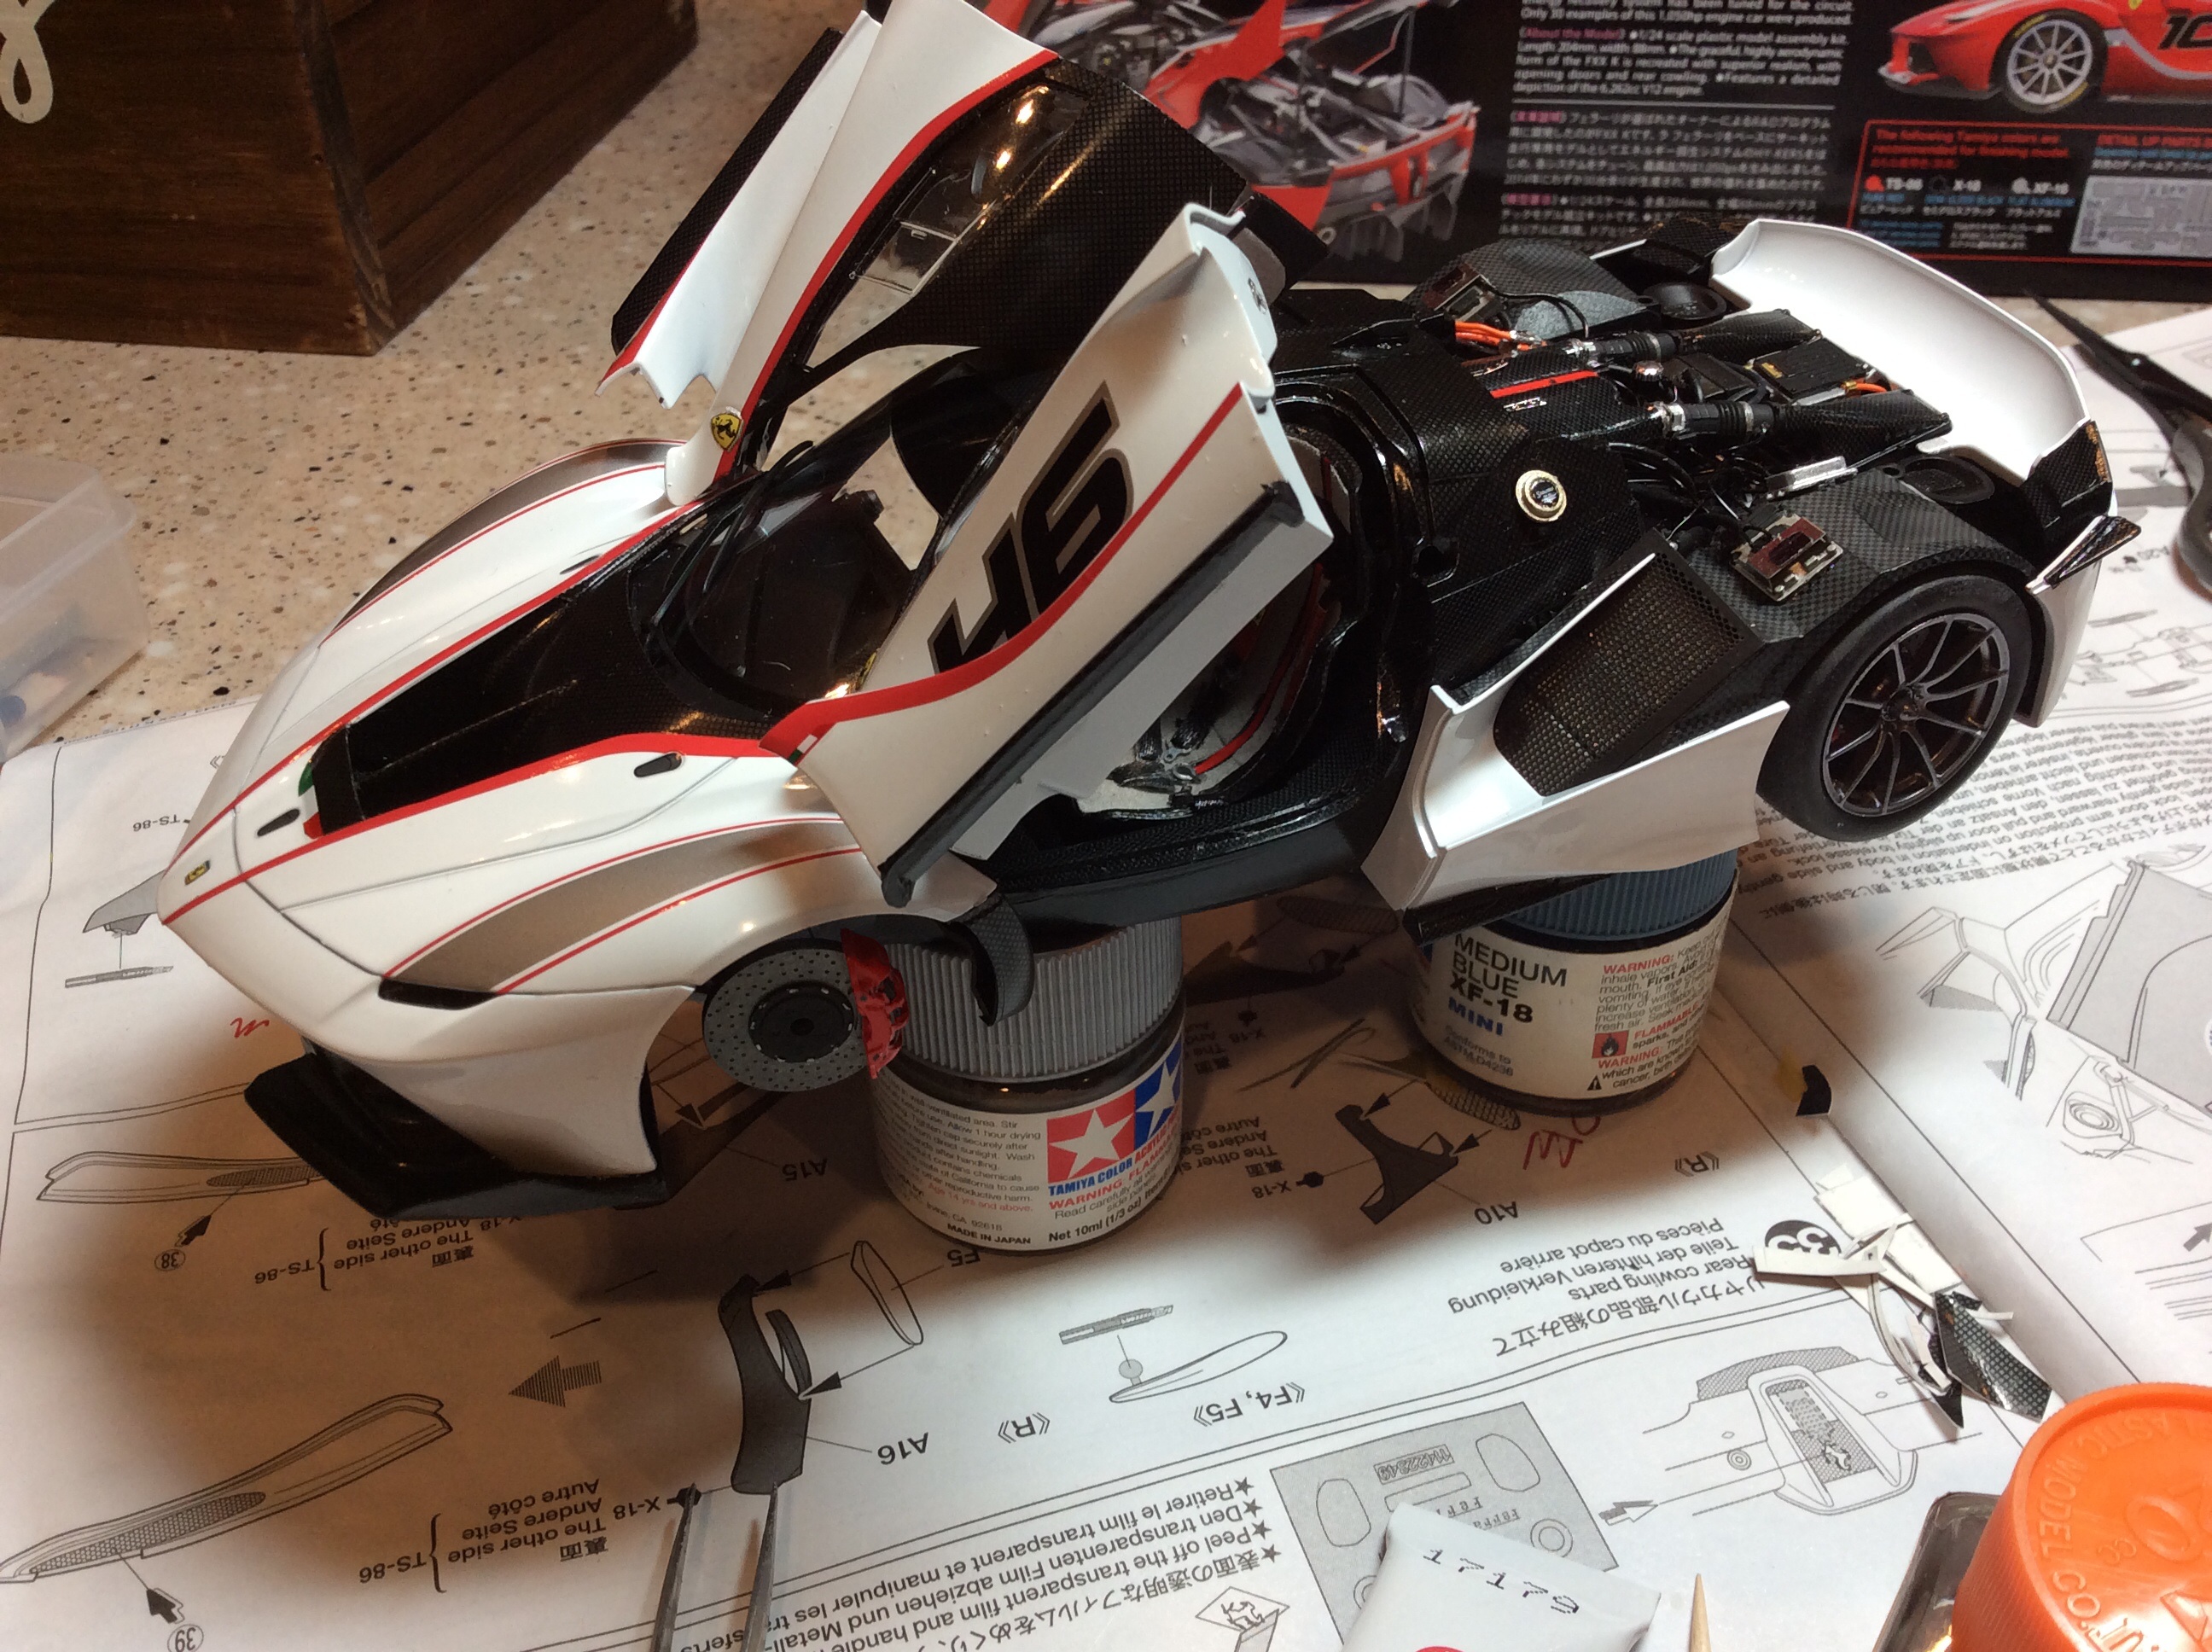
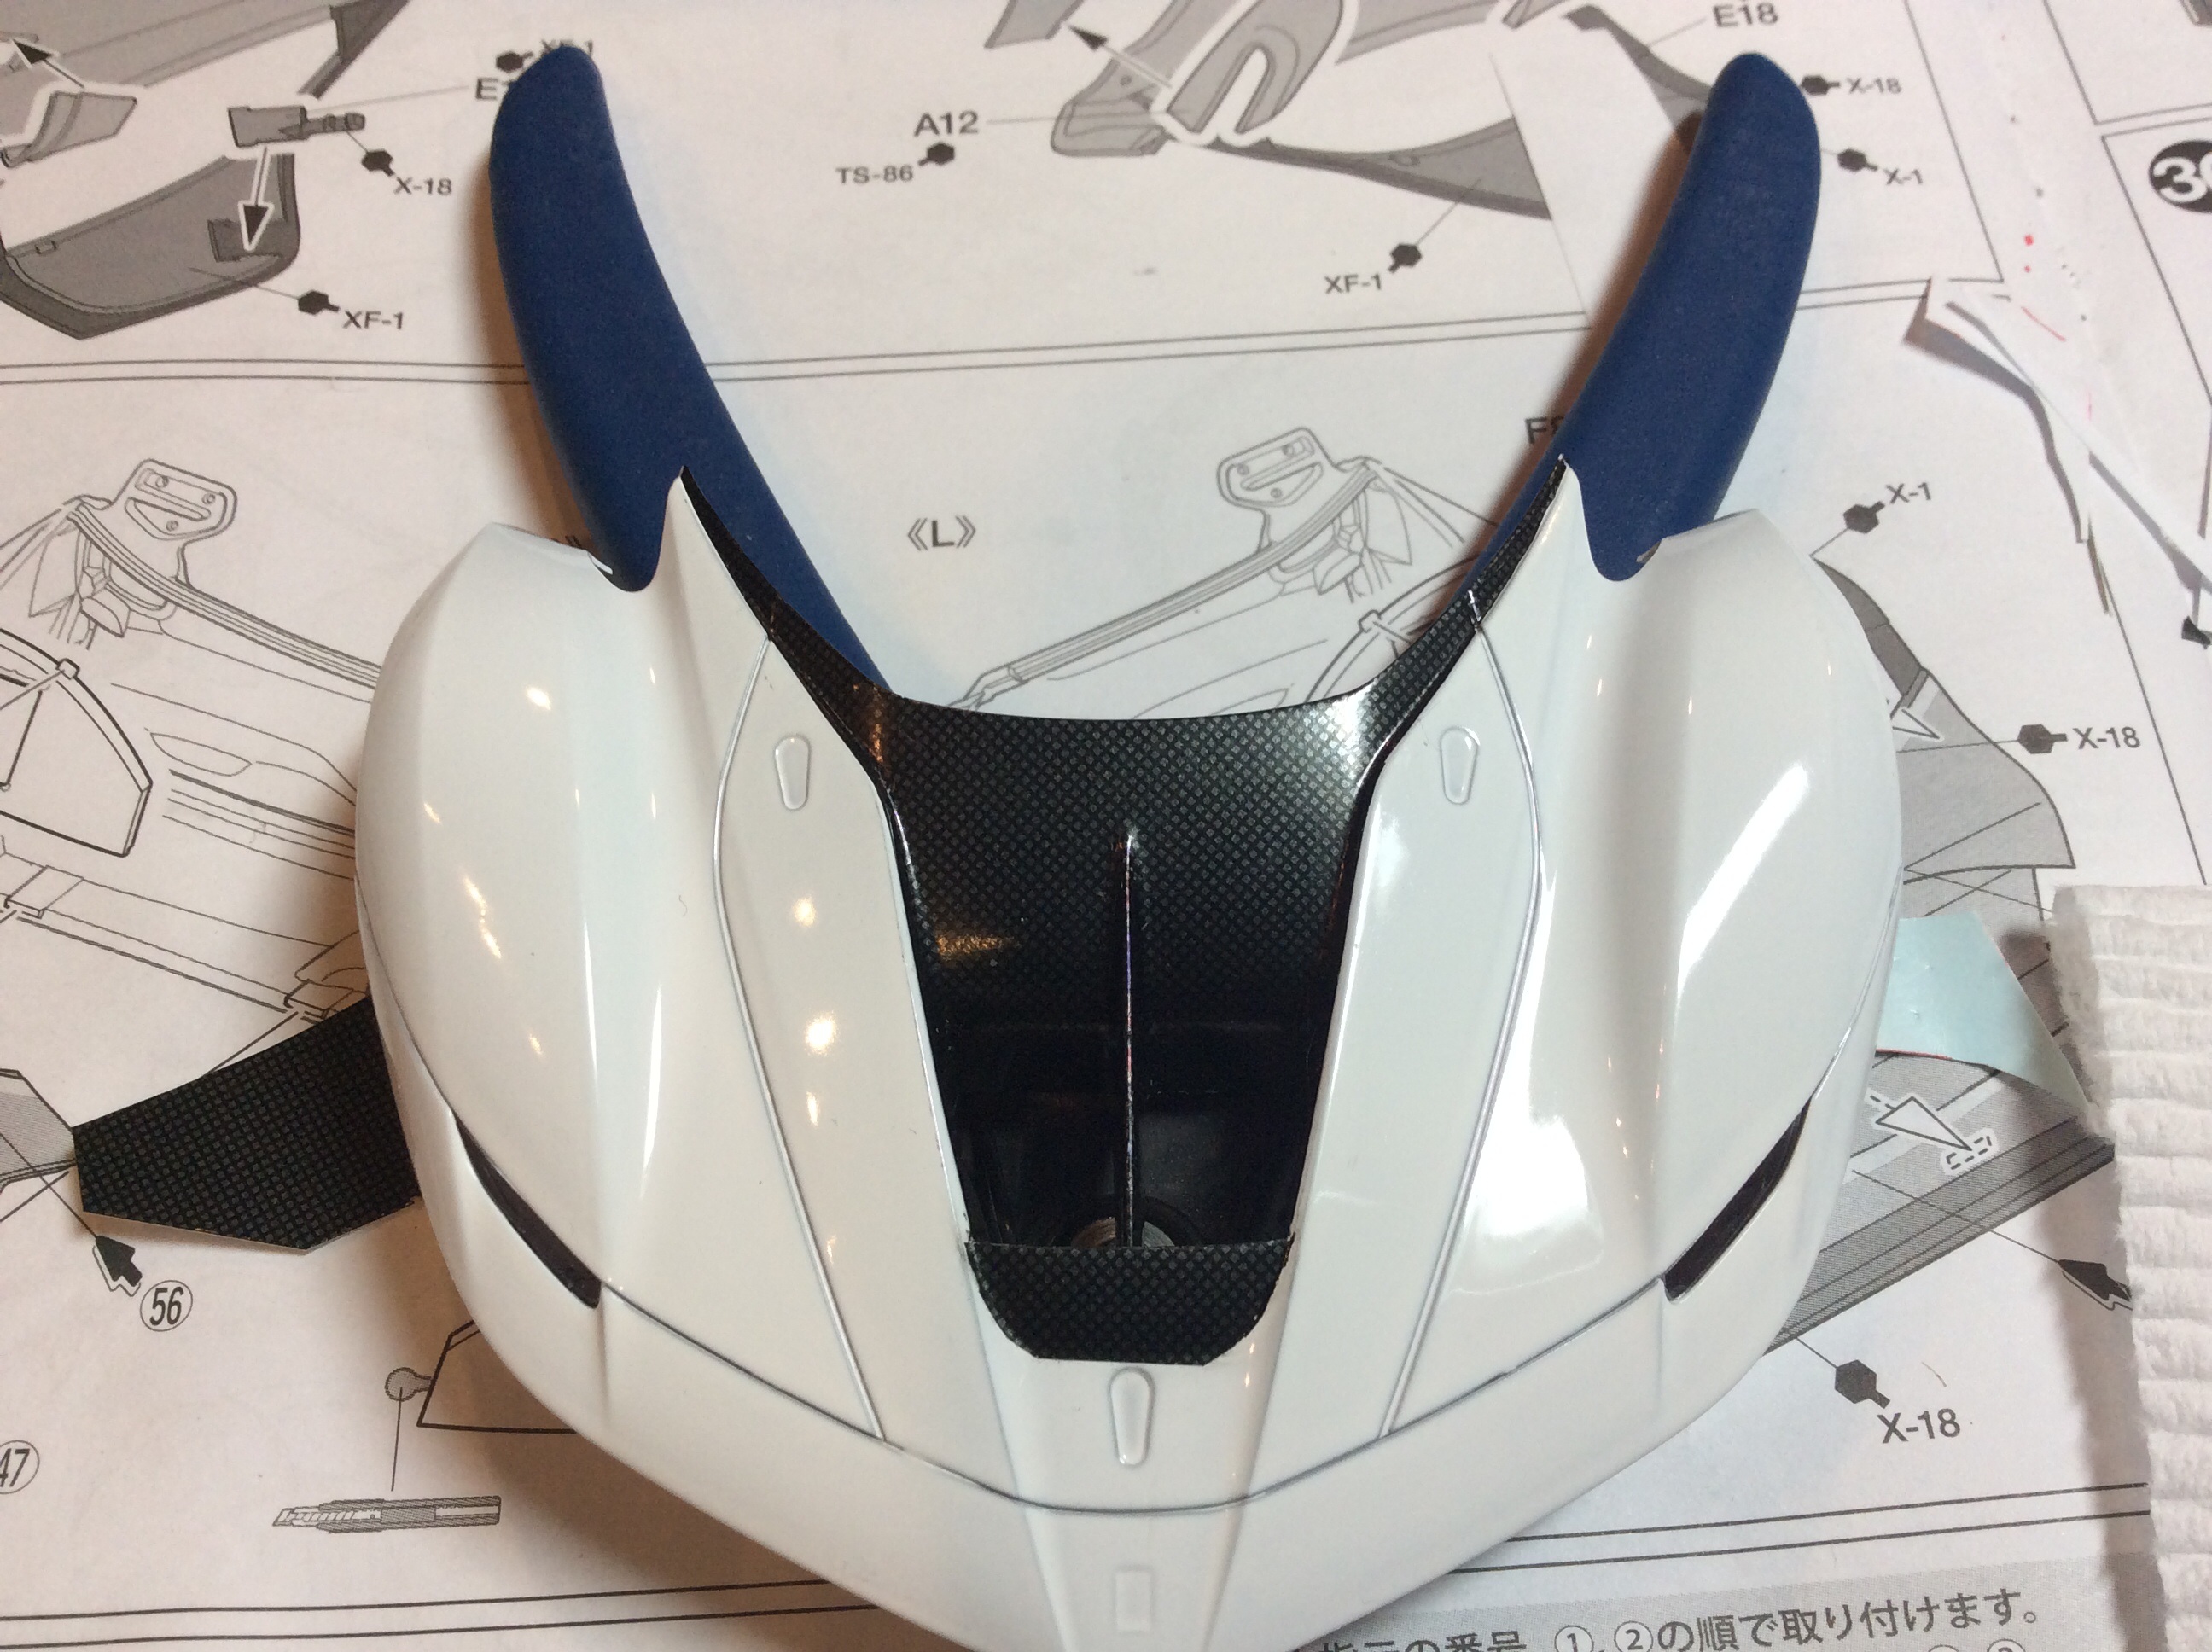
Finally decided to dust off my little work table, shake off some of this old rust and get busy! Right around the 1st of the month I ordered 3 different kits that I'd set my sights on from my favorite on-line supplier, and low and behold, there was a knock knock on the door friday morning and there he was....the good 'ol UPS guy handing me a package that absolutely made my day! There they were, the Ferrari Enzo, FXX-K, and the Ferrari F1 2001, all Tamiya 24th scale with the exception of the F1 in 20th scale. Yes, it was a dream come true for this wildman~**~ Anyhoo, to keep this entry from becoming a lengthy novel, I've decided to do the FXX car first, I guess for a lot of reasons. From the minute I began unboxing this masterpiece, it was very obvious that I had a pretty darn complex build there in front of me plus I just love how this car looks, and the background on it is pretty impressive as well. This will be the first time I've done a WIP on-line, and my first attempt (ever) at a project this detailed, but I've done some background research and collected plenty of photo reference- hopefully this helps me along the way! I didn't go overboard on the aftermarket detail stuff on this car, but got a middle-of-the-road PE kit from Crazy Modeler and the carbon fiber decal set from Tamiya. I'm intent on taking it slow, and hope that I can turn out an end result that does this bad boy the justice it deserves. I am very aware that this particular forum is absolutely loaded with some of the most accomplished and skilled craftsmen one could ever hope to encounter, so if you have ANY advice, suggestions or tips you don't mind sharing as I embark on this journey, not only will they be welcomed, but very much appreciated as well!! Thanks guys, and look forward to your comments!
-
While waiting for things to dry on my Pagani build, I was thinking about how cool a 288 Roadster would look. Since my special kit No.9 had a screwed-up bonnet vent, I decided to use it as my test model. I discovered that all the kits I've had molded in the red plastic ALL had the same warped bonnet vents, so I decided to try the white plastic kit No.105, since a friend told me his was fine.....so I ordered two white ones, and they were both fine! What I learned here, is that if you don't want to use the PE vents.....which I don't, then you want NOTHING to do with the kits molded in red. Anyway, I will be playing around with this here and there in between builds.
-
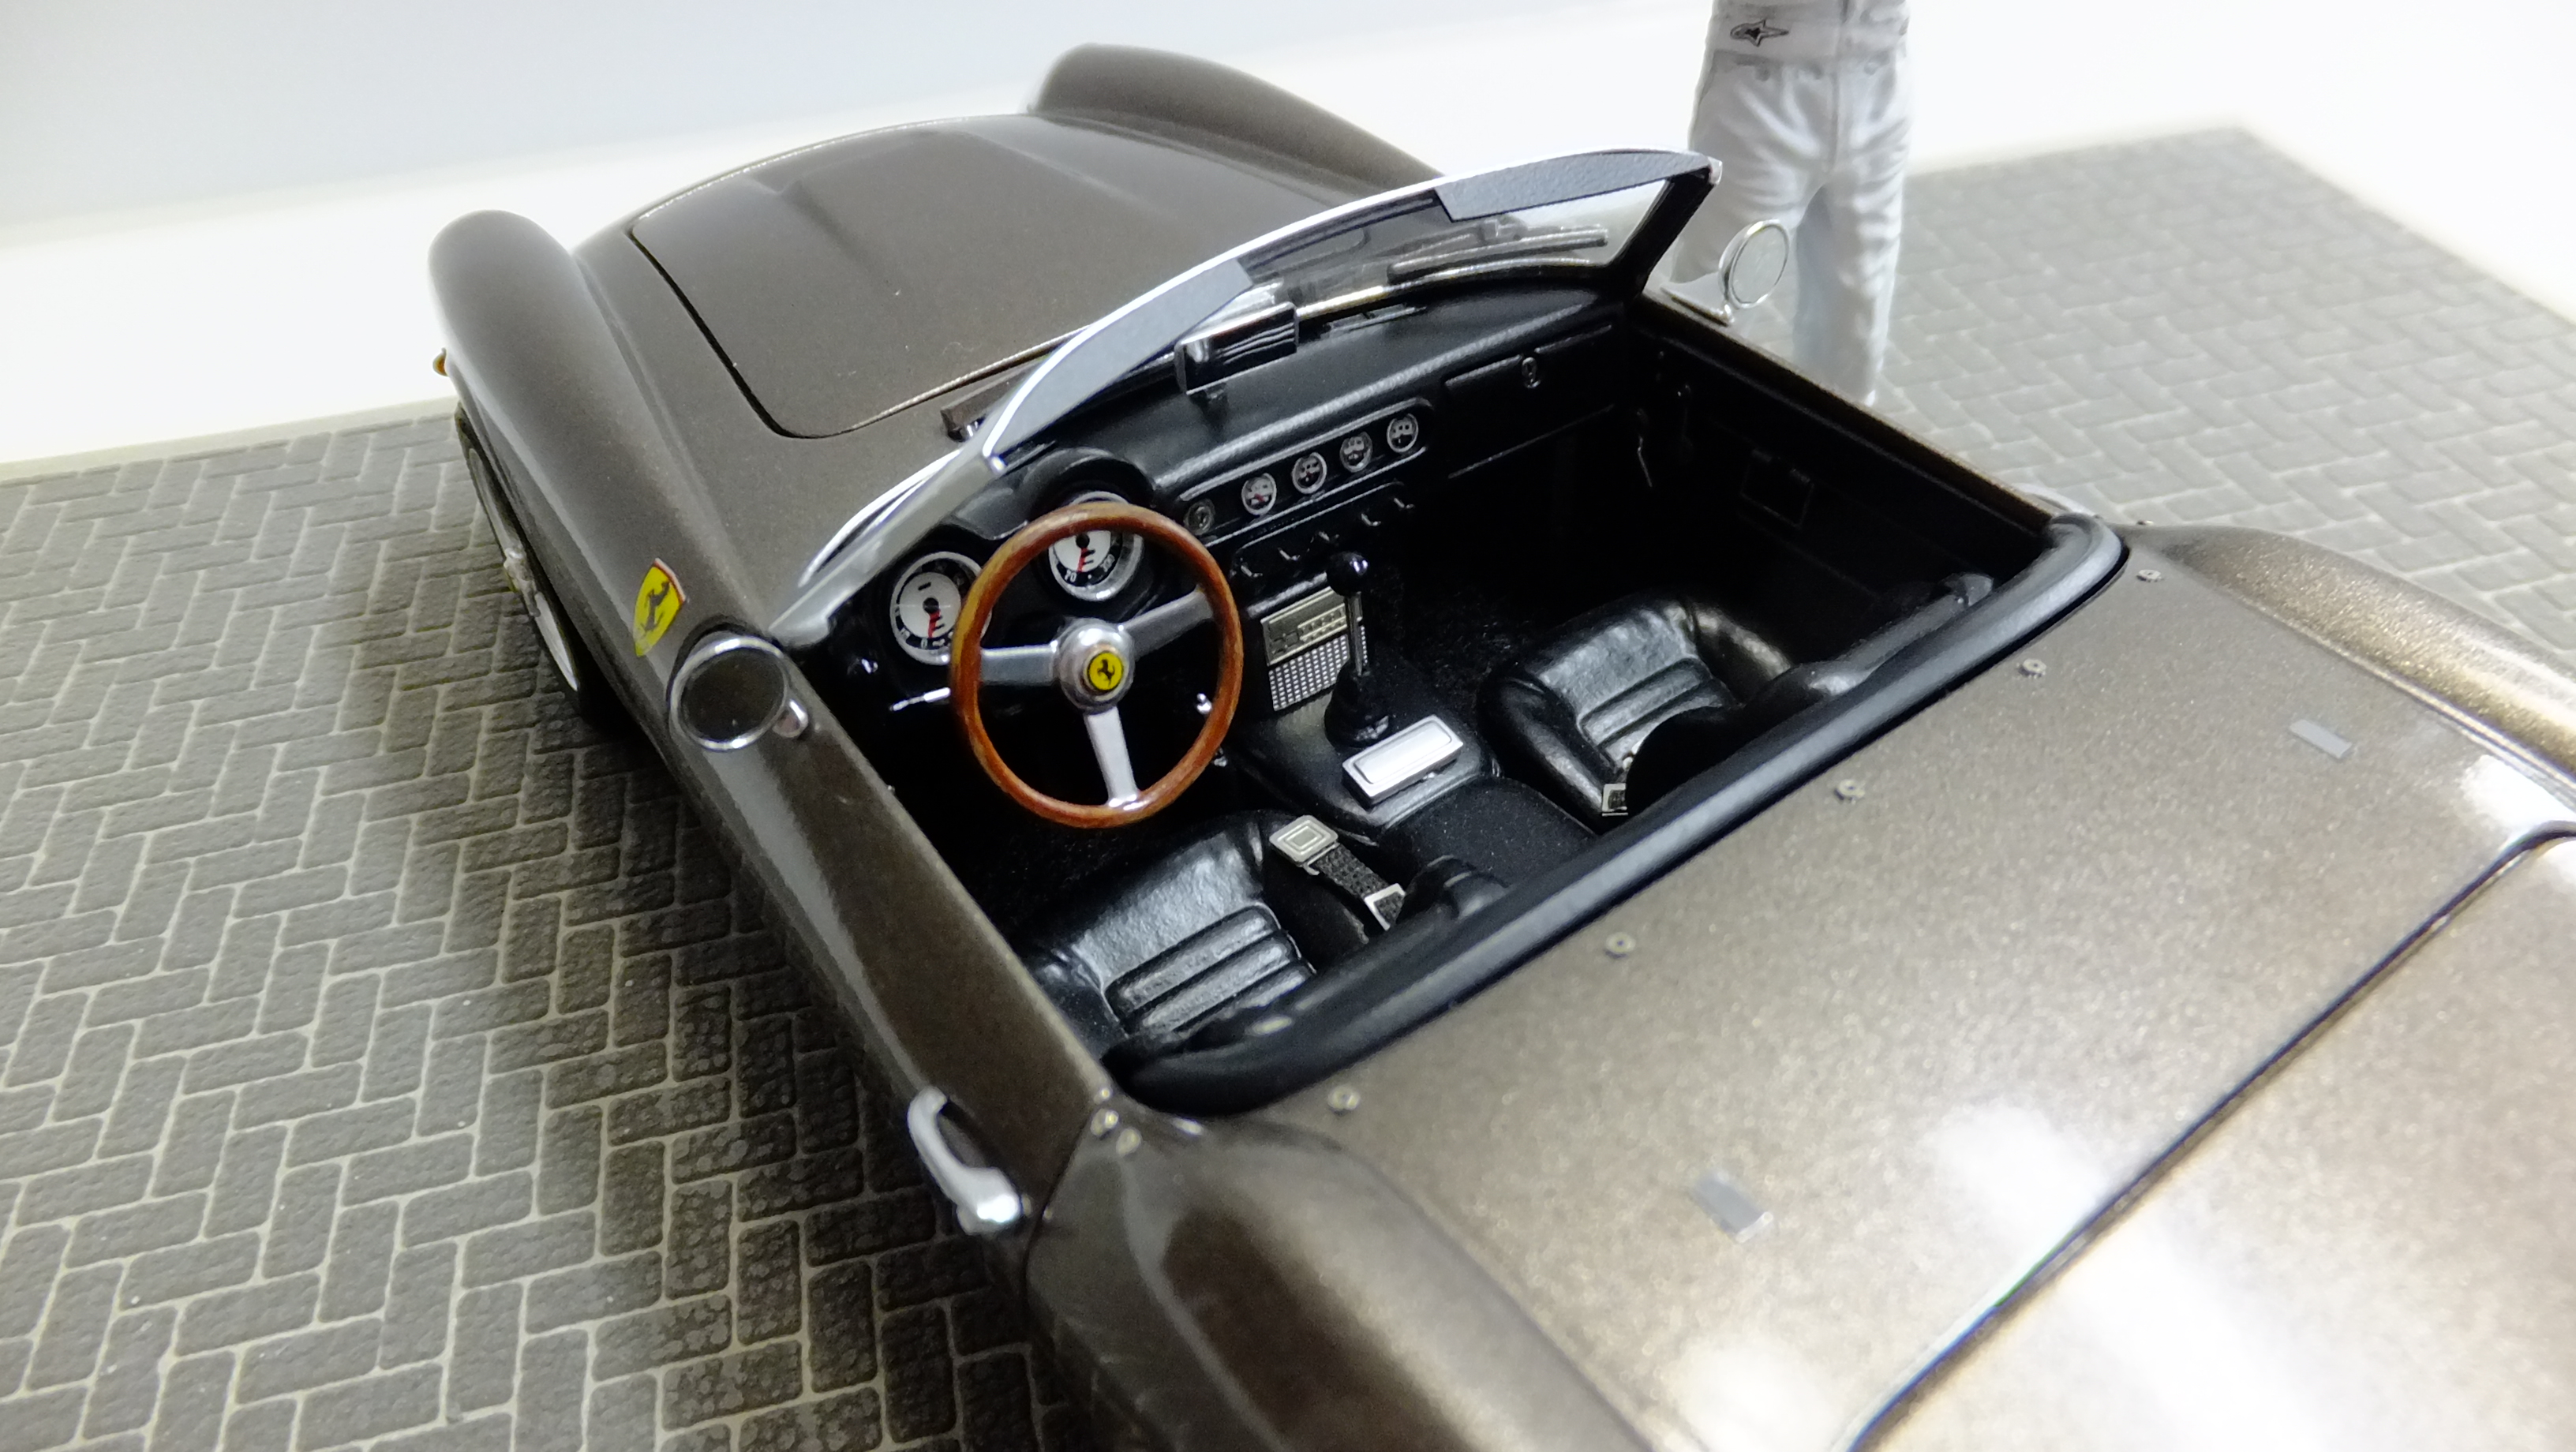
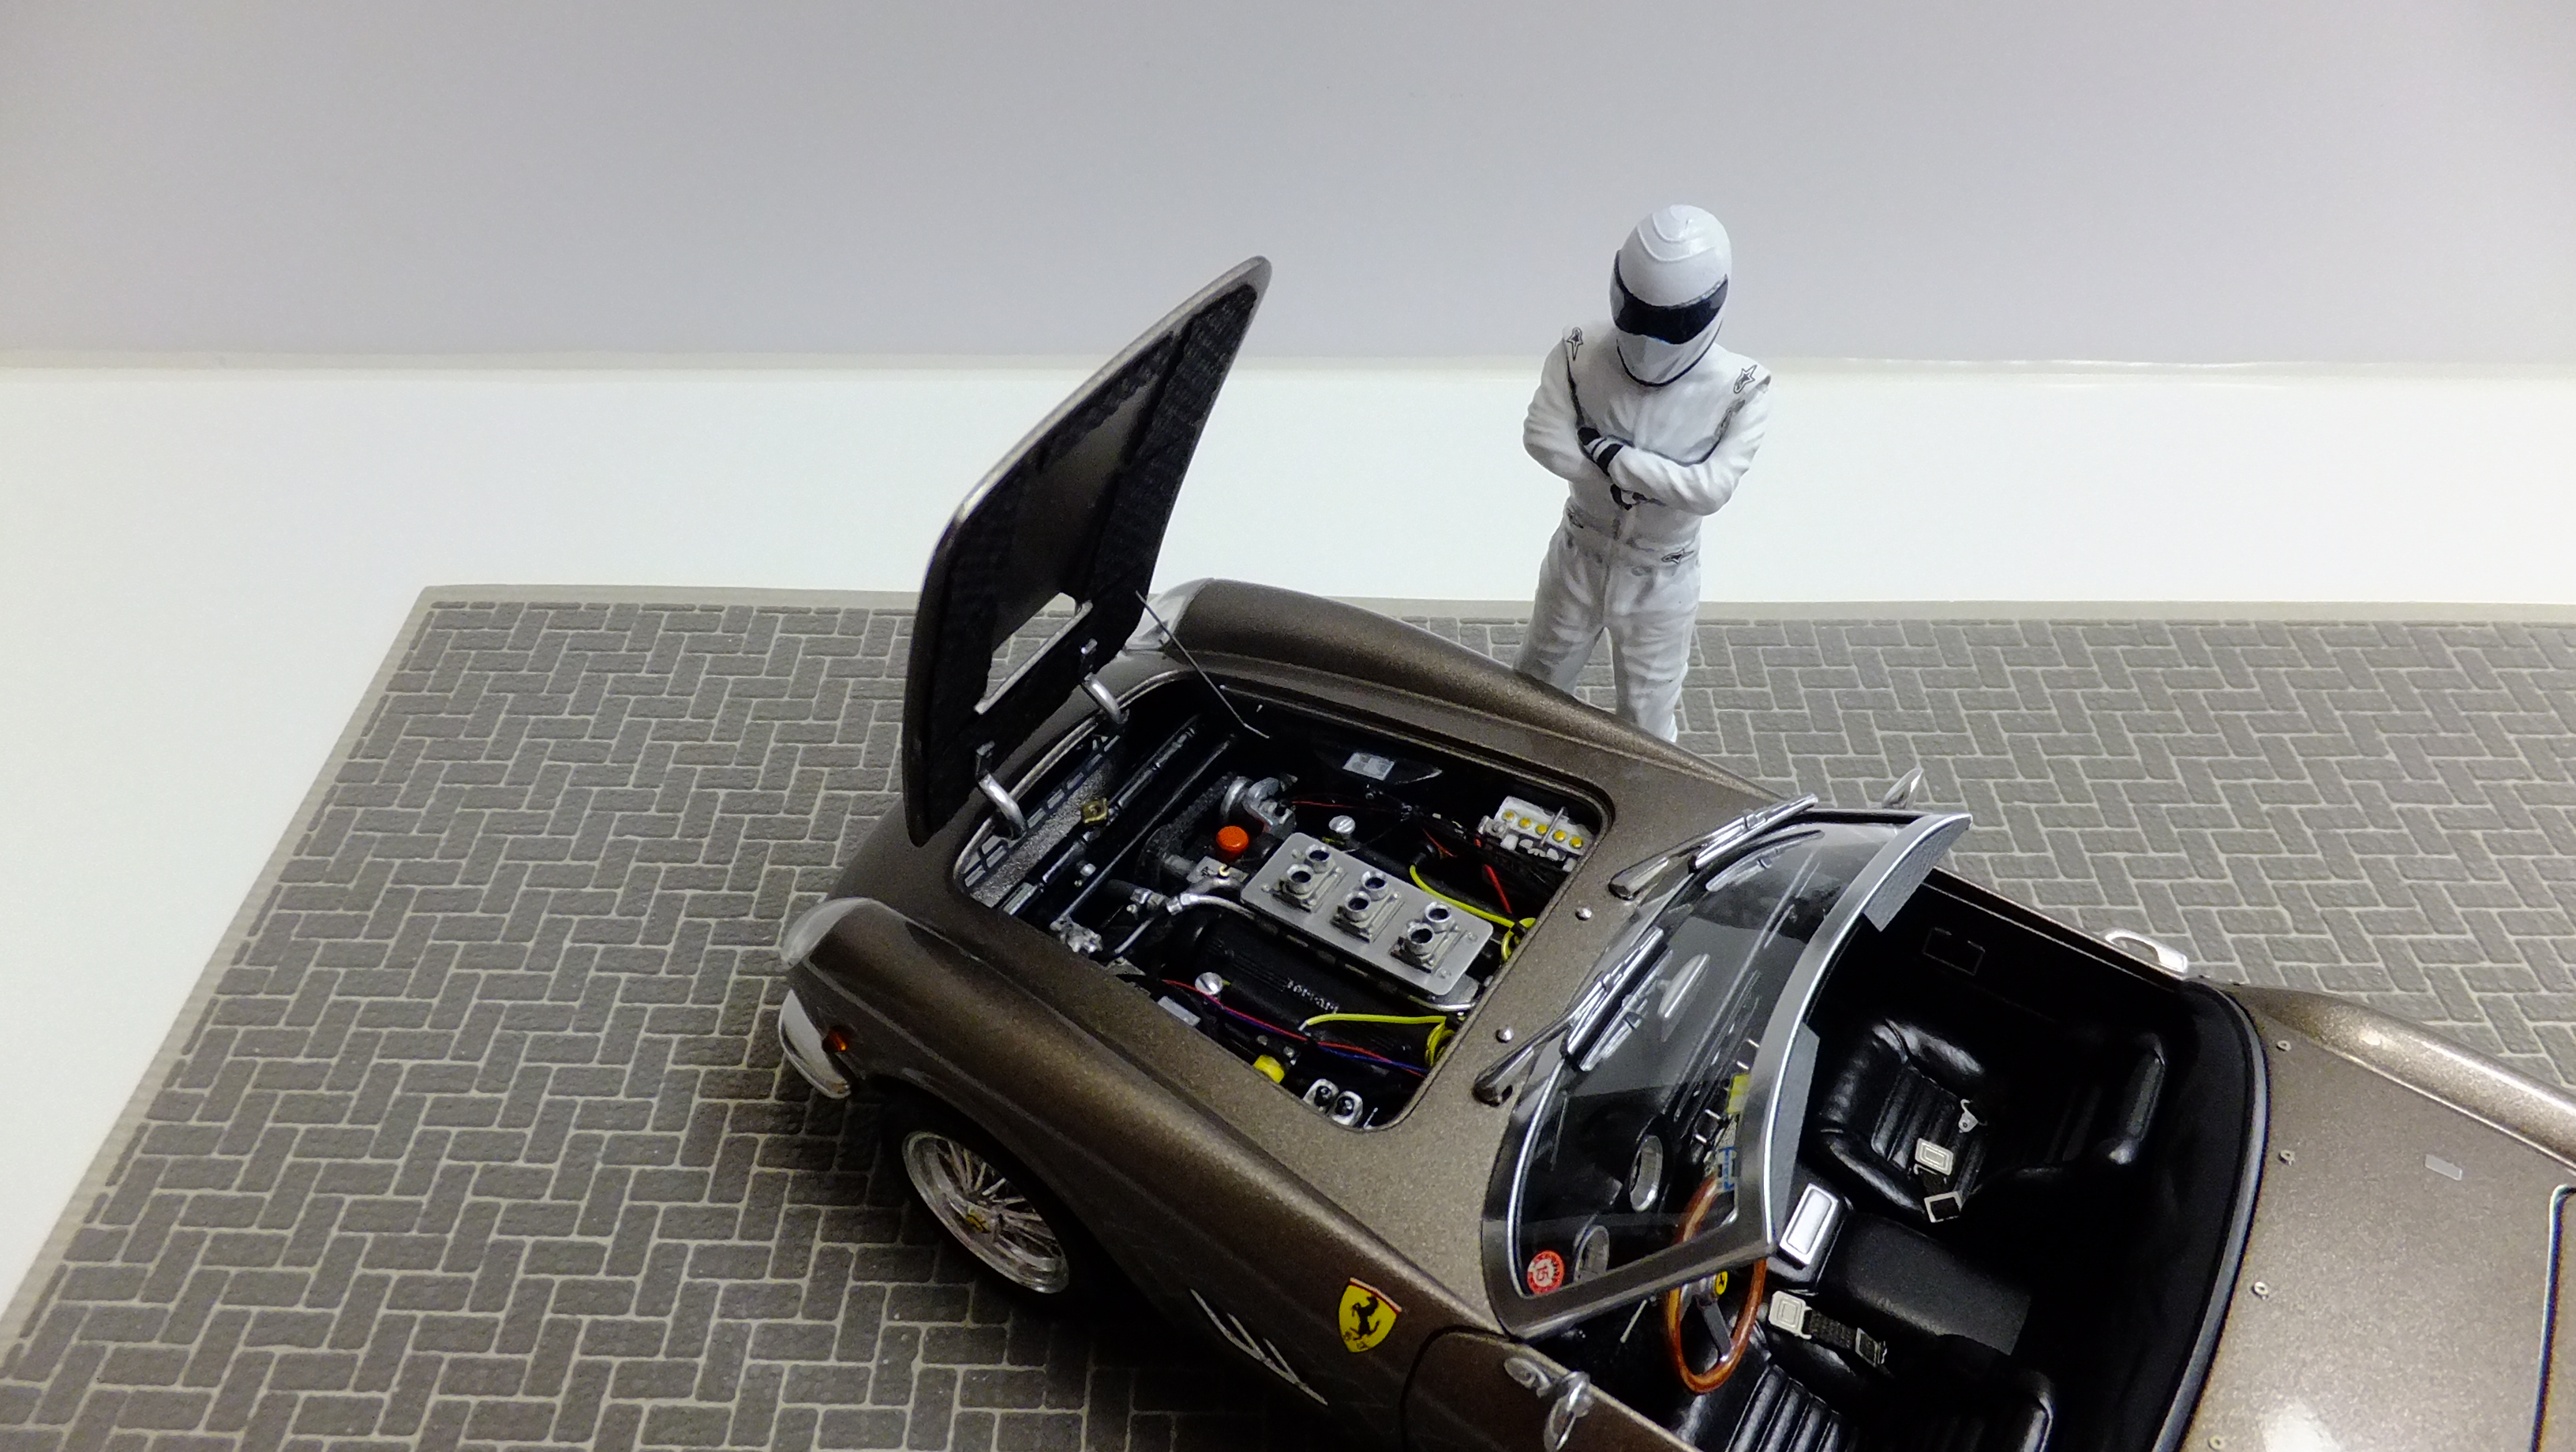
 DISCLAIMER: These kits have been started in 2008 before my accident. Everything that you see in the first few posts will be the work I have completed before the project was shelved. I’m attempting to resurrect the build and hopefully complete these at some point soon, just don’t know if I’m still in shape to actually do it, but what the heck. =================================== The 1979 24 Hours of Le Mans was the 47th Grand Prix of Endurance, and took place on June 9 and 10, 1979. Ferrari had no chance against mighty Porsches and new BMW M1s, but it did enter several cars in competition. It was Beurlys 512BB LM #61 "EMKA" with its screaming 4.9L Flat-12 driven by Nick Faure, Steve O'Rourke, Bernard de Dryver, and Jean Blaton that showed 12 overall result having completed 274 laps. Today I will build this car in 1:24th, using multimedia kit from Model Factory Hiro. I will be another double-build. The second car will be JMS Racing/Pozzi #63 3M "Cloud Car", which unfortunately DNF after completing 219 laps. Here are couple of pictures of the real cars: The kits are usual MFH detail tour de force, with lots of white metal, turned aluminum and steel, and photoetch. Body is half resin half metal, and lots of other materials used for various parts of the kit as well. I started with cleaning the bodies, but as with all MFH kits, the process will be slow (and painful) because of the amount of cleanup and test-fitting required. You get a lot for your 31500 yen - here is kit contents: As you can see on the following pix, the fit is horrible. I mean - nothing really fits! It looks like some parts came from a different kit! So...I decided to cut it all apart and see if I can put it back together so it fits right! Made templates for the doors Then started hacking into it. Look at the thickness of that thing! Good grief! You know why Hiro kits are so expensive? They use way too much resin :-) LOL! After I cleaned up door jambs a bit I found one positive though - I don't have to build door jambs now - they are thick enough as is, I actually had to thin them down a bit. Door pattern was transferred to sheet brass, then doors were cut out, shaped over the spare body and just by hand, and then meticulously fine-tuned, bent here and there, beaten to shape. Still need some work a bit, but the basic shape is there. Door jambs were cleaned for the doors, and then I started carving the cavity for the doors to go inside the body when they open. After few hours of work, cavities were made, door jambs finished, and part of the hinge made. Then I added hinge to the door skins. It is a very simple but very effective construction that perfectly replicates the way doors opened on the real car. Later on, the entire hinge assembly will be concealed by the inner door frame. This is how the doors fit on the outside: Front lid was sanded and re-shaped until my fingers started bleeding! Had to completely re-do the sides, then thin it down (a lot). That cover needed tons of work. Still need a bit more, but I was at least able to do proper test fitting. Now I need to do the same for the other! Door frames! Still a few tweaks needed here and there, and solder needs to be cleaned up, but basic shape is there. So, this is where it all stopped in 2008. I have not touched this kit since, everything that is to follow will be new stuff. I honestly don’t even know where to pick up the pieces on this, but will assess the situation over the weekend and proceed then. Just wanted to put this up here as a bookmark!
 -
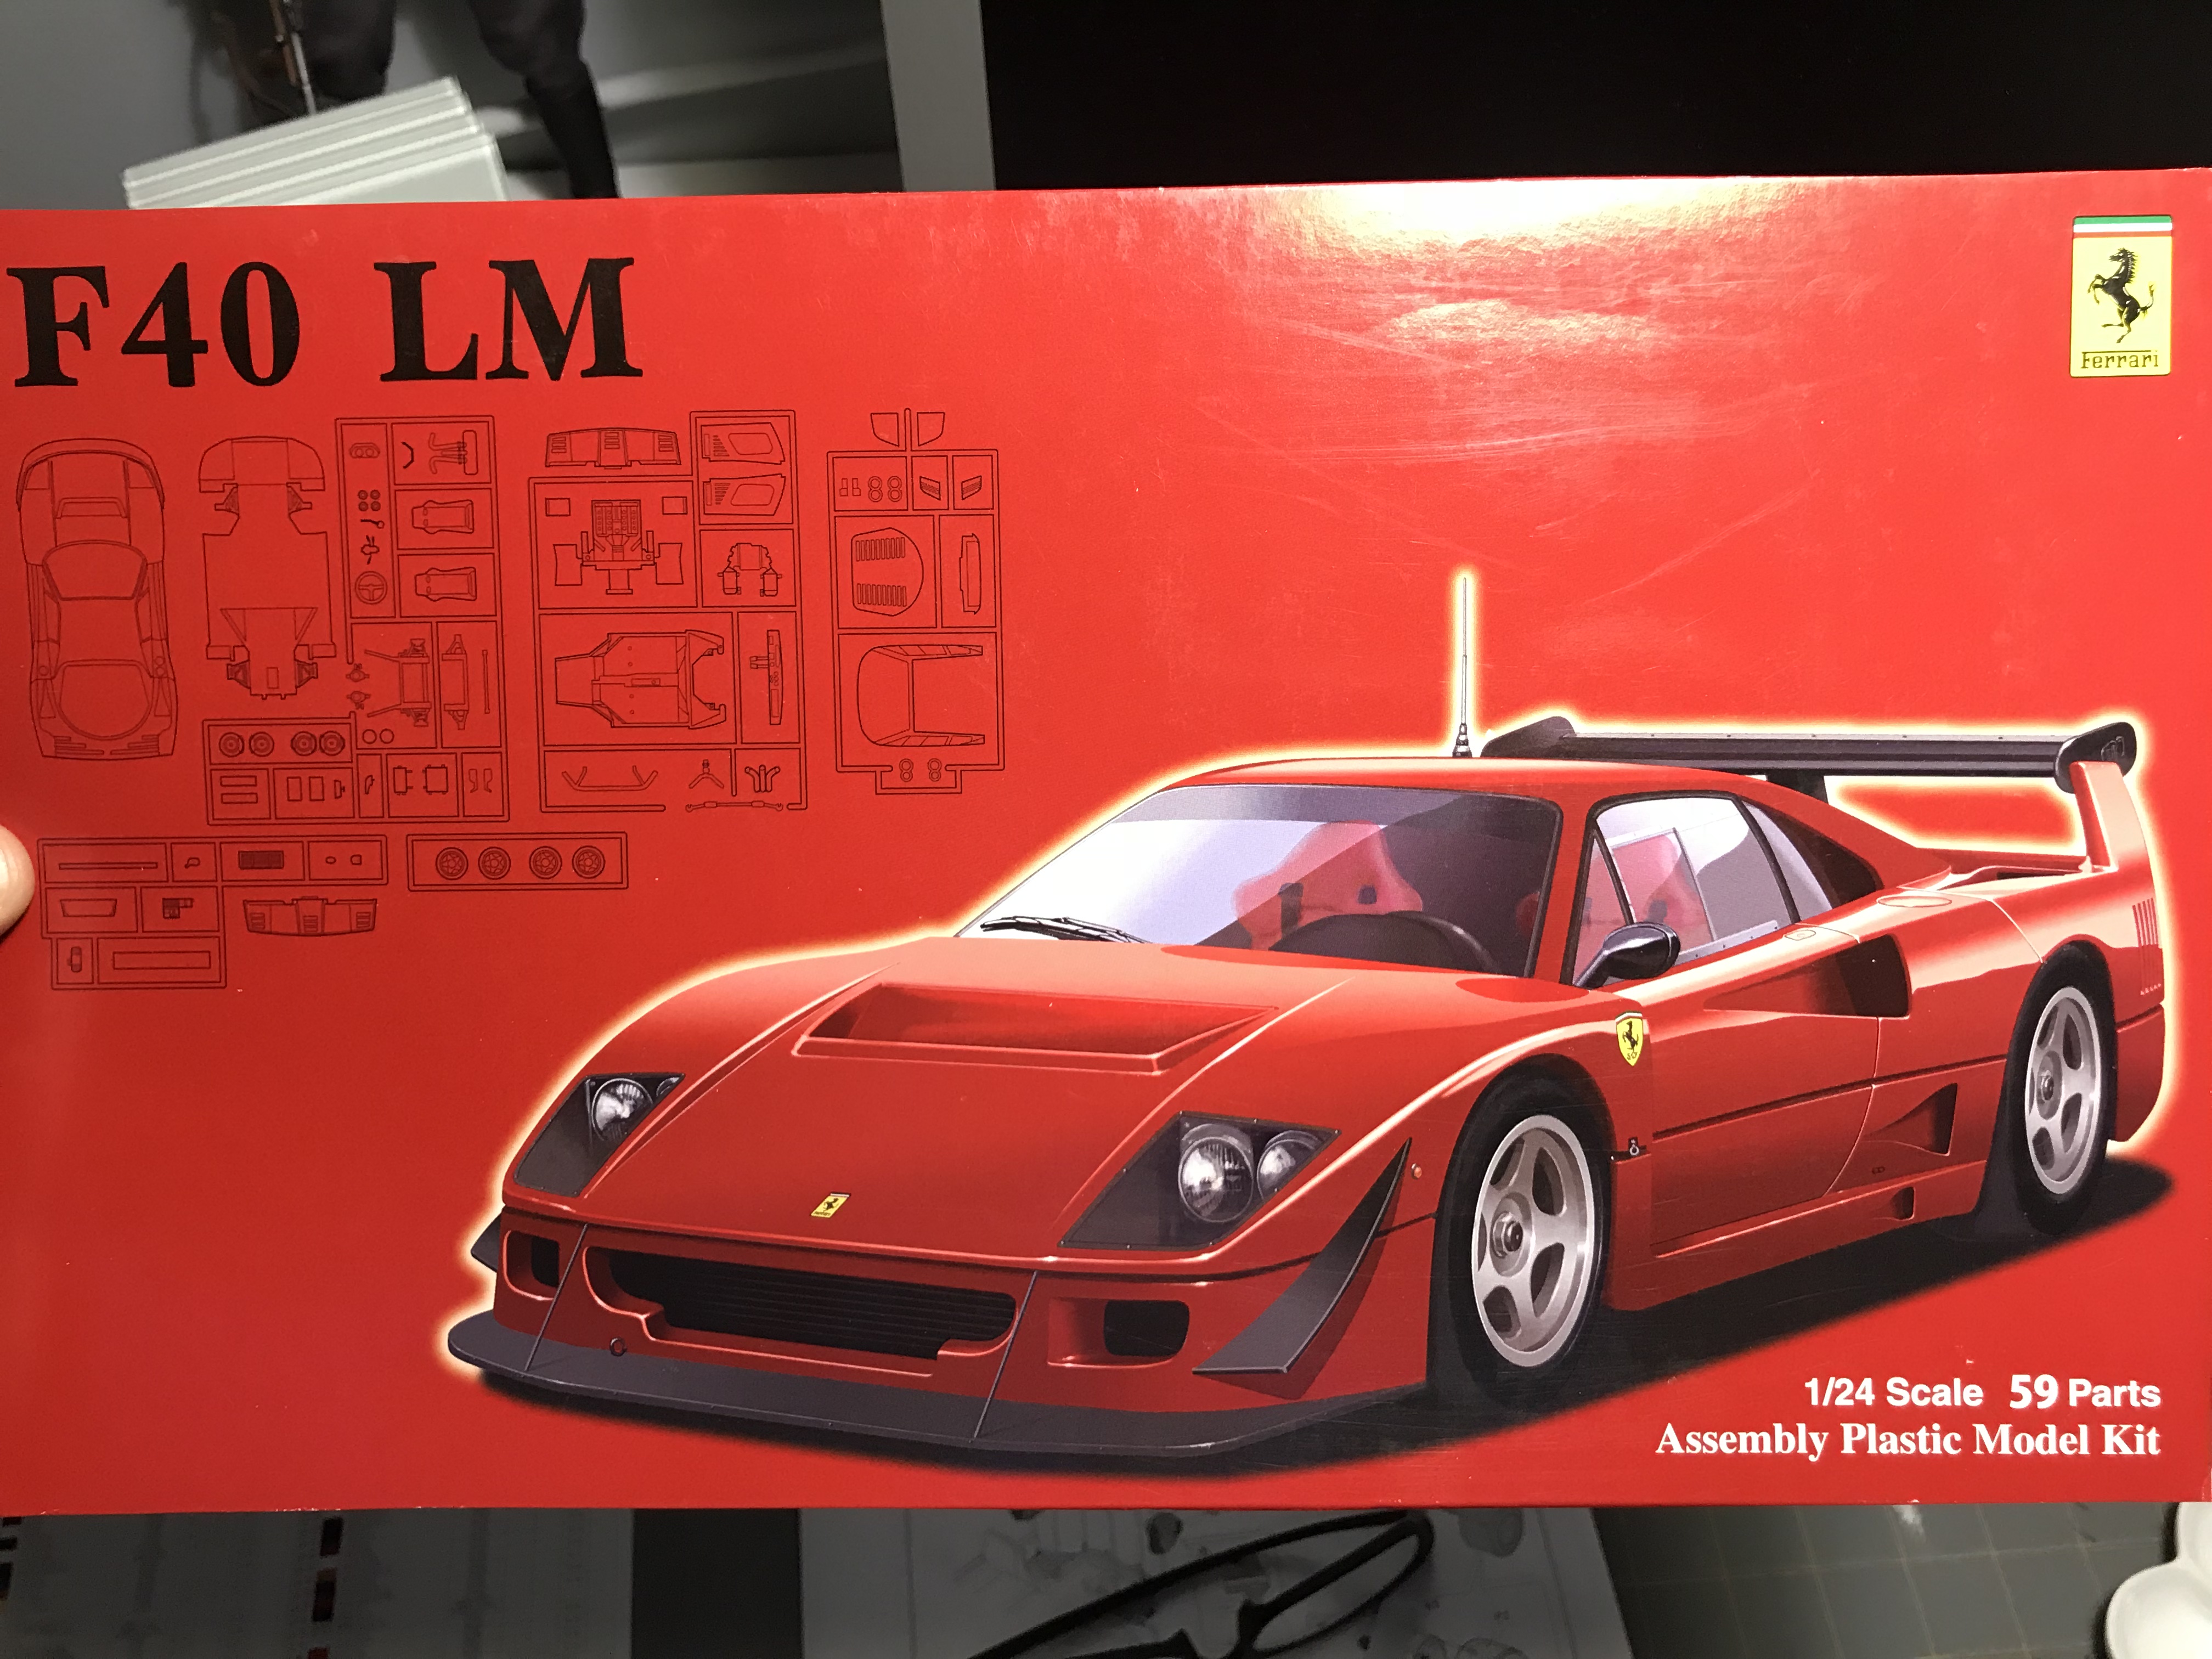
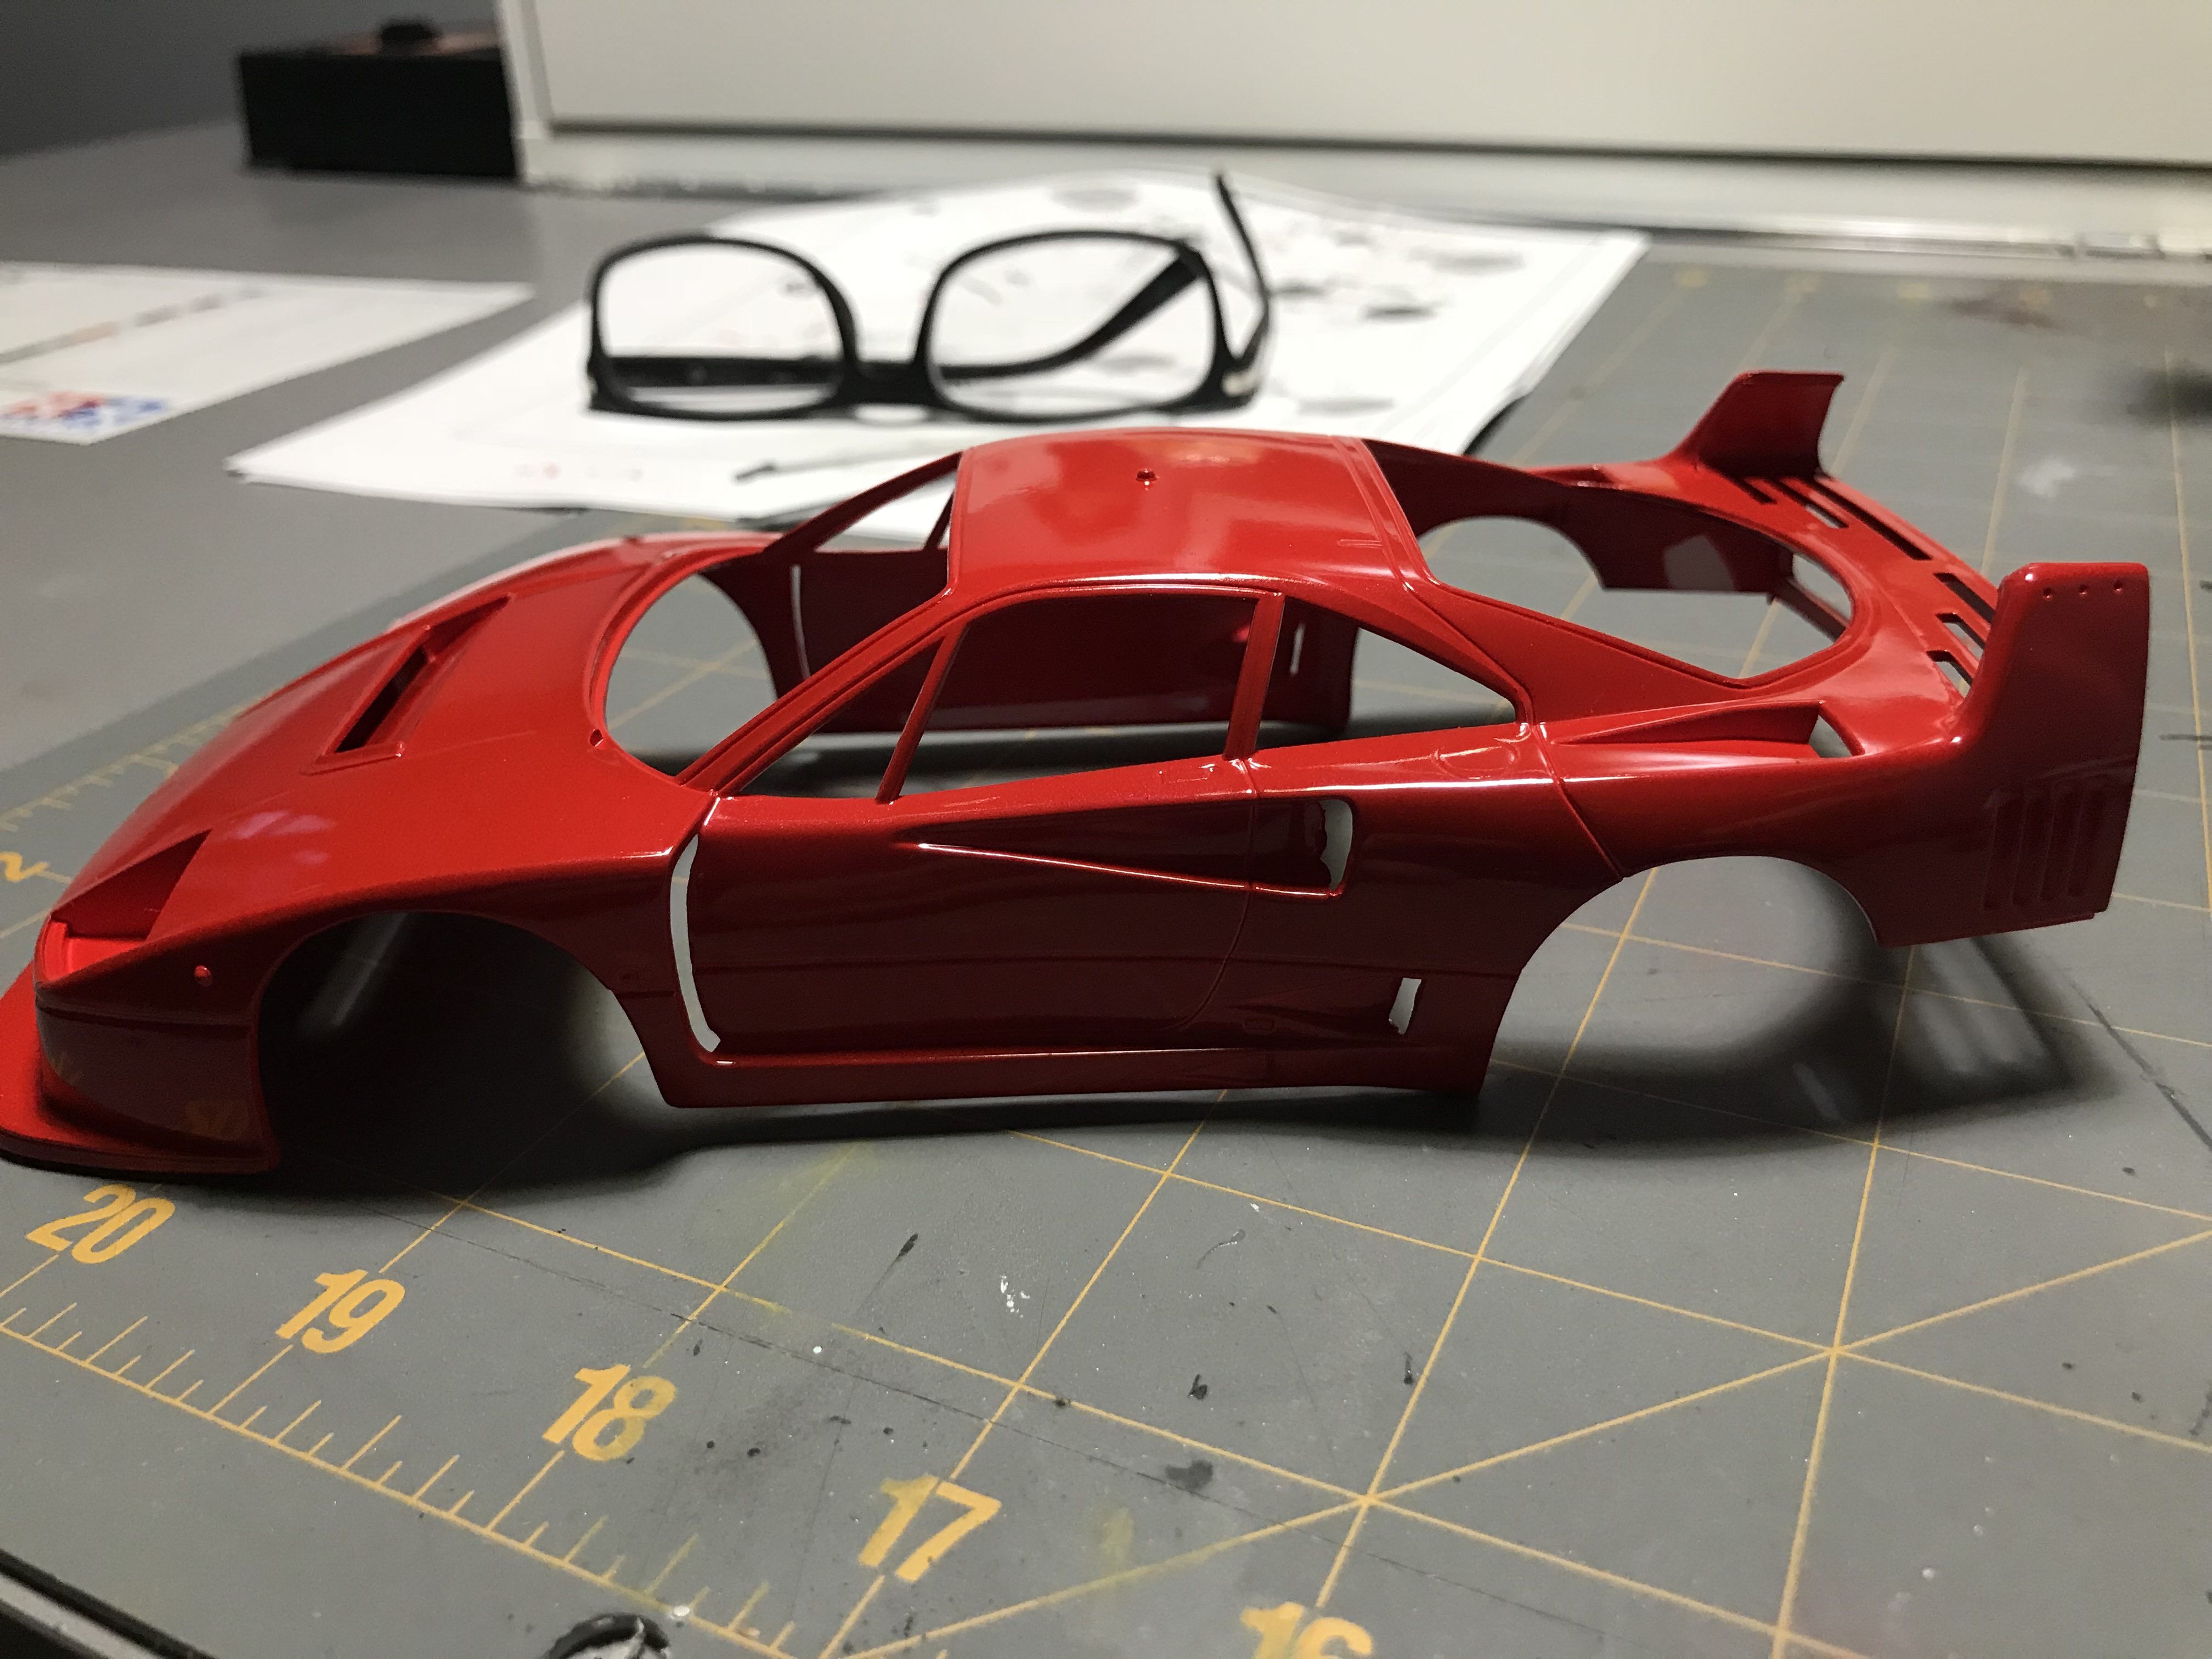
As teased in a couple other posts, I’ve started an F40. It was my intention to hold off until I had completed some of the stuff going on, but I couldn’t resist. Sorry @Dann Tier, it’s red. Lol. I had an incident with my new drawer liners and had to sand and reshoot the rear valance.
-
Hey everyone!, after a failed 2nd attempt at a Tamiya Ferrari F40, I decided to turn it into the accident aftermath on the famed Autobahn. It all went bad when I was accelerating to the end of the build....the body got stuck 3/4 of a mile down on the chassis.....I tried to separate the two, but it was no good.....thoughts were Zipping by me at high speeds!!….WHAT TO DO???!!!……..Then, as the finish line was in sight, my hand slipped!!…...CHIPS OF PAINT WENT FLYING!!!...…..THEN IT HIT THE WALL IN A SHOWER OF PLASTIC, AND BITS!!!......It was over, and I had lost. -This tragedy did eventually have a happy ending, I purchased a Fujimi kit instead, and actually liked it waaaay better than the Tamiya versions.
-
Just off of the workbench. This is Fujimi's Ferrari F430 Challenge. She is a hard kit to find. I built it box stock. Below is the link to the build thread. http://www.modelcarsmag.com/forums/topic/121812-ferrari-f430-challenge/
-
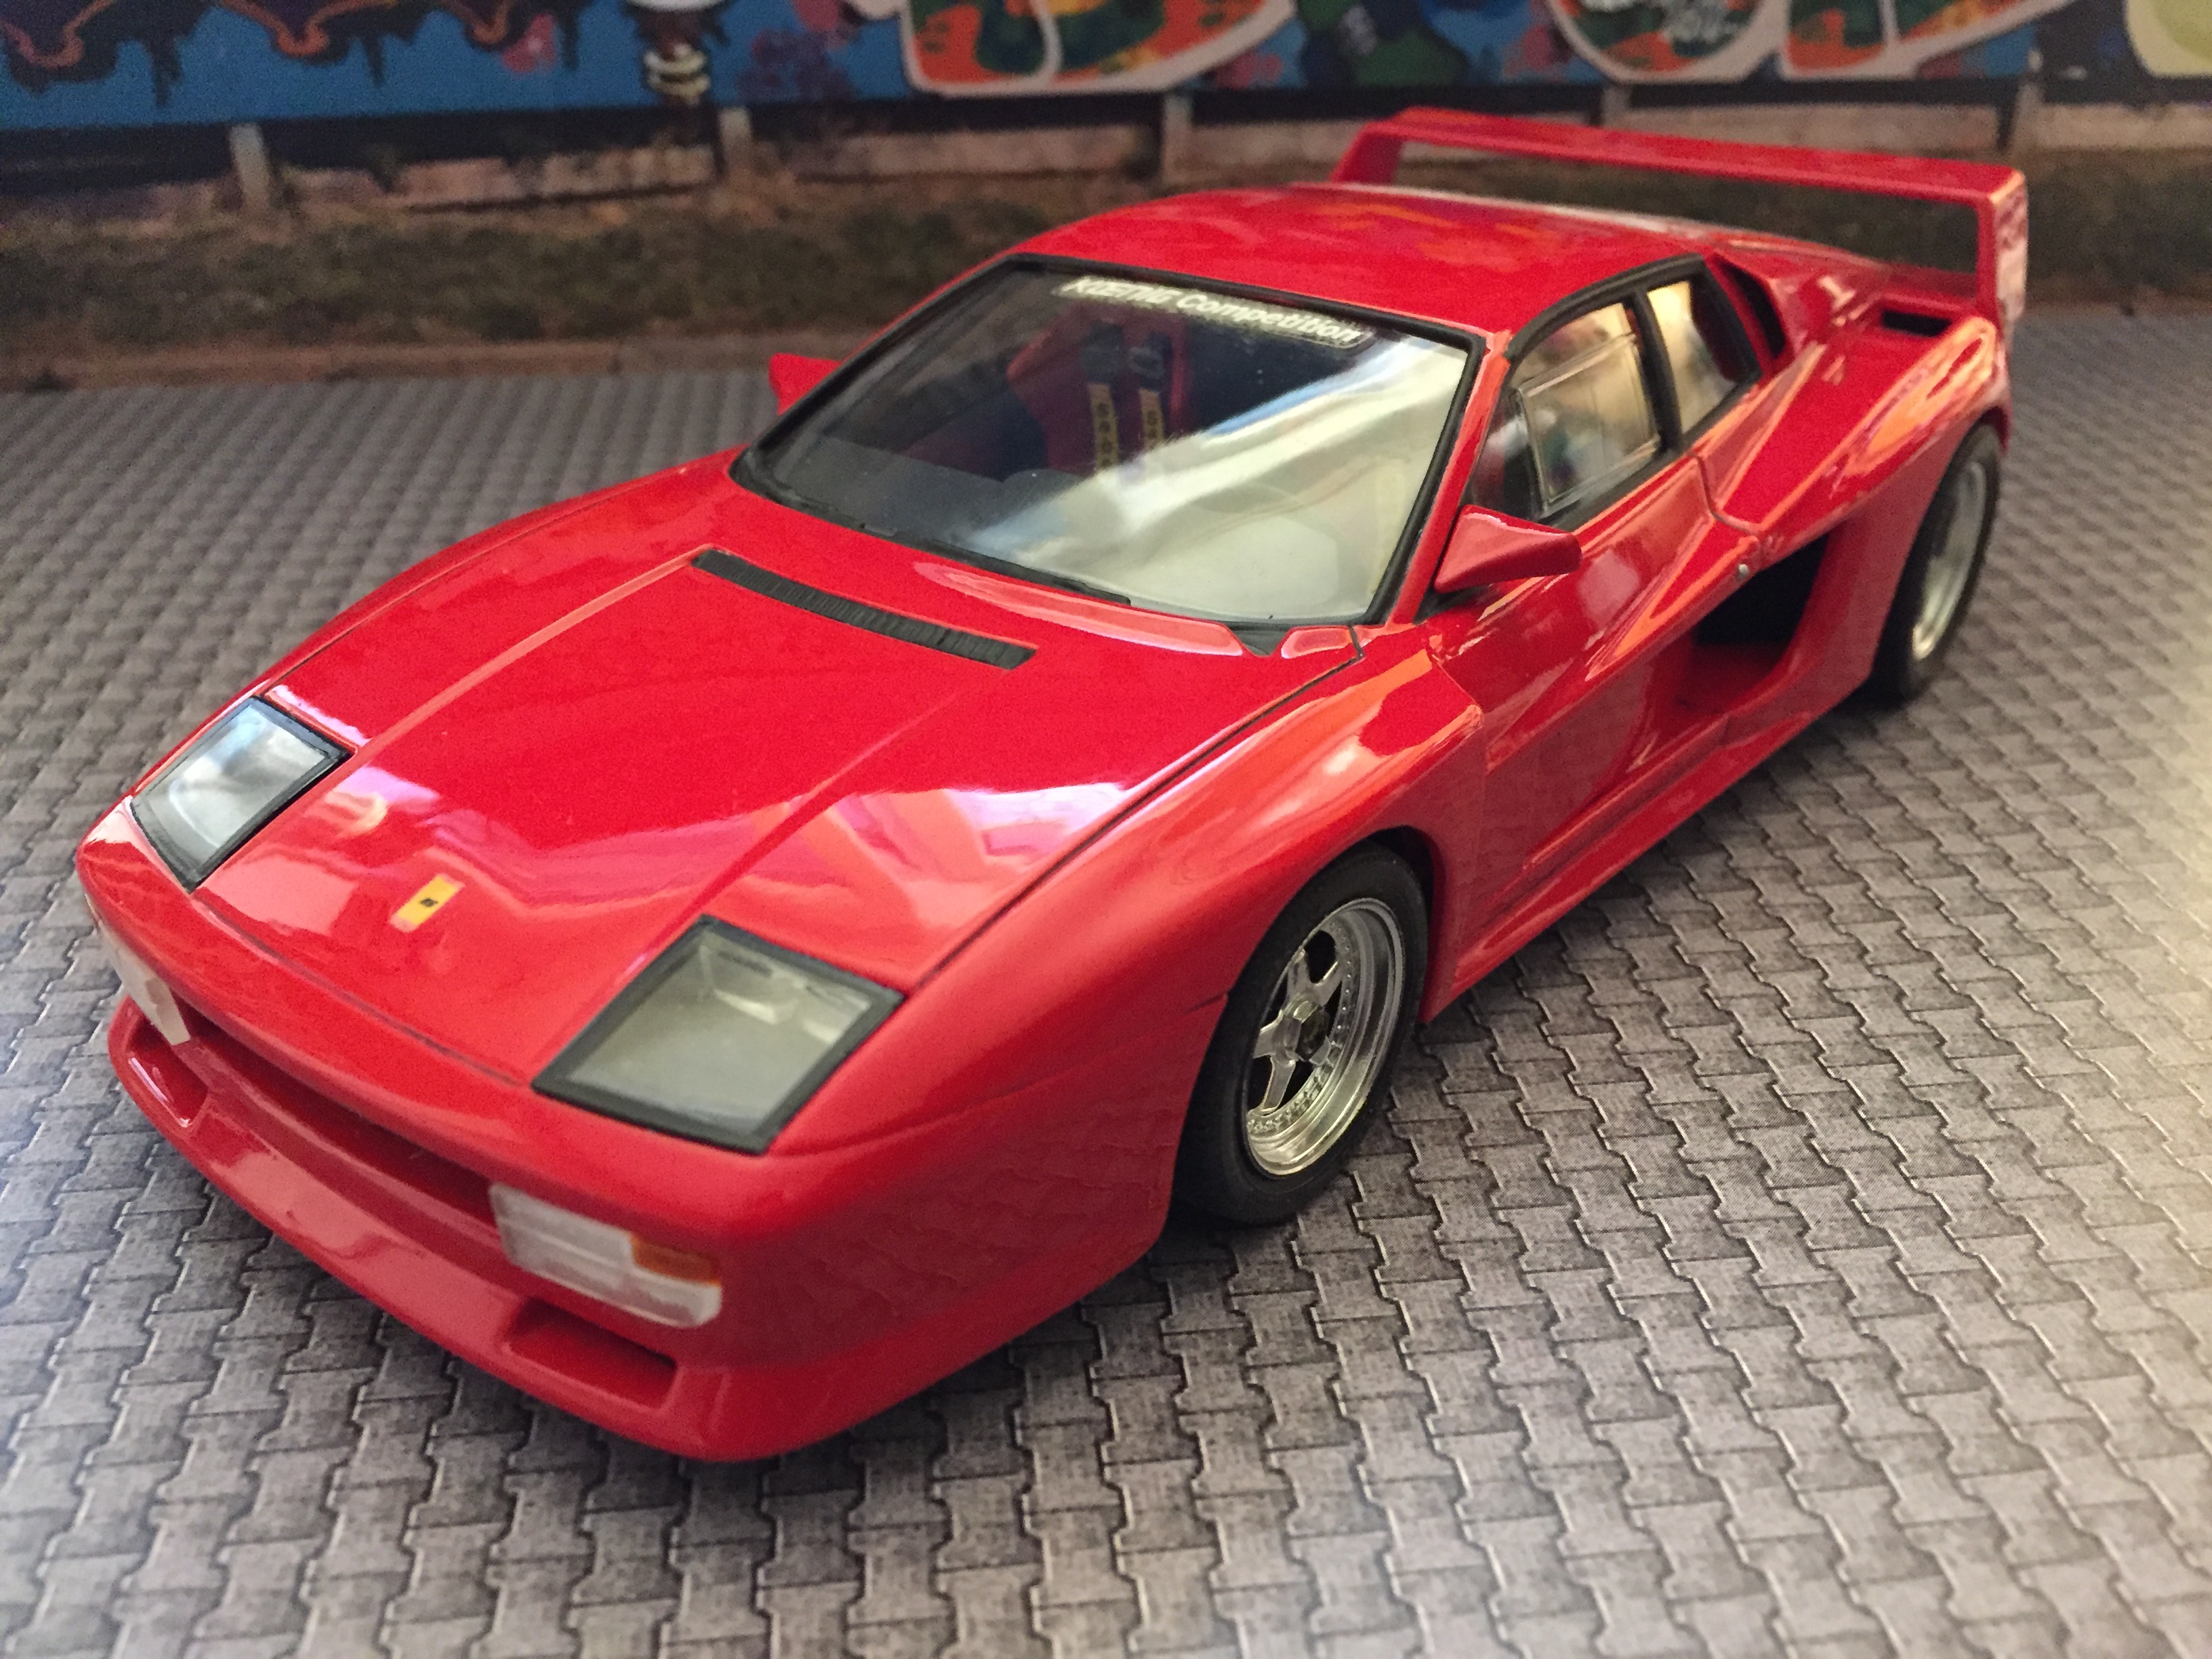
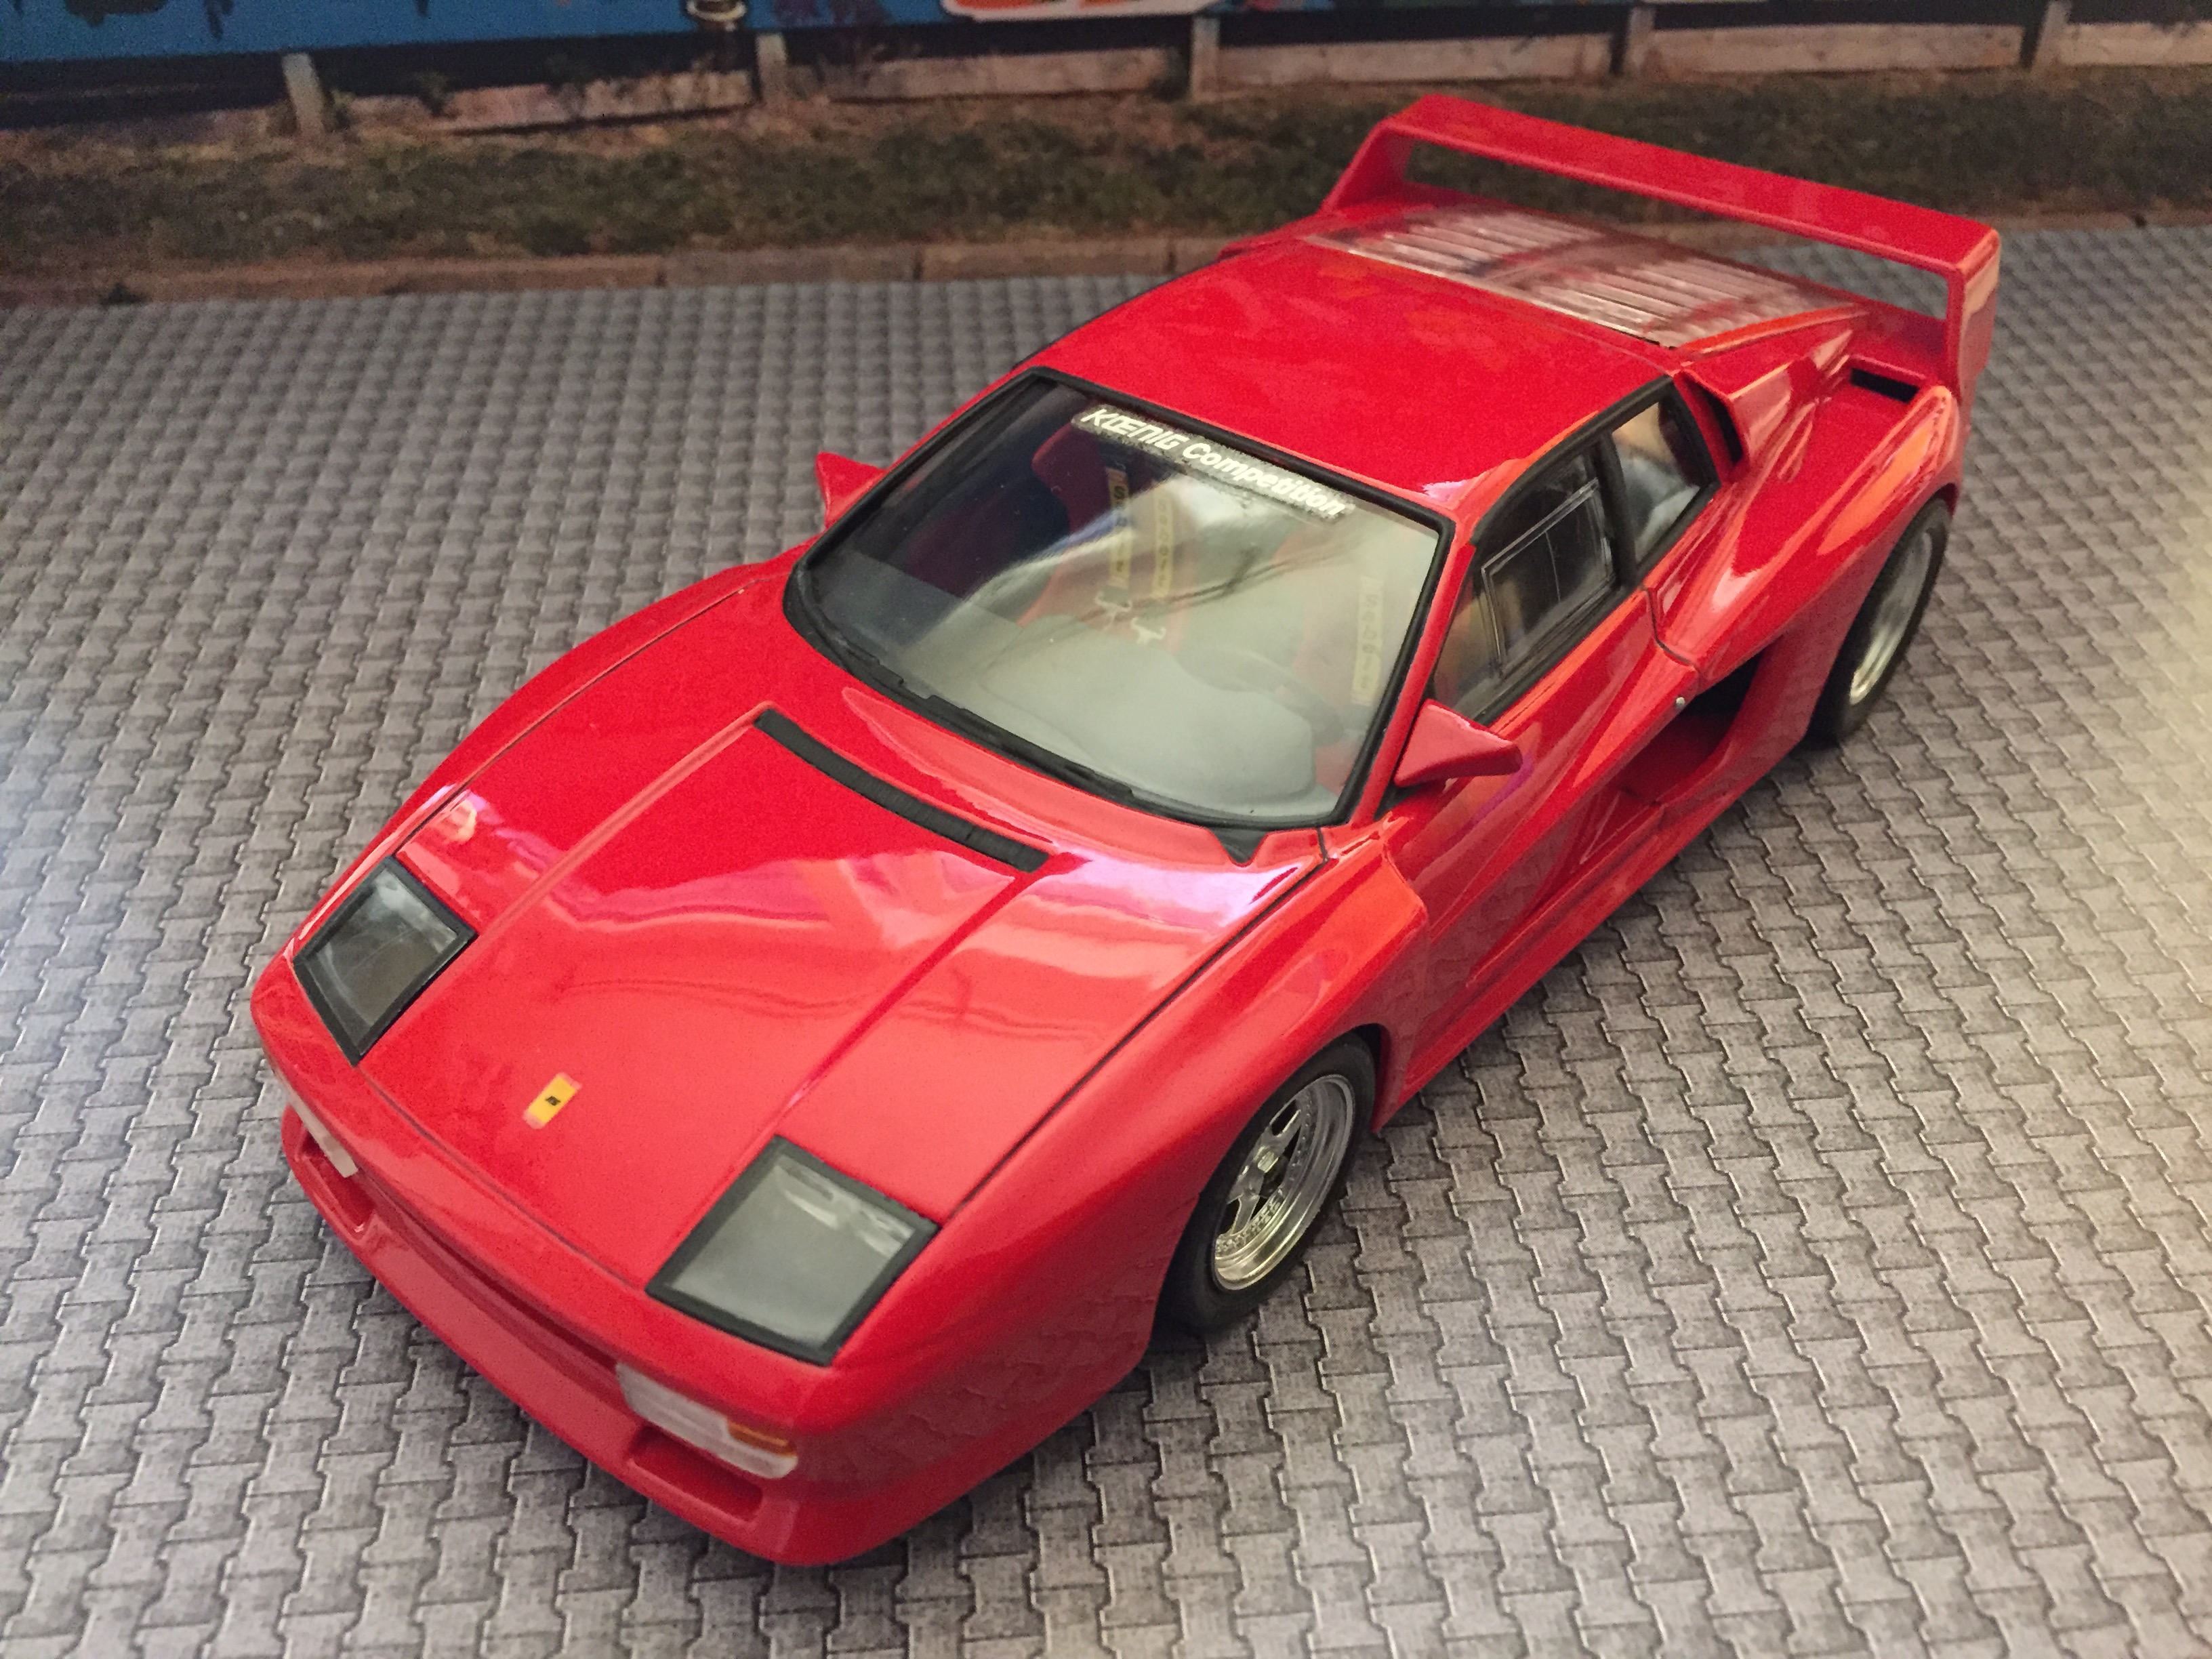
Hi folks, here's another one I built about a year ago. Fujimi curbside kit of the 800hp twin-turbo Testarossa by Koenig Specials, Munich, Germany. Hope you like it.
-
Ferrari 206P Dino Salone di Parigi, 1965 ABC Brianza, 1/24th Kit Review here: http://italianhorses.net/Reviews/ABC%20Dino%20206%20Salone%20di%20Parigi/206PDinoParigi.htm Yes, its has been a long time fellas. Due to various reasons, I have not been building for a good 9-10 years now. Its time to put an end to this. This will be a box-stock+, minimal changes planned. I wanted to have this car built before I got injured, and all these years of building it in my head, really want to put this on the shelf now. Couple of real-deal photos to wet the appetite: There is absolutely zero meaningful detail in the kit itself, so I will try to add some eye-candy if possible. Since the kit is super-plain, I decided to put my best effort into finishing the body right, even though proportions are not exactly 100%. No desire to fix the flaws at this point. Despite my initial impression about the kit being quality (or maybe my perception of quality have changed over time, likely the later), there was a lot of flaws/bubbles/you name it on the main body piece. I have re-shaped the engine air intake a but, put on little PE mesh, re-scribed the panel lines. Honestly, it sucks to scribe when you don't feel a darn thing. Not the best job, but I'm done making excuses Filled all bubbles and imperfections on the bottom, made sure opening fro the engine bay vent fits the vent: Rear vent was emulated with this PE mesh, would have been a prime candidate to open up if I were to build this full detail, but as such, I had no desire to remove a bunch of resin just to make it see-through - will wash with flat black once painted. And finally some primer - still lots of little flaws to fix, but its a start. Next I was messing with the wheels - they are ok as they come in the kit (sorta), but the holes in them are somewhat wrong shape, and the tires are god awful truck tires so typical of Italian-made artisan kits from that period. Tire problem was solved rather quickly, as I has a set of tires from Ferrari 275 GTB/4 kit in my spares box, they looked much better, with correct shape and proper thread. But wheels turned out to be much tougher problem. Originally I decided I'm just going to copy the wheels that came with Fujimi Dino 206S Competizione kit, so I made few resin copies of these tires. But as some of you know, they are too big even for that kit, so in the end, while the shape was right, the size was not, so I scrapped that idea. Next, the Dino got painted. Used a really old bottle of Zero Paints Rosso Corsa over gray primer, the paint was still surprisingly fresh, and I'm pleased with the color. Cleared with Dupont 2K, polished with 3M compounds. Not the best paint job I've done, let's be honest, I have not painted in 10 years and I can't feel the BLAH_BLAH_BLAH_BLAH thing when I'm painting. Painted the underside as well, didn't mask, cause you can't see it once built - yes I'm lazy, but baby steps here. Made a few bits for the wheels. Decided to go with the kit rims, made washers from, well, washers, and copied Fujimi knock-offs cause they were infinitely better than PE ones from the kit. The little round bits are tops for the knock-offs. Headlights are given as a PE part with some engraving and a drop of clear epoxy on top - so very 90's I almost shed a tear. Well, sentimental as it may be, I didn't like the look, so I found this Modeler's set in my spares and decided to use these lenses for the headlights. Made bezel surrounds from the thin solder wire. Tail lights are same sad story here, so I made pieces from clear plastic and painted them, but not sure if I'm using this or some other solution for the tails just yet. I guess I'm not 100% sold on this. Rearview mirror is also from the spares box to replace kit PE 2D rendition. Finally I finished the glazing - what a freaking pain to glue PE frames to clear plastic, and then bend them to shape. Reminded me my I used to like Tamiya kits. Overall, I'm happy with the way it turned out, but PE itself is not 100% conforms to the body, so there will be some fiddling while putting this on the body. Dash was slightly wrong shape, but hte thing that bothered me the most was the fact that instrument binnacles were flat, while real car has gauges sort of embedded into the dash. Had to drill the gauge pods out. Now, the PE gauges do not fit in, but I will think of something later. Wheels were painted with aluminum metalizer, assembled, put on axles. Have not black-washed yet. Possibly will still add balance weights and stem valves. Overall, happy with how these turned out even though they are not exactly correct. With lots of cursing, I glued in the windows. The problem with PE framed windows, is that you don't even get a chance to make sure they fit just right, simply because they always flex, and even thought it seems they fit fine, they never do. Turned out ok, not perfect, but I'm not redoing it. Also glued in headlights, the size is just right, and looks much better than flat PE ones. Also attached the front plexiglass cowl. The cowl itself is of poor quality, not 100% transparent and slightly cloudy. But the only way to fix this is to make a buck and vacuuform a new one, and I wasn't about to start this adventure. Interior tub was painted, along with the chairs and the dash. Detail as such is completely absent here, and none provided in the kit, so I had to improvise. Shifter was made from bobby pin, shifter gate was stolen from some other kit and modified to fit. There is a reverse lock on the gate in real life, but it was too small to replicate correctly. Steering wheel is given as a PE part with two halves of the rim made in plastic. The problem is, in a typical manner for Italian kit makers of the end of last century, the rim is quite a bit larger than the spokes part. Umm...how? So, I had to fashion the rim out of thin wire. Also made new door pockets from tiny pieces of leather. Sourced pedals from the spares box. Next I need to make window cranks, door handles, floor mats, and detail the dash. Interior was assembled, I added some scratched door handles, cranks, pedals, floormats. Dashboard was detailed with a few switches, lamps, and gauges. I added small rings to the clocks, and of course, Pininfarina badge. Completed interior tub: Then interior was glued into the body, wheels attached and chassis plate installed. Not a lot of detail to talk about there. Blinkers were made with photoetched frame, and some BMF, and then I used Microscale window maker to make the actual lens. Taillights were assembled: And then back end was put together – taillights, exhausts, plate frame, plate light. The DINO letters were stolen from one of self-adhesive Ferrari sets made by hObby DesIgN. Door handles and Pininfarina badges: Added air valves and some weights to the wheels: Wiper and wiper arm were assembled from spare parts, I also added some PE quick-release fasteners and DINO emblem from Model Factory Hiro sticker set. And that concludes this build. A few quick photos next to my house, will do a proper photoshoot soon and post completed thread in the gallery!
-
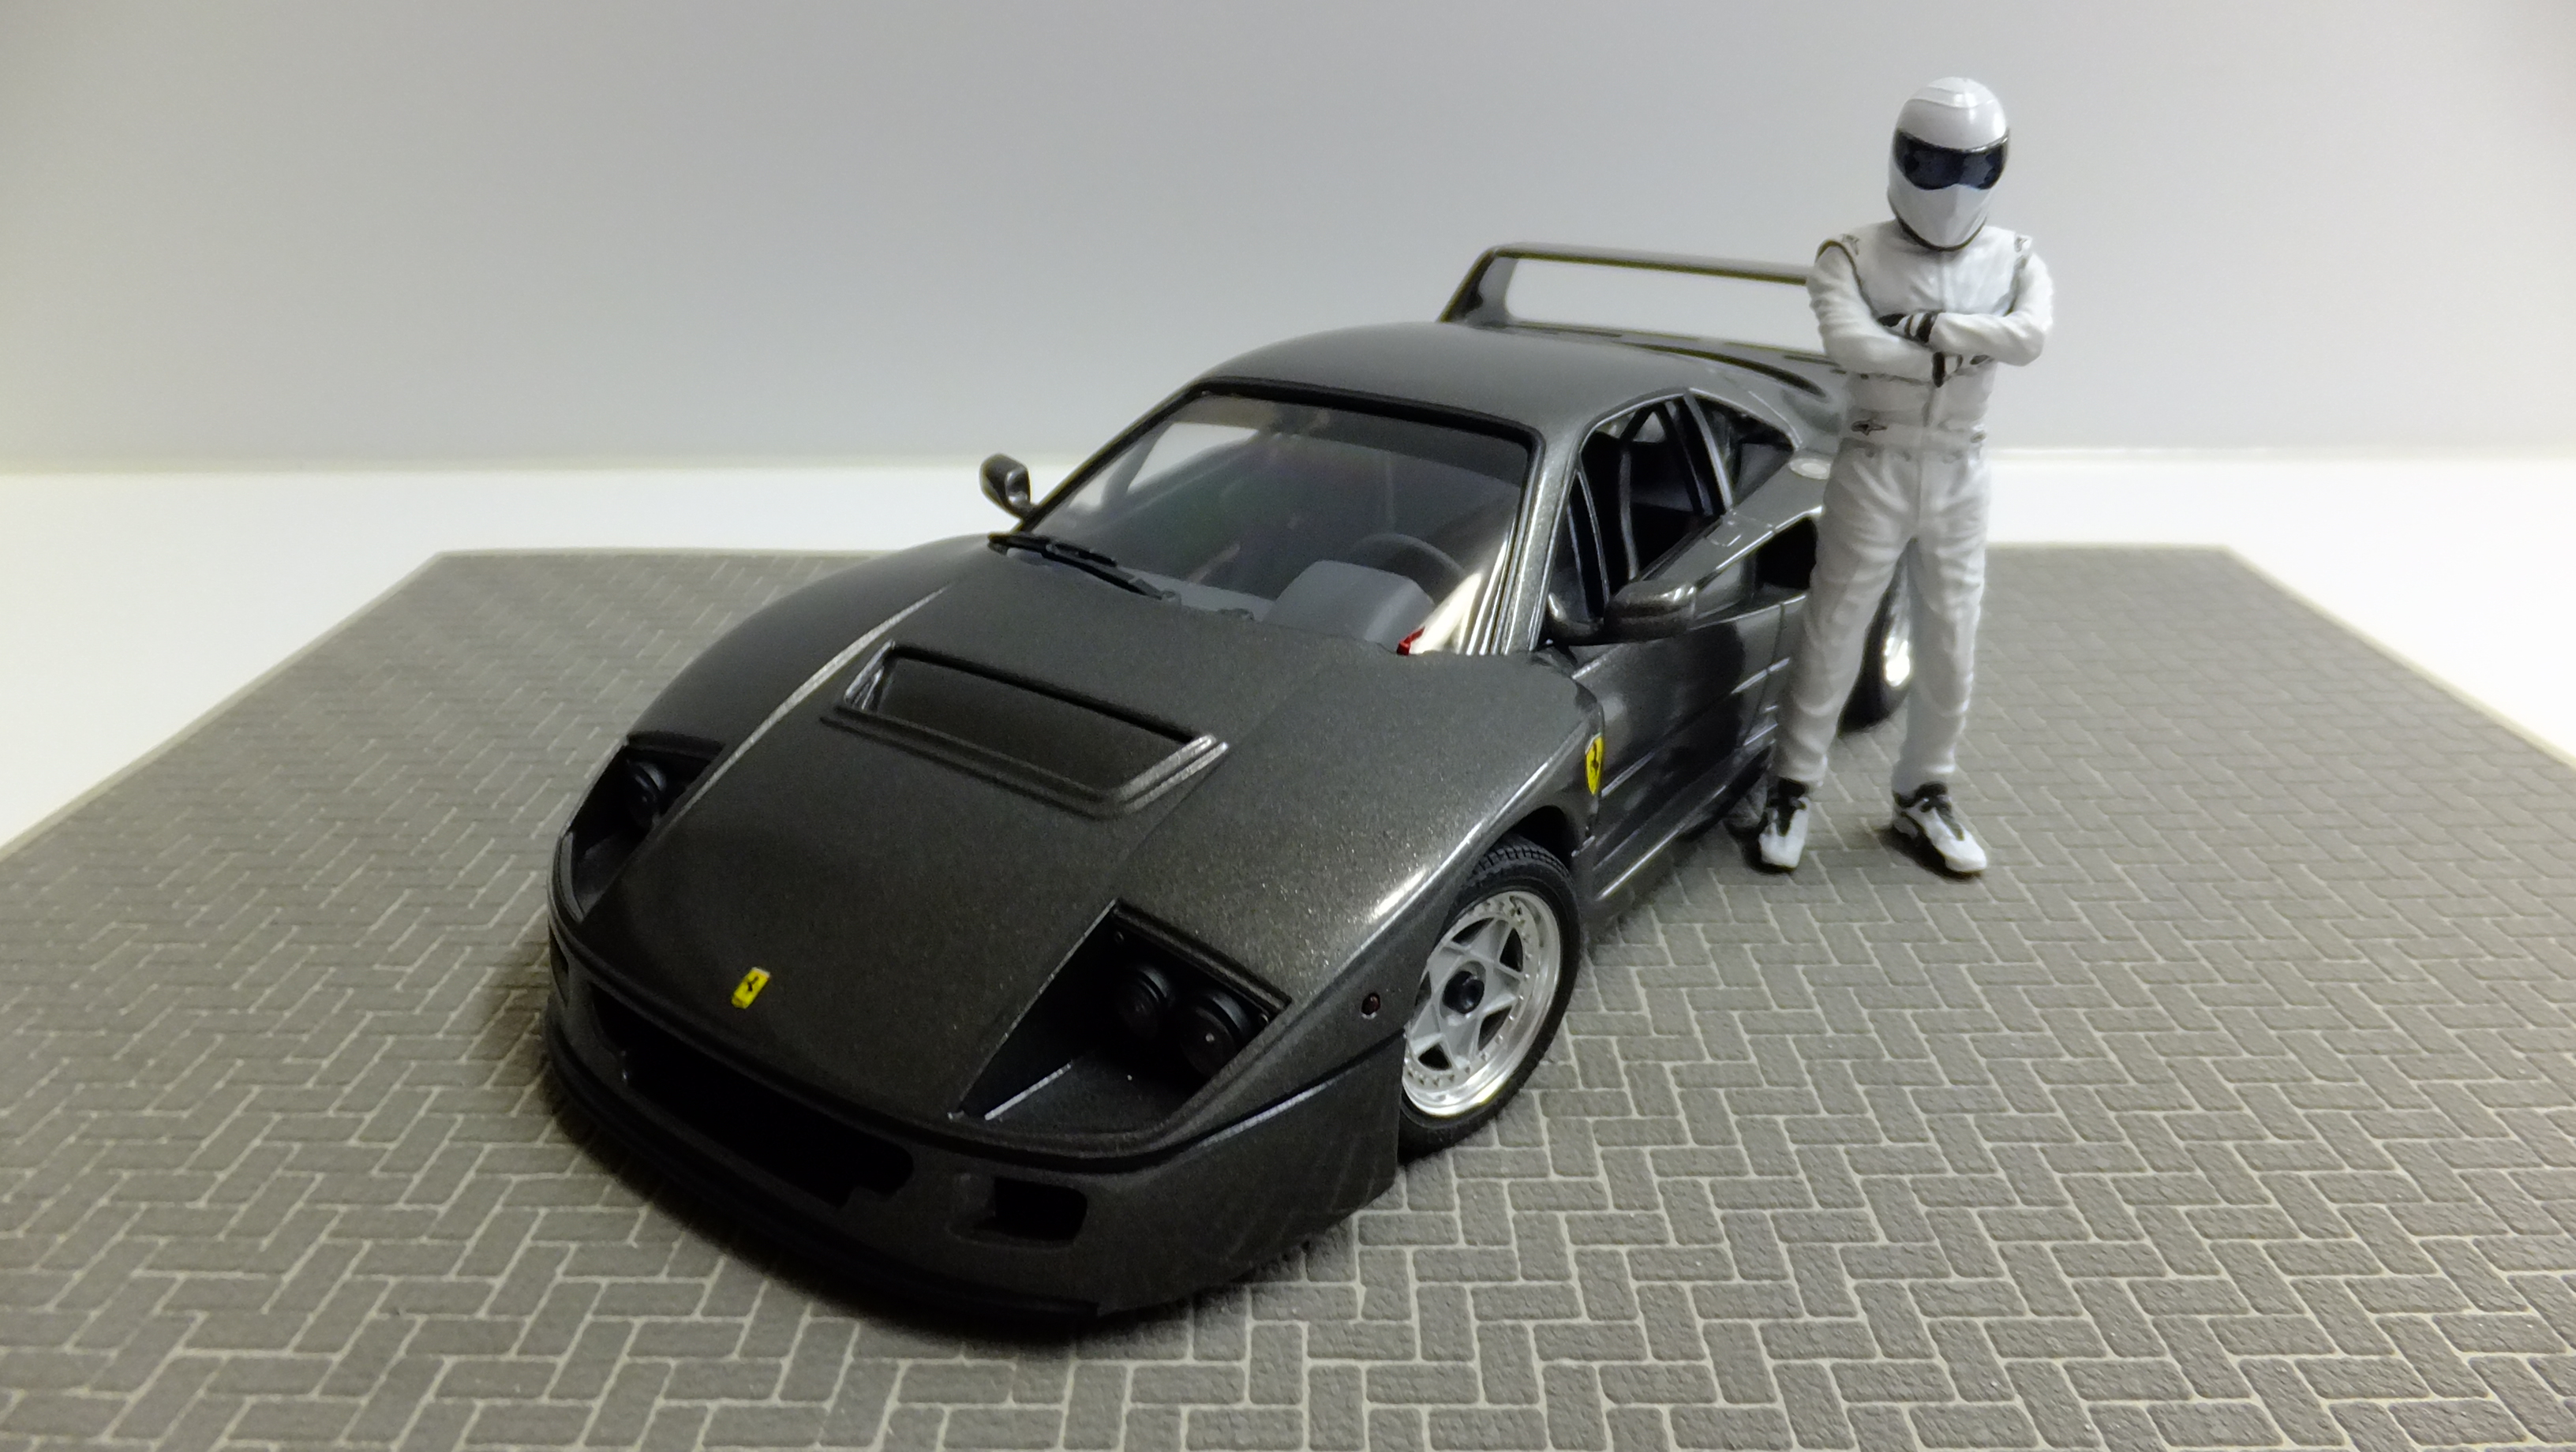
Hi!, this is my Fujimi Ferrari F40LM. I wanted to change it to a barely street legal car, so I cut-off the front defuser, detailed the headlamp assemblies with indicators, filled-in the rocker vents, SB a stock wing, and ditched the LM wheels and tyres, for a set of Tamiya stock ones. The engine bay is detailed, as is the interior, with an added seat.
-
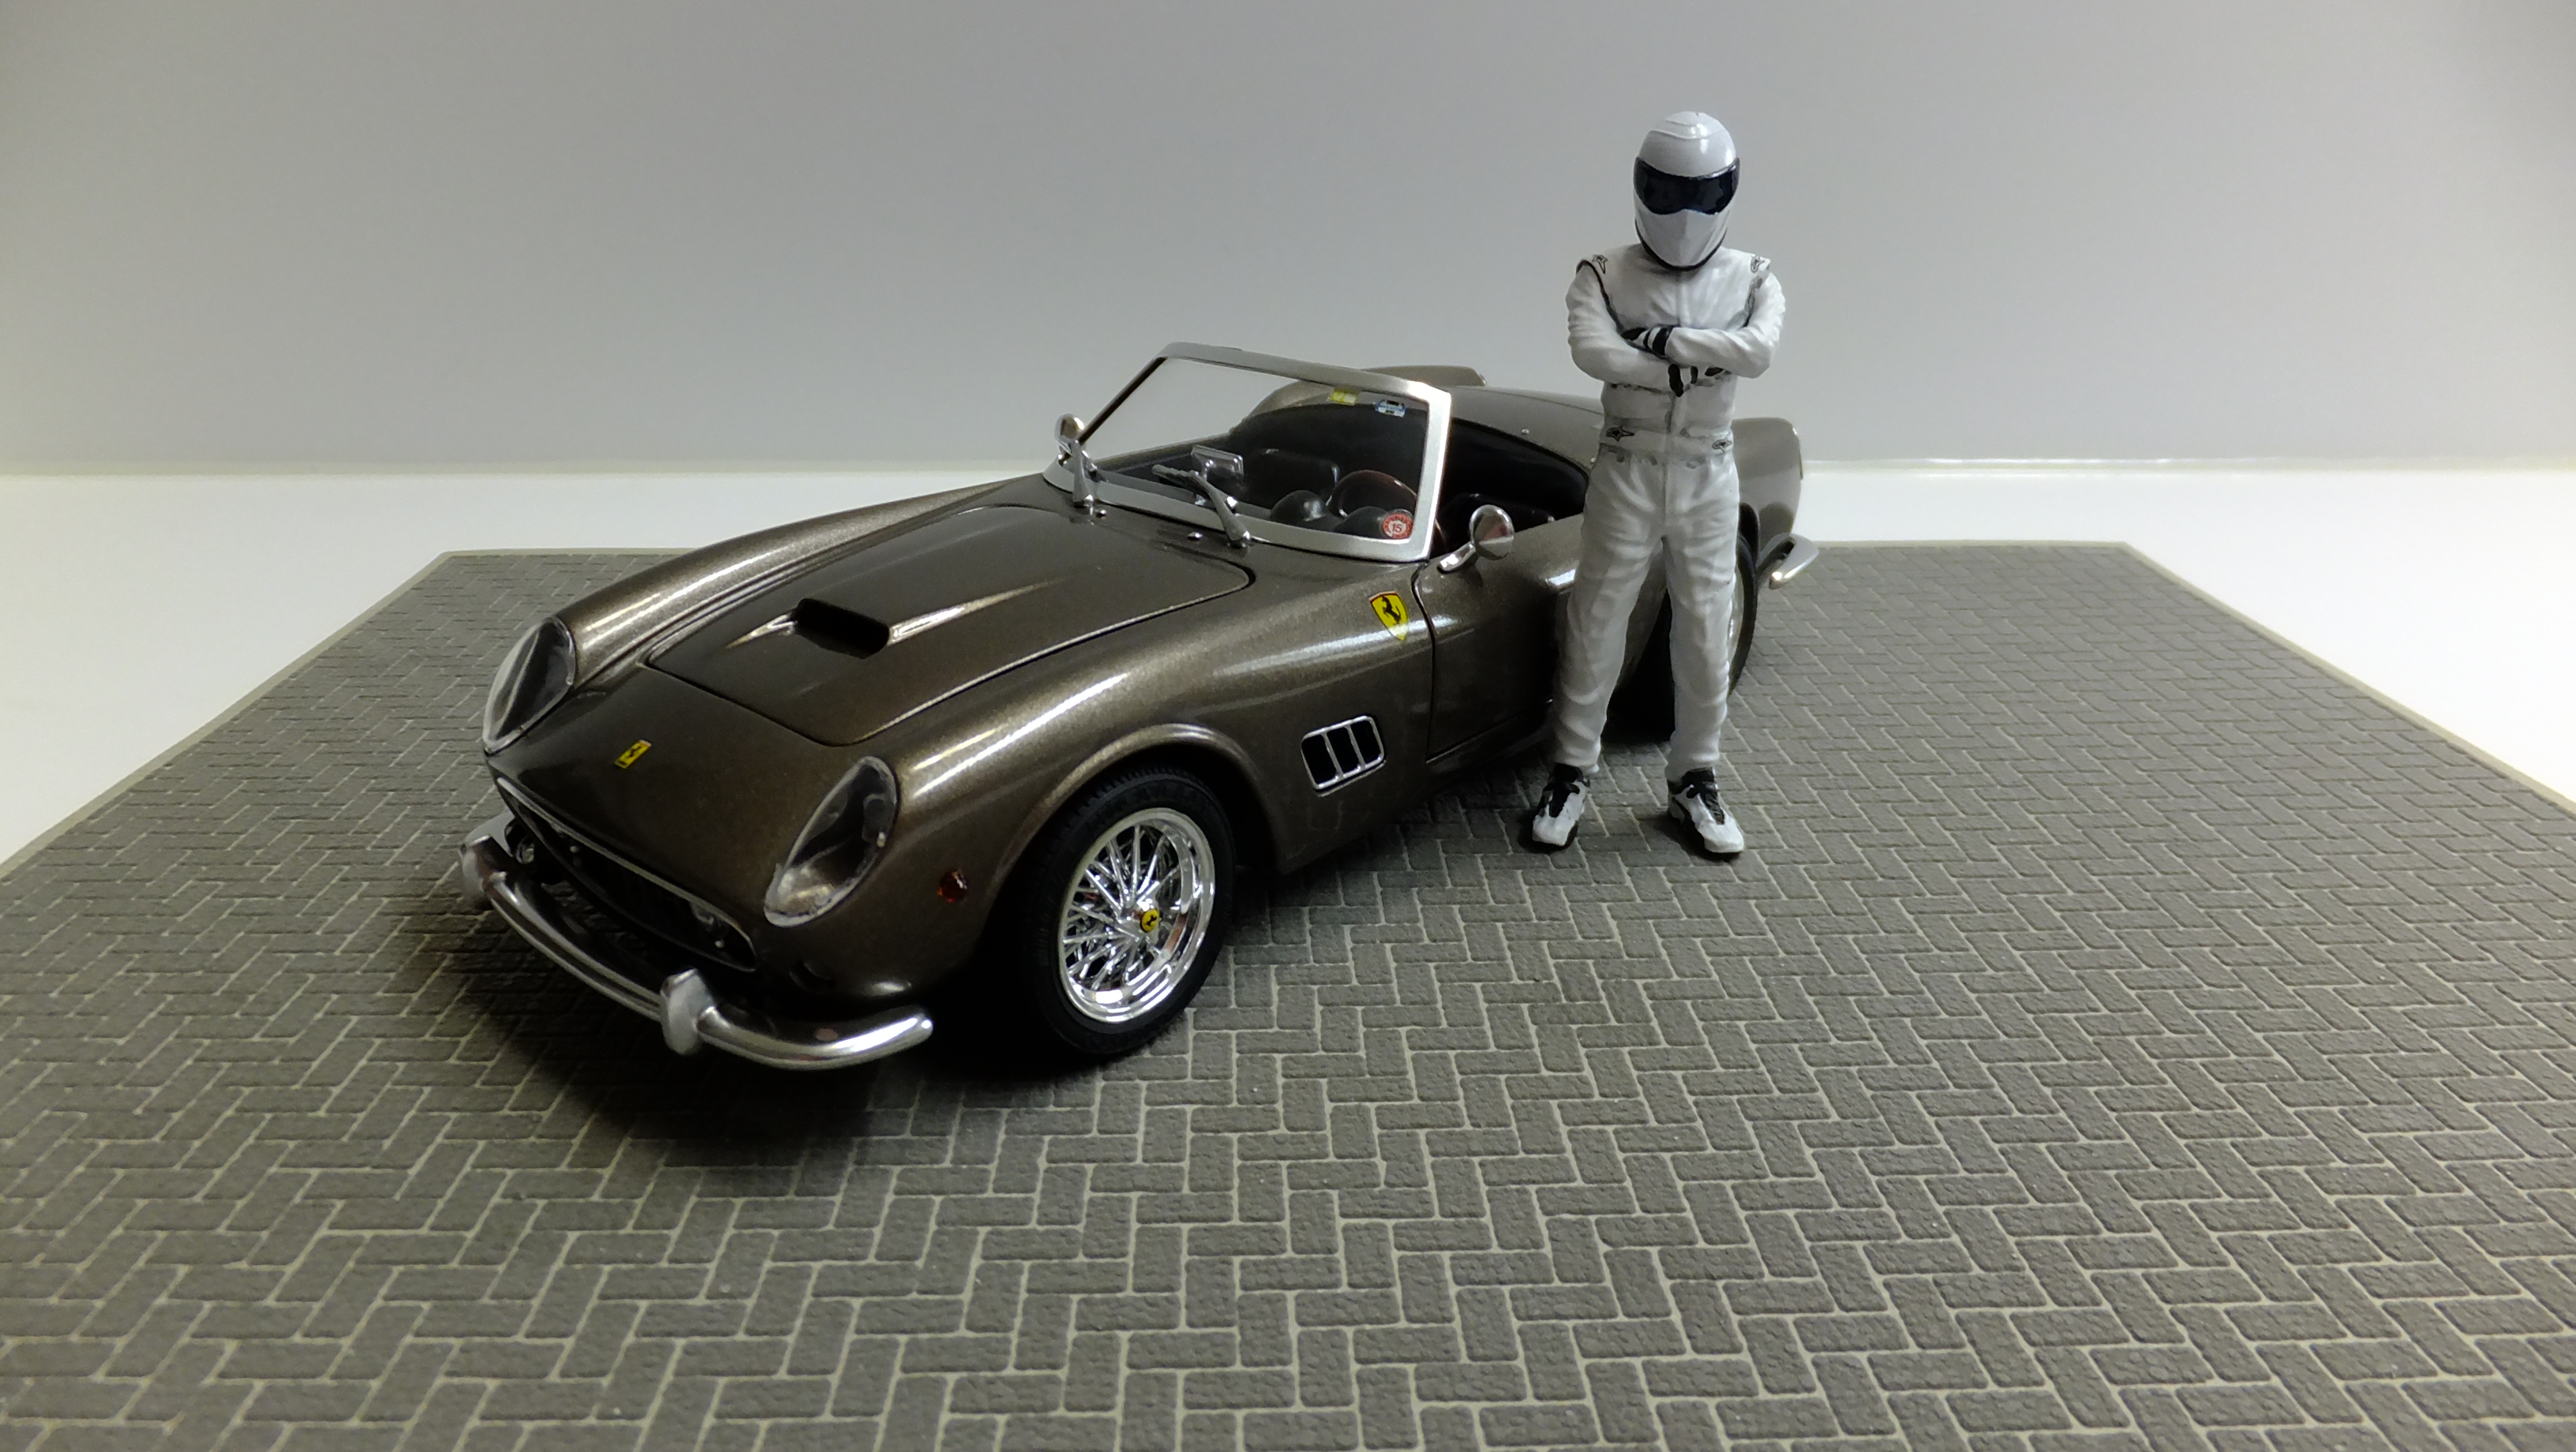
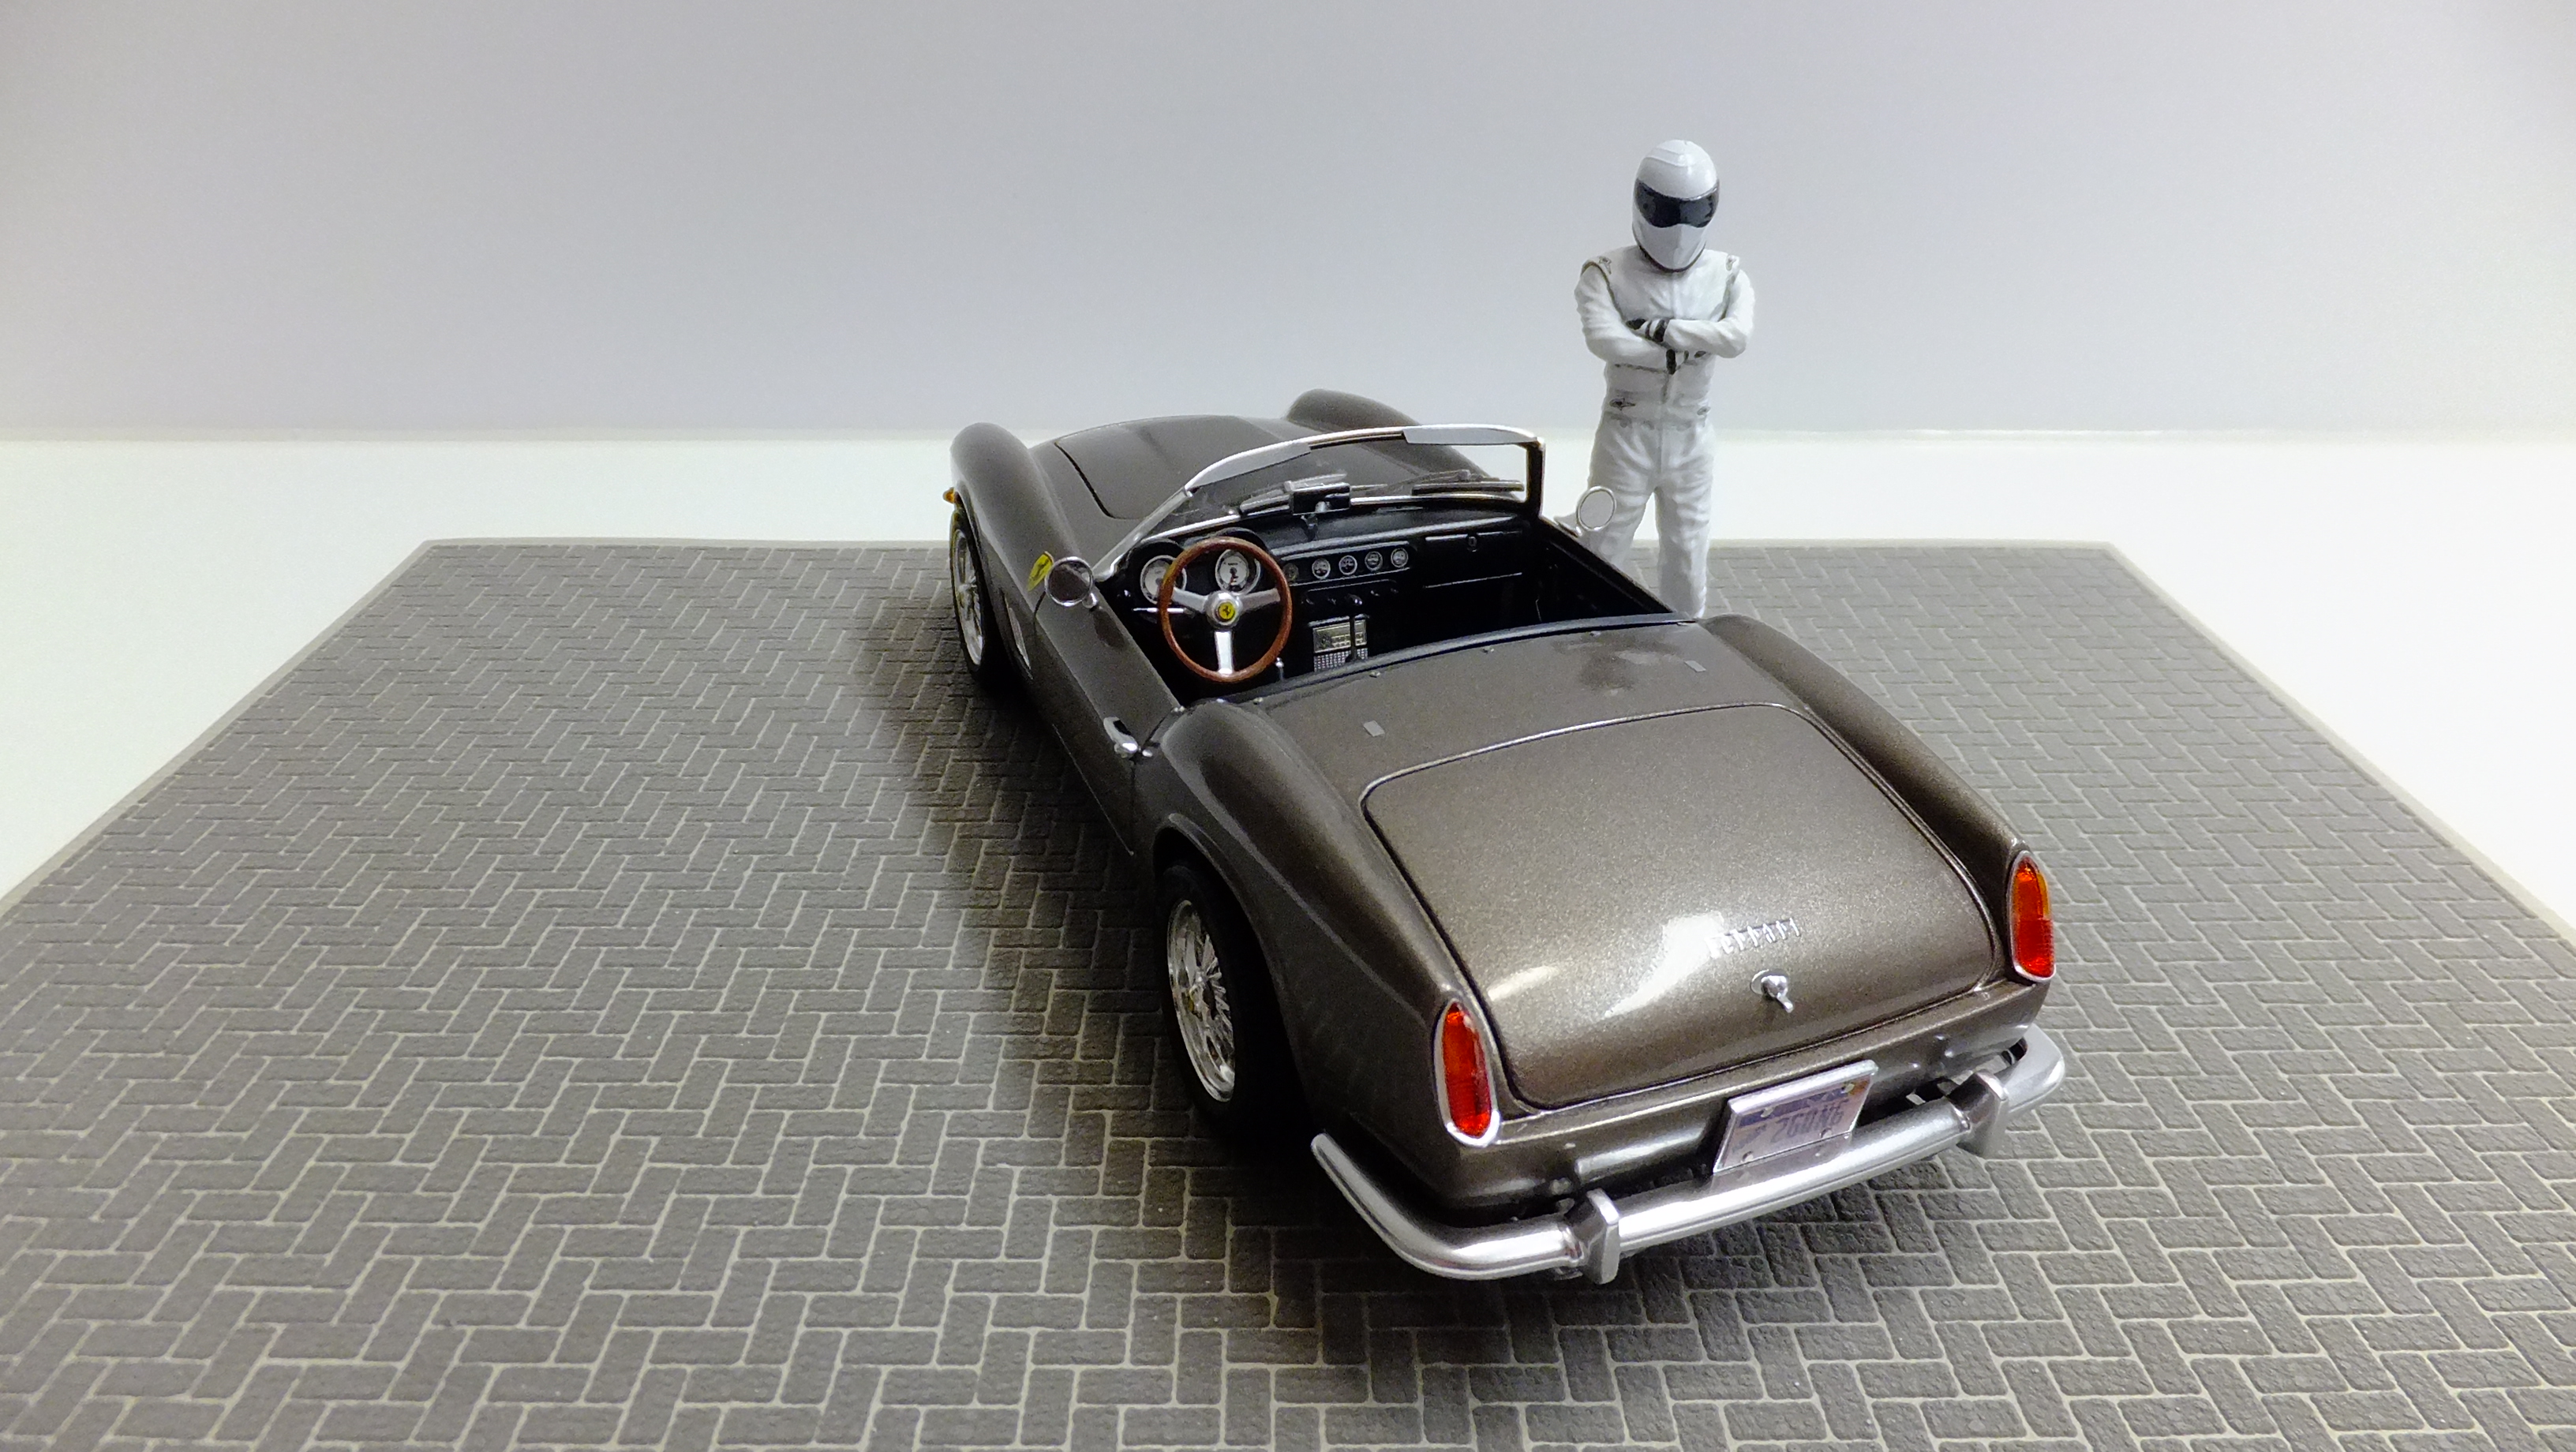
Hey everyone!, this is my Italeri Ferrari California Spyder. A lot of people don't like Italeri, or Testors-Italeri, but apart from slightly brittle plastic, and a million ejection pin marks, they have some great details and textures! I would build one any day over an AMT, REVELL, Monogram, or Lindberg! Its fully detailed, and has Fujimi wheels n tyres, and seats from my spares bin. The carbs are SB from many bits of styrene.
-
Hey, everyone!, while I was re-organizing, and adding more shelves to the modelroom, I came across this model that I had given to a friend to be his first build. Not wanting to get into it too much, but he's not around anymore, so I decided that i'm going to finish it for him. The only thing I've done so far, is add some Tamiya panel line paint, but the really hard thing for me is to NOT cut the very simplistic seats out, and make them more realistic.....I have to resist..lol here it is before I start....
-
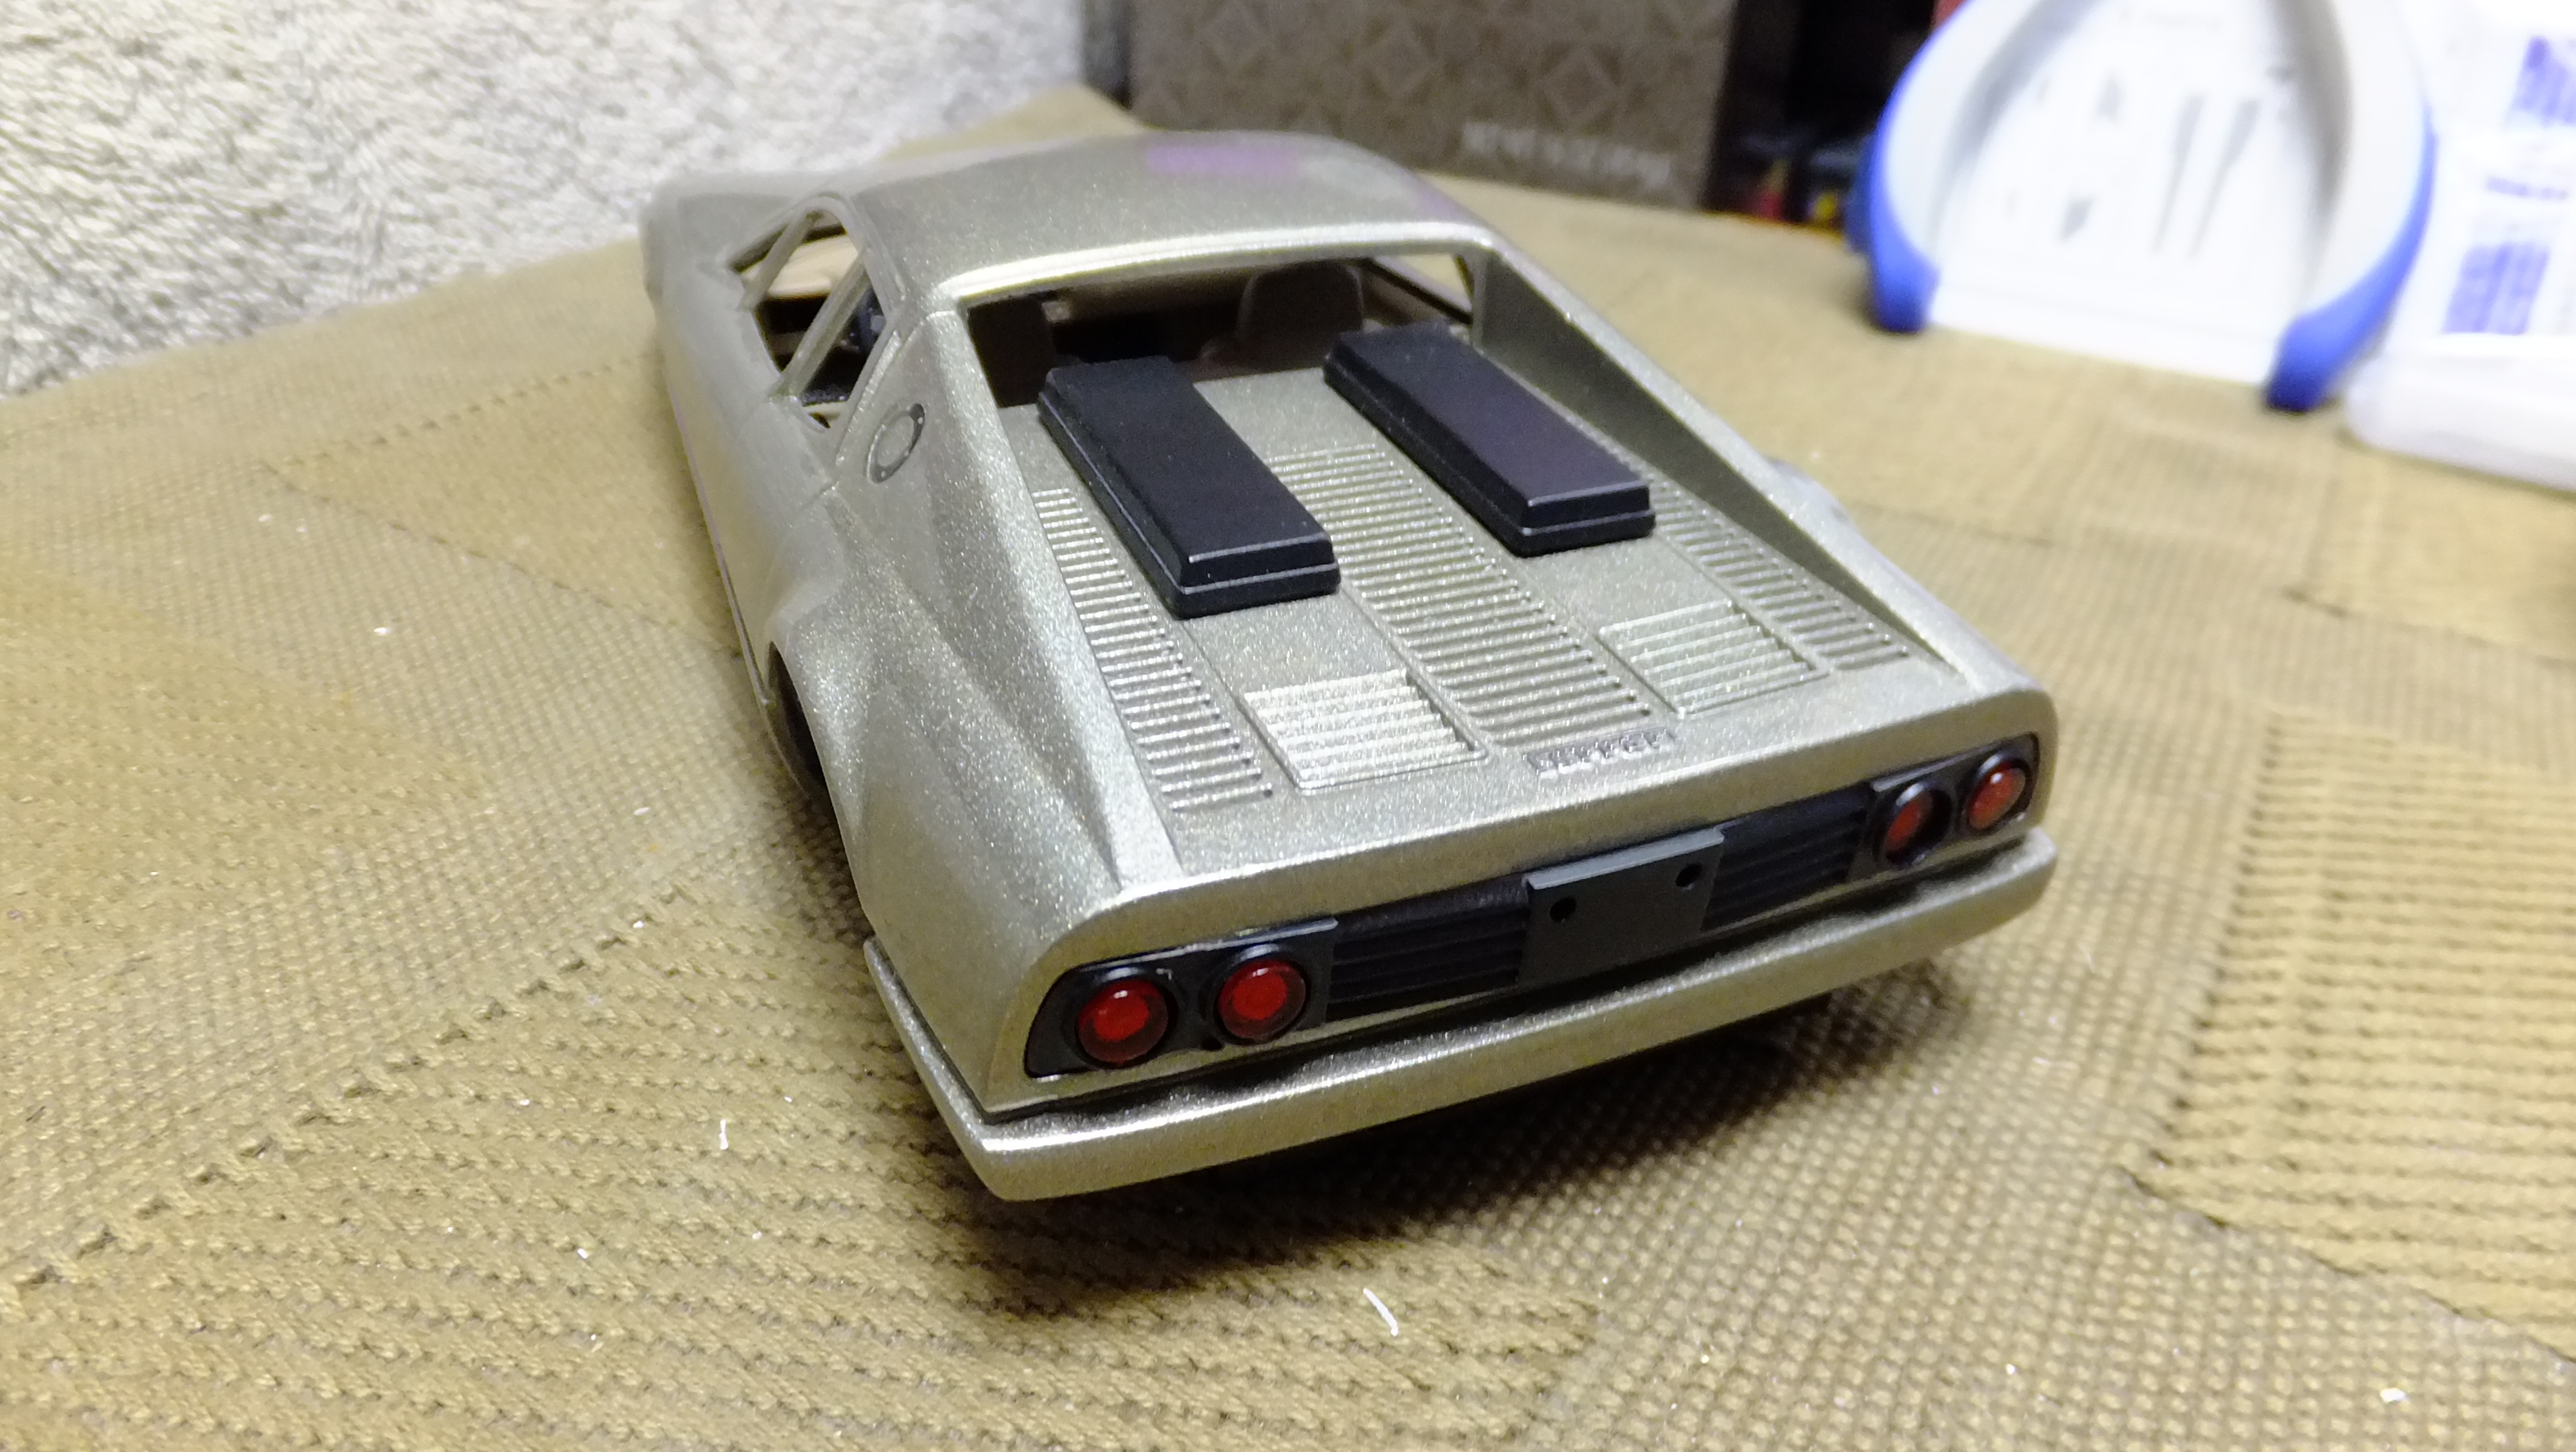
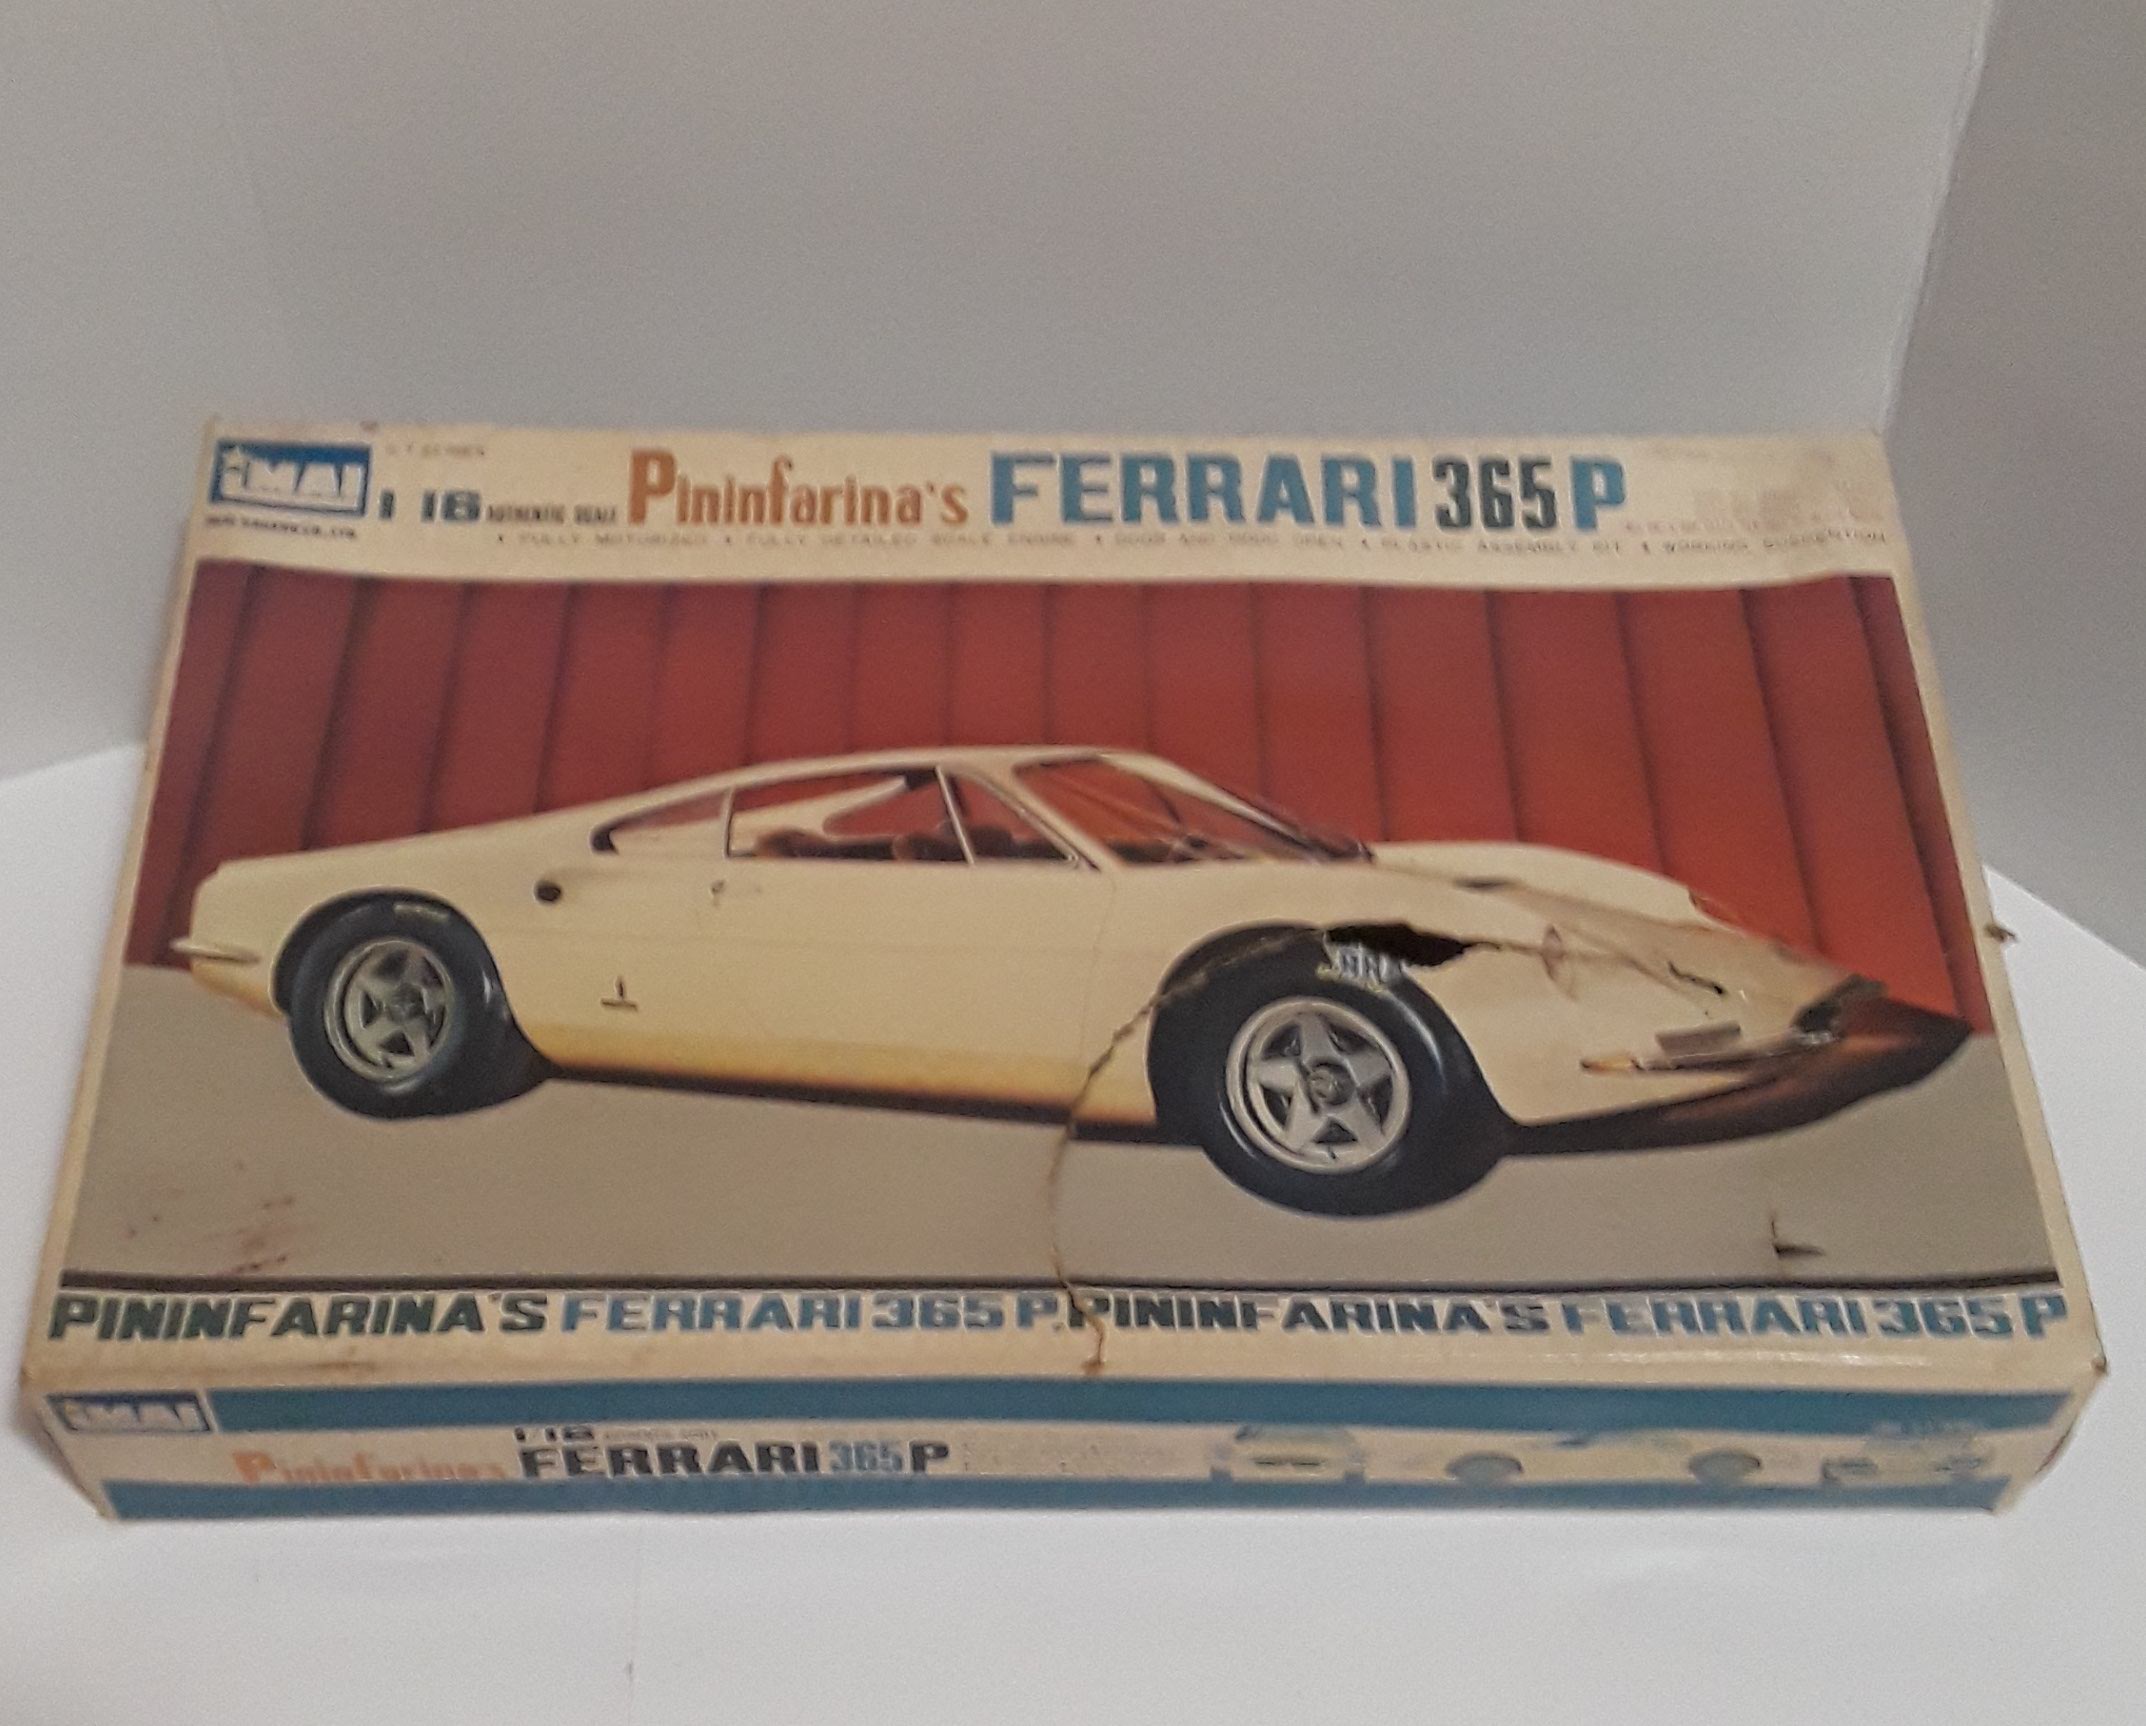
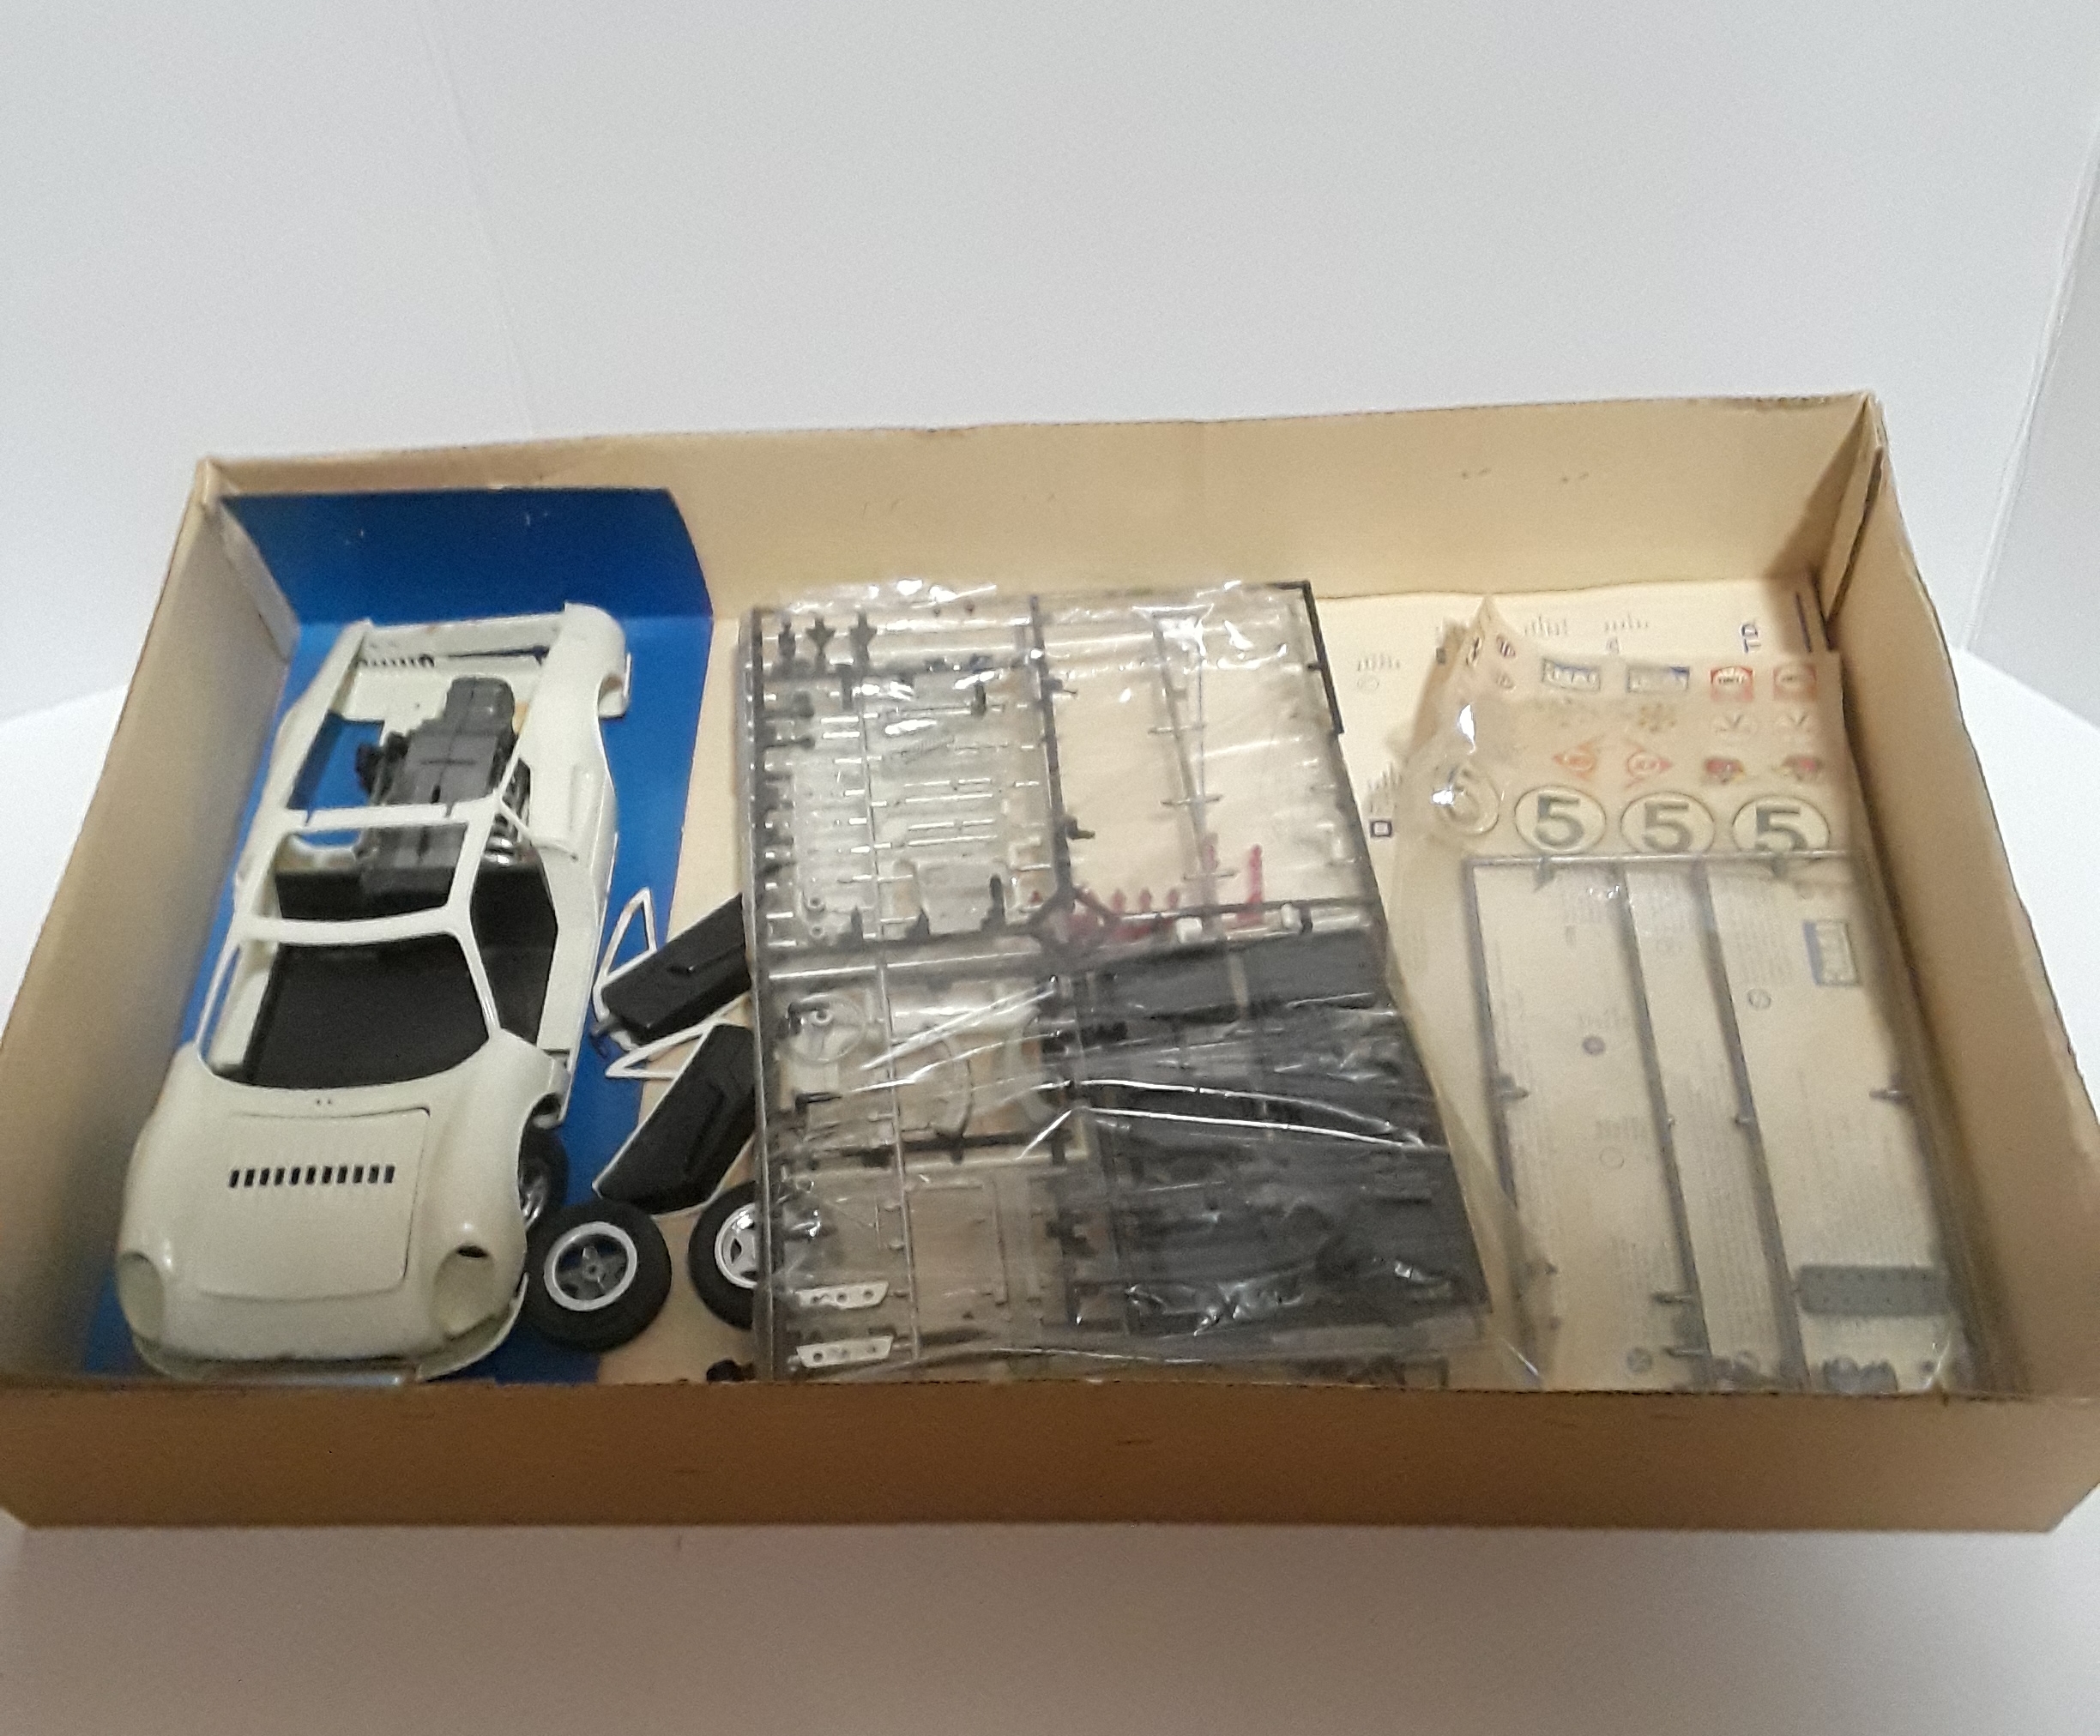
 So this past Saturday, I purchased a 1961 IMAI KAGAKU Ferrari 365P Kit 1/16 Scale Kit, at an estate sale for $4. It's in the original box, but the top of the box has a rip maybe 12" long. It seems their sons at one point started to build it, but never finished. I haven't double checked yet, but it seems all of the pieces are there. Most of the pieces are still in the plastic sheets, not yet broken off, but they started to build the body (back in the 1960's that is). (There was even a roll of old tape in the box, I didn't know it was tape at first, because it looked like a bronze metal ring stuck to the box. I guess that's what 57 year old tape looks like!) In your opinions, would it be worth more to keep it as it is? Or to assemble it. Where is the best place to find fair offers? Thanks! -New & Interested
-
Next on the bench - a pair of 'Prancing Horses': Fujimi's 246 'Dino' - my first 'enthusiast series' kit with a parts count of 237 according to the box-lid. Building this simply because it was the first Ferrari I ever saw in the flesh, it was pale yellow, driving through Southport sometime on a Saturday afternoon, in the early 1970's... and nobody in school would believe me when I told them on the Monday. The 458 is the RoG kit and is a much easier build ! For both cars I used the same process: Mold seams rubbed-out then 'scuffed' the body-shell(s) with Tamiya 600 grit sanding pad, then primed with Tamiya grey straight from the rattle-can. Next I polished that back with 2000 grit wet'n dry and a little water. The Dino was shot with (again) Tamiya TS51 'Racing Blue', the 458 with TS14 black followed by (new) TS95 Pure Metallic Red, which to my eye is almost exactly the same tonally as Mica Red. I applied three lightish coats to get the depth I wanted. I gave them both 48 hours after applying the paint then used CRC 'Paint Doctor' which is NOT a polish but a chip & scuff creme you can buy here at 'Supercheap Autos' - a sort-of Halfords / NAPA Autoparts equivalent. I'm very happy with the results and the finish on both of these could well be the best I've yet achieved. Next I'll focus on the Dino and assemble the engine & transmission (no small task) and hopefully get some pics up before next weekend. Thanks for taking the time to look and / or comment and please feel free to ask any questions. AFN Ian.
-
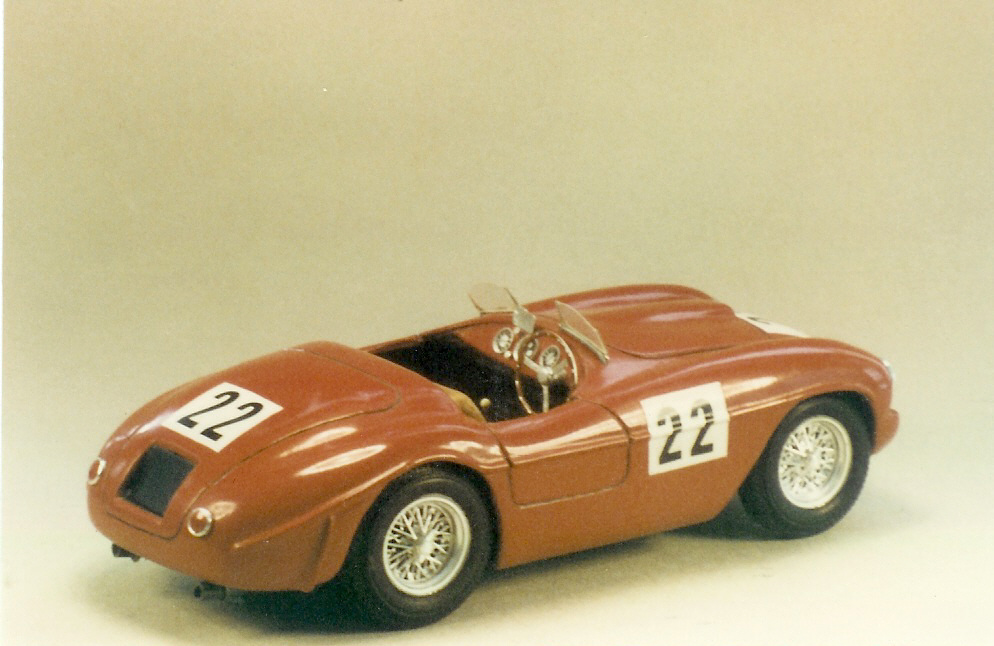
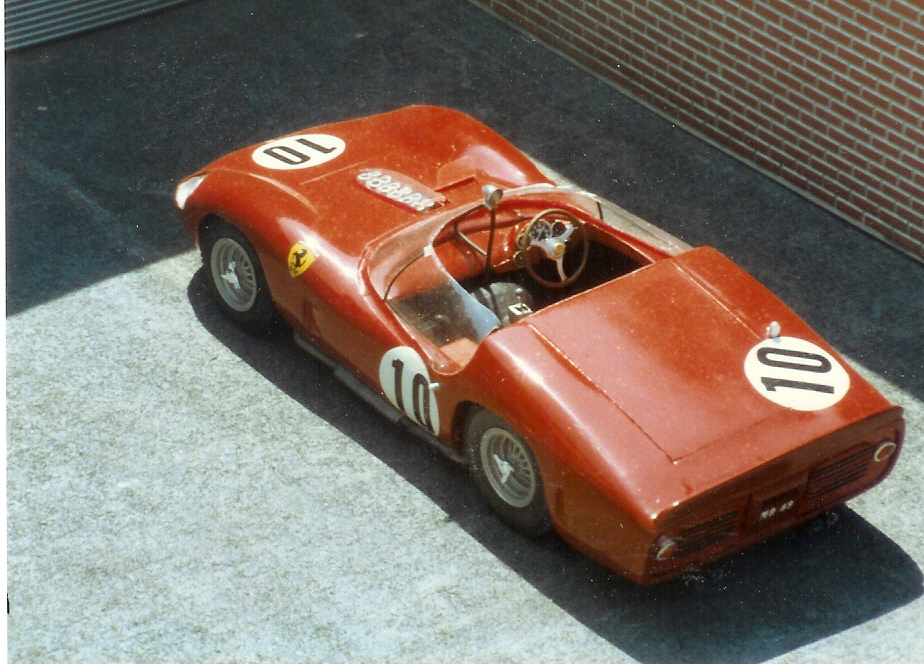
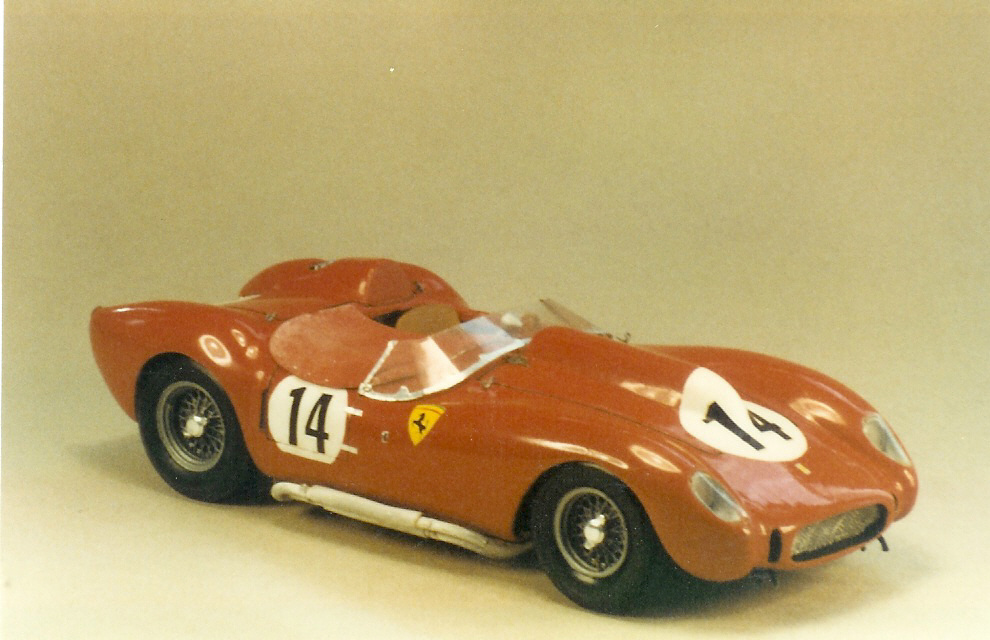
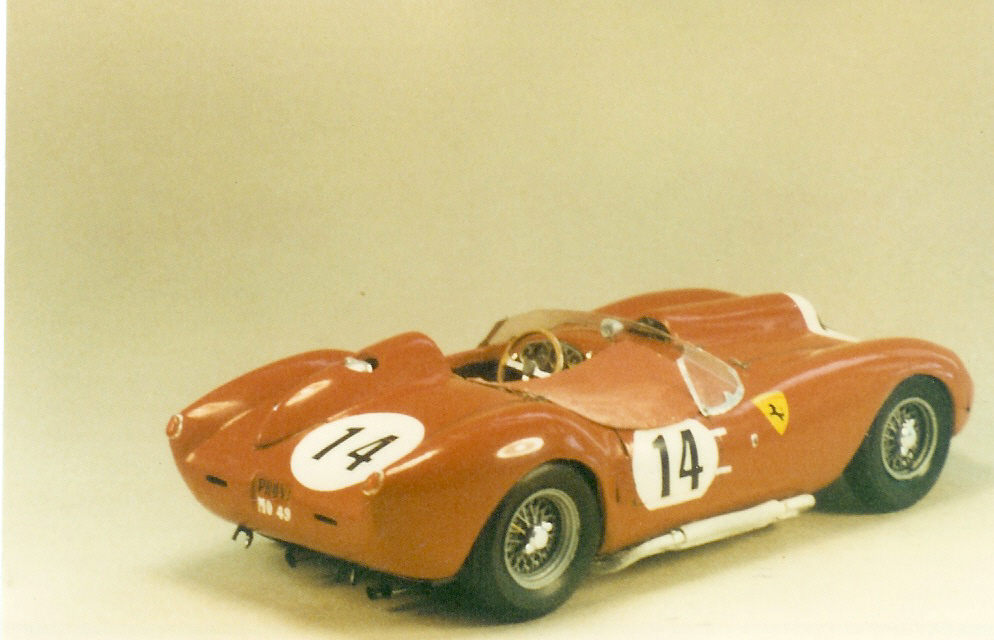
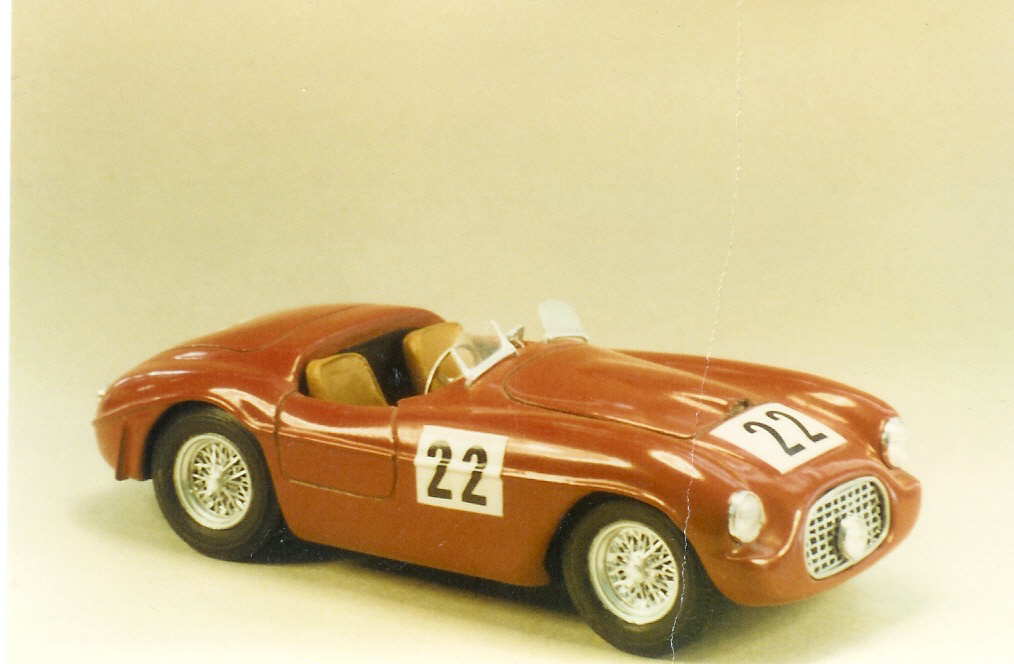
 Back in the 1960's models of foreign race cars were hard to find. One option inspired by Don Emmonds articles in hot rod magazines was to carve your own in wood! Bare in mind though that references were not easy to find either except B&W photos in magazines like Road & Track. Below are my some of my efforts back then.
-
I know this is an old kit, a search did not find any threads, so here goes..... Has anyone built the Tamiya Ferrari F40, using aftermarket carbon-fiber decals? The real car pioneered c-f, some is yellow weave, some is not as black as most decals available. I built the Fujimi last century, tried painting the seat backs.
-
I really wanted the 458 as a spider rather than the coupe. So I waited for someone to launch a model/transkit............ and waiting,and waited,and waited. Once the 488 was launched clearly there was never going to be a spider coming, so I took matters into my own hands. I grabbed my sons diecast 1/24 scale 458 stripped it apart and made a silicone mould of the body and cast the spider body from resin. I then cut the roof and back section from the fujimi kit and sculpted the engine cover in from the cast using milliput. I then re-sculpted the hood and back end to represent the Ferraro 458 Aperta. Just for good measure added in door inserts from an italeria 288 GTO I had for spares and scratch built the front end, again loosely based on the Aperta. Oh and added some monster 22 inch rims I call it the Ferrari 458 Aperta M, let me know what you think
-
If you want a decent cabinet piece and great value for money I would highly recommend these little Revell F1 cars. With some added detail they come out pretty decent, I've built x3 of them now and there are some issue with warped wonky wings and wheels maybe not always 100% facing the way the should (I right that off as camber) otherwise really nice Hope you guys enjoy the video let me know what you think
-
After starting this in August ,I can call this one done . Tamiya kit. Color is Tamiya pure white with a silver under base. I use silver on these cars because the paint lays down thin. Carbon is from Scale Motorsports and the new Tamiya carbon decals. There a little thick but dry with a gloss finish. Details are from the Hobby Design detail kit.
-
Hi Guys, My first start to finish build since joining MCM. There is a build diary in on the work bench but one of my pals said he cant see the video I think I might be uploading on a sub thread. Hopefully from fresh you guys can see this one, let me know what you think hope you enjoy the video. Thanks to everyone who followed the build super motivational
-
Just a quick update on the progress . 20 plus days left to get it finished for a contest in Philly.
-
Fujimi Ferrari F430 Spider. I built this car a couple of years back and I was going to say this is one of my favourite Ferrari's but to be honest I love them all
-
After a few reprints of body panels ,I'm back on a roll. I wanted a different color, I haven't decided on a stripe color just yet. Red seems to be the current choice.
-
hasegawa 1:24 Ferrari 328 GTS with a hobby design detail kit.