Search the Community
Showing results for tags 'italeri'.
-
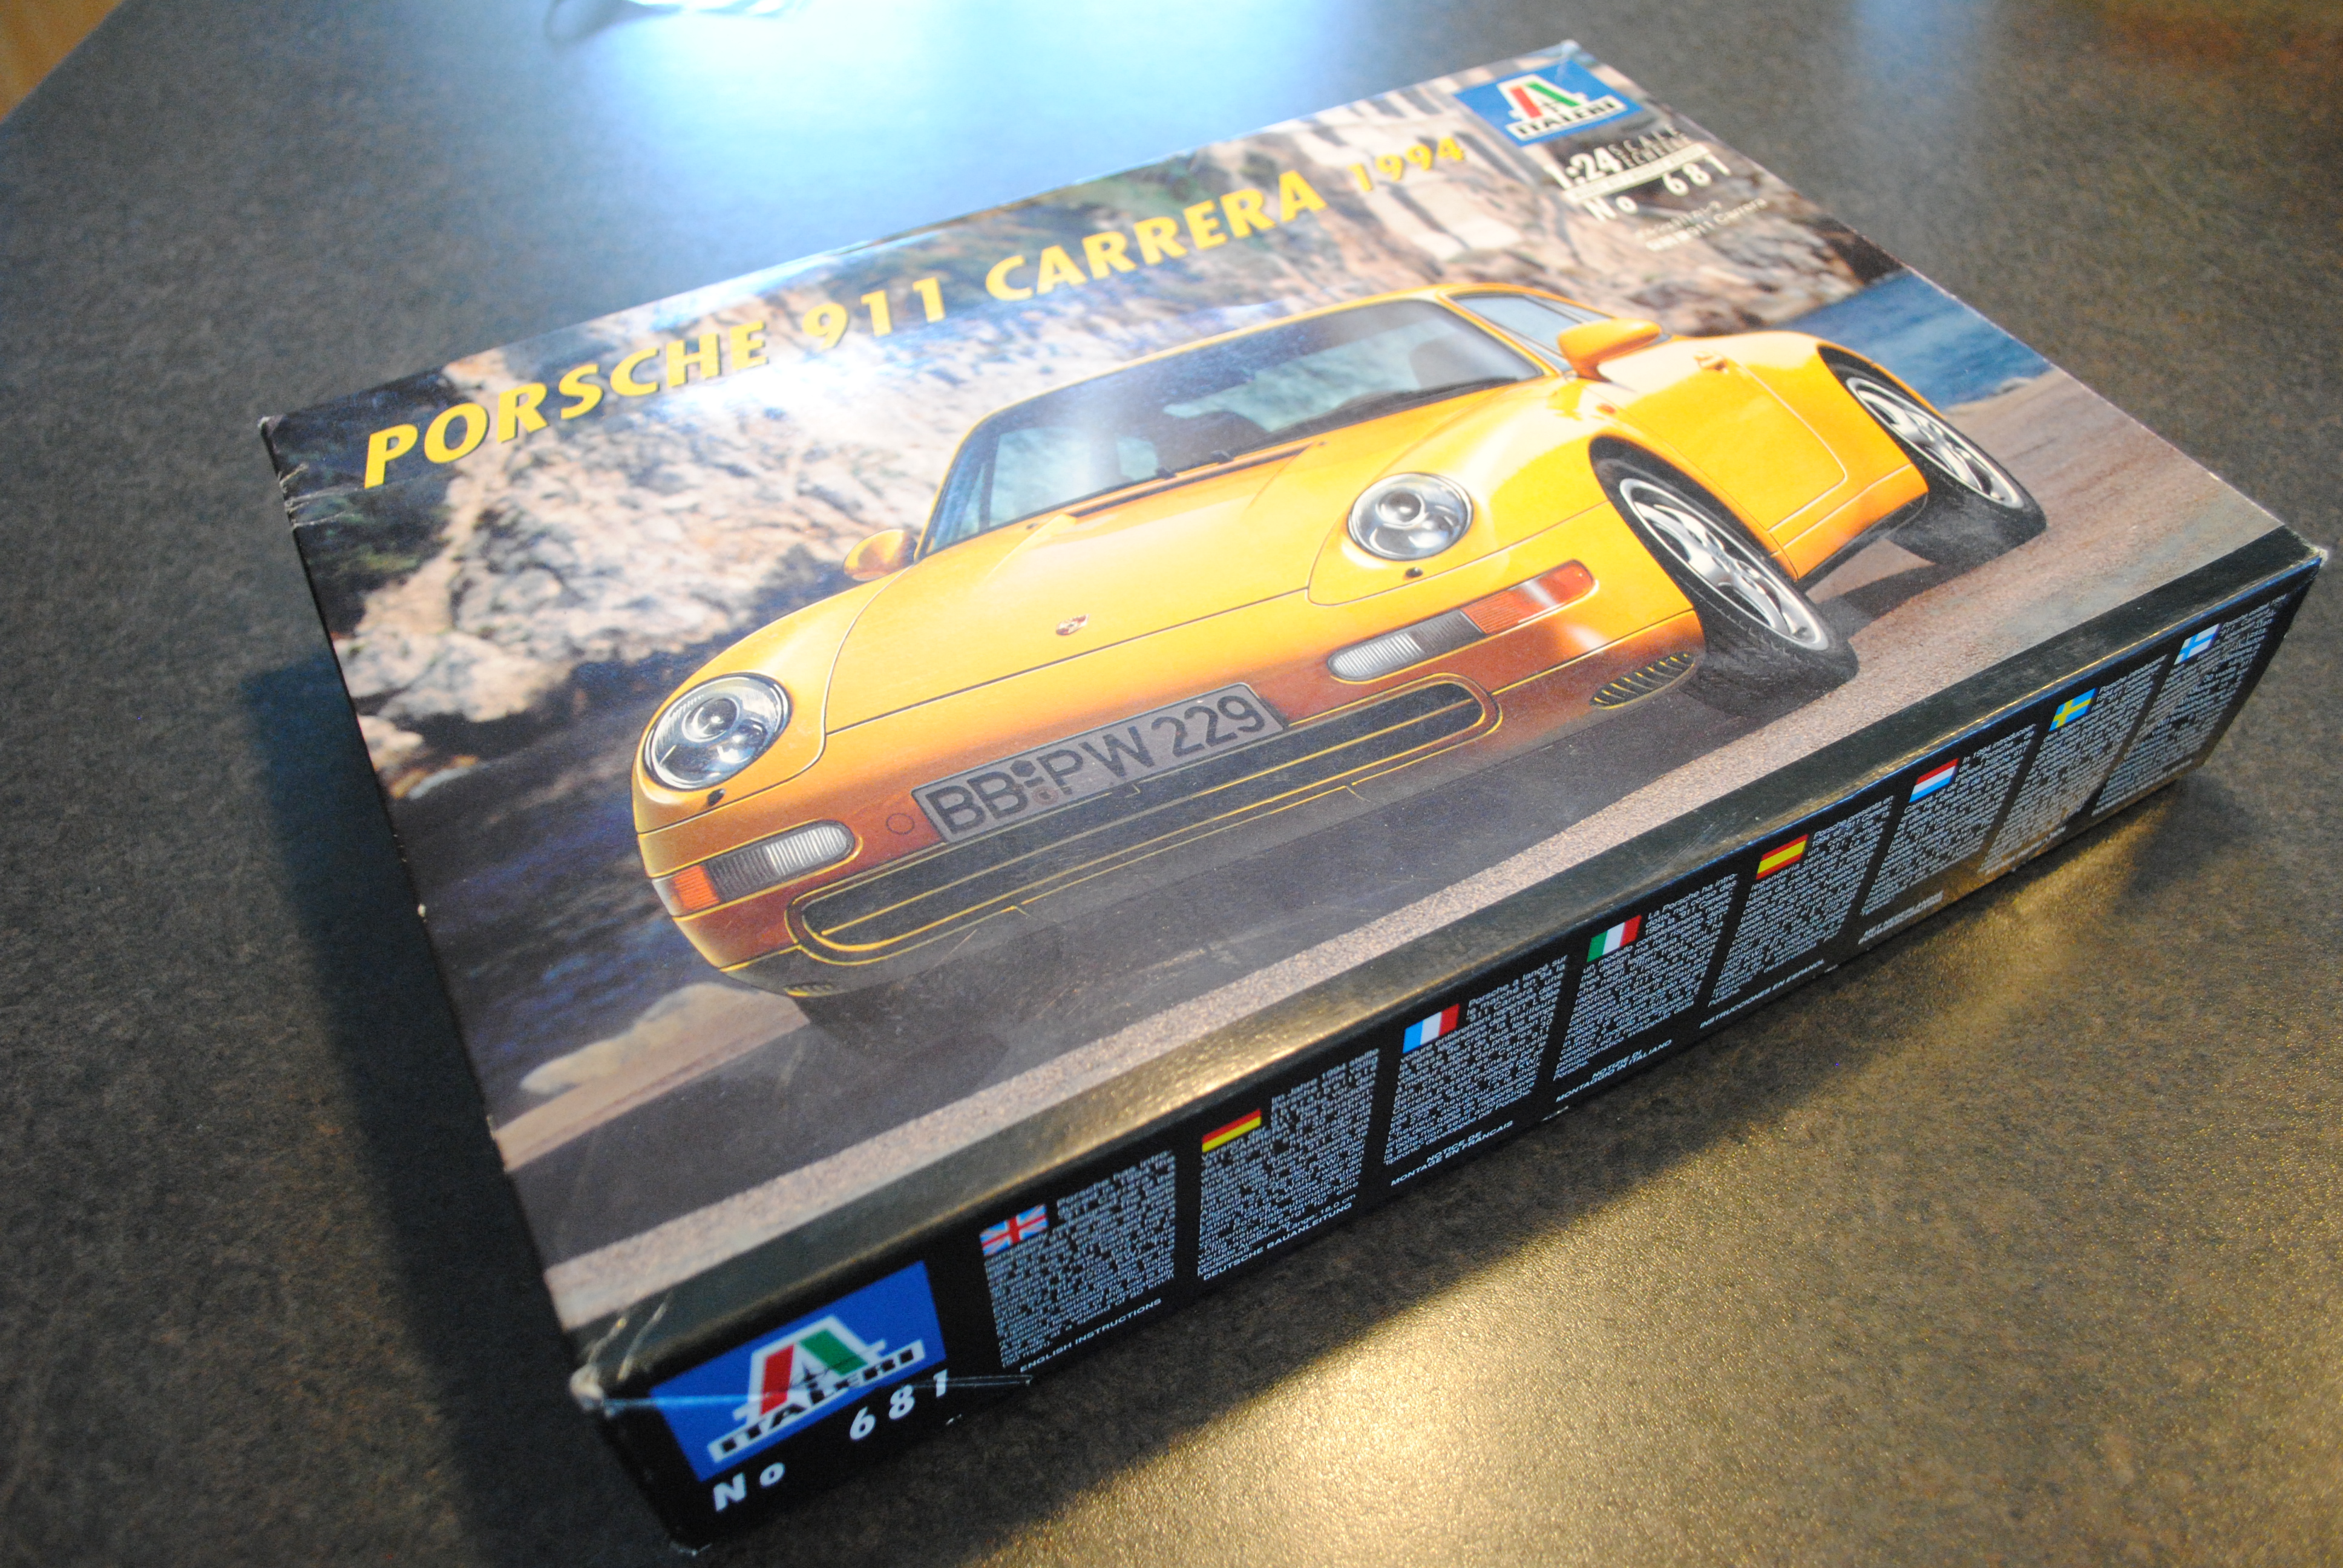
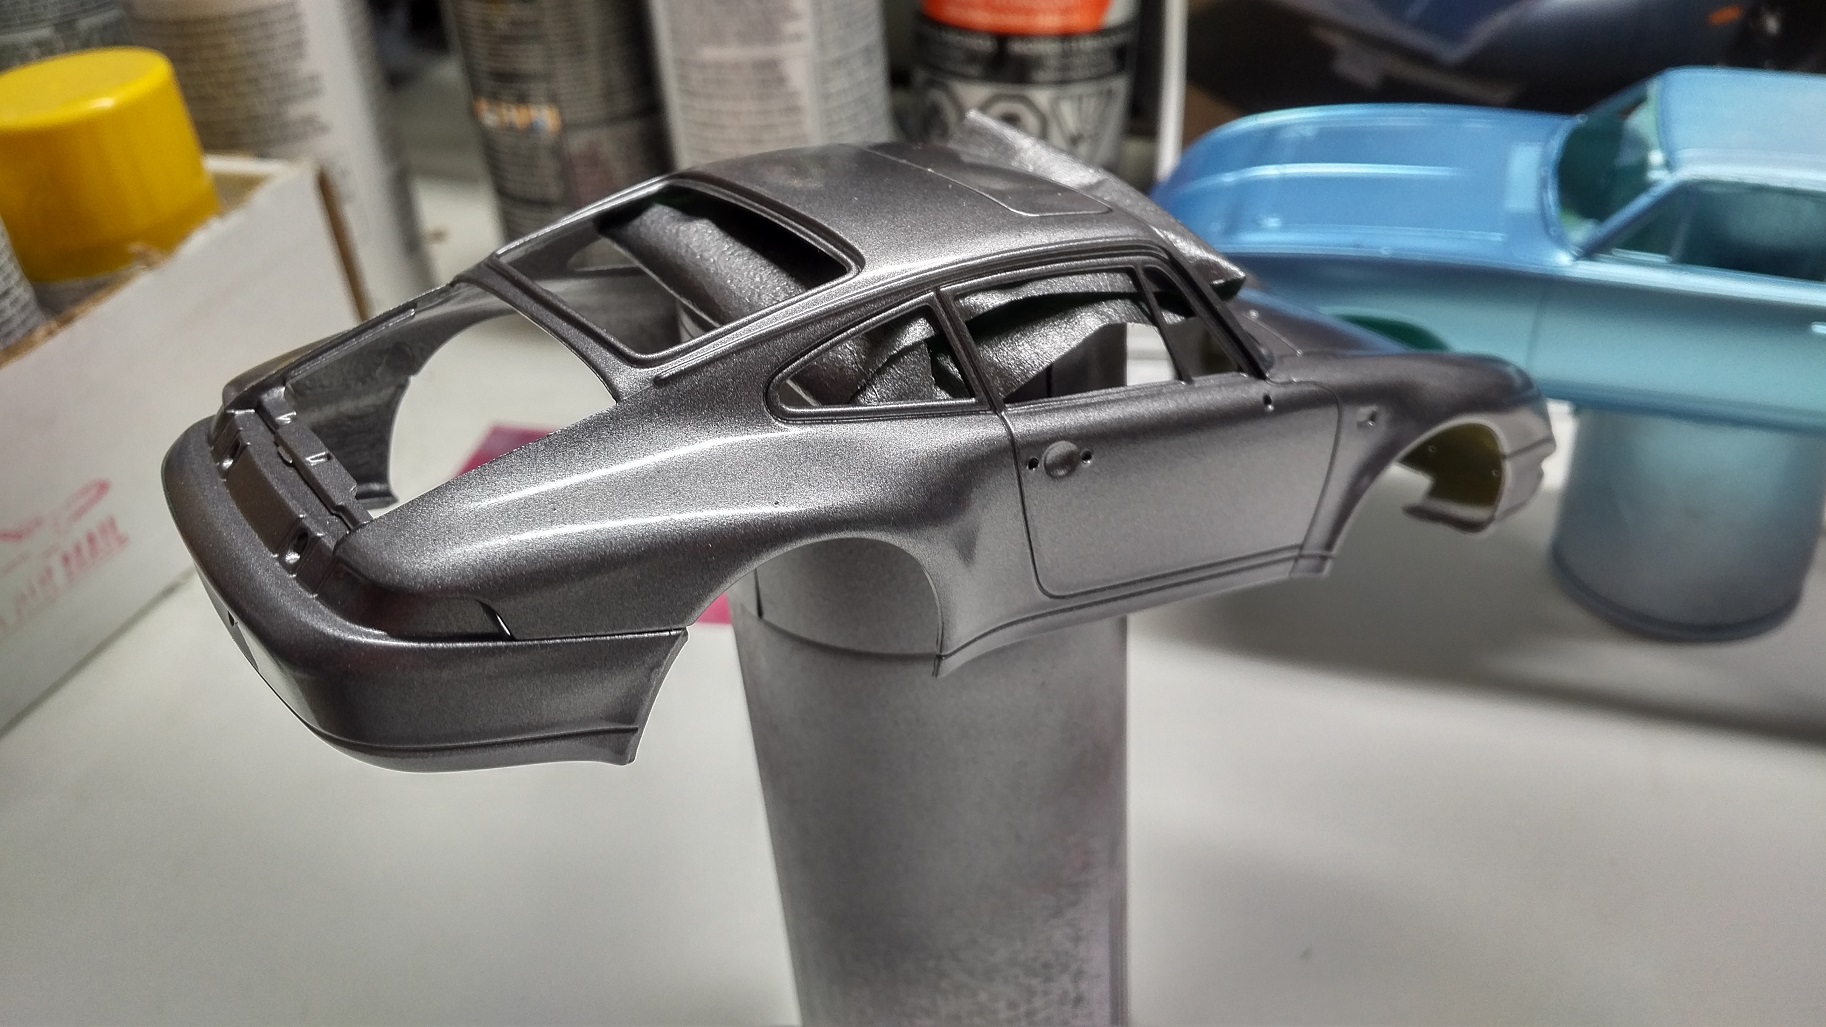
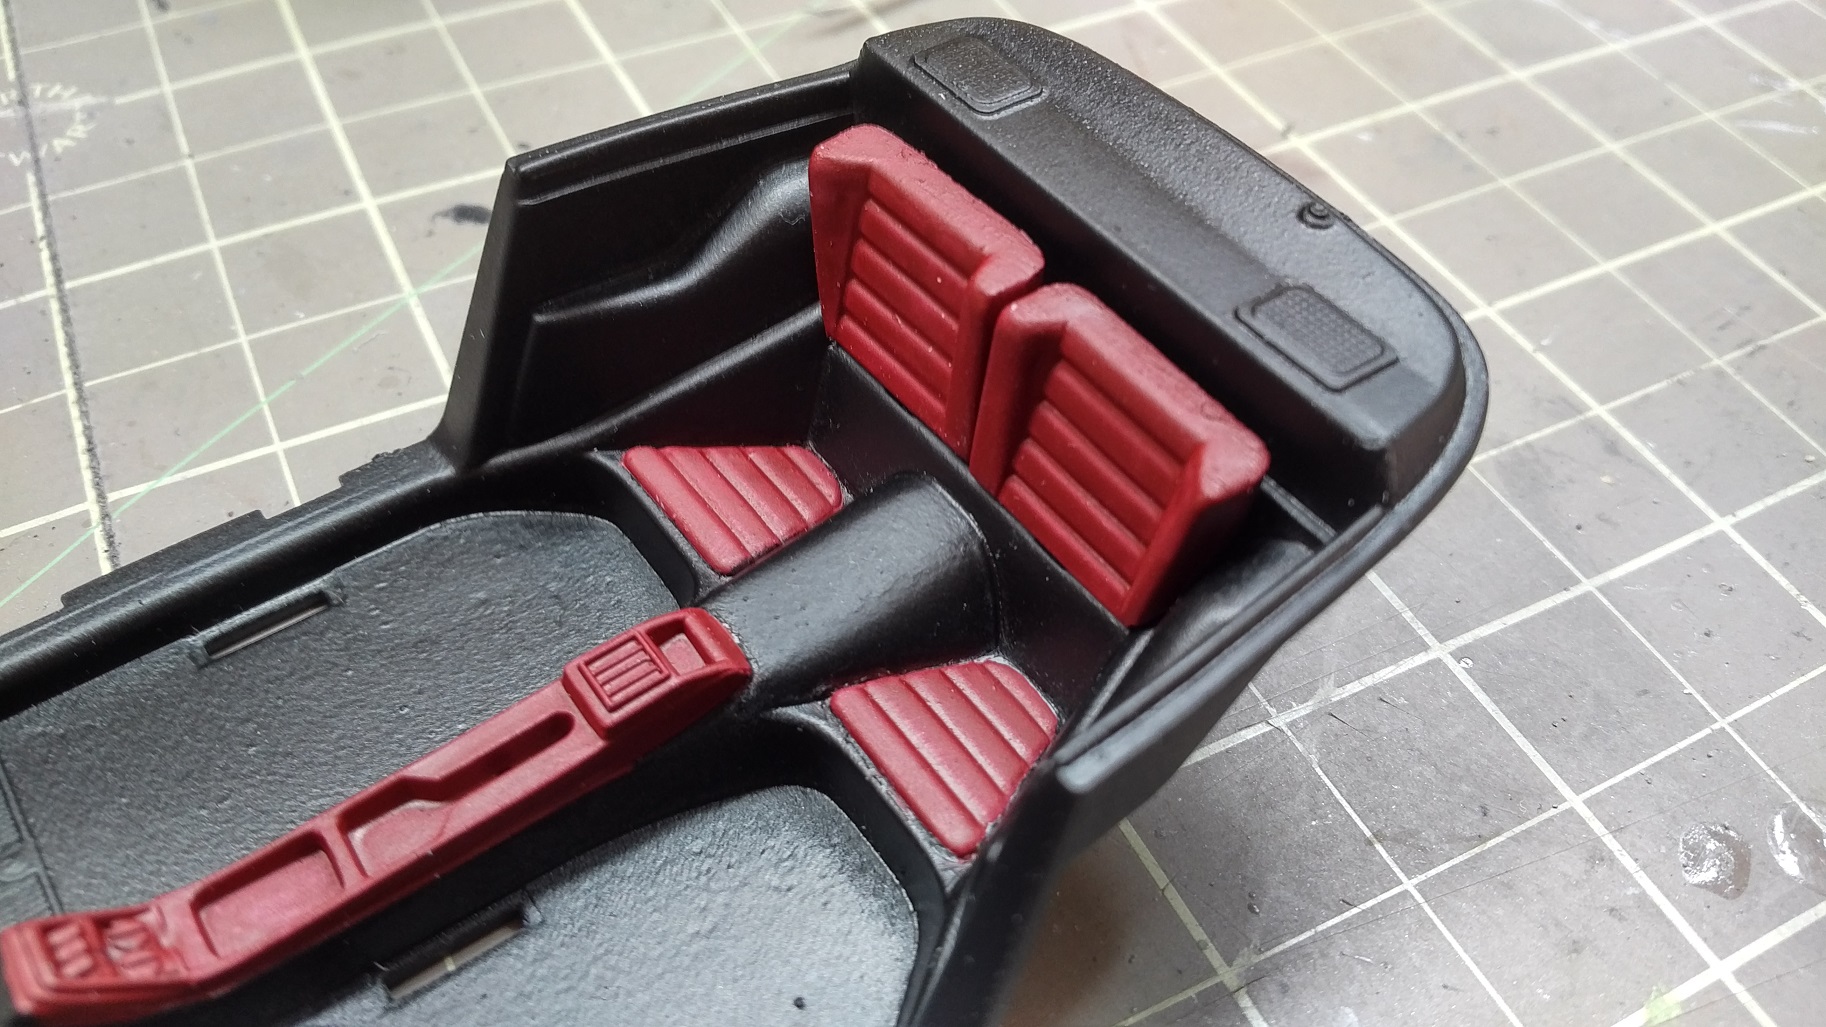
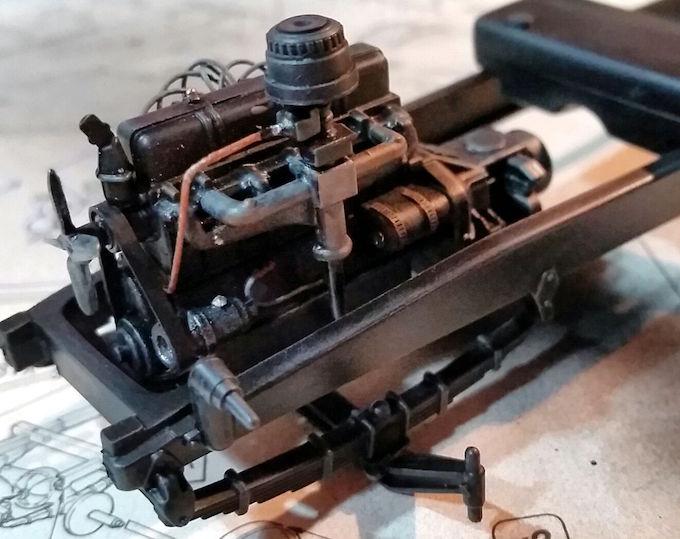
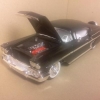
Well this kit has been an incredibly long WIP. I bought this kit back in the mid-90s when I was still working for Porsche. It was to be one of the kits that got me back into building. So I started it, then promptly stopped working on it. For whatever reason. And now I'm going to finish it. Back when it was new, I decided purple was the colour of choice. And I decided to spray that right onto the body, no prep, no primer, big mistake. So now I've done the purple bath, properly prepped the body, primed it using Tamiya white primer, then sprayed Tamiya Gun Metal. Needs some polishing, but I like how the colour turned out. Interior is now a semi-gloss black, with Model Master Dark Crimson. I think it's a pretty close approximation to Porsche's Oxblood Red. Over the years, the kit's wheels and seats vanished. Thanks to Steve (Intmd8r) I have a set of wheels and tires that could be interesting on this one, going to require some suspension tweaking, but it should look cool when done. I have a set of seats coming from Clearly Scale, so those will look pretty good once in. Not going too nuts with detailing on this one. Just want to finally finish it and have a good looking curbside kit to put on the shelf.

-
This is the beginning of the Range Rover that won the 1981 Paris-Dakar Rally. Kit Review here. http://www.modelcarsmag.com/forums/topic/118121-italeri-range-rover-rally/#comment-1711587 No engine, but some interior detail. I have never tried weathering a kit, so this may be a candidate for my first try. The rear was solid, but I cut out the window and tailgate. The mesh above is some I had lying around, the mesh below is from the kit, as well as the two included fire extinguishers. Auxiliary fuel tank and aftermarket tubing Basic detail on the chassis Added seatbelts. Rollcage is standard Prelim fit of what it will look like
-
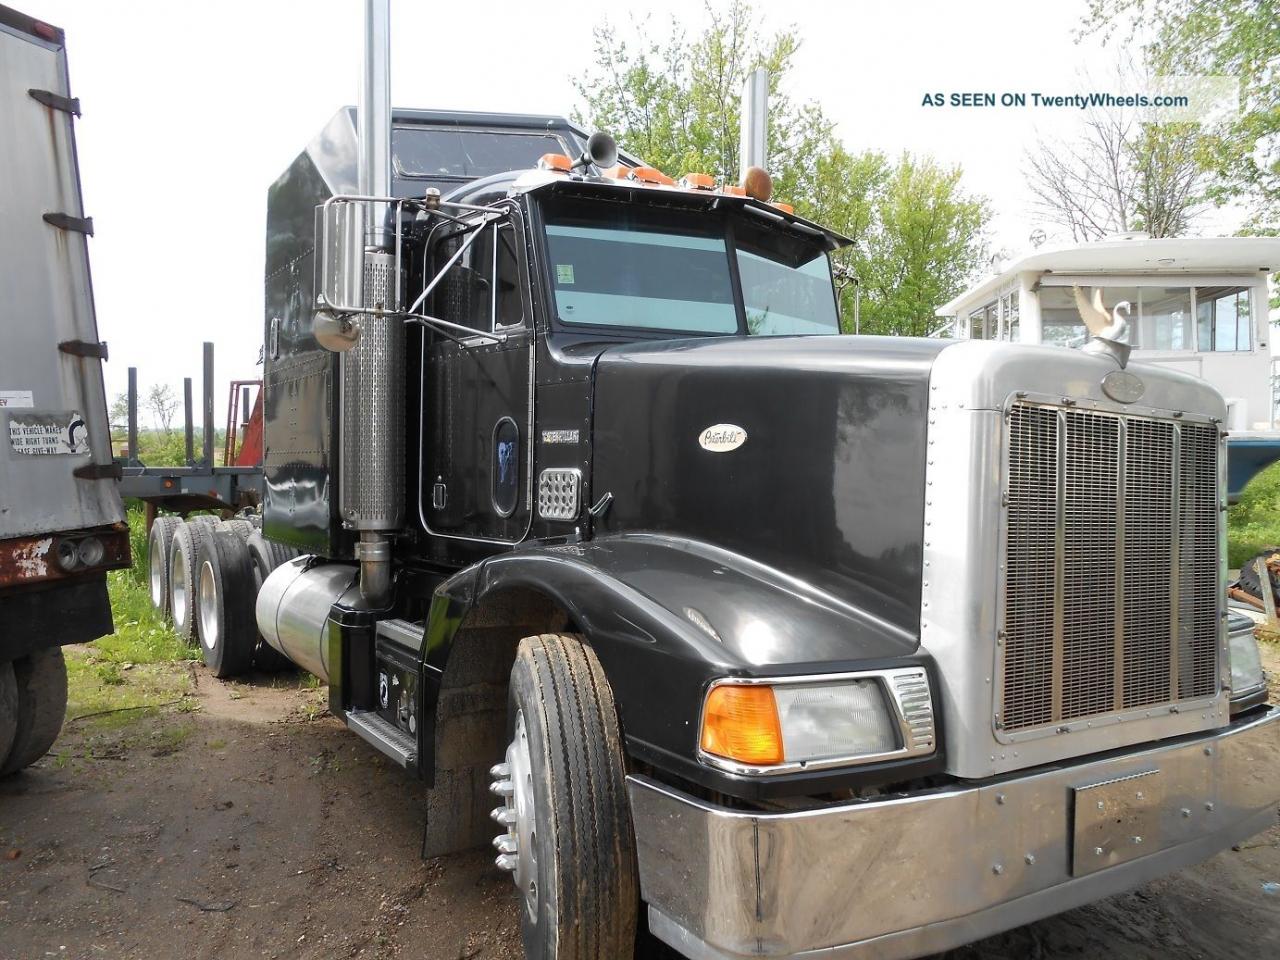
 So, it's been a while since the last post, here is one I have finished not long ago. Freightliner FLC with some mild changes from the box, decals from Modeltruckin', photo etch parts like nameplates, flap weights, chicken lights and supports from KFS, drive tires from Auslowe, exhaust stand pipes from the Australian Western Star and sleeper from the FLD kit. The wheels of the Moebius trailer swtched to bigger Italeri rims and tires to better match the truck. most decals on the trailer also from Jerry Reeter. Spread axle with scratch built tool boxes, same flap weights as the freight. Color is Tamya pure white and Duplicolor Ford dark green.
 -
 Starting a new project. A Opel Blitz TLF 3.6T Firetruck from a Italeri 1:24 scale kit. More on my blog (spanish text only, sorry): http://www.angelnoes.es/2016/03/opel-blitz-tlf-36-motor-italeri-124.html
-
Thought I'd make a Workbench post of one of my more (for me) extreme builds. This started life as an Italeri Porsche 993 Convertible, bought with the intention of making the Japanese Porsche tuner Rauh Welt Begriff haven't done, a RWB Speedster! Now, there are transkits out there to make a RWB 993, but they are pricey and won't fit this kit, so what to do? You build it yourself of course! This is the kit I bought as the base. And to make the convertible body a Speedster body, I had to make a cover plate, so out came some modeling foam, which I sculpted to fit the body, using reference photos of the older and newer Speedster 911's. The 993 was never built from factory as a Speedster except for very few examples.
-
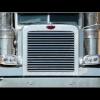
 going to start an italeri pete as soon as it arrives (b-day present to myself) thinking similar this one or maybe i will use the stock unibilt sleeper without the air deflector...not sure yet tho....take care guys
-
Hi everyone, today i will show you one of my European car in my collection. The best Ferrari ever, they built - the 288 GTO. I build it stock in memory of my first build Ferrari ever in the 80's, that never went out of my collection and always remember me to my first steps in modeling. I didn't had the money for laquer of clearcoat *lol*. So i build the same kit this year again. Nice to see, how i build 20 years ago... The only bad thing is, that the right mirror broke before i made the pictures. One thing always happens on the finish lane...but i can handle it. Thanks for your attention, comments or criticism are always welcome
.thumb.jpg.d0926de2d8346363976c7c0a63bd15d7.jpg)