Search the Community
Showing results for tags 'revell'.
-
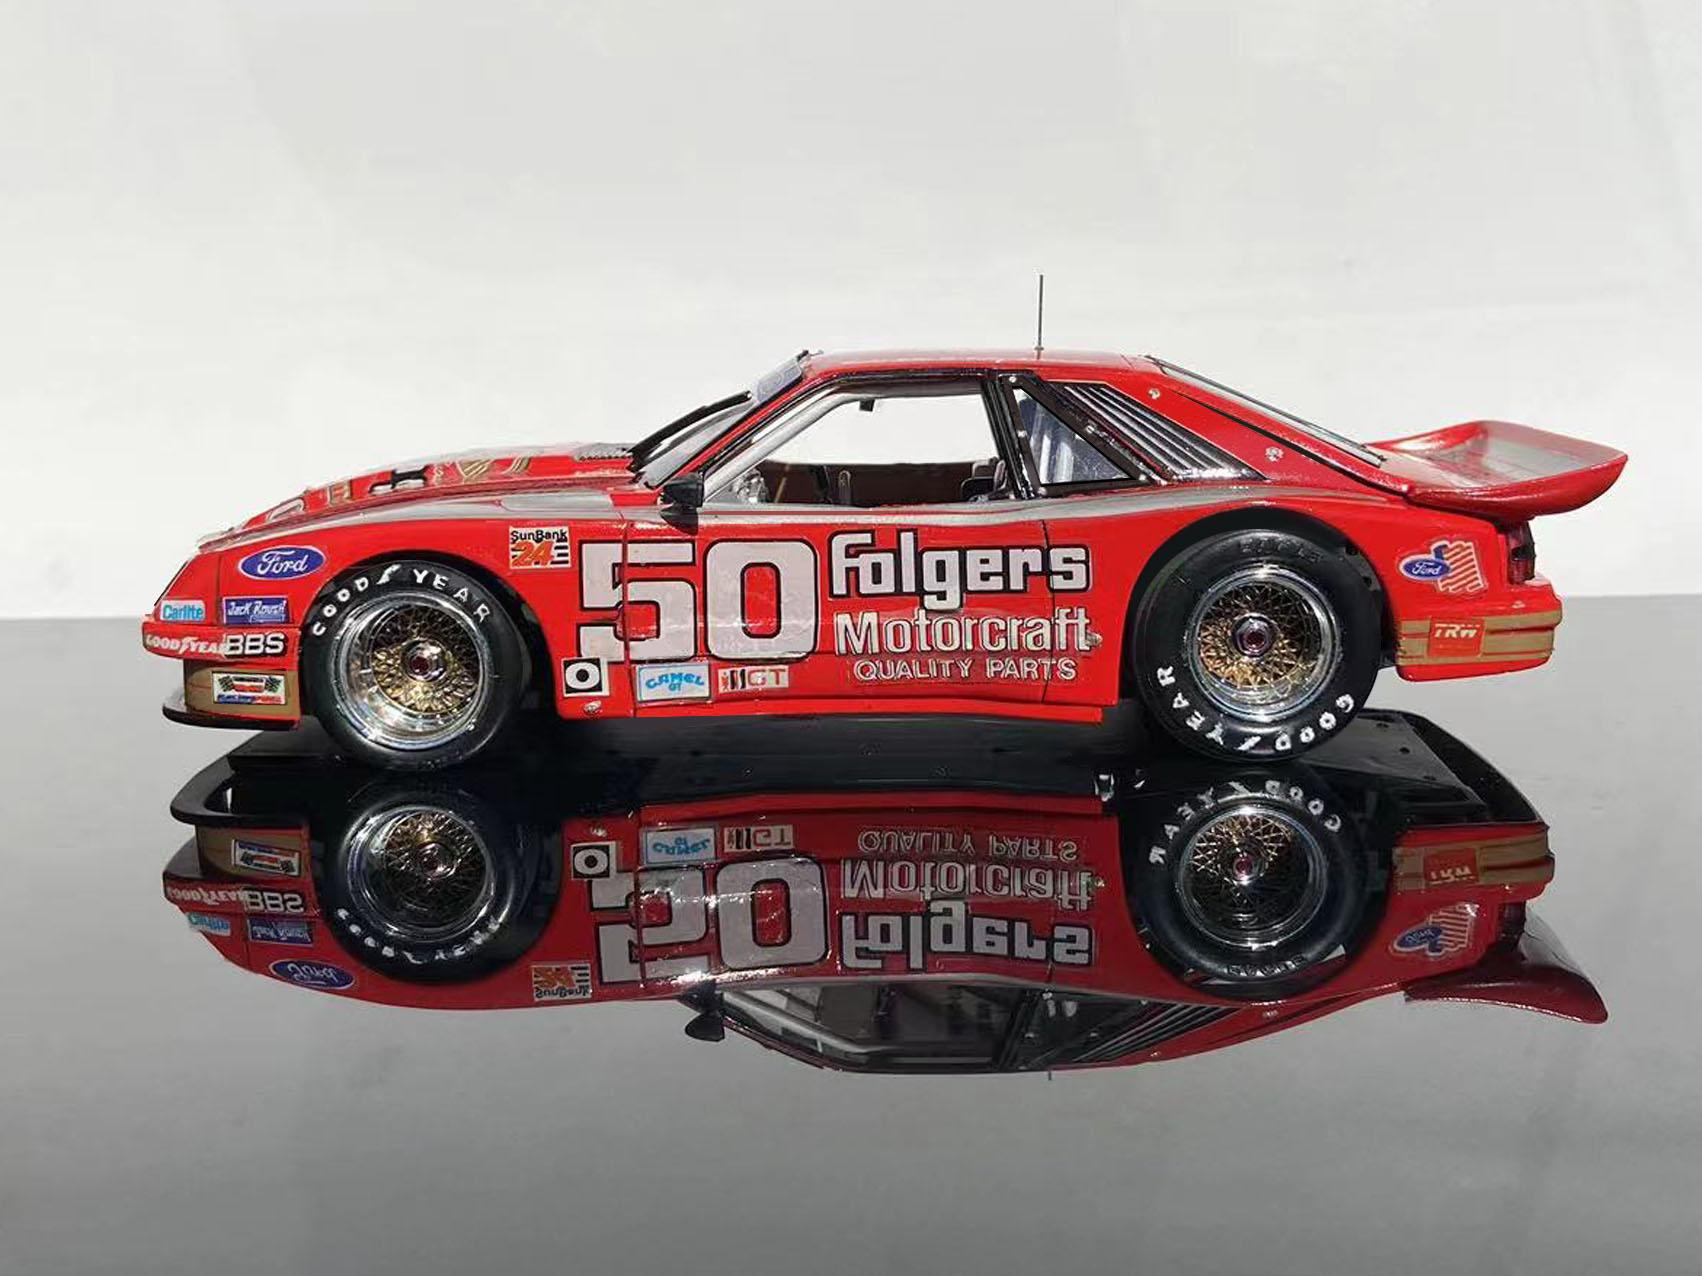
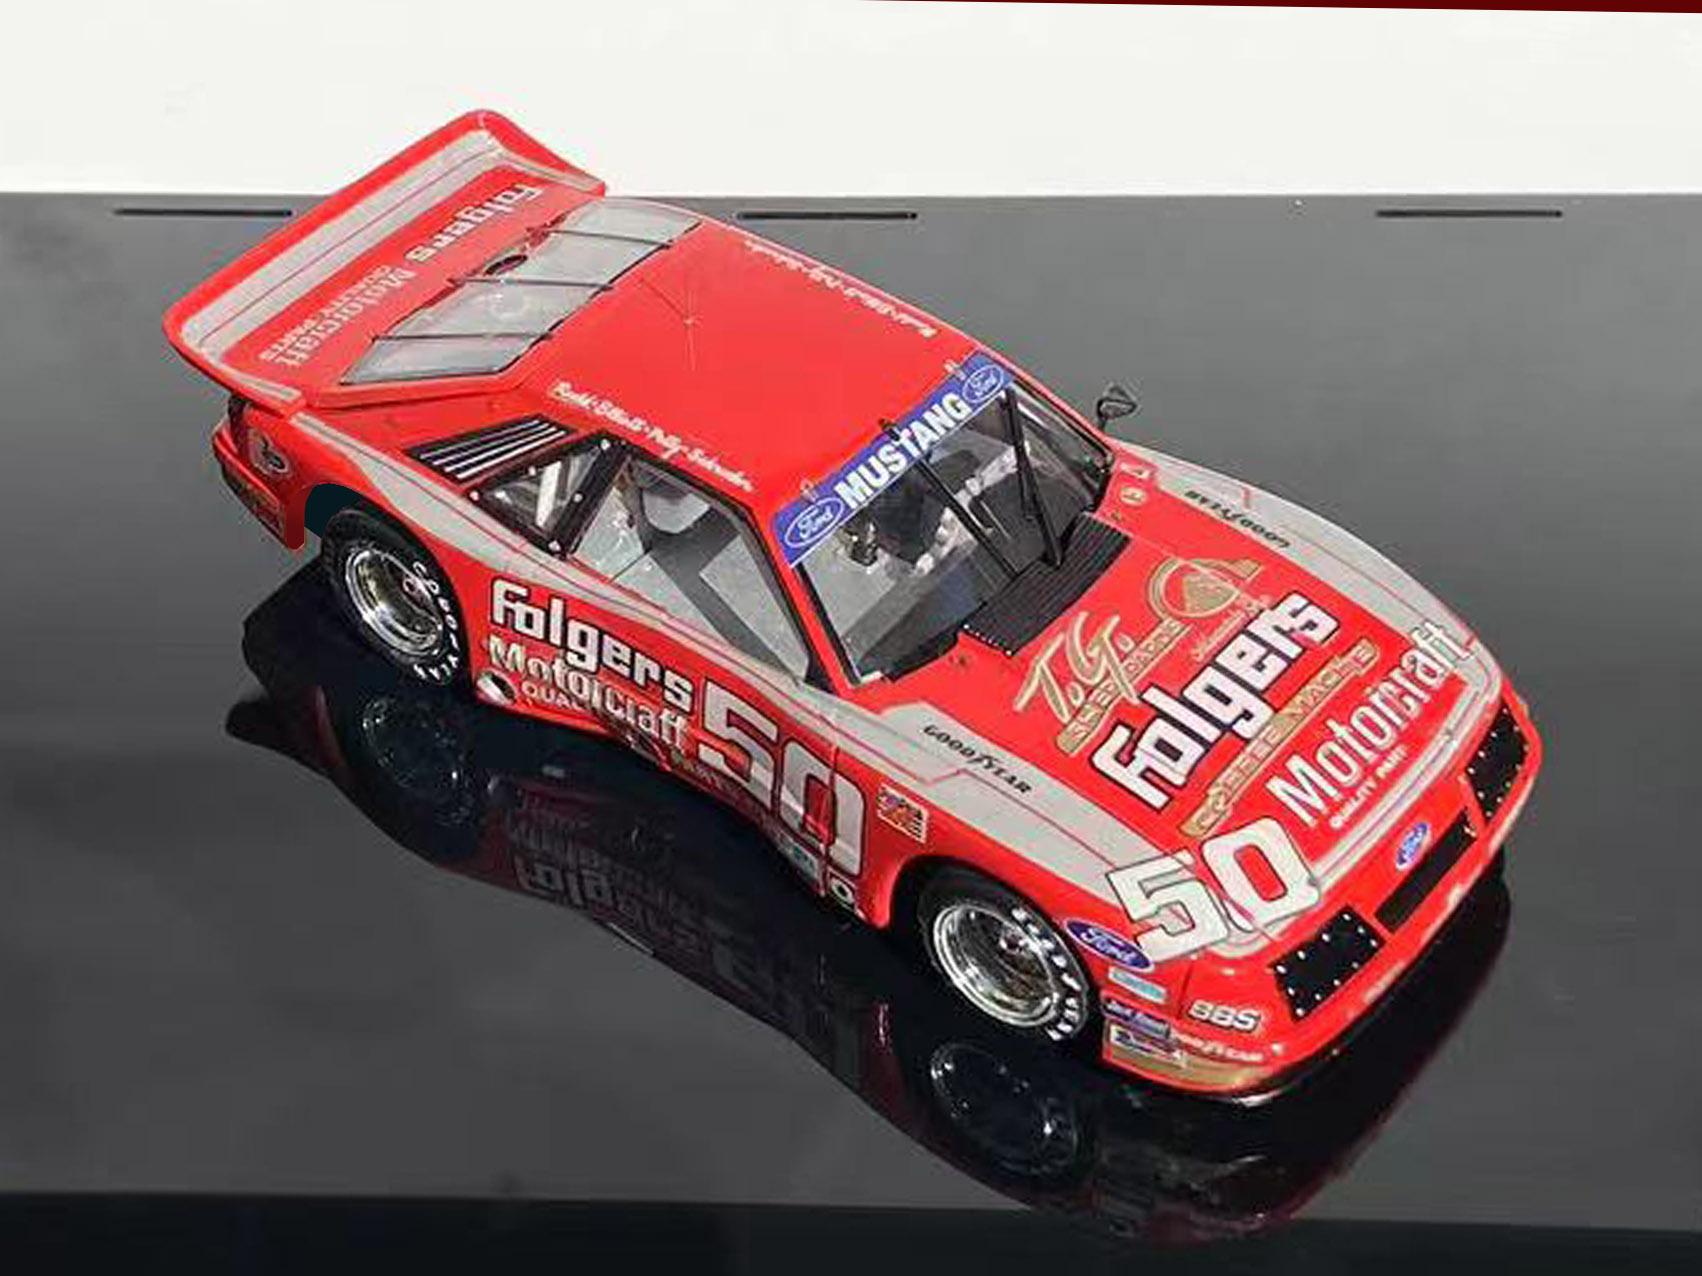
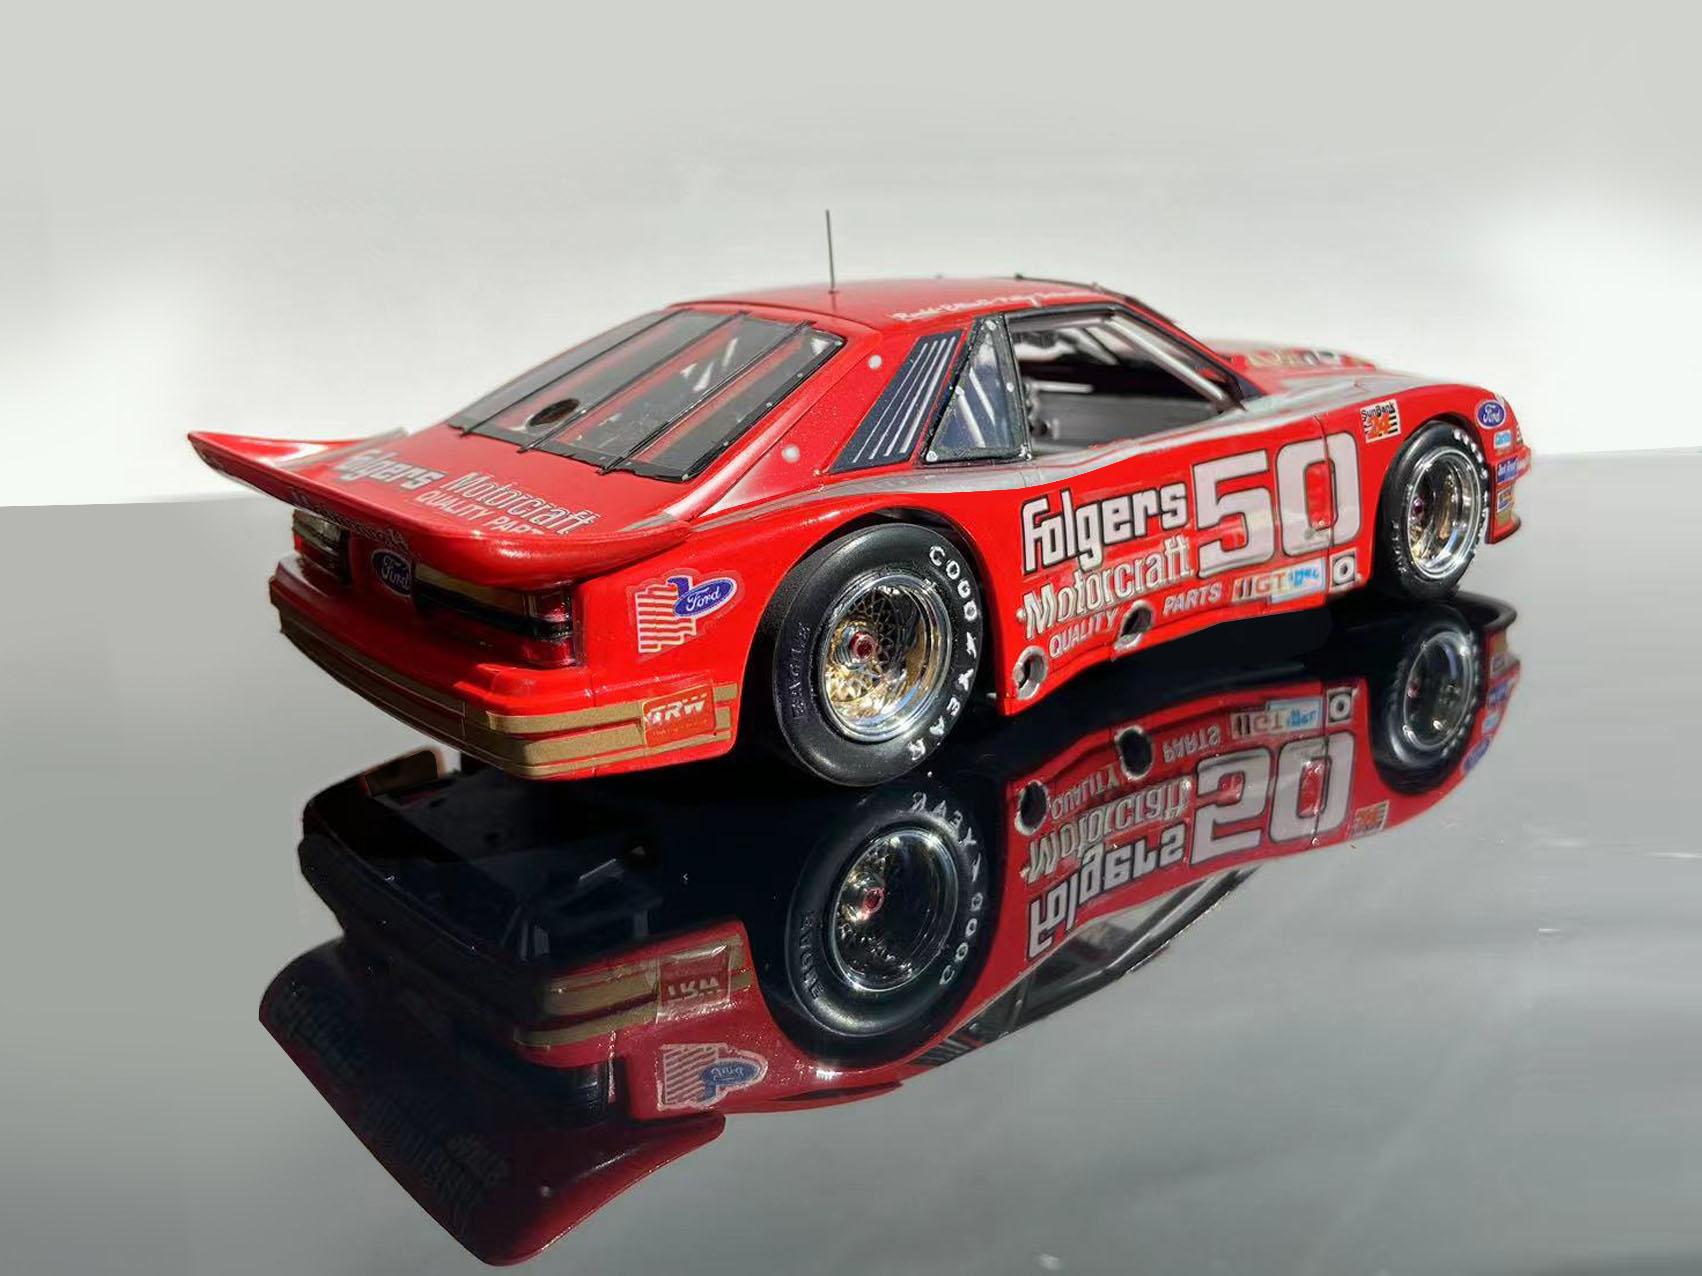
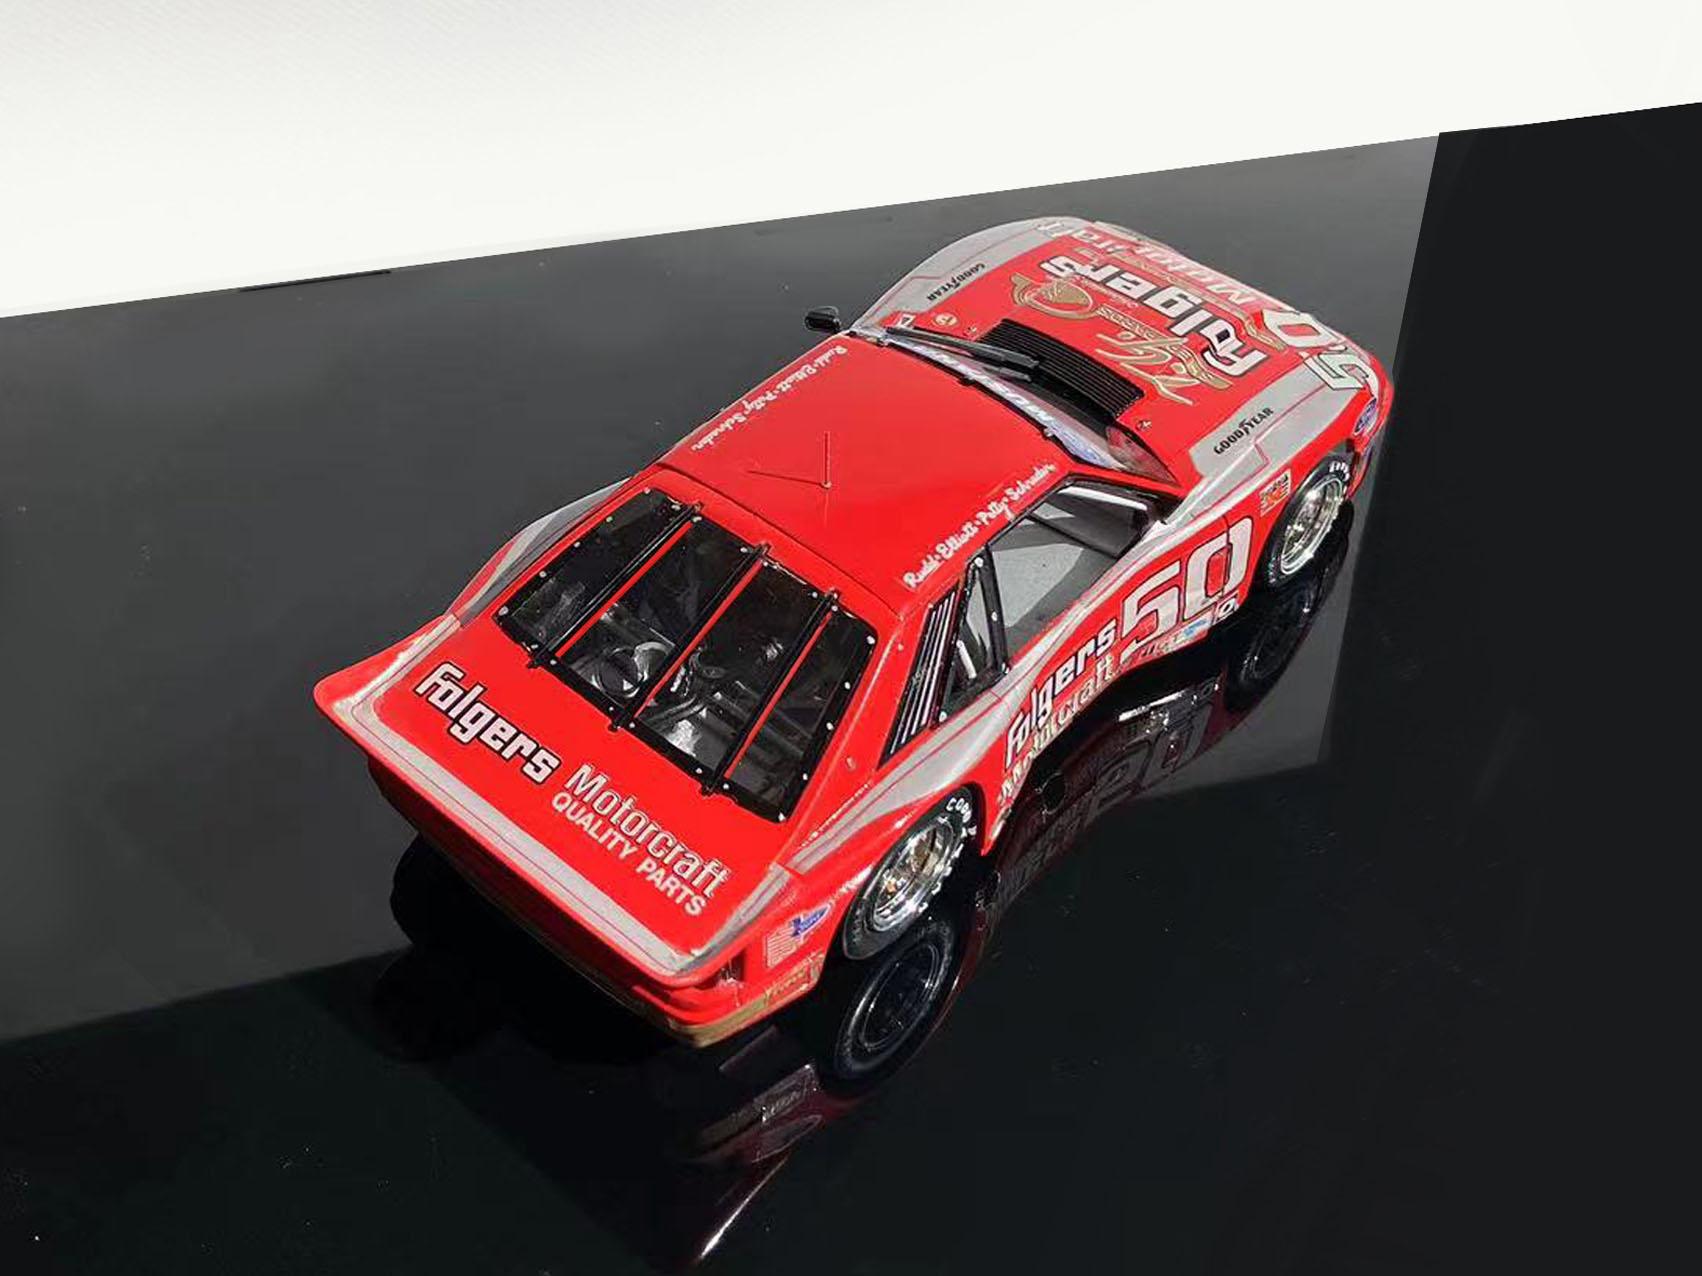
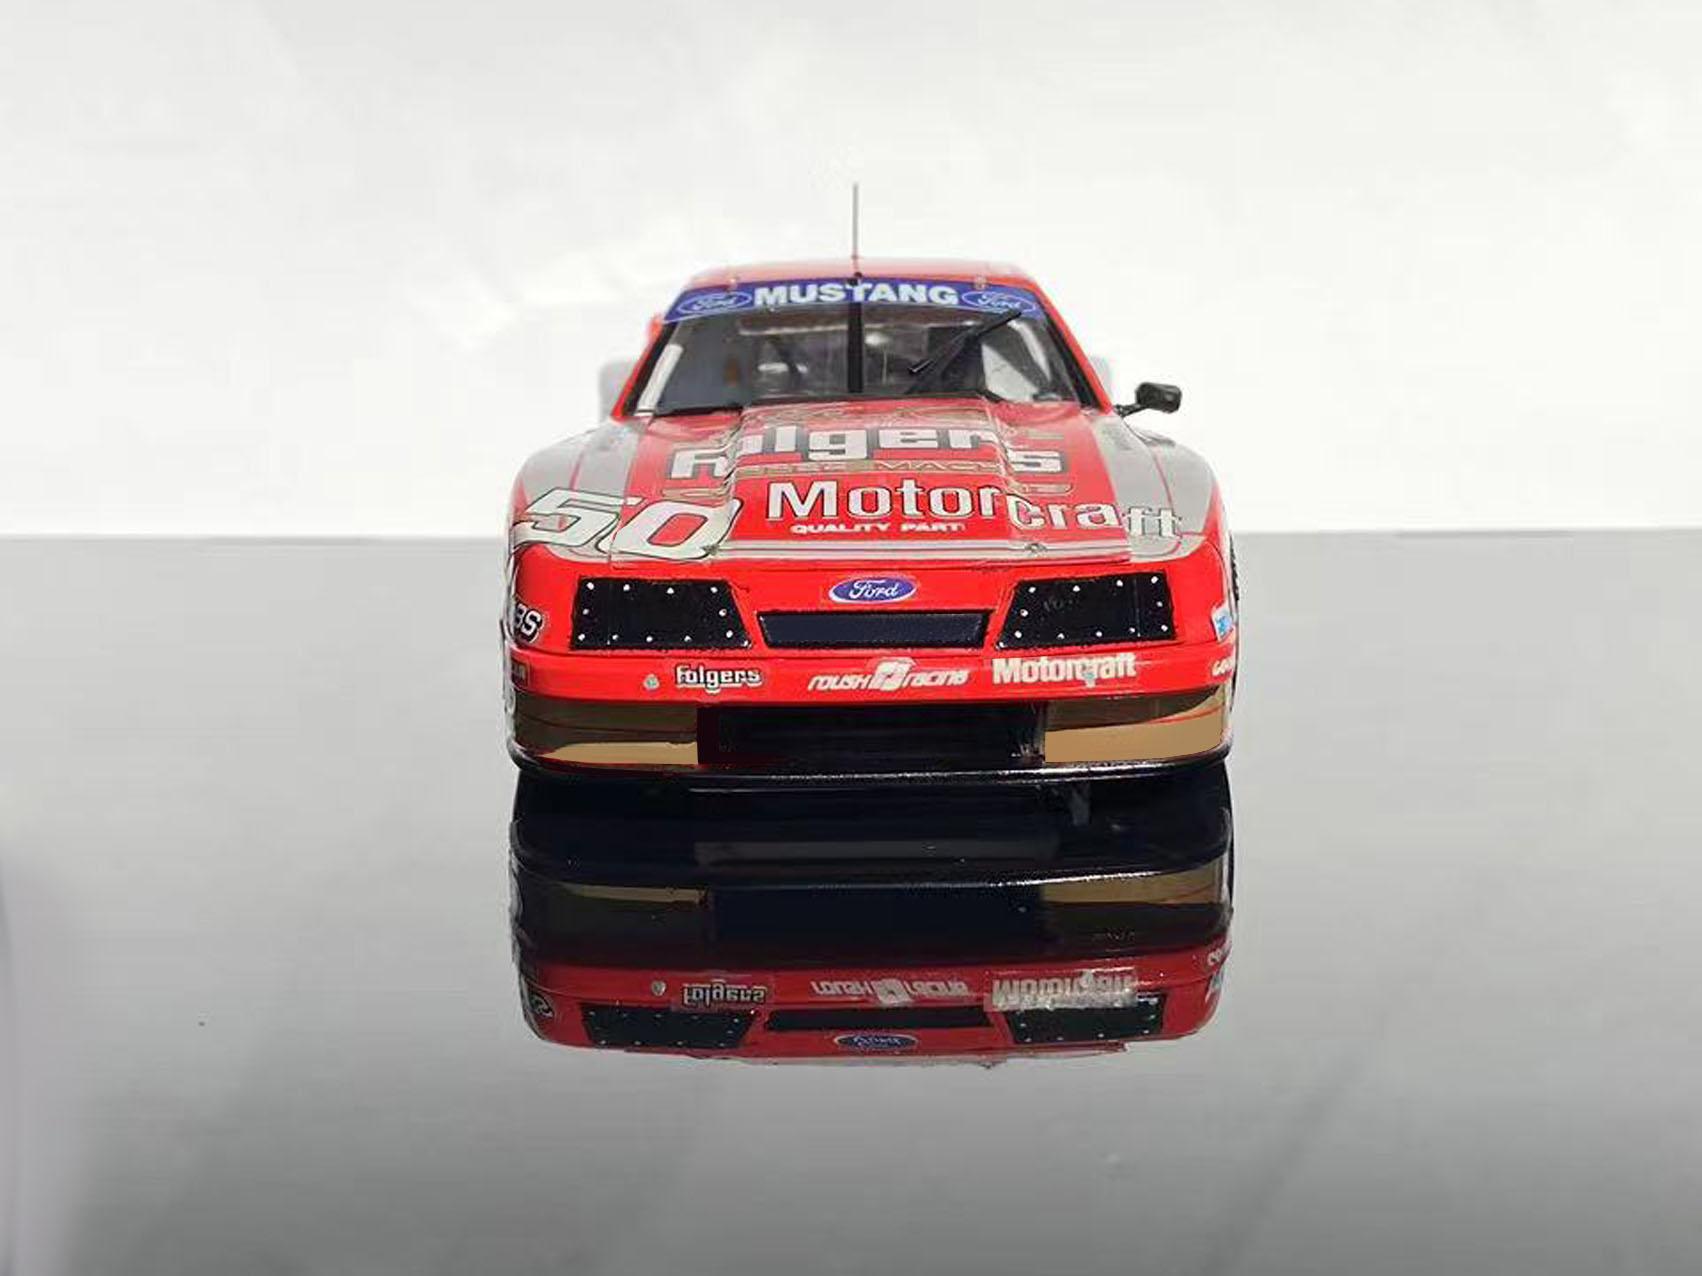
My first completed build of 2024 is Revell's 1985 IMSA Mustang ...Built from the box applying the original, nearly 40 year old decals! Expecting the worst, I was fortunate that Tamiya Decal Set and a lot of lip biting had worked. I used Tamiya and Mr Hobby paints and primers throughout the build. Two coats of Mr Hobby Super Clear applied from a rattle can finished off the body. I also added a thin gauge wire to represent a roof antenna. After the build I came across some reference photos and noticed that the real car had a NASCAR style window net. I think I'll apply one in the future. Enjoy the photos.

- 20 replies
-
- 11
-

-
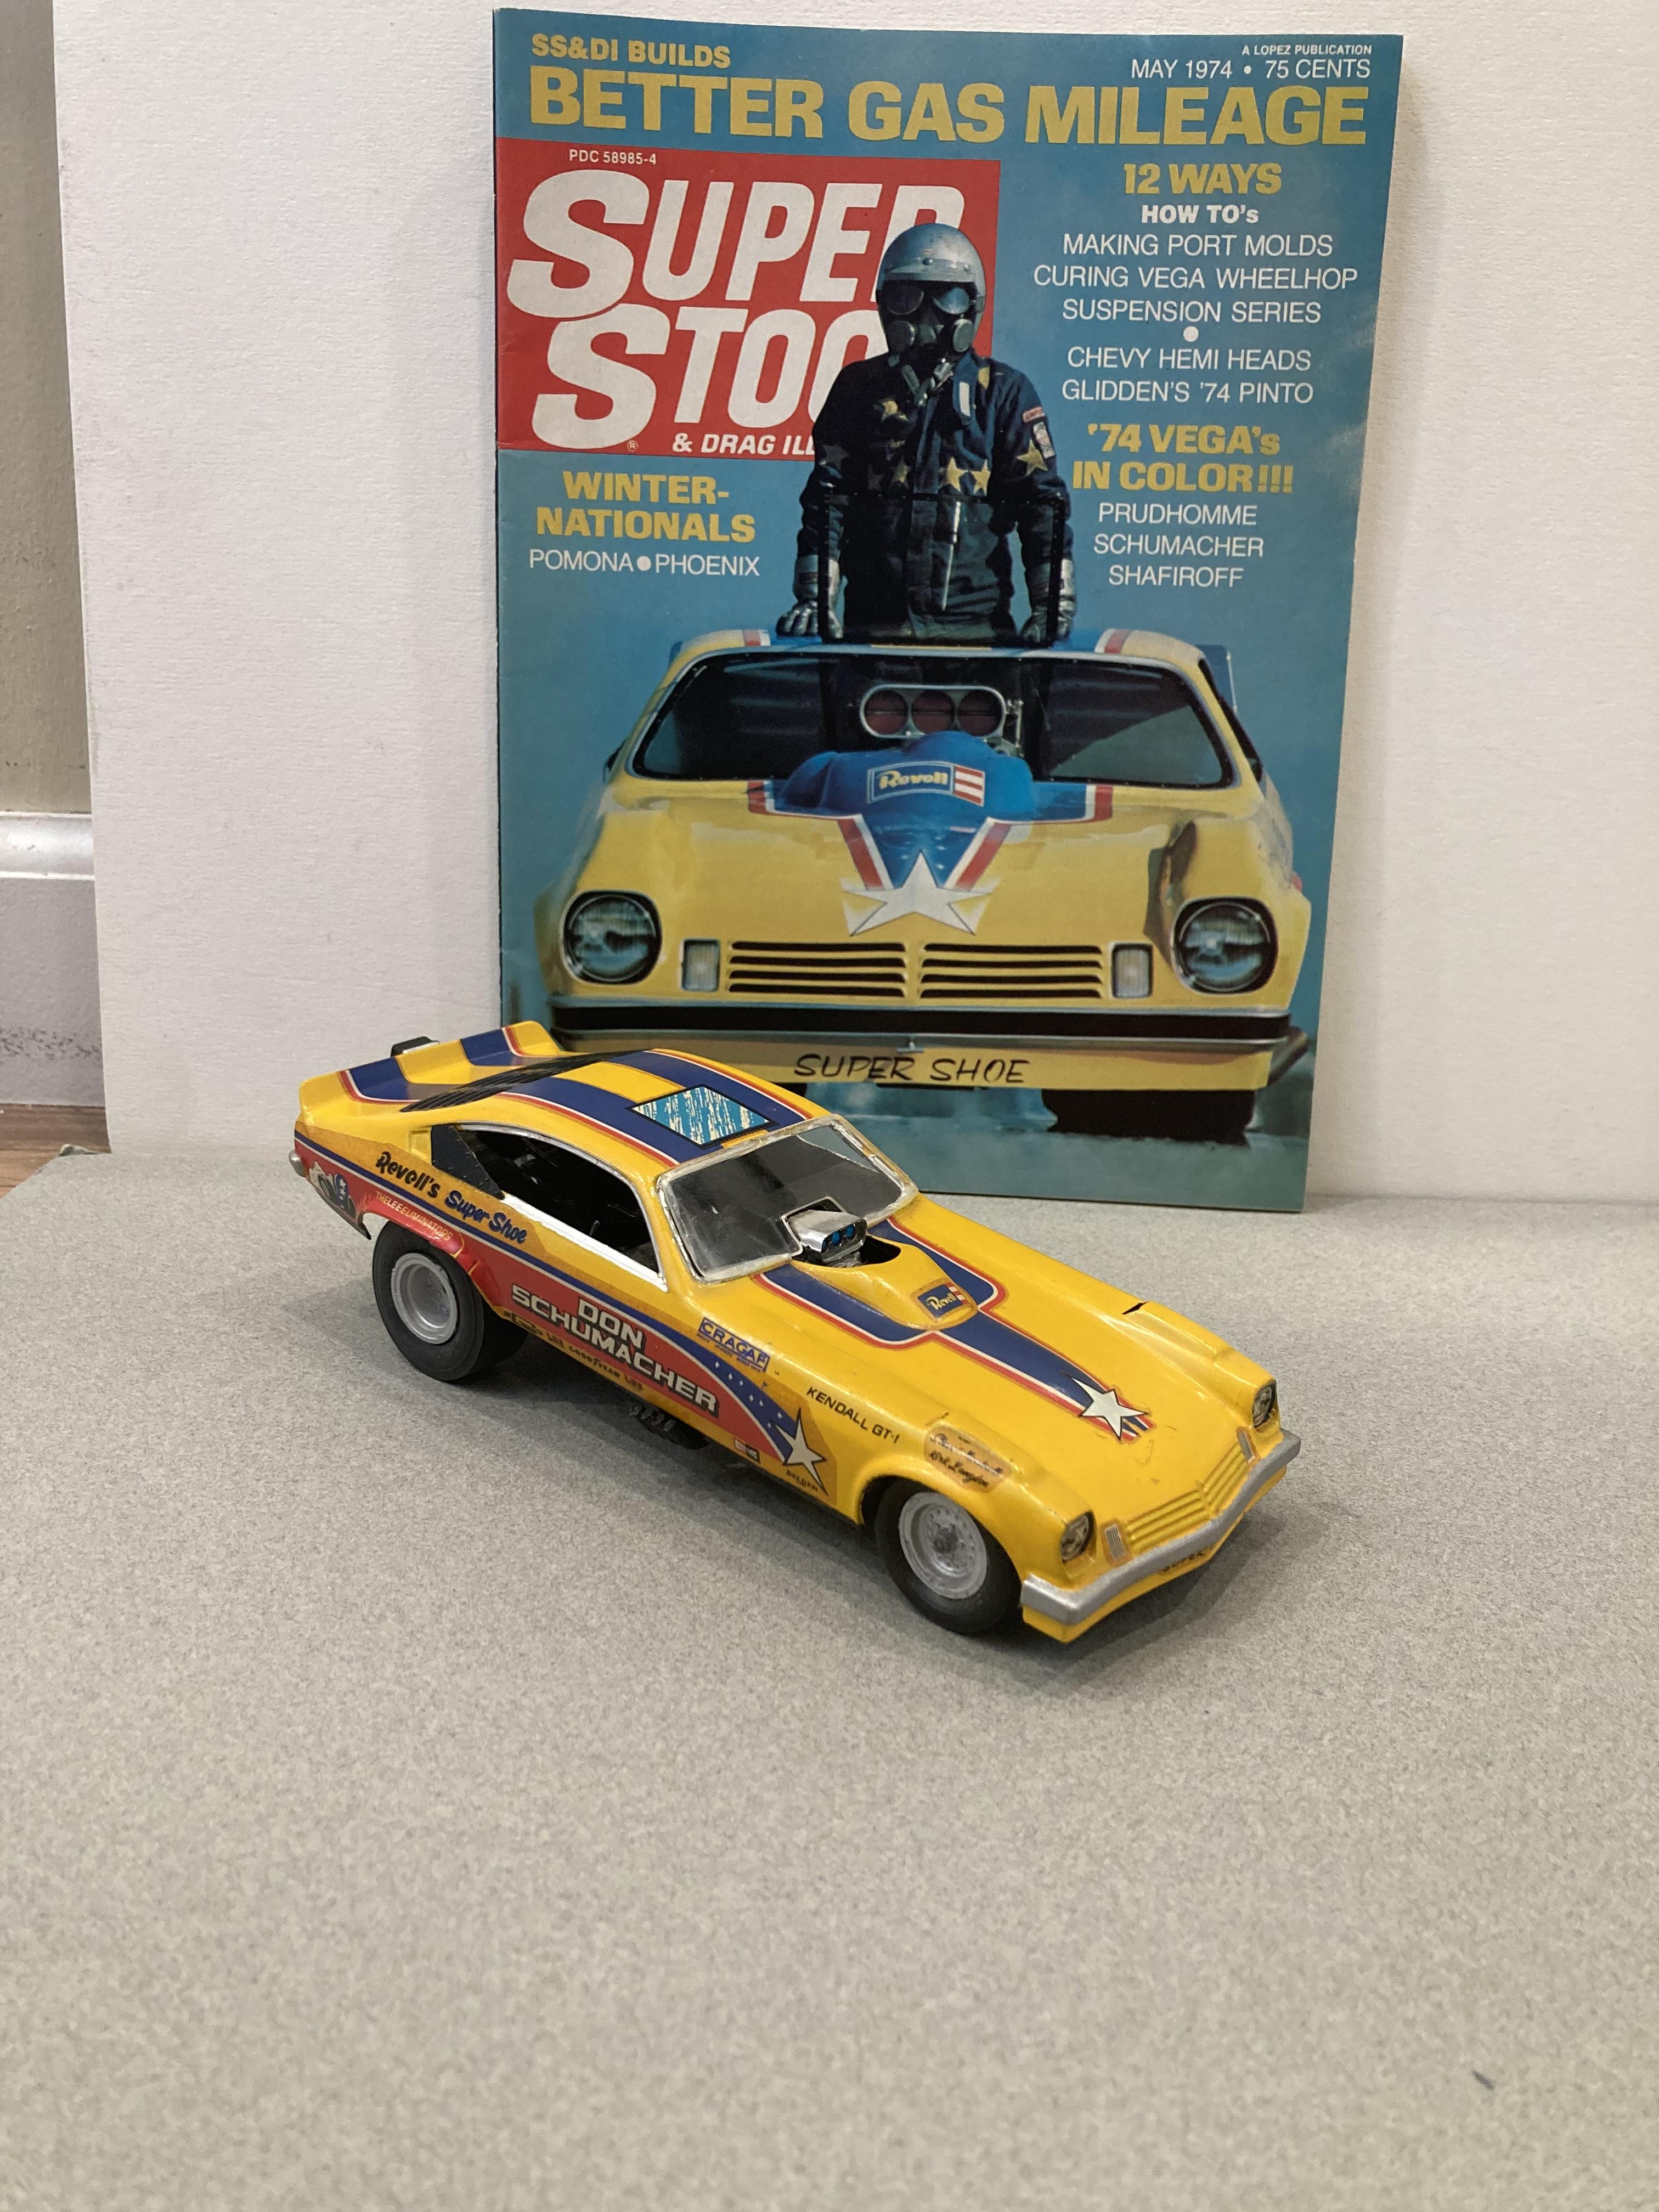
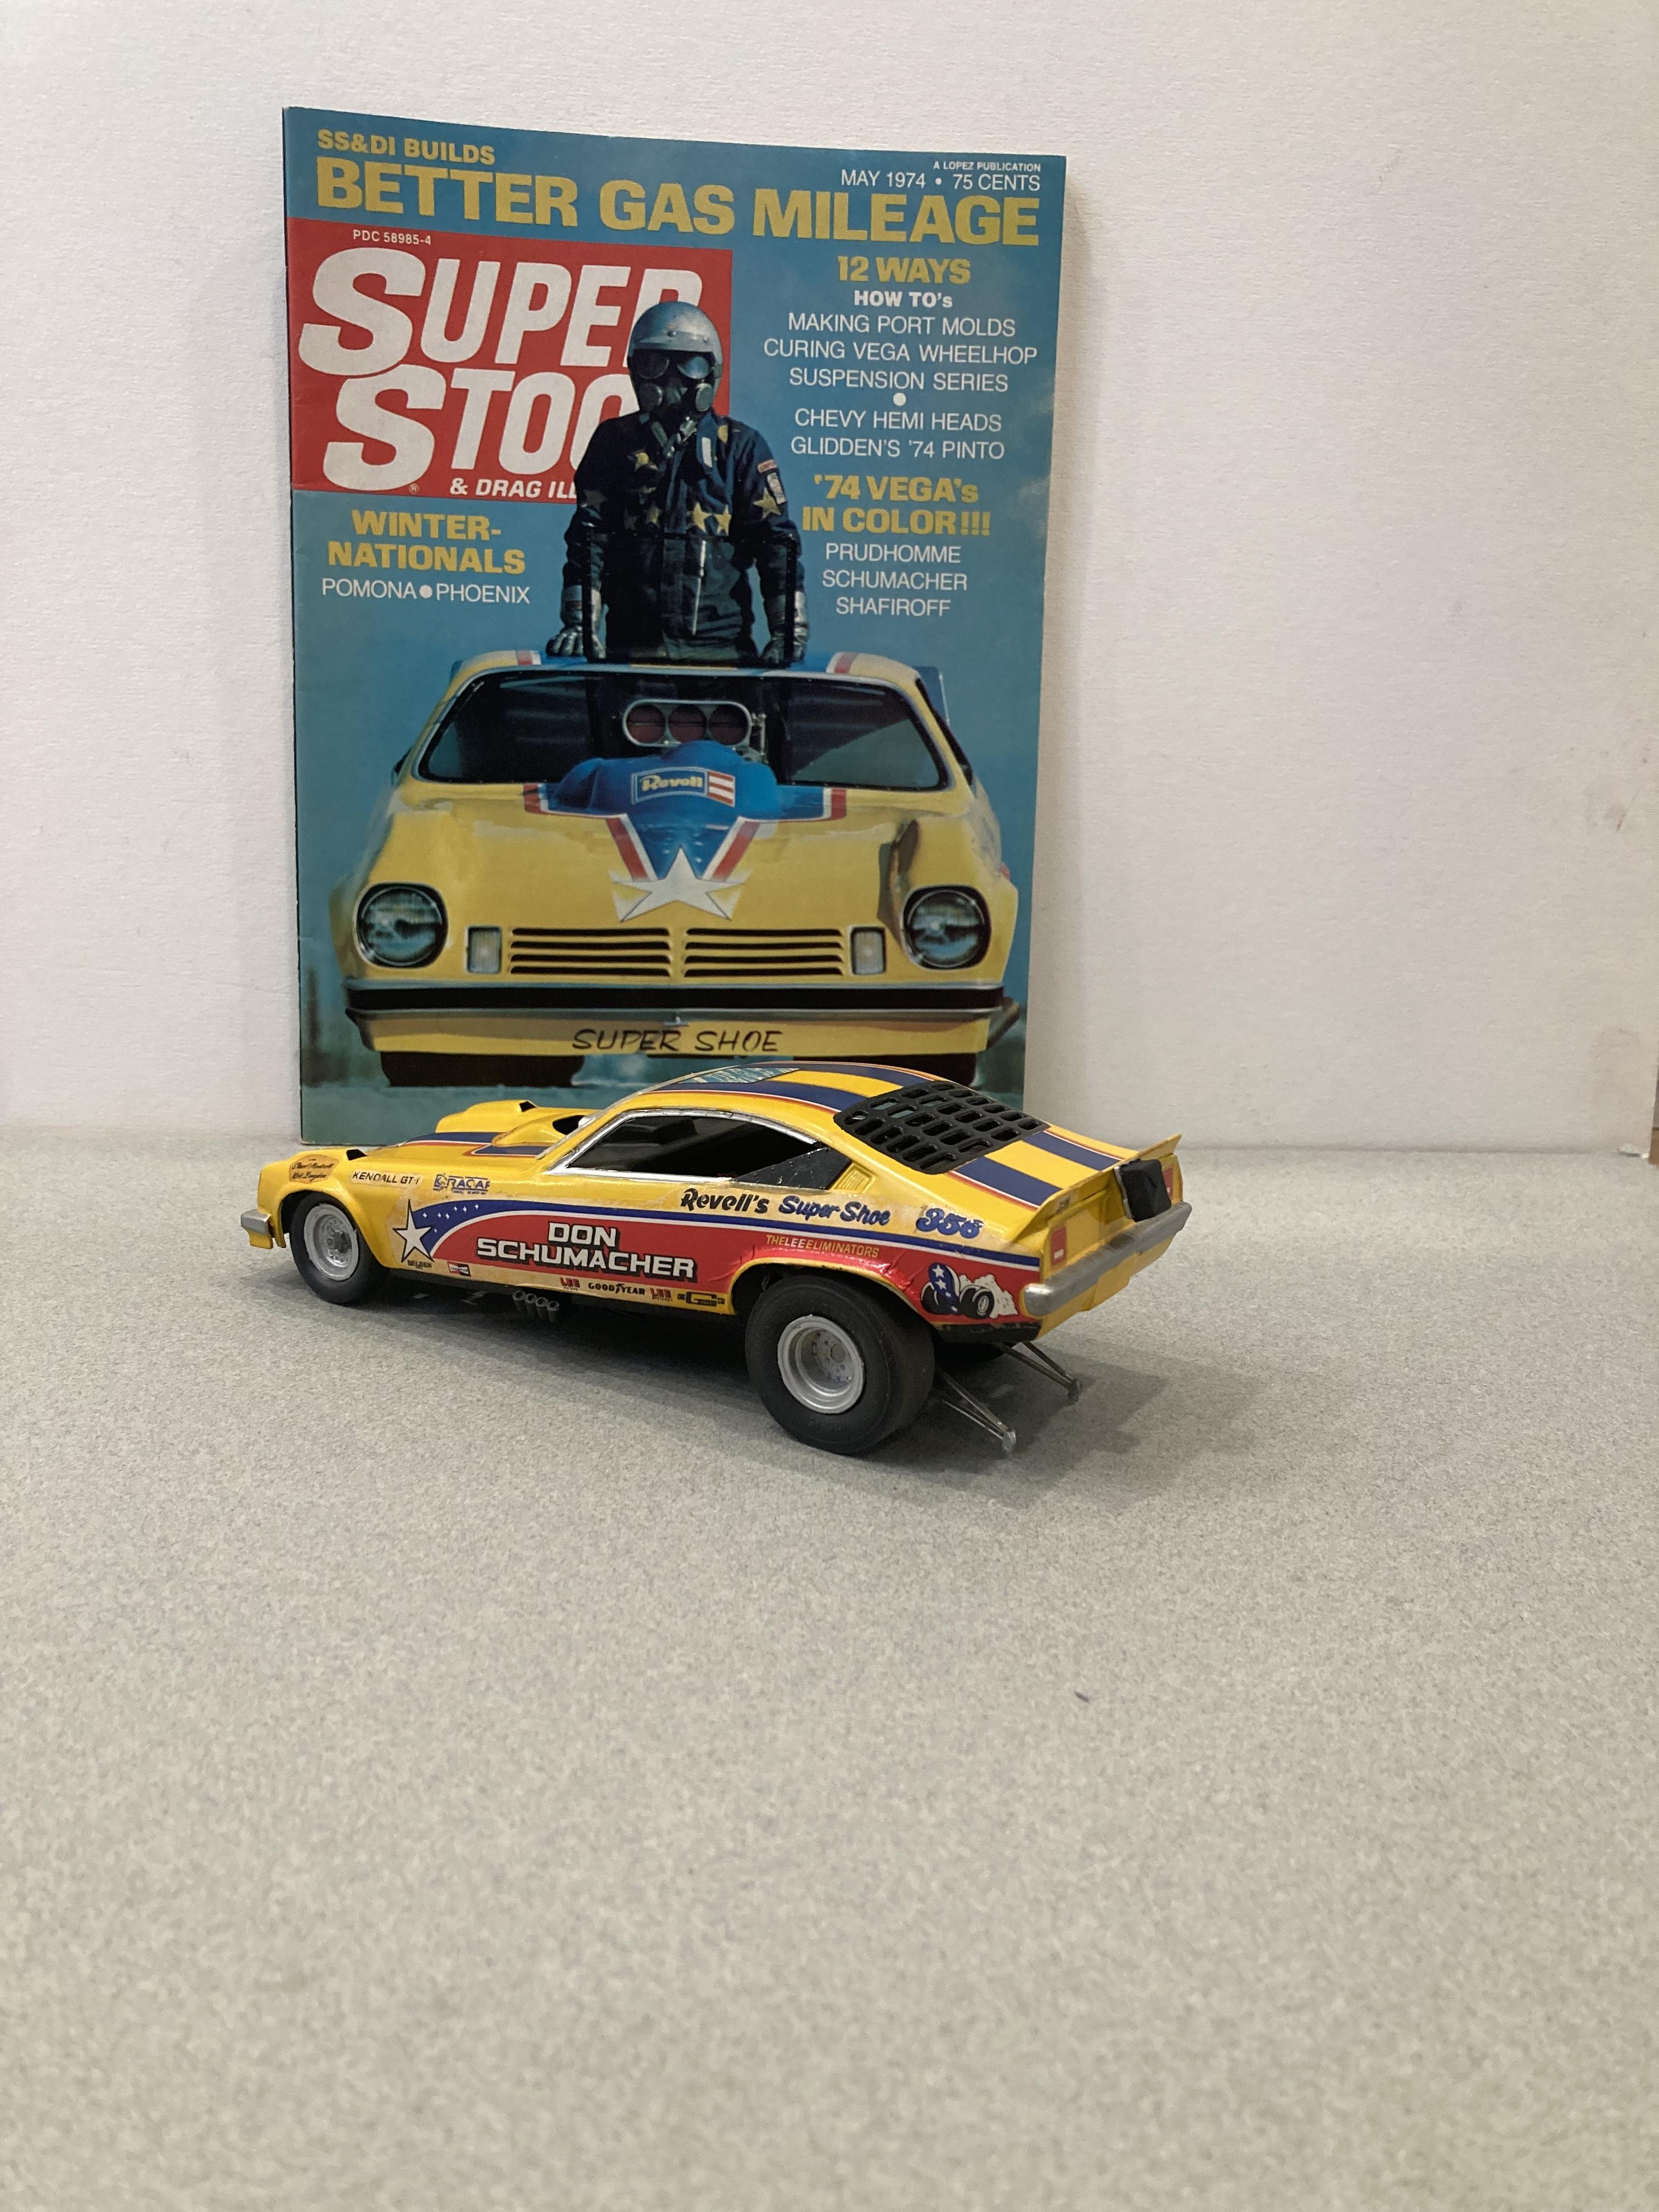
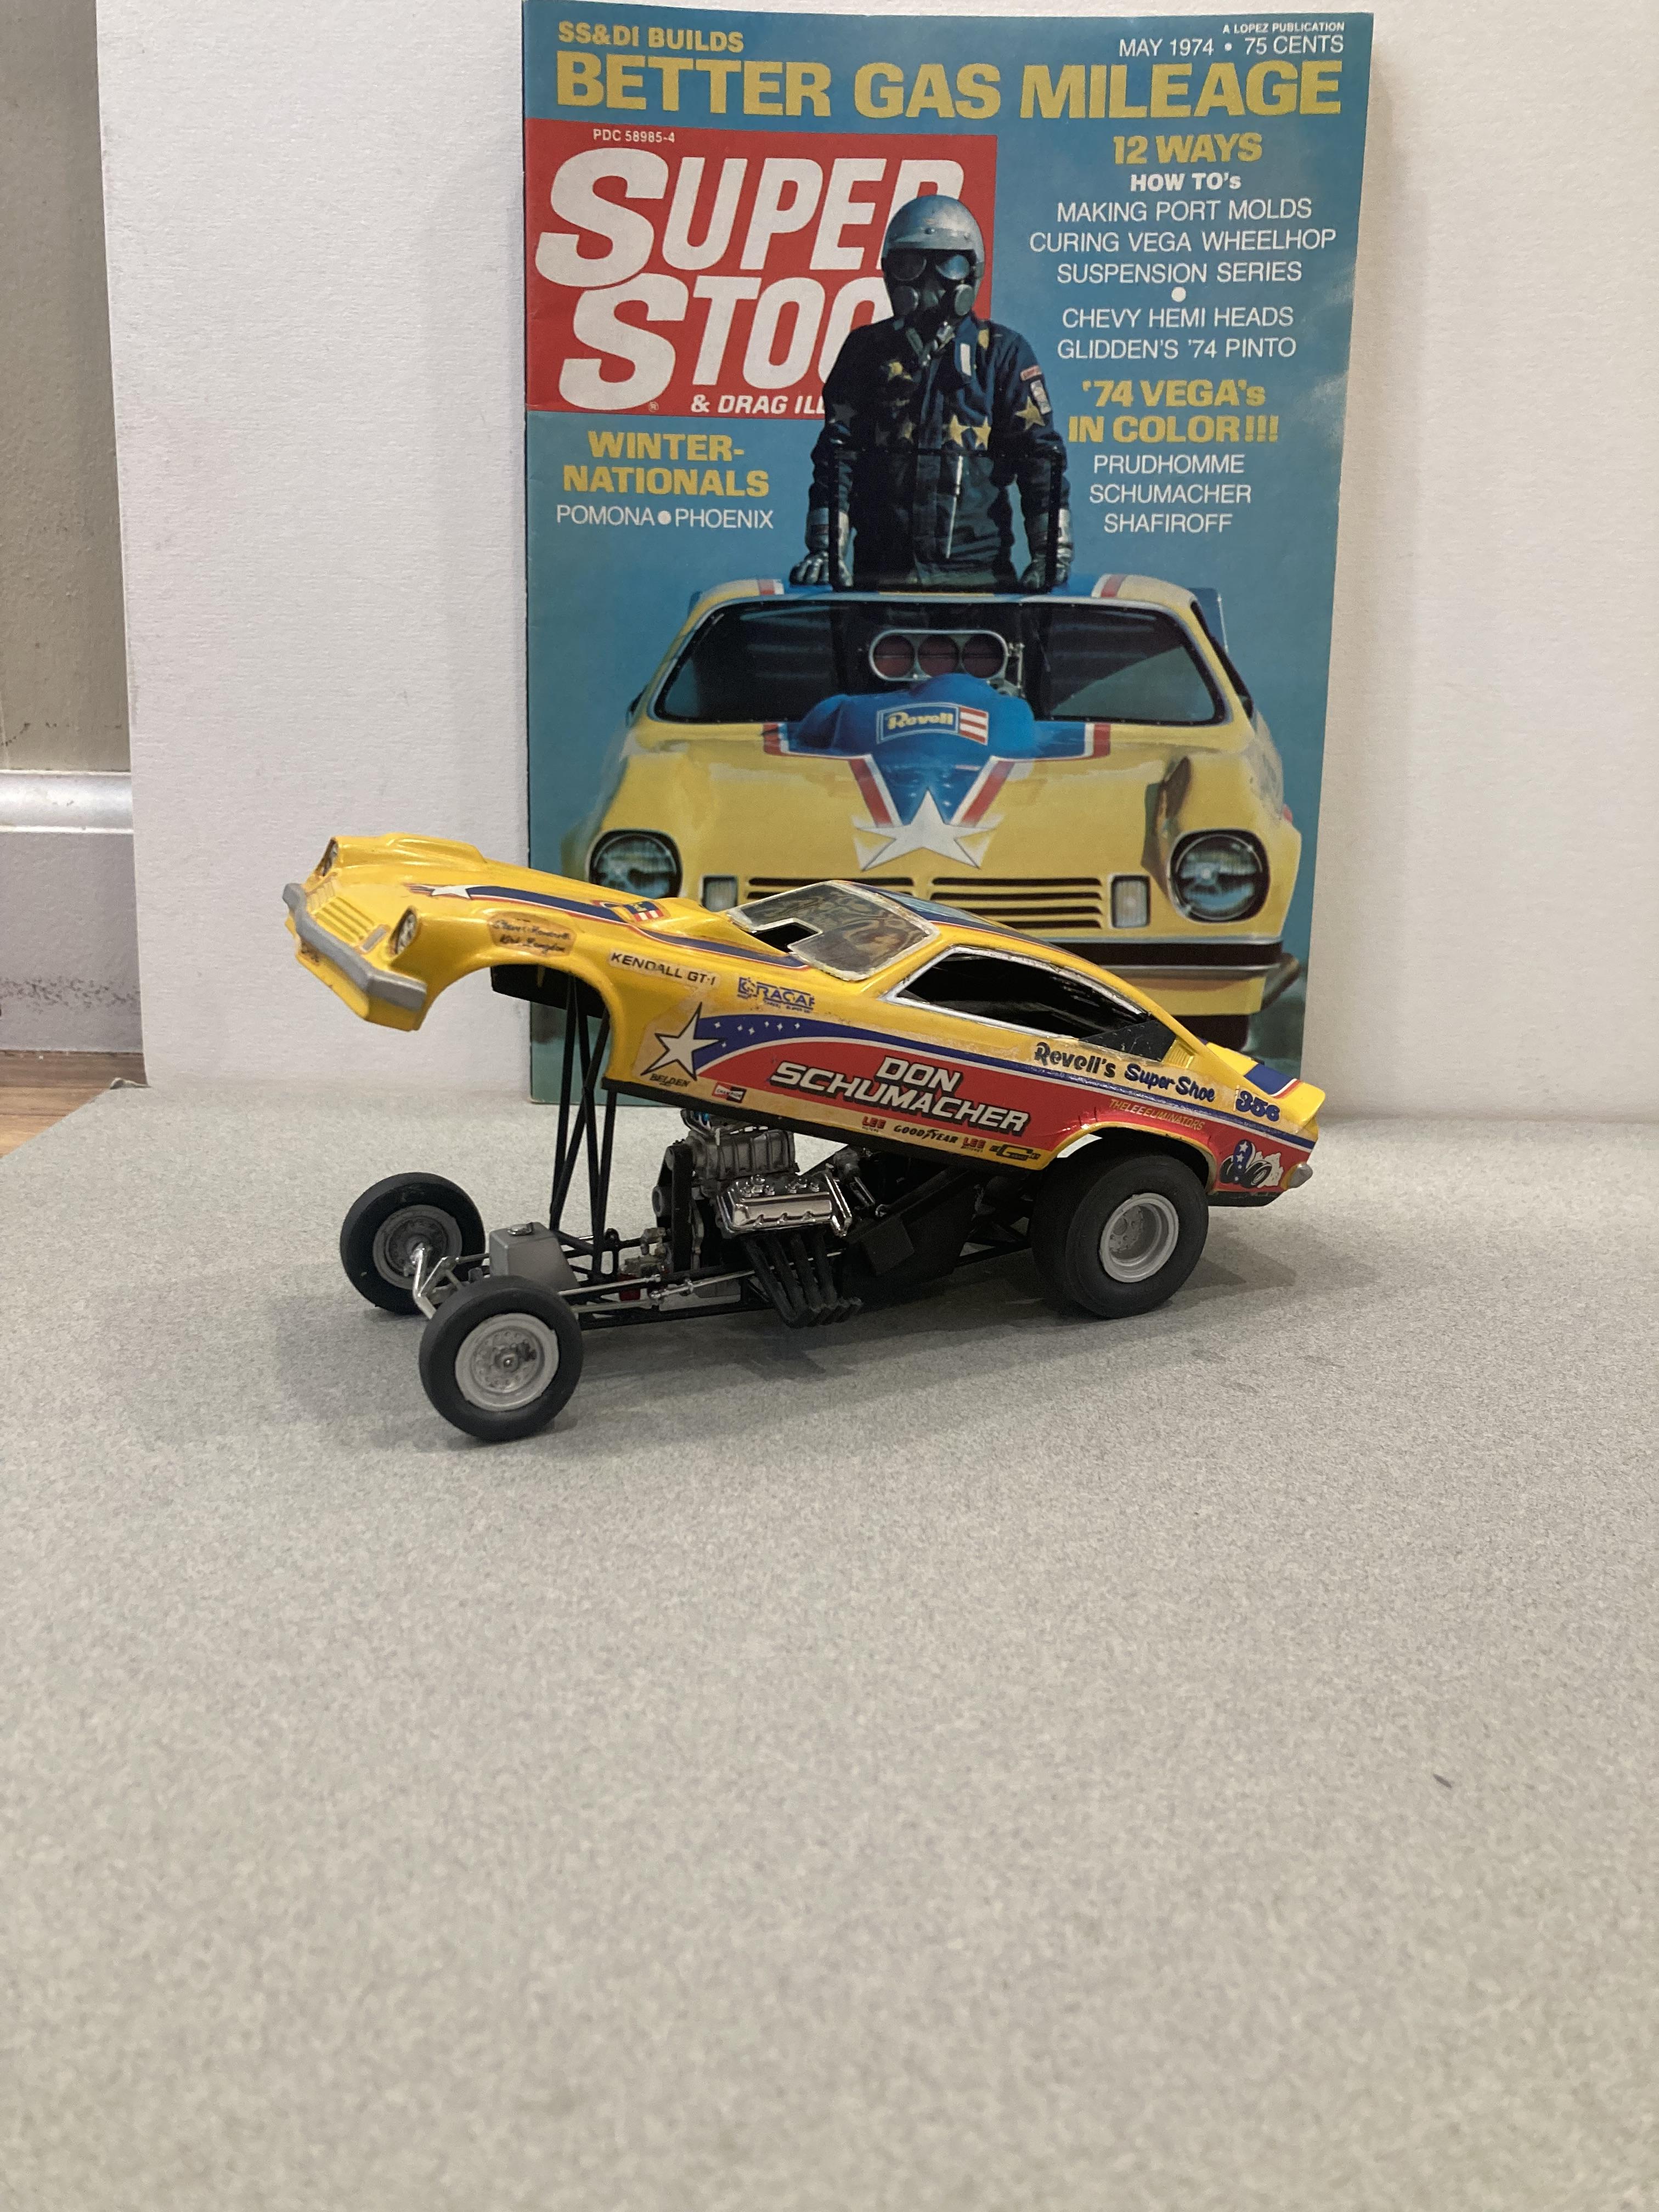
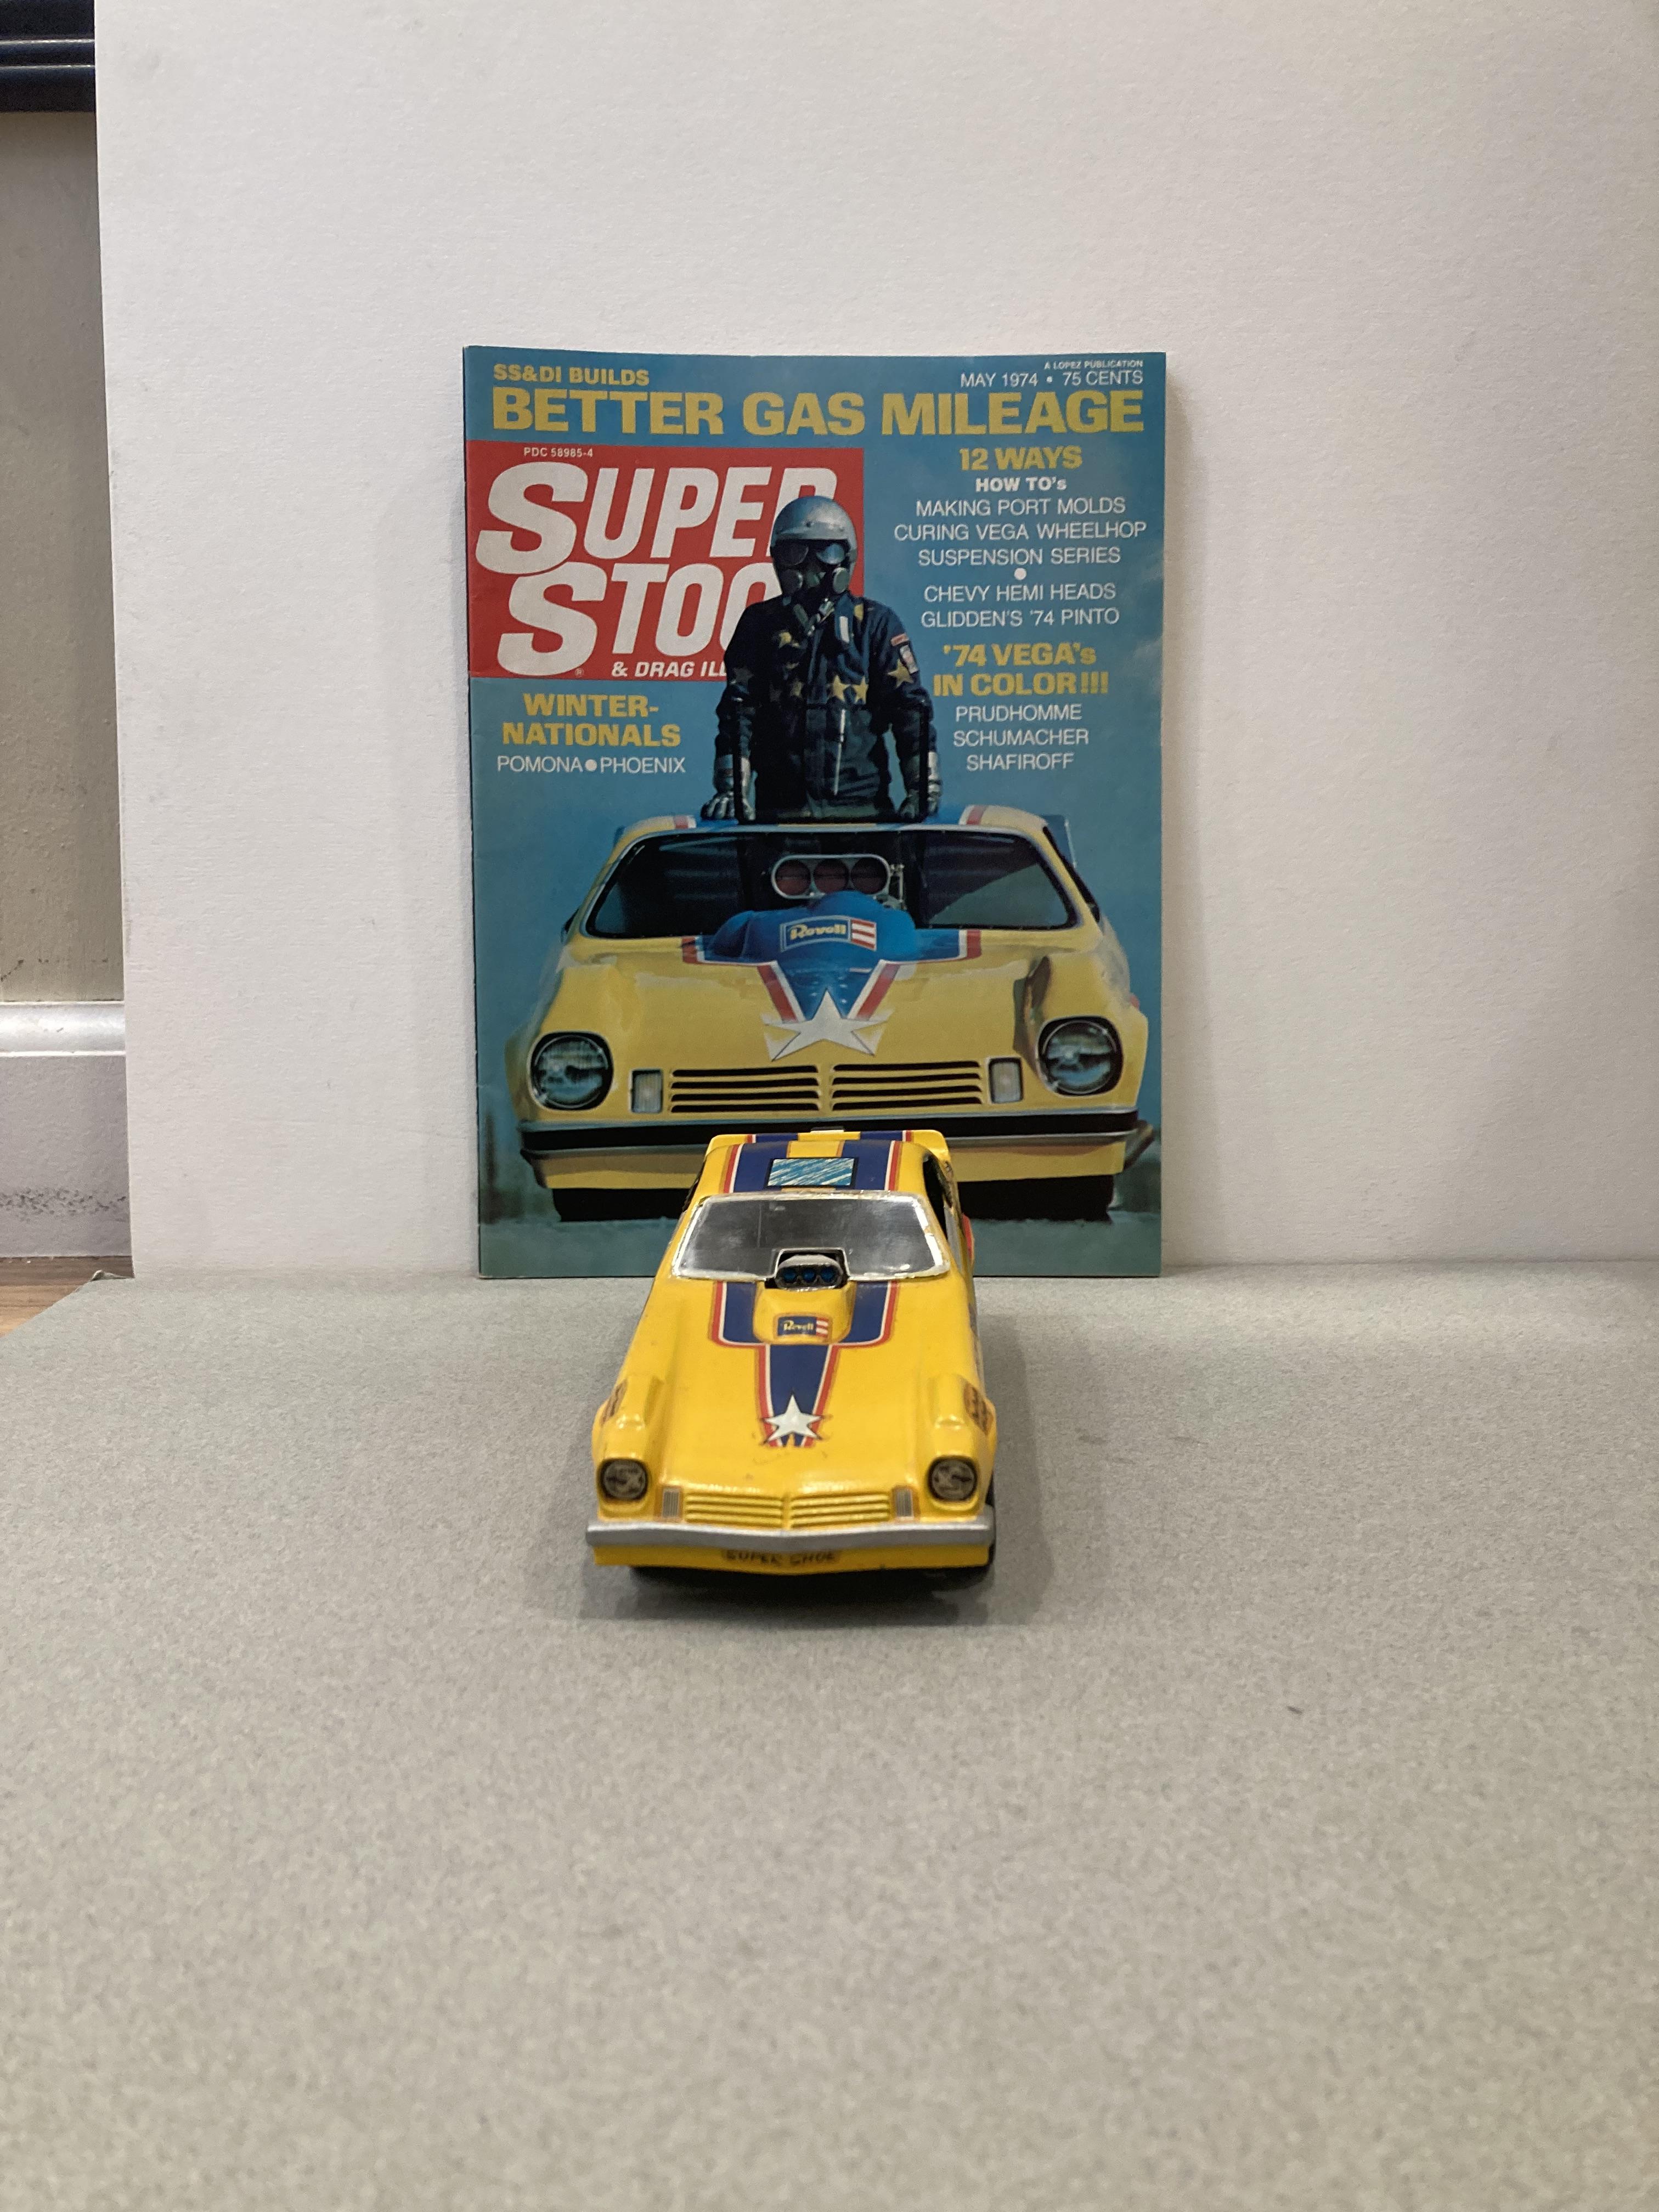
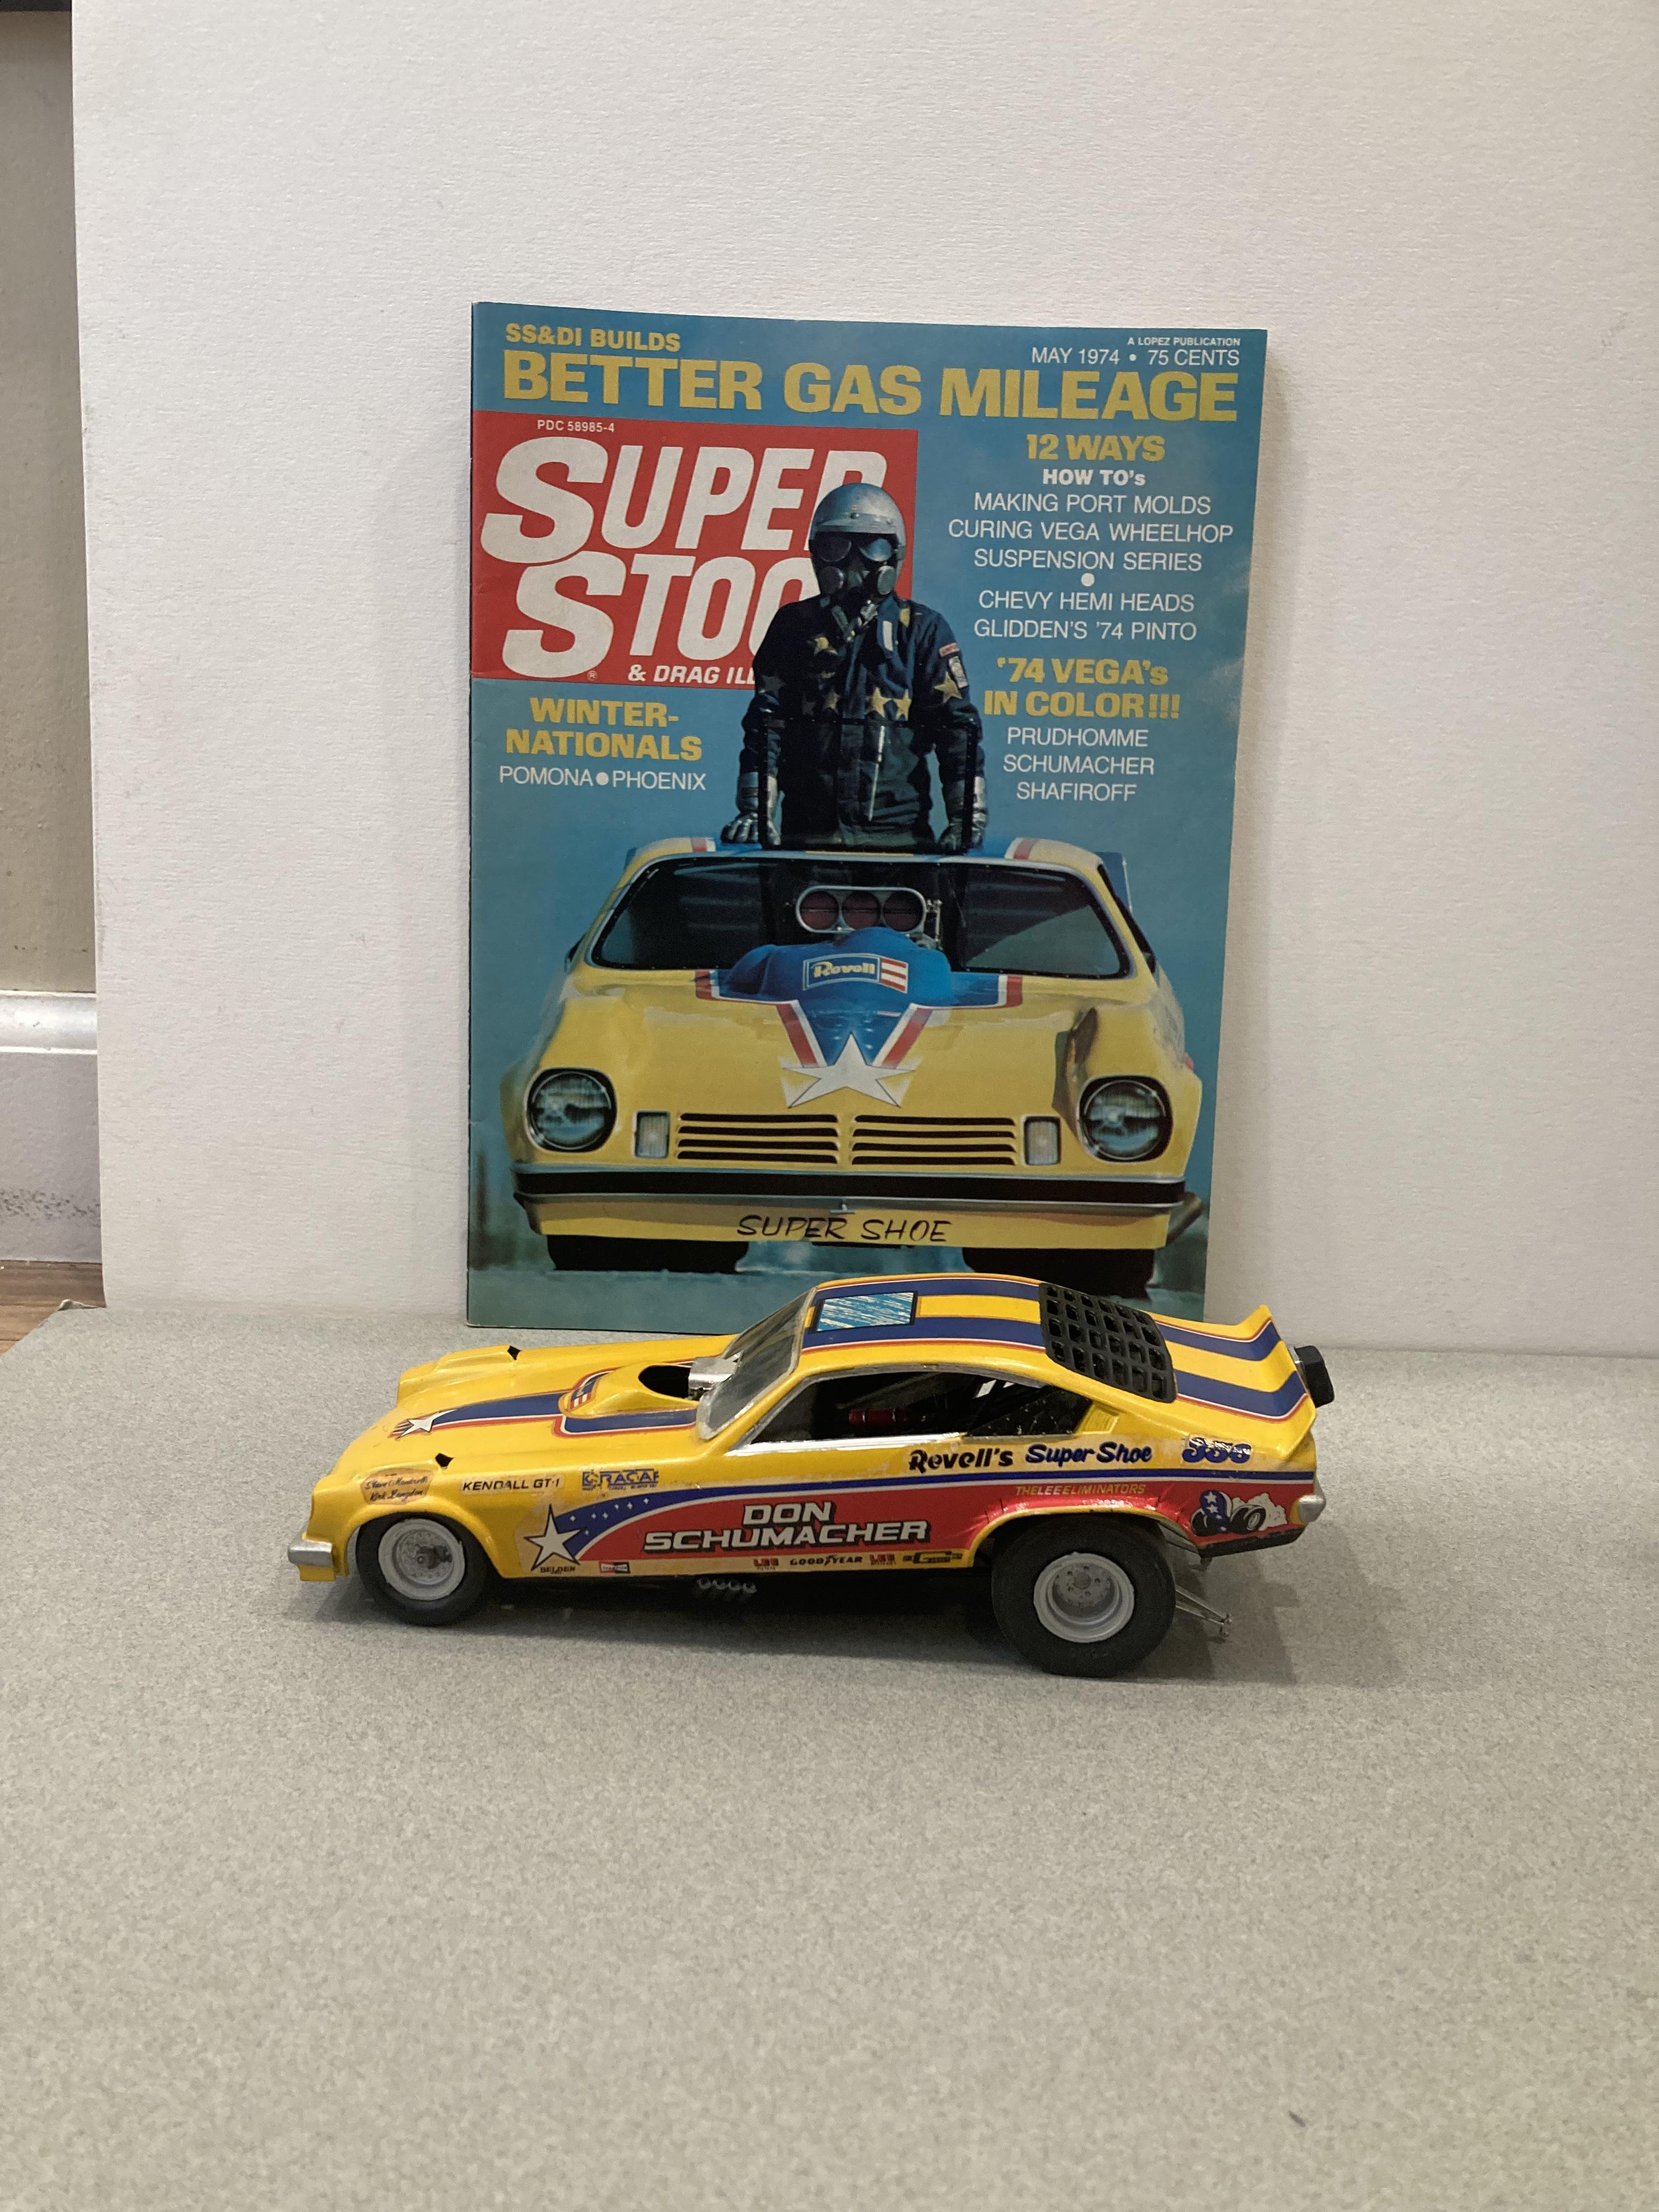
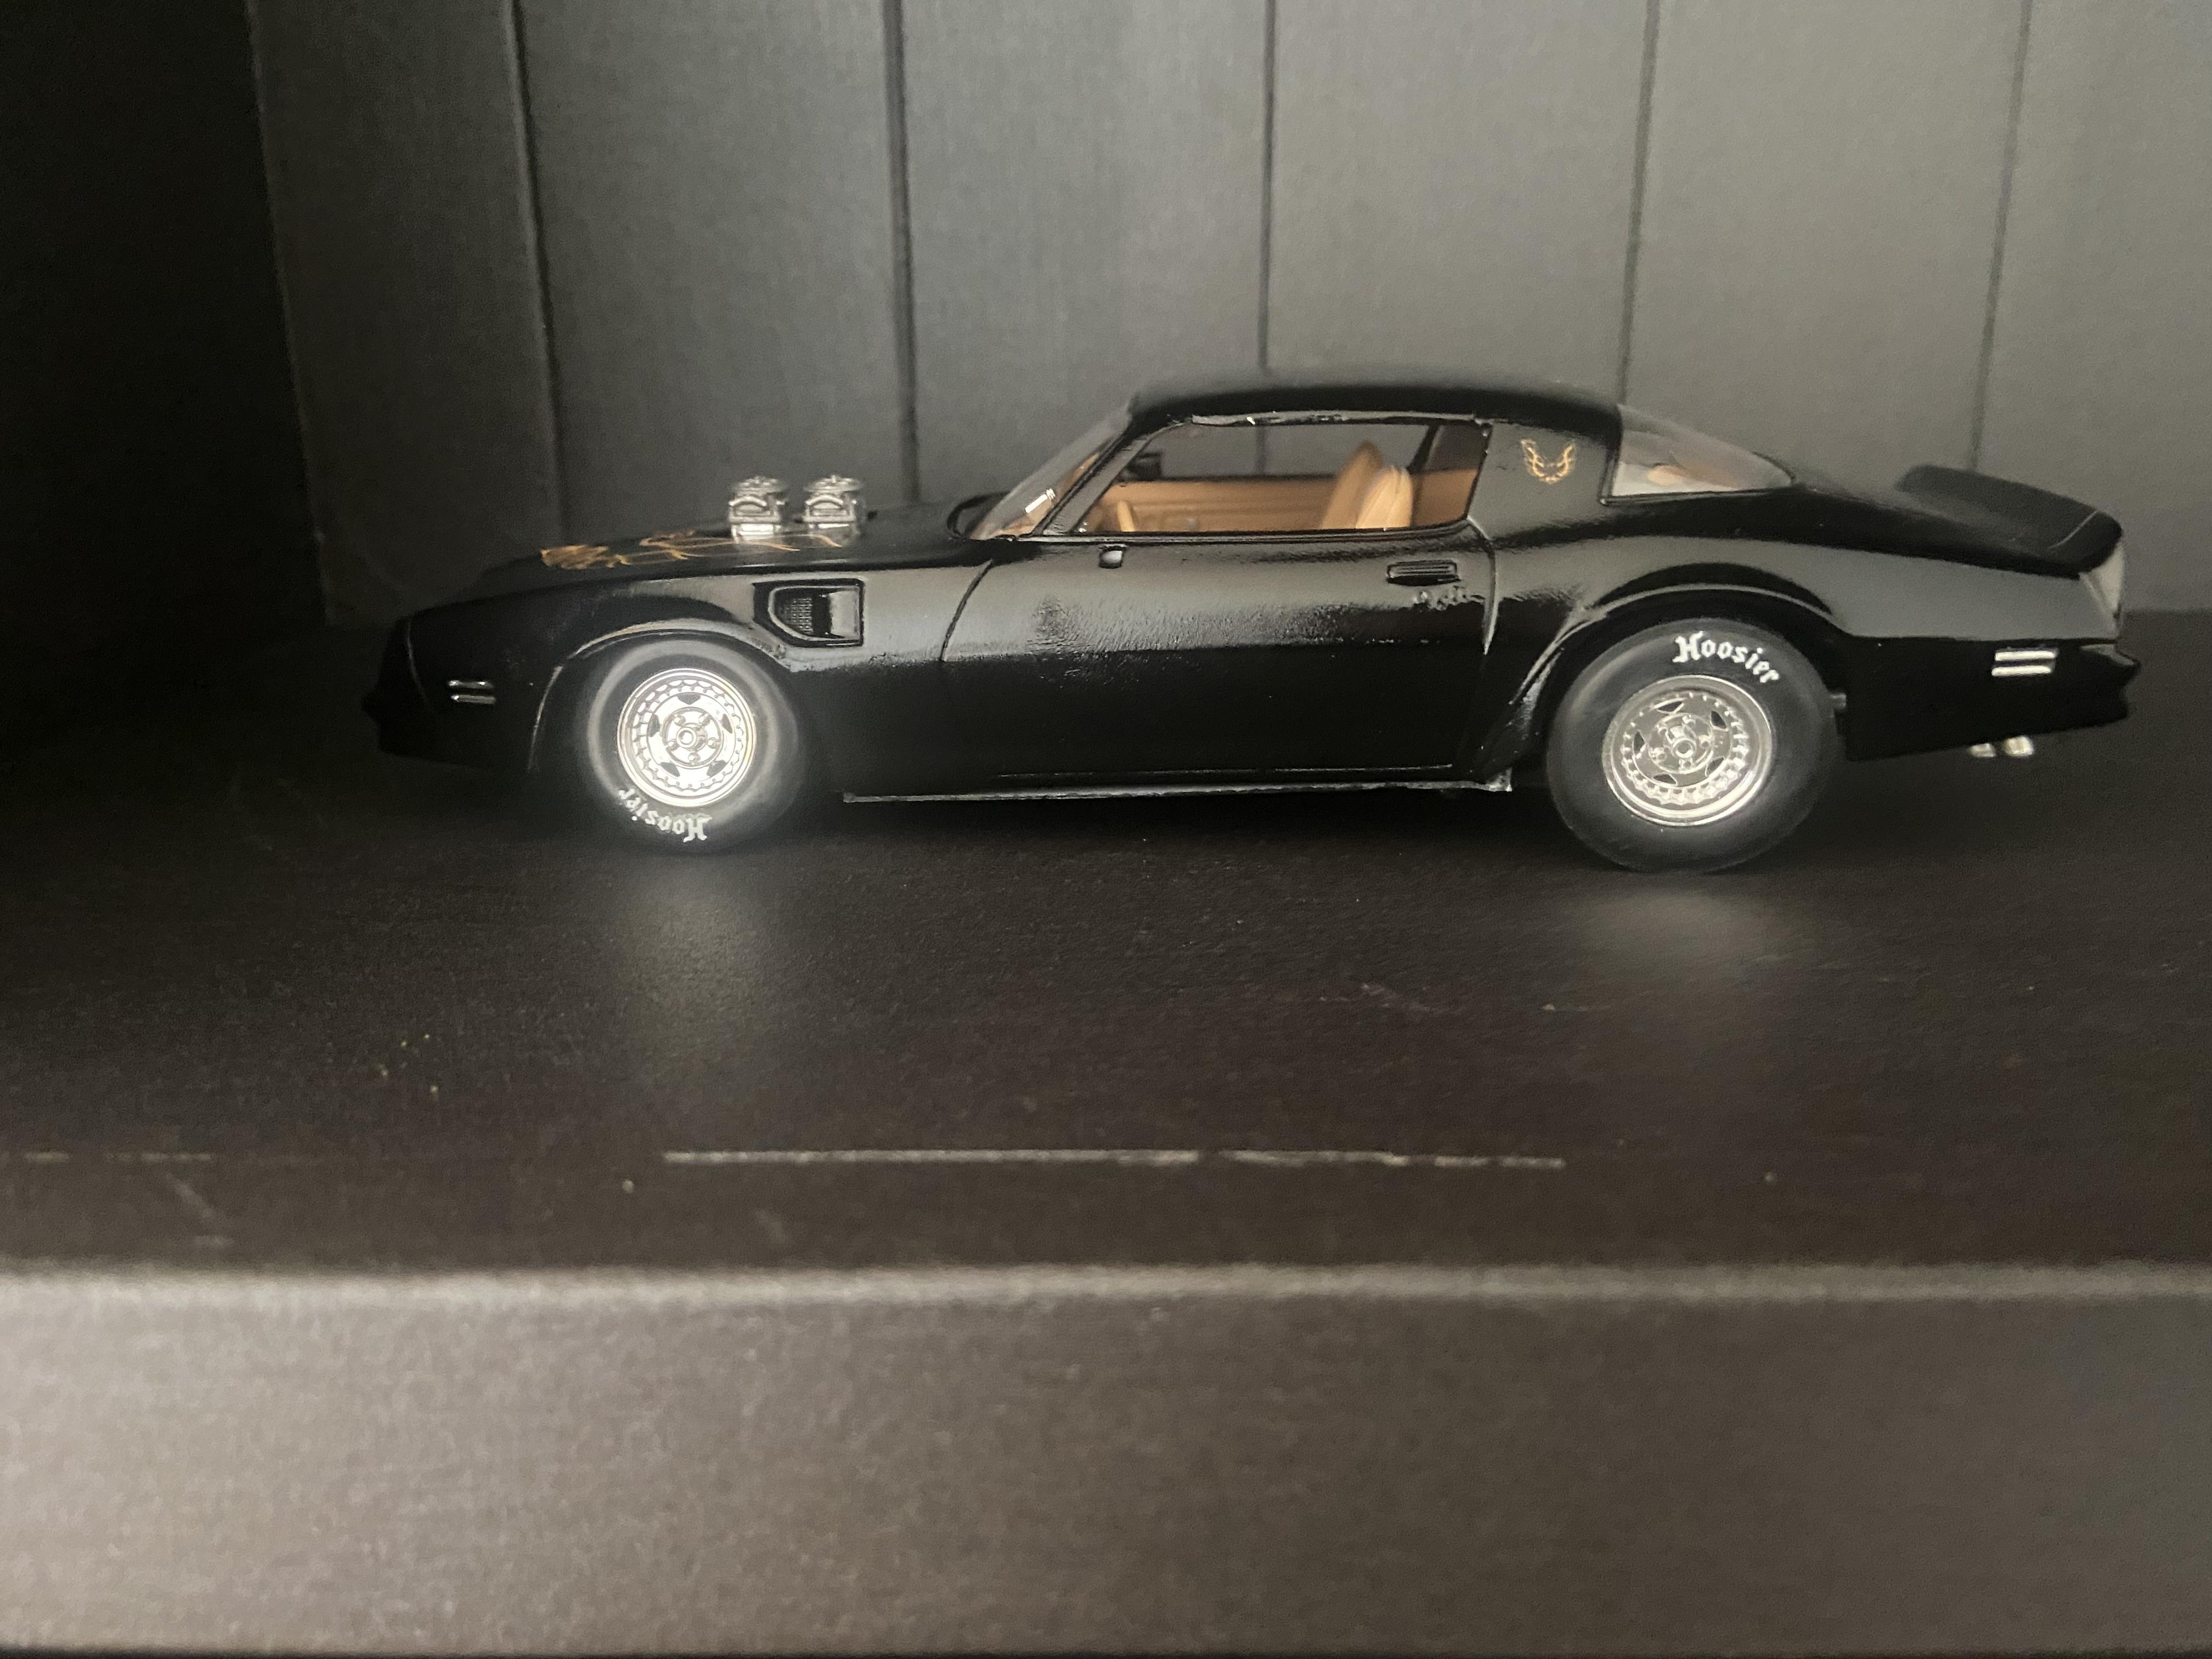
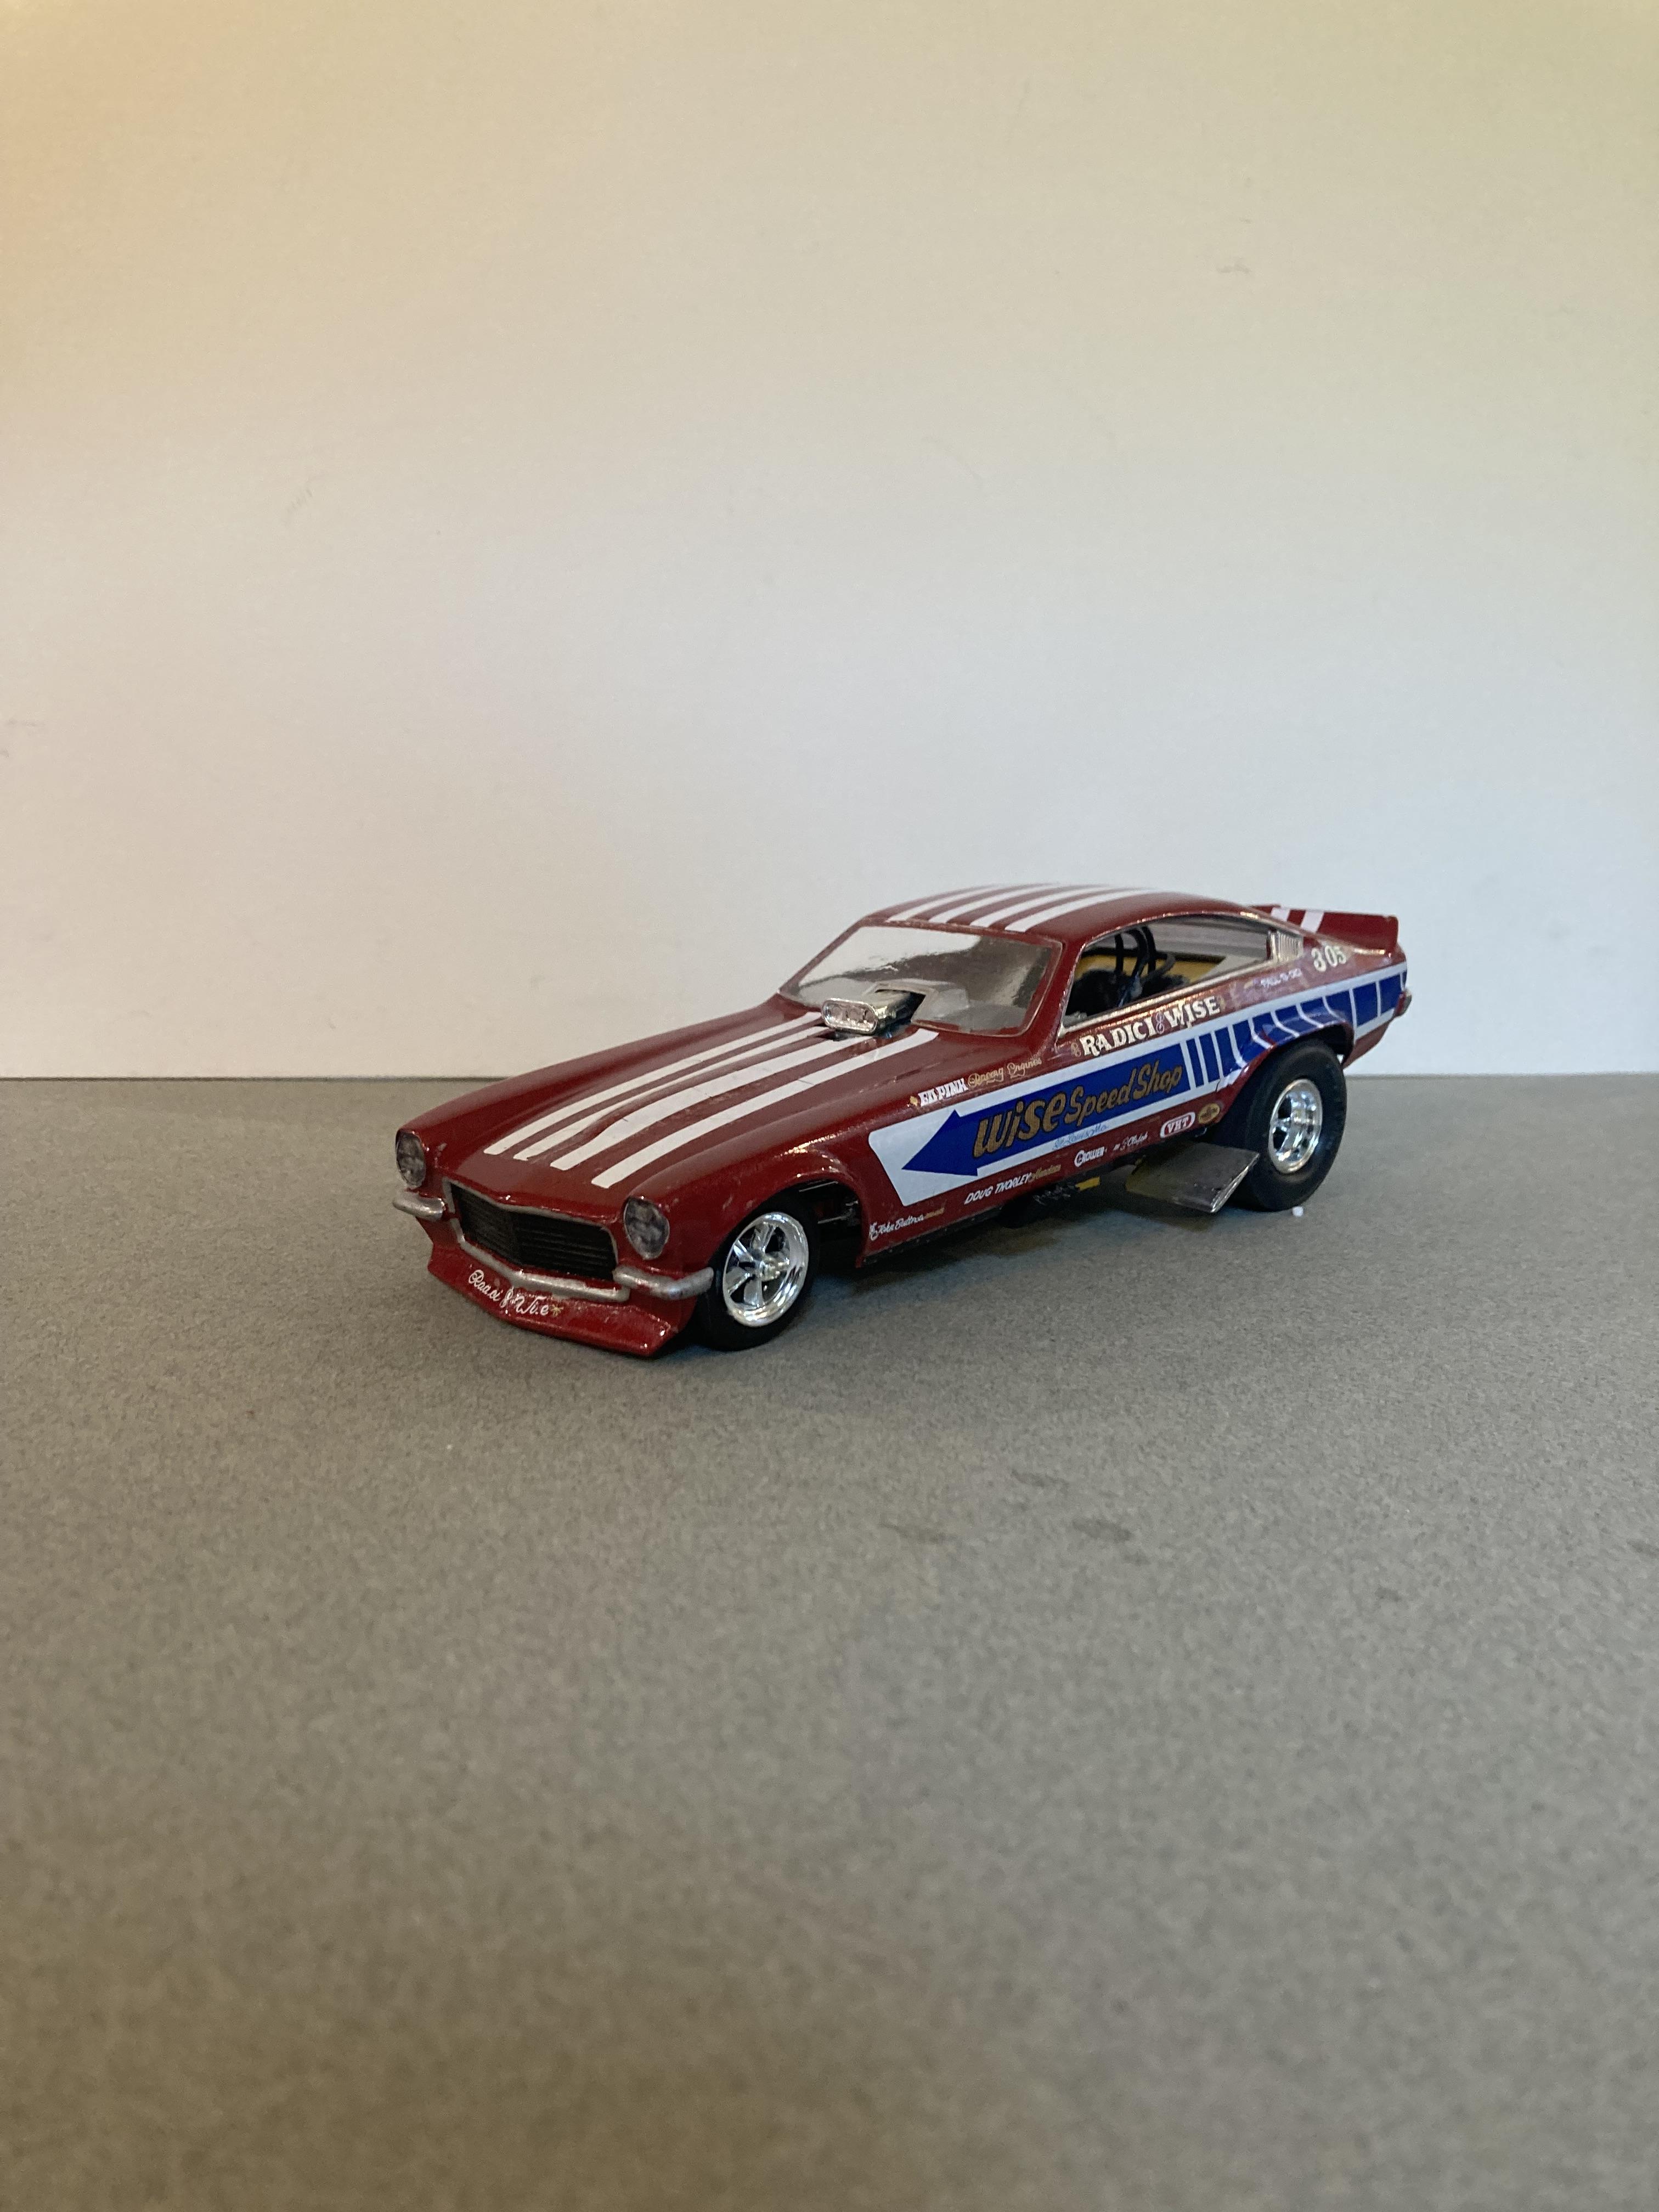
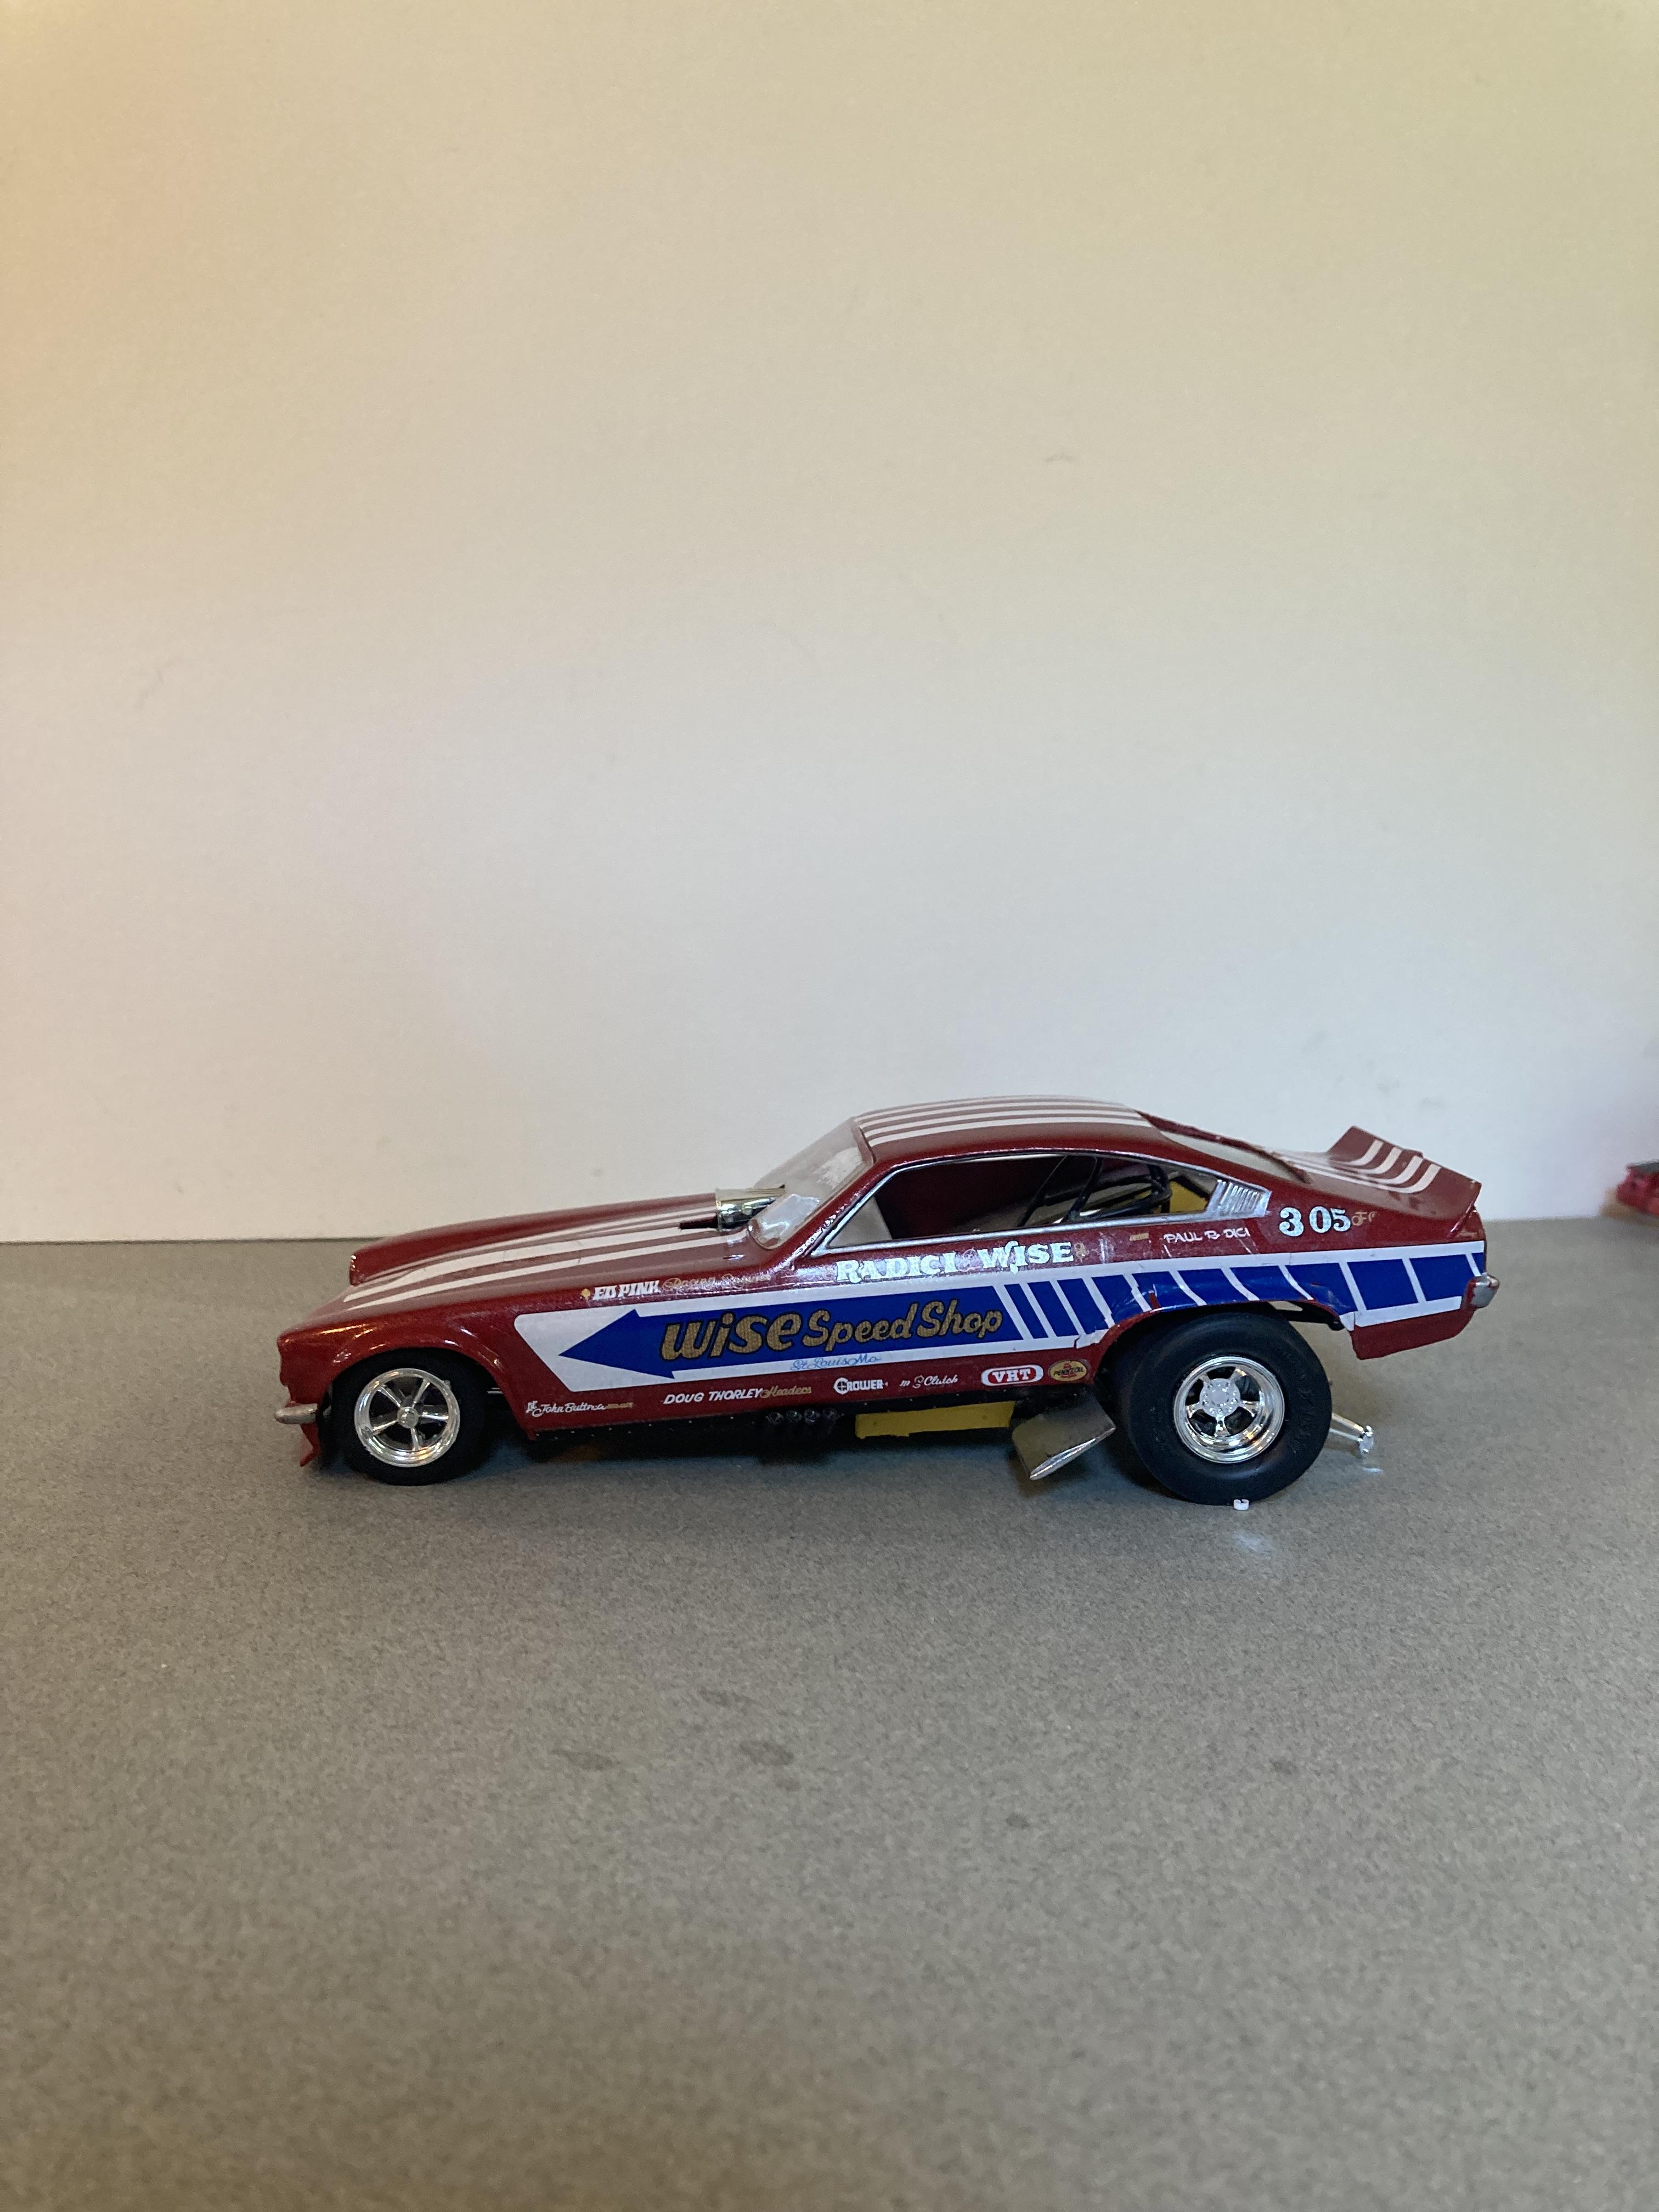
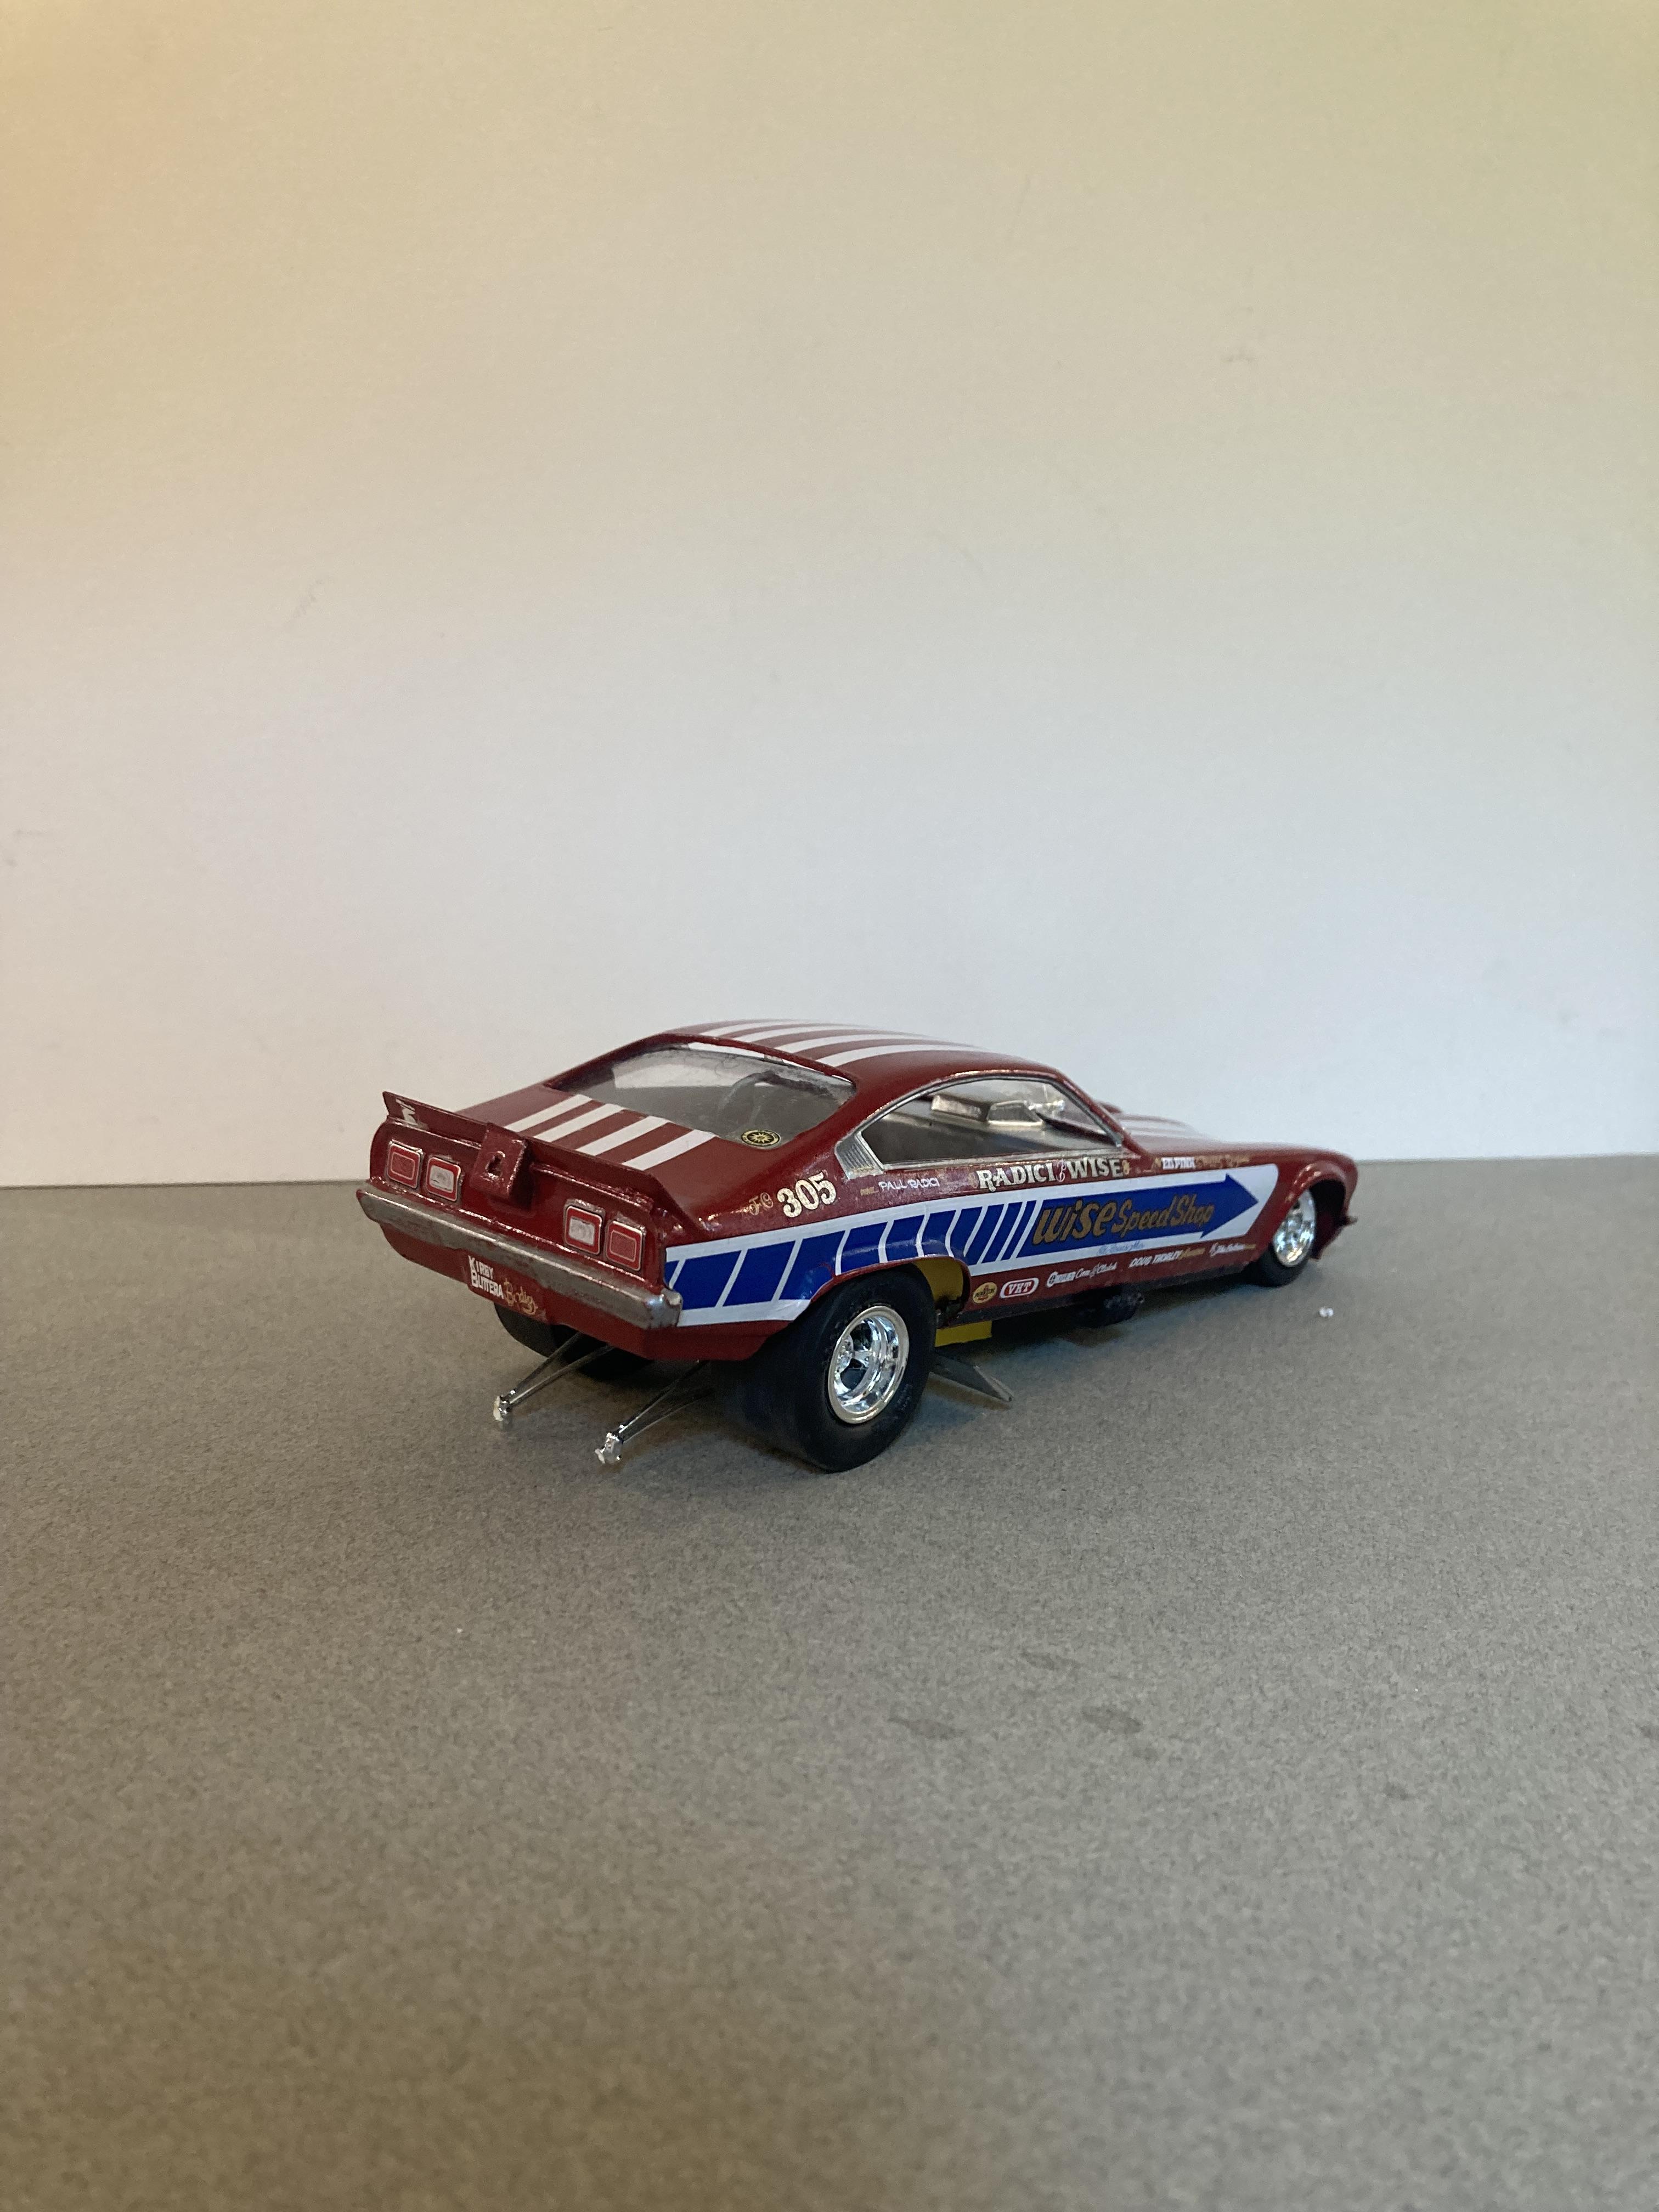
 This was built from the old revell kit the early 90’s reissue. It’s box stock . The paint color is an old testors boyed’s color a pearl yellow ( or it might have been called pearl sunflower ) . These mid 70’s era revell funny car kits are some of the best ever made at least in my opinion. Until next time thanks for looking 👀, Mike
-
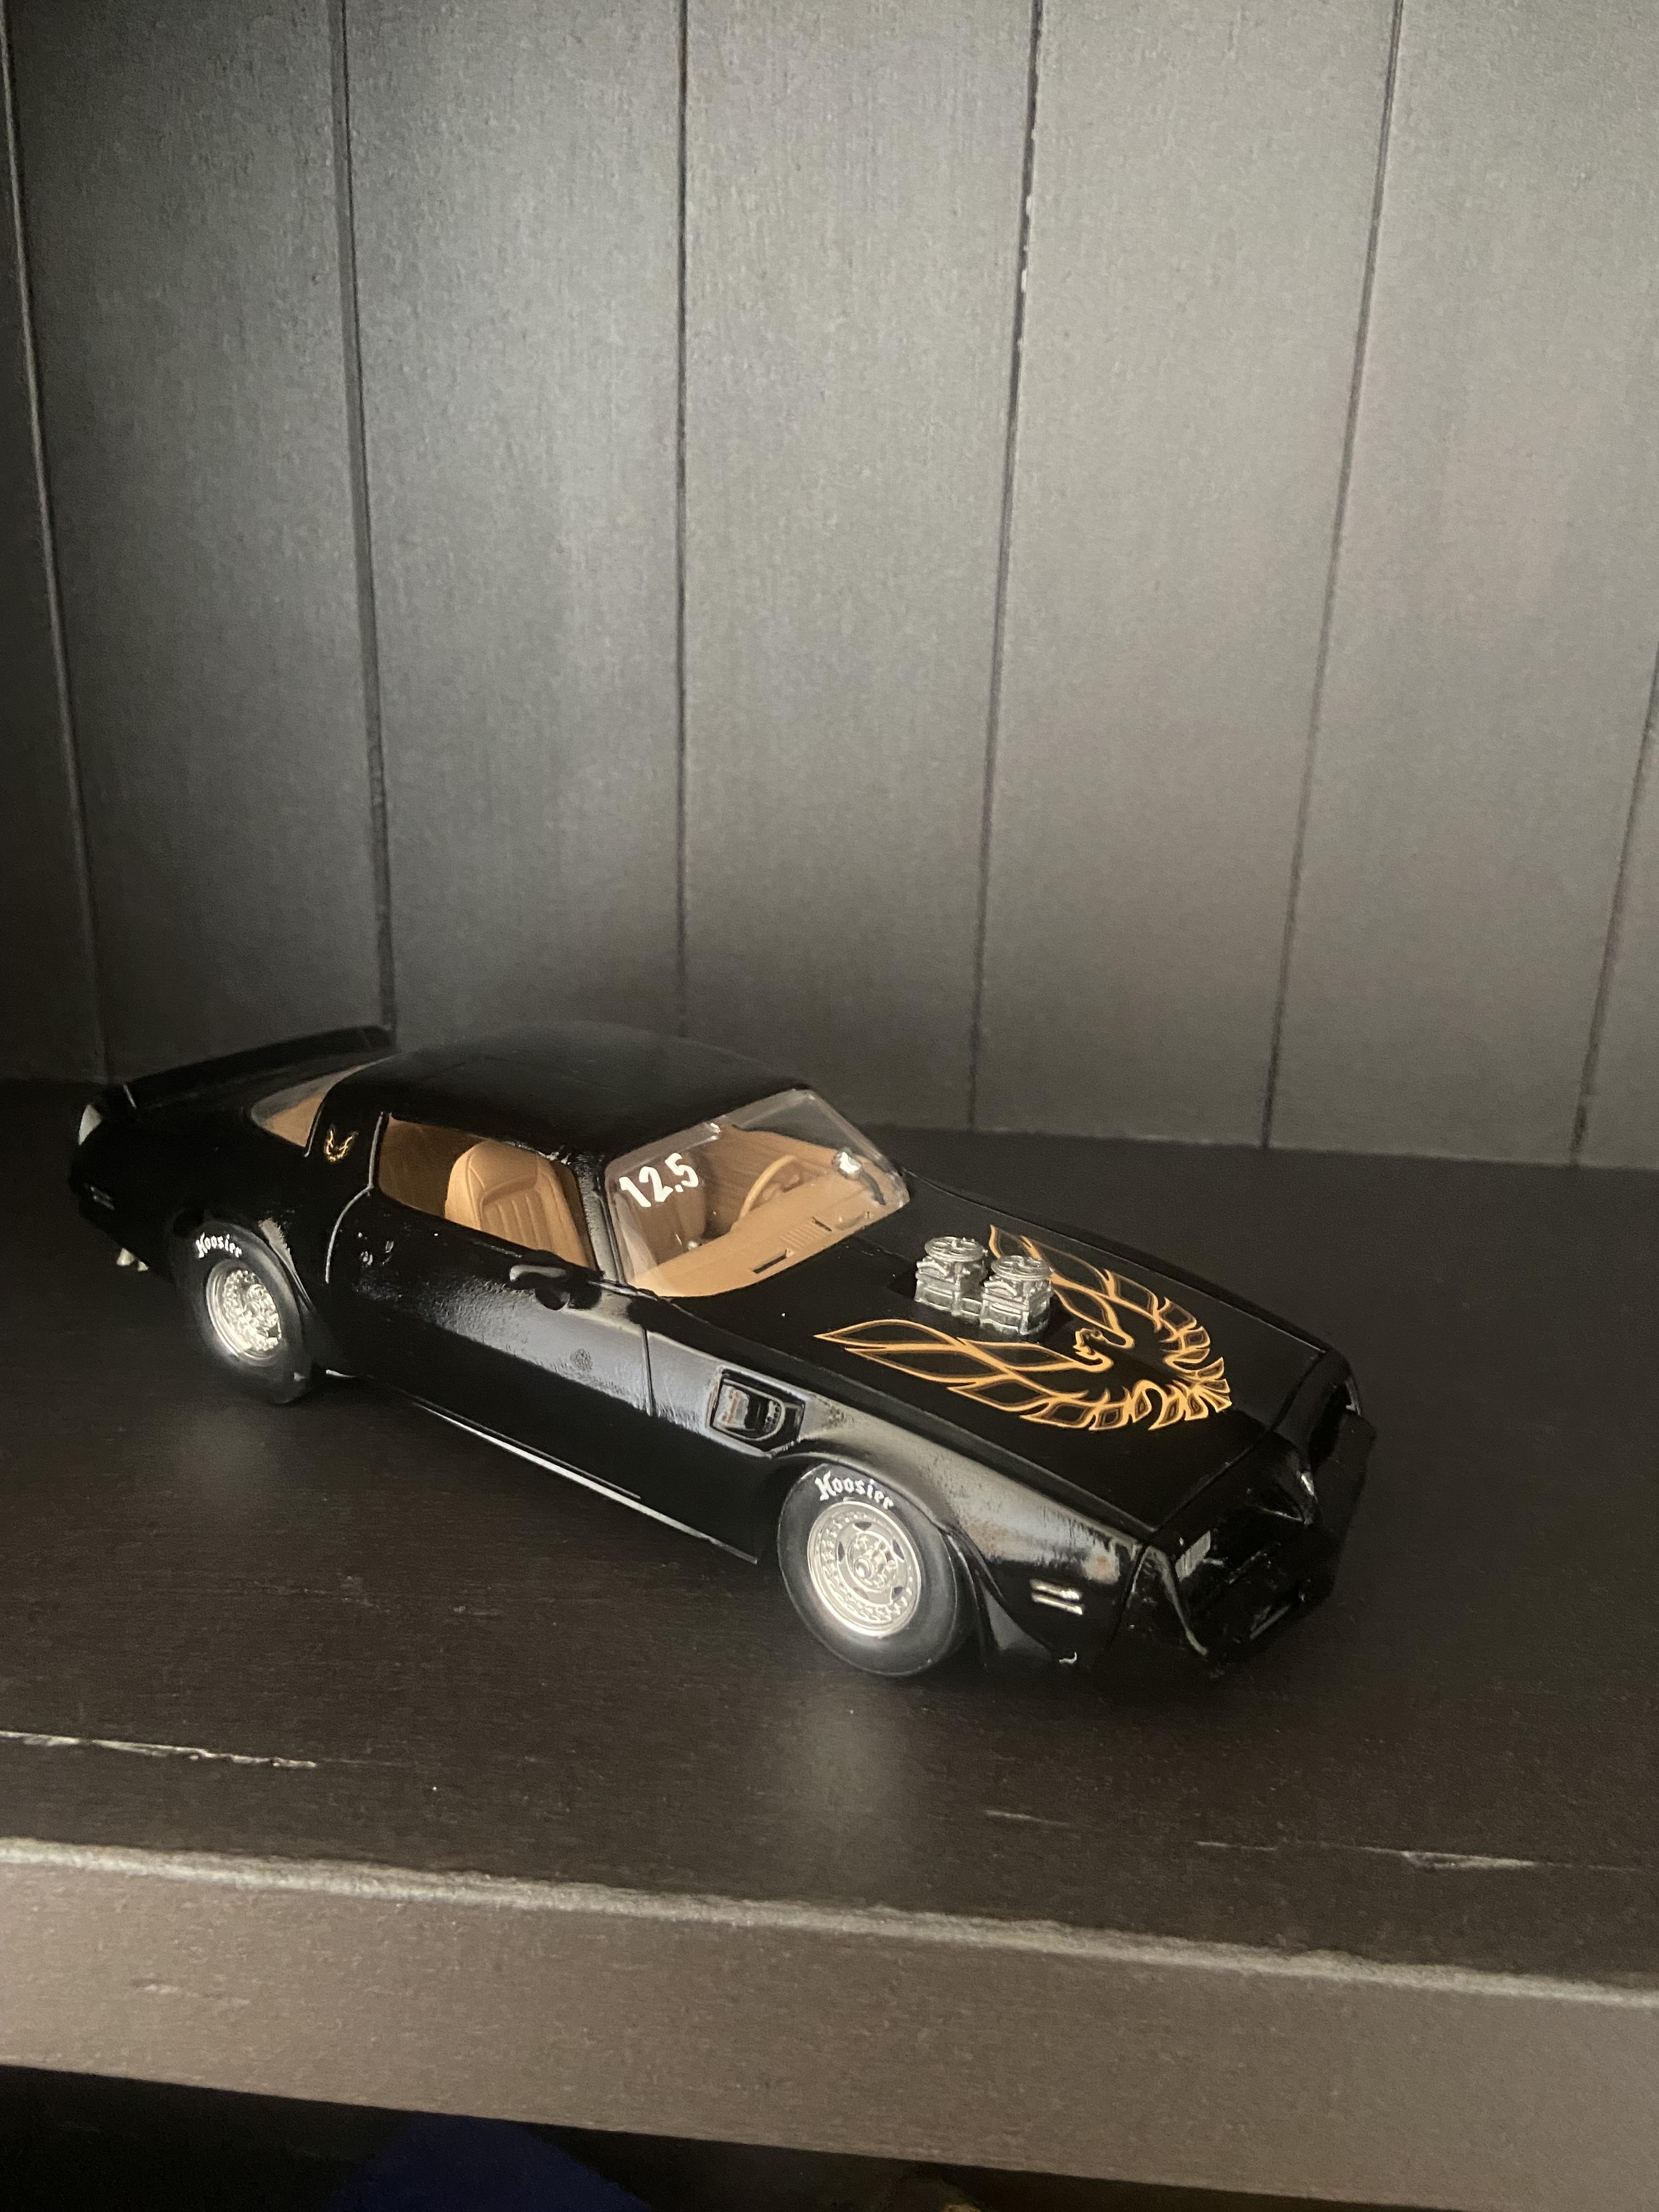
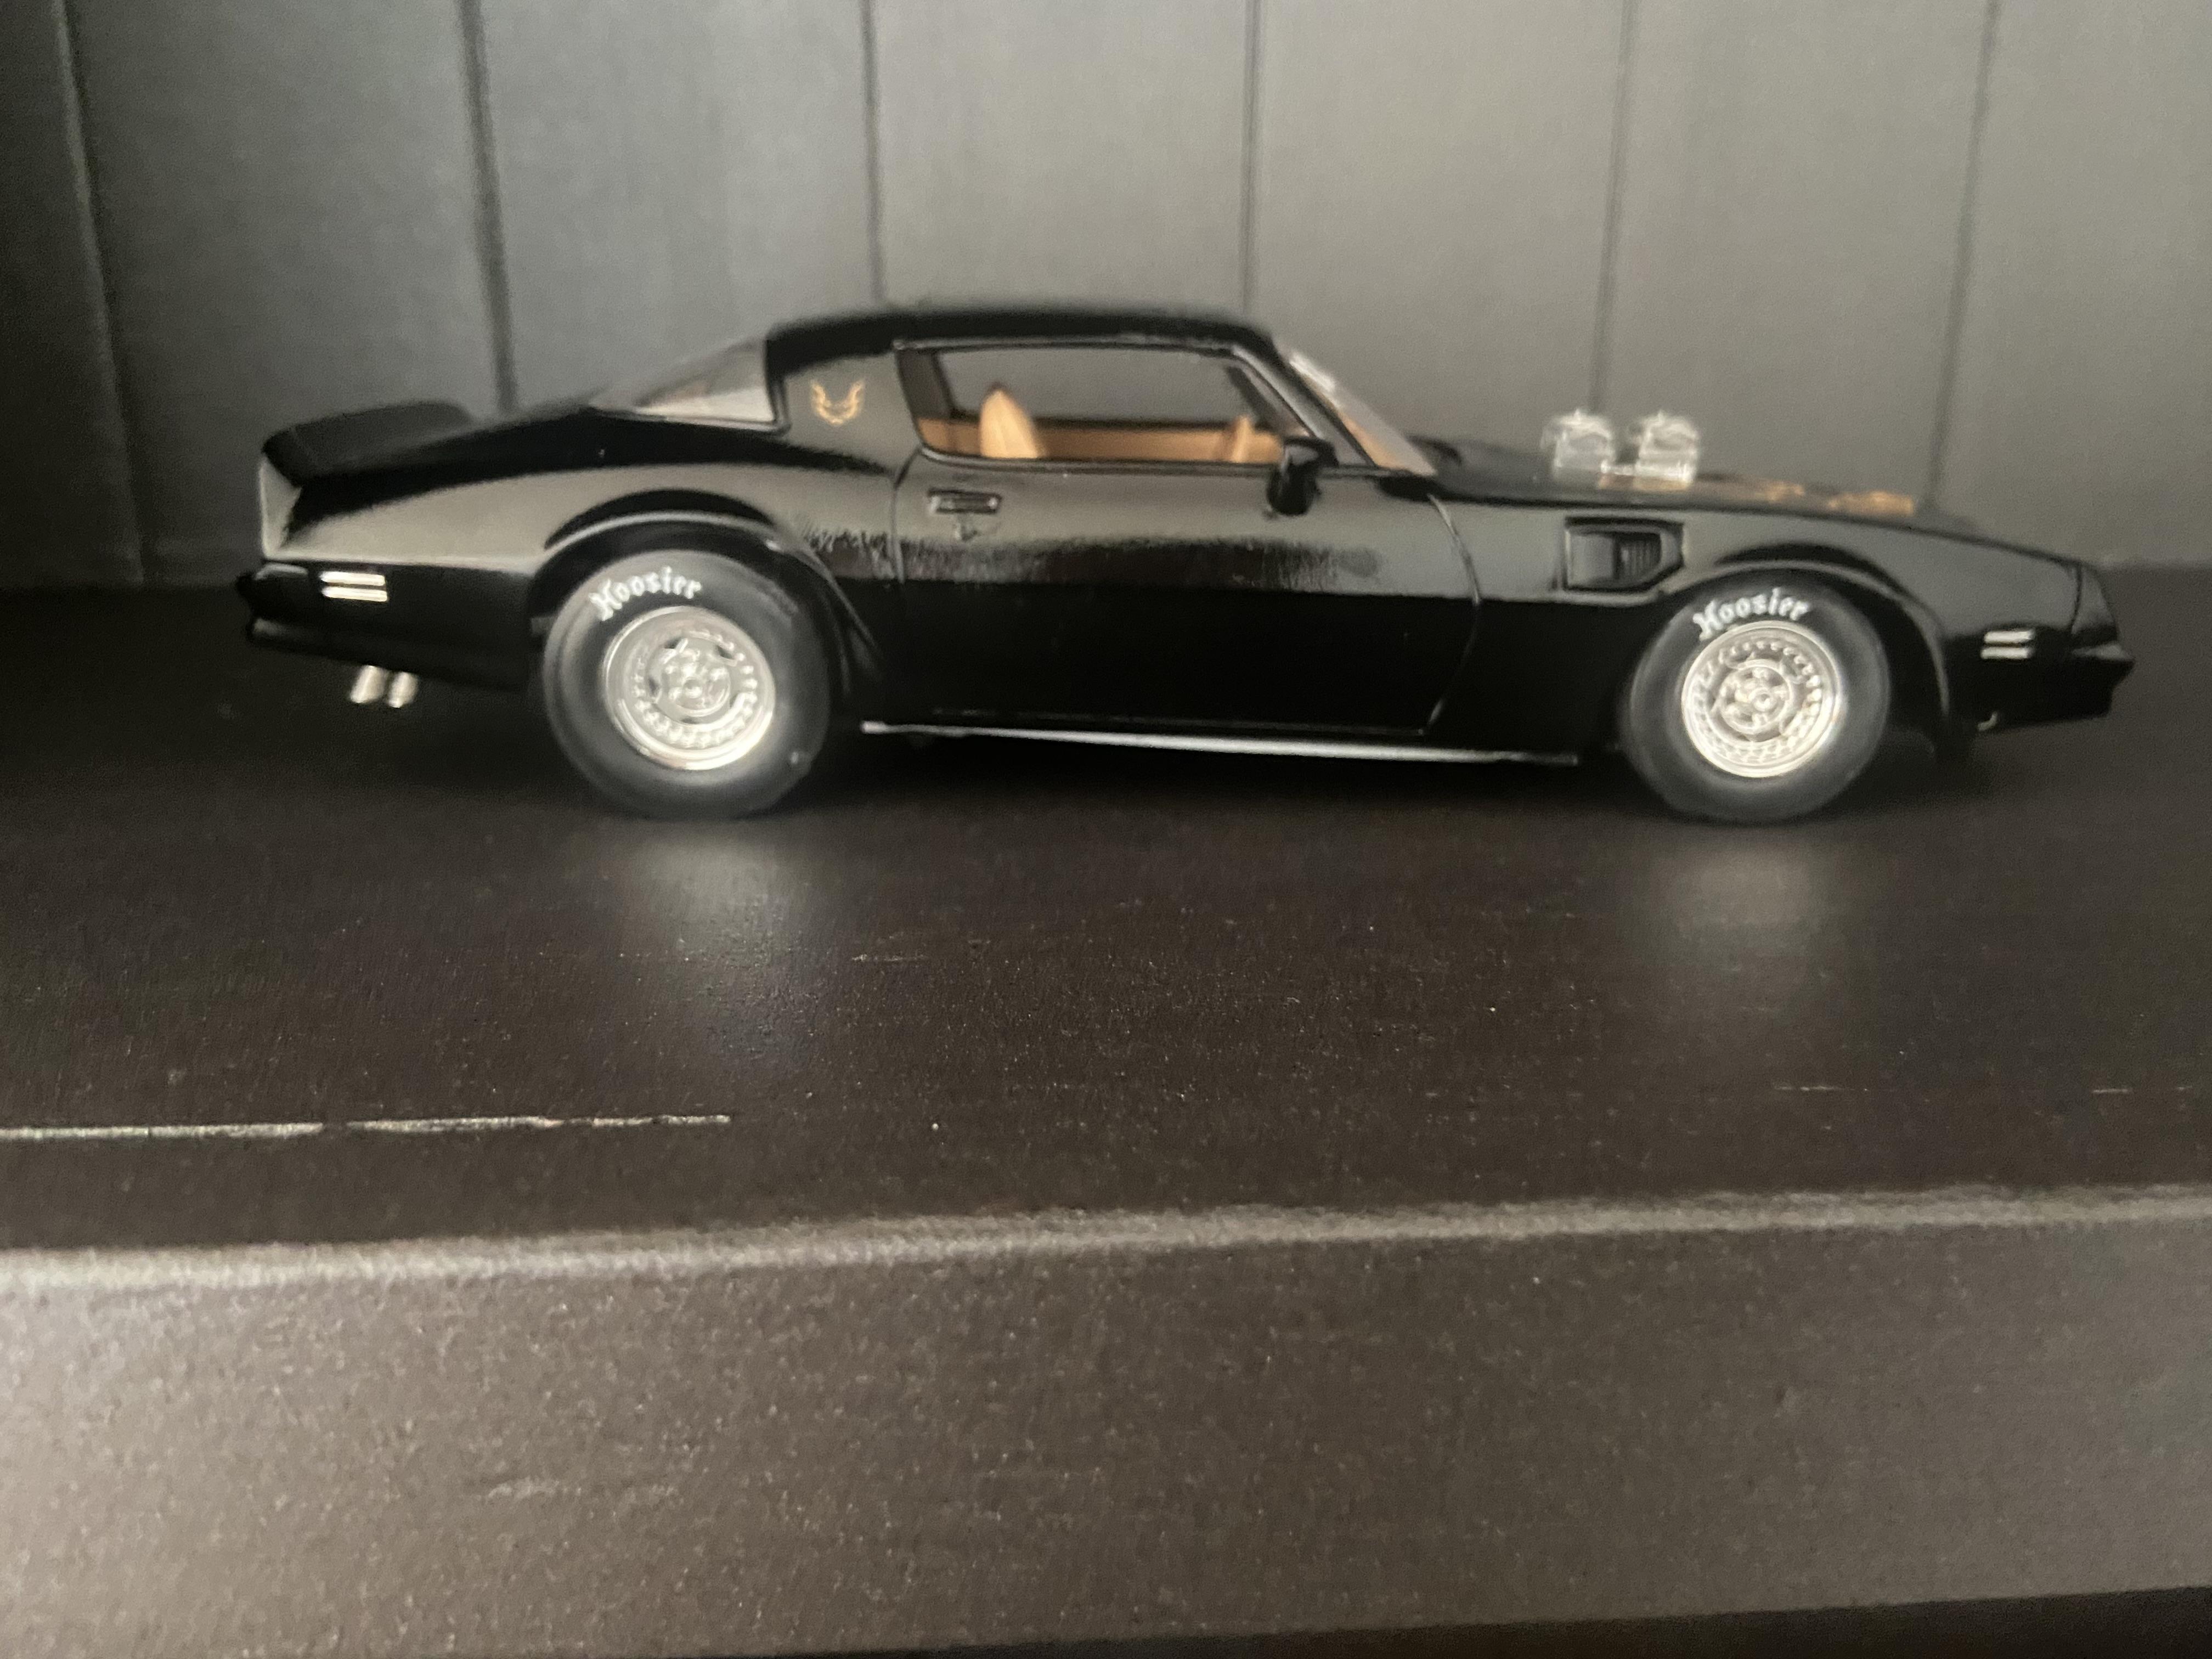
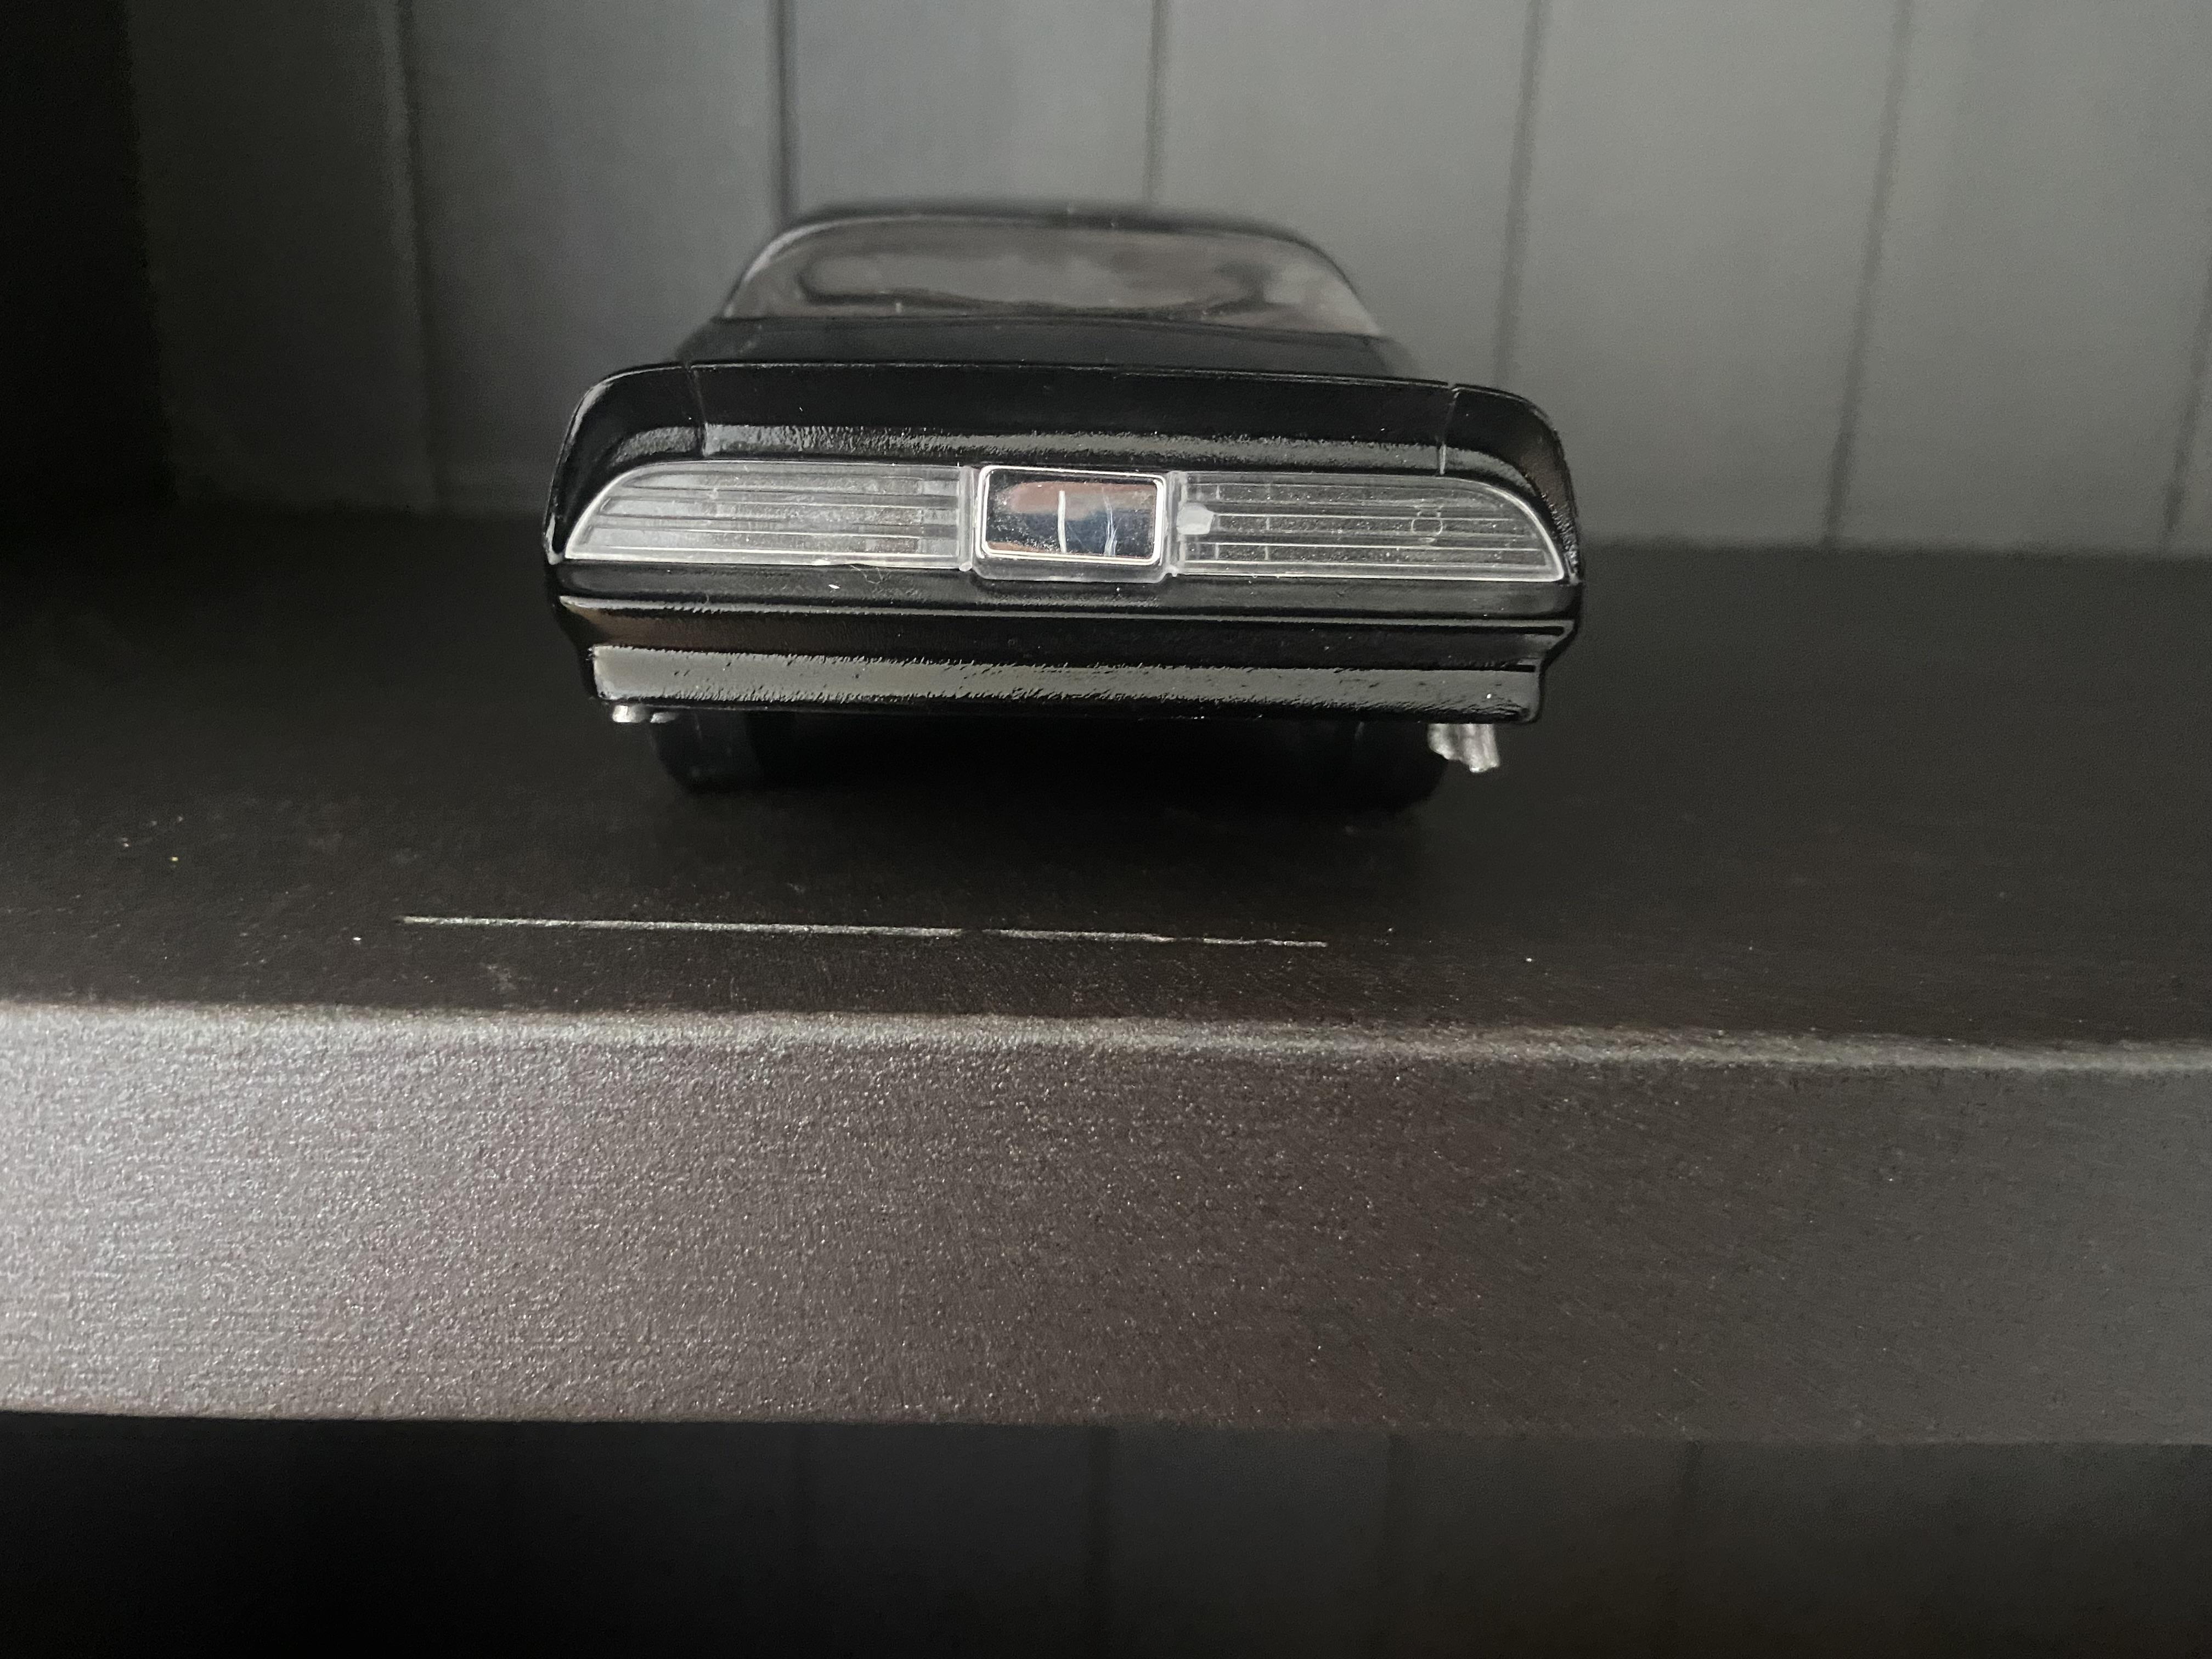
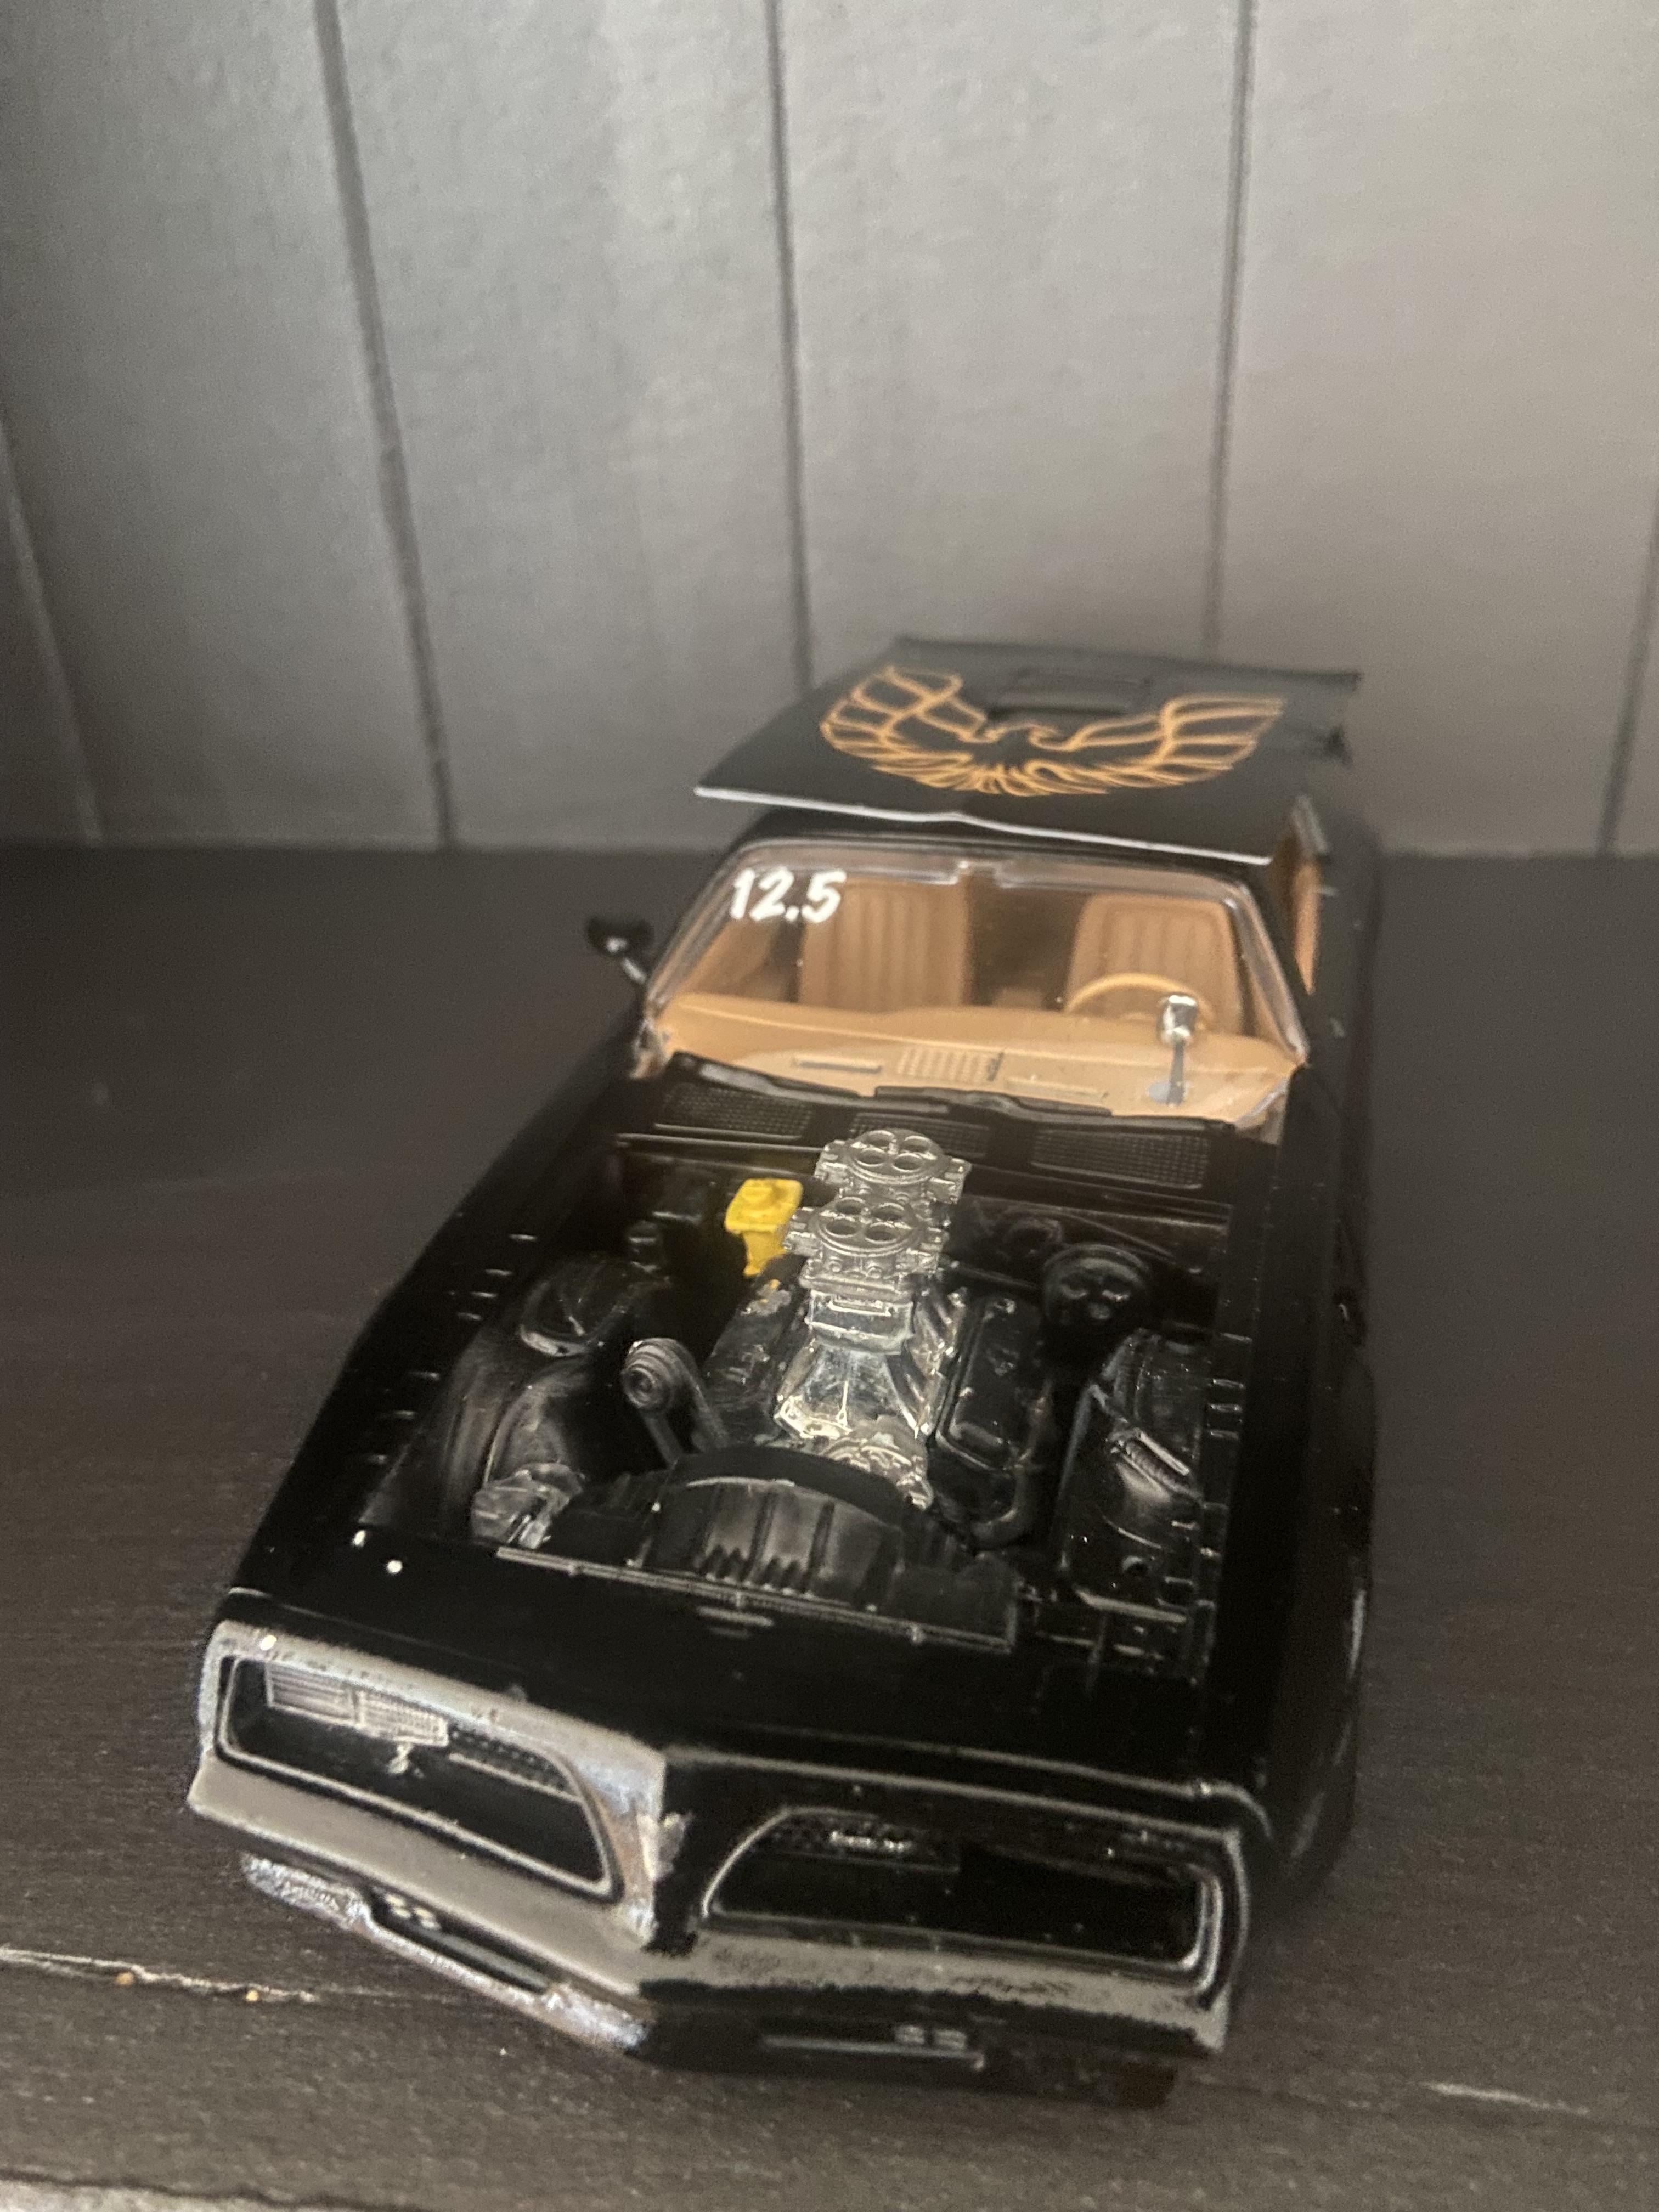
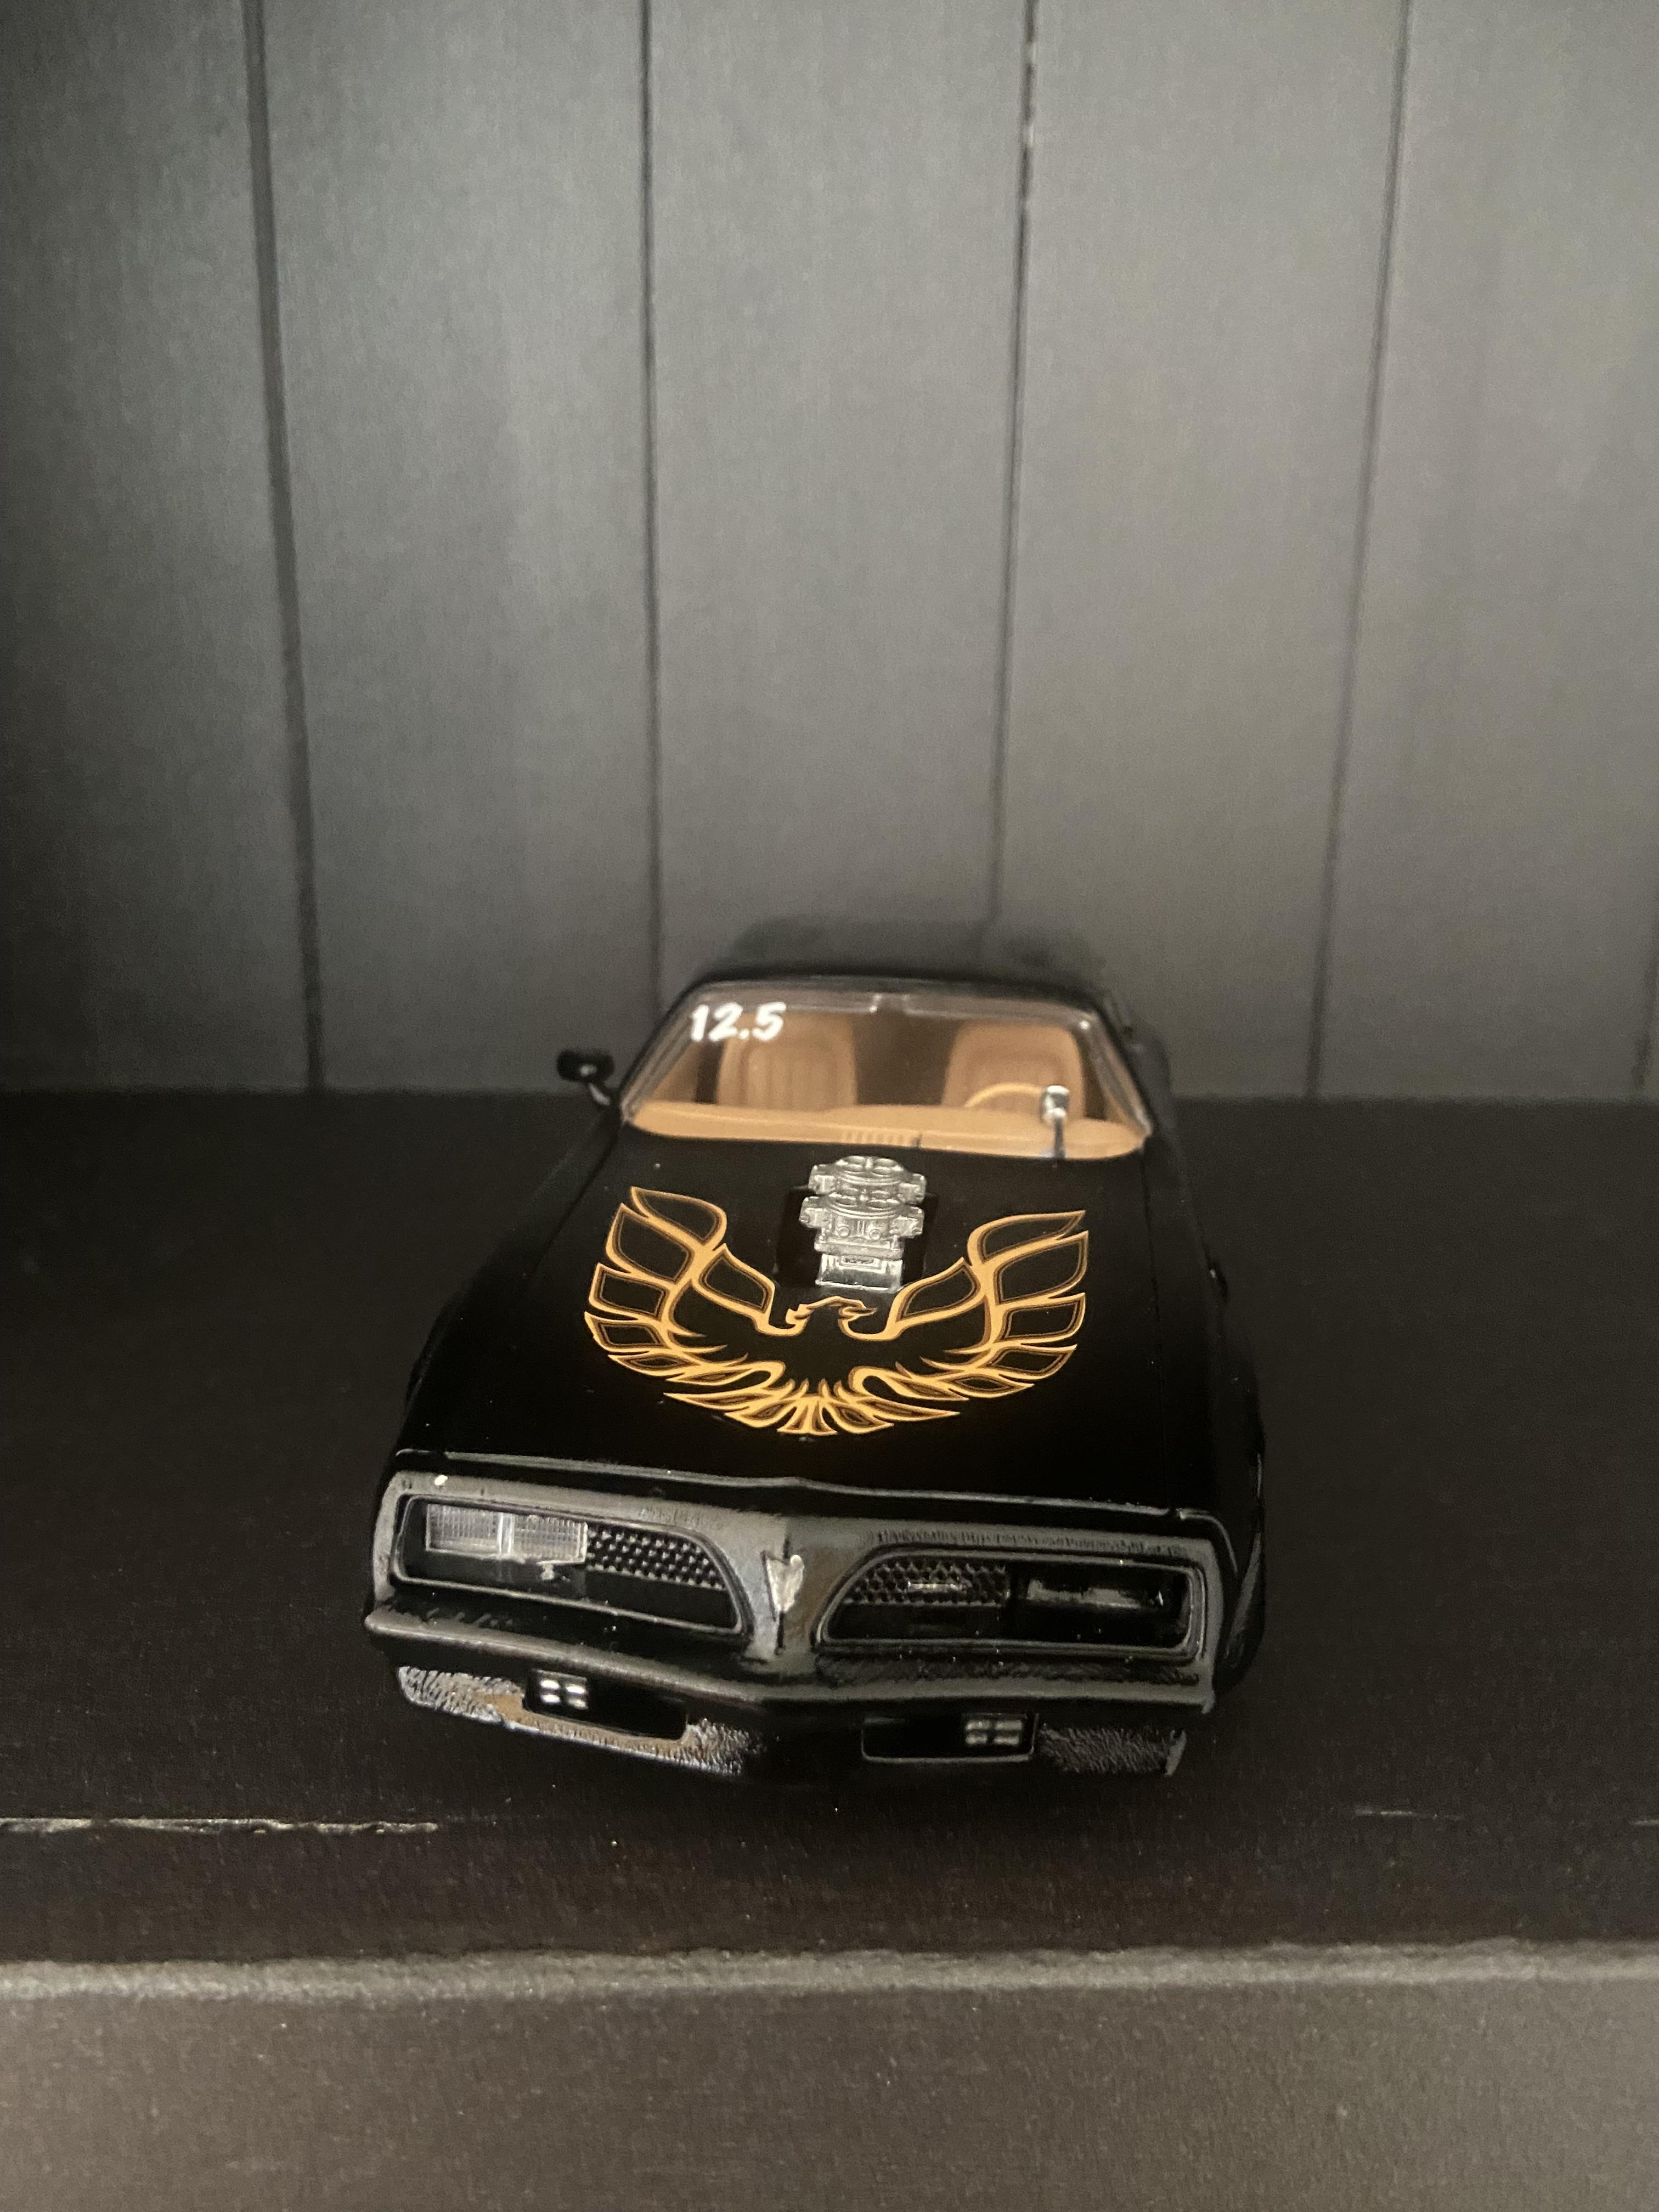
Well here it is. Not my best paint job or body work but I’m glad to have it off my bench. The carbs are a 3d printed set I got from eBay and wheels and tunnel ram are parts box items. Anyway enjoy.
- 5 replies
-
- 5
-
-
- revell
- 77 trans am
- (and 1 more)
-
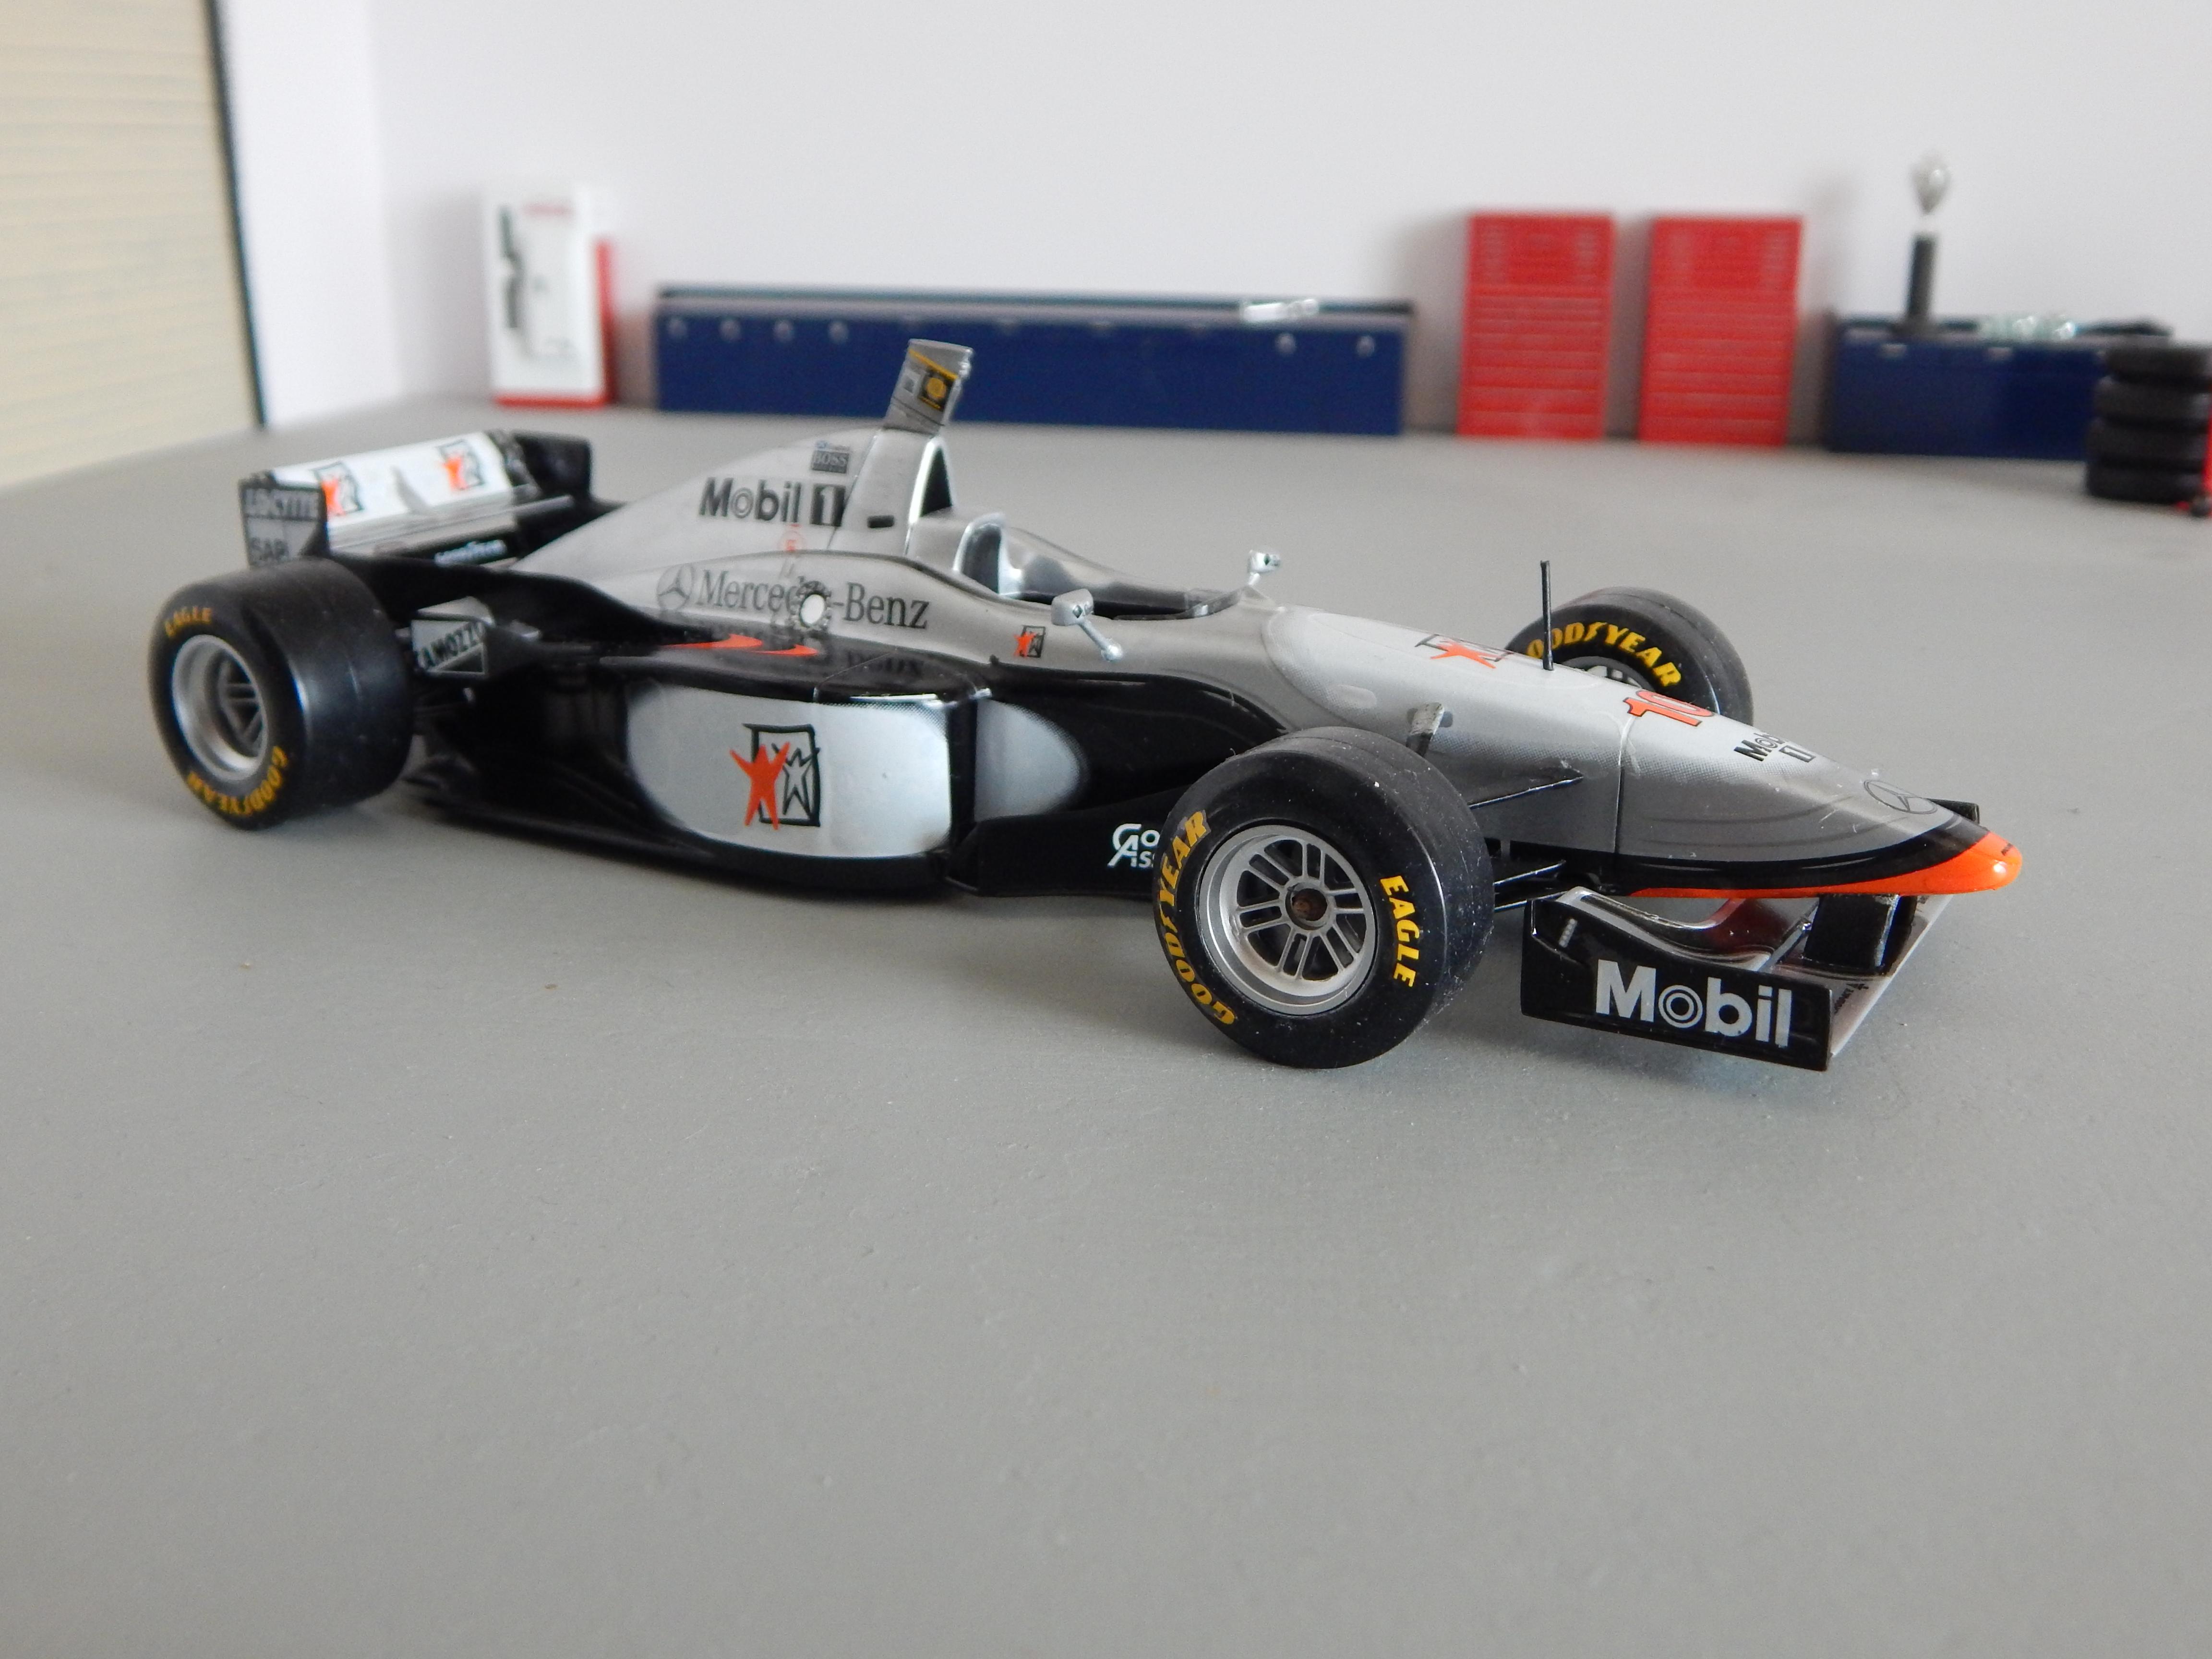
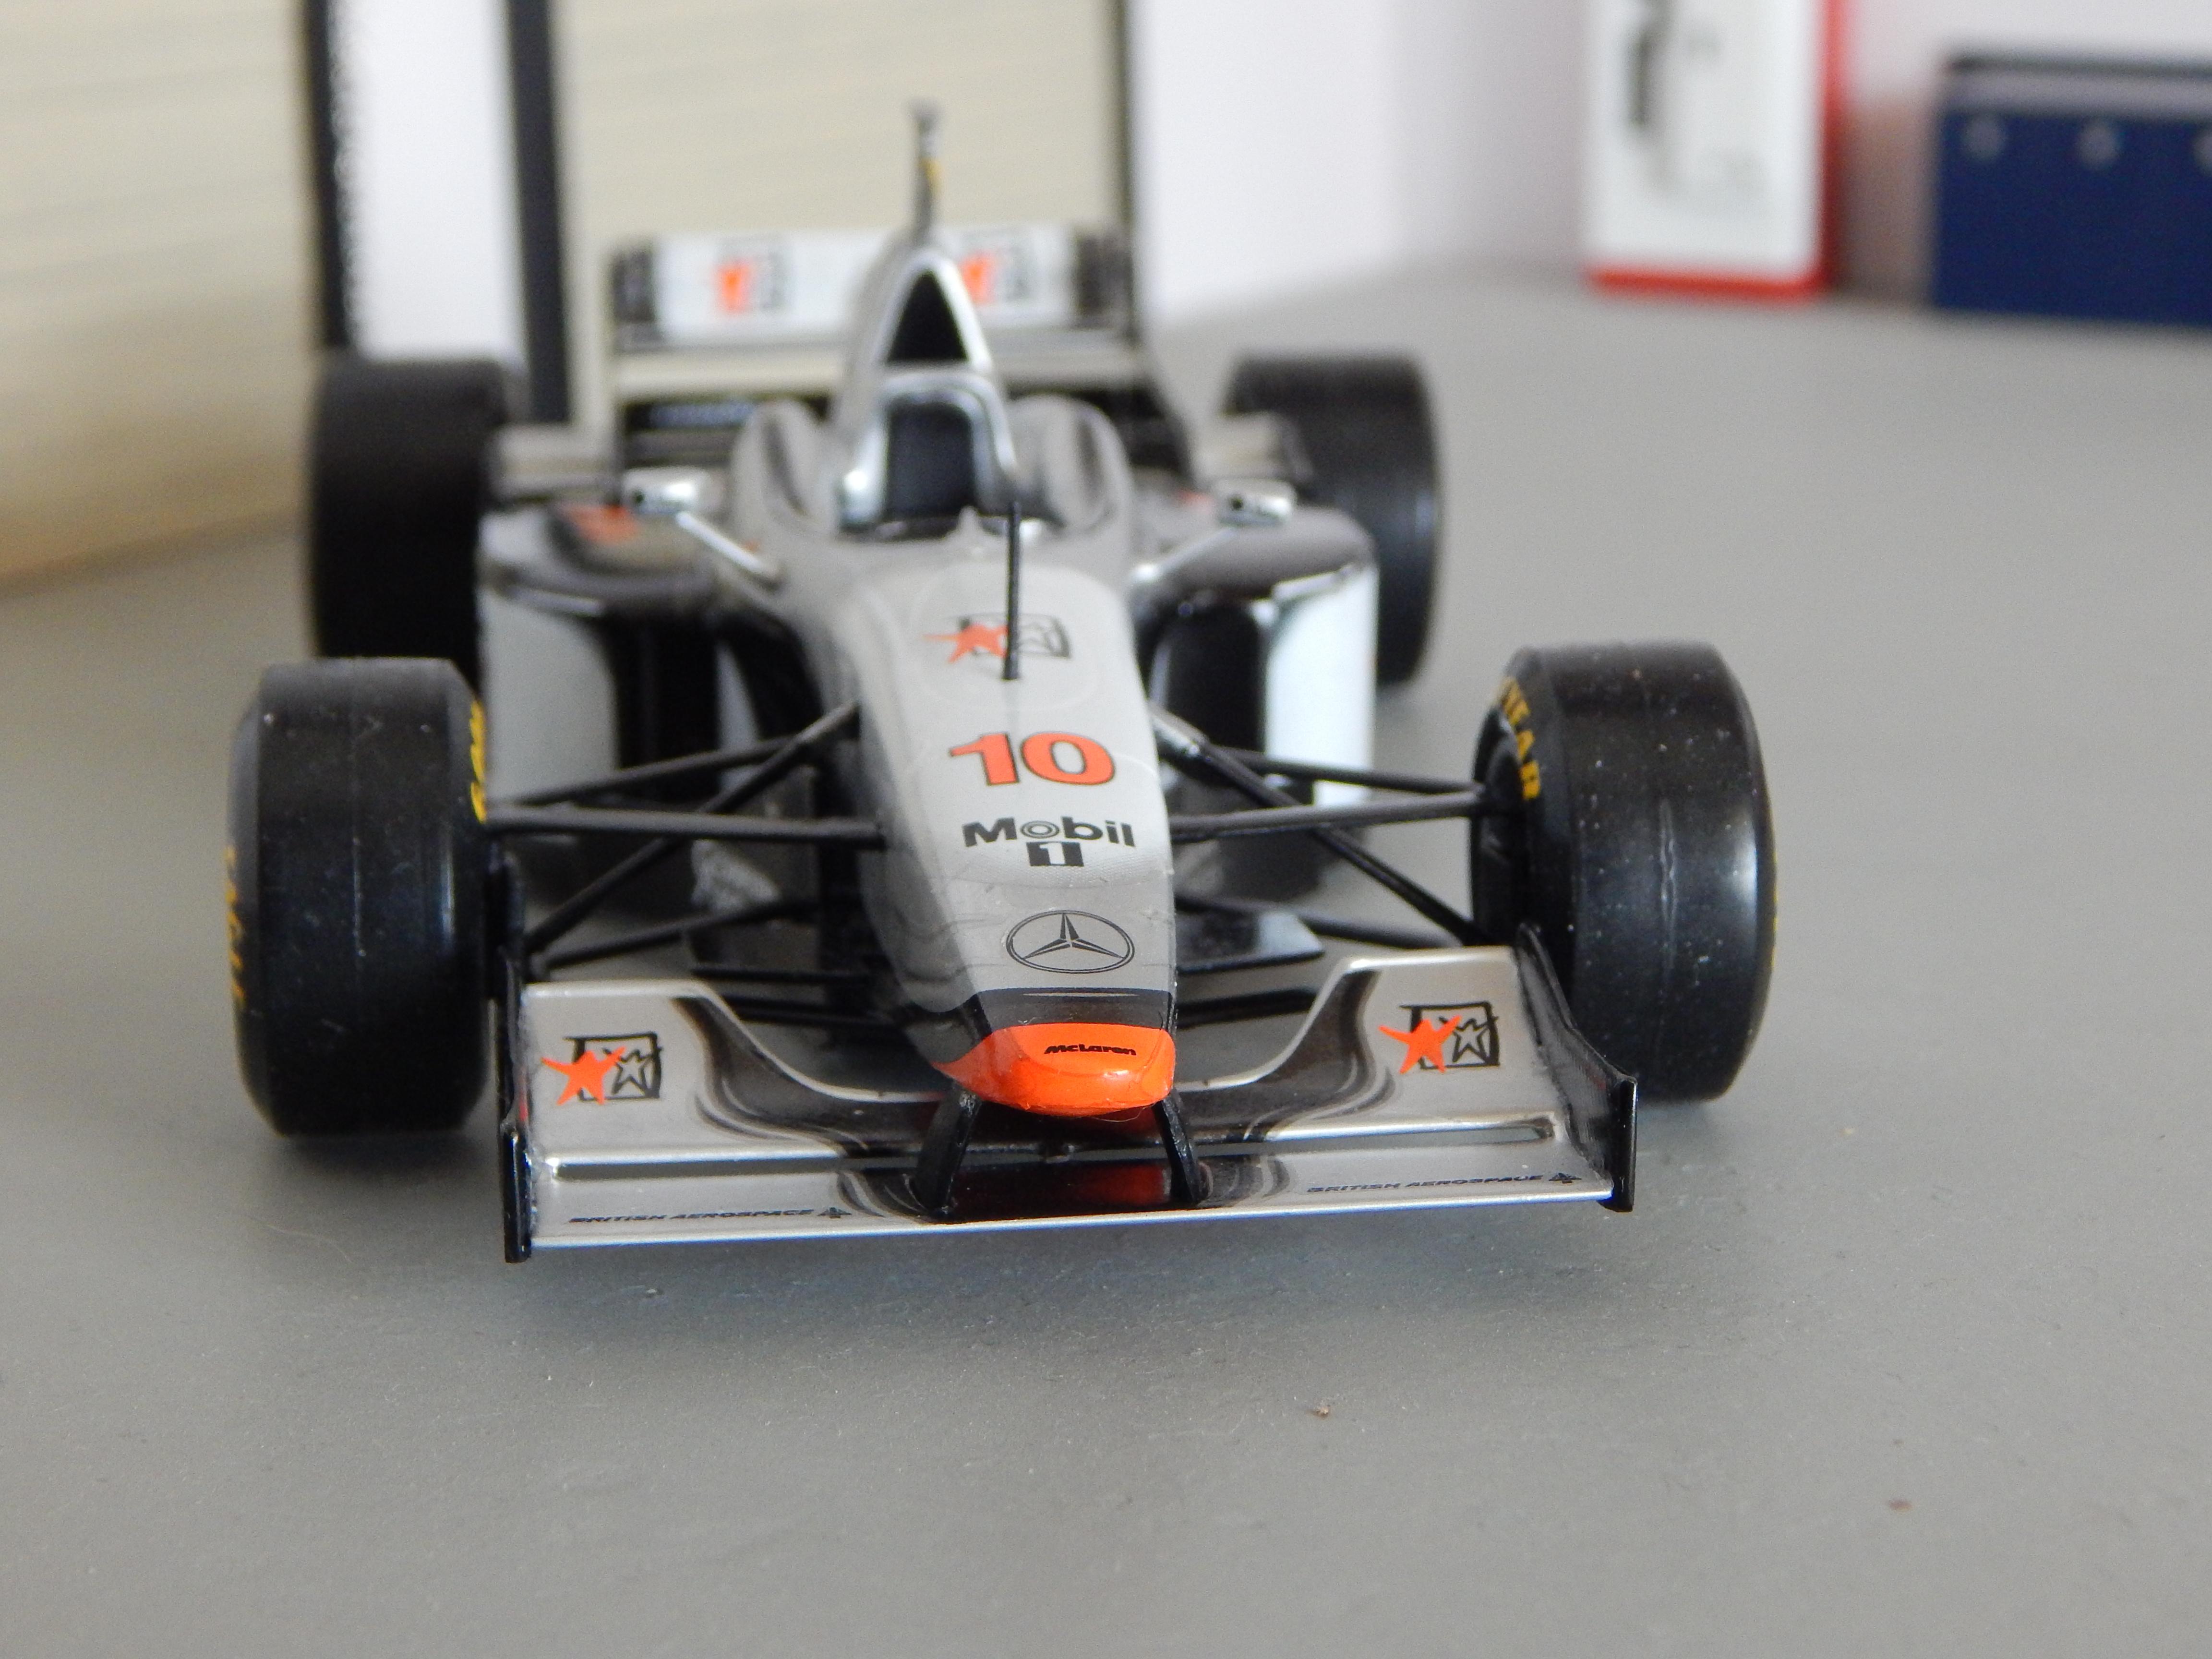
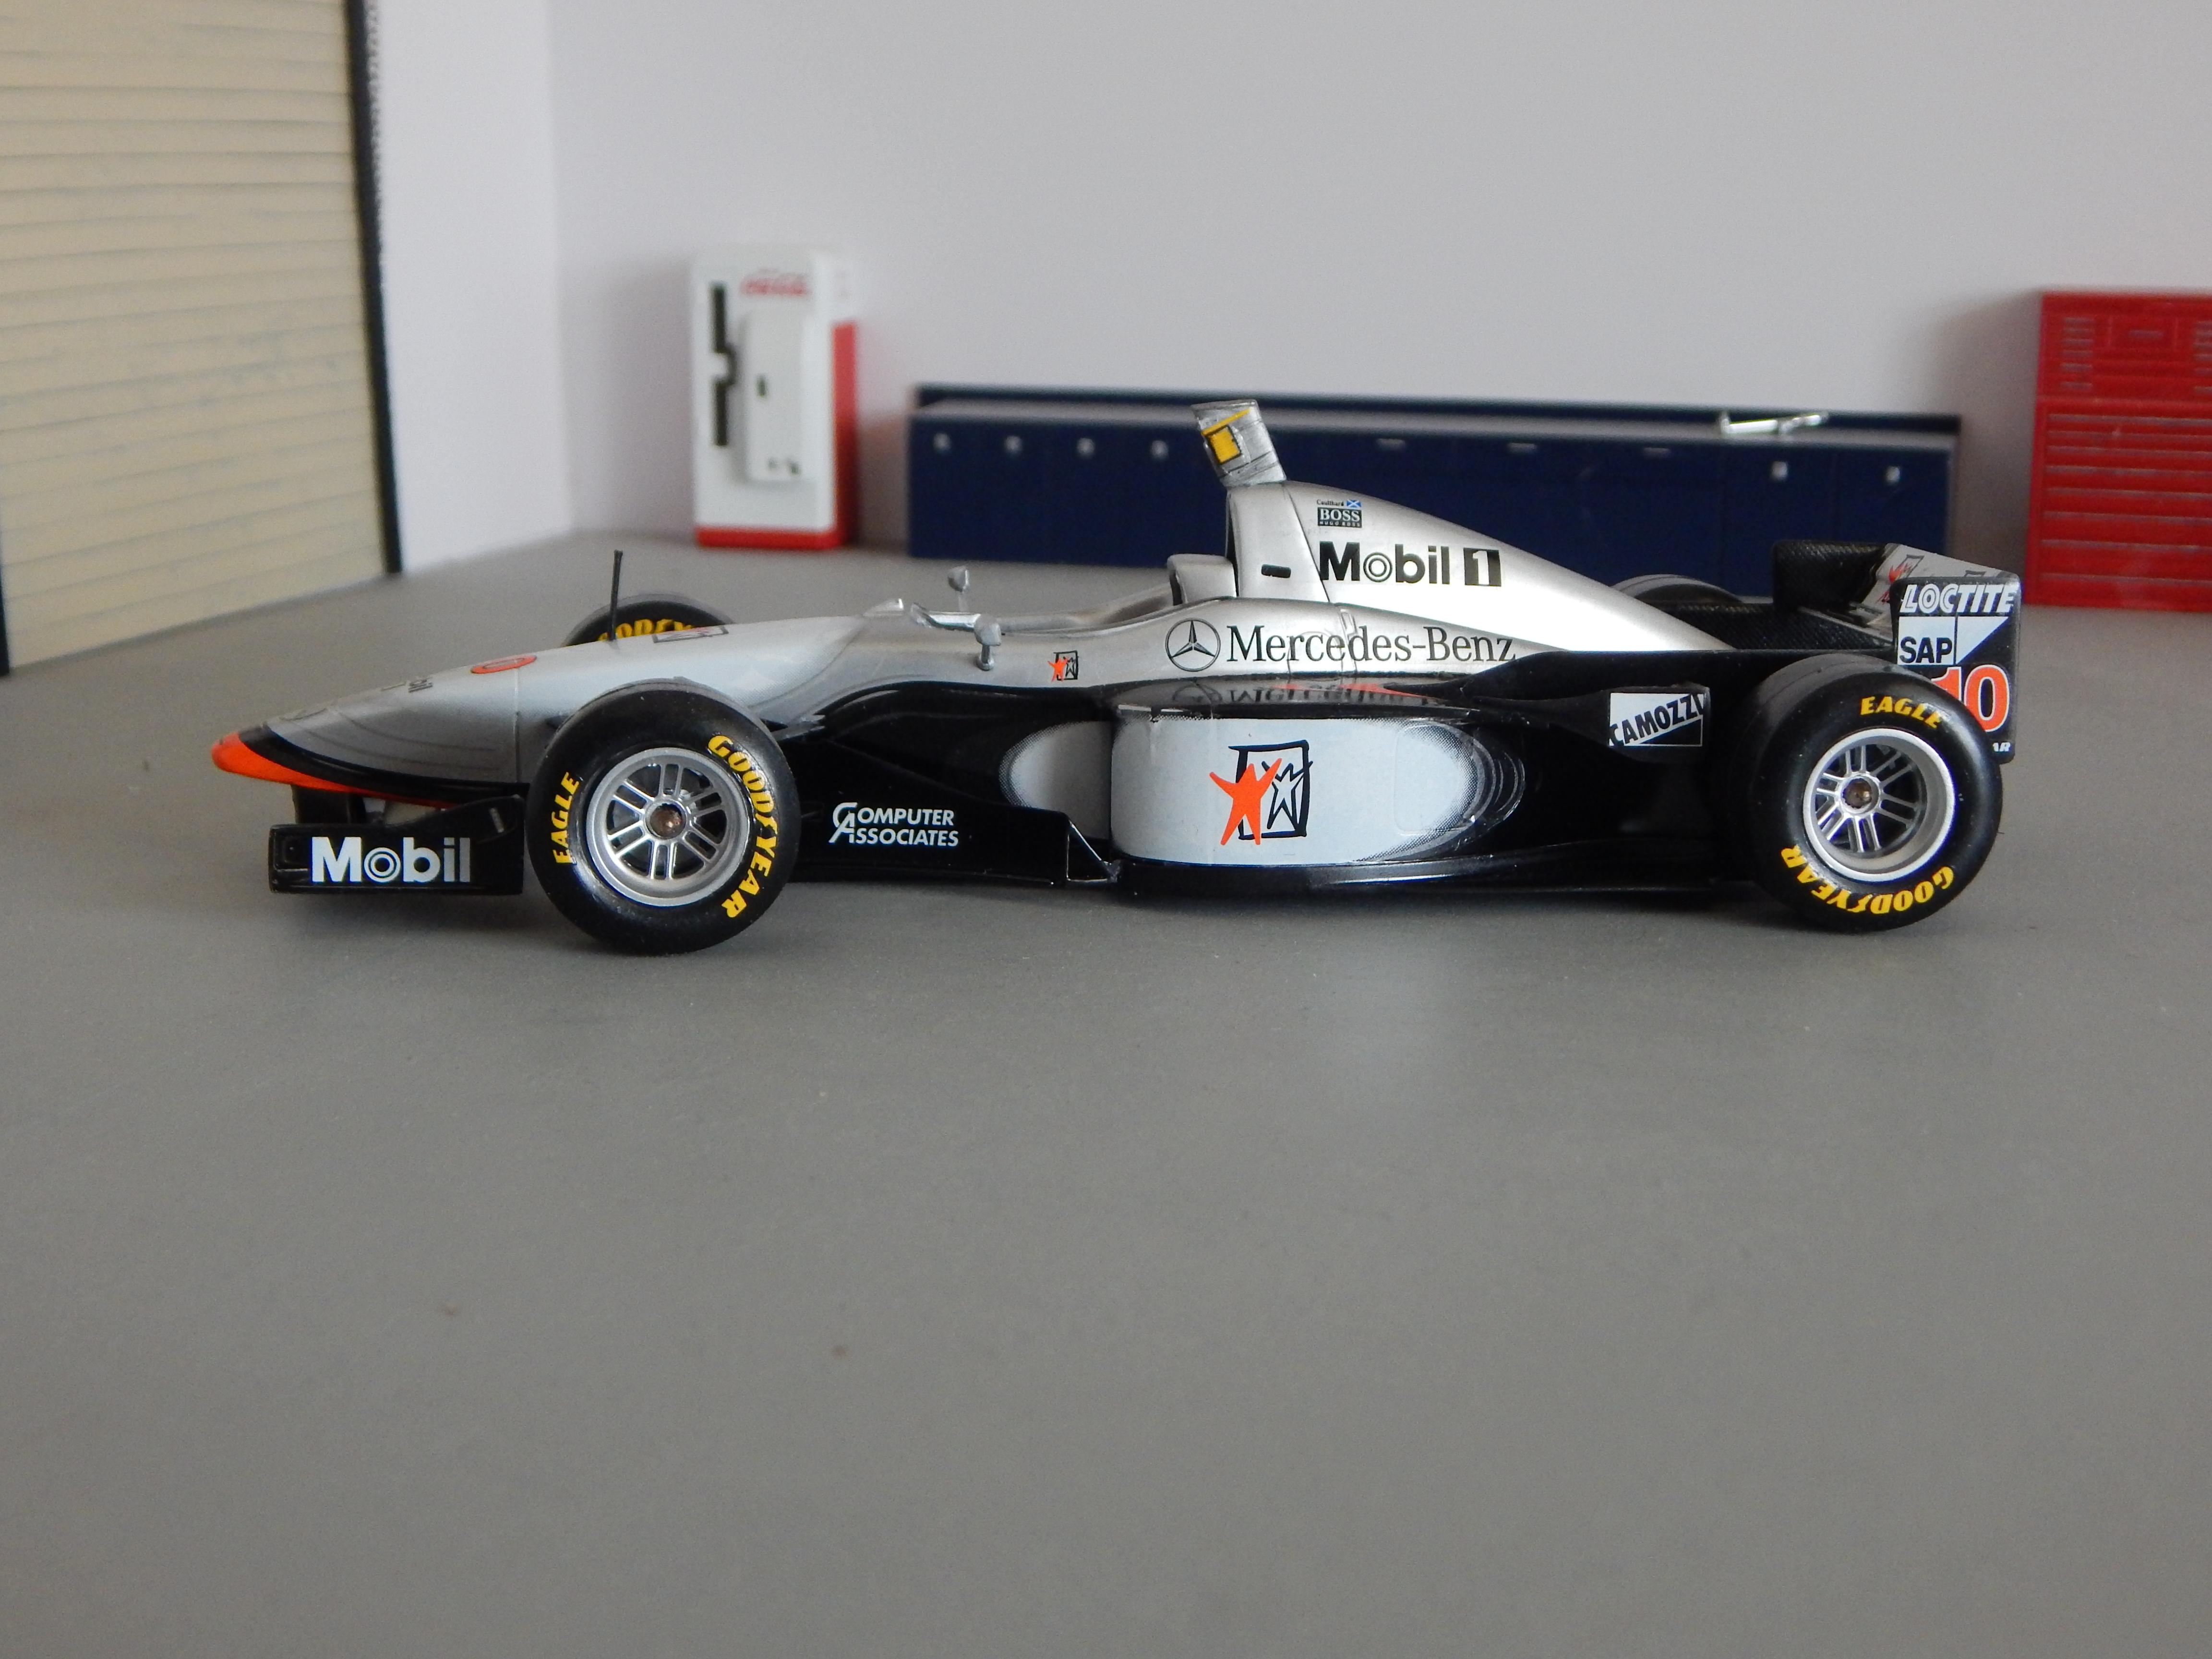
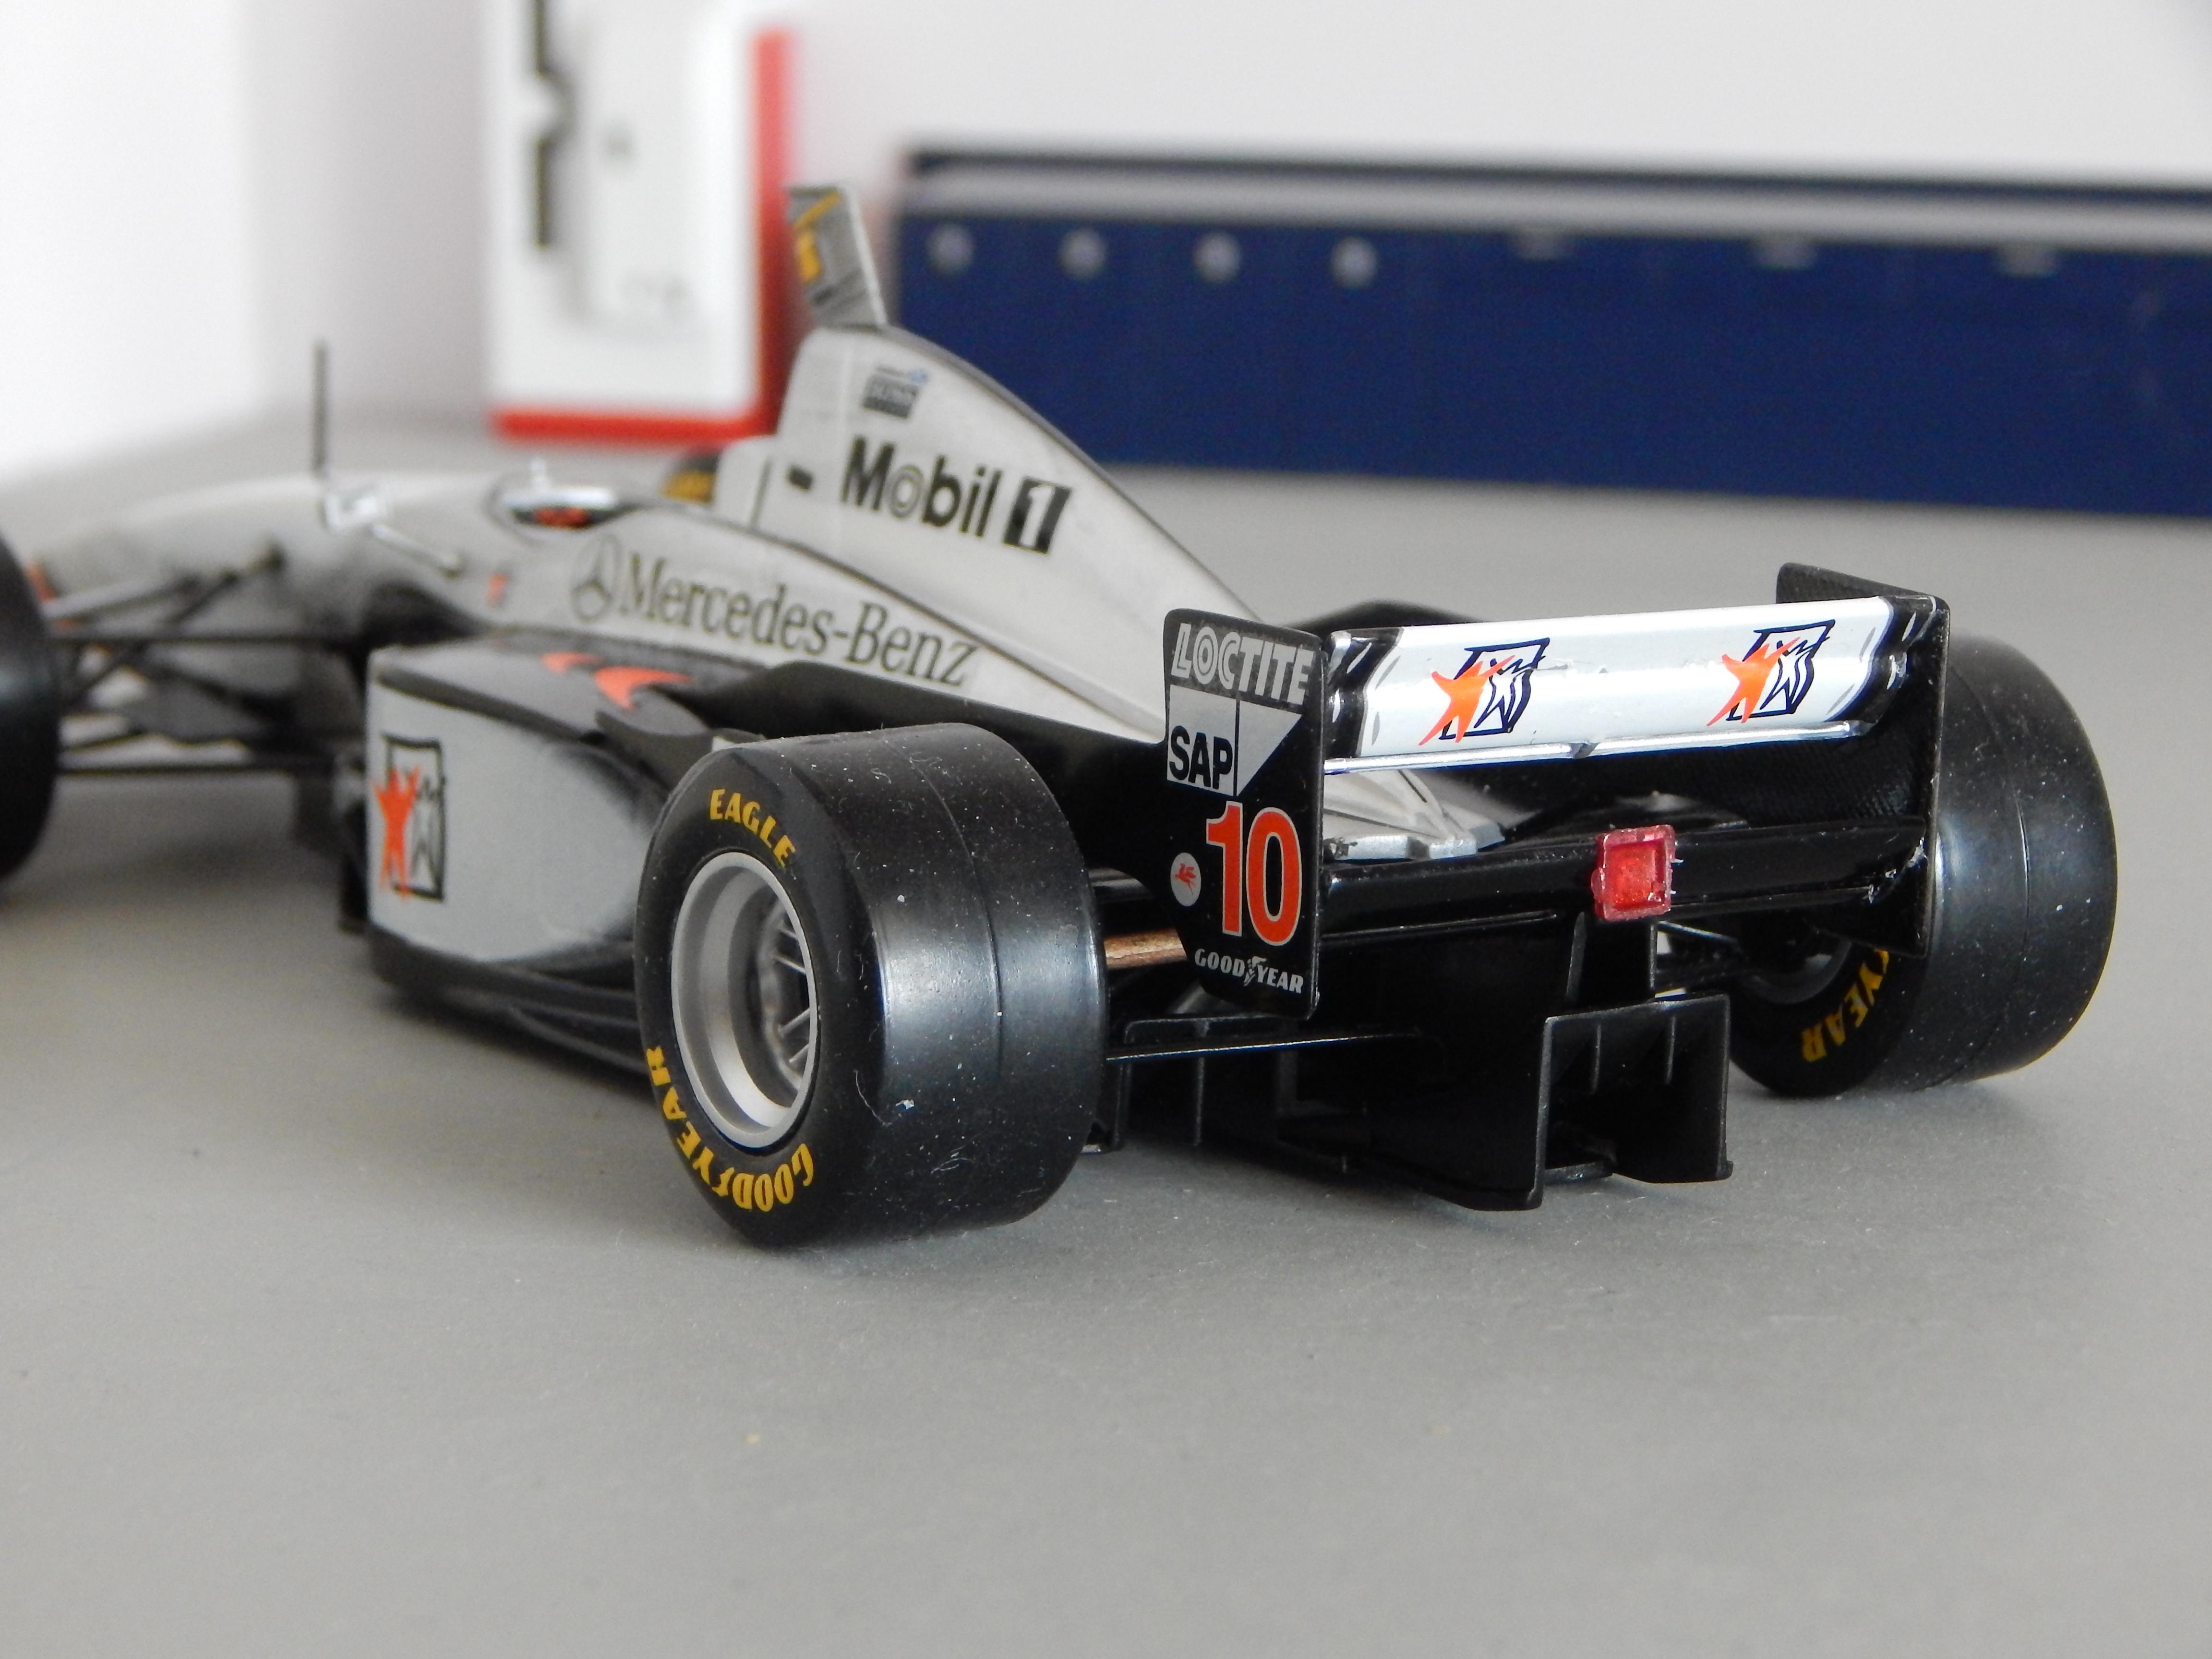
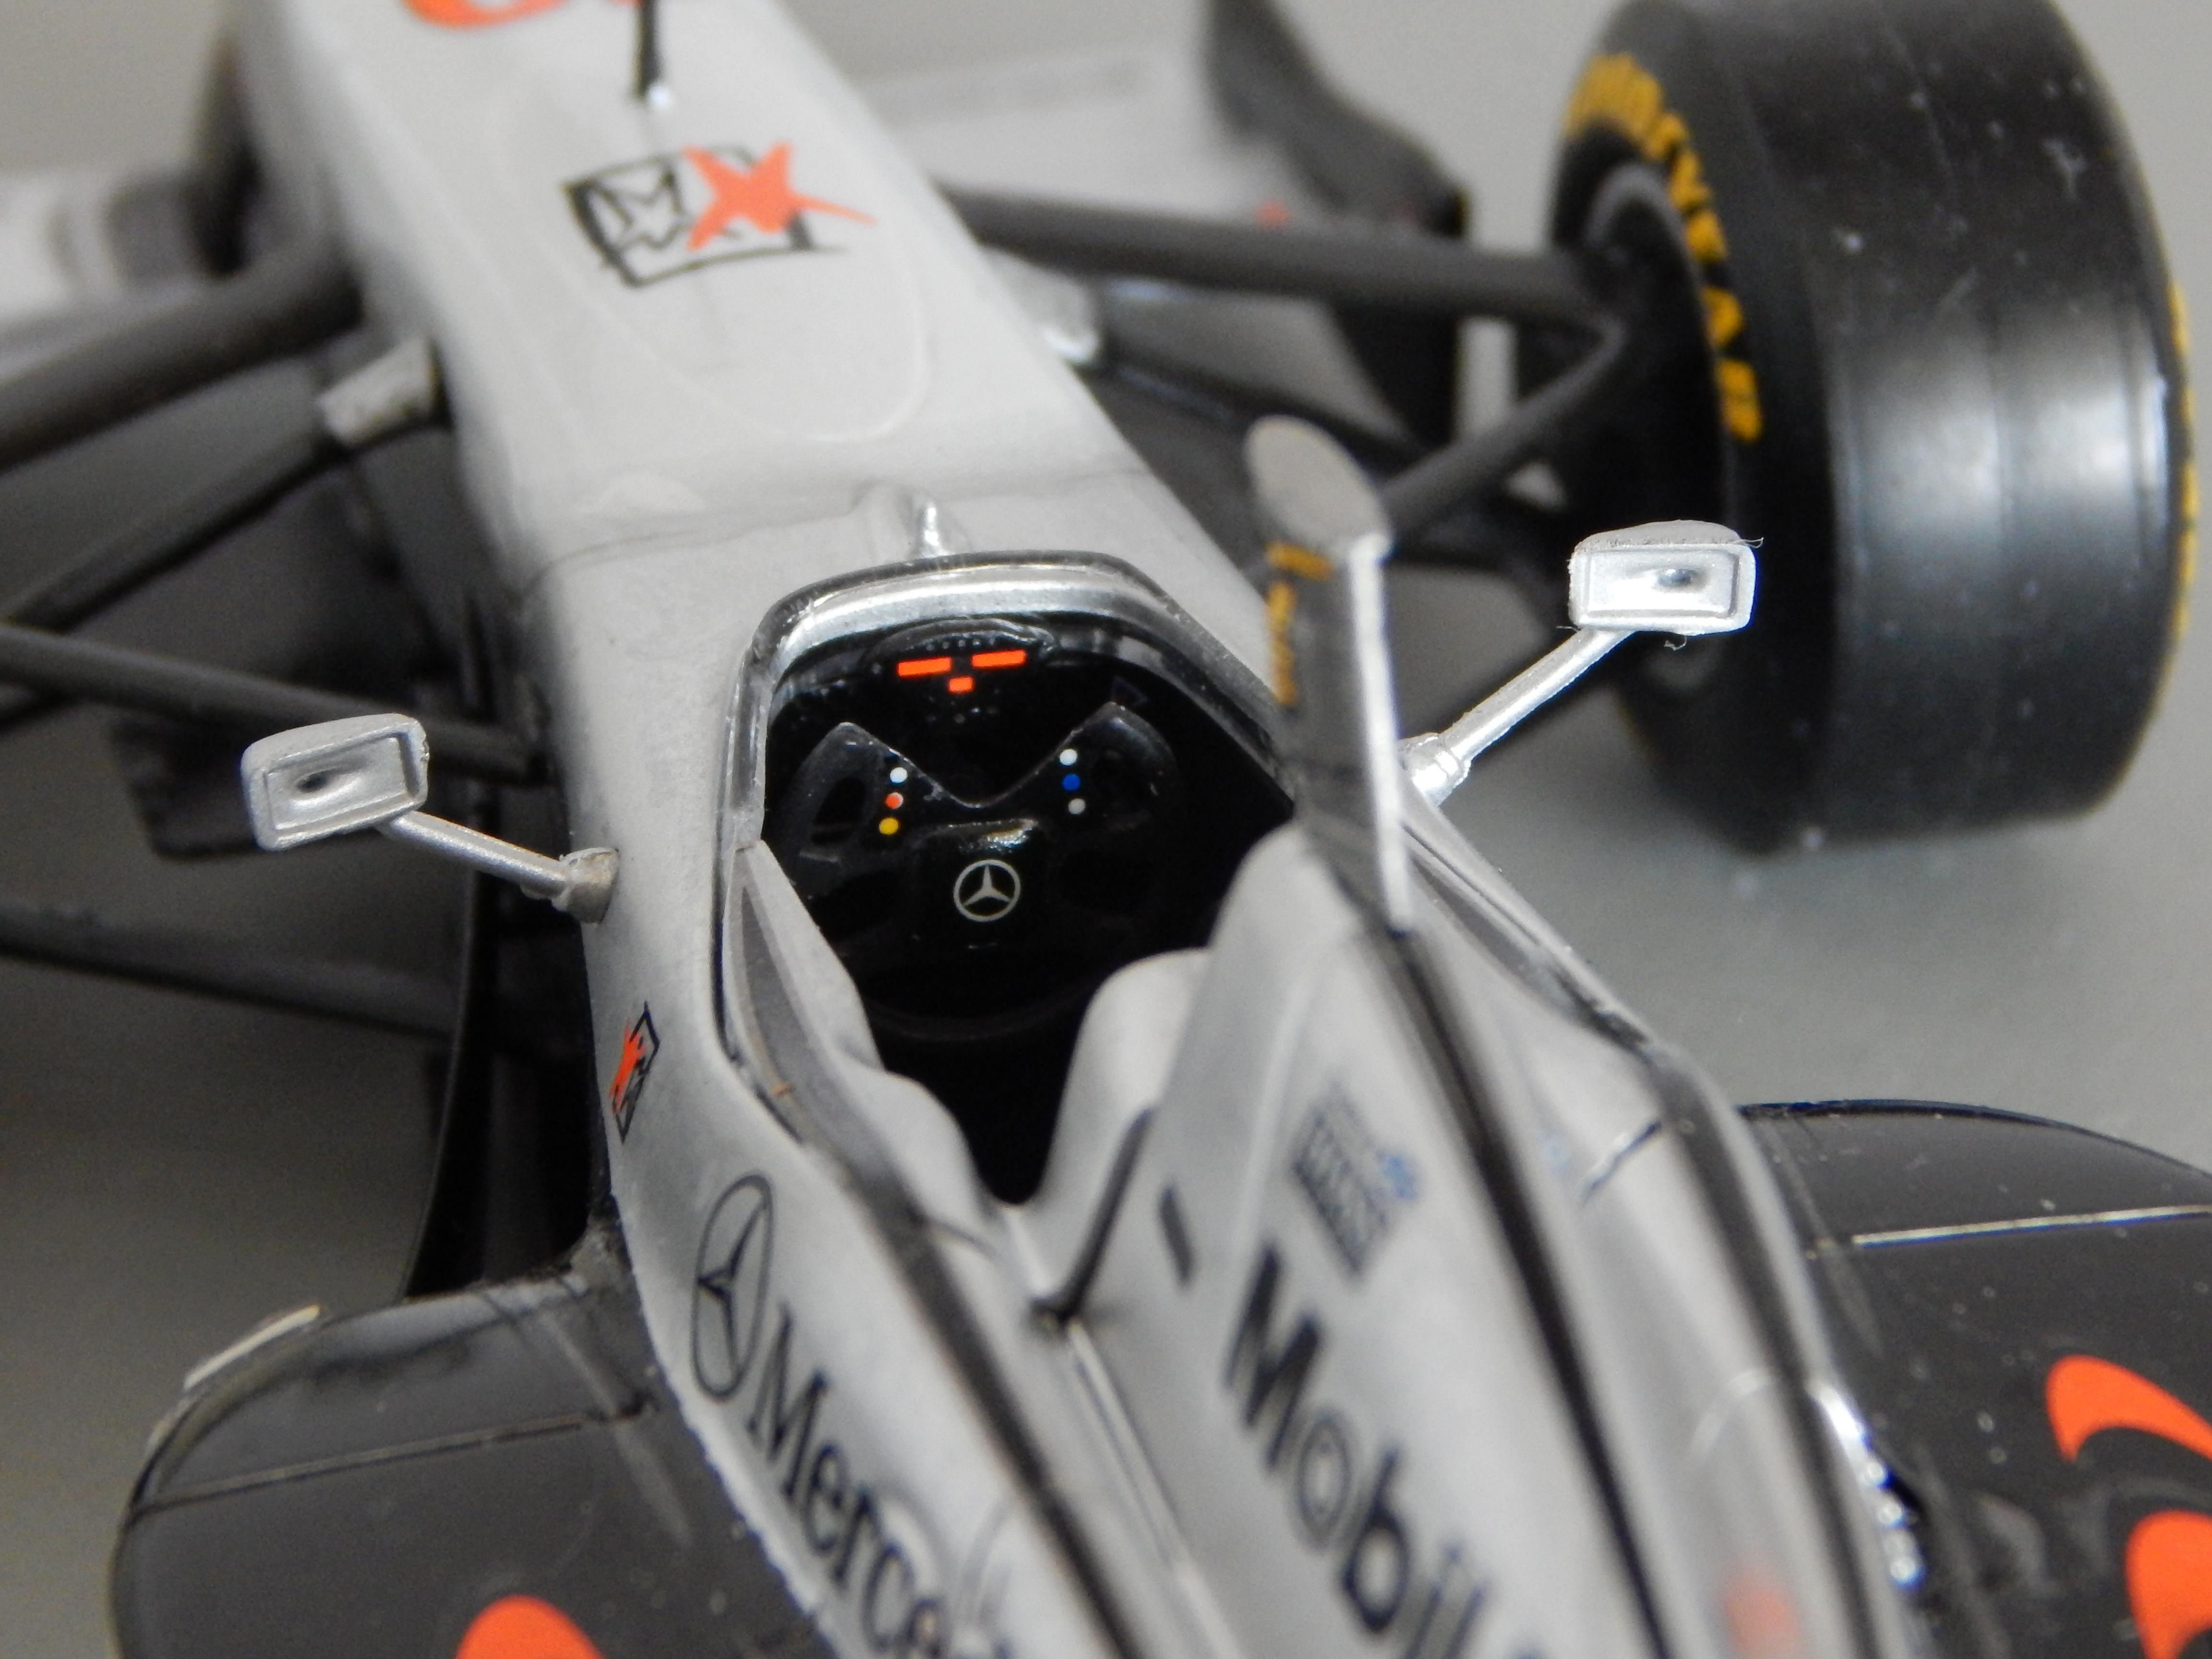
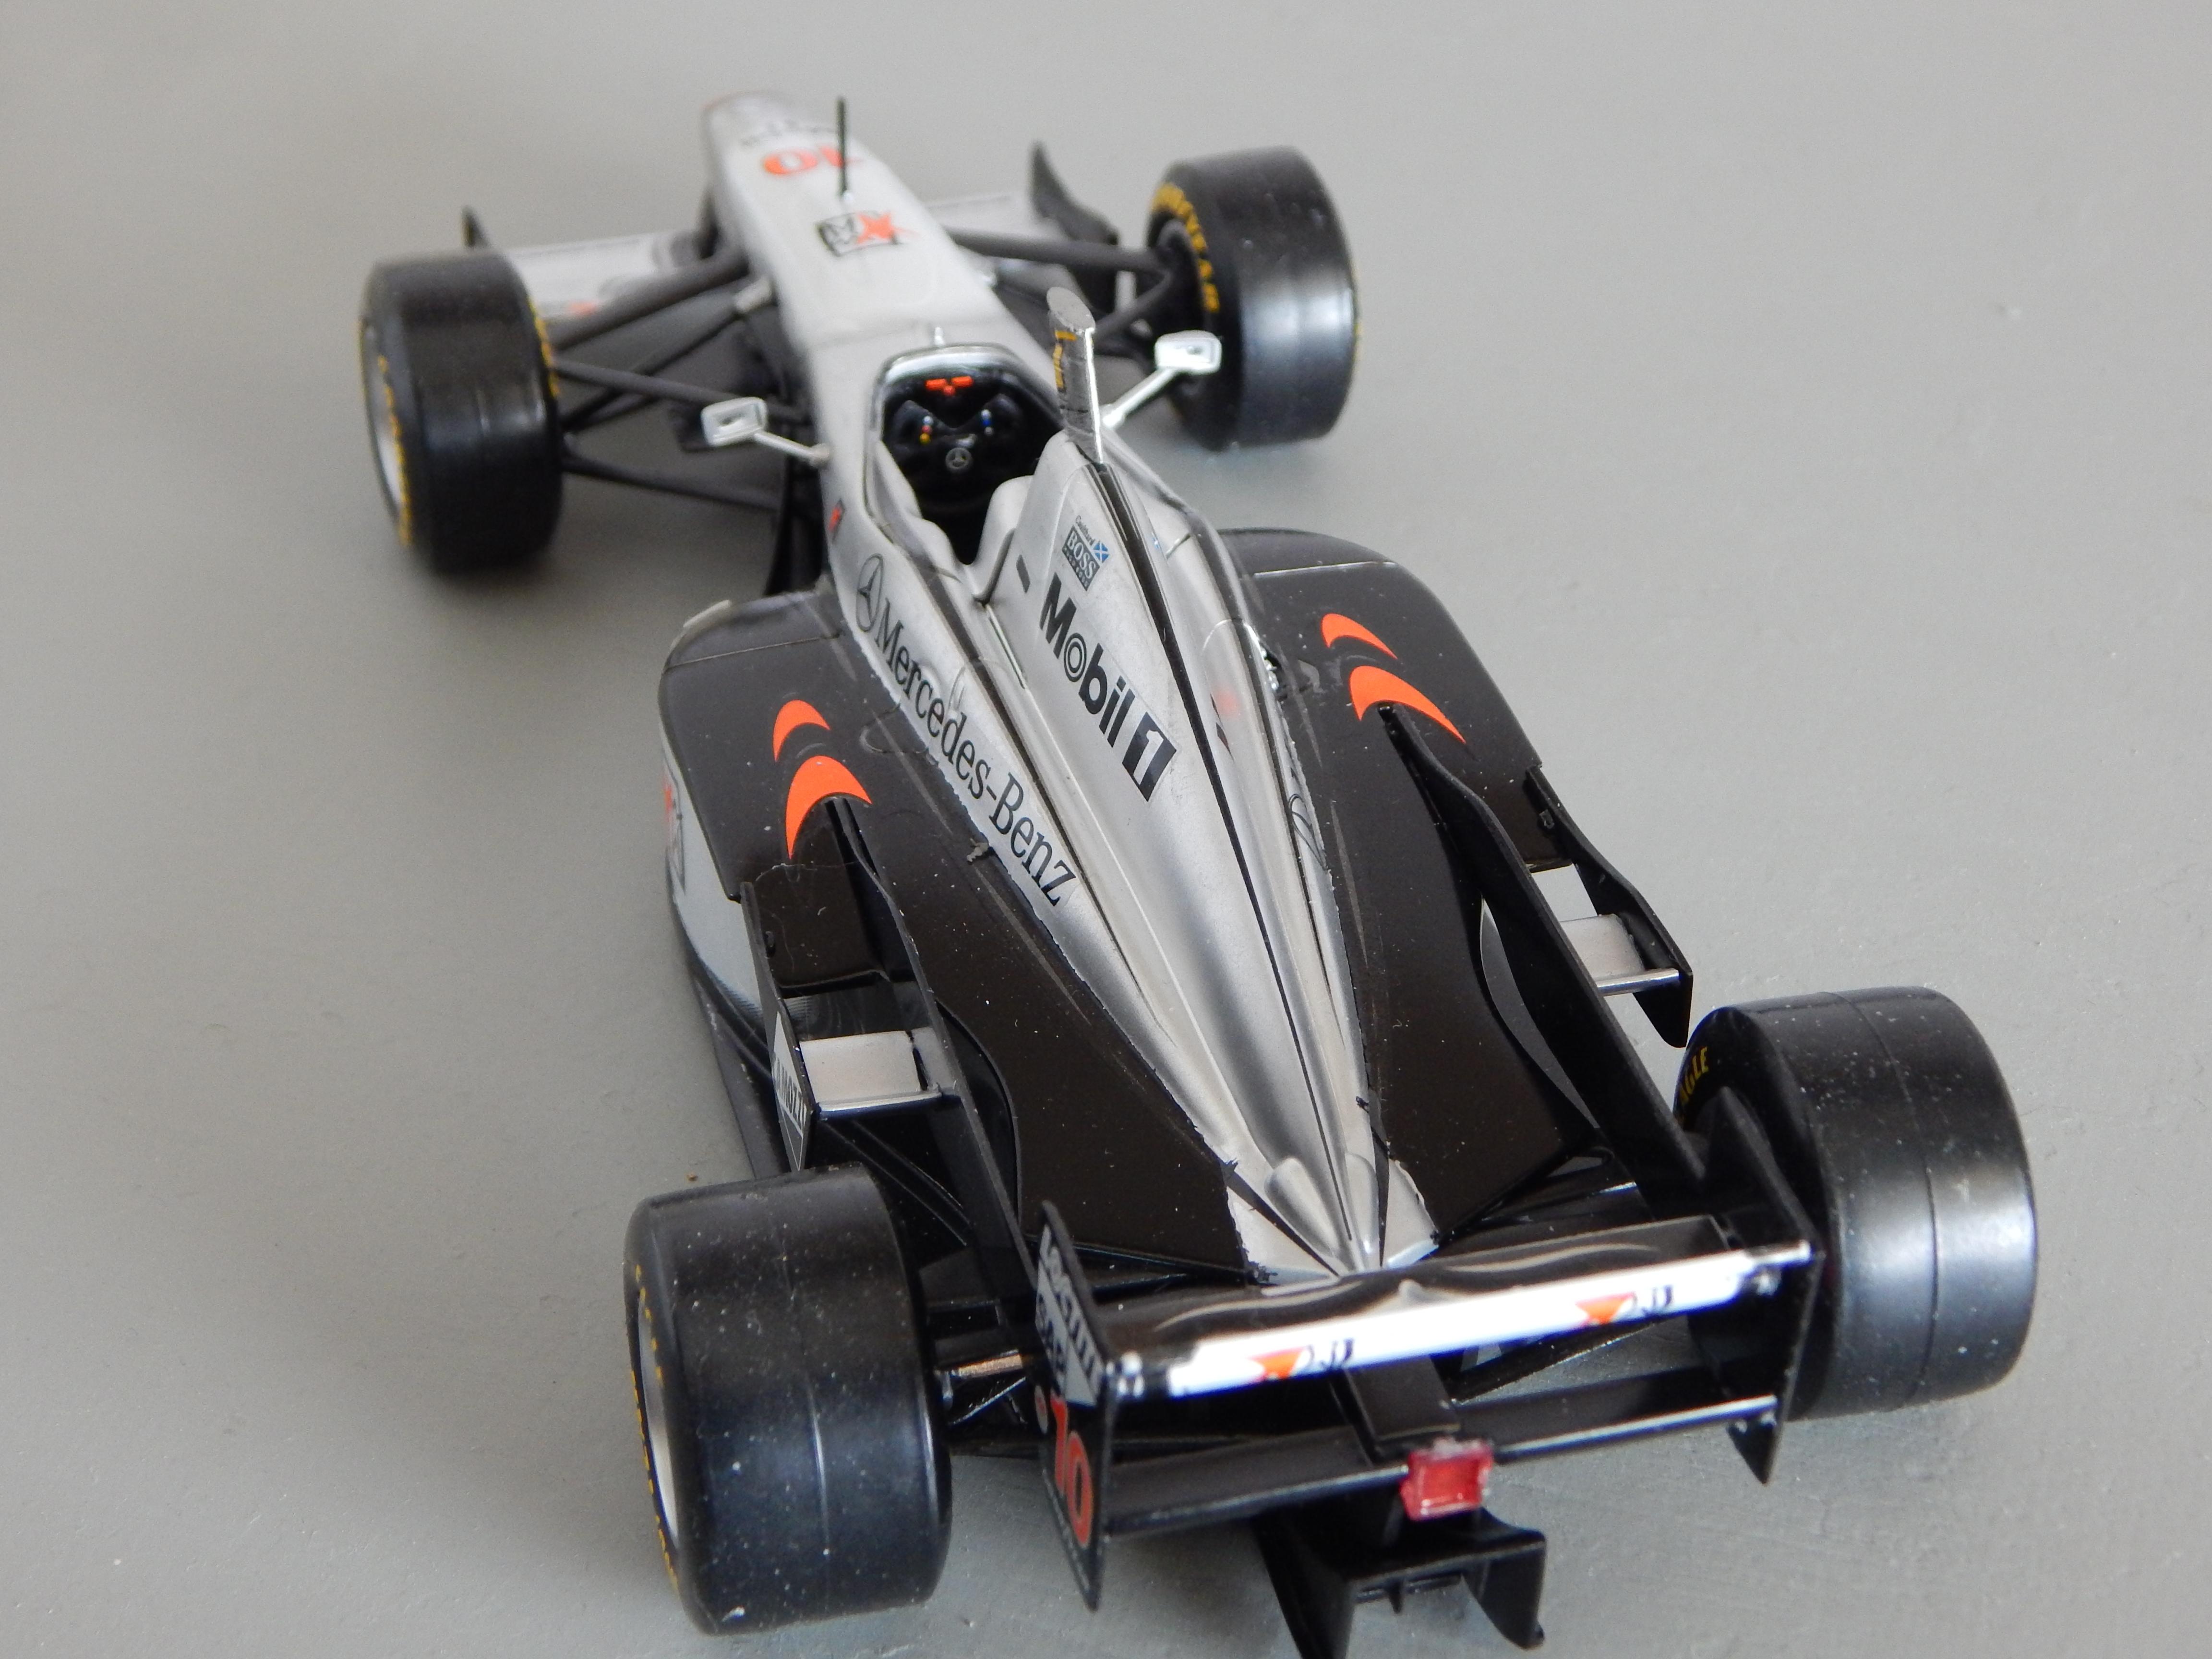
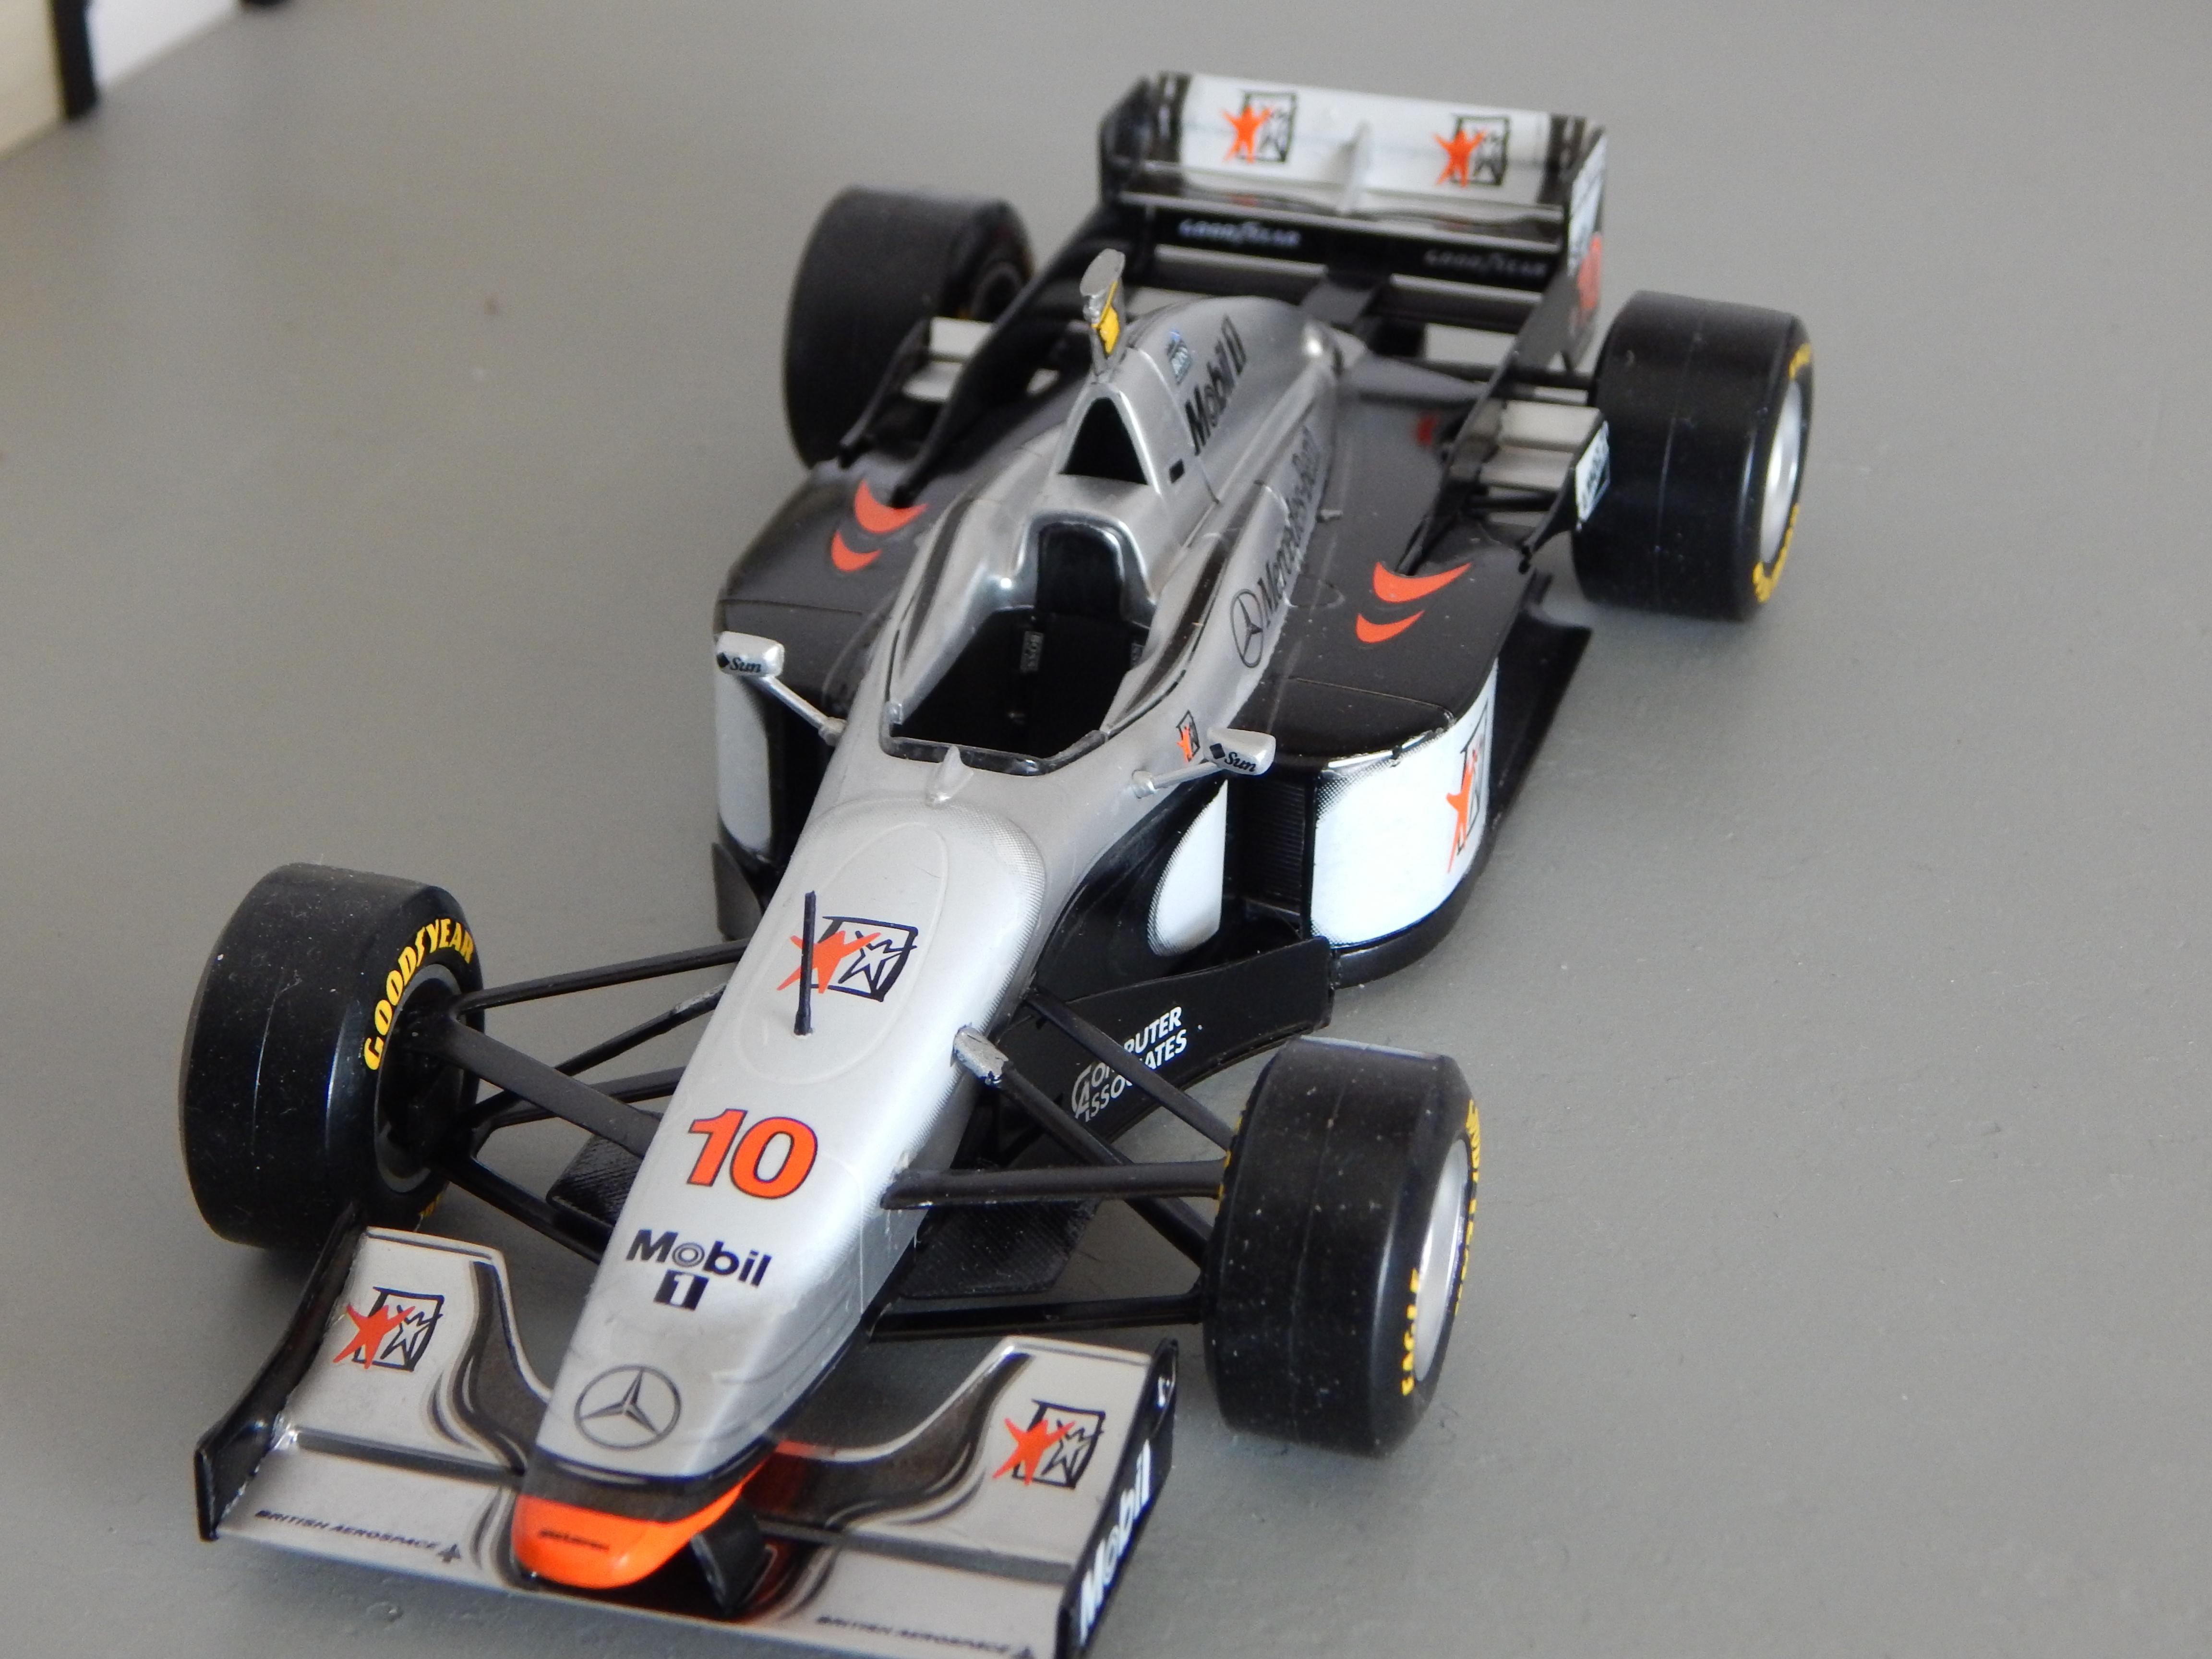
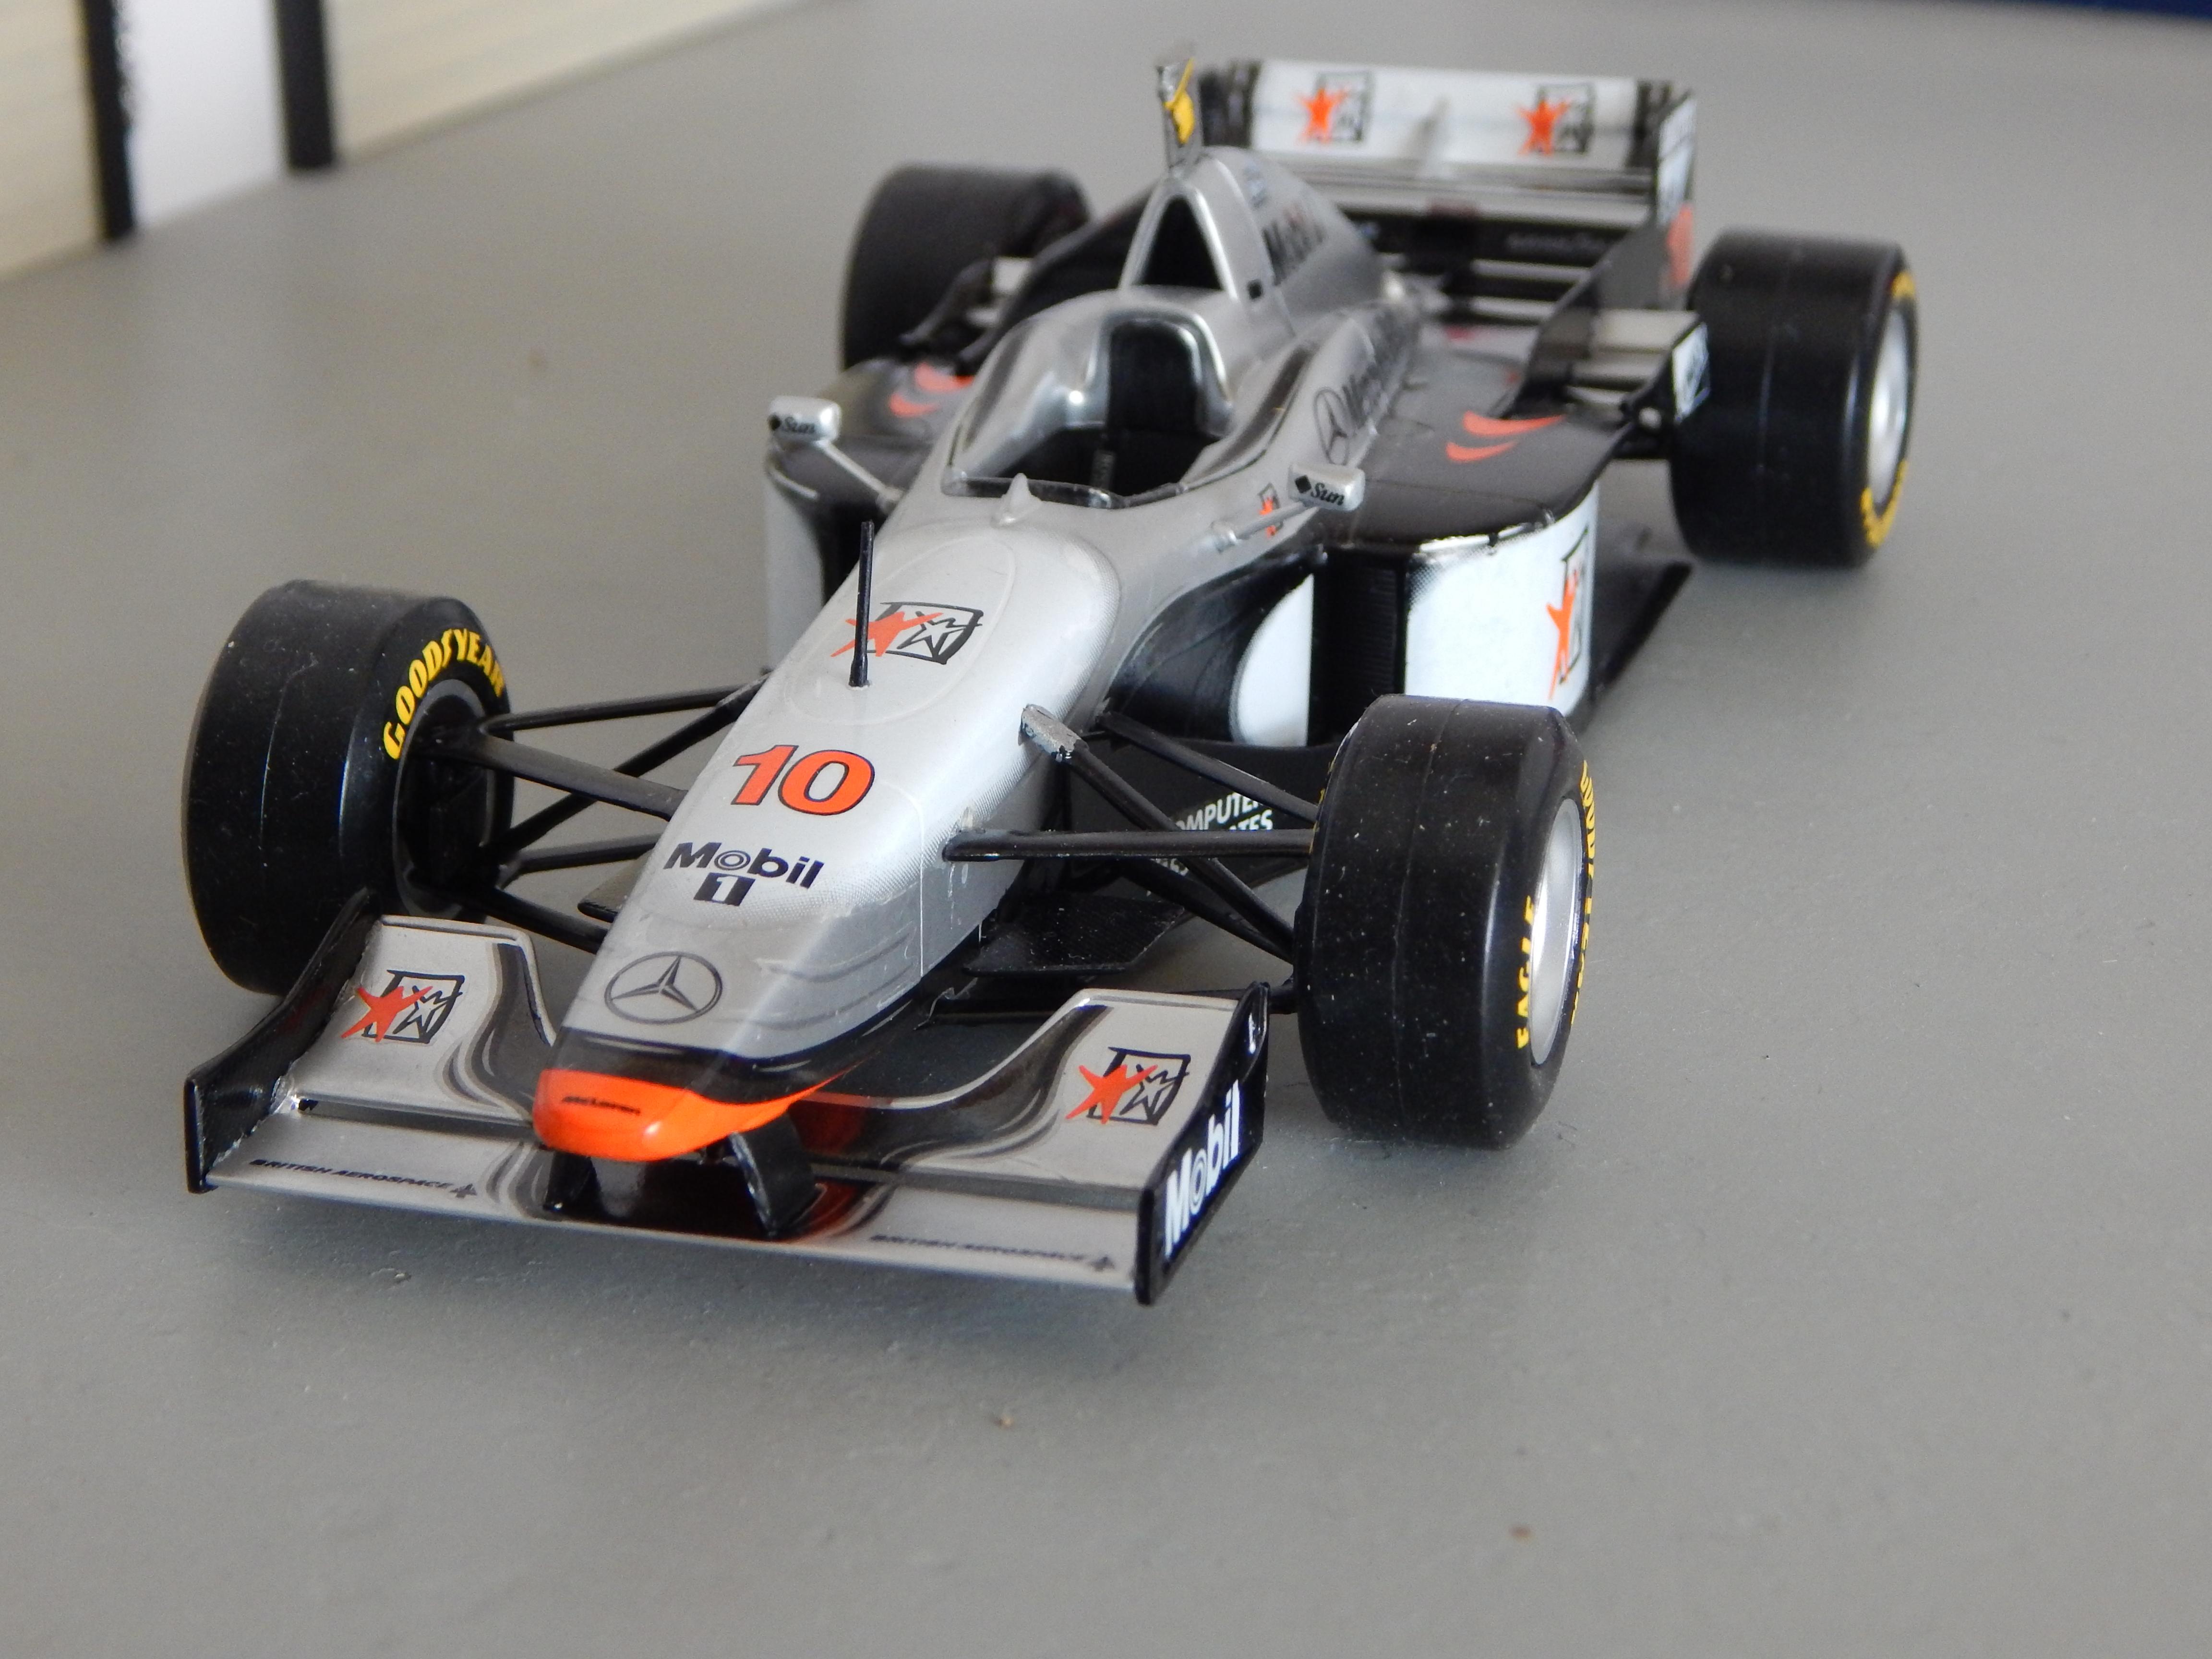
My latest completion. These Revell 1/24 kits are kind of finicky, small attachment points for the wings being the toughest part, but I really like doing the decals. Lots of setting solution and some hair dryer heat got them snugged down well. This is the car driven by David Coulthard, his teammate was the #9 of Mika Hakkinen. Coulthard won the first race of the season in Australia and I think Hakkinen won in Spain that year also. Comments welcome, thanks for looking.
-
I started out with the revell jungle Jim kit . With the rear wheel wings that were left over parts from the mpc blue max funny car. The paint color is testors lacquer with clear. The decals came by the way of the talented chuck boener . I swapped out the kit’s wheels , and the interior hat with some spares from a polar lights funny car. As always thanks for looking 👀, Mike
-
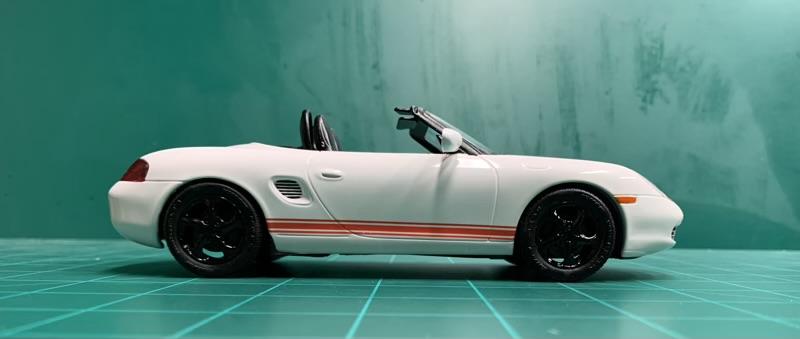
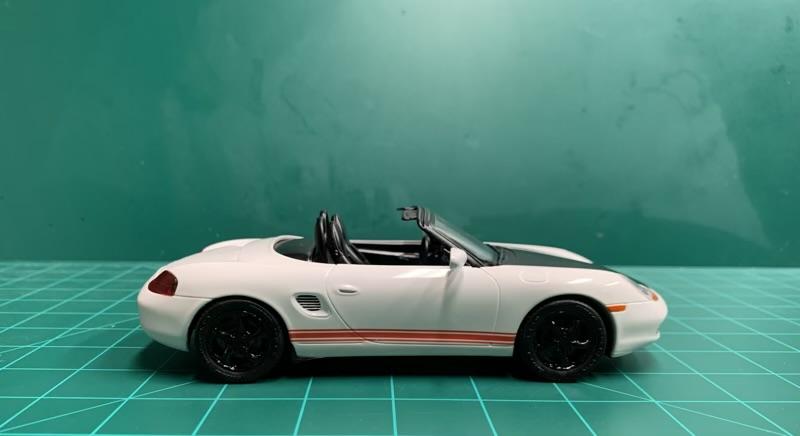
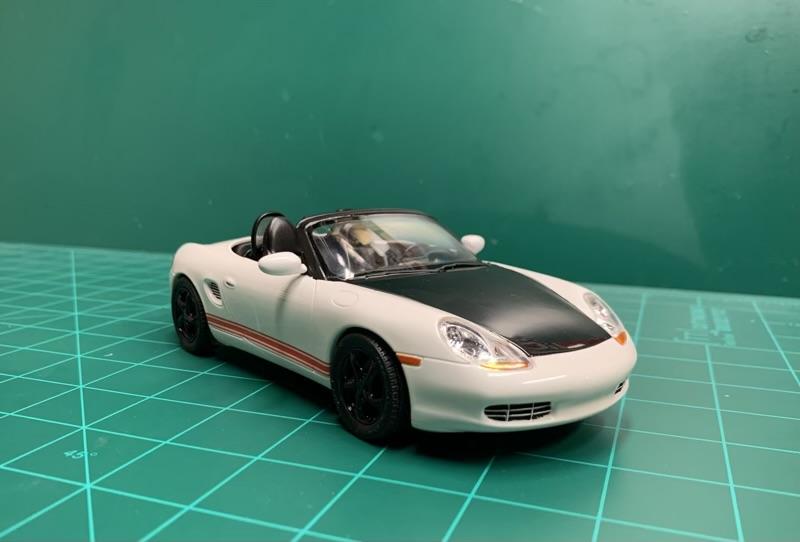
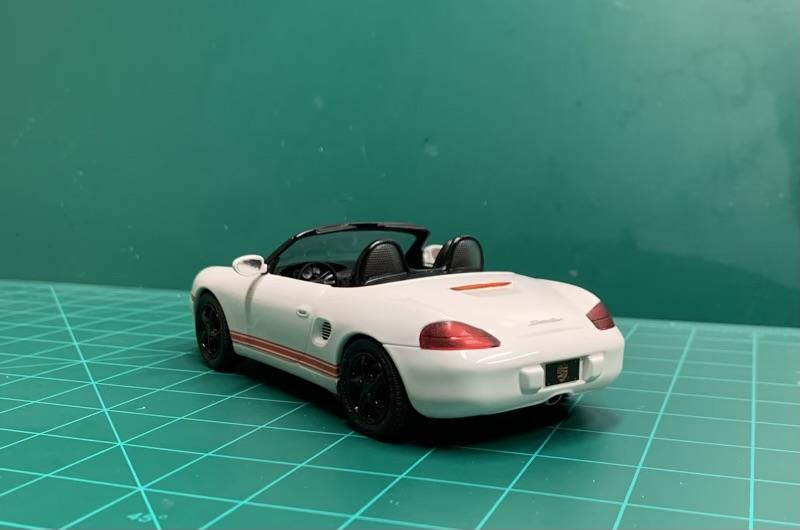
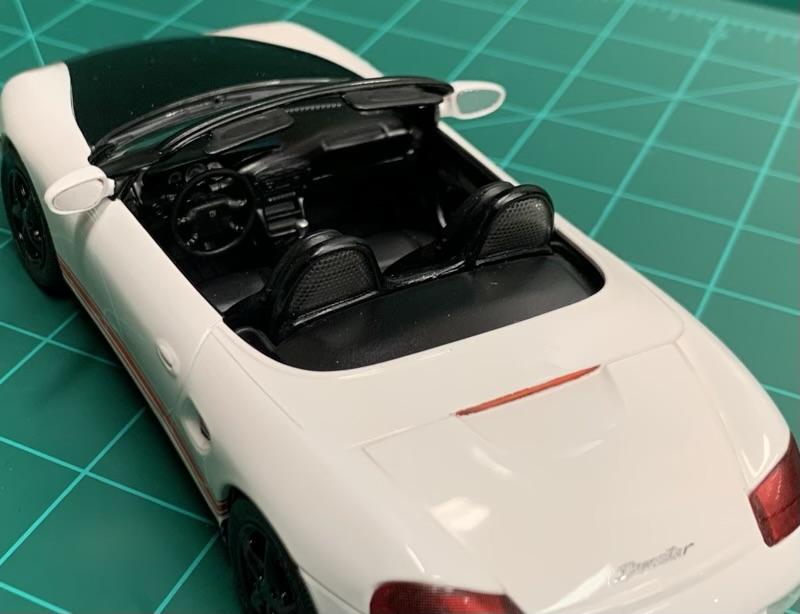
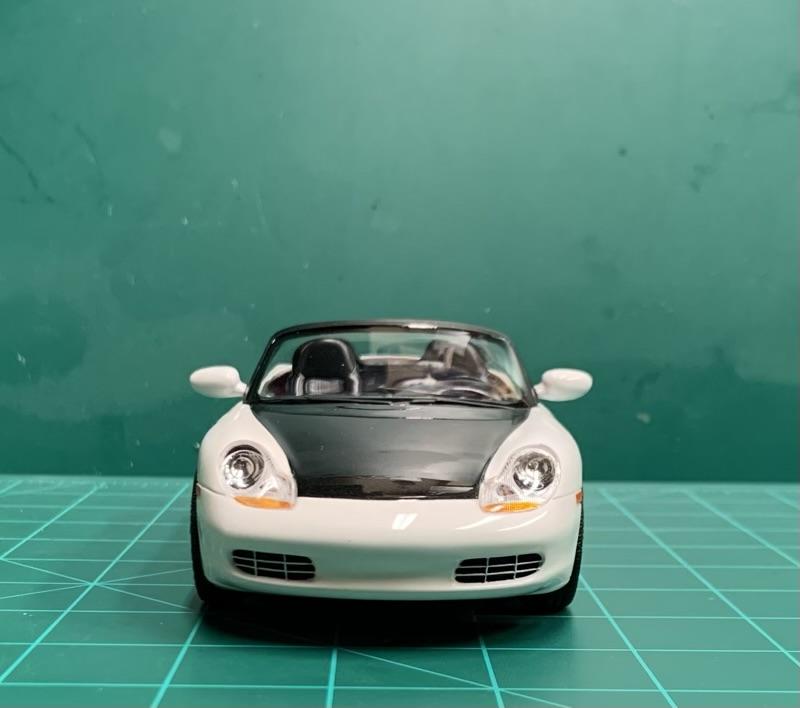
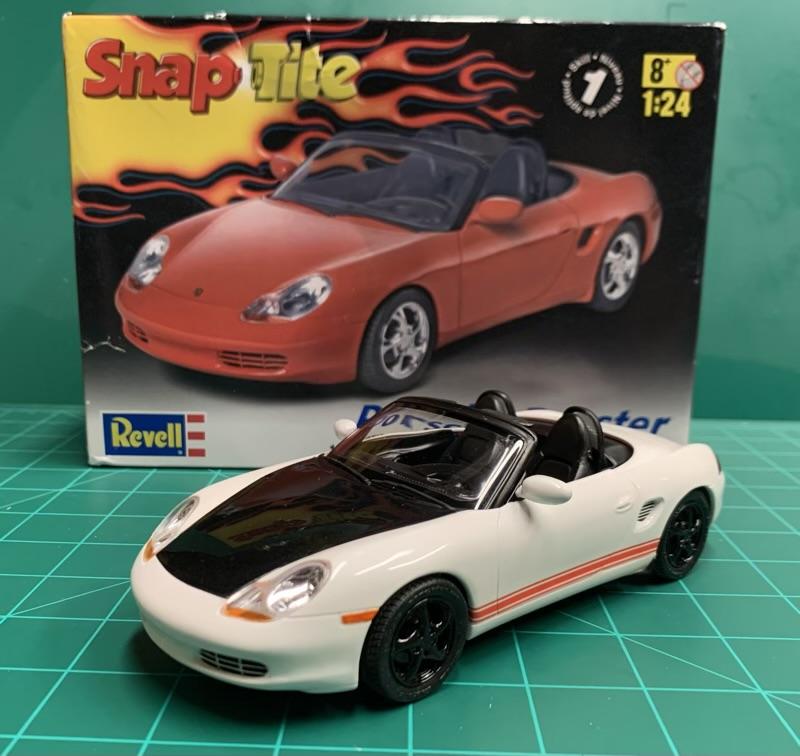
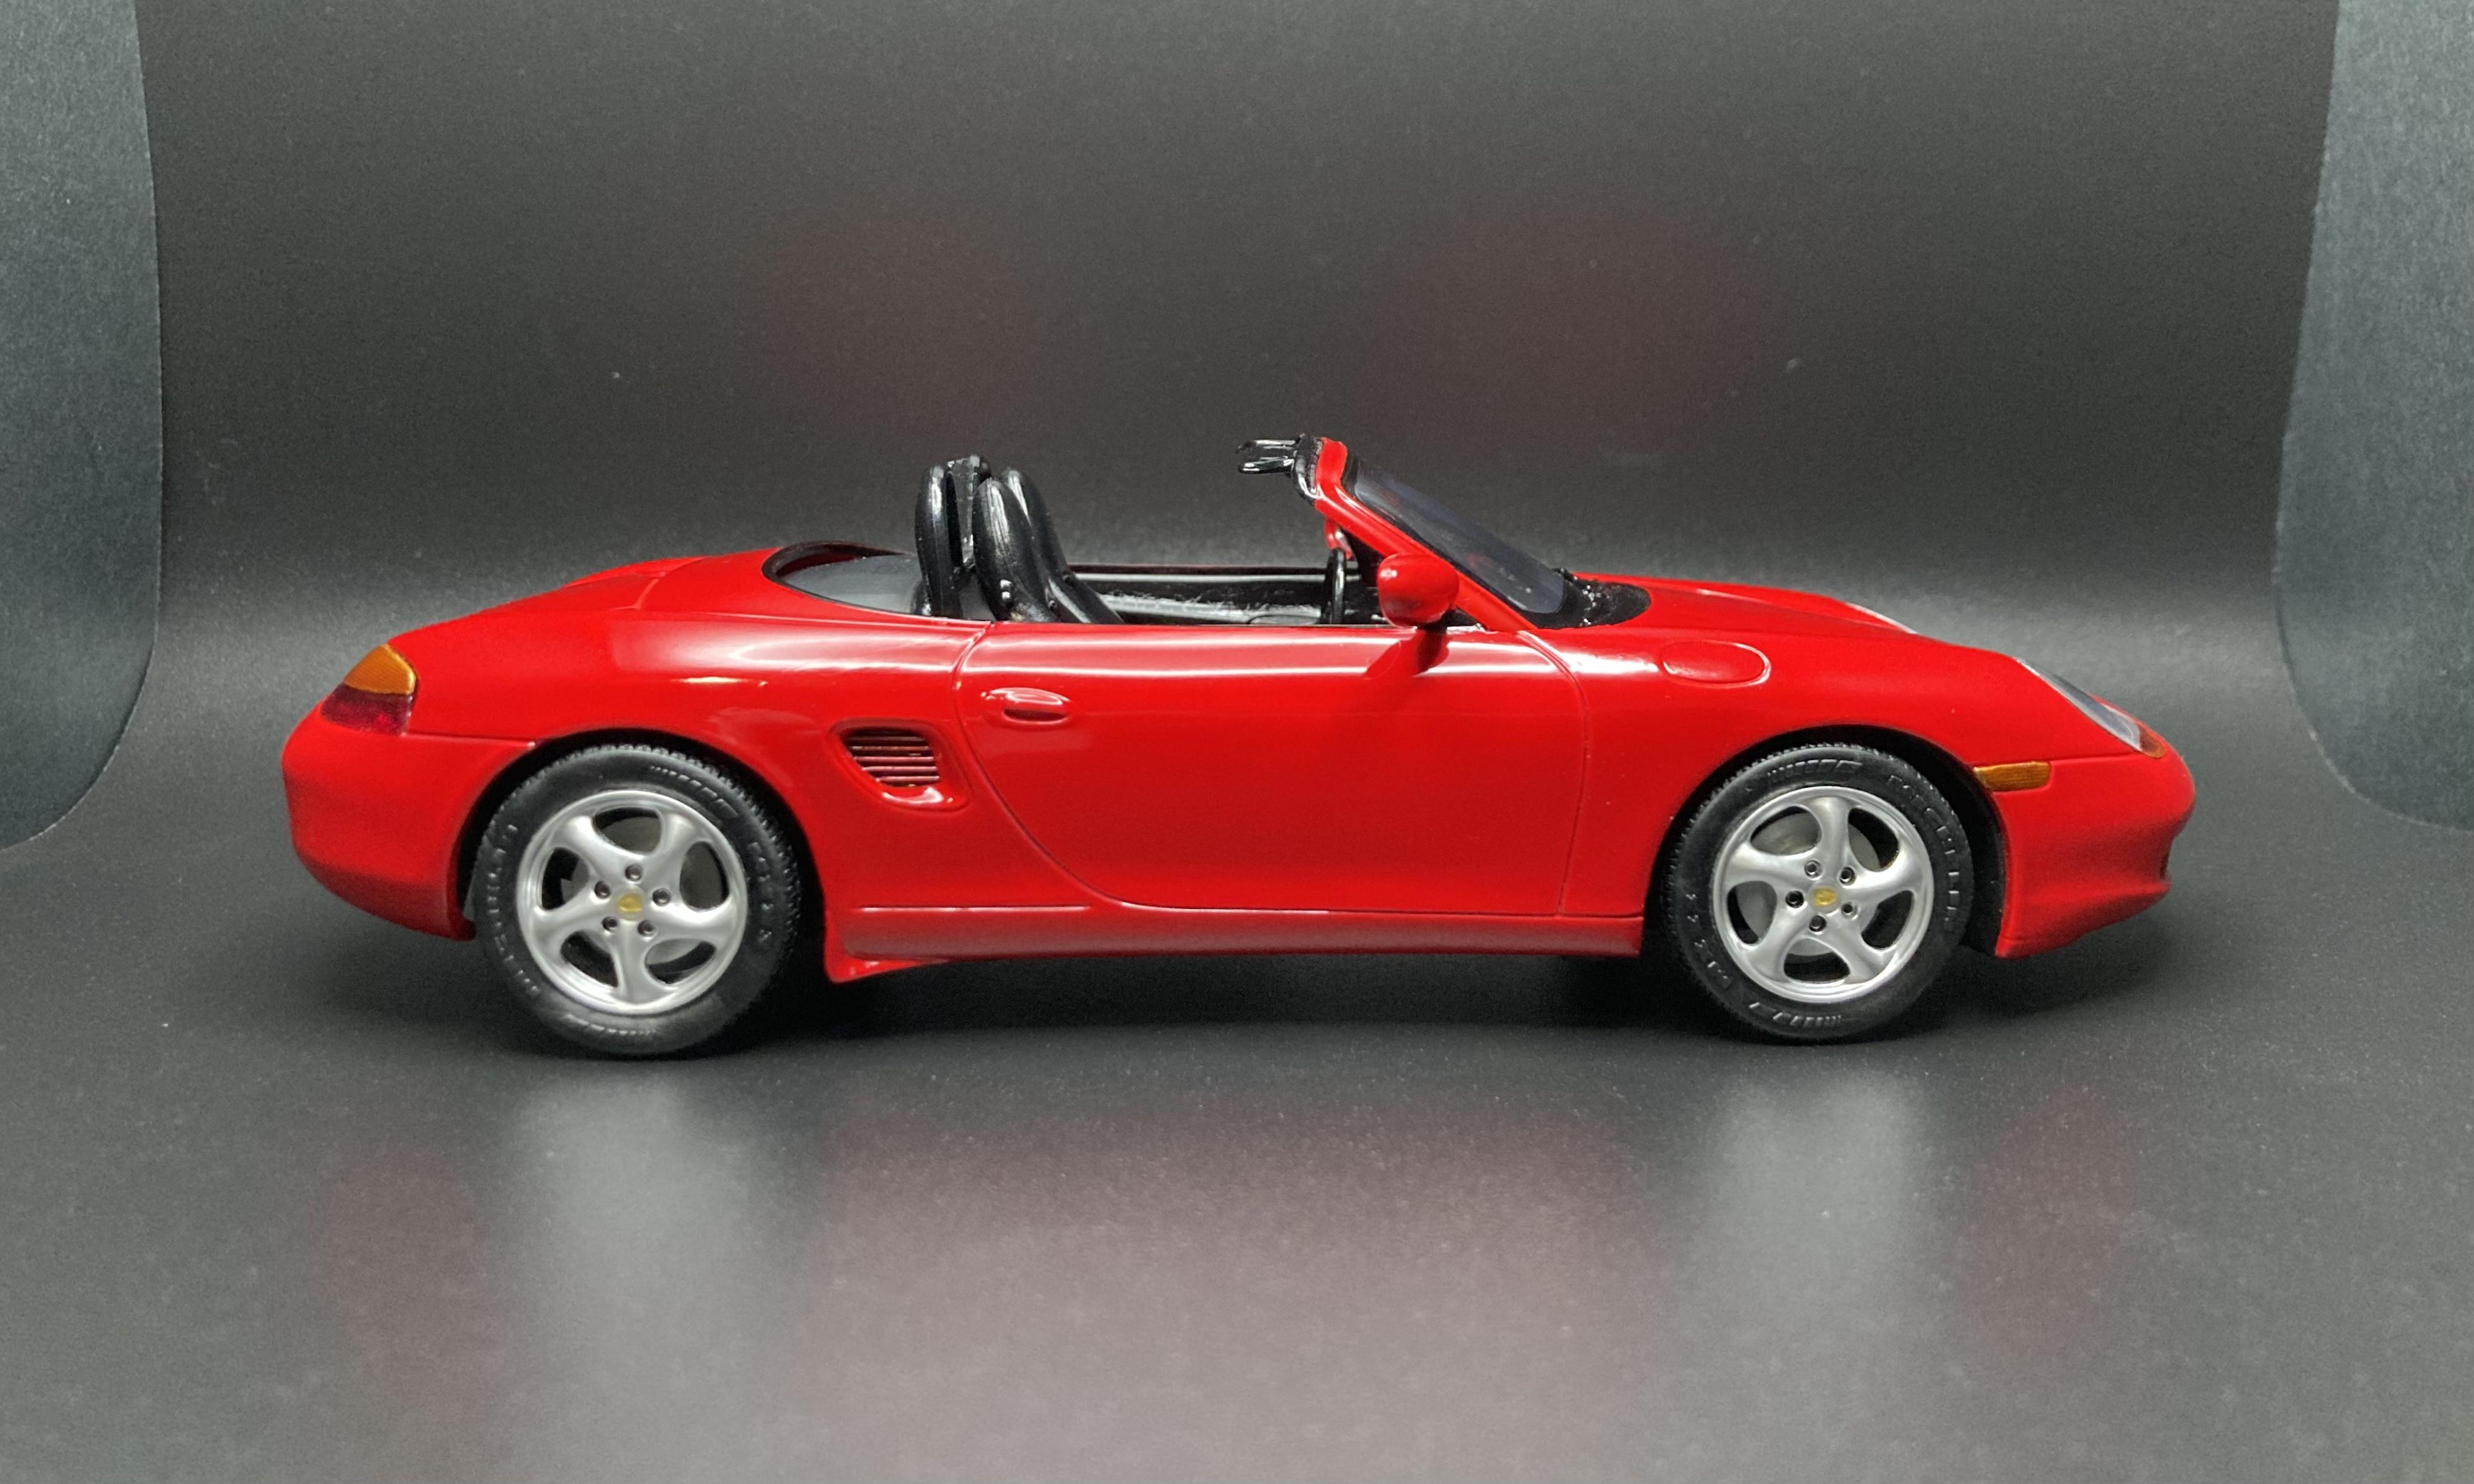
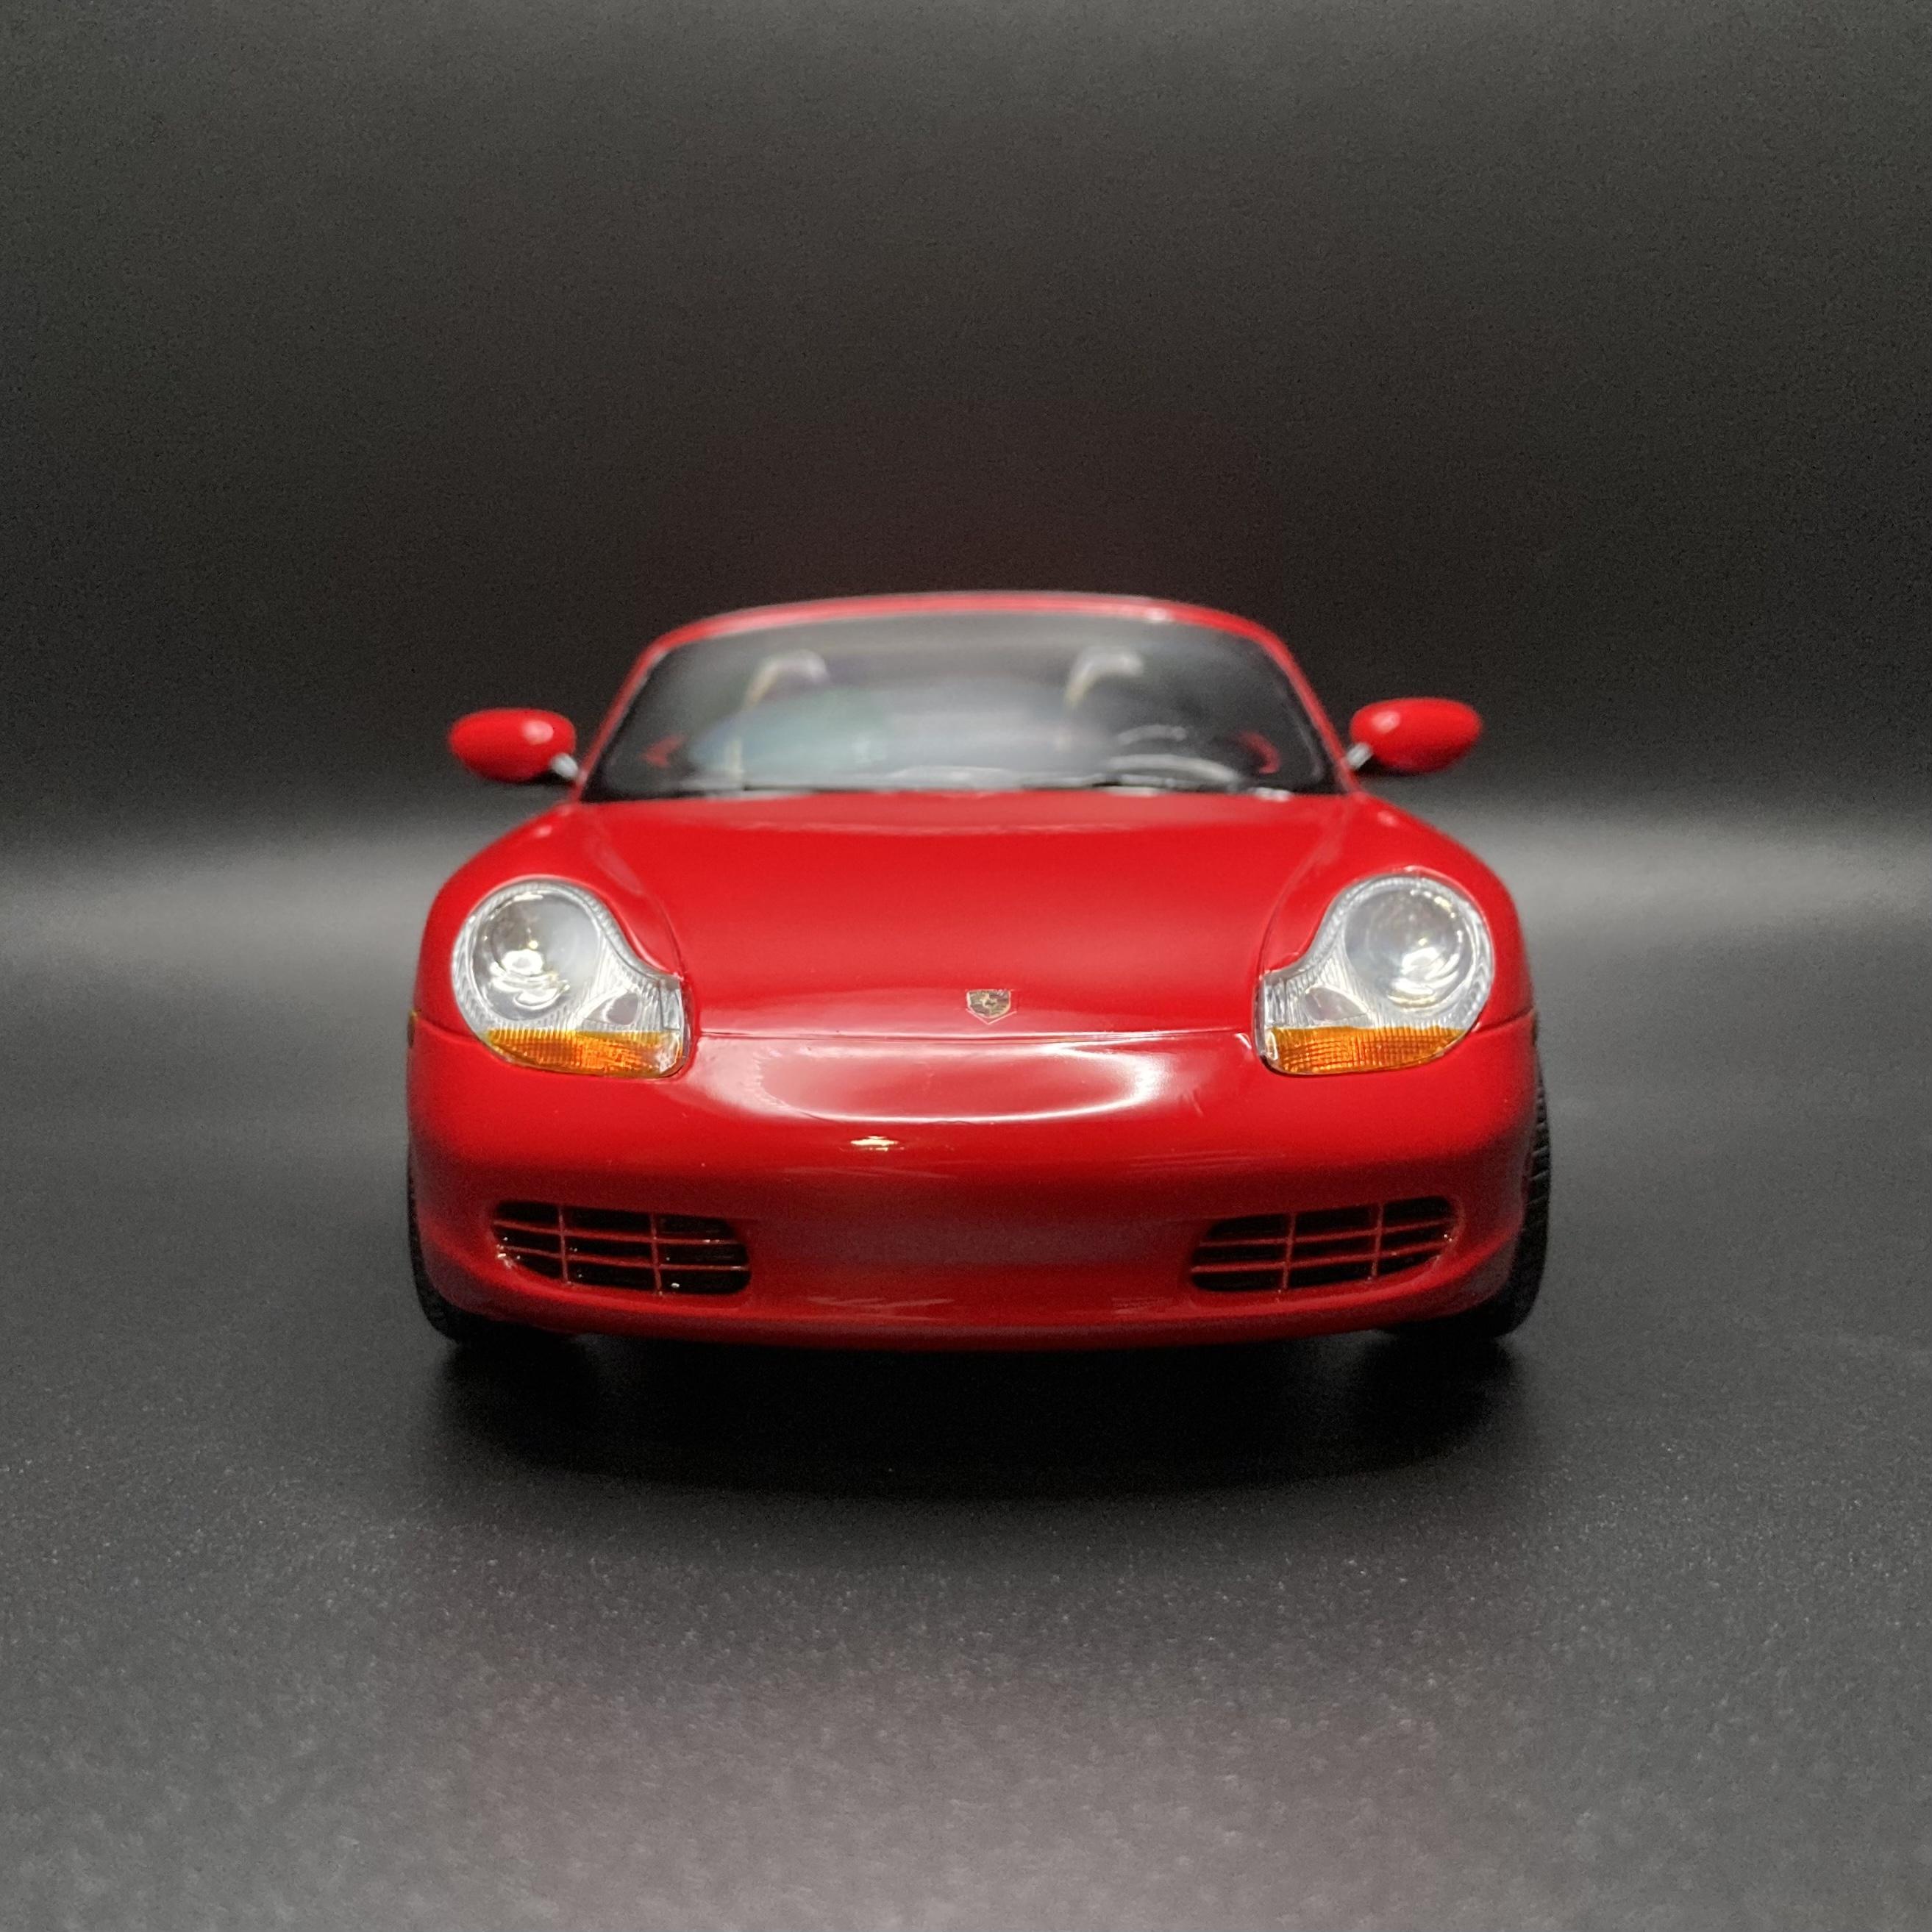
Just finished this one. My first completed build since 2022! This is the Revell Porsche Boxster Snap Tite kit from 2015. It was a gift from my wife and daughter several years ago. I built this as a test bed to try out a few different products and techniques. As such, there are a few “firsts” for me on this project. For starters, the paint. This was shot with Tamiya TS-26 Pure White, Testors Extreme lacquer blazing black, and cleared with Rustolium clear lacquer. I’d never used the Tamiya rattle cans before, and wow! Great stuff! The undercarriage was lightly weathered (another first for me) with Tamiya panel line accent, and Mr. Weathering Color. The kit was built straight out of the box, with the only addition being the stripe decals, taken from the AMT Mercury Comet kit. I hope you enjoy! As always, questions, comments, and constructive criticism are welcome. Thanks for looking.👍
-
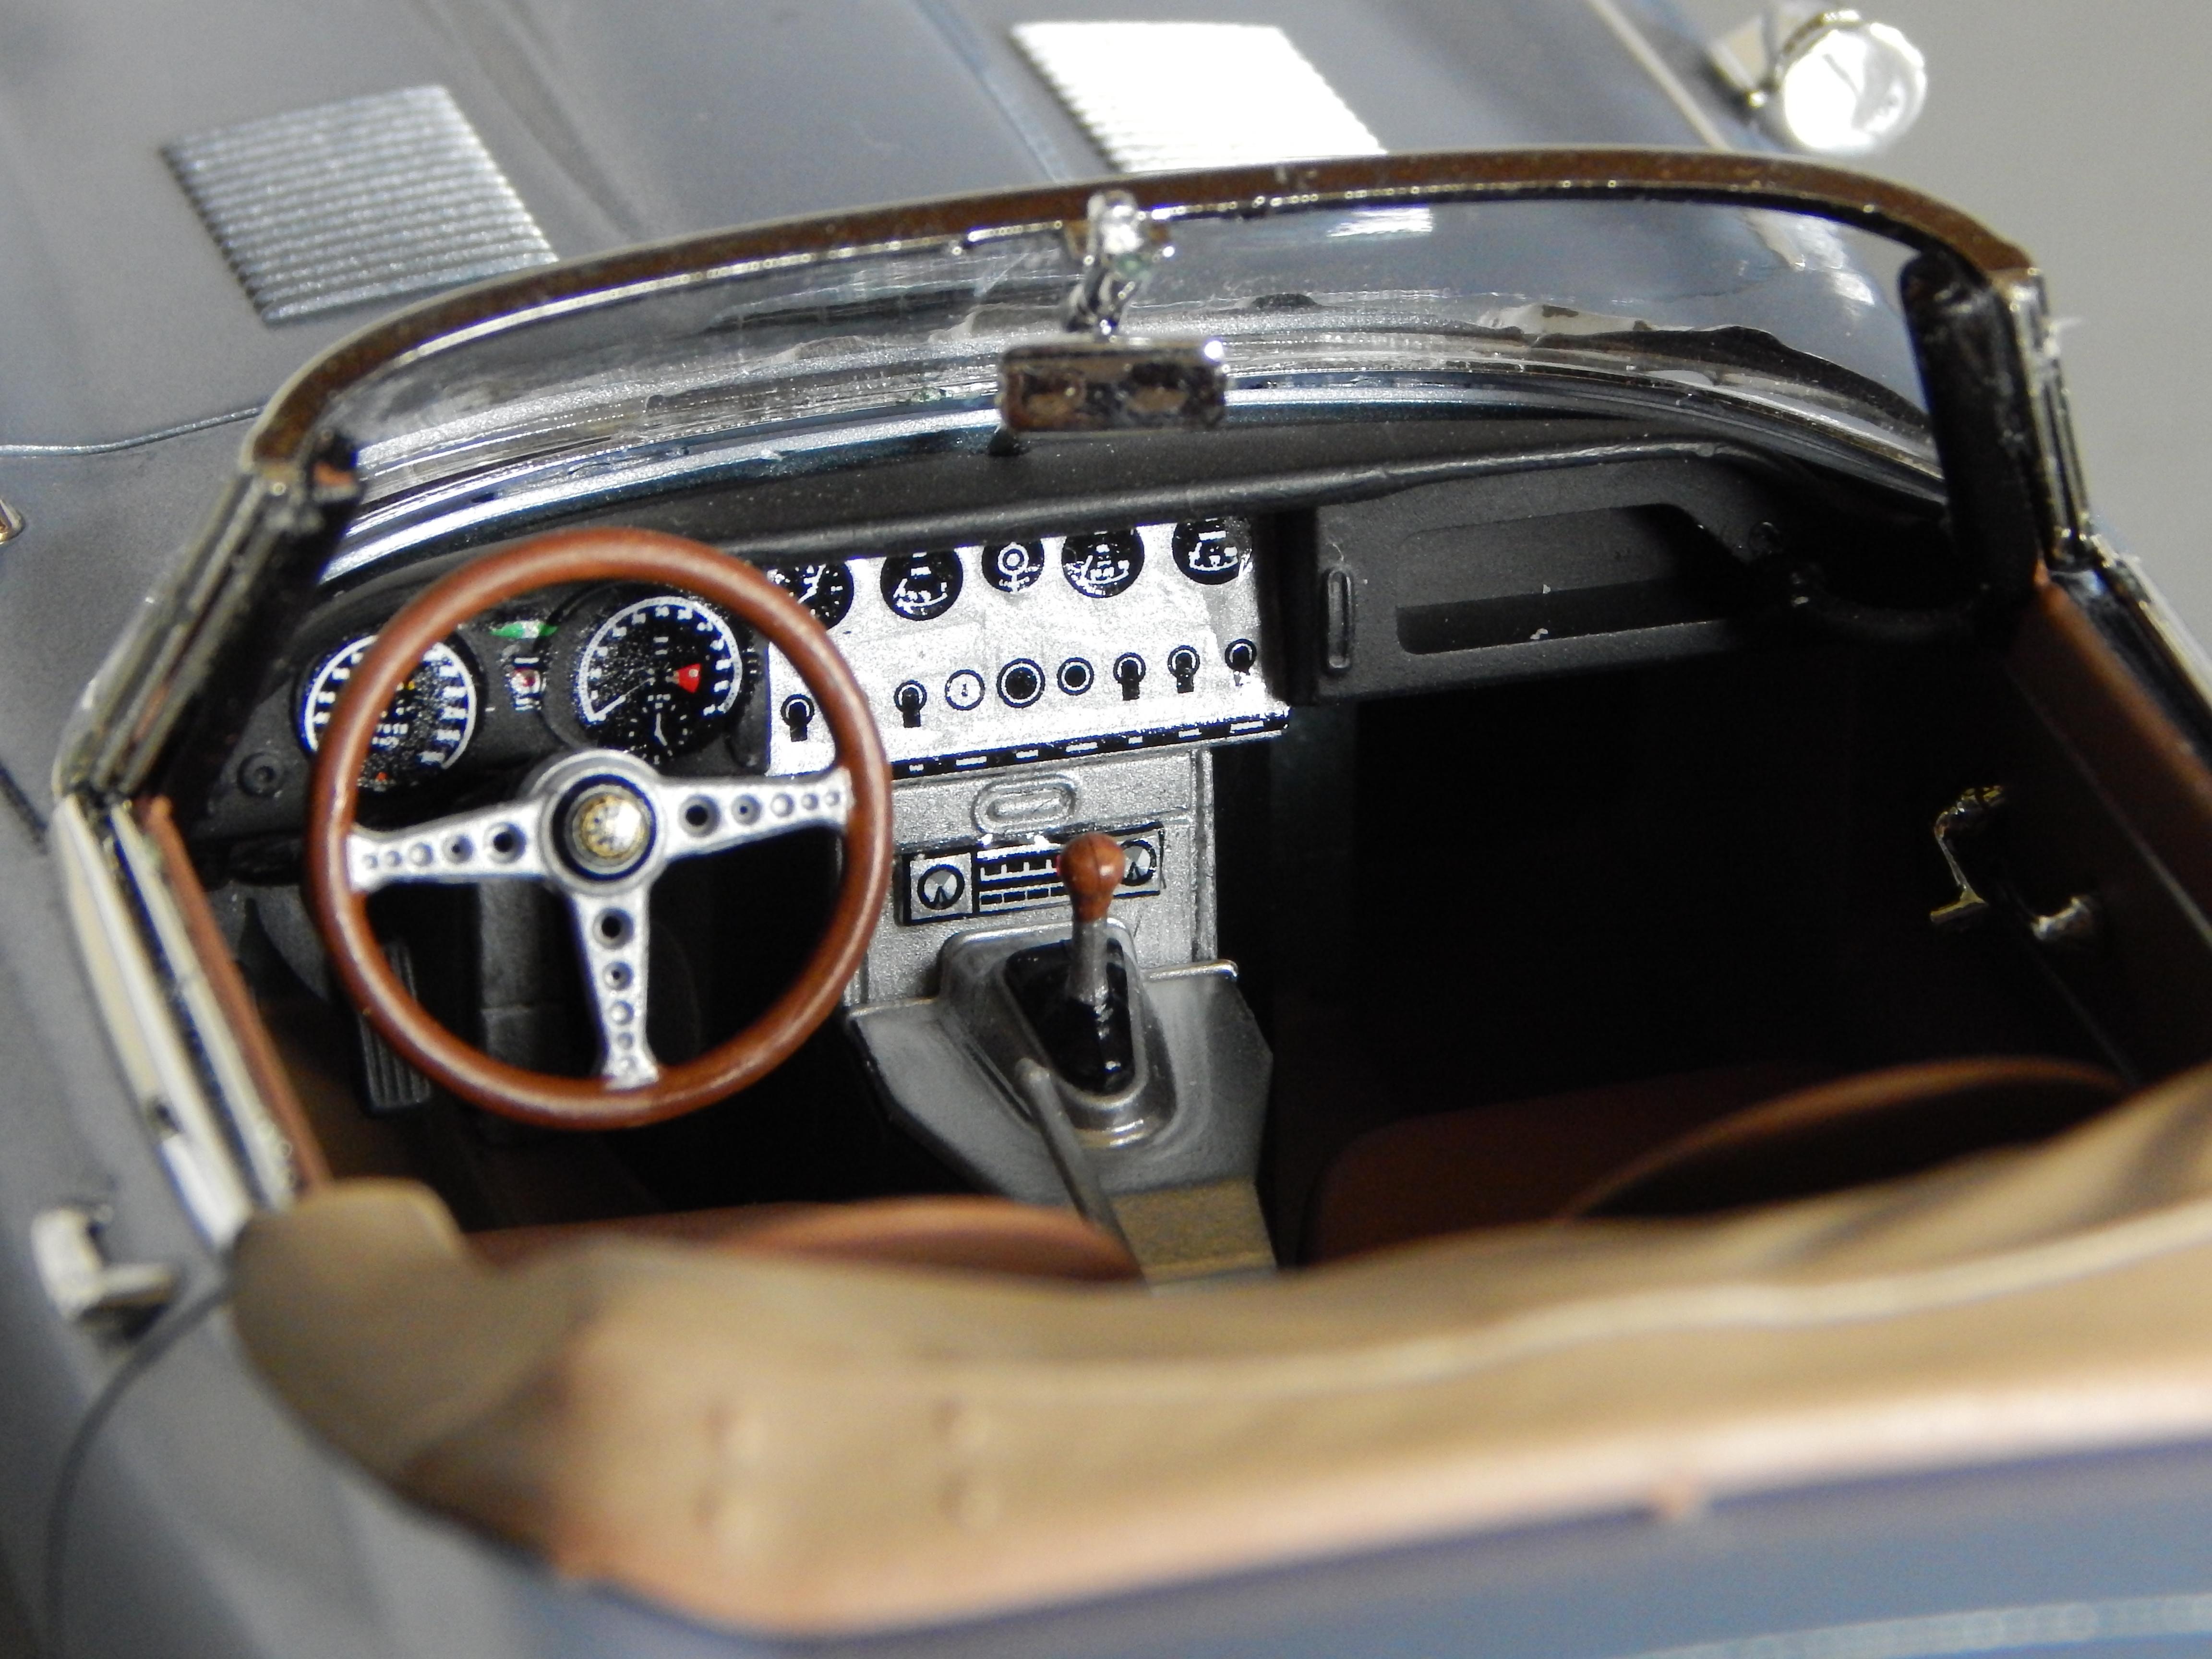
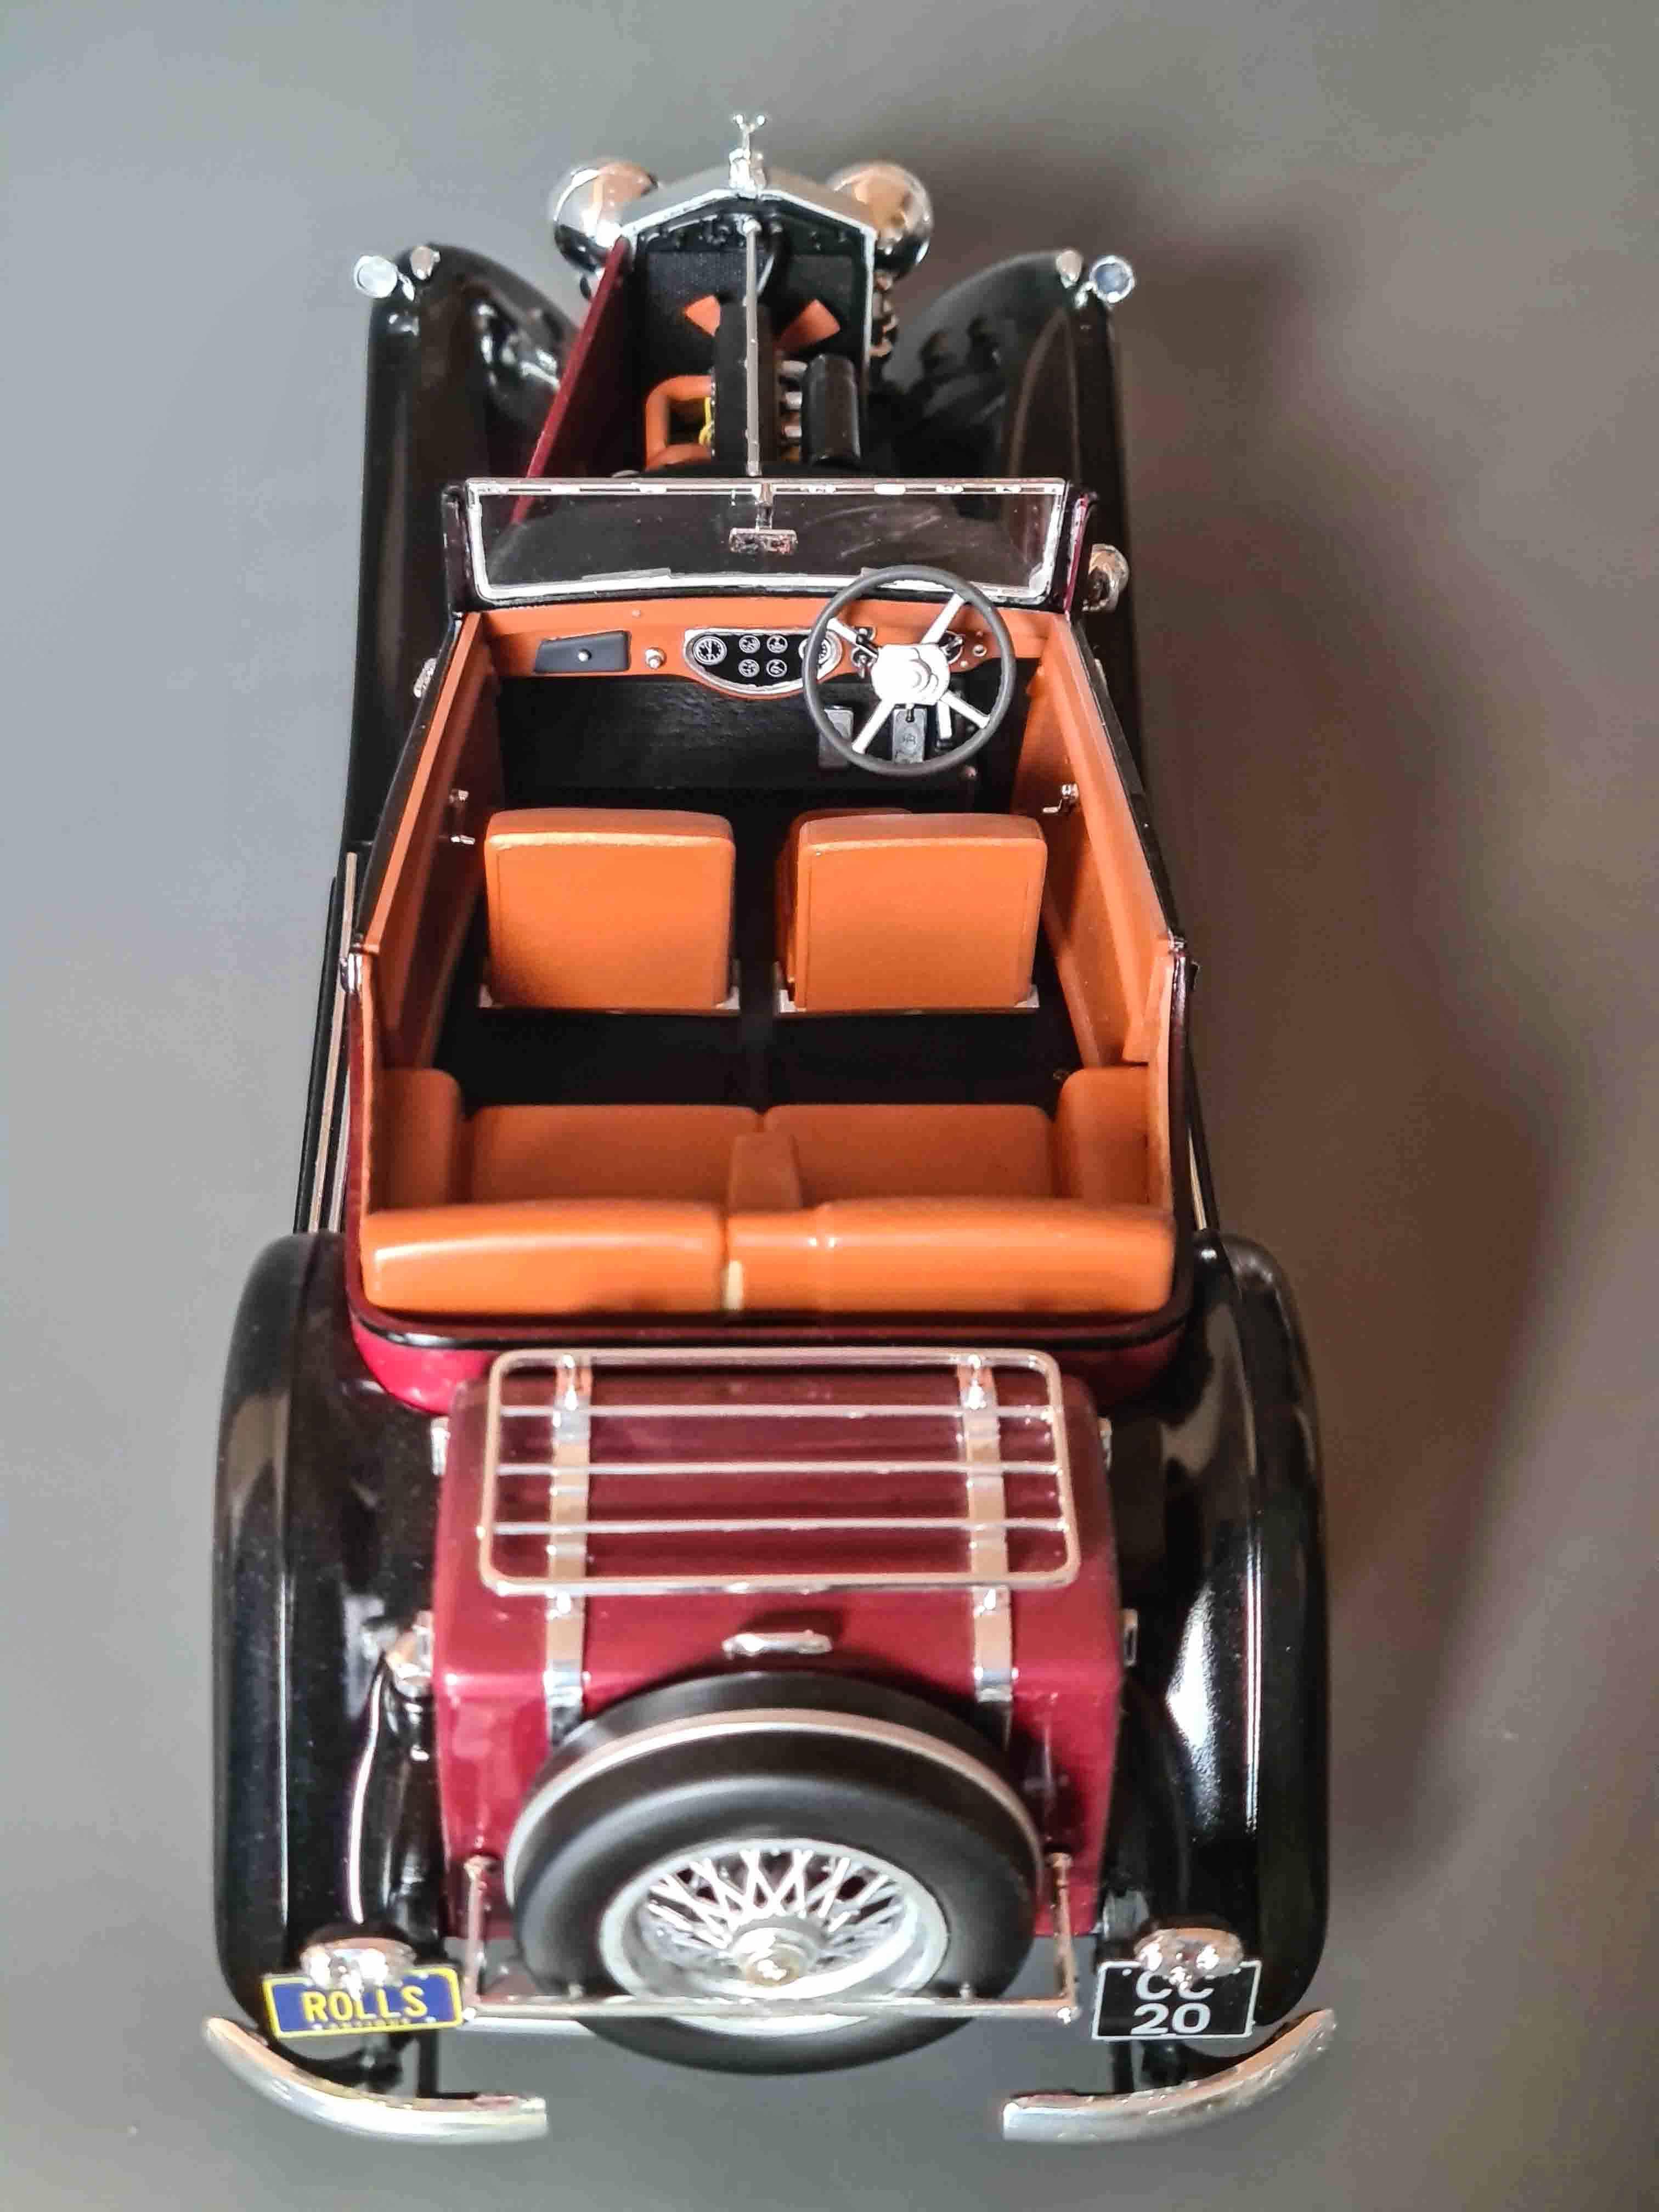
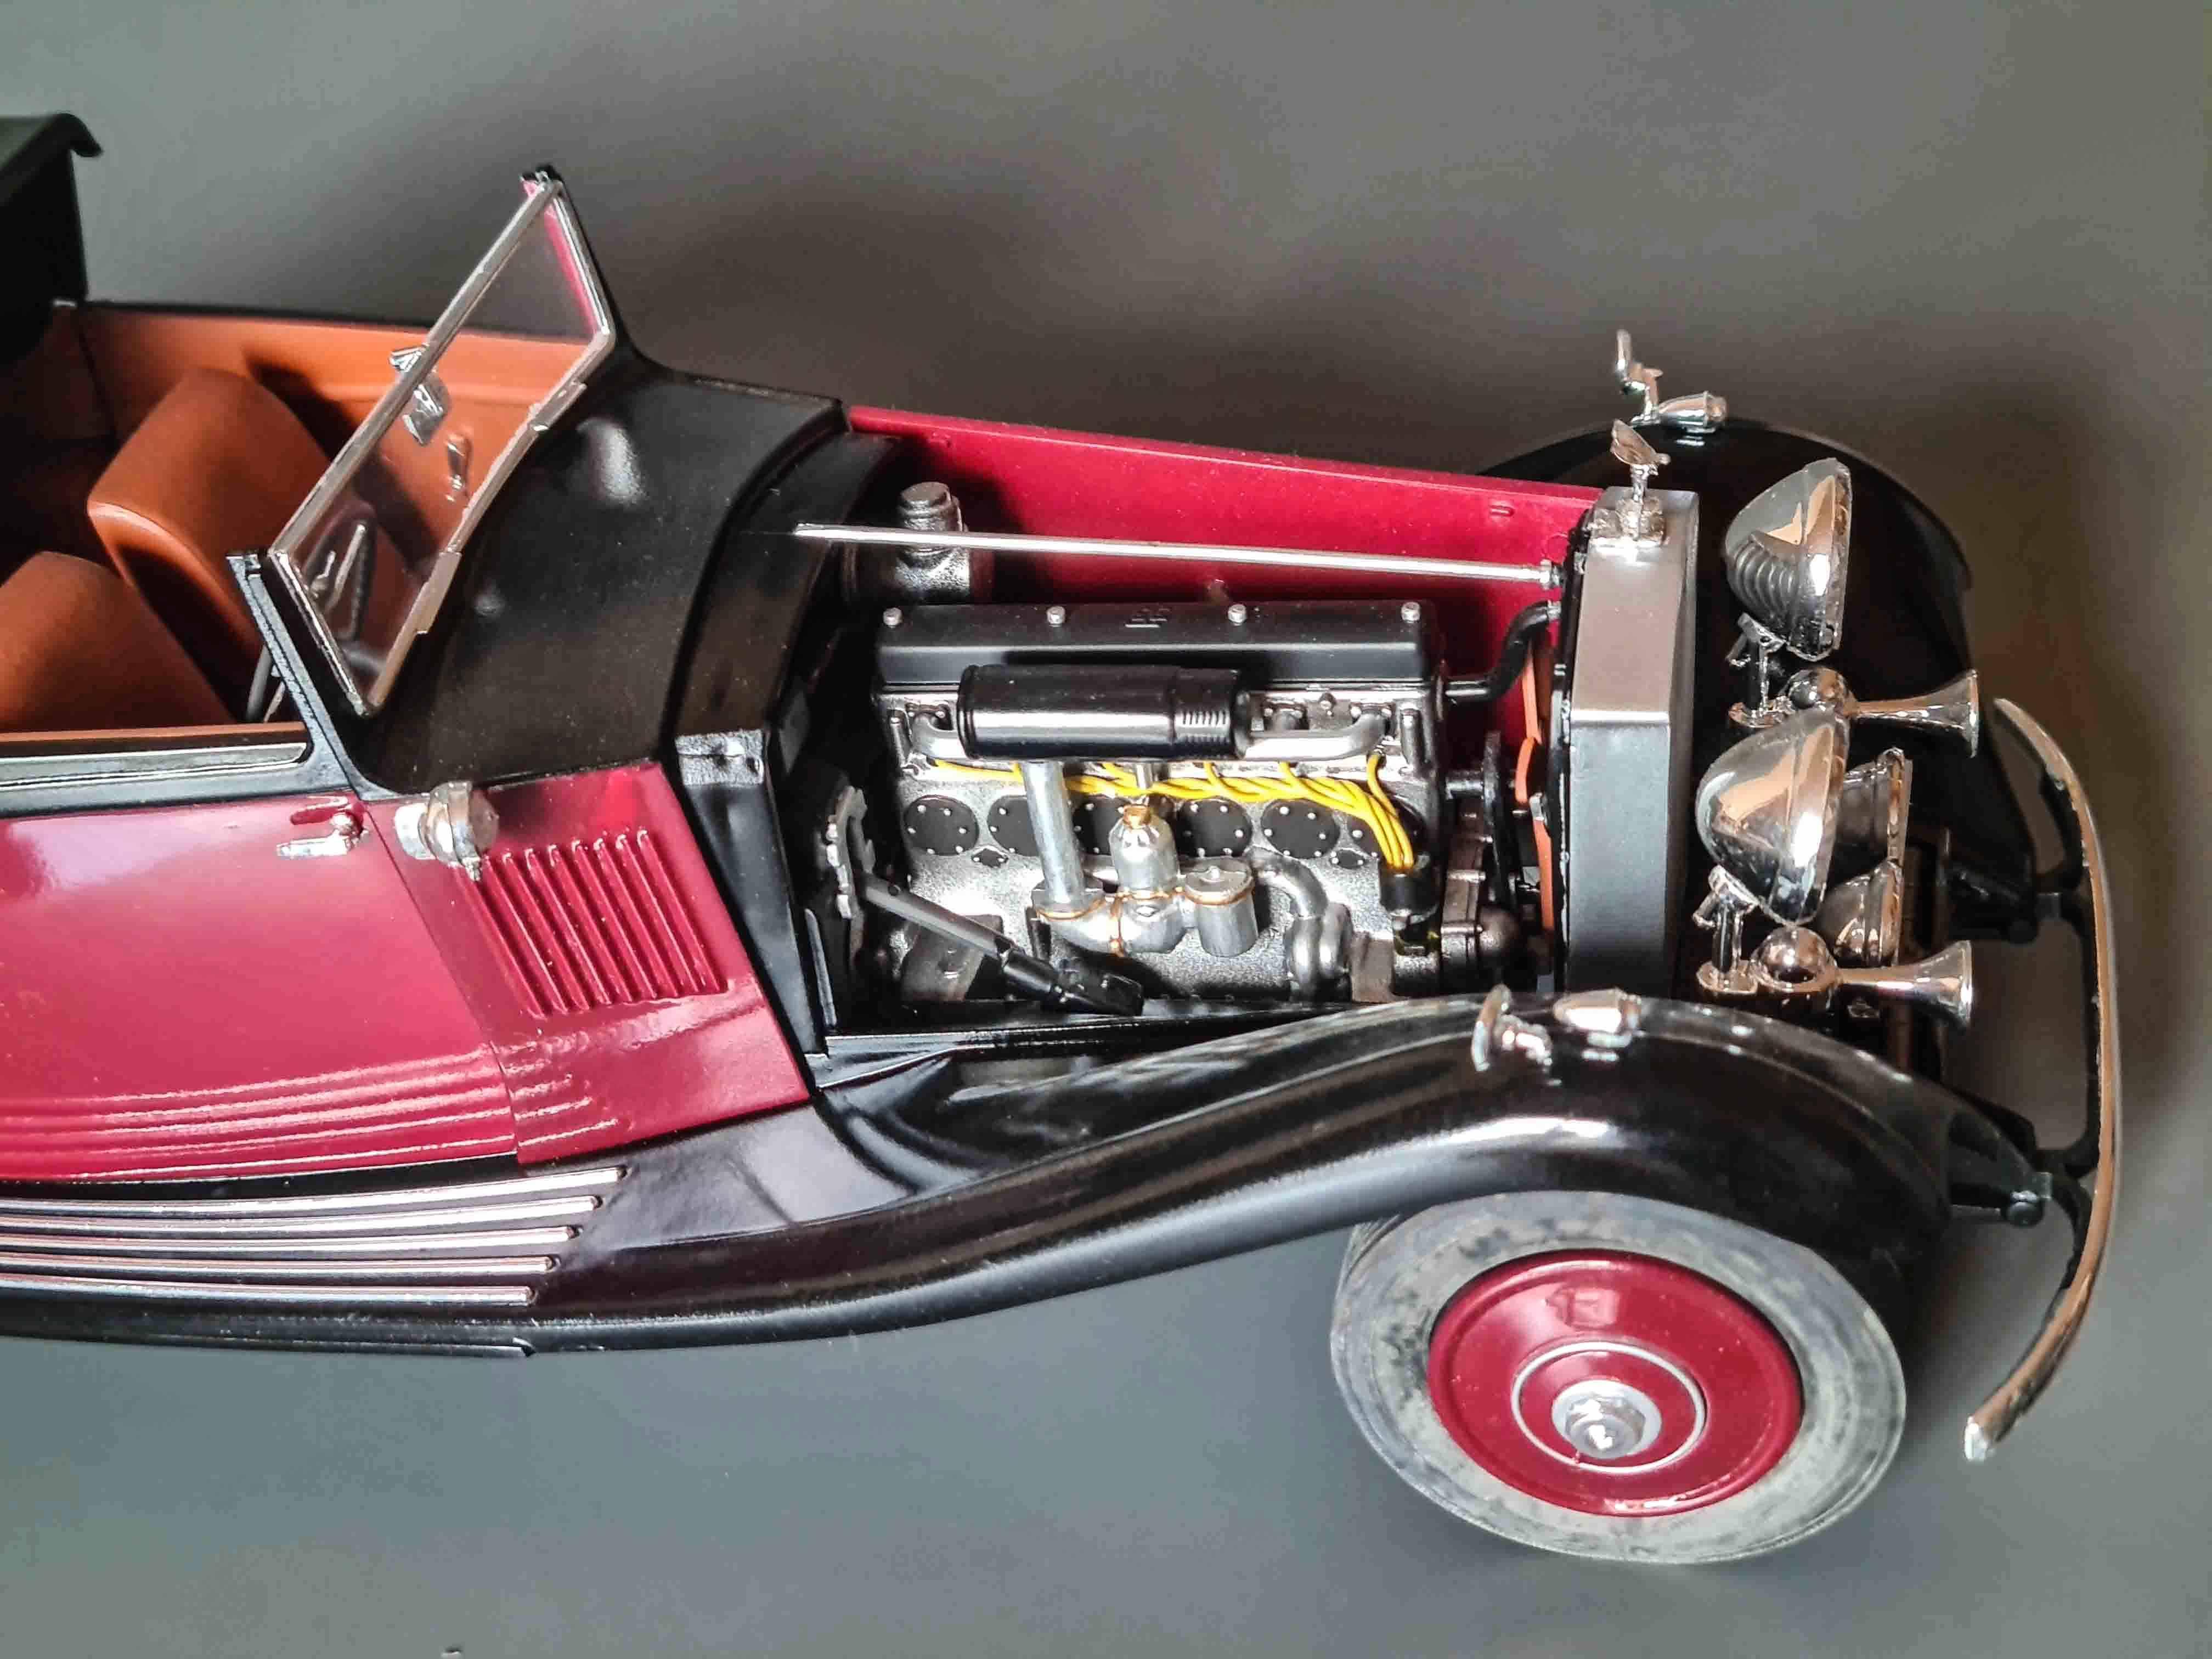
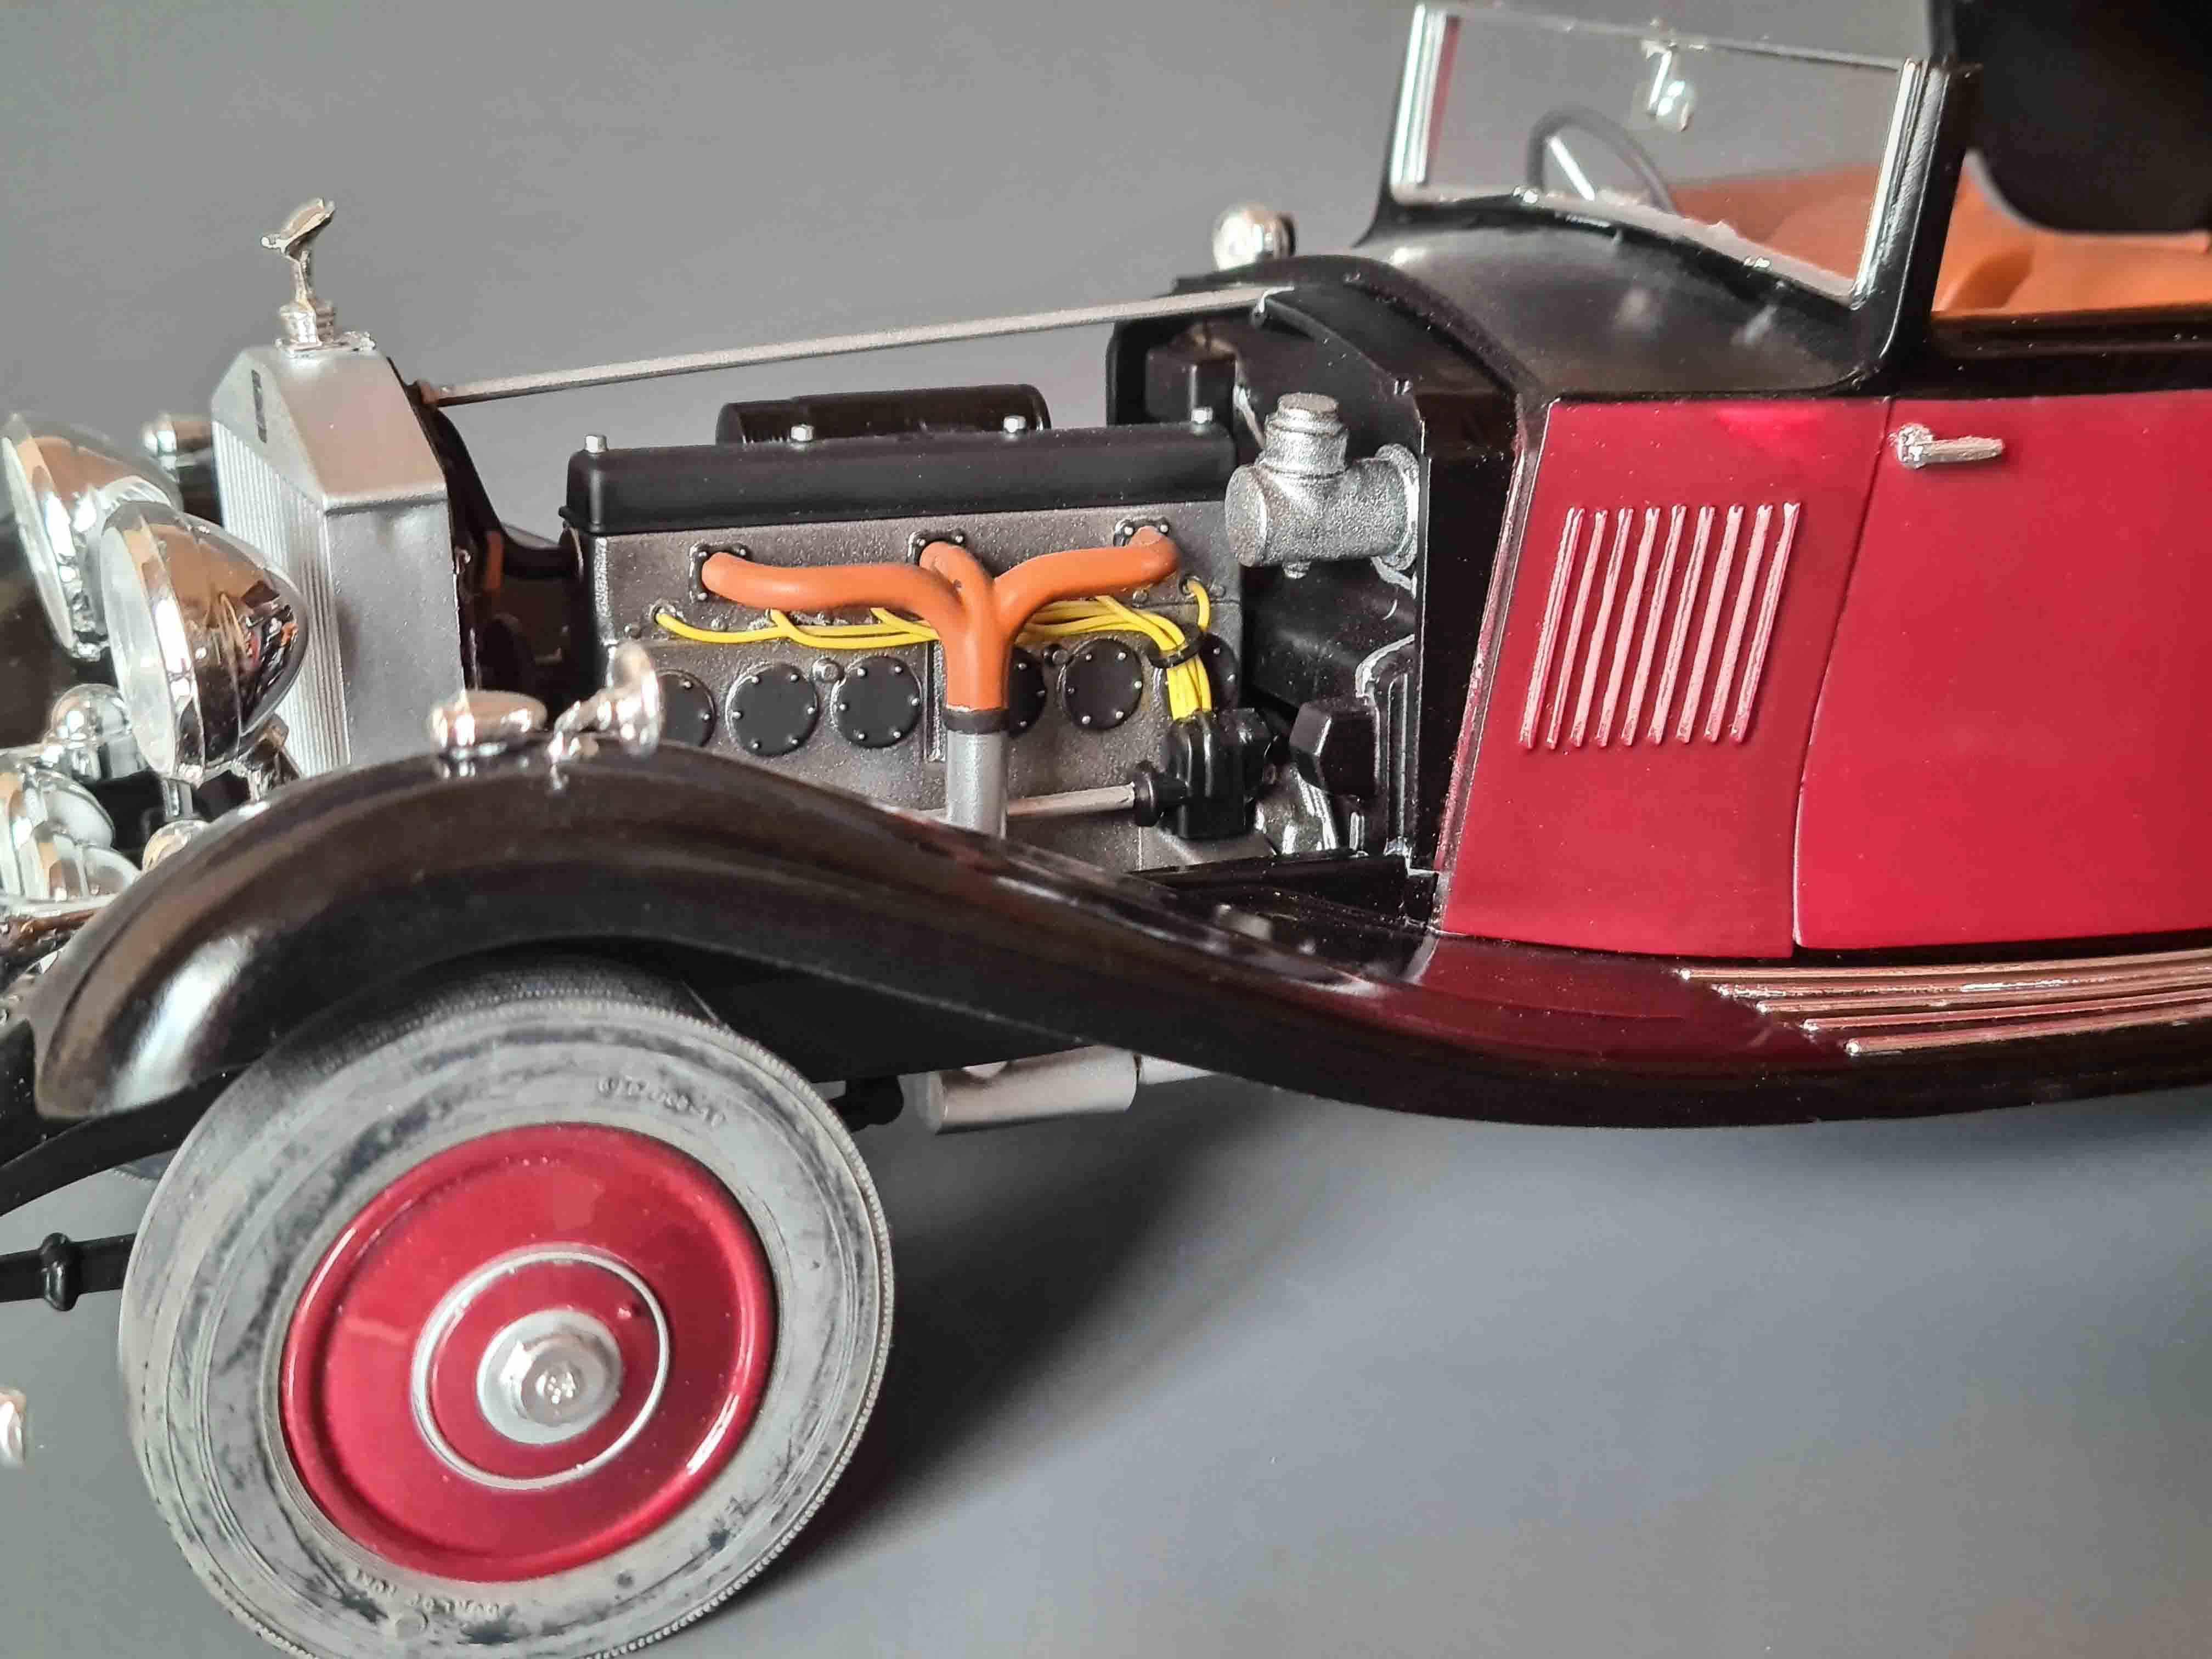
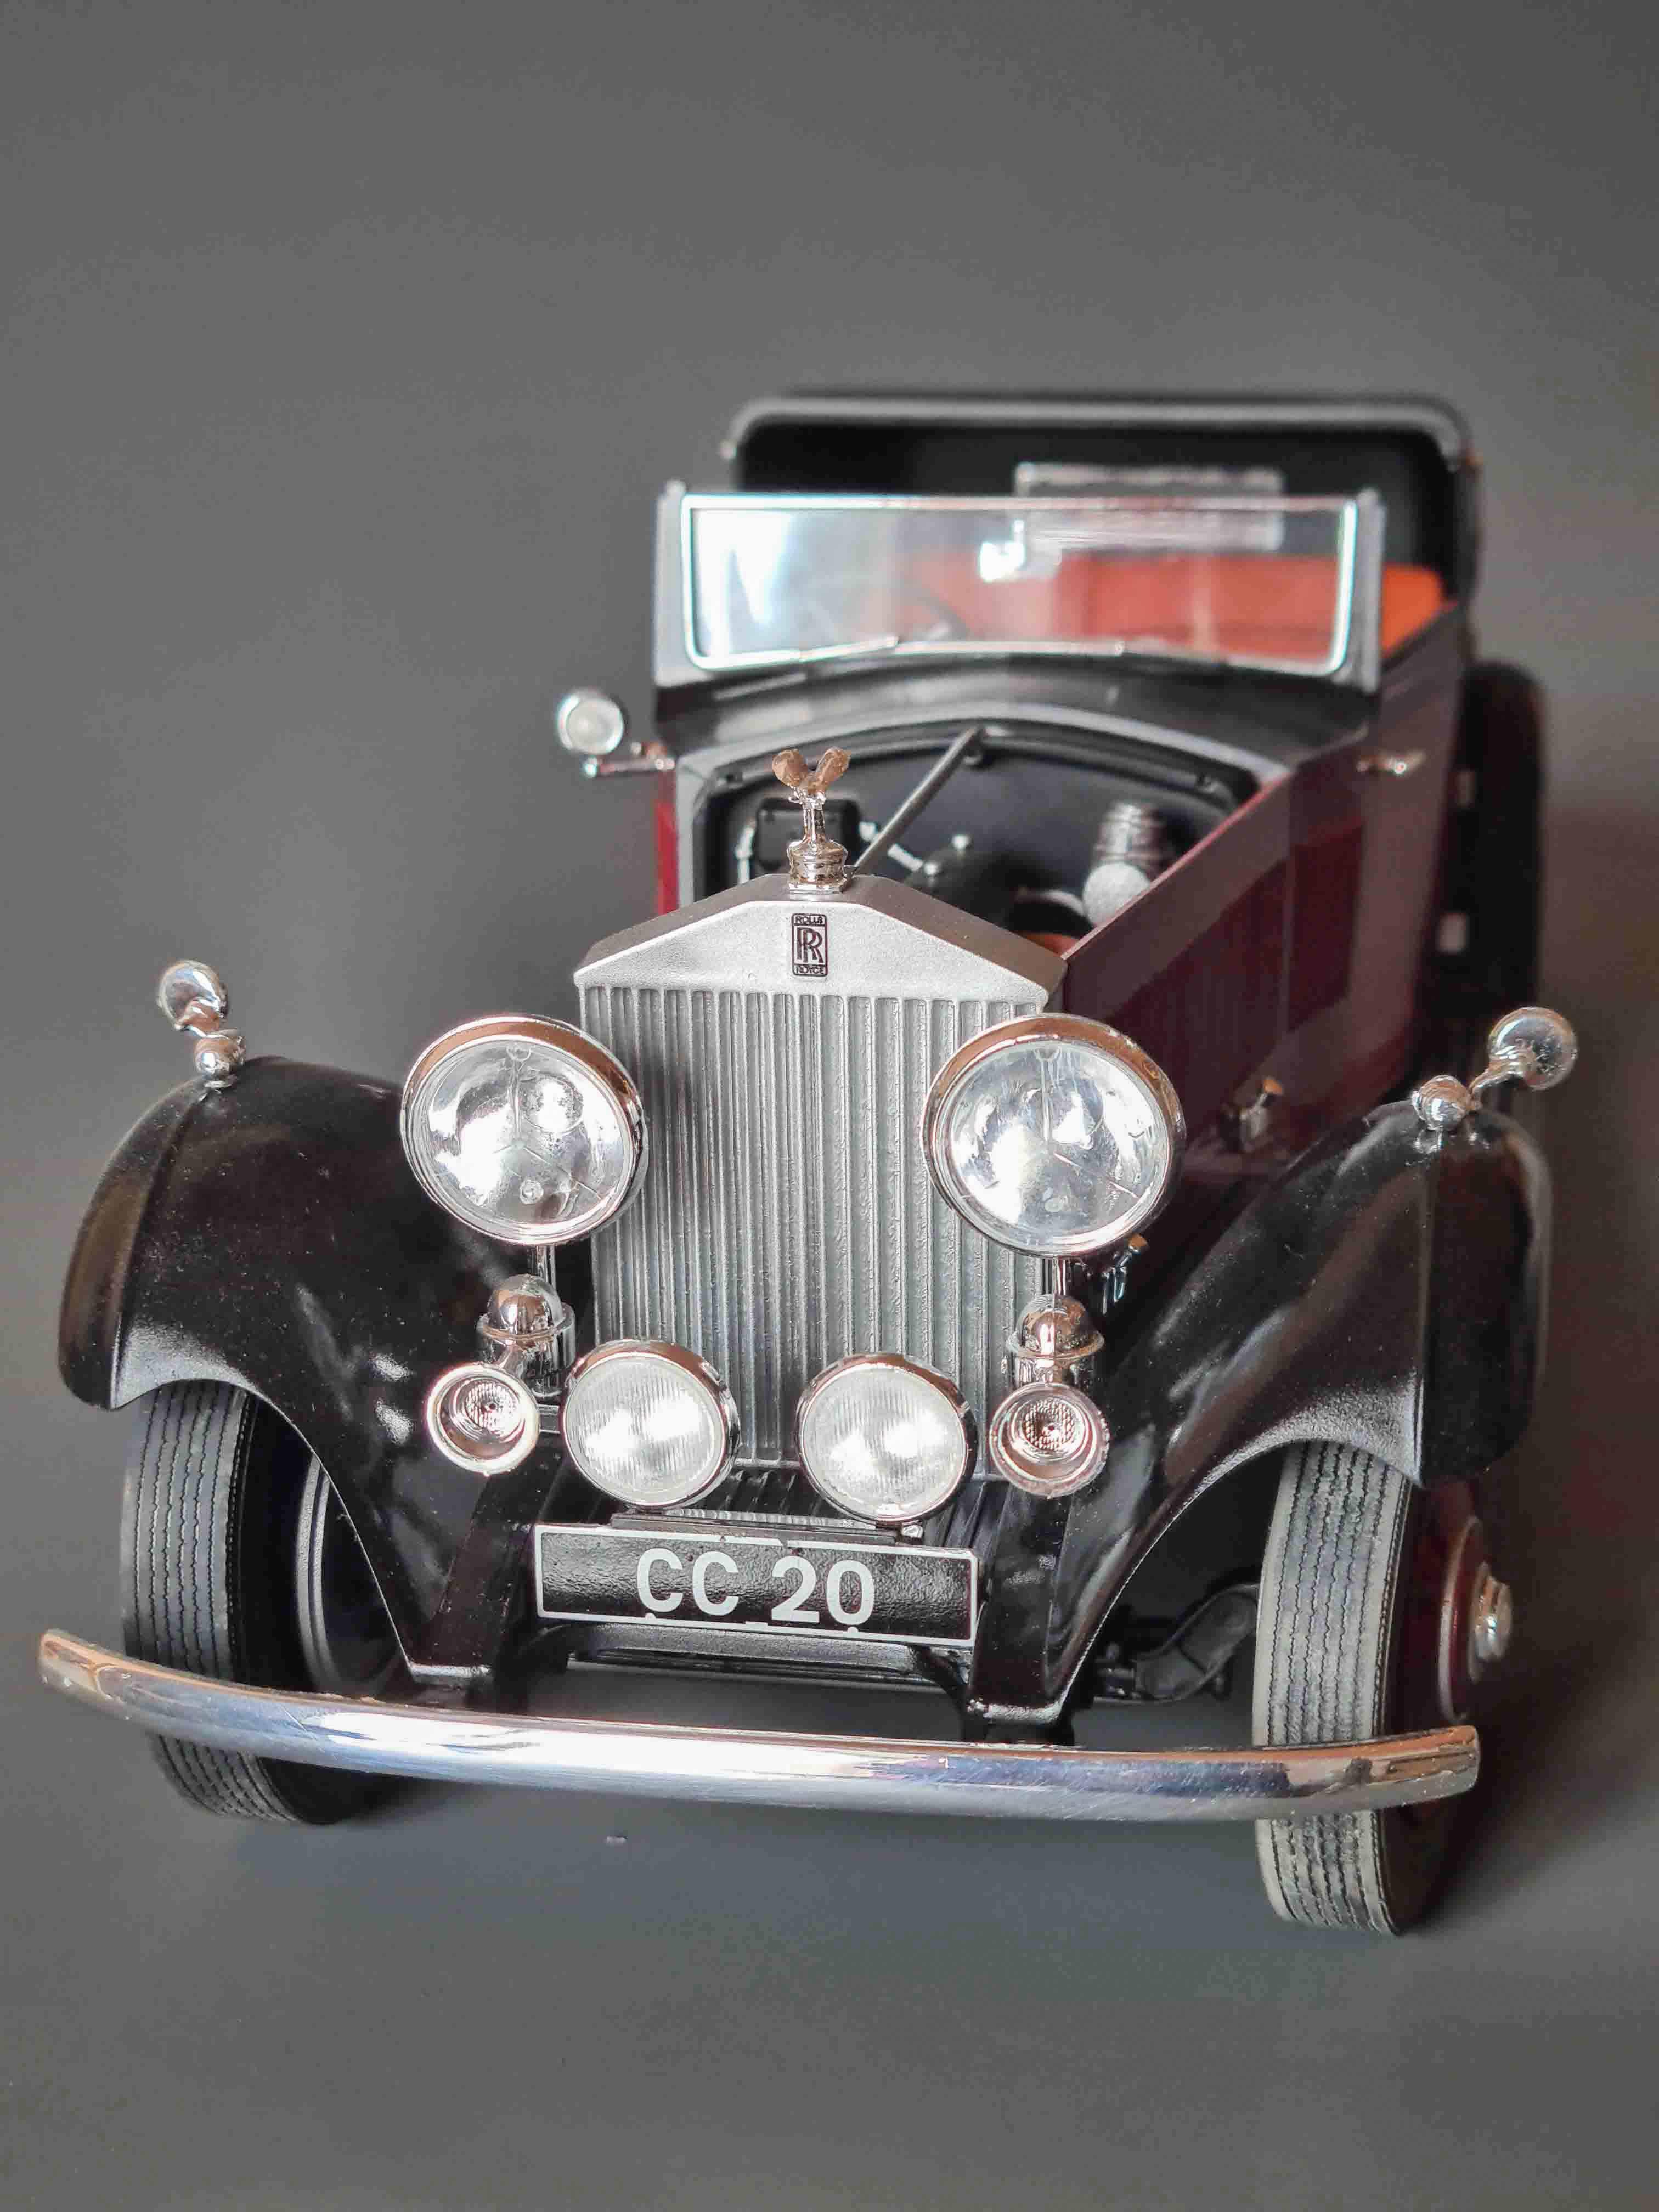
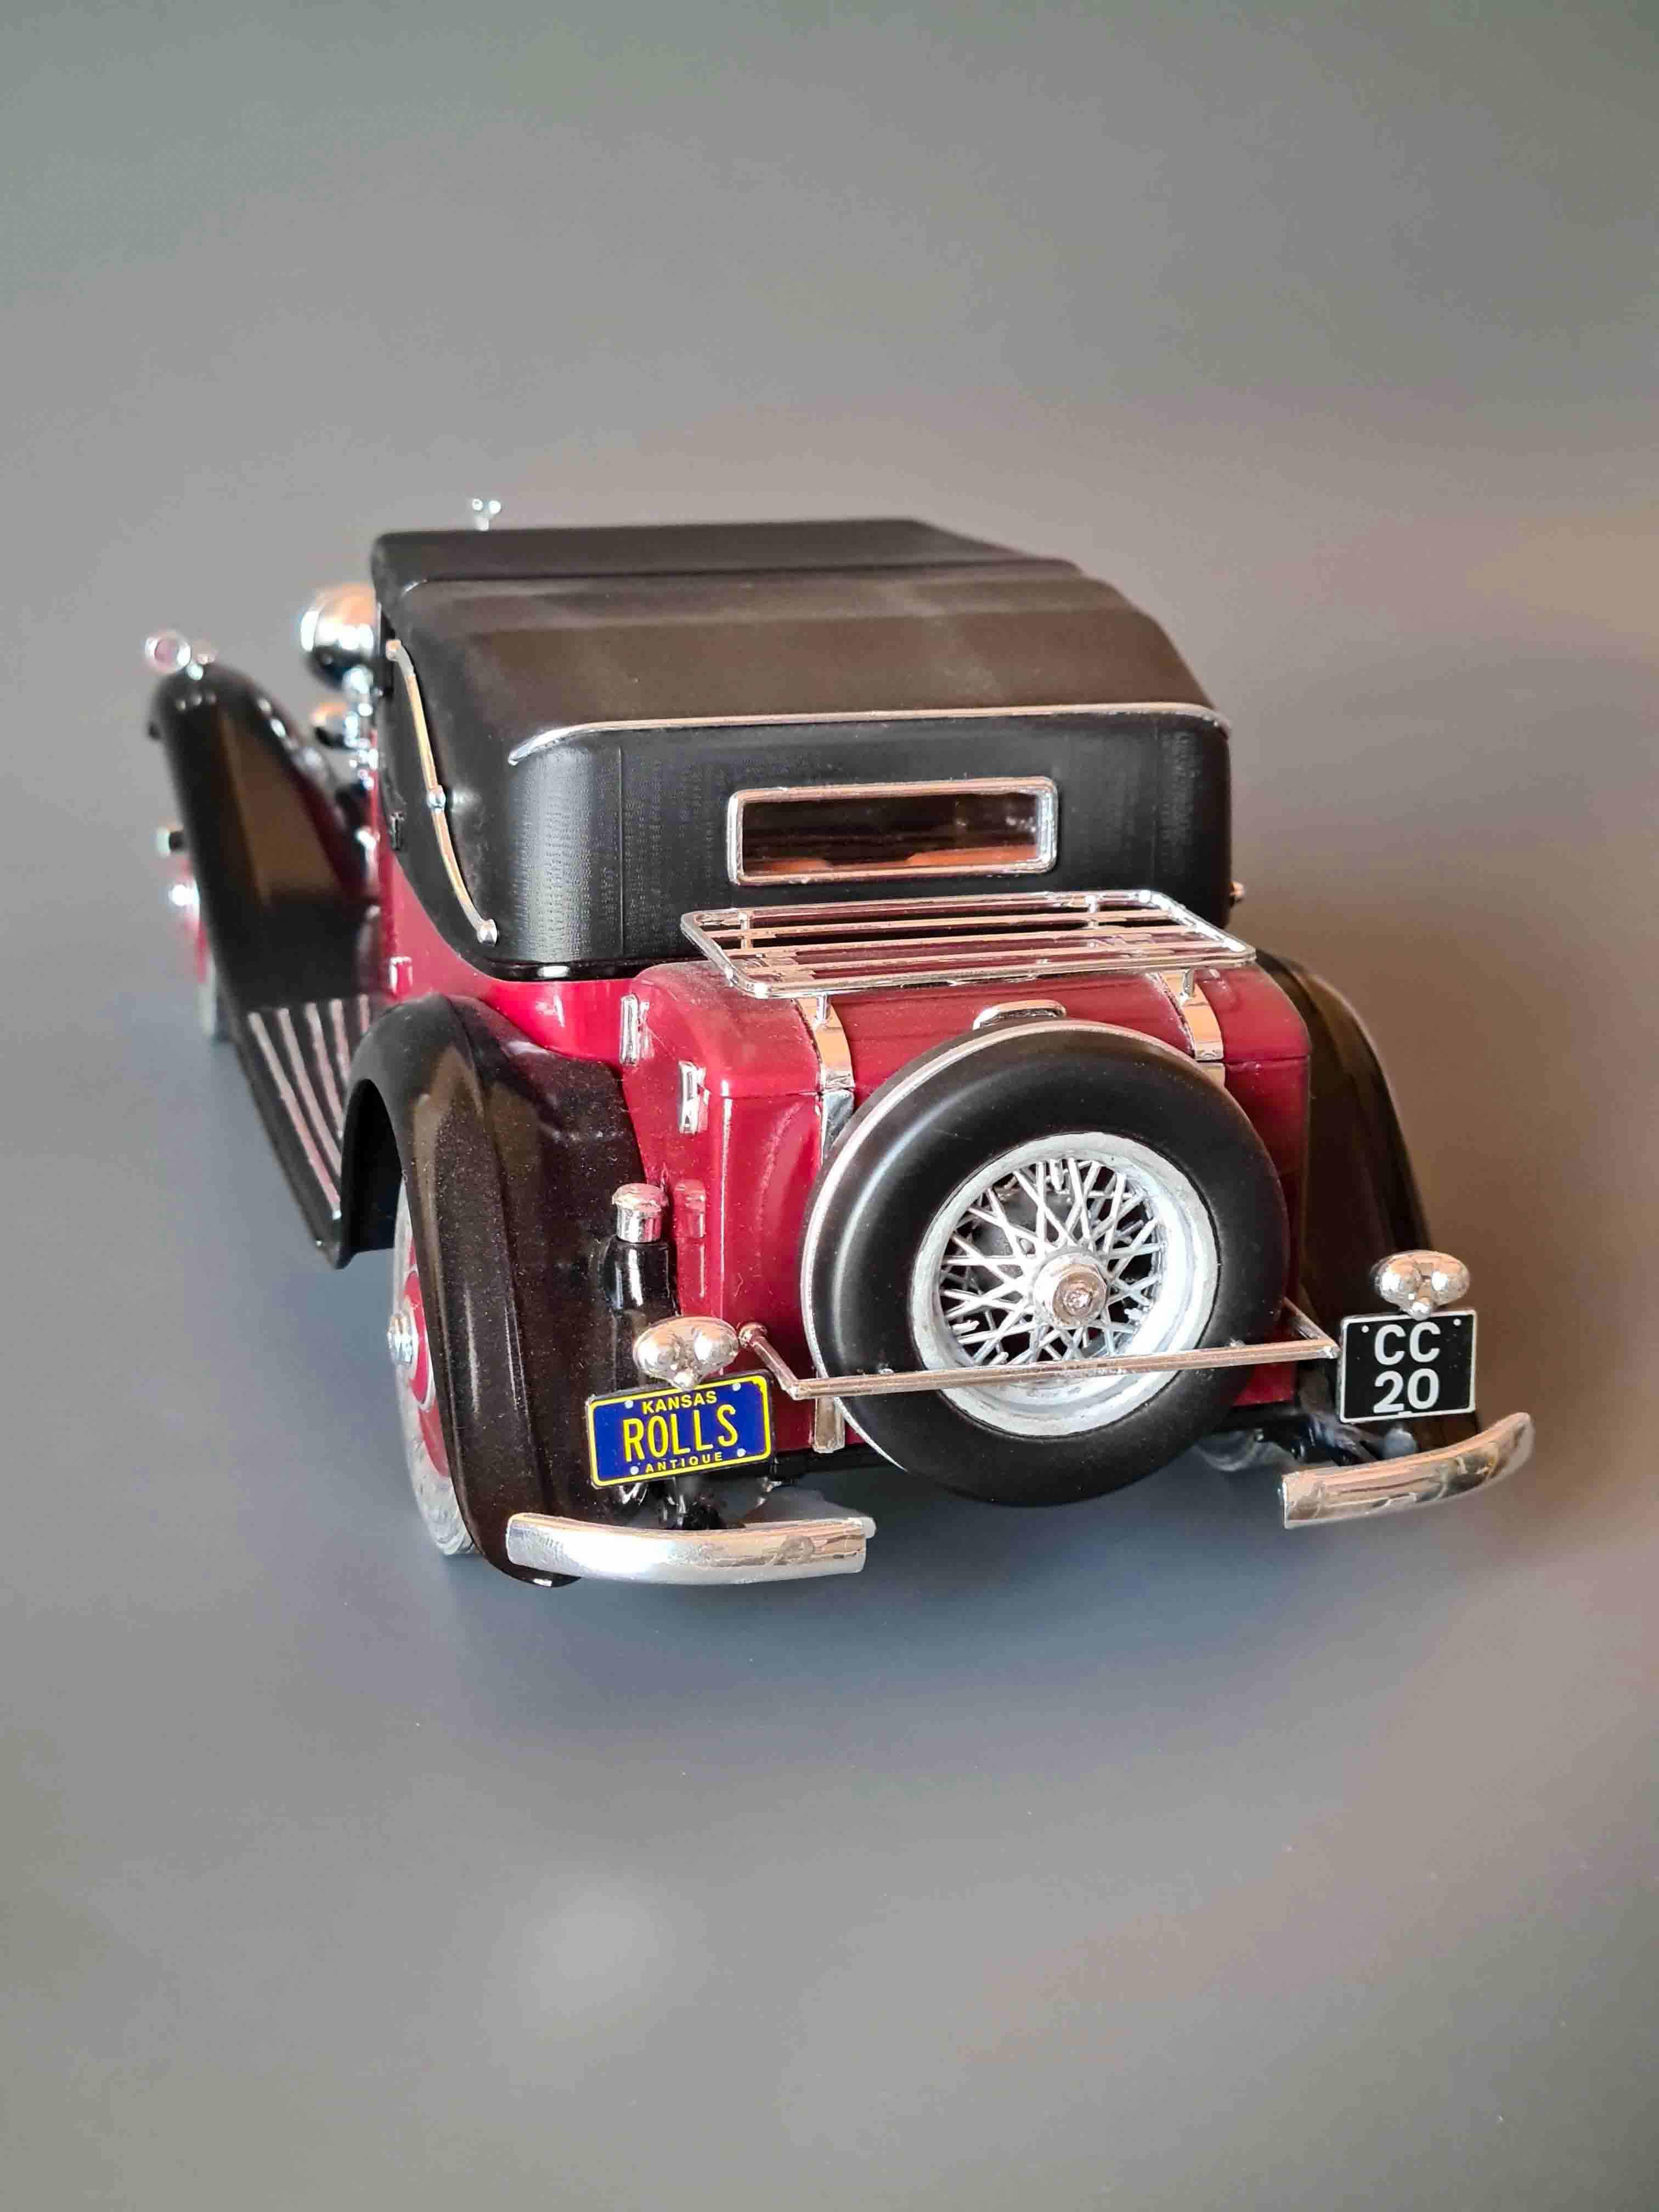
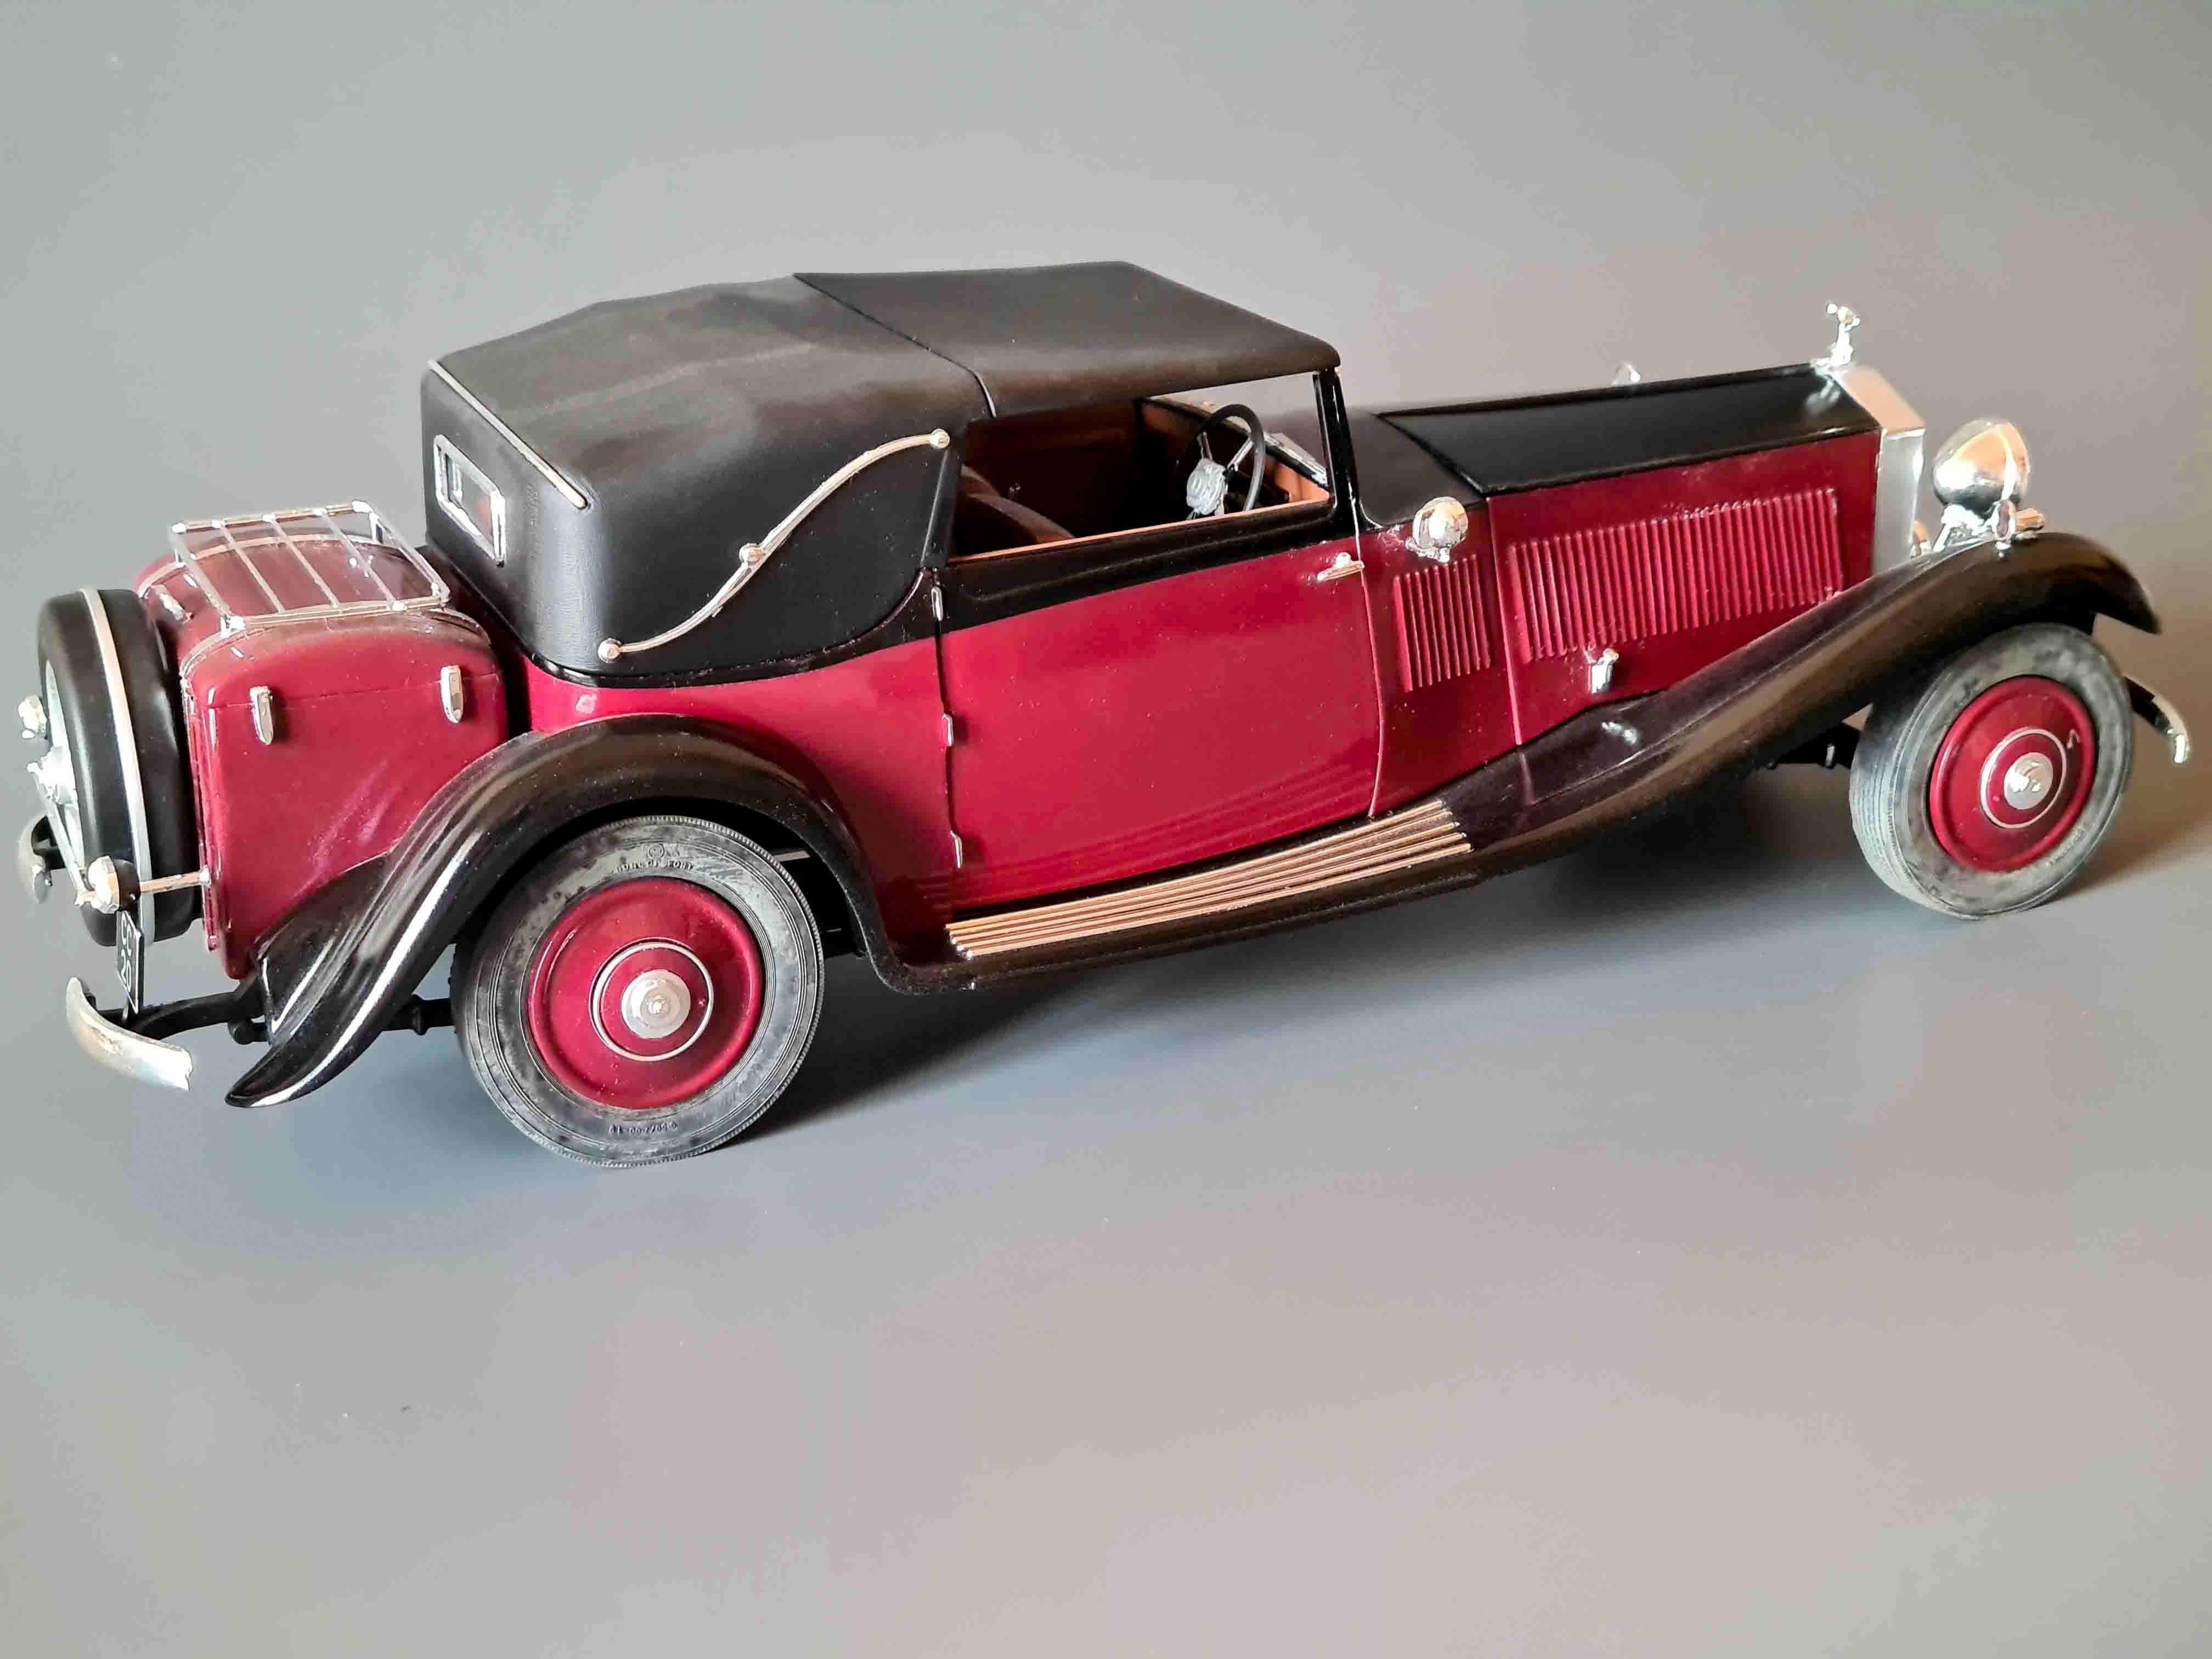
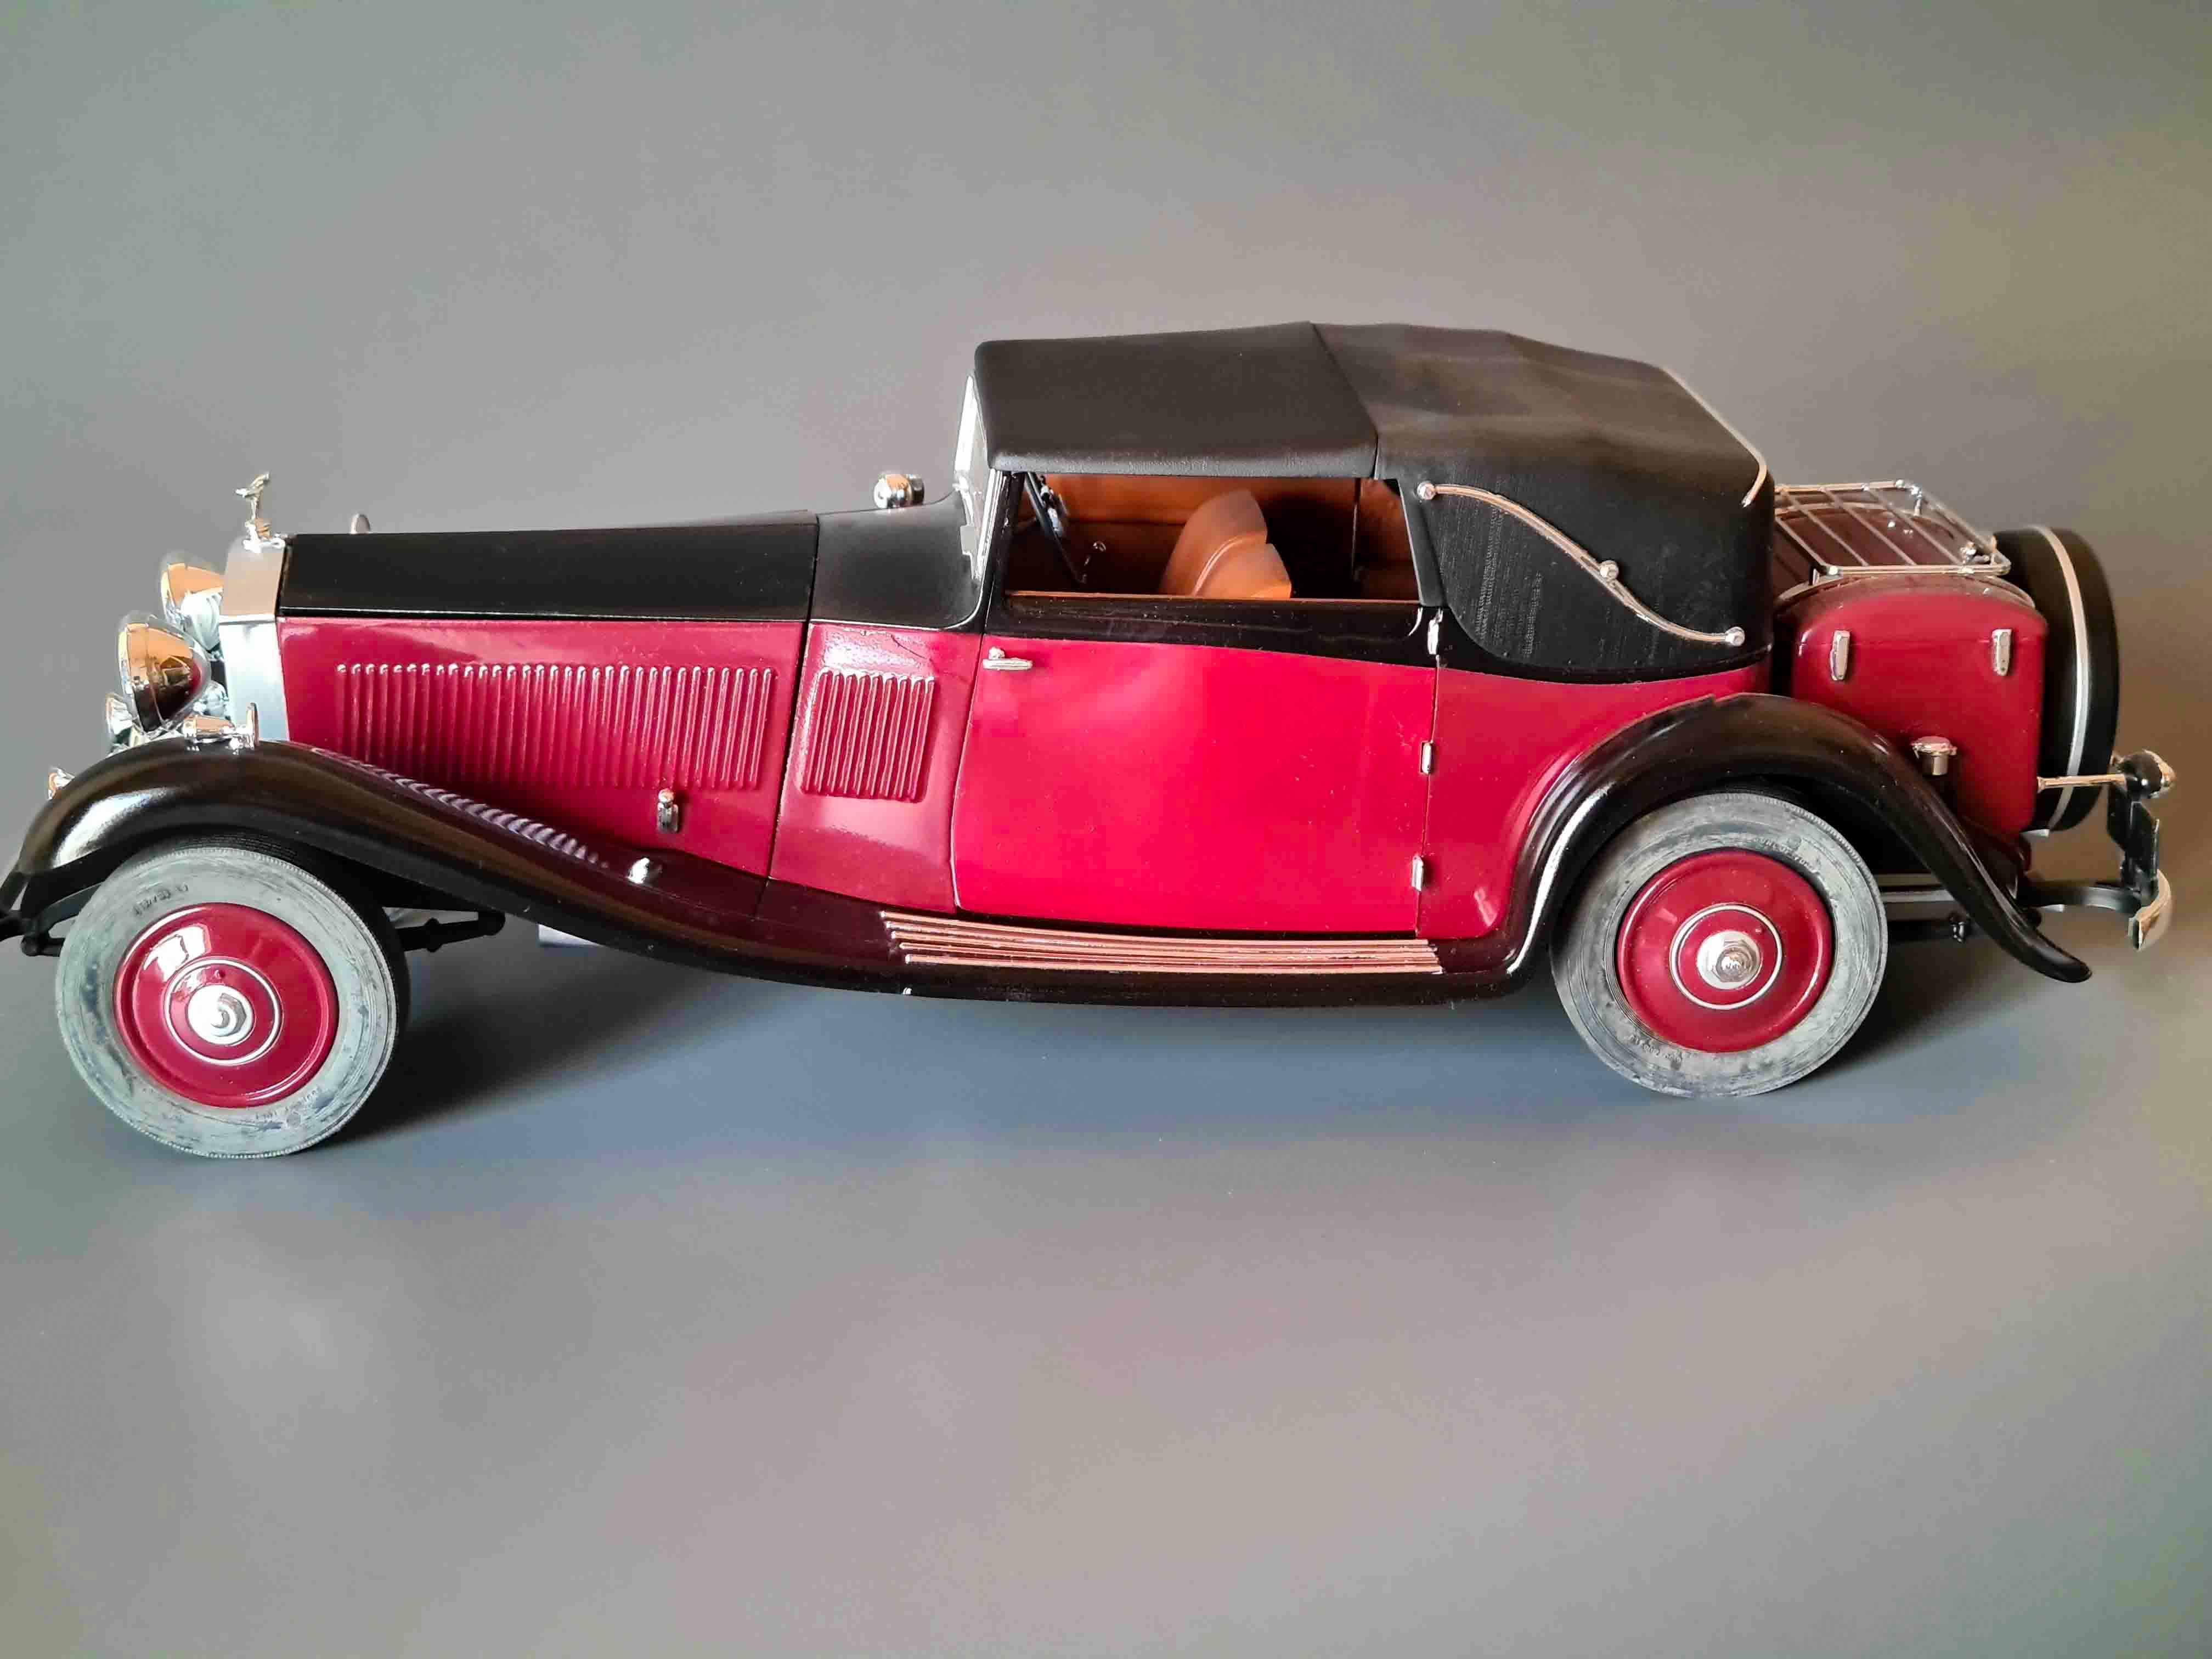
Its rumored that Enzo Ferrari called it "the most beautiful car ever built" upon its introduction in 1961. I always liked the lines of the roadster better than the coupe, the roofline on the coupe looks 'off' to me for some reason. Maybe because I've recently completed a couple of Heller kits I especially enjoyed this kit, the engineering and parts count were outstanding. Mold lines were faint and easy to clean up and the parts attachments, especially the chrome parts, were designed to be well hidden on the finished car. Everything fit without massaging. It included an extensive decal sheet with all the underhood and interior markings you could want. I didn't use them all, some were extremely tiny. This kit, and I imagine the sister coupe, easily rival Tamiya for accuracy and ease of construction IMHO. Comments always welcome and thanks for looking.
-
One of my first built model cars
- 11 replies
-
- 4
-
-
- rolls-royce
- 1/16 scale
- (and 1 more)
-
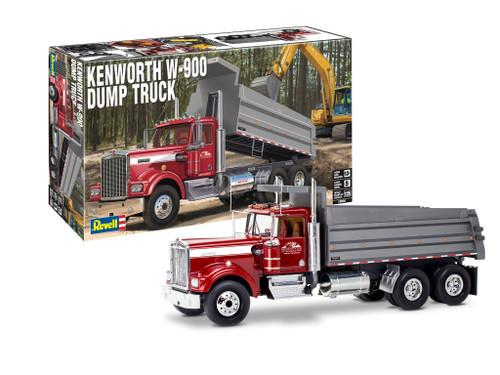
This just caught my eye… https://www.megahobby.com/products/kenworth-w900-dump-truck-1-25-revell.html
-
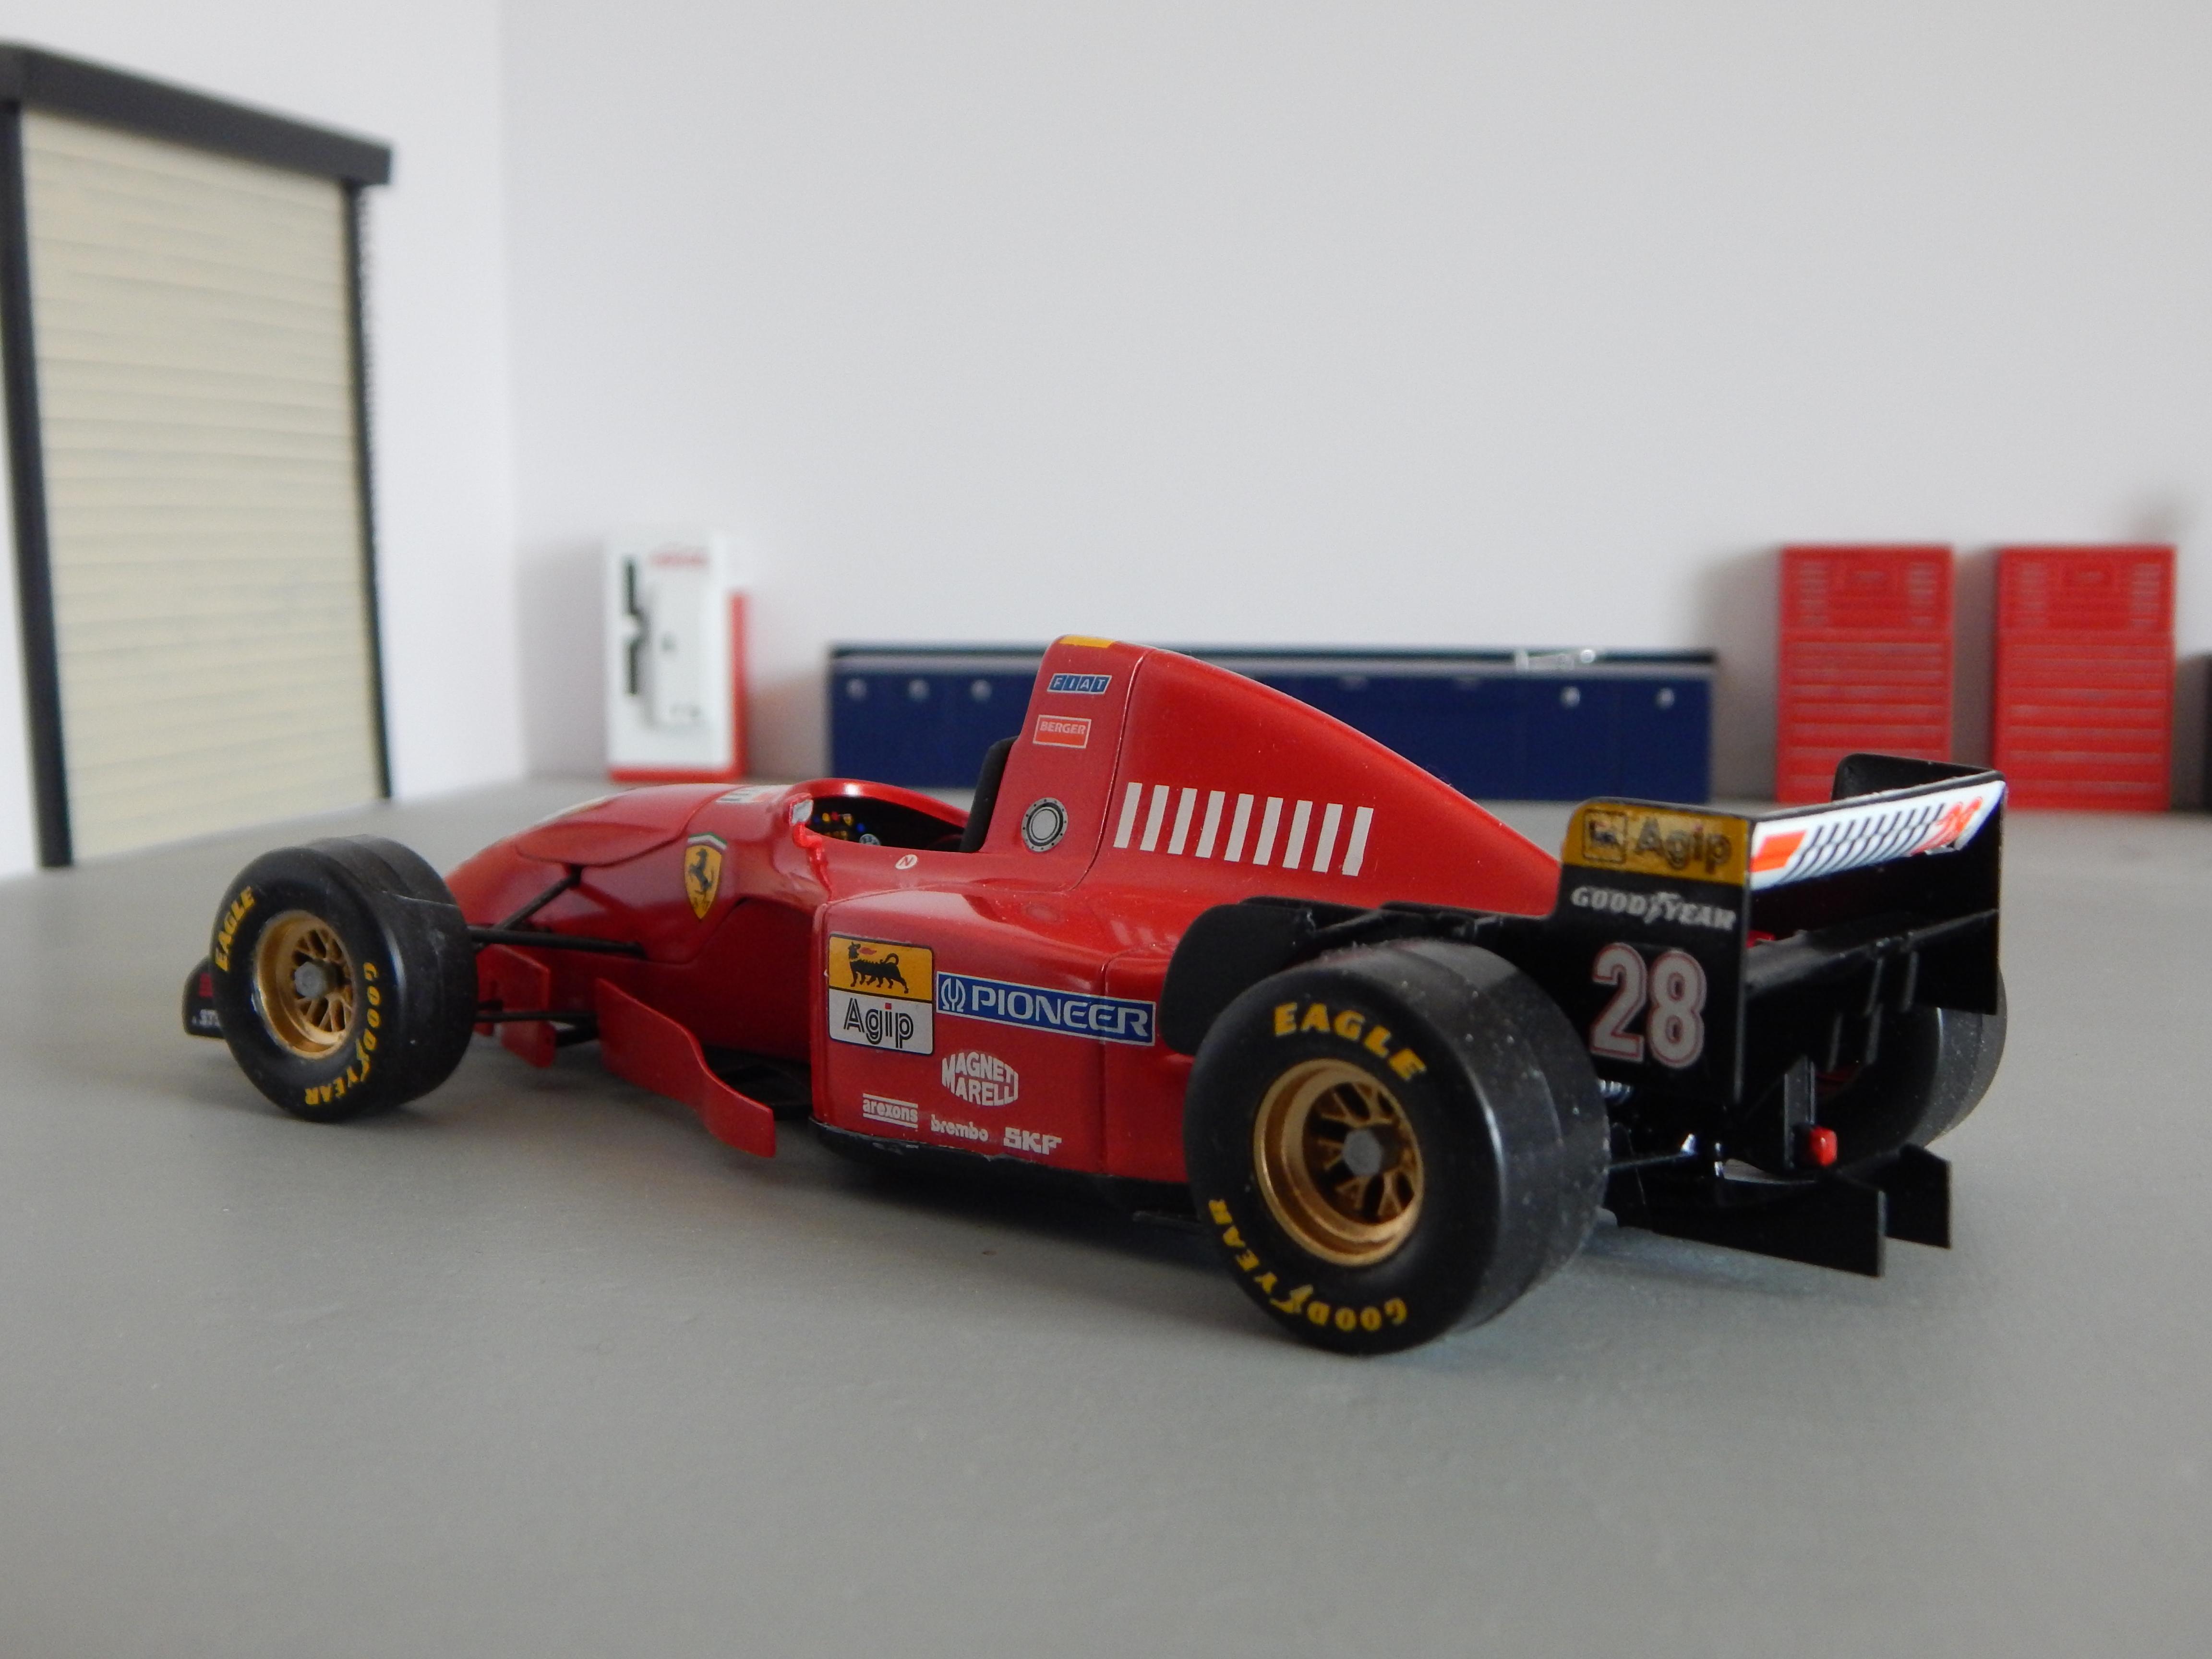
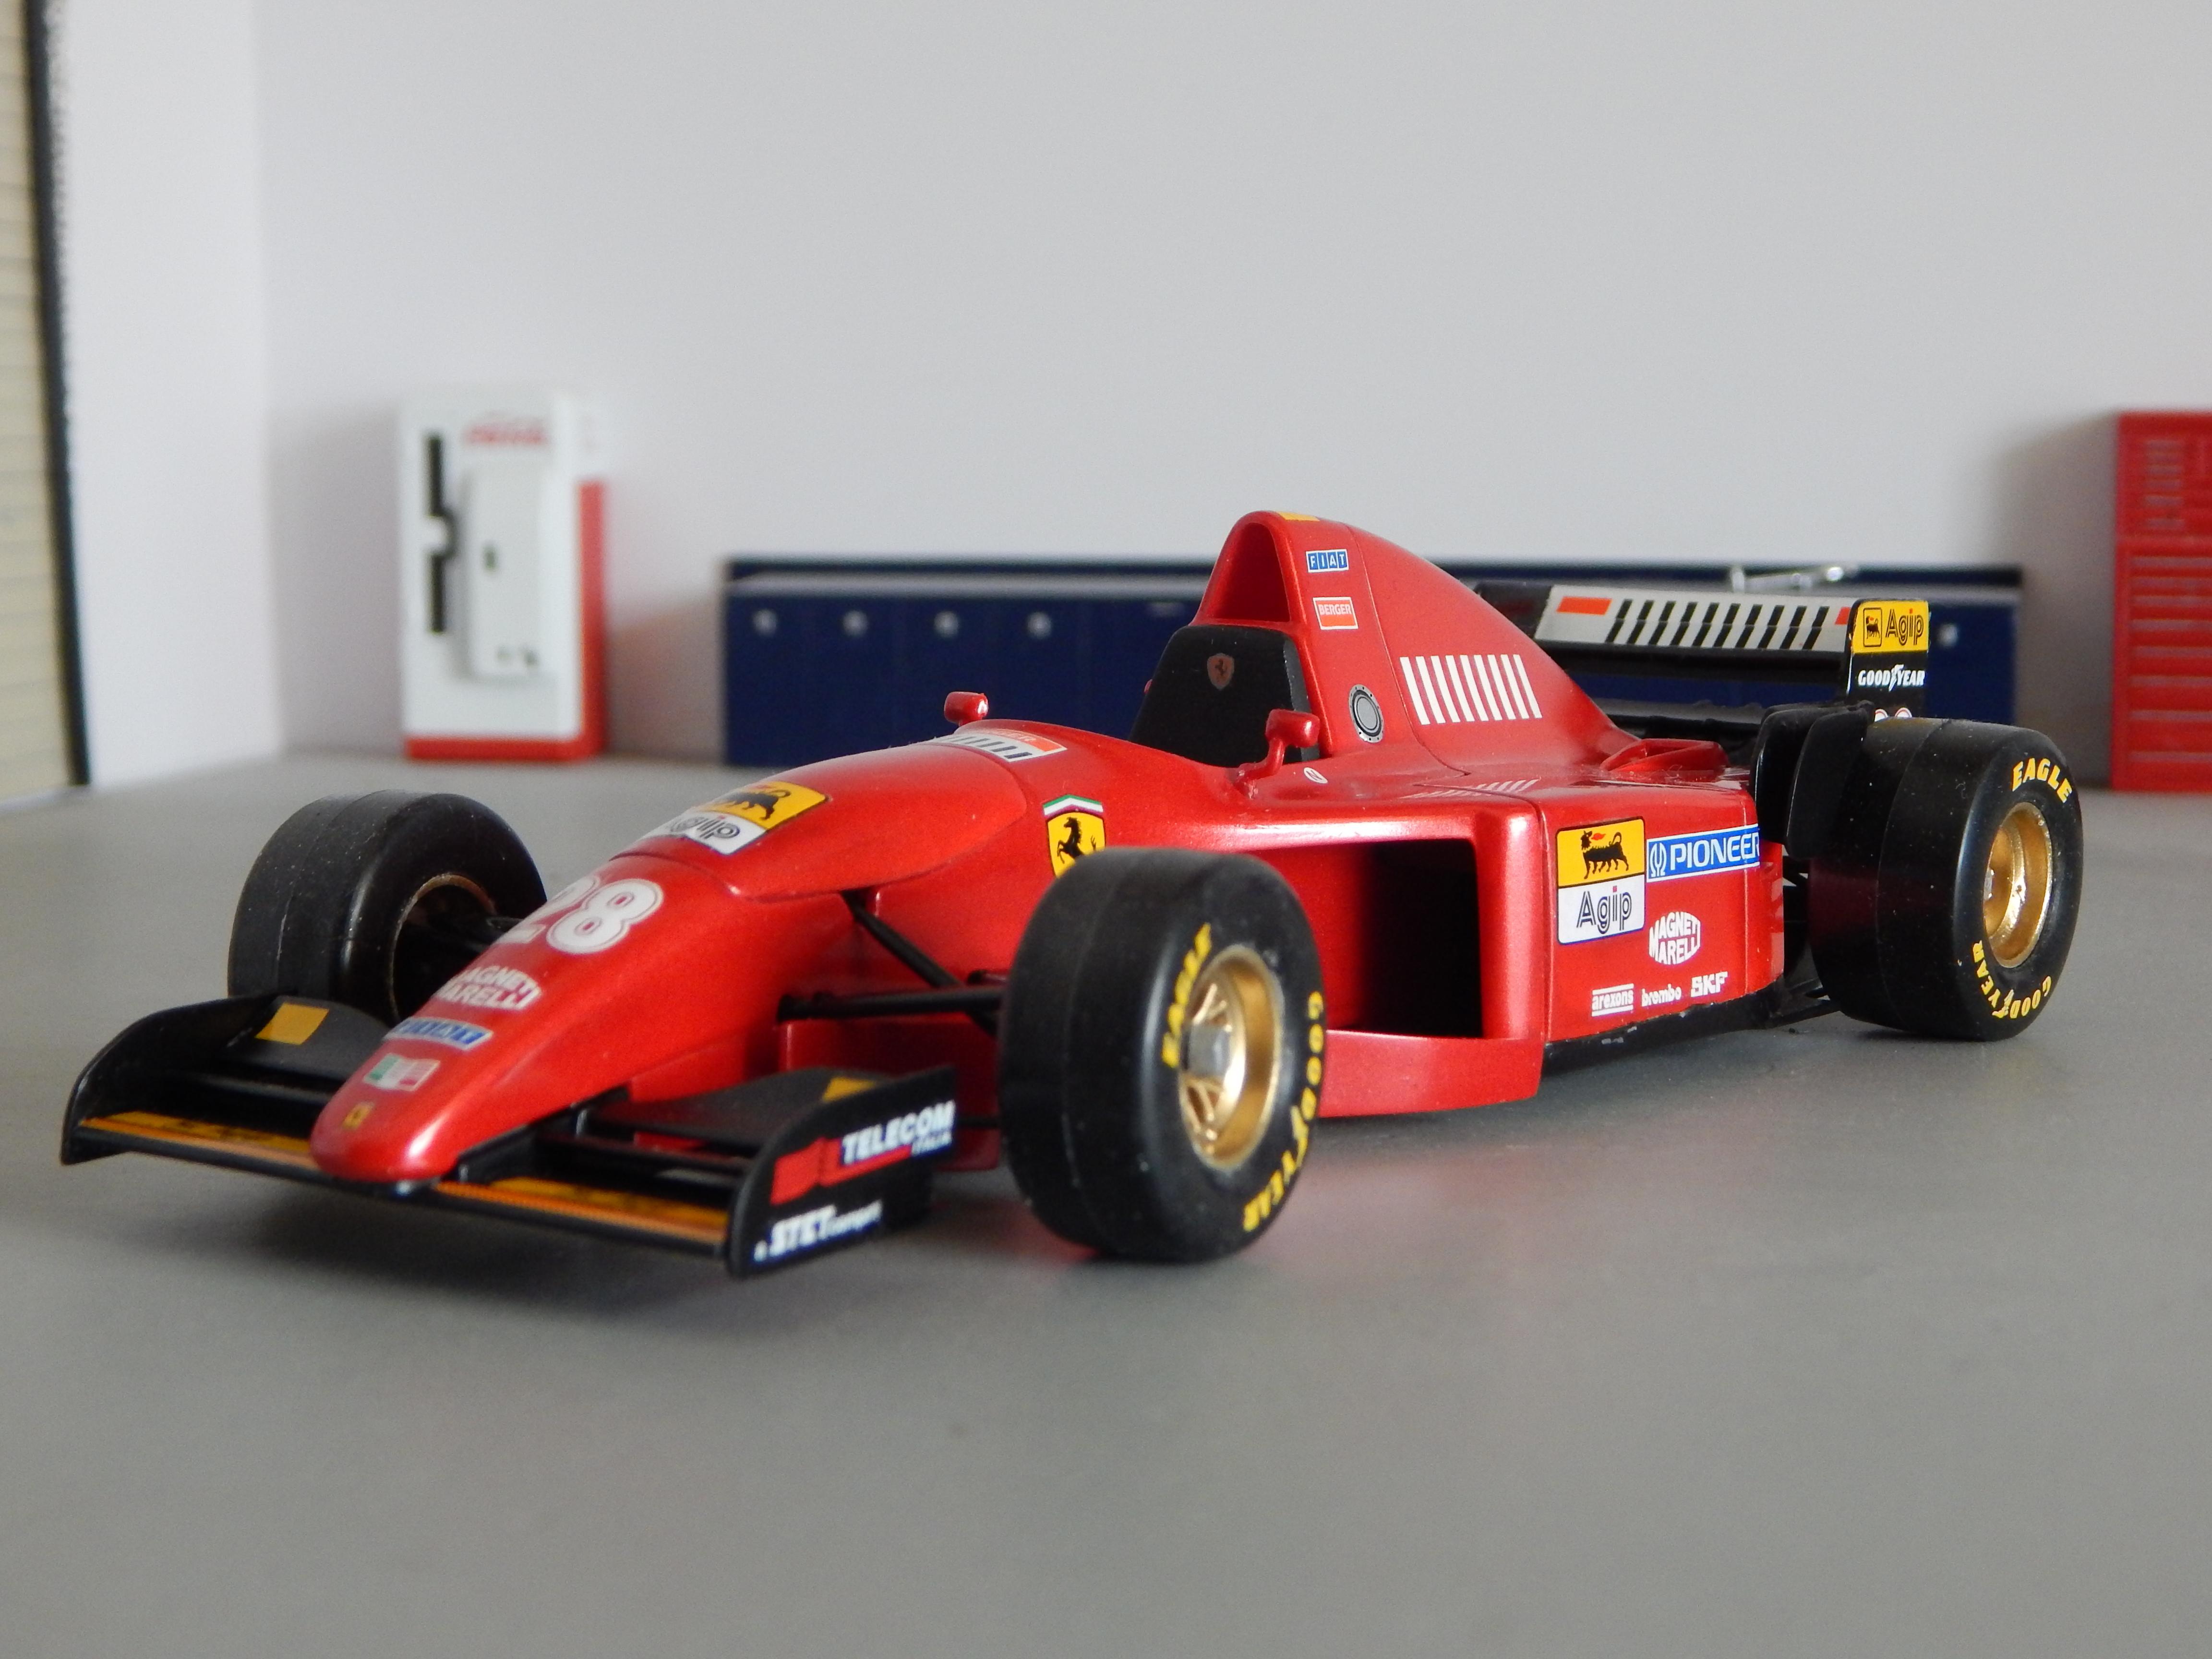
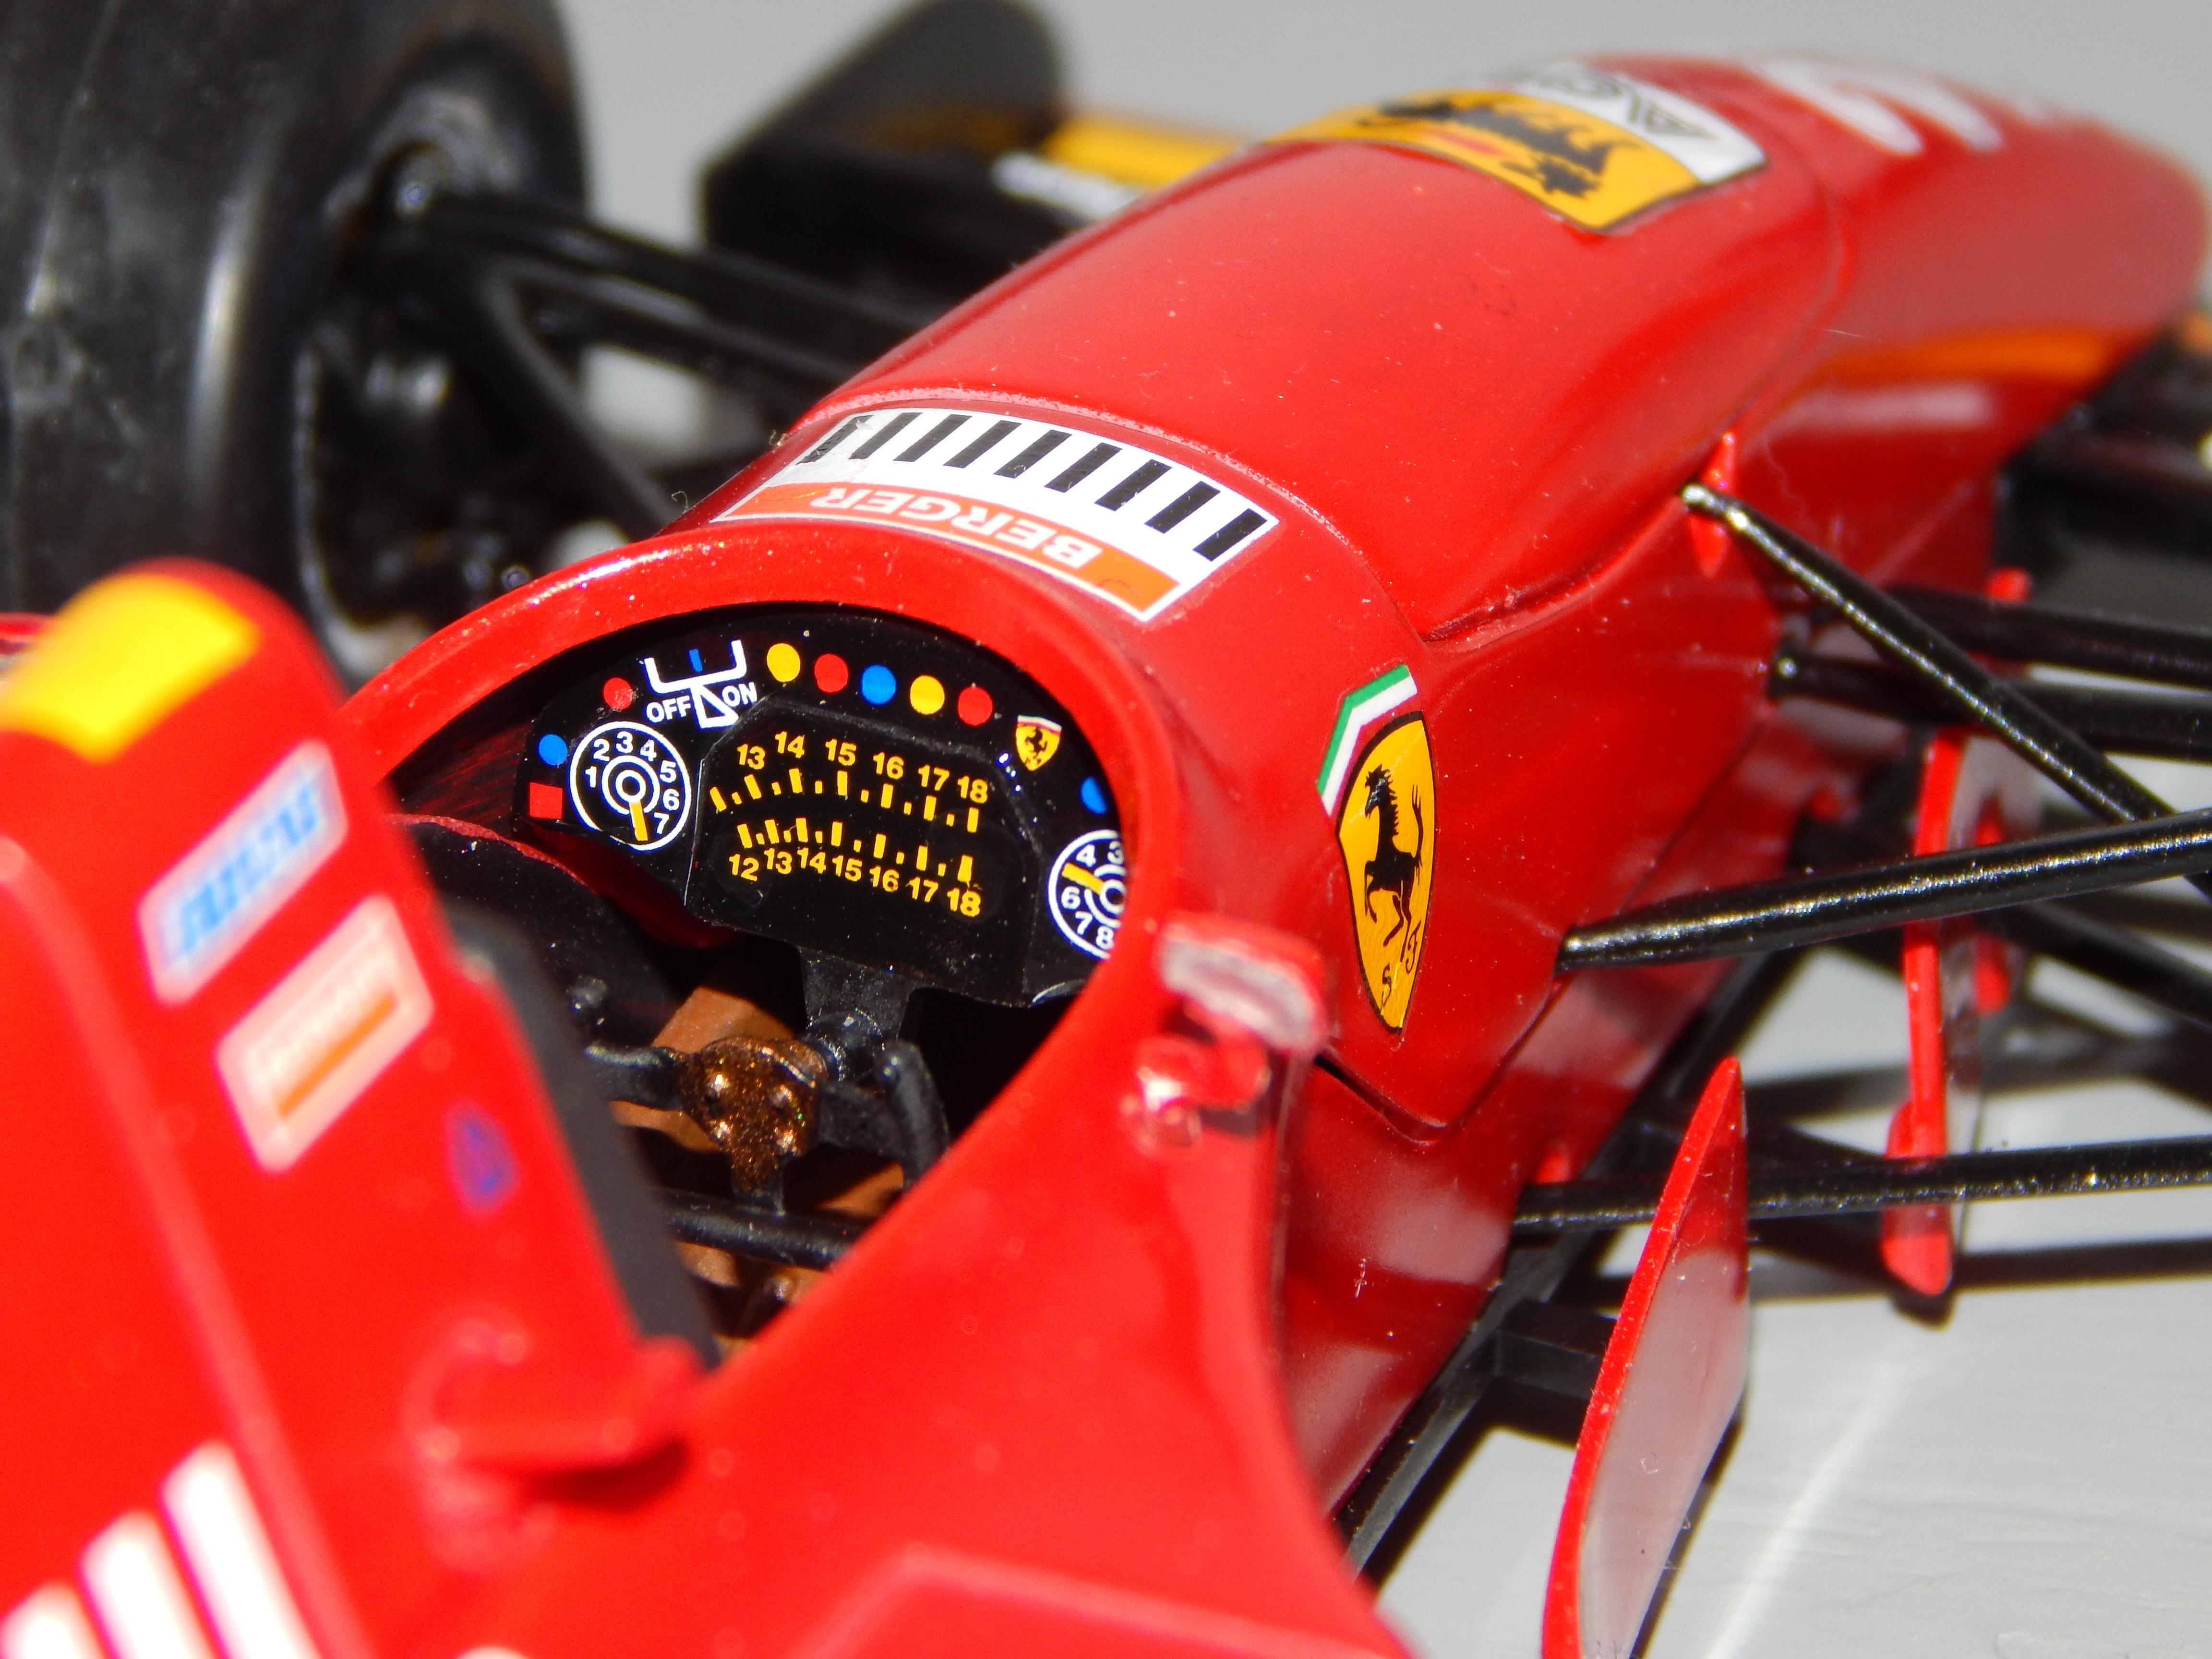
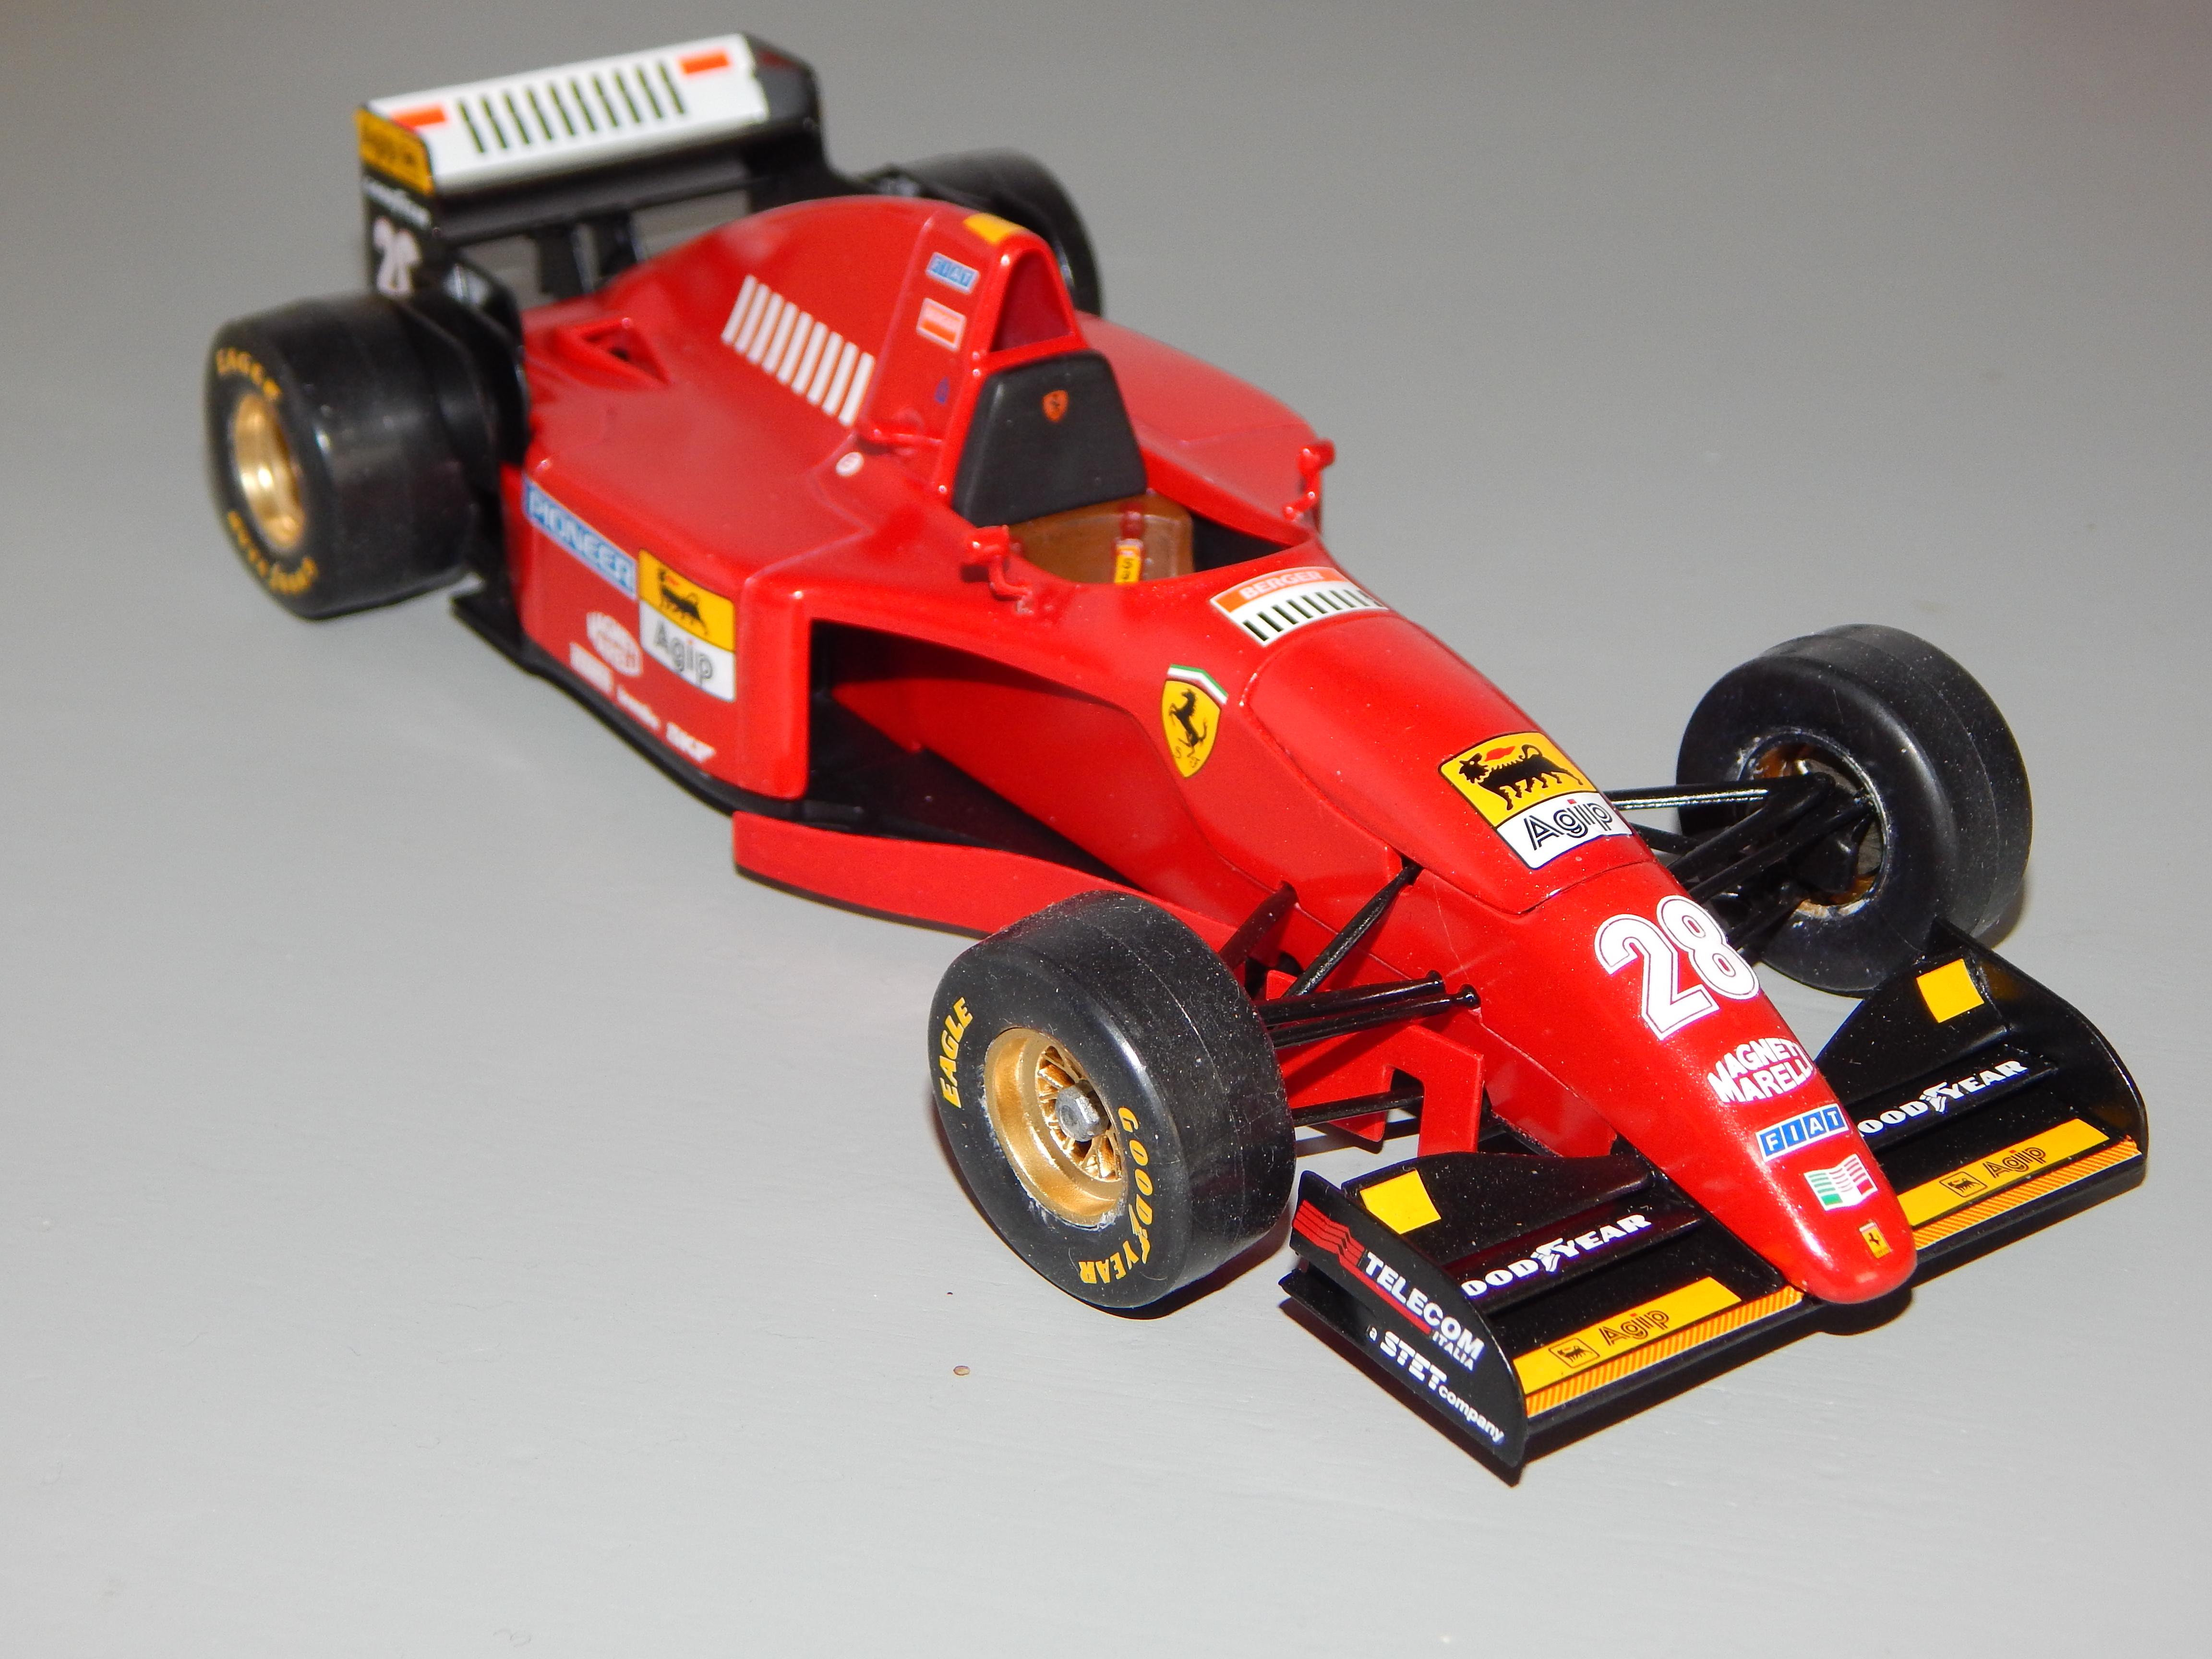
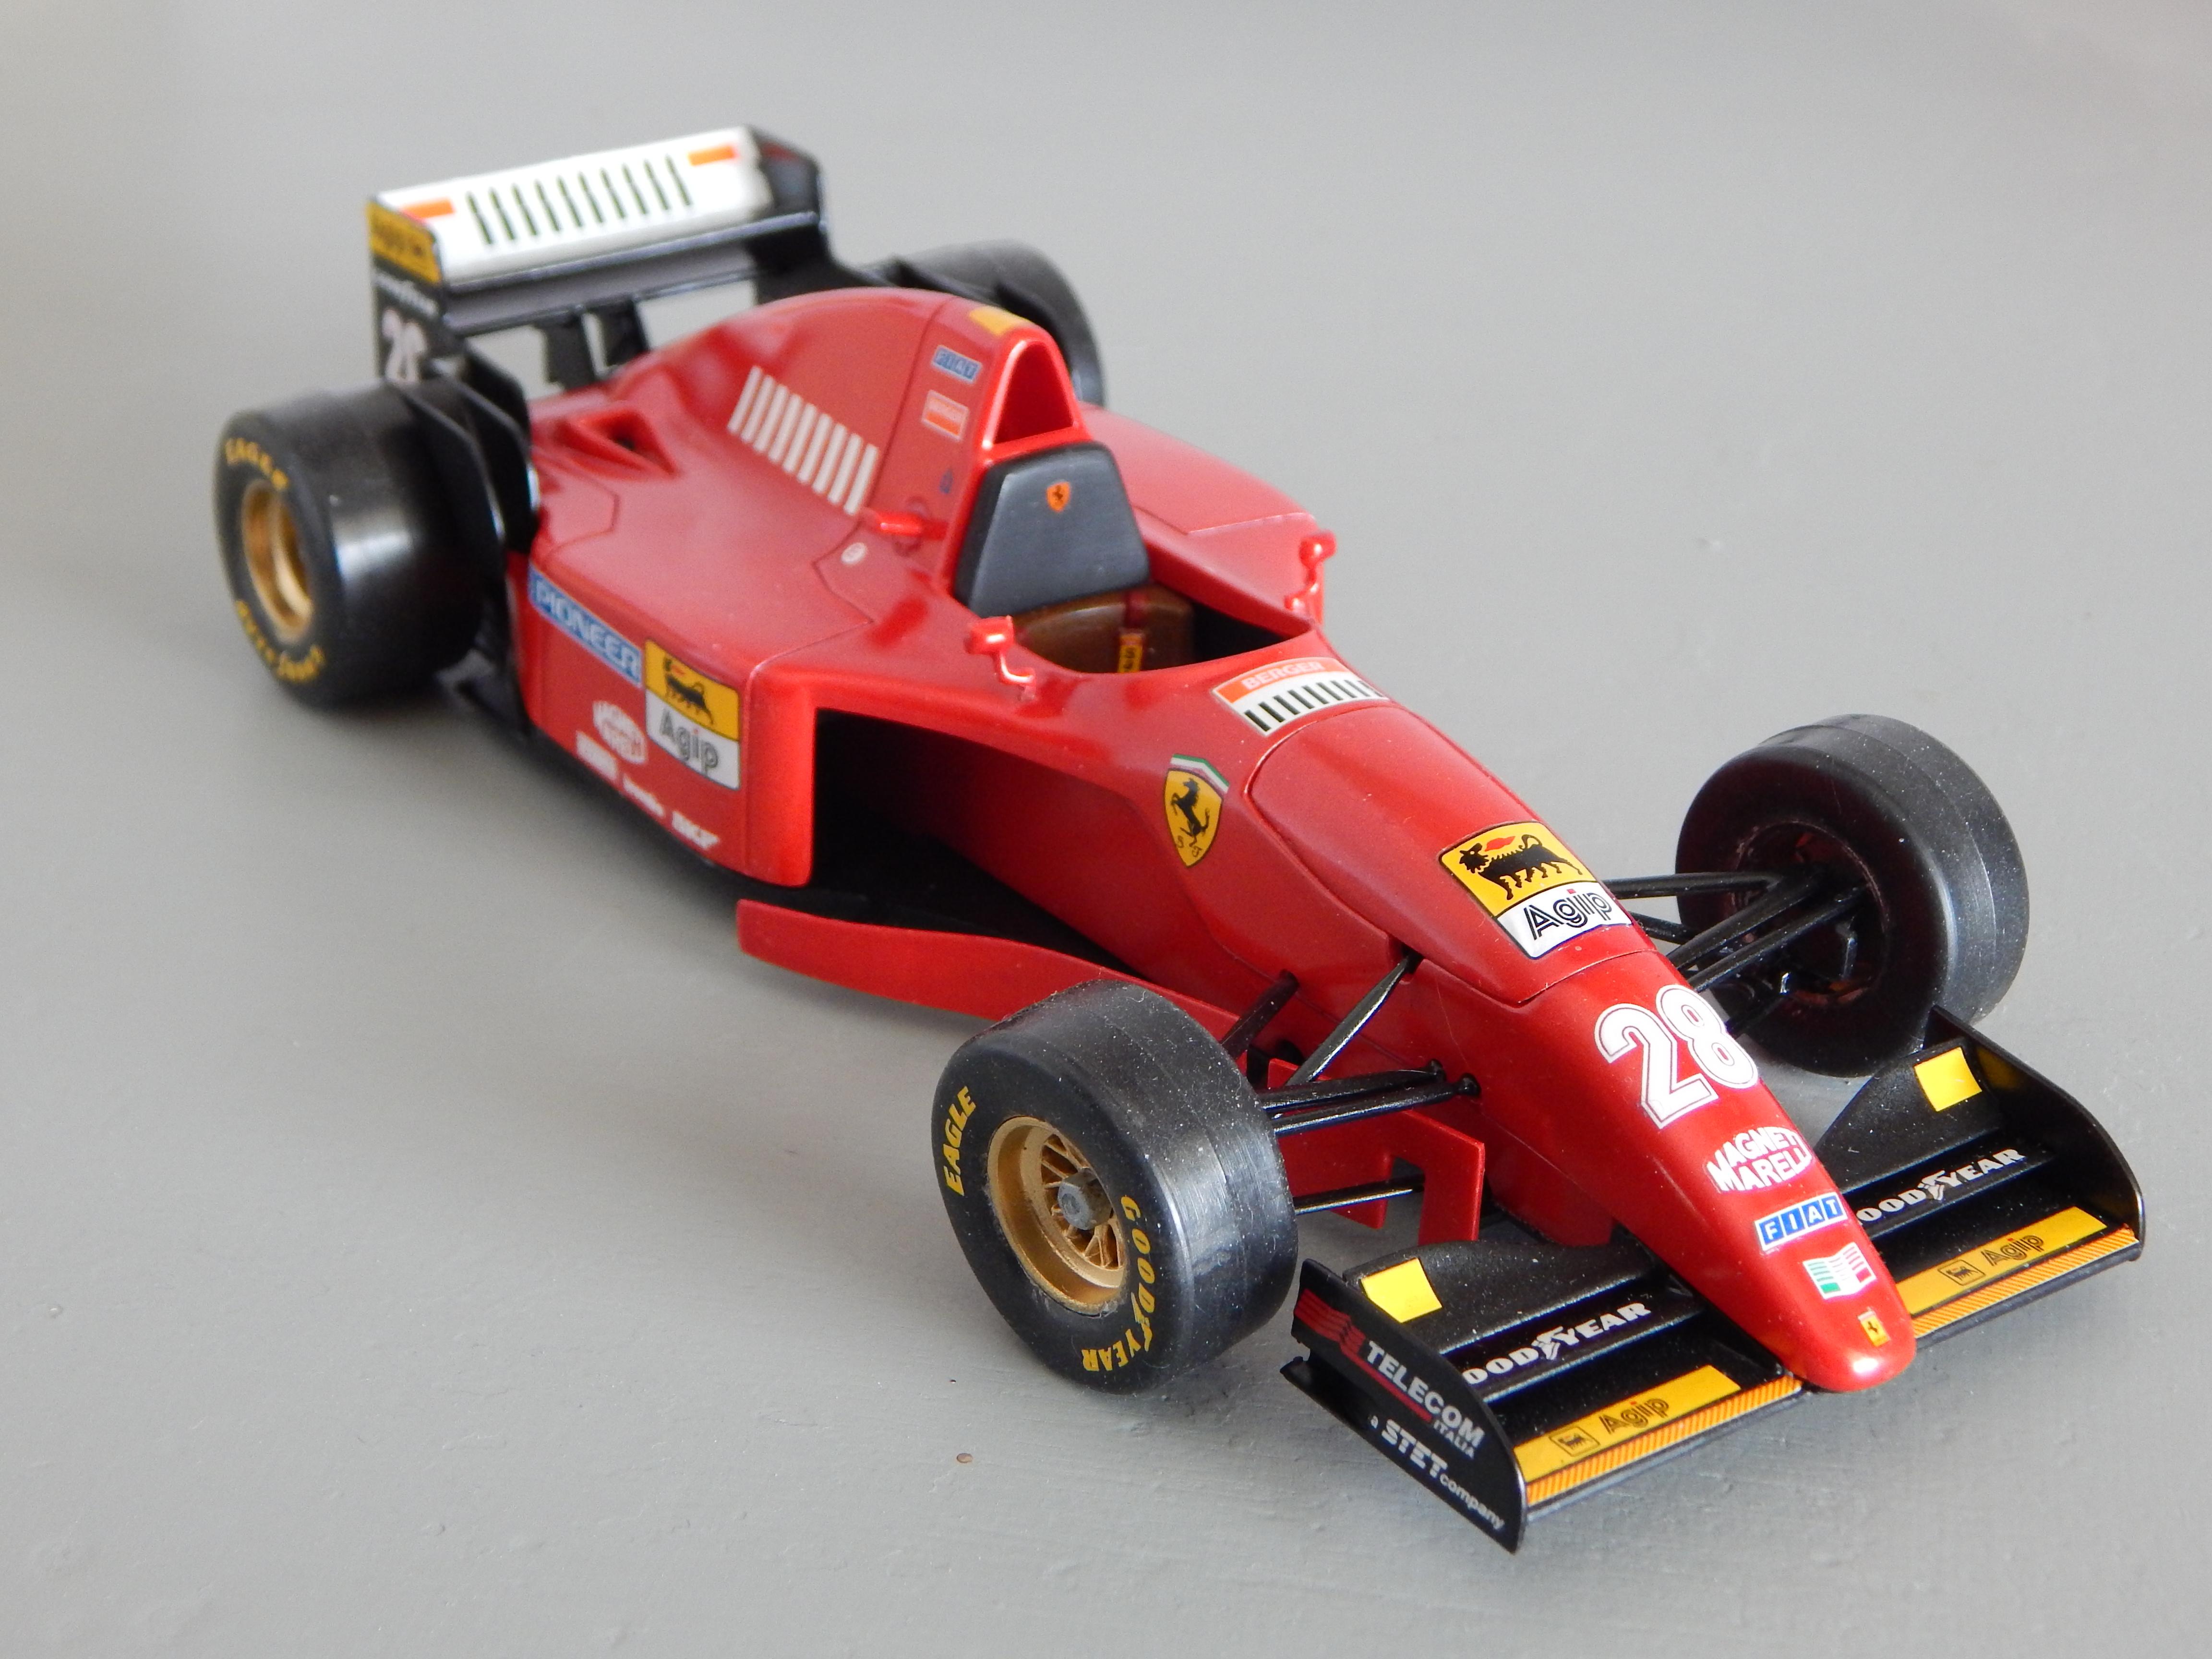
From Wikipedia: The Ferrari 412 T2 was the car with which Ferrari competed in the 1995 Formula One World Championship. Designed by John Barnard and Gustav Brunner at Shalford in the United Kingdom, the car was launched at Maranello on the 6th February, 1995. Driven by Jean Alesi and Gerhard Berger, this depicts Berger's car. Nice little kit, it does have an engine which will never be seen after gluing the body together. The only issue I have is with the tires, they are the soft, sticky plastic that attracts every mote of dirt within 6ft and will probably eventually eat the wheels. I put a couple of coats of primer and paint to hopefully forestall that, time will tell. Comments welcome, thanks for looking.
-
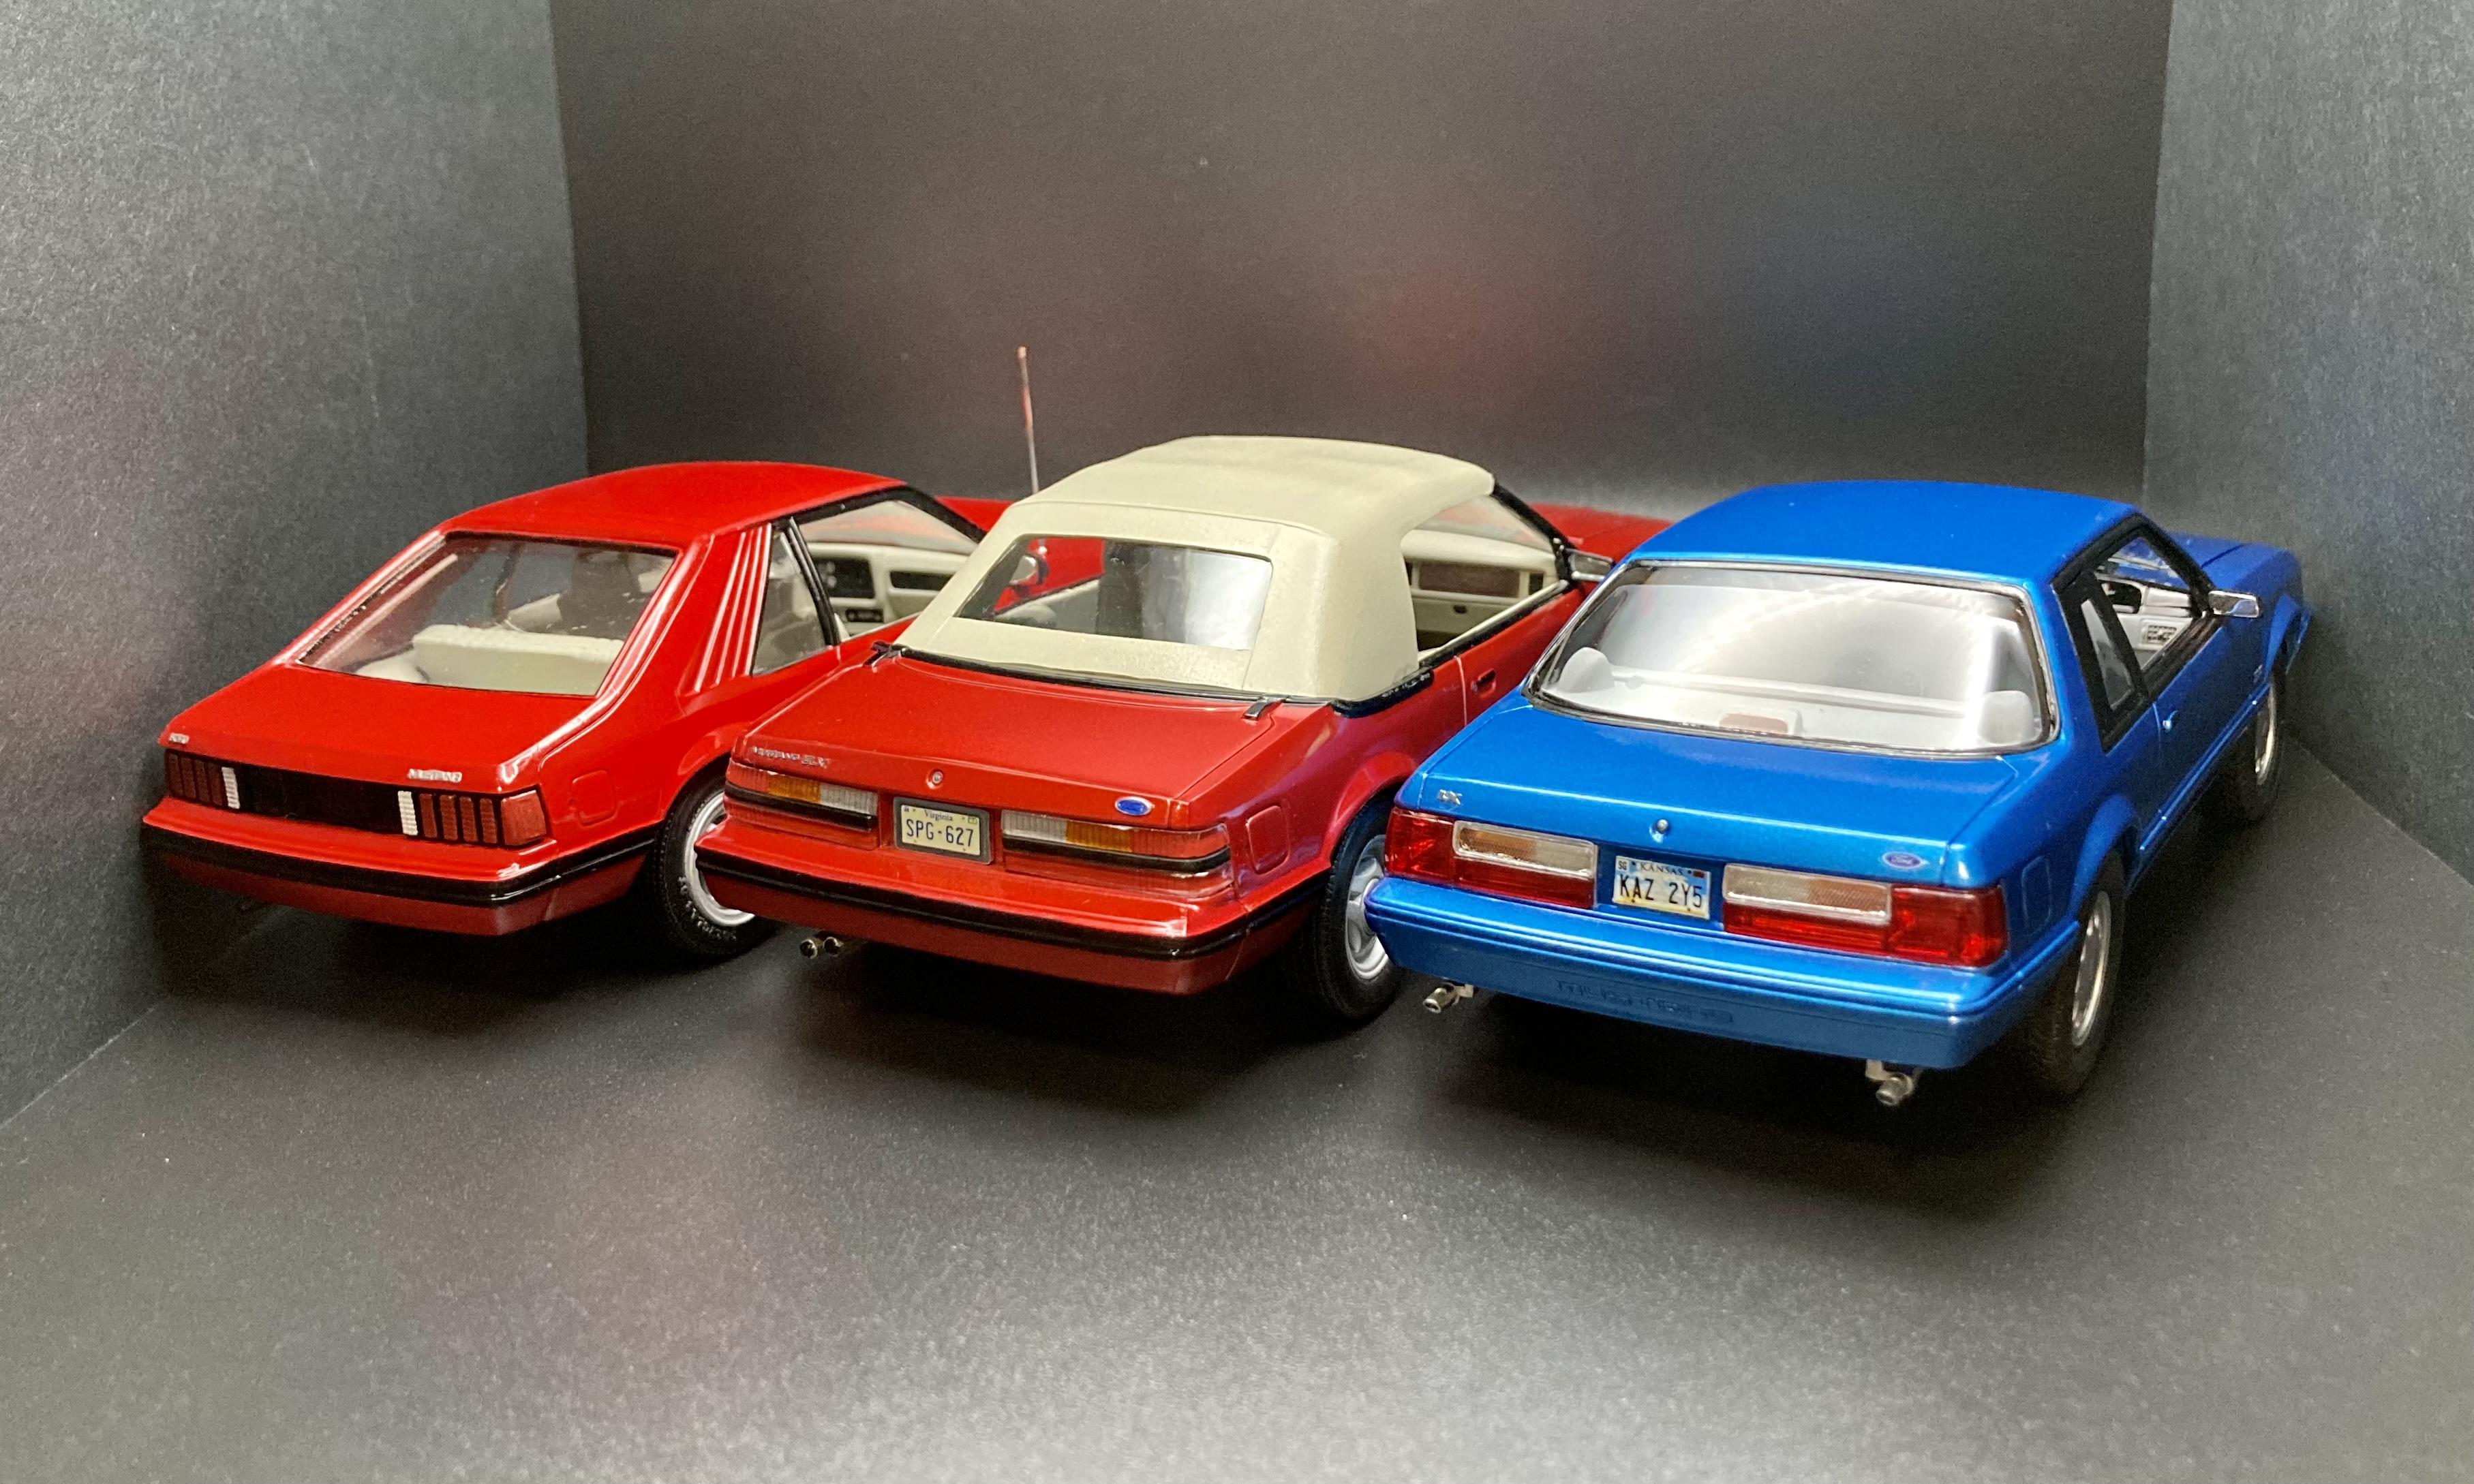
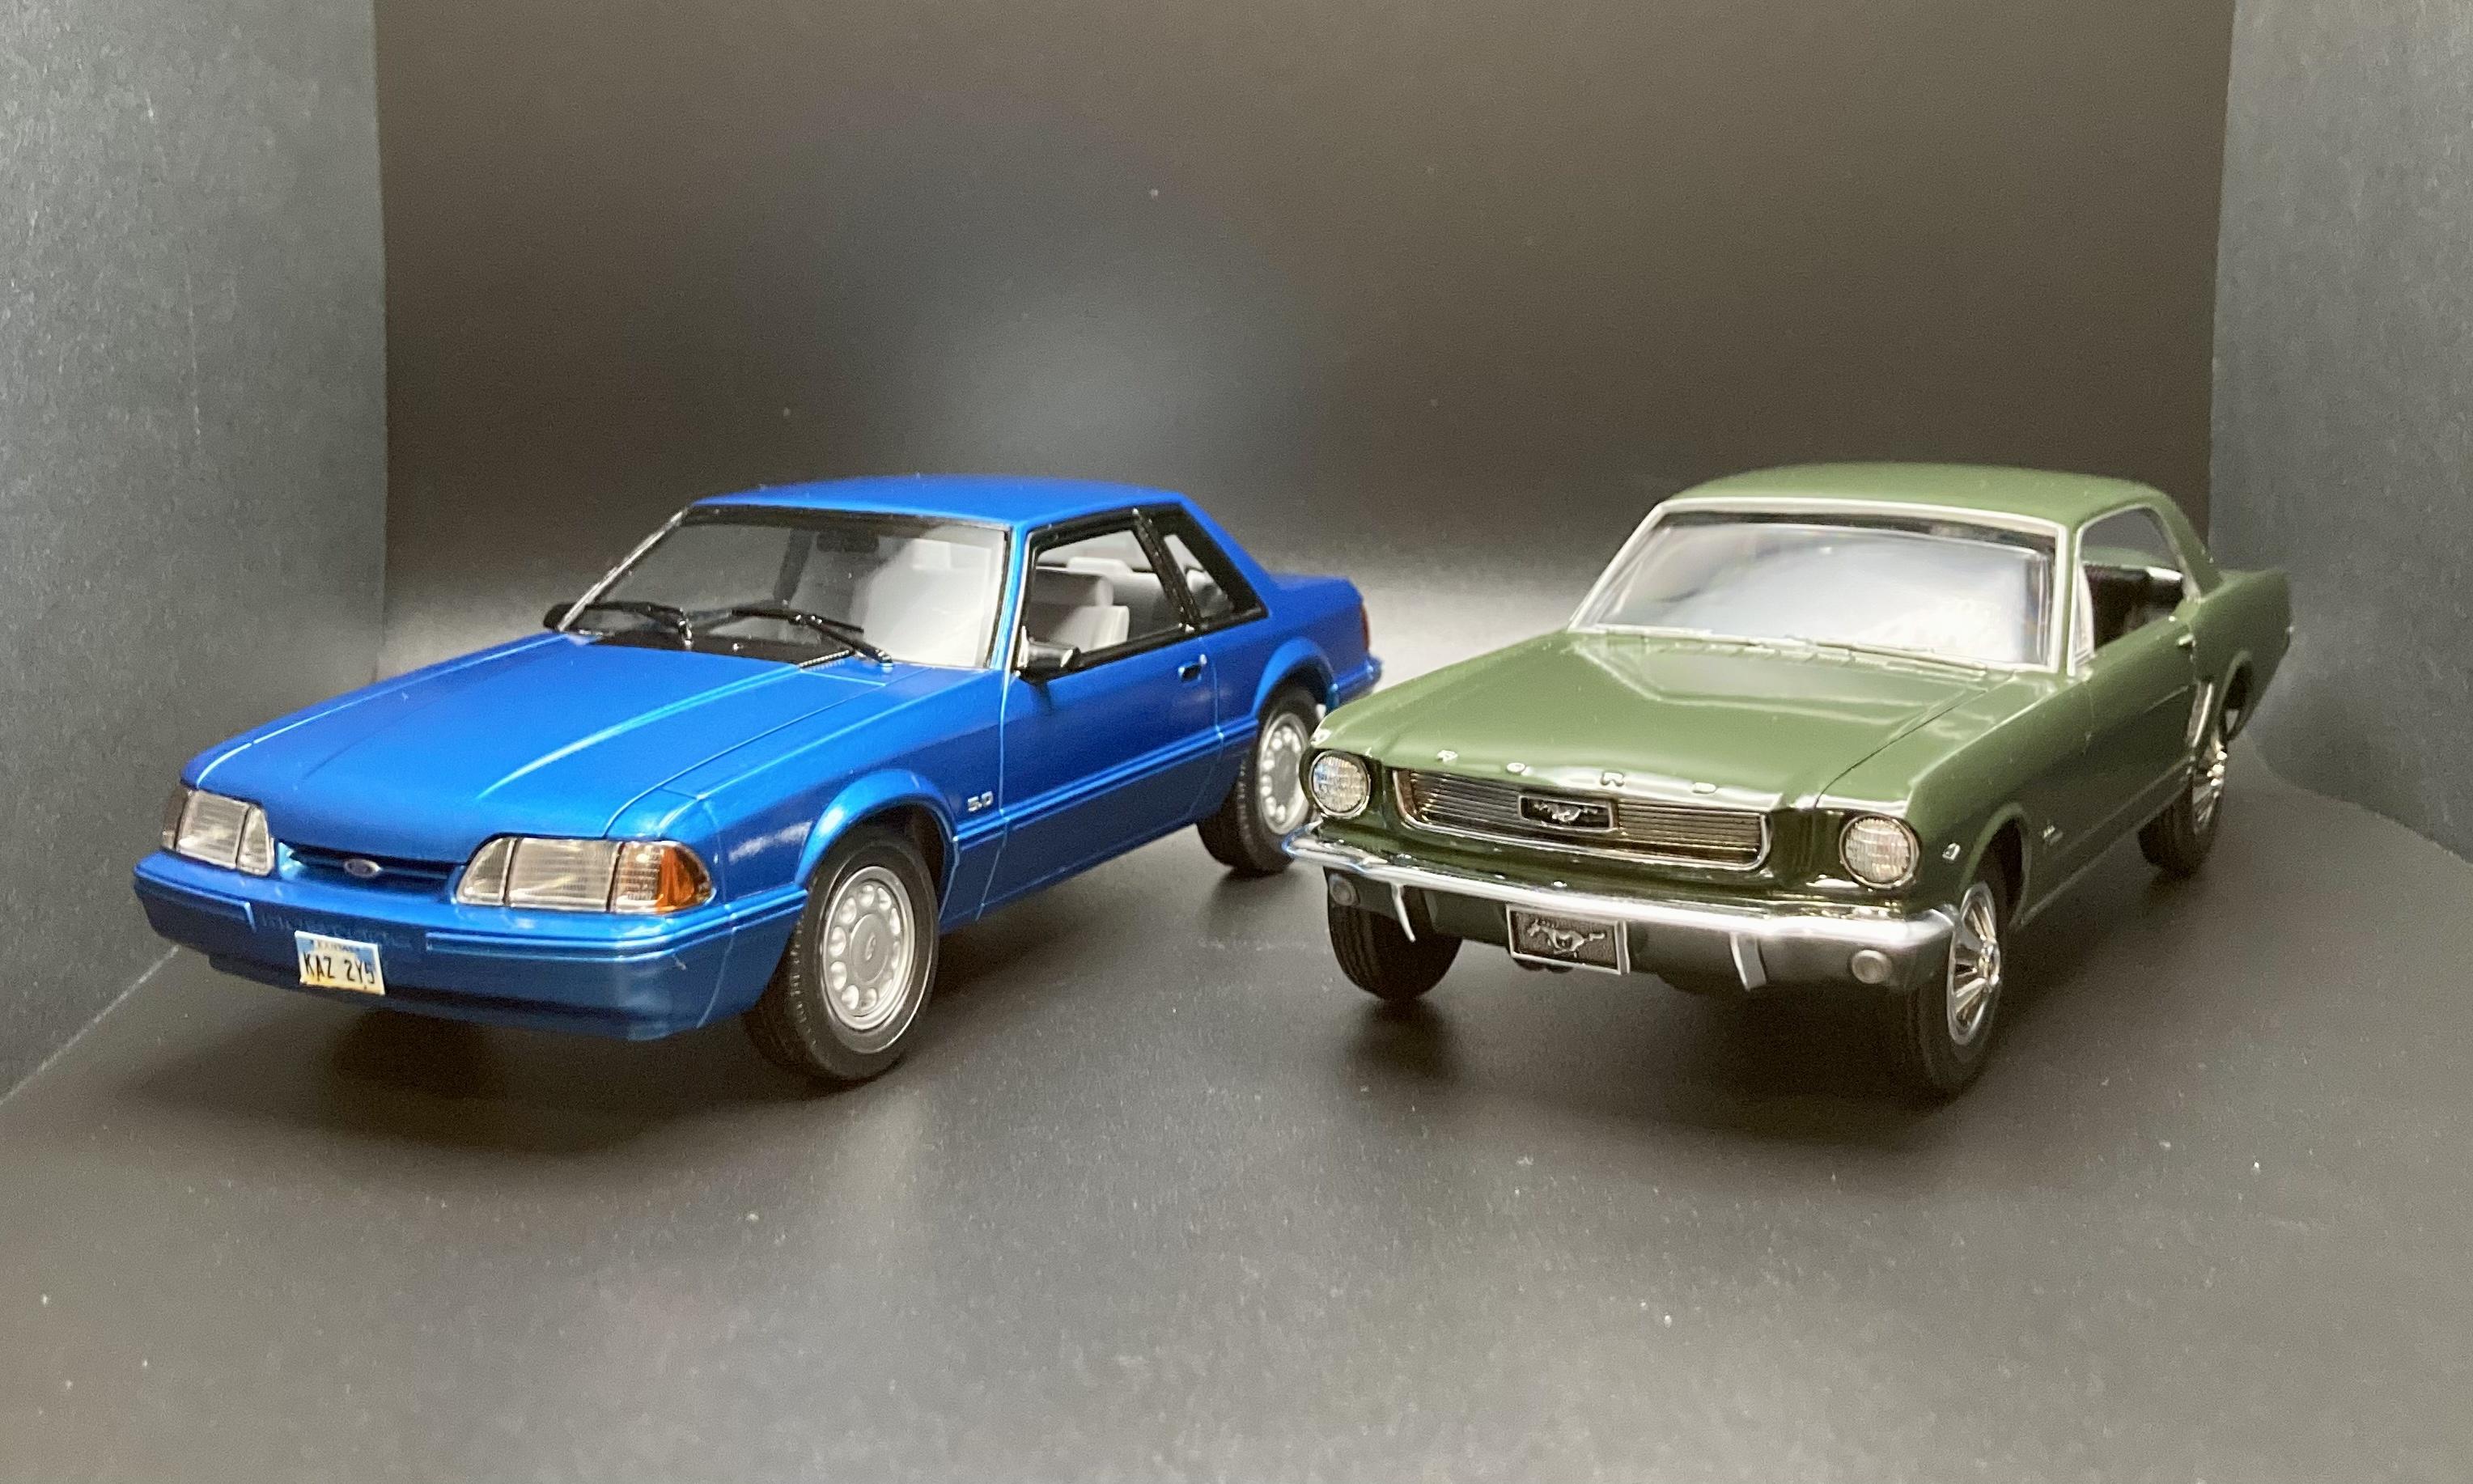
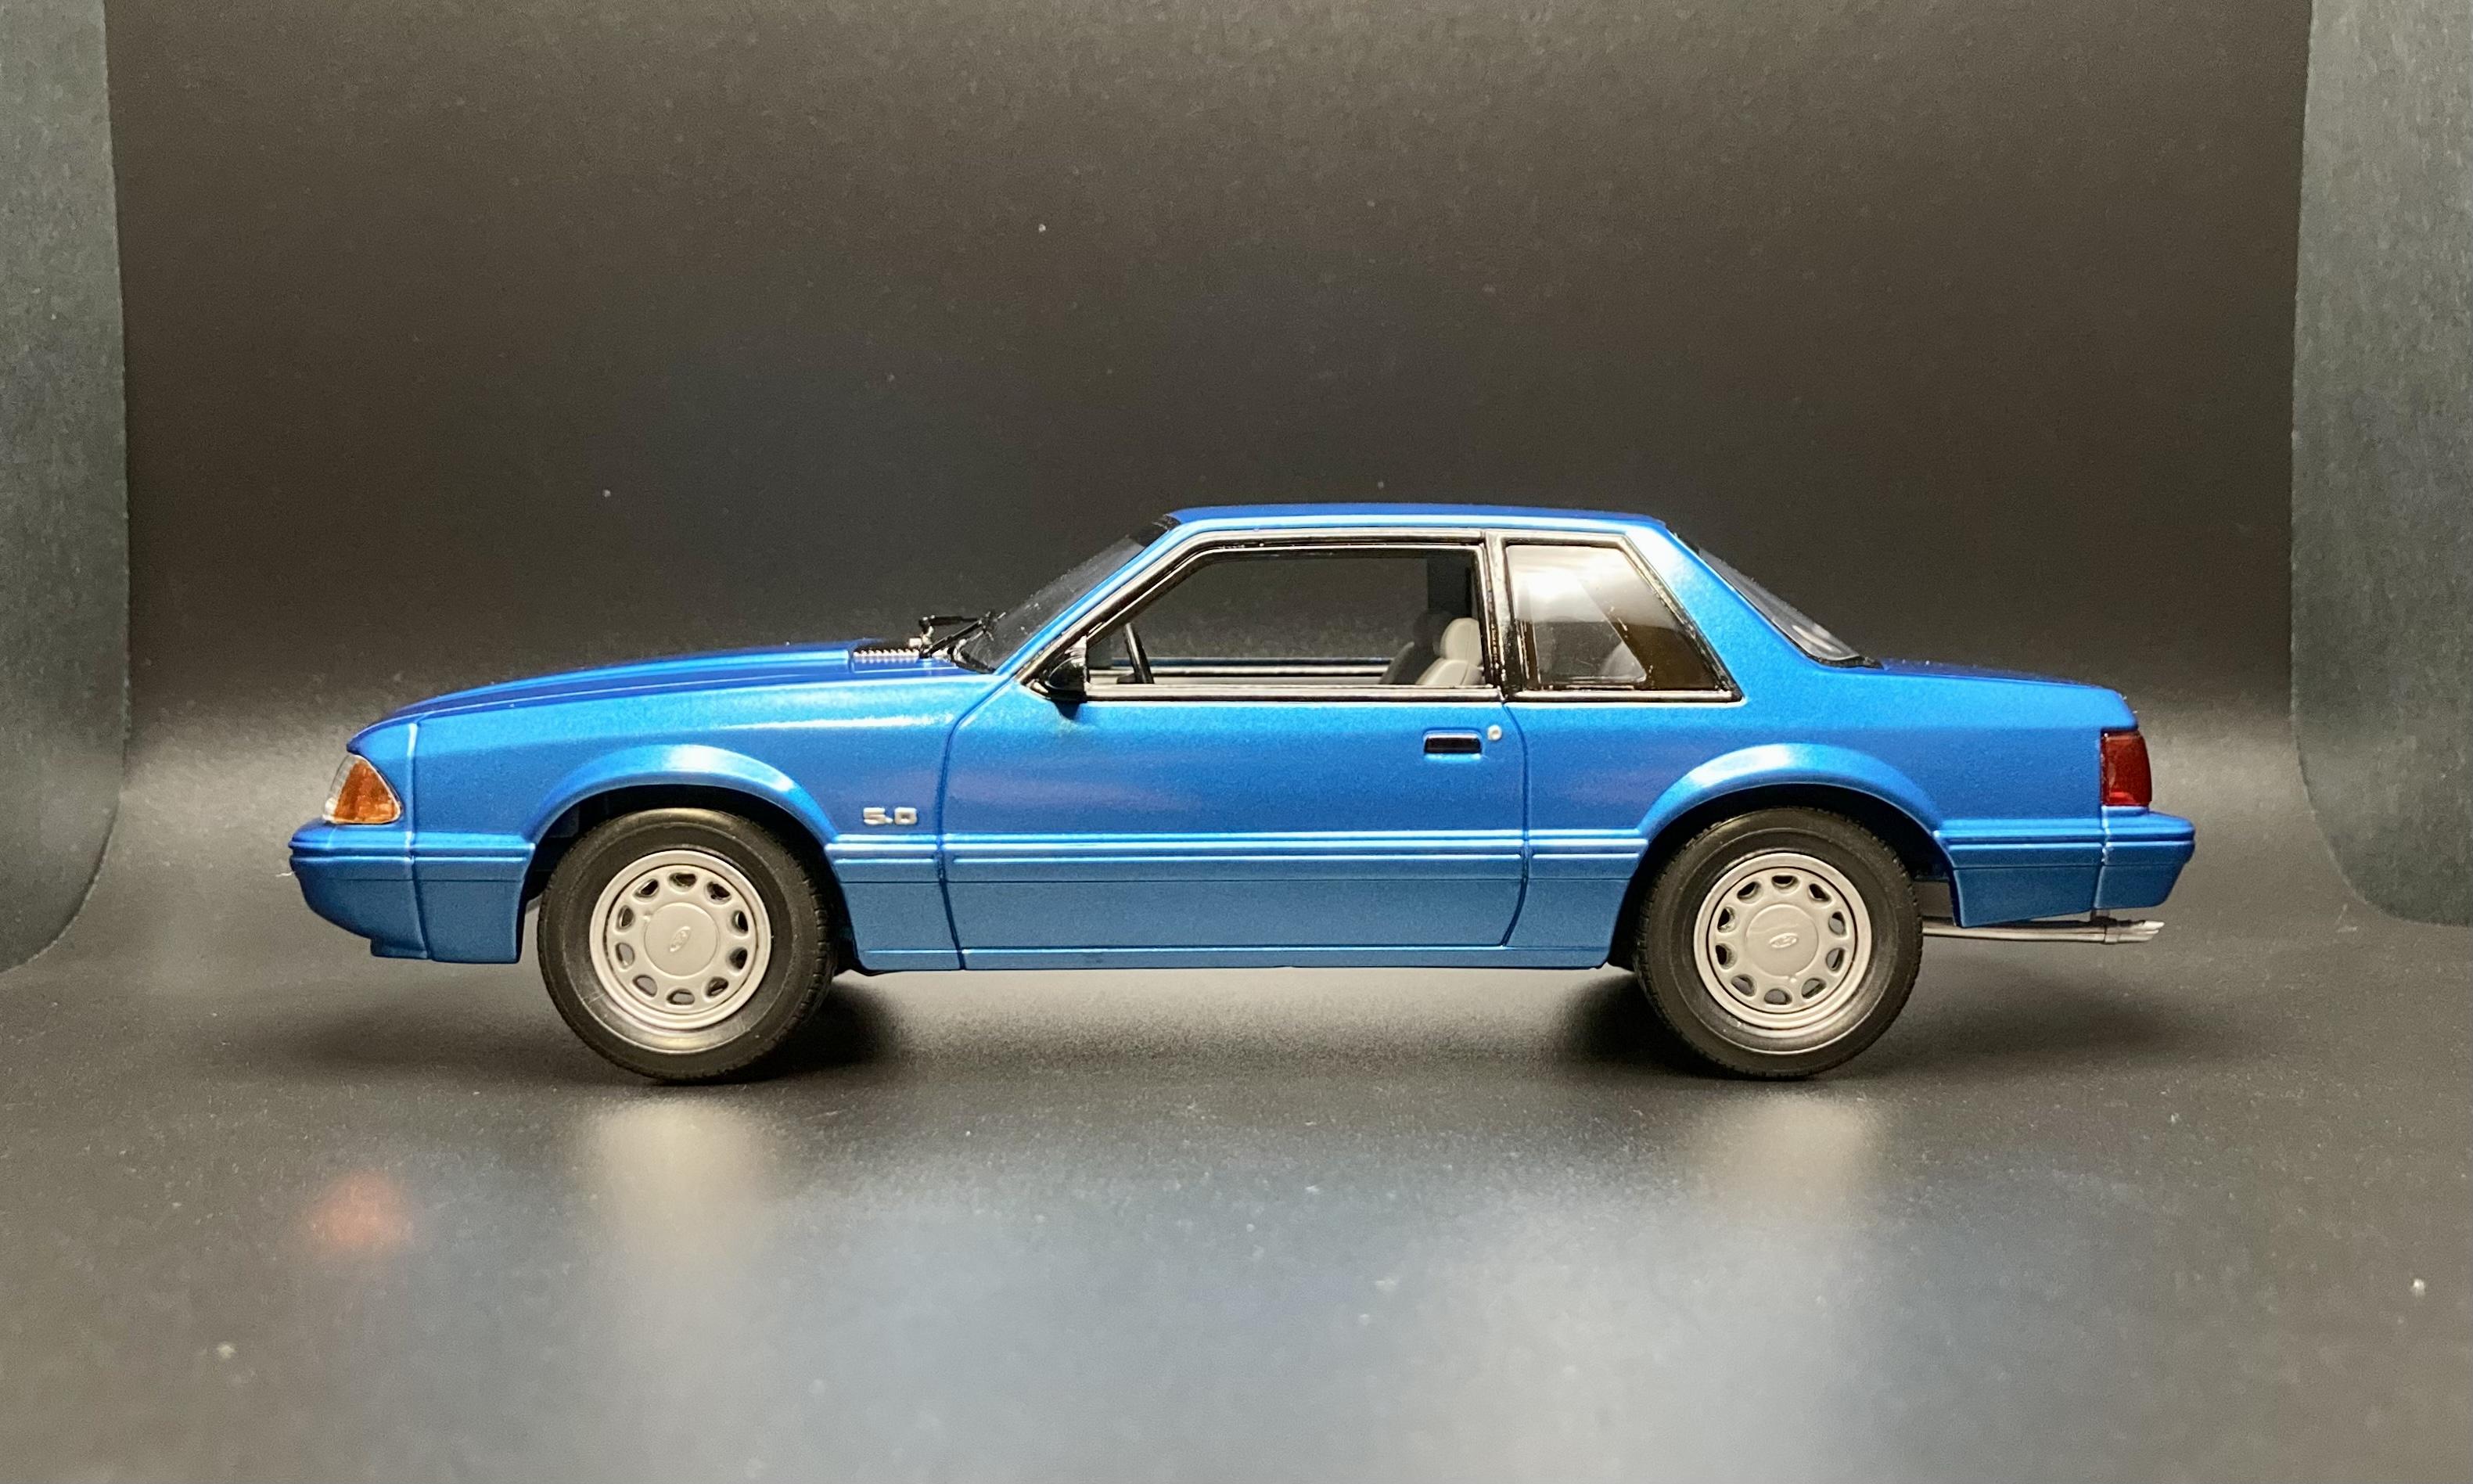
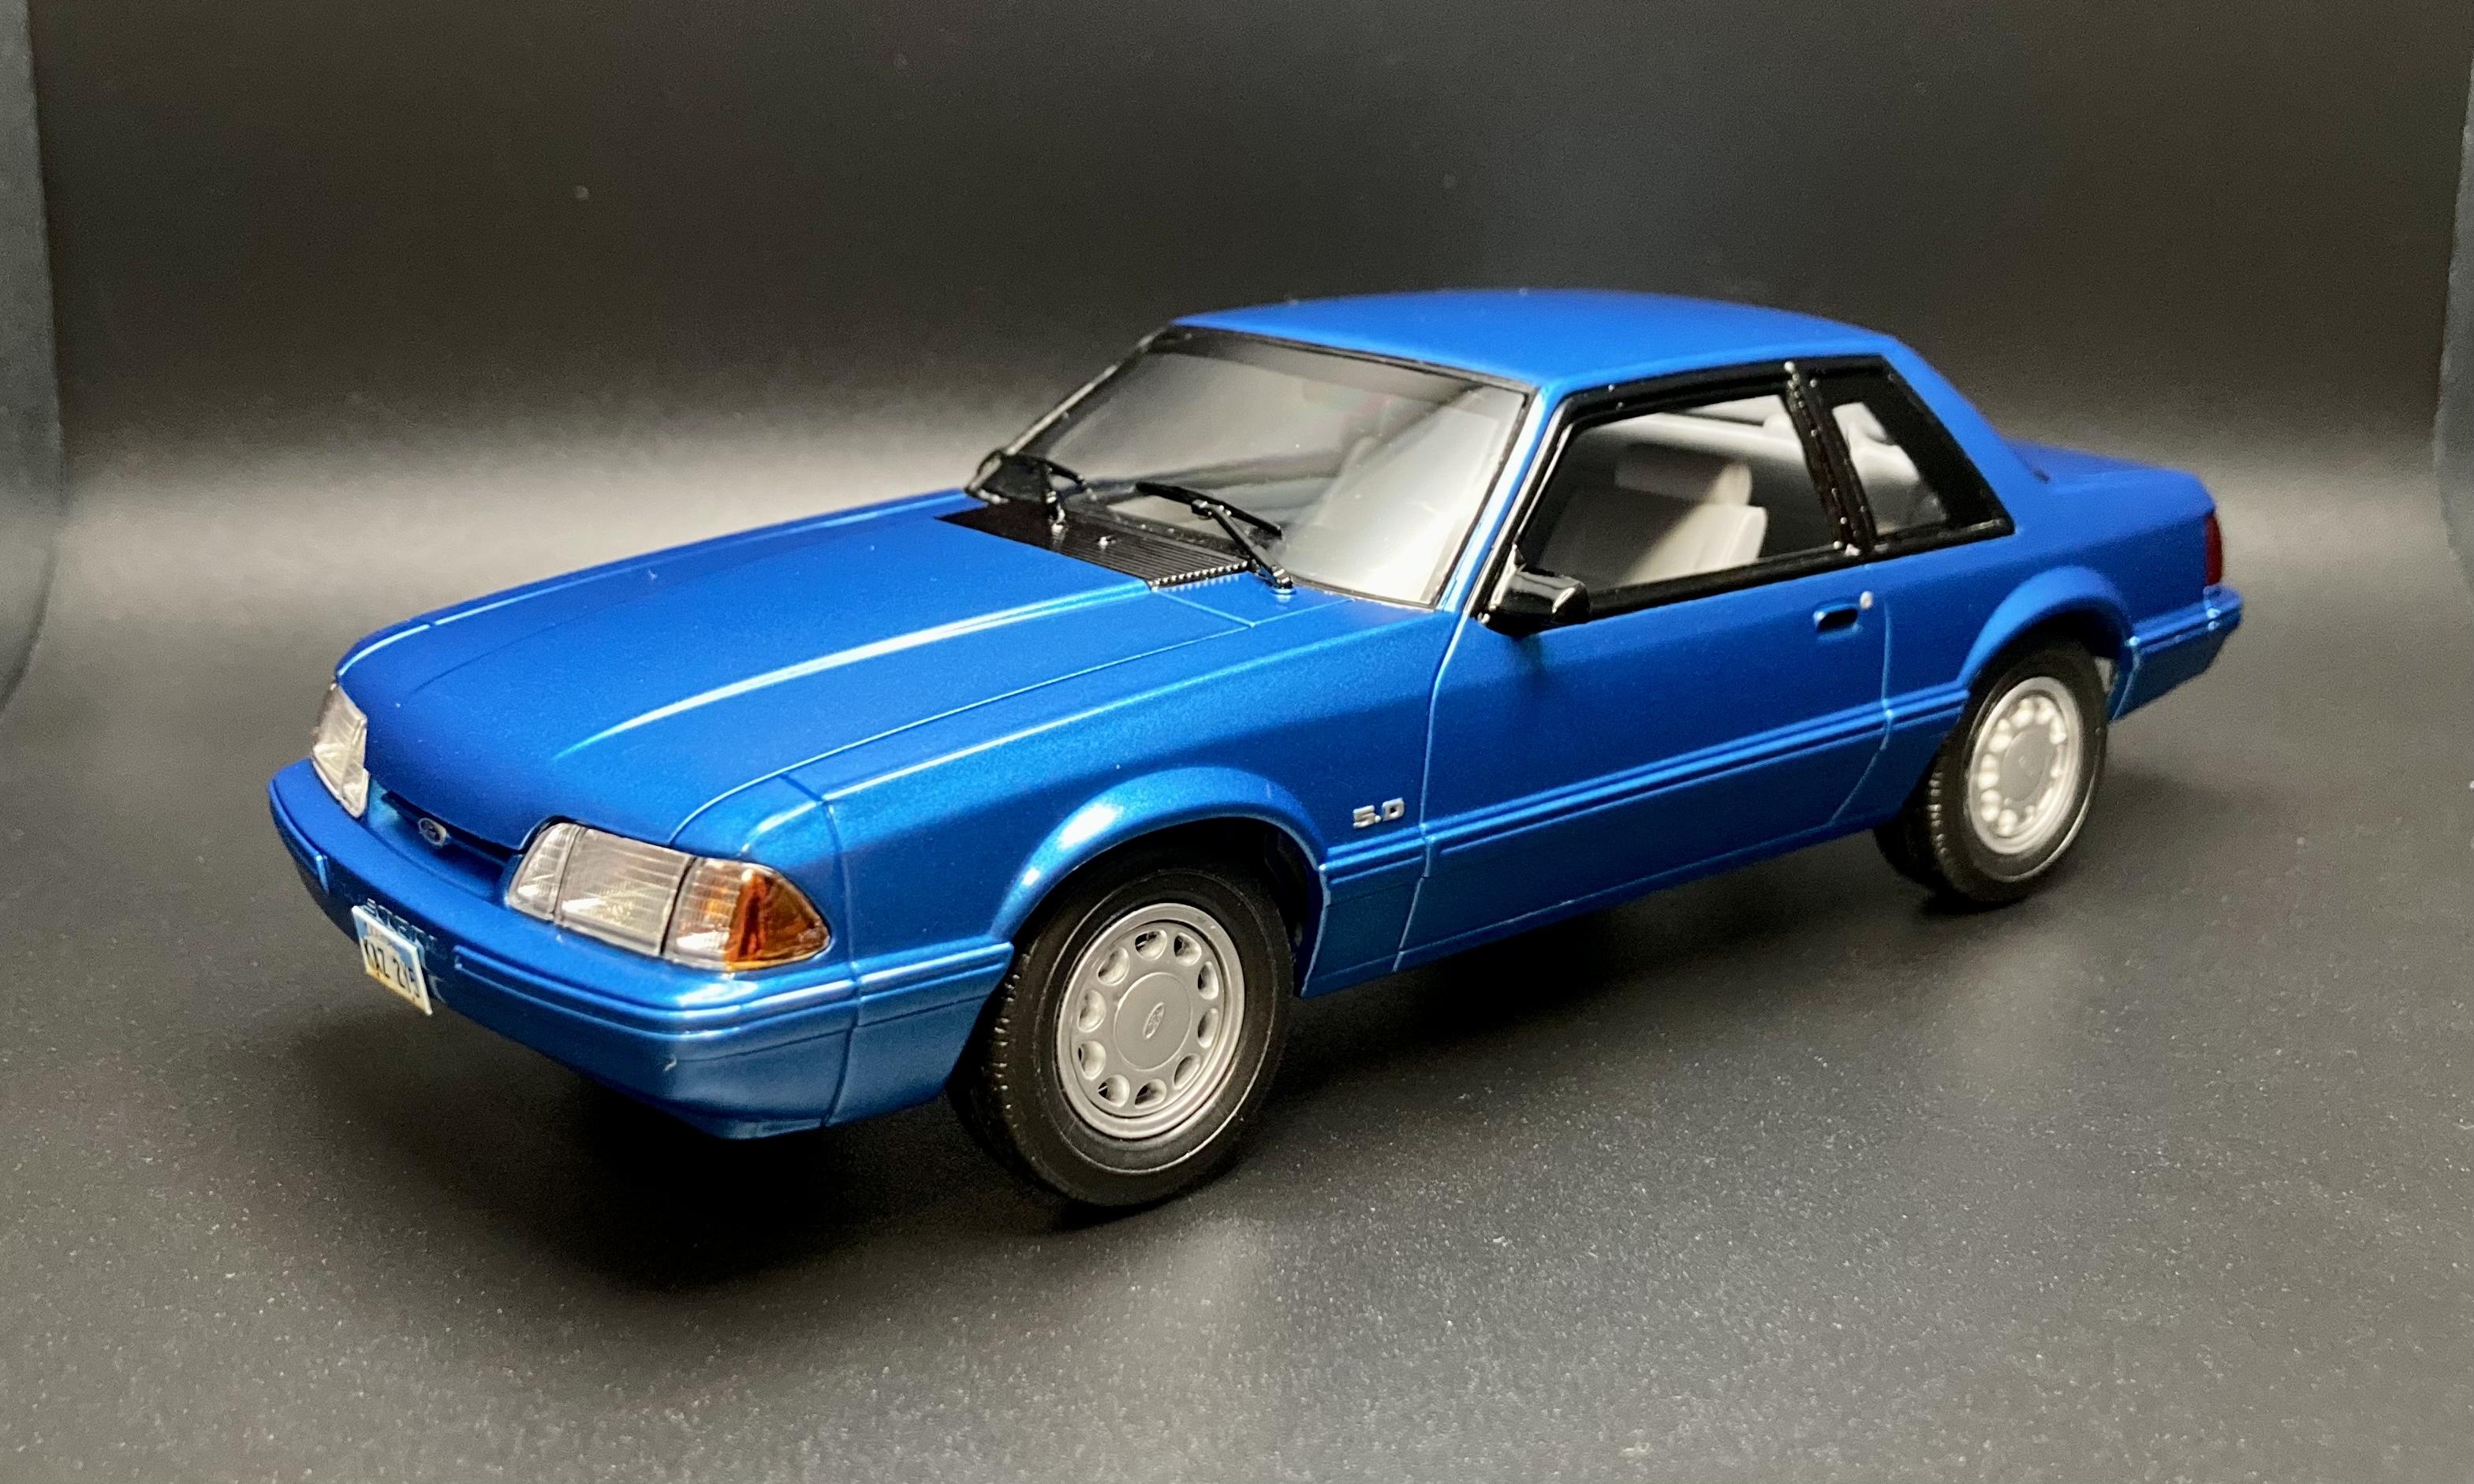
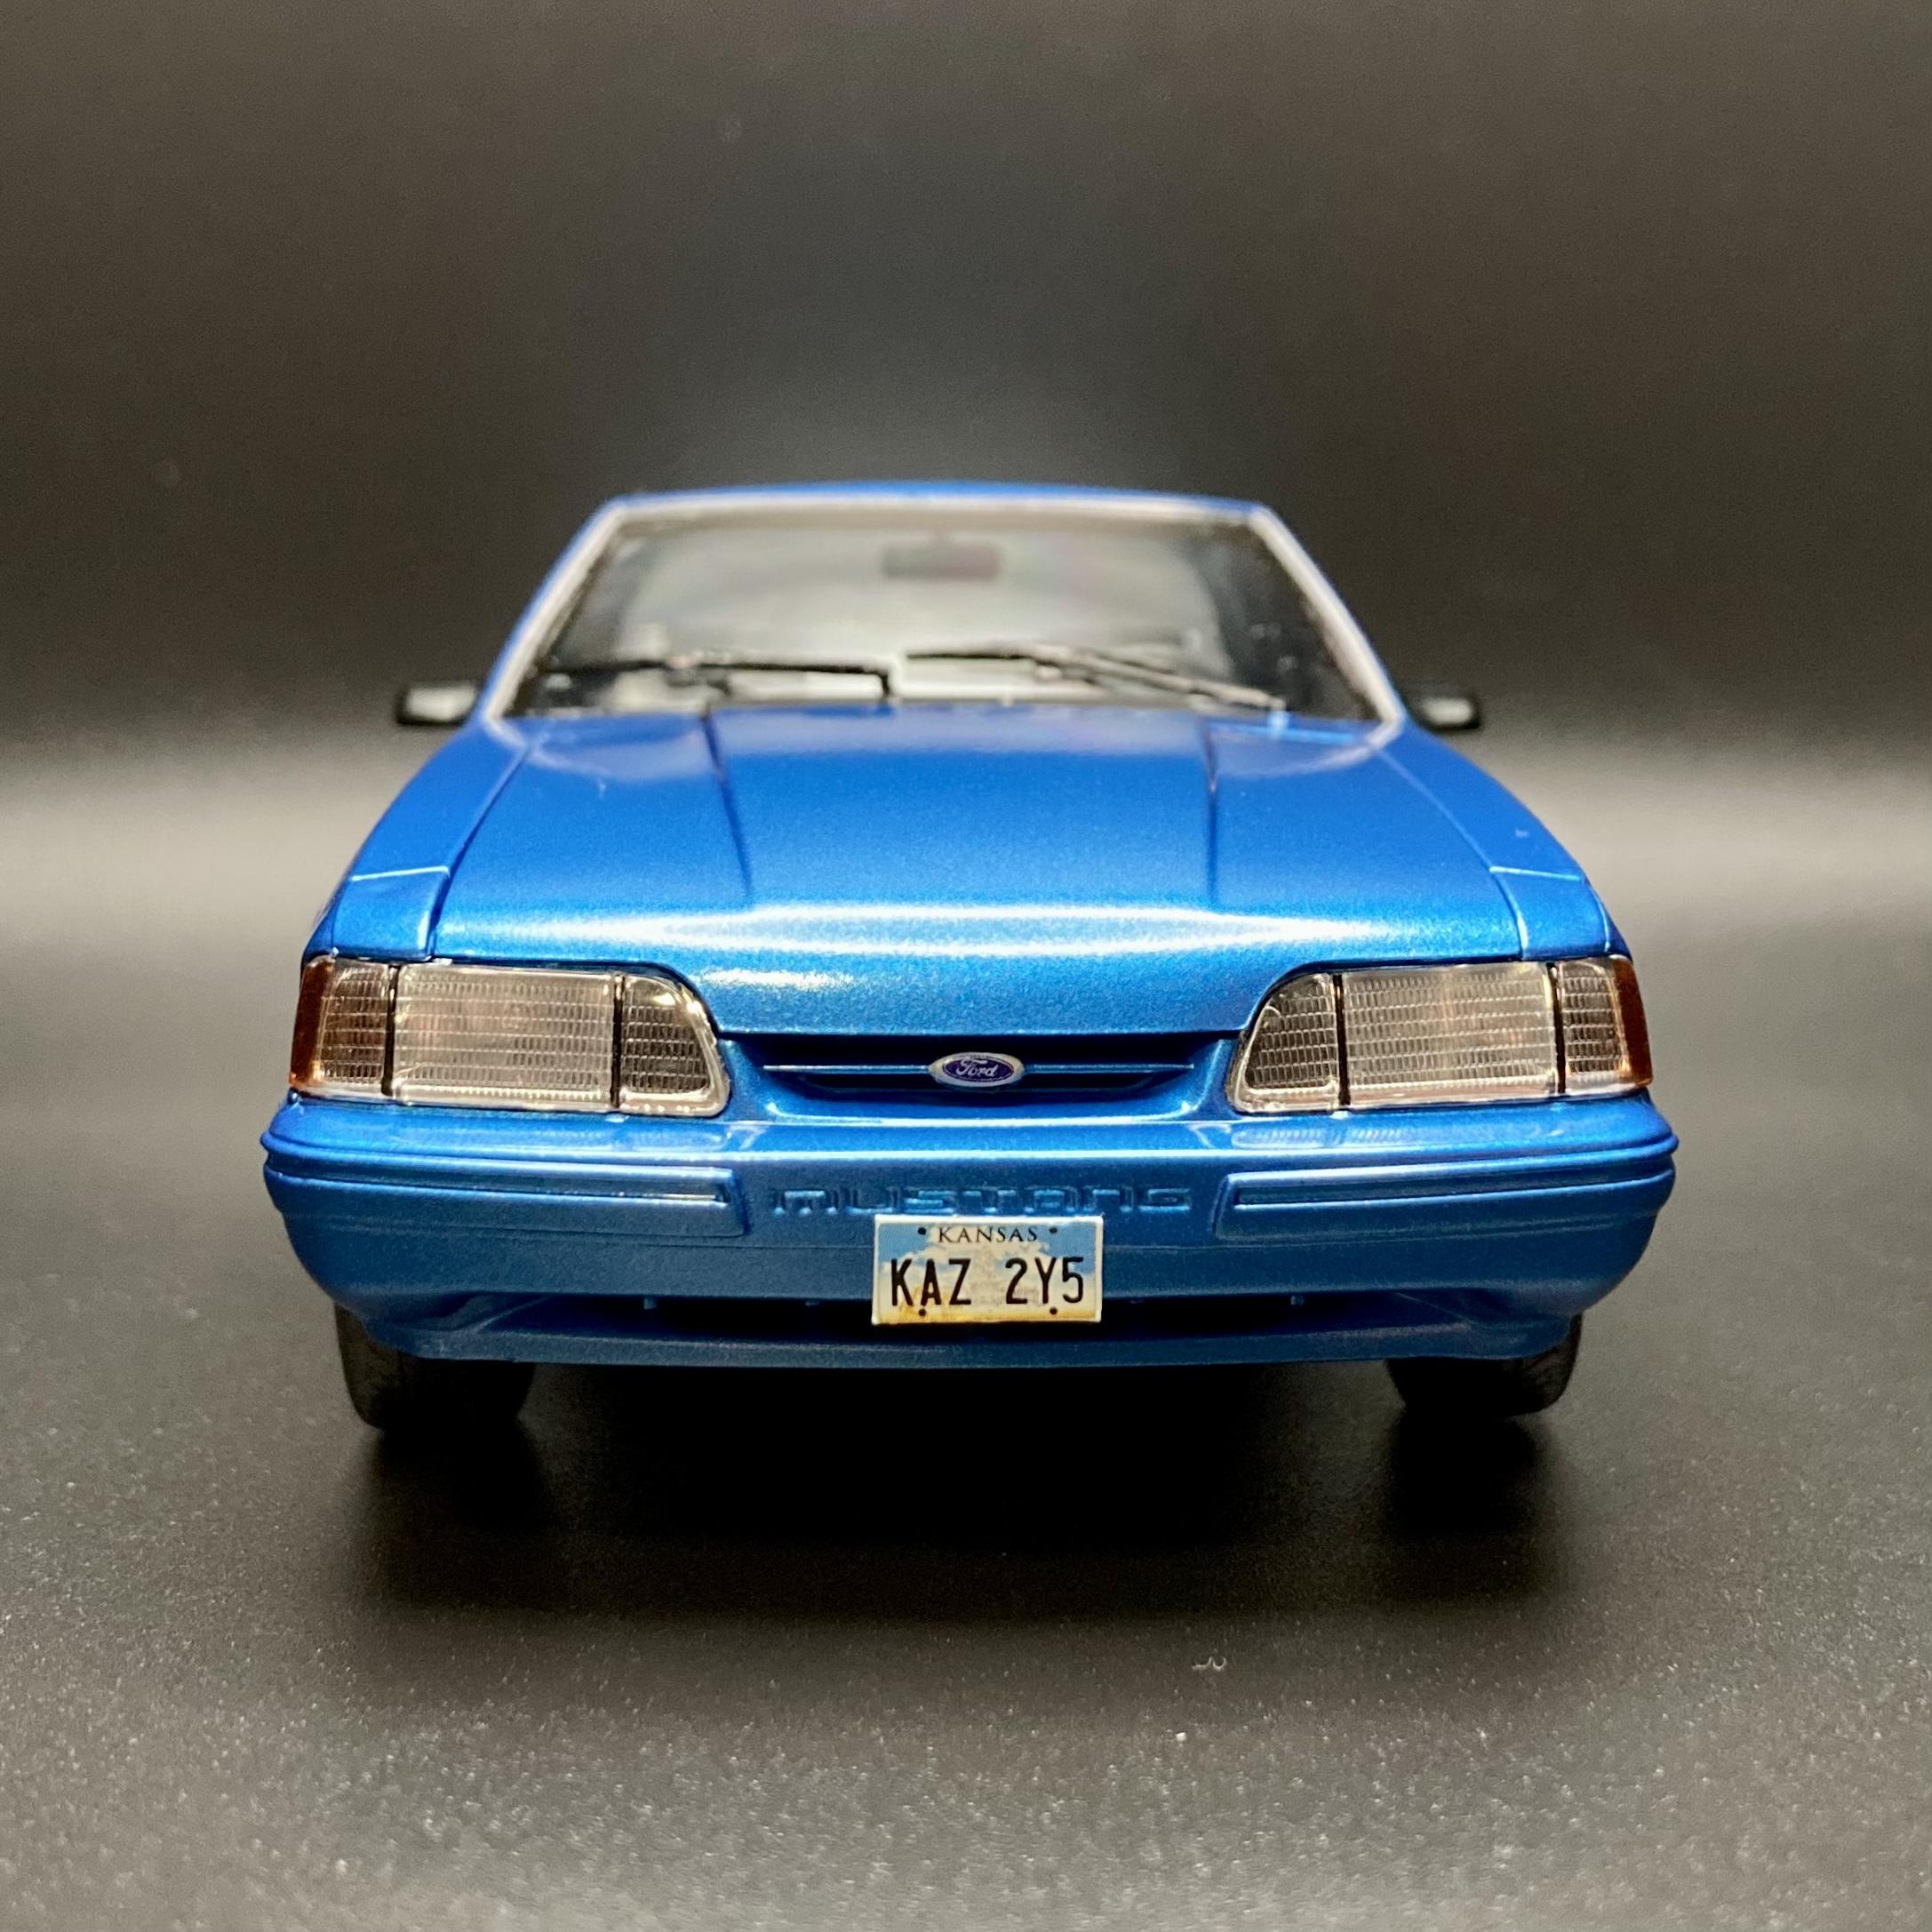
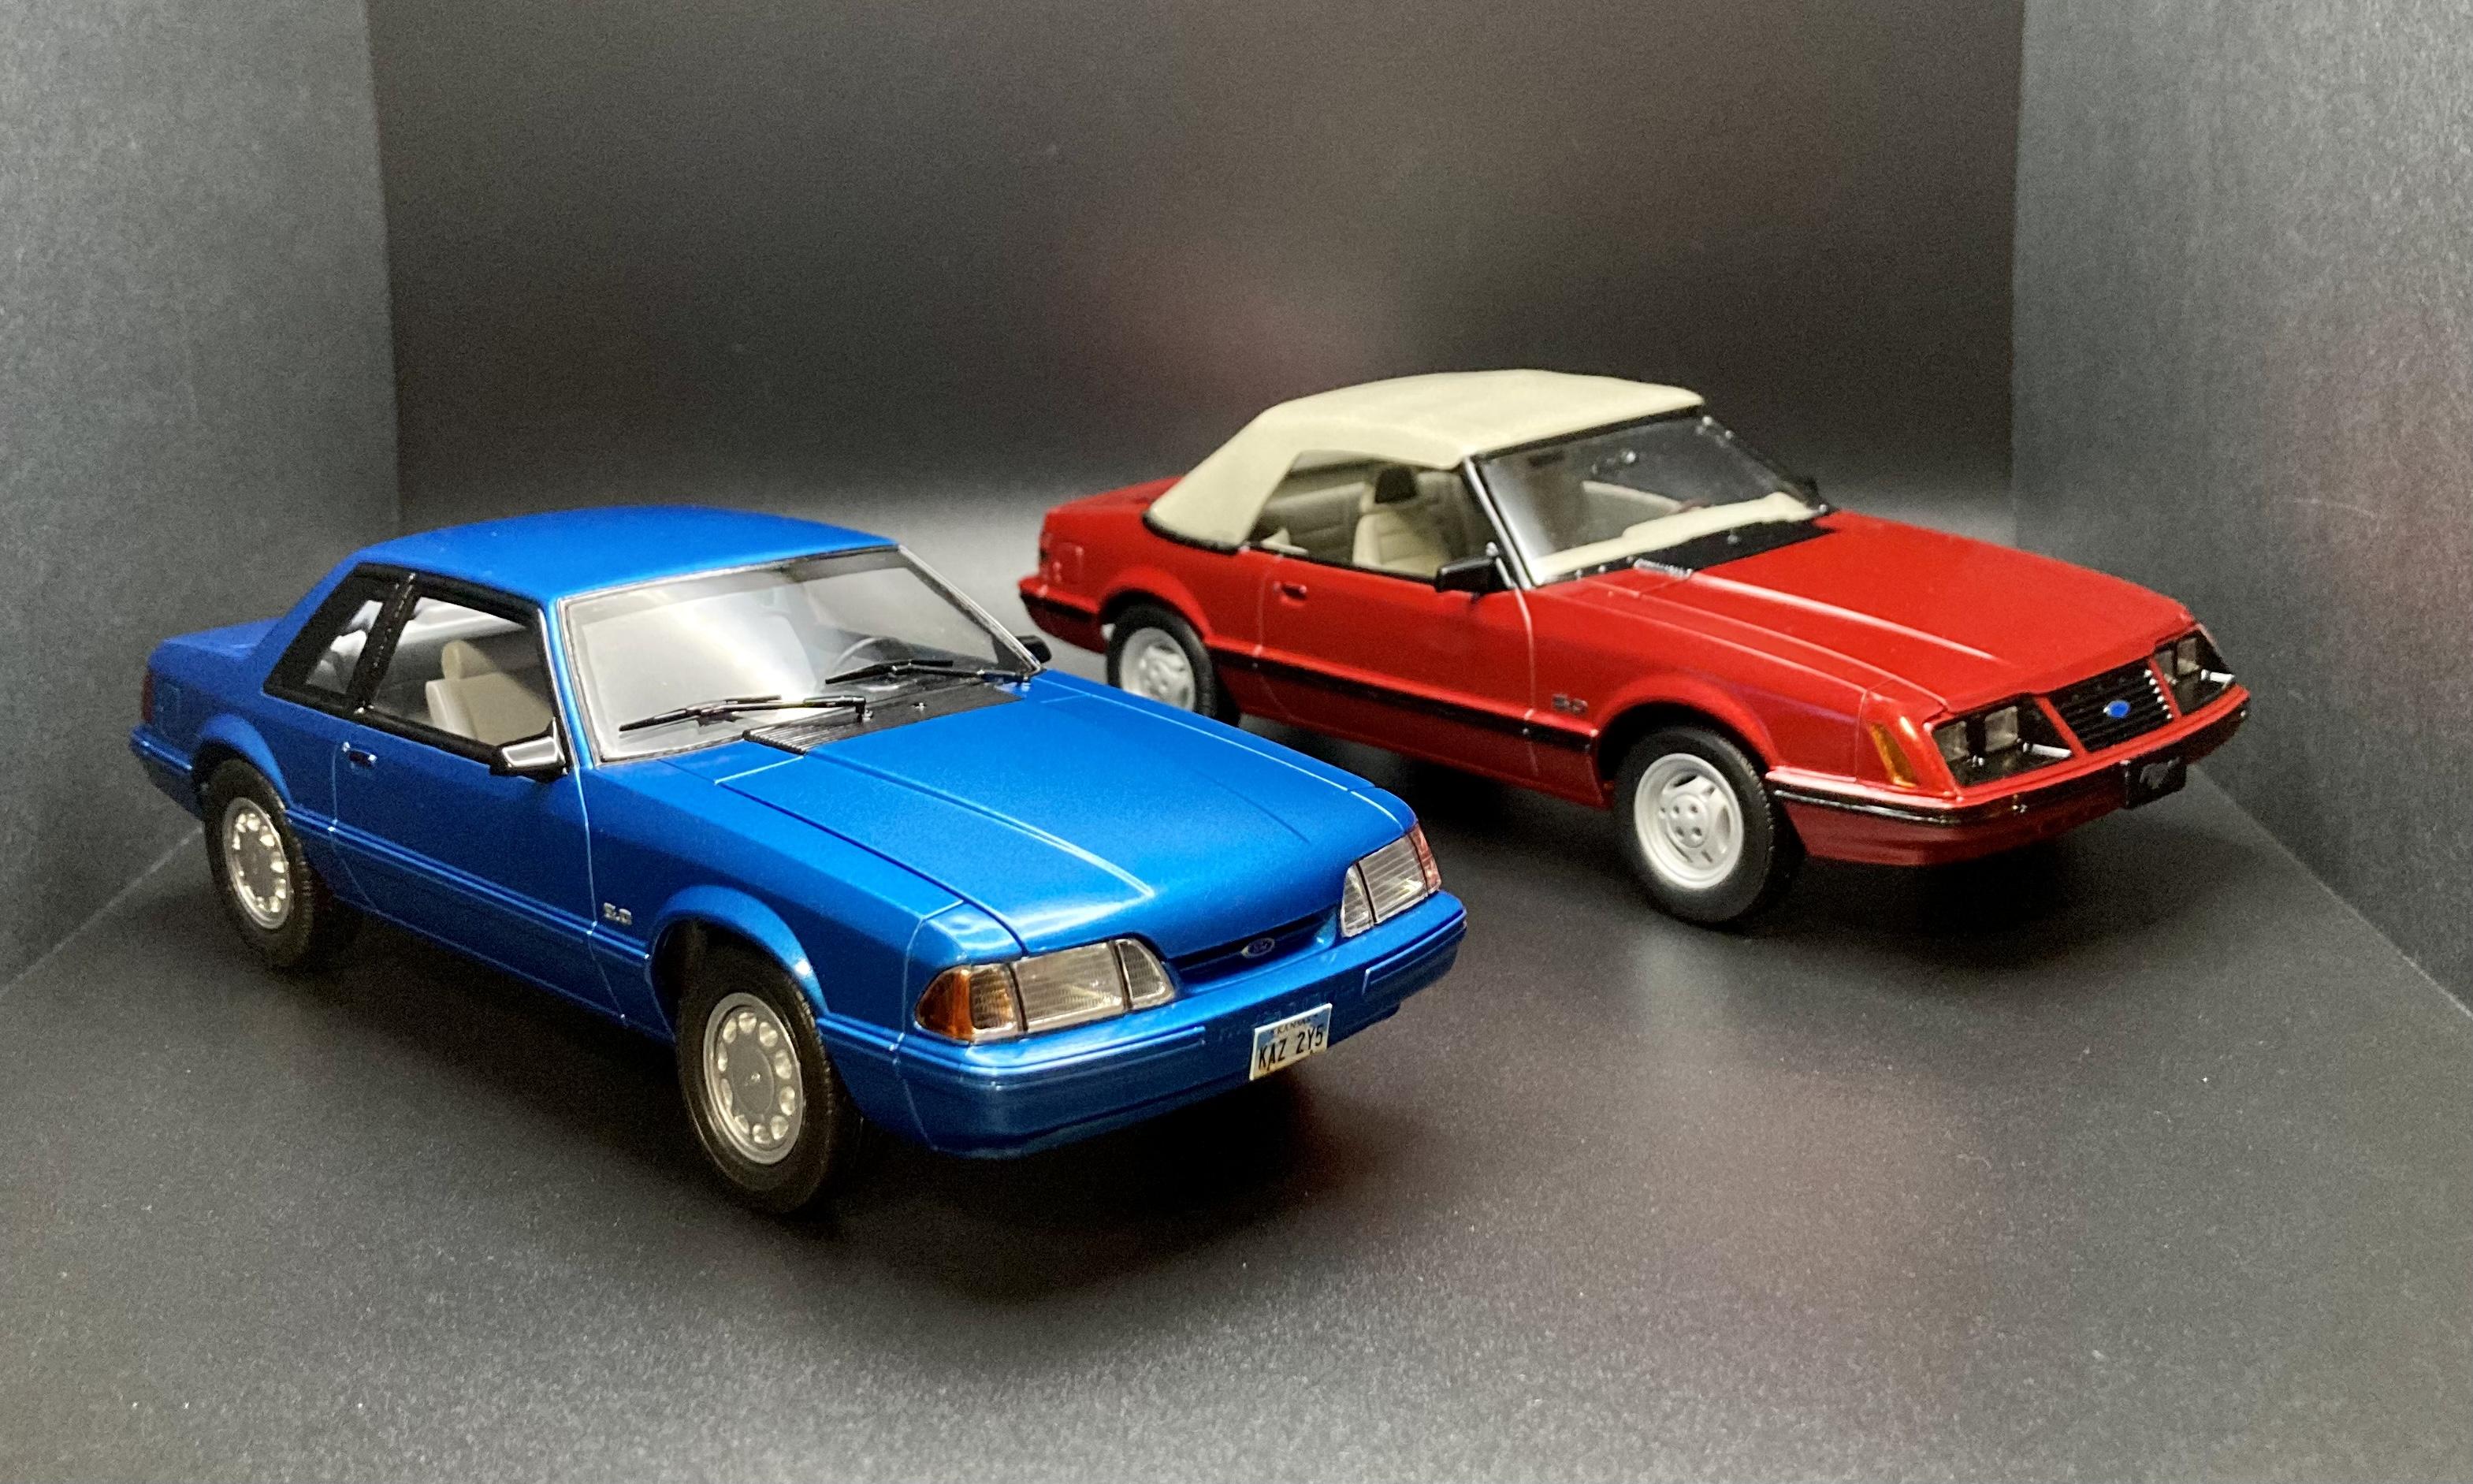
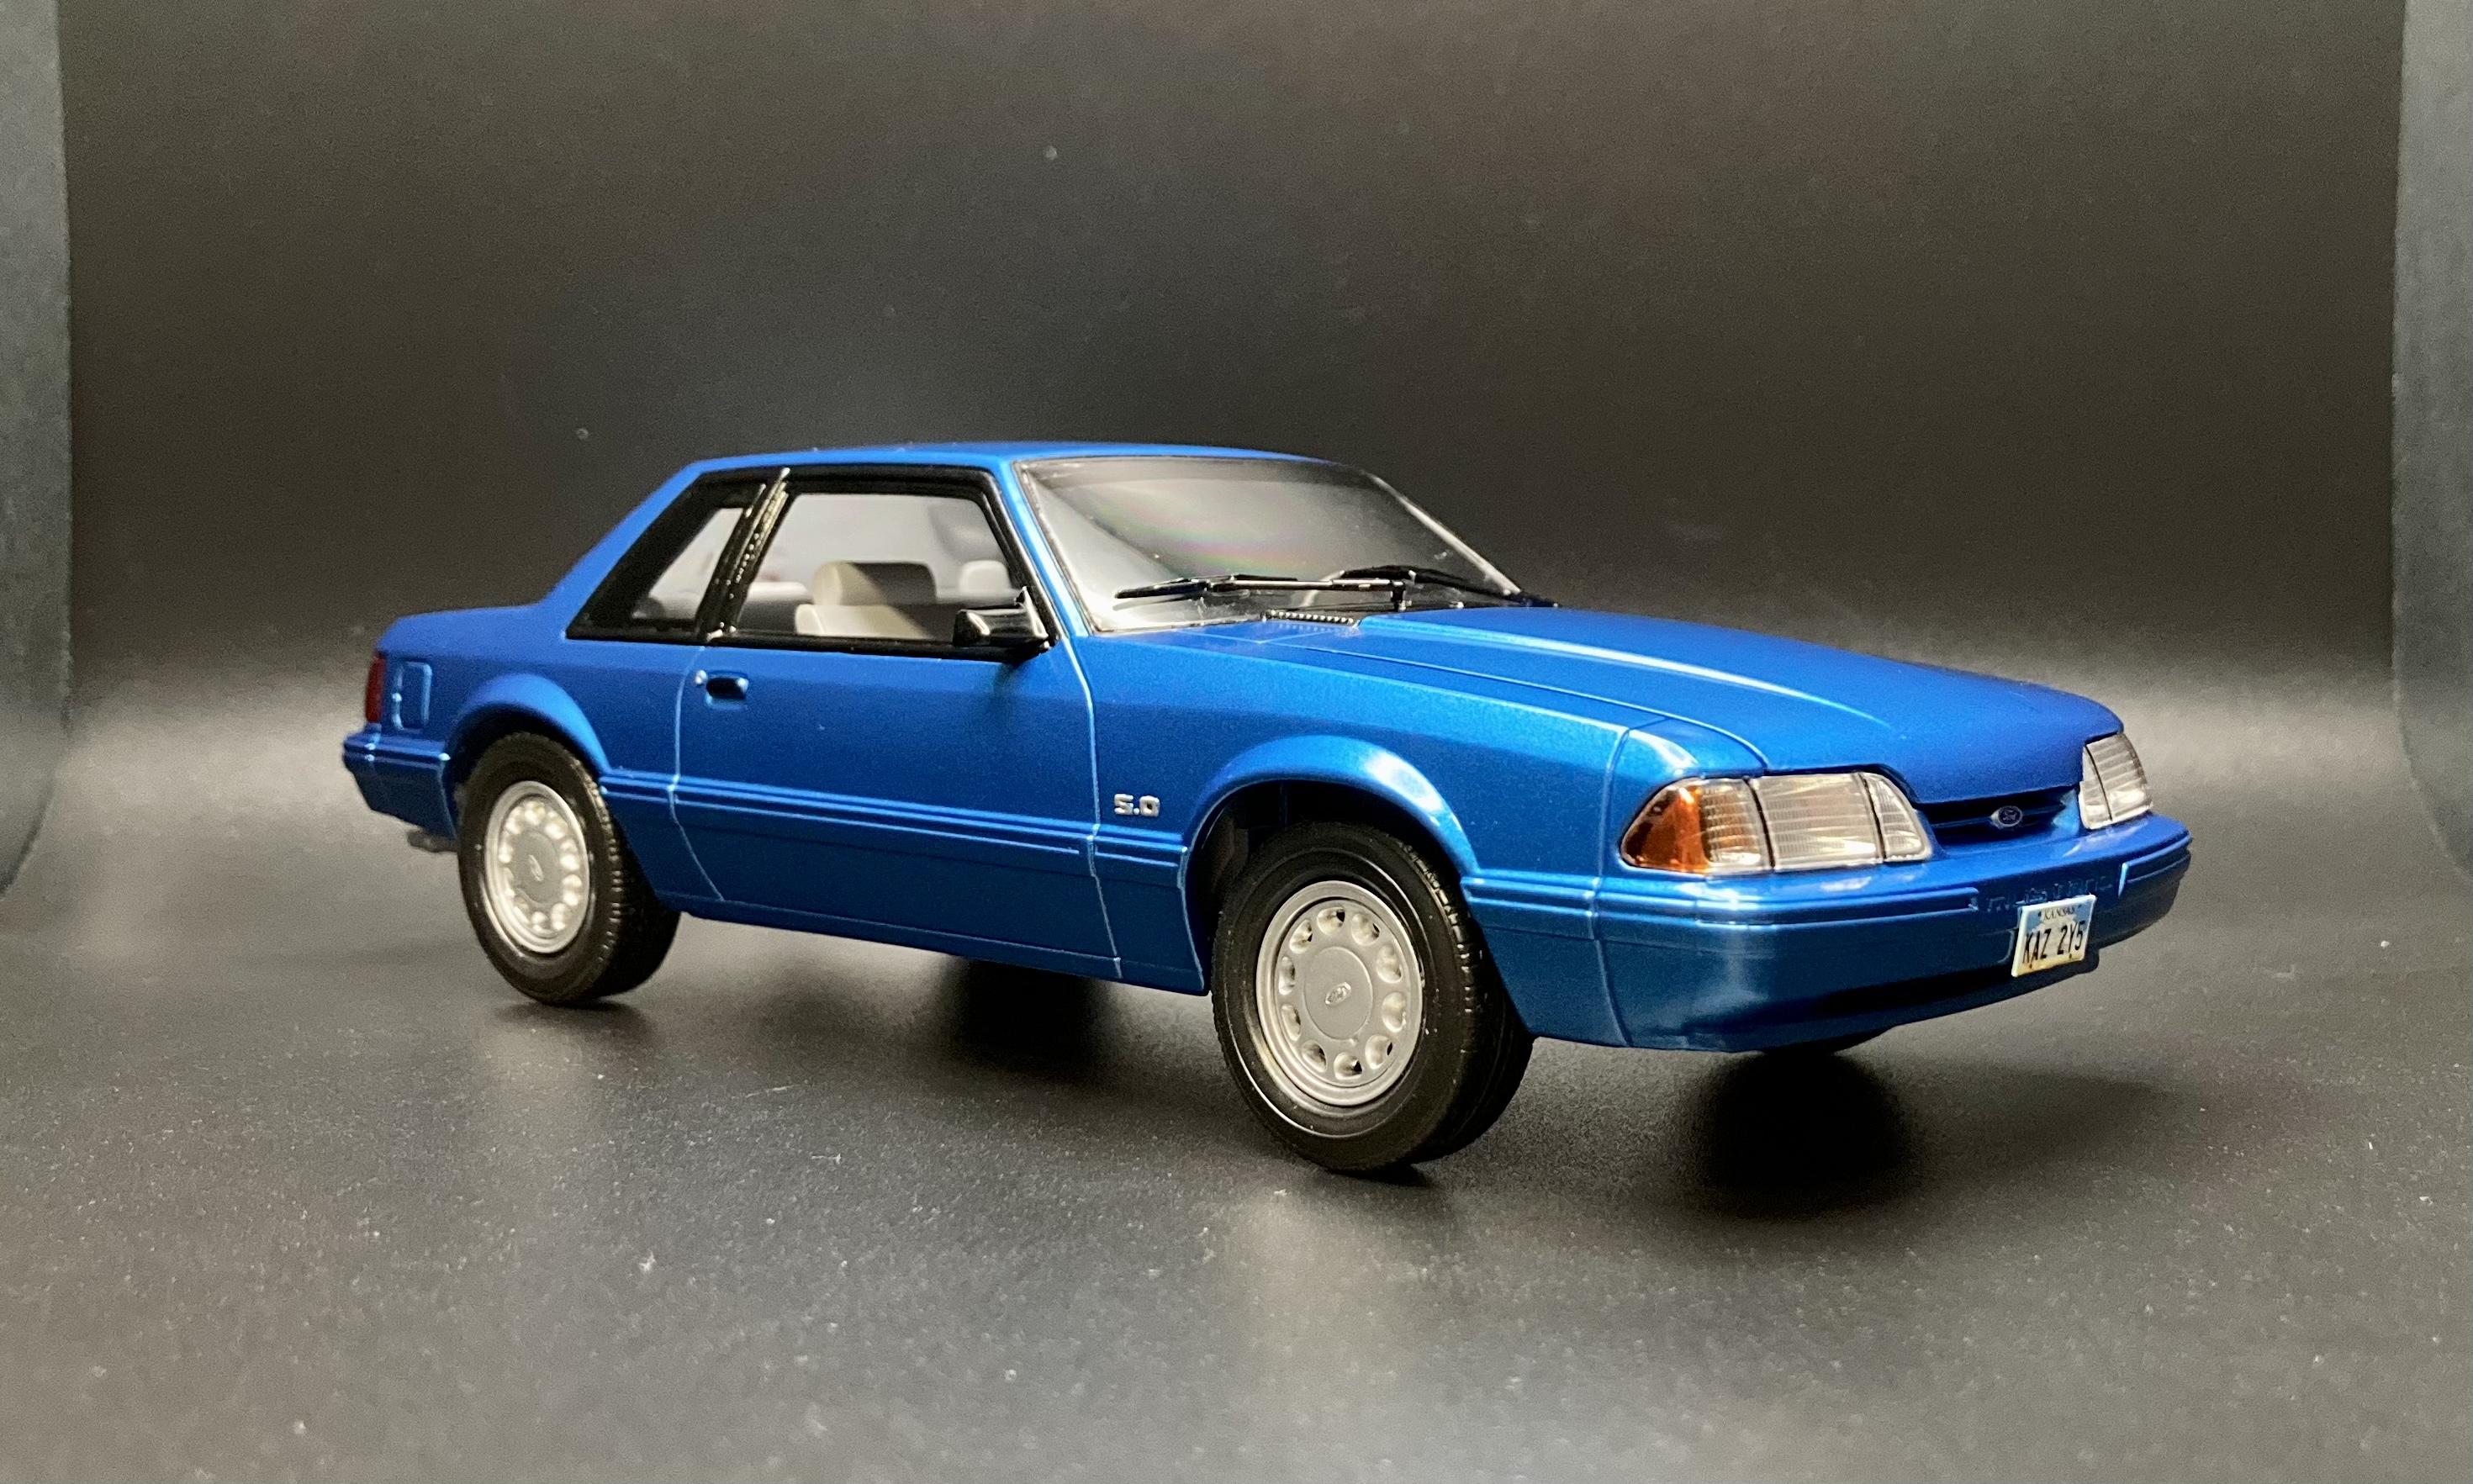
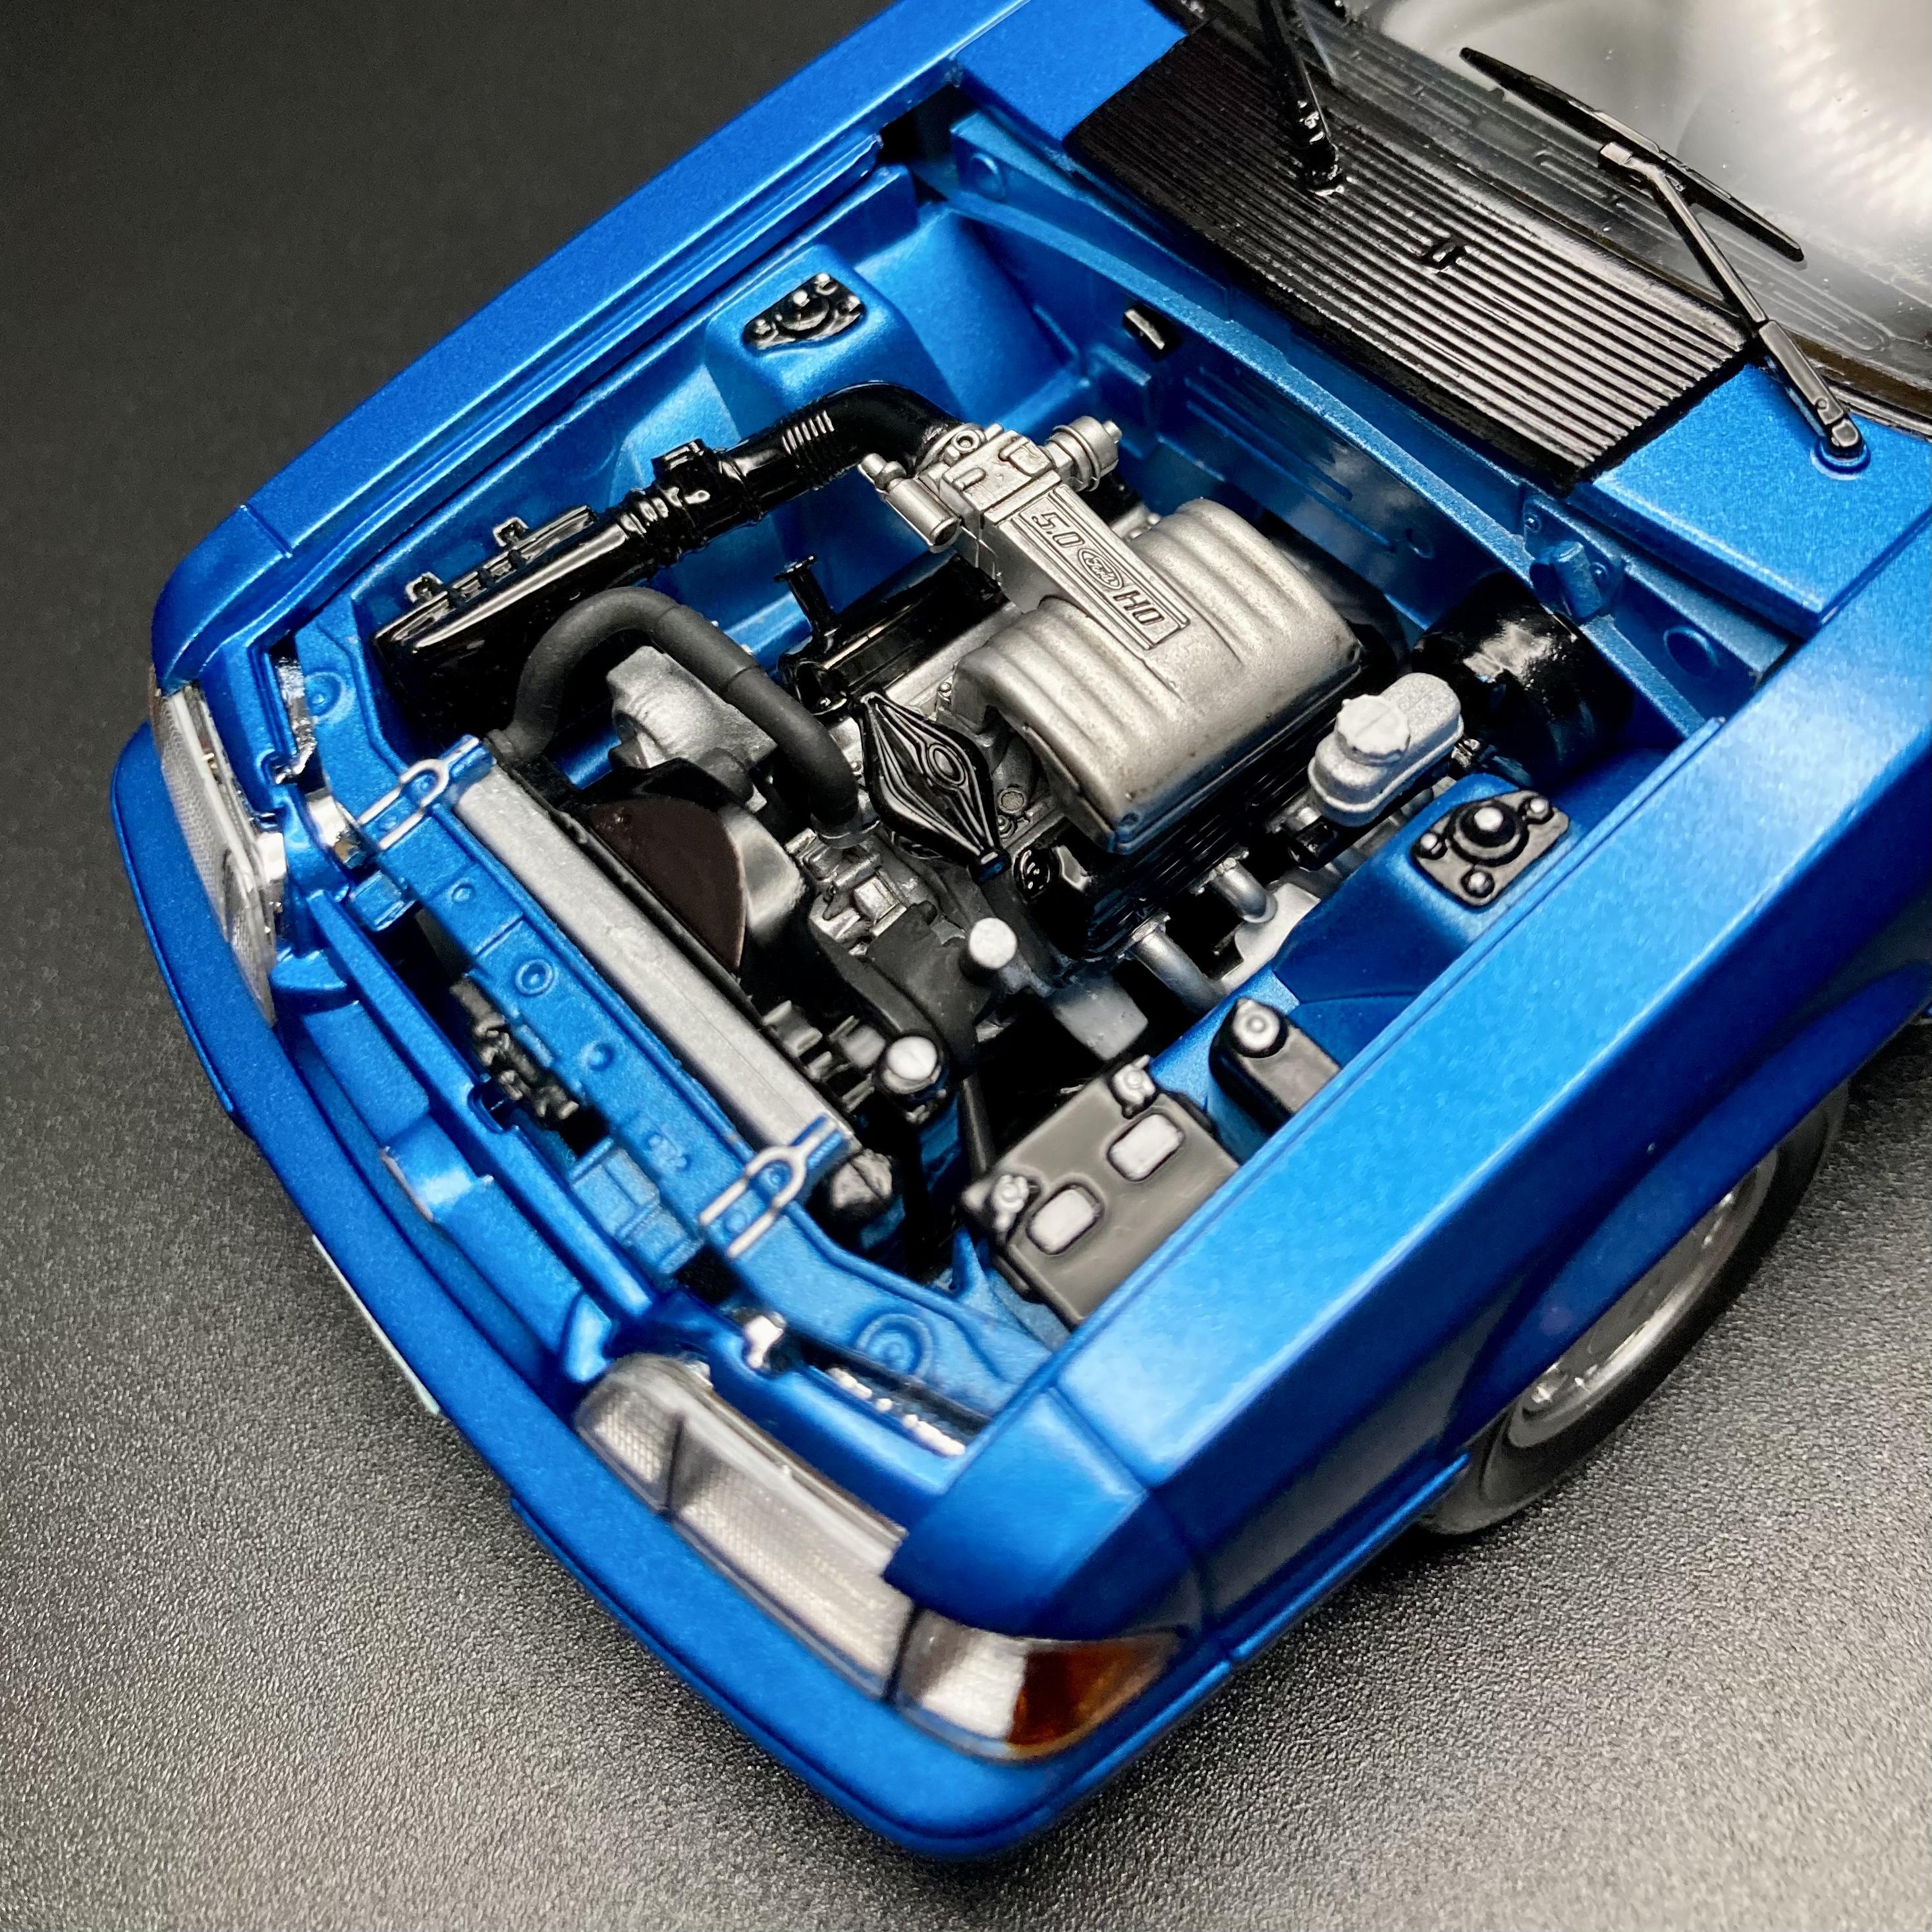
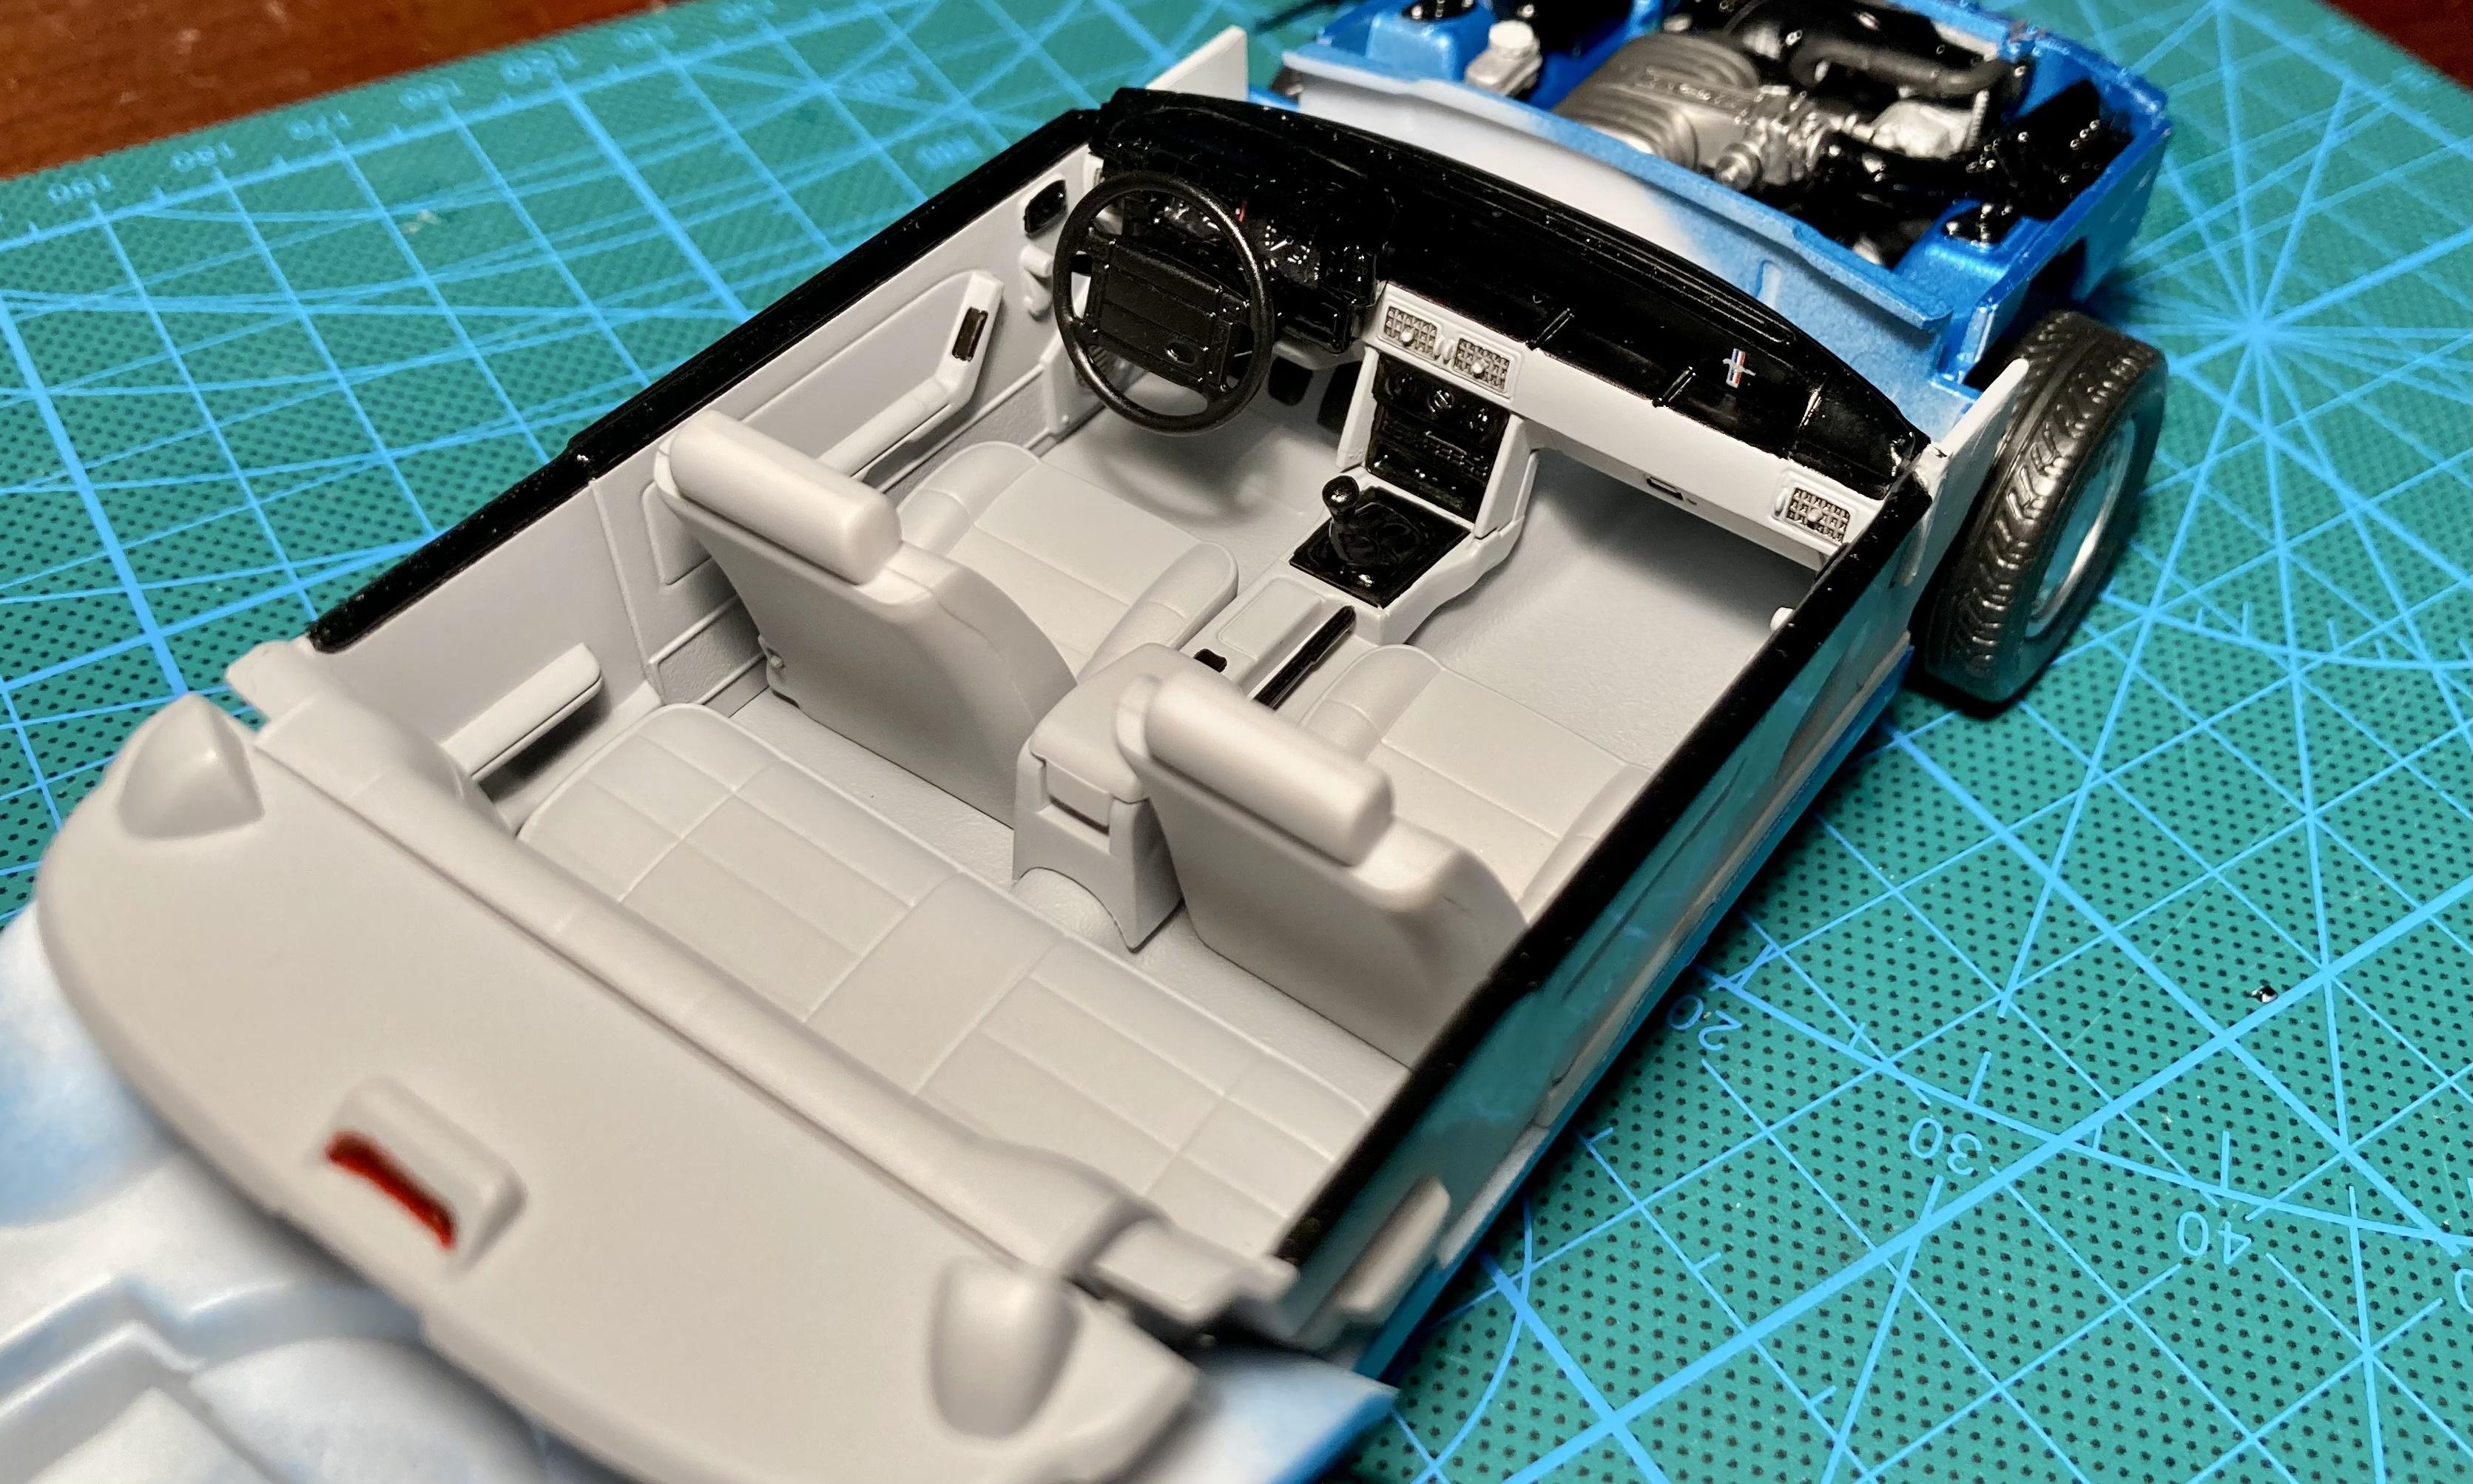
Here’s my box stock build of the infamous Revell 5.0 LX notch! A LOT of digital ink has been spilled on this forum about the roof proportions- but I haven’t seen many on here actually built as a factory stock car (mostly drag and police cars). To my eye, it looks fine until you see it next to a picture of a 1:1 😂. Using the current release Drag Racer kit, I wanted to build mine as a ‘92-‘93 model year with the body-color belt strip. I was shooting for my favorite Fox color of Ultra Blue, done here in Tamiya TS54 “Light Metallic Blue”. A 92-93 should have the Pony 5-spoke wheels, but I actually really like the 10-holes this kit comes with. I do have a Monogram ‘92 convertible that I might swap wheels with later. Roof proportions aside, this kit is very well done with excellent fit and detailing. I especially love how the window glass sets in from the outside of the car. The drag car release instructions only show how to build it as a drag car but the factory parts are included and they’re easy to figure out.
-
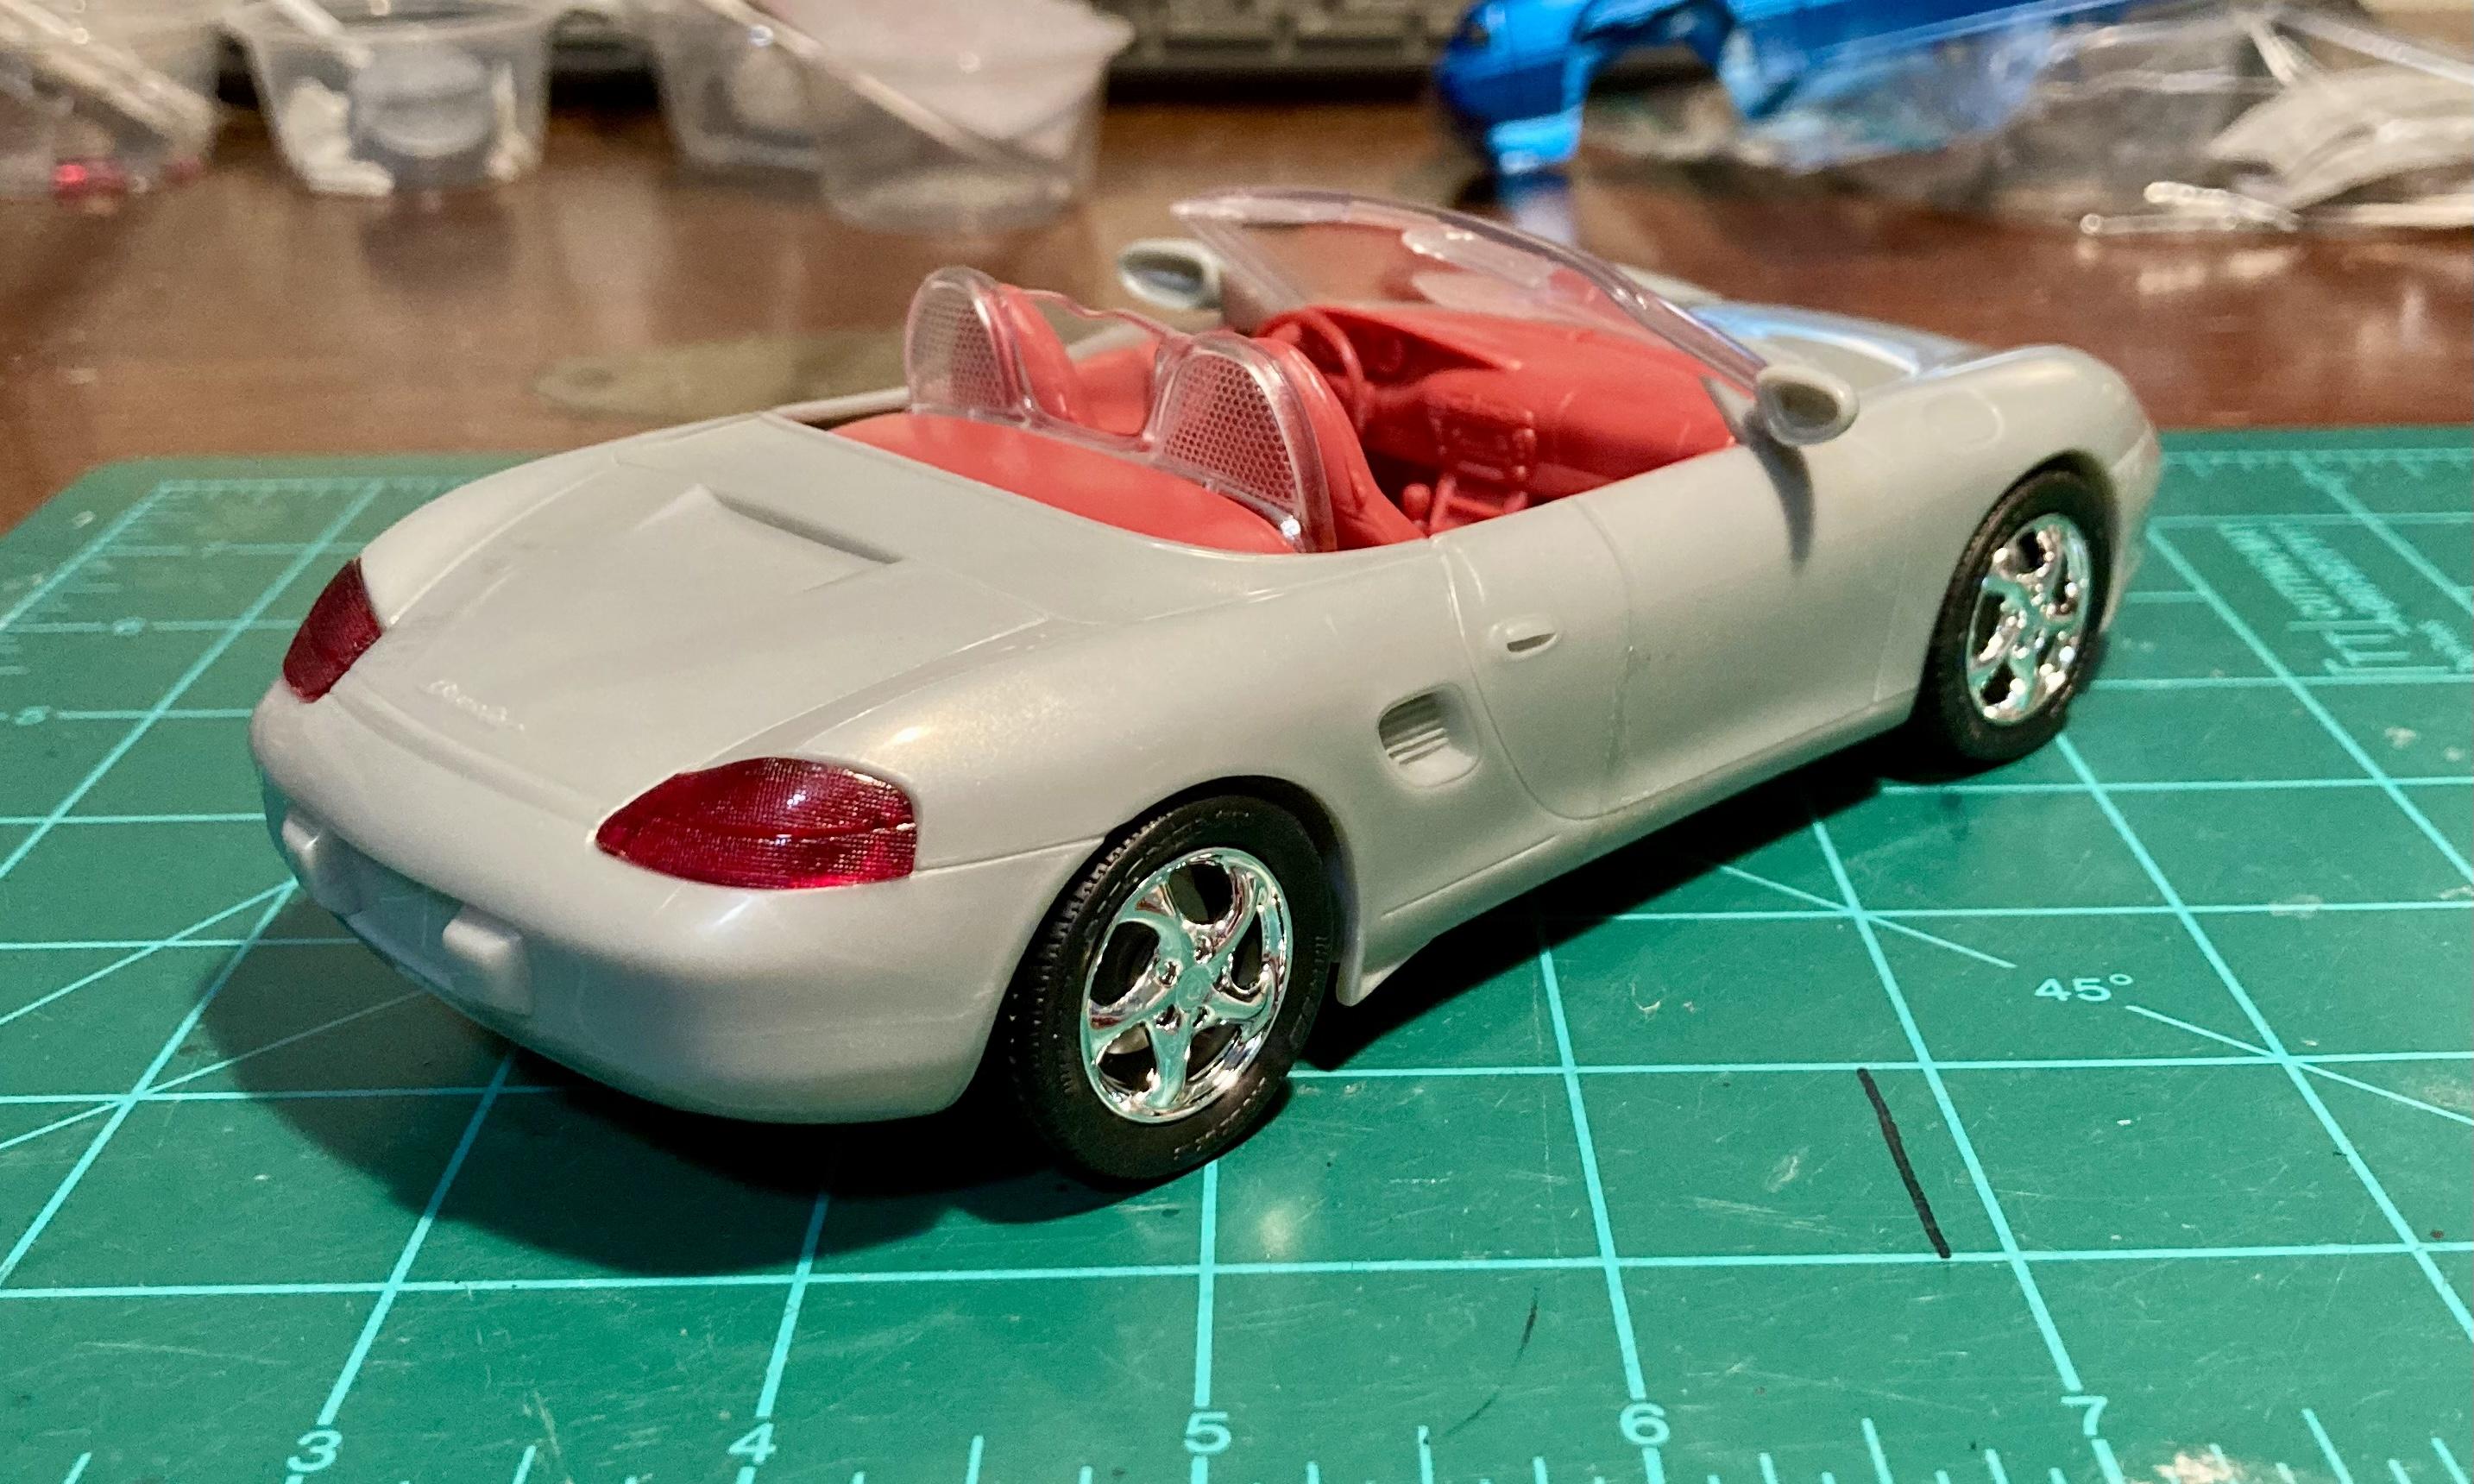
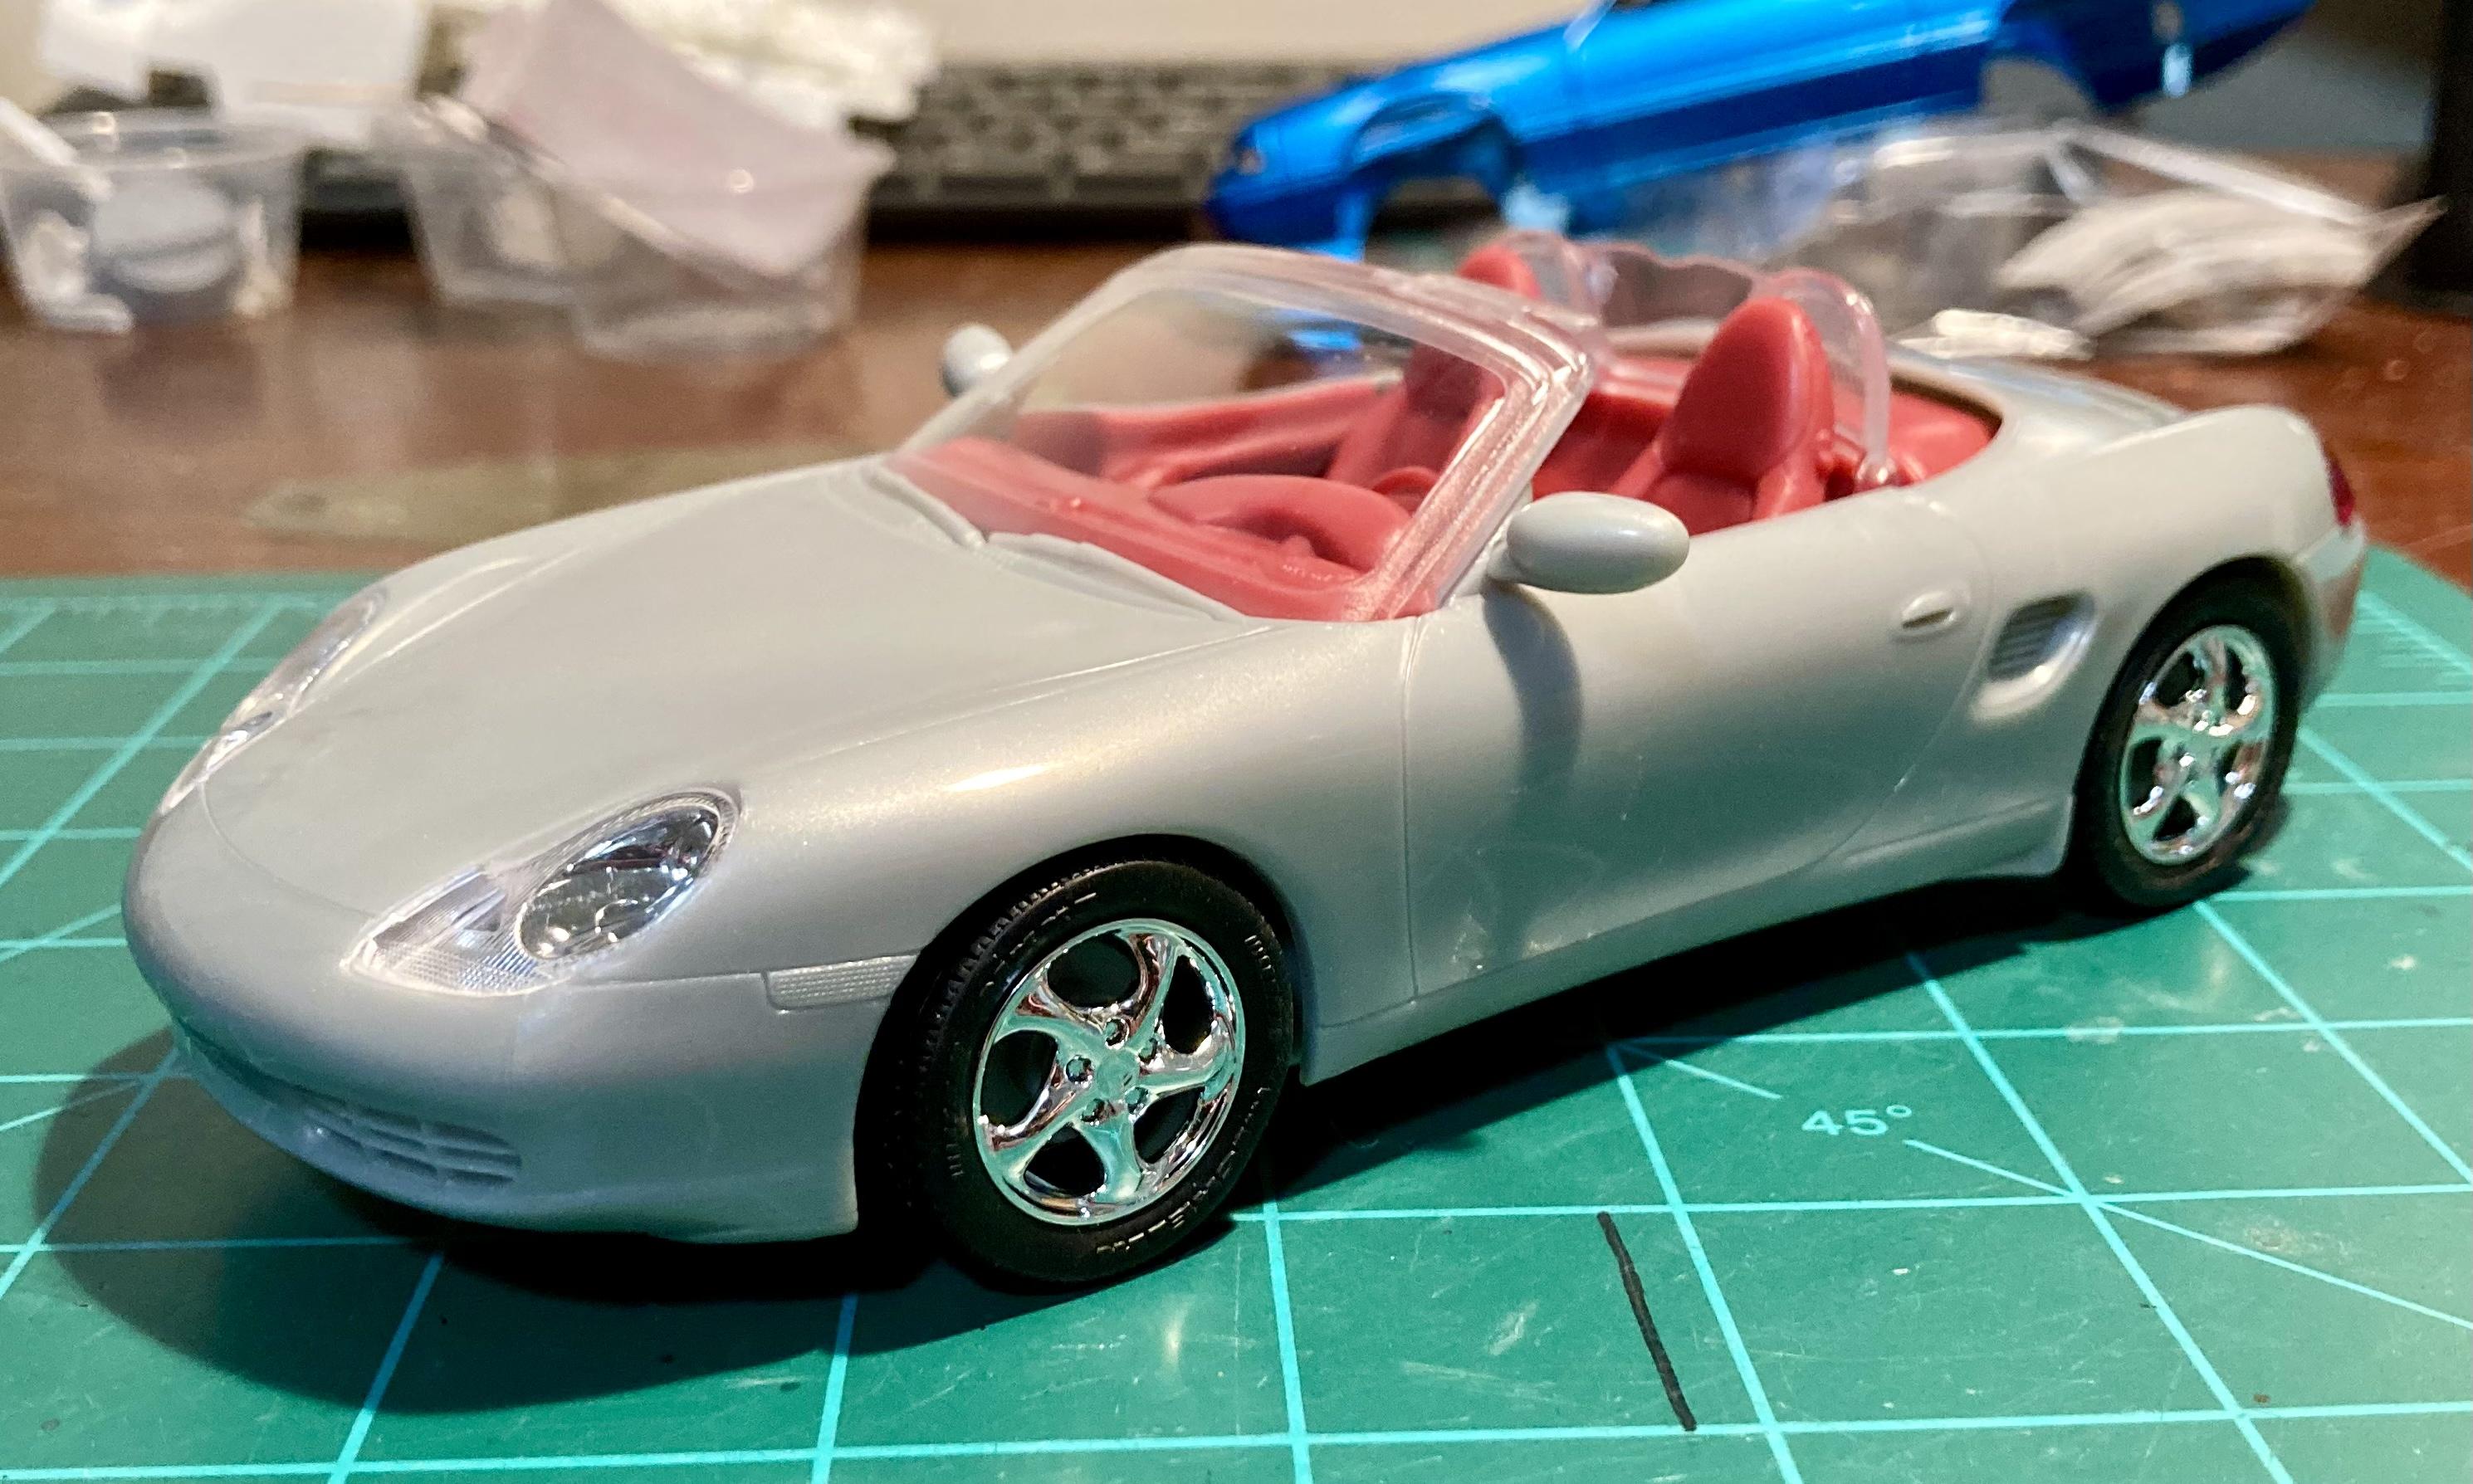
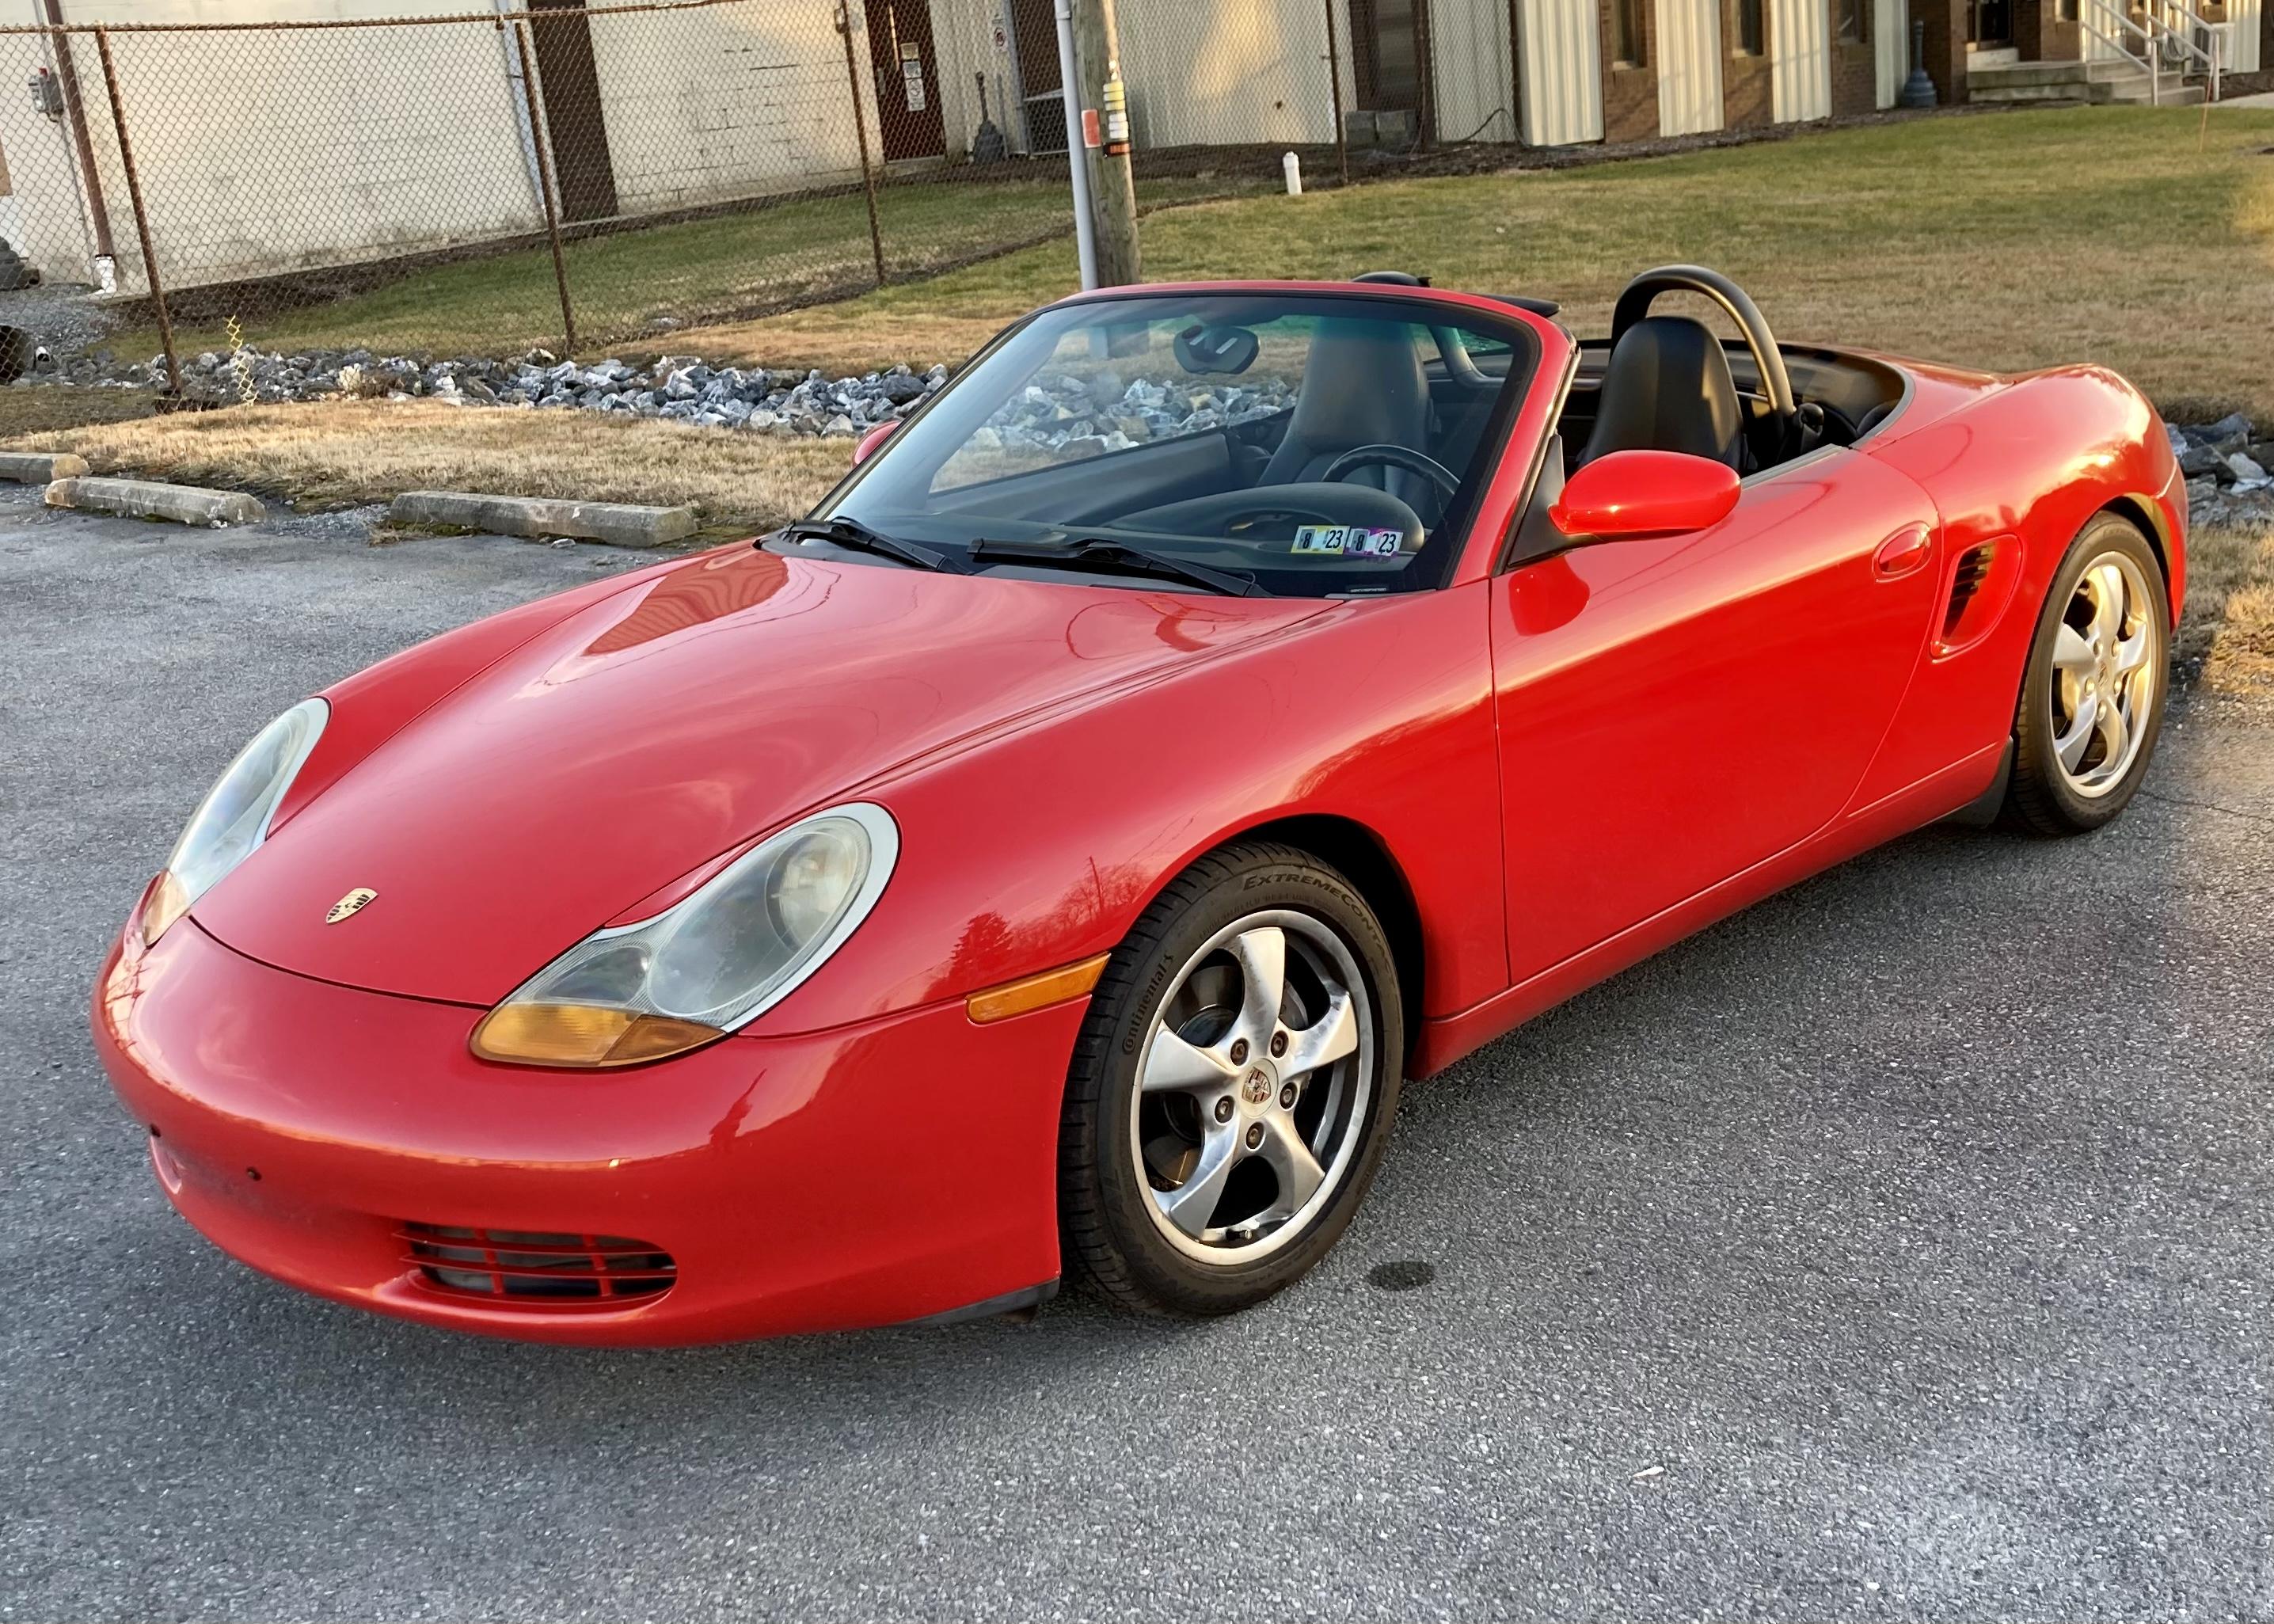
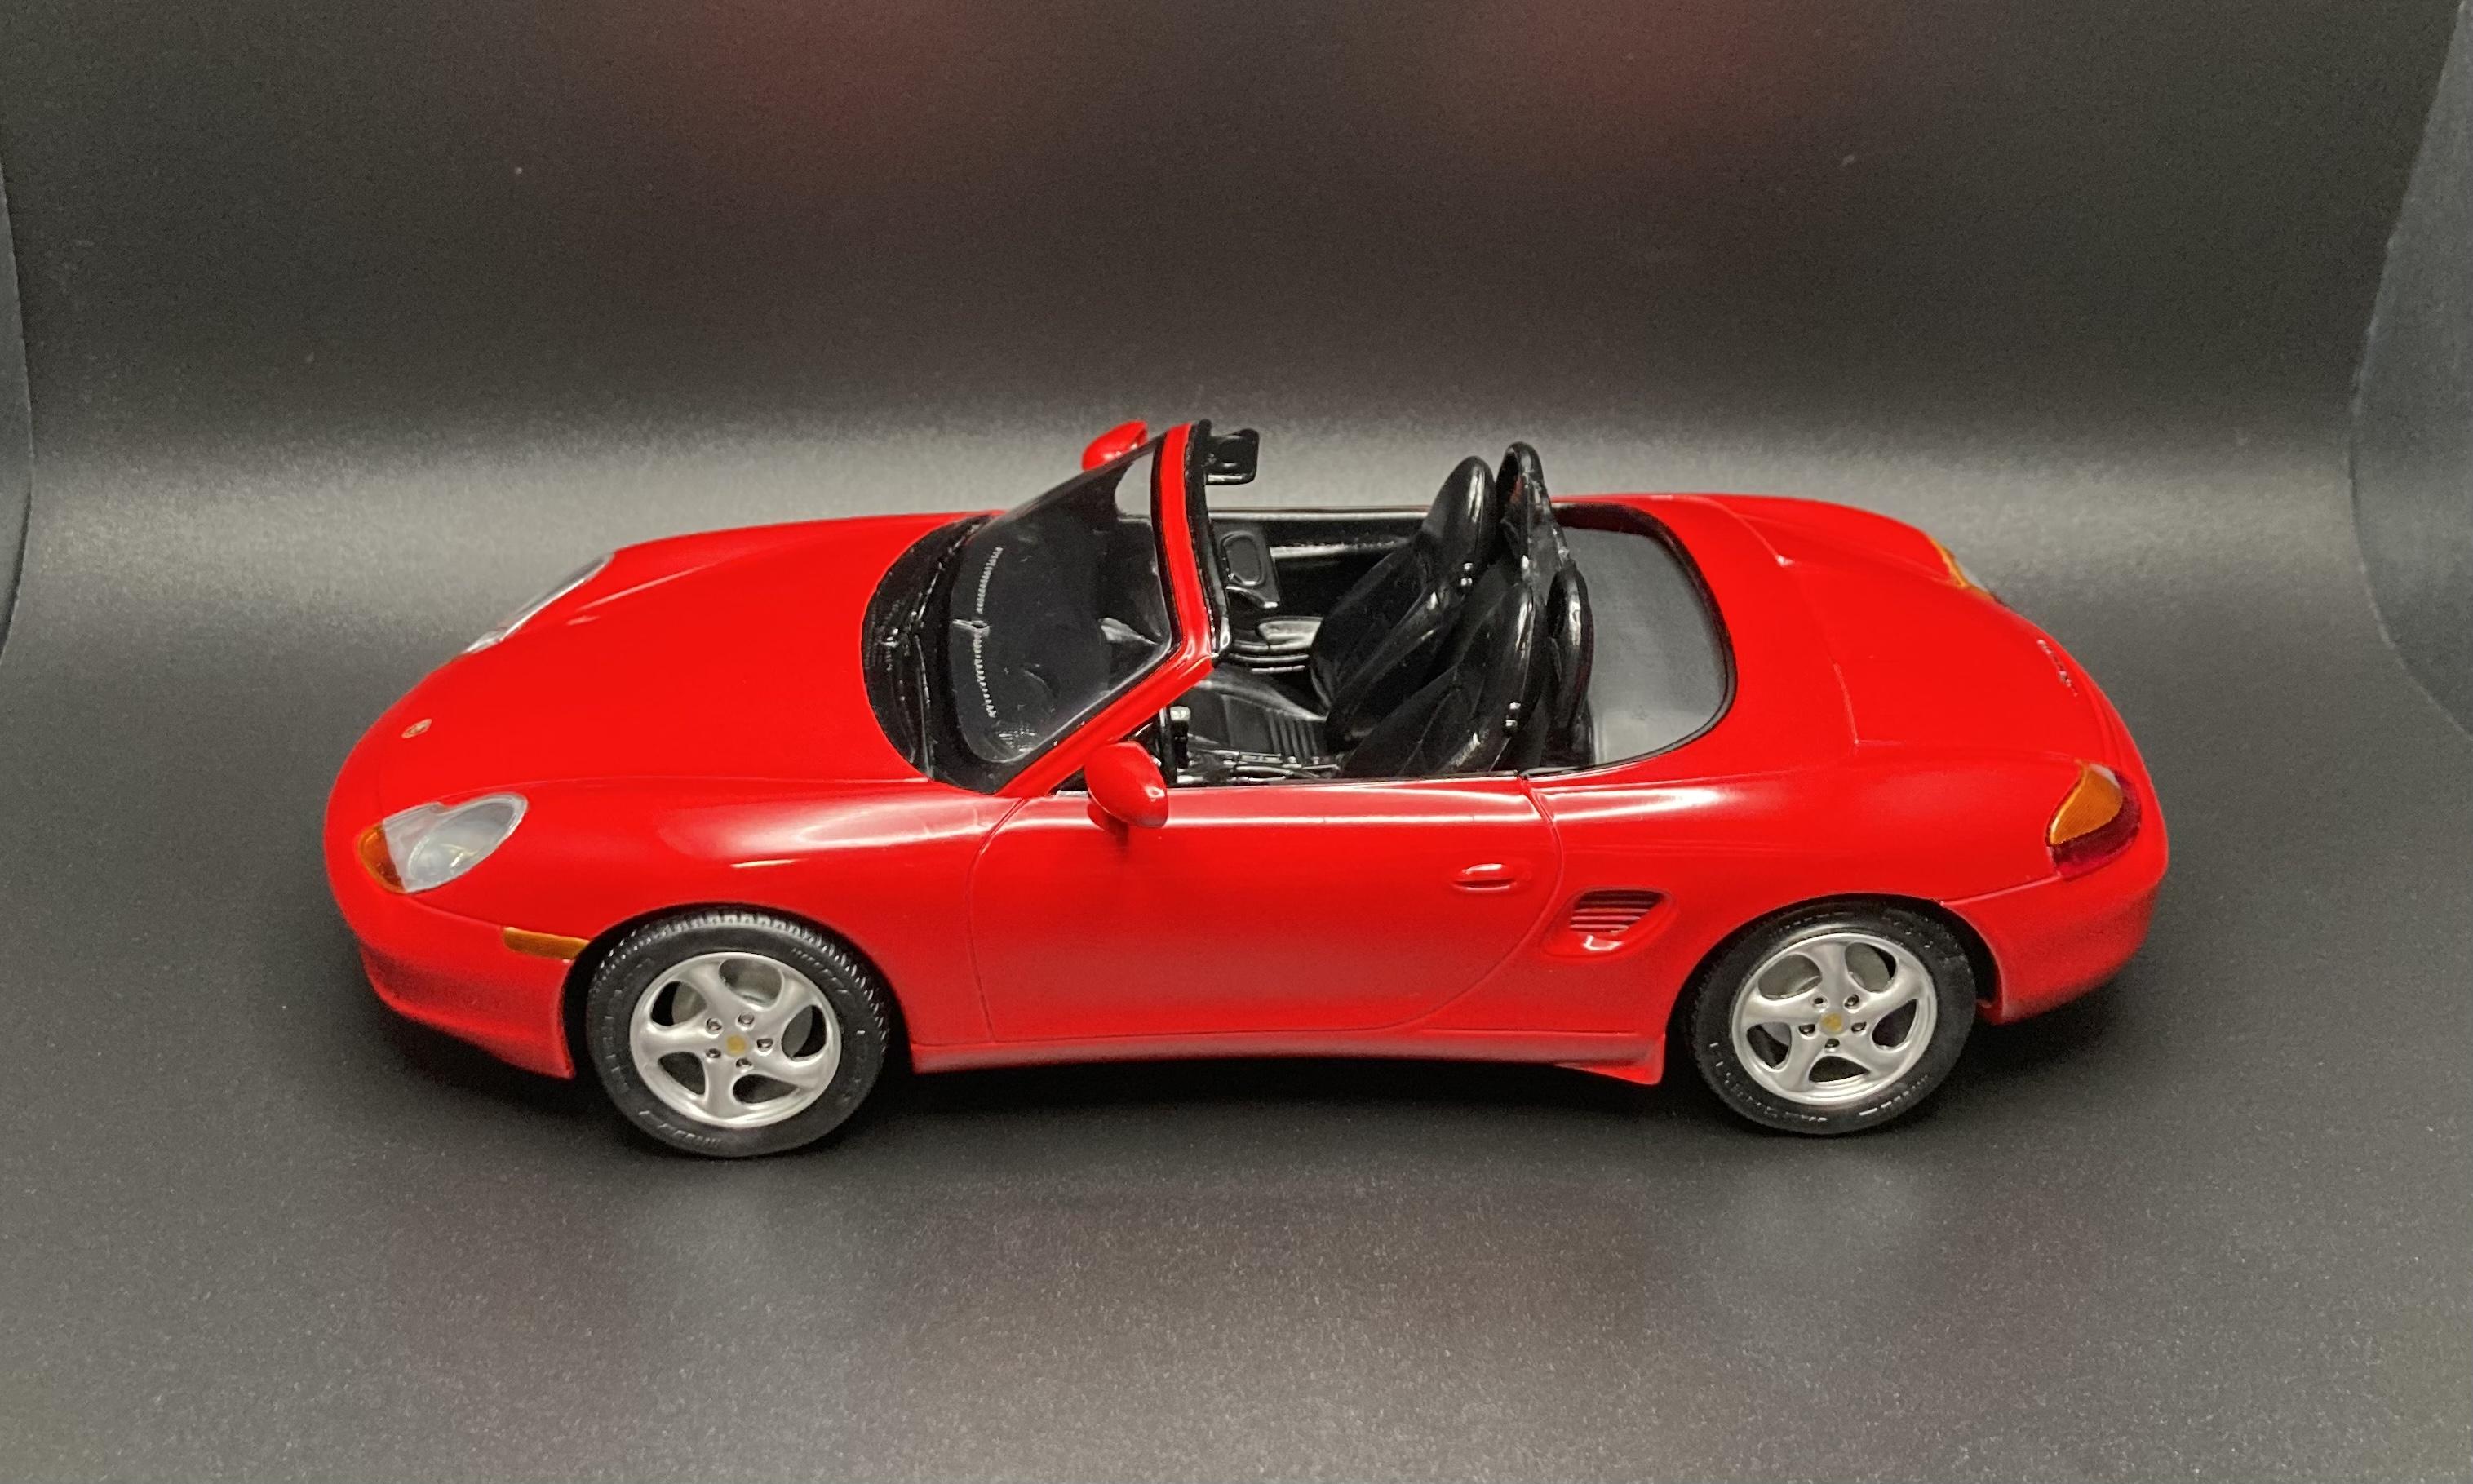
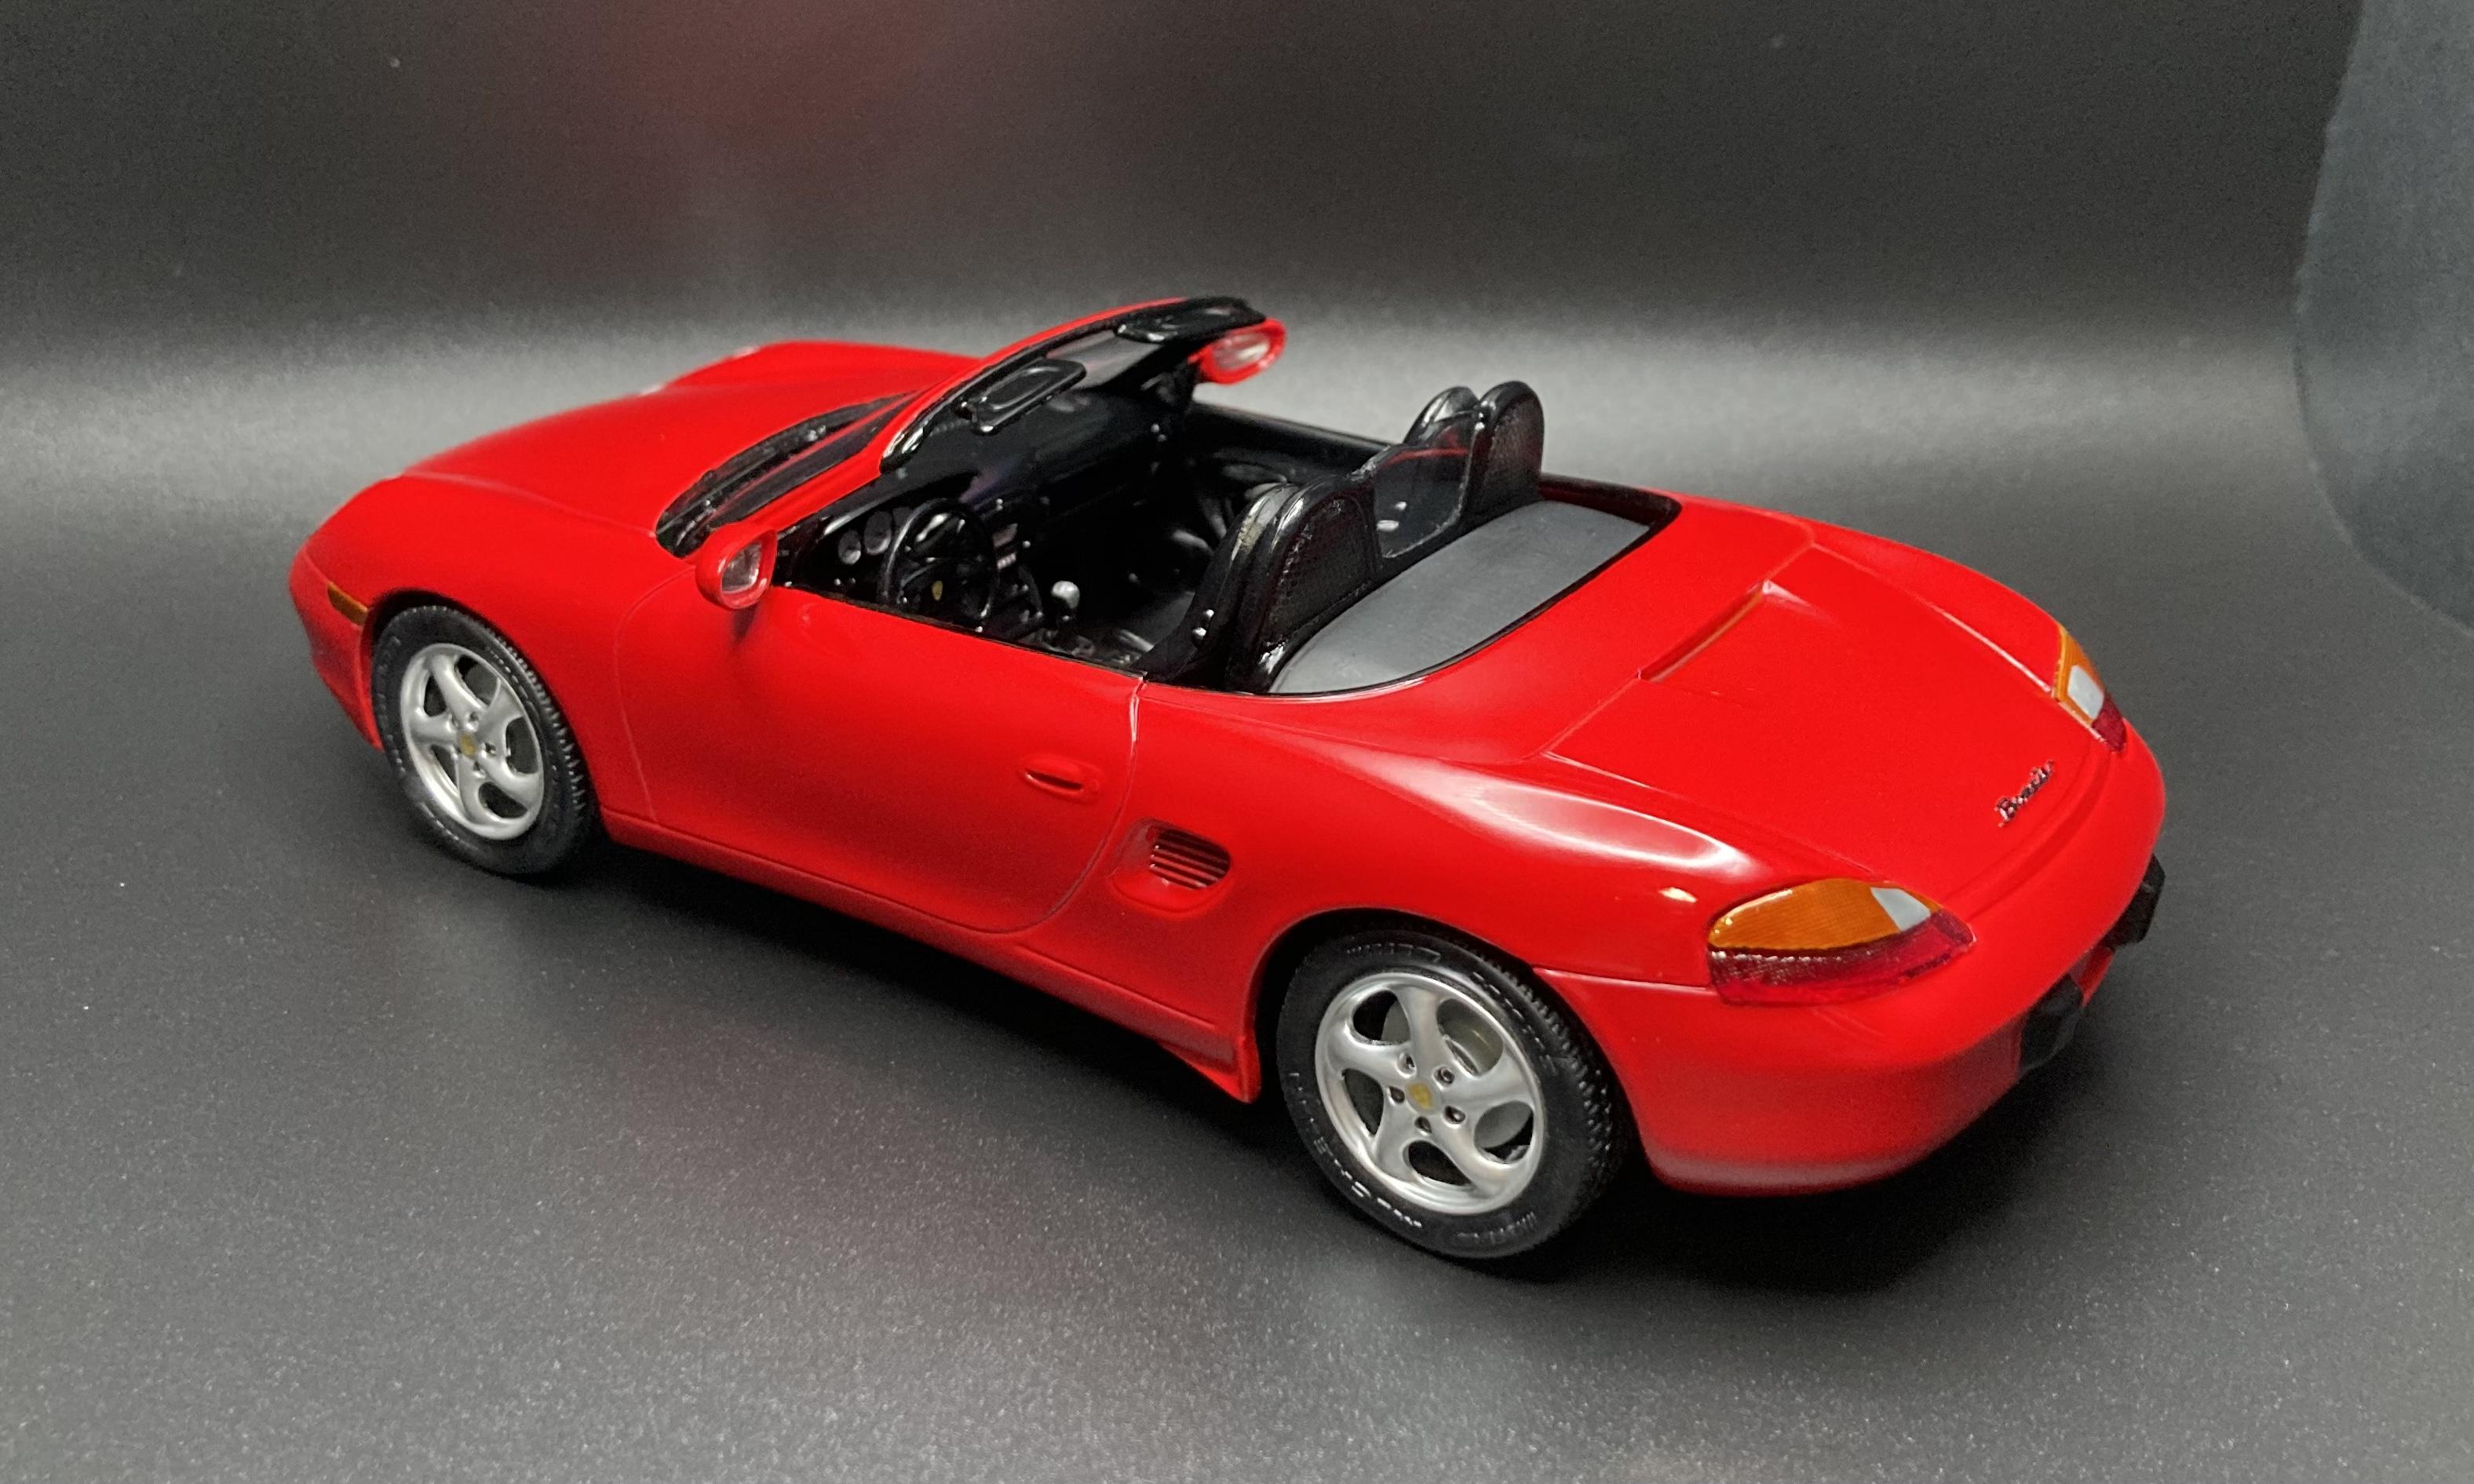
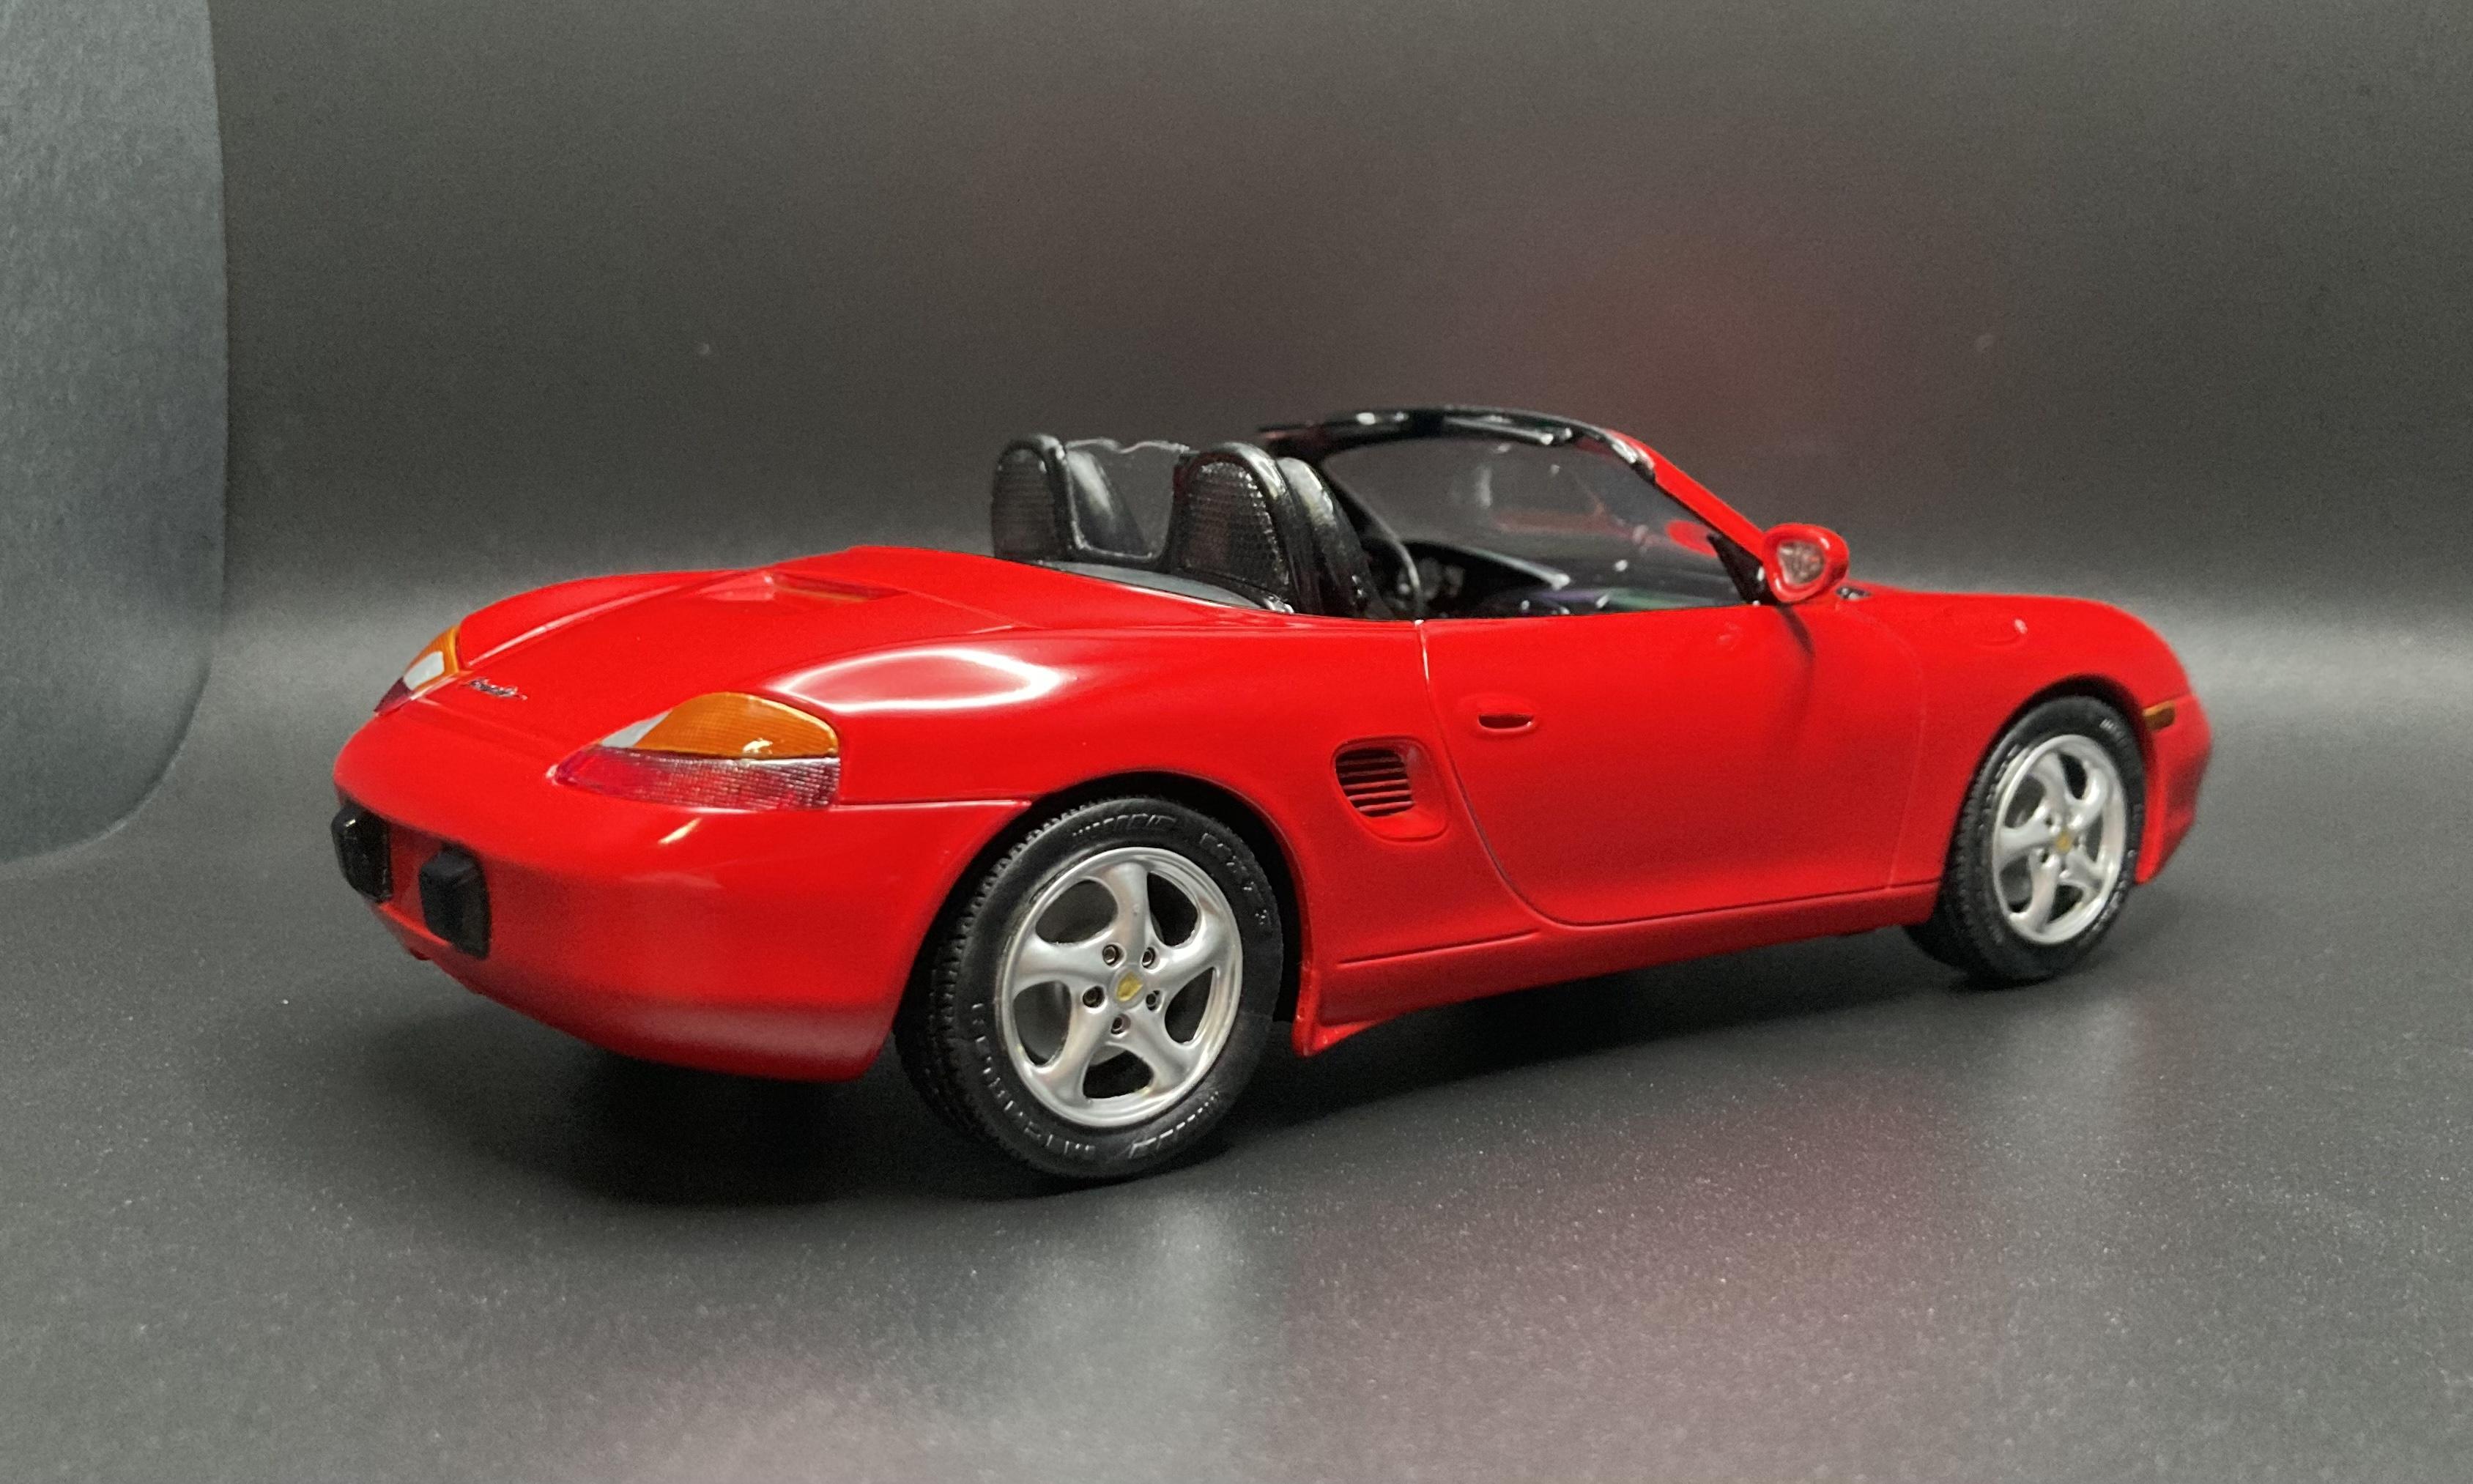
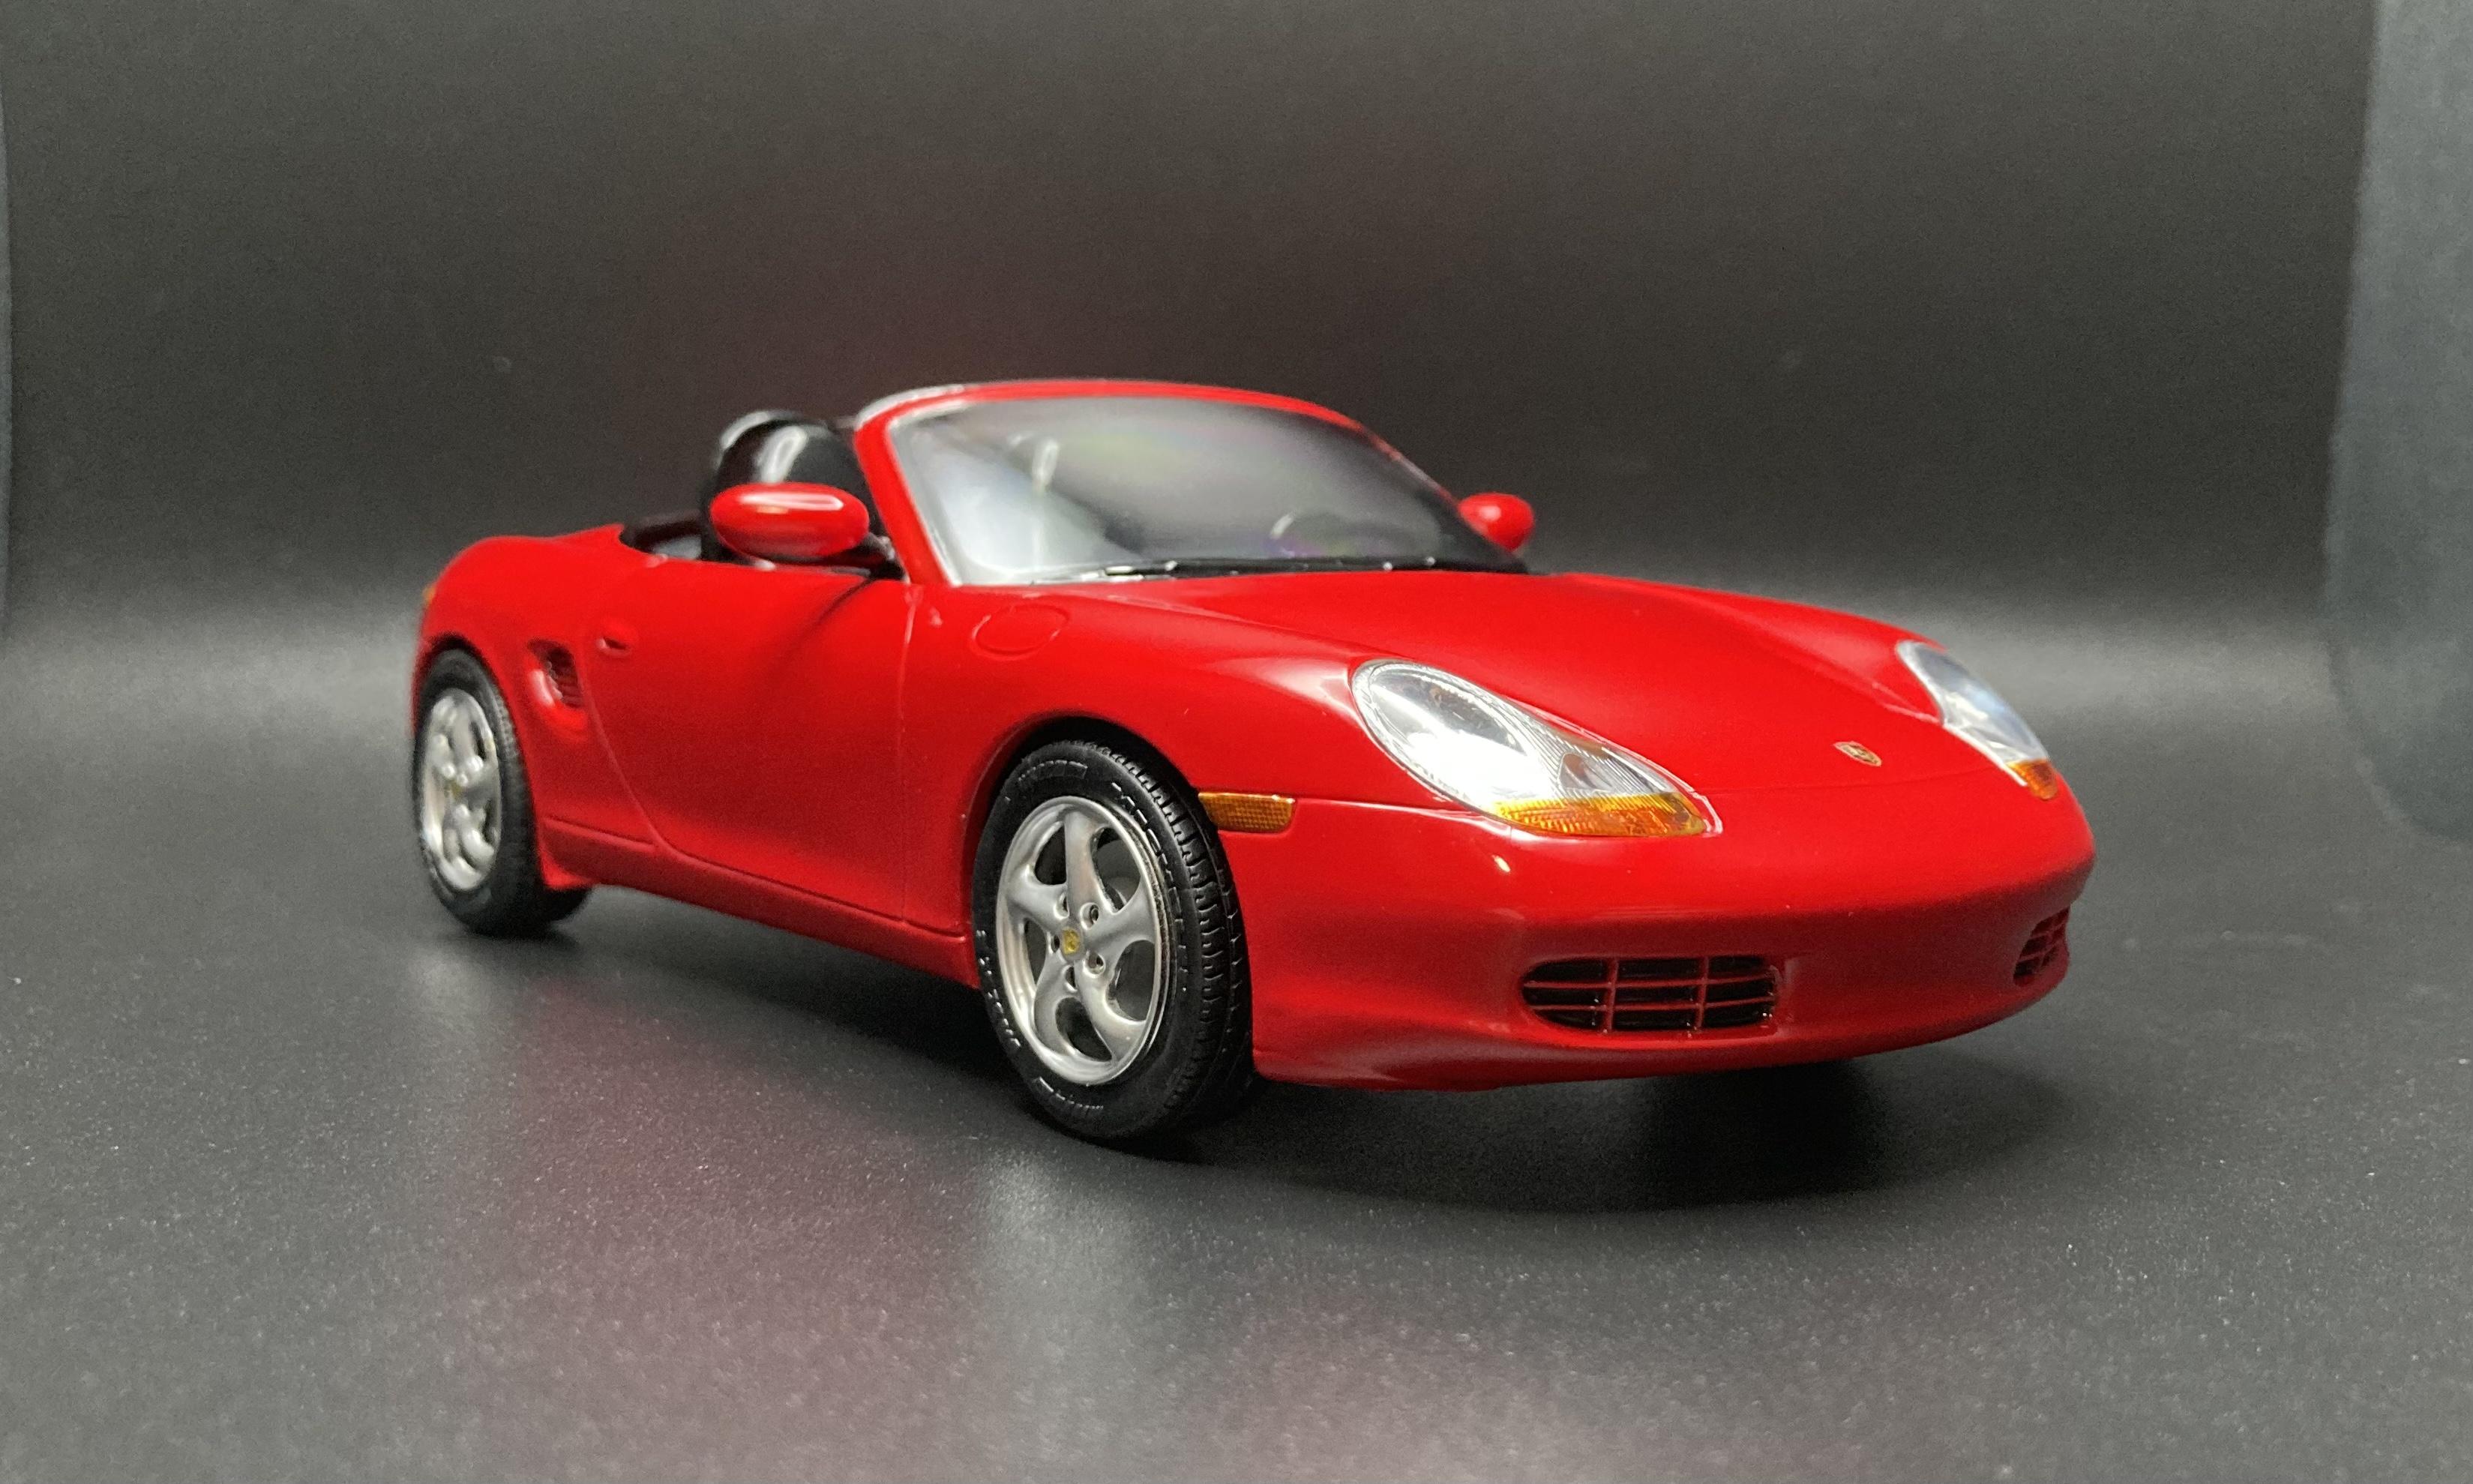
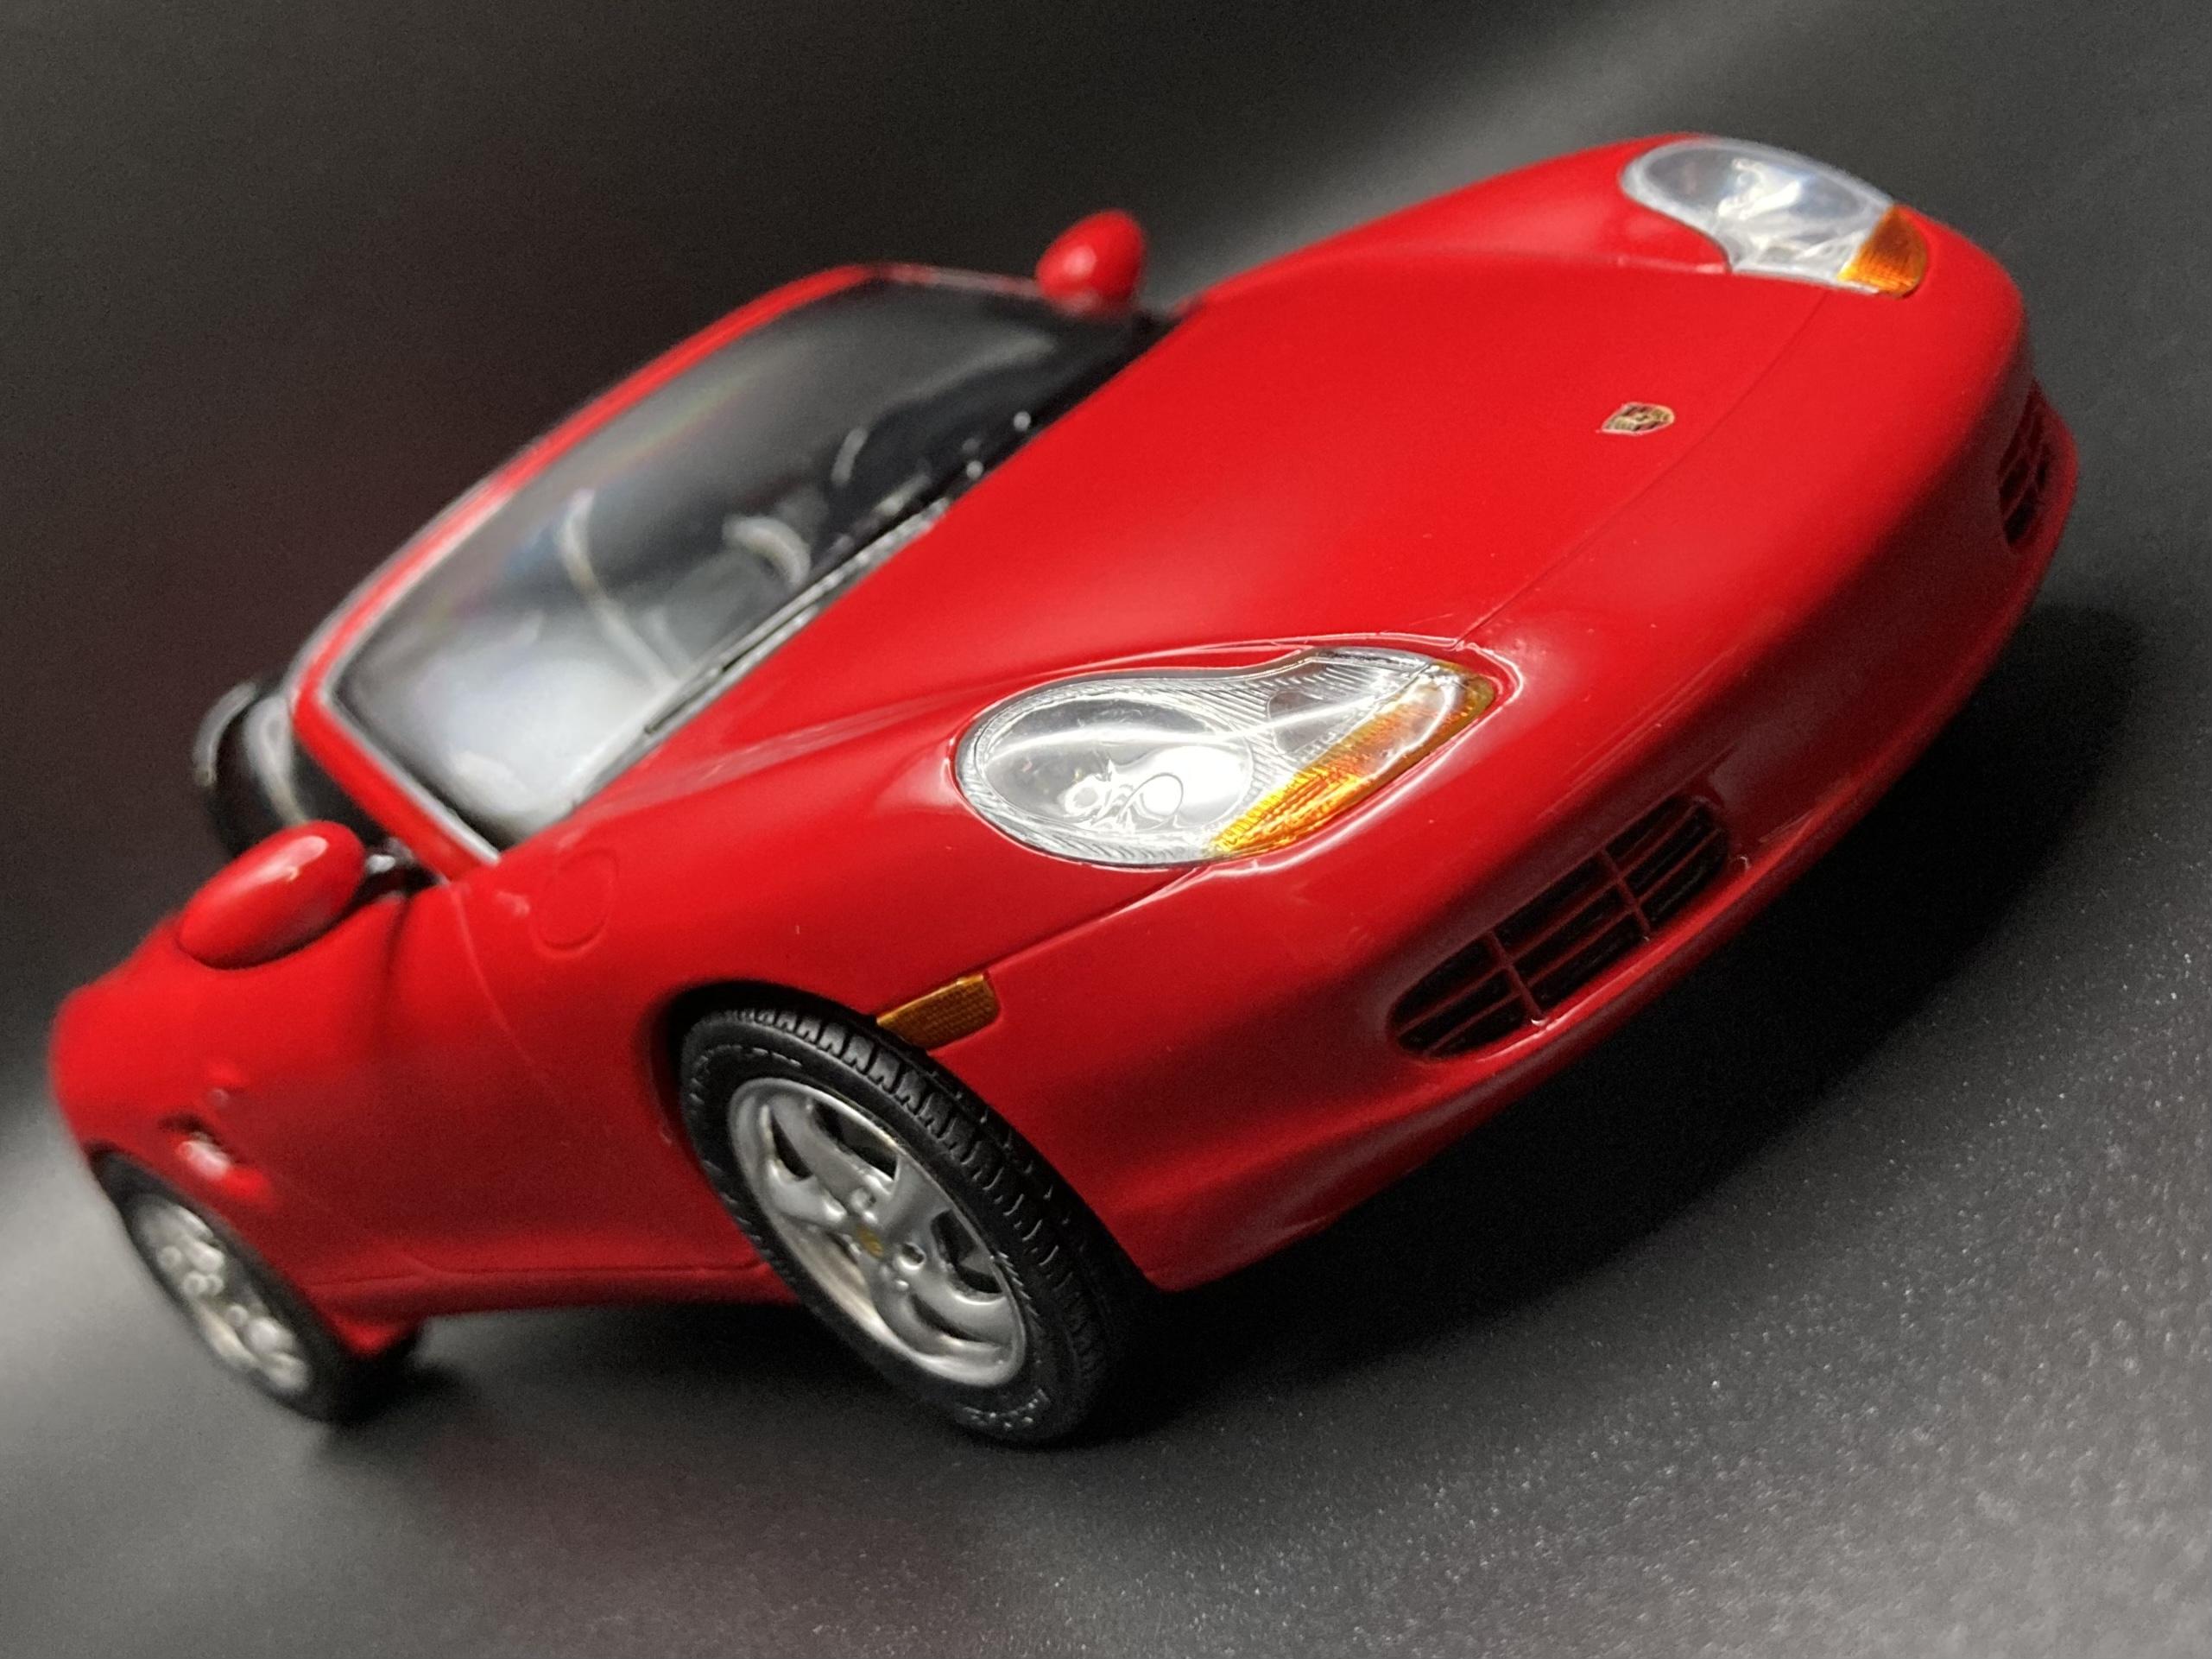
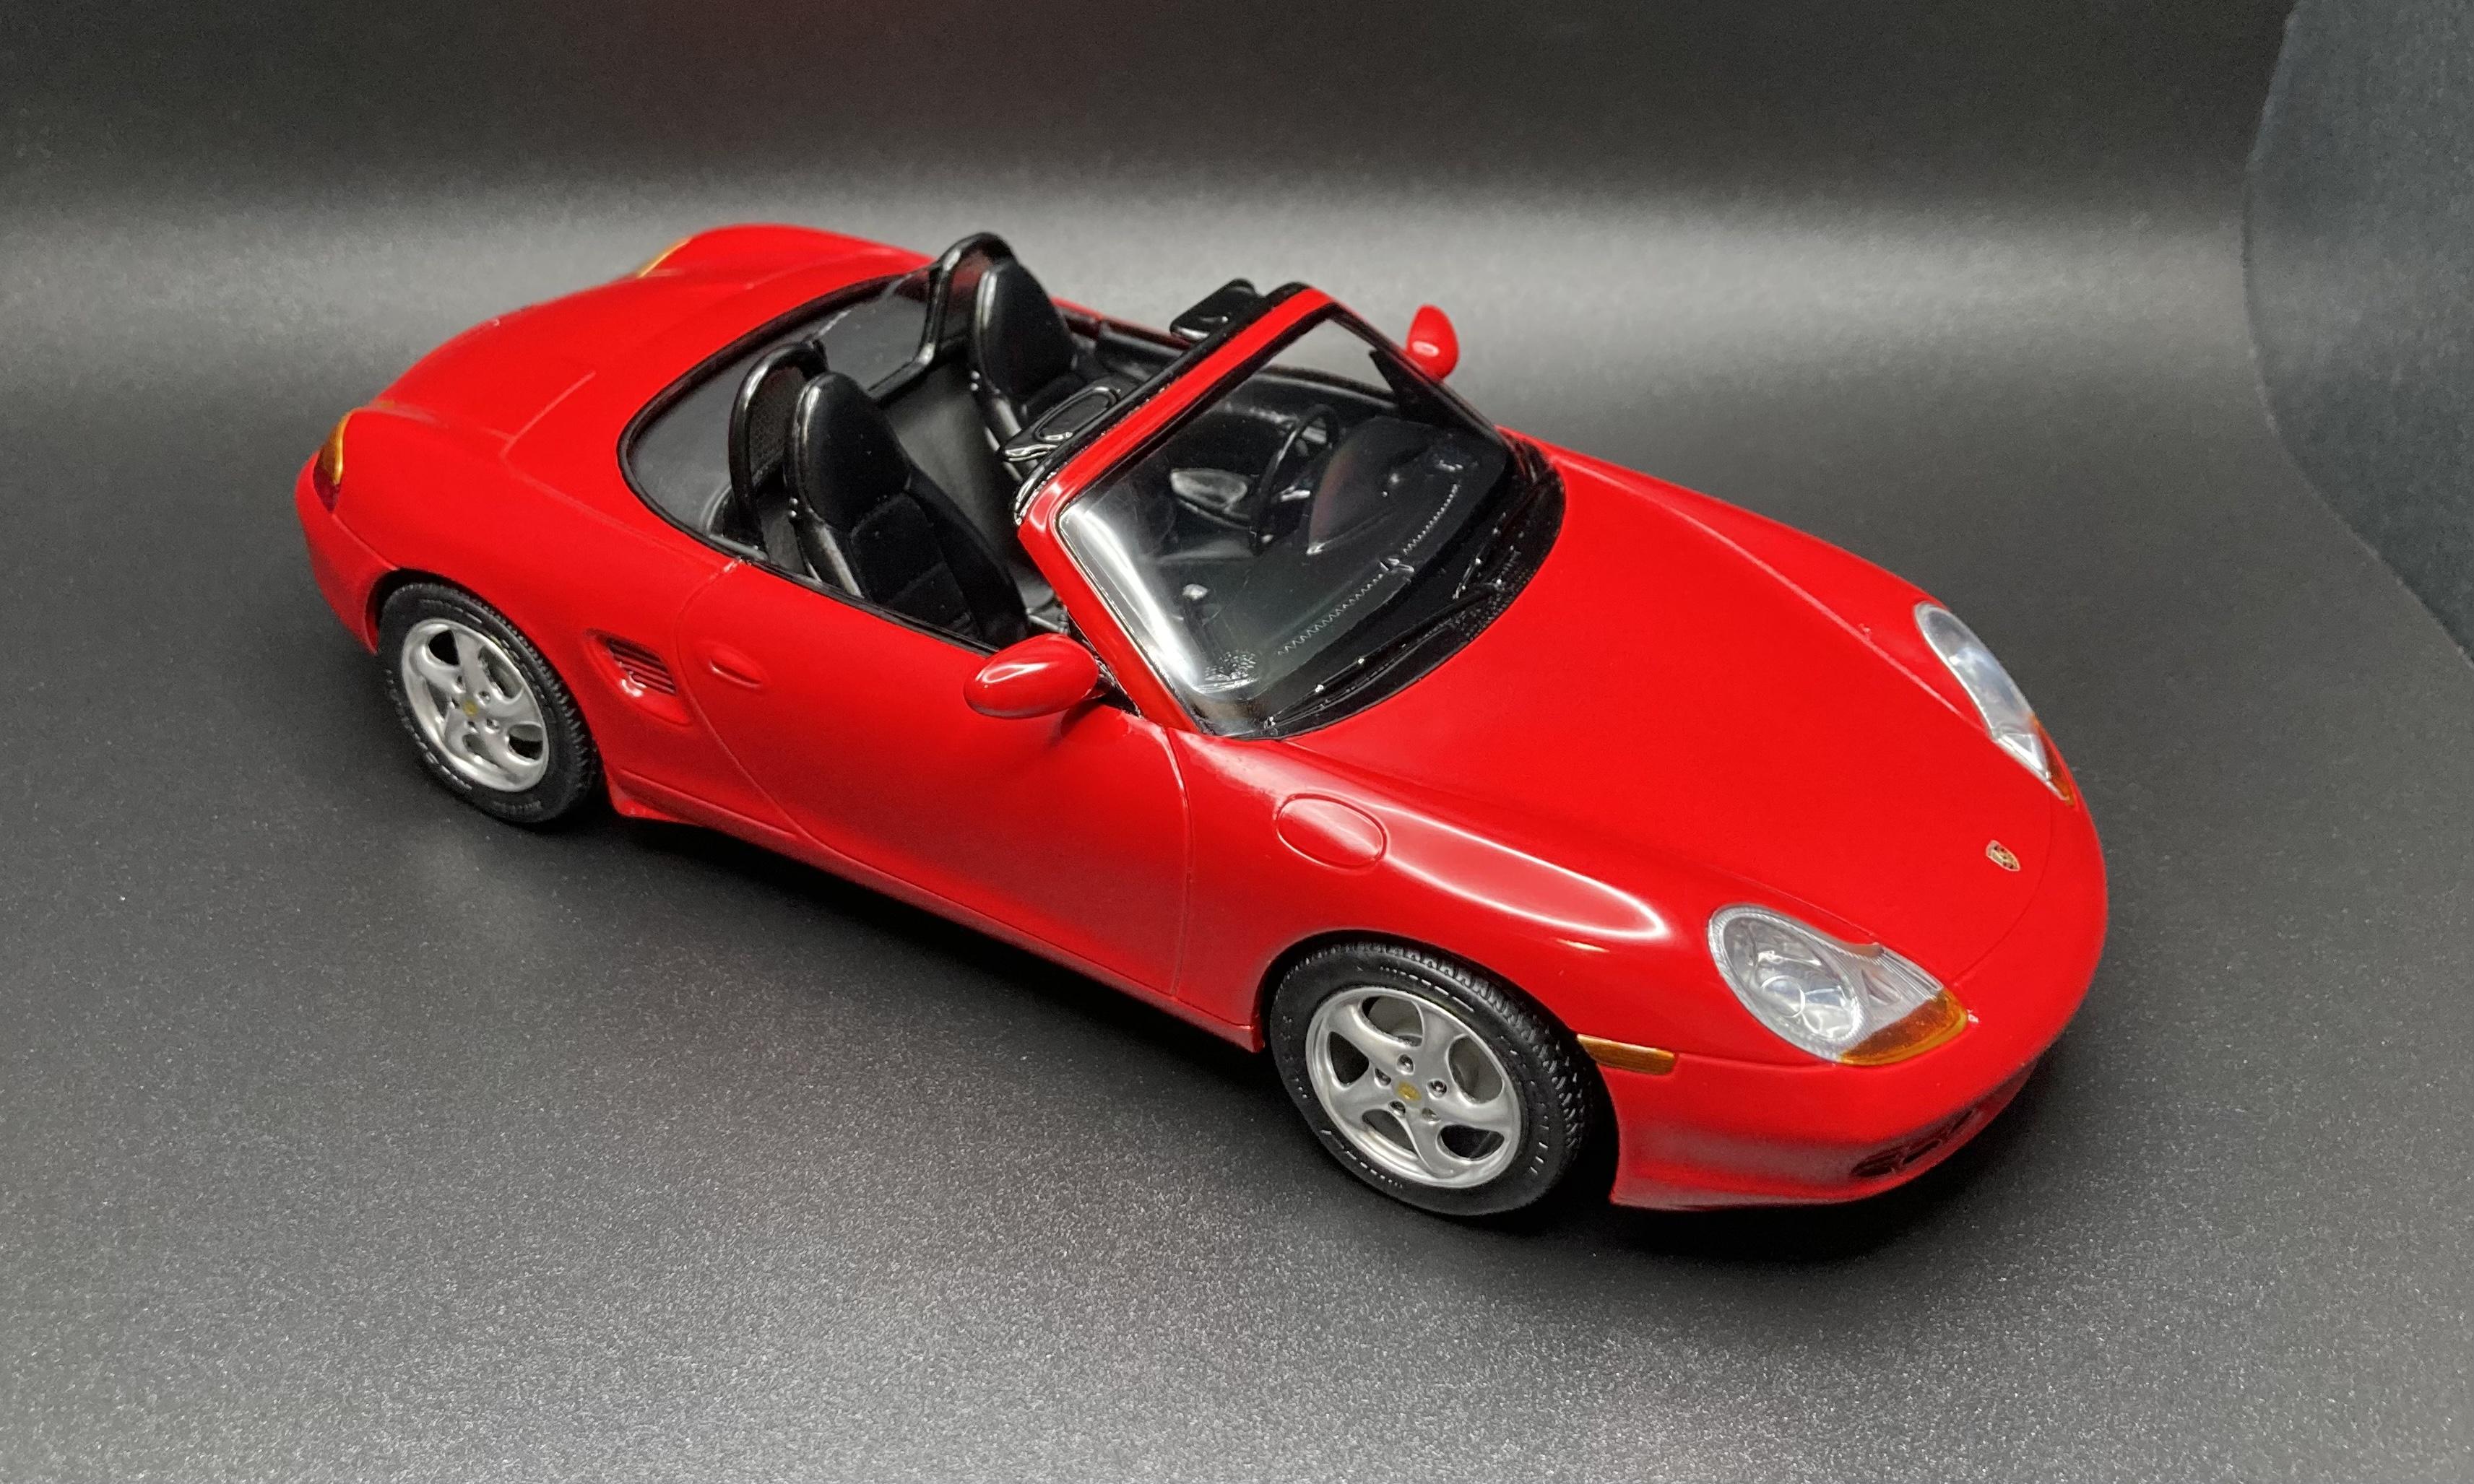
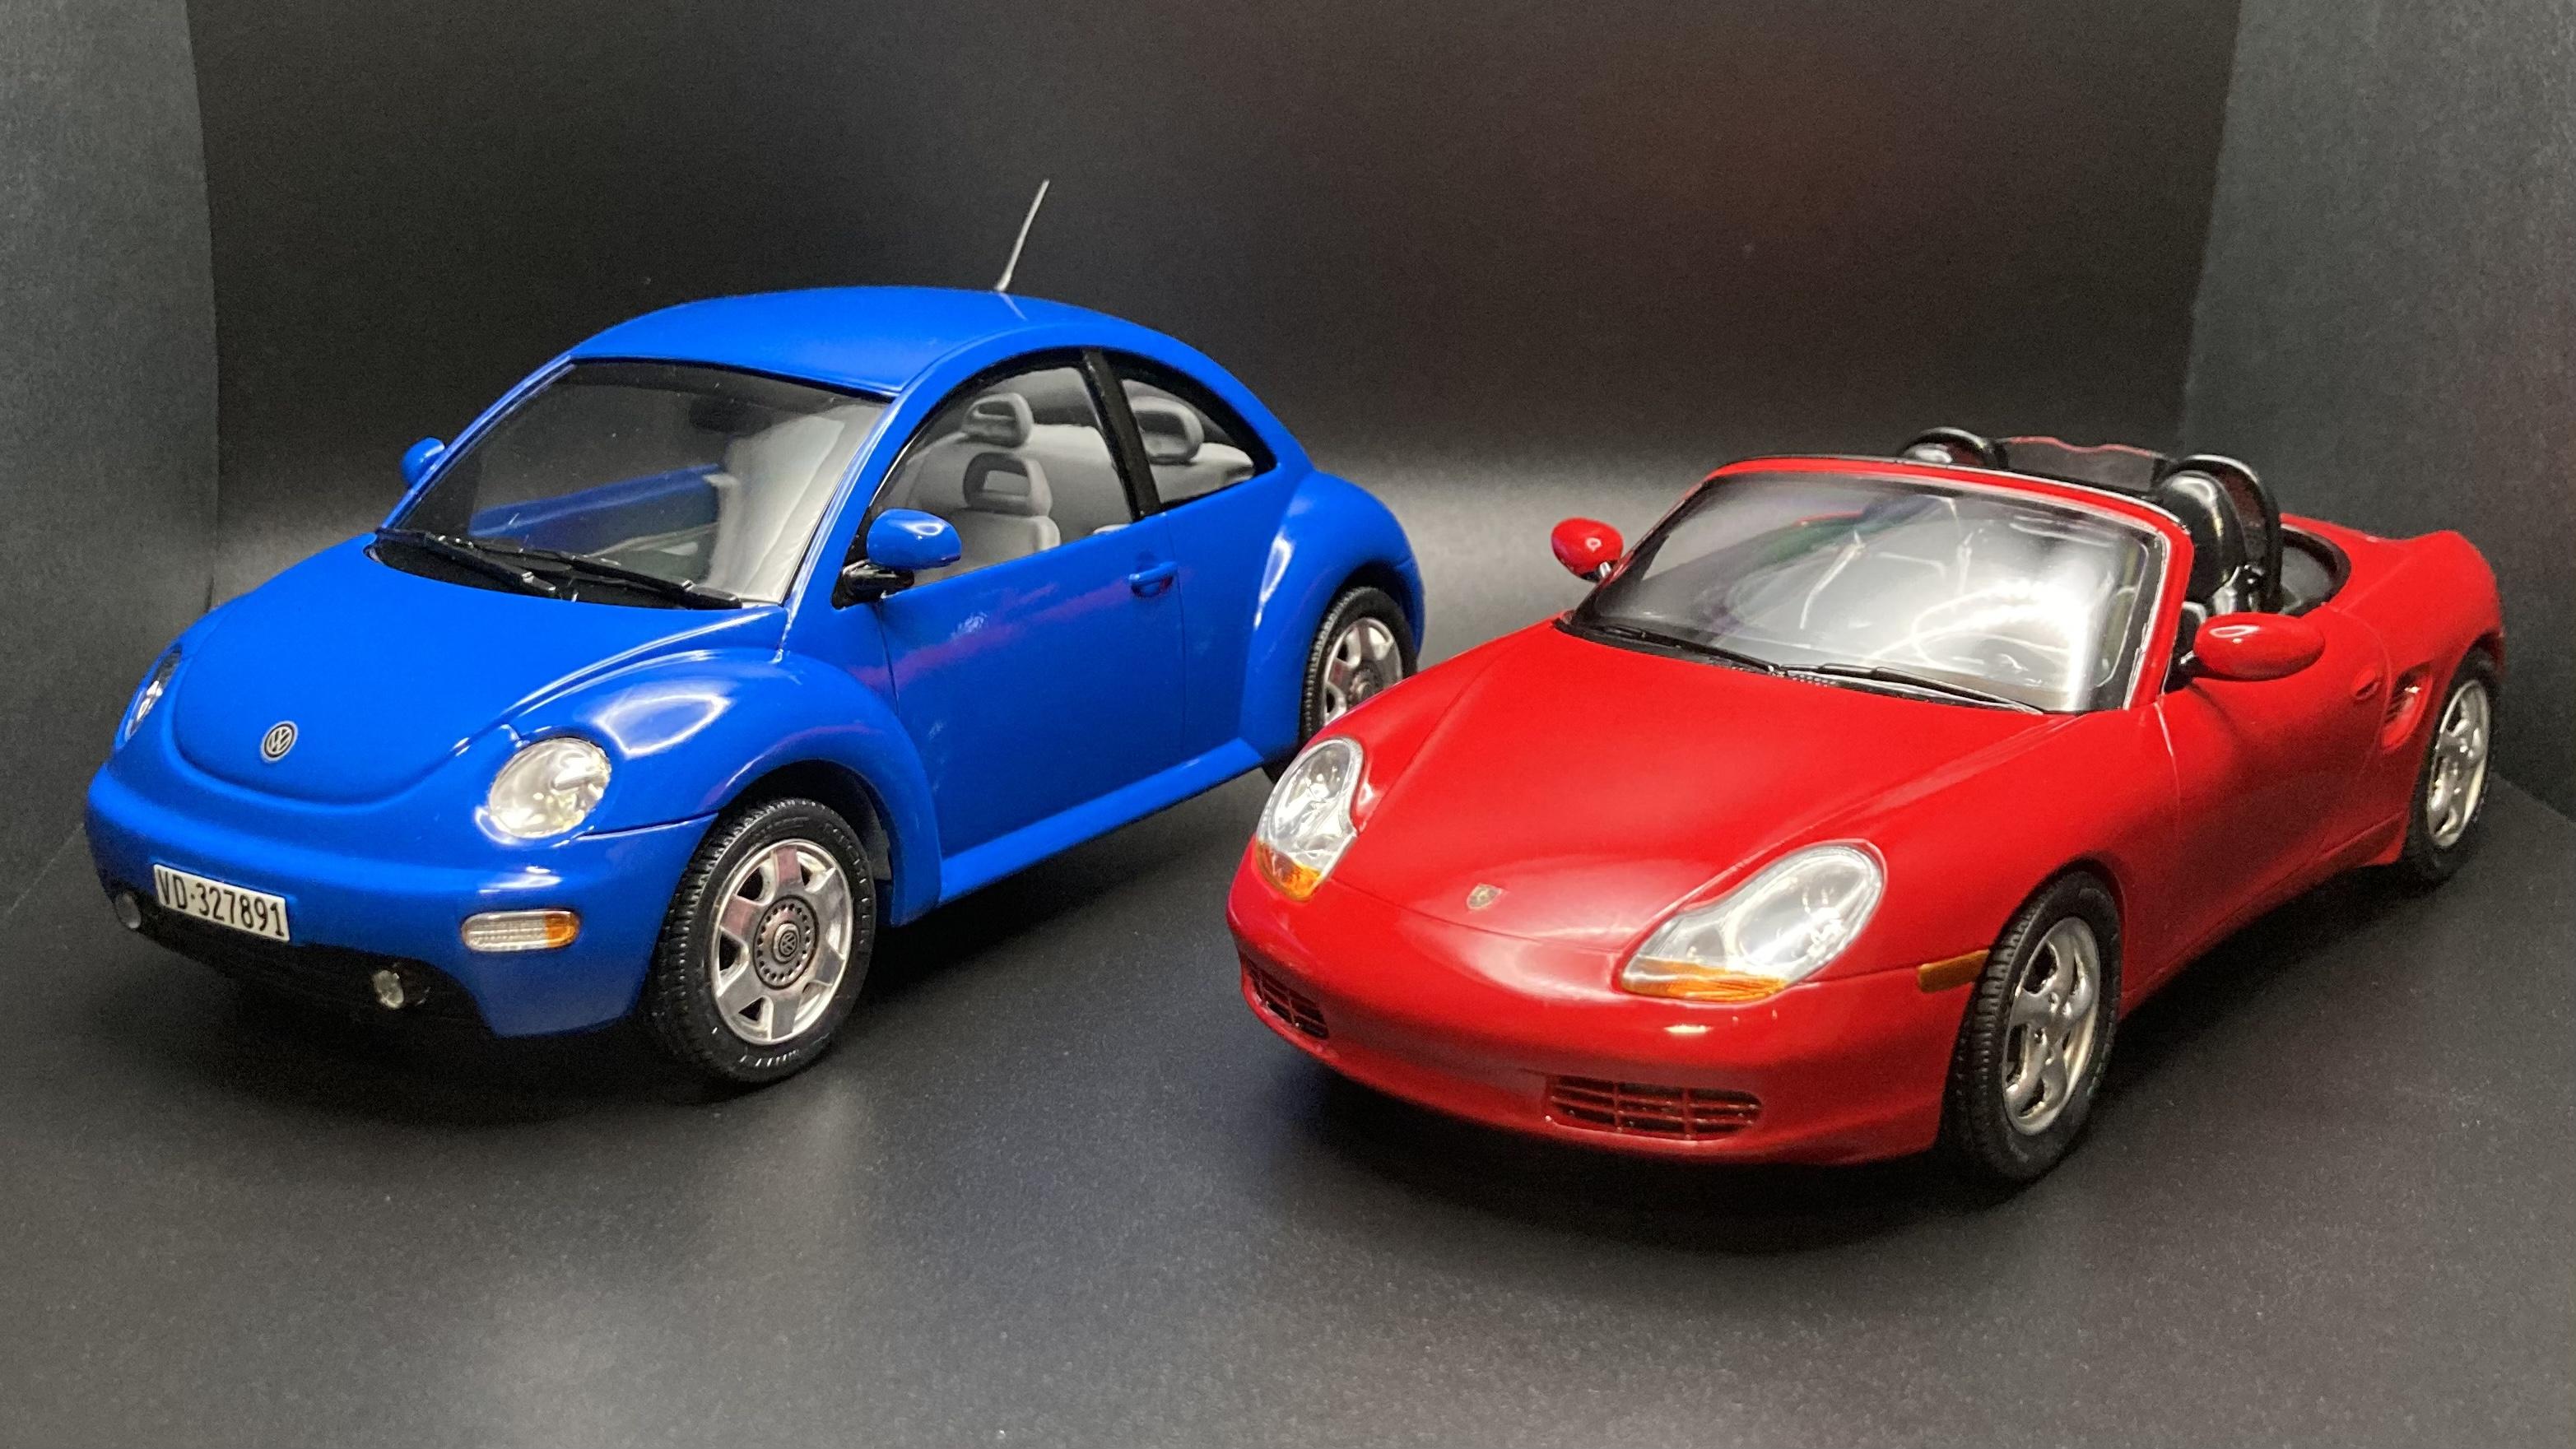
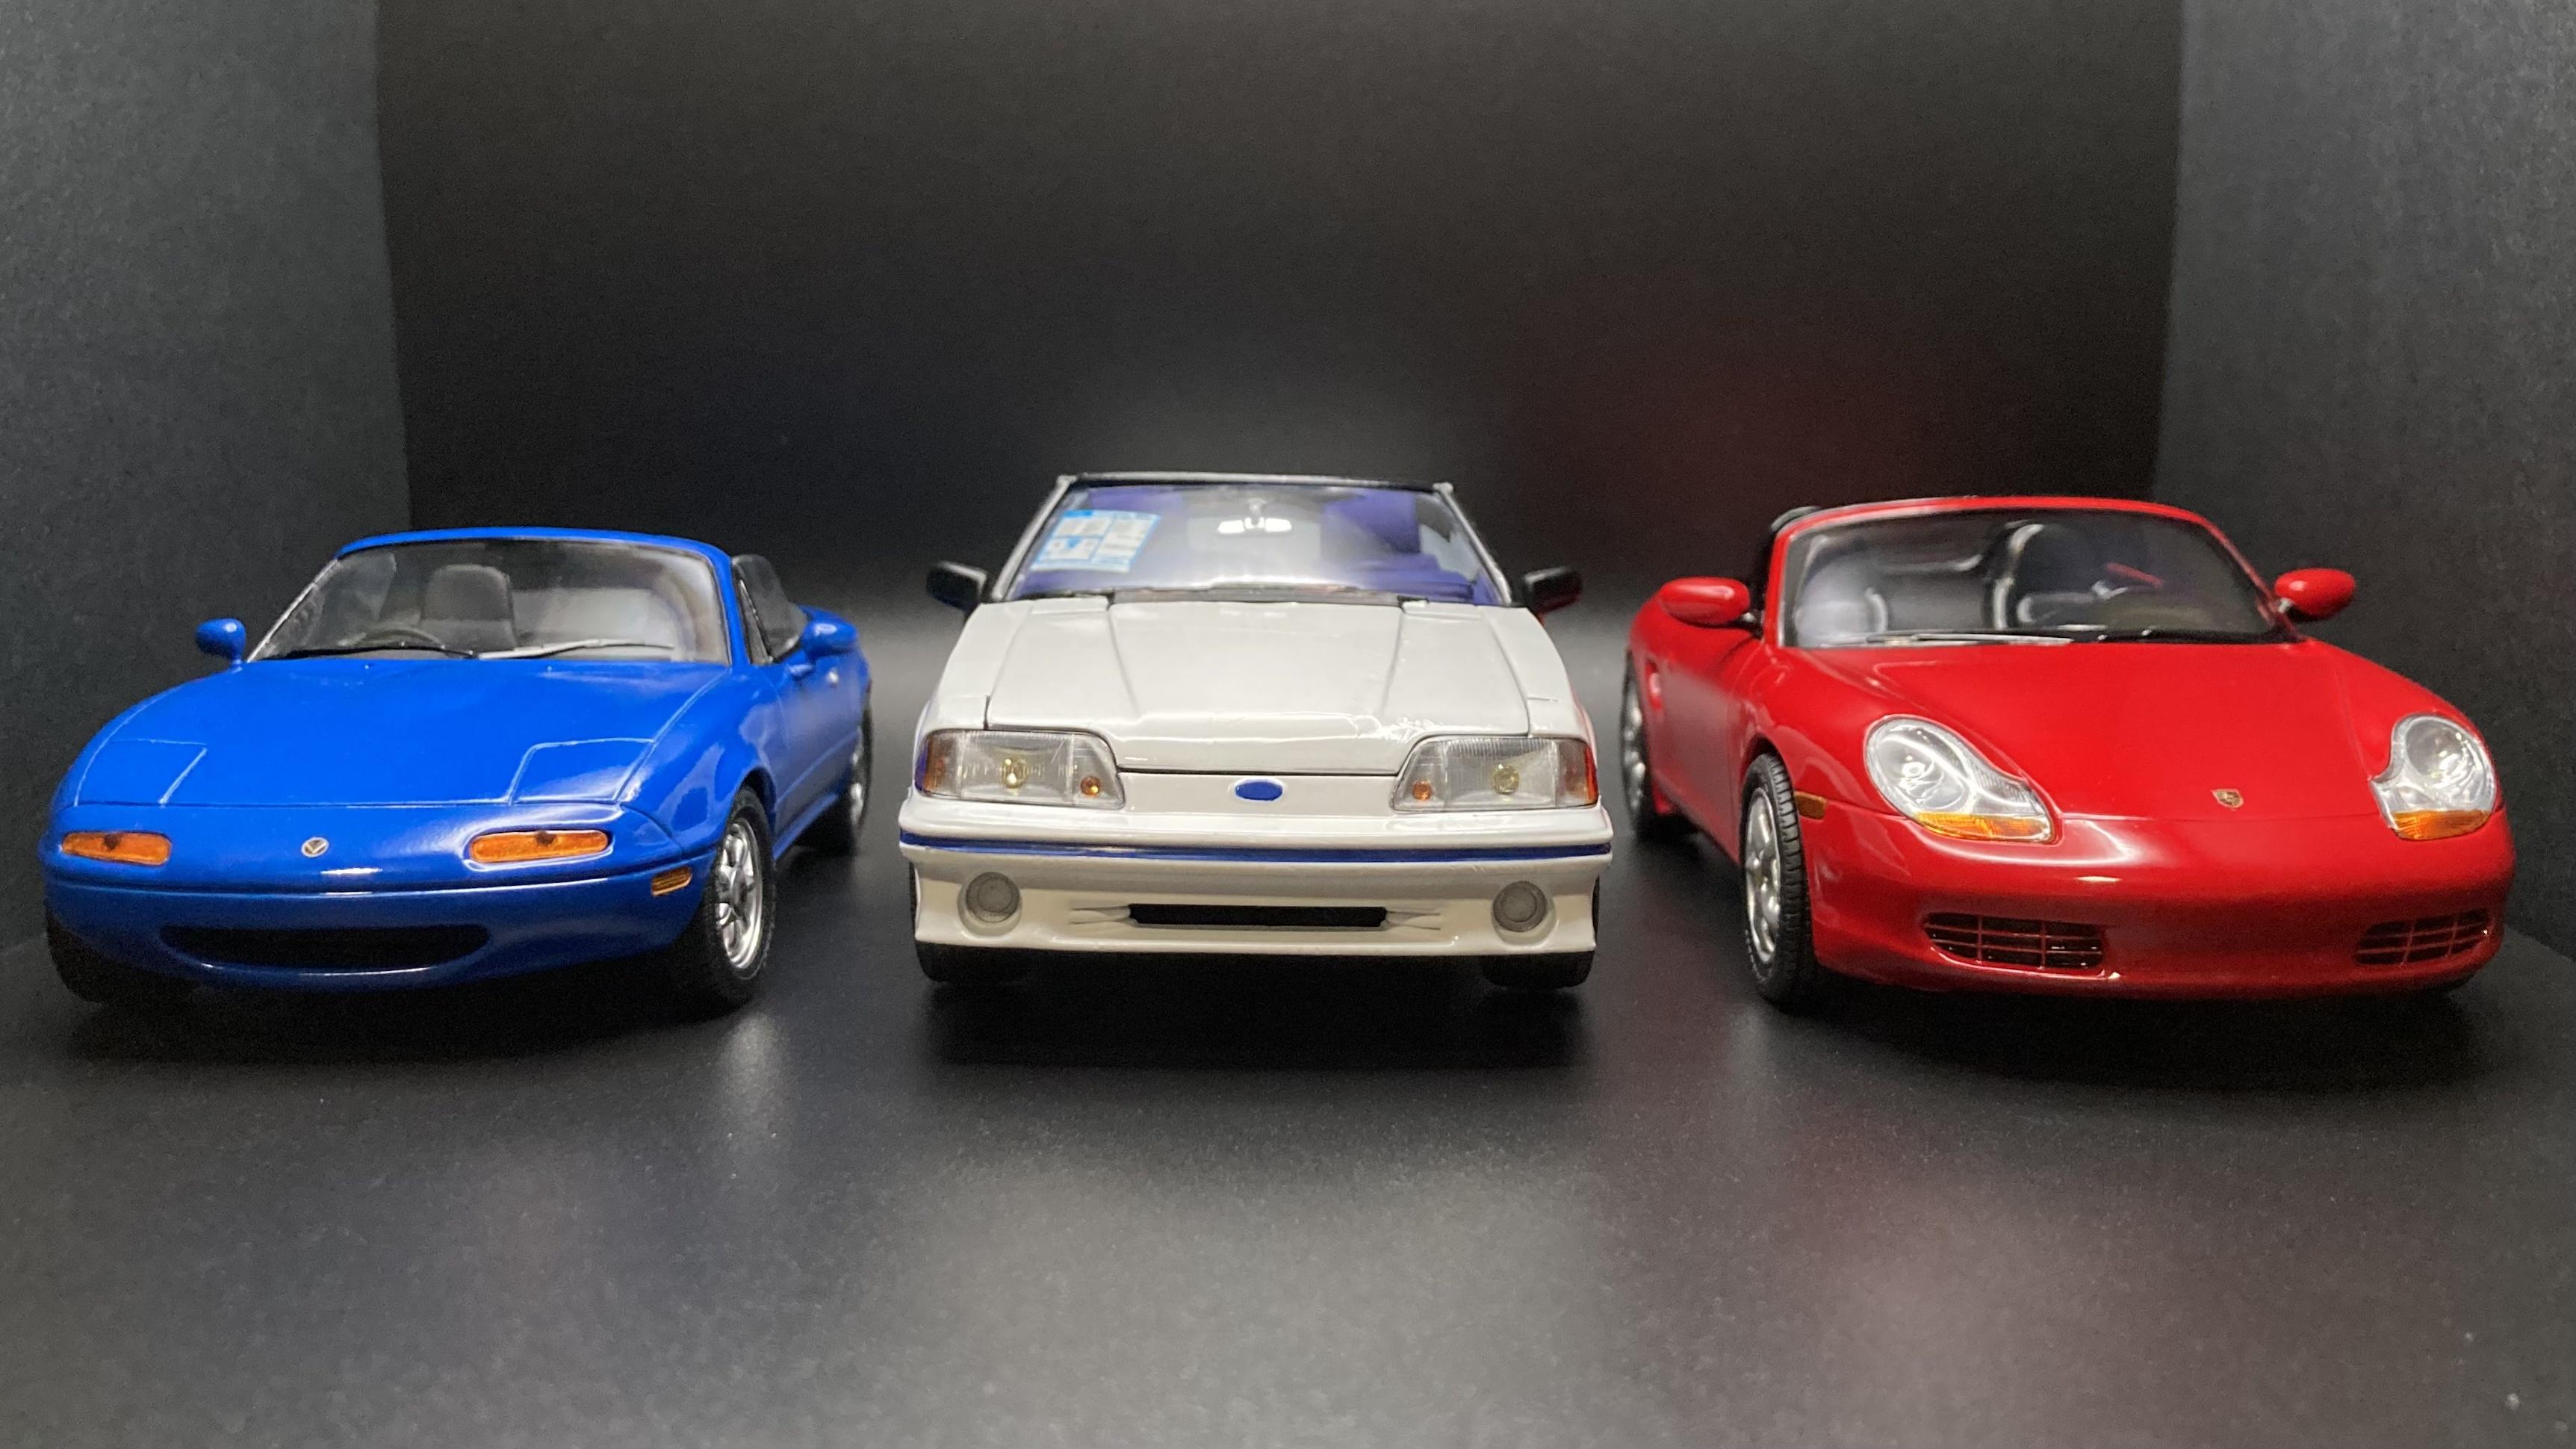
I recently bought one of my (many) childhood dream cars: a 2002 Porsche Boxster 2.7 manual. They say to never meet your heroes, but in this case it’s as amazing to drive as I’d hoped! Naturally, I had to build a model to match my real car. I started with the original issue Revell/Monogram SnapTite kit. For fun, I built it unpainted to see how it would look if I’d built it as a kid in the late ‘90s. It definitely looks like a toy and not realistic at all. It’s a very basic snap kit but the fit up is excellent and I think they captured the shape and proportions of the real car nicely. I painted the body Tamiya TS-8 Italian Red over their pink primer, which looks pretty close to classic Guards Red to me. The kit’s Turbo-Look wheels are different than my later car’s wheels but they’re close enough so I left them as is. It’s amazing how some paint and simple detail work can really set off a basic snap kit. Hood crest decal came from eBay. Kit only comes with a terrible set of stickers. Two late ‘90s Revell snap based kits of German subjects. Both come alive with a little detail work! The Boxster joins my builds of my former 1:1 fun cars. I wish I could have kept them all, but the sale of each one funds the next!
-
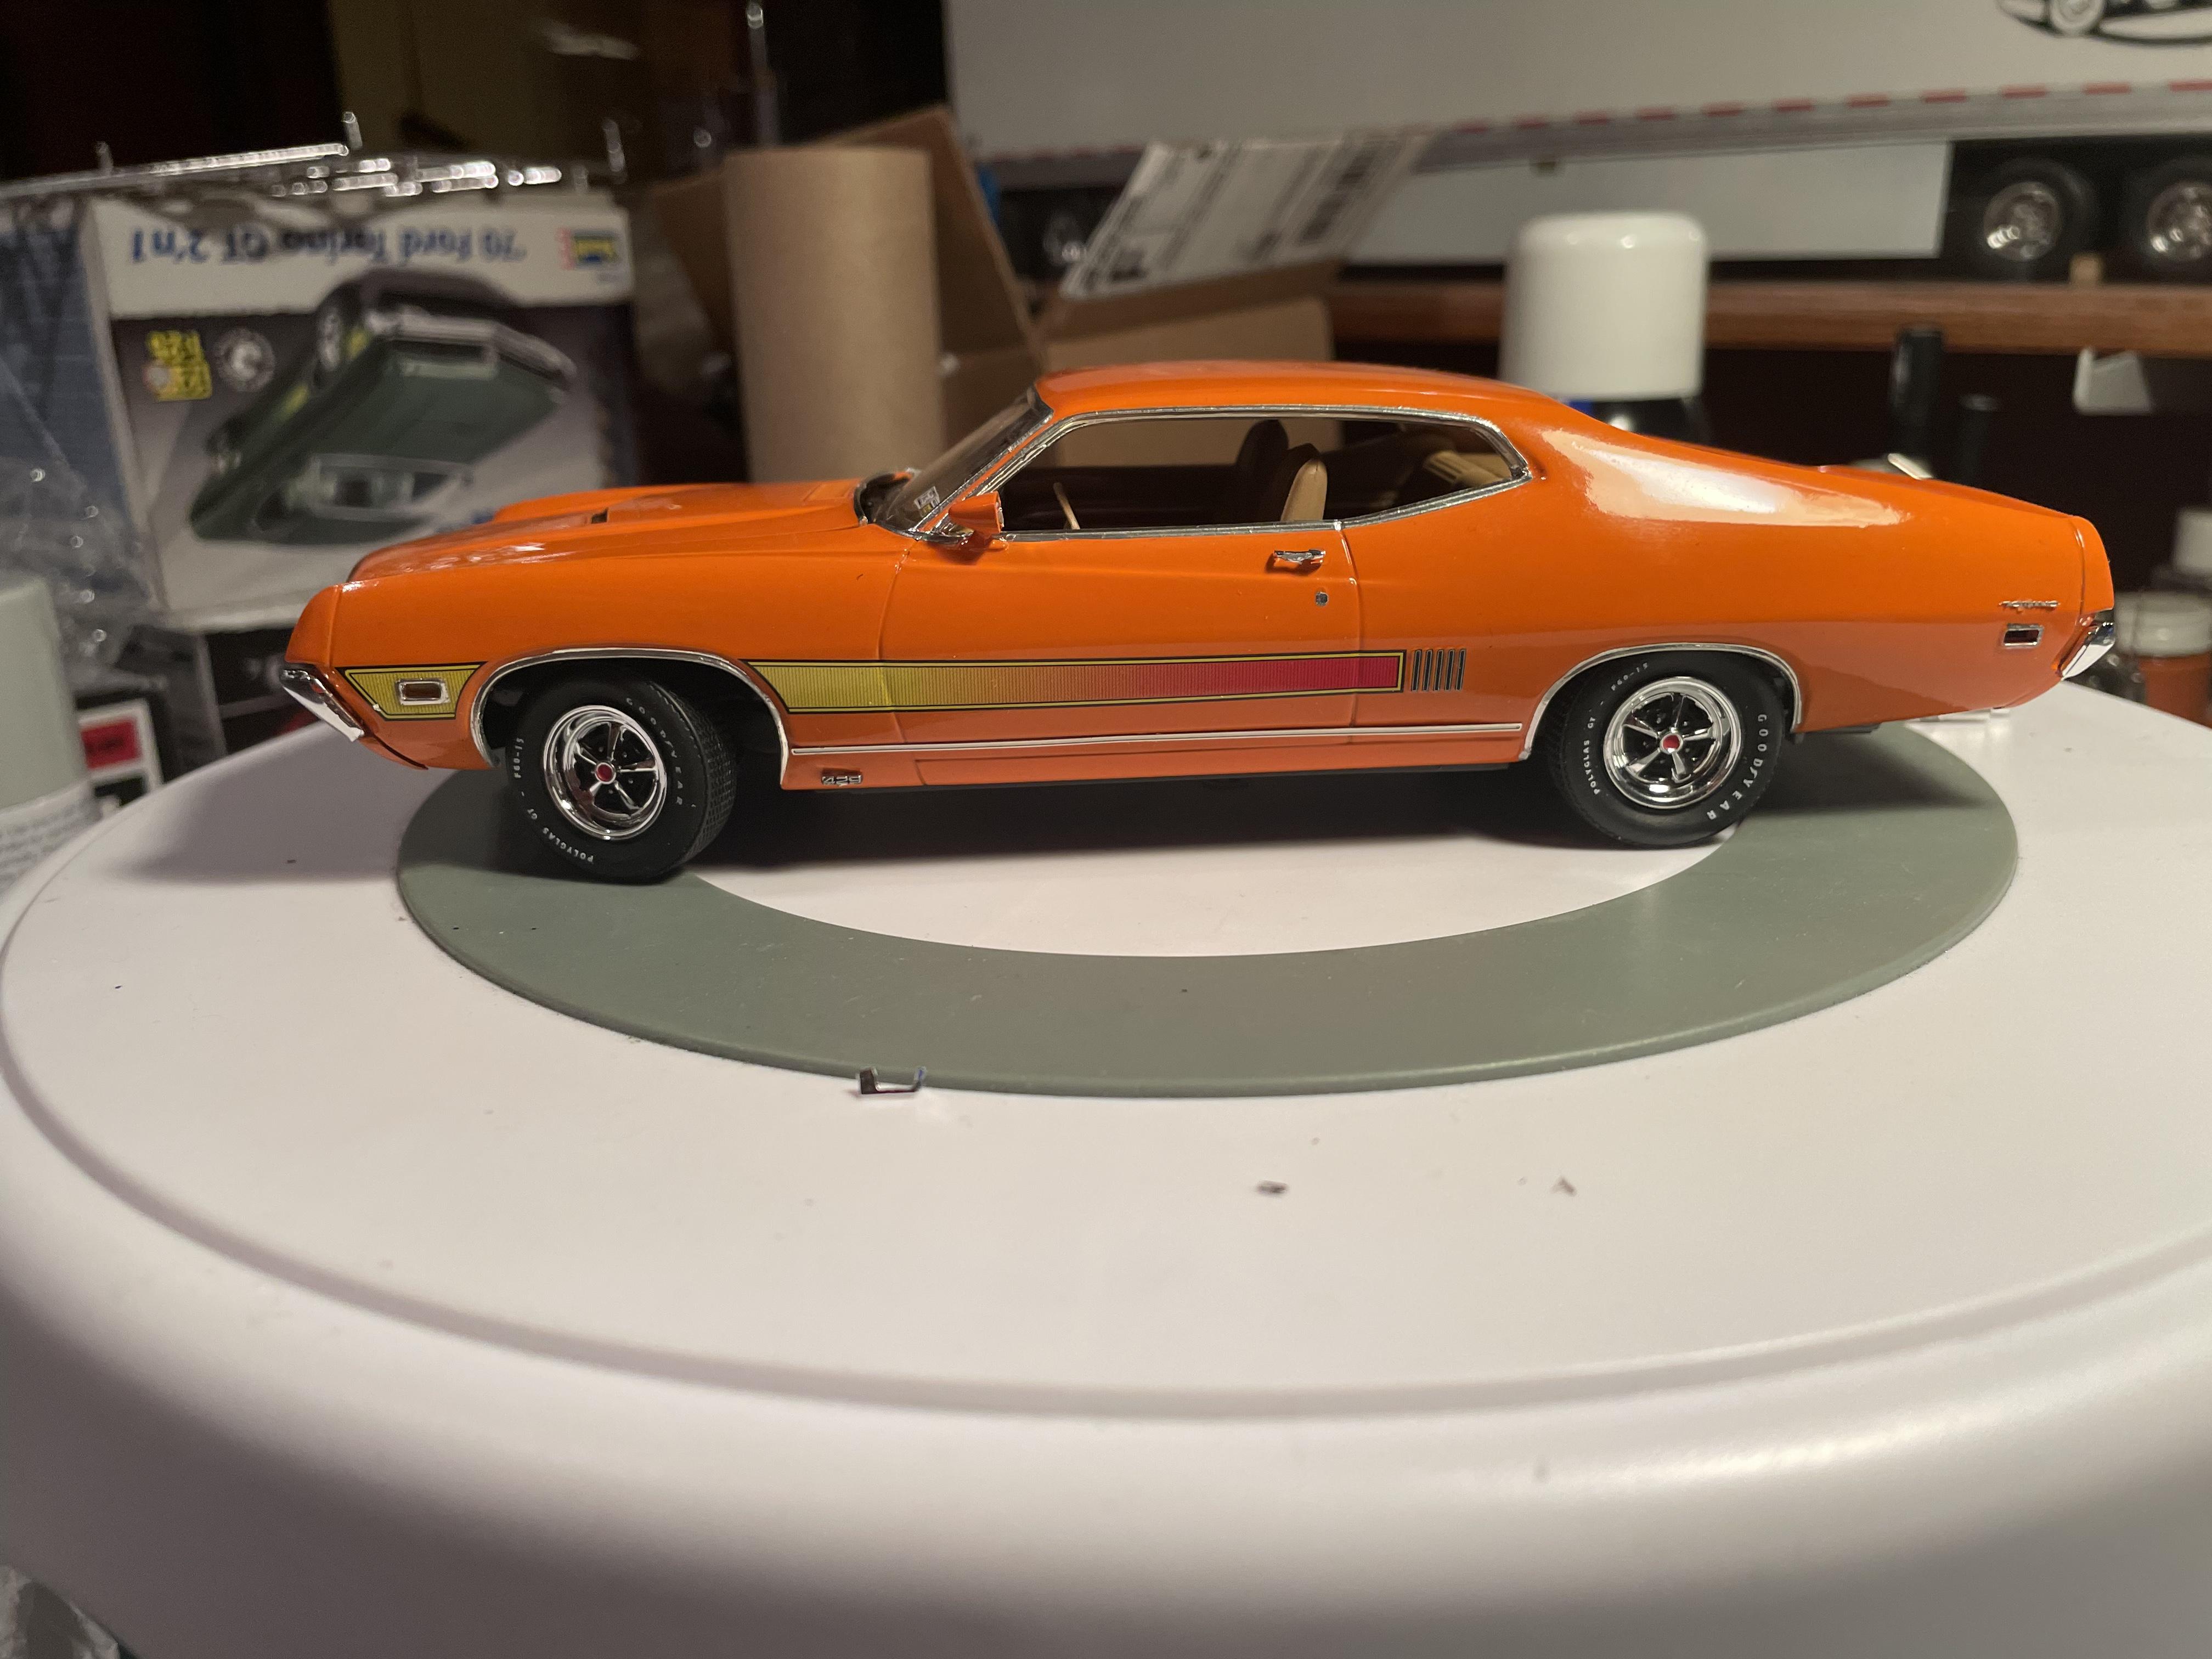
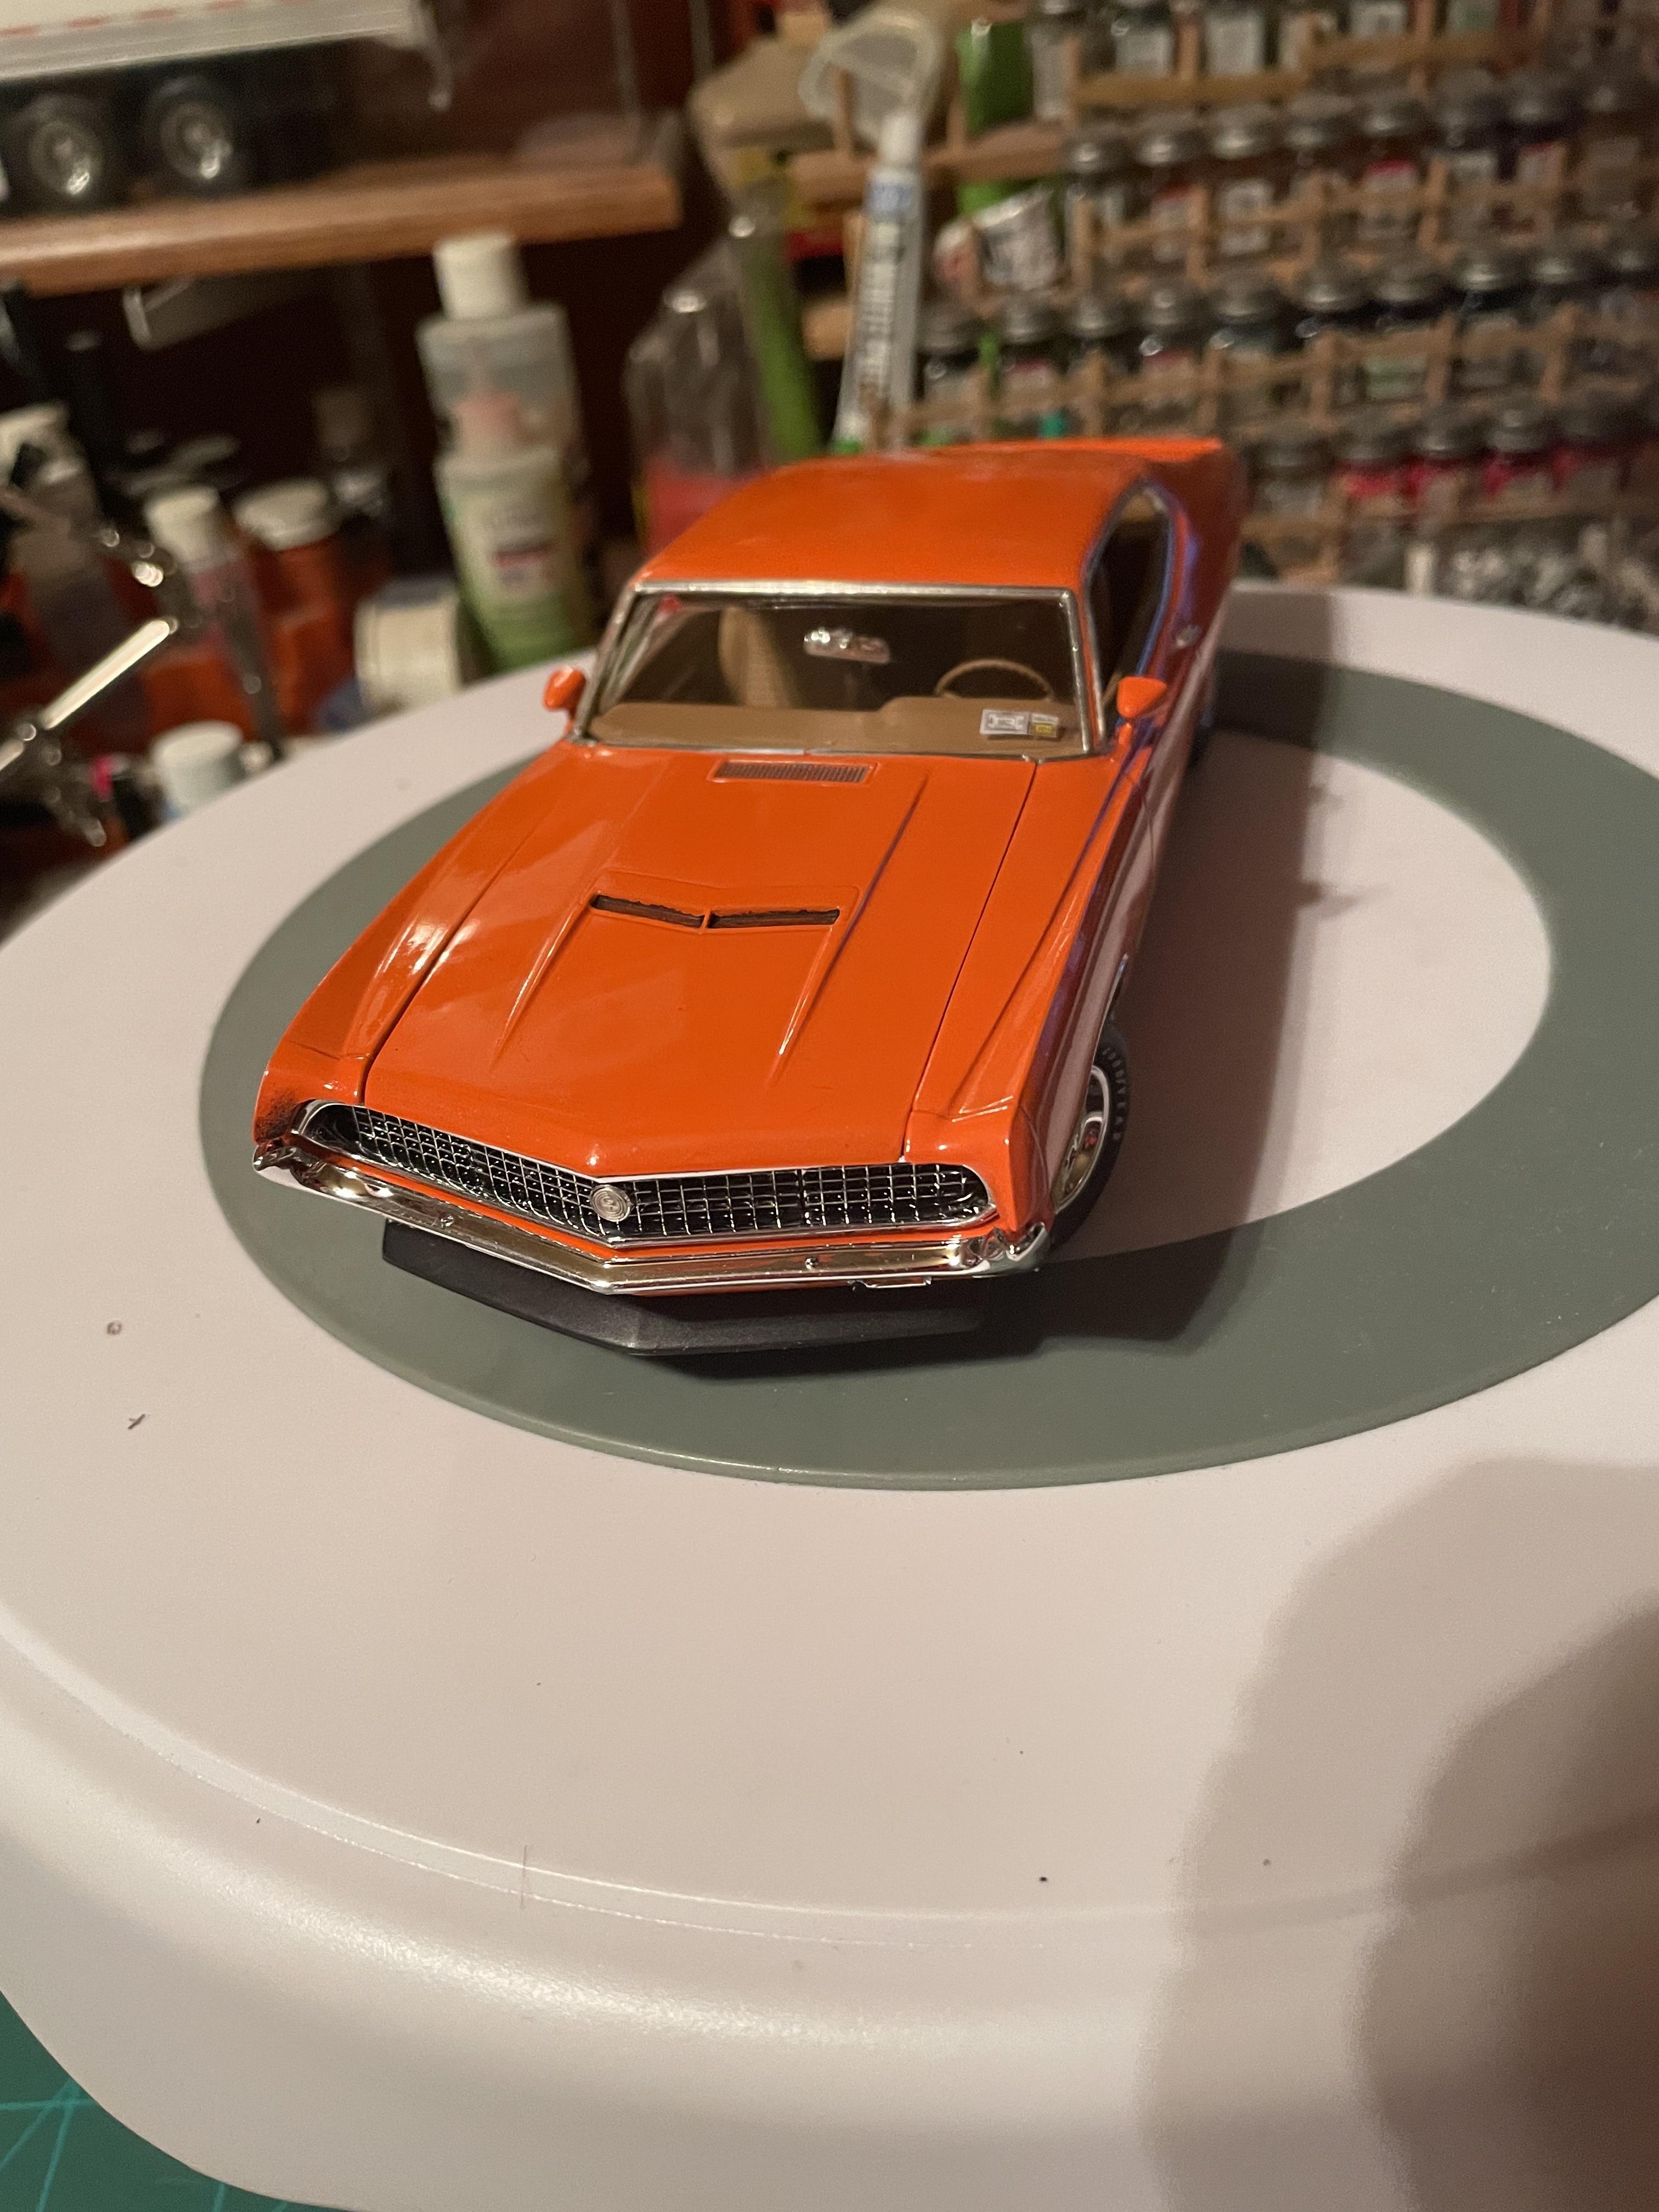
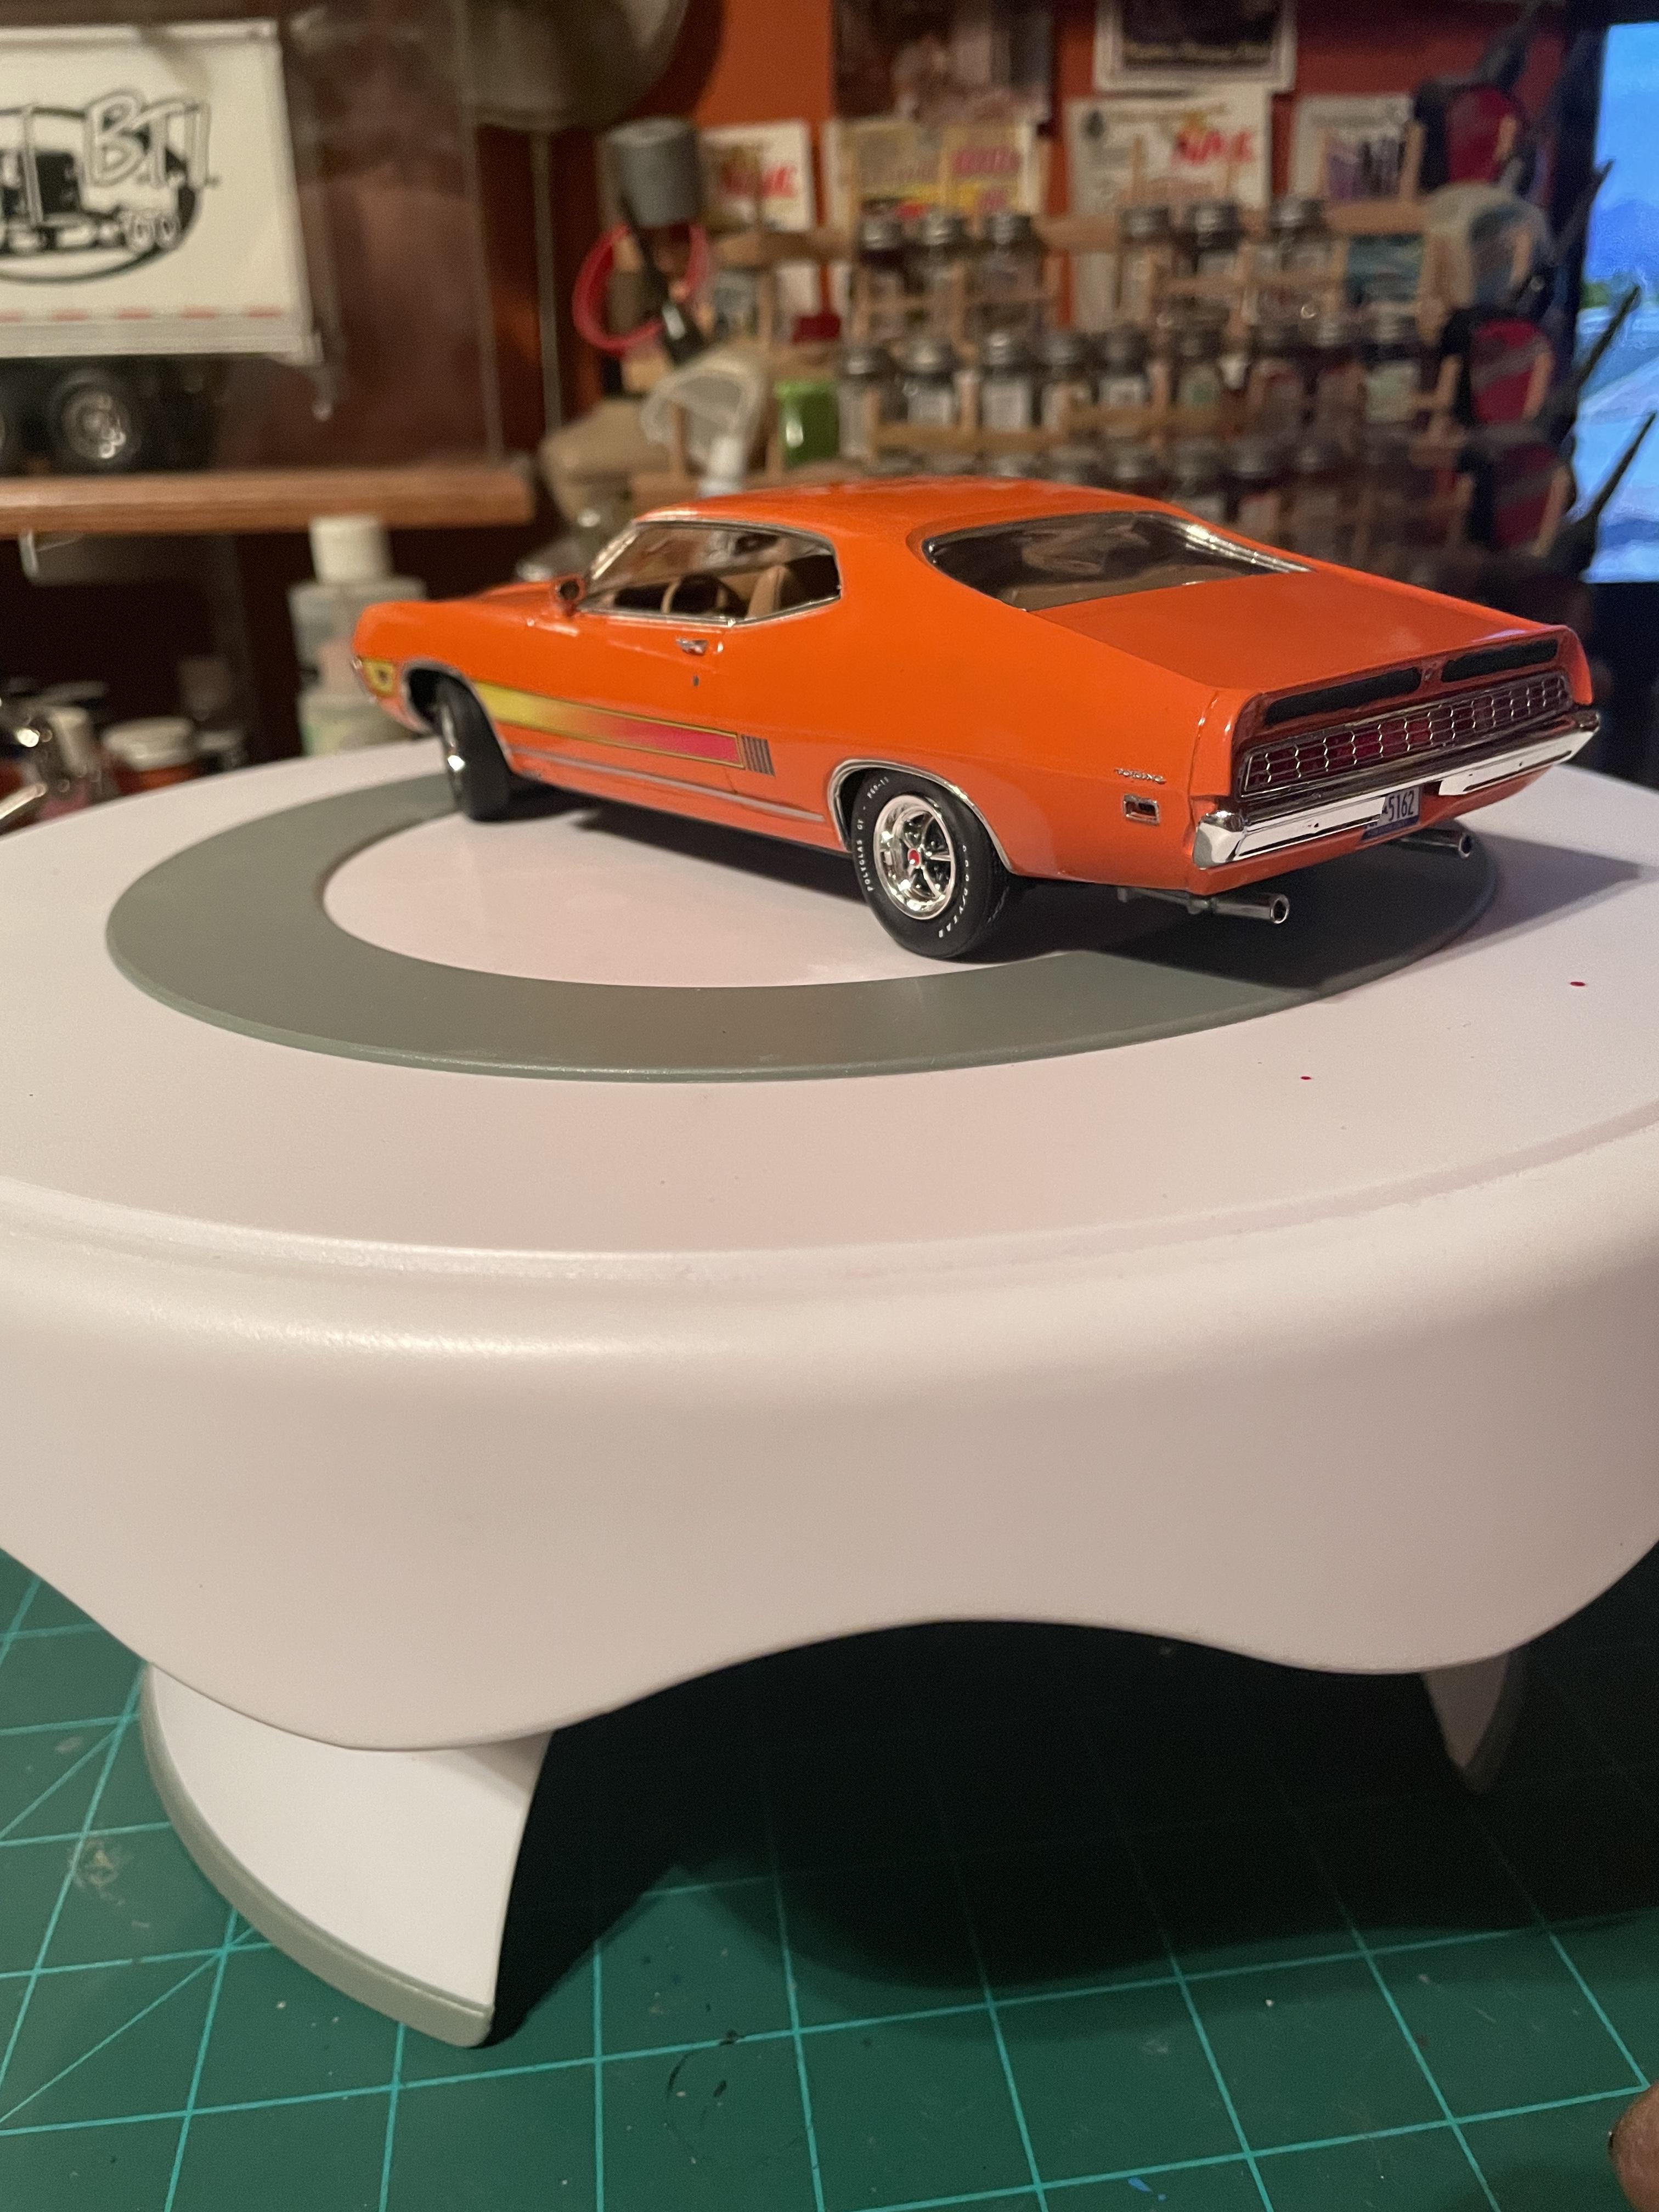
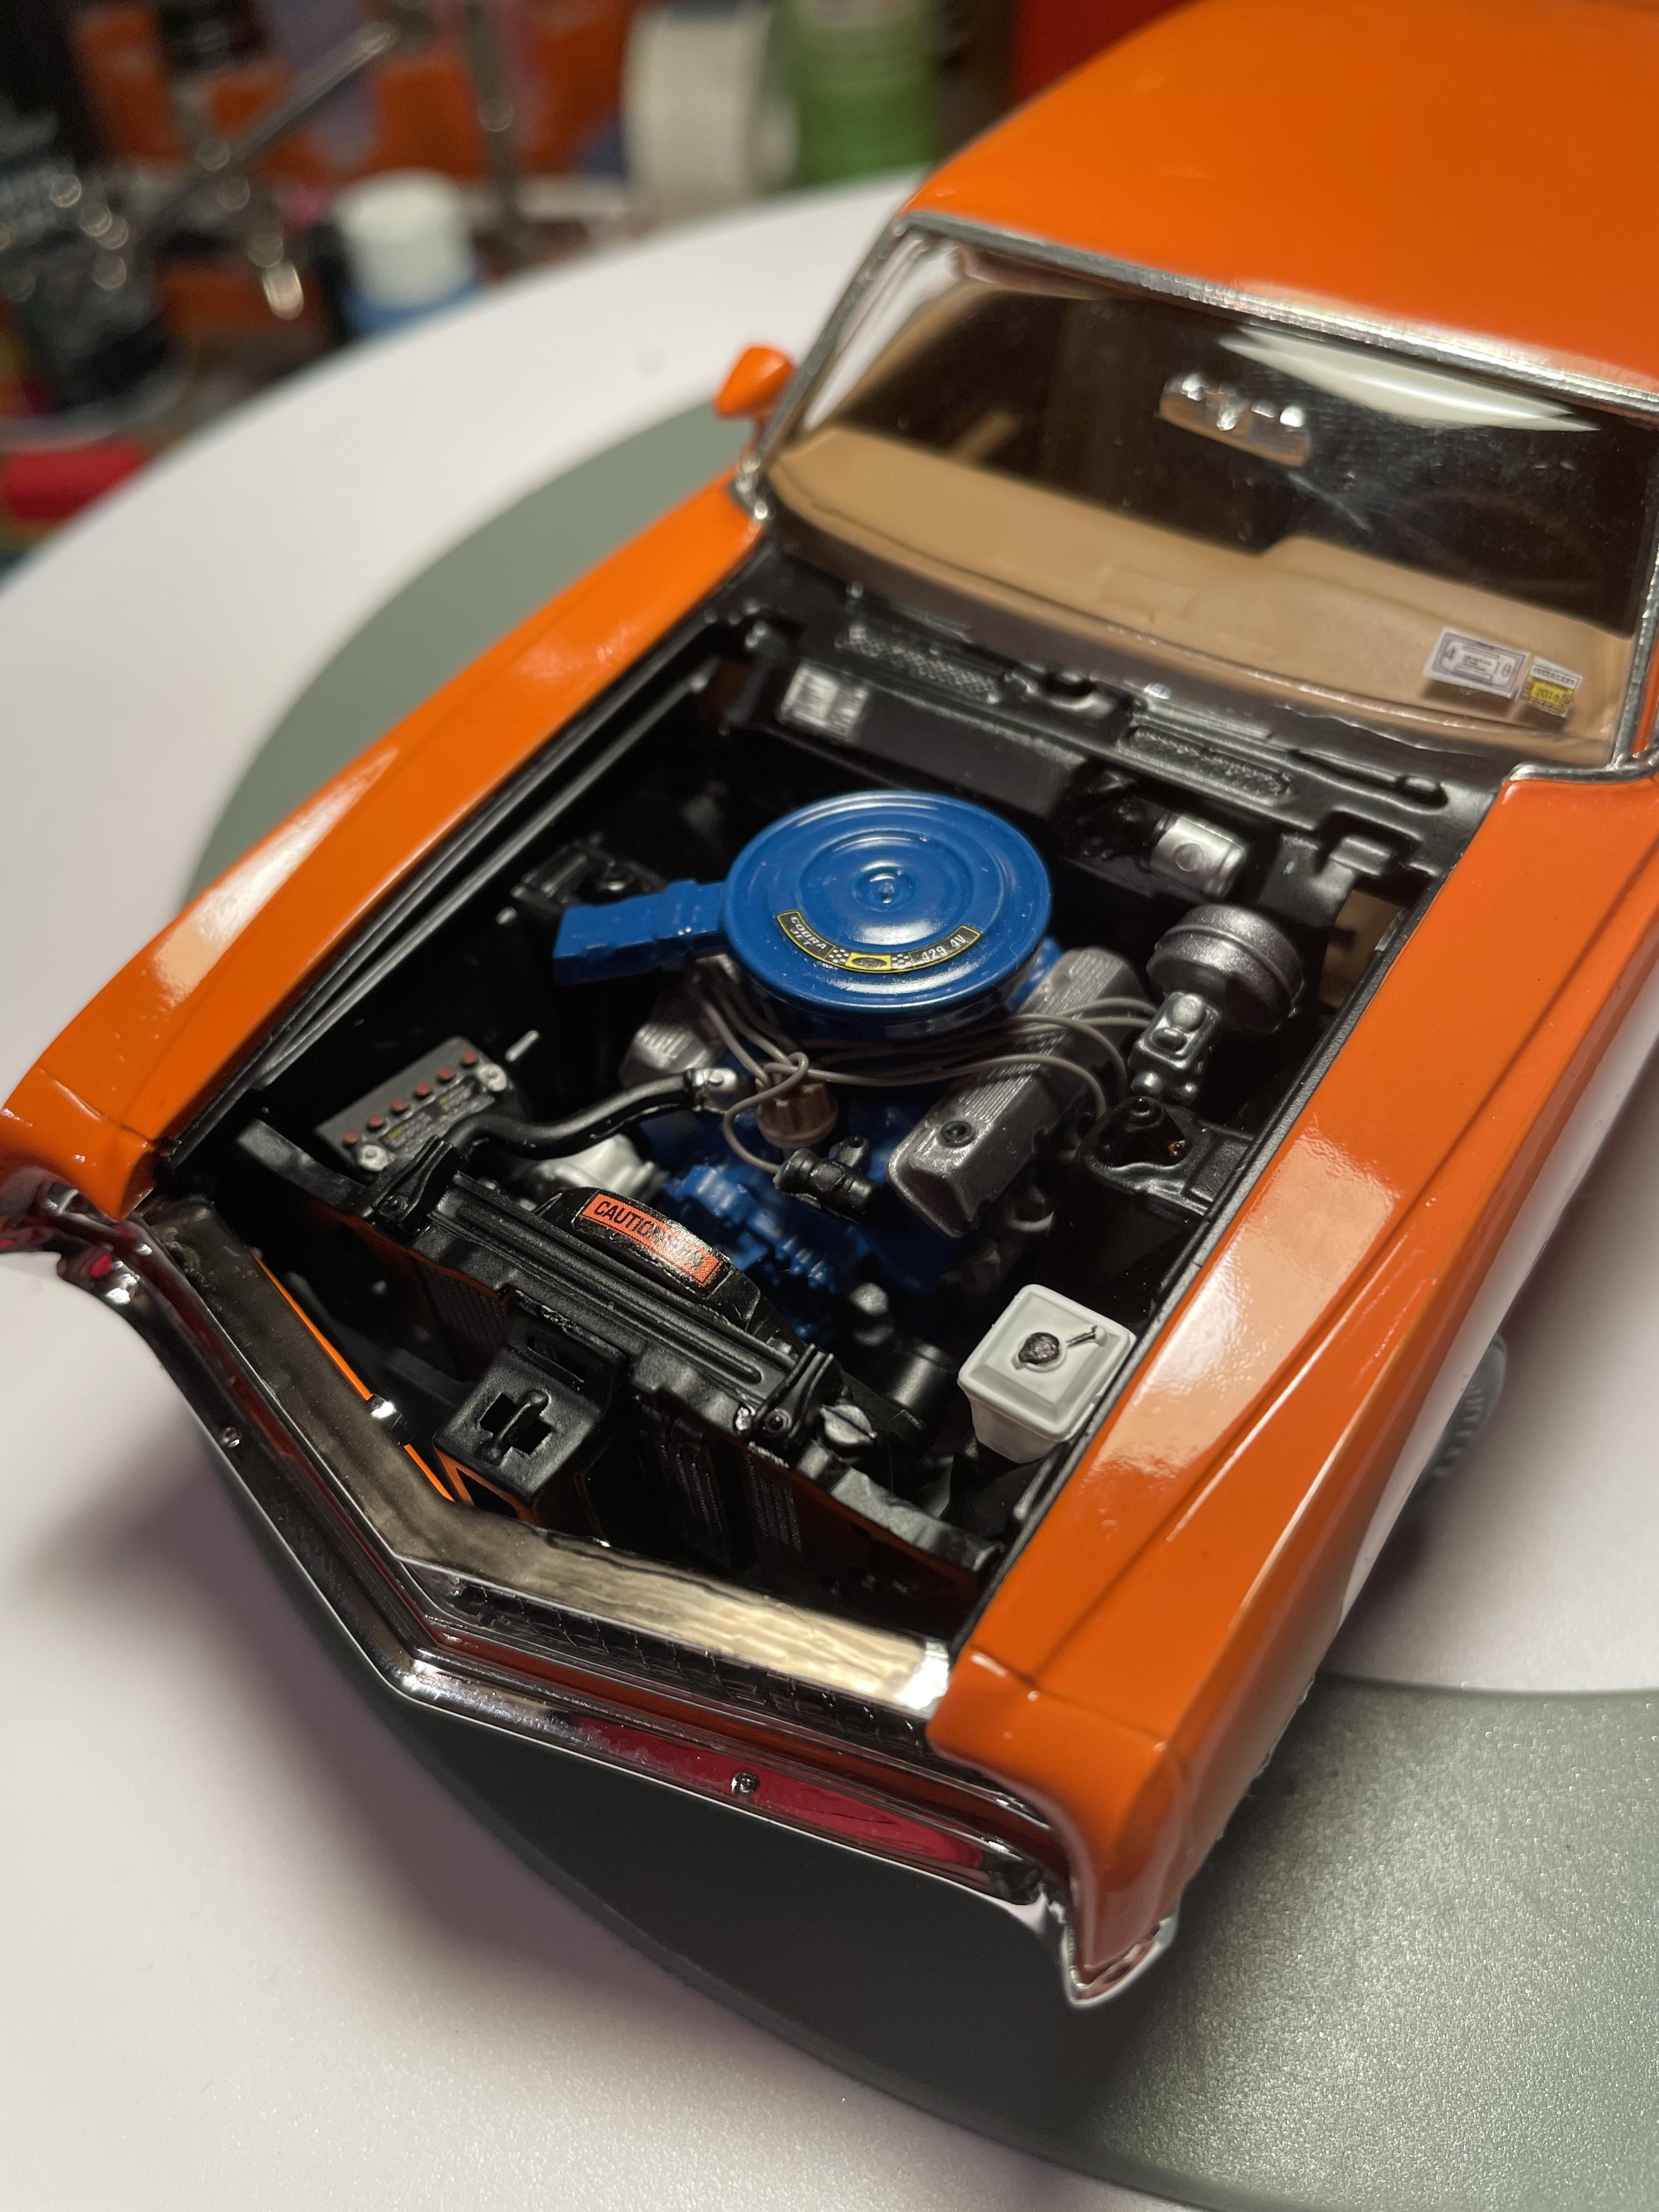
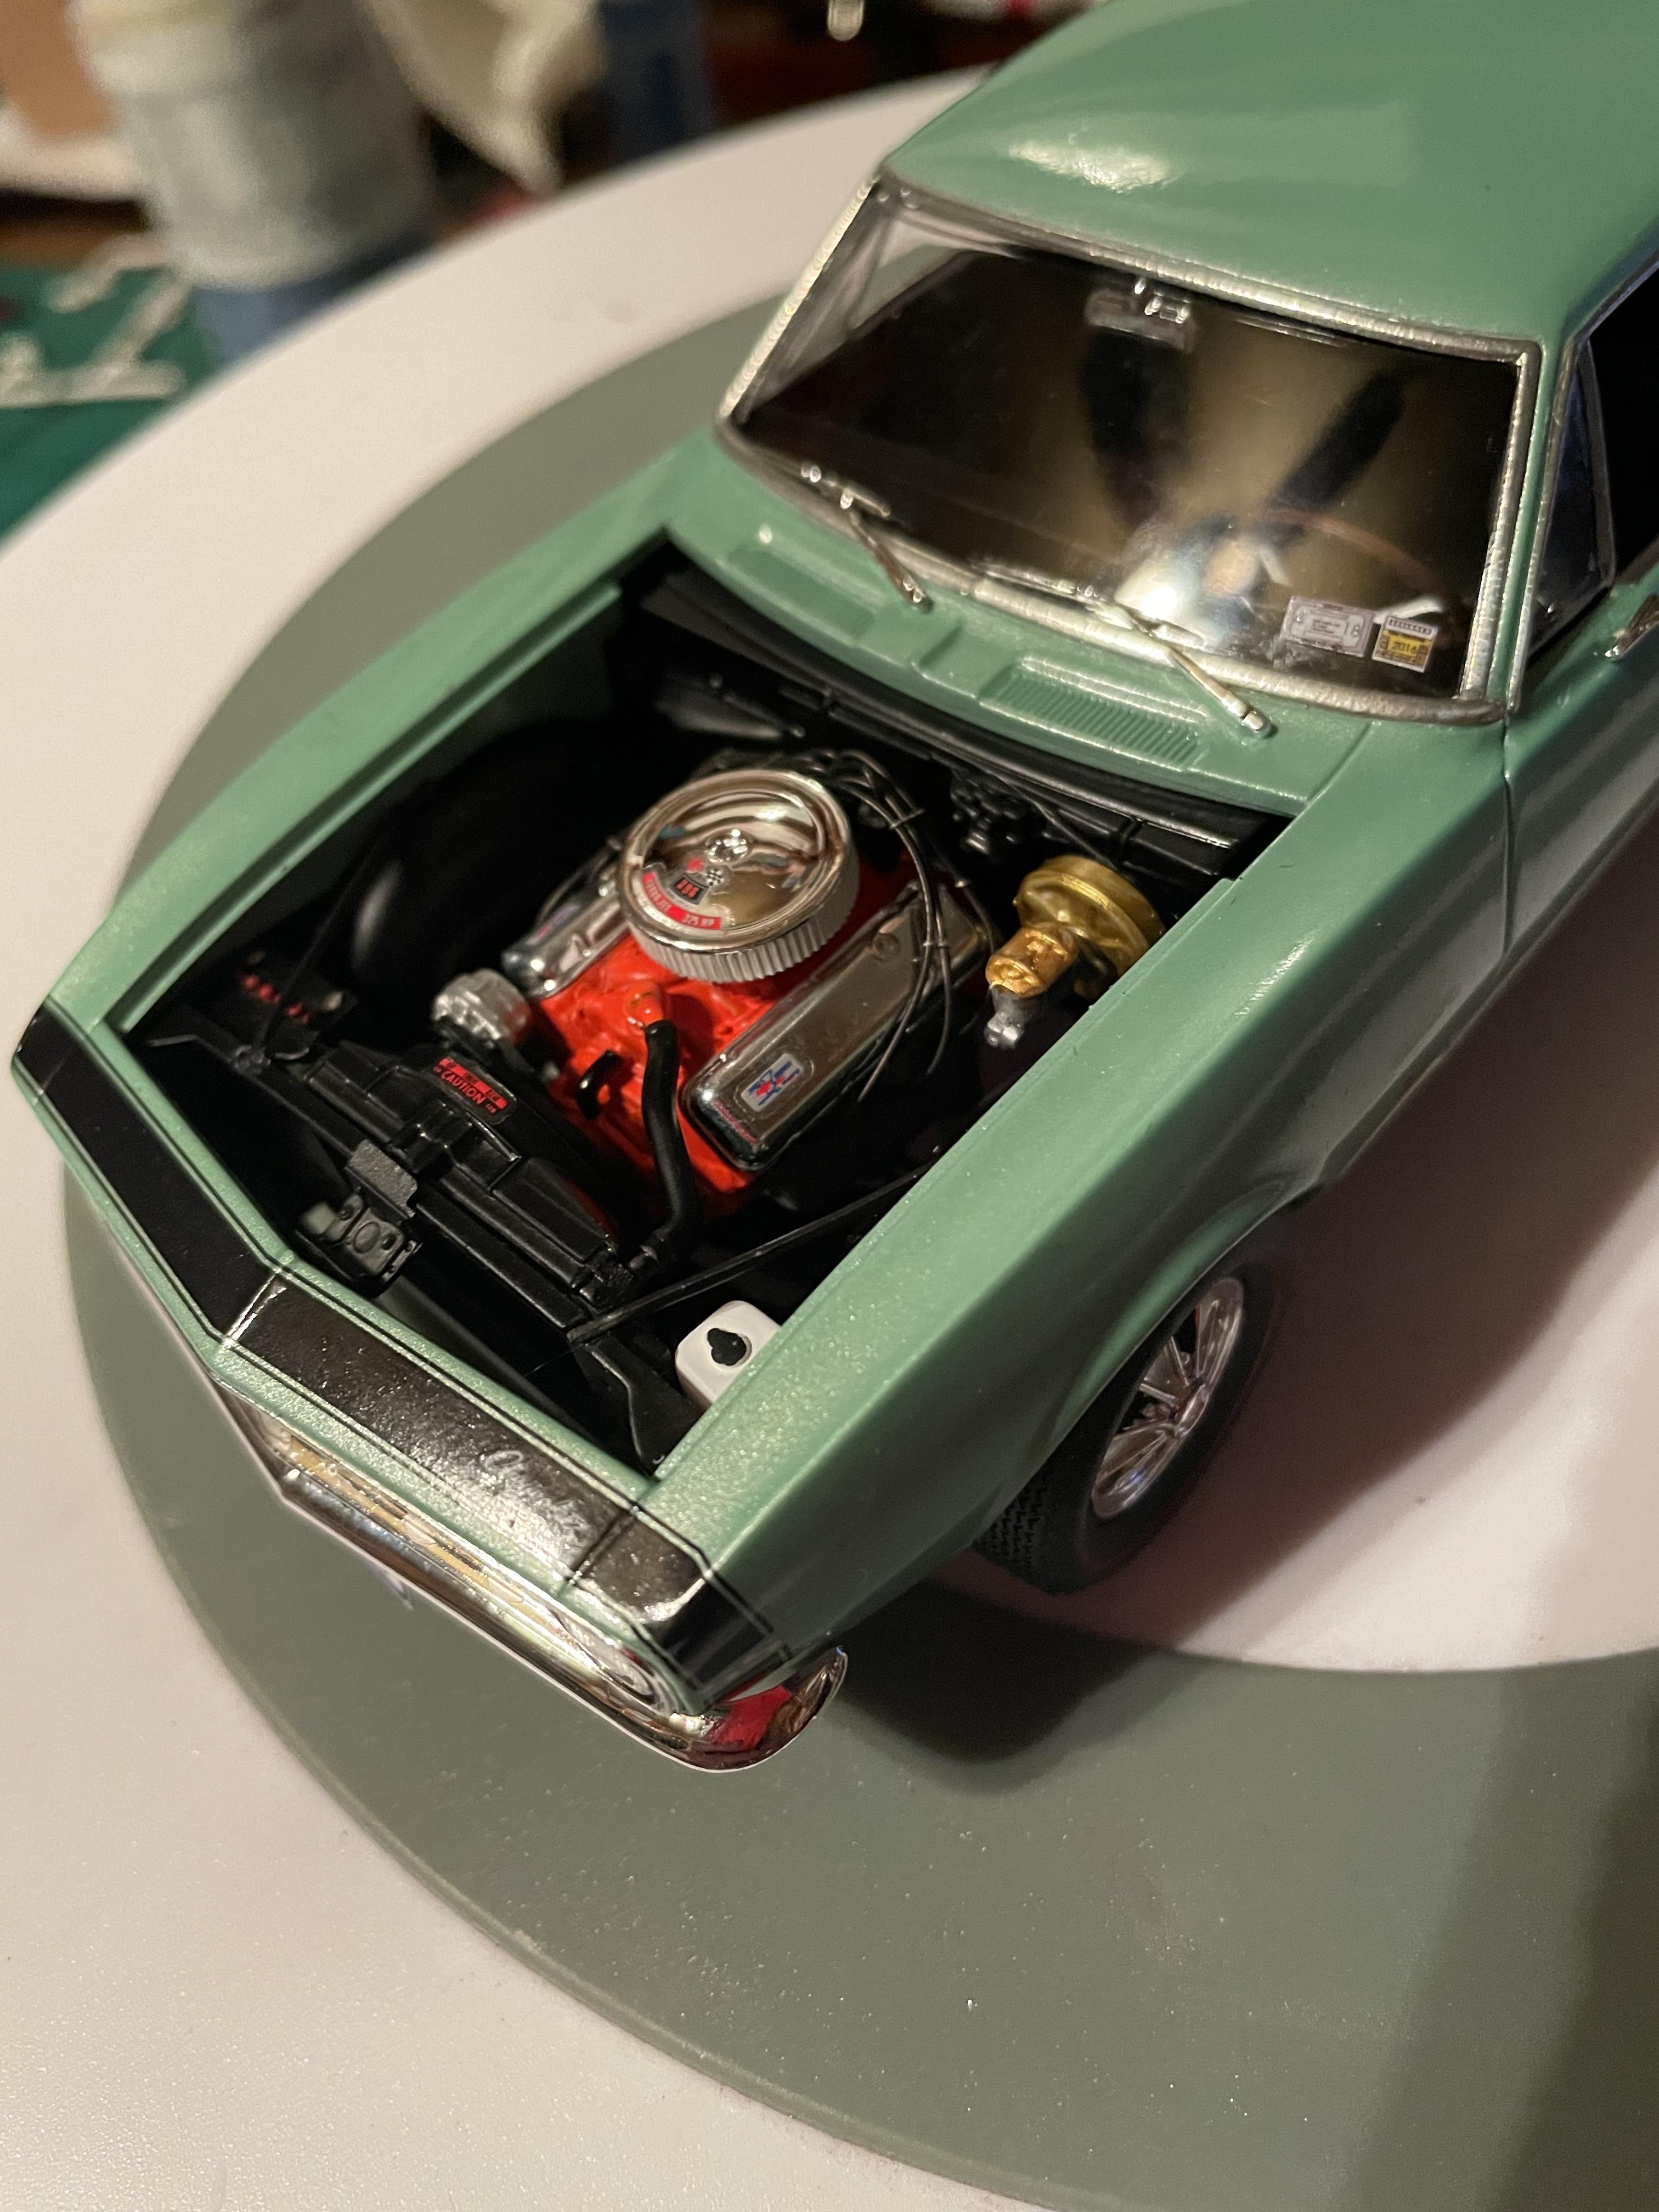
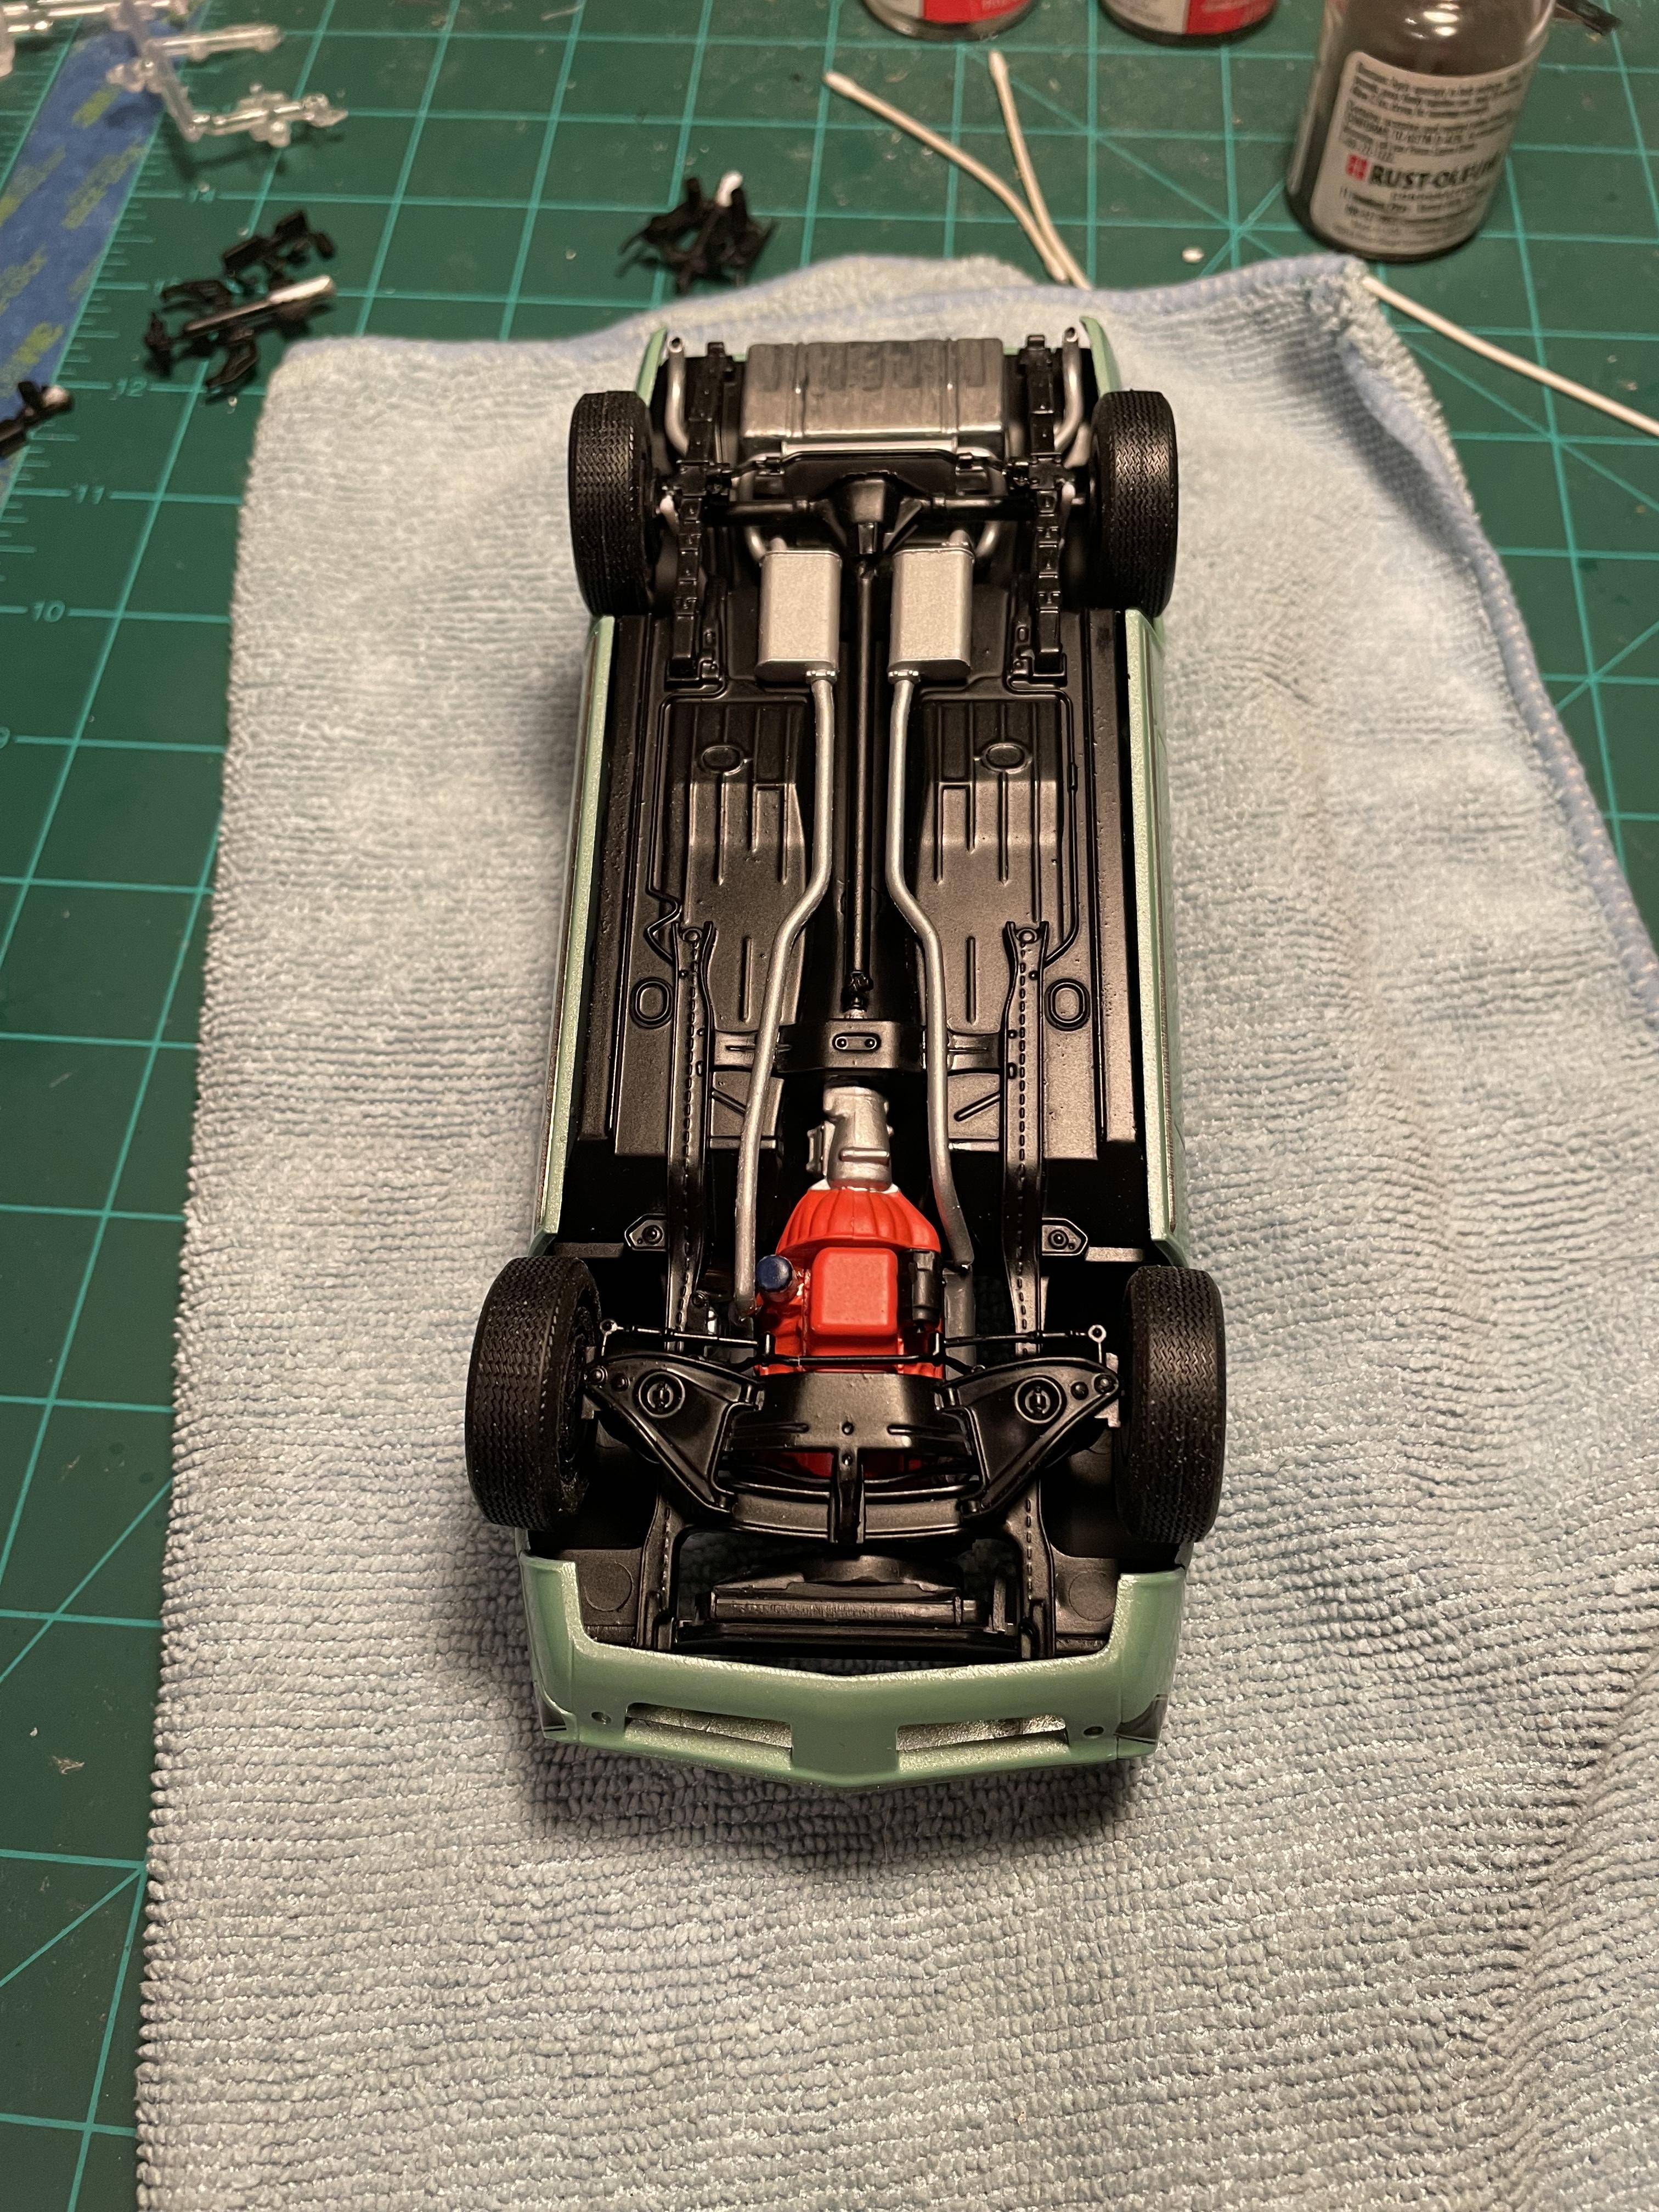
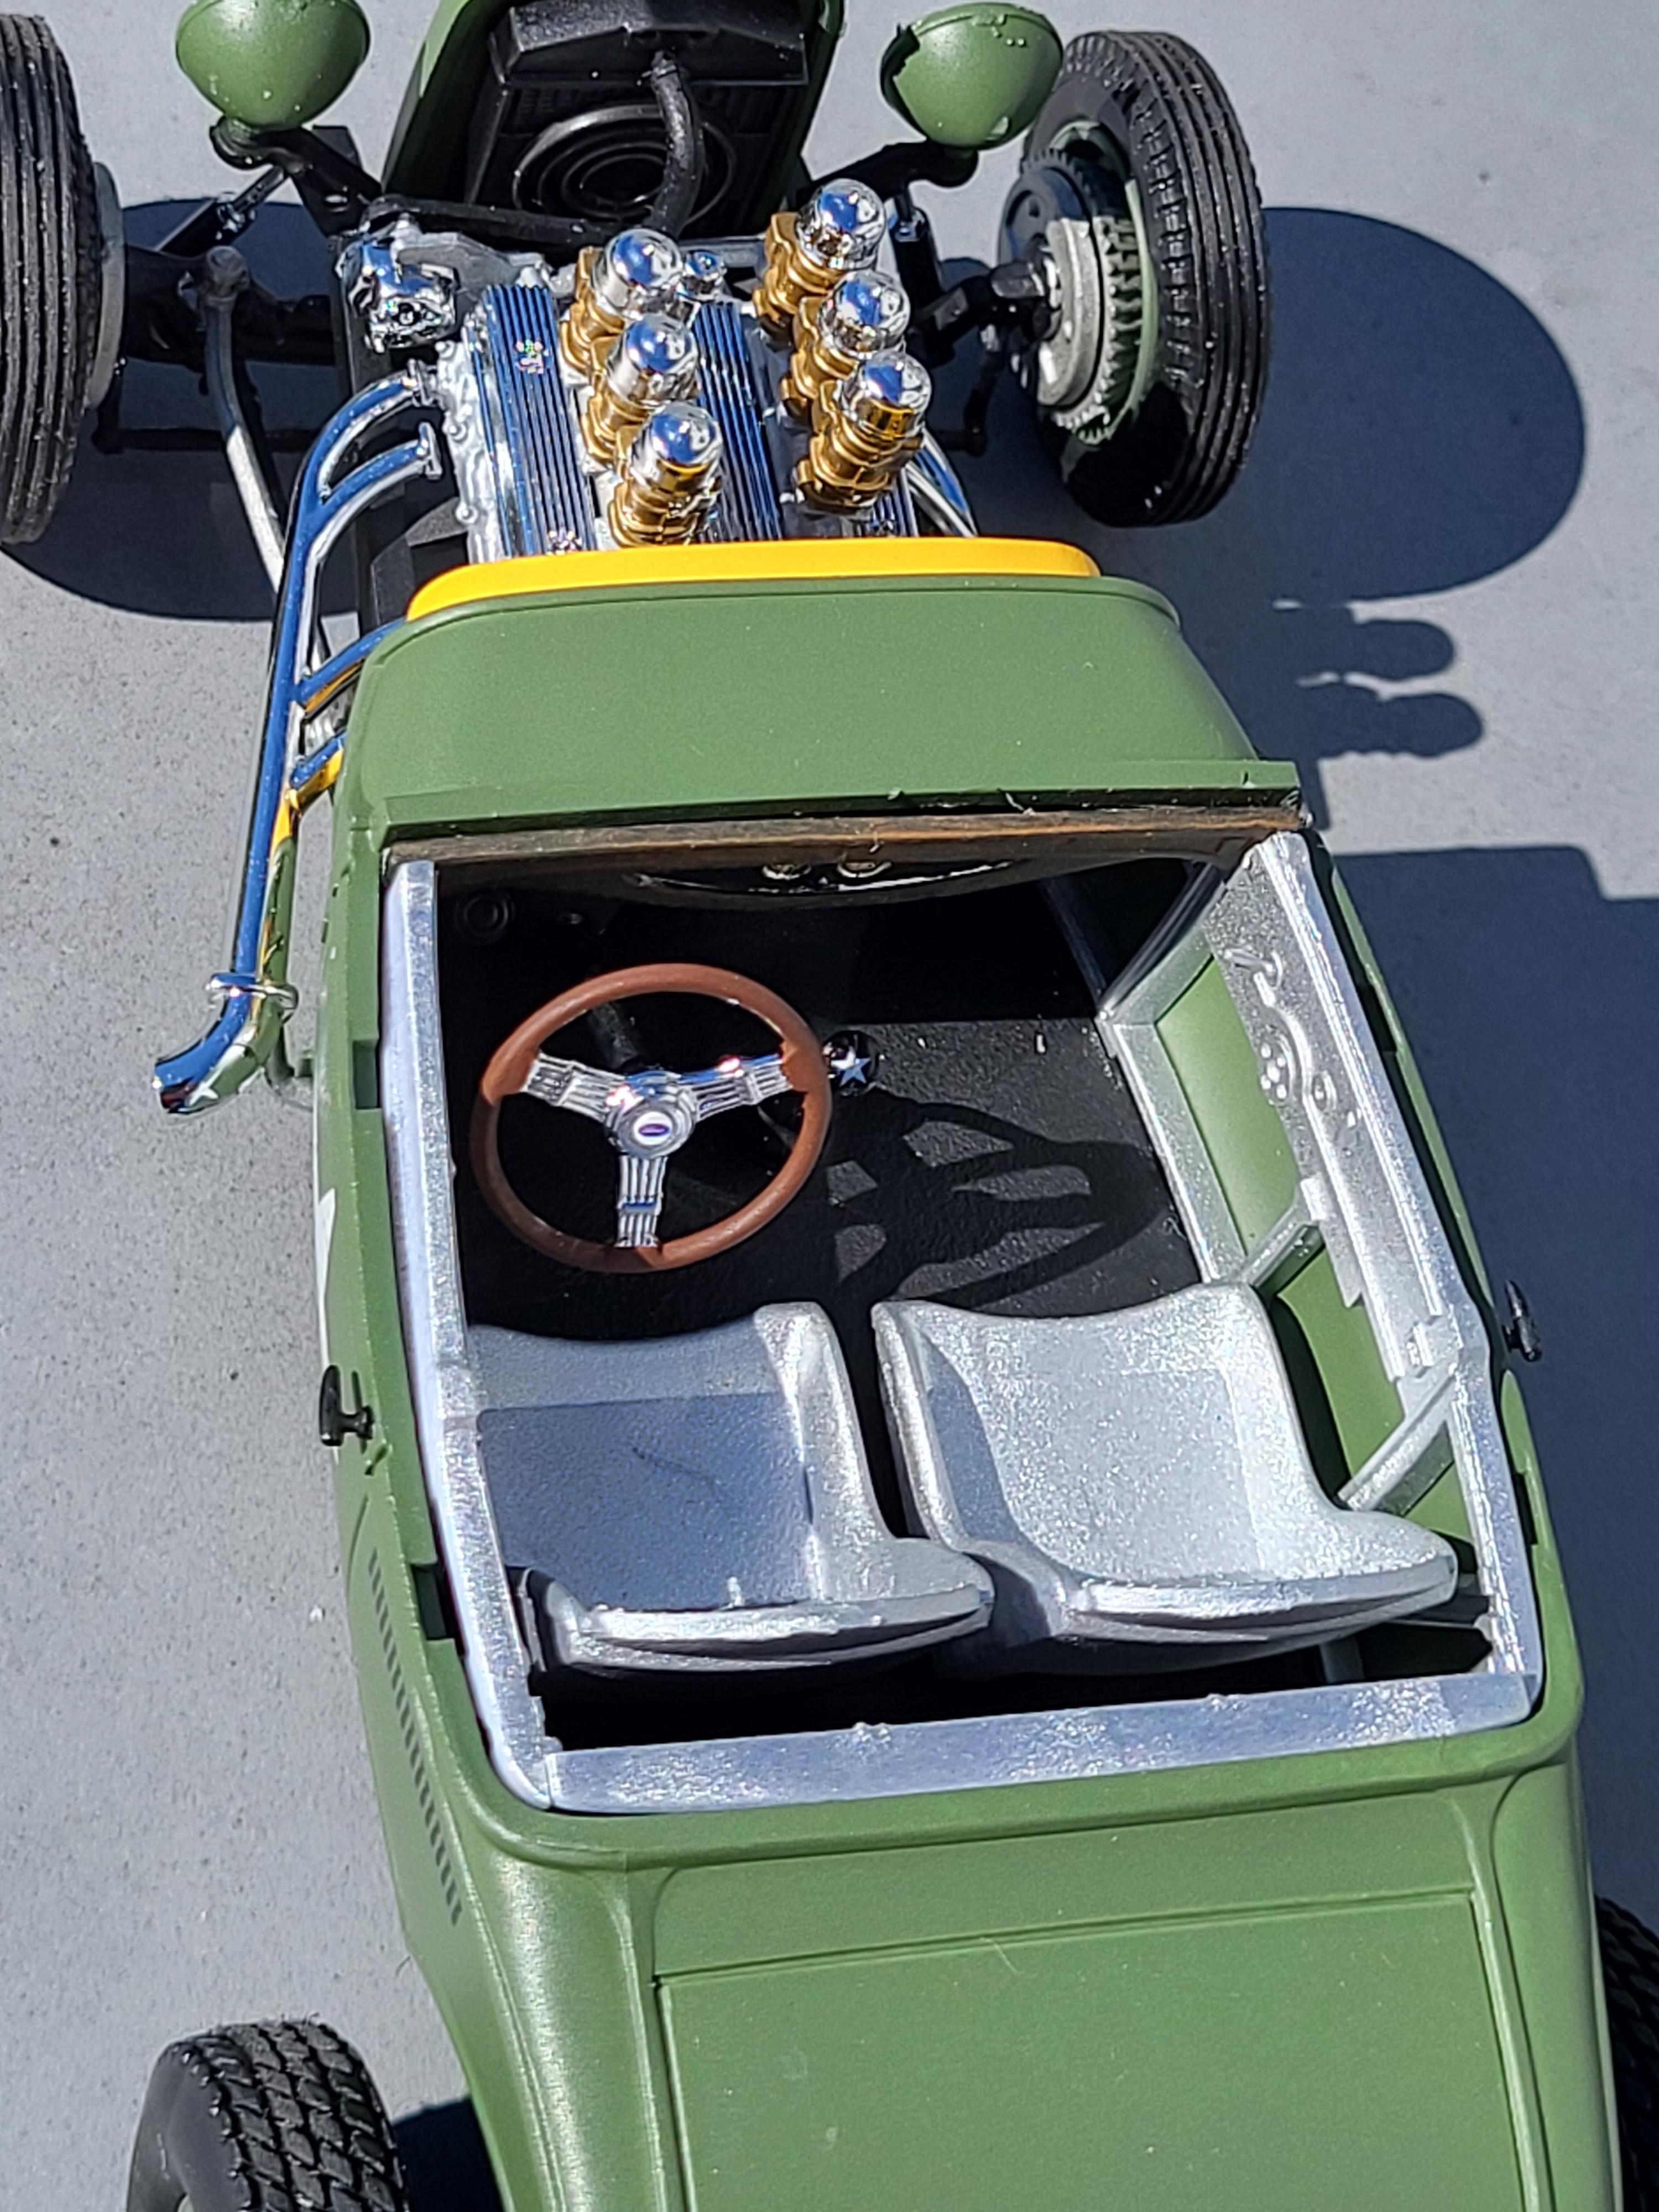
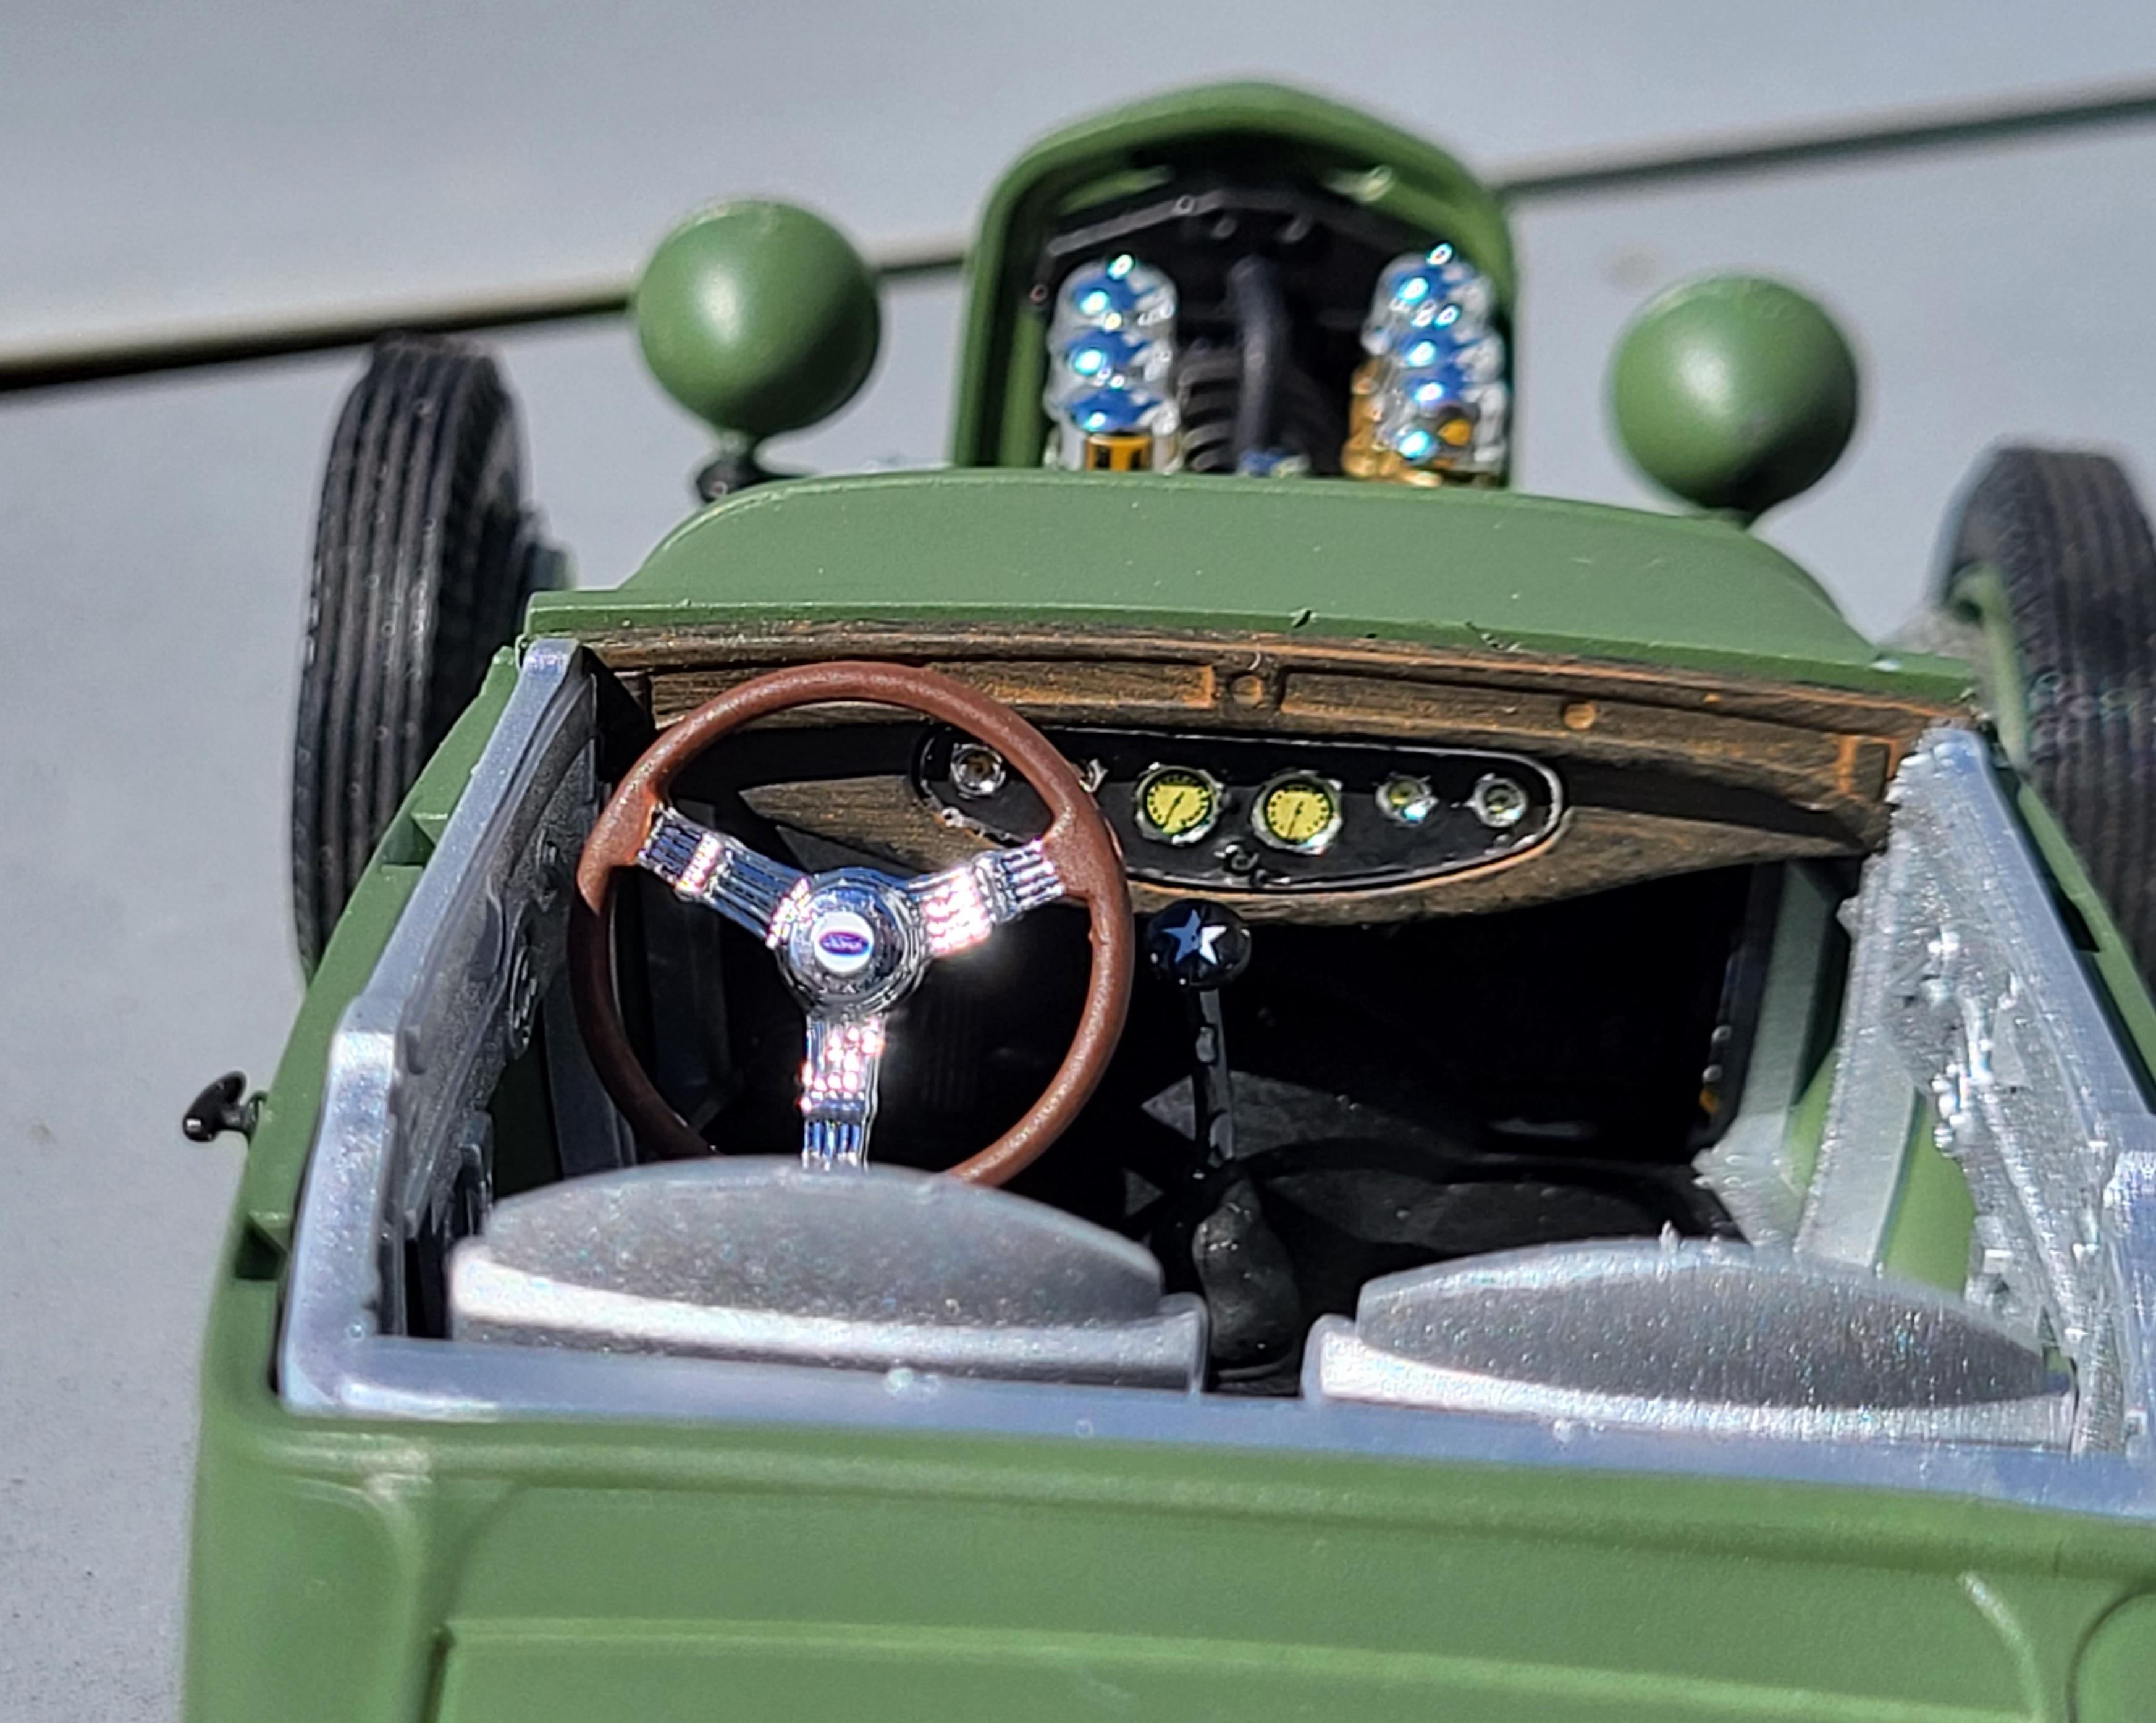
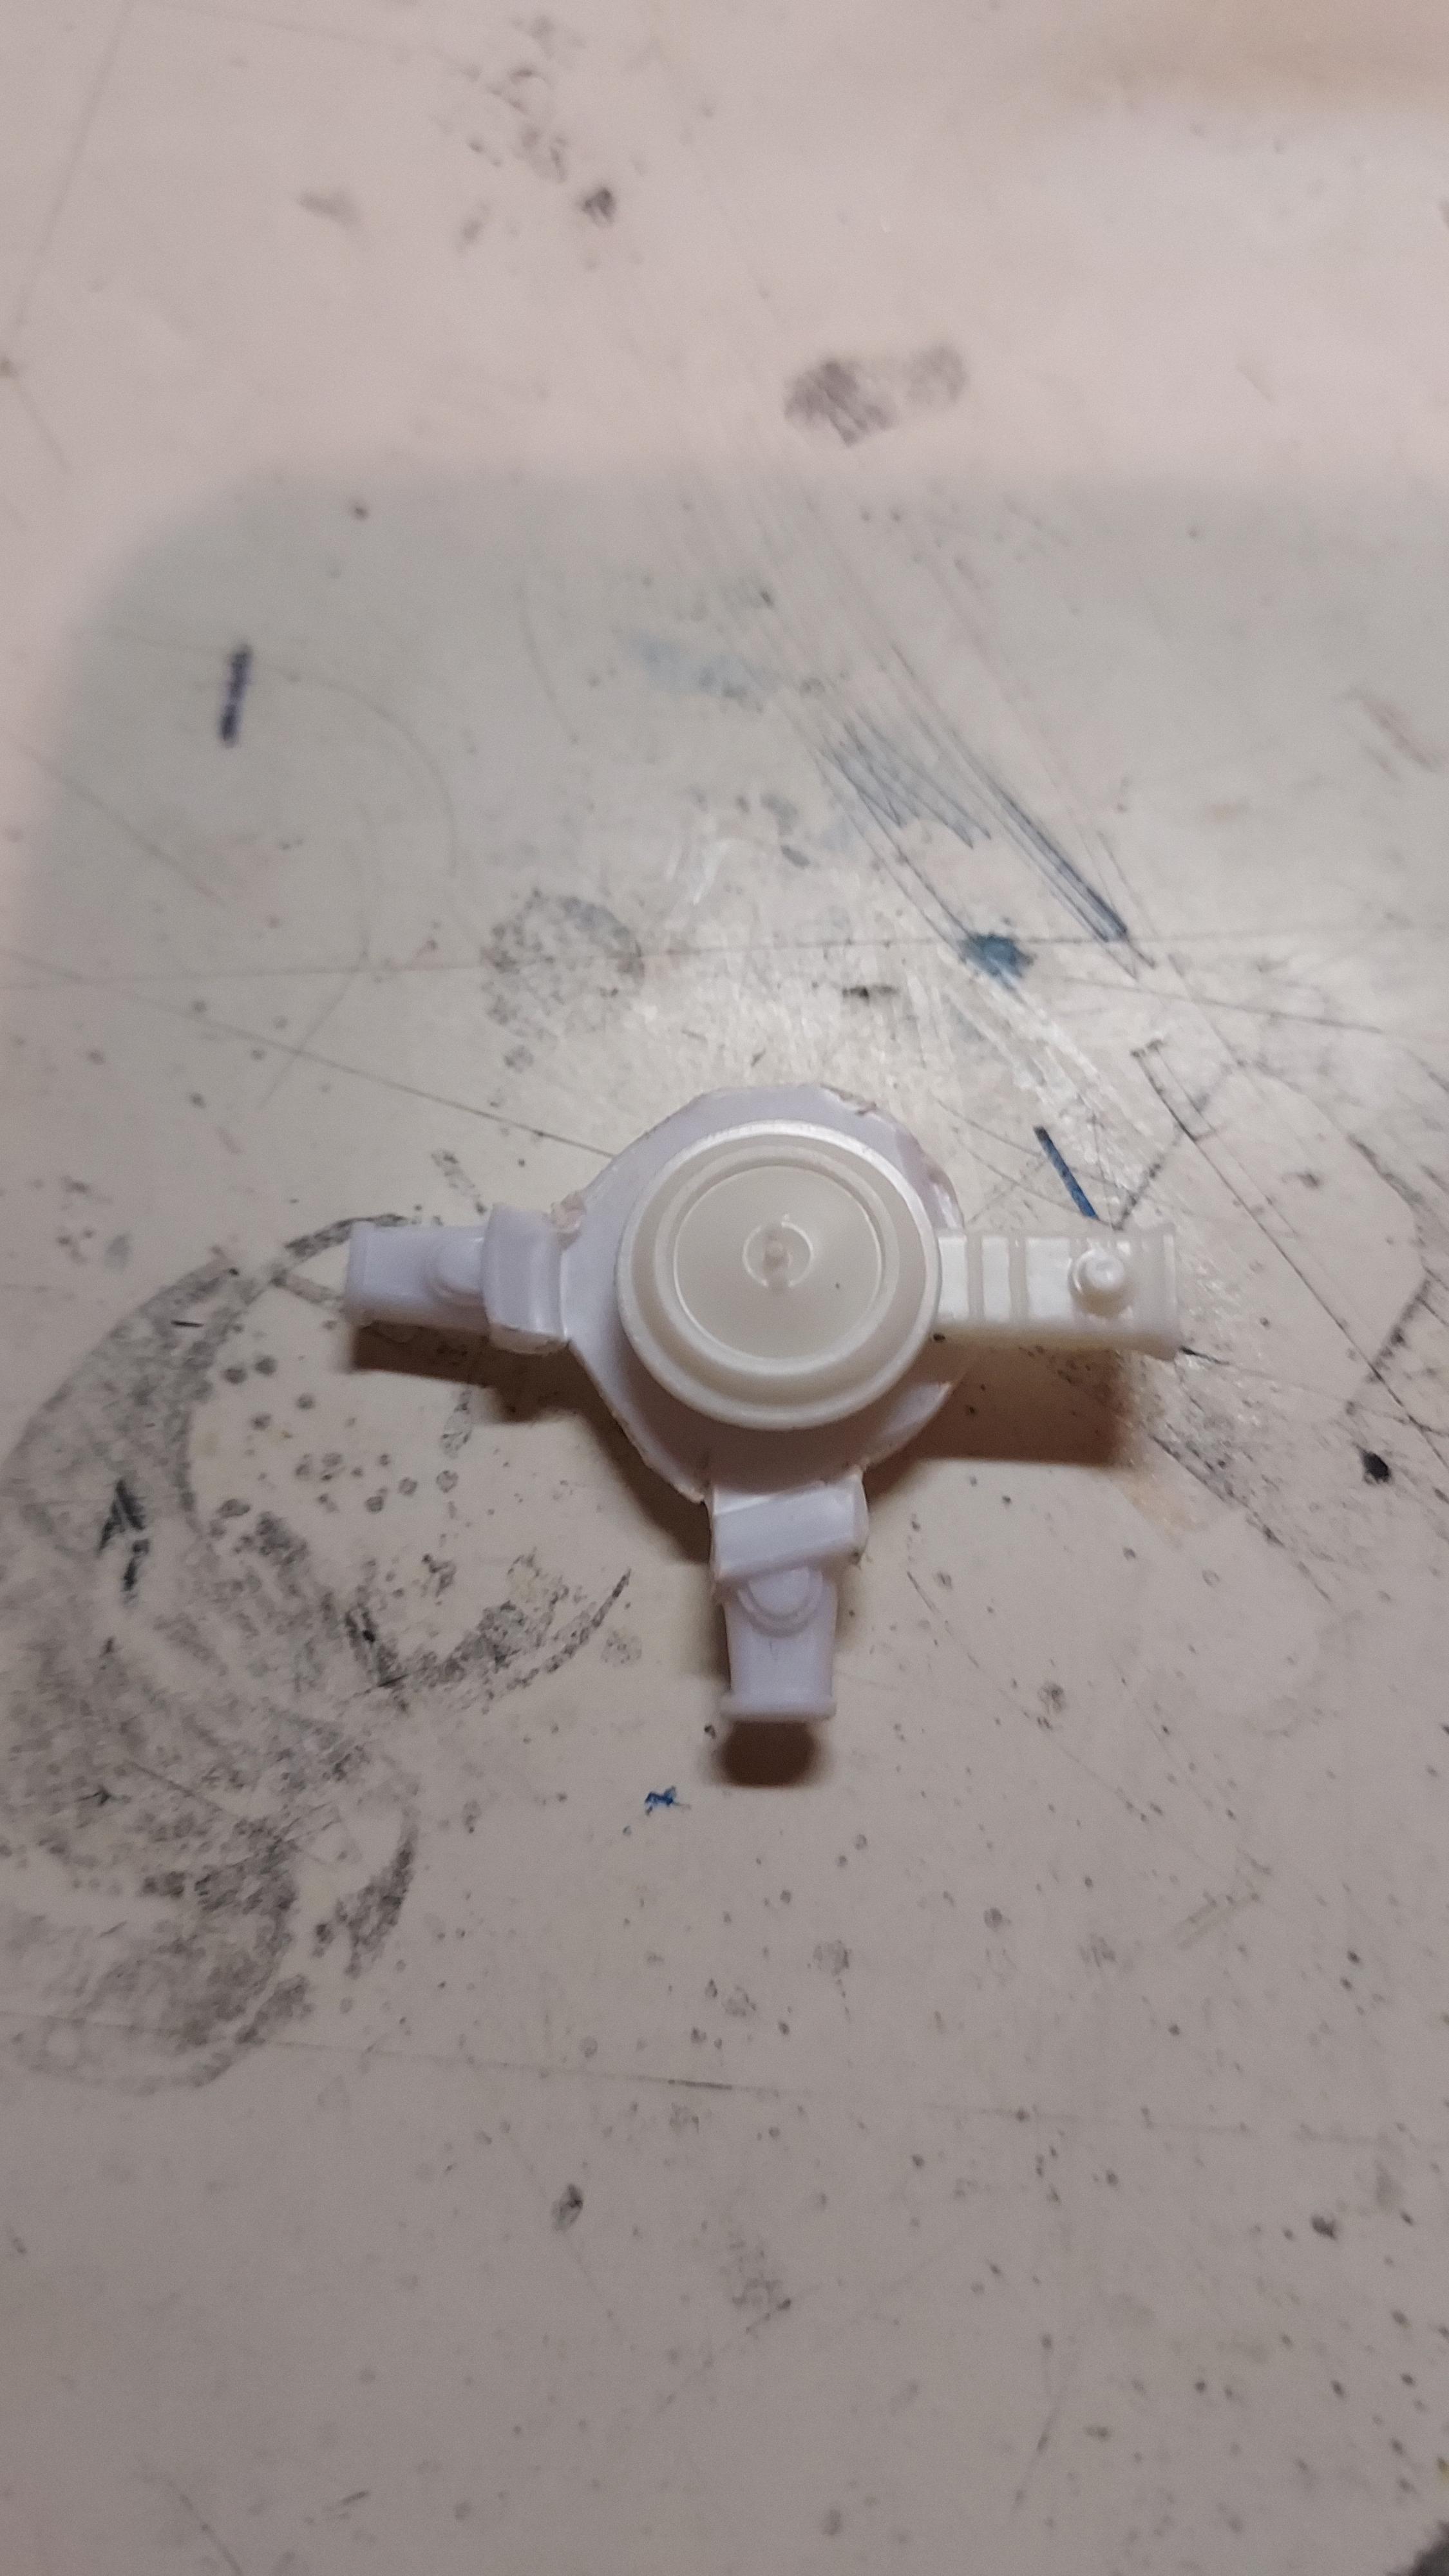
 Re: kit 4463. I like how Revell assumes everyone knows what the engine, and the carbs are, and I don't know what I'm doing or know anything about Fords. Building version B with the 3 carb setup. If I knew the carb brand and model #, I can search for pictures. If you have done the carb linkage, fuel line, please post pictures. I assume there is a system where there is a cable from the gas pedal to the engine, then there are linkage rods and photo-etch parts to drive me crazy with. Regarding the fuel pump, the kit has a non-stock looking fuel tank, I know my Chevy pickup has the fuel line going through a big hole, so is there an electric pump in there? Or is there a mechanical pump on the engine? All I really want to do is fab a clear glass bowl filter for the firewall, but need to be realistic about what is at each end. I also should know what the engine is, I know hot rodders put Chevy SB in, should be accurate on the firing order for the spark plug wires. Might as well ask about the transmission too. Looks like an automatic, only two pedals. Dare I ask about linkage from the shifter to the transmission?
 -
I really enjoyed this kit. Only painted a very few details, had to glue a few small parts but overall the snap kit name applies. I would not recommend it for a novice as there are a lot of small (read tiny) parts easily lost. Finished it in 3 days. Comments welcome, thanks for looking.
-
I had this kit on eBay for over a year at $10 + shipping, no bites. So I decided to build it, the last completion of the year. Tamiya TS-24 Purple. It's pretty simple, low parts count but everything fit well except the hood is a little warped. Comments welcome, thanks for looking.
-
Another recent completion, didn’t turn out as well as I would have liked, but it looks good on the shelf. Thanks for looking.
-
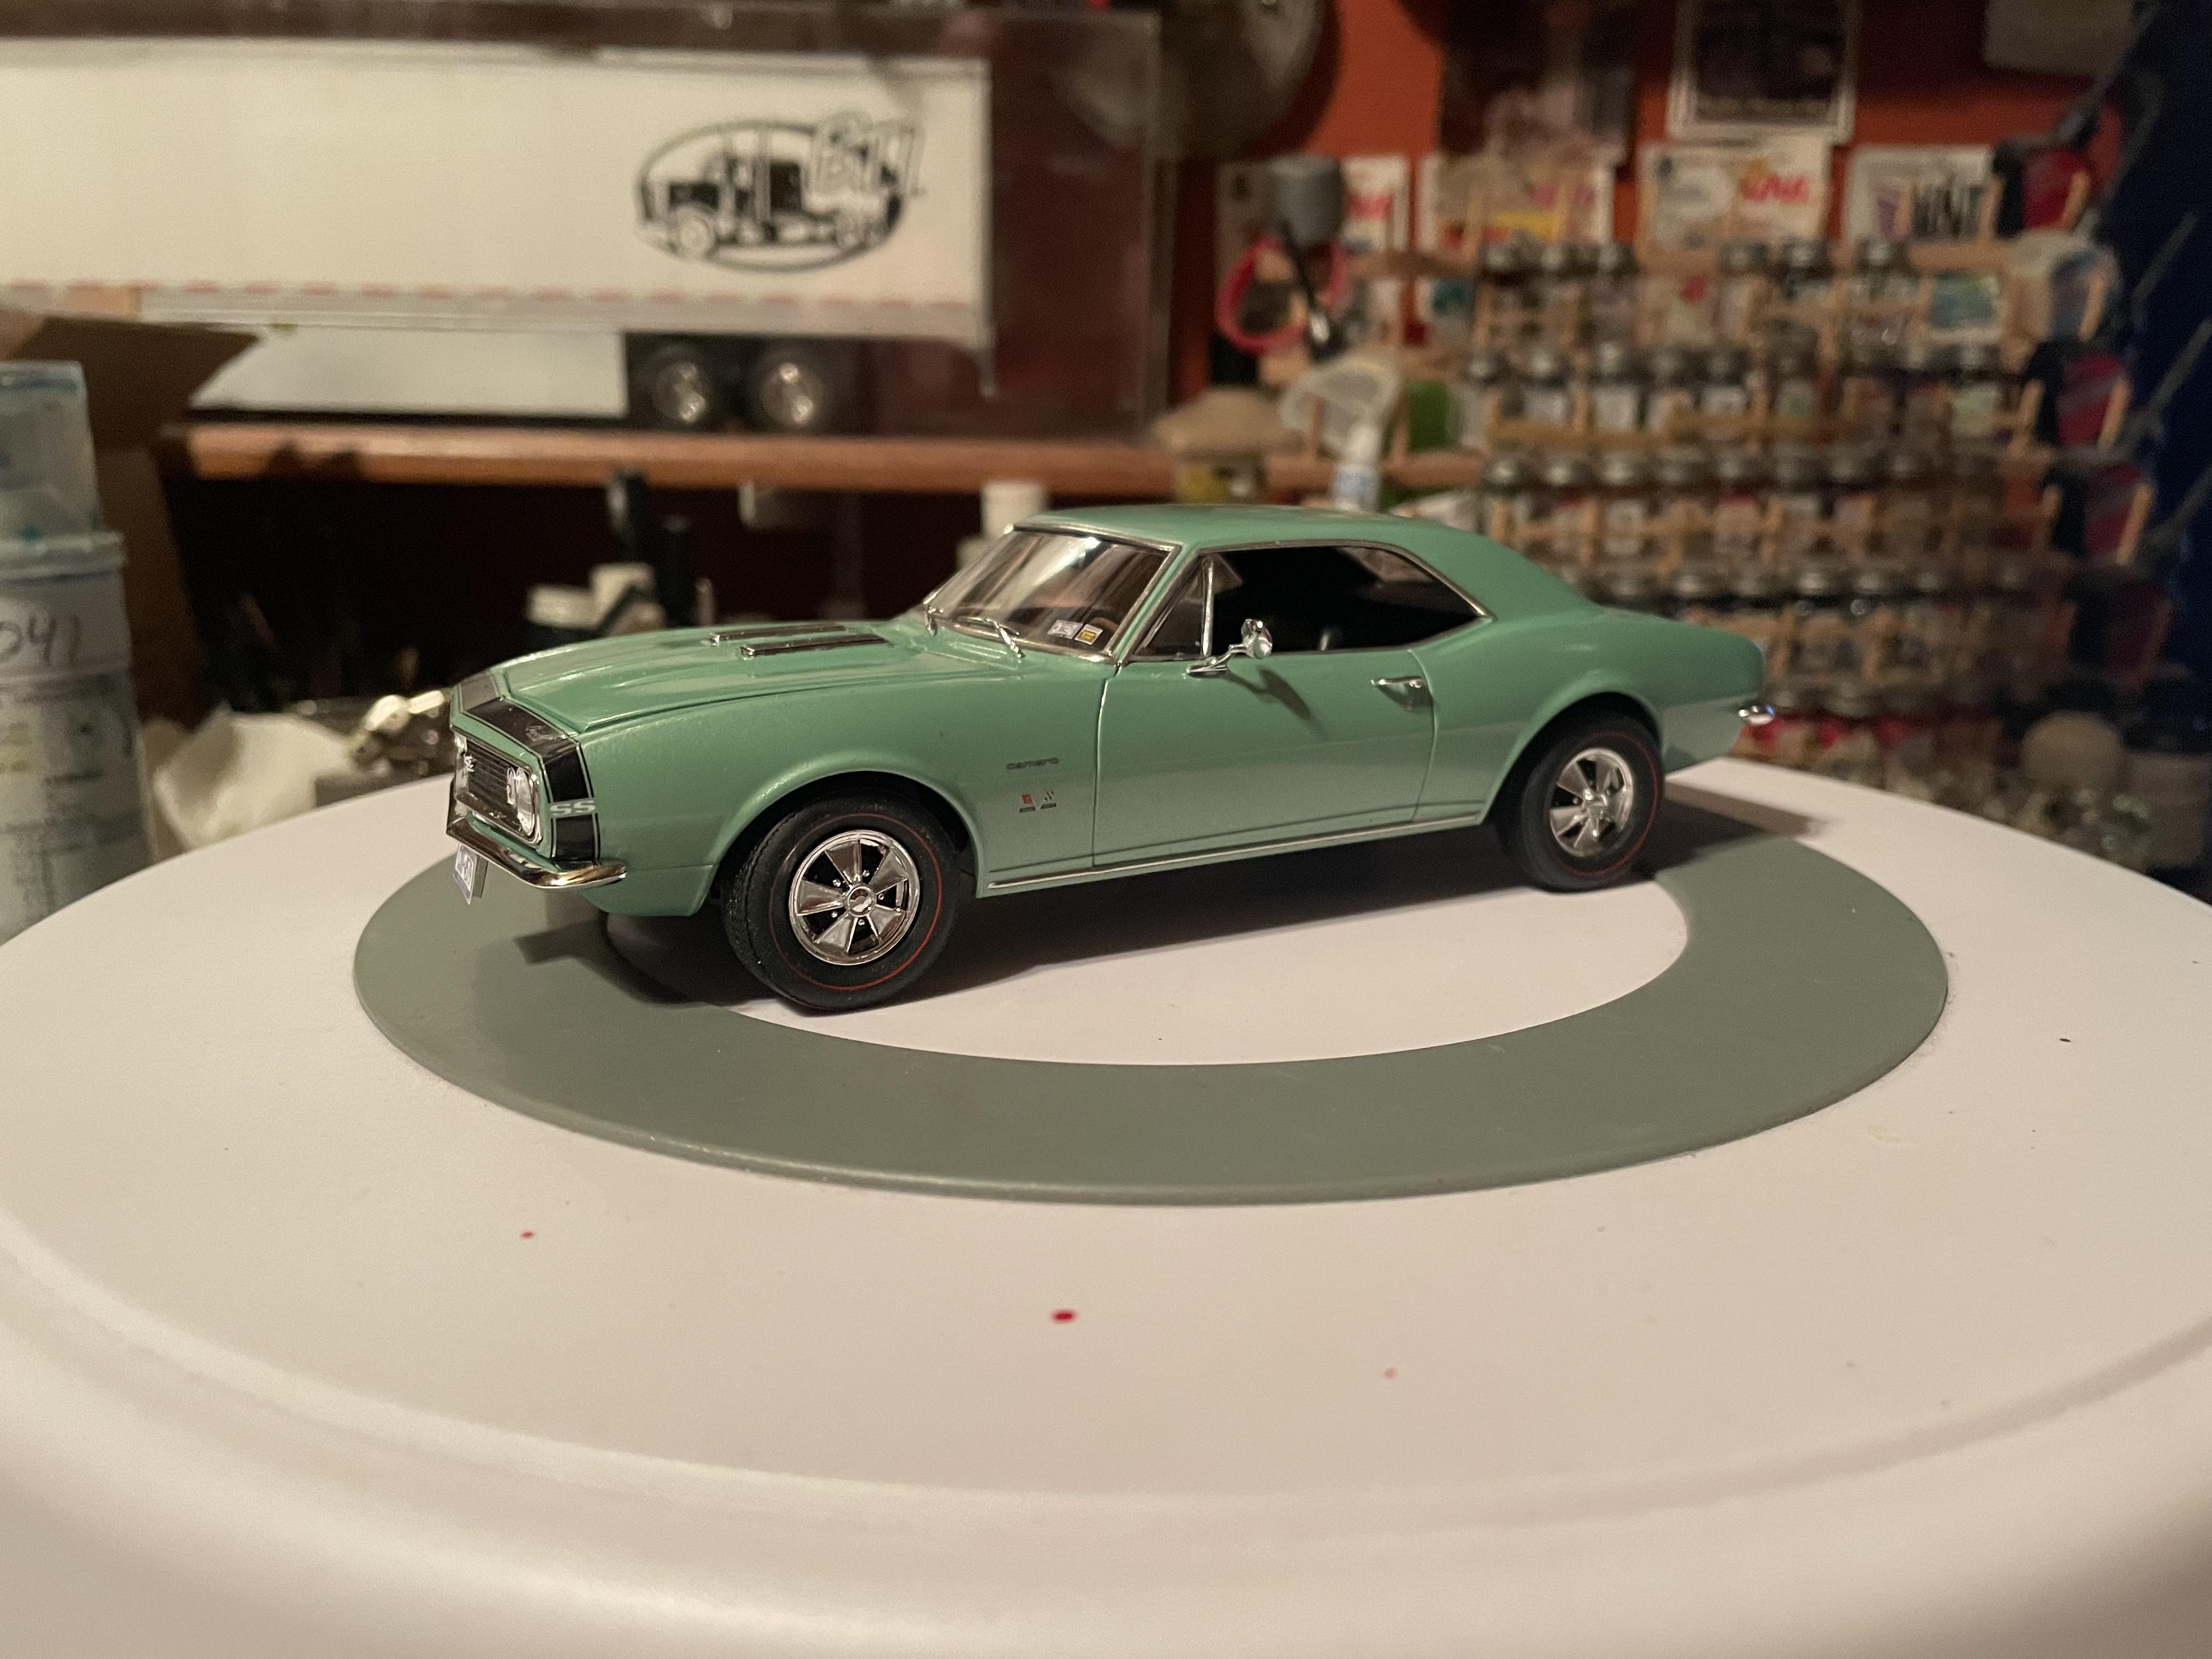
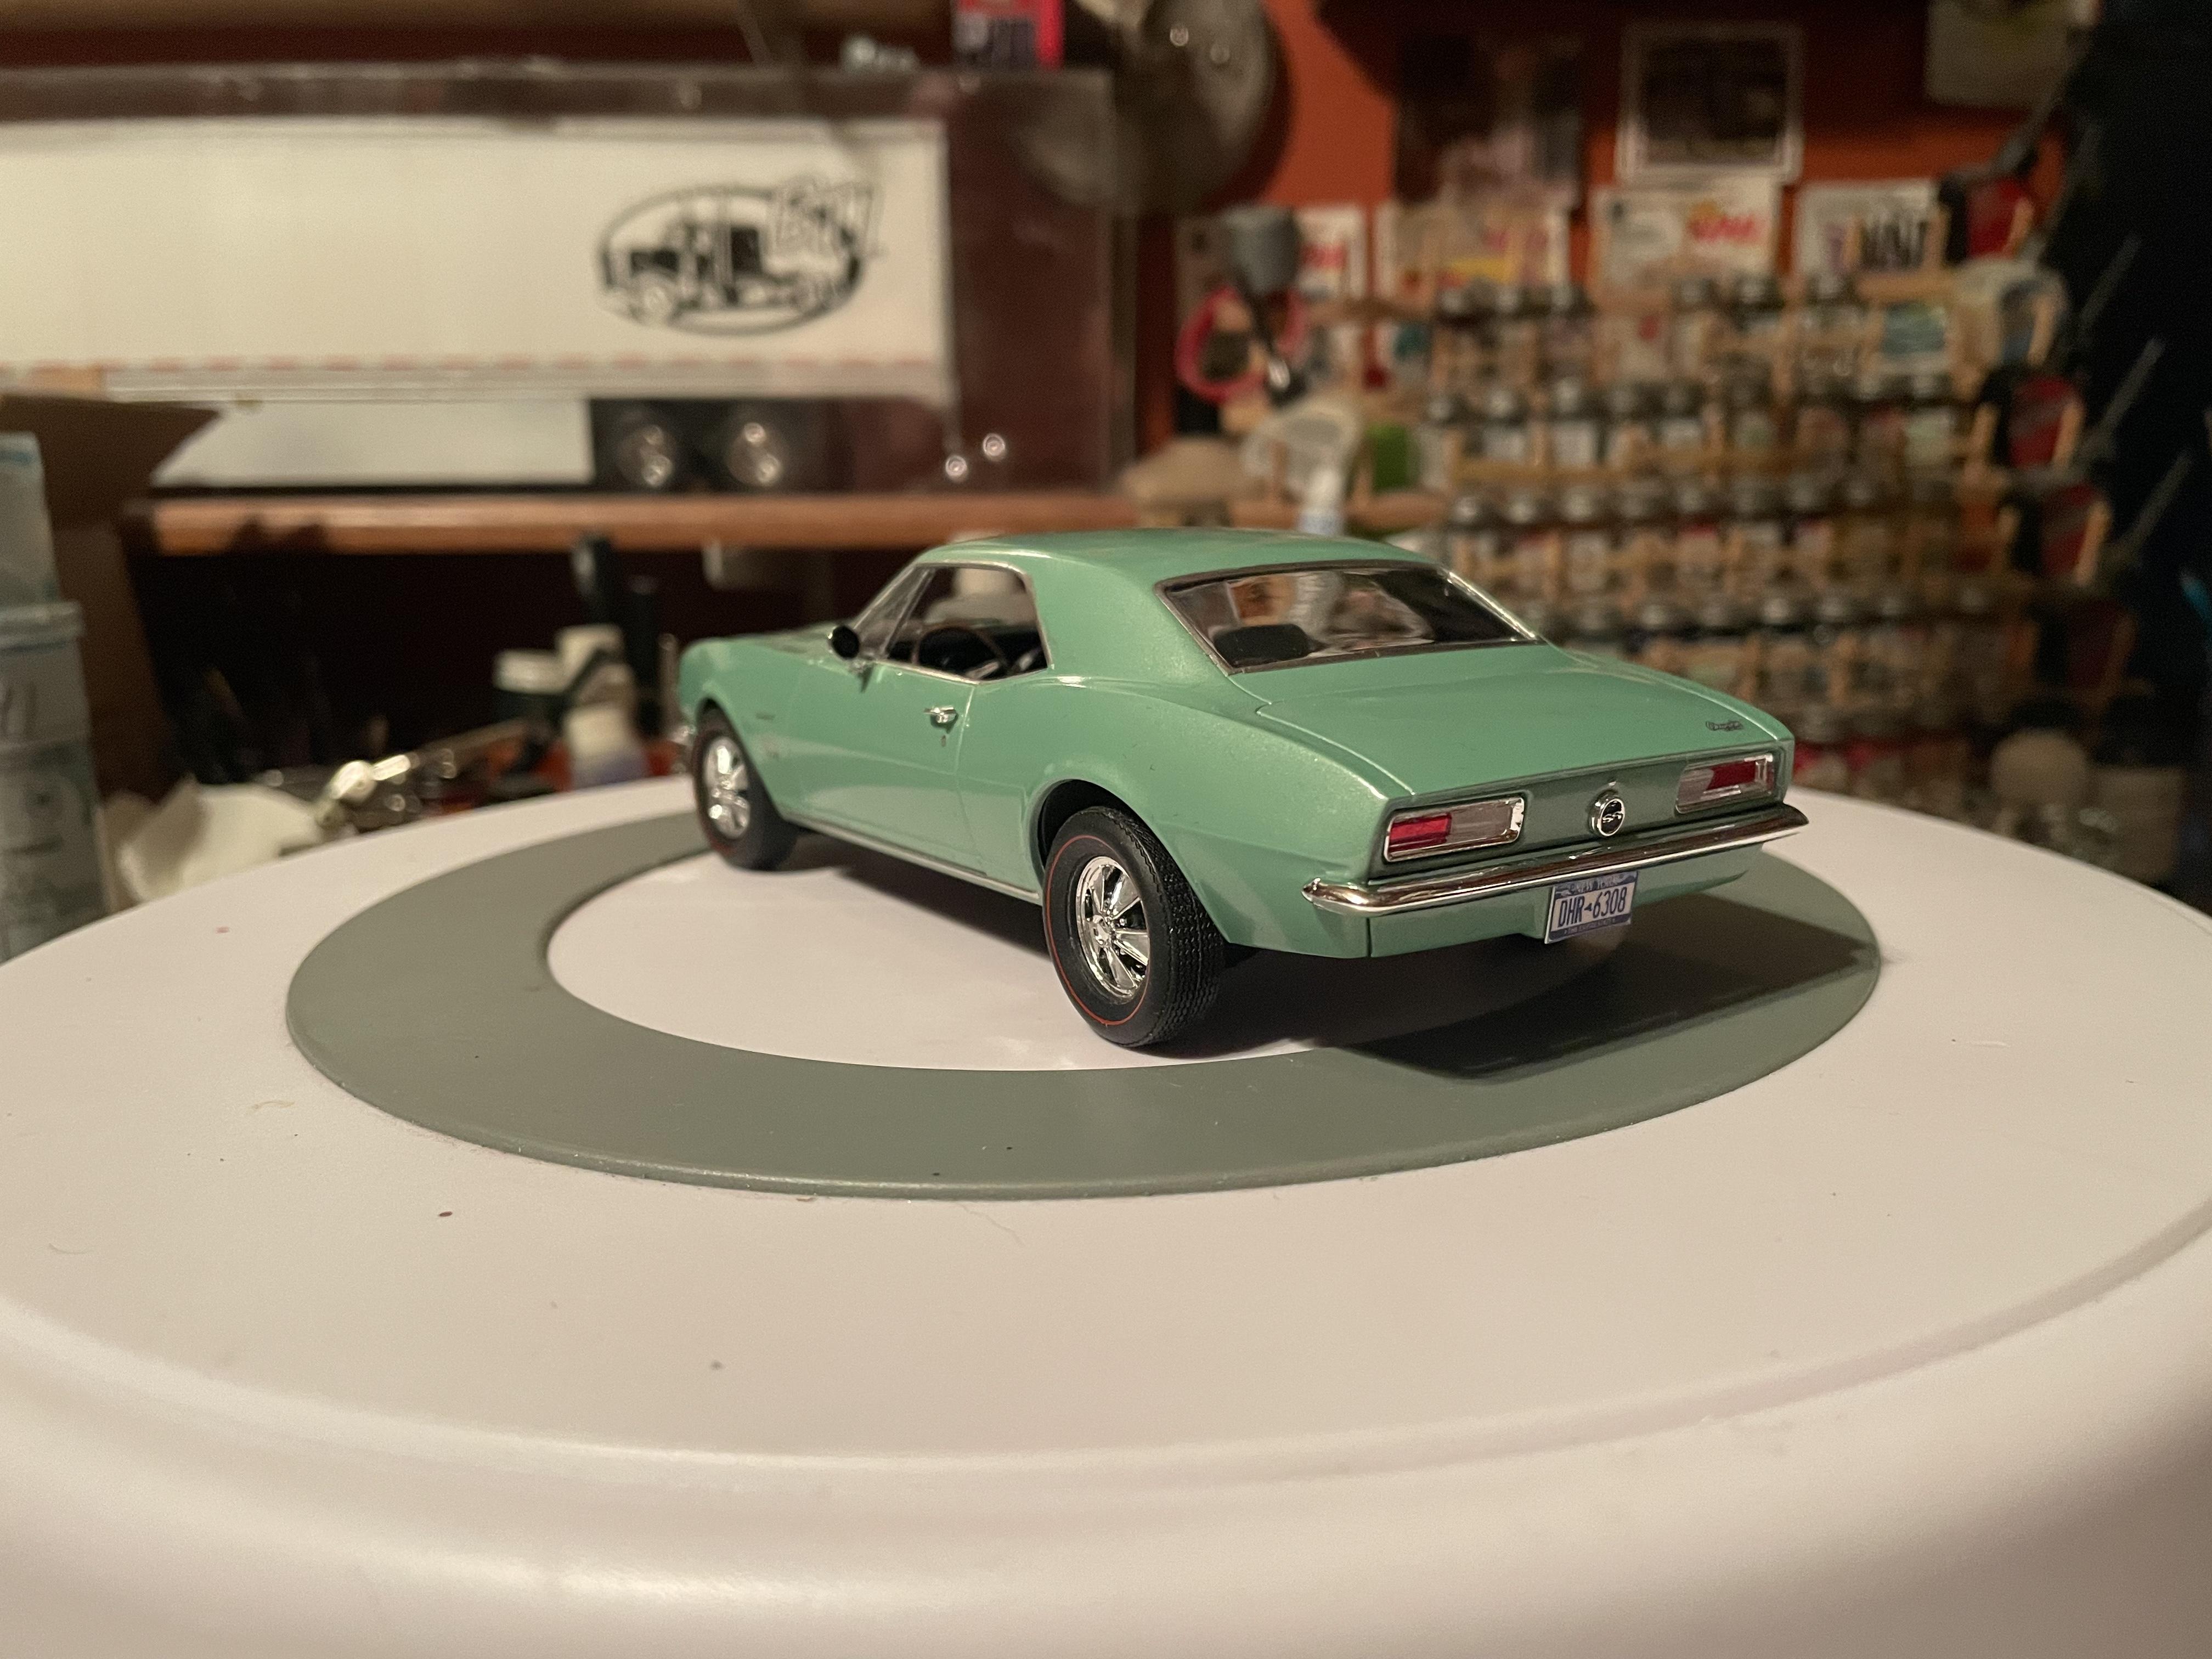
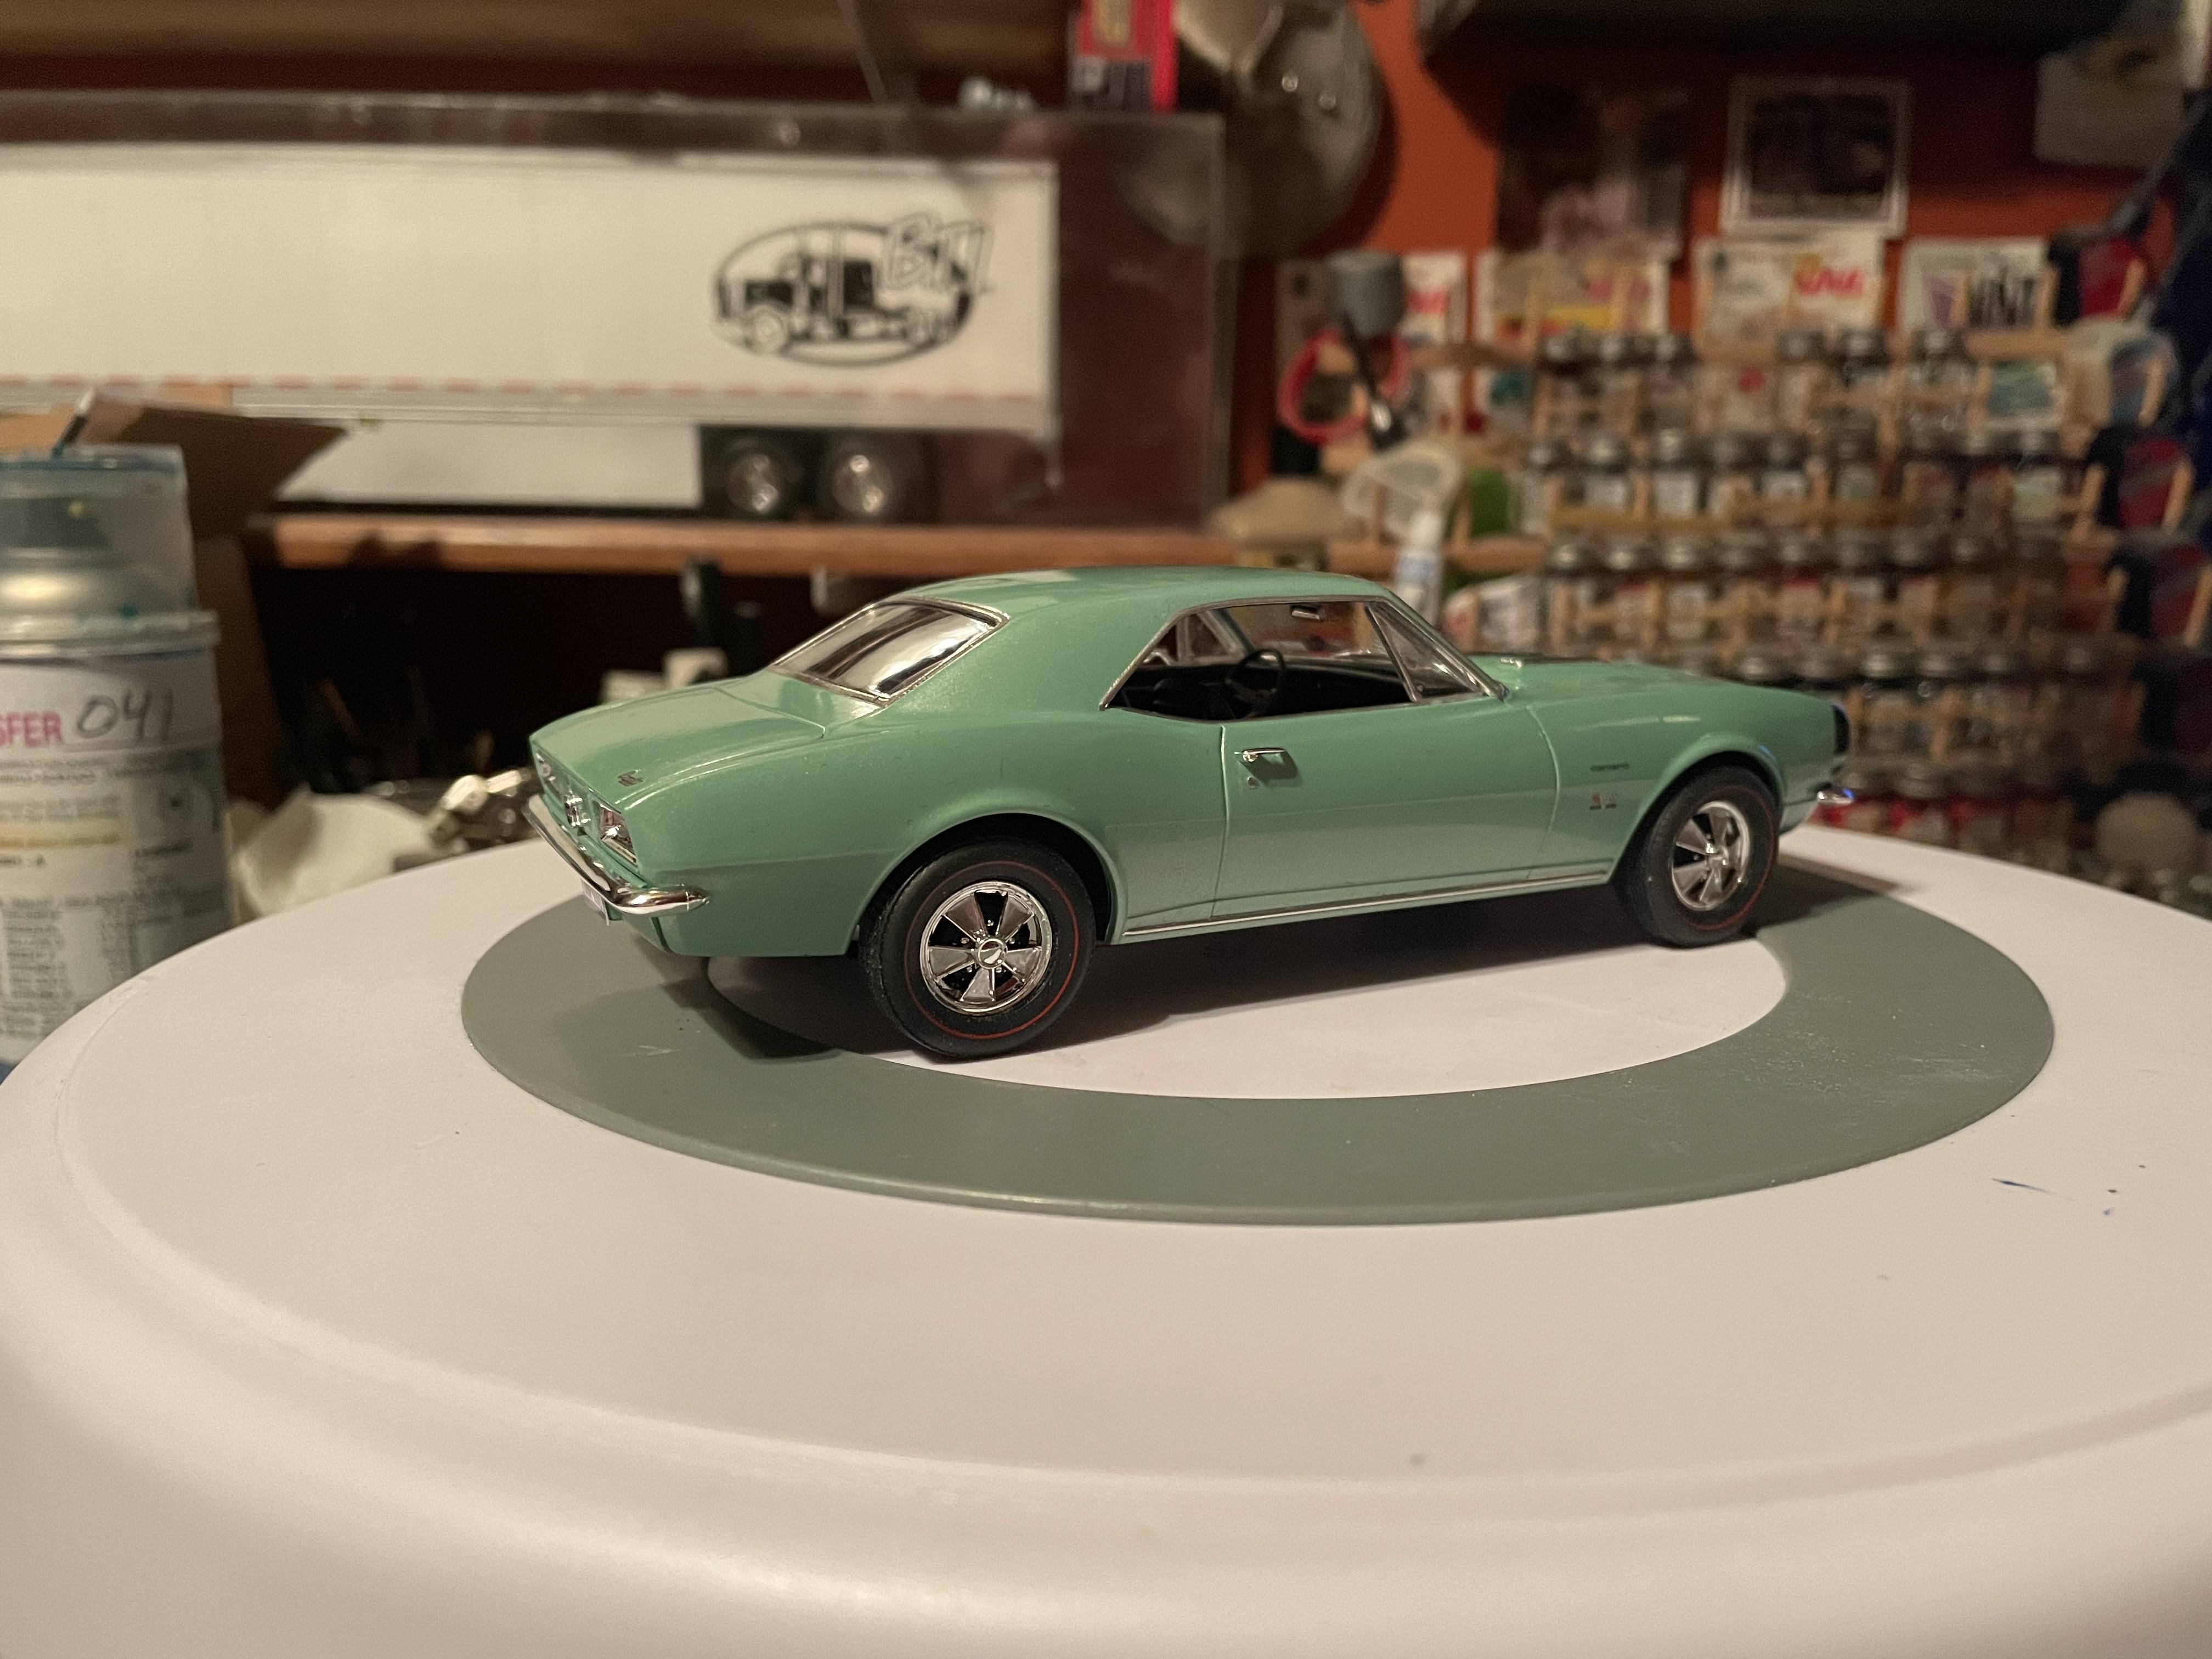
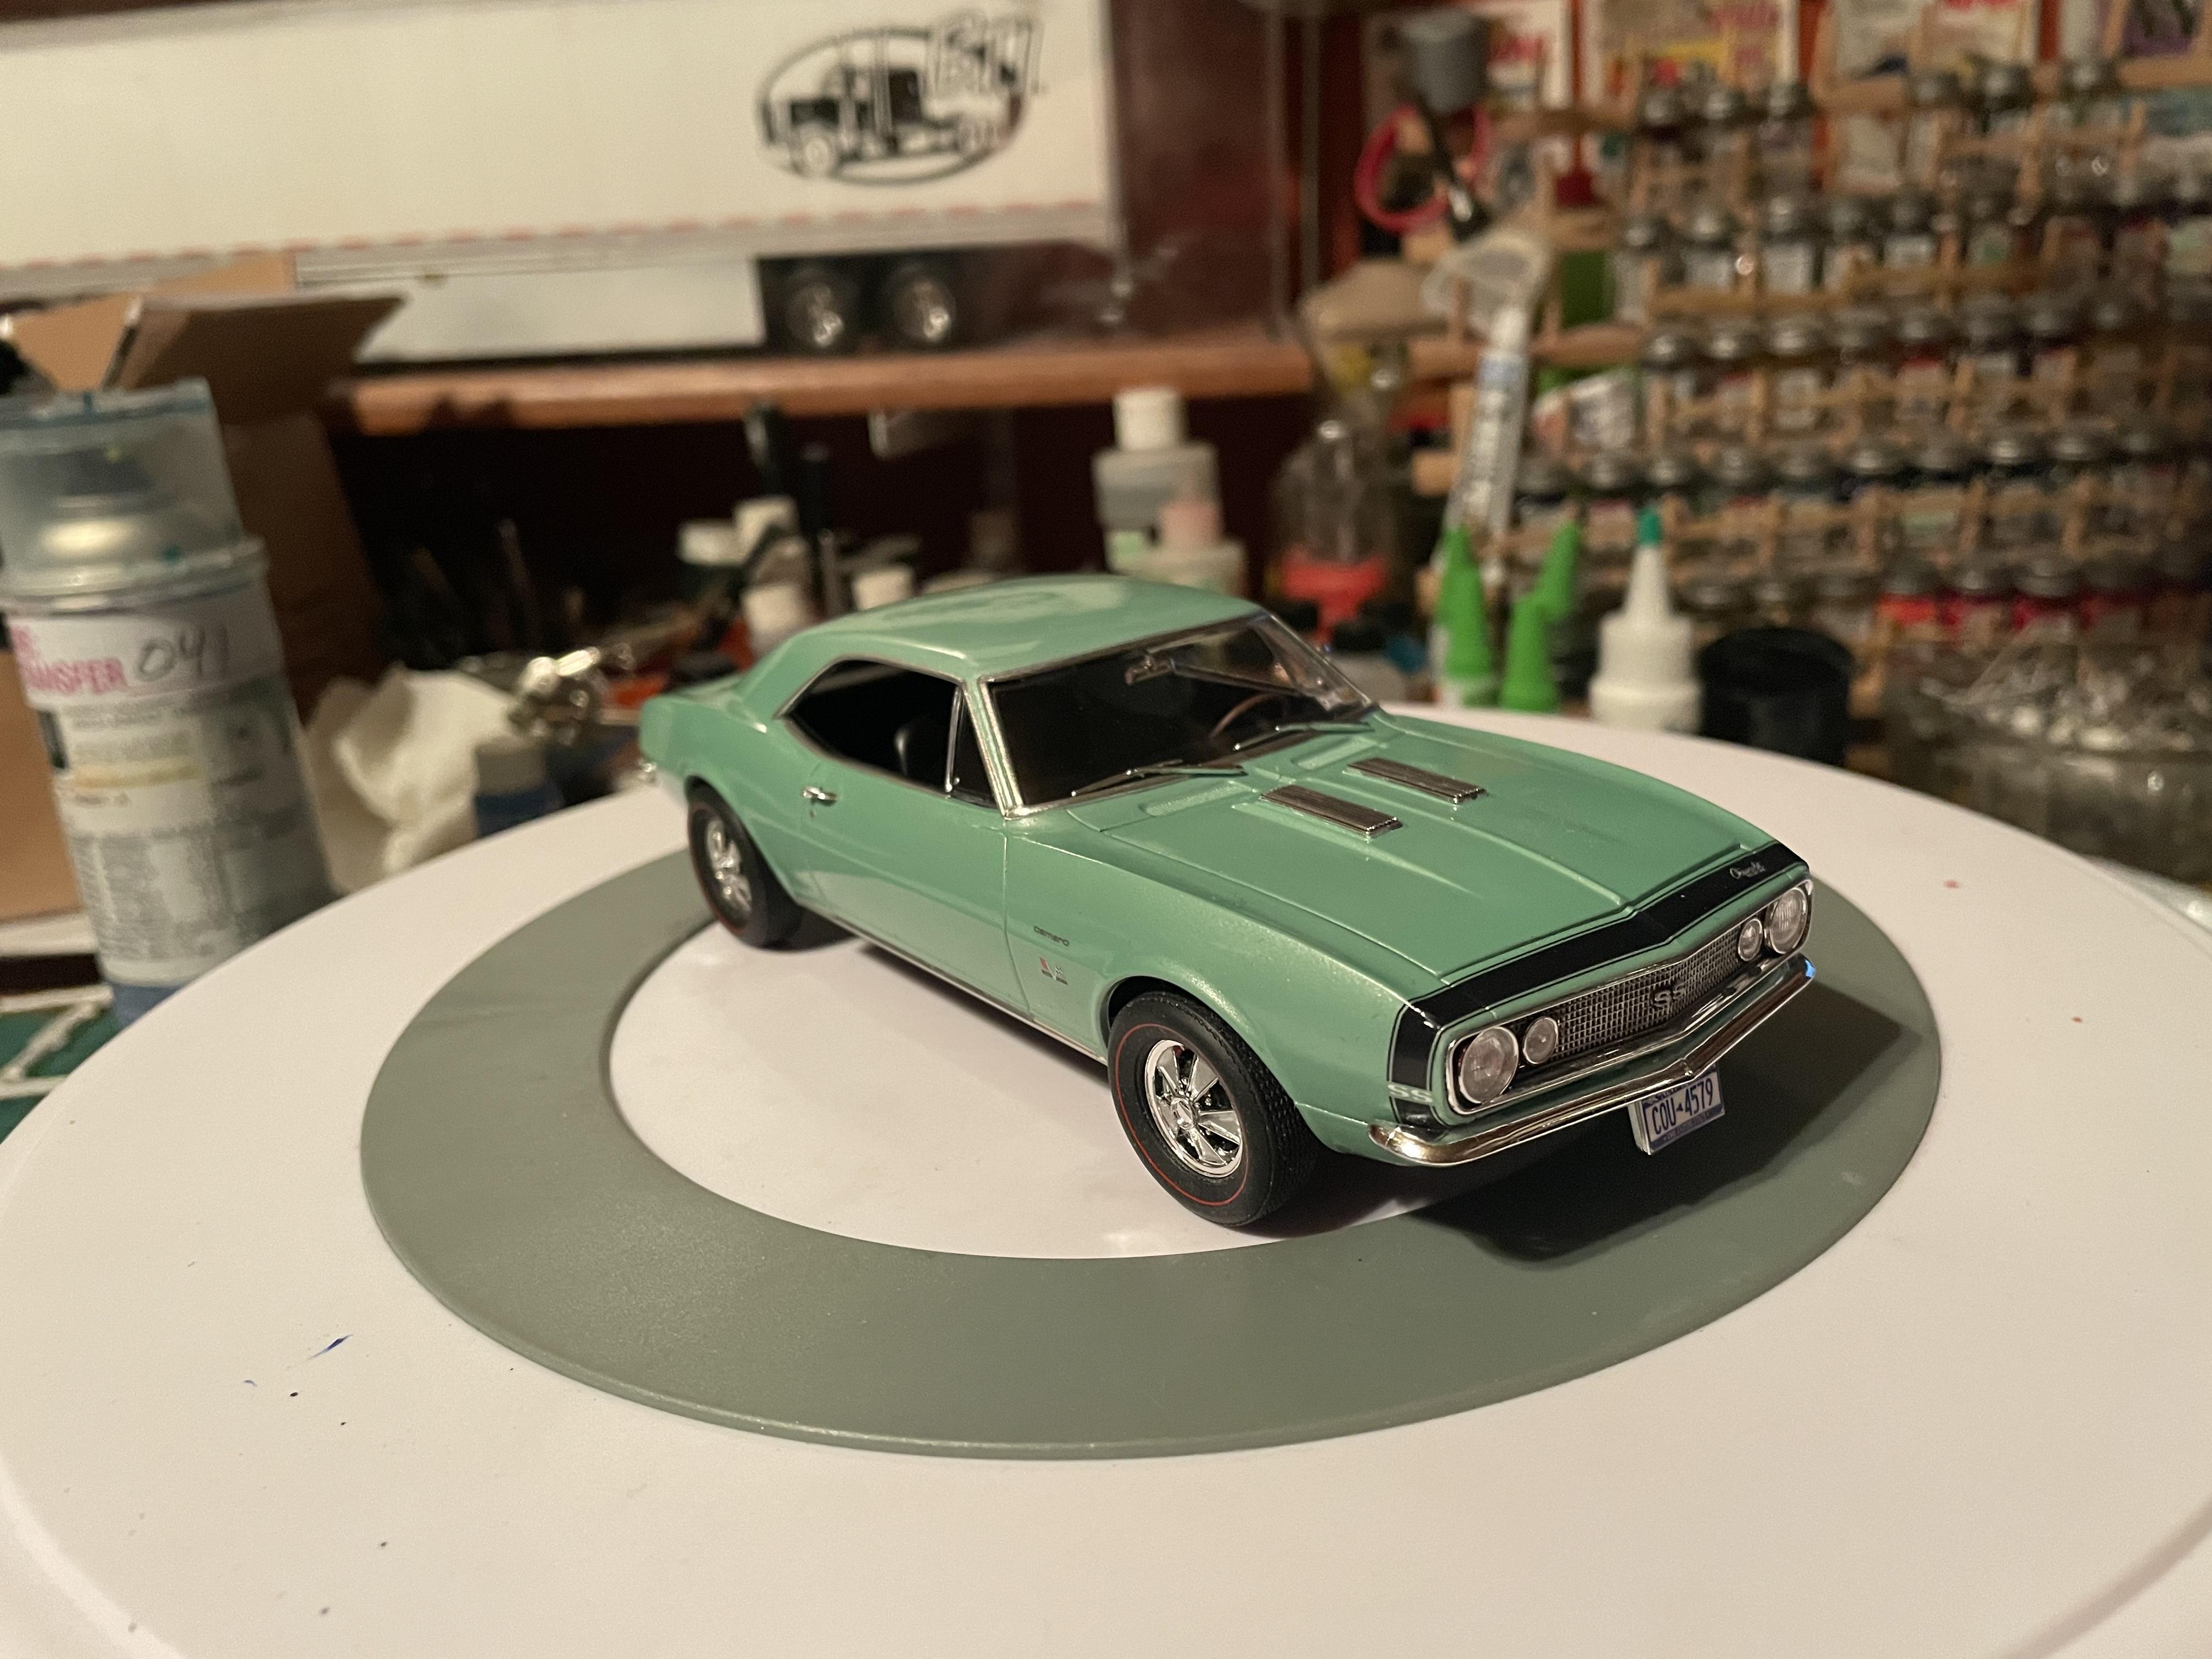
Finished this one Christmas morning. Used tamiya pearl green, wheels are from the Lindberg 66 chevelle kit ( these hubcaps were actually an option on 67-69 Camaros ) and amt parts pack red line tires. Nice kit, builds up well. As always, thanks for looking.
-
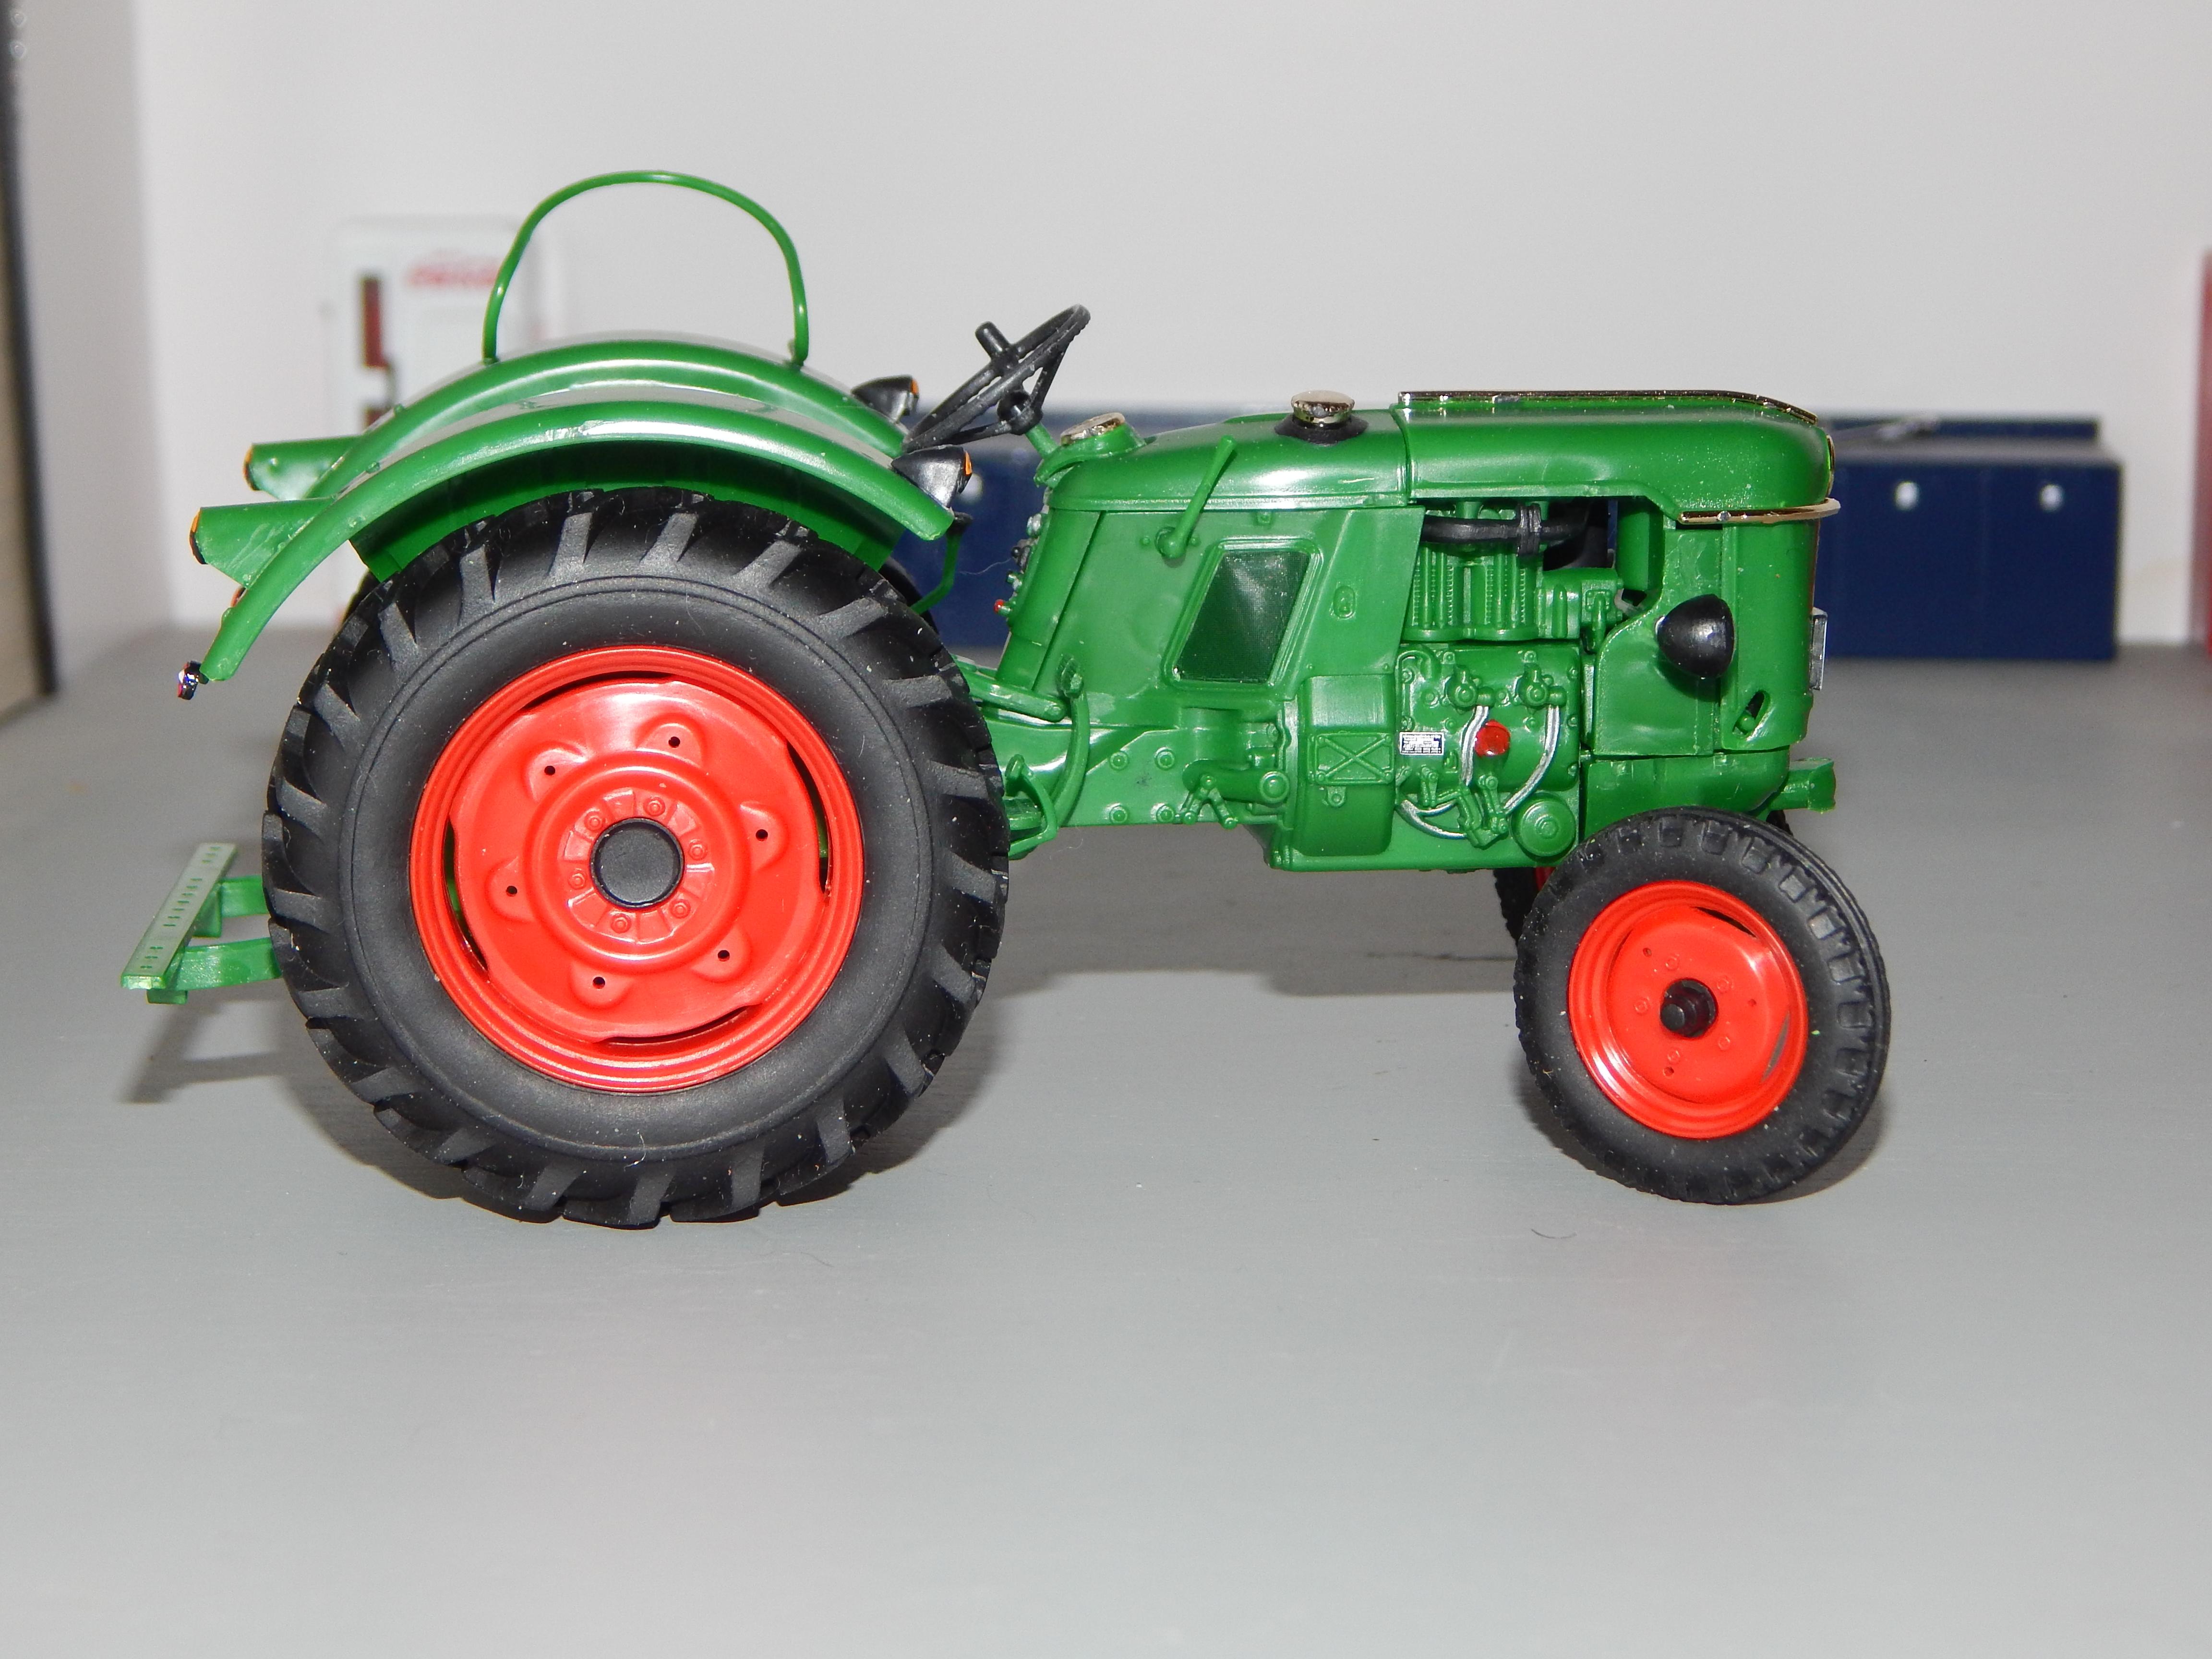
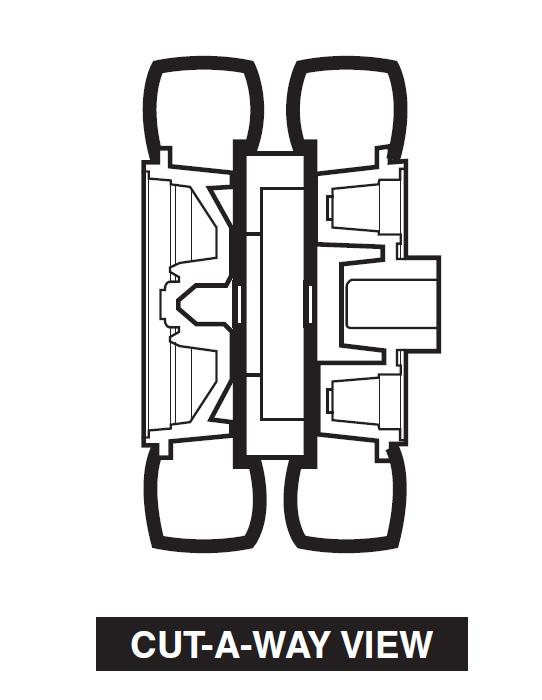
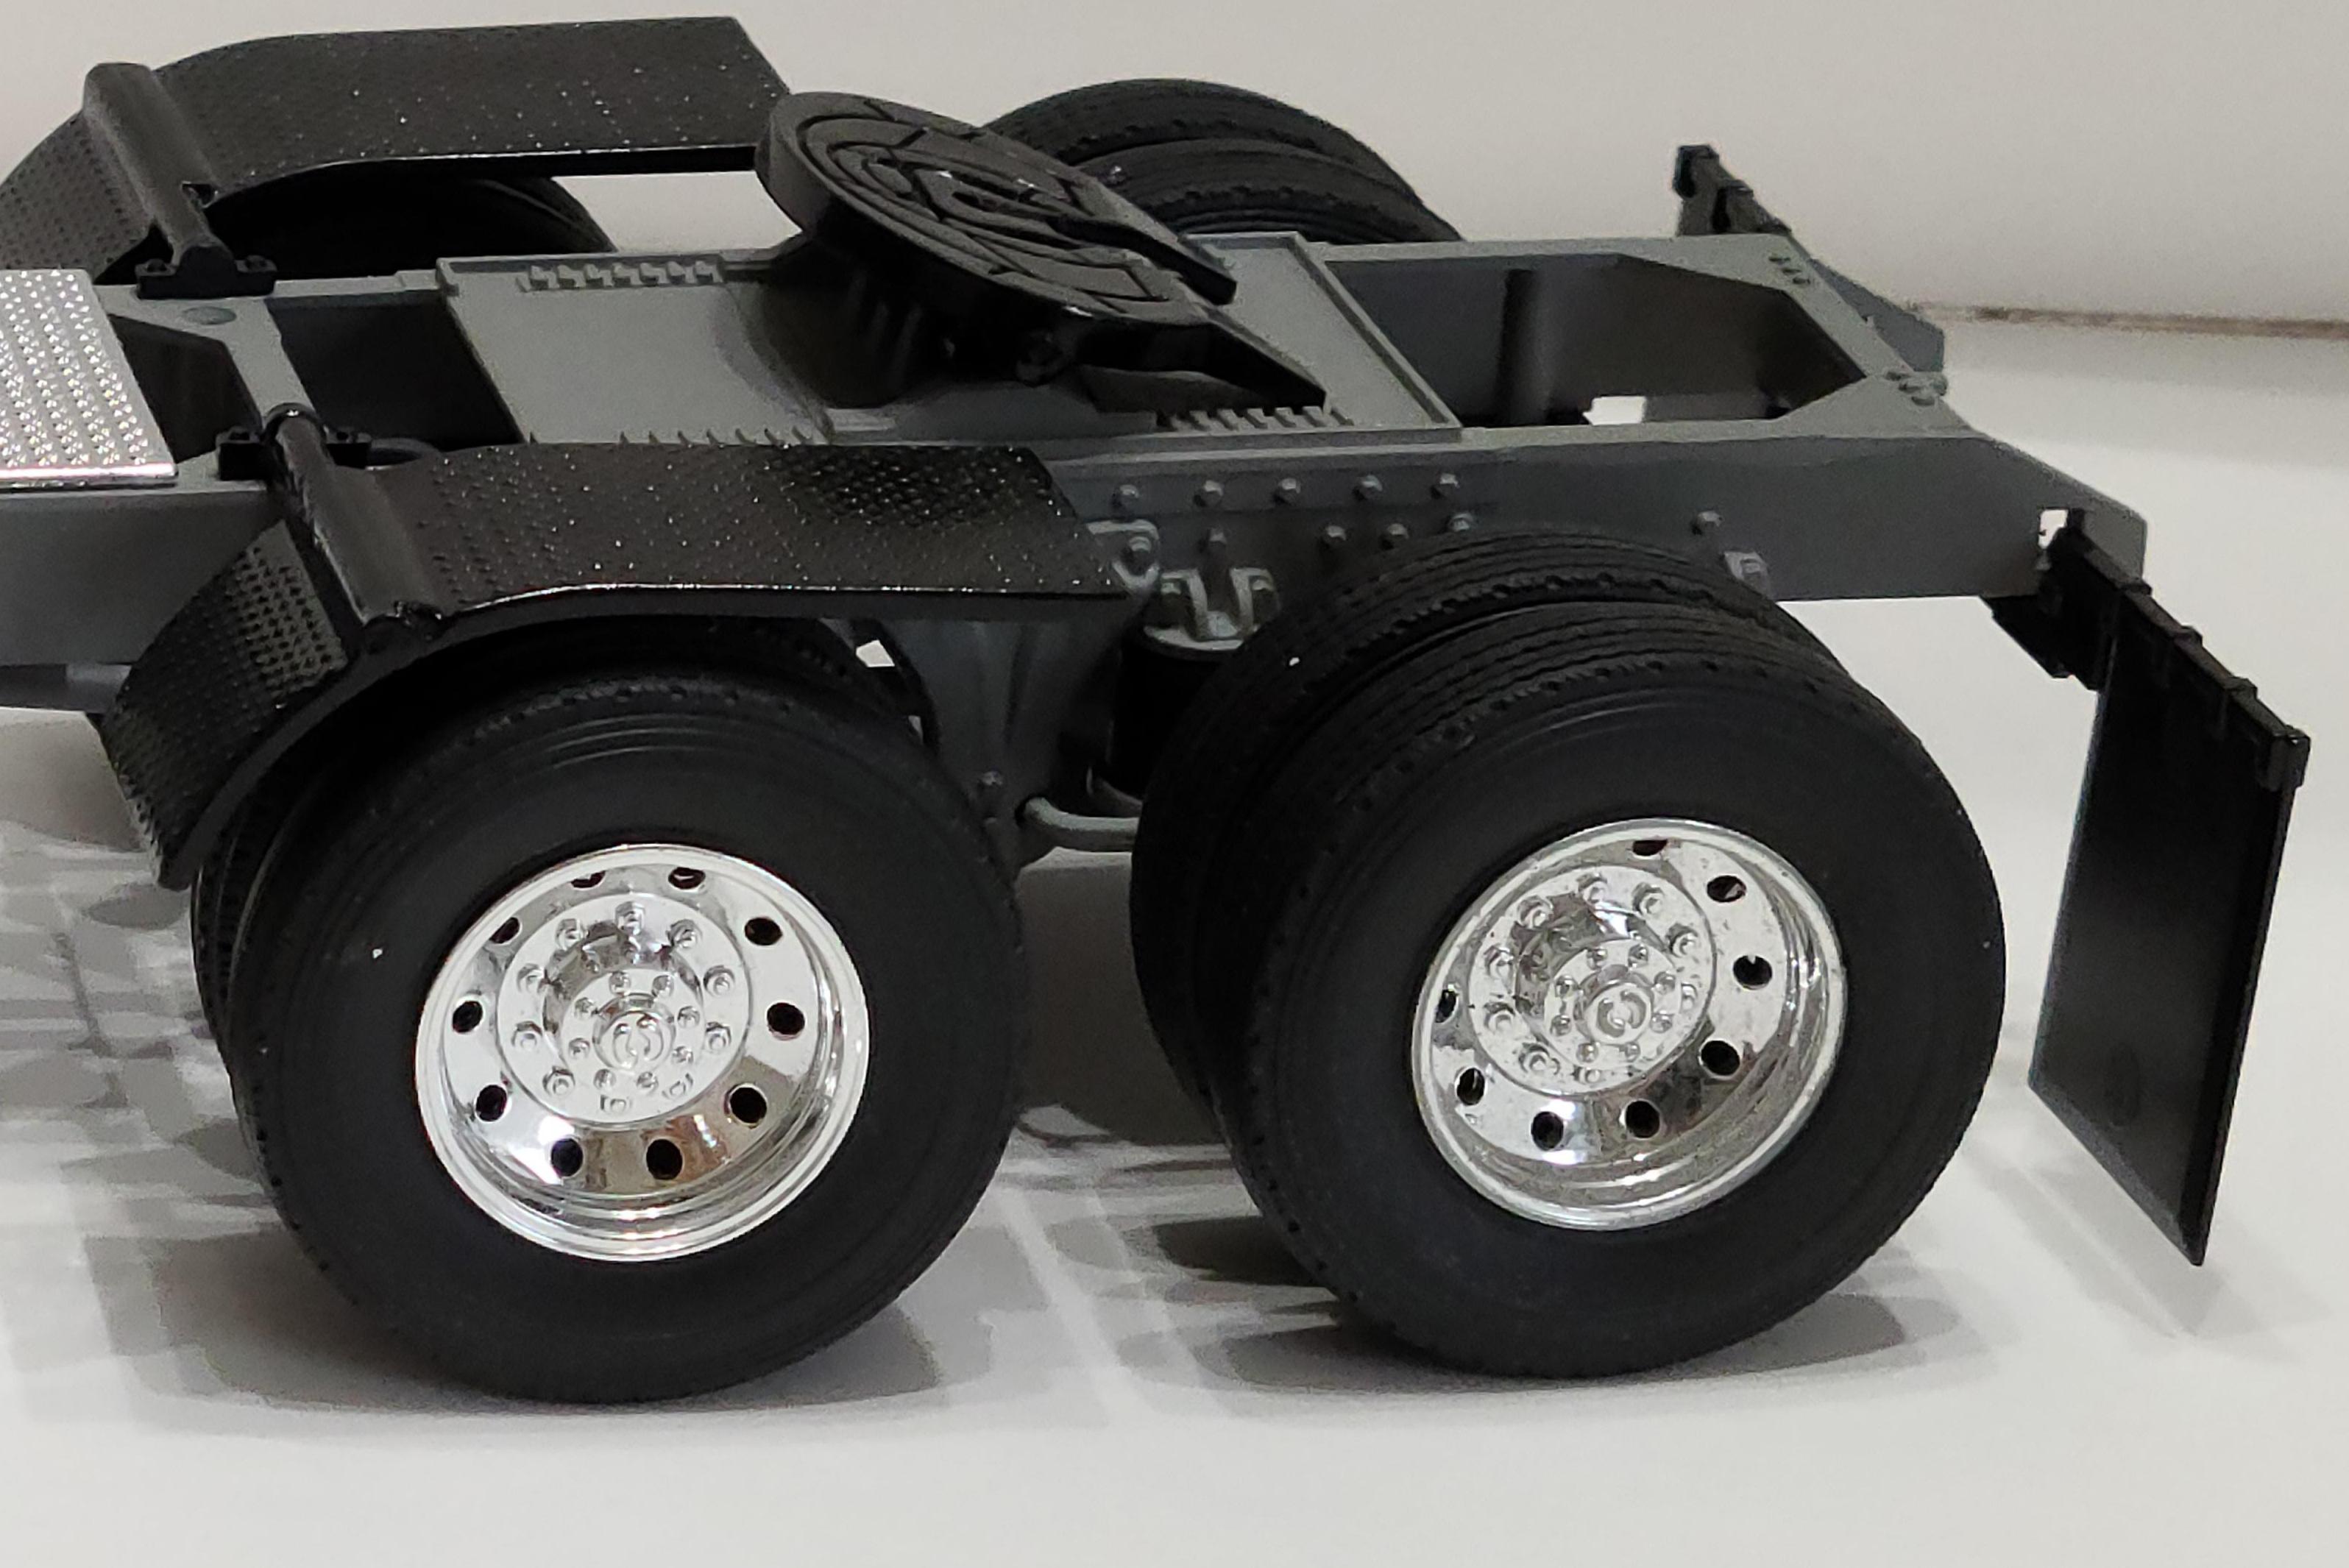
 I see now and then people who hasn't followed or even read the instructions on how to mount the tires on the rear wheels on the Revell Peterbilt 359 and Kenworth W900 Aerodyne snap kits. If you do it wrong it looks horrible and if you do it right it looks a lot better...not perfect as these wheels are way too shallow to be realistic...but it is what it is. Here is how you are supposed to do it, the wheel rim goes inside the tire so the outermost lip on the rim is inside the tire, so the rims are not only pushed through the tire like on most of the kits, if you do the outermost lip on the rim shows and it shouldn't. Here is a blown up picture from the instructions on how to do it. And here is how it should look if you have done it right. And if it looks like this you have done it wrong. The right way looks a lot better, doesn't it. Easy as pie. The pictures are not mine except for the blown up instruction picture, the others are borrowed from a couple of threads on this forum.
-
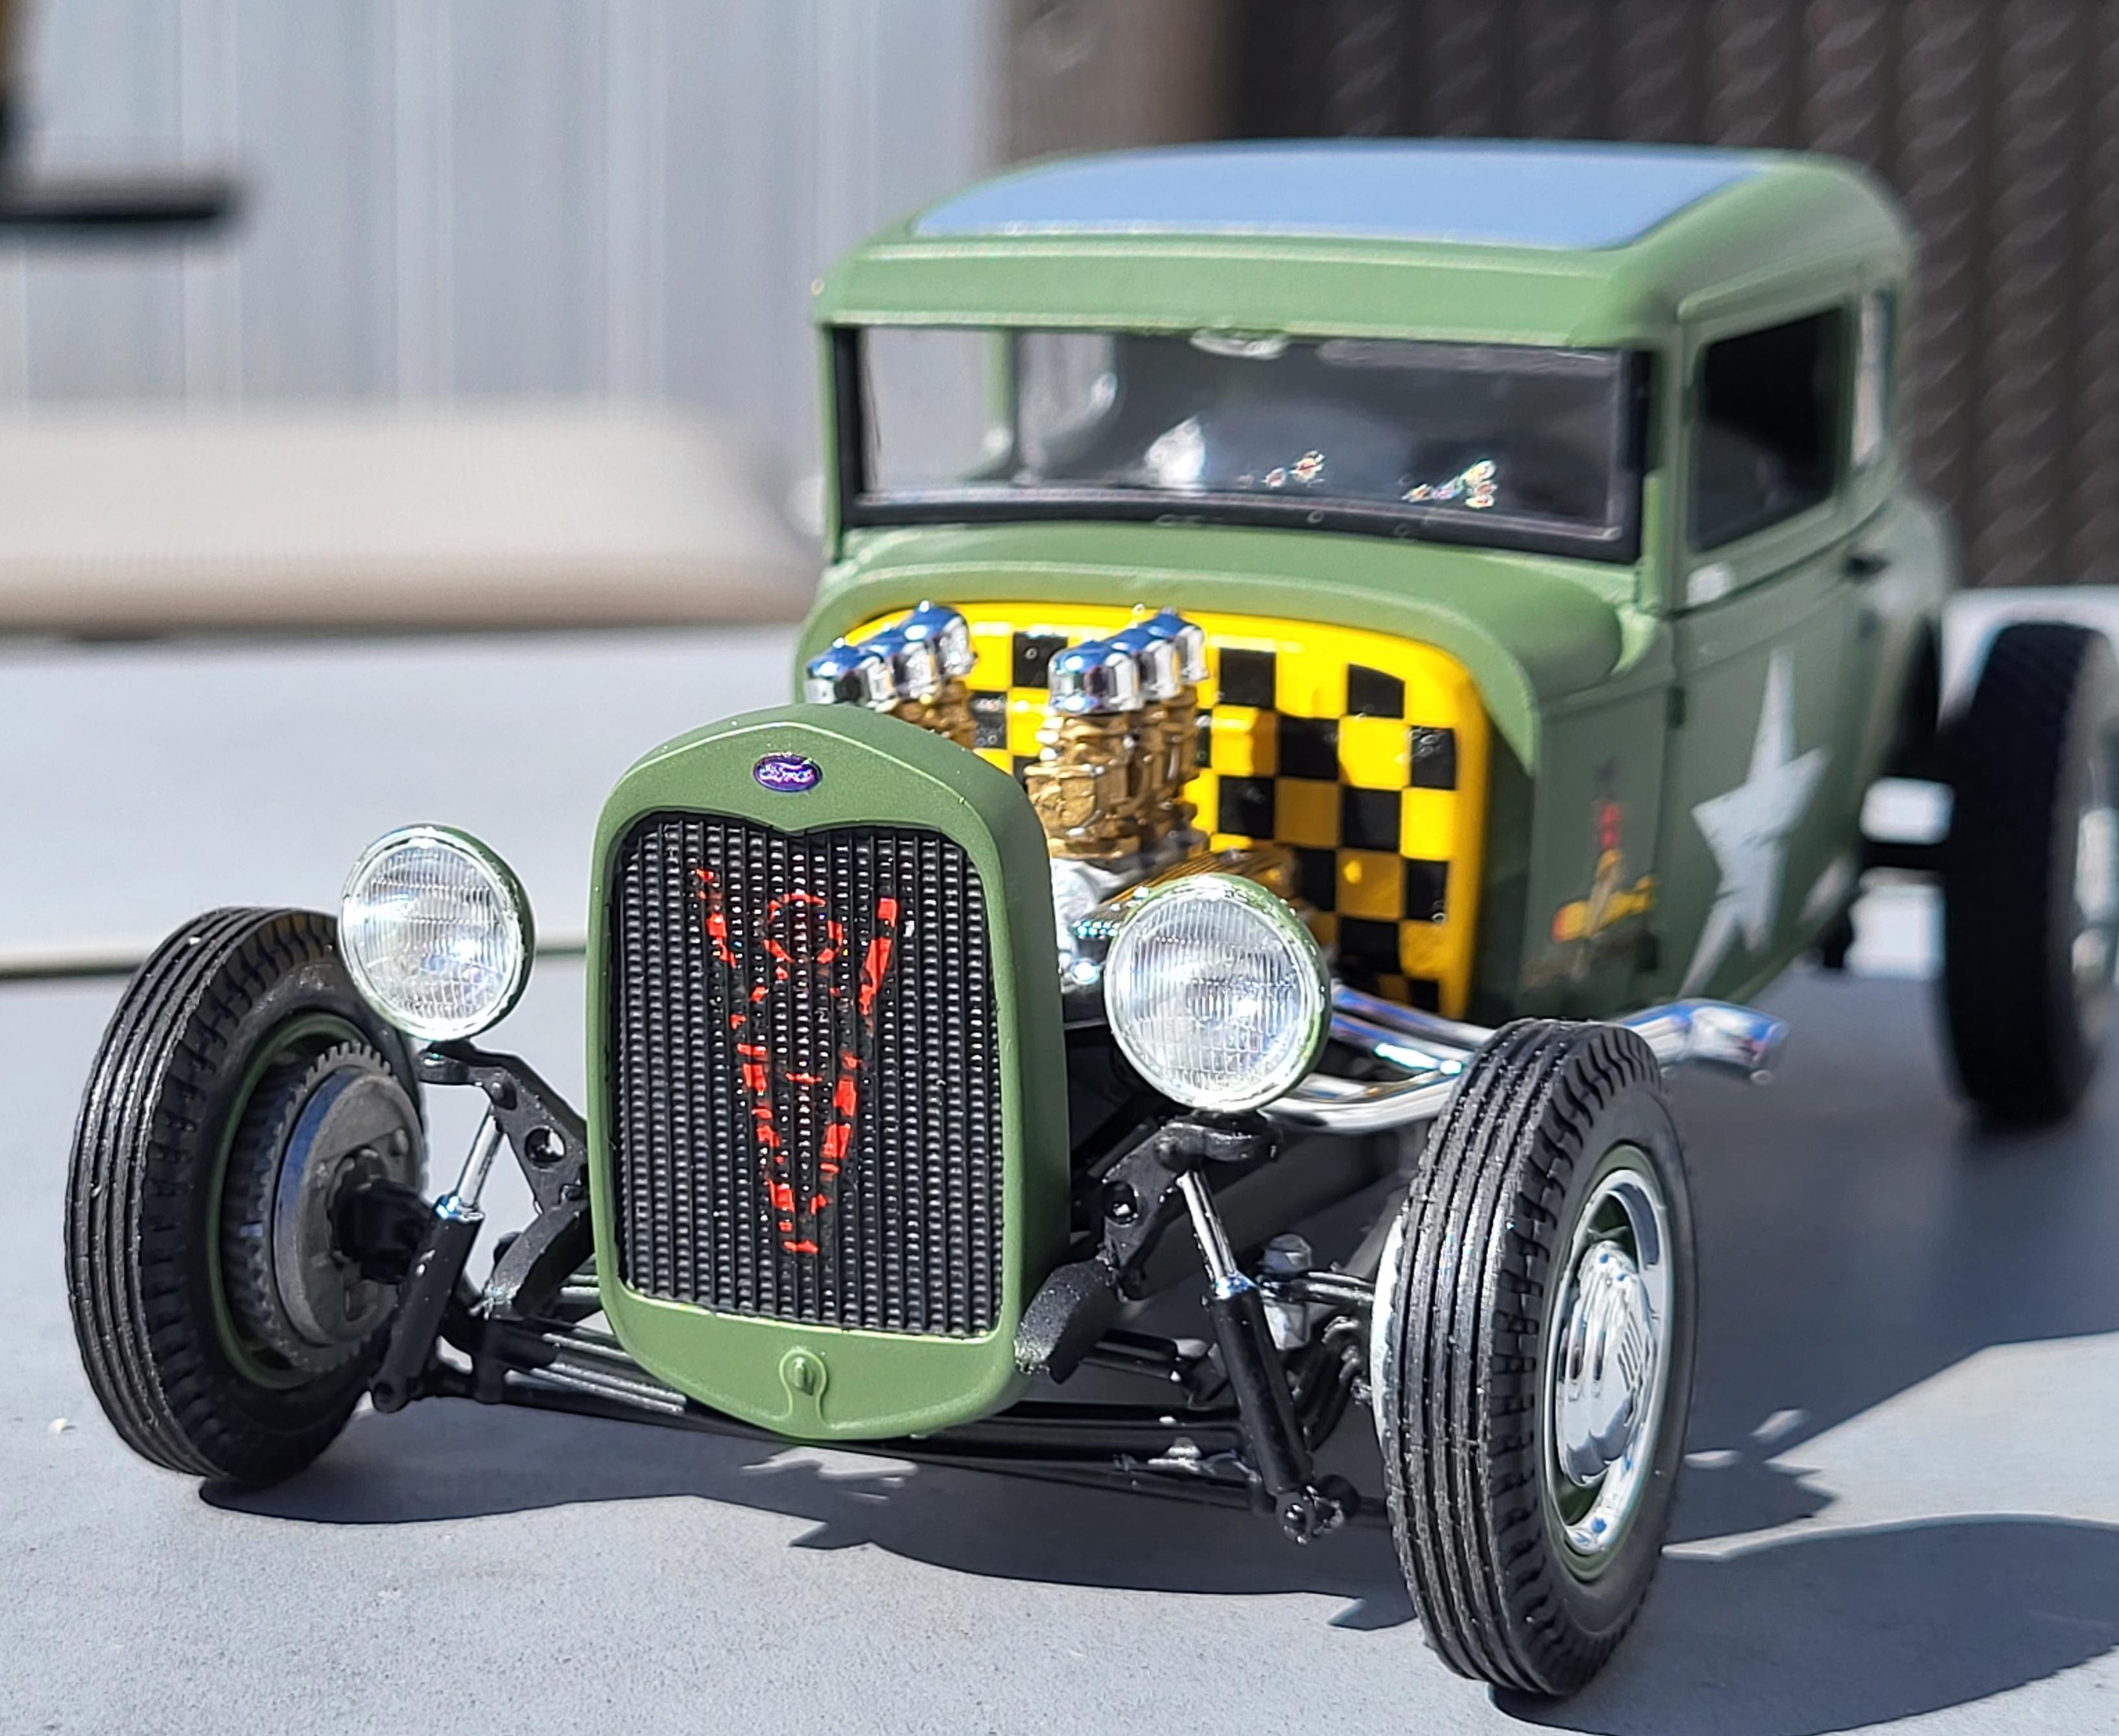
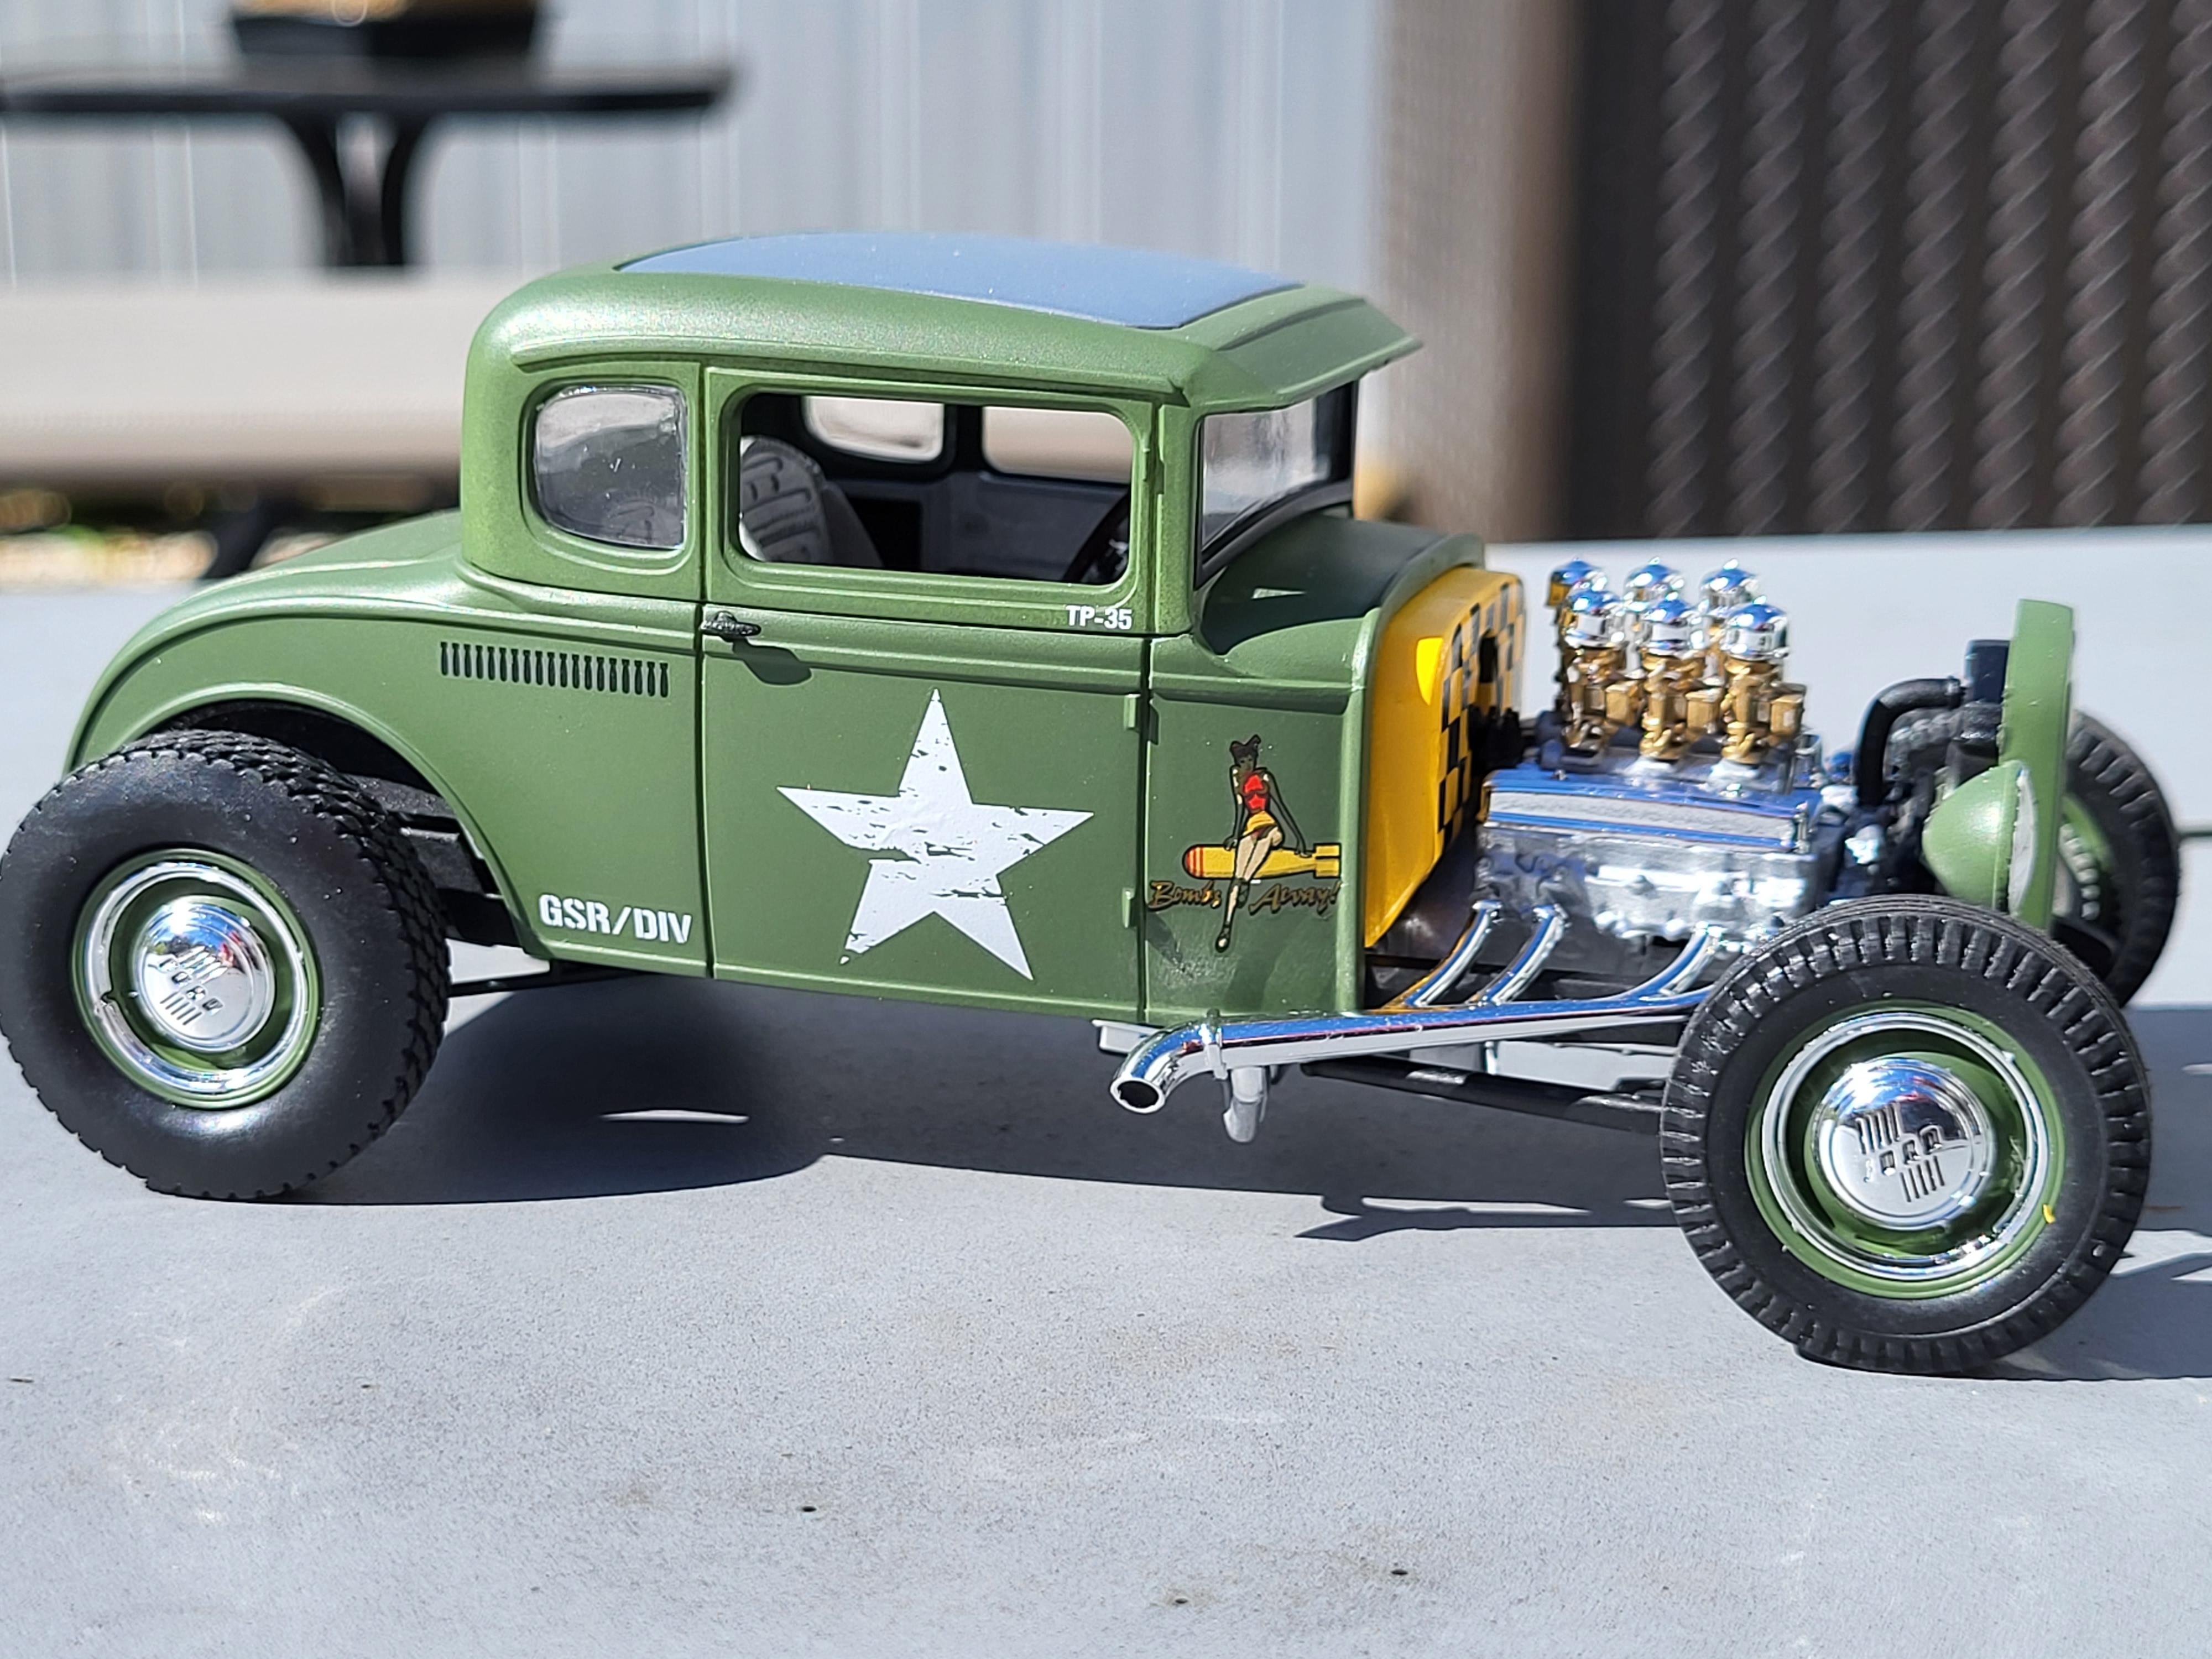
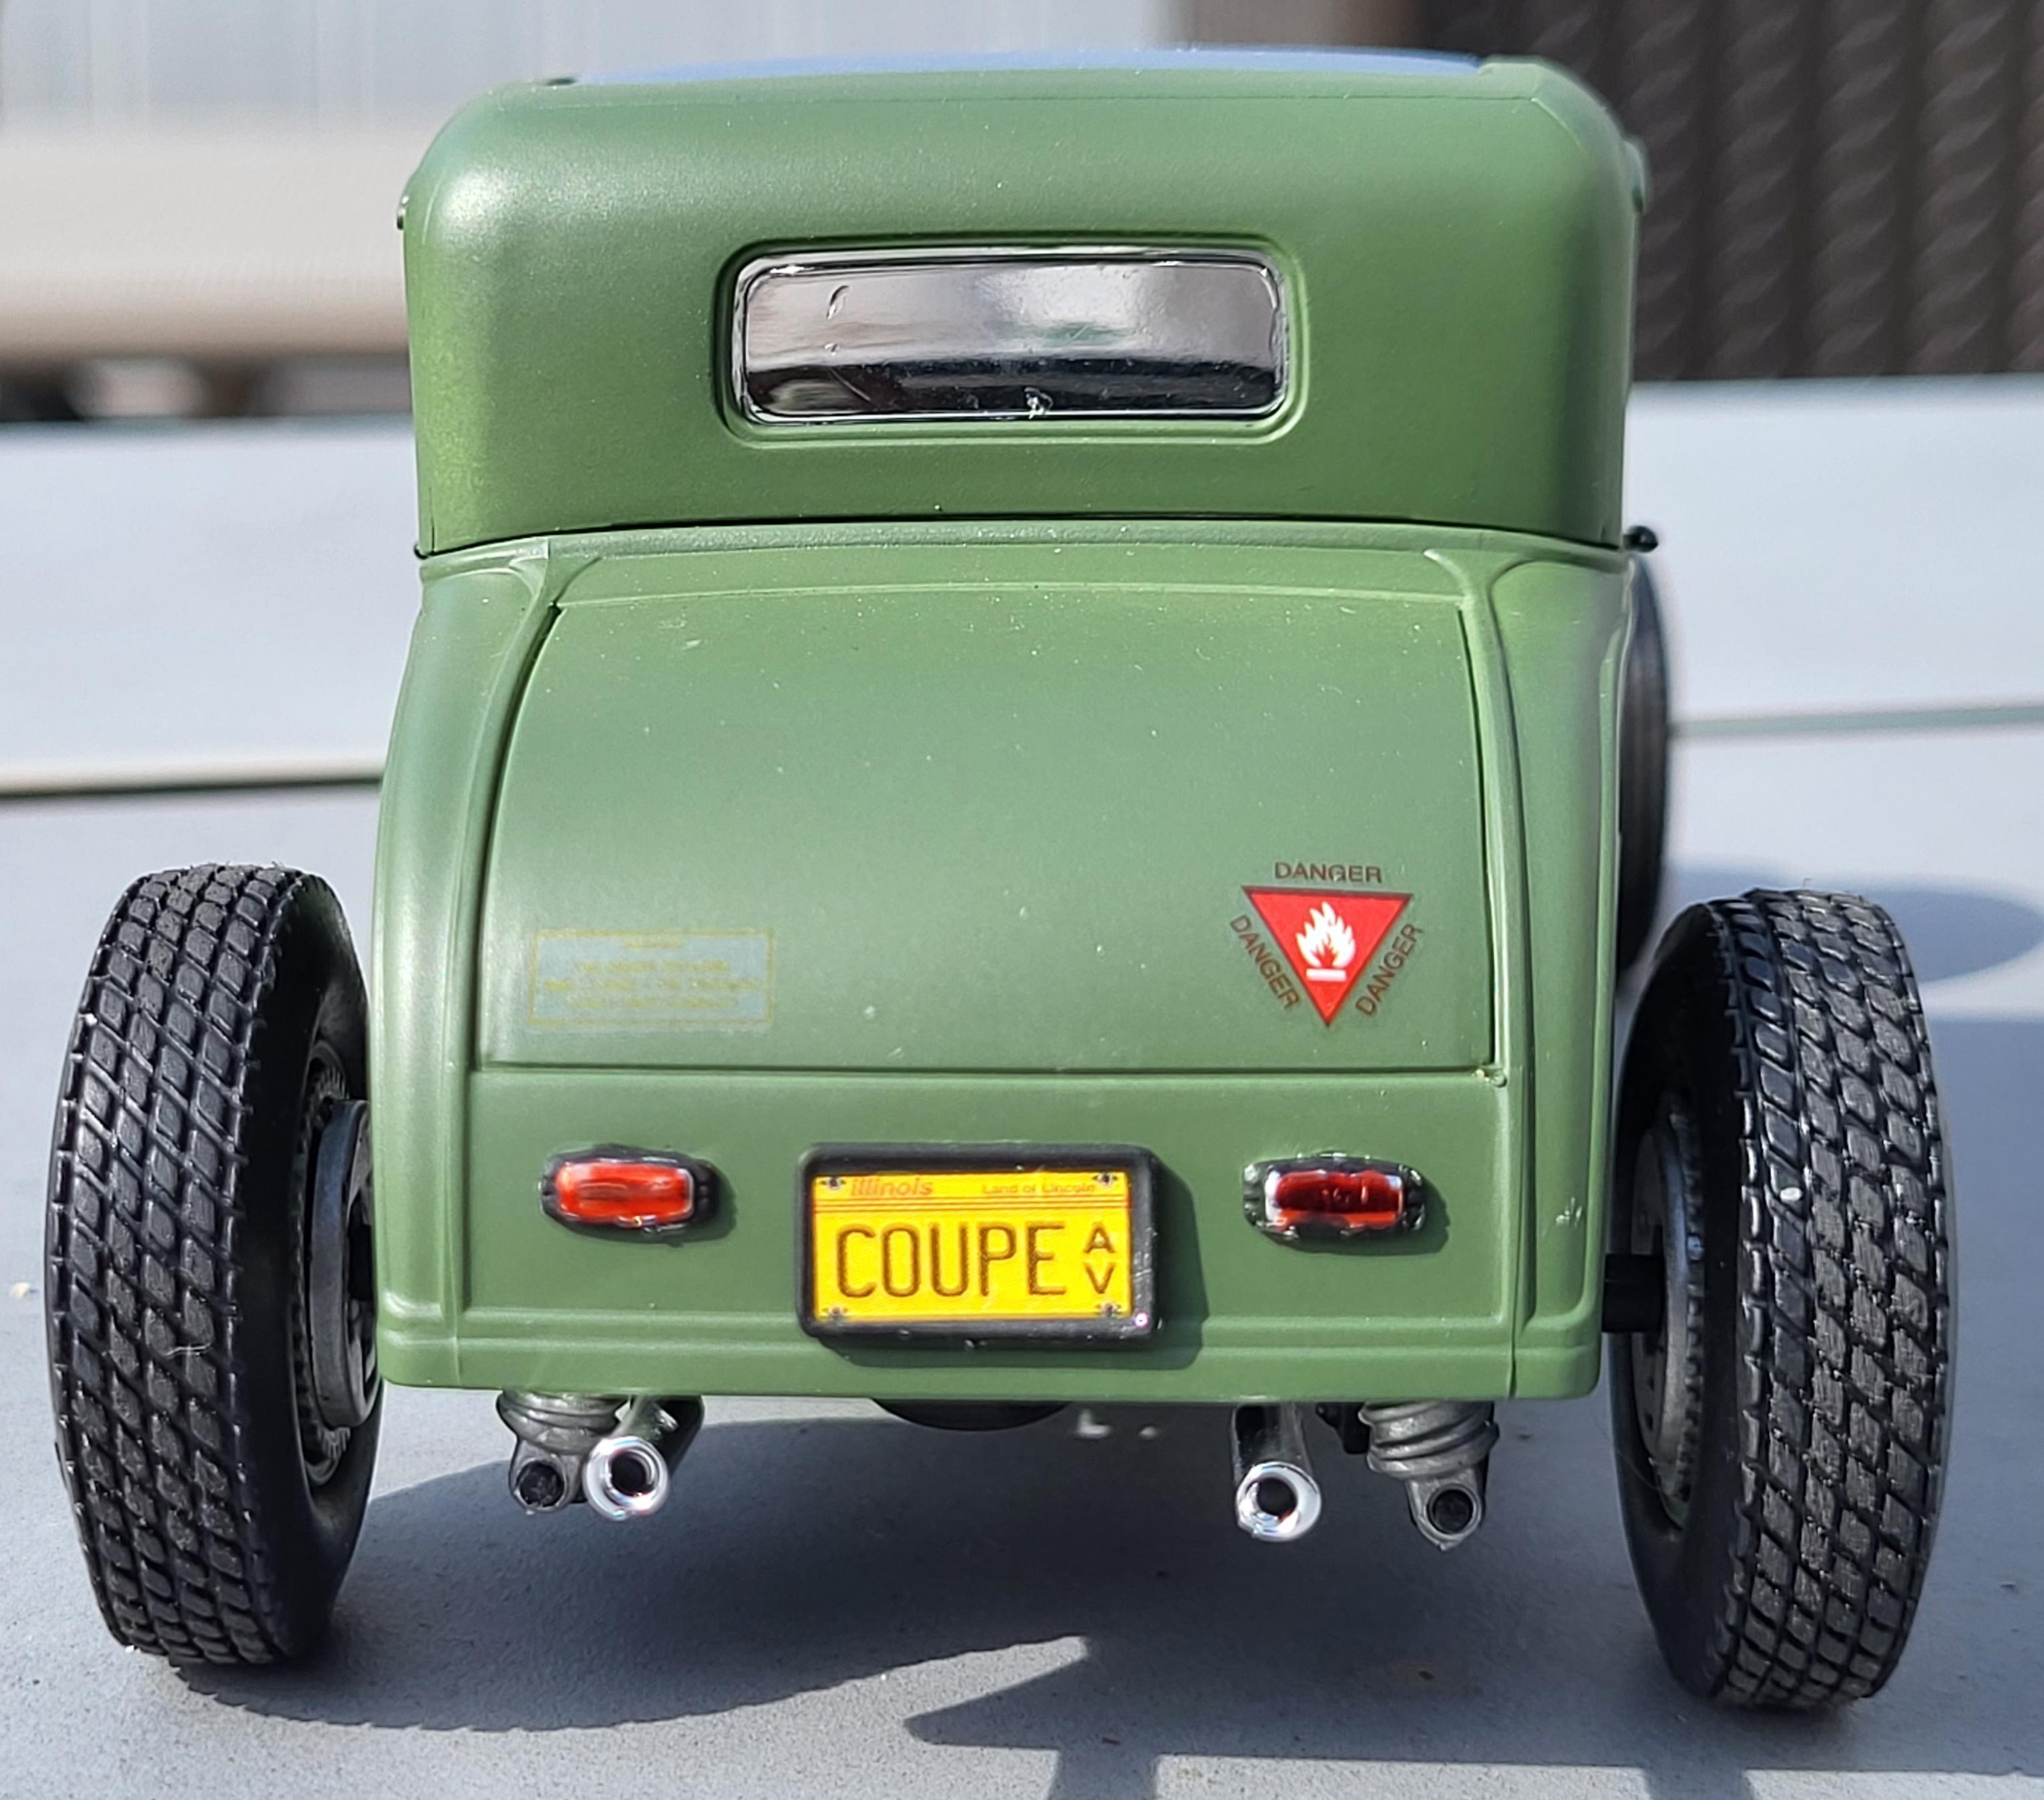
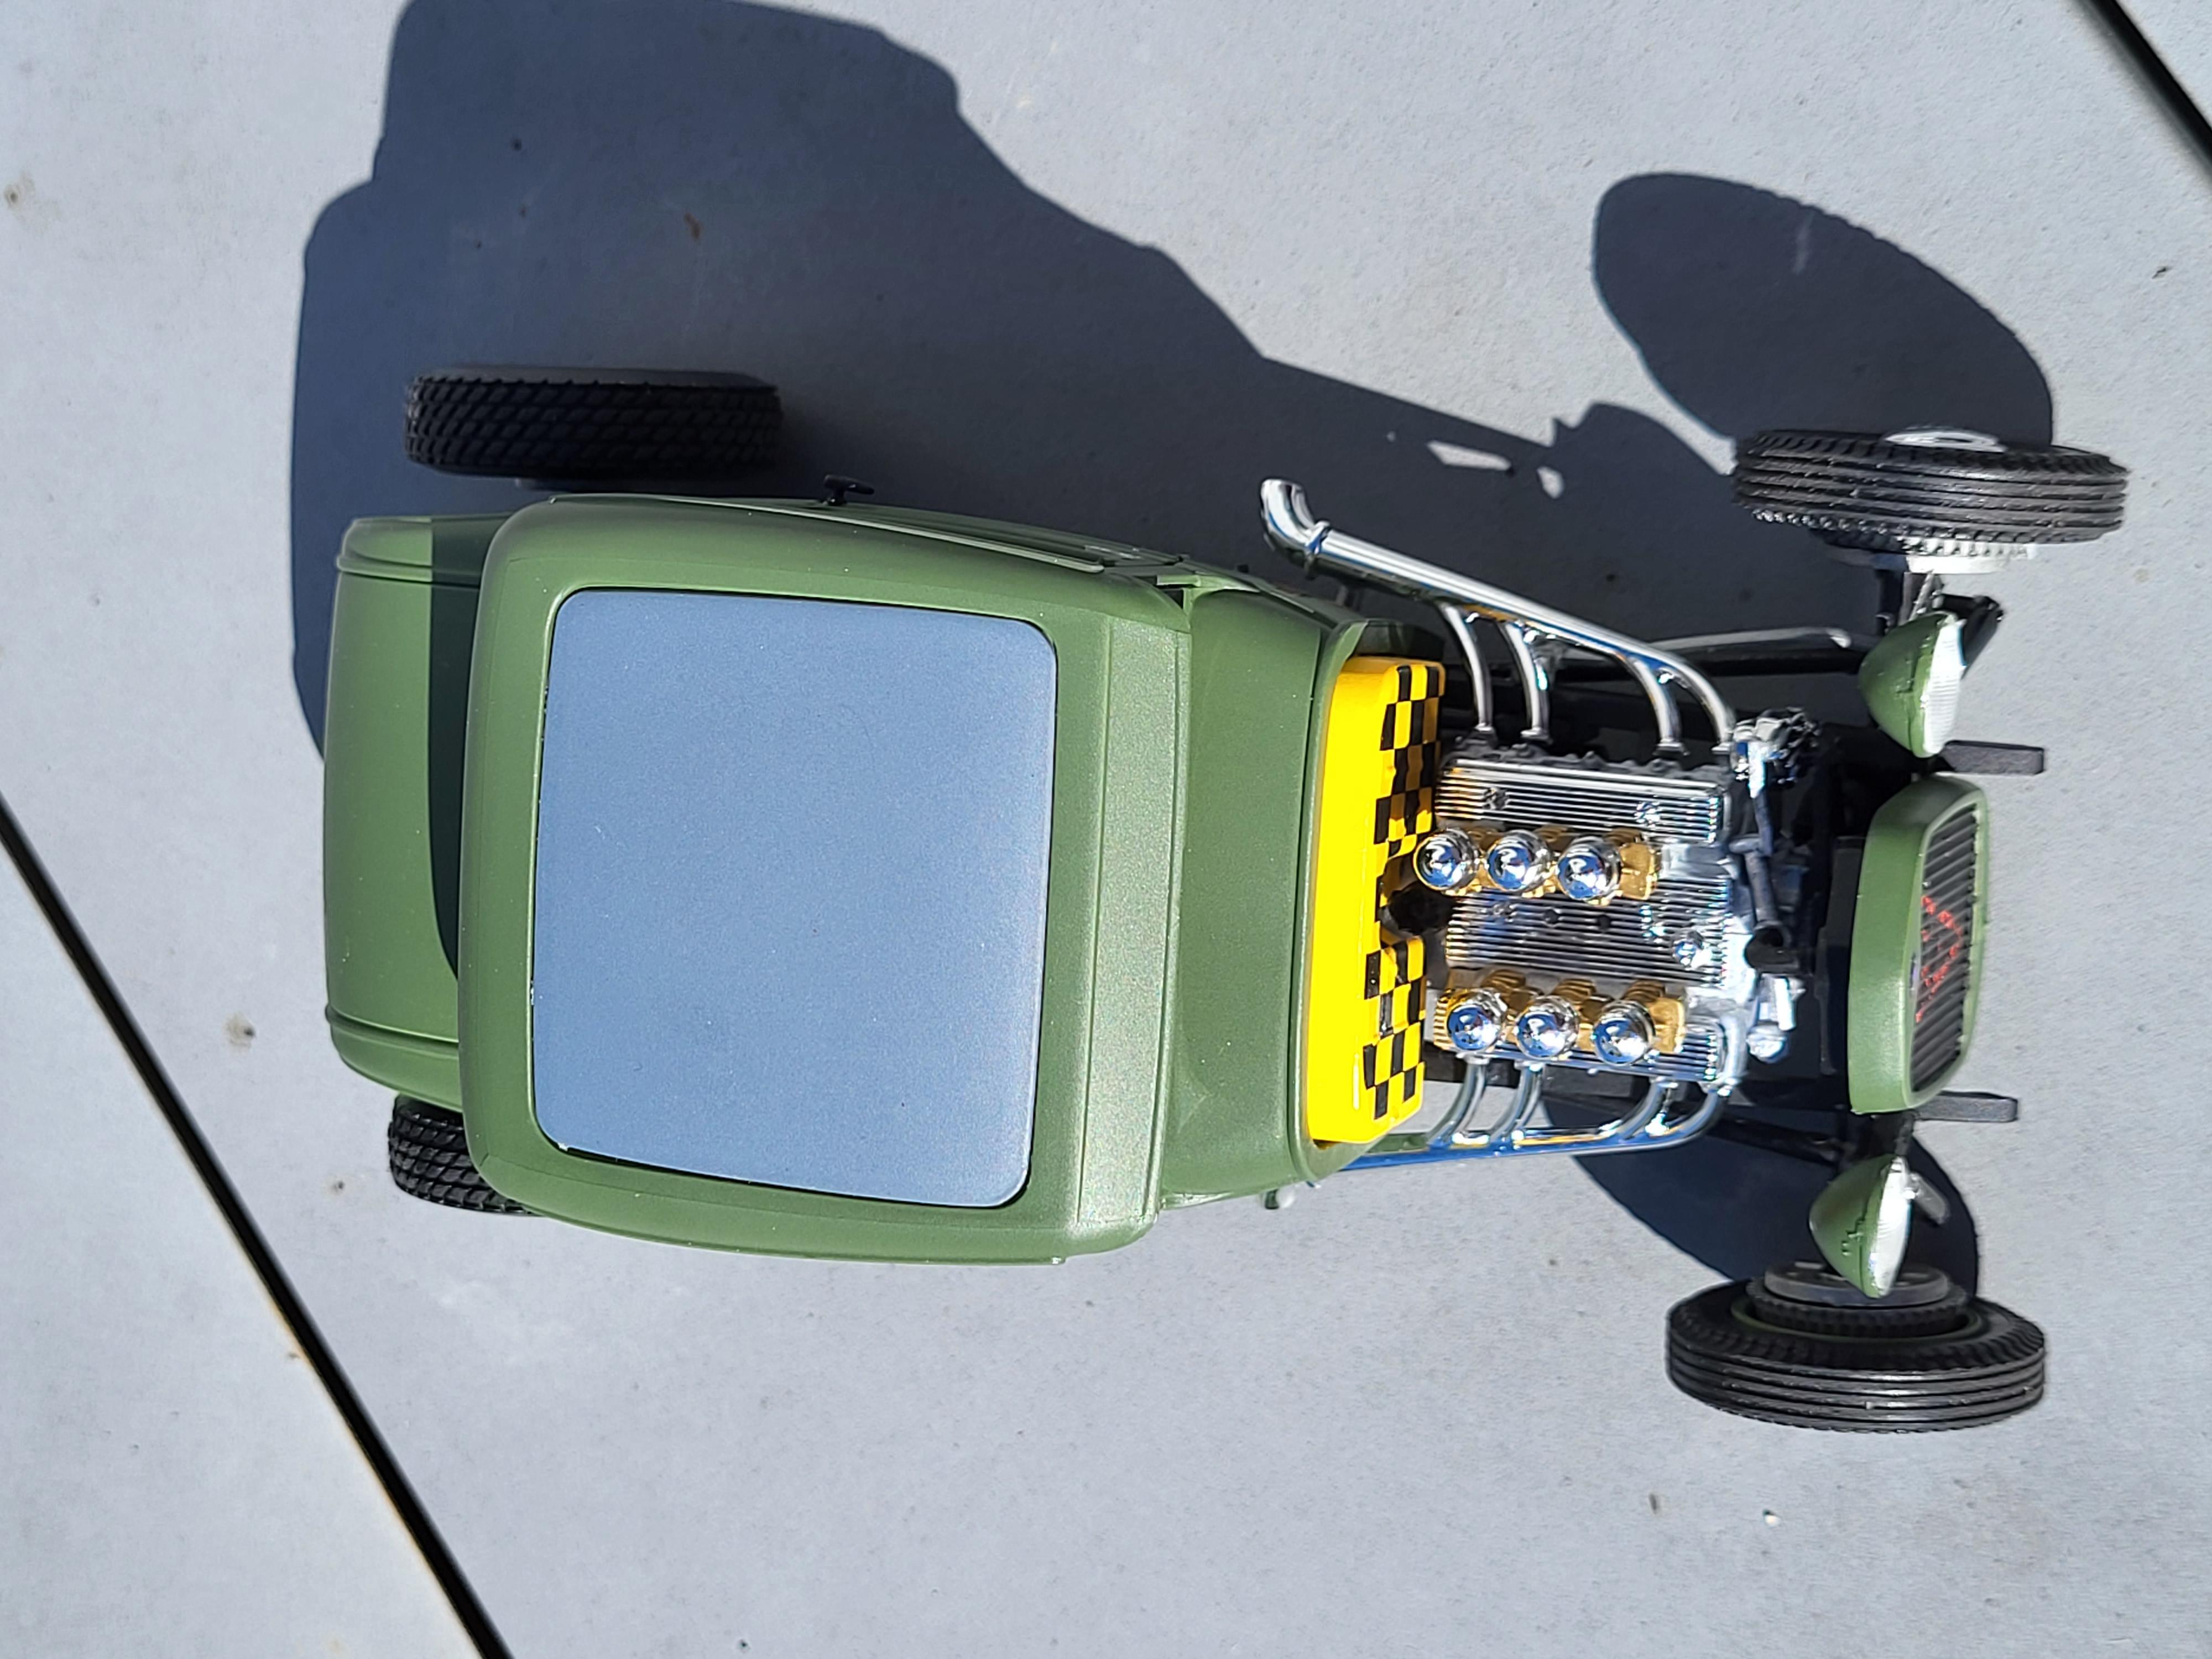
Here is my Revell 1930 Ford Model A Coupé. It is essentially straight from the box, and it's sort of a mix (marking wise) between a WWII US Army tank & a USAAF fighter bomber (P-47D?). Color is Tamiya AS-14 USAF Olive Green. Interior is Dupli-Color Aluminum.
-
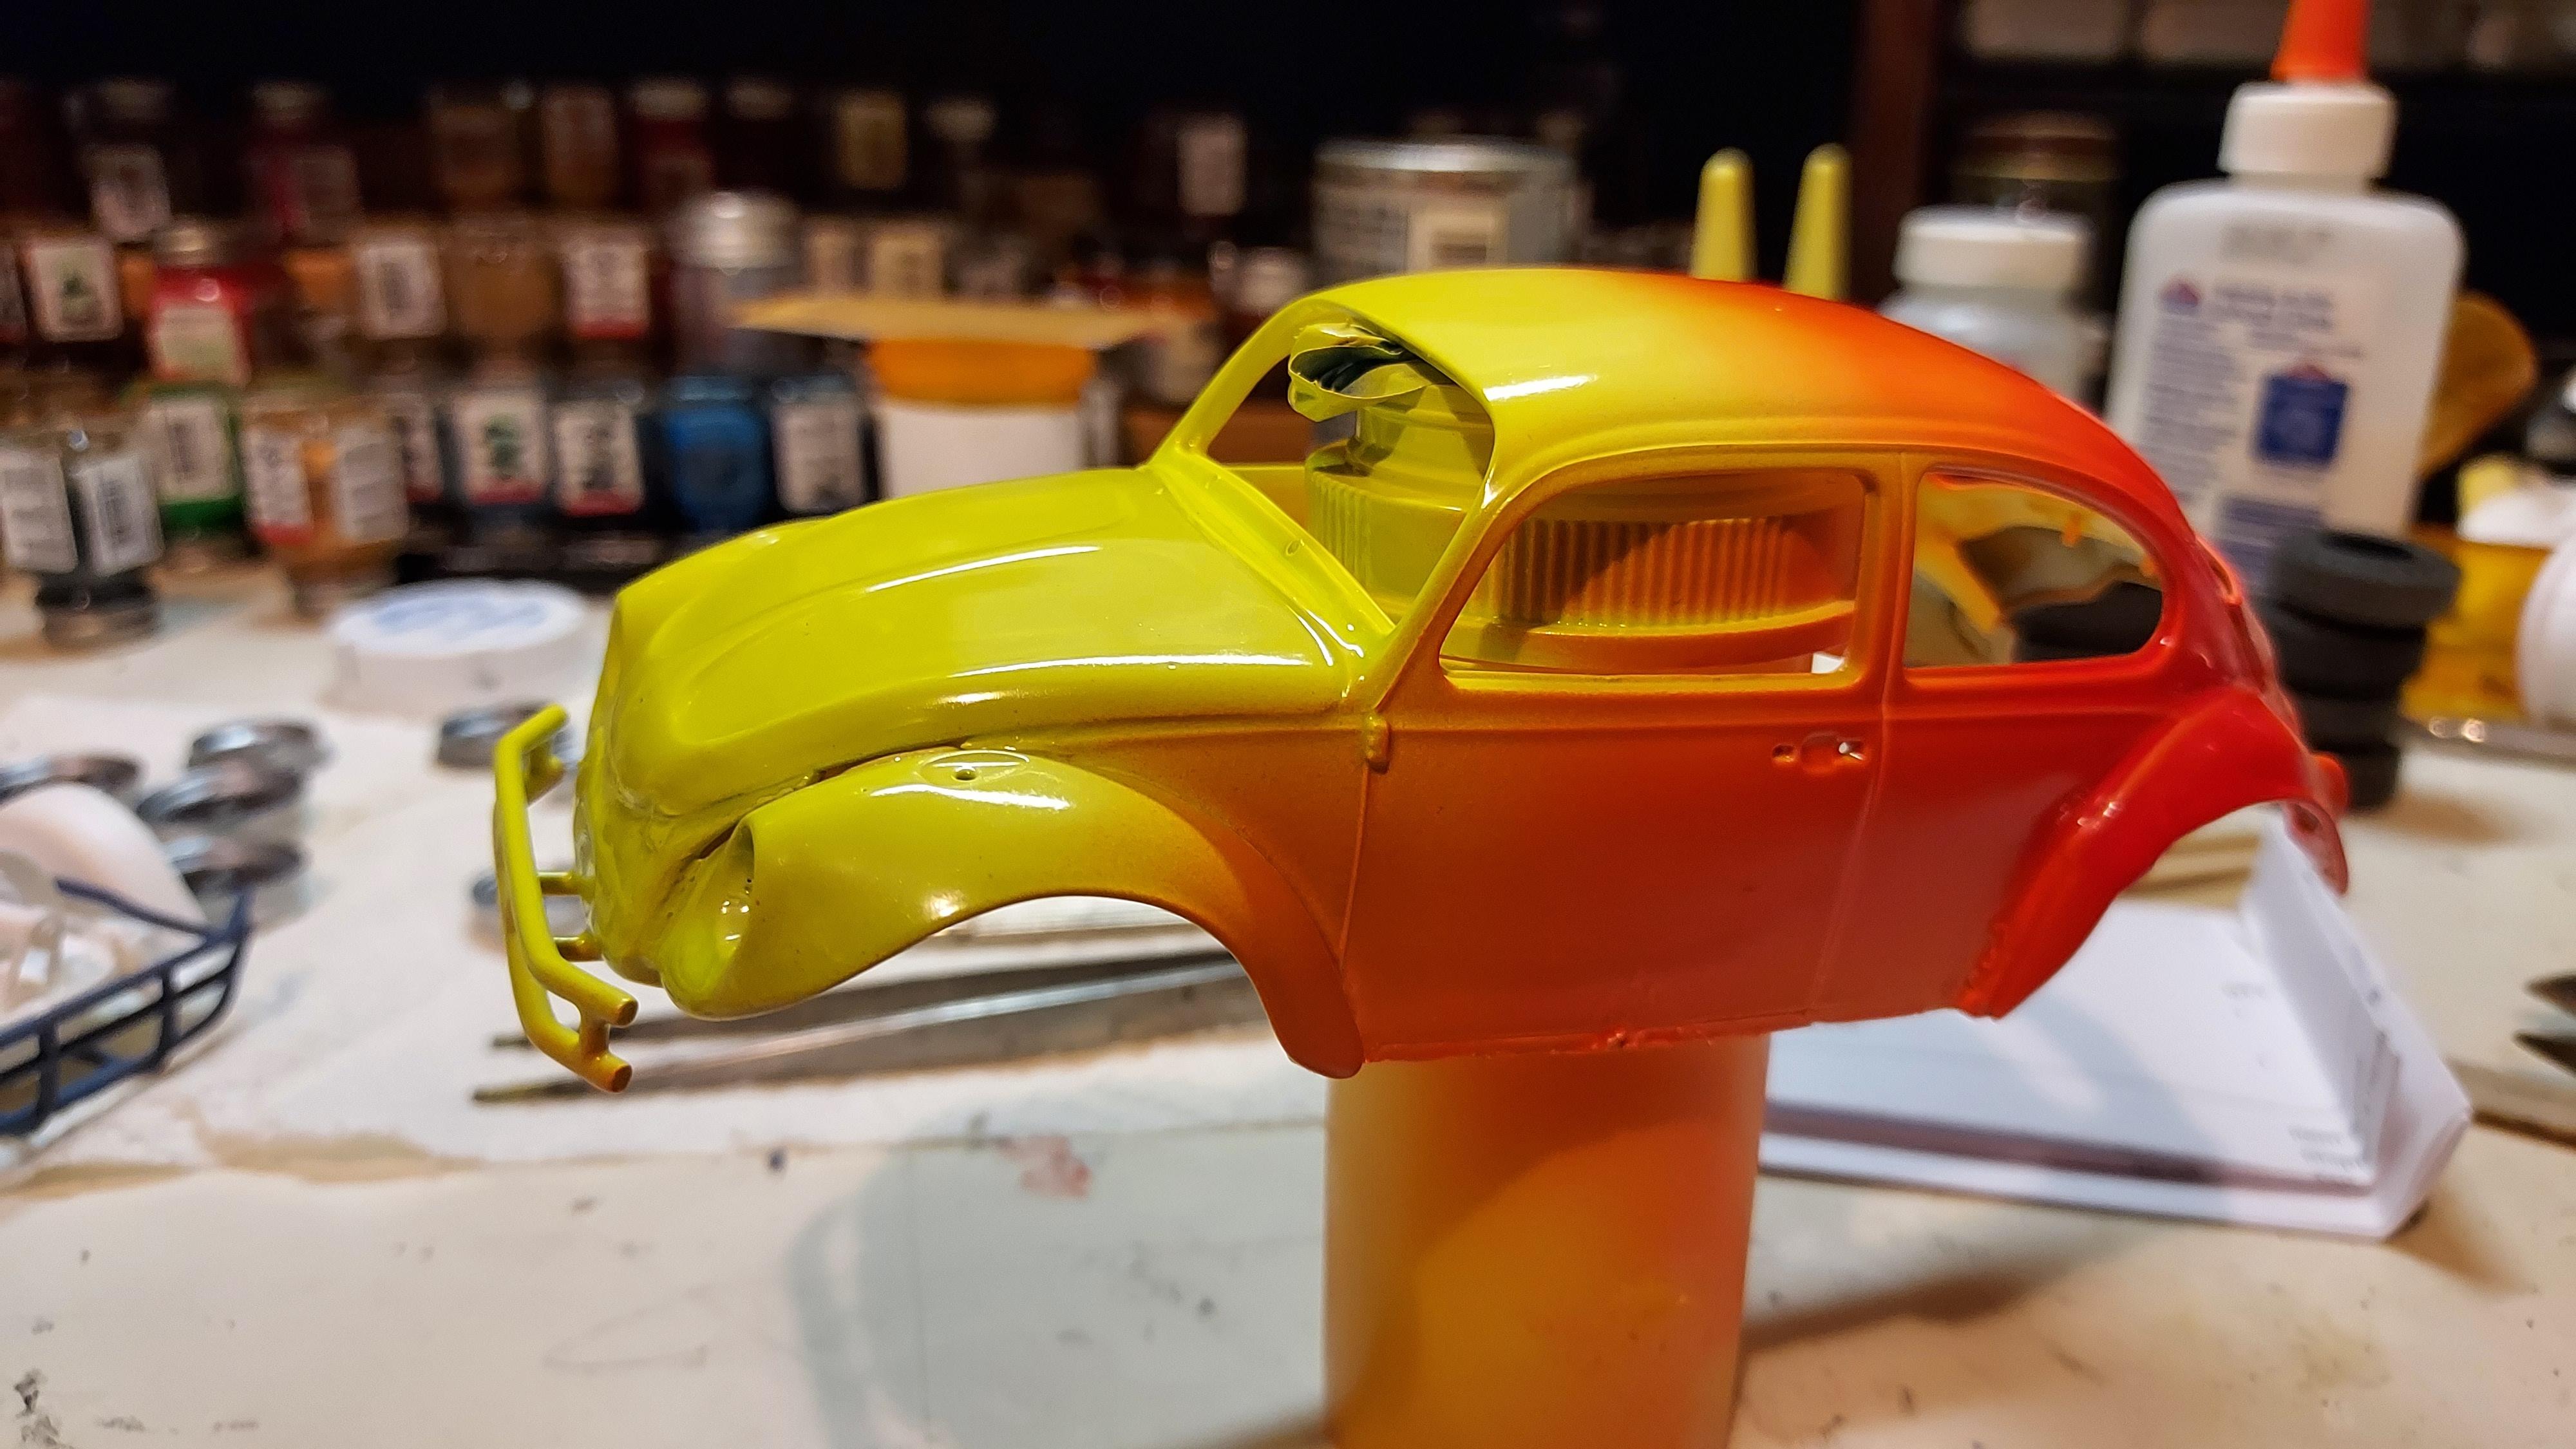
Last night, the idea for this fade paint scheme popped into head. Just sprayed it minutes ago.
-
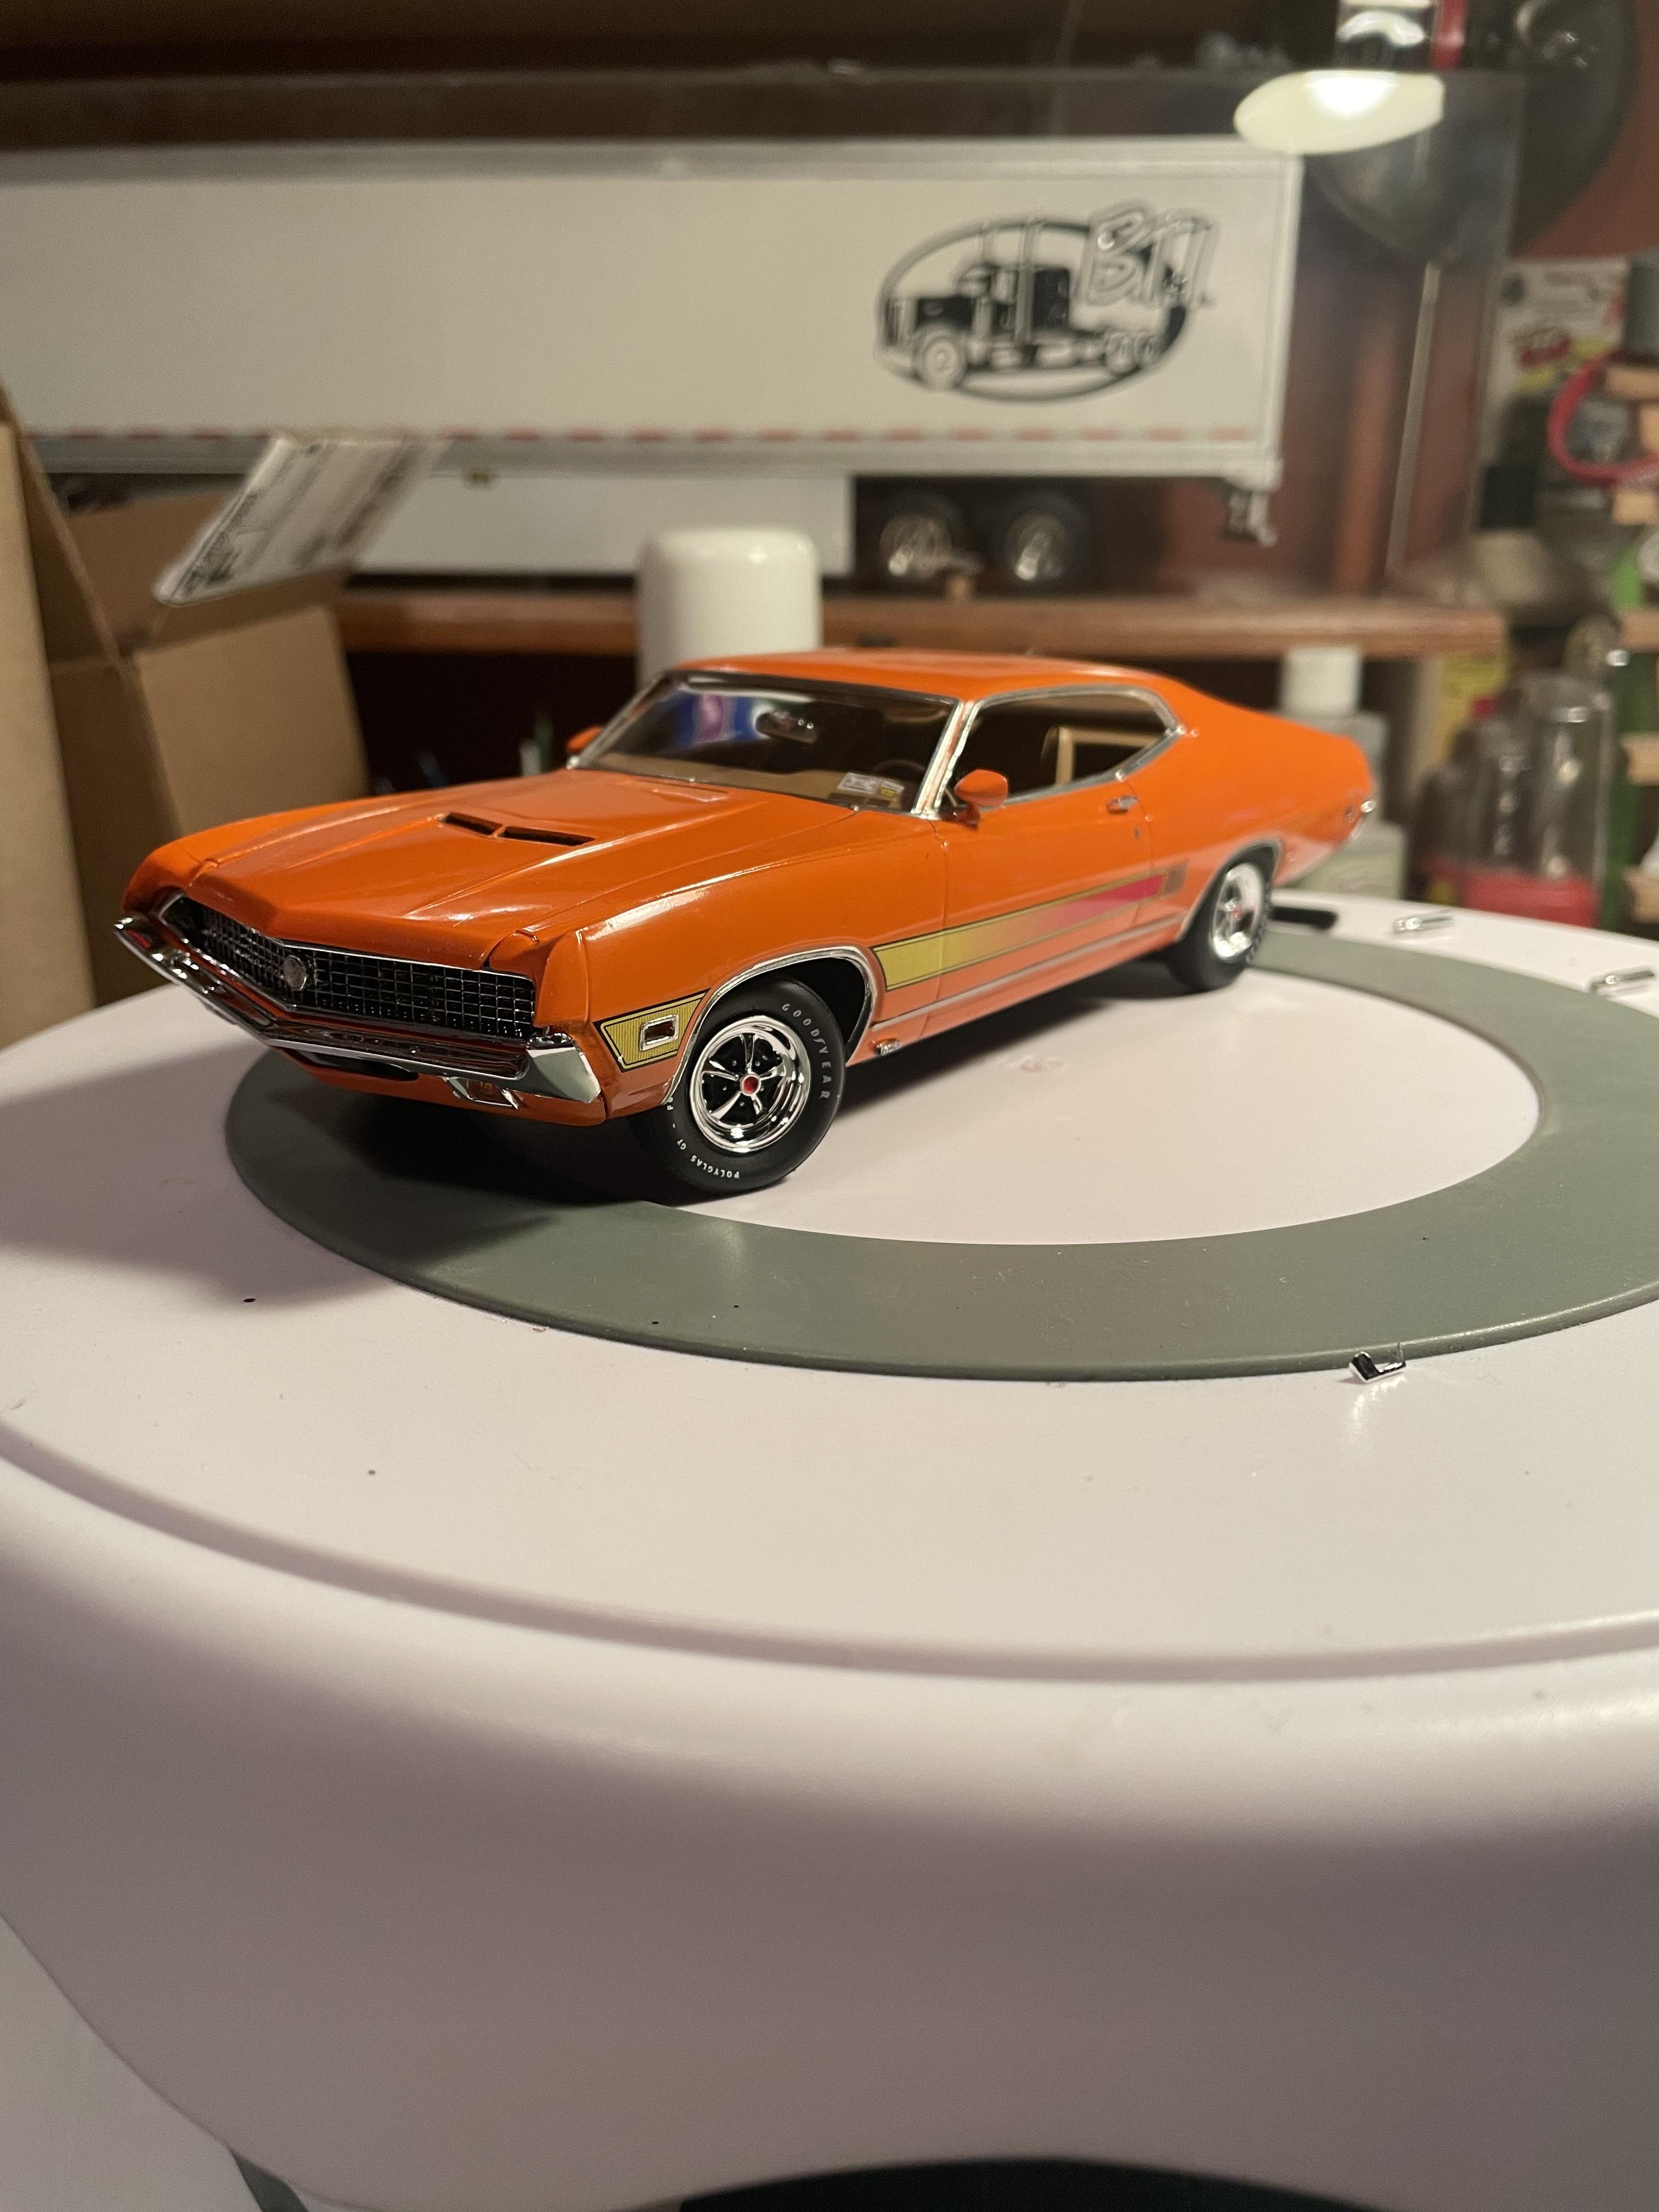
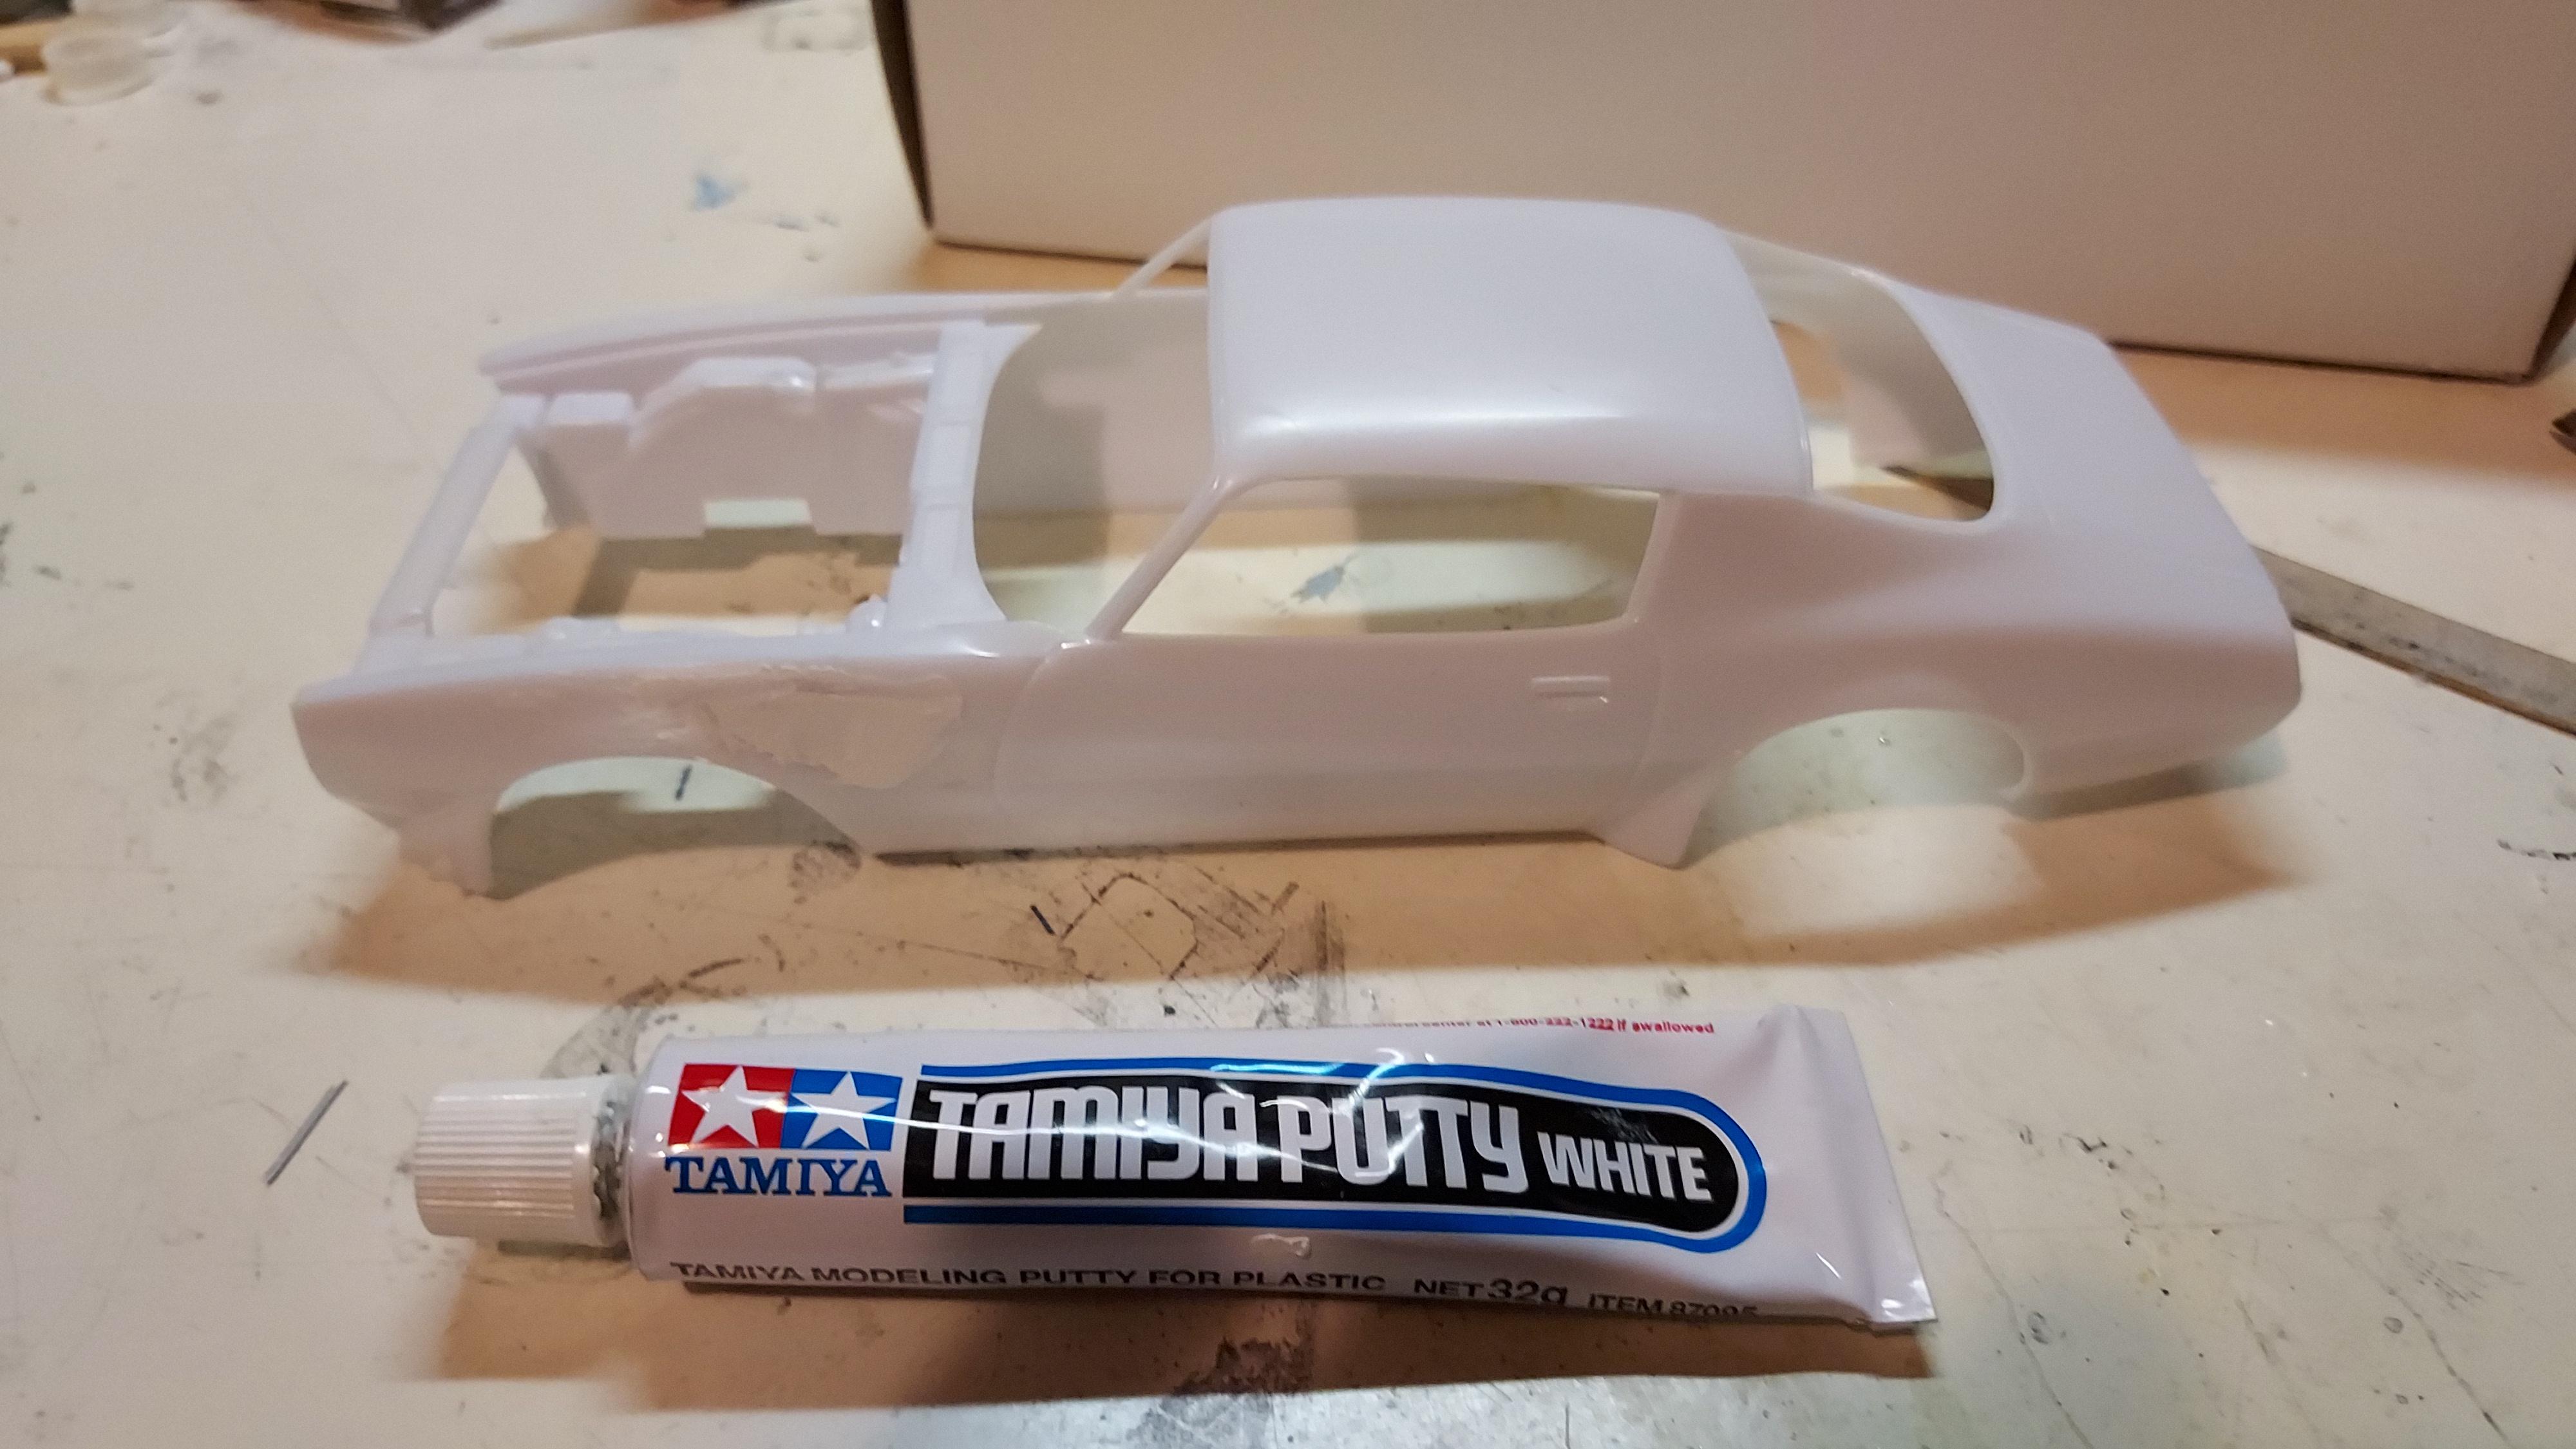
This is just the very beginning stages but you gotta start somewhere. A slight touch with the Dremel and some light sanding with an emery board then a little dab of Tamiya filler Putty and the side scoops are a thing of the past. I'll let that dry overnight. Next I'll have to make a Ram Air Air cleaner. For this I was able to trim the bottom half if the shaker scoop and the top half of an extra Deserter Air cleaner. The rally lls are soaking in Mr. Clean as they way too shiny chrome and need to be painted Argent. Revell did a pretty good job on these also. You just need a little paint detailing work. The Firestone Wide Ovals are really nice. I think I might just keep the front spoiler and the wheel well pices. I know the y were specific to the T/A , but I kinda like the look of those. The same for the engine turned instrument panel applique. I always liked the look of that over the boring, wood grain of the Formula. They give you a nice decal for that.
-
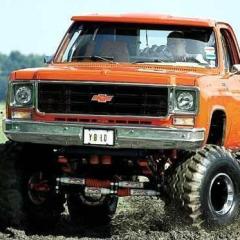
 I want to covert the 78 GMC truck to a 2WD and lower it. Any suggestions on what kits provide the best chassis and/or suspension to do this?
 -
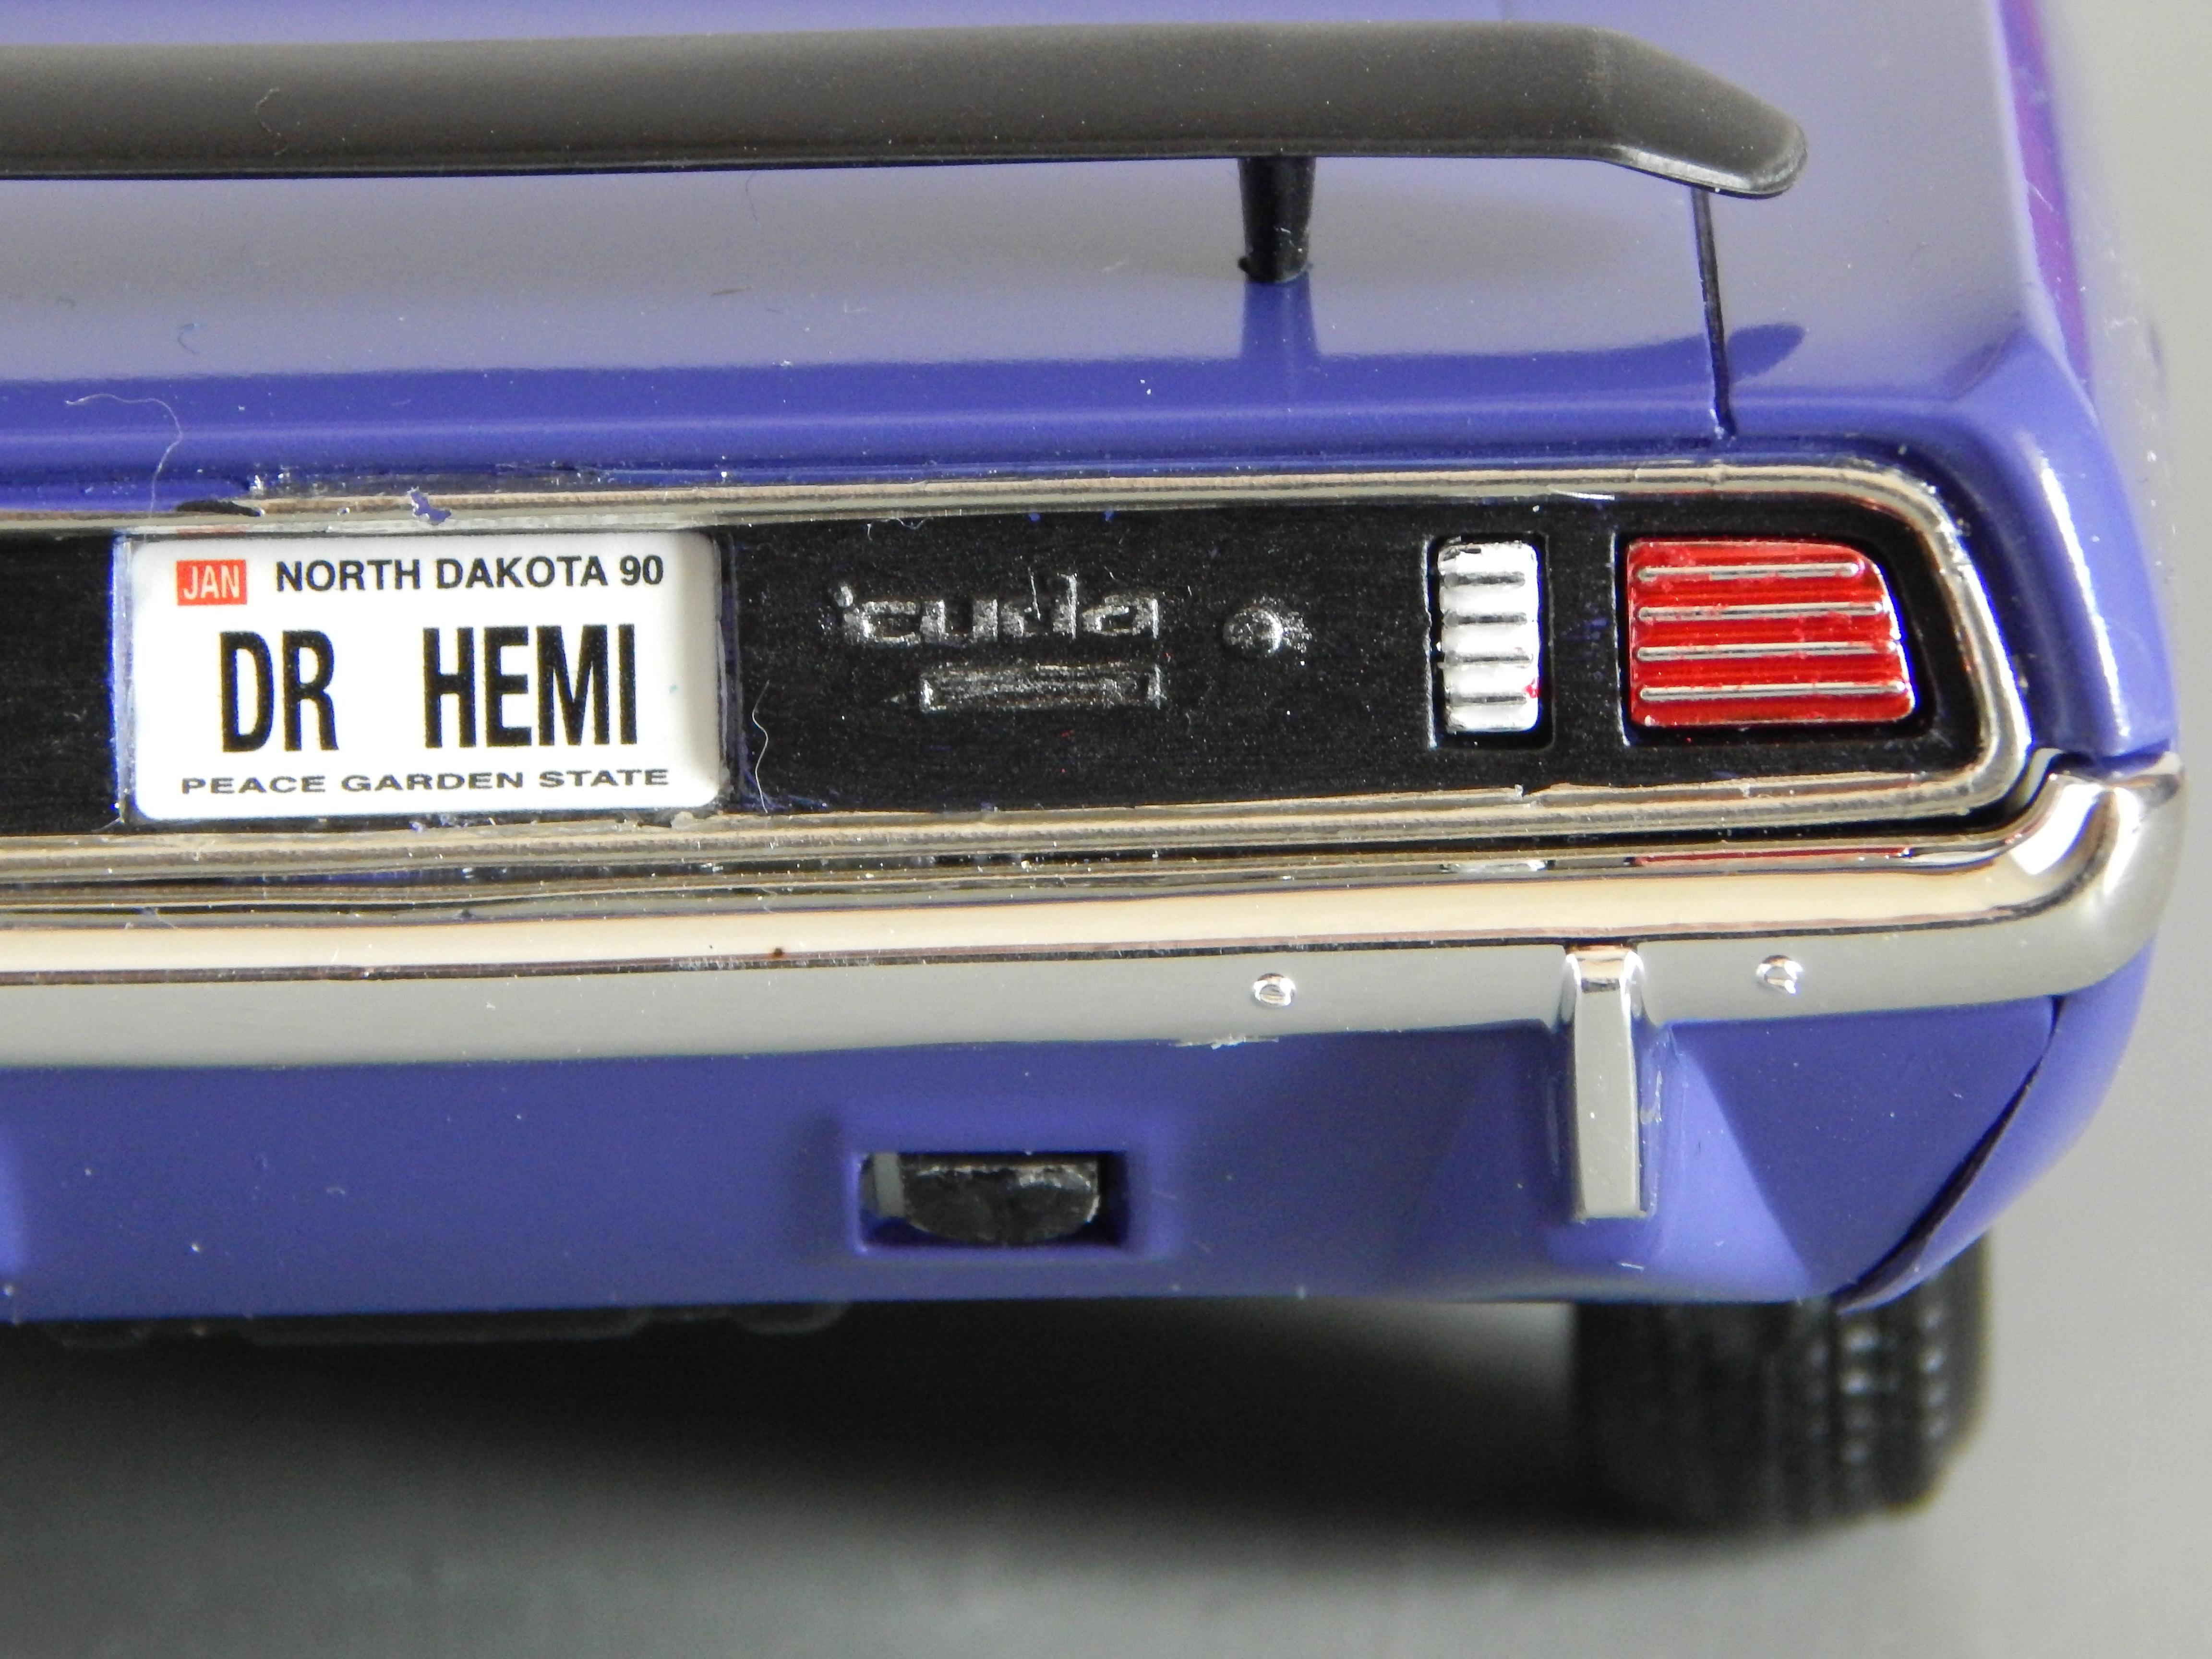
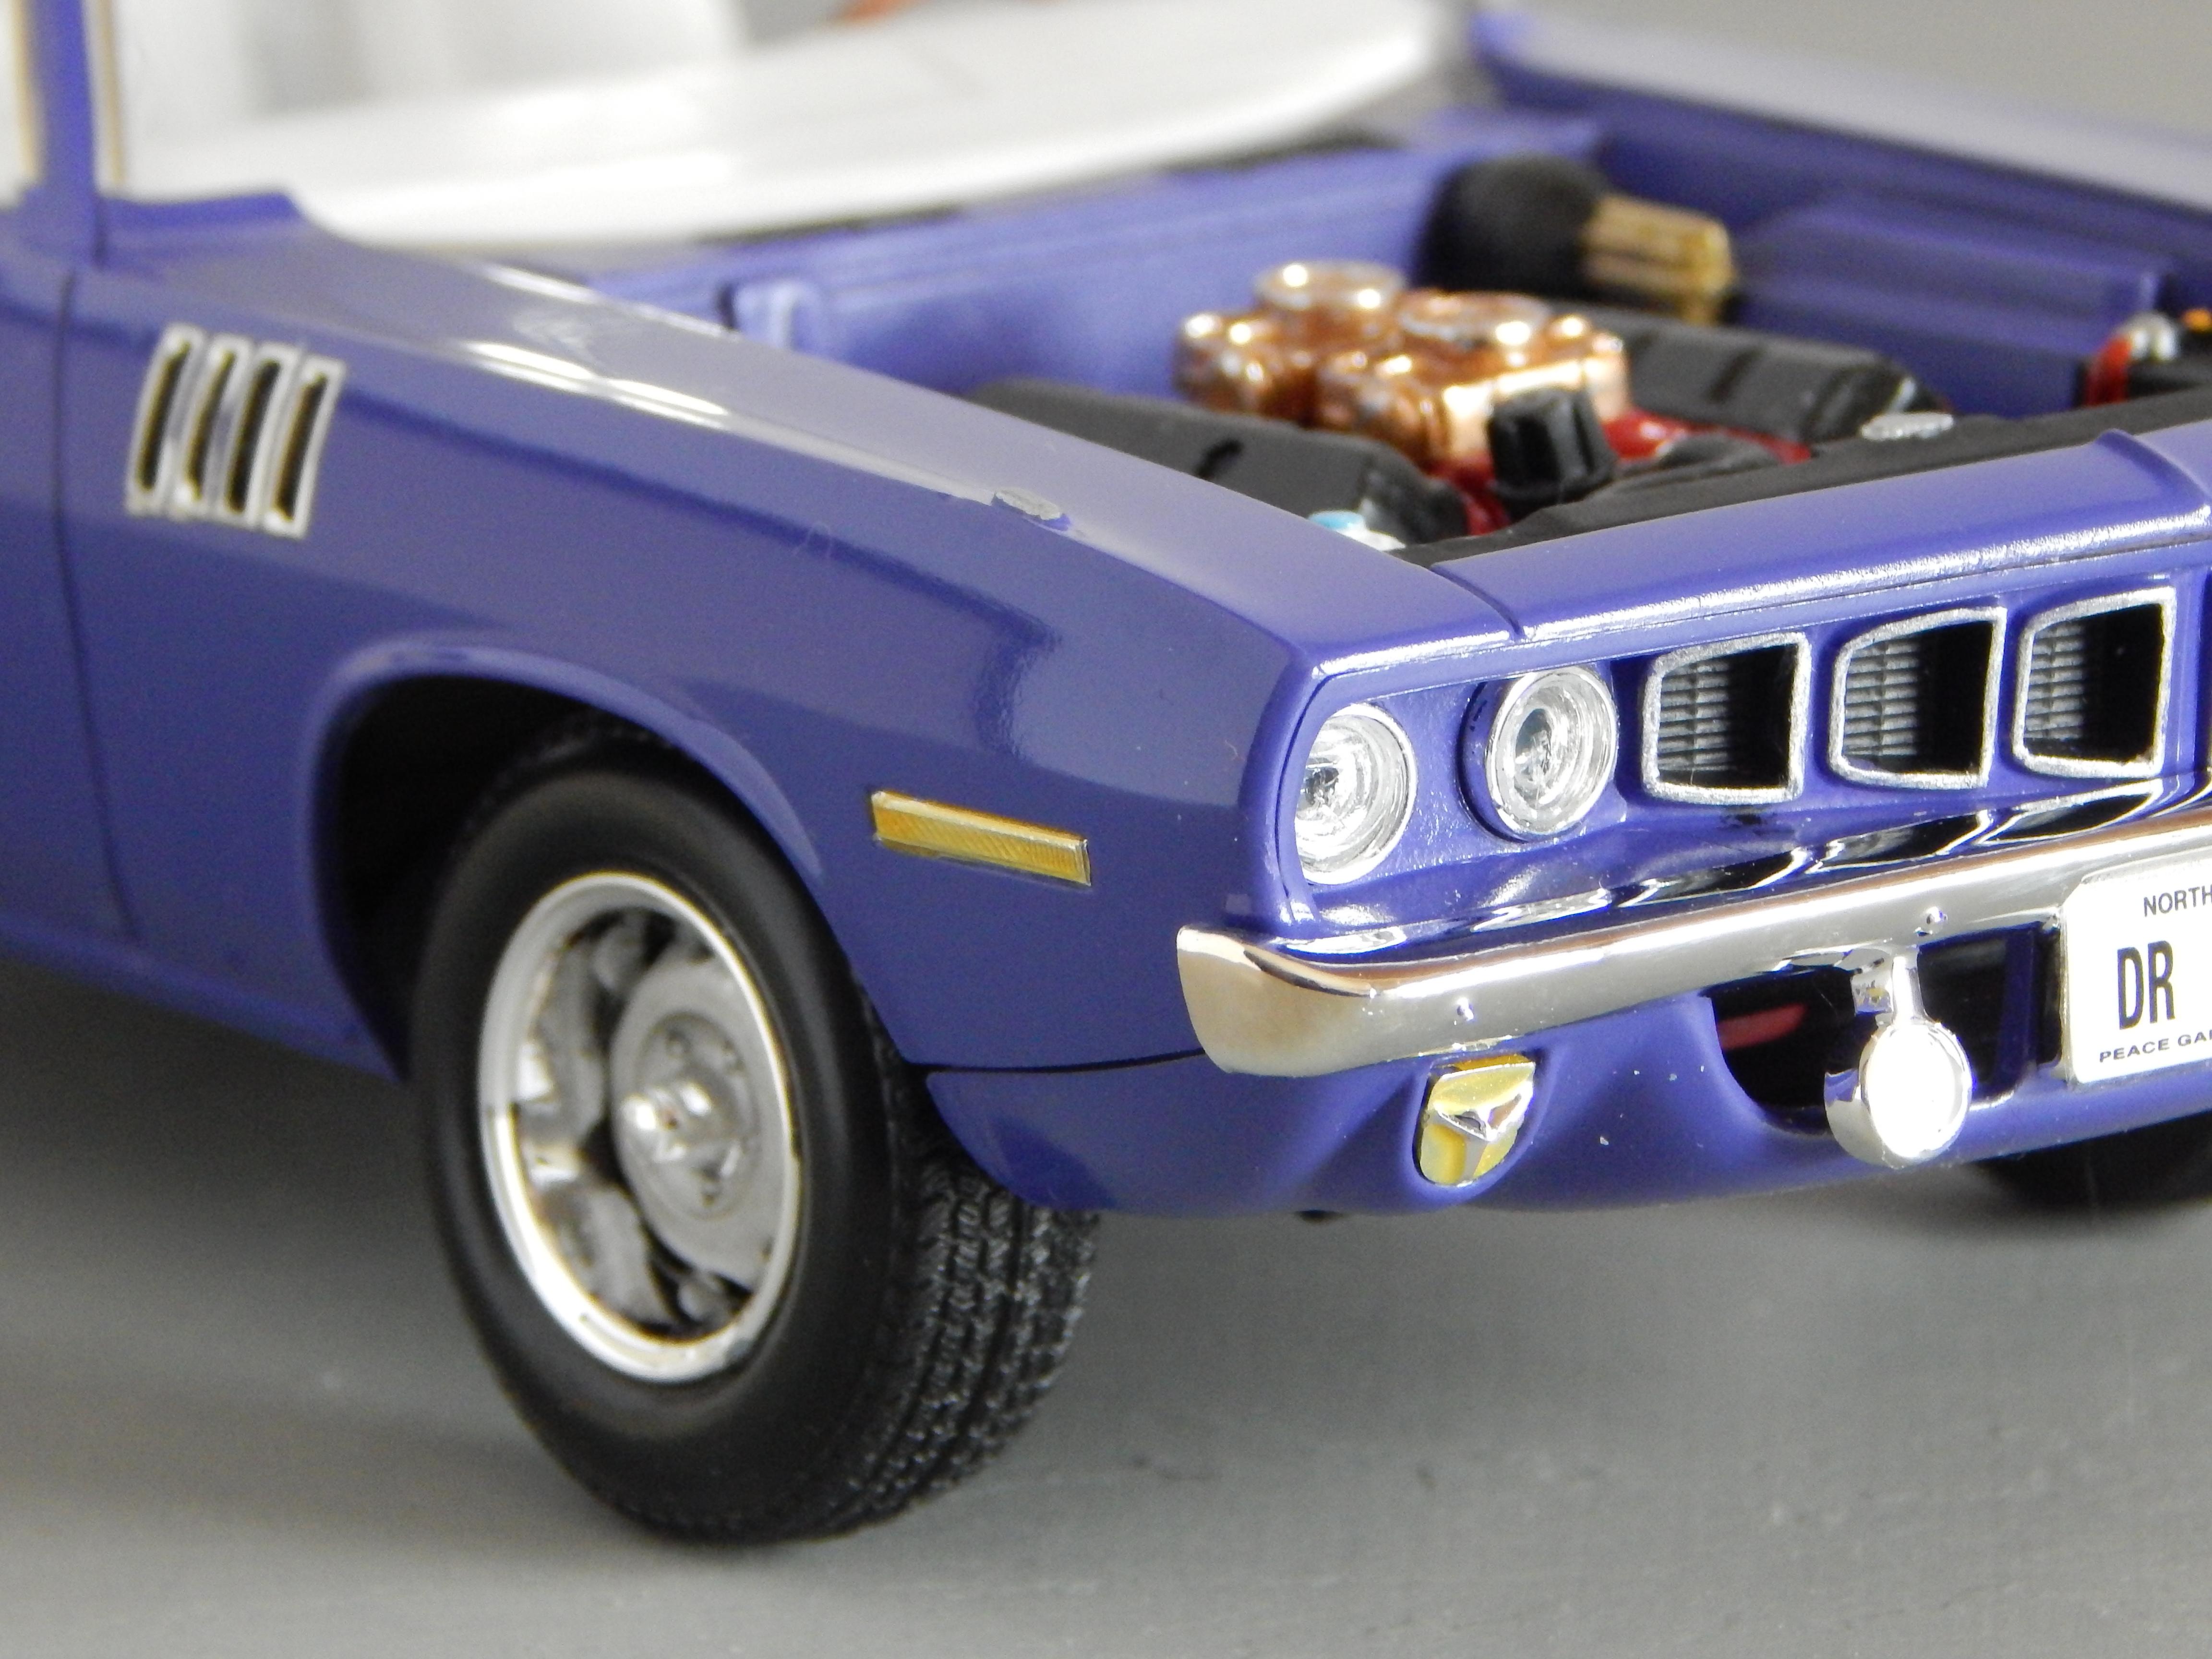
 After watching it collect dust on the shelf at the local hobby store for several years, I finally bought the Hemicuda. The Dodge 426 I built a little while ago. (These are die-cast and plastic kits.) The fuel linkages from the fuel pump to the carbs required a lot of work. I used hot water baths and a hair dryer to bend them and shape them so they would fit around the other components and meet up properly. Each is a little different in that regard. The spark plug wiring on the Dodge 426 is correct, but I took some liberties on the Hemicuda as some of the wires were just not long enough to fit on the distributor properly. The Hemicuda’s power steering pump didn’t fit very snugly, so I glued a thin strip of sheet plastic around the mounting post and then sanded that down until the fit was snug. On the Dodge 426, I didn’t really get the angle and fit of the choke control body correct, as I had to fudge it in order to get the choke control tube to line up. I fixed that issue on the Hemicuda by extending the attachment post on the choke by gluing on a piece of styrene rod of the same diameter. There were four types of screws (which I believe were self-tapping) supplied to join the die-cast parts, and most of them proved very difficult to get in. Overall though, very neat looking (and heavy) kits when finished!
-
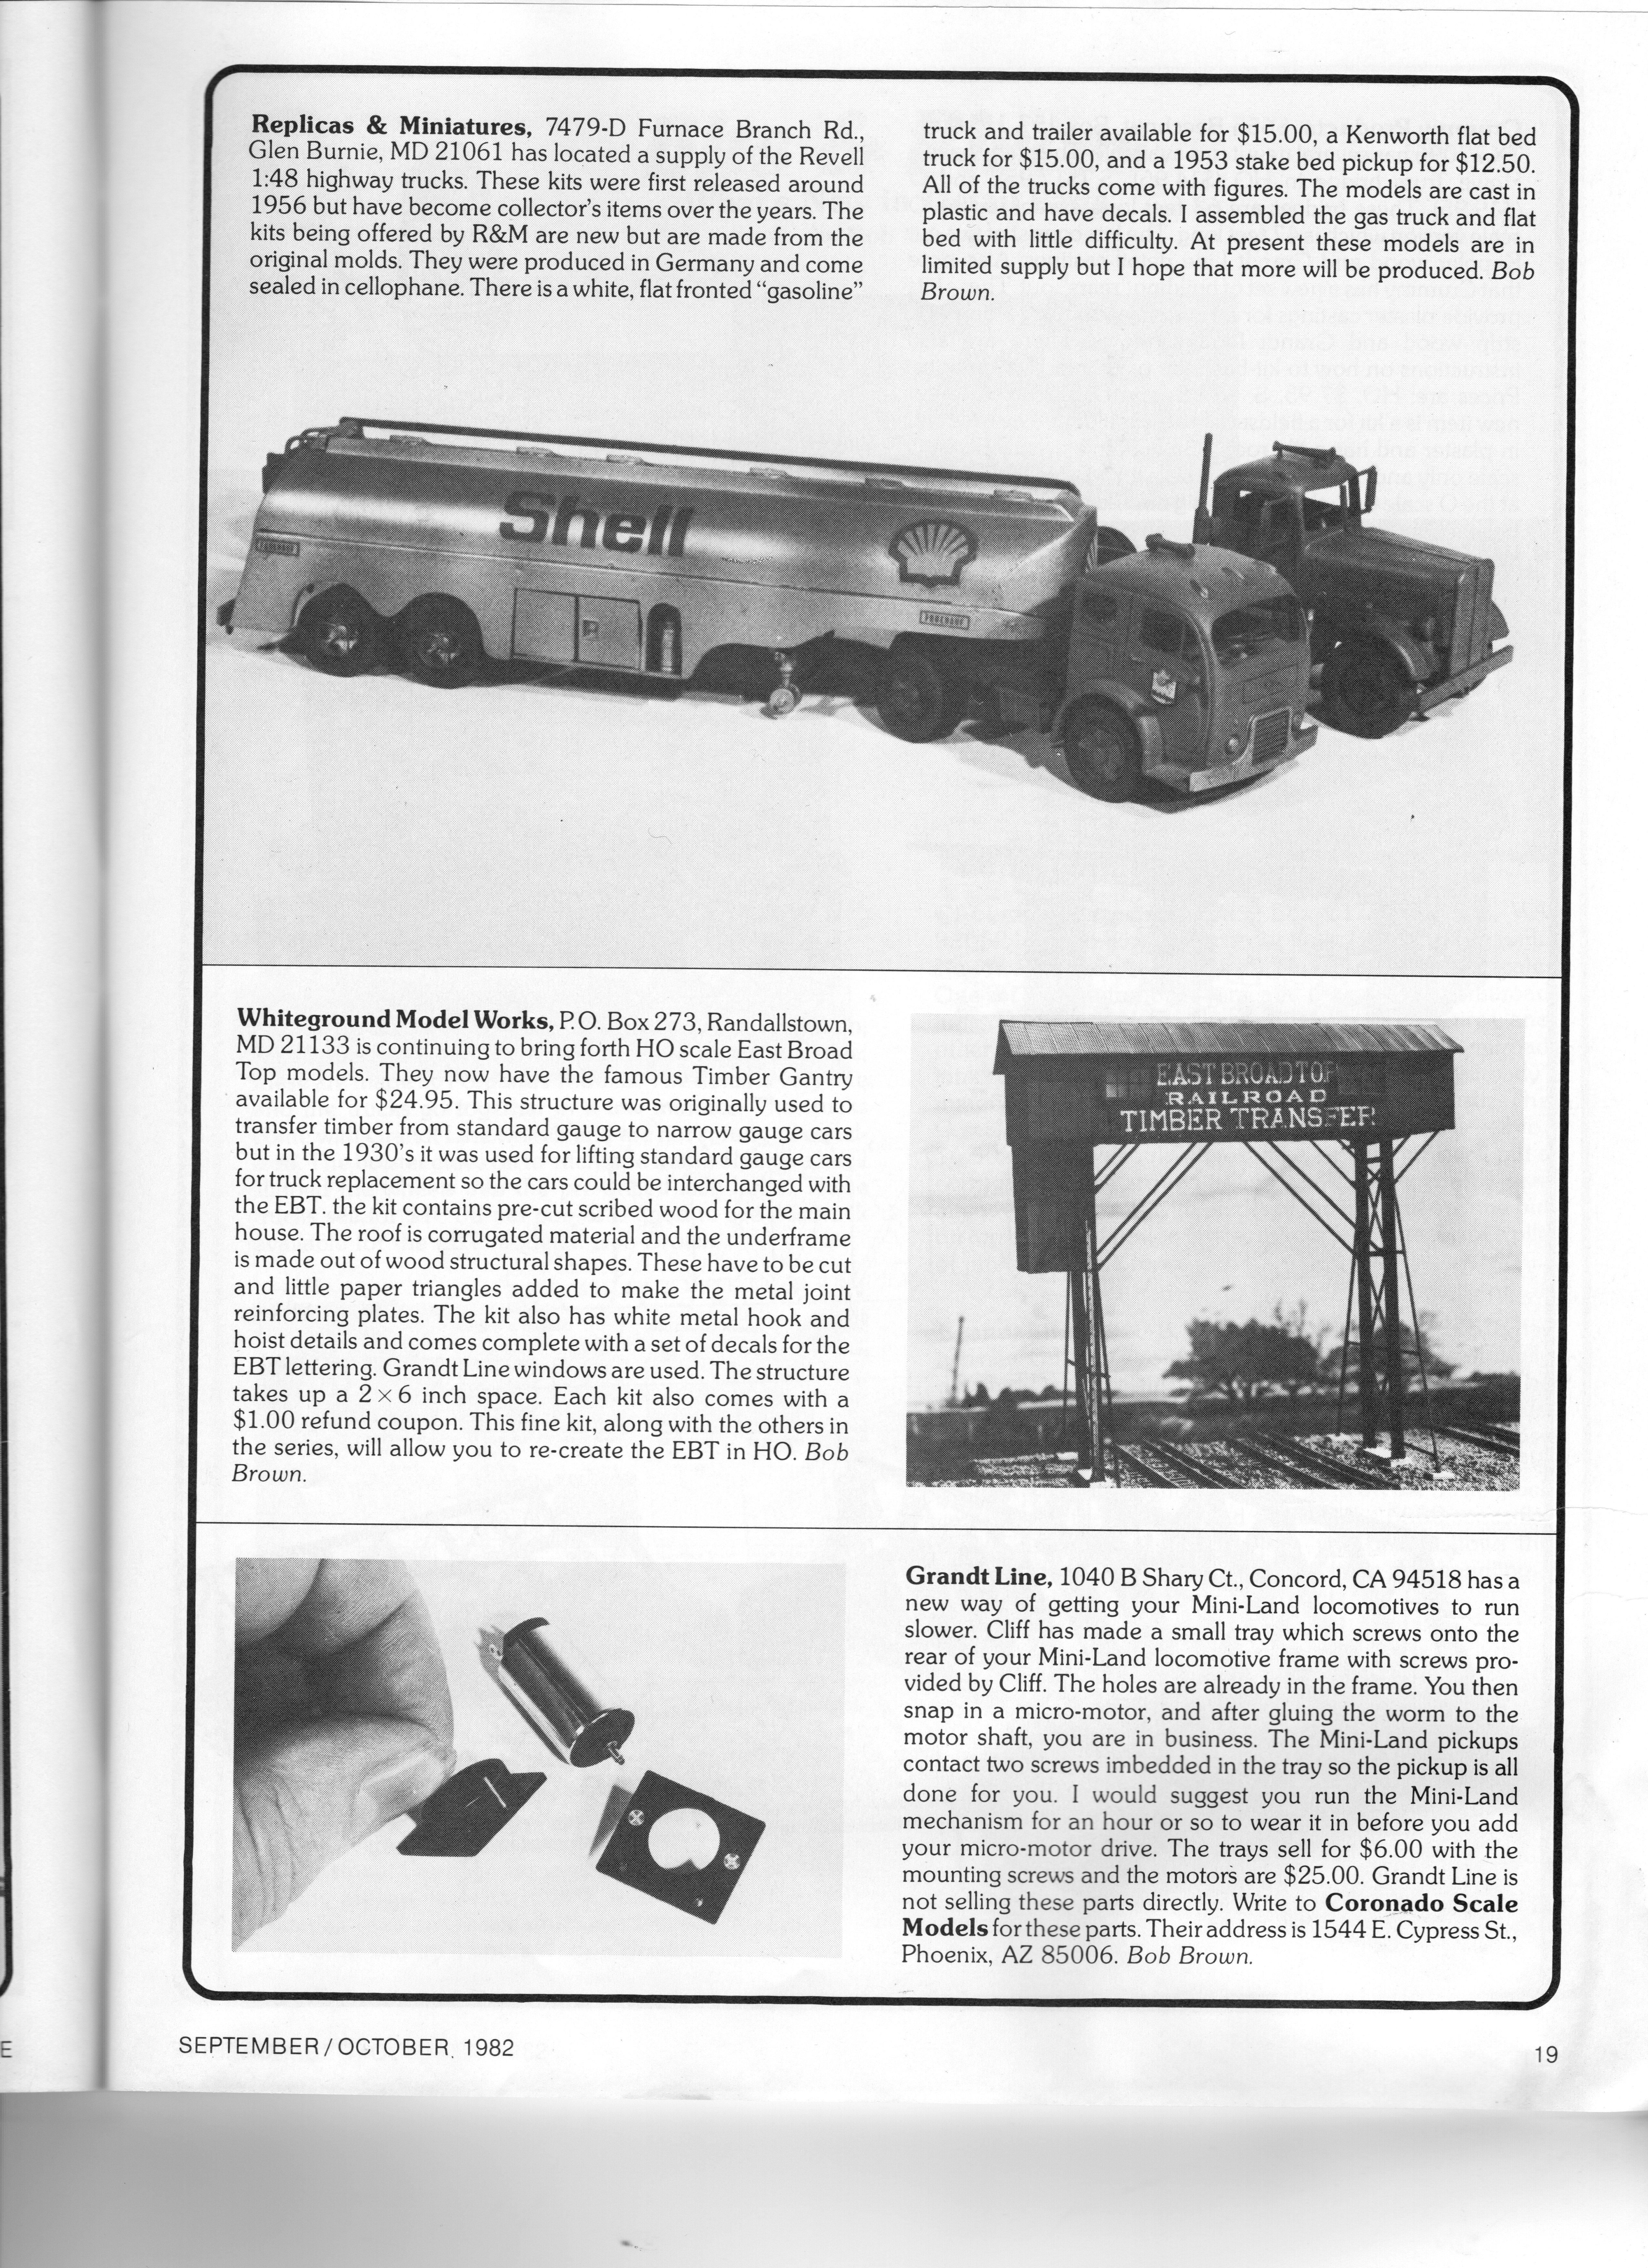
 Going through a stack of old issues of the fantastic Narrow Gauge and Short Line Gazette, I came upon this review.
-
 A fantastic looking race car but I found the suggested yellow livery a bit boring - even if it is traditional. So I had some custom decals printed at Indycals and made up my own livery based on the colours of Ryobi Power Tools - including some Porsche Peridot Green metallic paint I had left over from a Cayman build. The kit is OK. Some grinding was involved to get it all to sit together properly. It's well detailed in some places (engine, interior) and entirely lacking in others (suspension, poseable wheels).