Search the Community
Showing results for tags '1956'.
Found 14 results
-
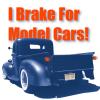
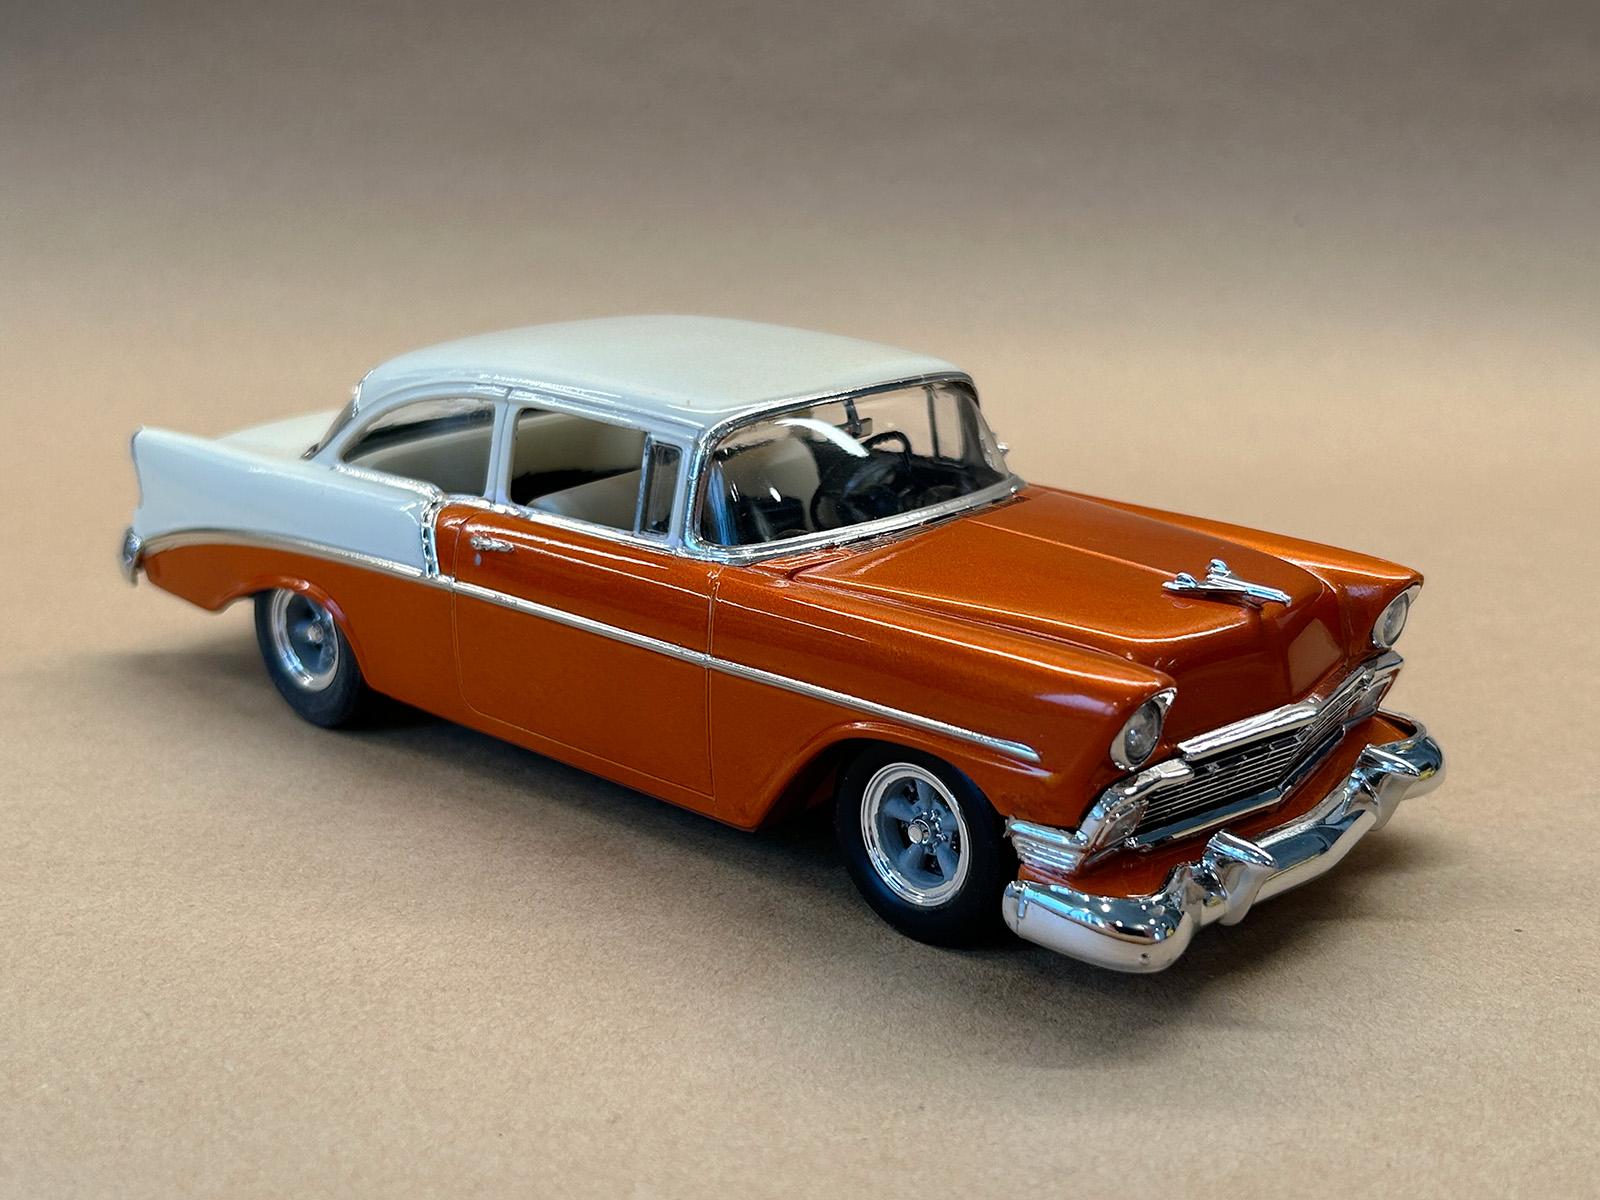
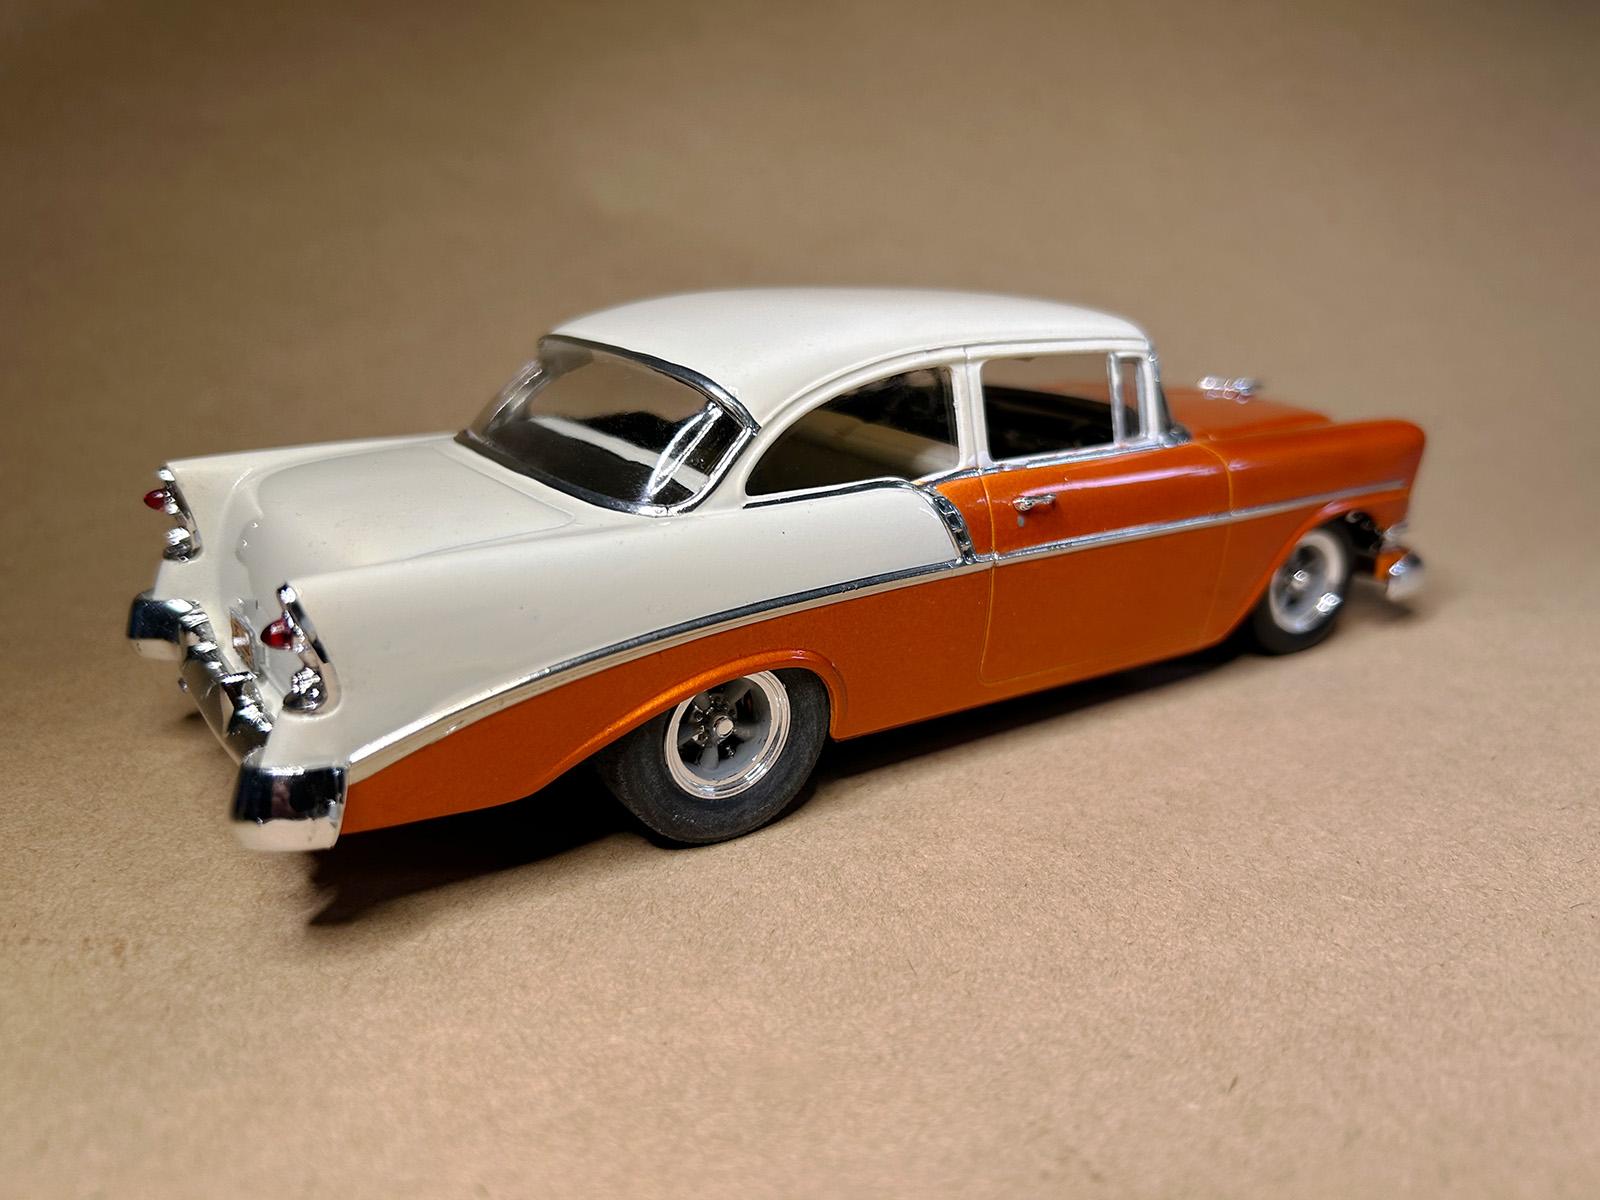
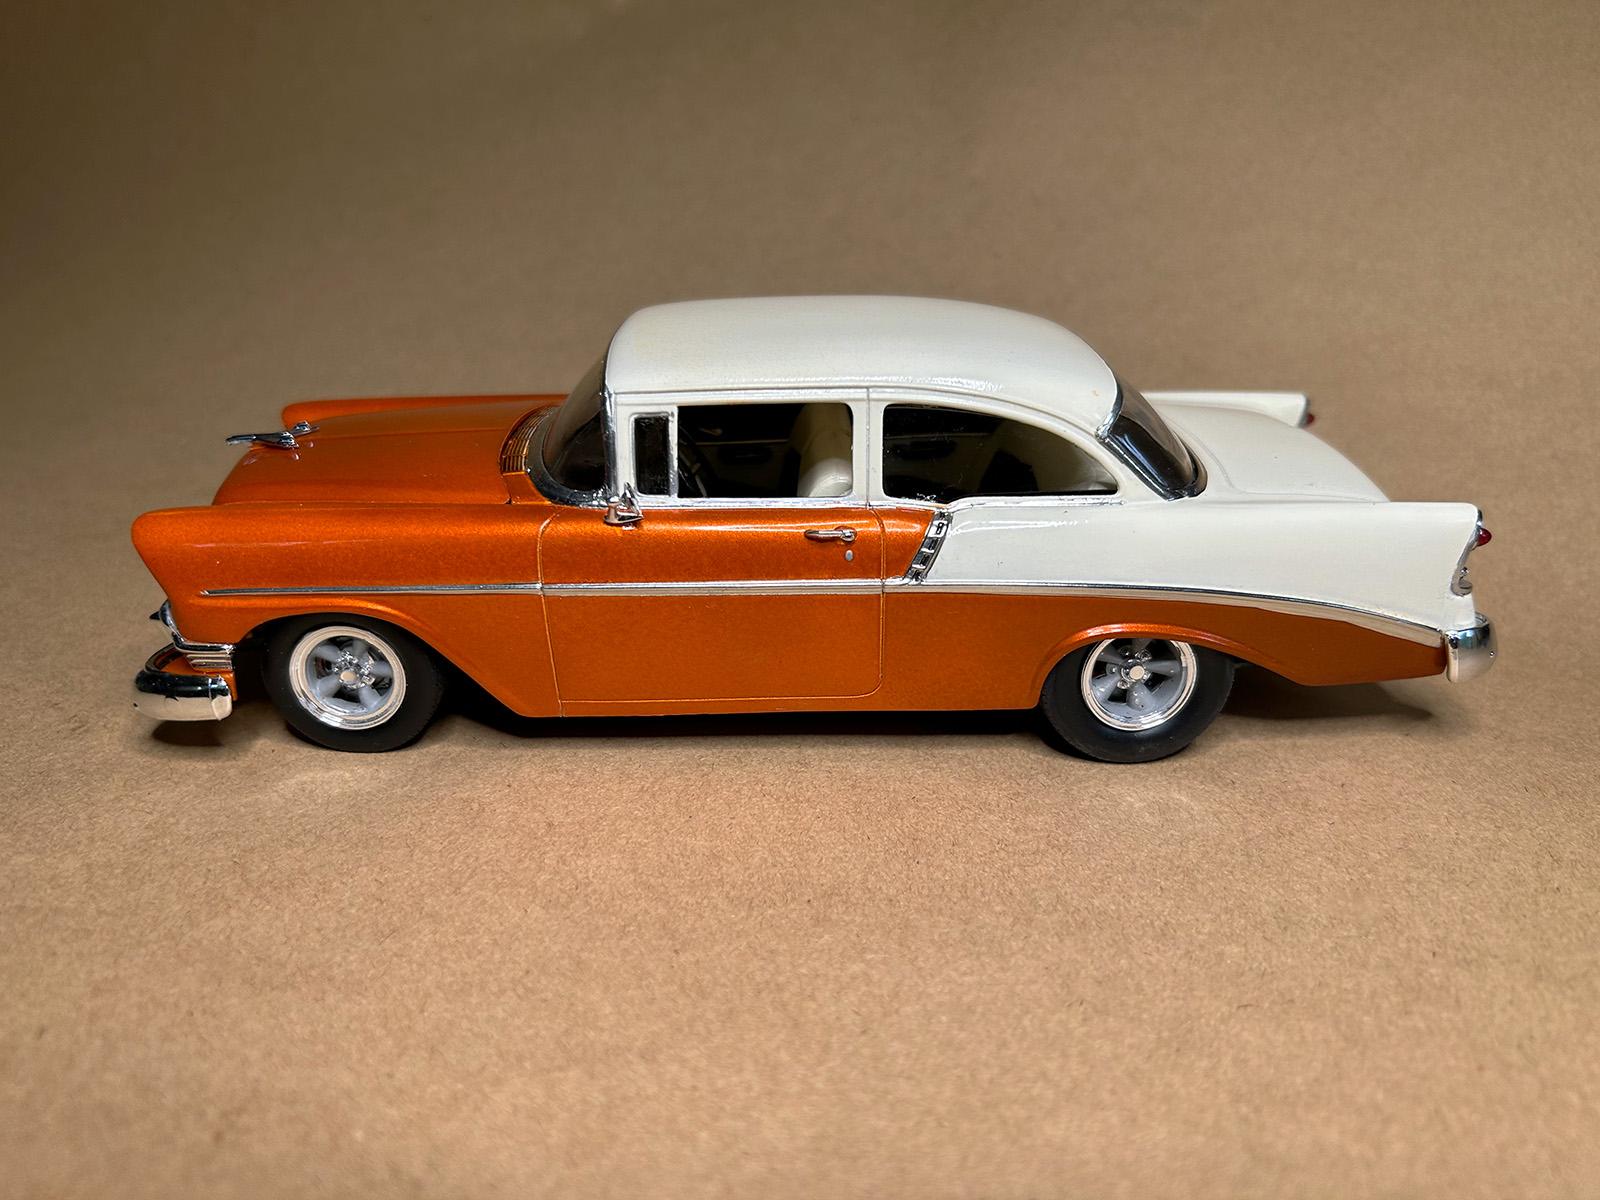
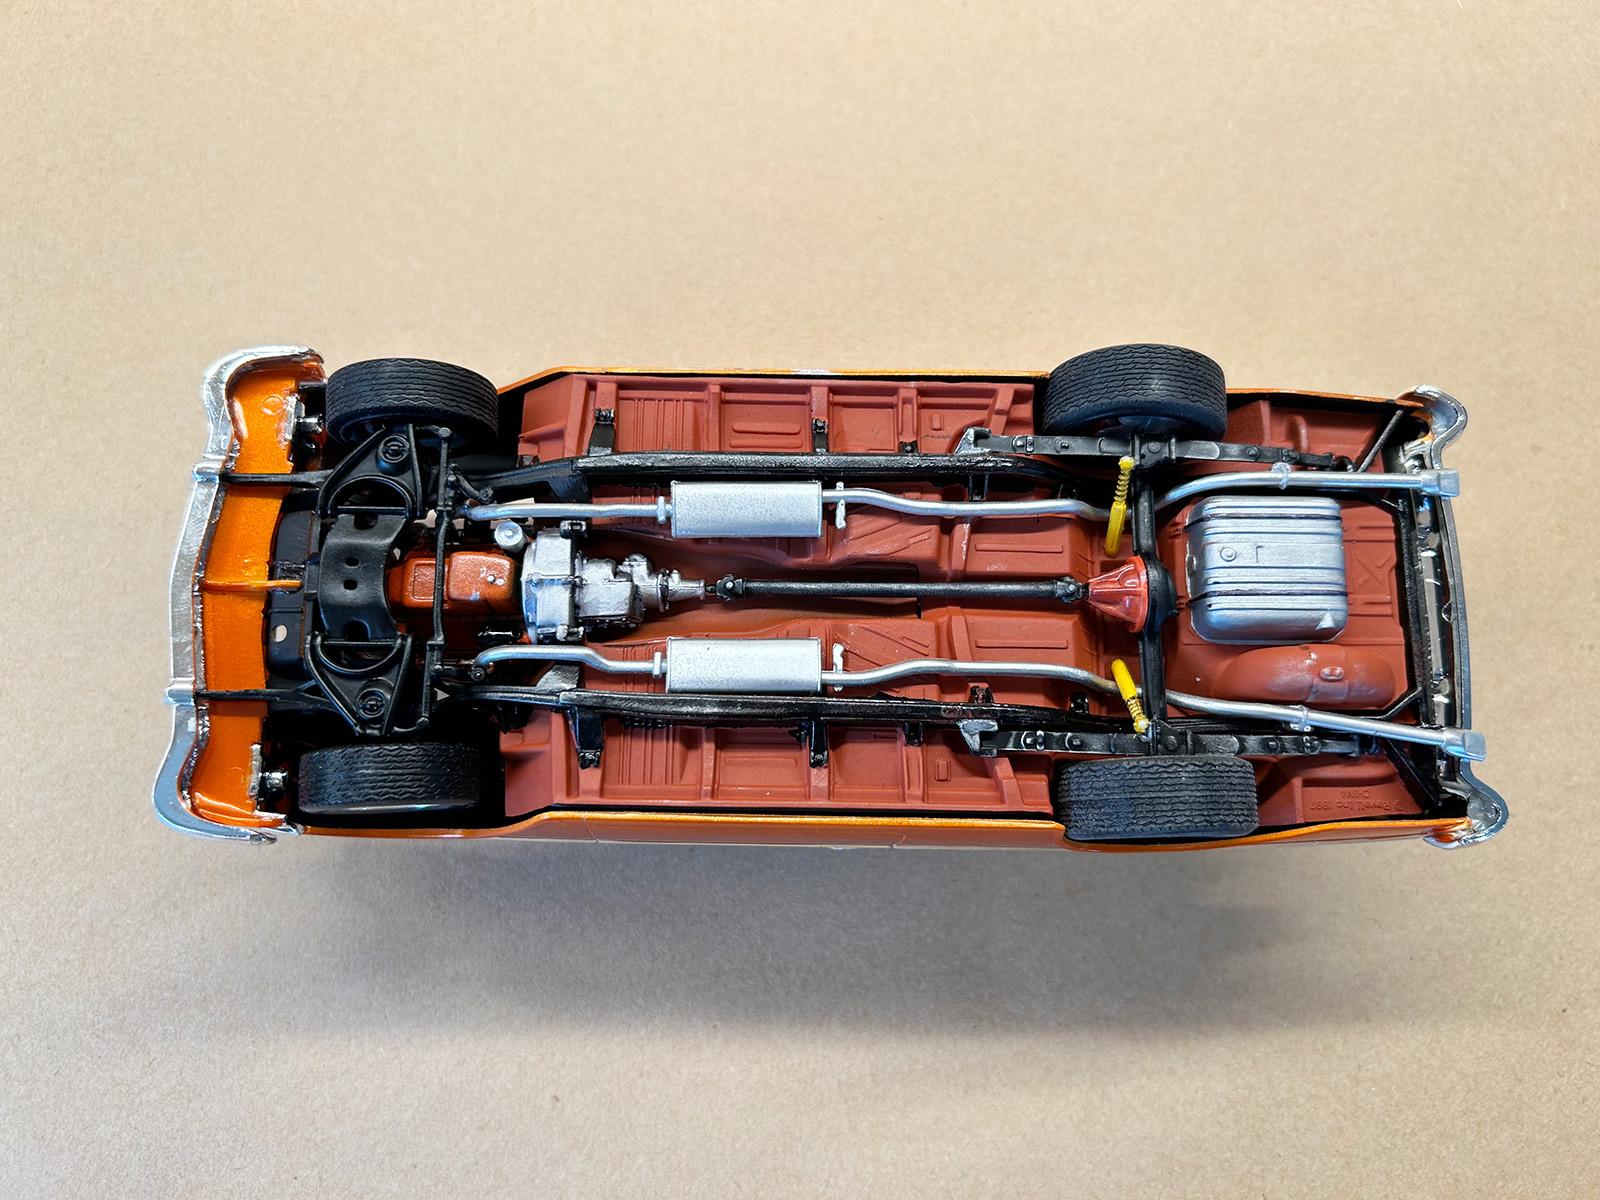
This has been on the bench idle since late summer, however, was able to wrap it up quickly to bring to NNL West yesterday. Kit is Revell's most recent offering. With the exception of parts box wheels and tires, this was built straight from the box. I enjoyed the kit, and felt it was decently engineered. Tamiya Paint: TS-92 Metallic Orange, followed by TS-73 Clear orange, and final clear using TS-13. All feedback warmly received.

- 24 replies
-
- 12
-

-
This wasn't a bad kit, but it had some issues. The decals are super fragile and a couple disintegrated on me. I lost another after it fell off. The hard top also has a slight fit issue. I also don't like the one piece under side. I feel it should have had a two part frame like some of their other kits. Came out looking alright though. SAM_0931 by Eric Lucas, on Flickr SAM_0932 by Eric Lucas, on Flickr SAM_0933 by Eric Lucas, on Flickr SAM_0934 by Eric Lucas, on Flickr SAM_0935 by Eric Lucas, on Flickr
-
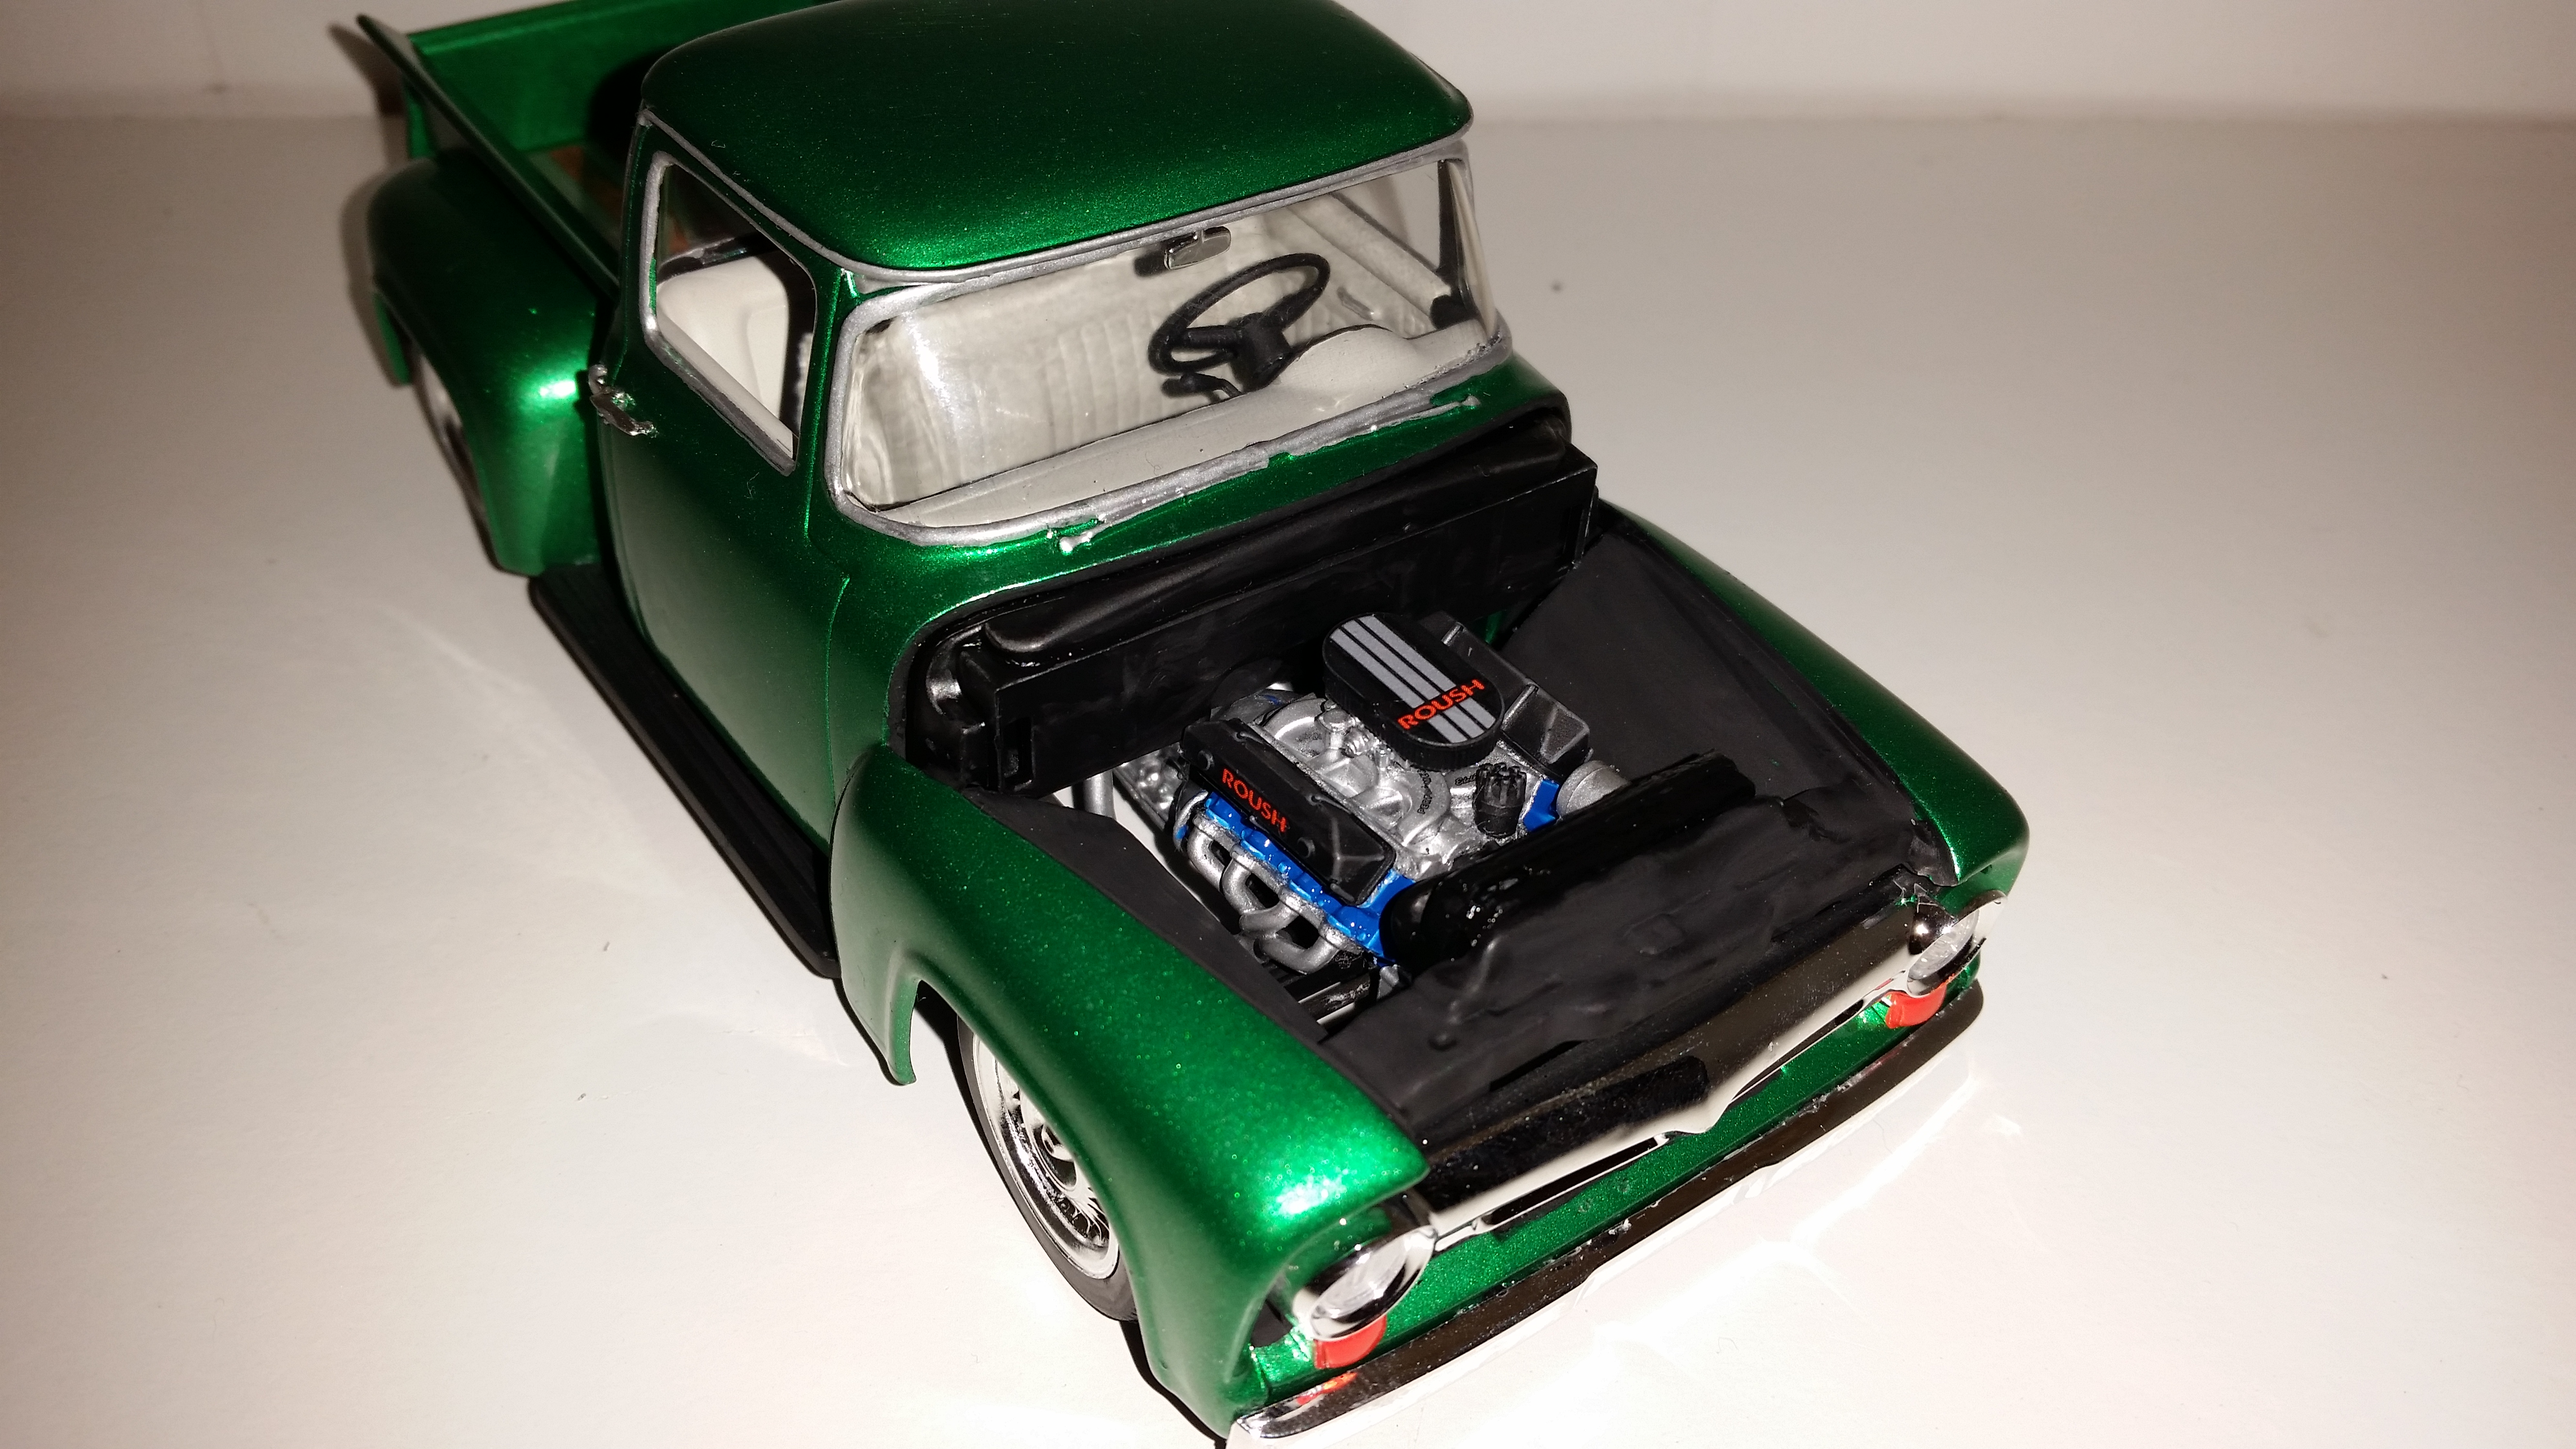
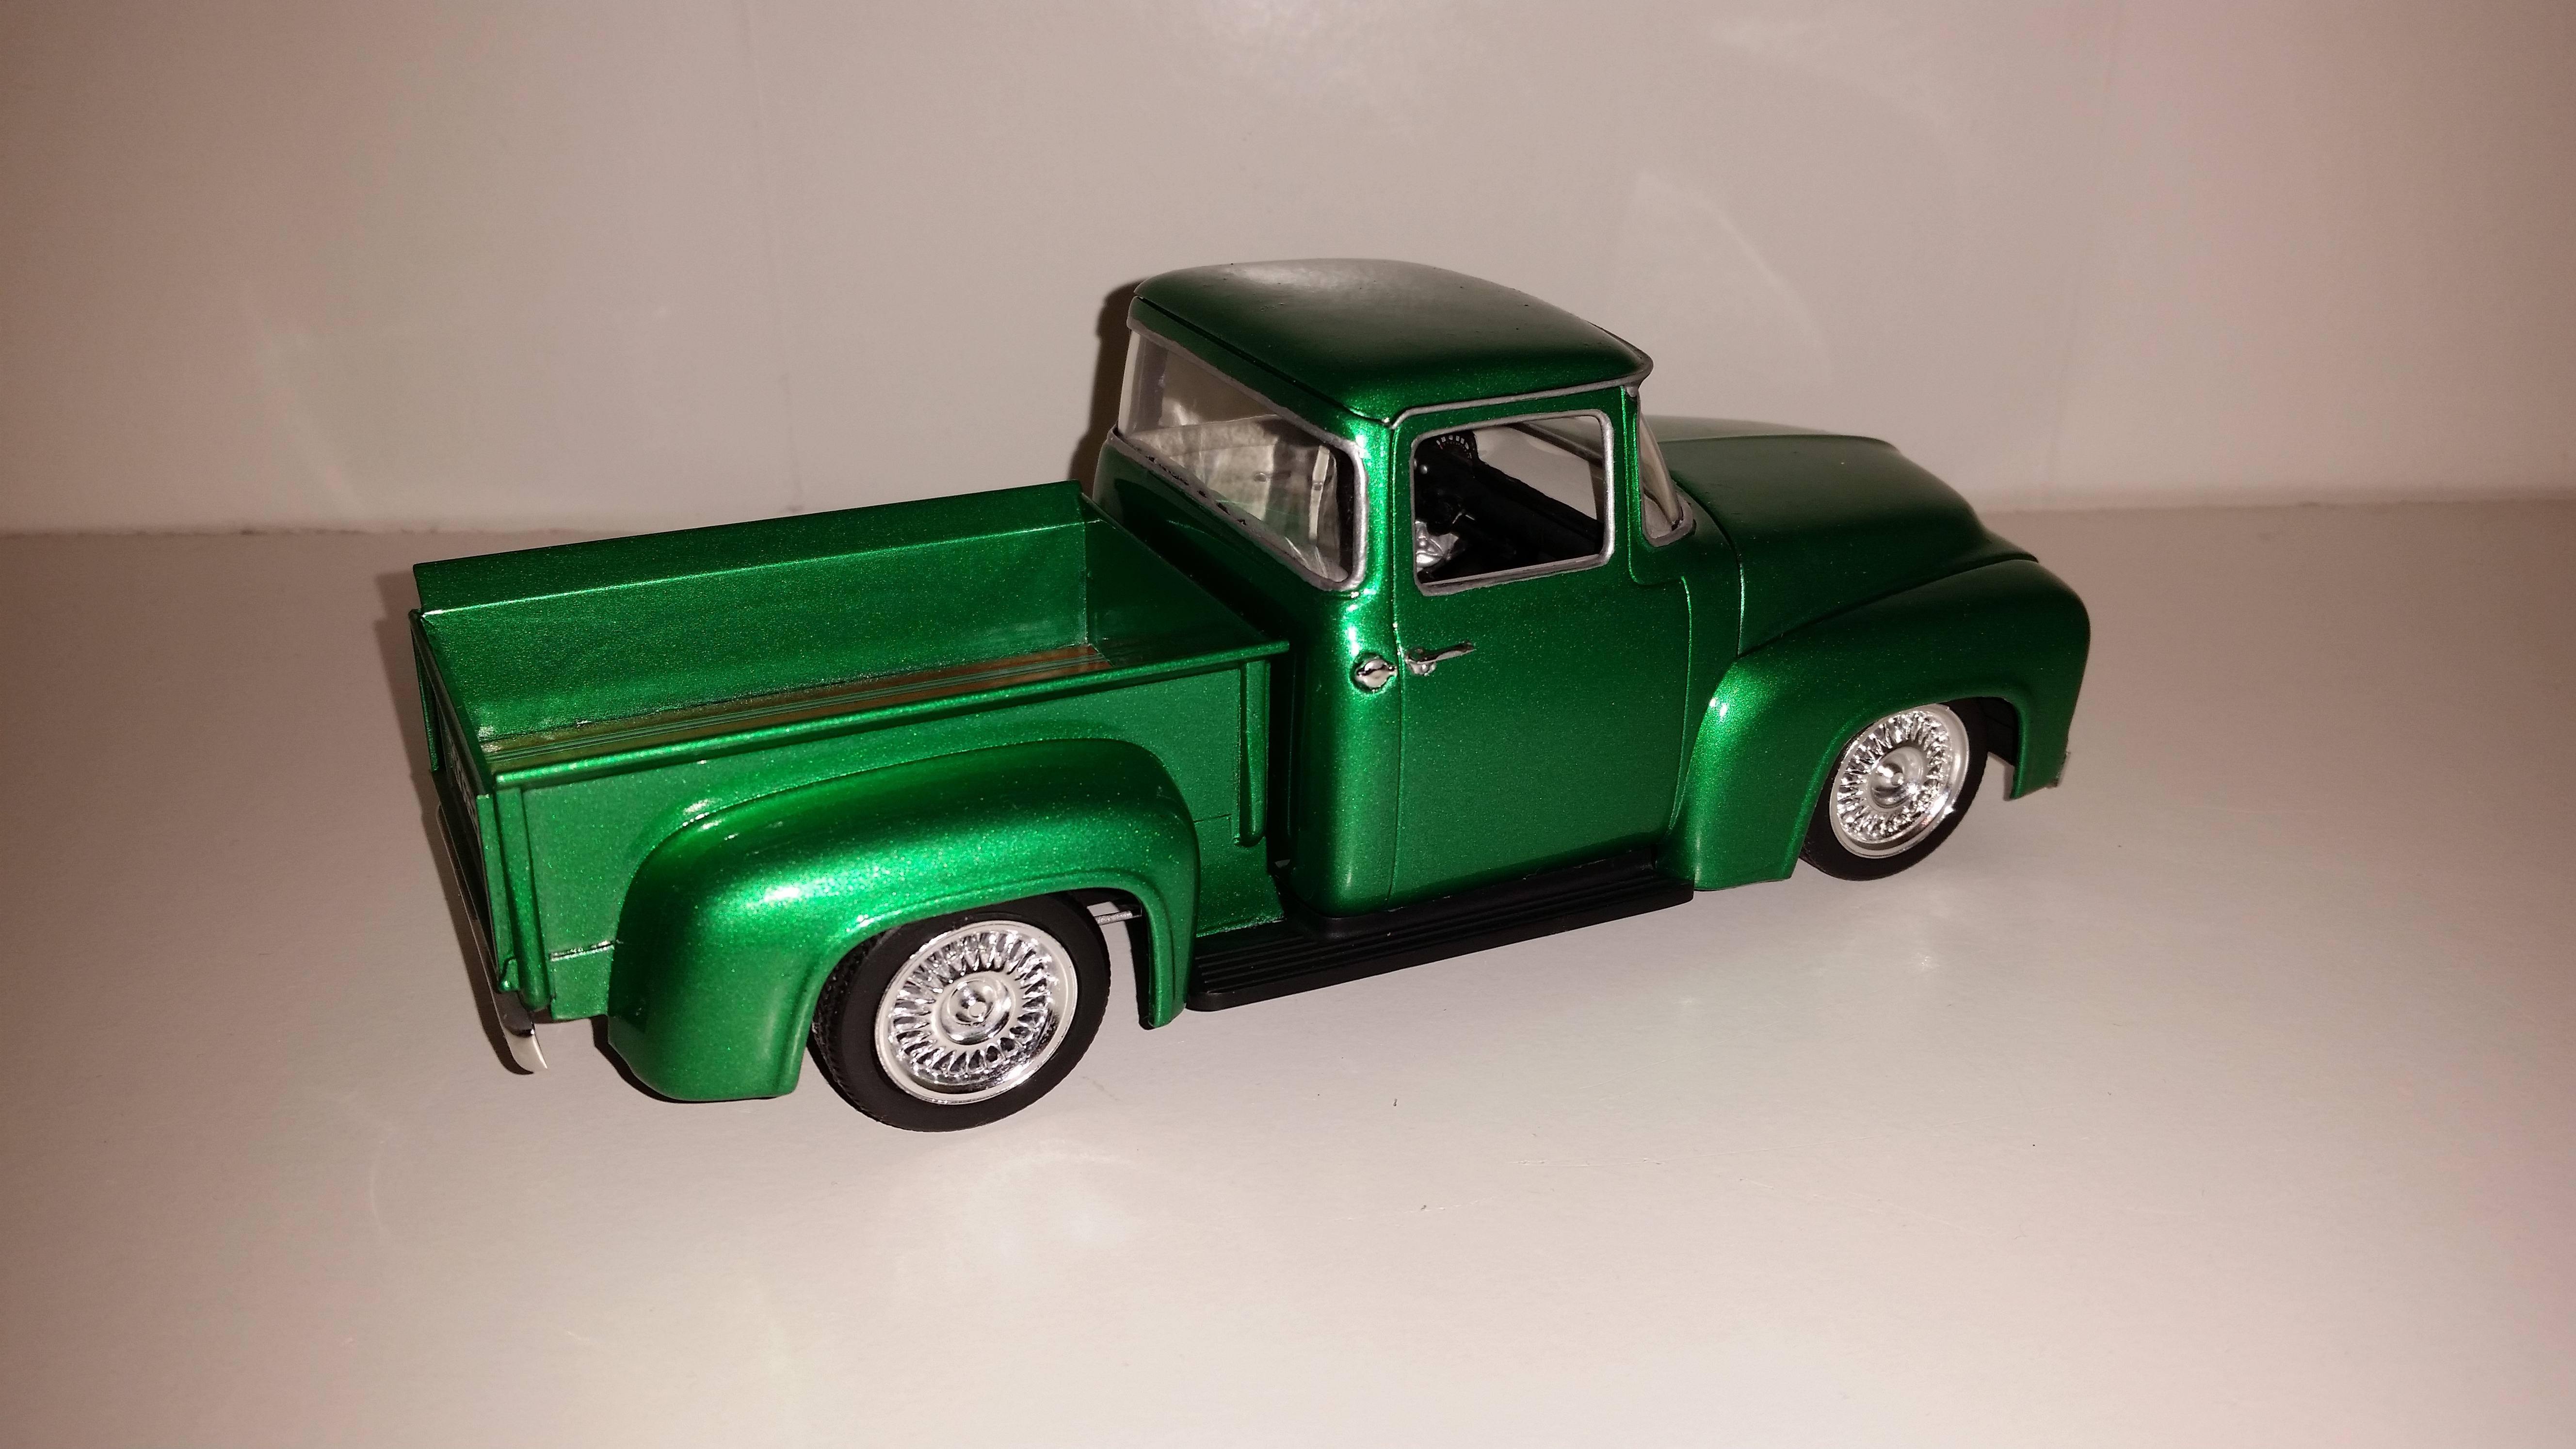
Finally finished this one, after 41 days on the workbench. Paint is Testors One Coat White Lightning Pearl. Lucas "Flame Thrower" headlights from the AMT 55 Nomad kit. Custom Lenses from the 53 Studebaker kit. Scratchbuilt steering column and turn signal lever. Shifter made from a straight pin. Bucket seats from the AMT 53 Corvette. Vertex magneto from the 57 chevy kit, Plug wires have correct firing order. Scratch built fuel log and gas line. License plate made in Photoshop that says "Cristi" - my wife's name. And yes, she is quite pleased with her belated Christmas present. Off the bench and on the shelf! Since I'm in here, a few new bonus photos... Here is a link to the build process... http://www.modelcars...o=new_post&f=18
-
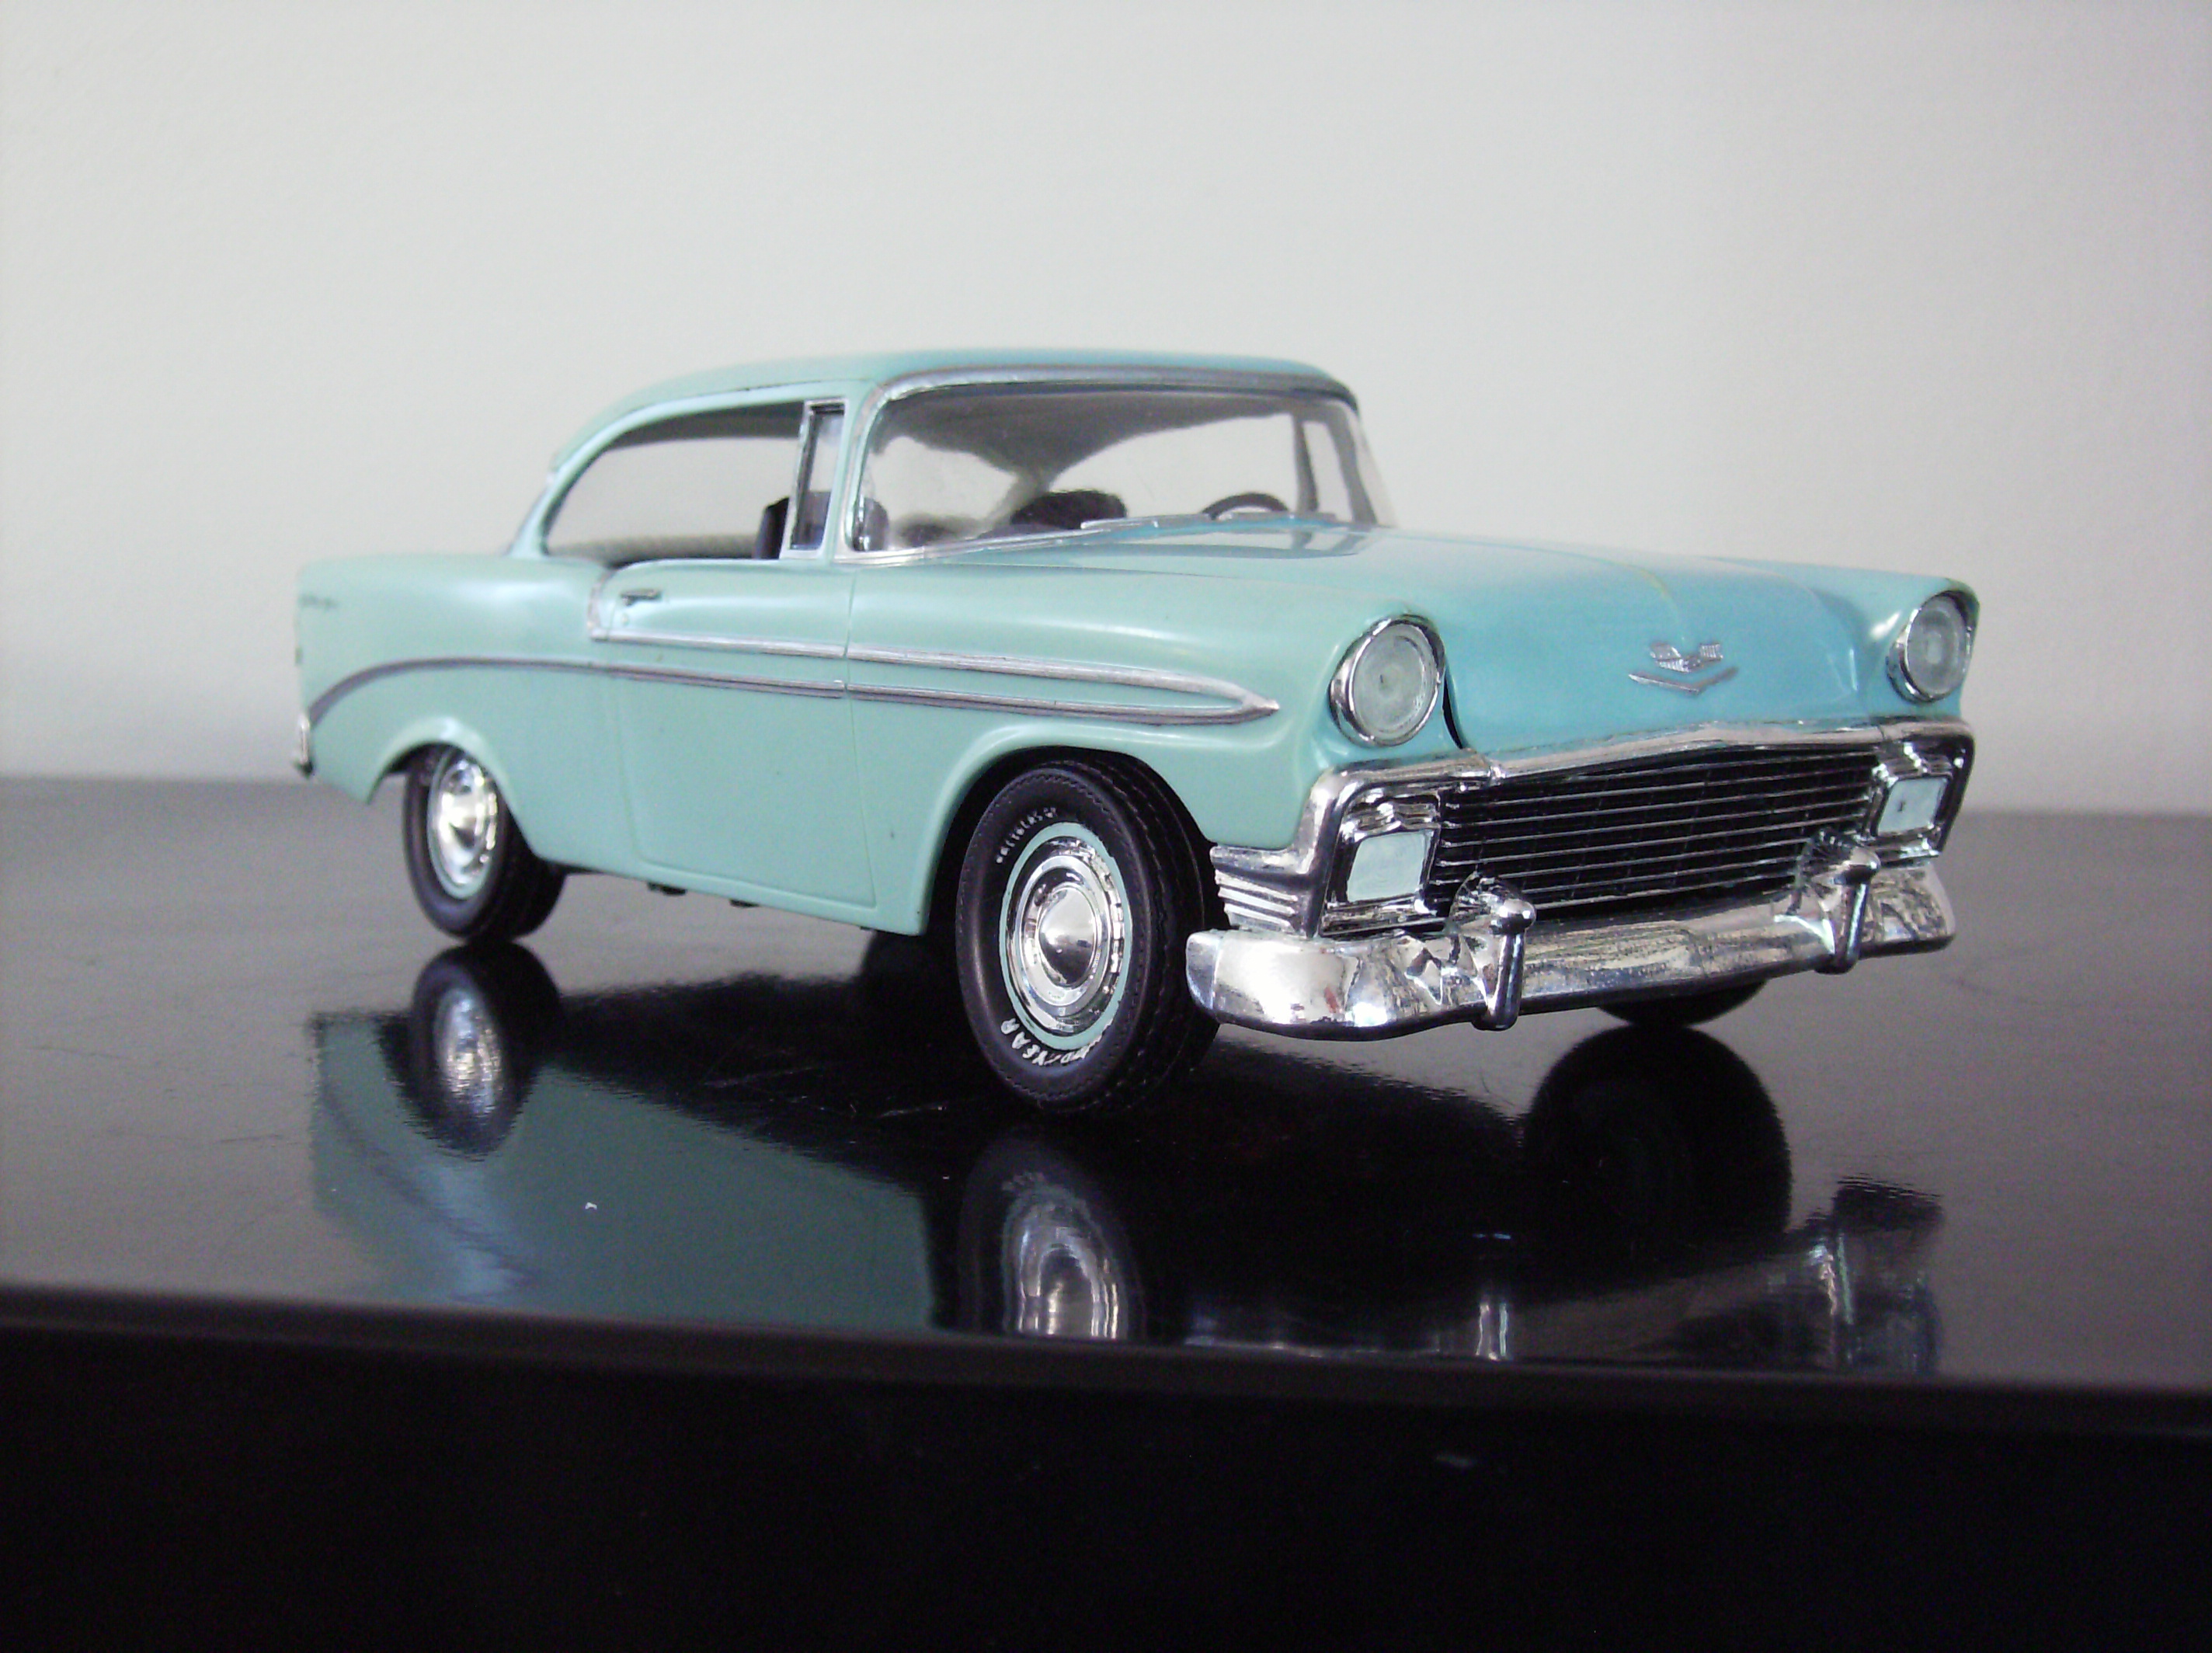
This is the new Revell Del Ray kit. It's not as good as I remember the previous kit being. There's a few fit issues, most notably being the white walls and rims. The white walls are snapped onto the tire and then the rims placed on. The rims are wider than the white walls. Took some trimming to get them in there. Chassis fit is not that great either. SAM_0132 by Eric Lucas, on Flickr SAM_0133 by Eric Lucas, on Flickr SAM_0134 by Eric Lucas, on Flickr SAM_0135 by Eric Lucas, on Flickr SAM_0136 by Eric Lucas, on Flickr
-
Another old build I no longer have. Nice kit, I forget the brand but I think it was a 1/24 scale.
-
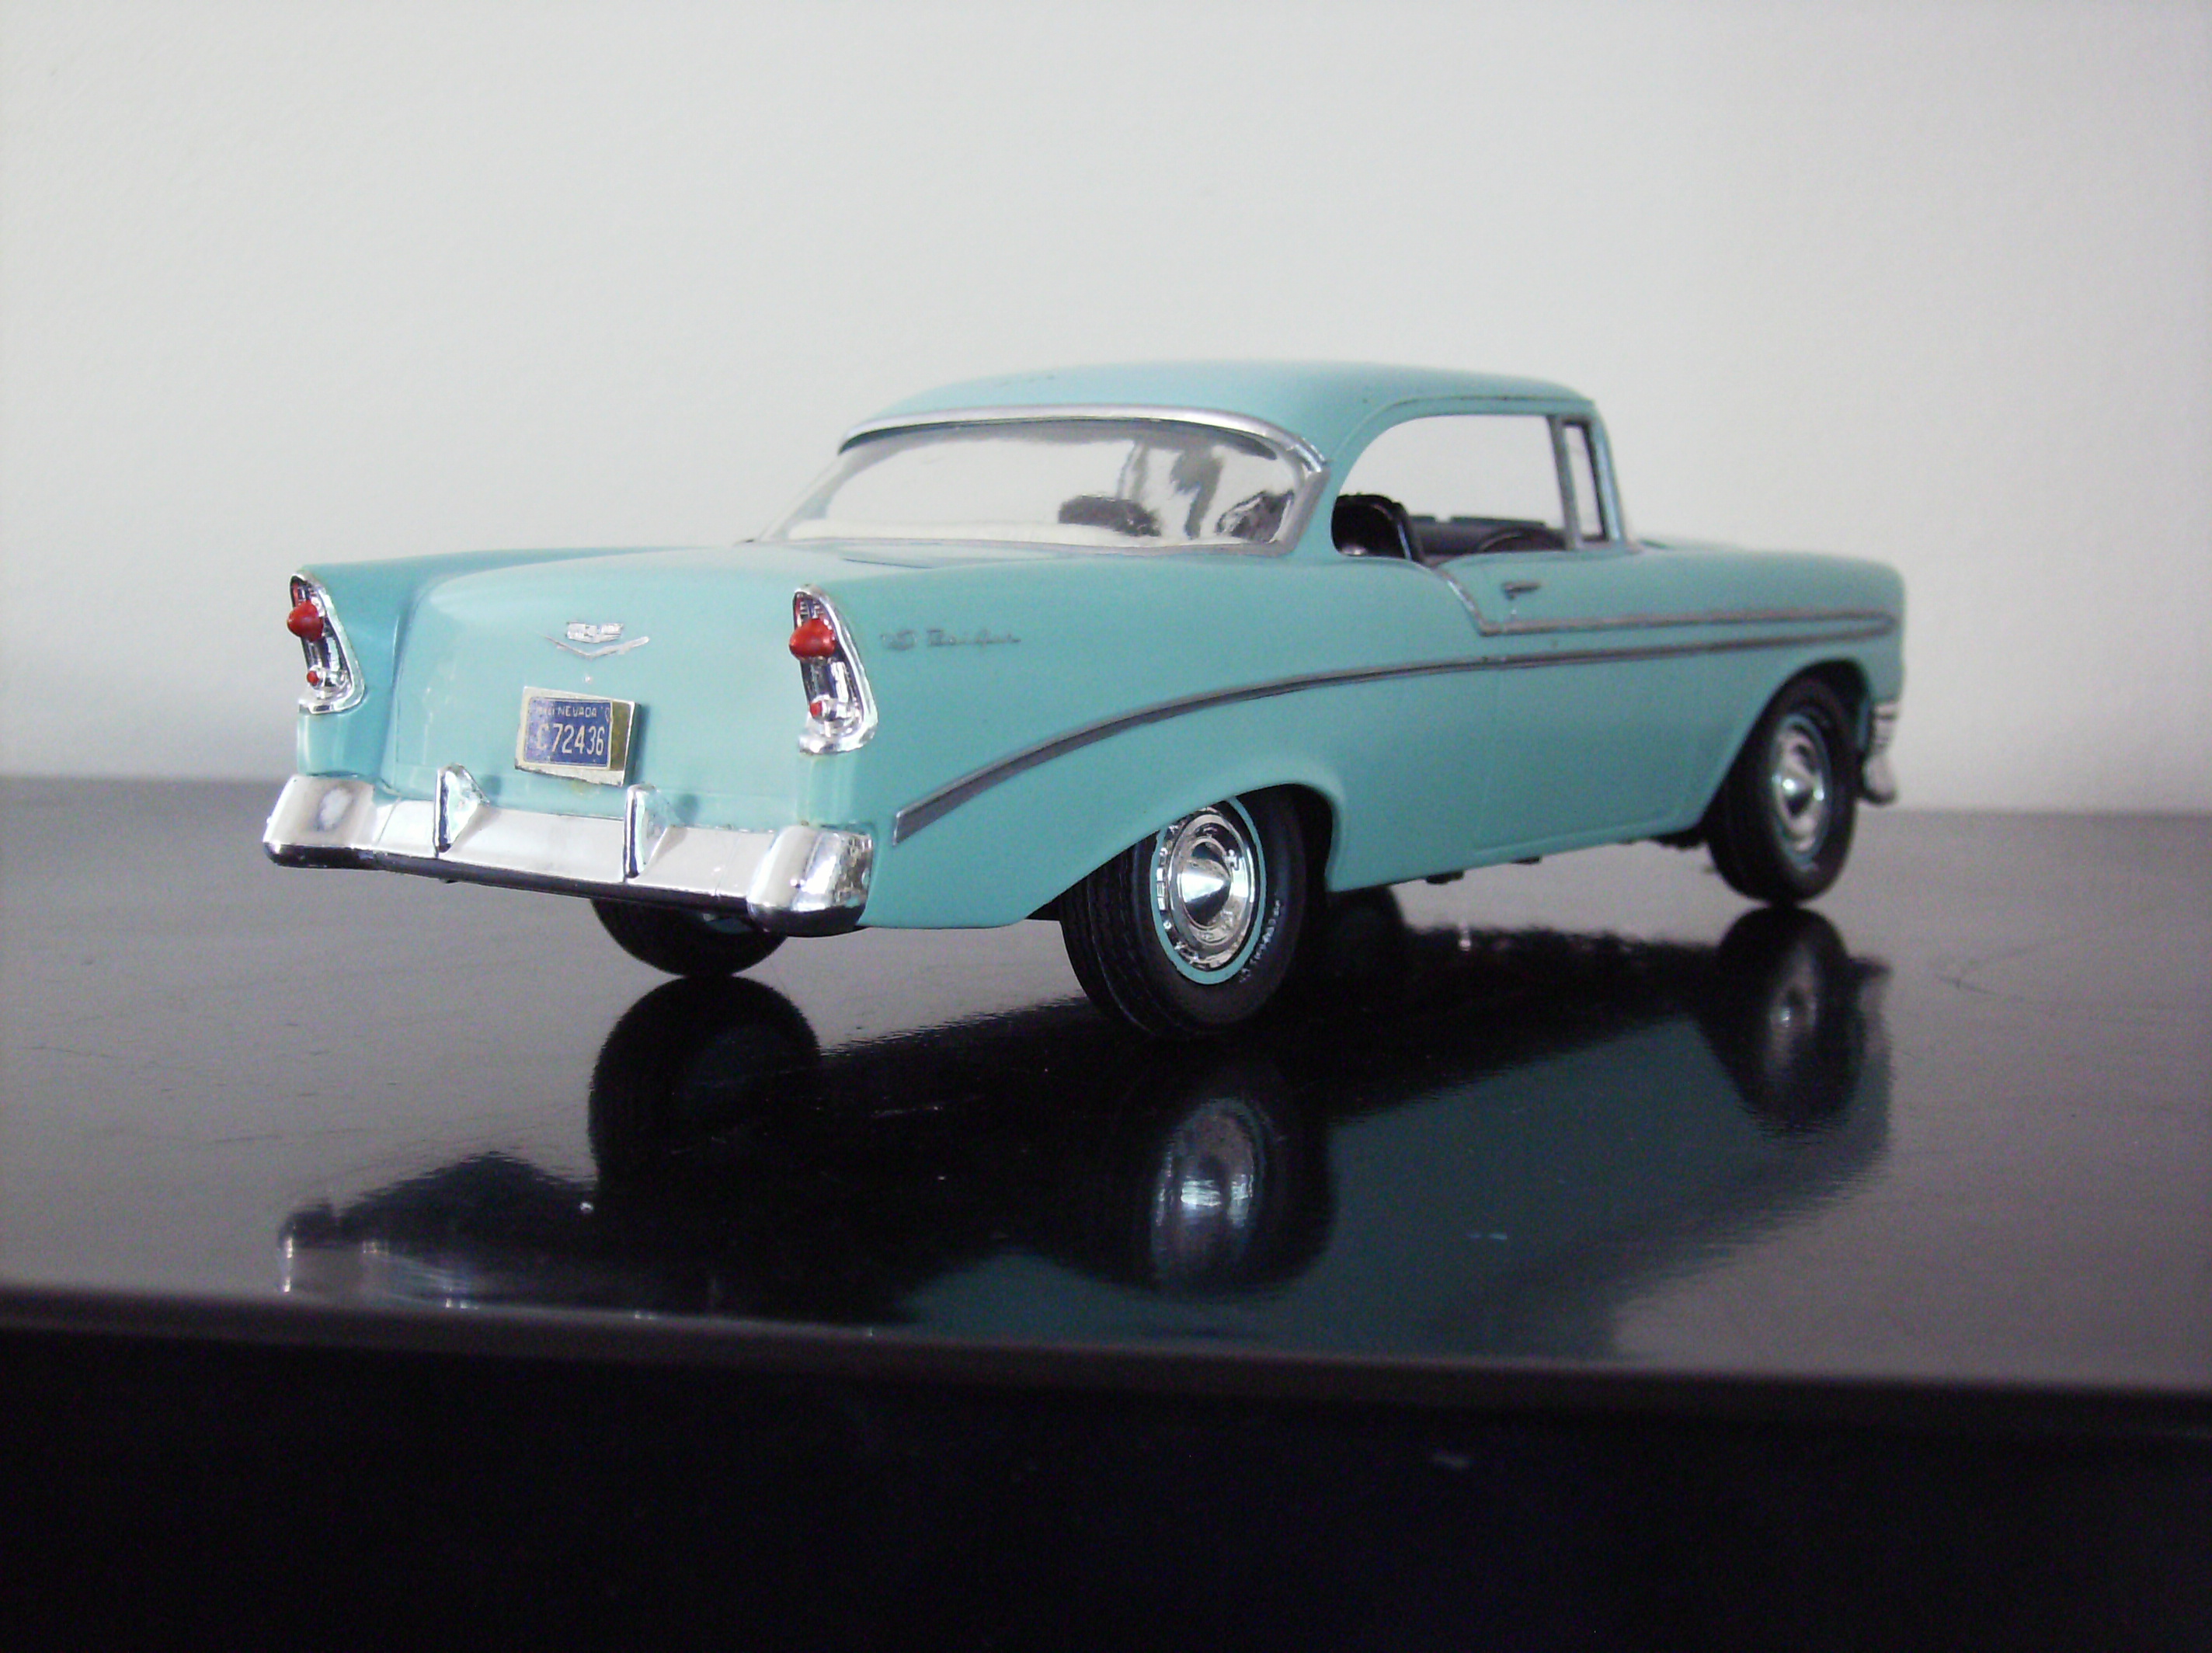
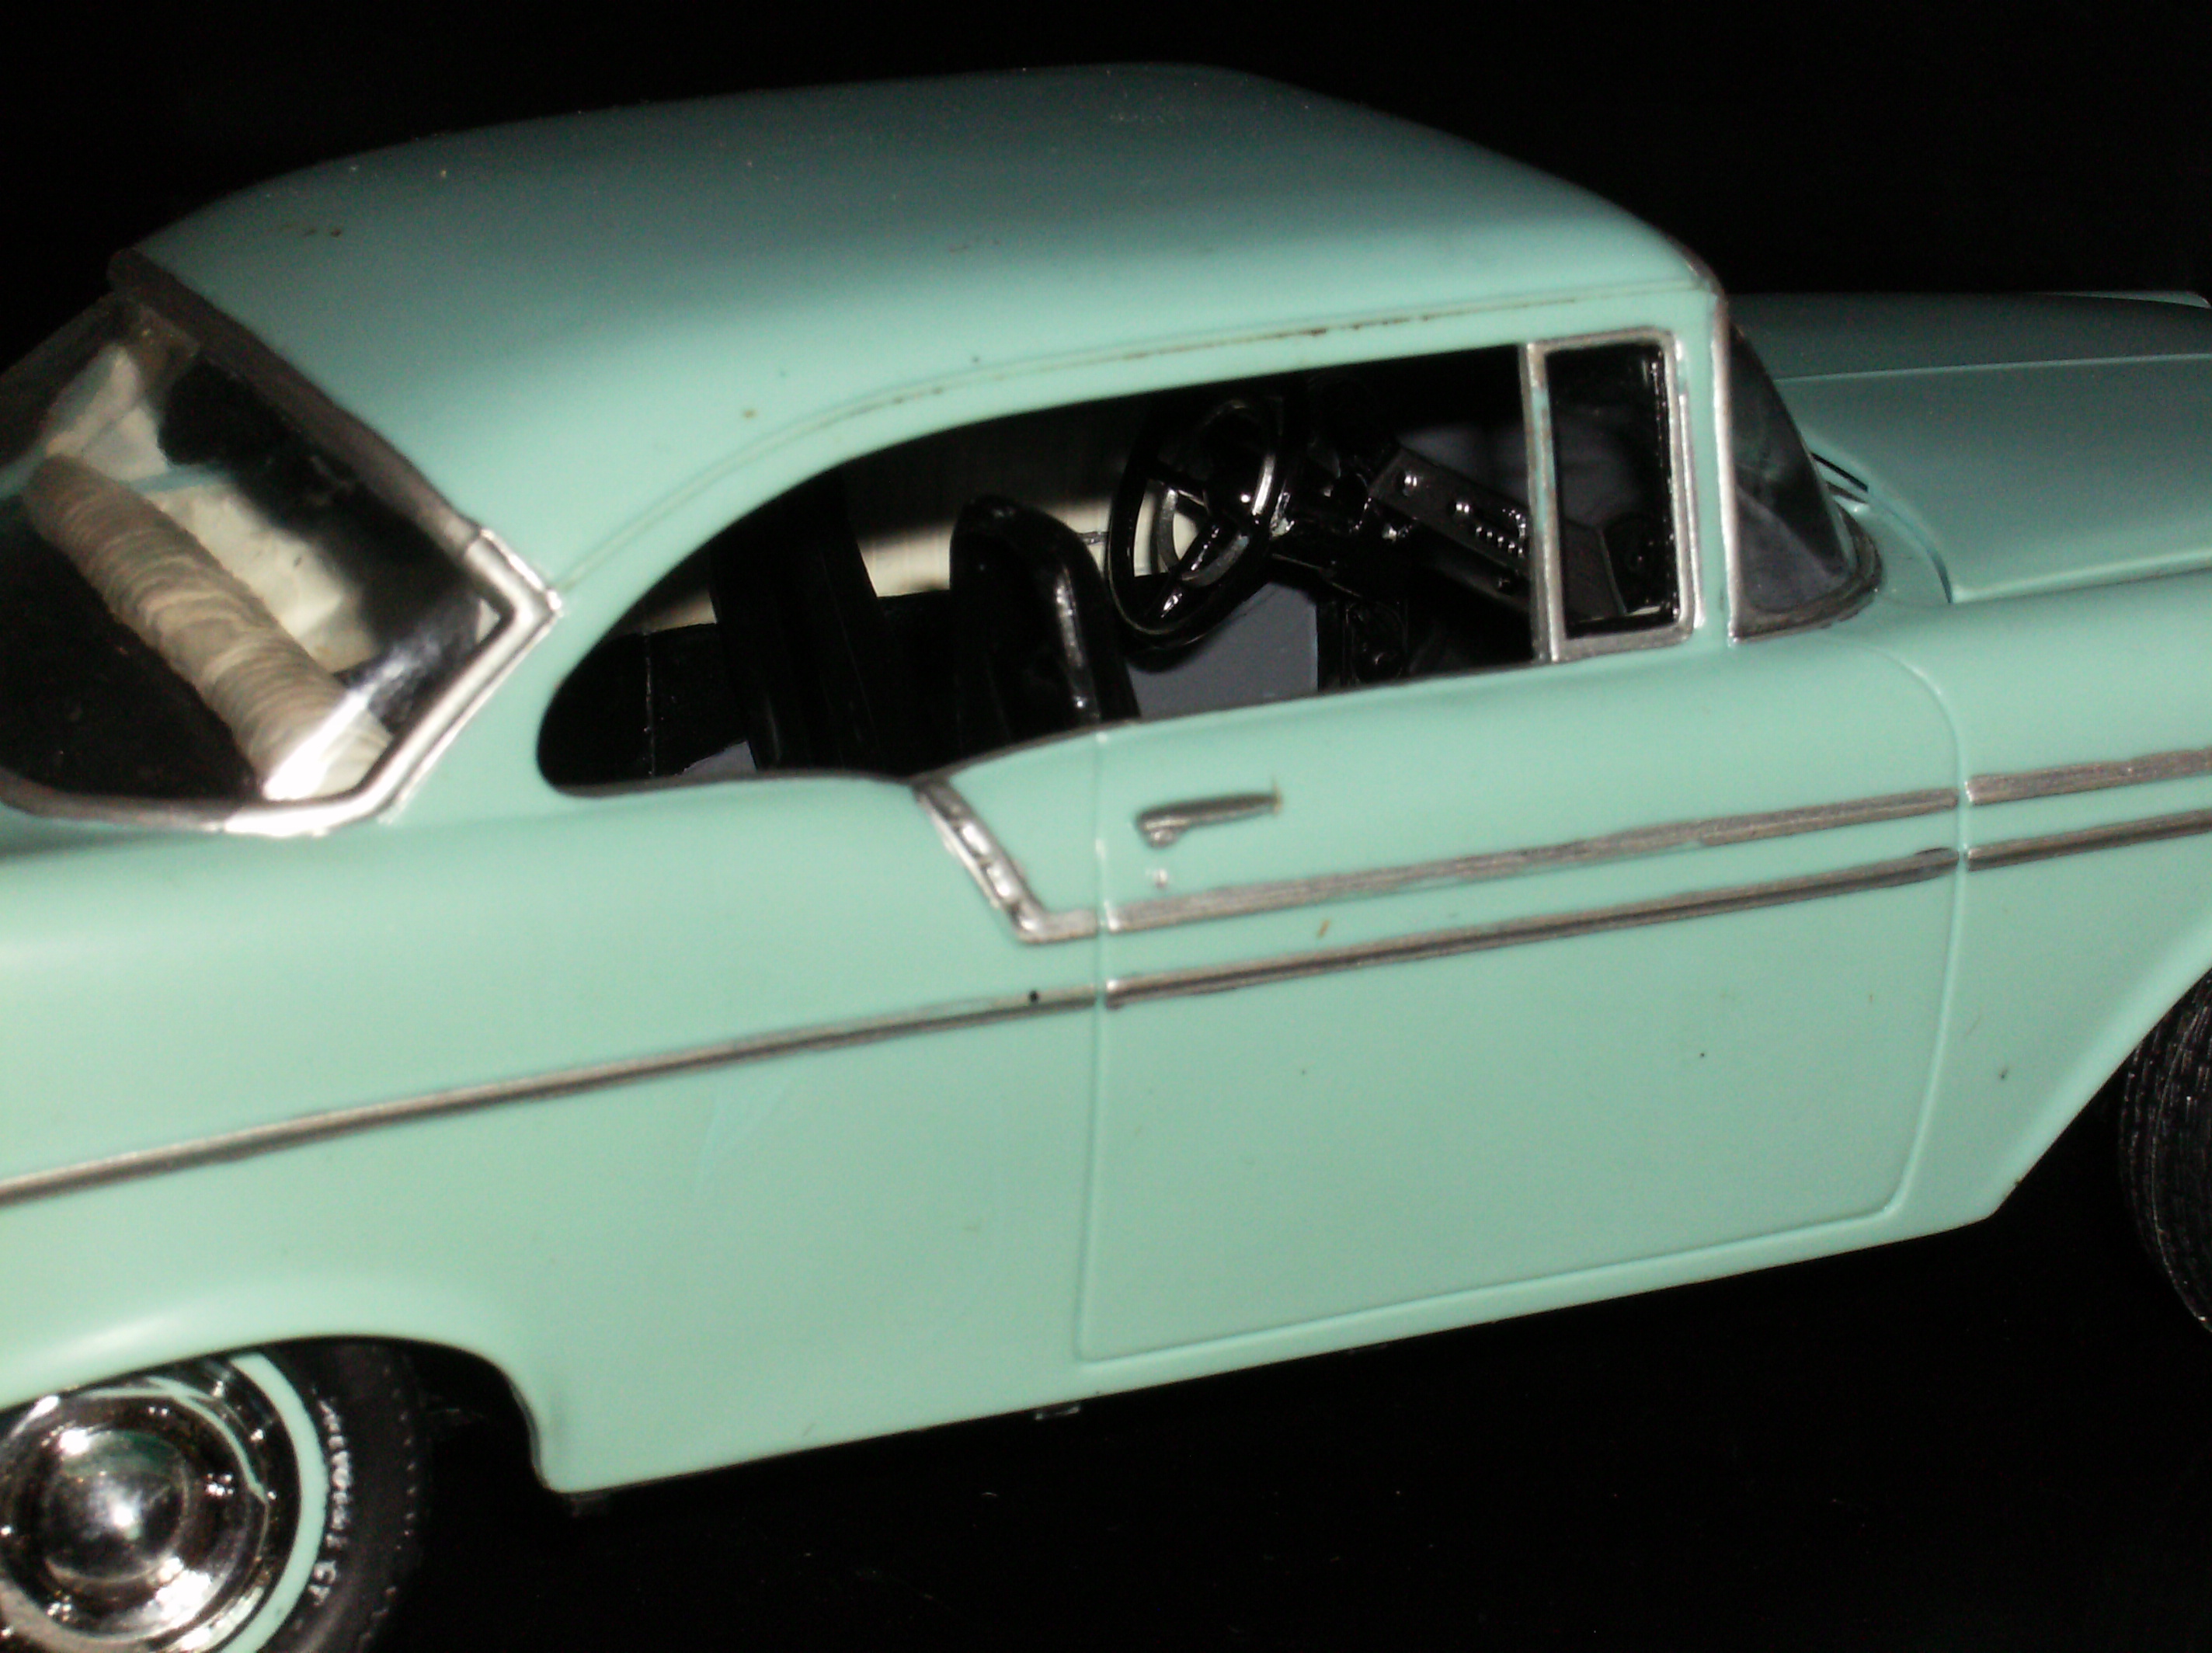
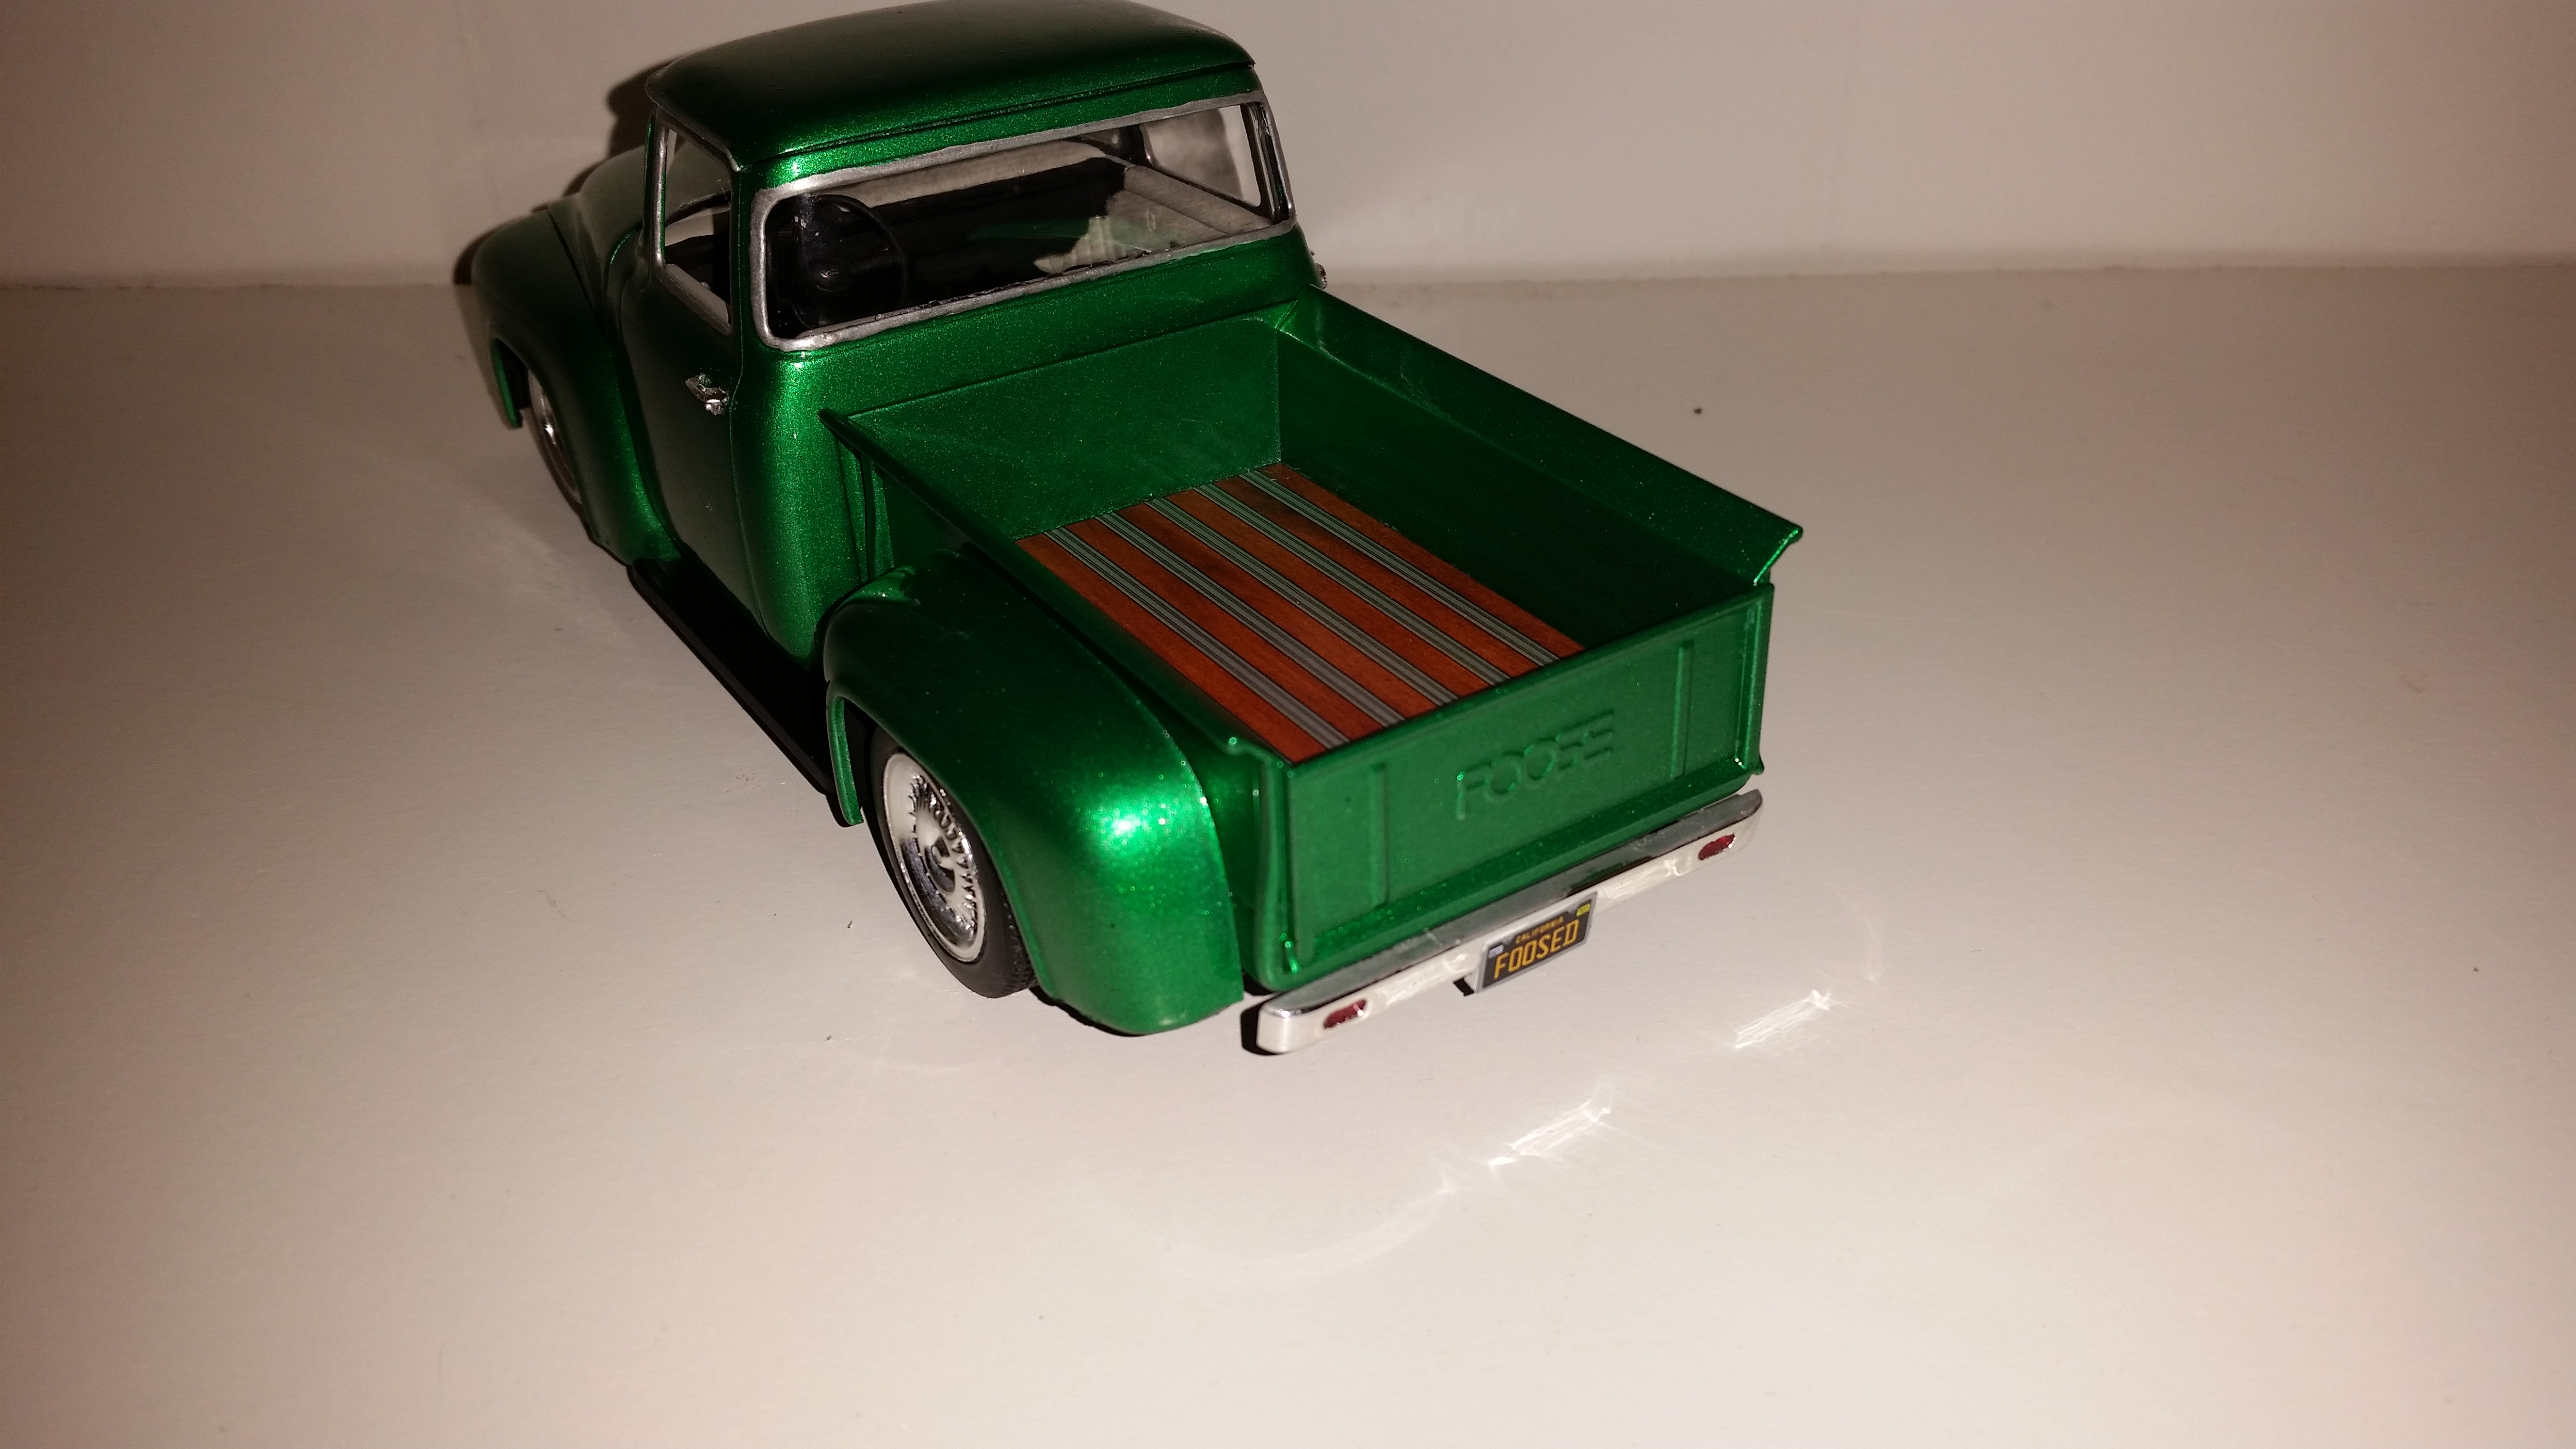
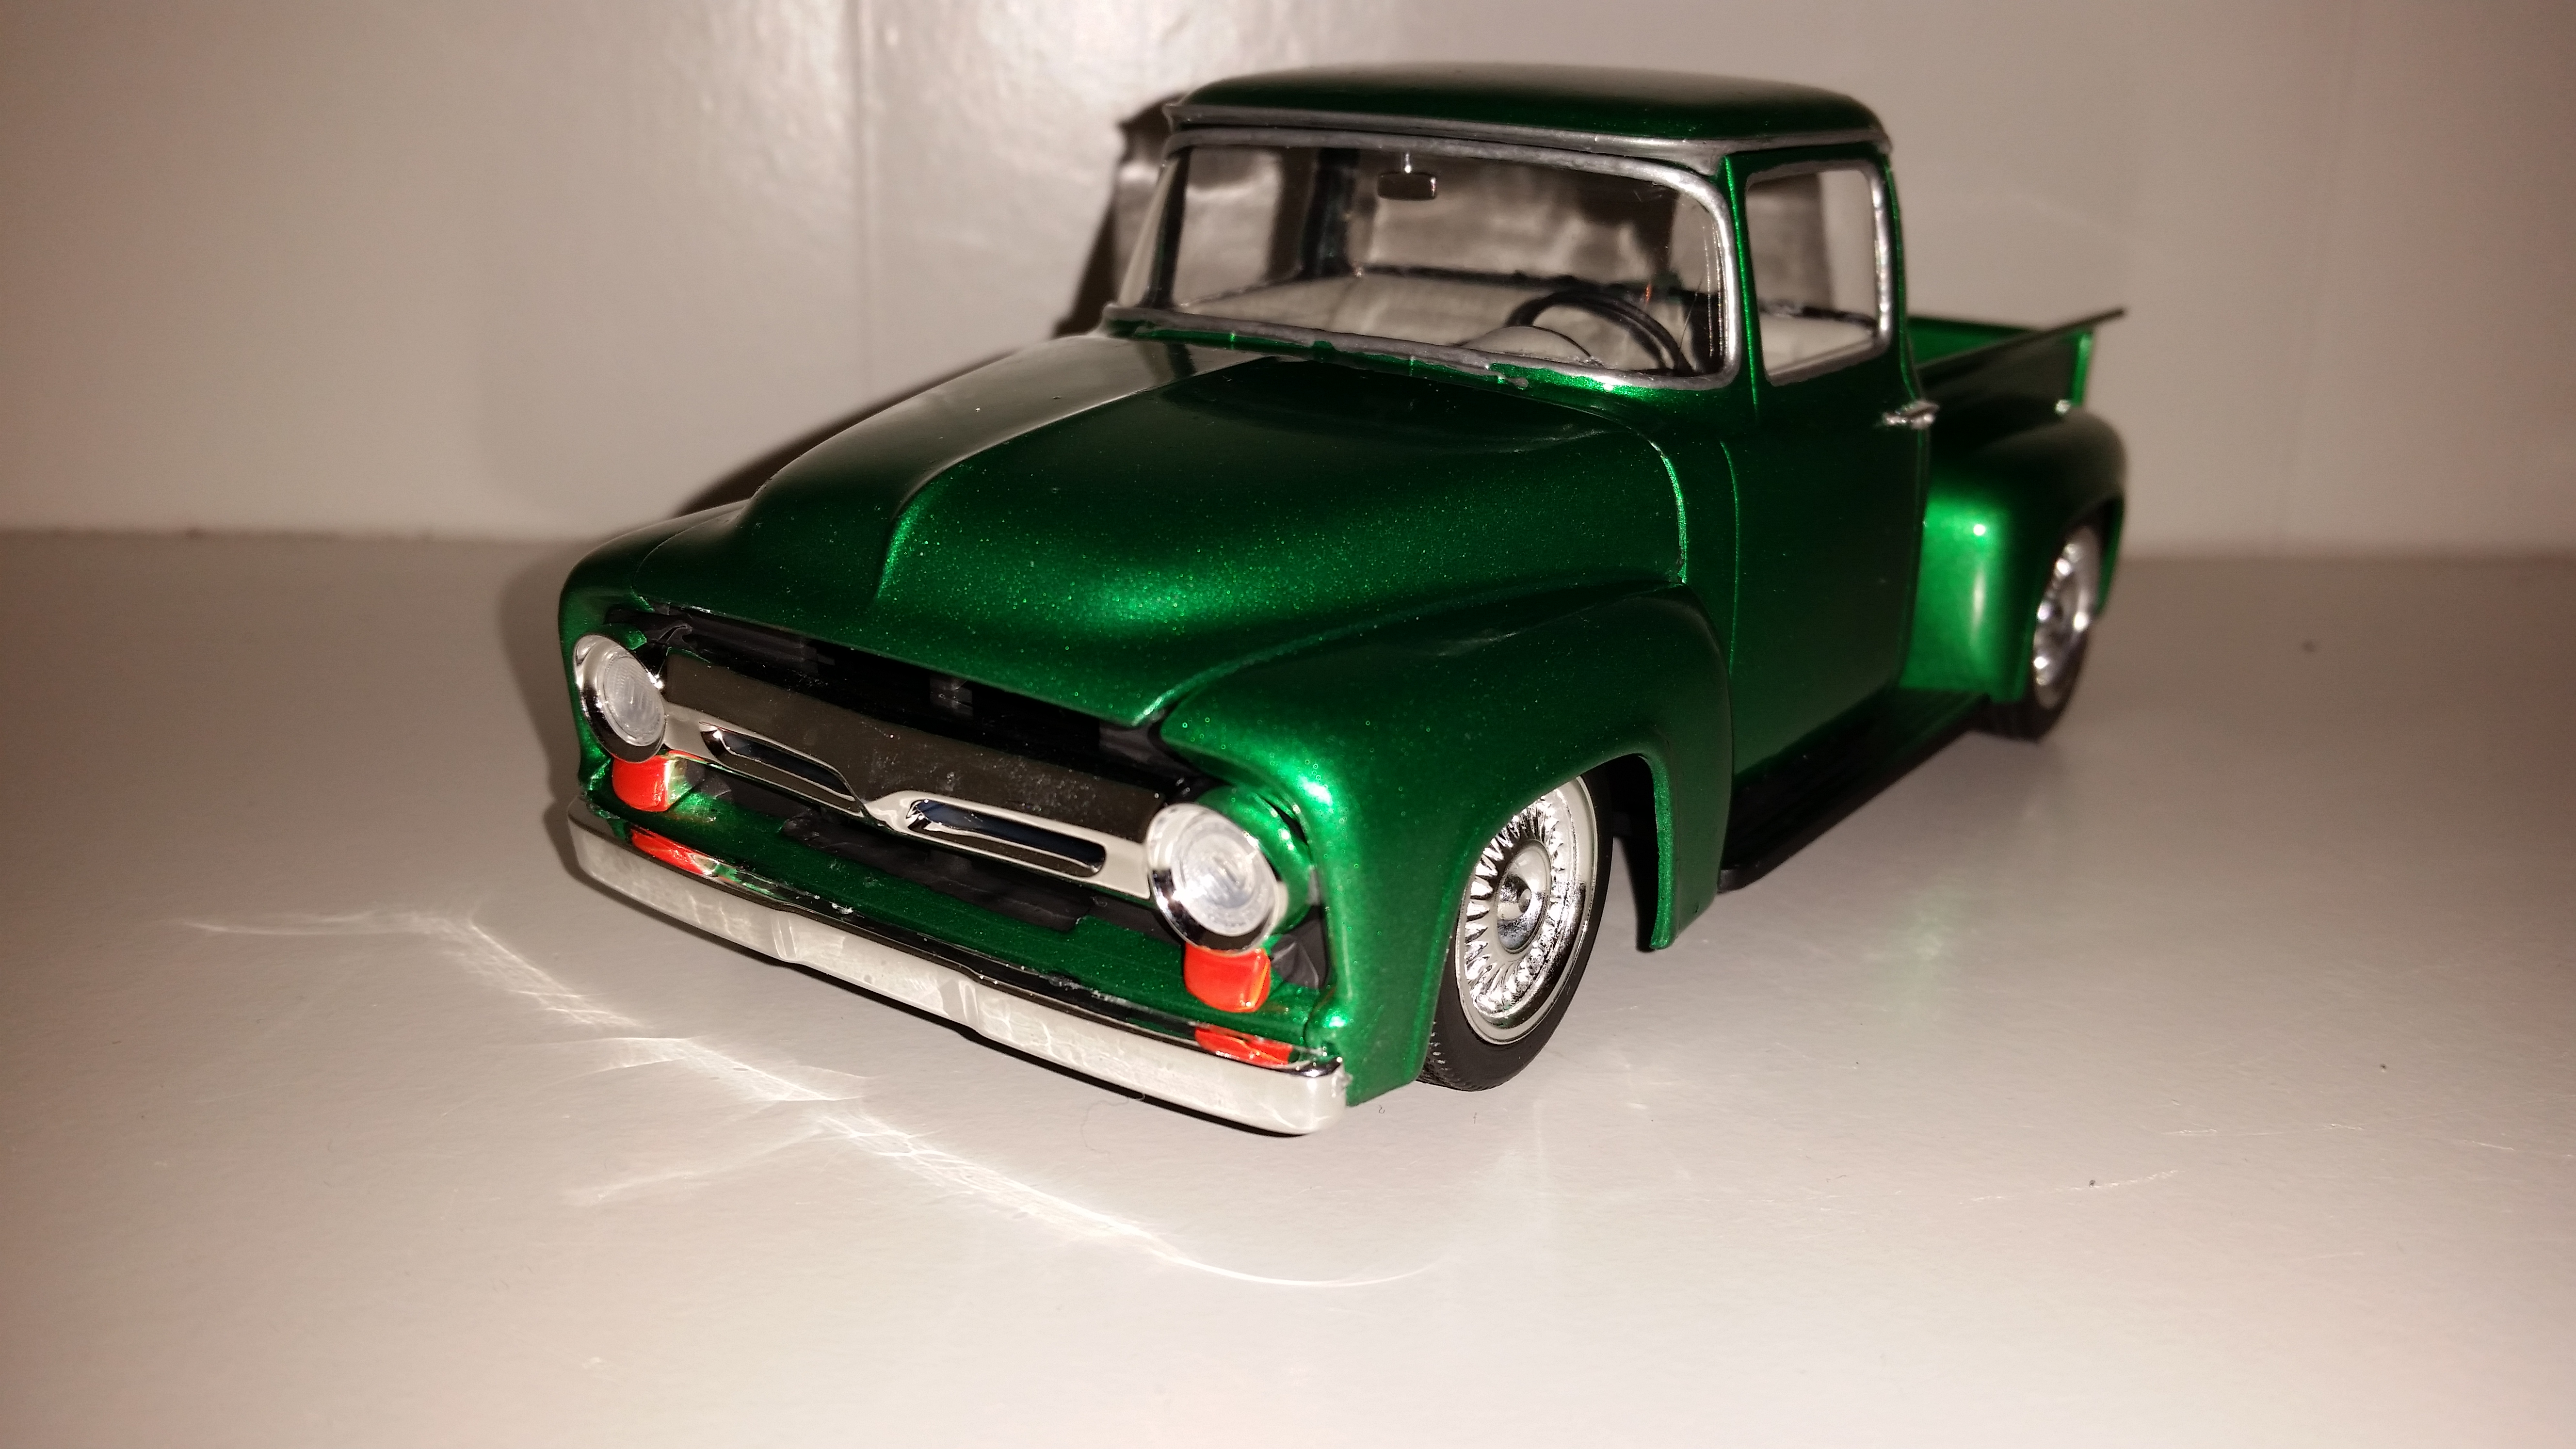
 Mostly OOB, only change swapped wheels from the '48 Caddy onto this (originally, I was going to strip them down and repaint them, but after seeing the purple pond take off the red trim on the wheel without getting the chrome oddly enough I changed plans). Paint is Tamiya TS-20 Metallic Green cleared with Pledge with Future. Apologies for the spotty lighting in a white bookshelf, this is only makeshift till I get things in order since I moved into a former siblings room months ago since I got anything done and still setting up.
-
I was going thru my build ups that have been packed away and I found this... Old prescription bottles make great wheel tubs. My brother told me about this years ago. Stay tuned...
-
I bought this kit around 2002. I planned on working on it with my 2 year old daughter. Well, things didn't go as planned and I learned I need patience. So, In the closet it went. Fast forward to October 2016. I pulled it from the closet and gave it a revisit. The more I fiddled with it the more I saw what I wanted to add or subtract. I wanted to do some things I've never done before like cut open the doors and trunk. Since I've never done these things before, this kit taught me quite a bit. The things I can do, the things I can't do and what to do when things go wrong. Lets get started... I knew at the very minimum, I wanted this stance and these Boyd Wheels from the Shezoom kit. I love the look from this view. To get the low rake in the front I flipped over the front spindles so they sit atop the frame rails instead of below. Then I smoothed out the firewall. Then I deleted the emblems on the rear quarter, the hood and trunk. I also removed the door handles although this pic show them. Then I added a new way to open the hood. It was stewing in my head for 3 days before I acted on it. It works pretty well. Also you see the spare HEMI that came with the Charger kit. I cut off the mopar transmission and mounted the GM one in place of it so the motor sits better. I also had to create motor mounts. Next I cut off the doors and trunk. This is where I begin learning. Hinges are tricky and what I finally ended up with, I'm not entirely happy with. I was just tired of working this step over and over and trying every option over and over. I quickly began to realize that I've created multiple weak points because they kept snapping. It occurred to me that I saw a video once on youtube about repairing guitar nuts suing baking soda and super glue. This trick works very well for model kits too. It hardens like concrete. Then I started thinking what if I made the lights functional. At this point I started thinking that I am never going to finish this kit. As you can see, there is plenty of room in the engine bay of a shoebox for a HEMI. Stay Tuned...
-
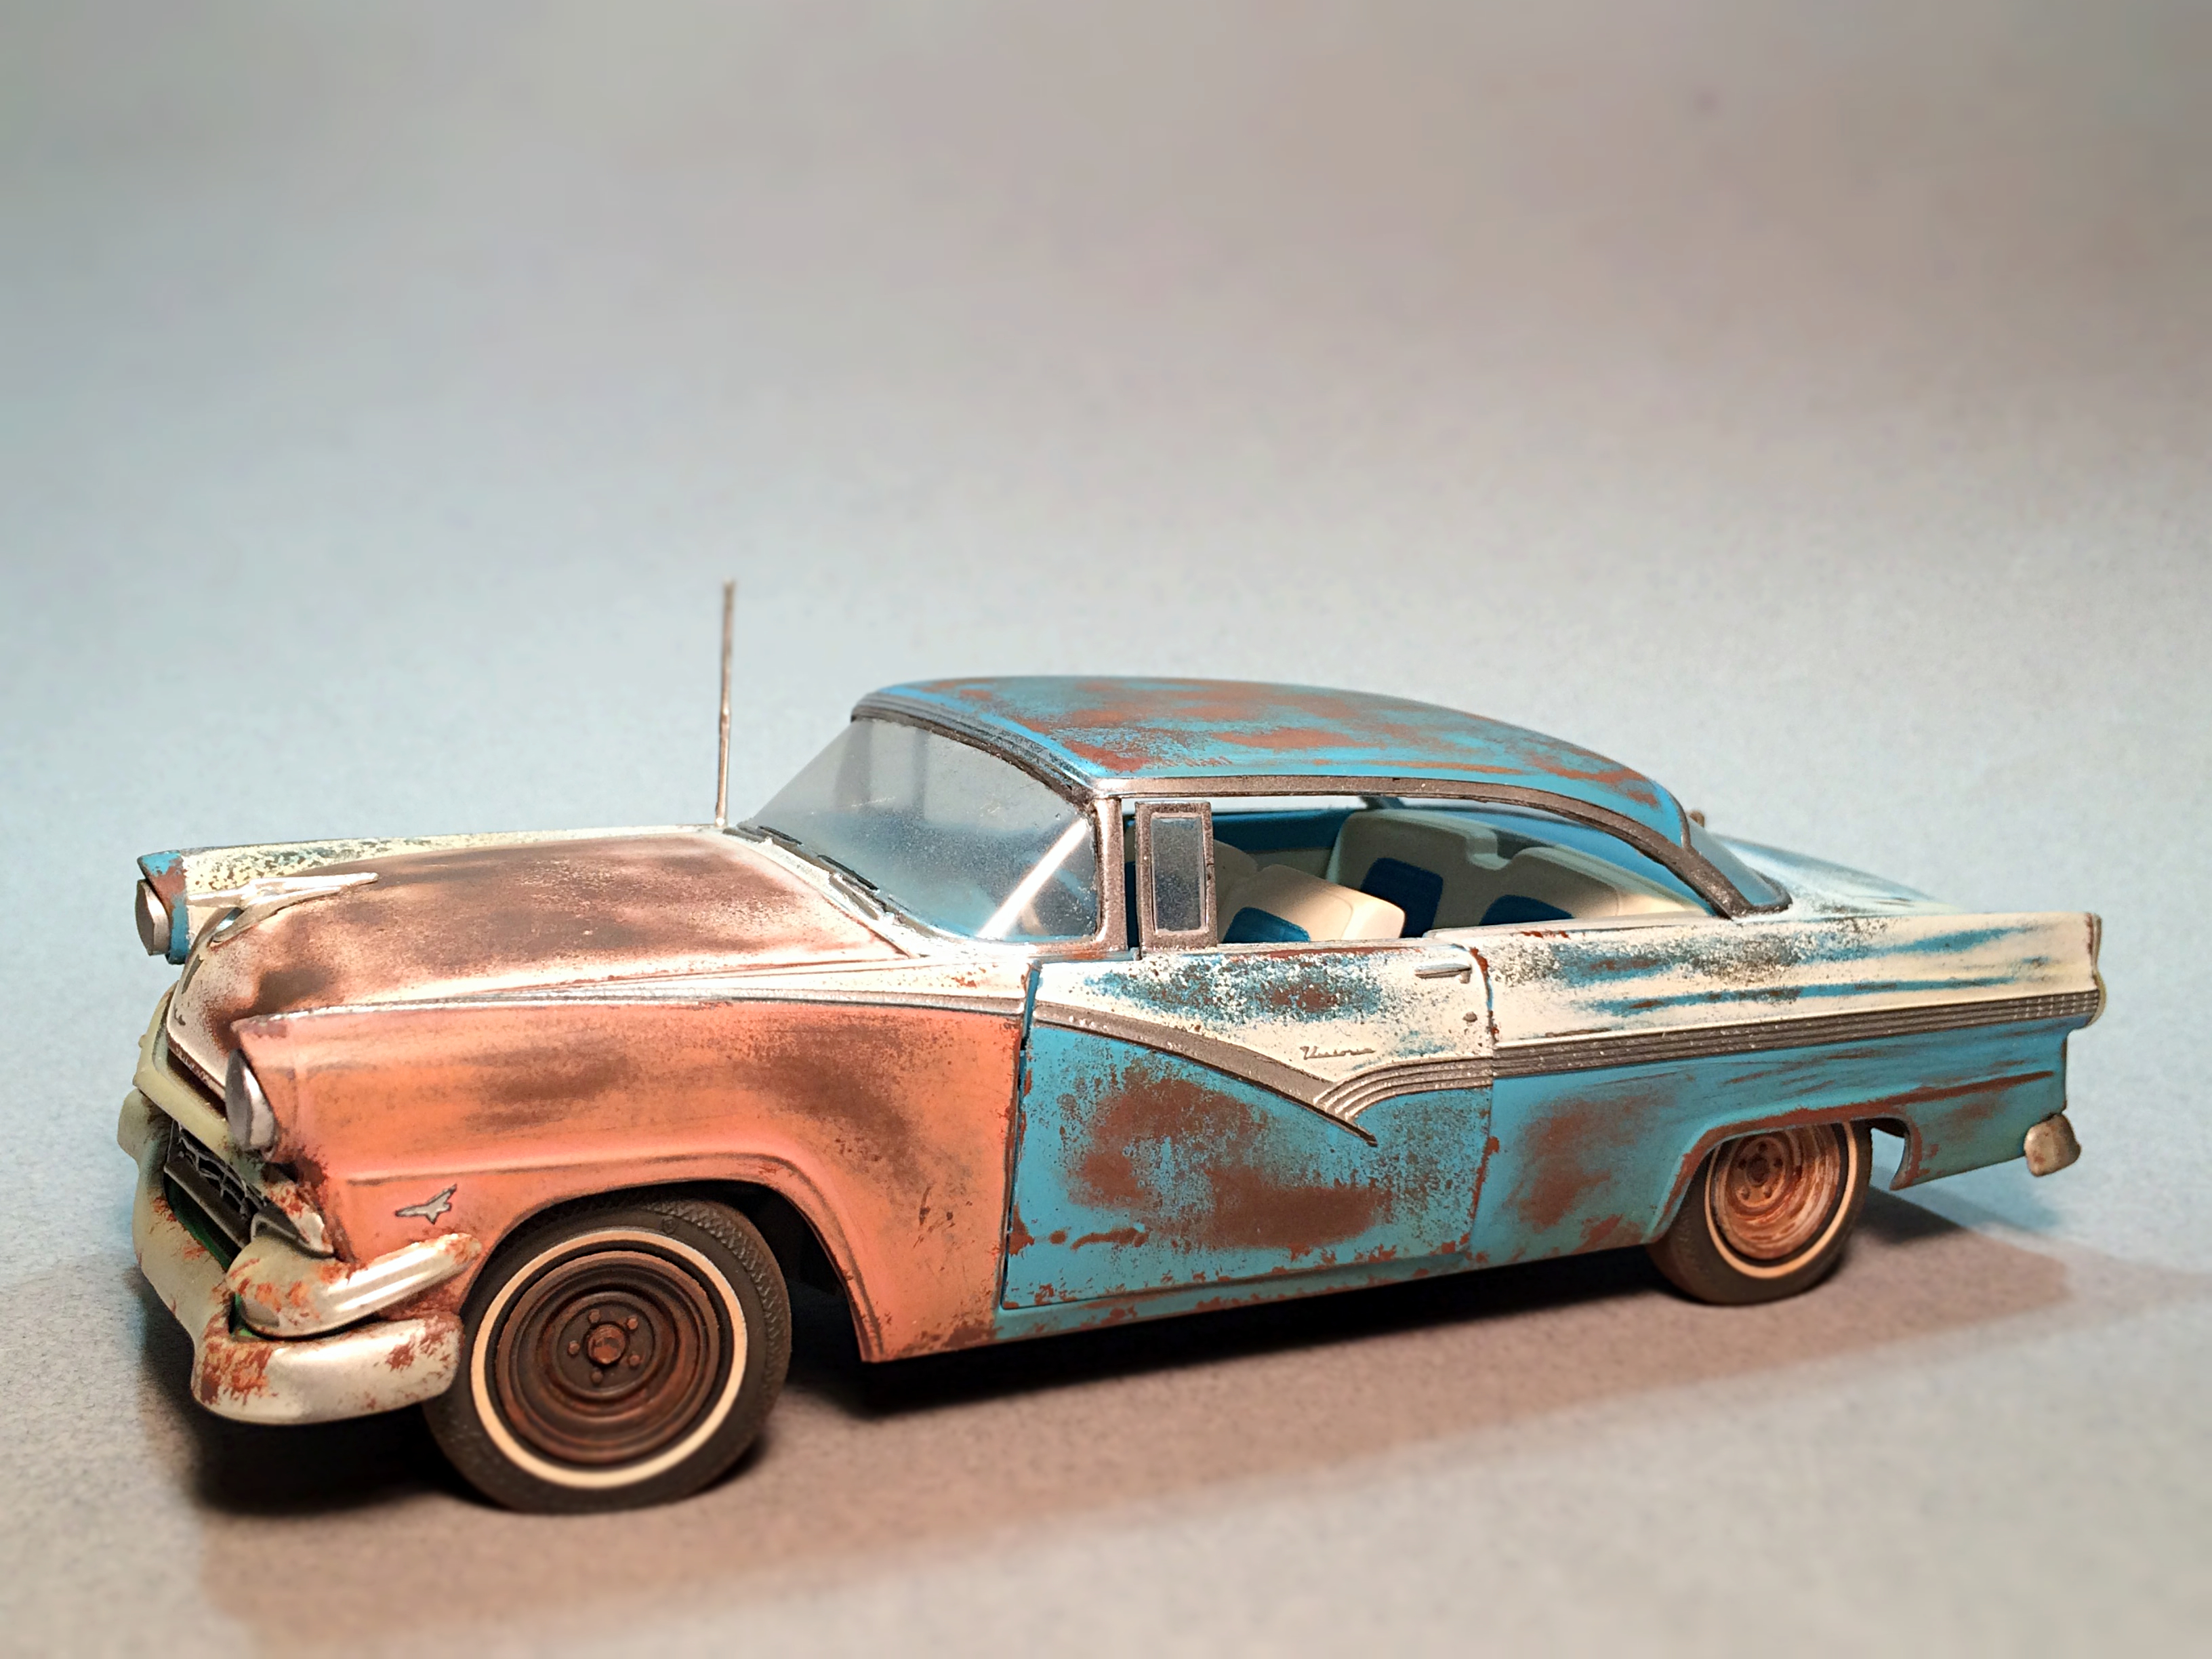
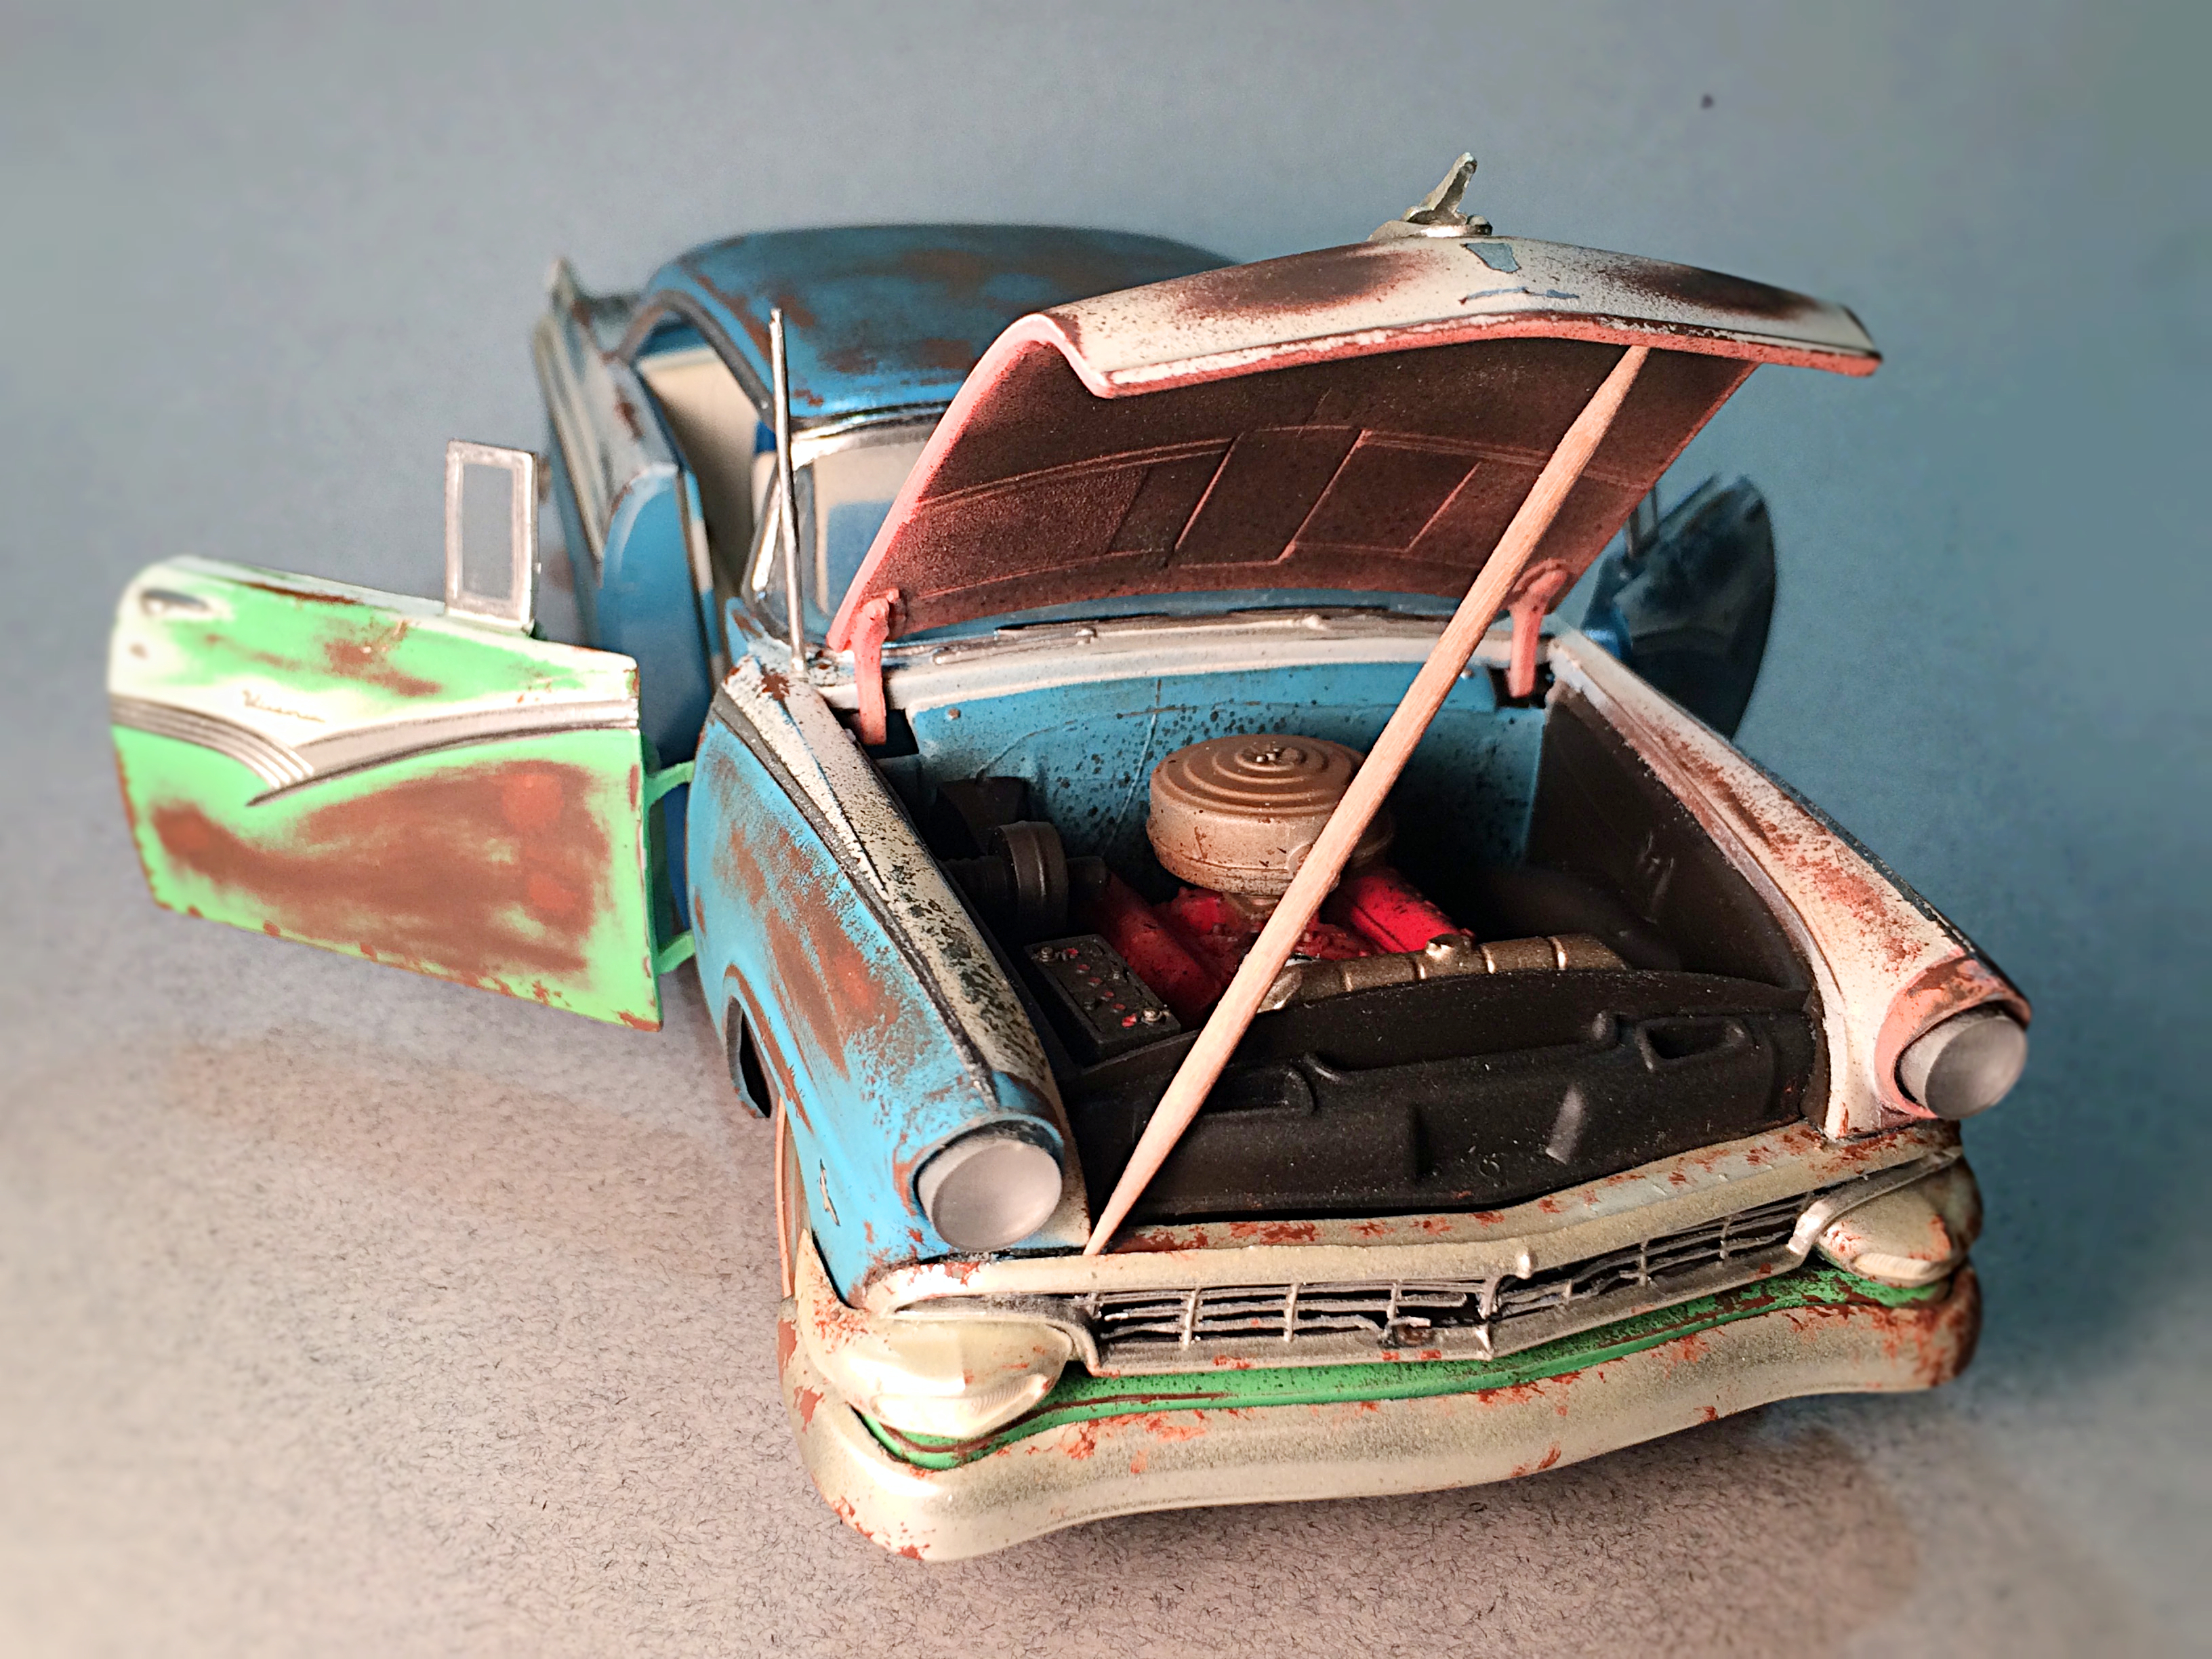
On a lark, I wanted to whip out a model for the Box Plus category at GSL. I knew brand new shiny was going to win, but so what, I finished it in 28 hours. Building an old kit brings appreciation for what we have now. The total lack of location points was funny, the instructions have no reference for colors and part # with left/right was not clear. My techique for the patina: sprayed a dark brown first coat, second lighter brown has real rust thrown onto it when still wet, and then rubbed off the excess. The color coats were sprayed next, I figured out the colors using online color chips, by mixing test samples on paper, then mixed in the airbrush cup. I wet-sanded to expose the layers, some touch up was needed. Sure beats trying to get a perfect paint job! Because the rules allowed opening grills, doing this was doomed for disaster, perfect in this case. The trim is Alcad chrome. Final step was spraying Dullcoat with a drop of Africa Korps for dust.
-
It was a pain to build, but it came out nice.
-
Hello to all, Here is my latest creation presented at NNL EAST. I wanted to create a "Cadillac Viewmaster Hess & Eisenhardt 1956" To create this car, I used: -Cadillac 1956 Coupe deVille resin from Modelhaus -2 chevy Nomad 1955 -tires and rims 1957 cadillac modelhaus -rivets at Top Studio -decals wood in Uschi military modelisme -letters from settlers -photoetched: The Model Car Garage -paint and varnish Mr colors -interior and exterior door handles, made for me in "bestmodelcarparts " headlight I used the headlights of the 55 Chevy I modifier.Scratch interior, roof rack, rear lights.I invite you to watch the WiP of the build. there a chassis, an engine that I can show you the cover does not open Five months were needed to create this car during assembly. Full WIP HERE: http://public.fotki.com/Zelkam/stock/cadillac-1956-/ the video to the build : http://www.youtube.com/watch?v=TBlOvwayEtk&list=UUg8dXM3LPkBCQ2xSgM6SJyQ&feature=share interior Finish
-
 i have been working on this model for a long time . i have gone through two bodies. countless rear fenders . a couple hoods, and three frames . it's sat in a parts box for a few years . While waiting for parts to show up on another build I decided to bring some of my stalled projects out to see if i can breath new life into them . This is one of them this model is in its rough stages . the plan is to have a 6.1 hemi, viper front and rear suspension air bags and as low as i can go . now for some pics
 -
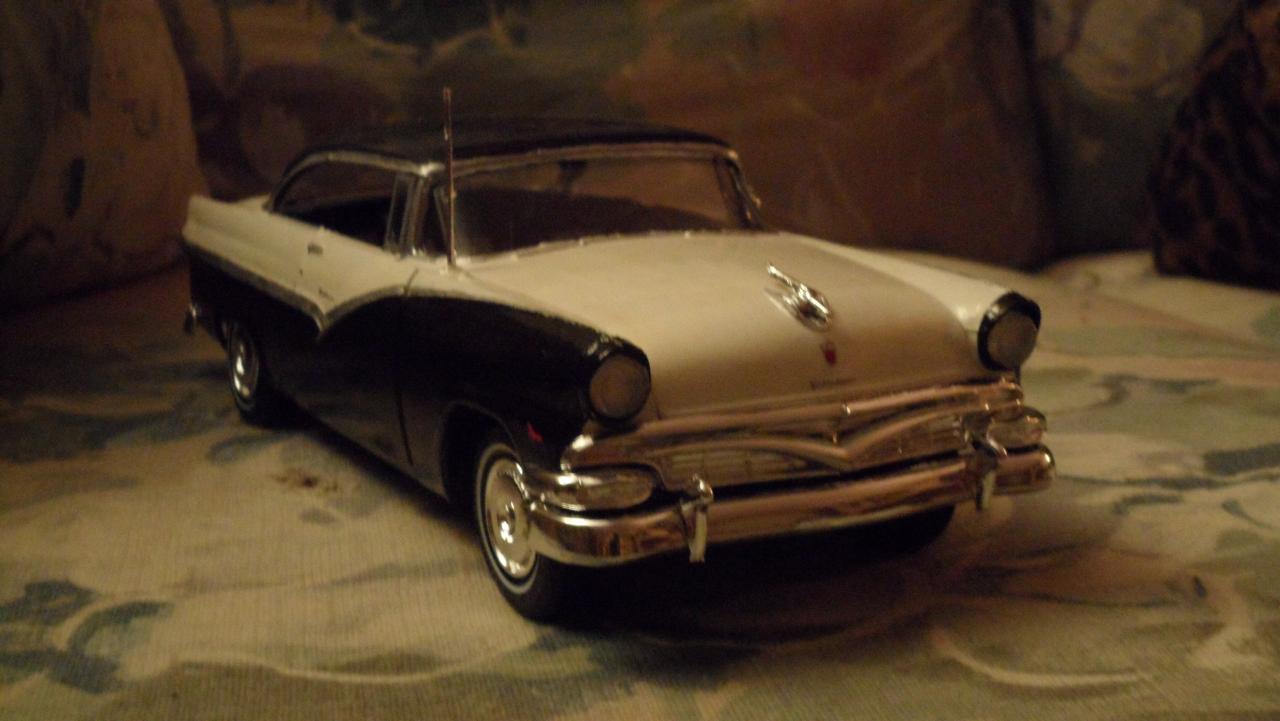
I think this was a re-issue of a 1959 kit and it sure showed its age. I've never seen so much flash or so many sink-holes. Every panel needed filling, all four tyres had huge craters in the sidewalls. I must admit, this was a real challenge to complete. I had to use clamps and epoxy to get the chassis onto the floorpan and do a lot of brutal trimming to get the interior to fit. I used acetate for the windows, the rear being slightly tinted. i hand painted the whitewalls and scratchbuilt the alternator and oil filler tube. I nearly gave up and it made me question my ability as a model-builder, but here it is....... Done!! thanks for looking
-
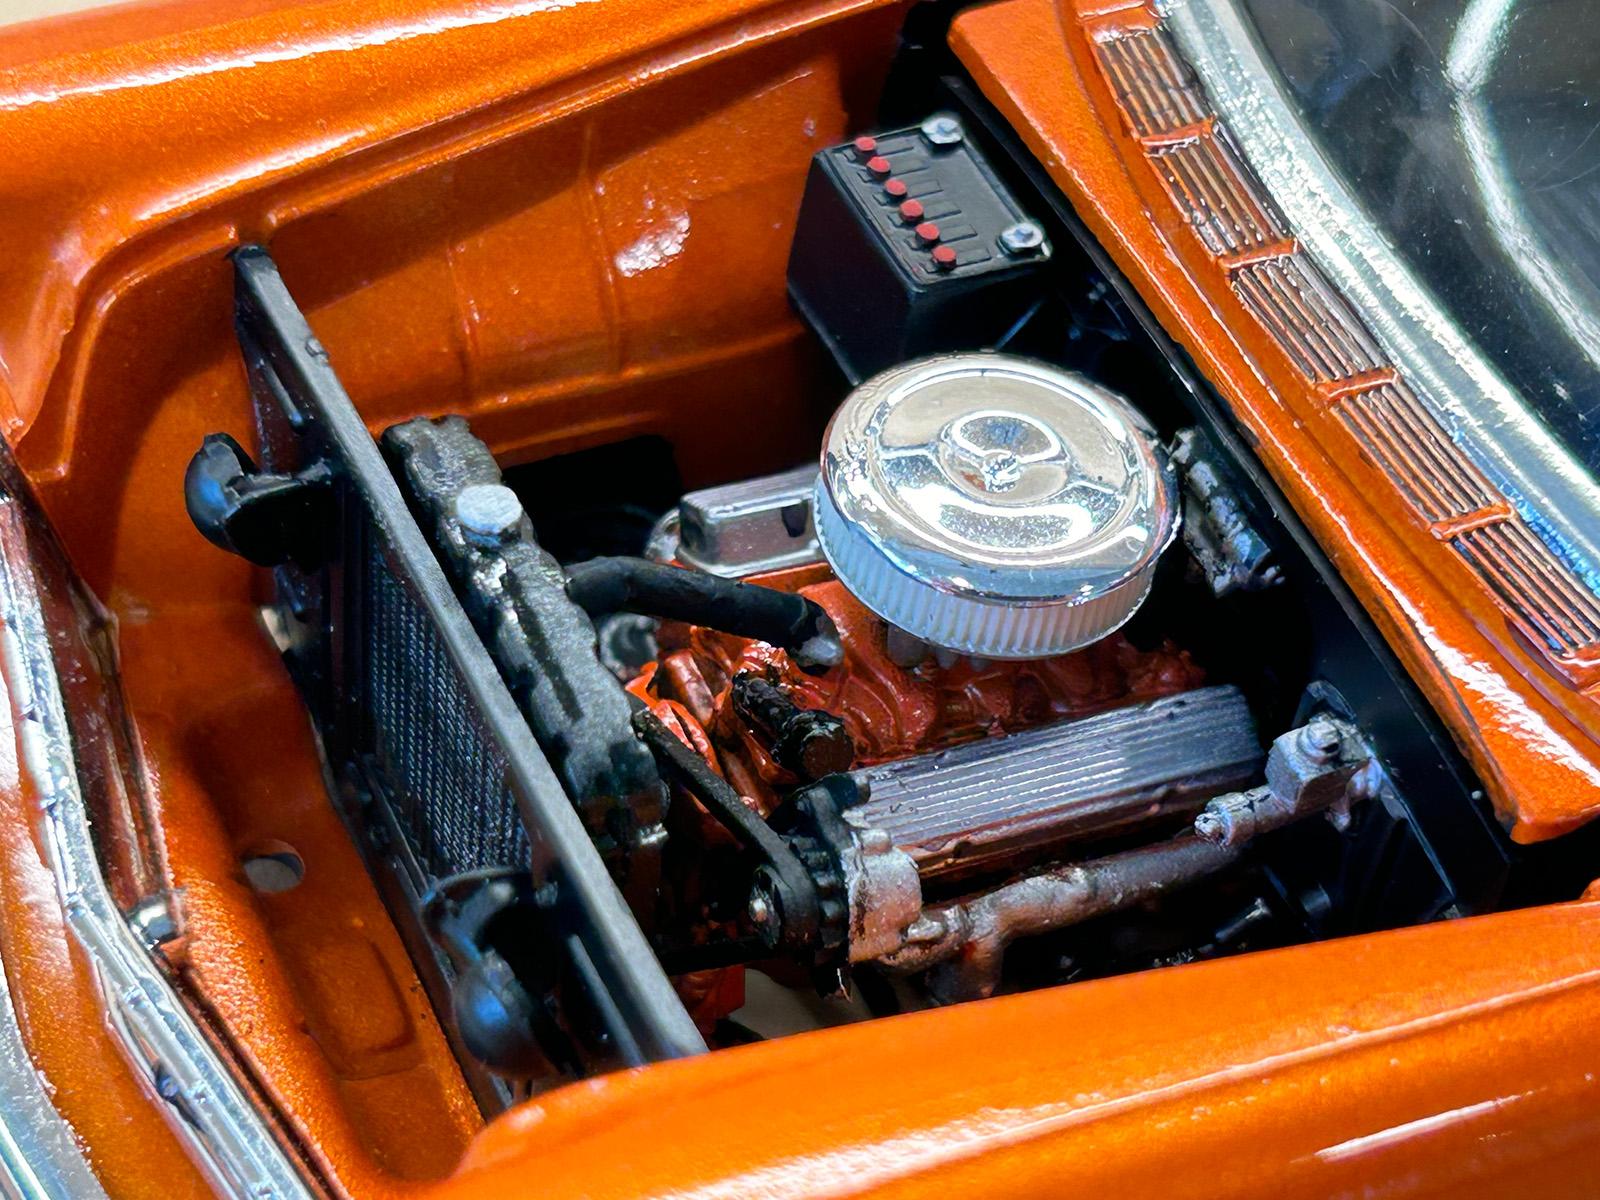
Hallo together, today i want to show you a smooth built from a perfect fitting kit. (My opinion) It is the 1956 Chevy Del Ray from Revell. I had made no changes or detailwork, because my first paintjob (darkred body, silver top) was a fault and so sometimes i'm happy, if a mismatched builtup is ready. Only wiring the engine, thats it. Some Pics: