Search the Community
Showing results for tags 'Chevy'.
-
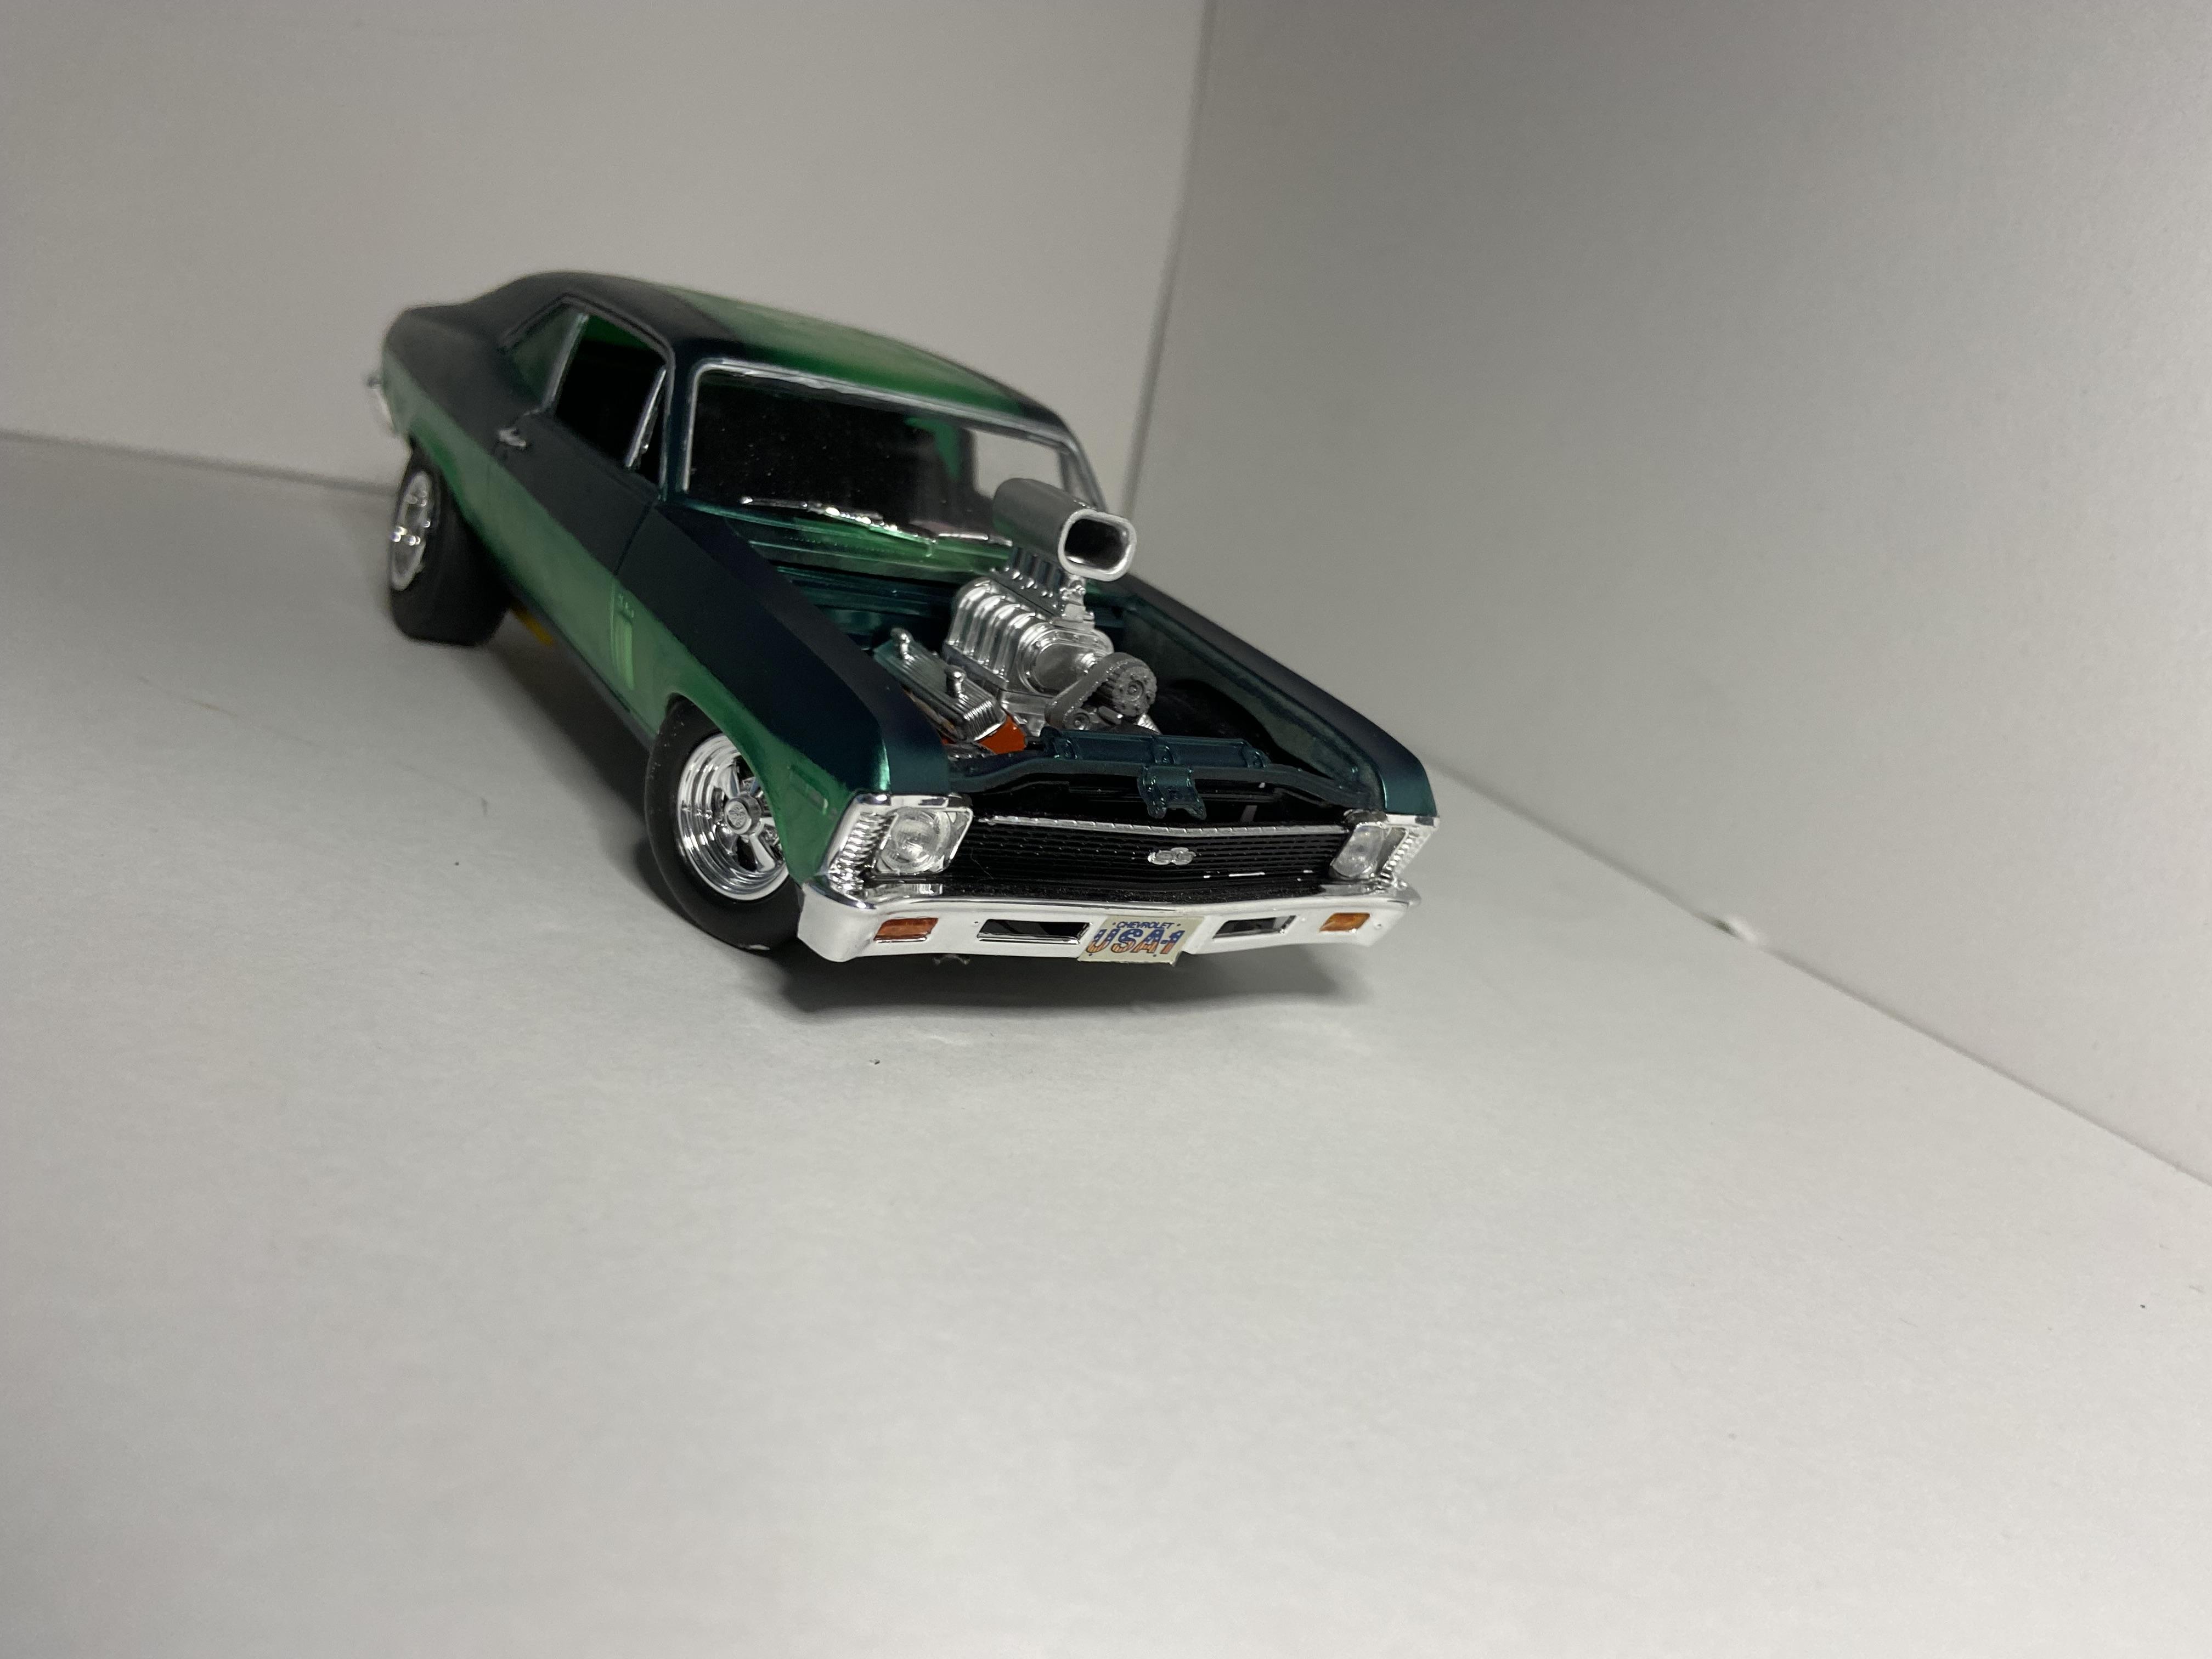
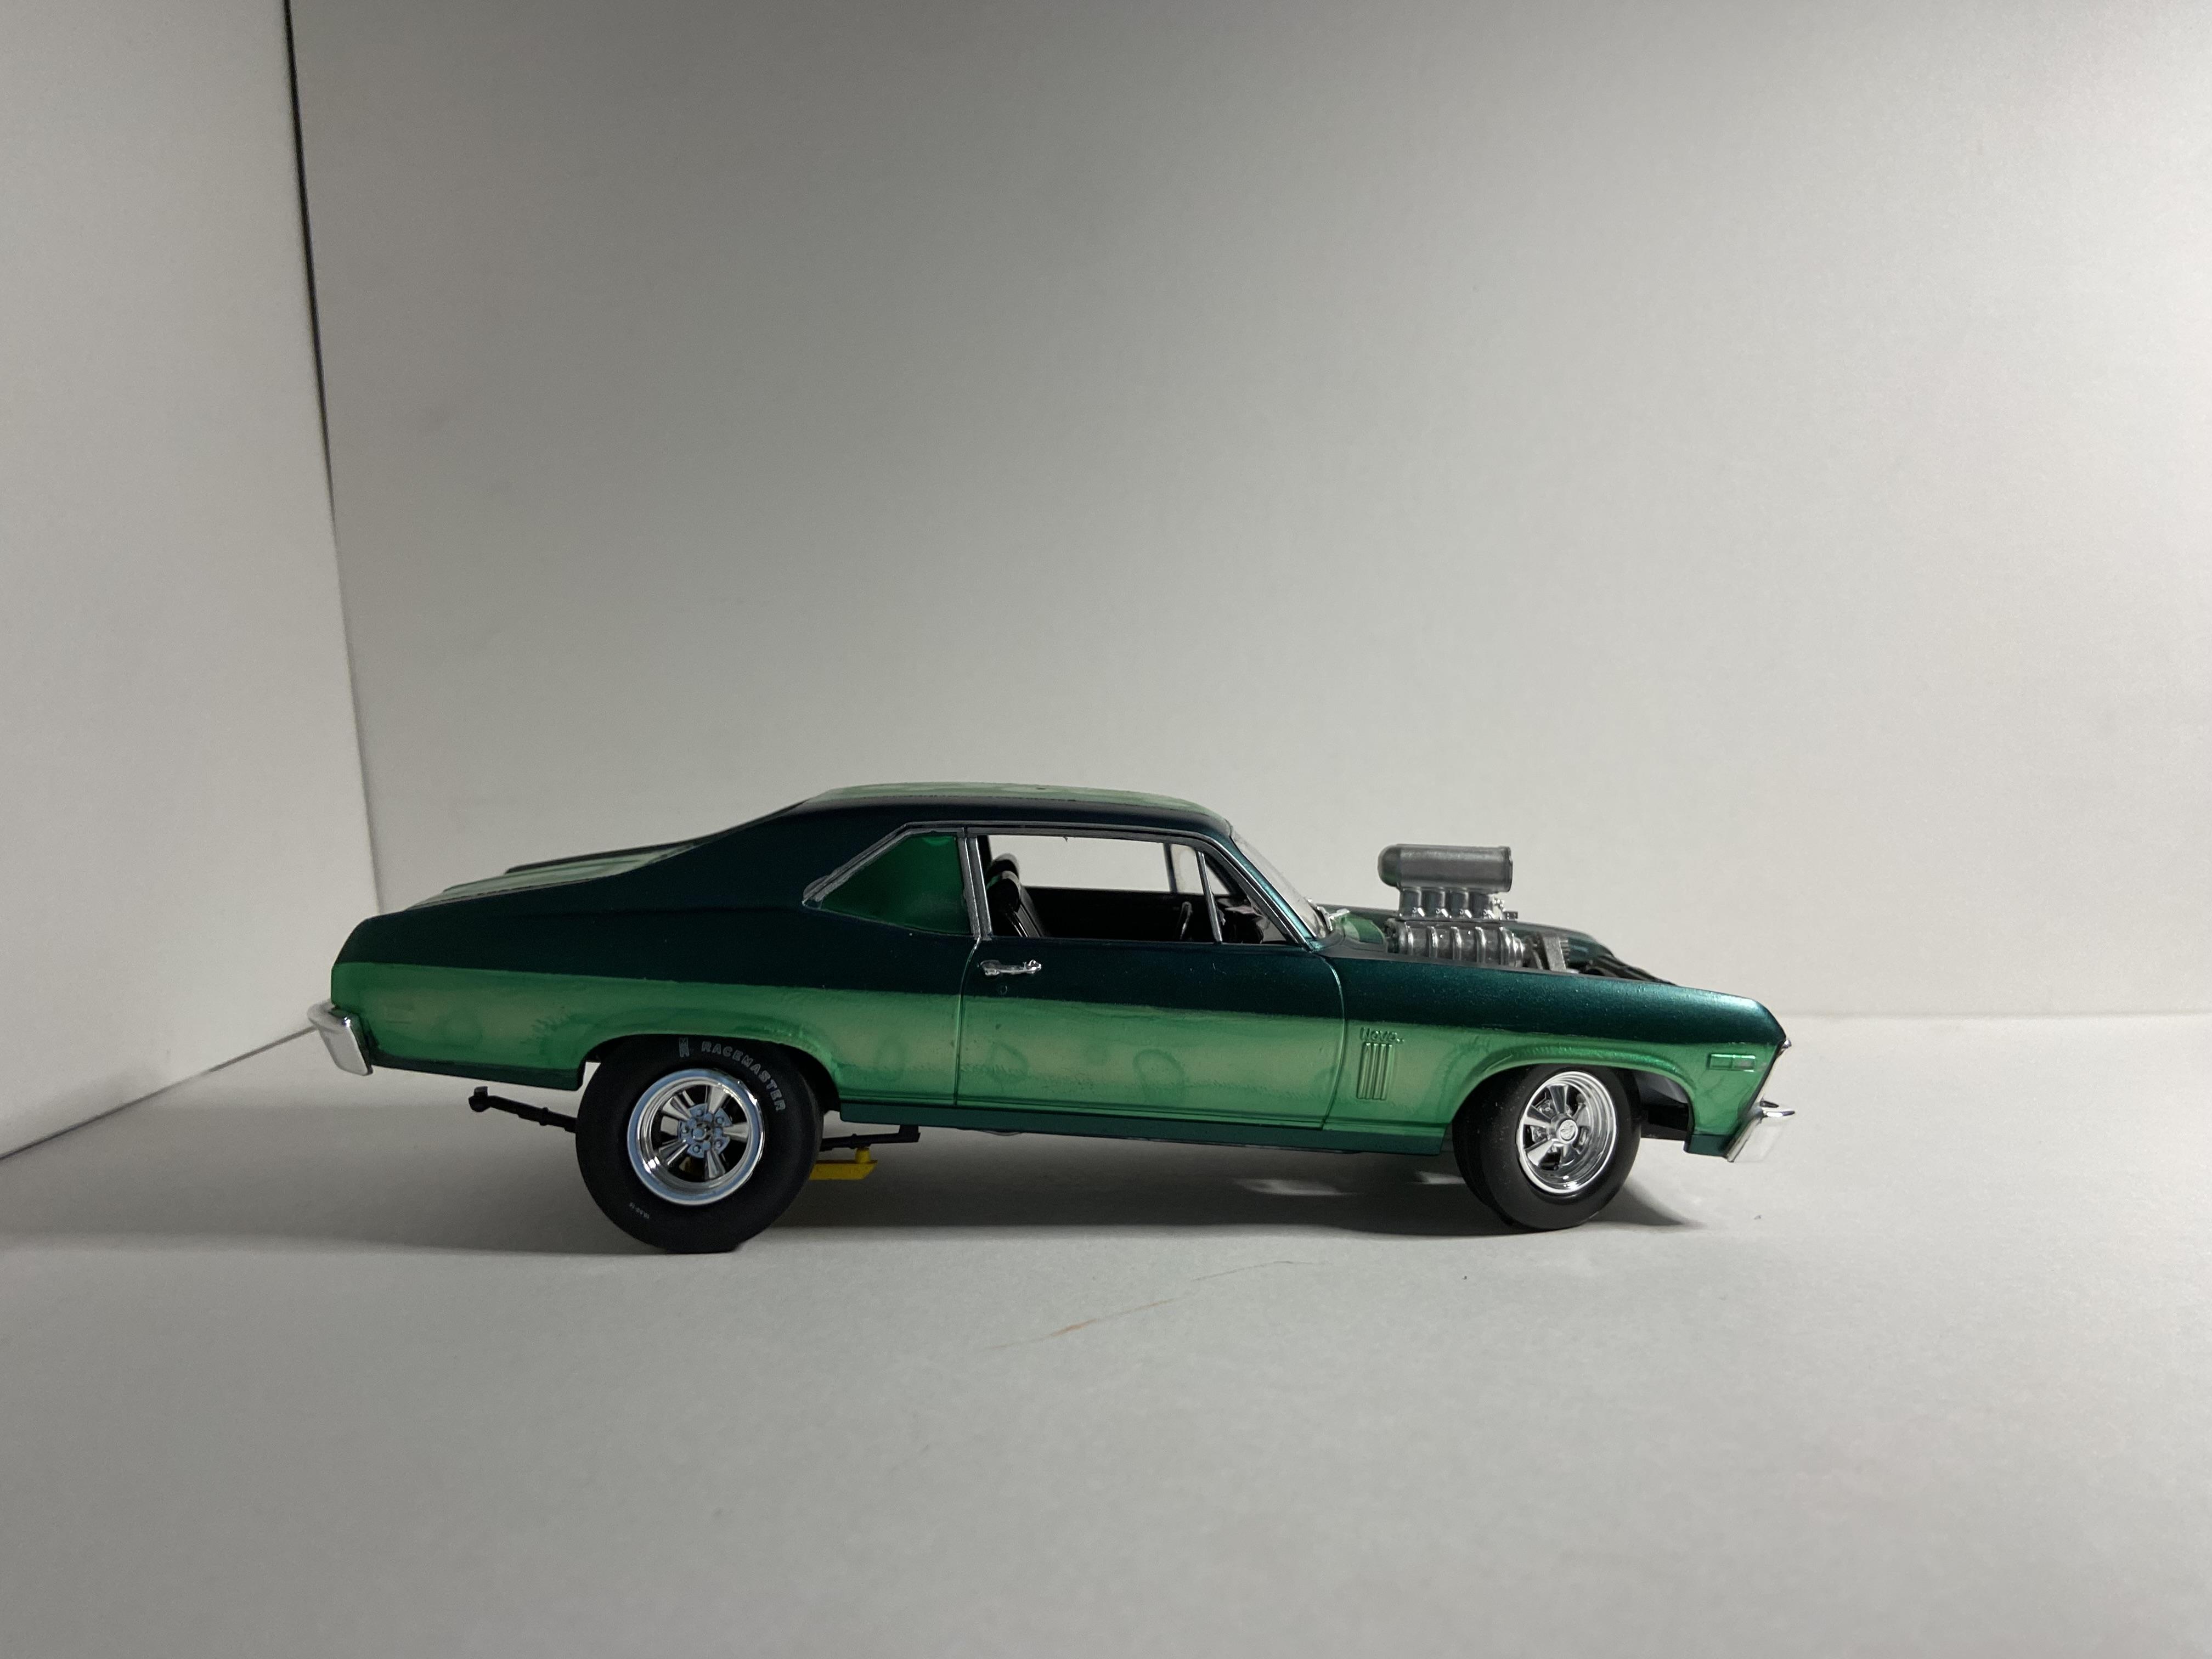
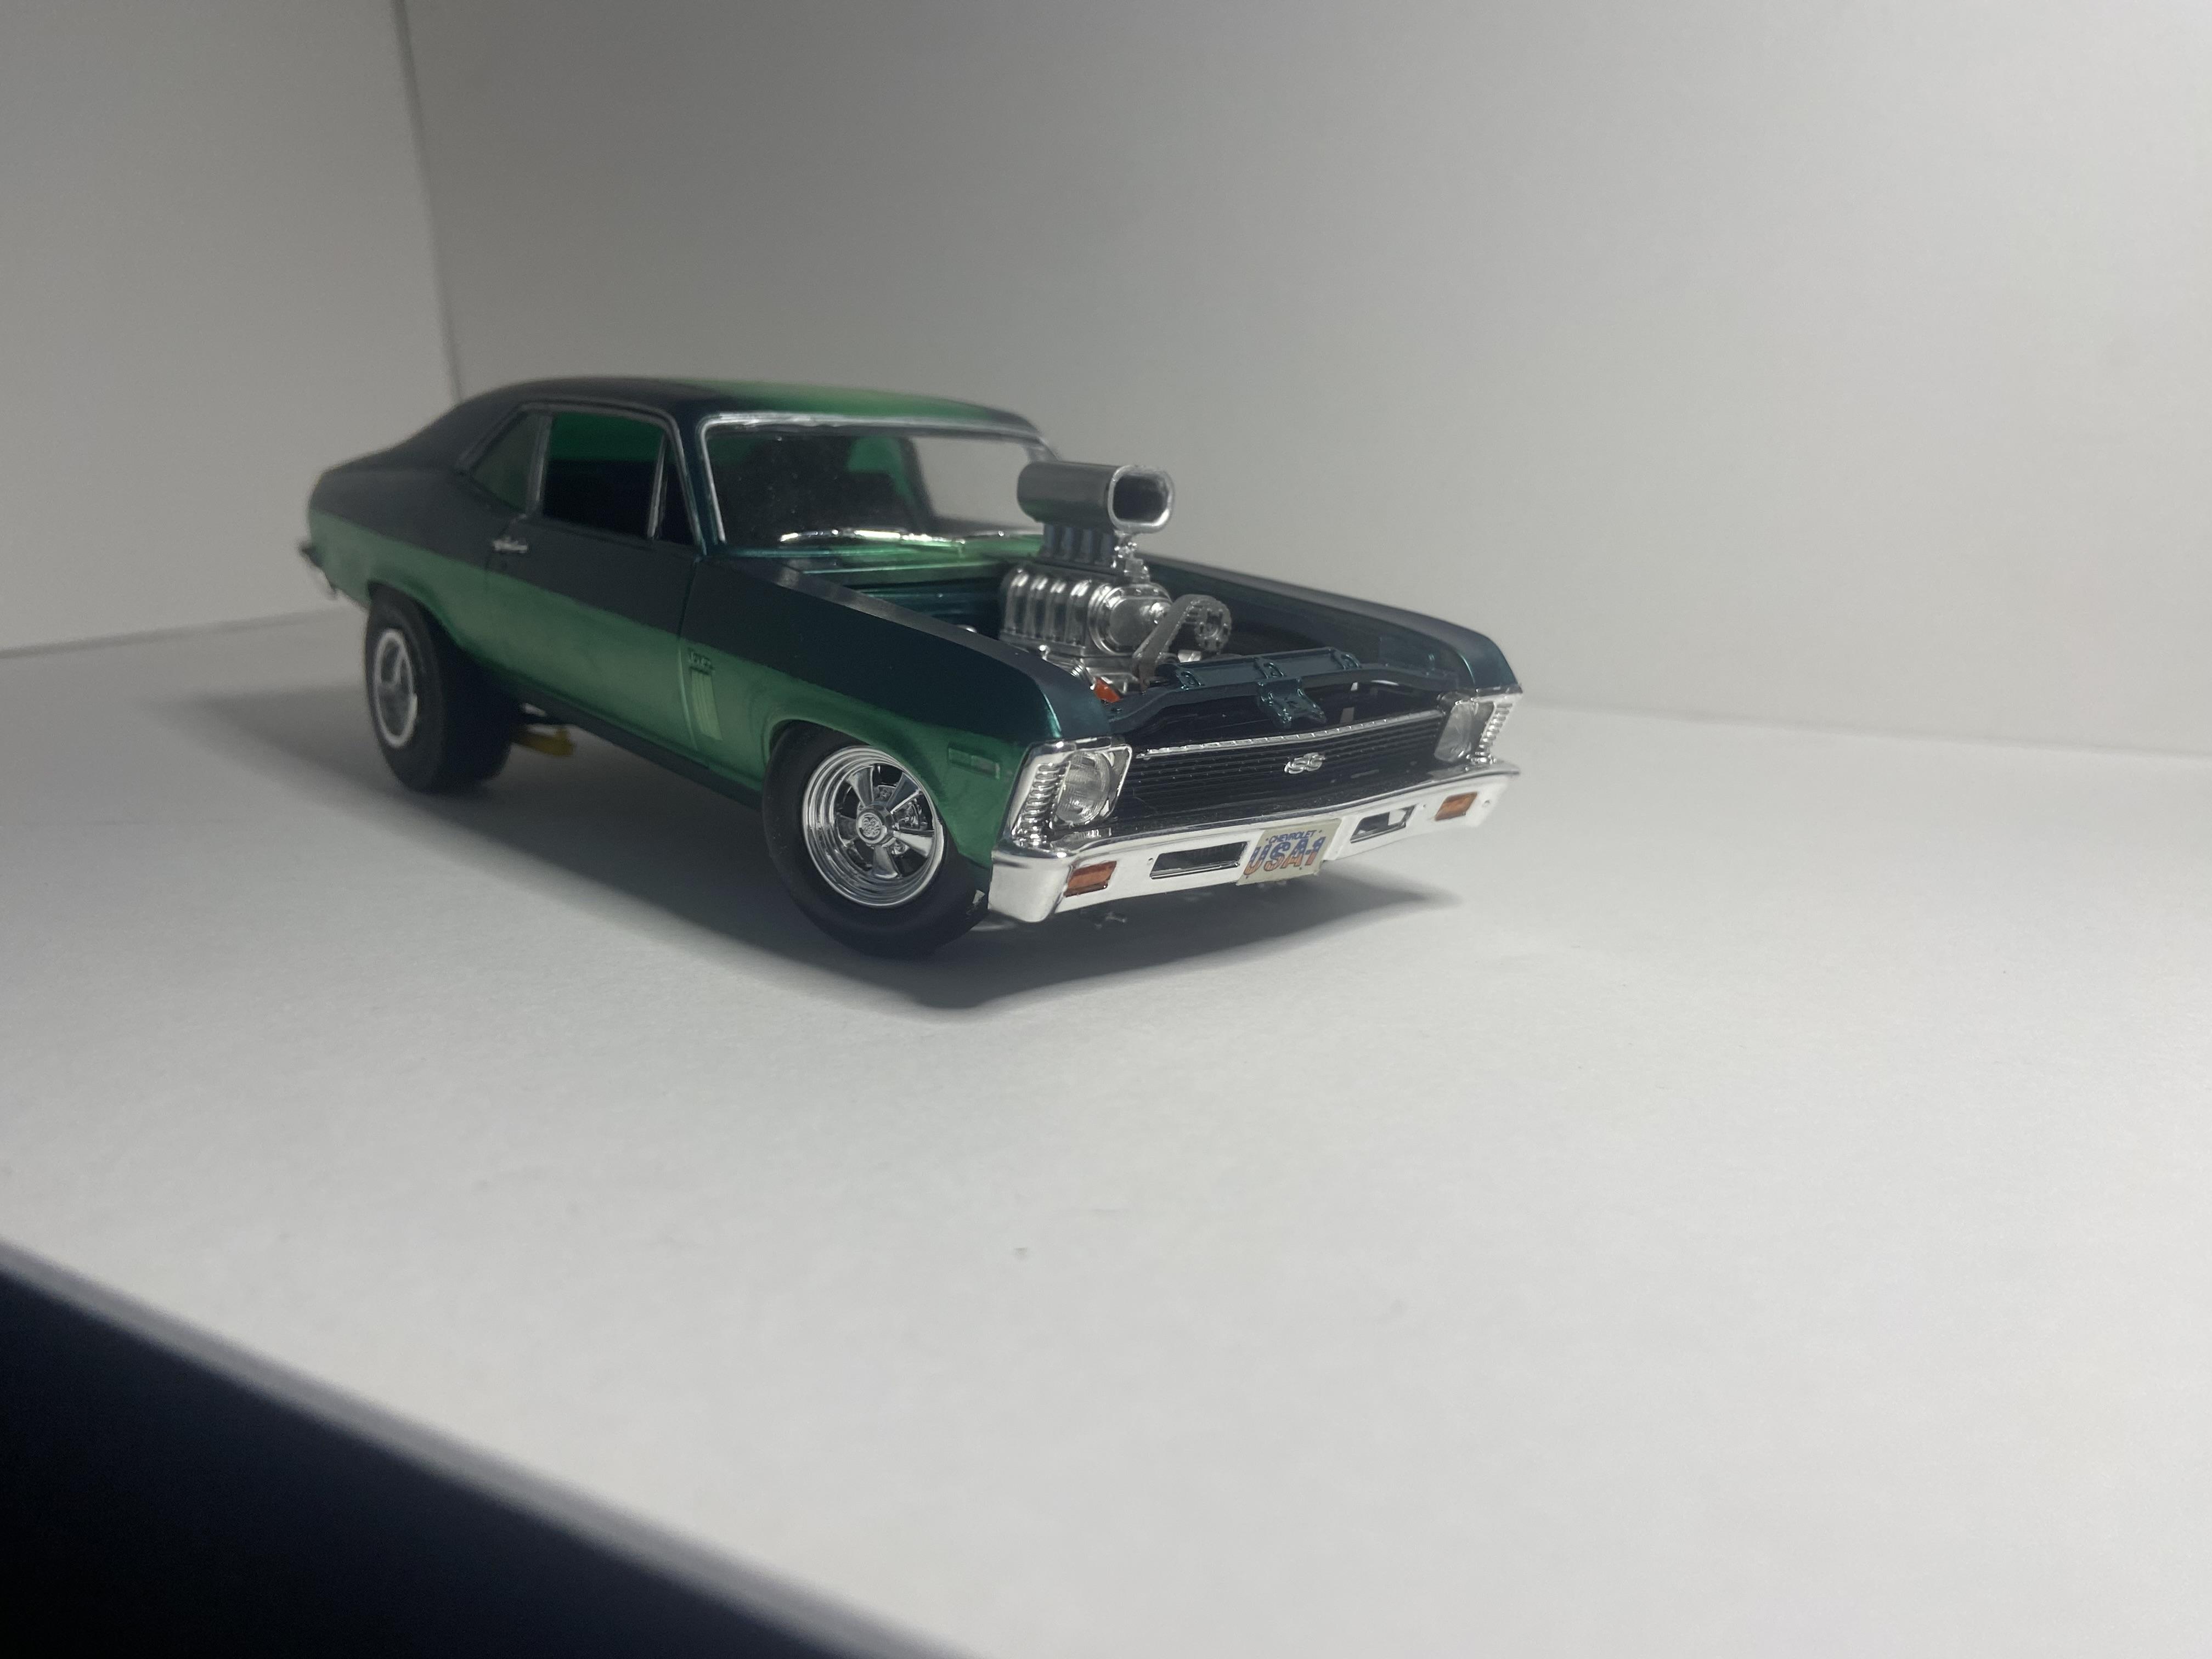
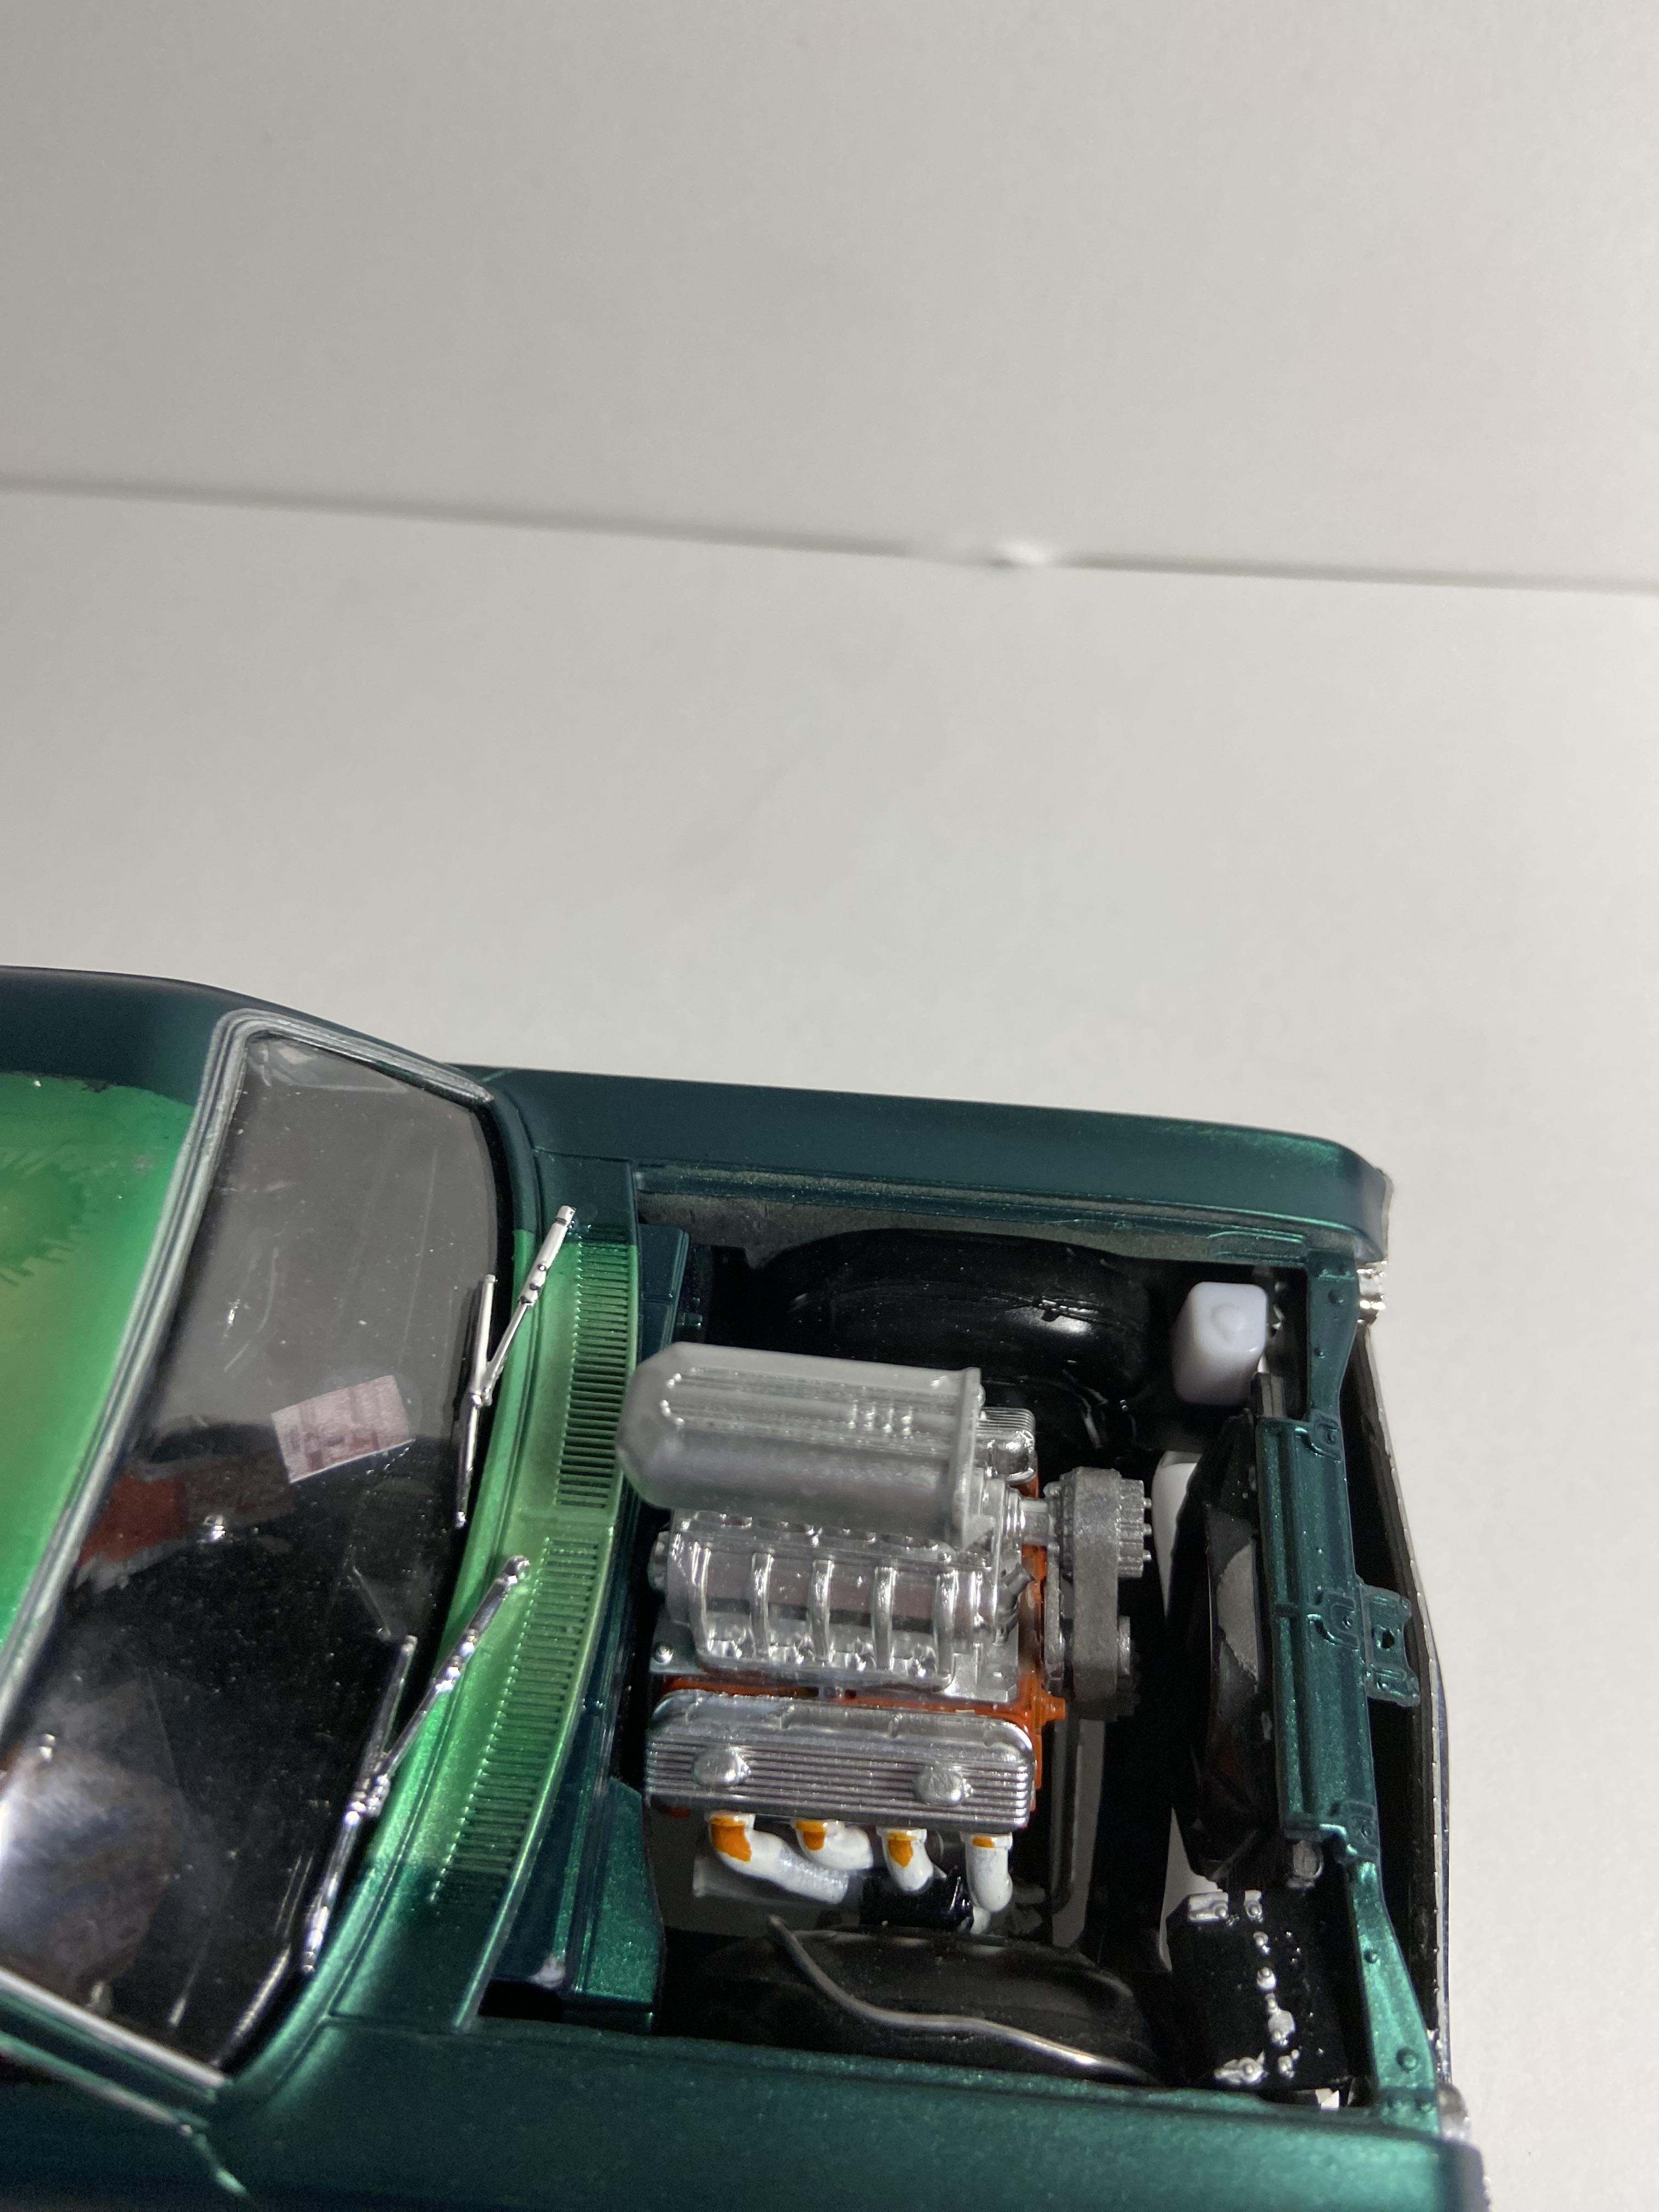
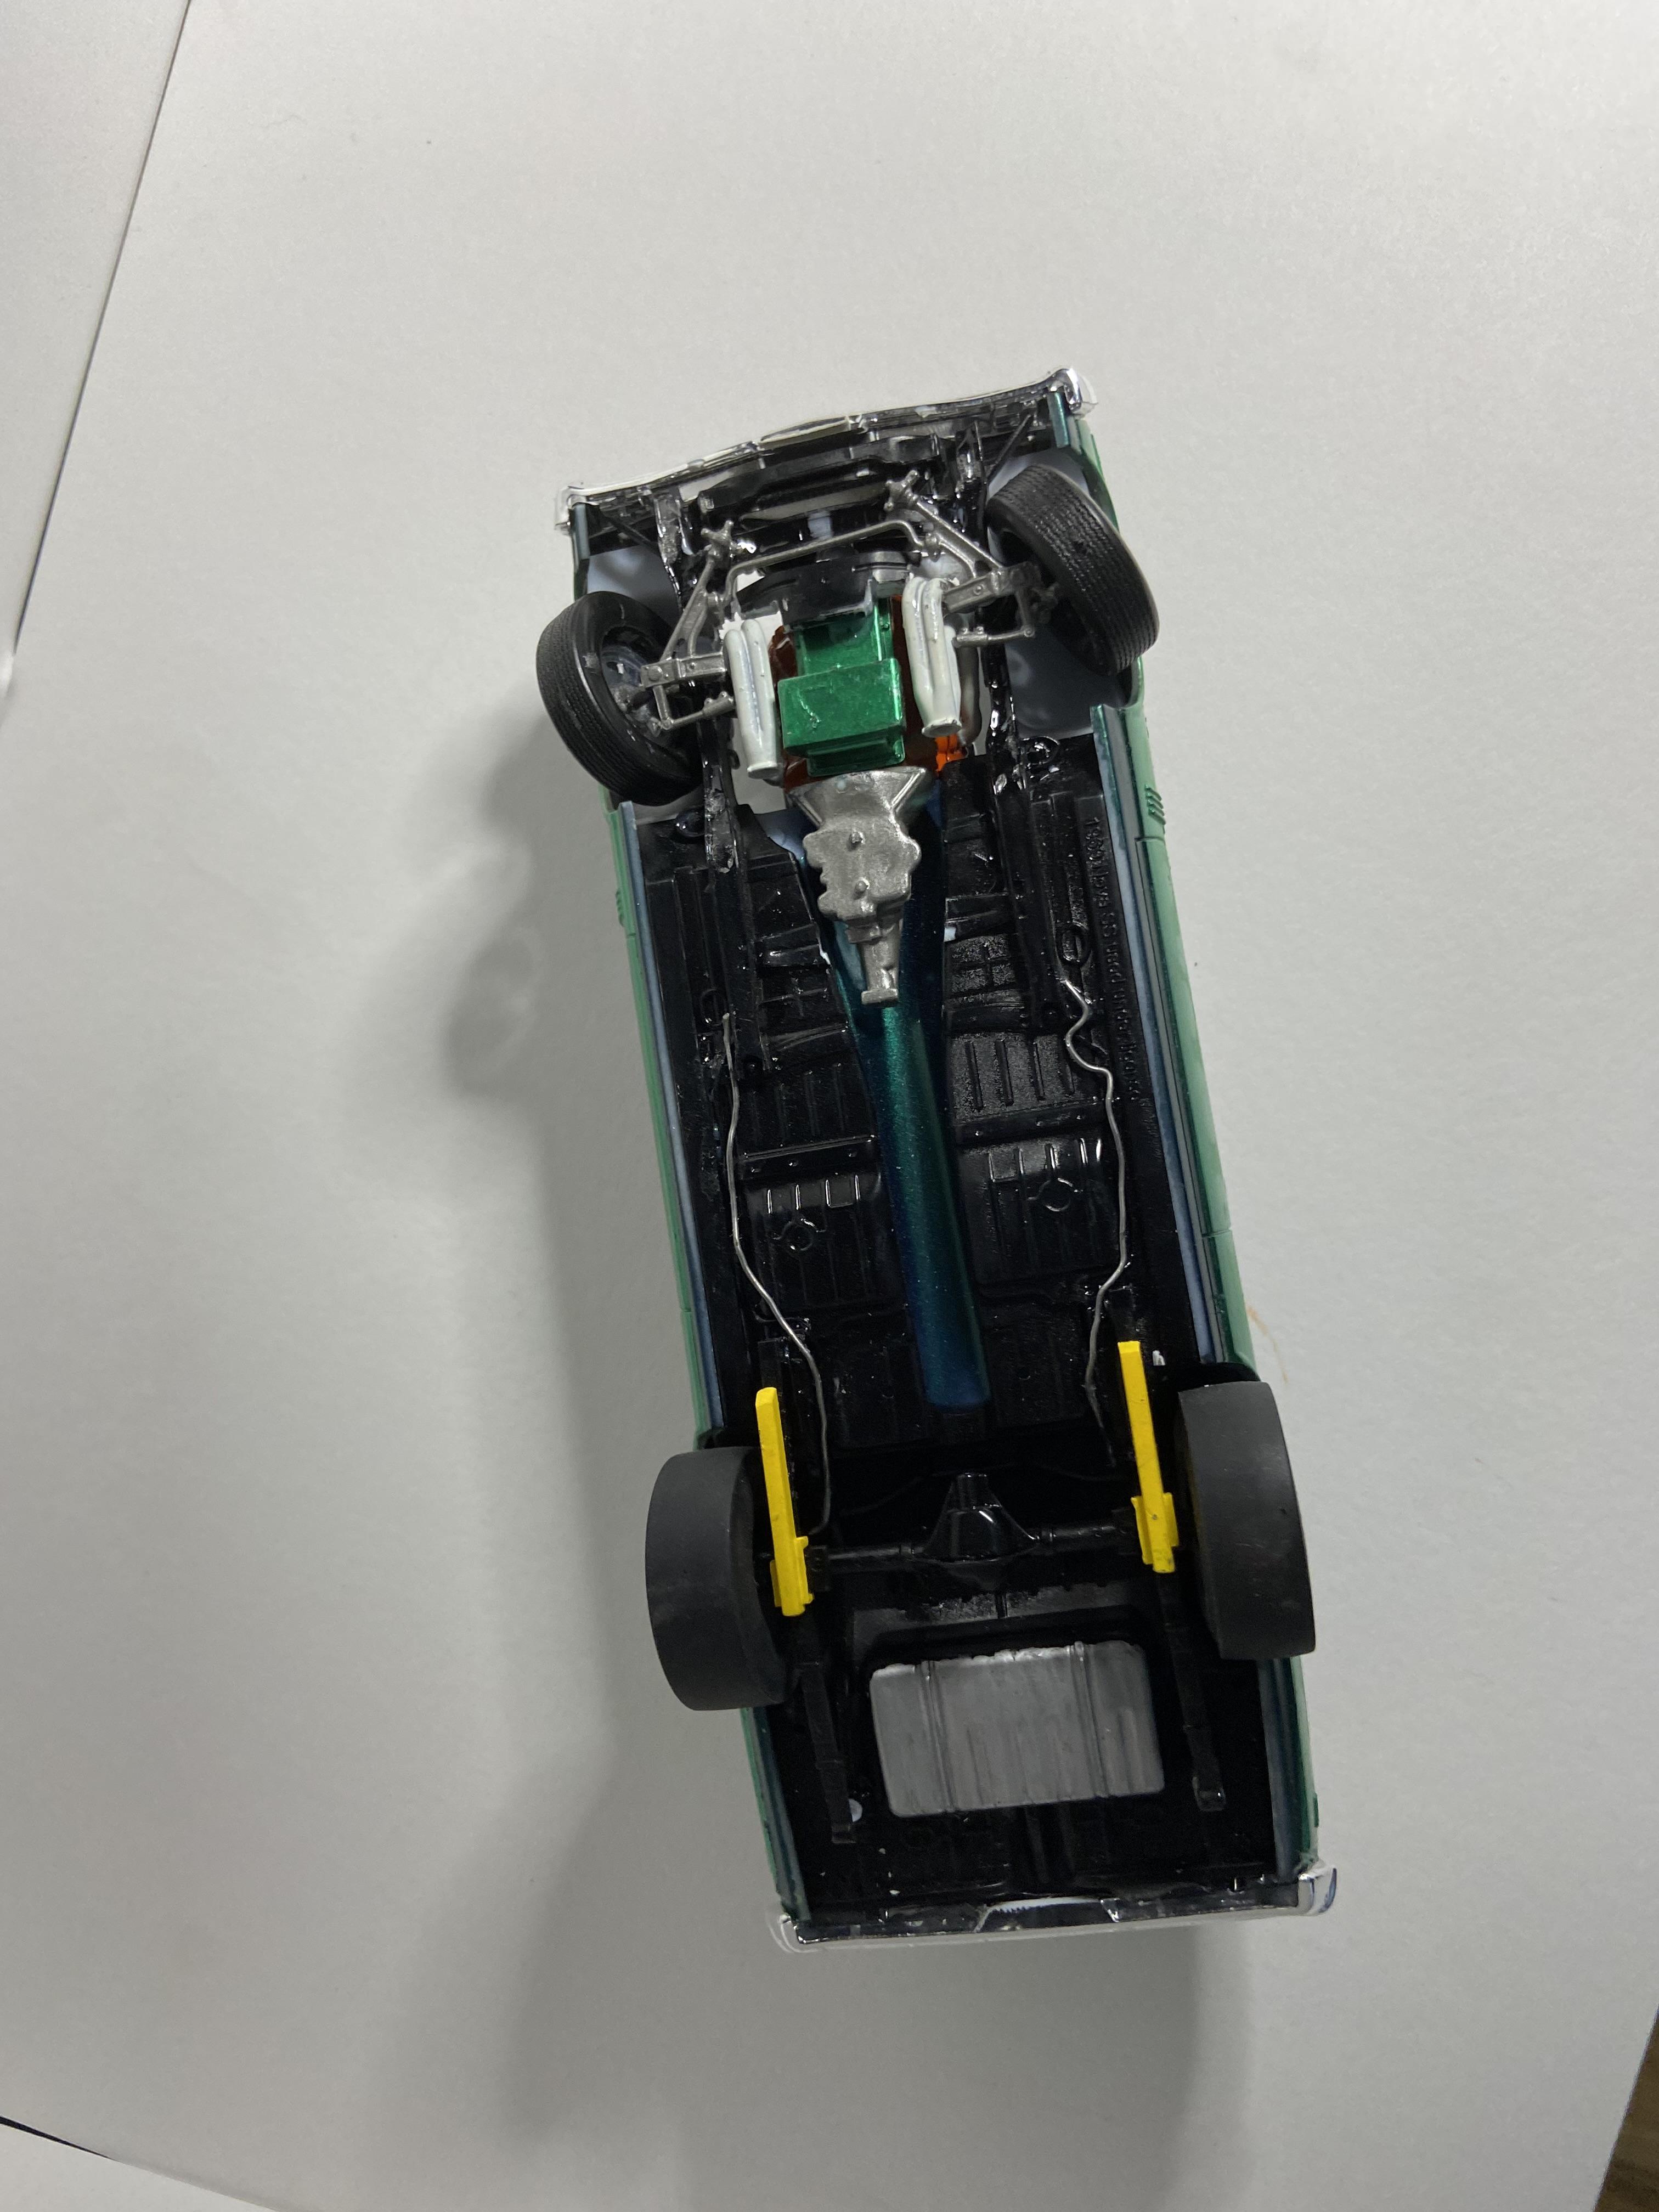
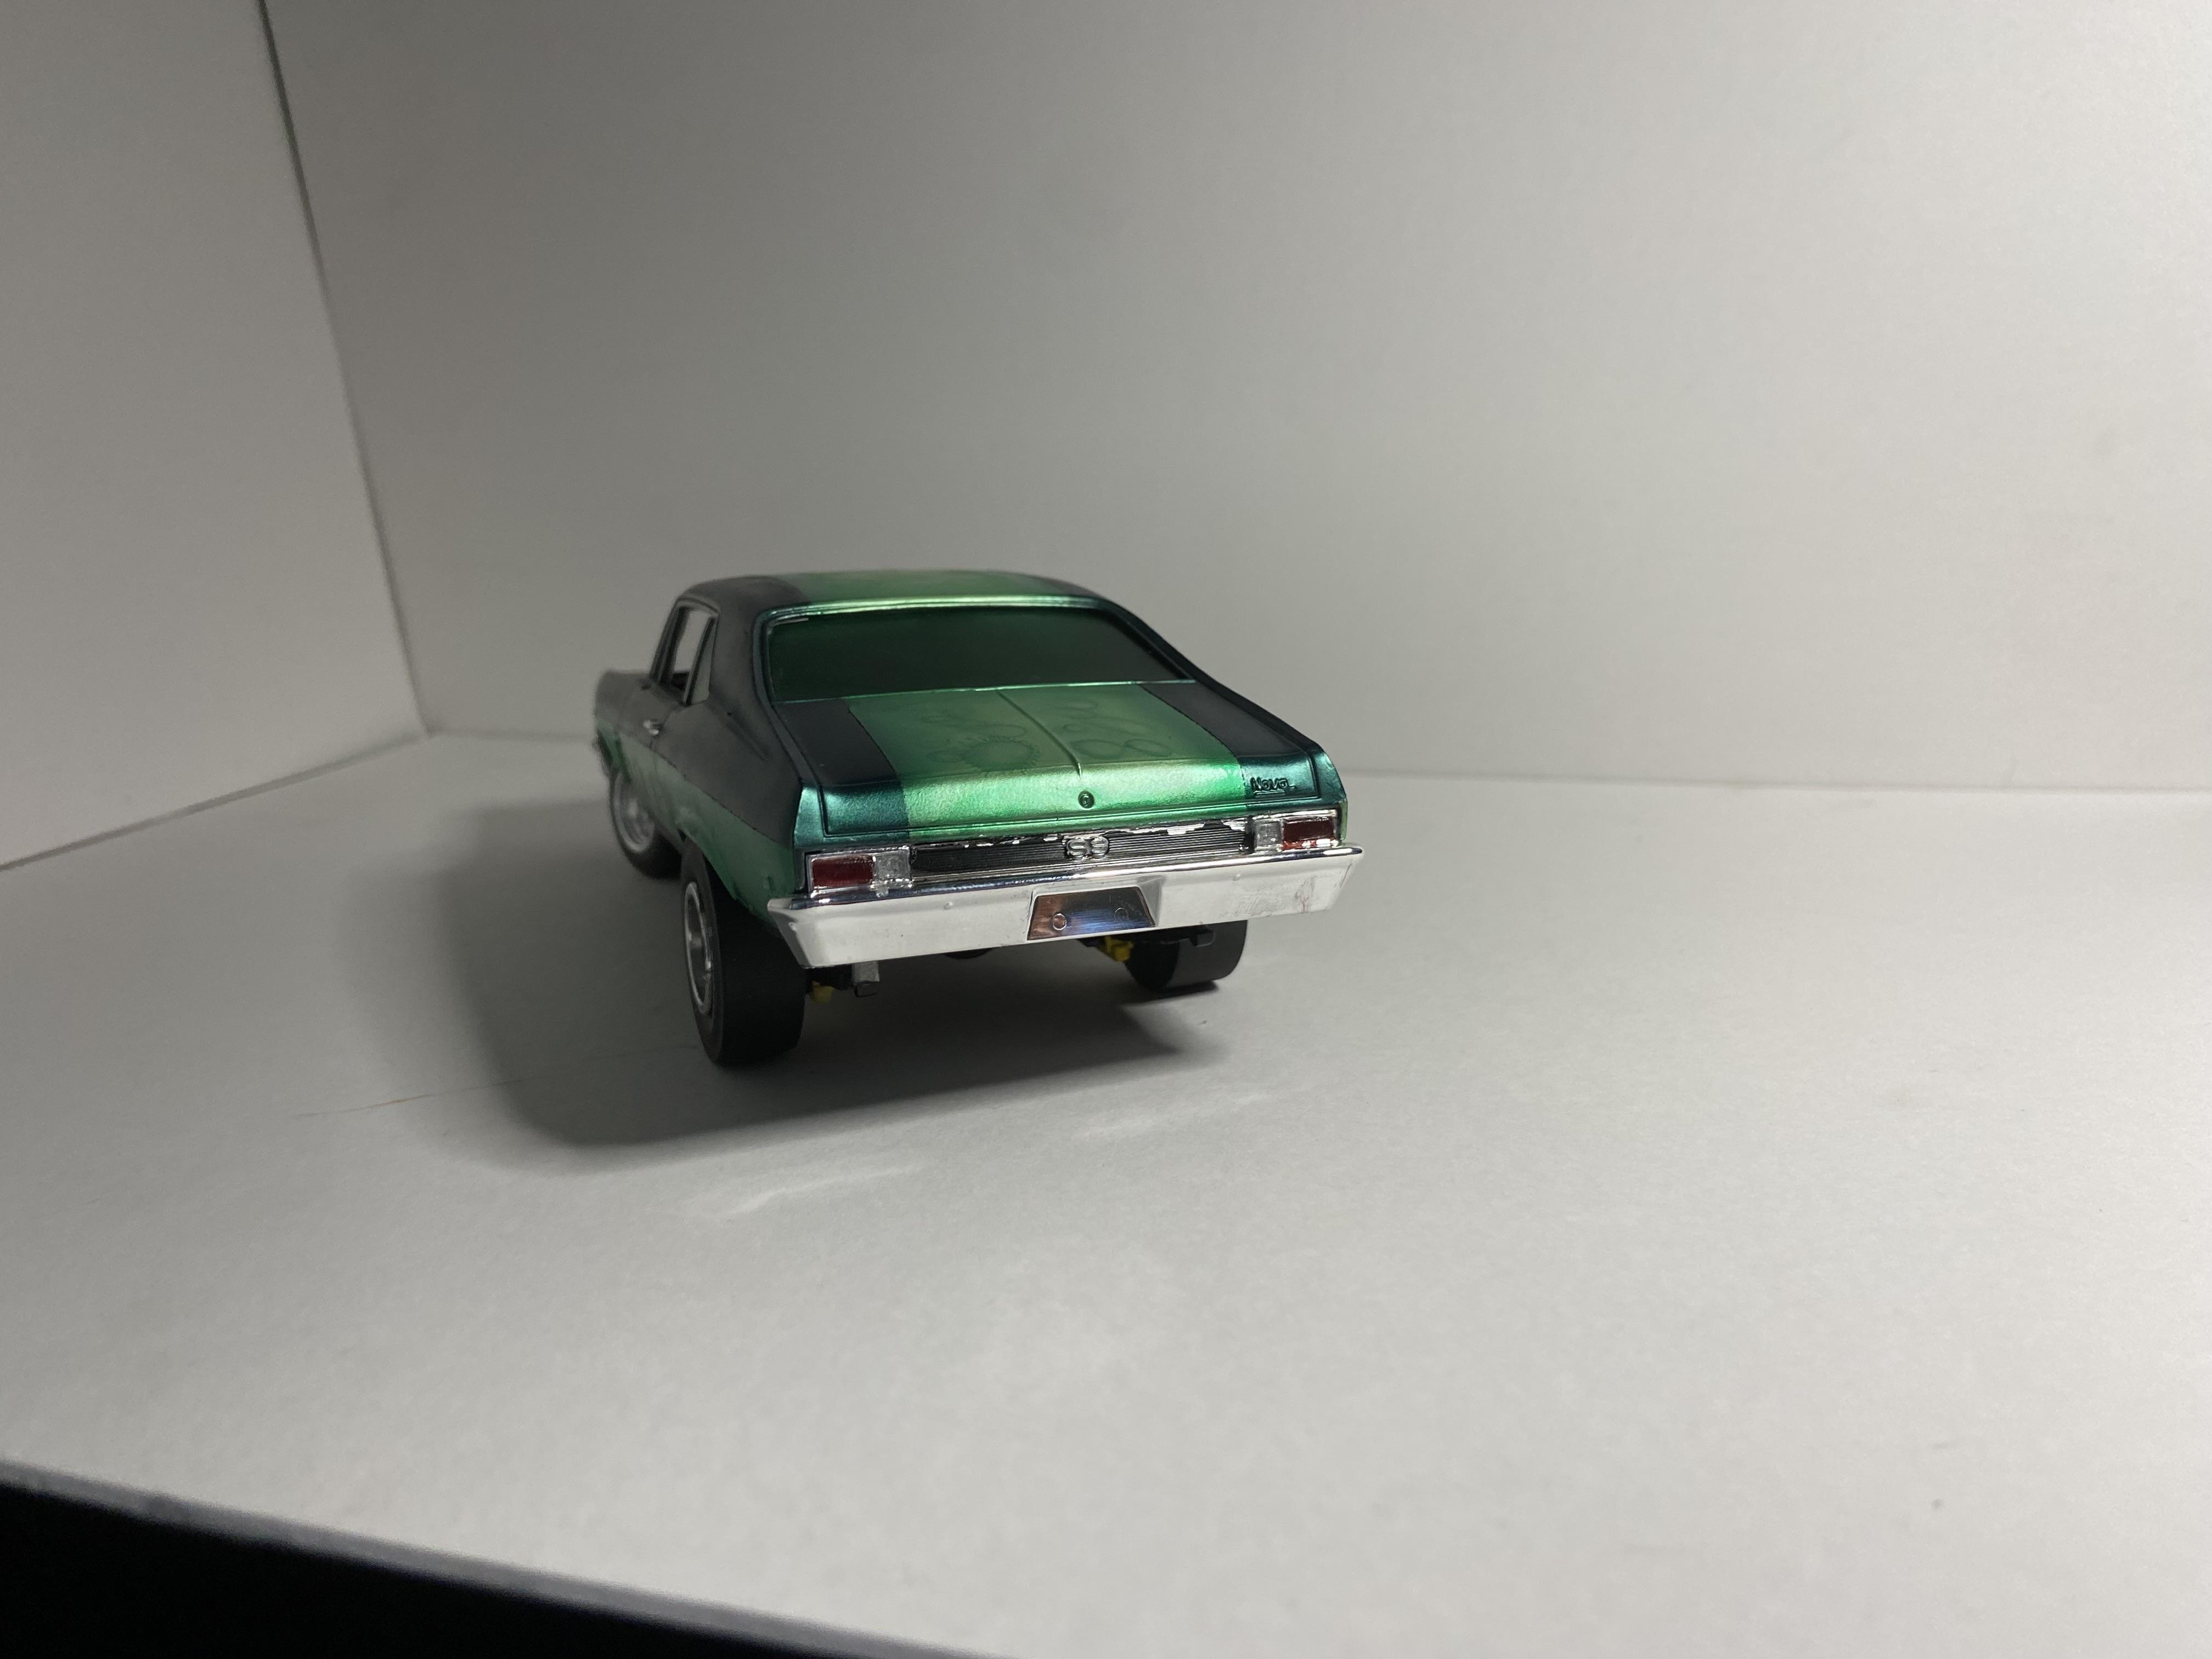
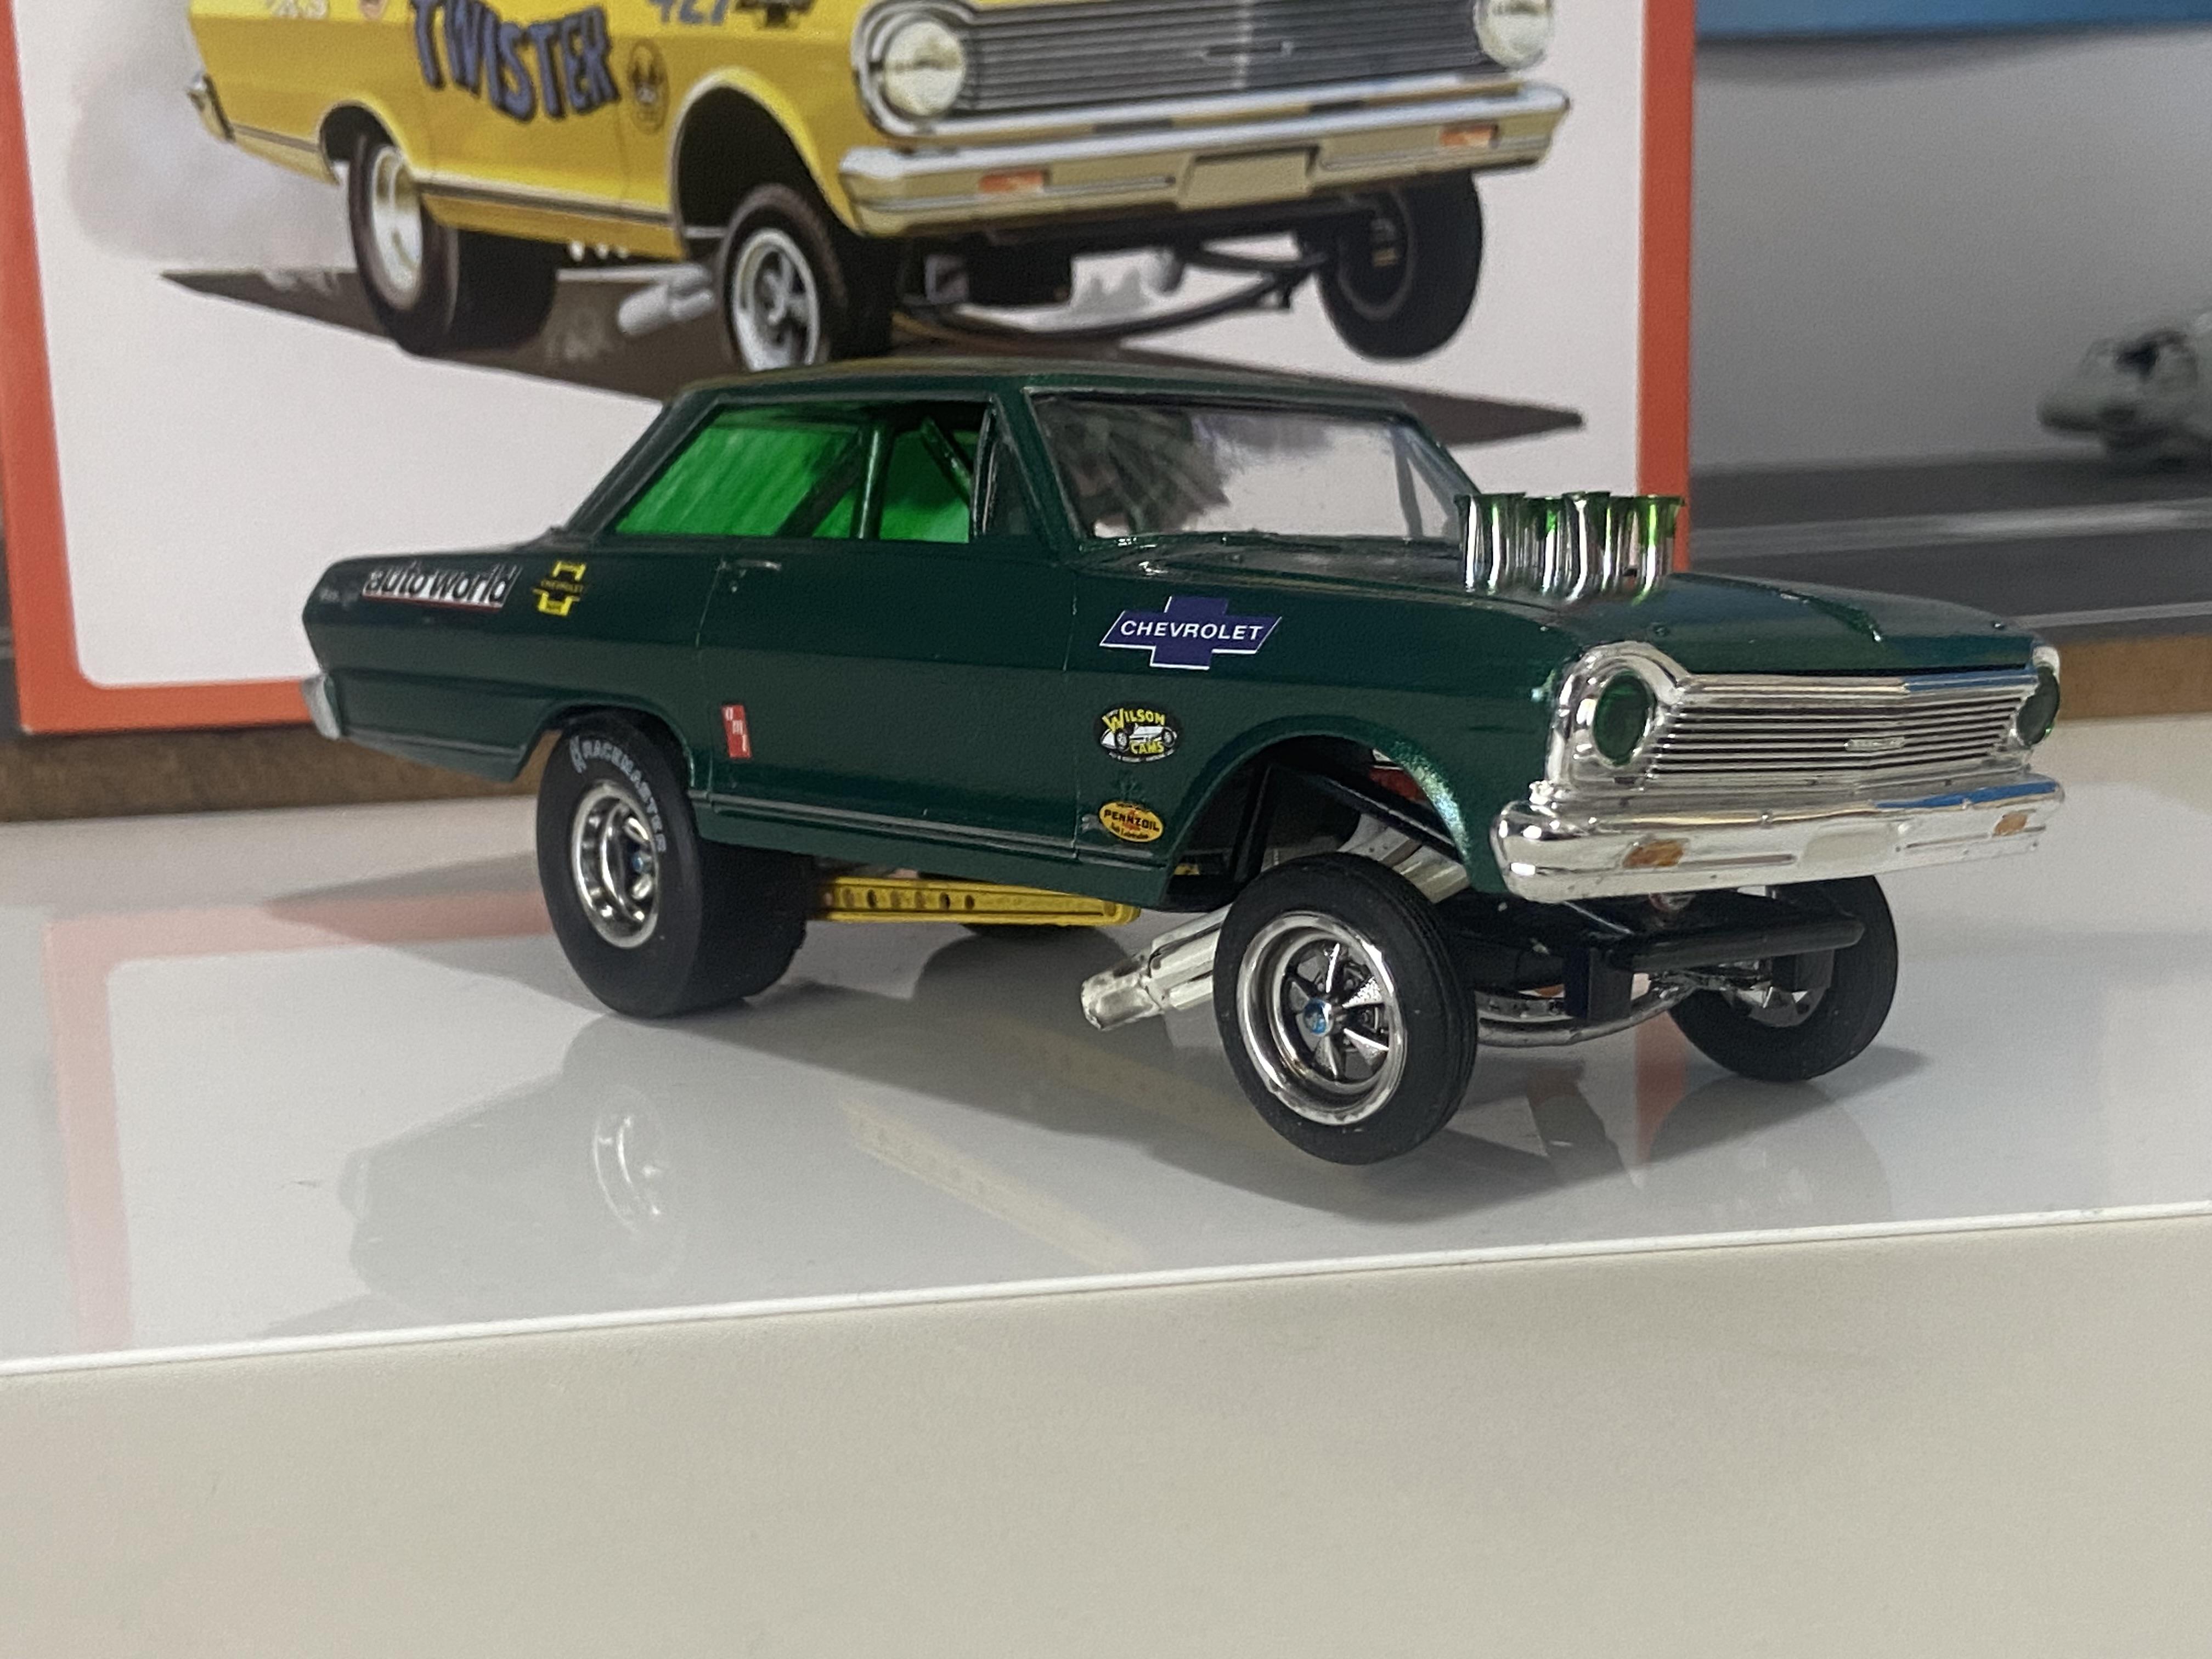
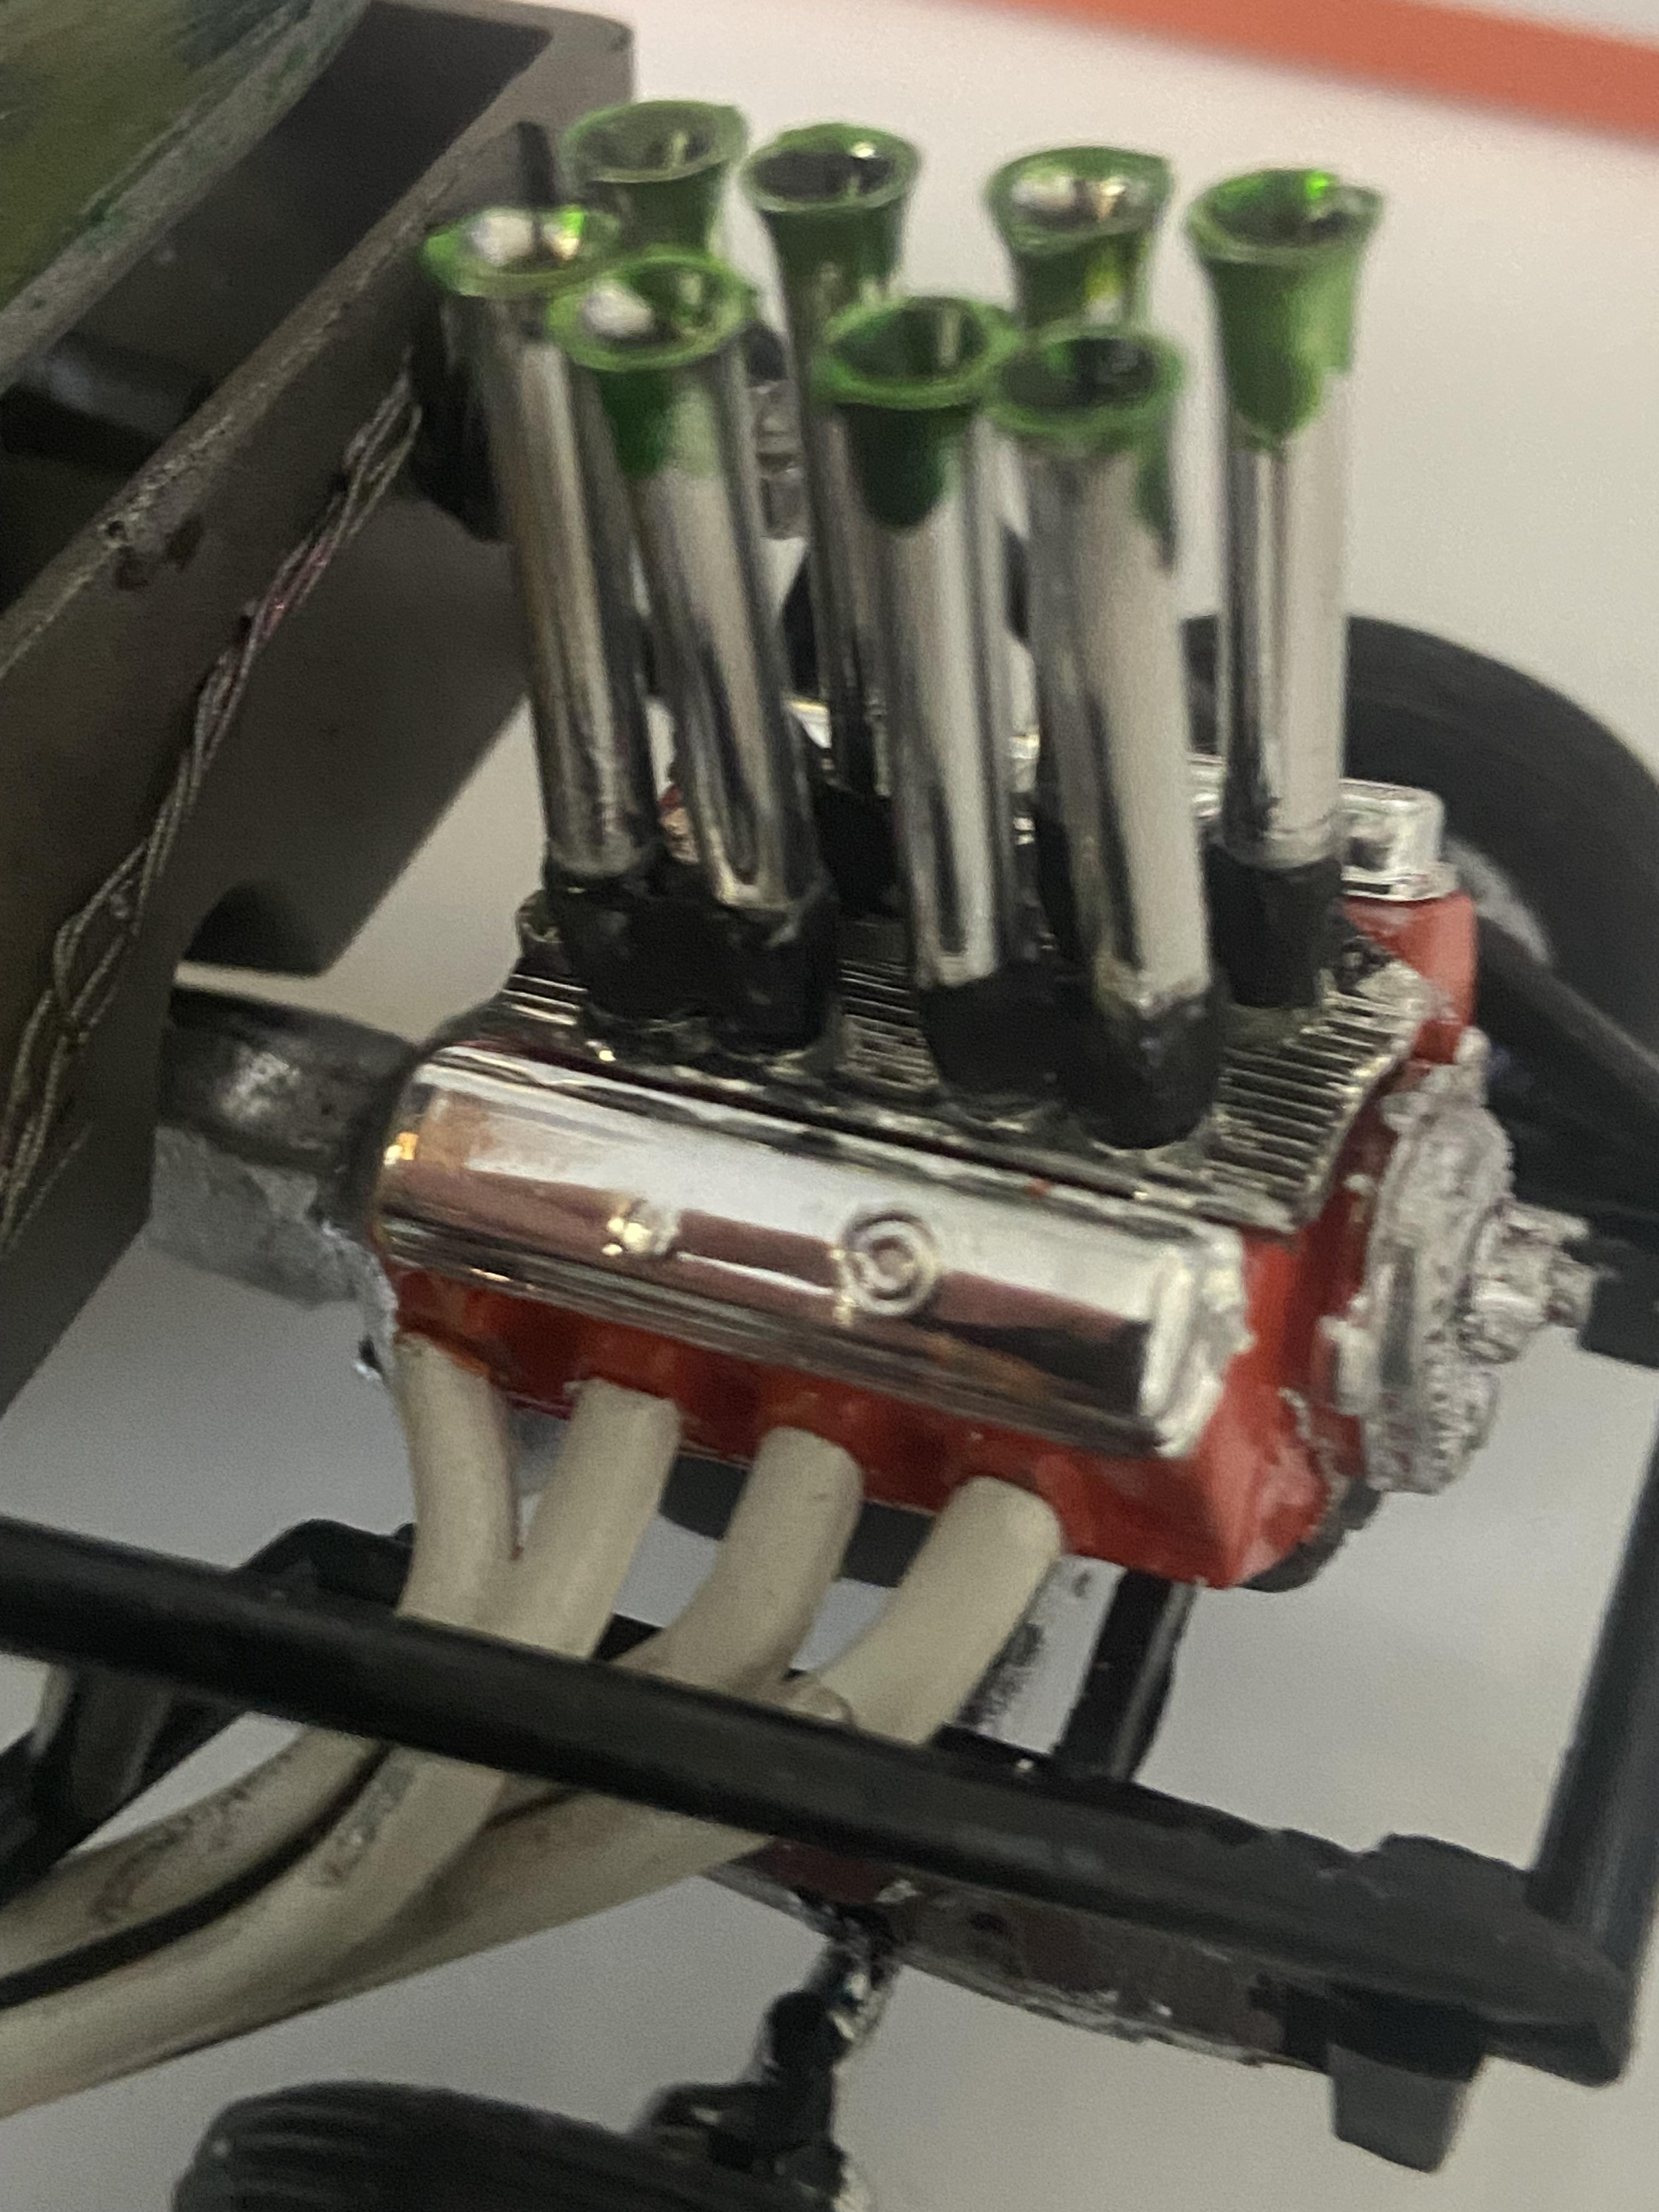
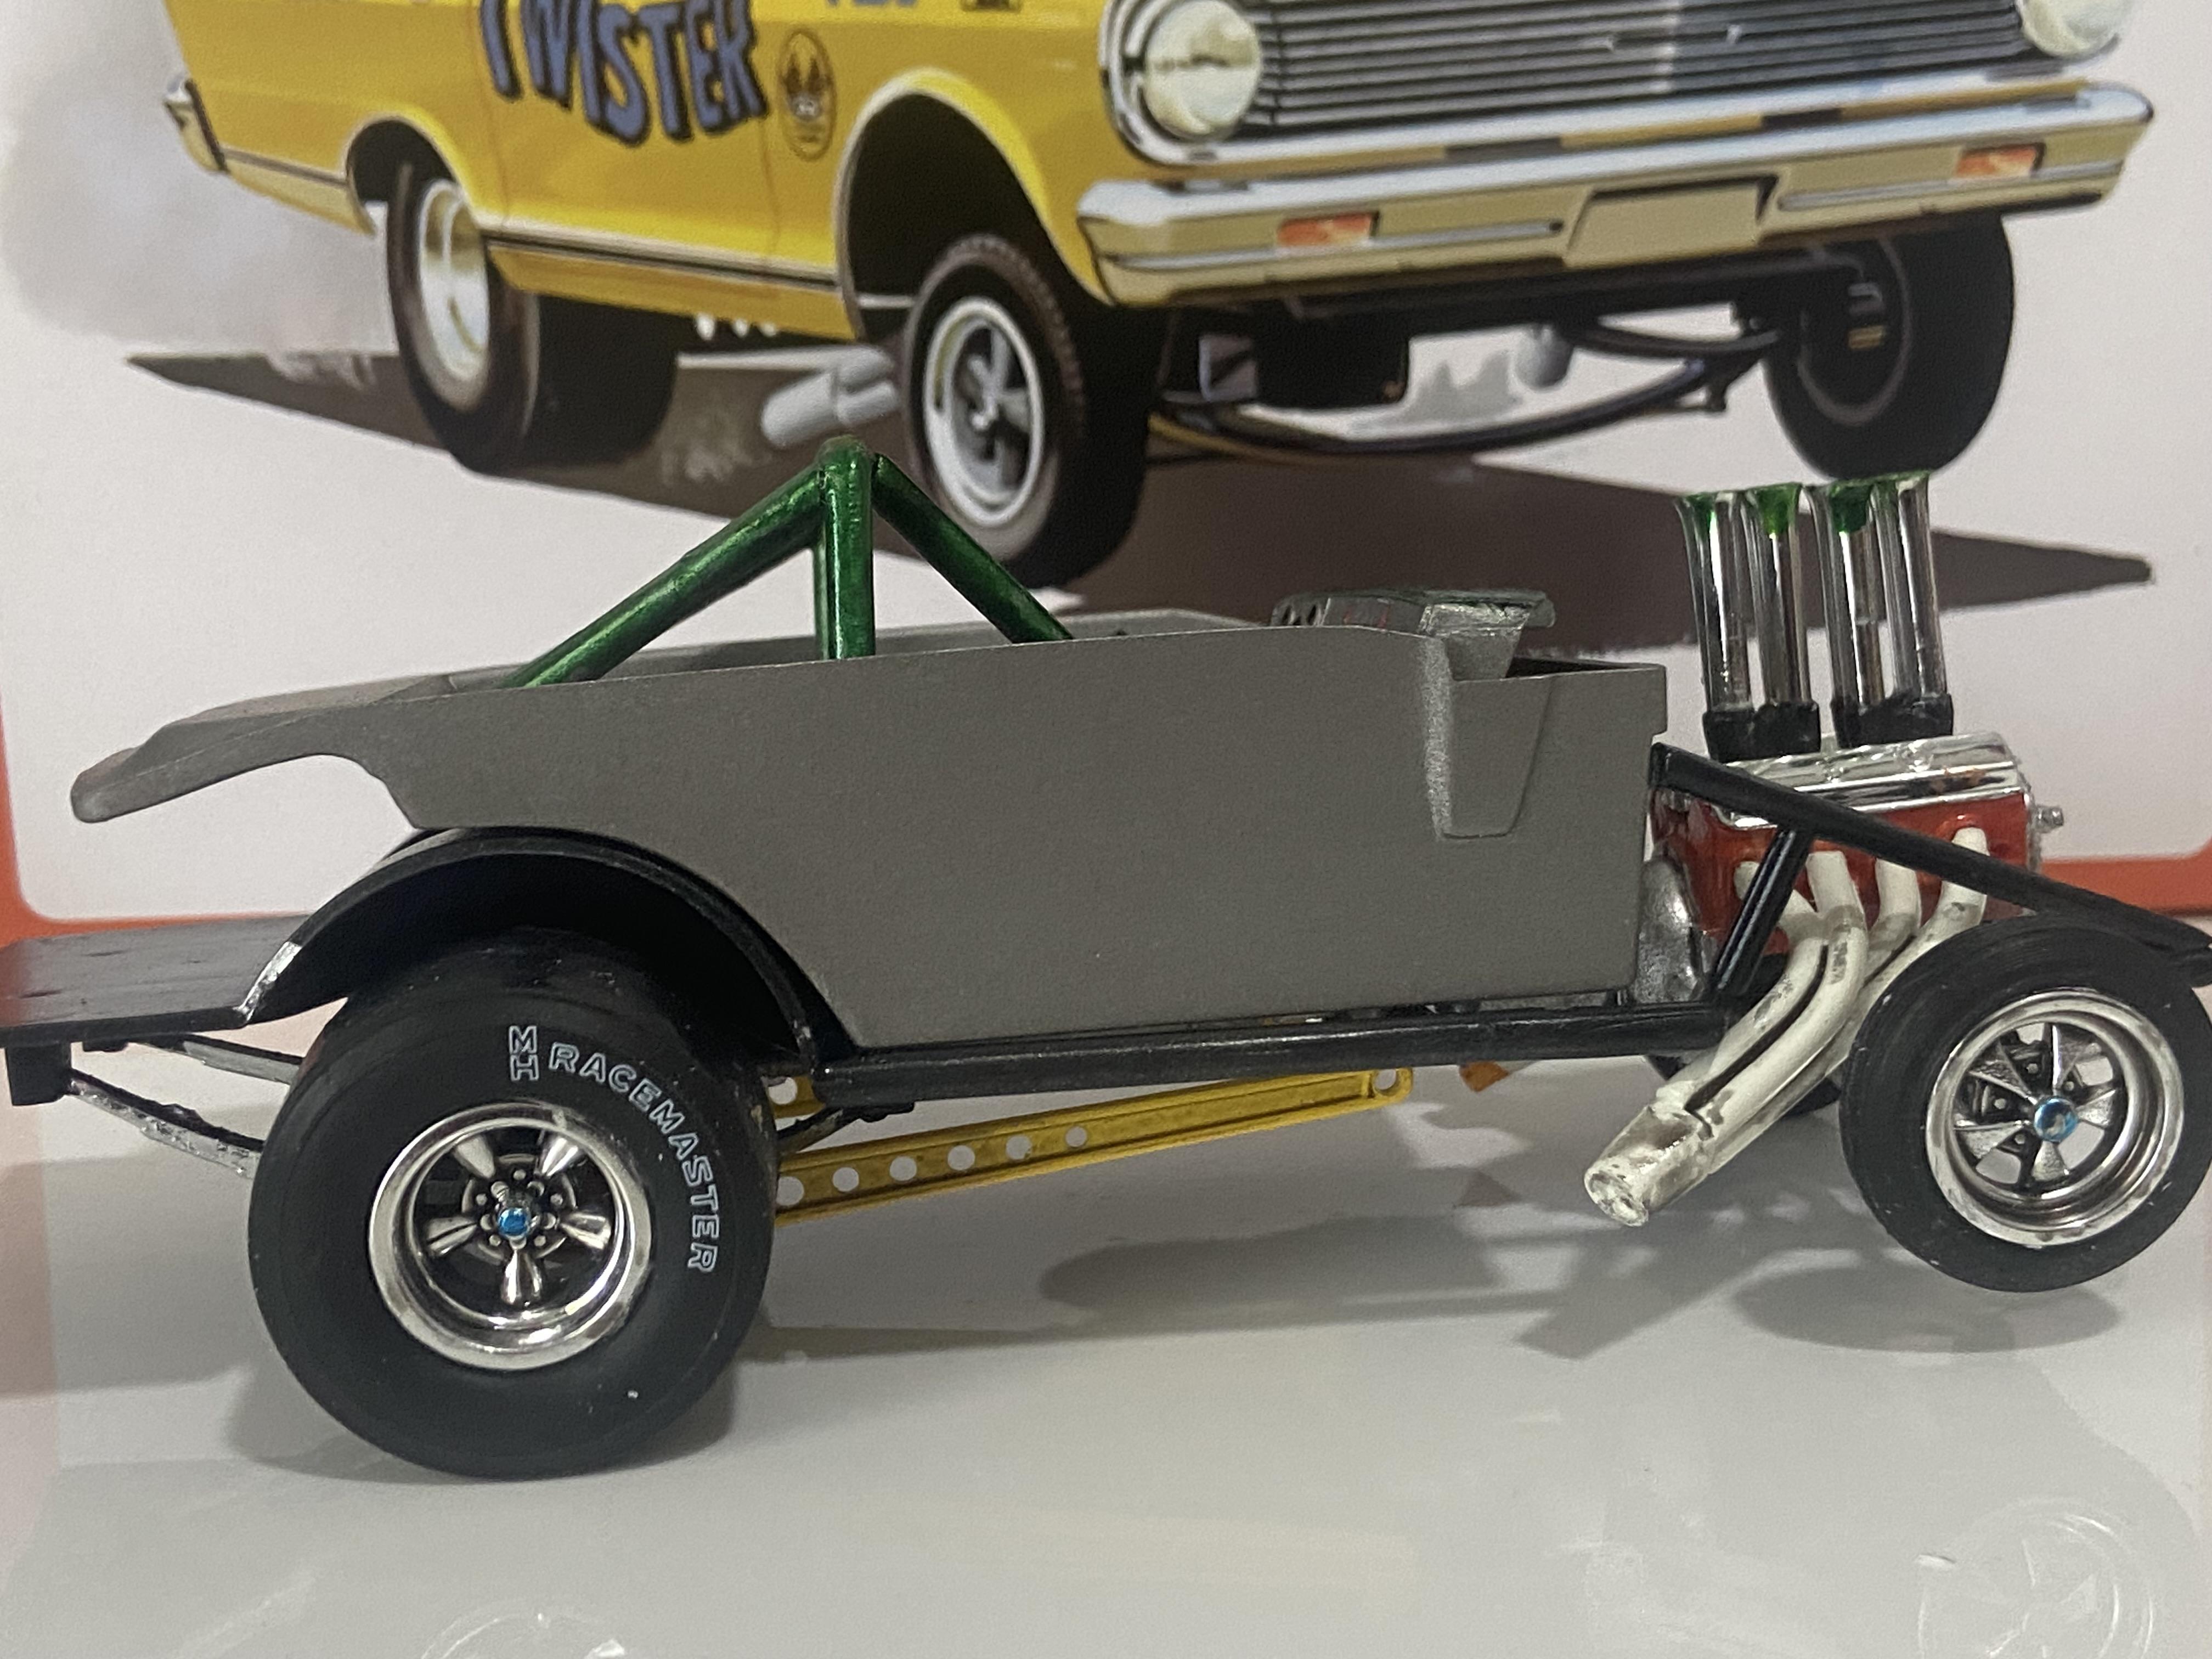
Here’s my completed revell 69 nova street freak. The colour is SMS paints Jade green and Pearl Apple green. The motor is a 3d printed big block I got off eBay. But that’s all enjoy.

- 16 replies
-
- 7
-

-
- rake
- streetfreak
- (and 2 more)
-
Here I go again starting 10 projects at once. I finally found that other header and I'm amassing parts for this project wile I'm still waiting for the kit to arrive.
-
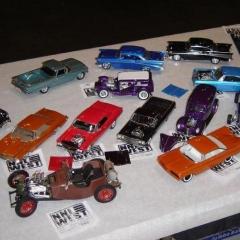
This has been on the bench idle since late summer, however, was able to wrap it up quickly to bring to NNL West yesterday. Kit is Revell's most recent offering. With the exception of parts box wheels and tires, this was built straight from the box. I enjoyed the kit, and felt it was decently engineered. Tamiya Paint: TS-92 Metallic Orange, followed by TS-73 Clear orange, and final clear using TS-13. All feedback warmly received.
- 24 replies
-
- 12
-
-
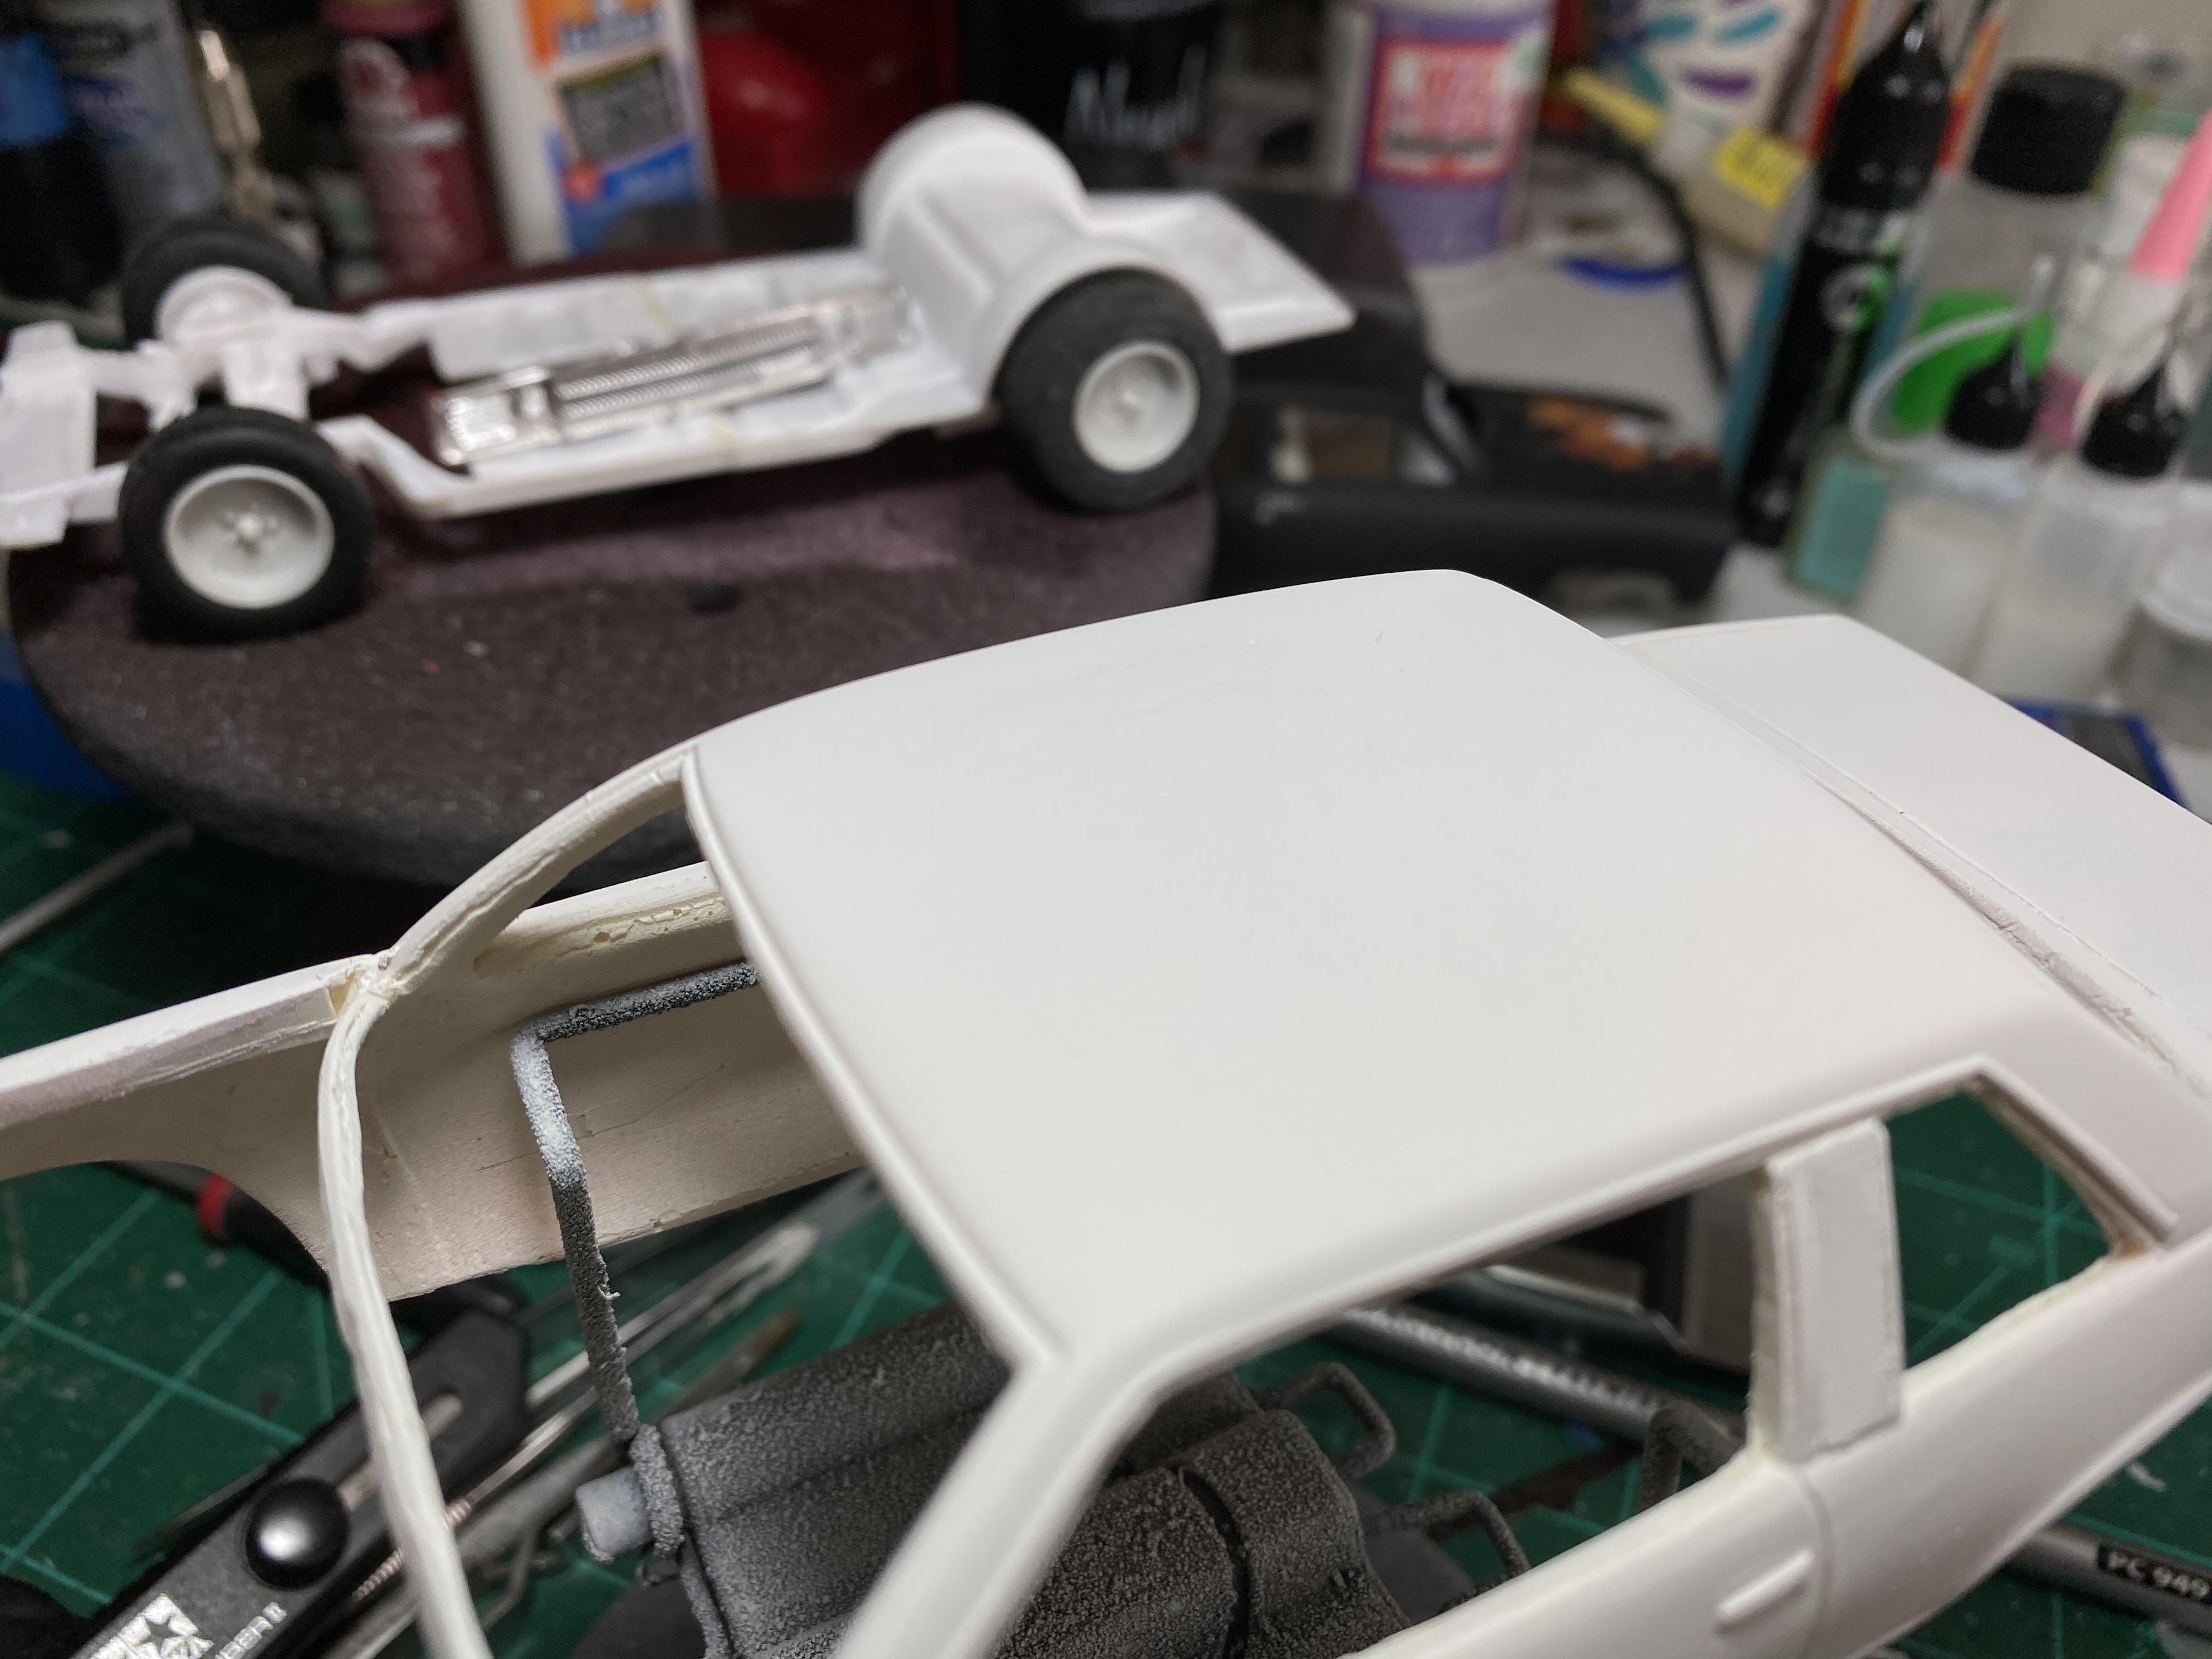
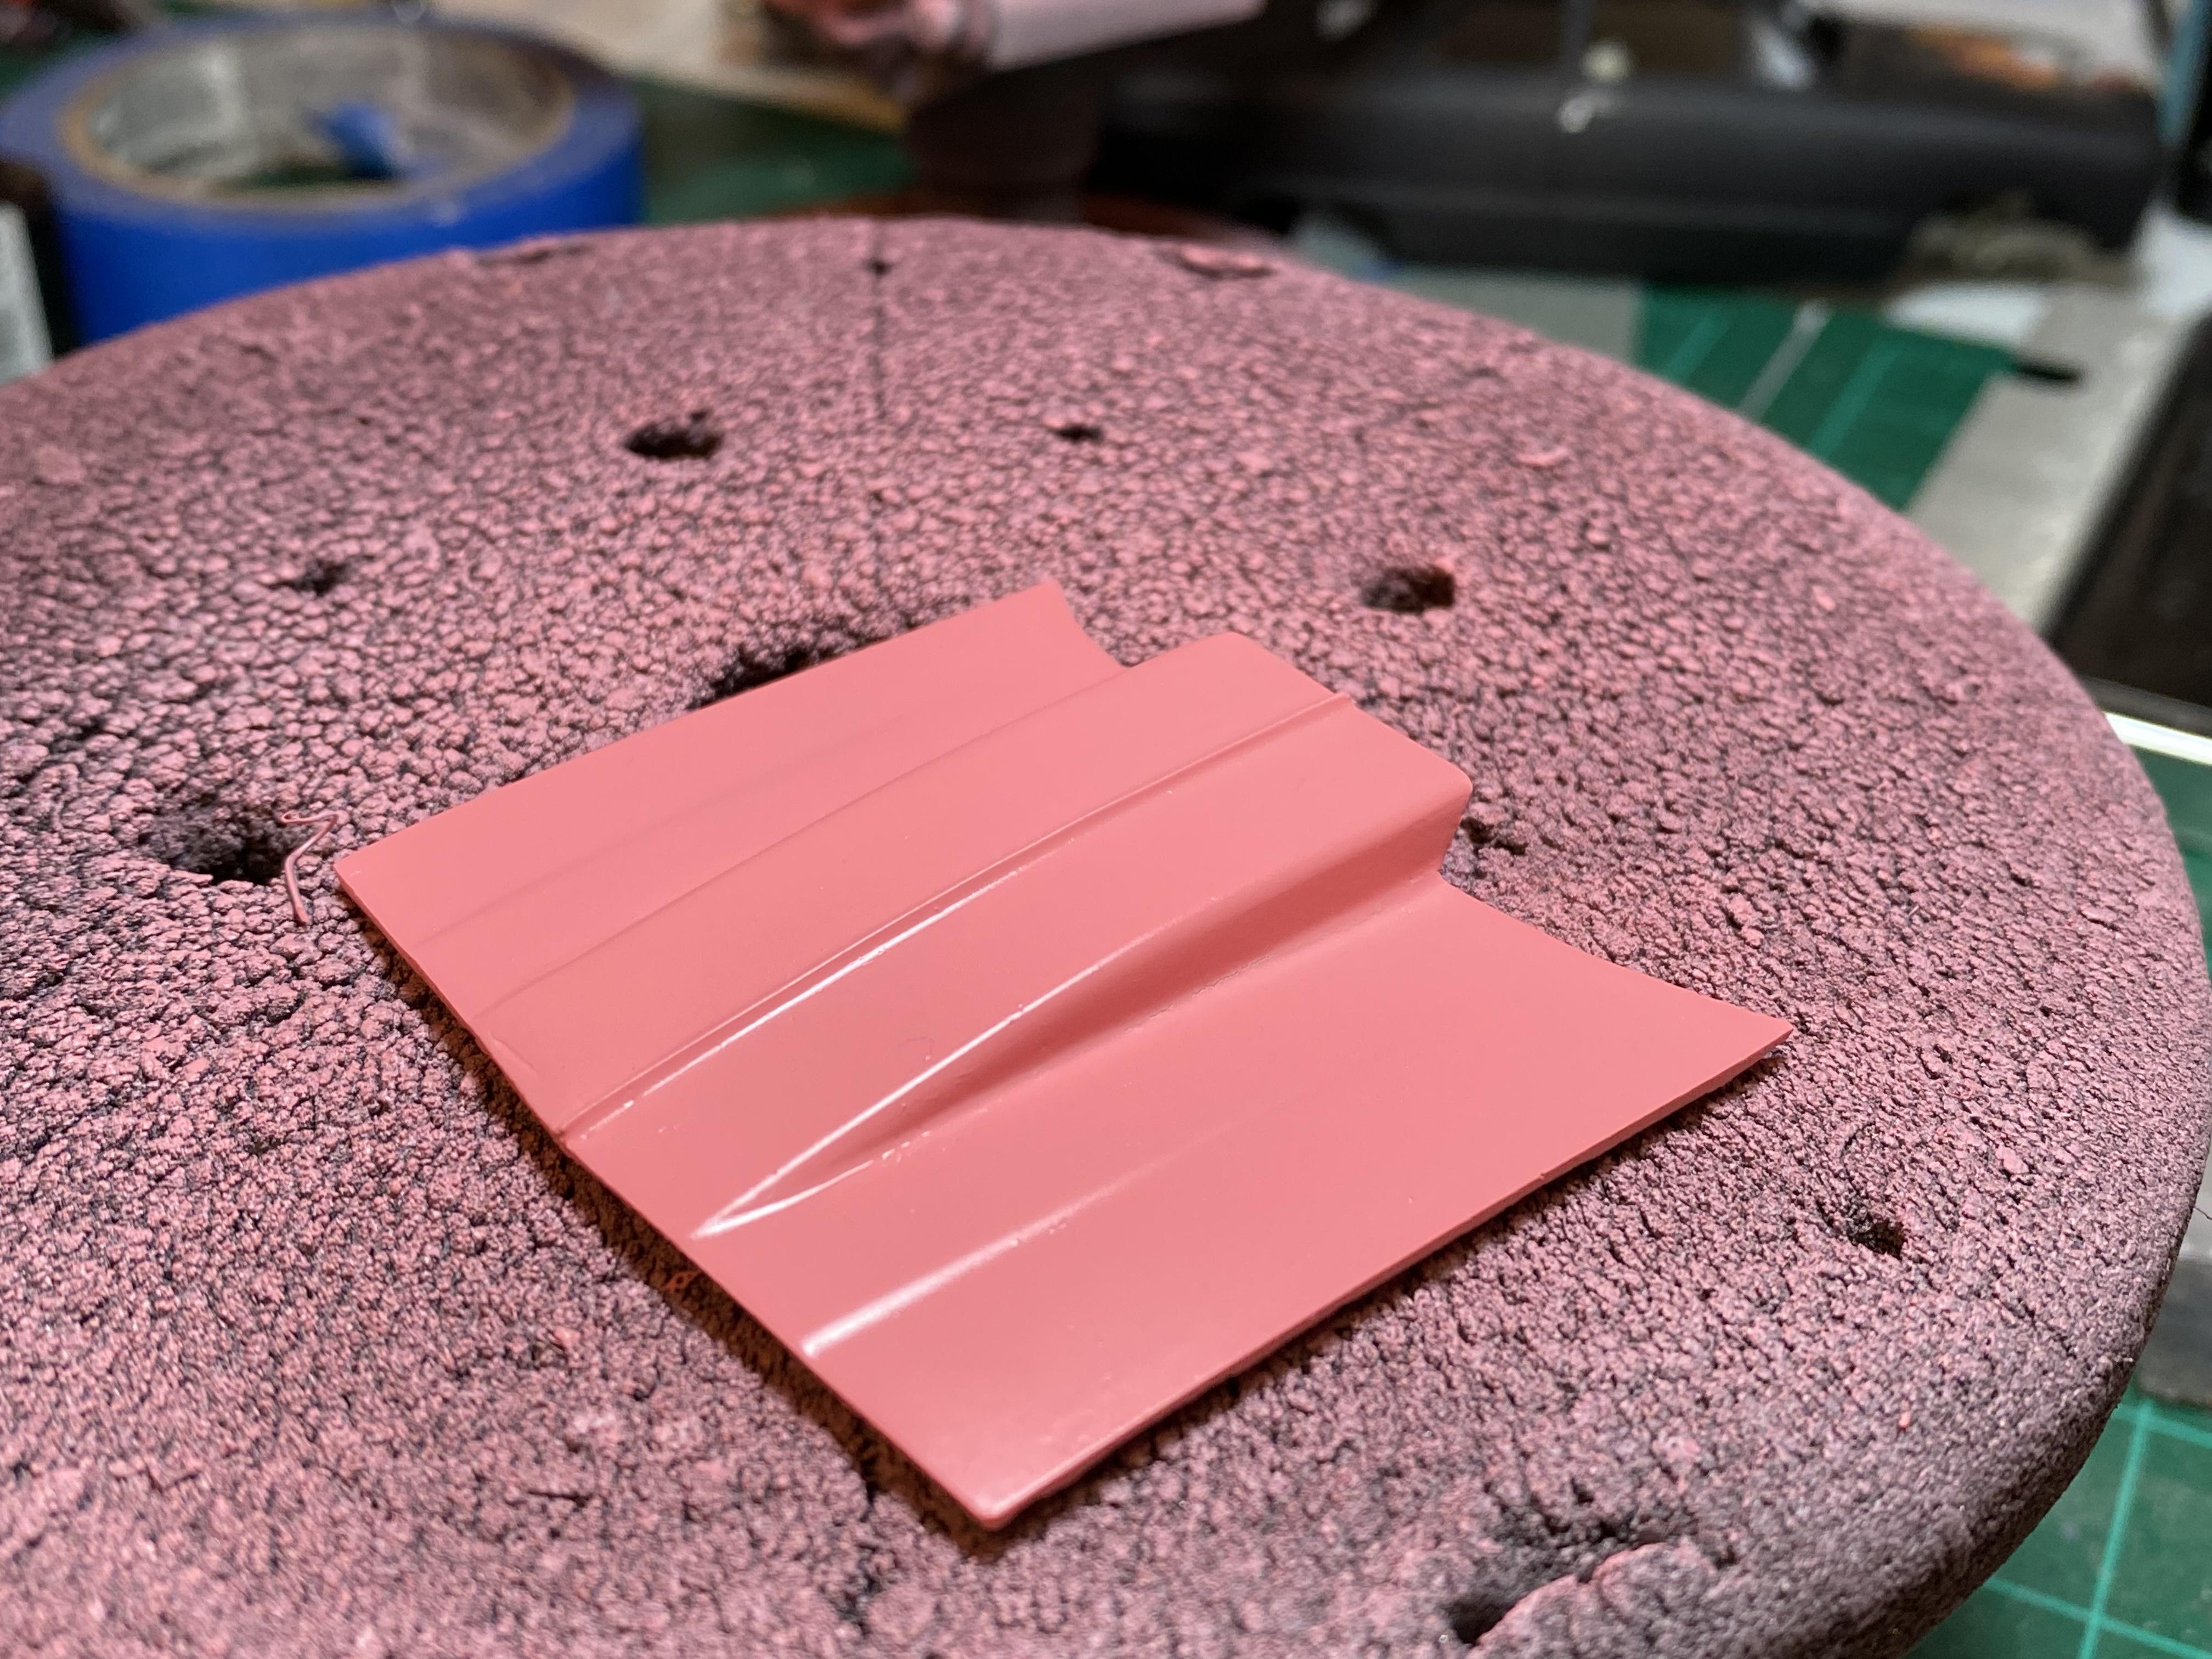
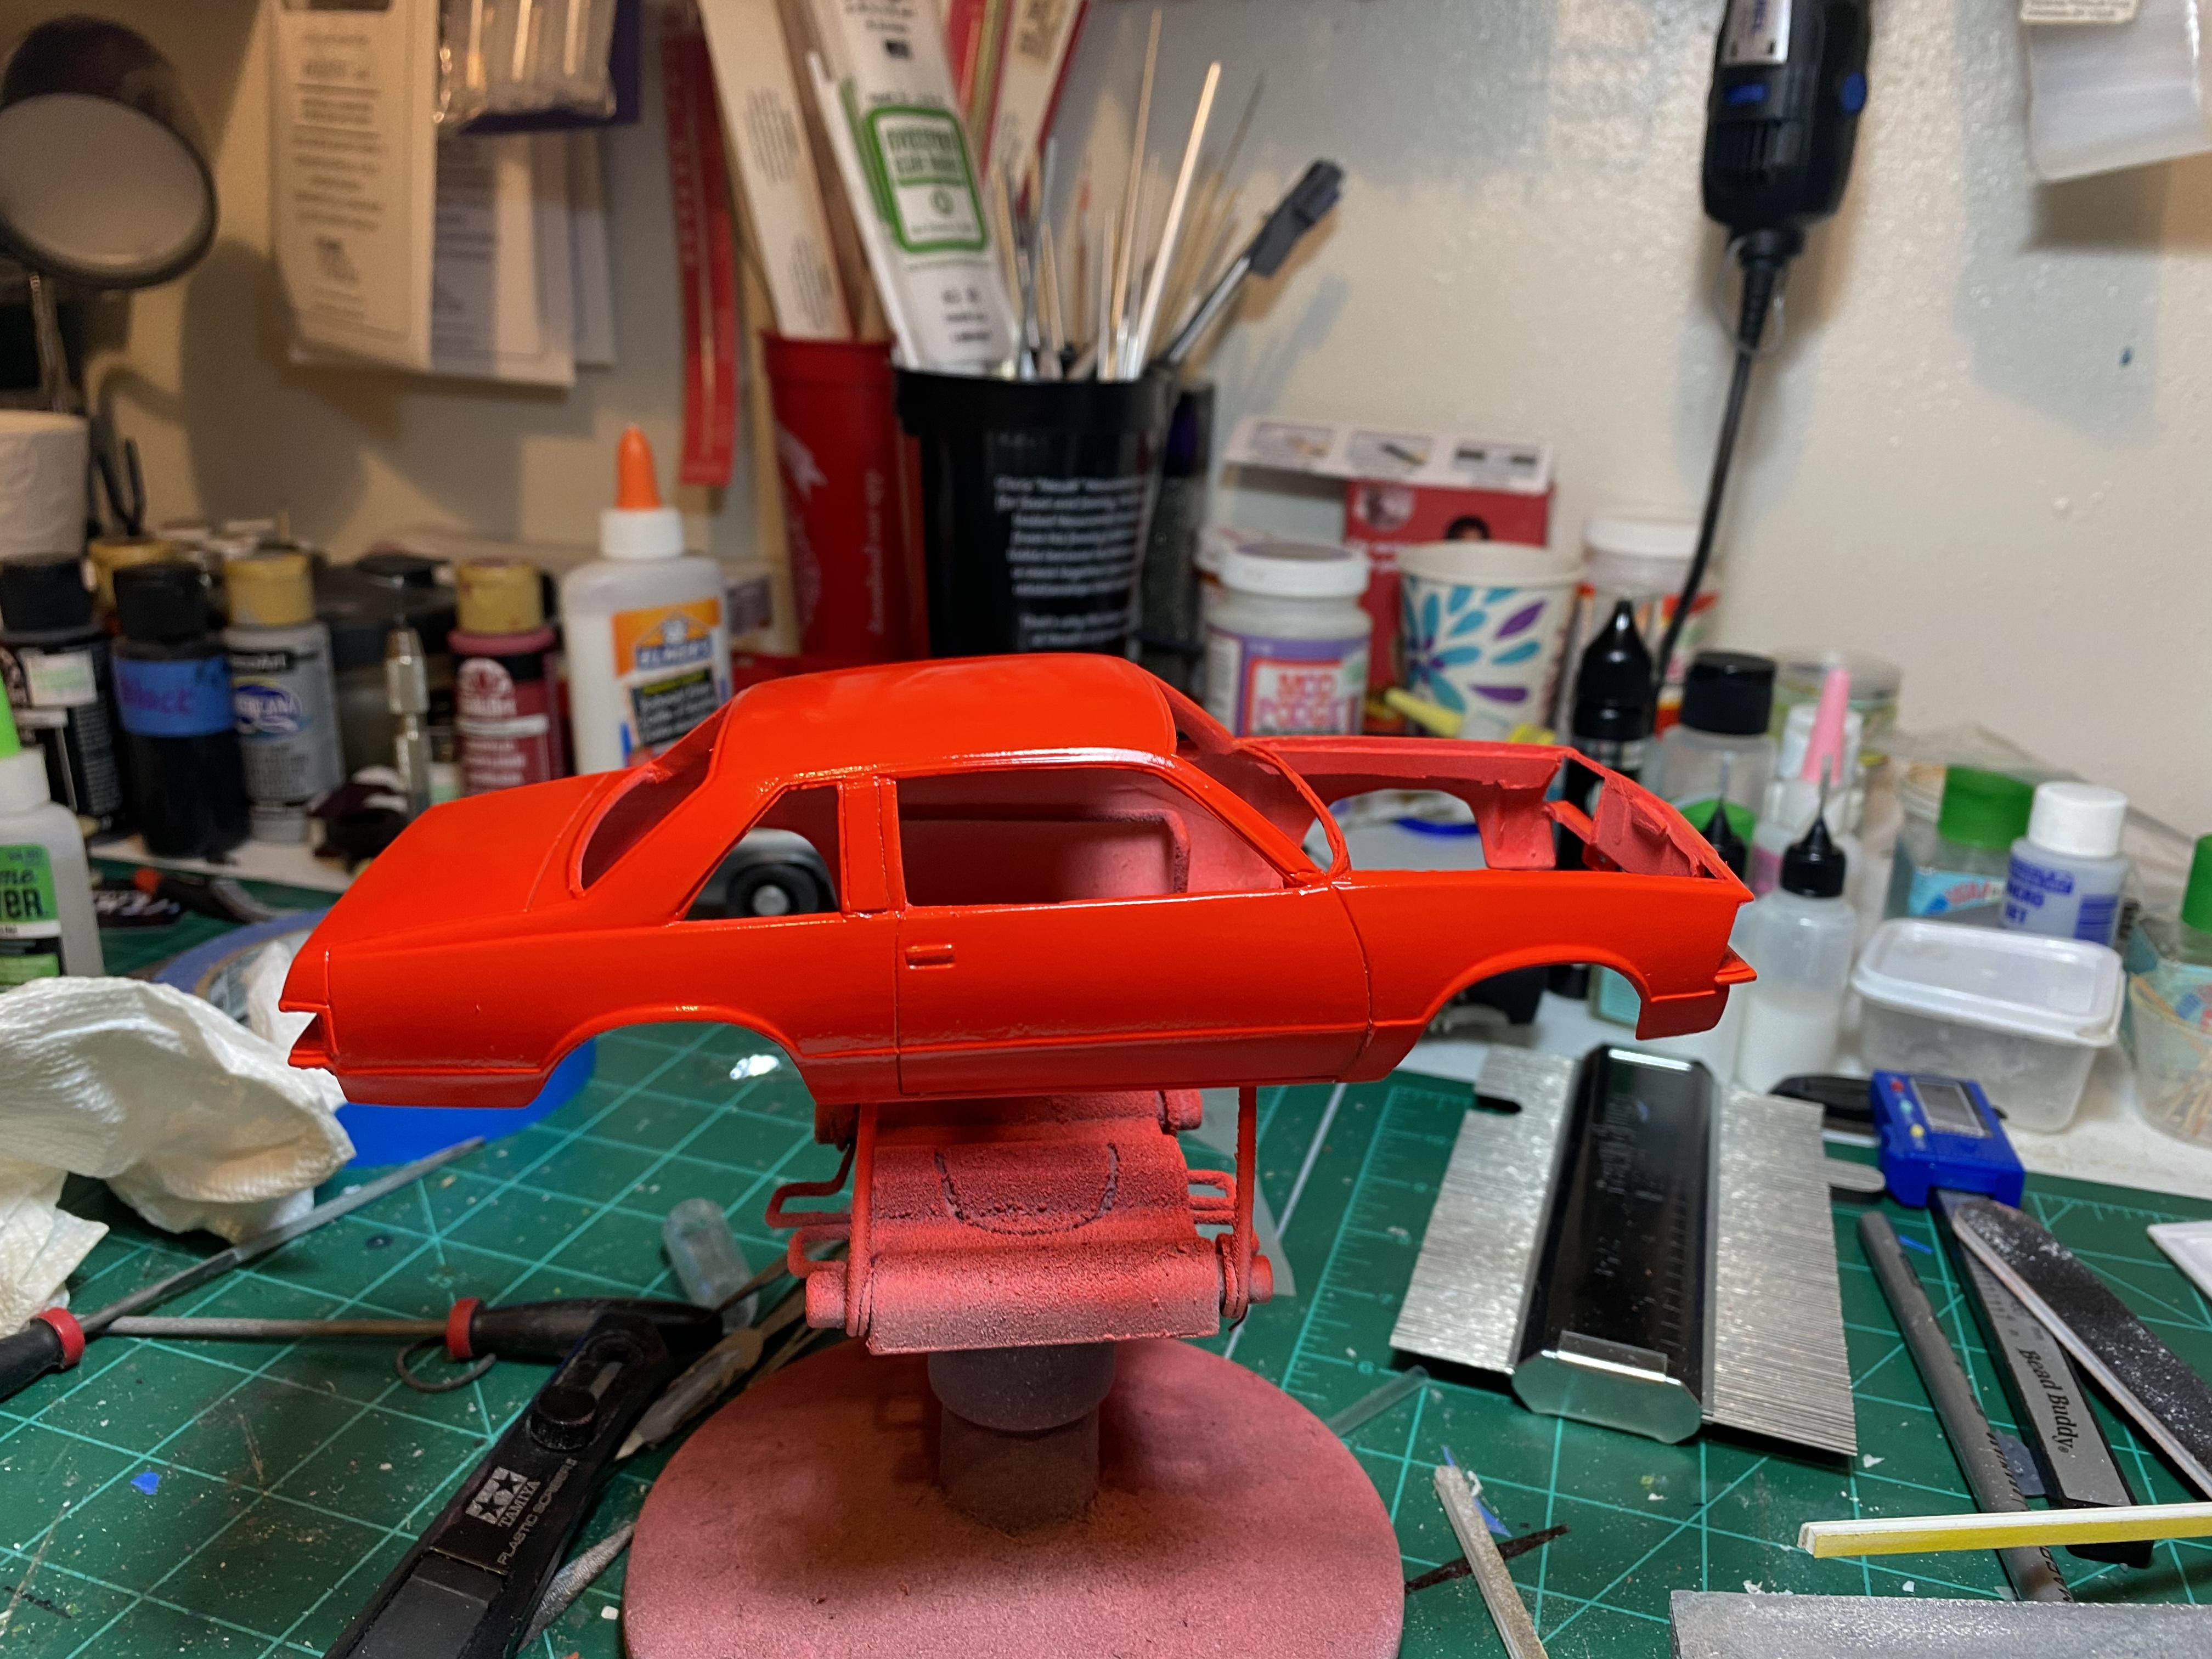
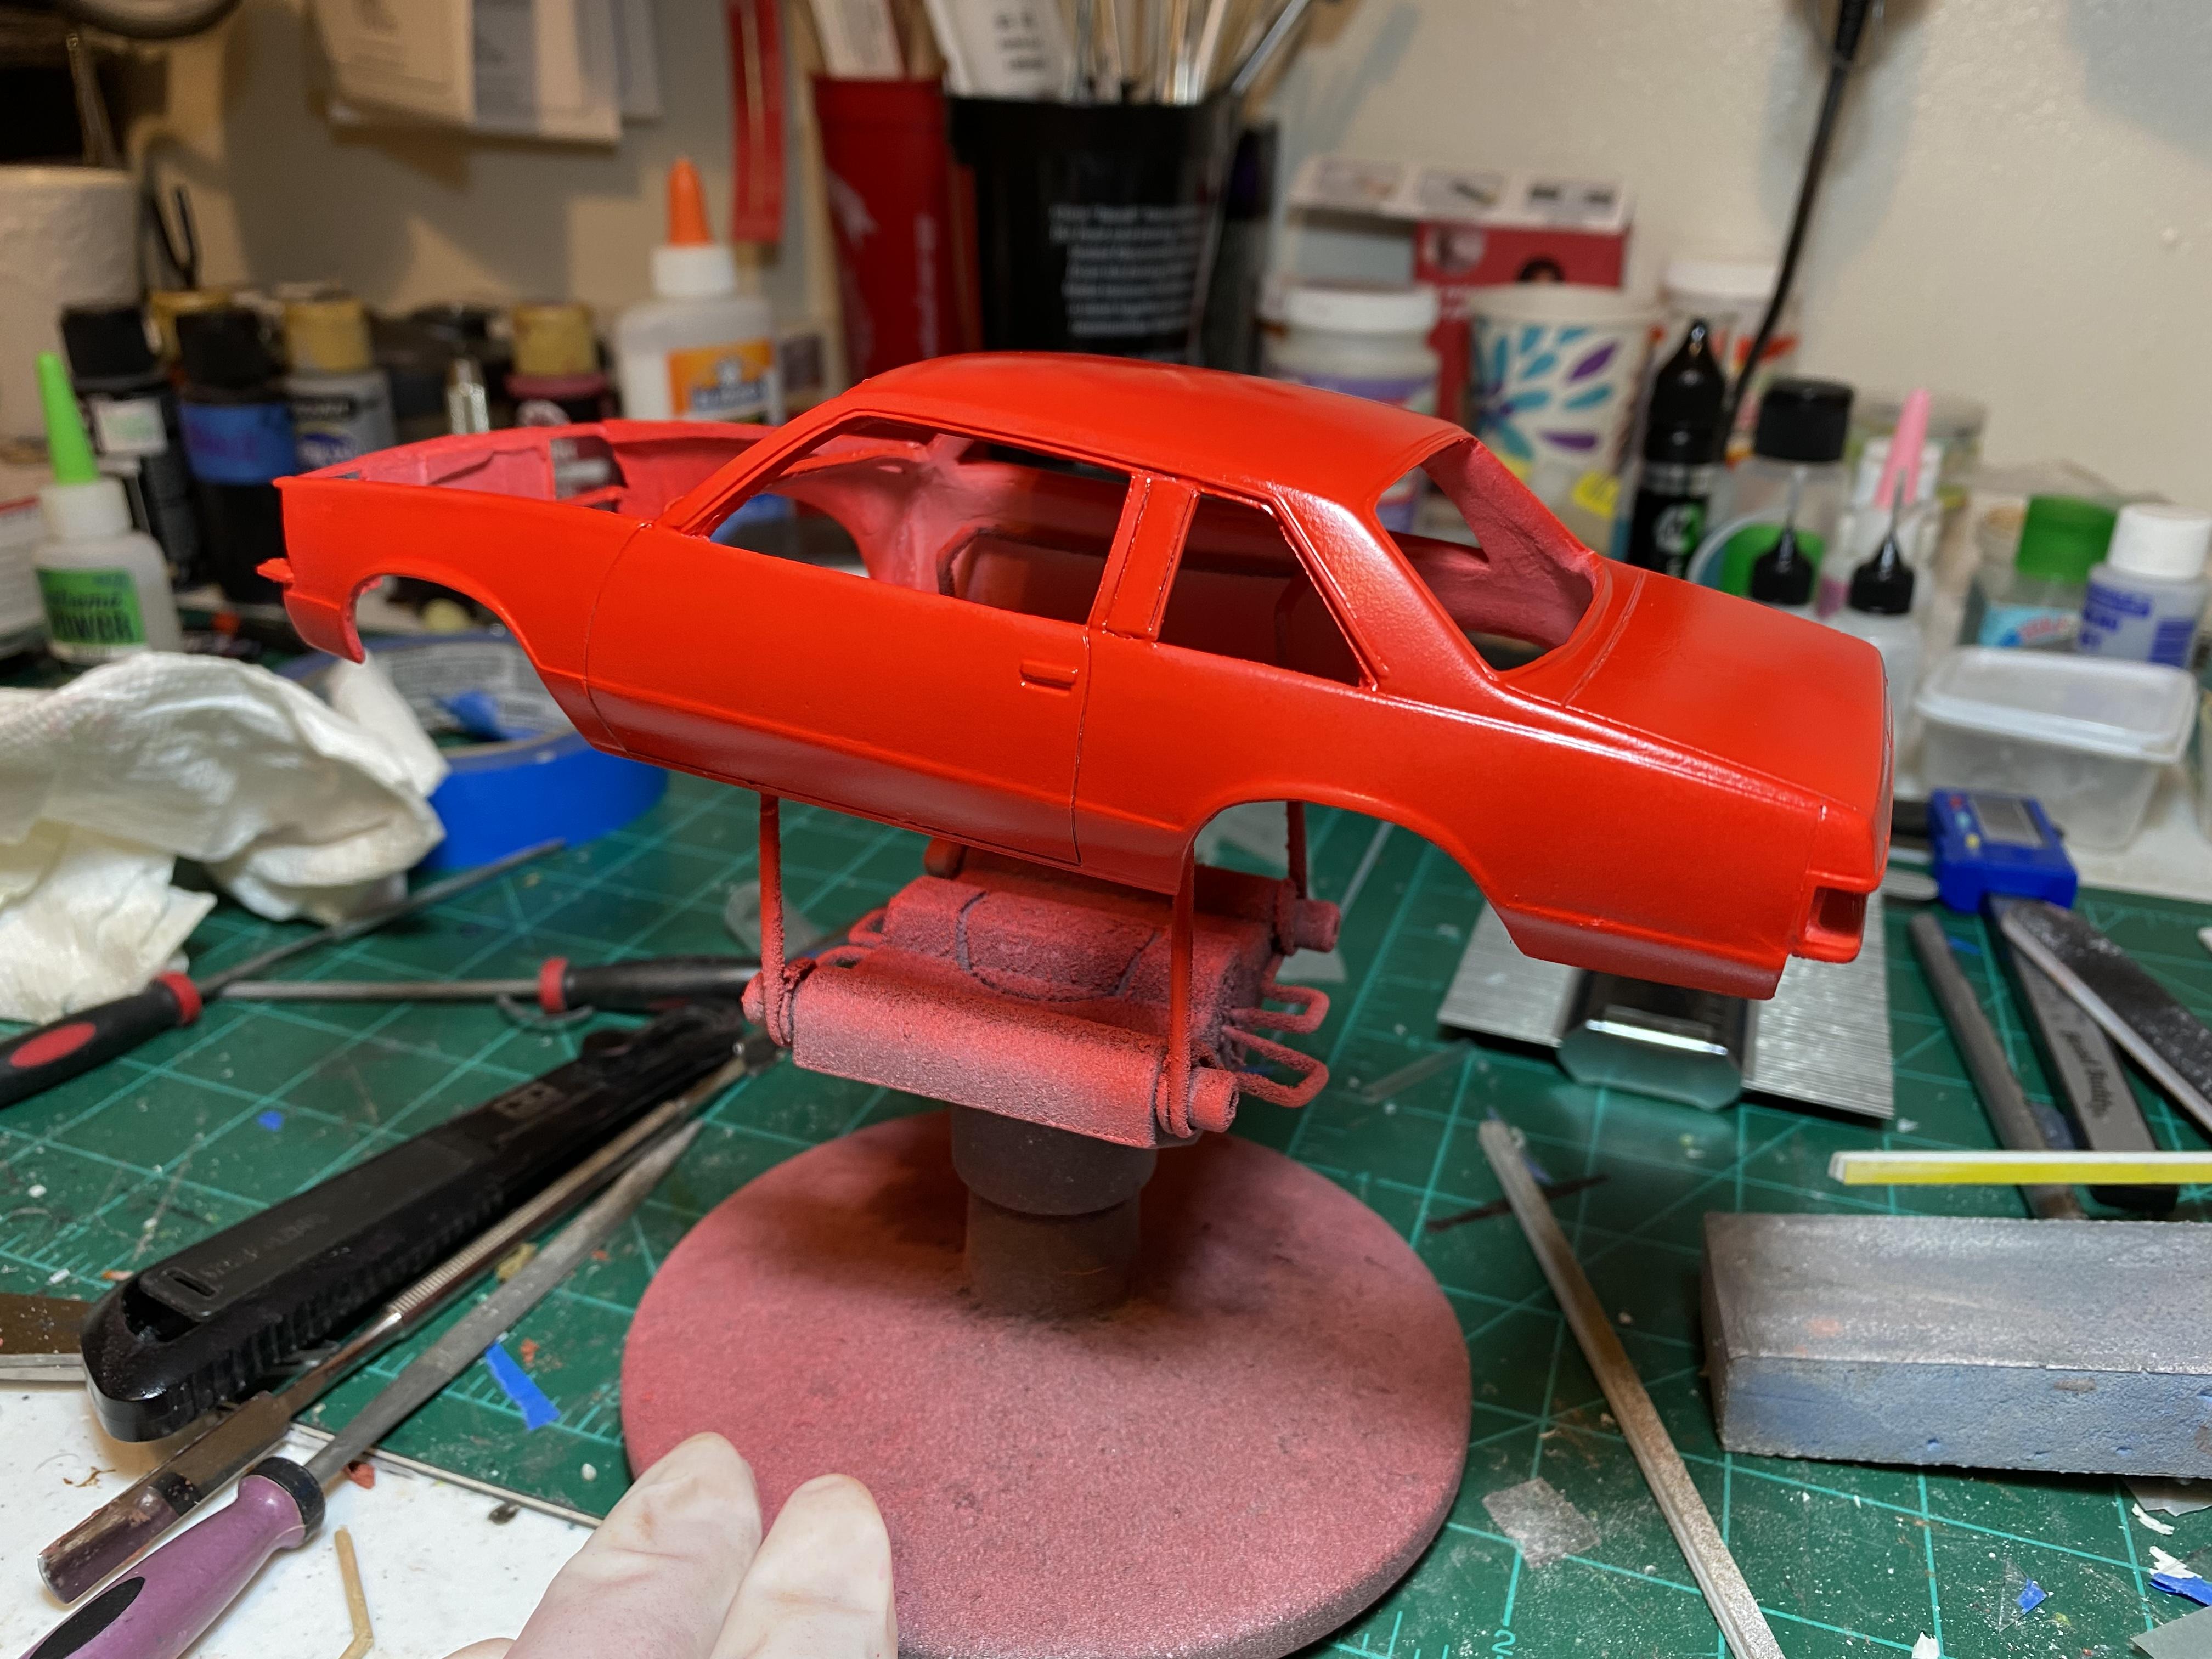
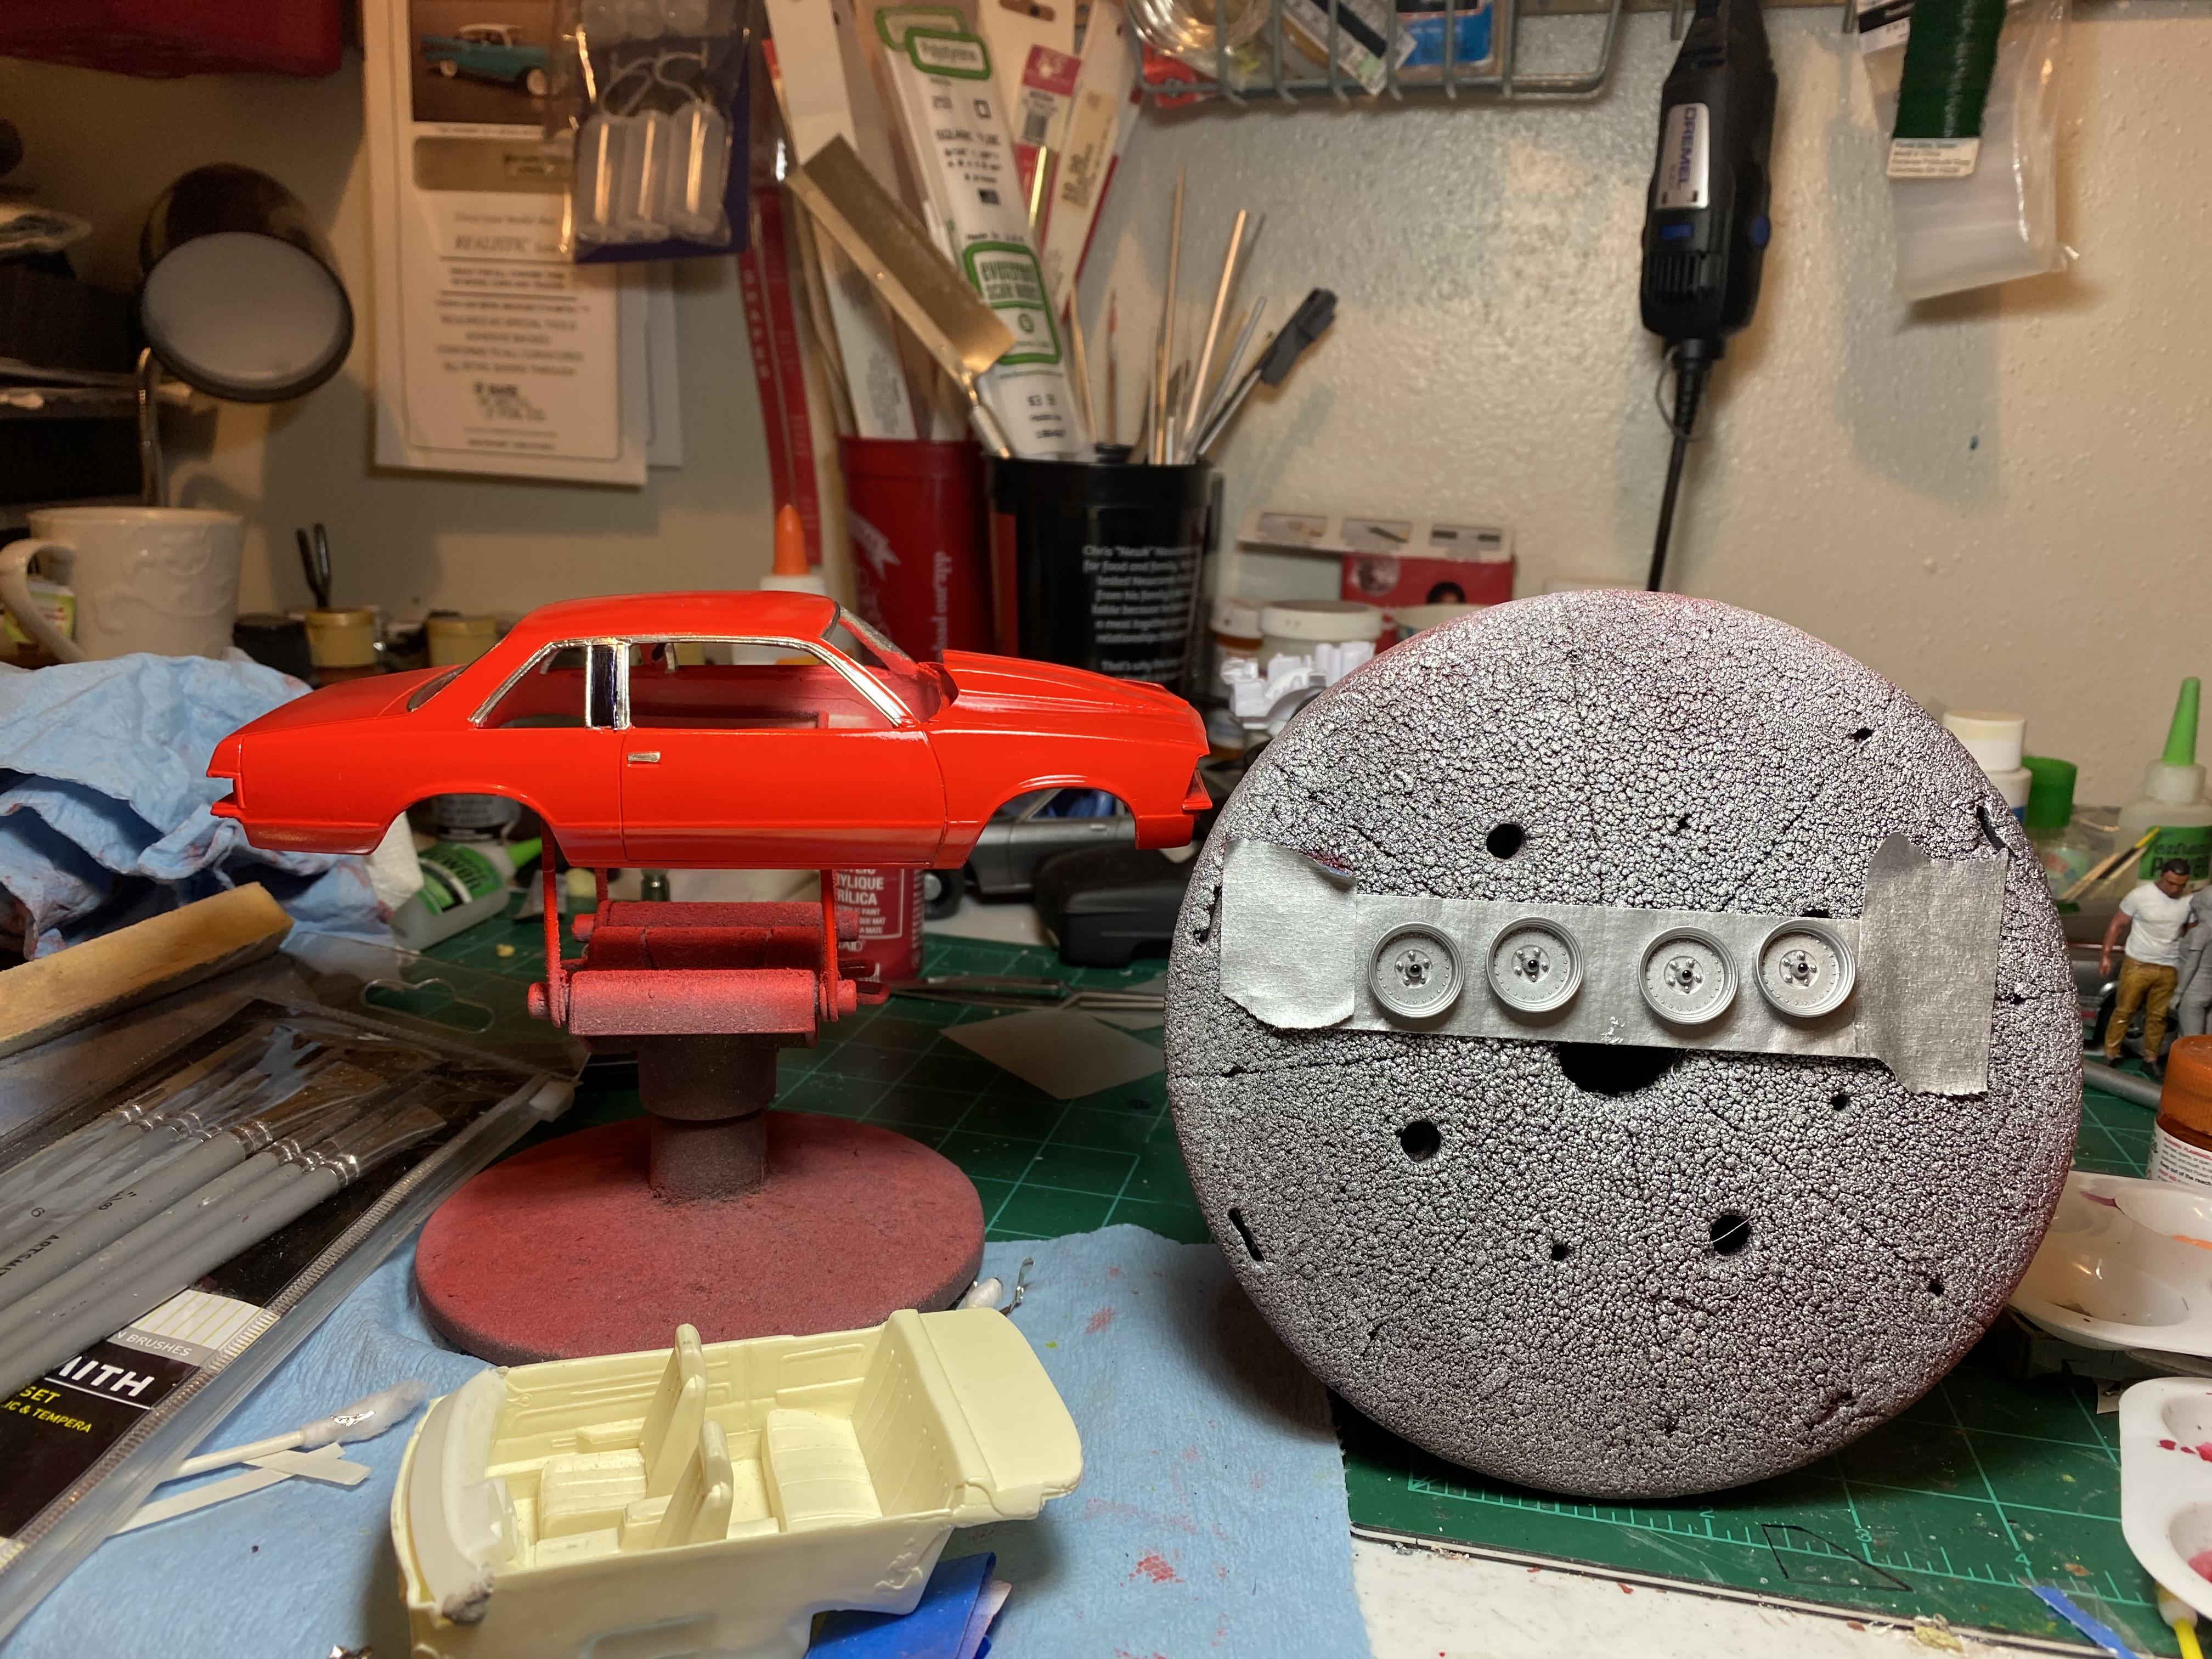
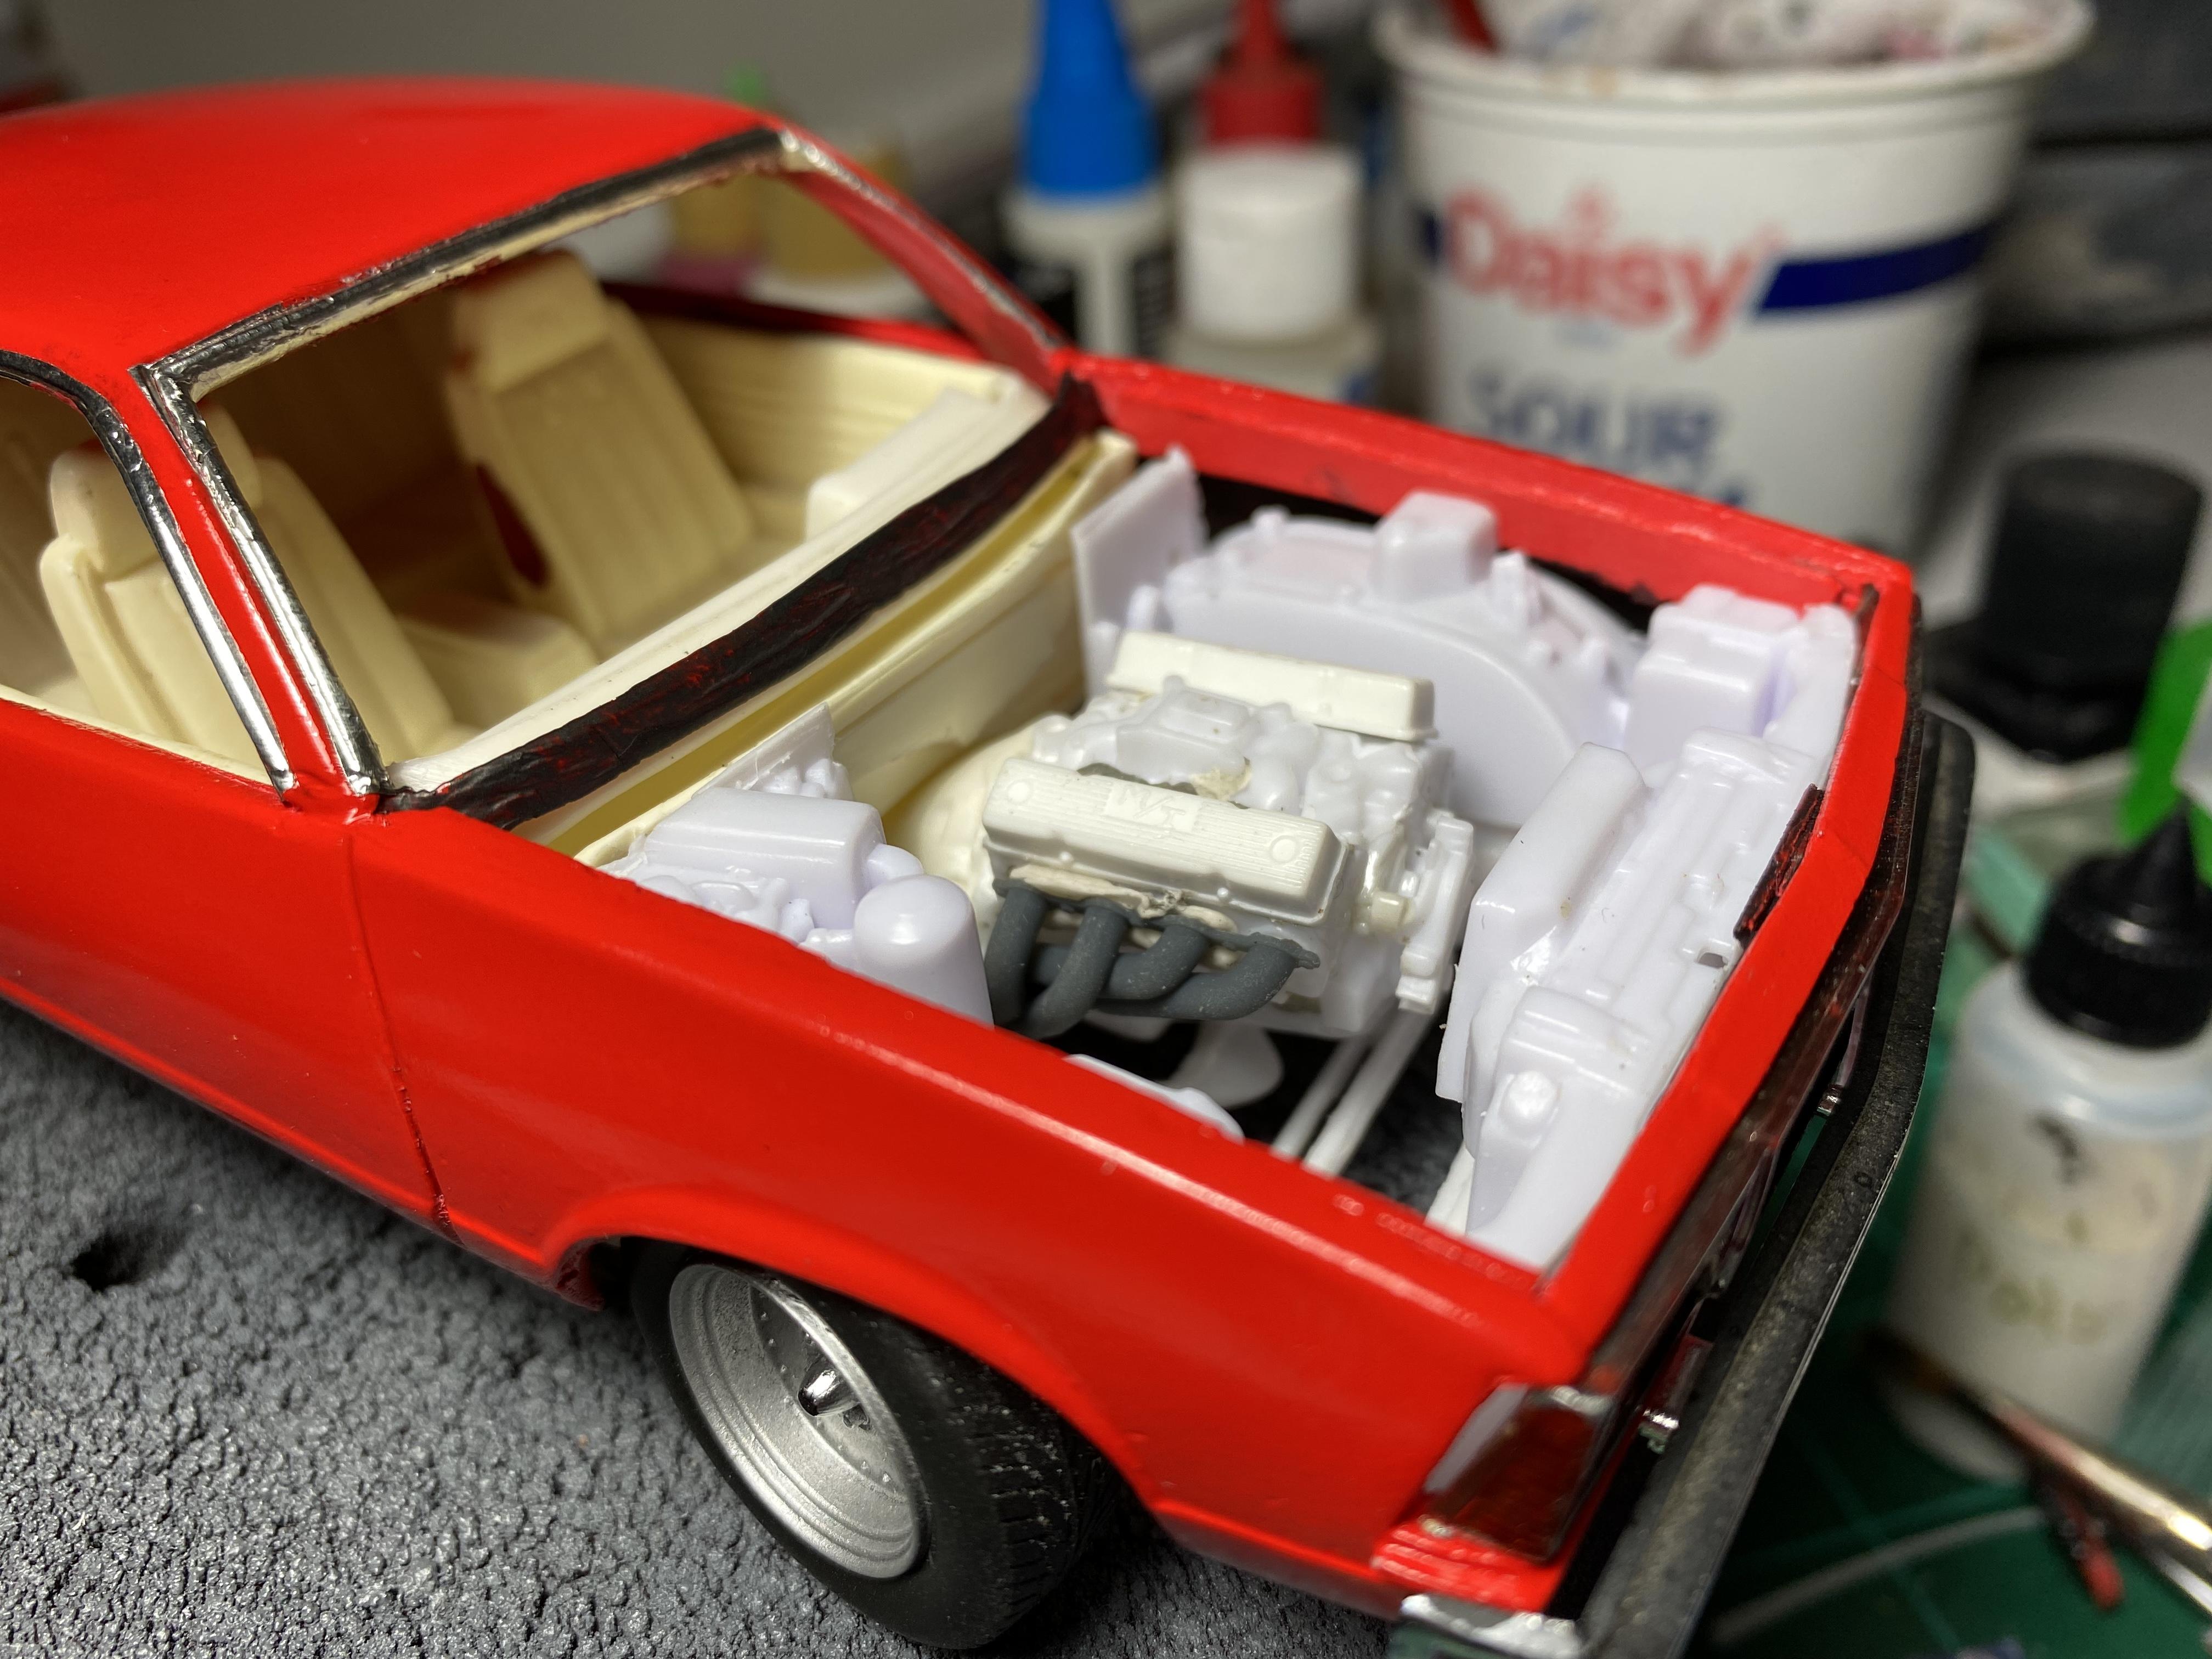
For my next project I will be tackling the Revell 1967 Camaro. This is probably my favourite shape of classic Camaro, but the '69 is a close second. Sifting through my stash of kits, I picked this one out as its one of the few that ticks all the right boxes for me. Separate windscreen wiper - check. Separate door handles - check. Properly detailed chassis and engine - check. Correct interior - check. One of the most frustrating things I find in model building is when kit manufacturers get the interior, floor pan or some other major component wrong. In this cas I will be able to build this mostly out of the box. Having said that, I am changing the wheels for a set of Cragars using a michmash of wheels and wheel-backs that I found in my spare parts box. The pink moulded wheel-backs are from a pro-street T-Bird that I cannibalised for parts years ago. They just neede a little more depth which I am adding with plastic sheet. The majority of prep done and its primer time. I'm using Mr Color 1500 grey primer Finding time/space for airbrushing is difficult for me as I do this in my workshop where I normally work on 1:1 cars. Clearing up before and after takes ages. This is as far as I've got for now, but I'll be back with some updates soon. Your comments, criticisms and tips are all welcome.
-
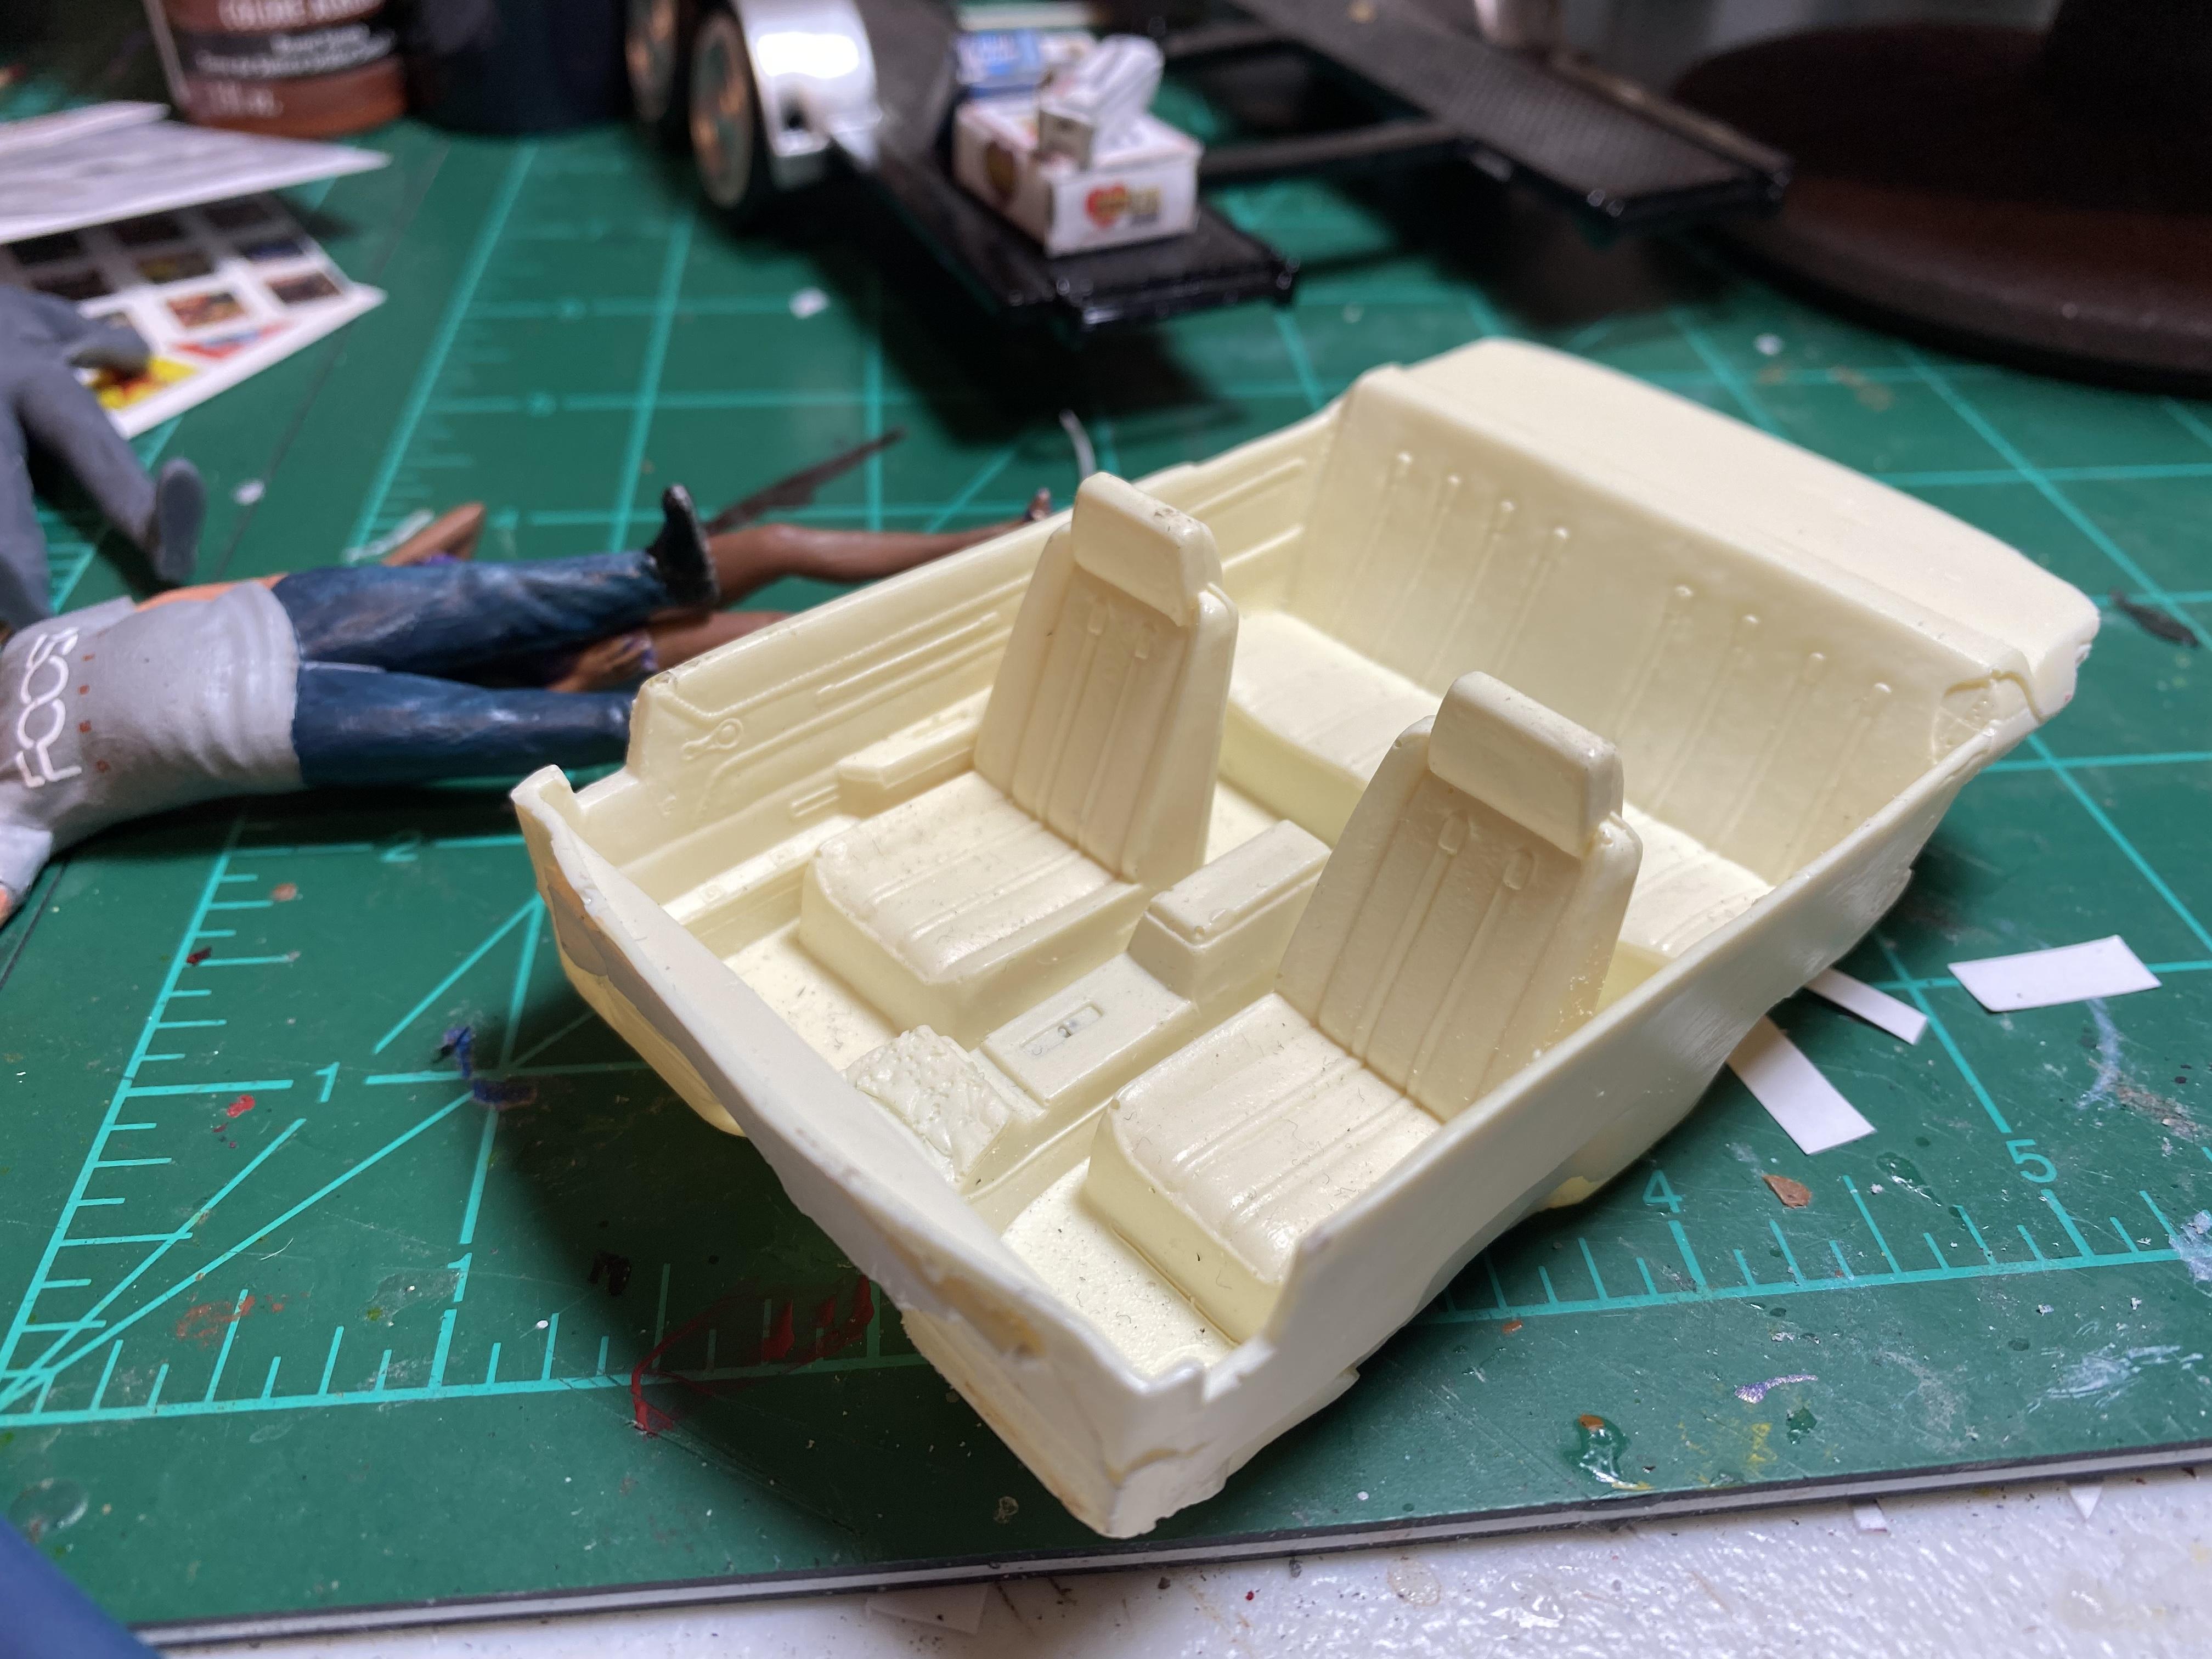
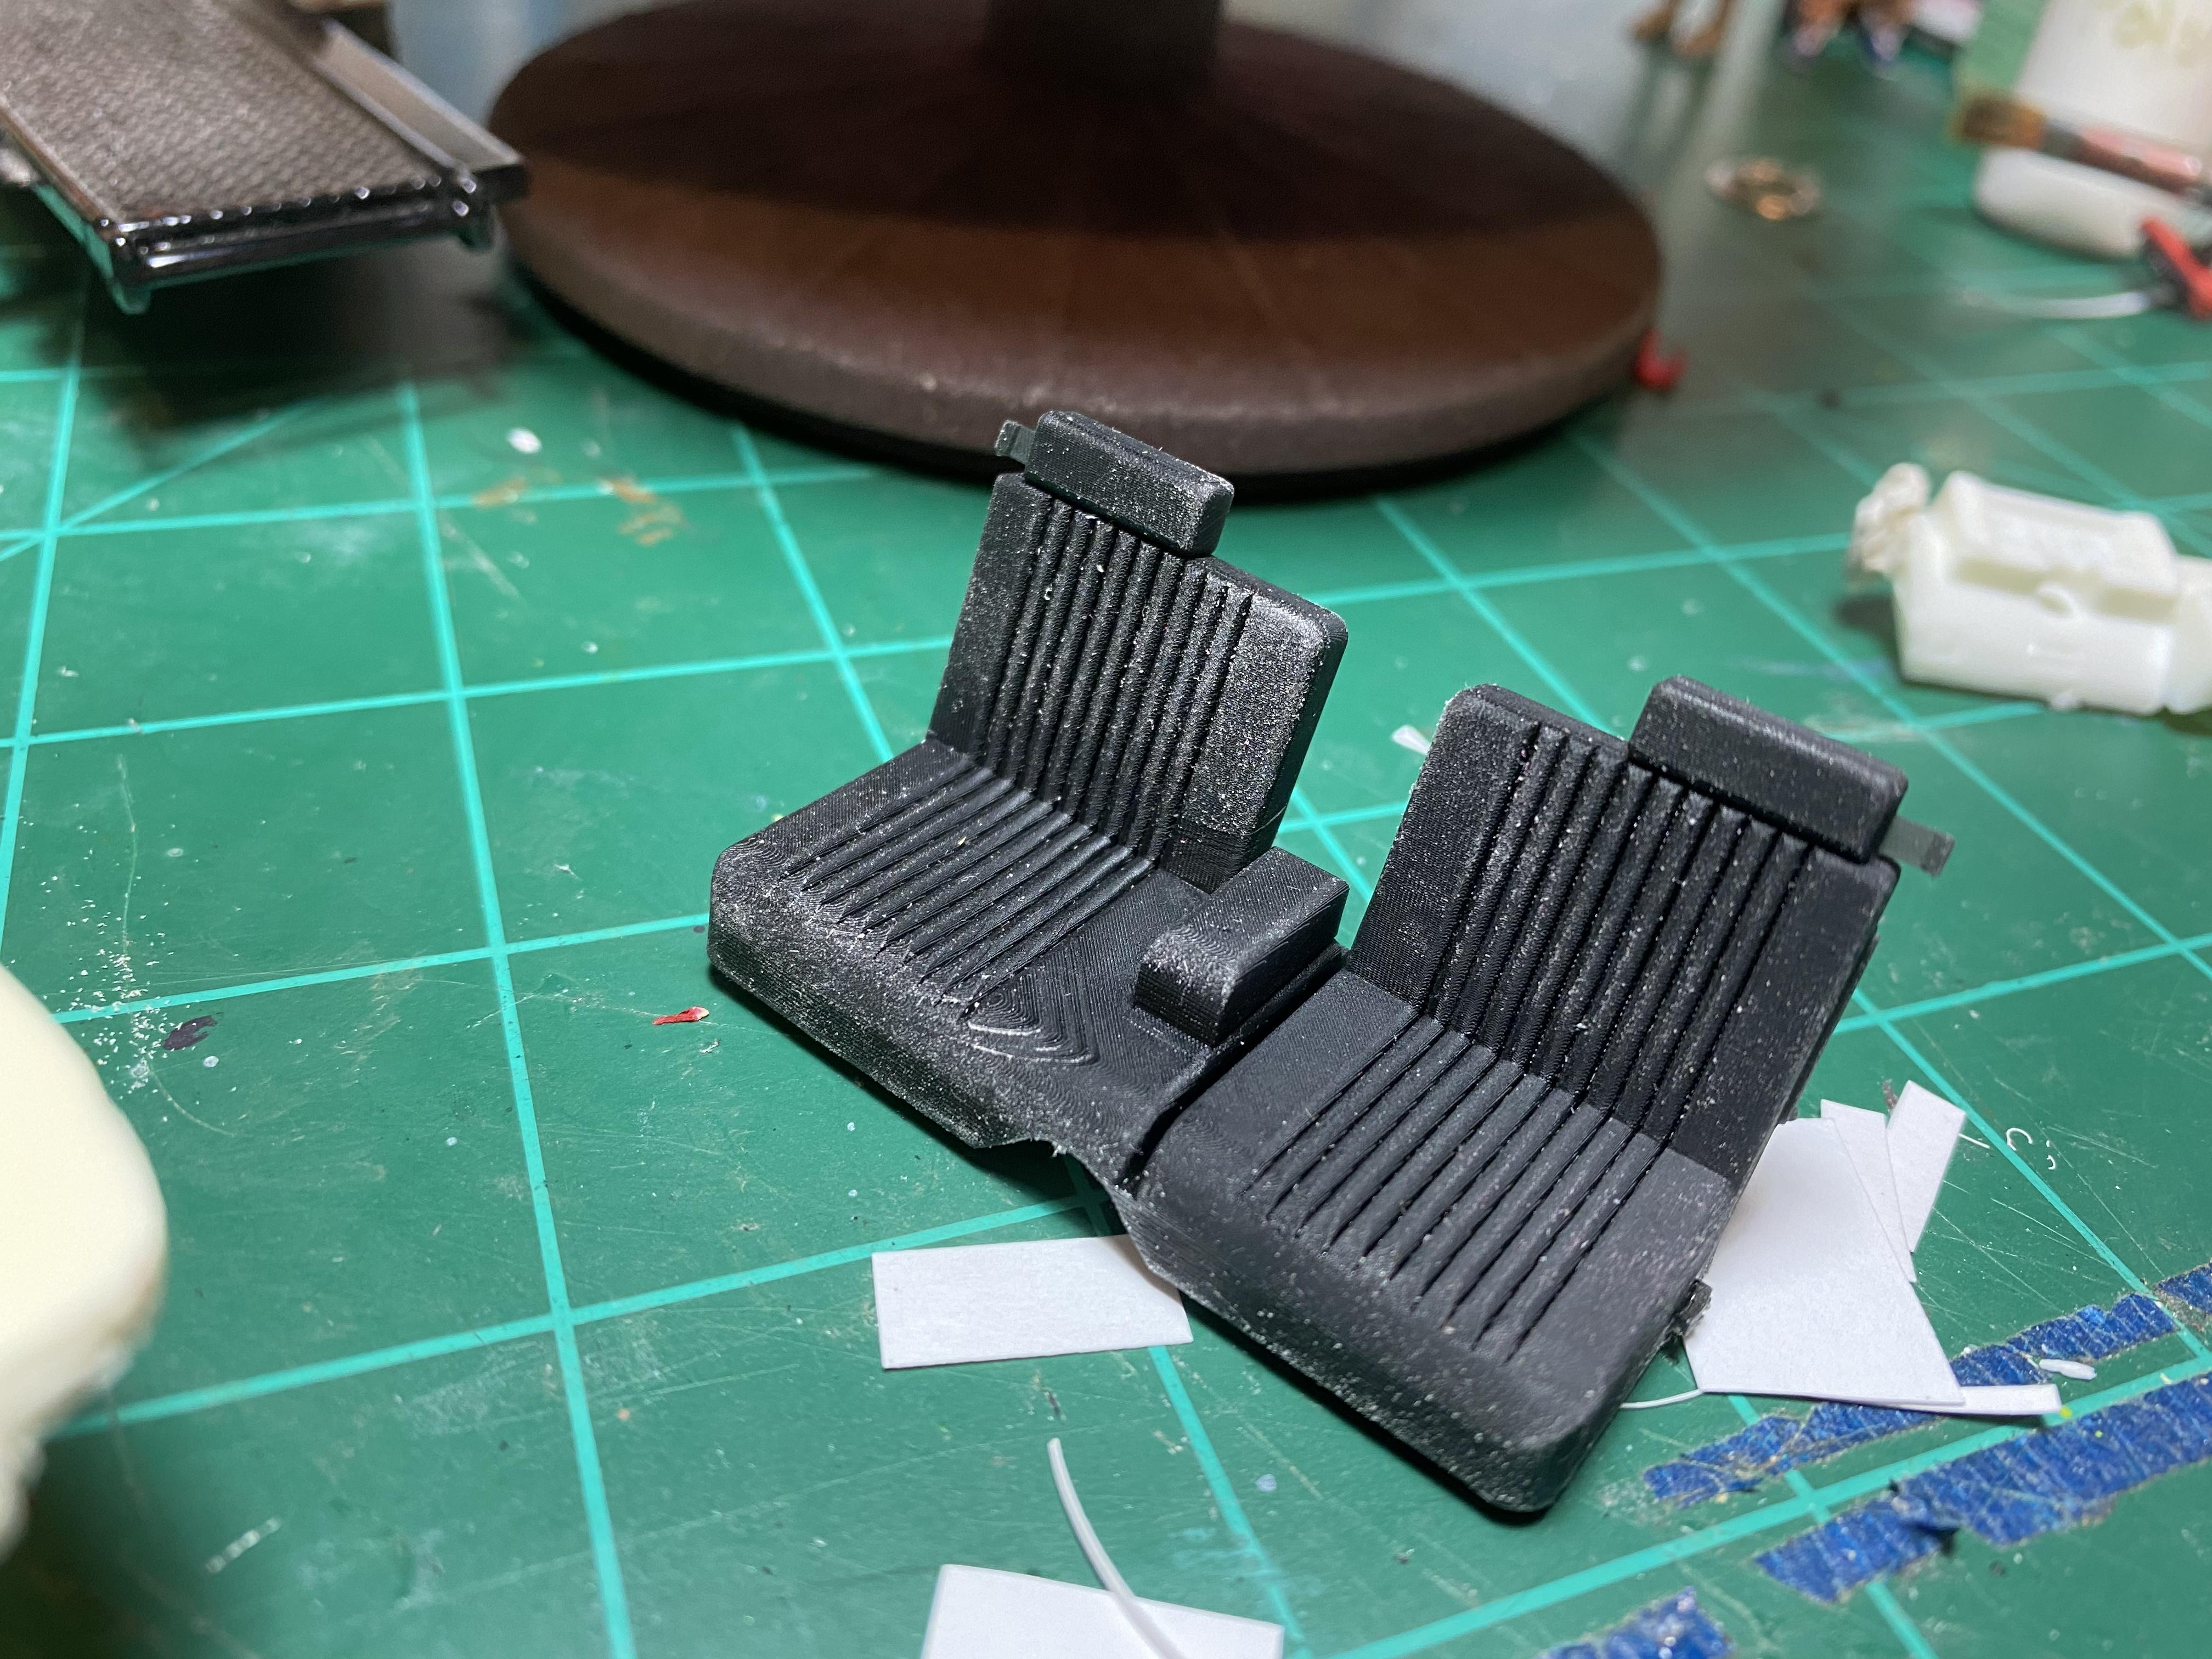
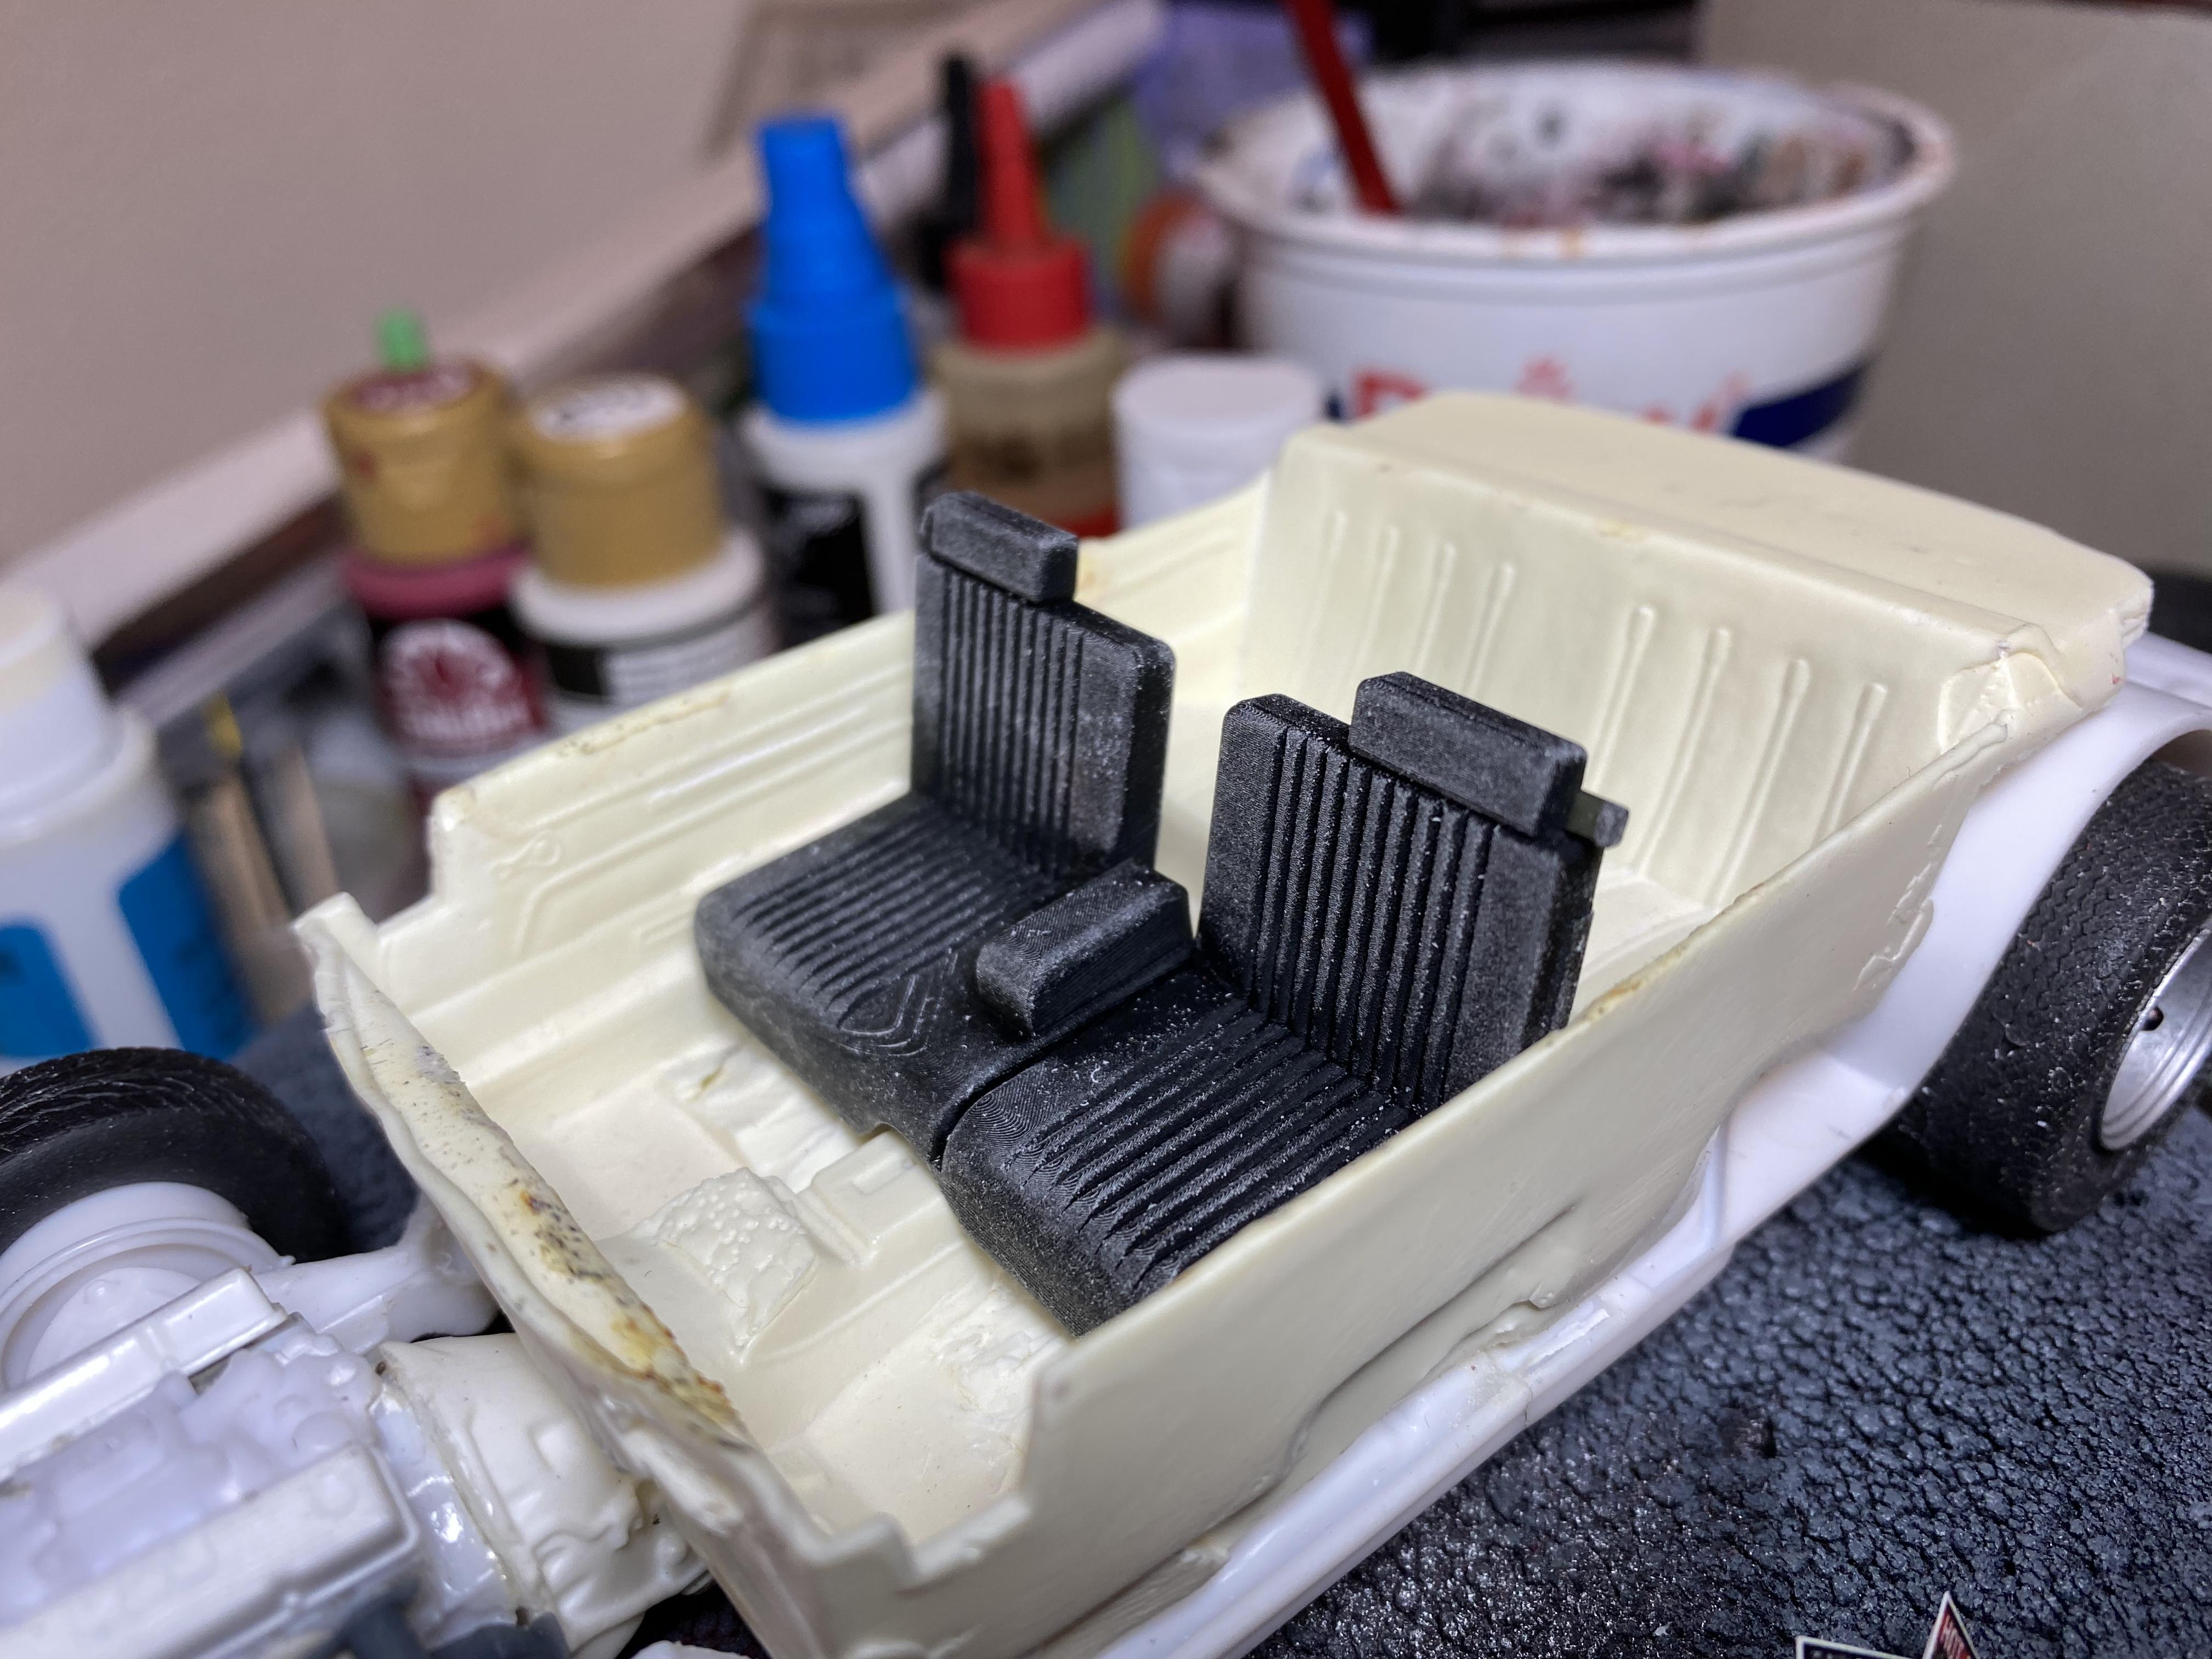
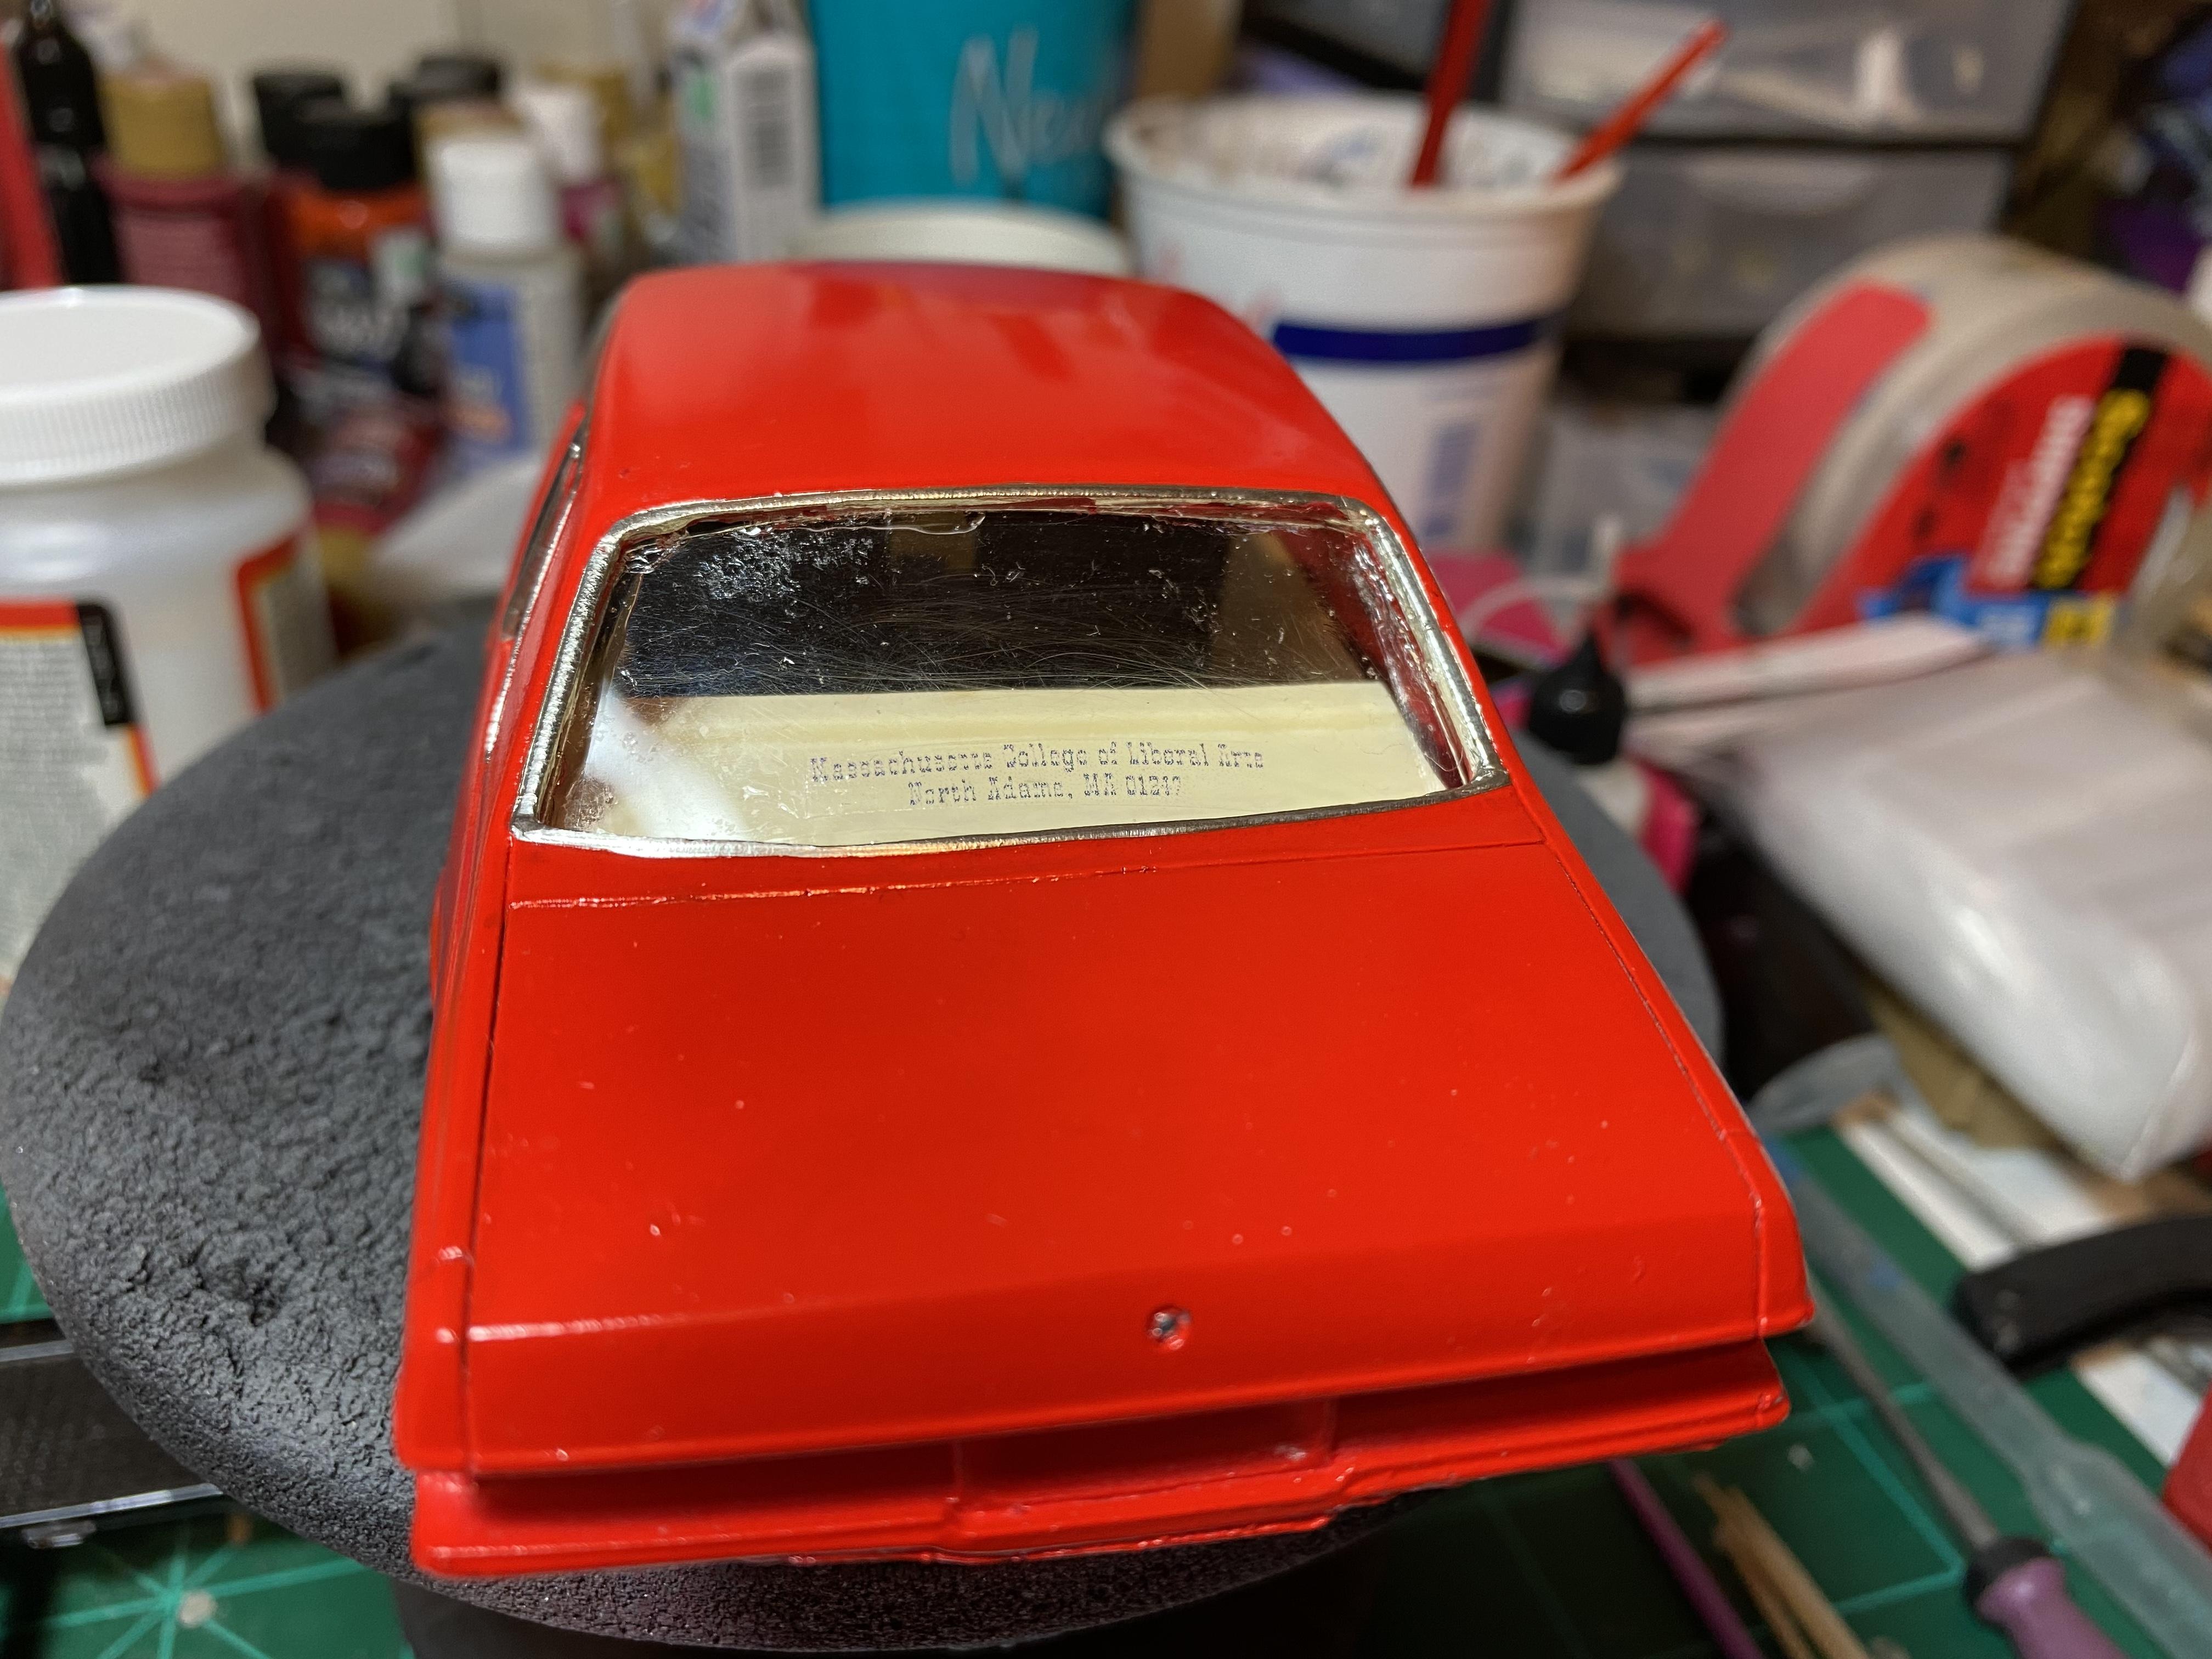
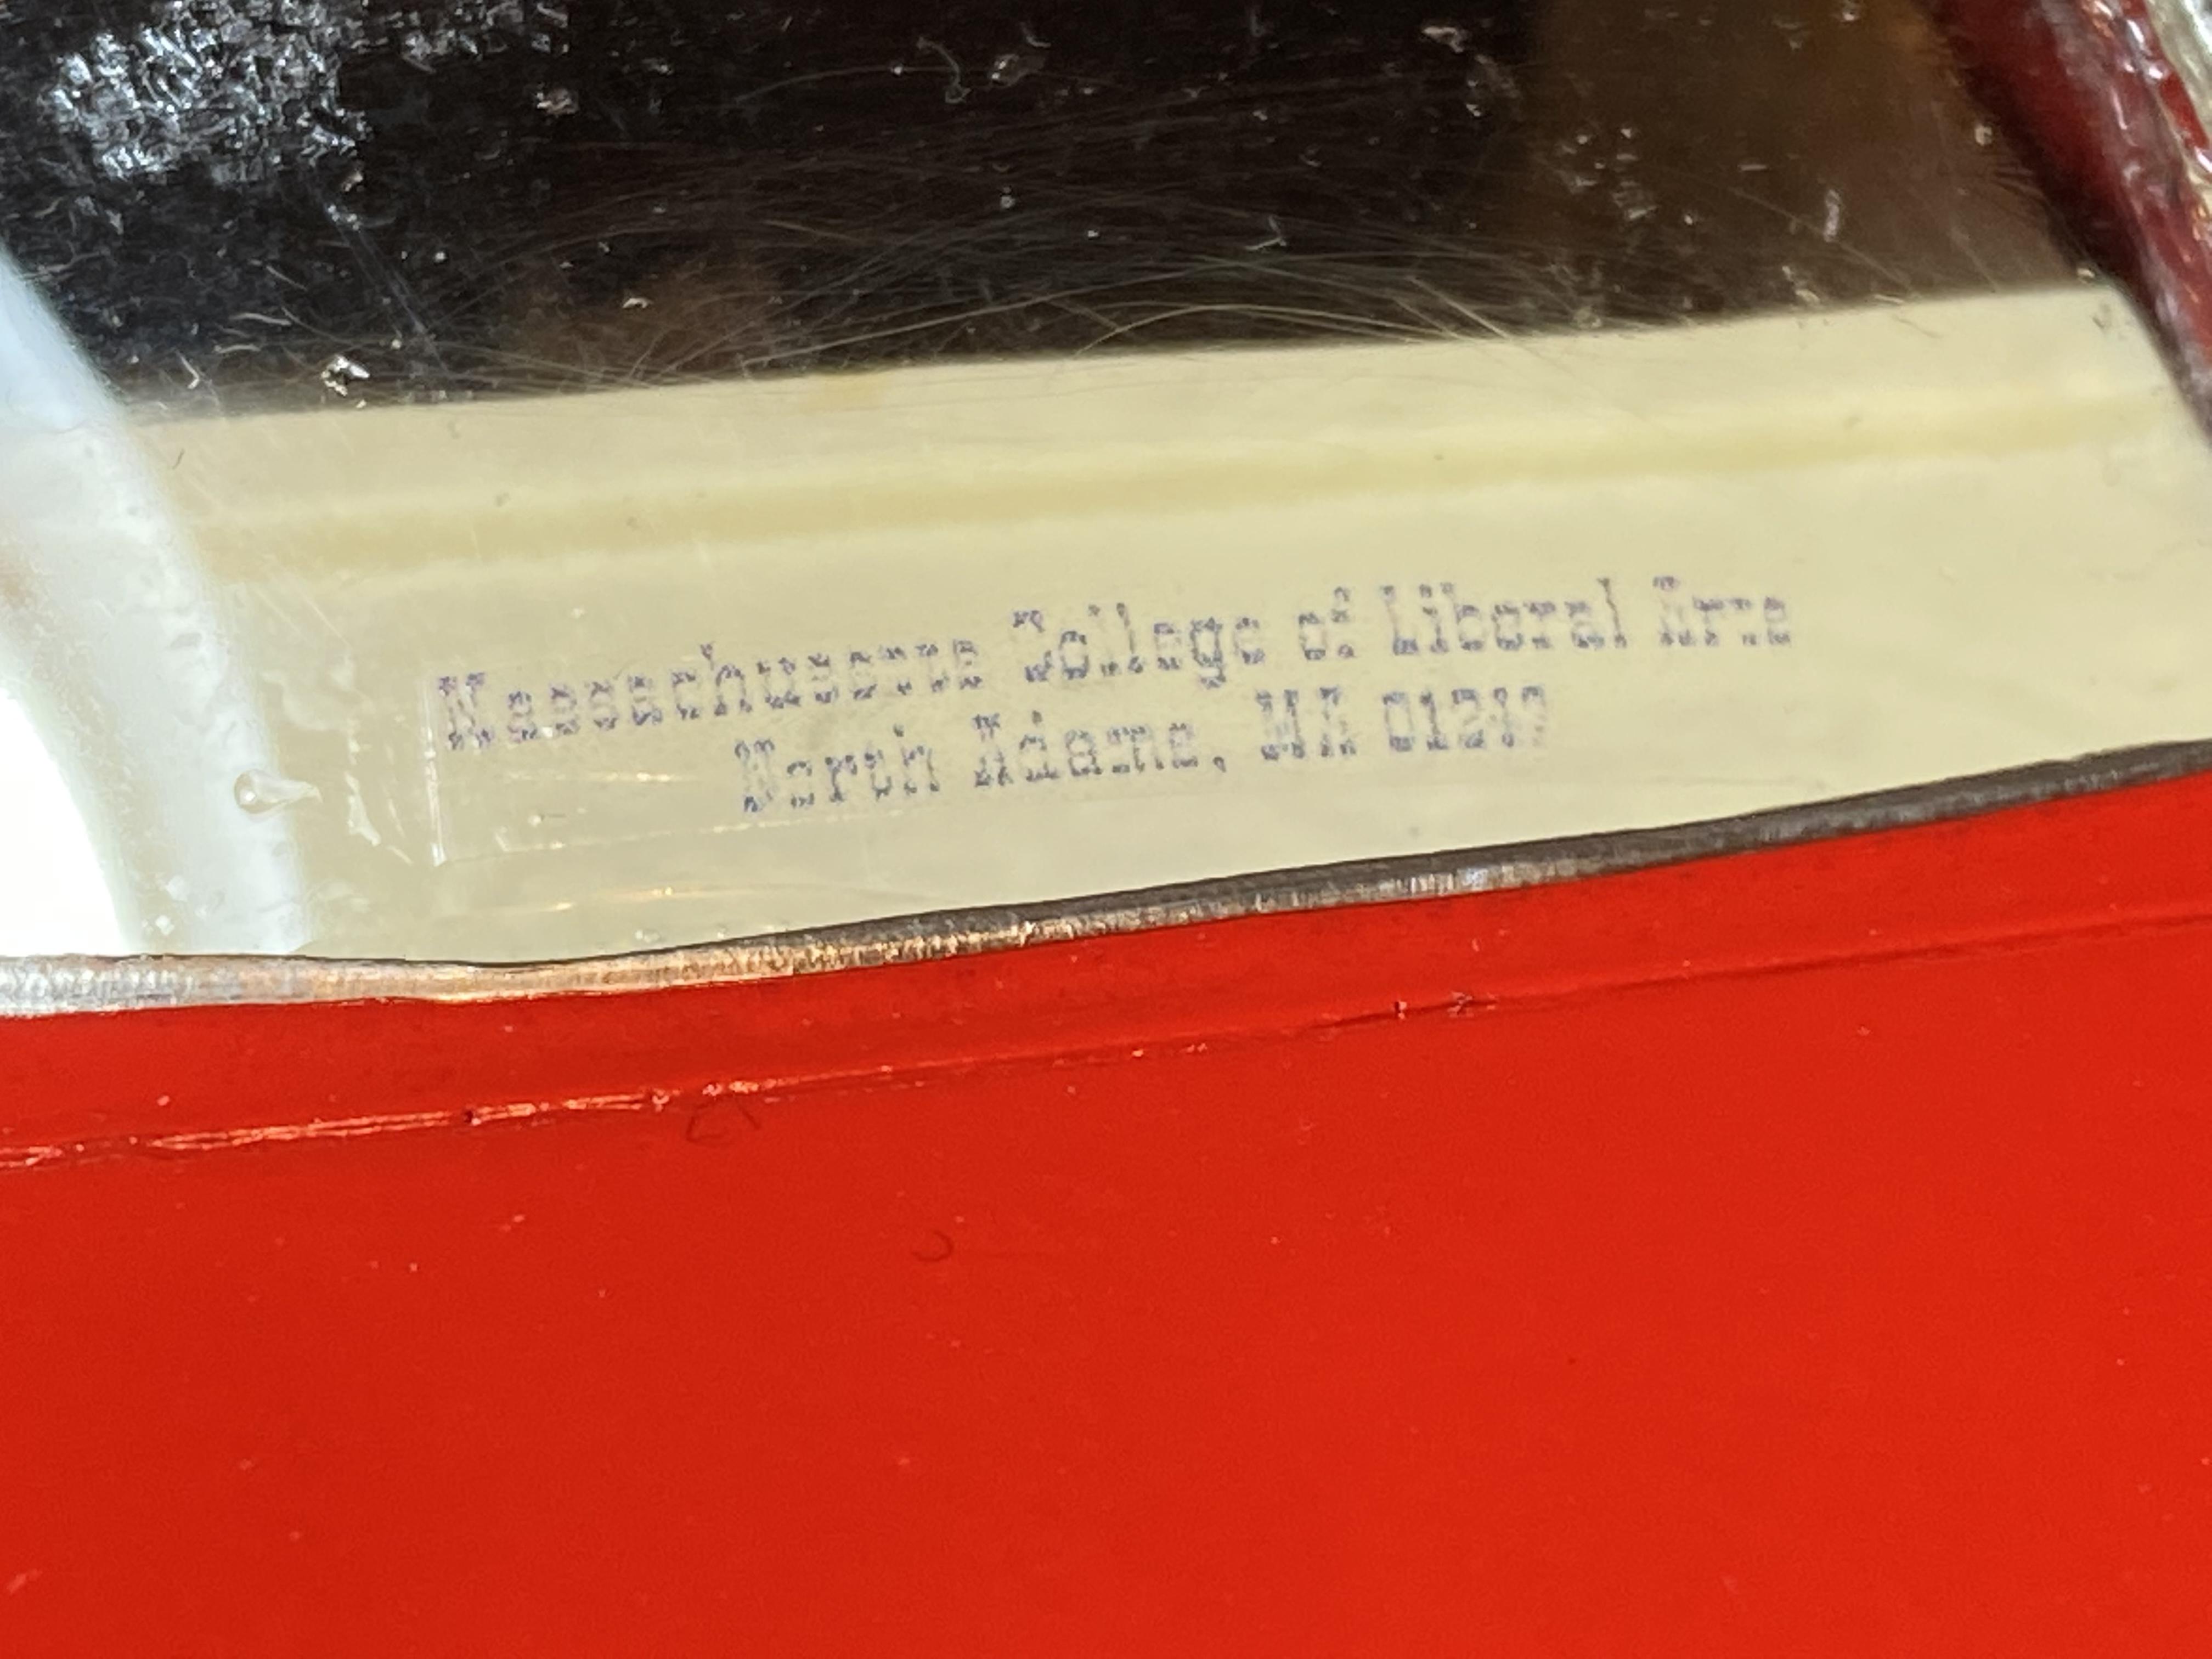
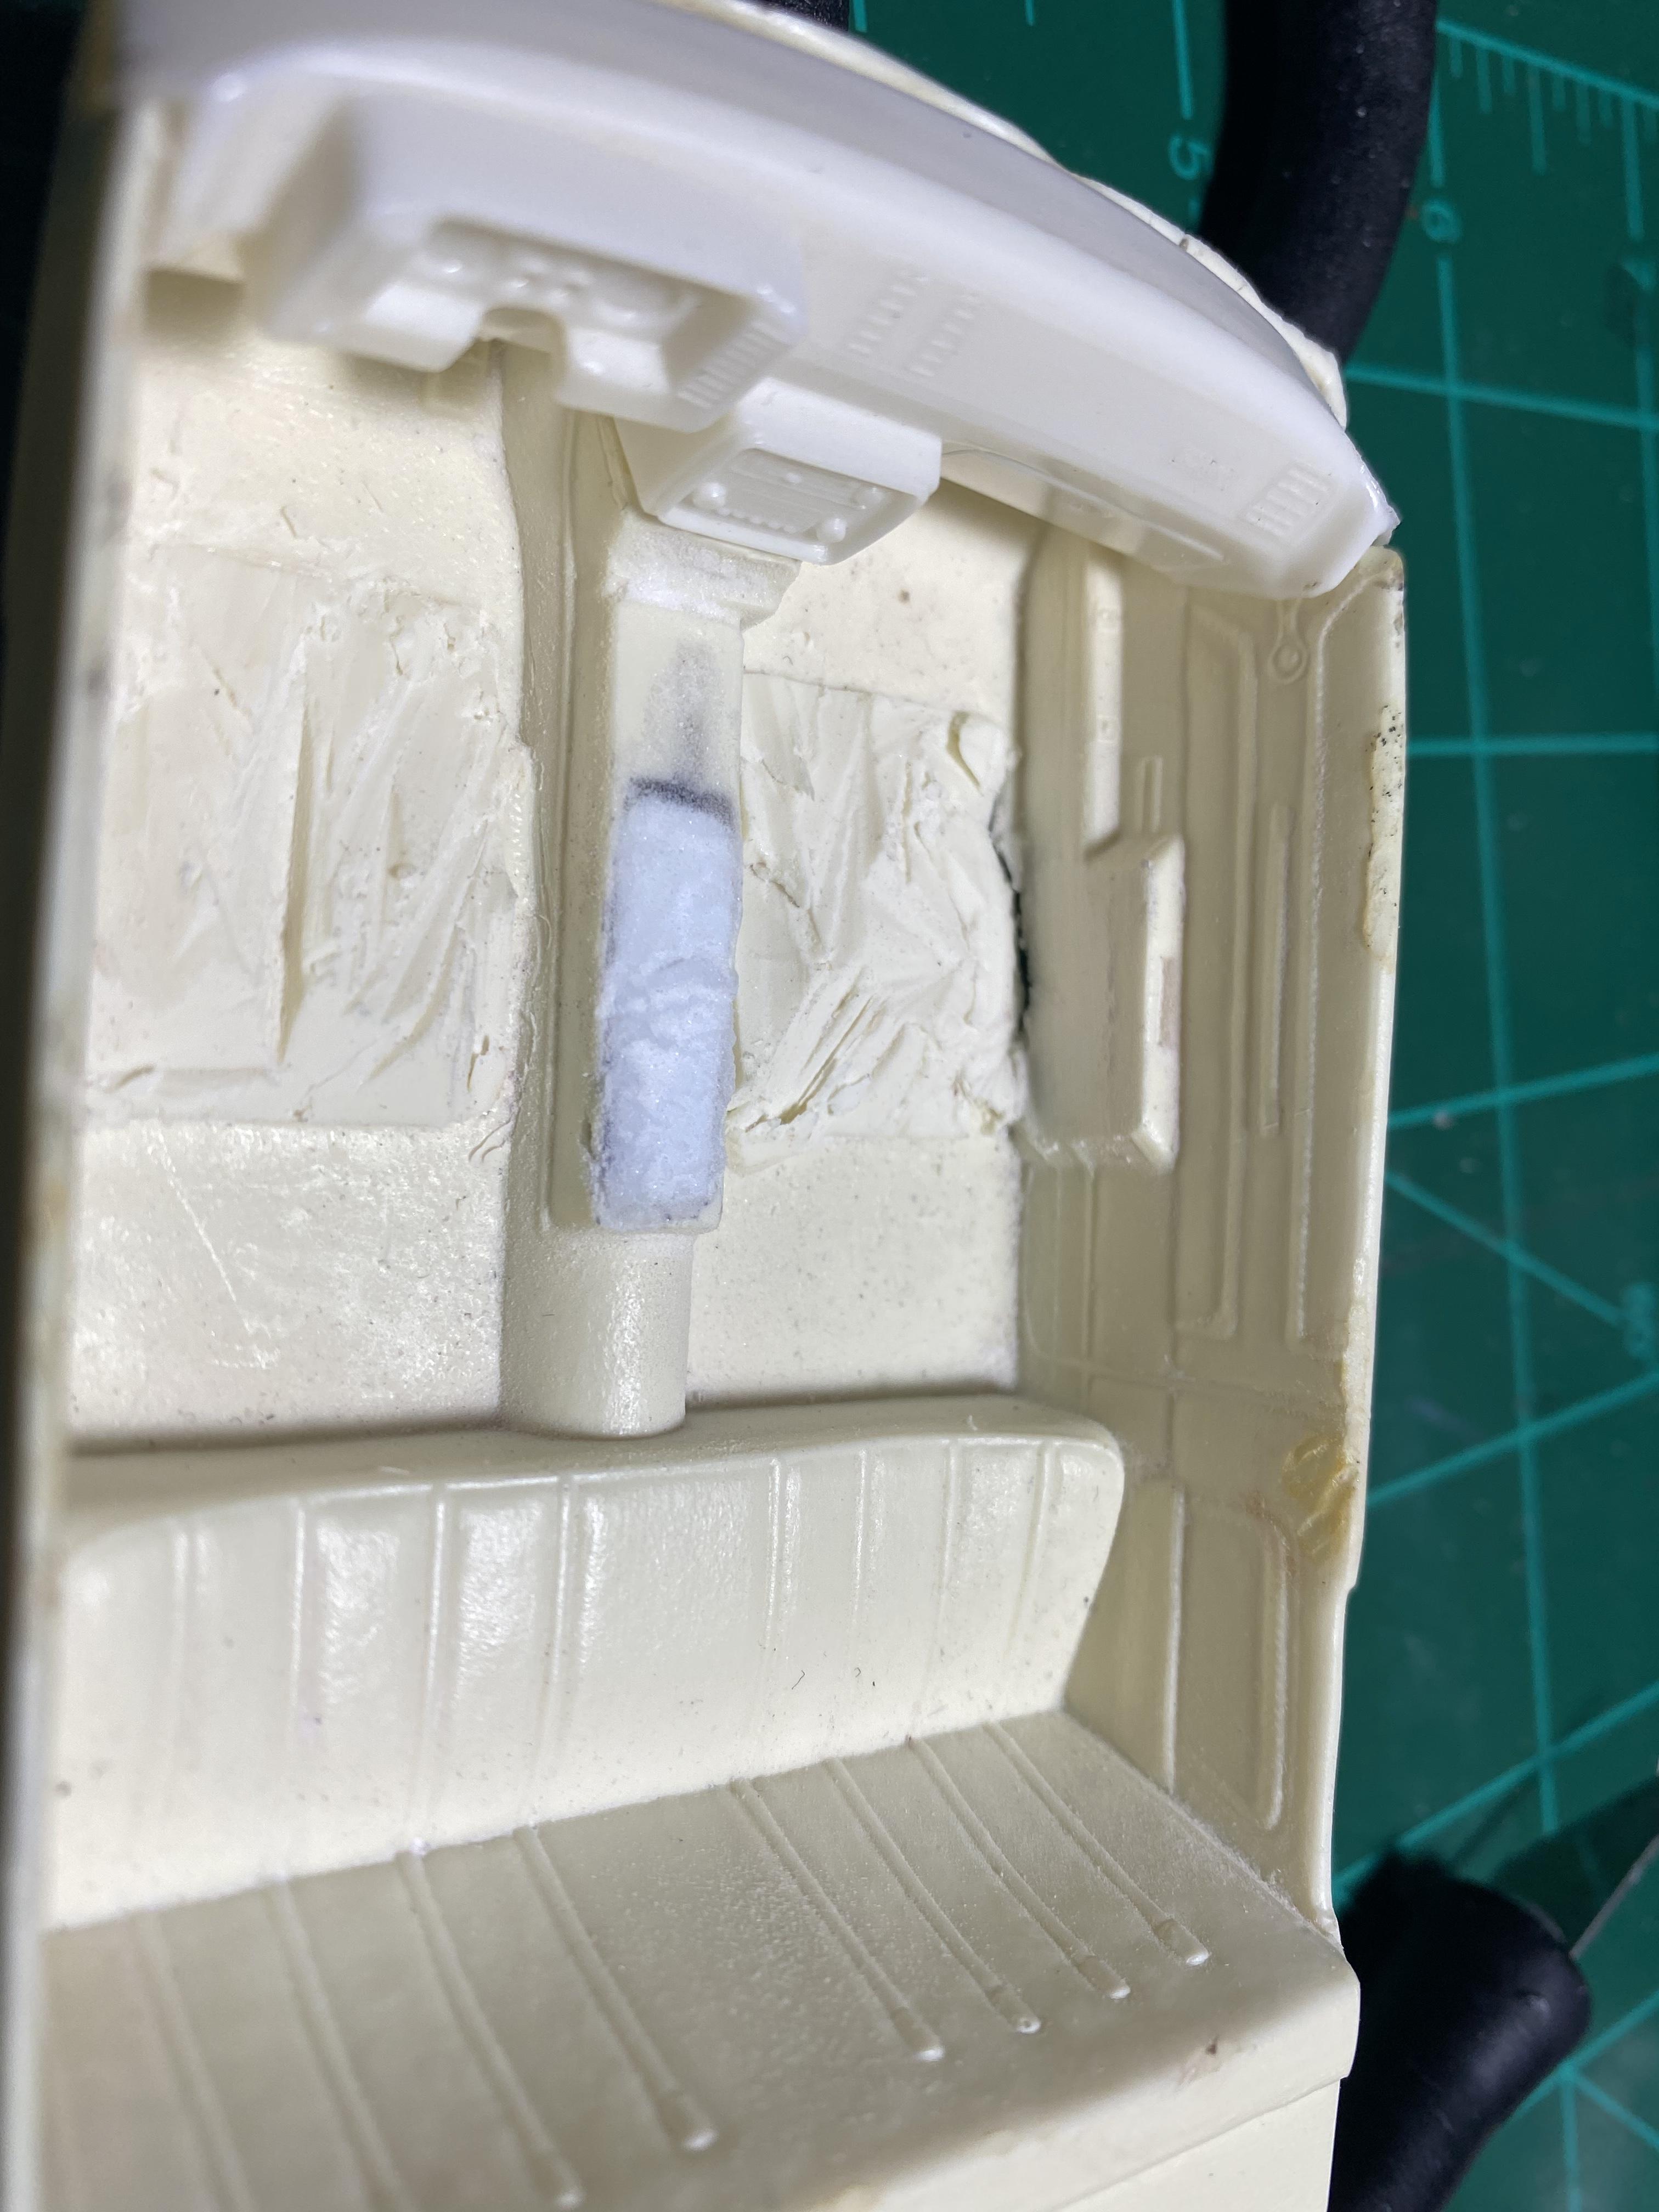
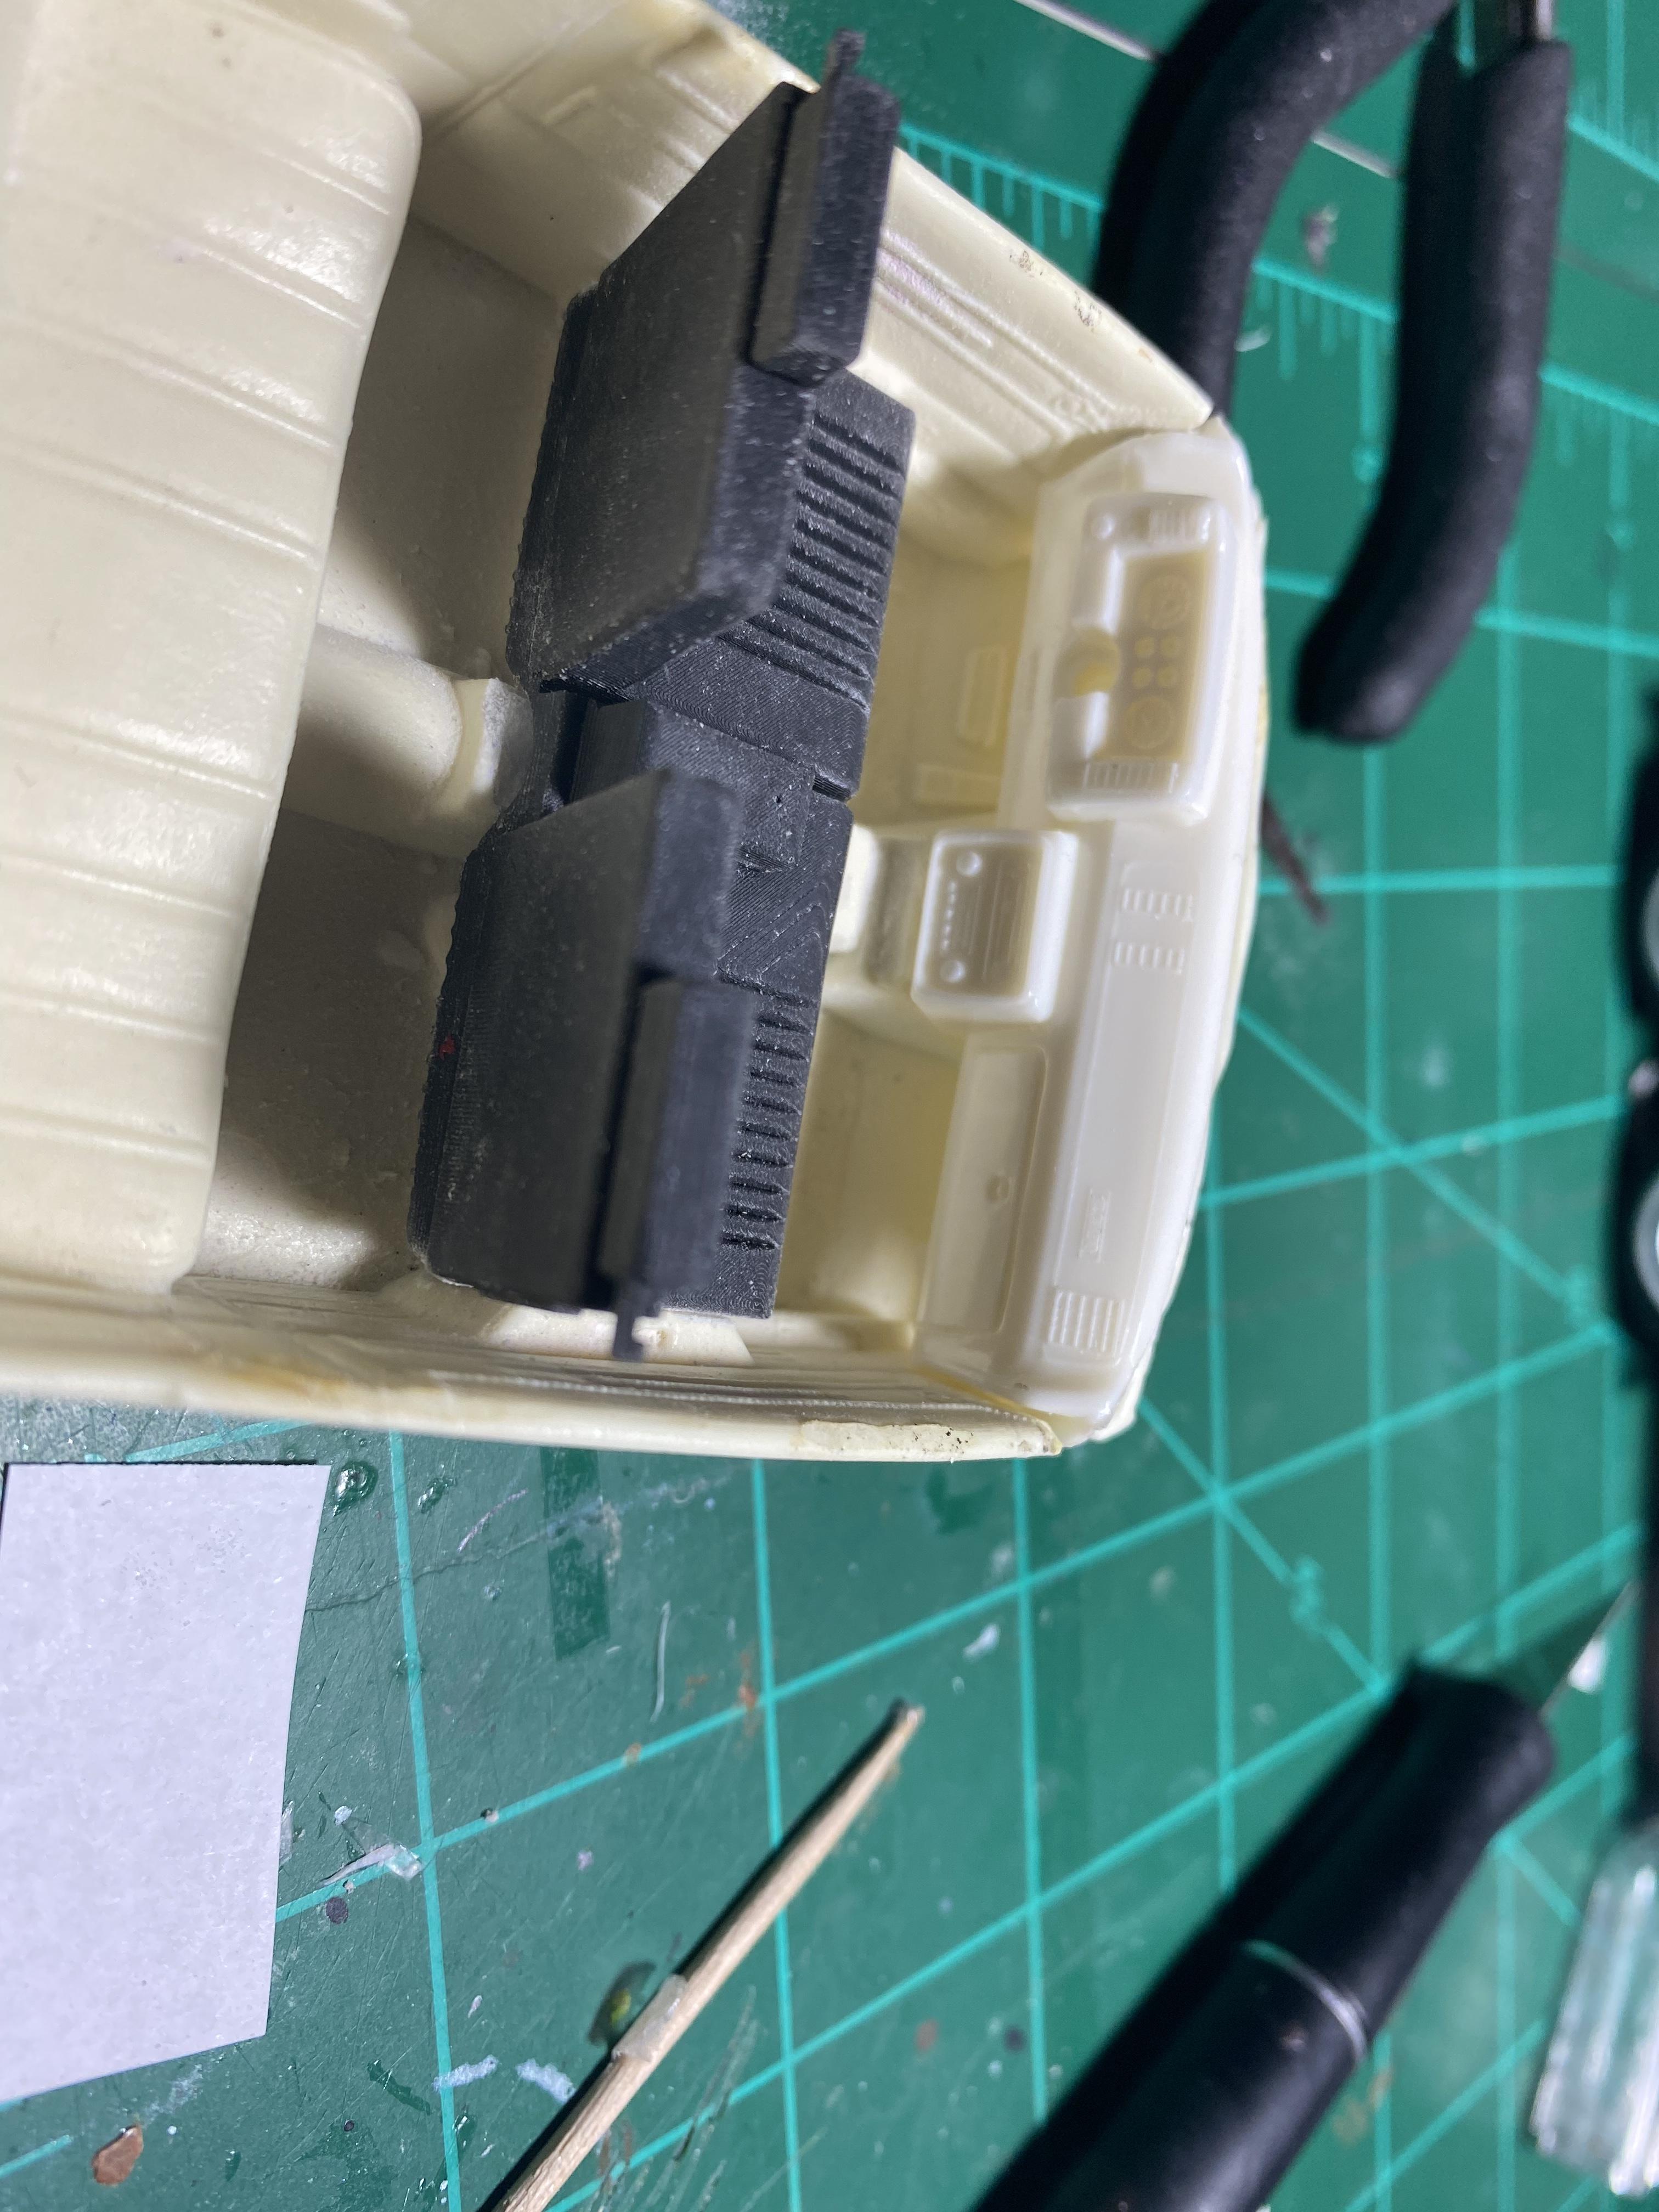
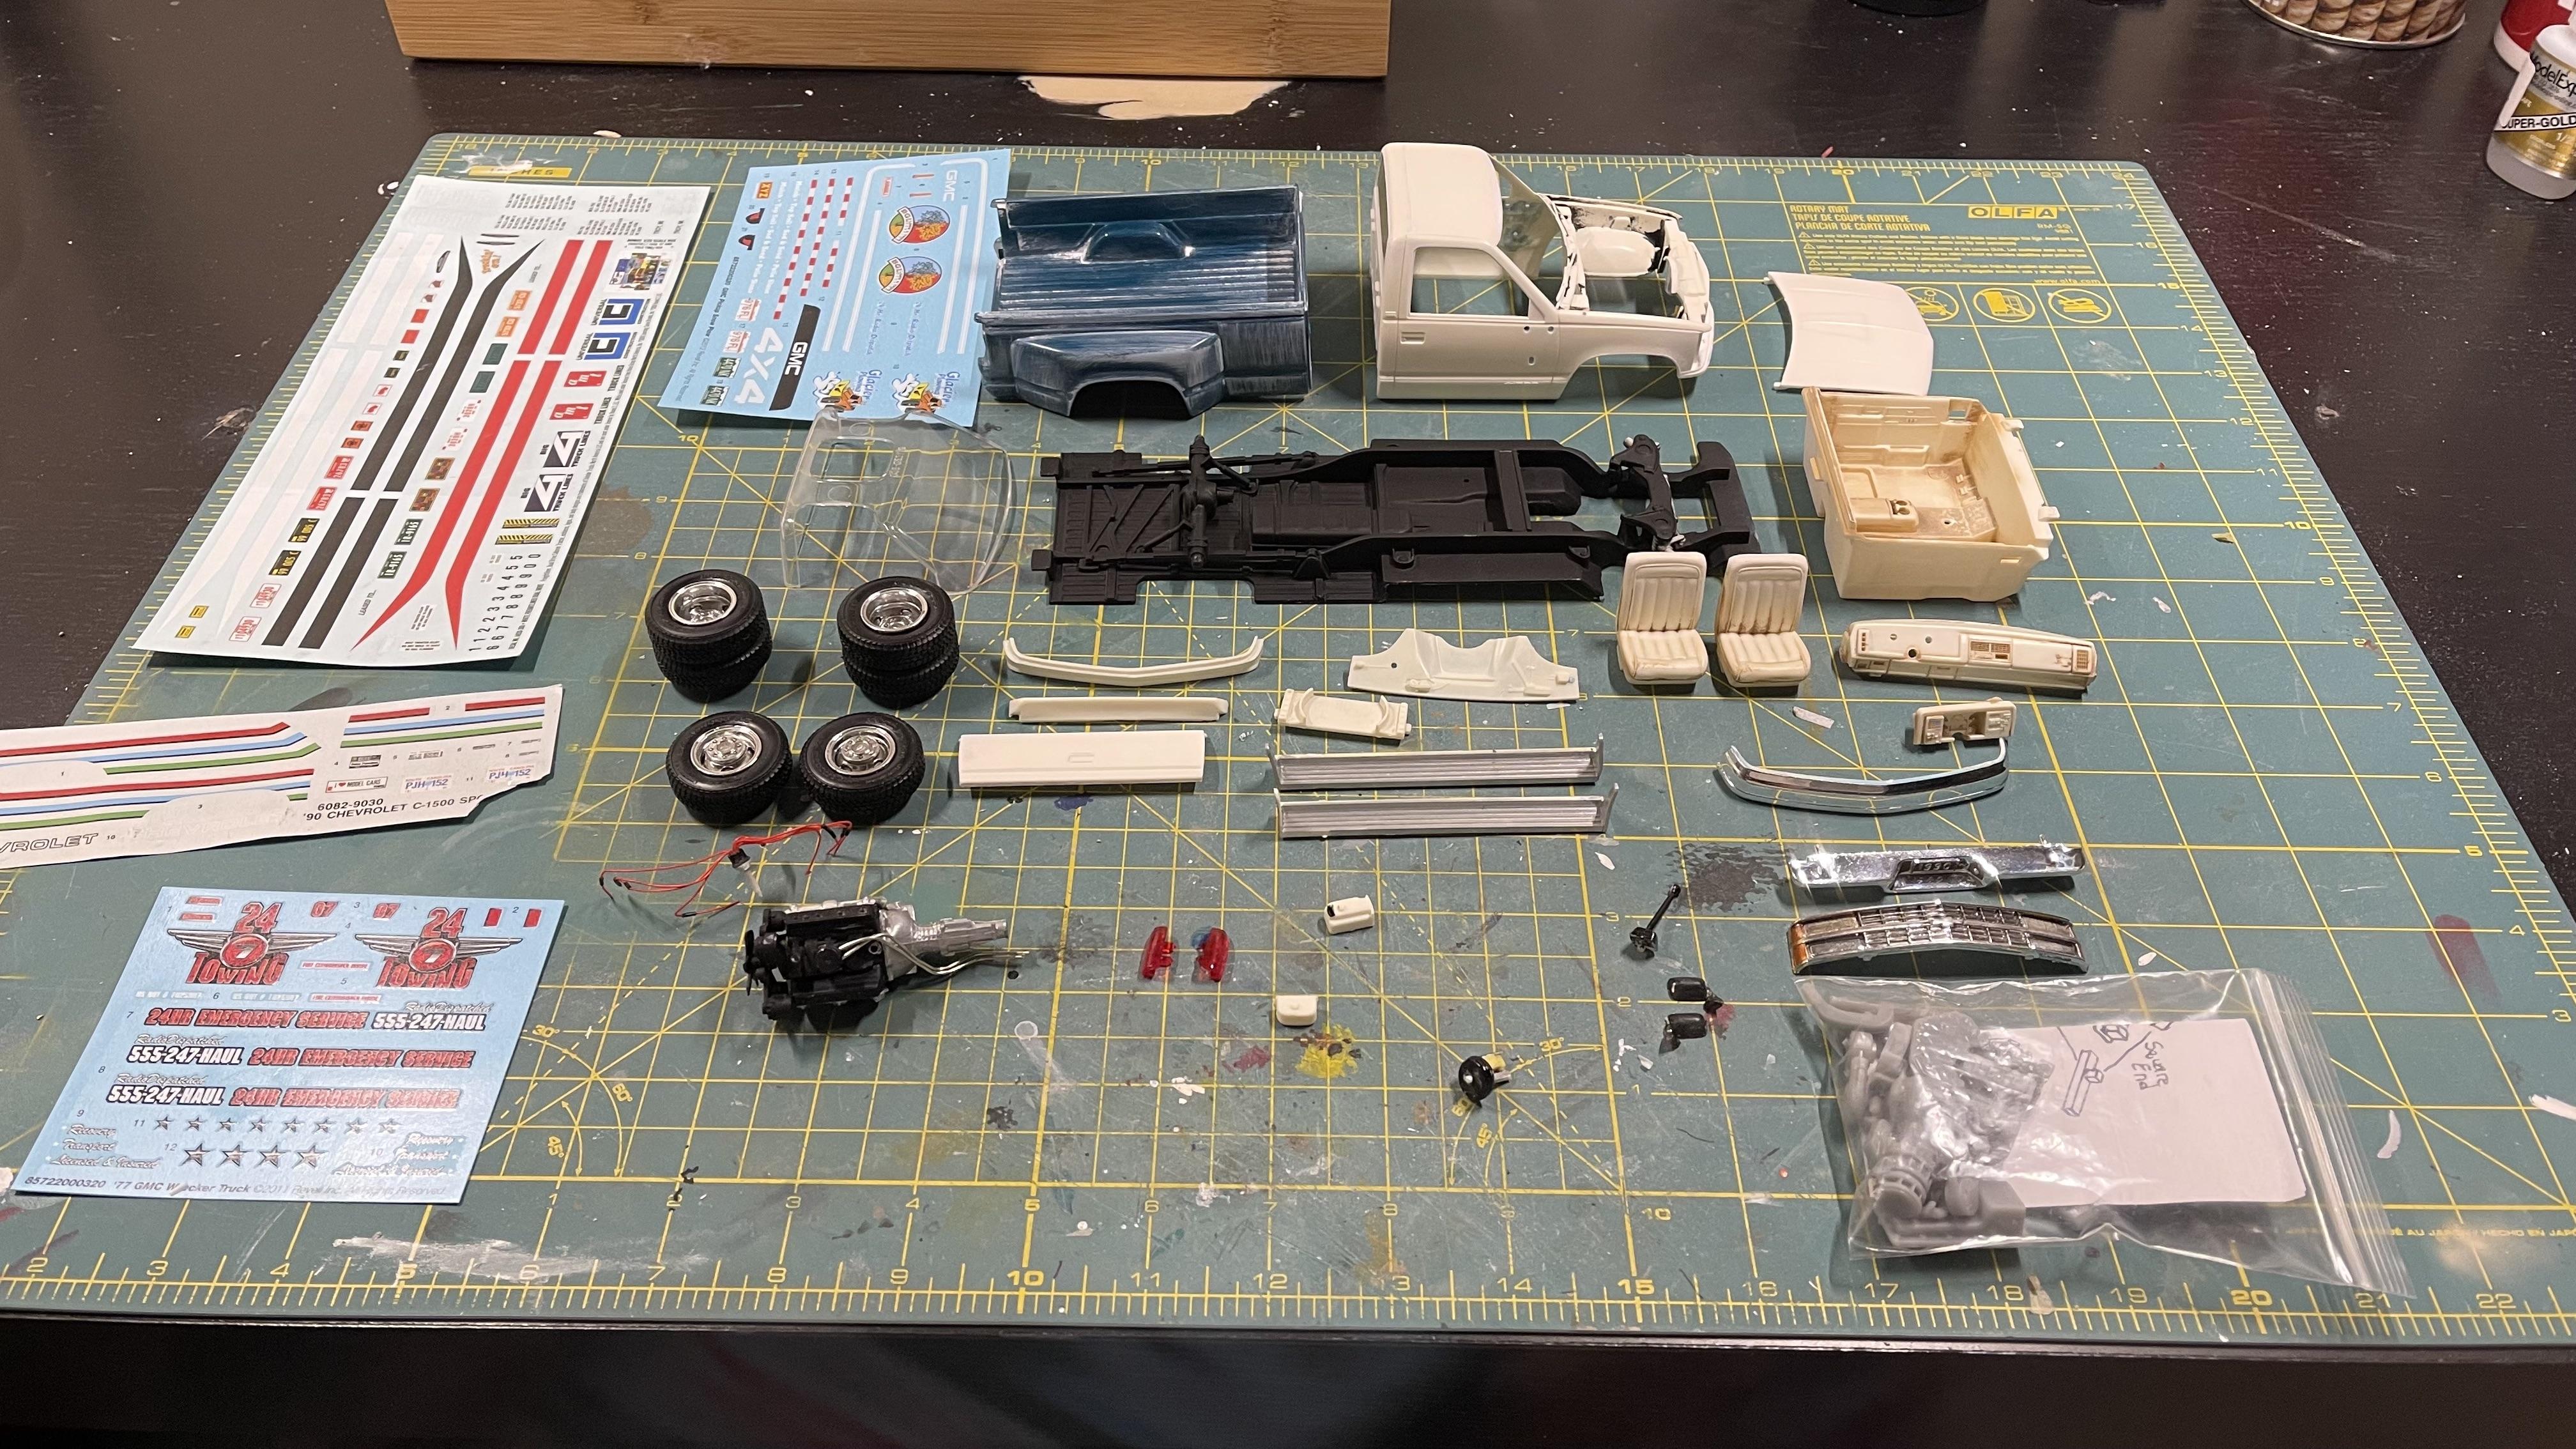
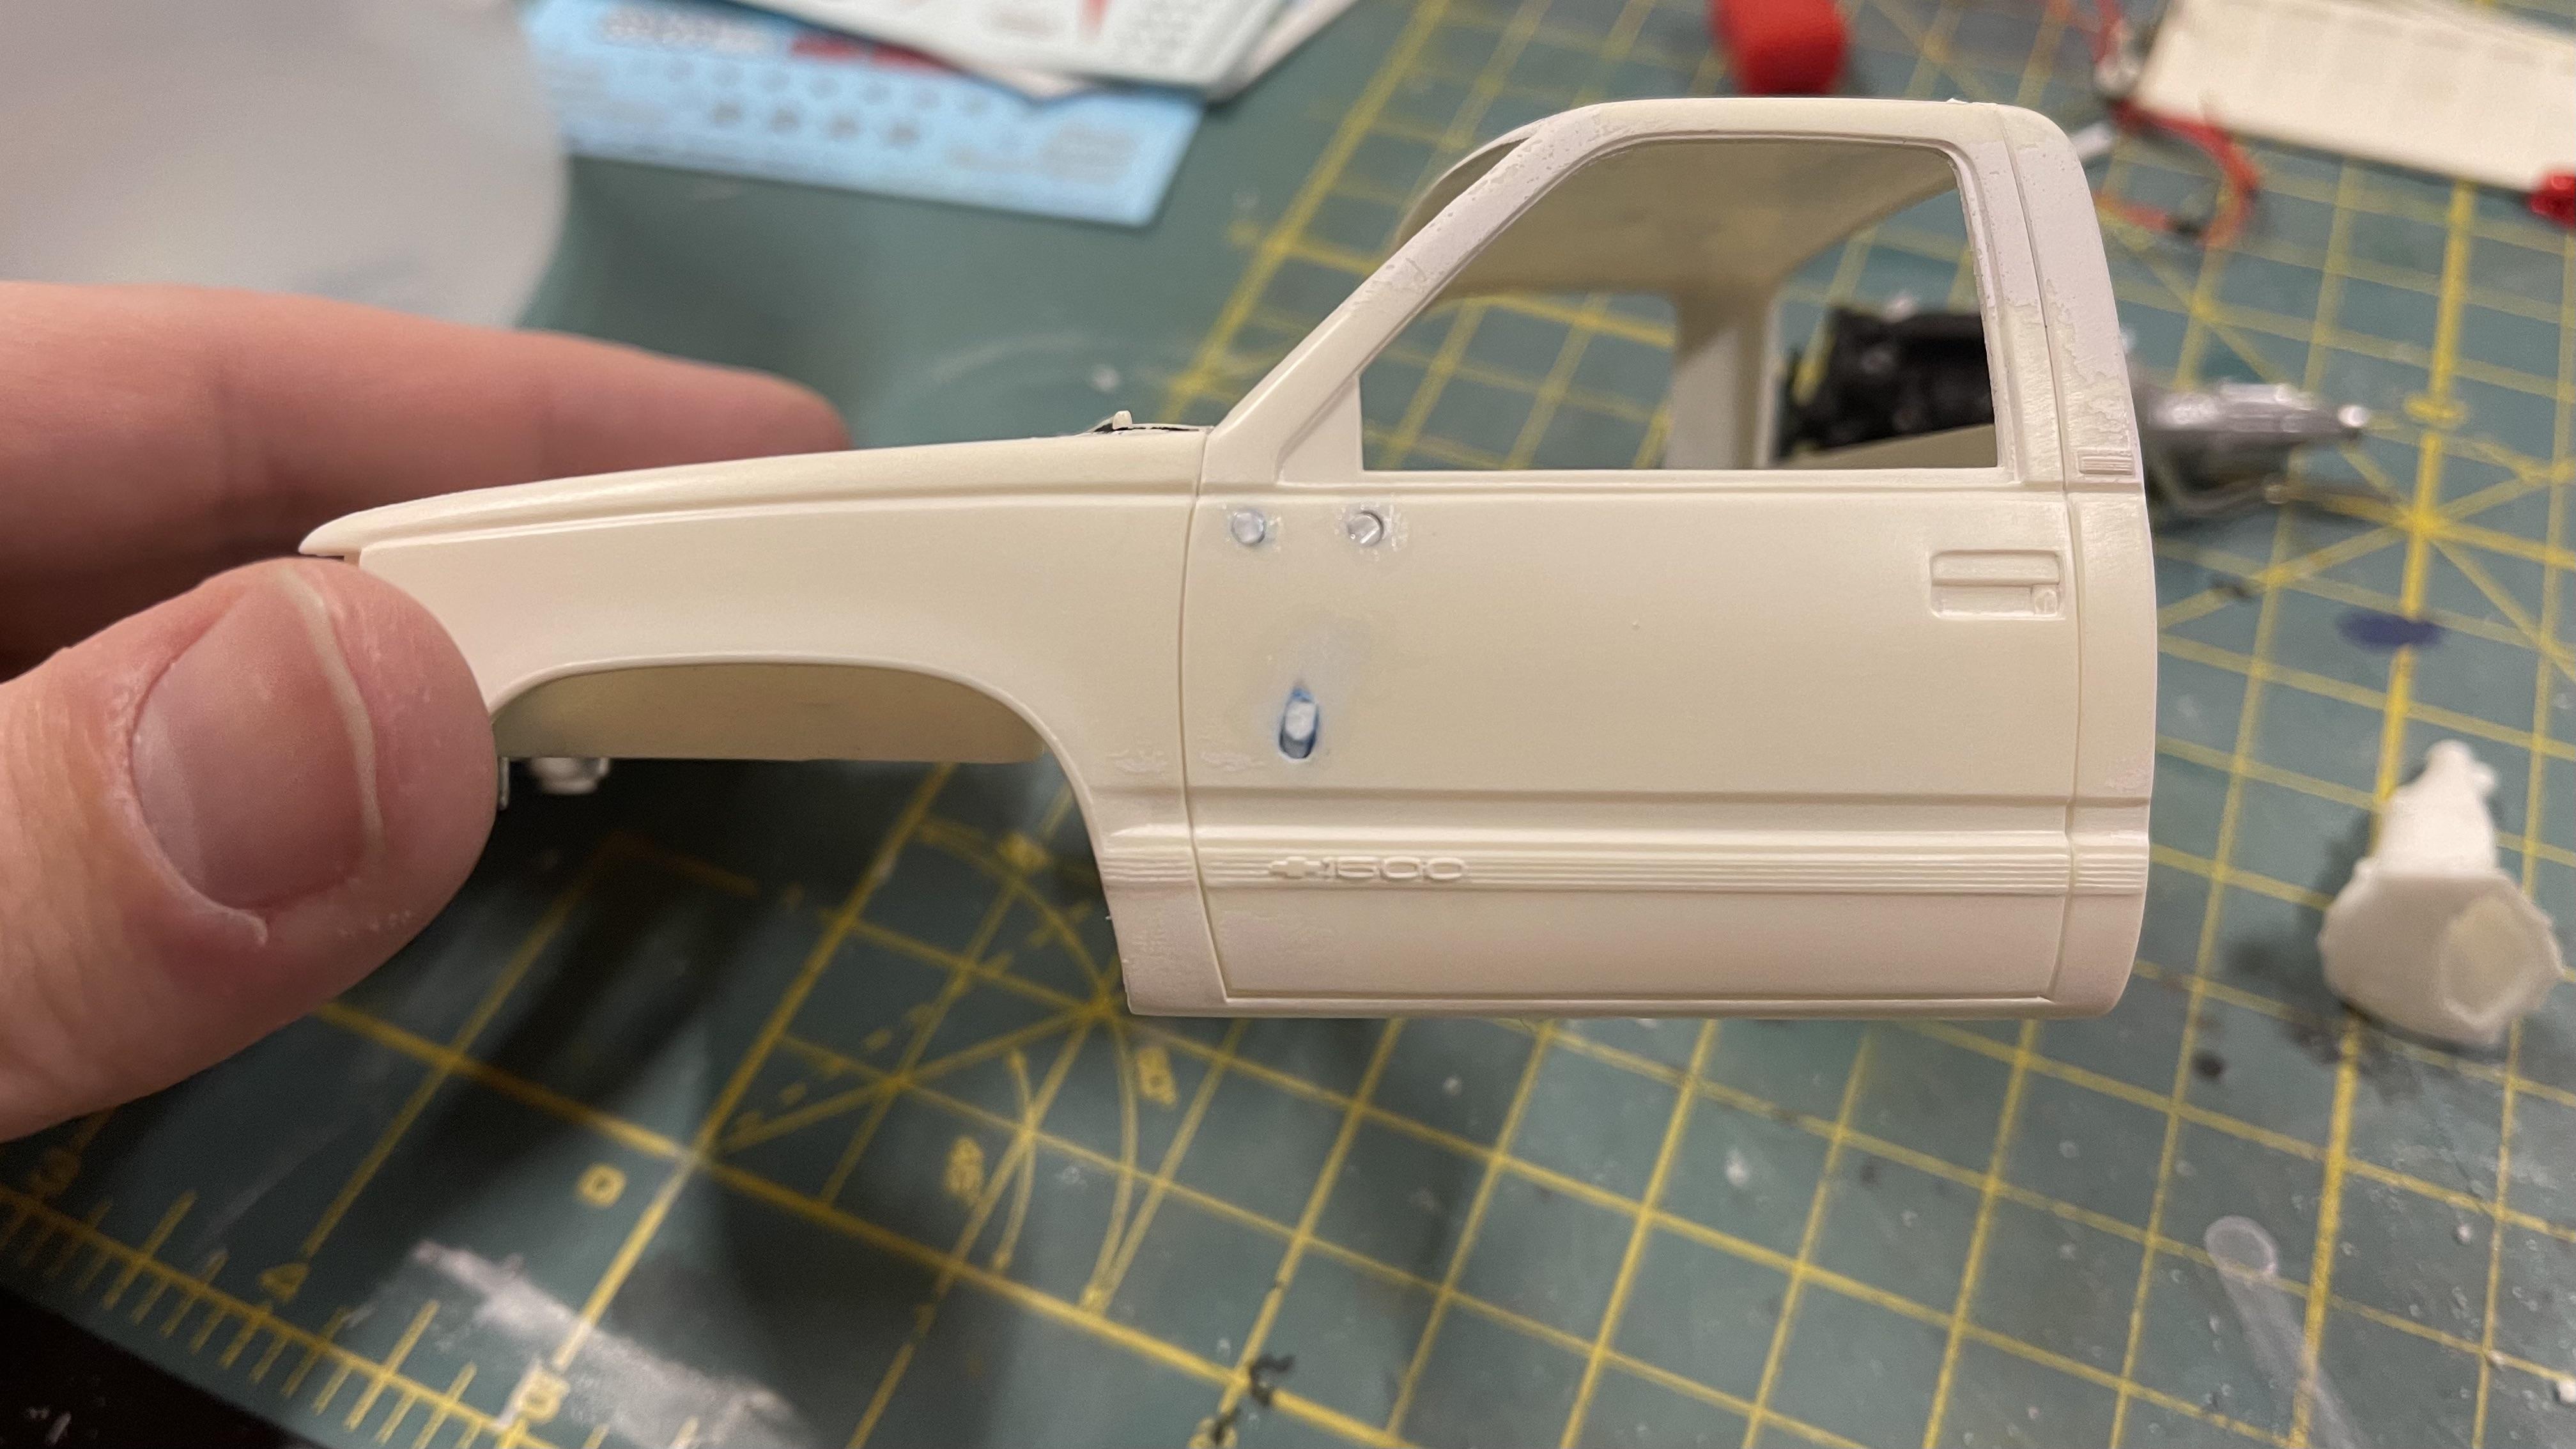
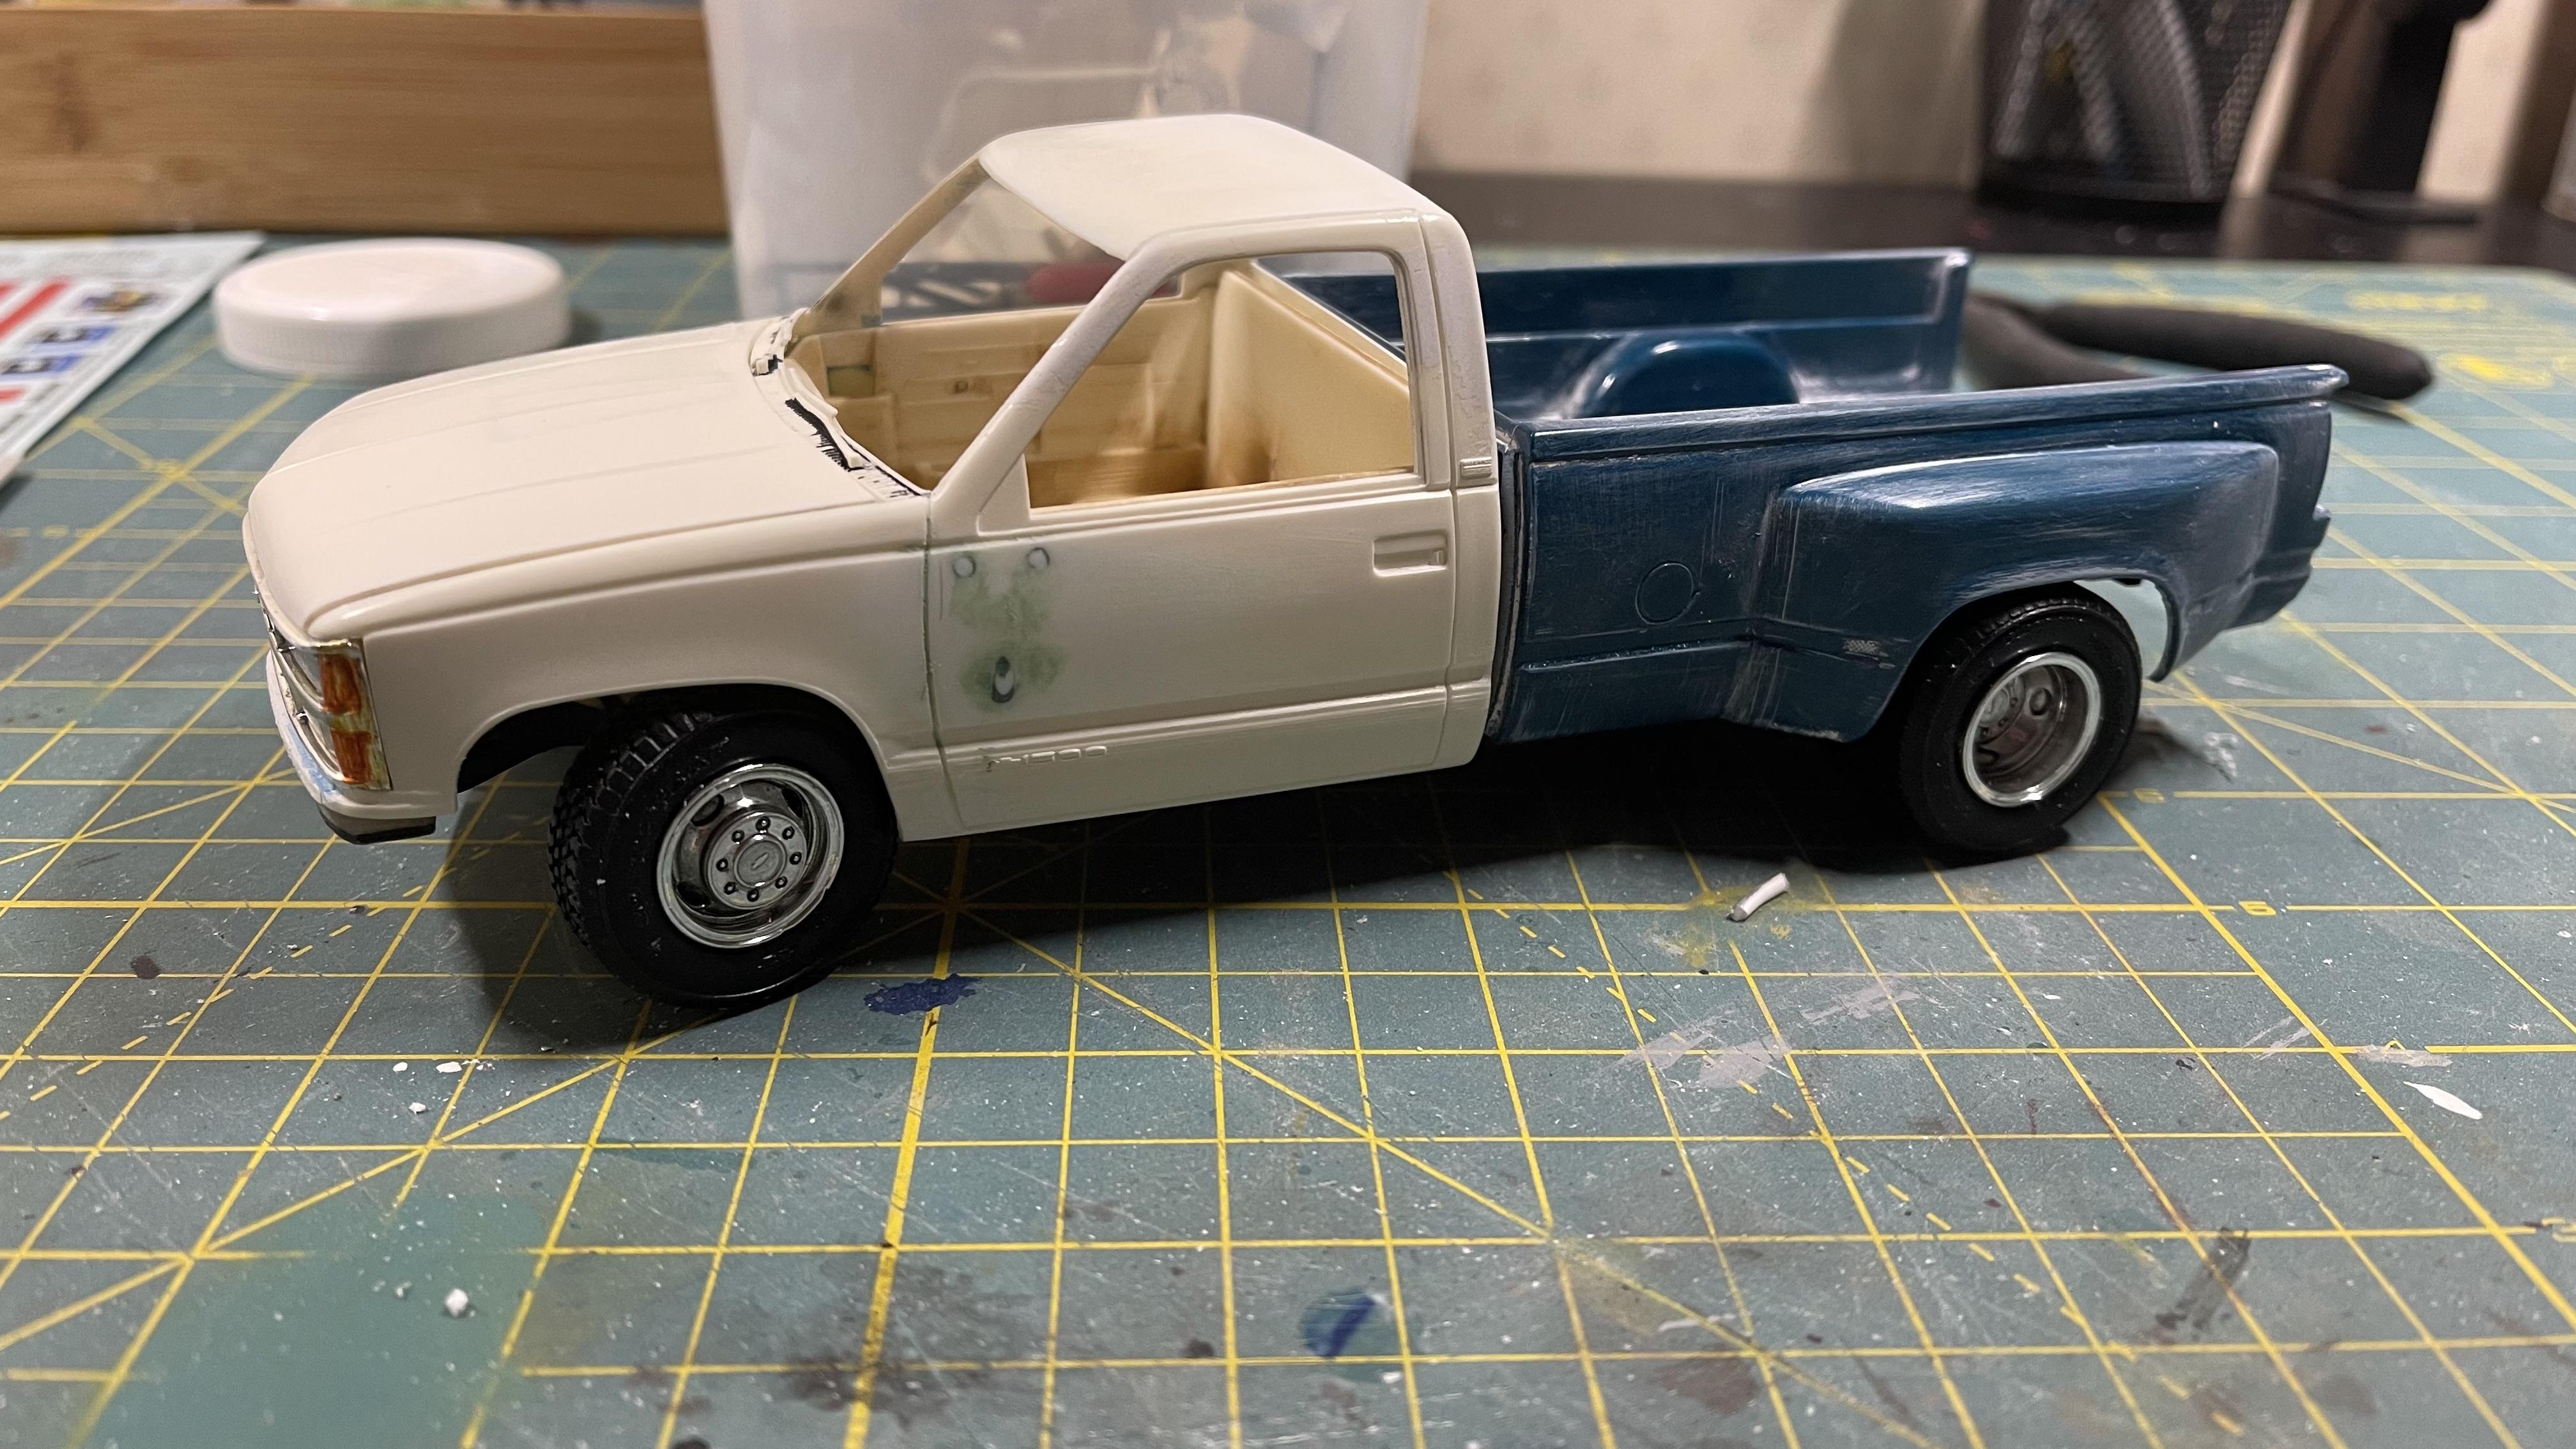
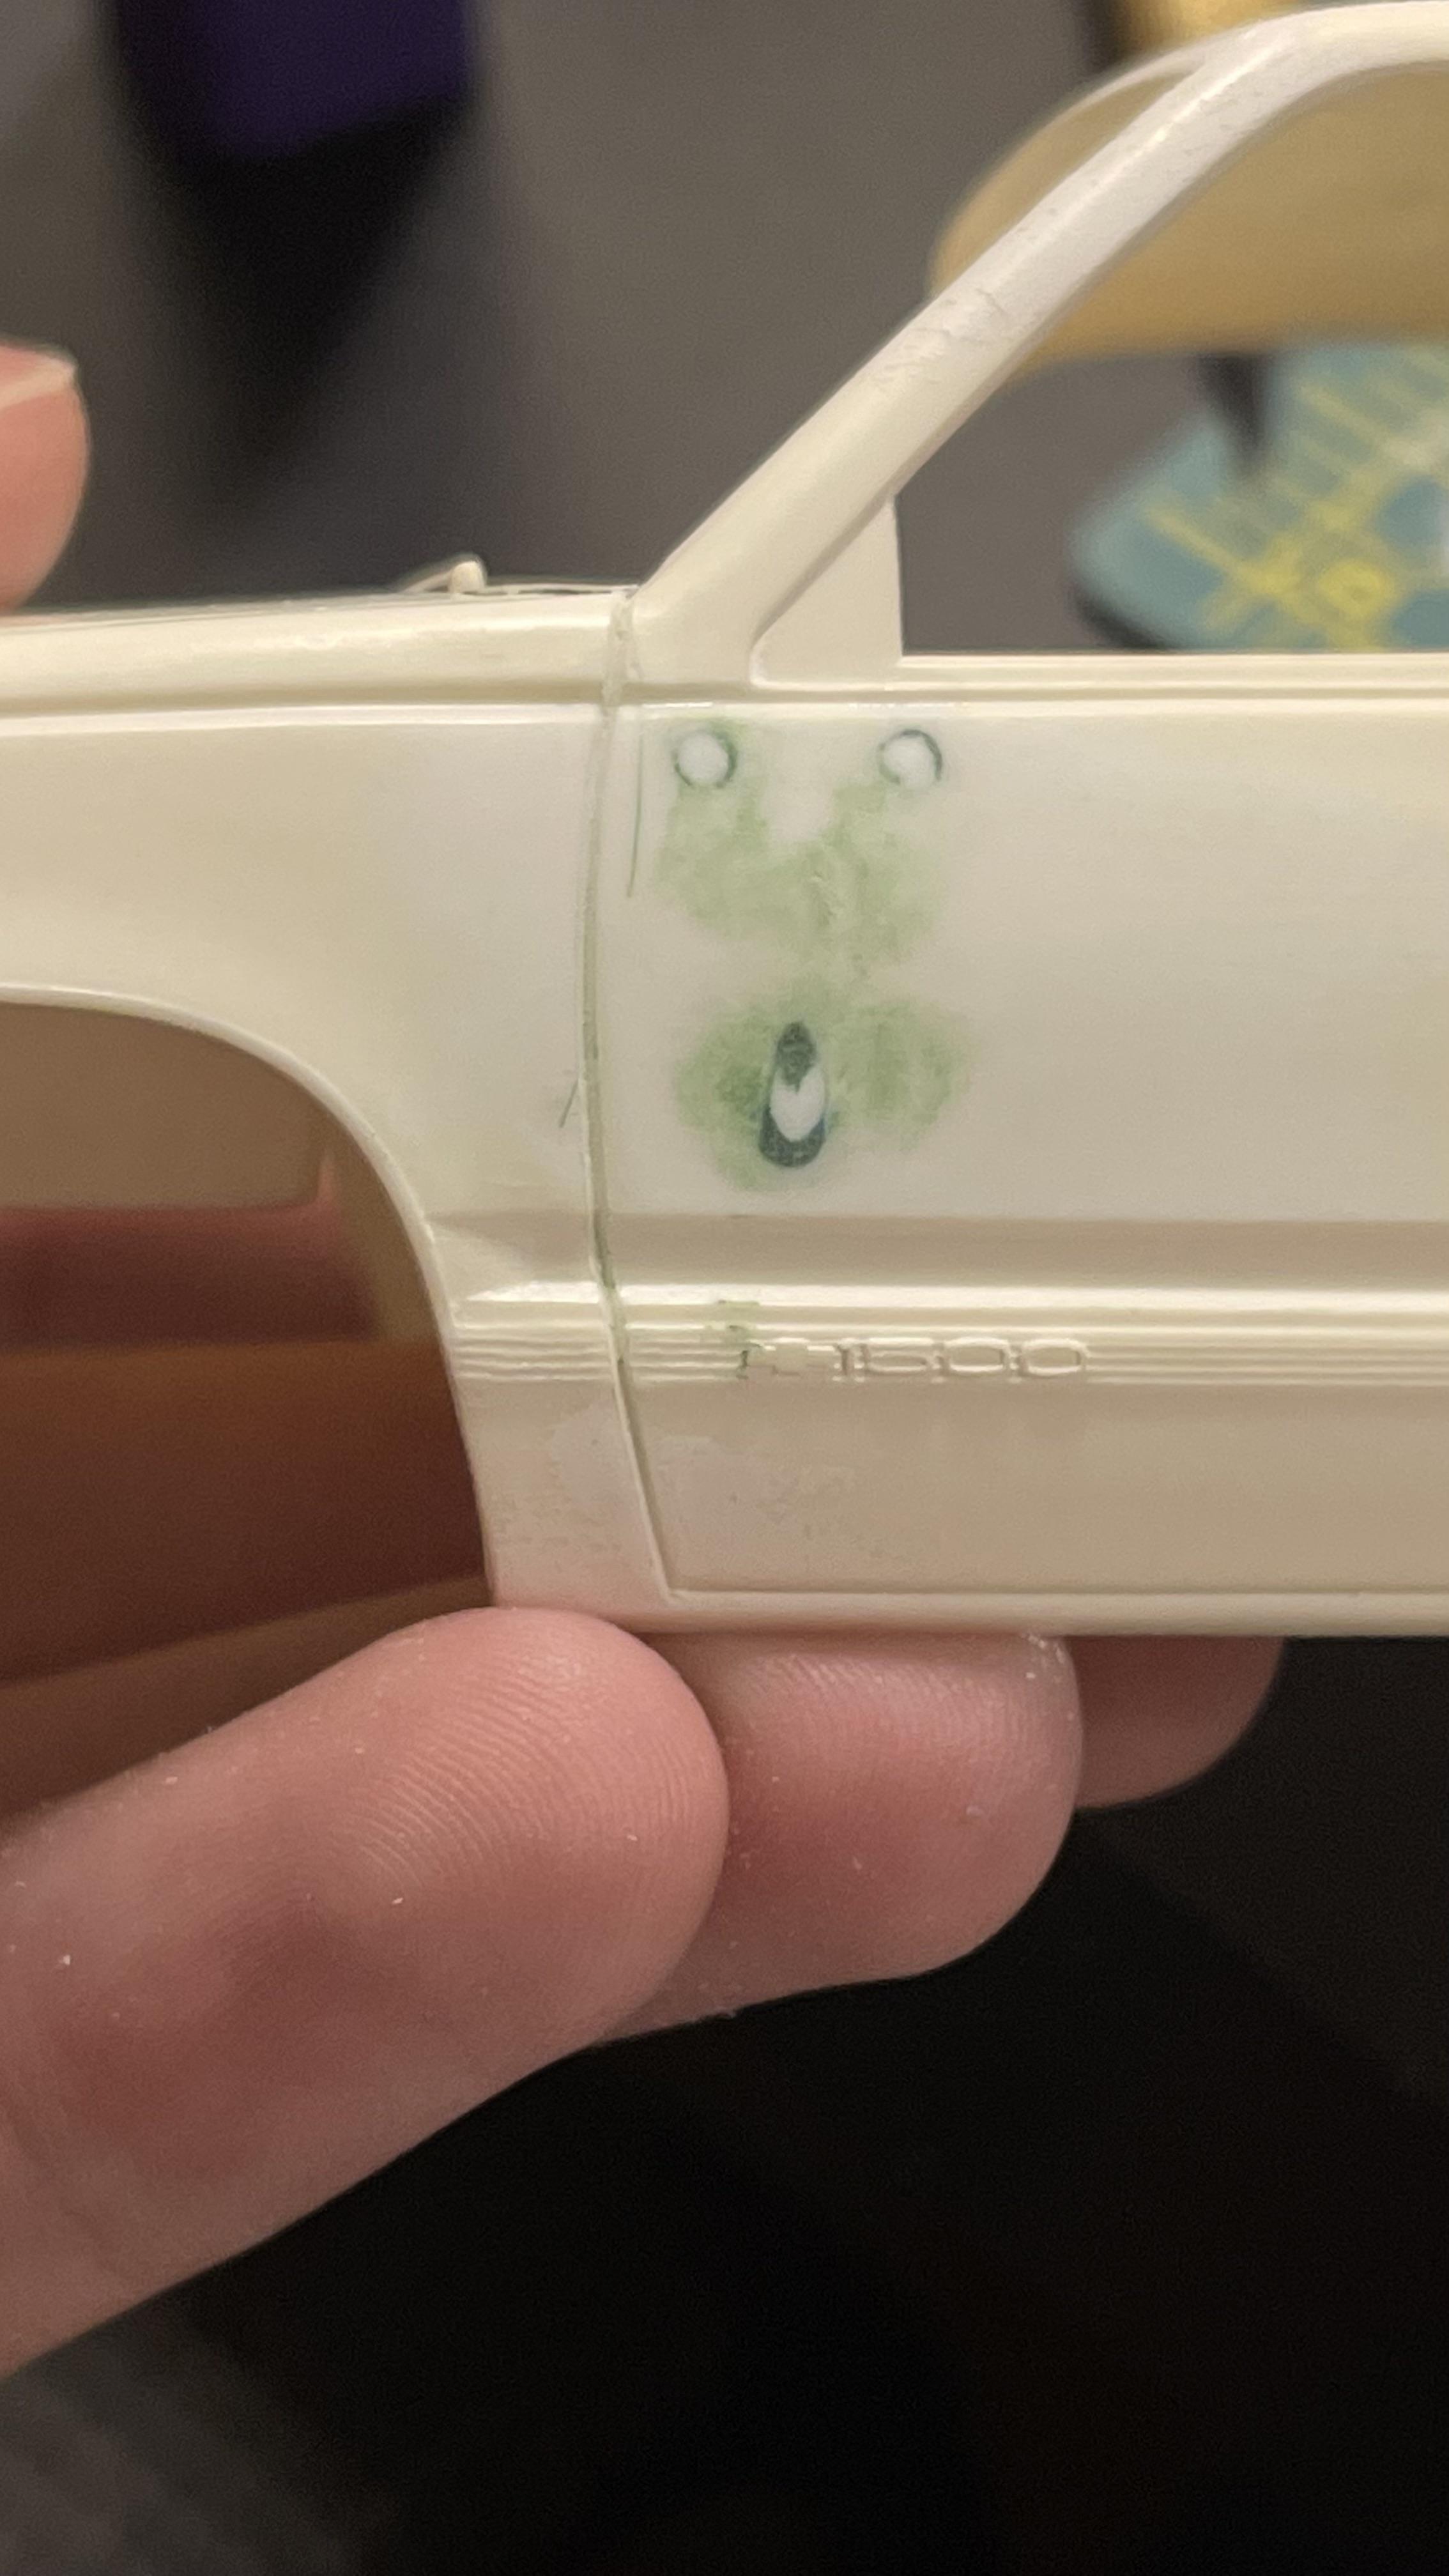
 I wanted to build a nice work truck for my model fleet and garage diorama. I have a soft spot for GMT400 pickups (I wish they would re-release these kits!) so naturally this was an easy choice for a build. So here we go.. I had this built-up that I did several years ago. It was ok. So I stripped it clean. Here it is stripped and all laid out. The chassis won't need modified, so I left that alone. I can weather over all of that anyways. I am planning on ditching the kit motor and using a resin 5.9 Cummins from Trailer Trash Kustomz. I would like to paint the truck red, but think a navy blue would look good as well. The kit decals are pretty rough, so i purchased some new decals from Rays Decals. Looking forward to getting them. I'll try to scratch build some tool boxes for the bed. I had added some poorly scratch built tow mirrors to the first build and they left some large holes in the doors. I had to fill those right away! I filled them with styrene rod first... And a little bit of putty and sanding... There it sits now.
-
Finished this Nova the today here’s the link to the wip the colour is duplicolour emerald but anyway I hope you enjoy Regards Brock
-
Well, as you can tell, I'm a bit of a Chevelle guy. The 68 being my favorite body style. I loved the kit and wanted to get a second one. I built it to look like the car I would want to have. SAM_1390 by Eric Lucas, on Flickr SAM_1391 by Eric Lucas, on Flickr SAM_1392 by Eric Lucas, on Flickr
-
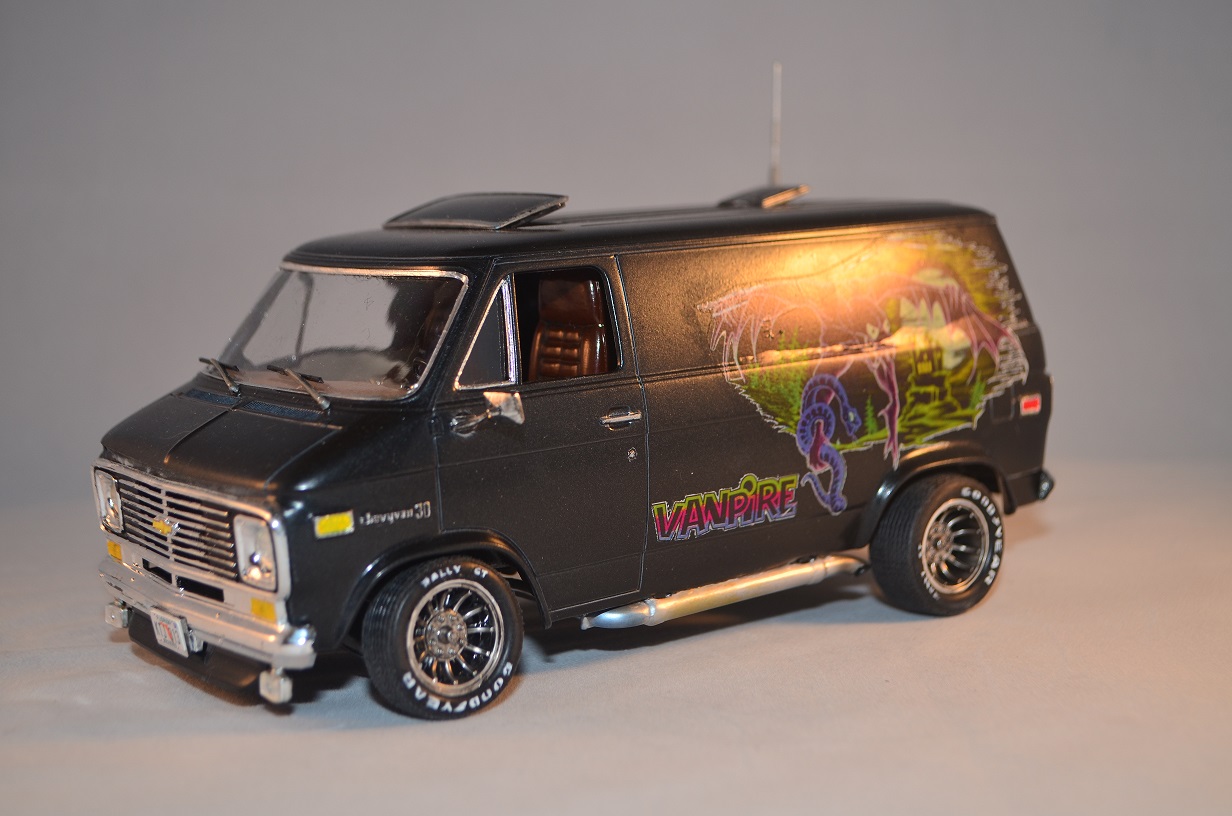
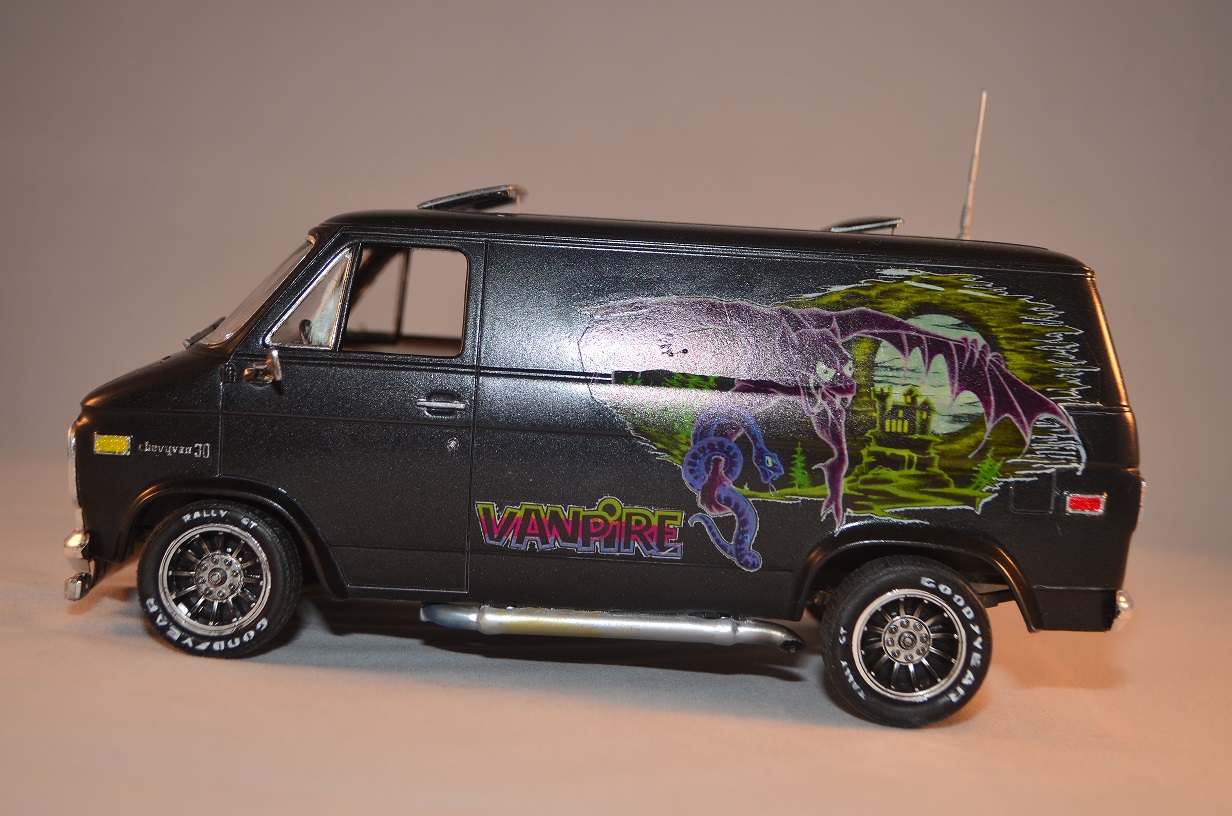
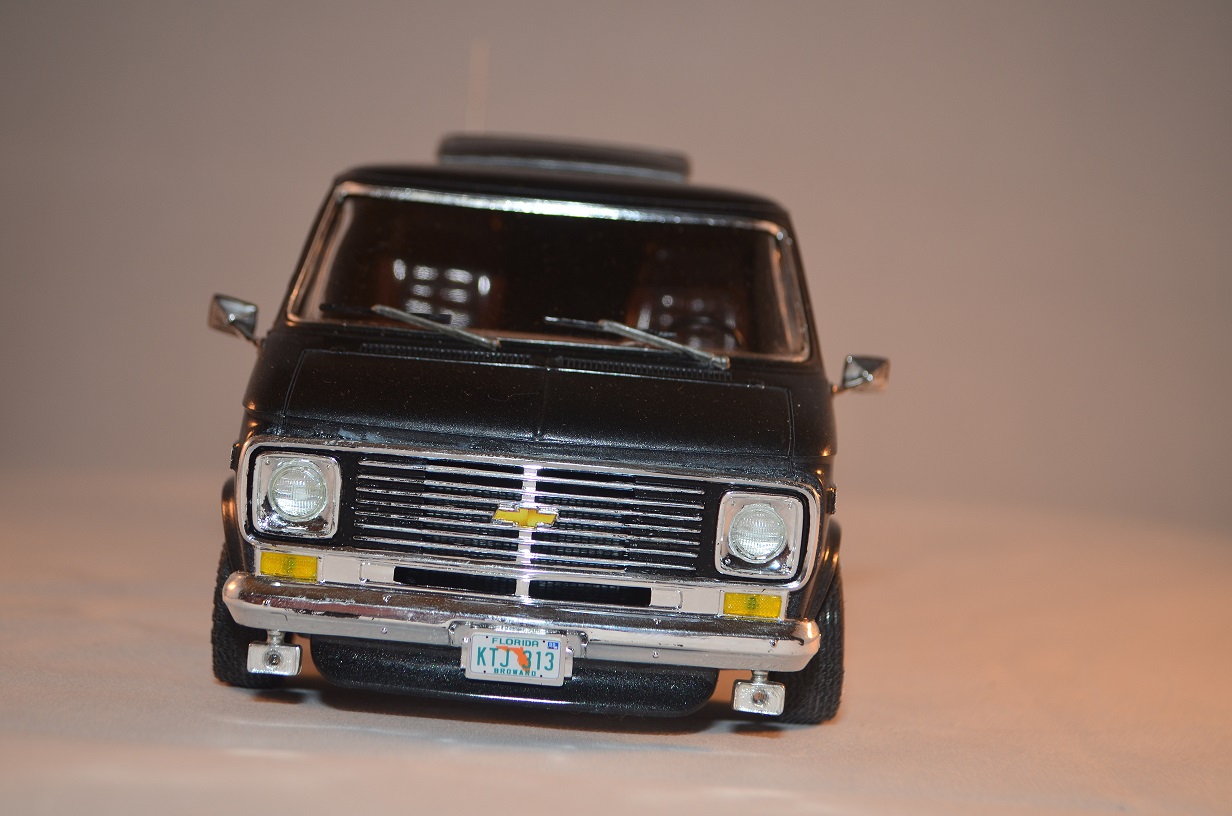
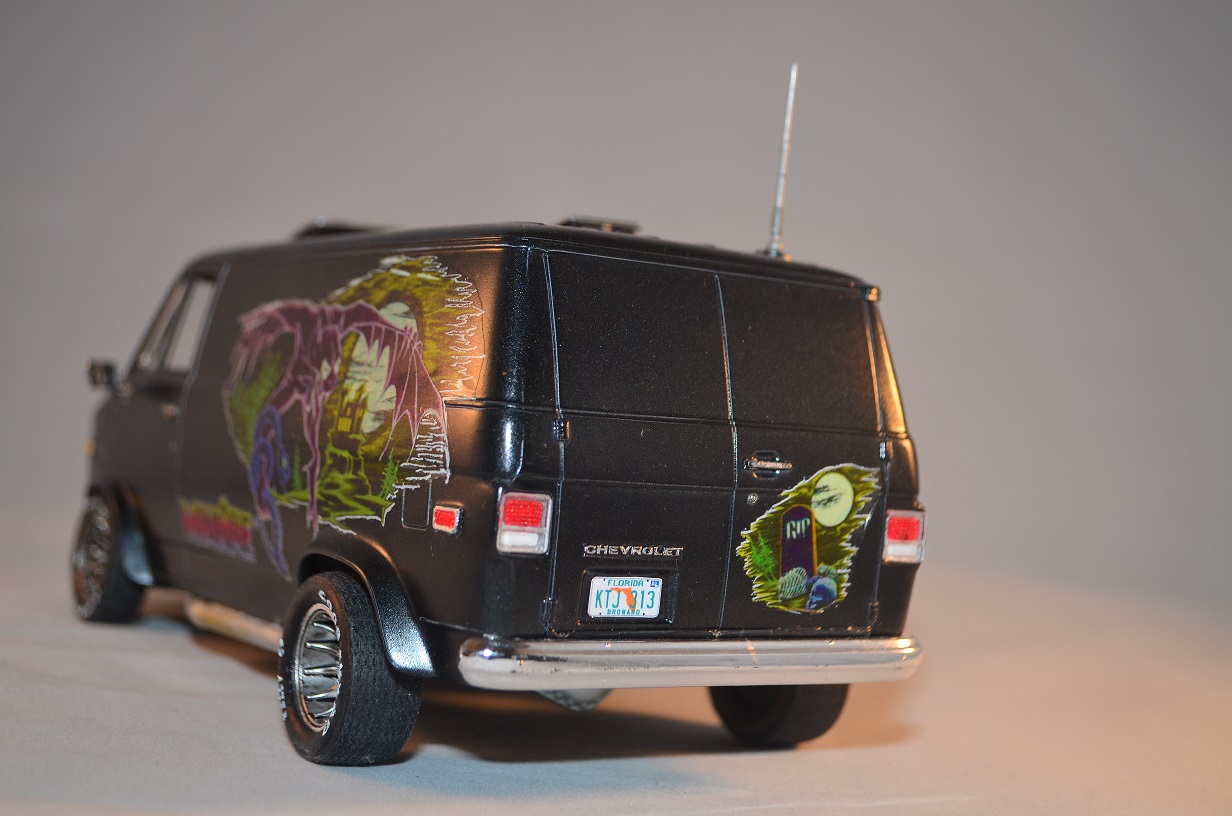
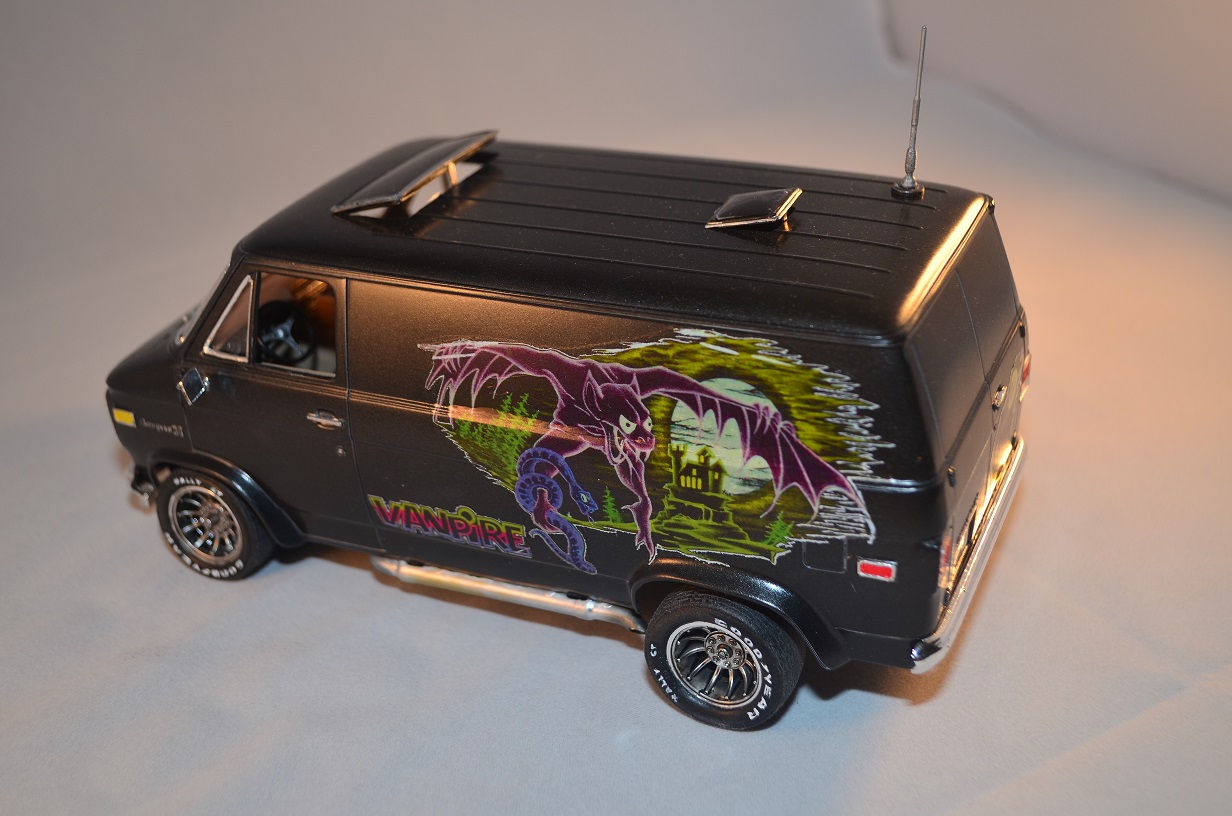
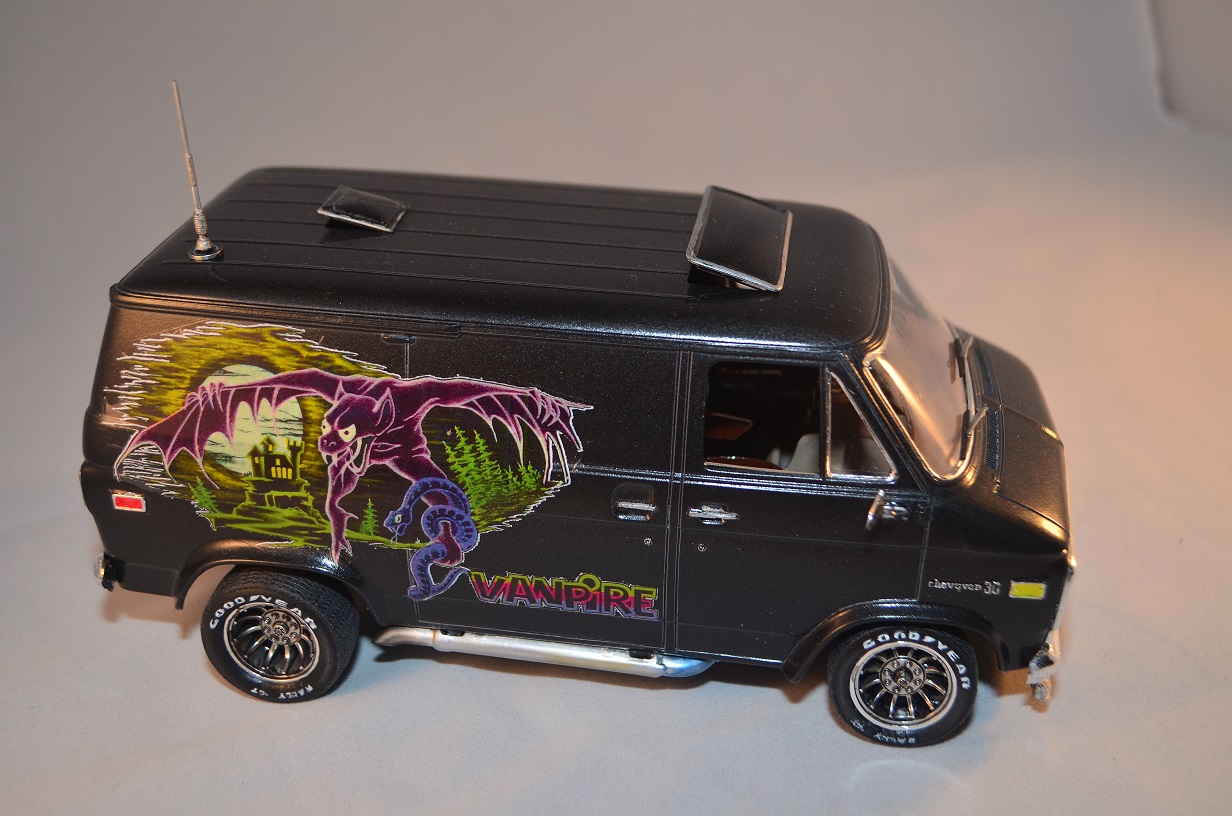
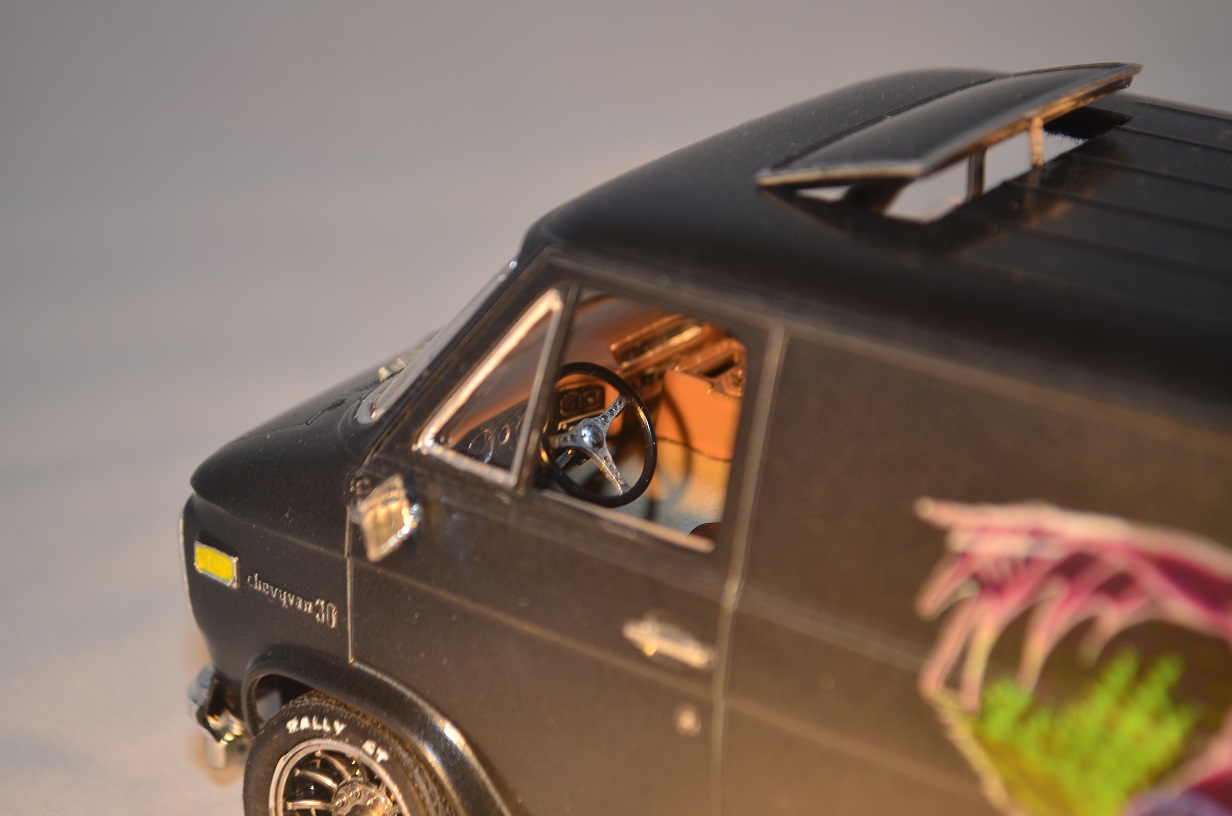
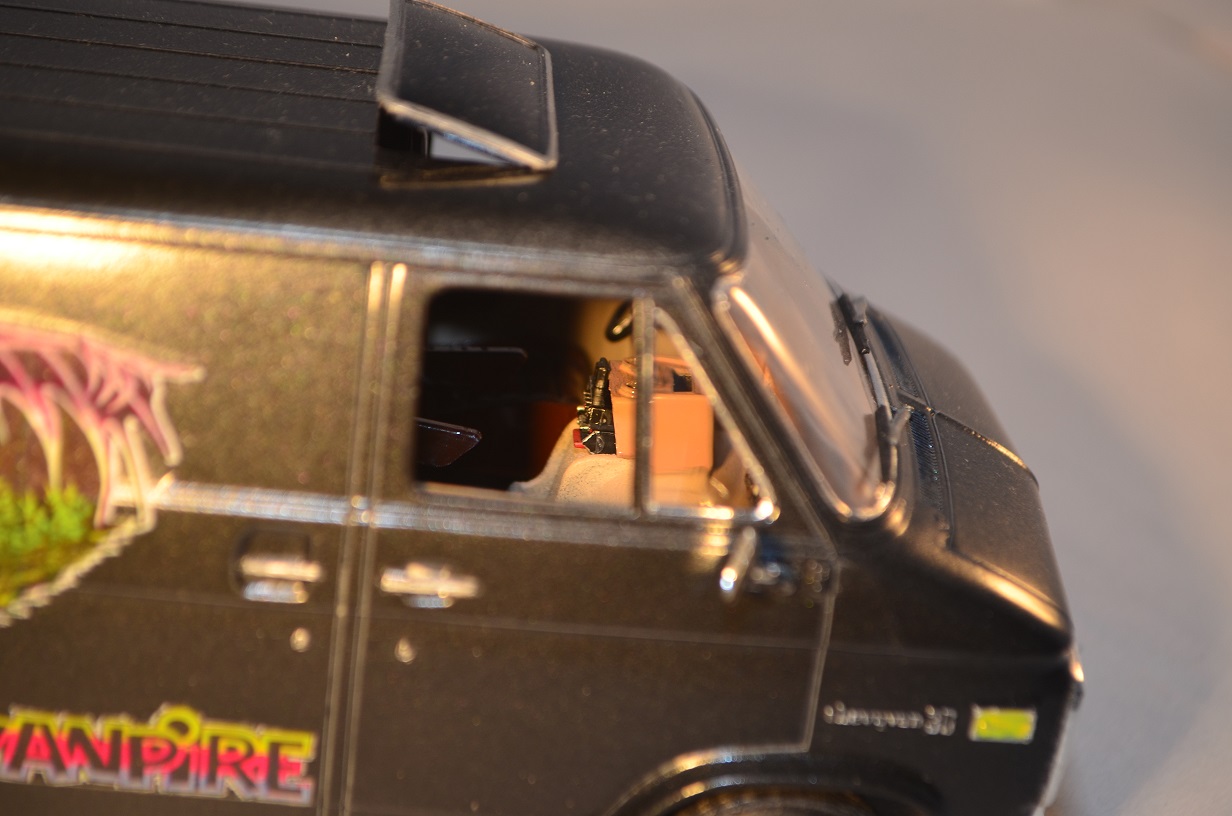
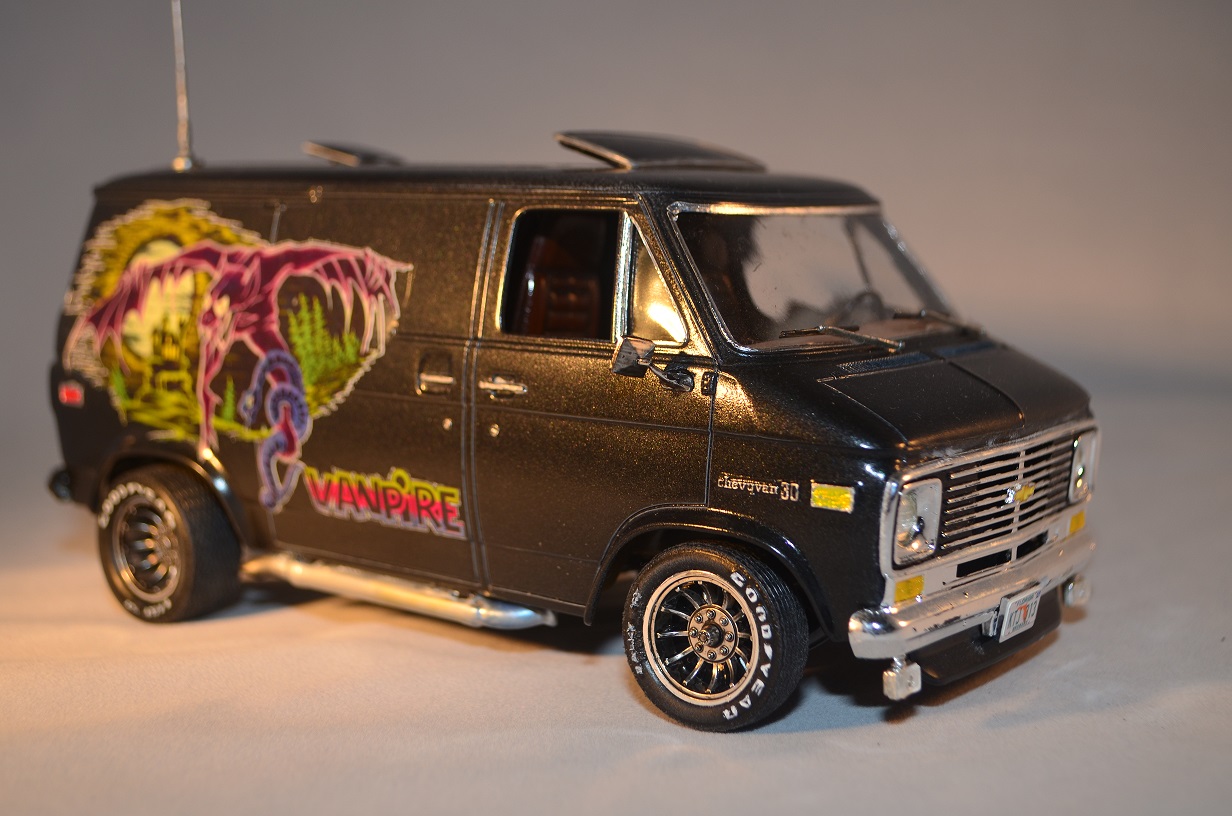
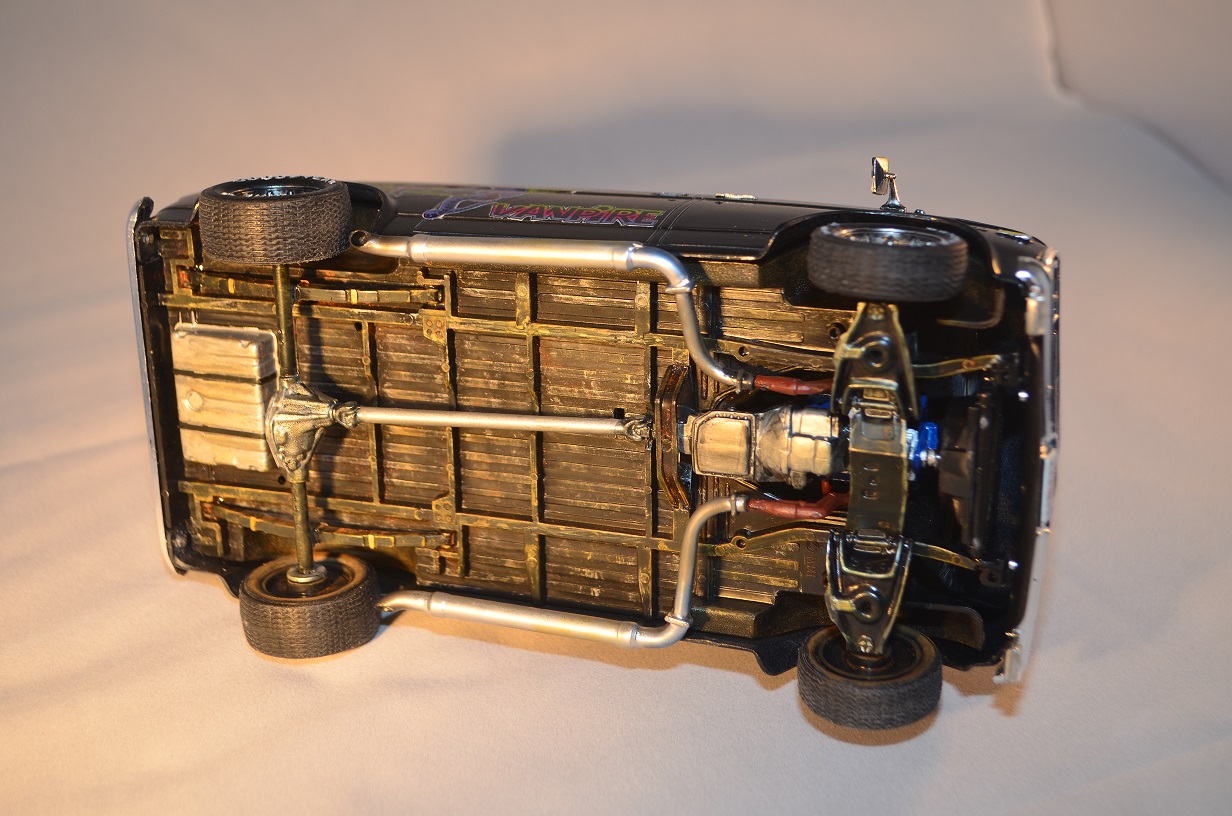
 I've been having so much fun building vans, I dusted off my old Monogram Vanpire that I've had in storage. I couldn't resist since I've always thought the Vanpire decals were cool & a bit frightening as a kid. To be sure, I sprayed them with Testors Decal sealer and they settled down like a charm. I had fun with this build. I cut out the moon roof openings and propped up the moon roofs. I also drilled out all the lightening holes in the steering wheel for accuracy. I mounted and painted the CB radio and 8-Track player. I tried to weather the bottom a little to show some wear. I also toned down the bright shiny chrome rims with Tamiya Smoke. Finally, I printed and attached my own Florida license plates. If you have a Monogram Van kit in your stash, I highly recommend you build it. It goes together so well. BTW, the other Monogram '77 Chevy Street van is exactly the same as this one right down to the extra port holes & optional windows. The only difference is the decal sheet. I hope you enjoy looking at the pictures as much as I had building this gem. Many Thanks!
-
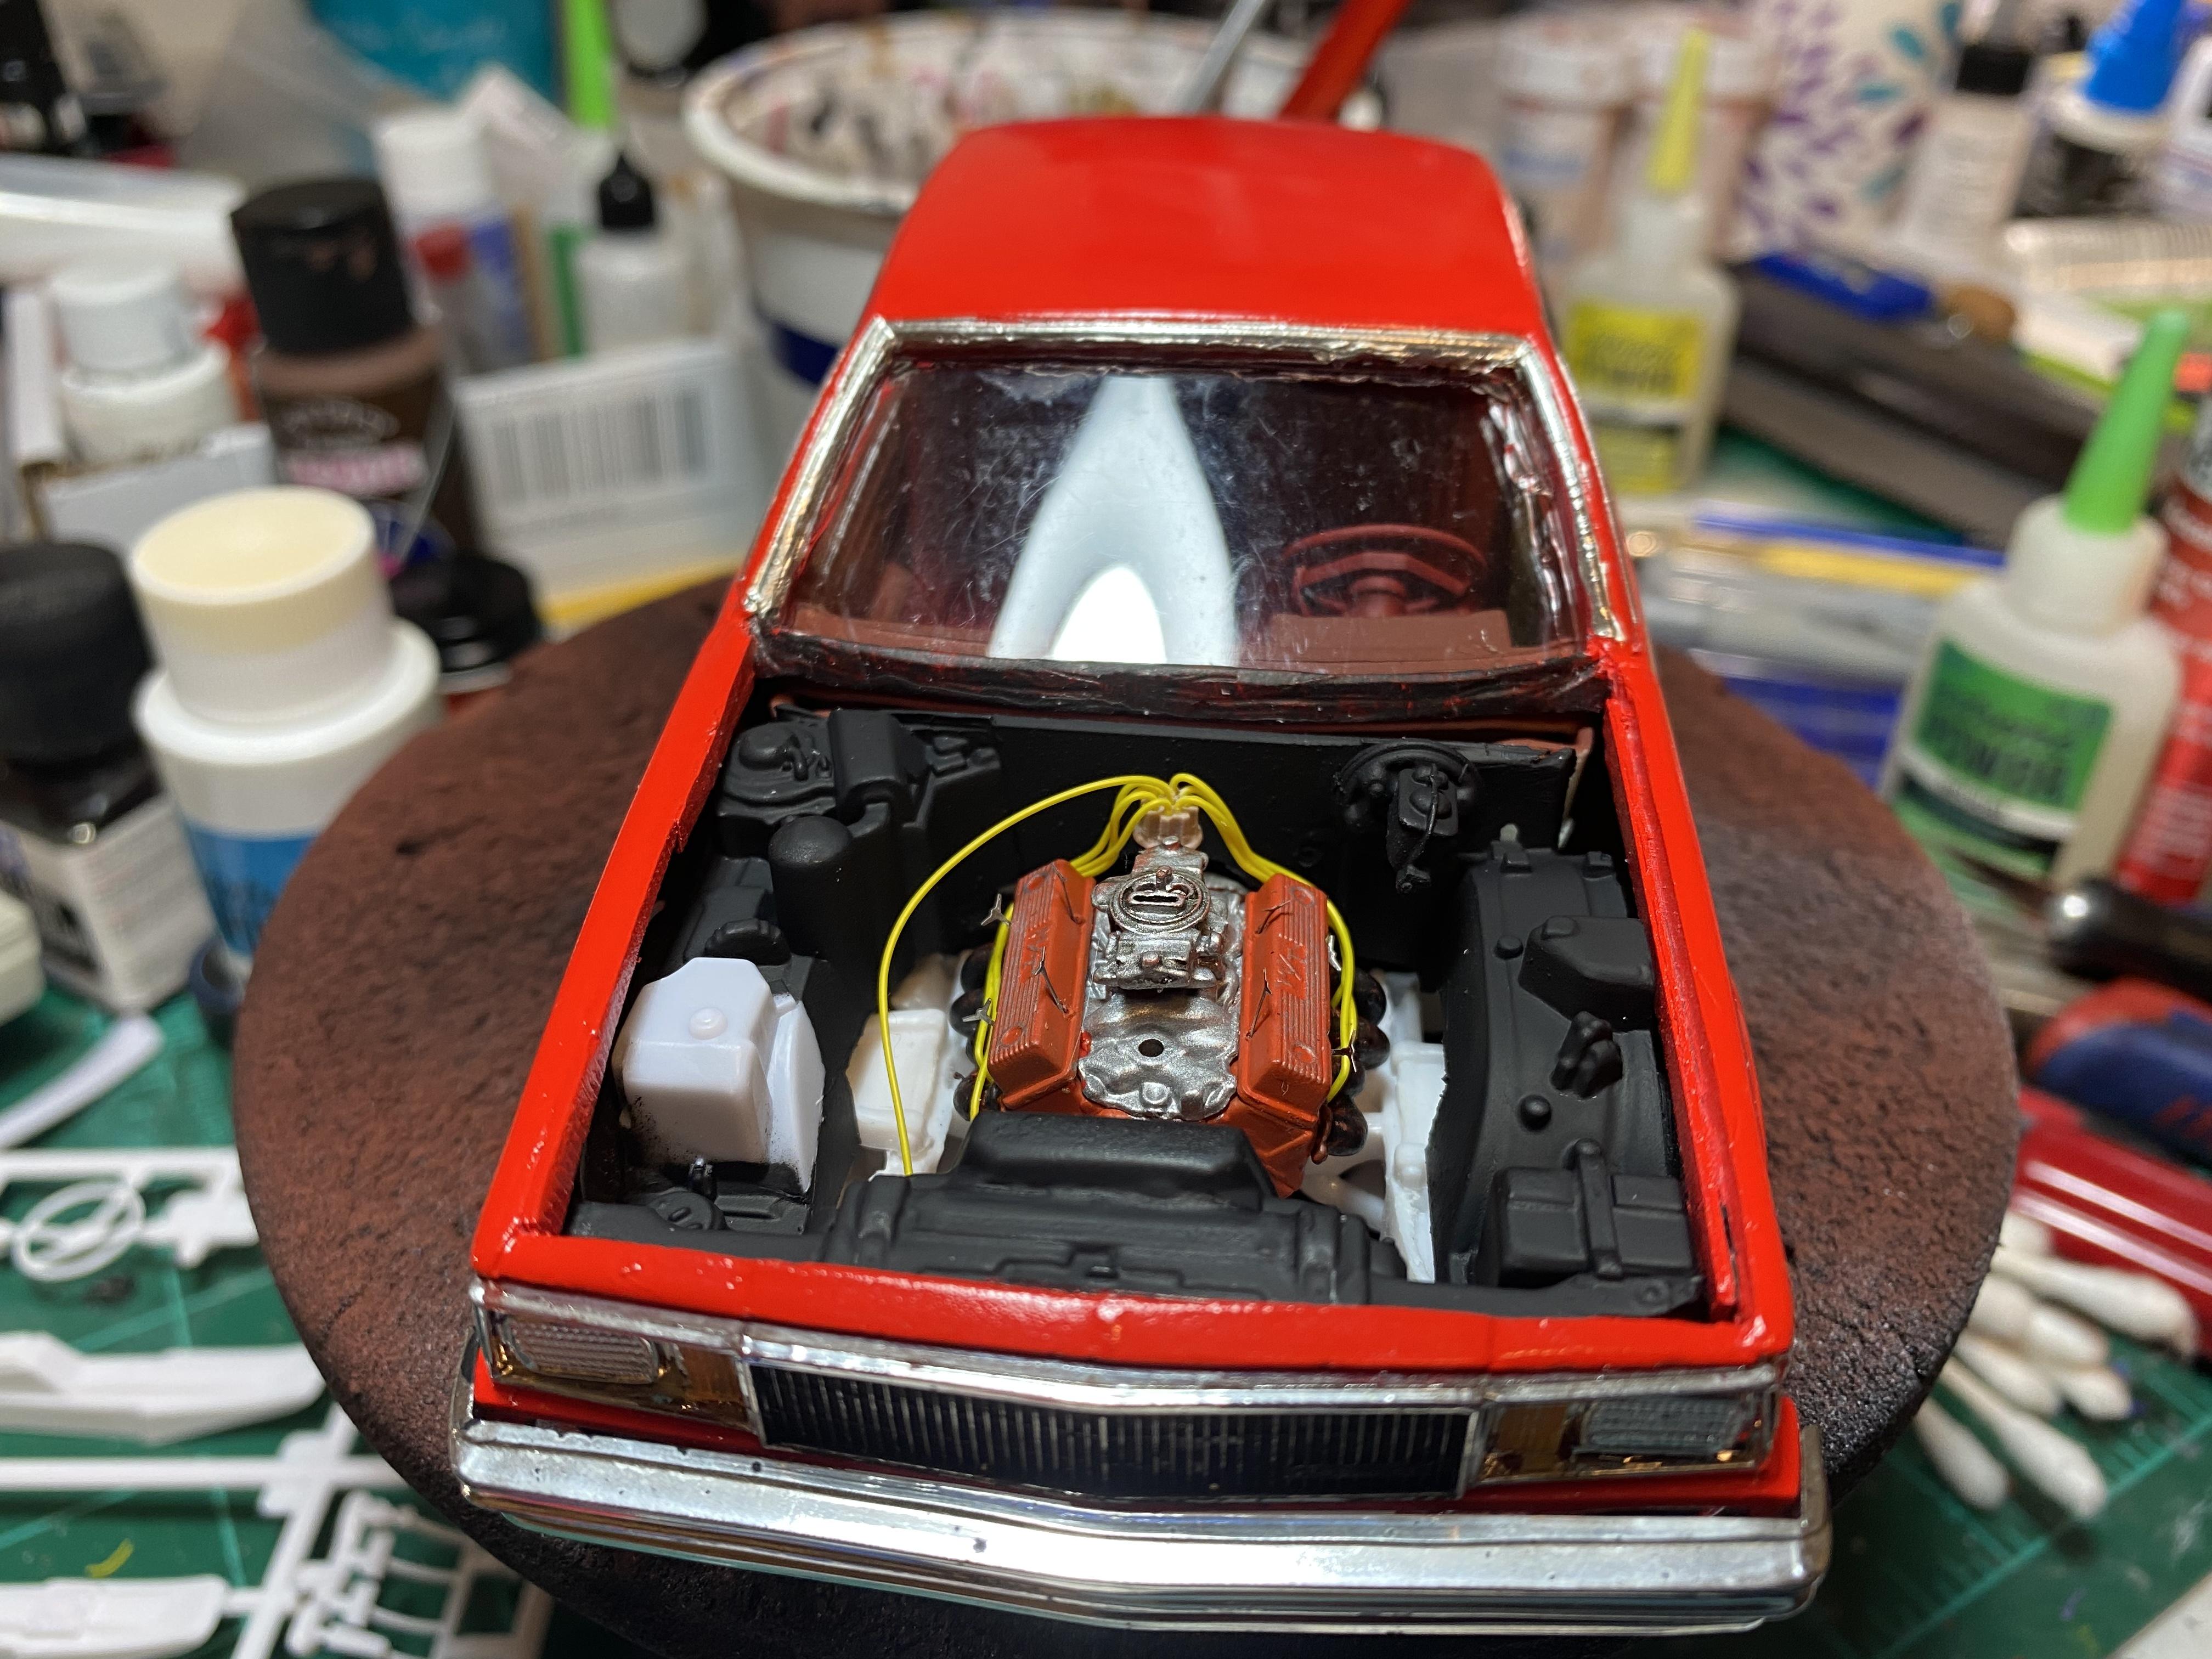
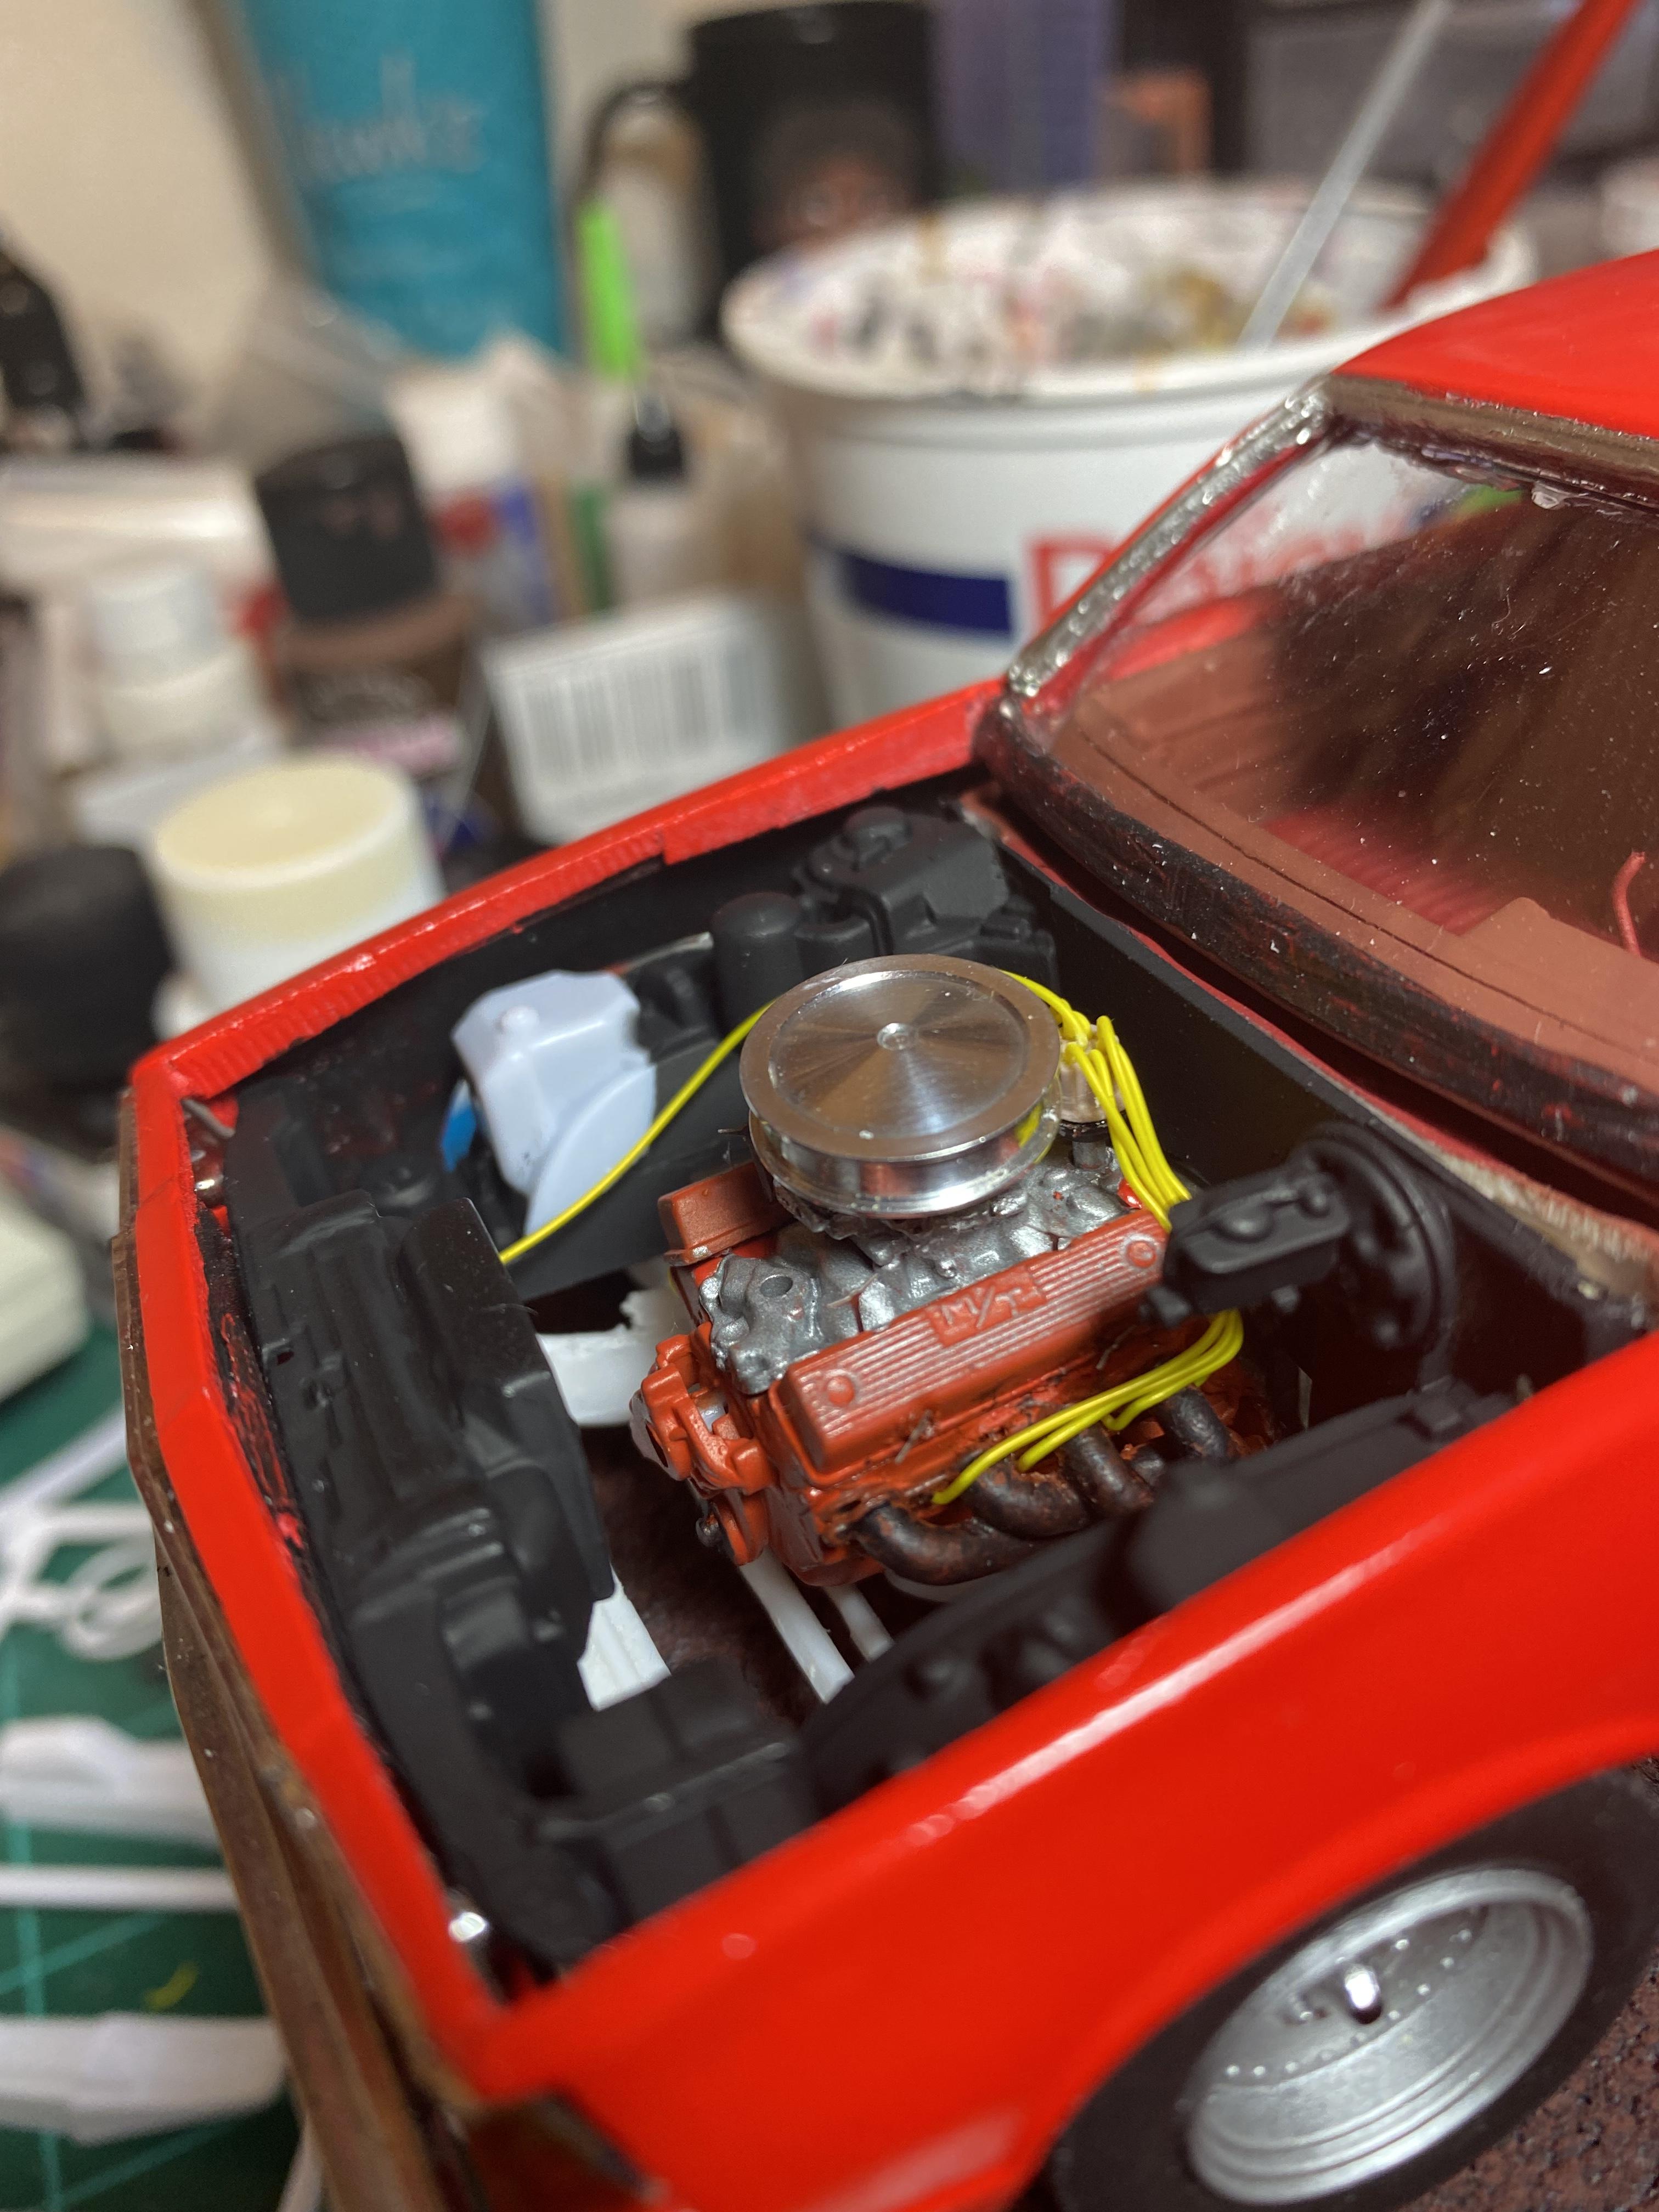
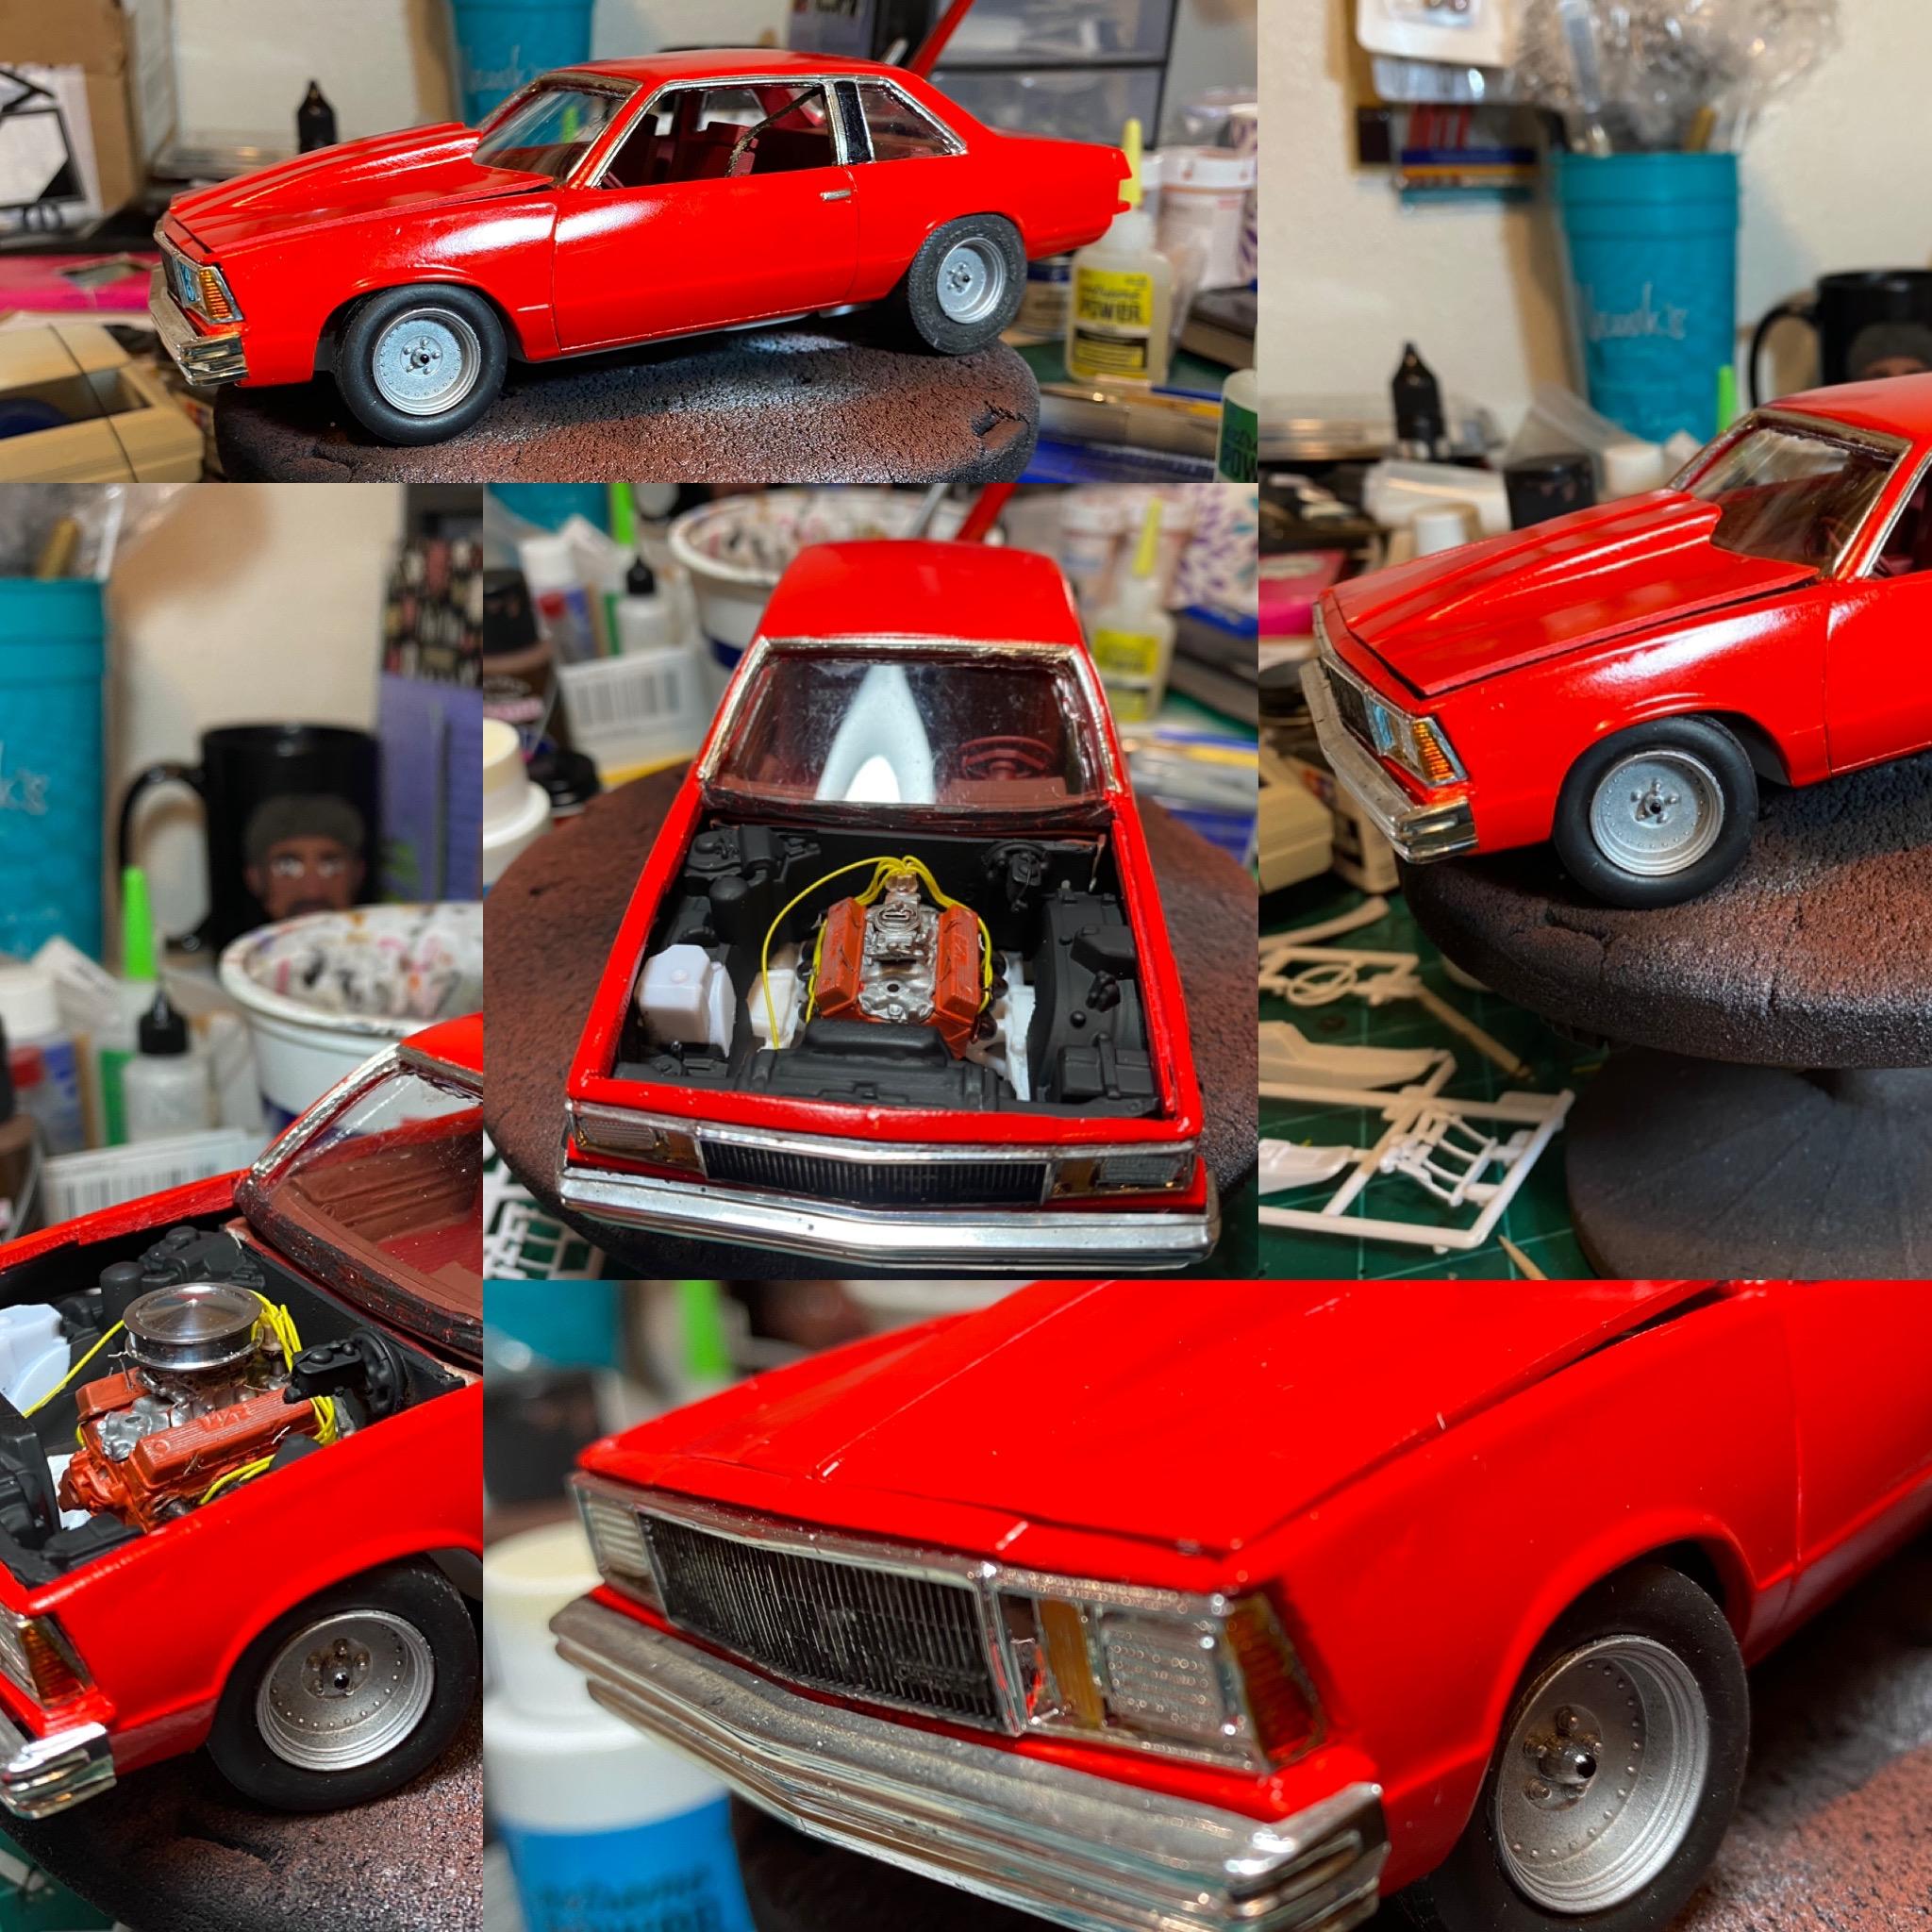
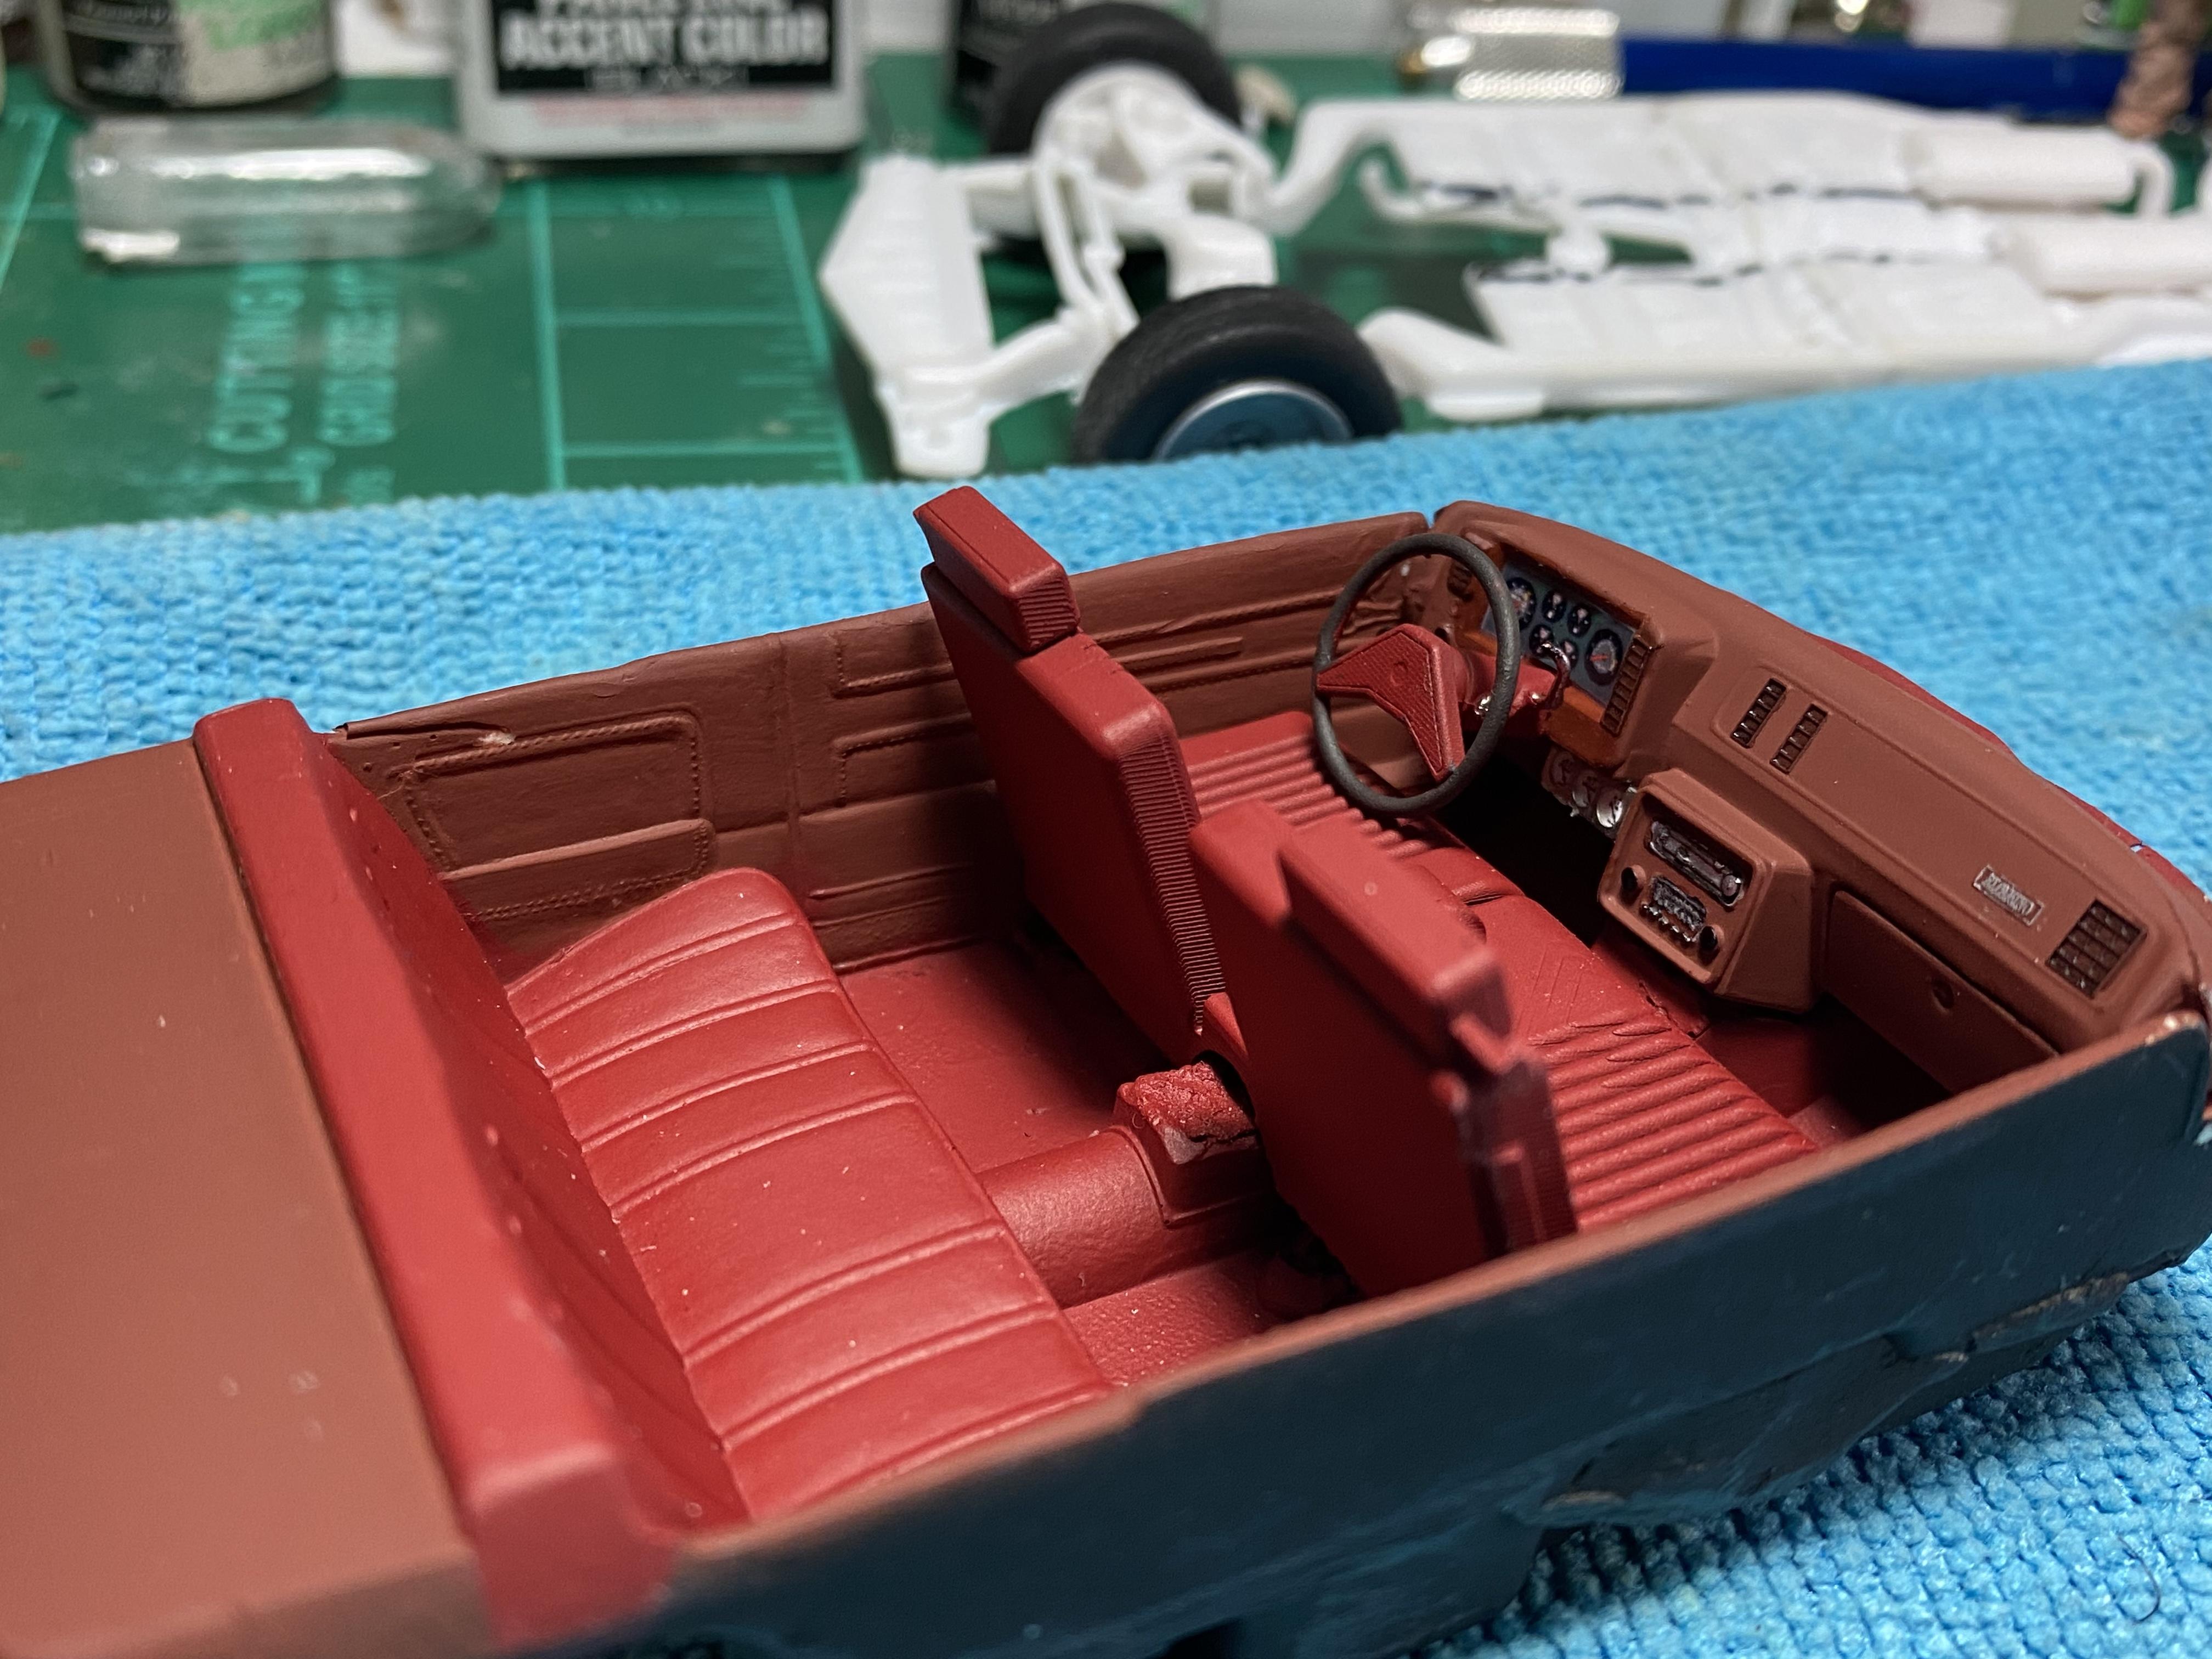
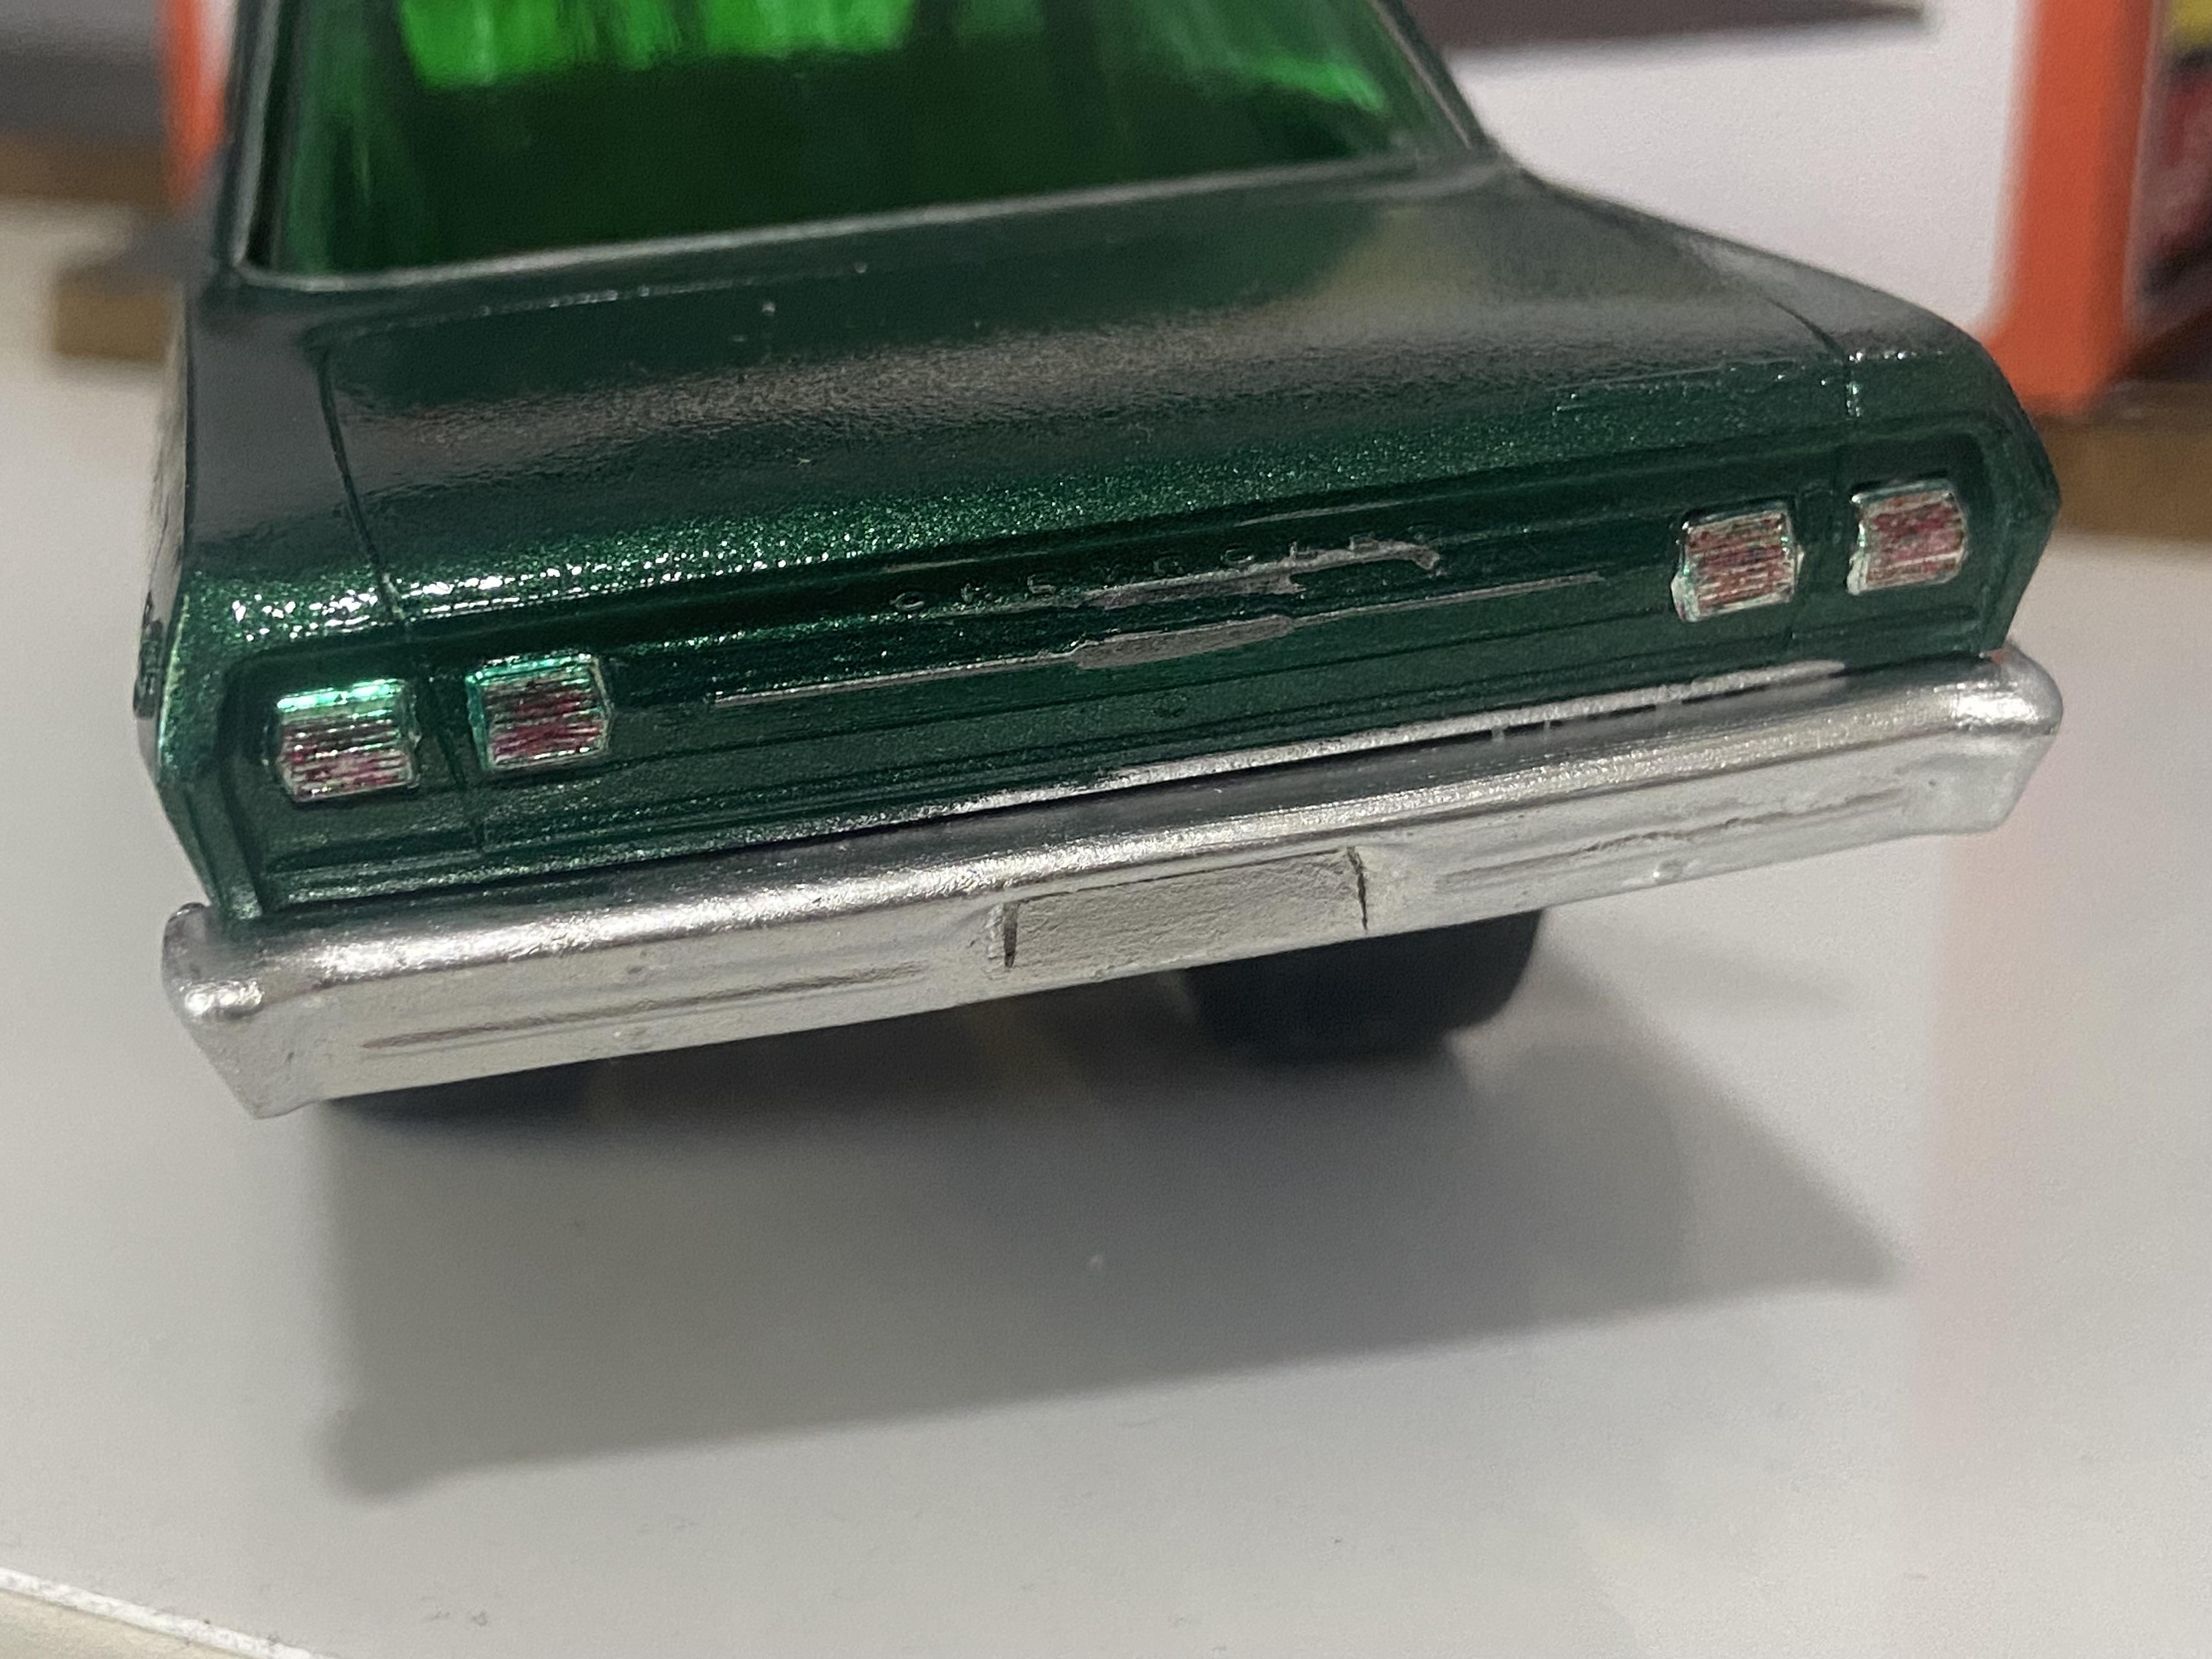
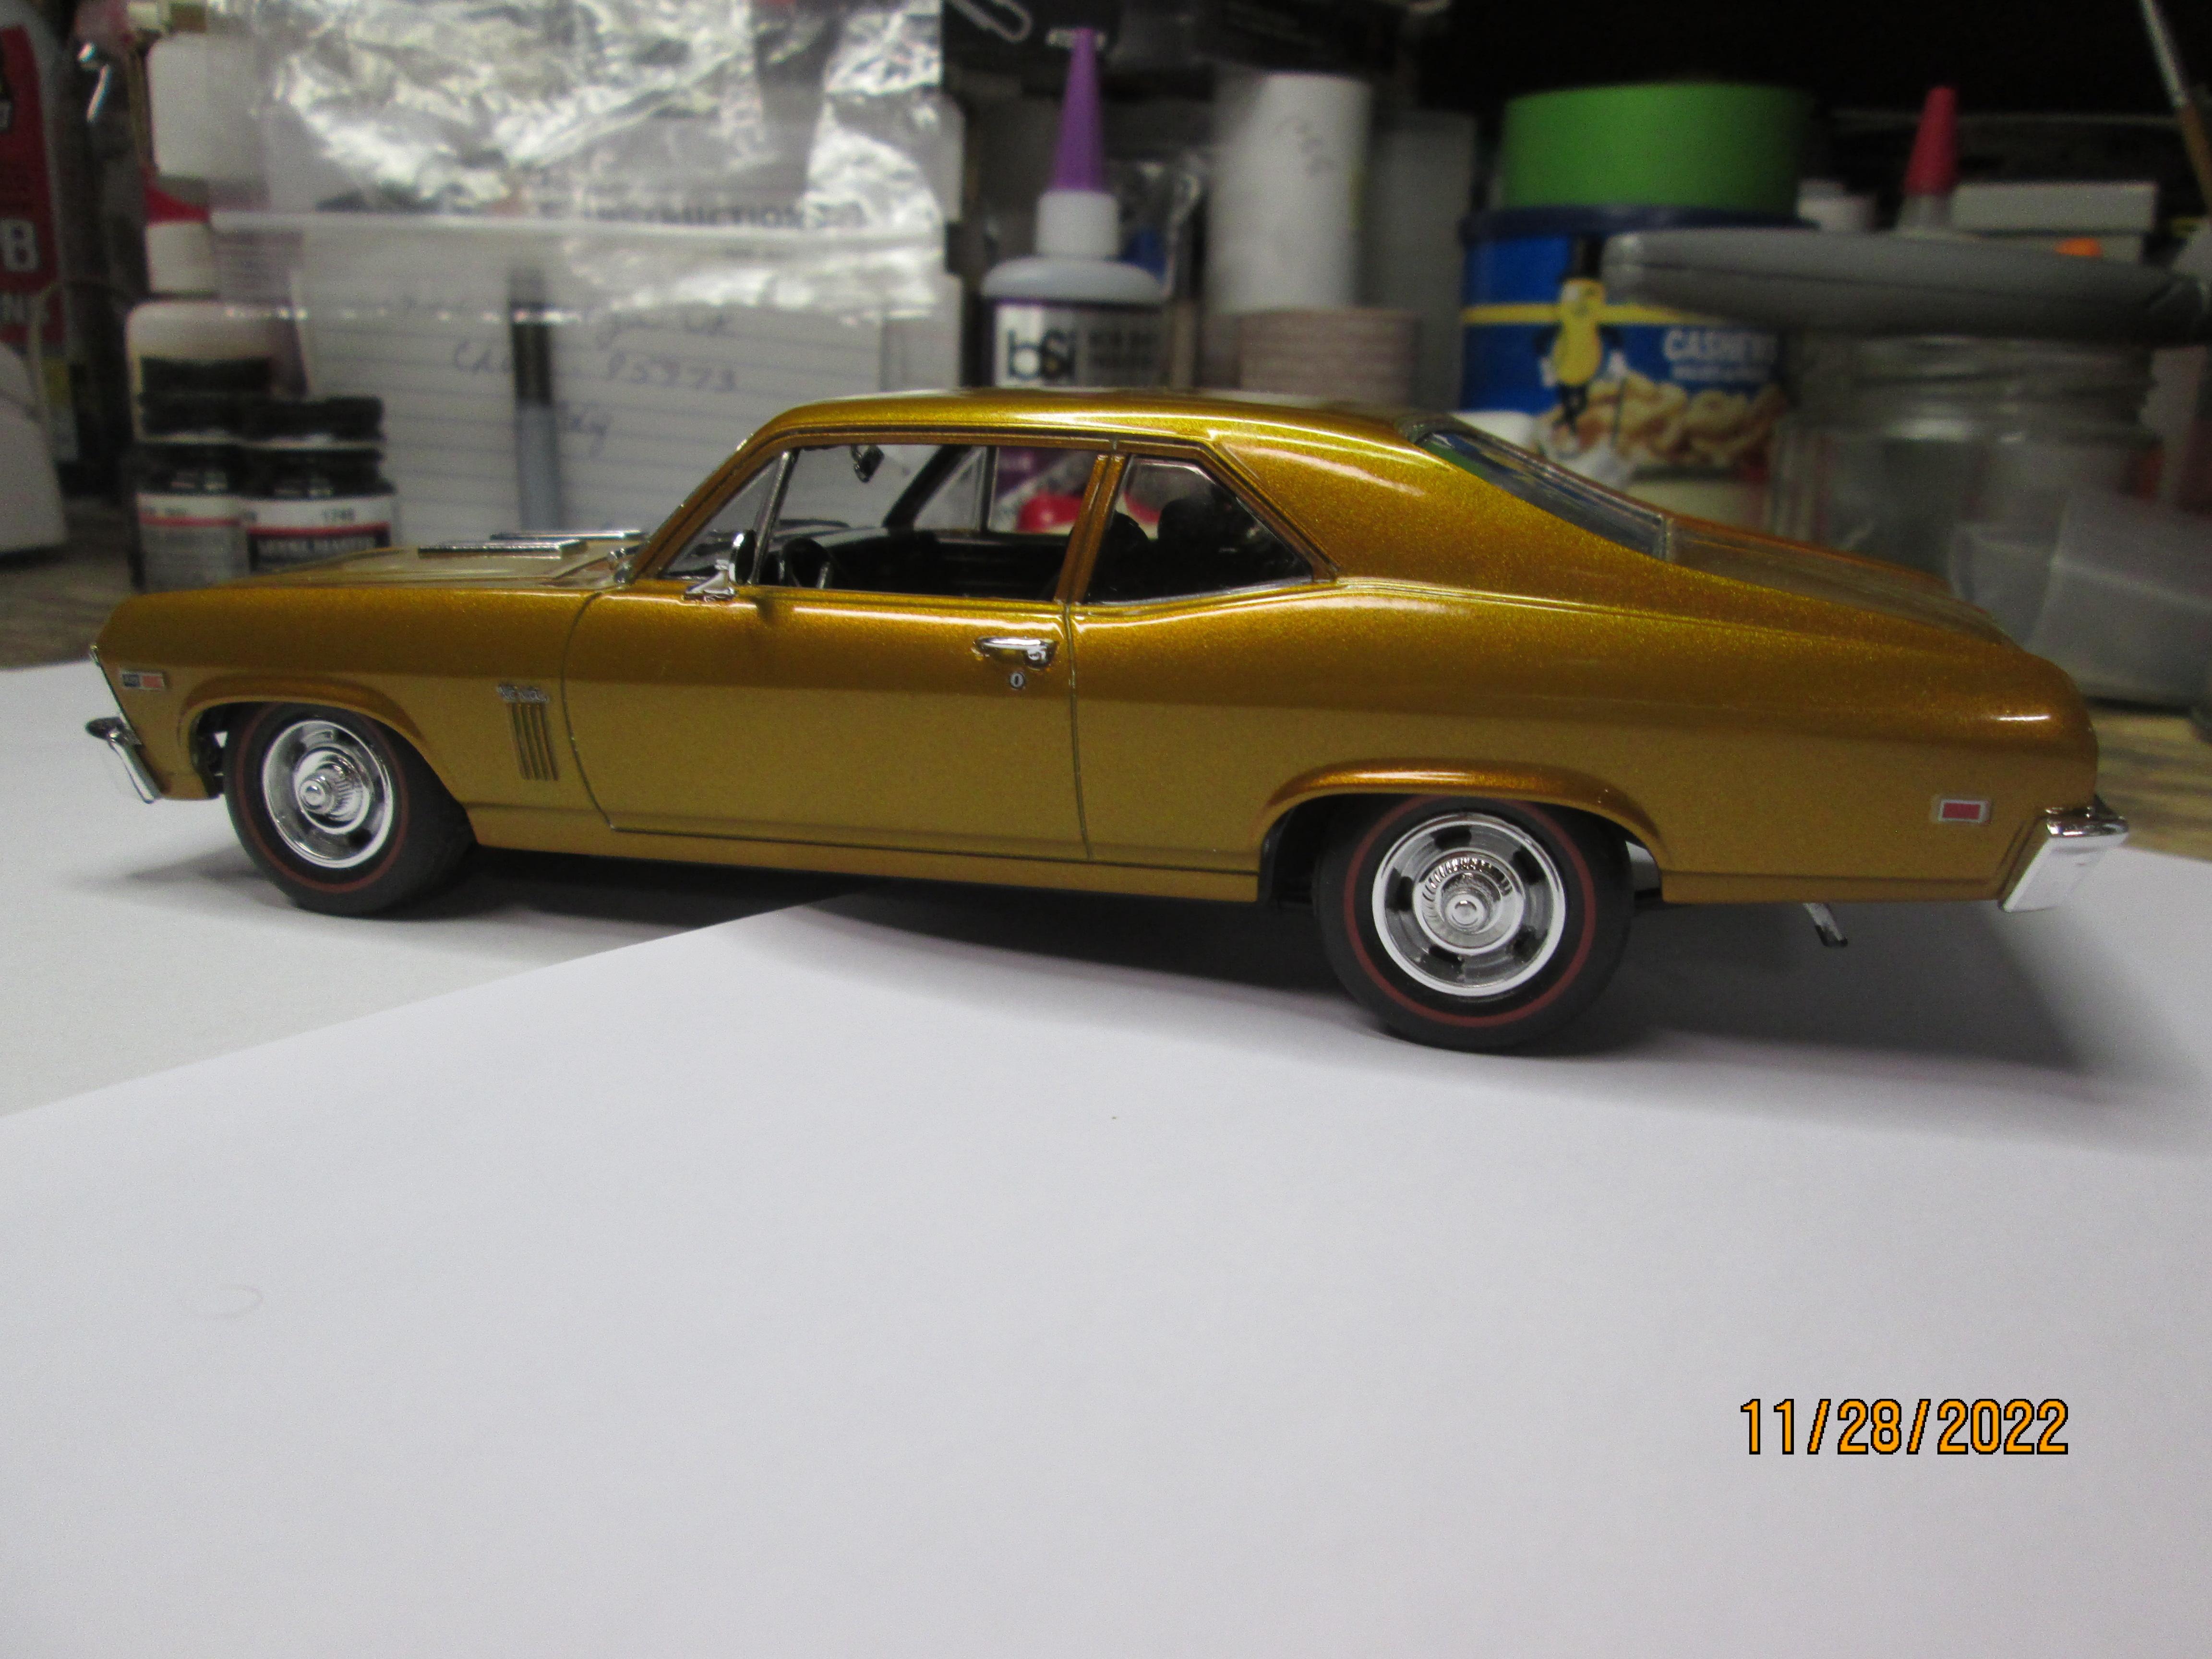
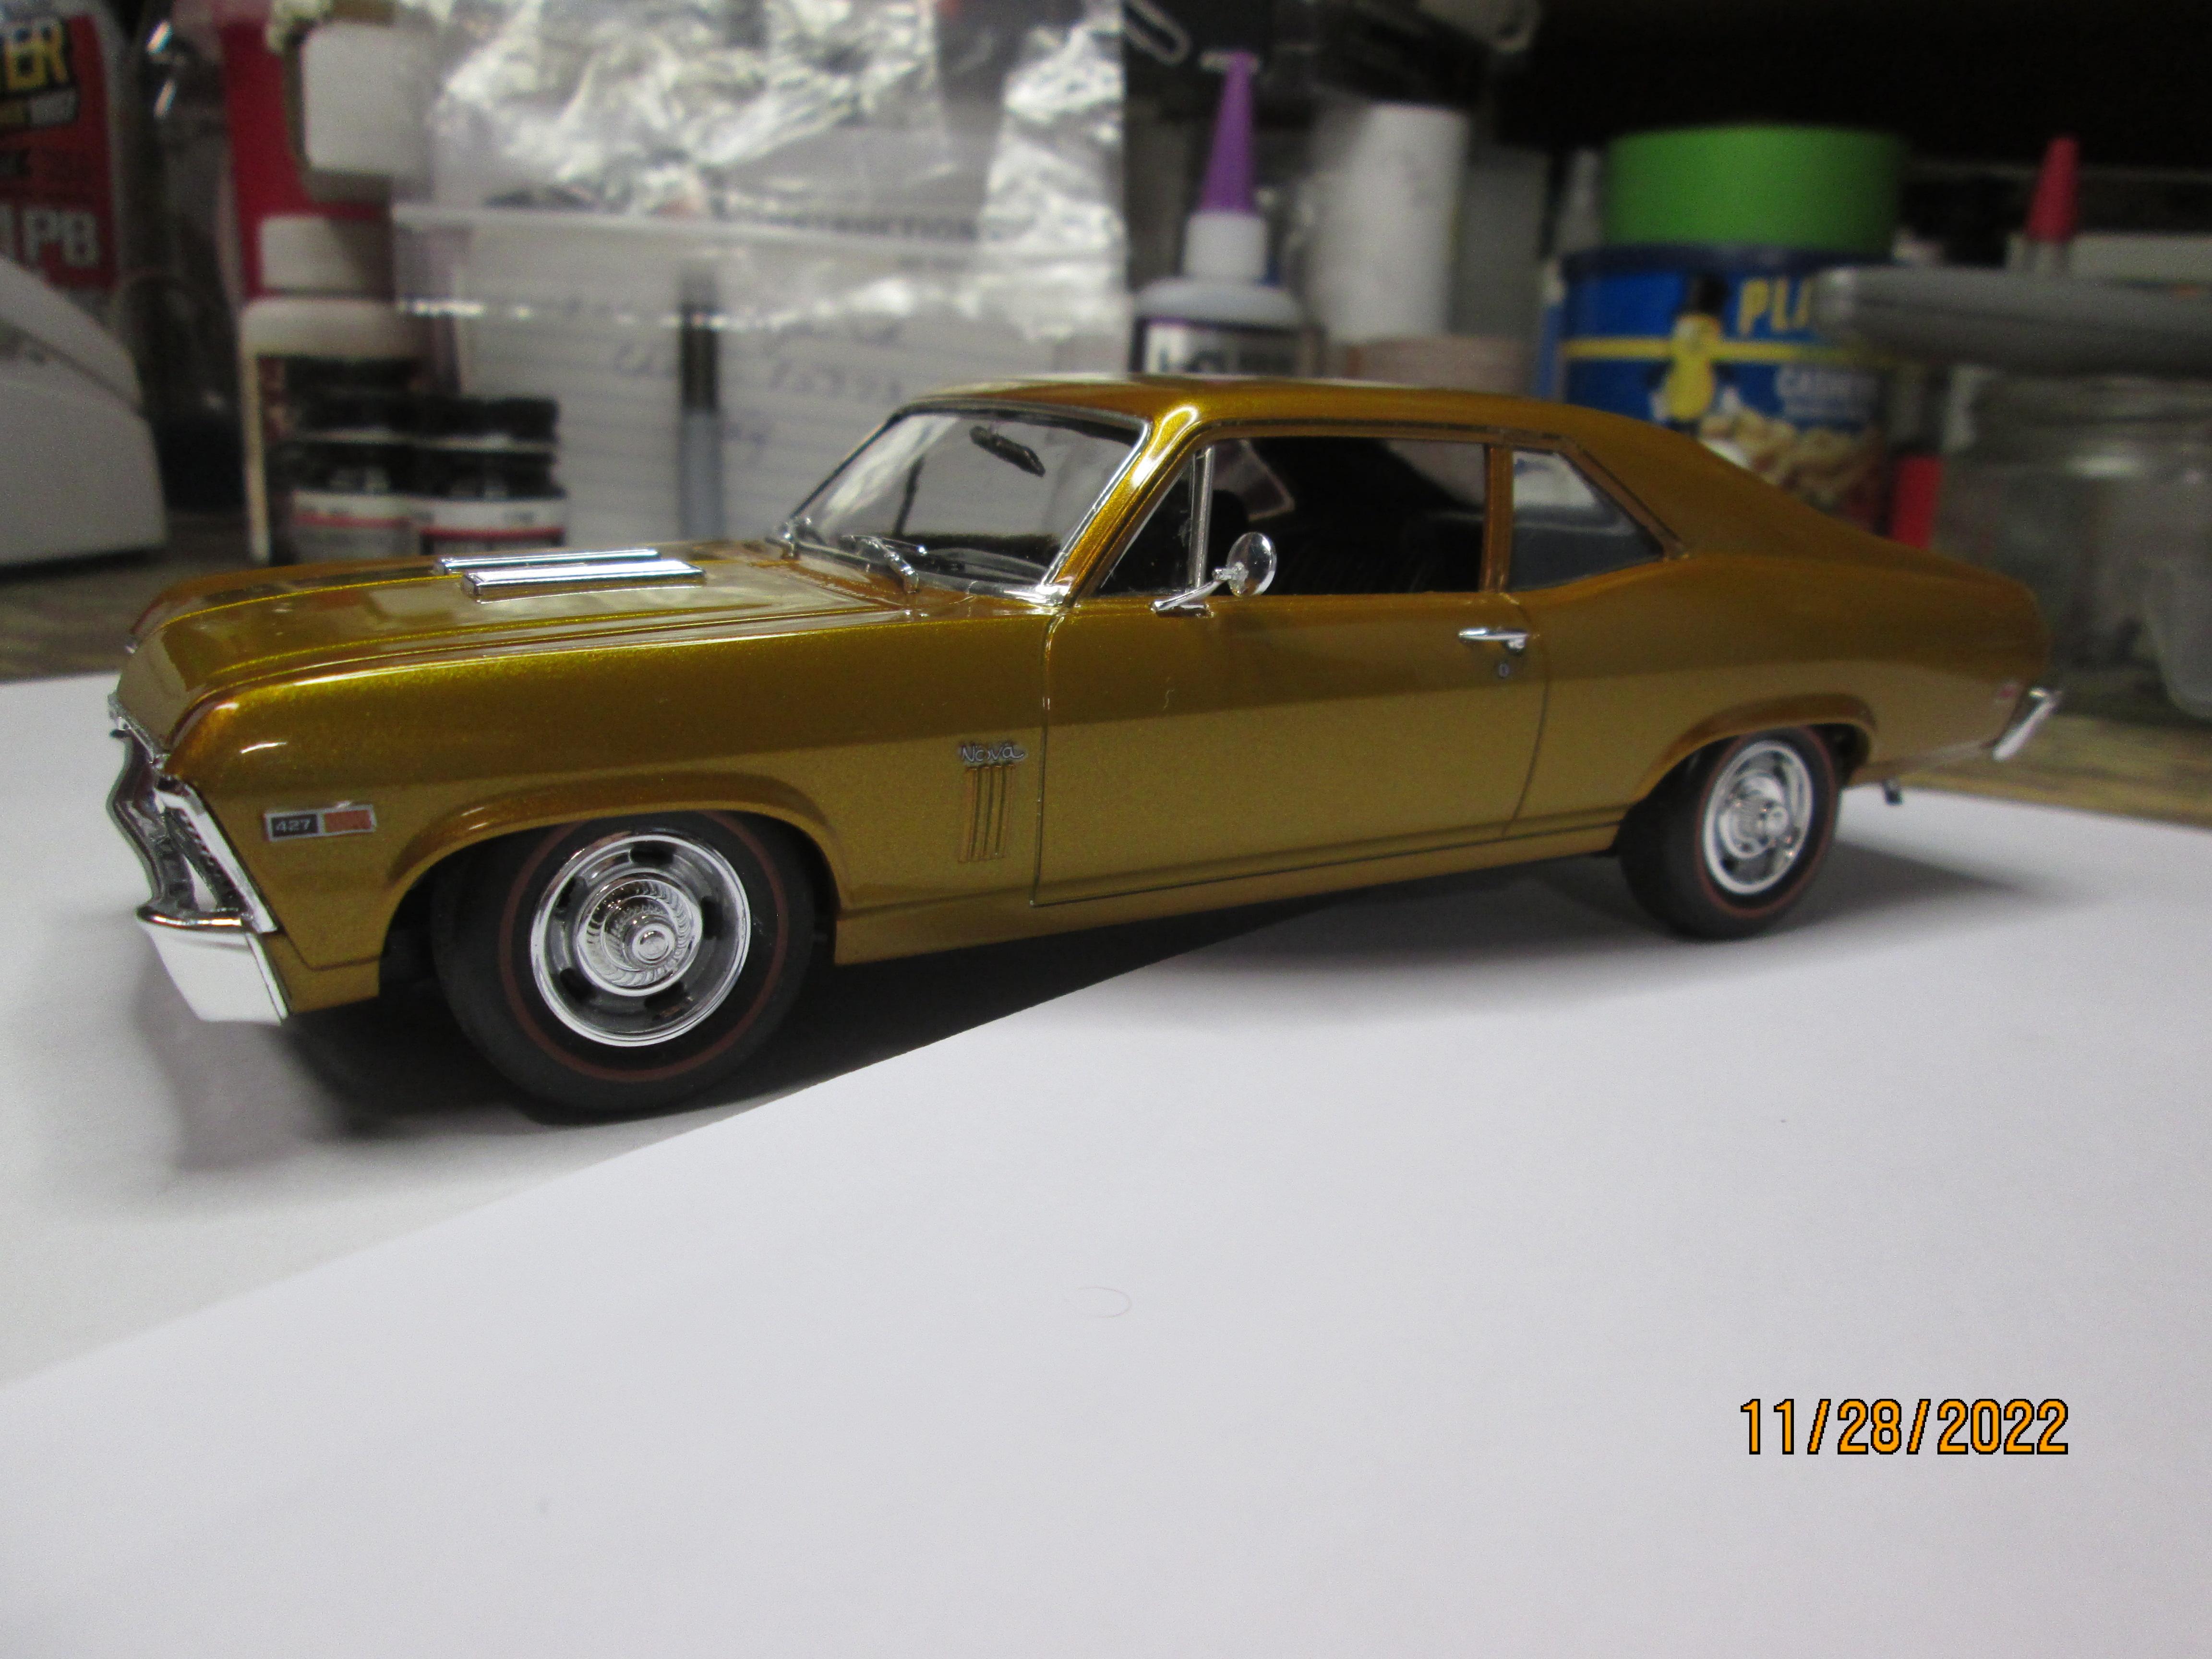
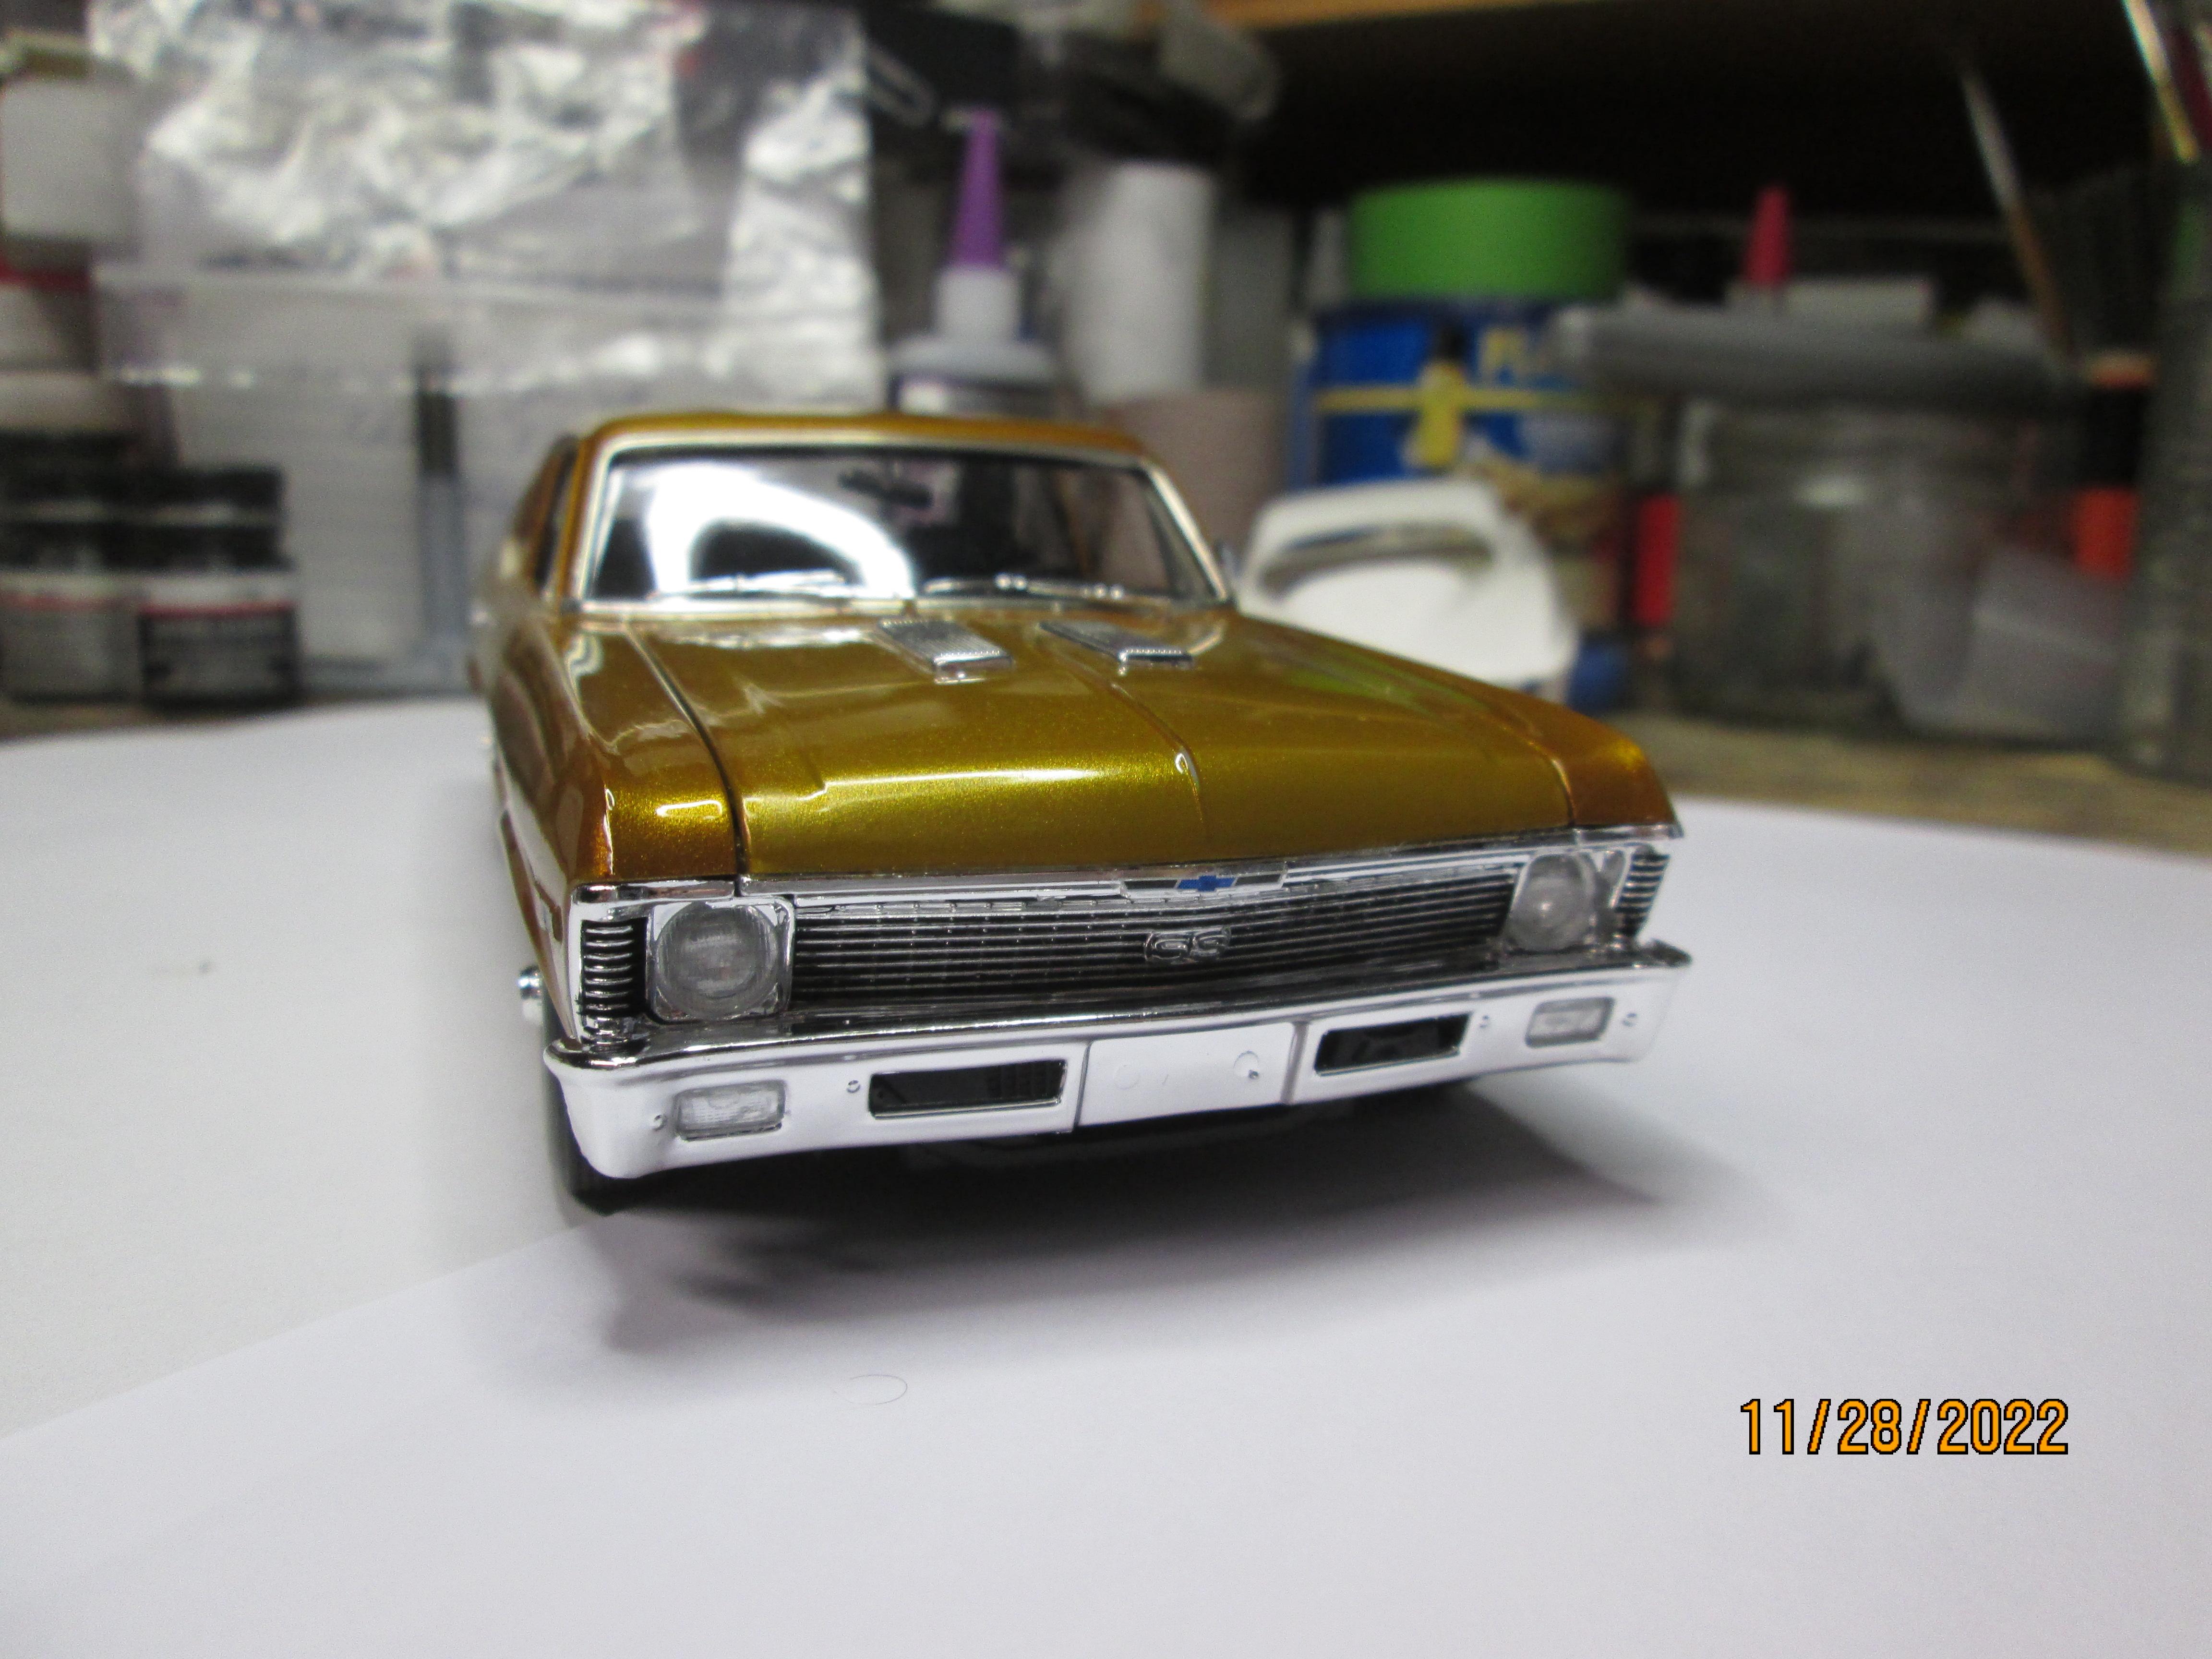
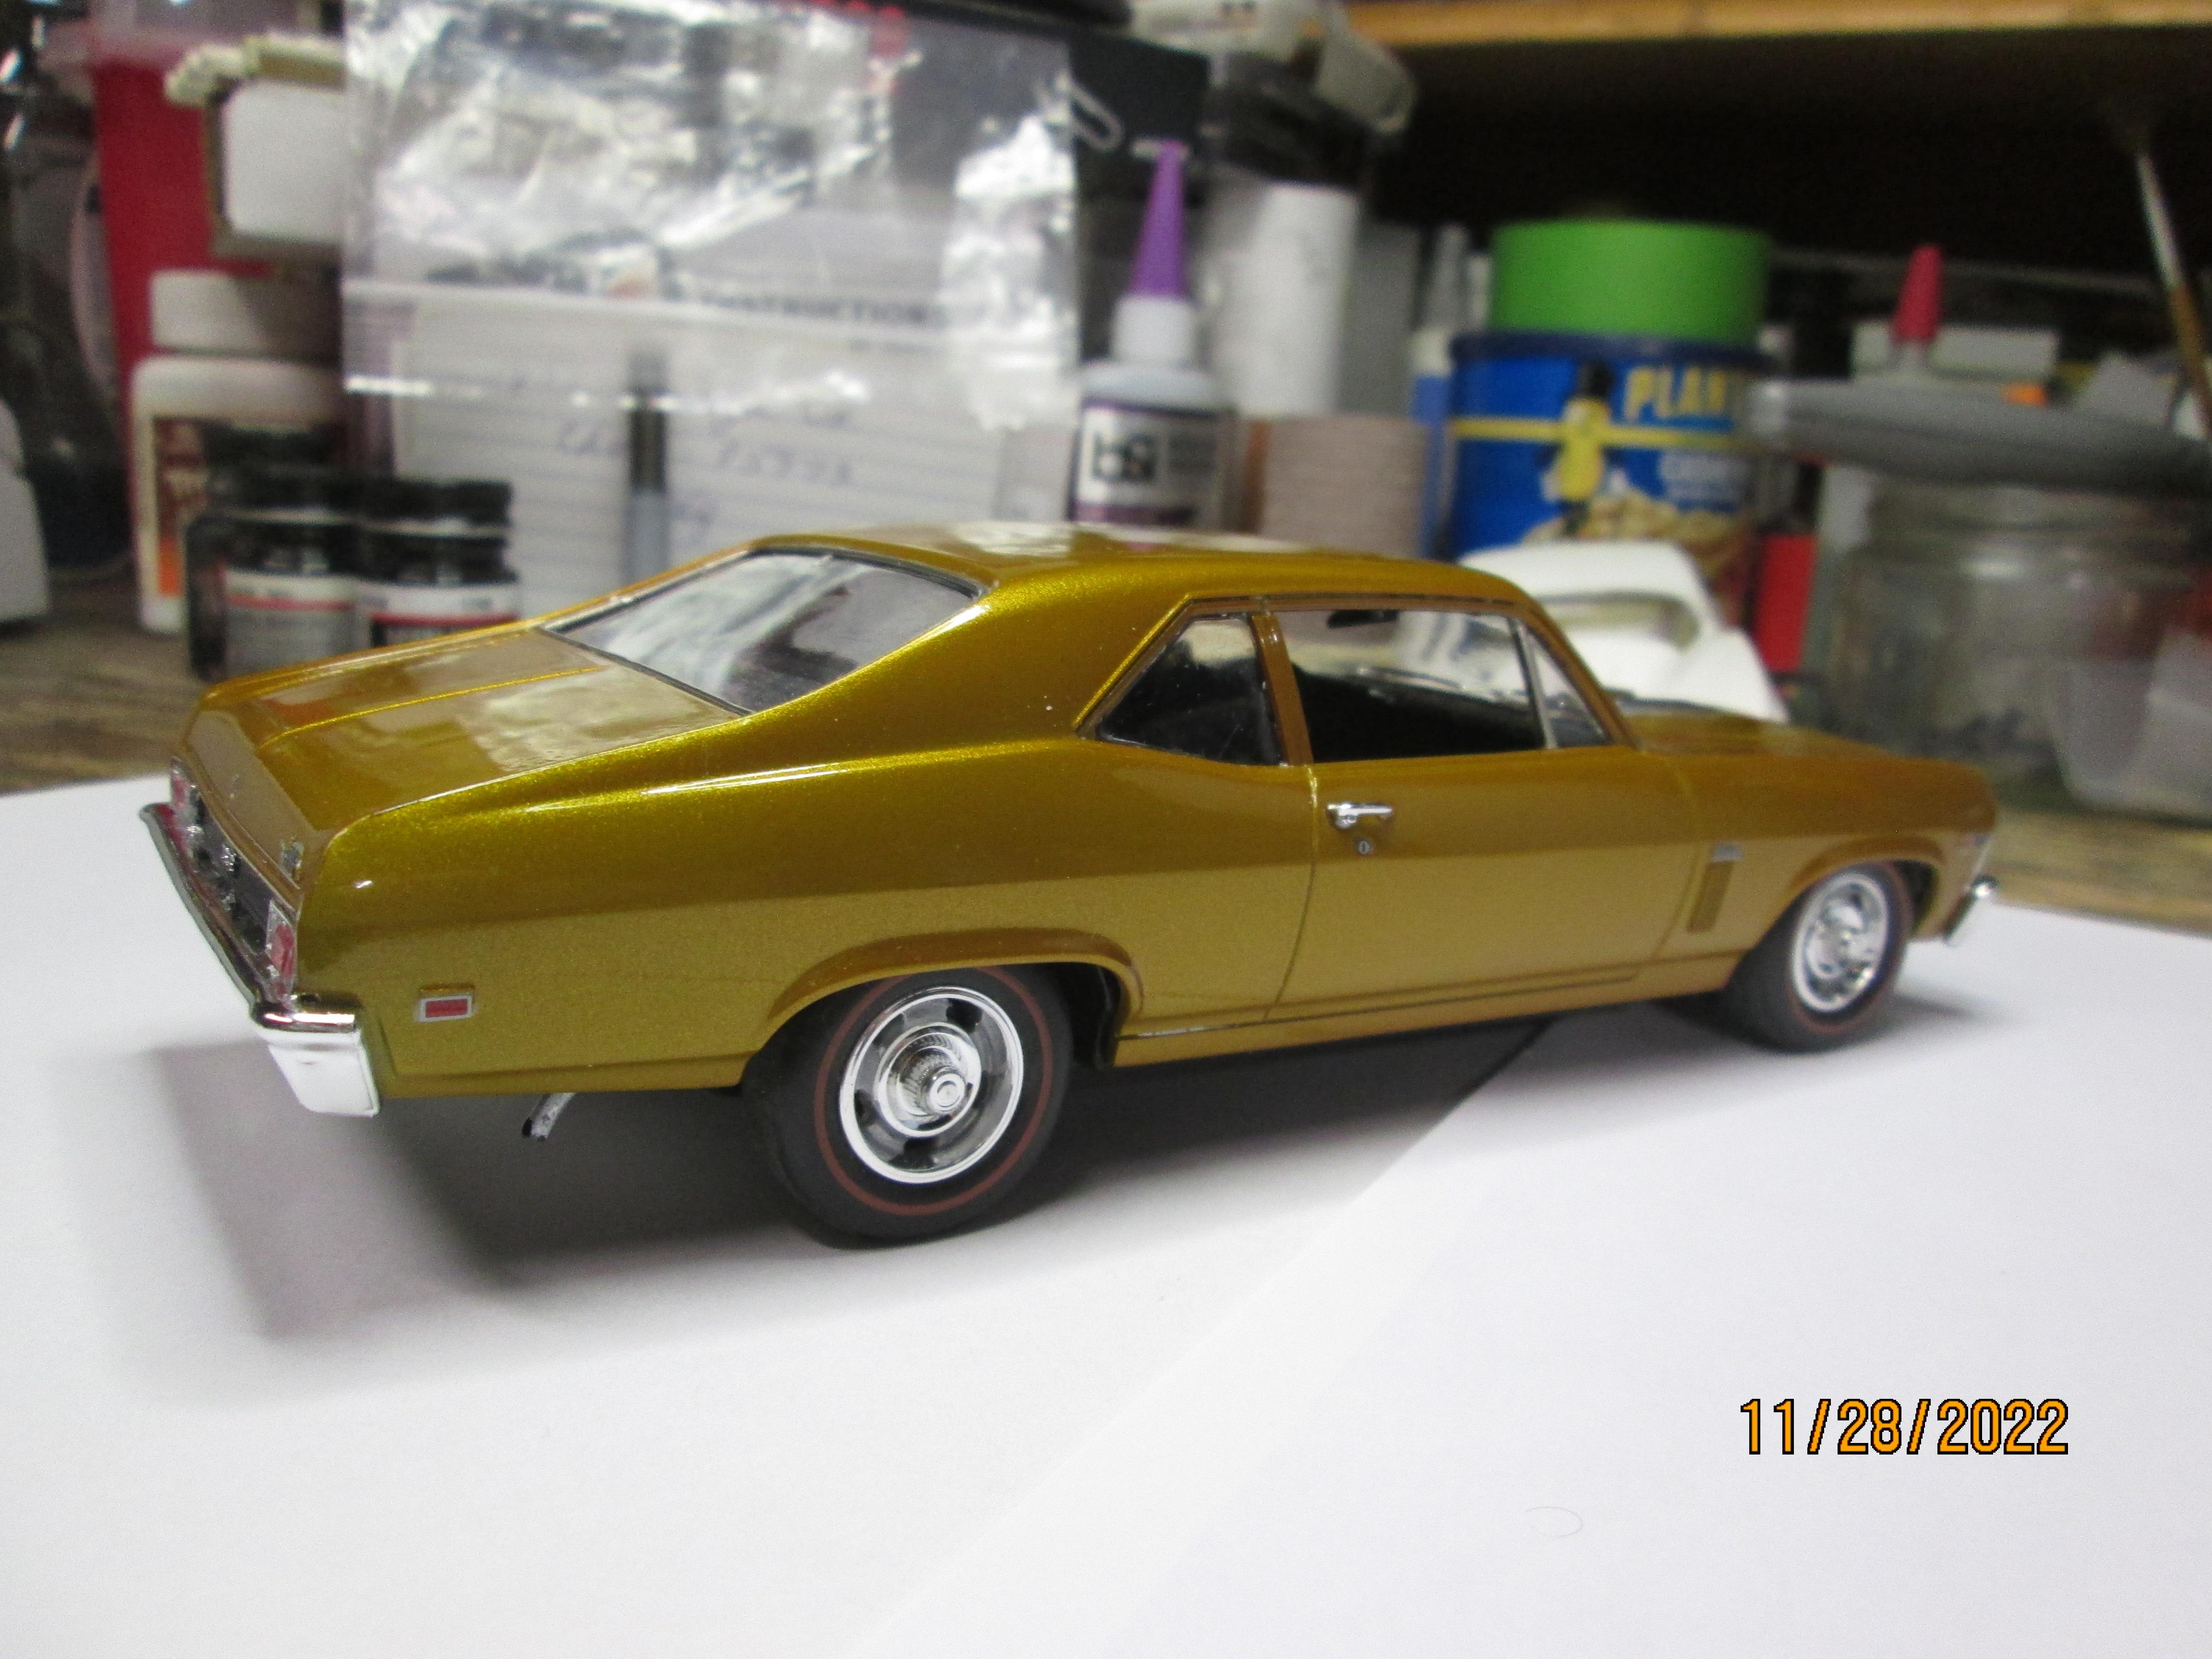
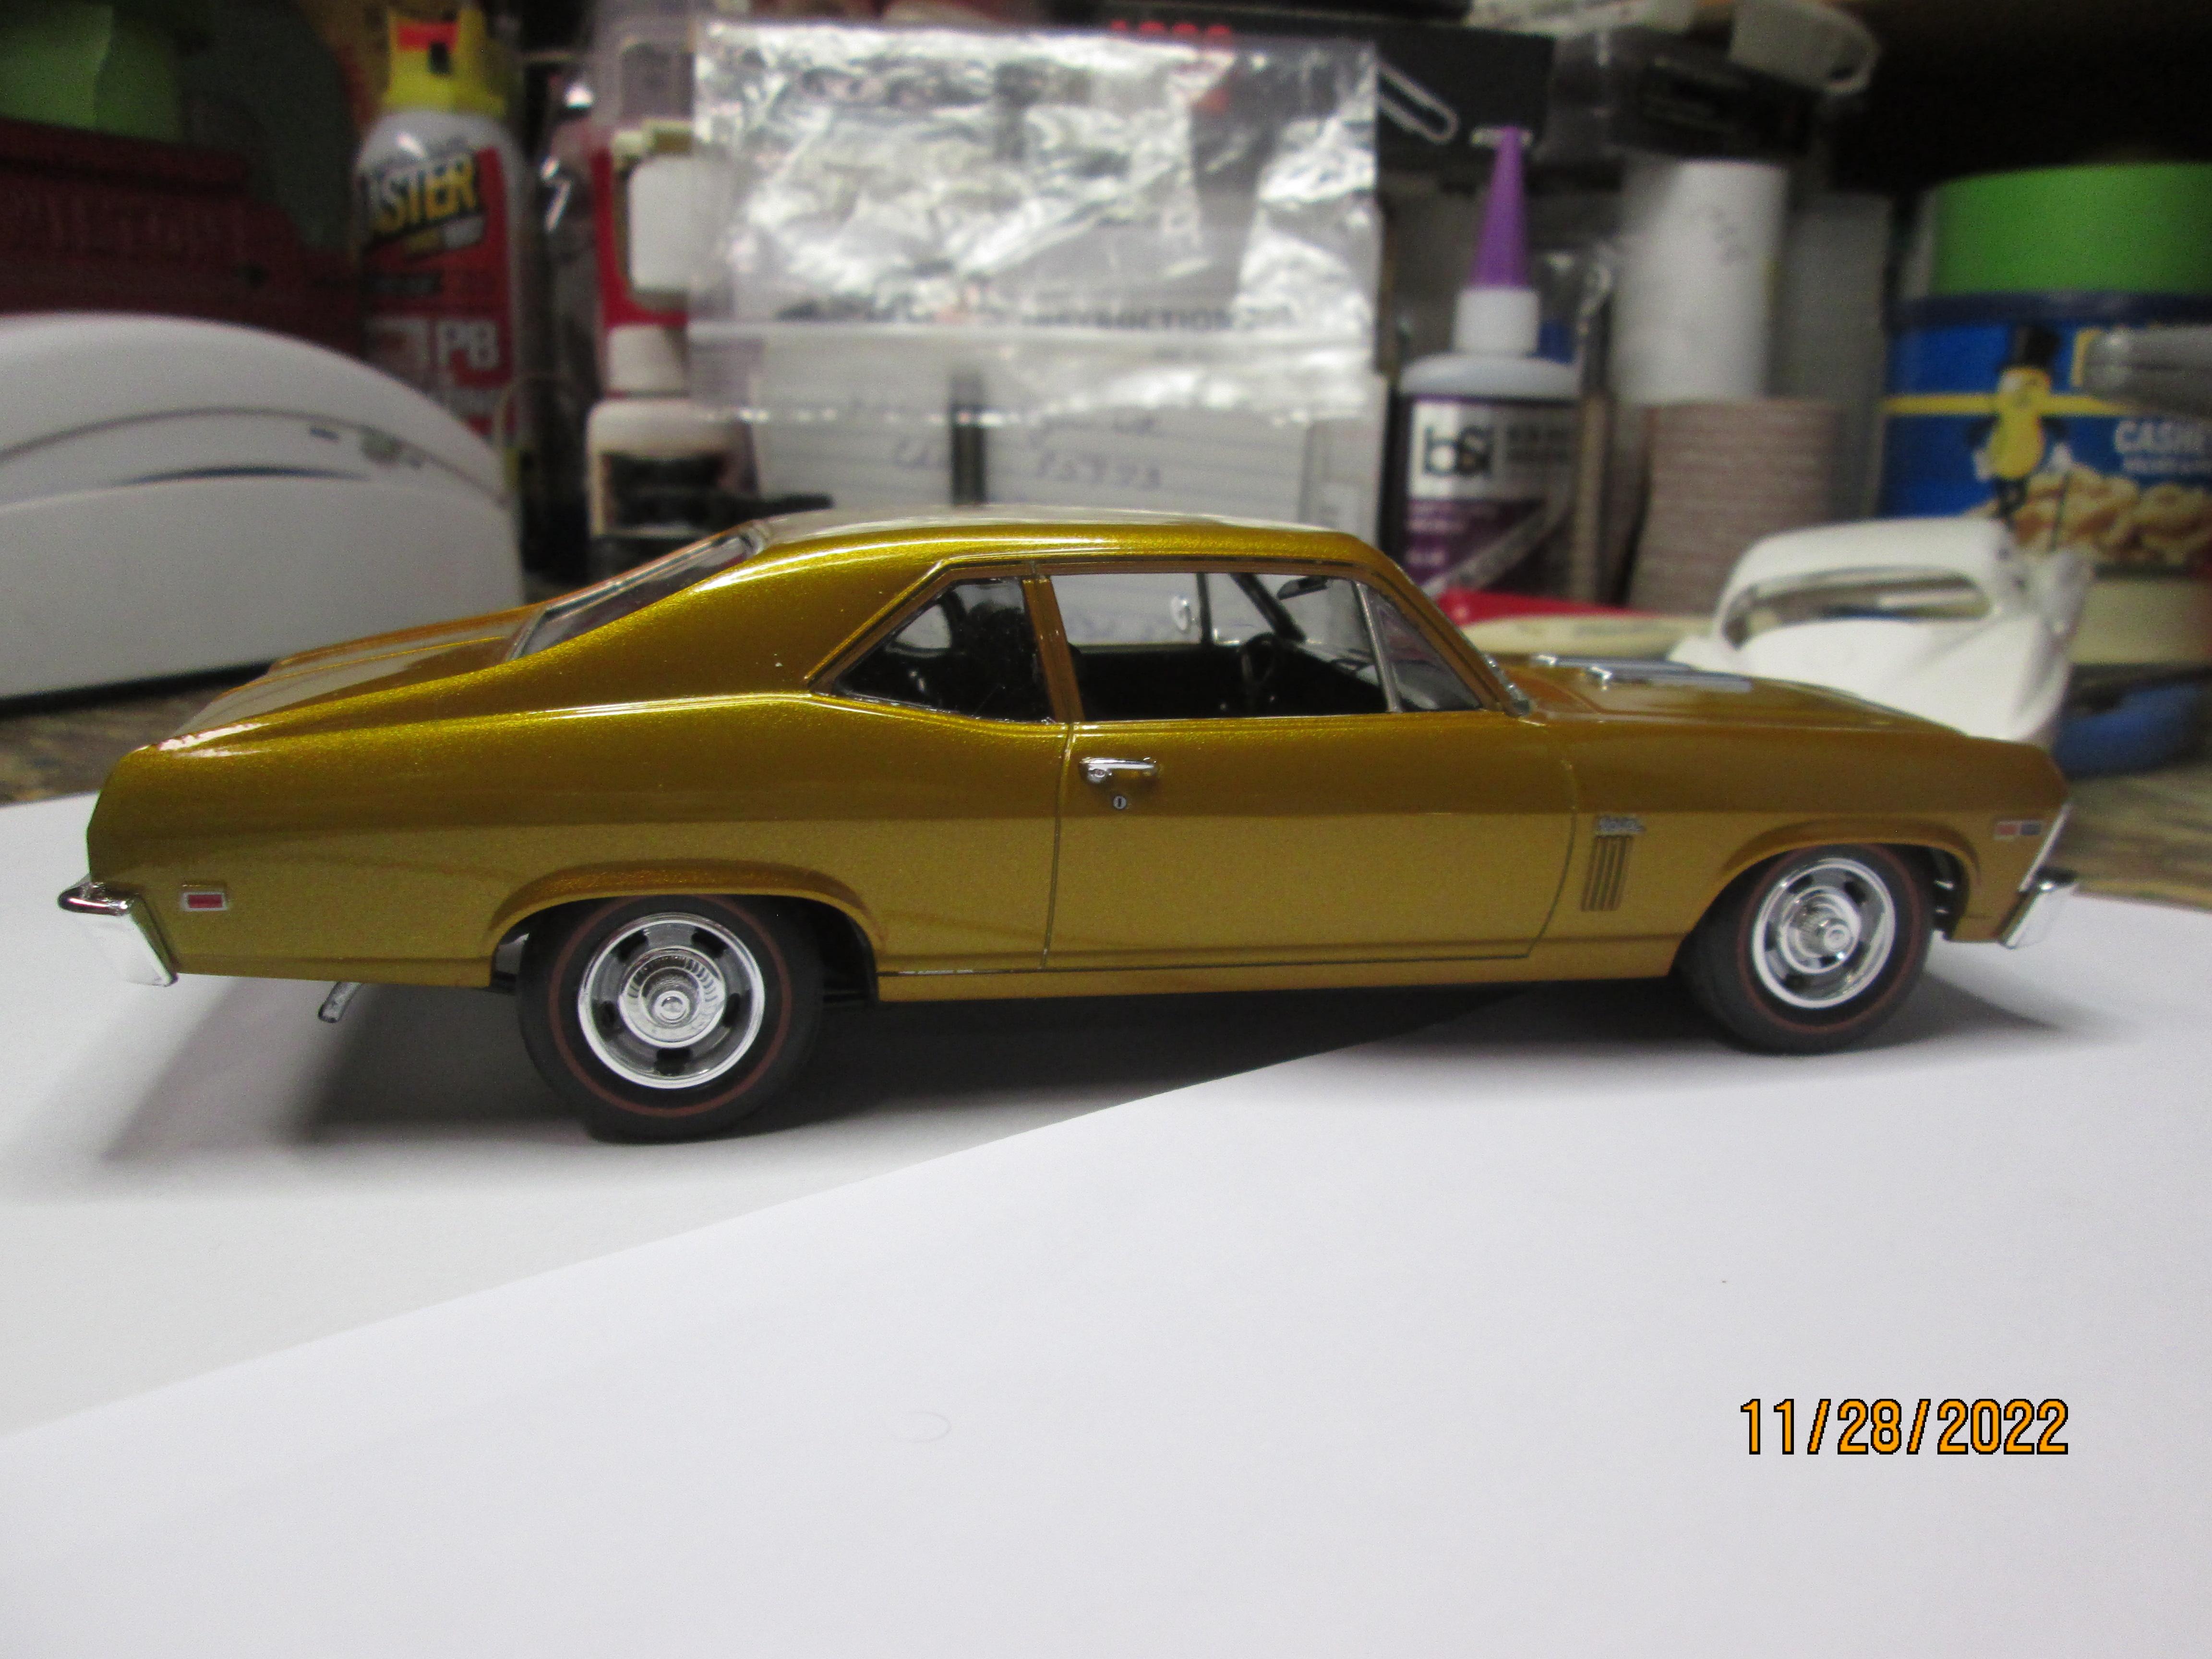
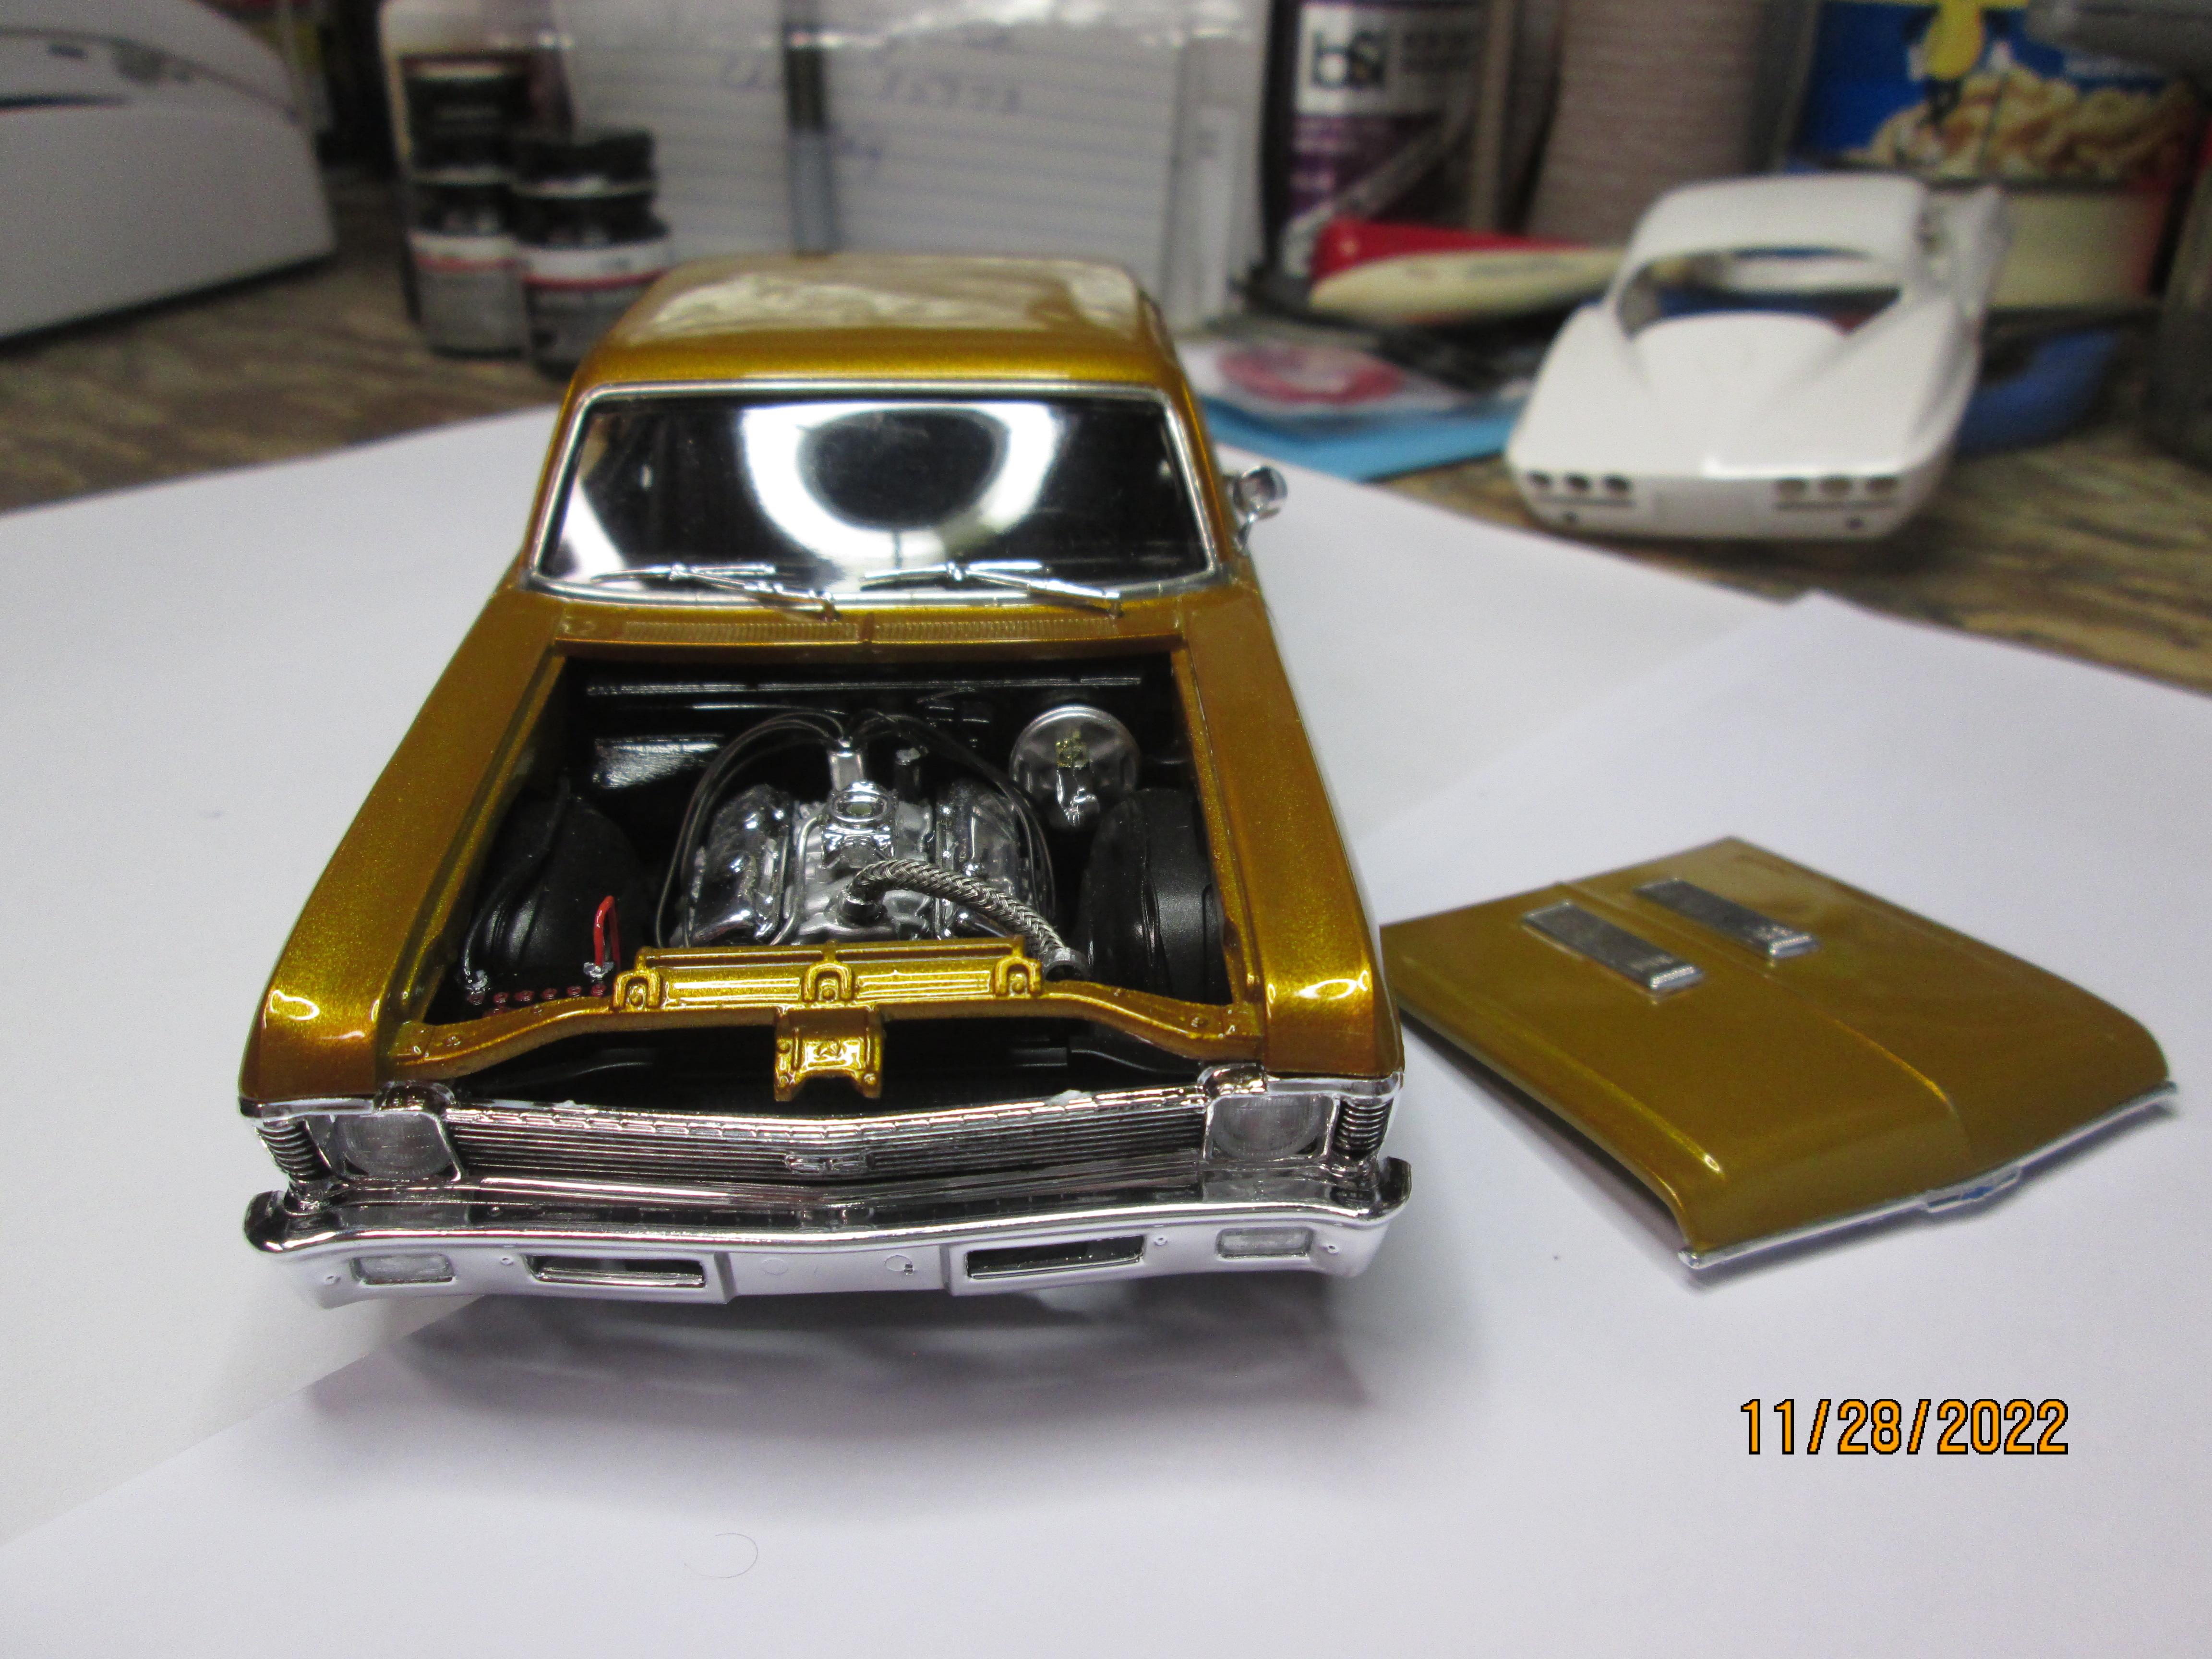
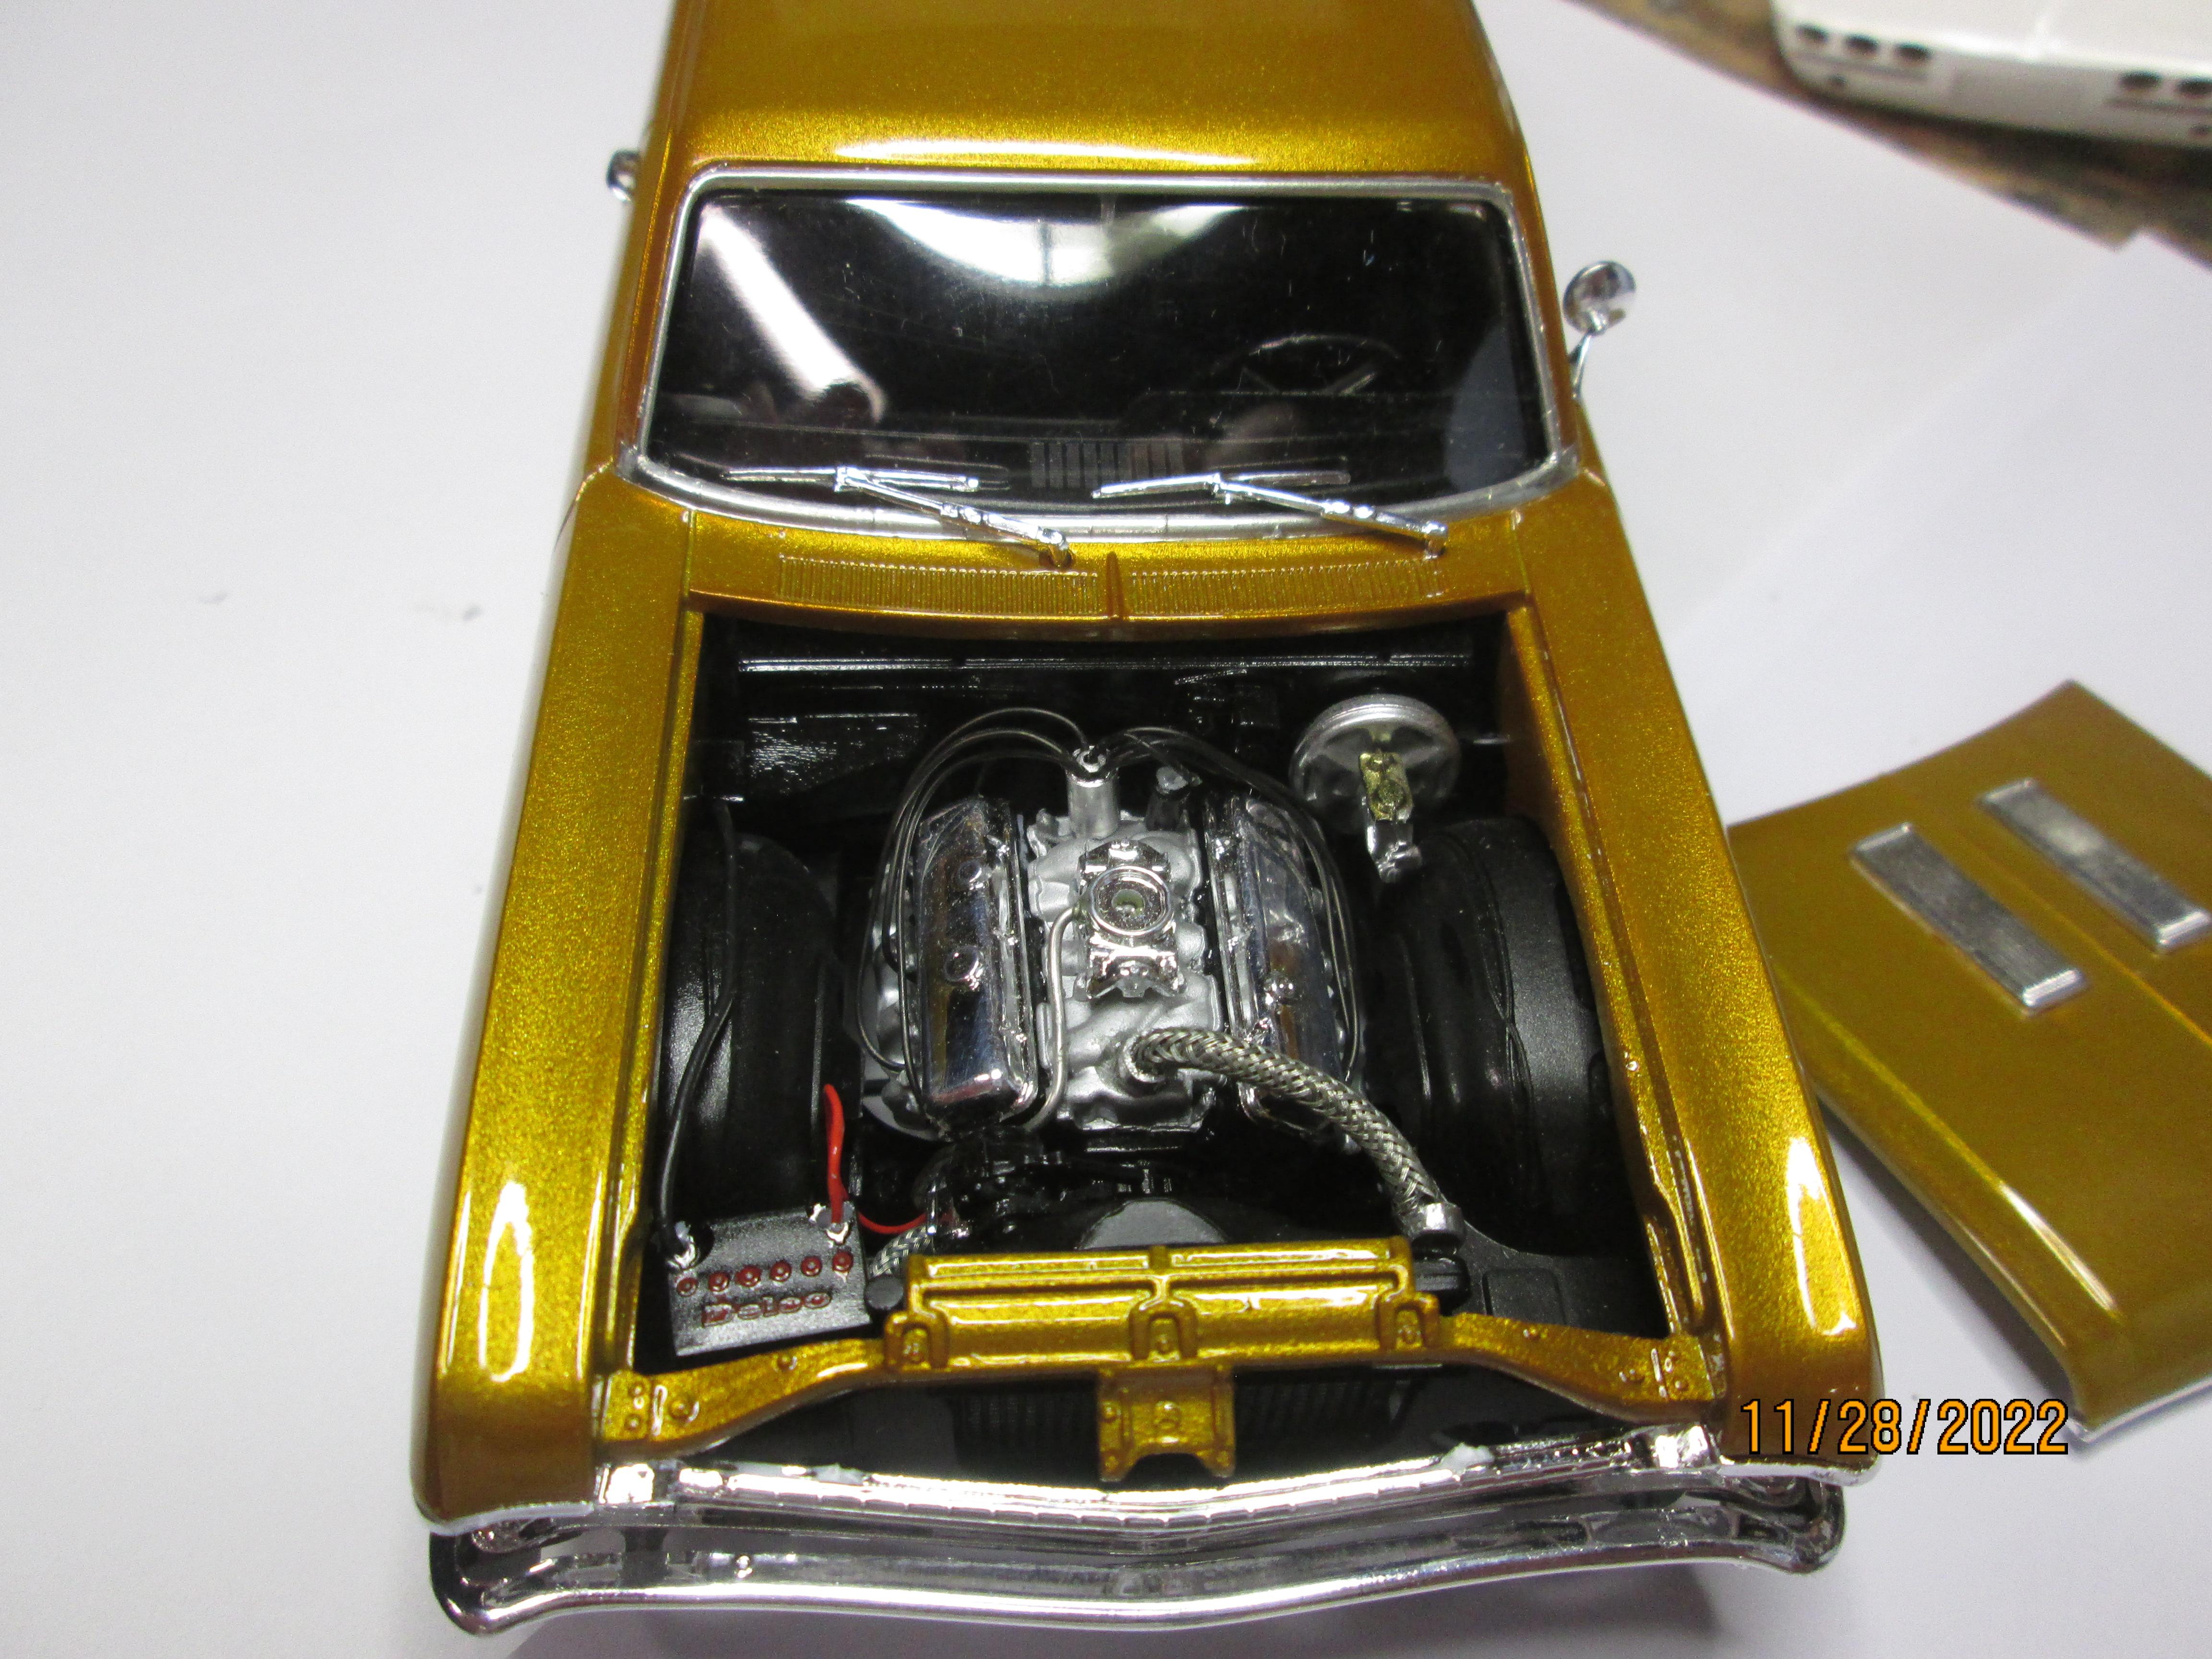
Just wrapped up this Revell 1969 Chevy Nova, overall was a fun build and what I needed to build some motivation. My goal was initially to build this mostly box stock (for the most part it is) and have it completed in about a month or so (which it was not). As many modelers do, I have ton of projects going but needed something to build and actually complete, I think the last model I completed was my 36 Ford in 2017/early 2018. This kit built out very nice, only issue I really ran into was the front grill, fit very tight, using automotive clear may have contributed a little but I should have worked that area over a little better. The stance was lowered a little, I stole the redlines and rally's from Revell's 1968 Chevelle kit, the front needed to be worked over quite a bit to get them to clear the inner fenders. Added some engine details, has been years since I used the braided line and could not find my fittings, so I cut down some round tubing. Otherwise, added some ignition wire, fuel line and battery cables. The interior is mostly kit stock, I added charcoal flocking to the floor and package tray. The body is stock, it was scribed then cleaned the seam lines and general mold stuff up, primed it with Tamiya primer, then wet sanded it all with 1500 and 2k grit paper before shooting some House of Kolor Kandy Base Coat down, went with Pagan Gold and covered that with Deltron Clear. Did a little color sanding and polishing but nothing crazy. I'll most likely add an air cleaner and license plates, just looking for some aftermarket stuff I have put away somewhere. Thanks to all that followed the build in the WIP section and hope you enjoy the pics. Now onto the next project!
-
Got this as a Christmas present from Dad. Didn't like the full race version, so I made it into a street racer. It's not a bad kit for a lvl4. Easy as a snap-tite. SAM_1123 by Eric Lucas, on Flickr SAM_1124 by Eric Lucas, on Flickr SAM_1125 by Eric Lucas, on Flickr SAM_1126 by Eric Lucas, on Flickr
-
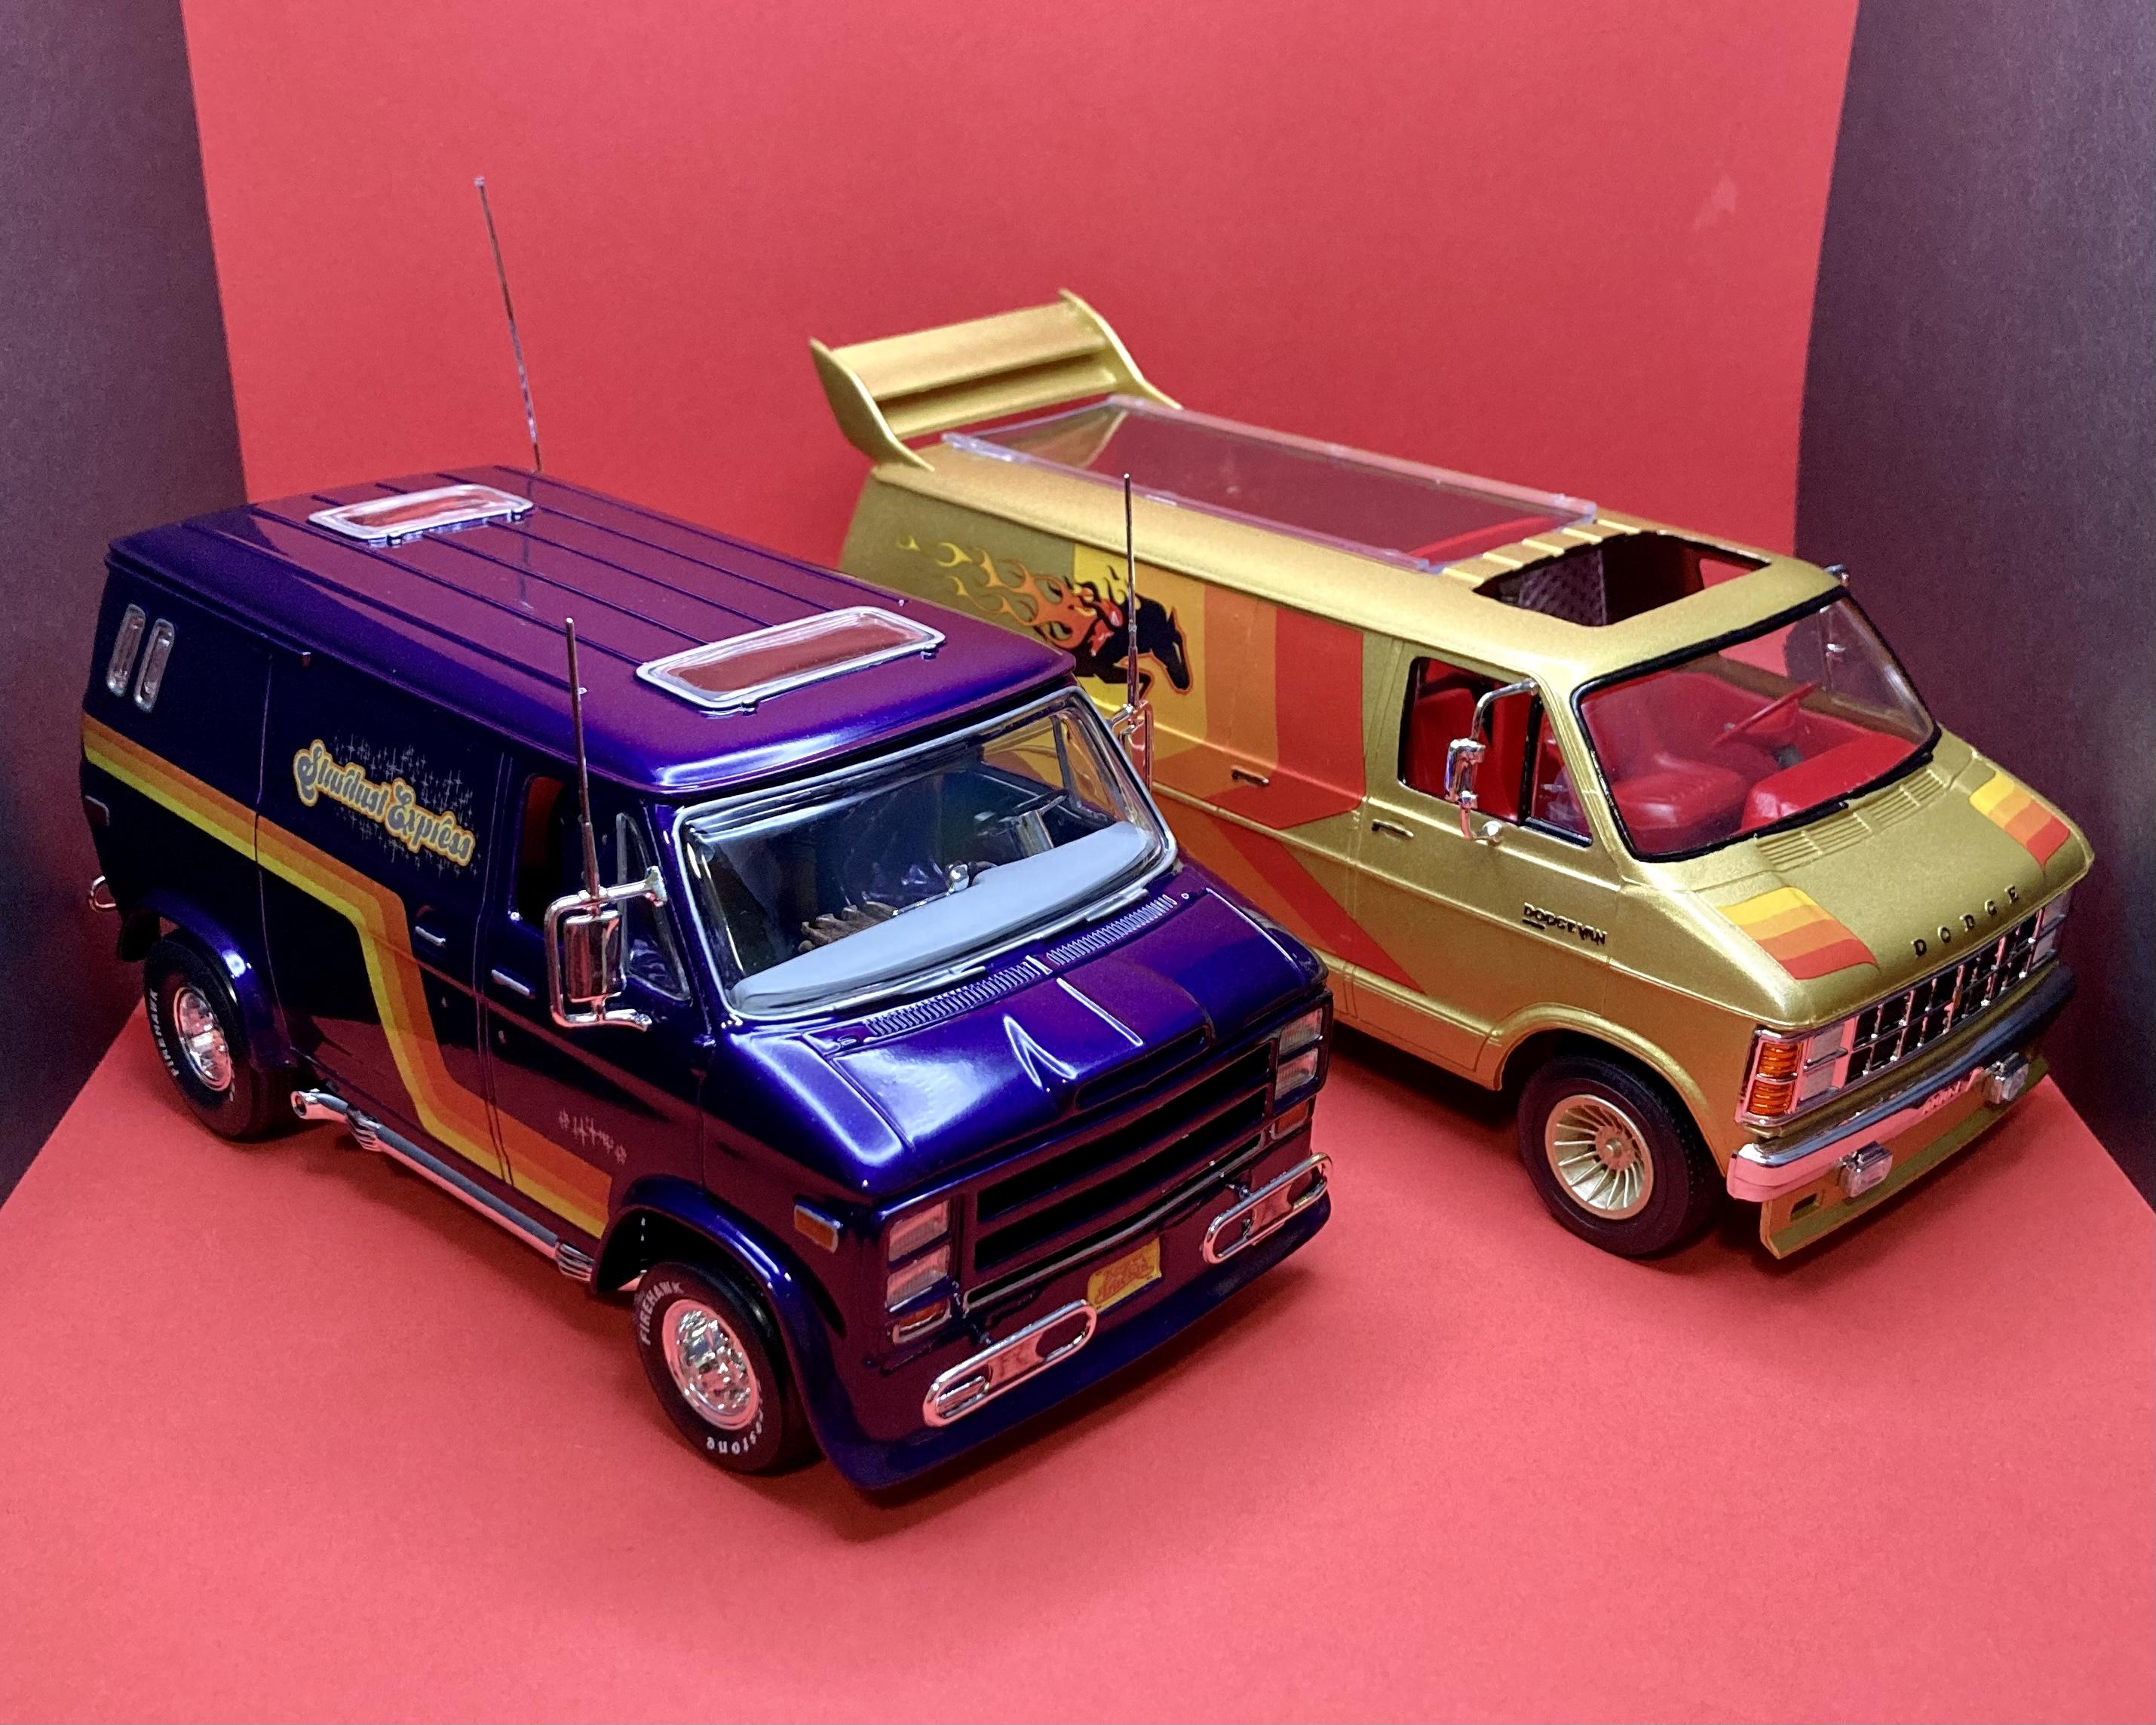
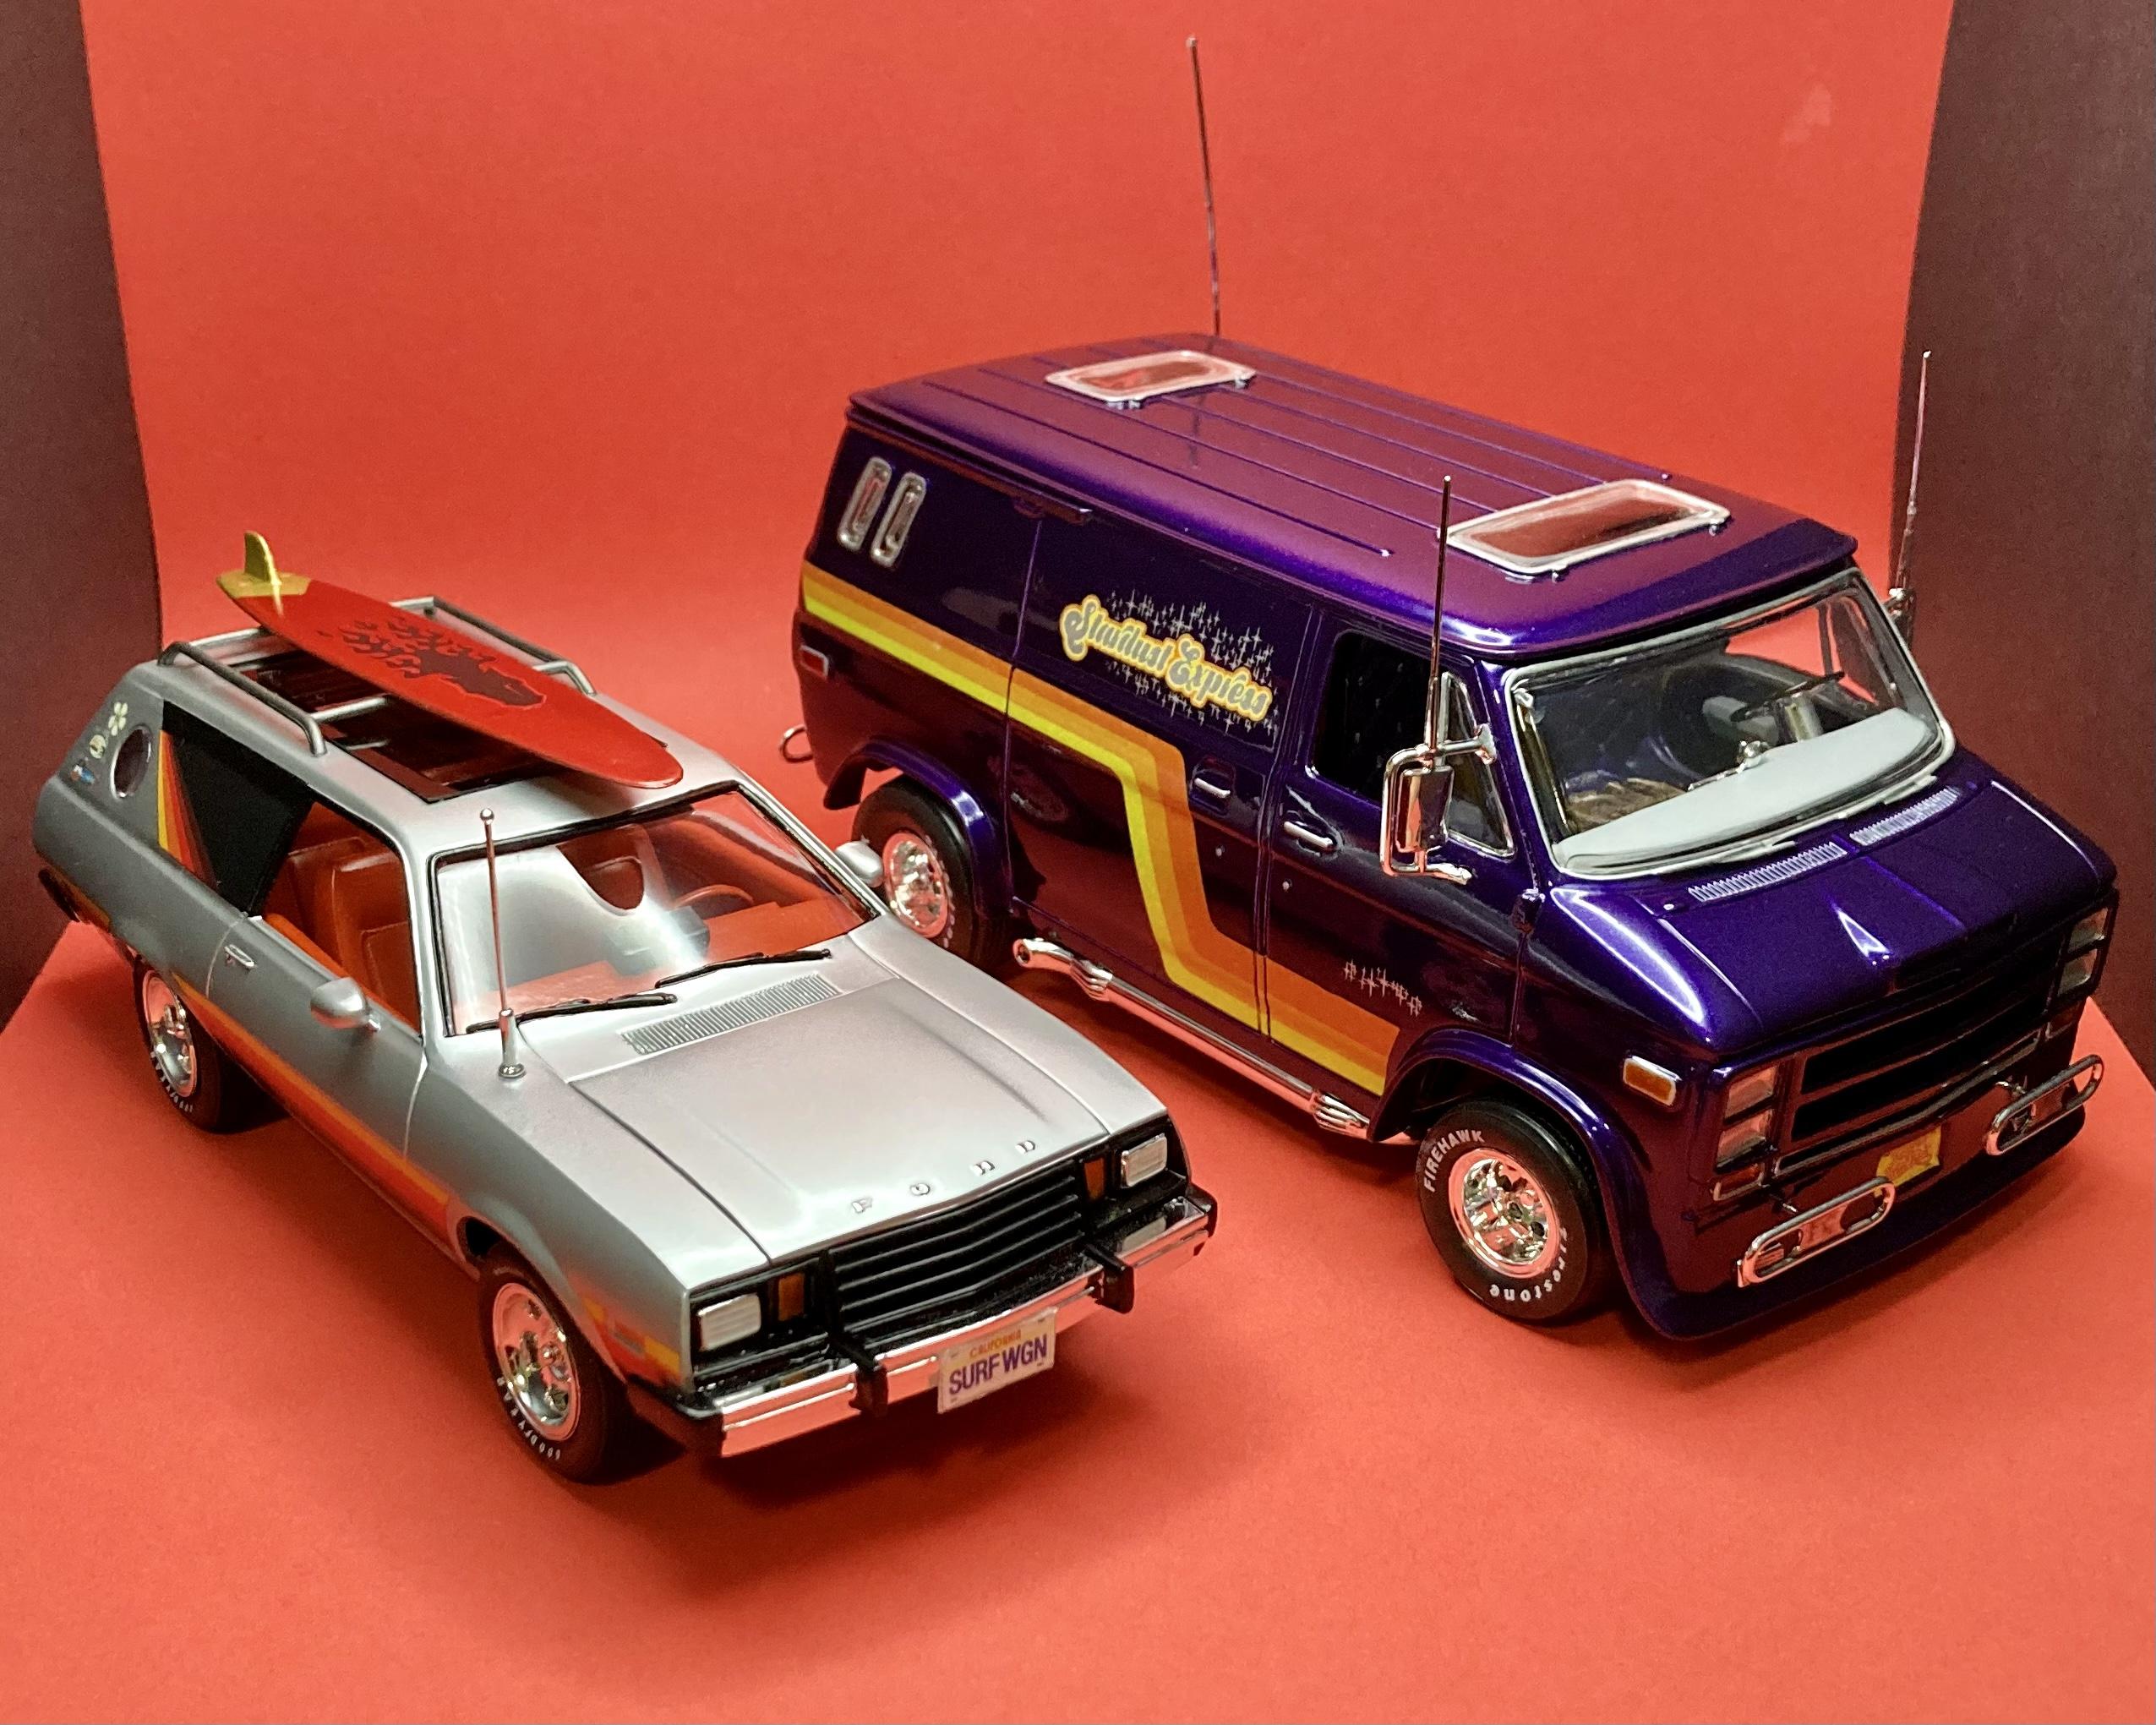
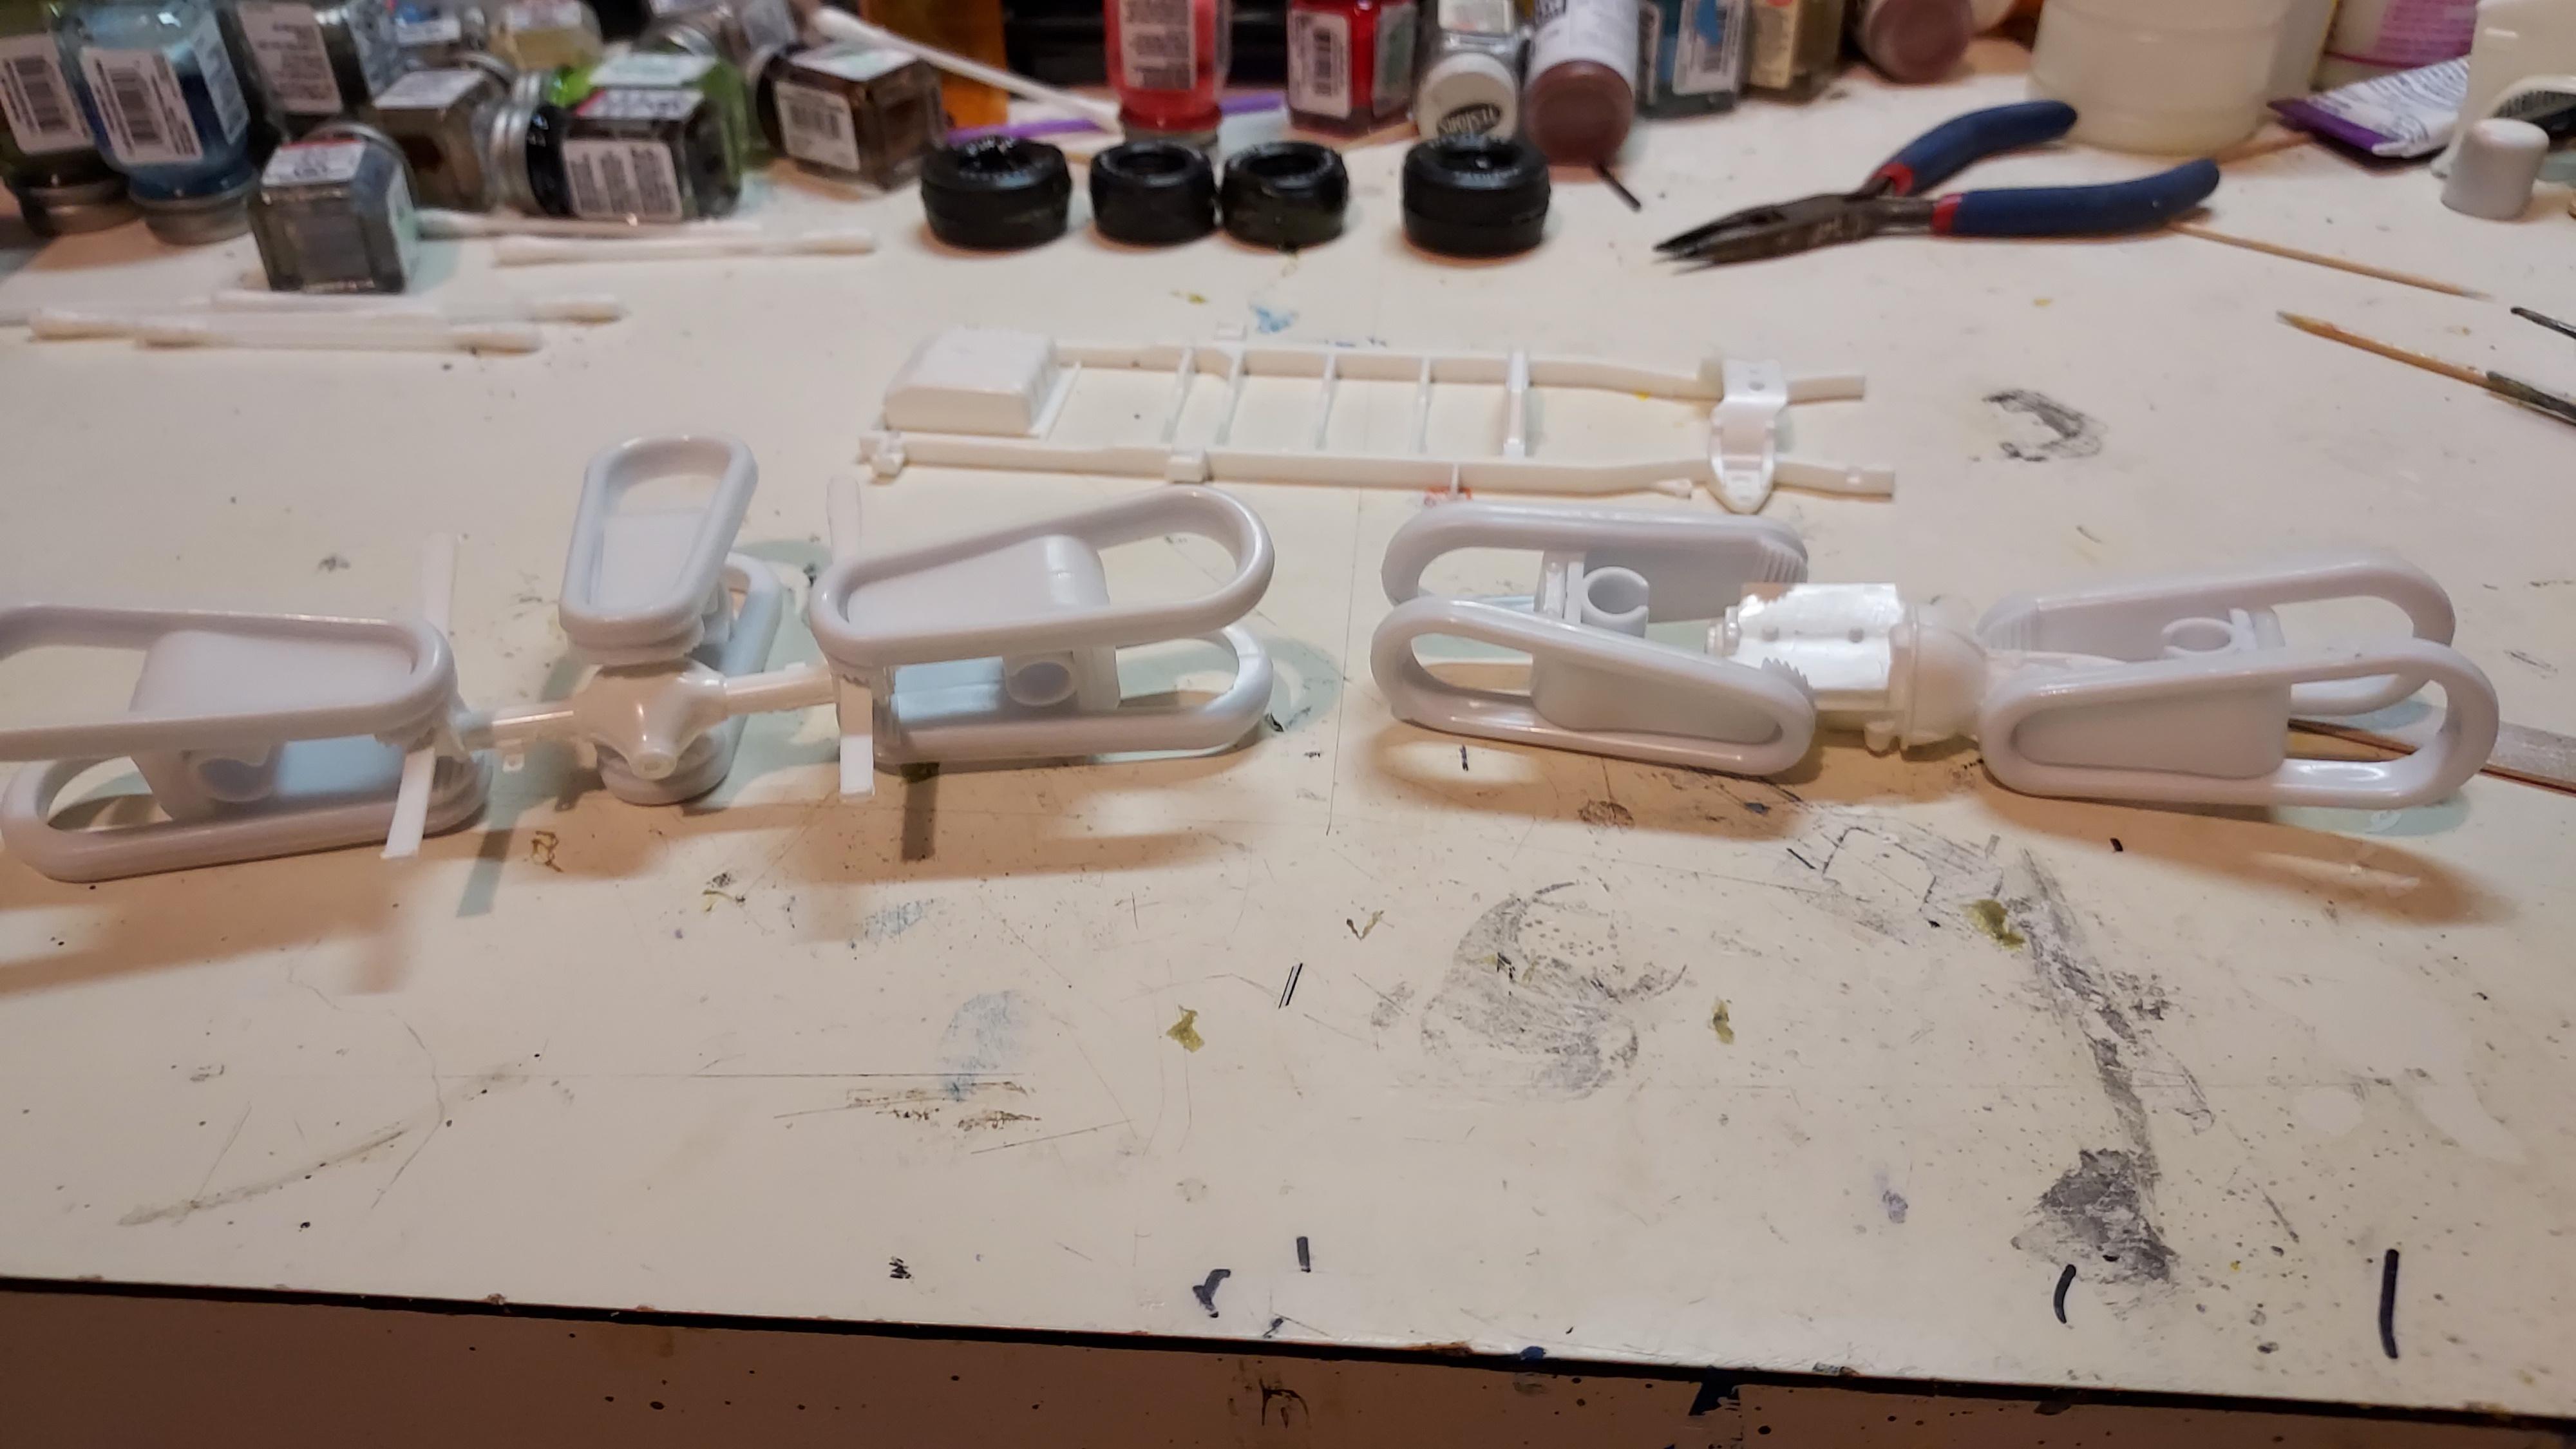
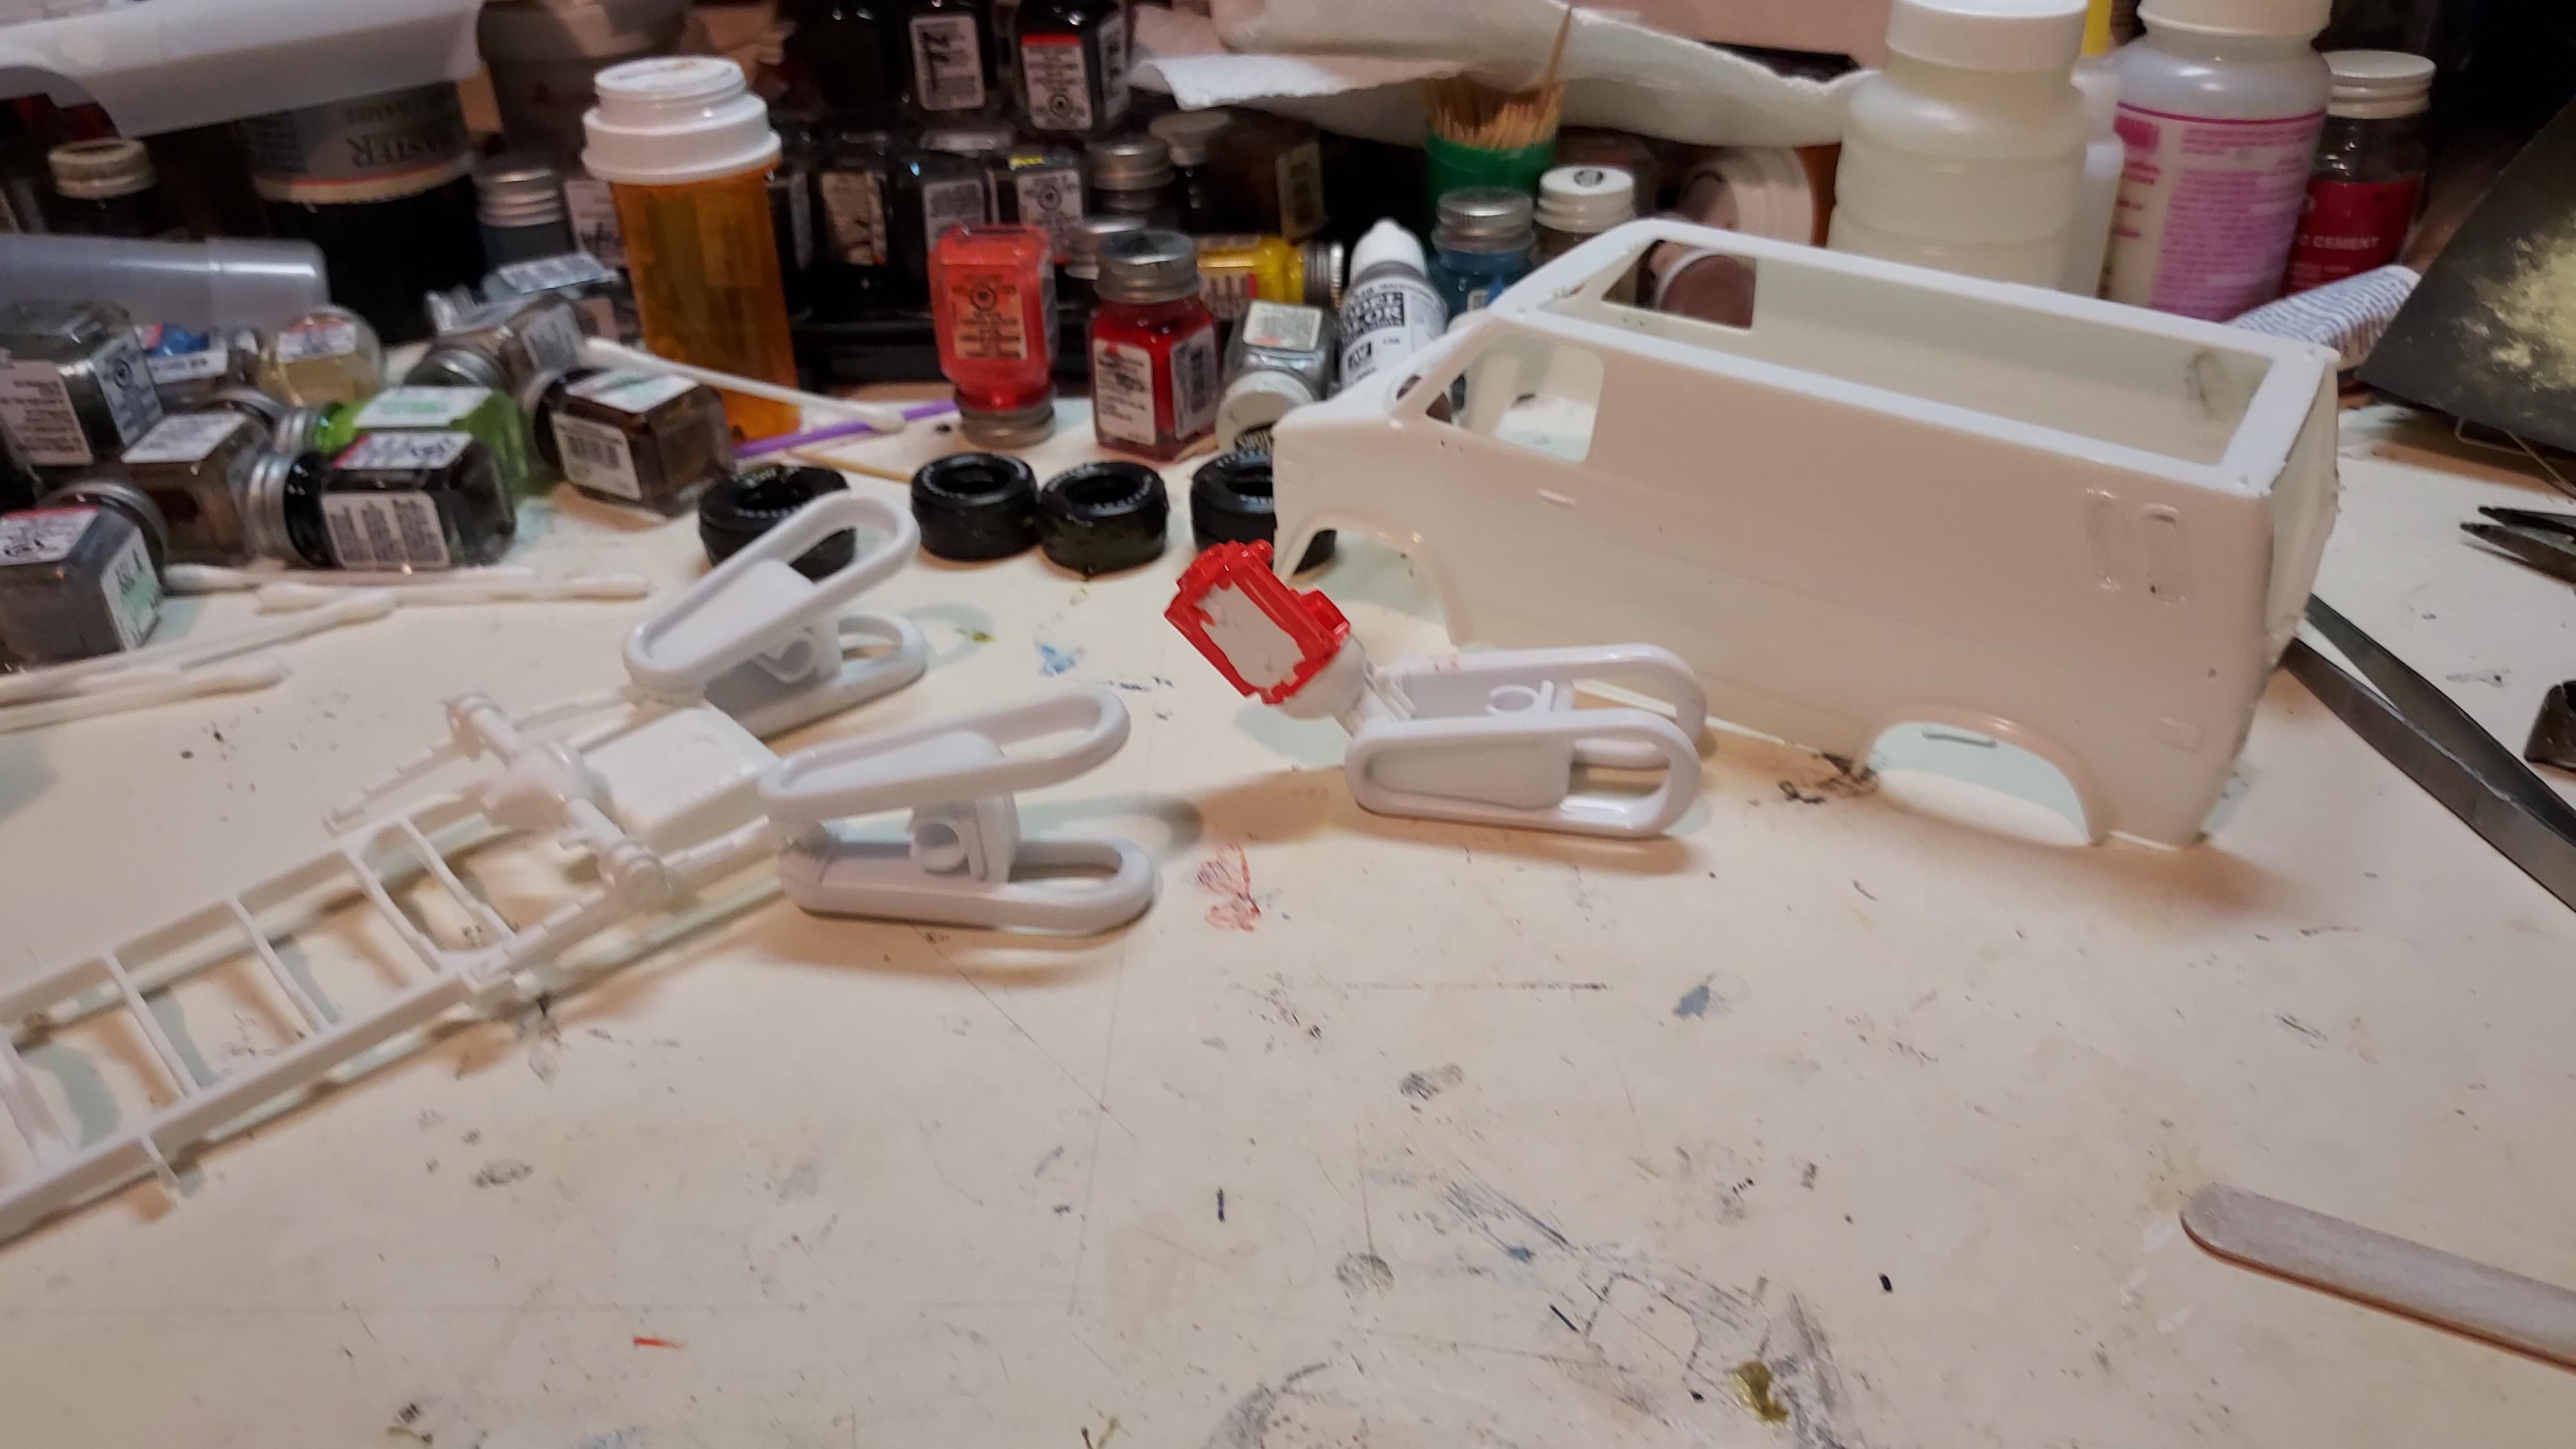
 For this build, I decided to combine the Ford surfer van (graphics) with the Chevy custom van. First off, I like any porthole window in custom vans, but the graphics are so cool that I didn't want to take away from that, so I filled the windows in with some styrene strips and glued them into place. Next, they'll get some putty to smooth them out. Next if you haven't already gone to the dollar store and pick up some of these plastic clothes pins you should. They're great for everything. Strangely, the instruction sheet has a picture of an intake manifold but there is none in the kit. Or valve covers but a shiny chrome air cleaner. No biggie, this is pretty much a curbside kit anyway. Secondly, those 2-piece tires totally suck. I even used some 3M black weather-stripping adhesive and first there is no way to line the 2 halves' up. You just have to wing it. Not cool Revell. Stick with 1-piece tires from now on. This is the 2nd time I glued them together. They fall apart the moment I try to put them onto the socket to spin them to even out the tread. I'll let them set up overnight.
-
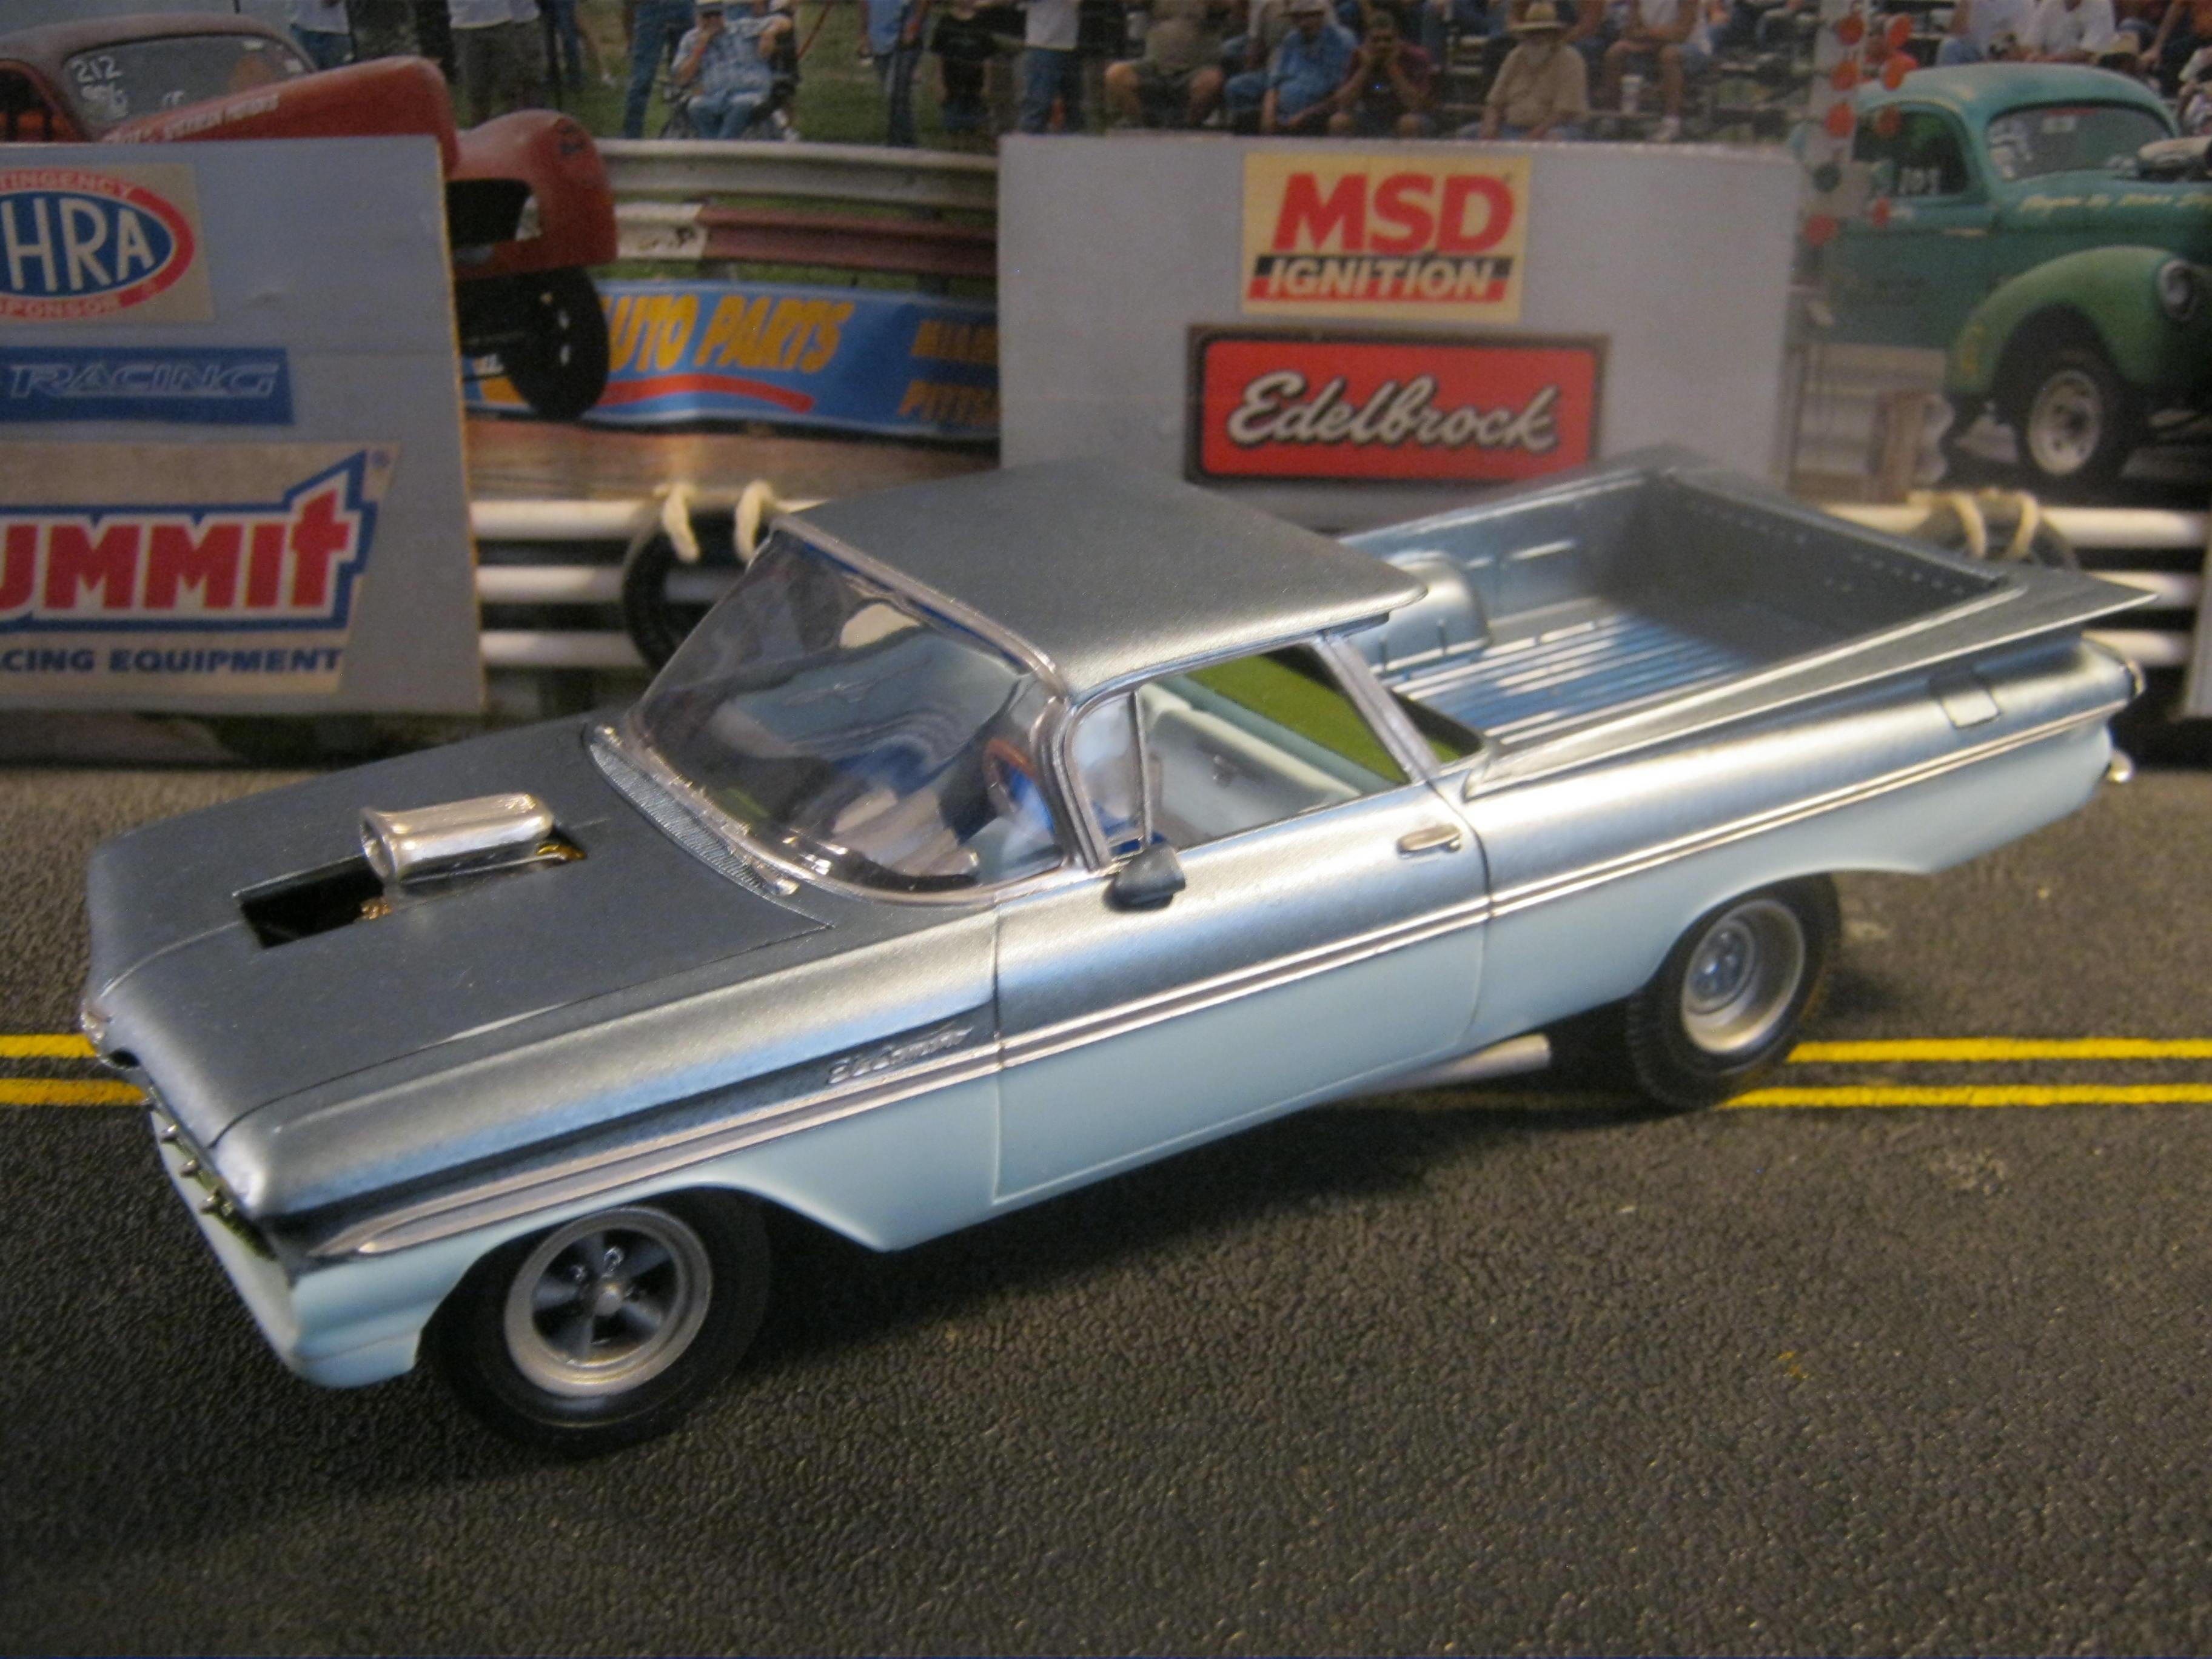
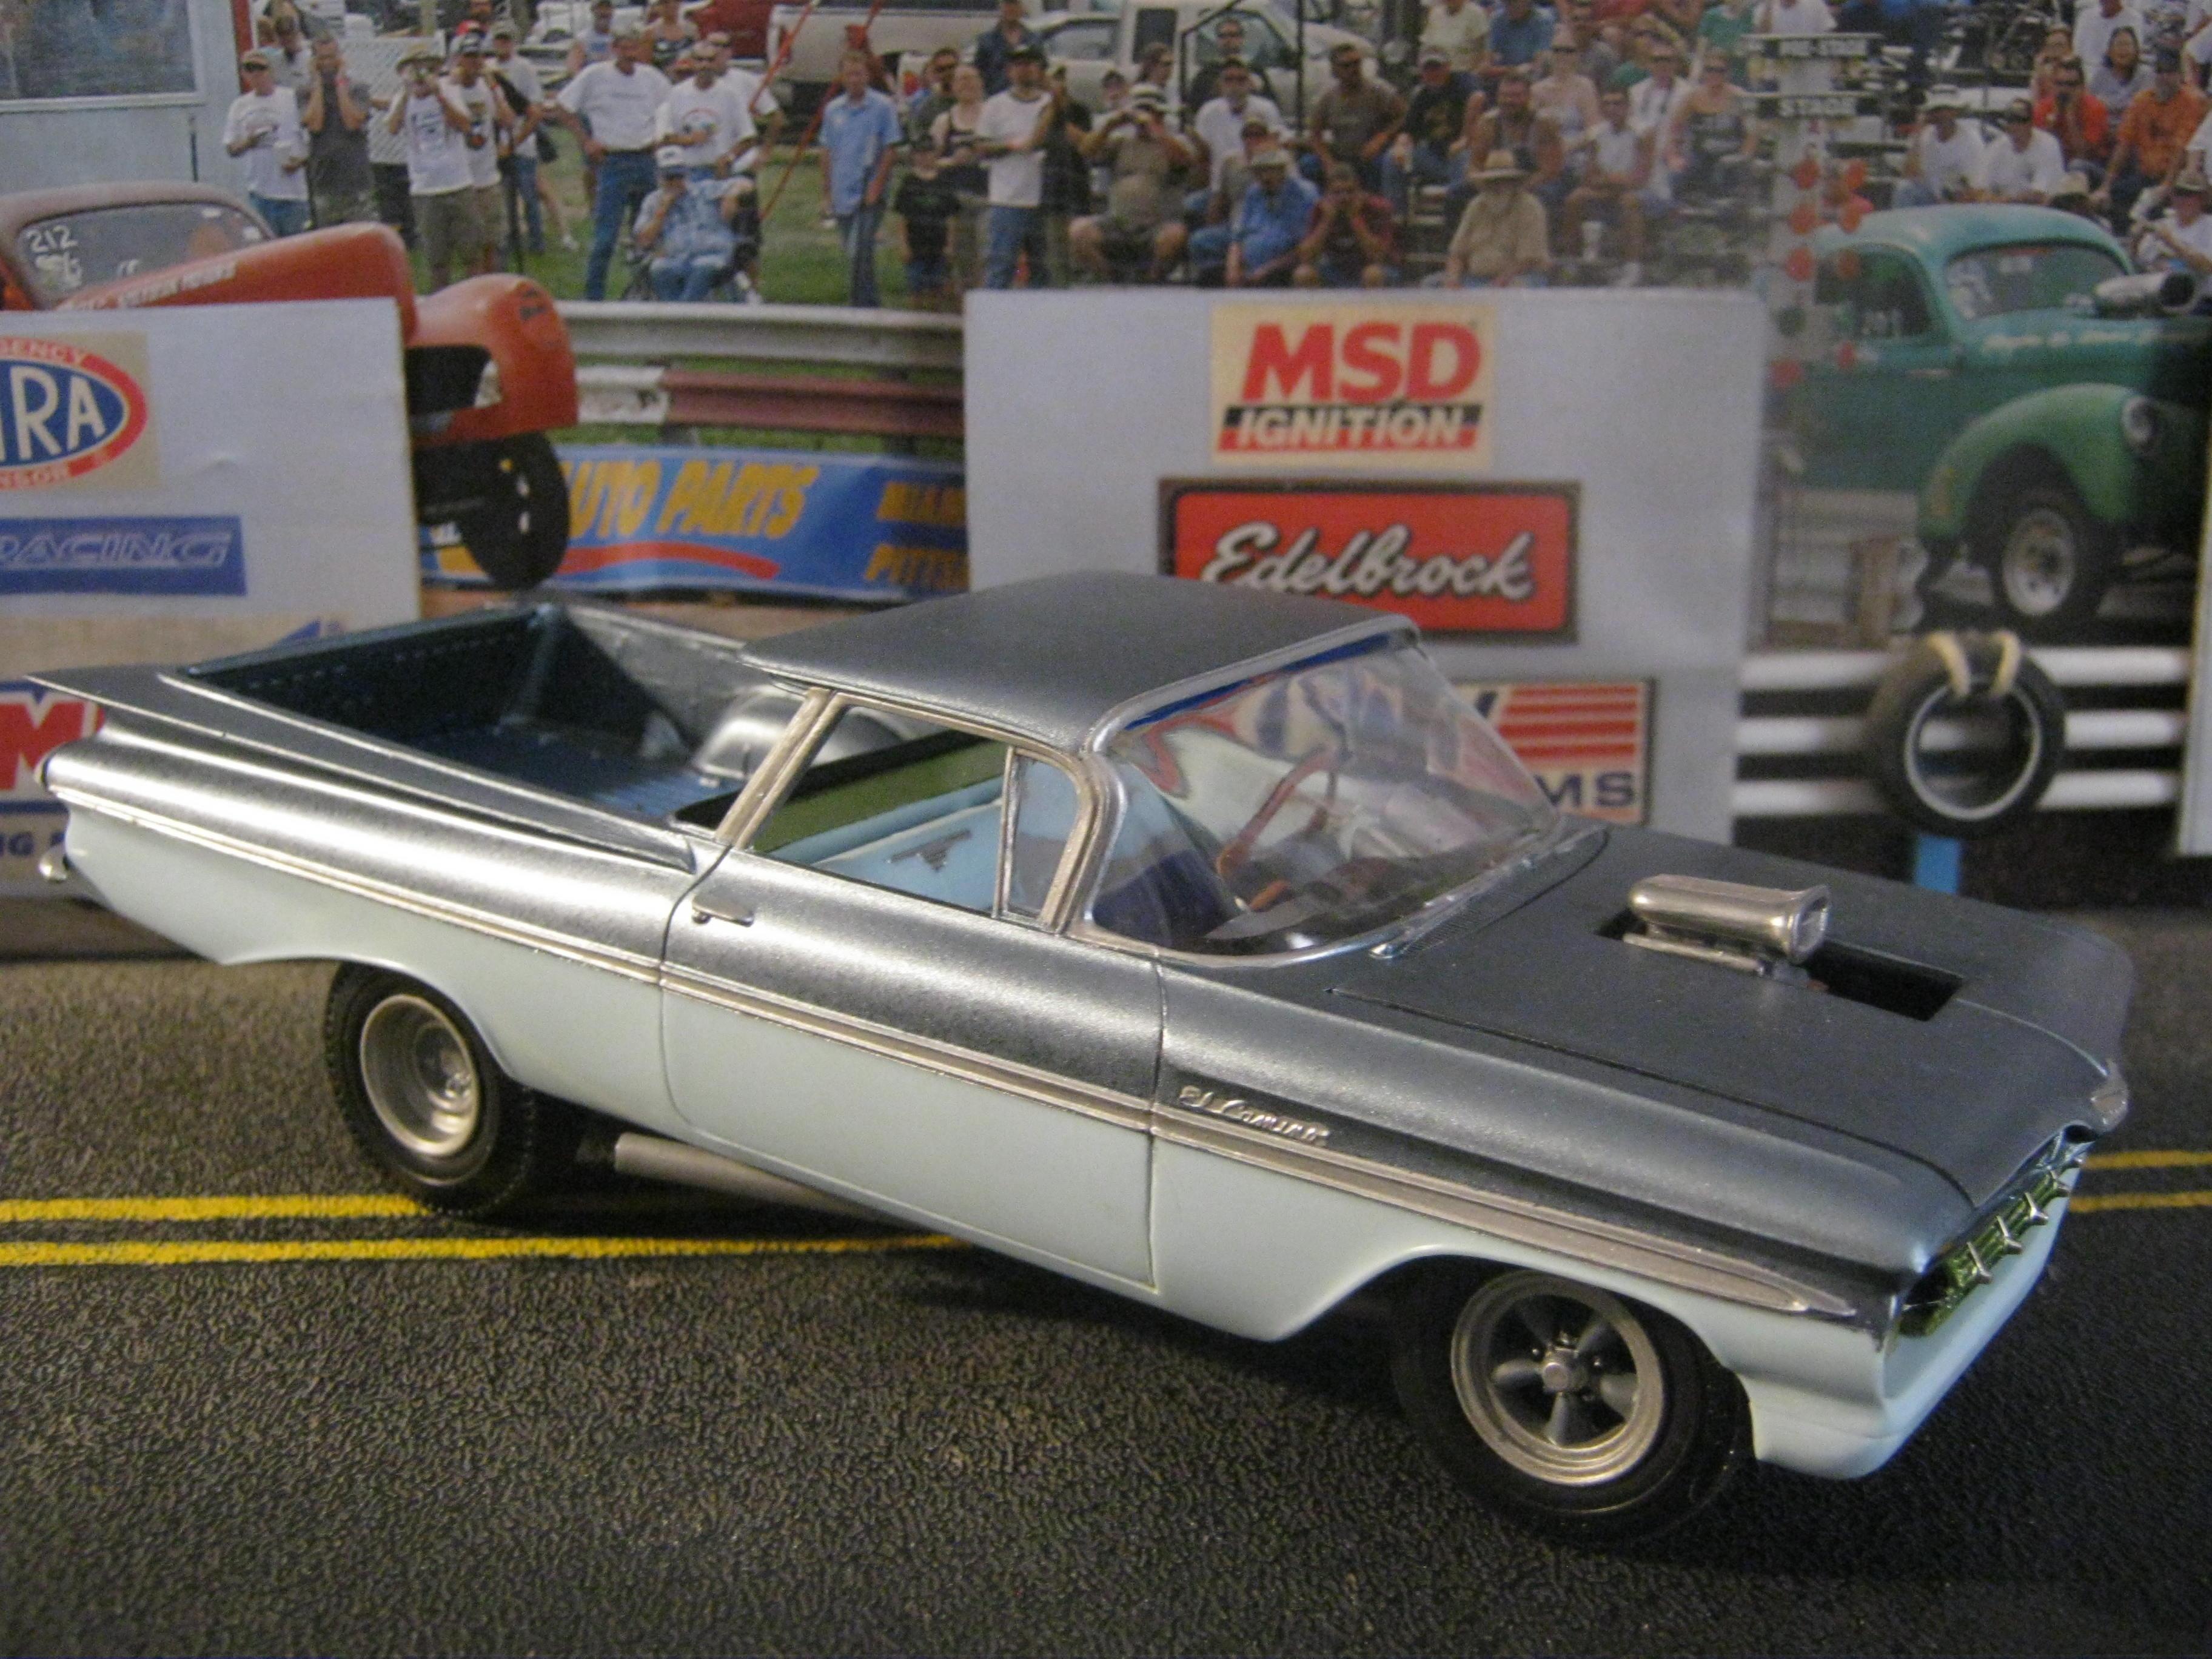
Happy summer all,,just goin thru some kits in storage,,and found this. Sprayed w/Testors qukdry enamel,,and did some added x-tras. Great kit,,went together very well,,and I dig this body style EC. Now all I need is the 1:1 car,,,enjoy your builds!
-
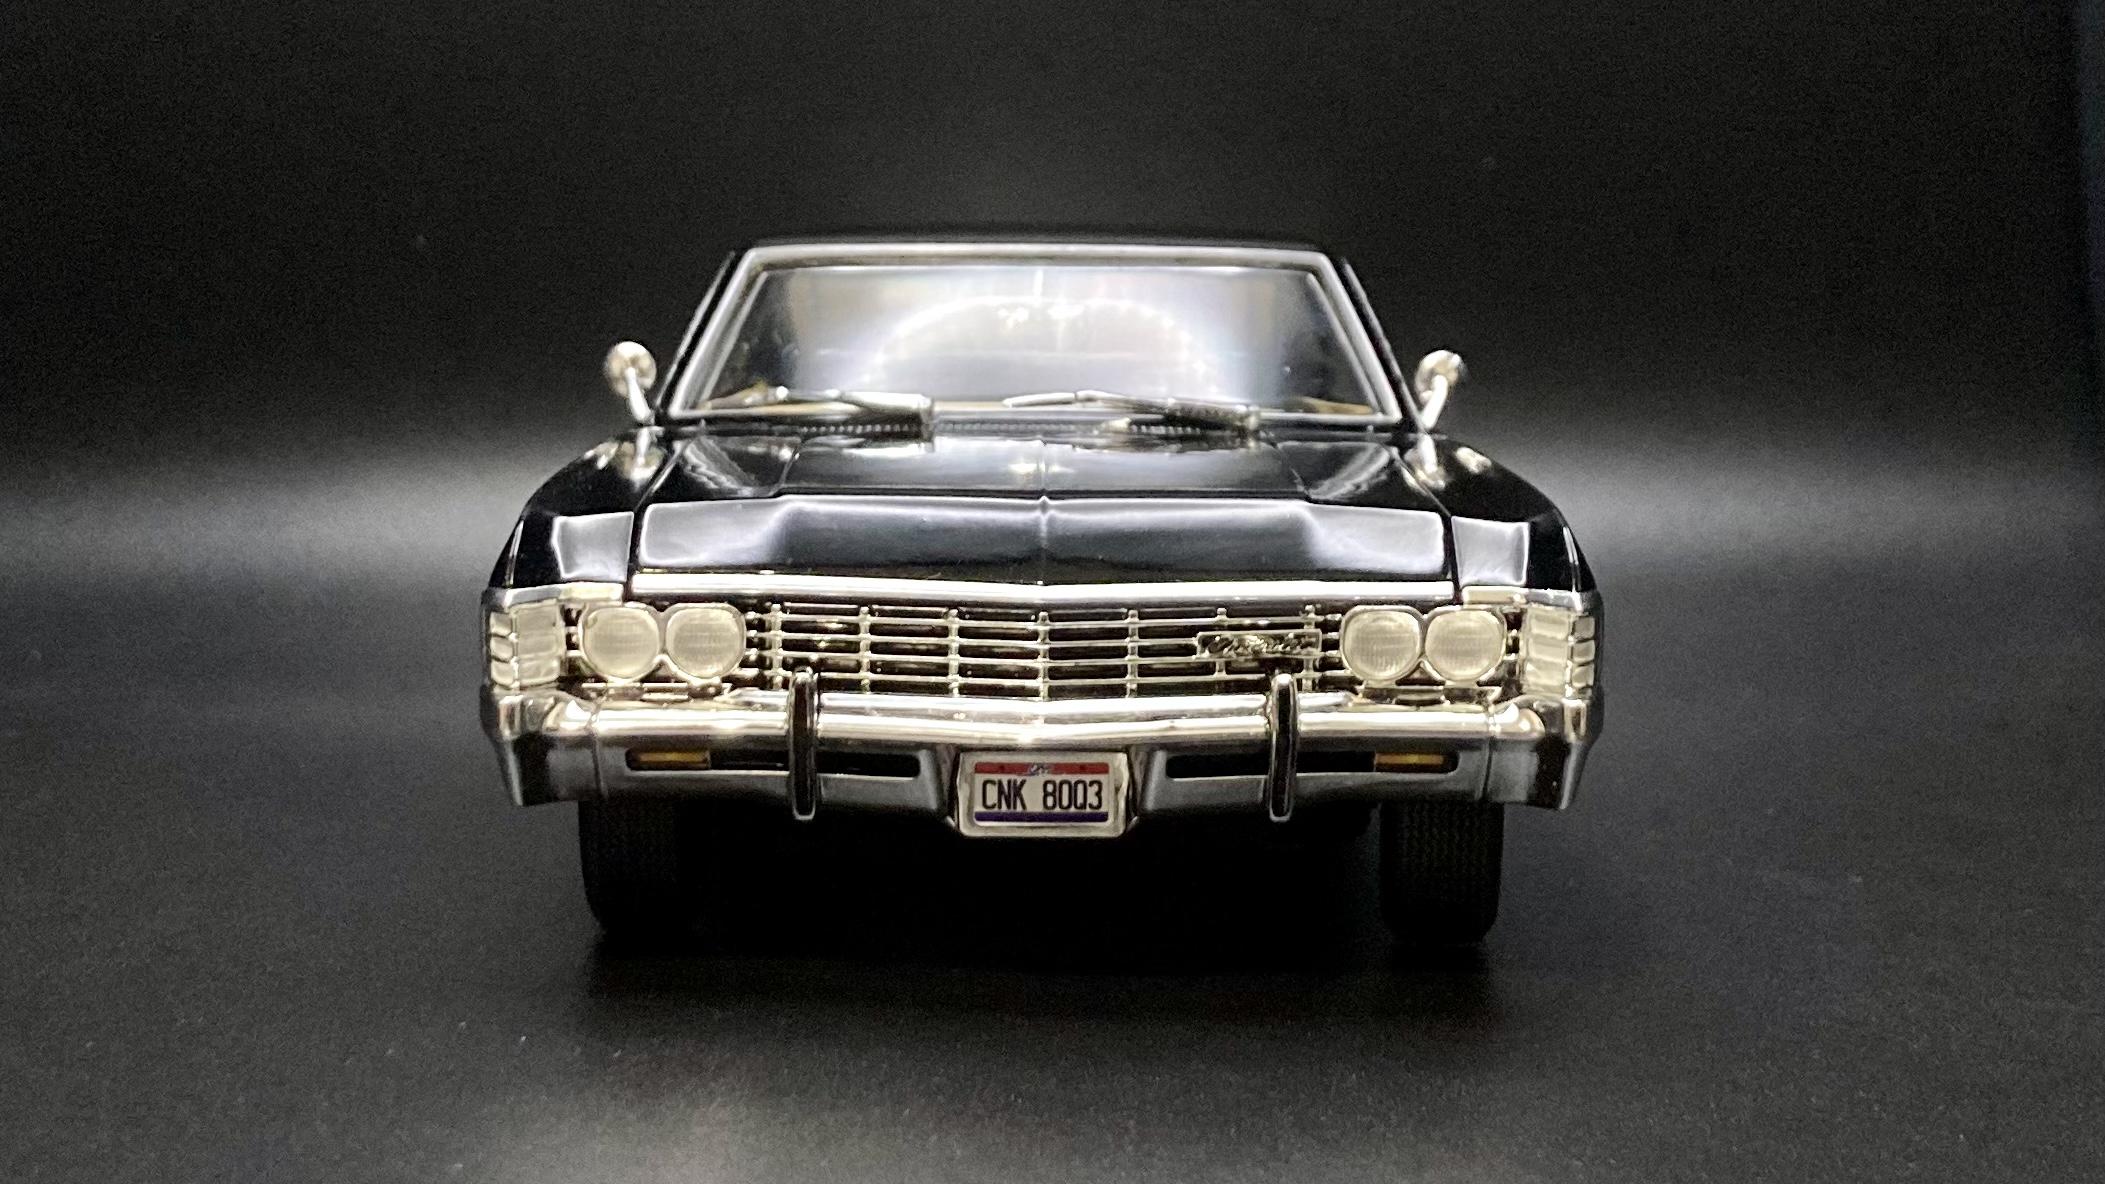
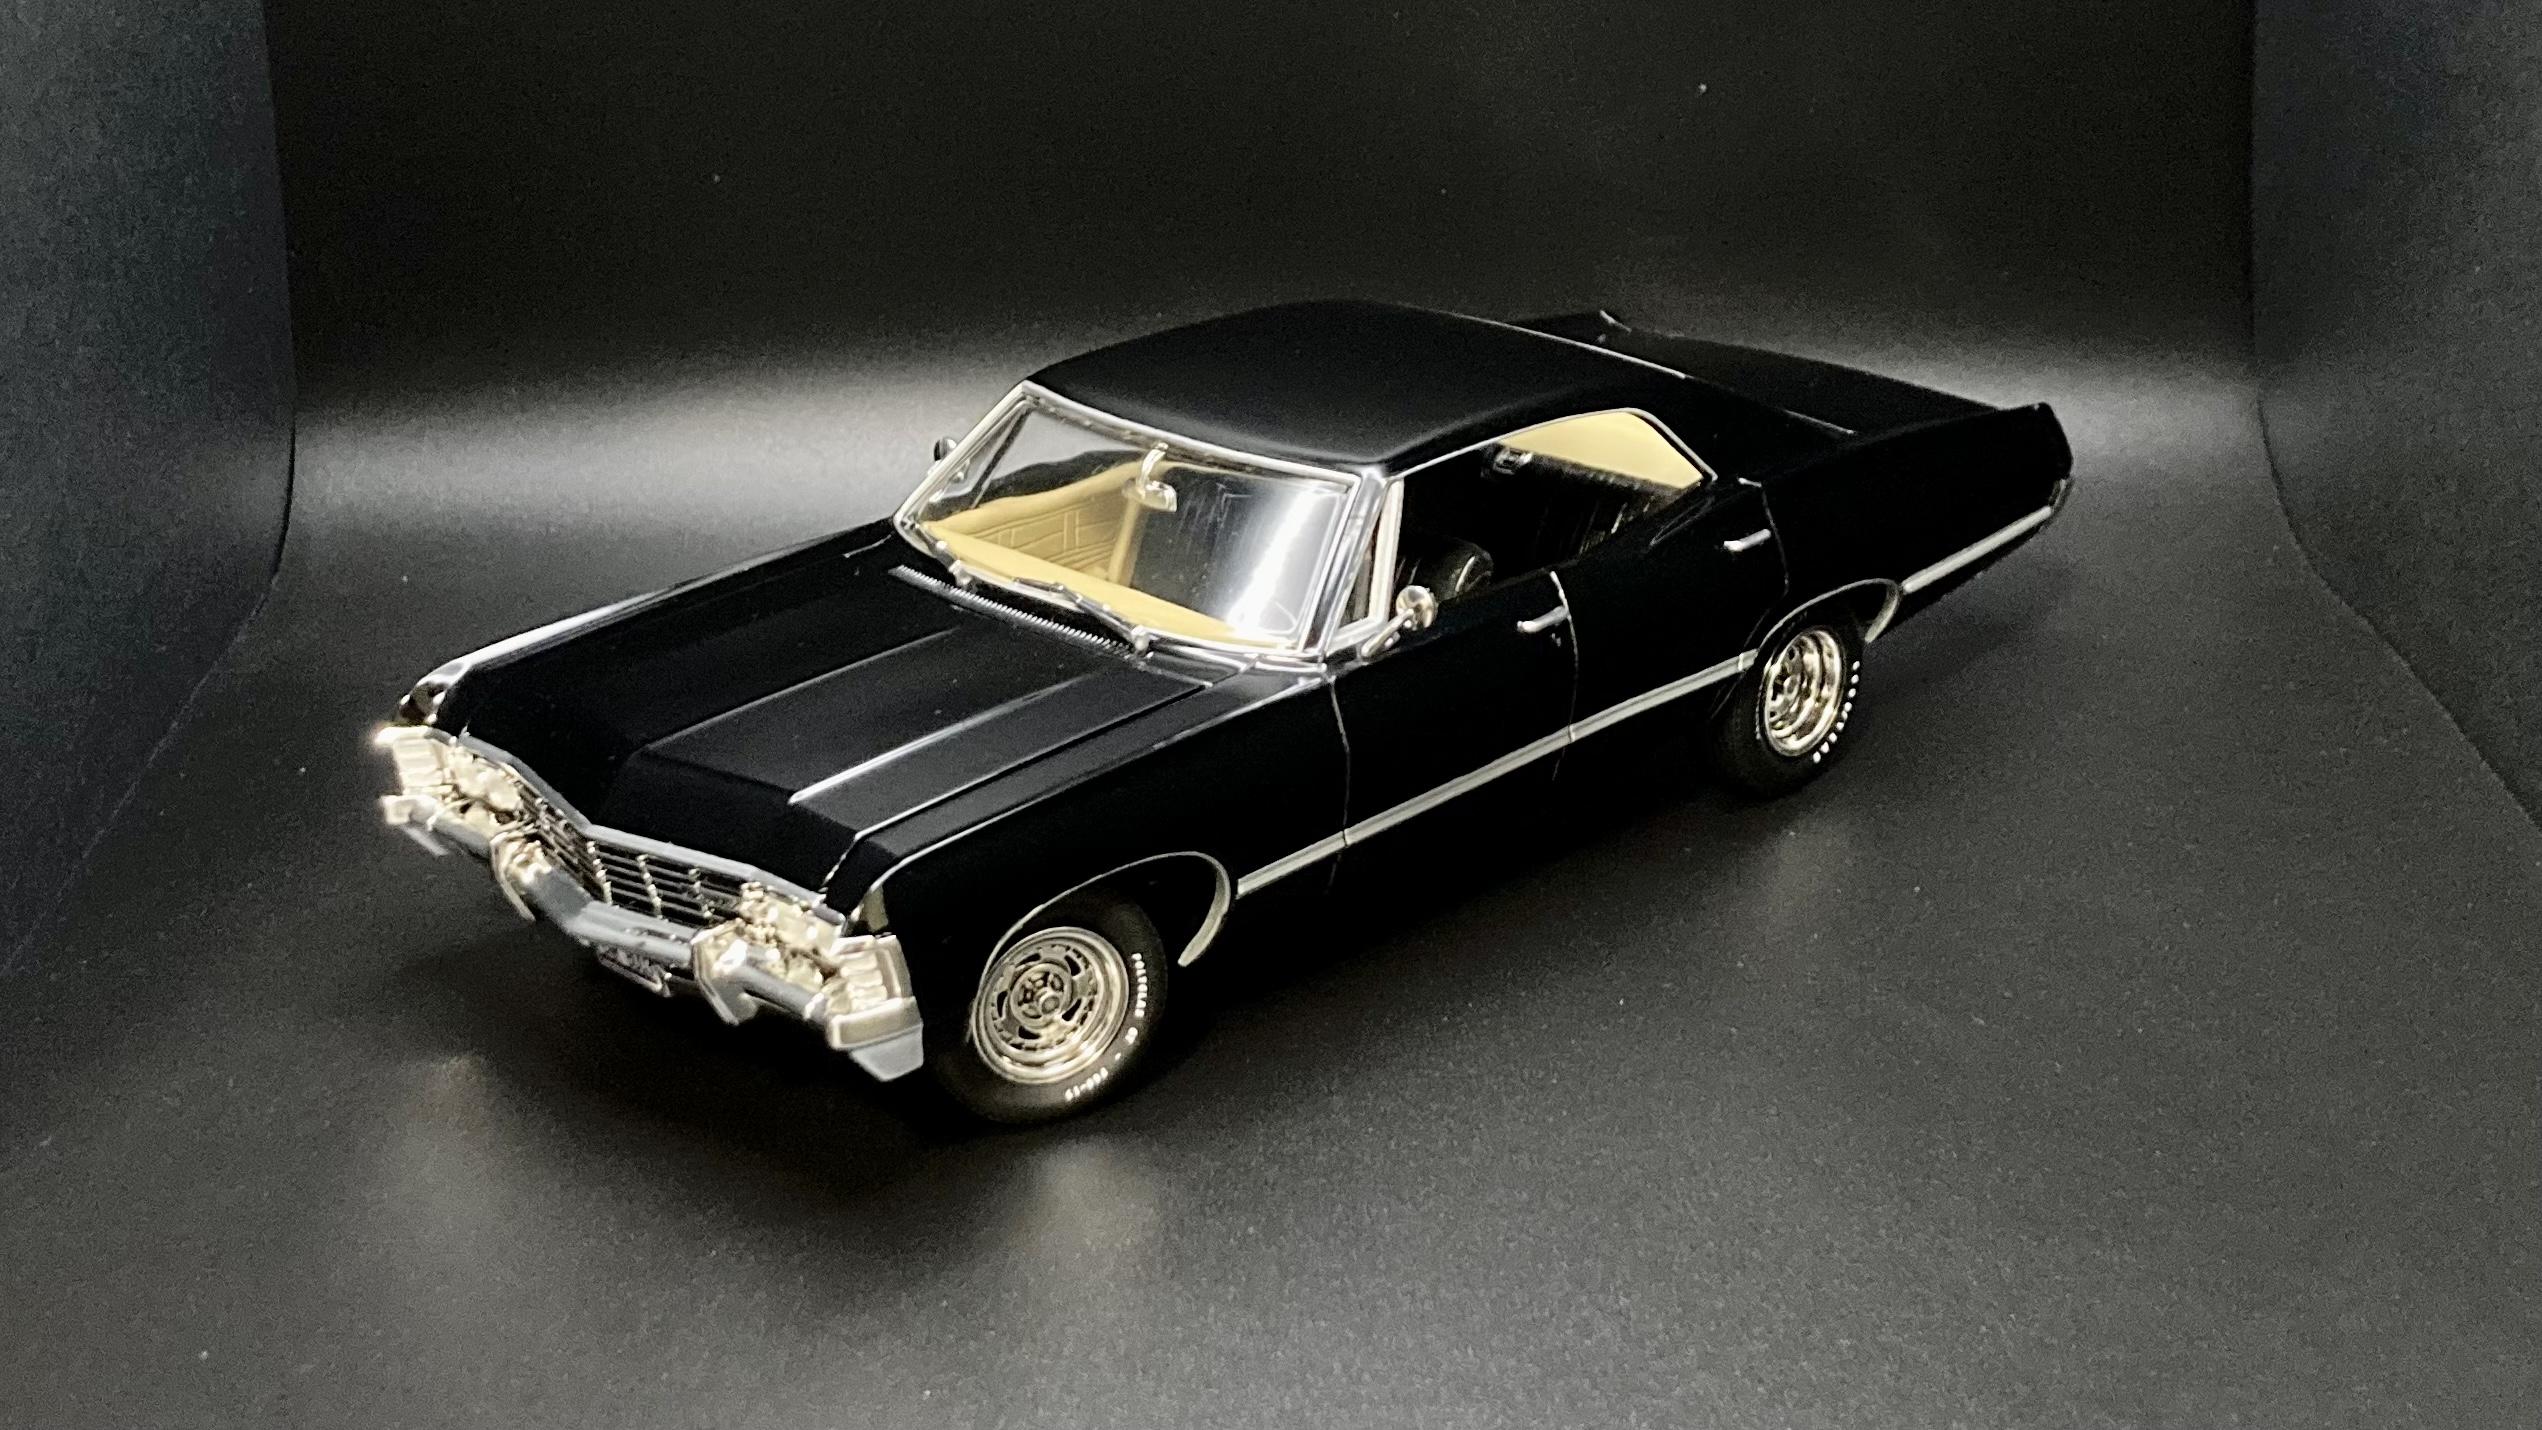
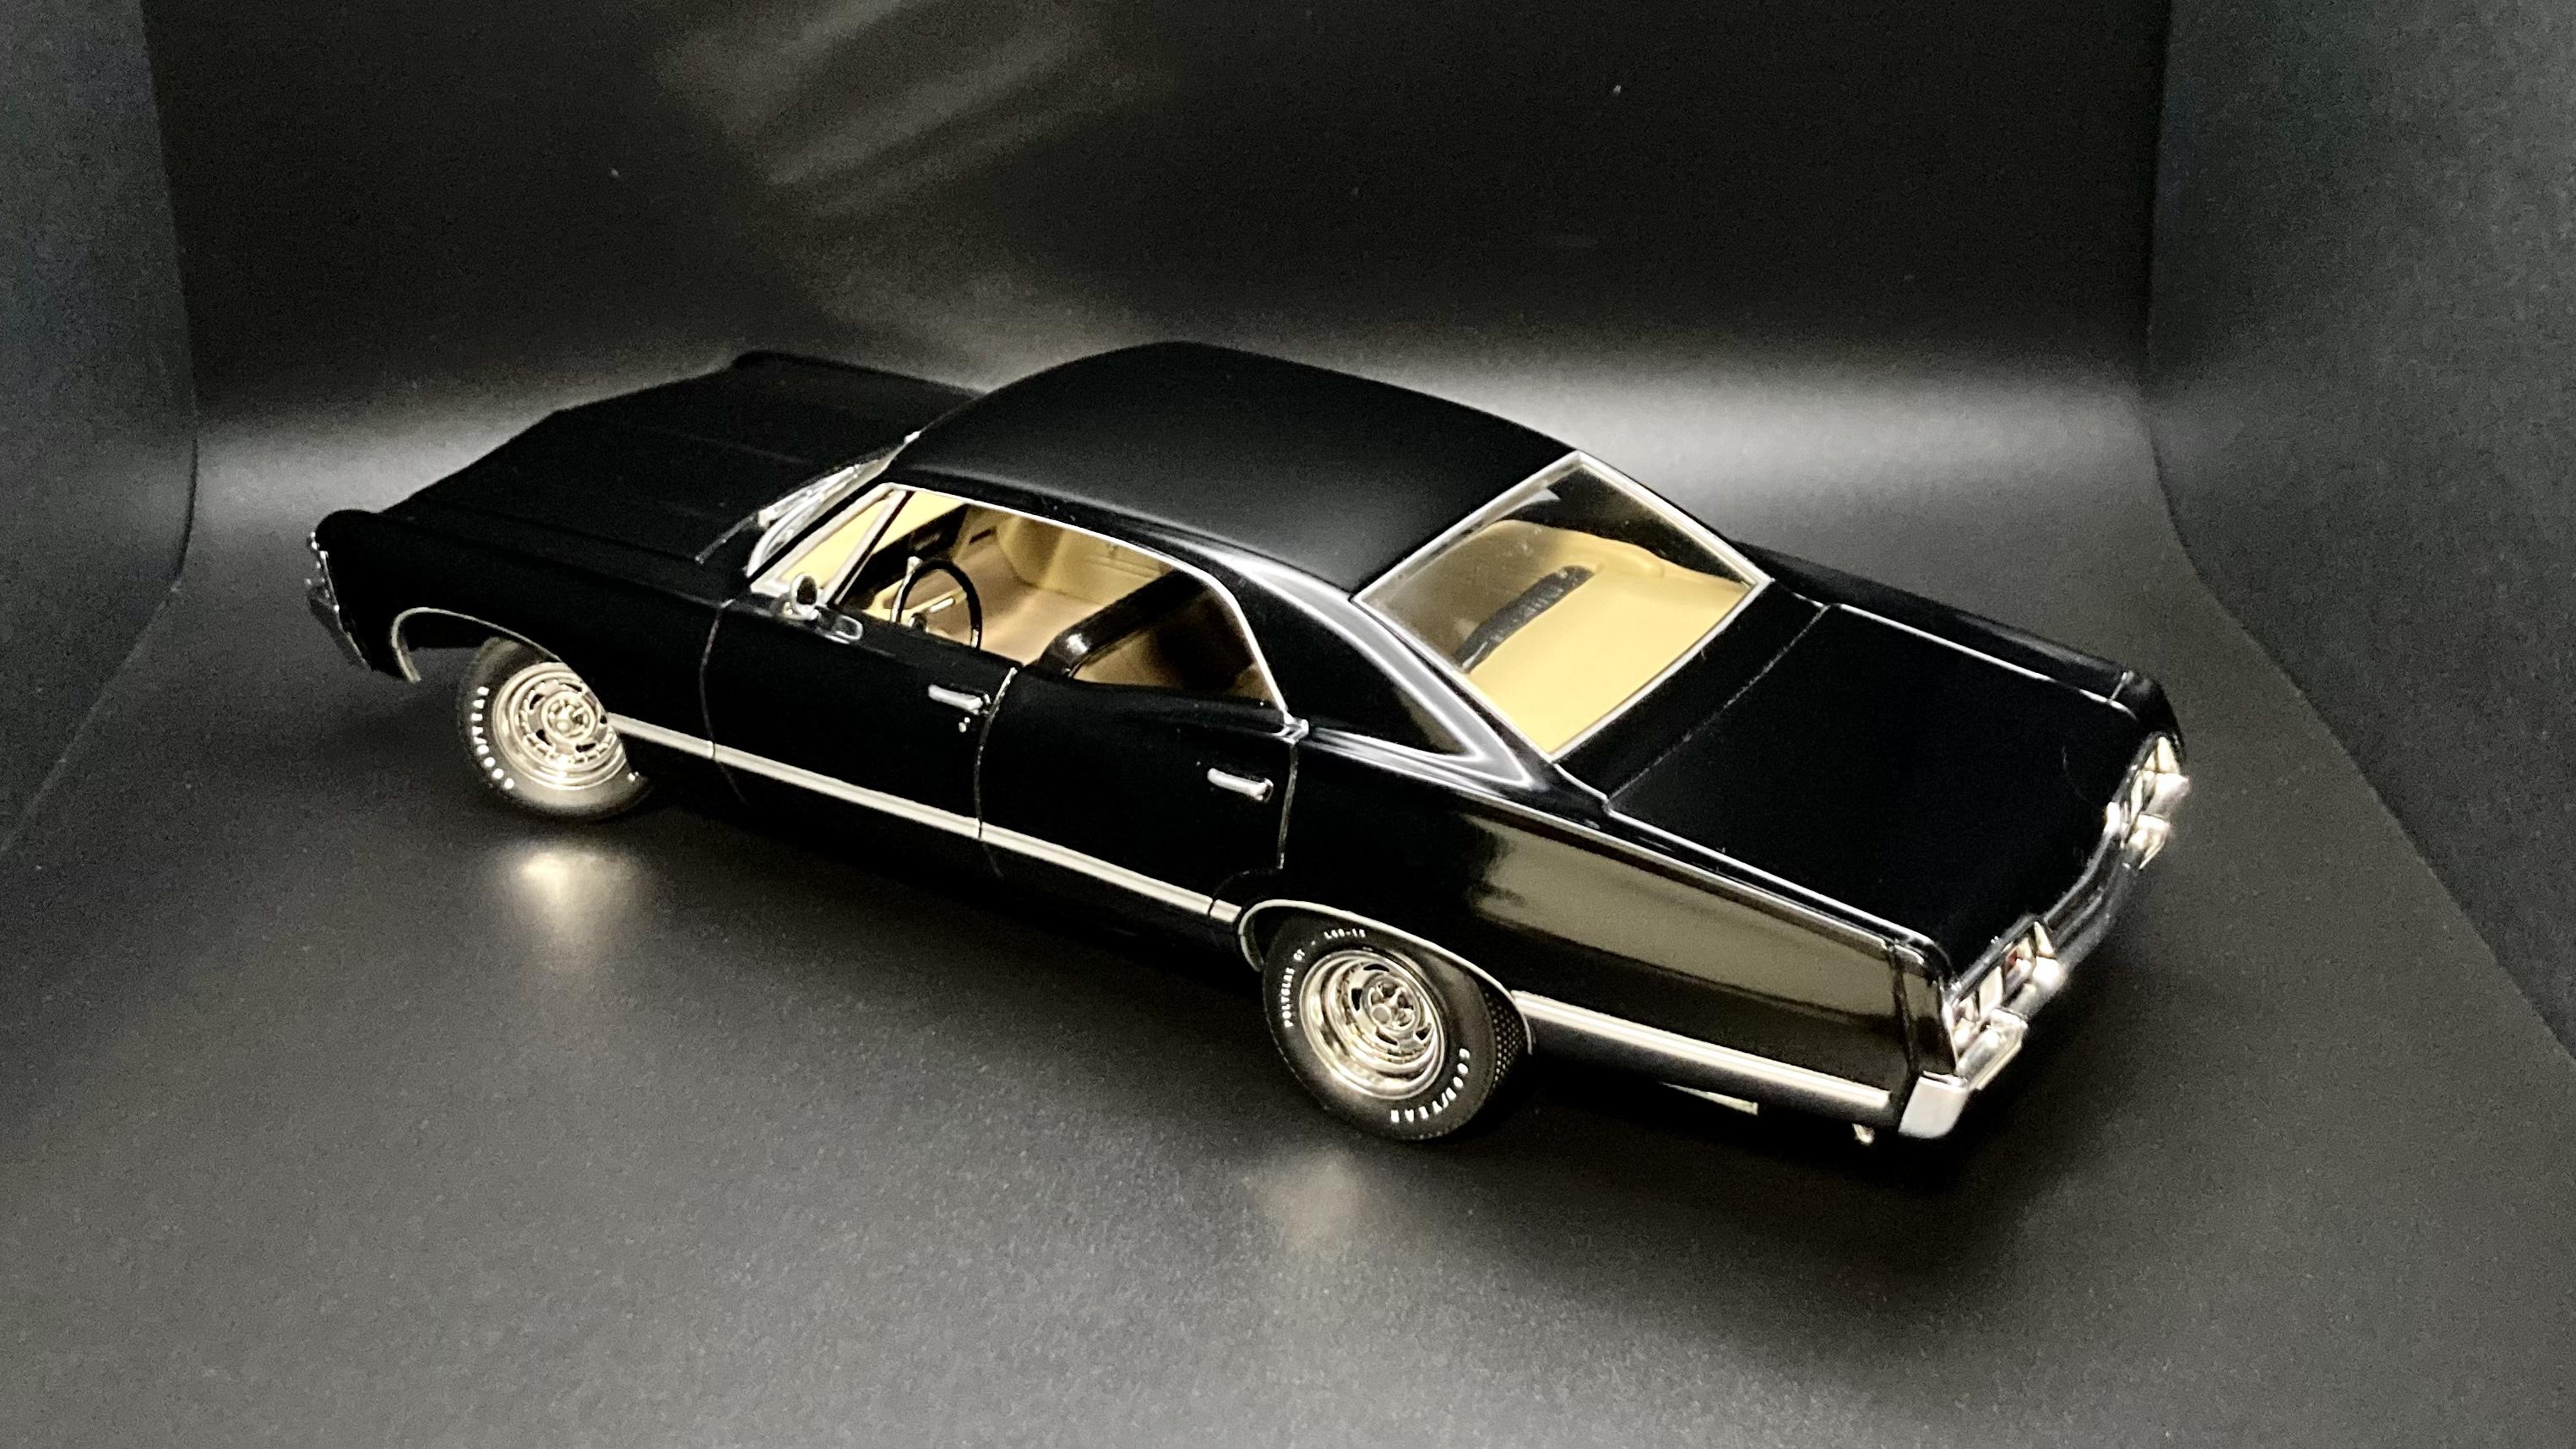
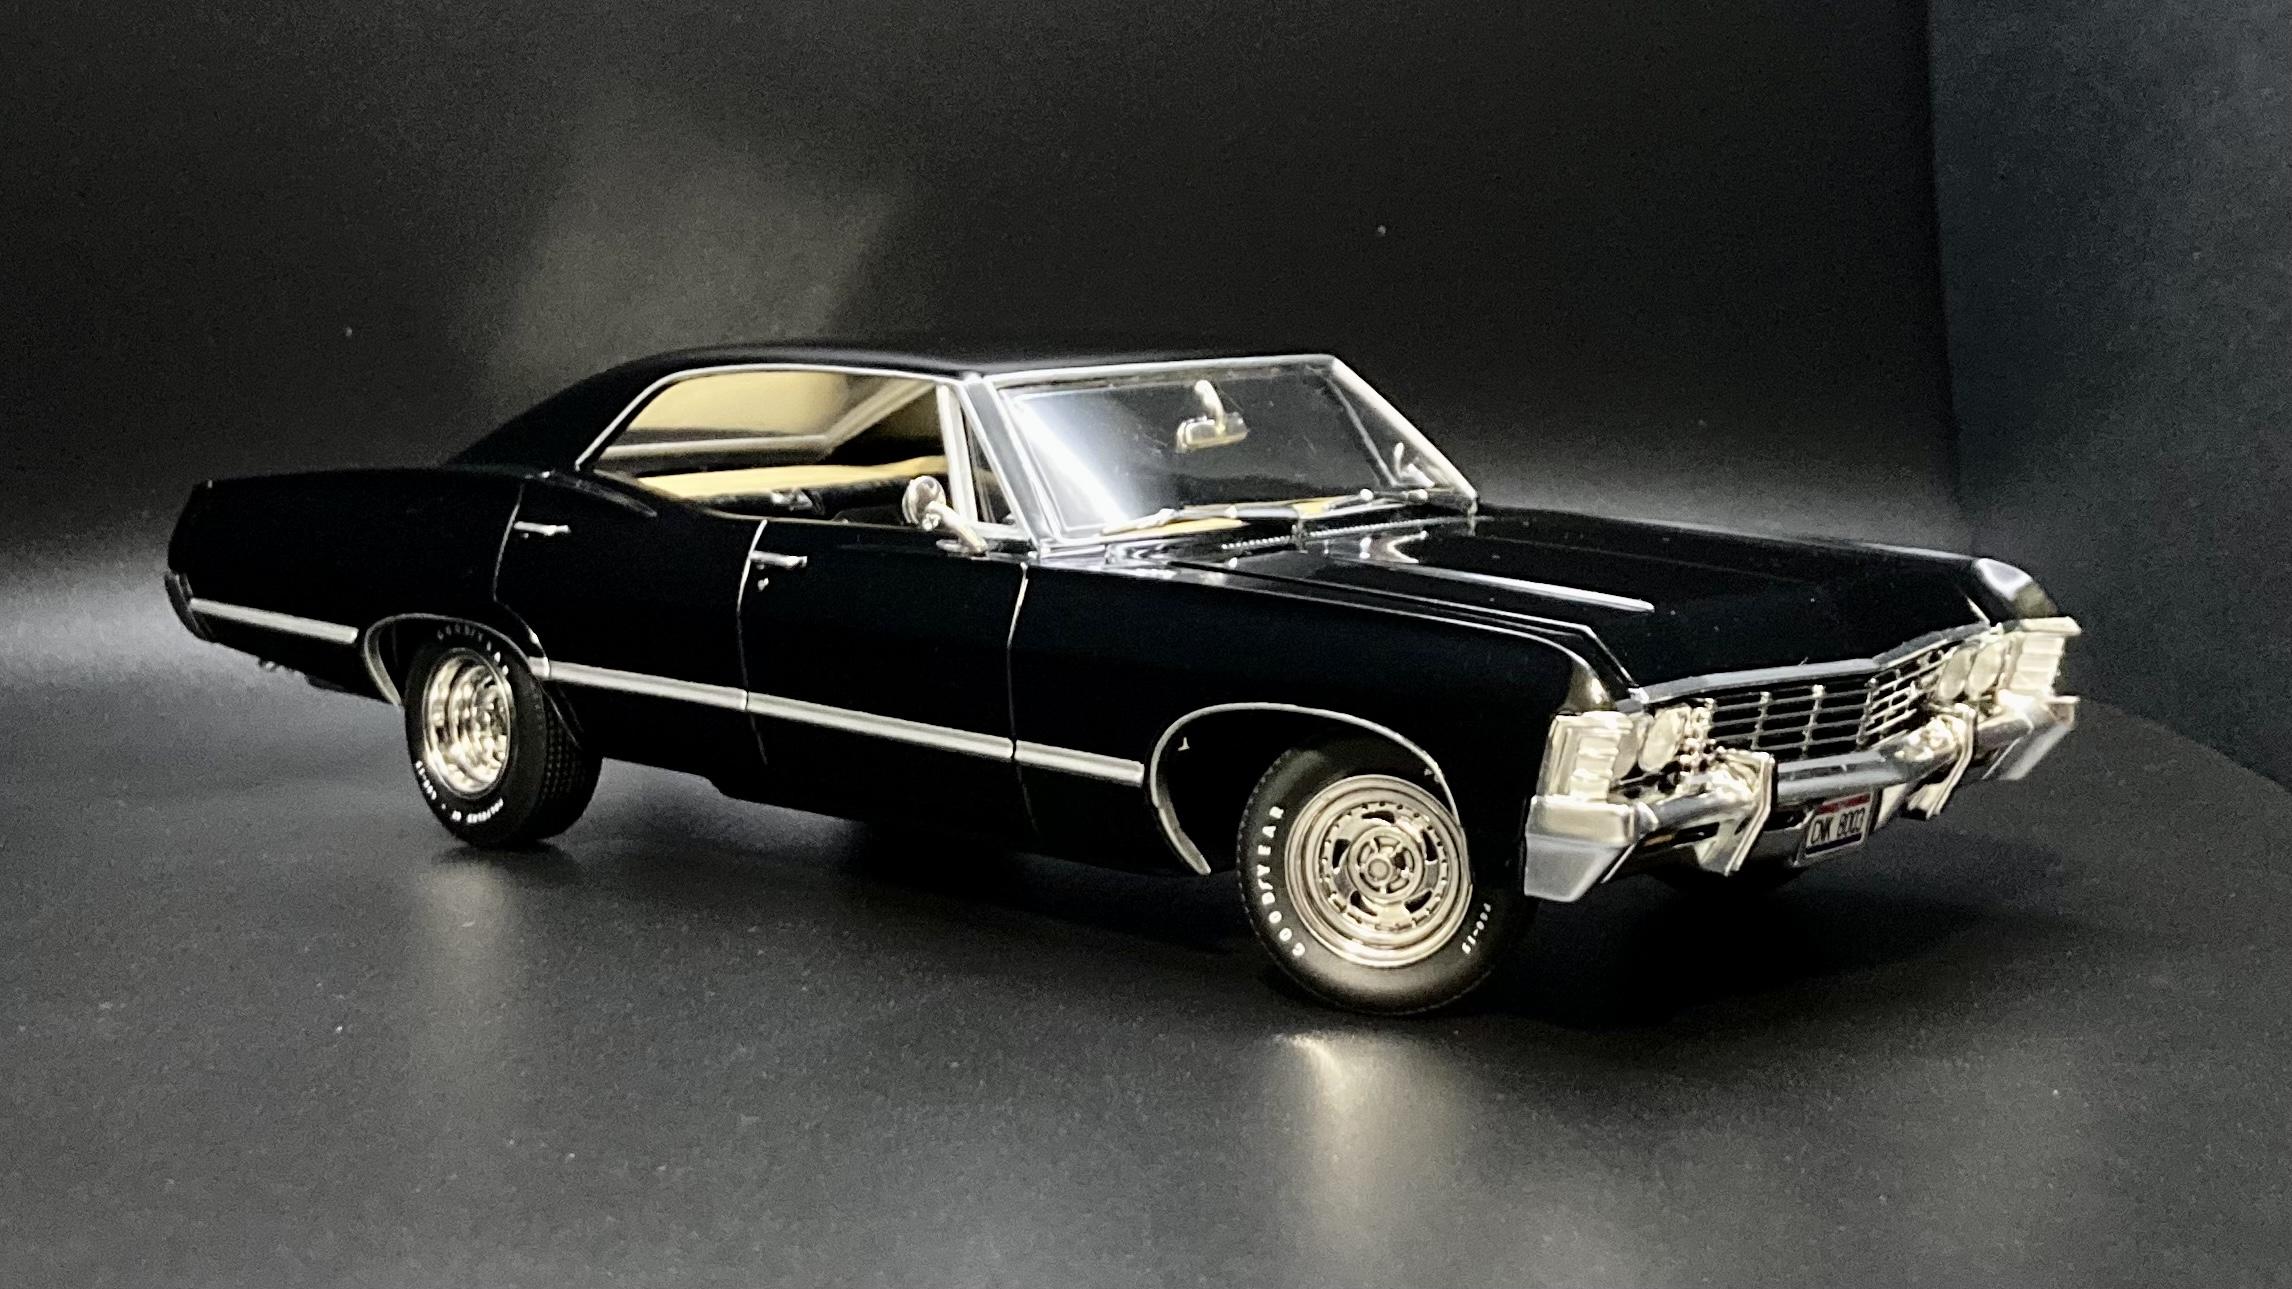
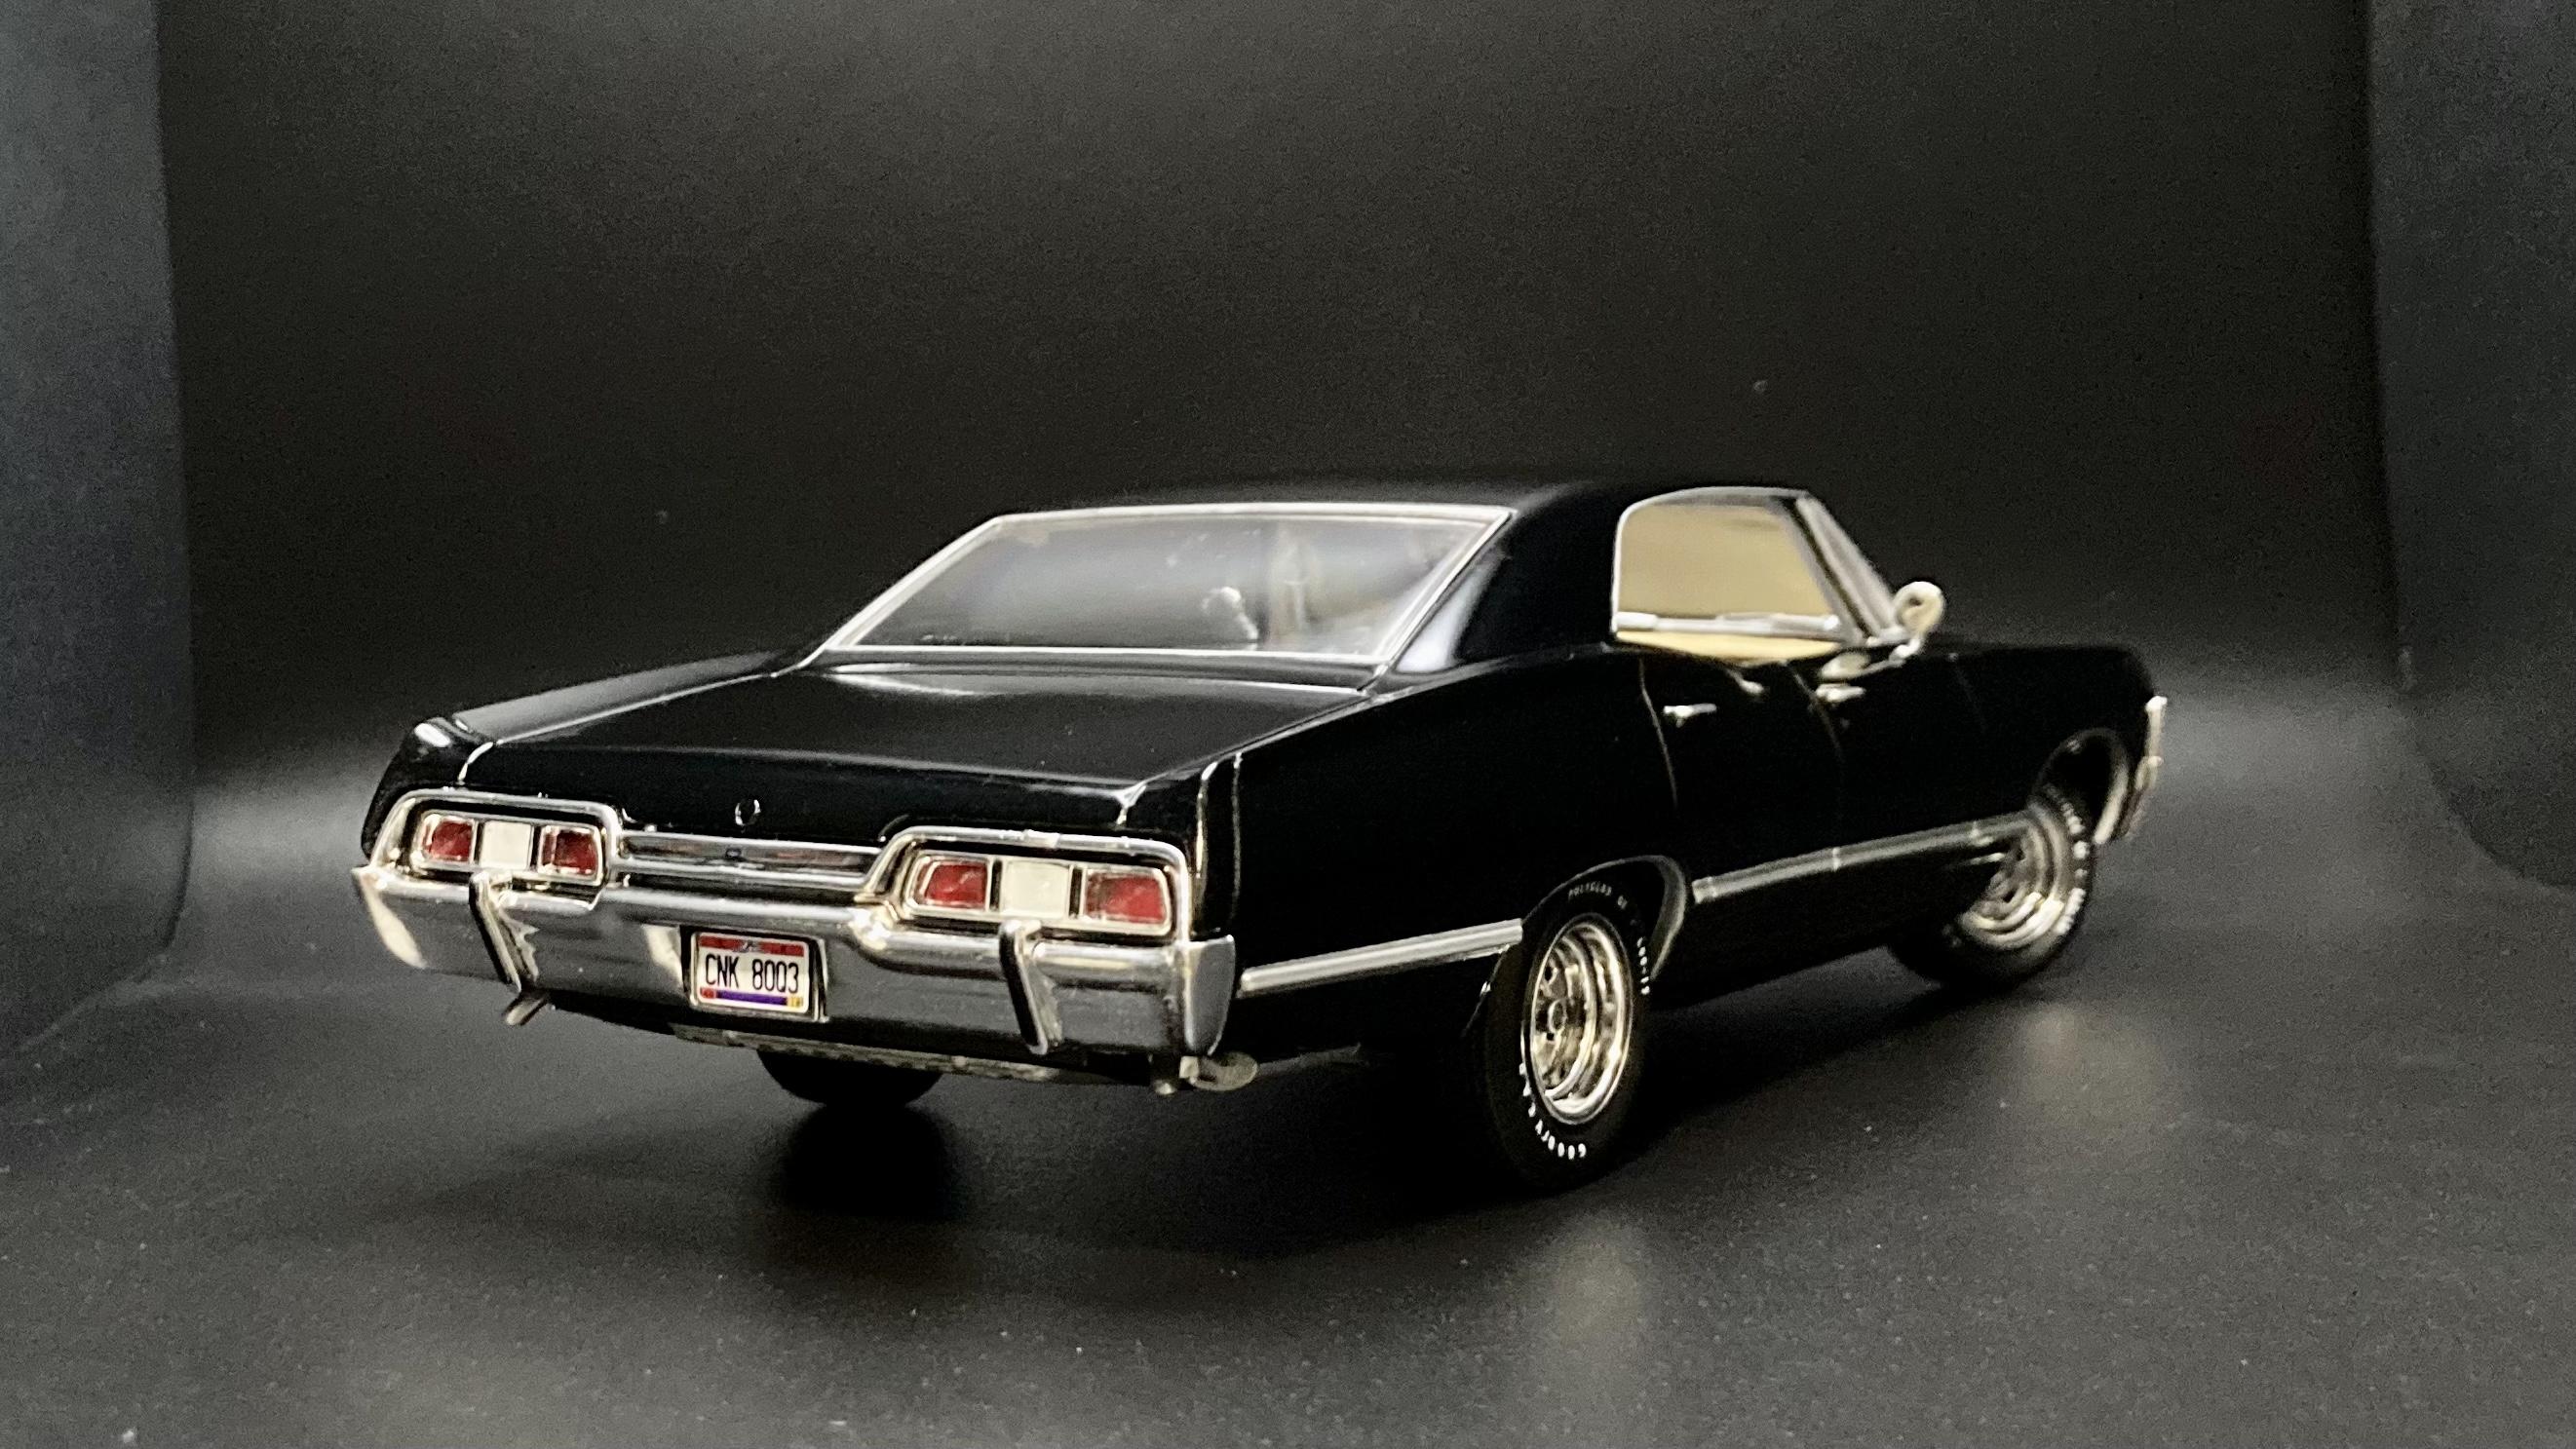
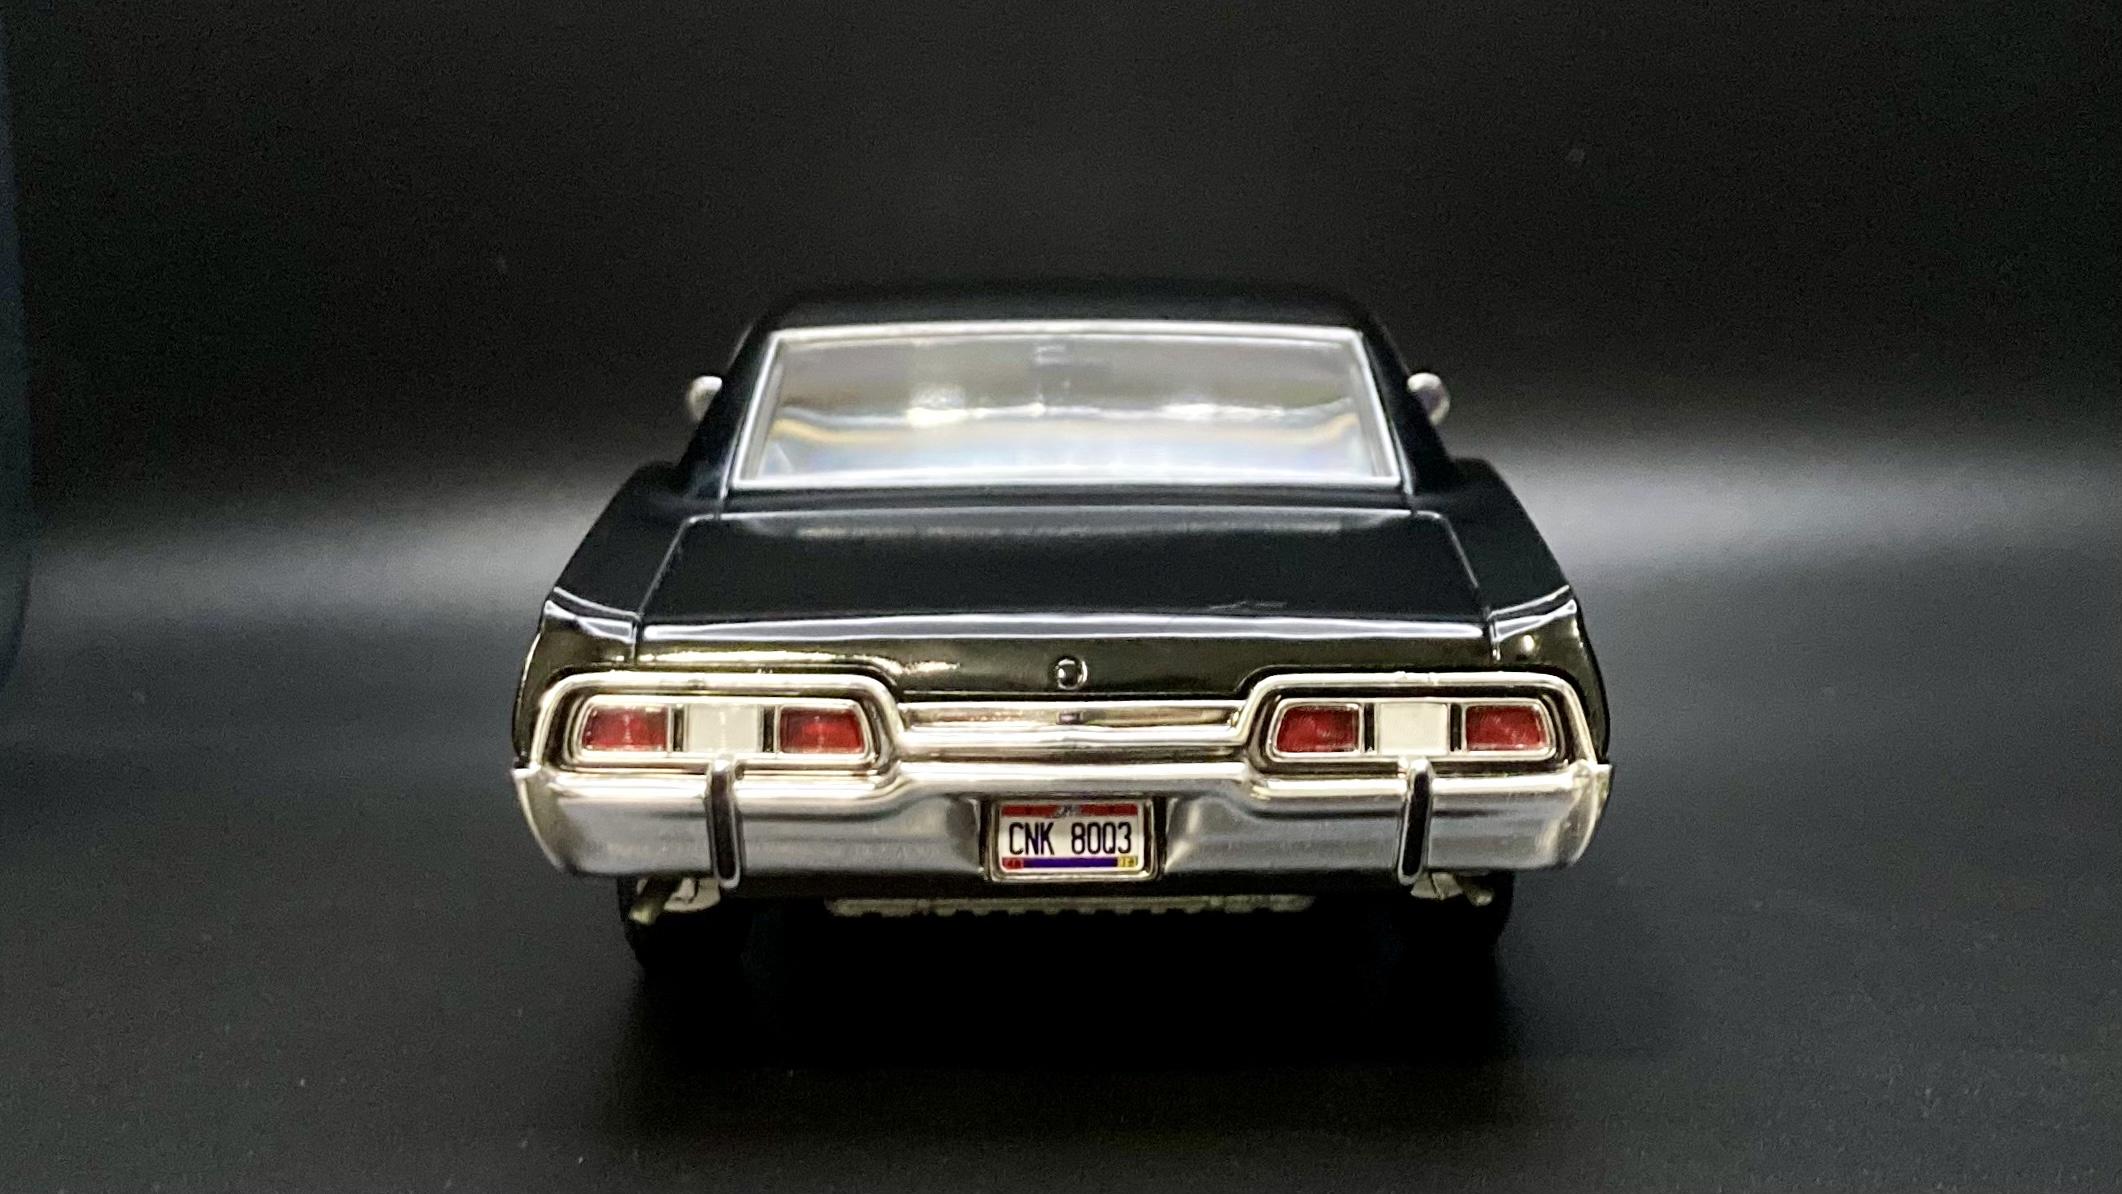
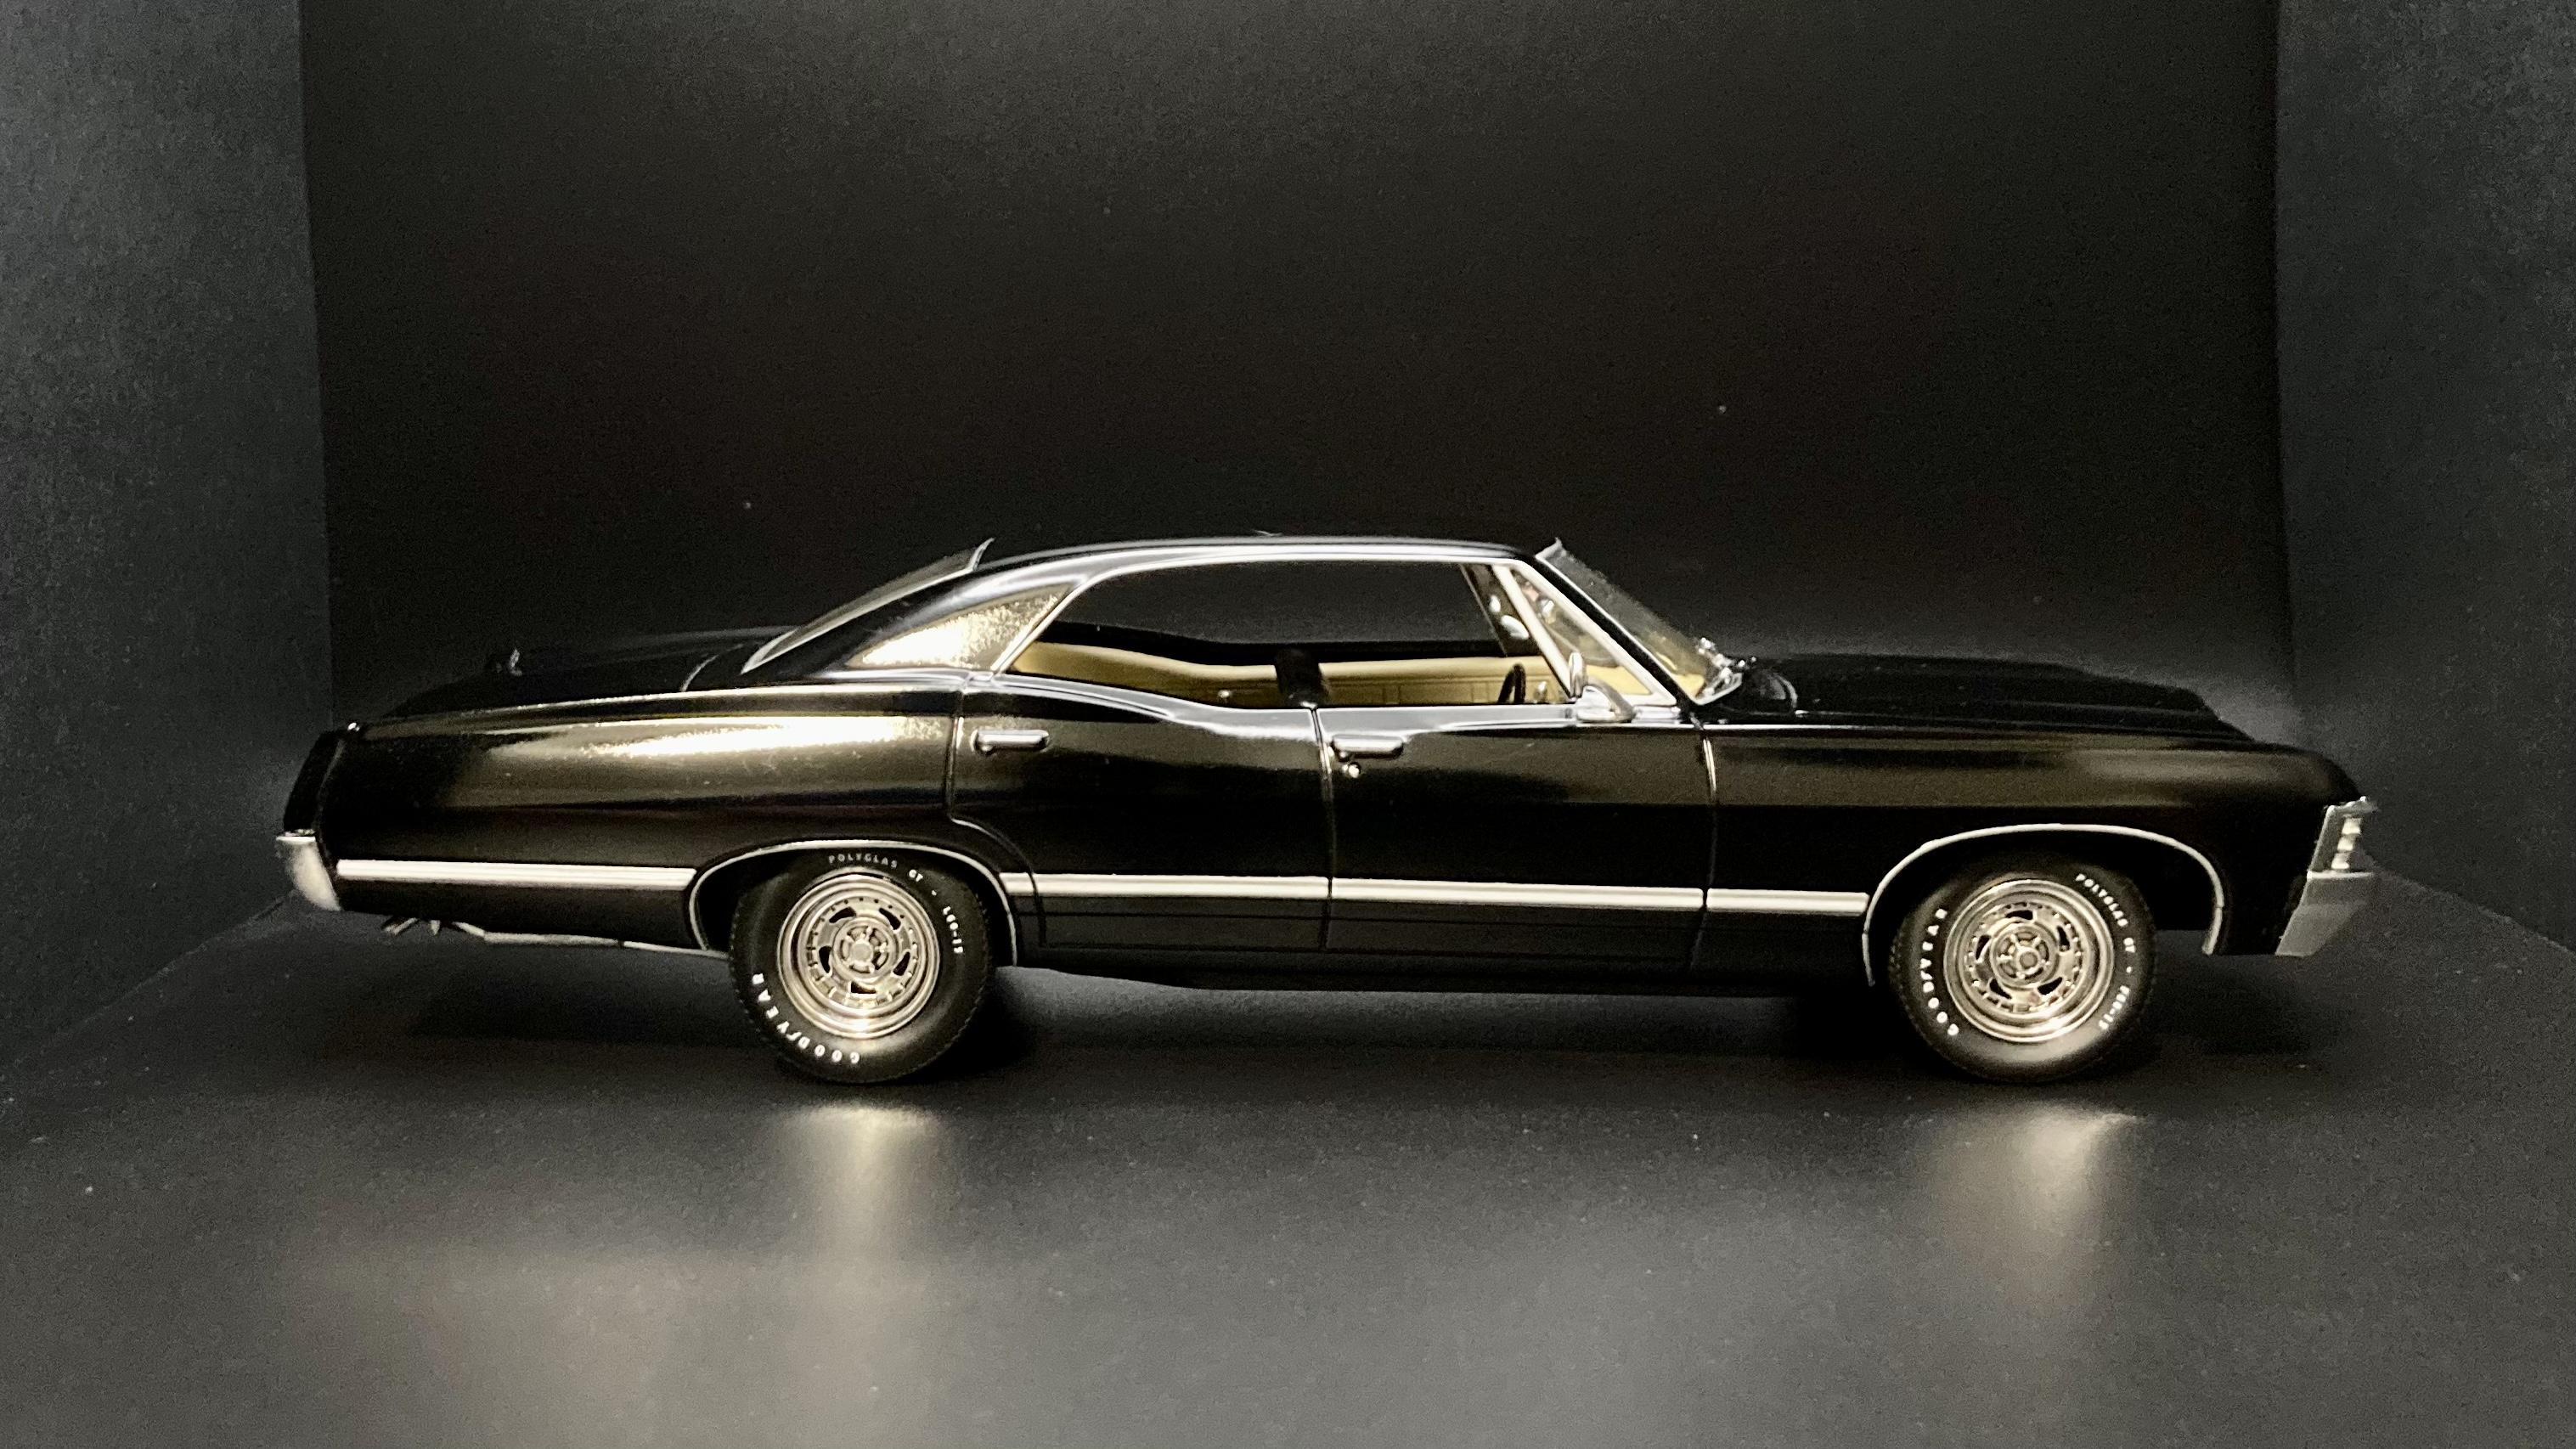
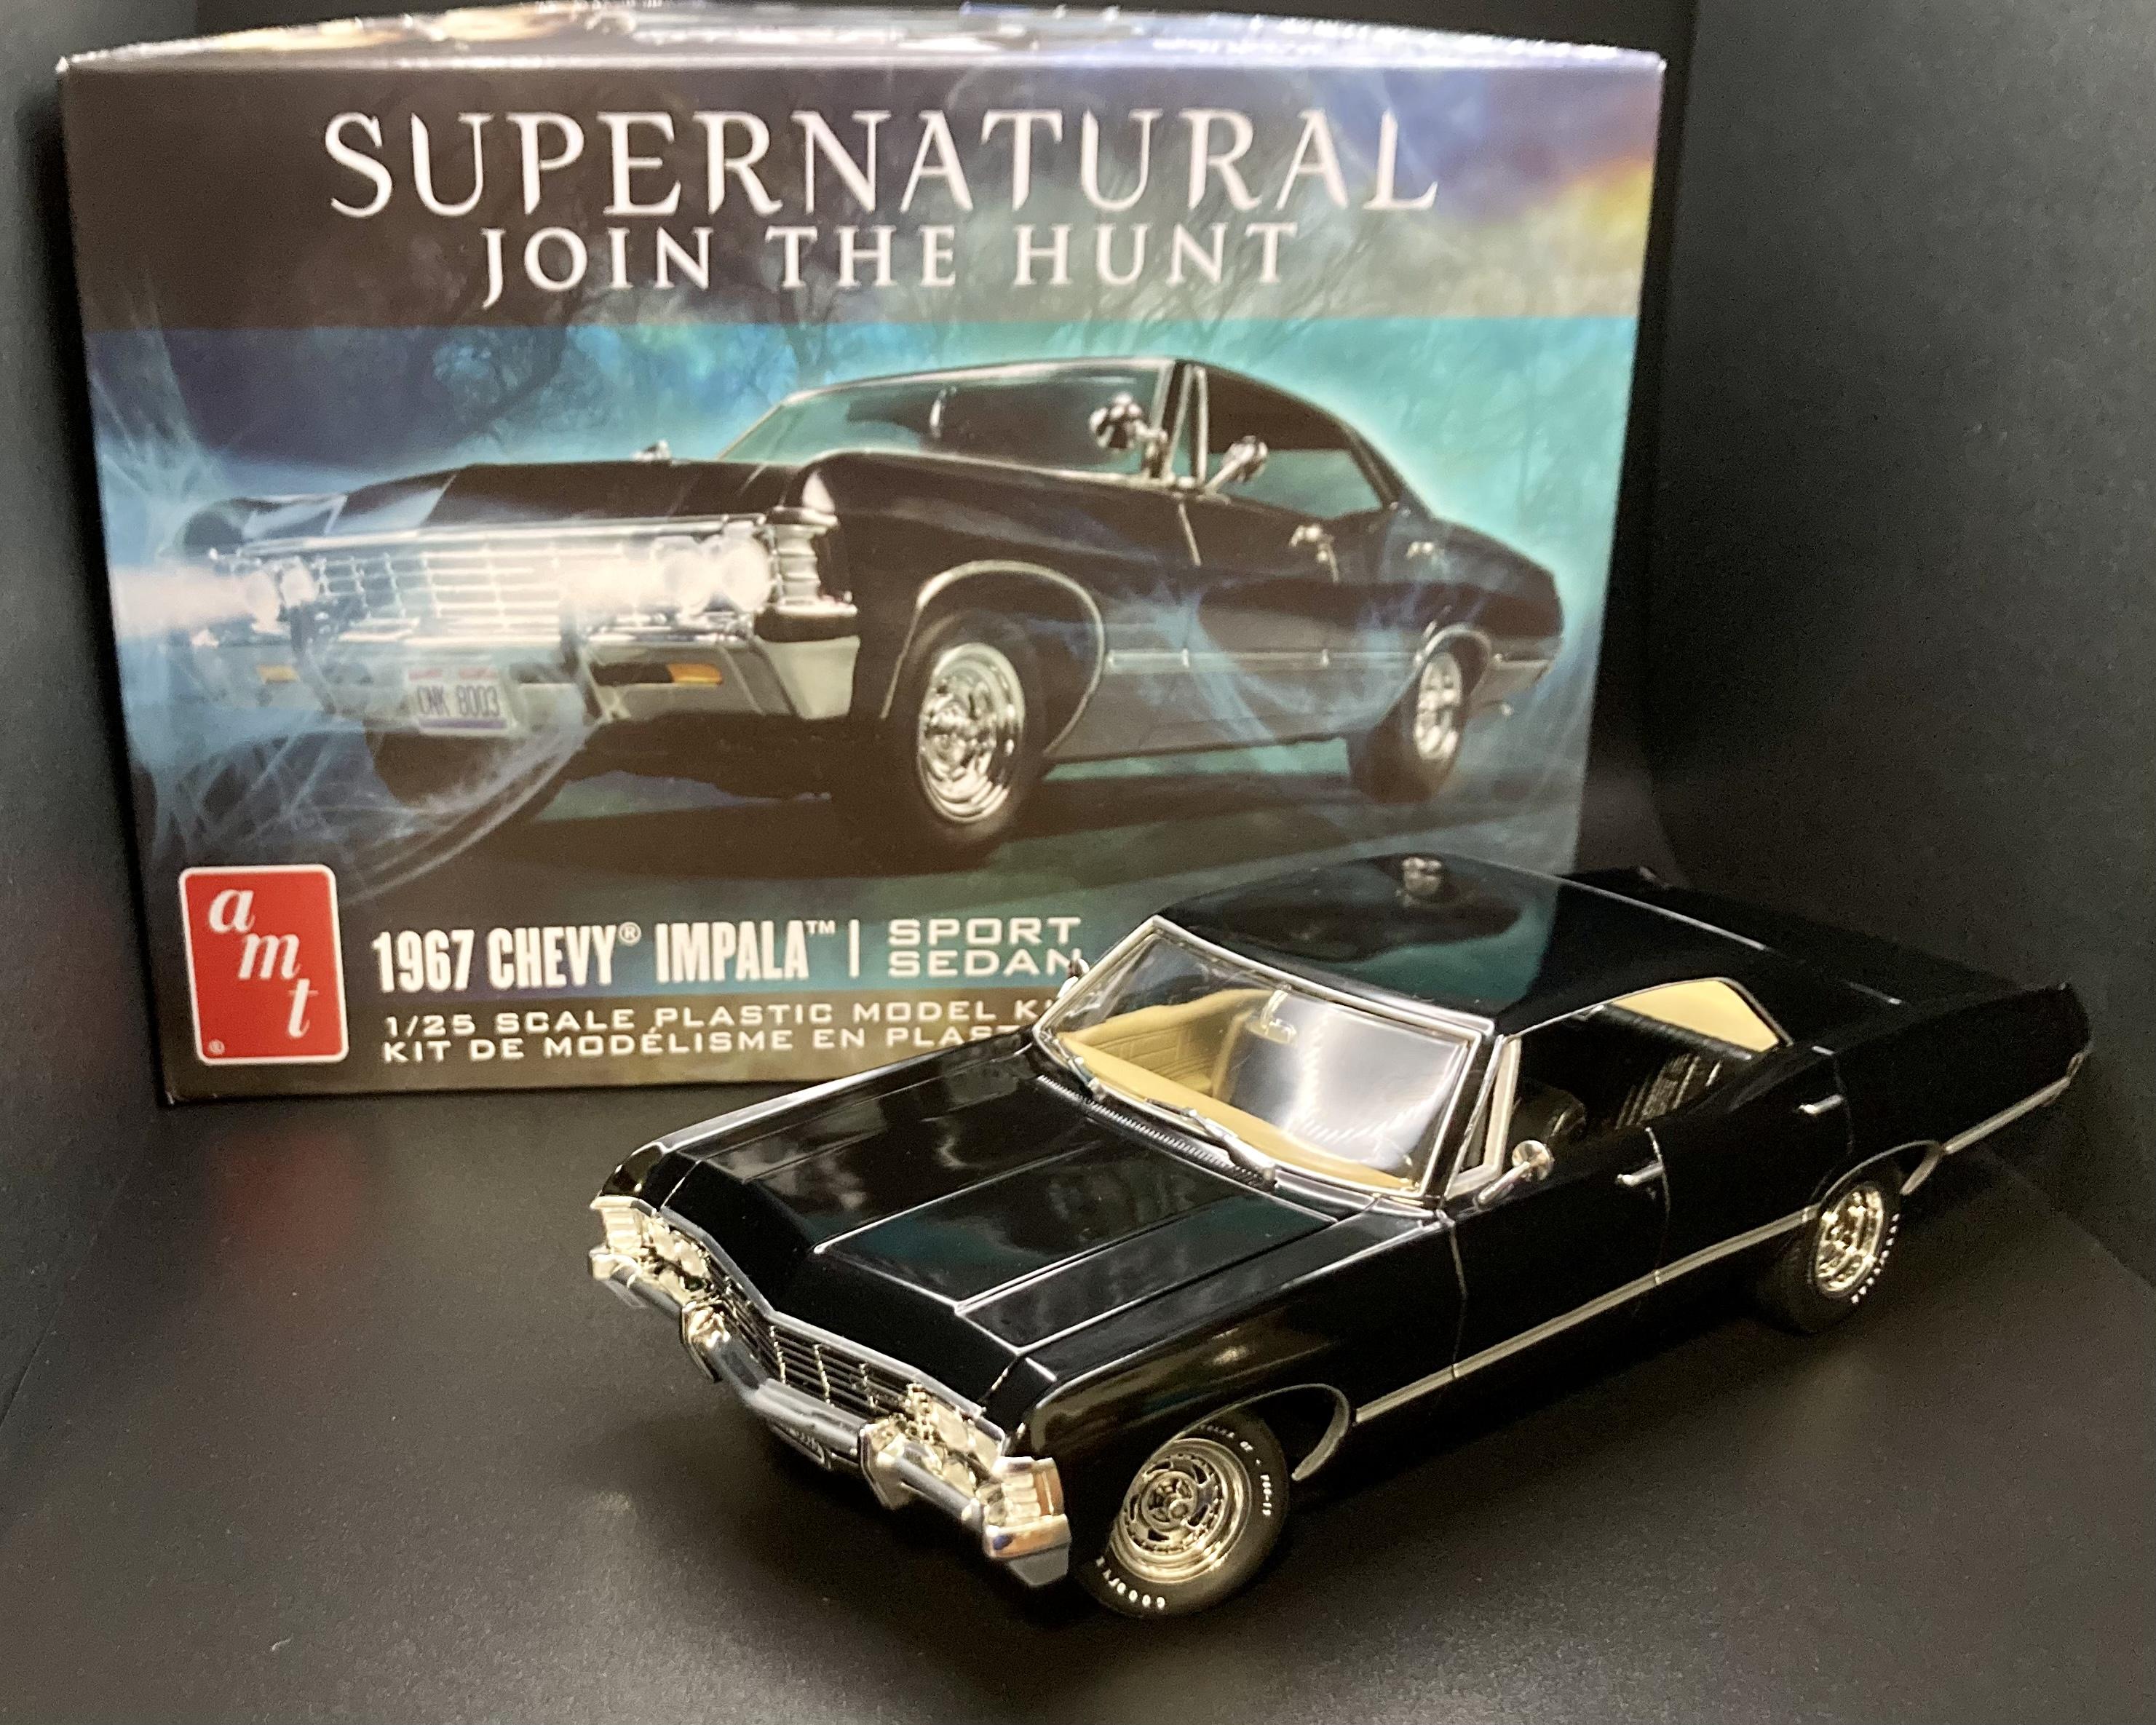
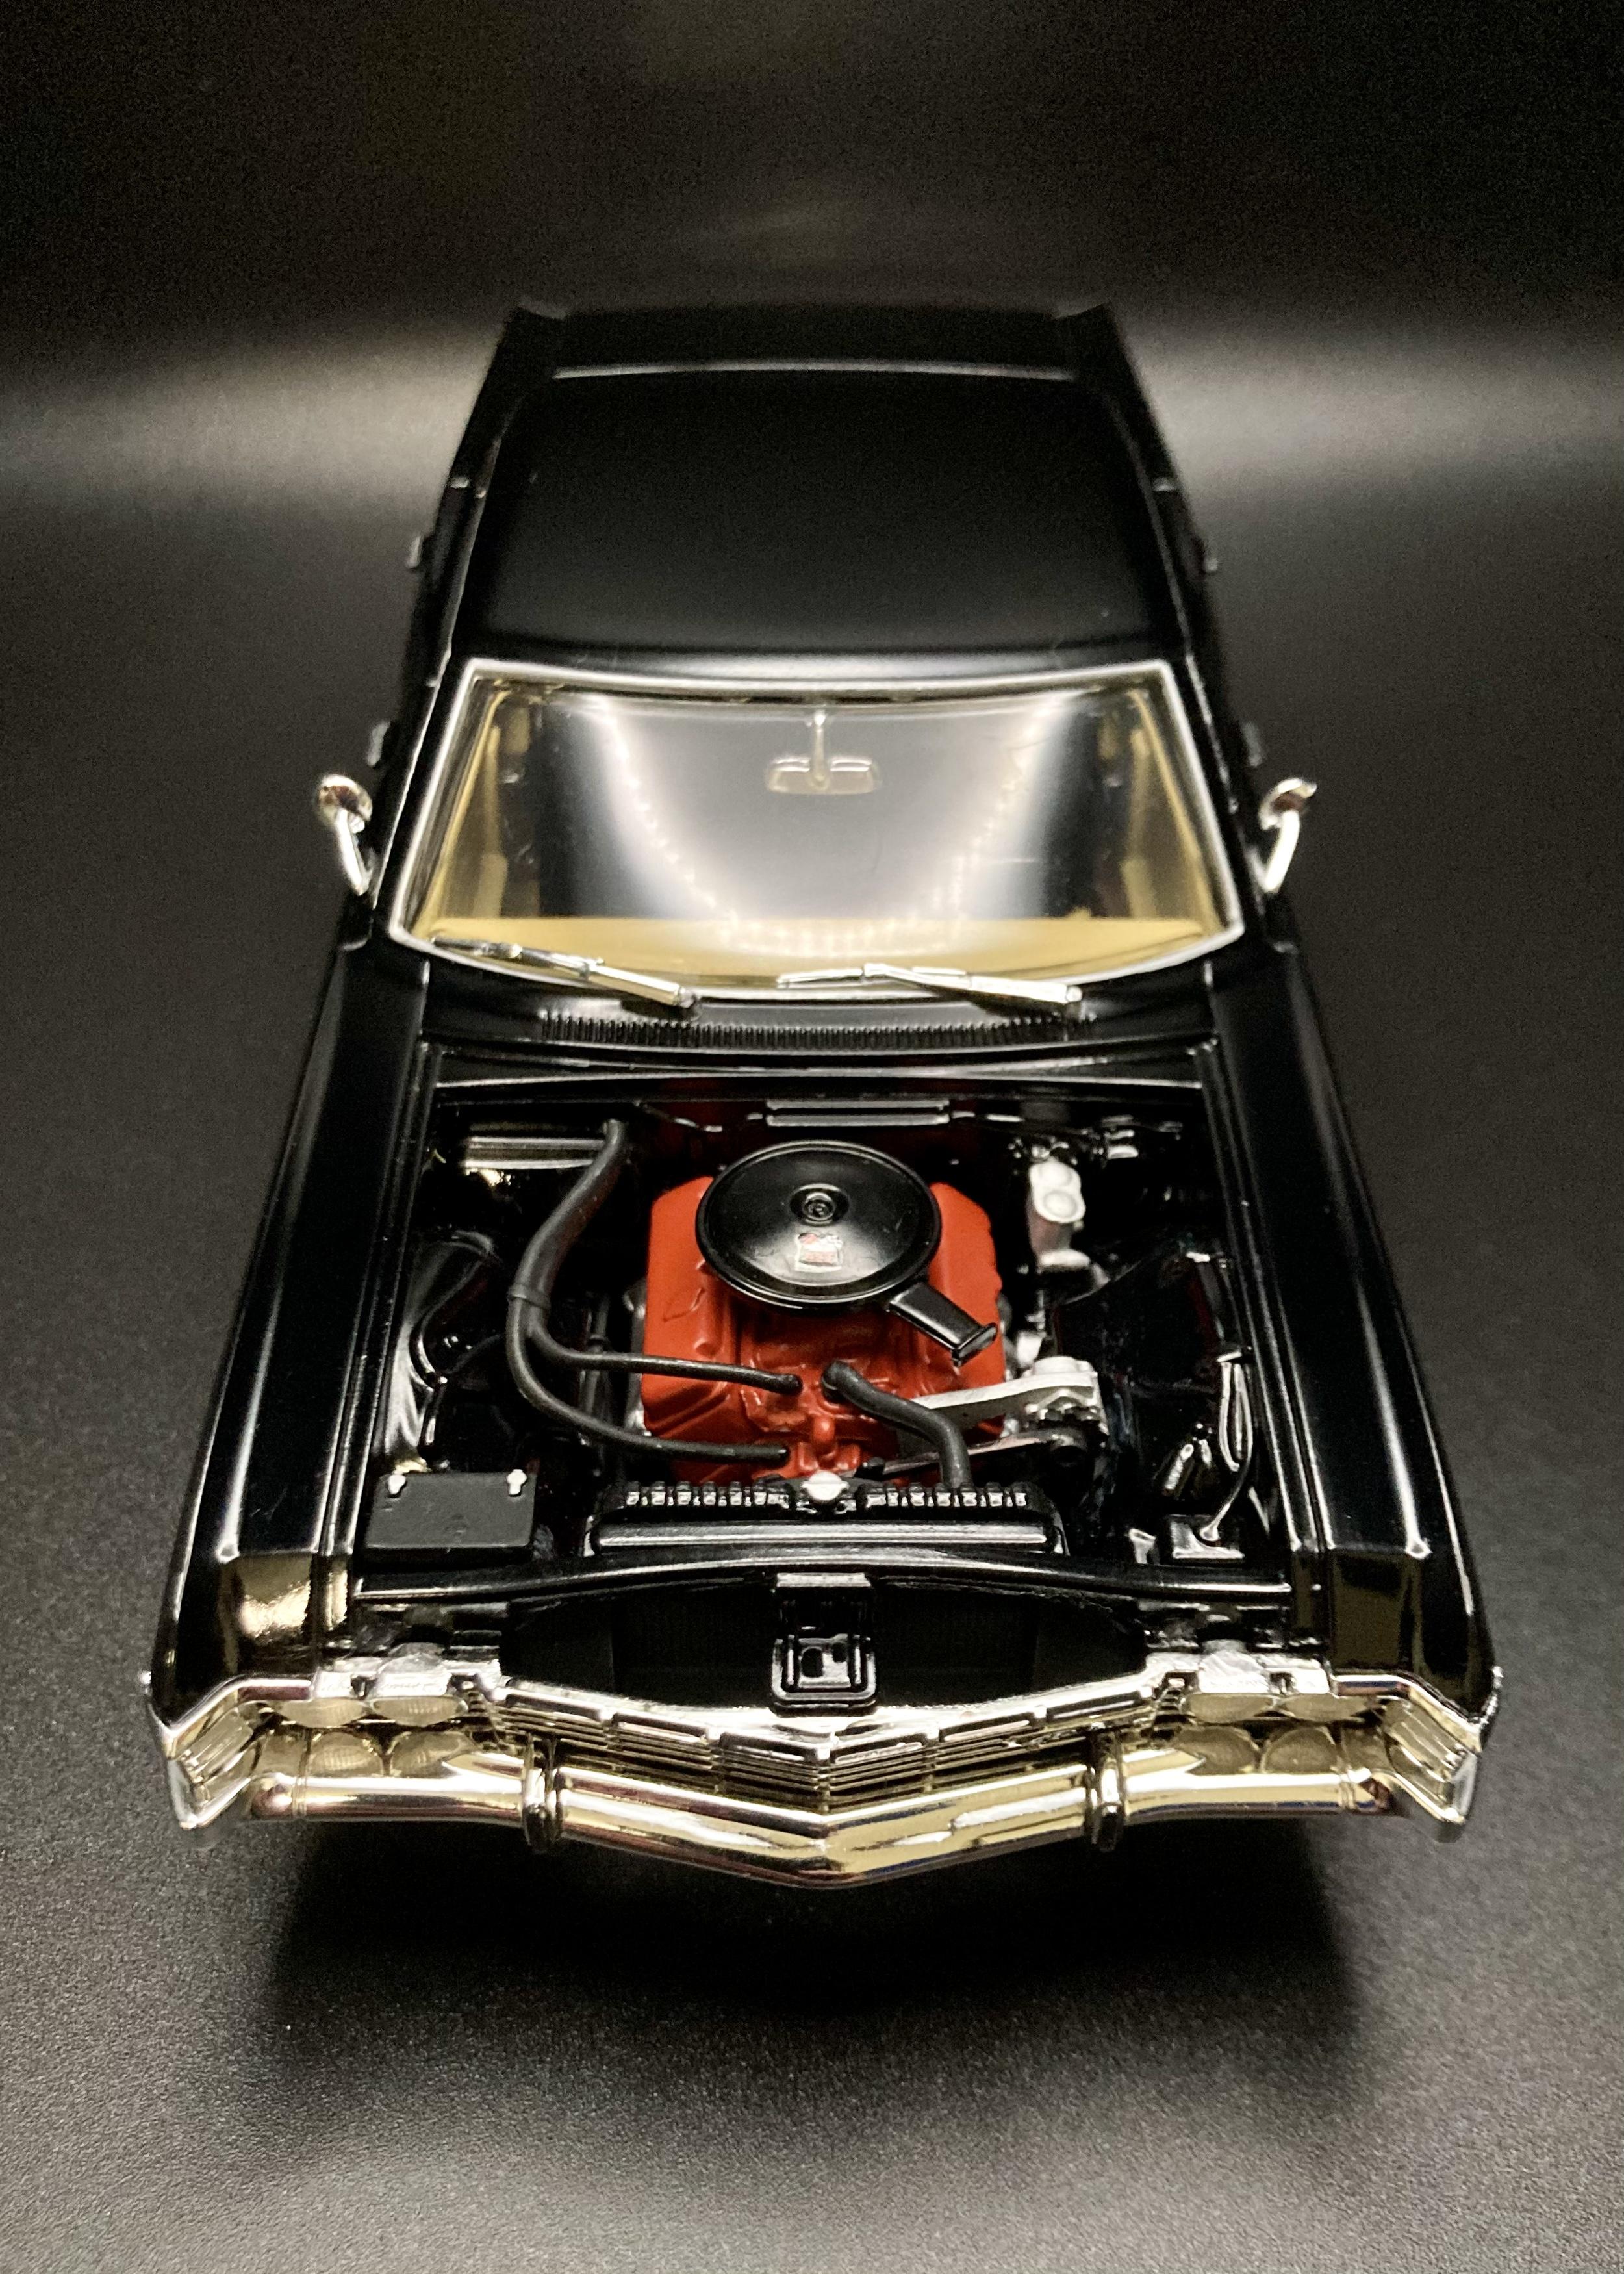
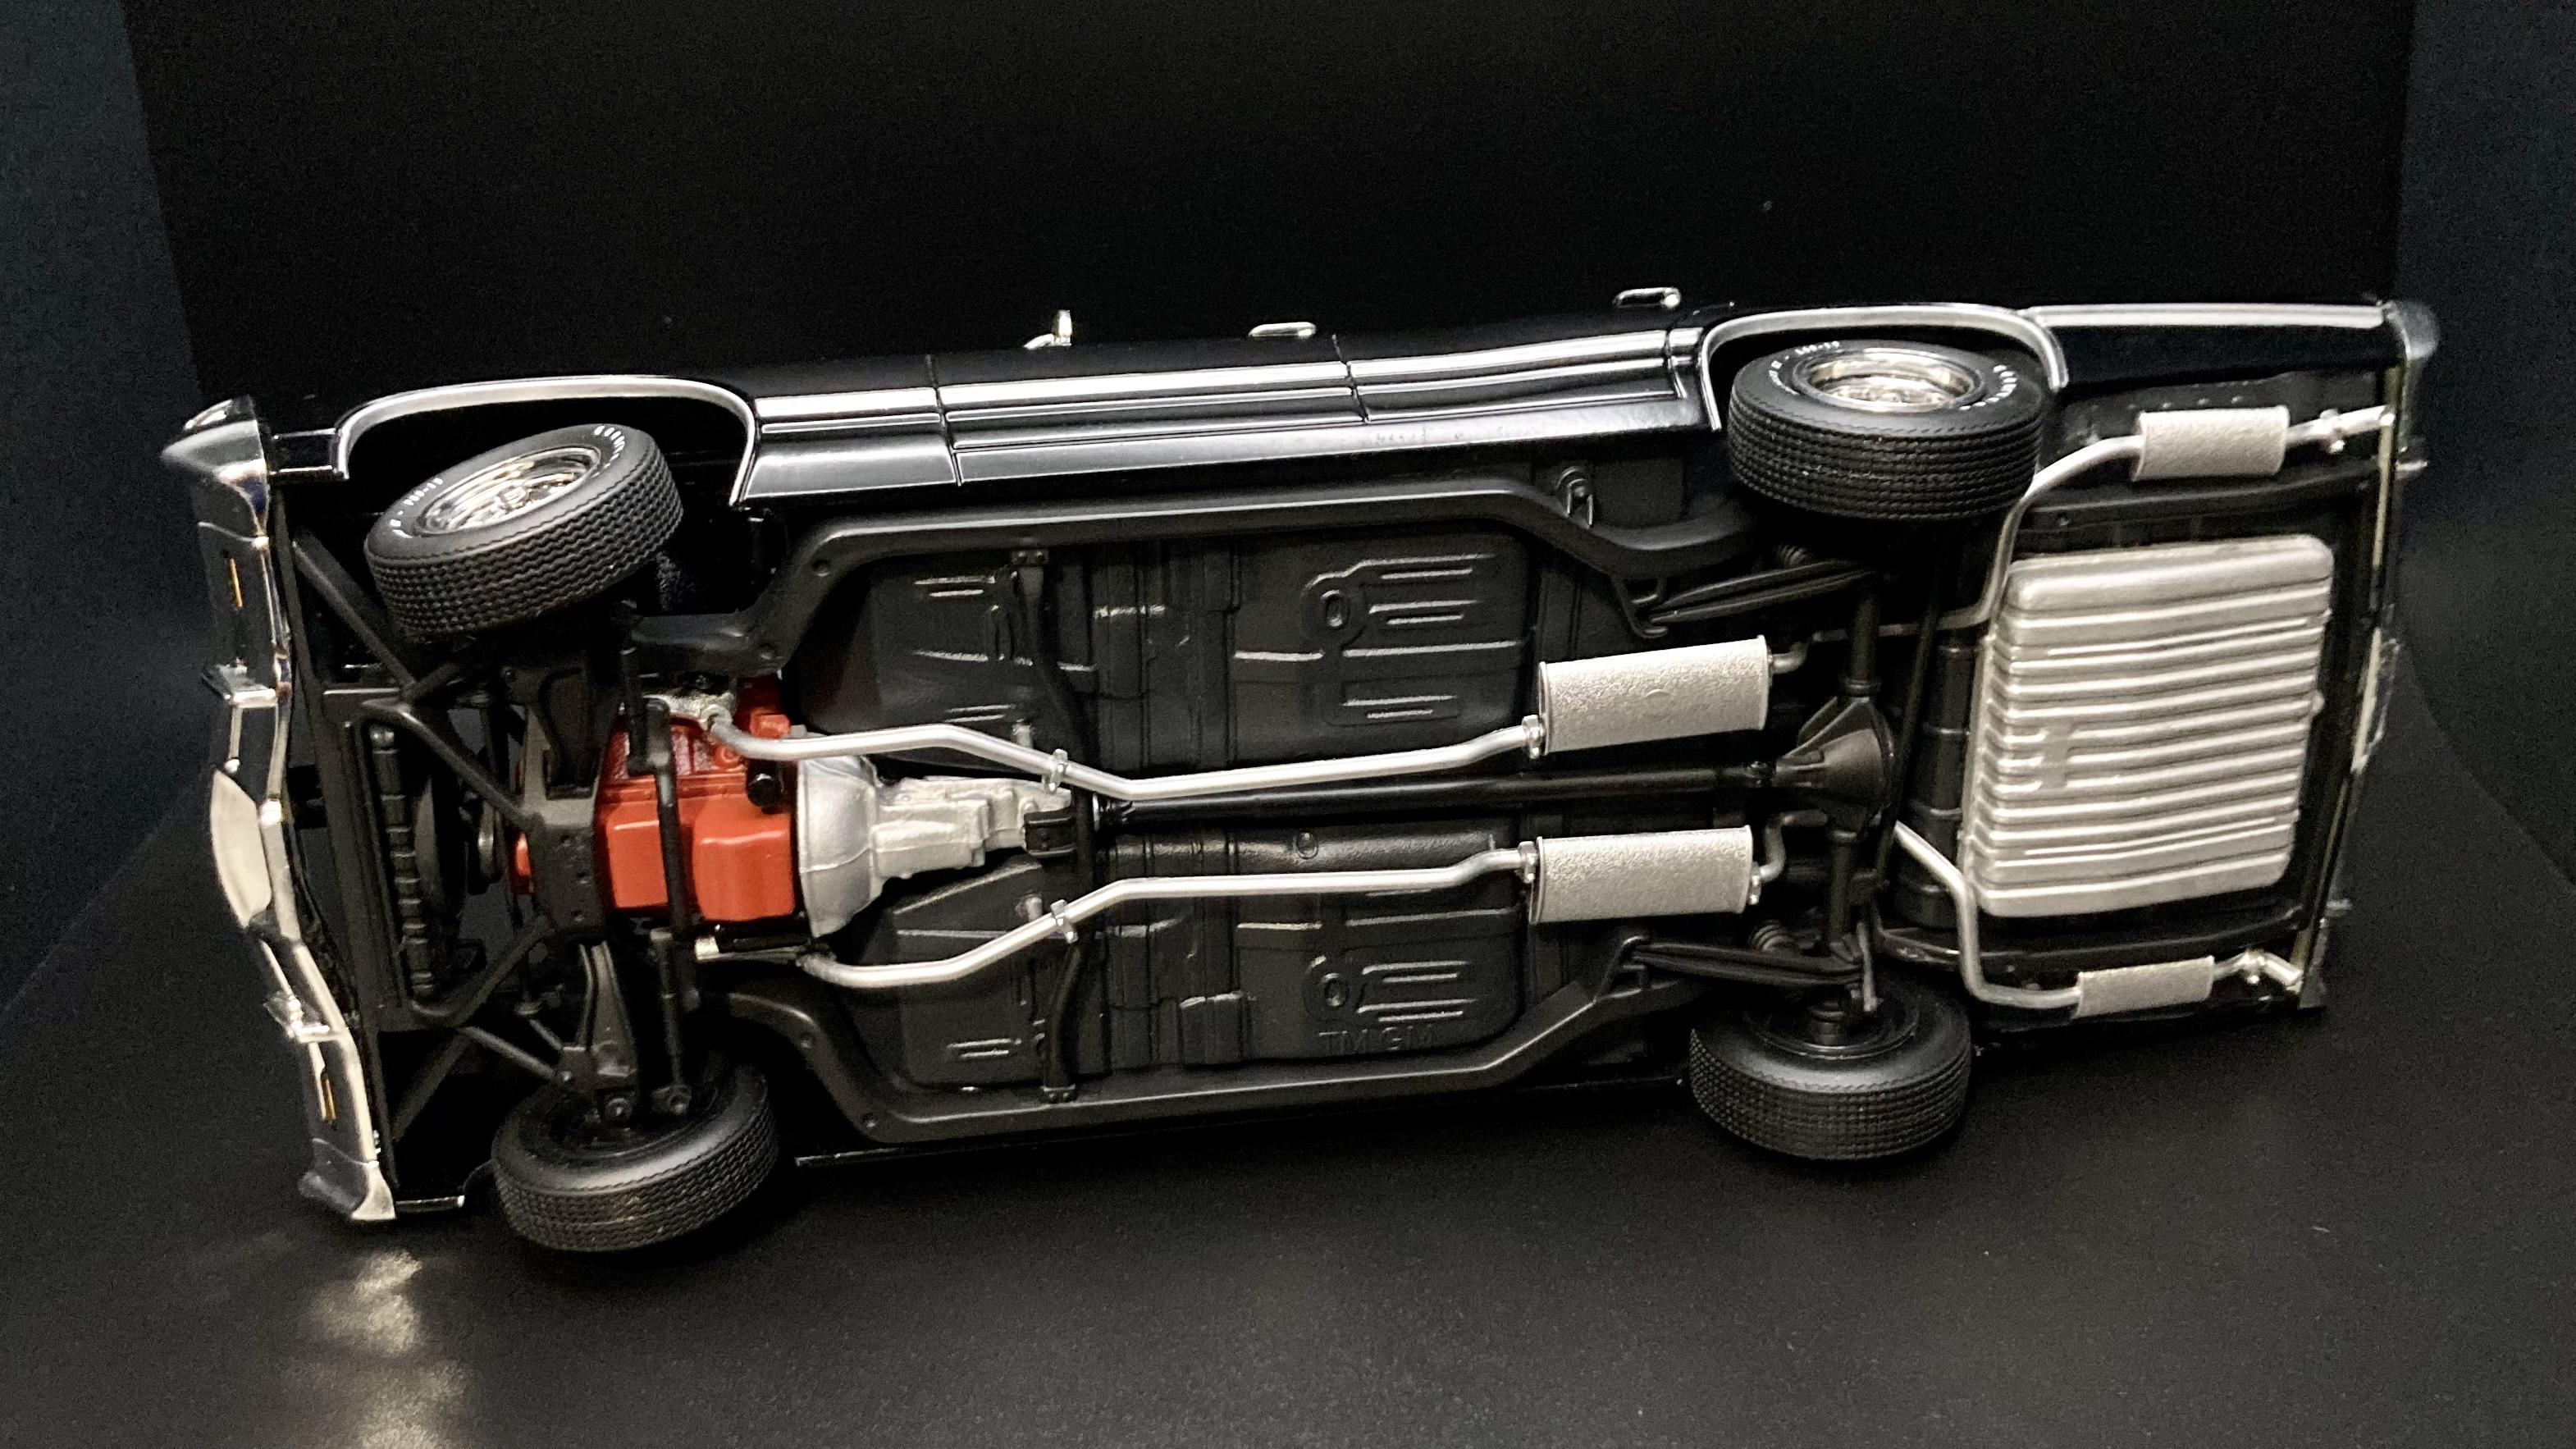
I’m finally finished with this Supernatural Impala build! After two botched paint jobs, fighting the ill-fitting body-to-chassis marriage, smudged Molotow at the last second, and never ending static/dust, it’s safe to say this model was equally as cursed as the Winchester boys from the show! It came together in the end, but there’s a fair amount of blemishes that don’t show in the pictures. Built box stock, except for the tires which came from the AMT ‘66 Mustang Coupe. The tires that came in this kit were very rough with flash and fit the rims poorly. The car from the show never actually had white letter tires, but I think they look pretty cool here. I modified the steering rack to make wheels pose-able by cutting the tabs off where the rack glues to the chassis, and simply not gluing the steering knuckles. I left off the A pillar spotlights just to get it finished but I might add them later. Overall my build looks good enough for my shelf so I’m happy with it. I’m glad to have a model of a pretty sweet and unusual (hero cars are RARELY four-doors!) TV car in my collection!
-
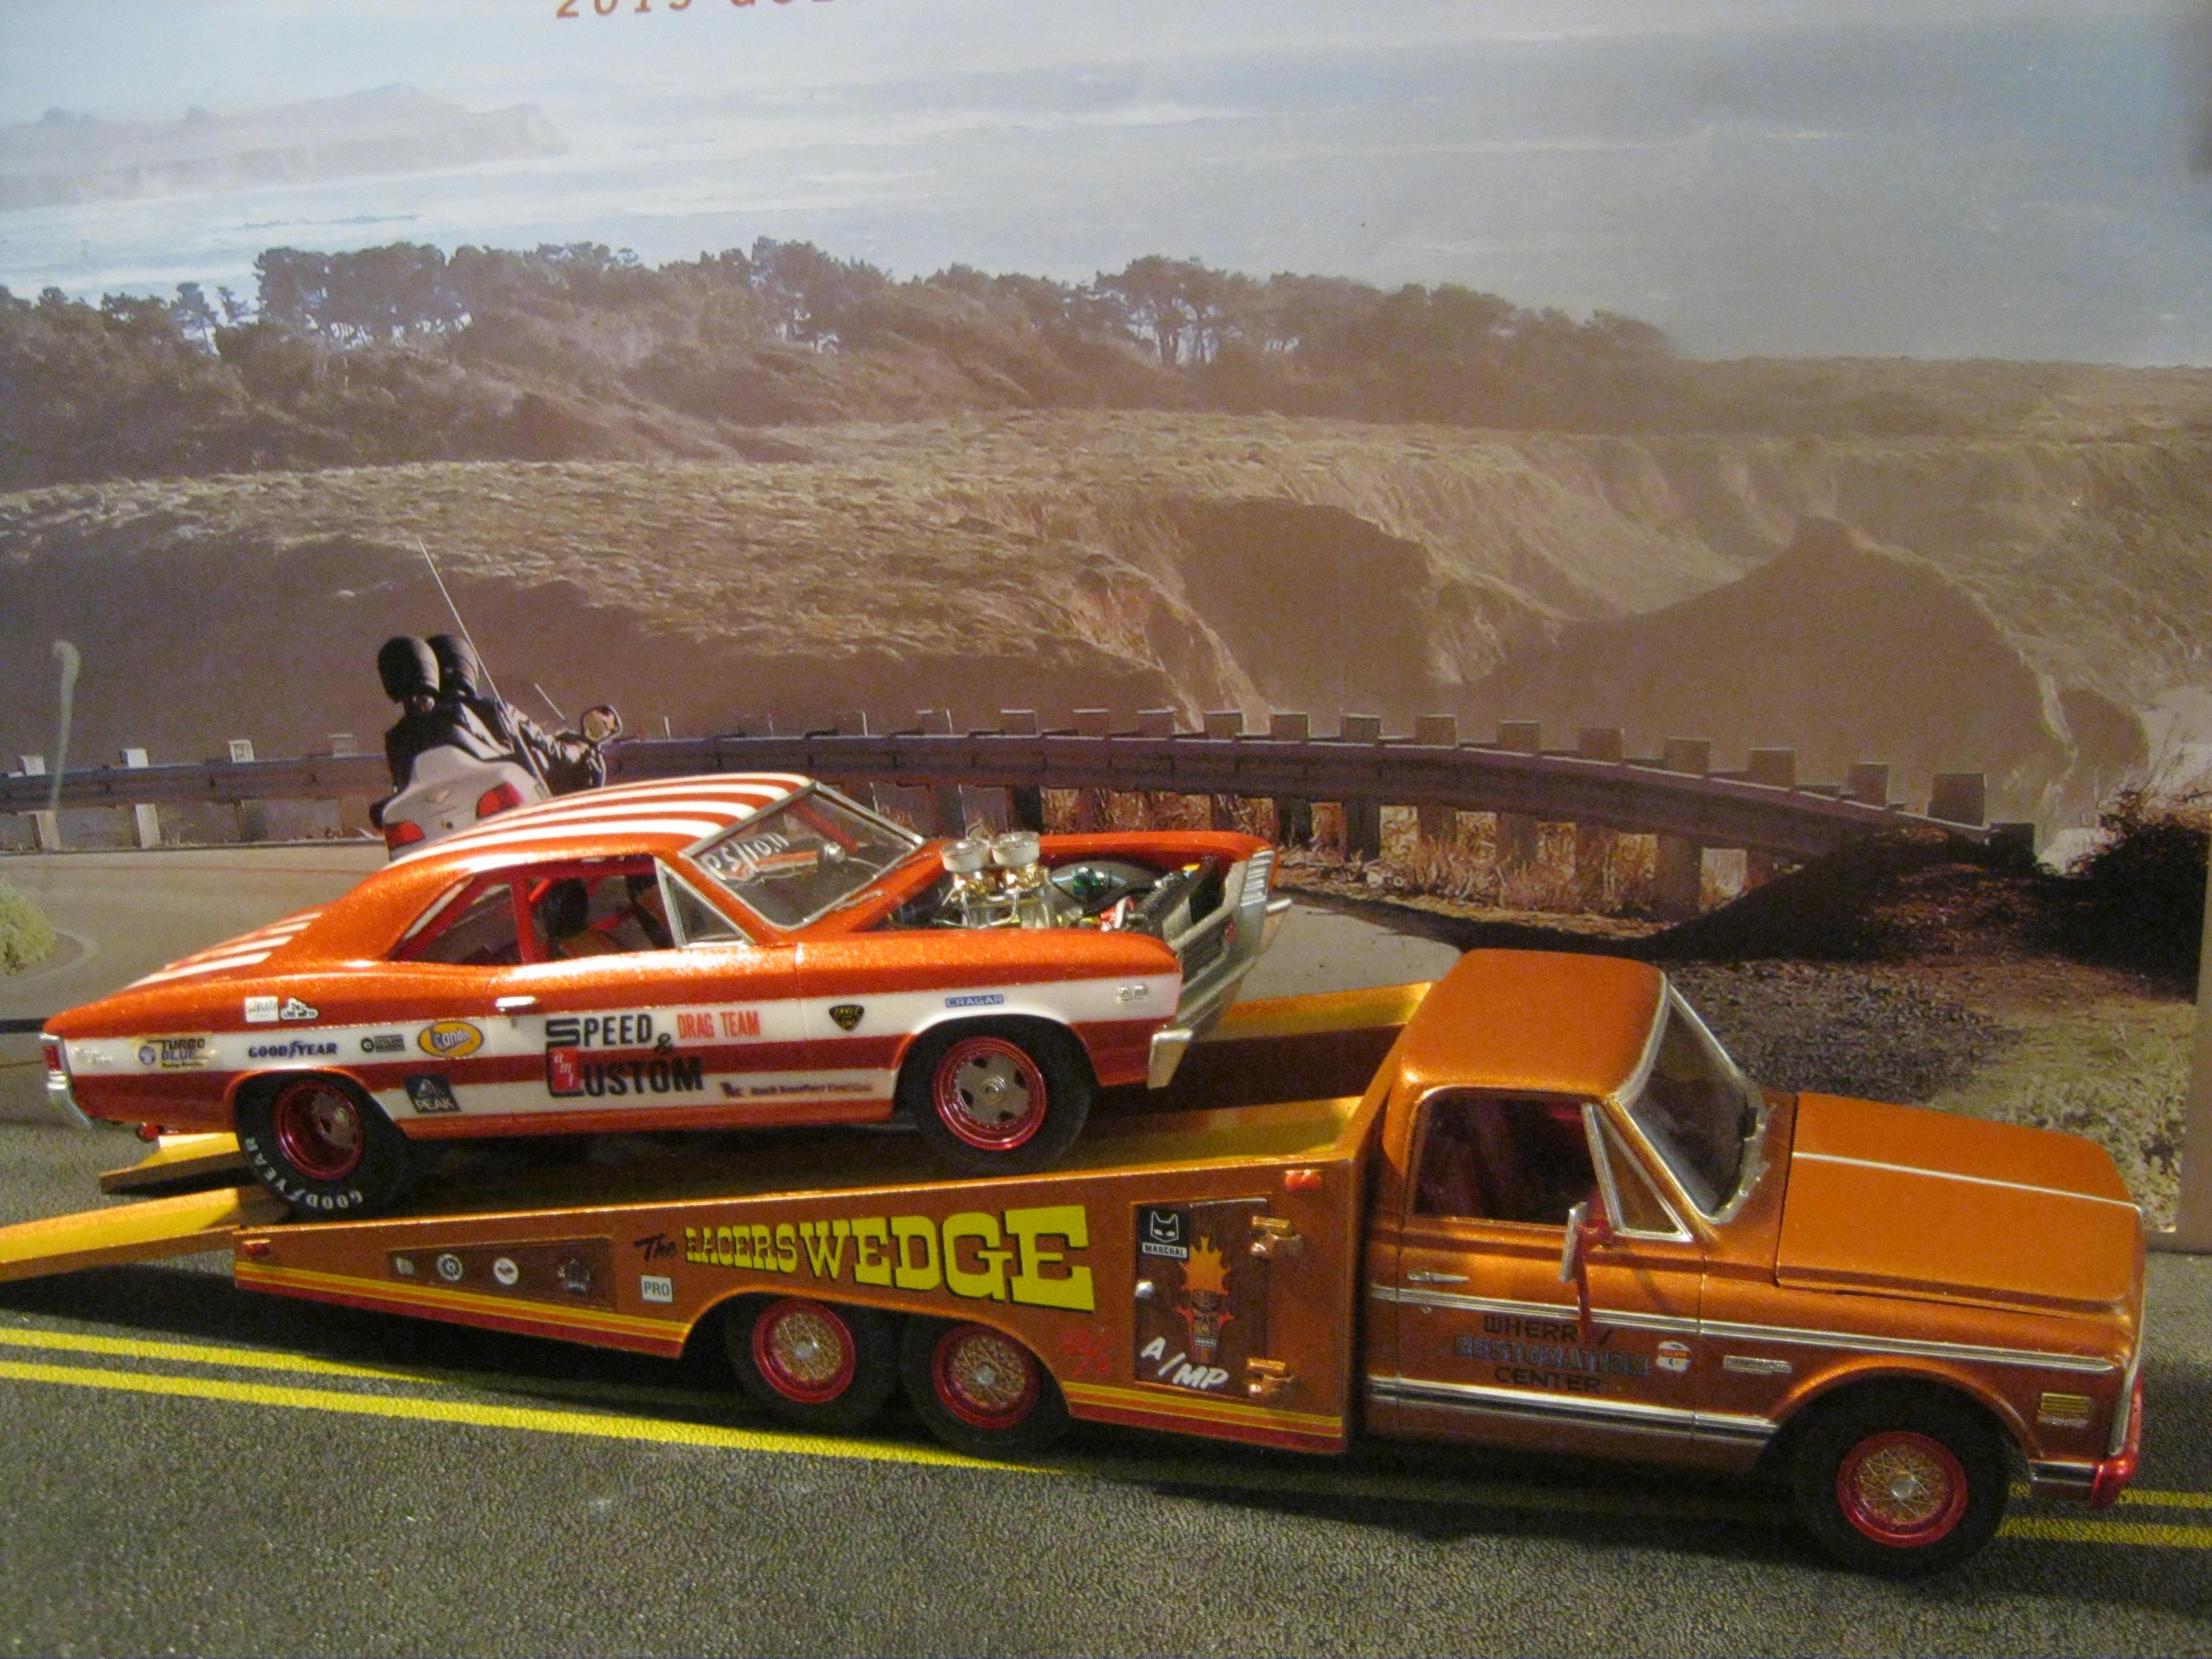
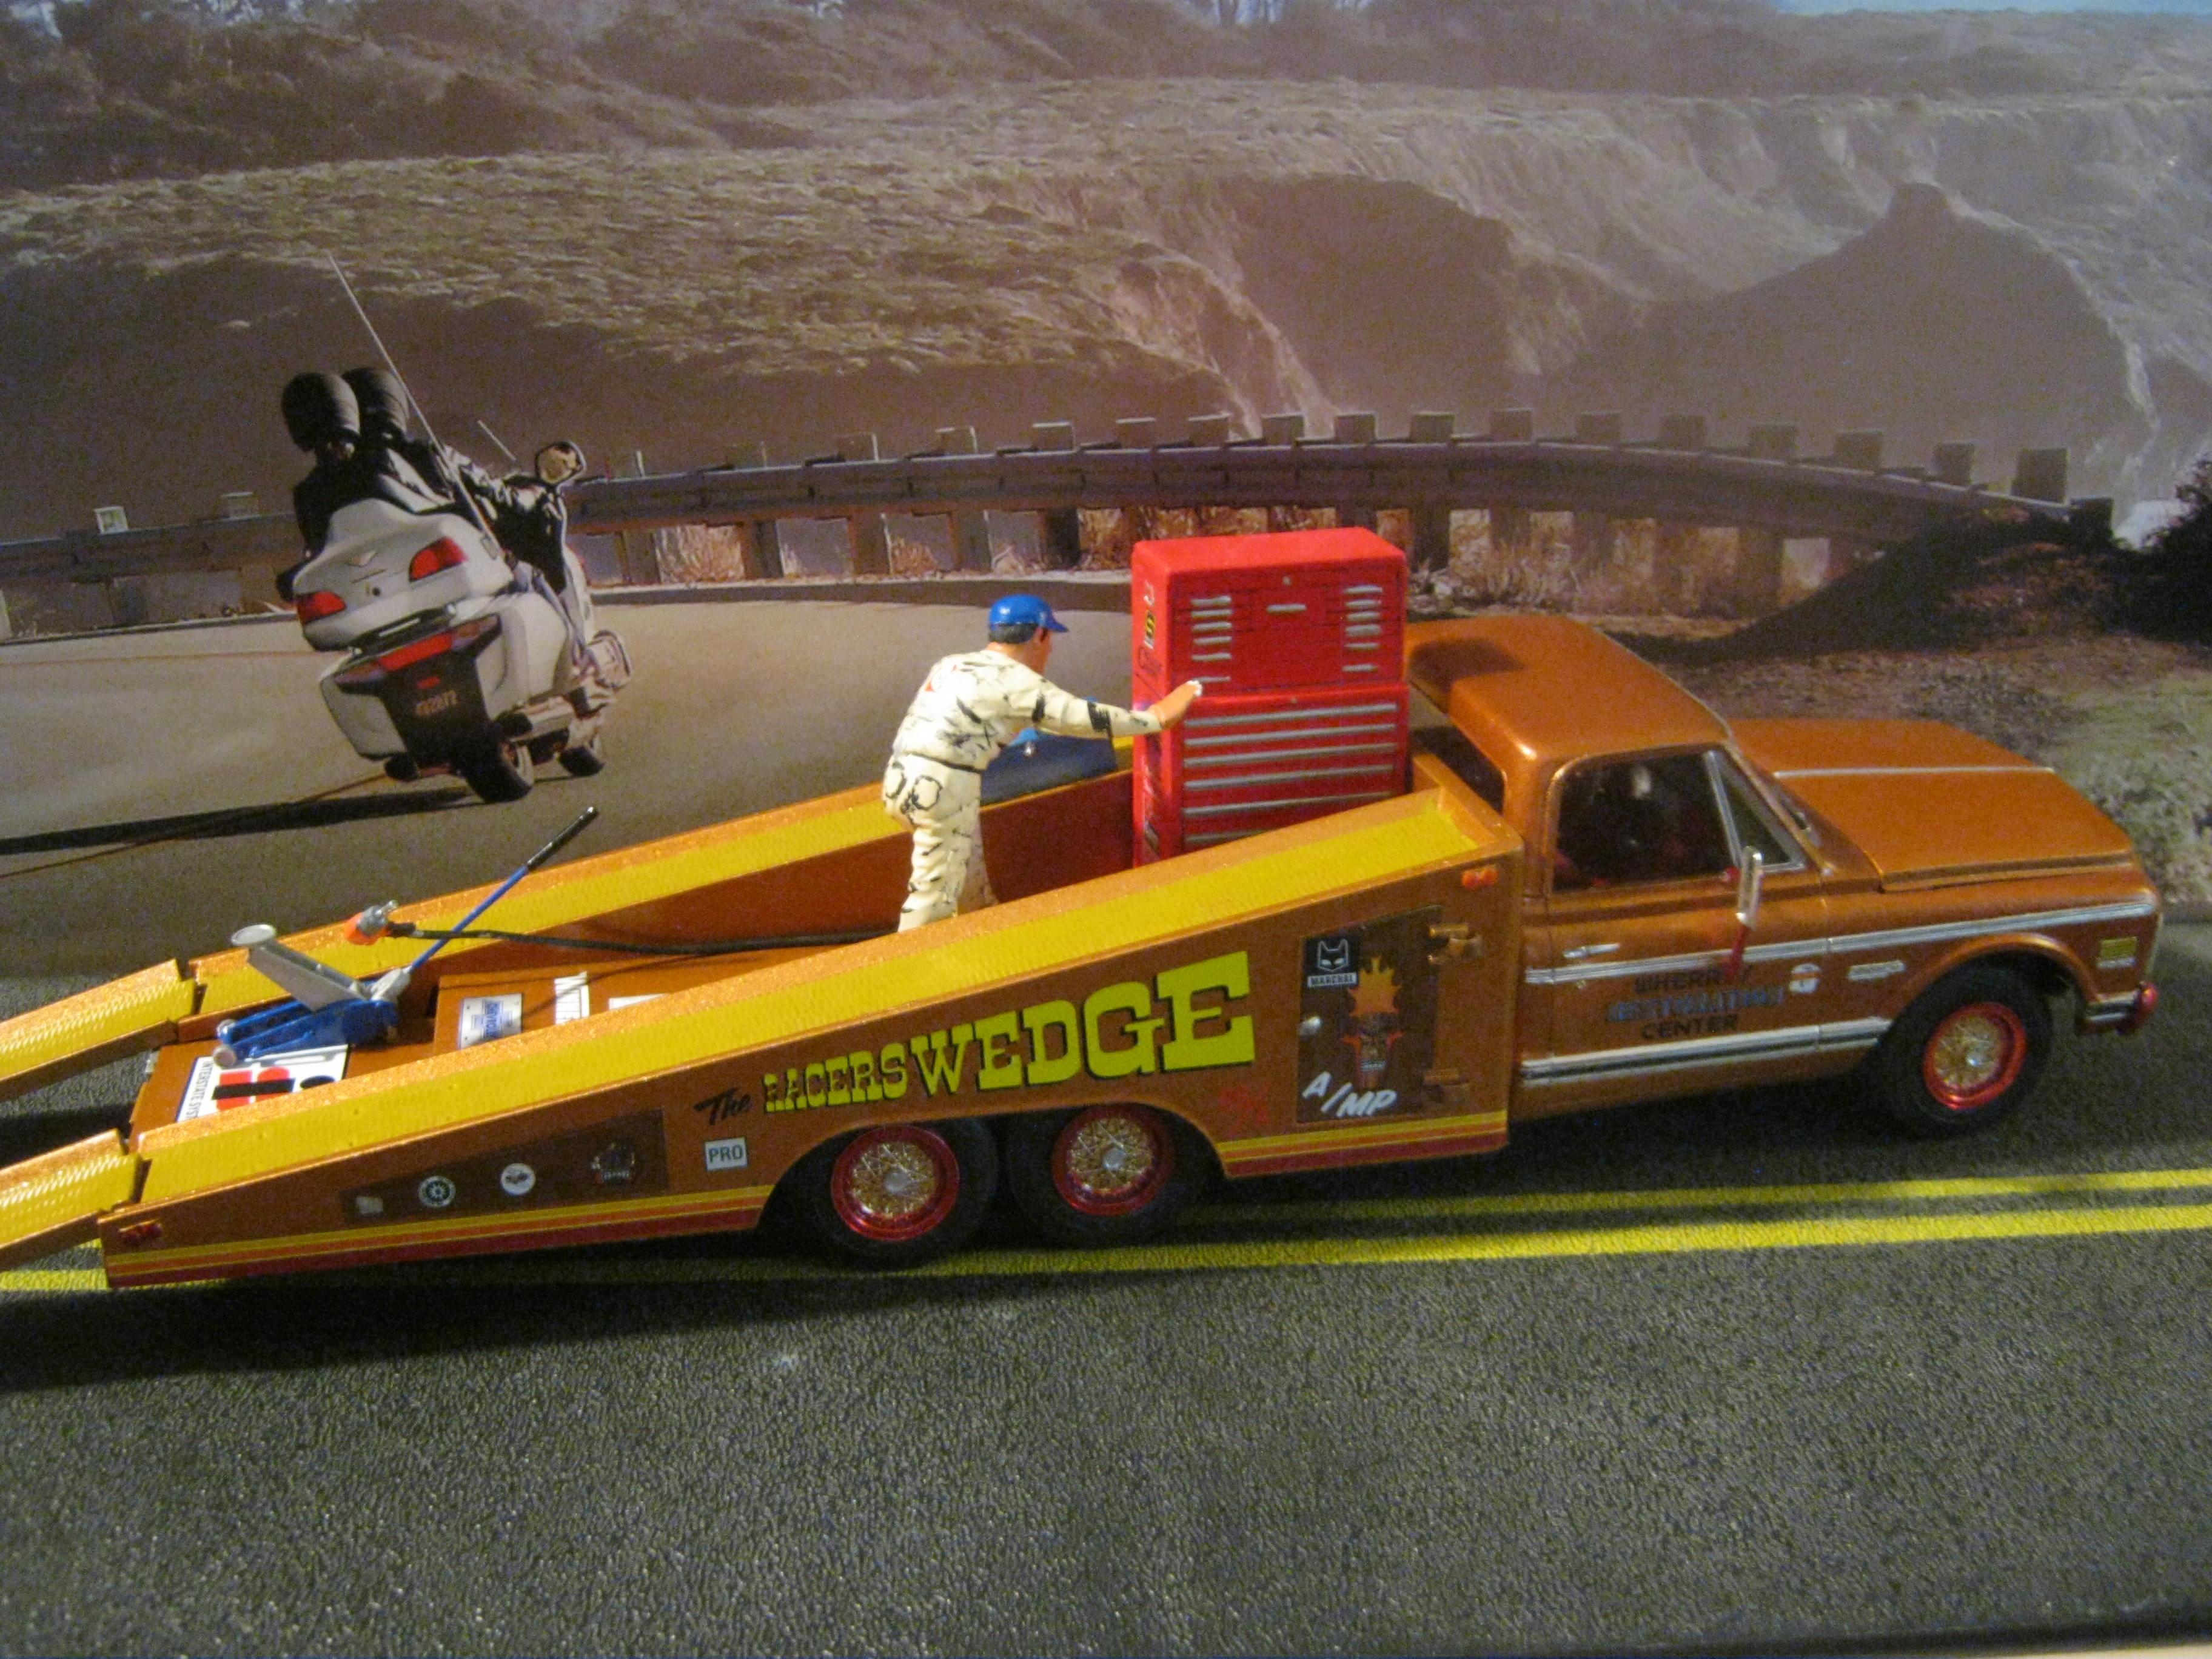
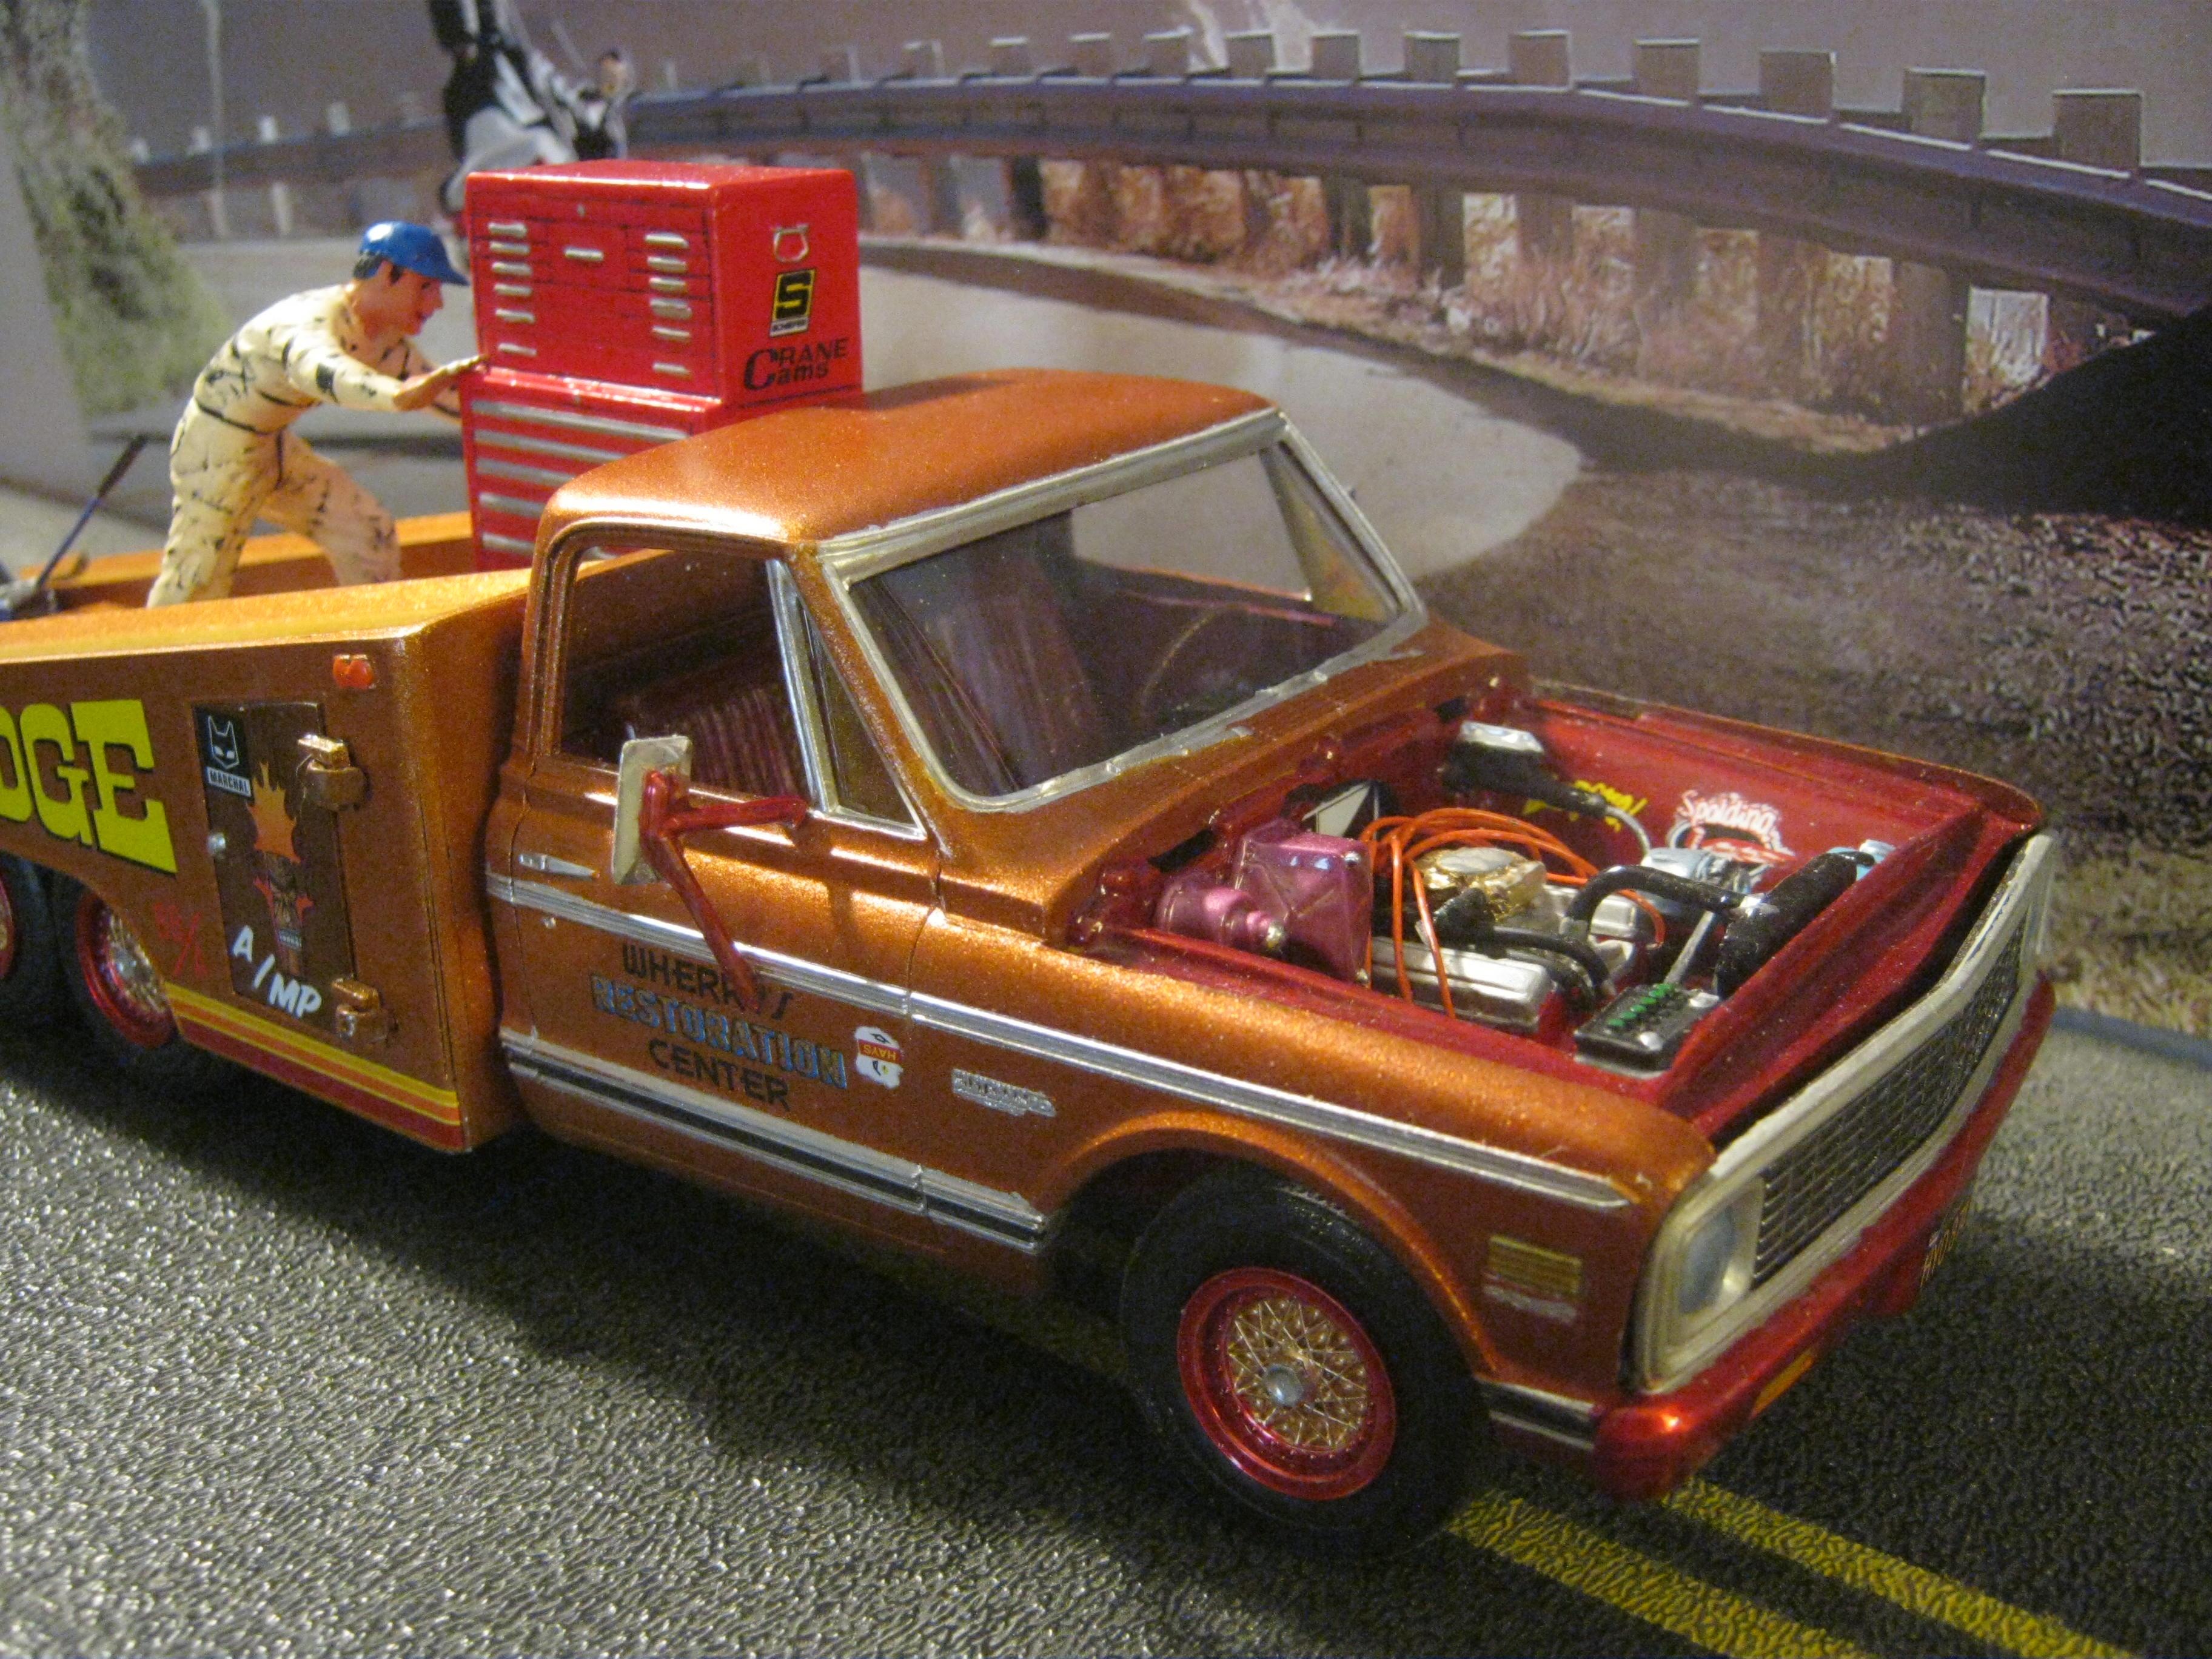
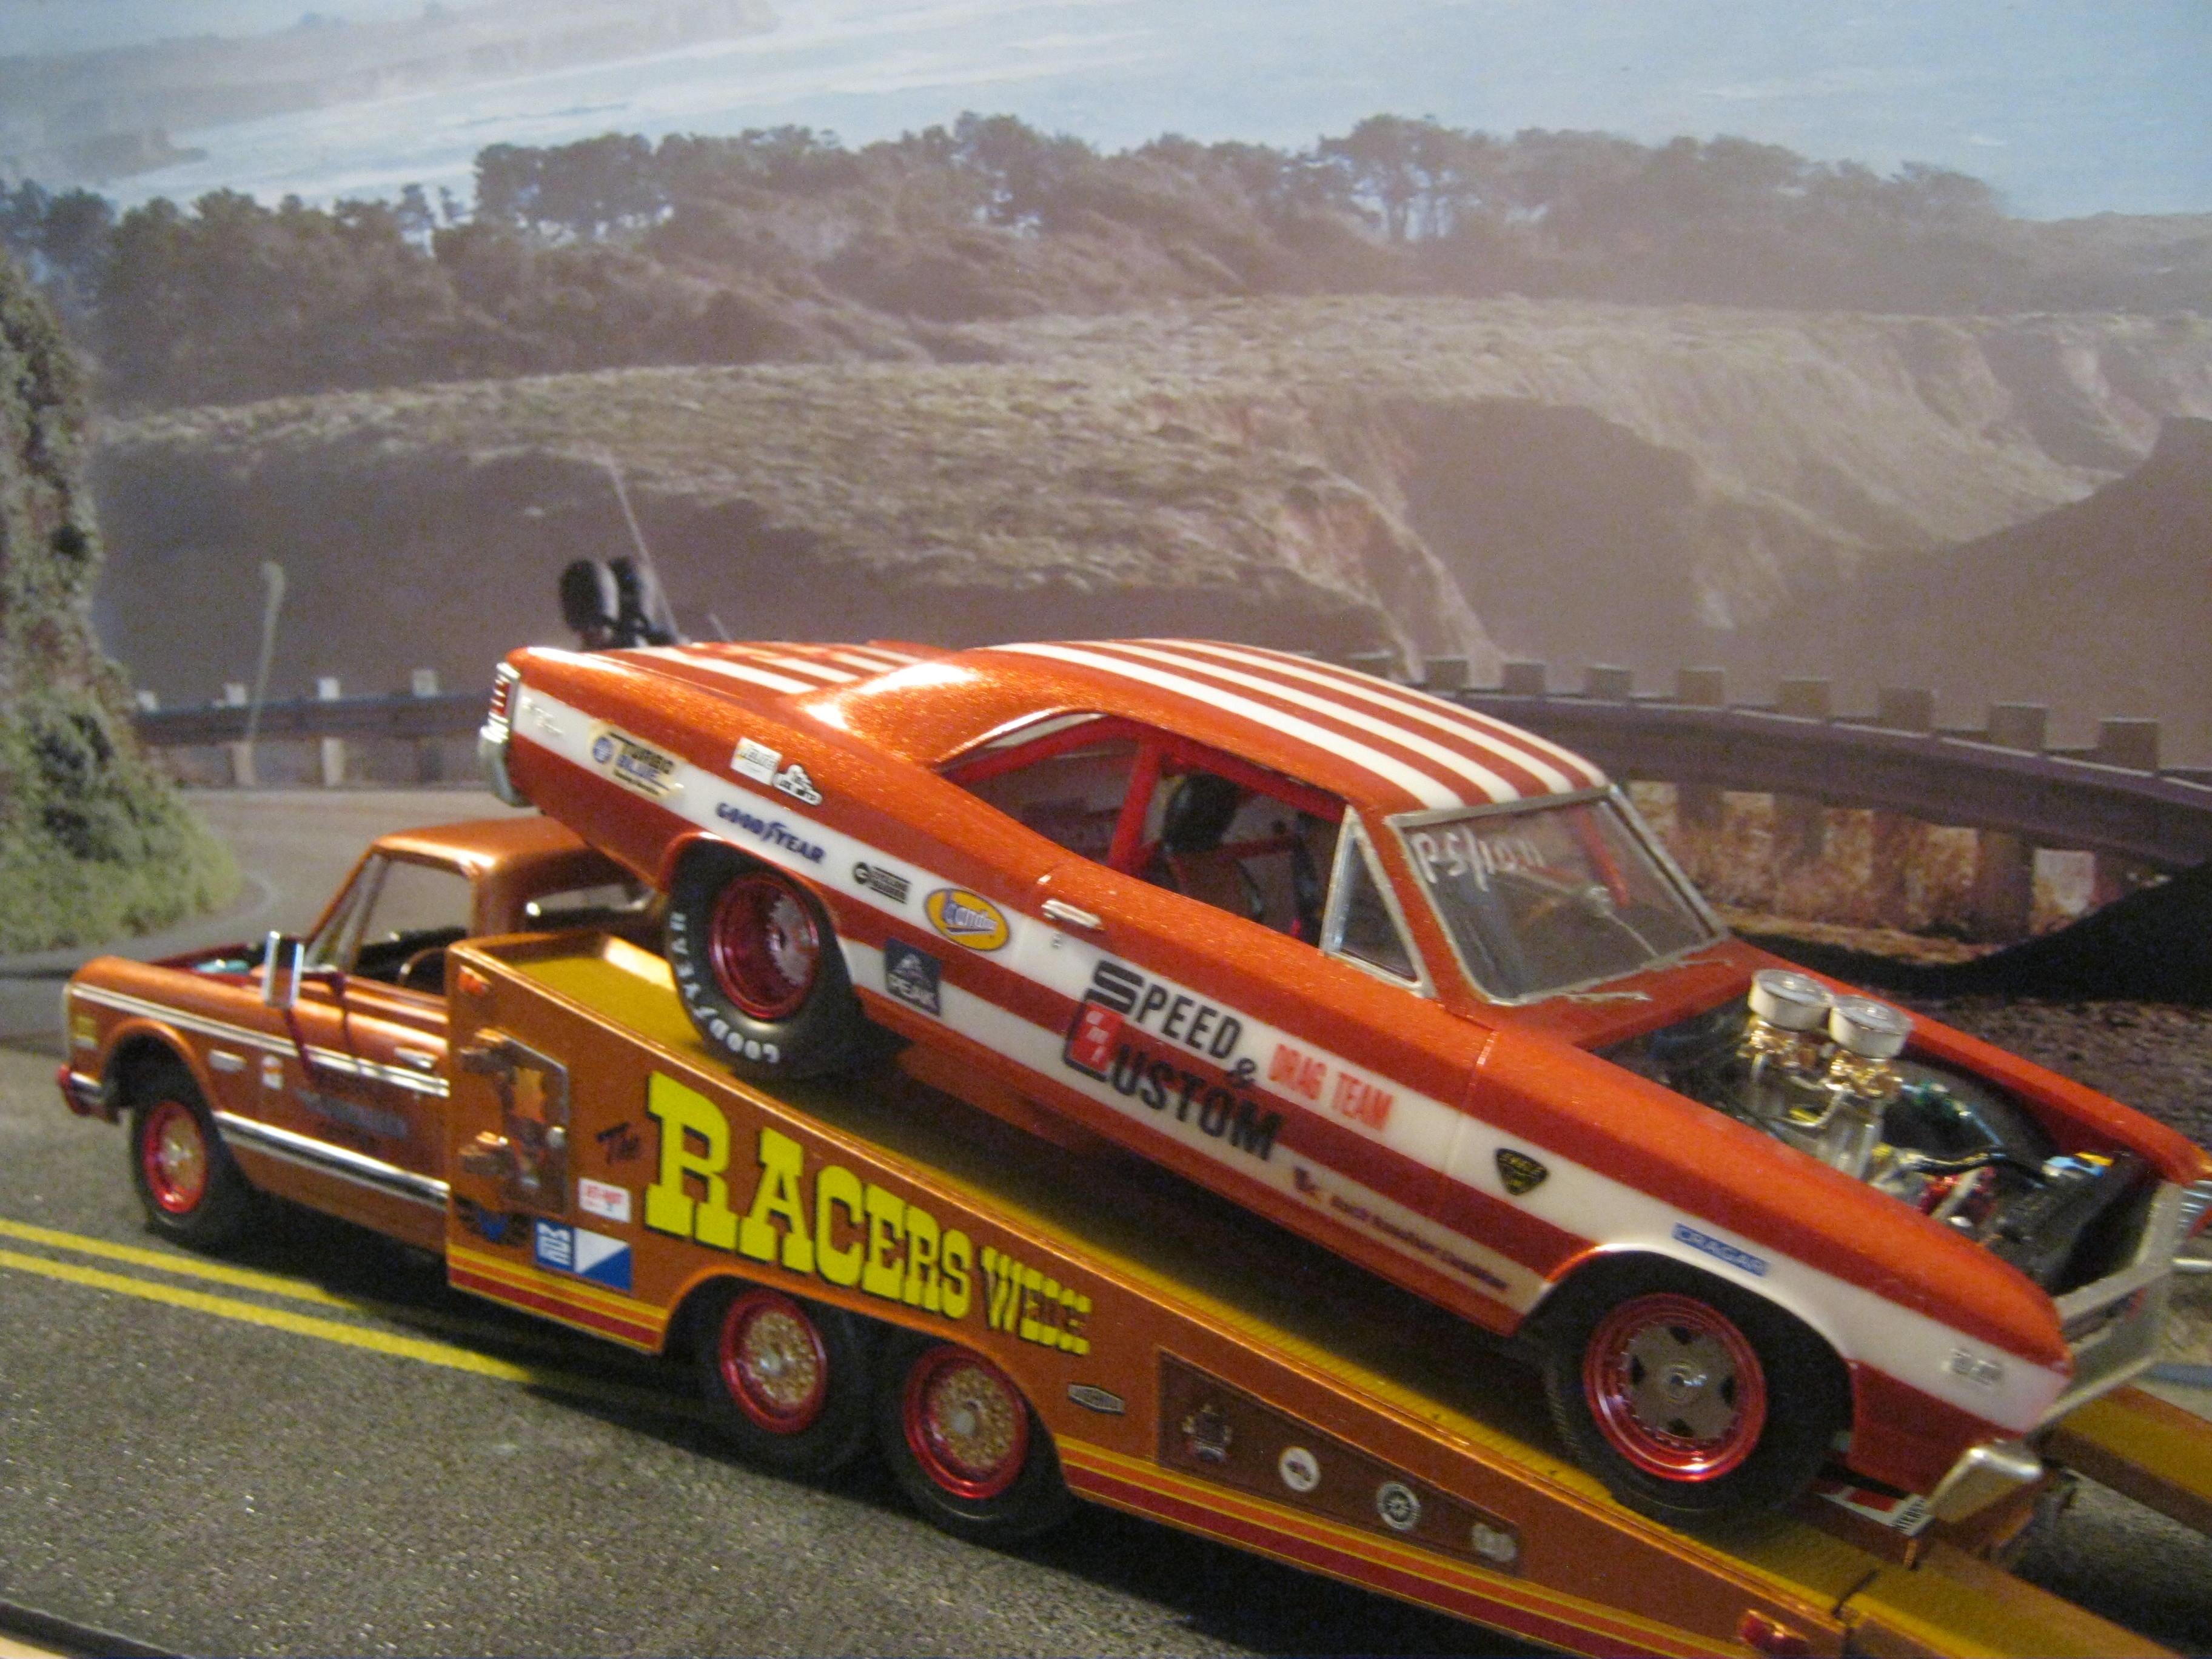
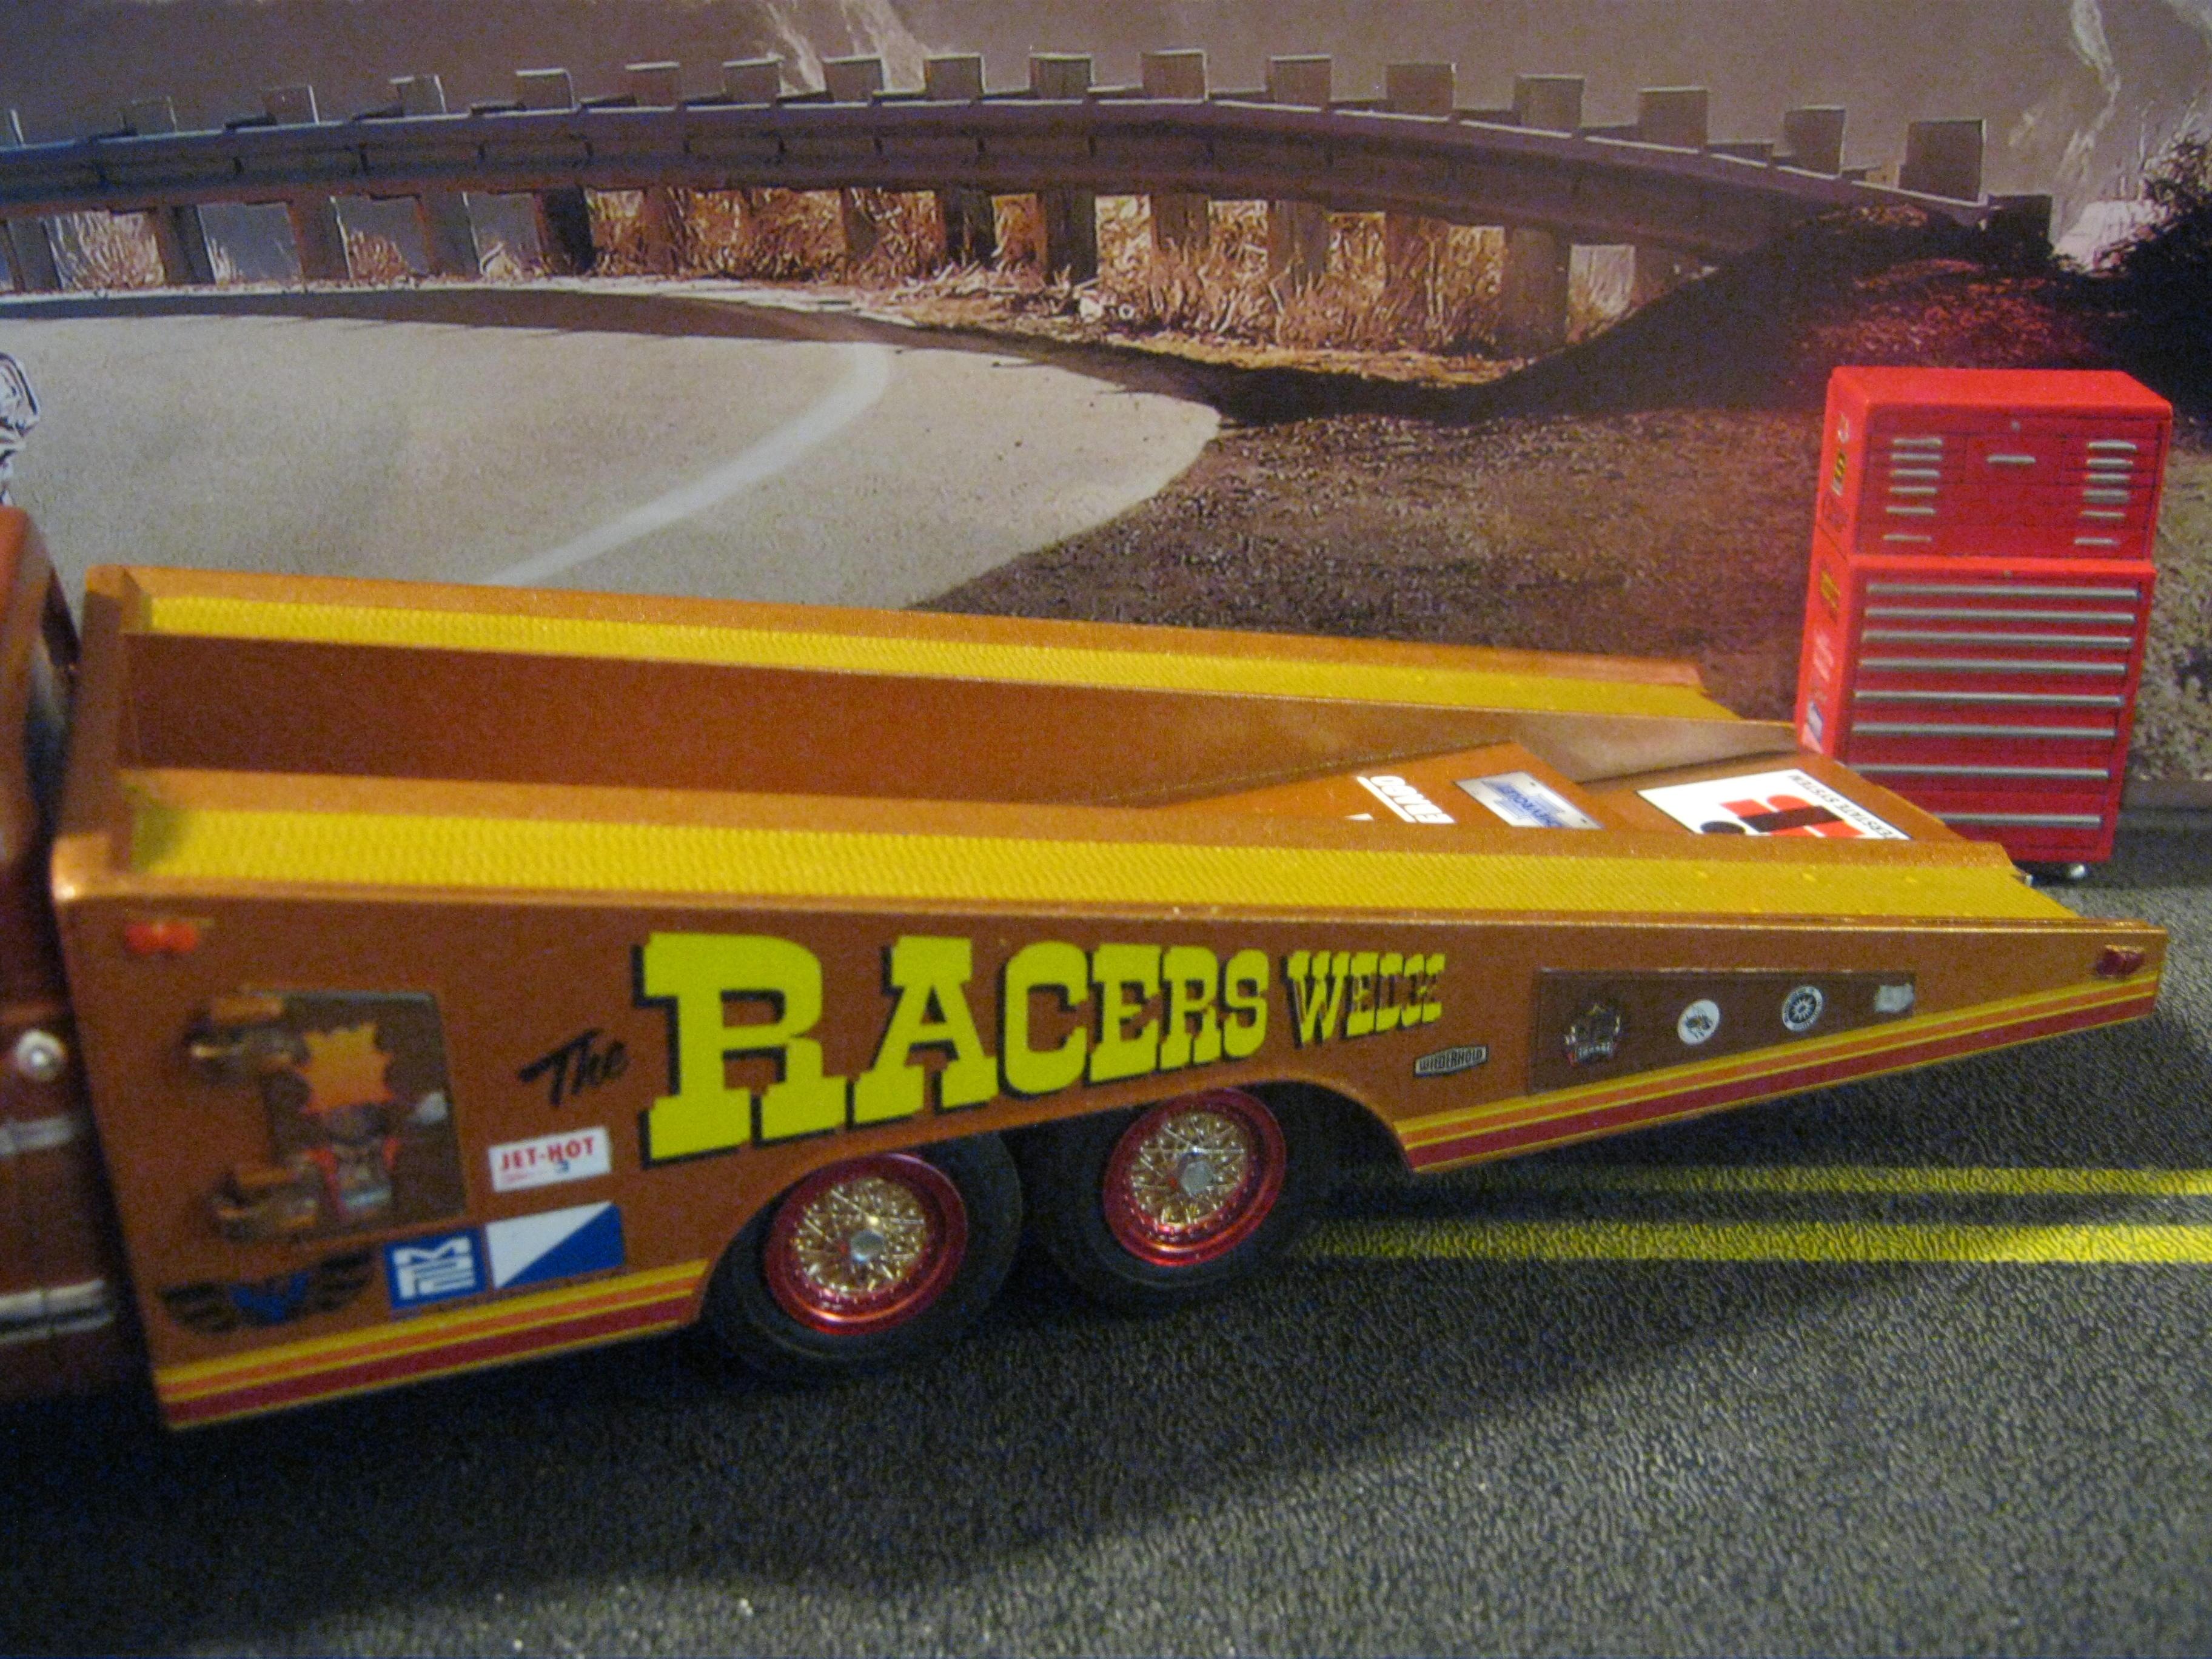
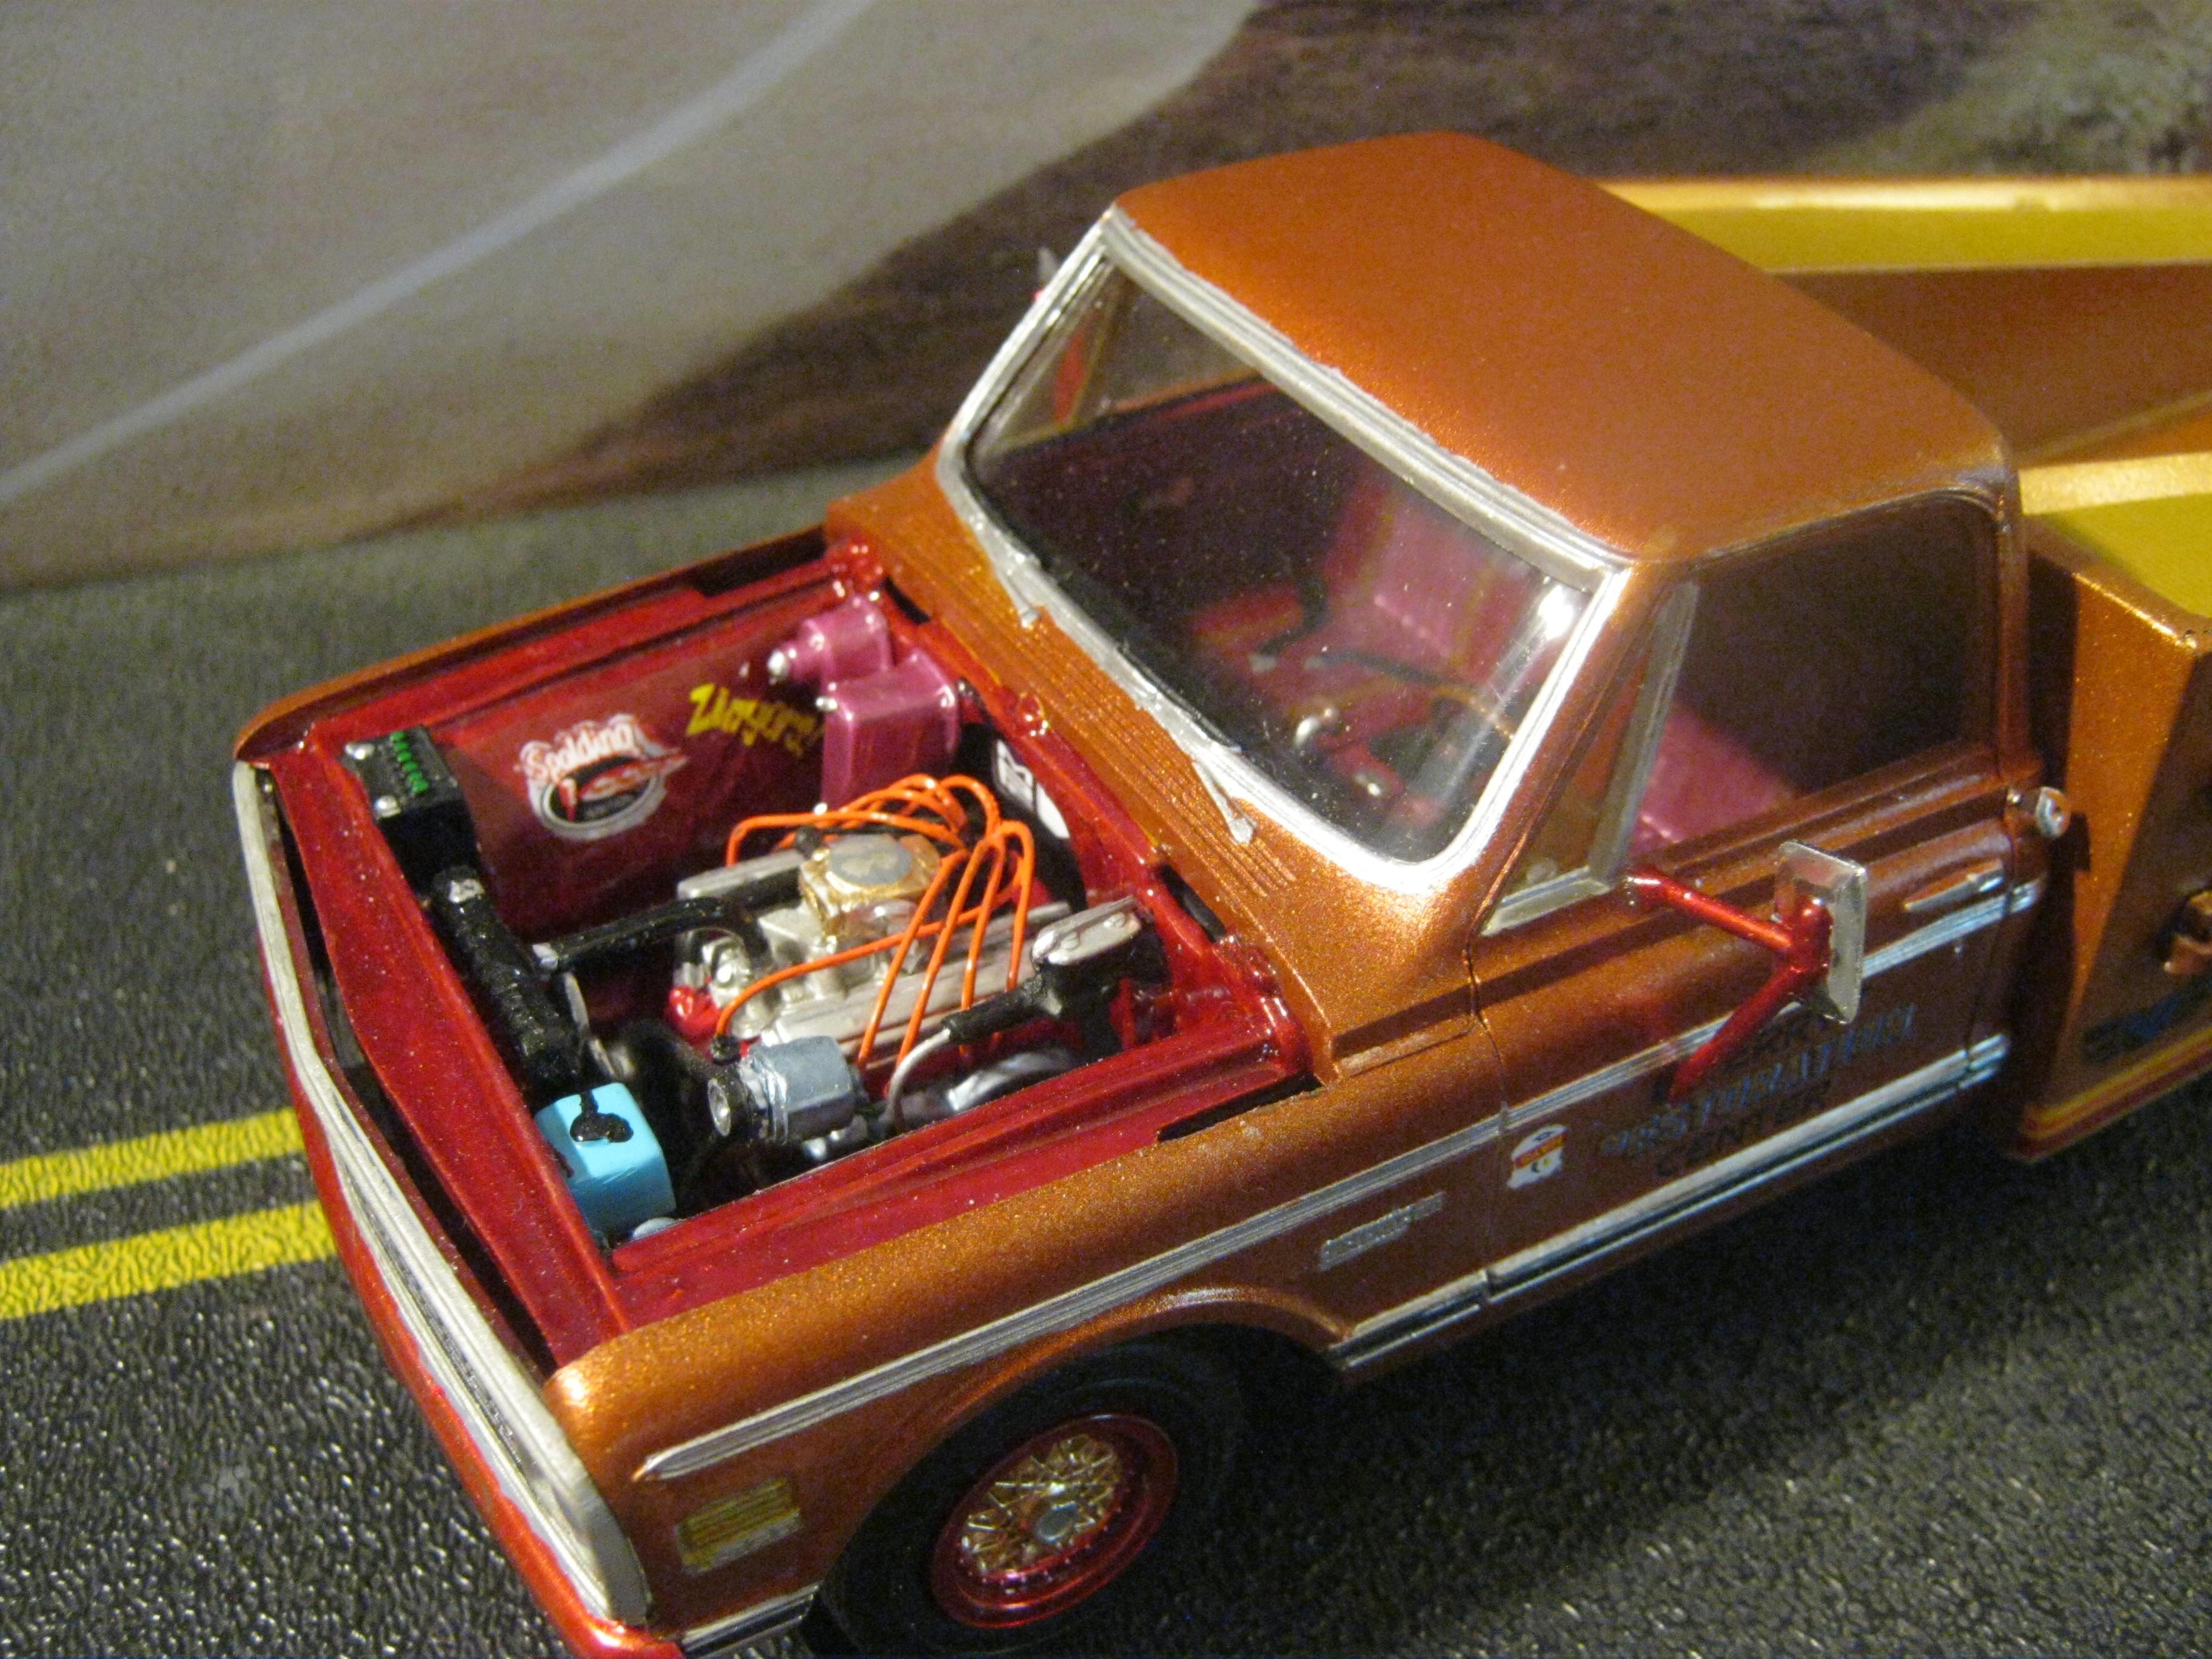
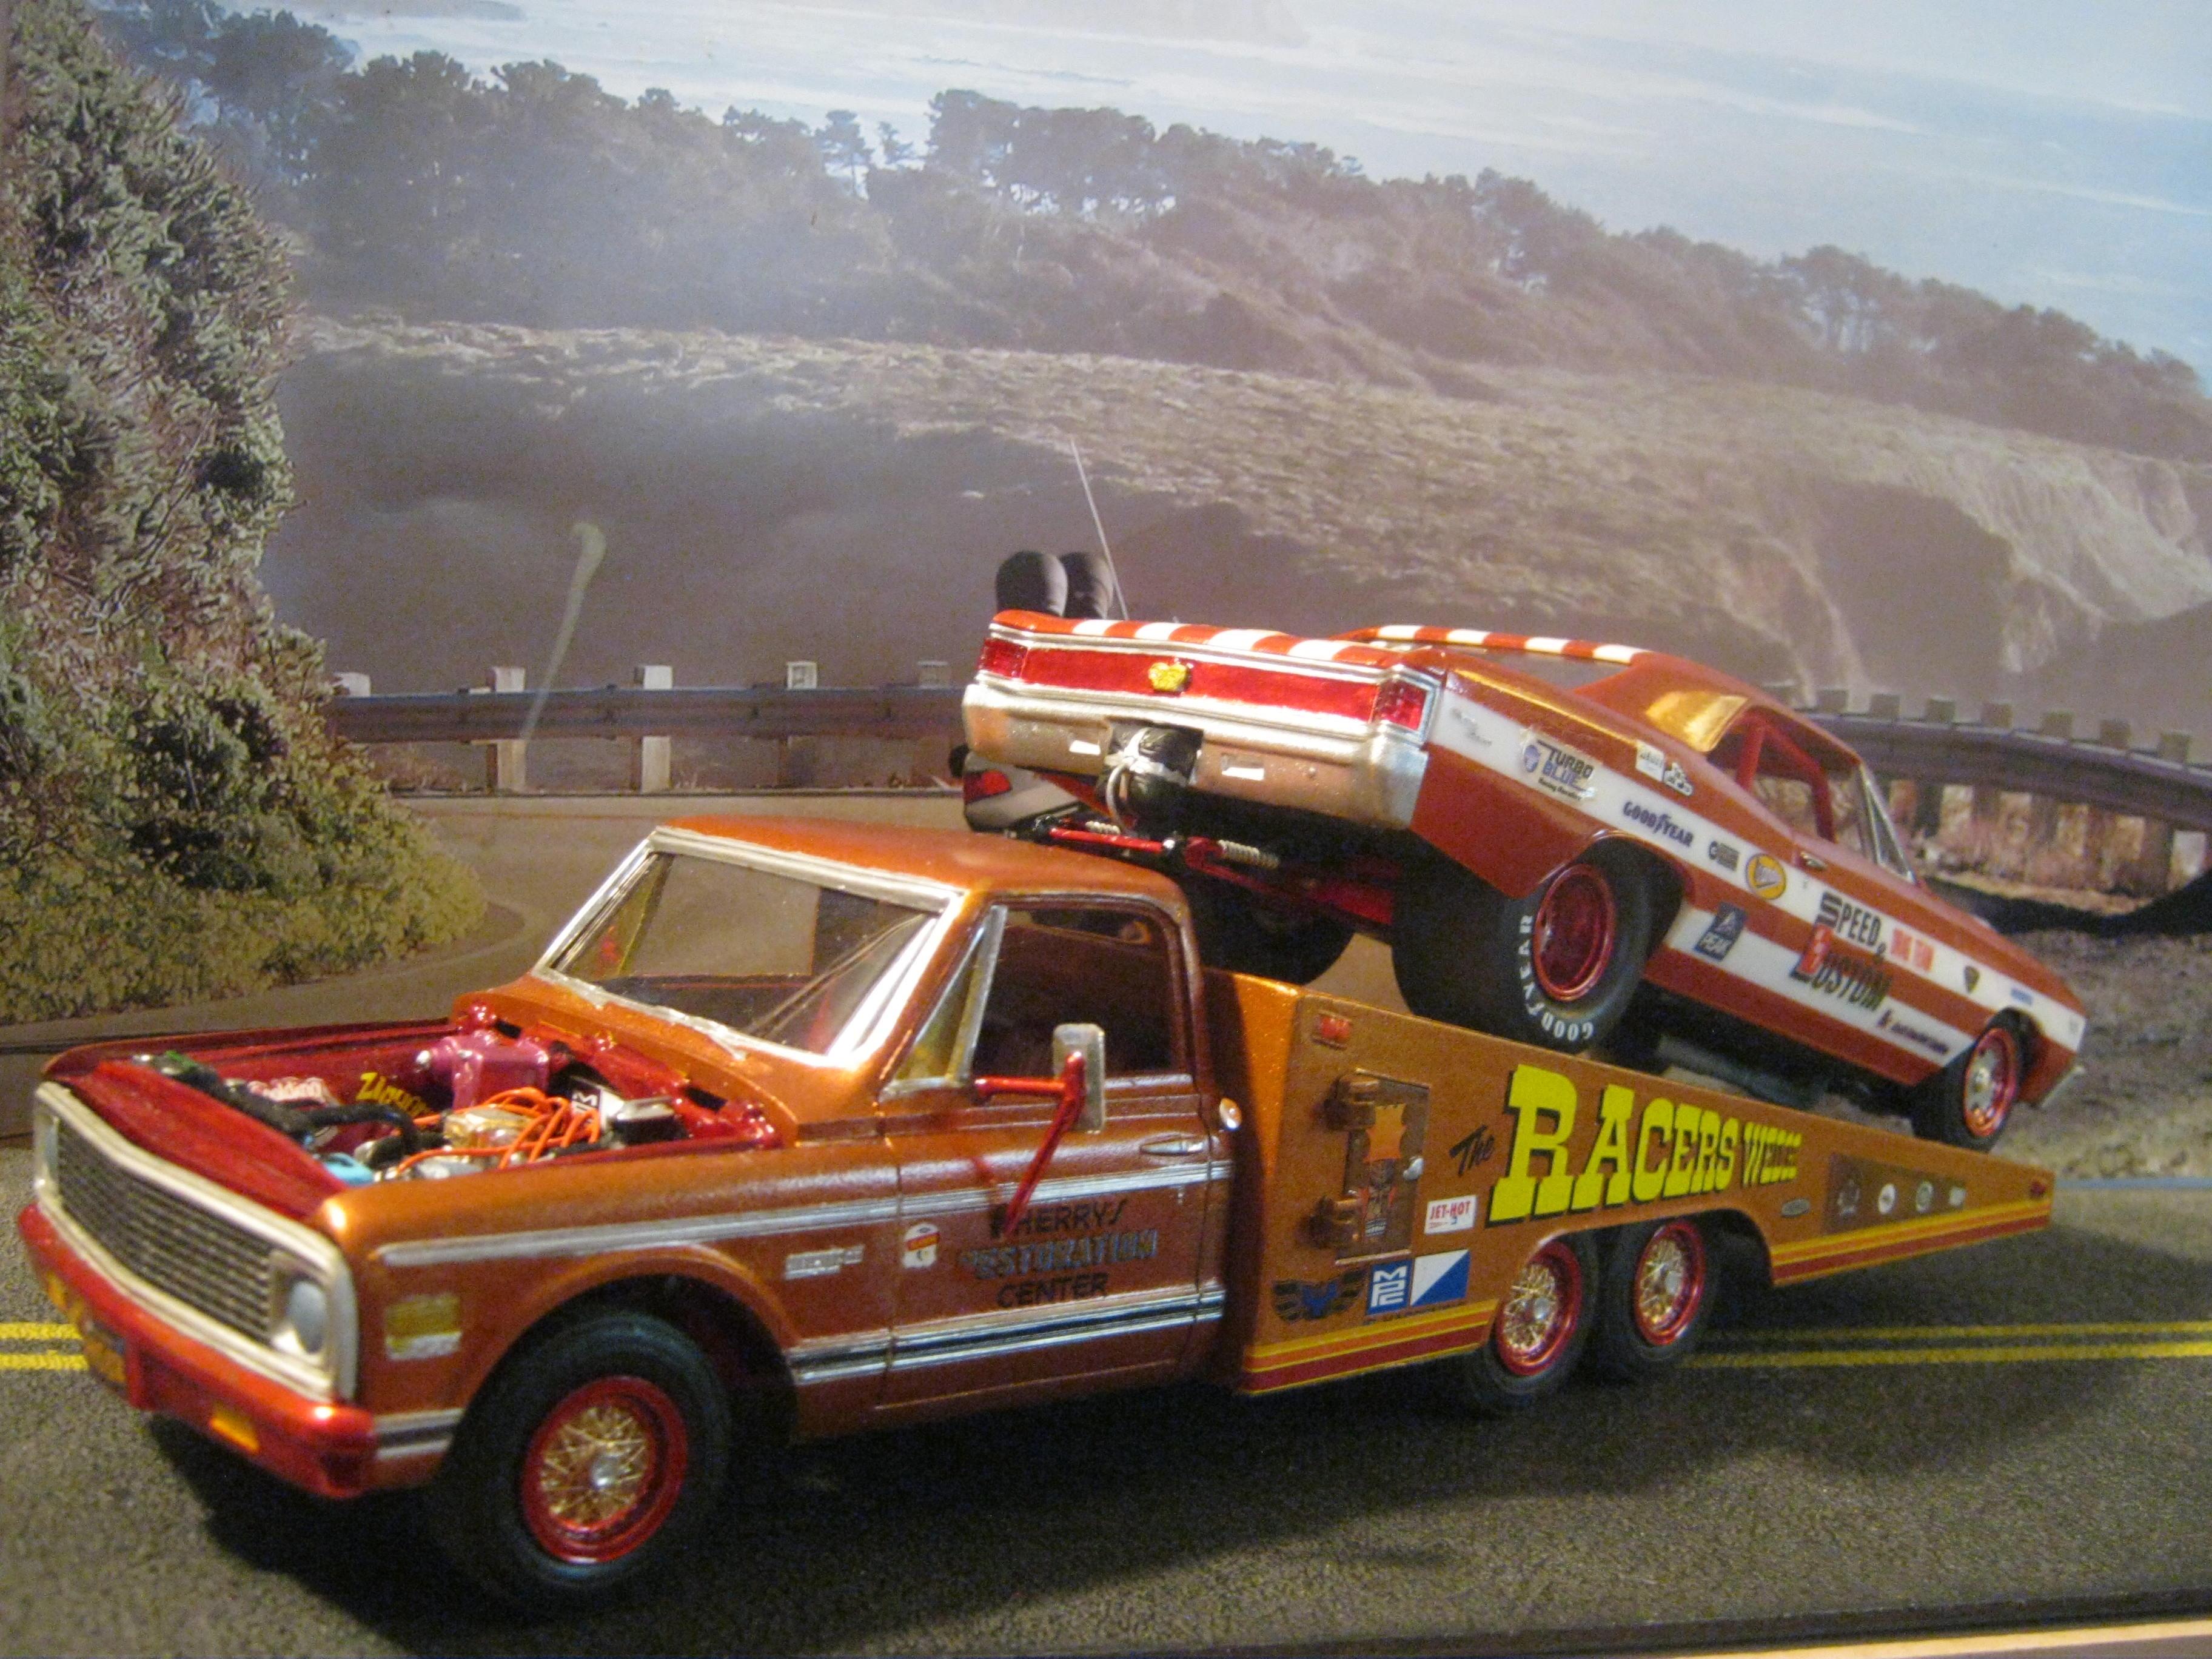
 Hey folks,just finished this MPC Ramp Truck. had some minor issues with a few things,but nothing a dremmel couldnt take care of,,lol. I wont bother goin into it,,it turned out cool just the same. Ive always been a fan of the mid-late 60's and 70's Chevy trucks. So I kept the decals on cab to a minimun,,to enjoy the basic cab lines and design.Rattle can testors quik dry Firey orange,,Hardware store paint for chassis,,and hand painted details. The kit came with only 4 wire wheel rims,,so found 2 more in the leftovers parts bx. The Chevelle is an AMT pro street kit done a while back. All in all,,glad to have it on the shelf! Thanks for lookin,,build on!
-
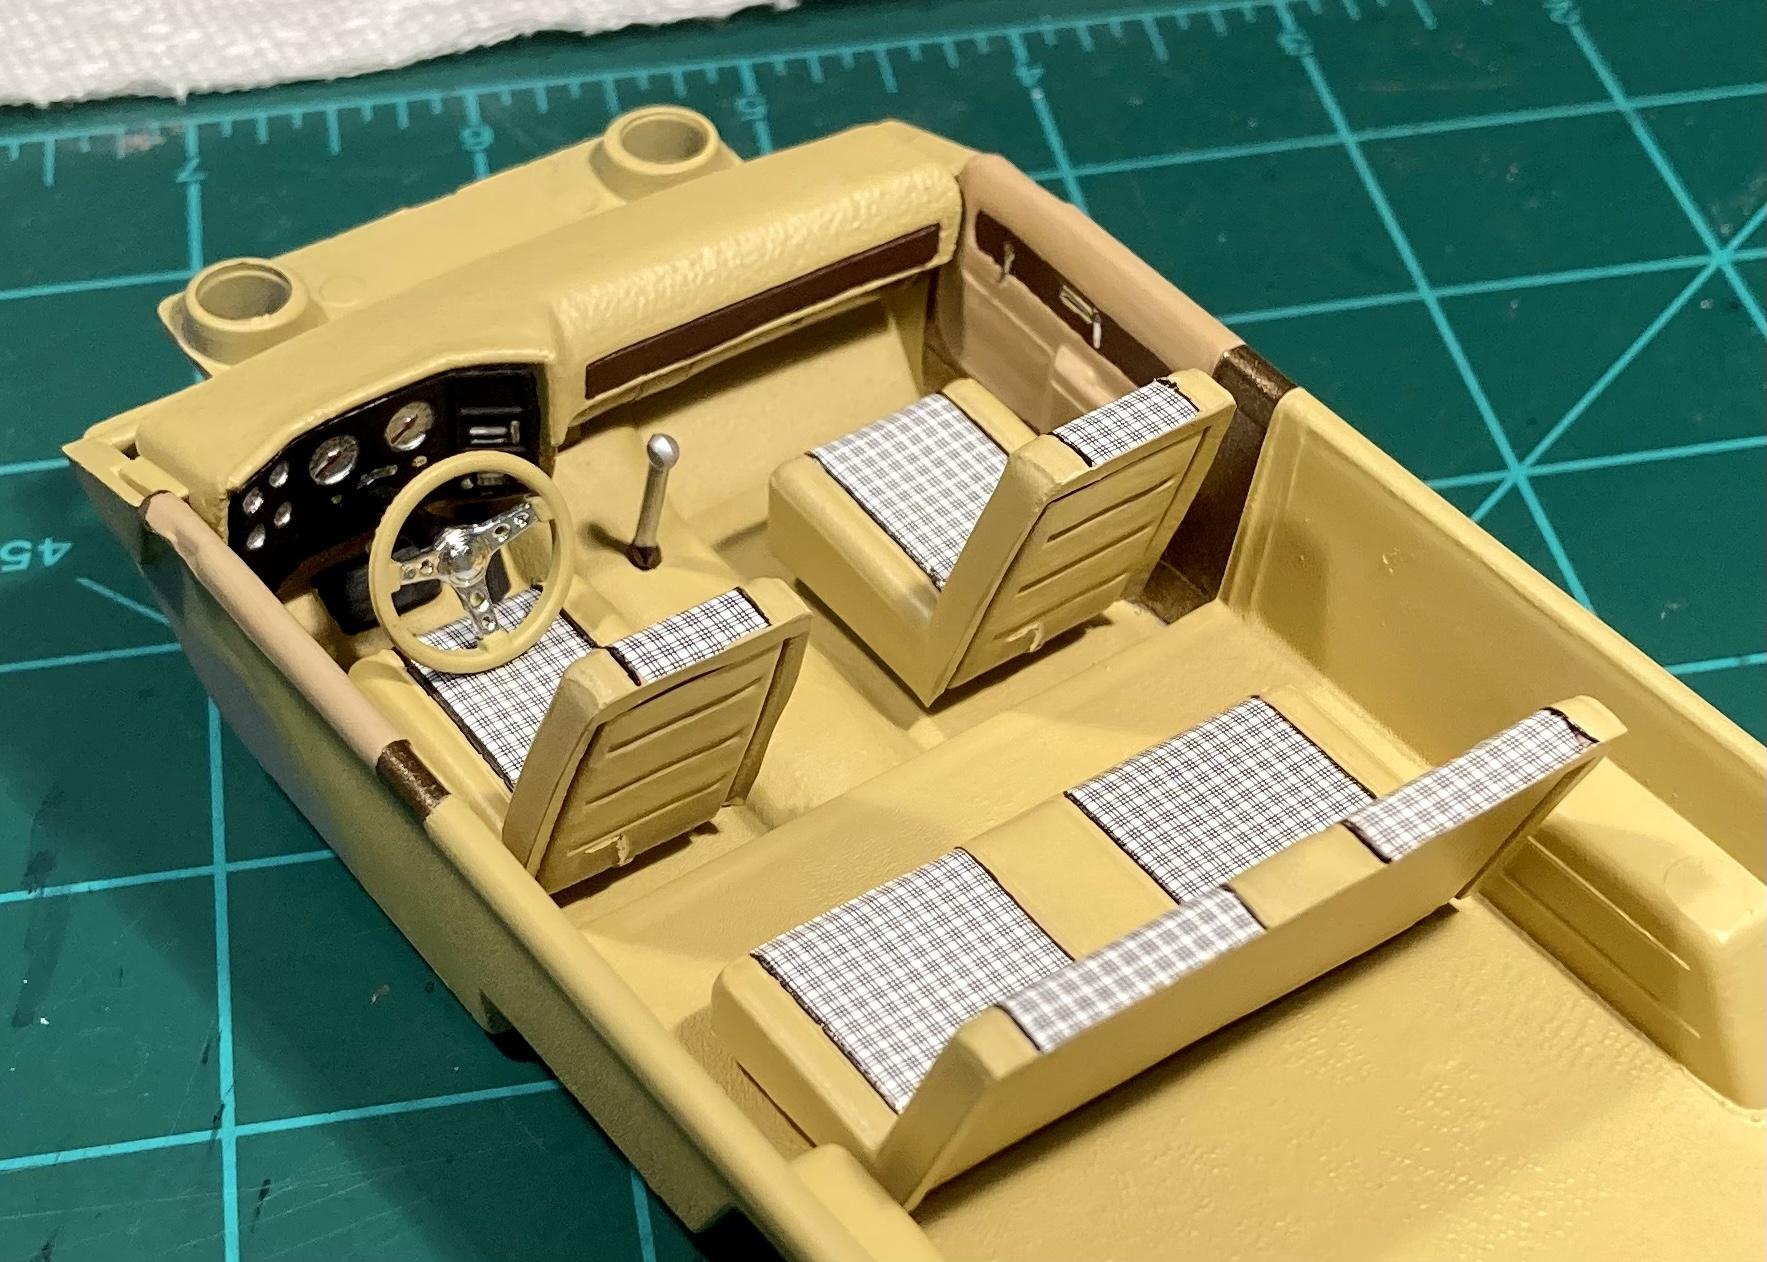
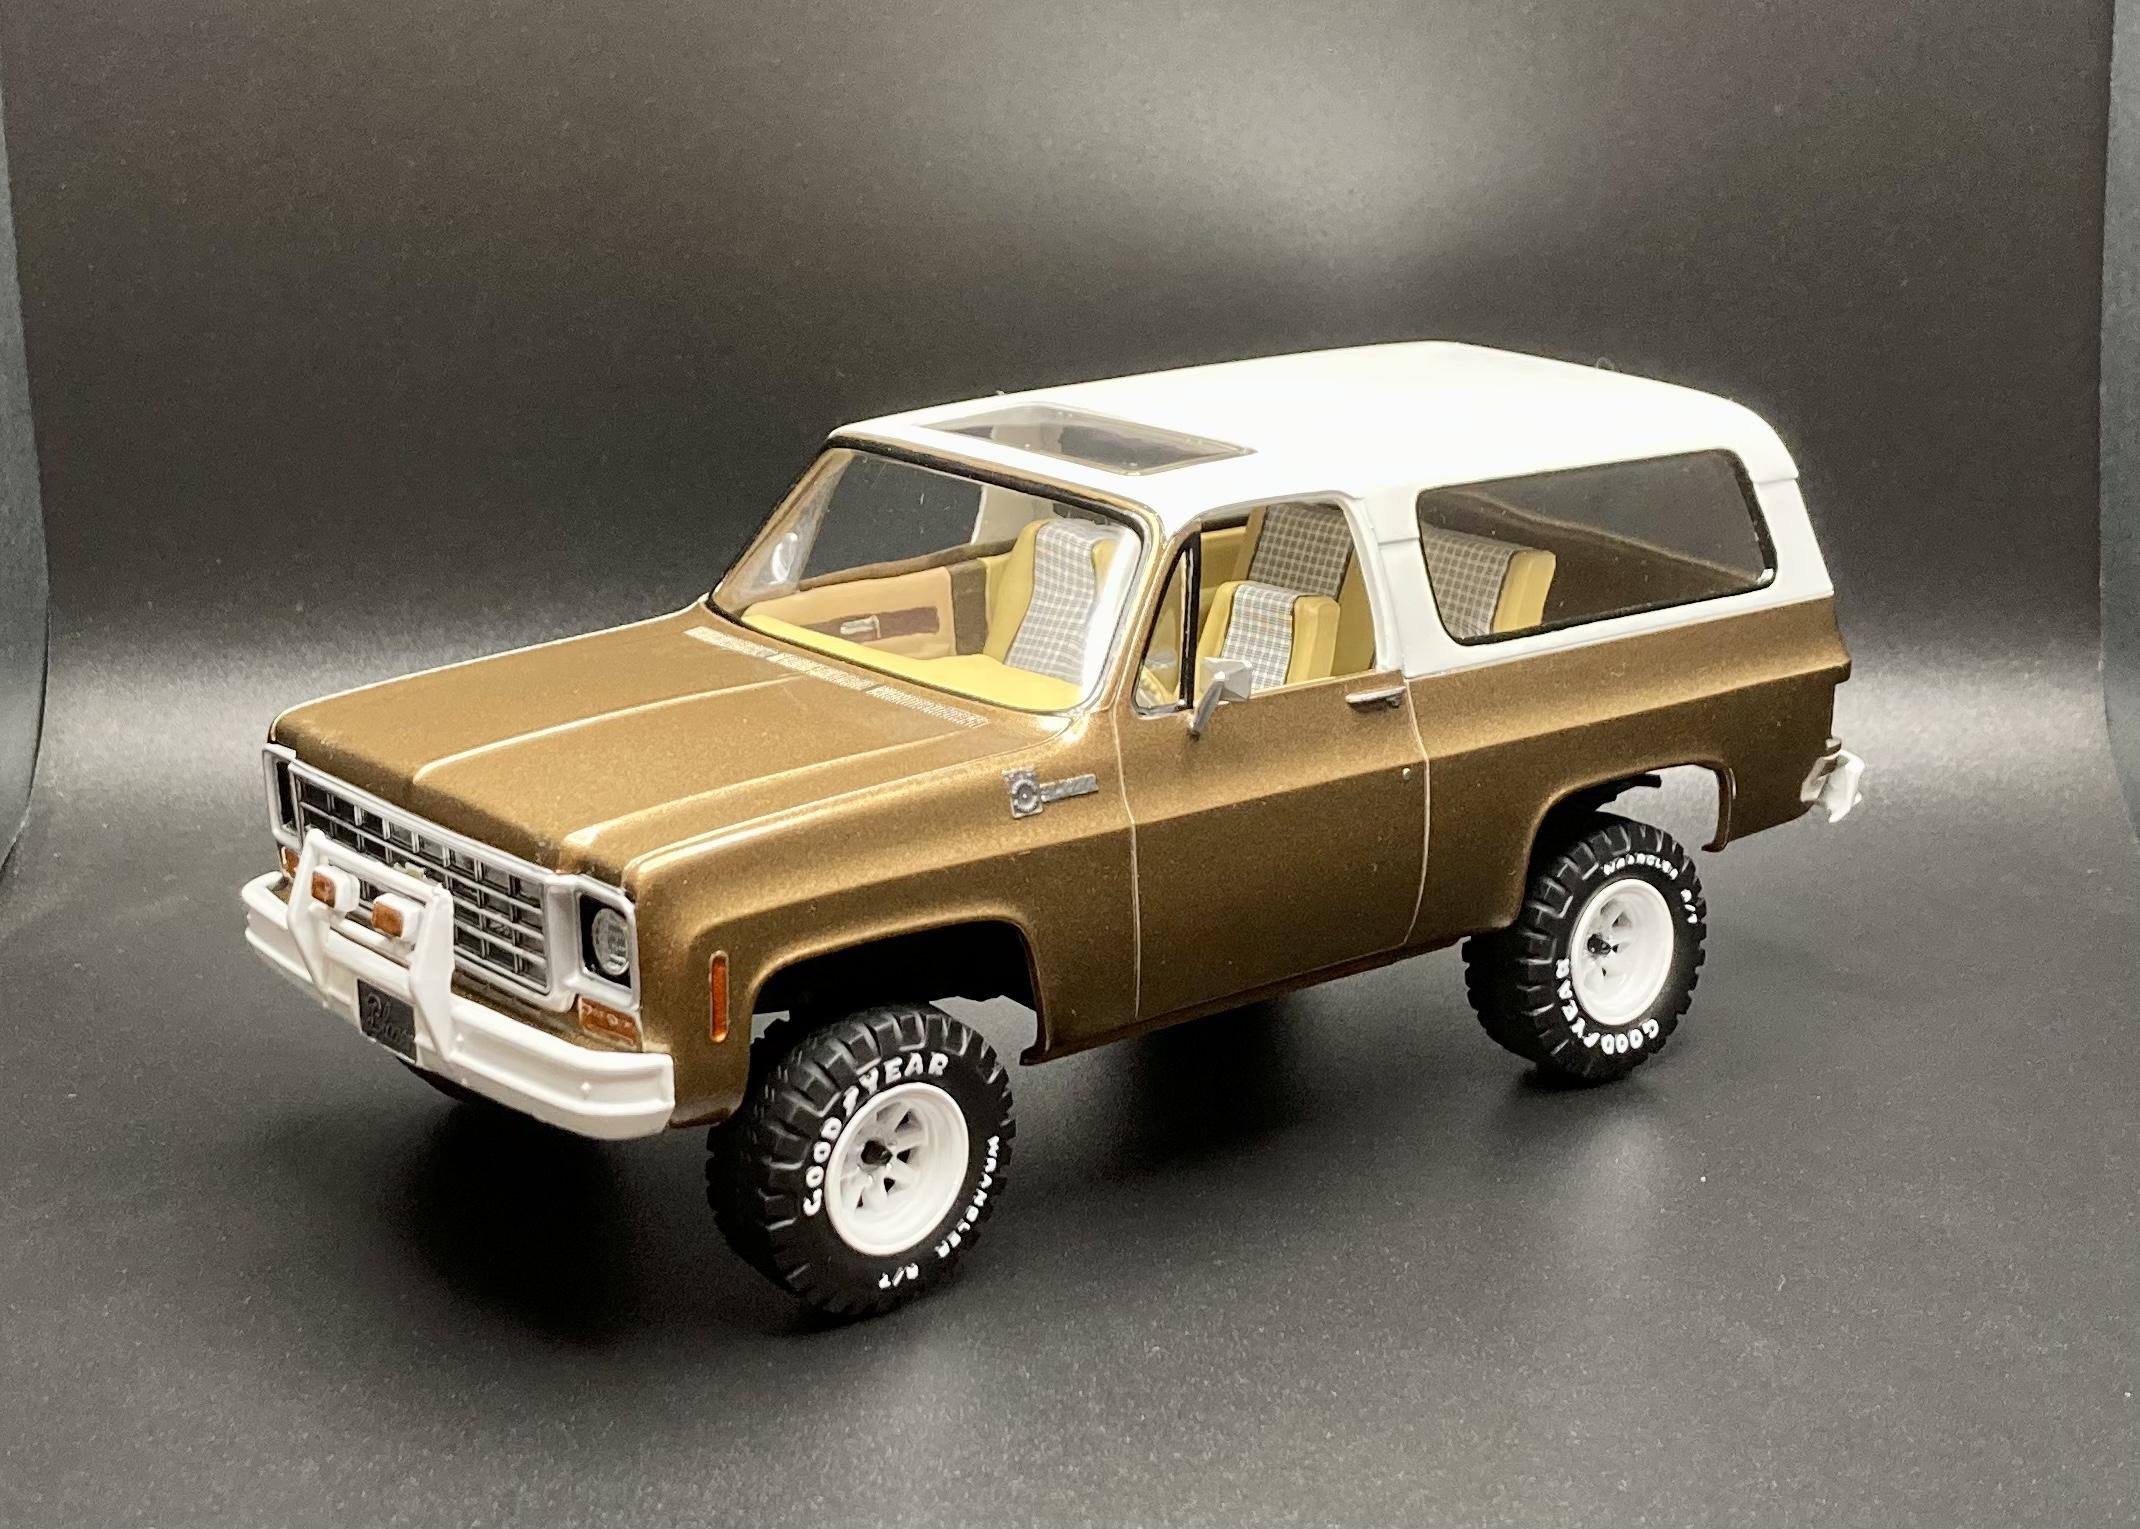
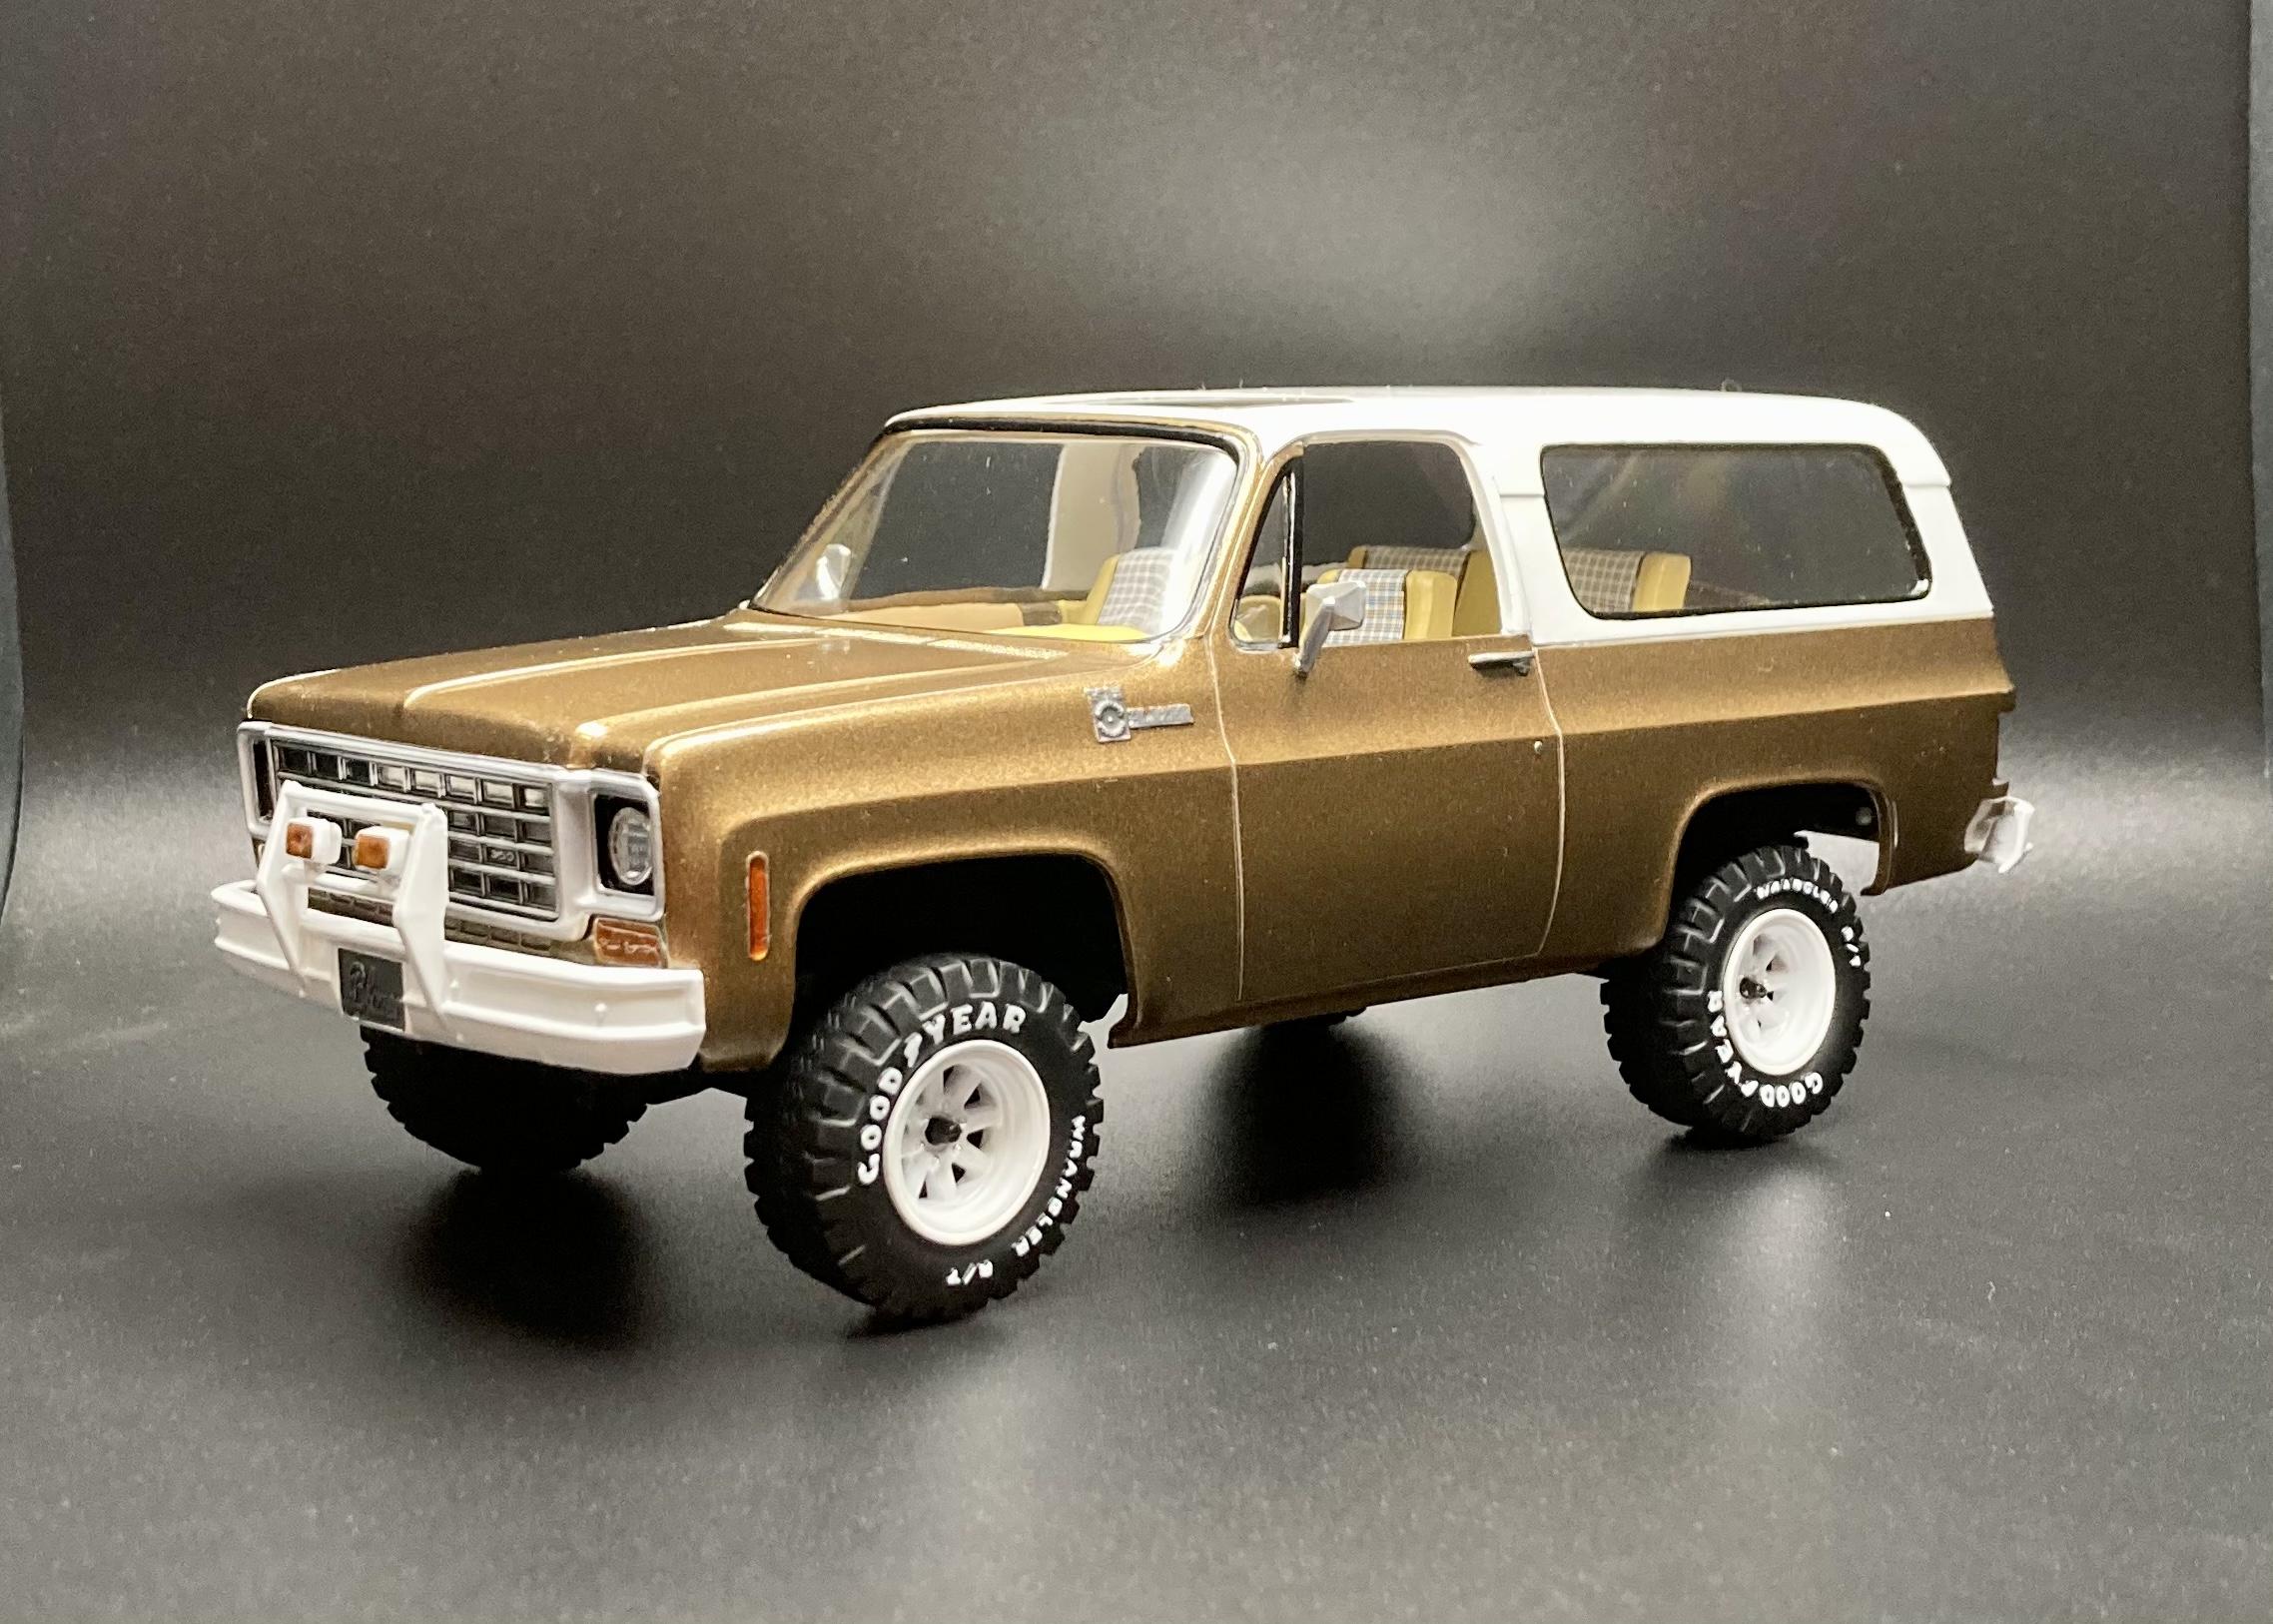
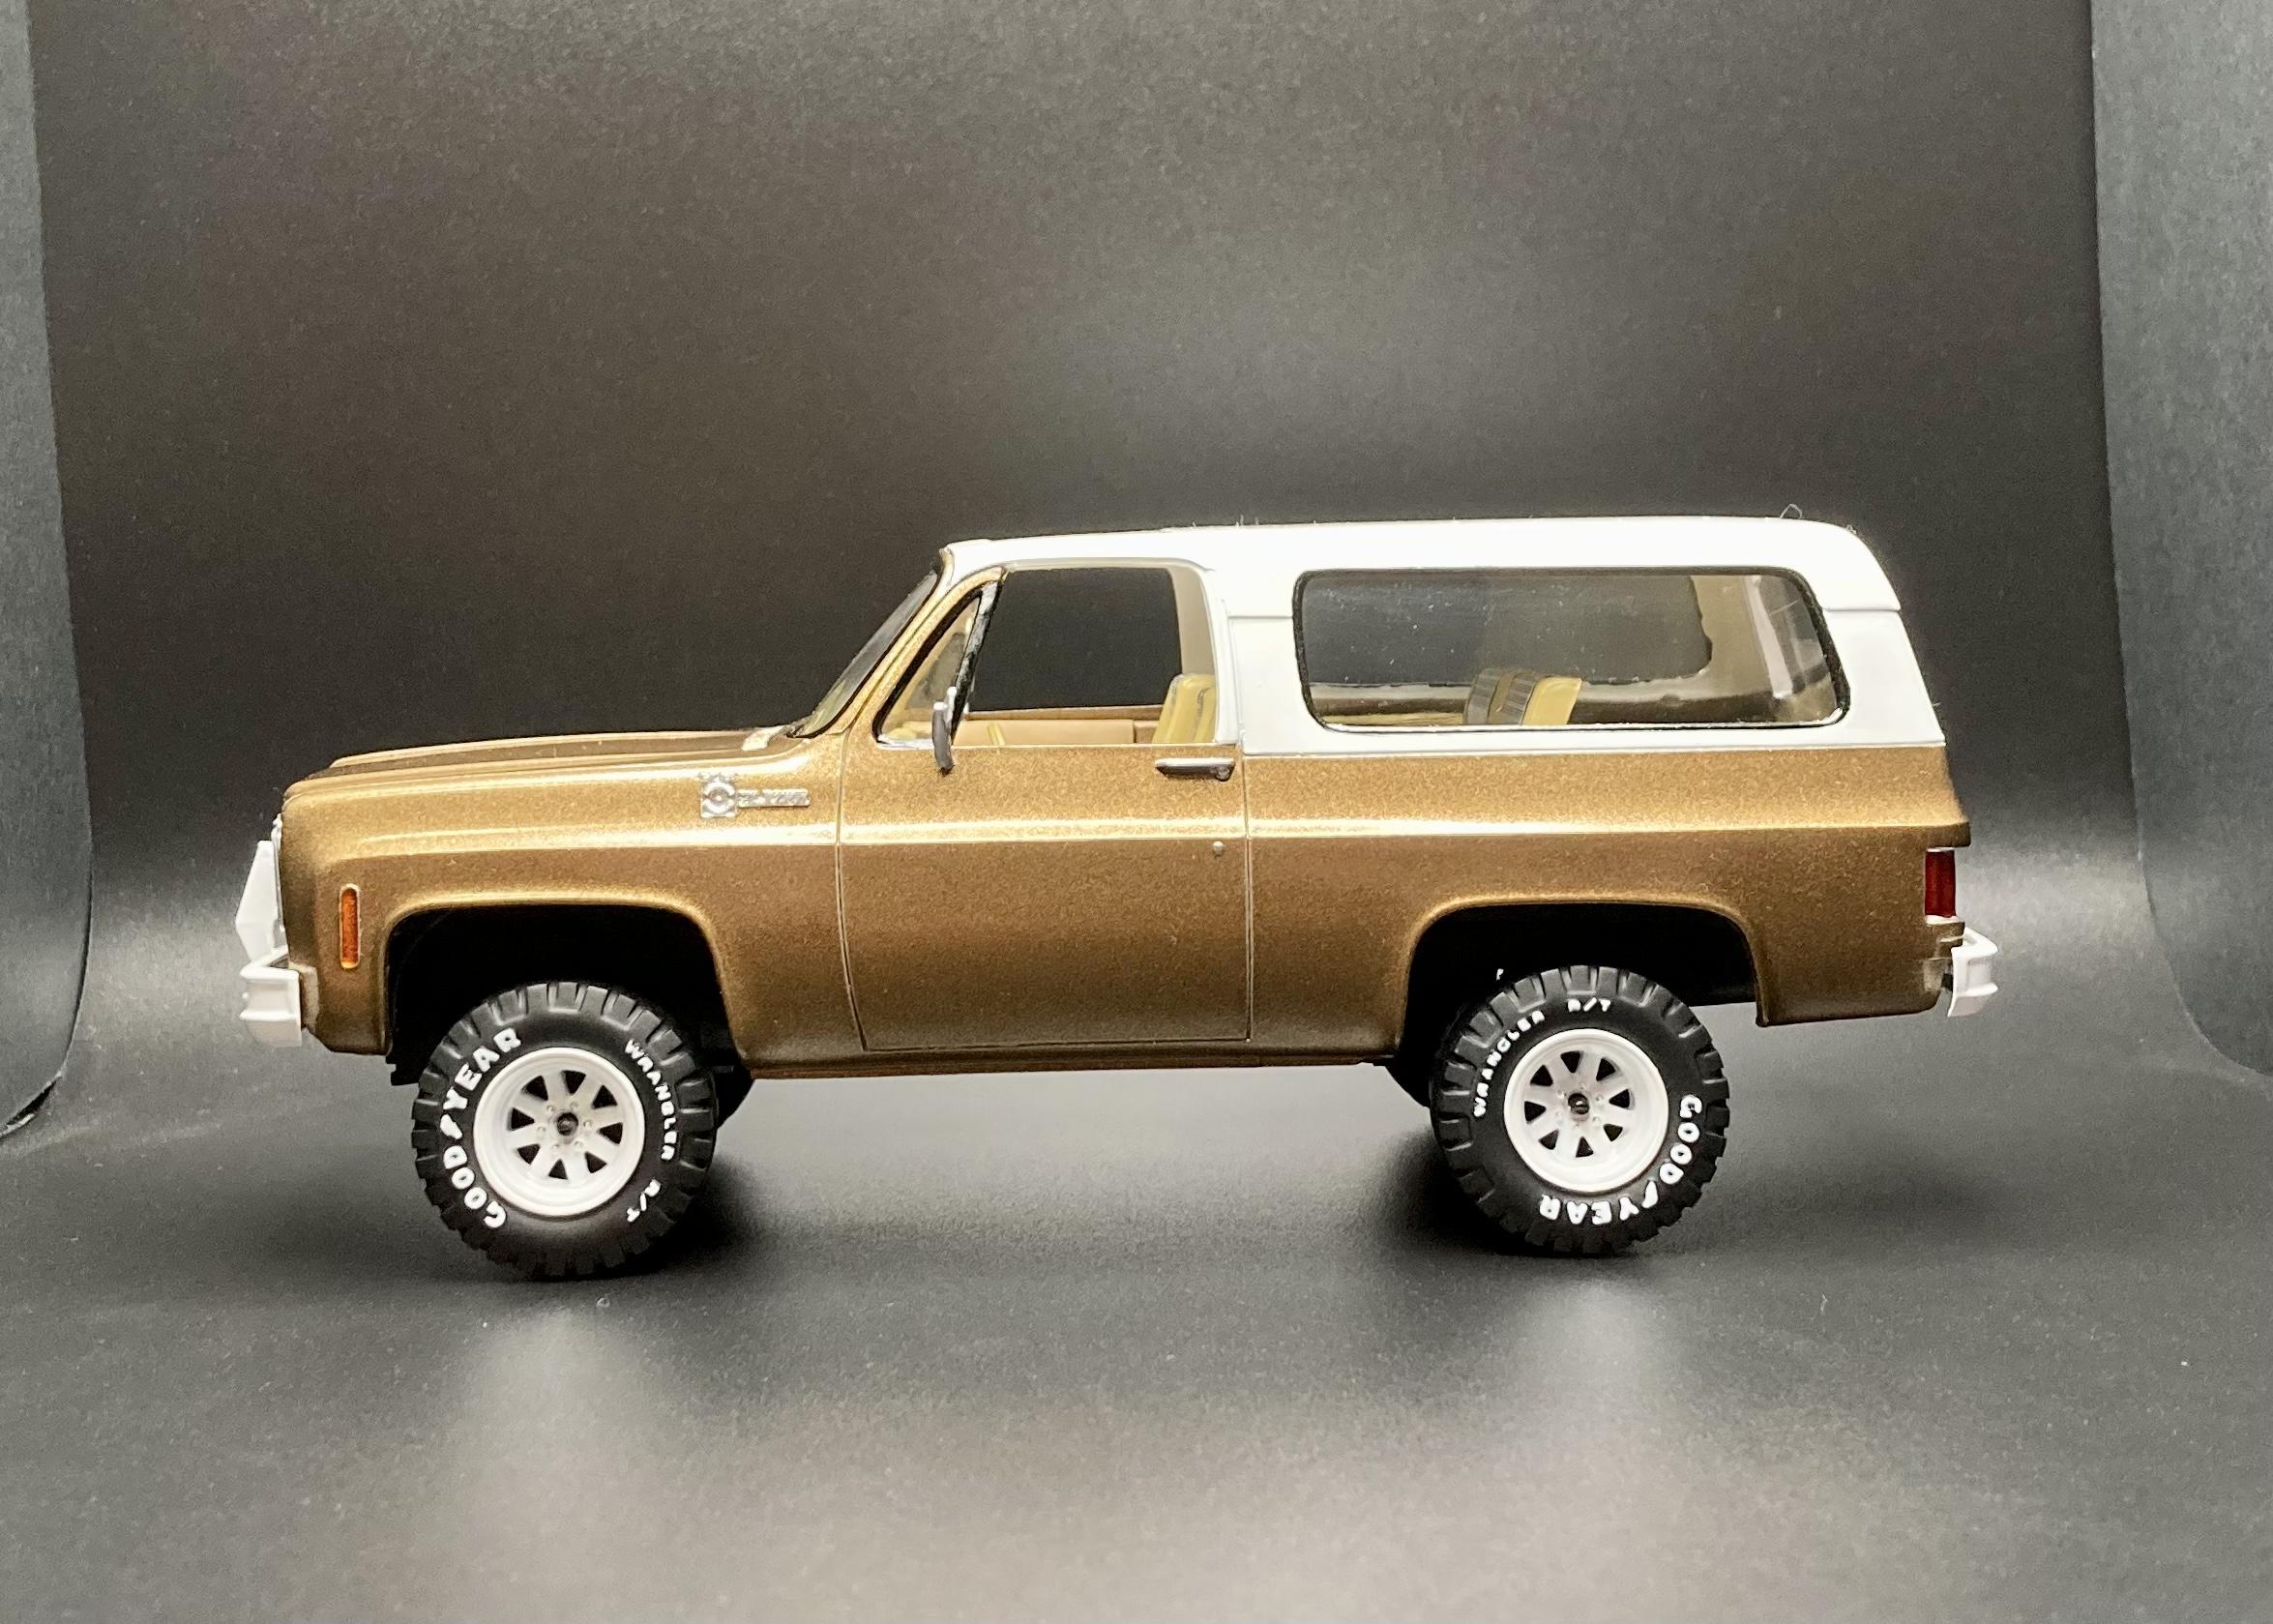
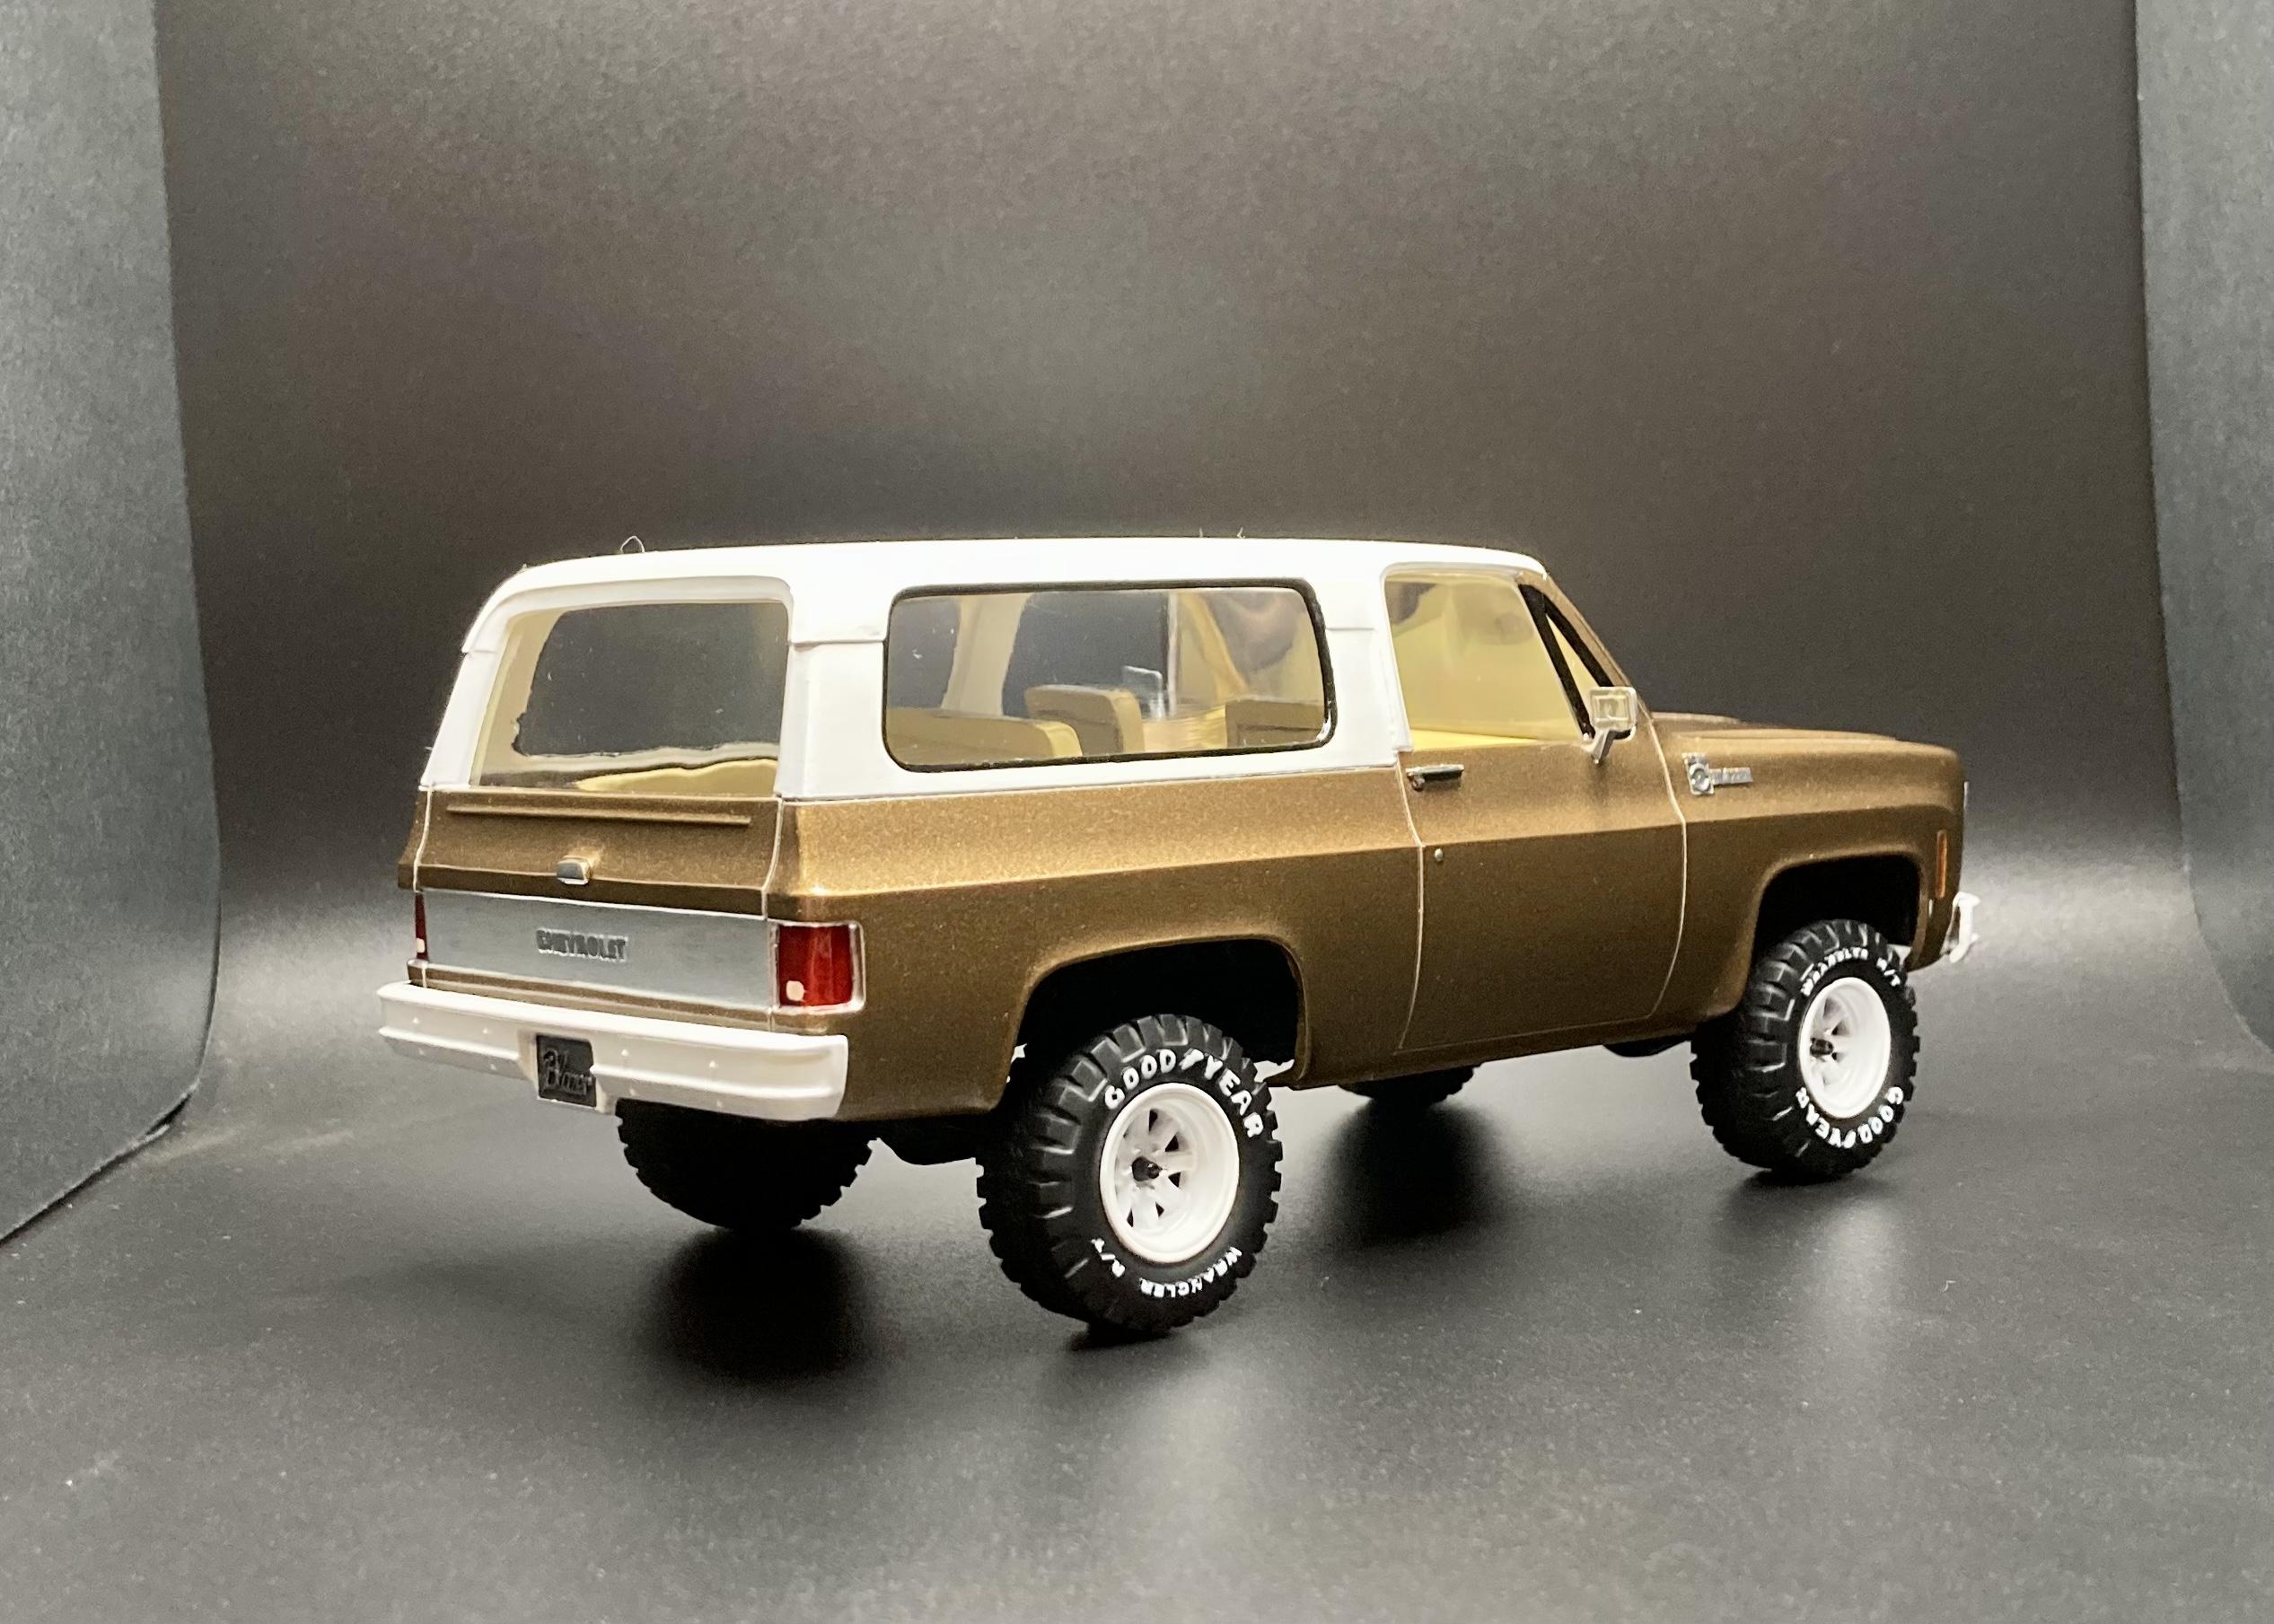
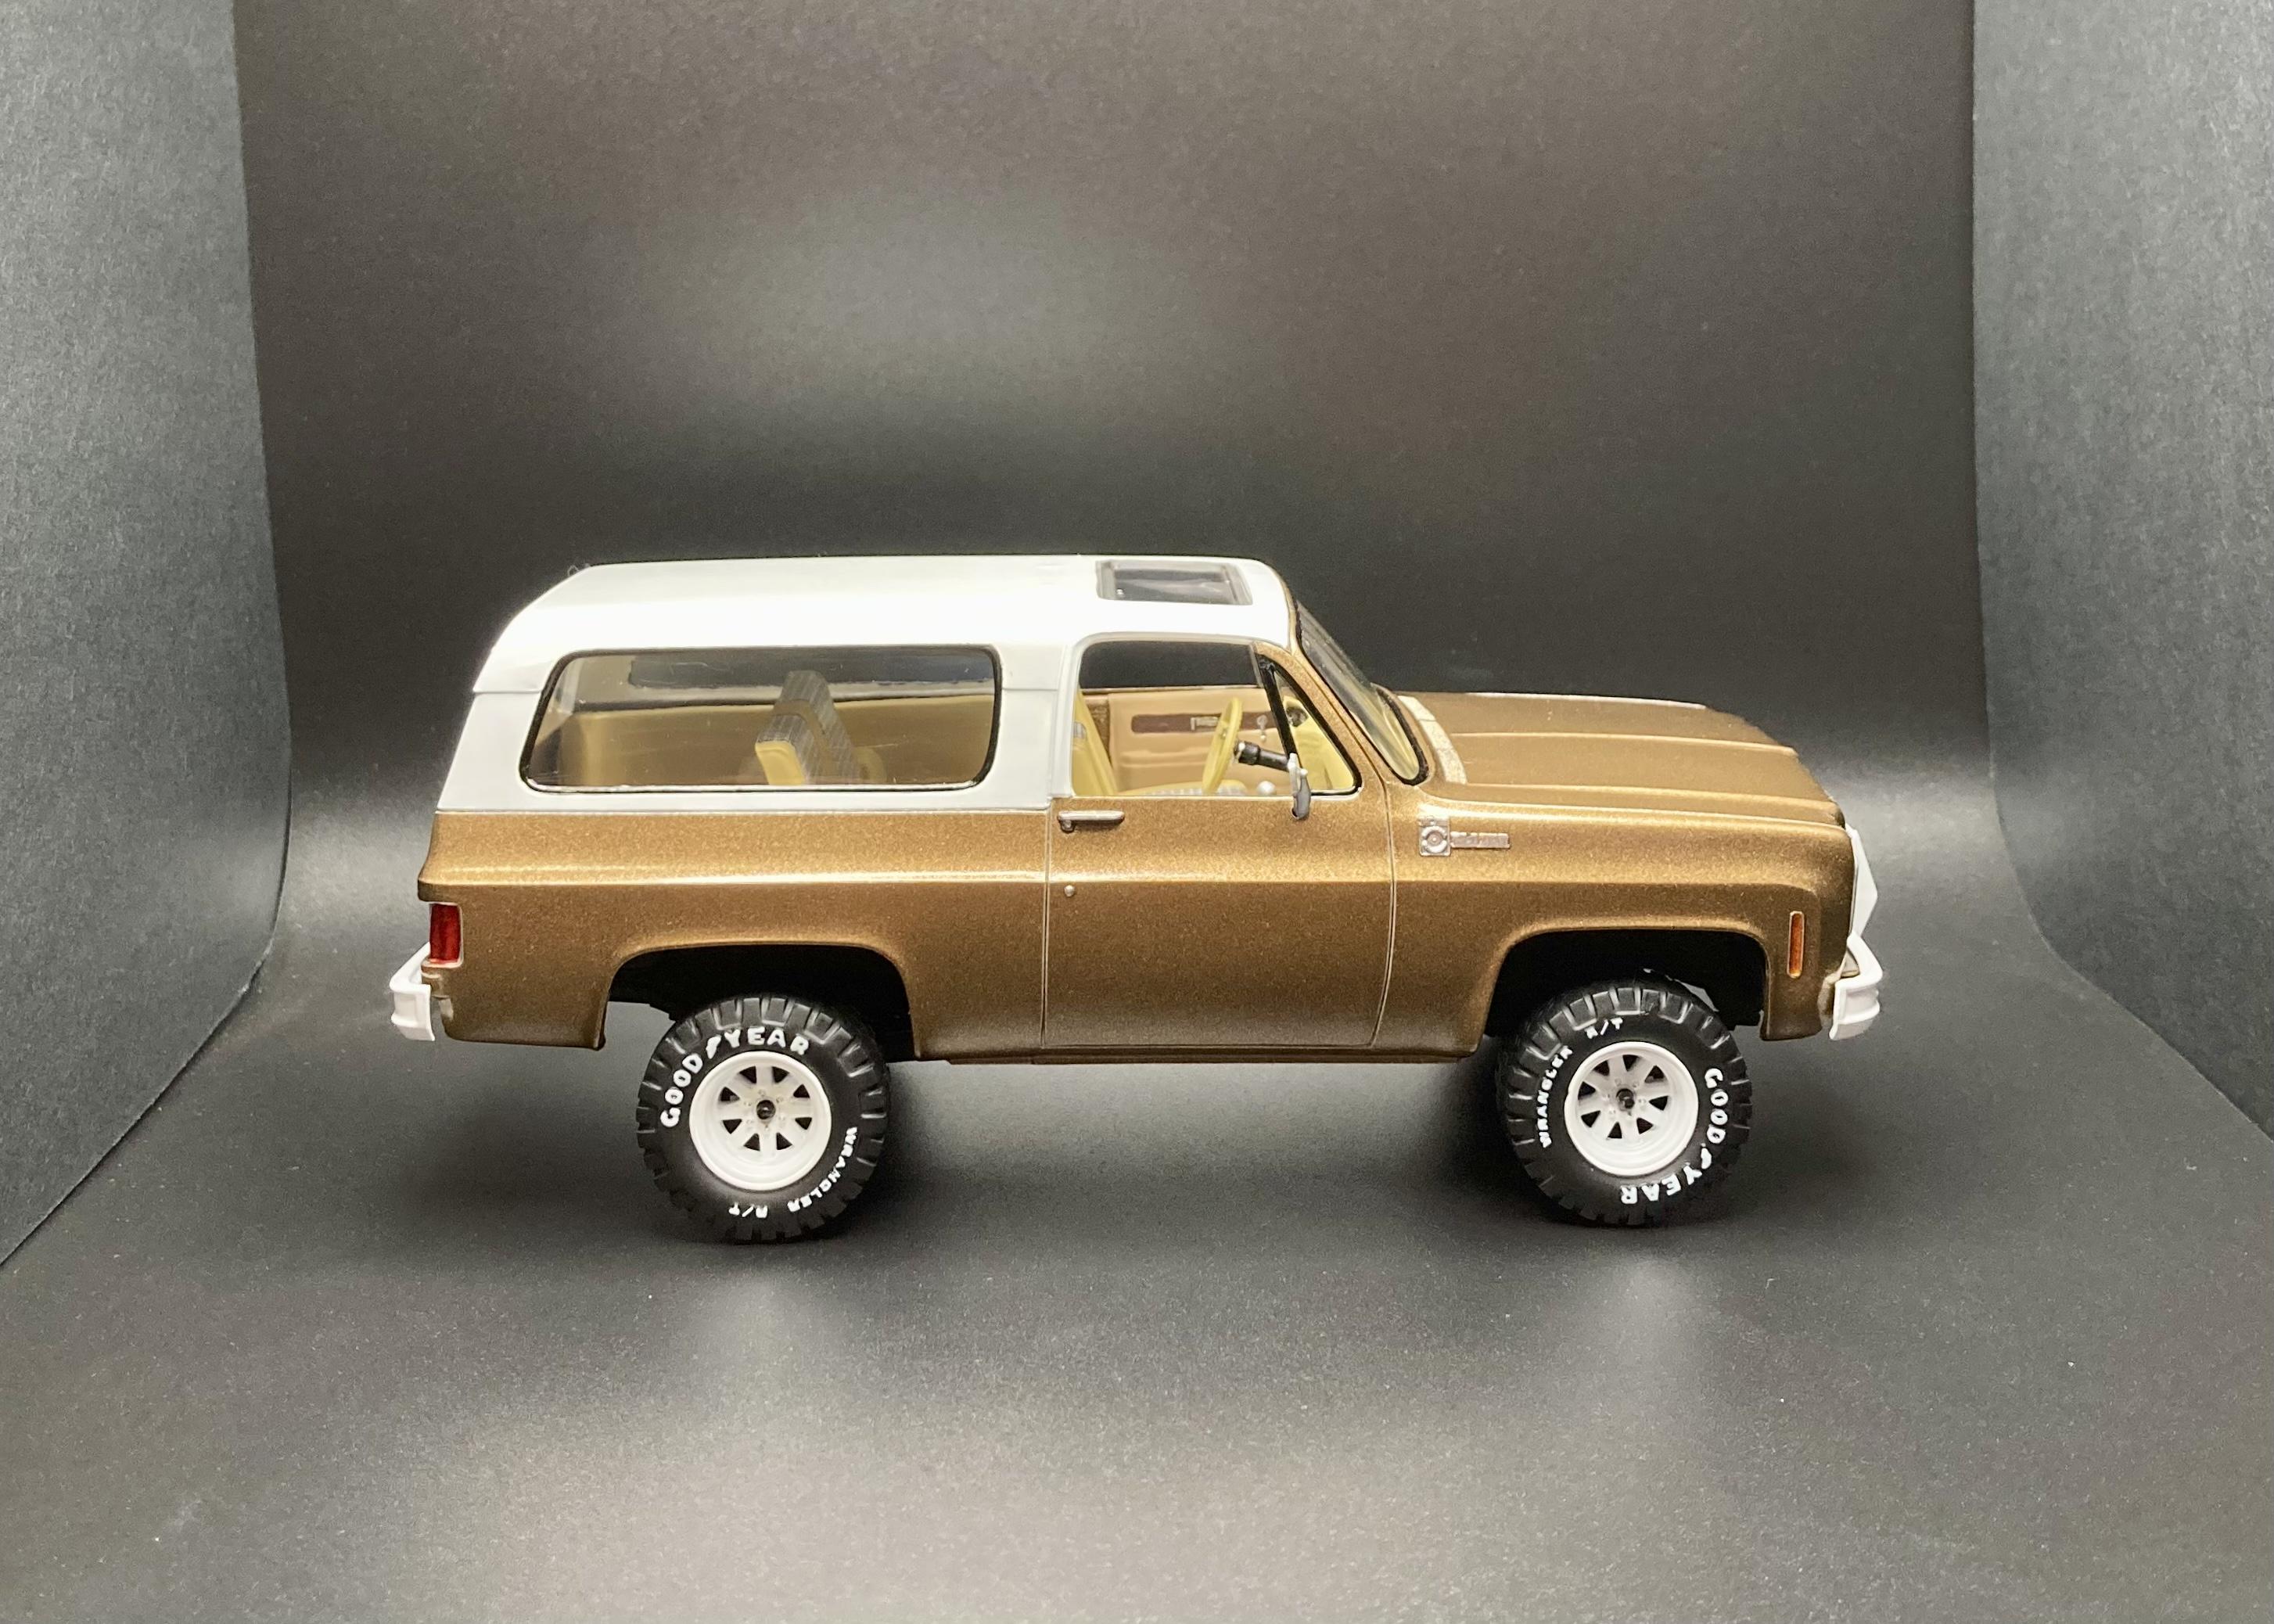
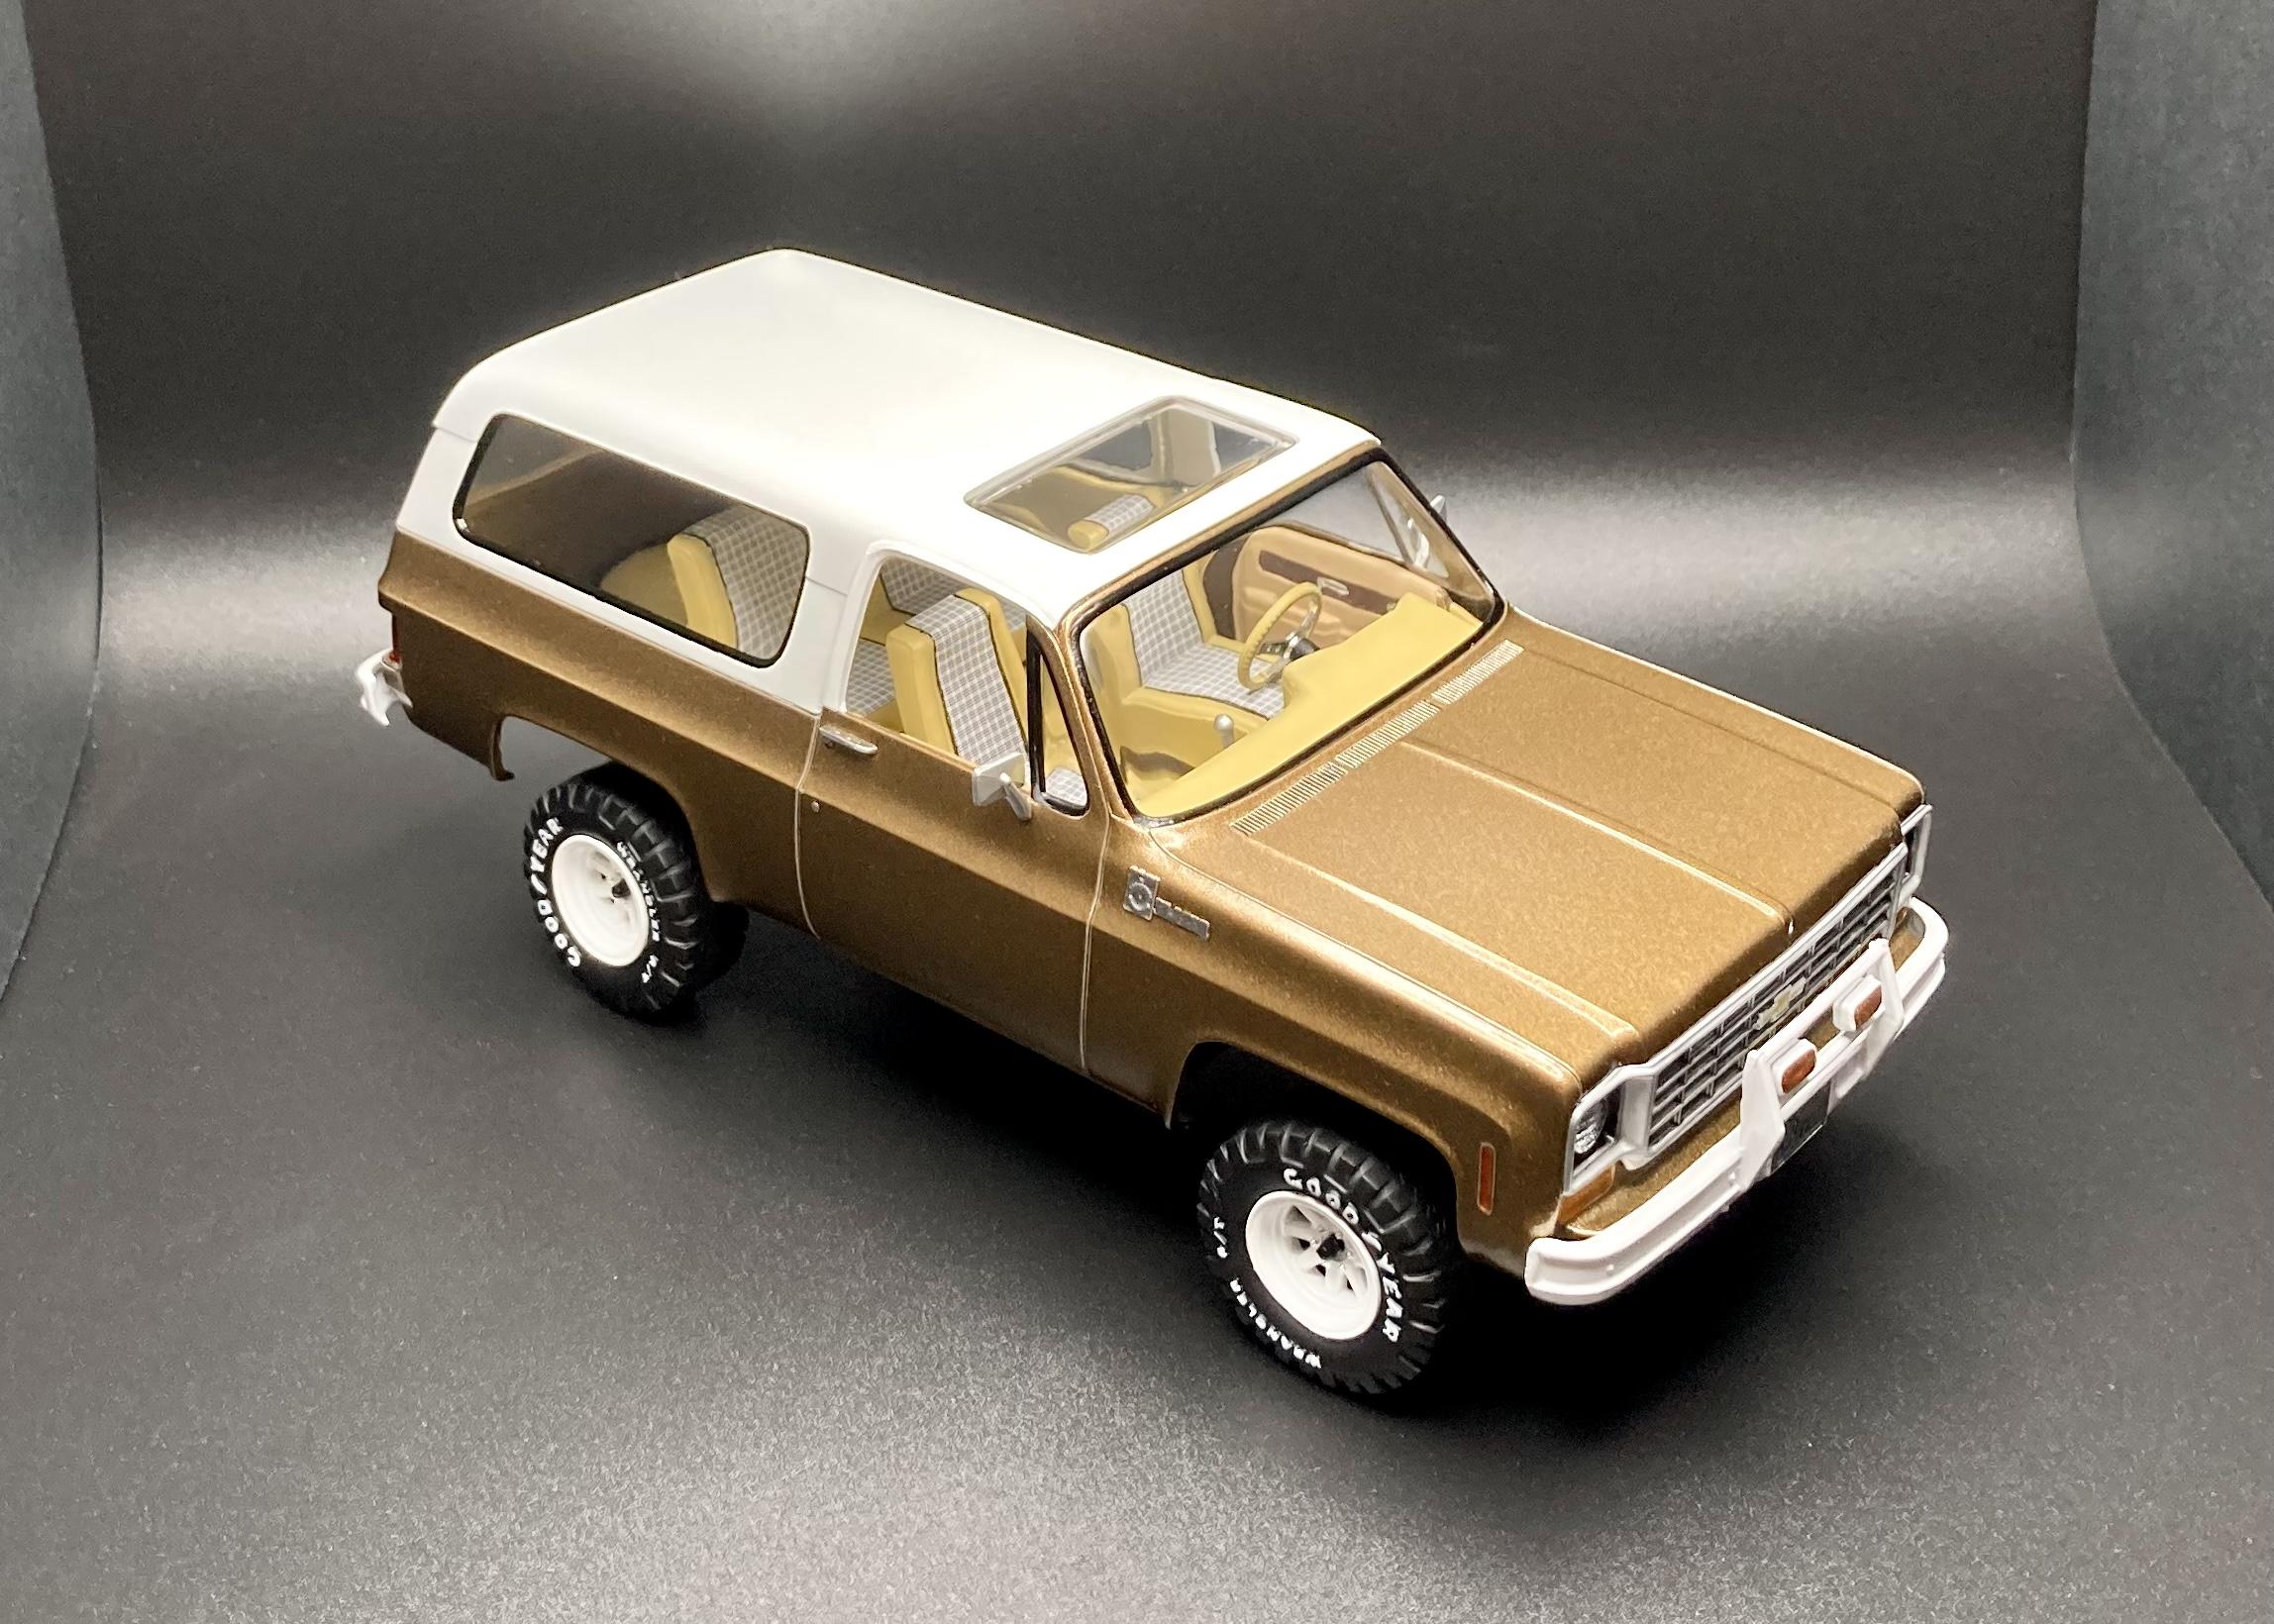
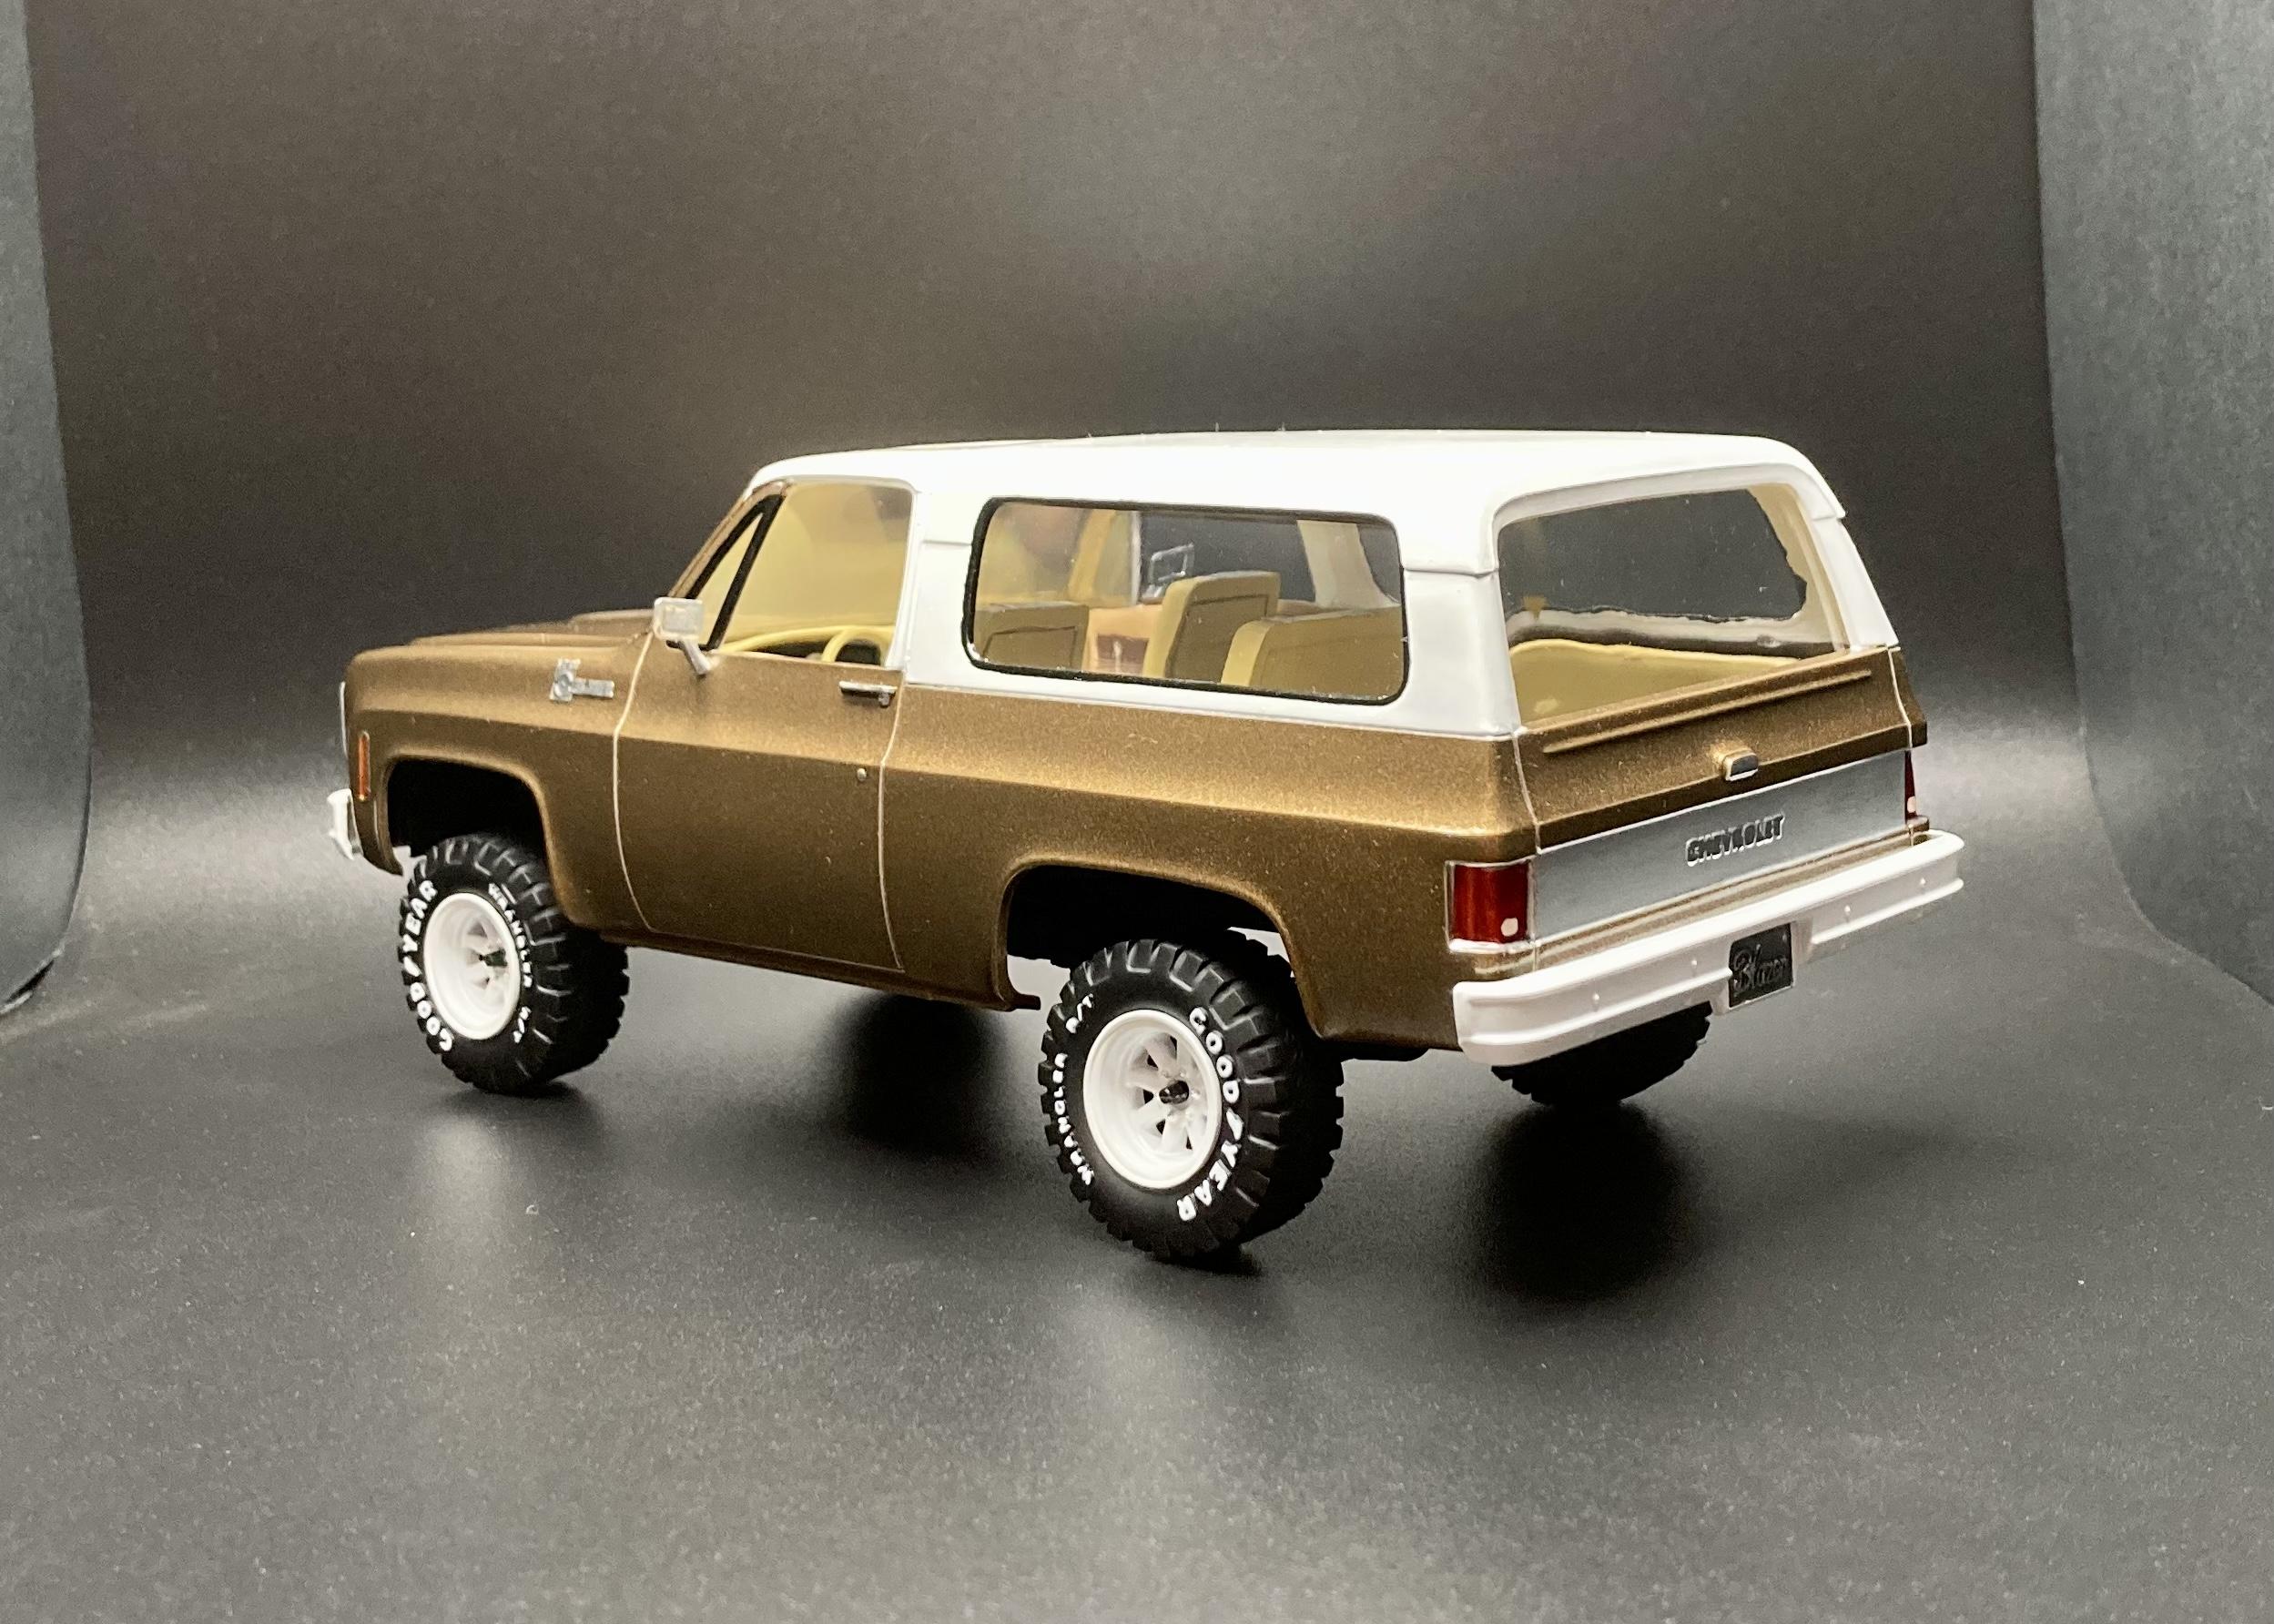
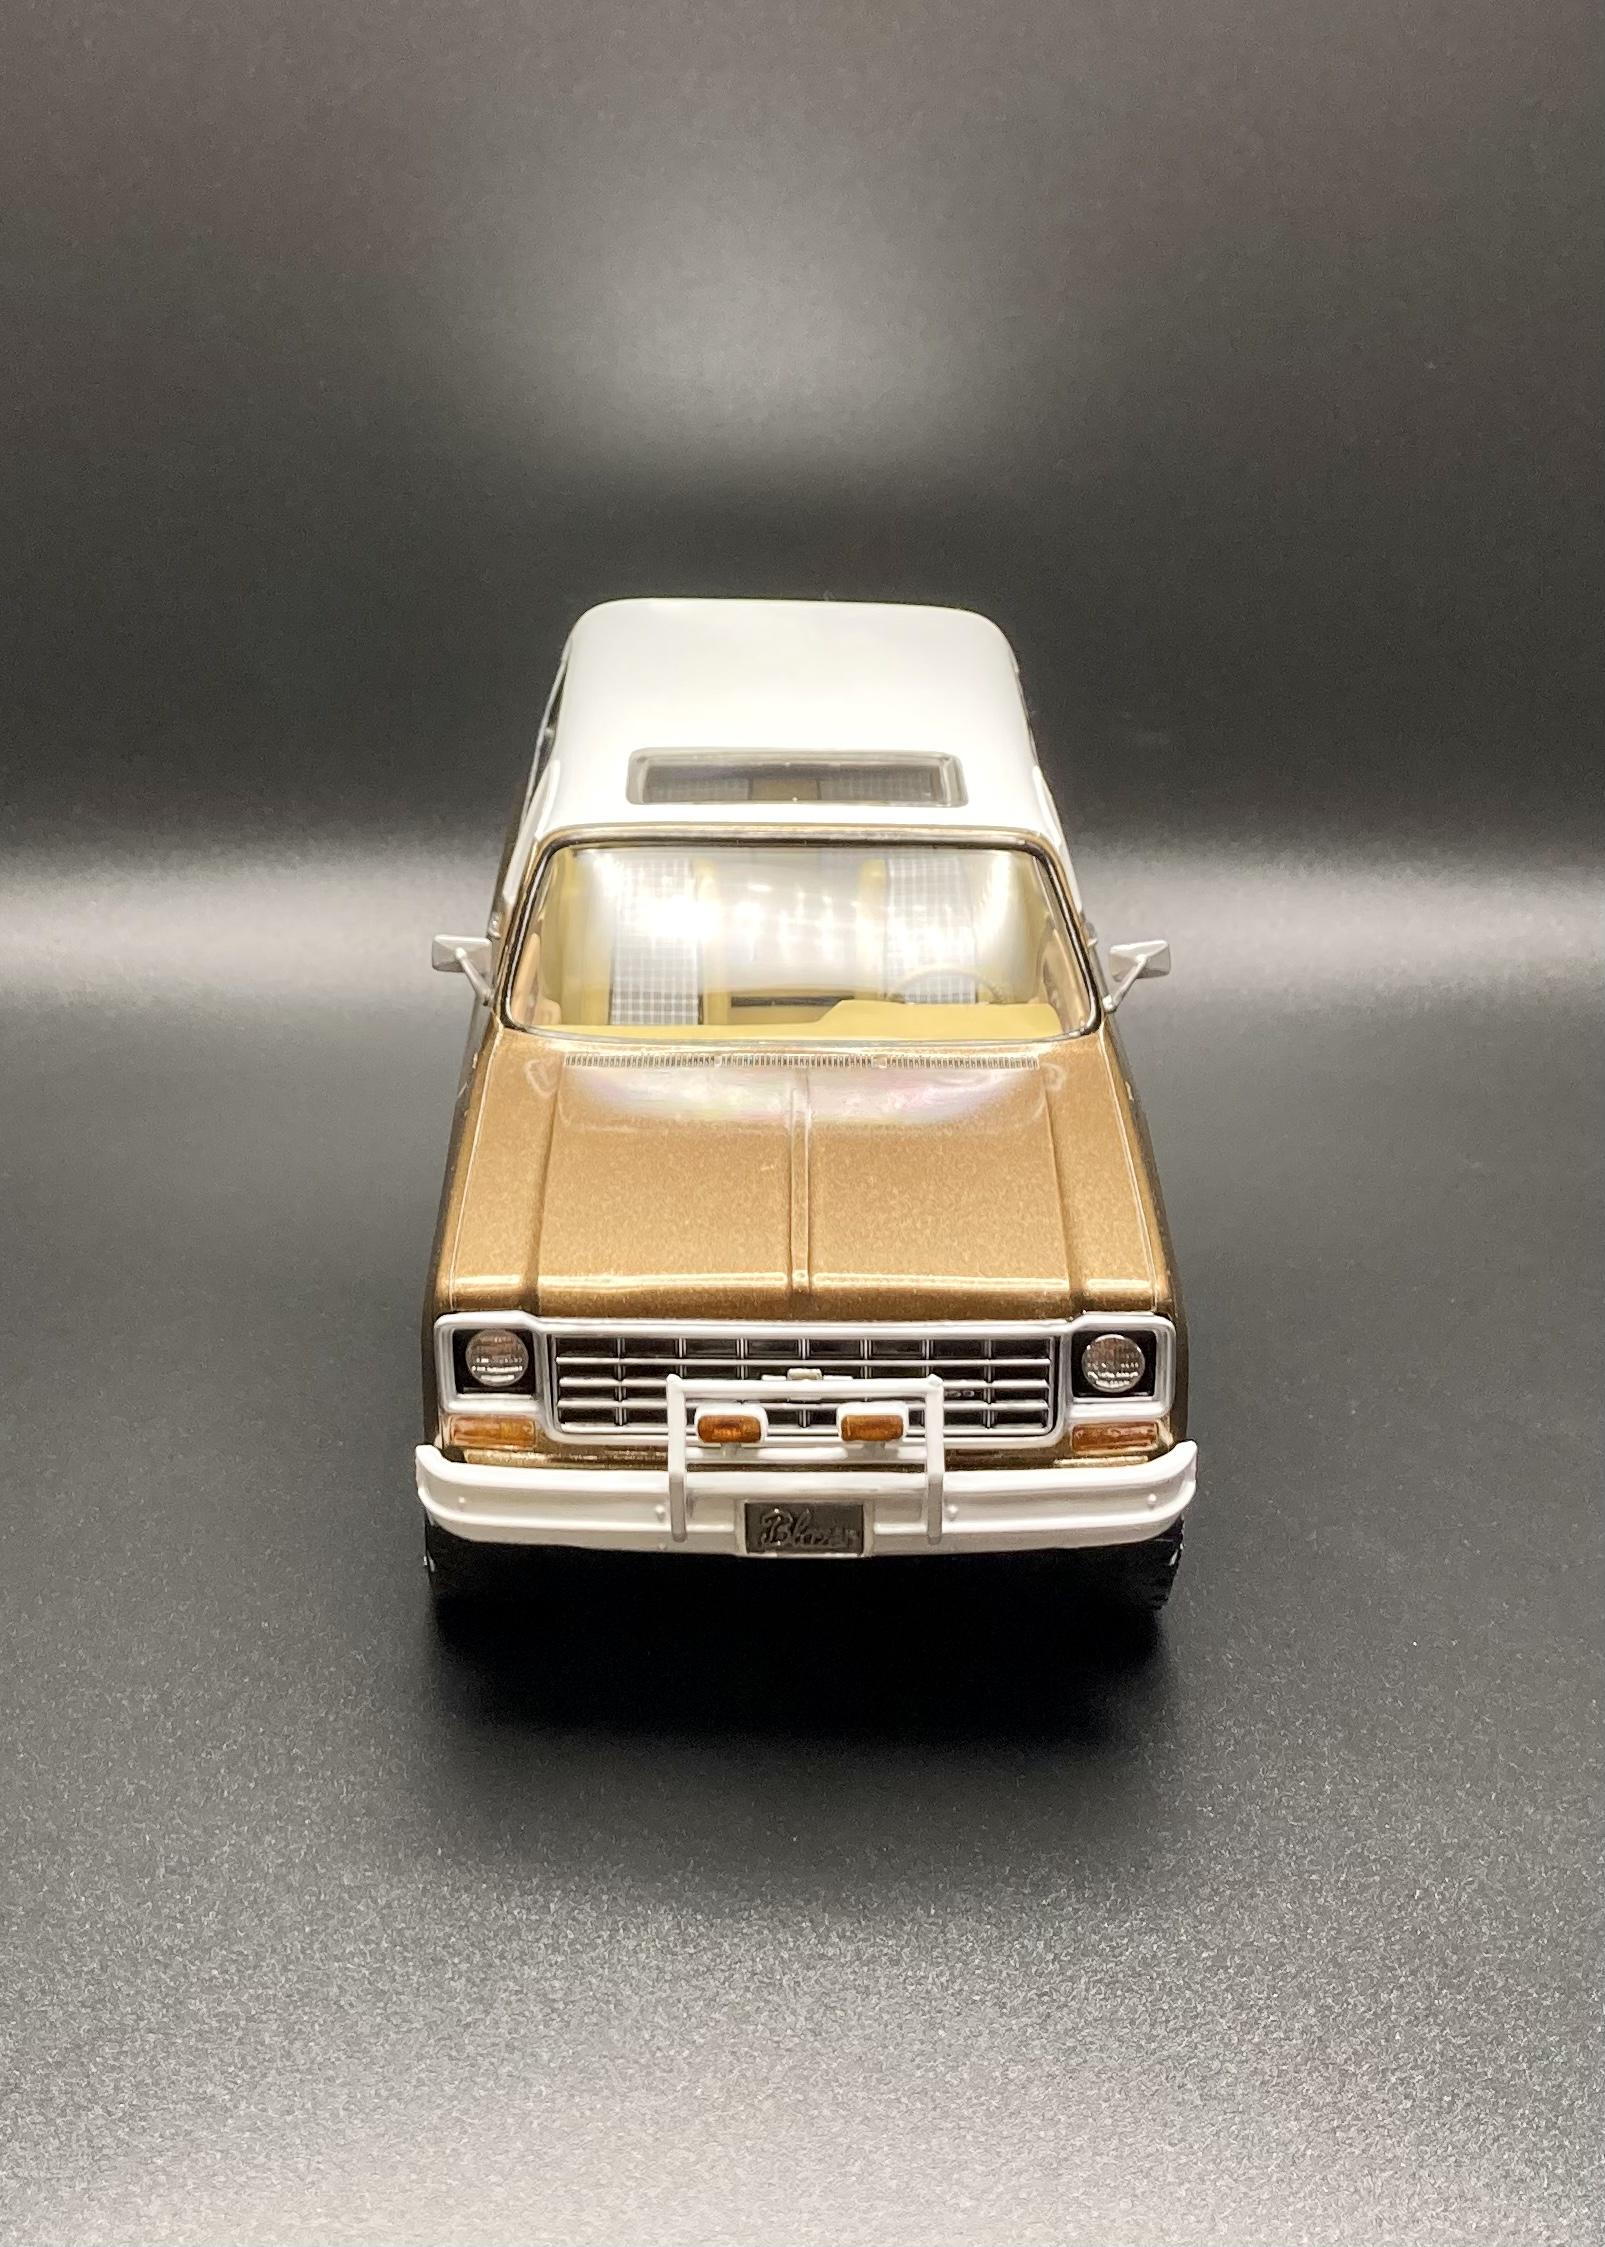
 Here’s the final results of my ‘75 Blazer snap kit rebuild! See my WIP for build details, but in short I built this kit as a teen 15 odd years ago. I hastily built it then so I decided to redo it to my current skill level and standards. I’m very pleased with how this one turned out!
-
This is the new Revell 427 Coupe. I really like the kit. It builds fairly easily. The decals are nice and I'd say it's very similar to the roadster kit. There are a few differences and things that I don't like though. I don't like how they did the pipes and I think the exhaust outlets look a little large for the car. I also had some fit issues I didn't have with the roadster. The hood is glued shut because of one of them The back corner would not stay down. It sucks because I did a really nice job on the engine bay. Still, the kit makes a nice looking model. SAM_0936 by Eric Lucas, on Flickr SAM_0937 by Eric Lucas, on Flickr SAM_0938 by Eric Lucas, on Flickr SAM_0939 by Eric Lucas, on Flickr
-
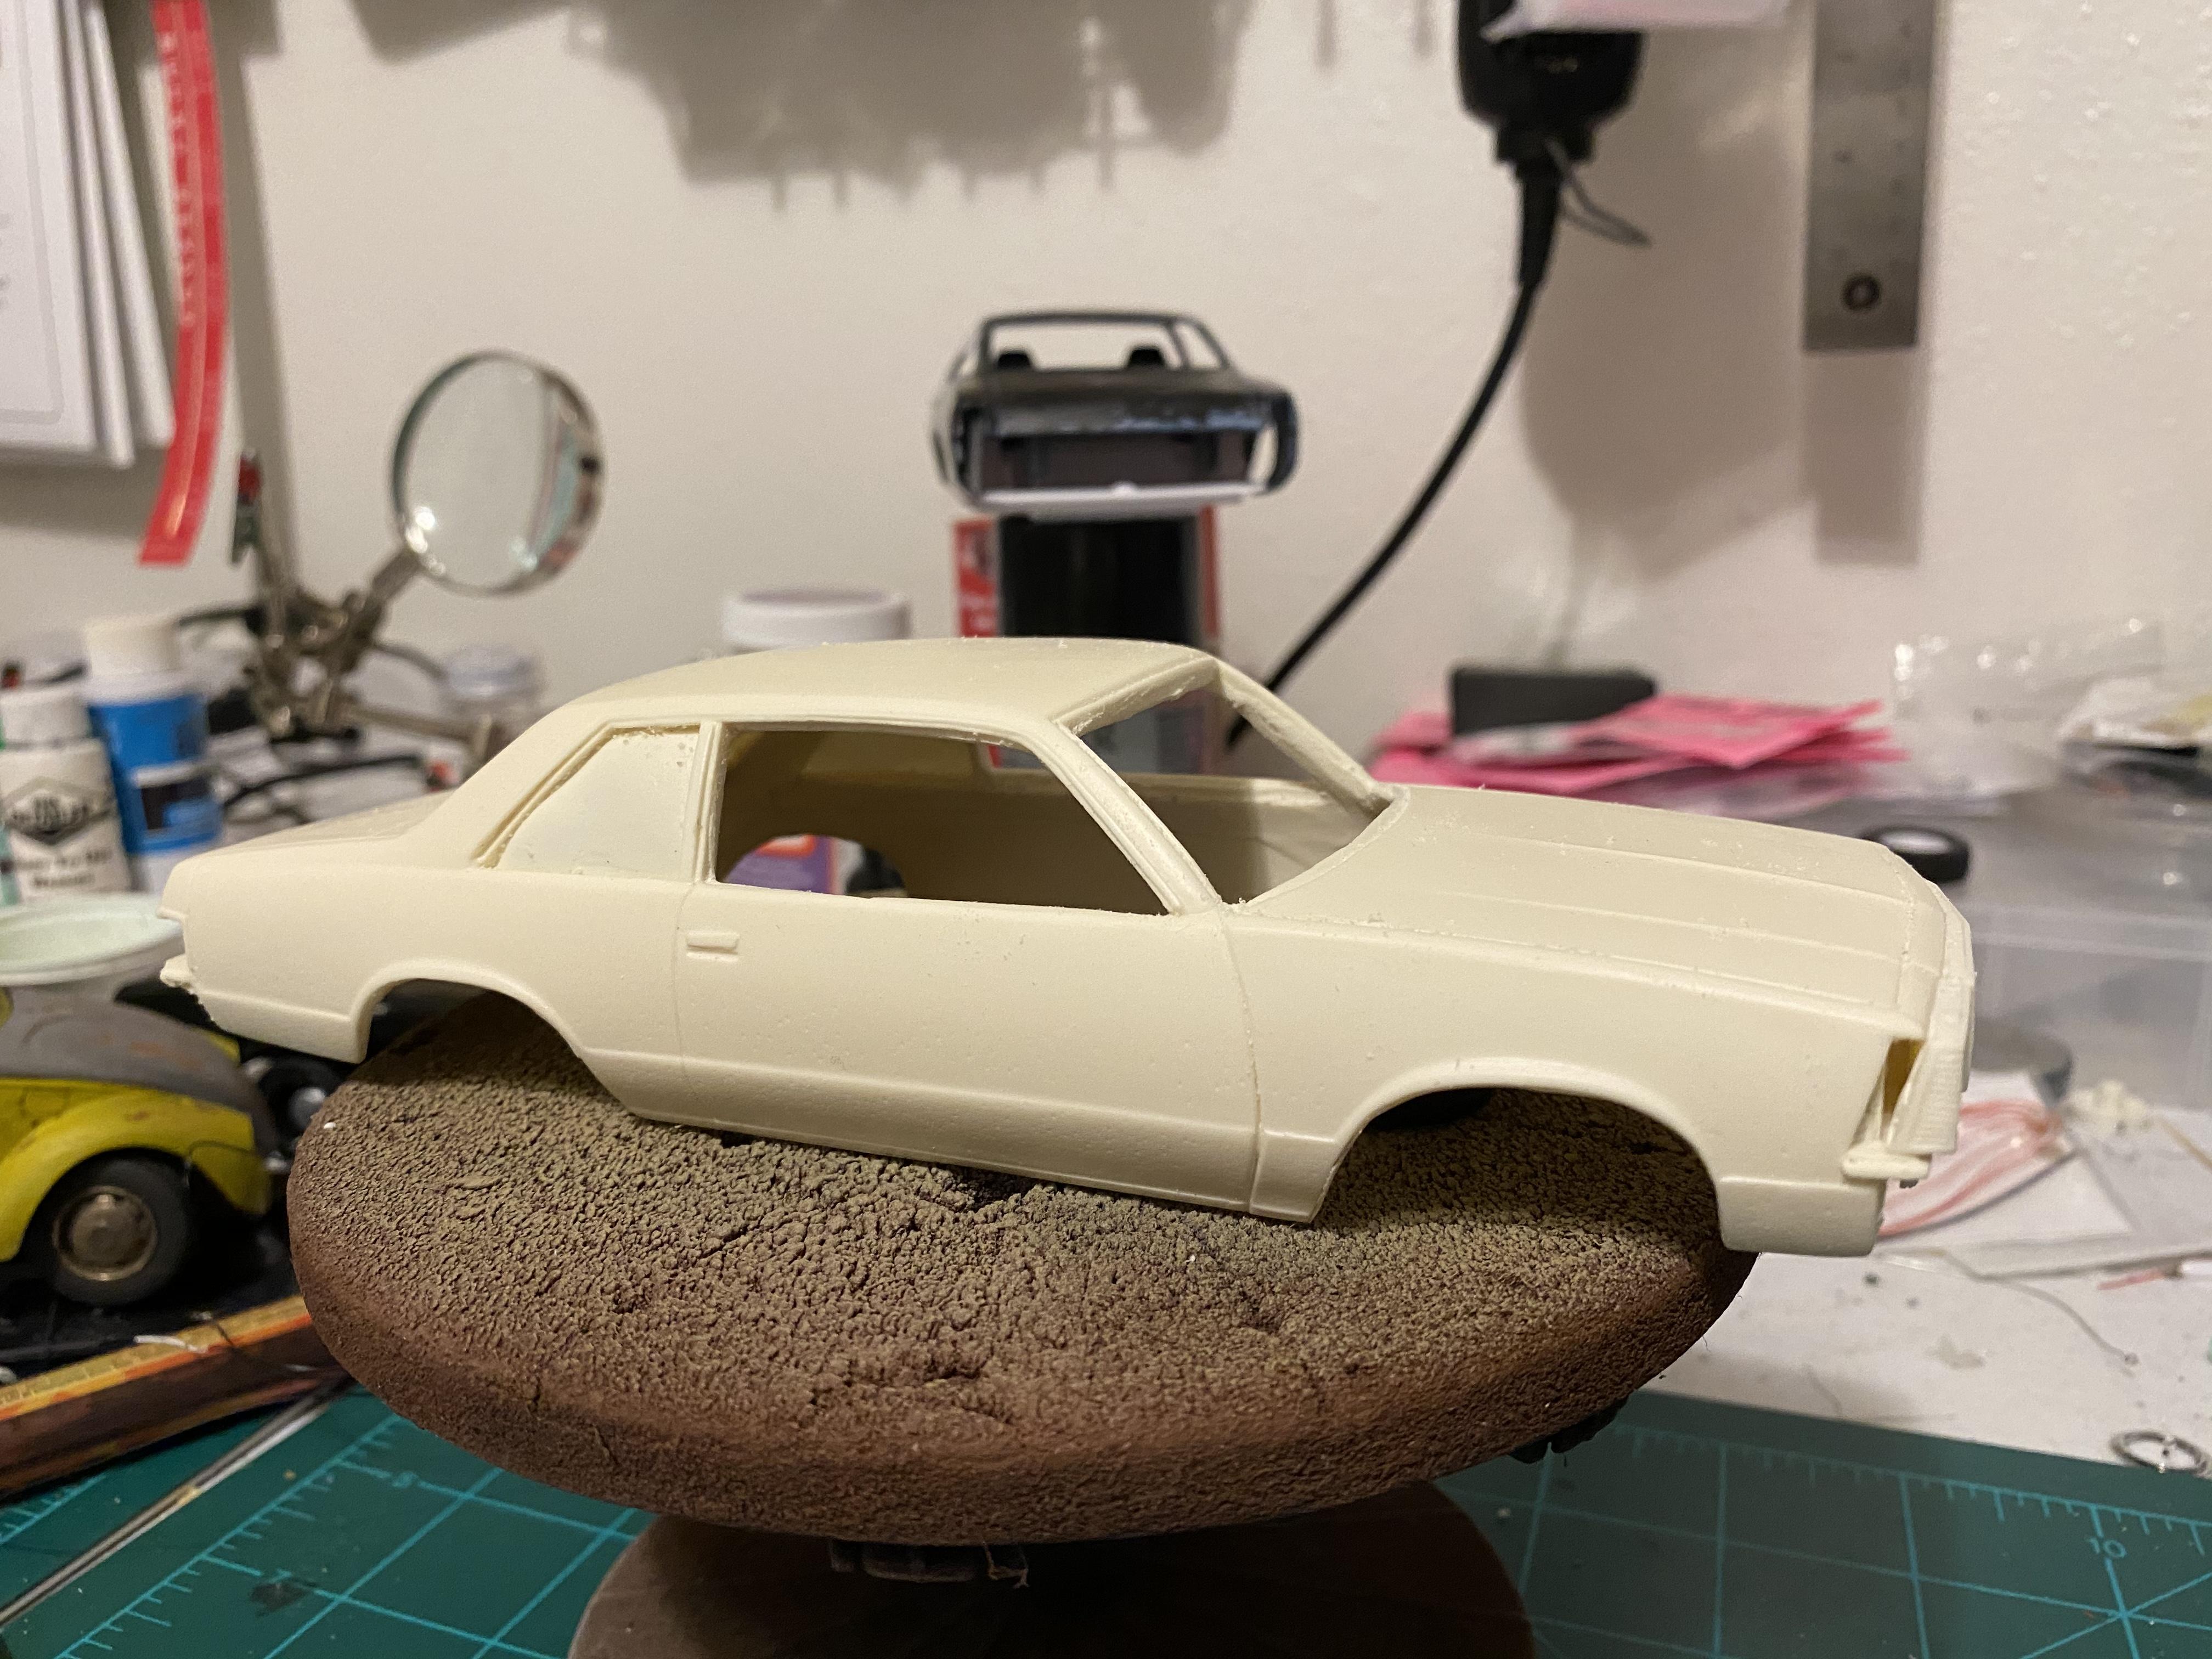
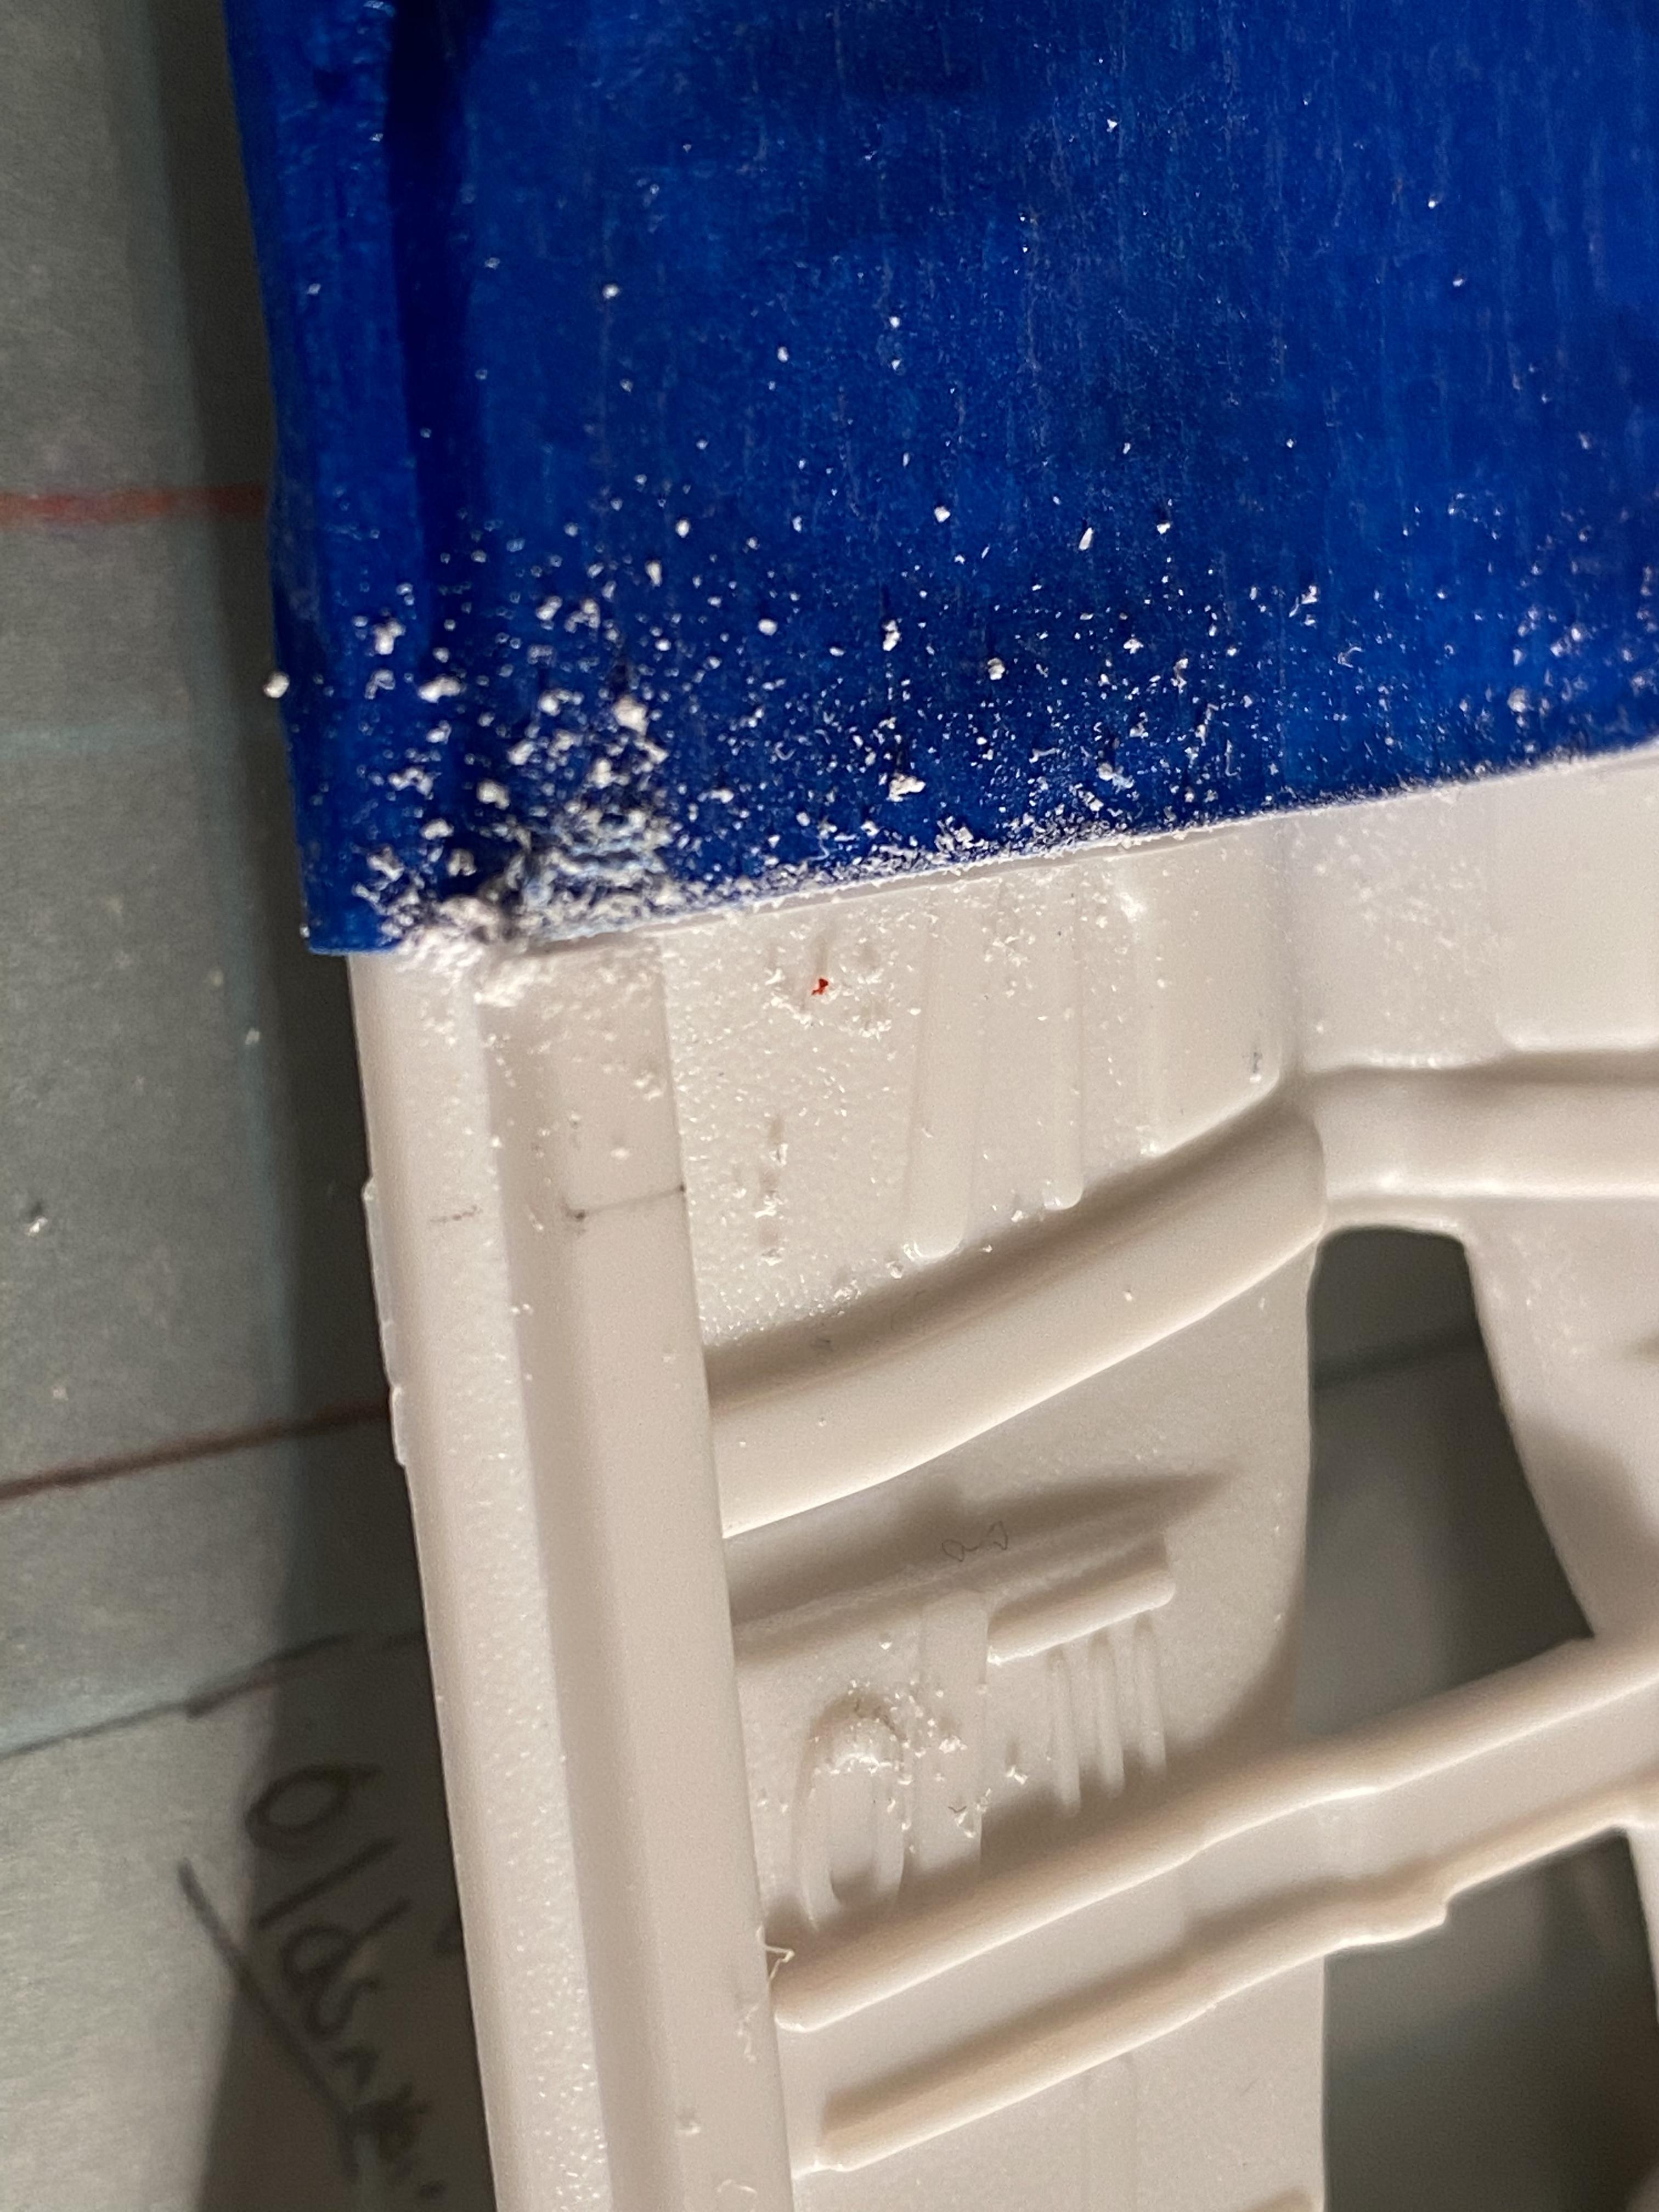
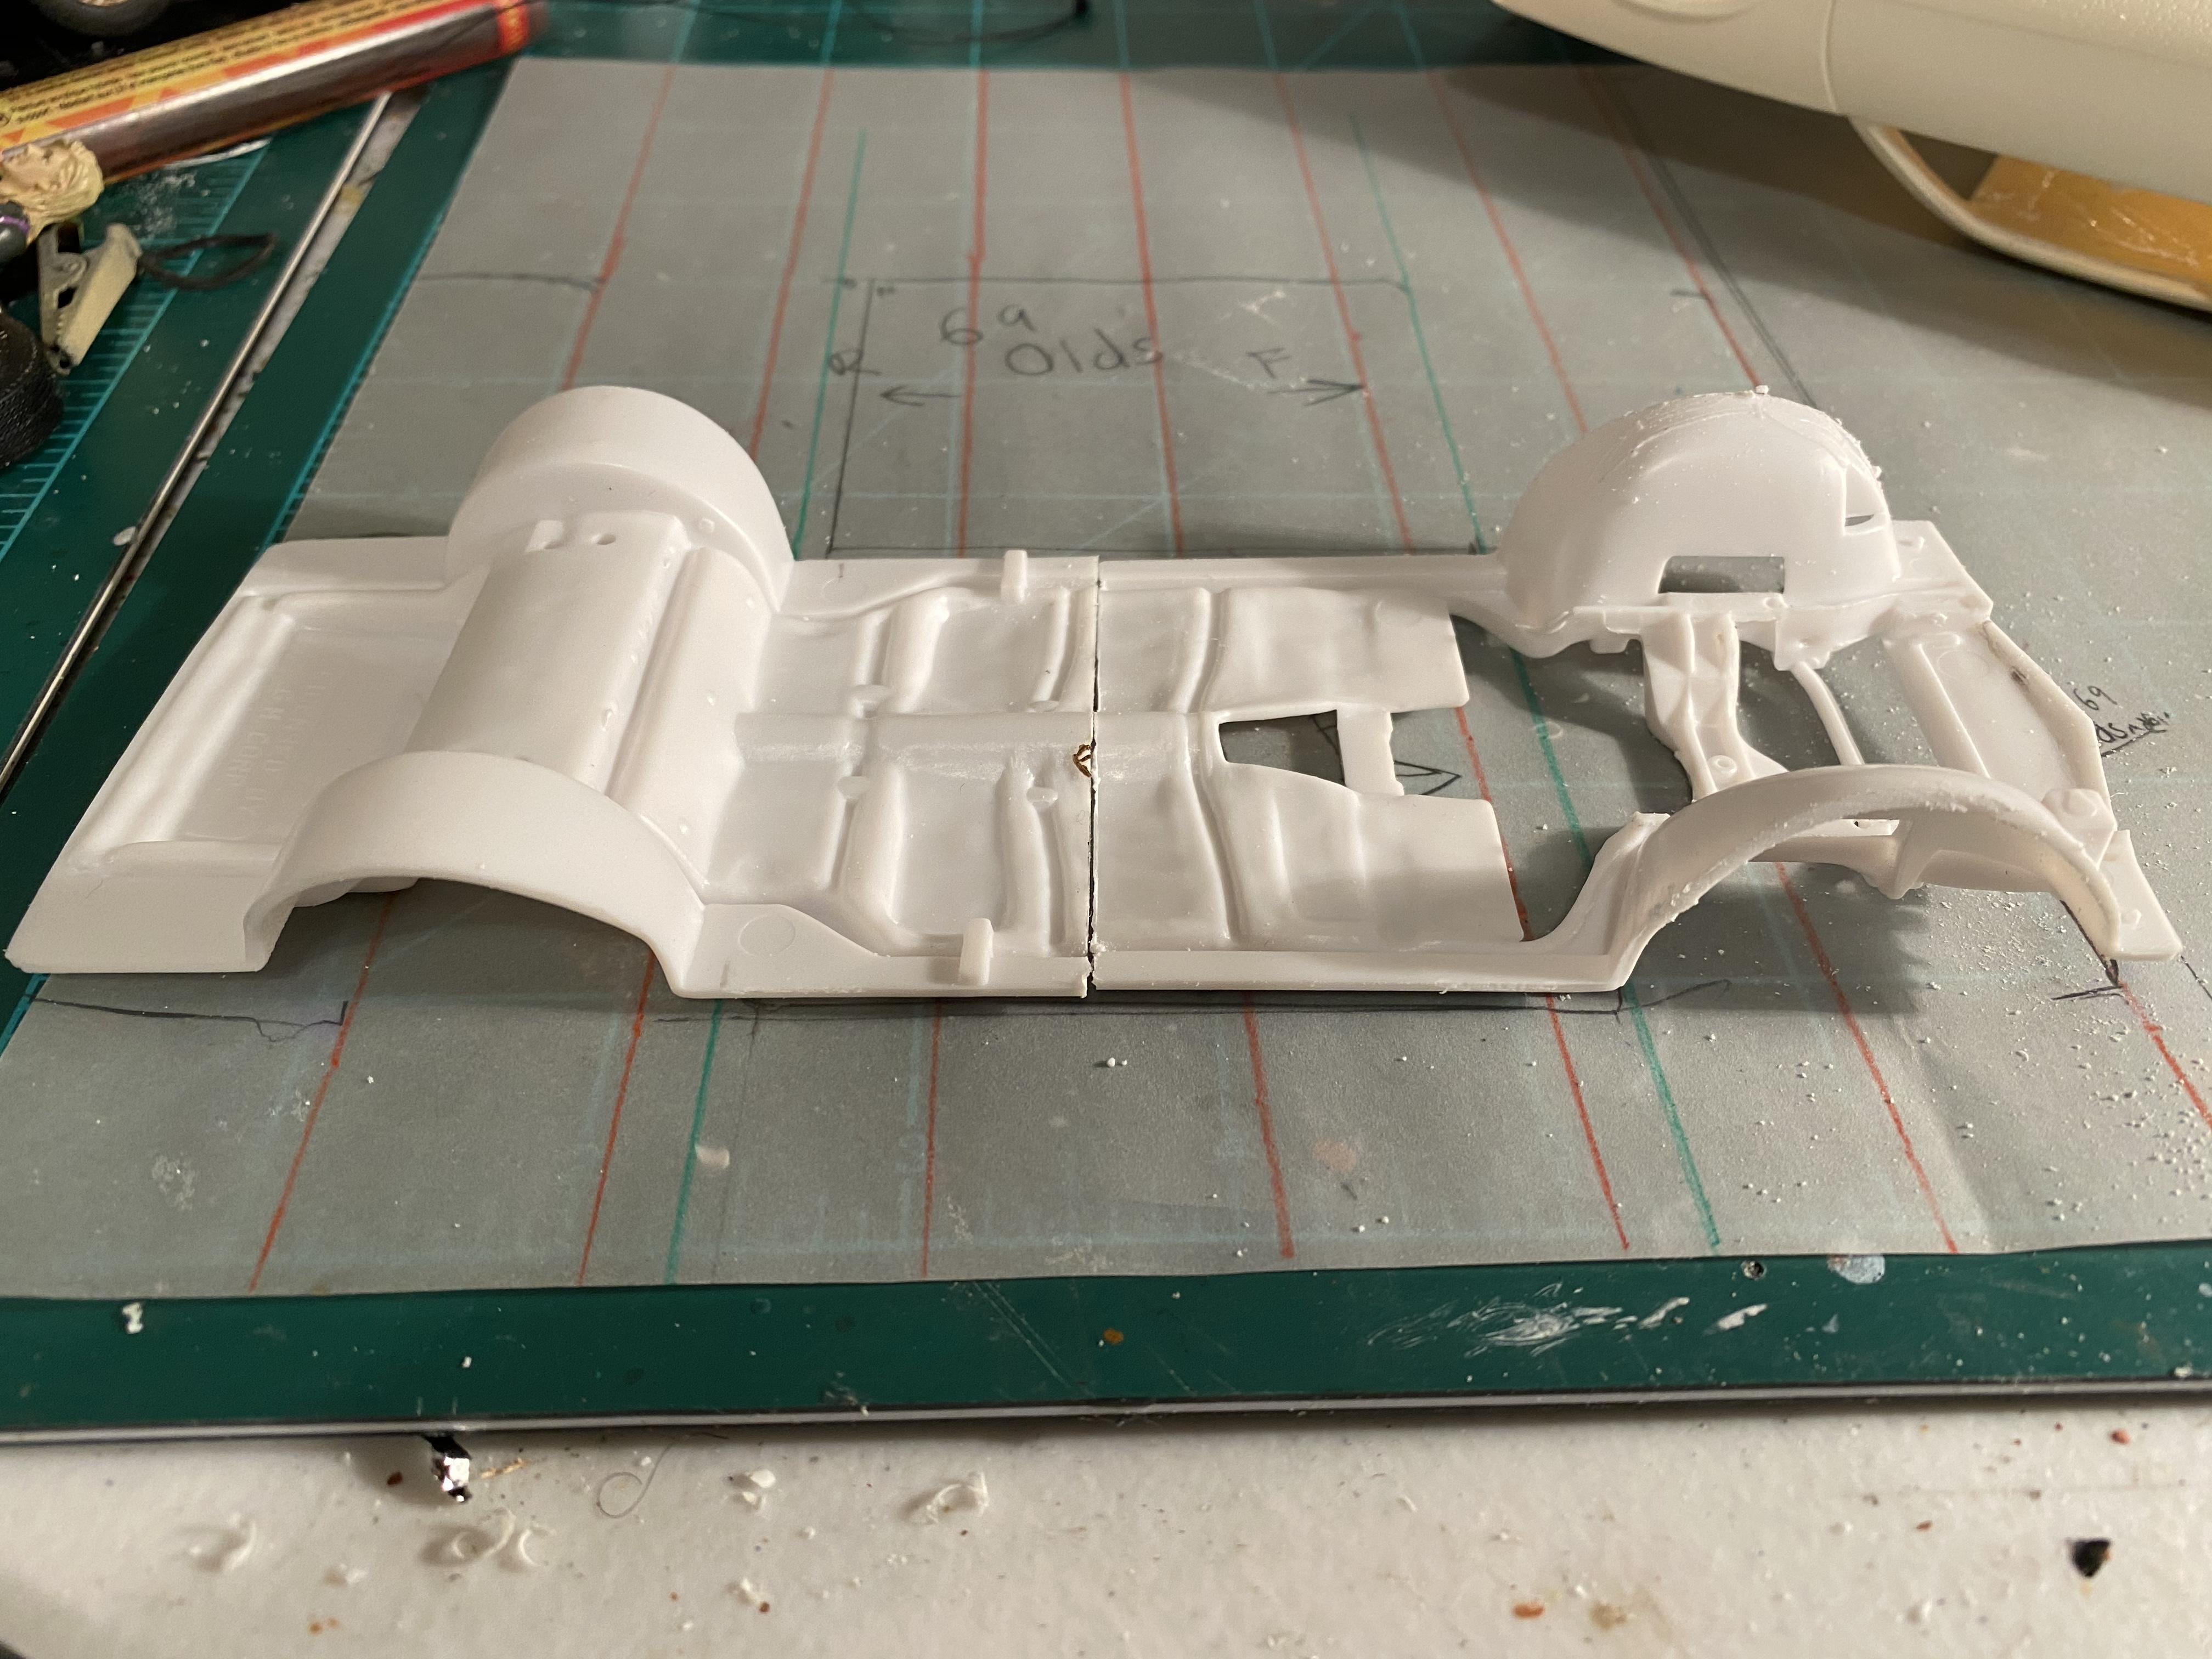
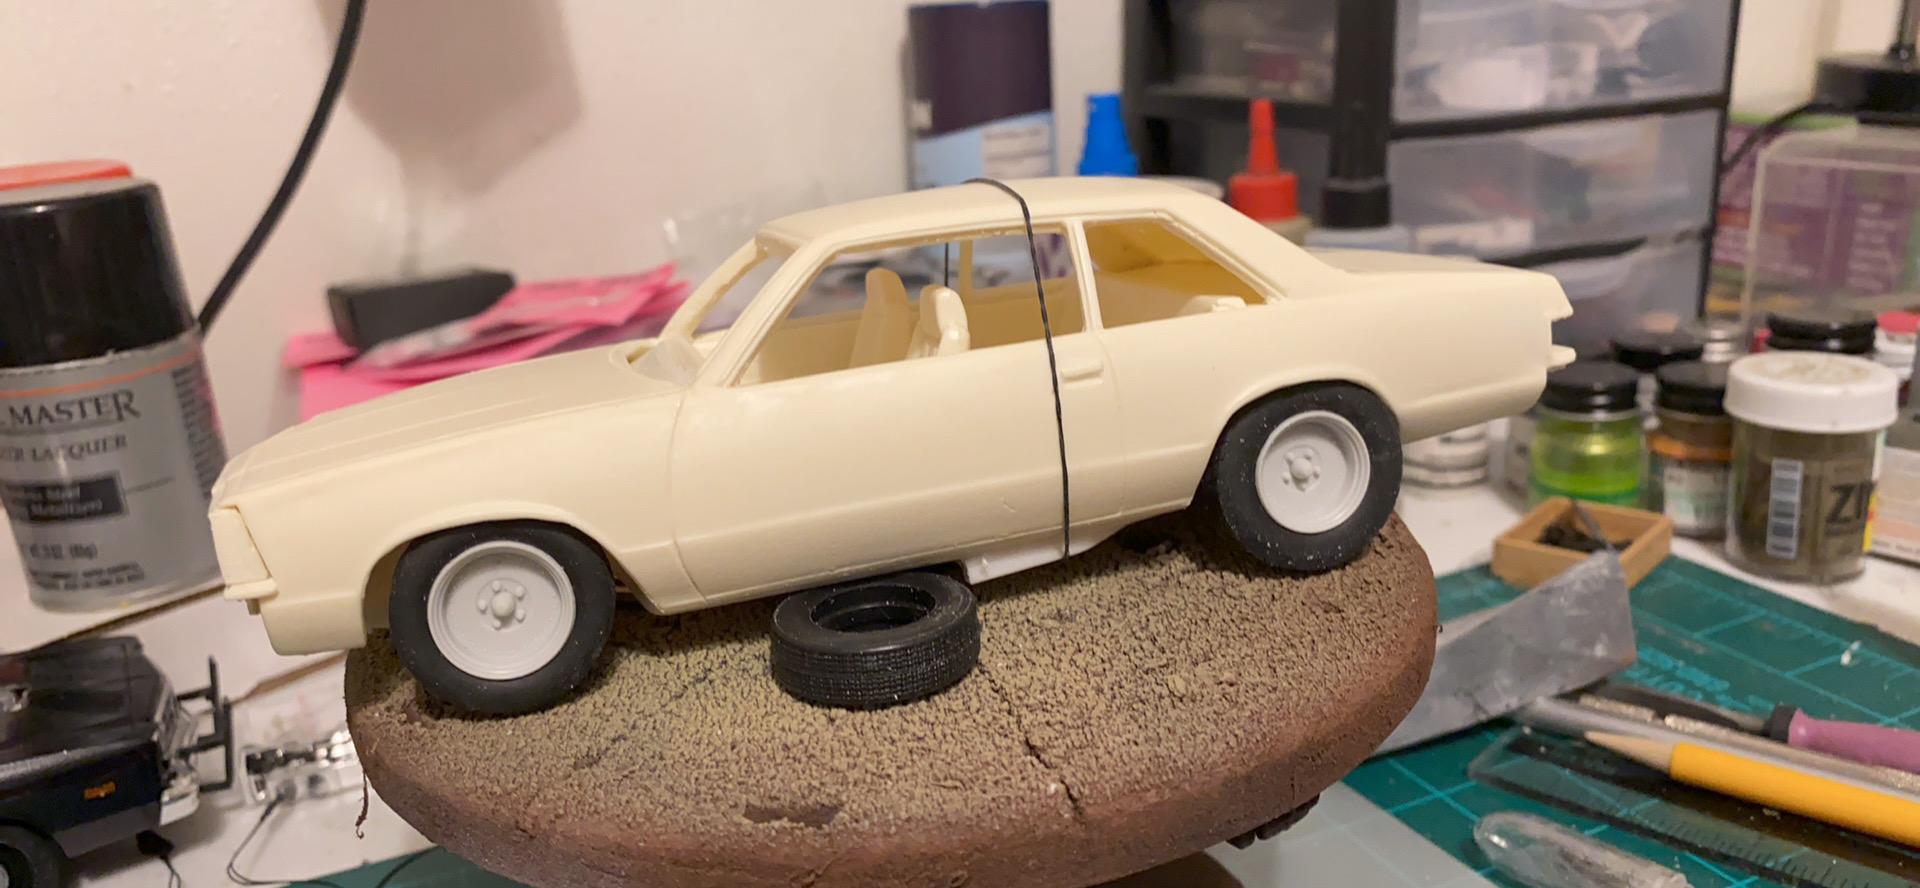
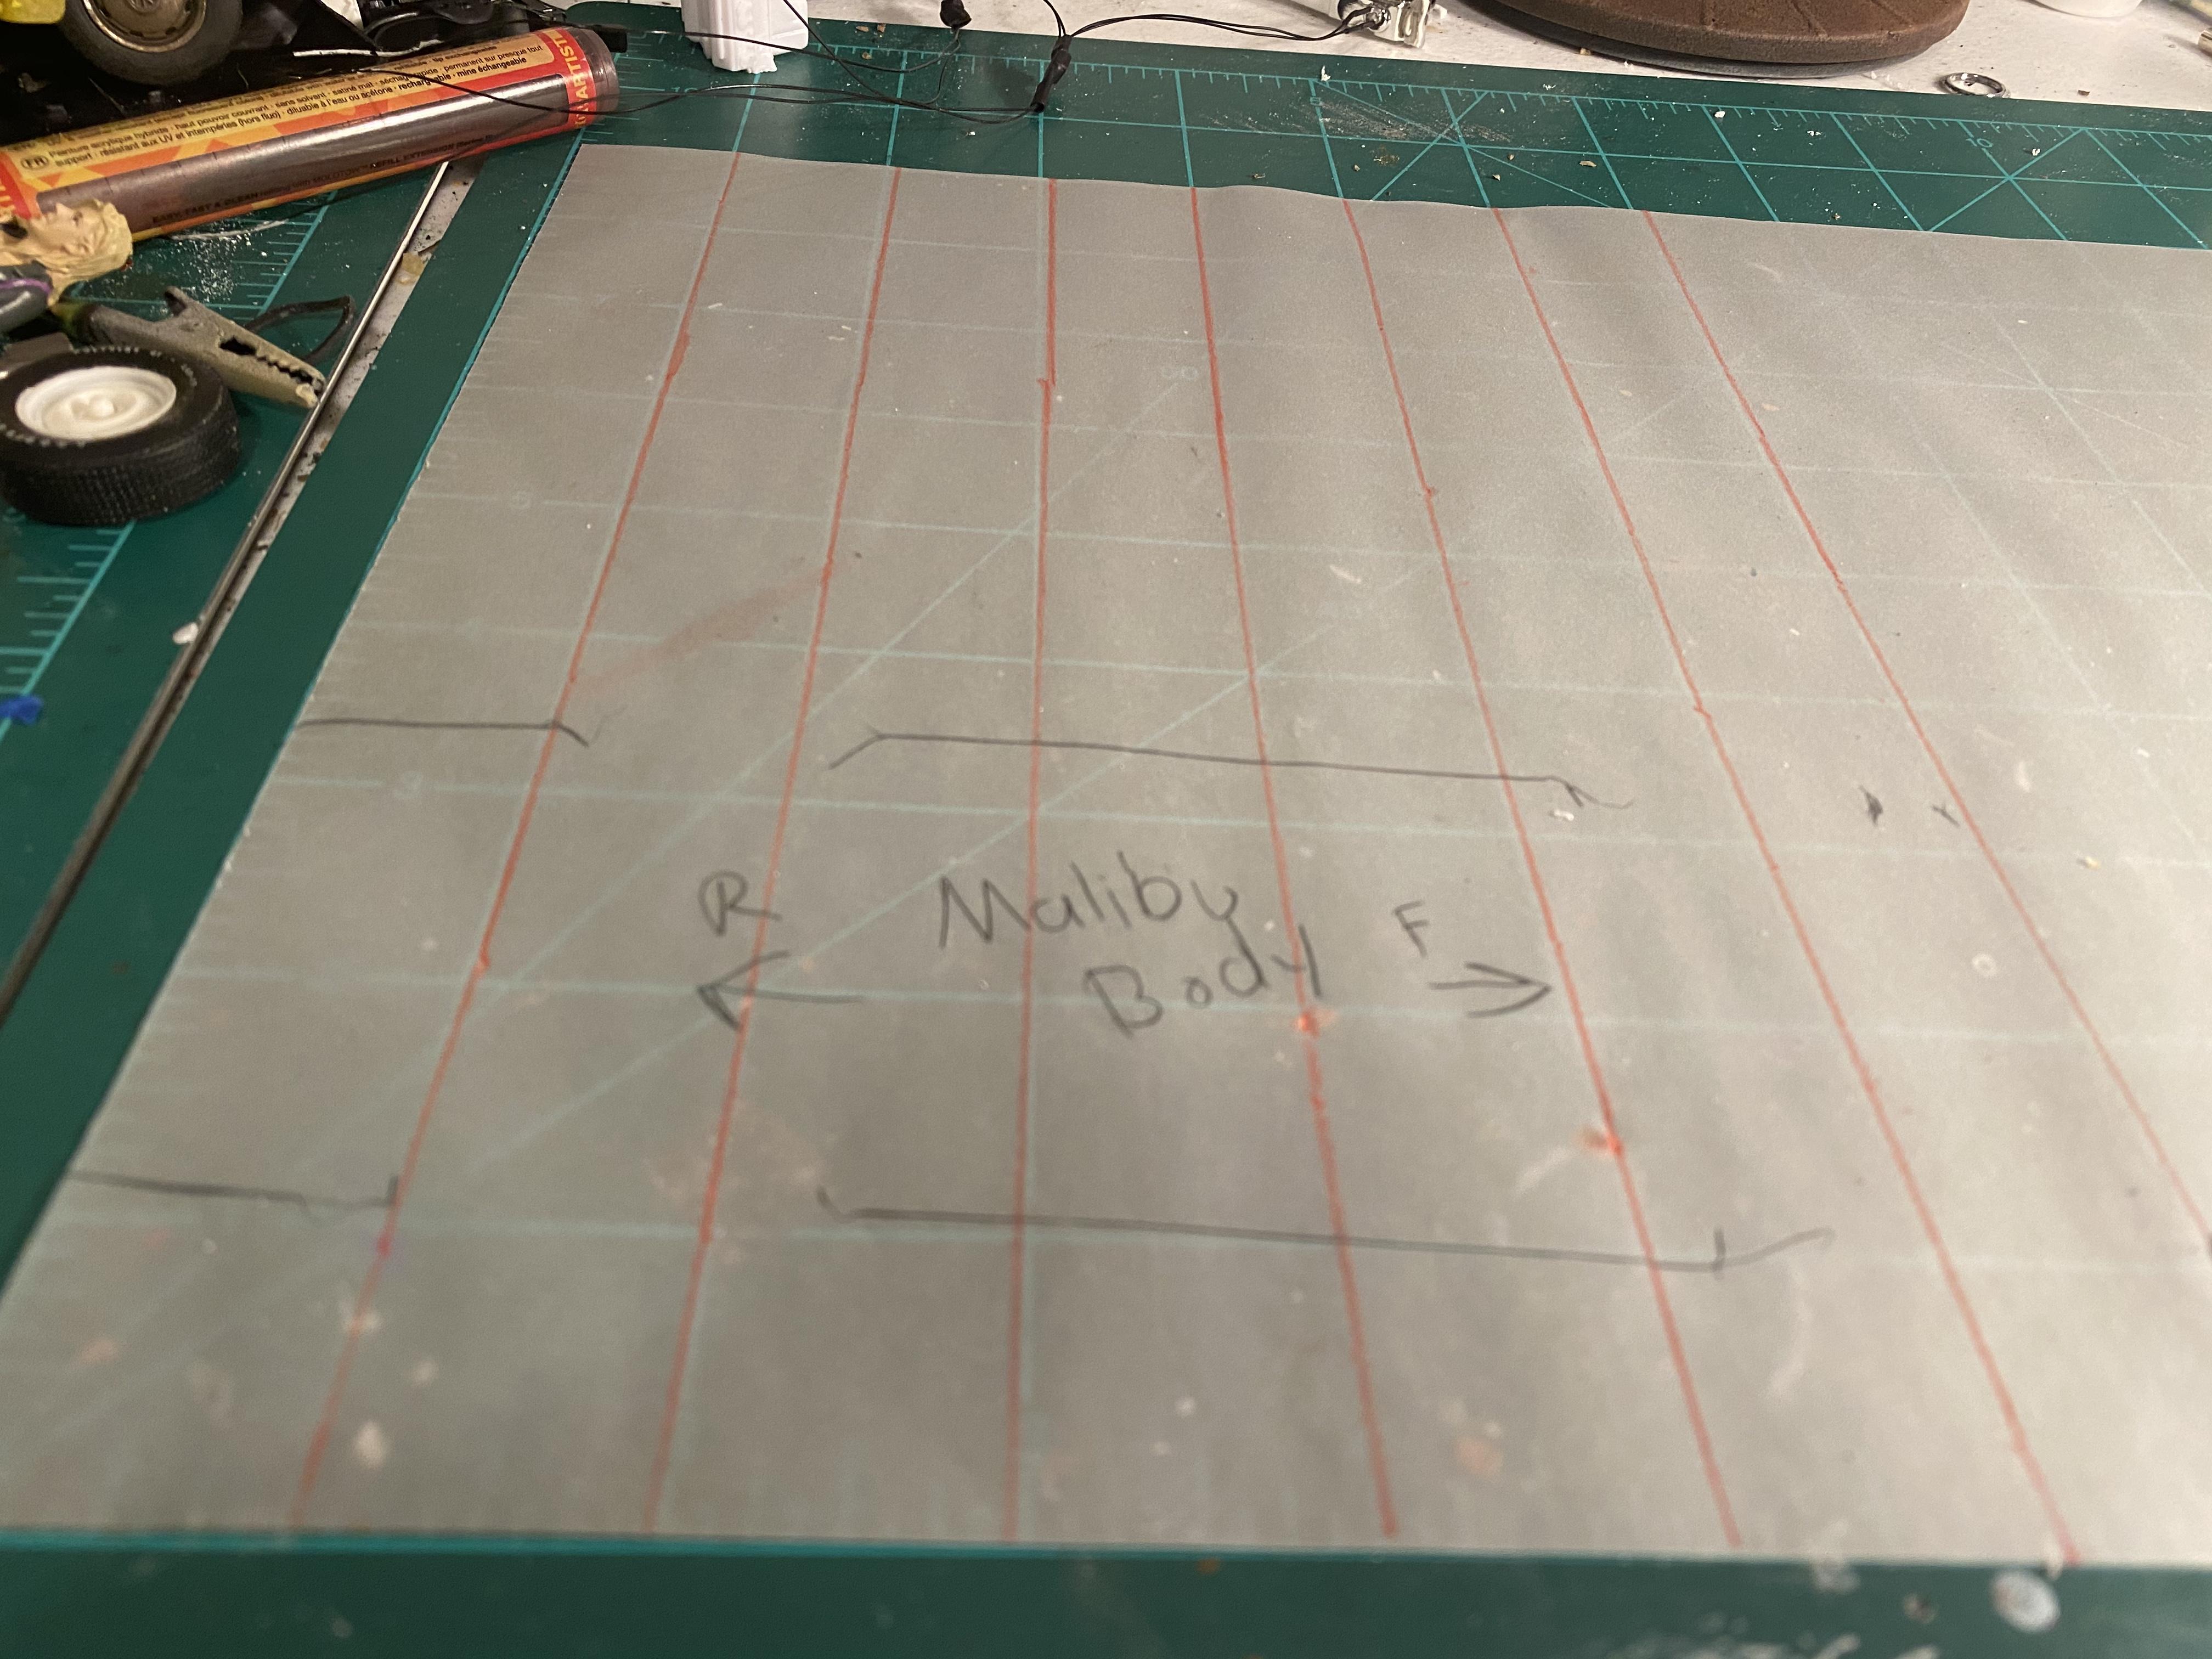
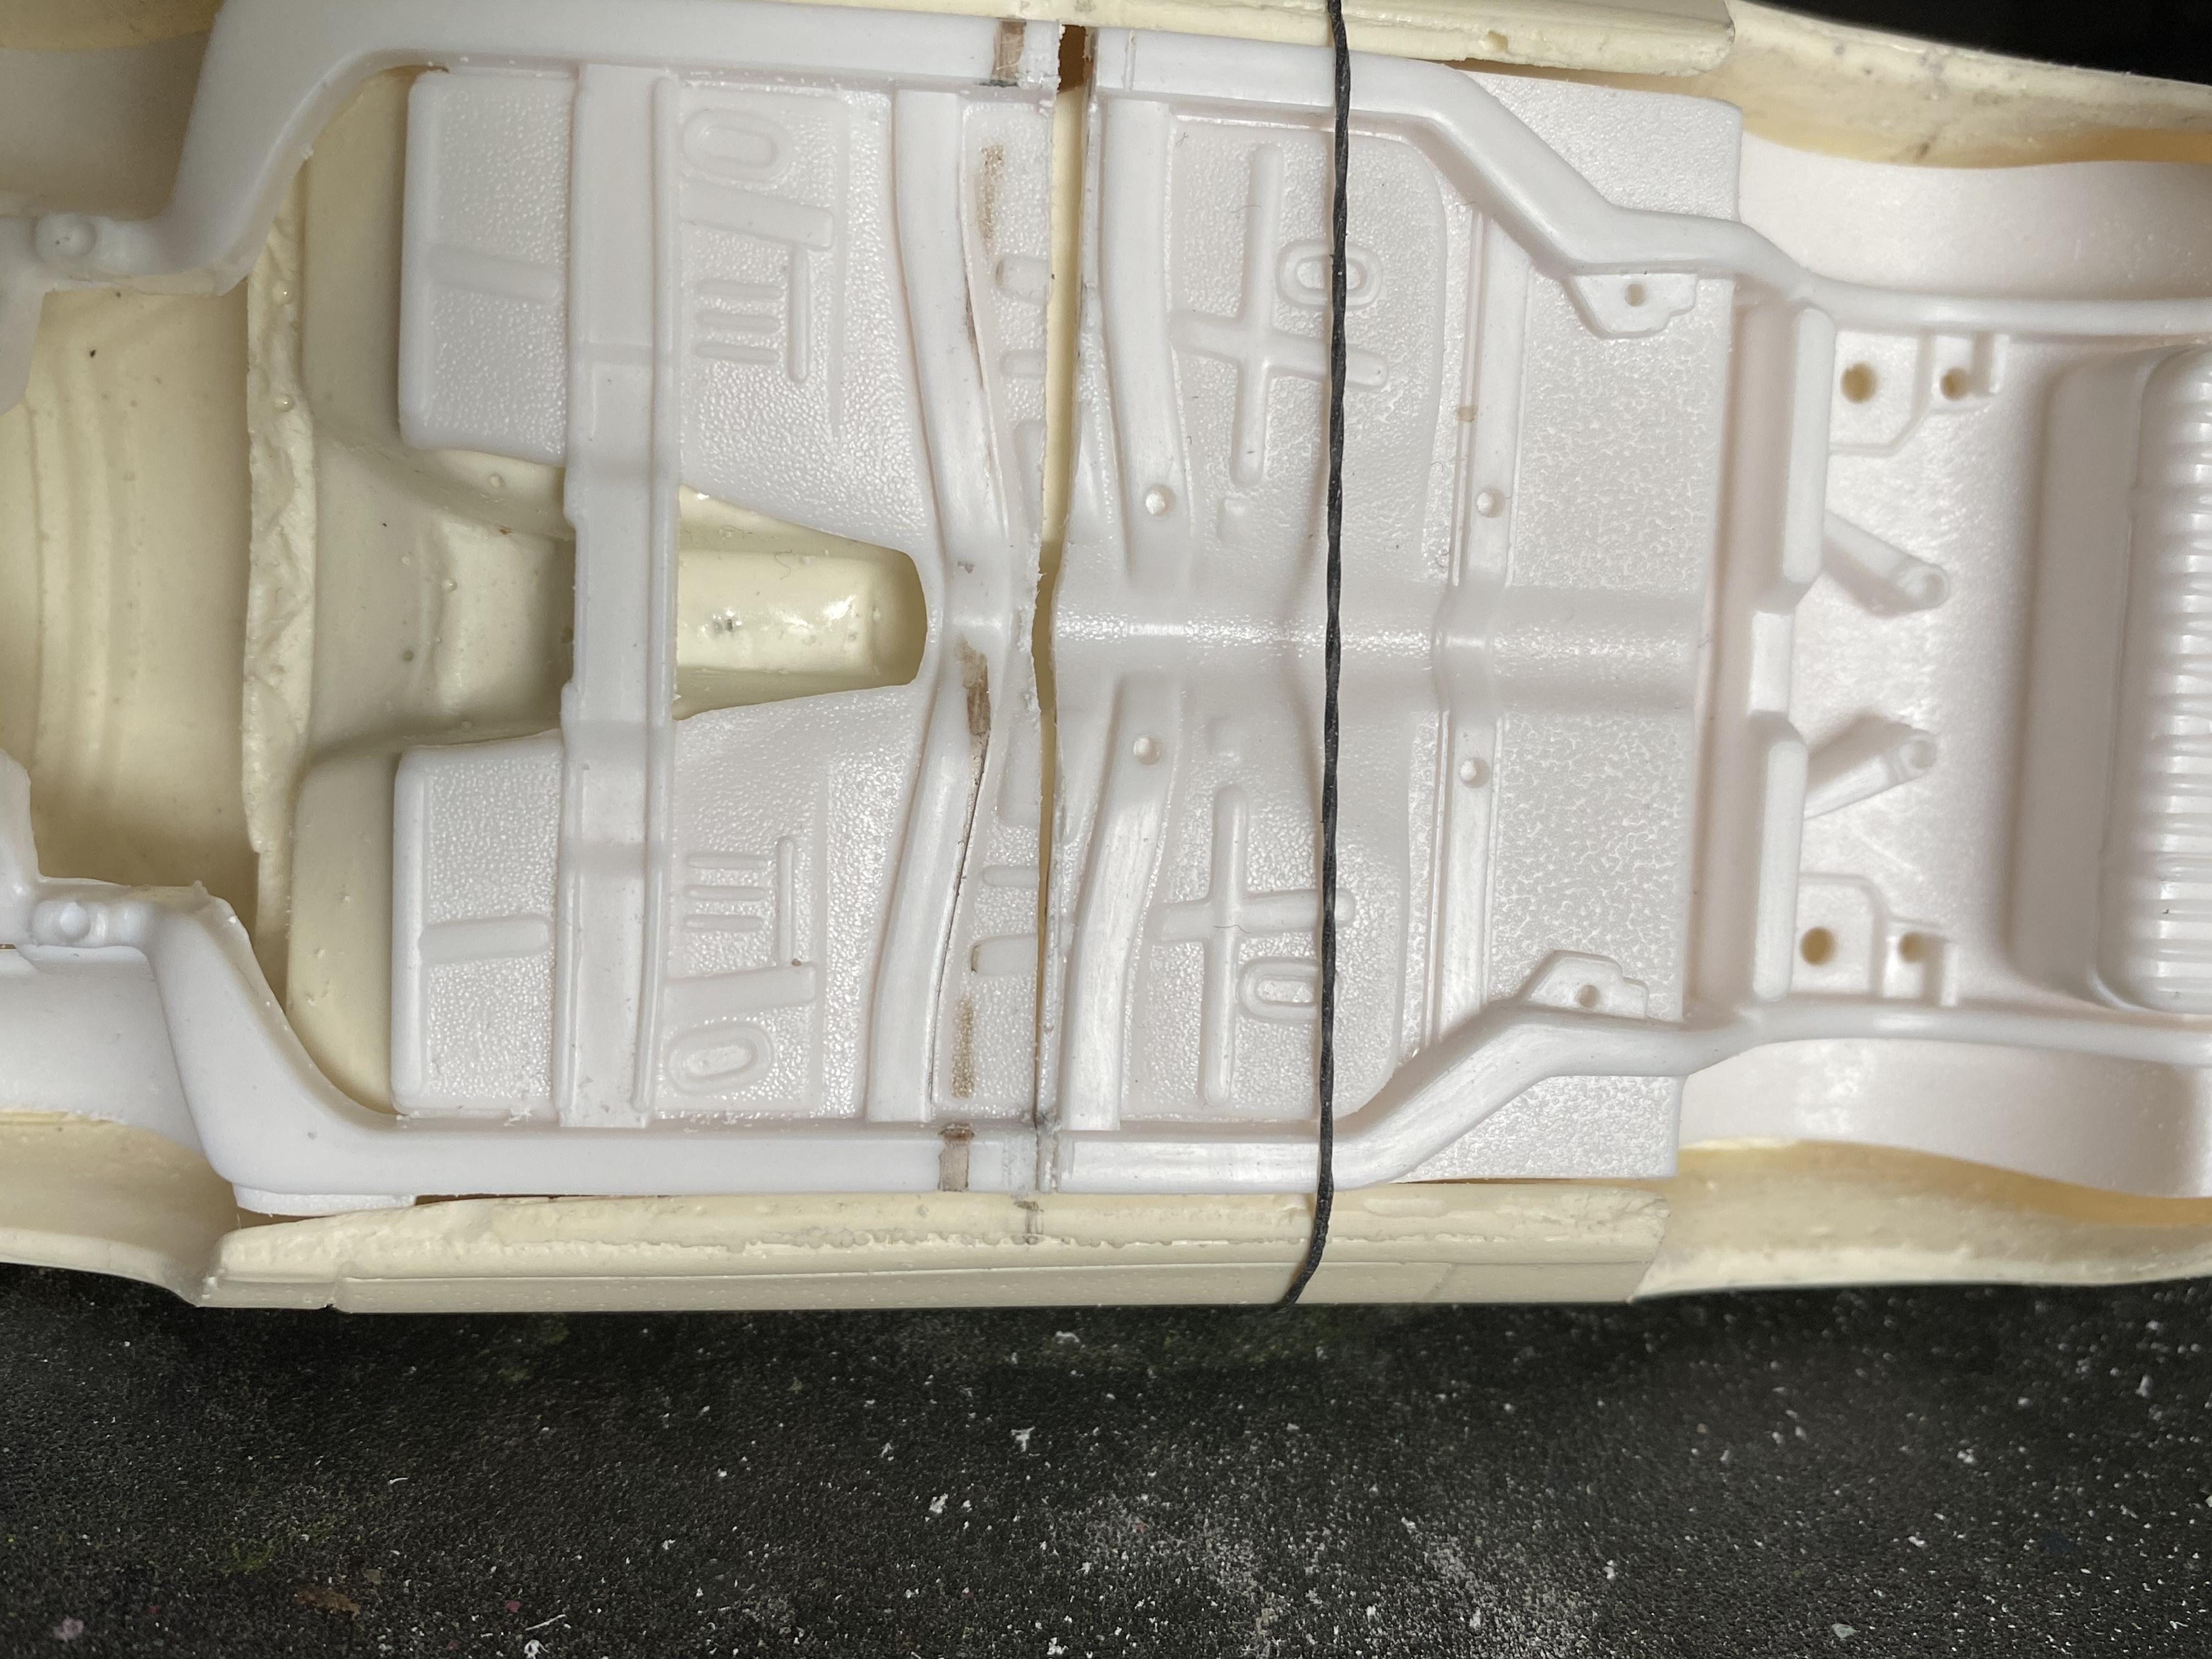
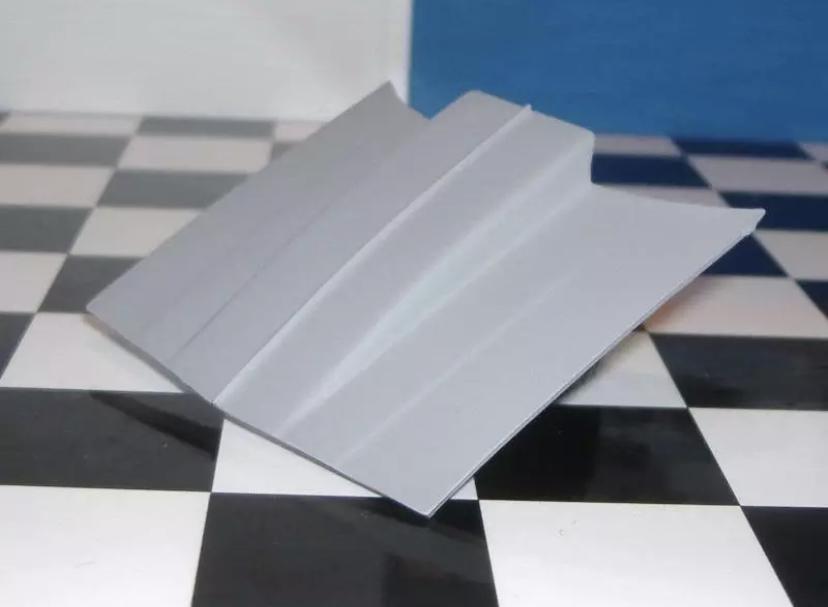
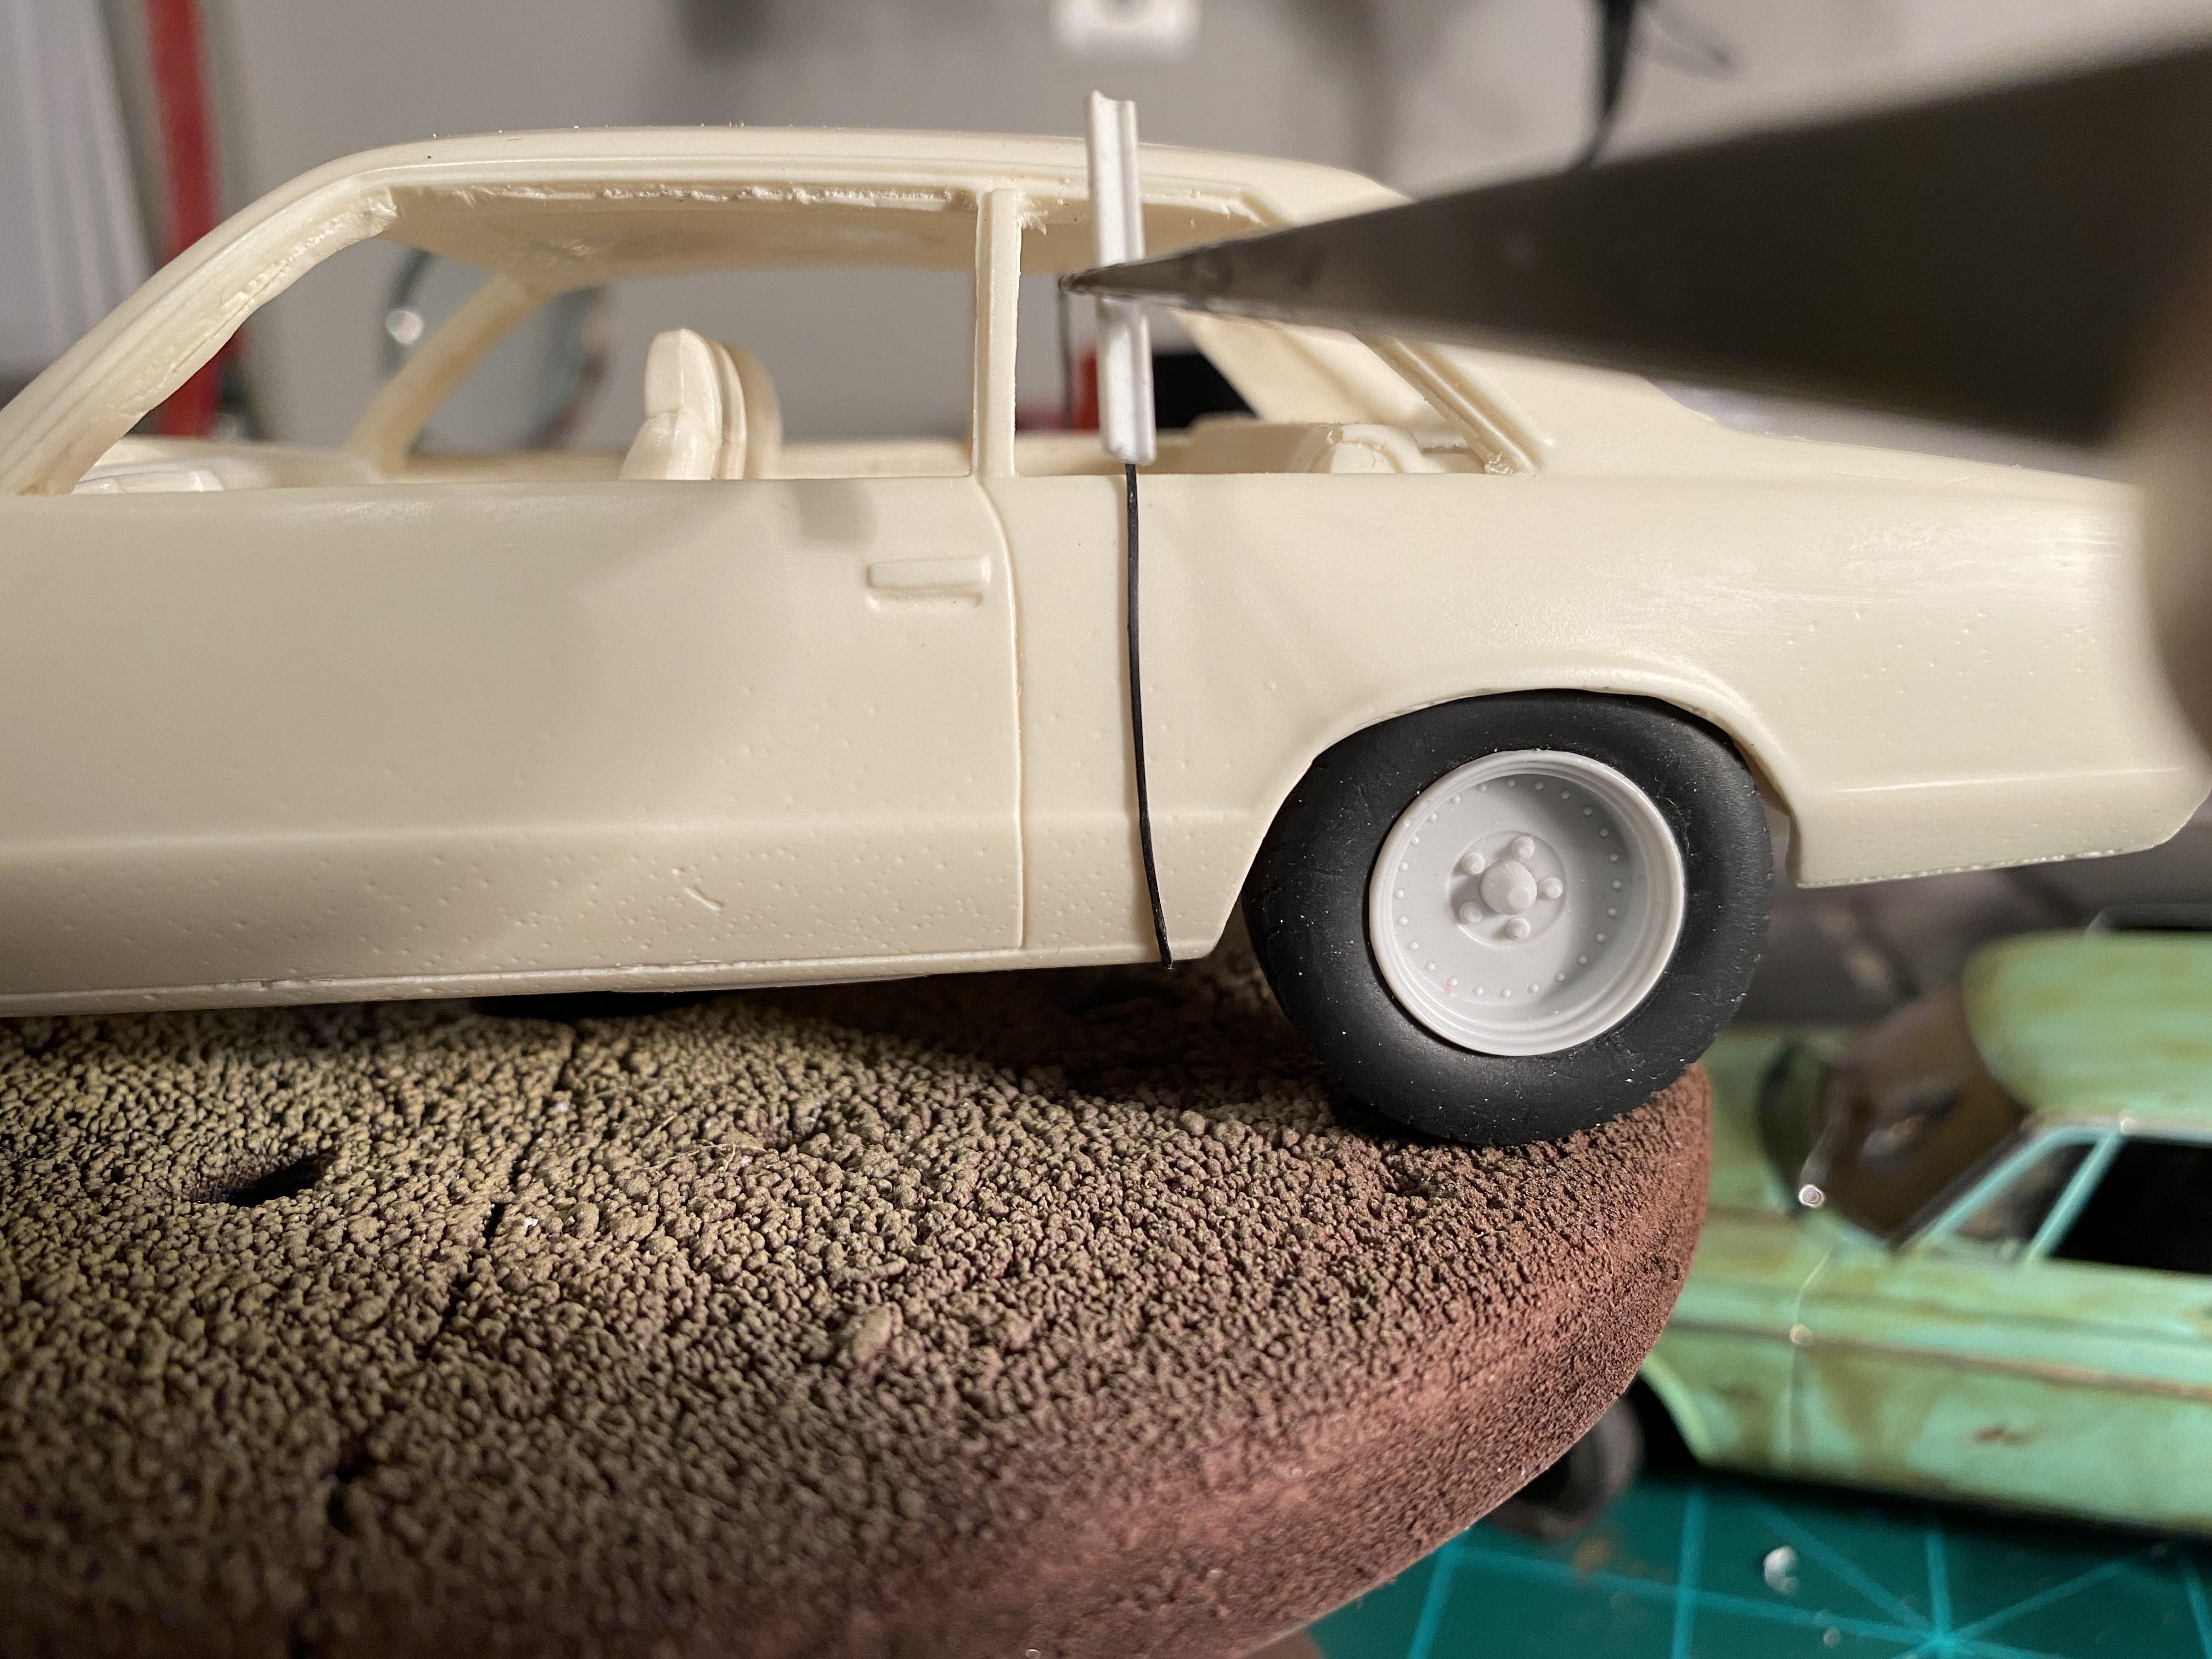
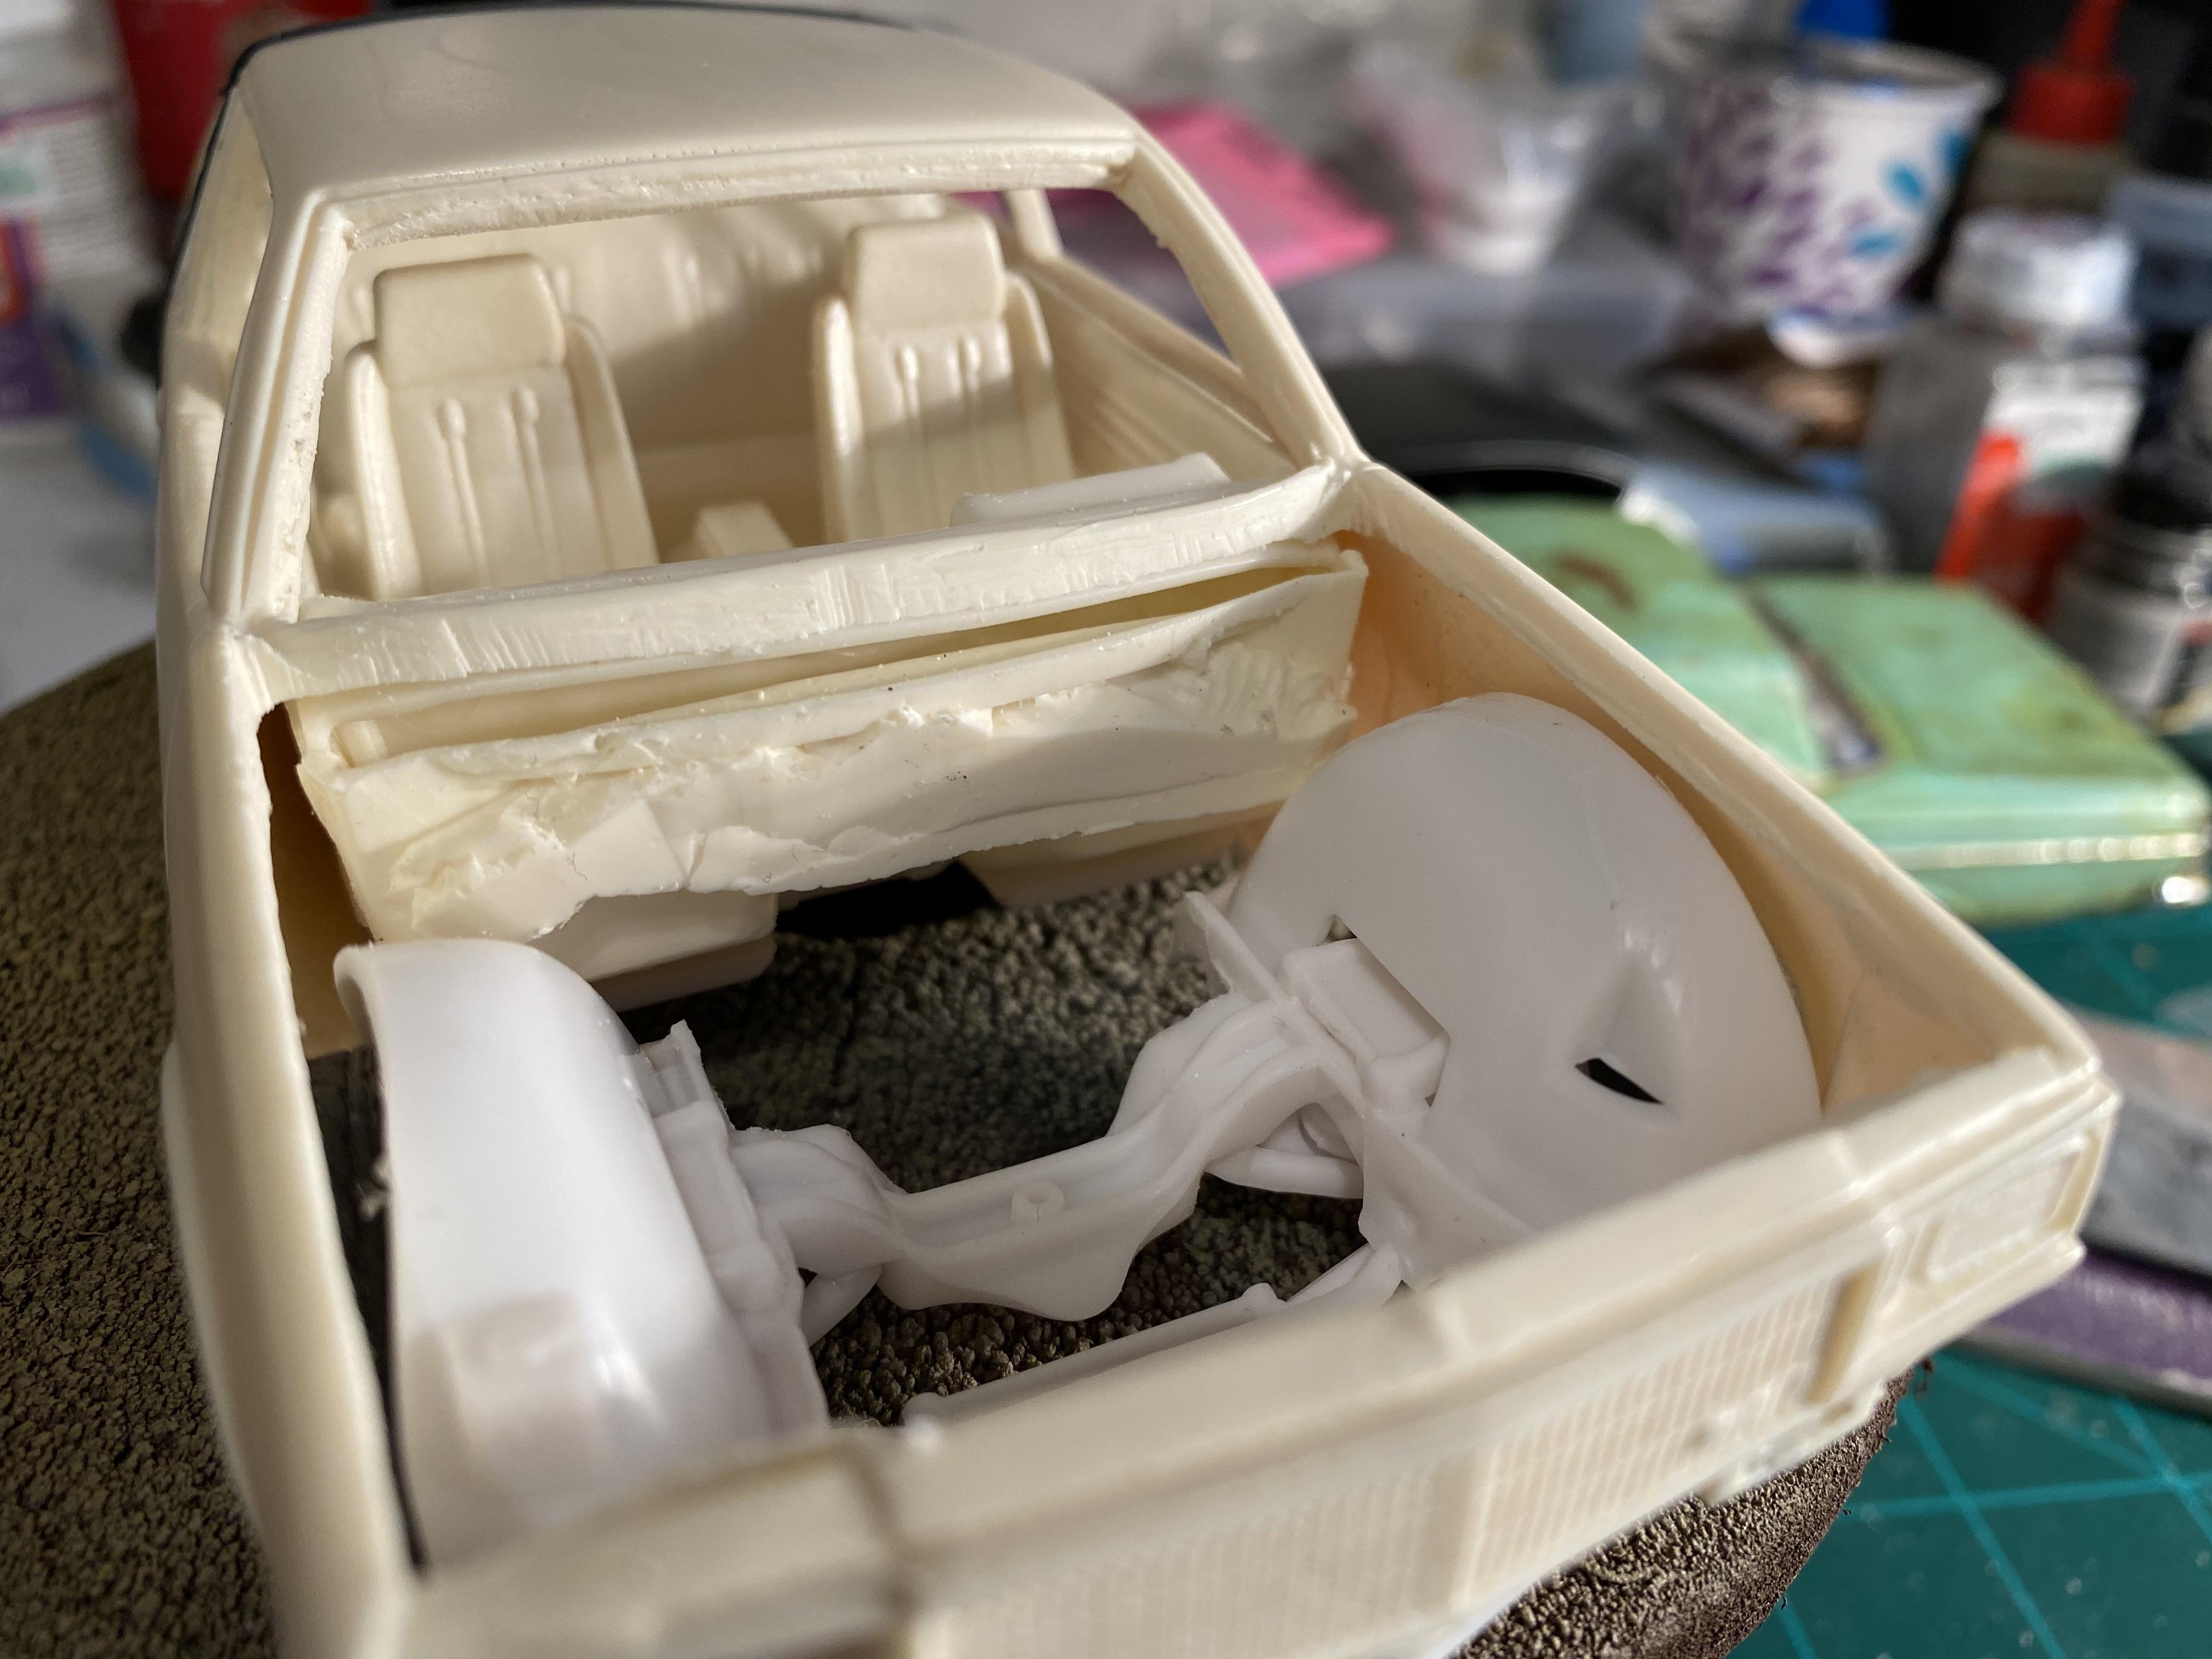
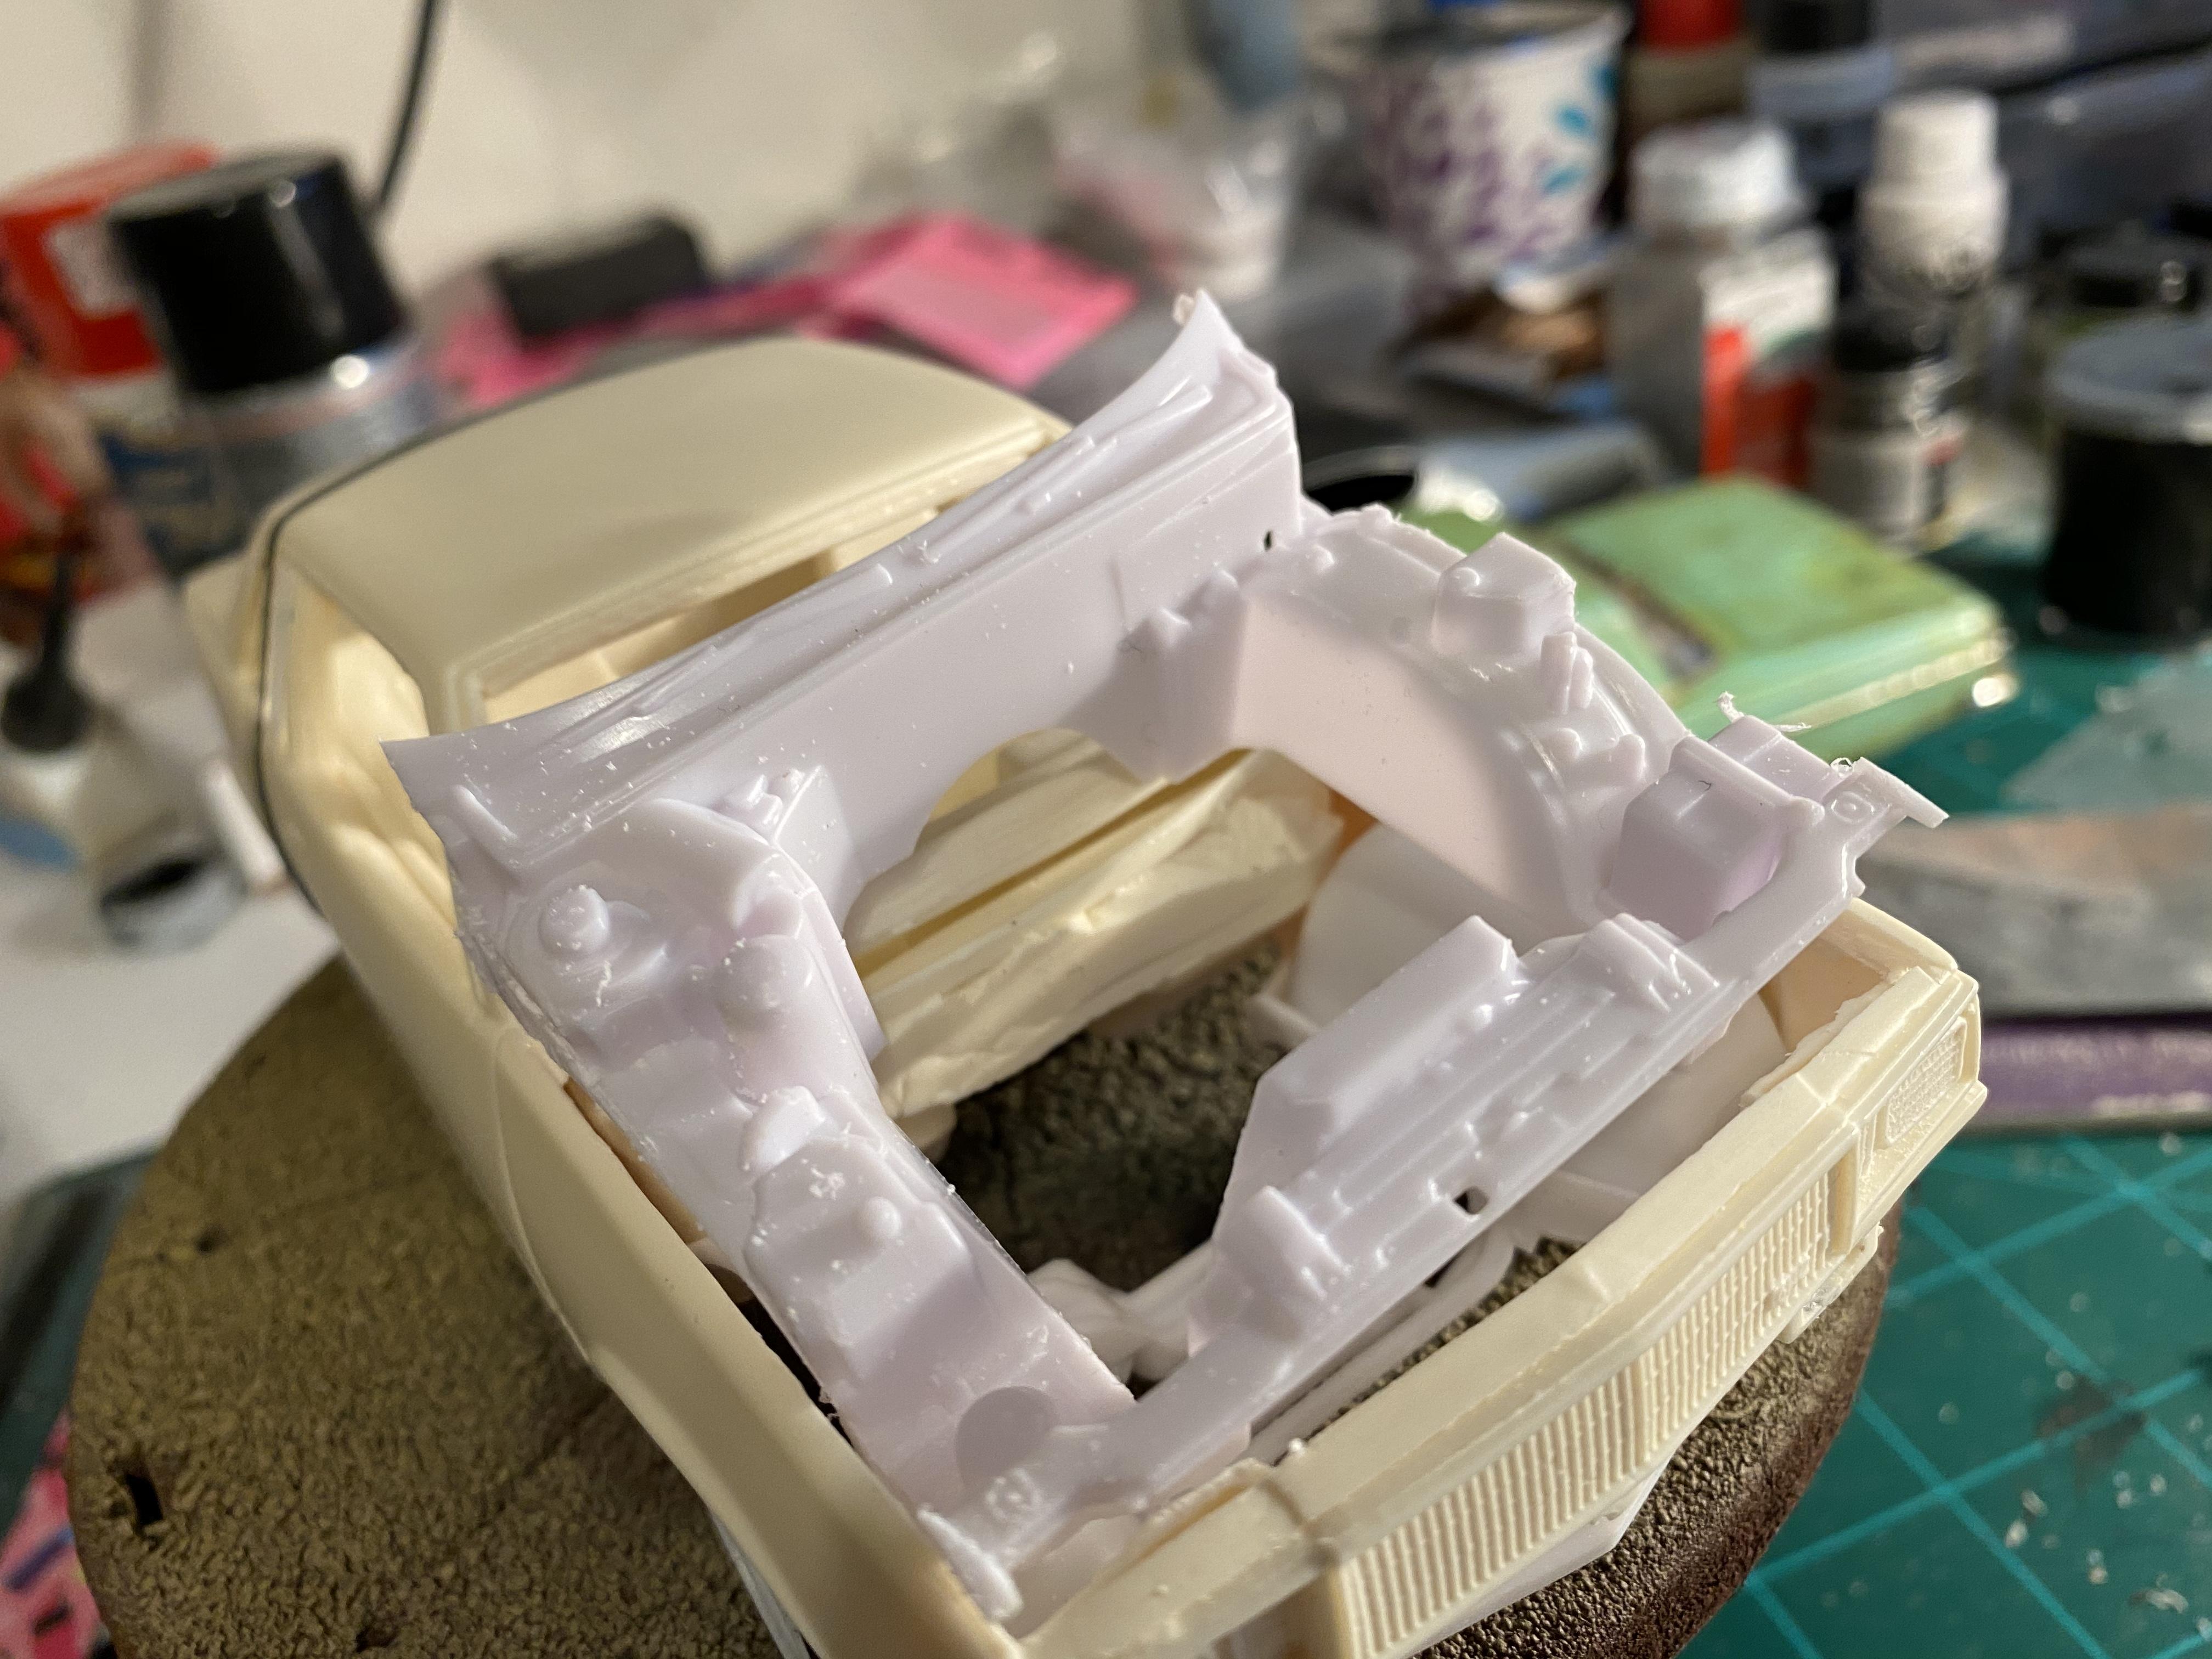
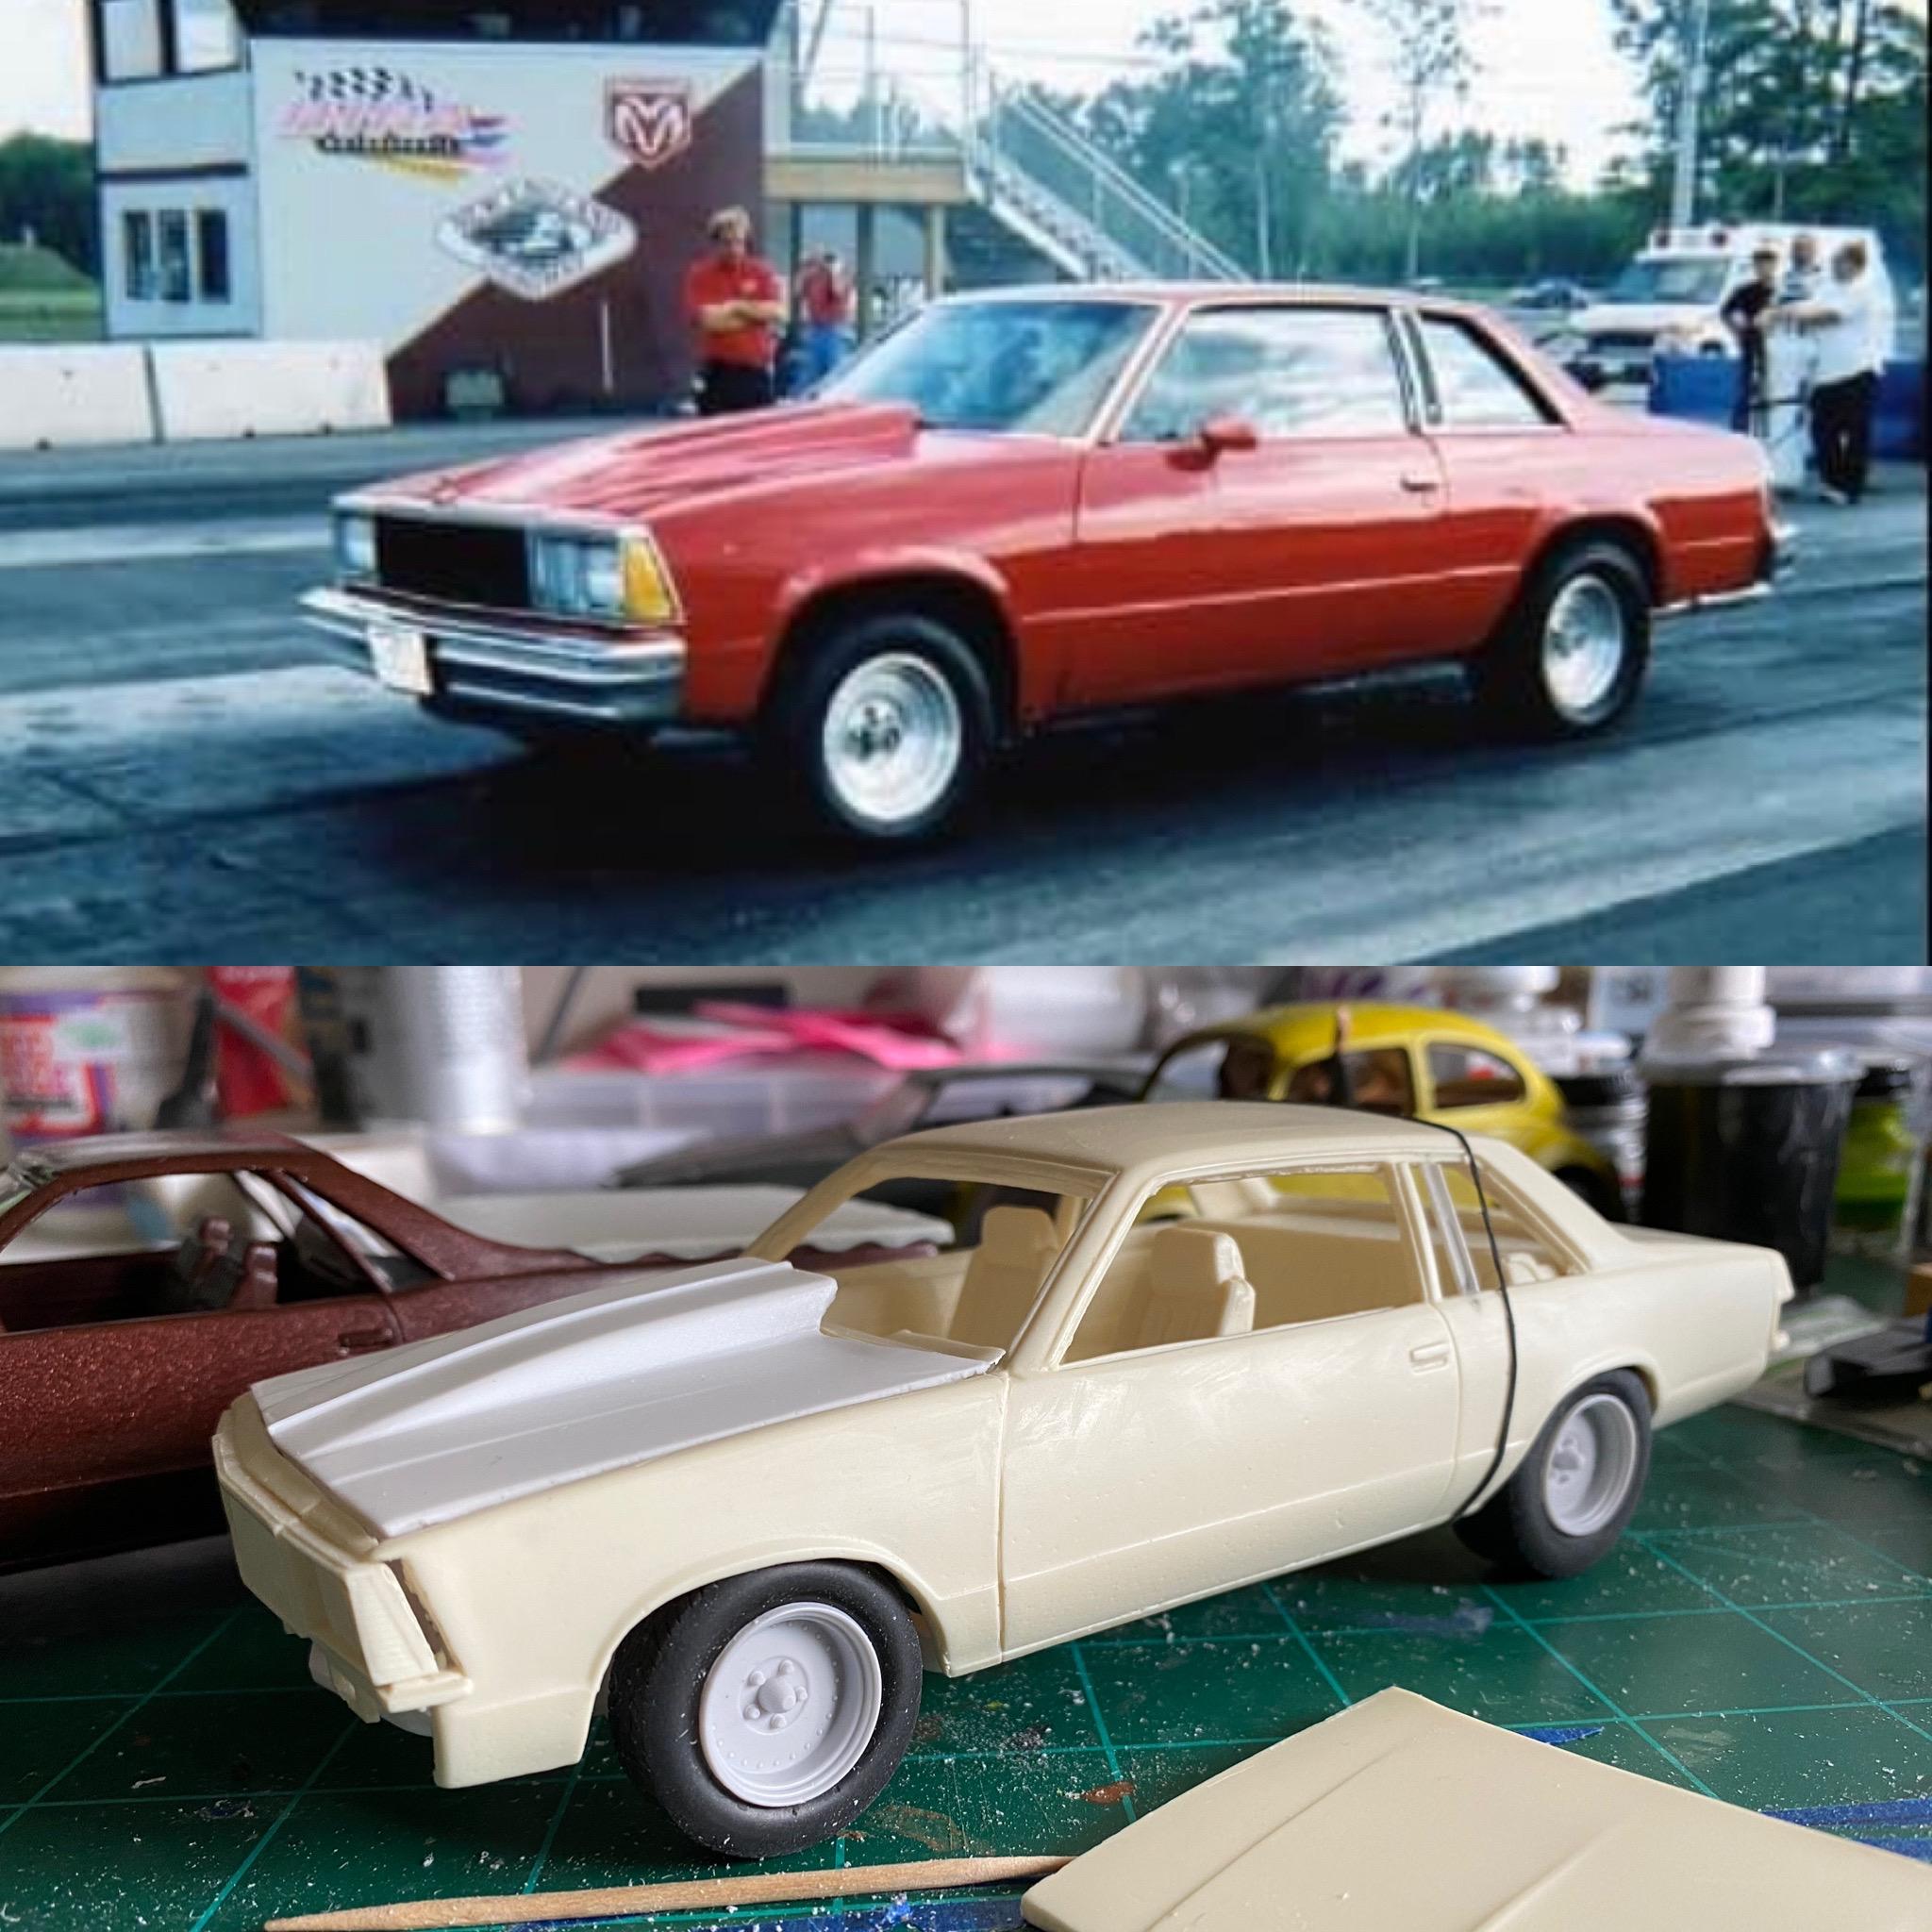
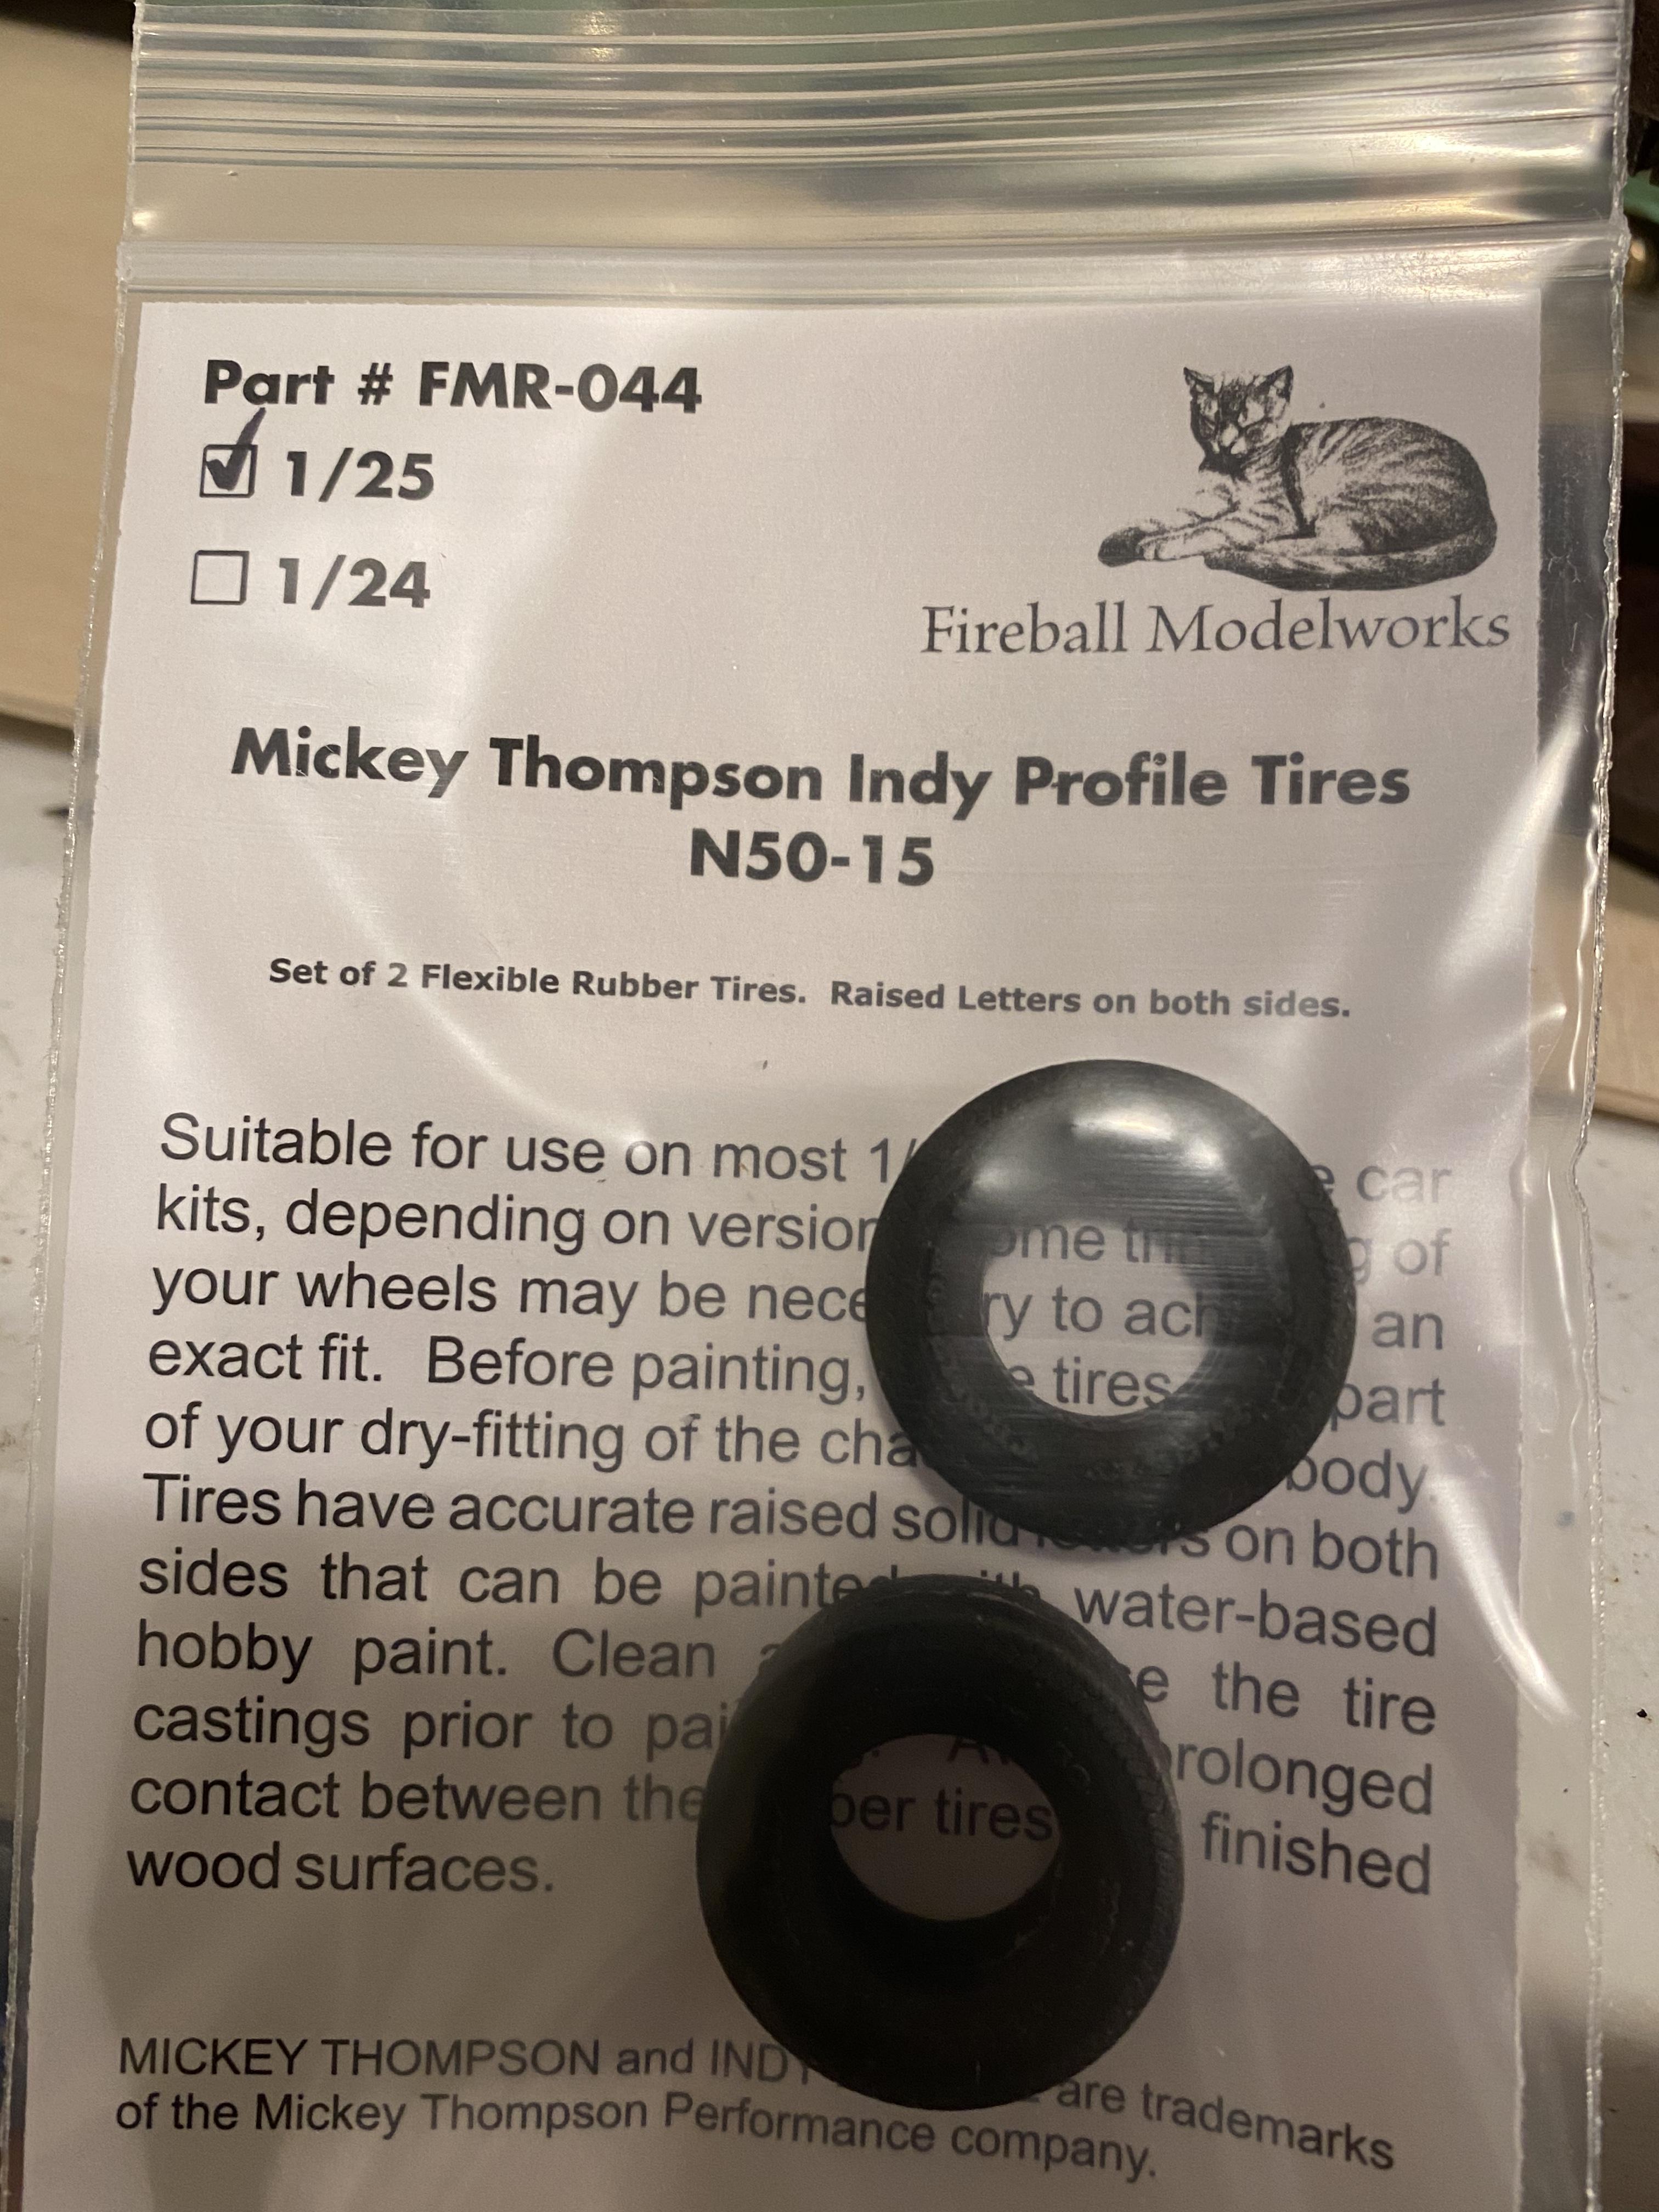
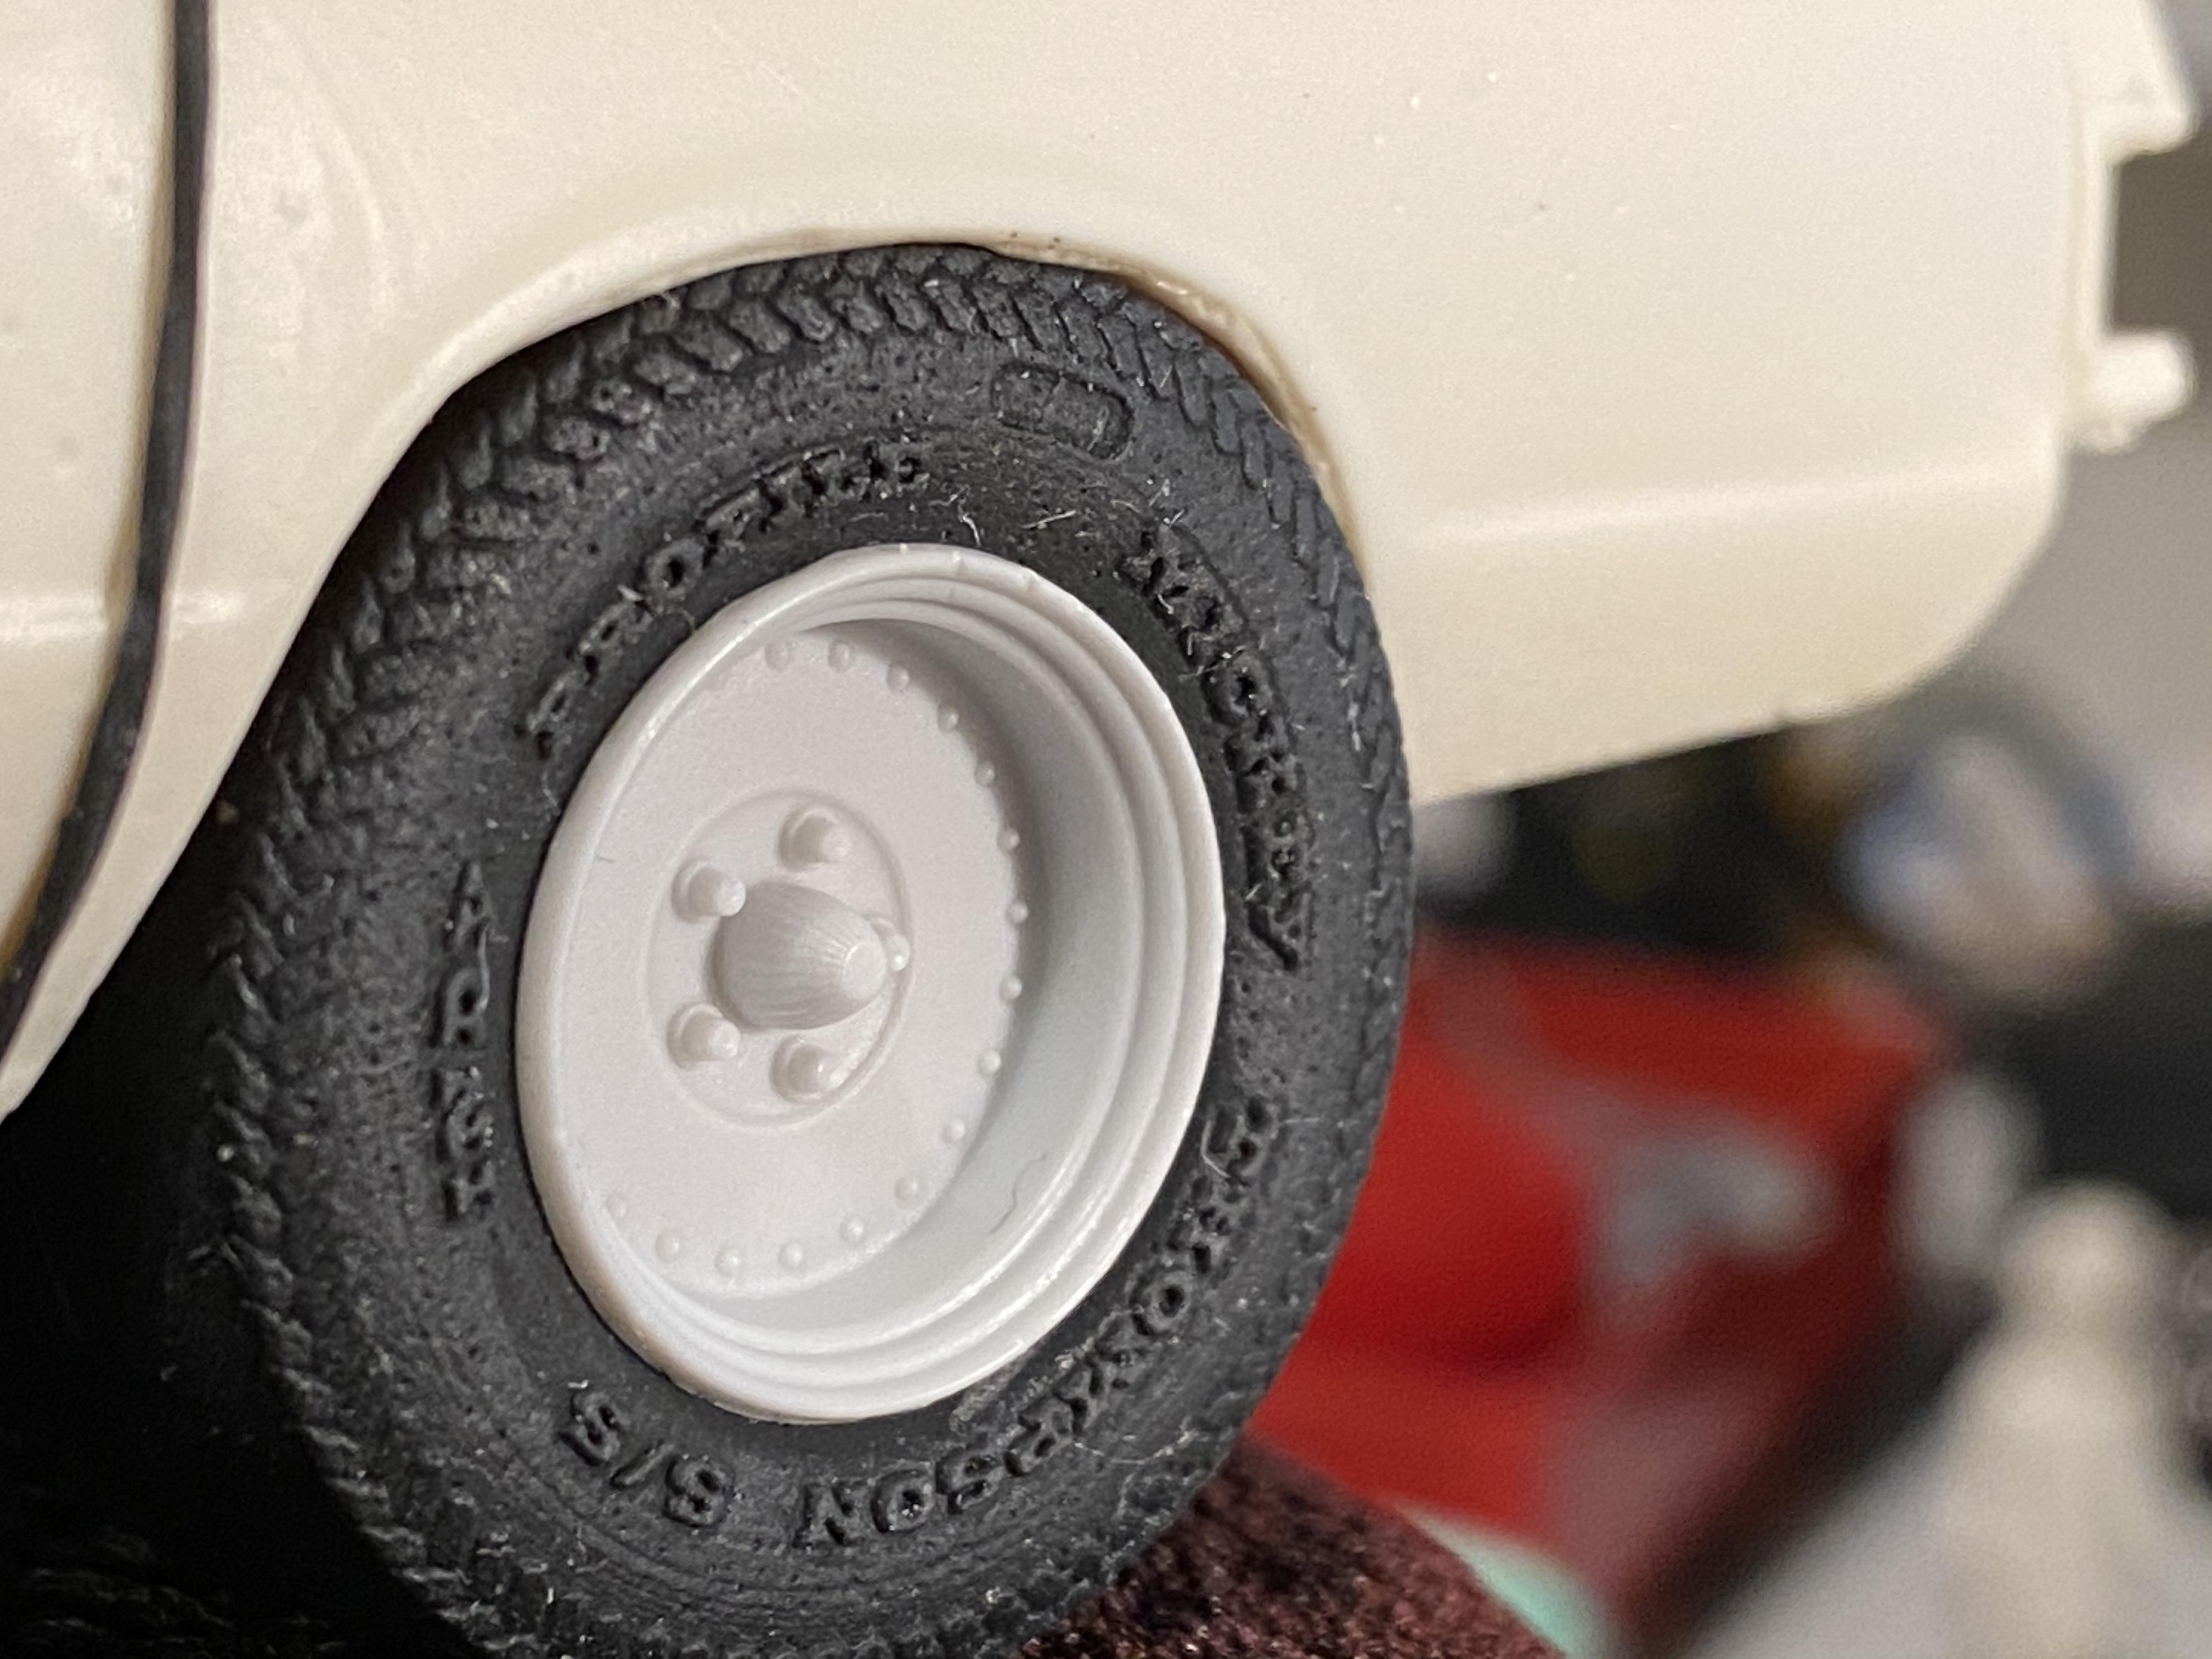
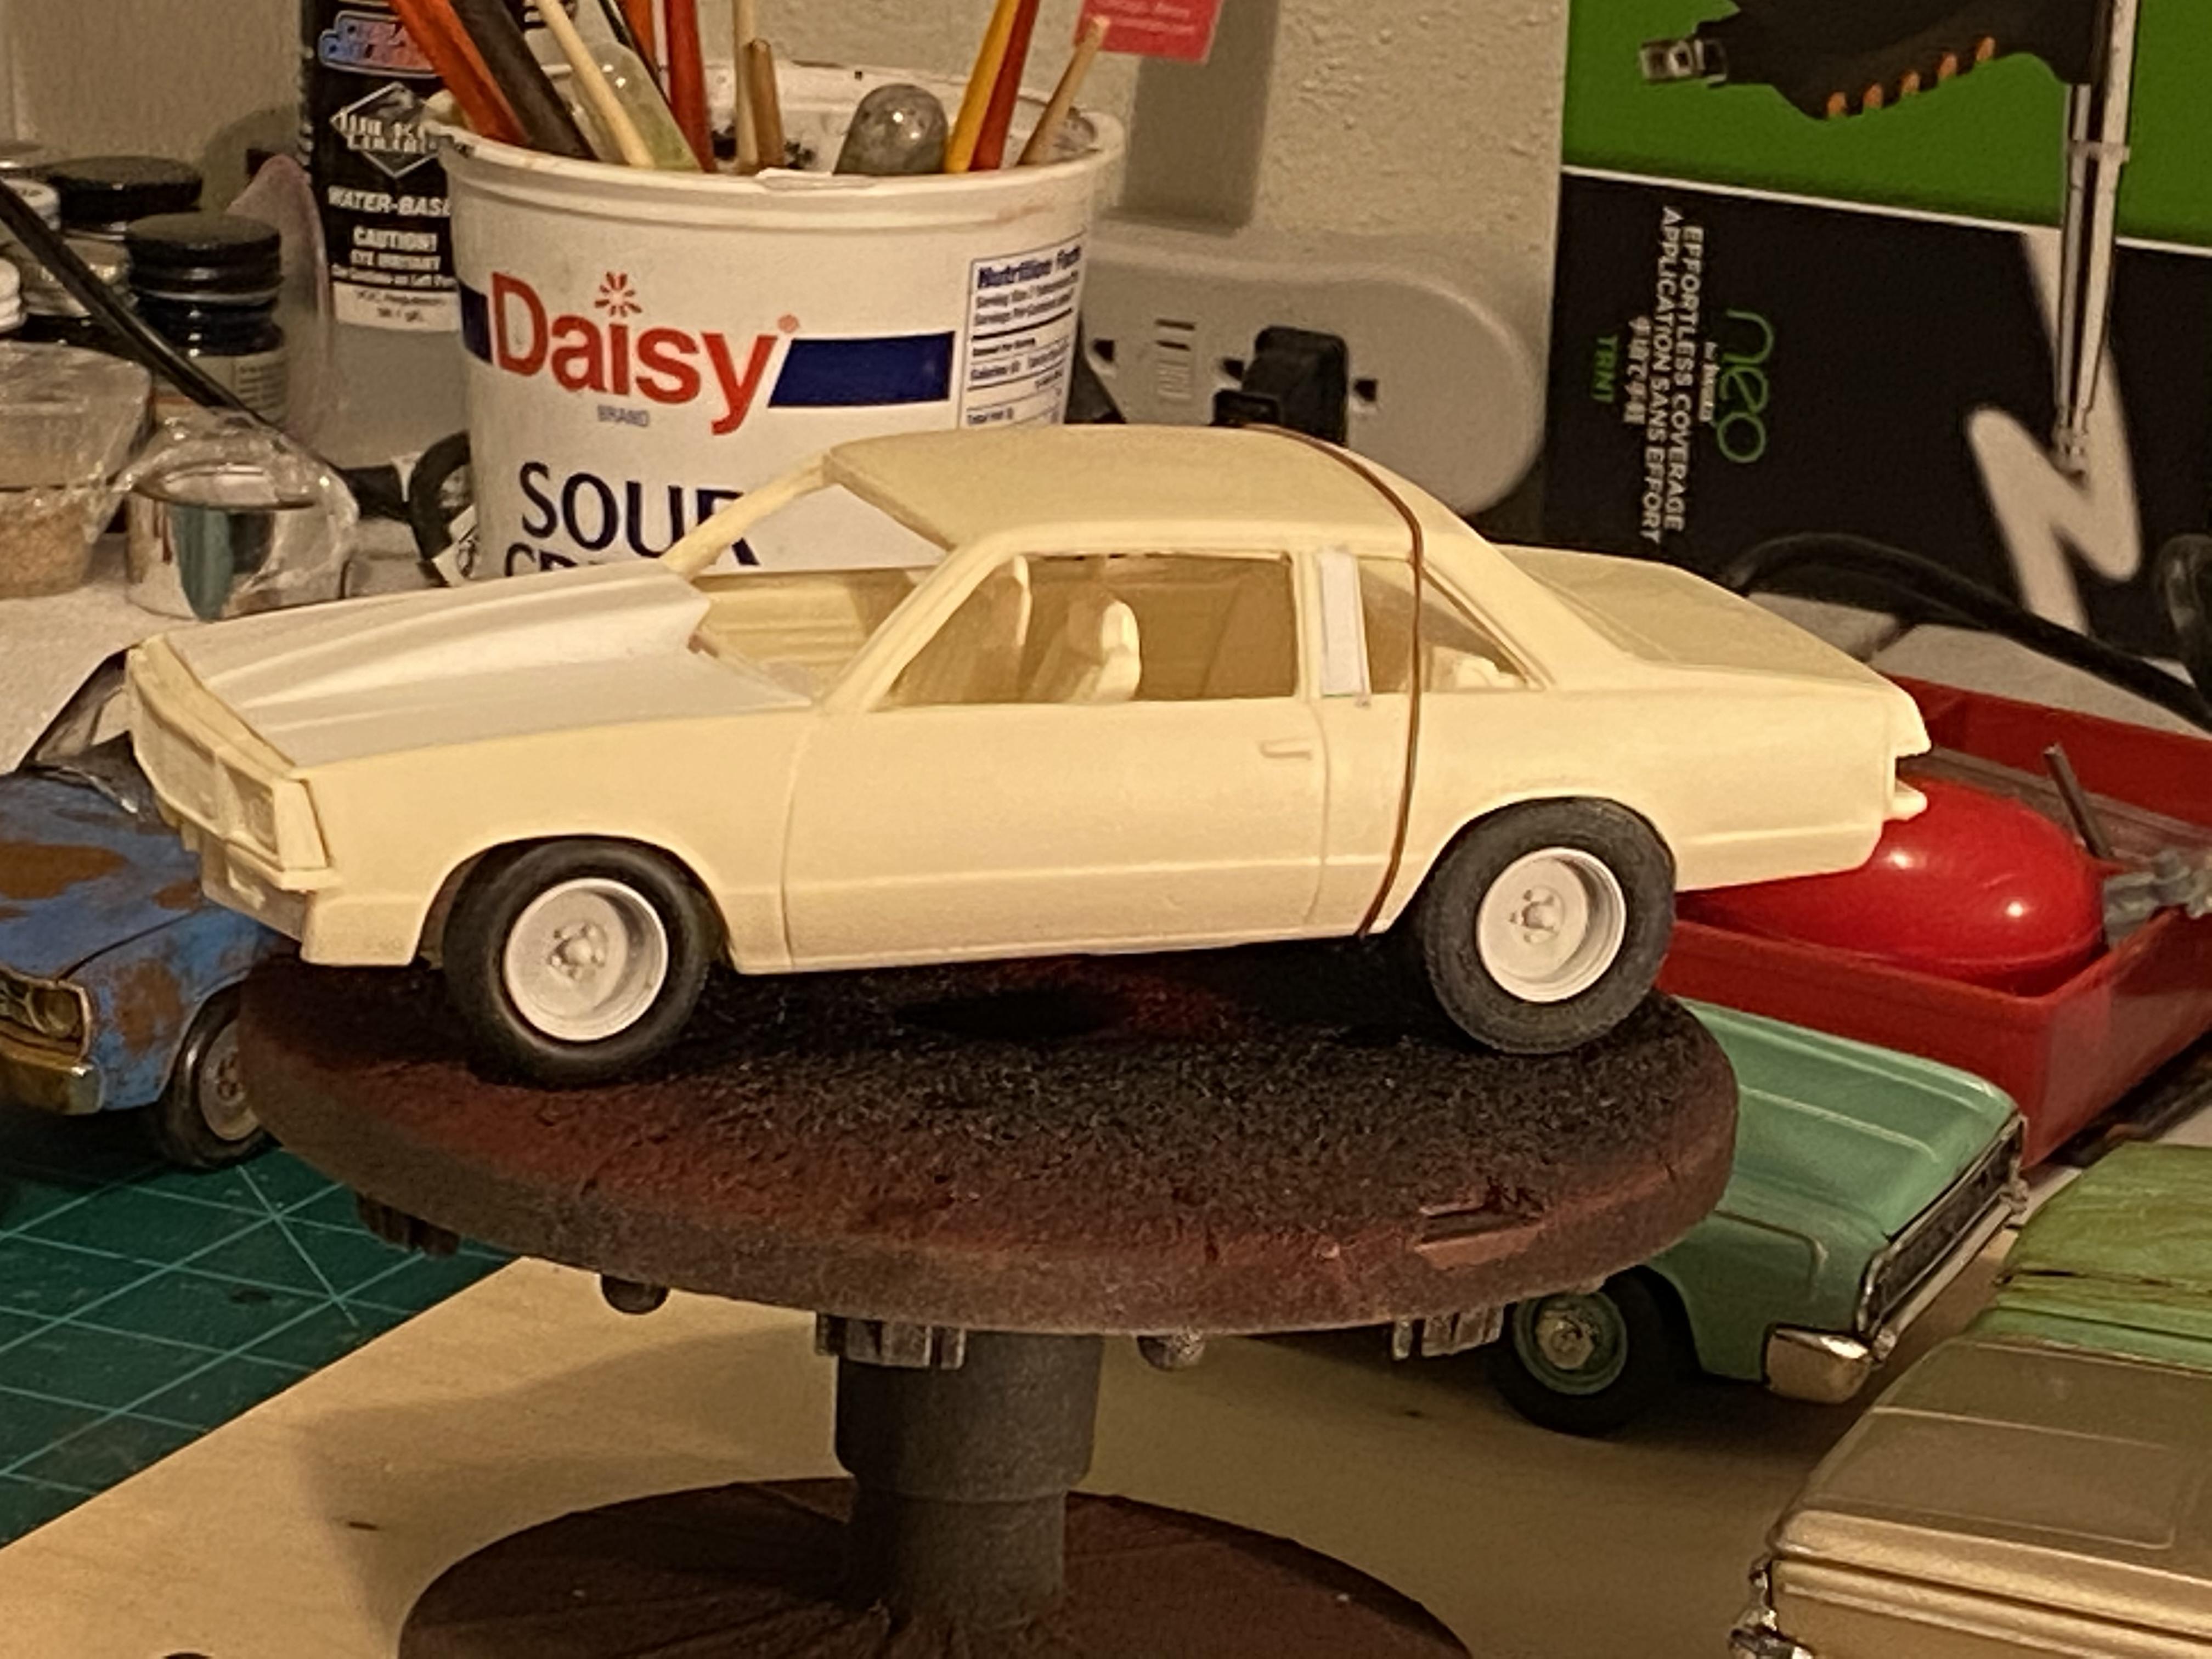
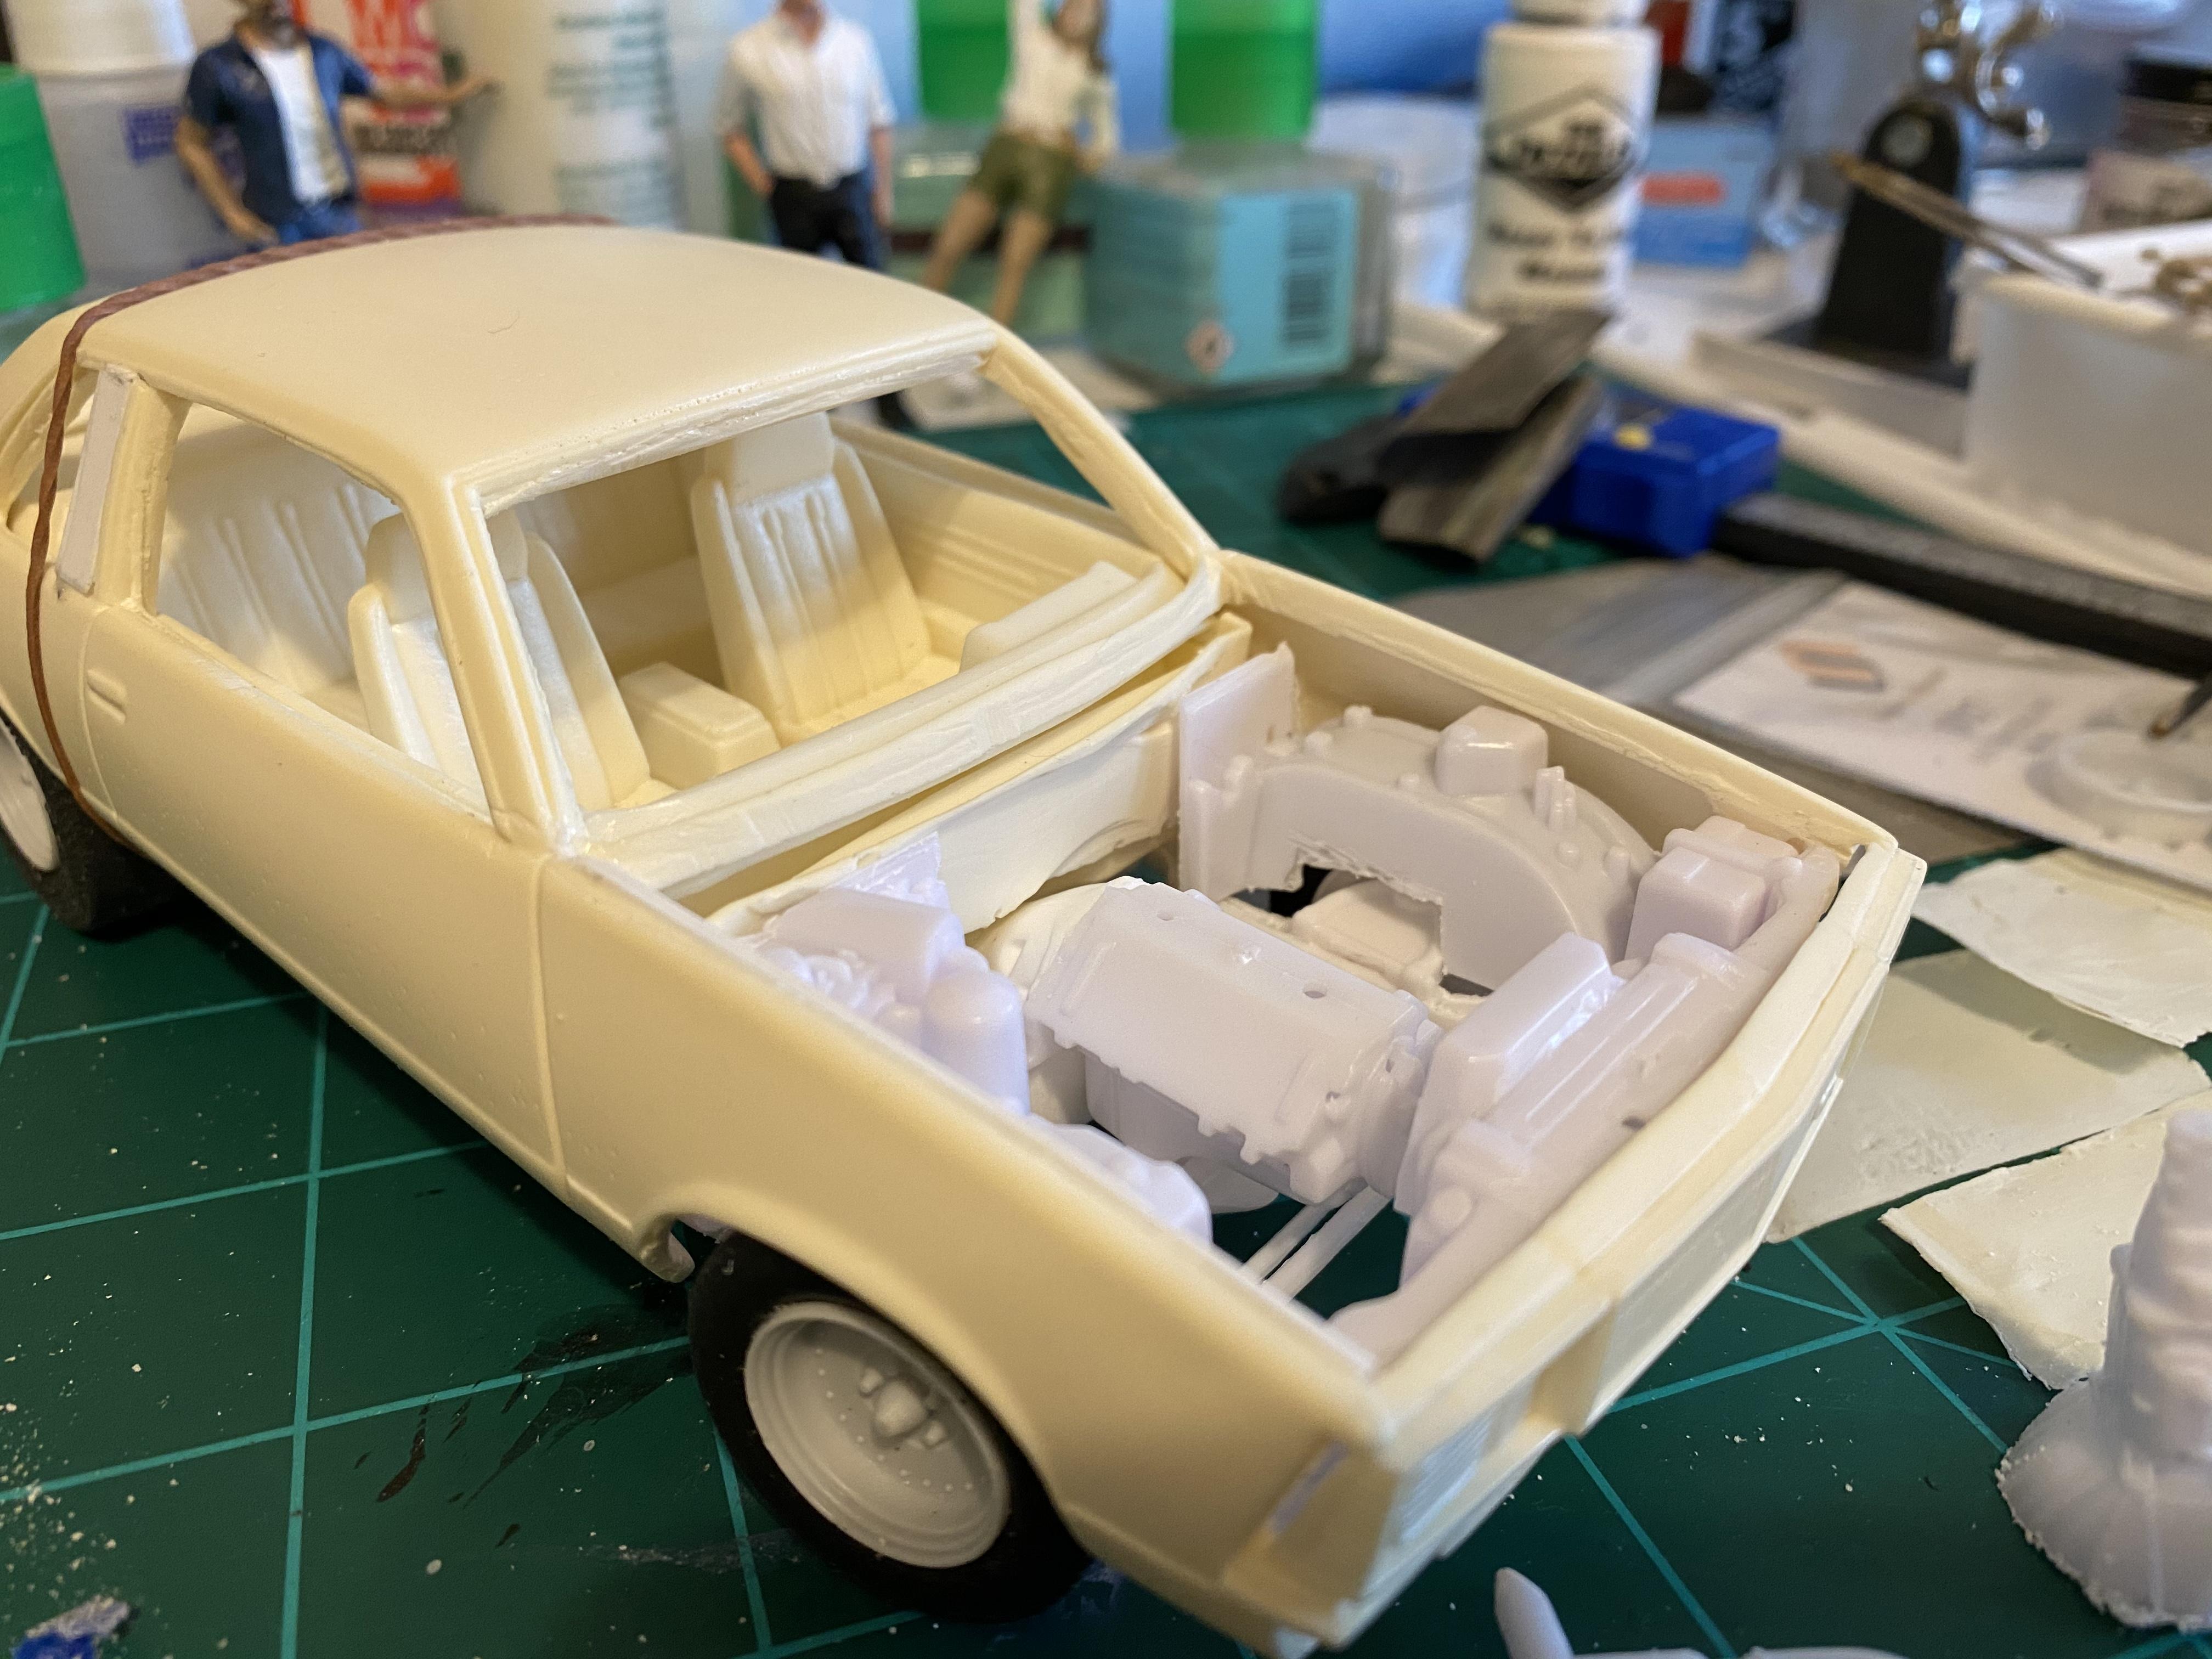
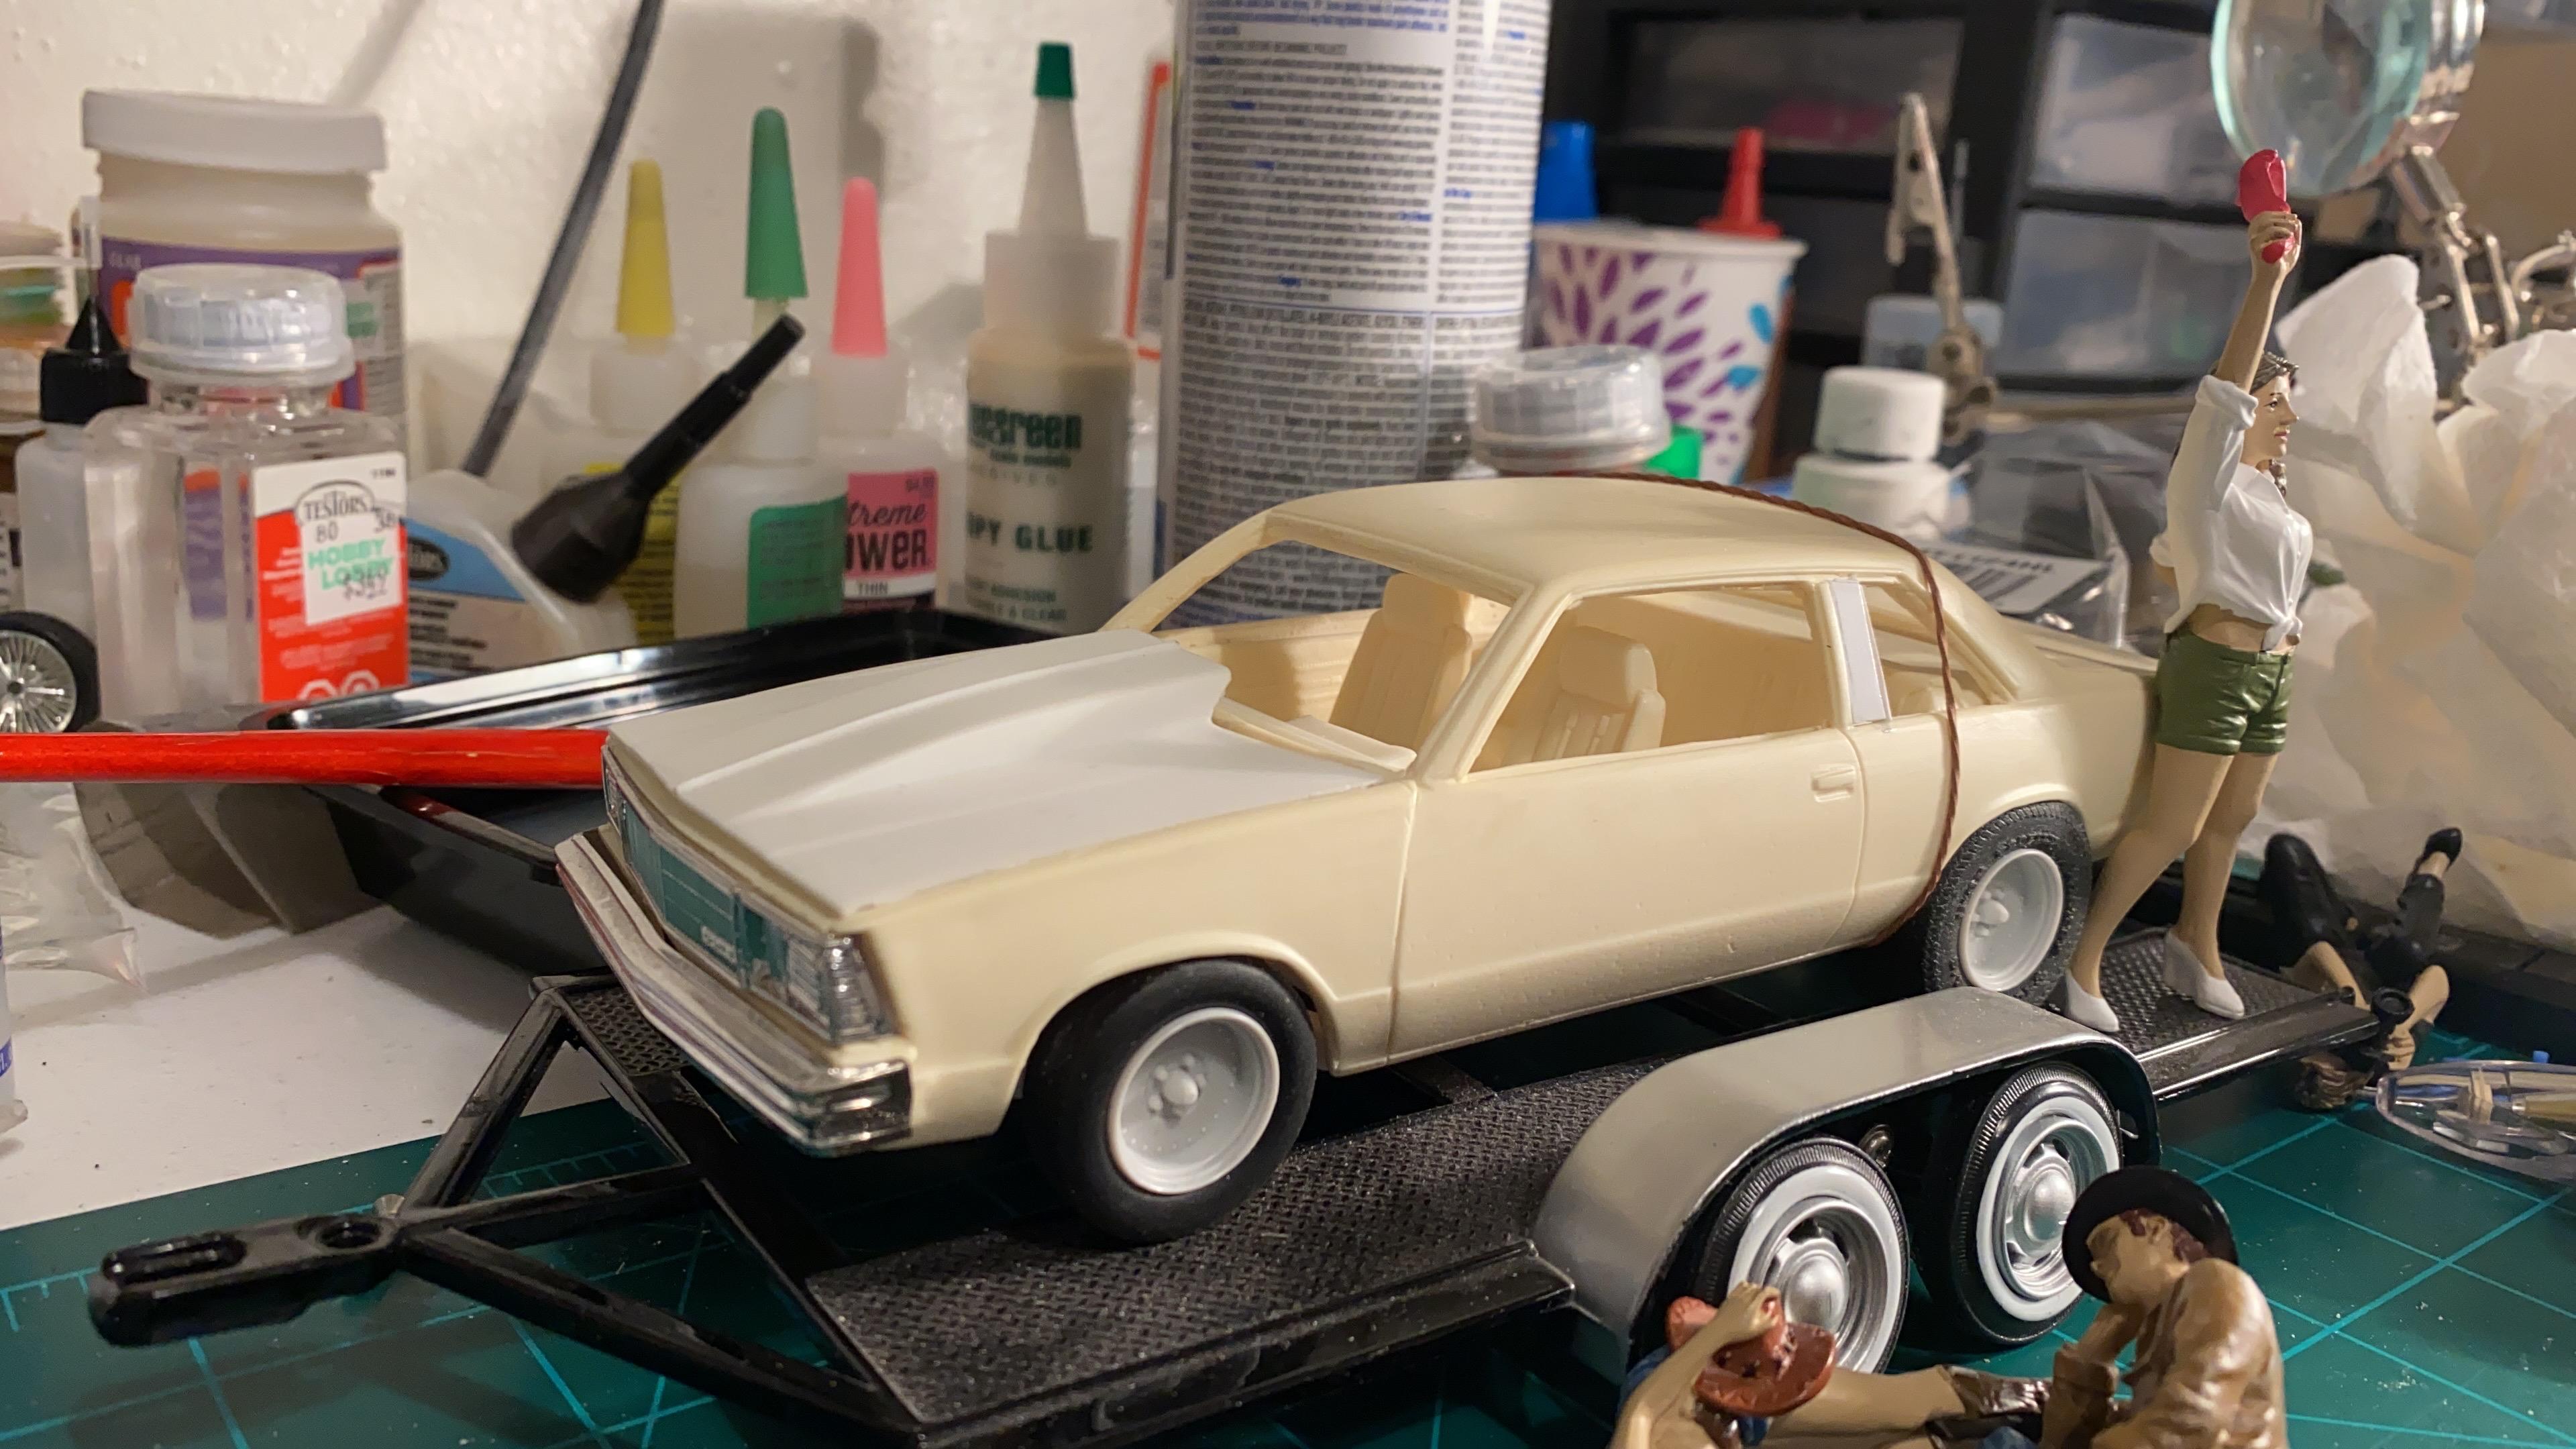
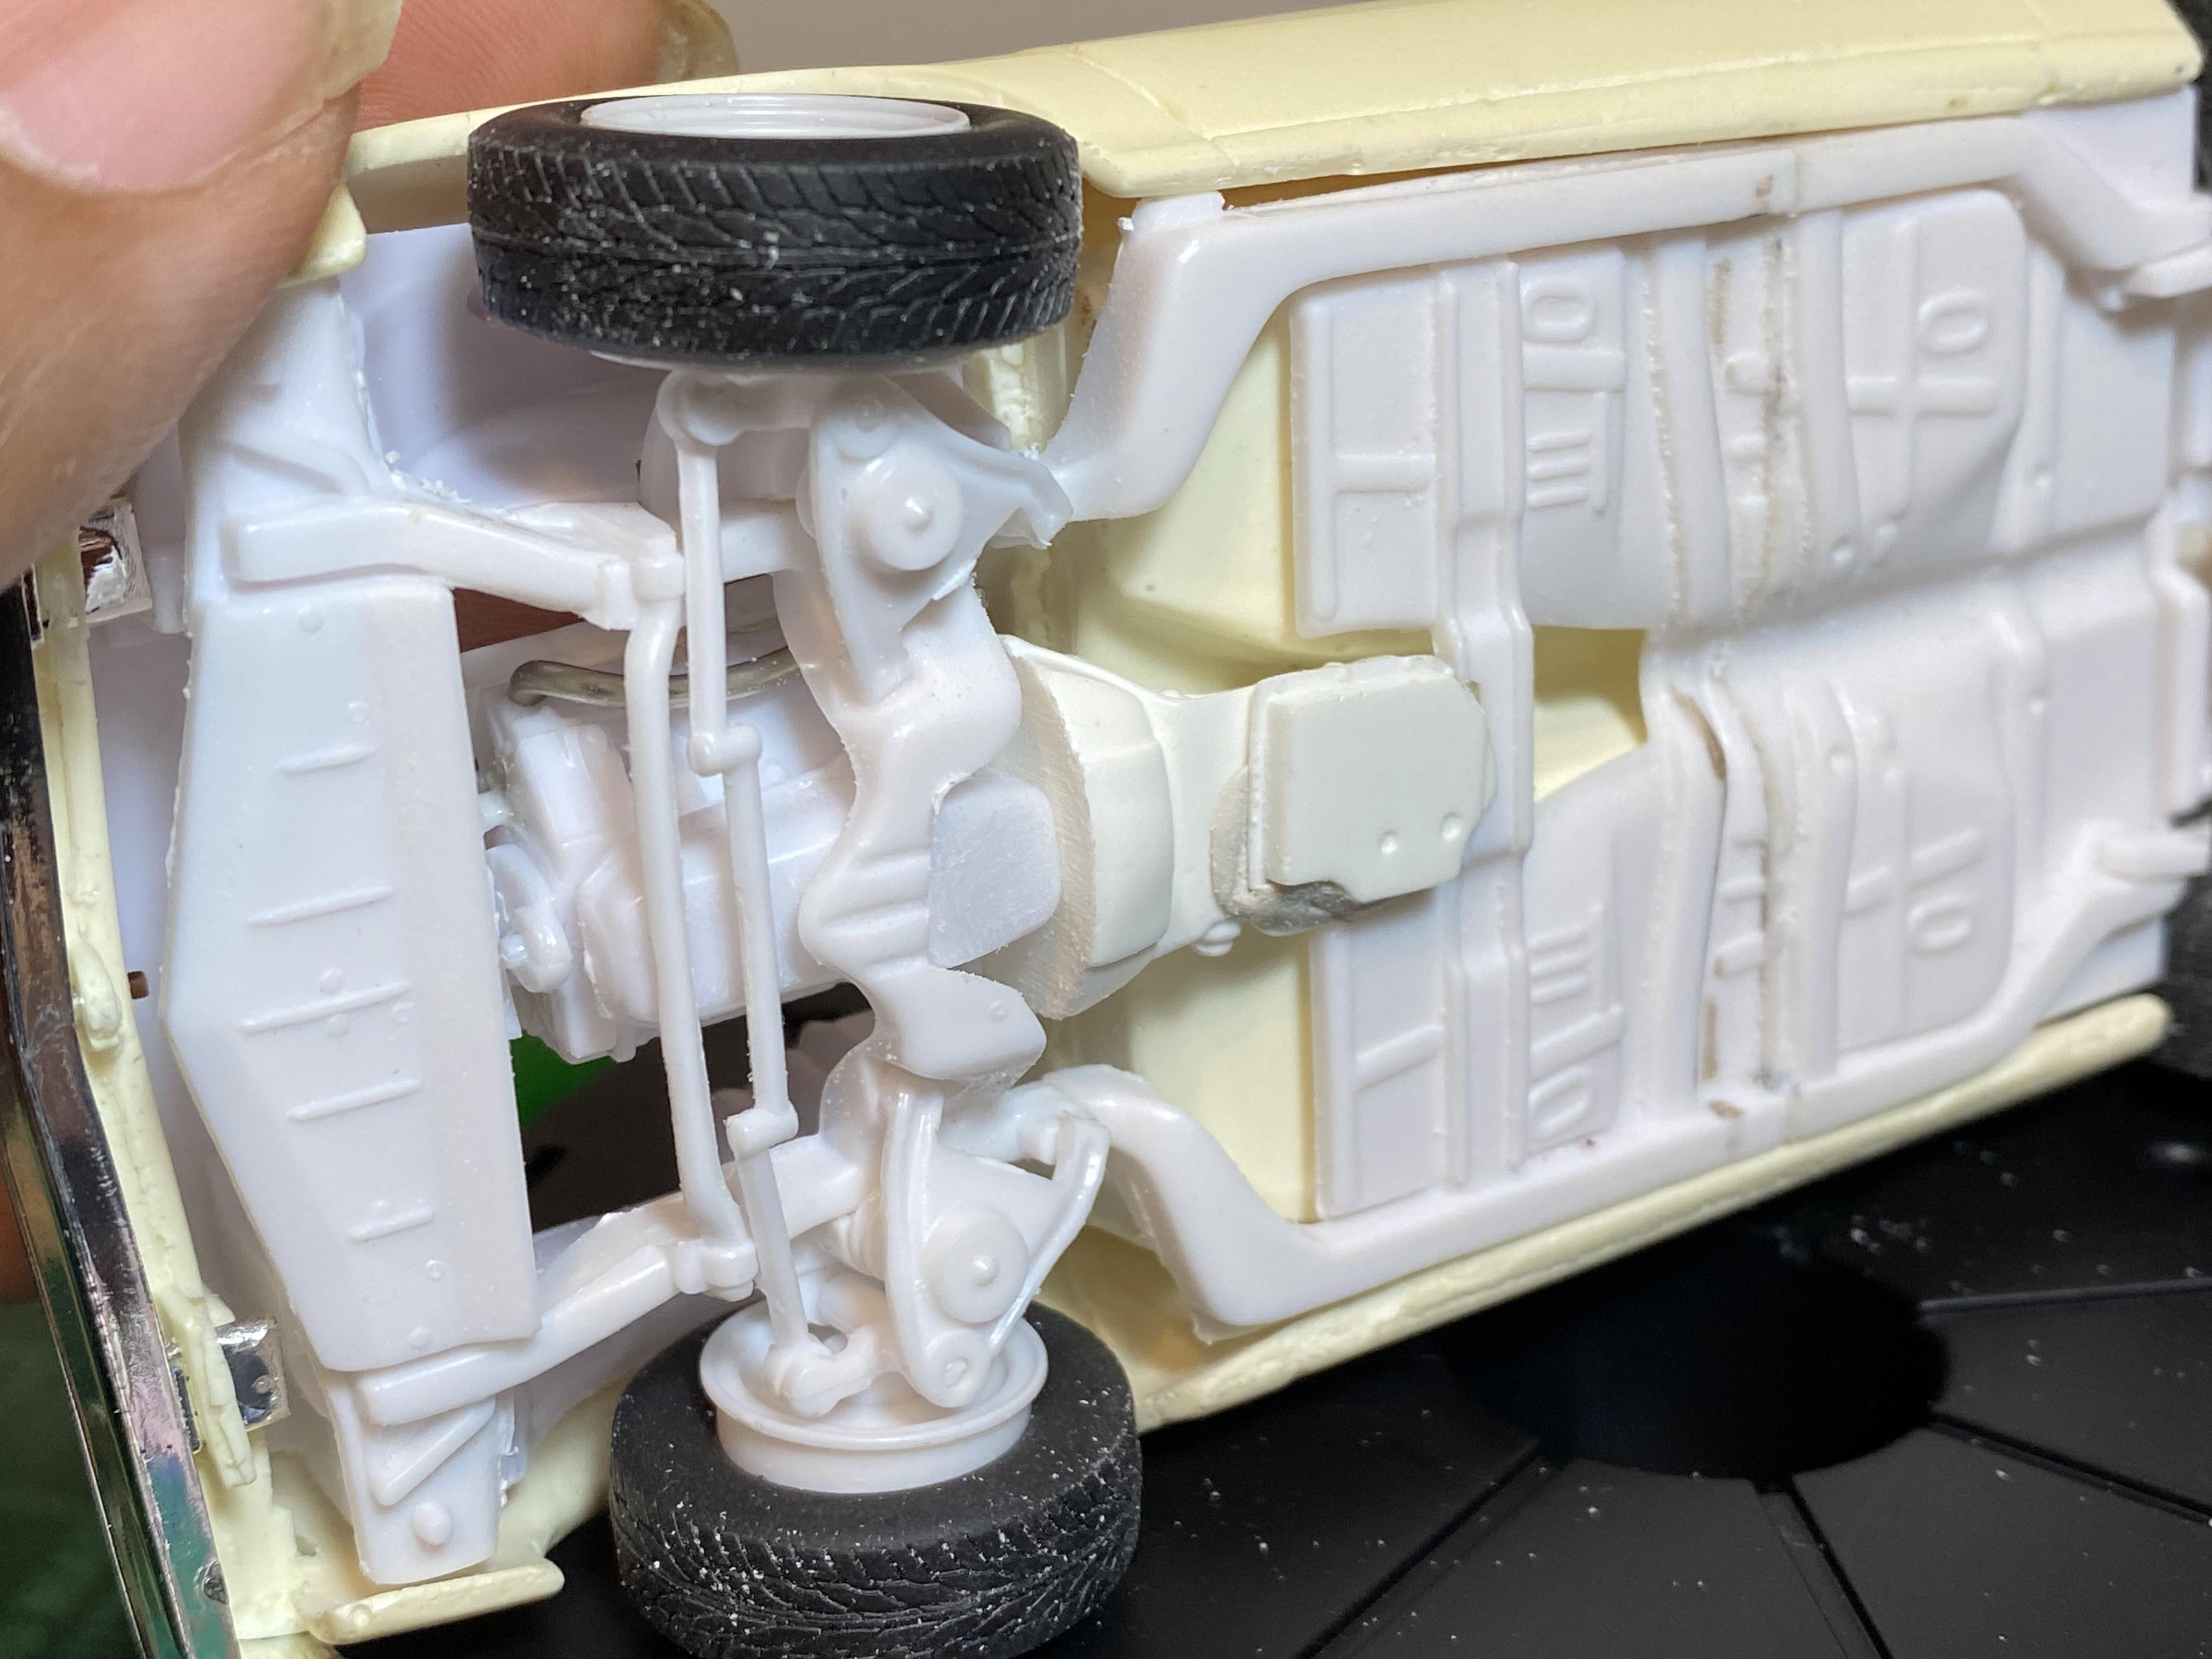
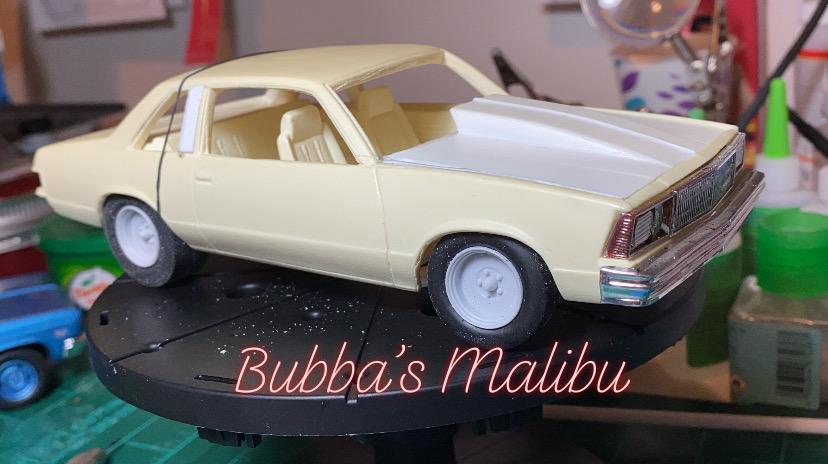
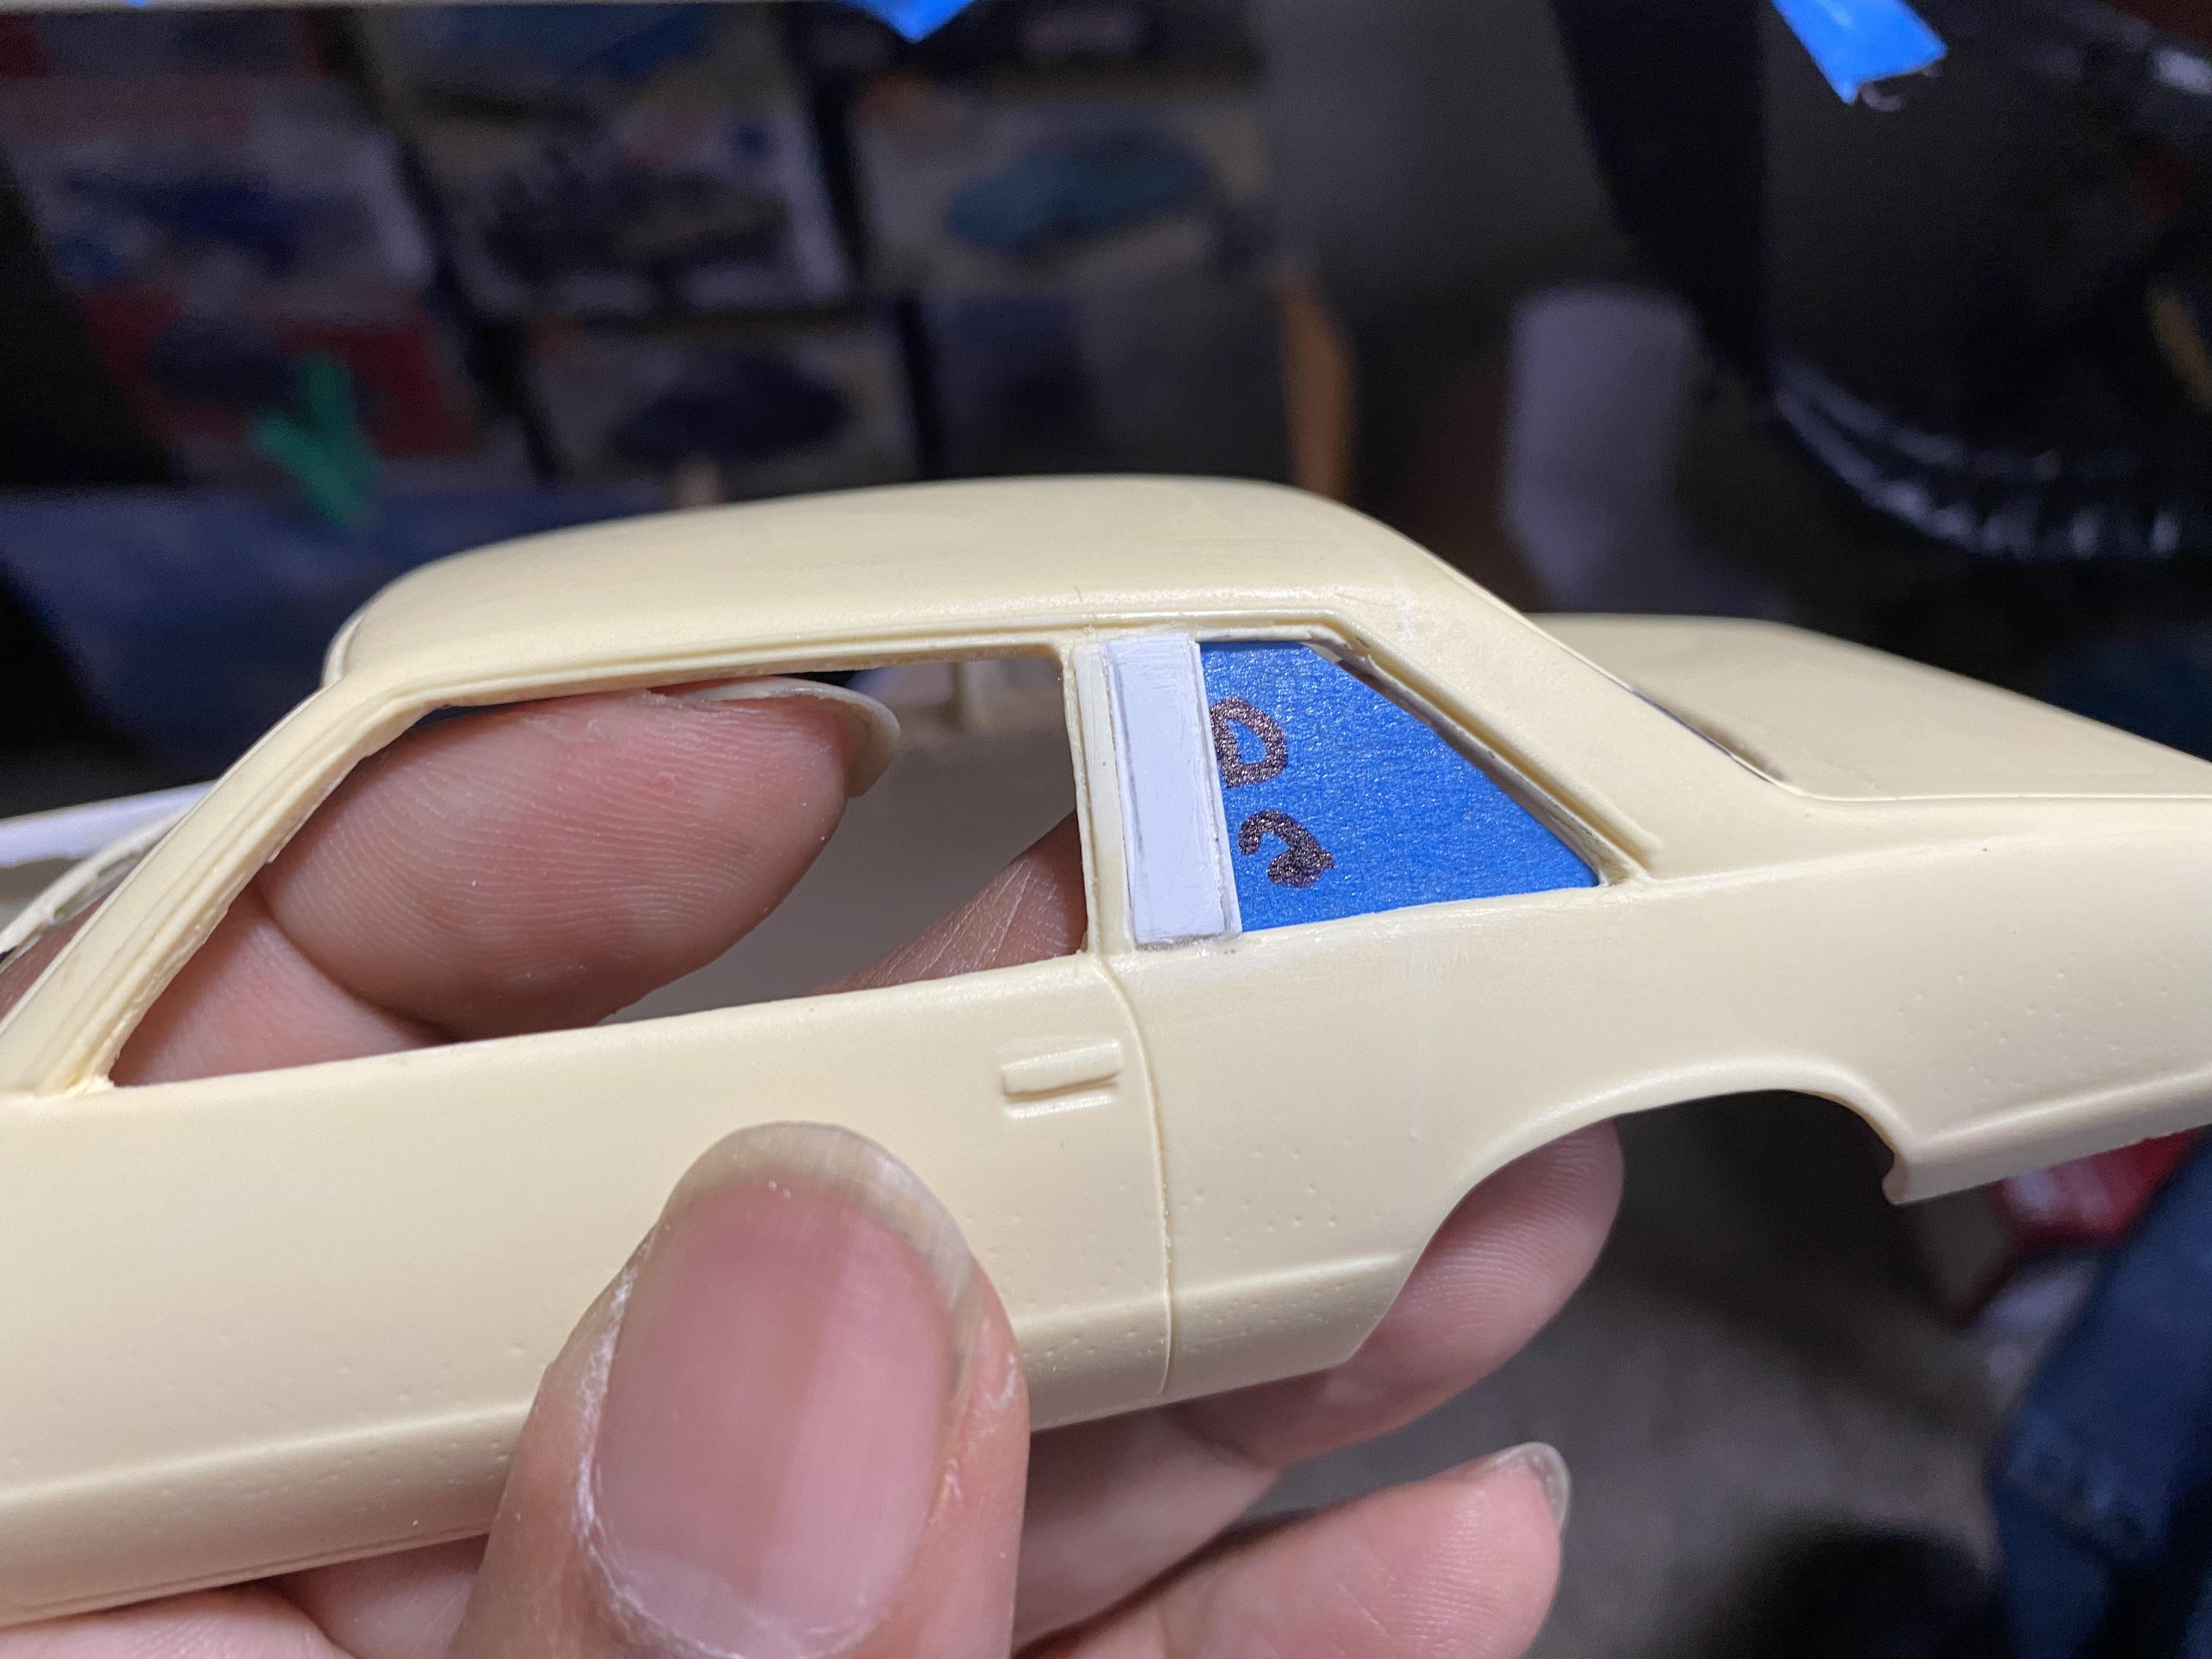
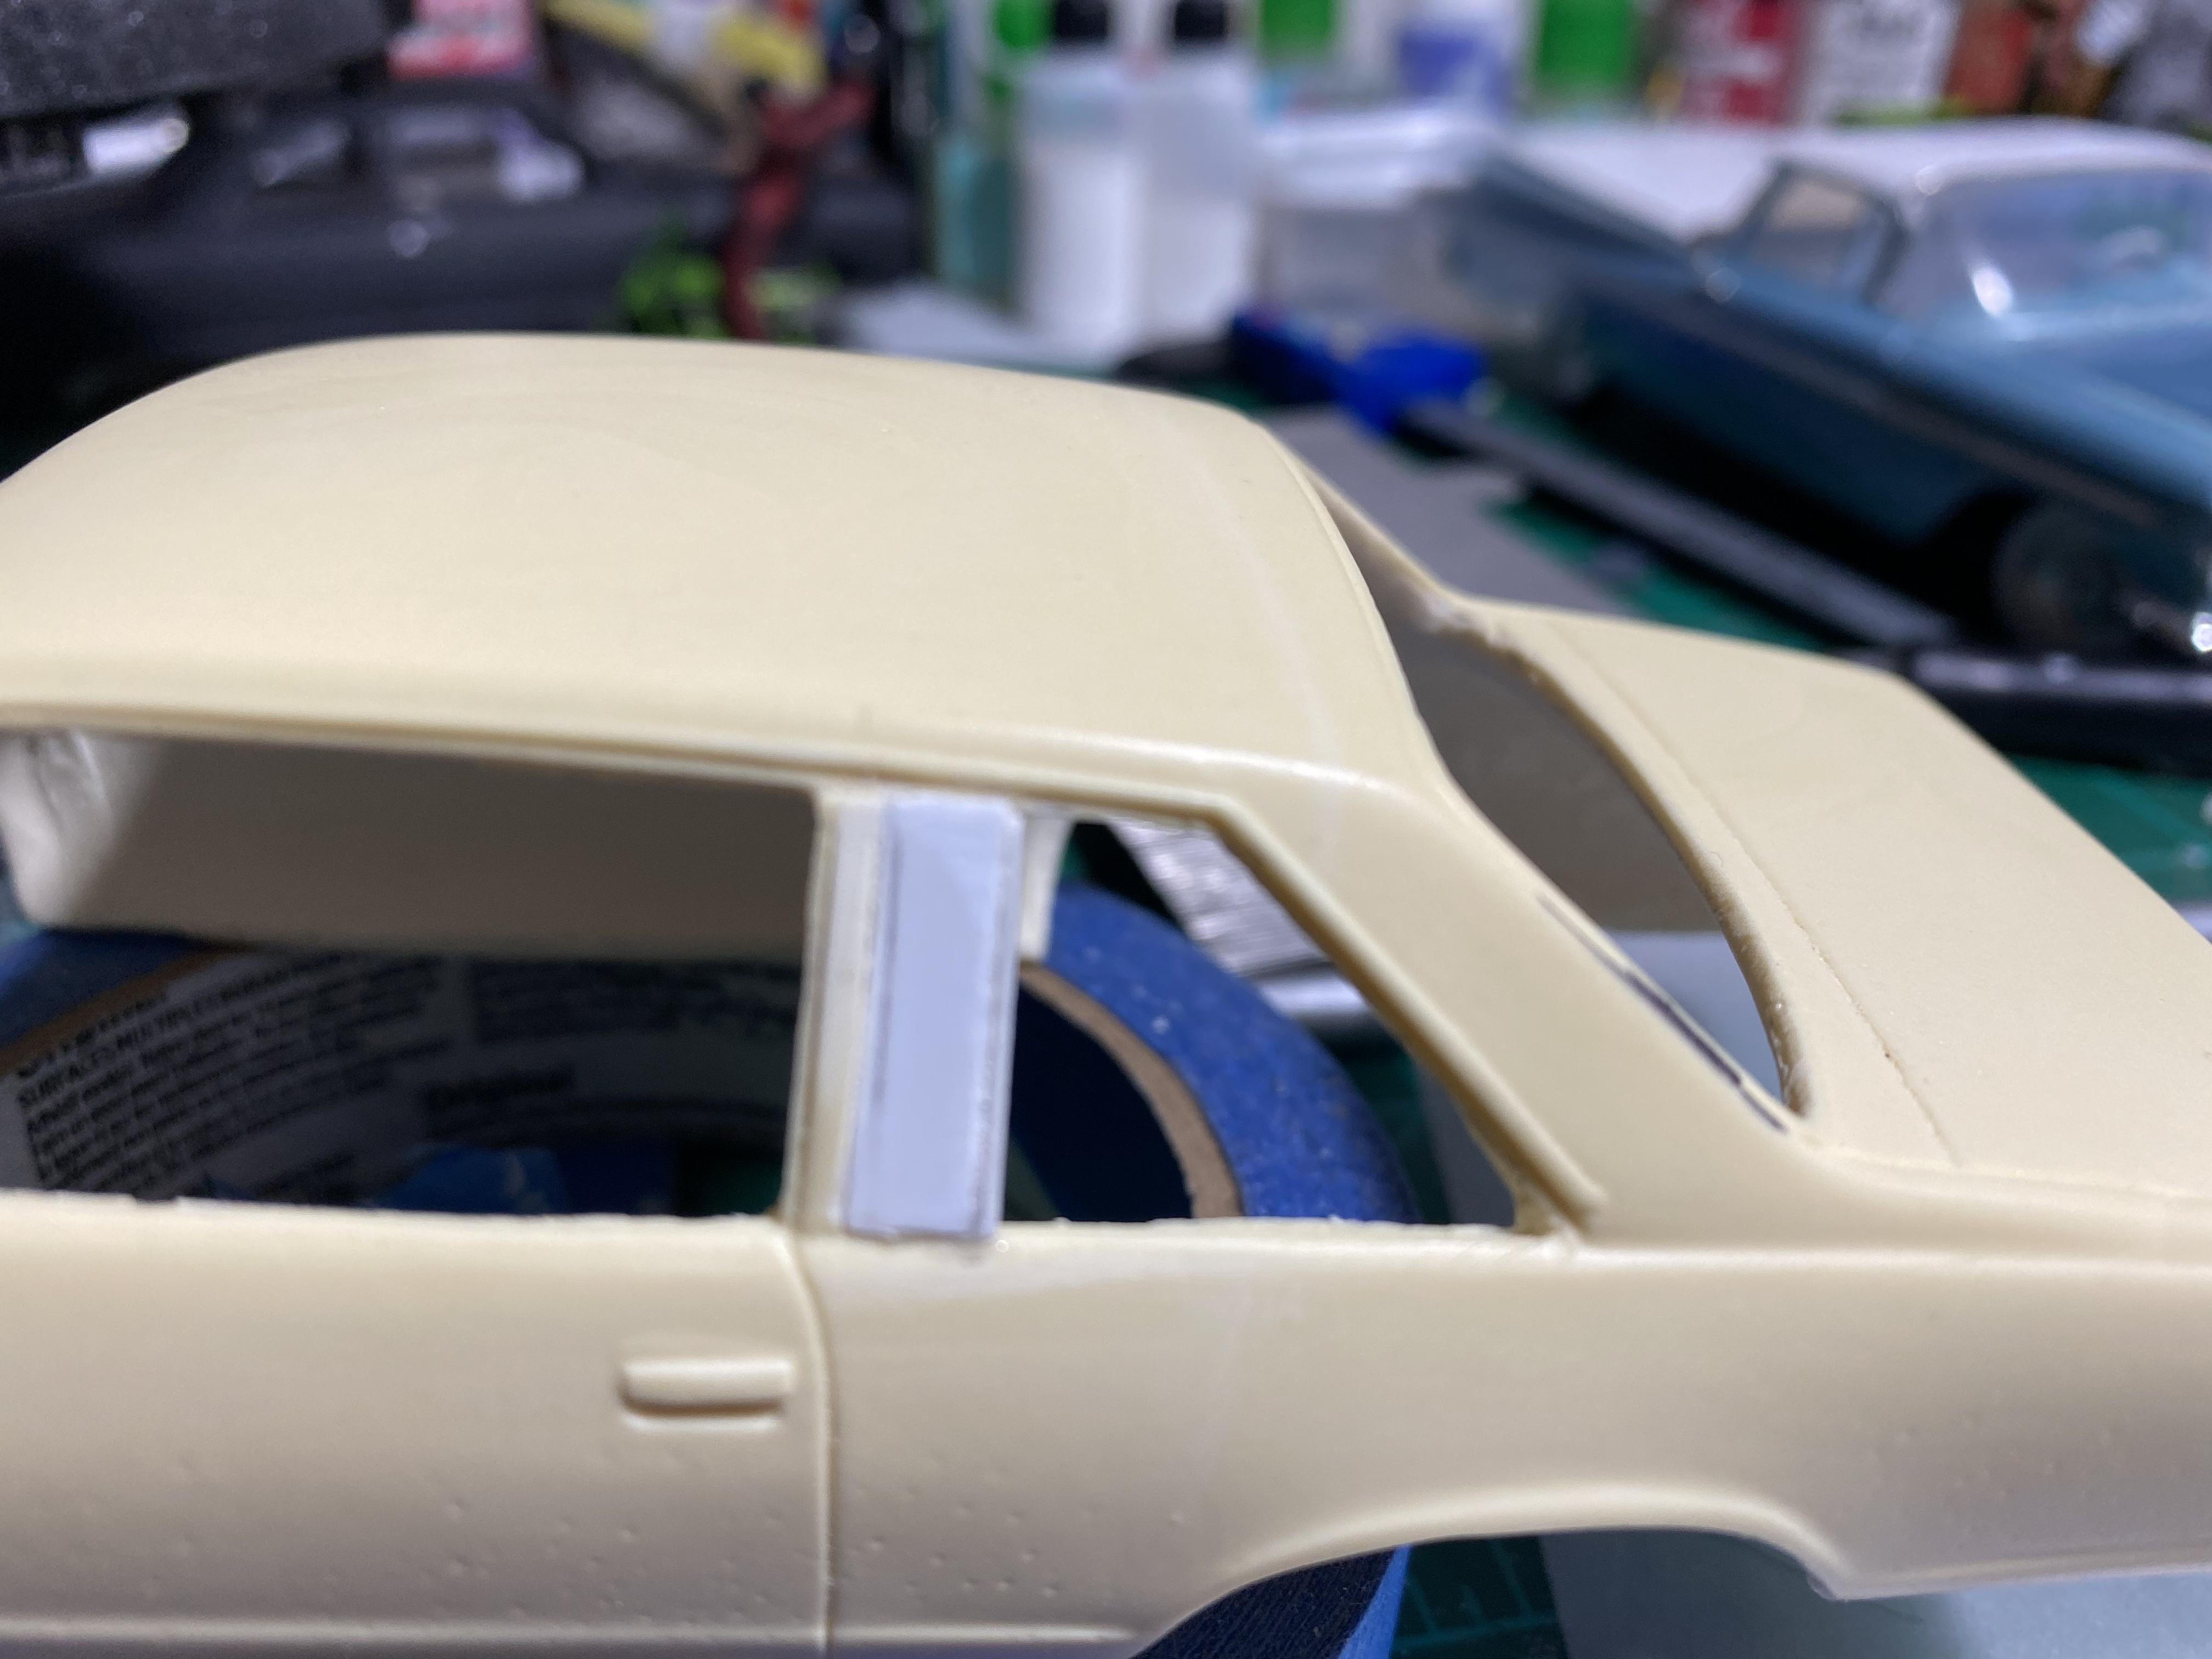
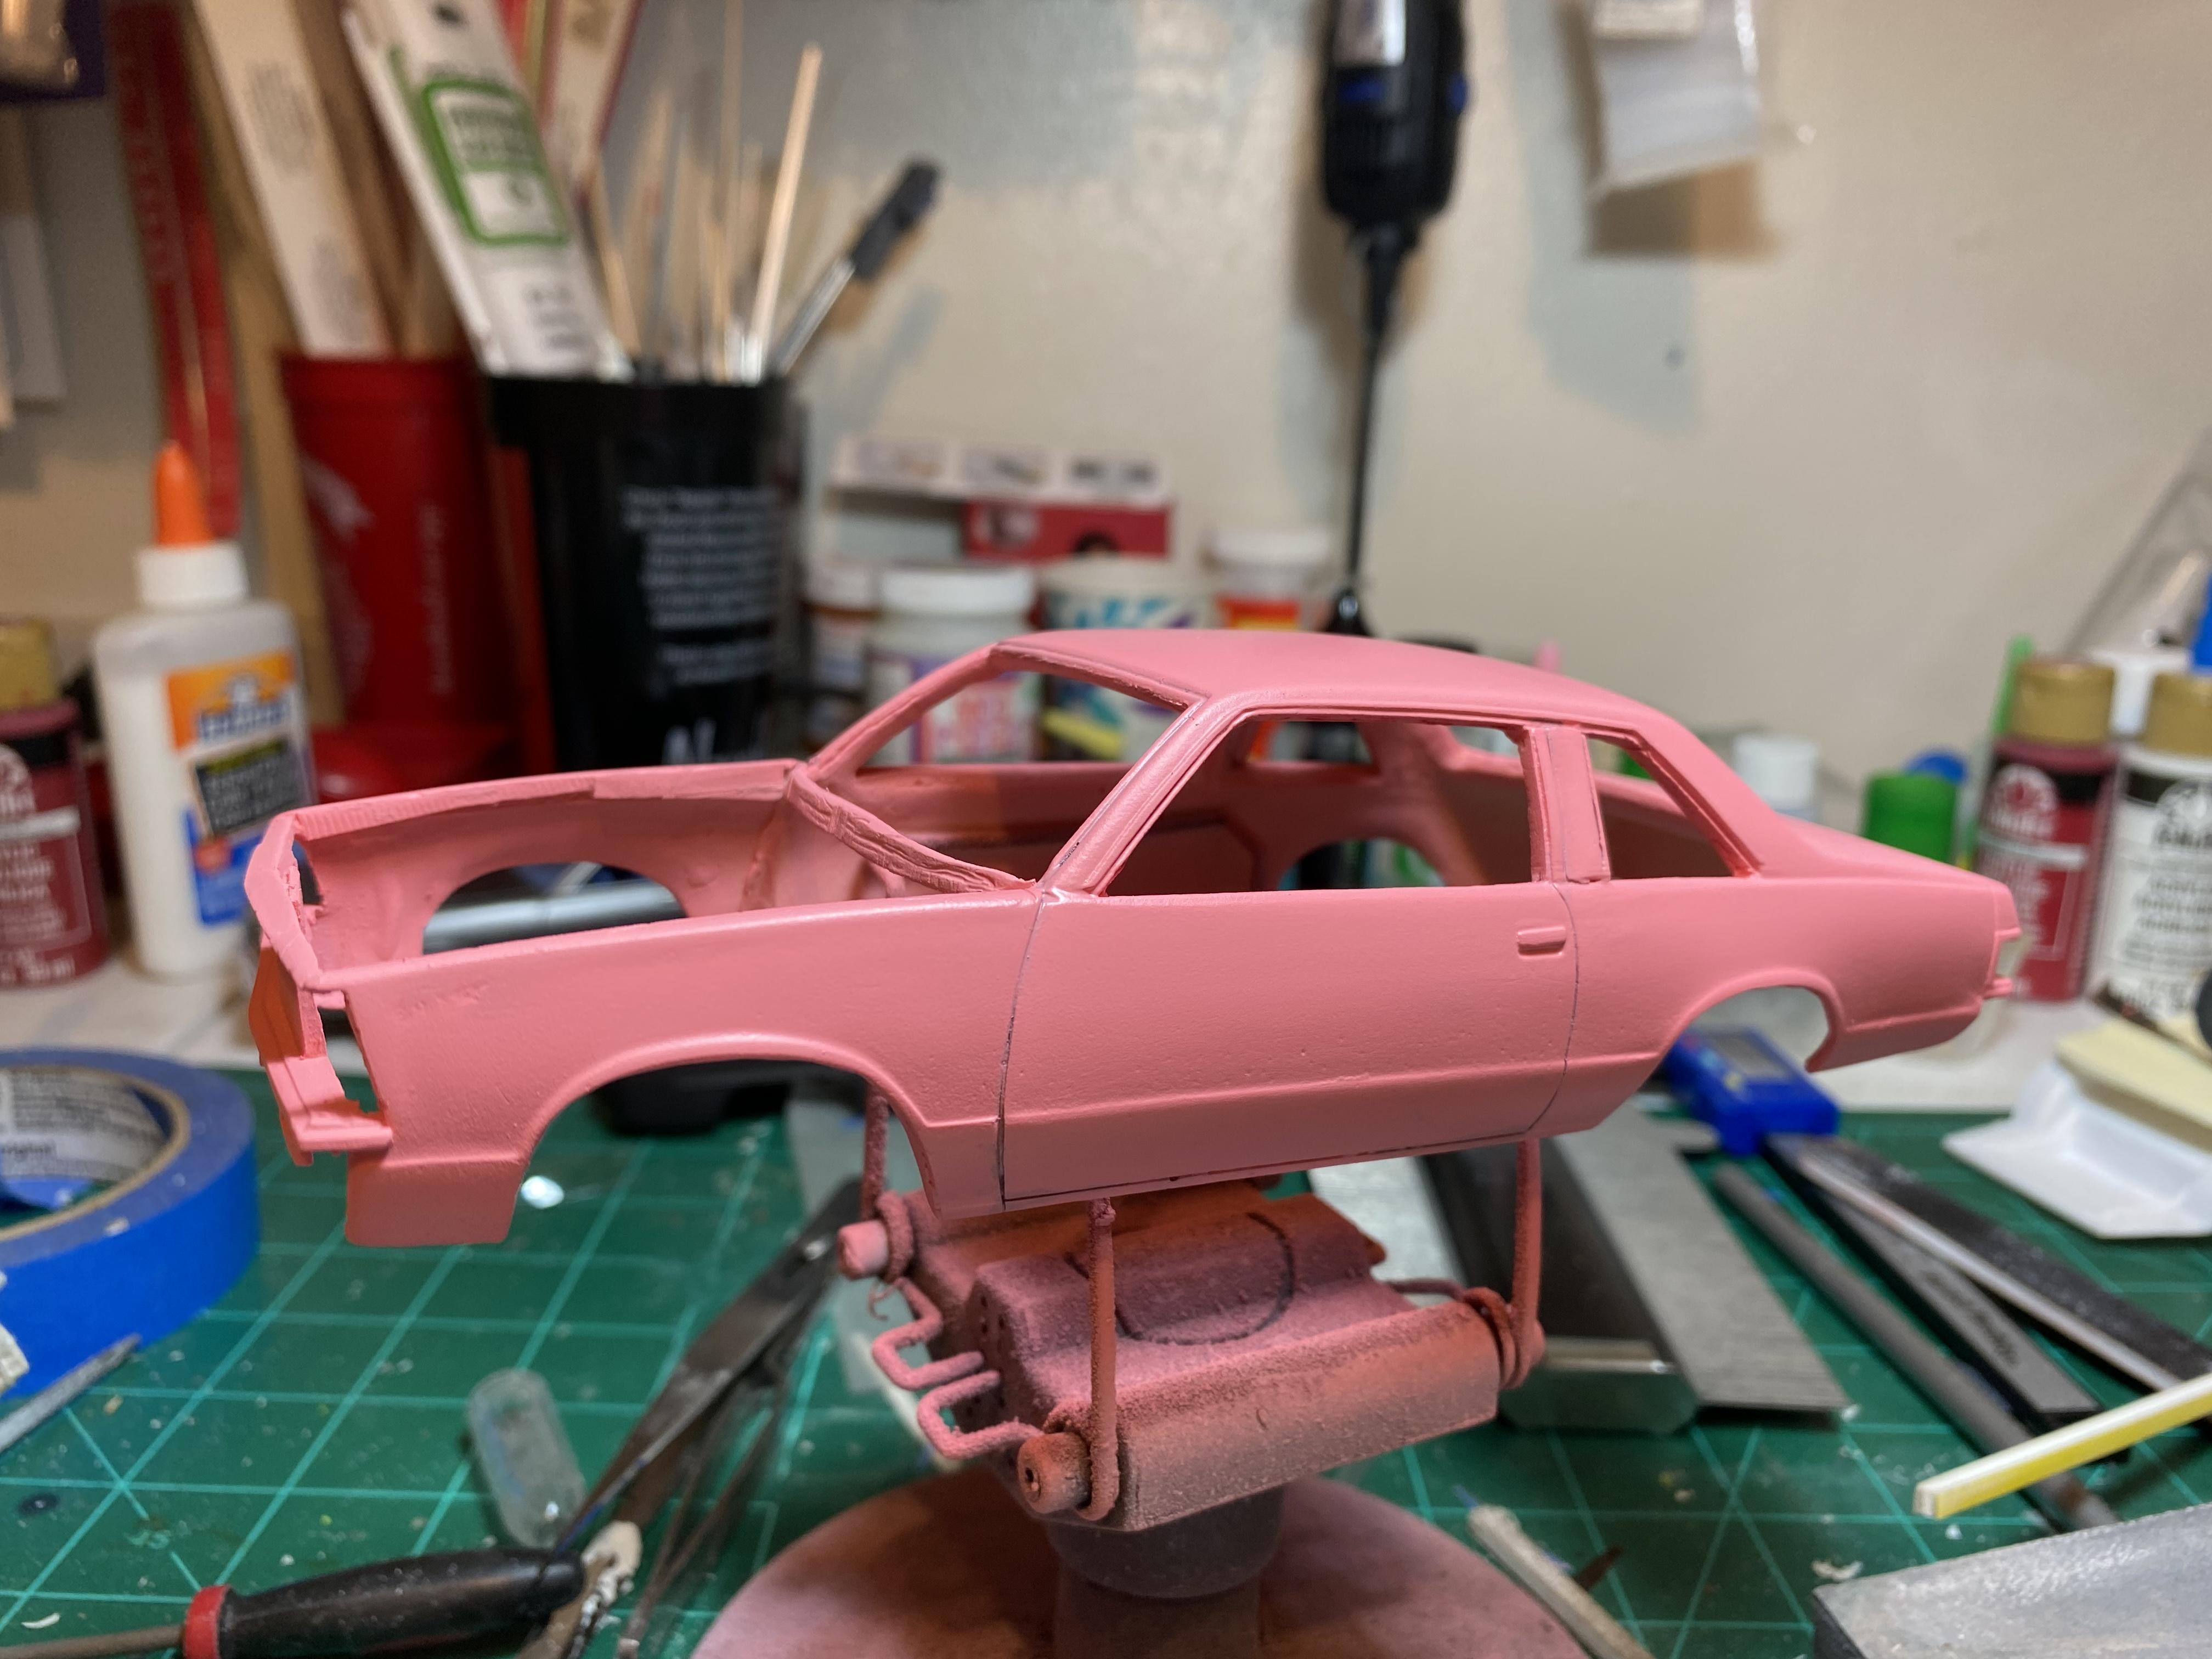
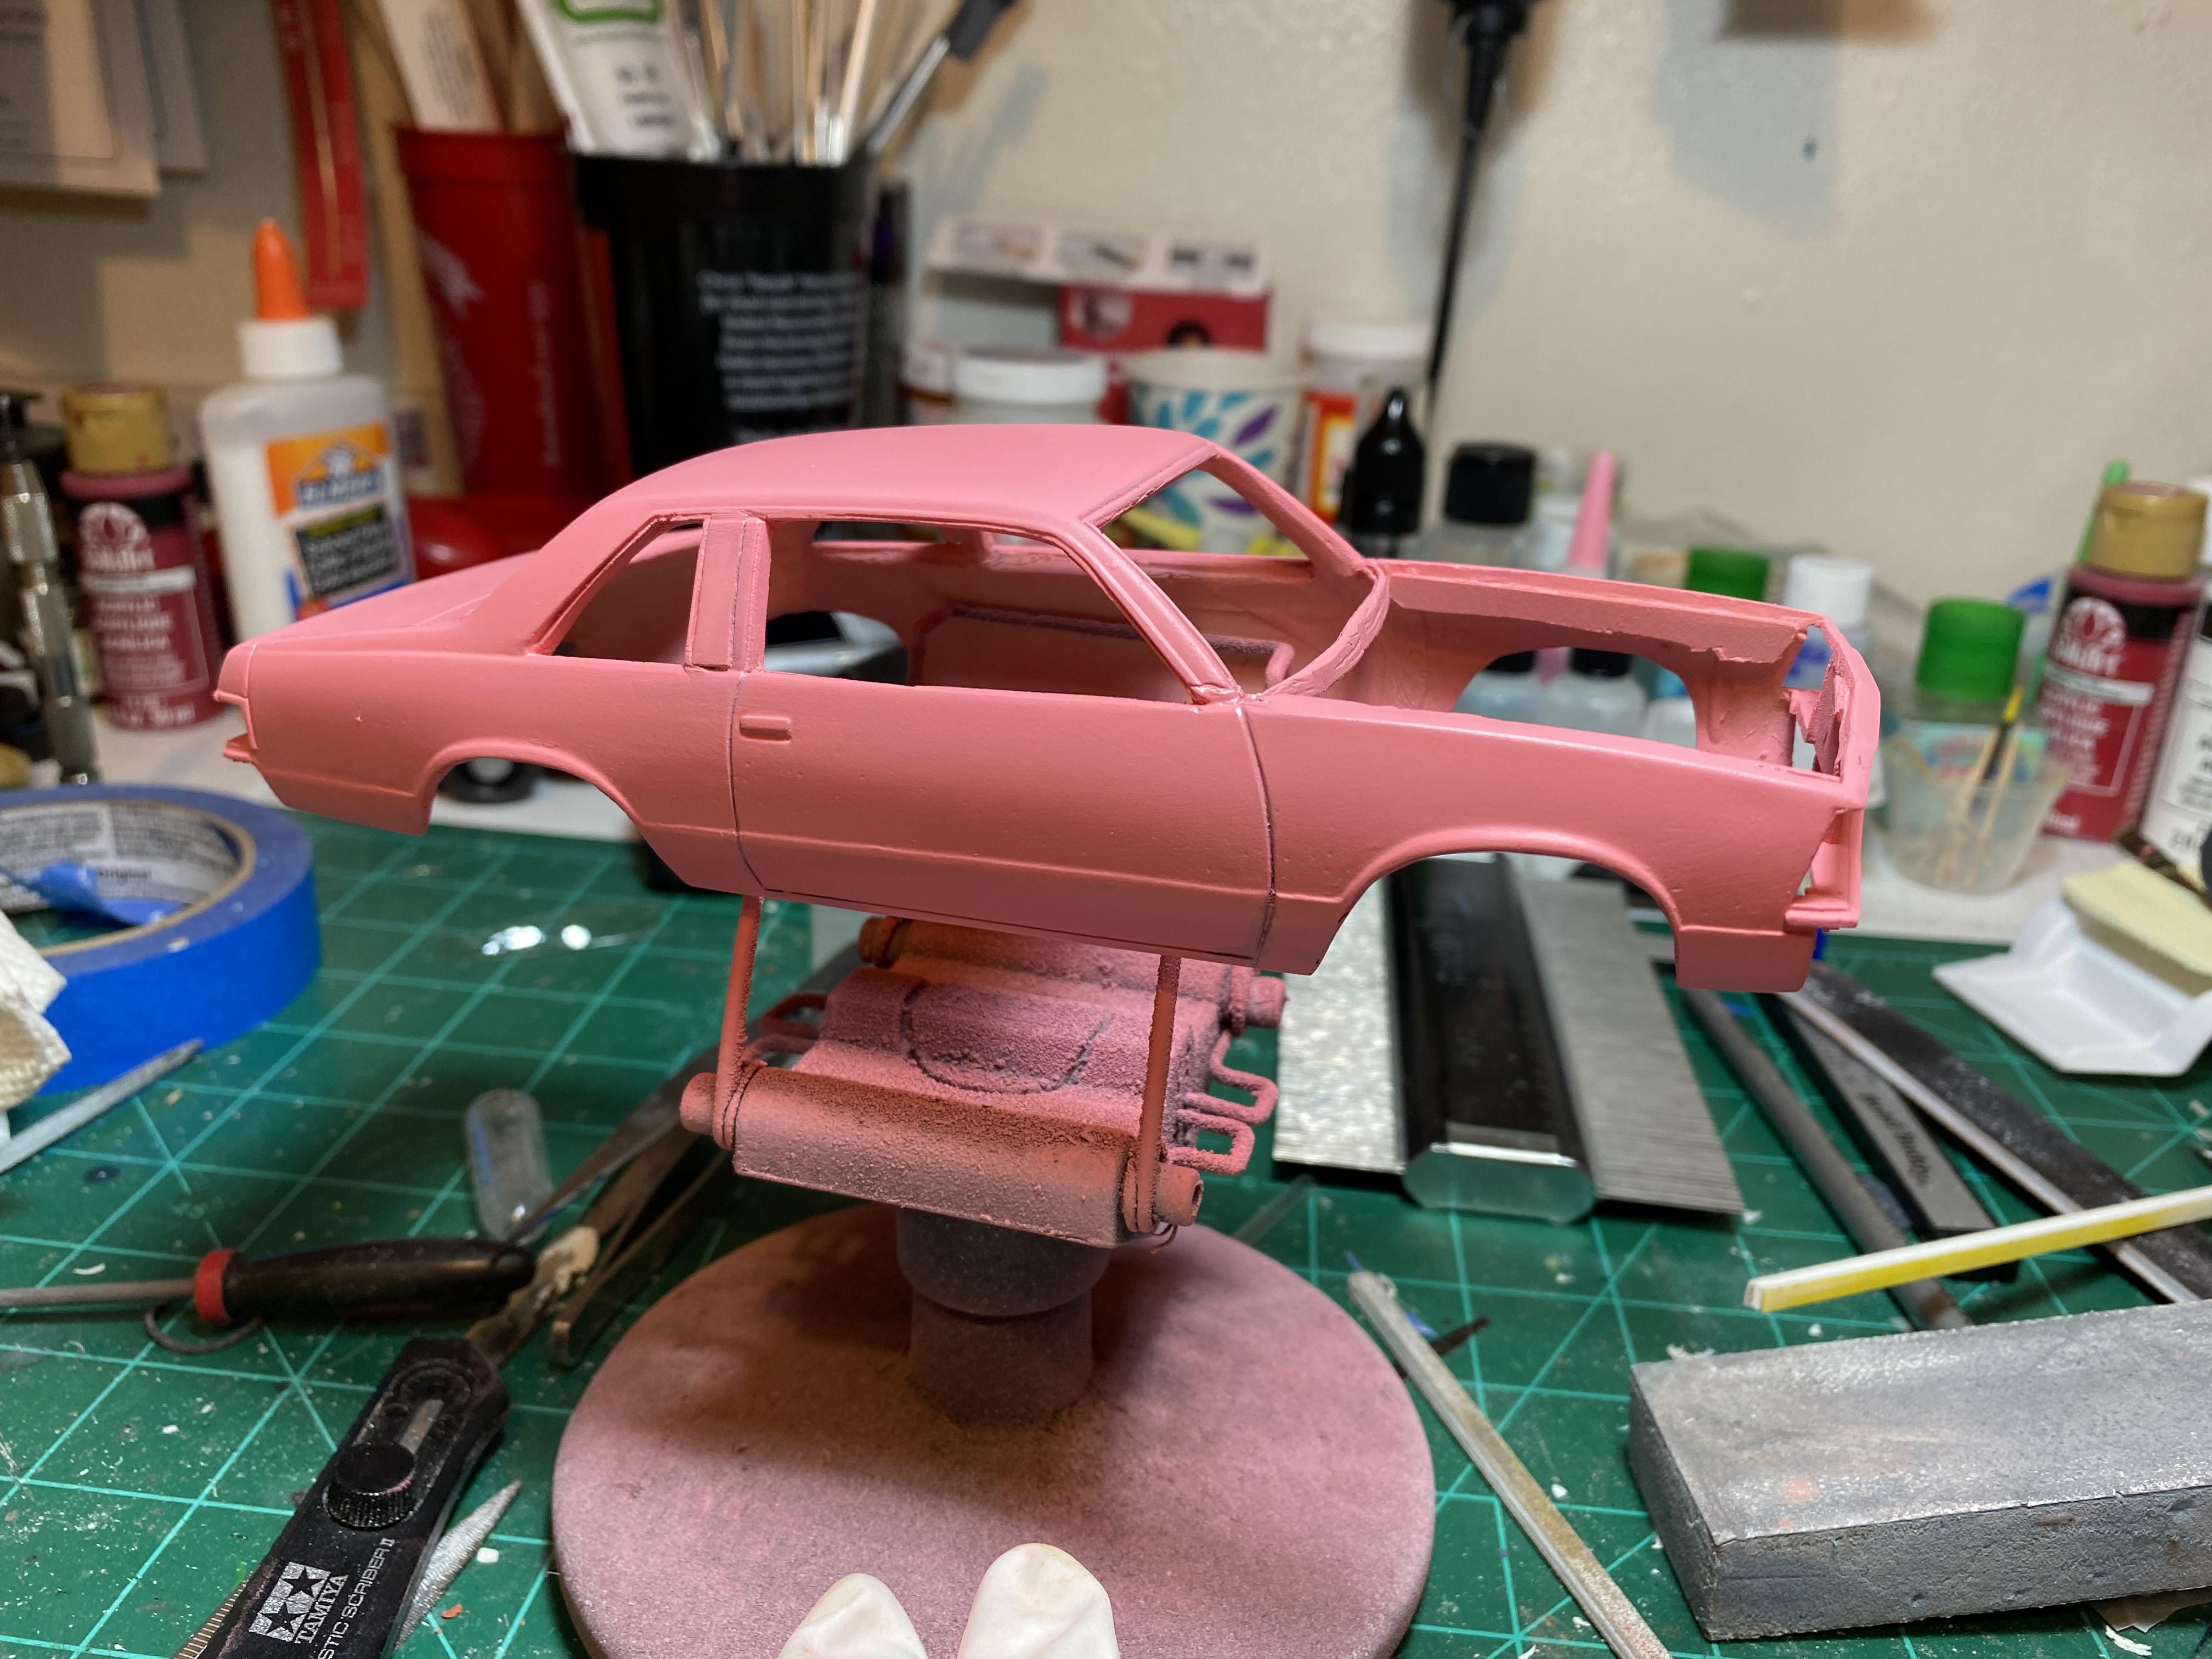
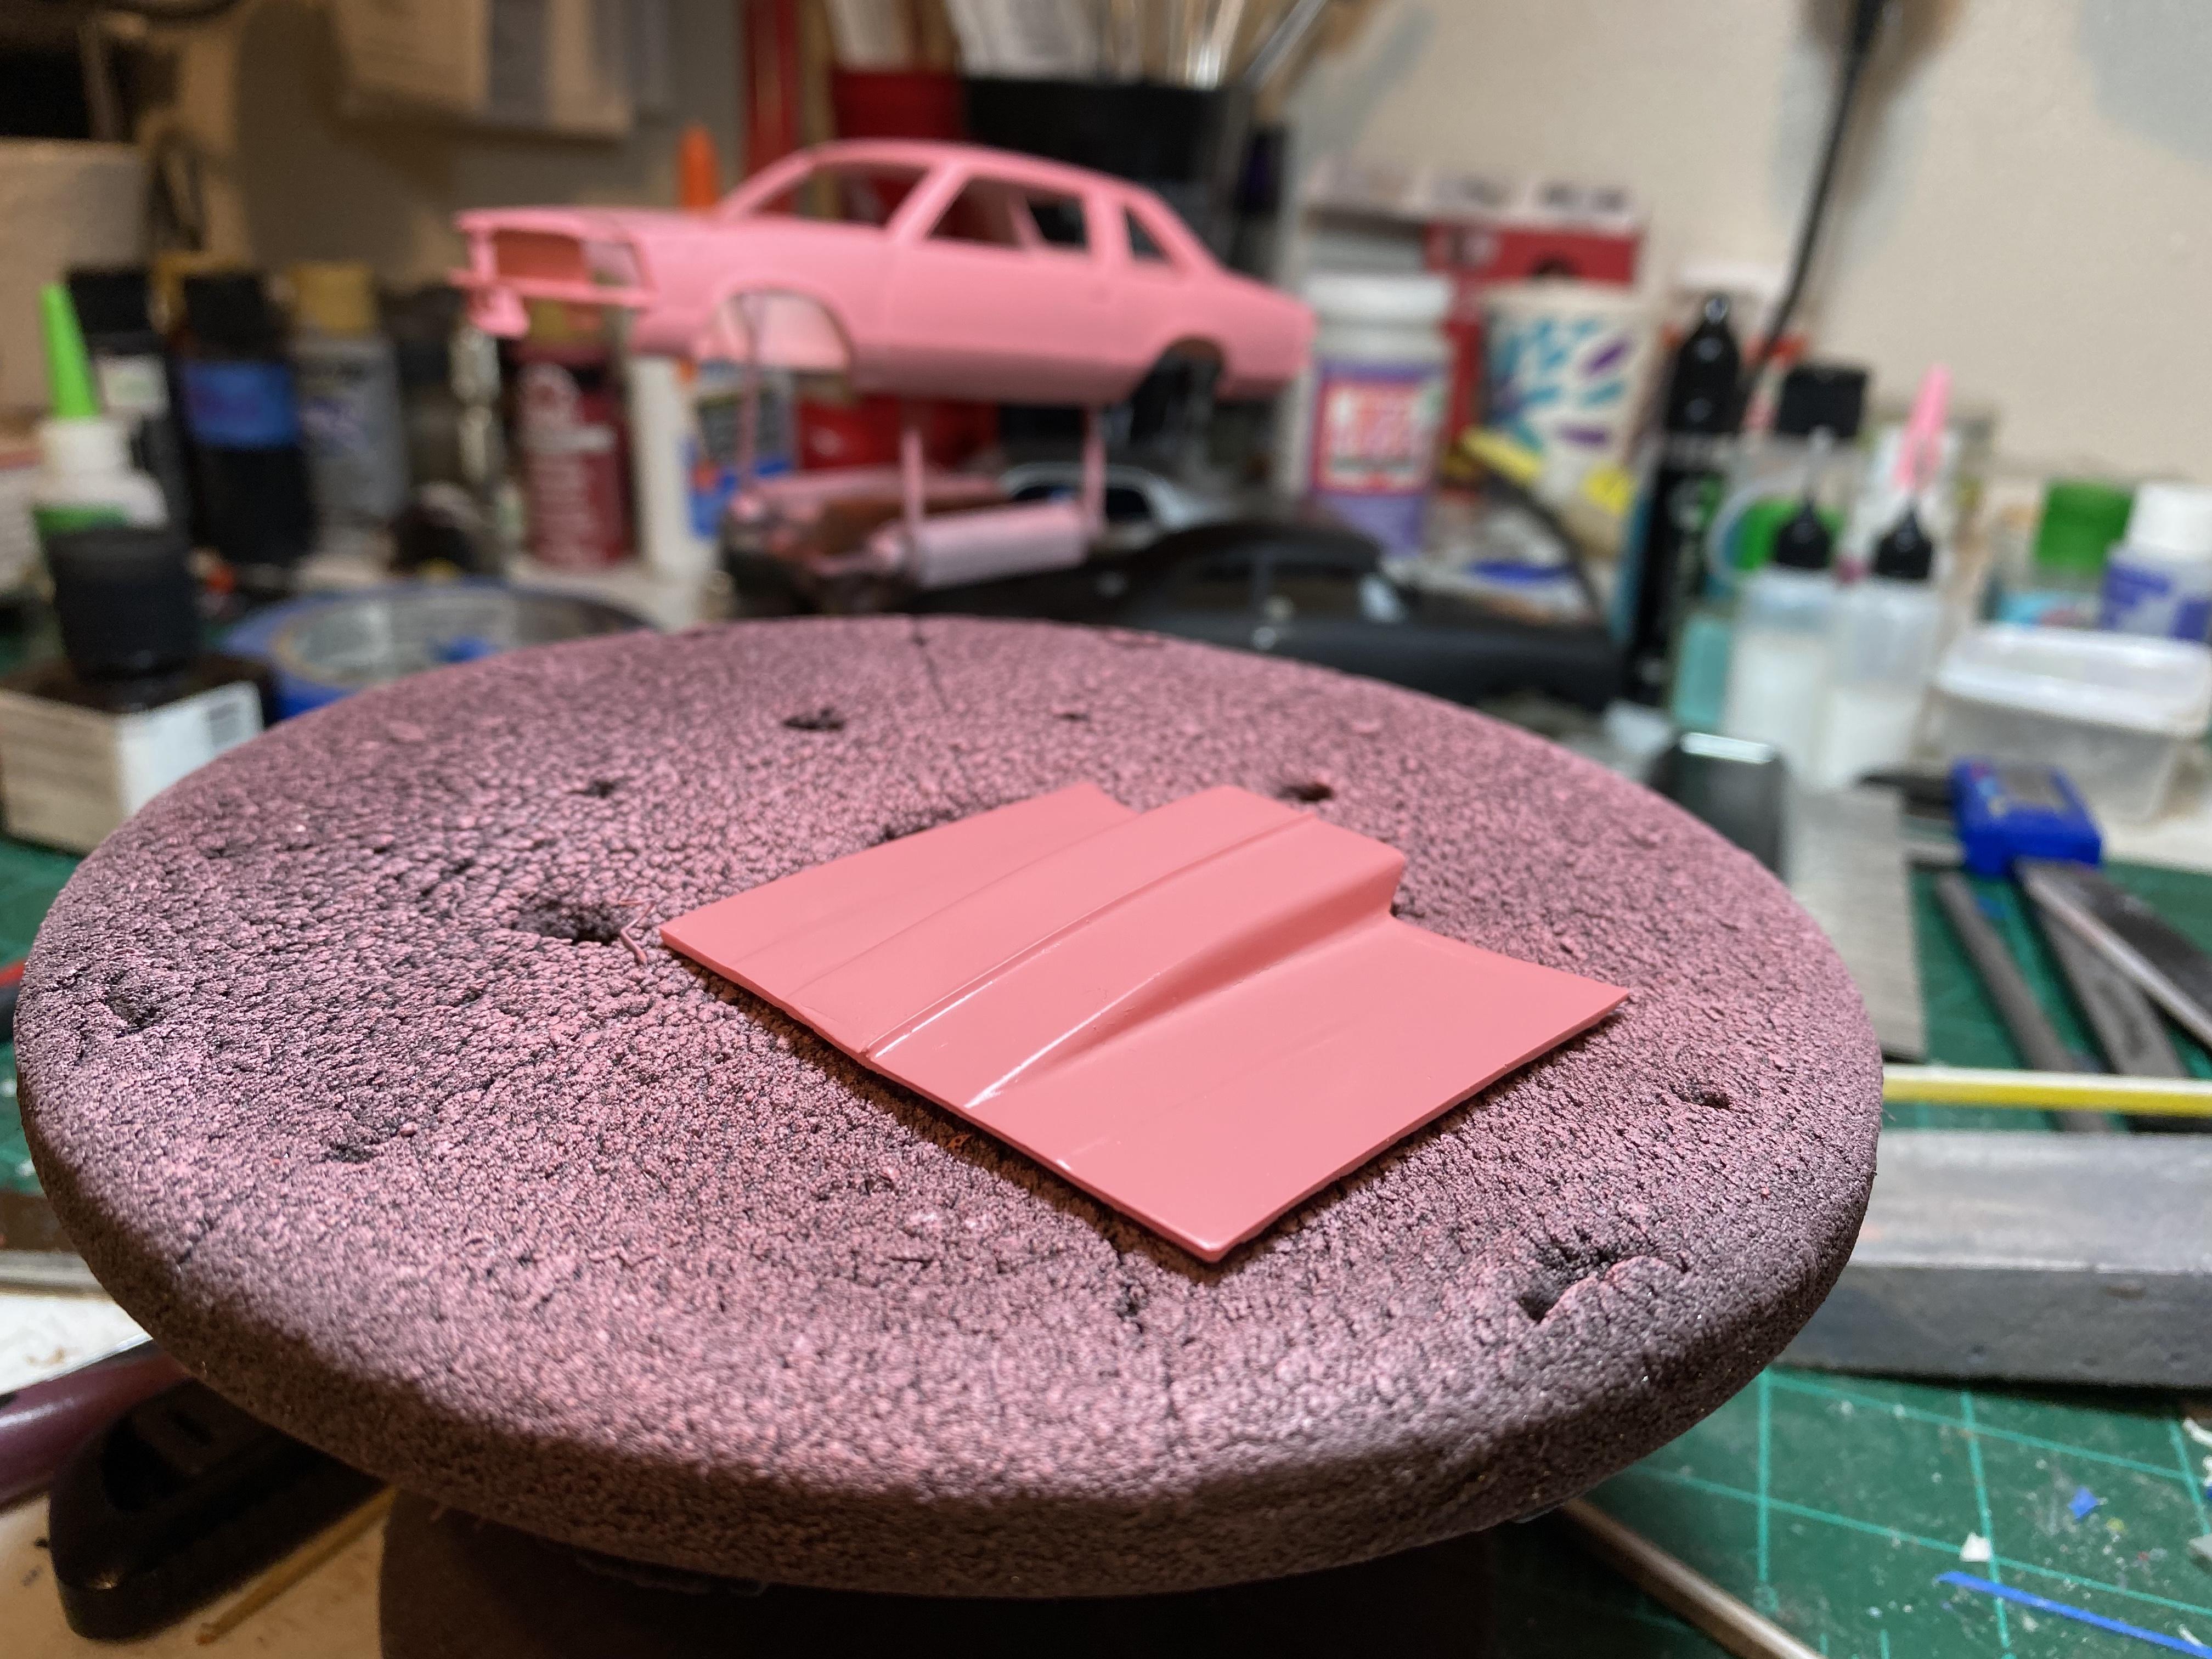
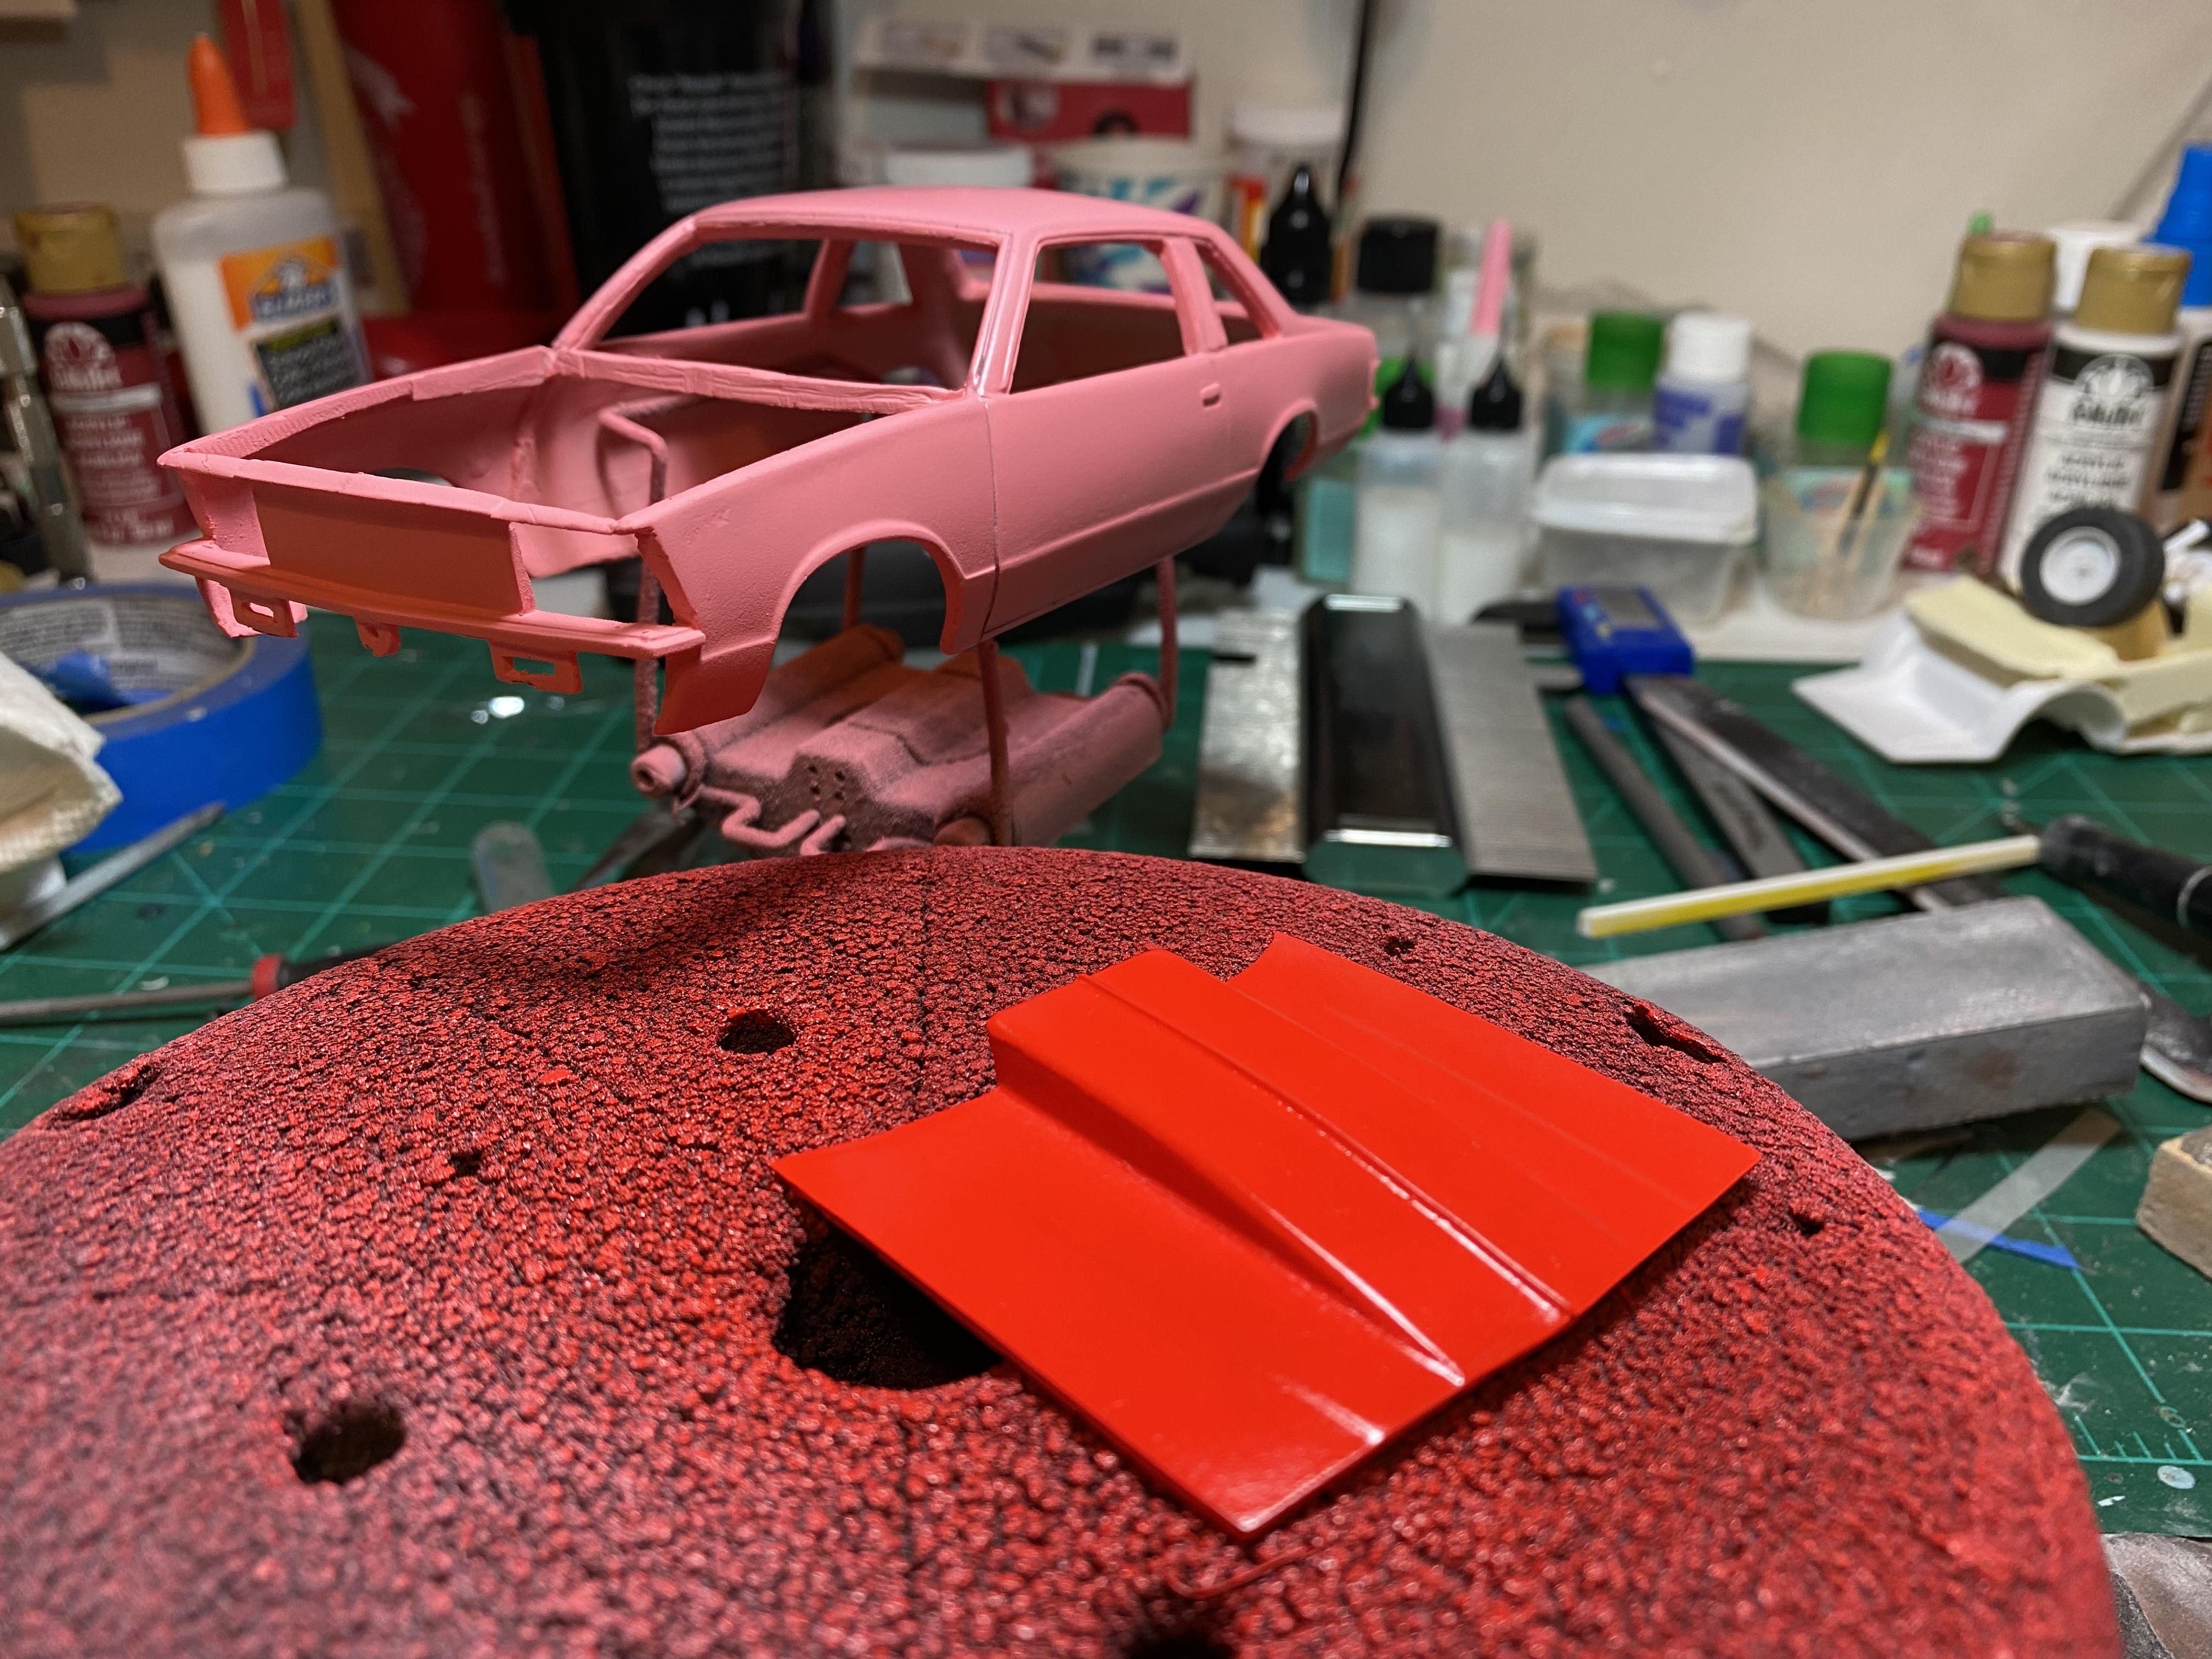
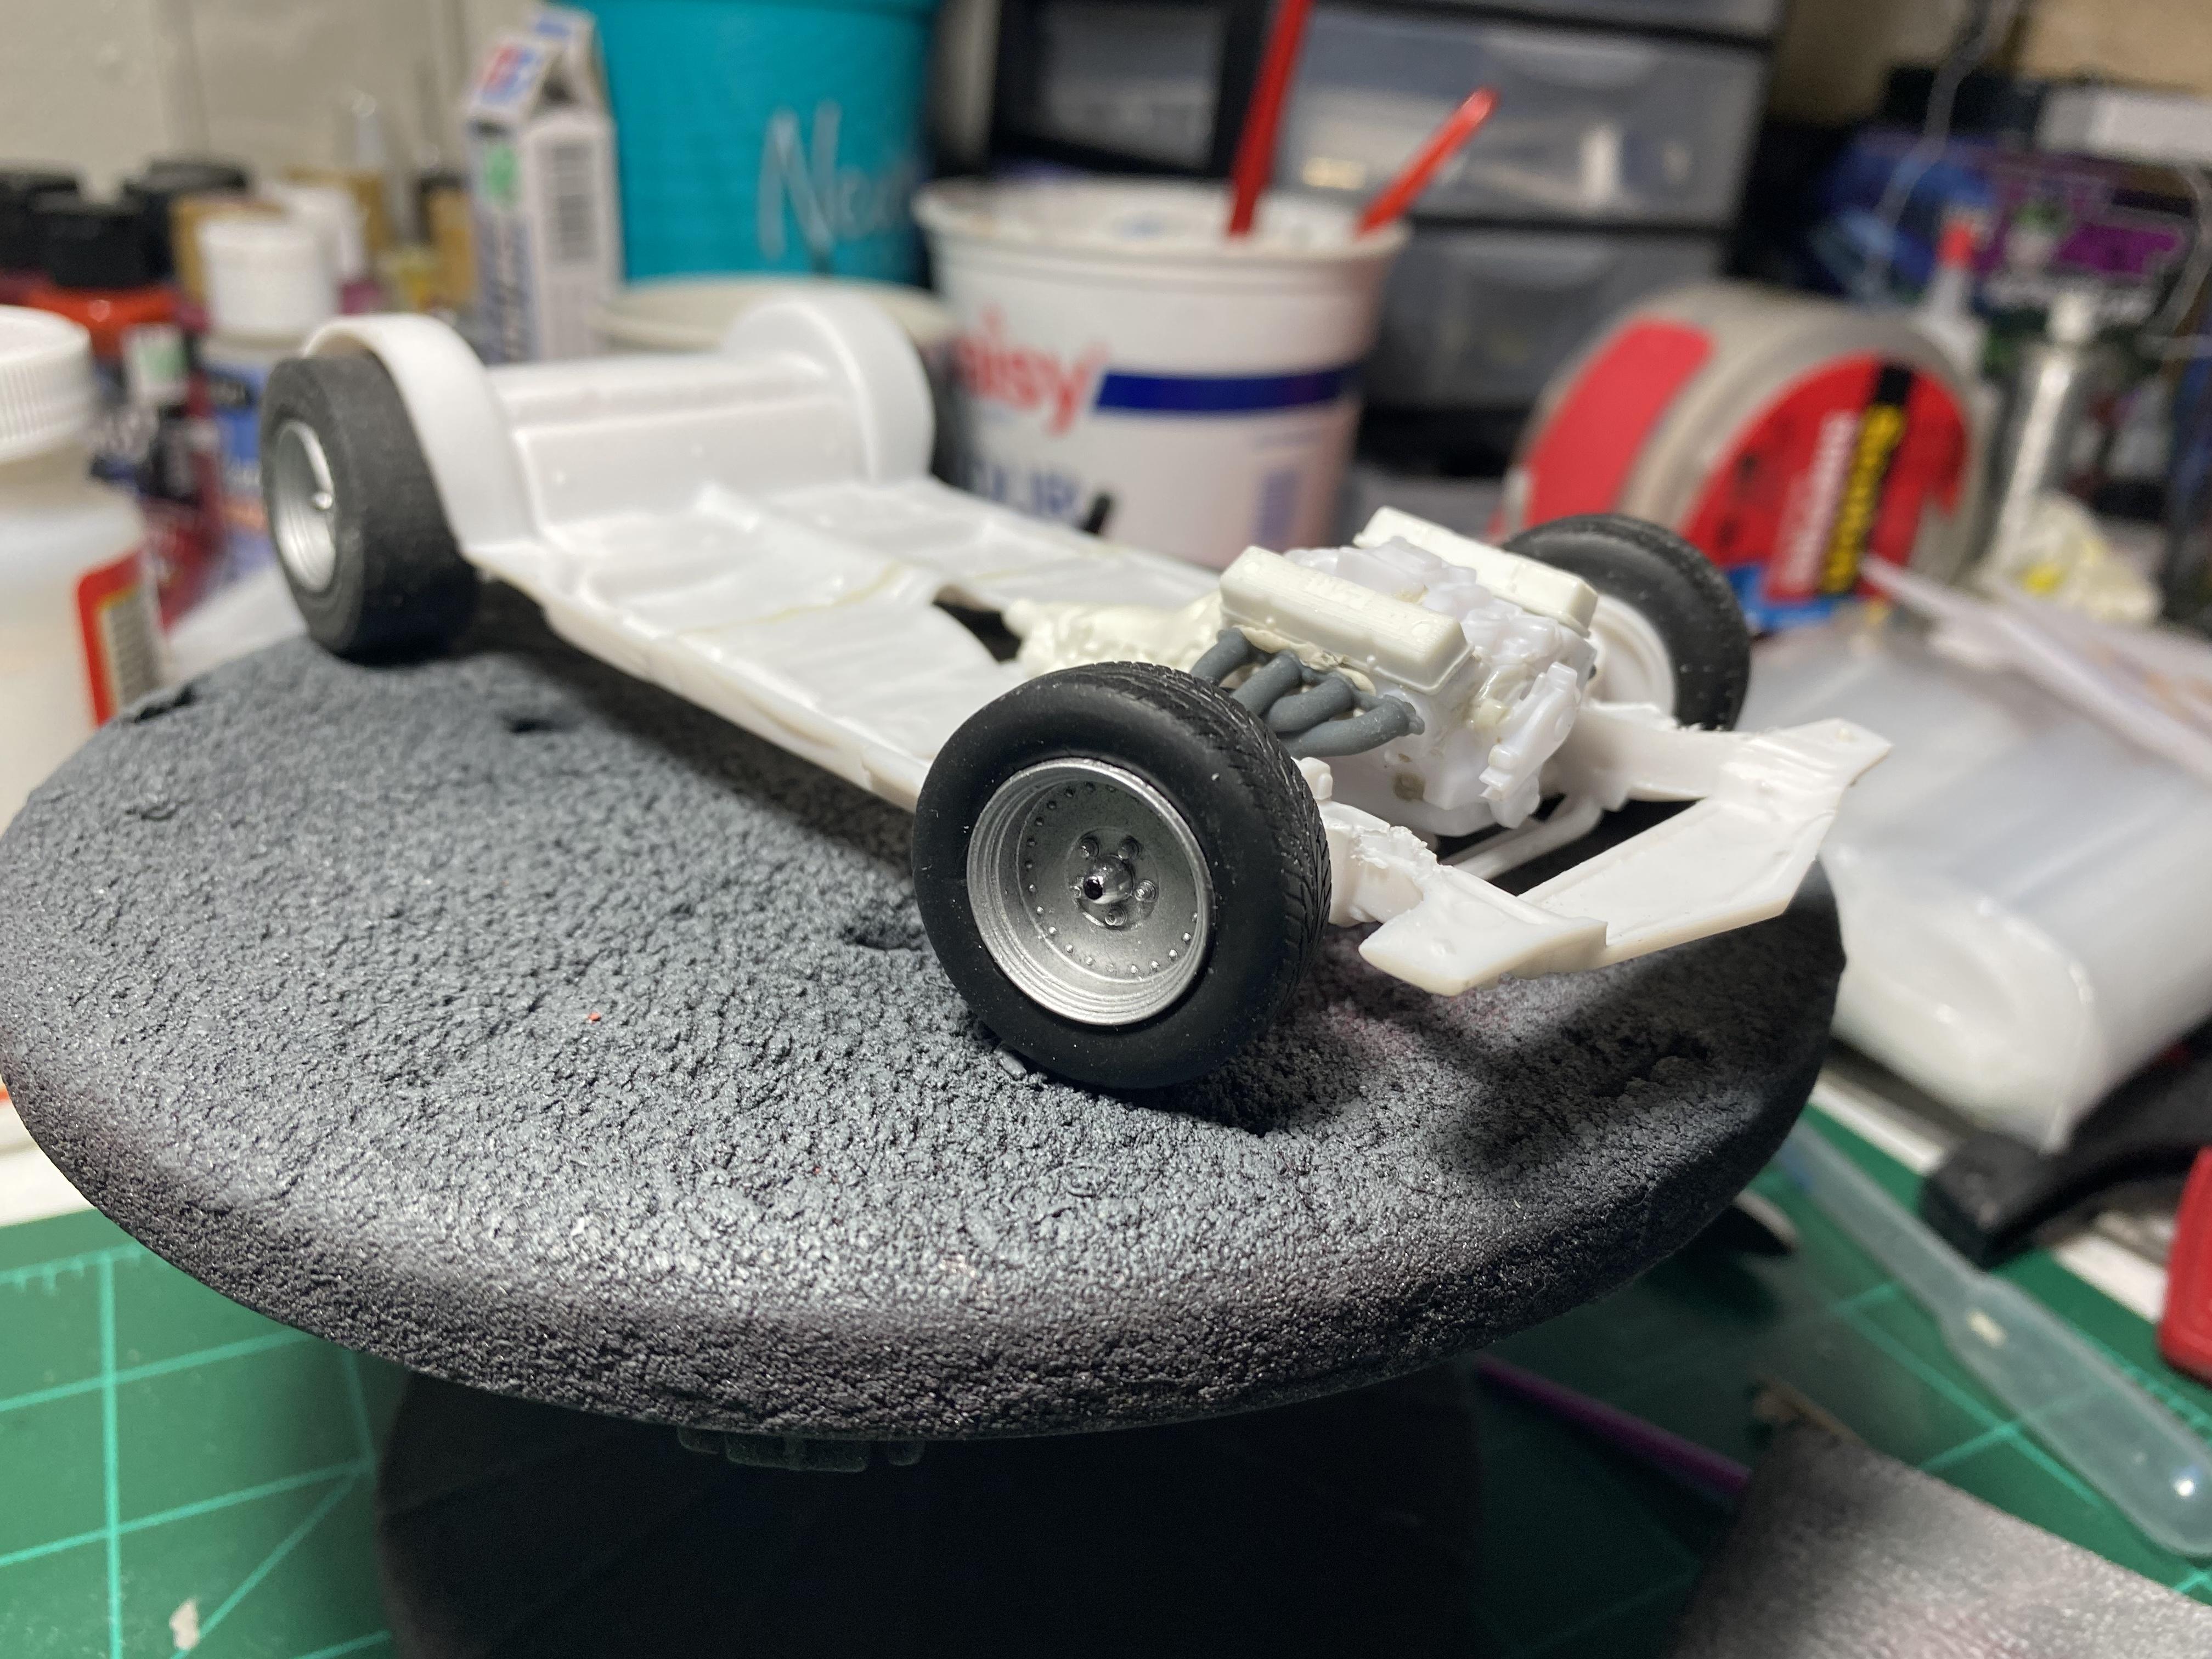
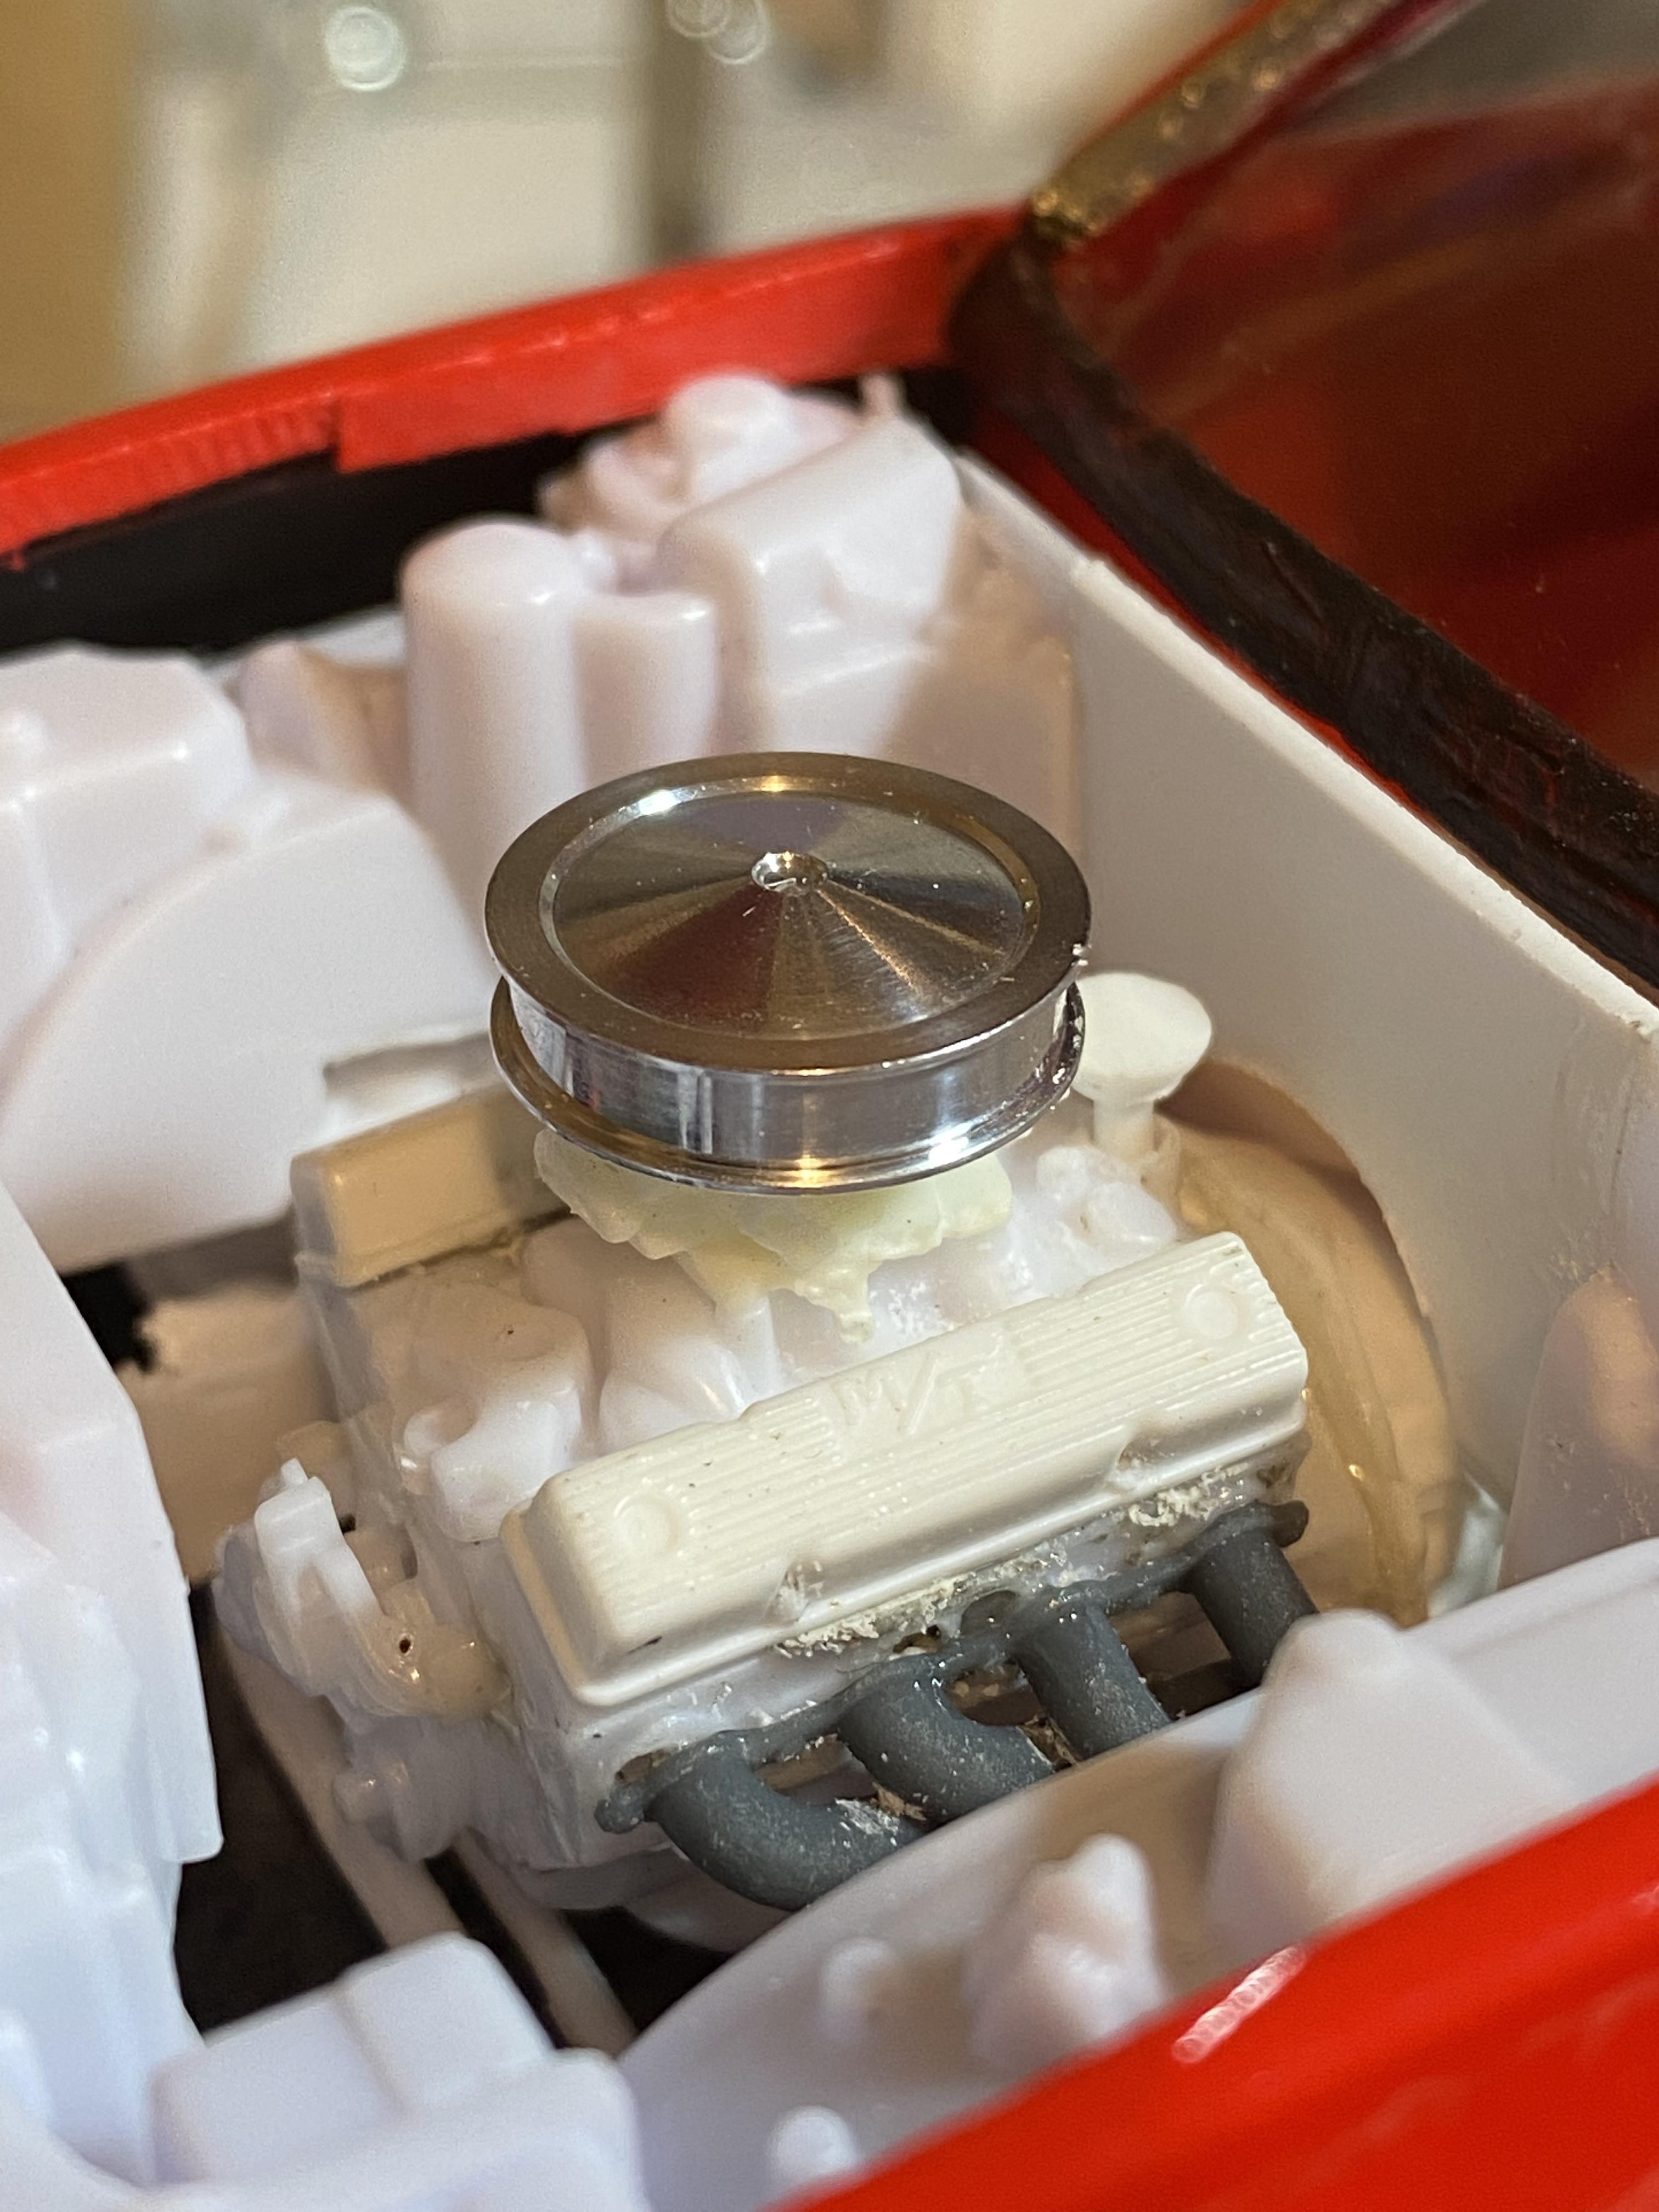
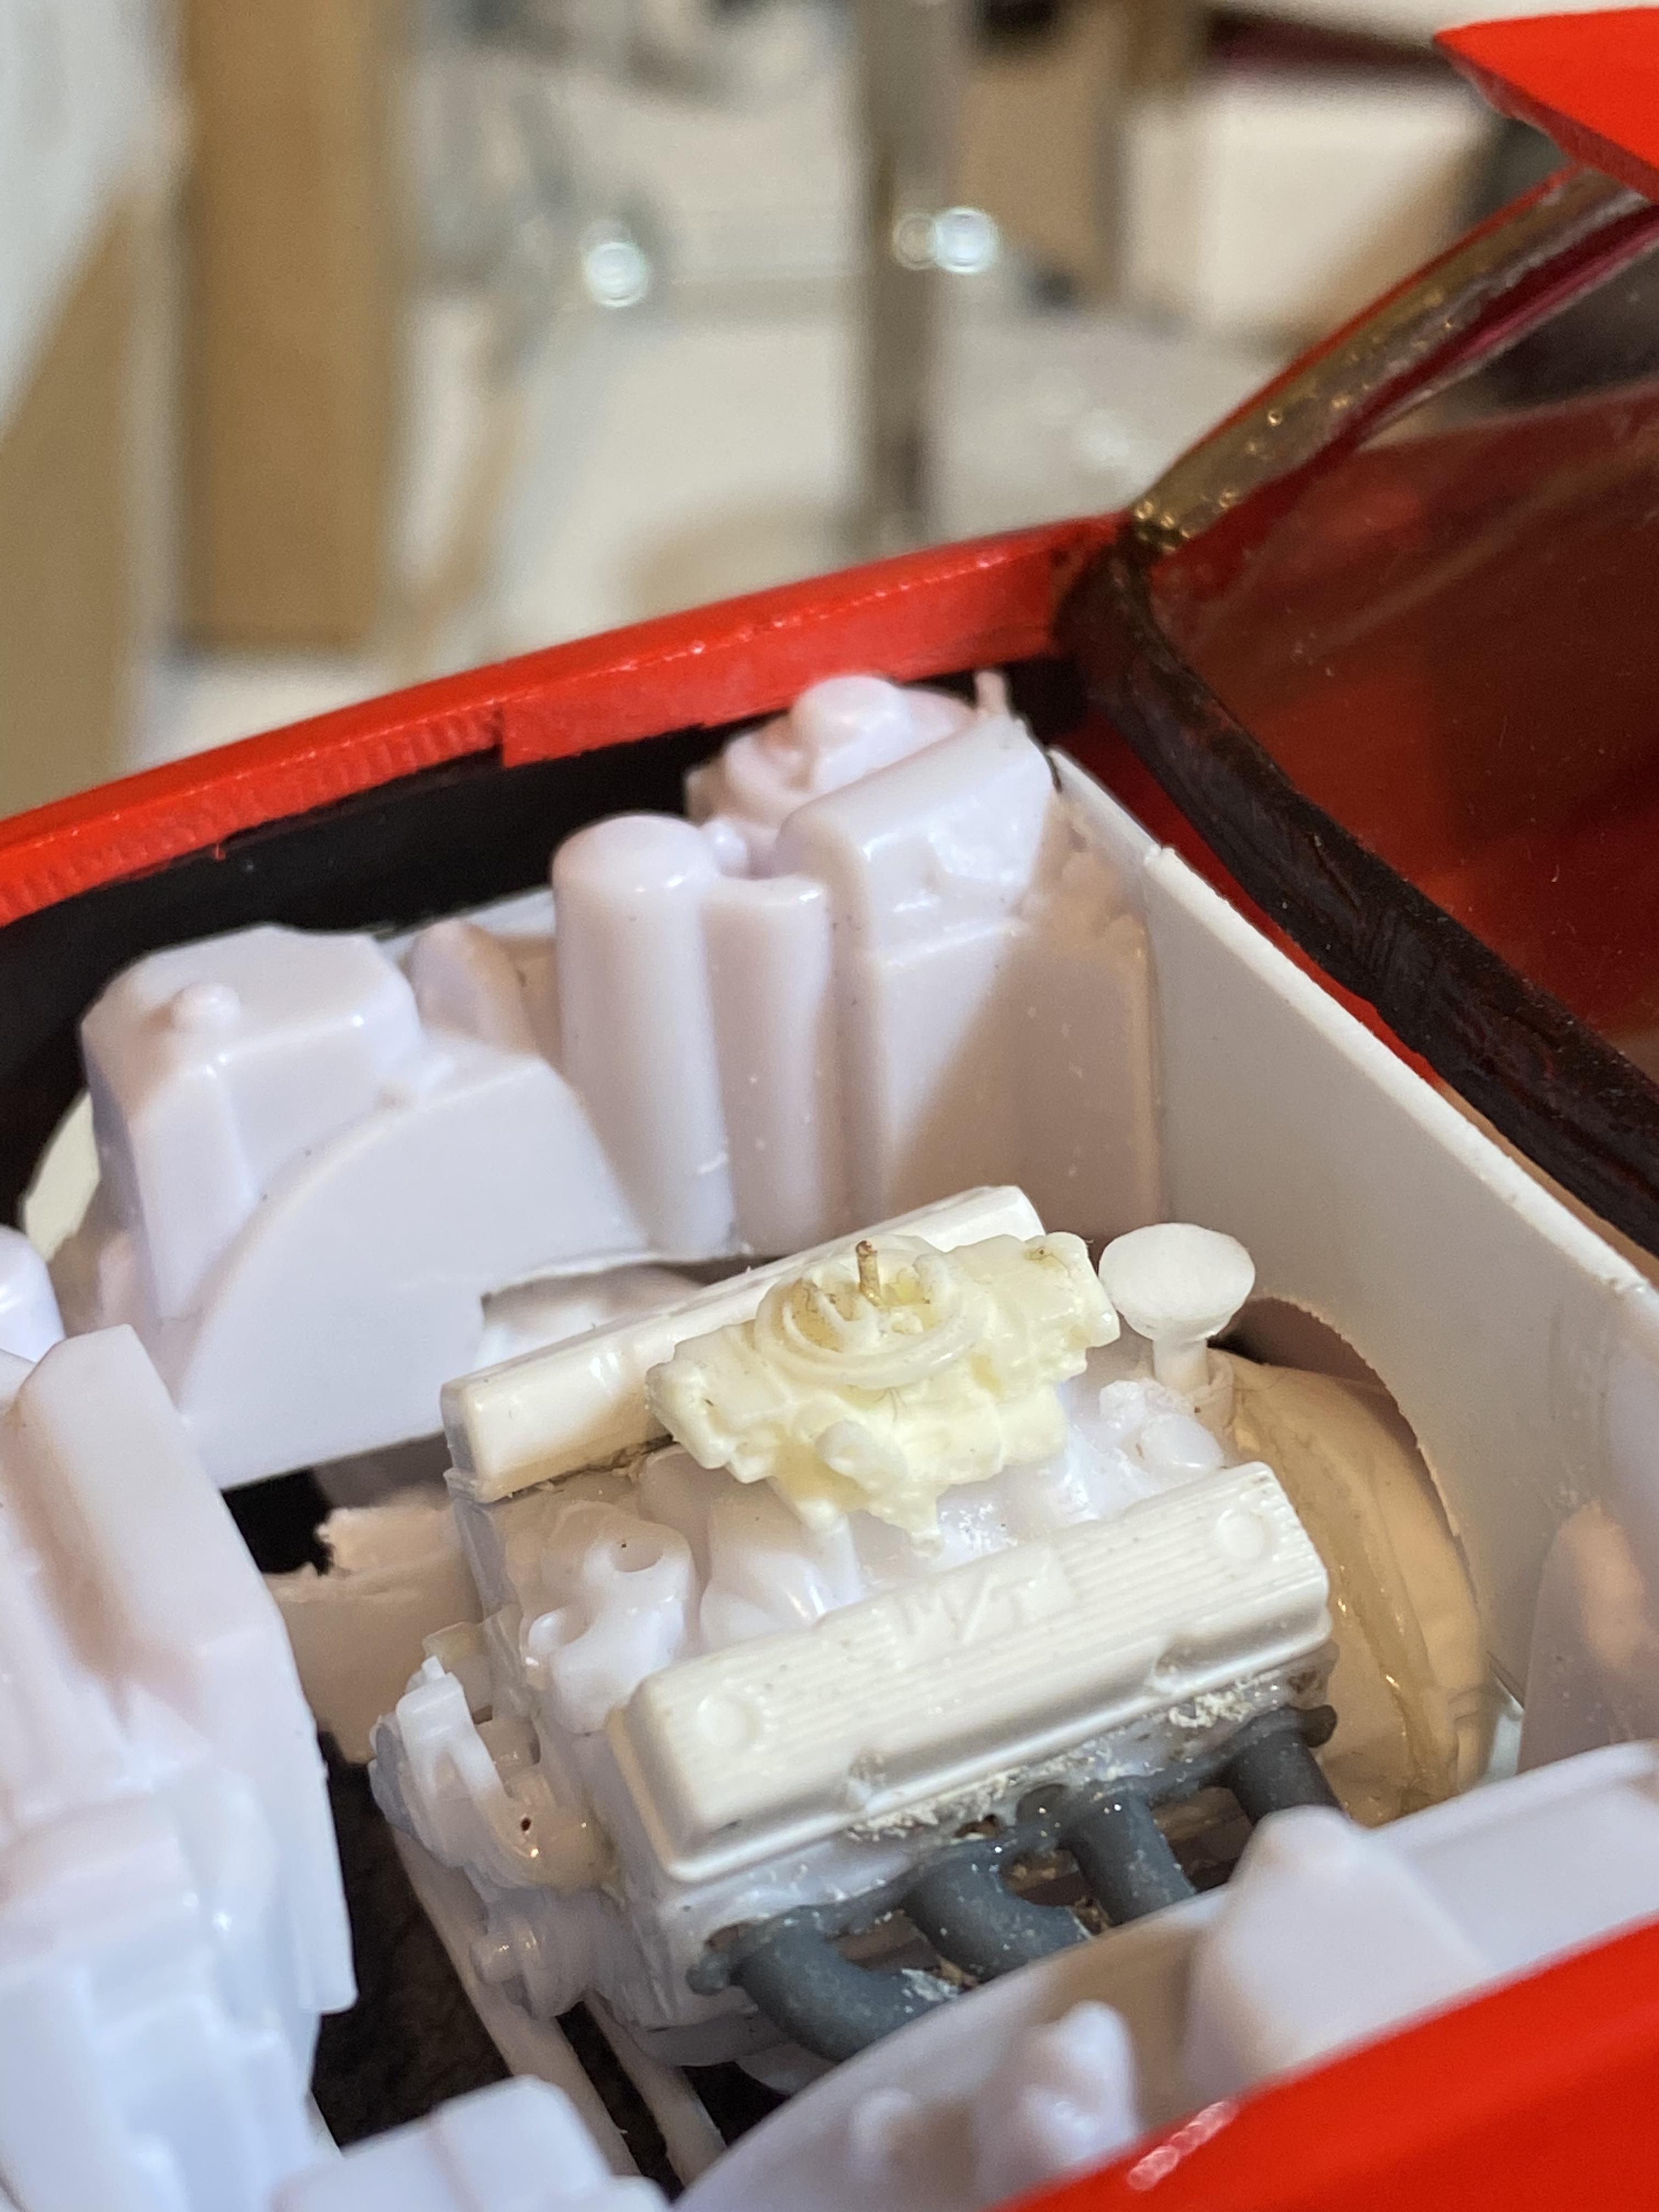
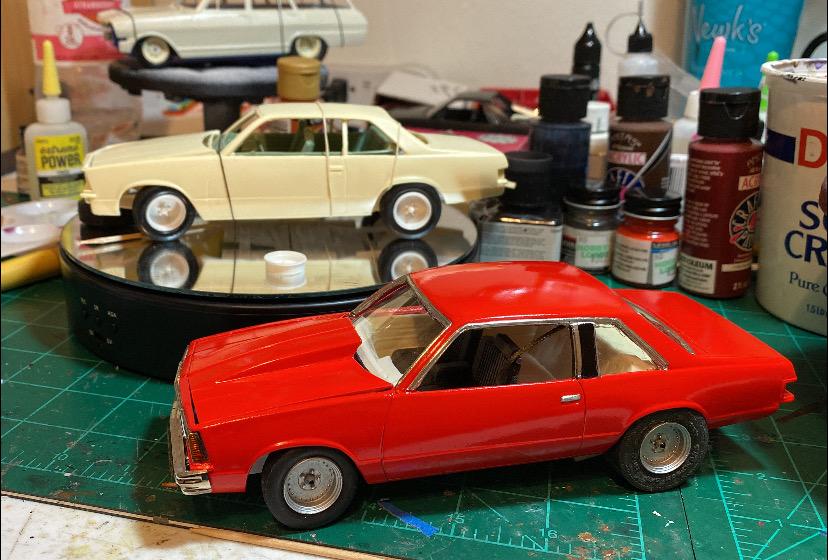
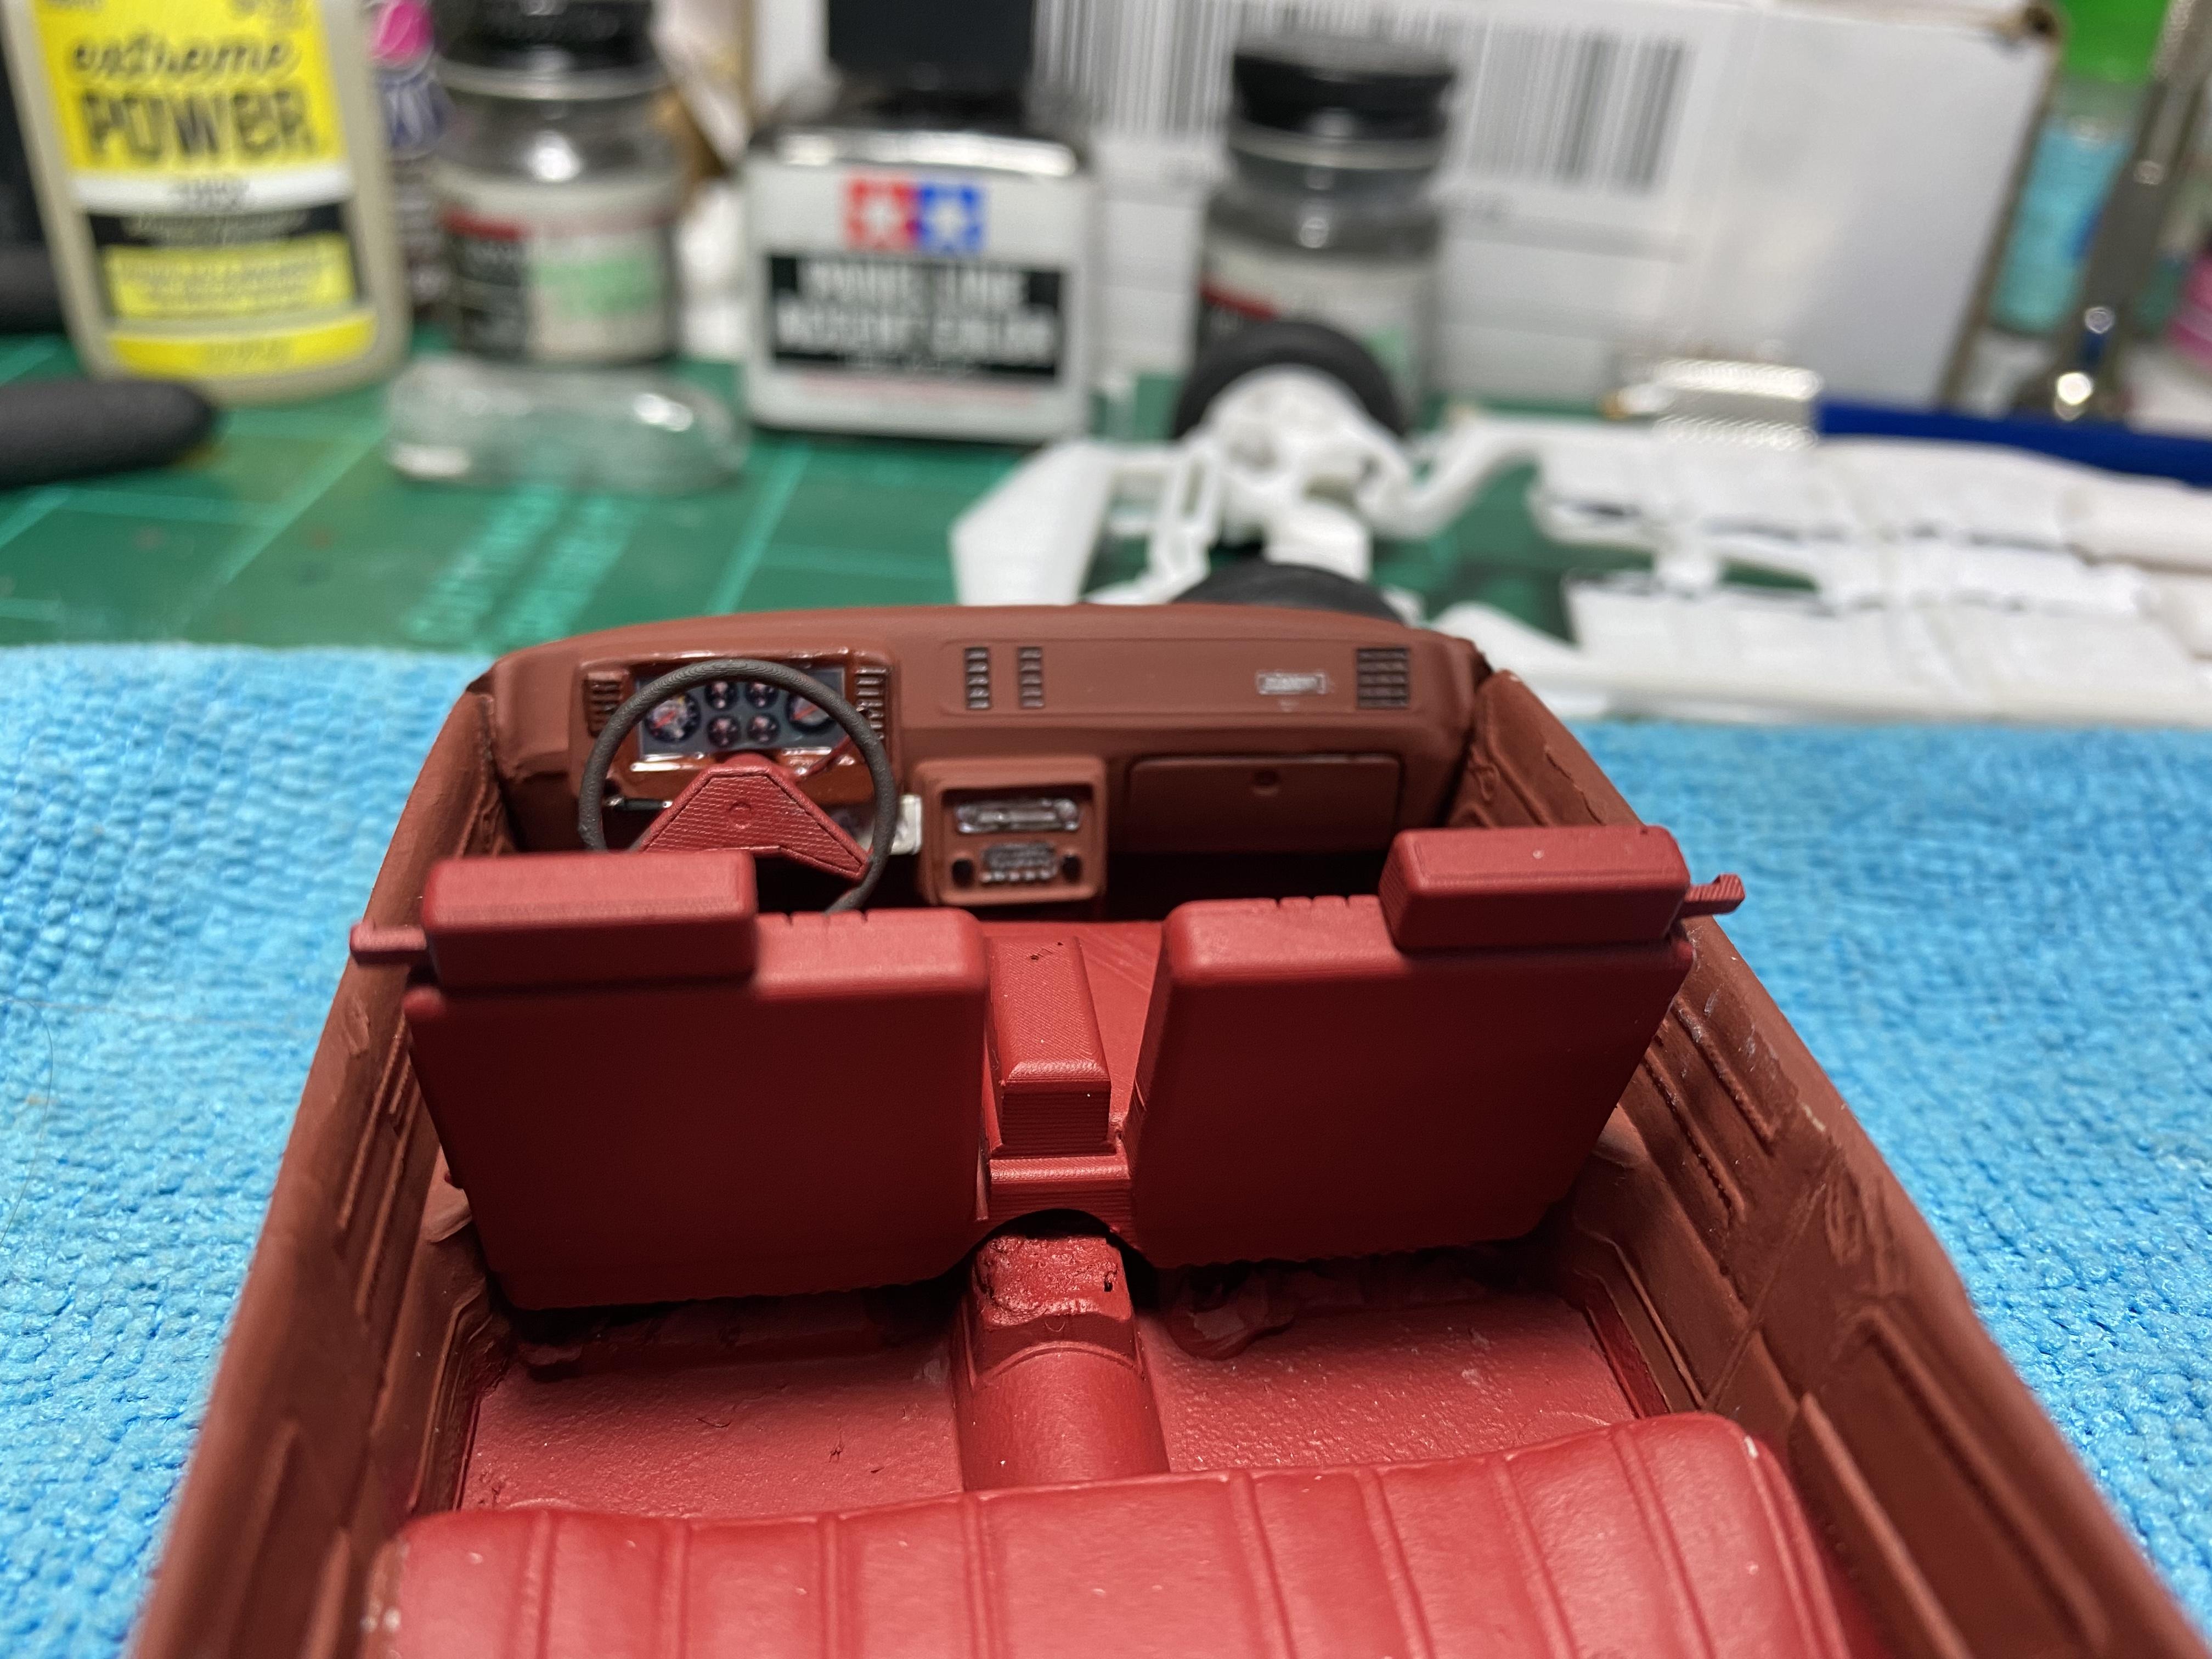
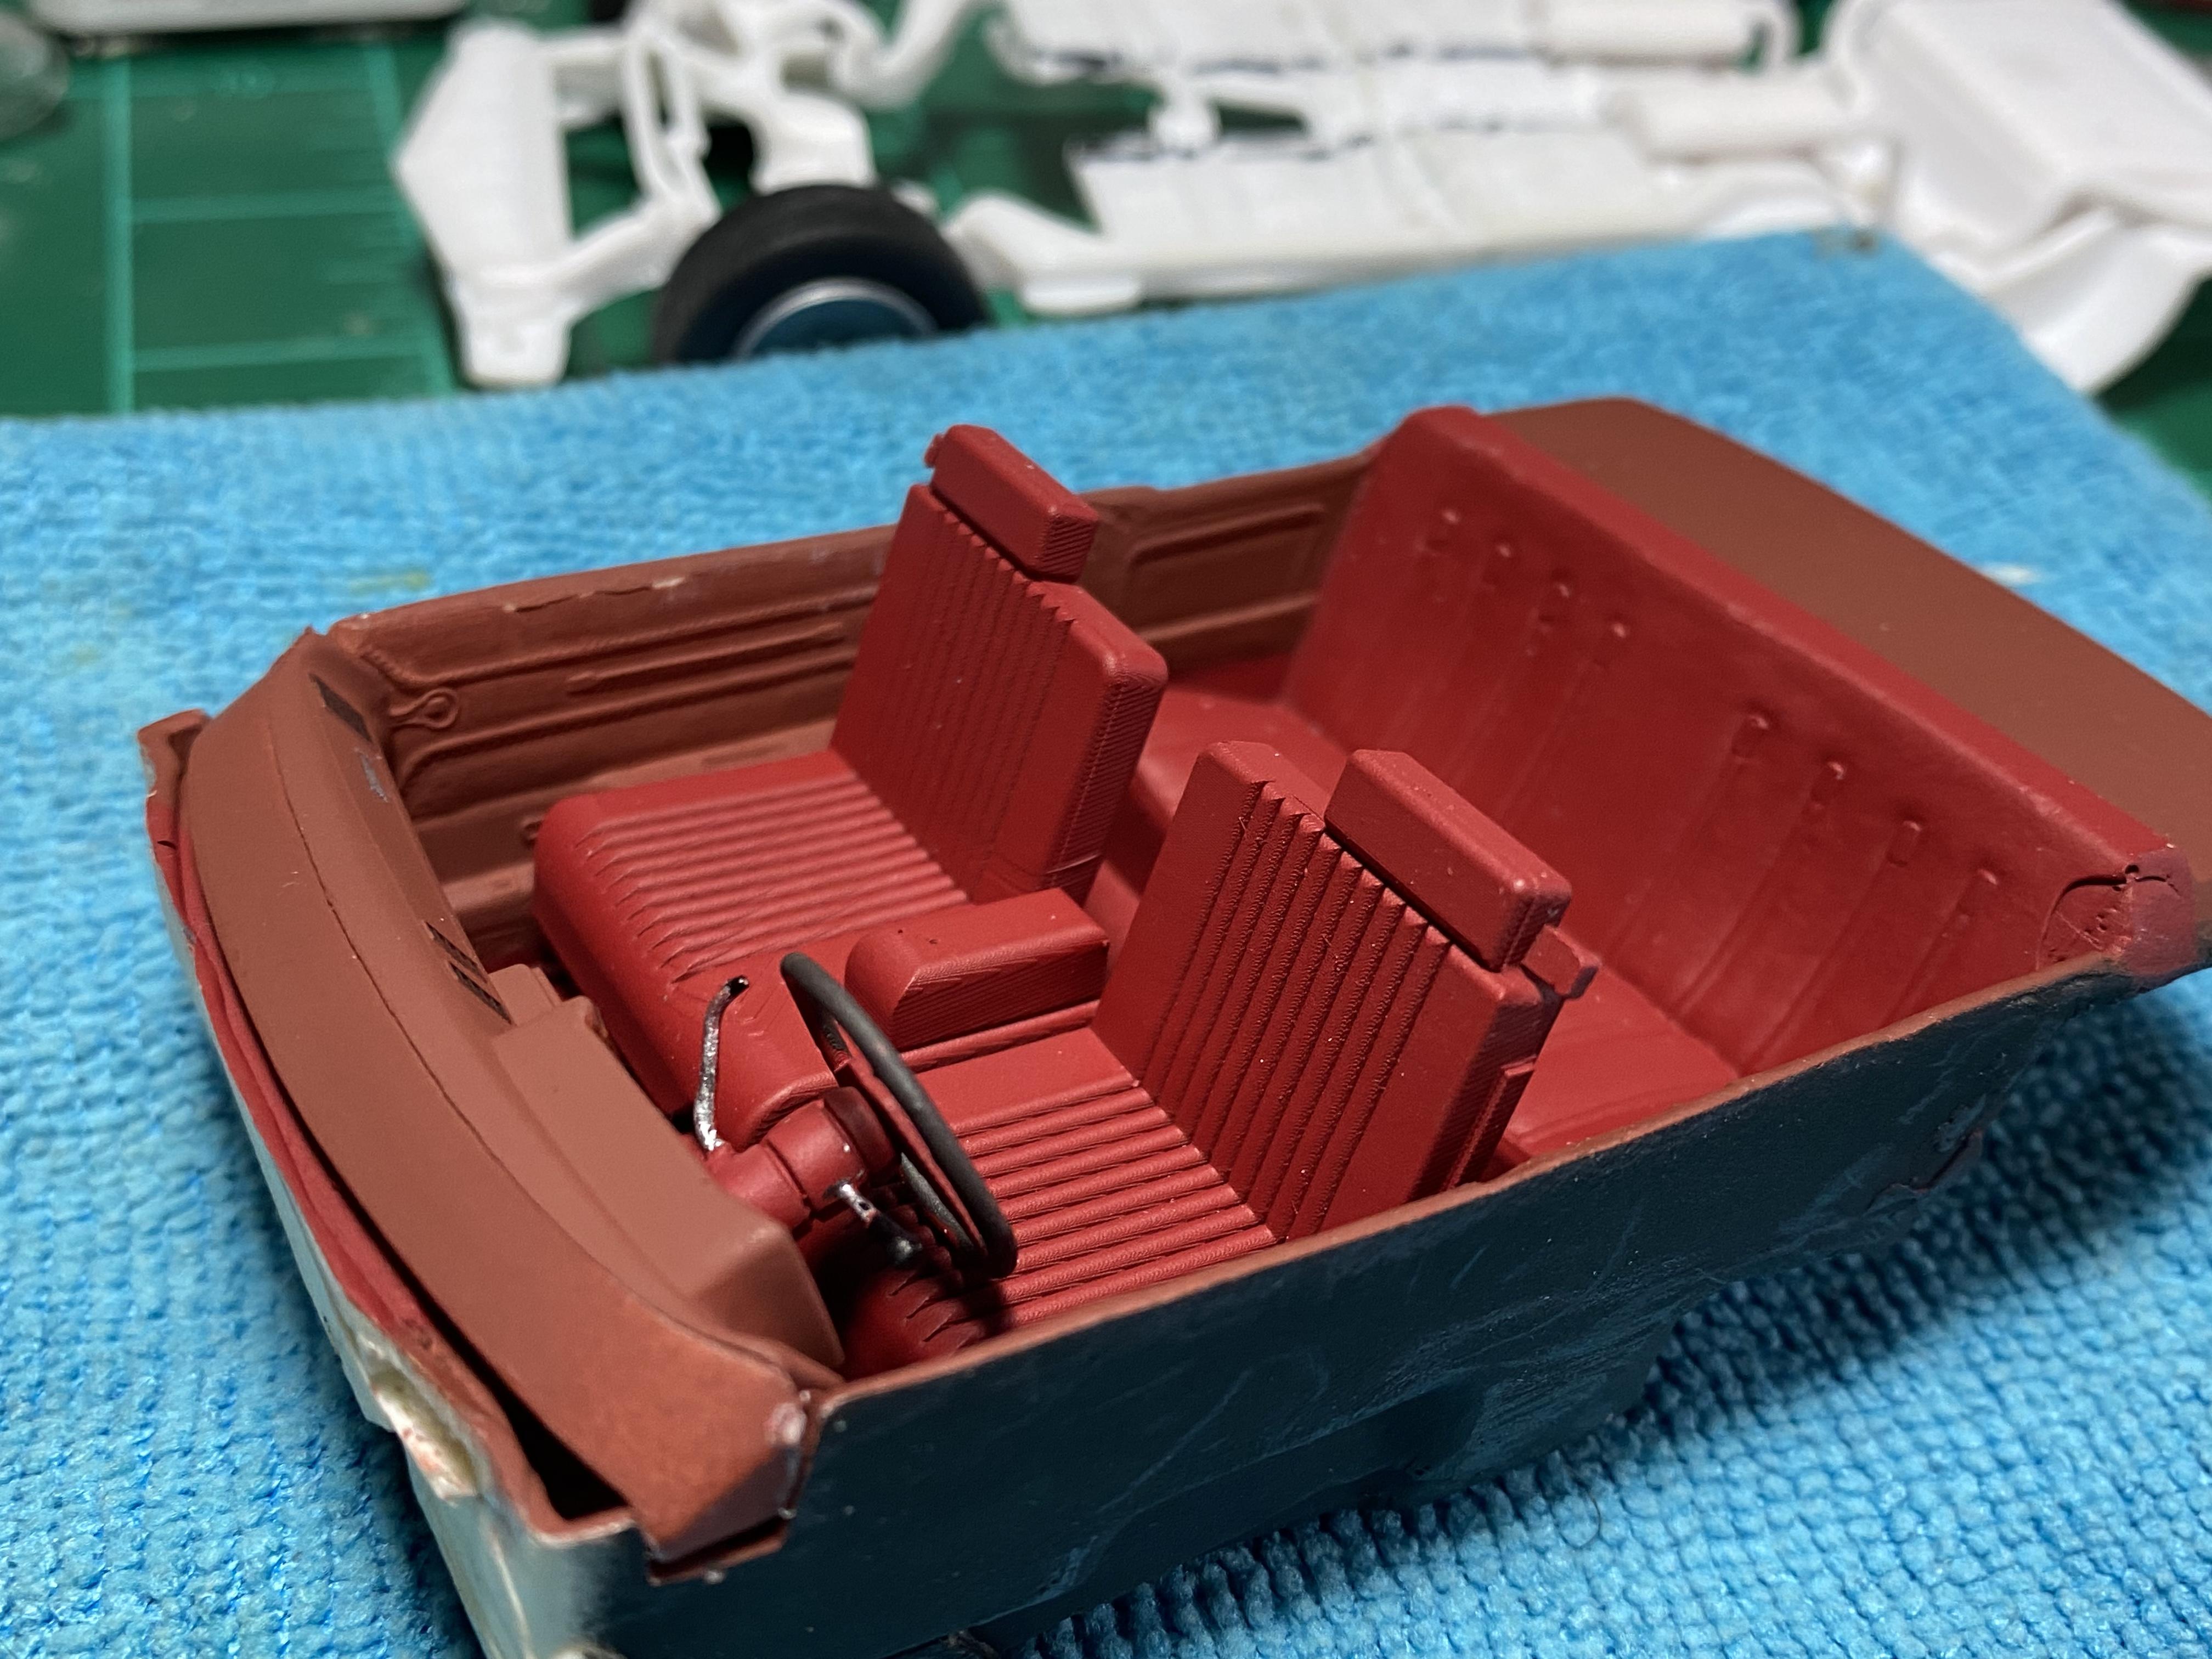
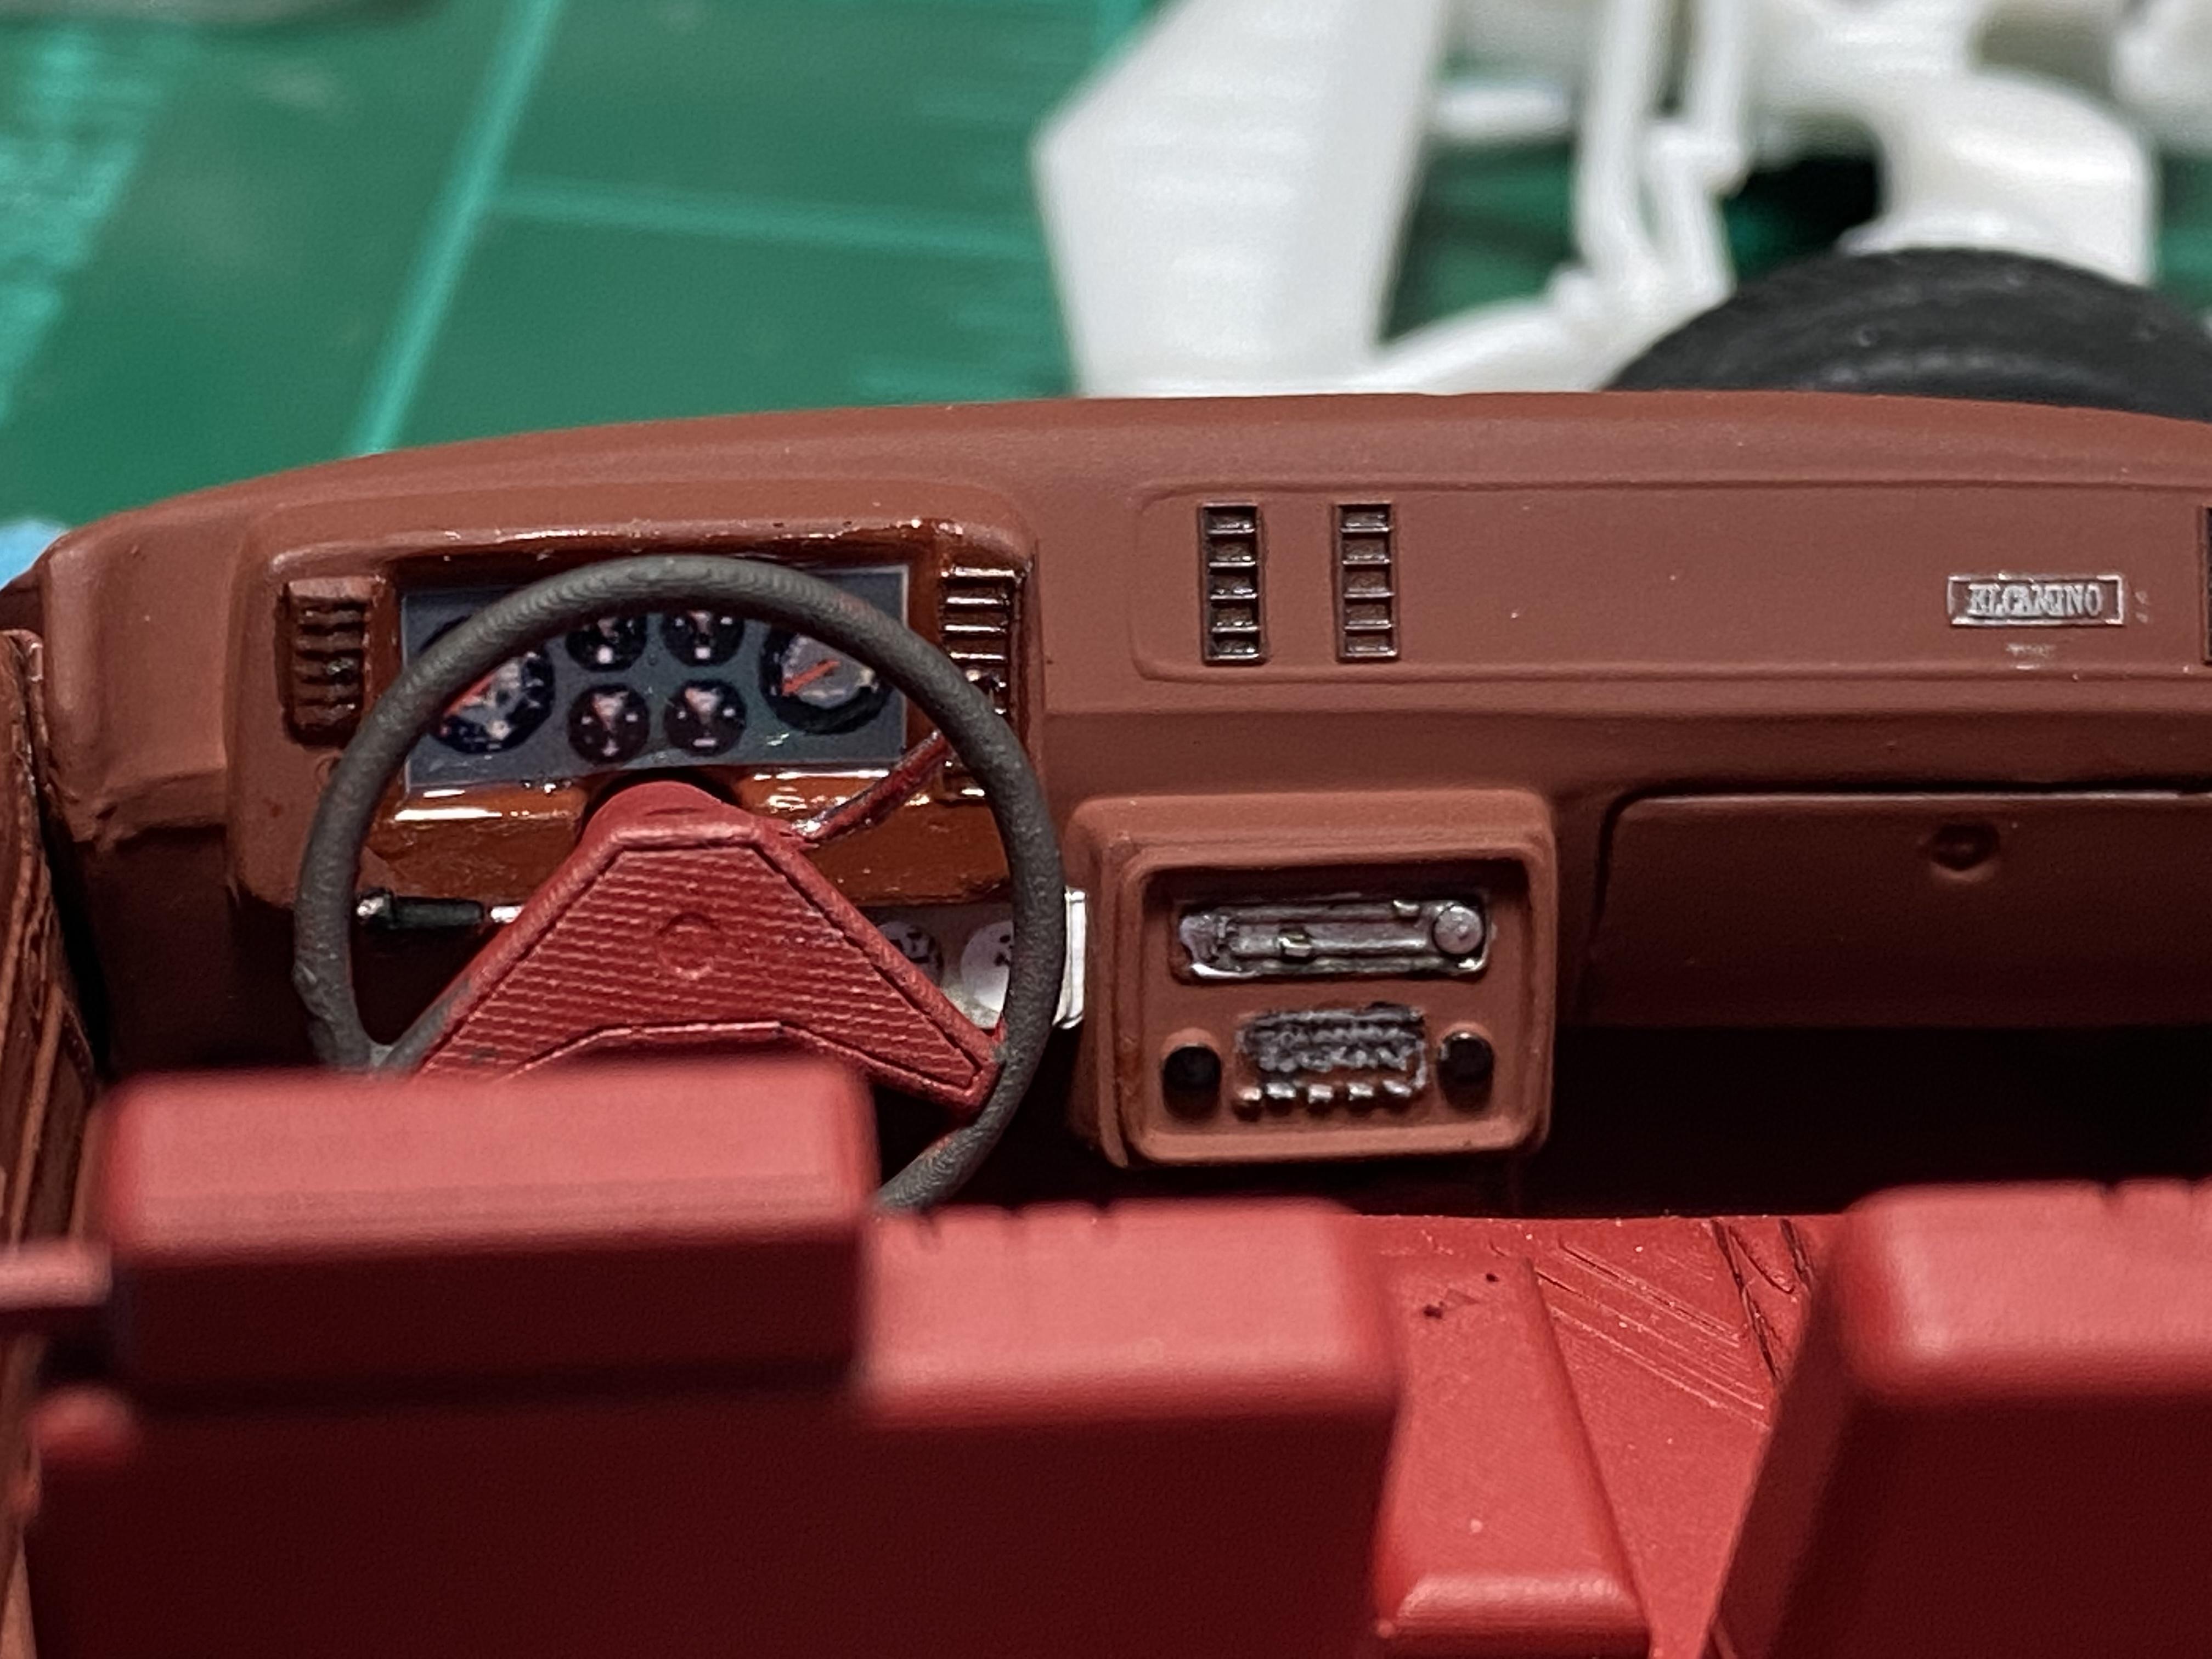
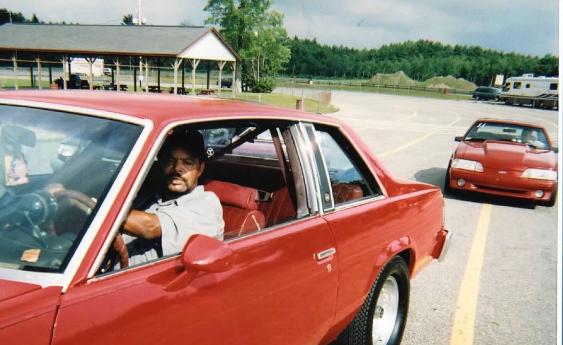
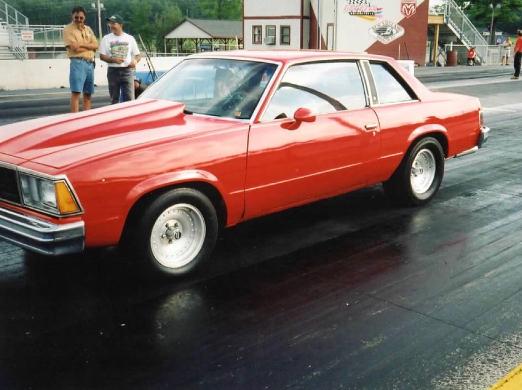
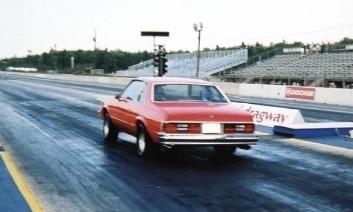
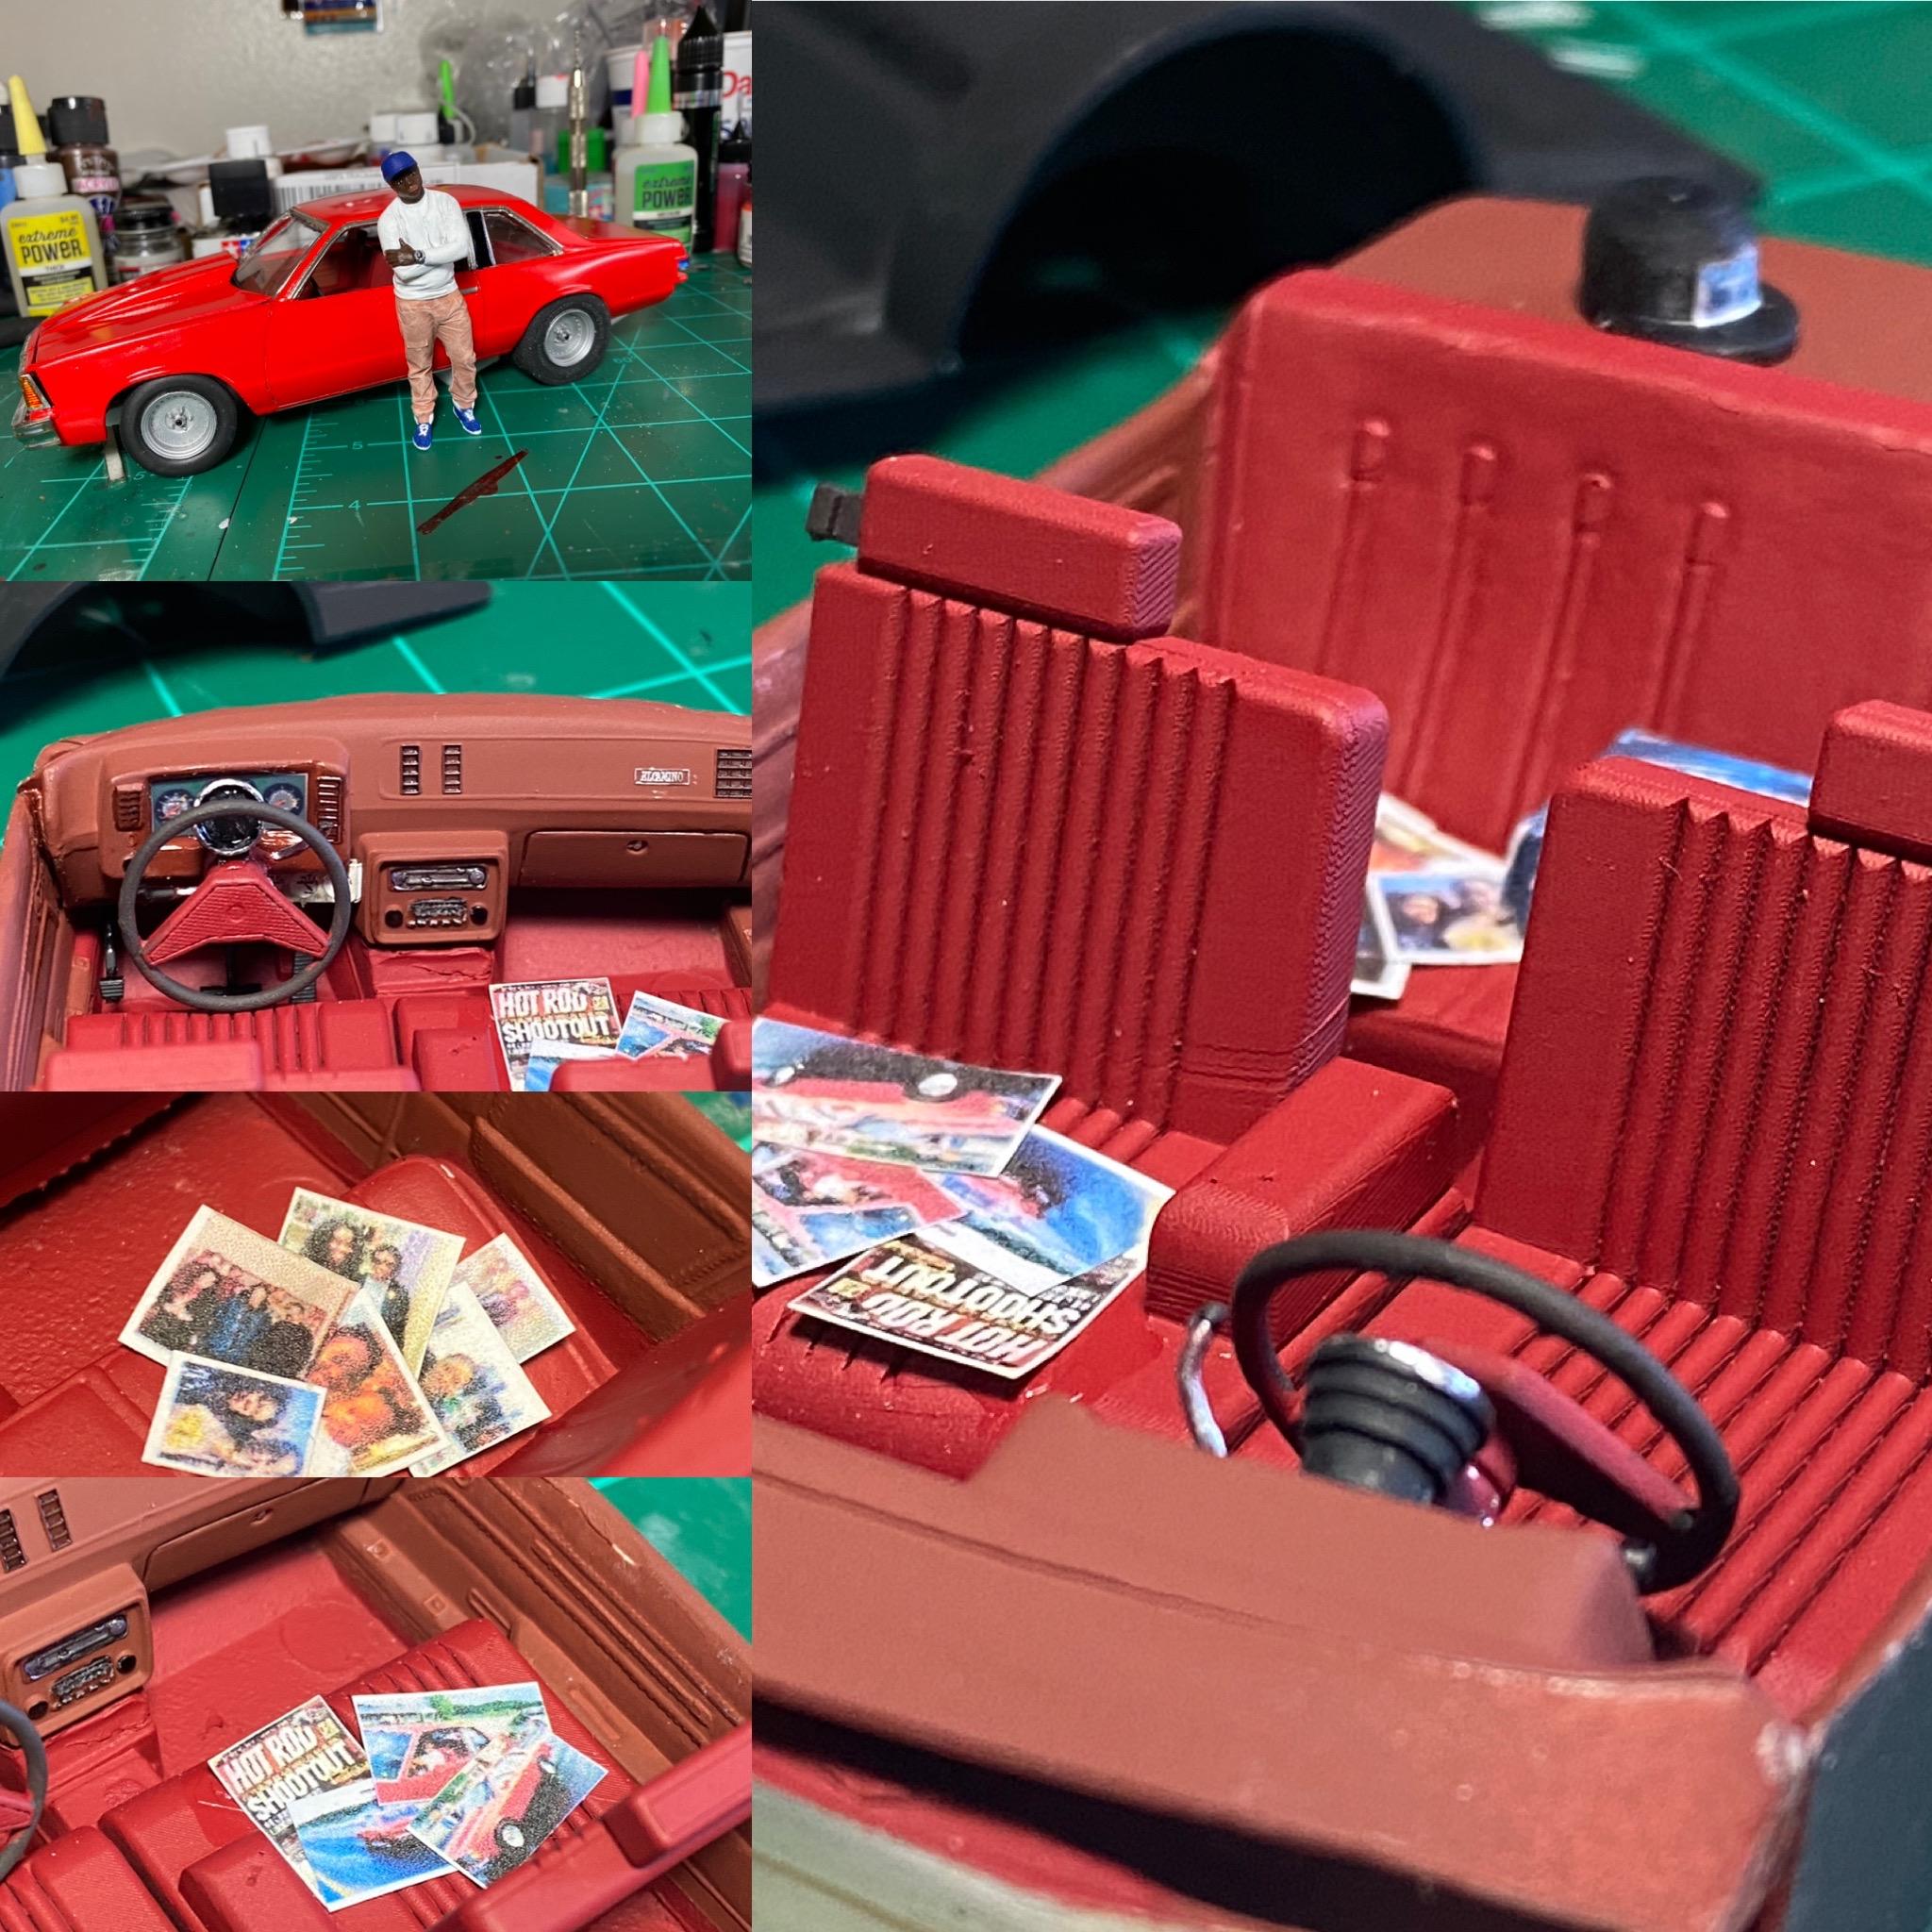
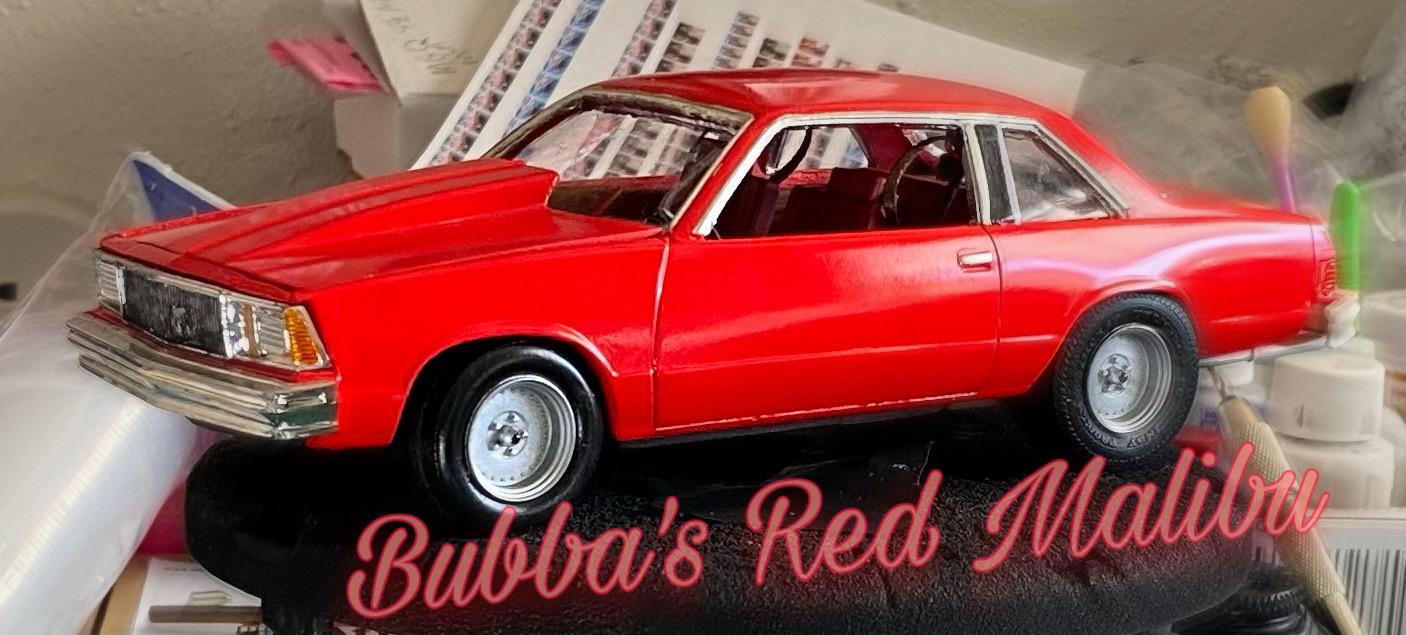
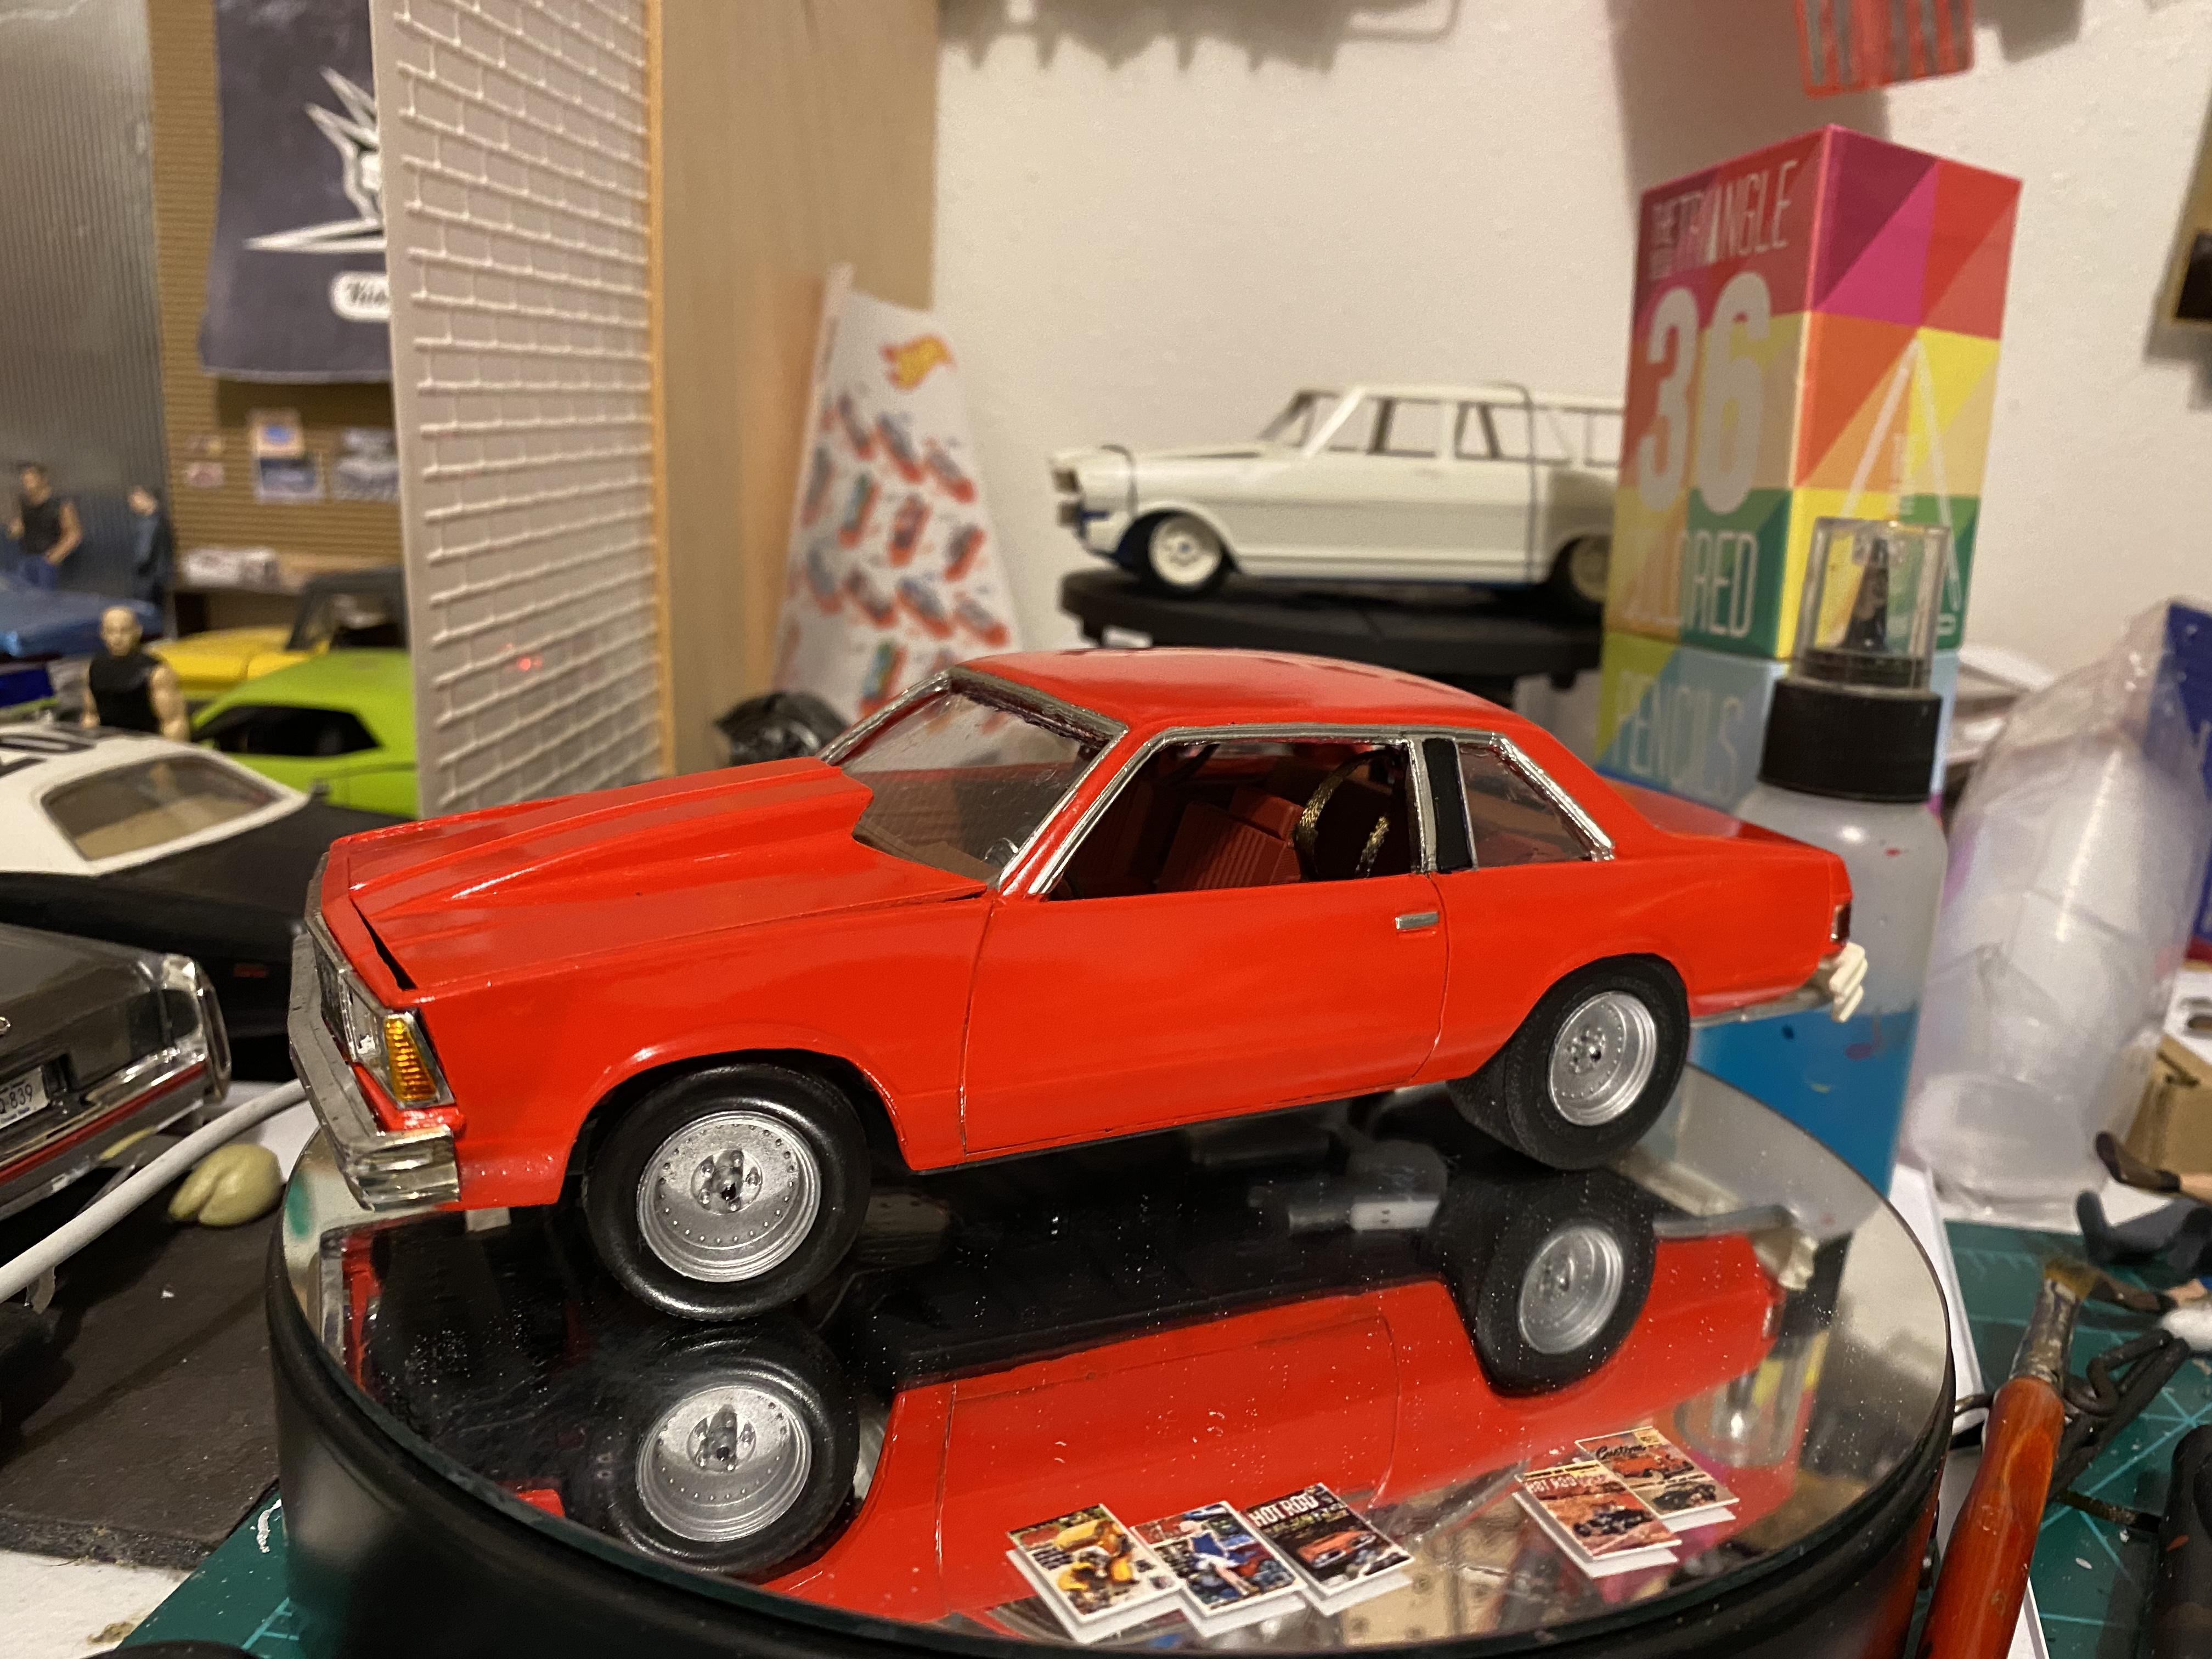
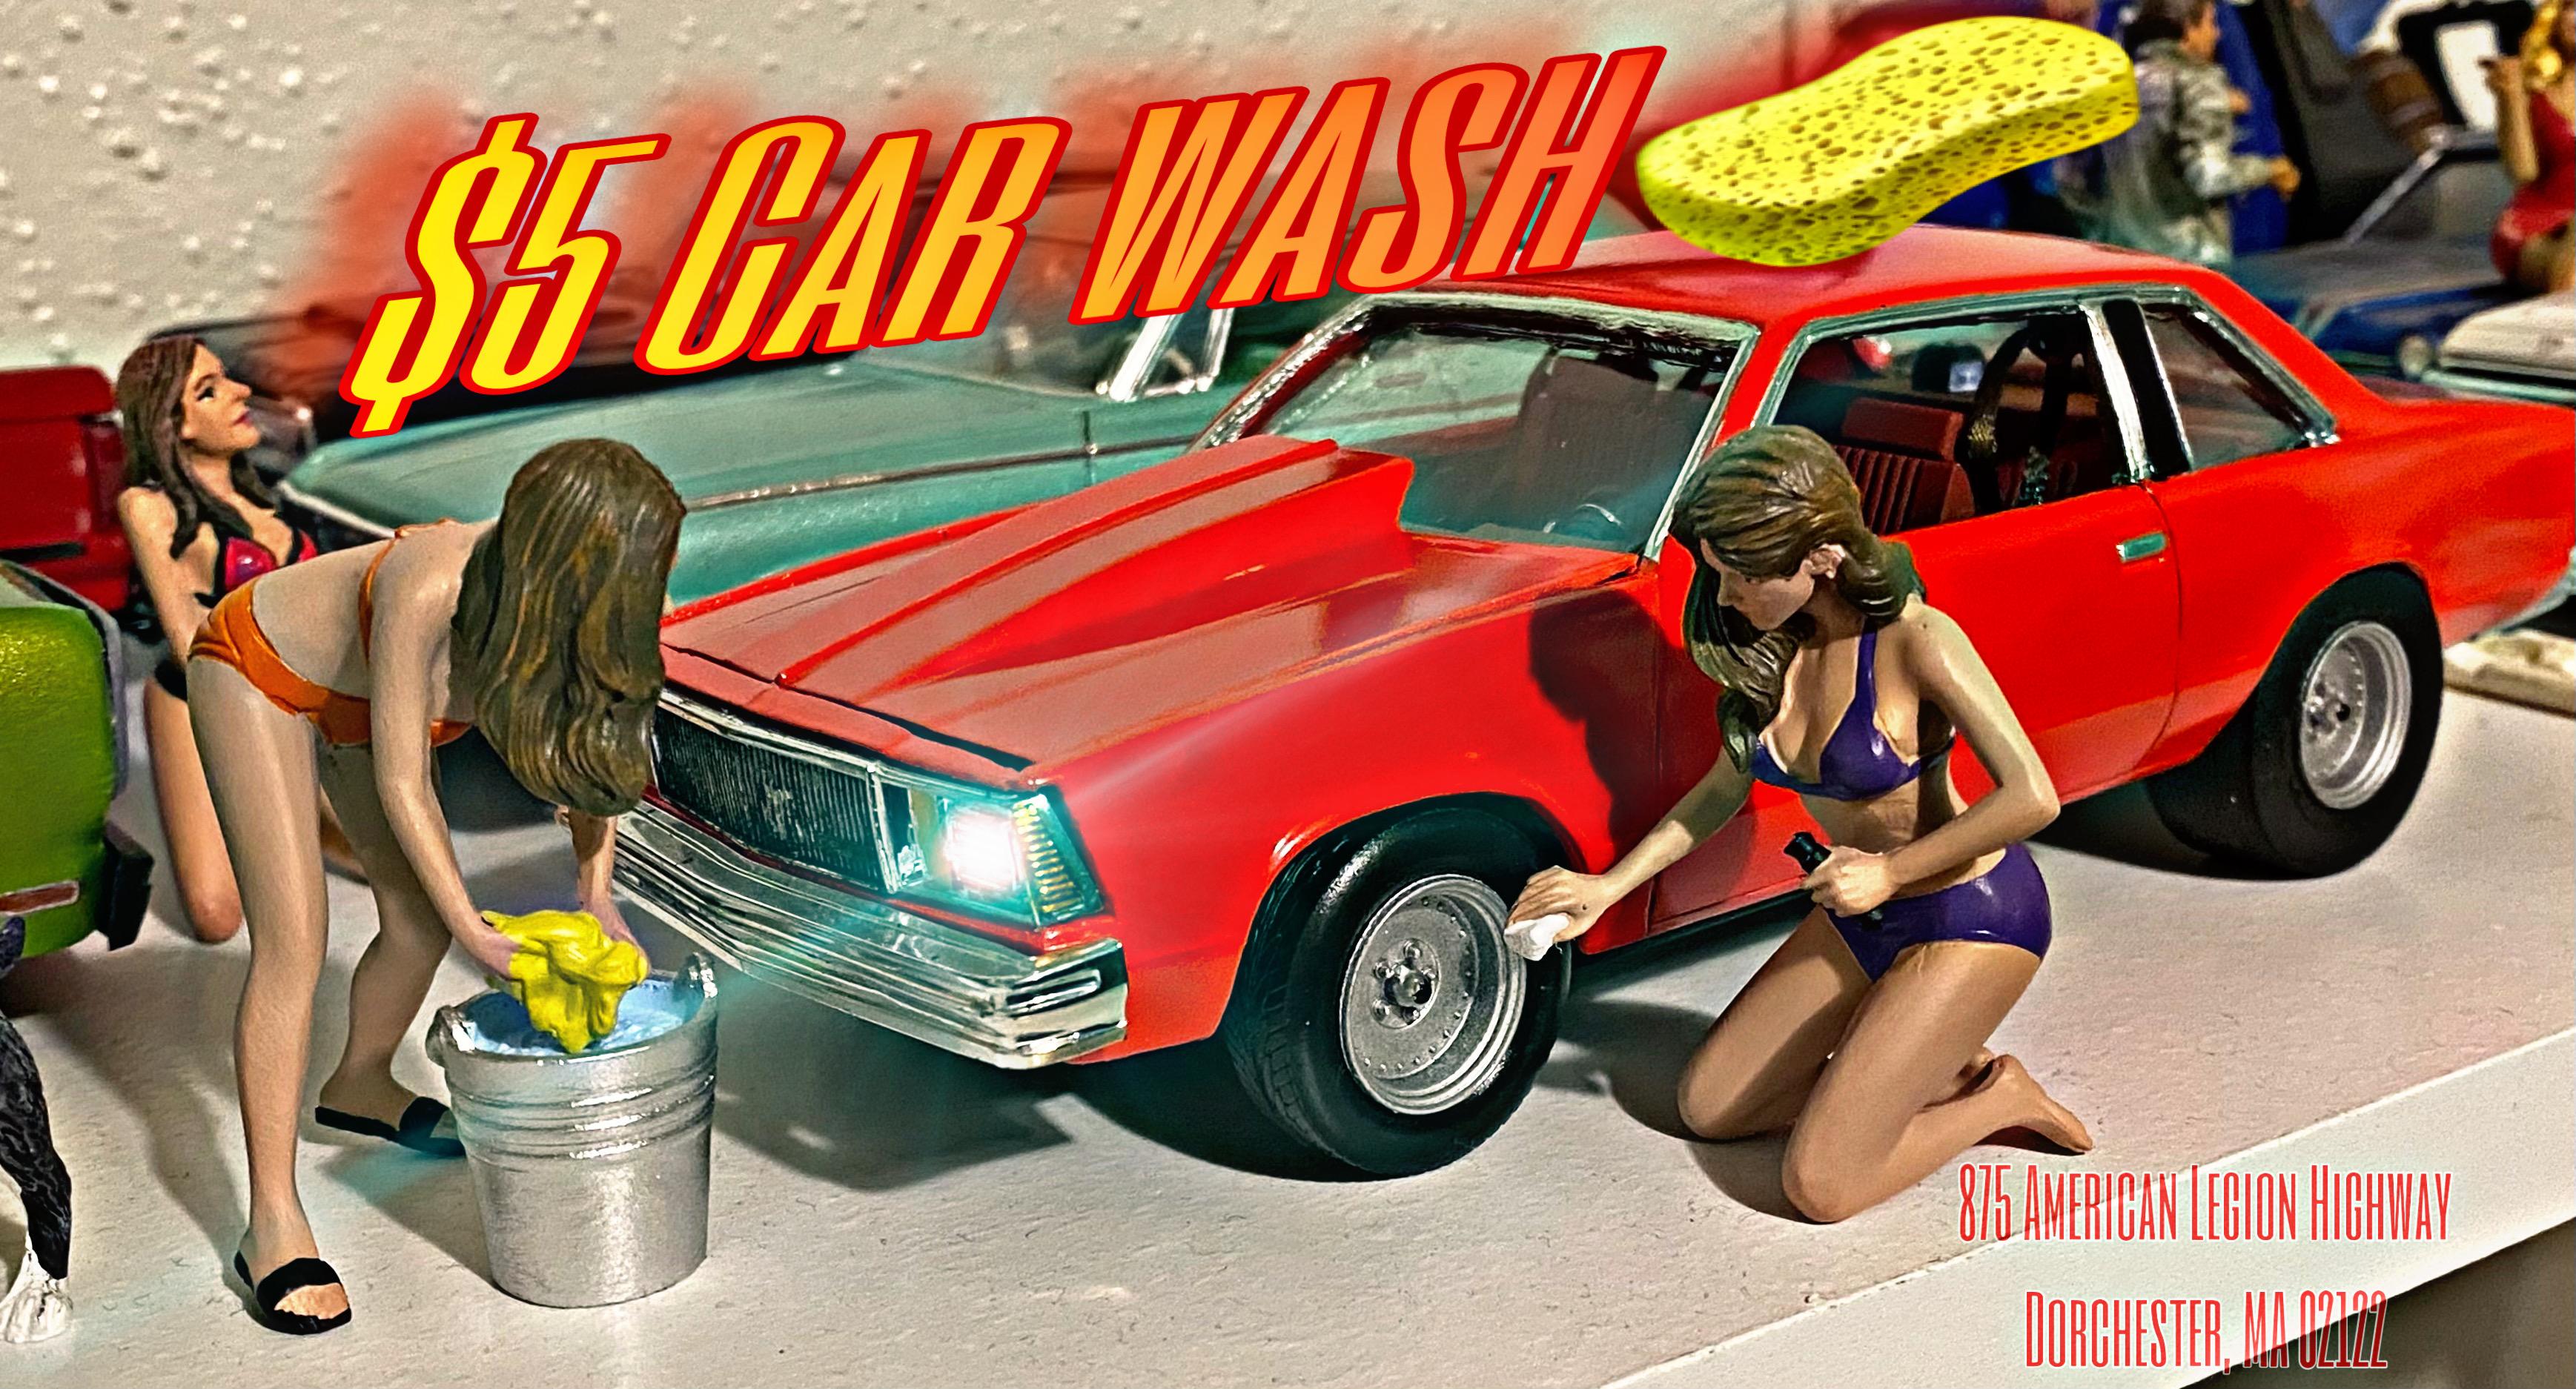
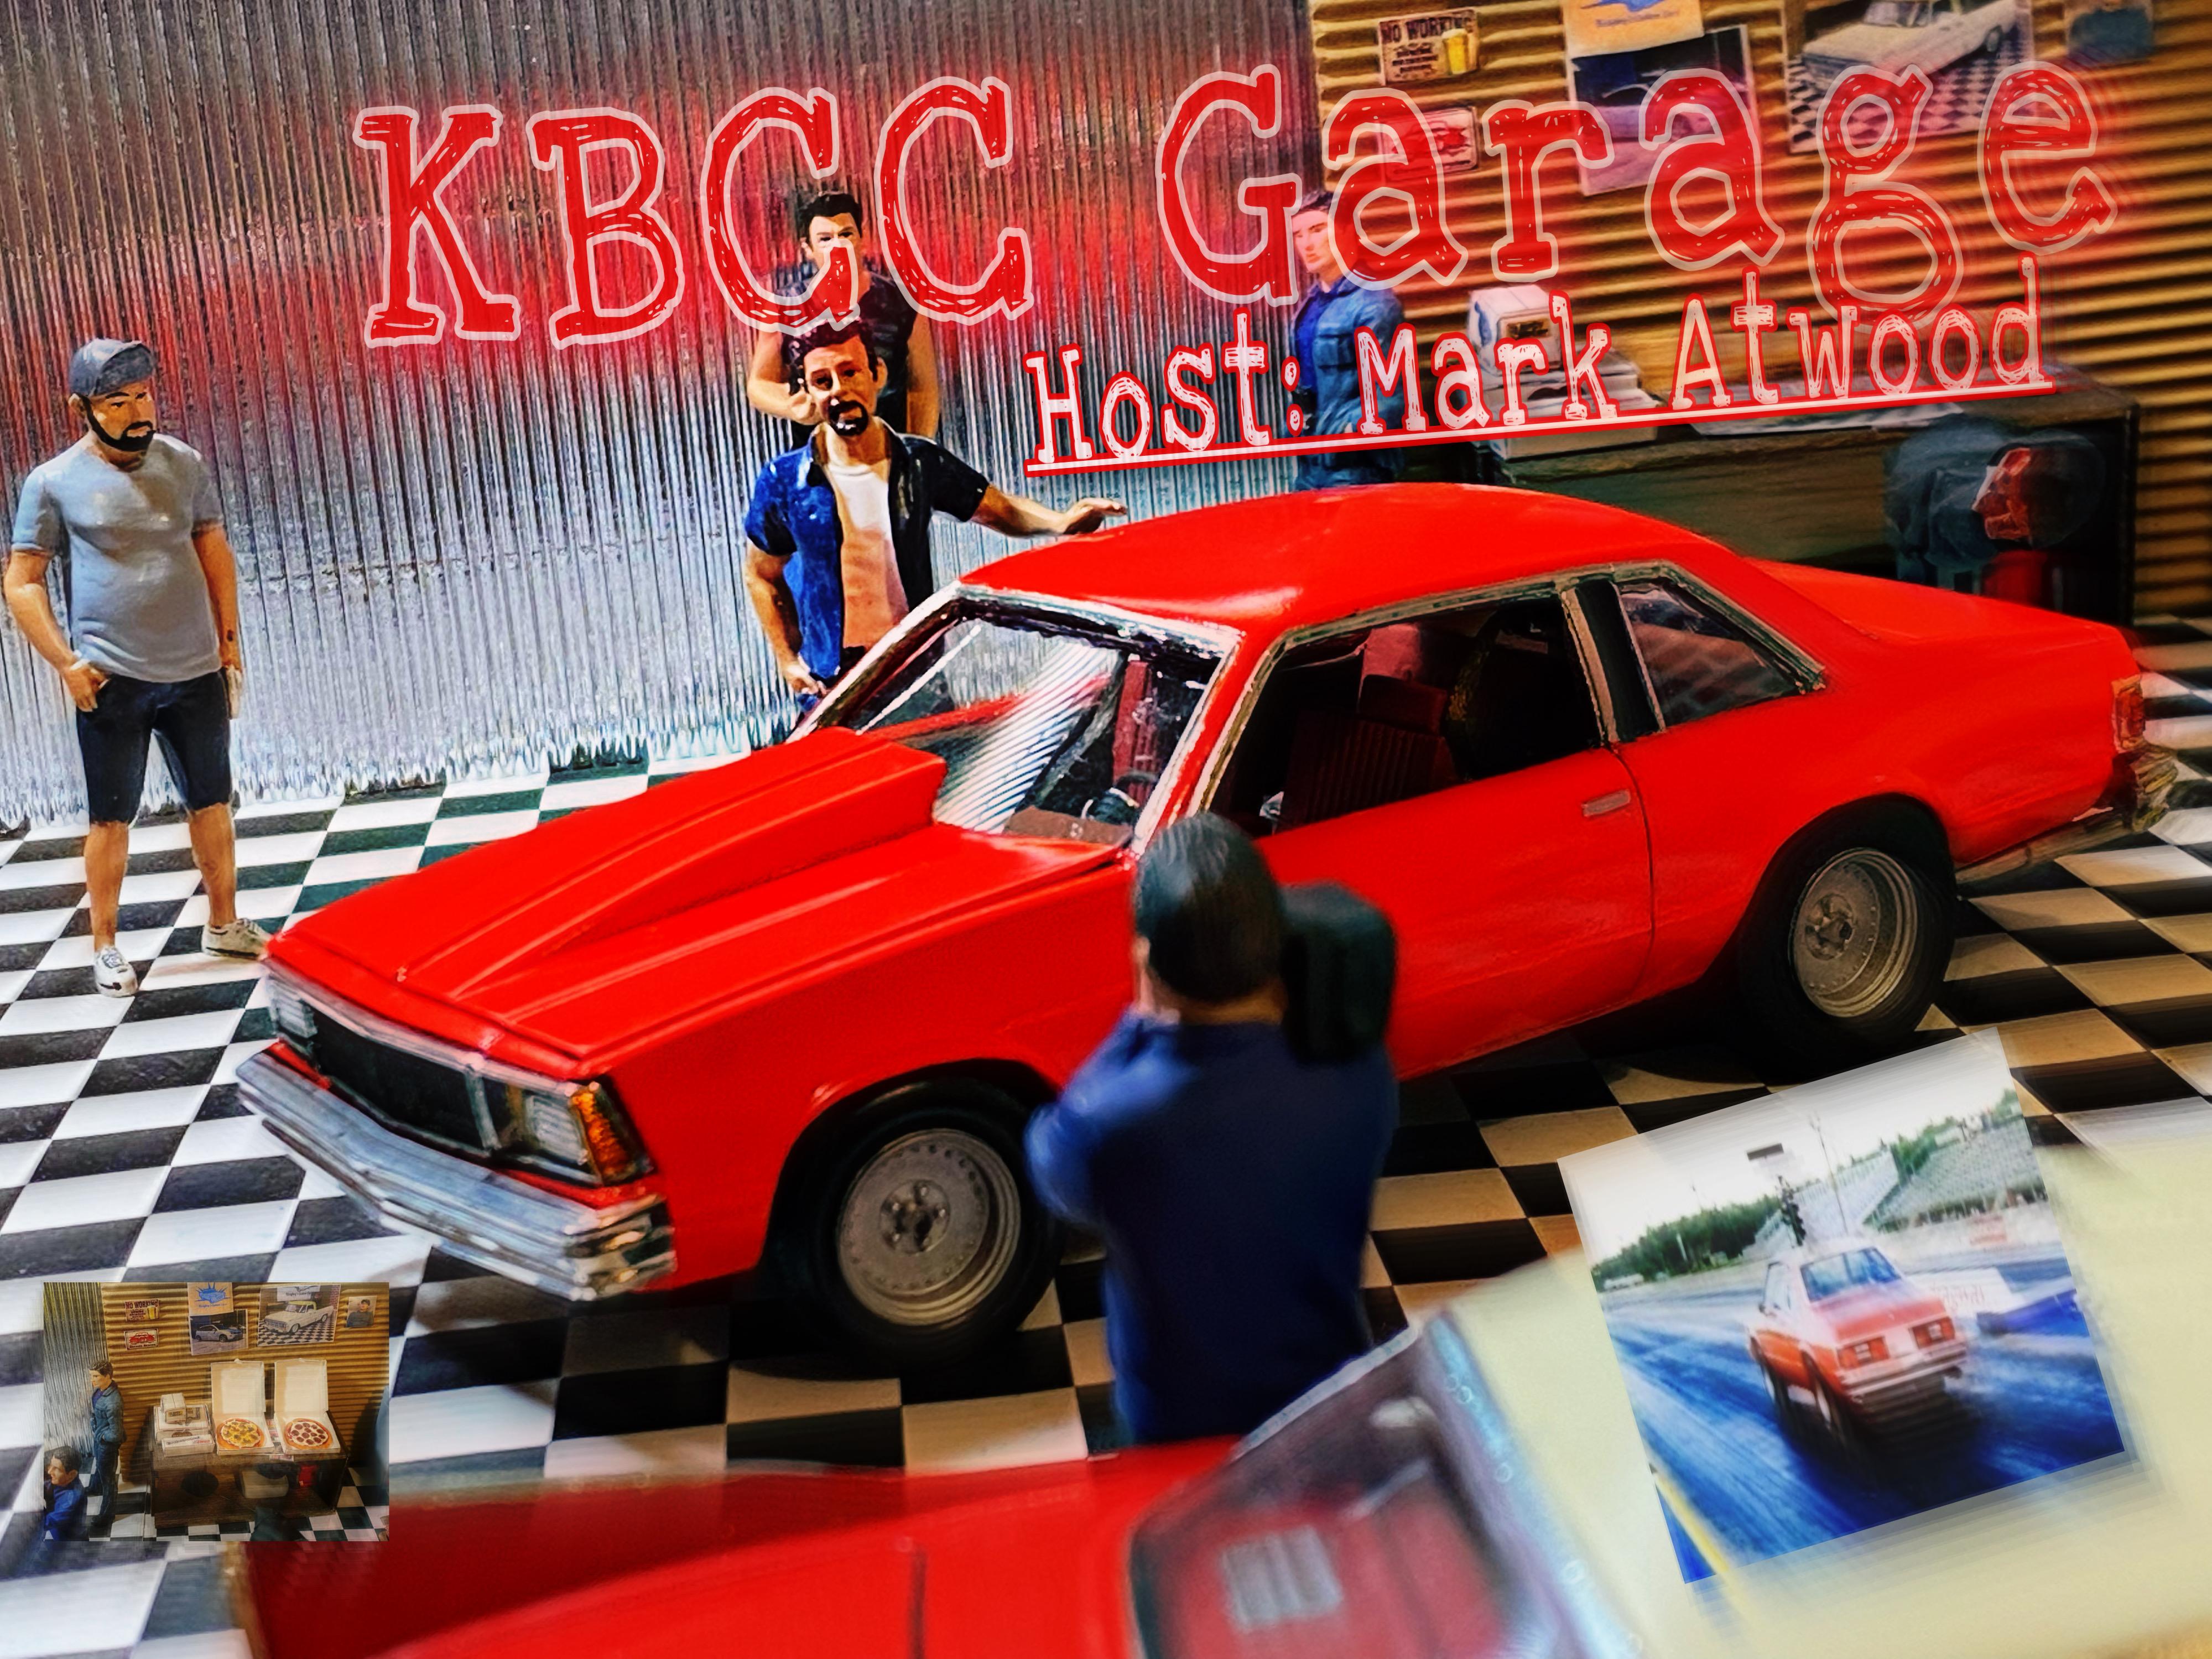
I recently completed my first all resin body project. I found the body, bumpers and grille on EBay from A&J Resin of a 1981 Chevy Malibu. This project was special because I had been wanting to recreate my uncles car in scale since the mid 1990’s. Kits used: AMT 86 El Camino AMT 69 Olds 442 Revell 83 Olds Hurst 1981 Chevy El Camino (promo) Aftermarket: Scenes Unlimited wheels Morgan Automotive Detail distributor Lex’s Resin Cowl hood Model Car Parts dash gauges Overal the project took a little over a year to complete…but doggone sure worth it. IMG_0486.MOV
- 13 replies
-
- 1
-
-
- resin
- chevy malibu
- (and 2 more)
-
Happy spring all,,finally getting warmer so just gettin a few things off the bench. This is I believe a 1990's early 2000's Chevy kit from the AMT Hot Trucks 3 pack kit. But he wanted a Hemi,,so,,let it be. Got this at a swap meet years ago,,5$ glue blob in a ziplock bag,,1/2 built and painted. I added some different tires+ rims, Put A HEMI Hi-rise duel carb from the junk leftovers bx,,,made it kindof a street/strip truck. Would also make a good pulling truck if I ran the headers upright thru the hood. Painted w/hardware store paint,,and hand painted rest. One thing for sure,,the back tires would last about 3 days on this,,lol Cheers S
-
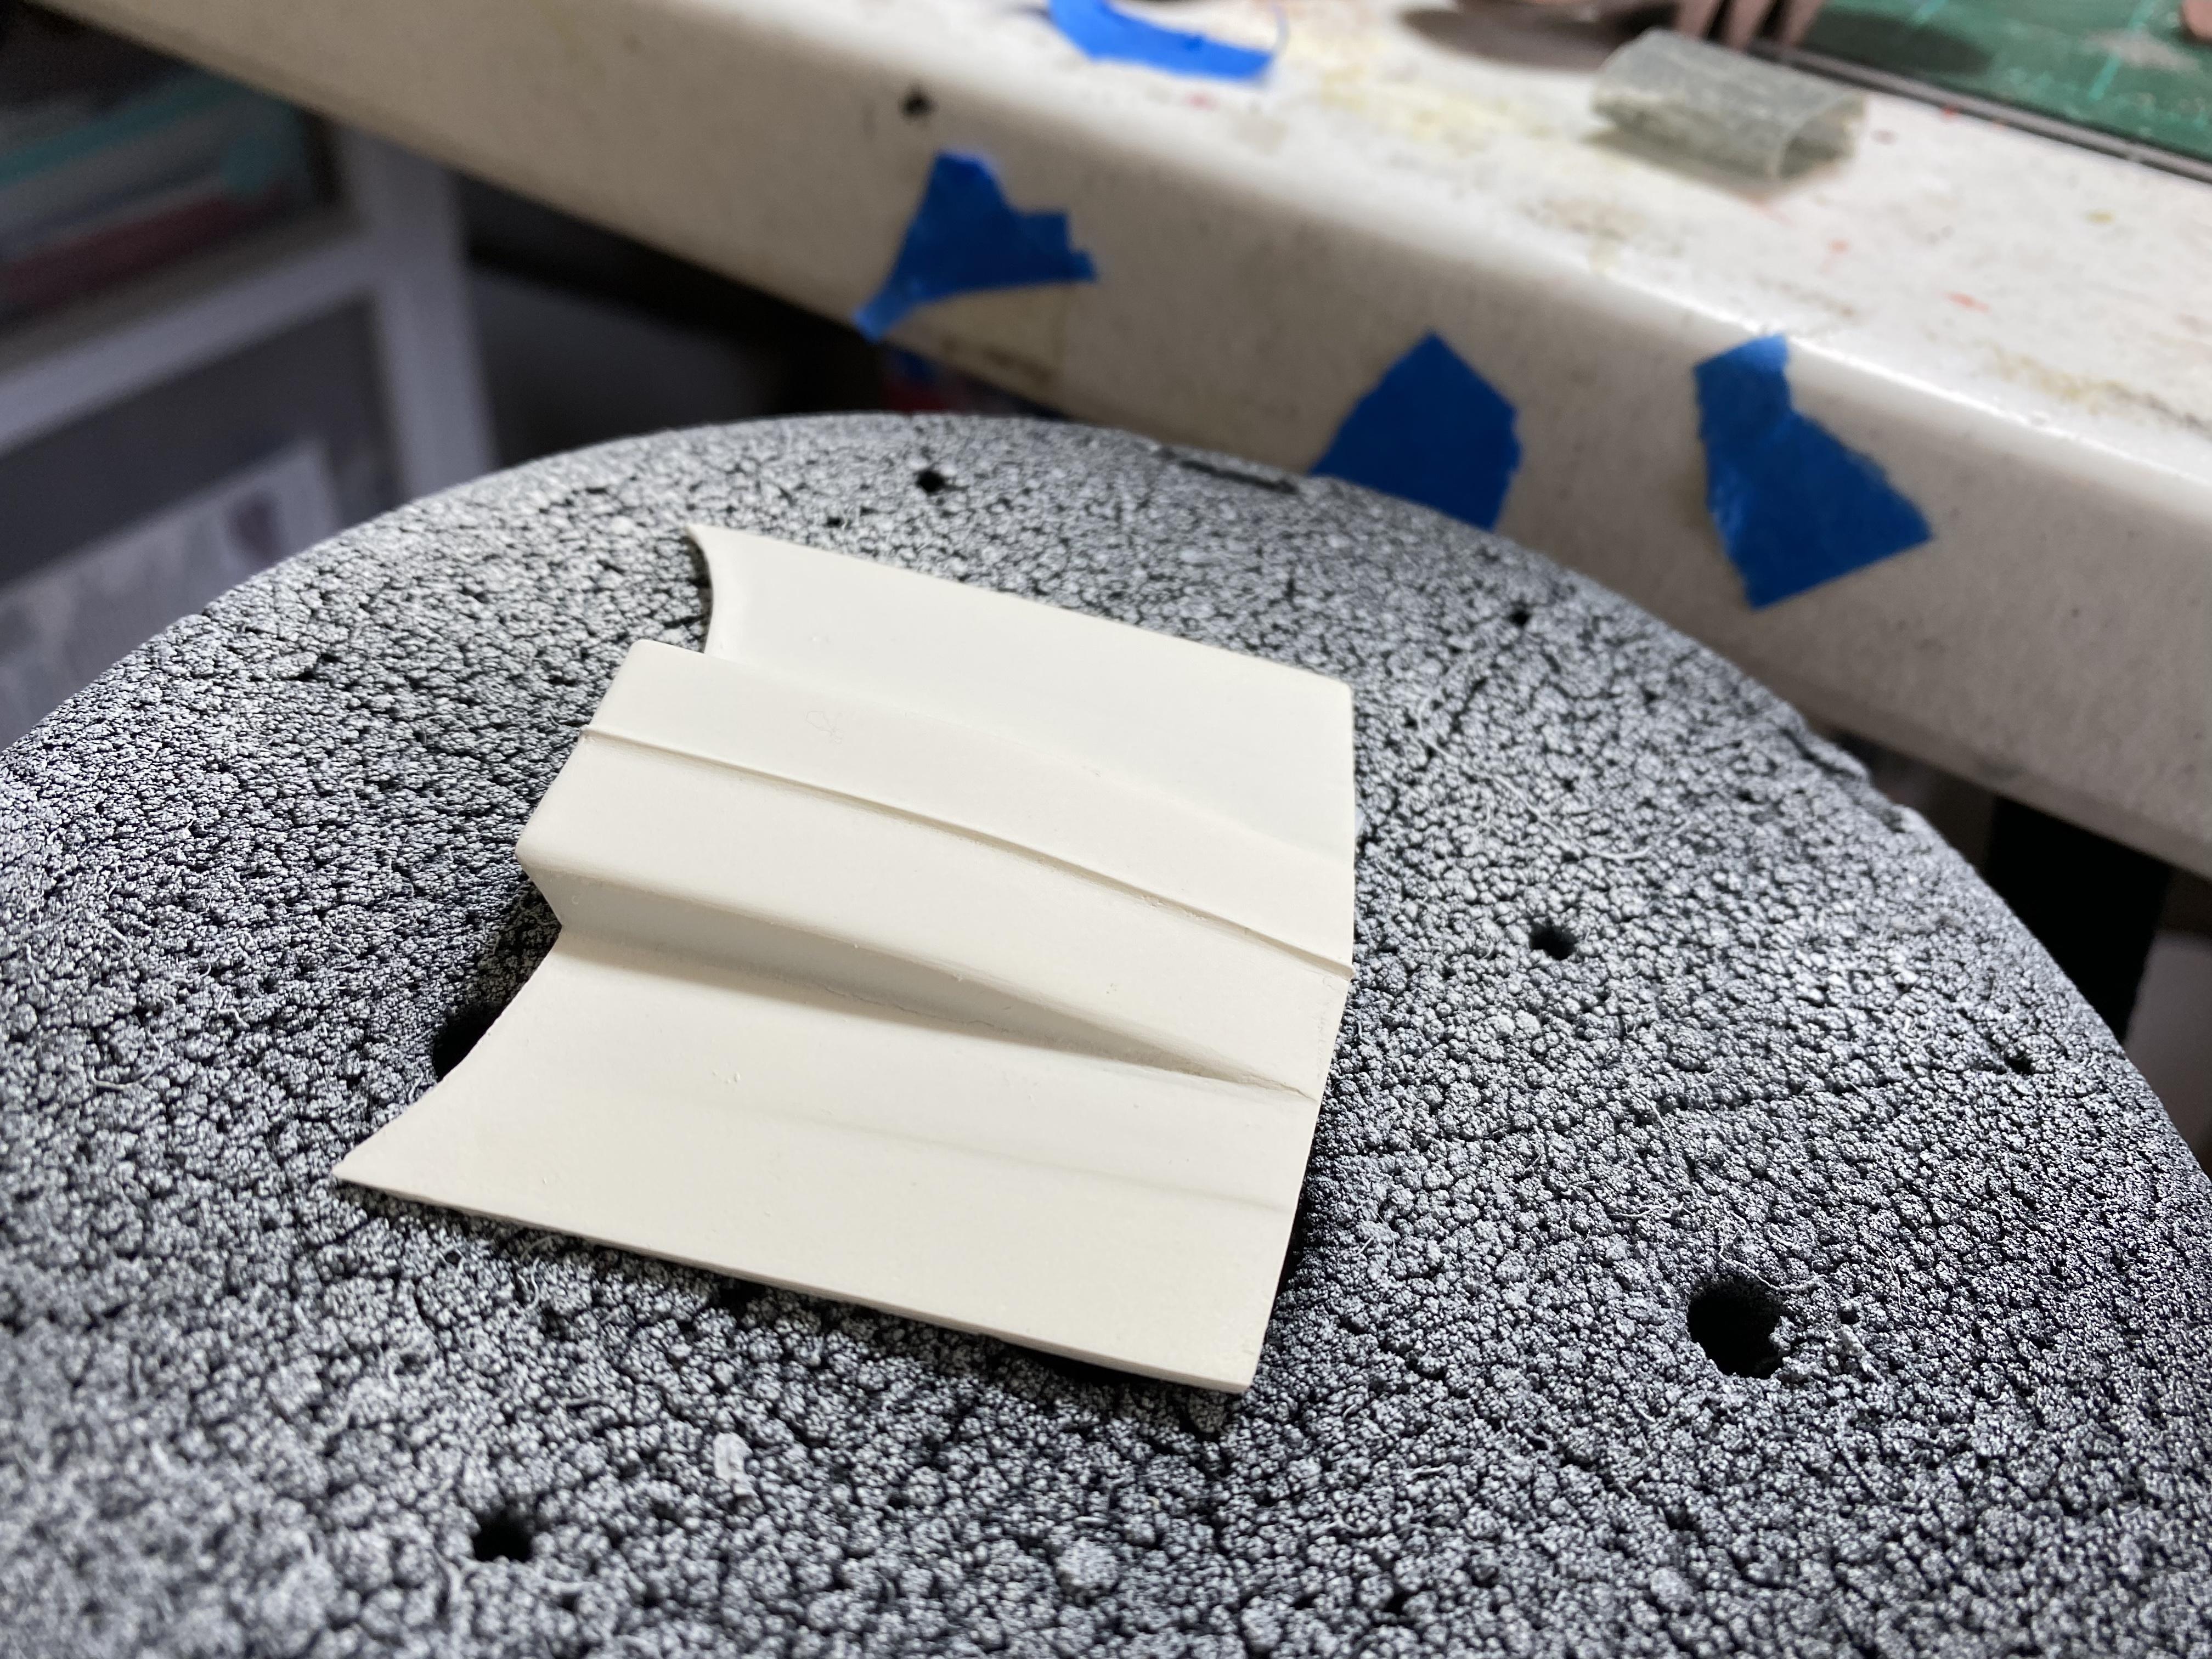
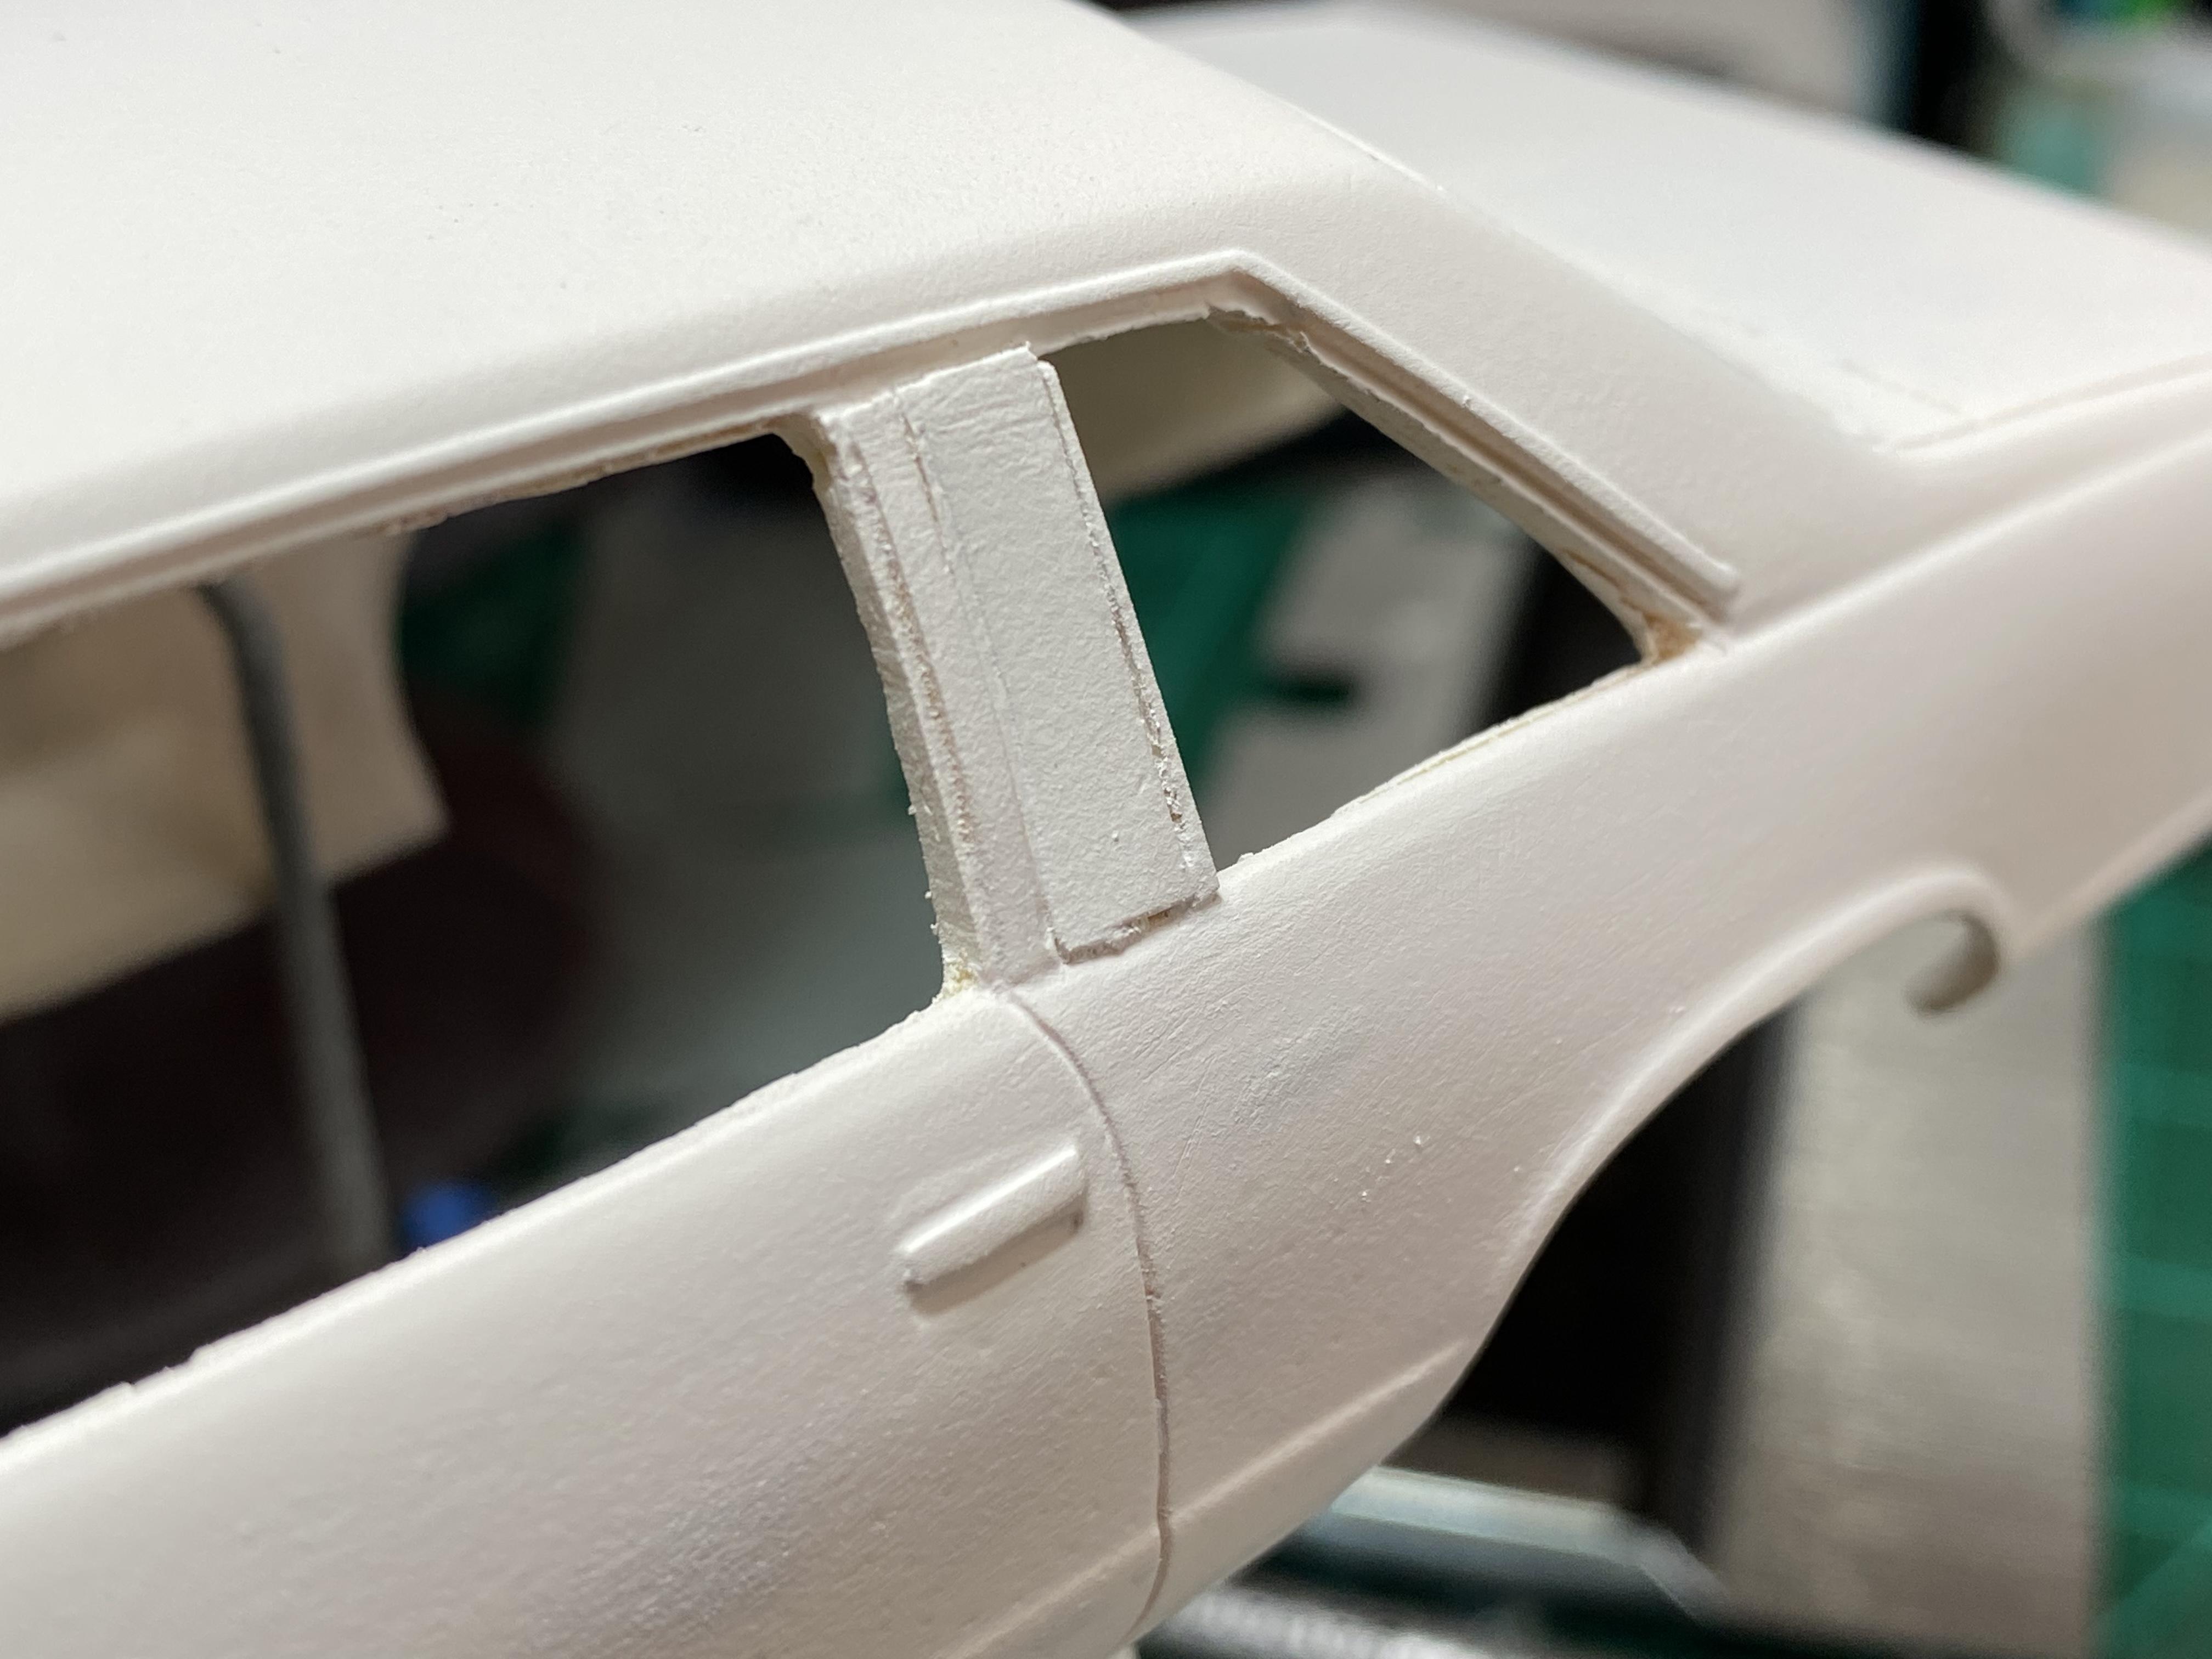
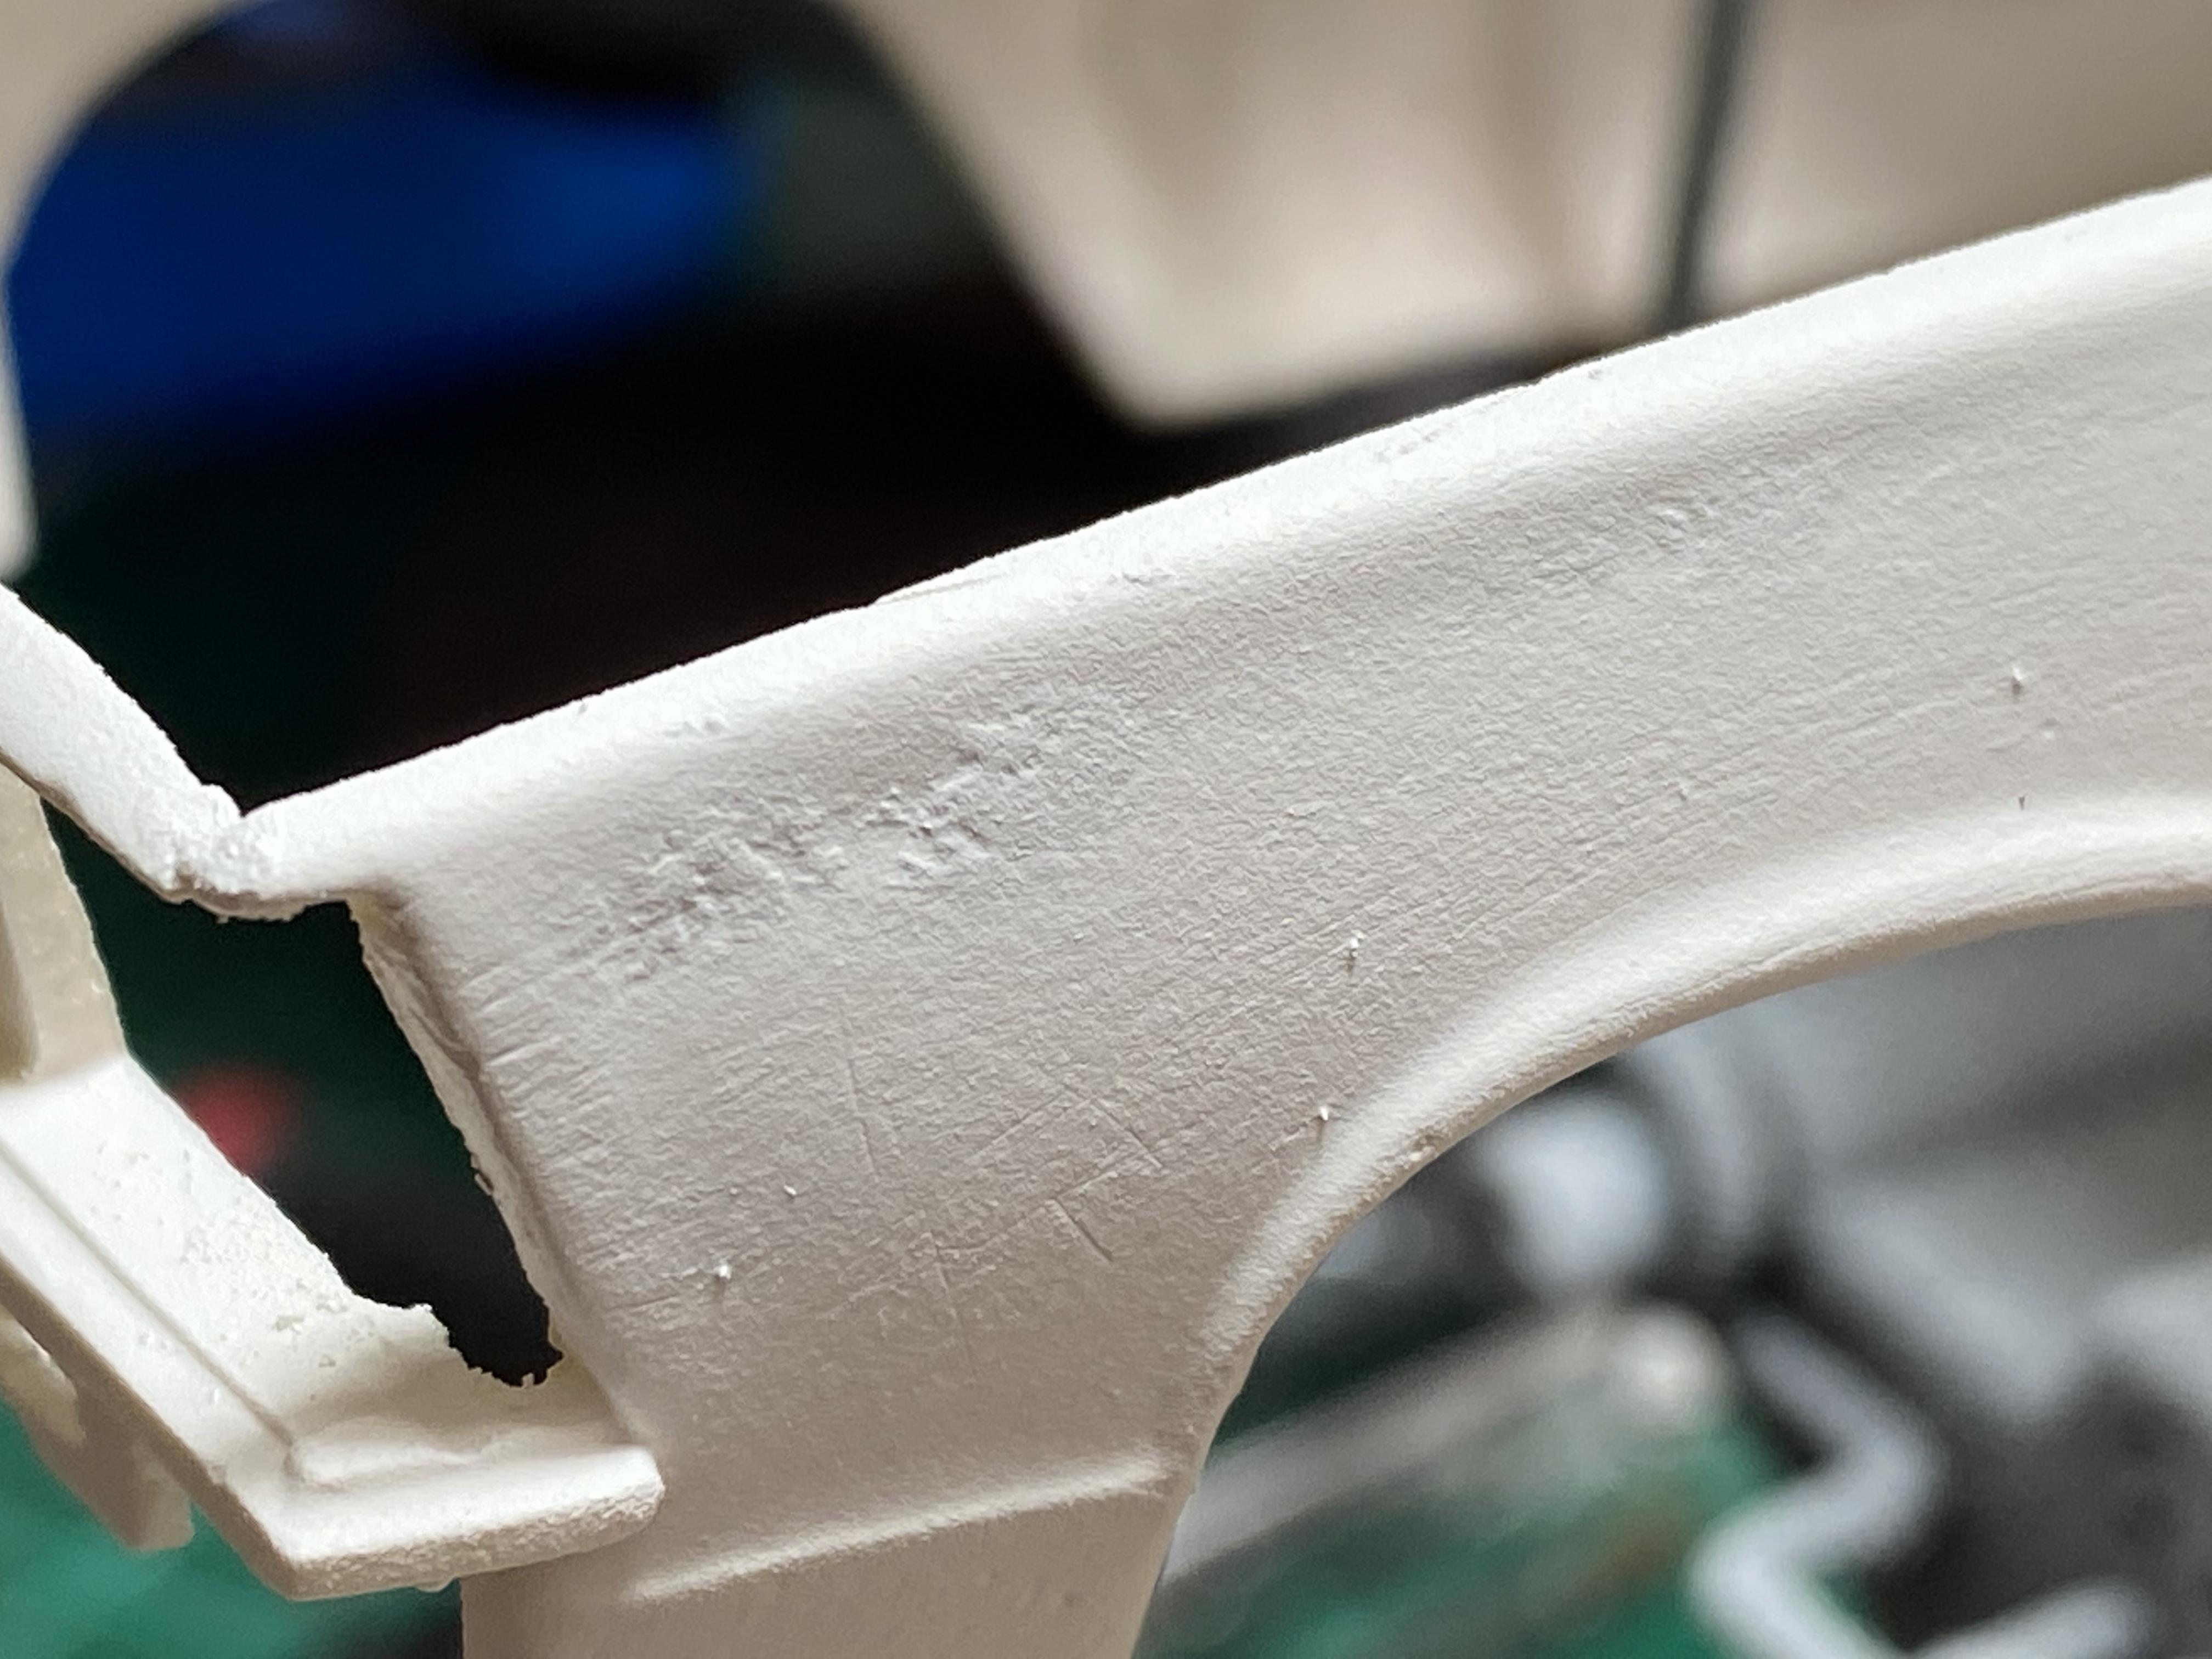
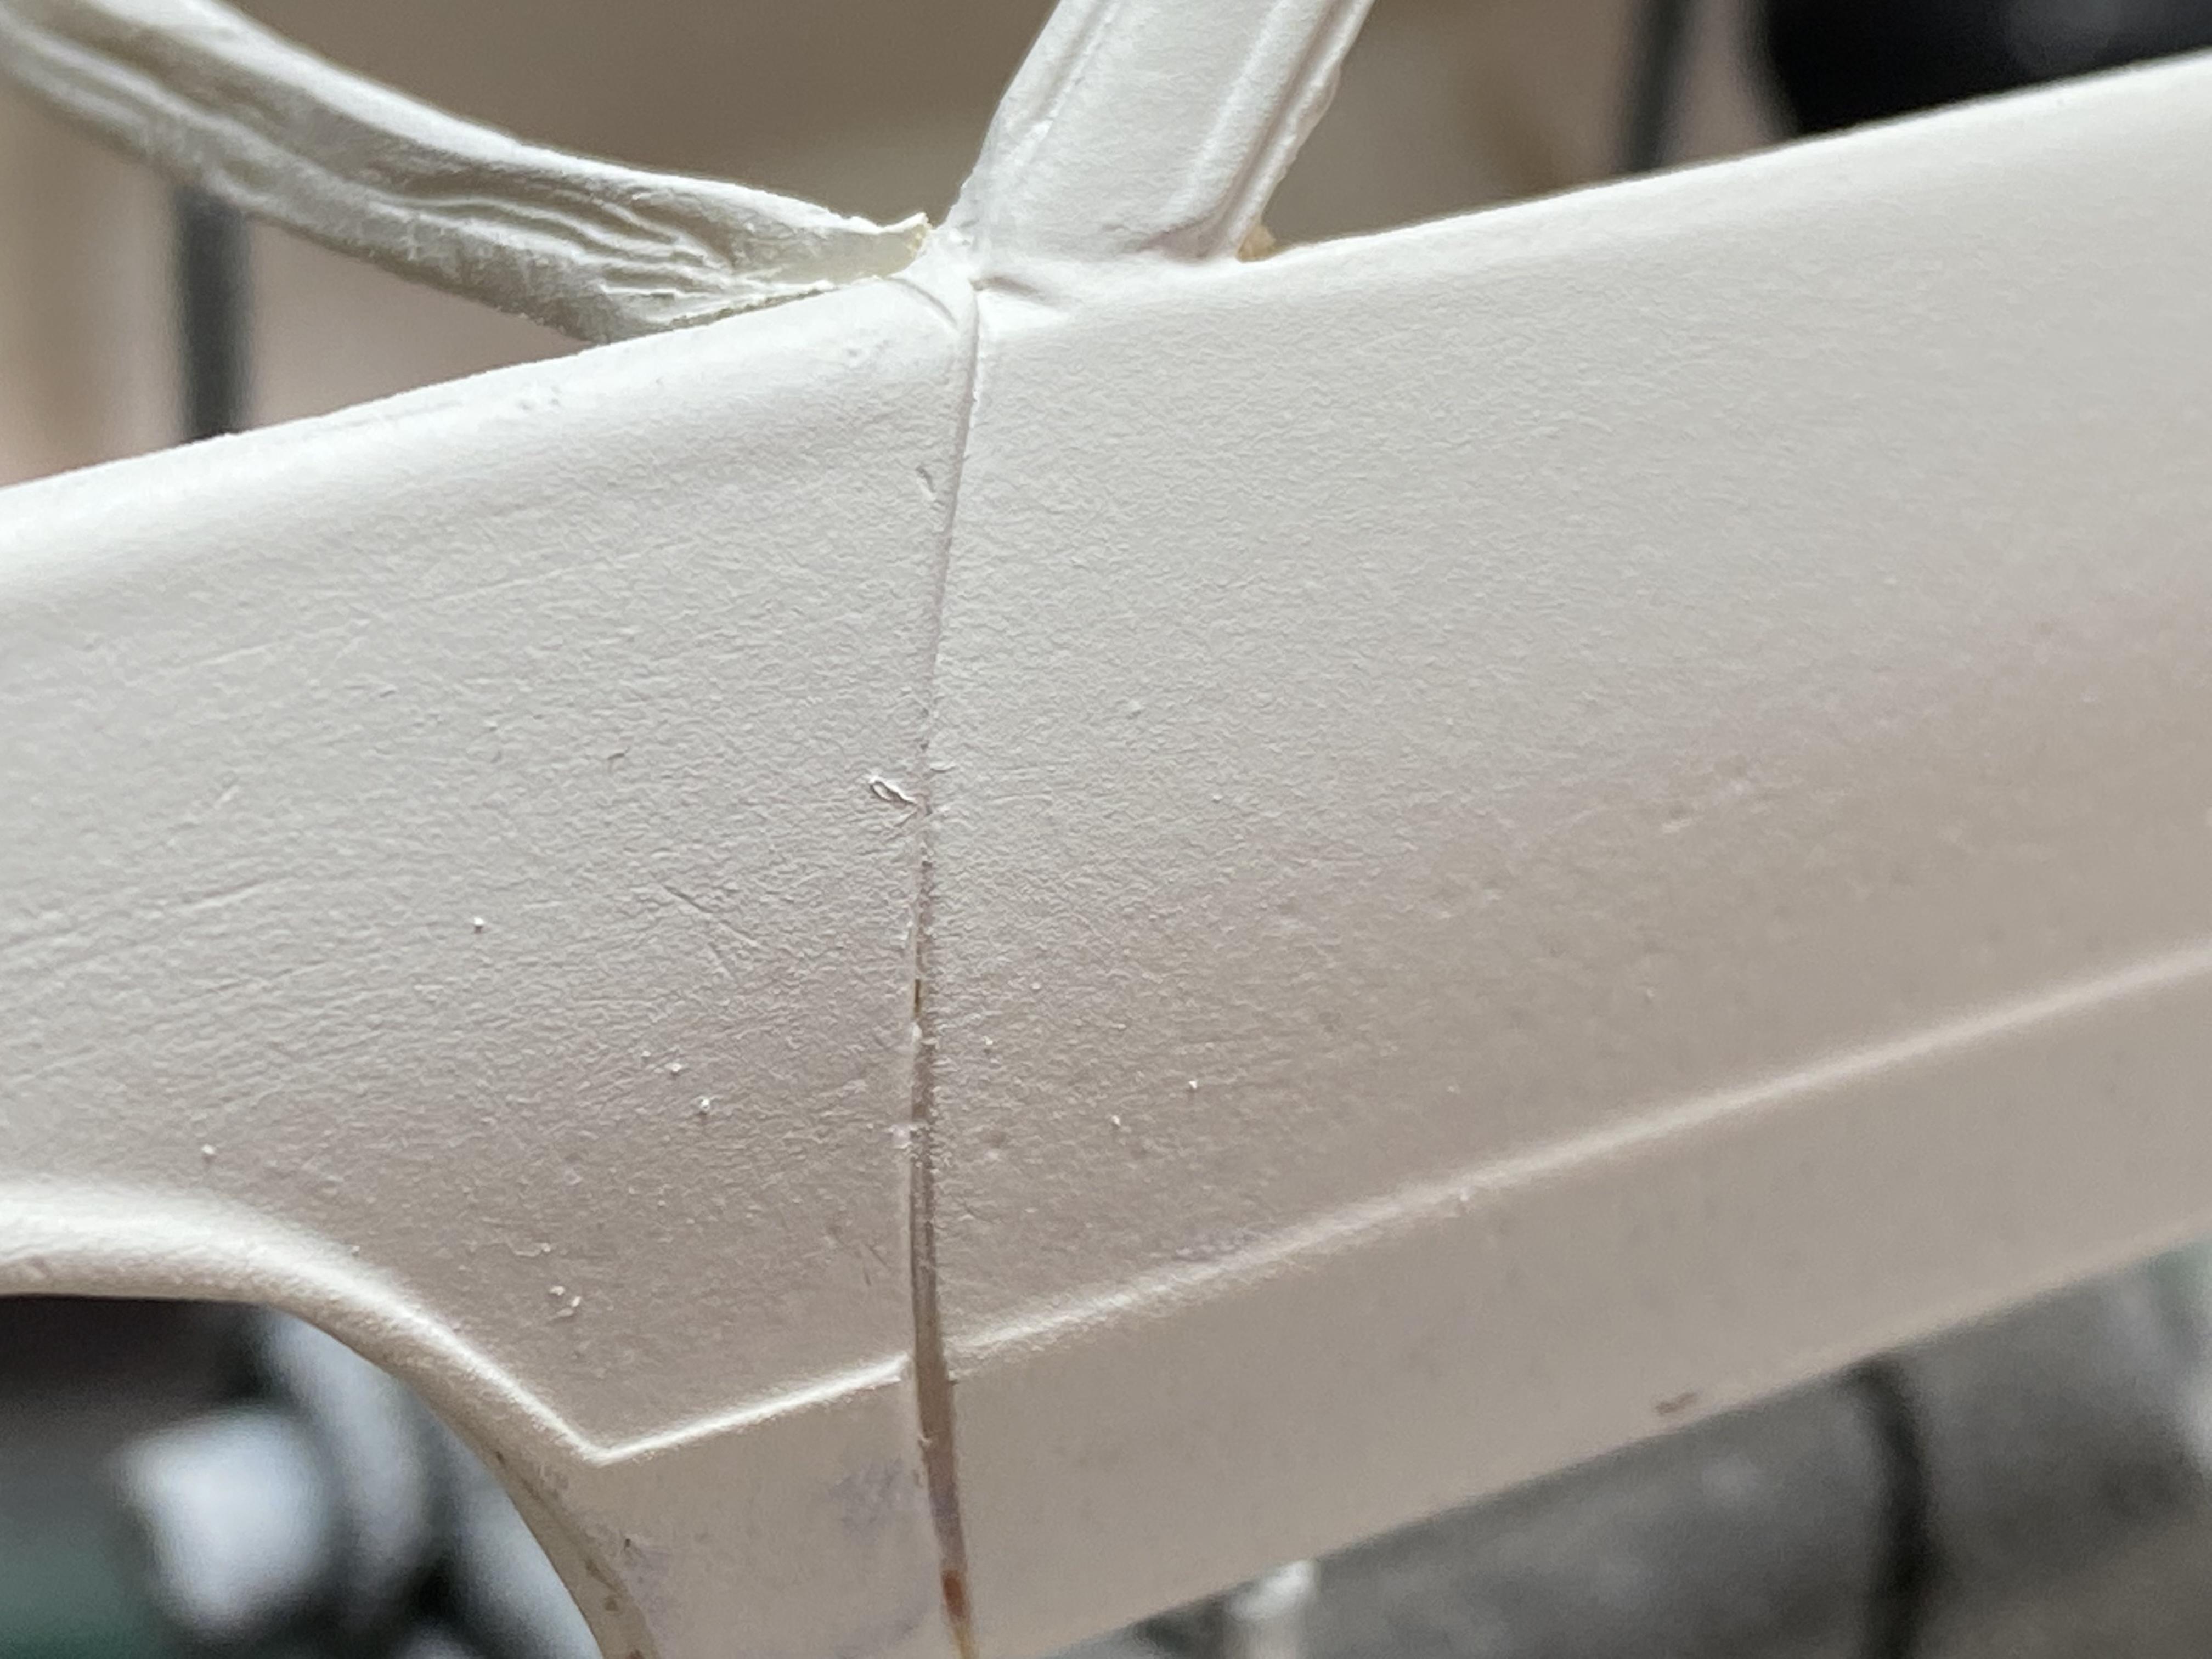
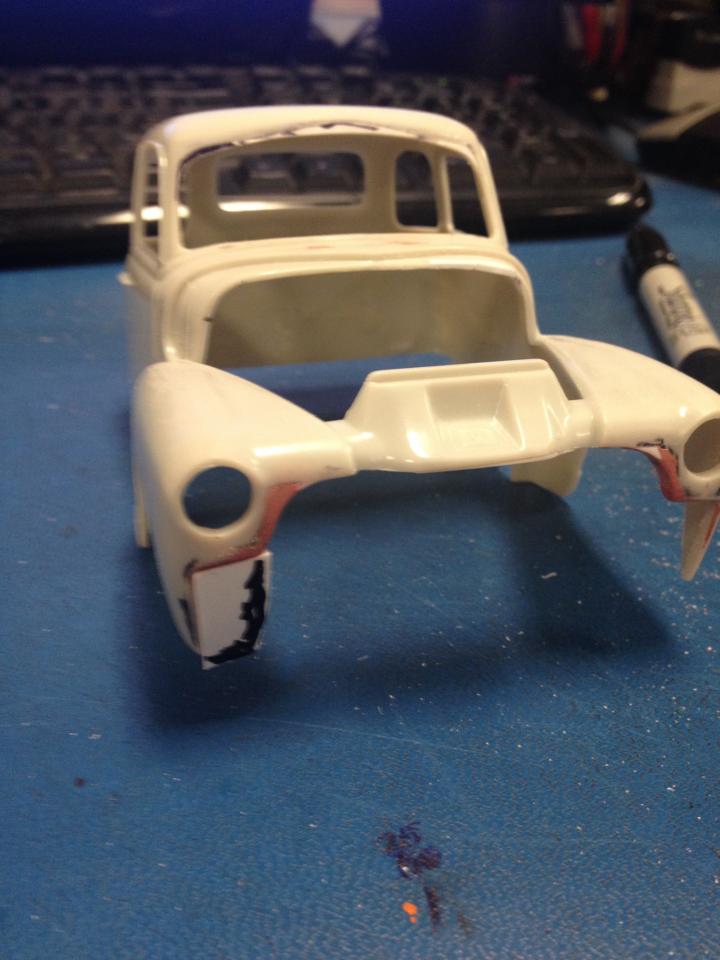
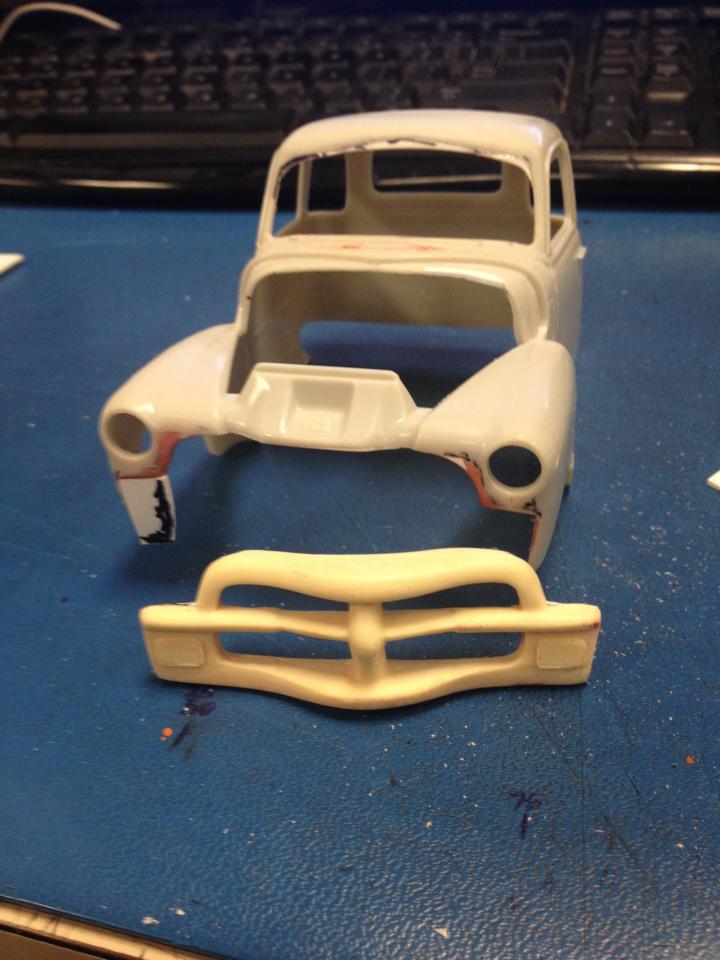
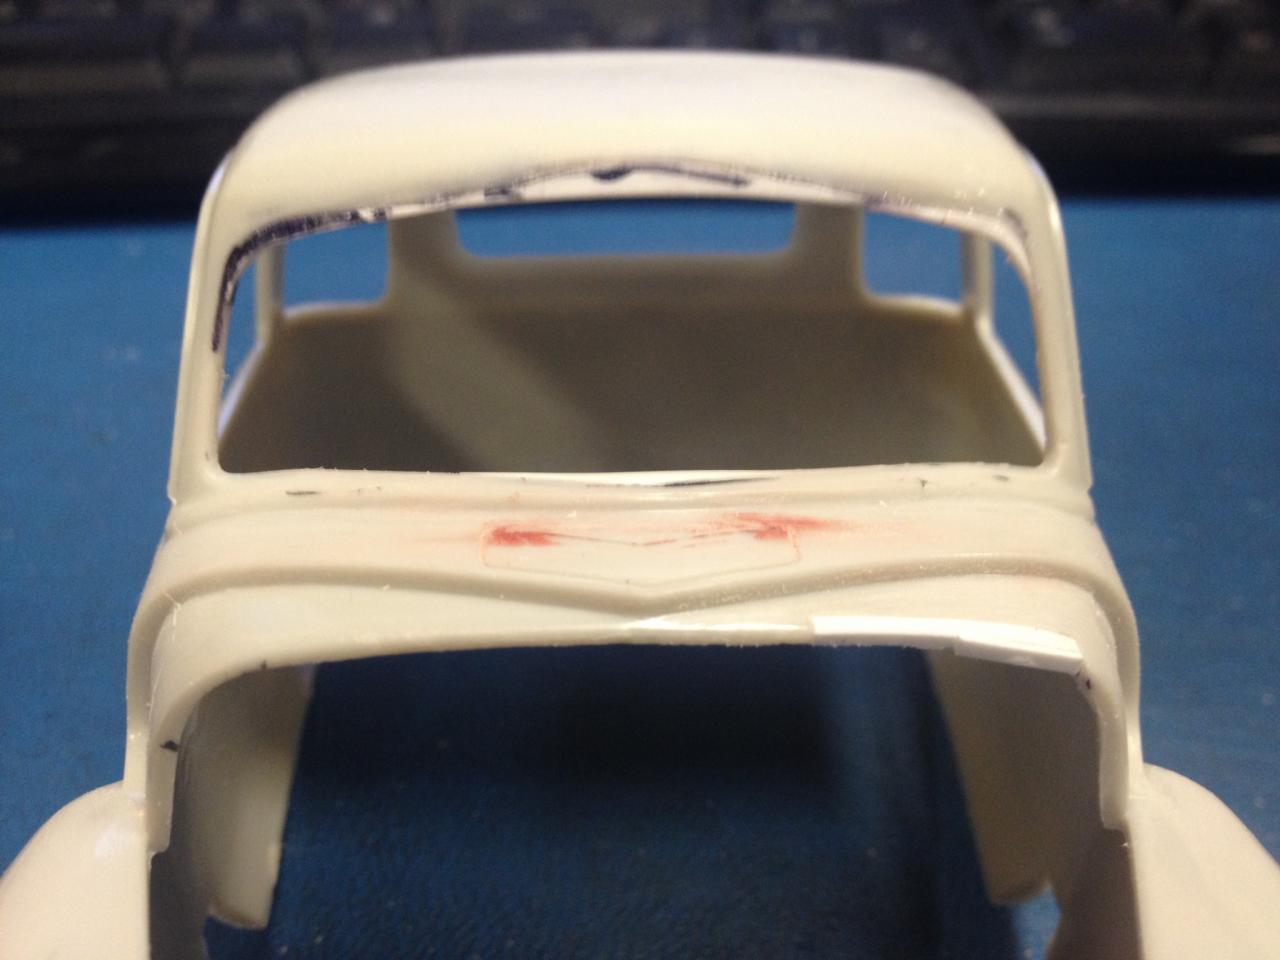
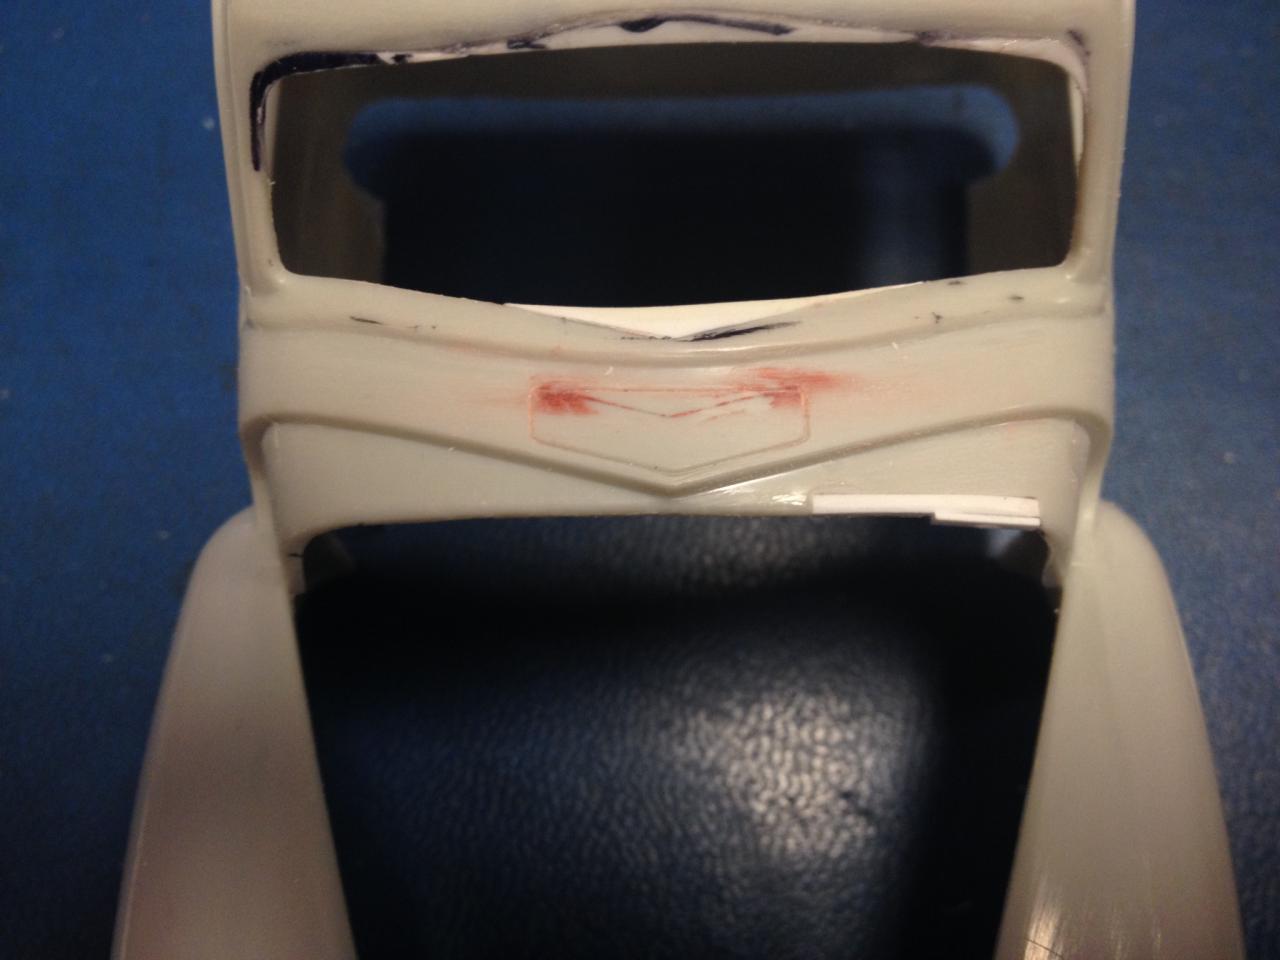
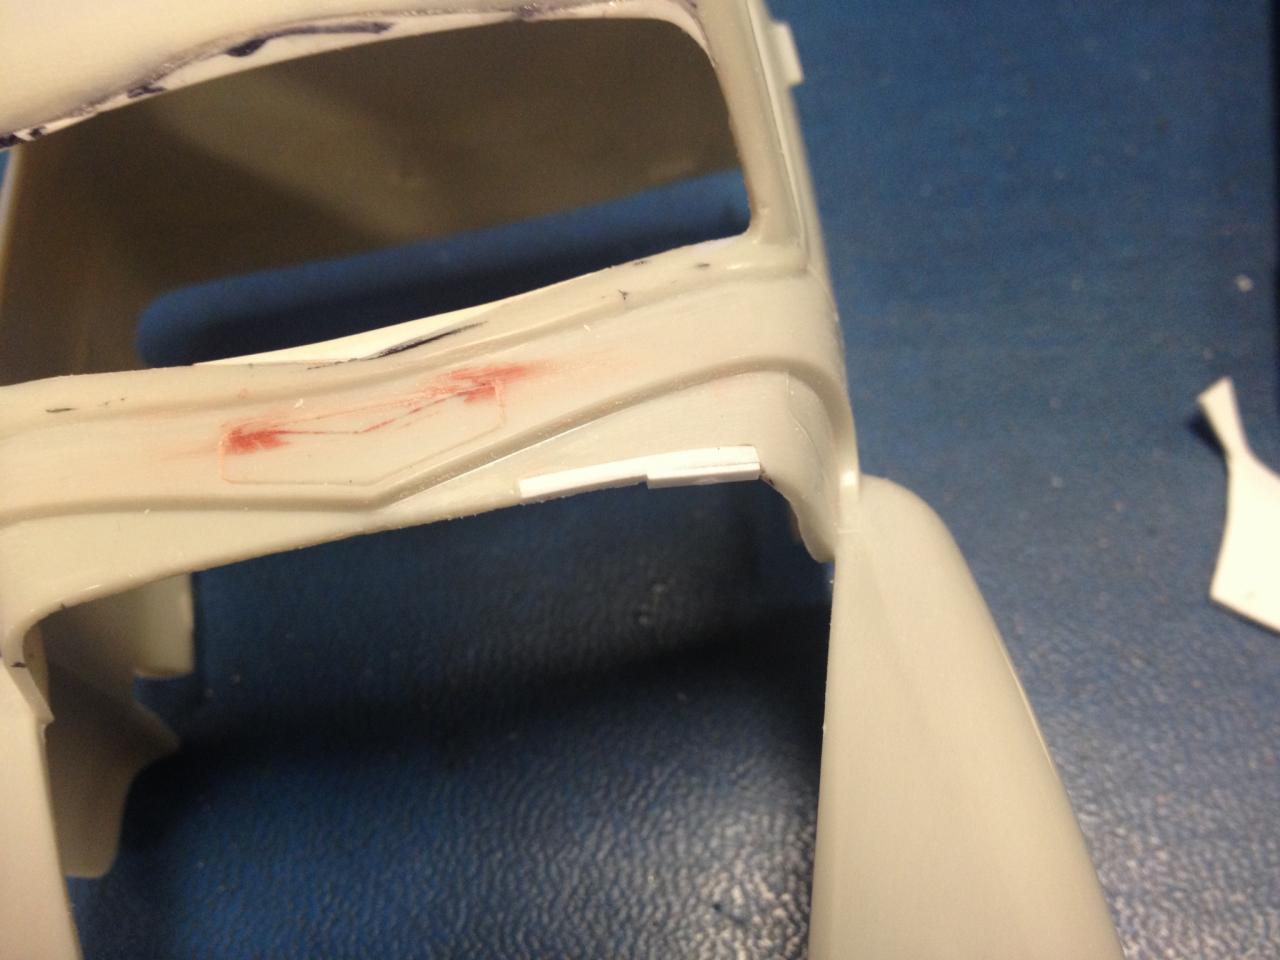
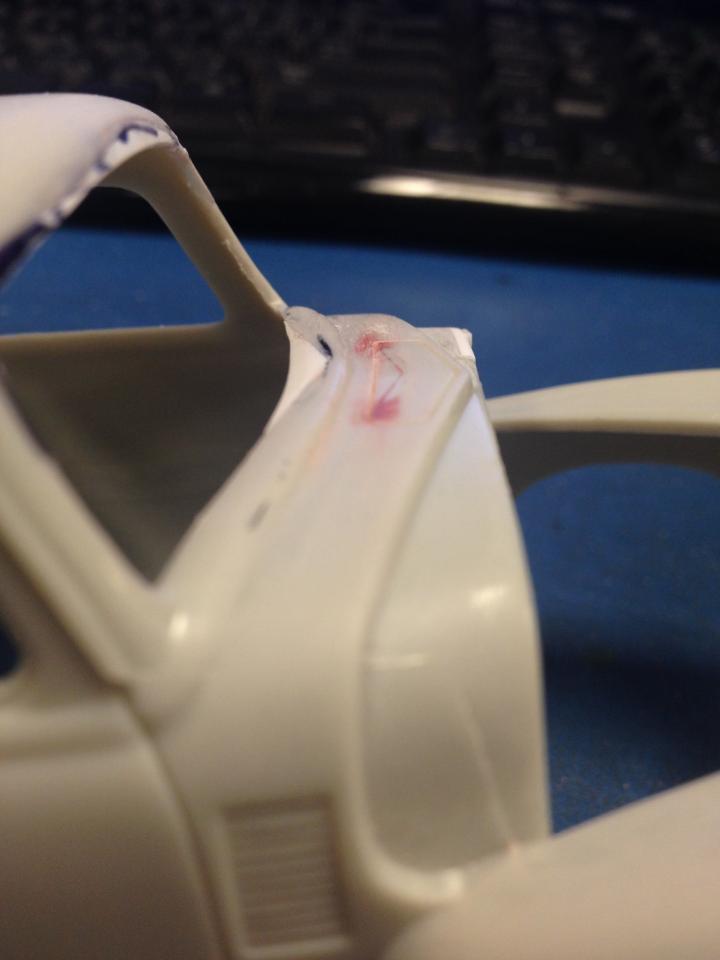
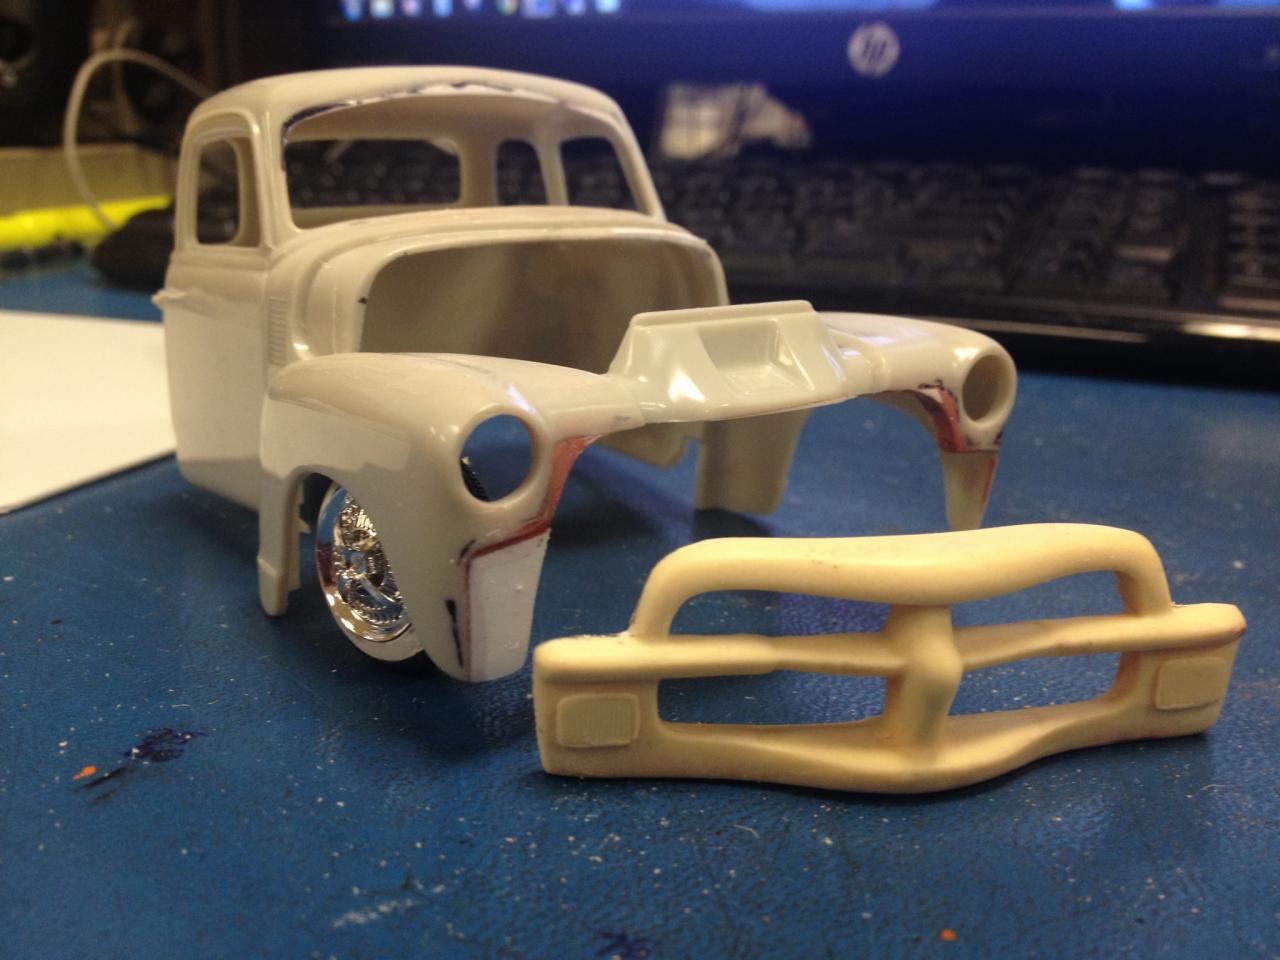
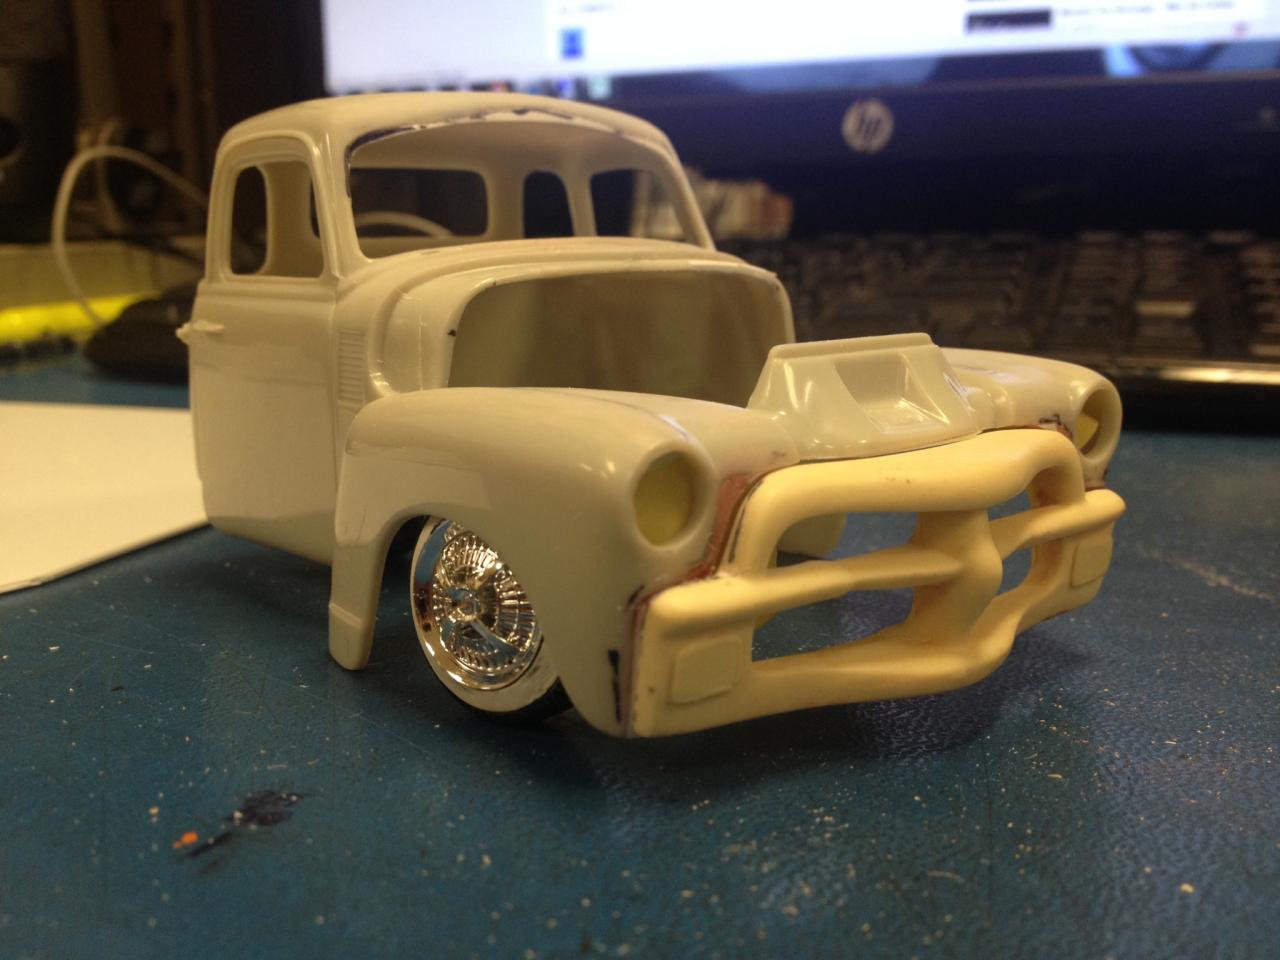
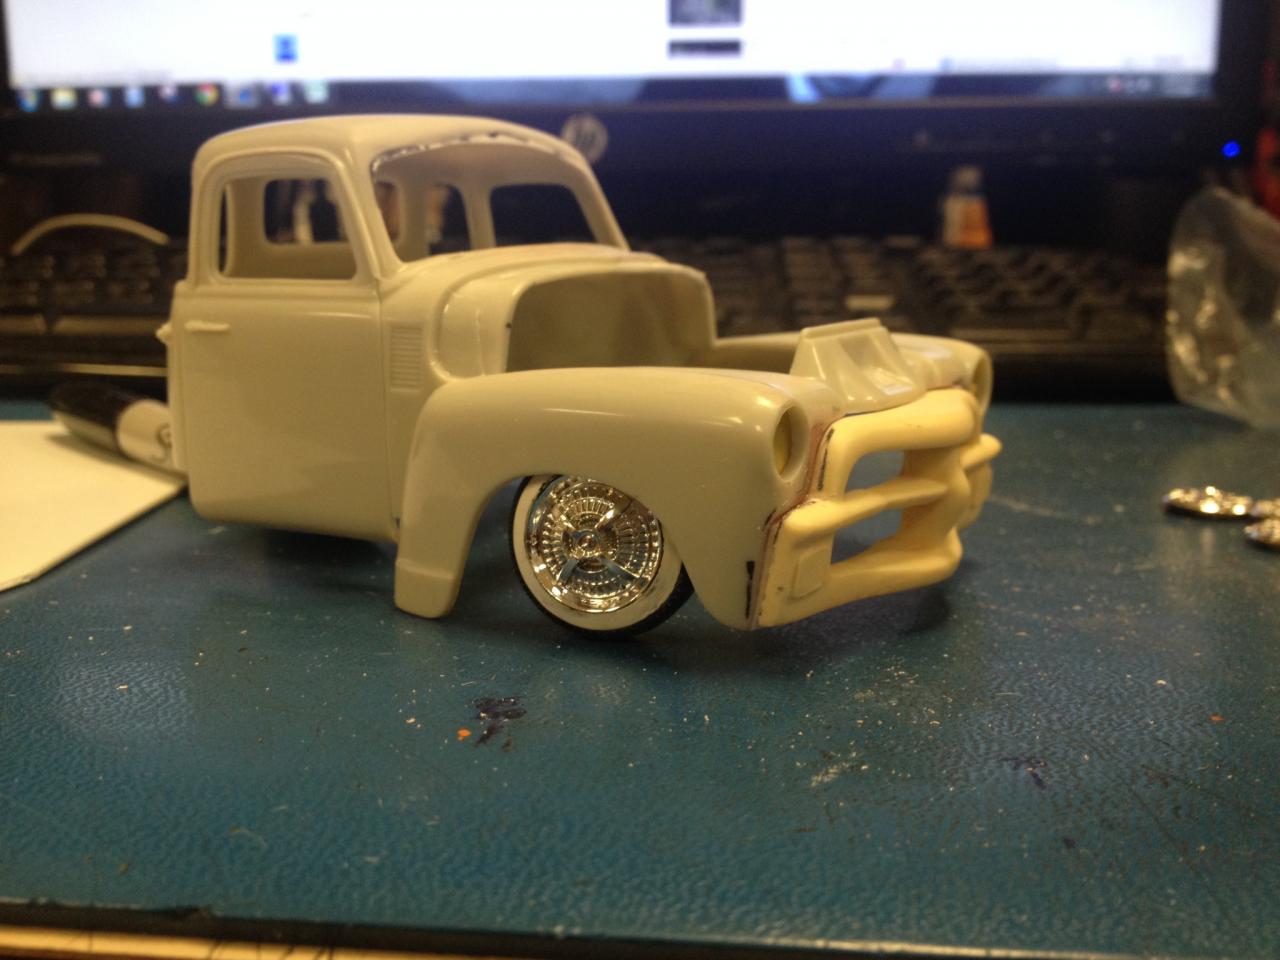
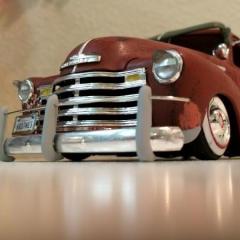 Ok here's another project that i've had in my stash for over a year and brought it out occasianly when i got in the mood to work on it. I had bought the resin cab 54 abd removed the grille and was gonna chrome it and work on the resin cab, but after looking at it i decided why not try and use the 50 chevy cab for better plastic fitment and make my own 54. So little by little i had worked on it from an old spare 50 cab i had and started from the grille work back. So today i brought in with me to work and got back into it. Here is were i'm at on it so far. Reworking the front fenders, windshield, upper vent and fixing some cracks the cab had. I will also be making the correct rear bed sides as the 54 had them flat tops.
-
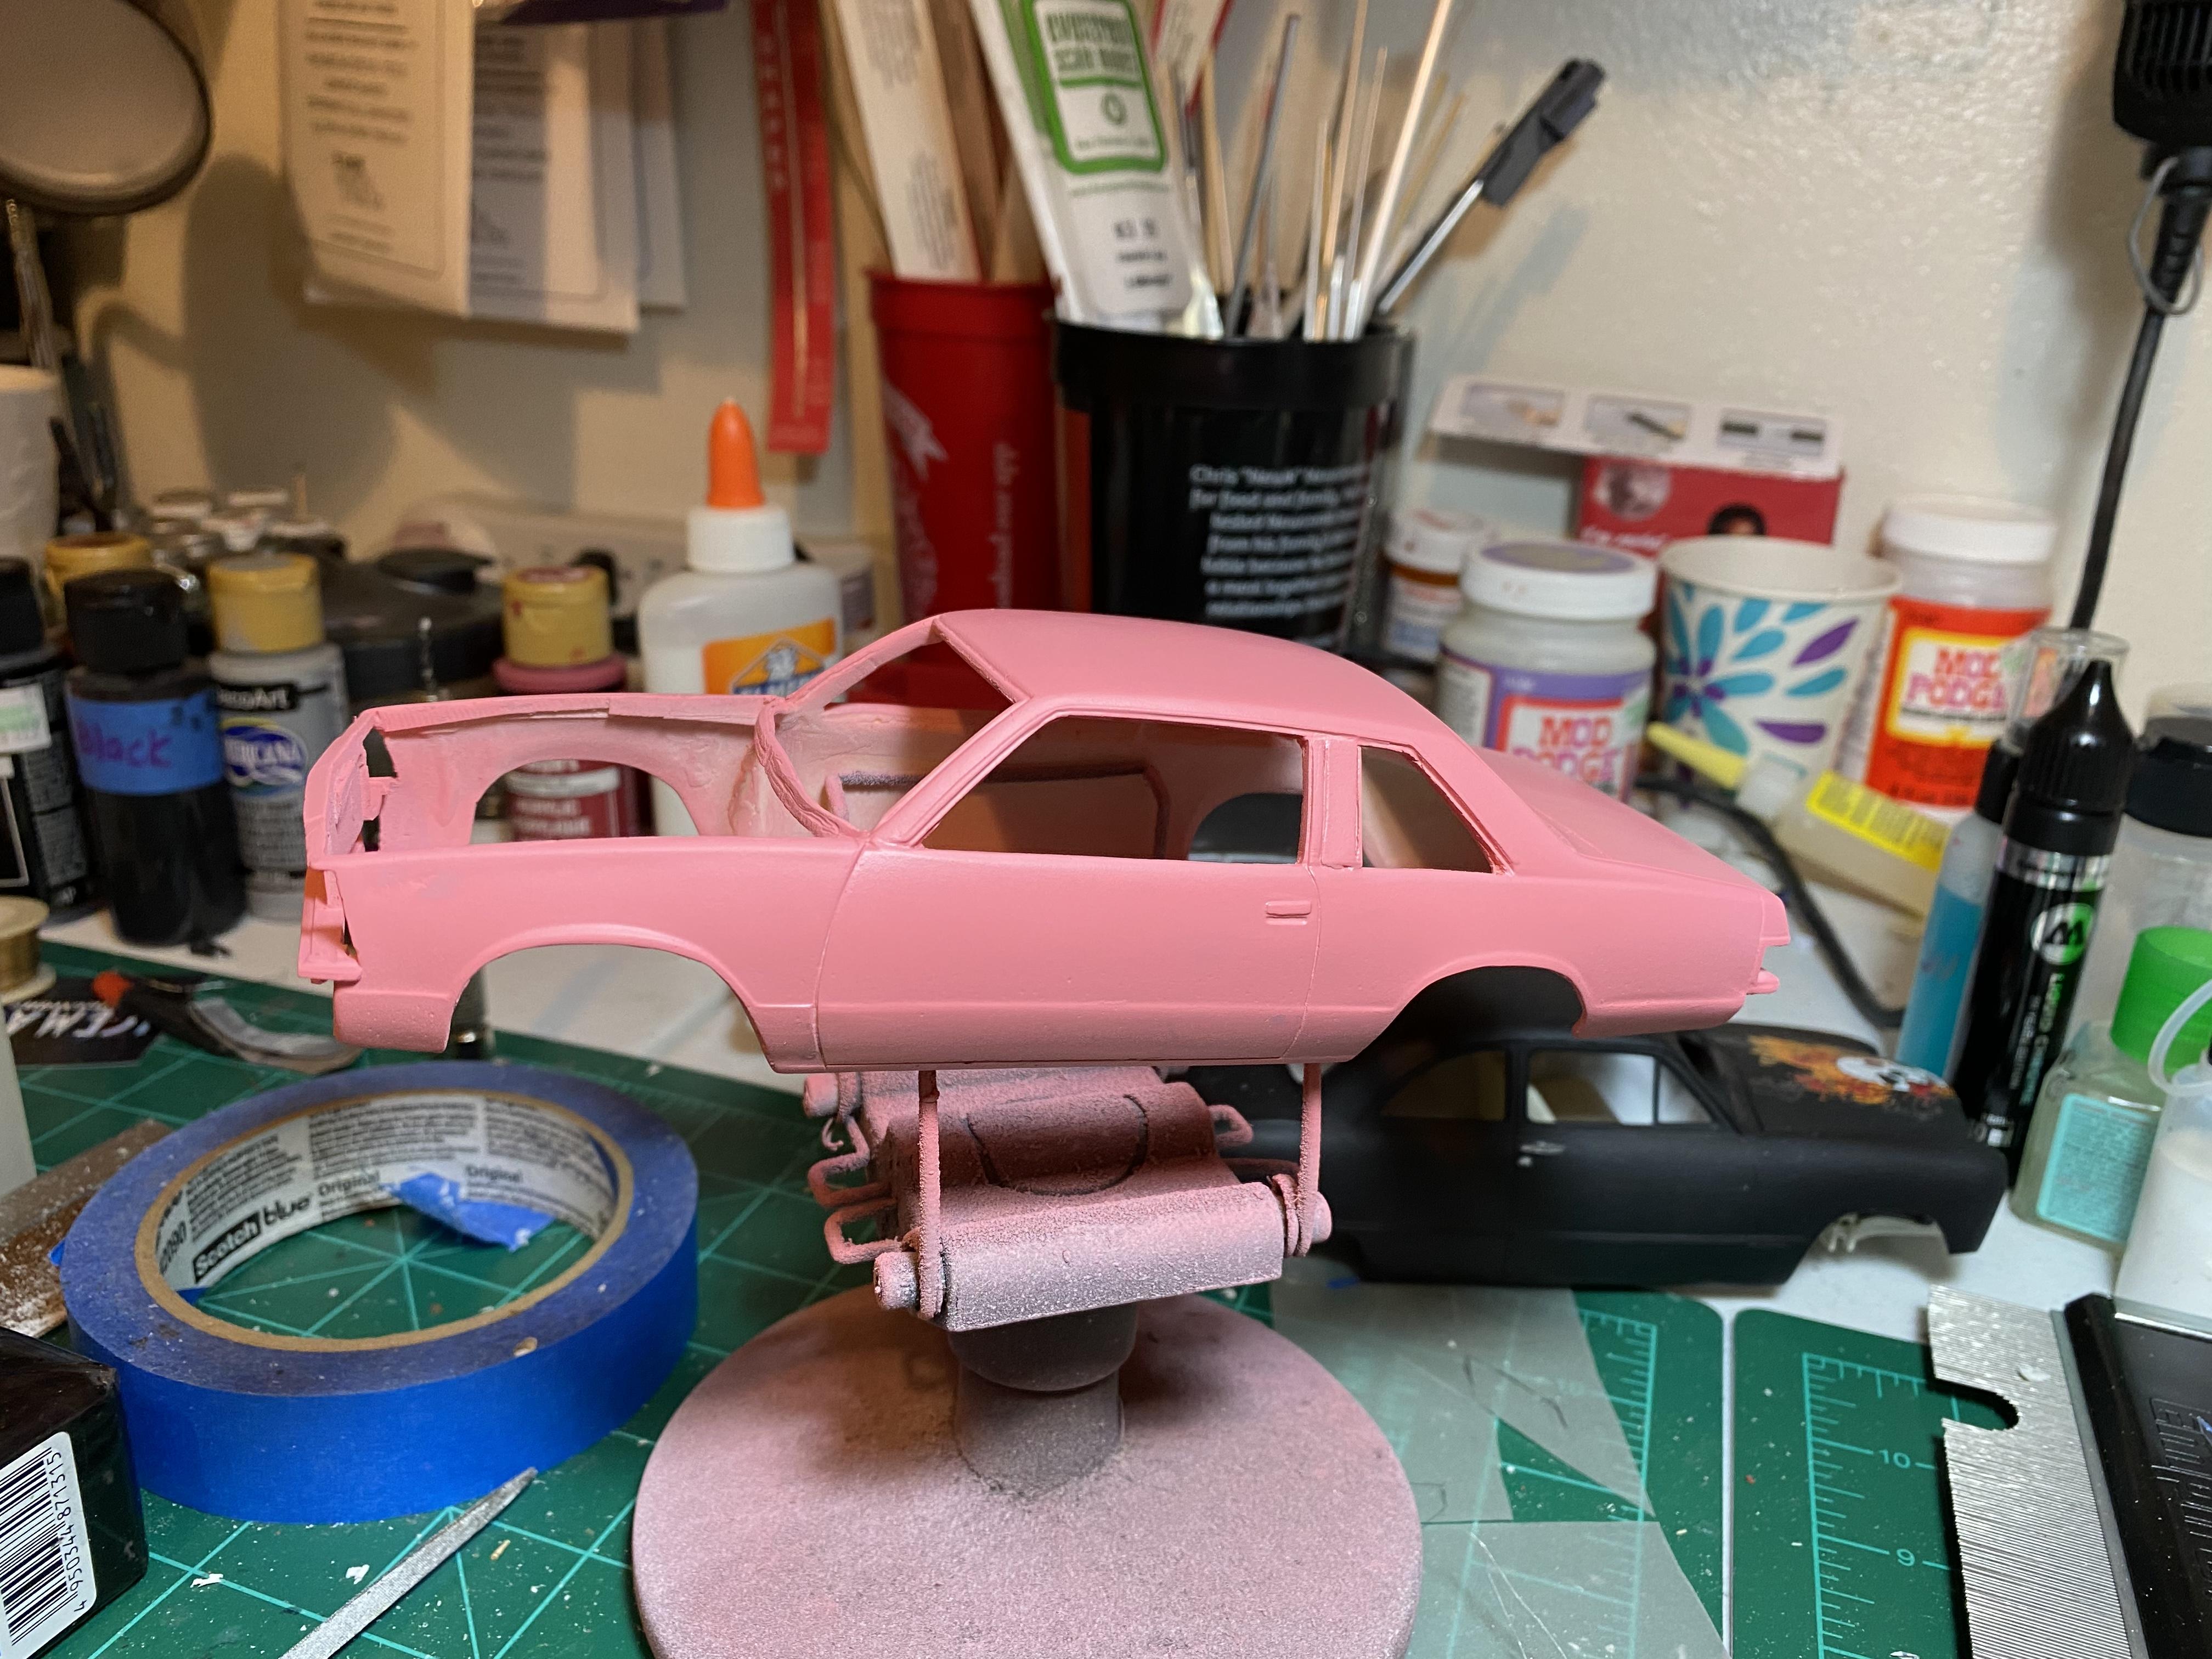
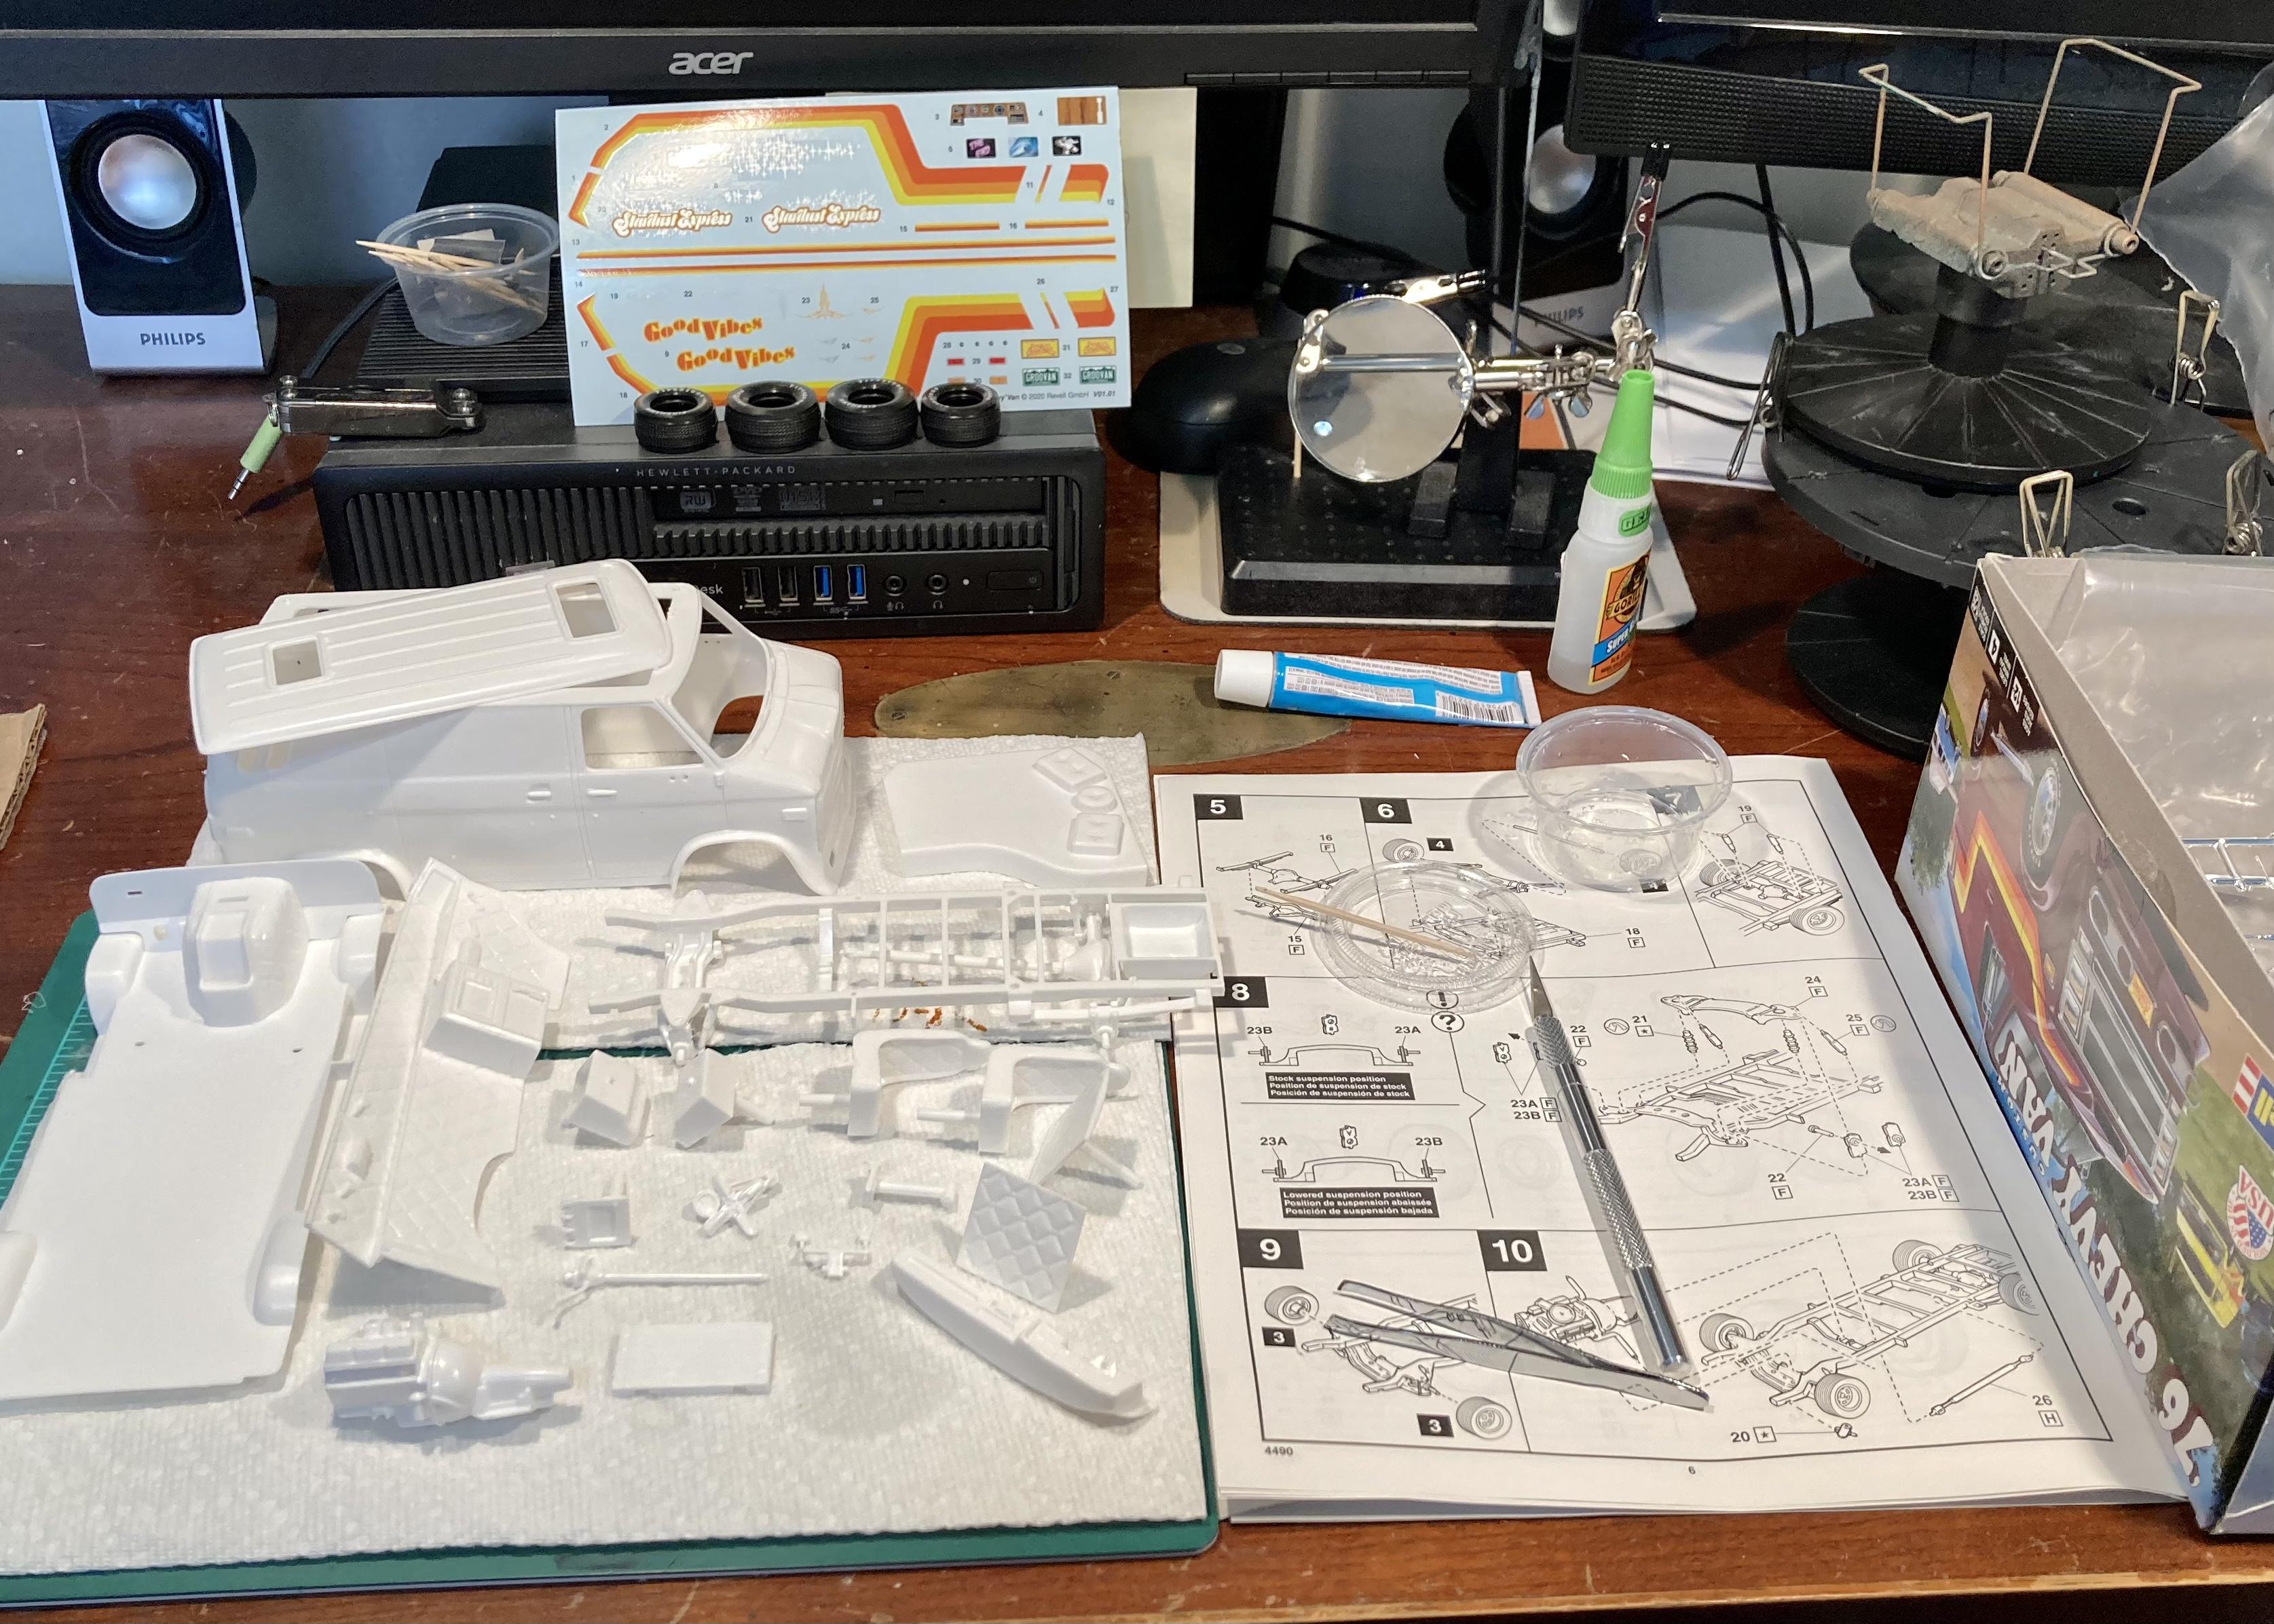
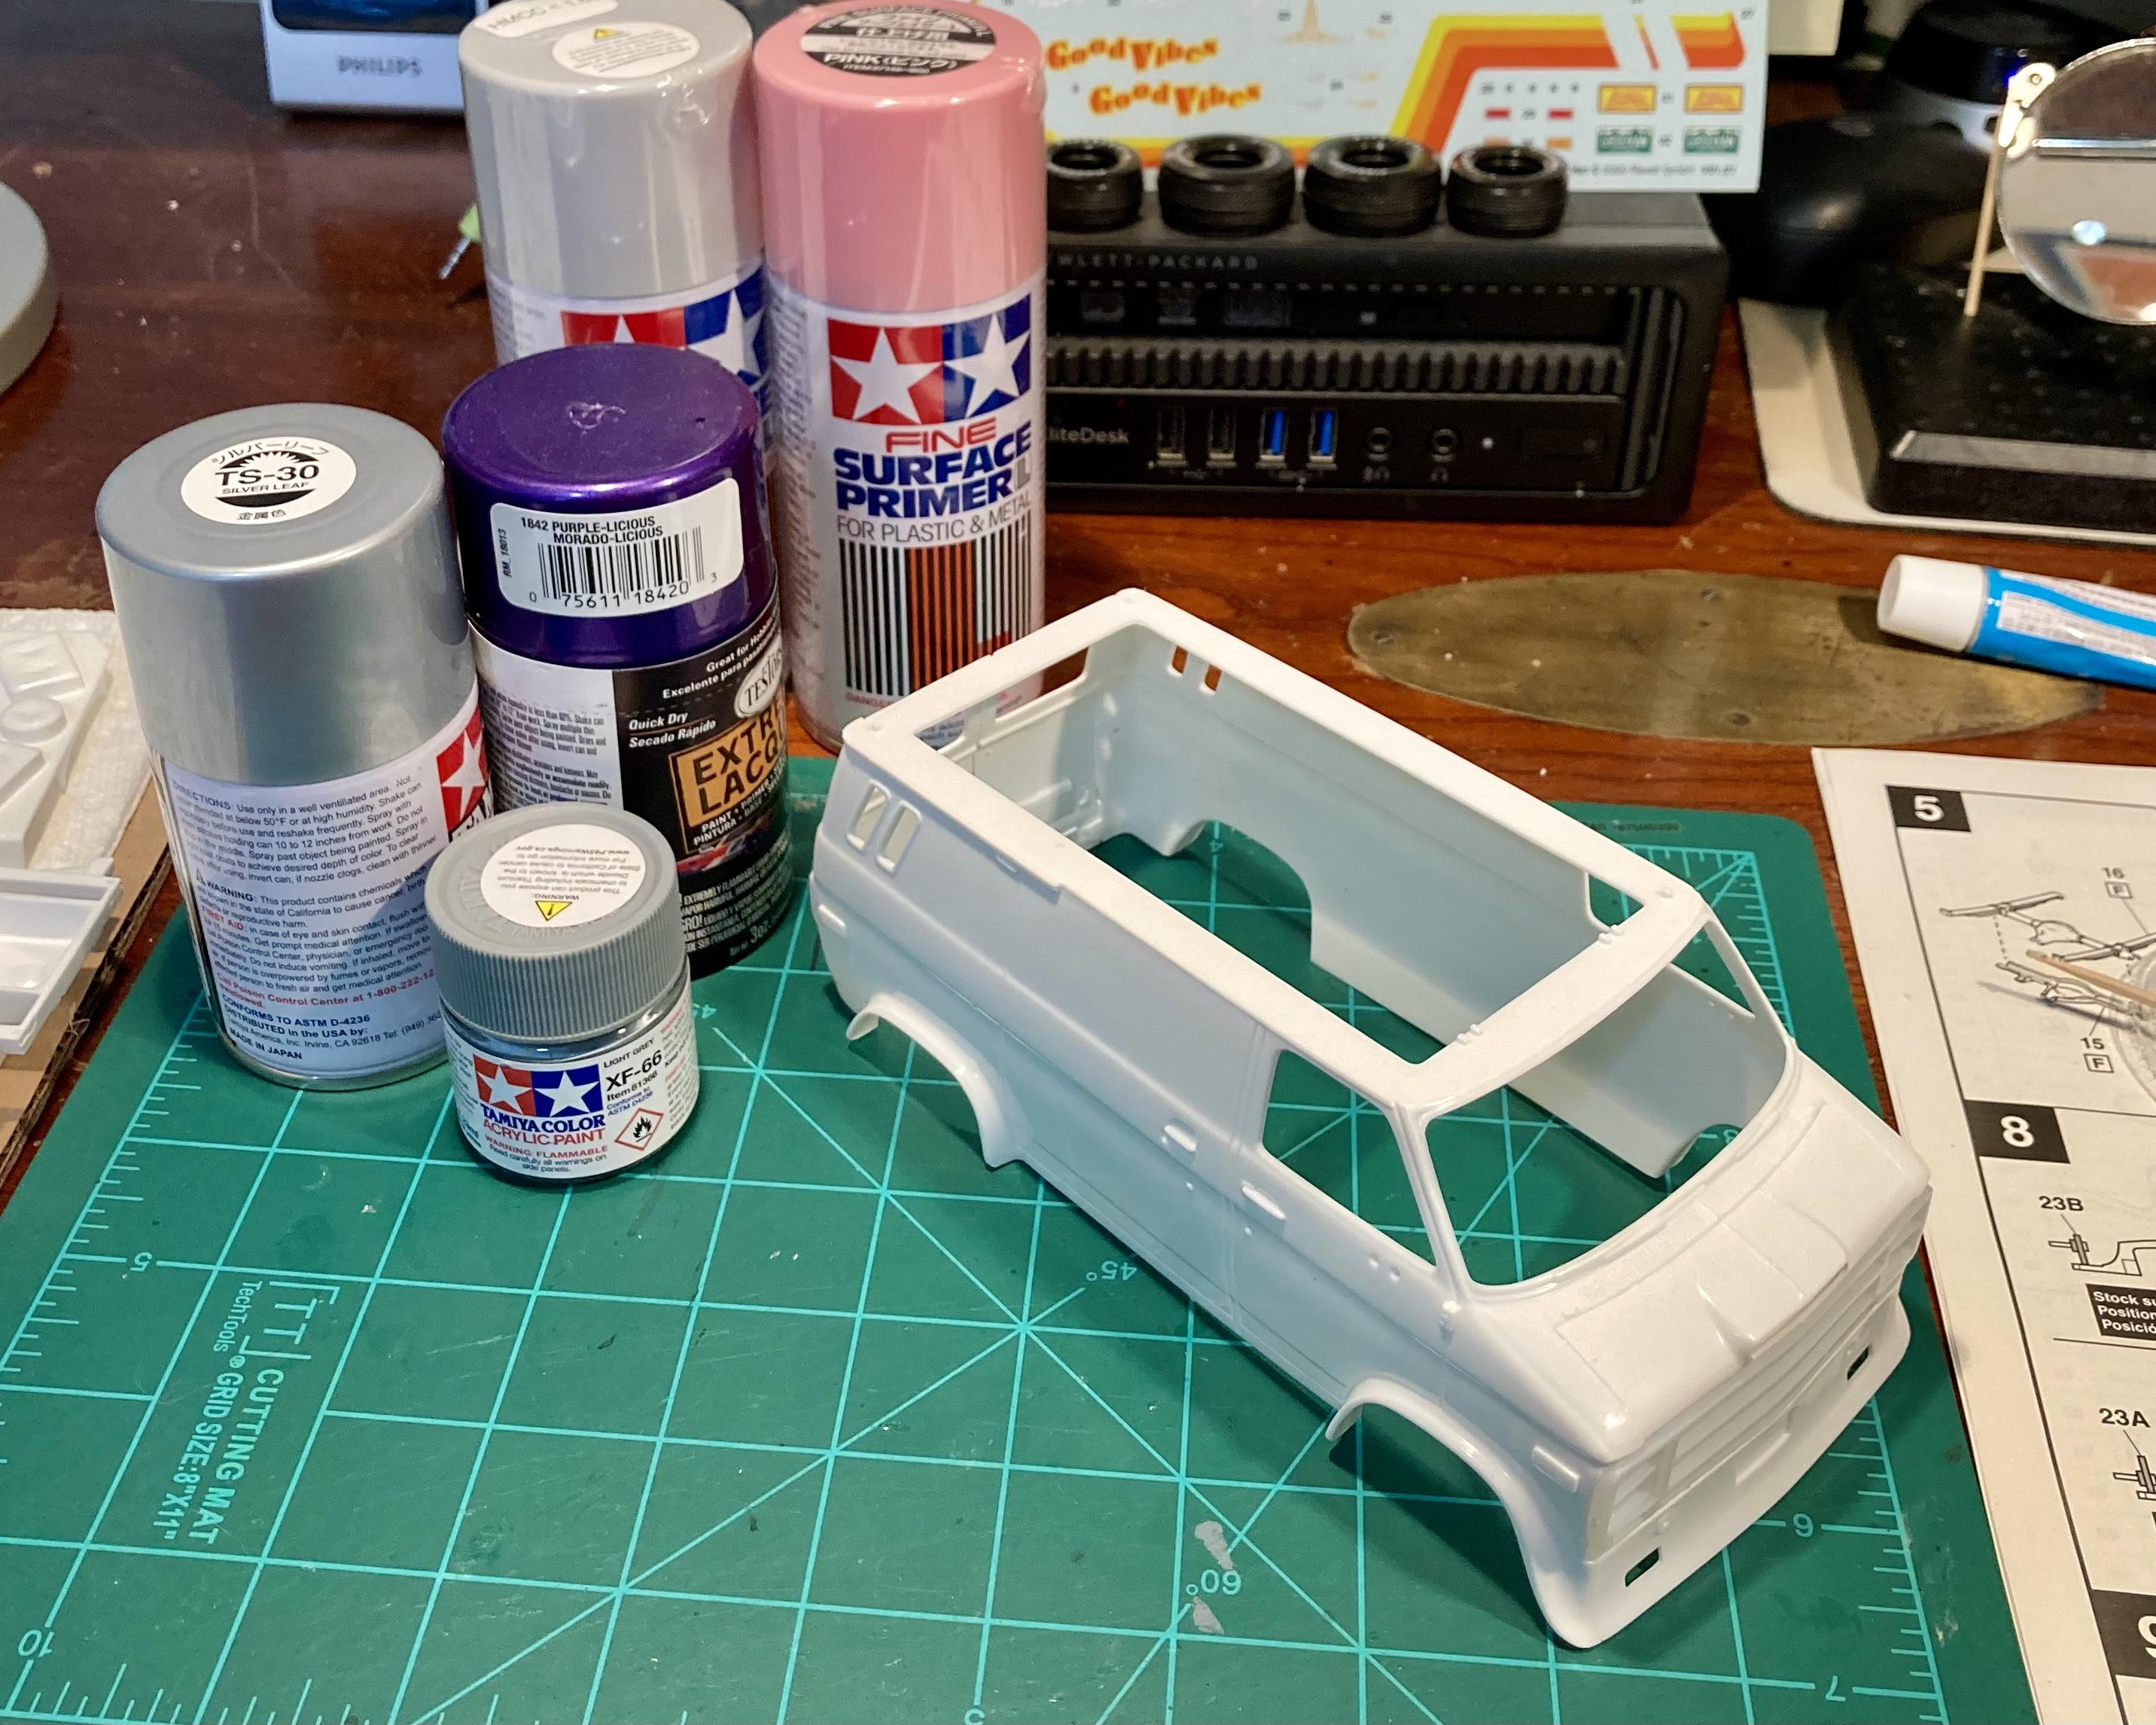
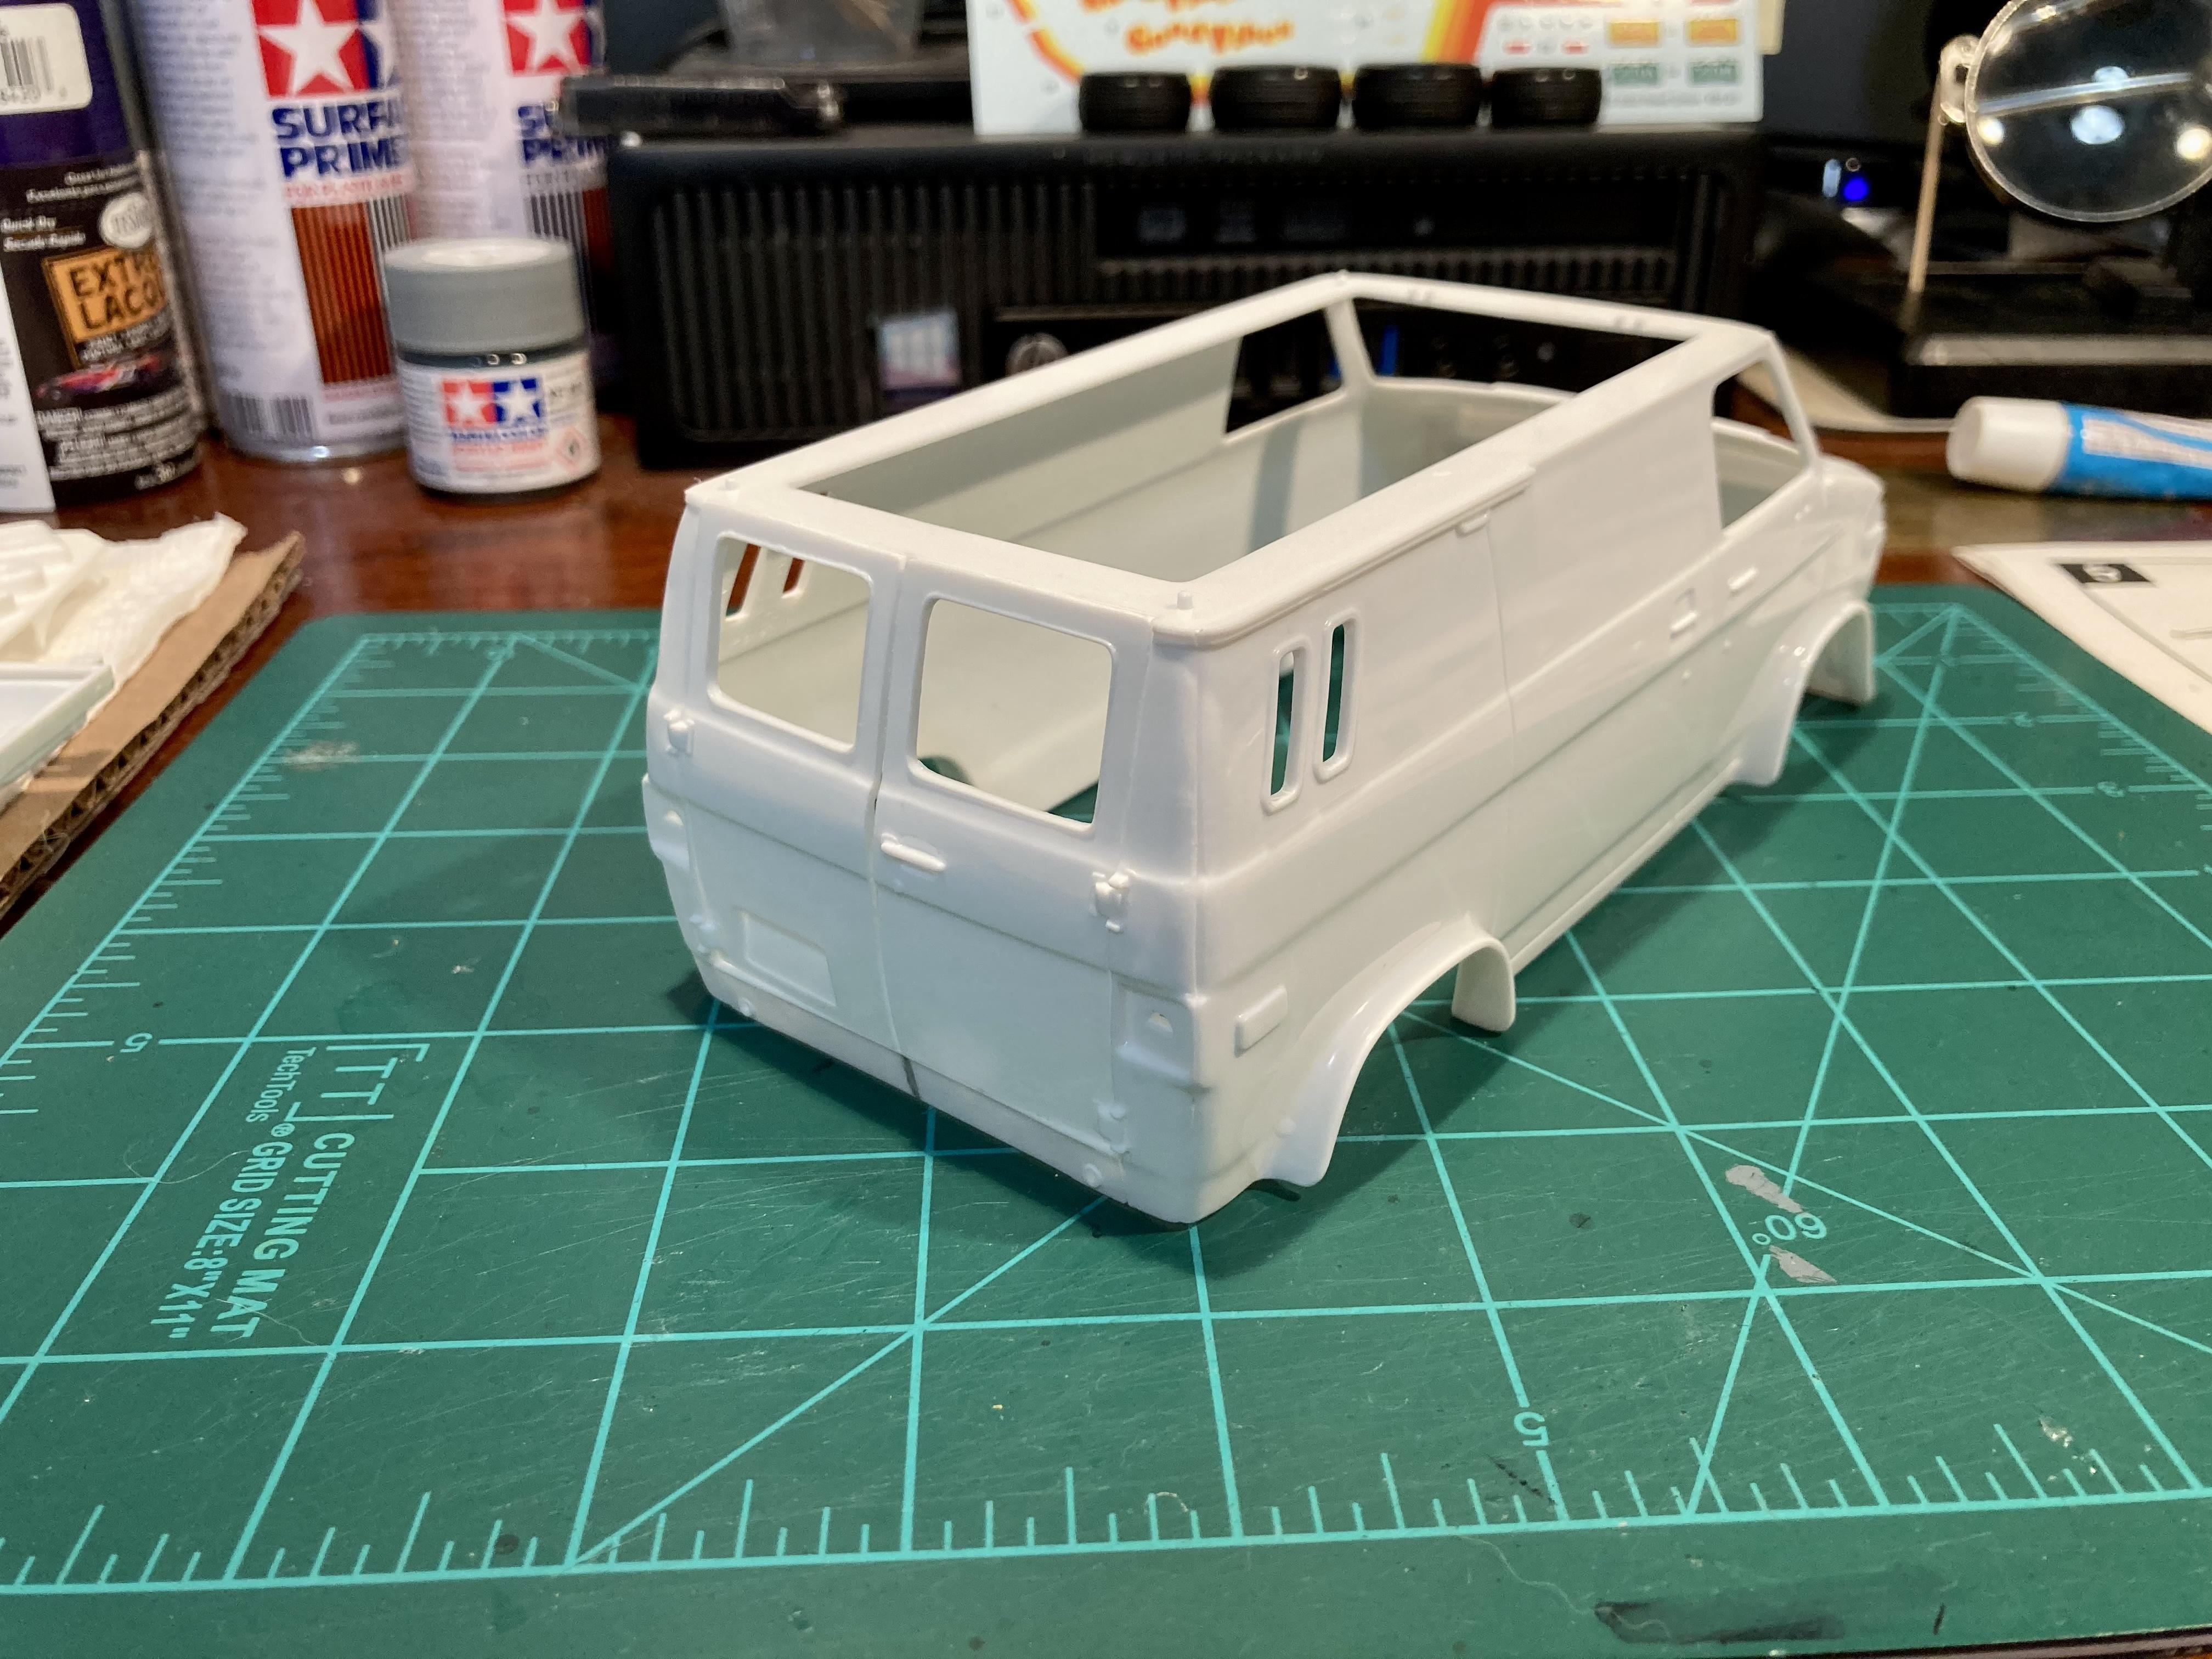
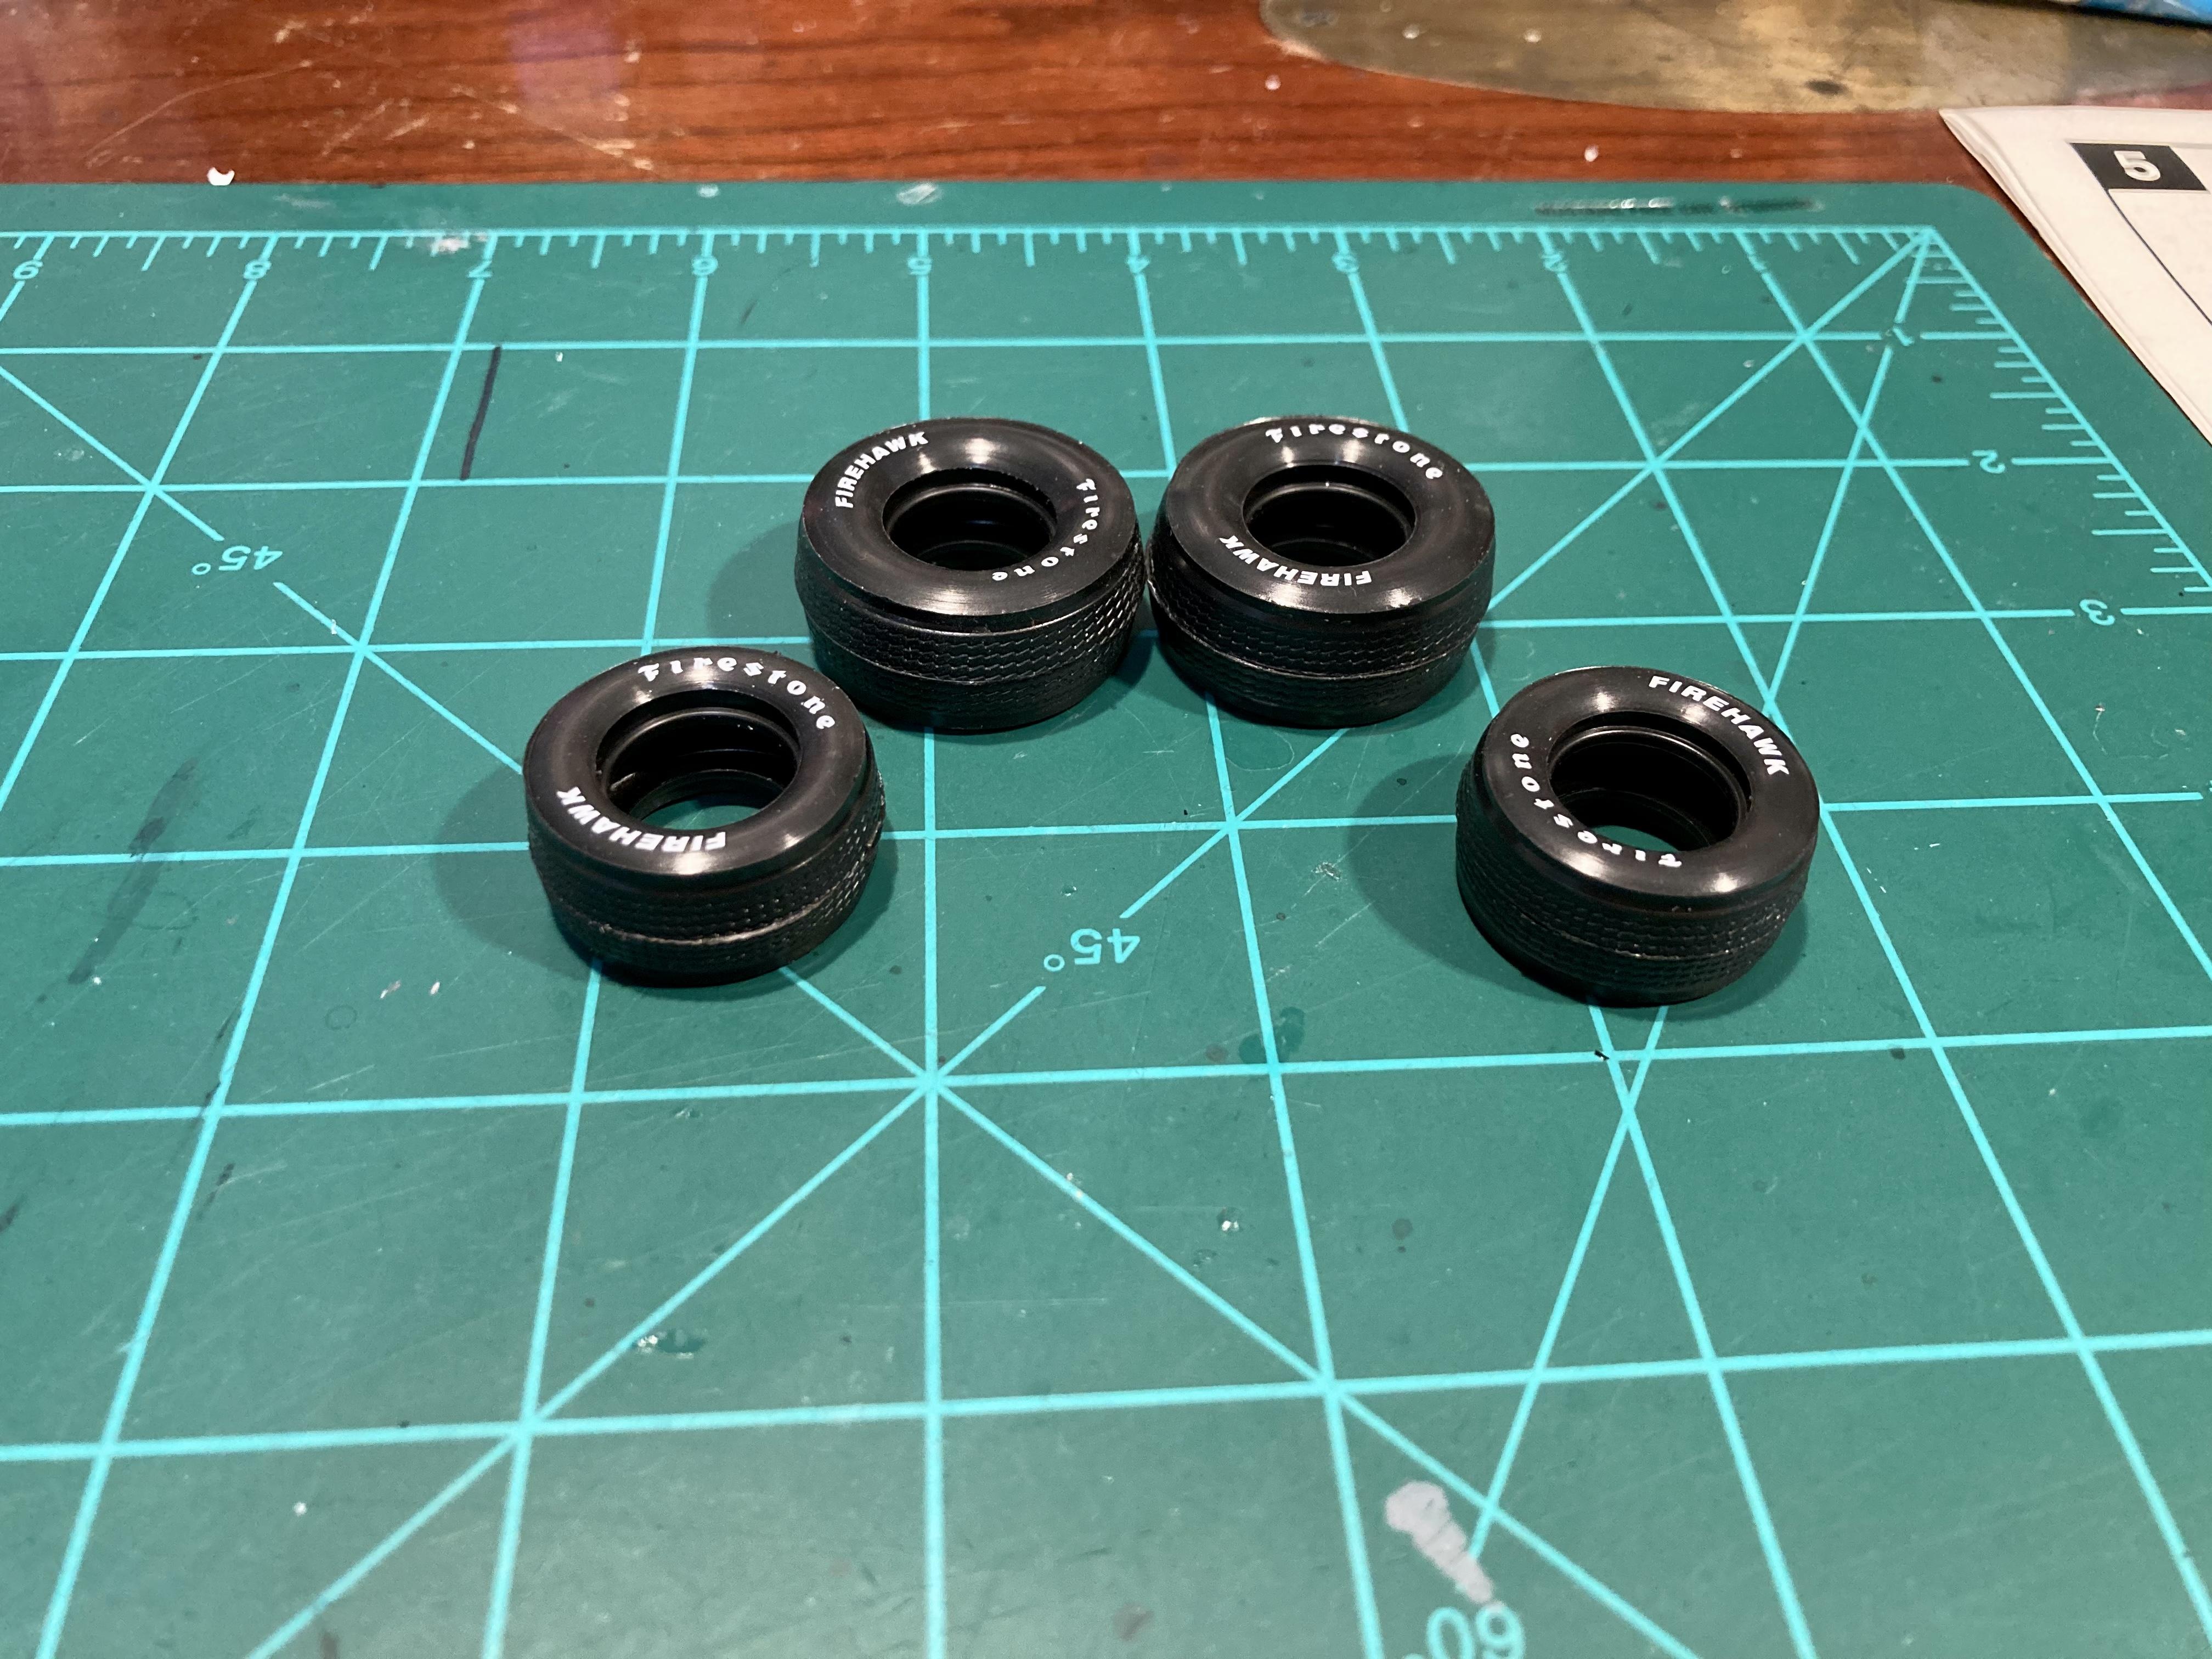
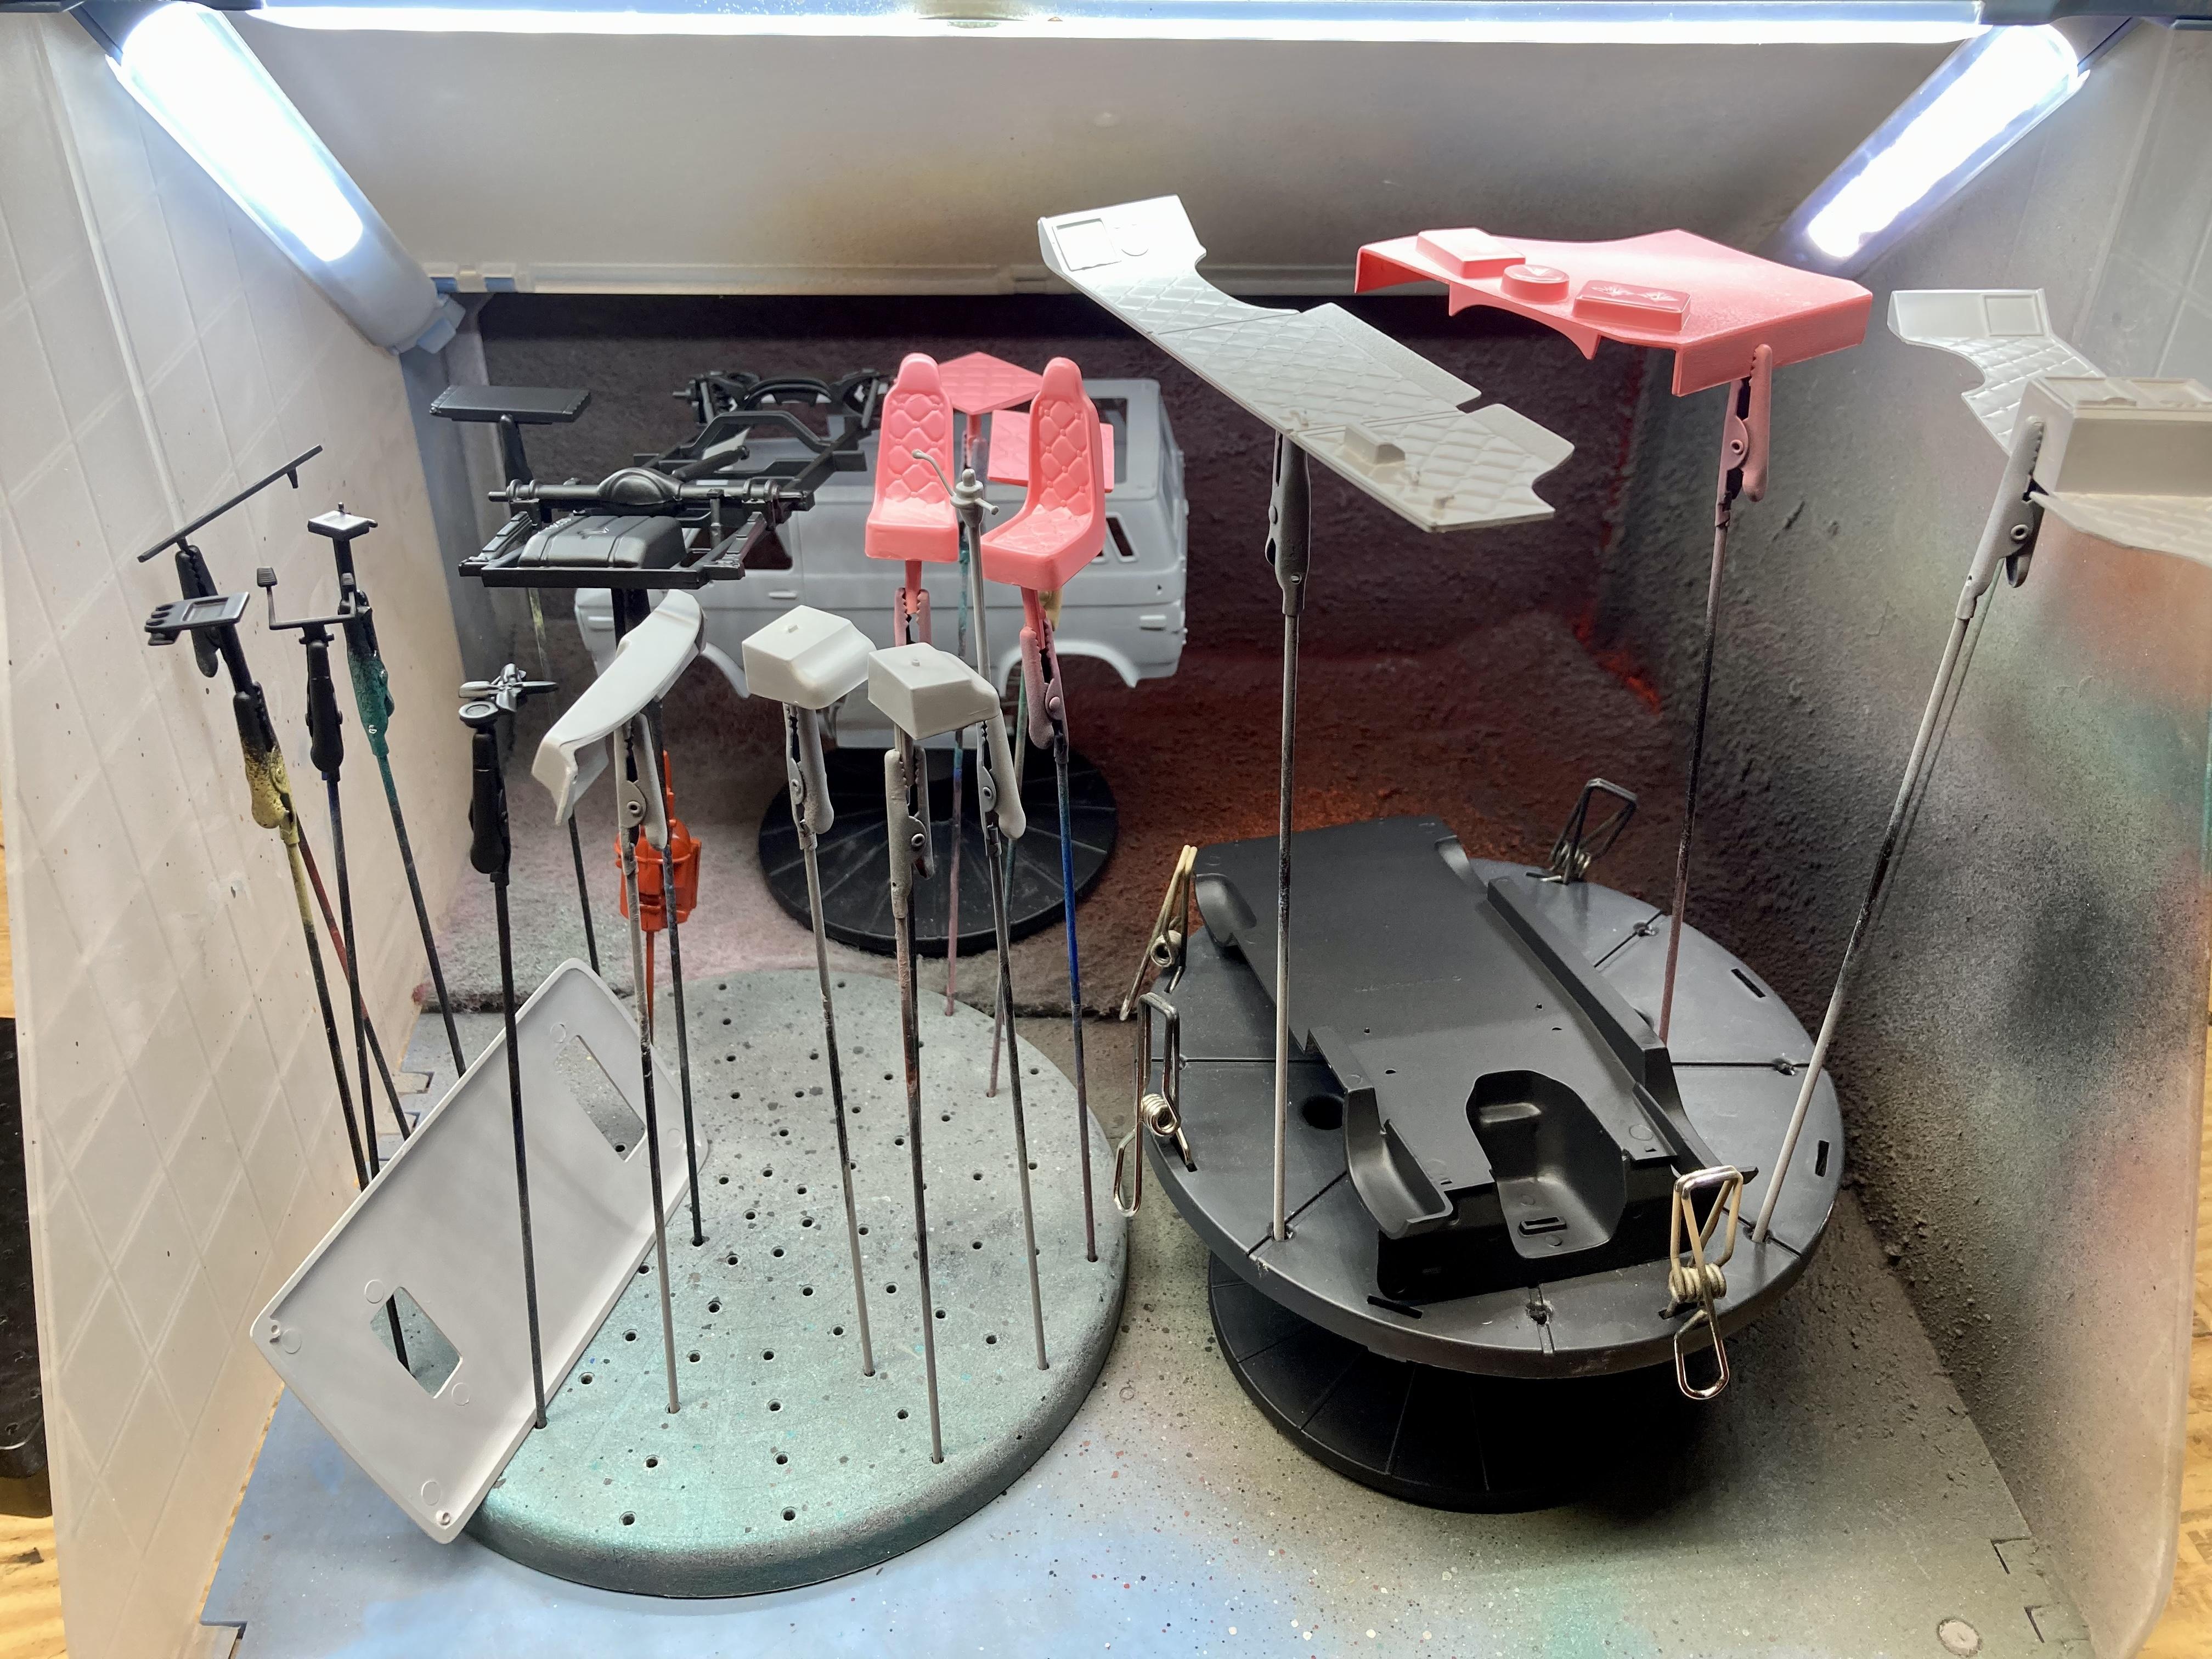
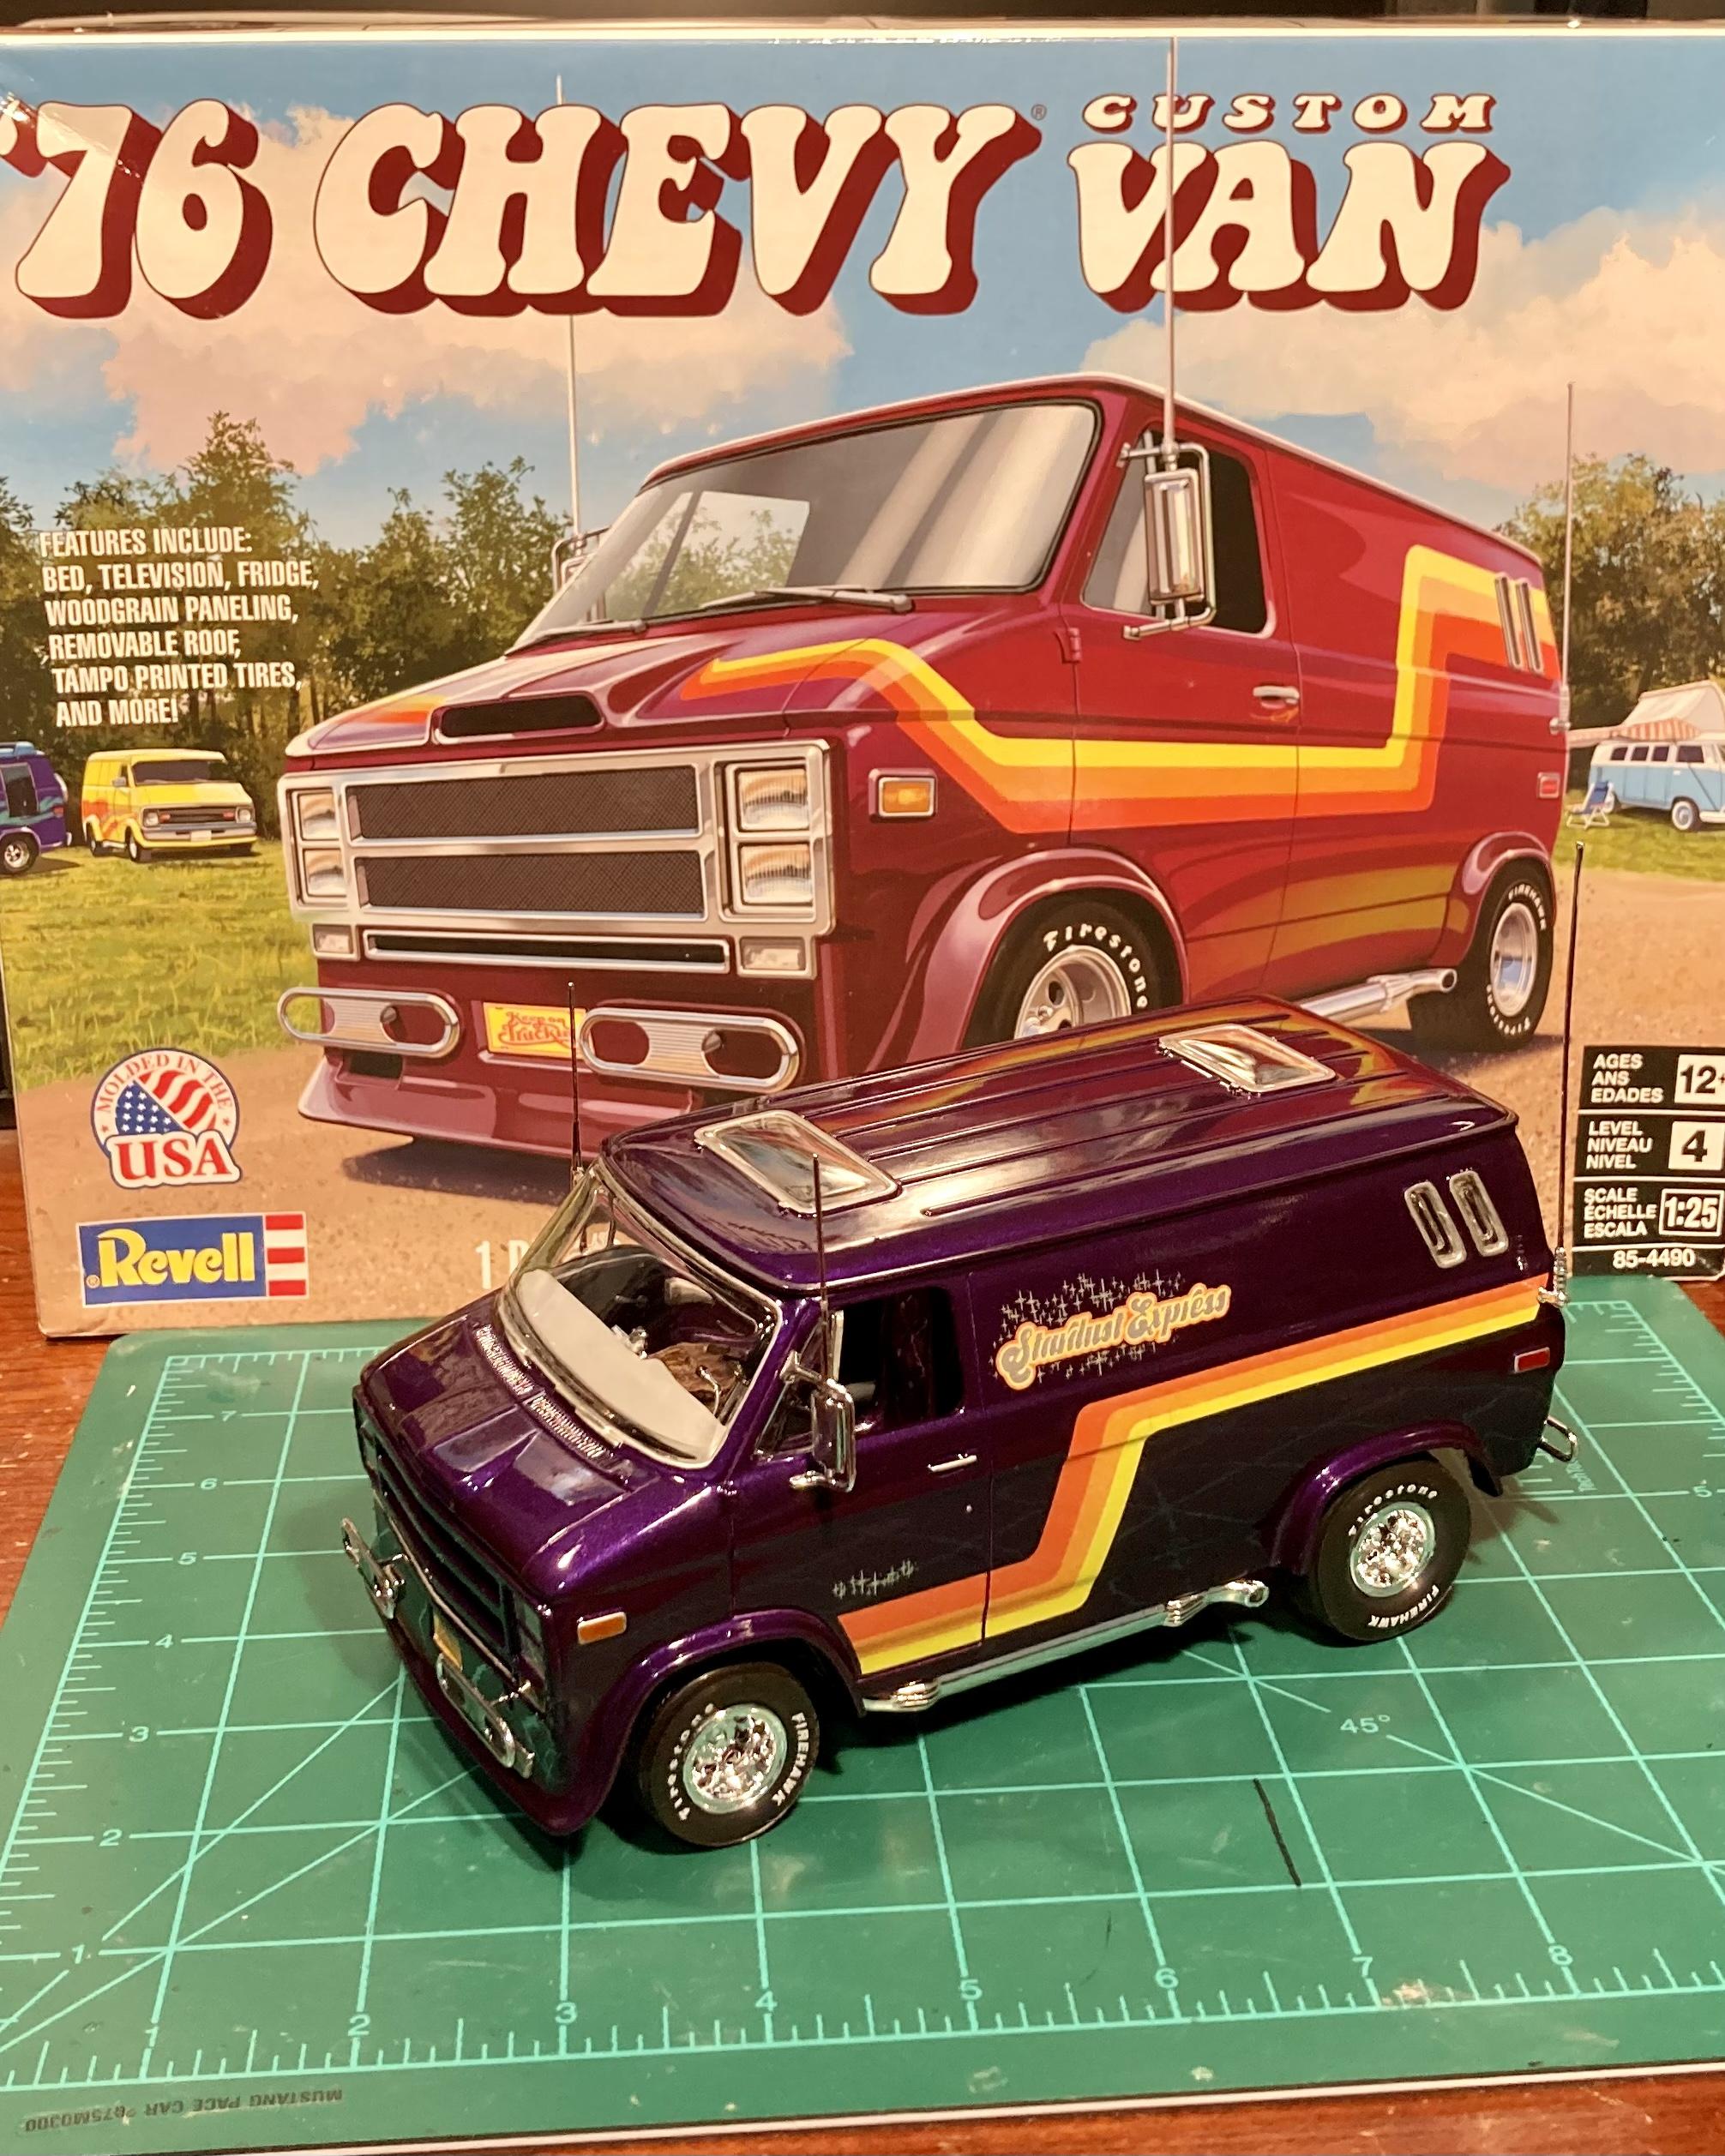
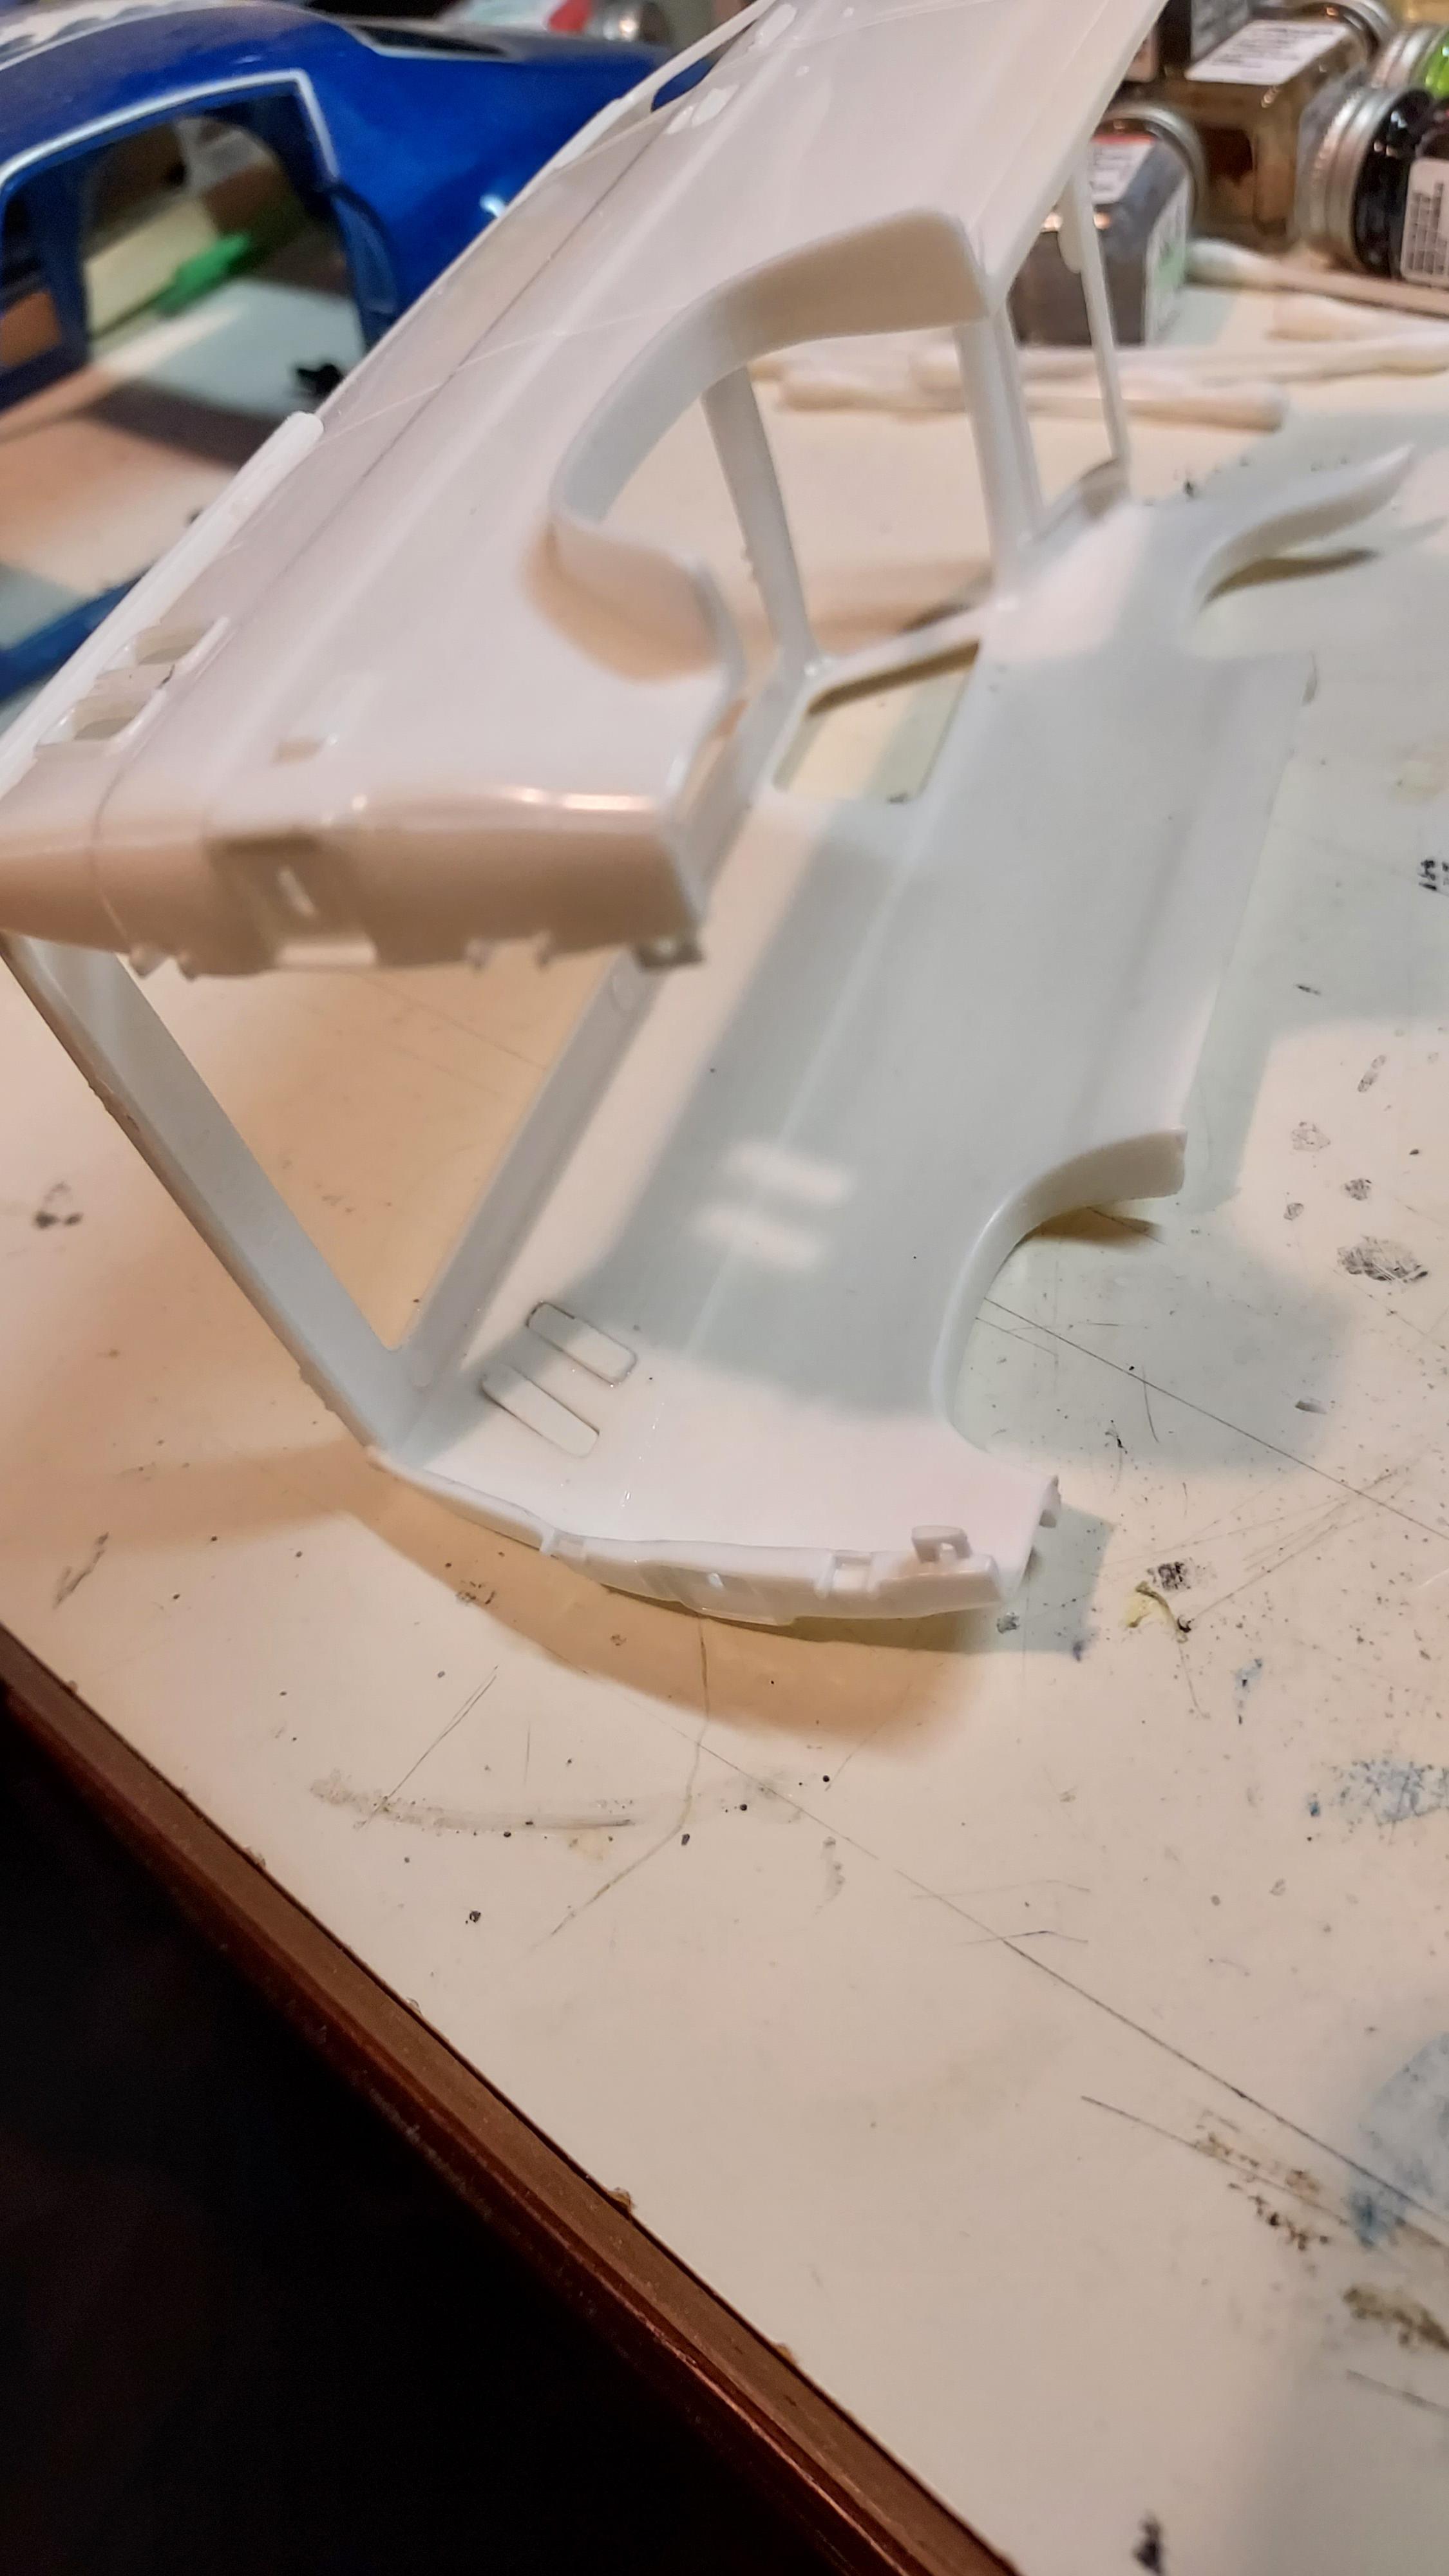
Here’s my latest project: The recent release of Revell’s custom Chevy van! I started off by stripping the chrome from the front fascia/grille, scribing the door gaps, gluing together all of the subassemblies and prepping them for primer. This build is going to be box stock with minimal engine and chassis detailing. Partly because there’s not much detail in these areas to begin with, but mostly because these 70s vans are all about the body, paint, and interior. So that’s where I’m going to focus my attention. I glued the hood shut to simplify the painting process and since you can’t really see the engine anyway. After stripping the chrome from the grille, I glued that in place along with the front air dam. I added some scrap sprue behind the air dam, in the corners to help reinforce the front end. Since the roof is removable, I glued the rear doors shut. The body is very flimsy if you don’t do this, plus it will help with my planned two tone paint job. The body will be painted Testors’ Purple-licious with Tamiya TS-30 Silver Leaf as the secondary tone. My plan is to do the “Stardust Express” graphics, so the top half will be purple and the bottom will be silver. I think I’ll do the fender flares in purple too to accentuate them. The interior is going to be various shades of gray, with the quilted vinyl wall panels and seats in metallic purple. Plus tons of brown wood grain. The bed spread will be orange to tie in with the orange in the graphics. The elephant in the room: this kit has two piece rubber tires. Everyone on this forum has been complaining about these since the kit was announced. In my experience, they’re not *that* bad 😂. I used Gorilla brand super glue and they seem to be holding together. There’s definitely a raised ridge at the seam, so I’ll try sanding them down. They definitely won’t win you an award, but they’re *fine* for a shelf model. I don’t have anything else that fits and I’m not interested in paying for aftermarket tires so they will have to do. Here’s everything in primer so far. I’m using Tamiya’s pink primer under the purple. It’s my first time using it so we'll see how it looks! Once everything cures, I’ll tape off the portions of the interior that will remain gray primer and hit the body and wall panels in pink. The body is definitely going to need some further work to blend the air dam, and the mold separation lines at the fenders and rear corners are pretty bad. Thanks for following along! Feel free to share any tips, suggestions or ideas!
-
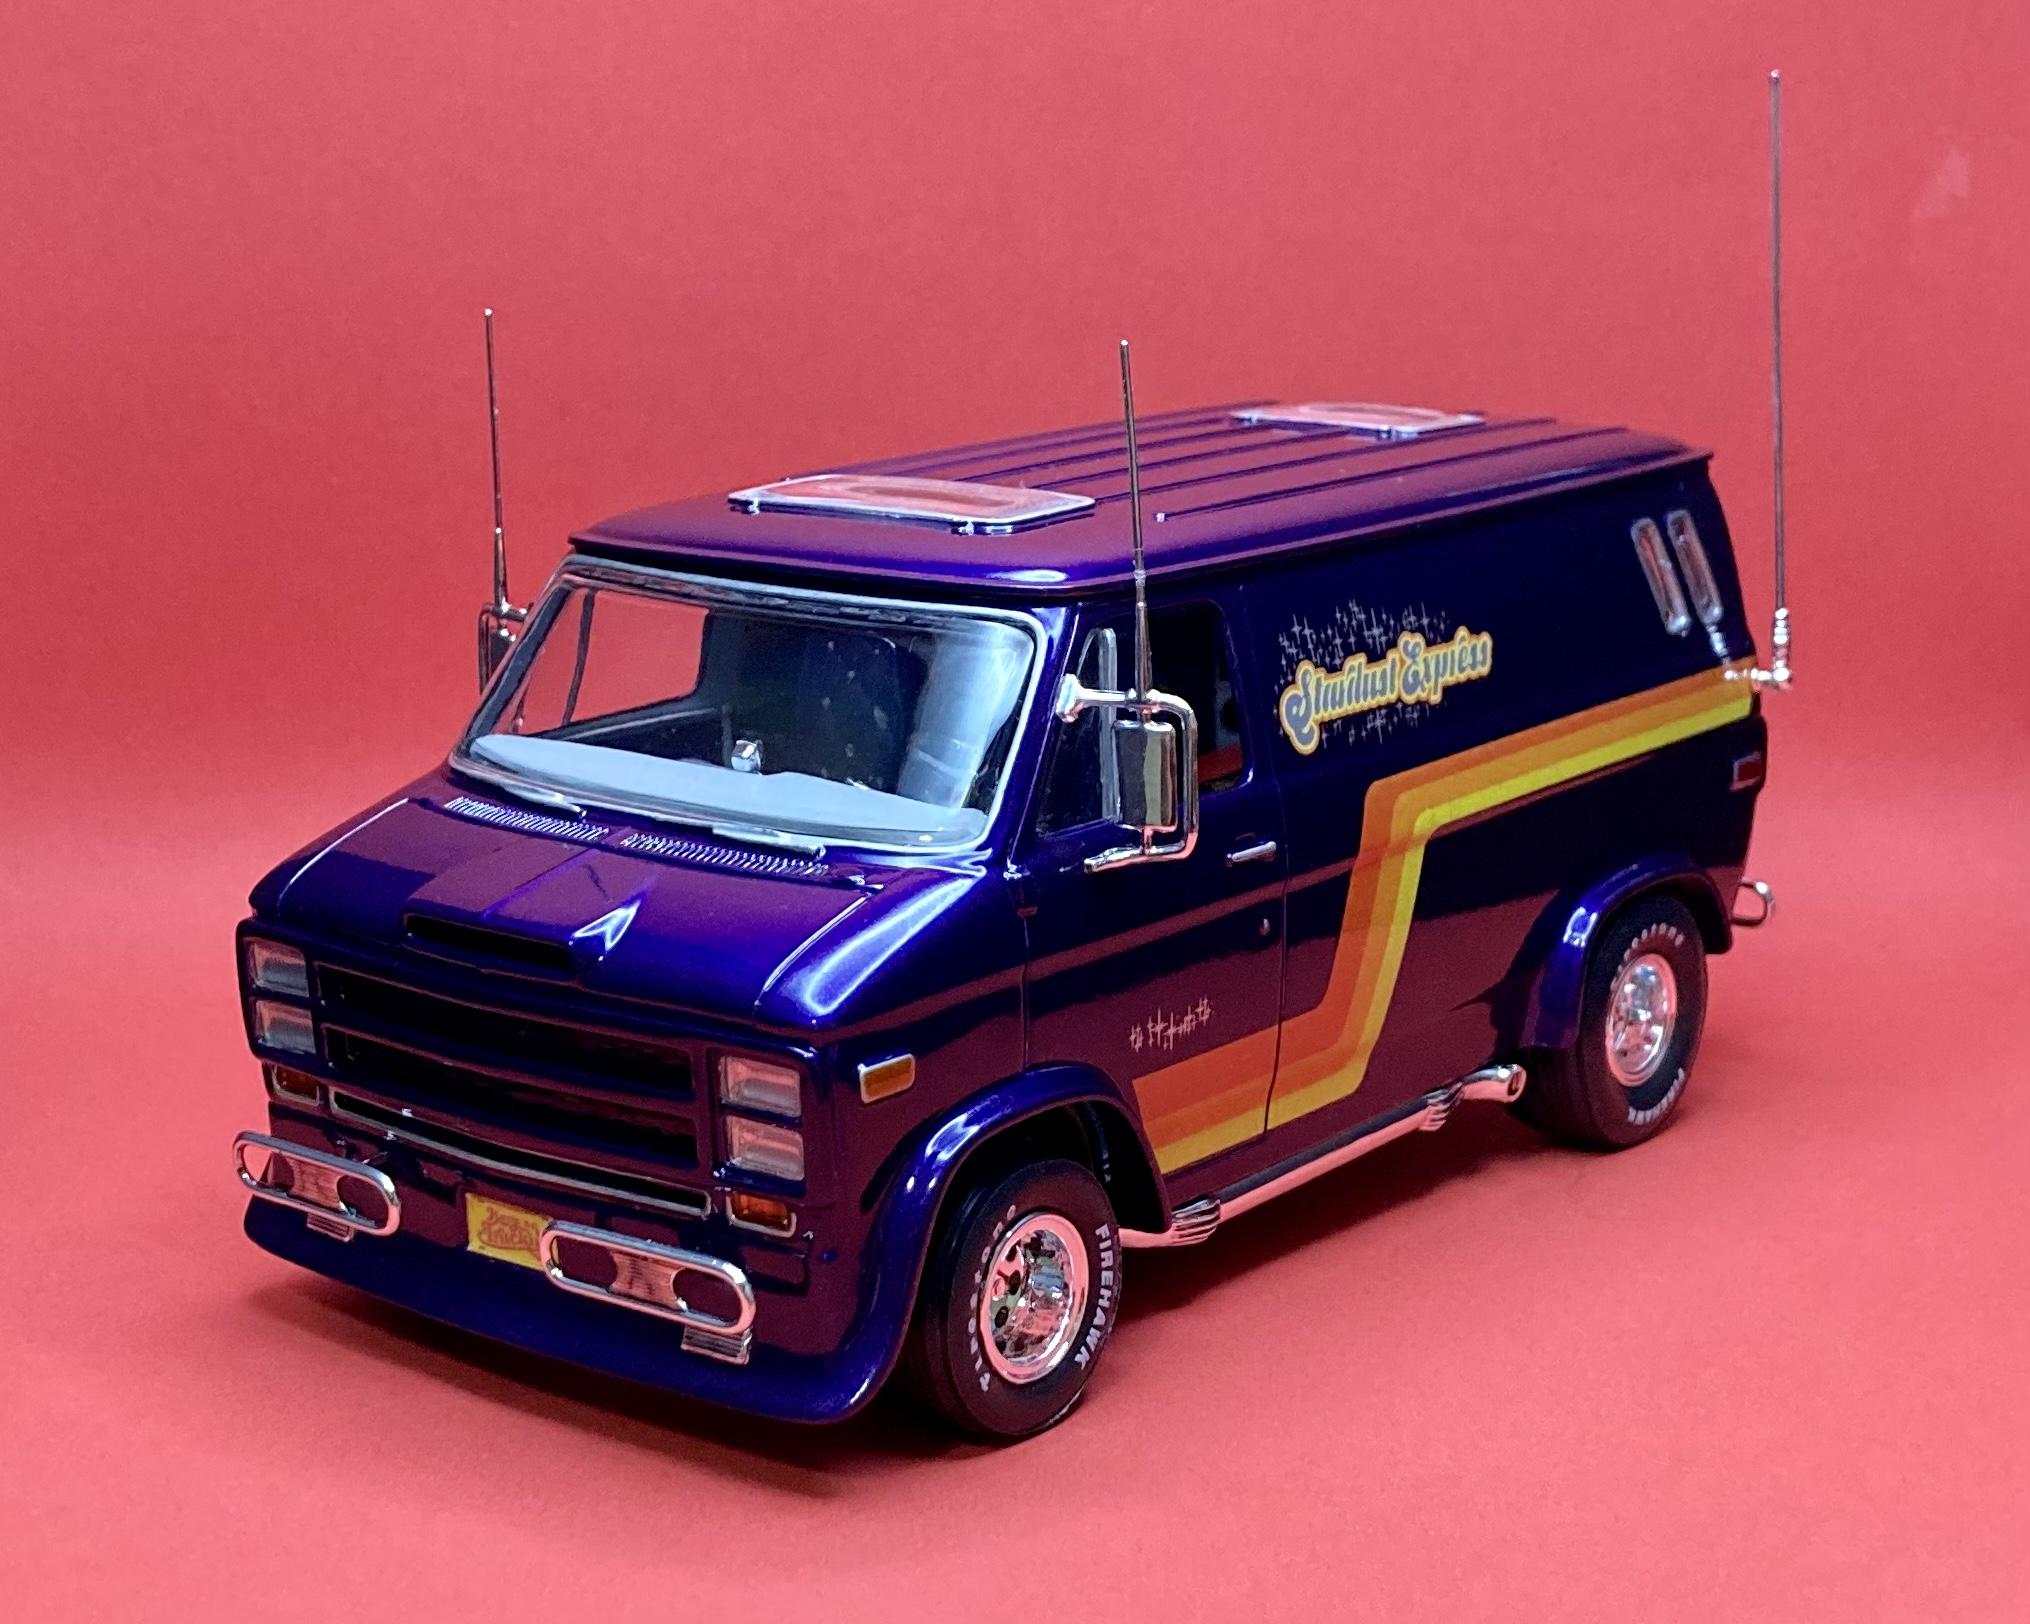
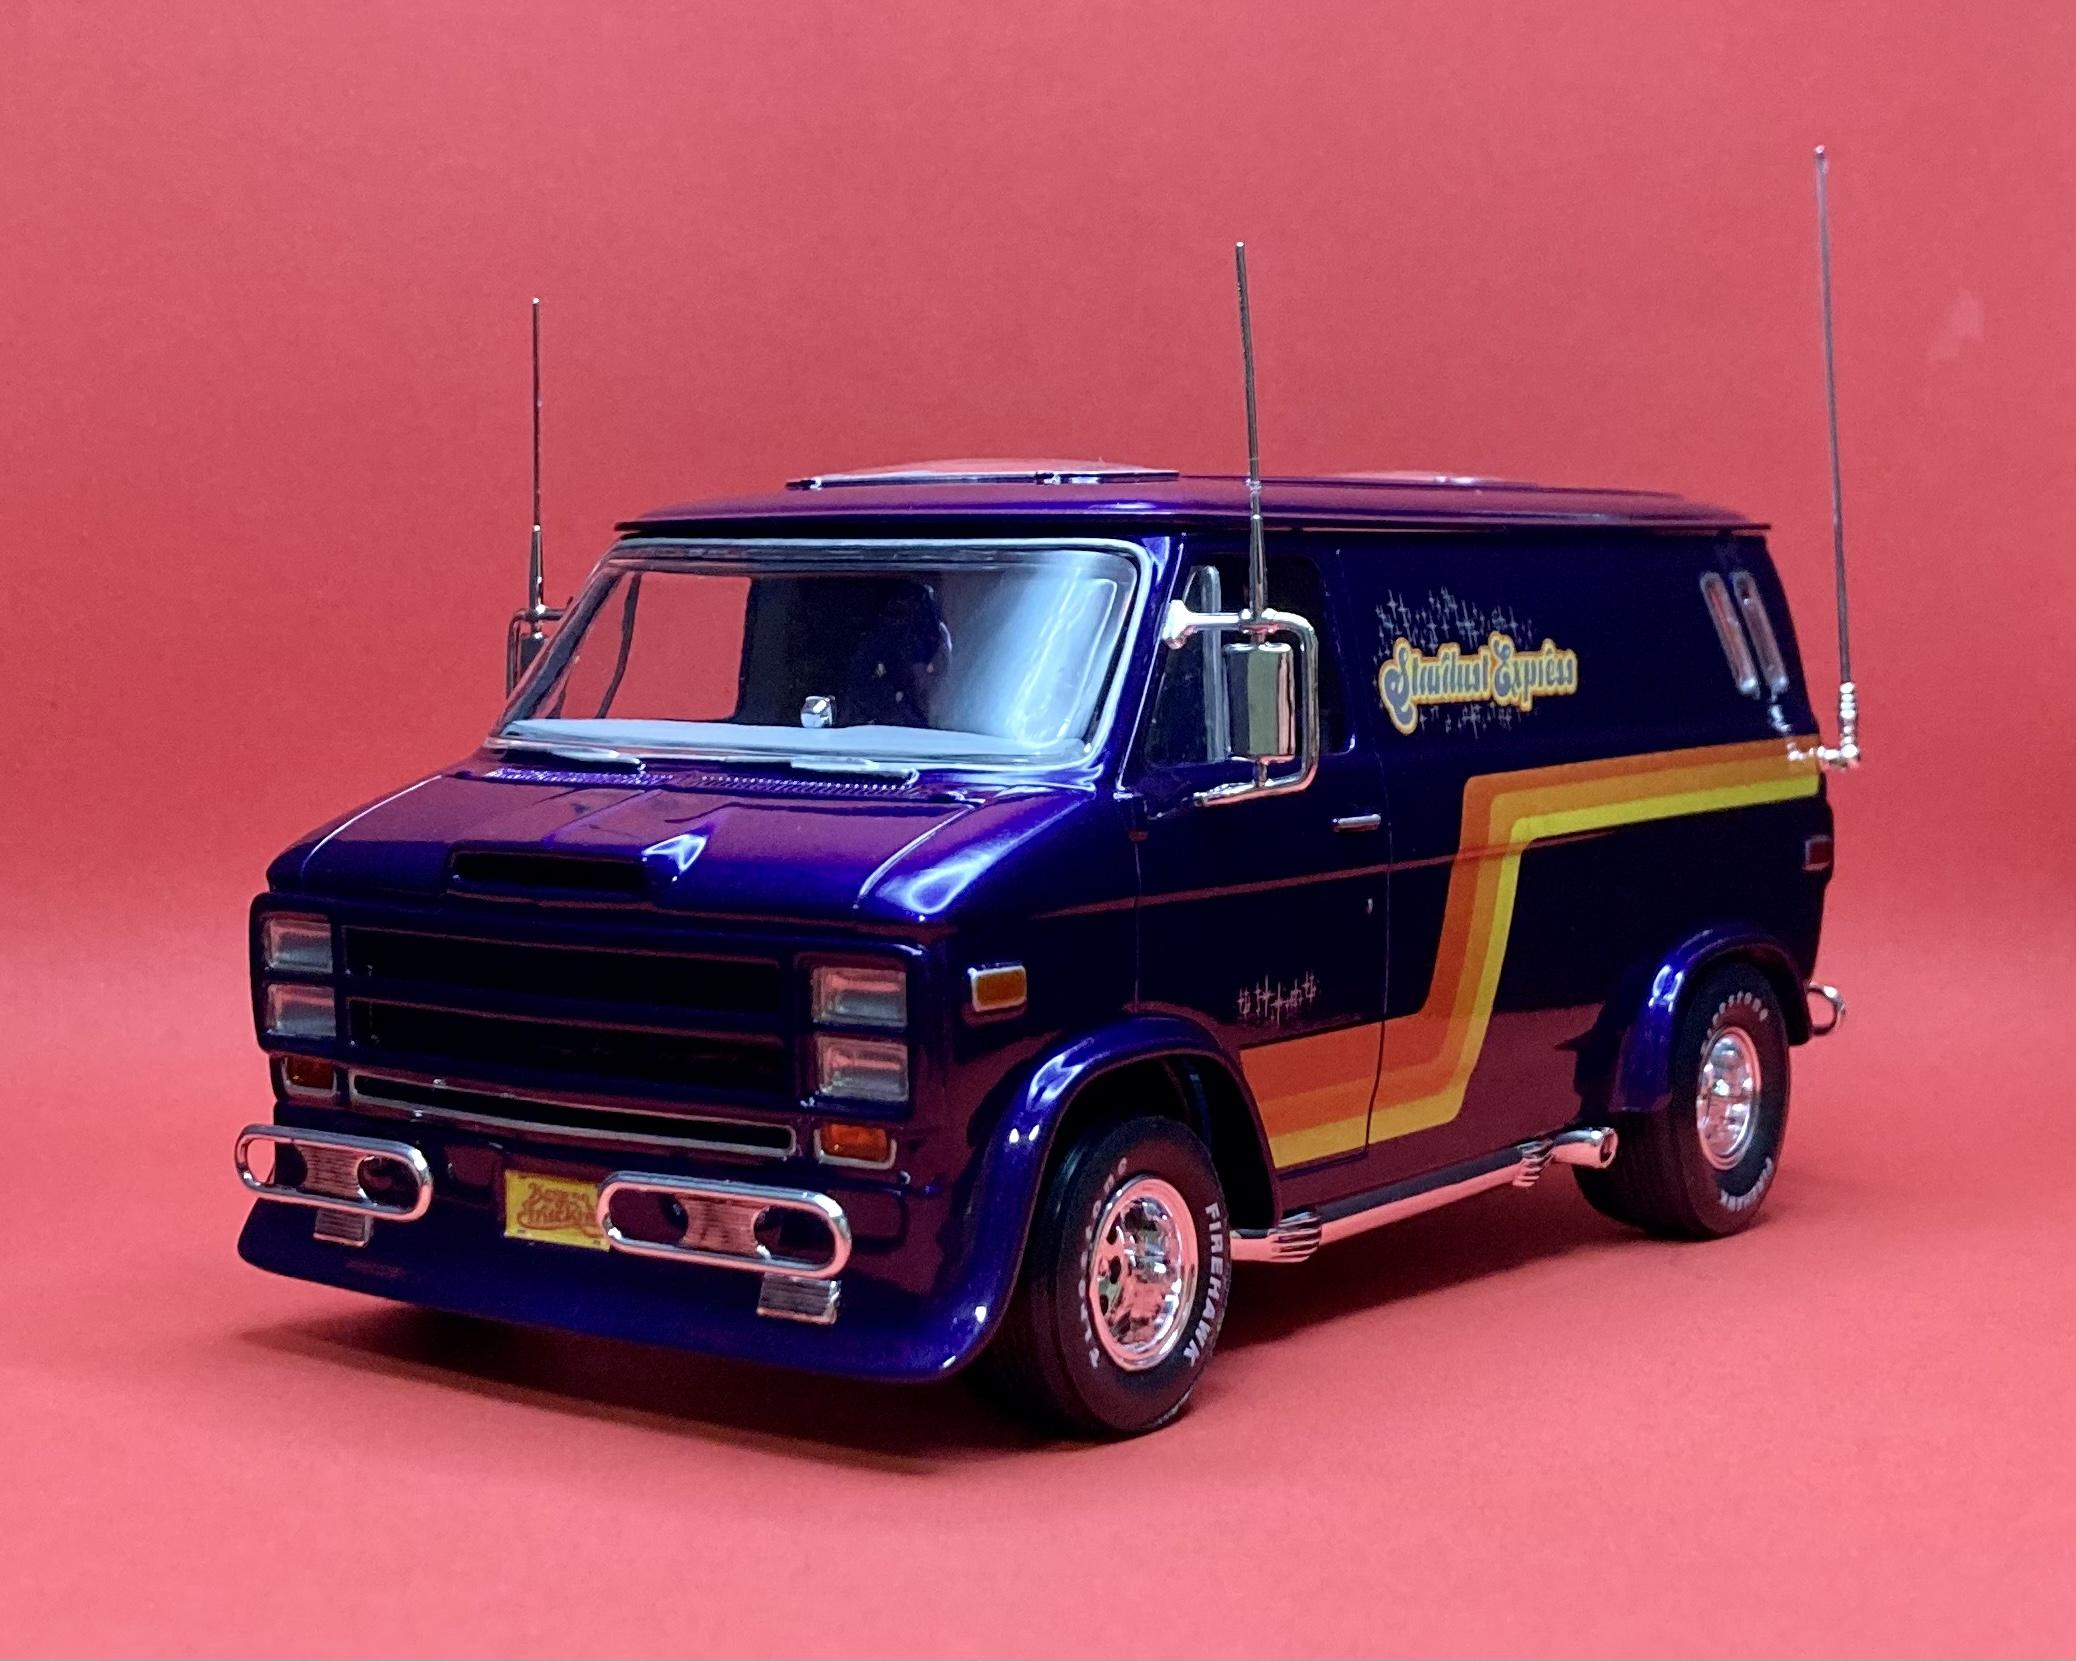
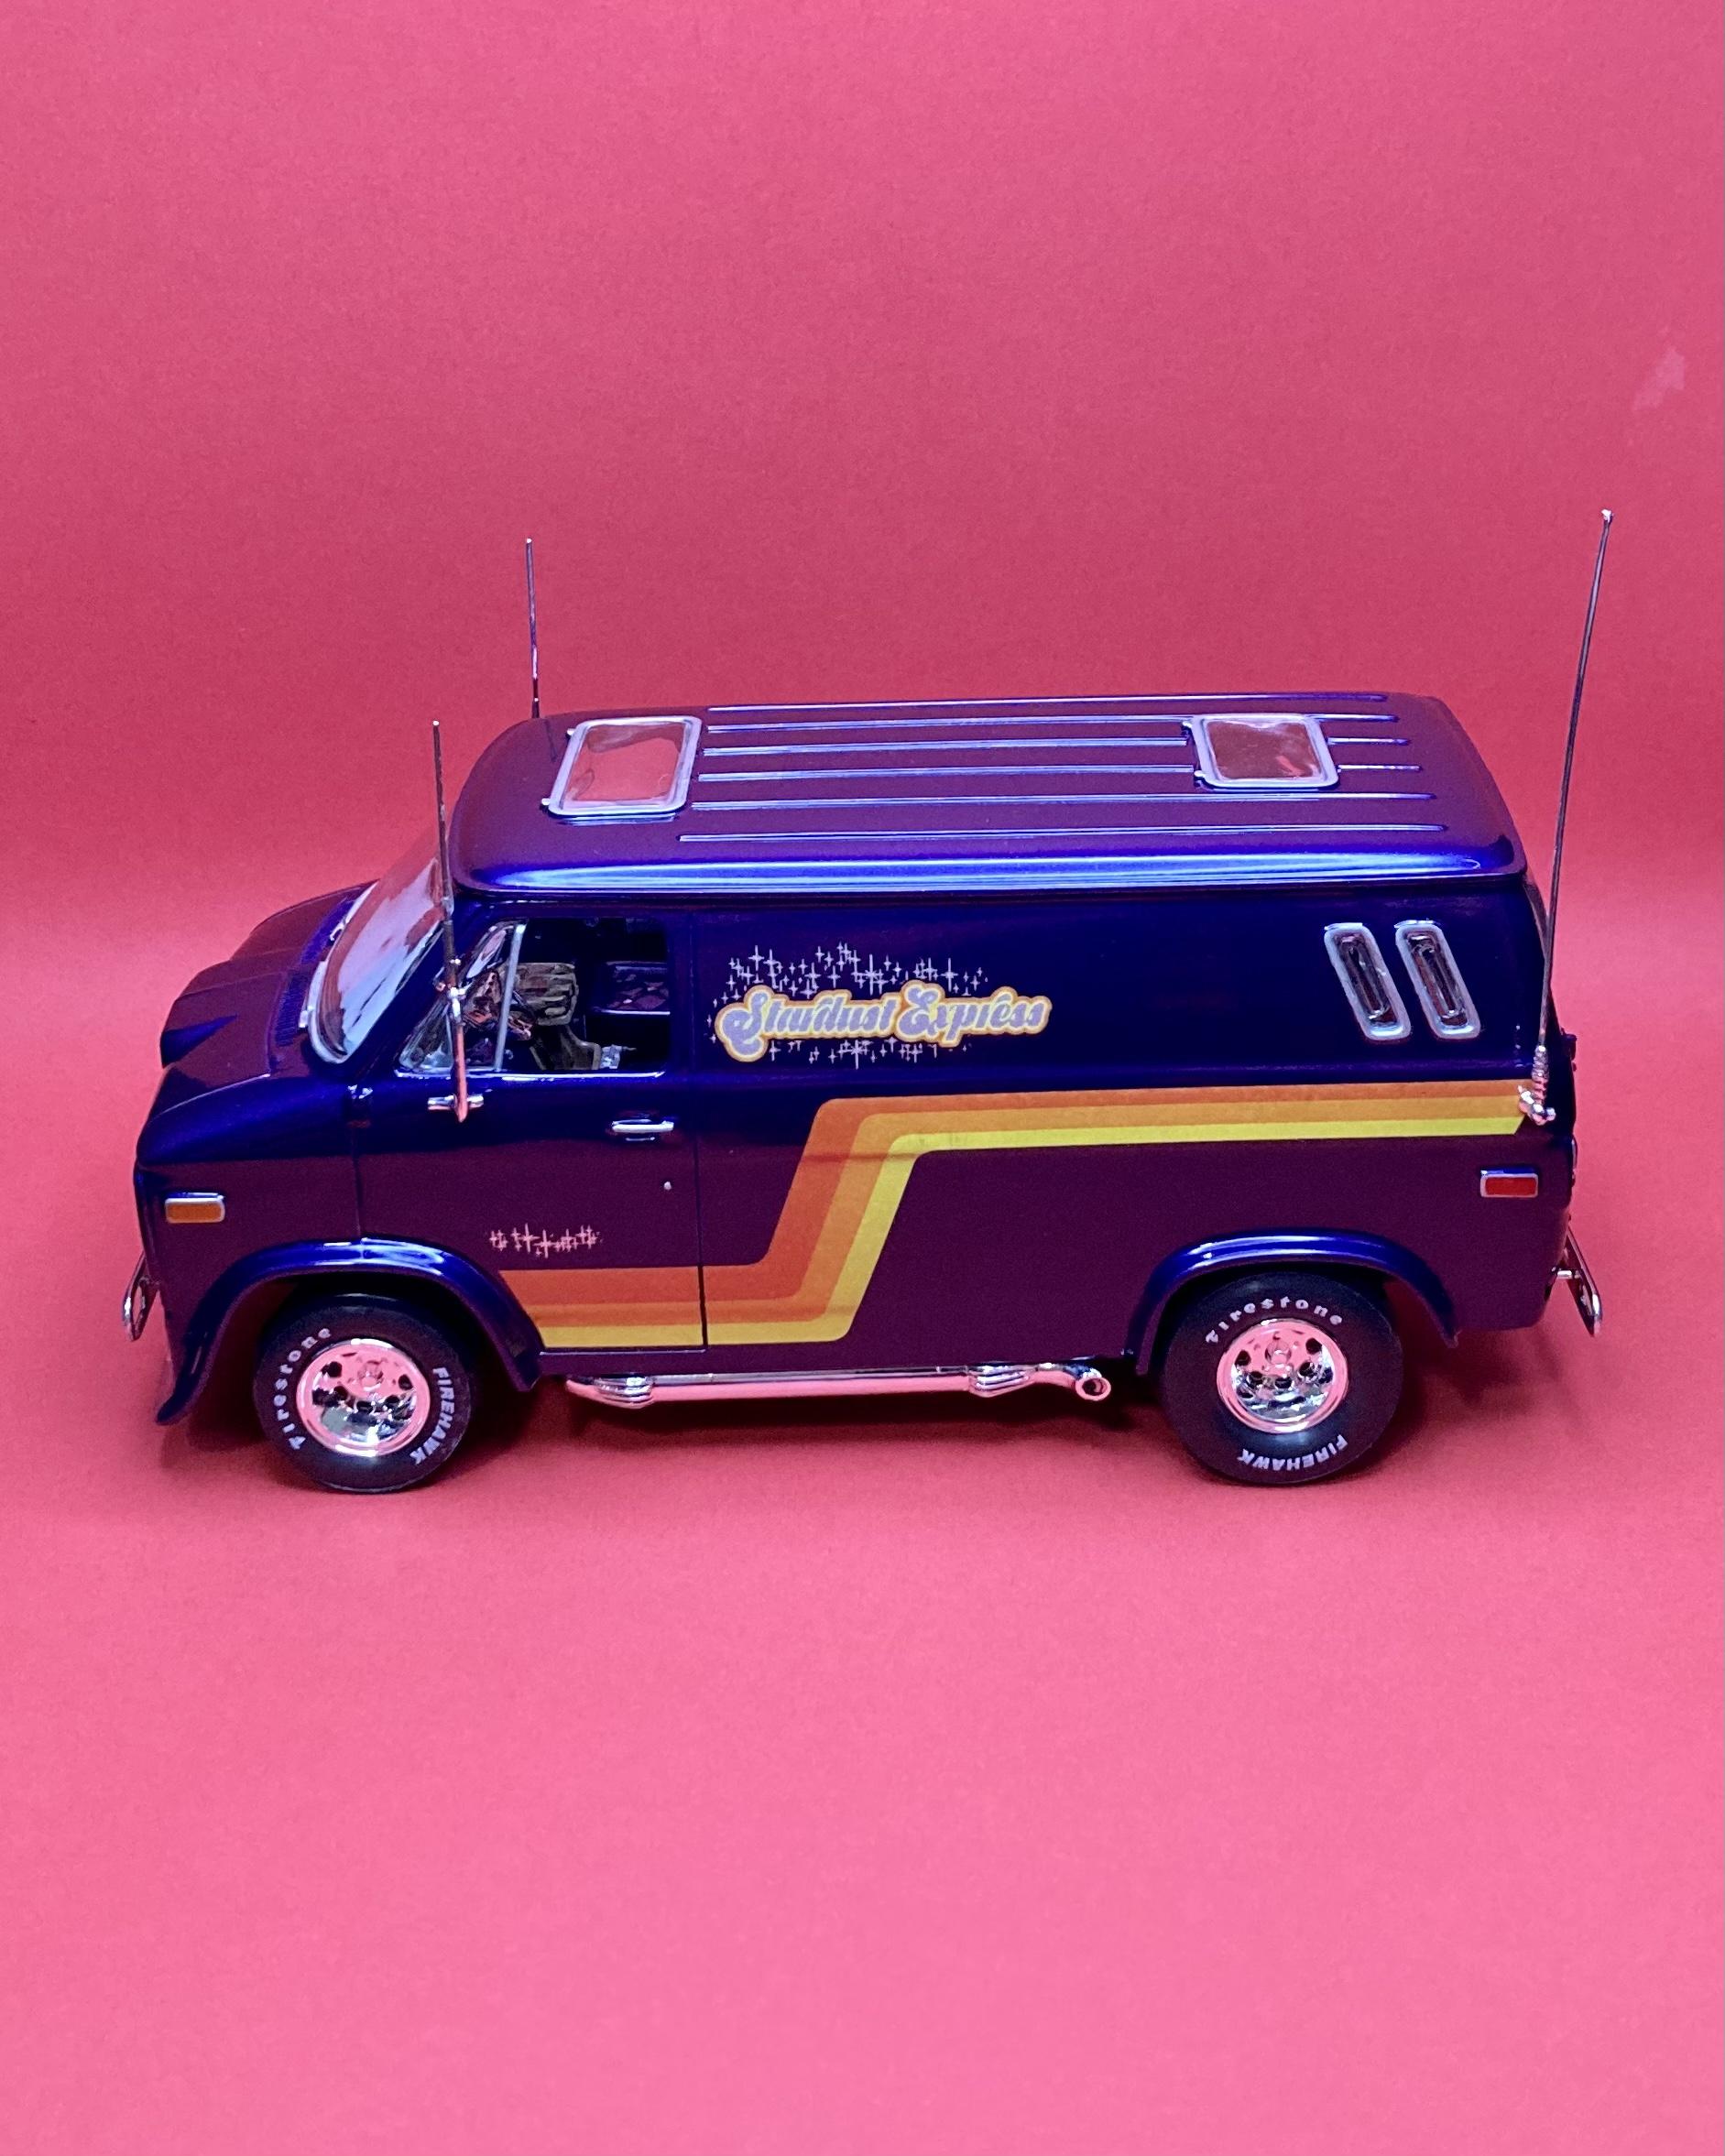
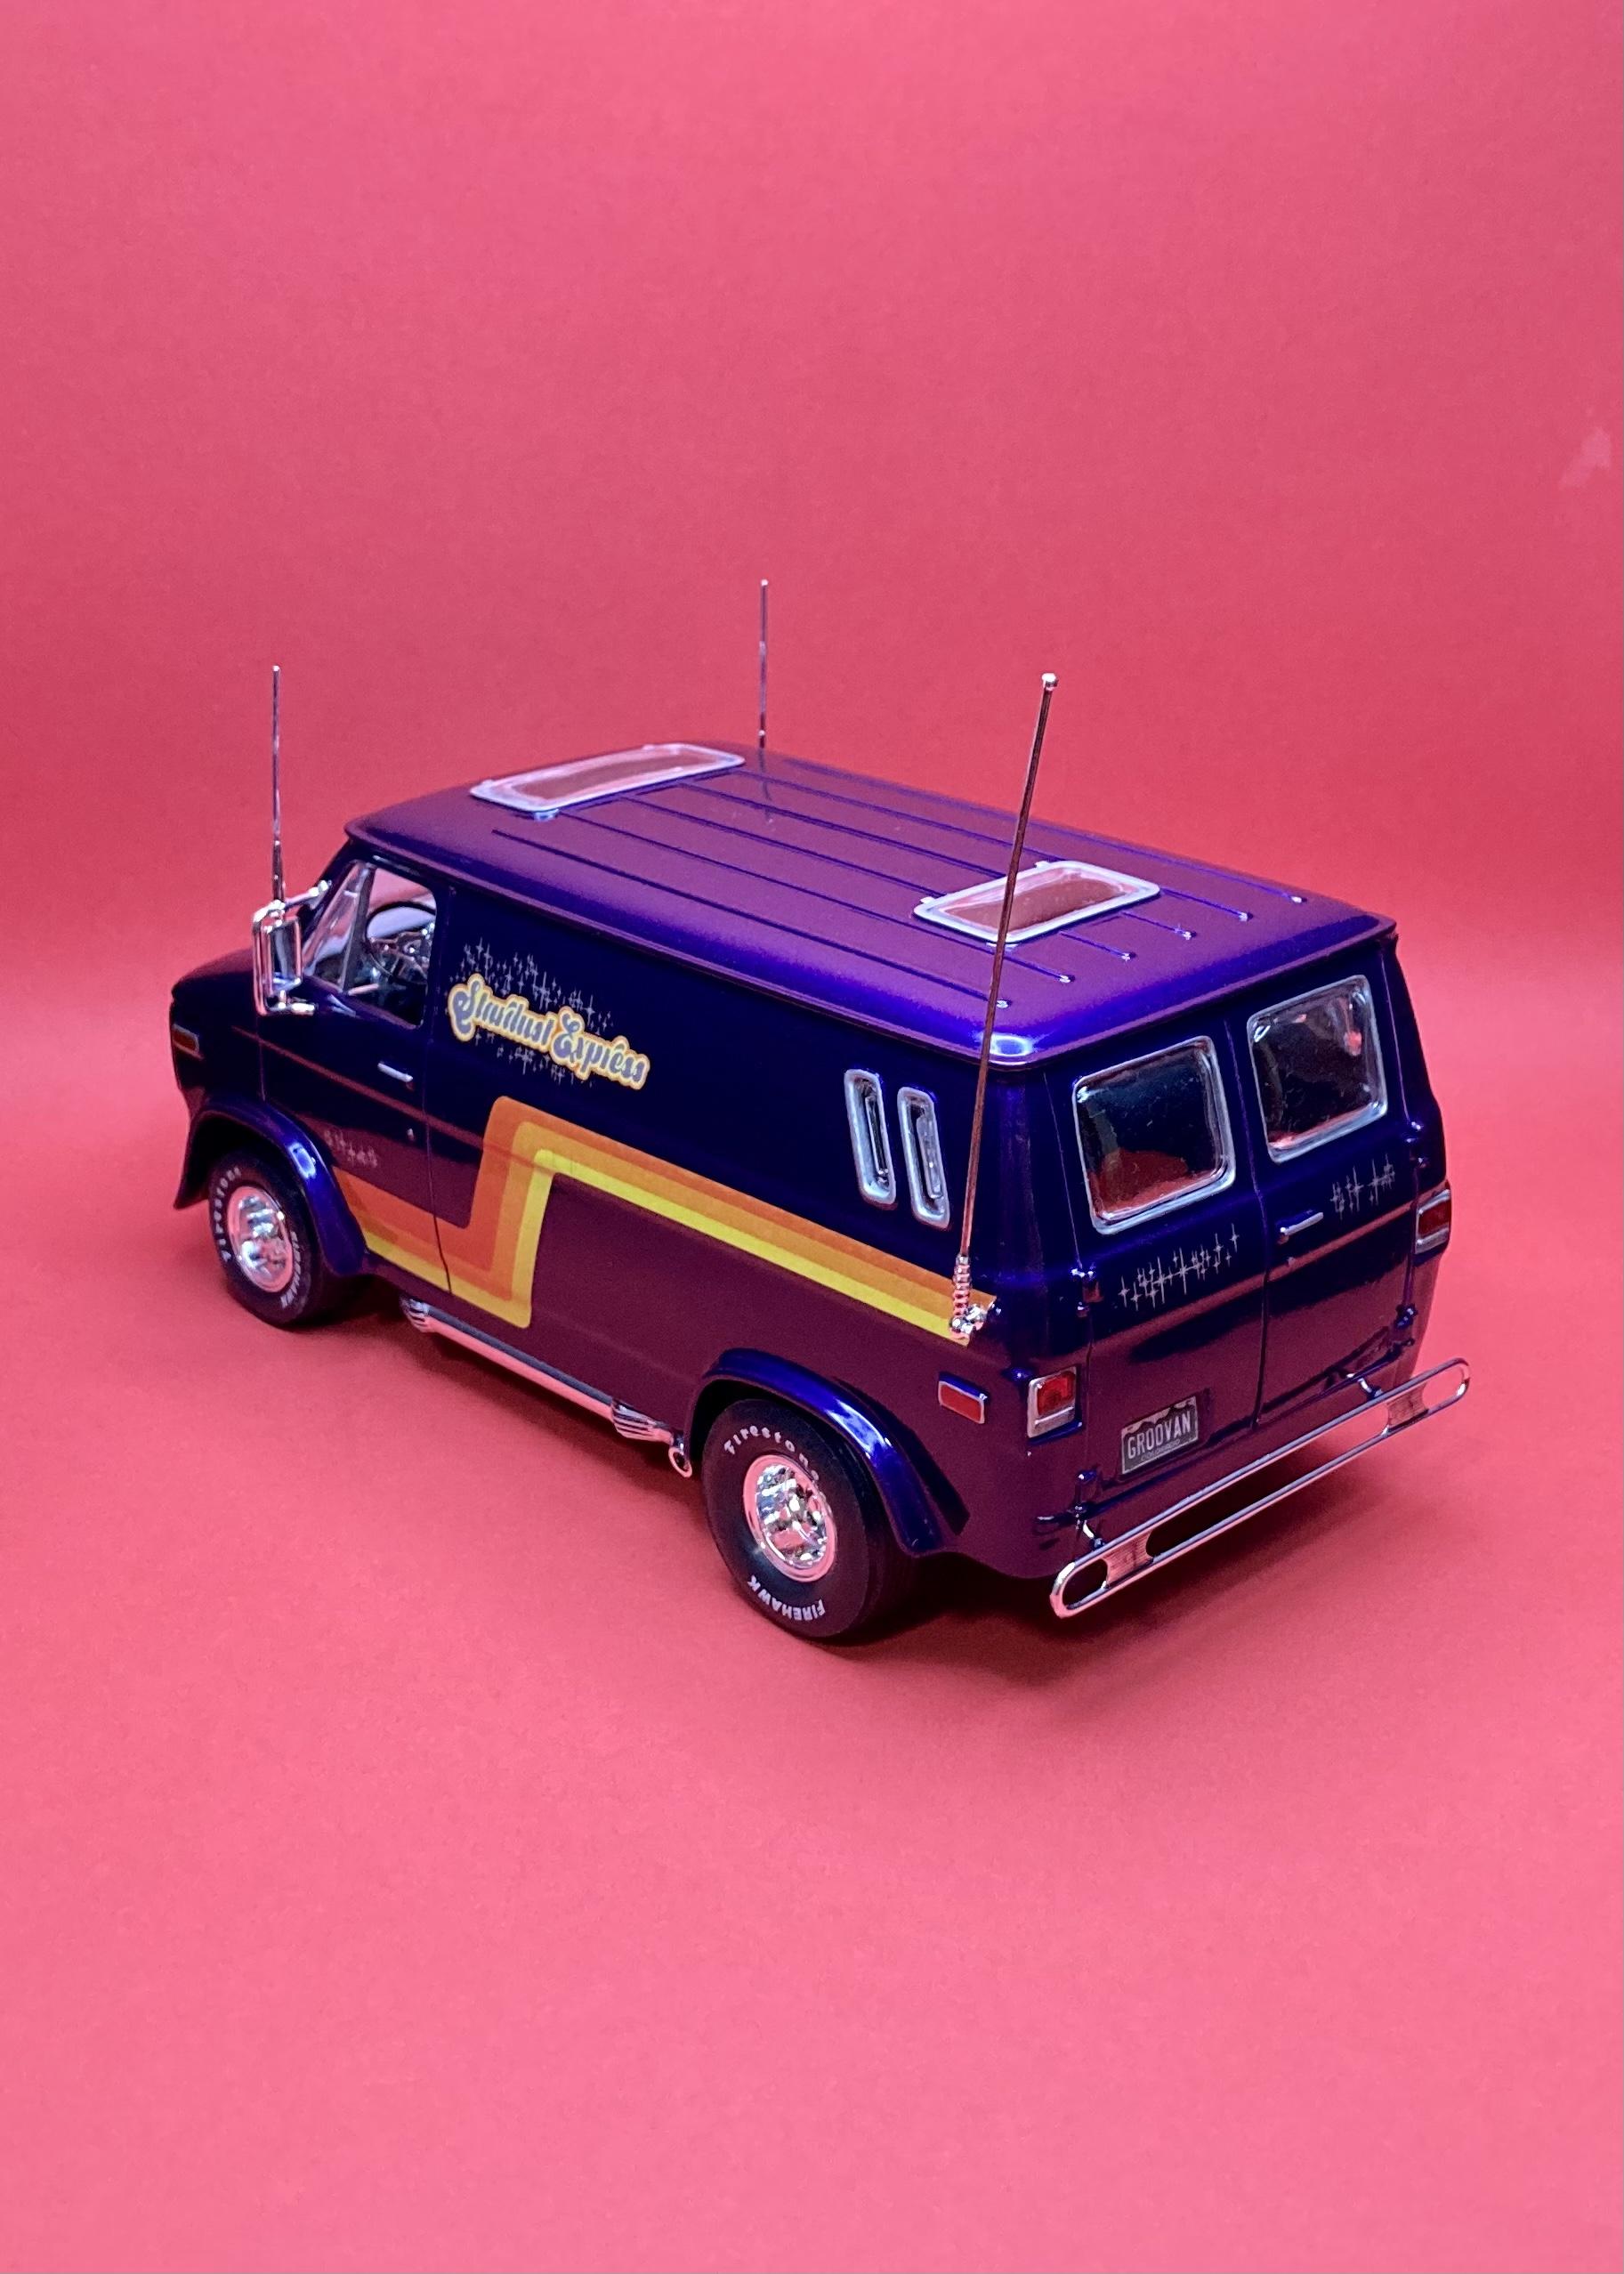
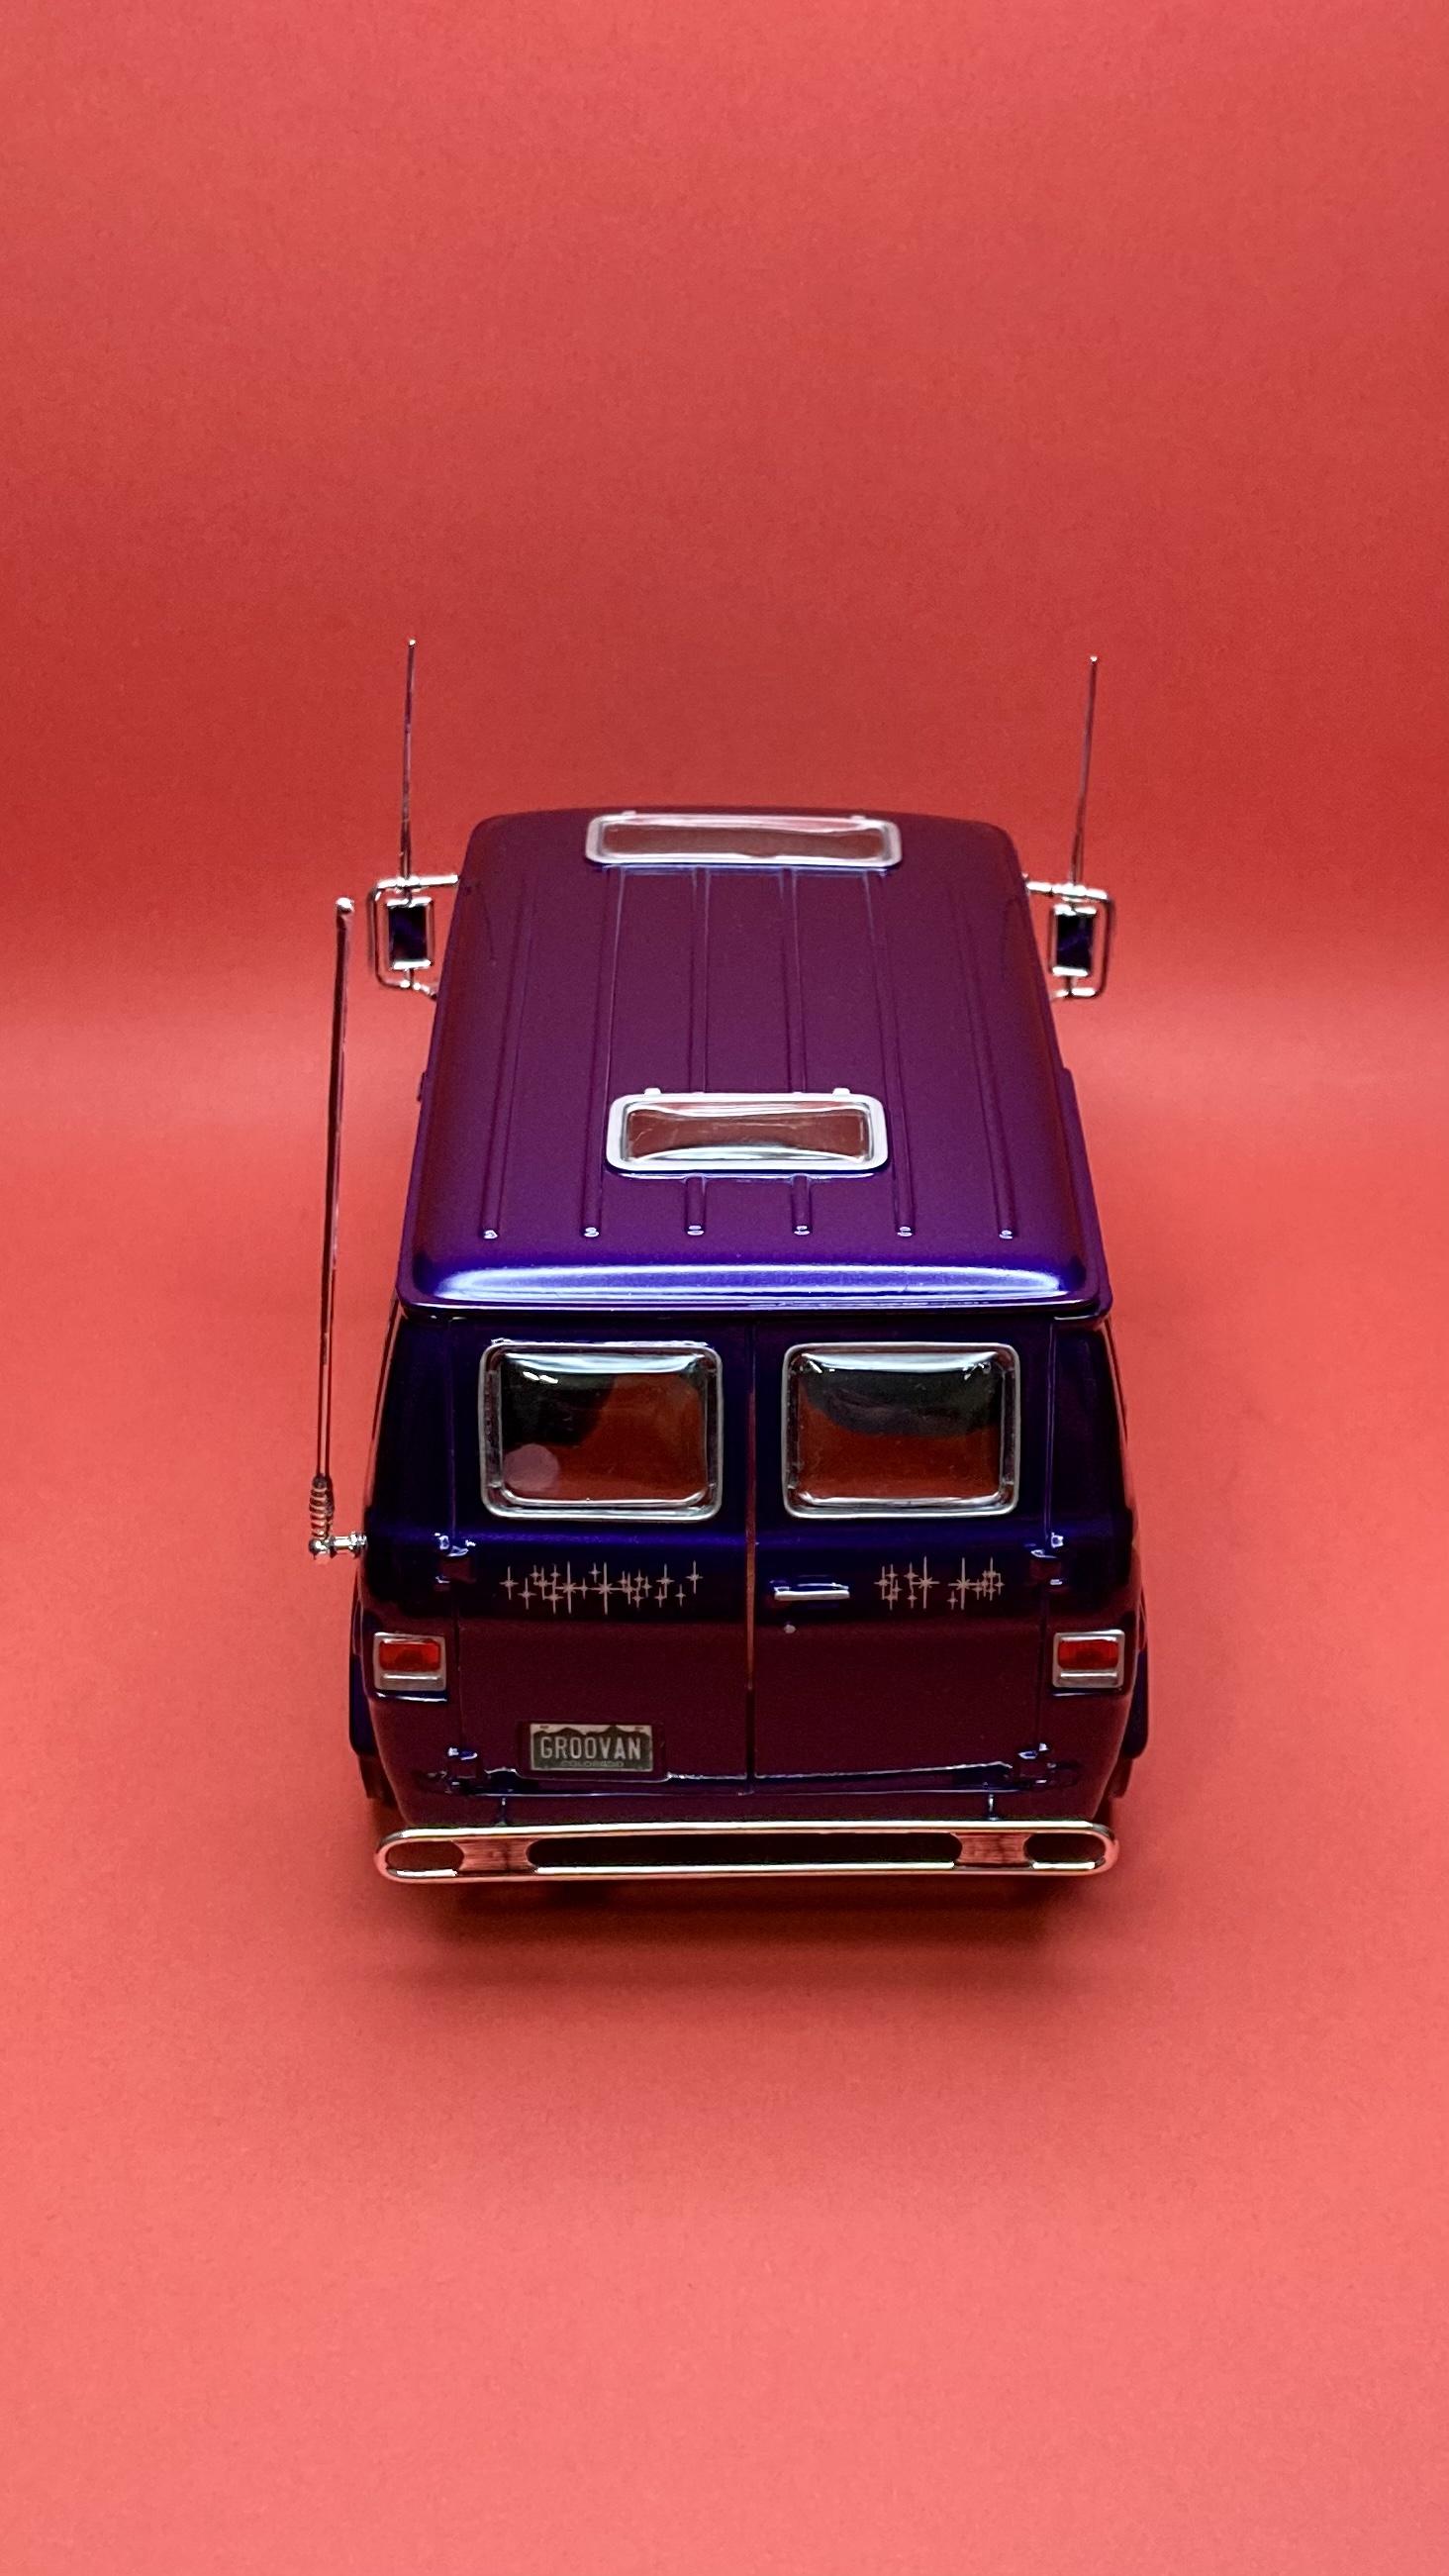
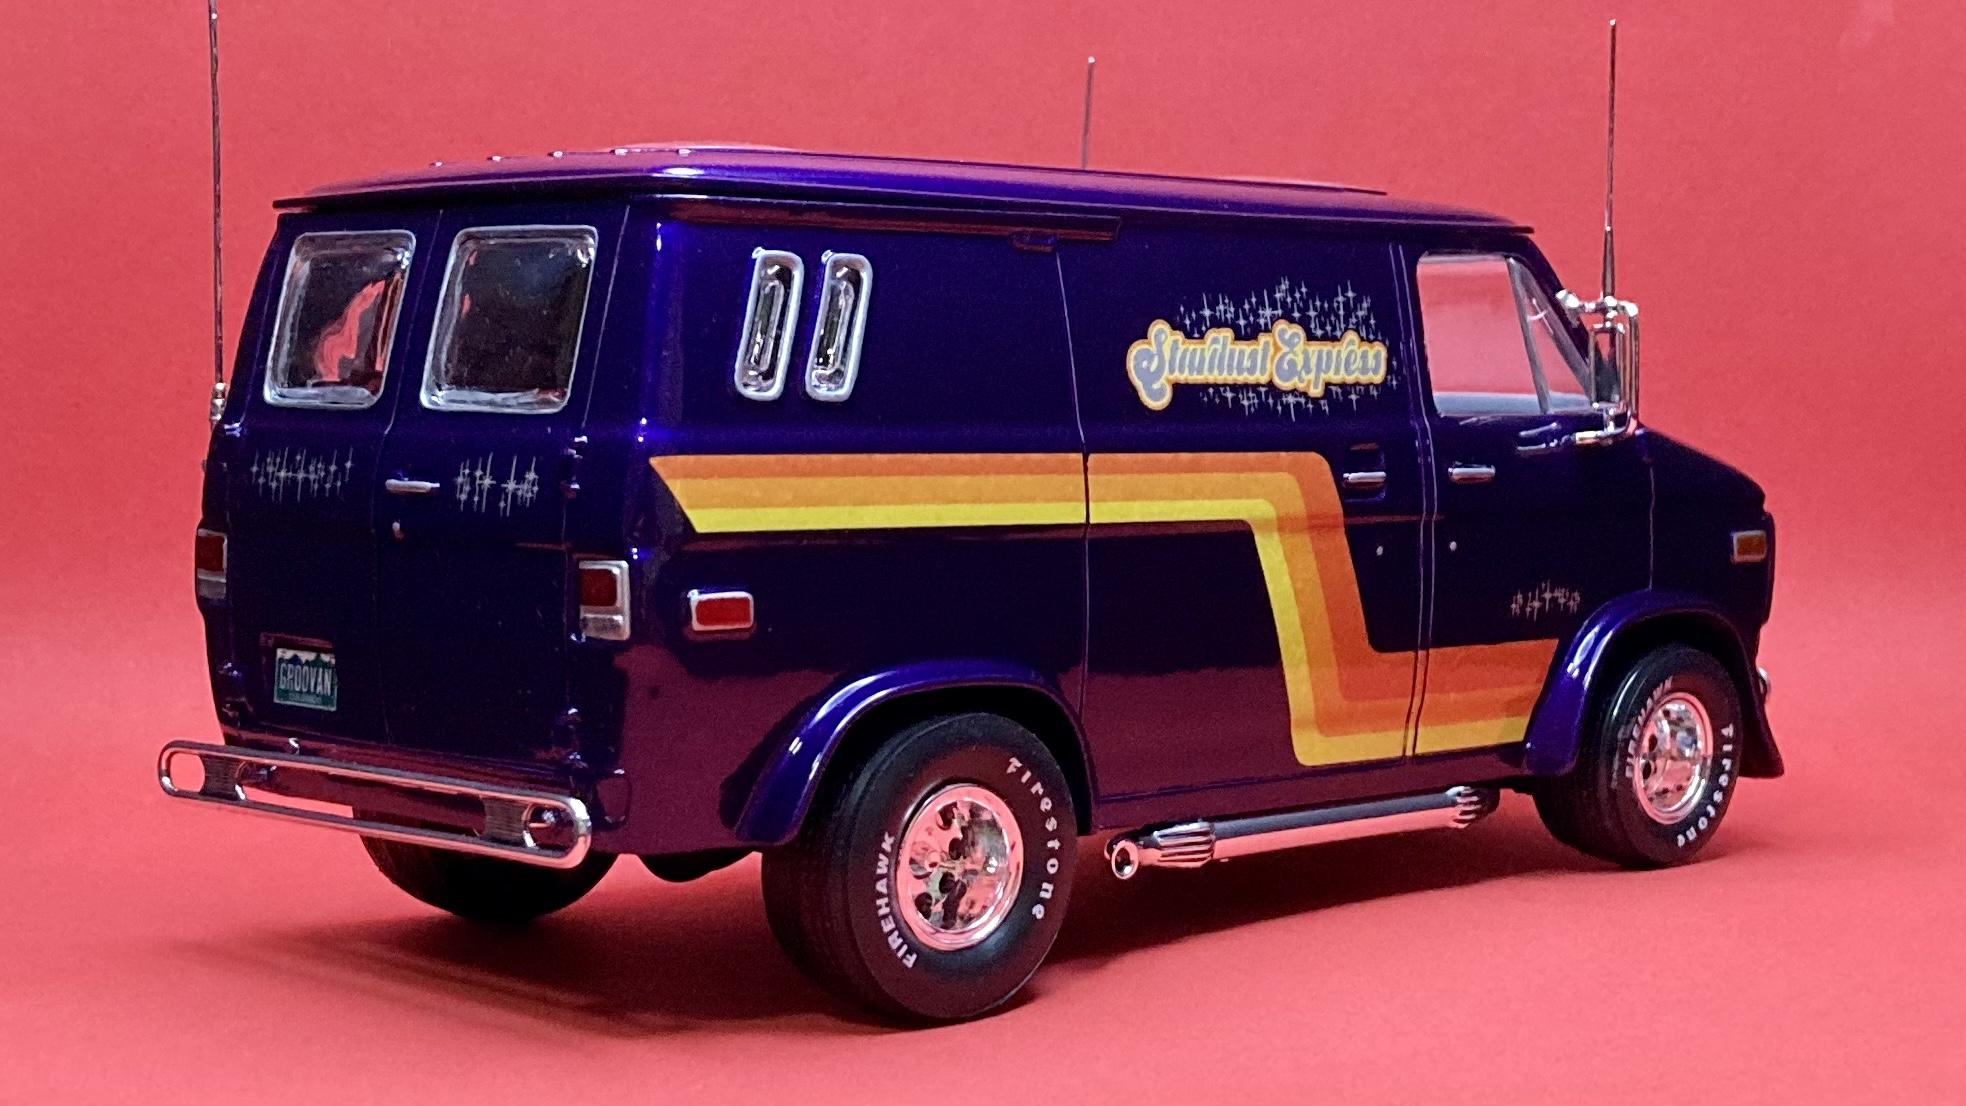
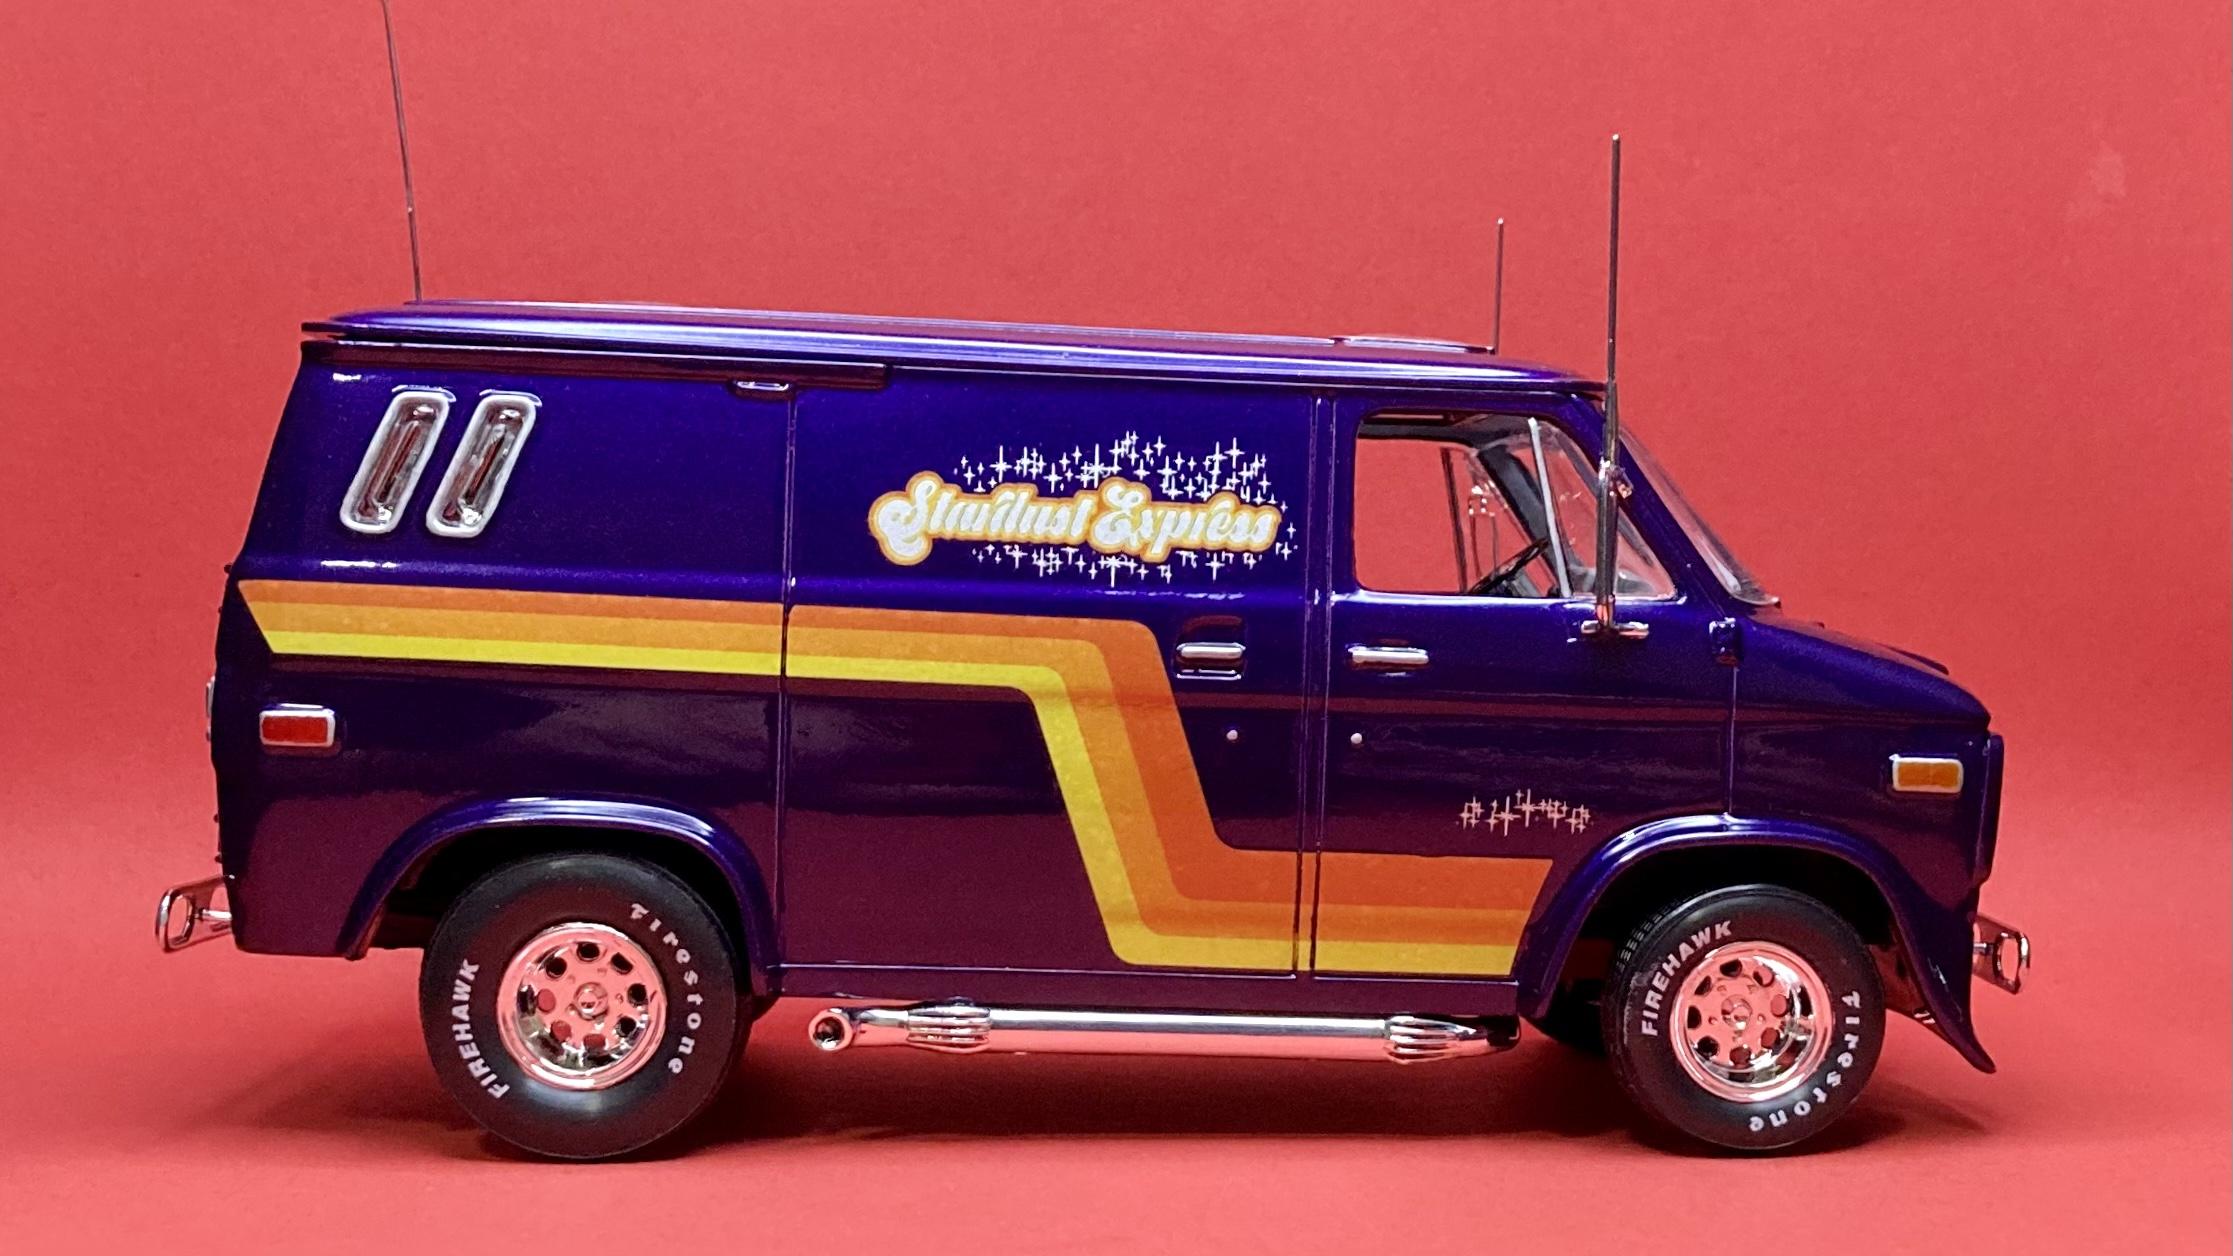
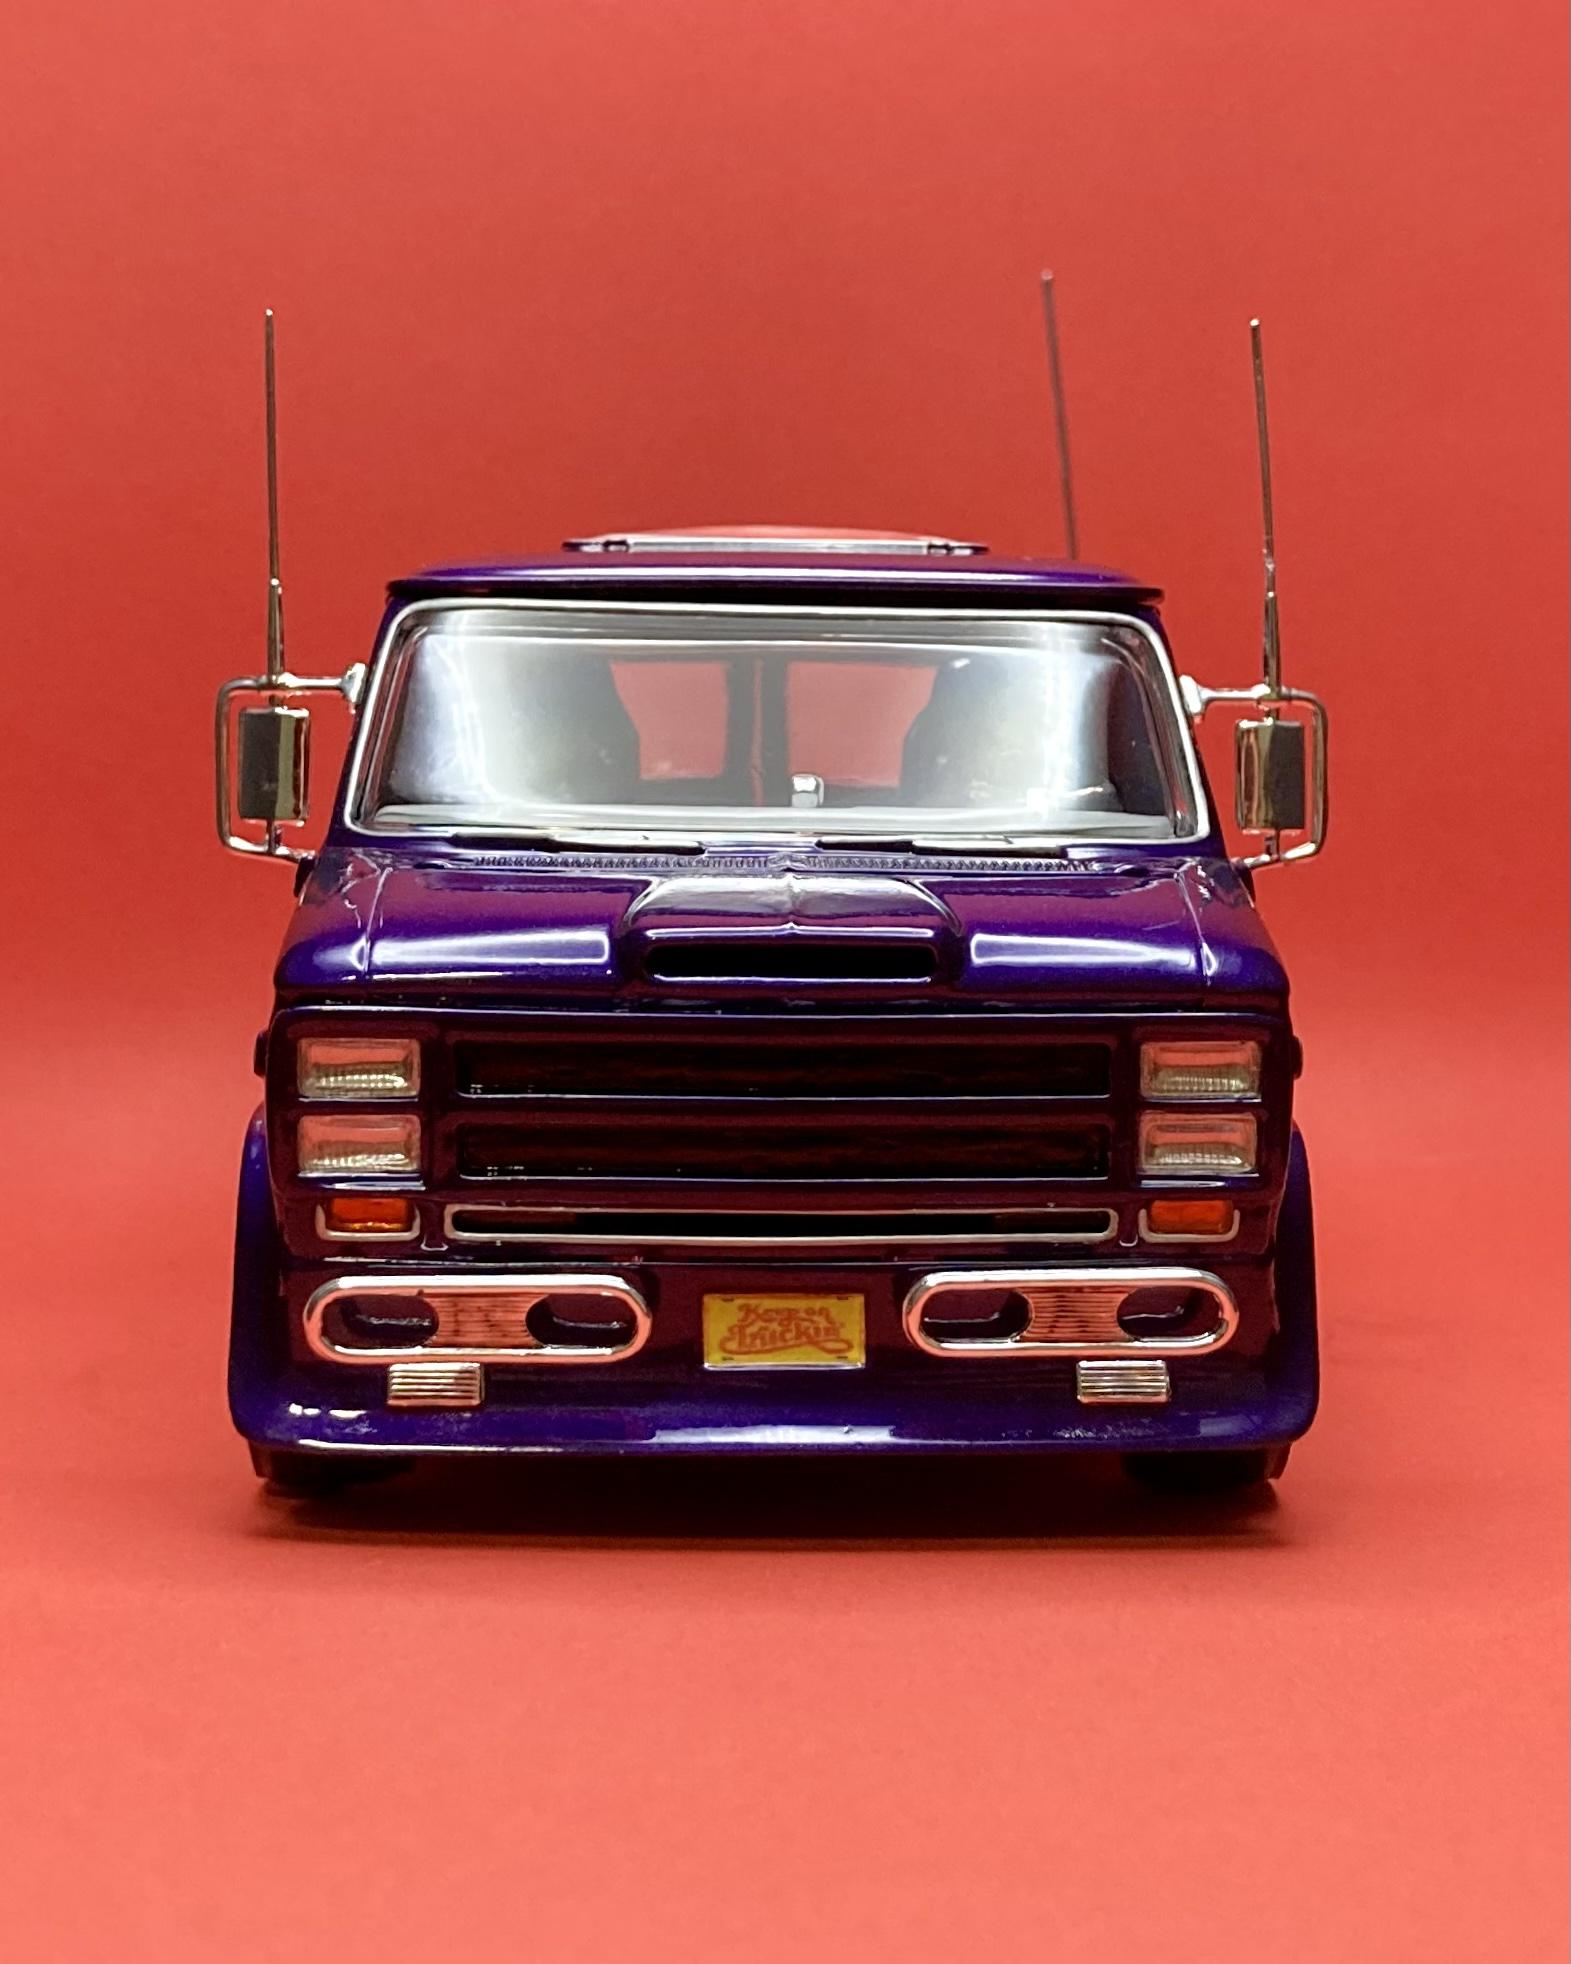
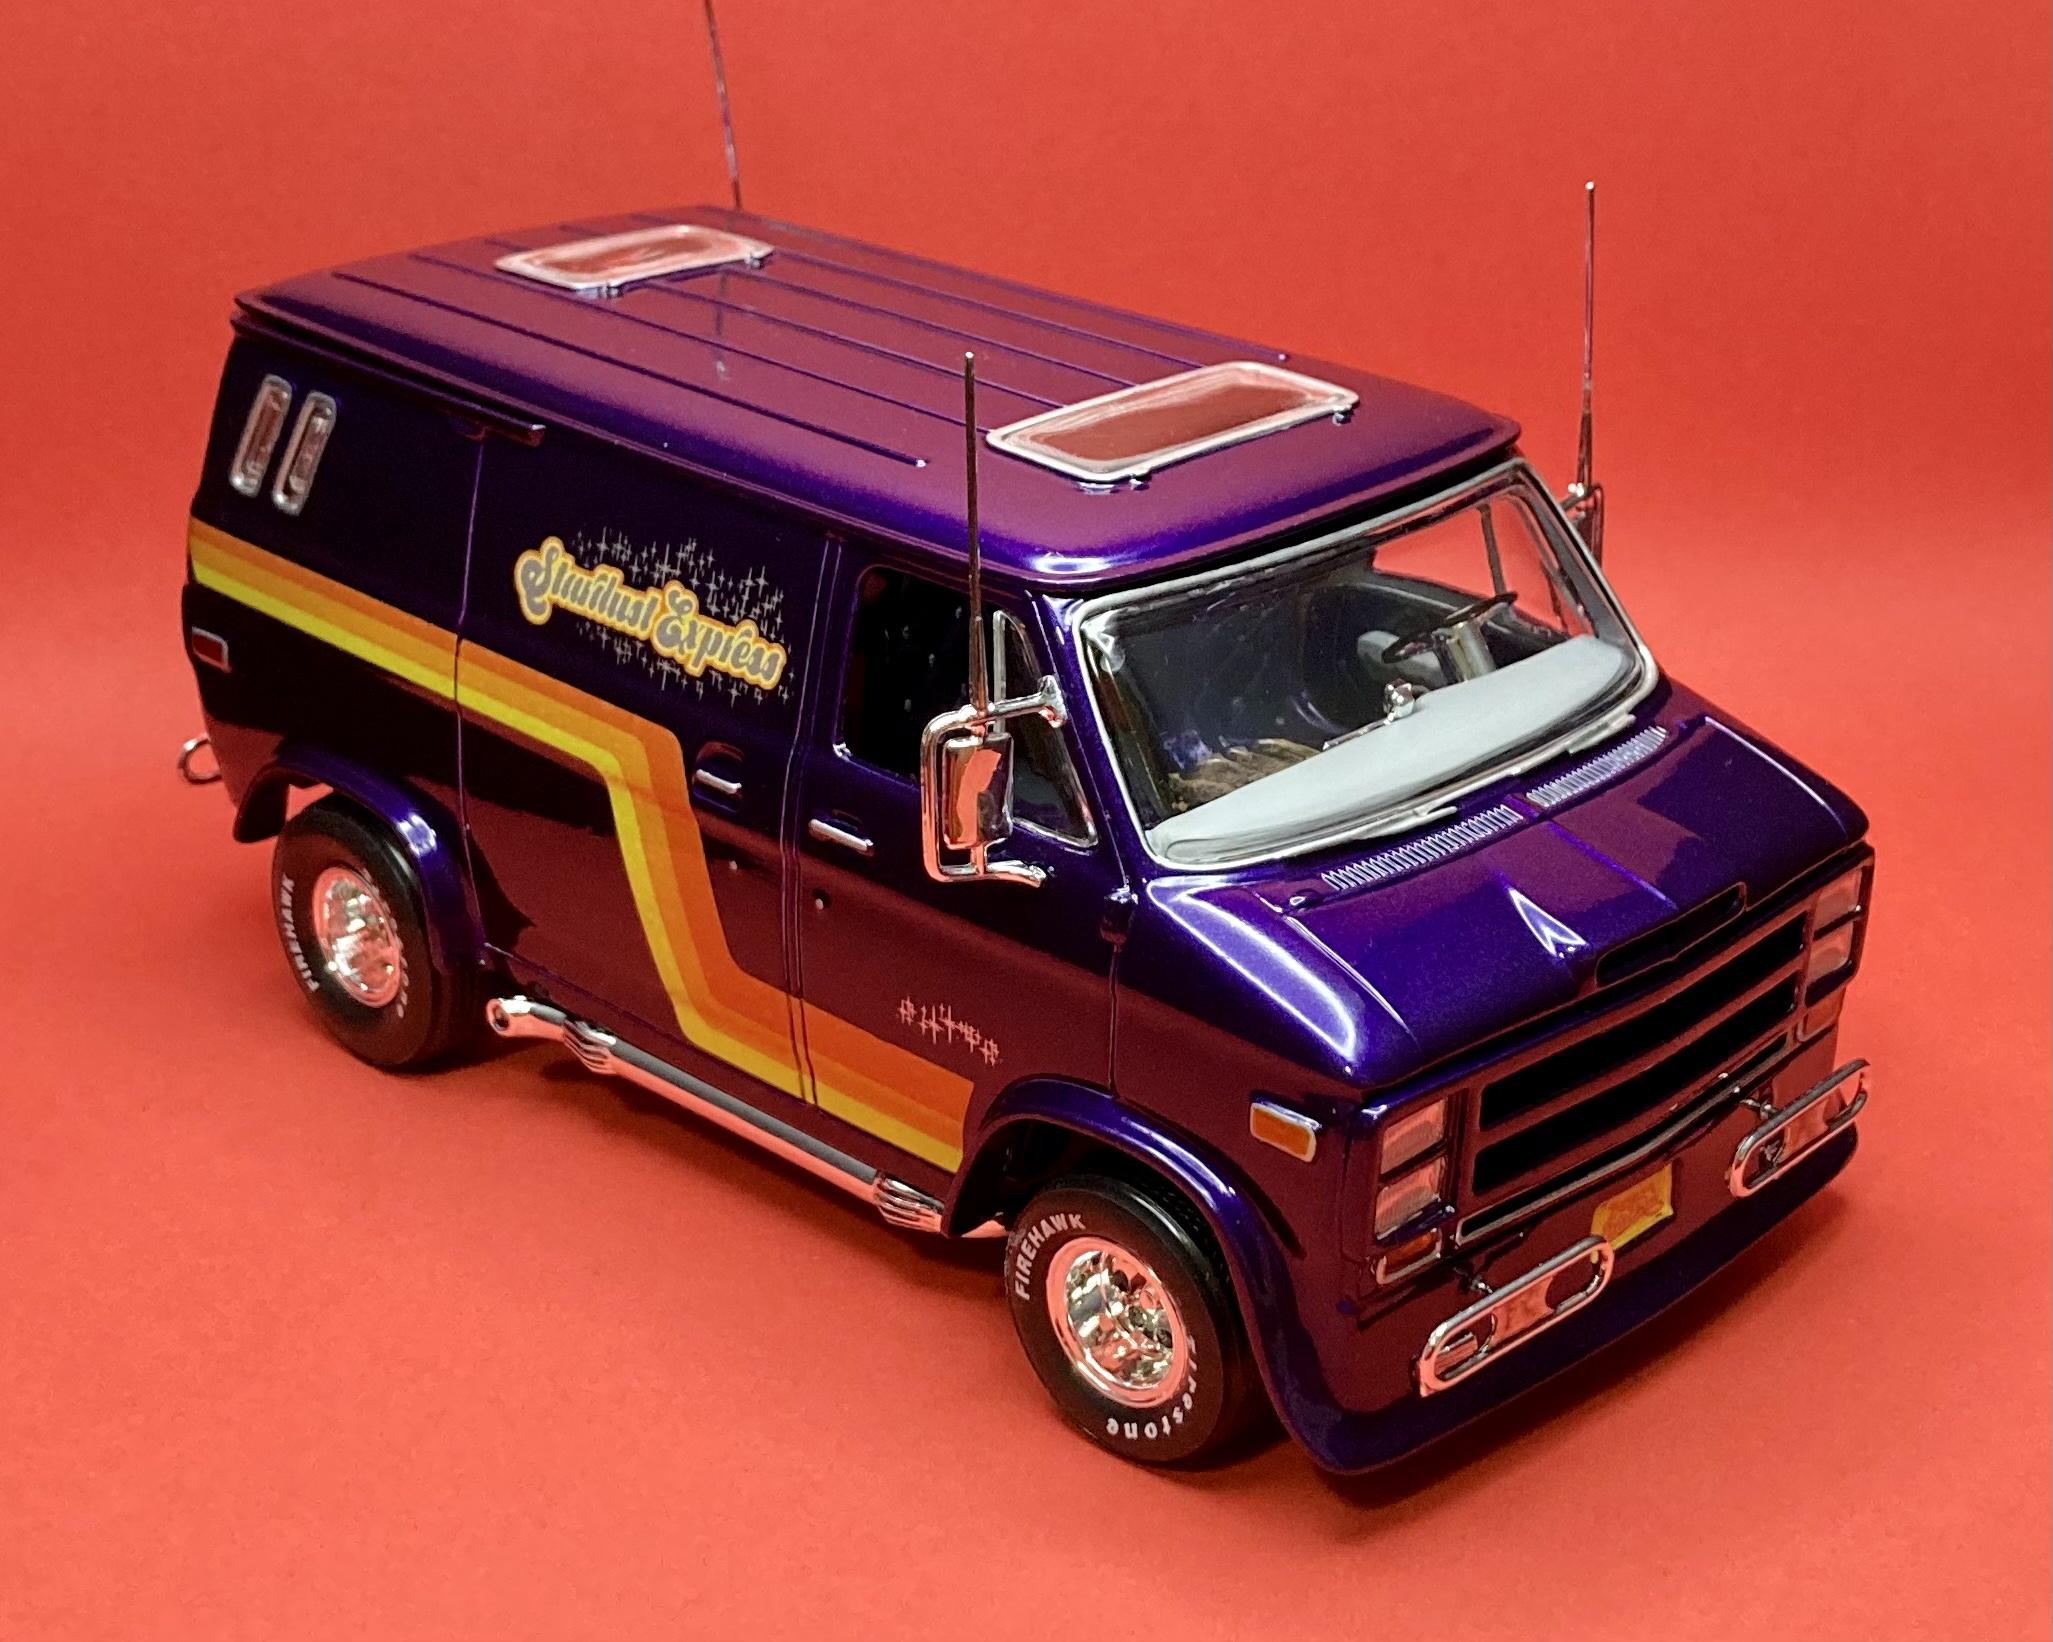
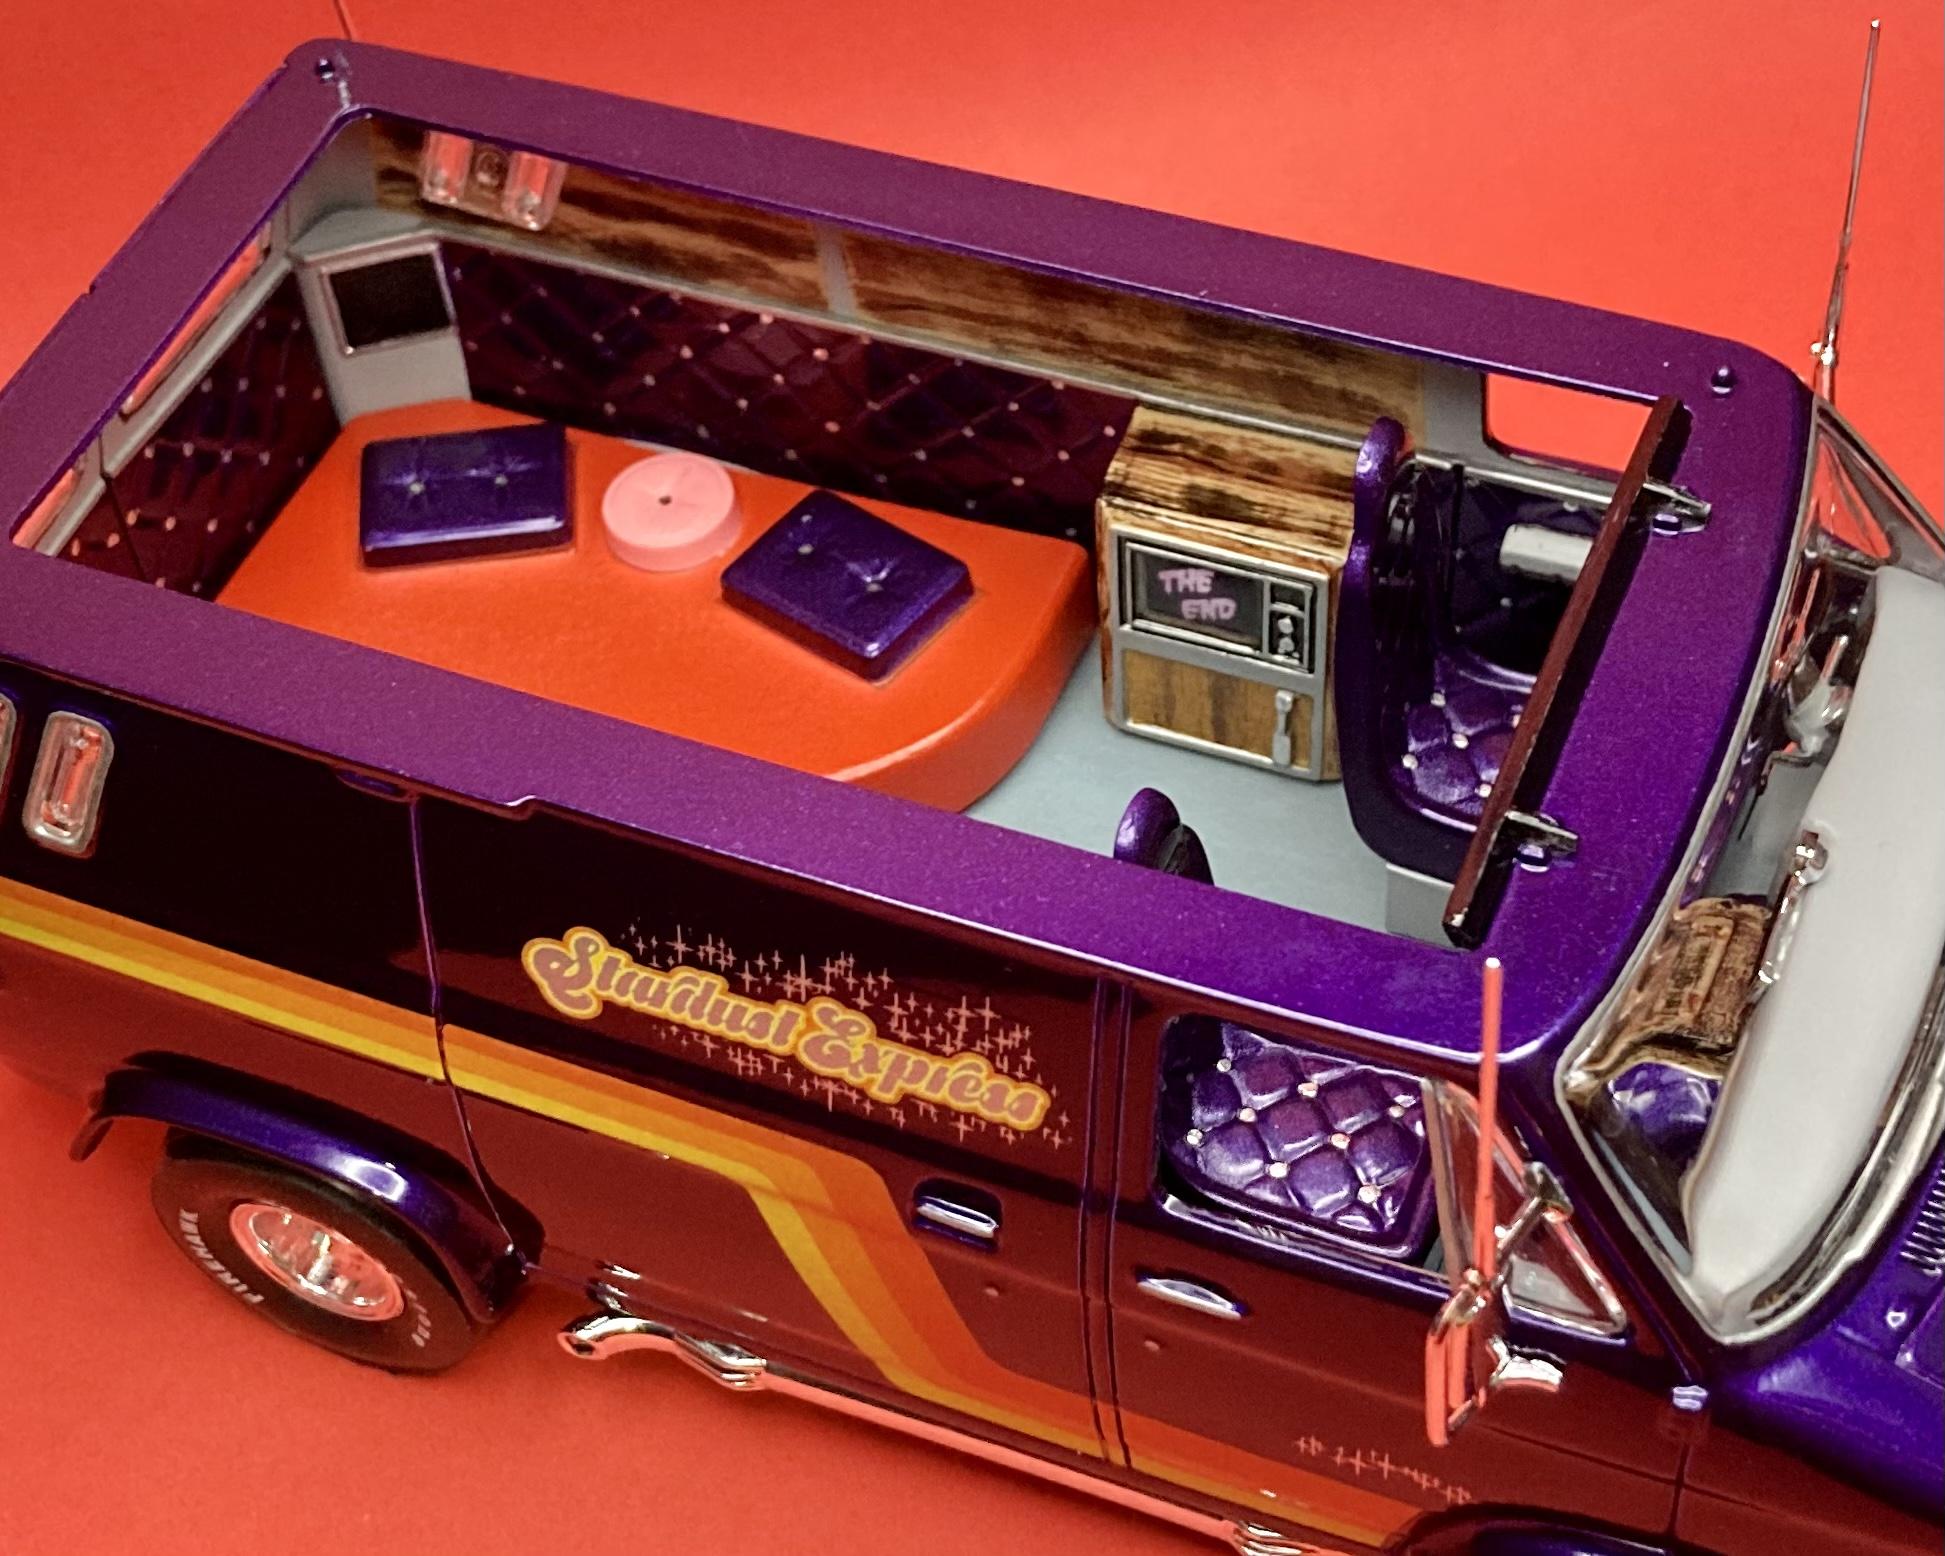
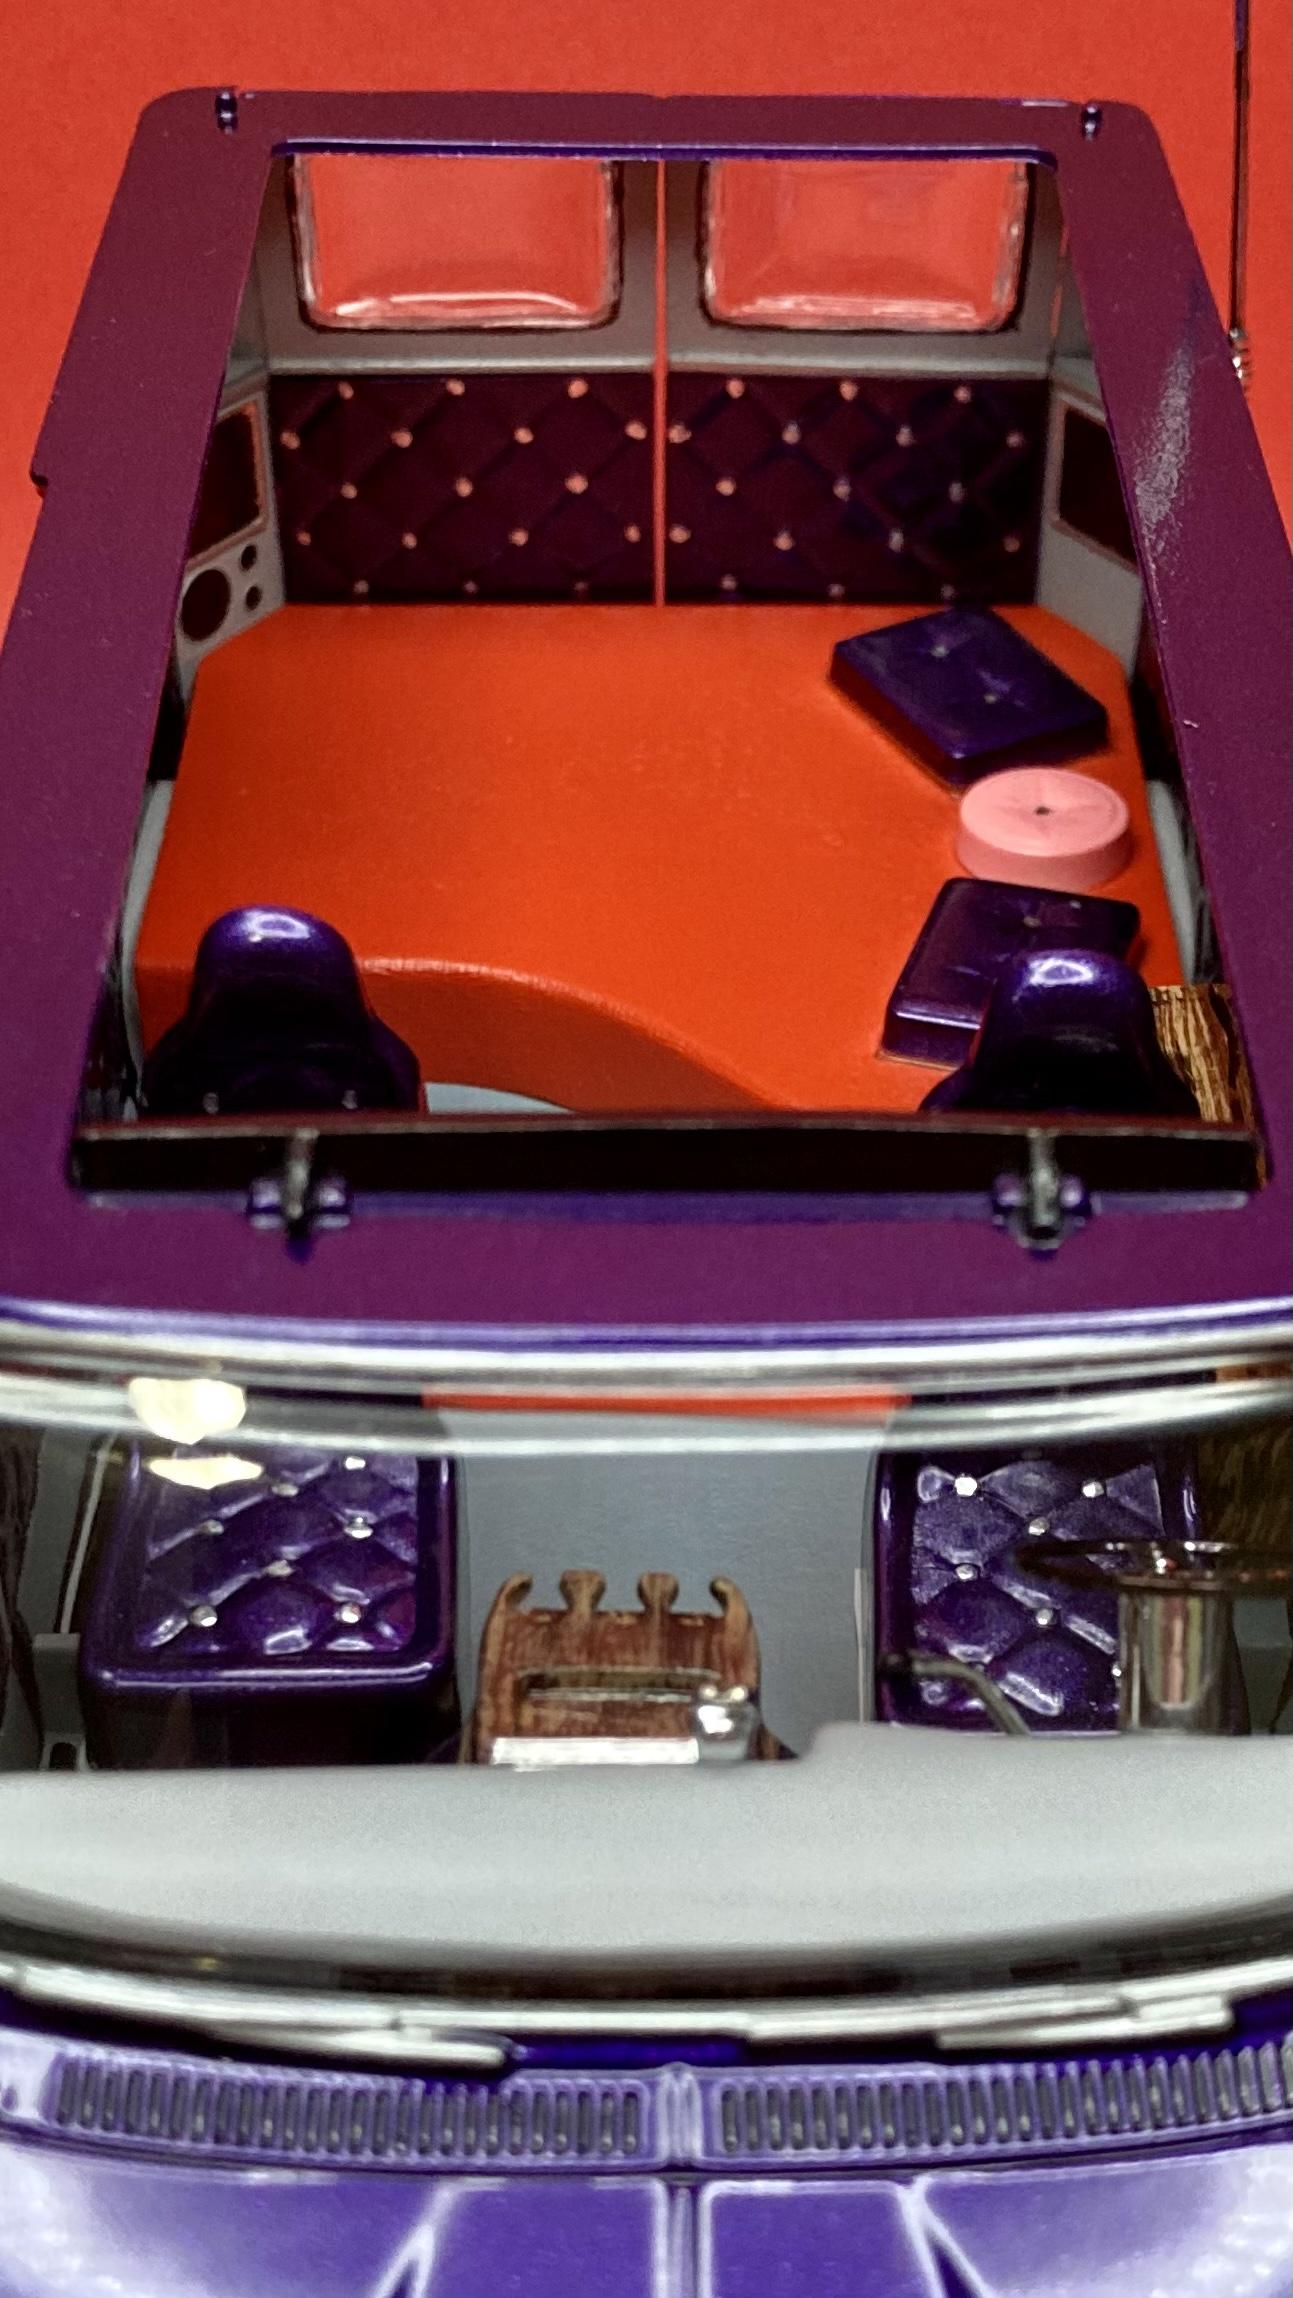
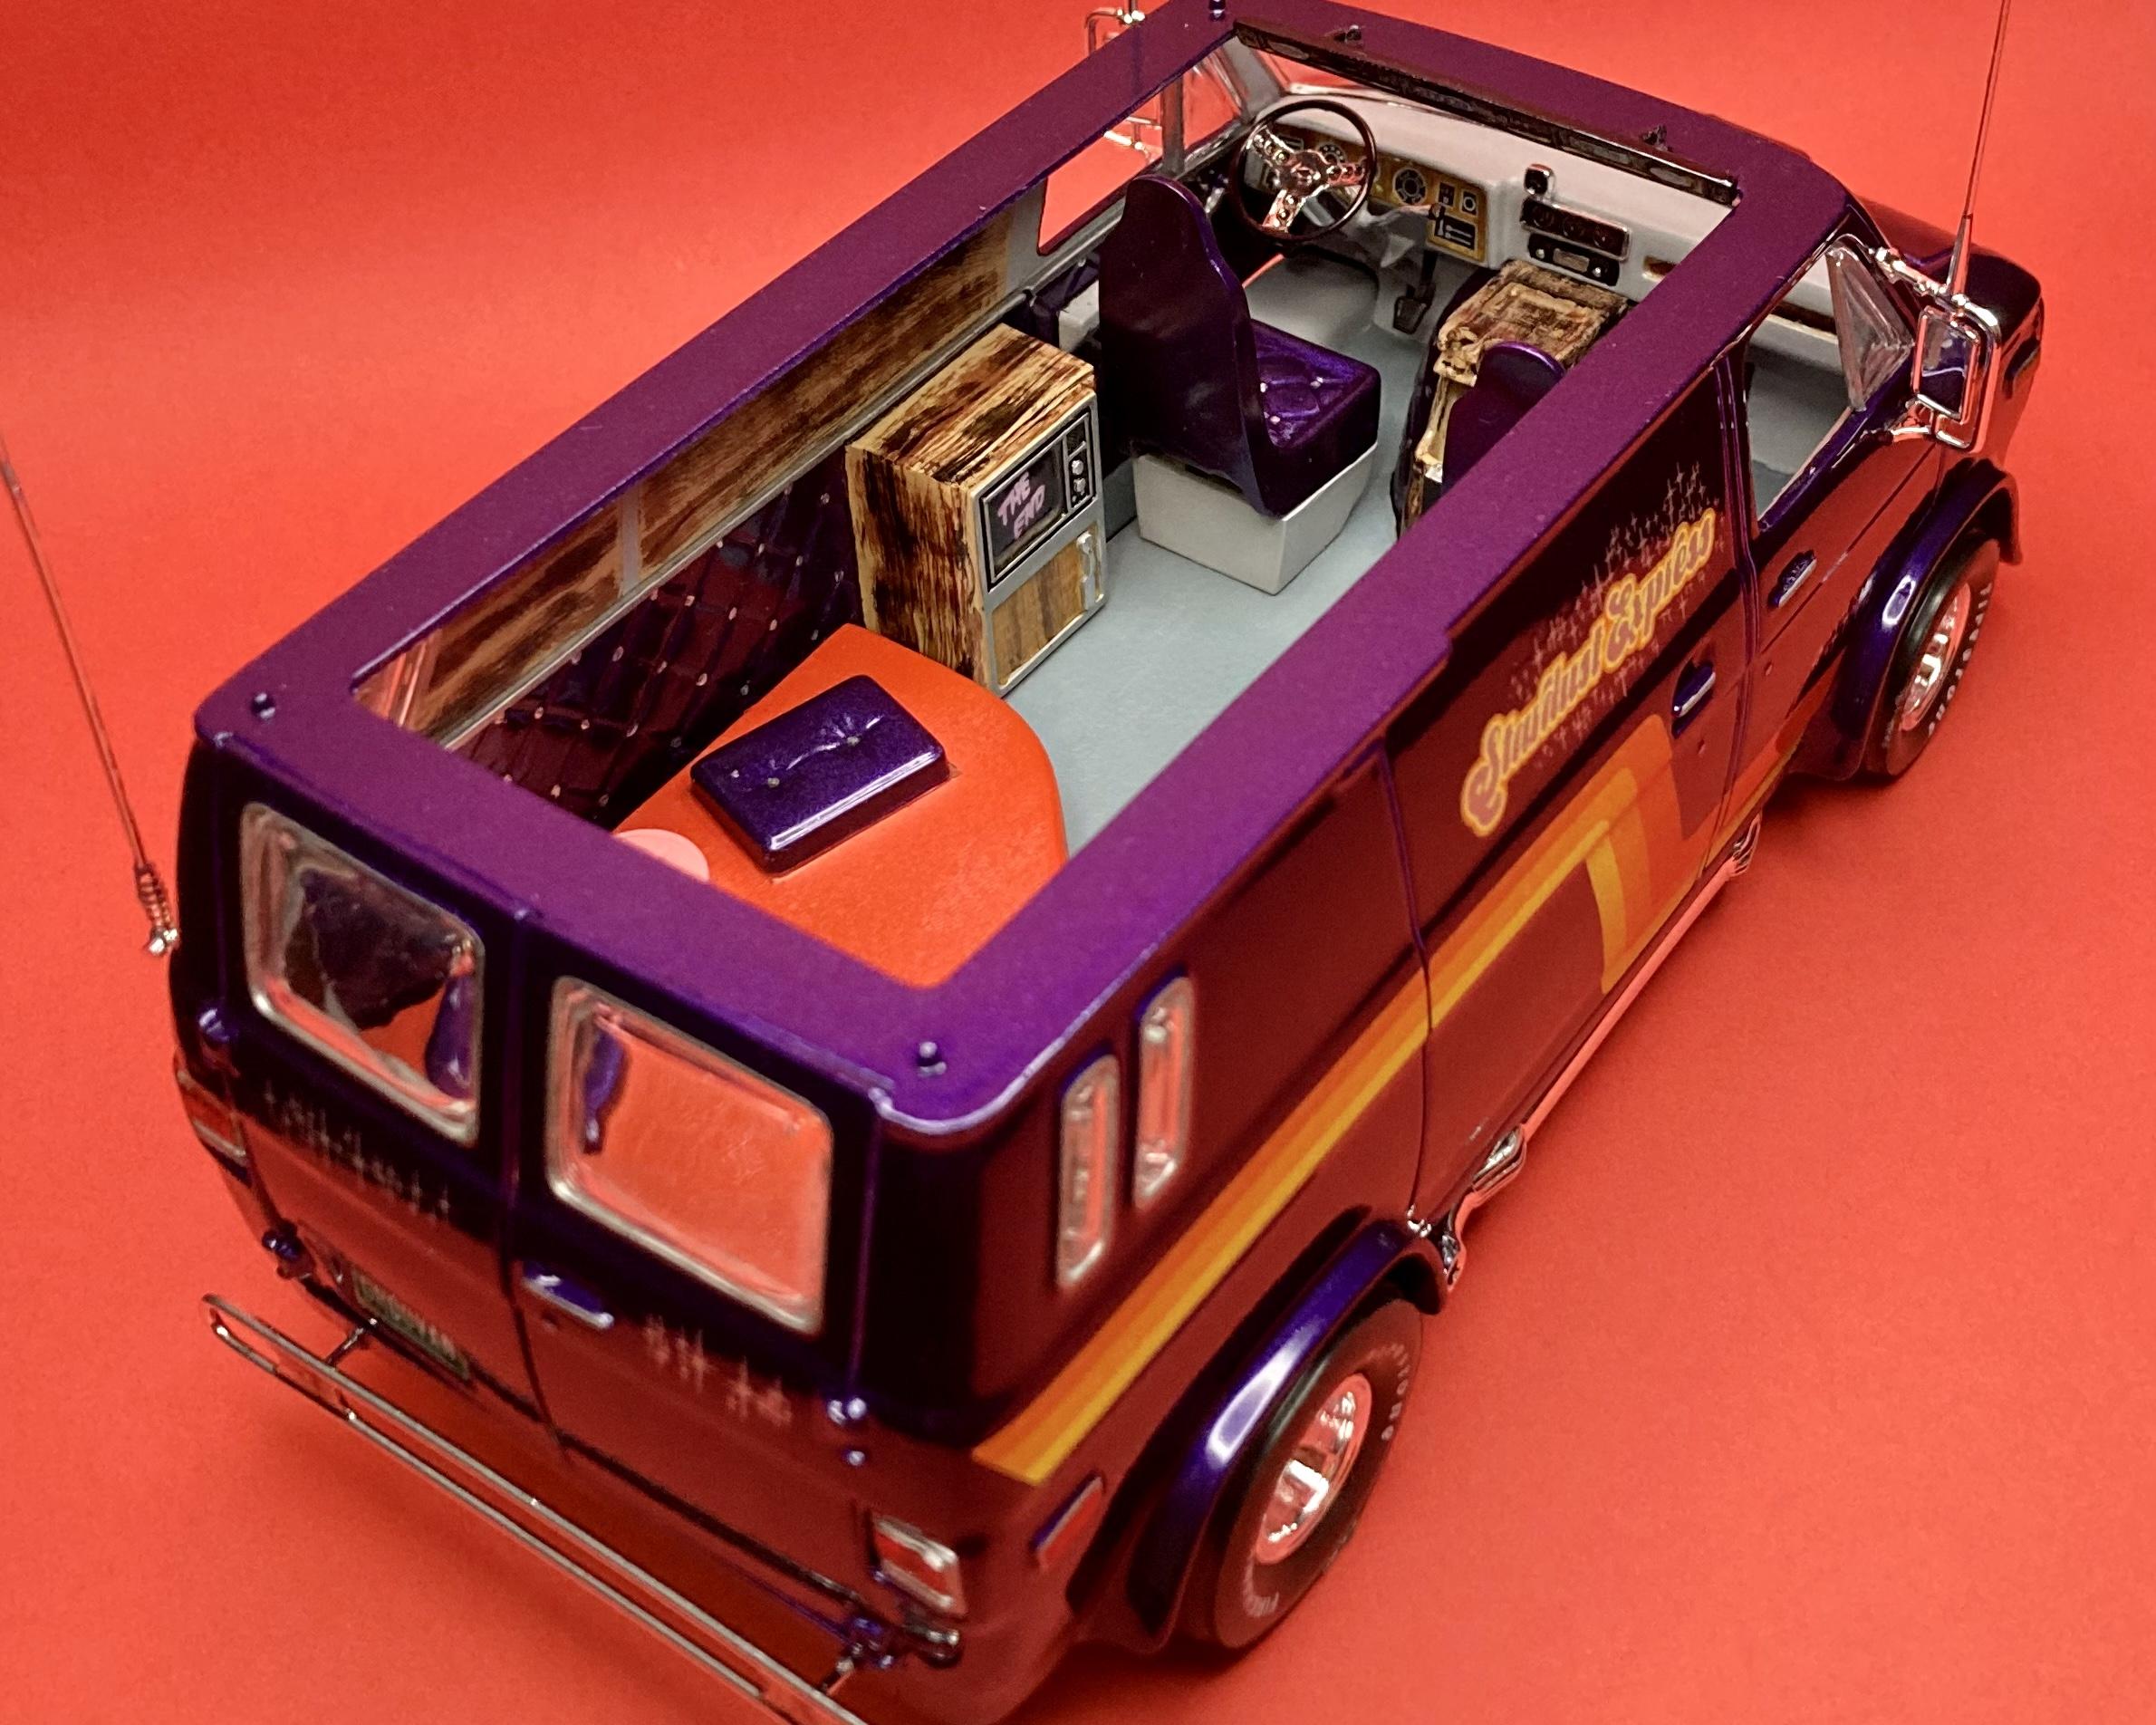
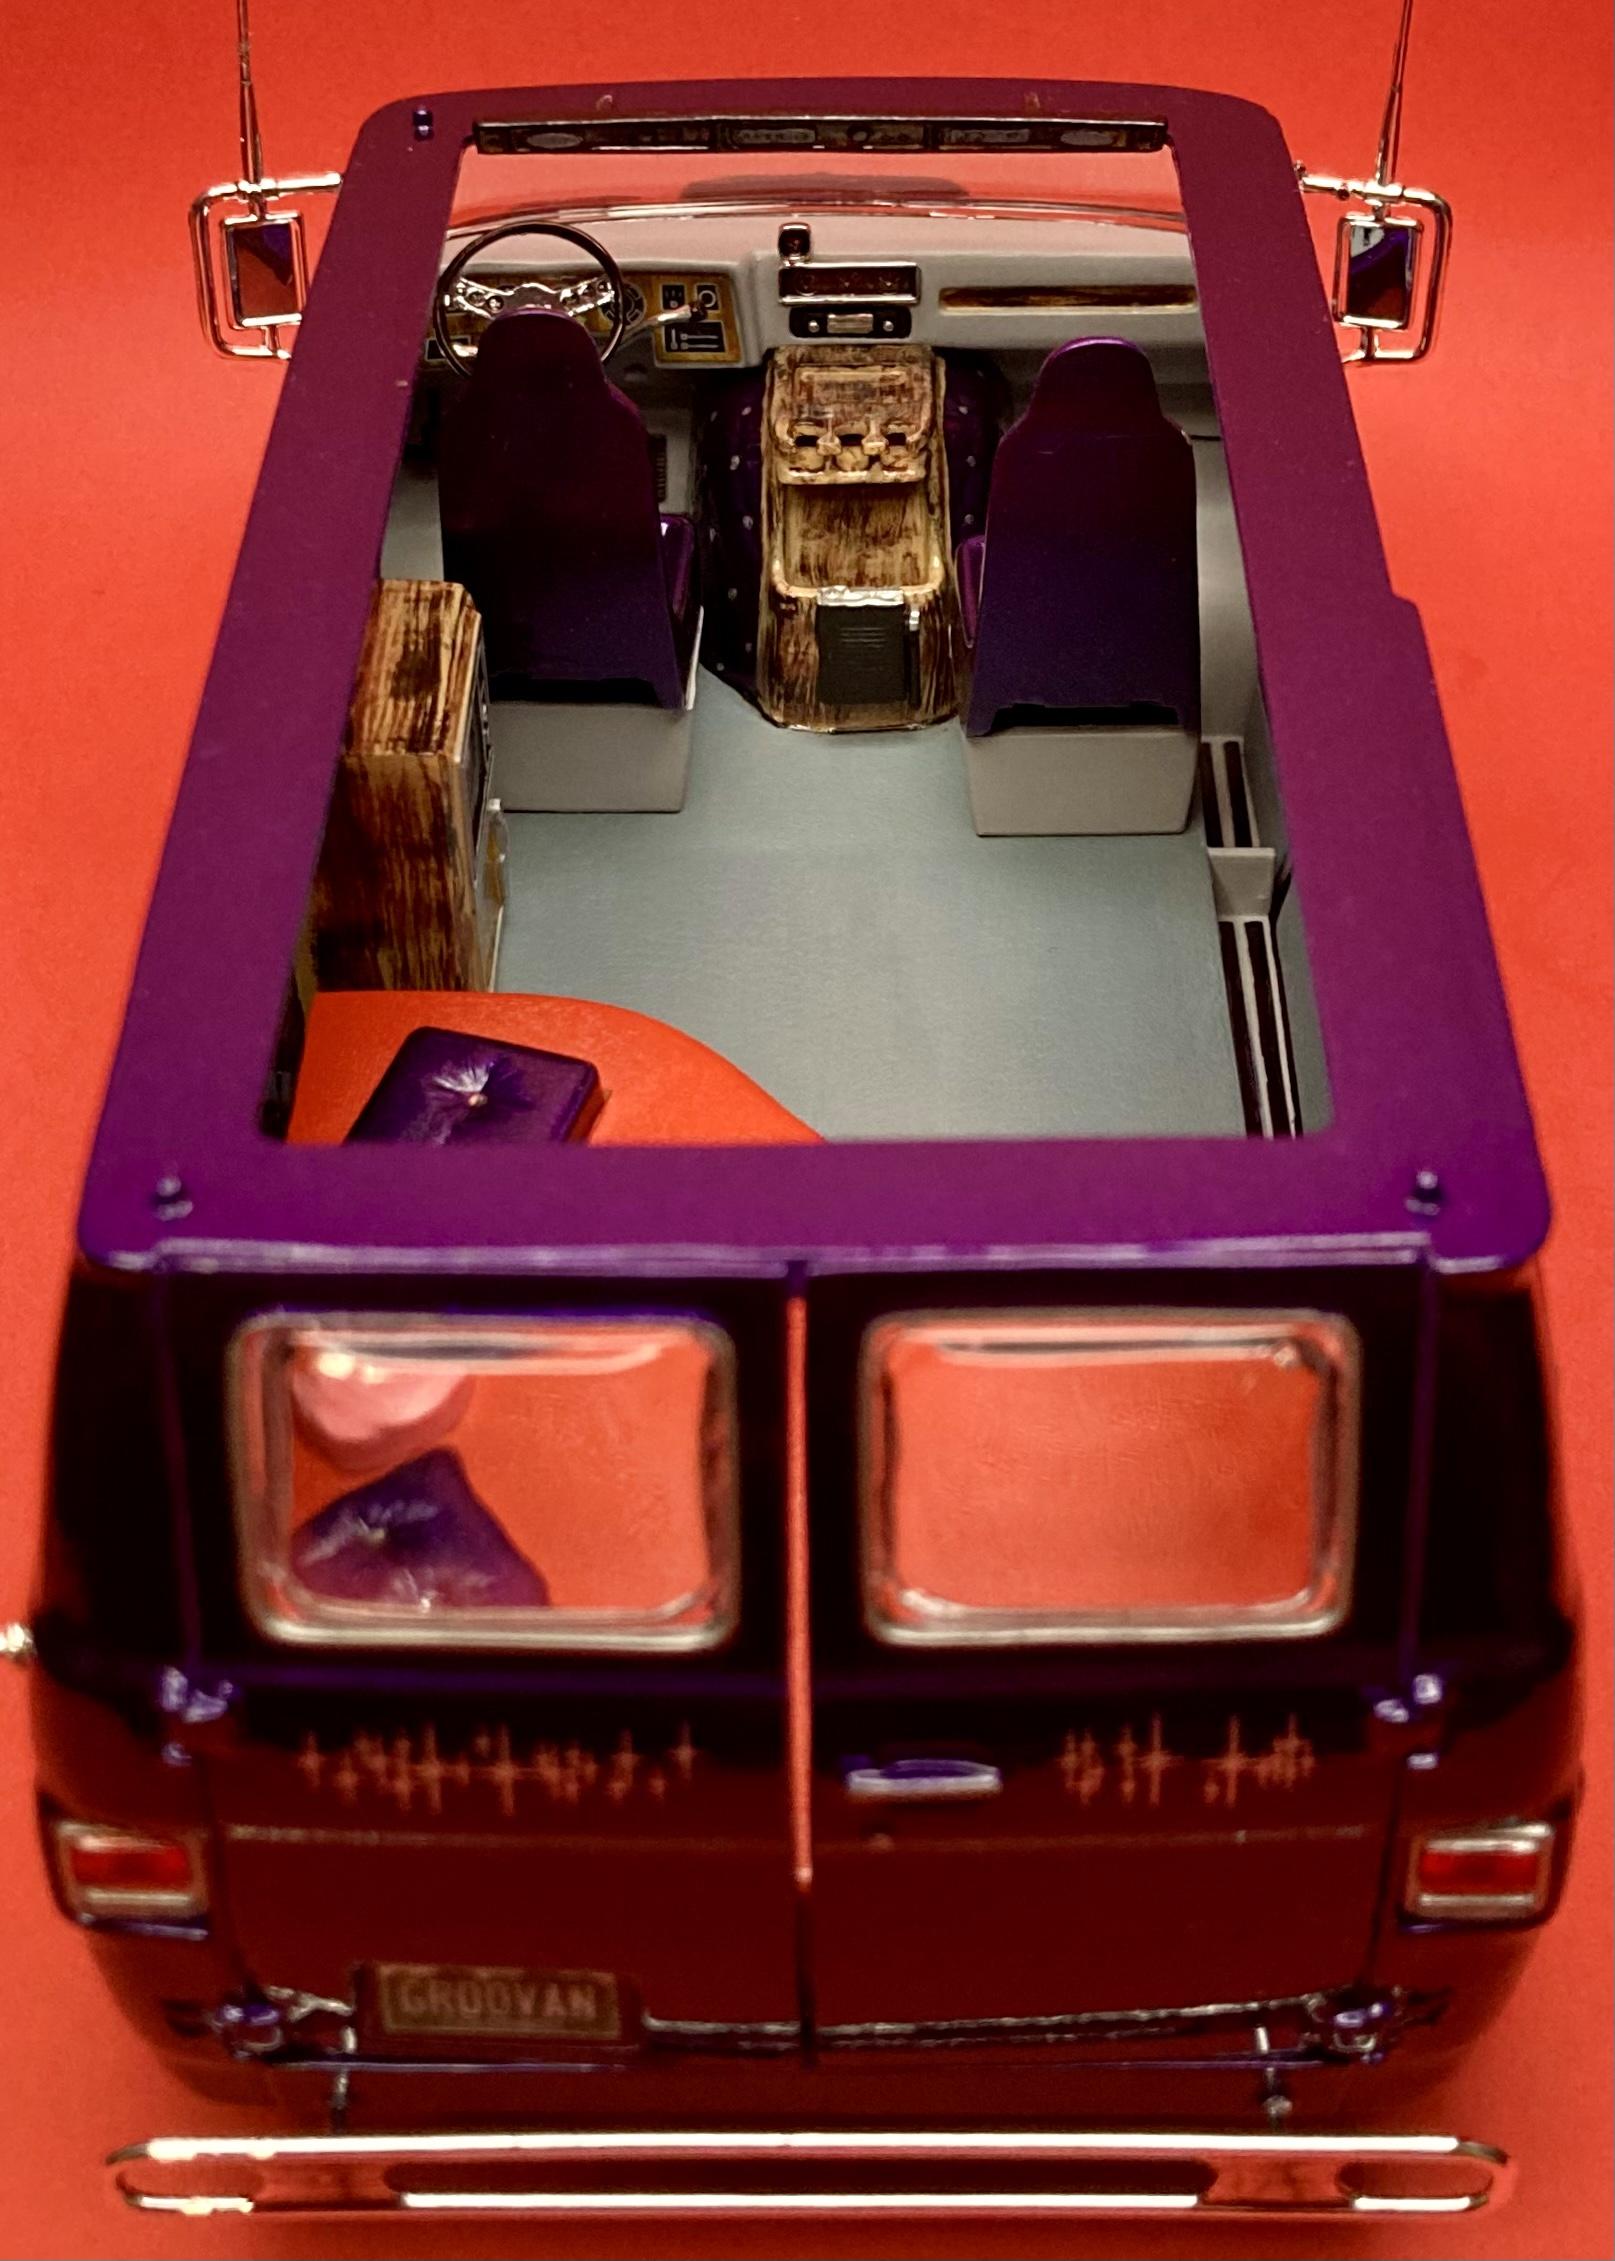
Here’s my finished ‘76 Chevy van custom from Revell! I have a WIP posted under the Workbench if you’re interested. Built box stock with Testors Extreme Lacquer Purple-Licious on the body, with two coats of Wet Look clear and two coats of Pledge Floor Gloss. Interior is the same purple for the upholstery, and Tamiya gray primer and various acrylics for the details. This is a fun kit that goes together well!
- 20 replies
-
- 3
-
-

-
- revell
- custom van
- (and 1 more)
-
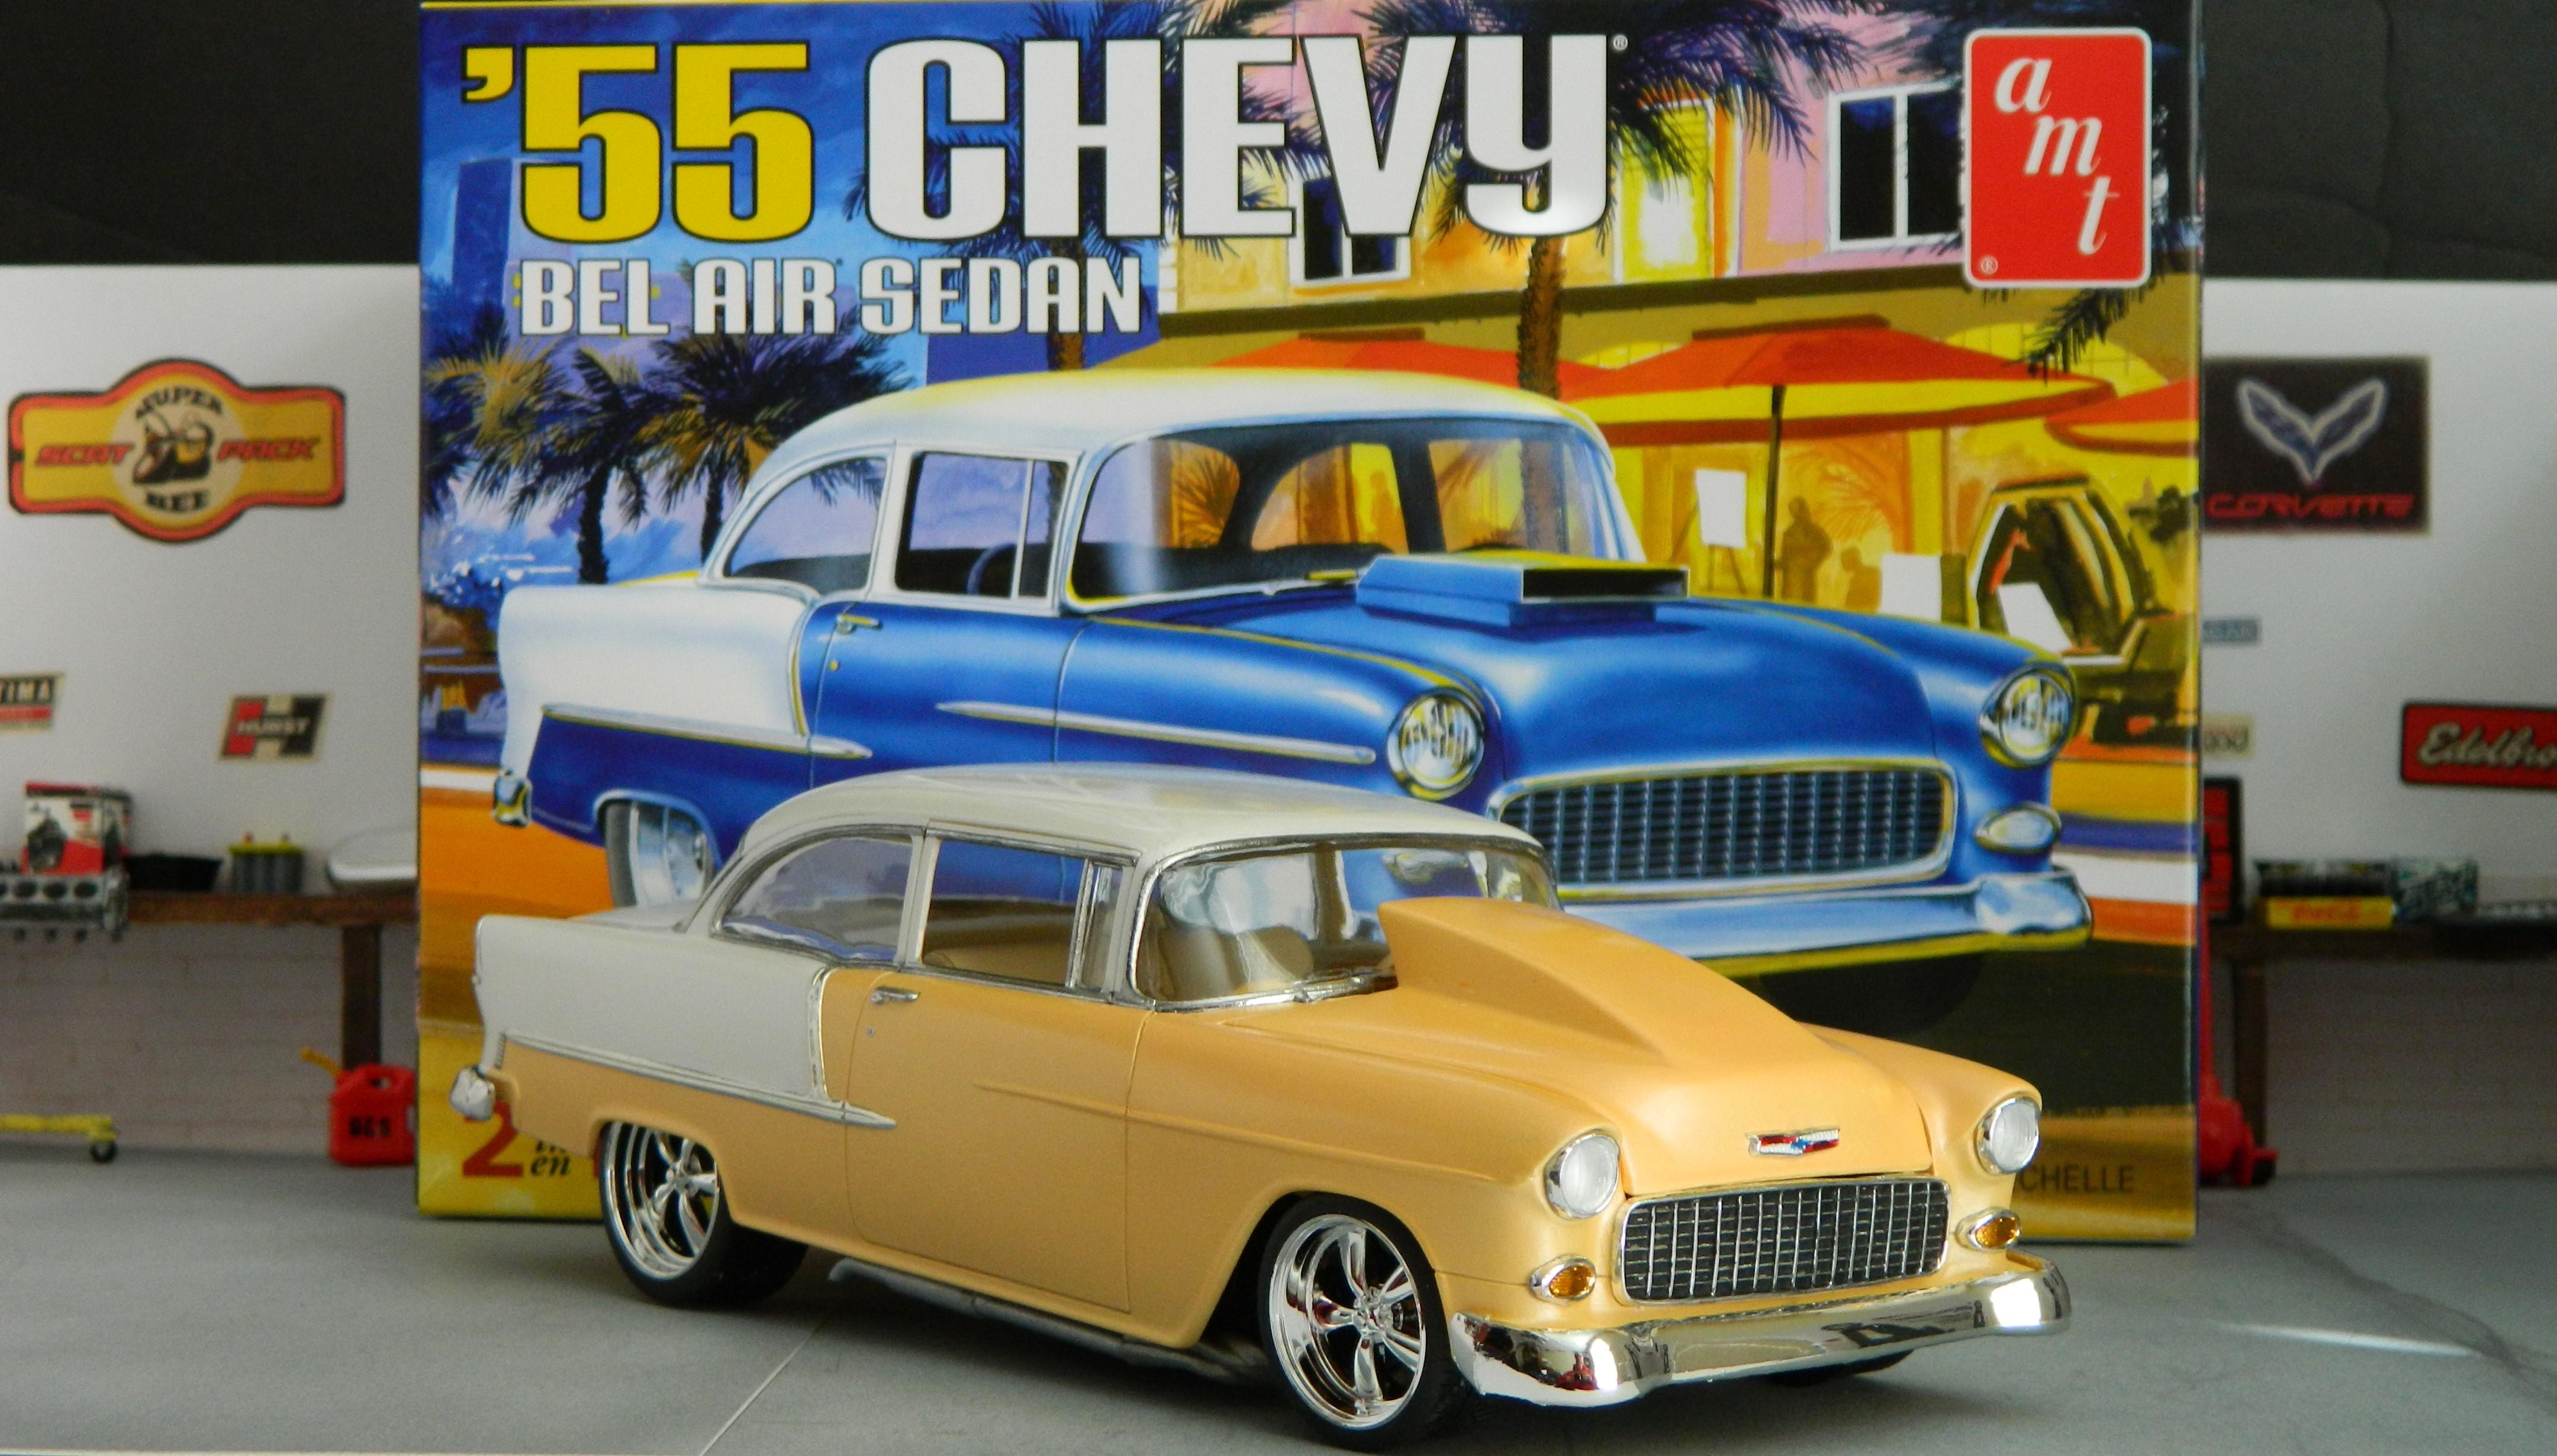
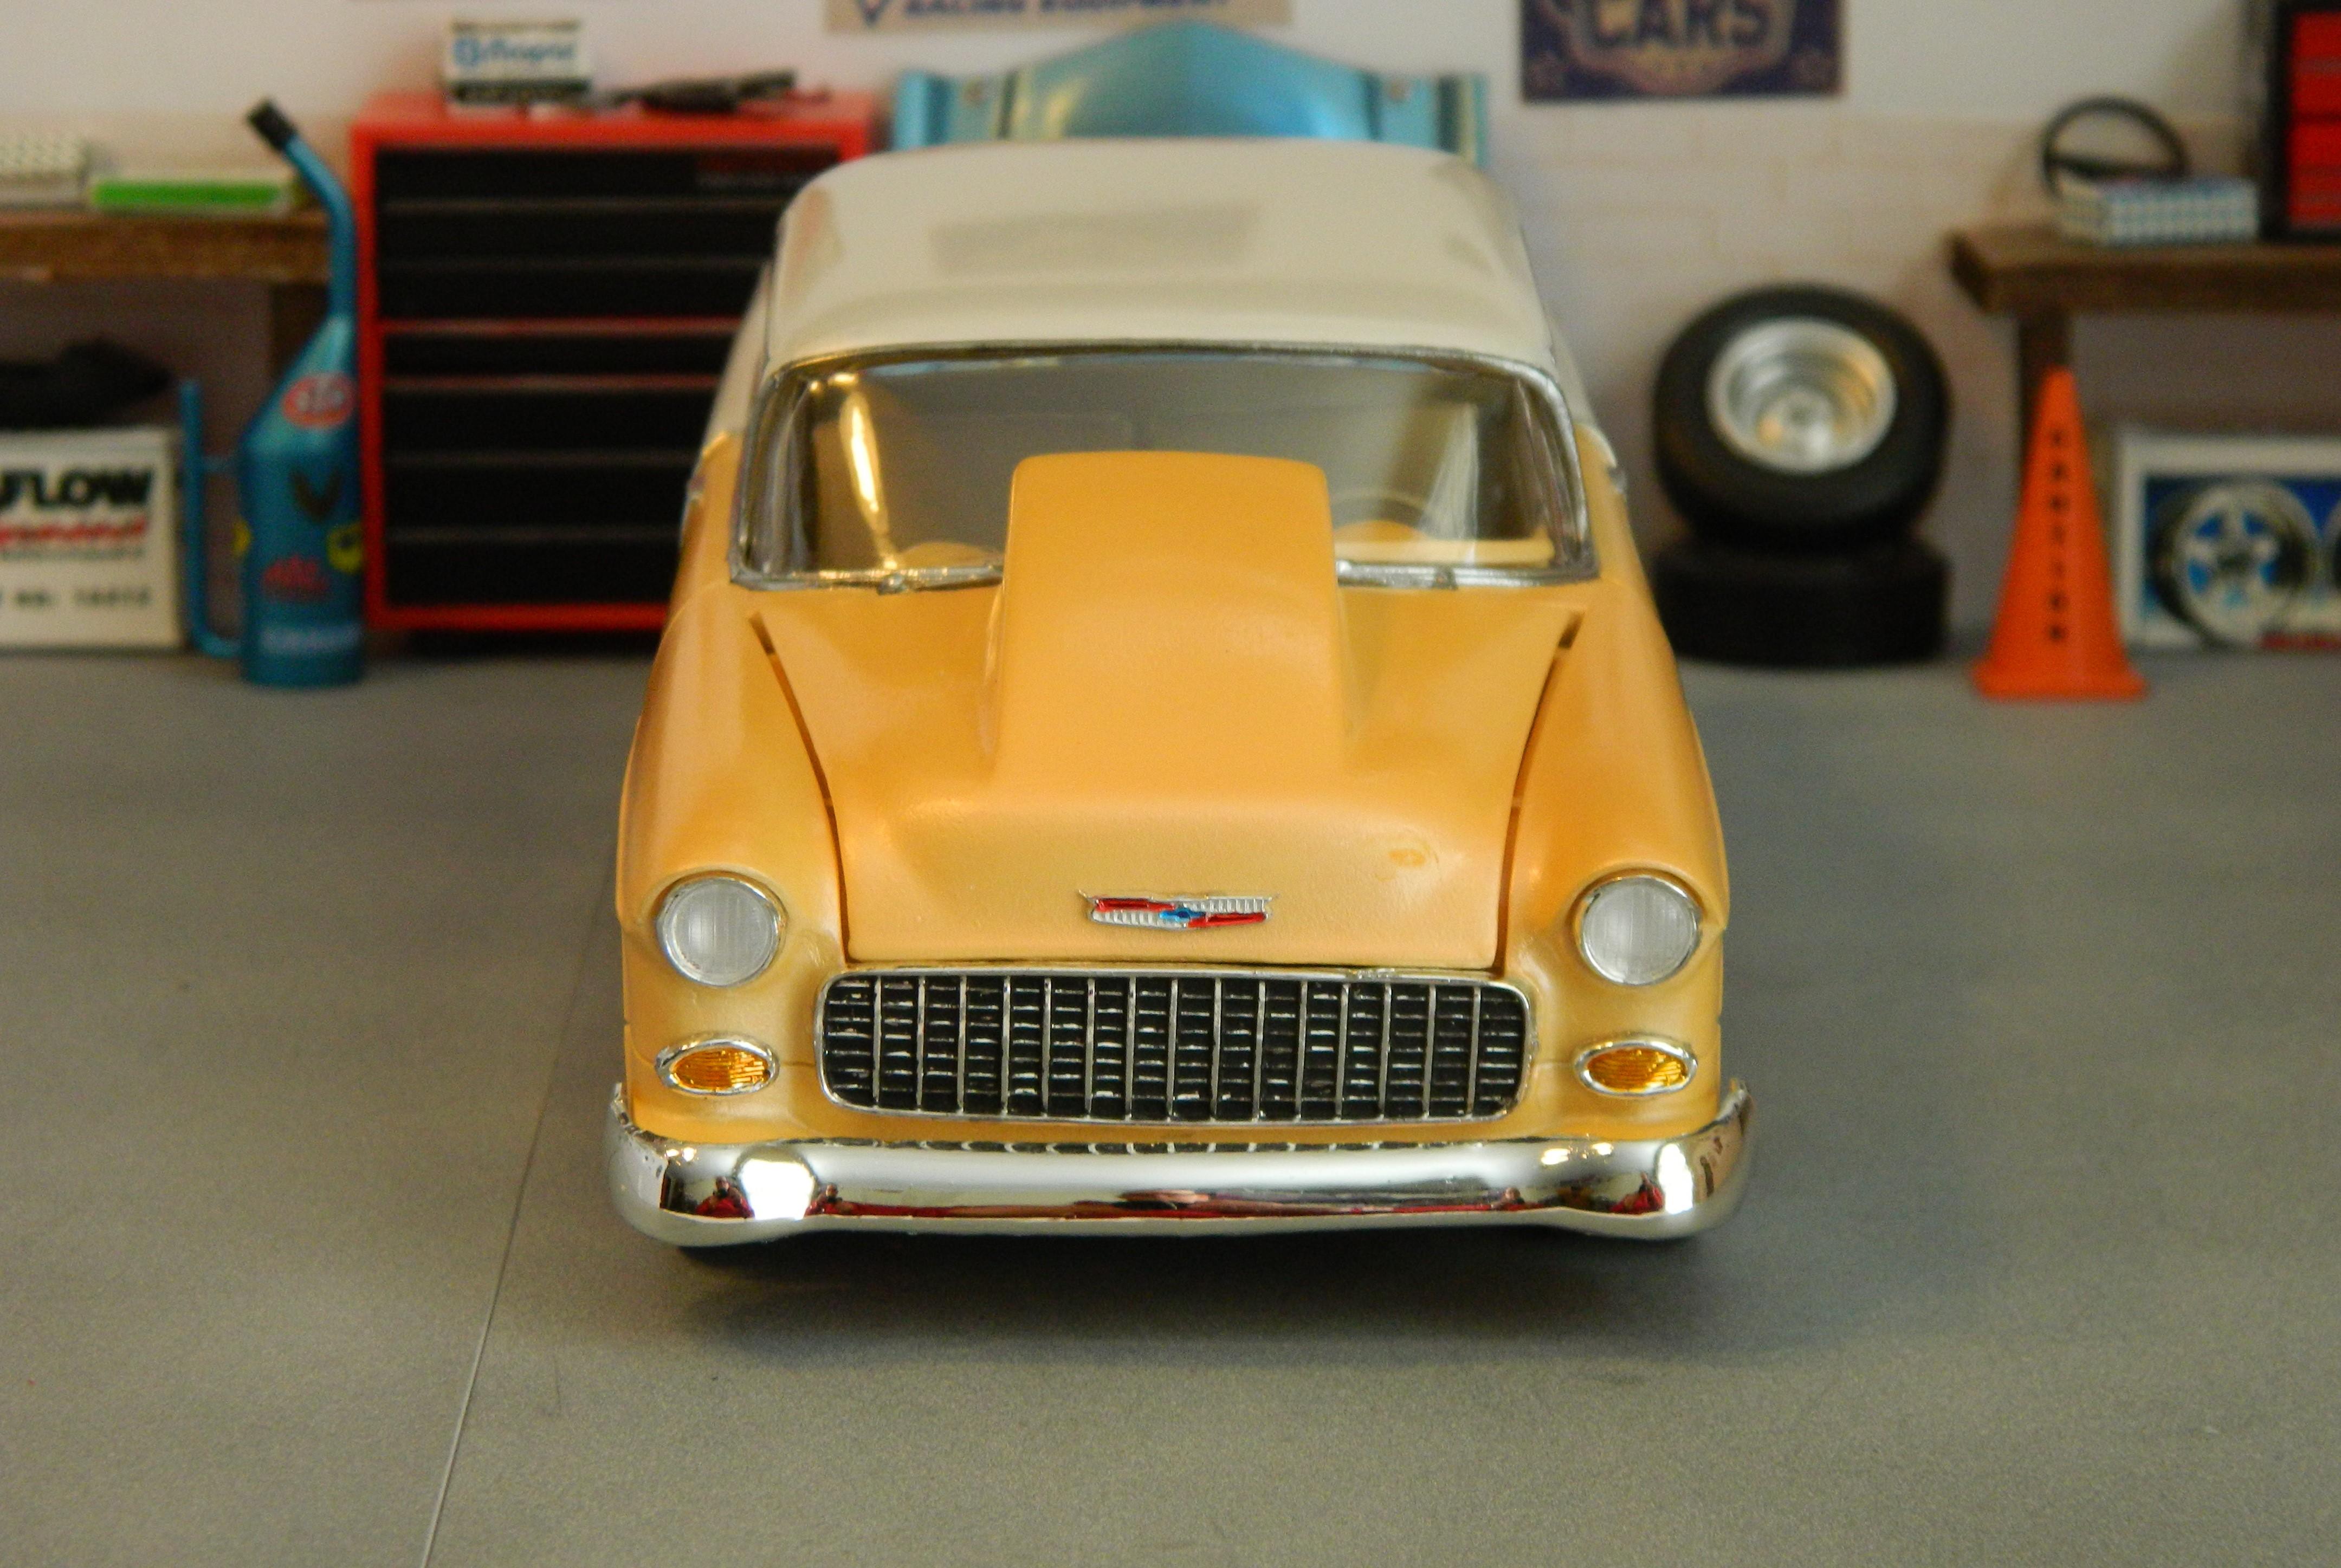
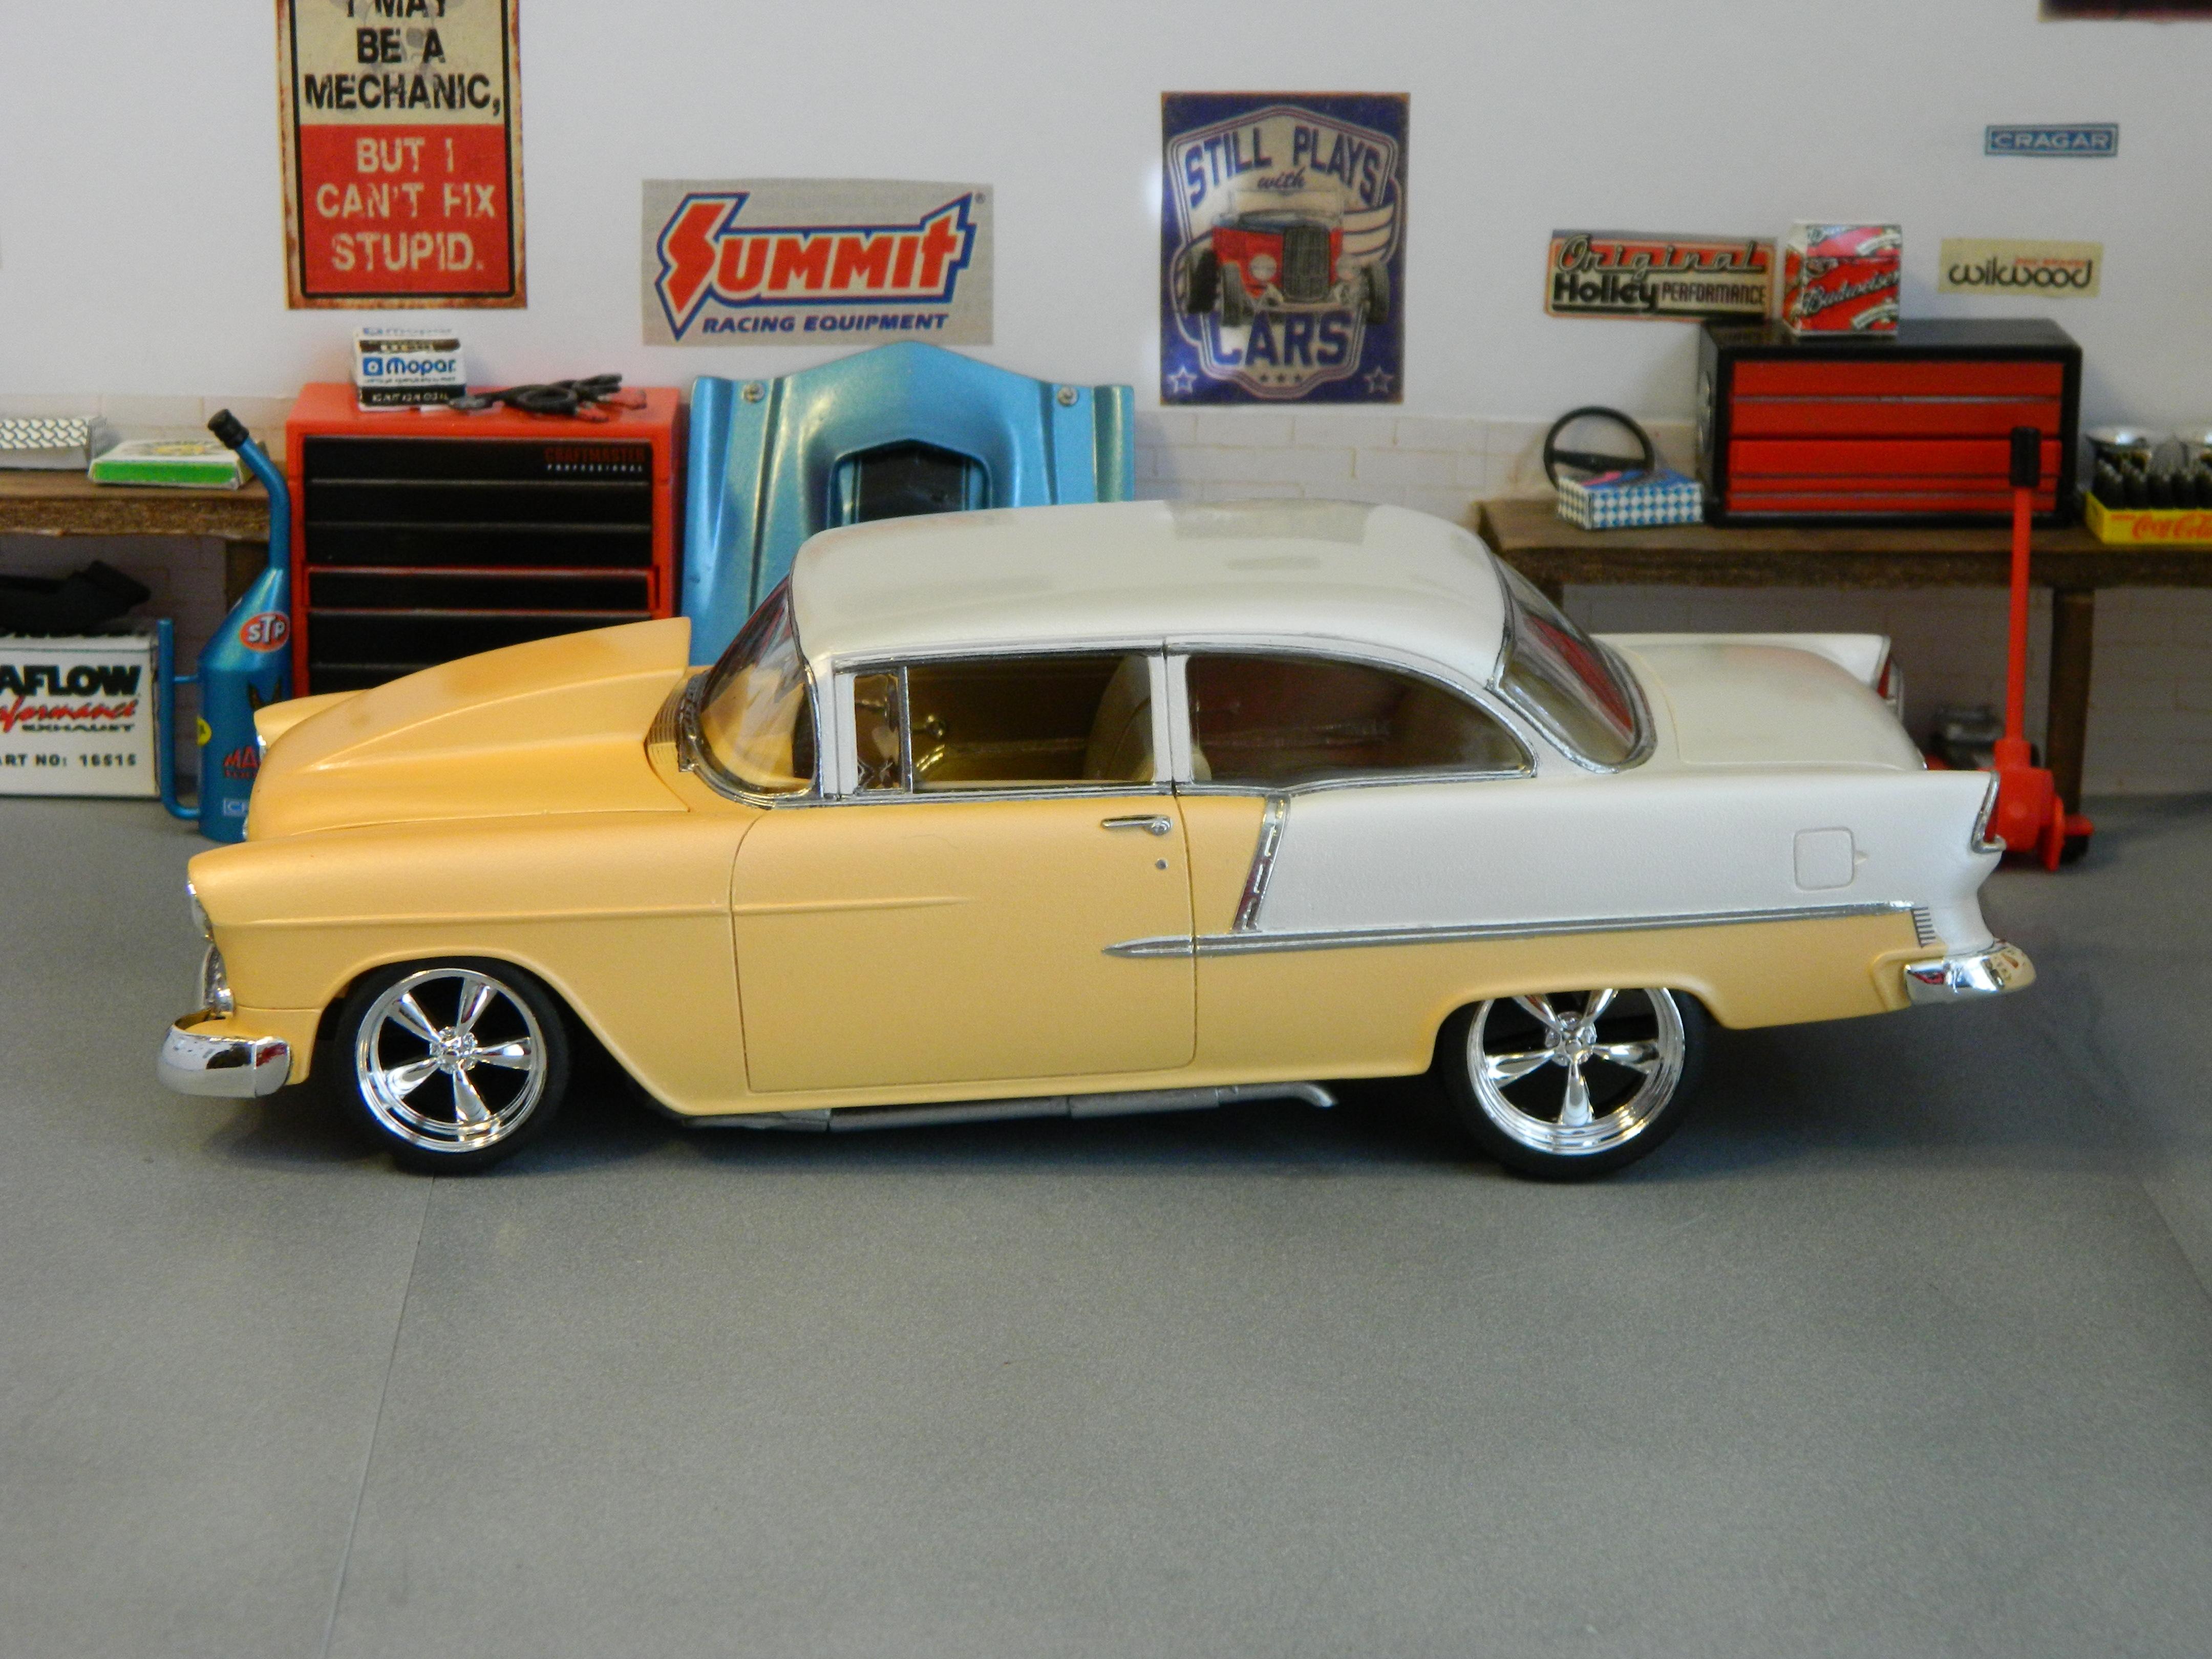
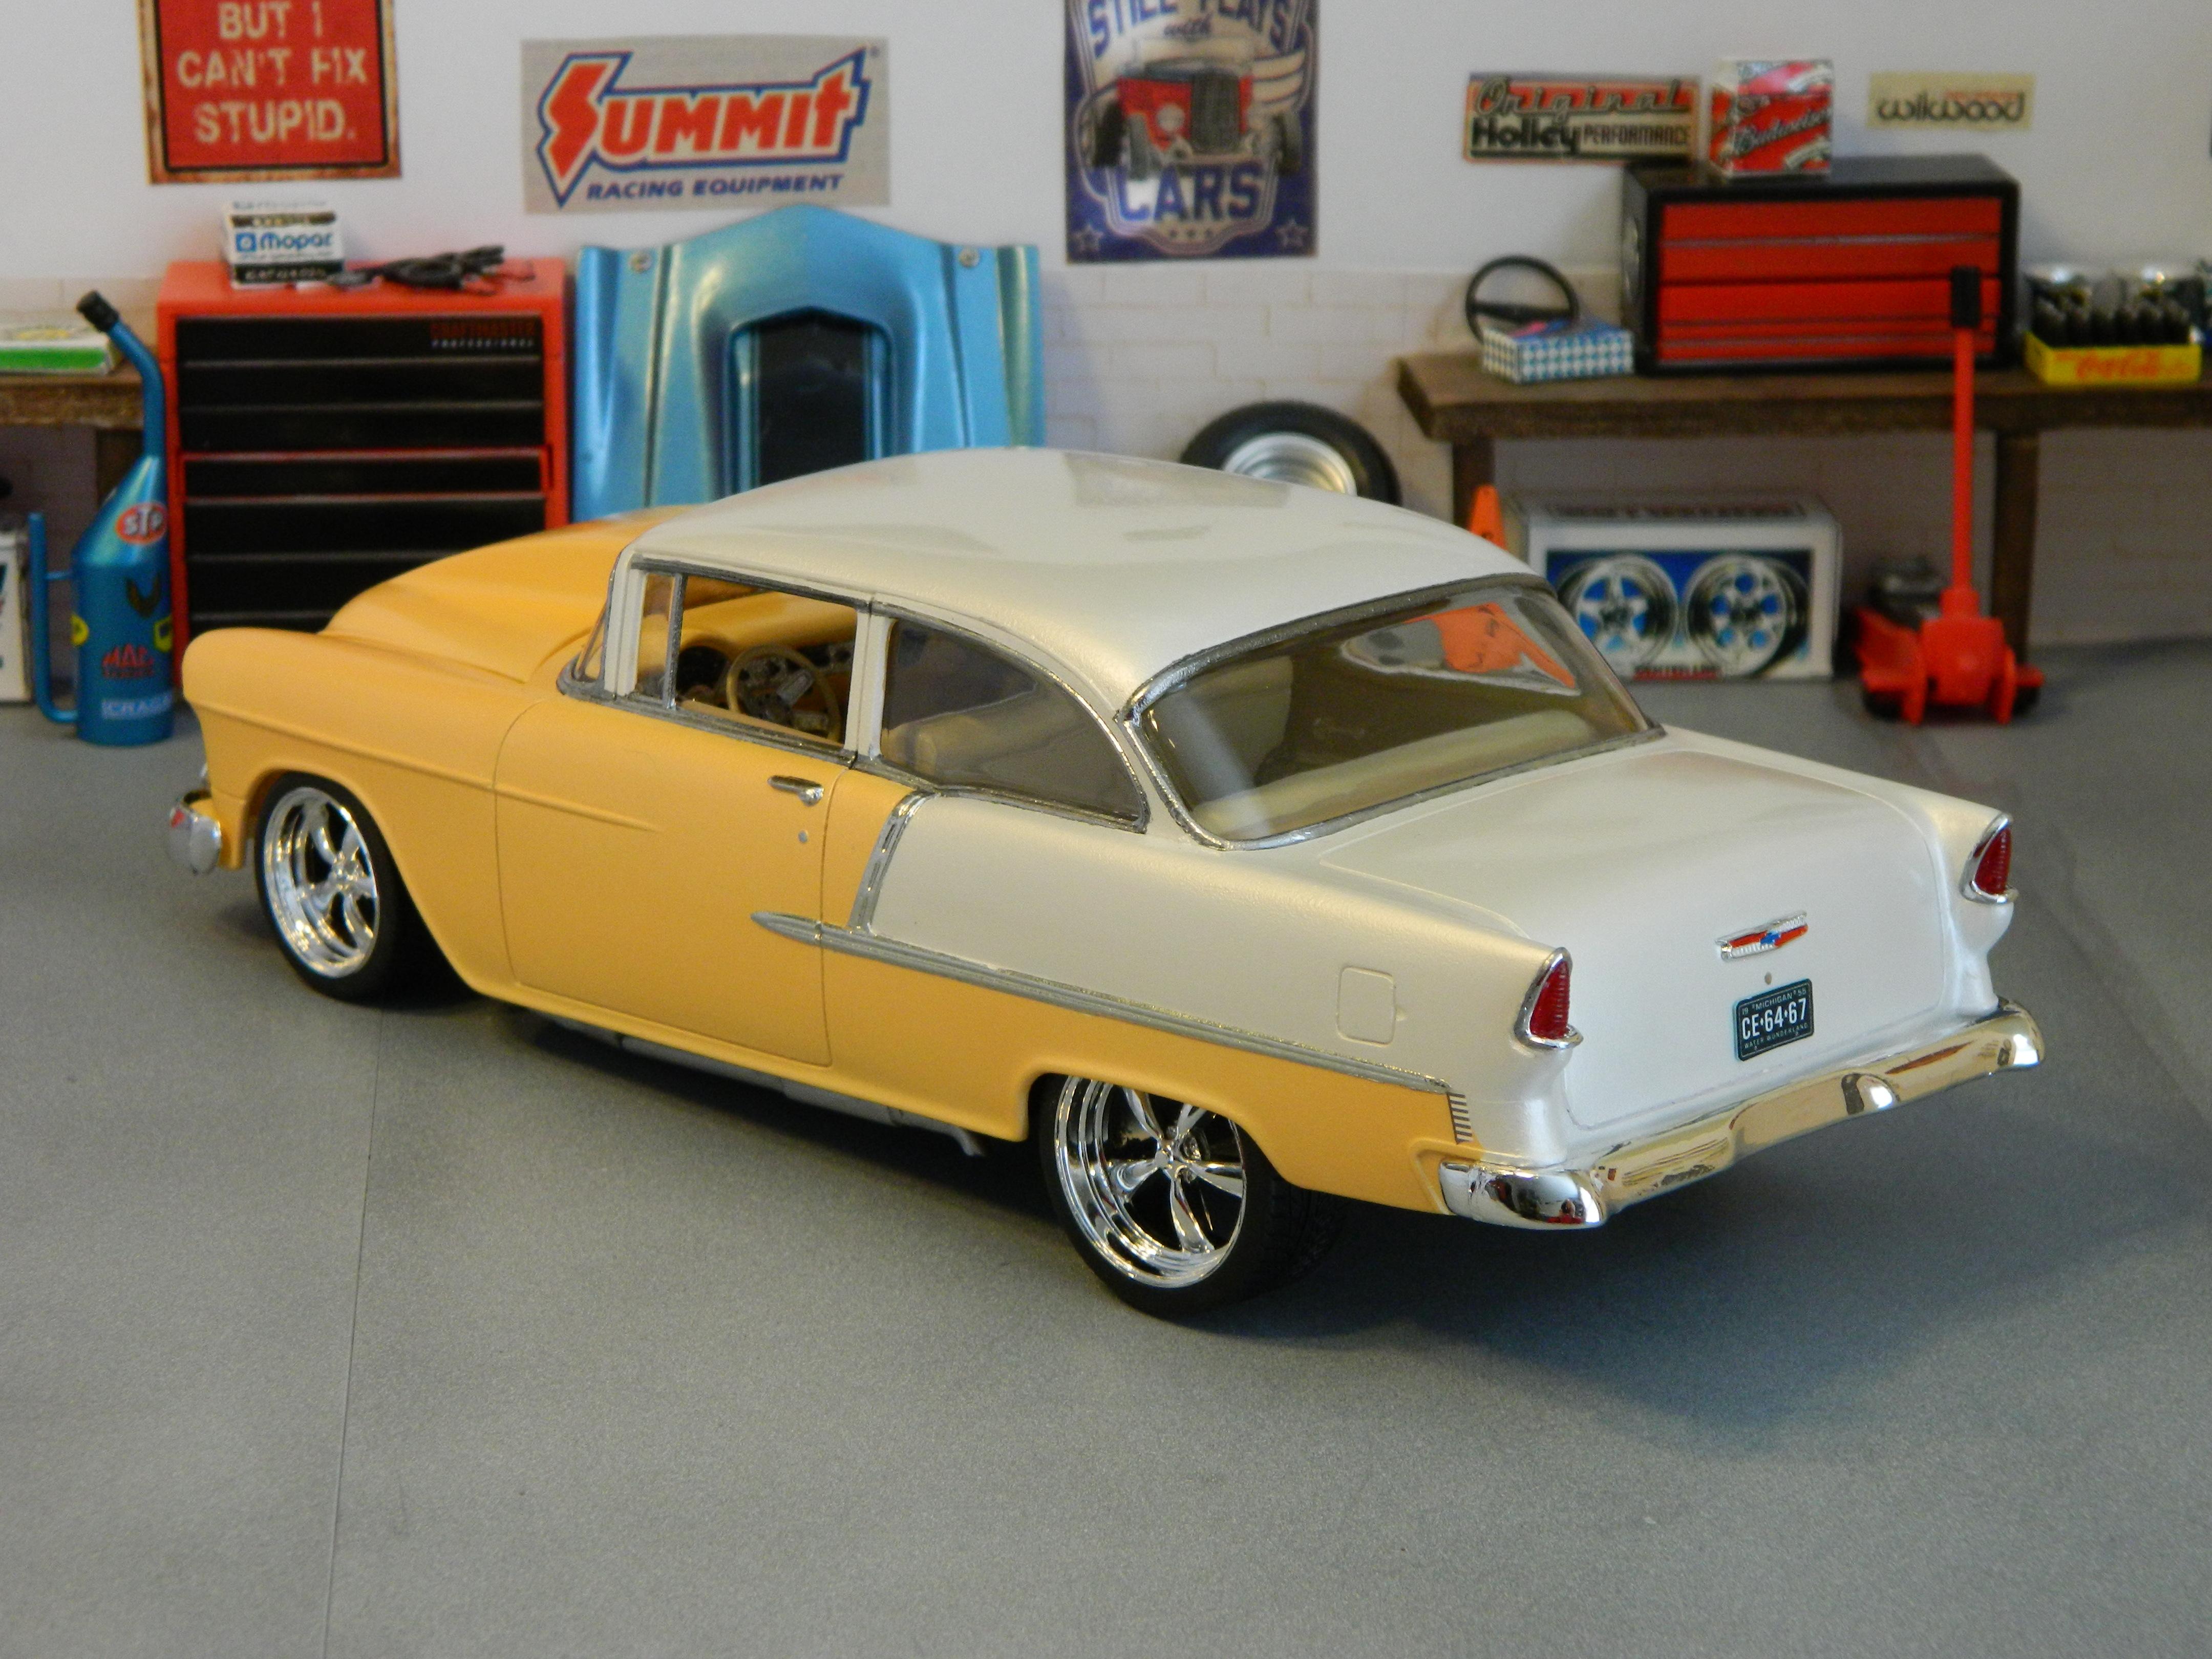
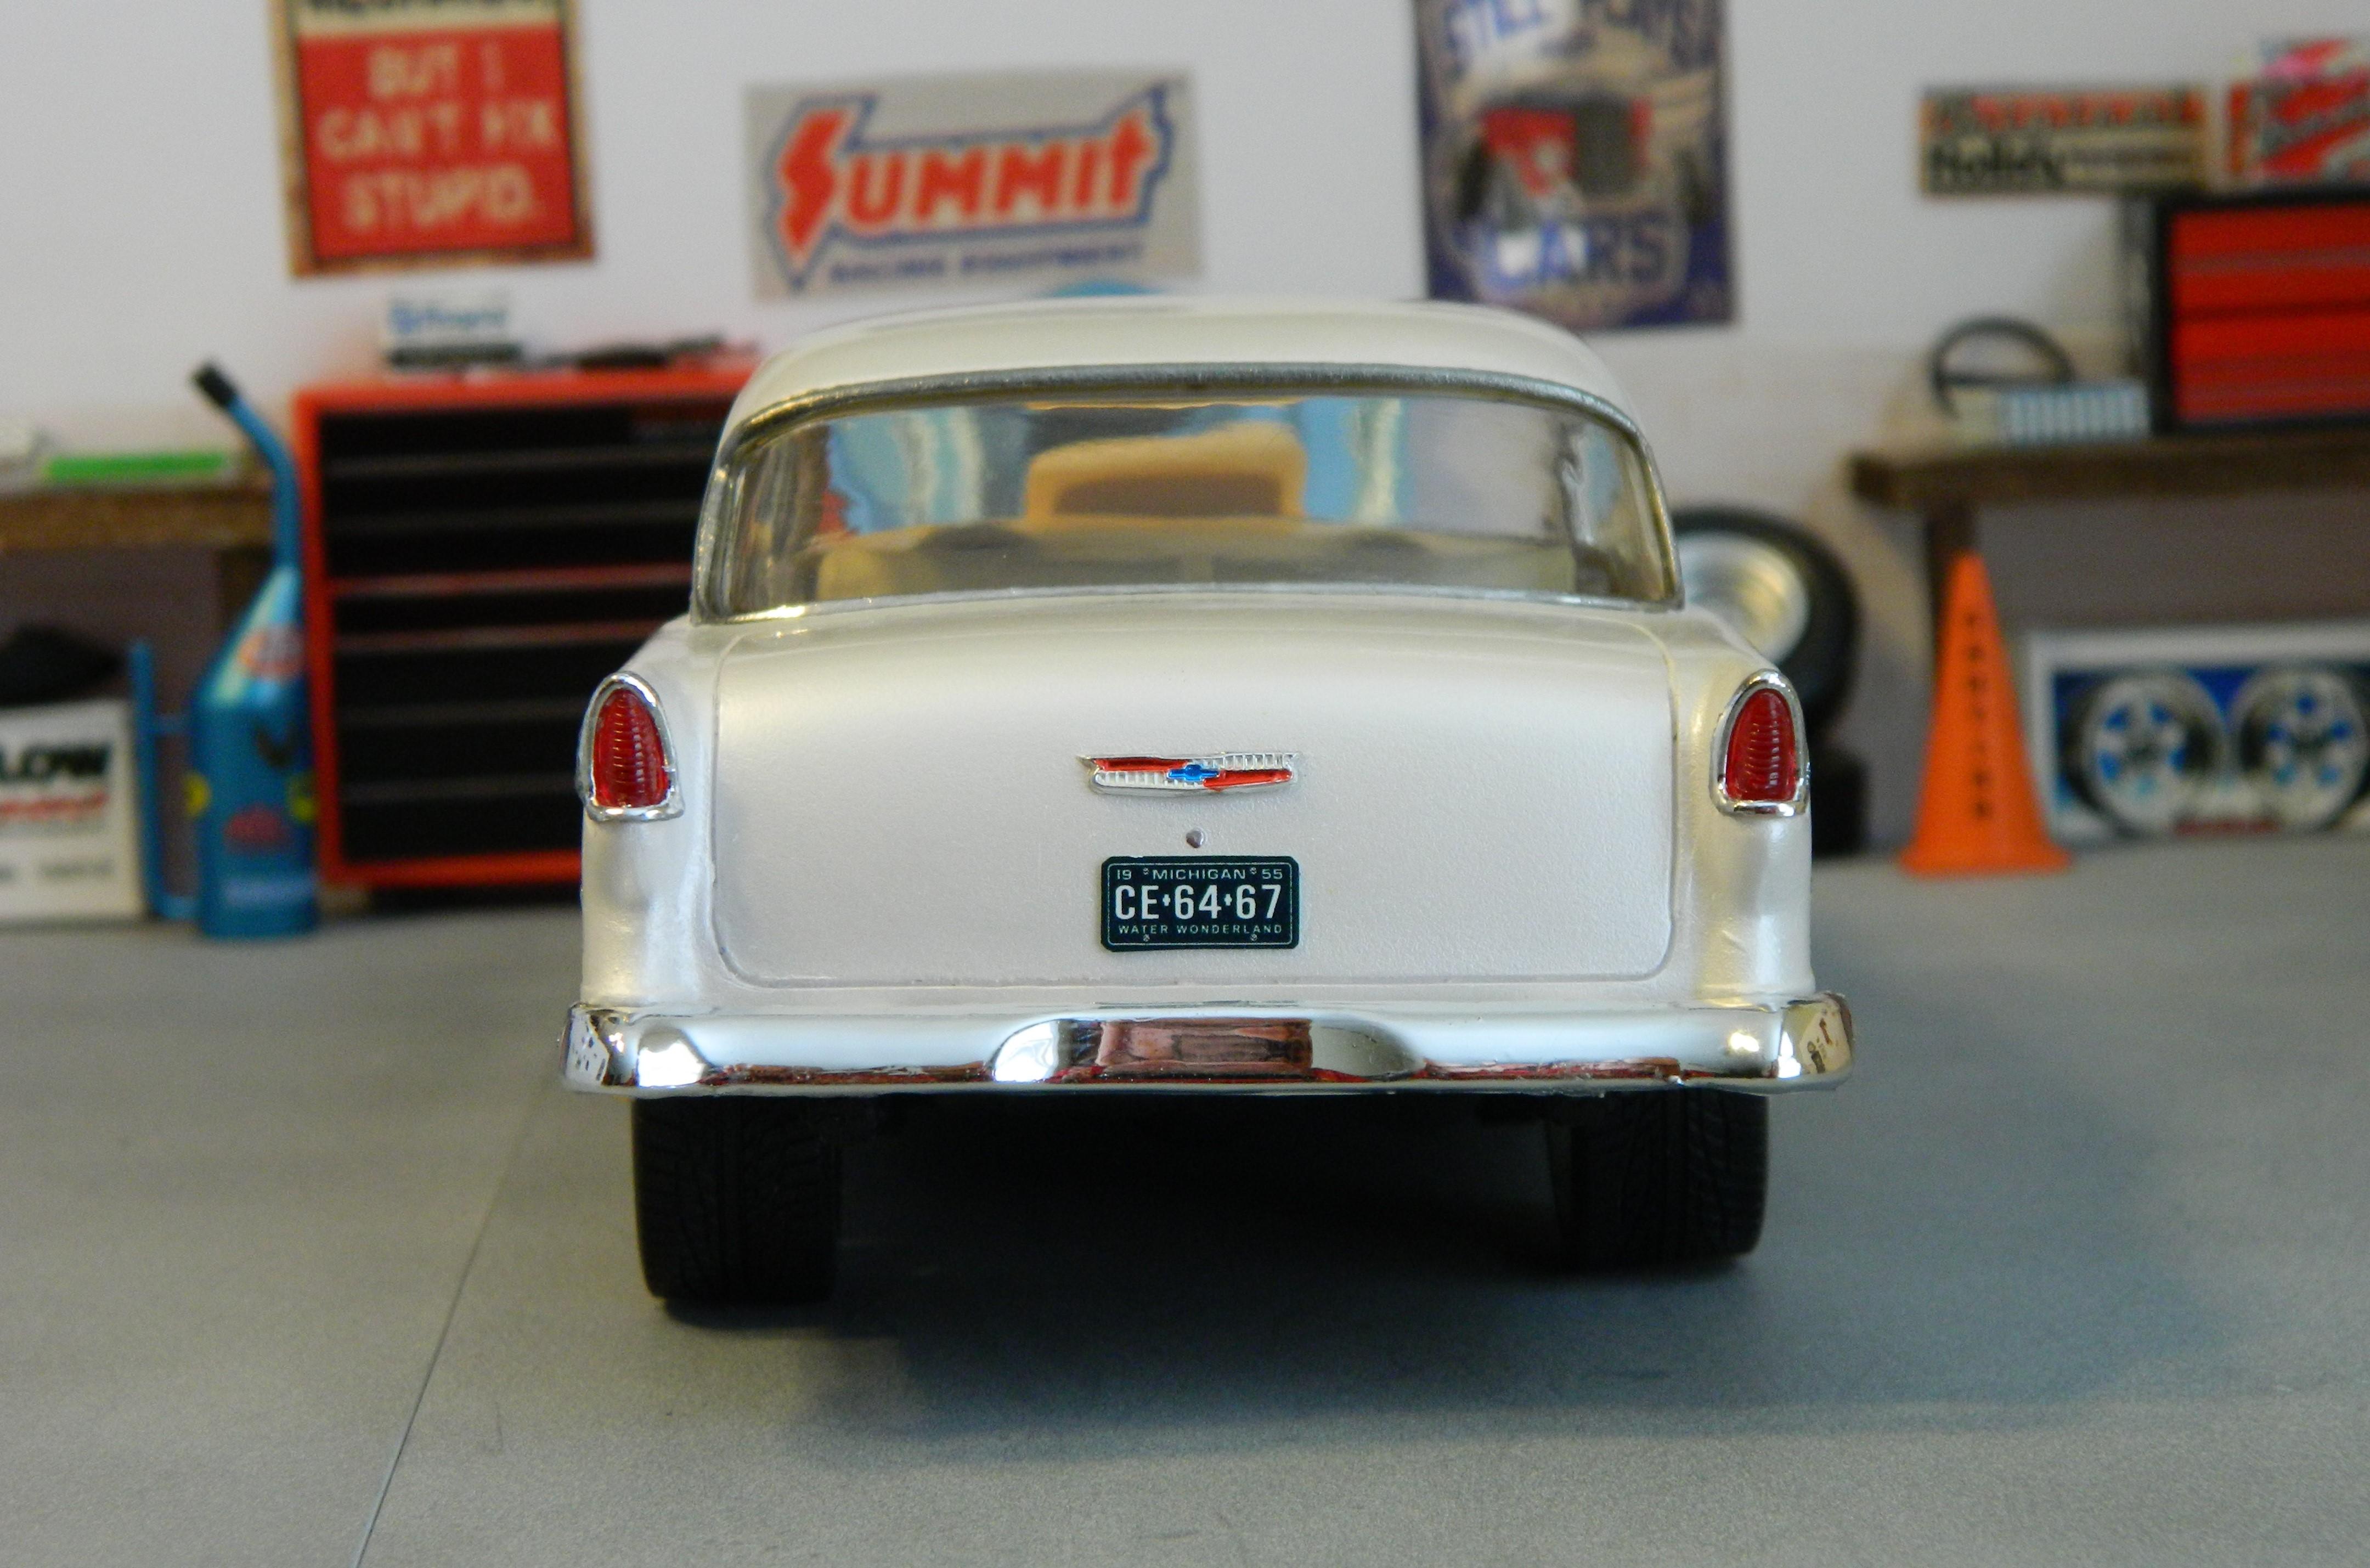
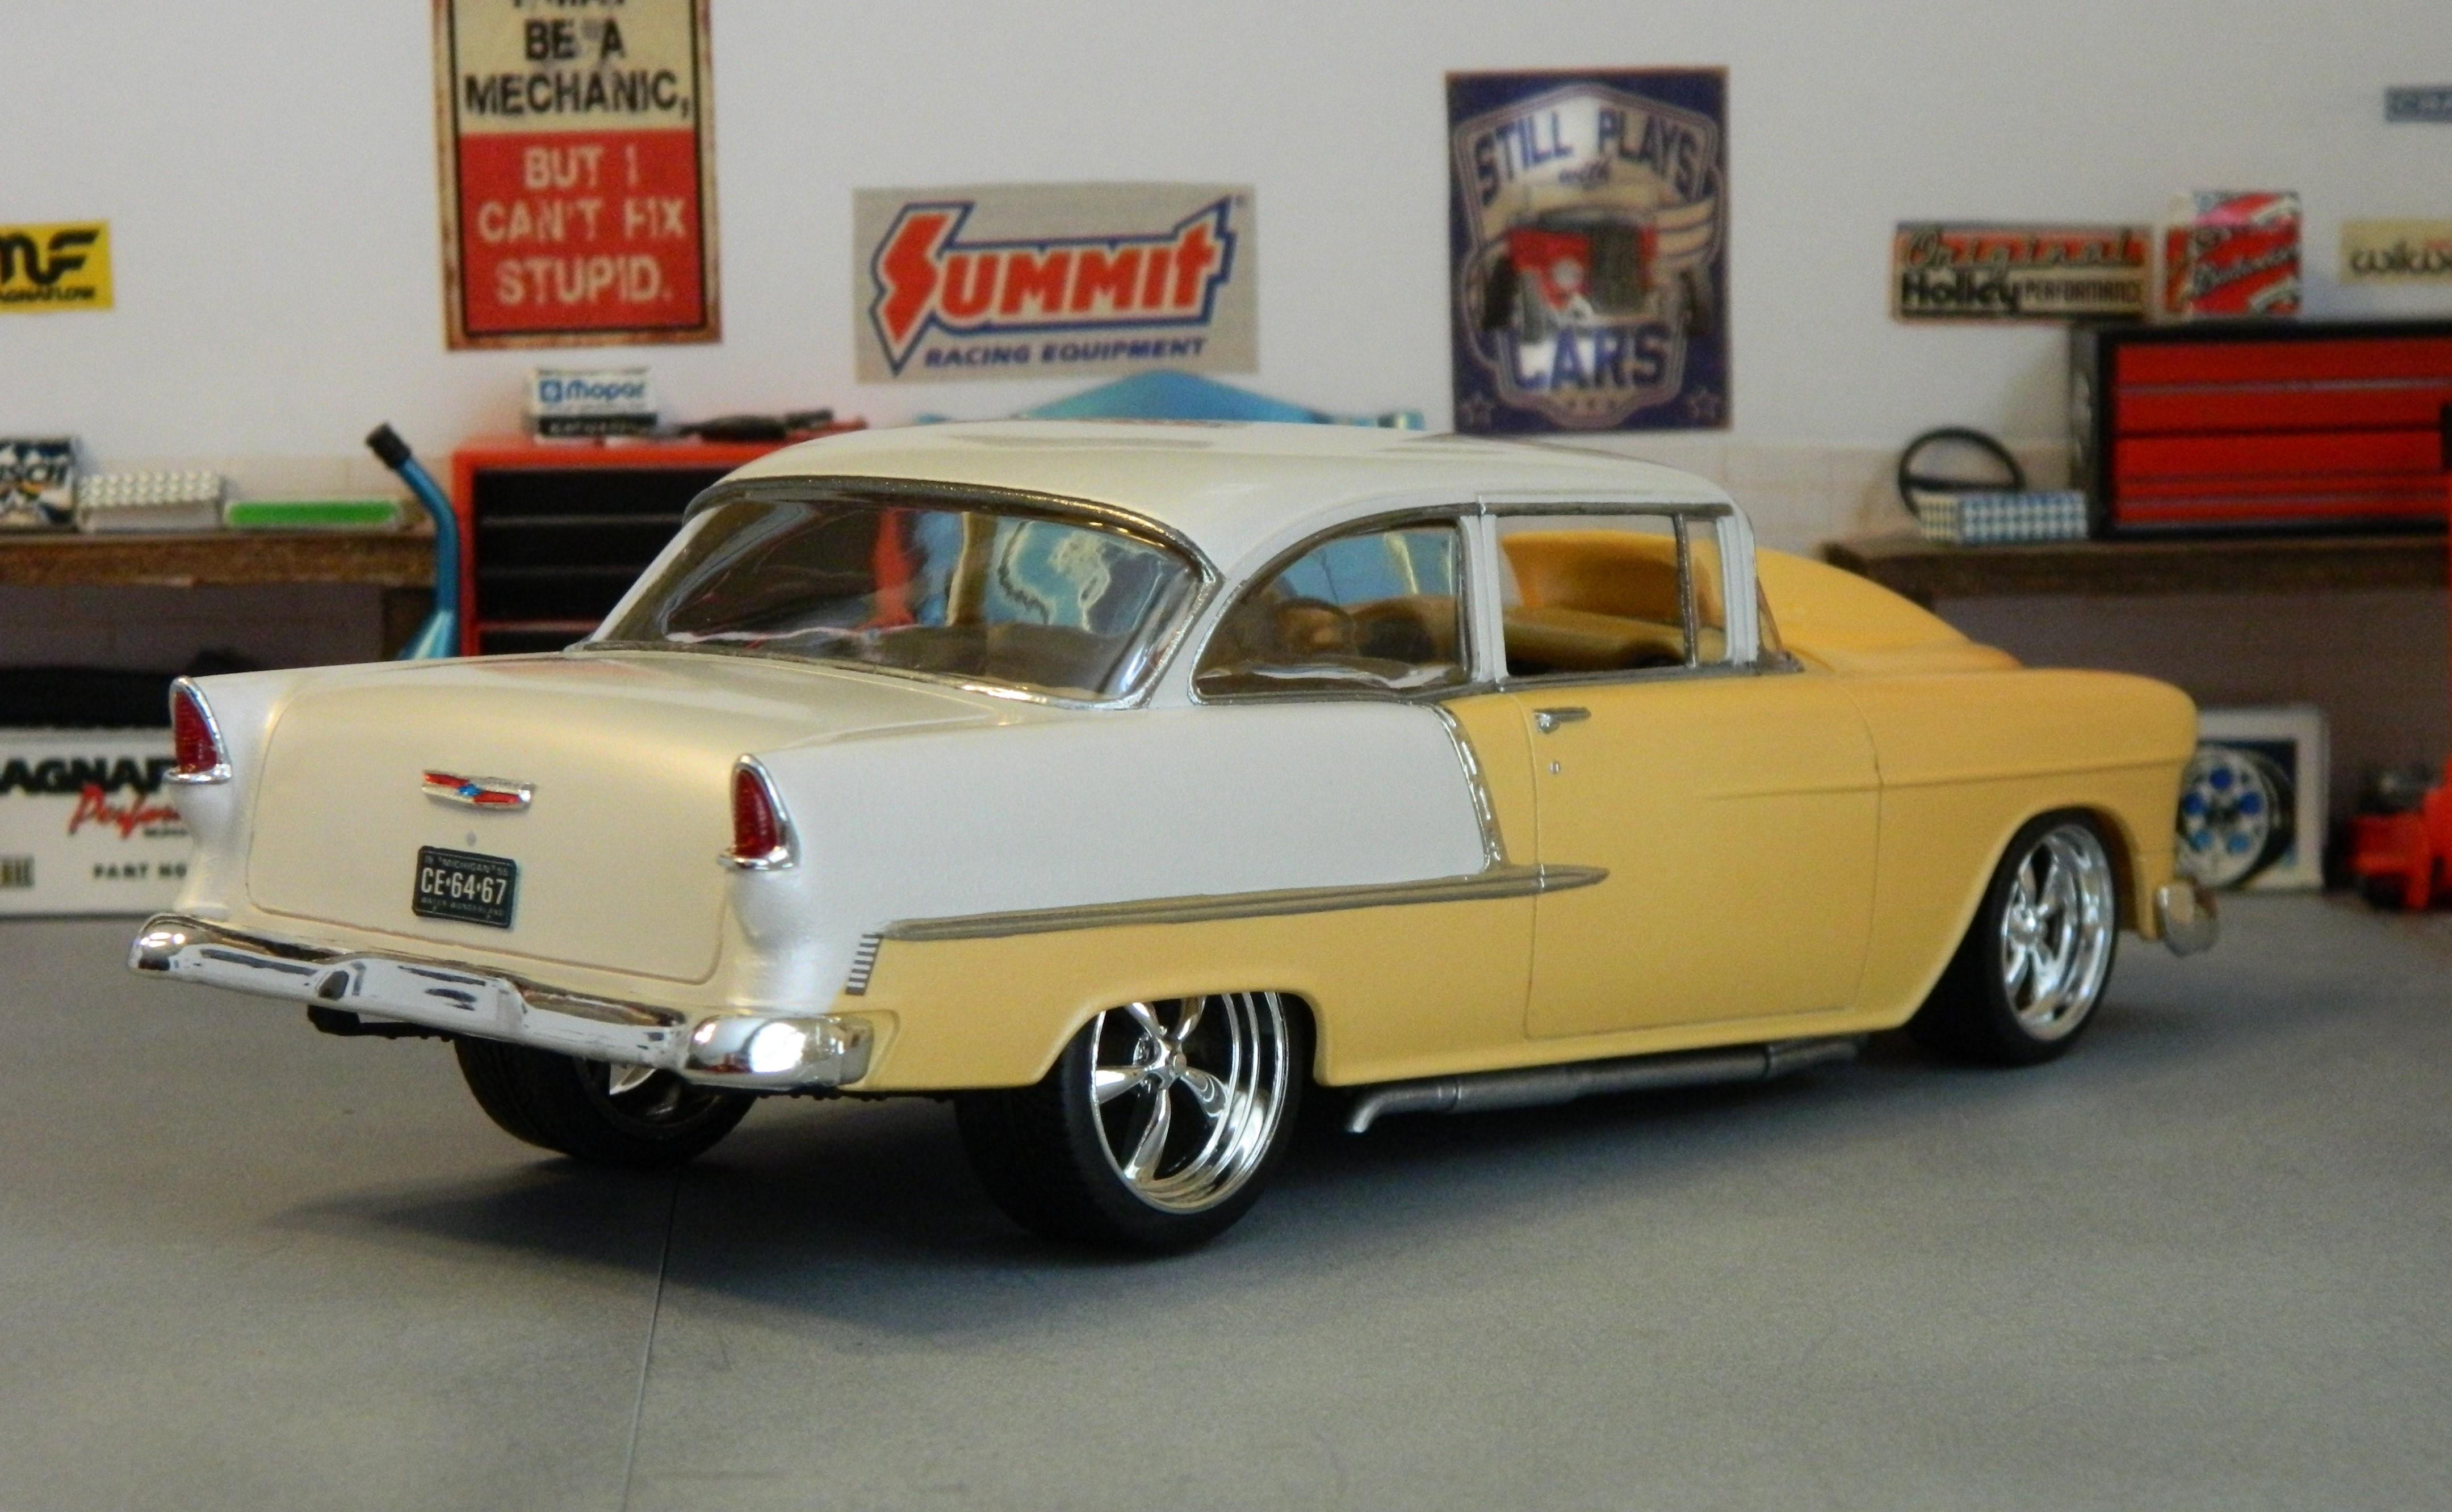
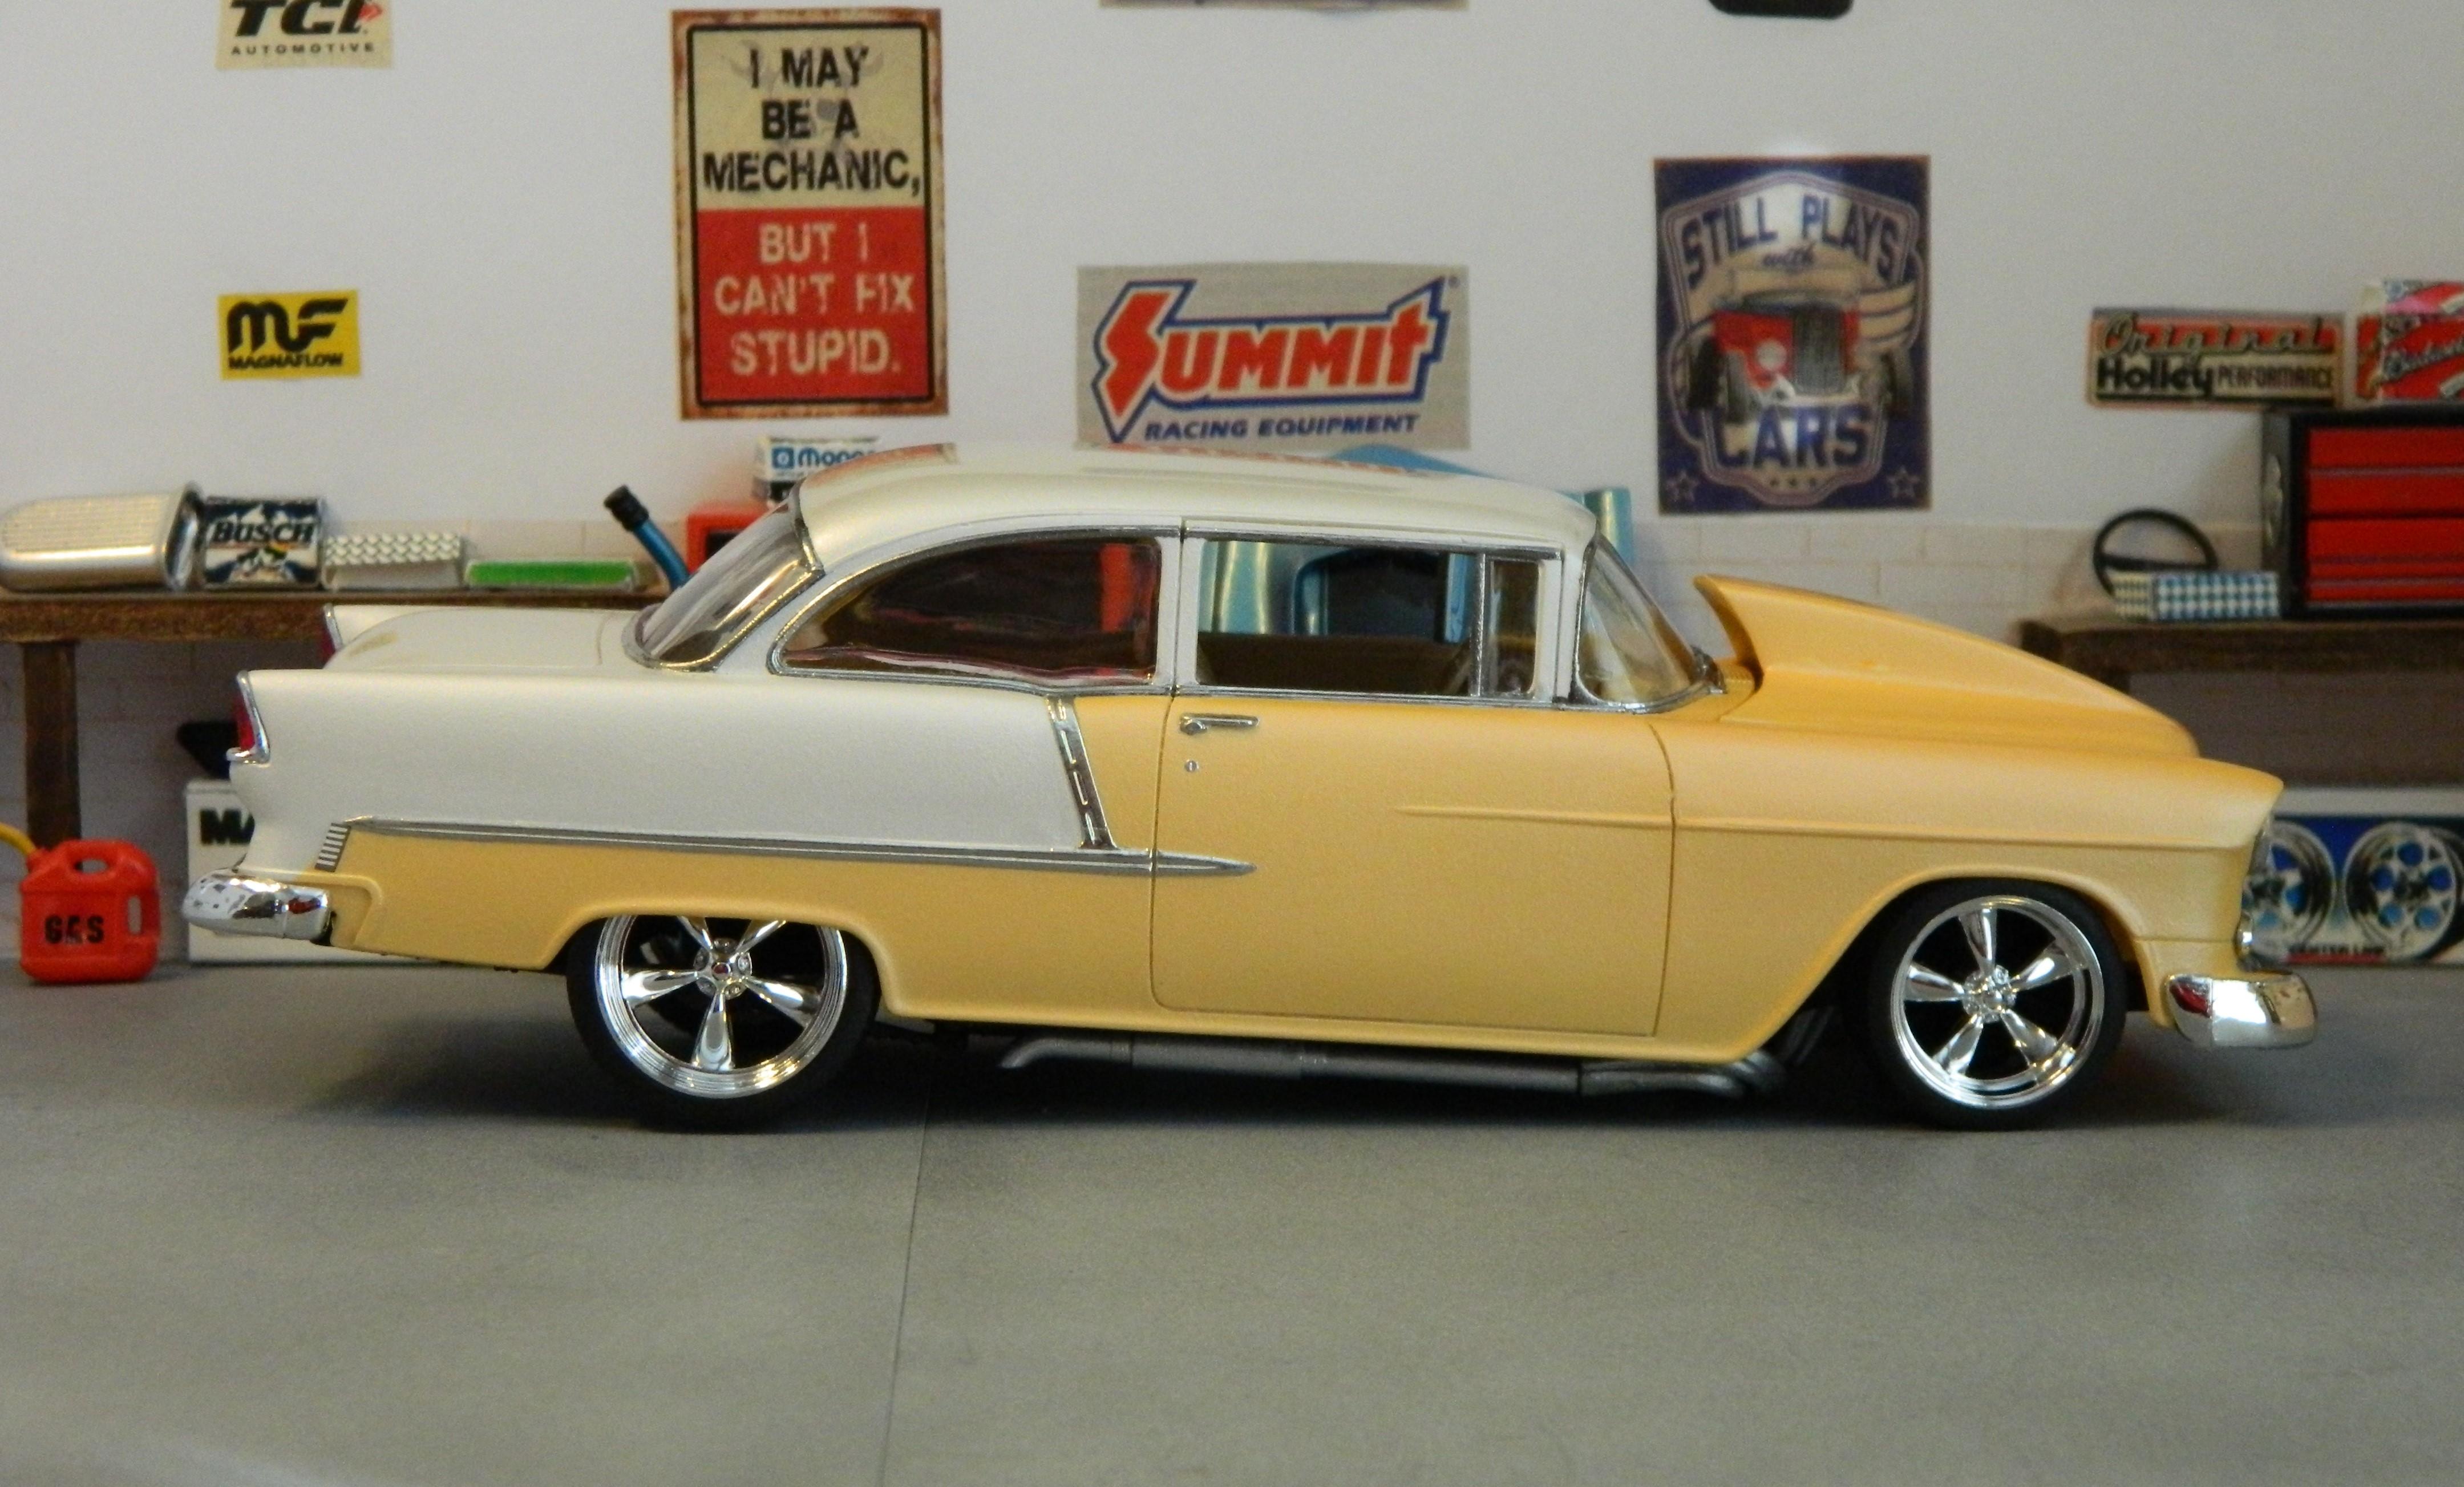
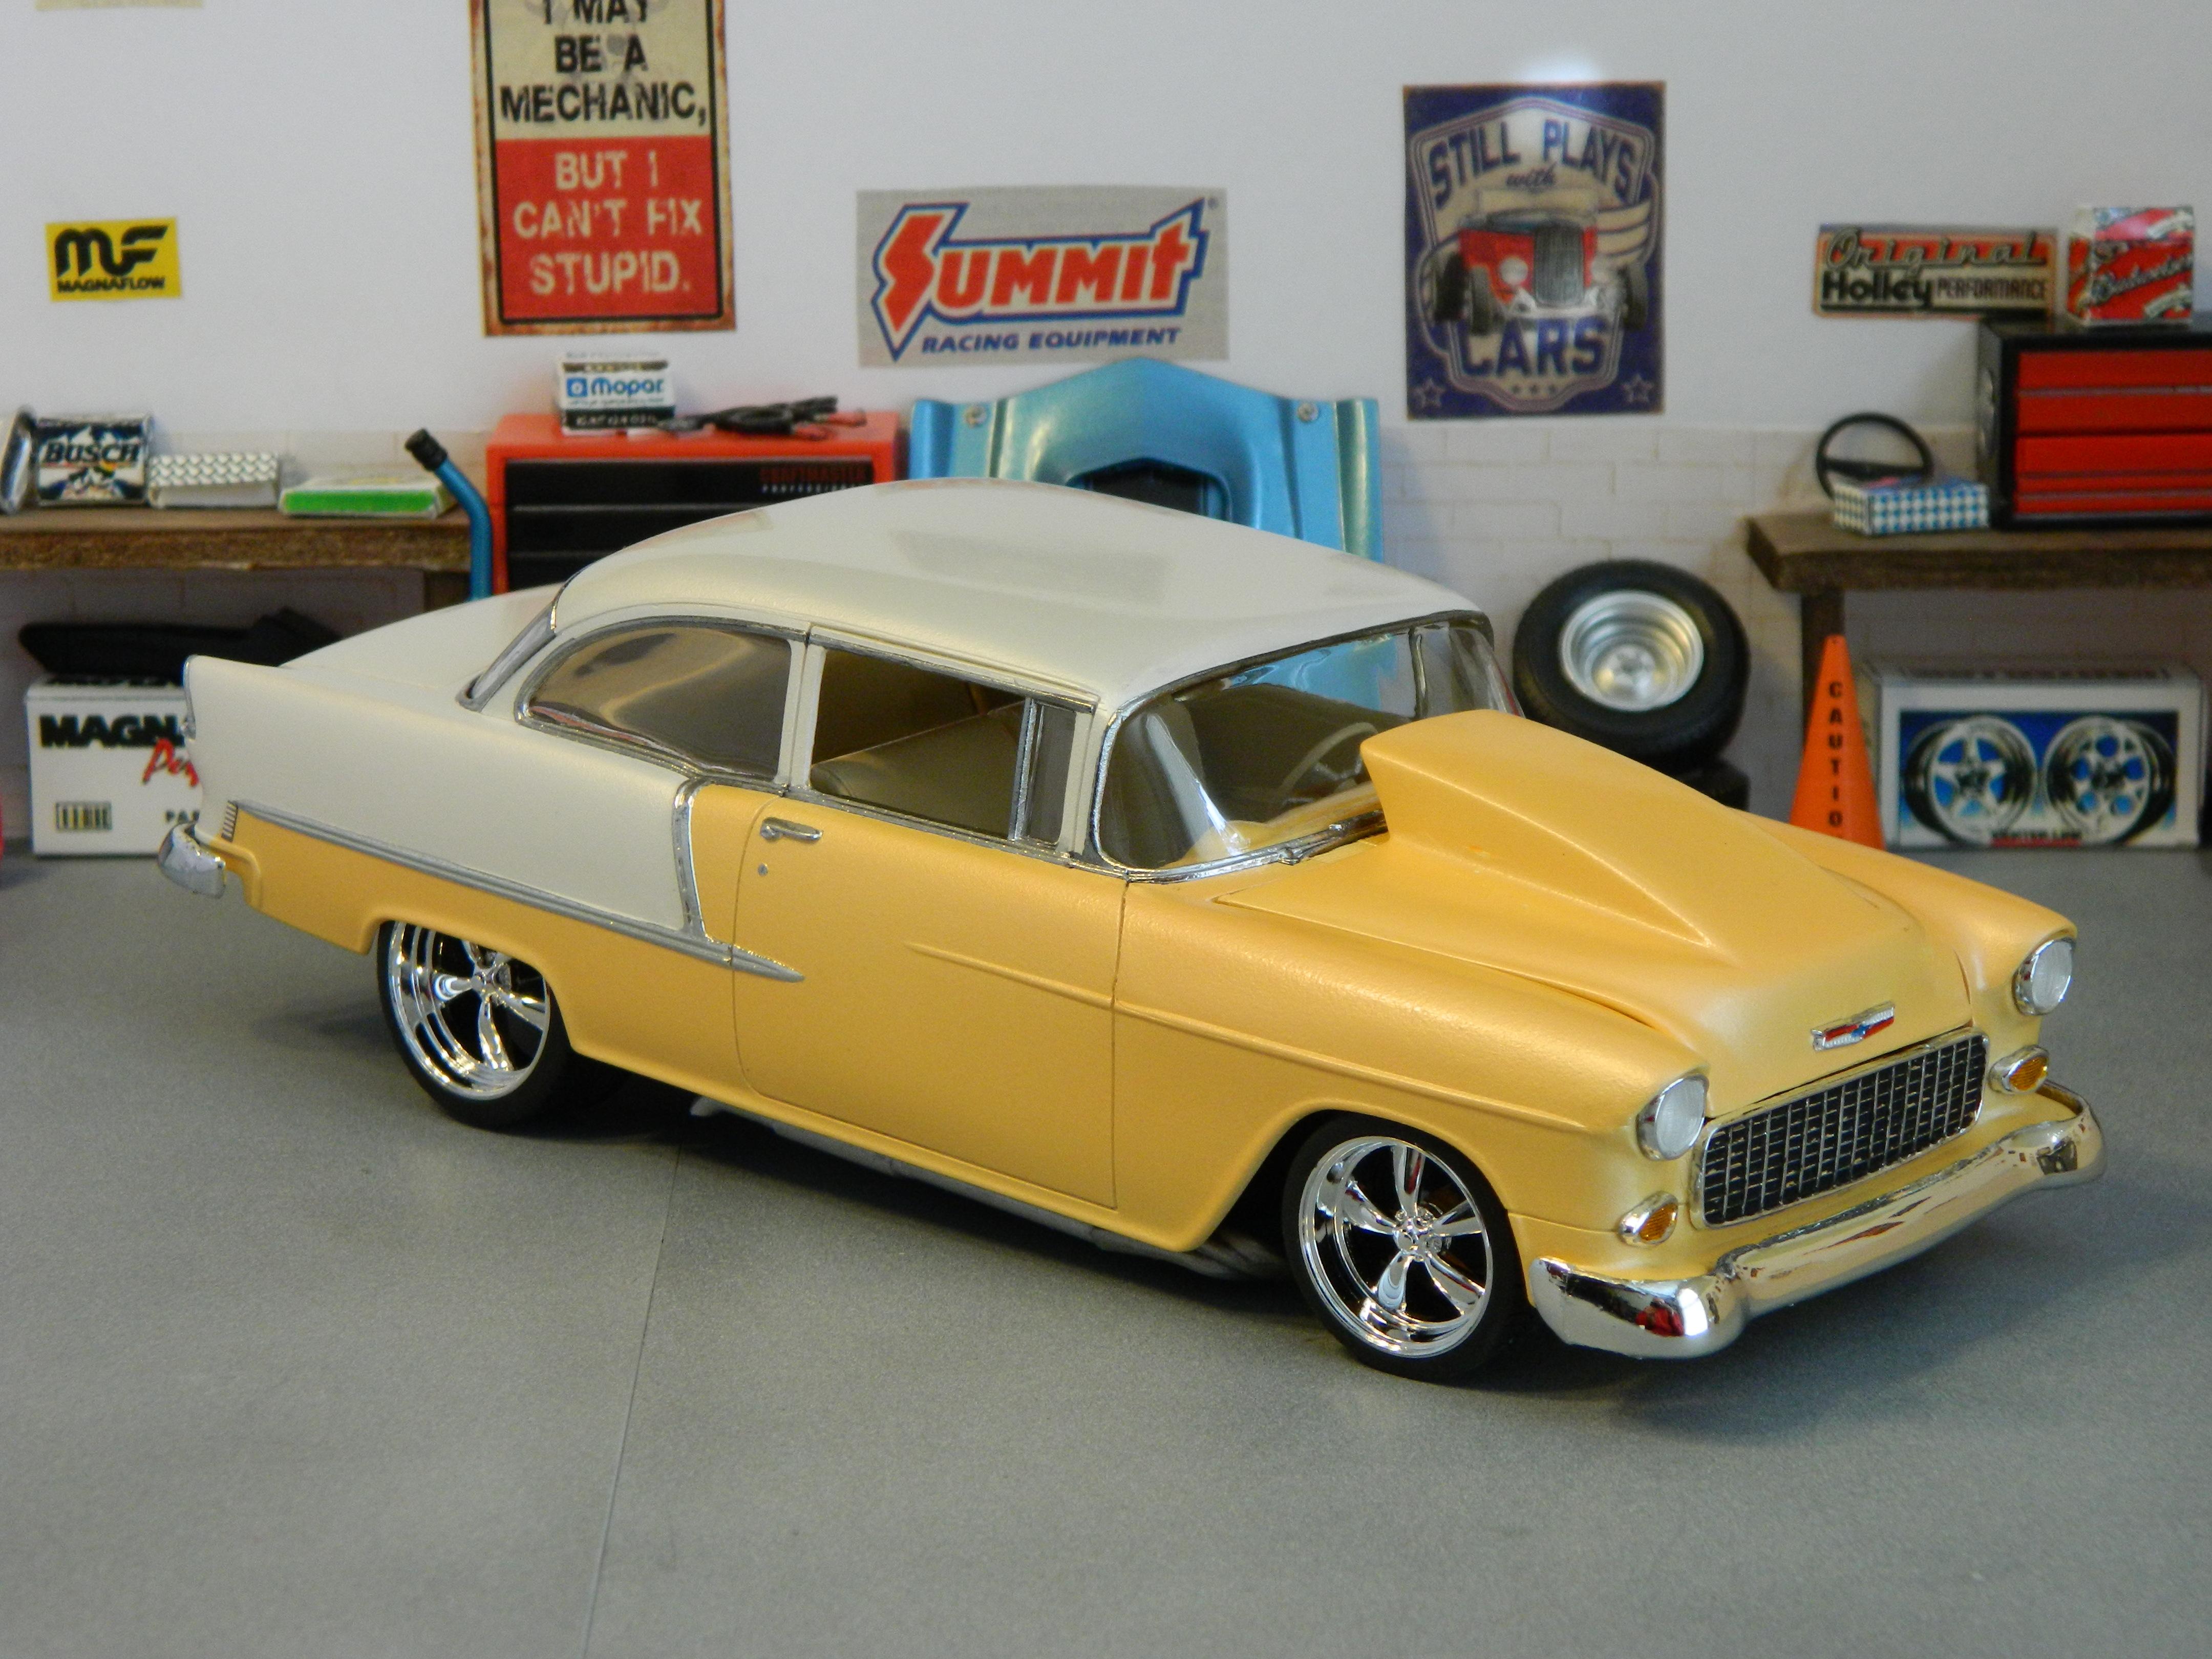
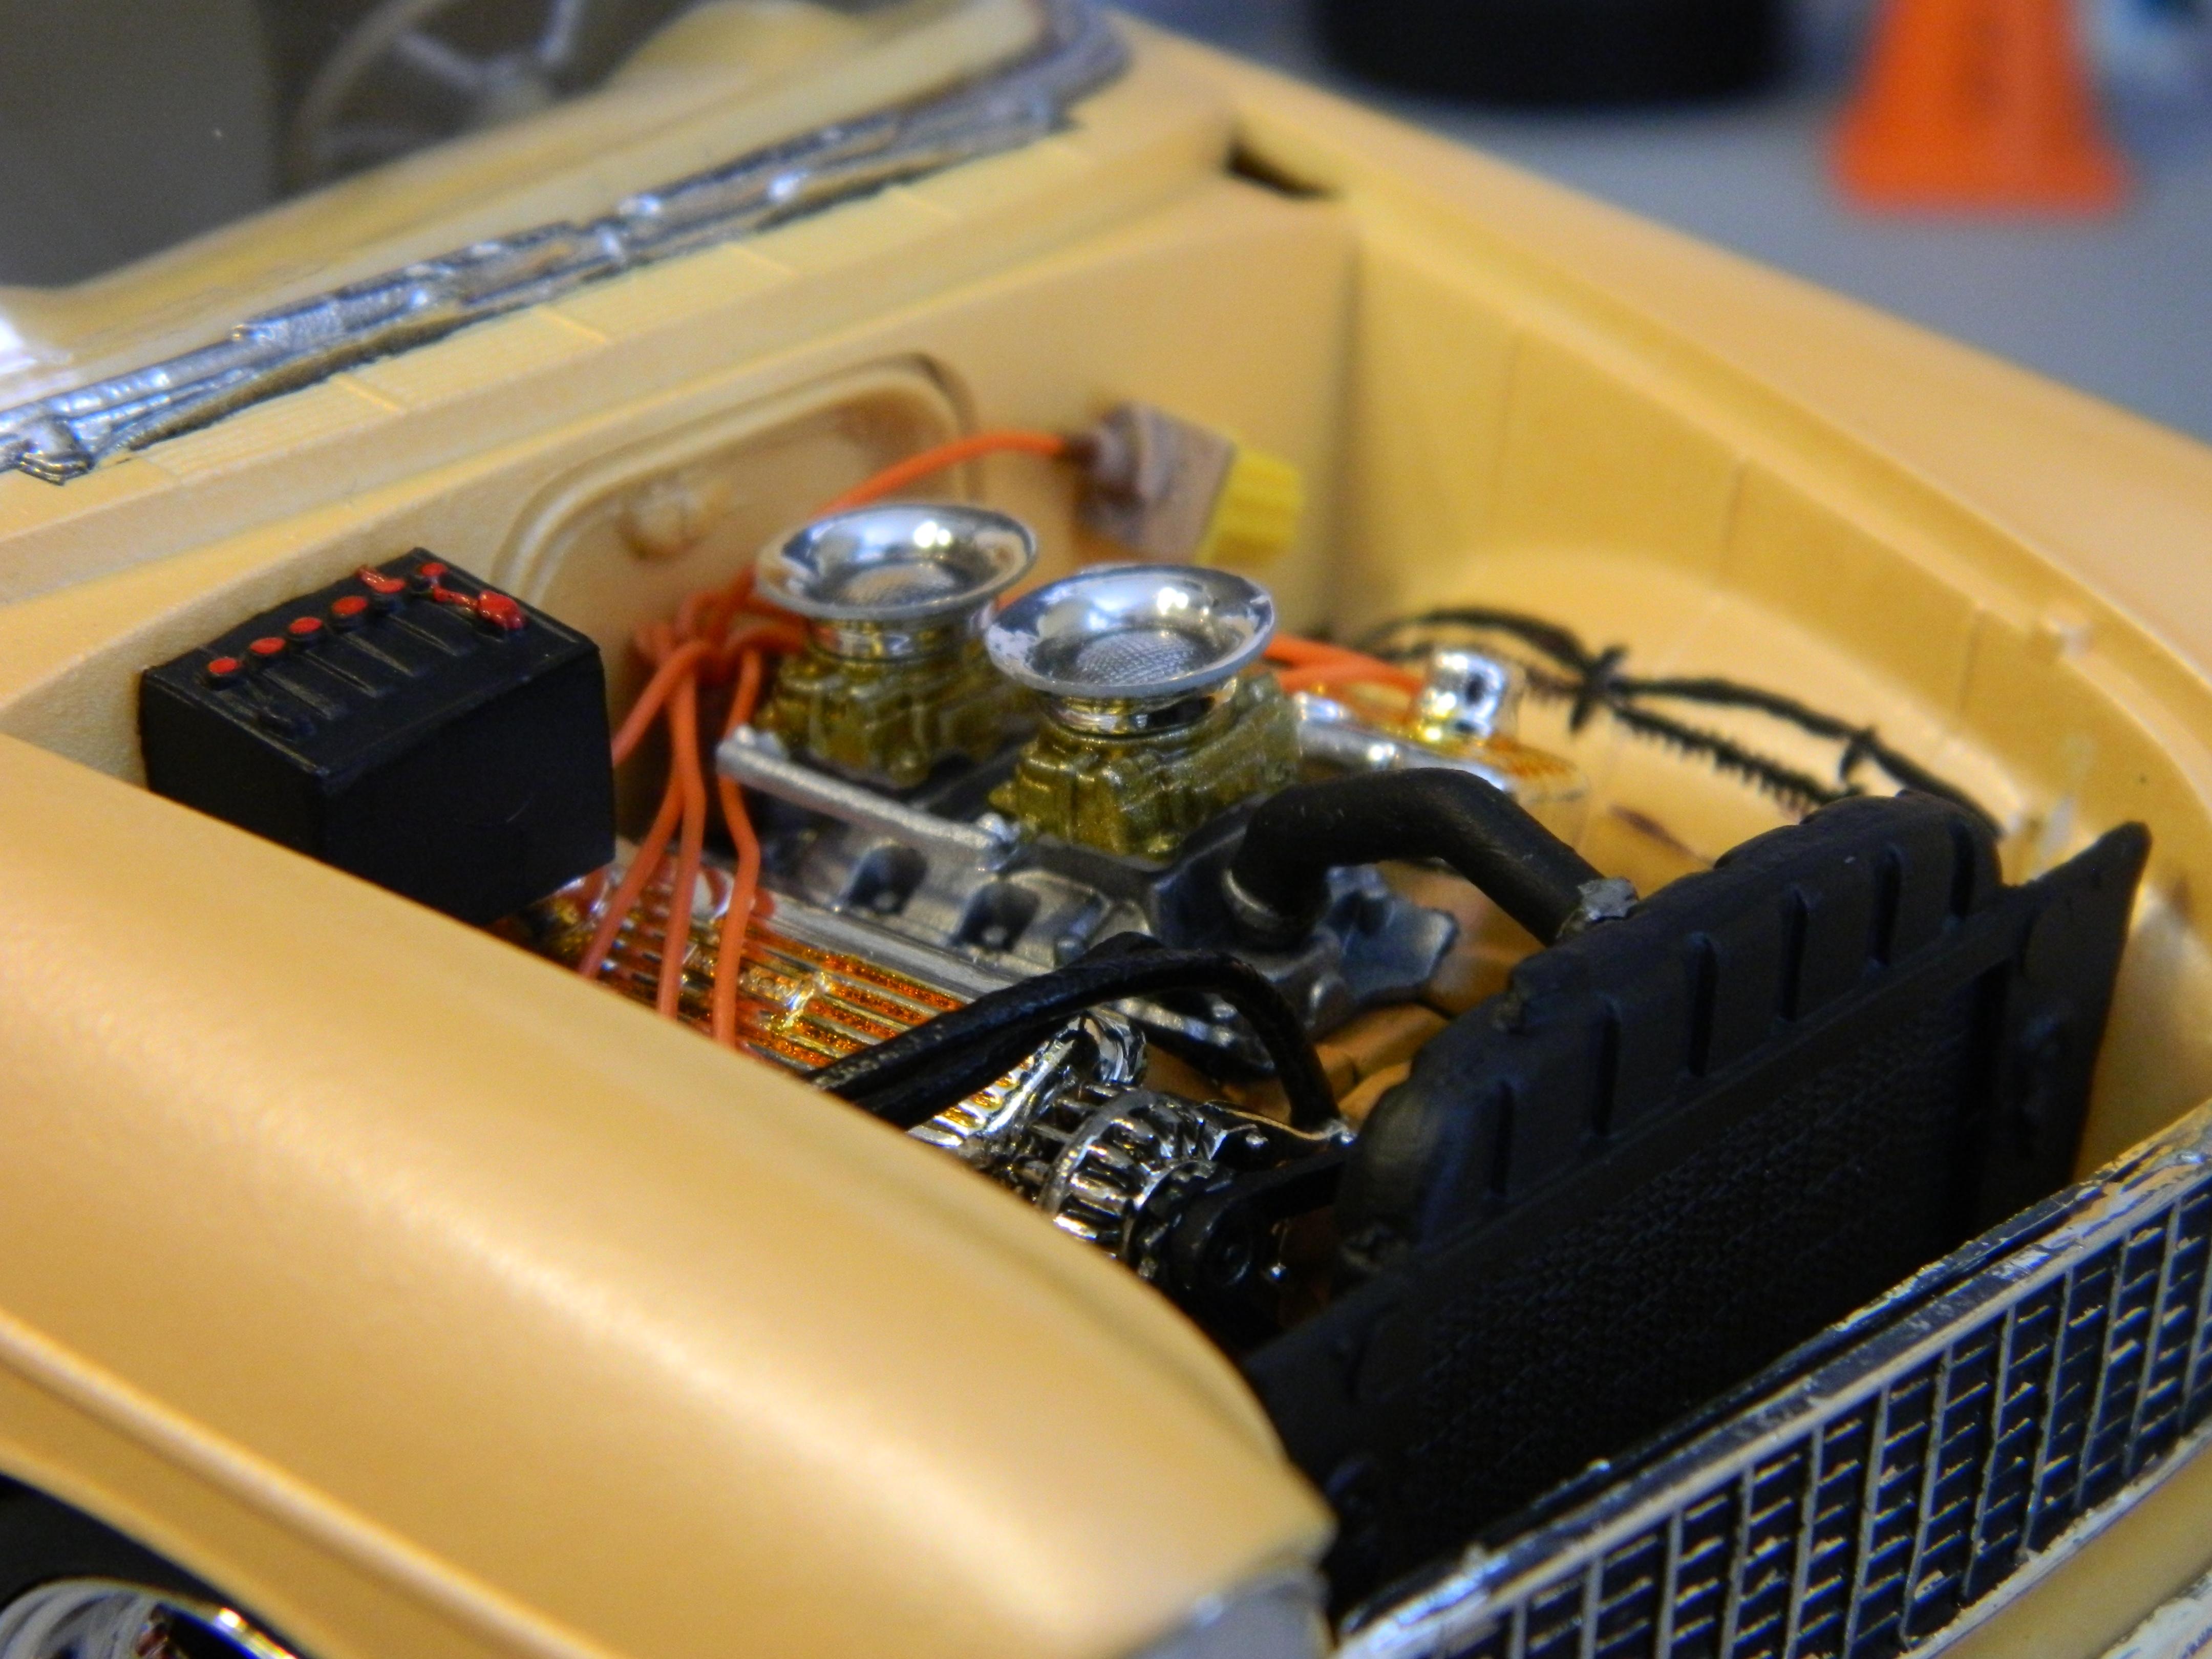
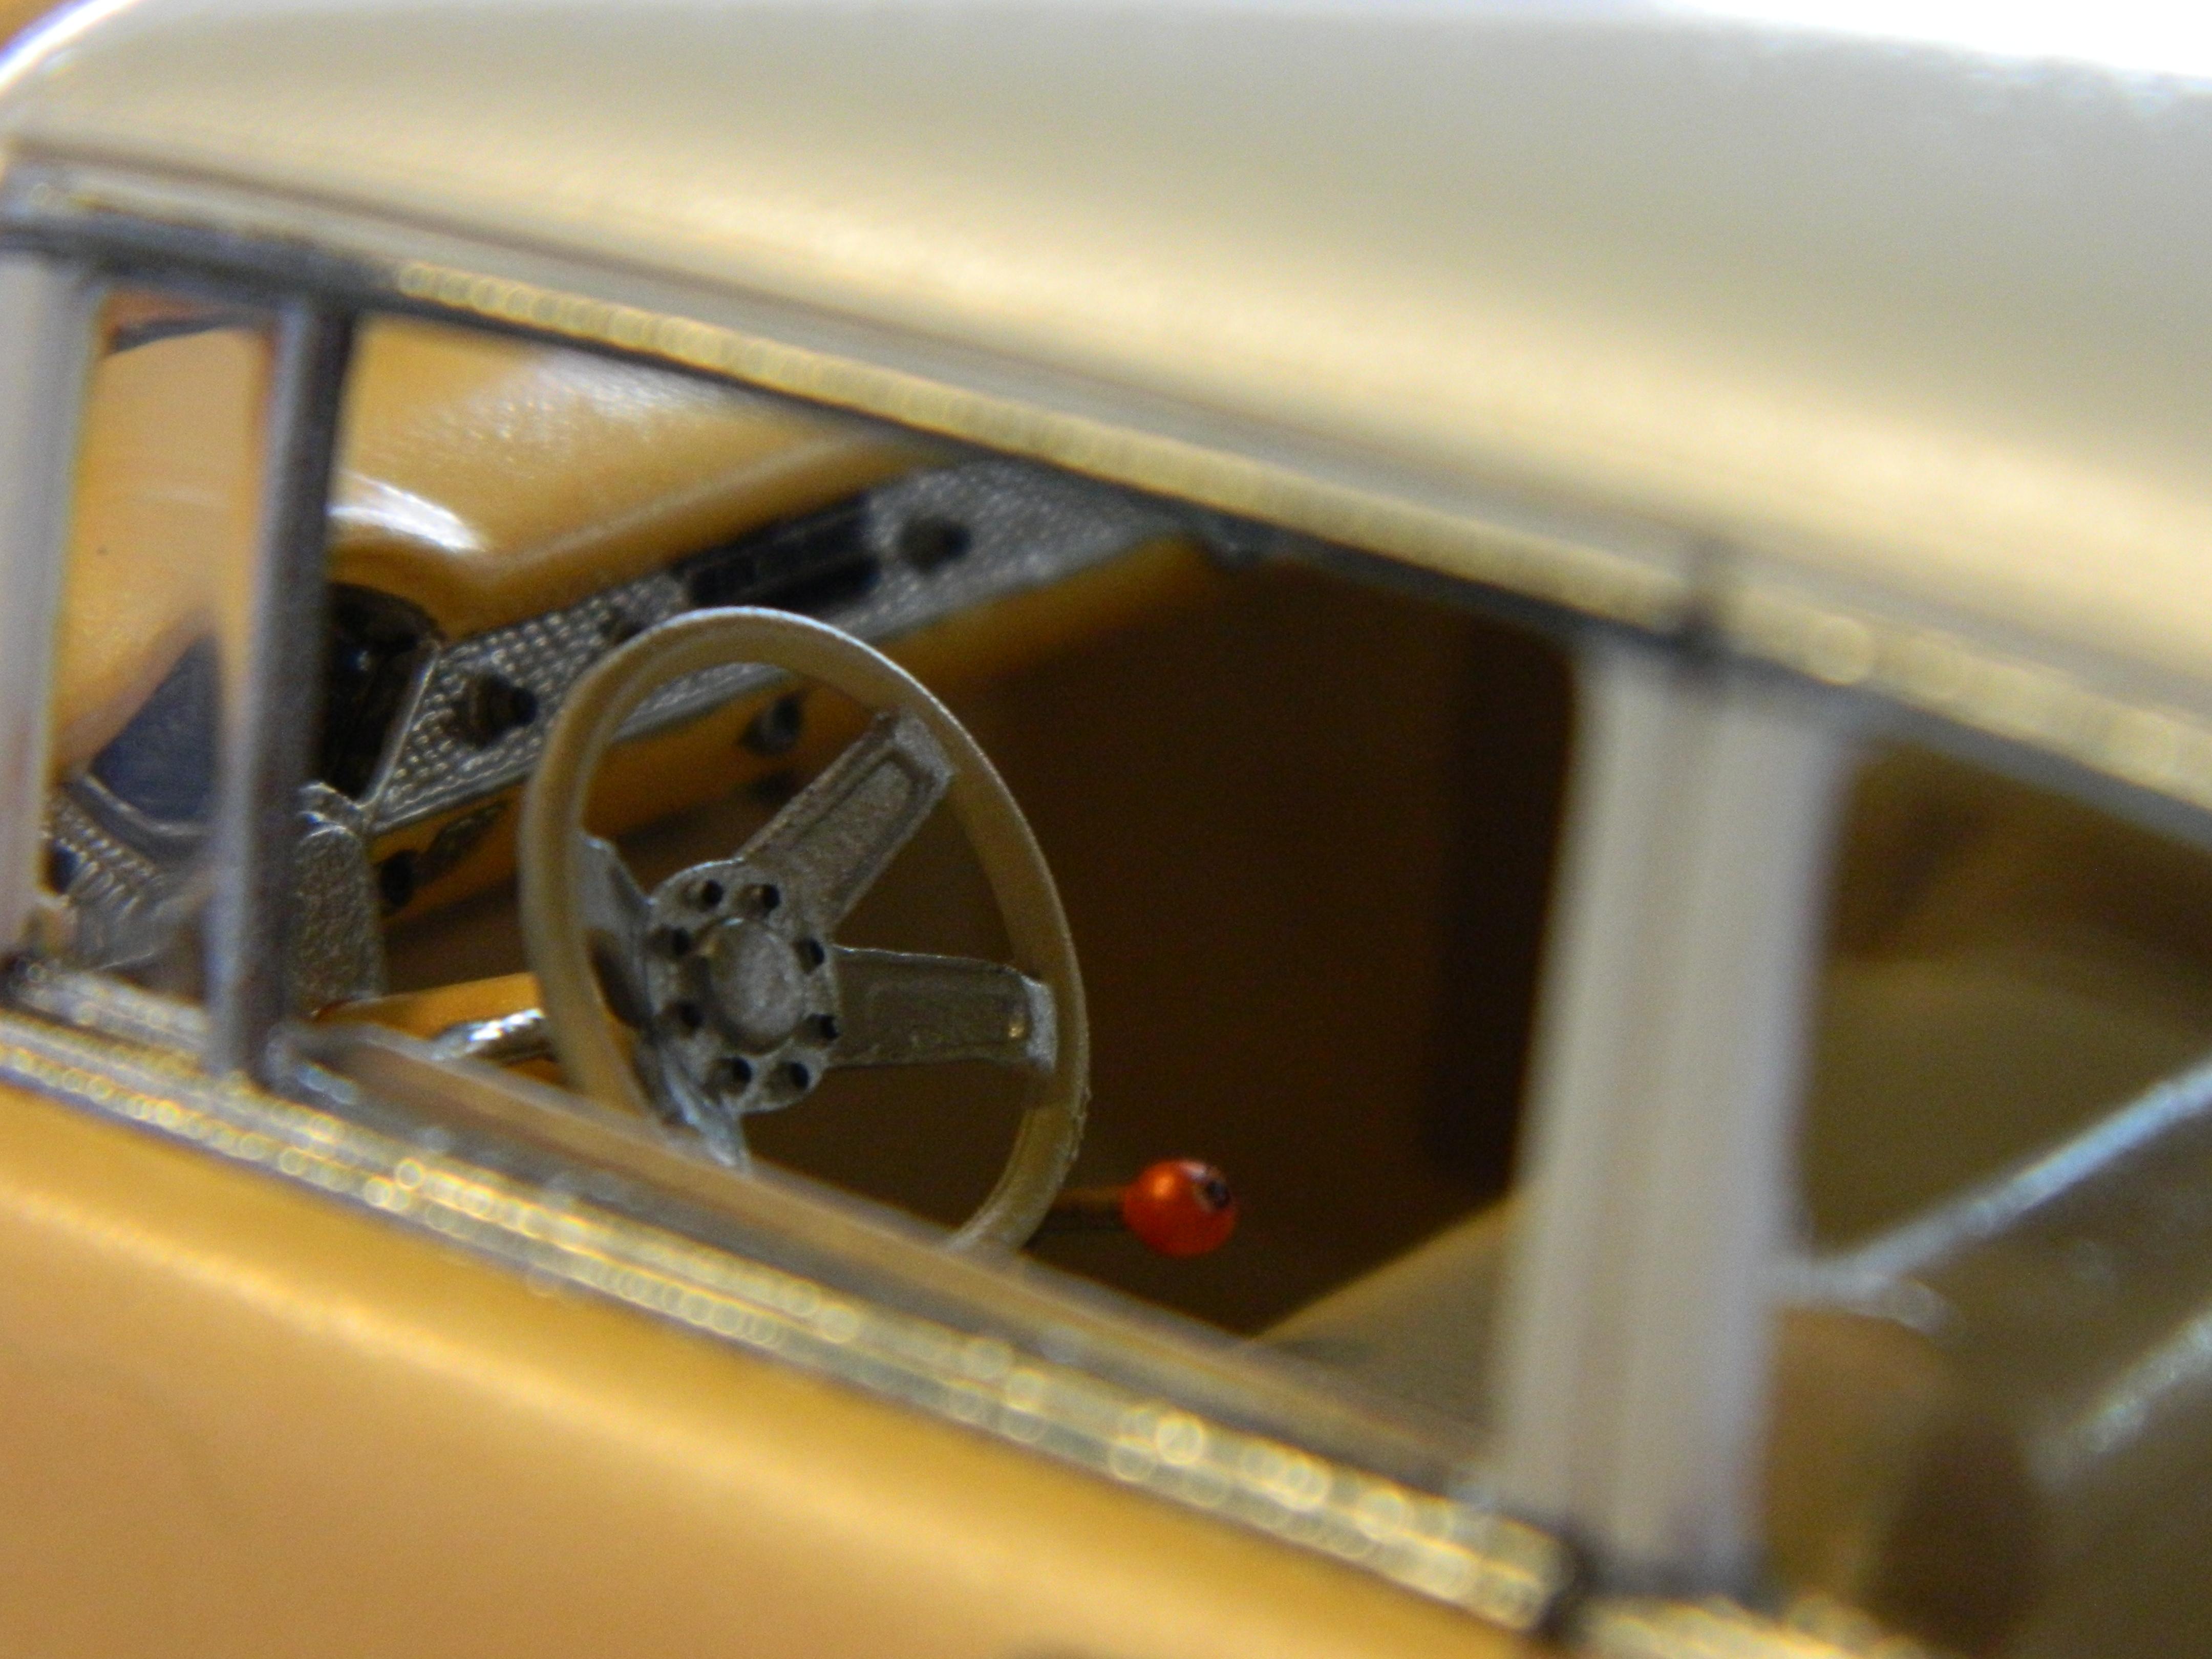
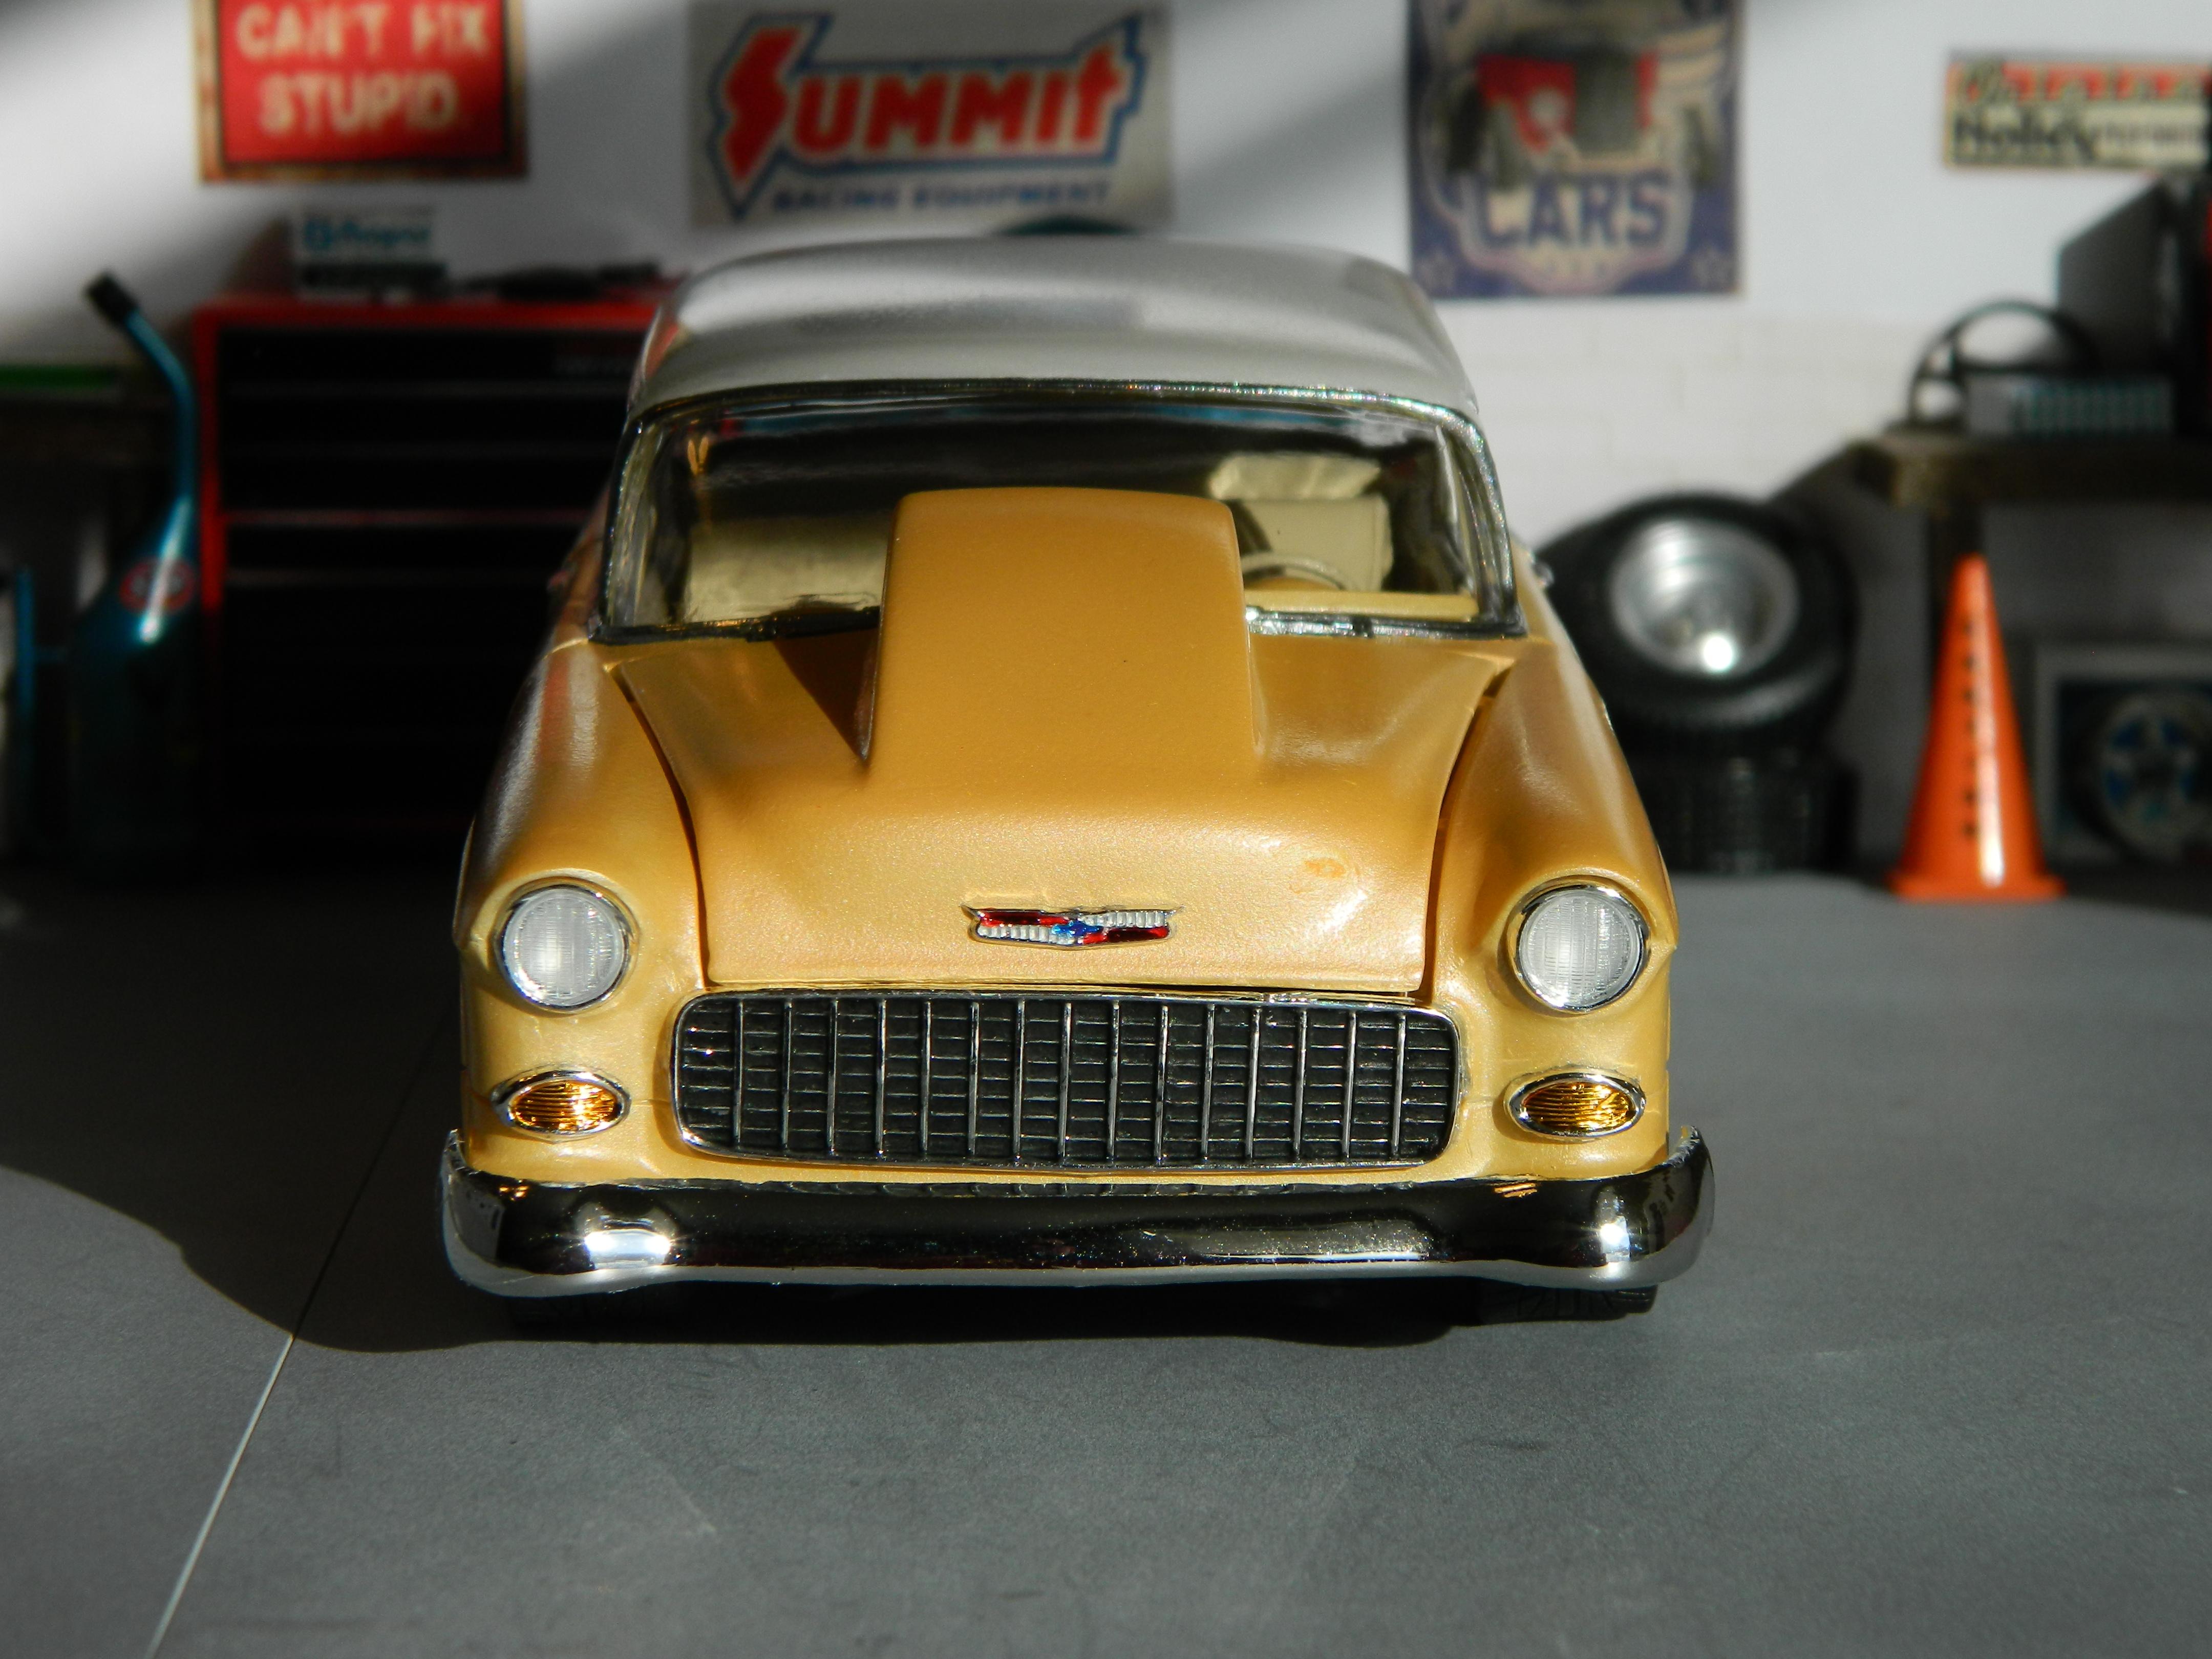
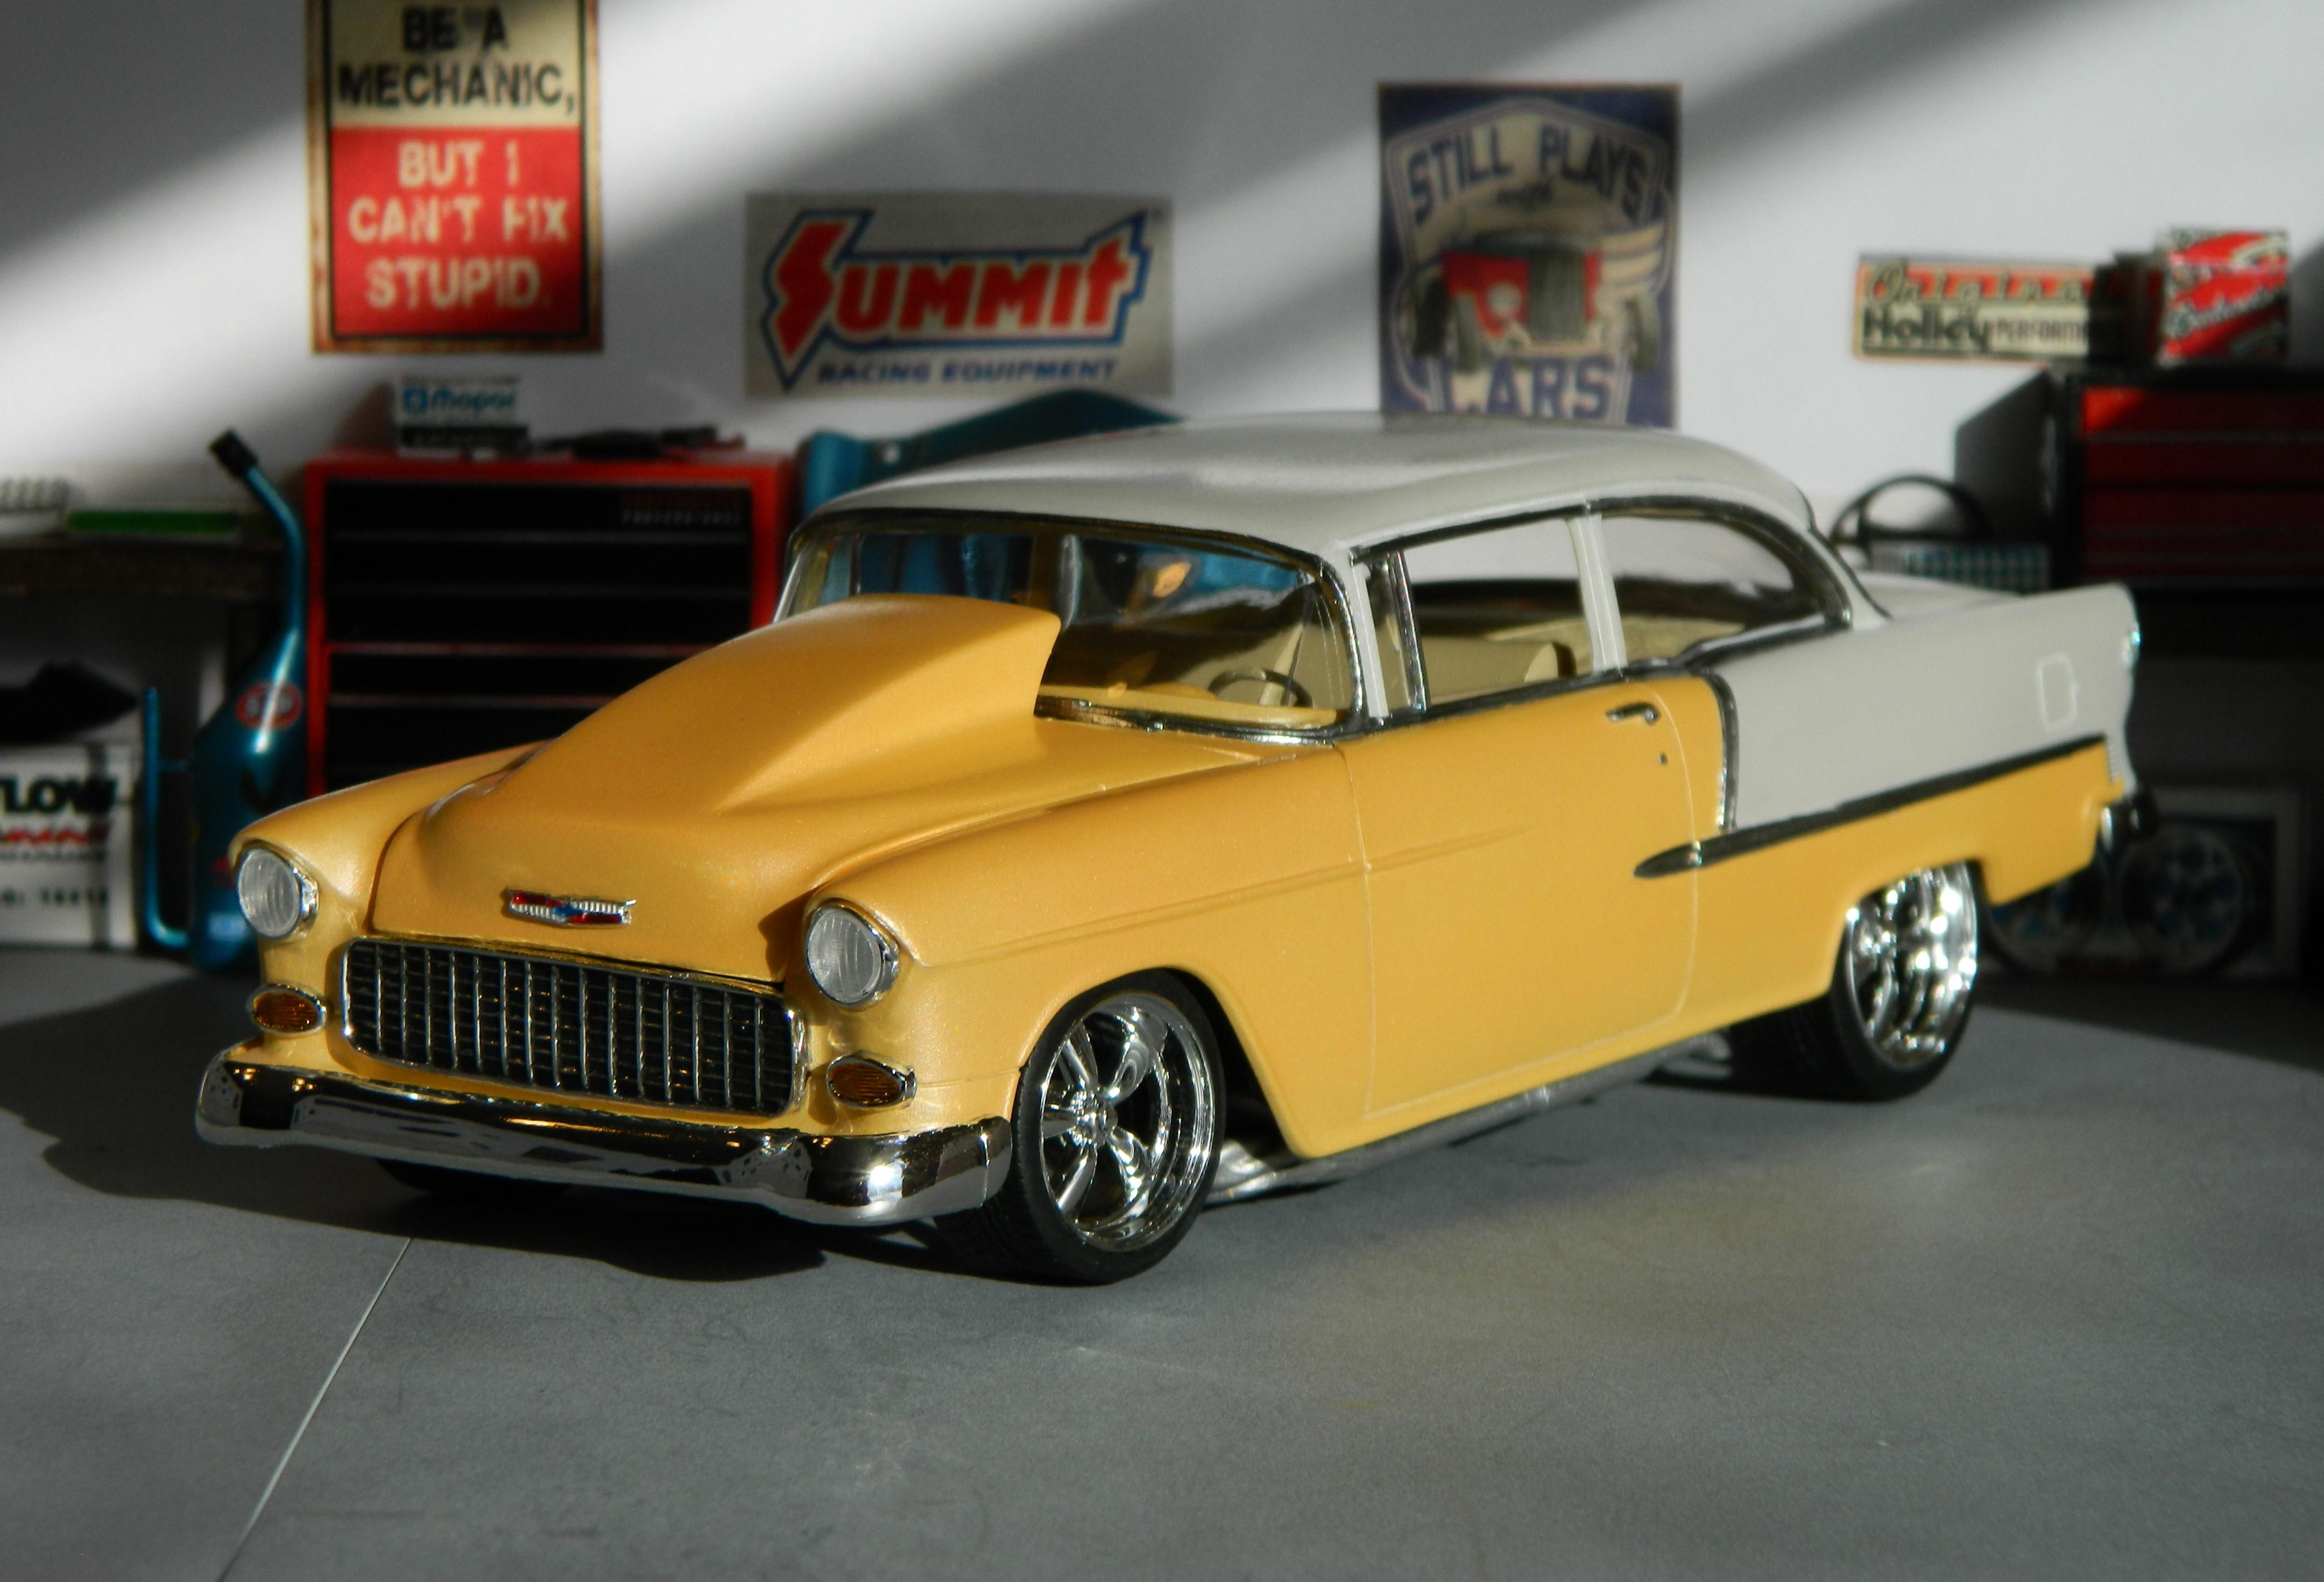
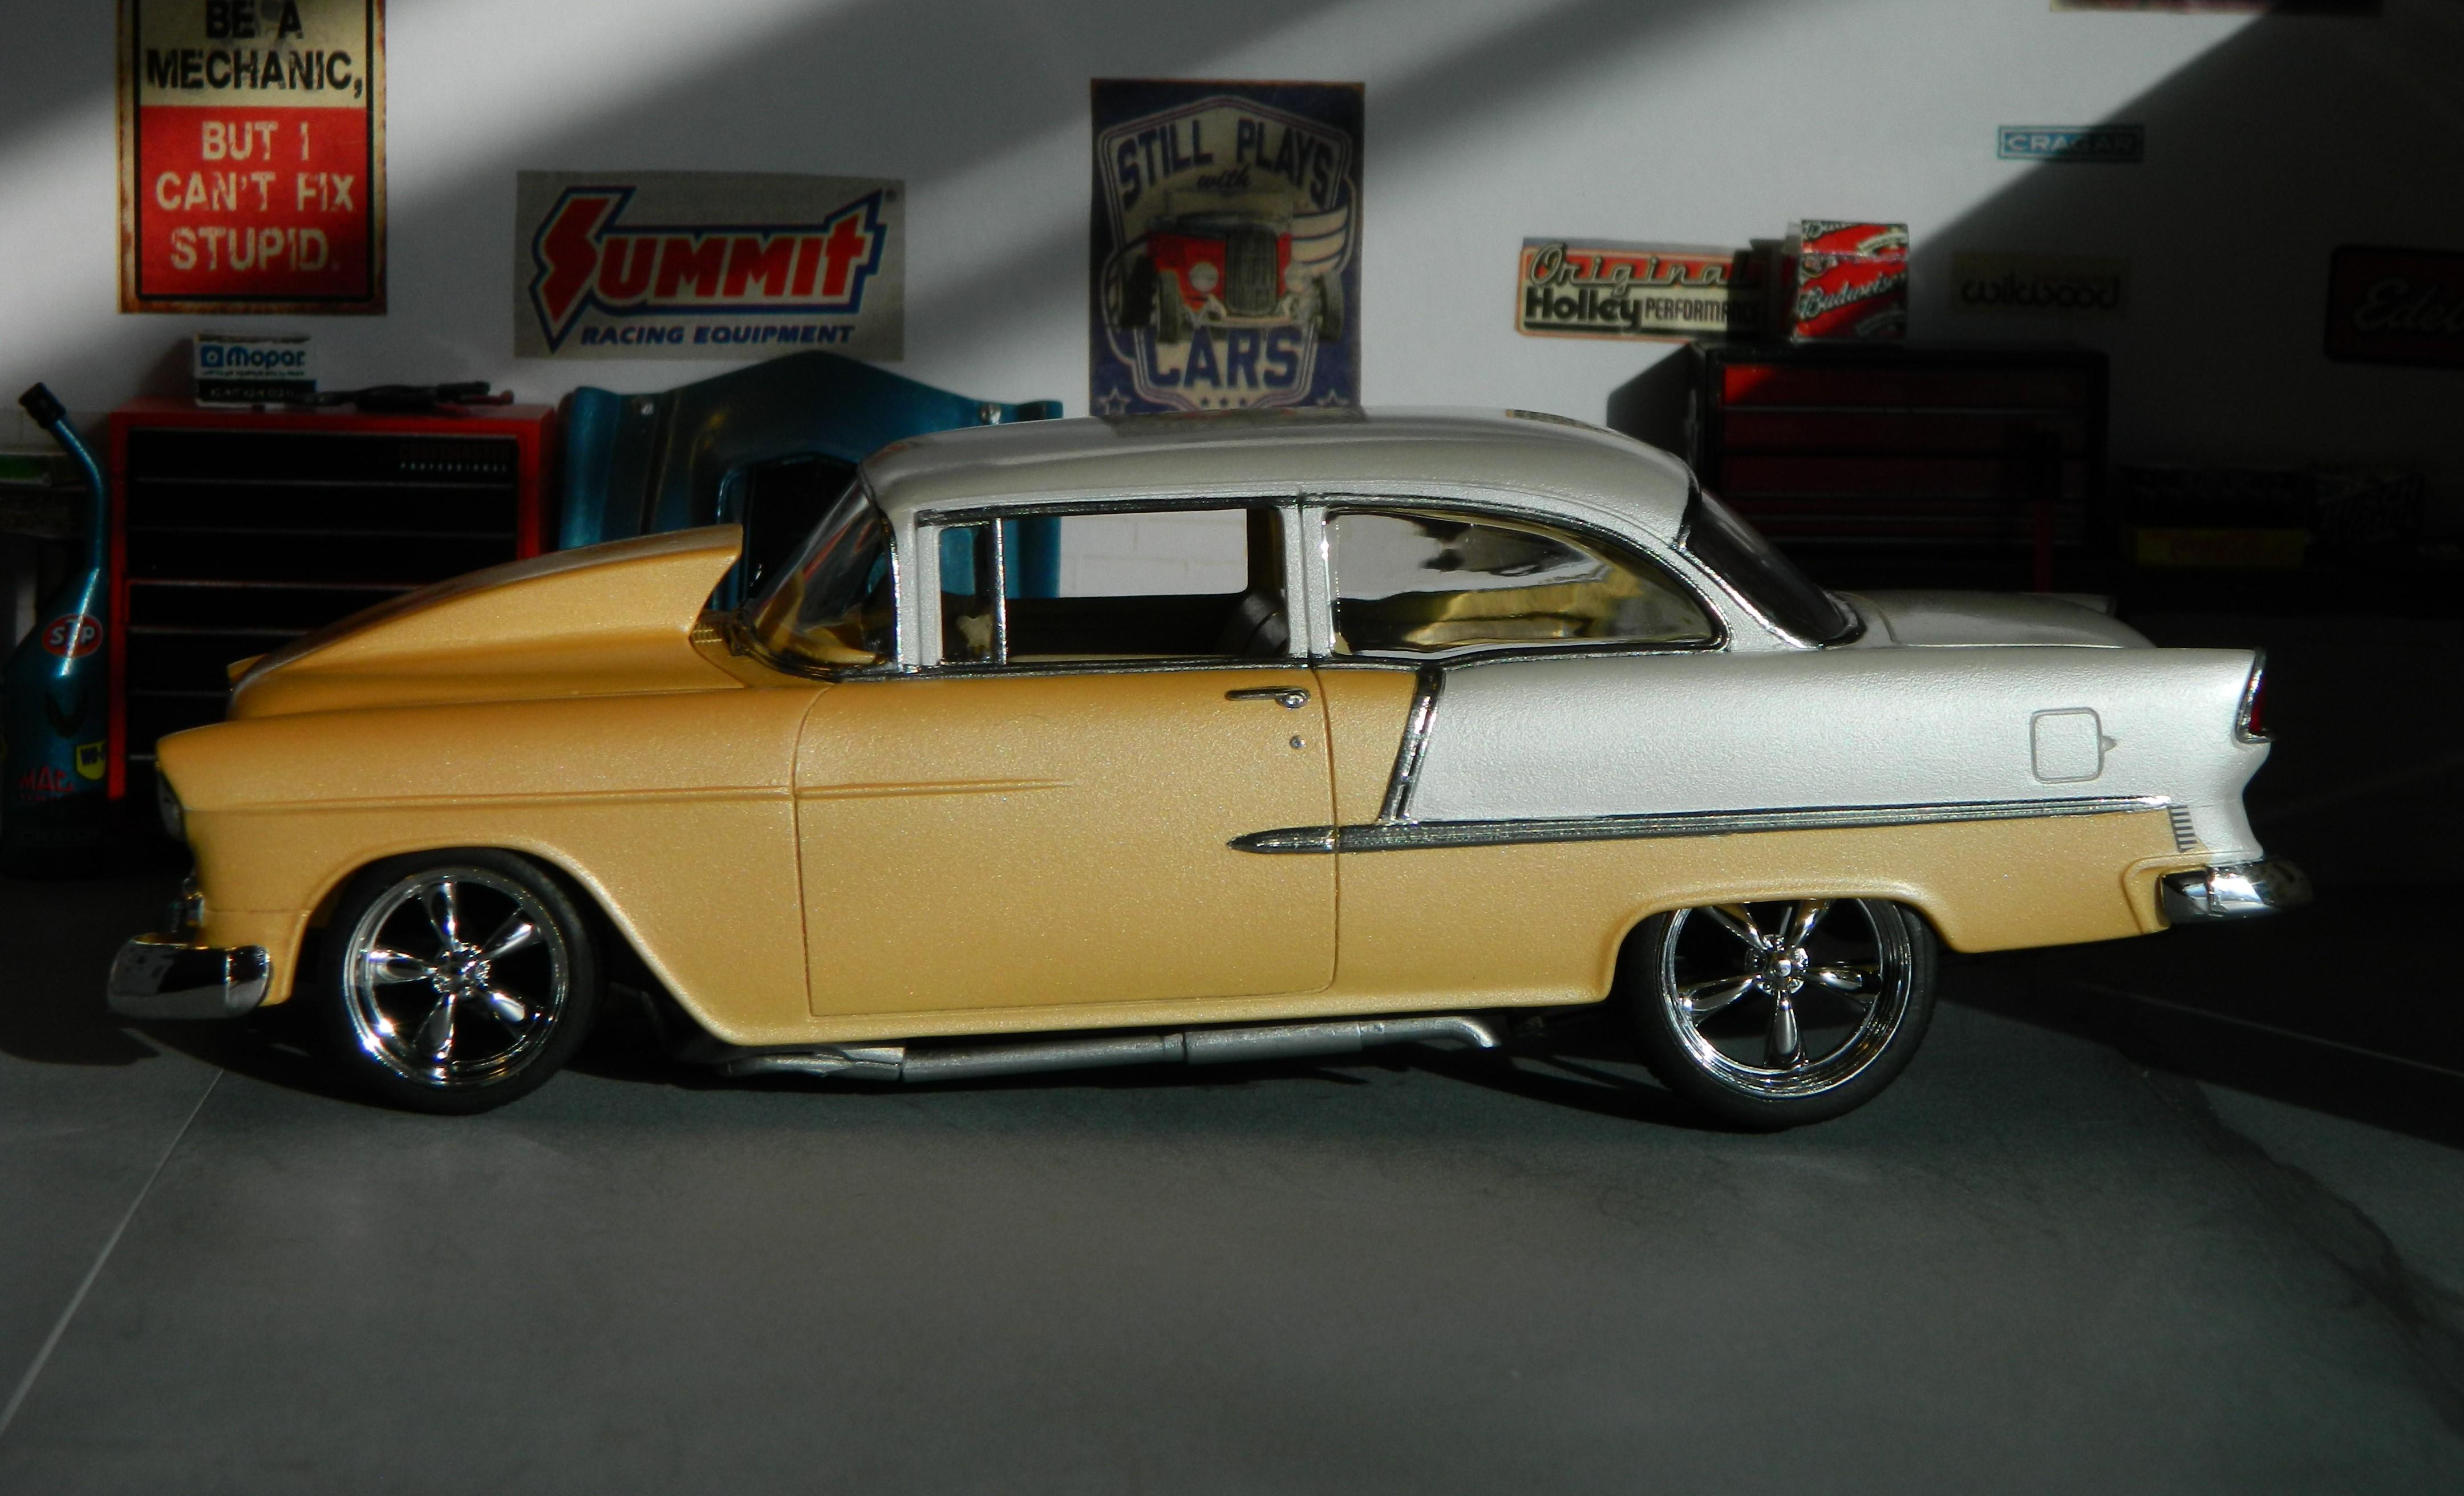
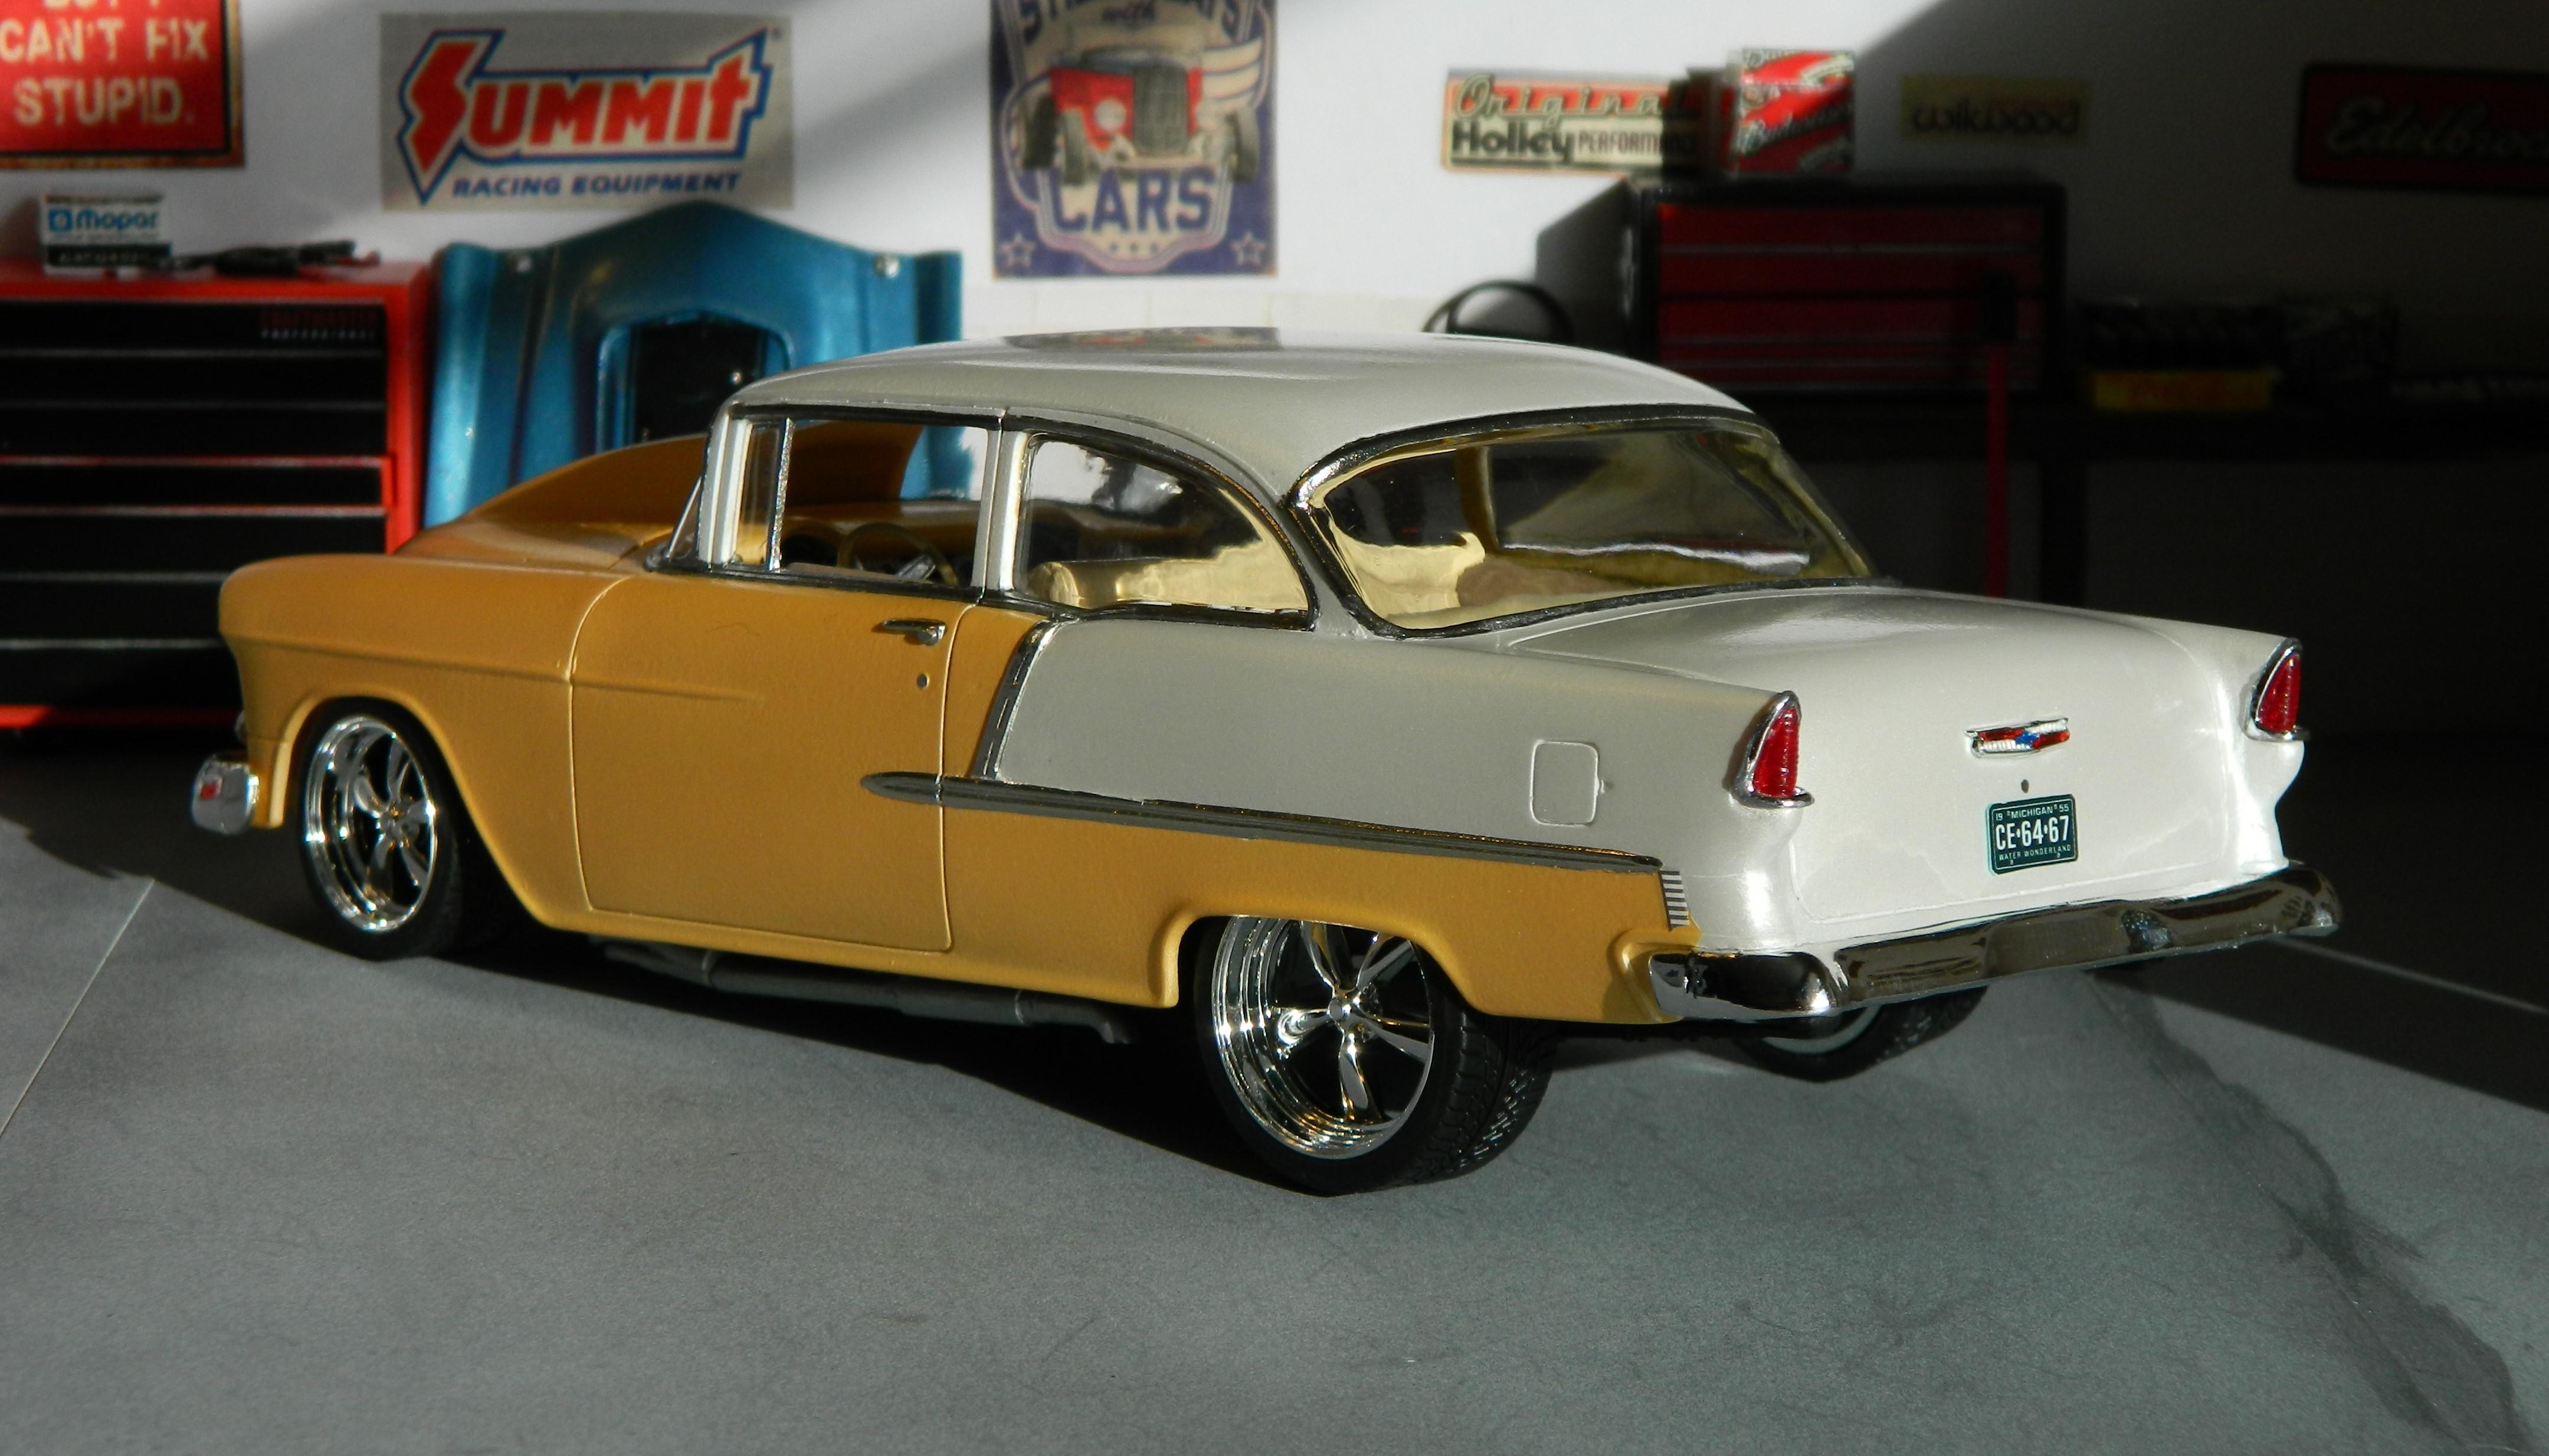
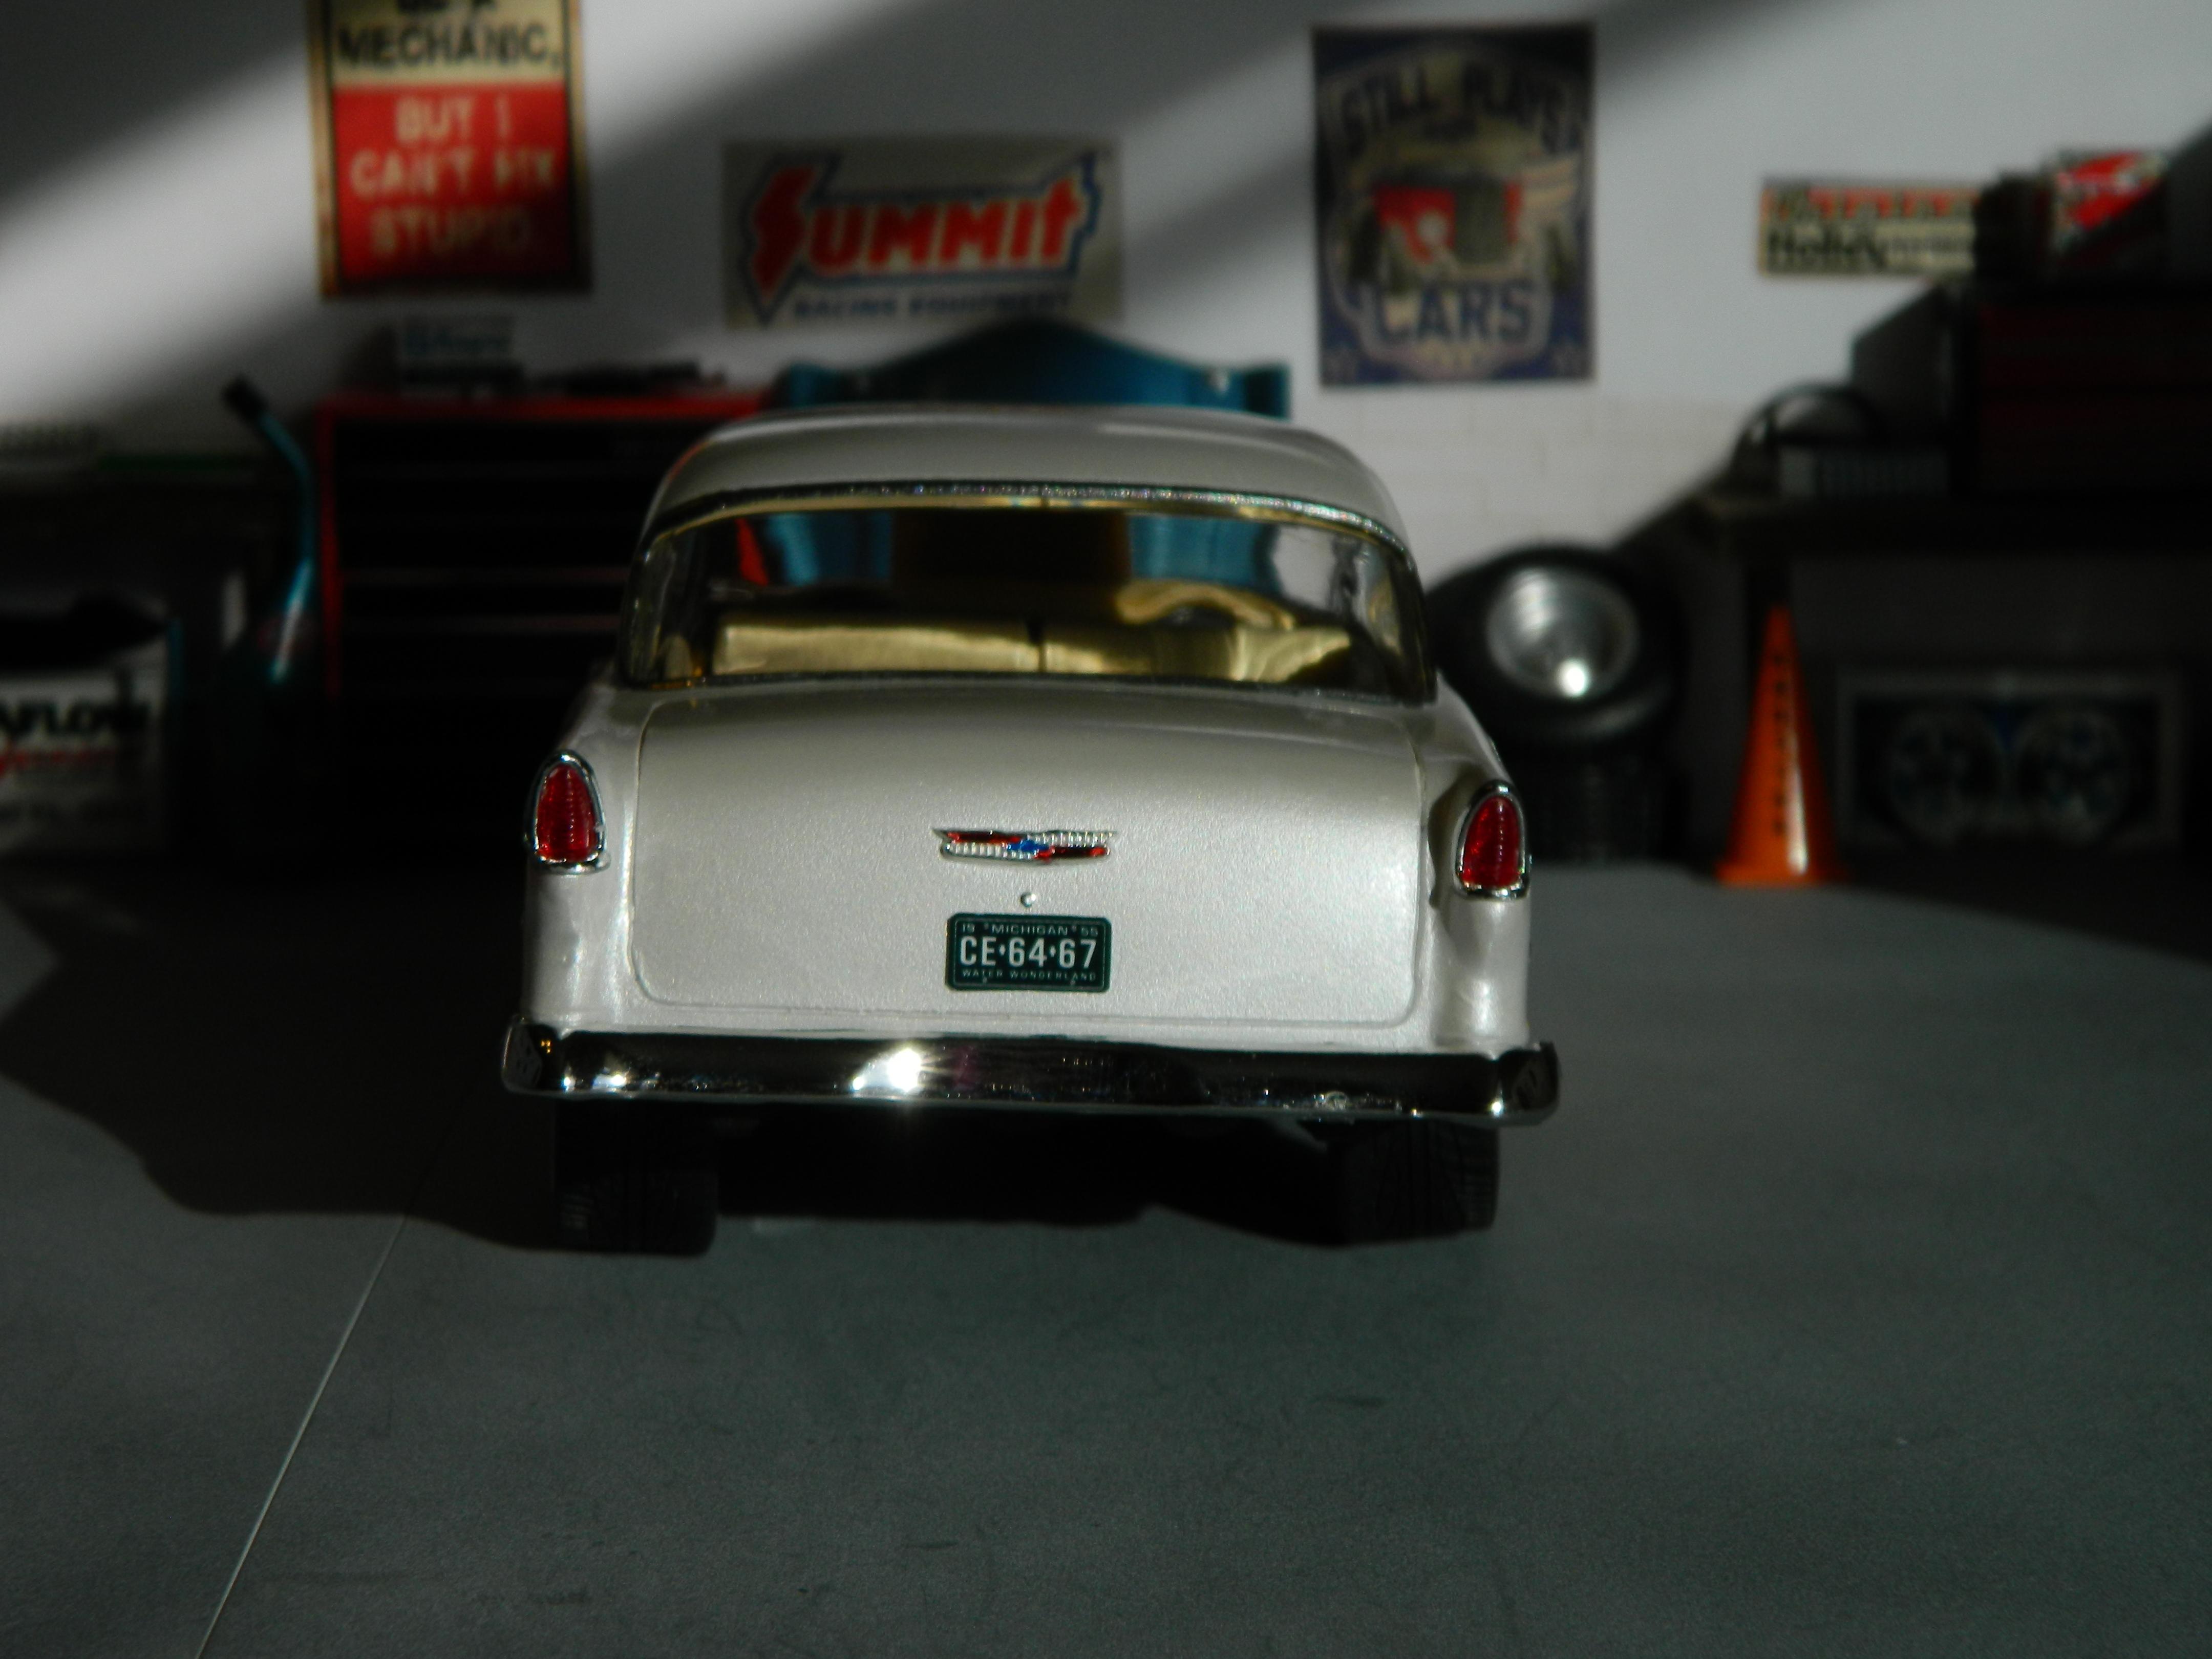
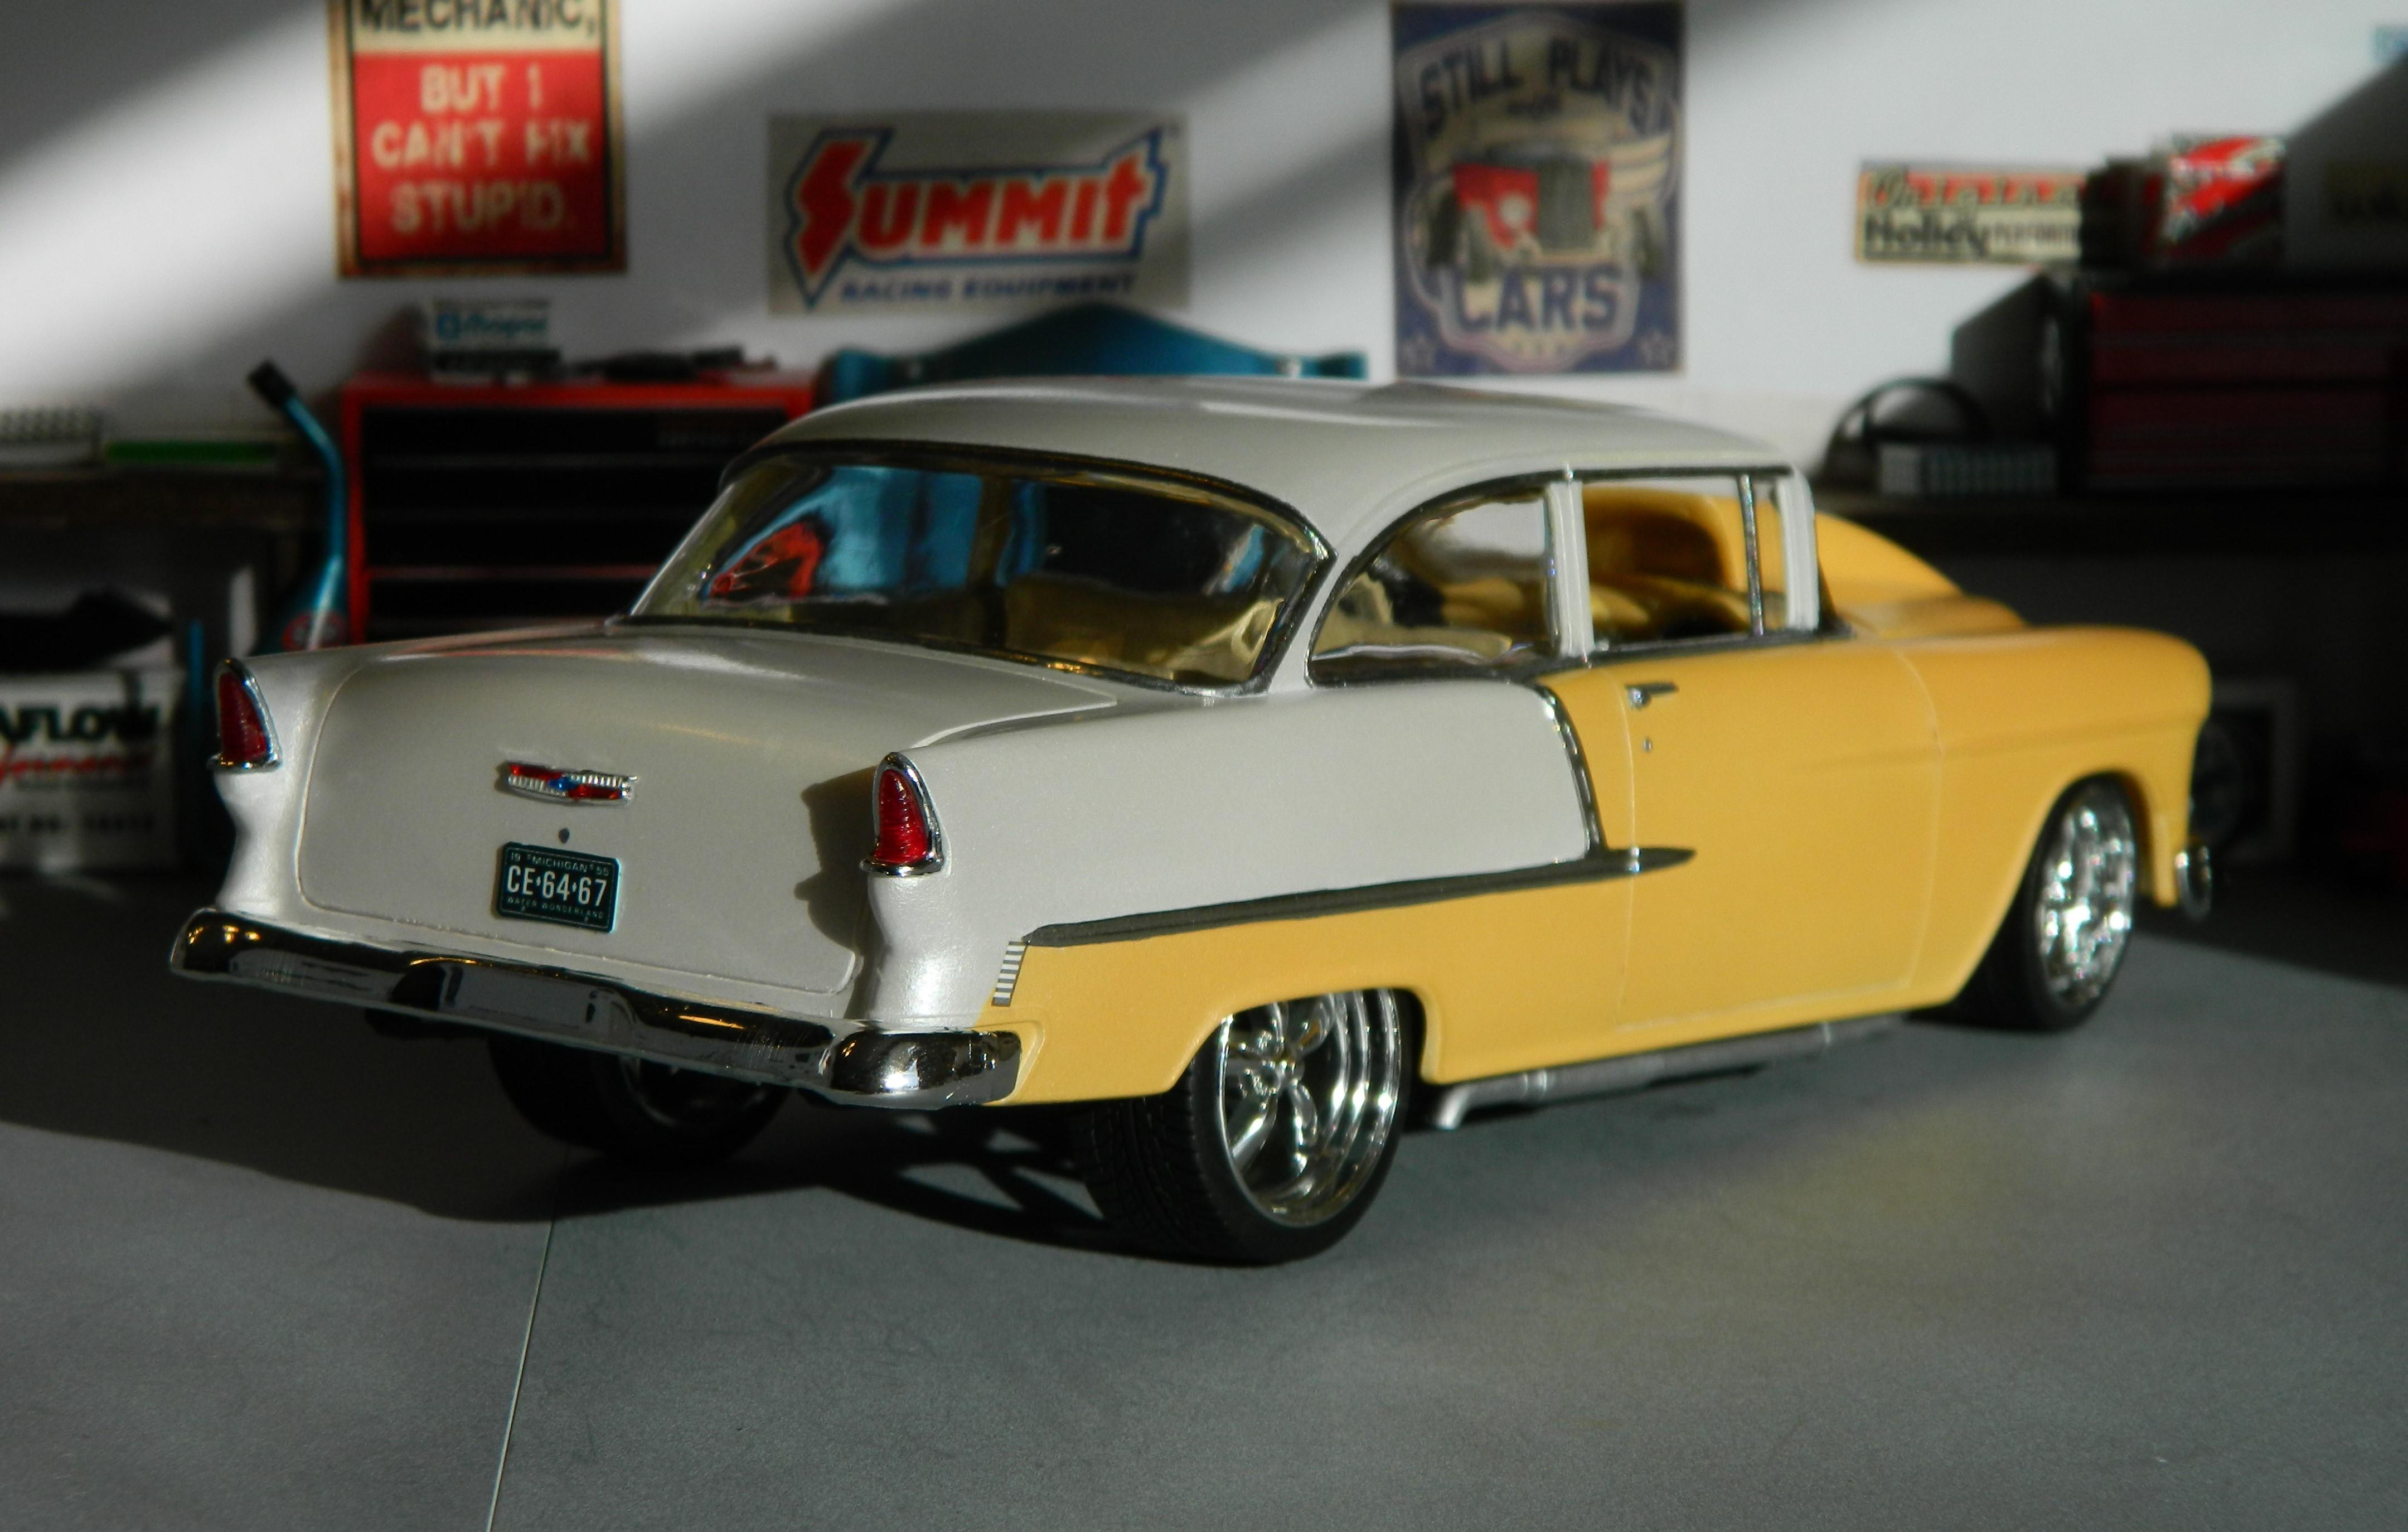
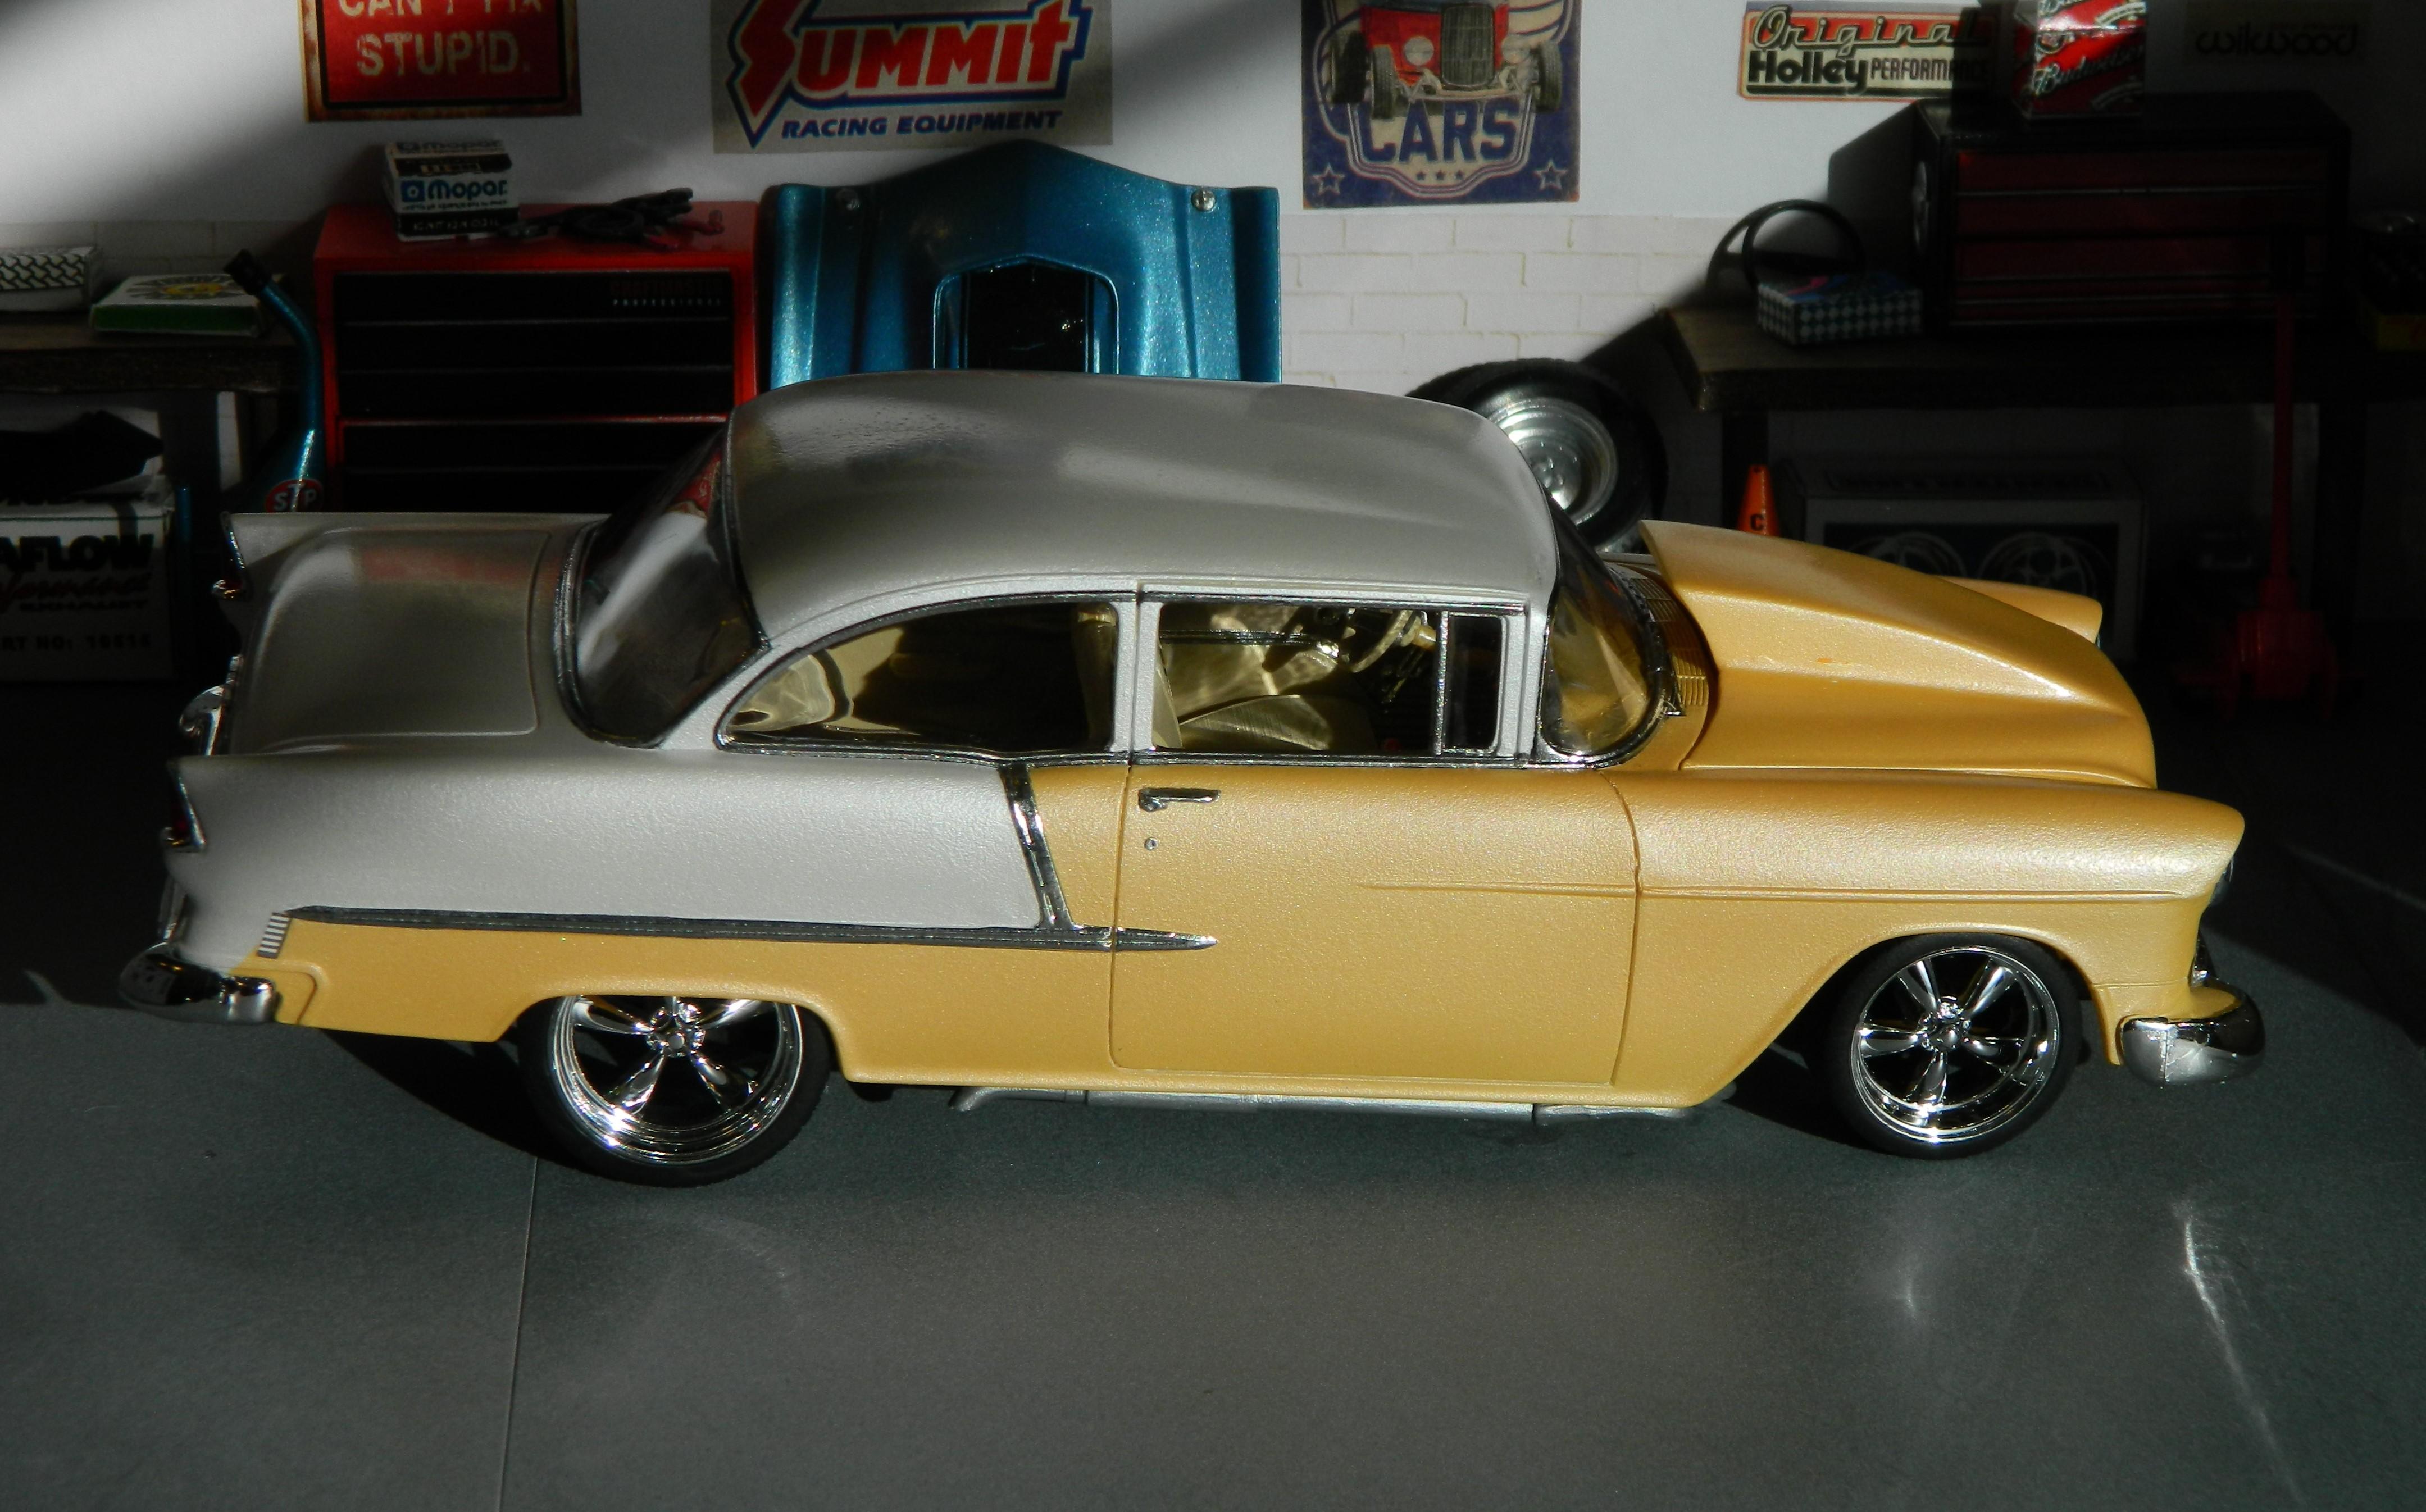
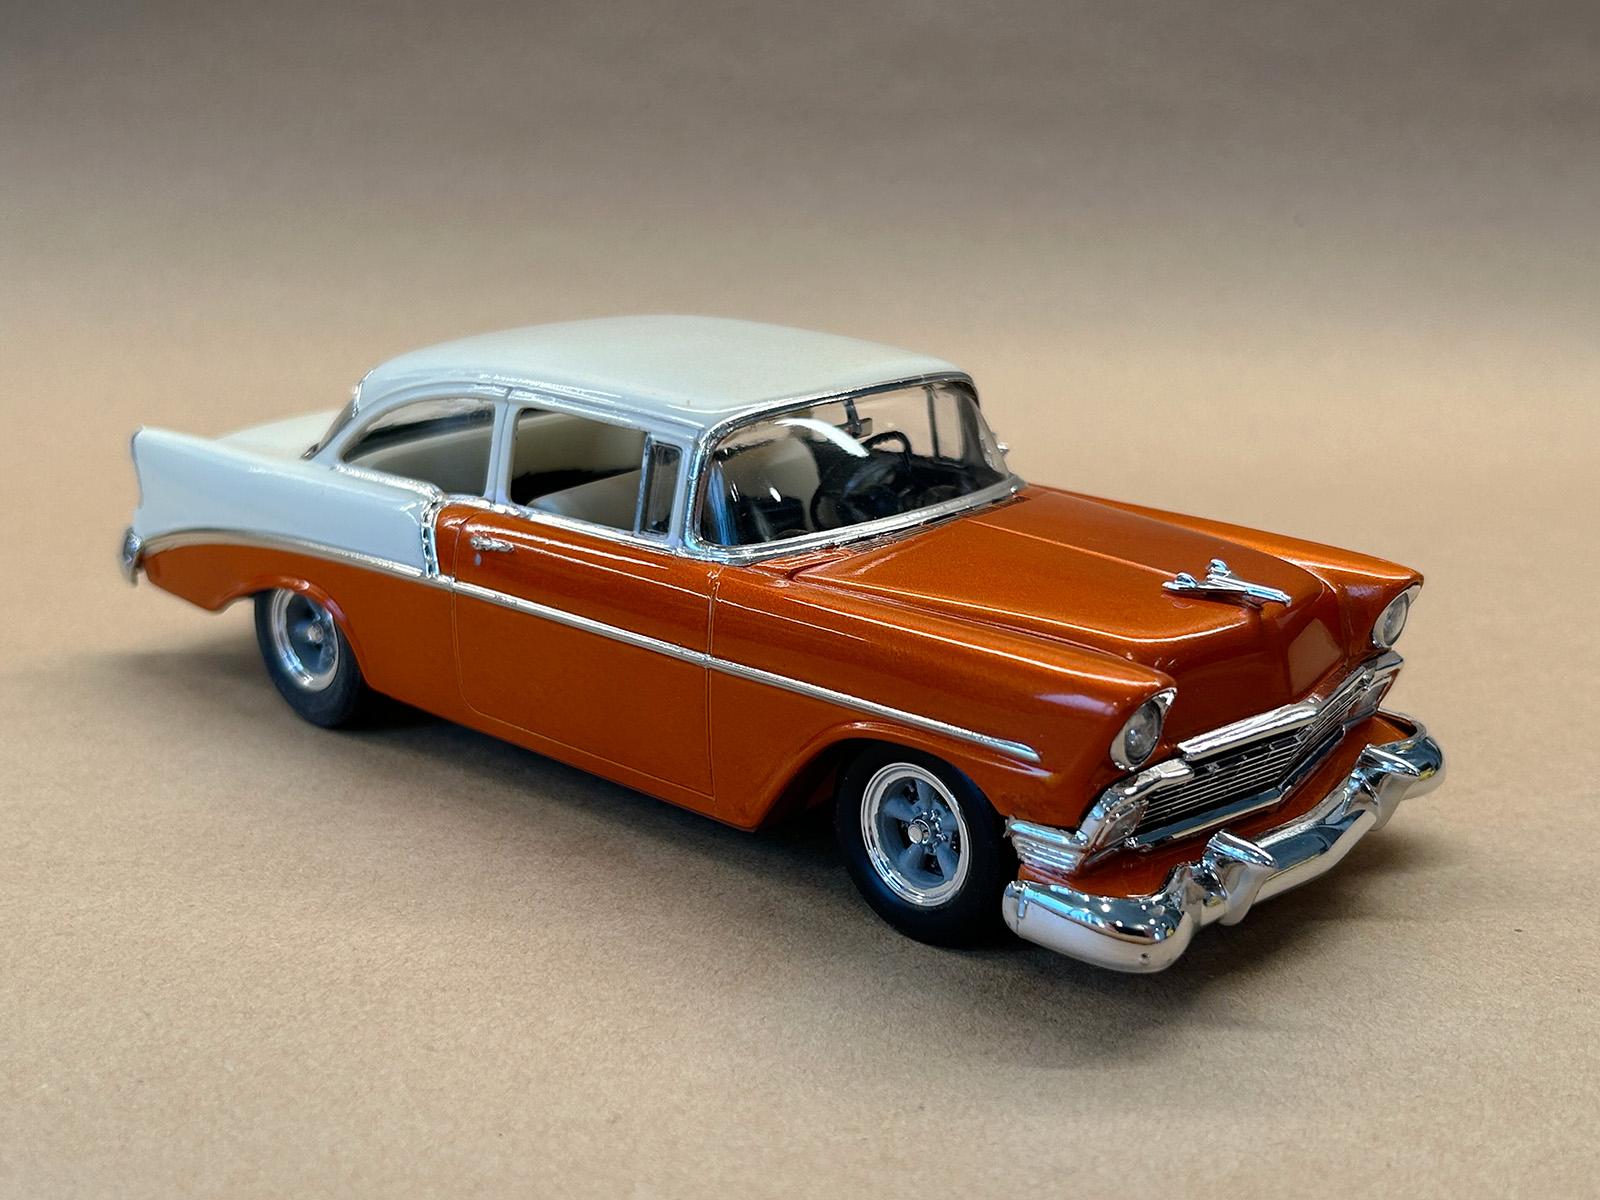
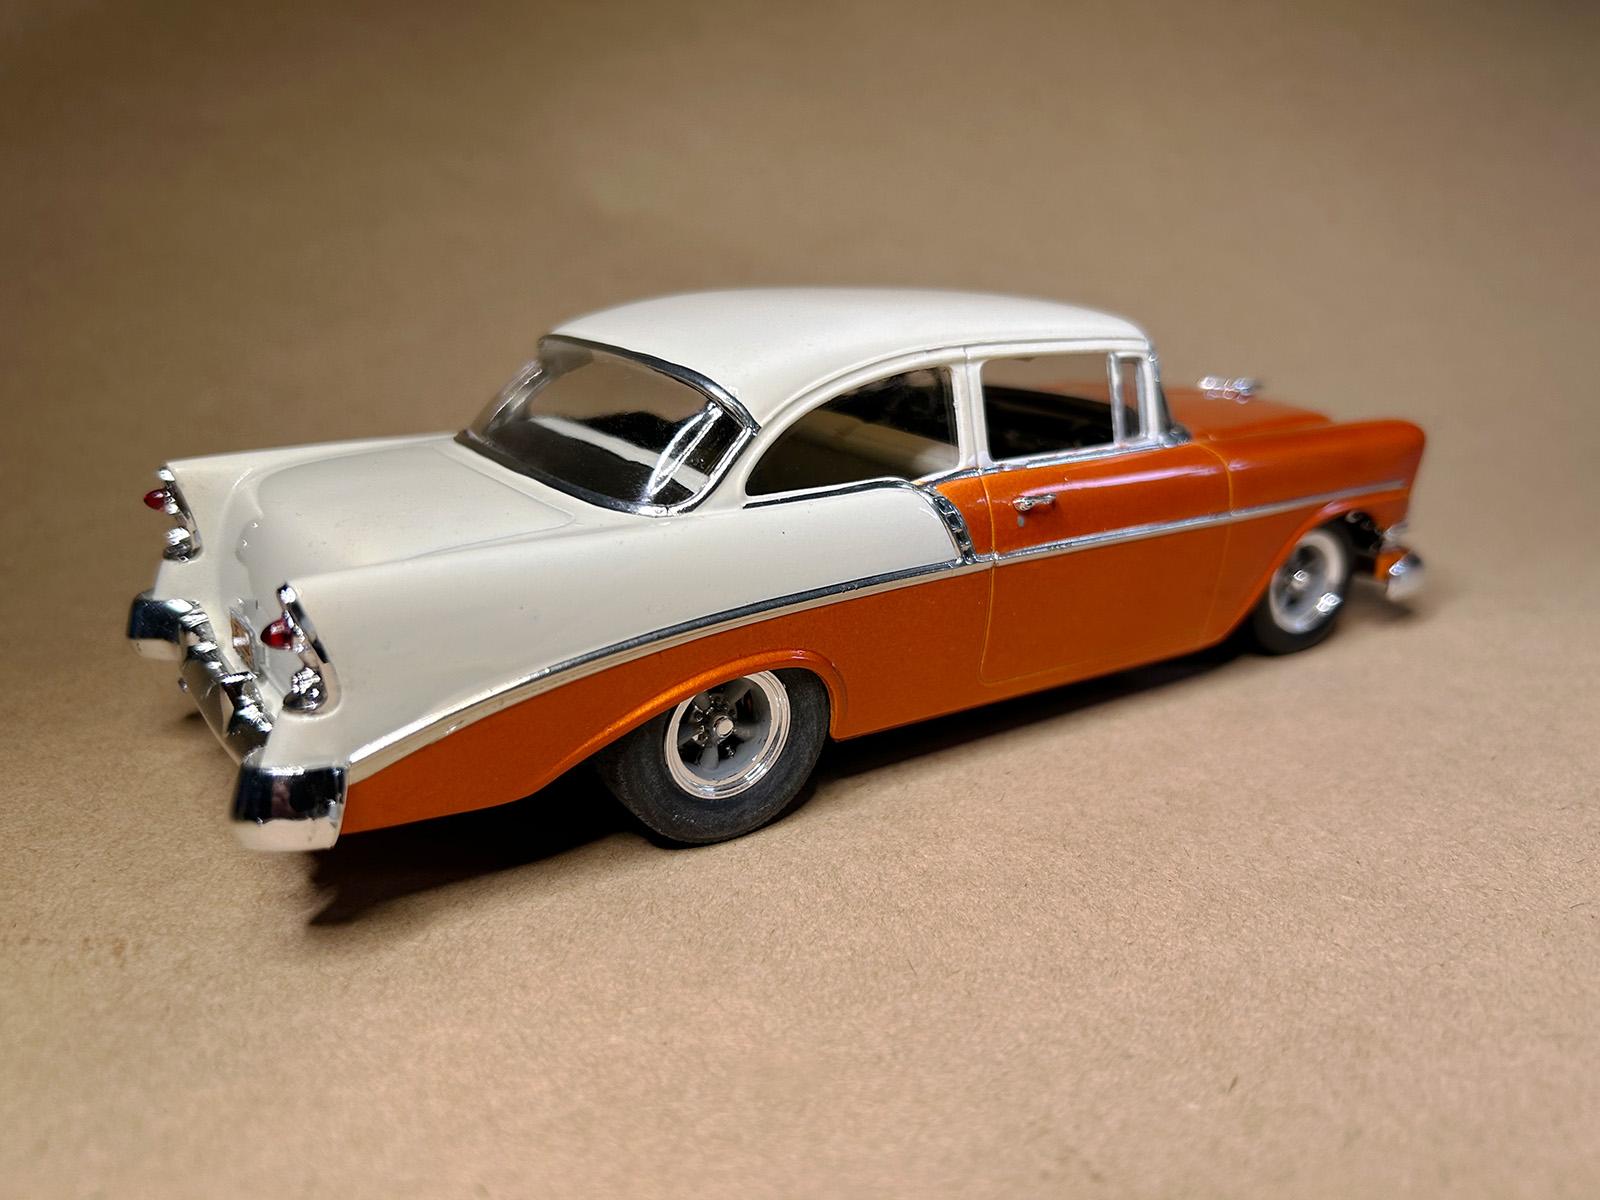
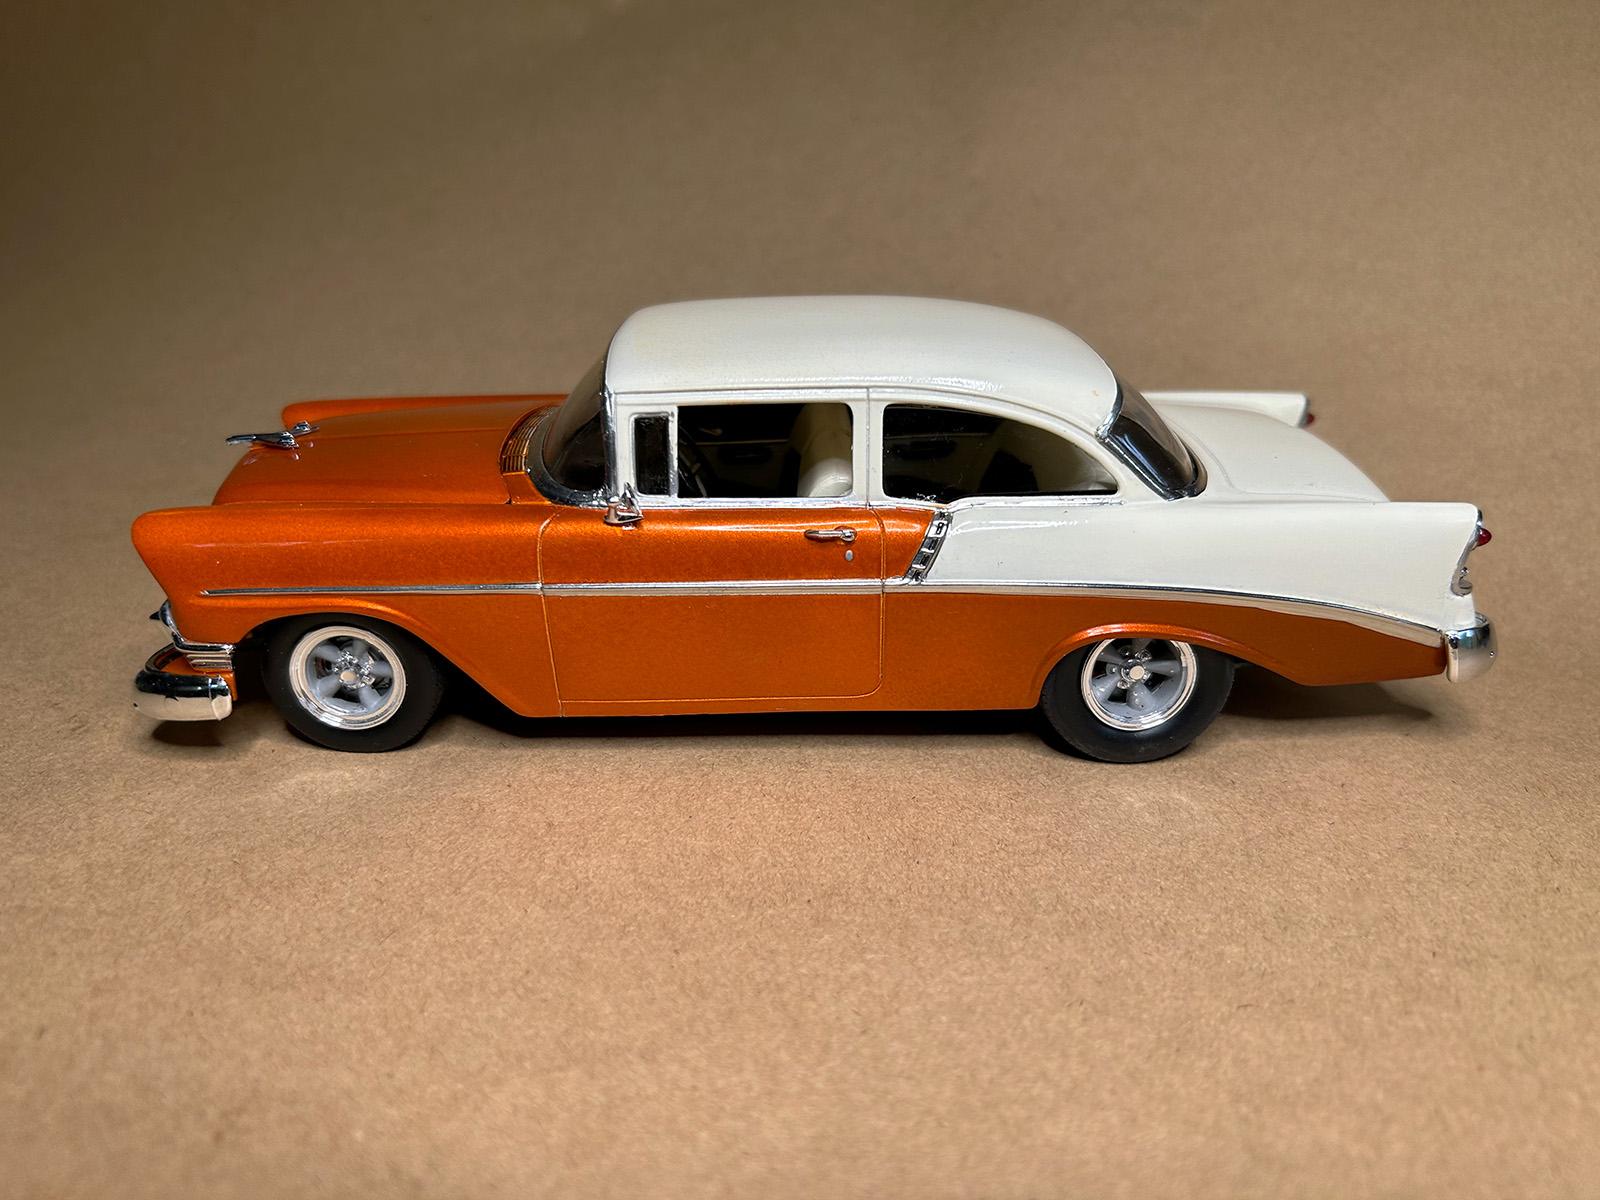
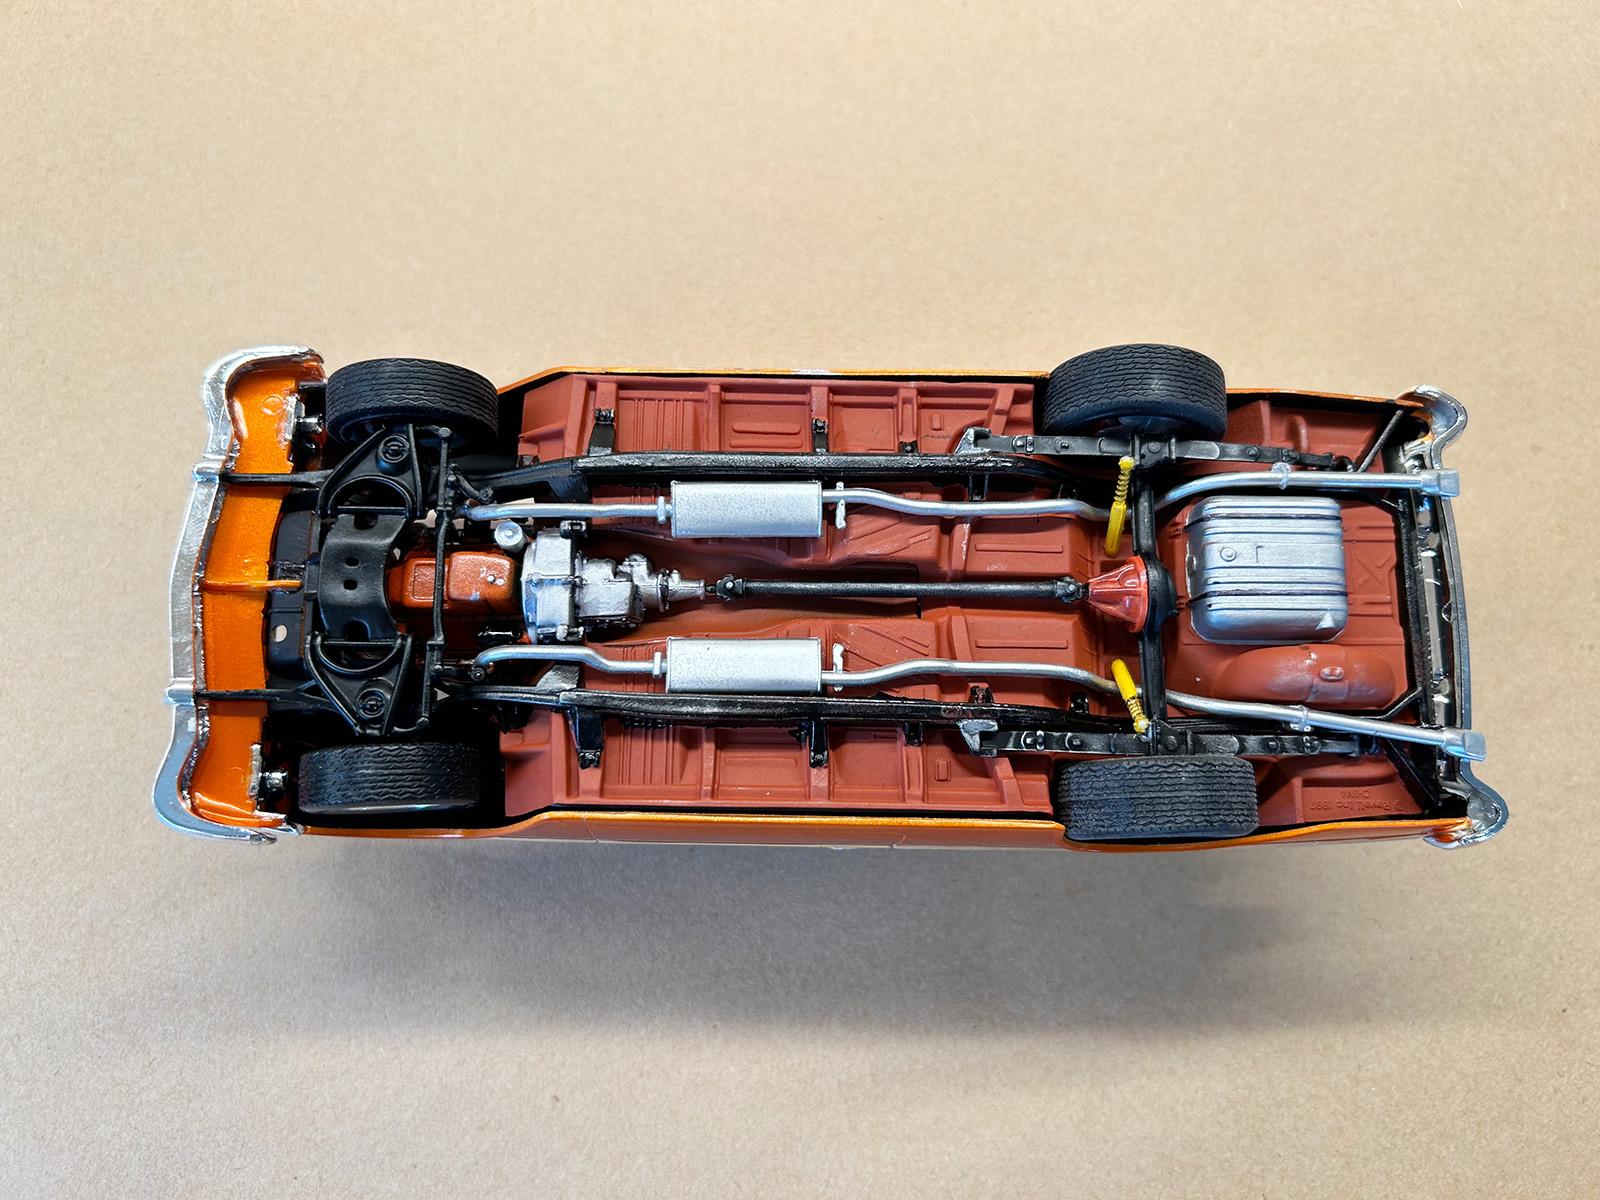
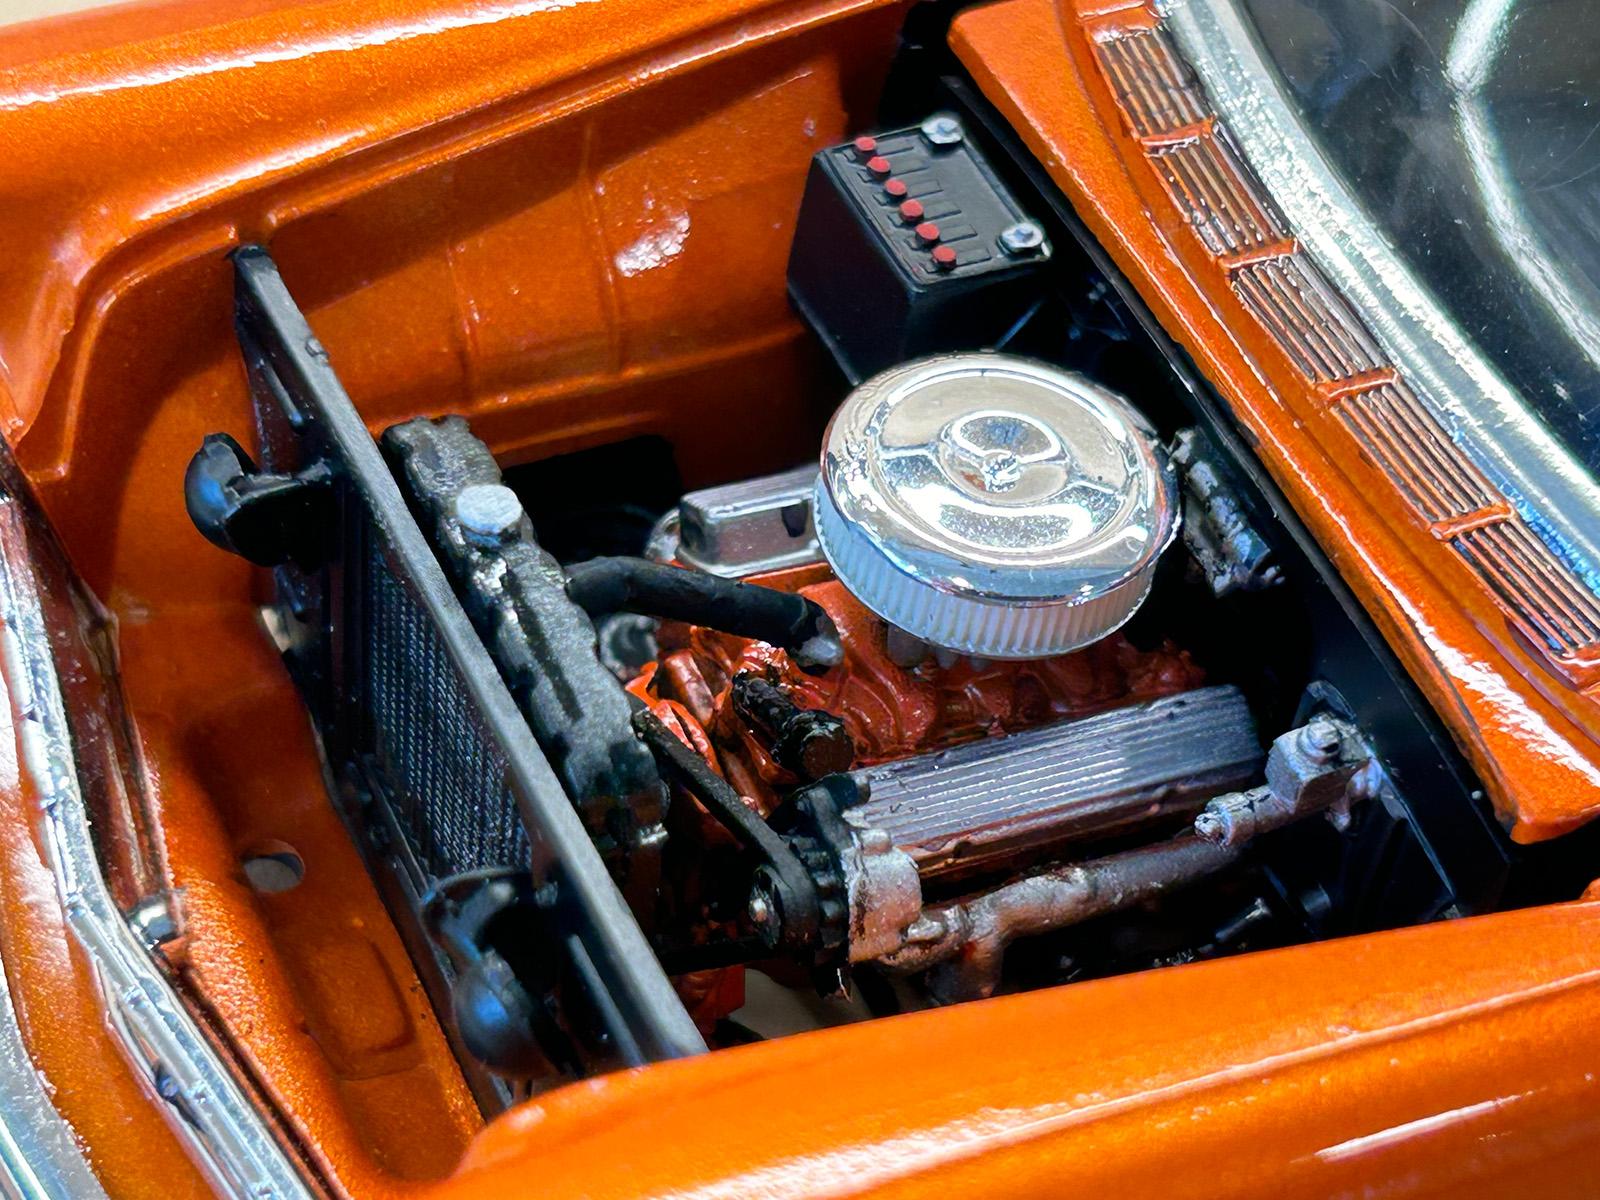
I finished the AMT 1955 Chevy Bel Air over the weekend. Although I am pretty happy with how it turned out, I feel like I coulda/shoulda been more patient and took more time with it to really knock it out of the park. I took some shortcuts with the engine swap and exhaust, front suspension mods, and rear suspension mods. It ended up with a little more rake to it than I'd like, and I also missed some details like disc brake rotors. Anyways, the color is Metallic White with a custom mix of craft paints for the Light Orange. I cleared it with Decoart Duraclear Gloss Varnish, wet-sanded and polished with Novus #2. The interior is a custom mix of craft paints for both tones, and I even made an attempt at a 5-ball shifter. Most of the engine is from the AMT Baldwin-Motion Camaro kit, with some parts box pieces to top it off. The wheels are Pegasus Chrome T's 19" and 23", the hood from Lex's Scale Modeling, and the coil from MAD Modeling. The trim is a combination of Green Stuff World Chrome airbrushed around the windows, and I used BMF for the side trim. All-in-all a fun project that I hope I learned some lessons from. I thought the second set of pics looked pretty cool with the way the sun came in through the window. Thanks for looking!!
-
Got one to build for a friend. This kit is a bit better than the old kit. Came out pretty nice. SAM_0597 by Eric Lucas, on Flickr SAM_0598 by Eric Lucas, on Flickr SAM_0599 by Eric Lucas, on Flickr SAM_0600 by Eric Lucas, on Flickr
-
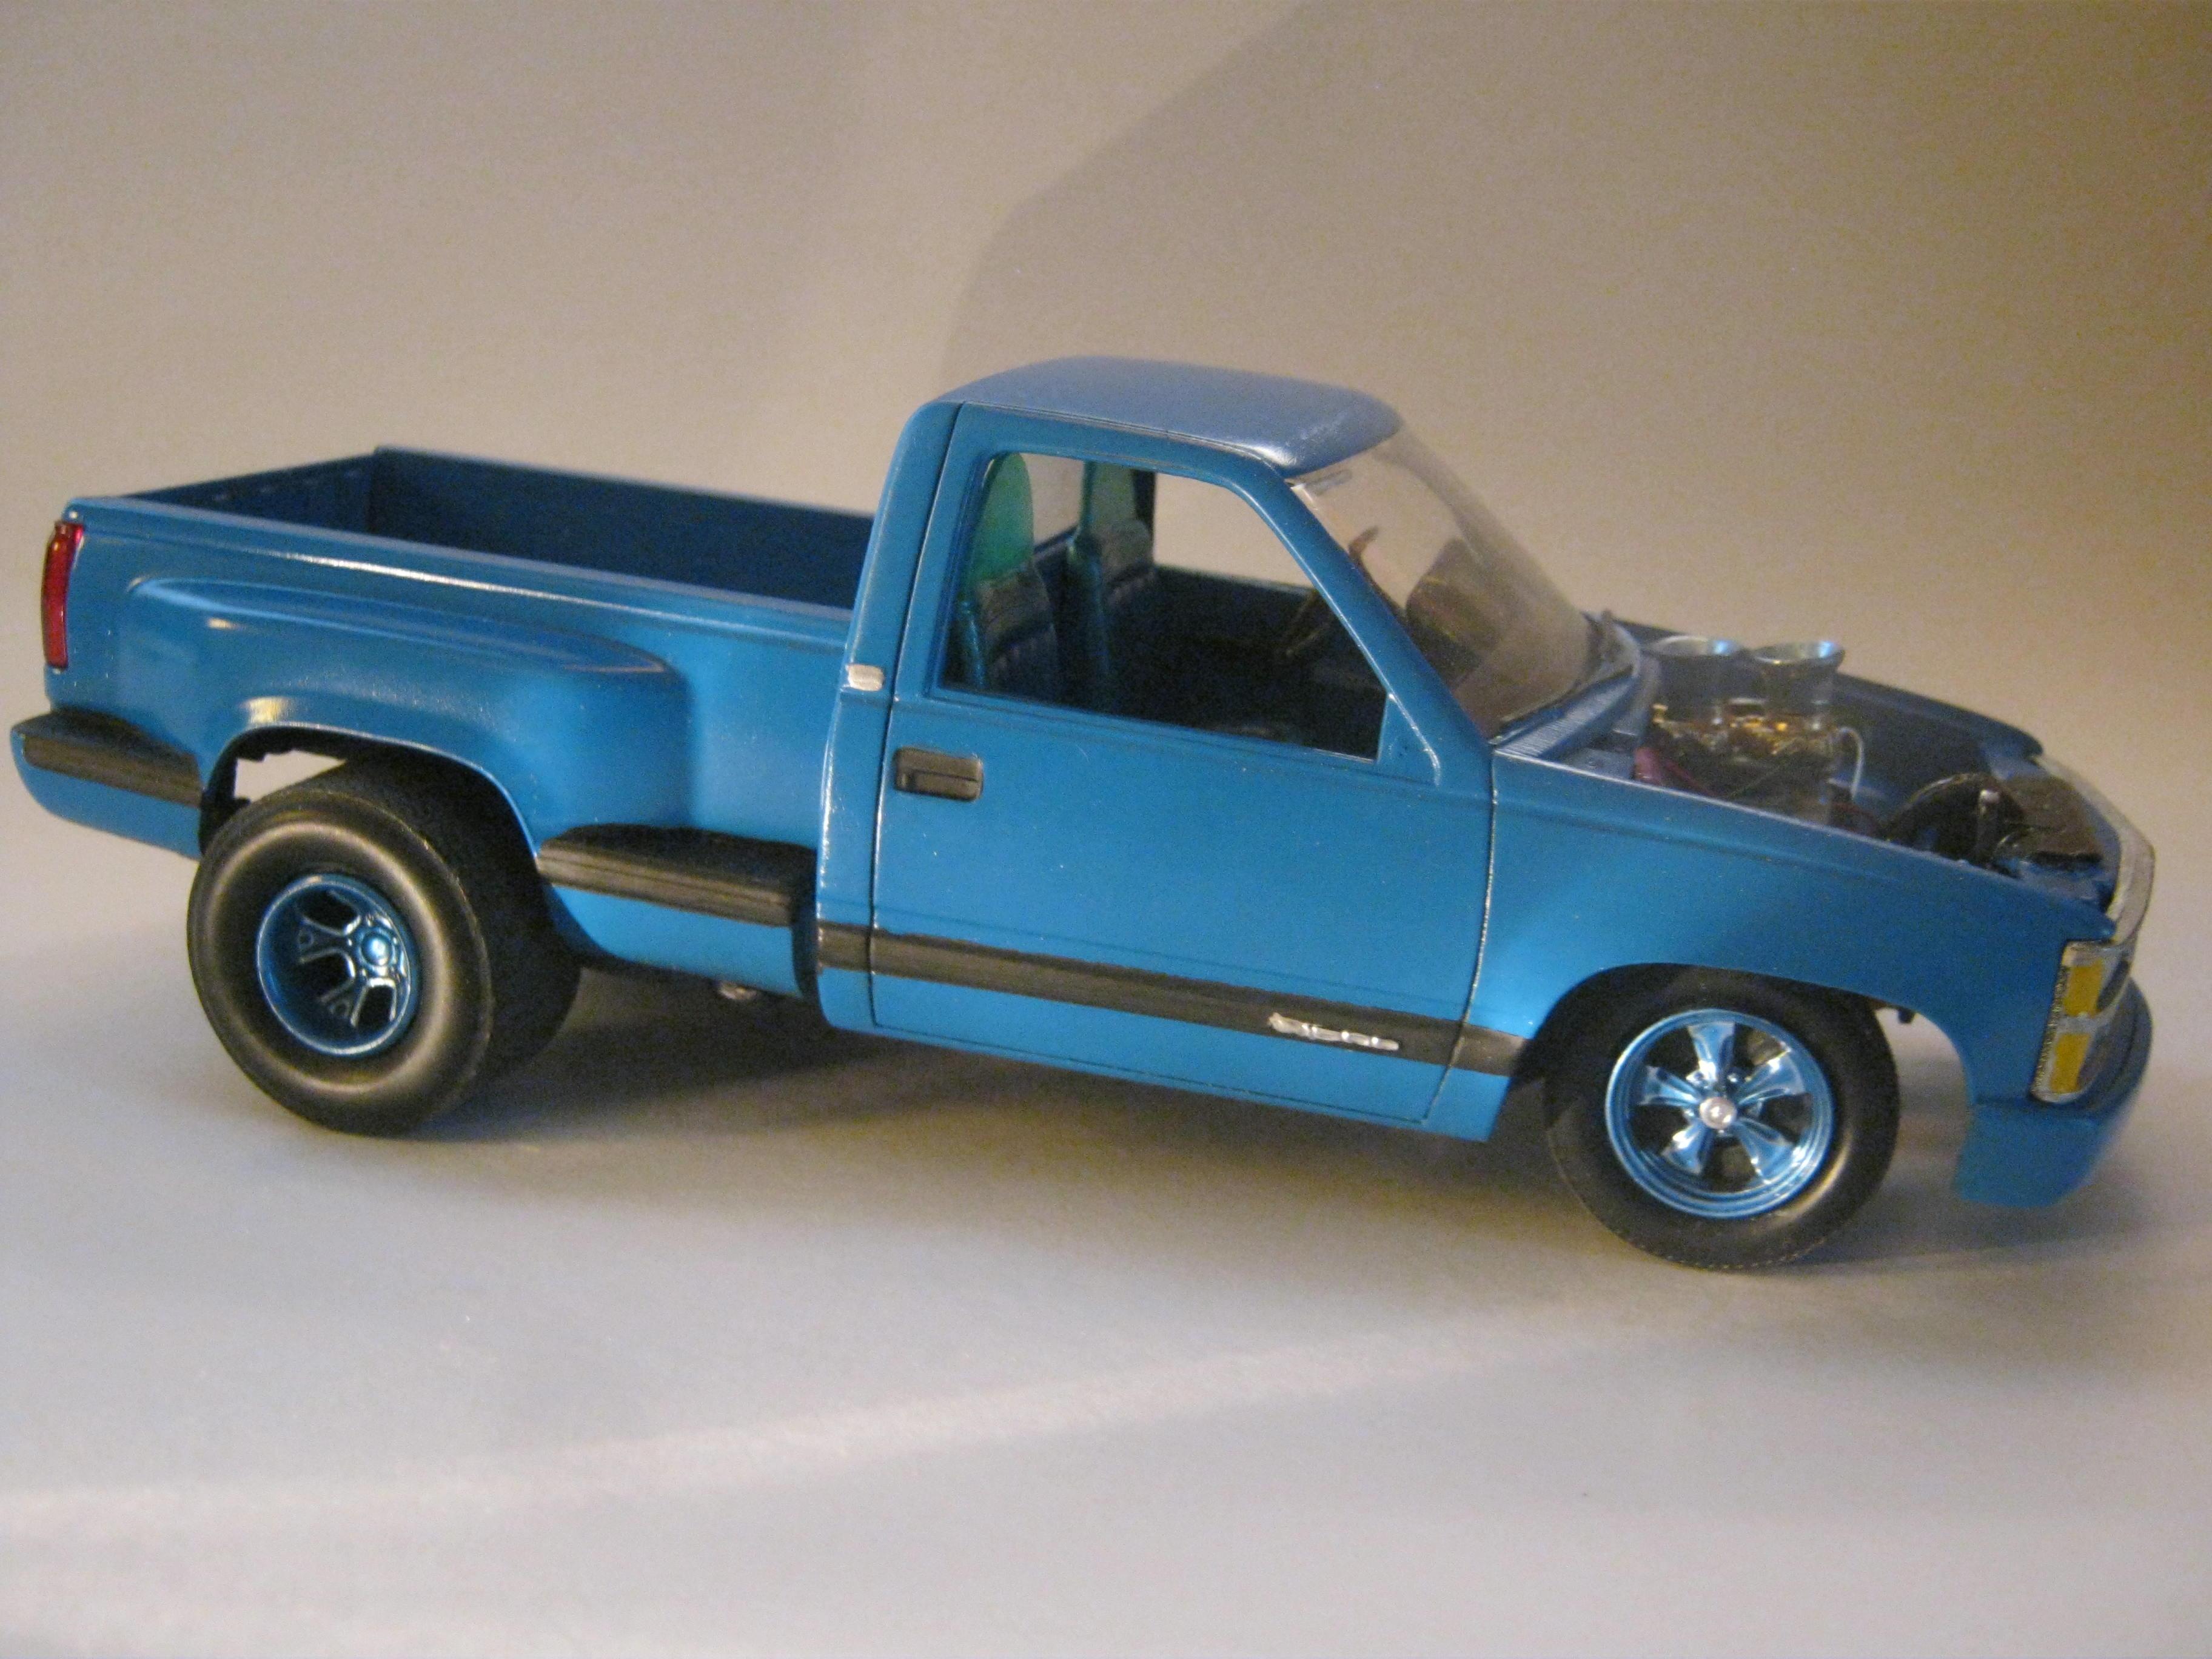
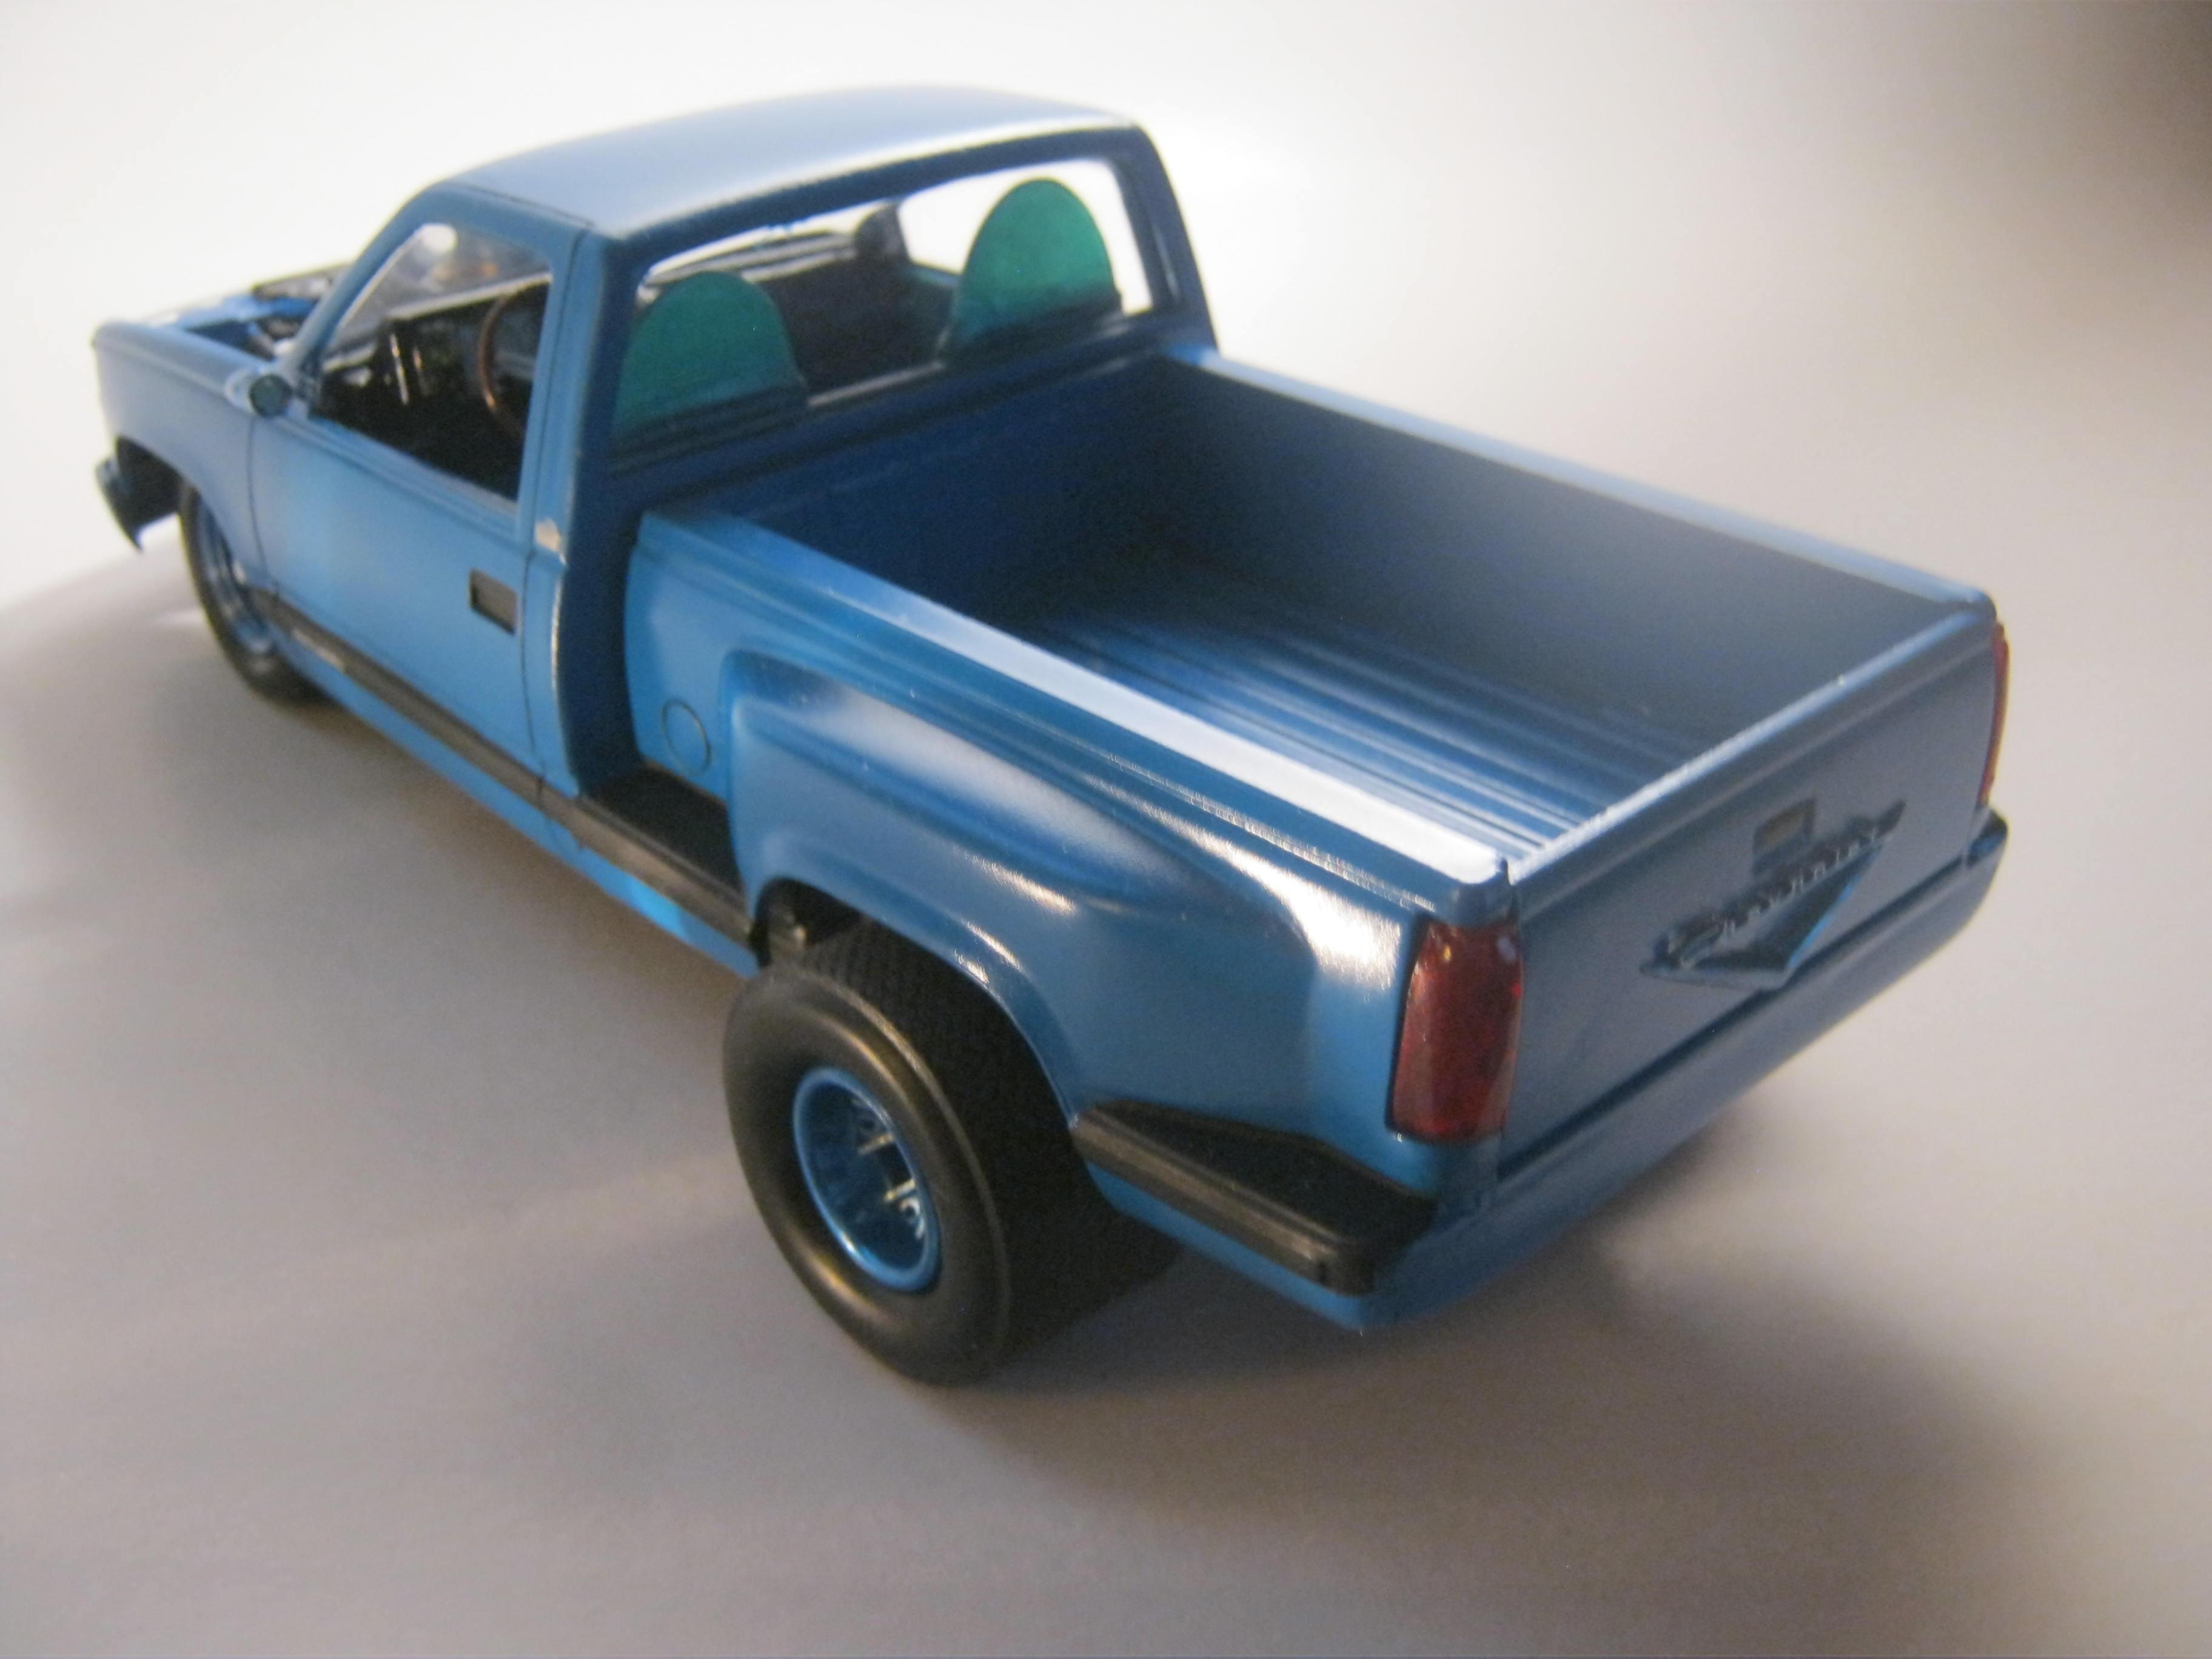
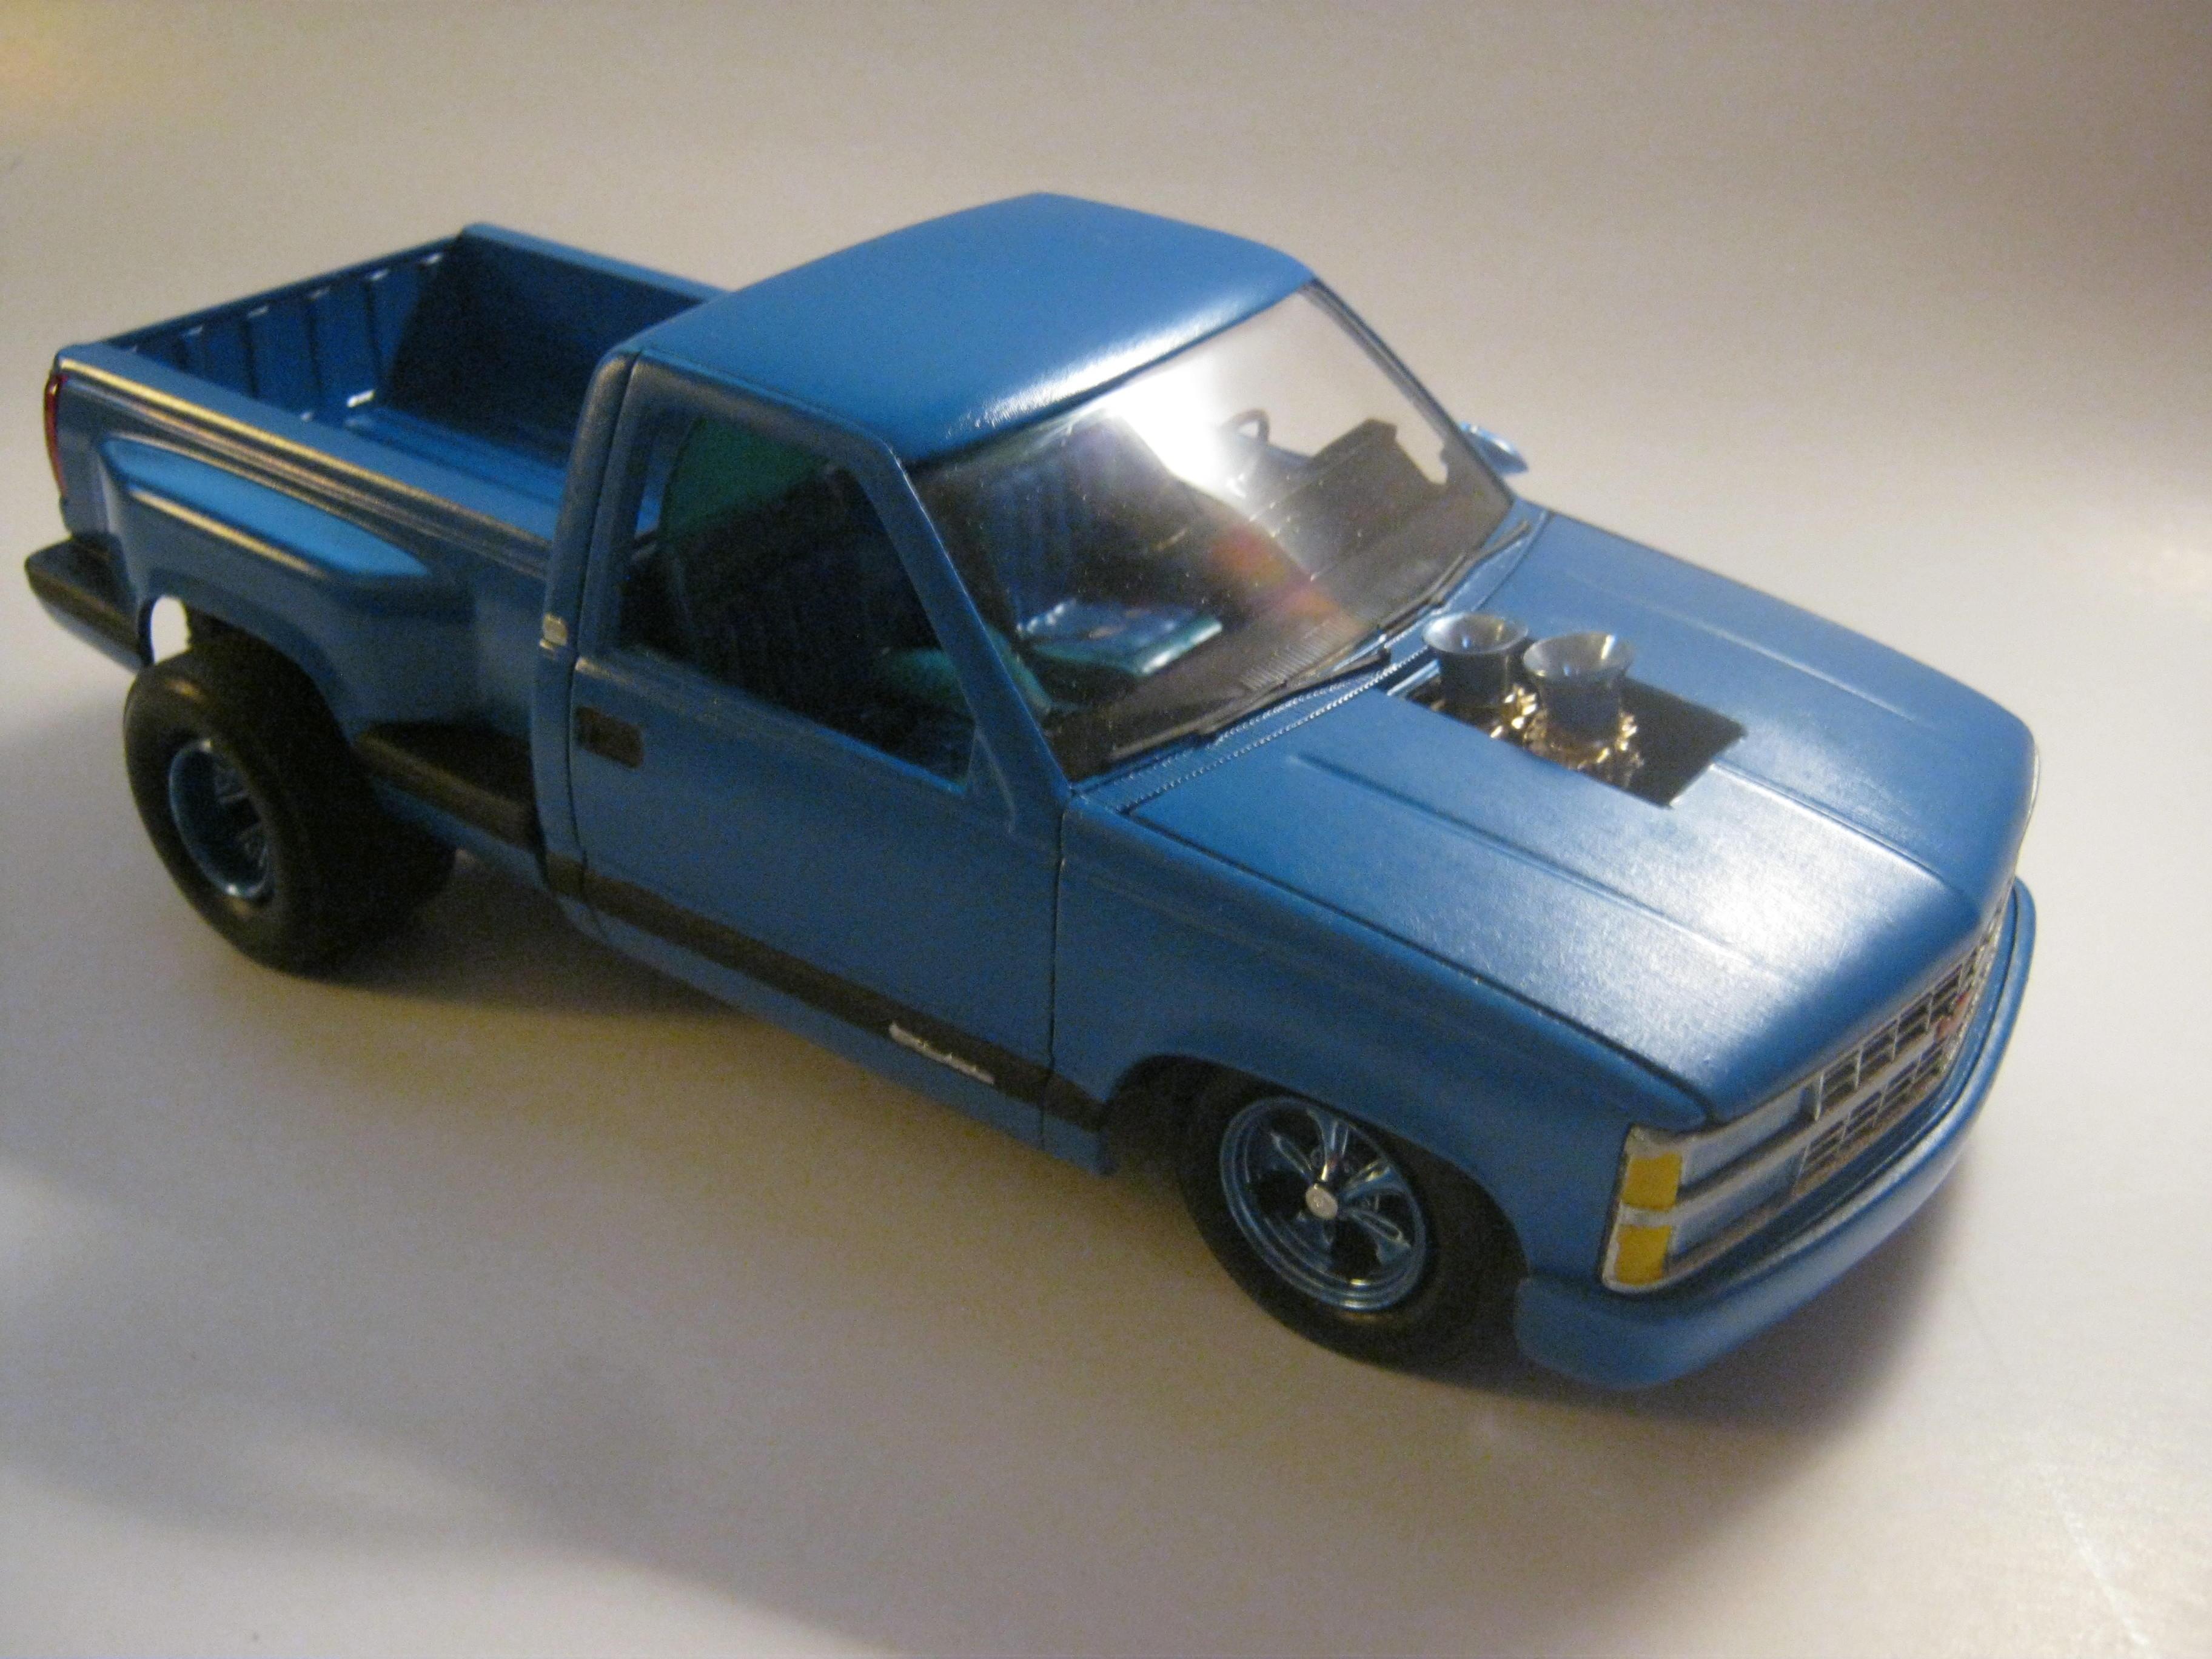
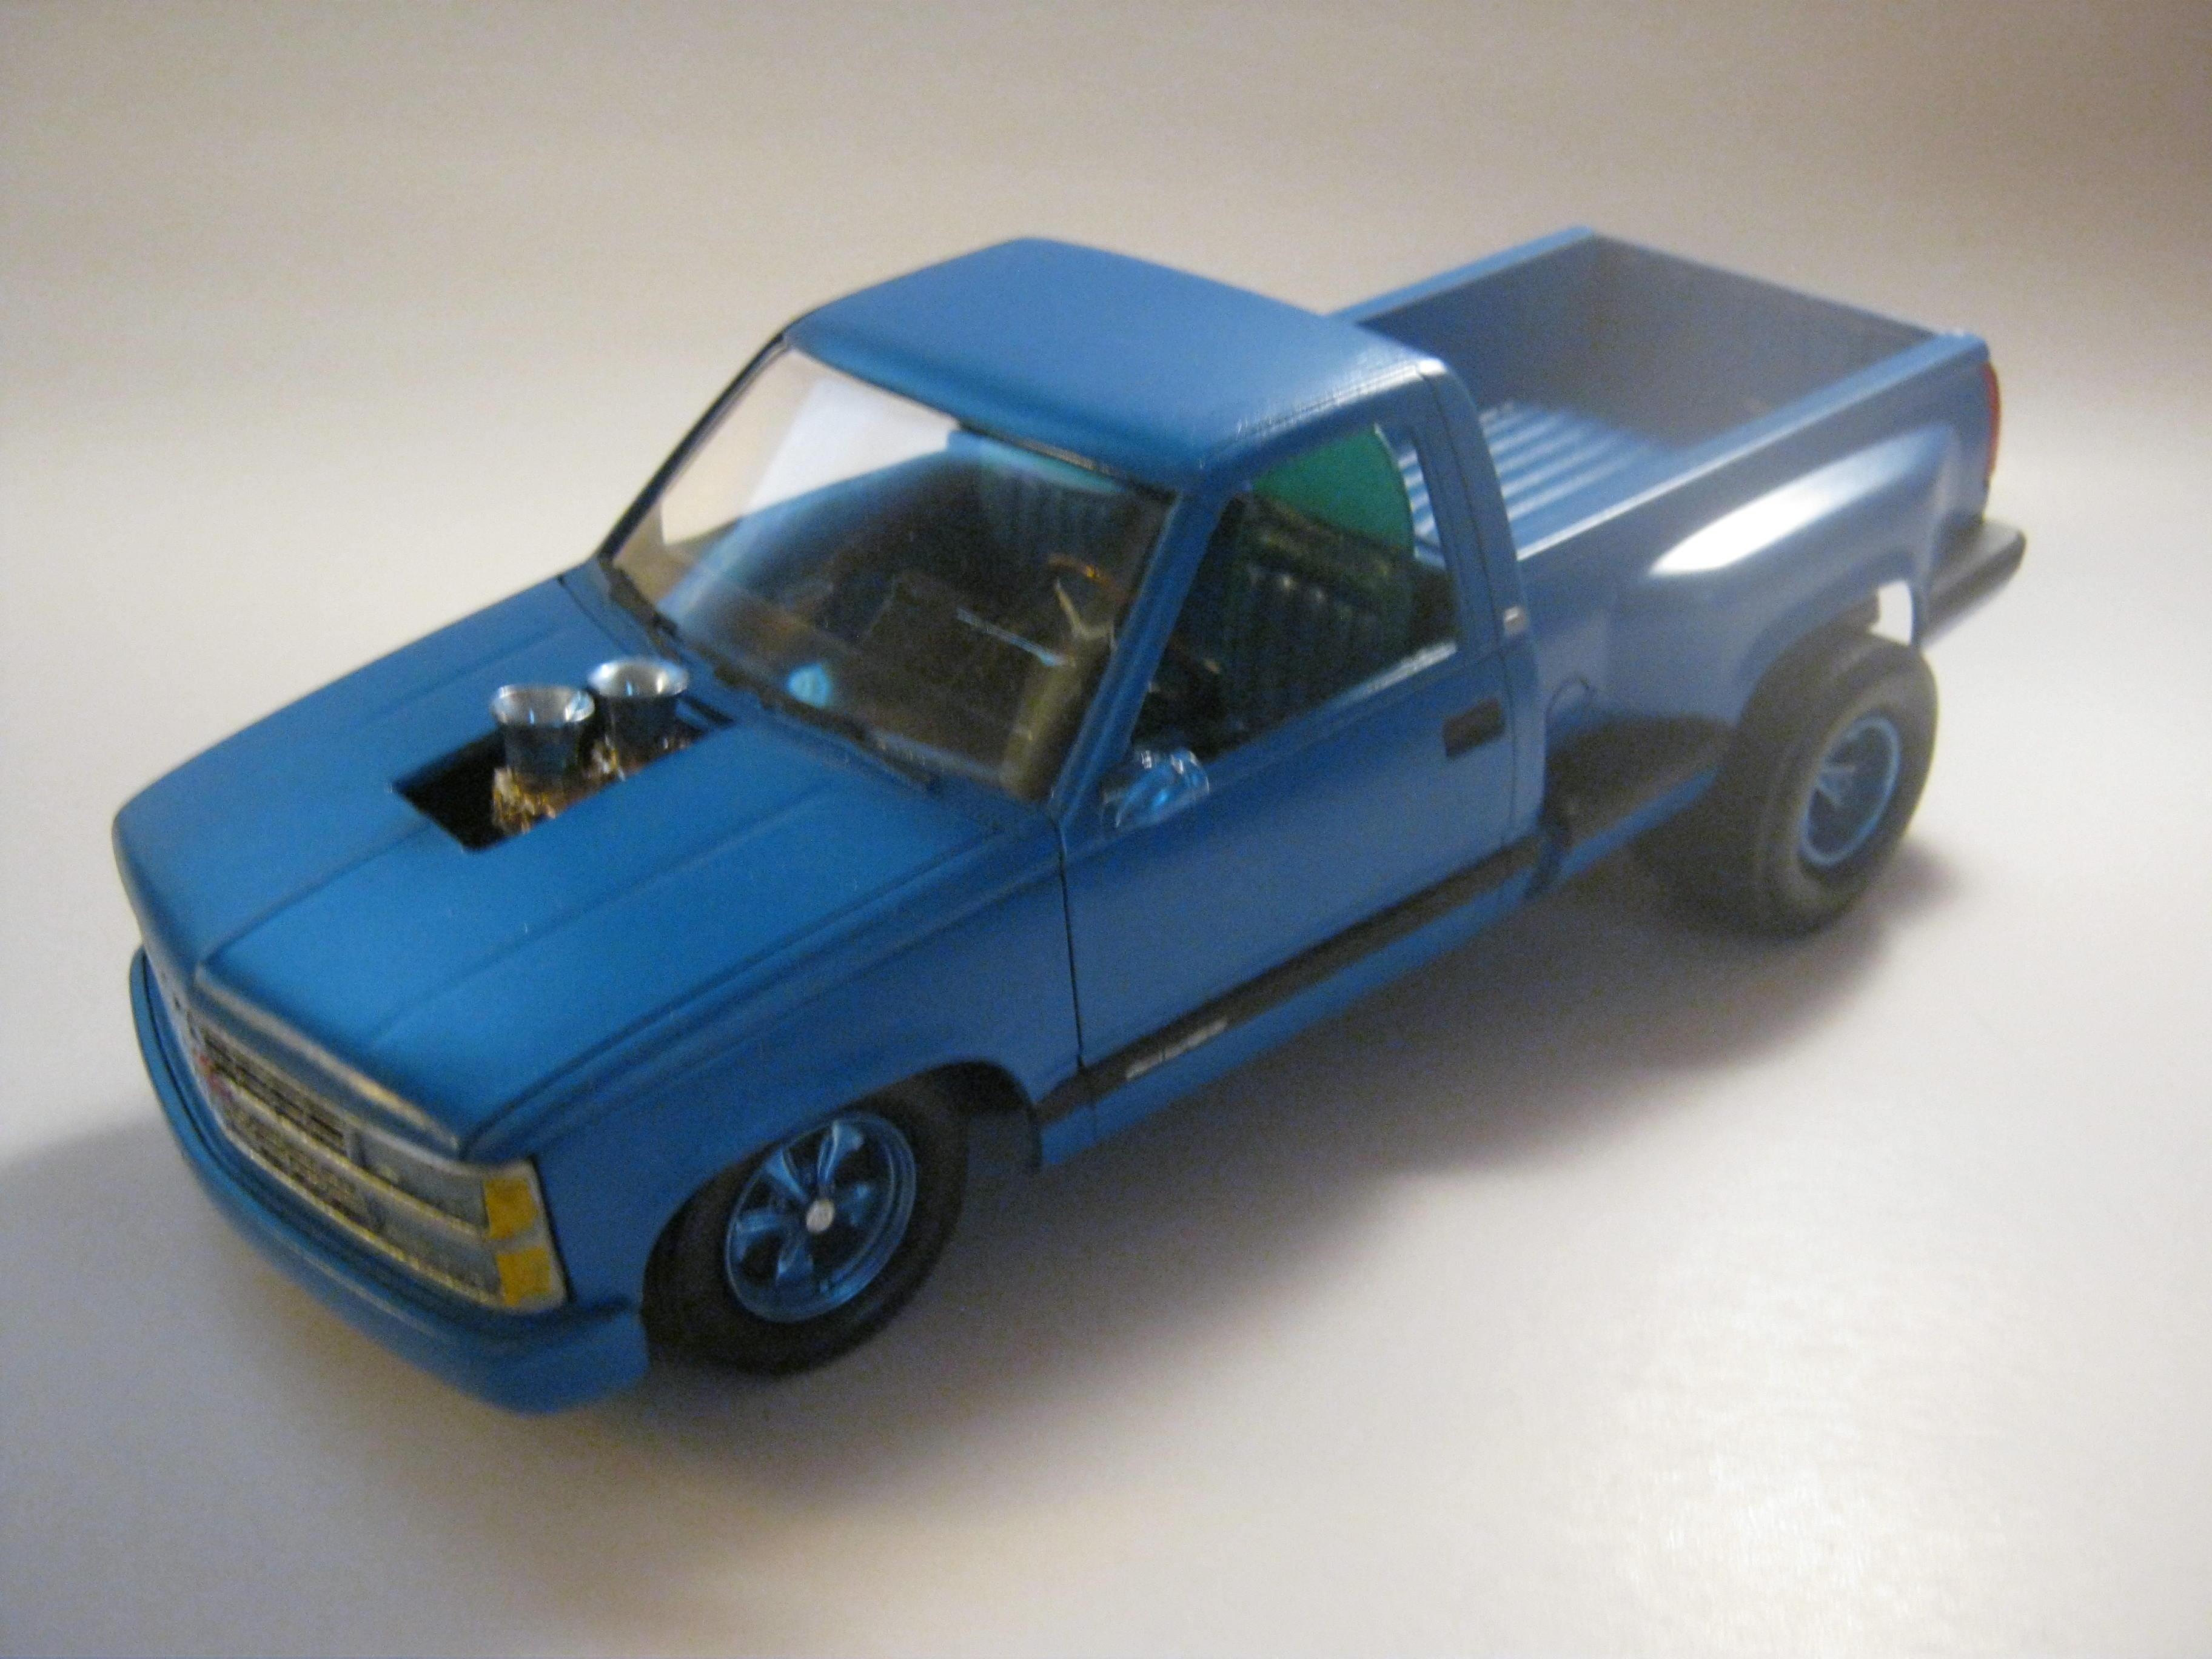
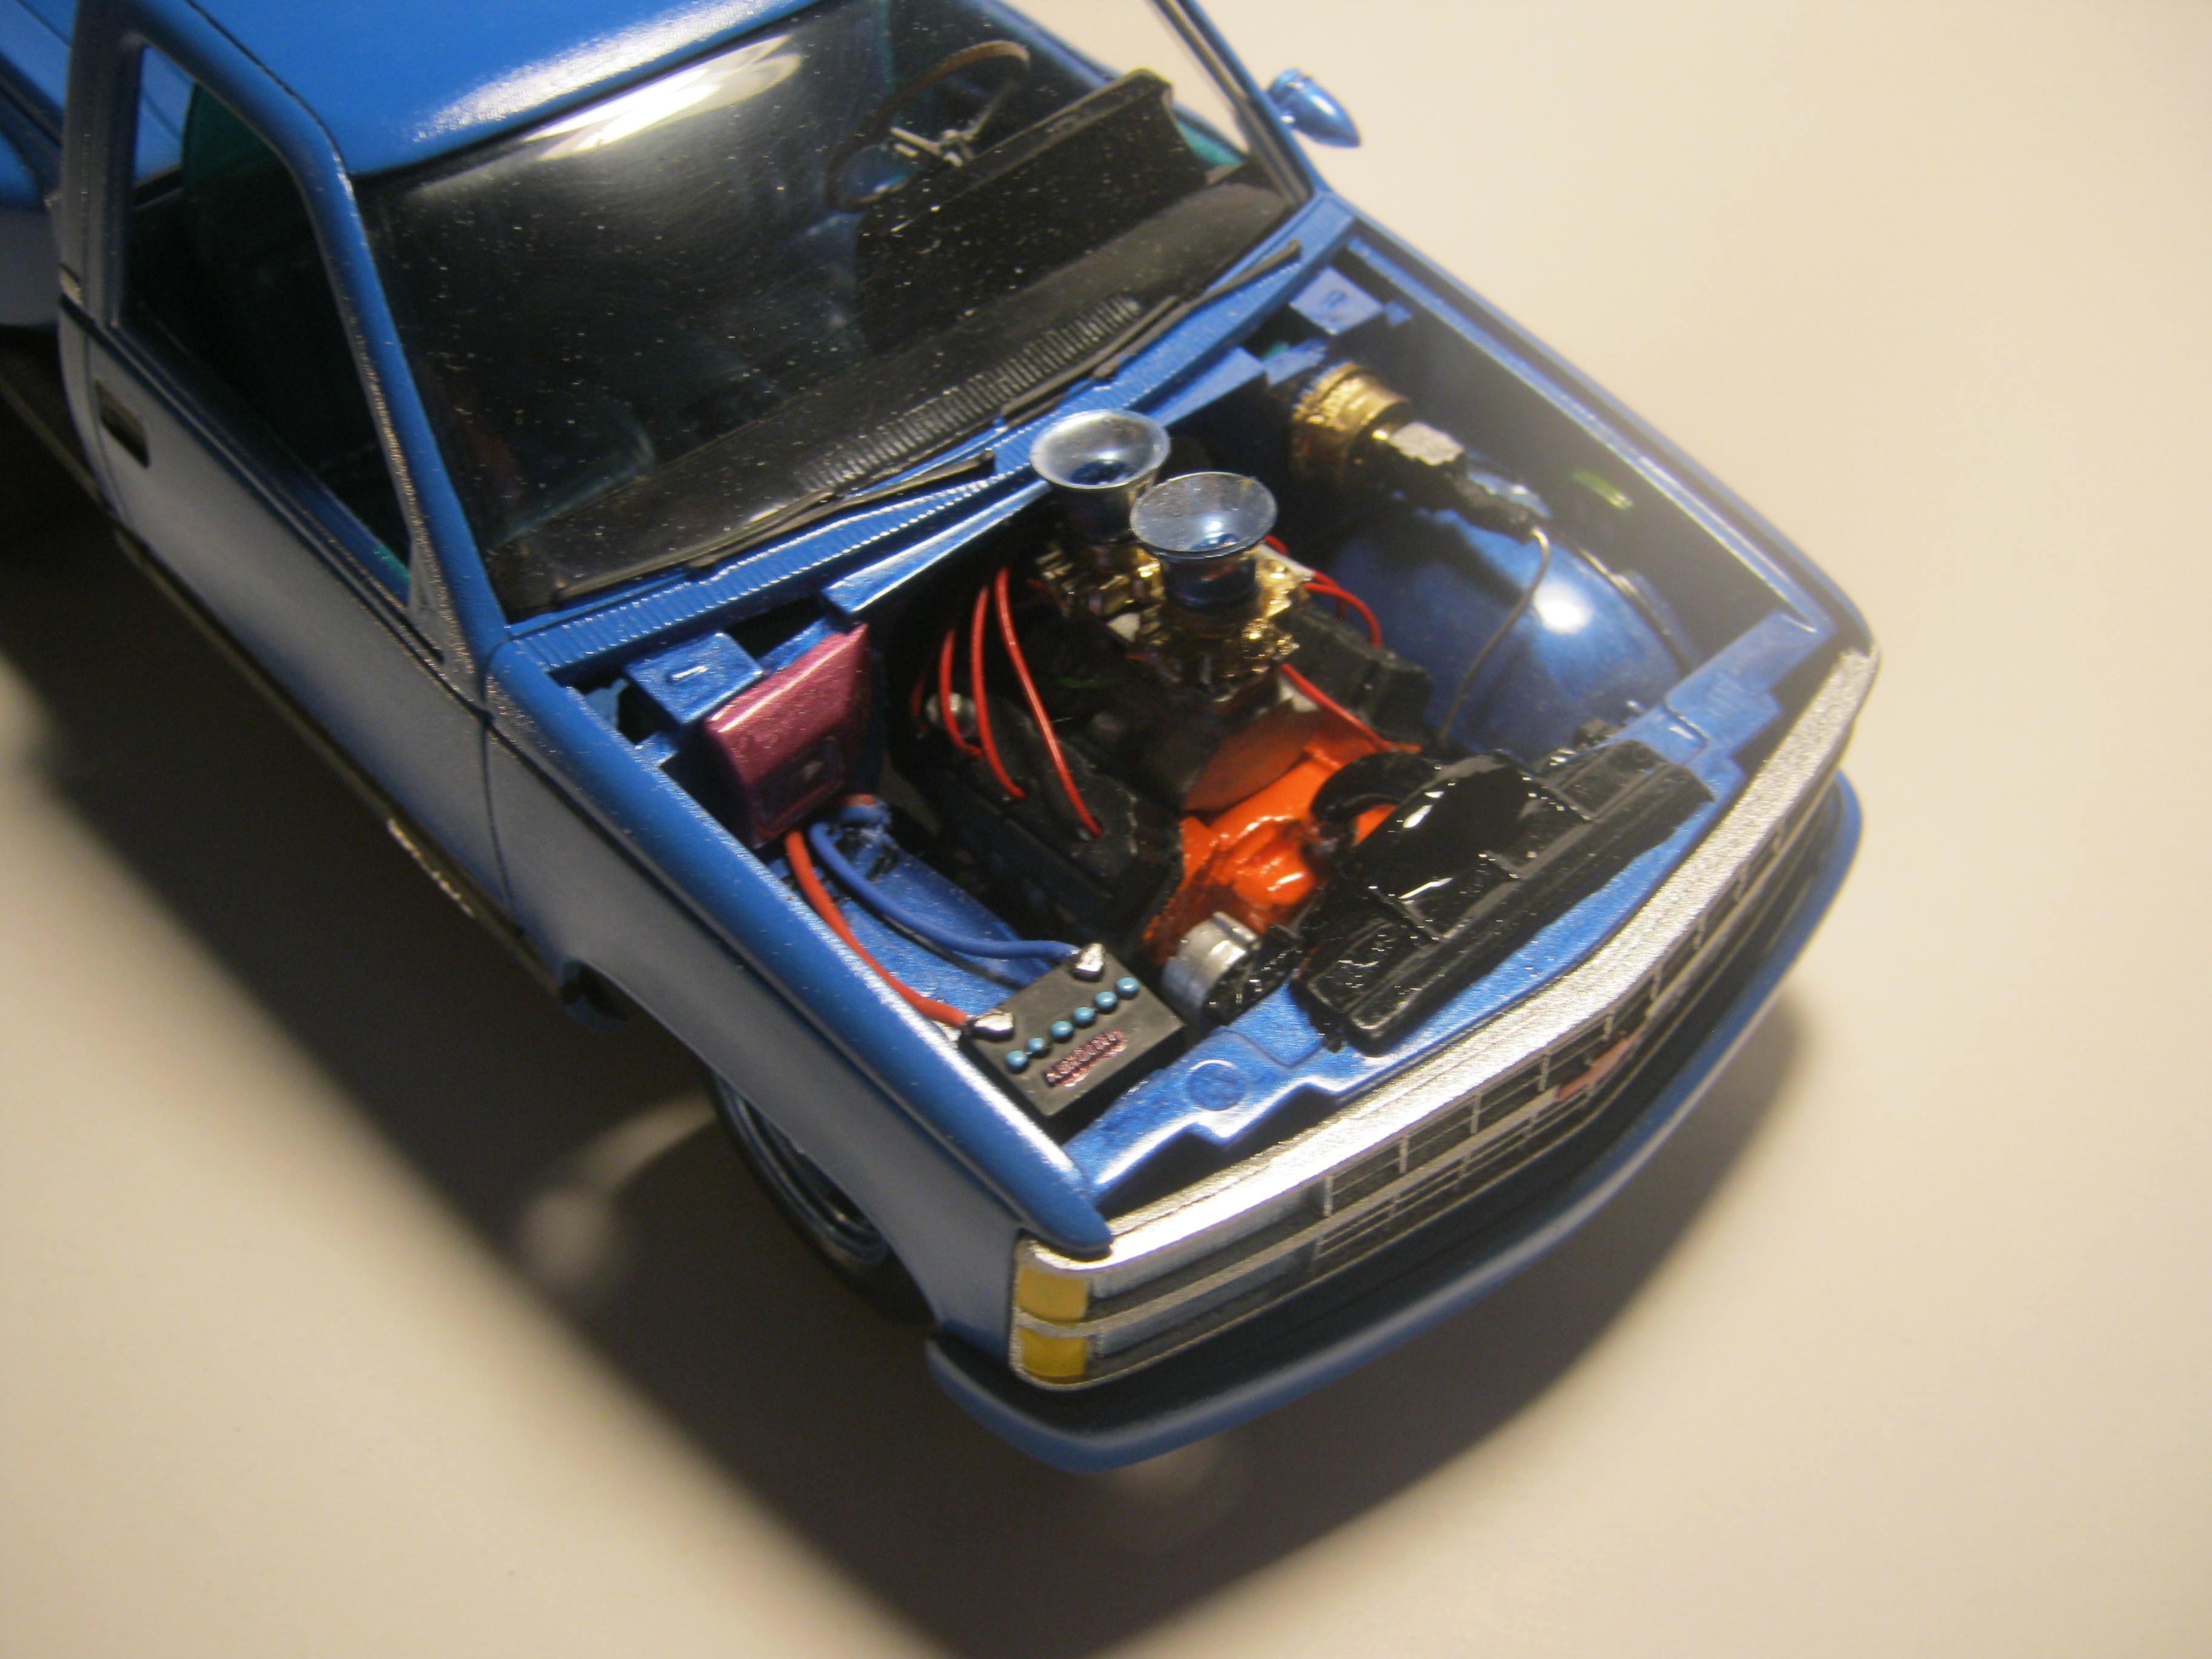
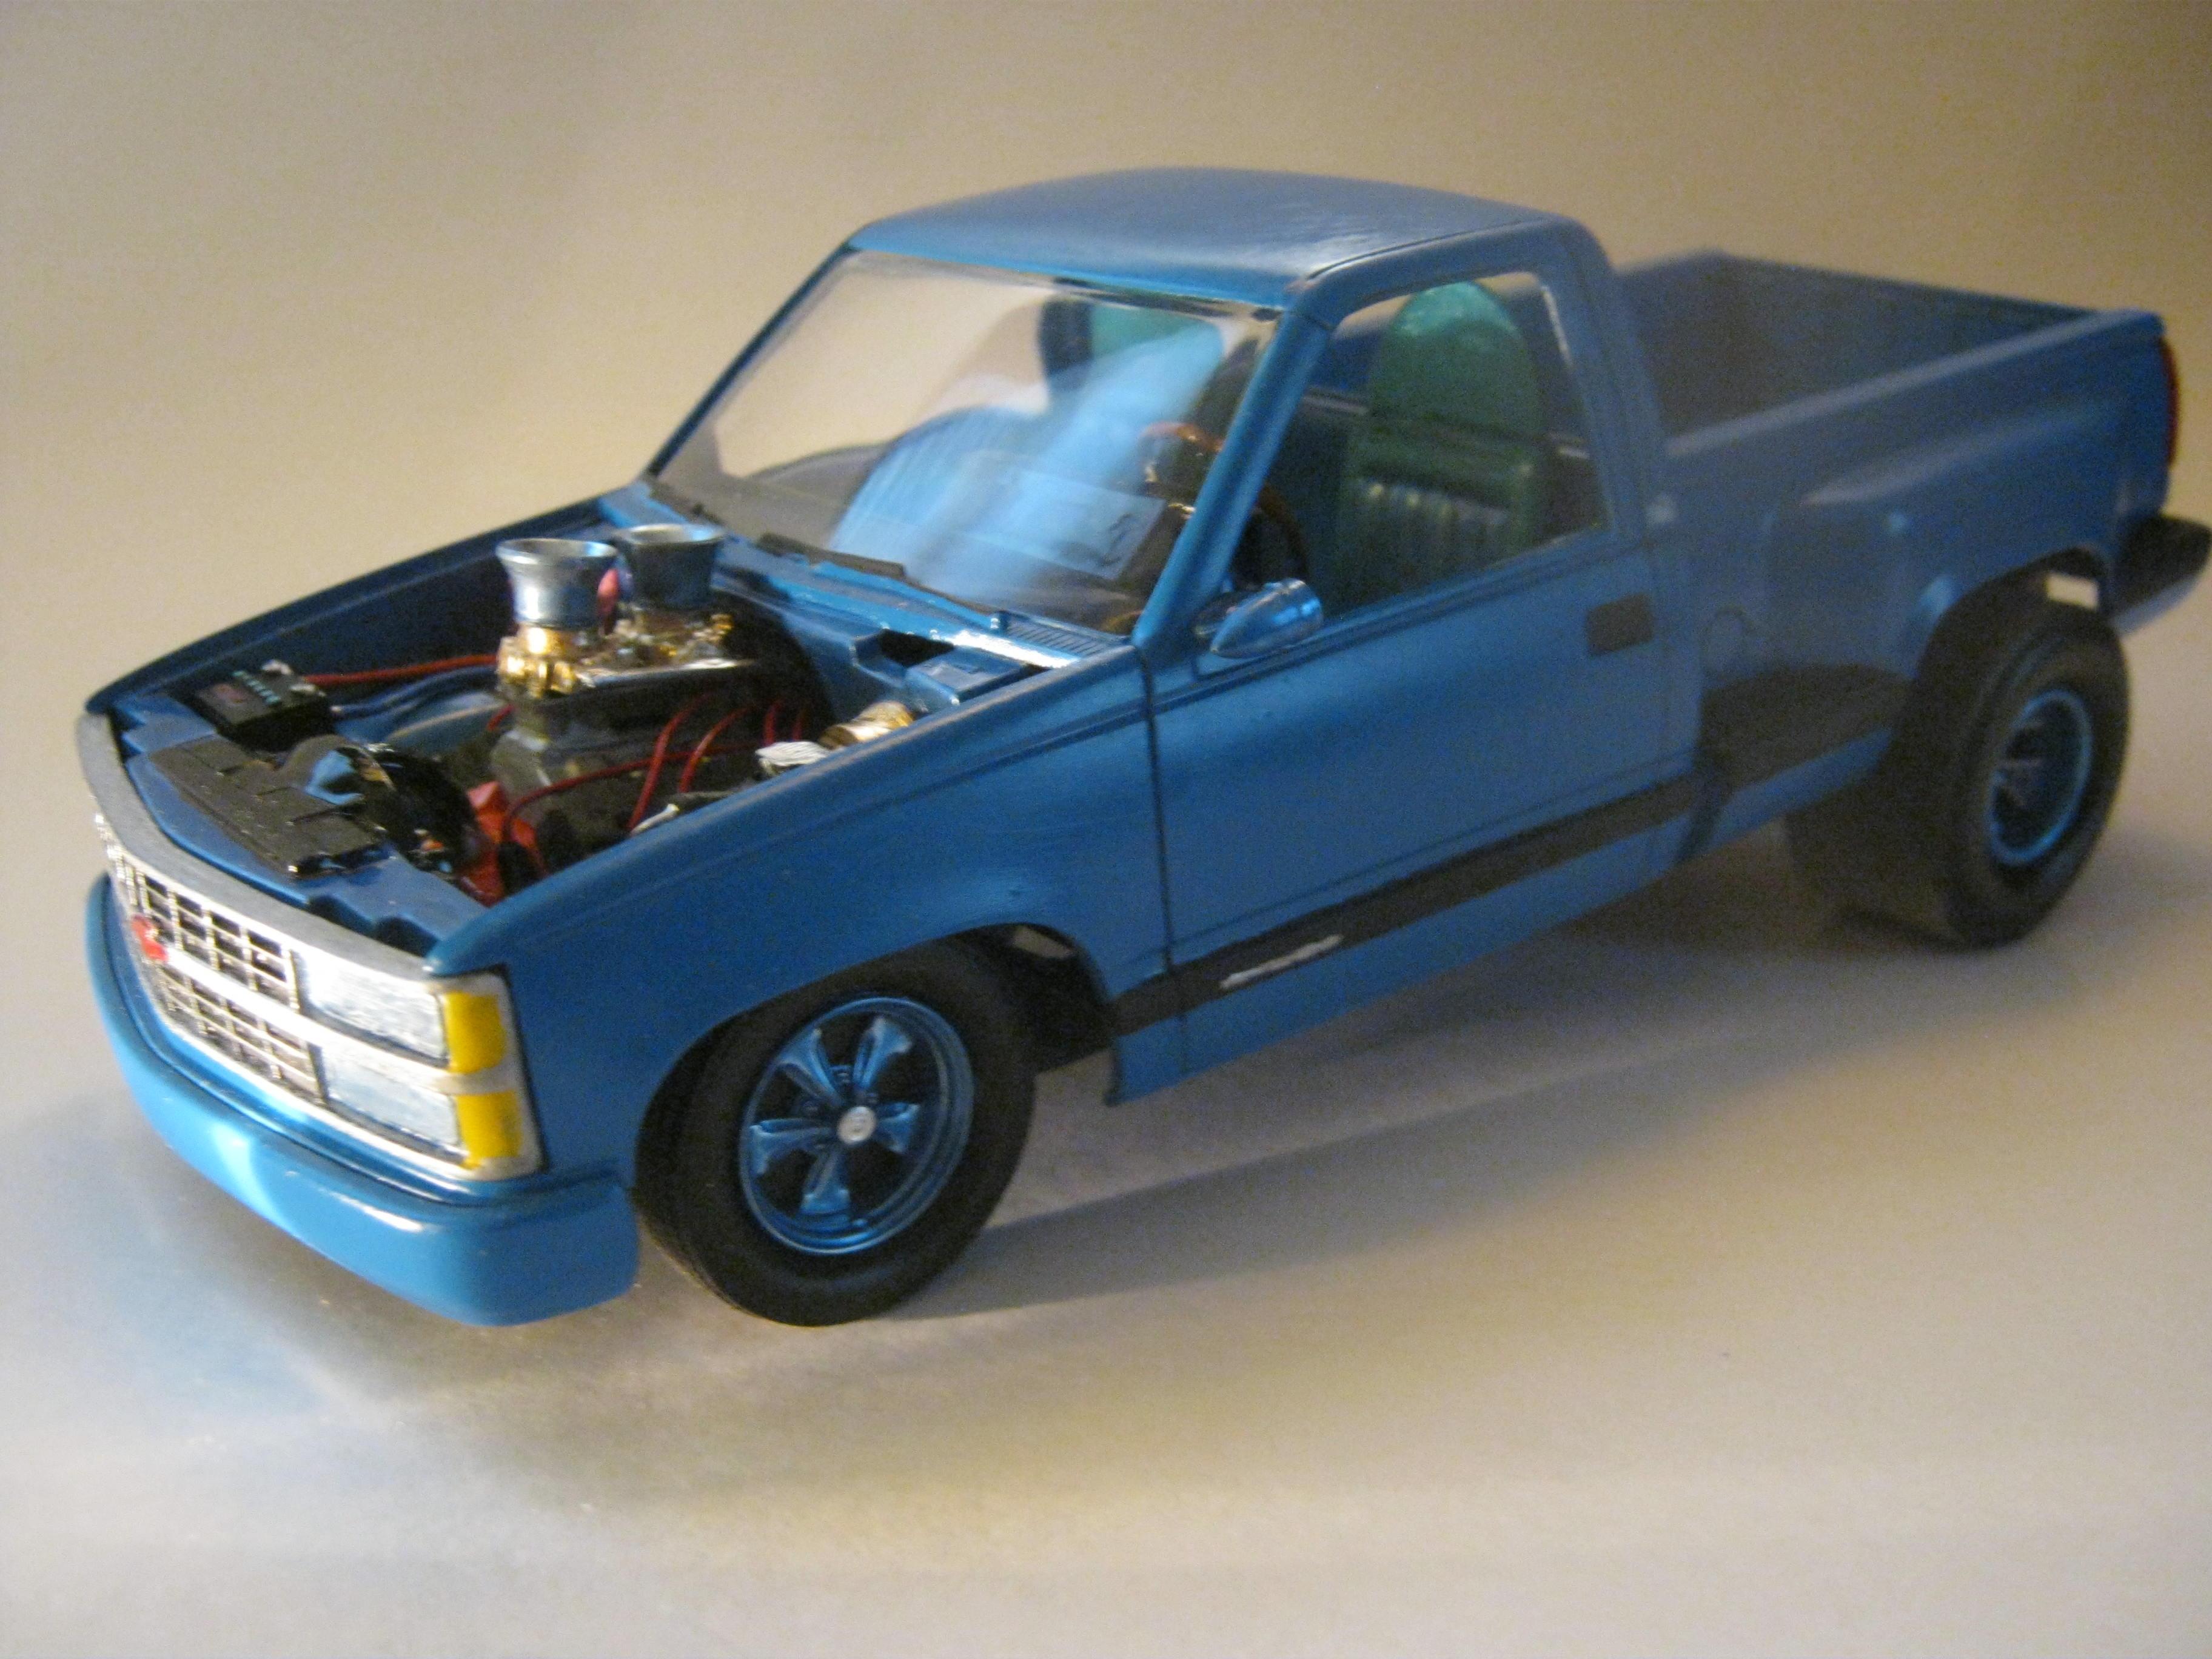
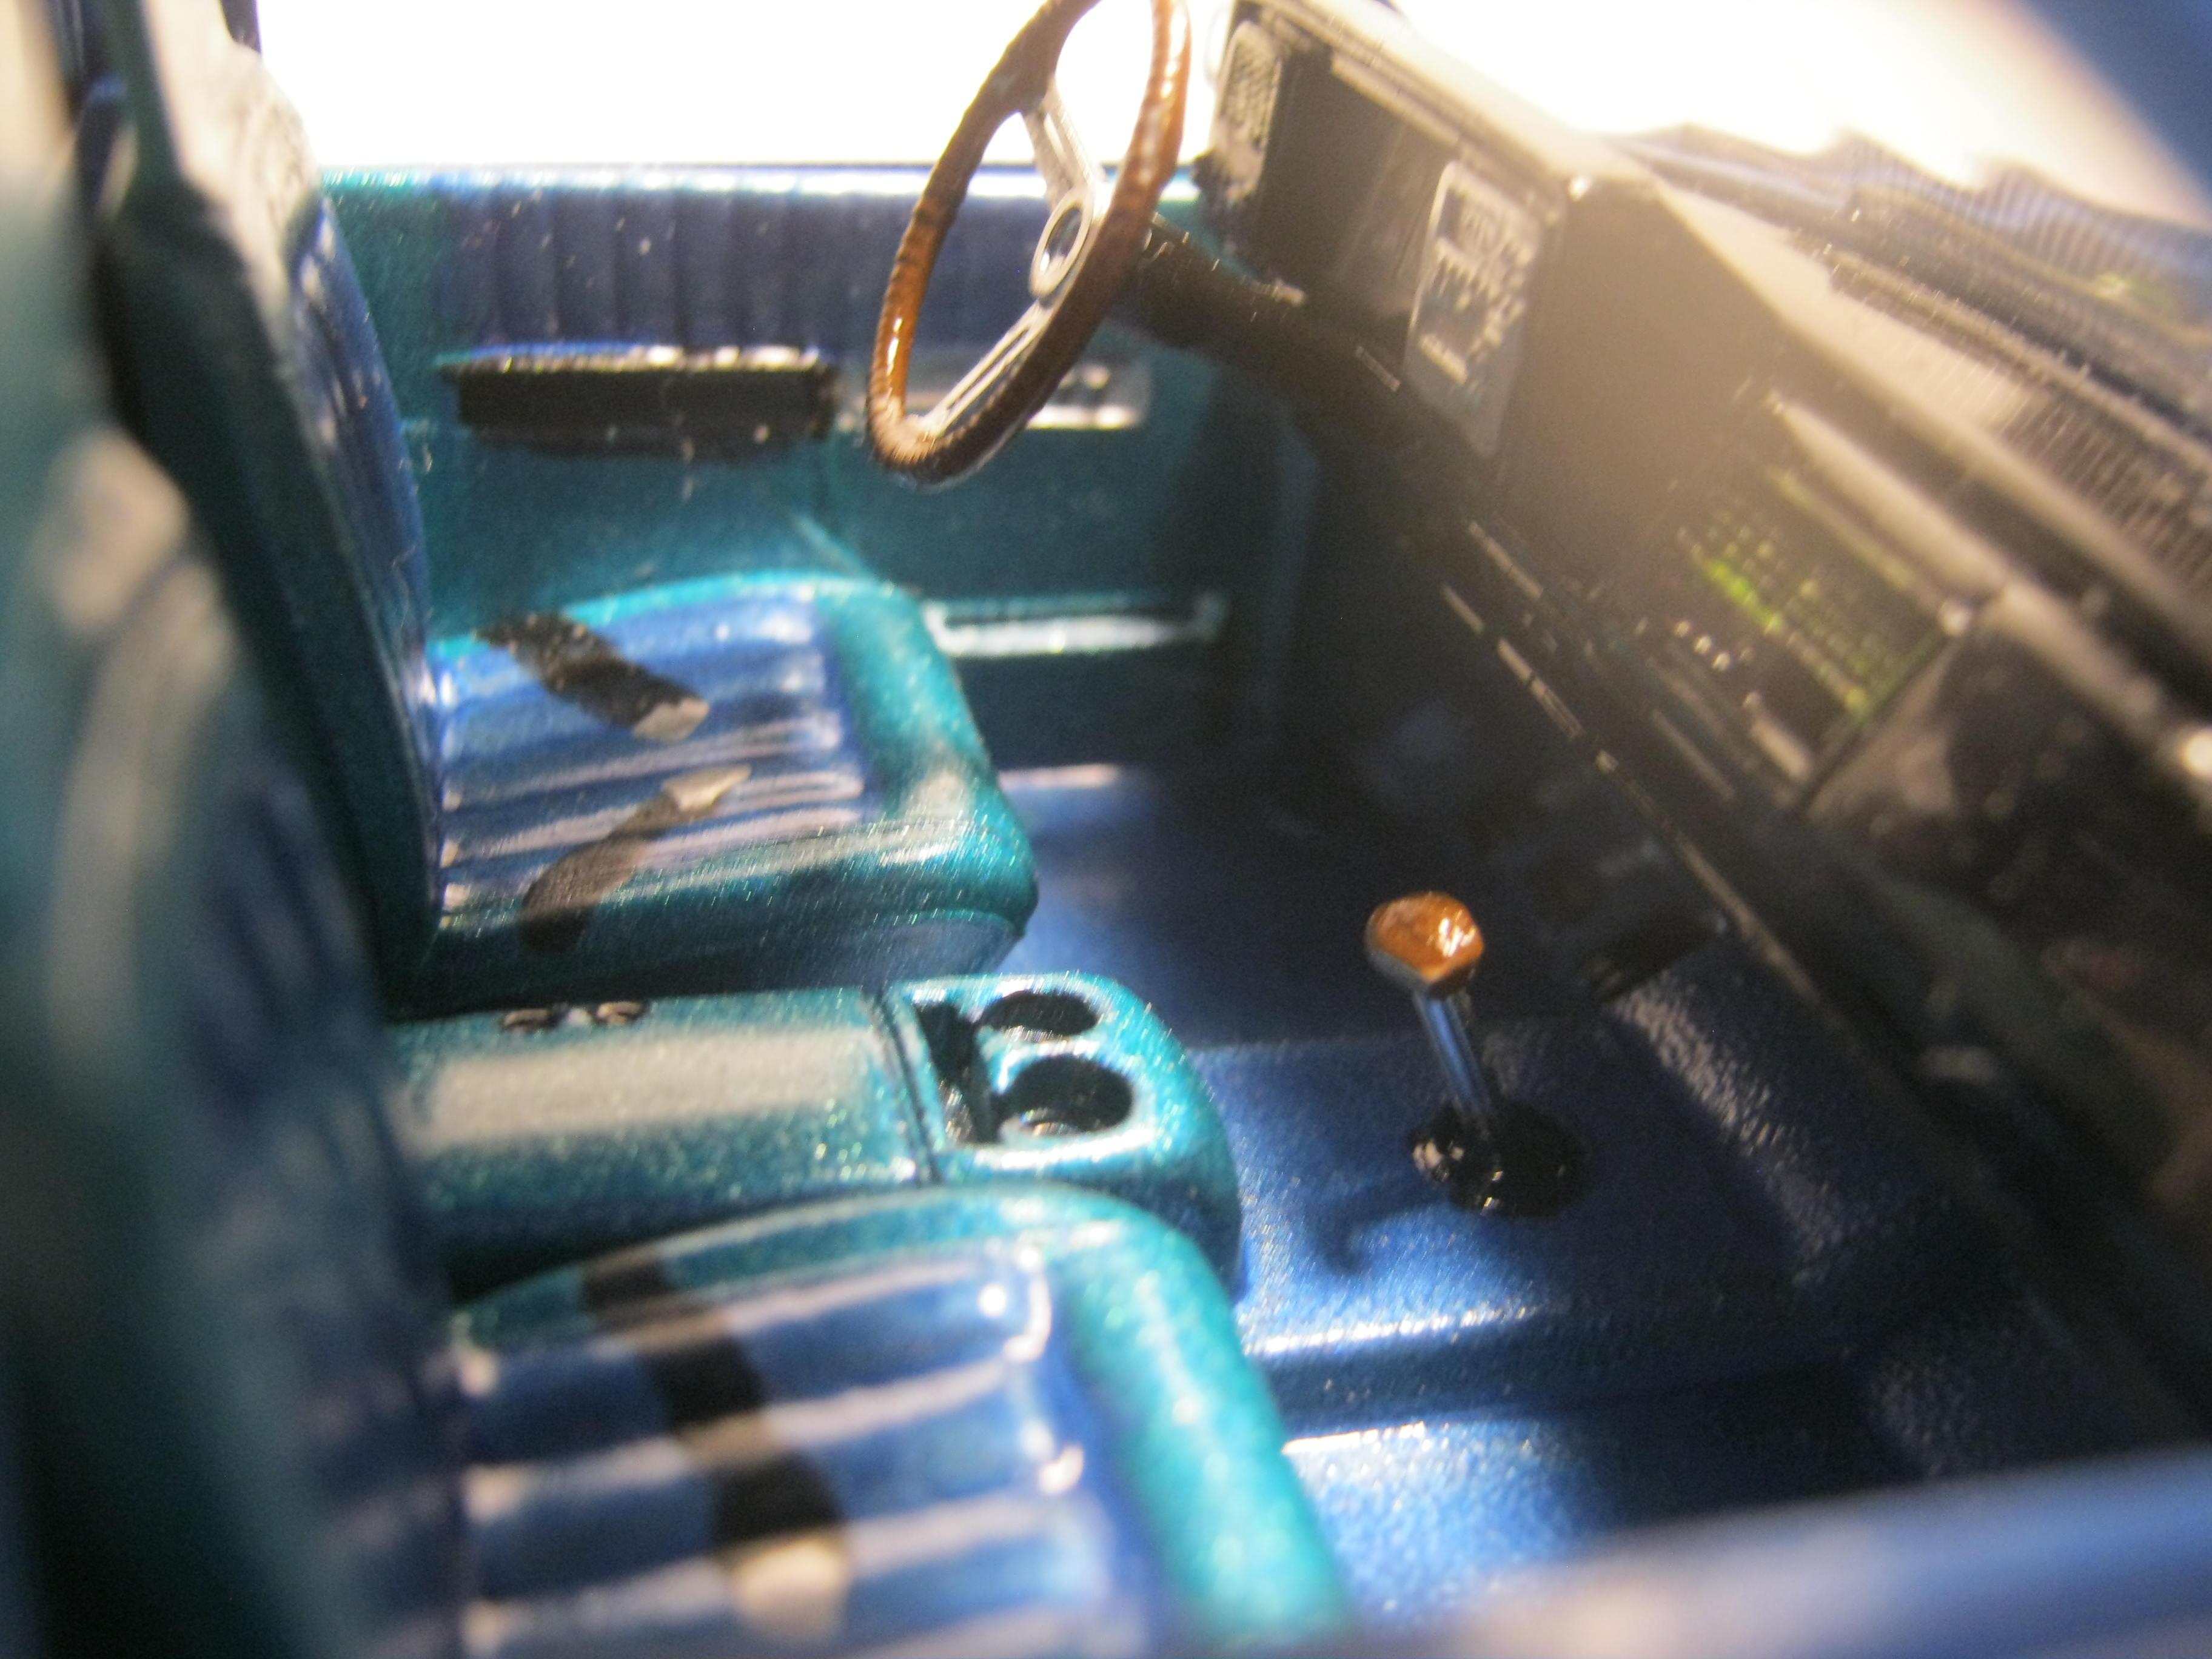
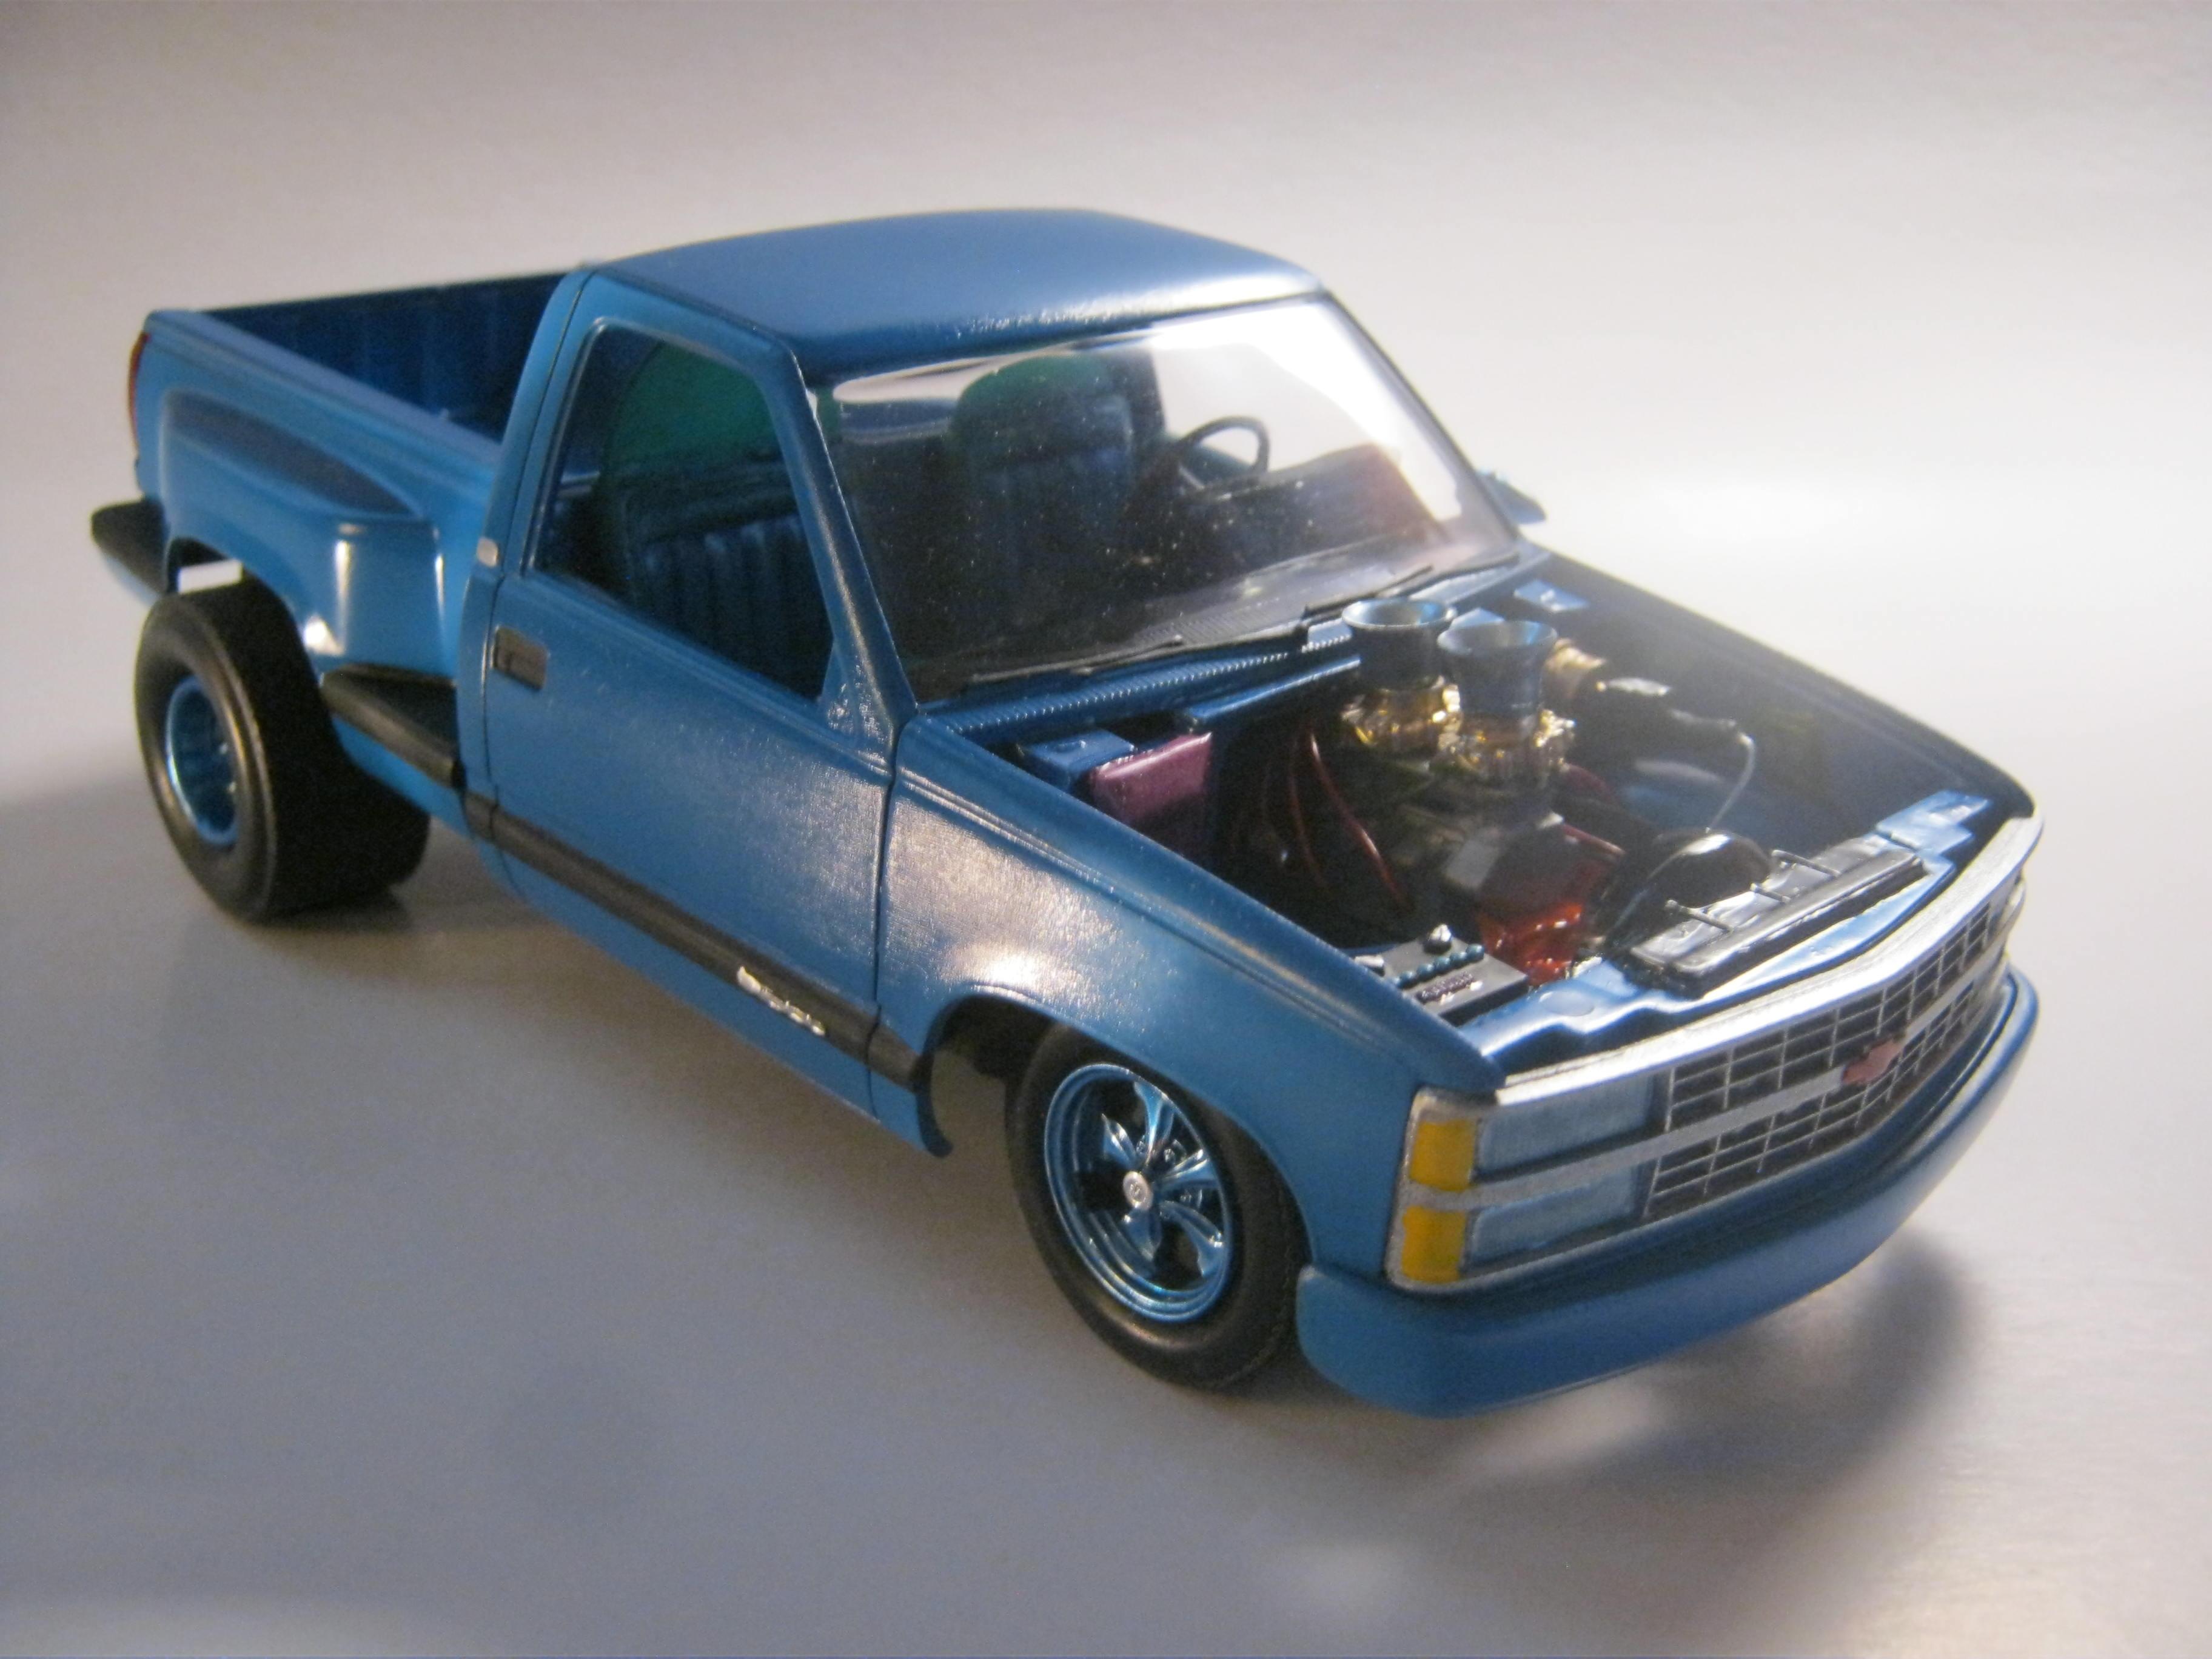
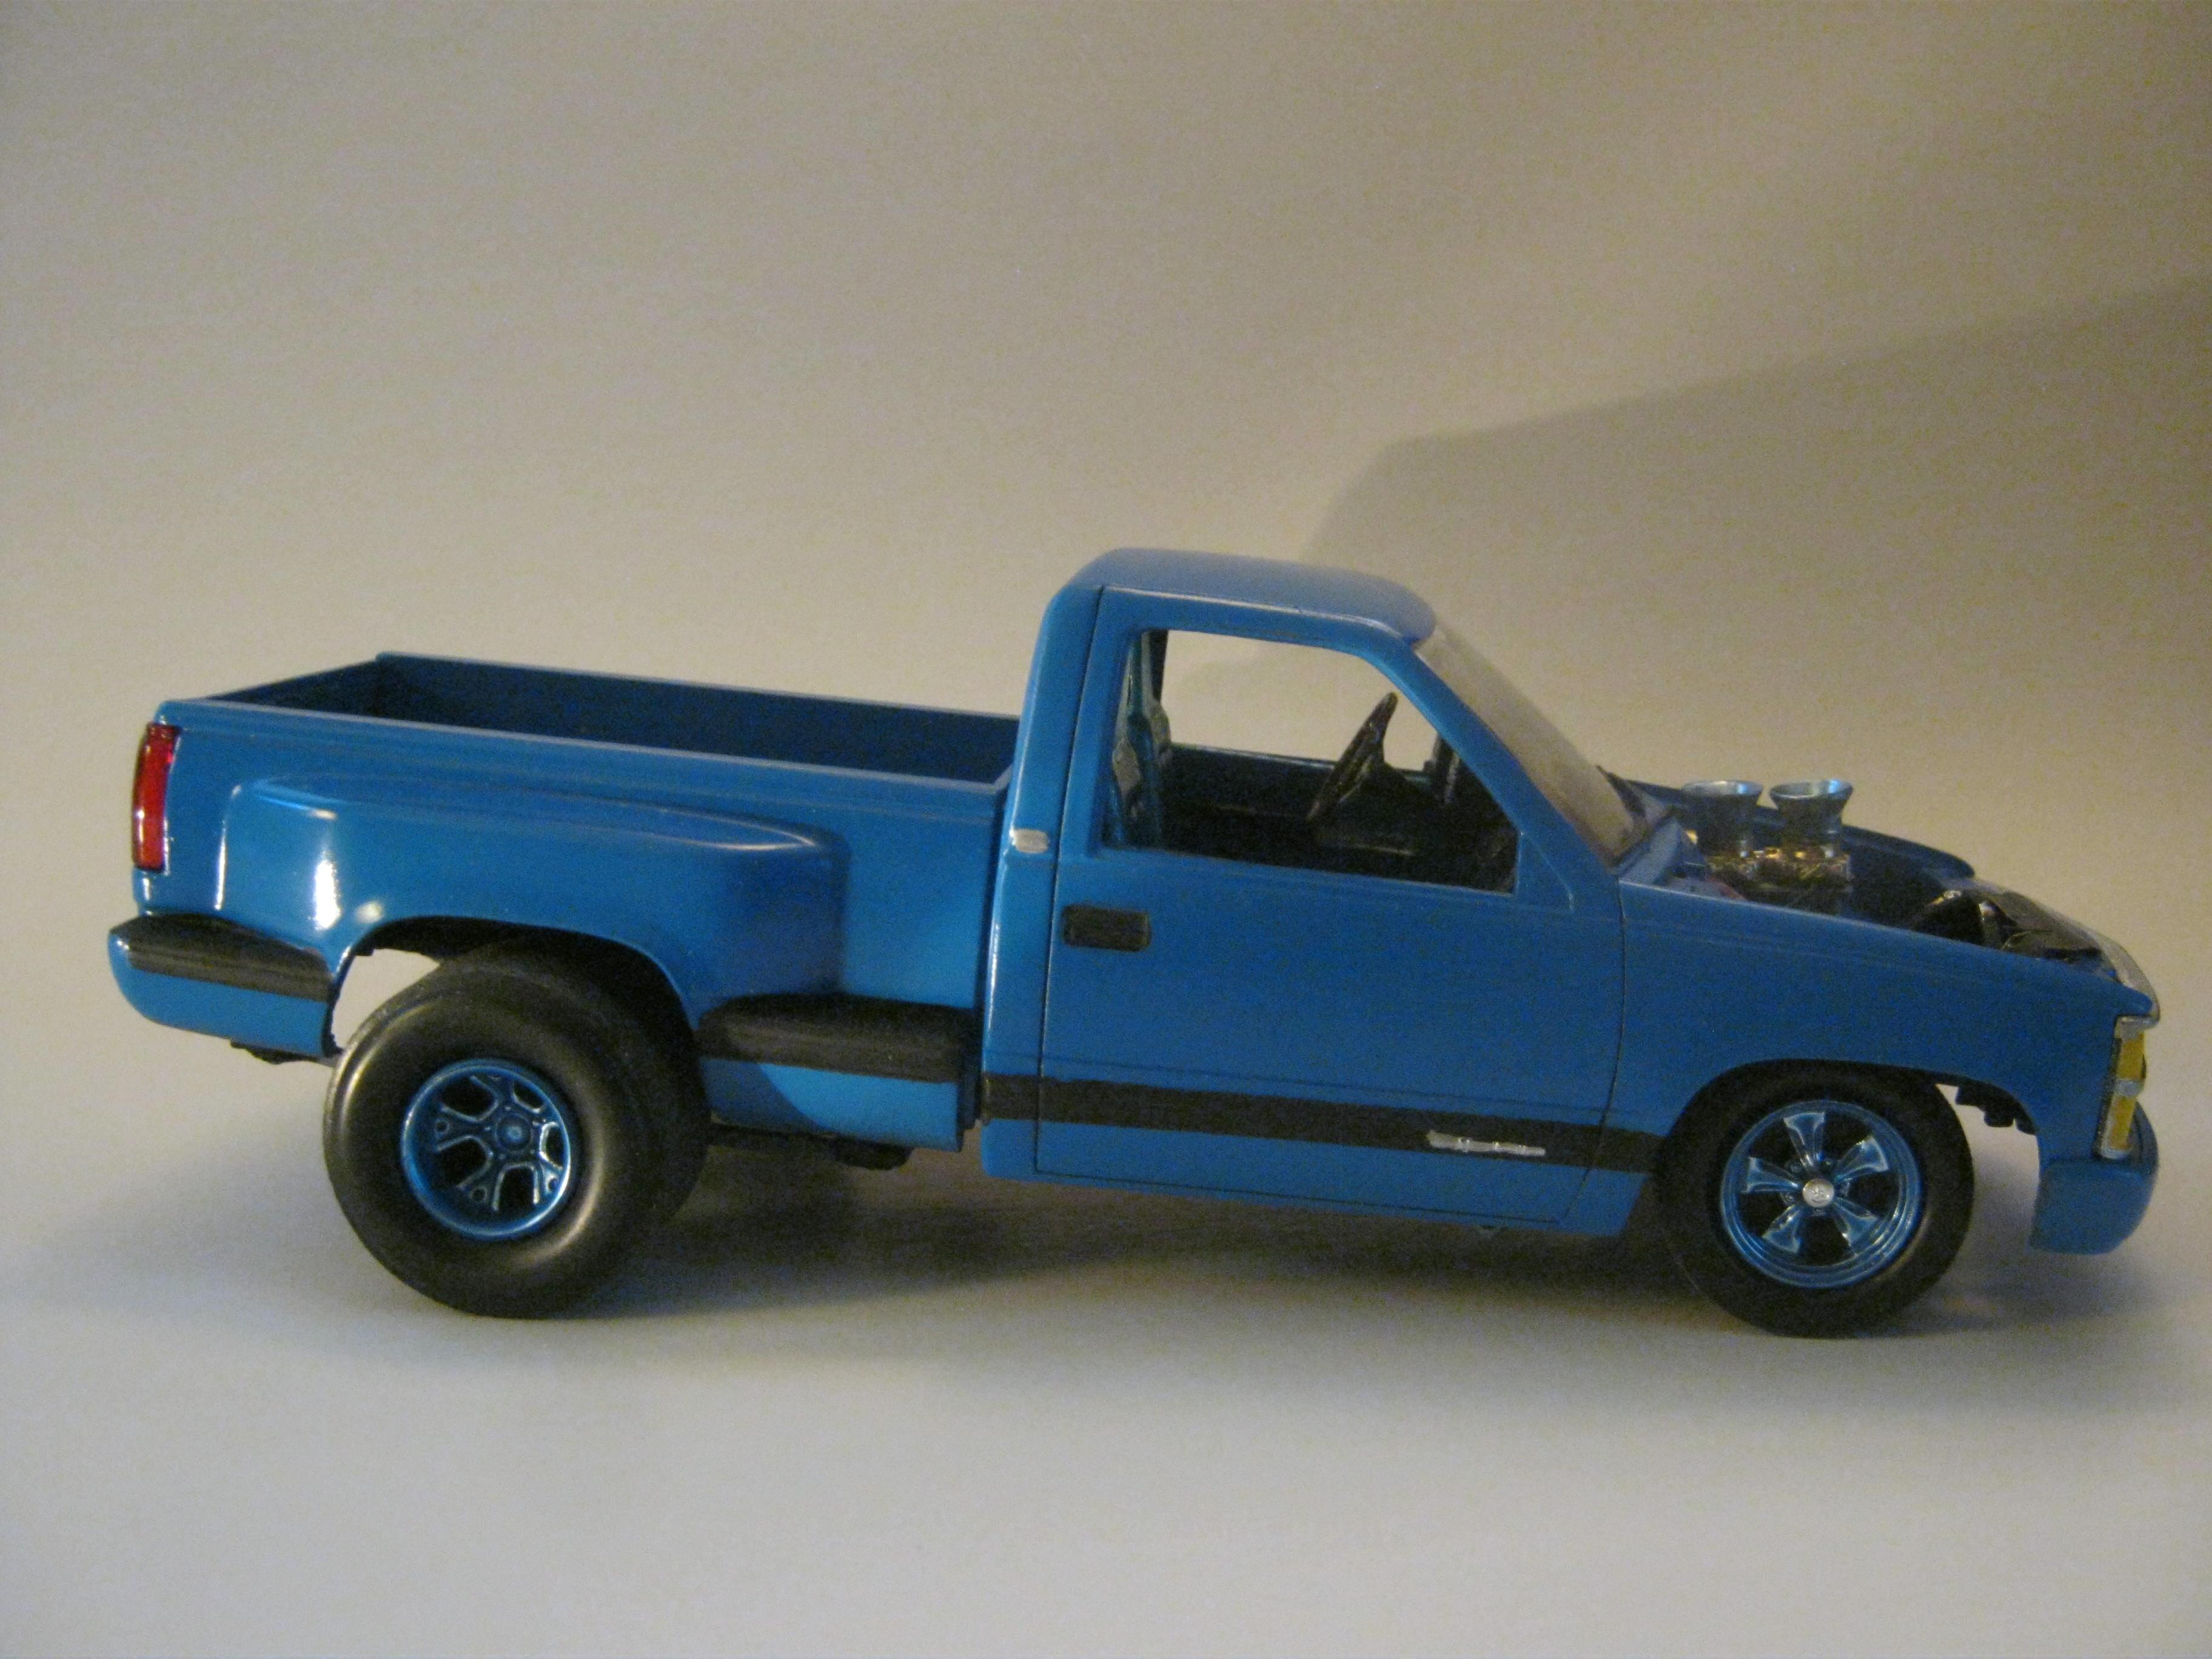
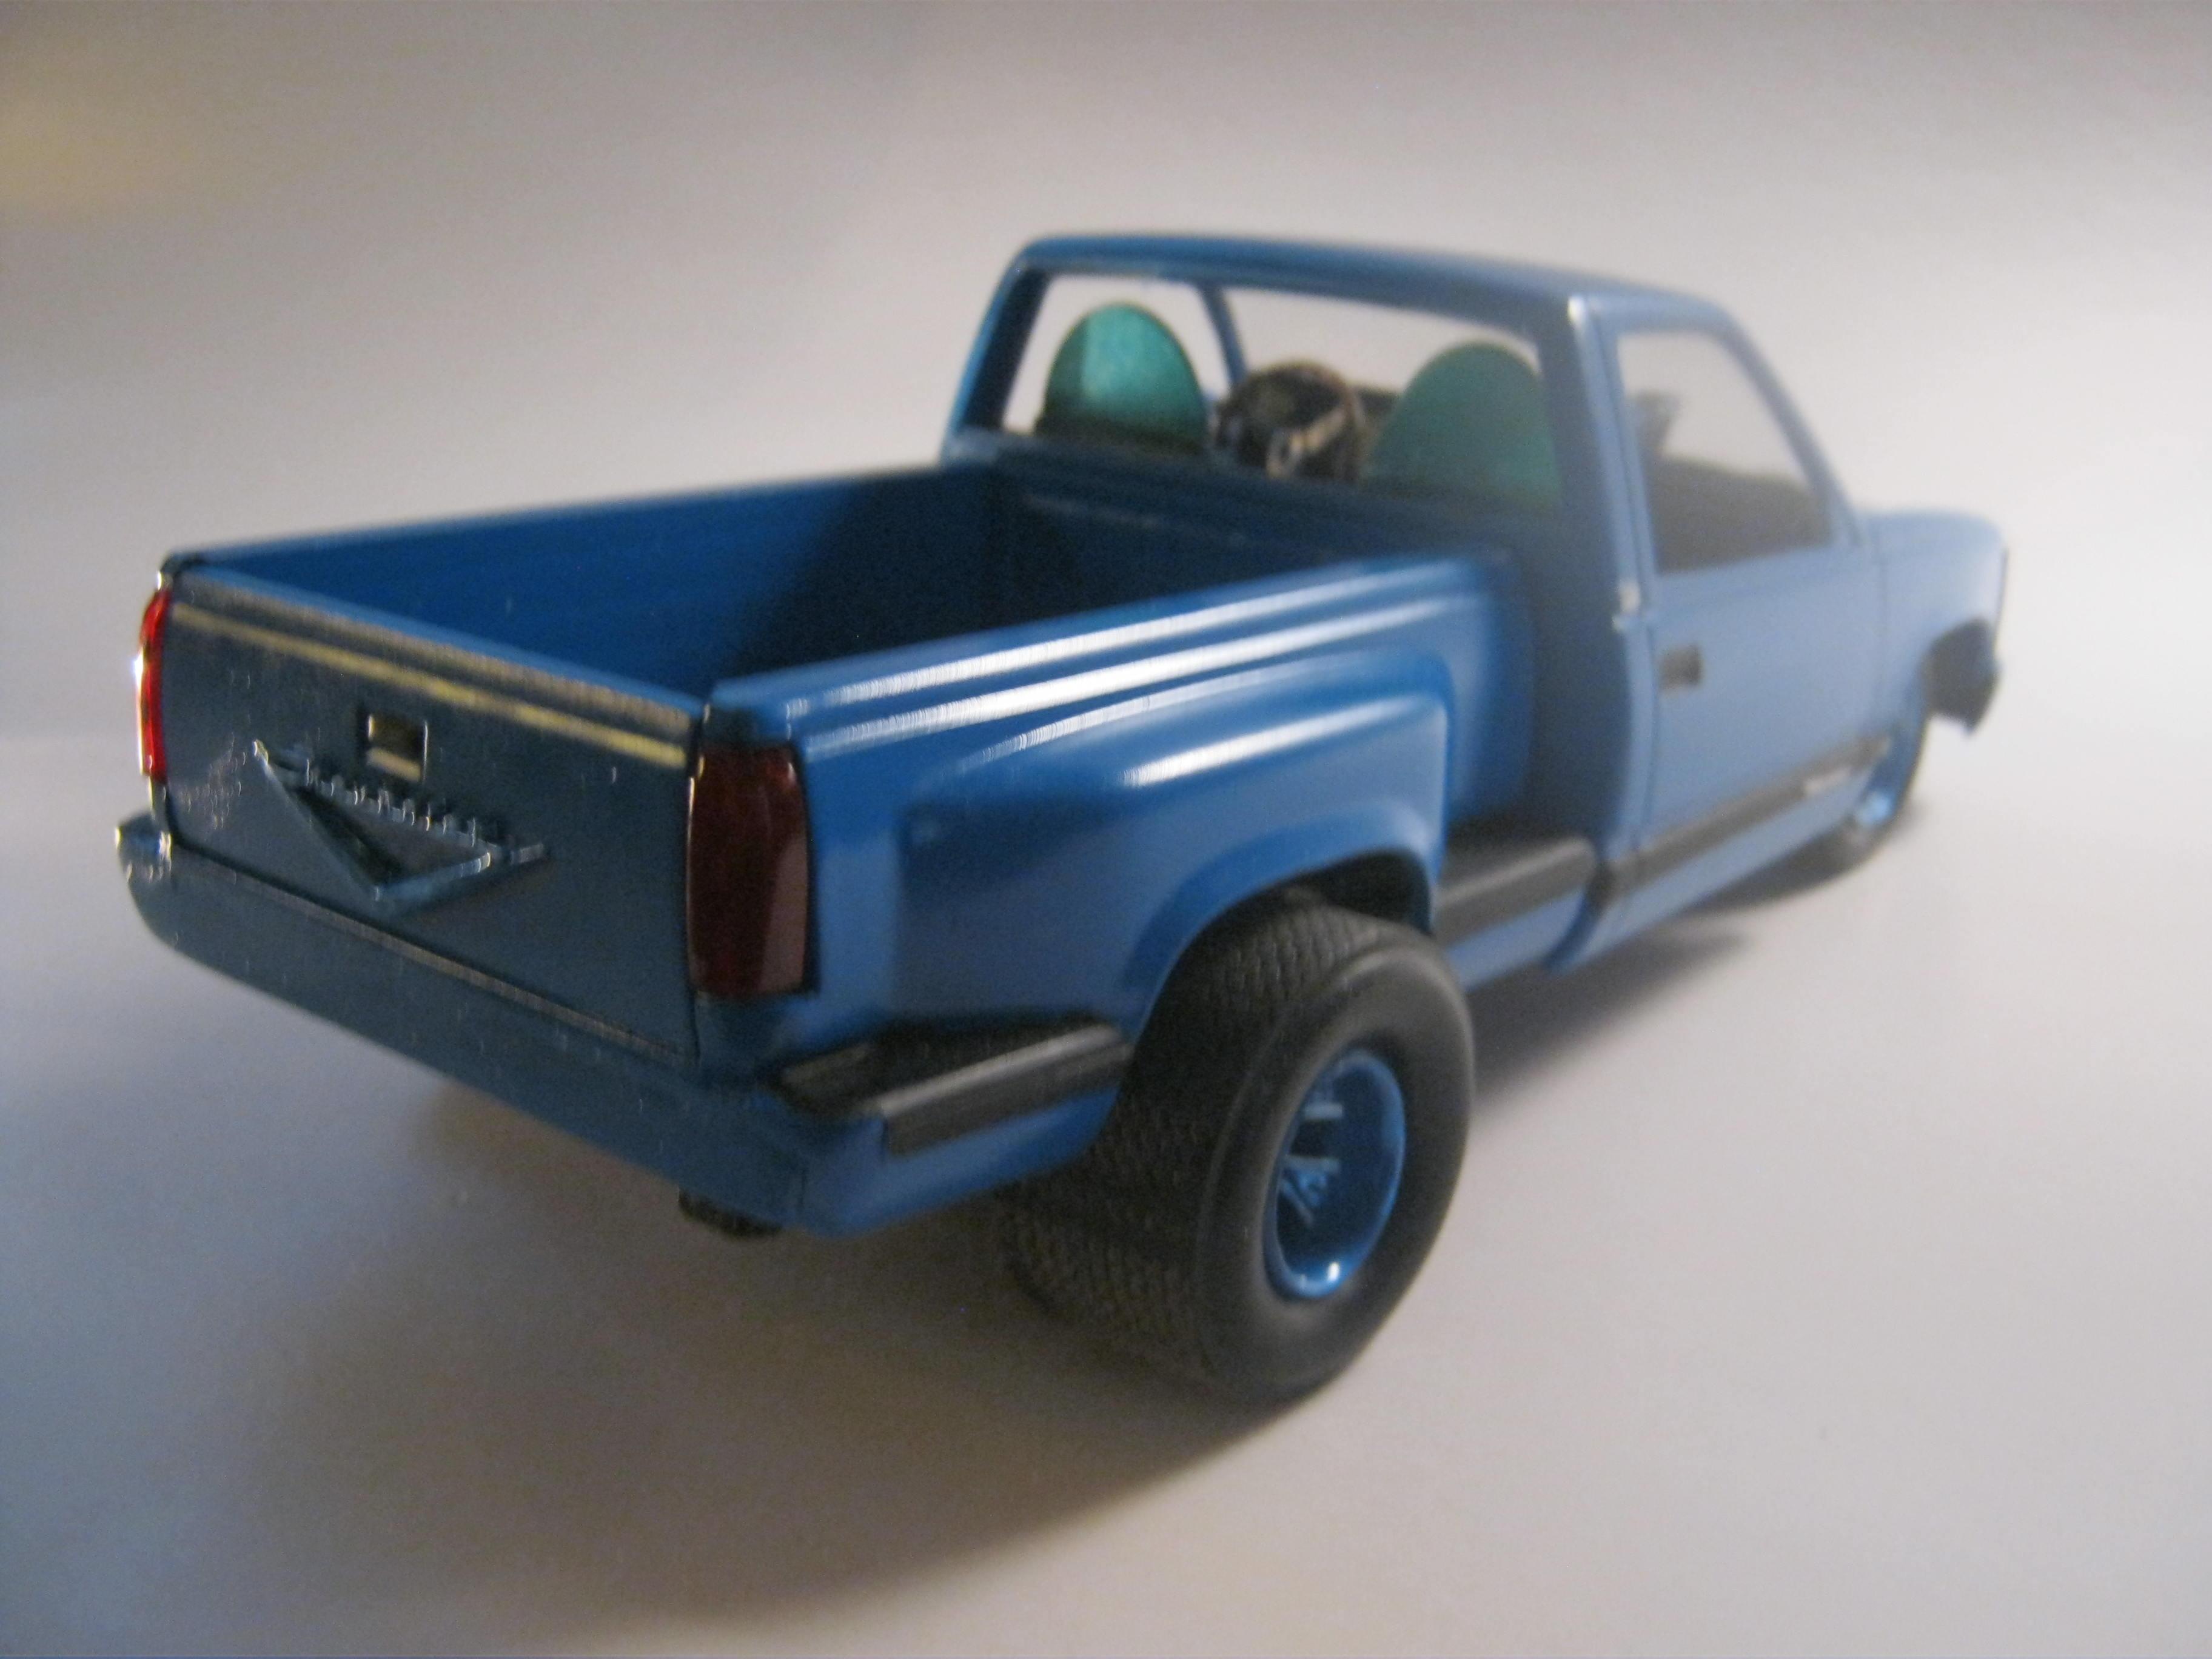
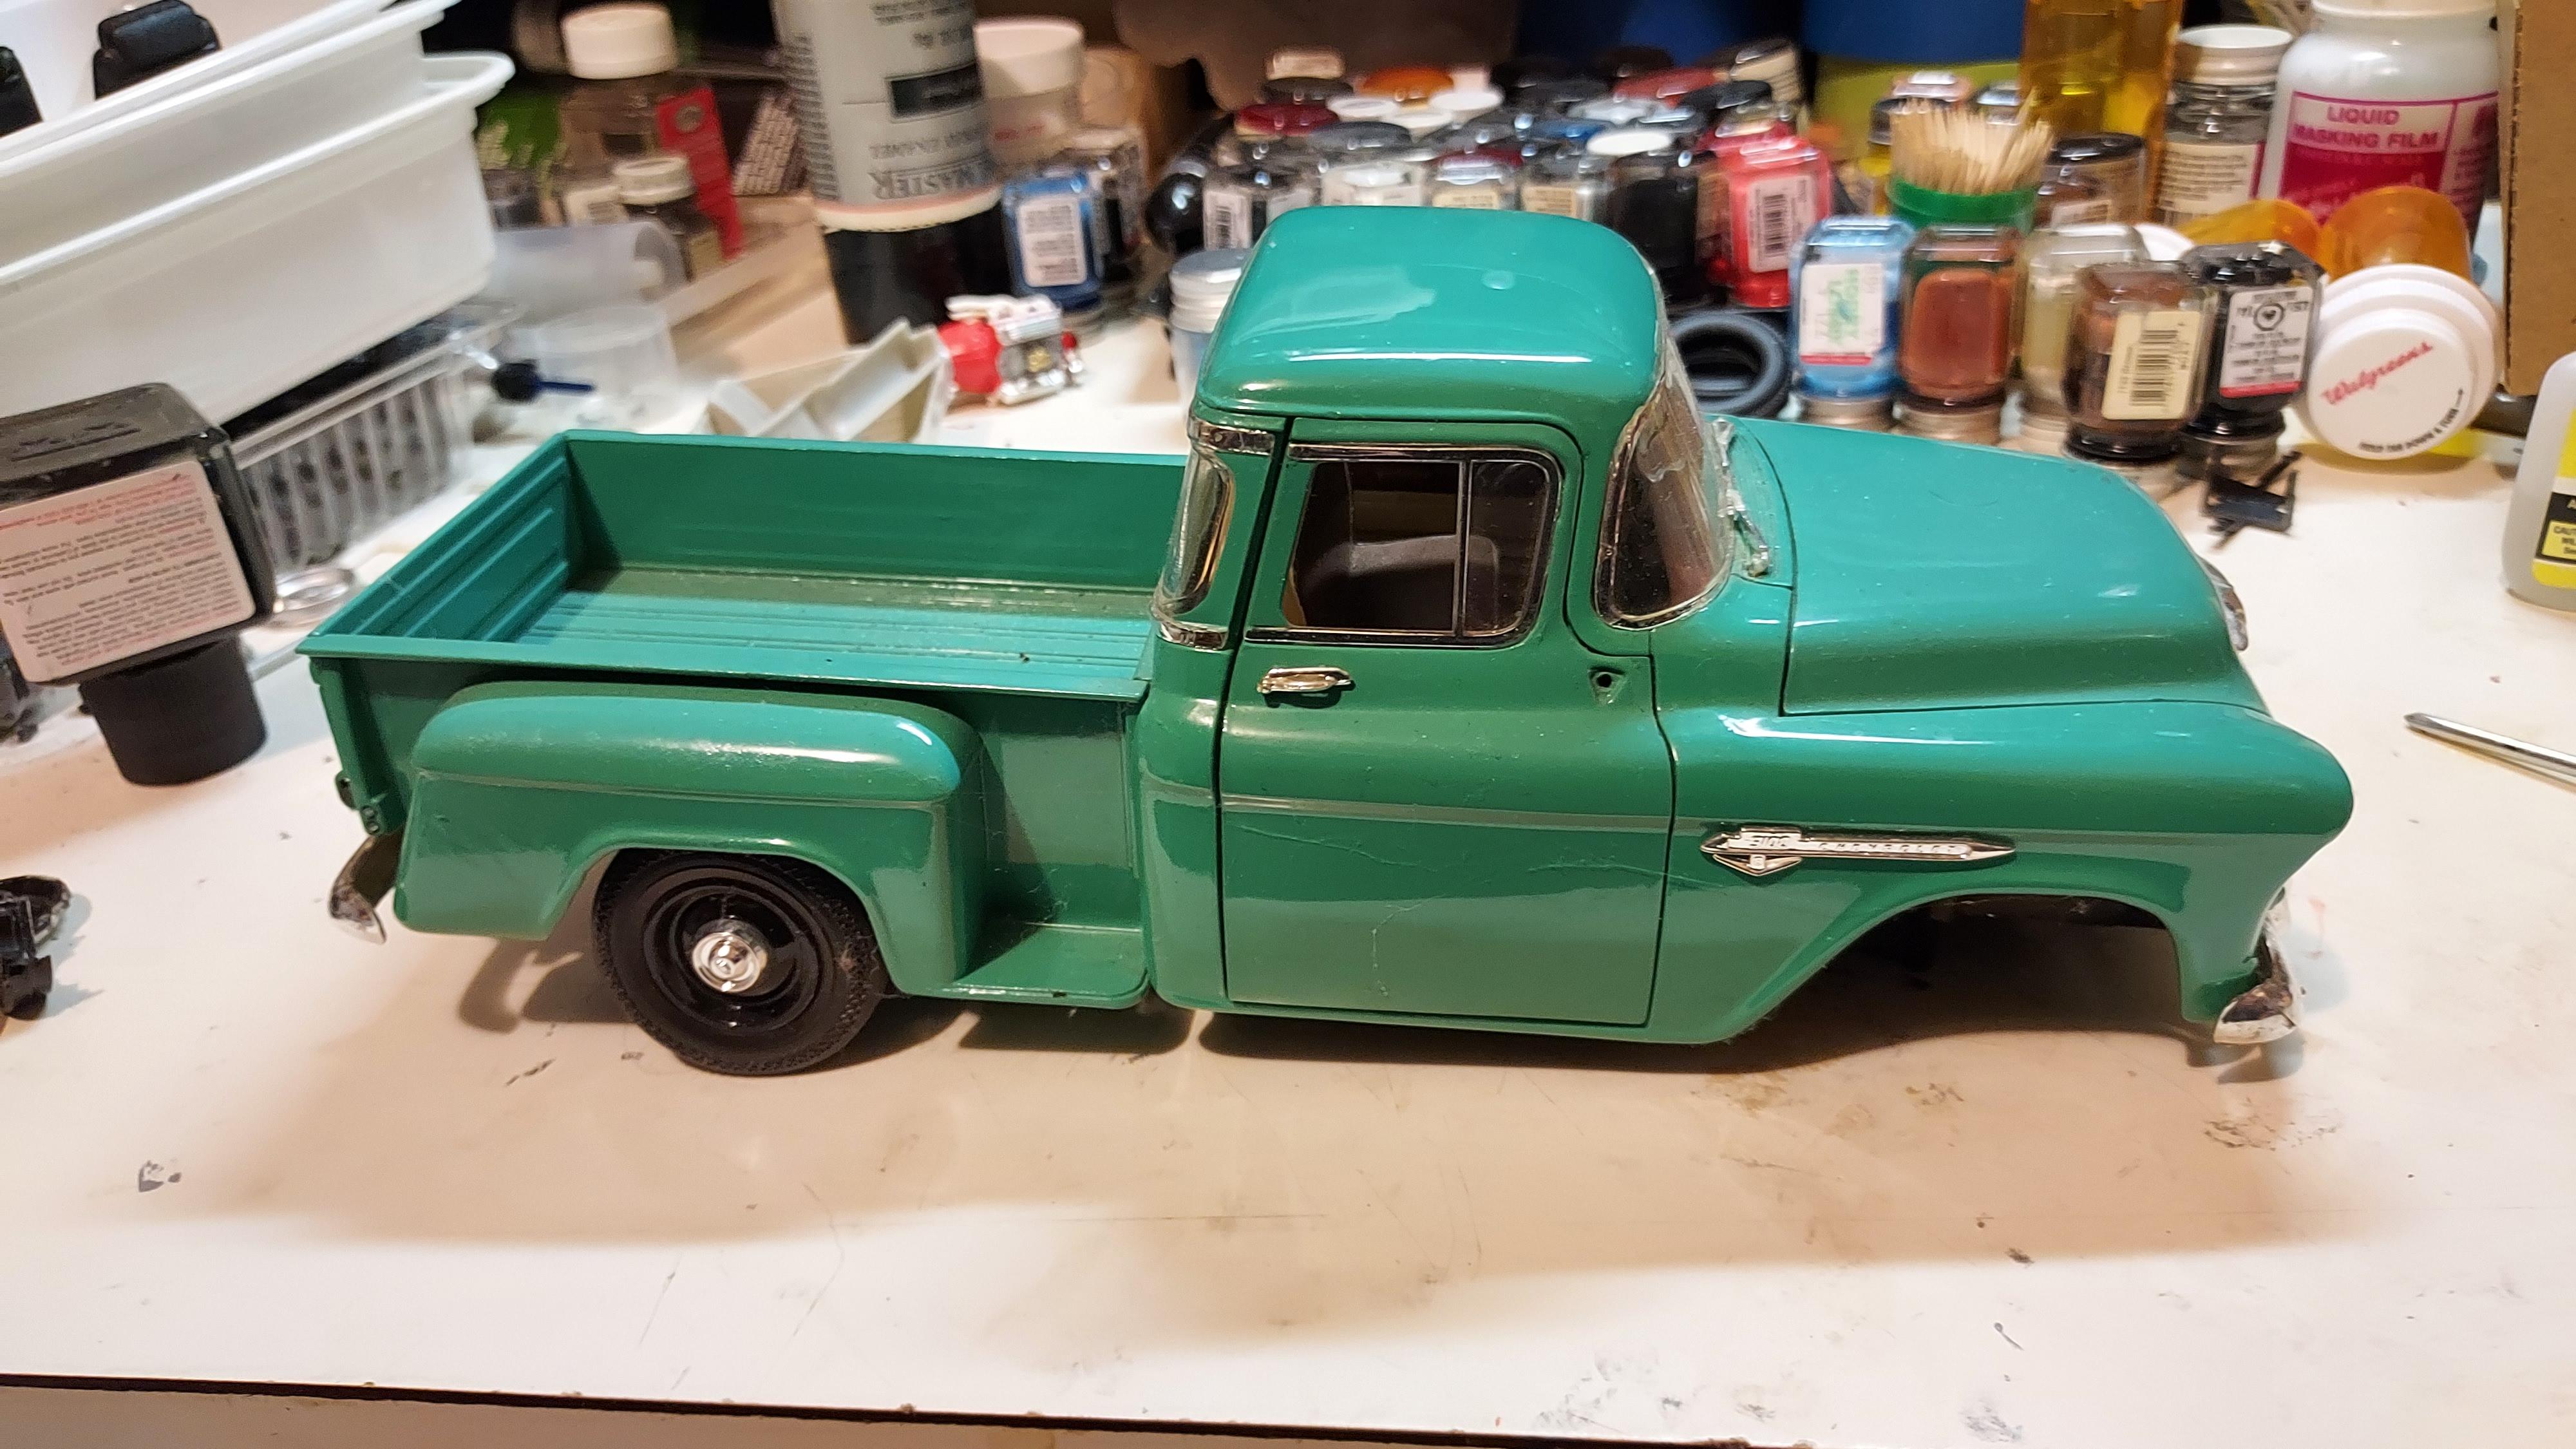
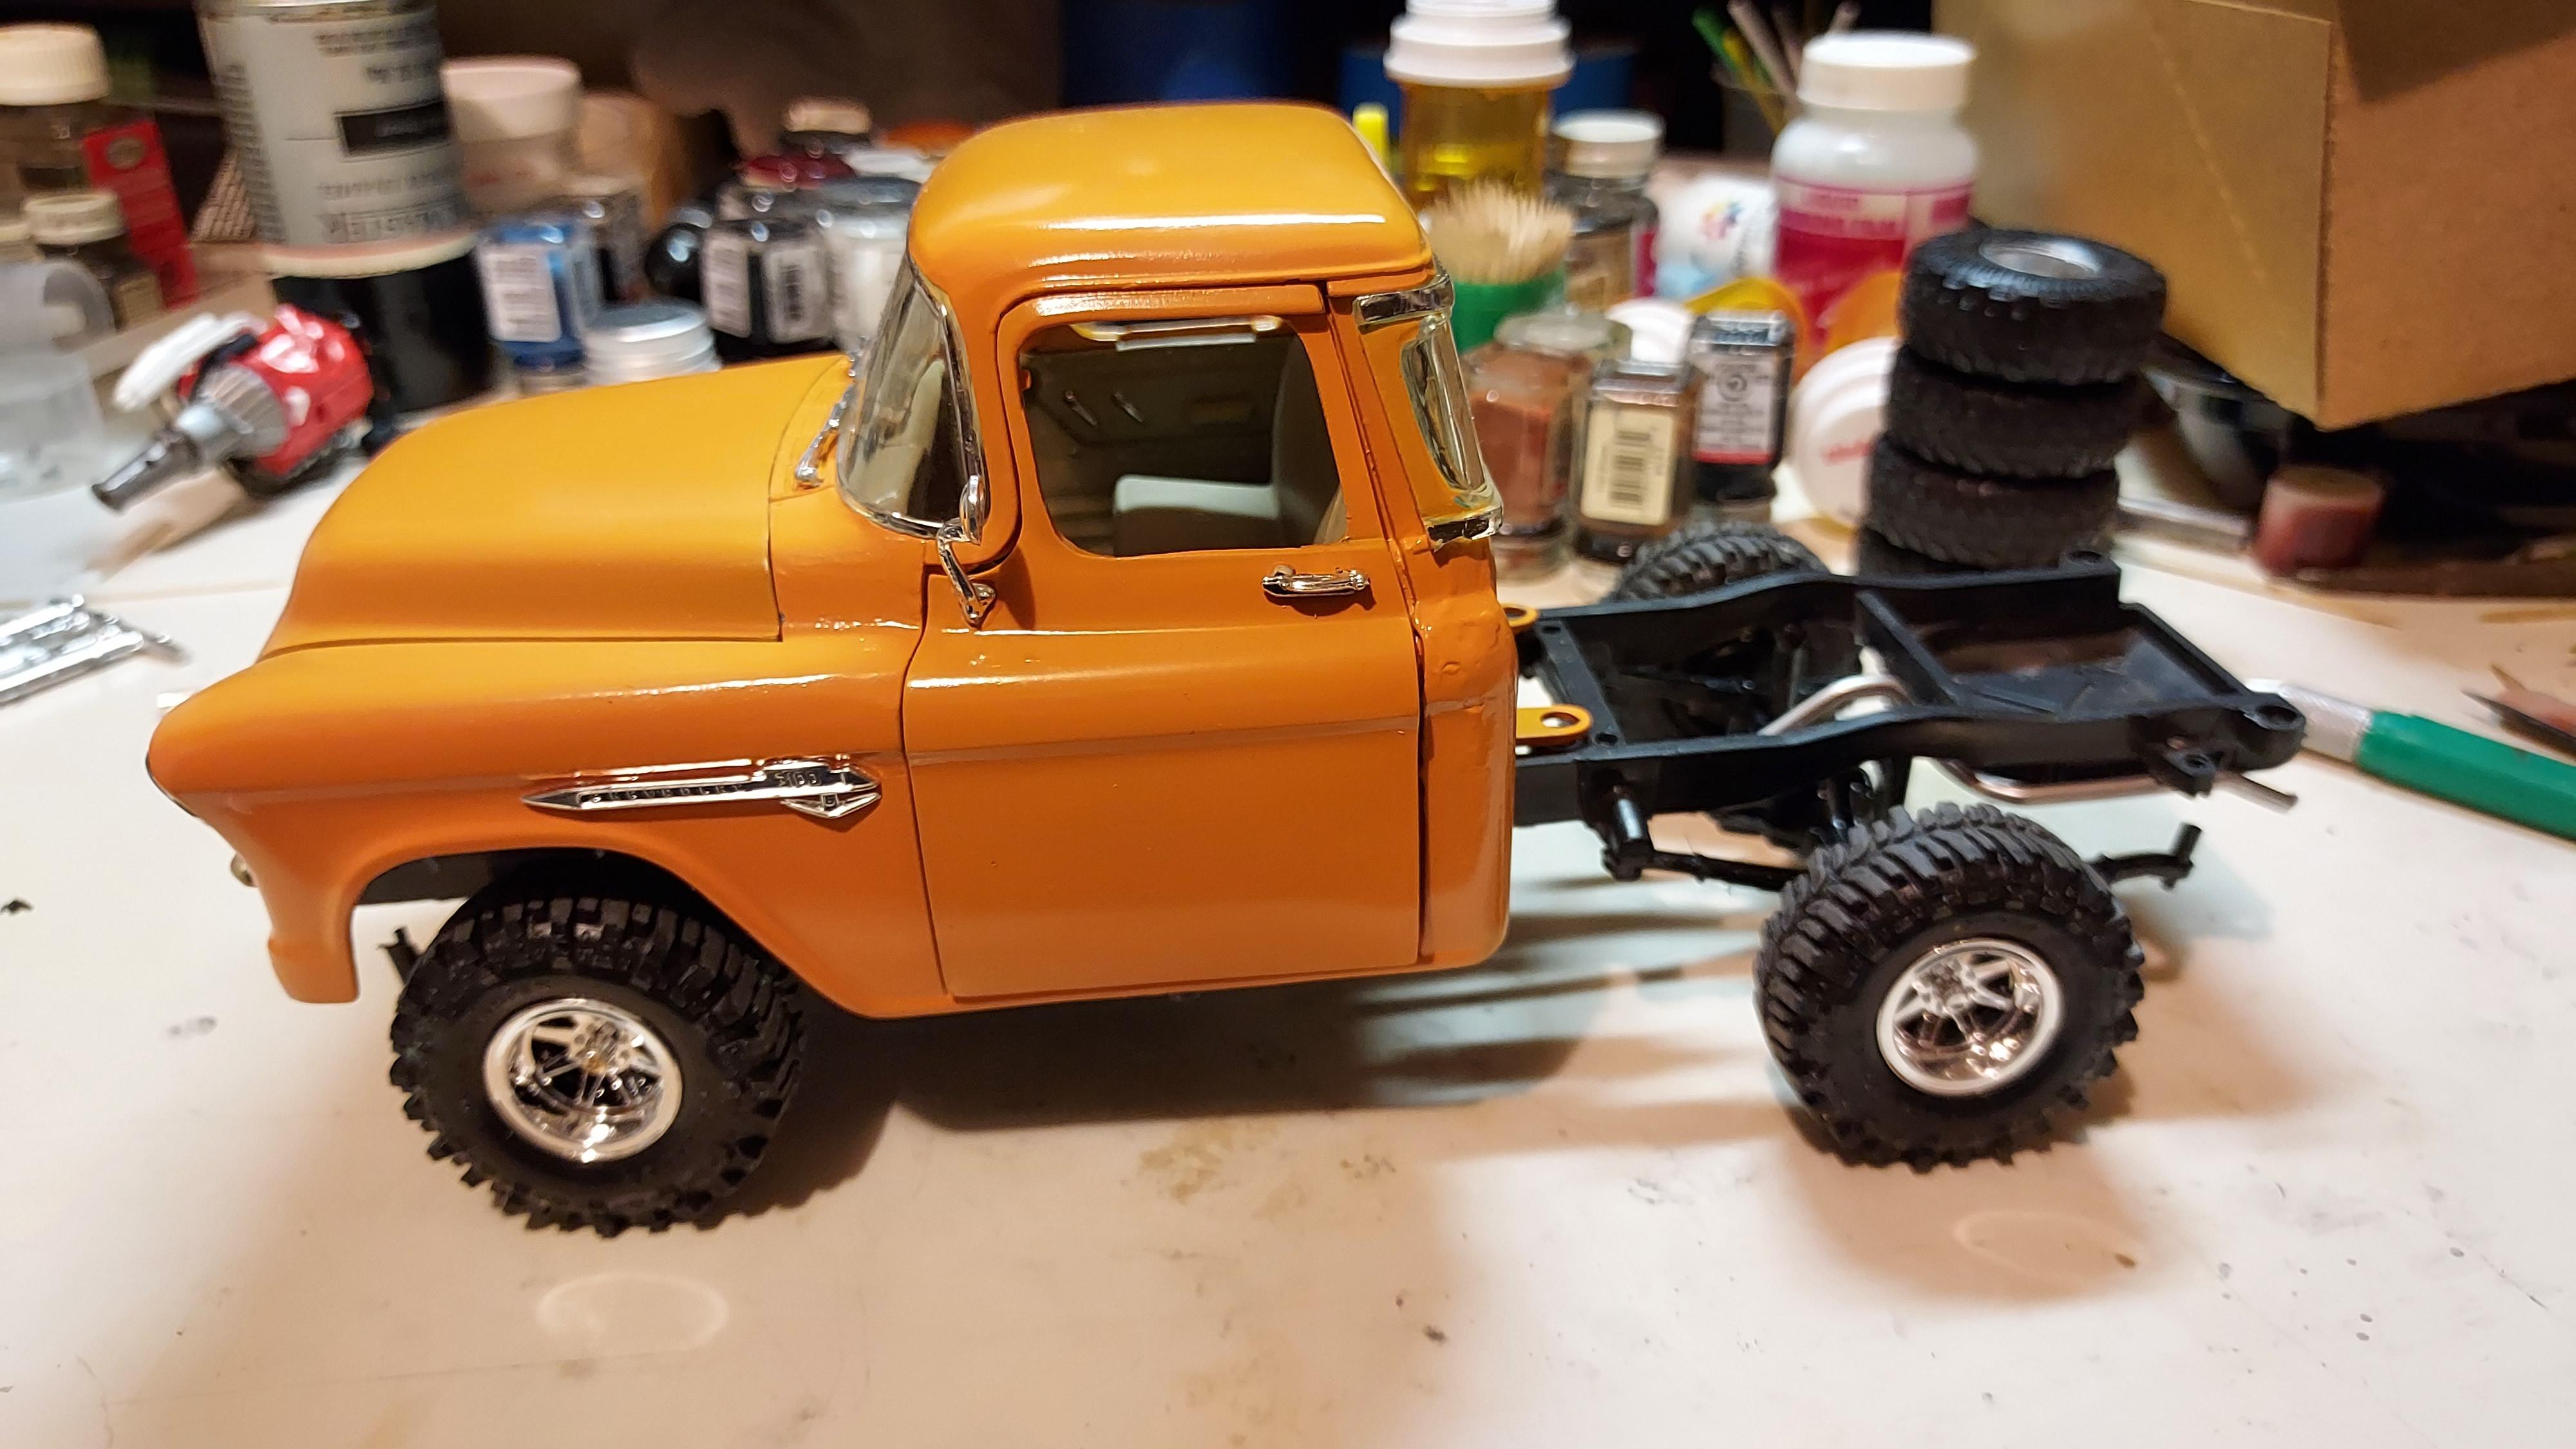
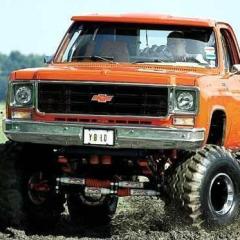
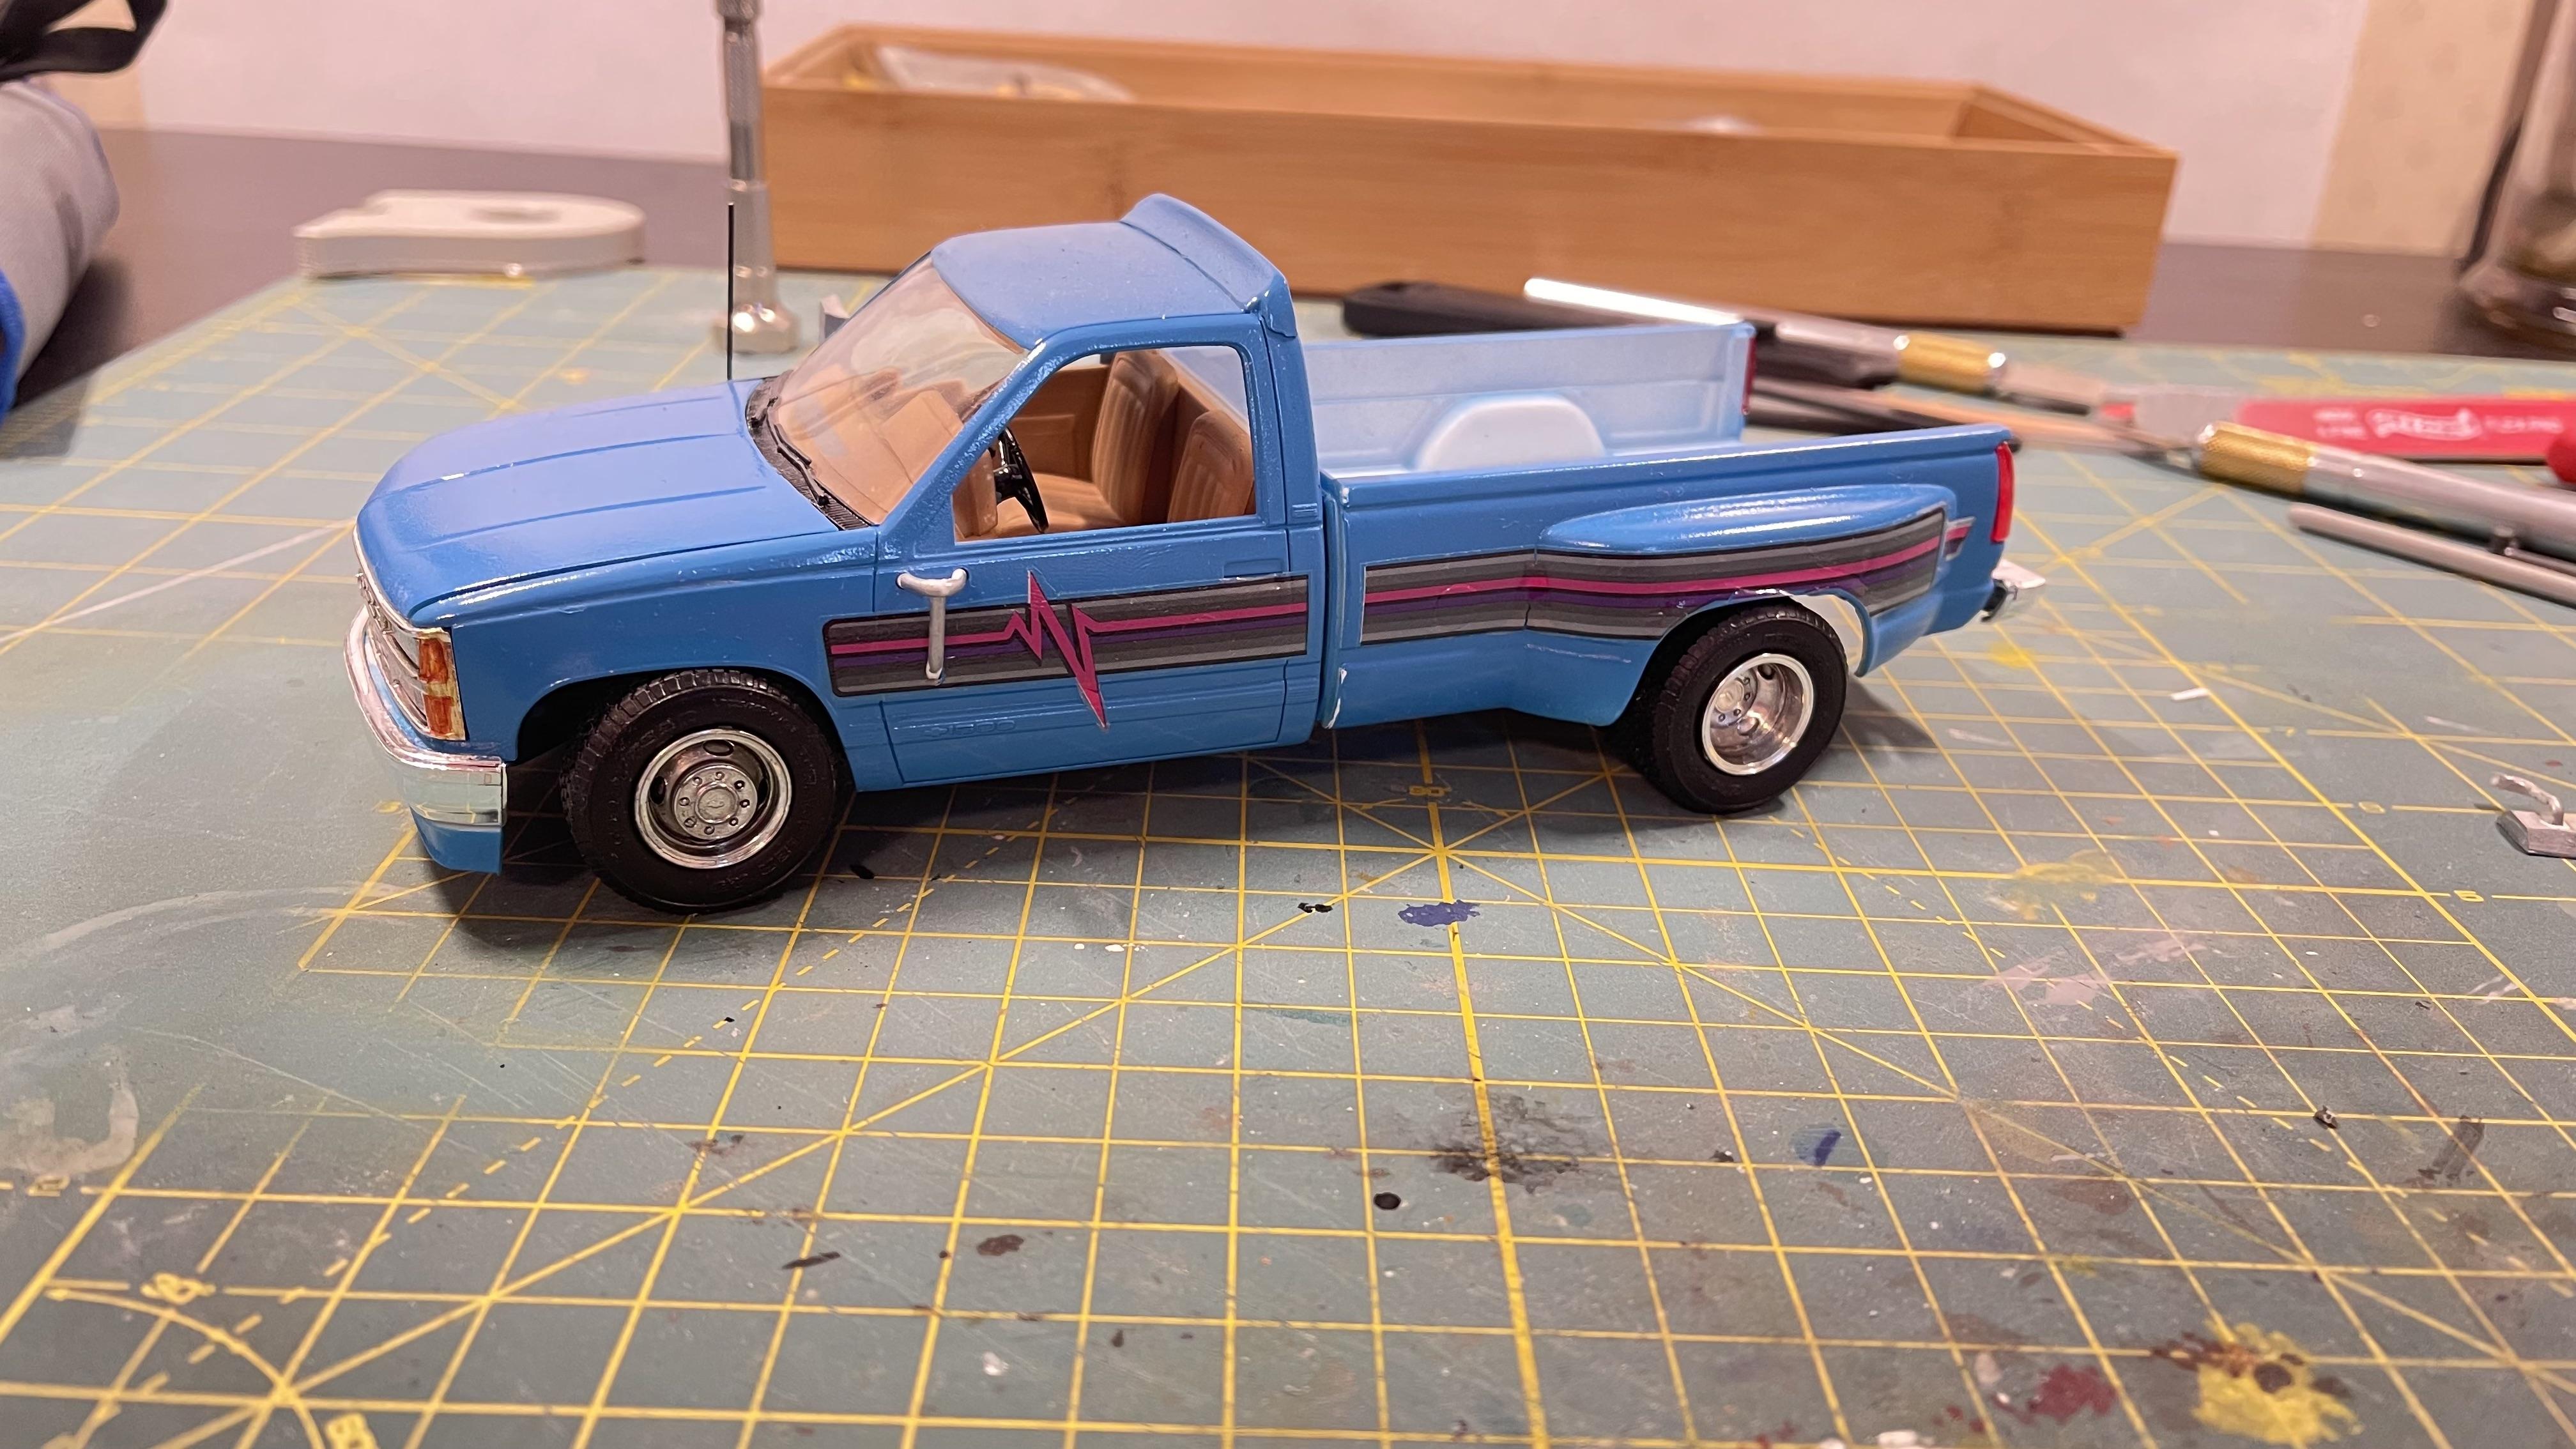
I was meaning to post these the other night. I suppose these should go in the long abandoned projects thread but it's a truck so I'll just put in here. I also did a blue street version that I posted a while ago. They both started out like this one but I stripped the paint and now here's the 4x4.
-
One of the first kits I ever got was this very kit. I used the wrong paint on it and ever since I have wanted to get another. I found one cheap not long ago and decided it was time to get another and build it the way I wanted. It's a good kit, but lacks a lot of decals. Still, it came out great! SAM_0581 by Eric Lucas, on Flickr SAM_0582 by Eric Lucas, on Flickr SAM_0583 by Eric Lucas, on Flickr SAM_0584 by Eric Lucas, on Flickr SAM_0585 by Eric Lucas, on Flickr SAM_0586 by Eric Lucas, on Flickr SAM_0587 by Eric Lucas, on Flickr


.jpg.1b64facf1572fa246be2d2c150155bb0.jpg)