Search the Community
Showing results for tags 'Christine'.
Found 4 results
-
I've been away from the hobby for 15 years. This is the second kit I've built since returning. The color is Duplicolor Plymouth Red. For me, this kit went together rather well. The only problem that I ran into was during assembly of the glass. I cracked the rear window. Also, I forgot how much I dislike working with BMF. I am considering aluminum foil with elmers next time. I would like to build another curbside with no motor or interior with all the windows blacked out with working head and tail lights. Thanks for looking
-
Here is my take on an iconic car.... I had to sacrifice a distributor, an antenna, several coats of paint, and extra time to the gods to build her, but she came out rather nice I think. Intake manifold, dual carbs, and dual air cleaner setup from an AMT '57 Chrysler 300c, but the parts fit perfectly on the engine block. I also had photoetch I was going to add to it, but research showed that very little badging was put on the car to keep her and her 24 "sisters" simple for the camera. Let me know what all of you think!
-
As an avid SK fan I would be remiss if I didn't do a model of my favorite movie car. And right out of the gate she took up her namesake. Pix first... Air cleaners, dual carbs, and intake manifold from the Chrysler 300C kit. I loved the detail AMT put into those parts, they really make the engine look right. BMF'ed the air cleaners for the chromed look, left the intake silver and painted the valve covers gold (just my take on the engine...). Body done in Tamiya Gray primer, lightly sanded, then sprayed with a coat of Tamiya White primer, smoothed out again. I started with Tamiya Matt White paint until I had a nice even white color on the upper half of the body, then masked off the roof for the next phase. I then laid down a coat of Tamiya Italian Red to the whole body, then a problem (more on that later), caused me to sand the problem area and shoot the whole model with a top coat of Model Master Flame Red. The darker Flame Red helped fix the problem perfectly and gave her a more "blood red" look. After masking the body panels. I shot the trim with Taimya Gloss Aluminum so that I would have a nice even look to the paint on her side panels, then coated the body with Future clear after some light sanding. This gave the flat white on the roof the glossy look it needed, and it sharpened up the red on the body as well. BMF will be next on the body to detail the trim. Now, beforehand I mentioned something about this one model living up to her namesake. The first thing that happened was I was using my motor drill pin vise to drill a small hole in the back of the block to fit the distributor since I was no longer using the kit's own manifold. During the test fitting/drilling/test fitting stage, the dizzy popped out from between my fingers and hit the floor. Of course, I'm not building the kit molded in RED so I could SEE the RED part on a cream colored carpet. Noooo. I have to be building the older, nicer, cleaner BELVEDERE kit with the CREAM-COLORED parts. So first thing for the sacrifice... one tiny distributor. I grabbed the one out of the red molded kit and grumbled profusely, angering her worse. More on the "paint sacrifice" later.
-
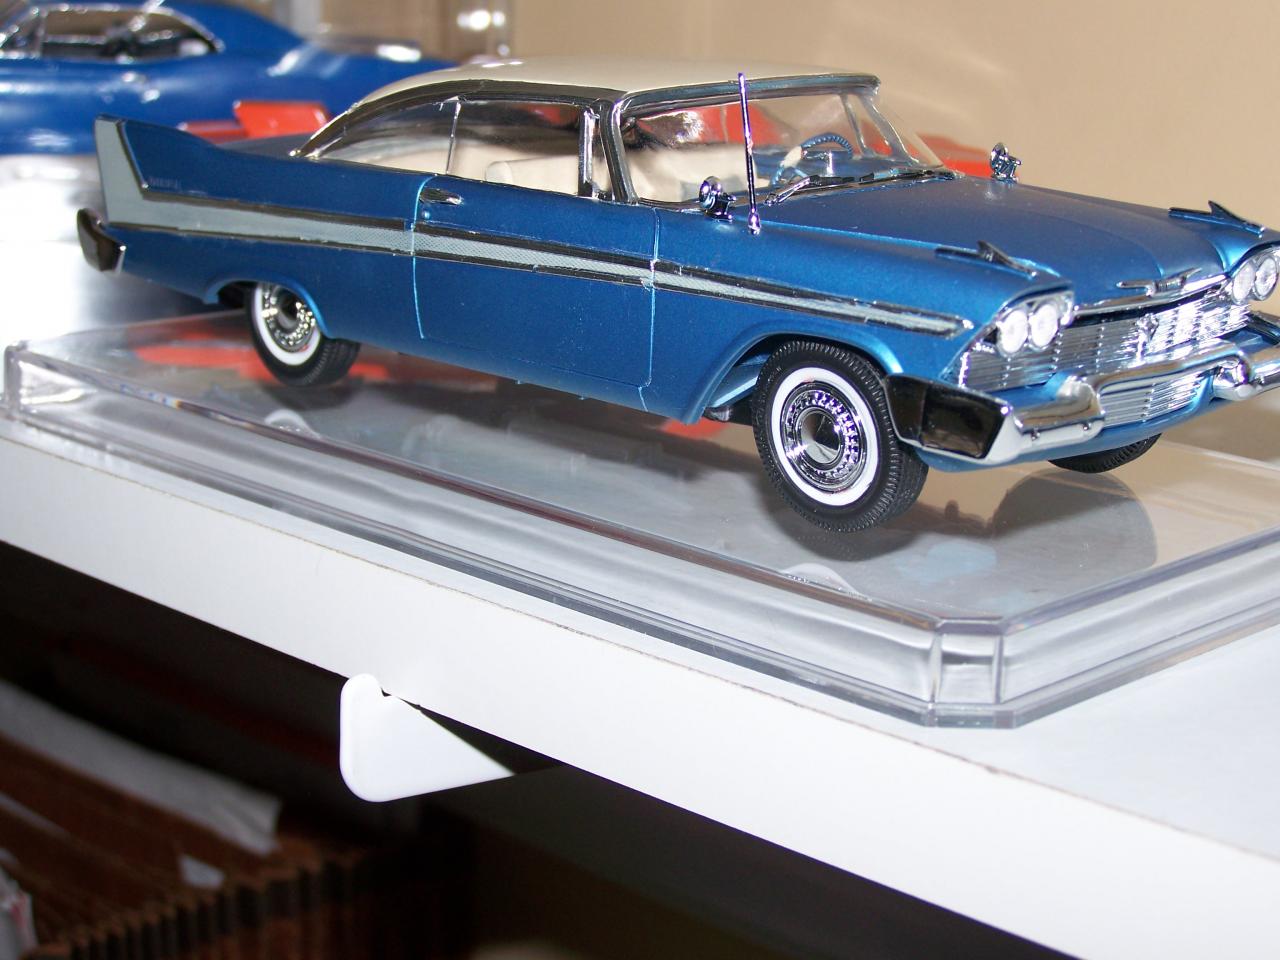
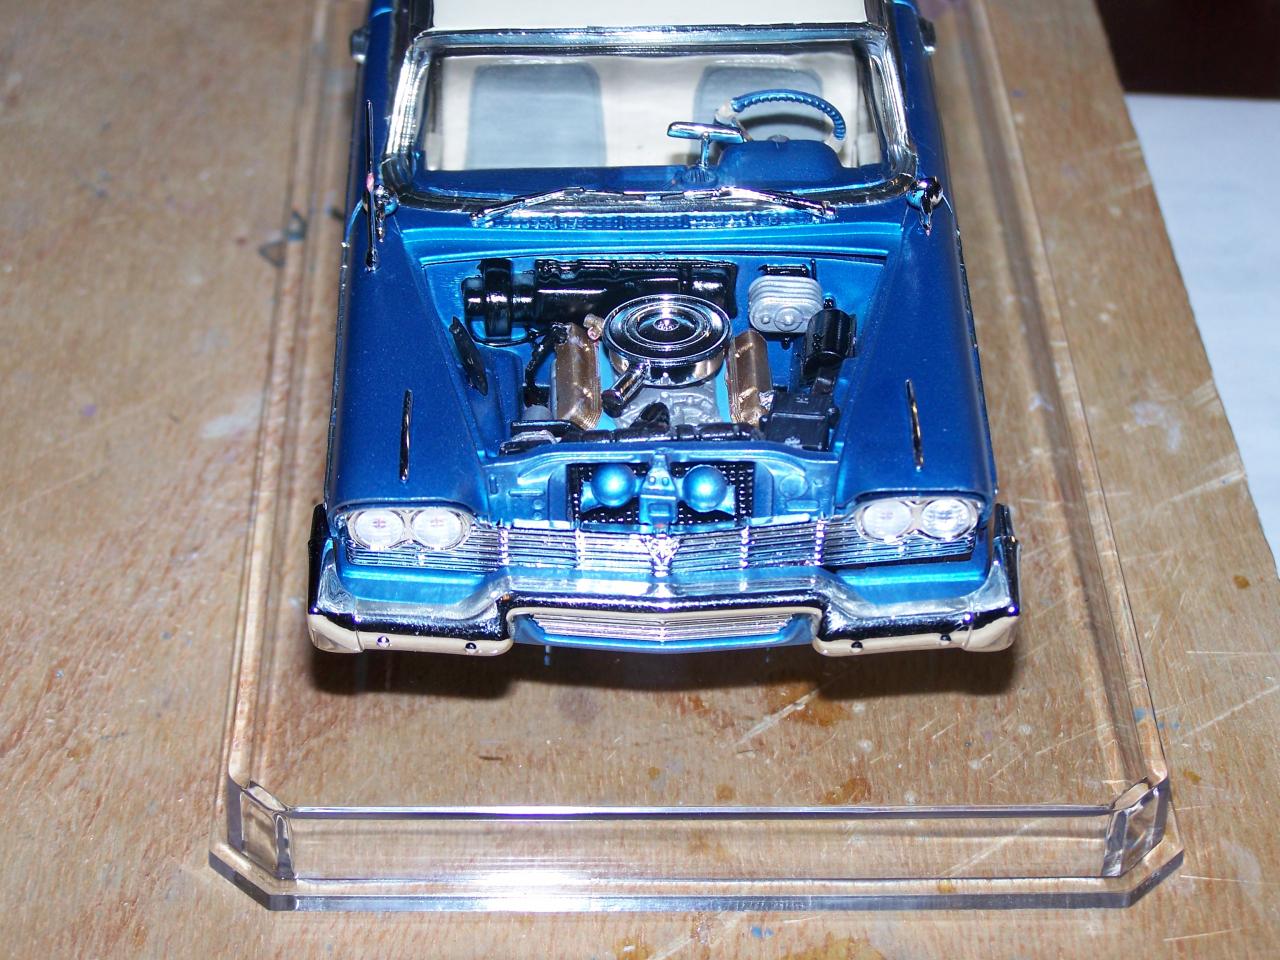
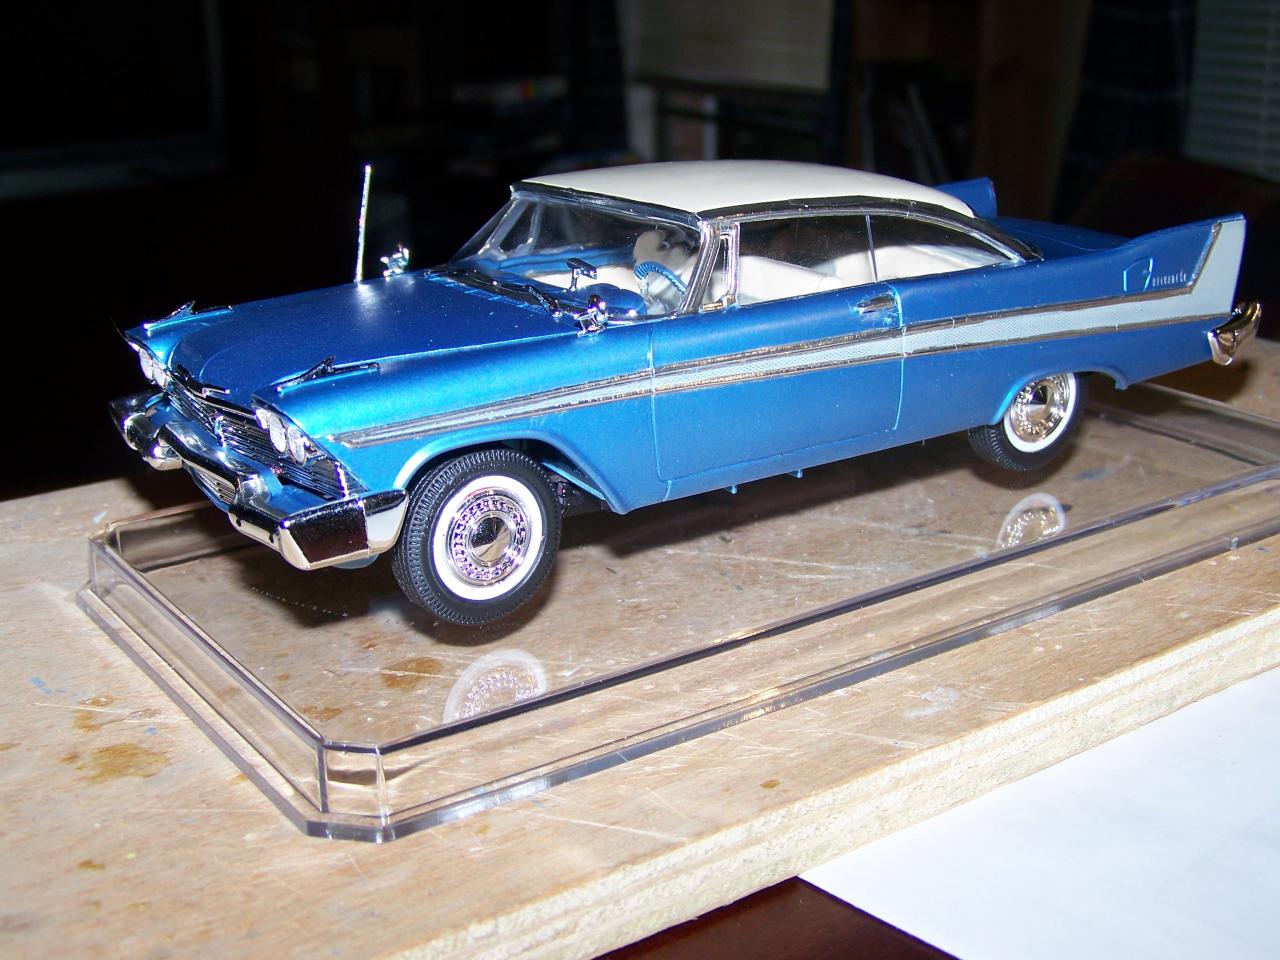
I've always wanted to build "Christine", but once I started on it I just wasn't feeling the red and white. So I chose blue and ivory, with some flat gray for the spear and seat inserts. I liked the kit, but had some fitment issues putting it on the rails. But for a shelf model I can live with it! Enjoy!