
ForcedAWD
-
Posts
38 -
Joined
-
Last visited
Content Type
Profiles
Forums
Events
Gallery
Posts posted by ForcedAWD
-
-
Definately gonna be following this one. Looks great already.
-
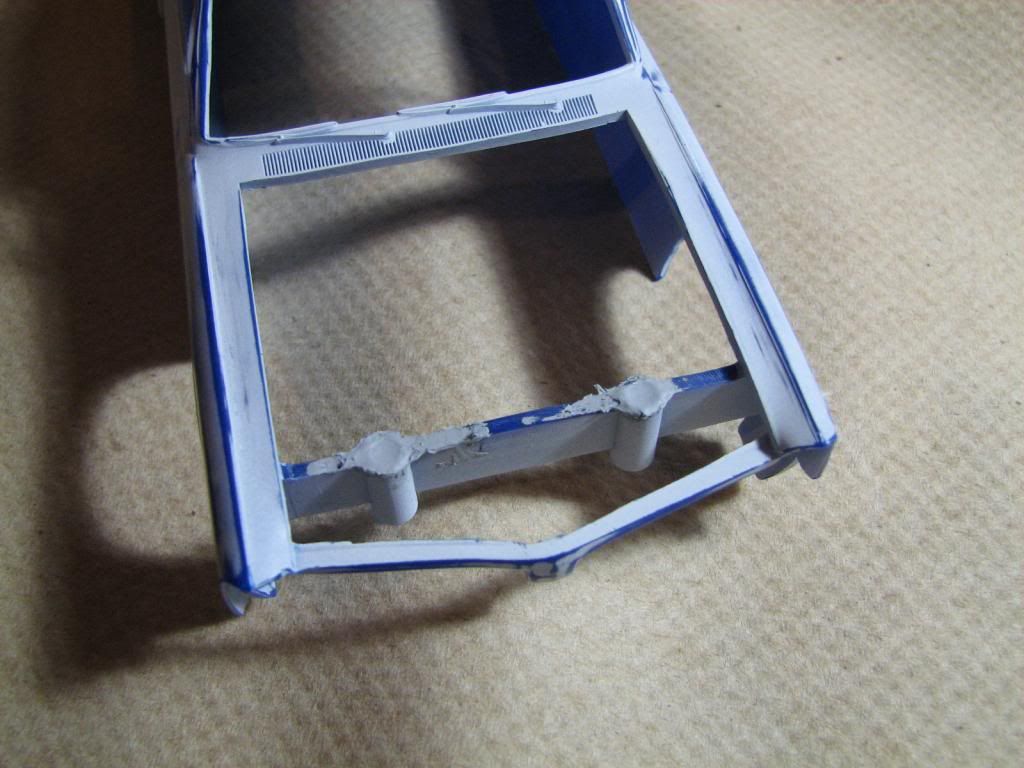
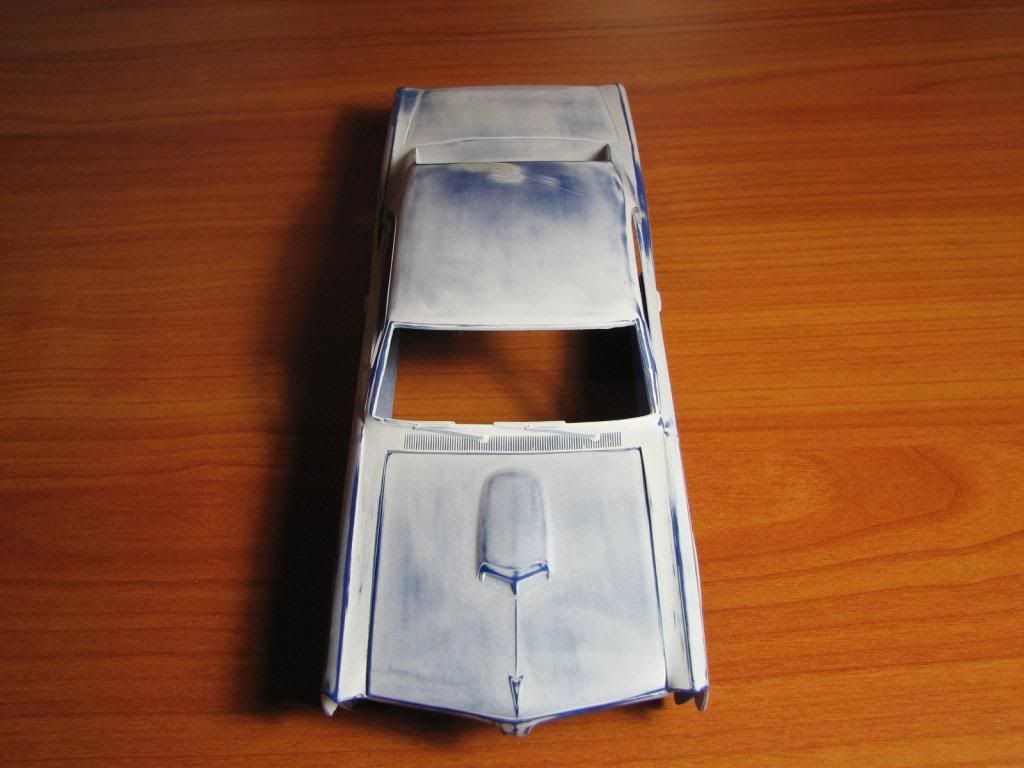
I wasn't happy with the work I did on the mold lines coming off of the C pillar. So sand, sand and more sanding!
Also worked on the hood some more today. The hood wasn't laying flat on the header panel -
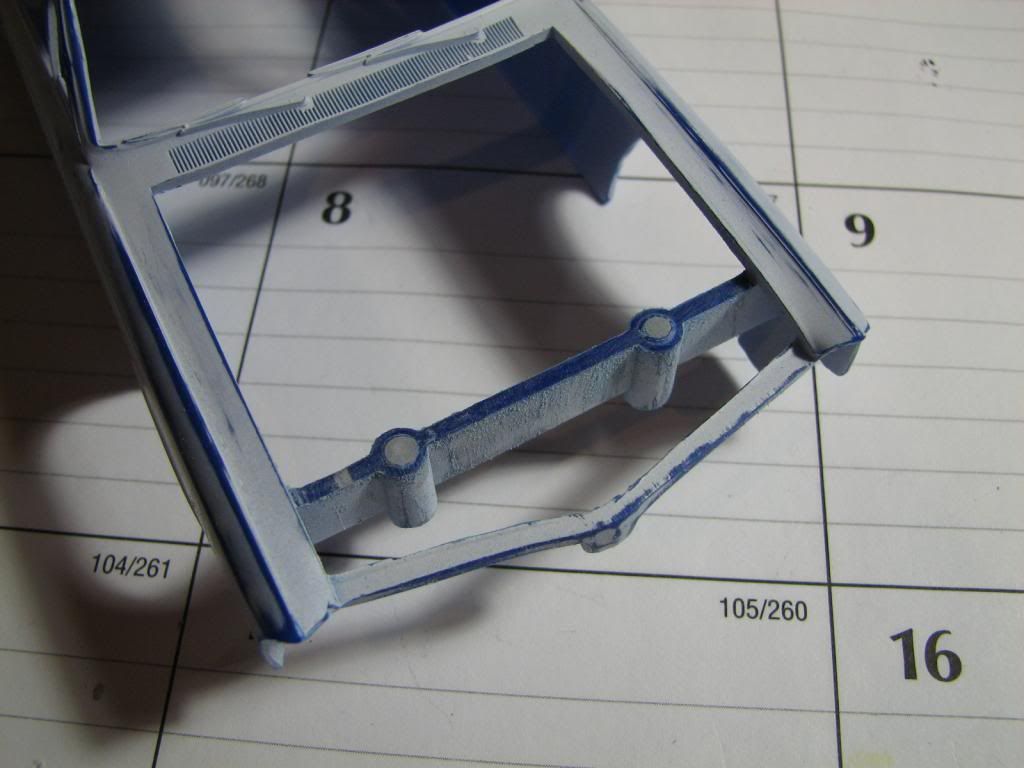
A closer look revealed that the brace was not letting the hood sit flat -
Filed down the bracing (the passenger side needed more work) -
Much better -Filled in the screw down bosses and sanded down.
-
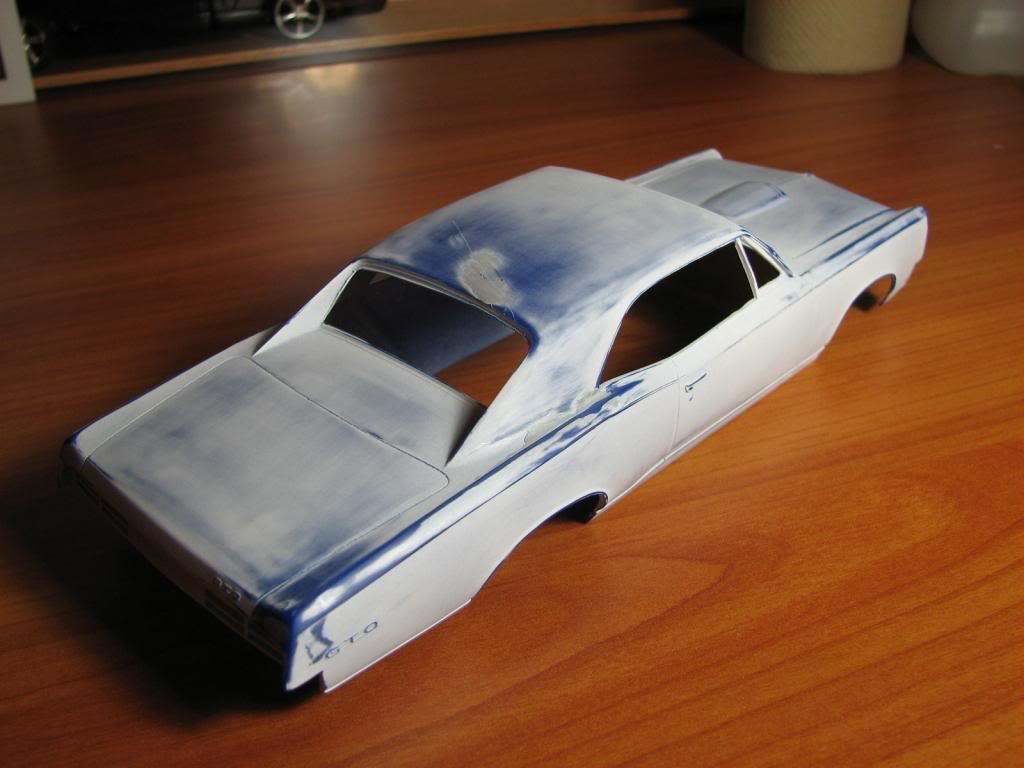
Small update -
Body and hood filled and sanded where needed. Also had to sand the hood and fenders a bit to get a nice flush fit when closed.
-
What wheels are those? They look great on that monte.
-
Nice choice. I'll be following your progress on this build for sure.
-
I am interested in a full kit, if available.
Thanks,
Sam
-
Absolutely stunning!
-
Thanks for the info Charlie!
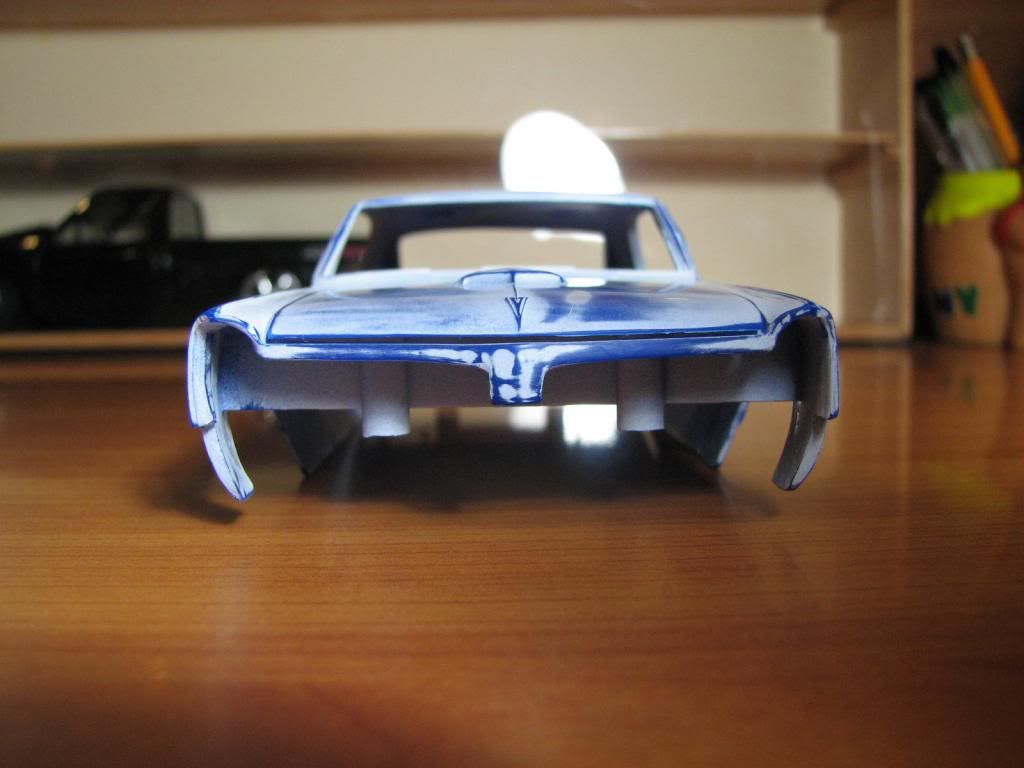
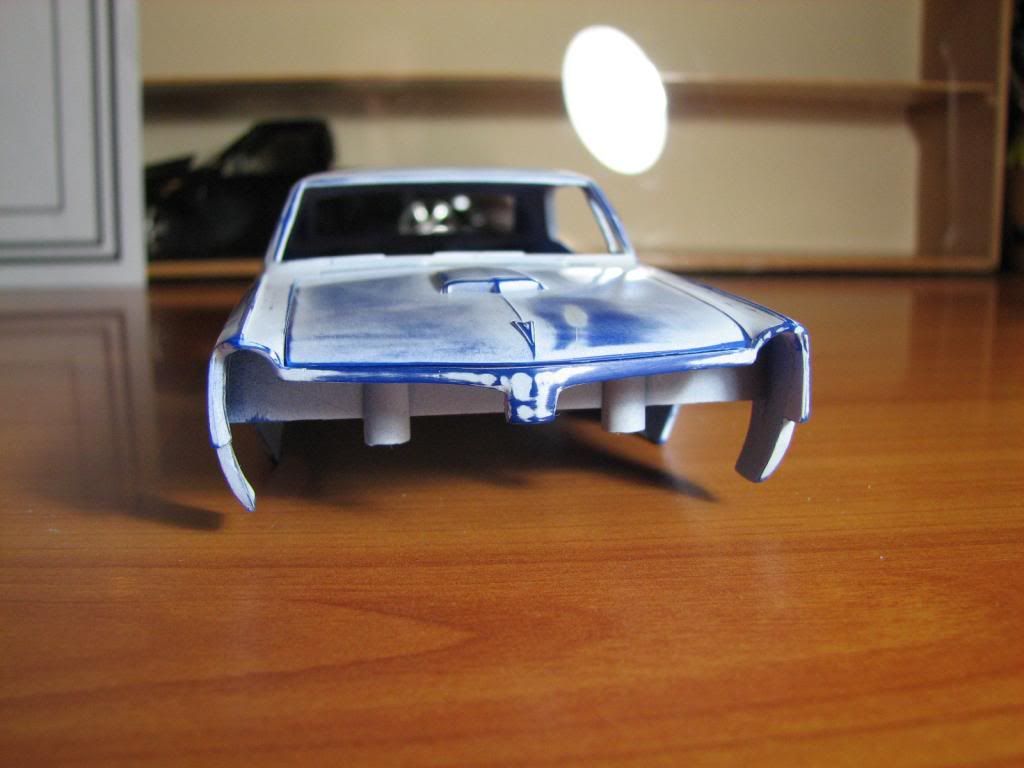
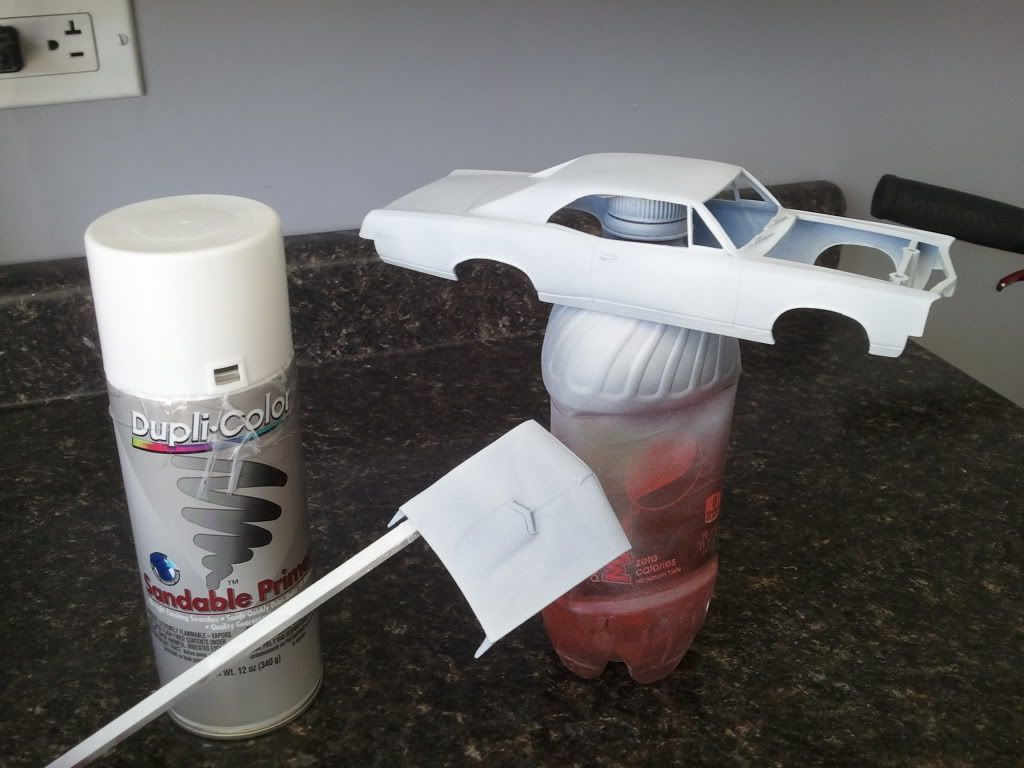
Here is the body and hood after 3 mist coats of Duplicolor primer
I will let this dry over night before sanding some more areas that revealed themselves after the primer was applied. The A pillars need some attention as it looks like they have been cut and modified at some point of the molds lifetime.
I have seen several members apply BMF over the logos and badges of bodies and then using the appropriate thinner on a swab remove the paint to reveal the BMF after every coat of paint. I would like to do this on this car and wanted to know when to apply the BMF. Should the BMF go on over the bare styrene or over the primer? -
Looks great! Love the color.
-
Hello fellow modelers,
The weather here in Chicago is starting to warm up a bit and my work schedule has let up a little so I figured I'd start on my 2nd model. My 66 Nova (link here)is still a work in progress since it was late in the year when I began it and we have had a brutal cold season here so outside painting was out of the question and I don't have anywhere to spray paint safely indoors.
I did however, pickup a Microlux 1530 spray booth on craigslist along with a couple of airbrushes so the Nova interior will be finished up soon.
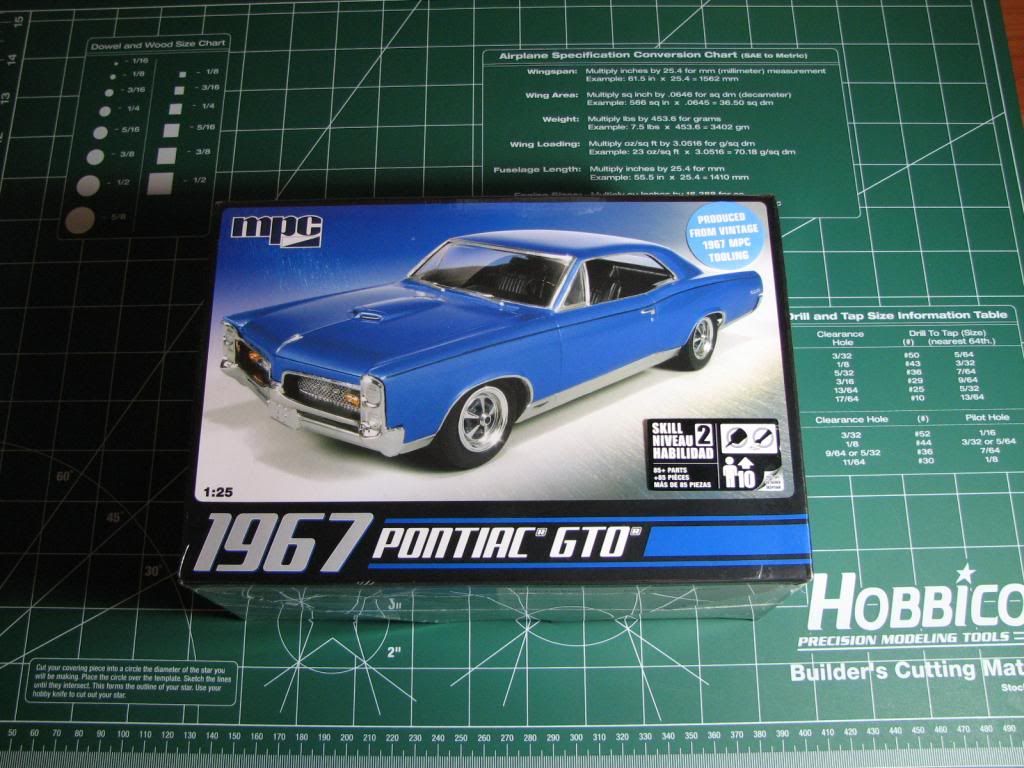
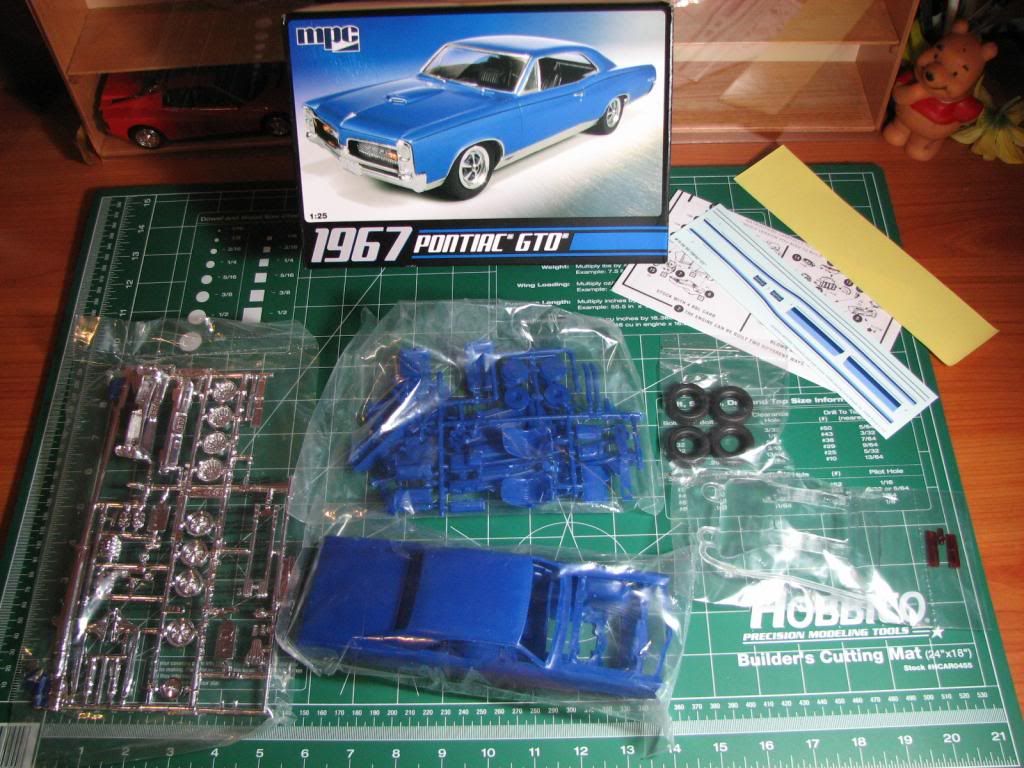
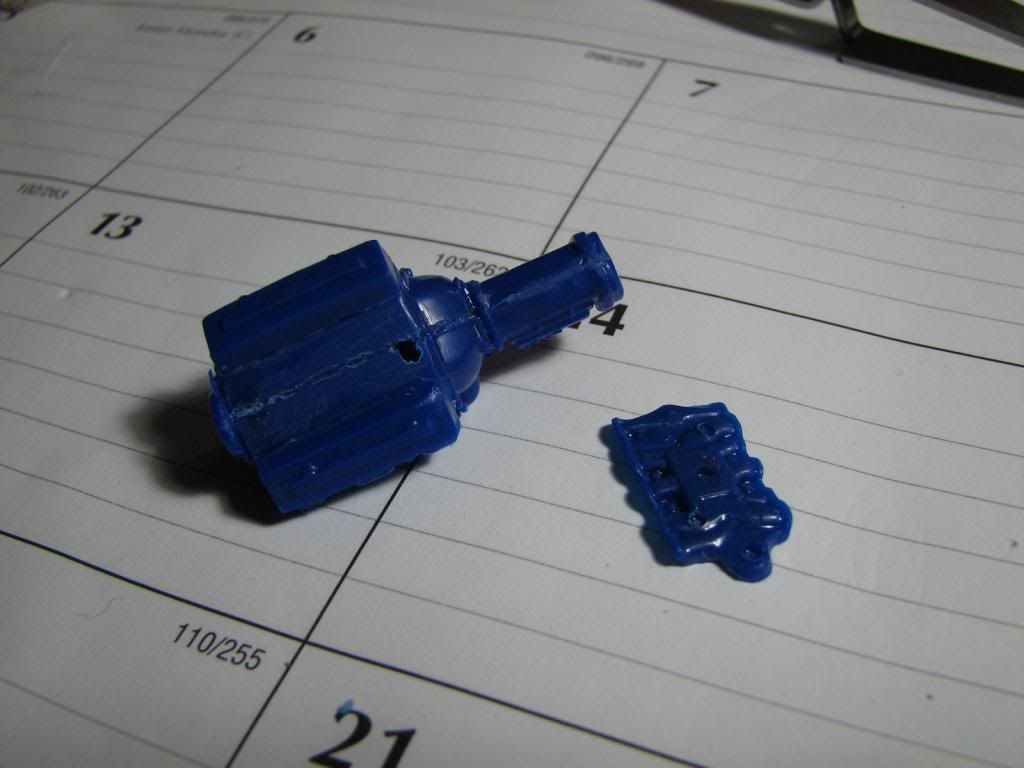
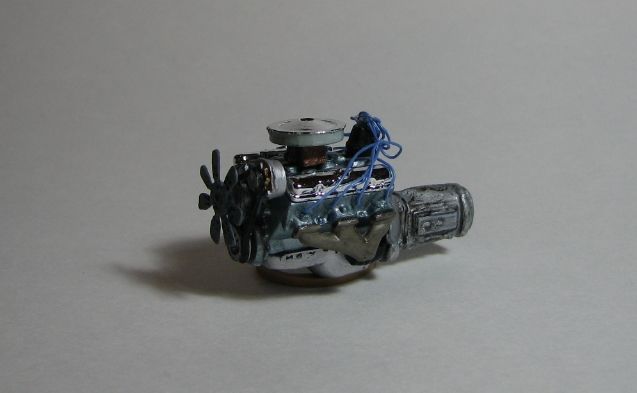
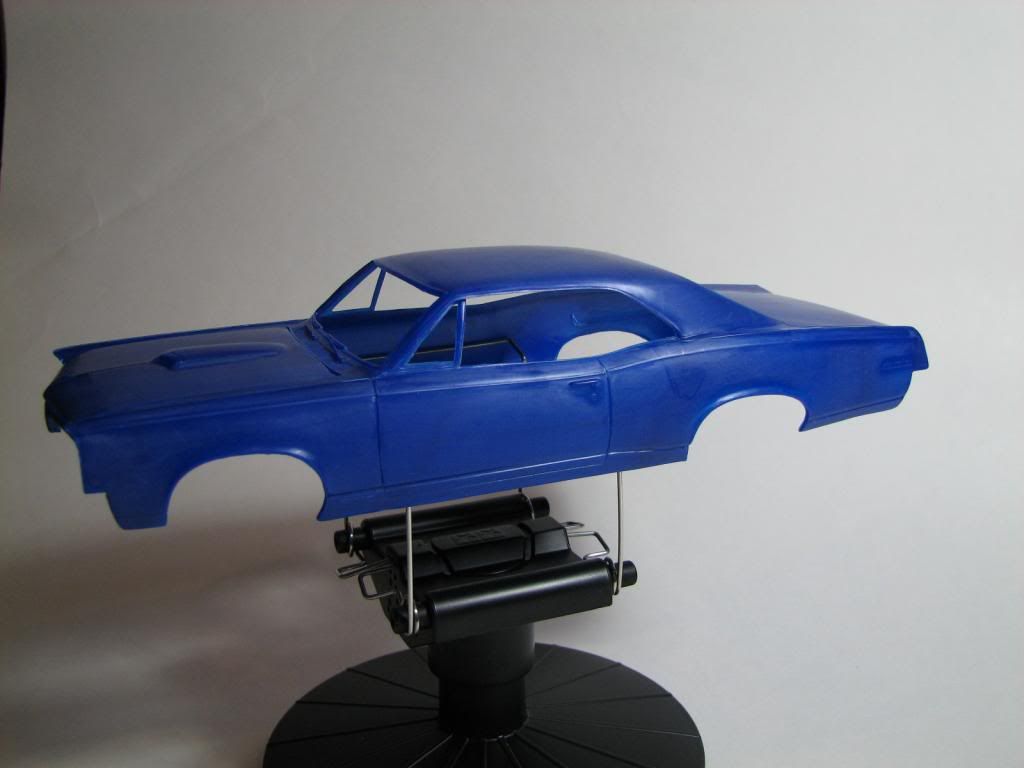
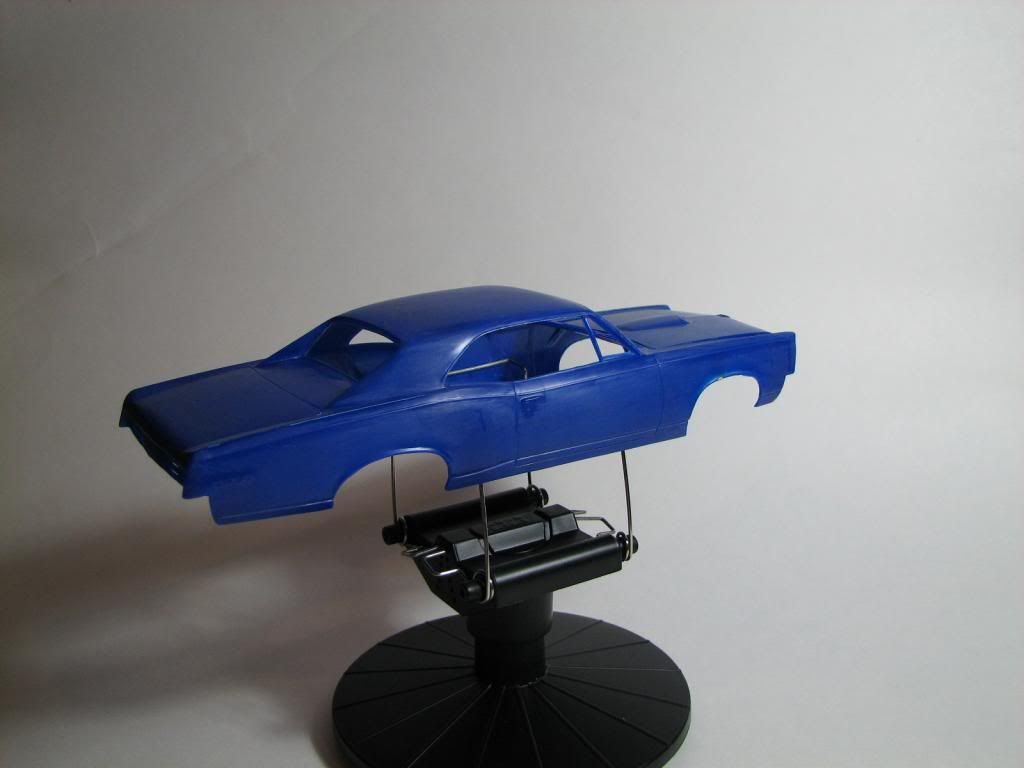
Anyhow, My 2nd model will be the 1967 Pontiac GTO by MPC. Reading about this kit on this forum gave me a warning of what was to come from this kit. The chrome is way too thick on some parts, the engine seems way to small for the car, and the body has been under the knife quite a few times as is evident when looking at the underside. The kit lacks detail and has quite a bit of flashing on the parts (a perfect kit for a newbie..lol)
The reason I chose this kit then is because I remember my neighbor having one when I was a kid and was in love with the way the car looked and sounded.
Anyway on to the pics -
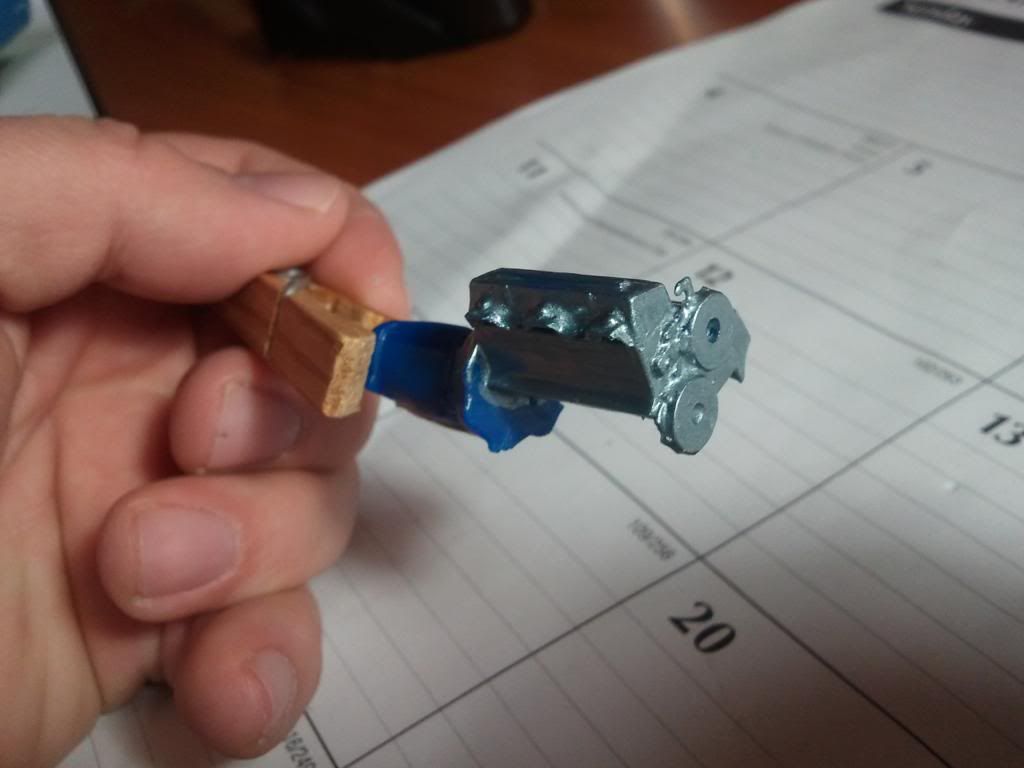
Engine has been complete and it was my first attempt at engine wiring. Wiring came out a little sloppy but I'm still happy with it.
I sanded the body a bit today and will hopefully be able to put a coat of primer on it tomorrow to see where I stand...I fully expect to be sanding this body quite a few more times...lol
Thanks for looking and I look forward to tips and comments on this build.
Sam -
Excellent build ! I love the paint on this one.
-
Looking great!
-
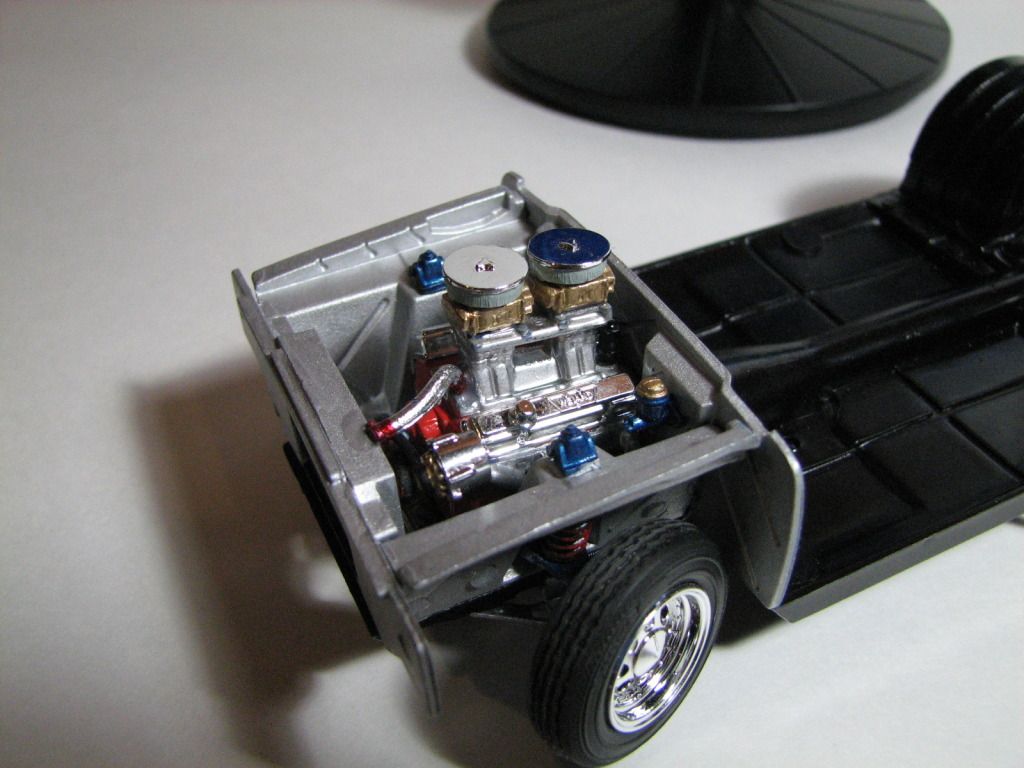
Great looking charger.
-
Looks great
-
Slick build...I love it!
-
It is called cranberry wine pearl. It was used on chrysler pt cruisers. You can get the color in duplicolor spray and use the m.m. lacquer spray on it since tamiya clear is unavailable. I have even sprayed the testors clear over the tamiya clear with no bad results. By sanding between clear coats and putting on two more wet coats you get virtually no orange peel. By the way if you want the duplicolor number i can get it for you.
Thanks for the info
-
Do you recall what paint you used above? I would love to use that color for a build I'm working on.I [img=http://i1304.photobucket.com/albums/s530/99jeepdad/misc%20reference%20photos/IMAG0004_zps279c6a98.jpg] have paintjobs as old as 11 years old i used tamiya clear. Close to the same formula as testors and have had no yellowing problems. This was painted in 2002 and cleared with tamiya clear. I wait a day or two so paint gasses out then i spray a few light coats of clear. Let that dry a few days. Sand any dust bunnies or fuzz out. I put on a few more coats of clear for coverage and polish out after a week. Thats my way. As far as decals i polish out then put decals on. I havent had the confidence to clear over decals after applying them. After my last disaster. -
Lookin good.
-
A trio of very good looking cars here.
-
I'll be watching this build for sure. Looks great so far.
-
Clean build...looks very nice
-
Great looking build!
-
Getting there slowly -
Progress has been slow but I am learning a lot from the forums here.
-
Great looking Chevelle!


![http://i1304.photobucket.com/albums/s530/99jeepdad/misc%20reference%20photos/IMAG0004_zps279c6a98.jpg]](http://i1304.photobucket.com/albums/s530/99jeepdad/misc%20reference%20photos/IMAG0004_zps279c6a98.jpg%5D)
86 Monte Carlo SS
in Model Cars
Posted
Great looking build. The wheels and paint set this one apart.