-
Posts
391 -
Joined
-
Last visited
Content Type
Profiles
Forums
Events
Gallery
Everything posted by purepmd
-
Hey guys, I'm working on a Monogram Duallie into a Centurian style 4 wheel drive, crew cab conversion. My parts box and a couple of ebay glue bombs are my donors. Sadly all the windshields are useless. I appreciate your time, thank you.
-
No, most of my stuff was destroyed when a water pipe froze and burst flooding the entire basement of my house. 45 years of building and collecting wiped out. Been salvaging a few things.
-

Freightliner FLA Finally Finished
purepmd replied to purepmd's topic in Model Trucks: Big Rigs and Heavy Equipment
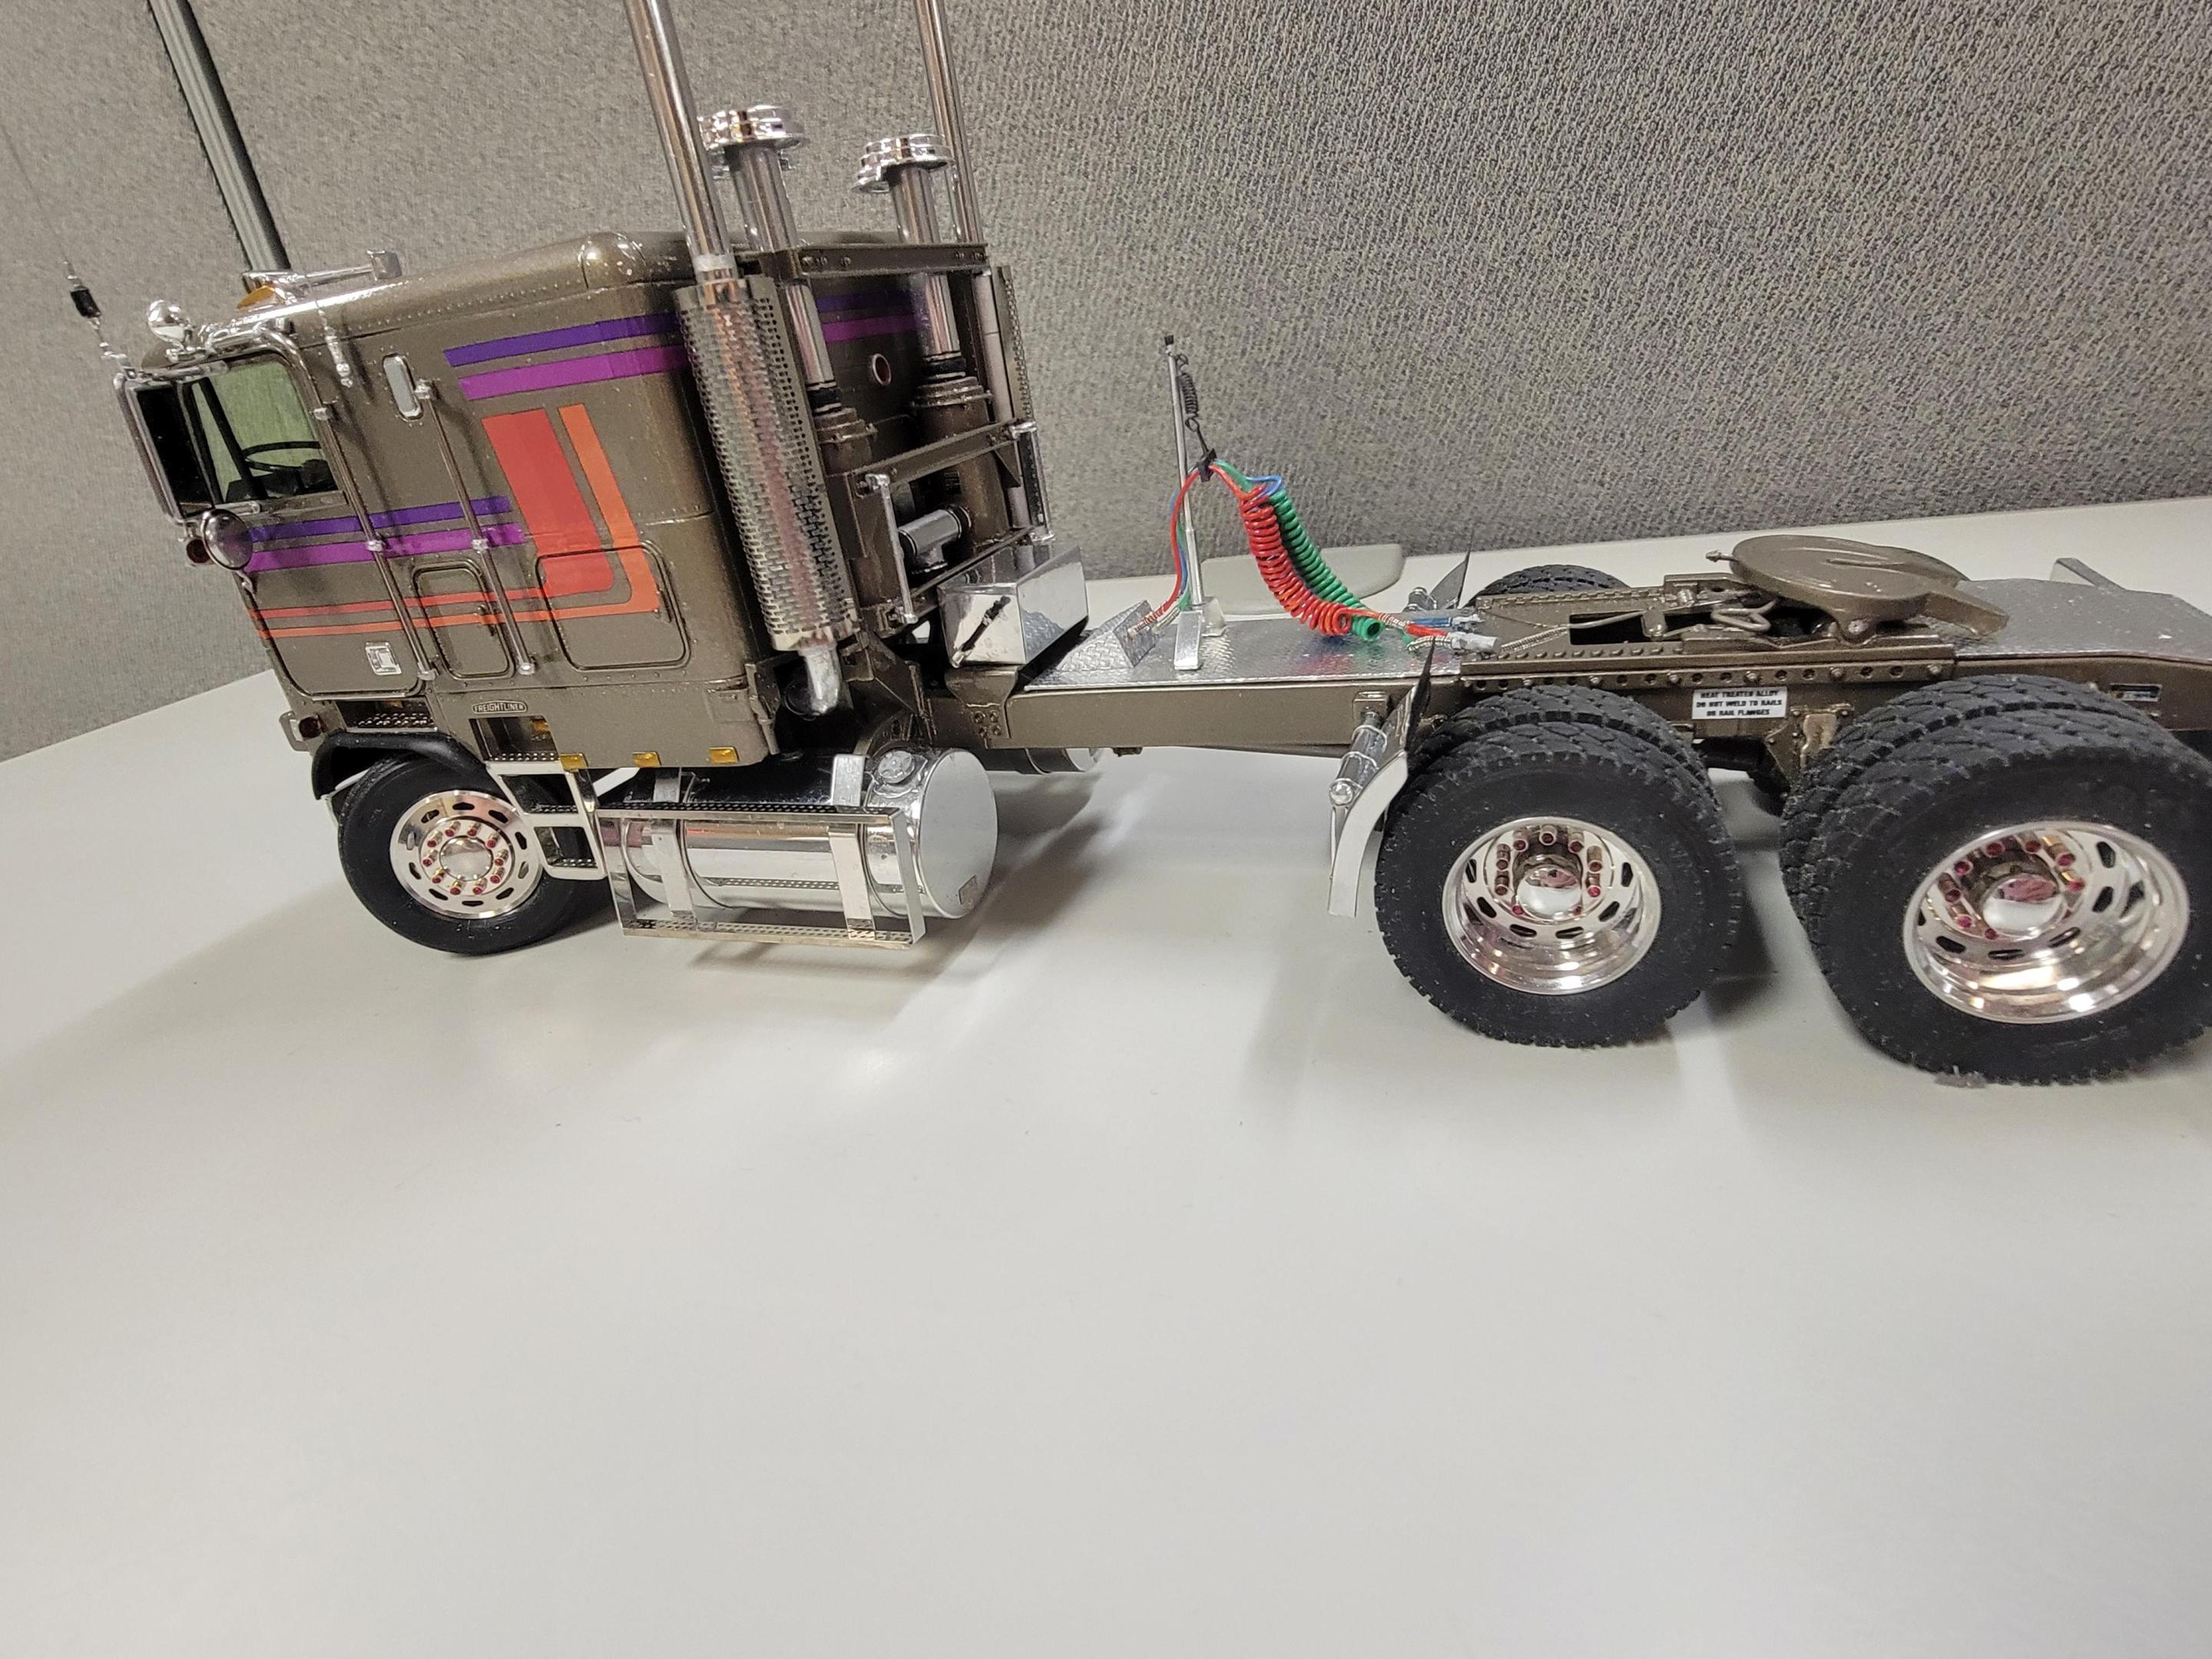
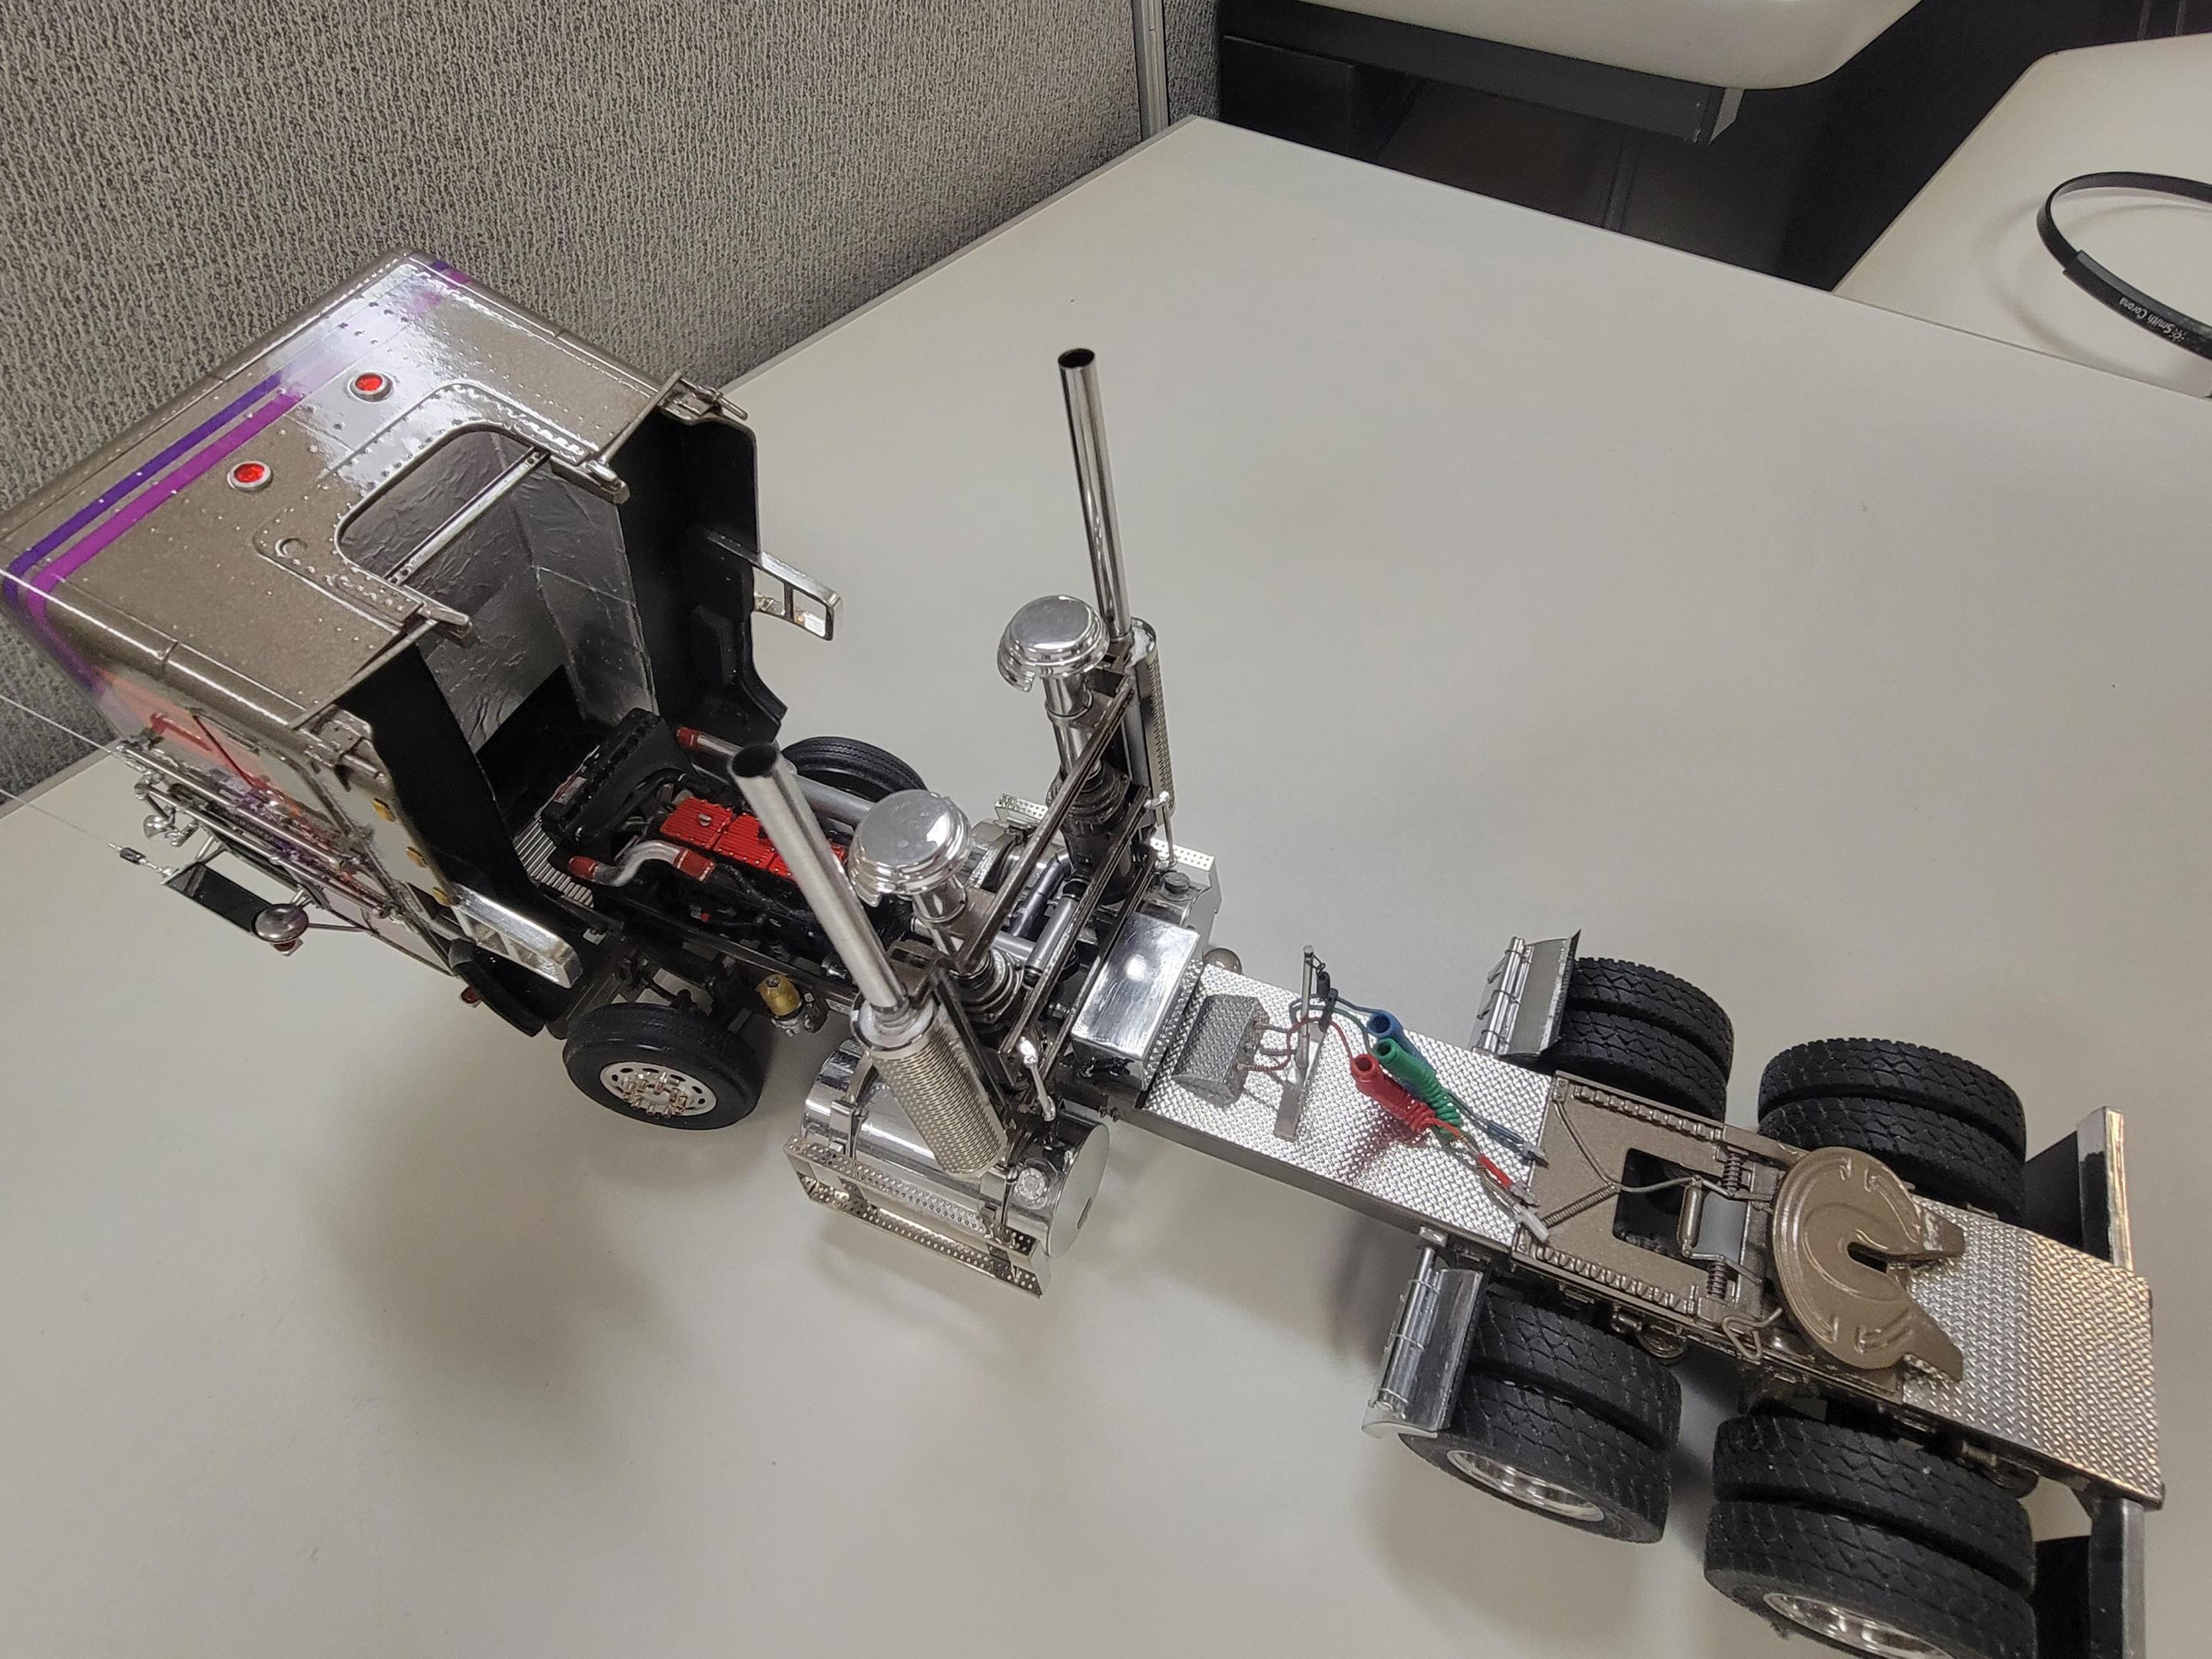
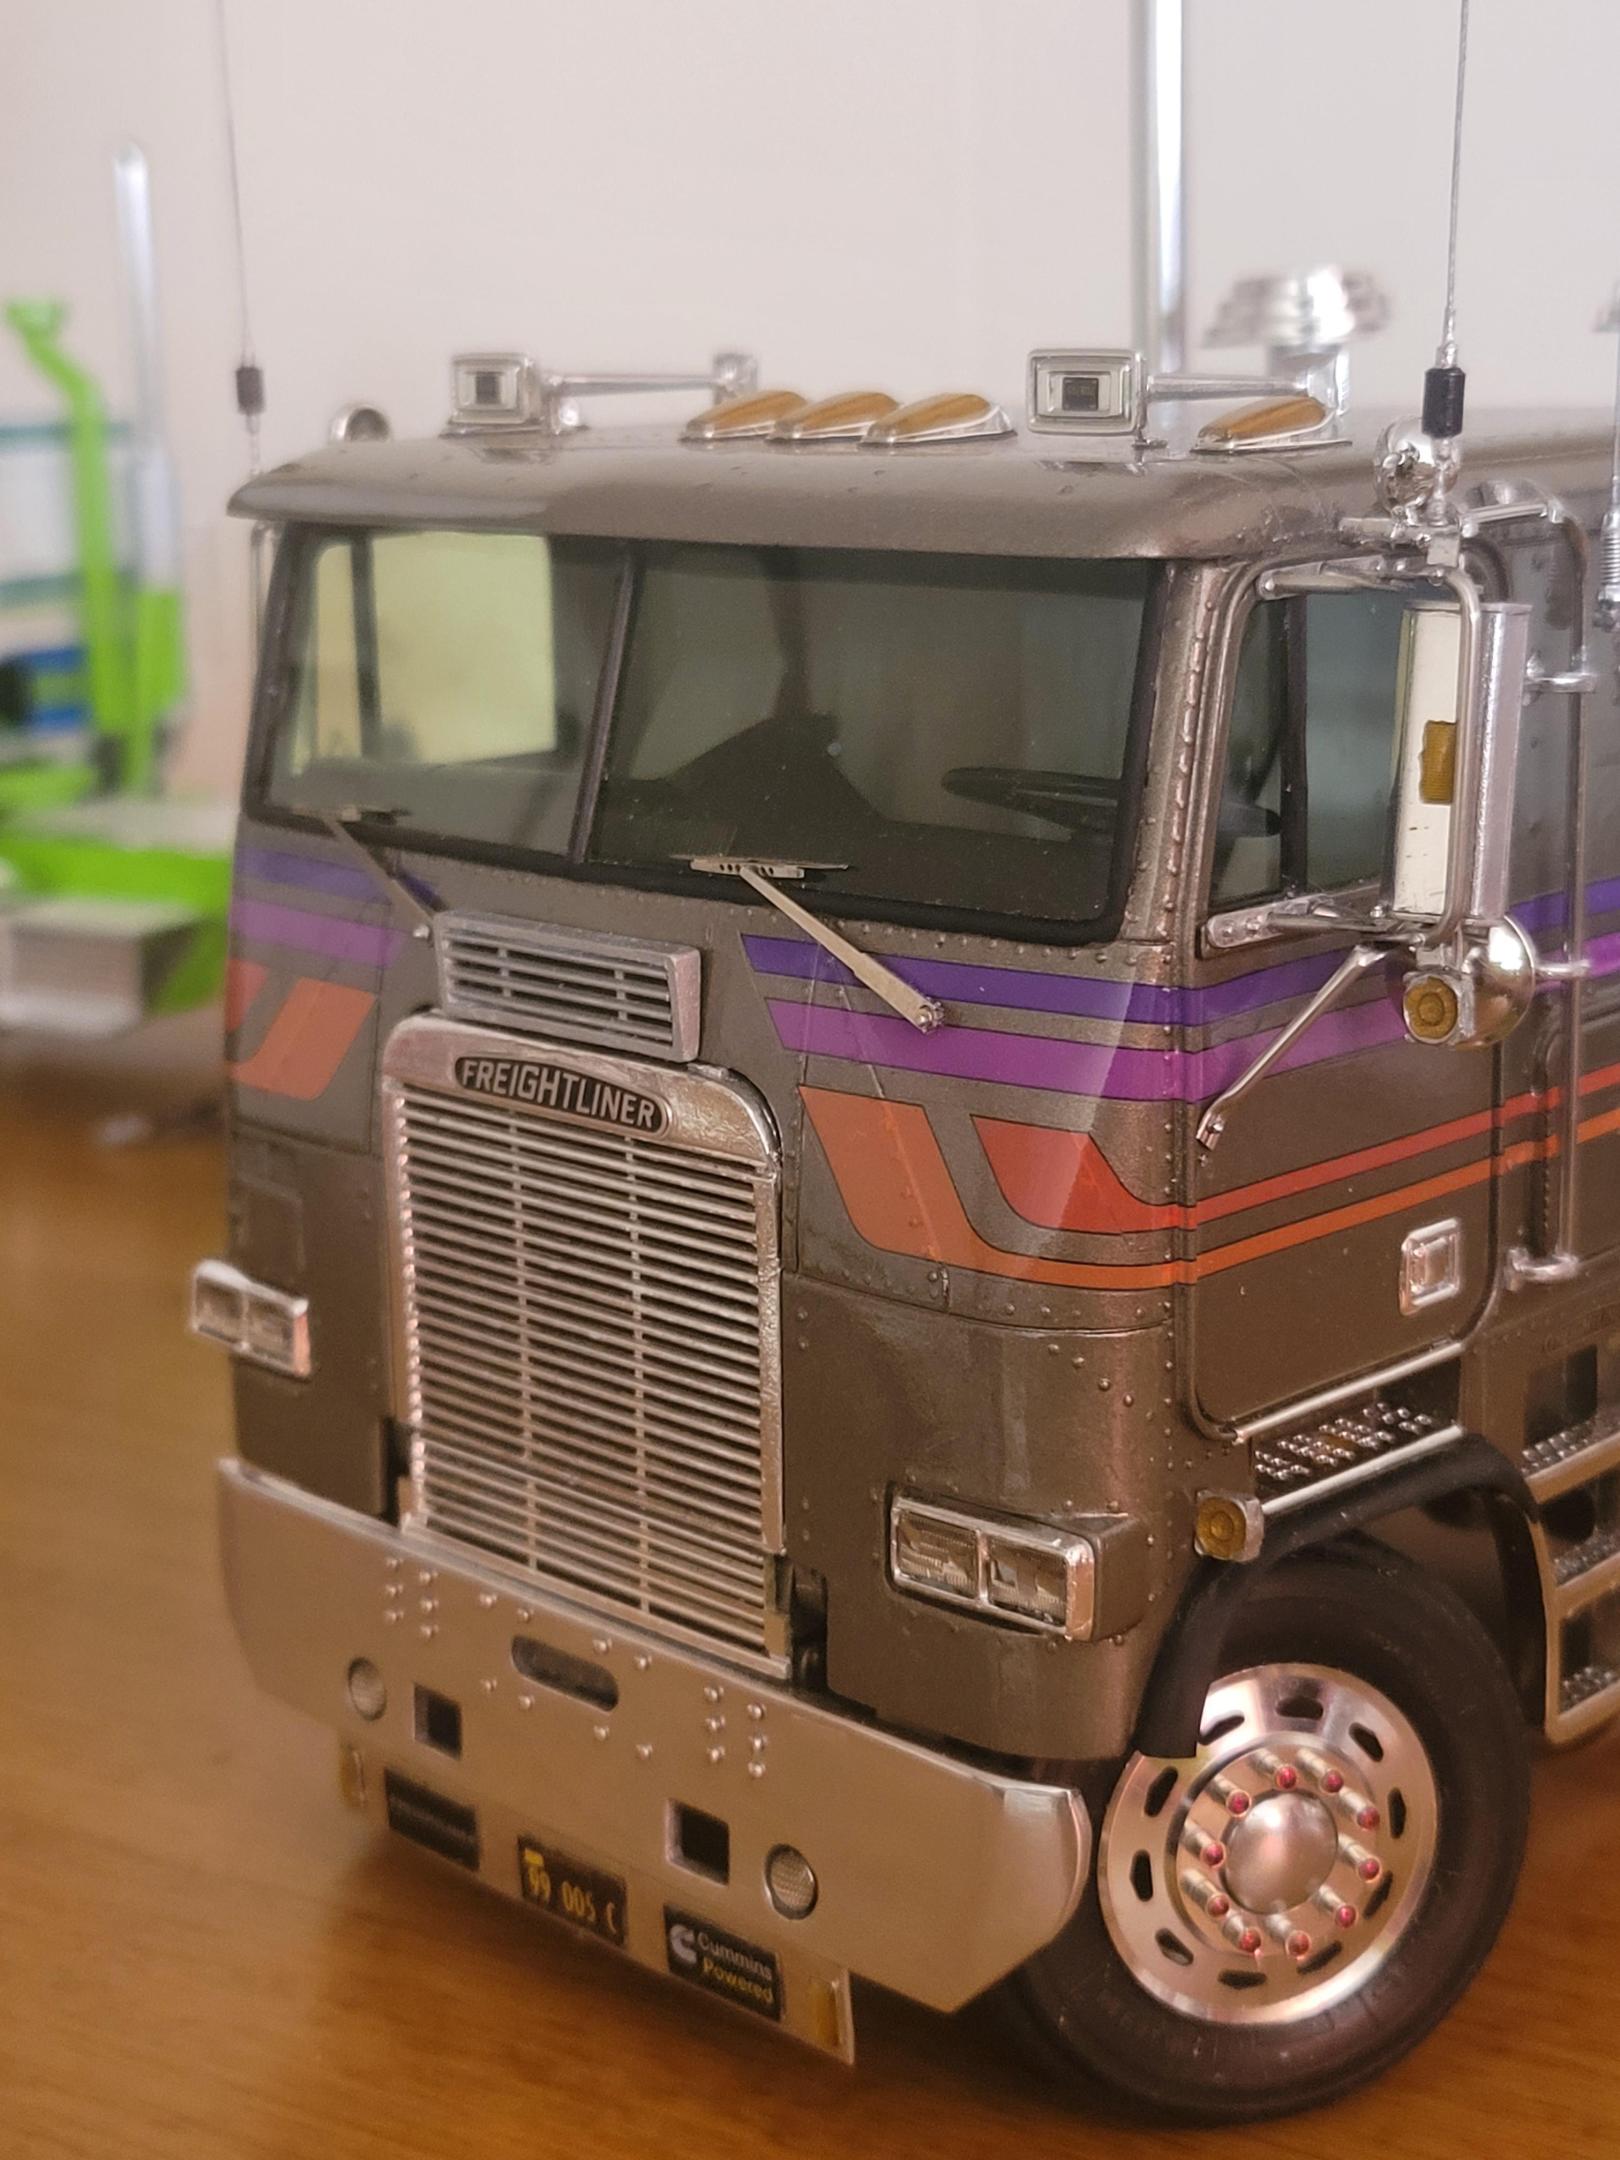
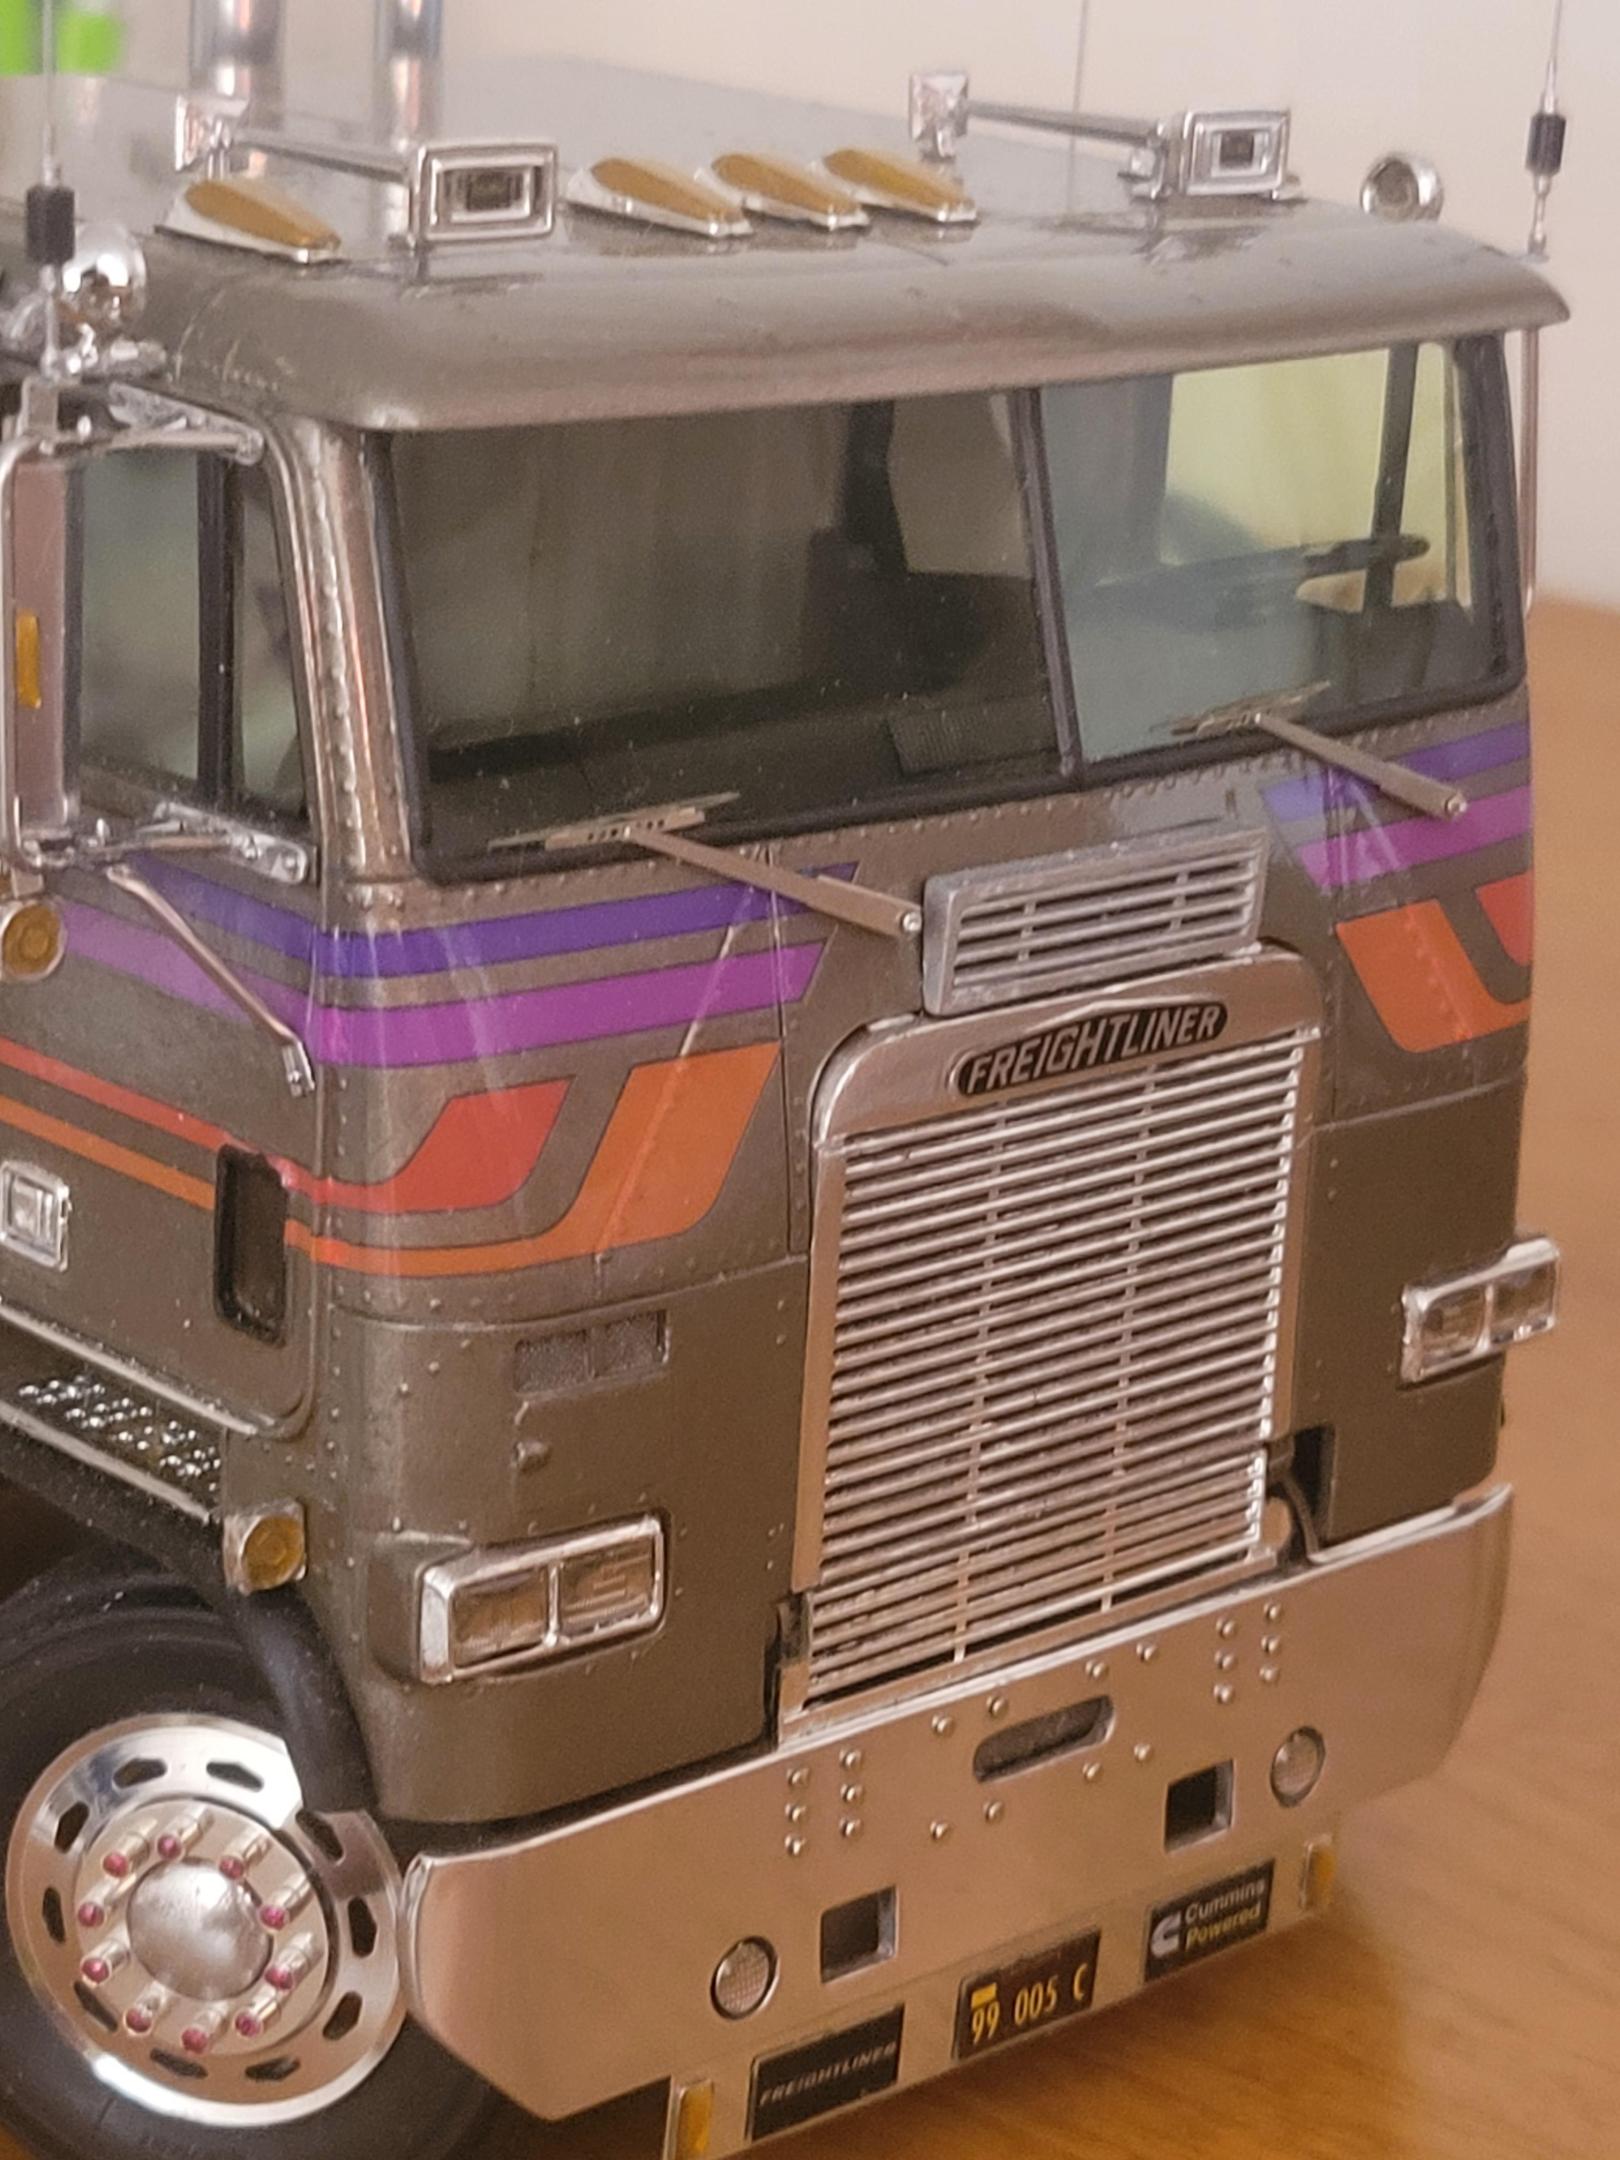
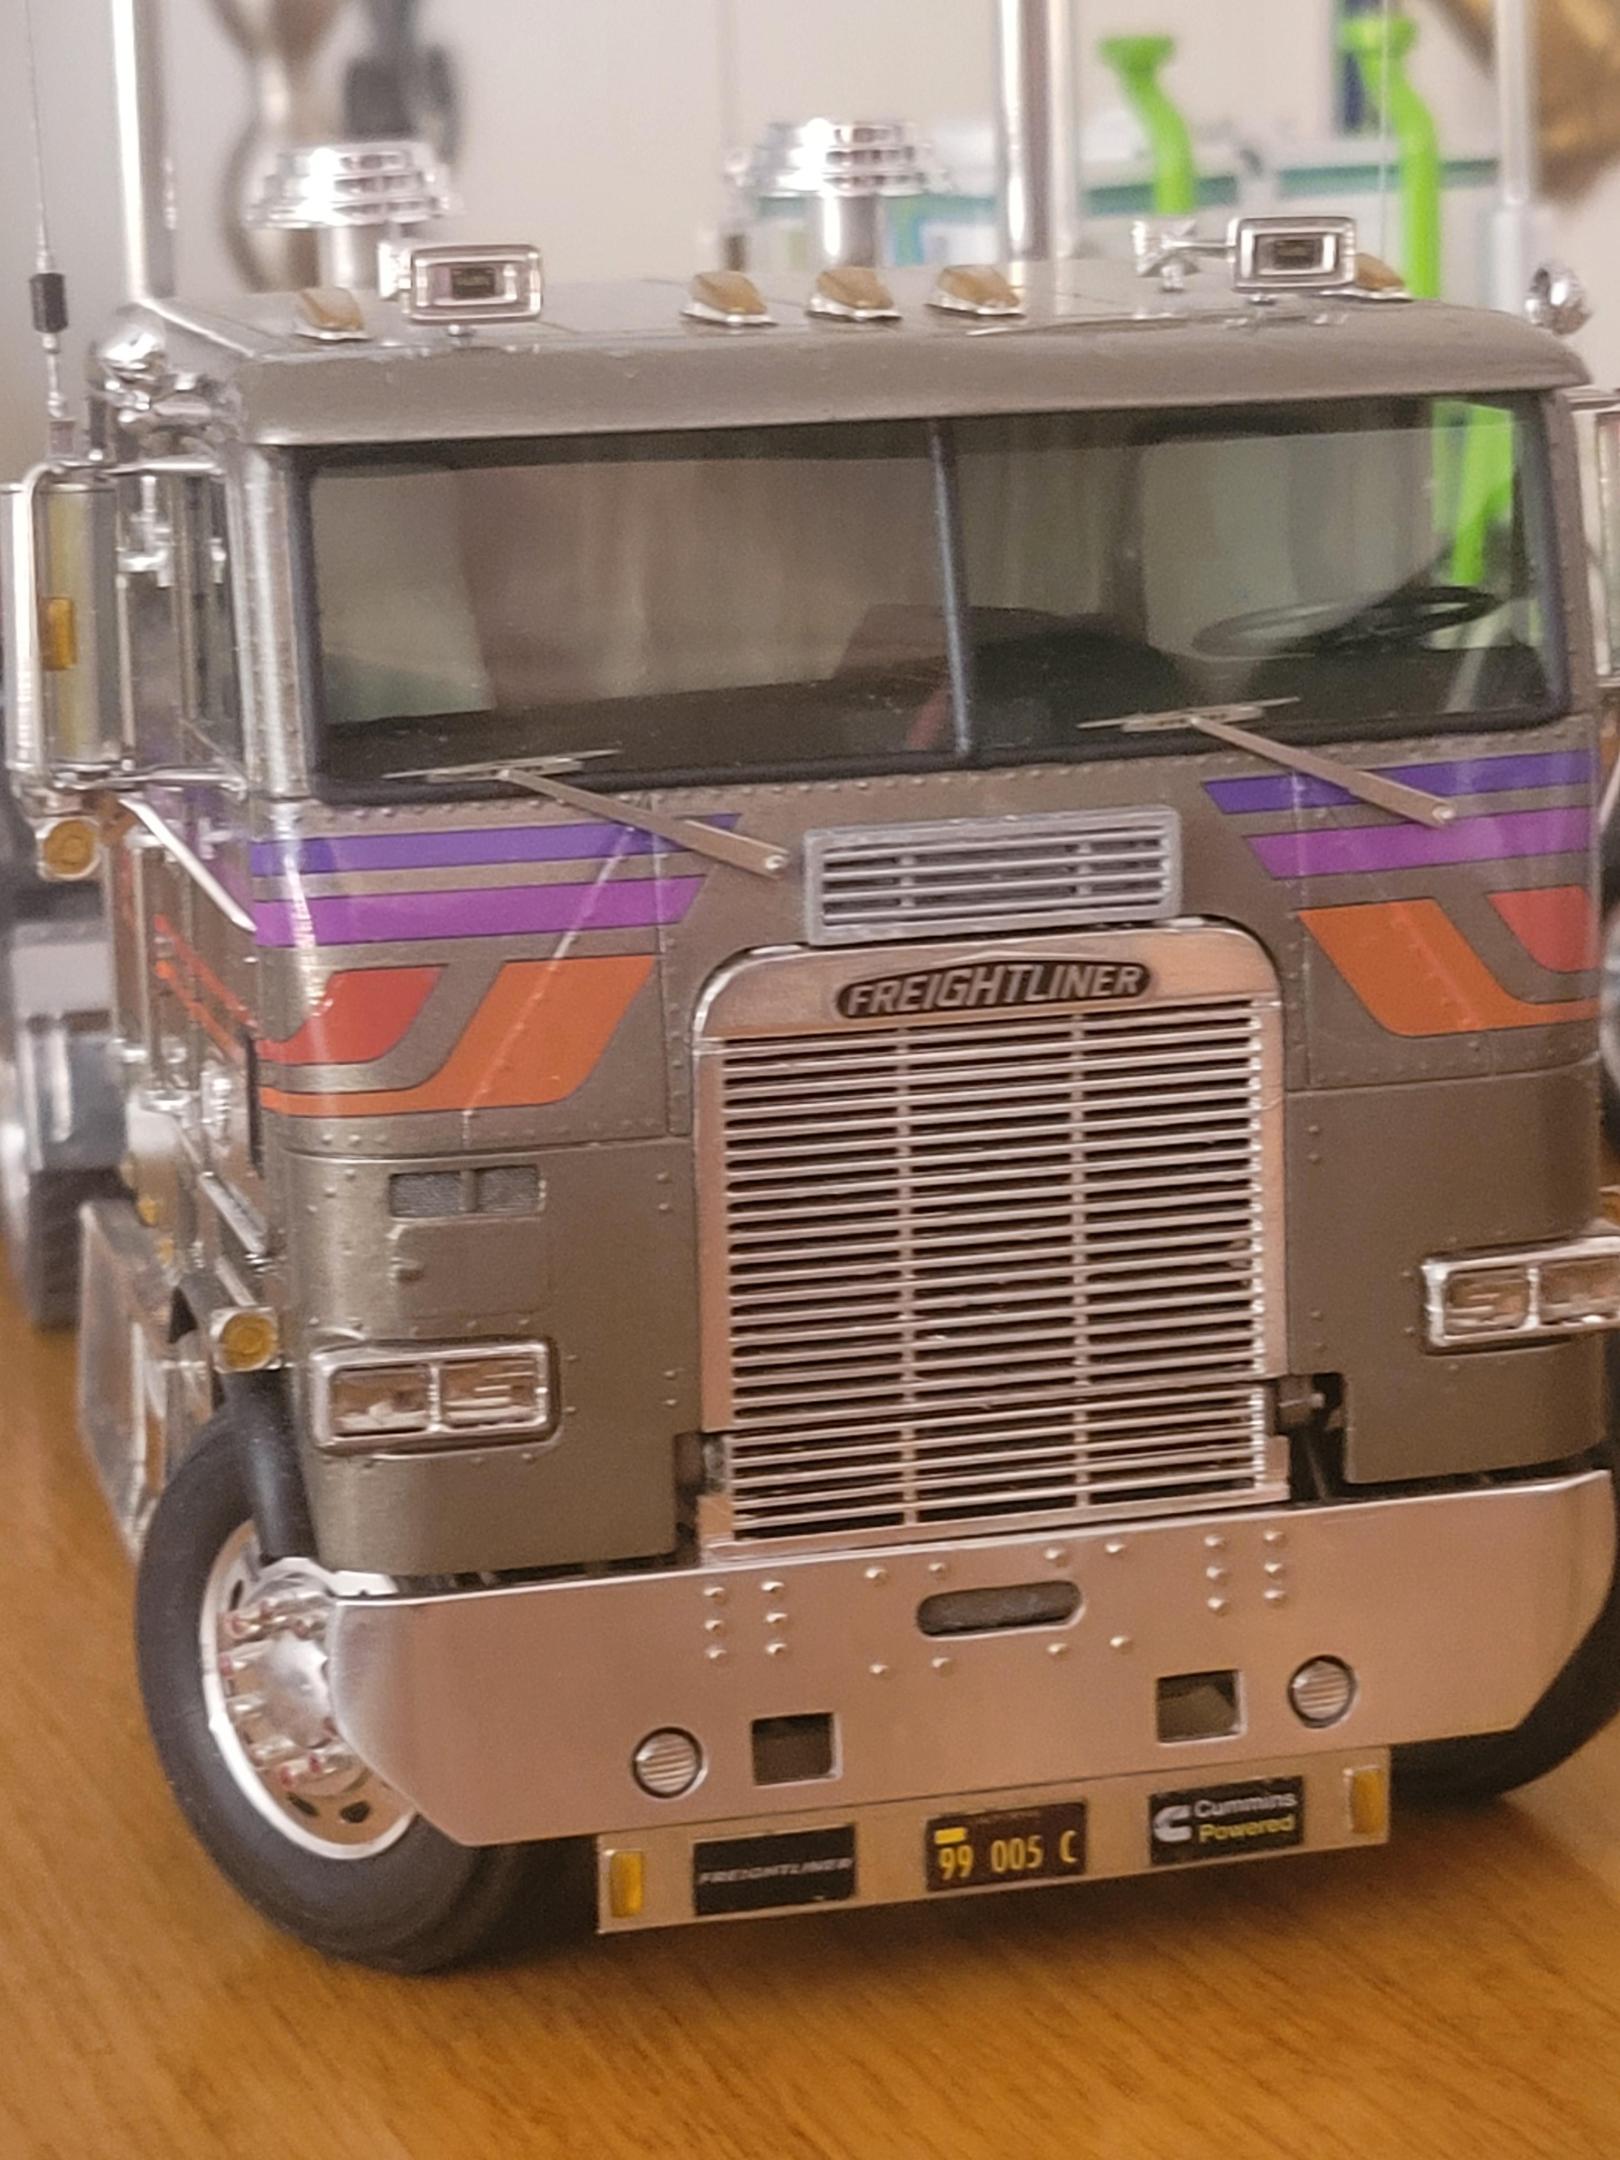
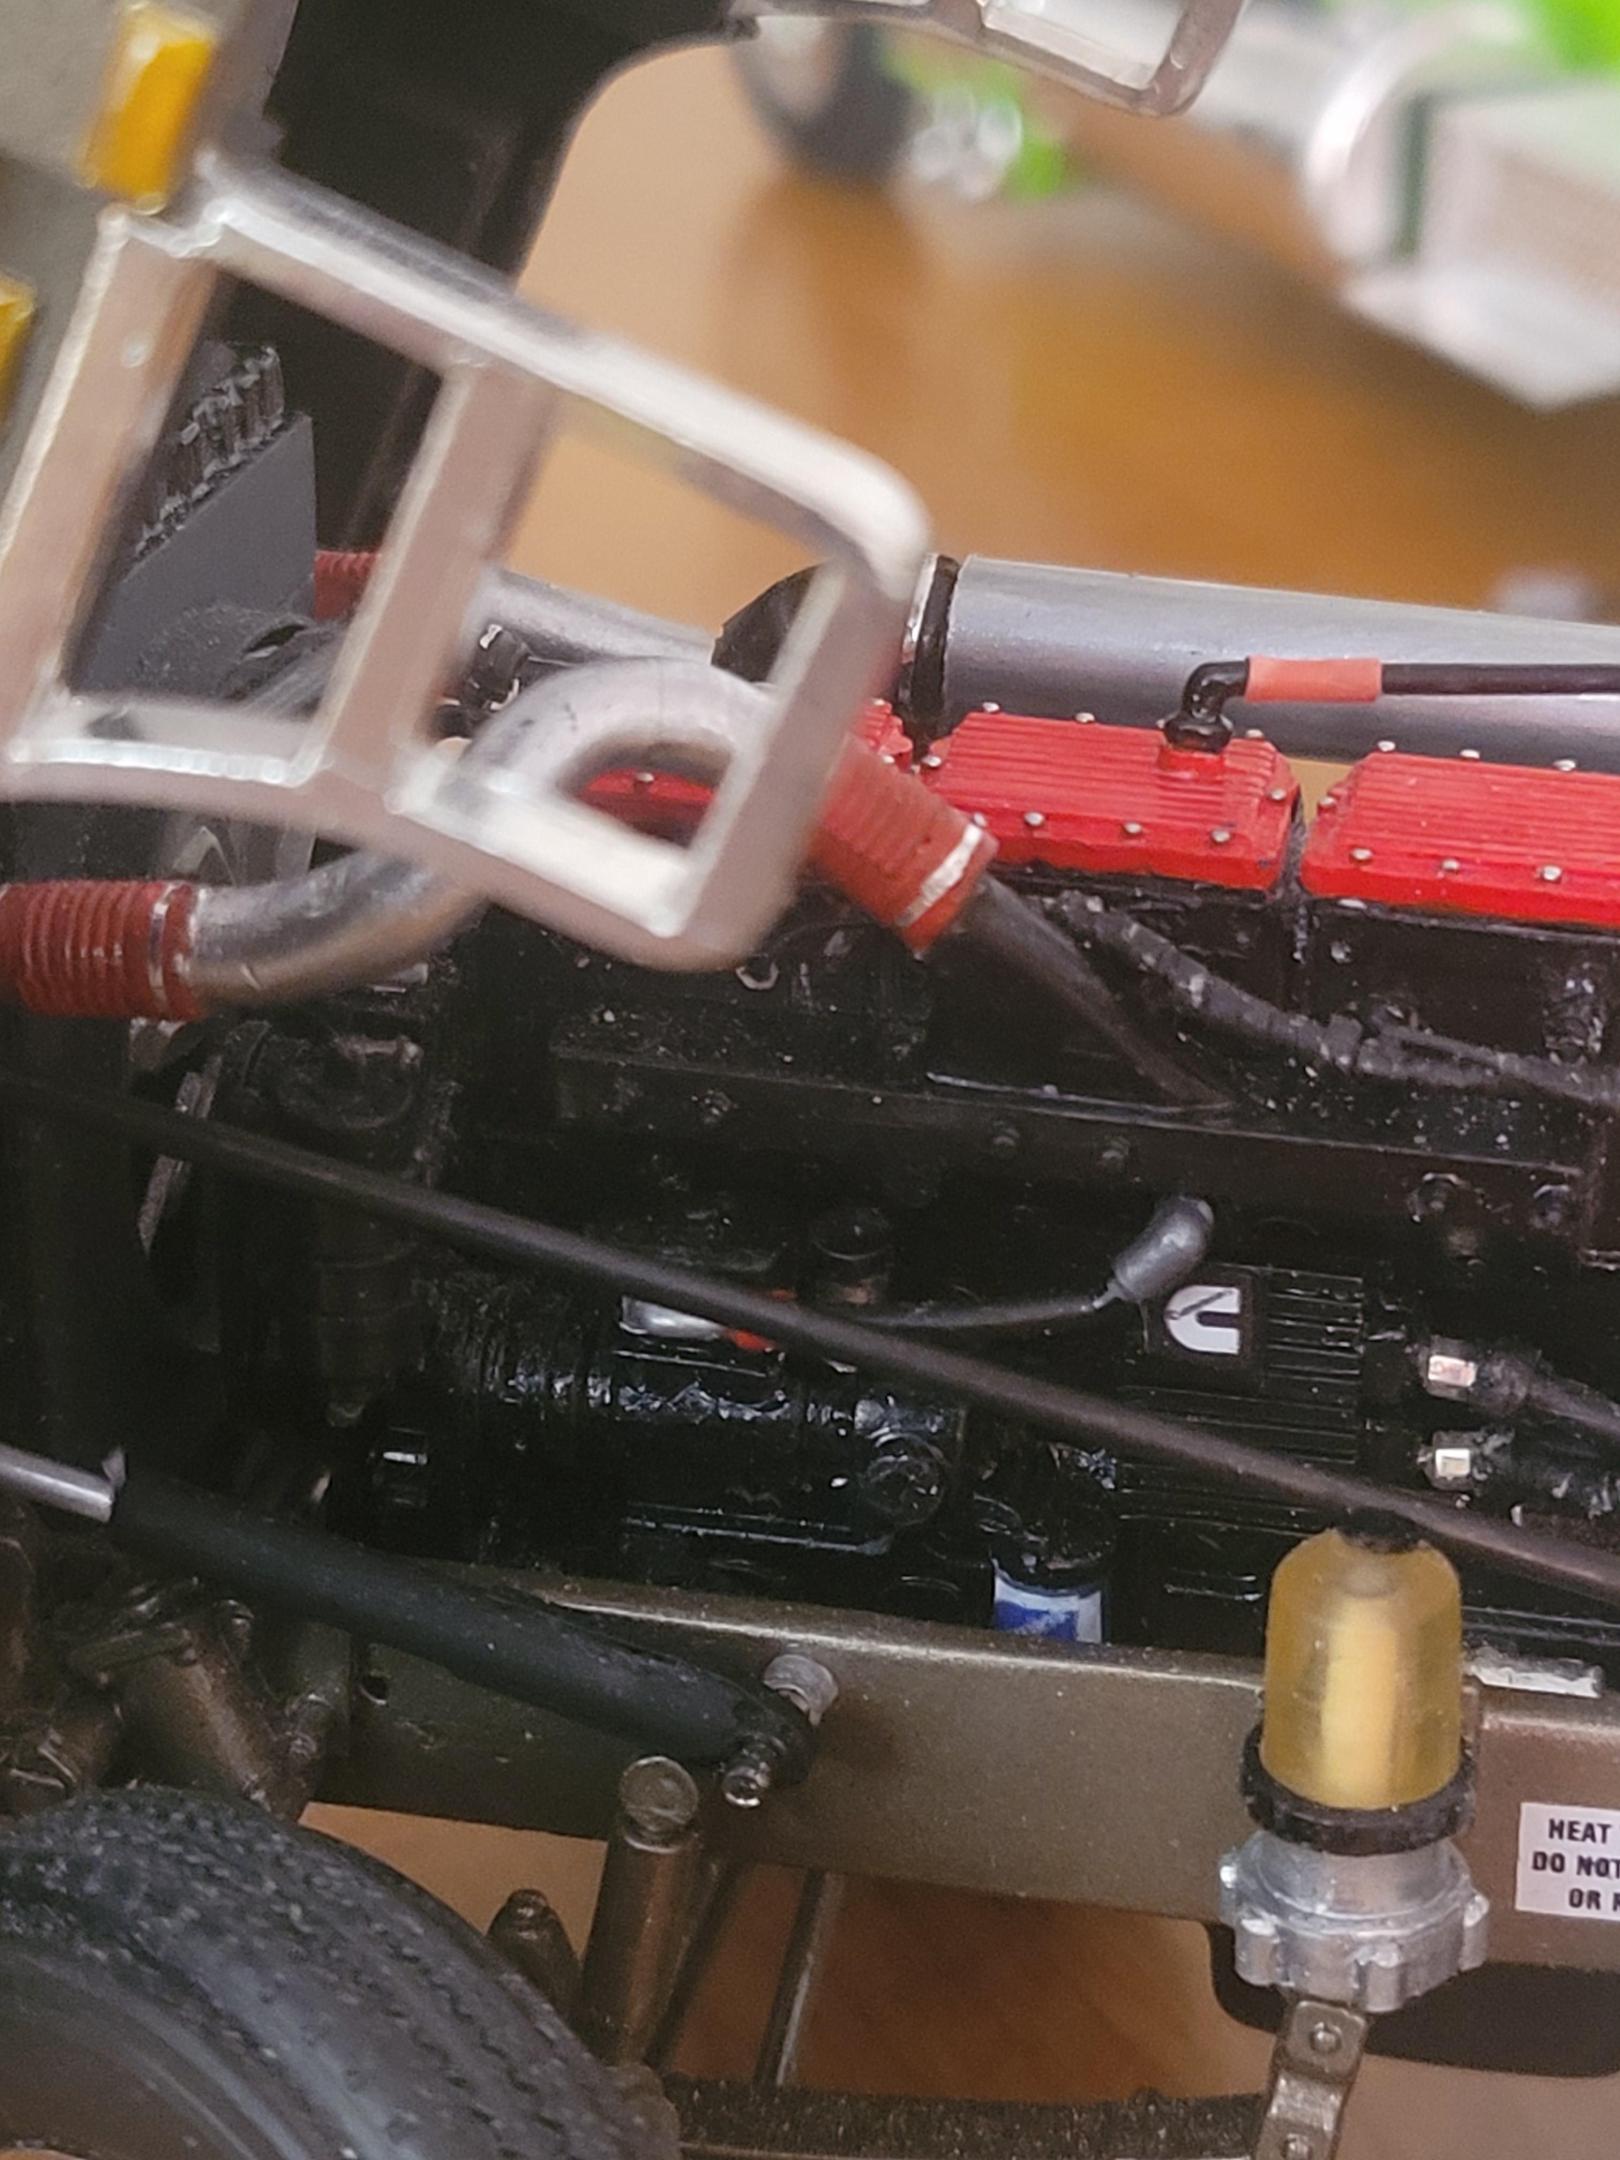
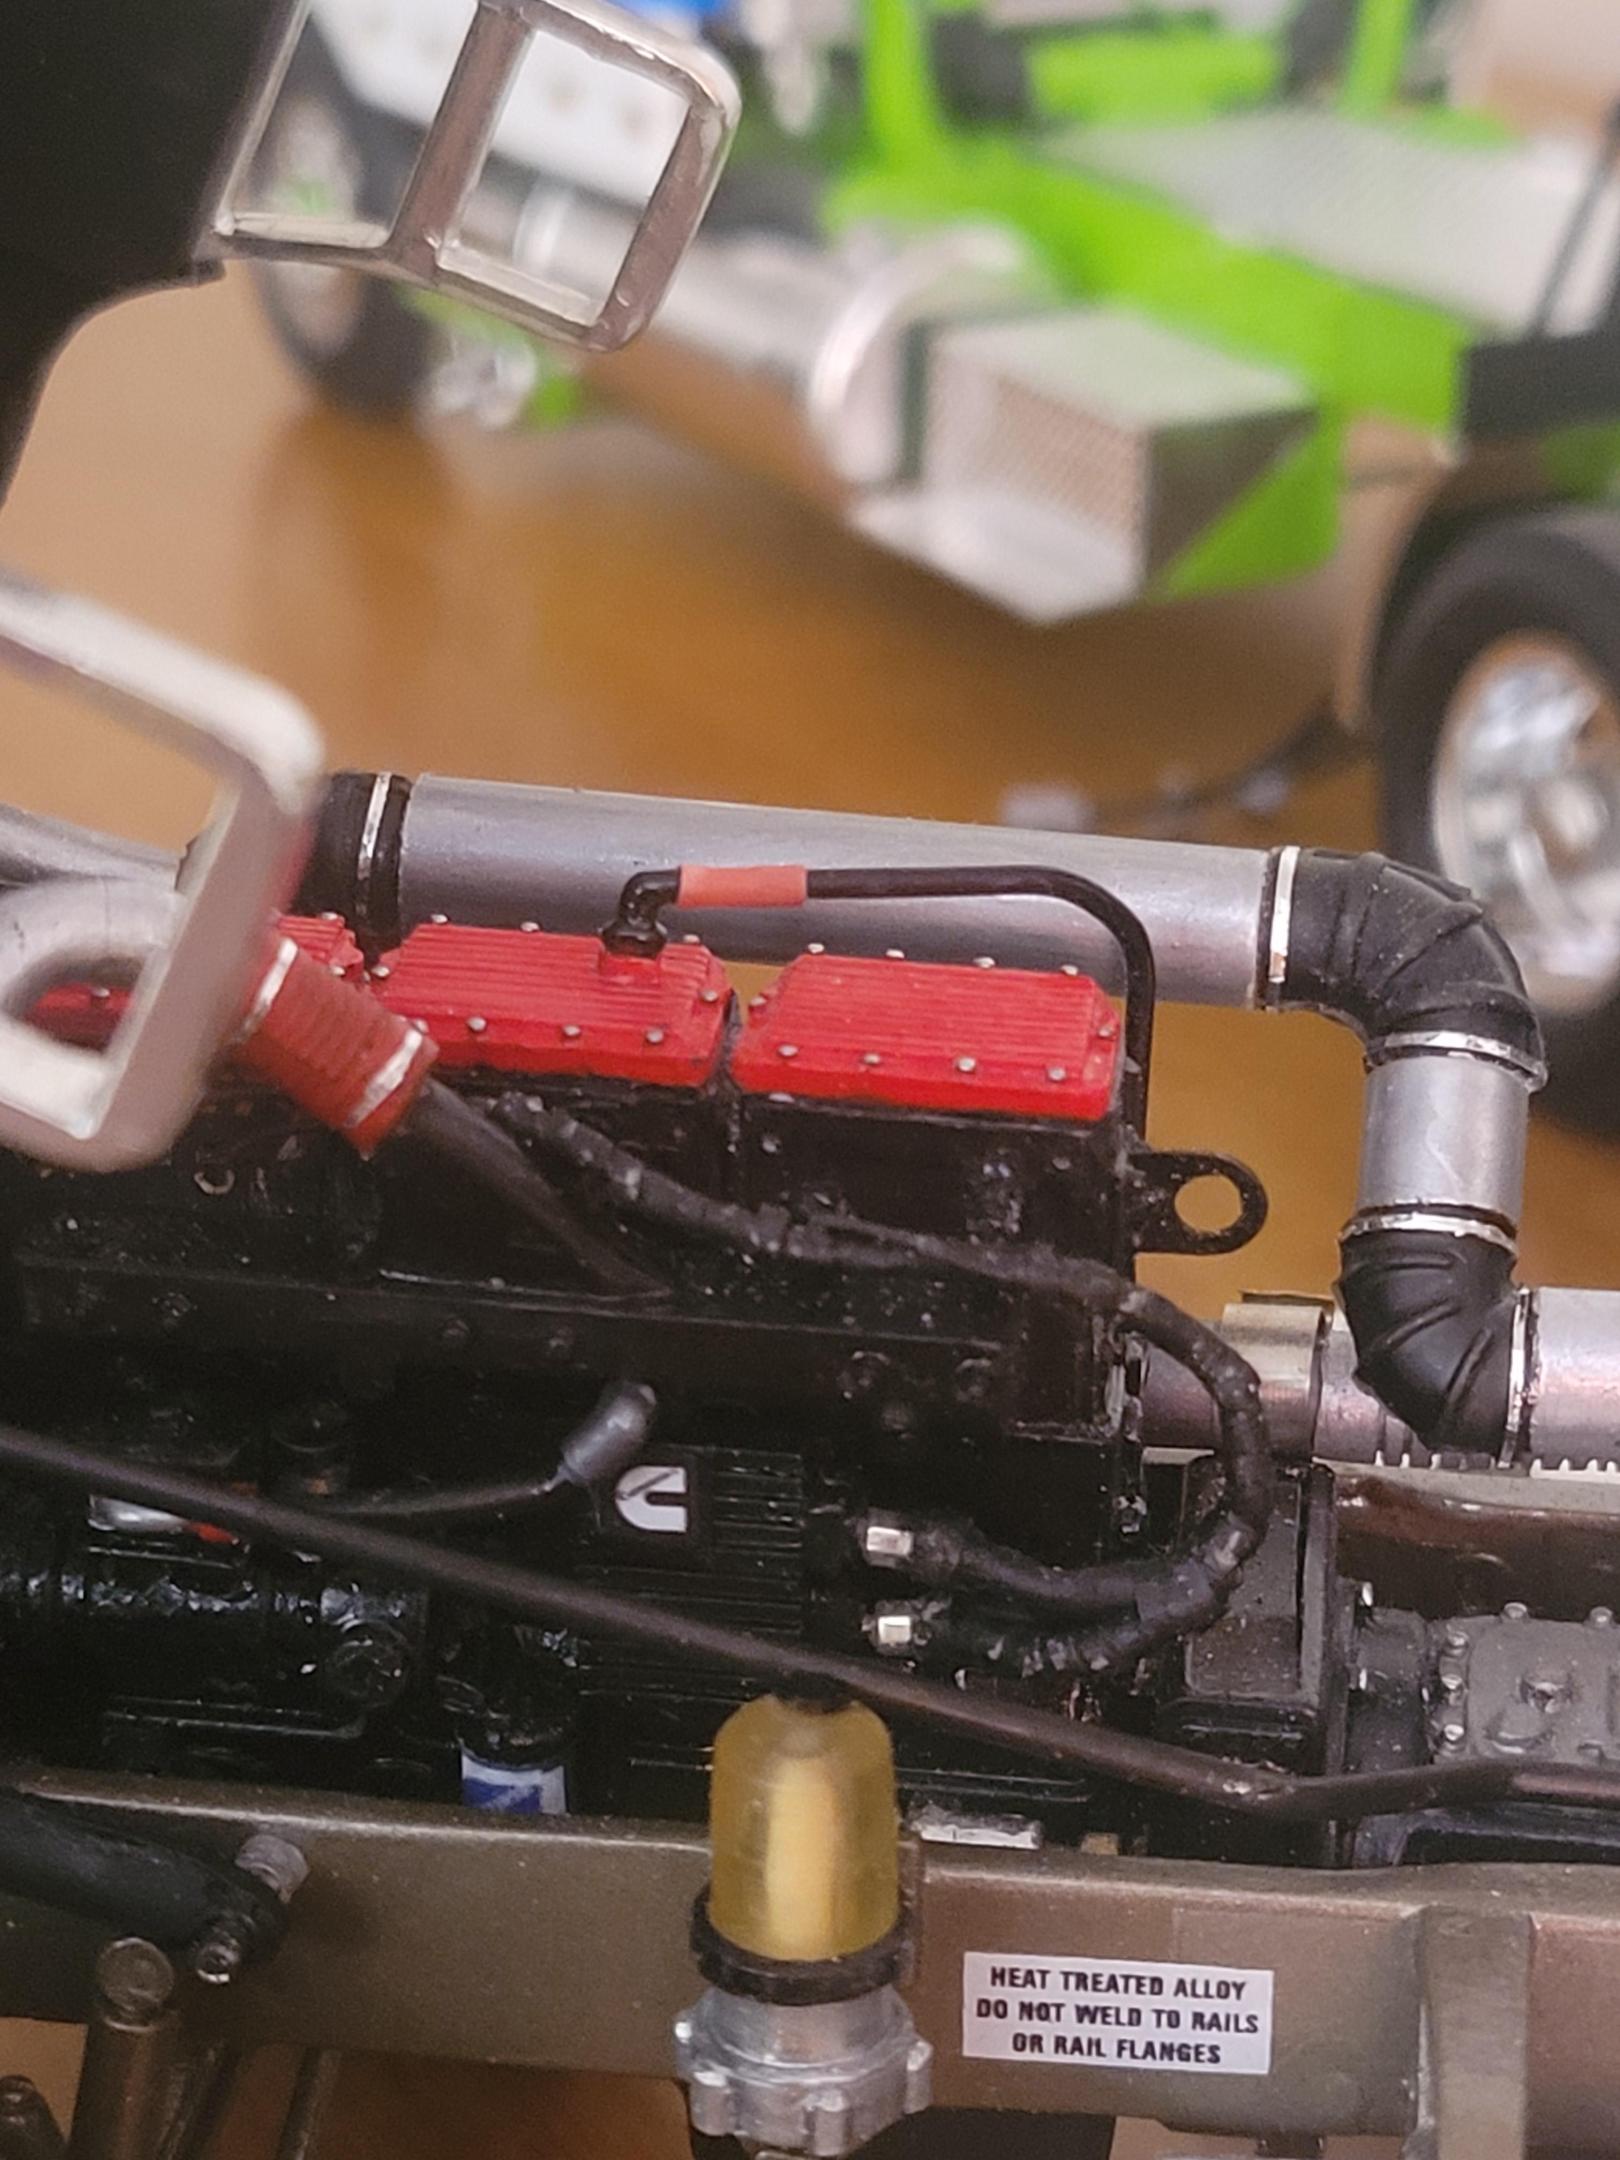
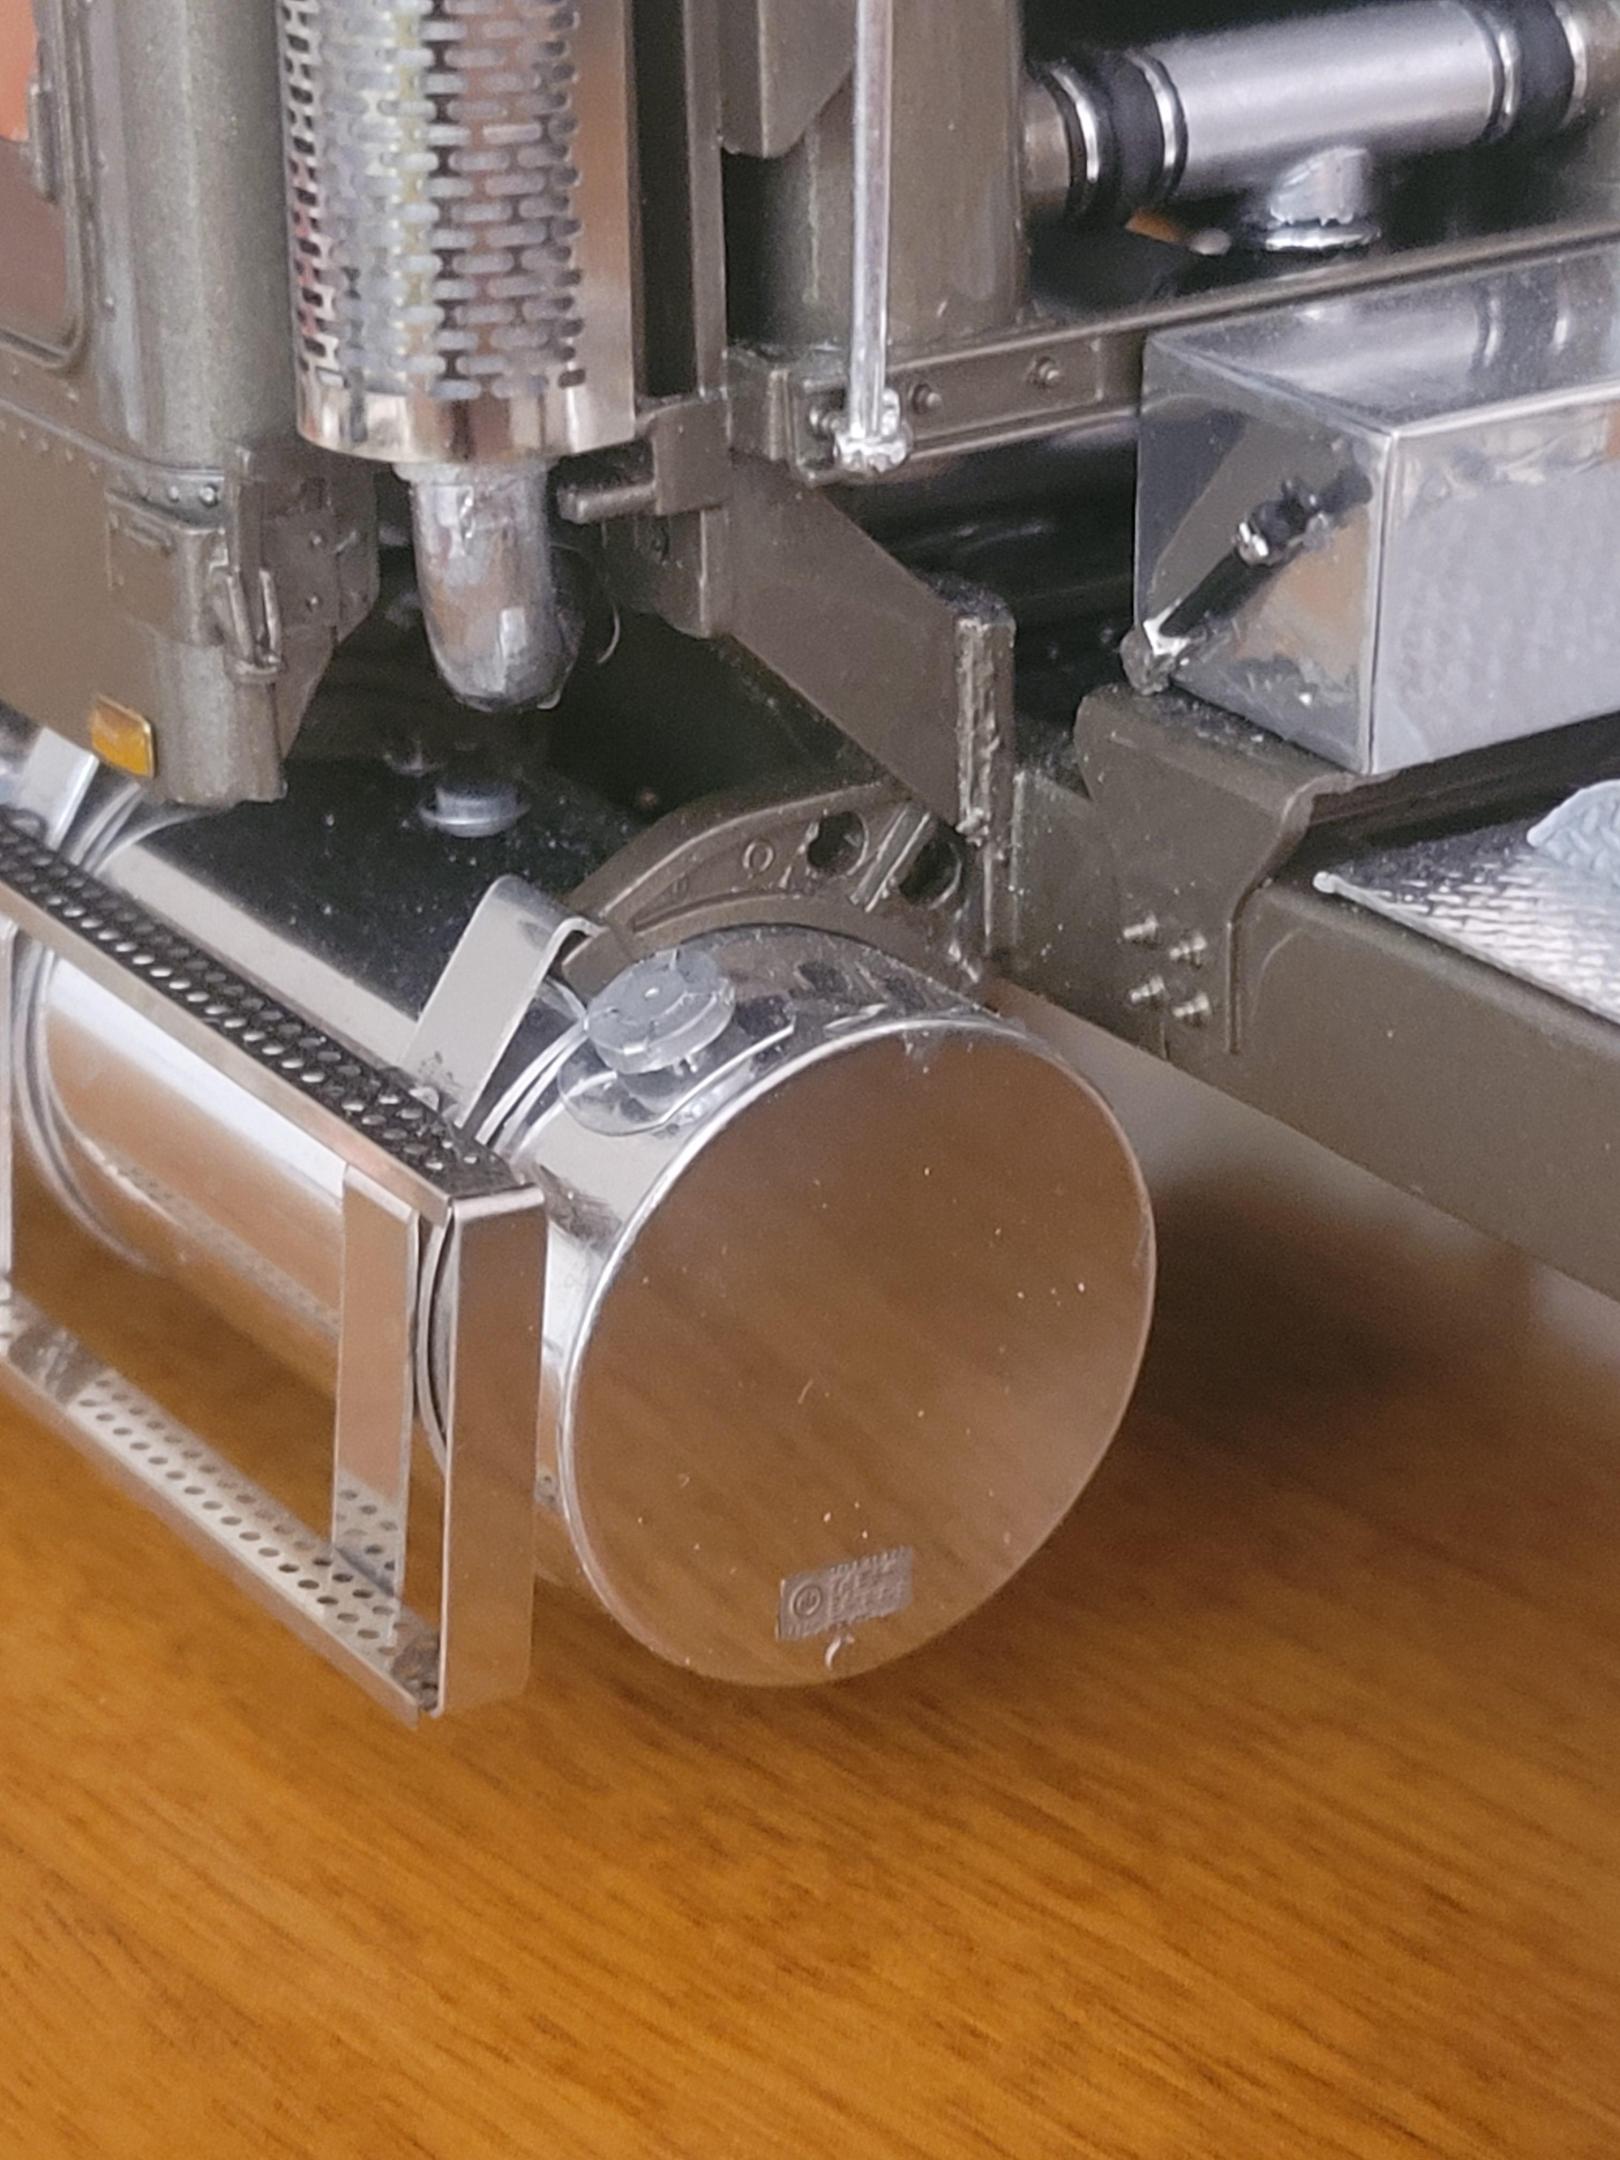
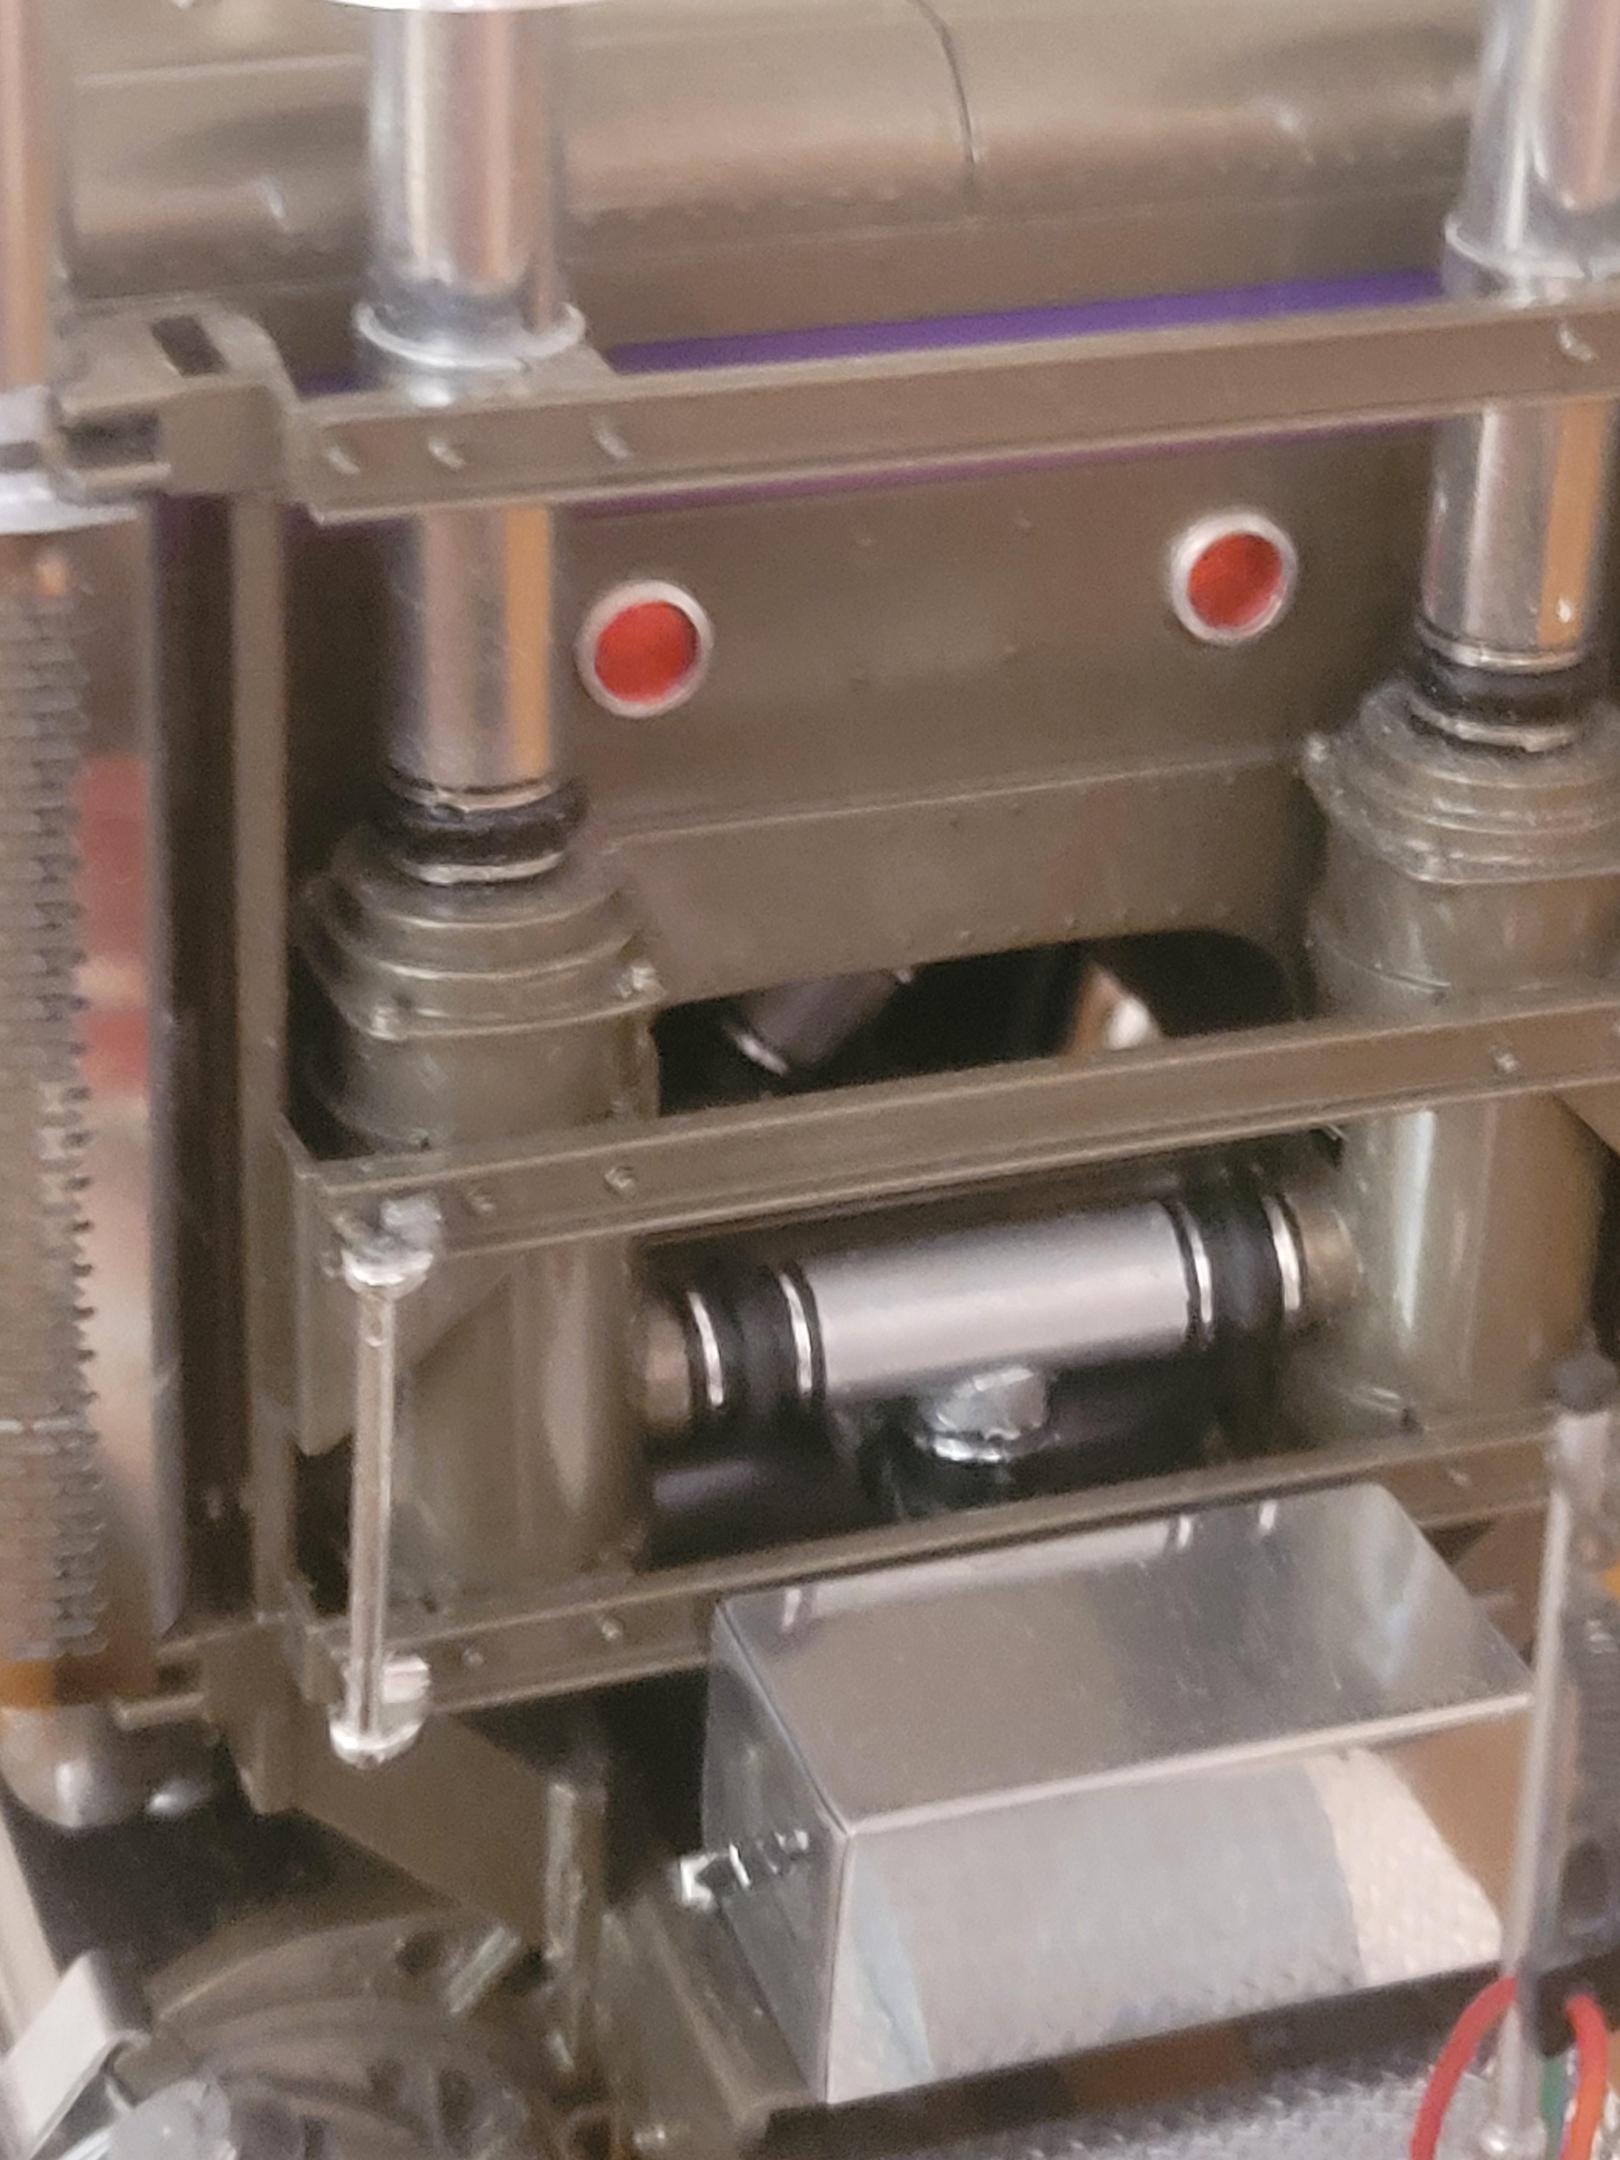
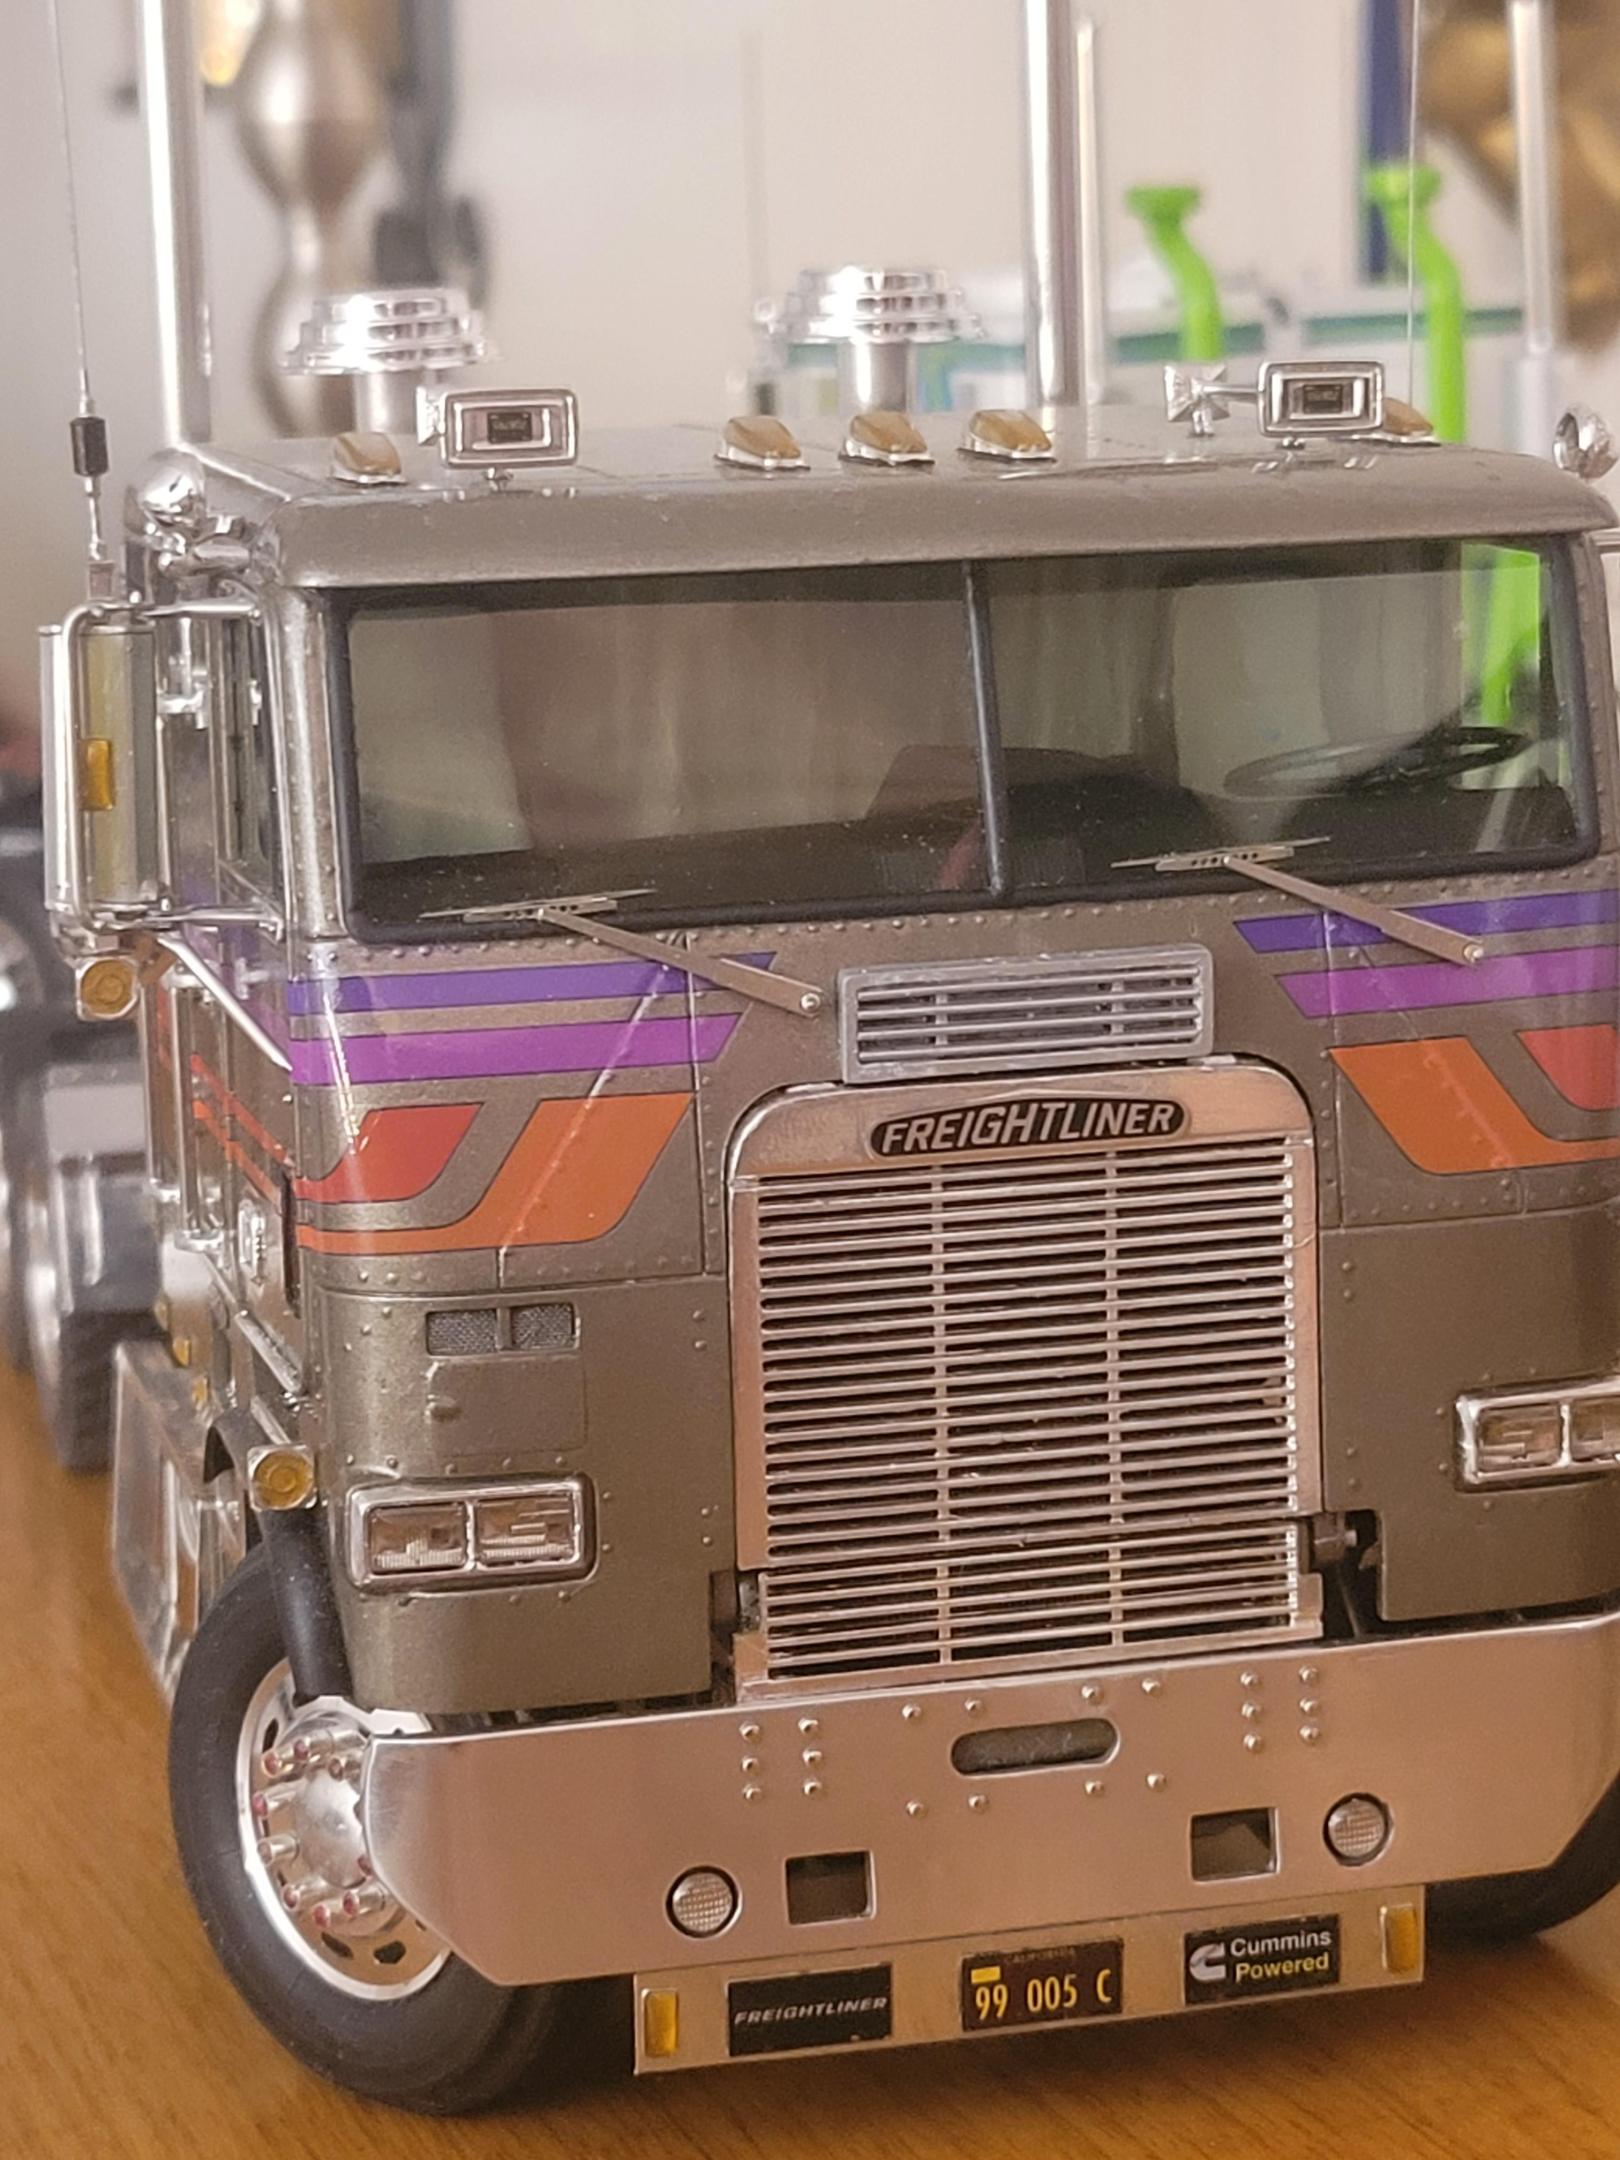
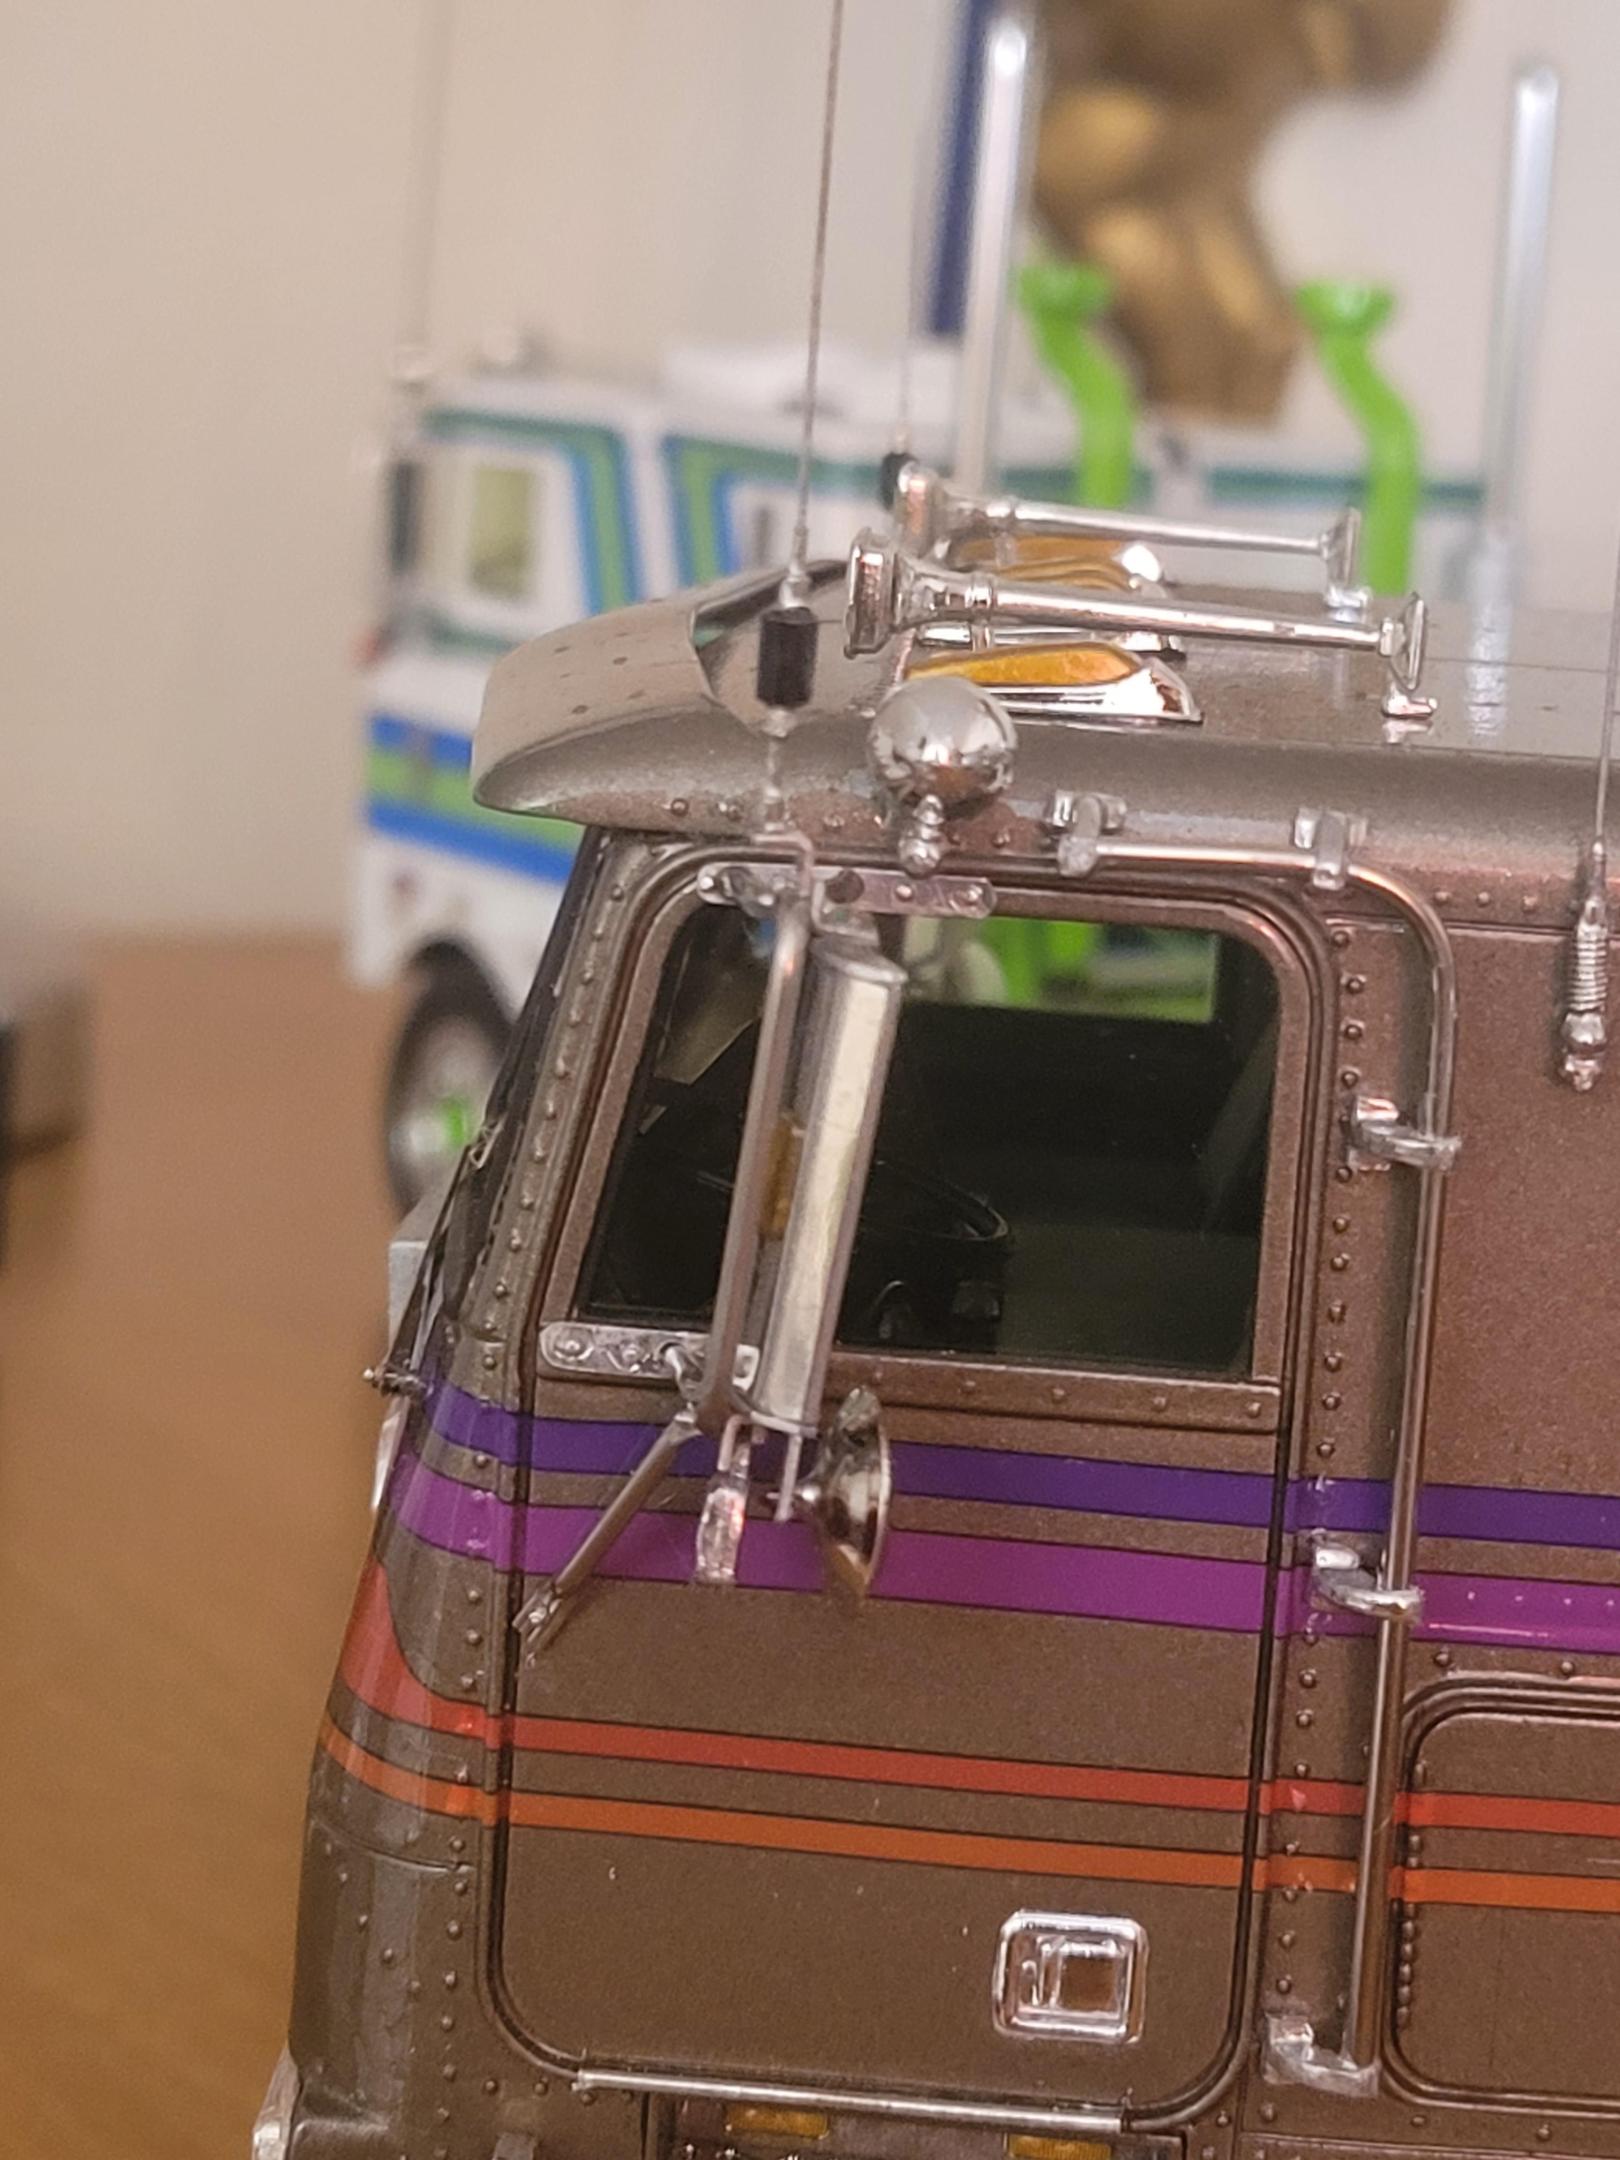
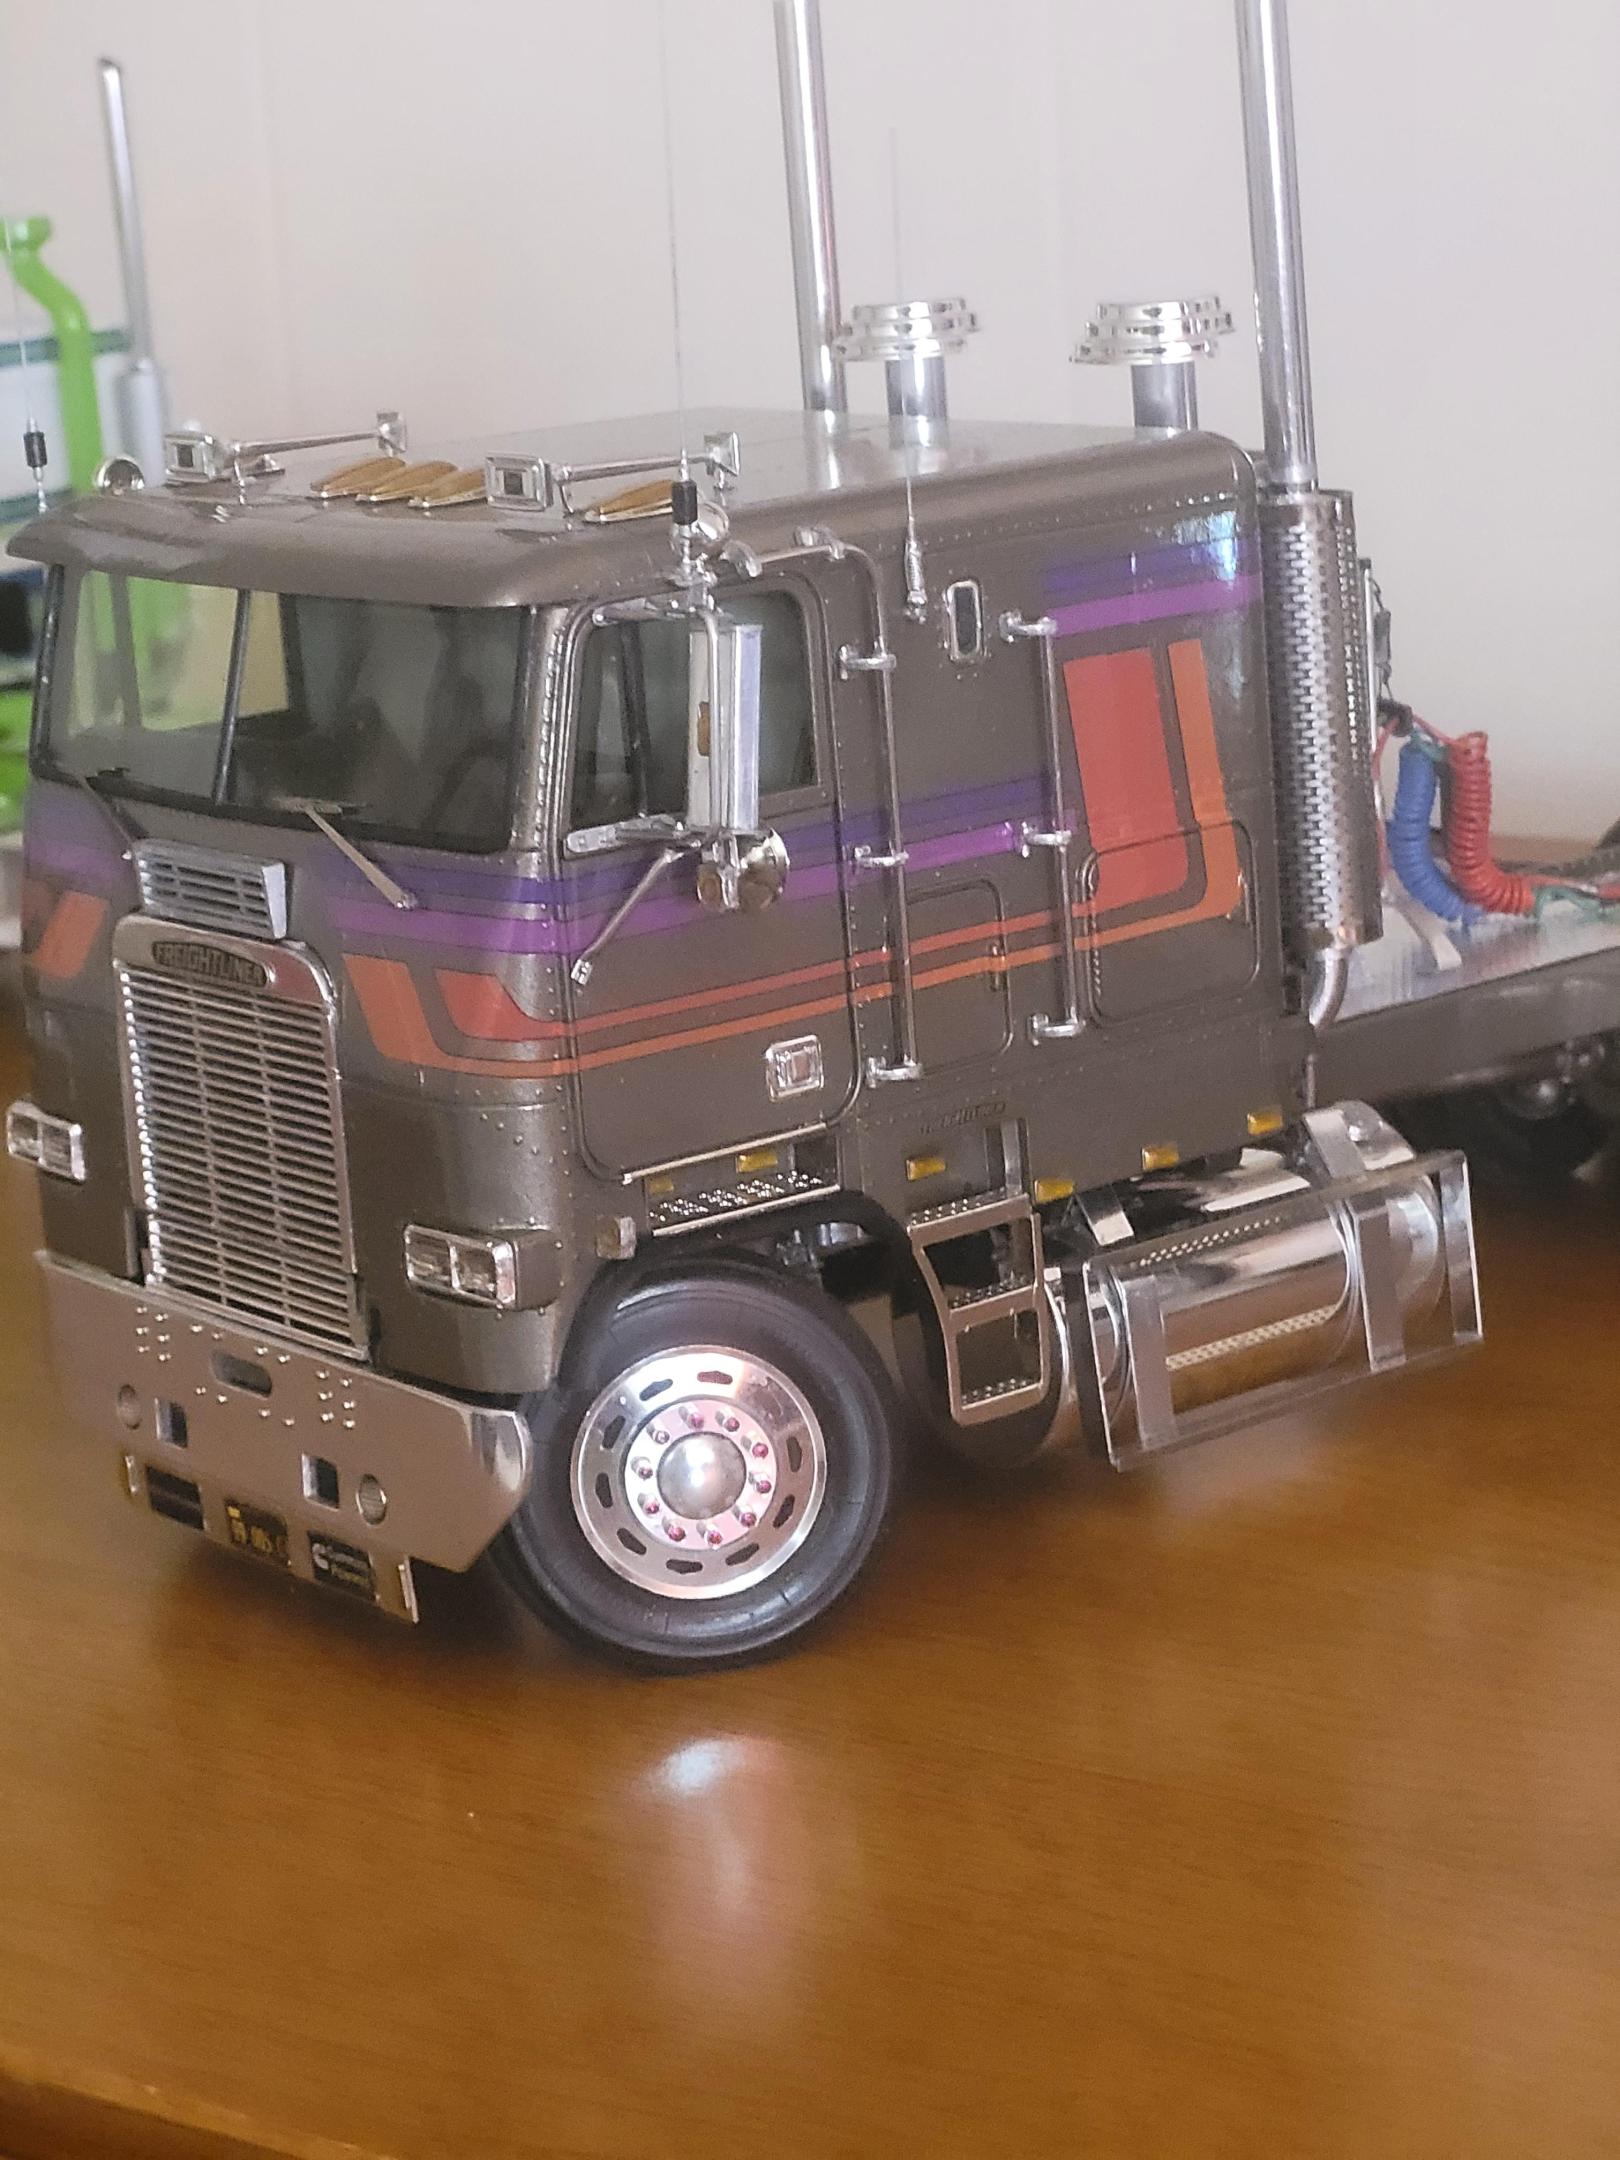
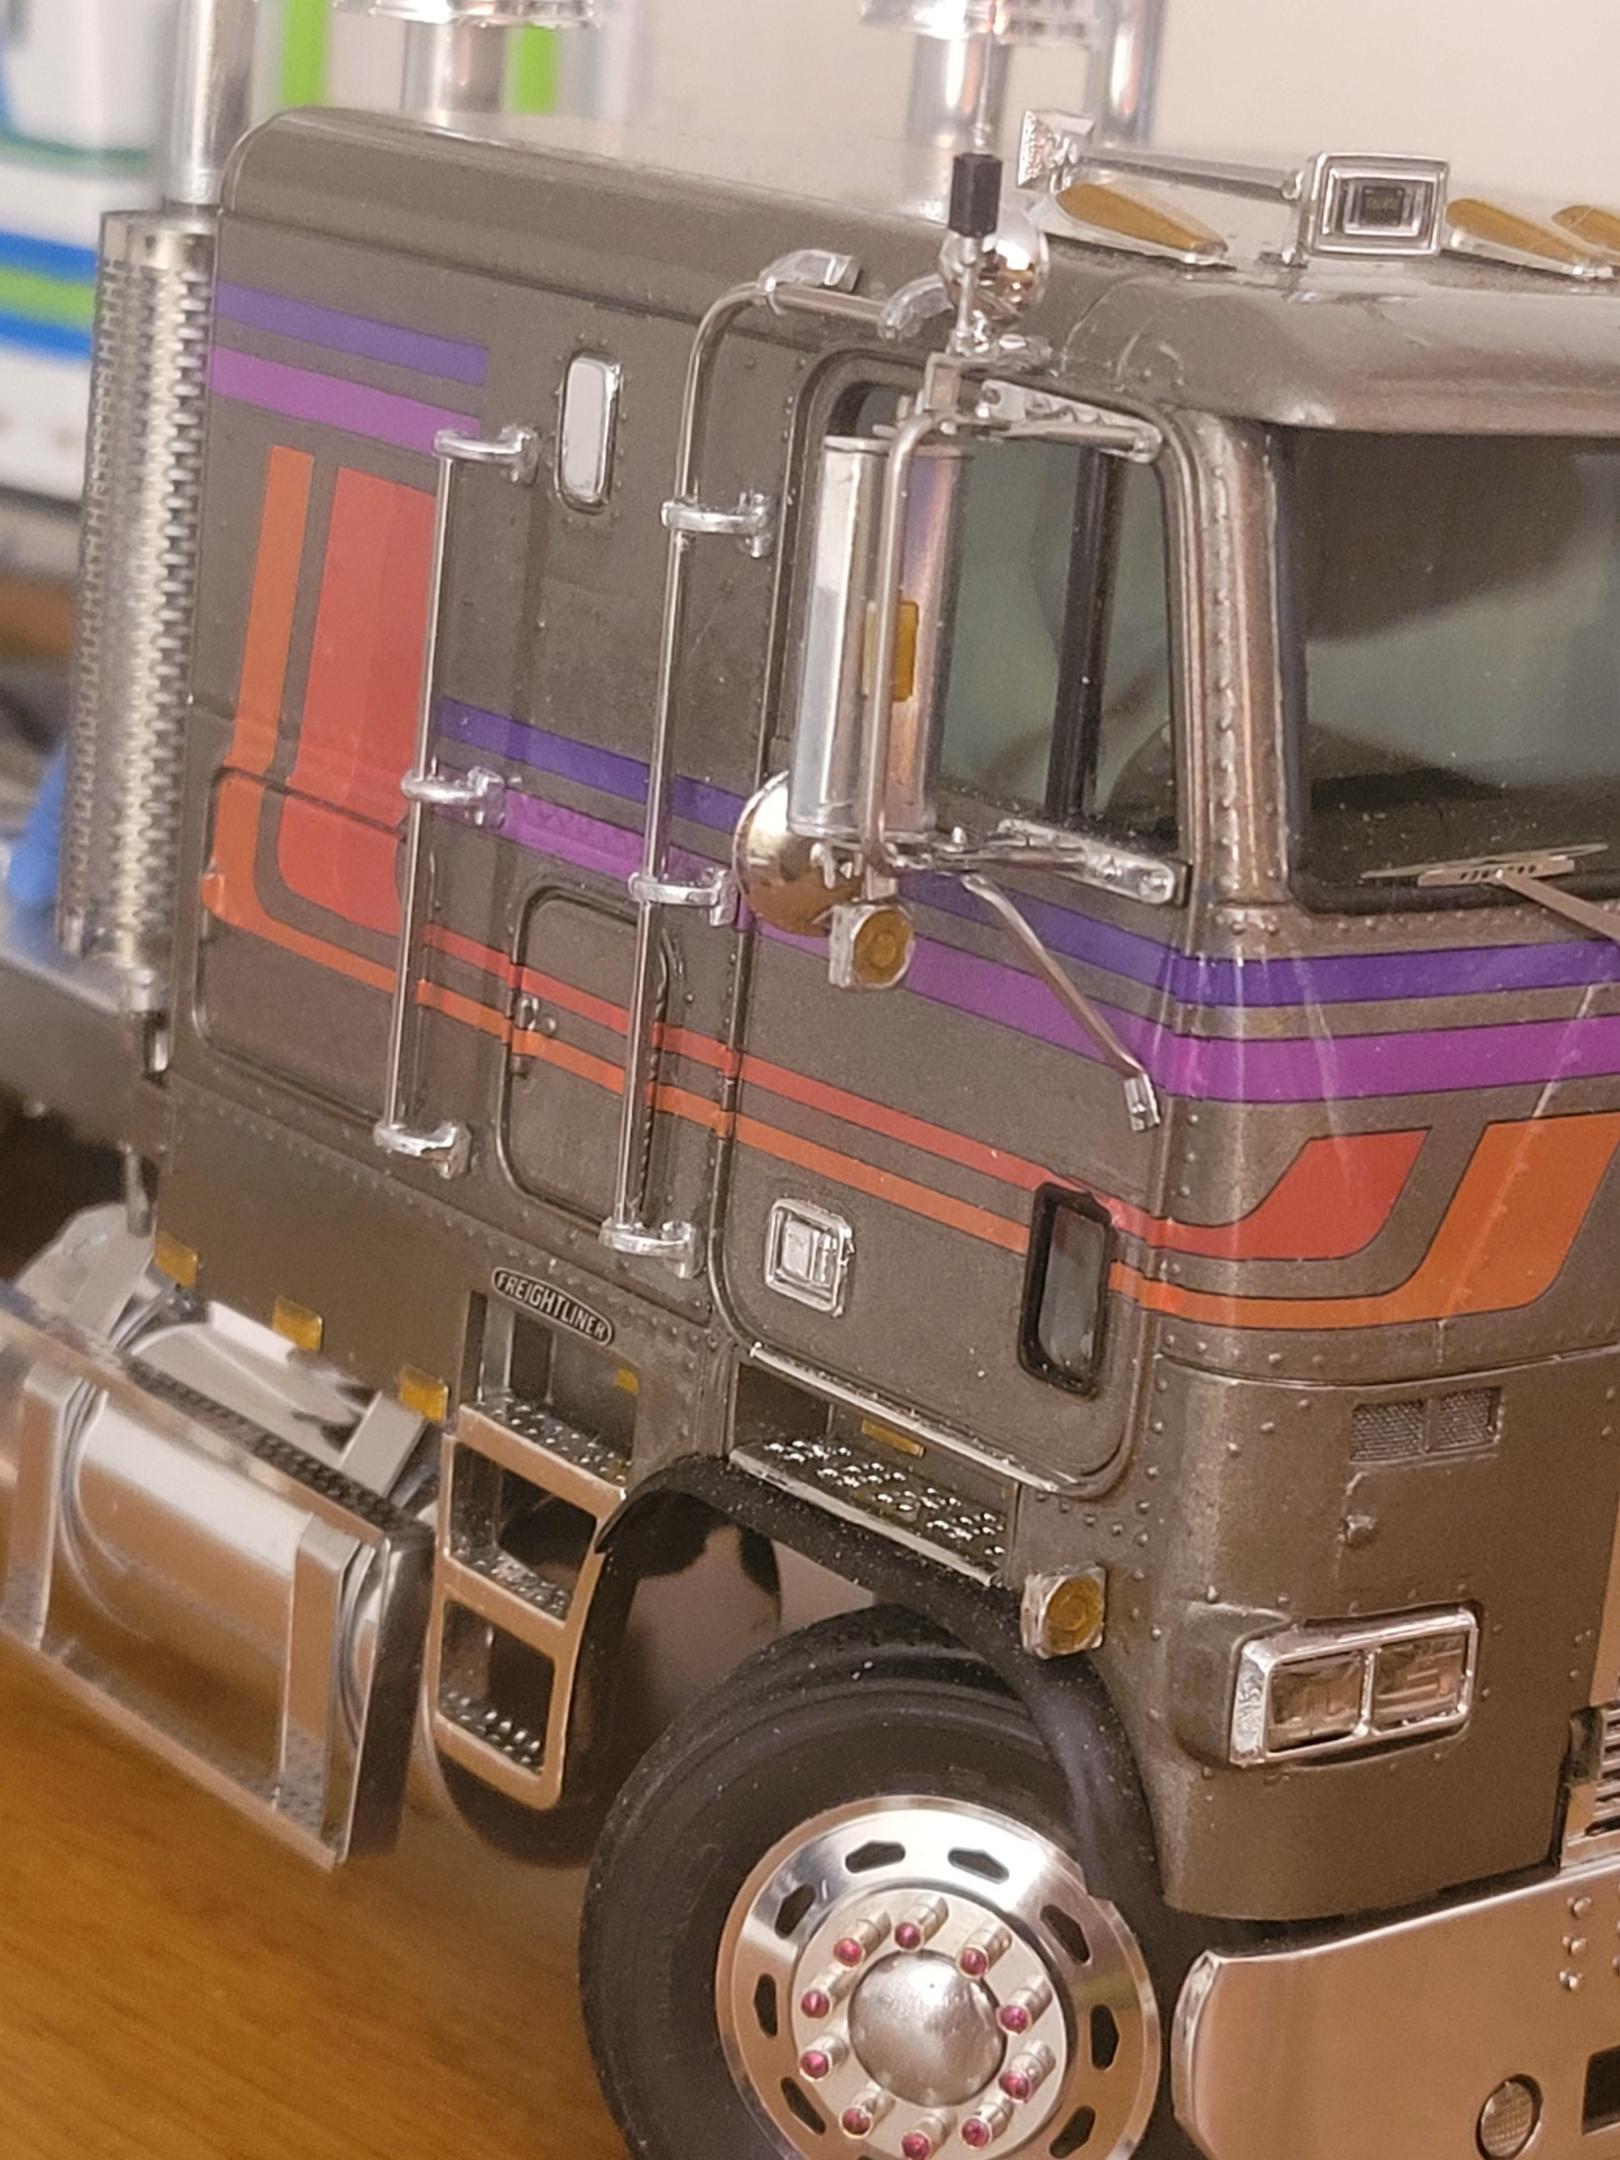
Got some pretty decent closeups. -

The return of the KFS , Auslowe & St Supply Road Commander II
purepmd replied to Mr mopar's topic in Truck Kit News & Reviews
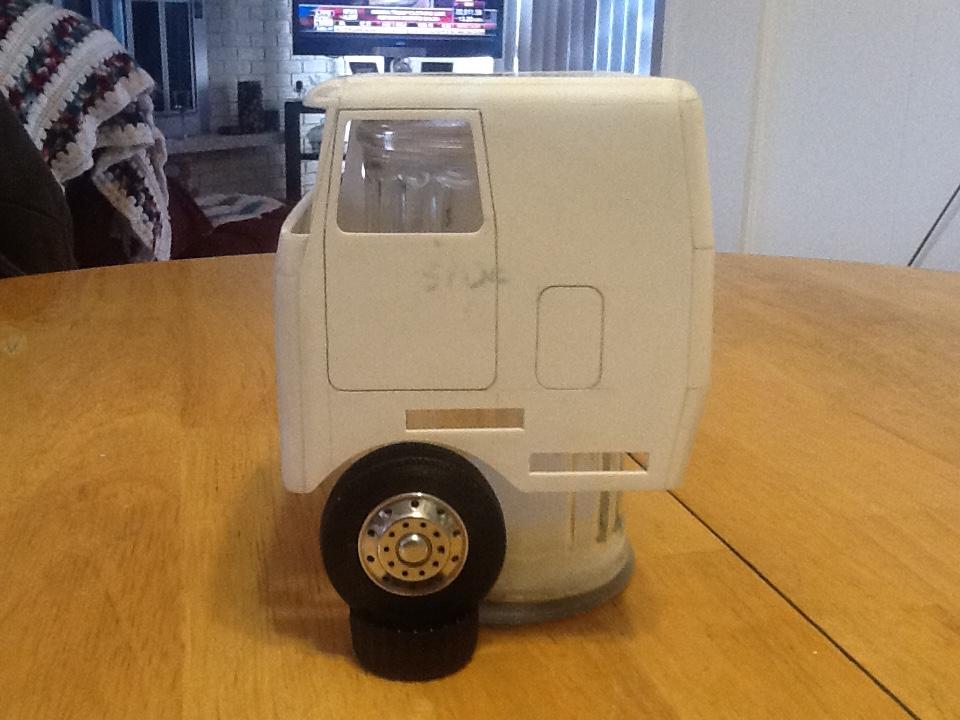
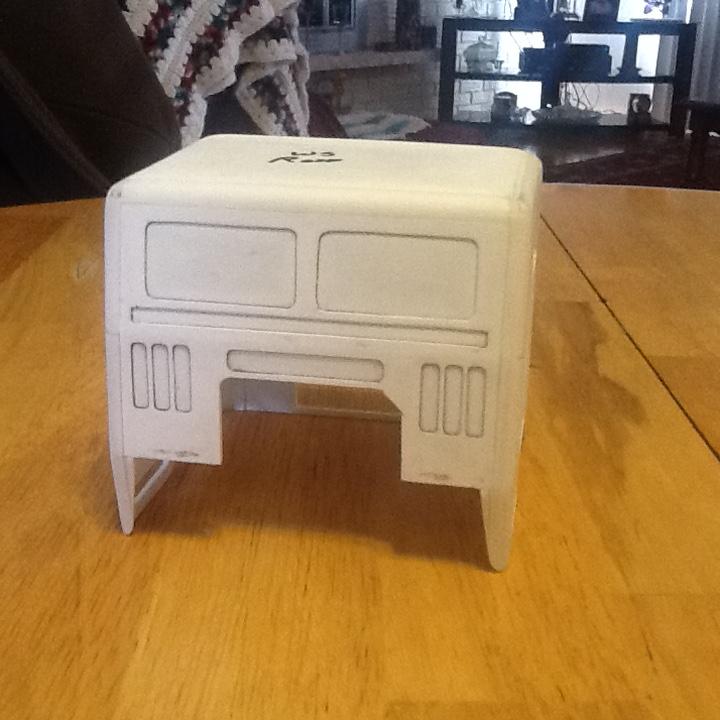
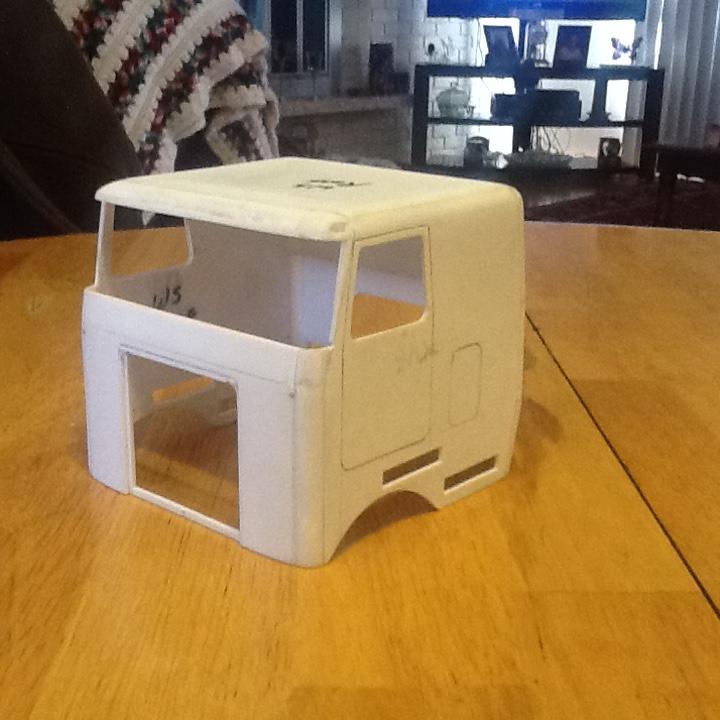
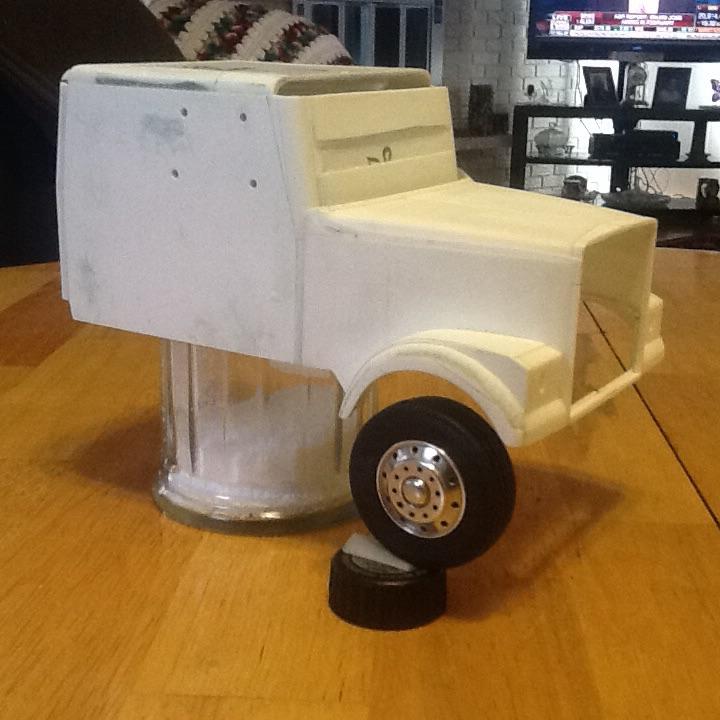
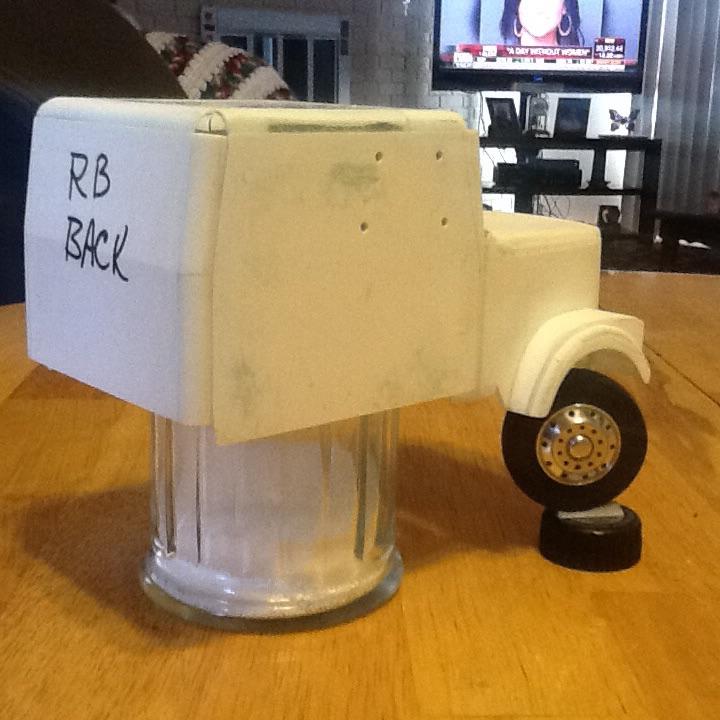
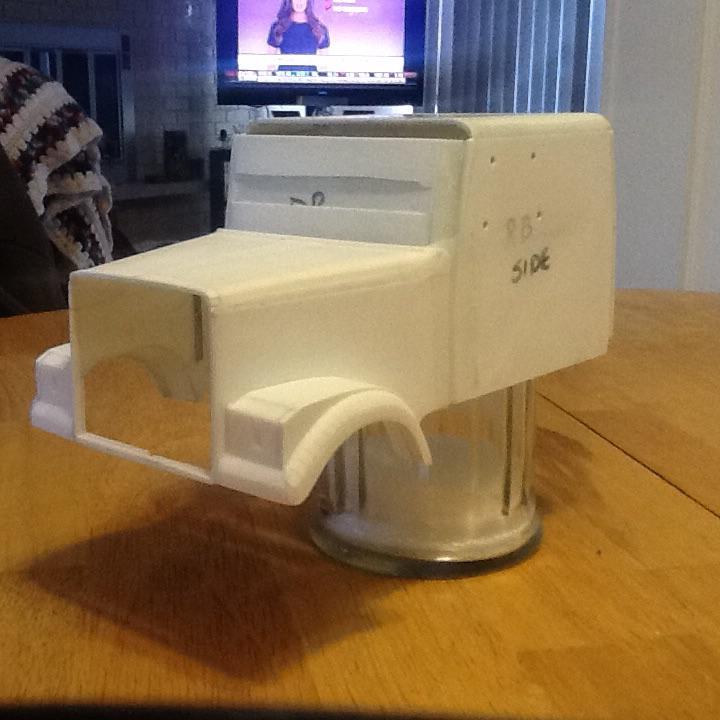
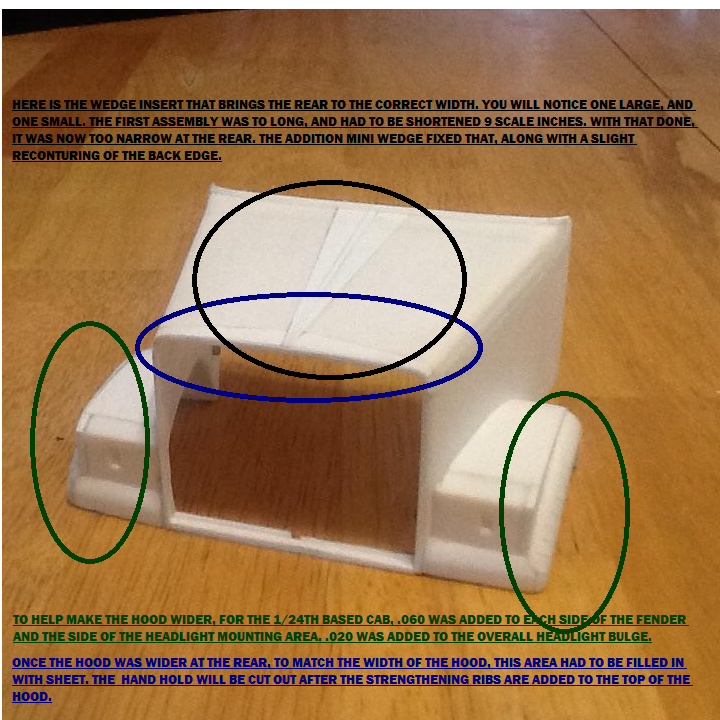
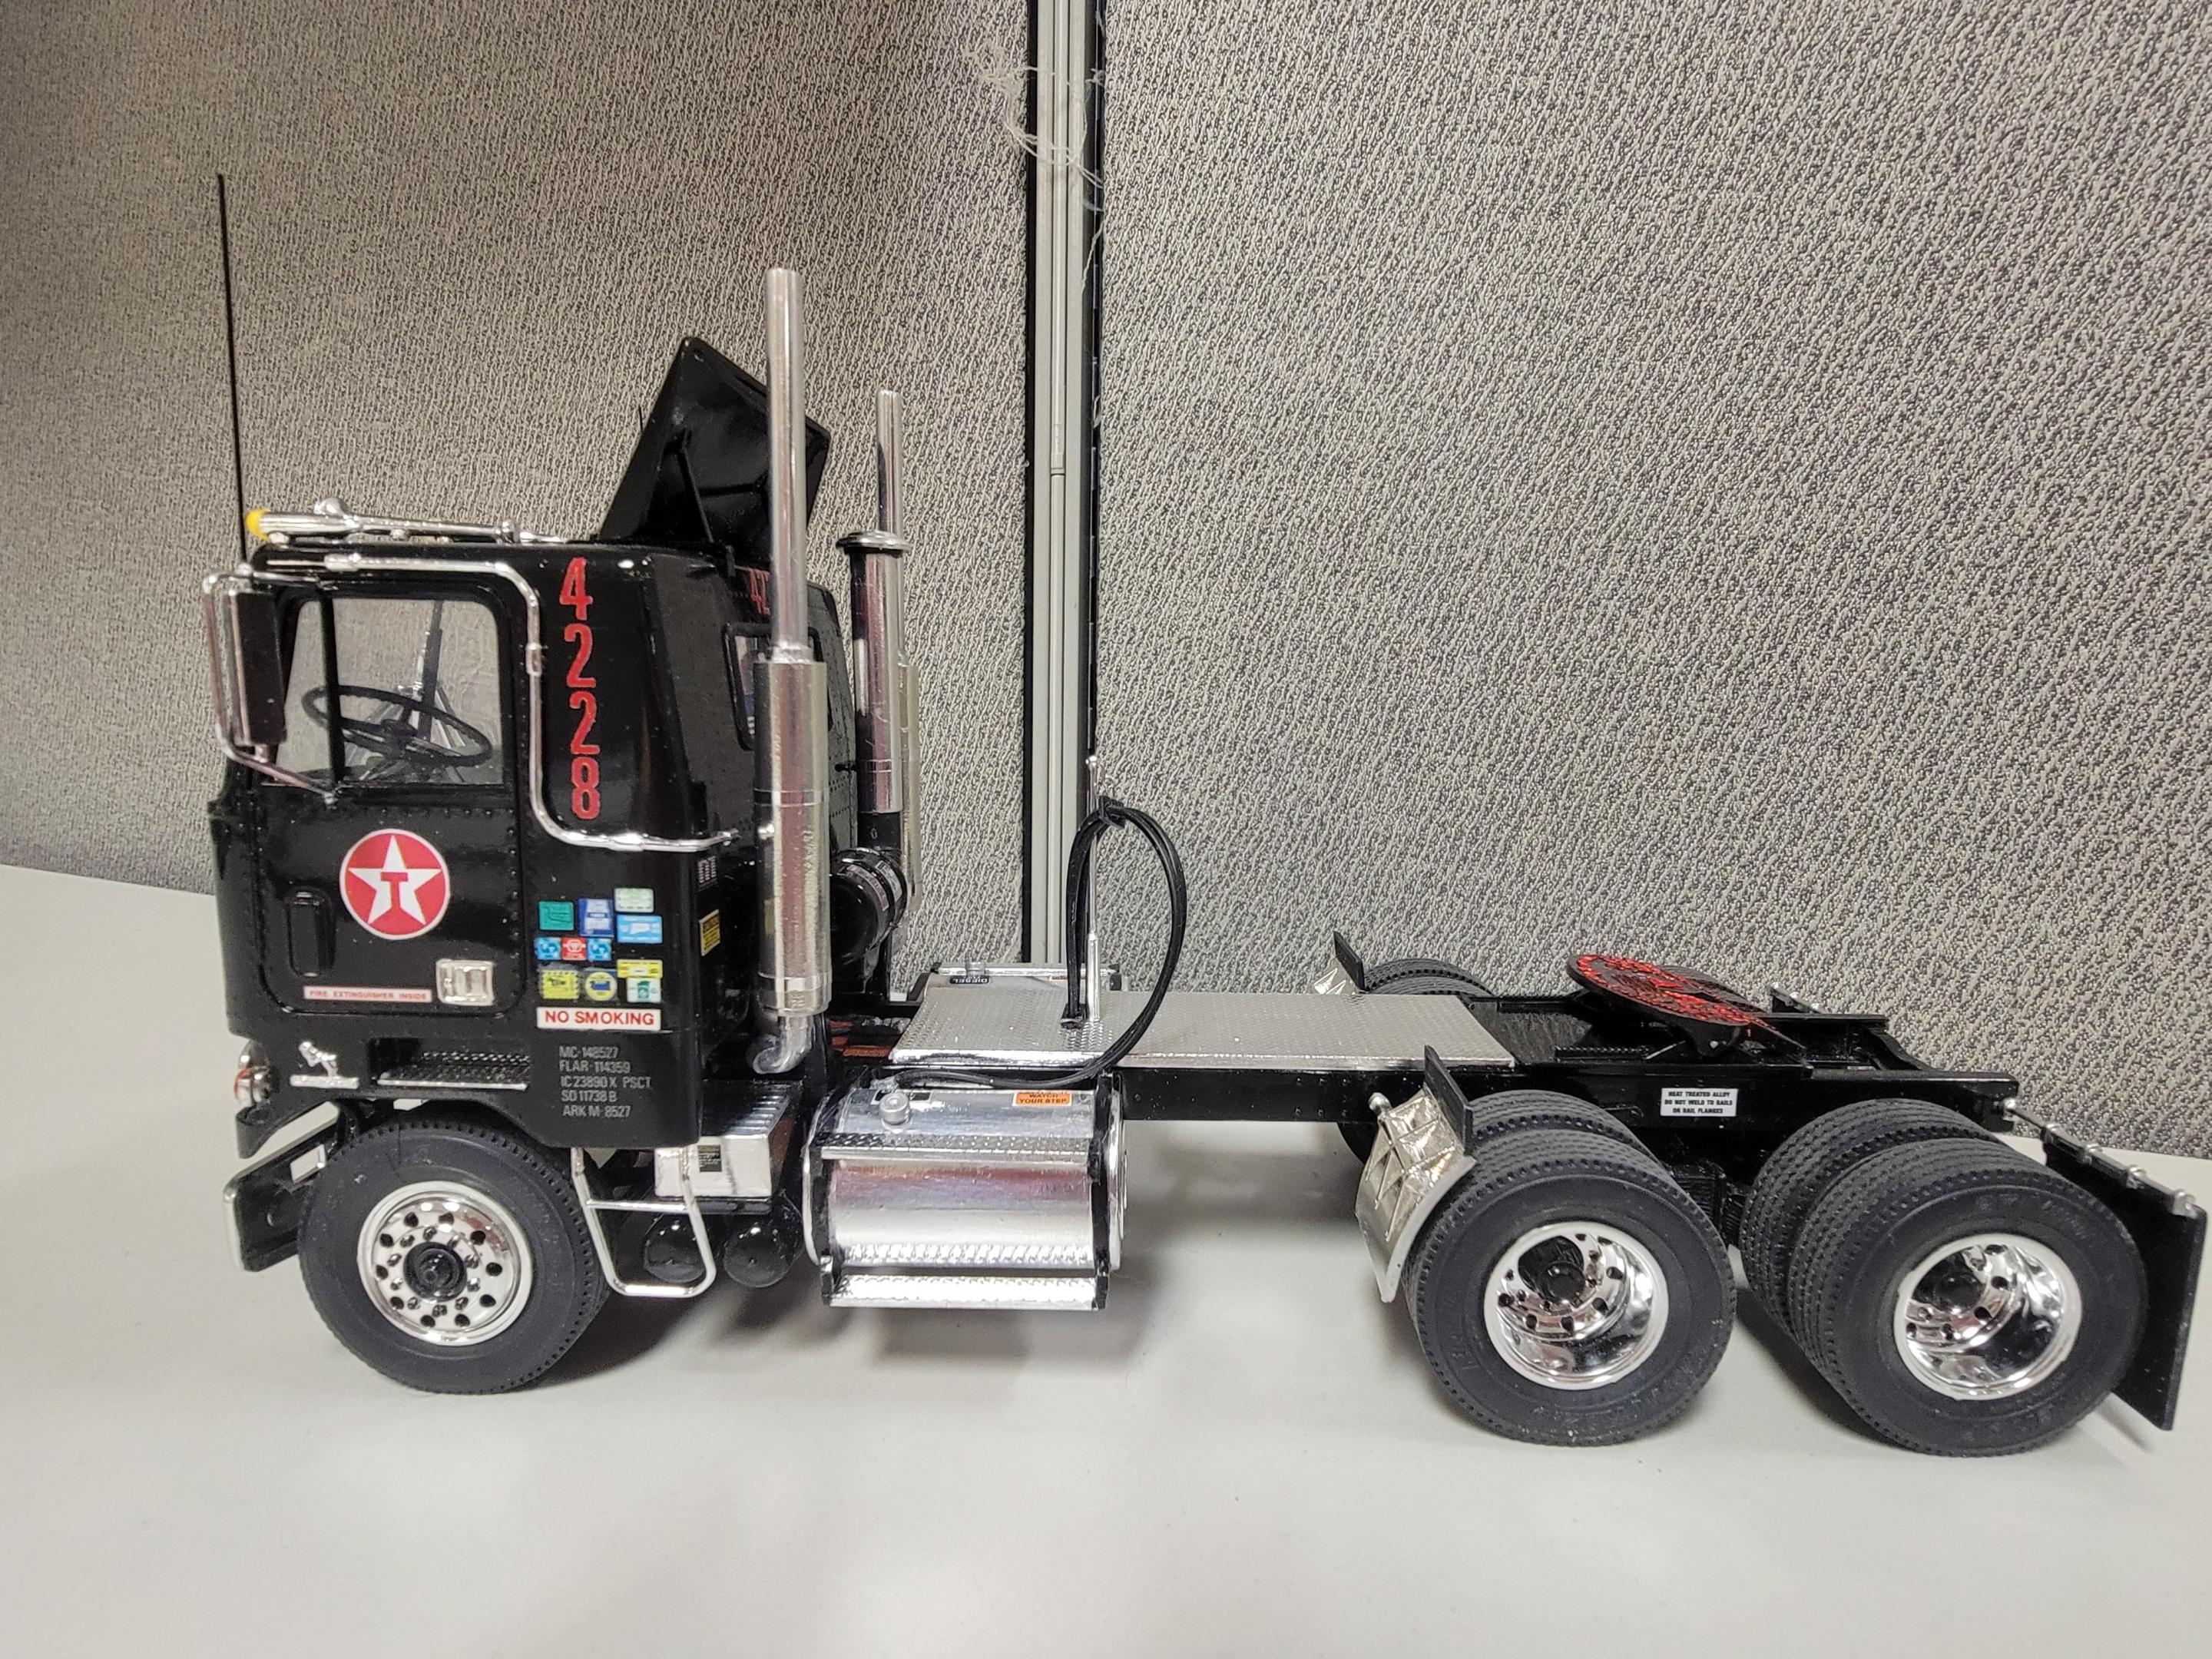
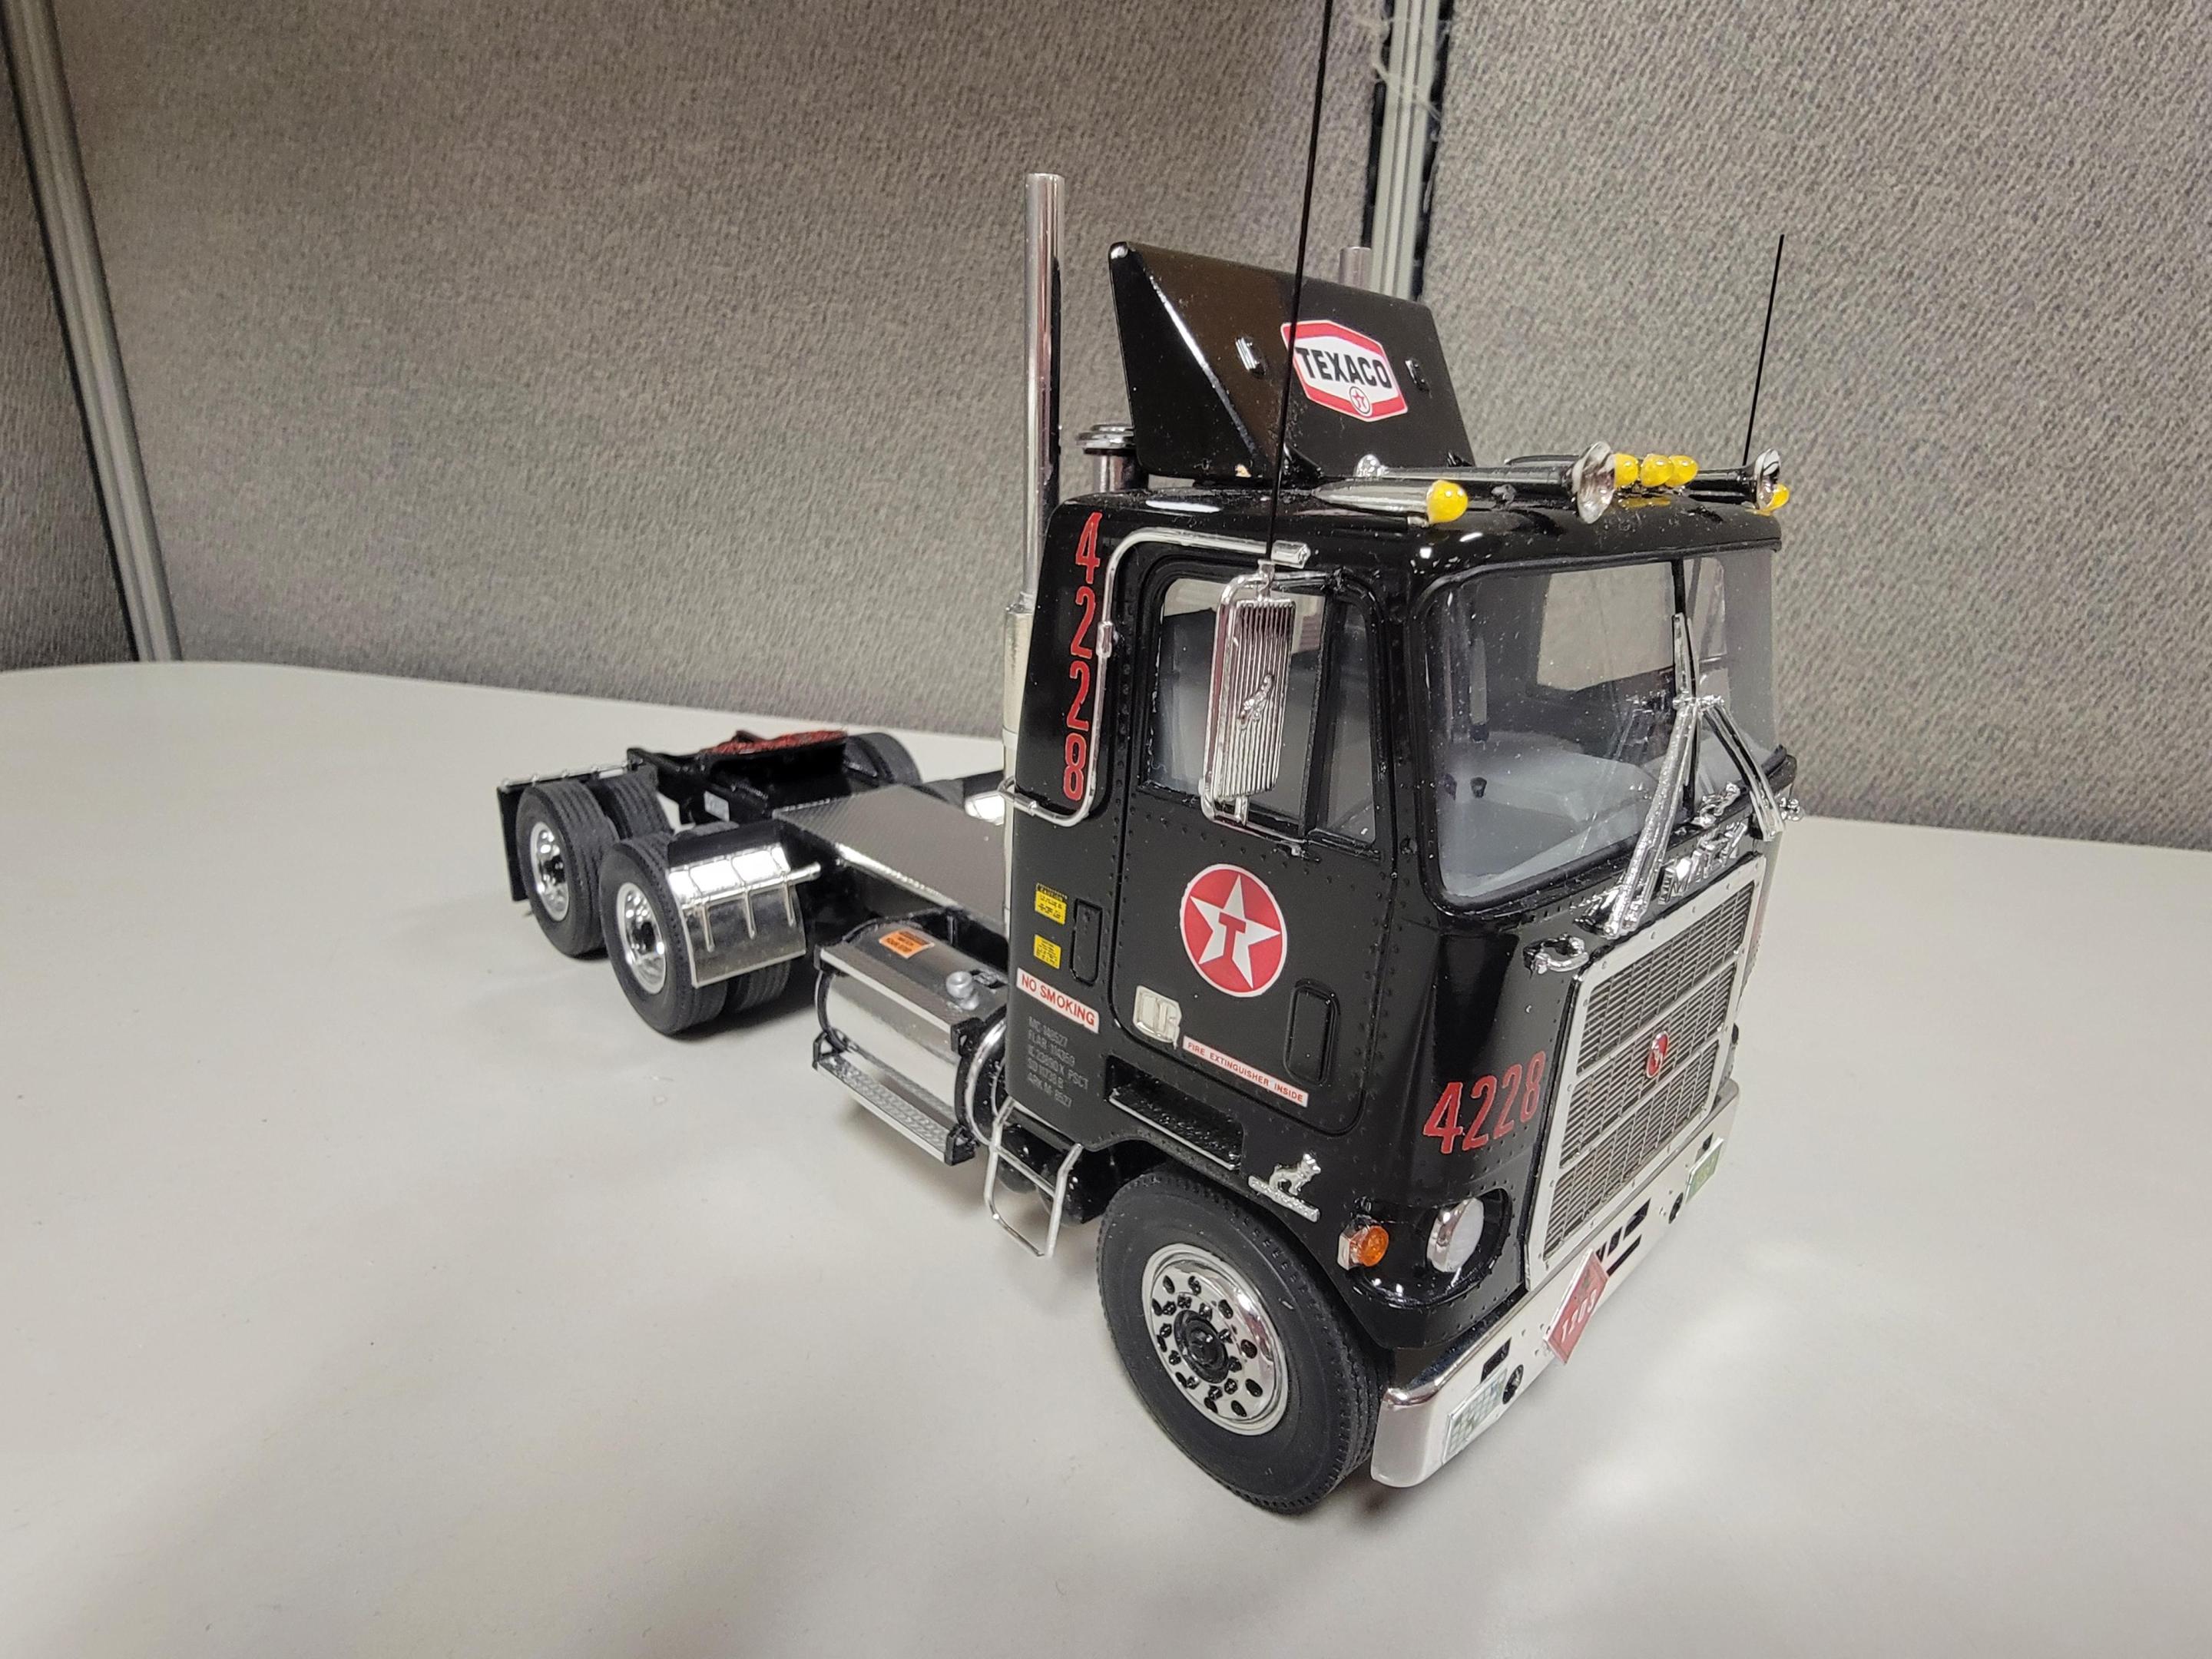
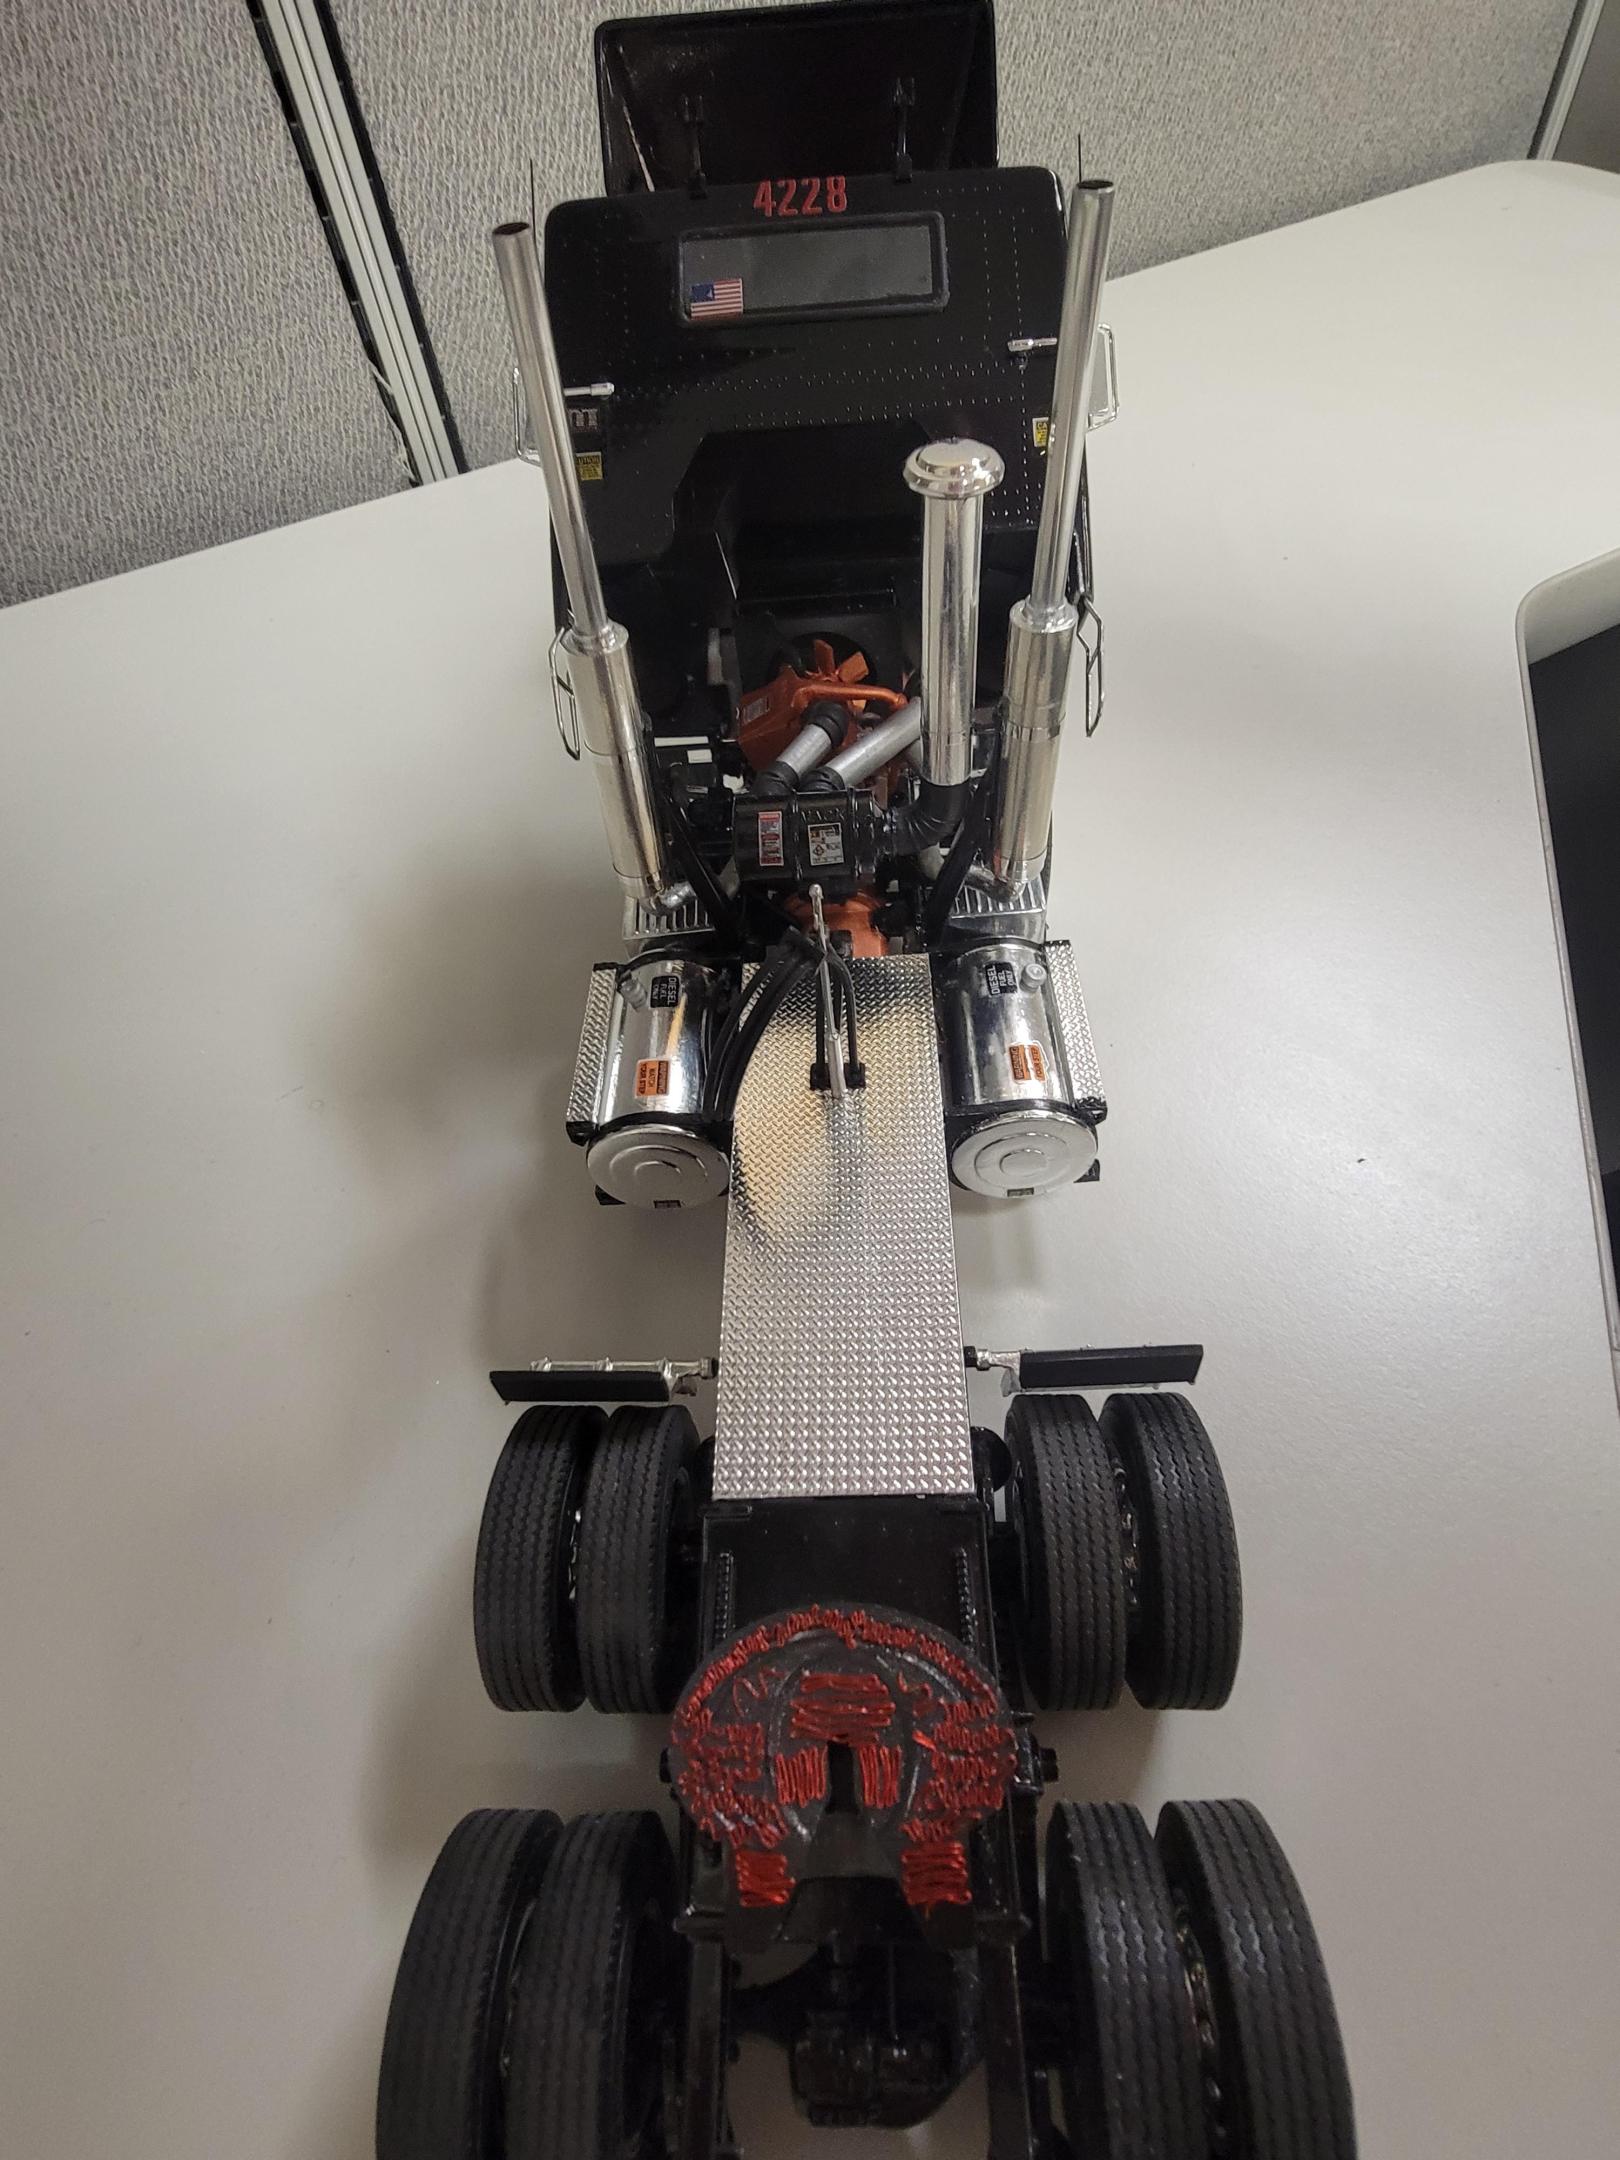
My thoughts exactly. The Western Star is a better looking Cabover, a little tougher looking, for sure. I could not bring myself to cut up the KFS kit I had, so I used it for measurements. The Road Boss 2 Integral is the same cab, just about a foot narrower. Here are some pics of the scratch builds based on the White High cab. -

Freightliner FLA Finally Finished
purepmd replied to purepmd's topic in Model Trucks: Big Rigs and Heavy Equipment
Good to be back, and thank you! They are Model Max. I ordered 2 sets, because they are made to fit the FLC single sleeper, I wanted to make them more accurate for a big sleeper Cabover. They were not quite the same color, one to the next. Both were printed on a clear sheet, one with an off white background, the other with a pale blue background. Looked real close, until they hit the dark paint. By then, the commitment had been set. That not withstanding, great to work with. They respond very well to both Testors as well Microscale solutions. It was my first time using them, just wish they were printed over white, like Model Truckin. Stand up perfectly to both Testors one coat lacquer and Krylon Short Cuts clears. Would not hesitate to use them again. -

Freightliner FLA Finally Finished
purepmd replied to purepmd's topic in Model Trucks: Big Rigs and Heavy Equipment
I thank you all for your time and attention. It does make some of the trials of not being able to make oneself build a box stock model. It is like a compulsion, disease, or something. lol Just can't do it. That brings me to Bill's question, "How finicky were the PE steps to assemble?", Finicky is just one of the "F" words that came to mind while assembling those. I cut the sides from K&S sheet aluminum, and used the KFS perforated pieces as the steps. I left myself, in all honesty, much too small of tabs to form the corners. keeping then square proved most maddening, until I made a jig, just for this purpose. The second mistake I made was attaching the tanks, which are 11/8" OD tube, polished, with end caps of K&S sheet, to the frame, and then attaching the steps. I'm not sure they are even level now. You can only re-do something so many times before 'good enough' wins out. Again, you all have my appreciation. -

Freightliner FLA Finally Finished
purepmd replied to purepmd's topic in Model Trucks: Big Rigs and Heavy Equipment
I really appreciate the feedback on this build, thank you for taking the time to look. Well said! There is a ton of mods that I did just to eliminate kit issues; mold seams on grab handles, and mirrors, being 2 of my biggest pet peeves. On all chrome parts, really. I used metal everywhere I could to remedy that. Even the hydraulic rams are self-limiting, so the cab doesn’t rest on the lower grille section when raised. Thank you for noticing these additions. -

352 110 and water tanker.
purepmd replied to purepmd's topic in Model Trucks: Big Rigs and Heavy Equipment
My thanks to all who looked and took the time to reply. I appreciated the comments. Brian, I will have to take a close up of the a/c unit. I figured out, 1/350th scale, 4 blade ship propellers, look just like the stamped steel fan blades in these units. Also, H-O scale photo etched locomotive exhaust grilles, are a passable facsimile to the debris screens. Viewed from above, there are fans in the unit. -

Mack Might have been.
purepmd replied to purepmd's topic in Model Trucks: Big Rigs and Heavy Equipment
Thank you all for the great feedback, much appreciated. Thanks for asking, going back a good long ways there. They are still headlining my ‘to do’ list. The 352H still will get the 3408, but the ‘shaker will now get a KFS 1693 Cat. I used the 8V-92 in a different project. -
Super sharp build! Well worth the effort. Very nice work. Represents the iconic TV truck beautifully.
-

My International Transtar CO-4070A
purepmd replied to modelercarl's topic in Model Trucks: Big Rigs and Heavy Equipment
Clean, tastefully modified, soundly chosen color palette, everything about it is well done. -

Dodge LN 1000 day cab
purepmd replied to Mopar - D's topic in Model Trucks: Big Rigs and Heavy Equipment
Nail on the head, for sure. Sharp as a tack! Well done! -

Mack Cruise-Liner
purepmd replied to doorsovdoon's topic in Model Trucks: Big Rigs and Heavy Equipment
I seen to remember a brochure with this paint scheme, or something very close. Super sharp finished product. Well worth the effort. Great looking model, well done! -
Pretty slick stake bed! Even looks like Alford color, Gulfstream aqua. Nice work.
-

Freightliner FLA Finally Finished
purepmd replied to purepmd's topic in Model Trucks: Big Rigs and Heavy Equipment
Thank you for the compliments, they are greatly appreciated. Helmut, this IS a reworked AMT cab, augmented with Italeri FLD 120, cab parts. The modern doors, baggage doors, visor, and 2 grilles, are the major components for the modernization. It was also widened by .120”. Here are pictures of the 2 cabs I modified, one with brass rivets, and one with plastic rivets. This is the one with .020” plastic rod inserted and sanded down to simulate rivets. -
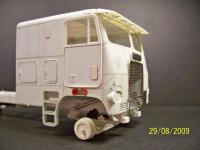
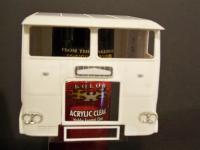
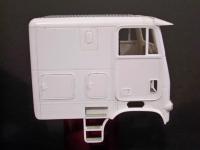
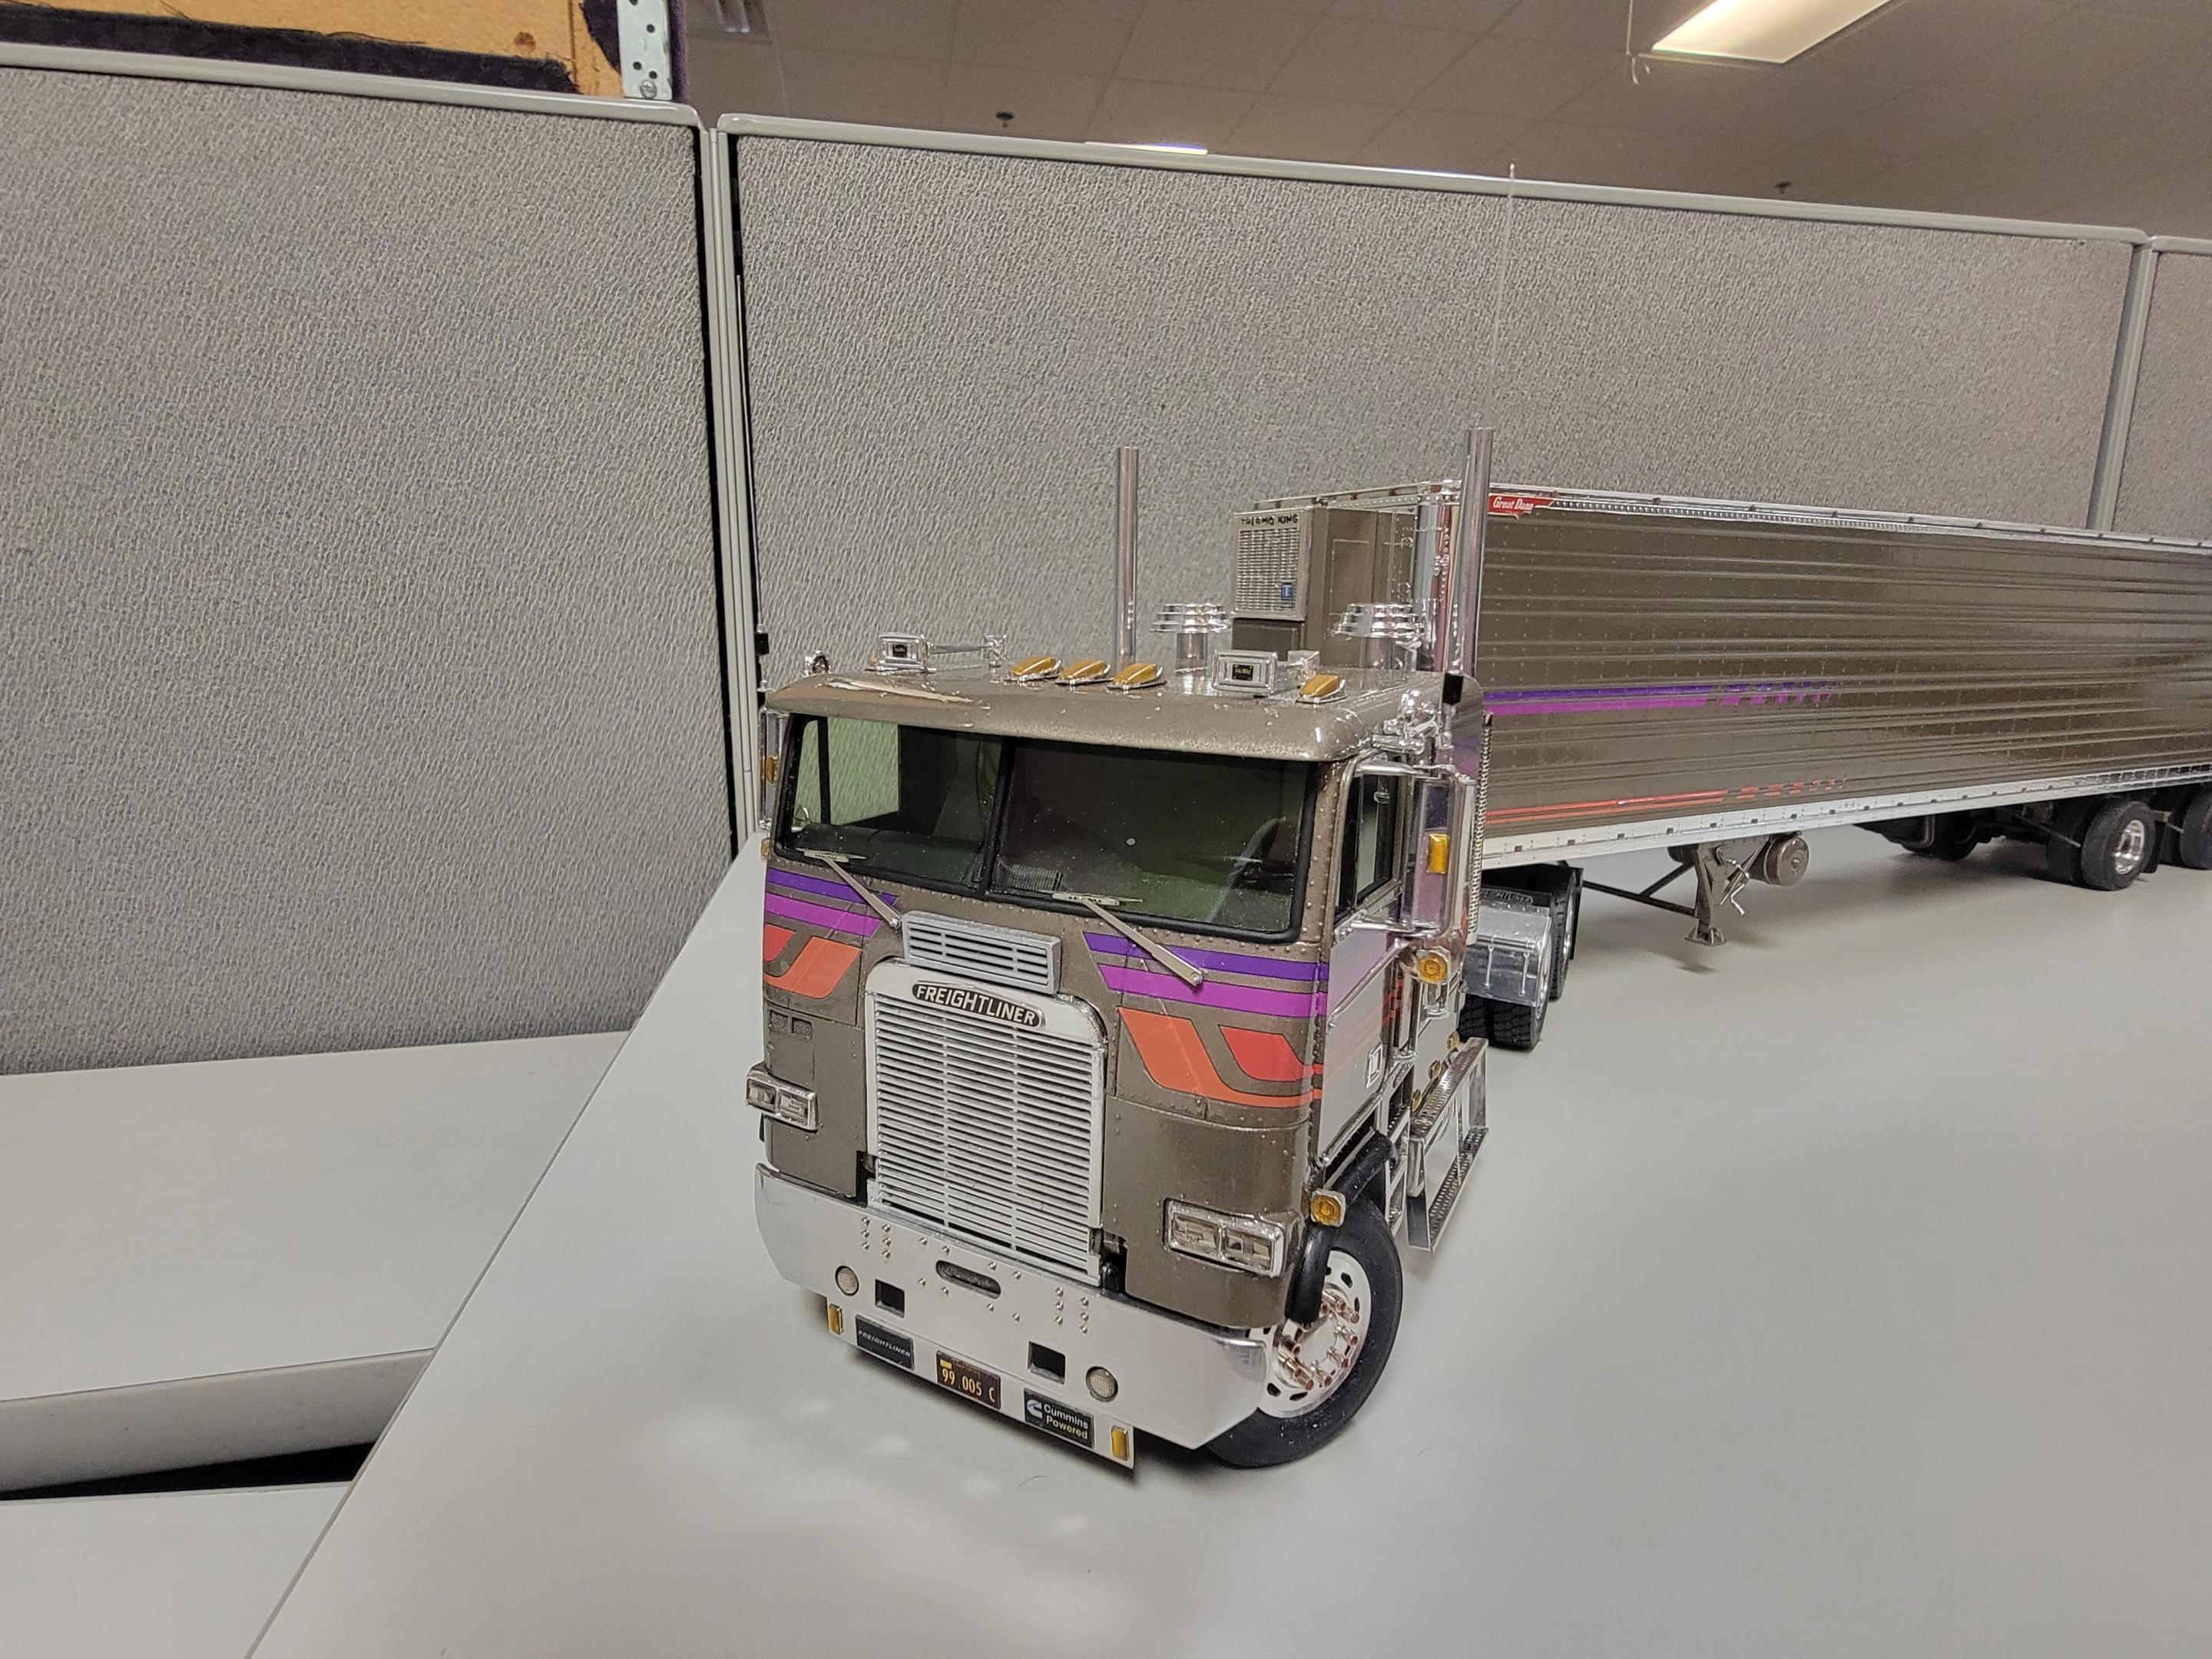
The first thing I was able to rescue, from my flooded basement/hobby shop, after a frozen pipe burst, was a cab I had started in 2009. So, it was to be finished, come he// or high water, literally. The cab is widened to series 71 width, and stretched to 106”. I will build an FLB with a 110” sleeper, eventually. Jim Russell wheels on the tractor, Doug Wagner wheels on the trailer, which is a stretched Great Dane rerelease, photo etched tank steps, KFS I think, heat shields, from Model Maker Shop in Austria, and Italeri FLD120 parts make it more modern looking. Ken Smith’s old article about turnin an 855 Cummins into an N14+ was put to good use. That is not a resin engine. Krylon Short Cuts Antique Bronze paint and Maxx Model decals finish the cab, and extend to the trailer, and strobe out. Tinted, flush fit glass help get rid of the bulletproof kit windows. A little added wheelbase, and Italeri Airliner suspension update the chassis. At the bottom are a couple of shots of the cab when I started this truck. Sorry, the pics were taken with a cell, and some are a little skewed. Added some closeup pictures, with better details.
-
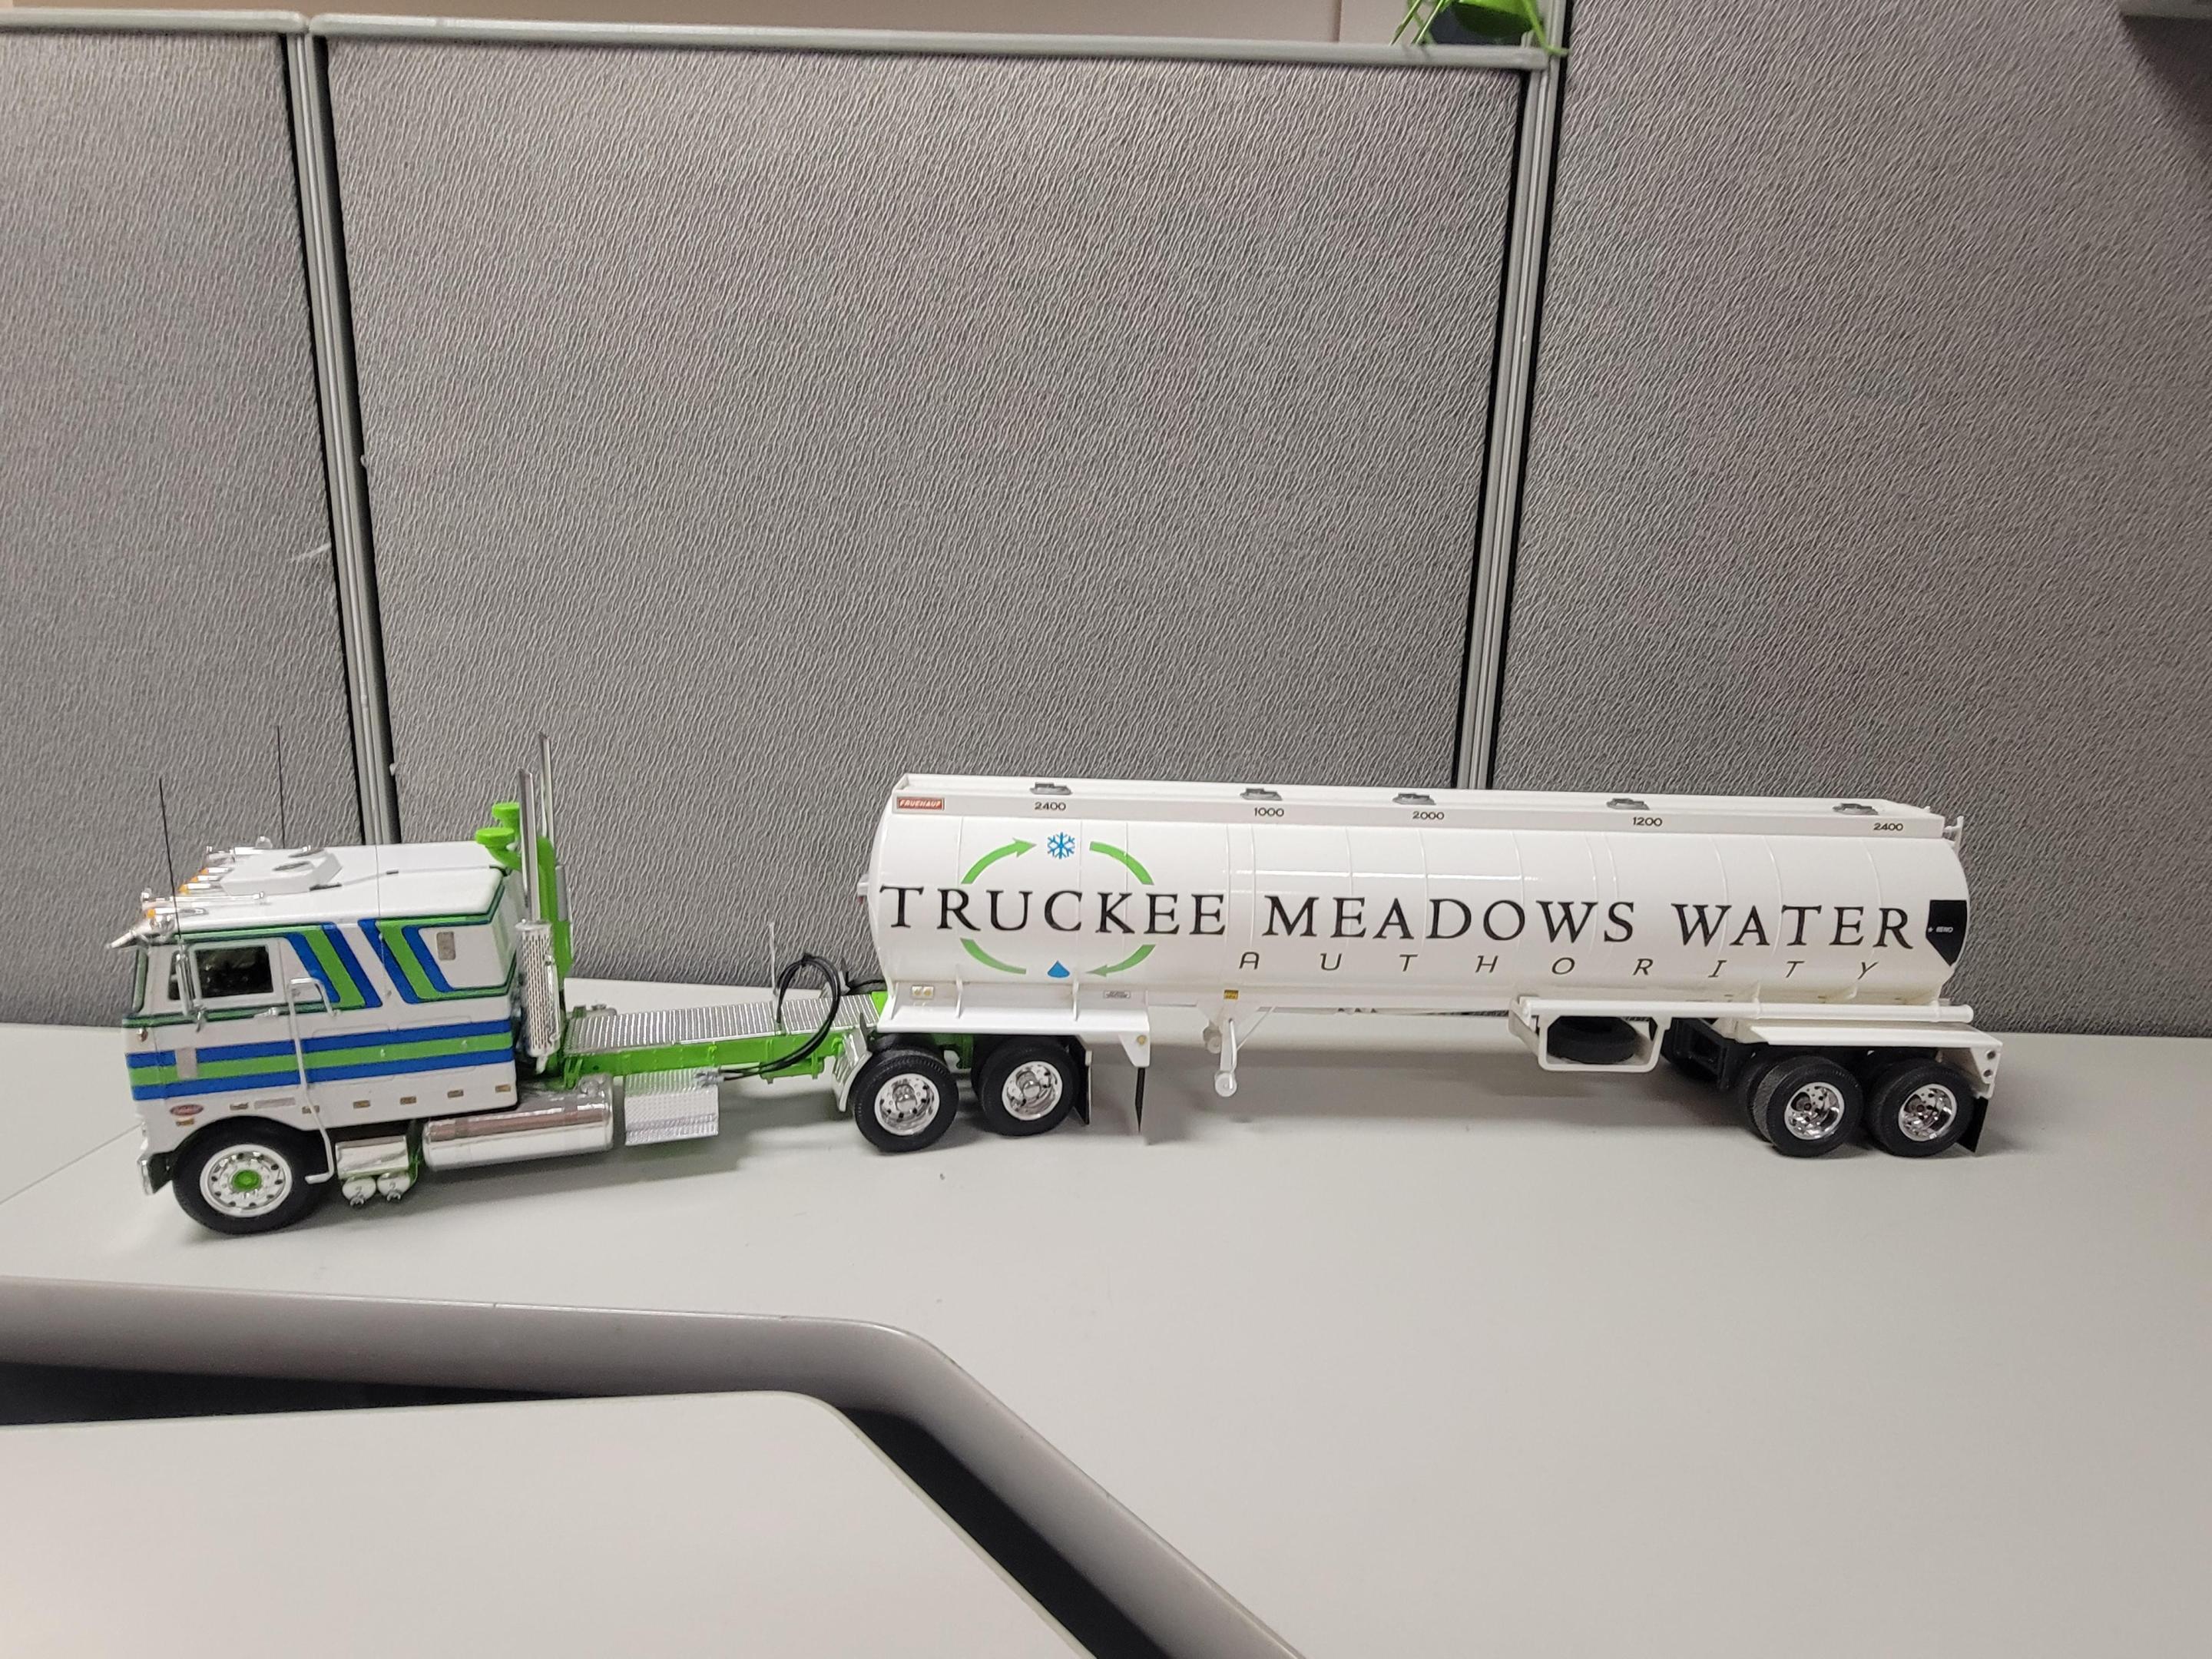
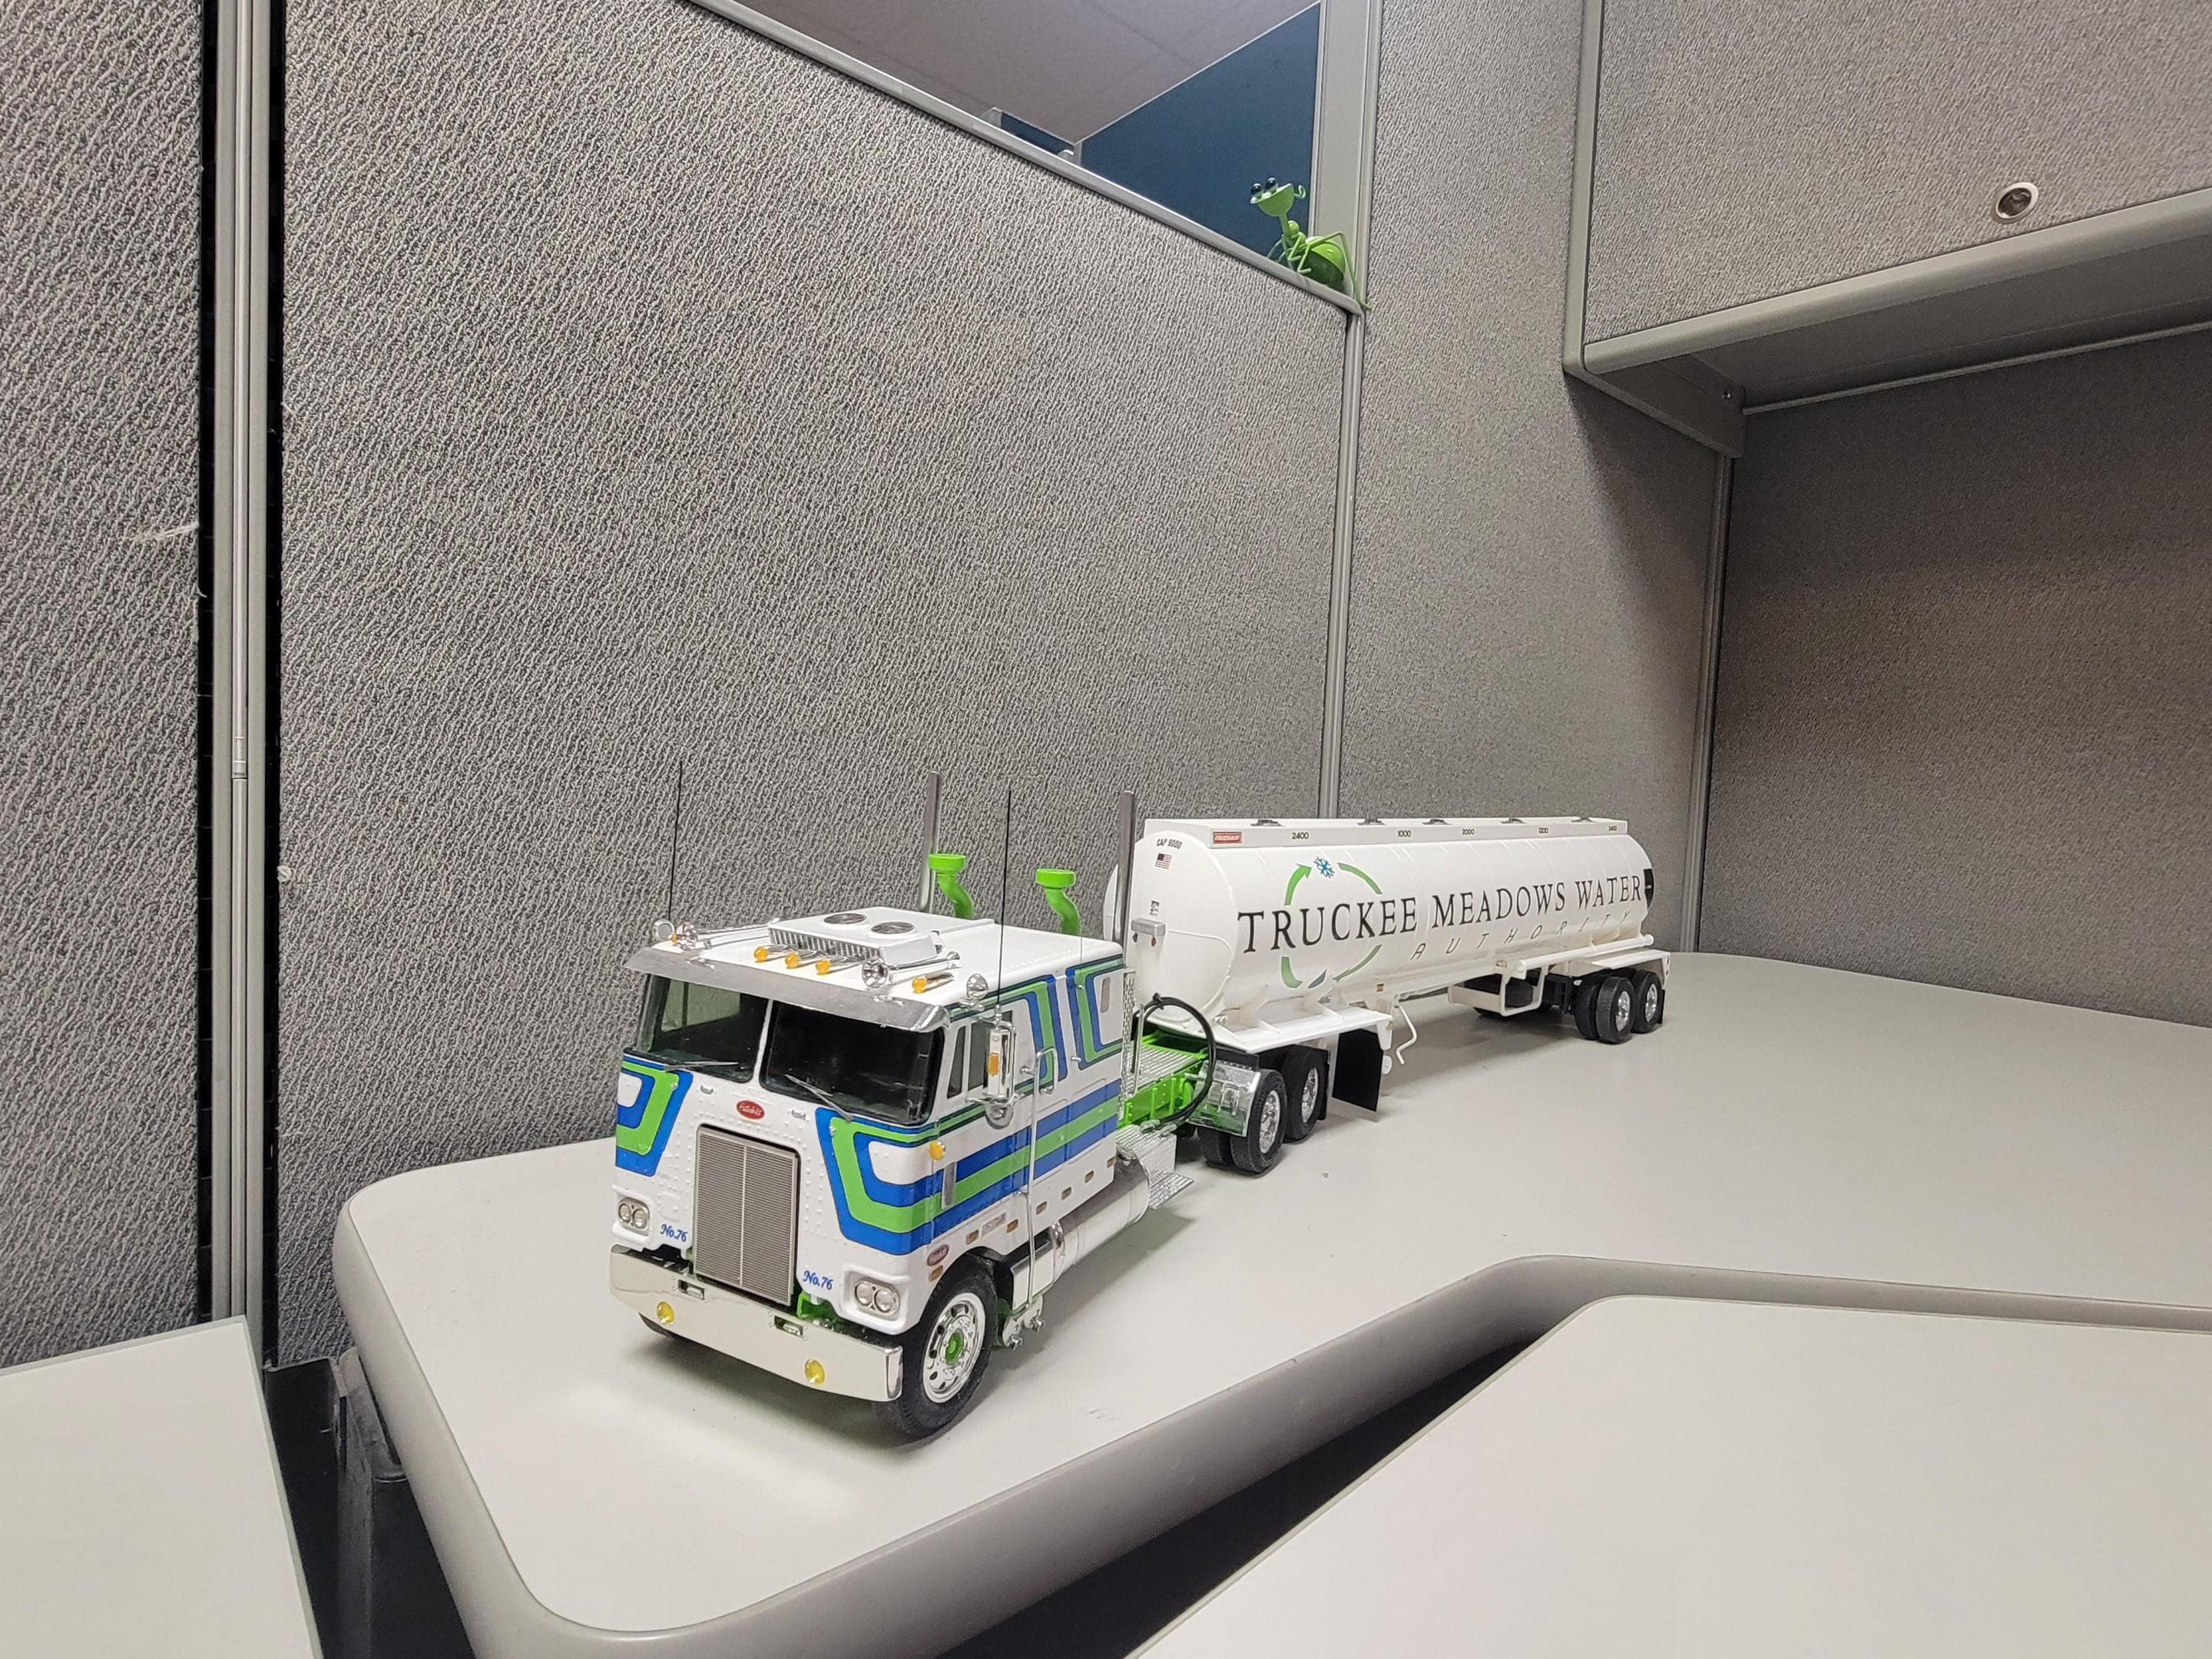
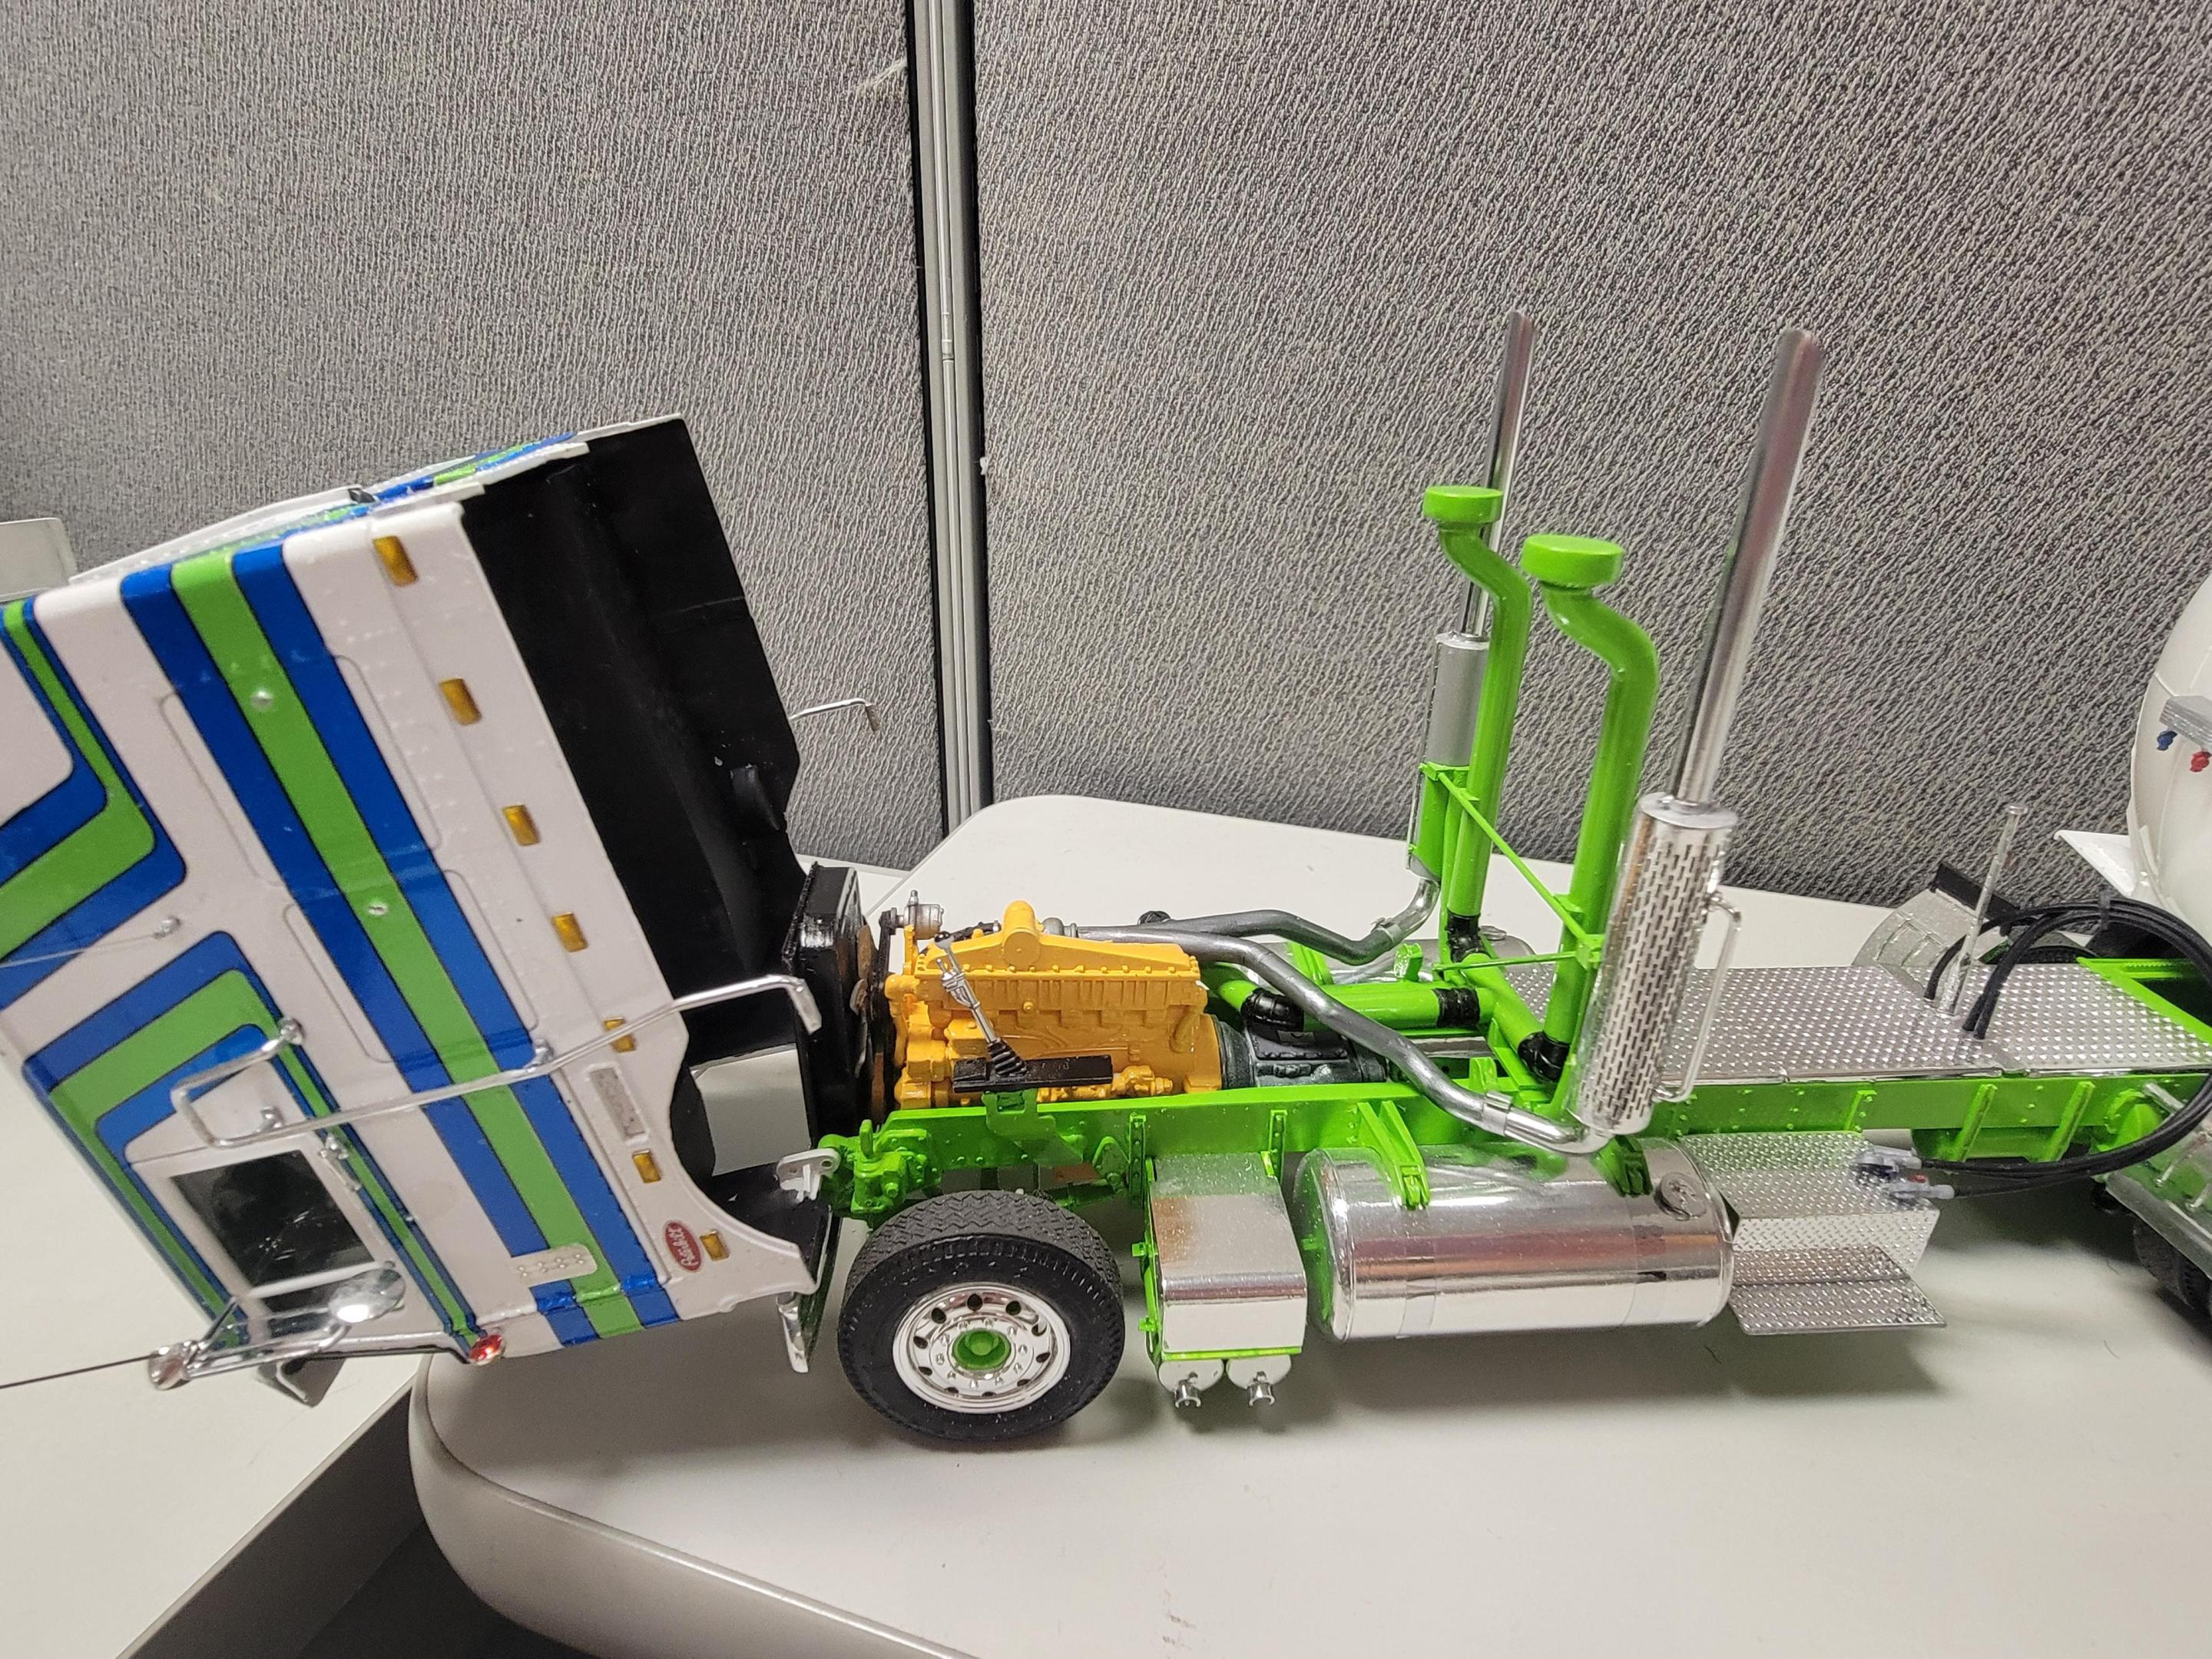
I wanted a different tanker, something other than petroleum, and have some friends that work for TMWA, in Reno, so, this is the result. Very basic, just an after-cooler 3406A, WFL 22” wheels, Revell 359 exhaust, and lots of cutting up Patriot decals.
-
It has been a very trying 2 years since I have had the opportunity to really visit. Everything from CoVid, to a heart attach, to burst water pipe flooding my work shop, but I have managed to get some plastic put together. First, with the leftovers from my 110” Cruiseliner, I wanted to see what a 63” Daycab would be like. This is it. Pretty much box stock. It will have a chrome tanker, eventually. Even tried to replicate fresh grease on the fifth wheel. Wanted a pure fleet look.
-

TAT GMC crackerbox
purepmd replied to jacobus's topic in WIP: Model Trucks: Big Rigs and Heavy Equipment
Jocobus, first my condolences, thoughts and prayers for you and your family. I wanted to help with you engine fitment issue. I googled brochure images for Crakerboxes. as I am working on one as well, here are a couple of renderings showing the fan location. Hope this is useful. Mark. -

Freightliner FLA (fsba) 1/25
purepmd replied to Hermann Kersten's topic in WIP: Model Trucks: Big Rigs and Heavy Equipment
WOW! Excellent conversion! Outstanding work!

