
João Canas
-
Posts
27 -
Joined
-
Last visited
Content Type
Profiles
Forums
Events
Gallery
Posts posted by João Canas
-
-
Superb build!
Love the wheels. Are those deep dish wheels from the Revell/Monogram kit?
-
Super work and great pictures!
-
Magnificent build and a great story too! Thanks for sharing!
-
Just gorgeous!
-
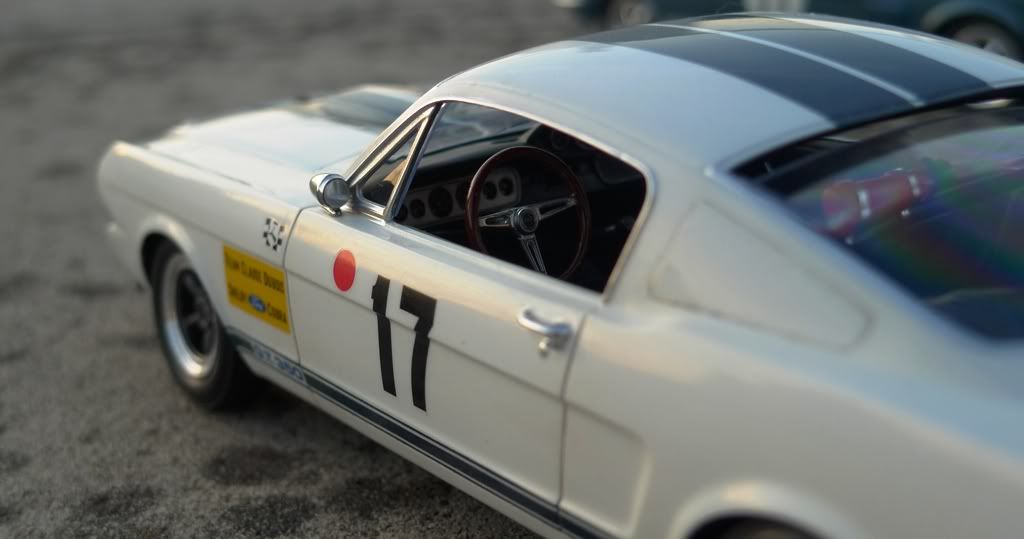
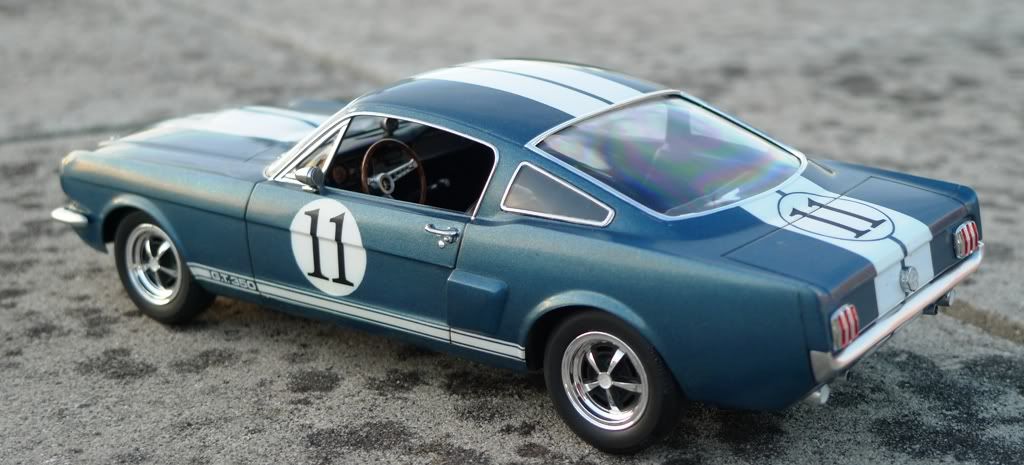
Superb build of the last proper Mustang!
Love the wheels and white wal tires. It gives a very realistic period feel to the model.
-
Thank you guys!
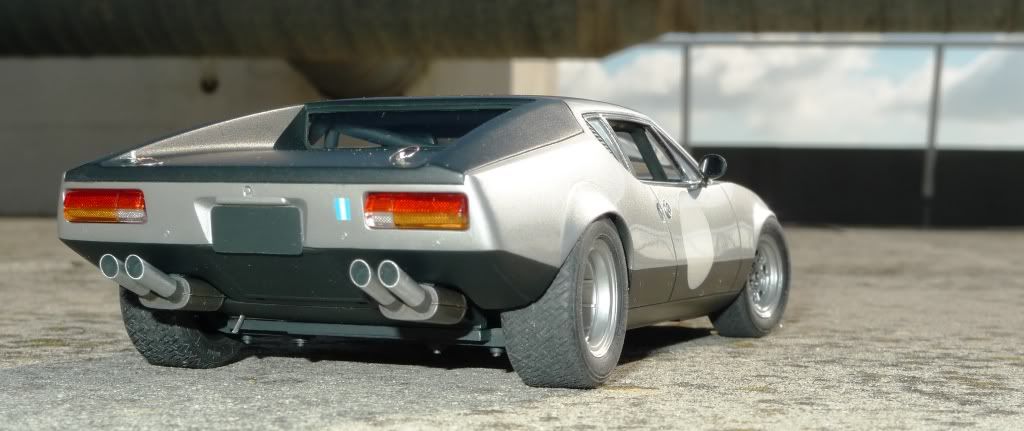
Tommy, the engine cover is fixed. I went through the trouble of building the engine from spare parts and scratched items because the real car has the internal engine lid removed. Without this lid, the air cleaner, the engine head covers and a lot of tubing and wiring can be seen behind the bulkhead behind the seats, so i tried to replicate this, as well as the roll cage and fire-extinguisher at the passenger footwell.
Emmanuel, if the clear parts in your kit are as thick as I show on the WIP photos, then it must be the same mould...
-
Such a nice Ford! and beautifuly done!
-
Hi Bill, thank you for your kind words!
The wheels were modified by myself. The first WIP link provided above shows the process in detail.
-
-
-
-
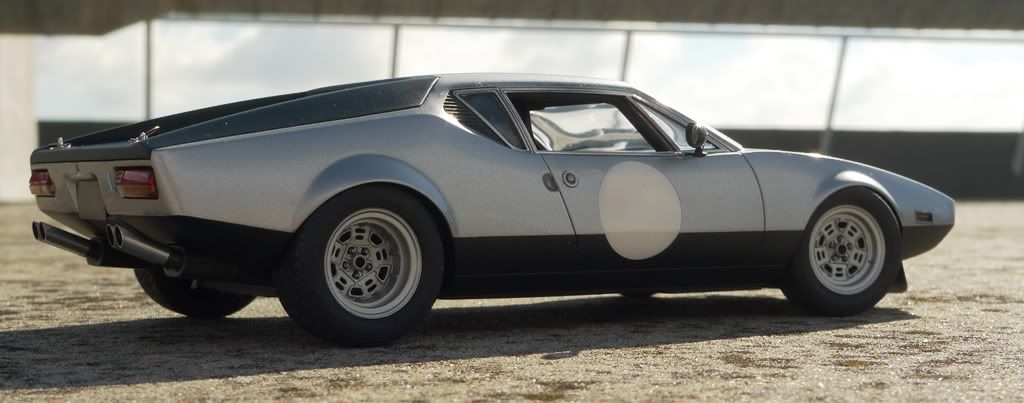
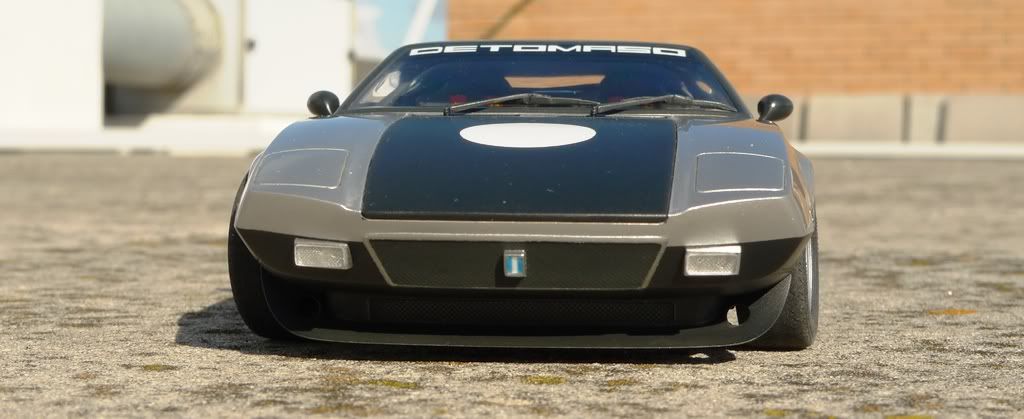
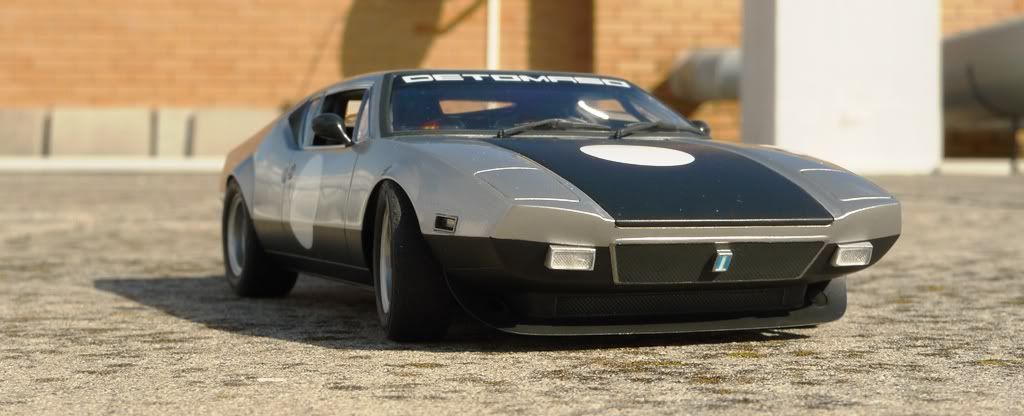
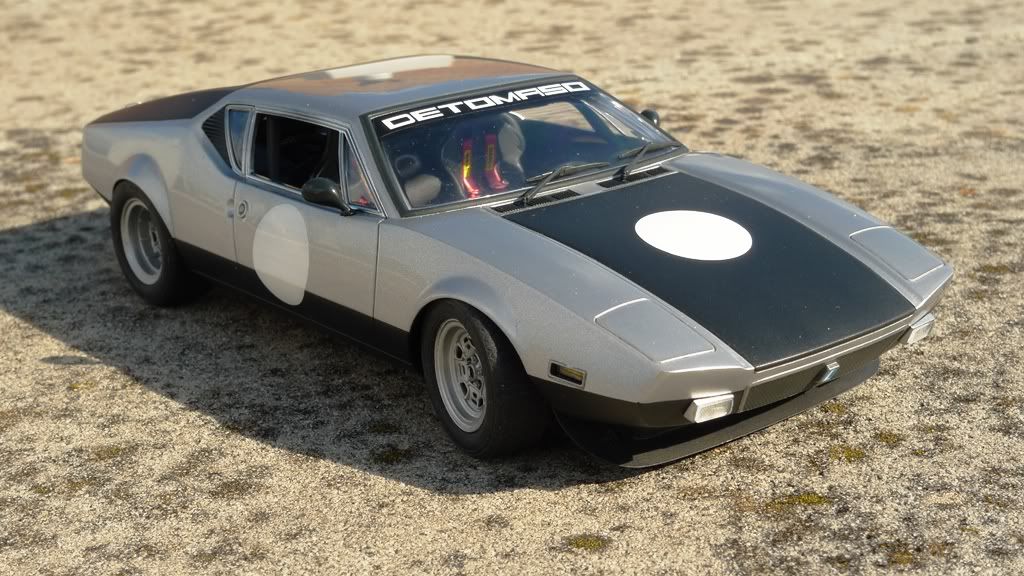
Hello Everyone,
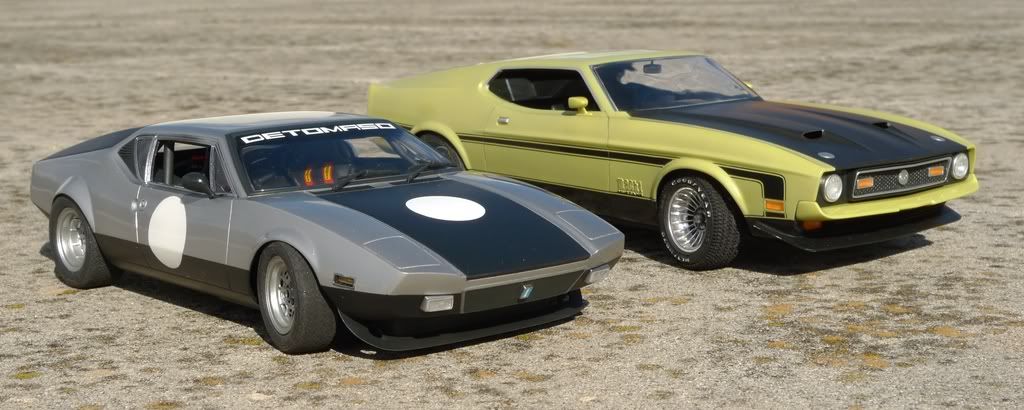
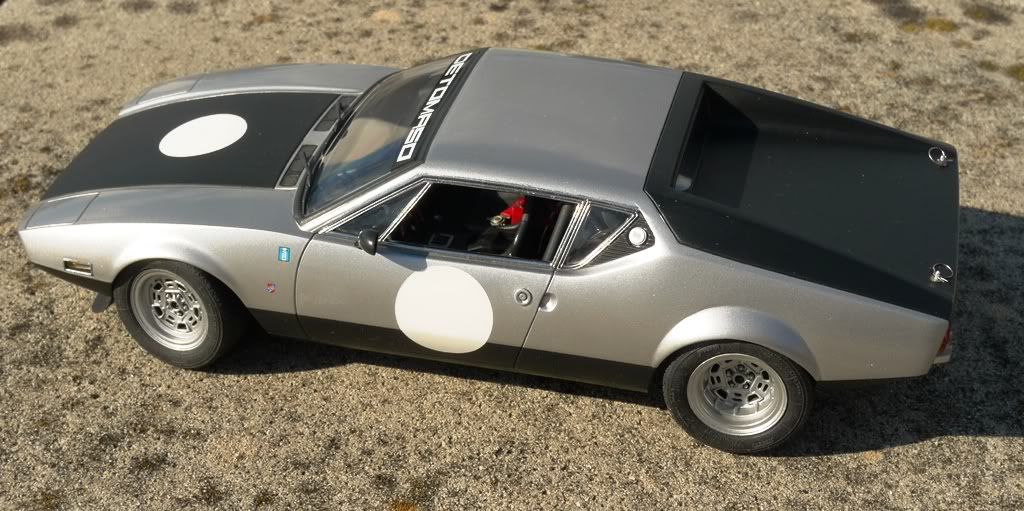
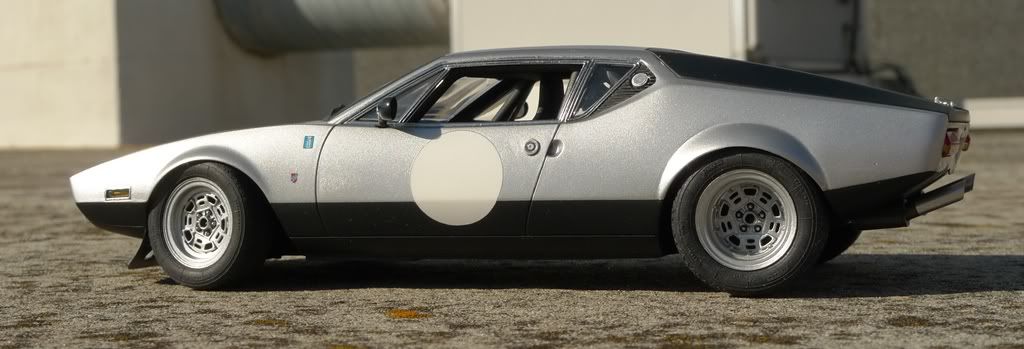
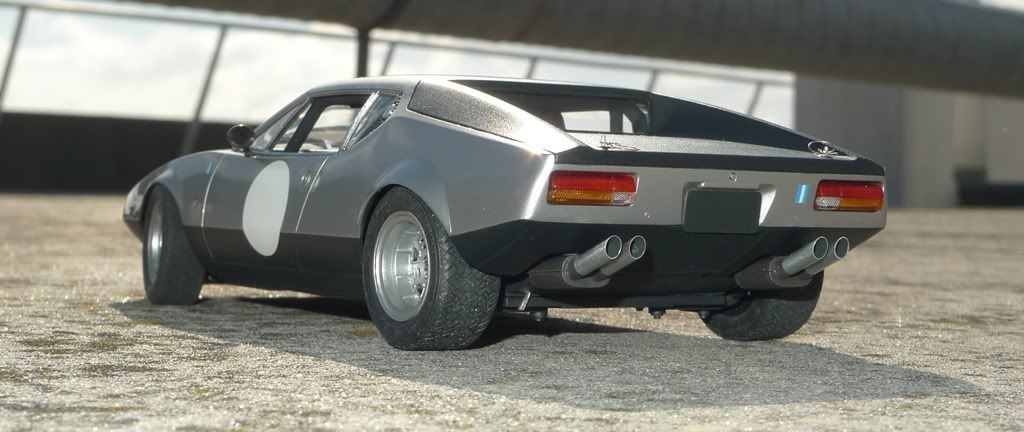
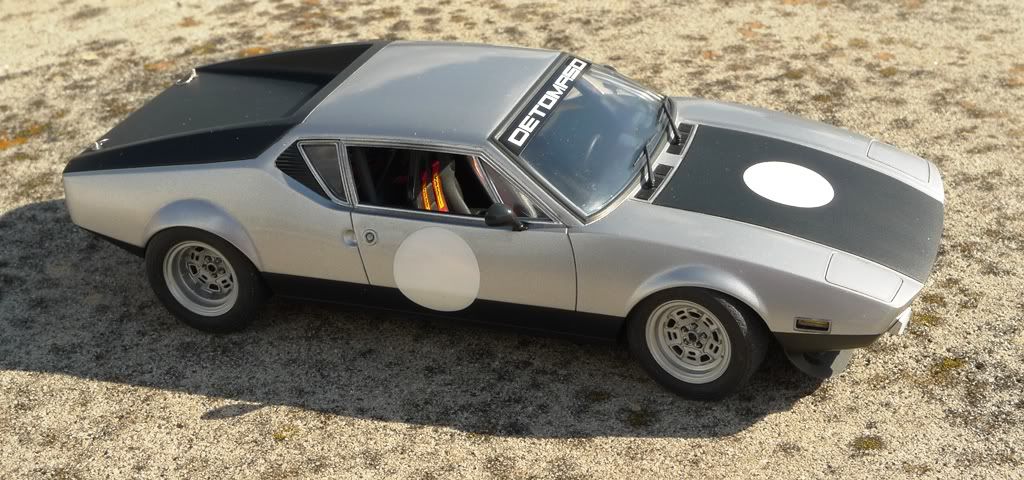
This is my last car build, finished a year ago.
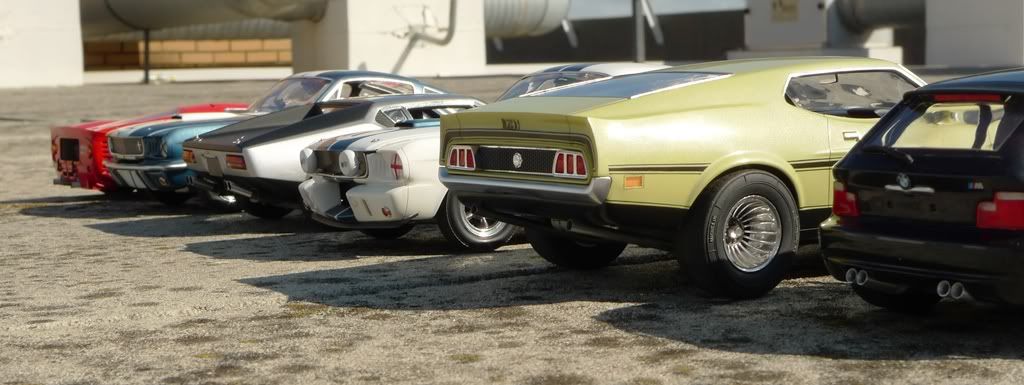
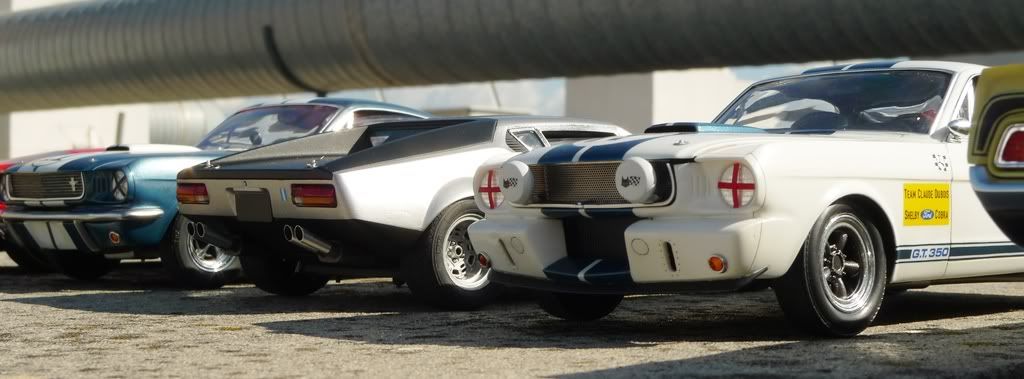
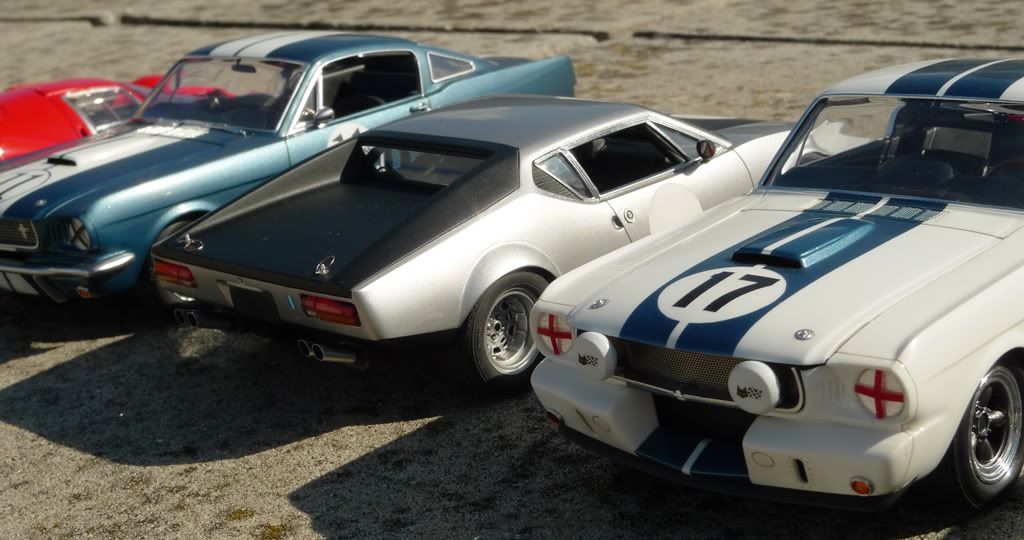
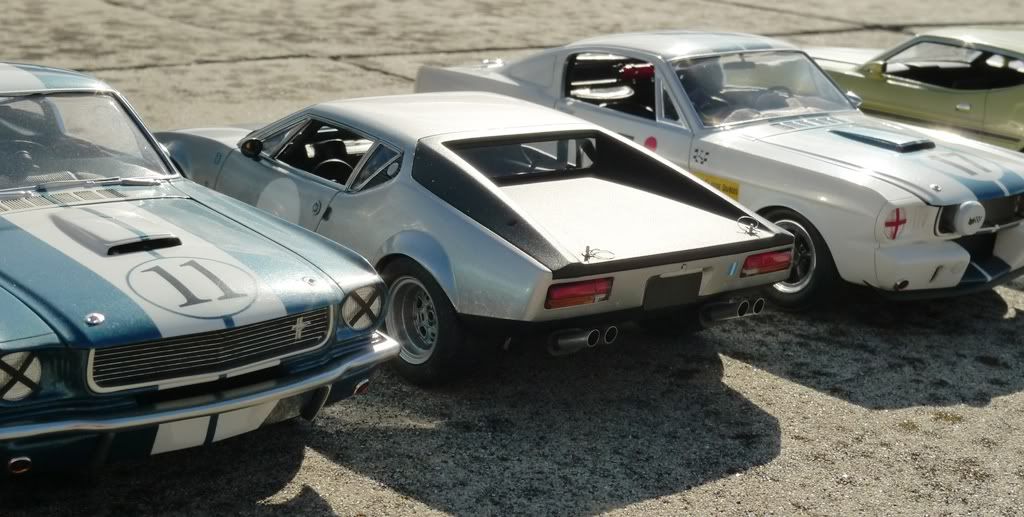
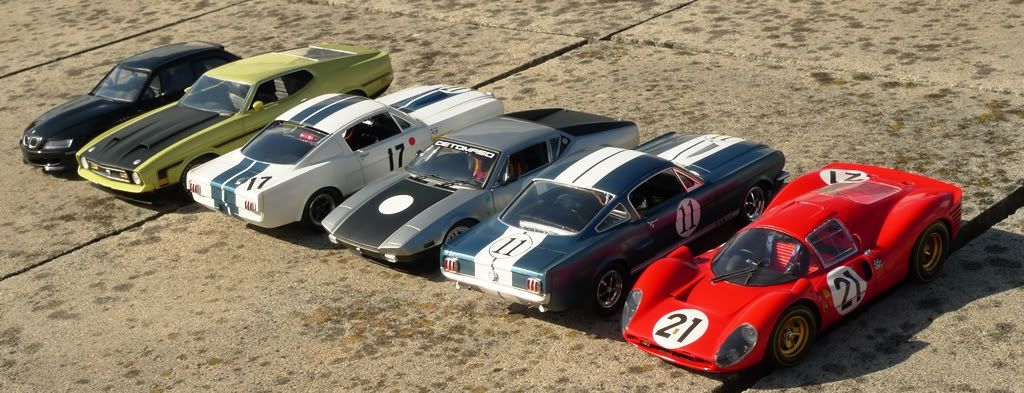
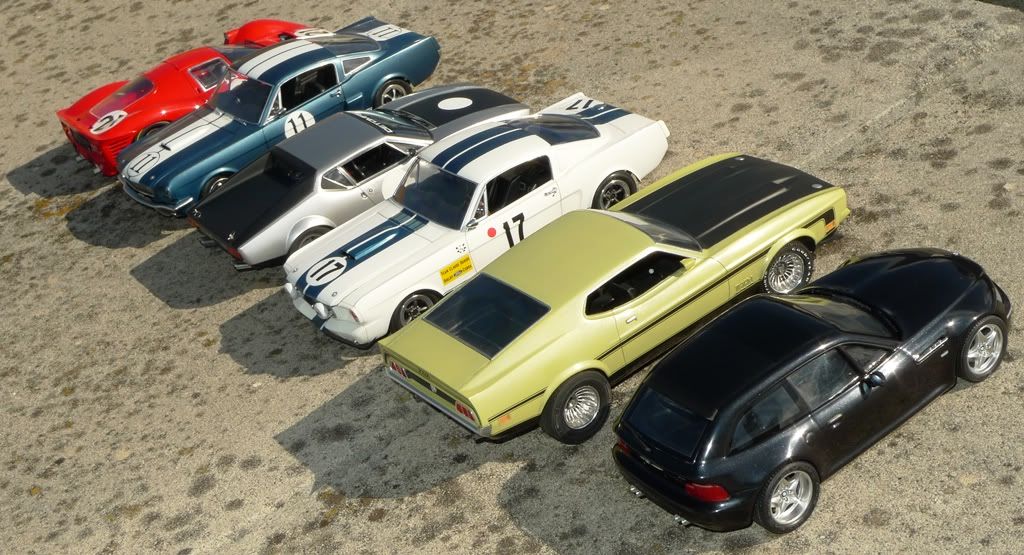
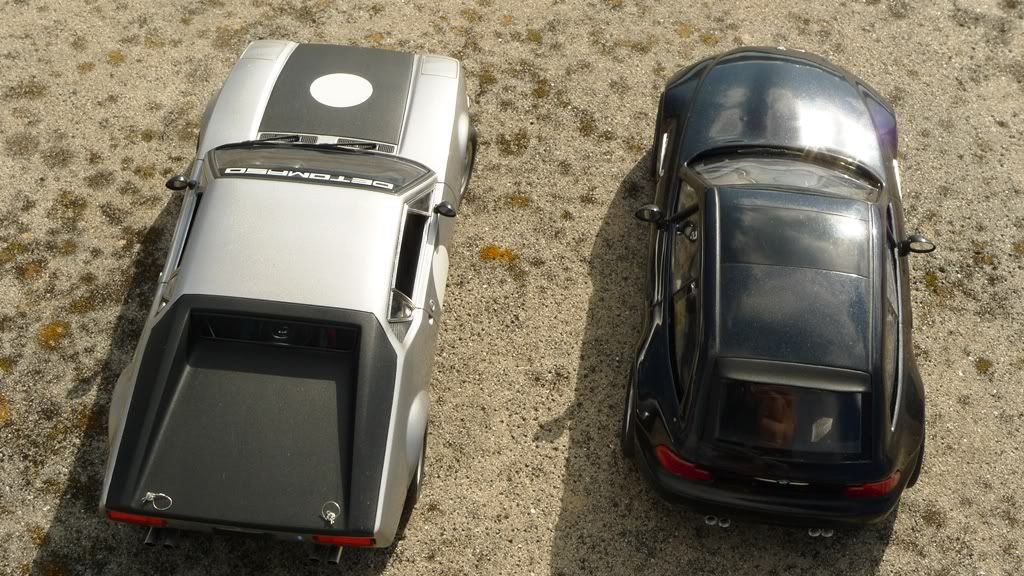
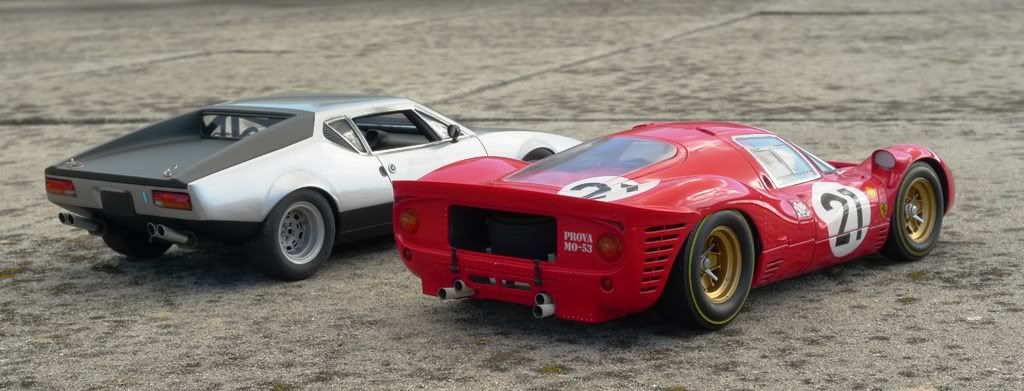
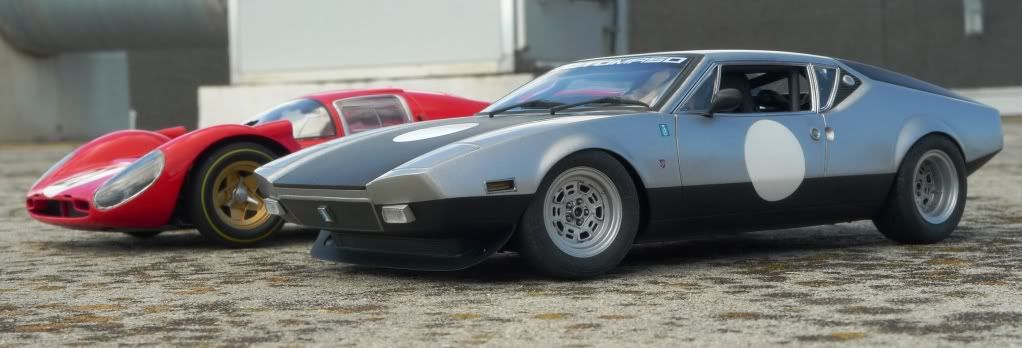
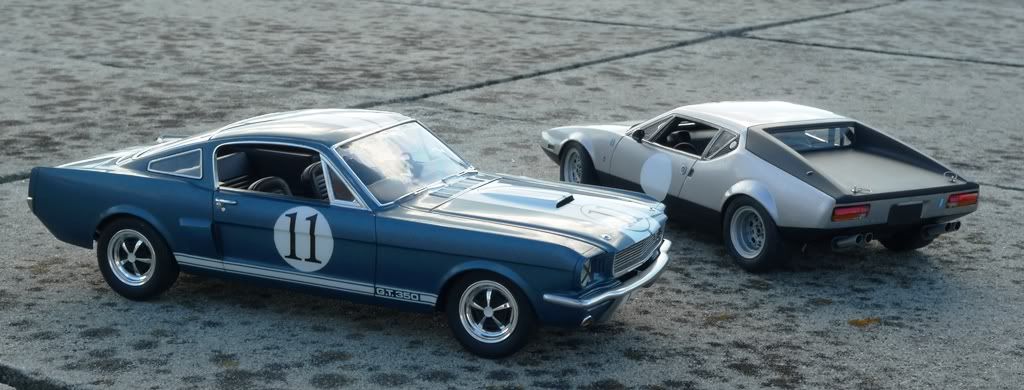
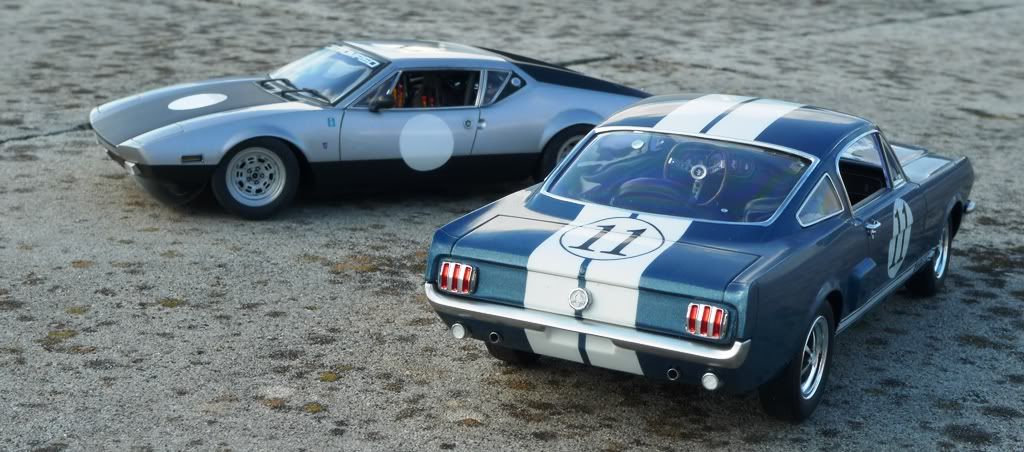
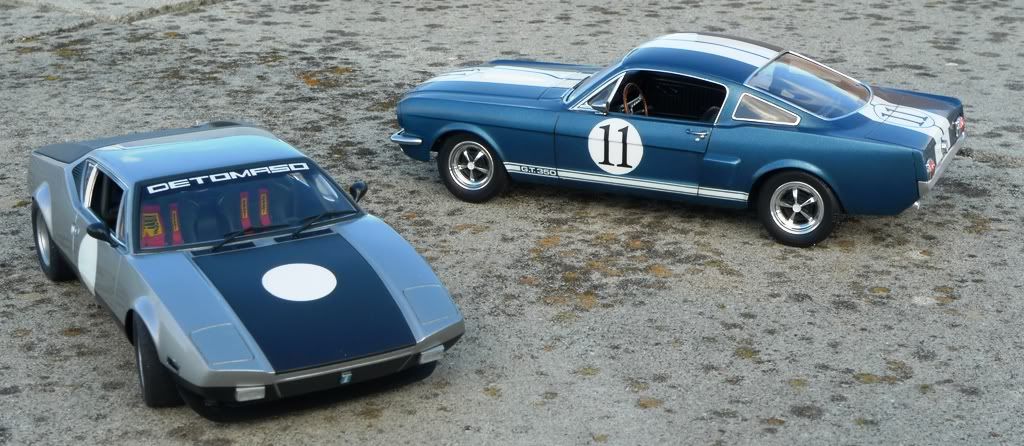
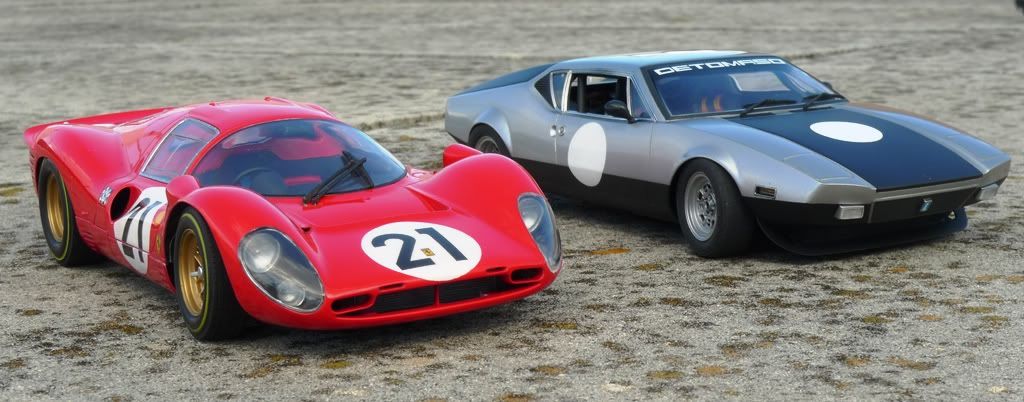
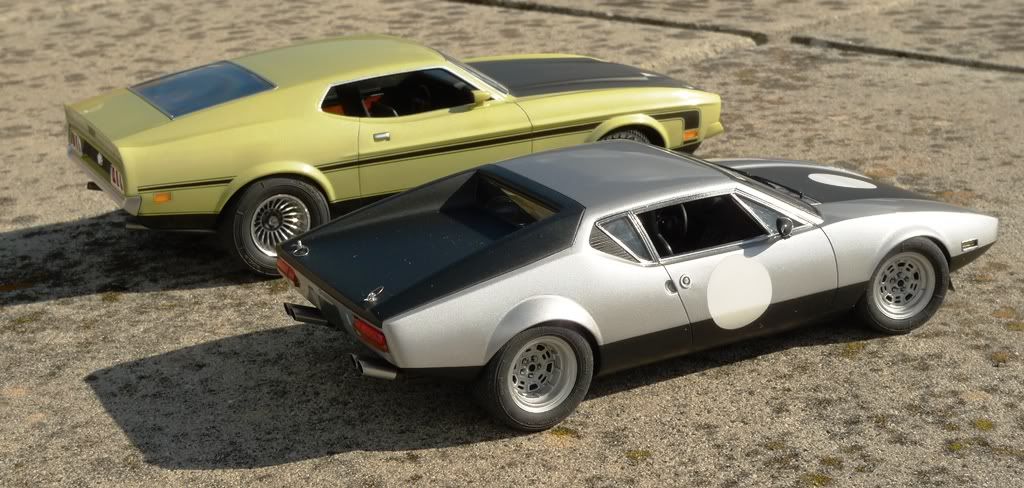
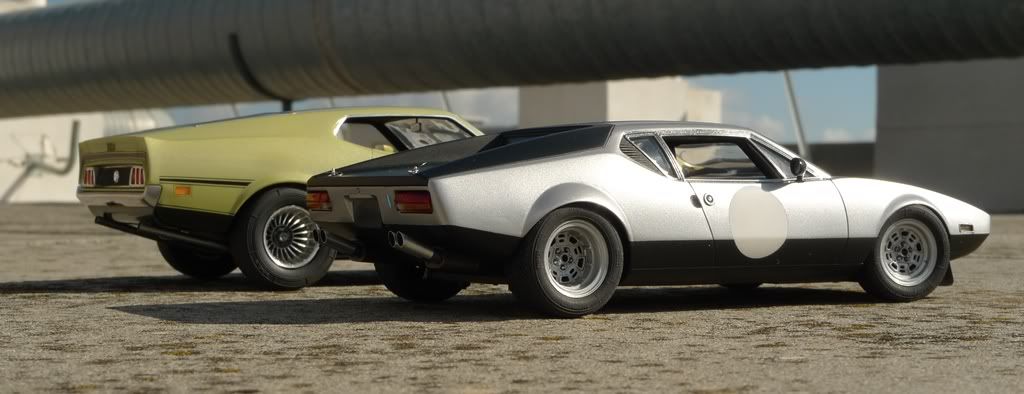
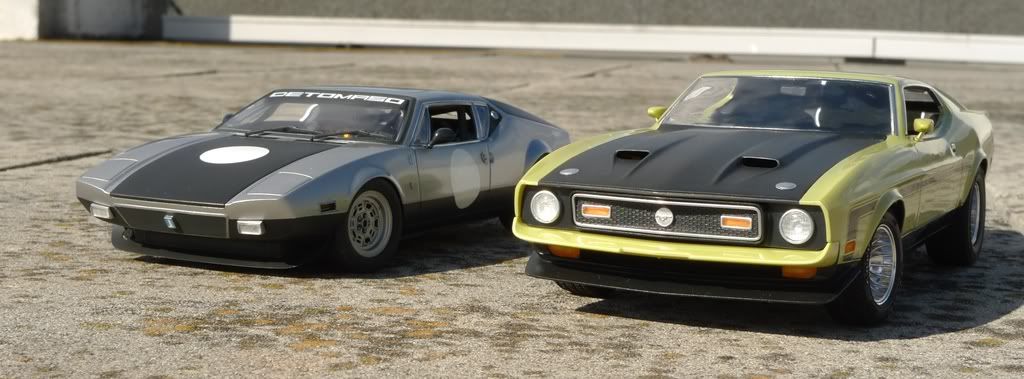
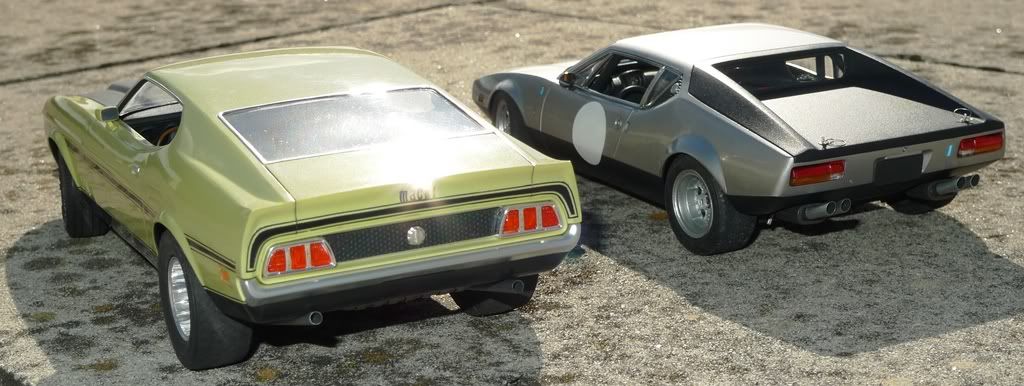
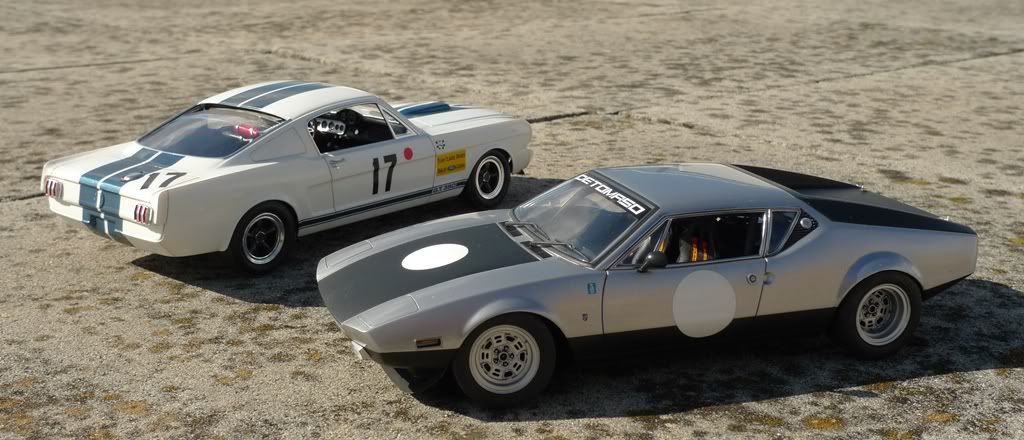
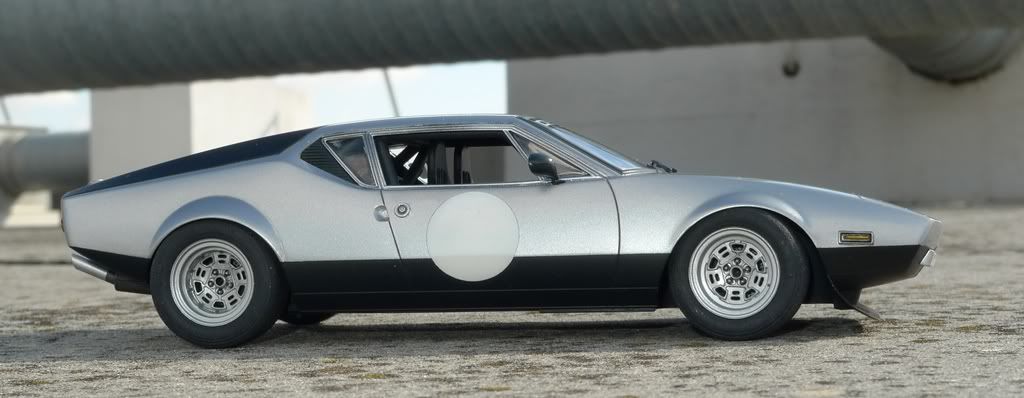
It's the 1/24 Fujimi DeTomaso Pantera GTS kit, backdated to represent a early Gr.3 historic race car (pushbutton doors).
http://theamazoeffect.blogspot.pt/2012/01/1972-de-tomaso-pantera-gr3-prototype-on.html
It's a car I found some photos on the internet and decided to buil a model based on it. Could not however do the decals of licence plates and detailed inscriptions.
All modifications to the kit were scratchbuilt, including dishing the rear wheels, as the kit only provided 4 undished wheels typical or Pantera, Pantera L and early GTS cars.
Regarding the Fujimi kit, it is an overpriced reboxing of and early rather poor curbside model (Heller perhaps?). Apart from the wheels the kit bigger letdown are the clear parts which are overly thick. I thined them down with a dremel, and polished it to restore the transparency. It reduced the optical distortions but didn't cure the problem.
The model was painted with Zero paints and urethane clear coat.
Hope you like this one.
WIP here:
http://www.forum.modelismo-na.net/viewtopic.php?f=167&t=19726
http://forum.modelismo-na.net/viewtopic.php?f=12&t=20817
-
Obrigado Túlio!! Também gosto dos Ferraris, aliás, carros Italianos em geral, por razões difrentes. São amores diferentes, sendo a atracção americana mais visceral!
Thanks Túlio for your kind words!
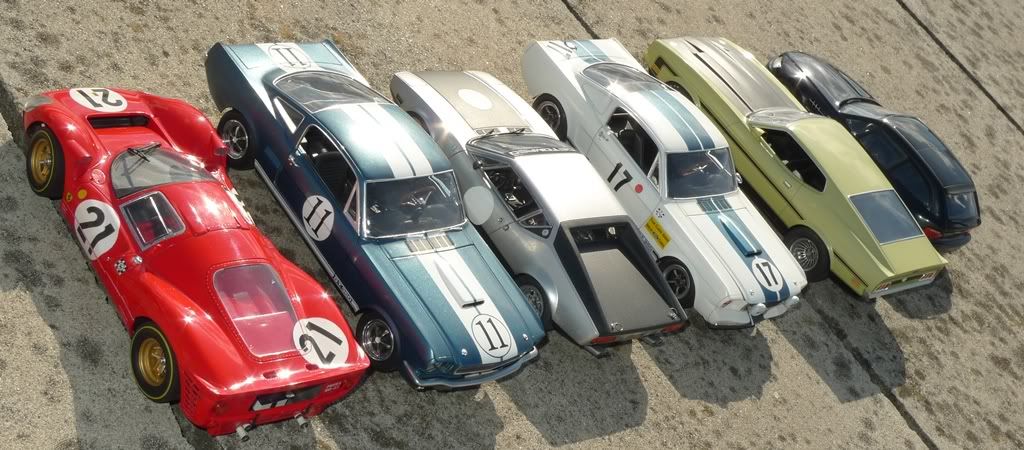
If anyone cares to take a look, here is a link for the BMW M Coupe Build. It was a very quick job with little improvement over the rather poor kit, as I wanted to add this car to the other models.
It is my favorite BMW ever, for it outrageous design coupled to the perfect mechanical layout for a sports car, ie, two seater fixed head coupe (shootingbreak in this case), mid front engine, rear wheel drive with limited slip differential. Something most car manufacturers had forgoten, to the sake of sanitized please-all underwelming cars.
https://www.google.pt/?gws_rd=cr&ei=-oyPUr2lL-_I0AXWr4DgDQ#q=shooting+breaks+uk
-
Thanks everyone for your kind feedback! I'm very happy this build was appreciated.
It was indeed my second car ever, but I already had a lot of 1/72 and some 1/48 aircraft kits under the belt.
The biggest challenge was to produce a high gloss finish, something that is not usually required in aircraft modeling.
The photo location is indeed the rooftop of the building where I live. Never made a base to display my models, as when I finish one I’m already too eager to start the next one, so I use what’s nearby.
Regards!
-
Thanks again everyone for your kind words

David, I posted a new topic with the Ferrari build. I Hope you like this one too.
Regarding paint finish, in all but the 1971 Mach1, I have been using two part polyurethane clear coats. The 330P4 was my fist try and the BMW M Coupe was the second, were I managed to obtain a candy like glossy surface without orange peel. In fact I found it too glossy so i rubed it down with Gunze fine compound. As it is a very fine abrasive, it toned the gloss down a notch, enough for me to be happy with the result. I decided not to use super-fine compound or finishing wax in my next car builds.
In the 1971 Mach1 instead of the two part gloss coat I used Microscale Microgloss acrylic clear coat (that never gets as glossy as the urethanes) followed with gunze fine compound, to obtain a very similar result as with the two parts urethanes. However, the Microgloss clear coat is not as hard and tolerates a lot less handling of the body during the last stages of the buld. Urethanes are almost rock hard. Hope this helps!
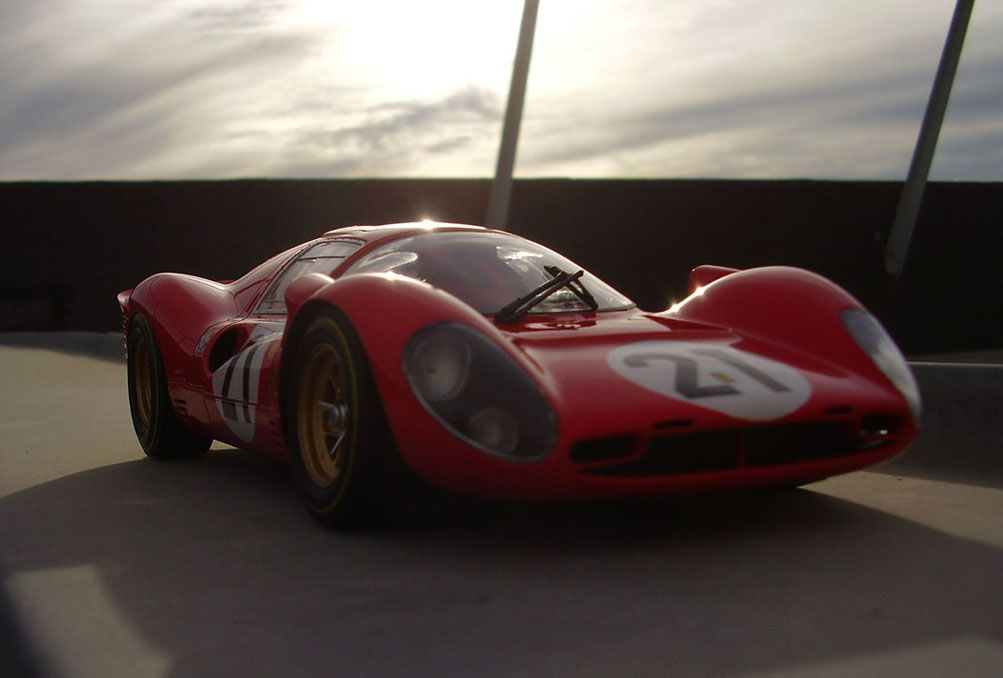
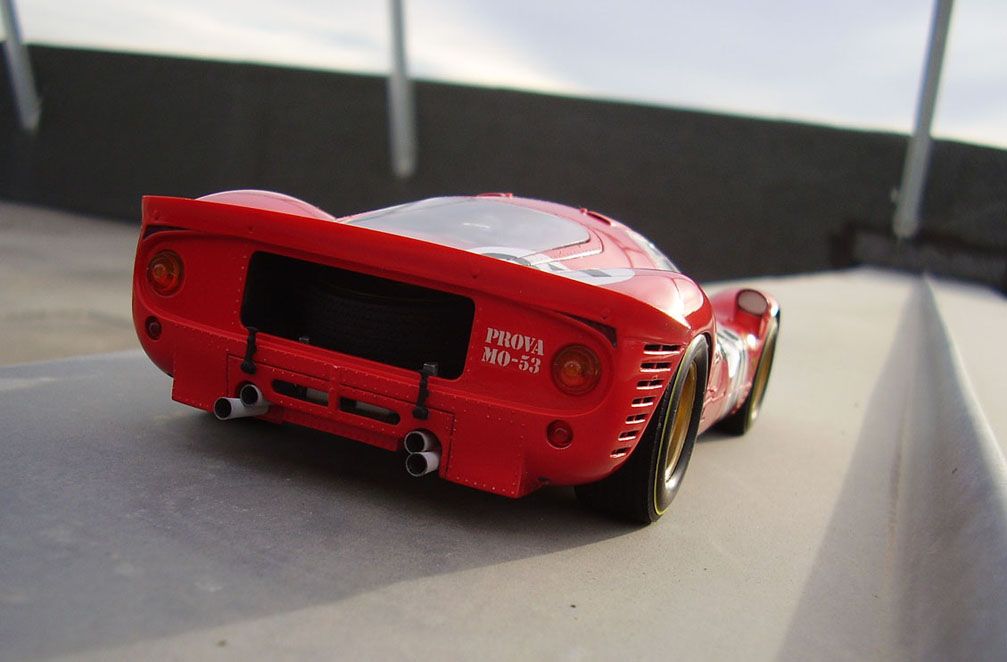
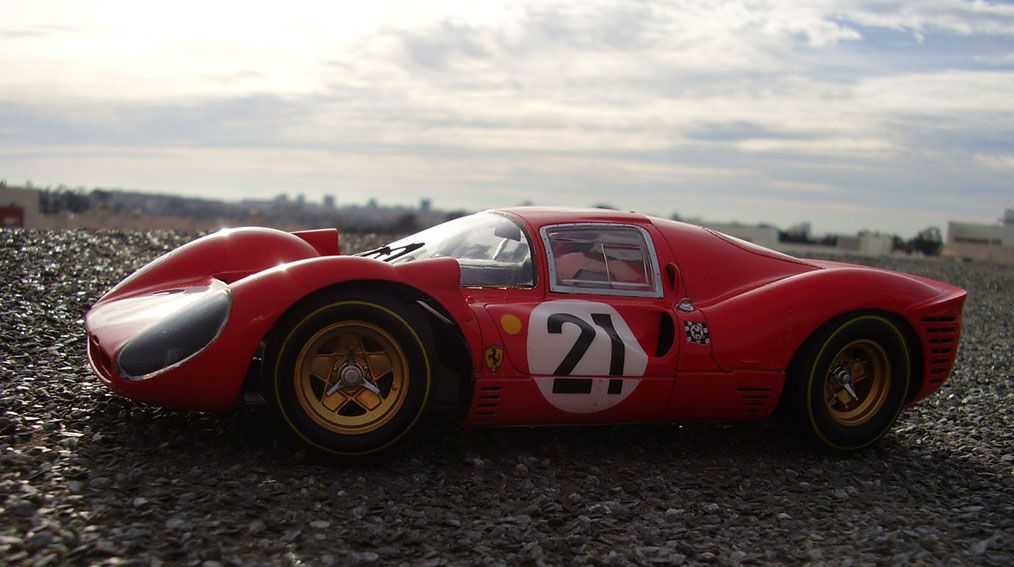
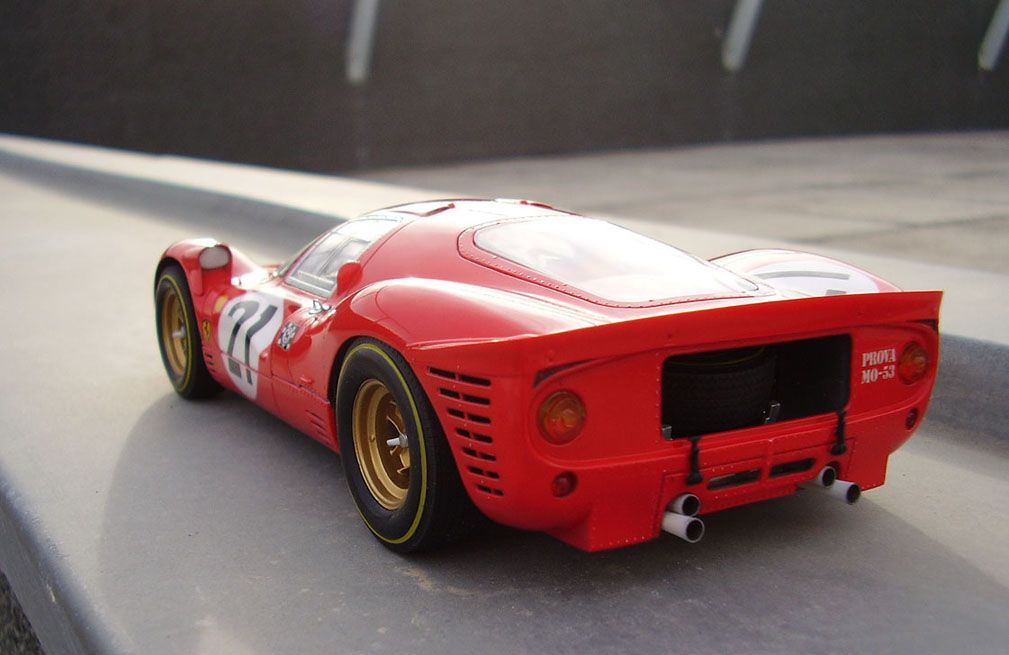
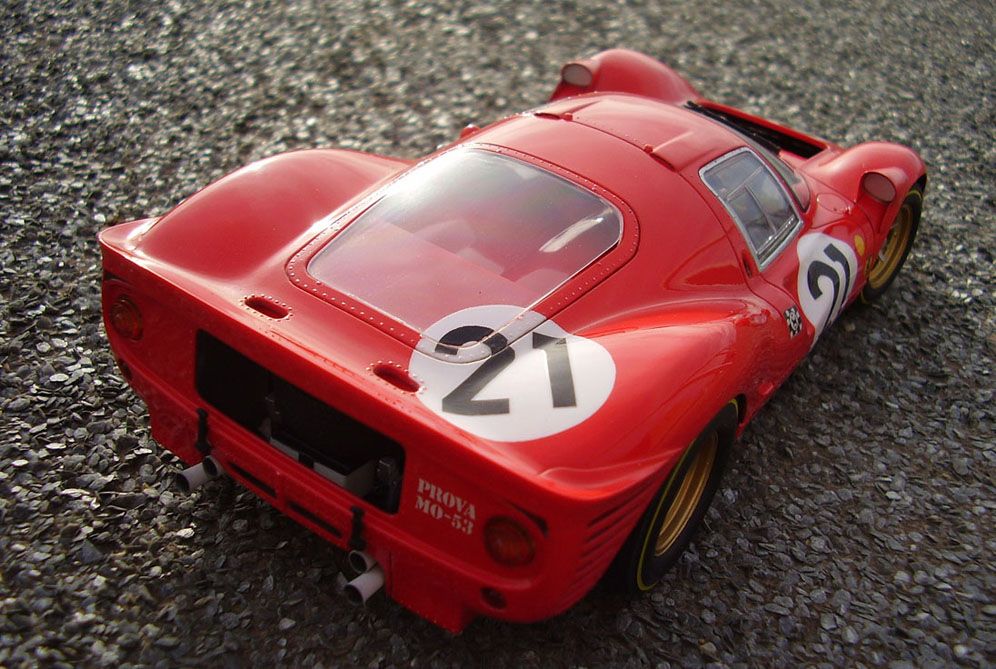
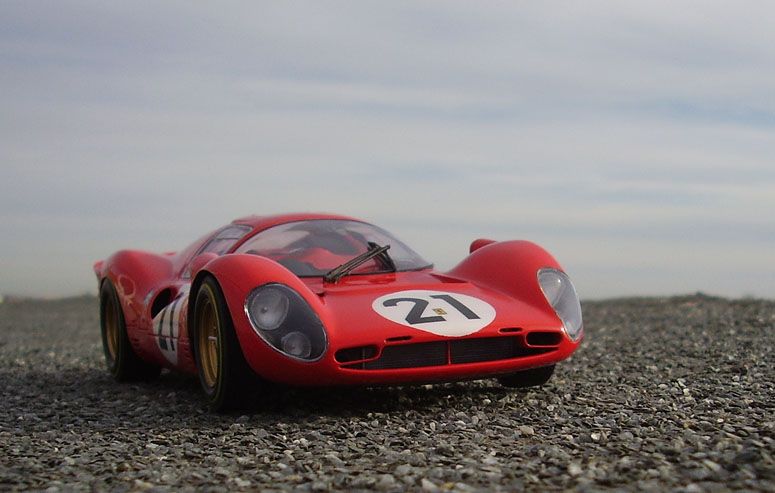
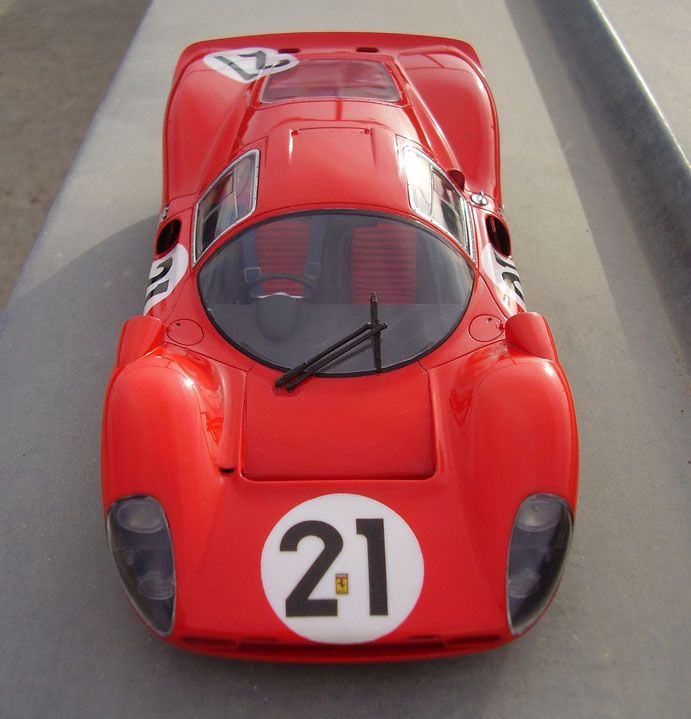
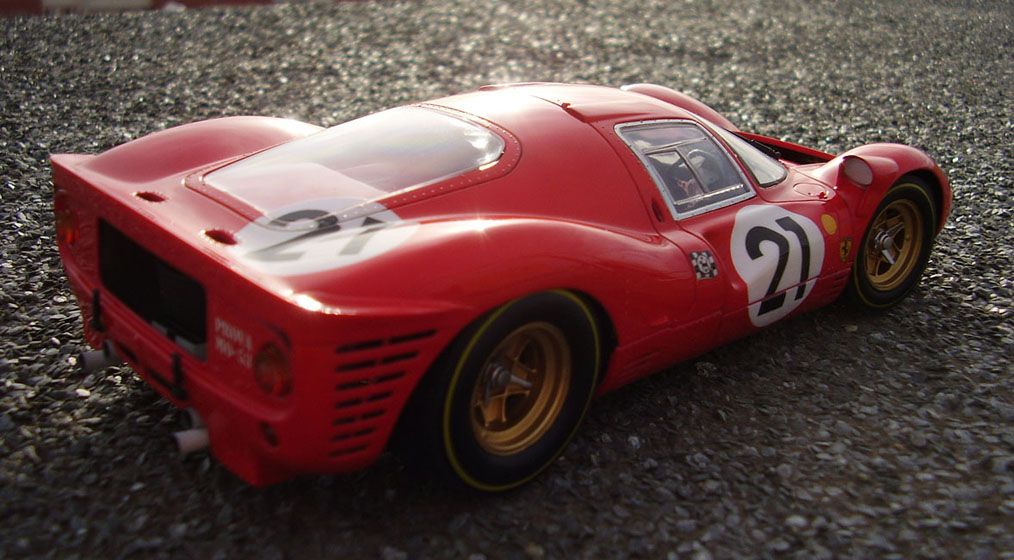
Ferrari 330P4 link:
http://www.modelcarsmag.com/forums/index.php?showtopic=81924
-
-
Hi everyone,
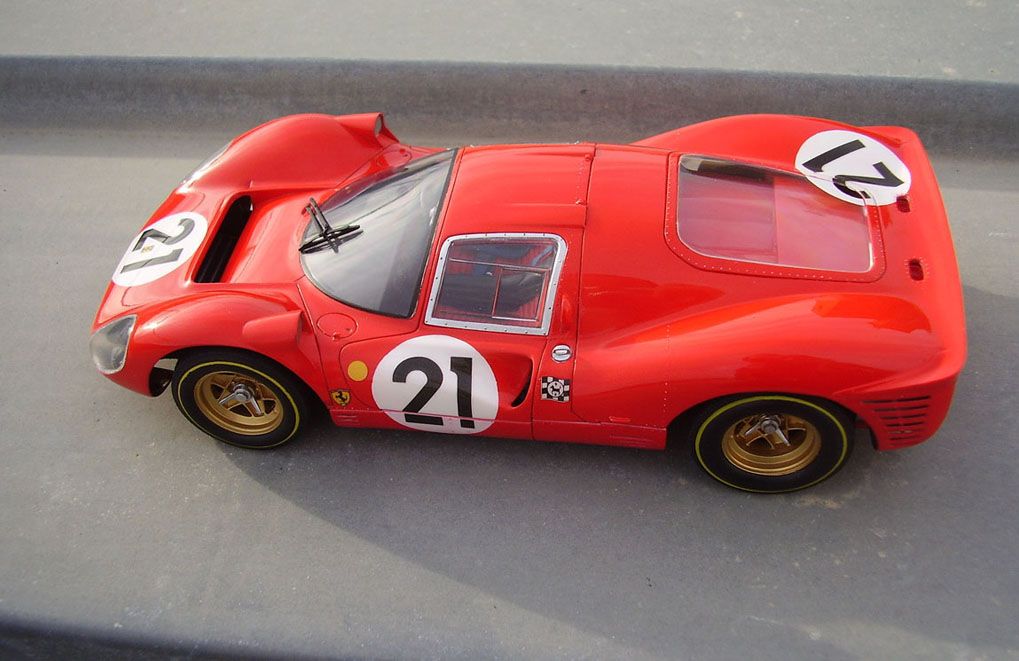
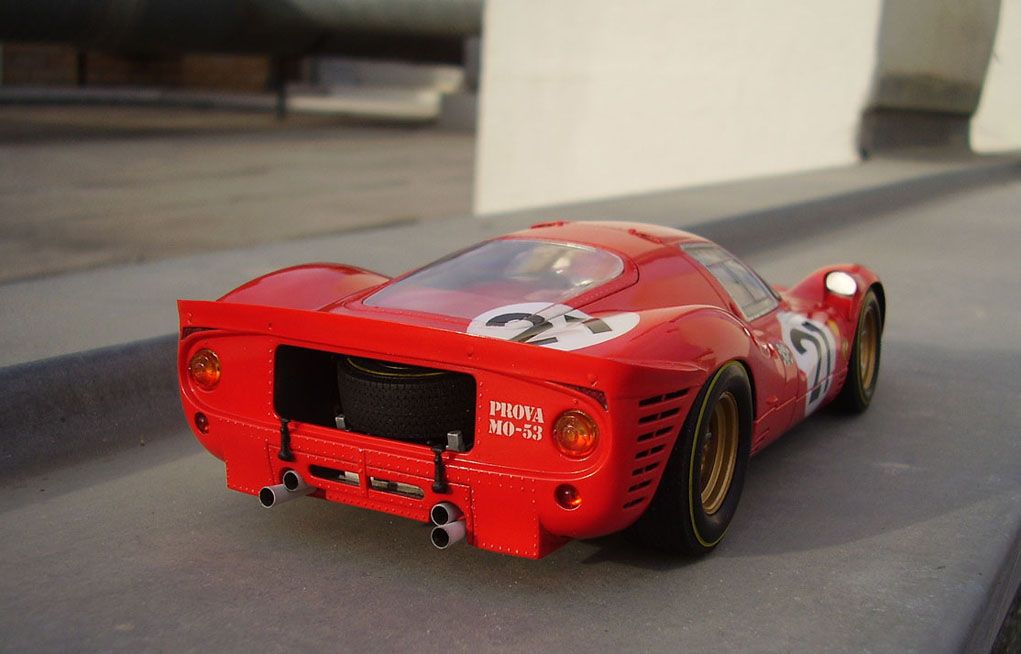
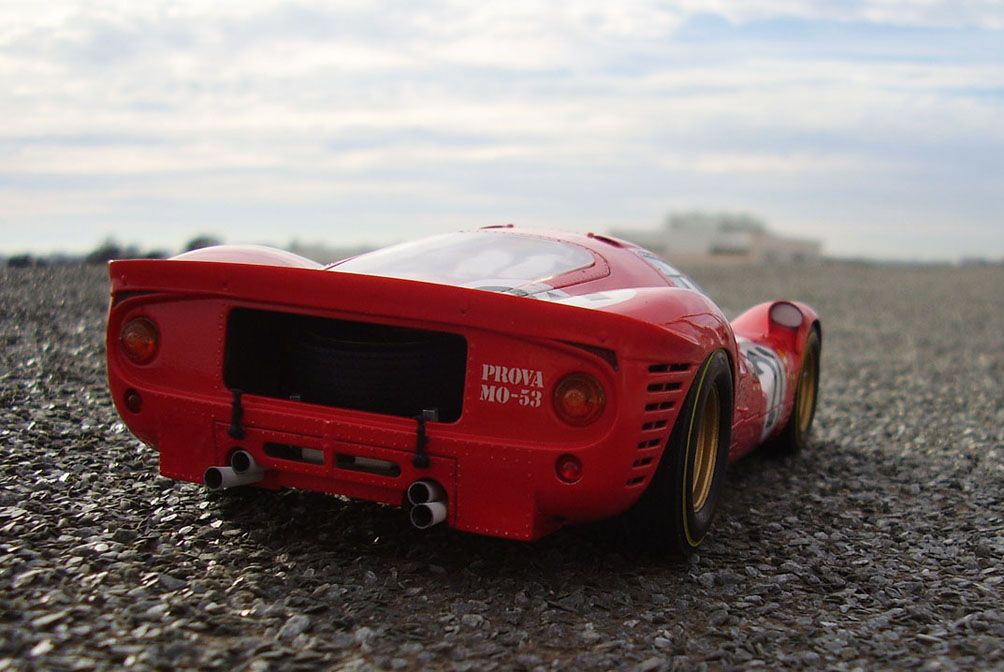
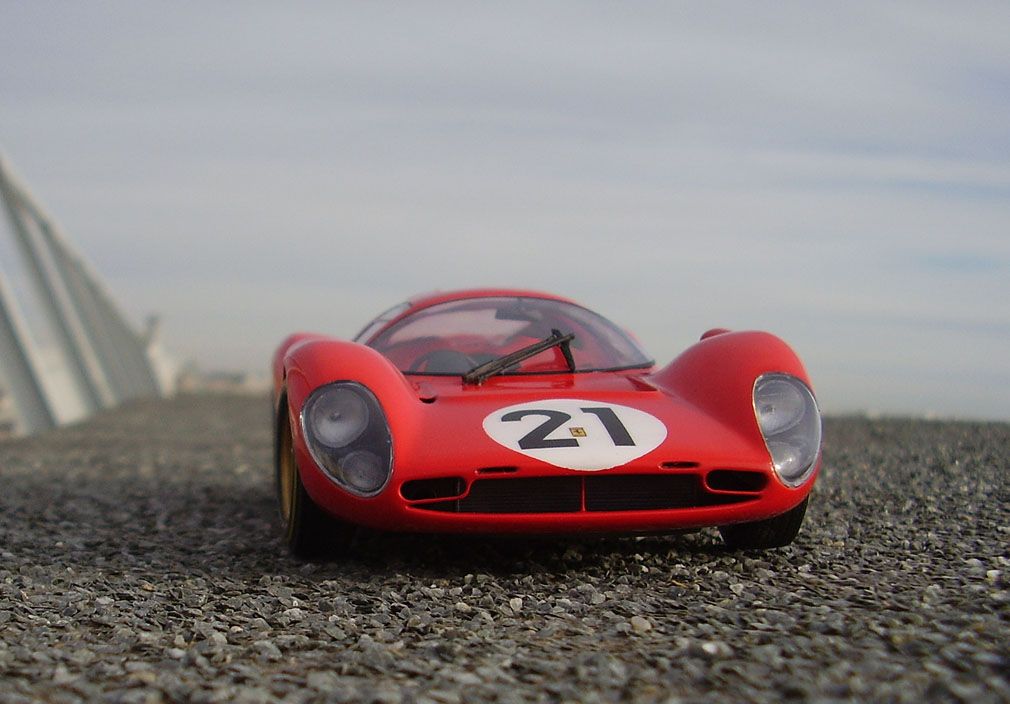
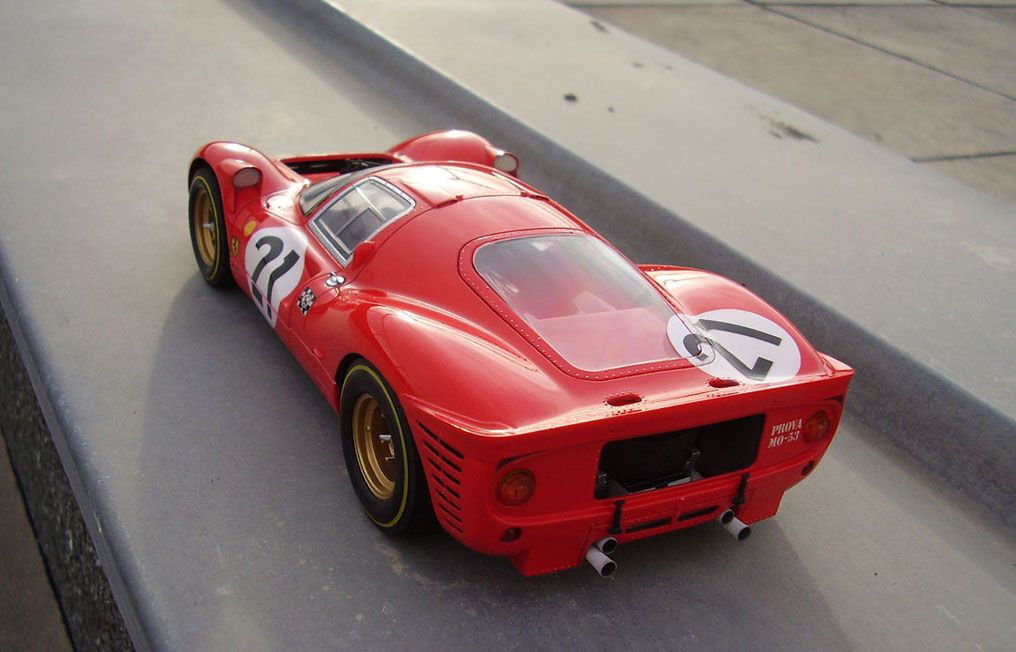
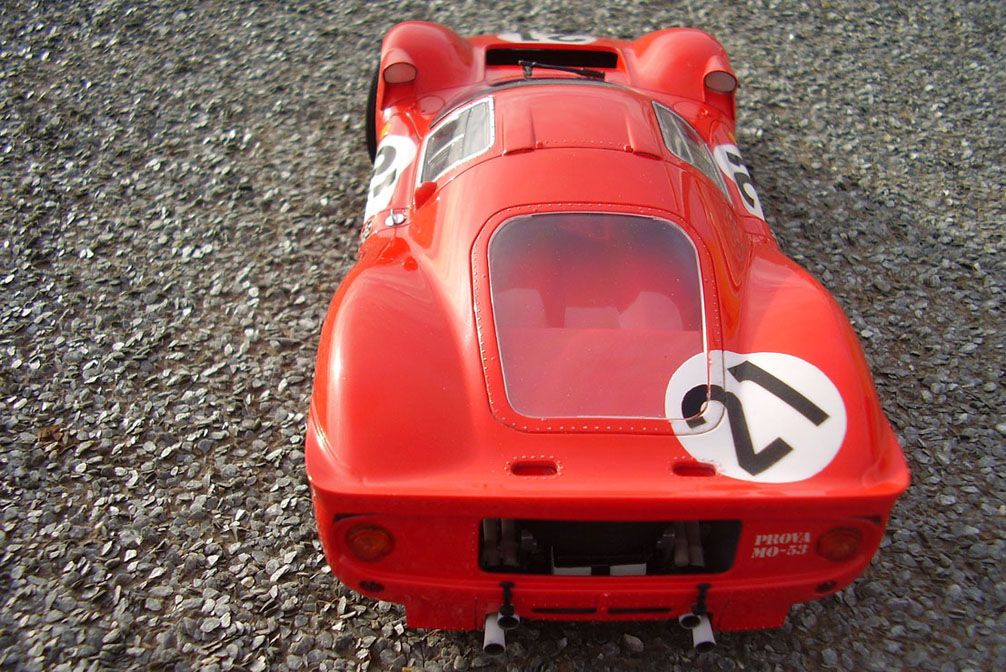
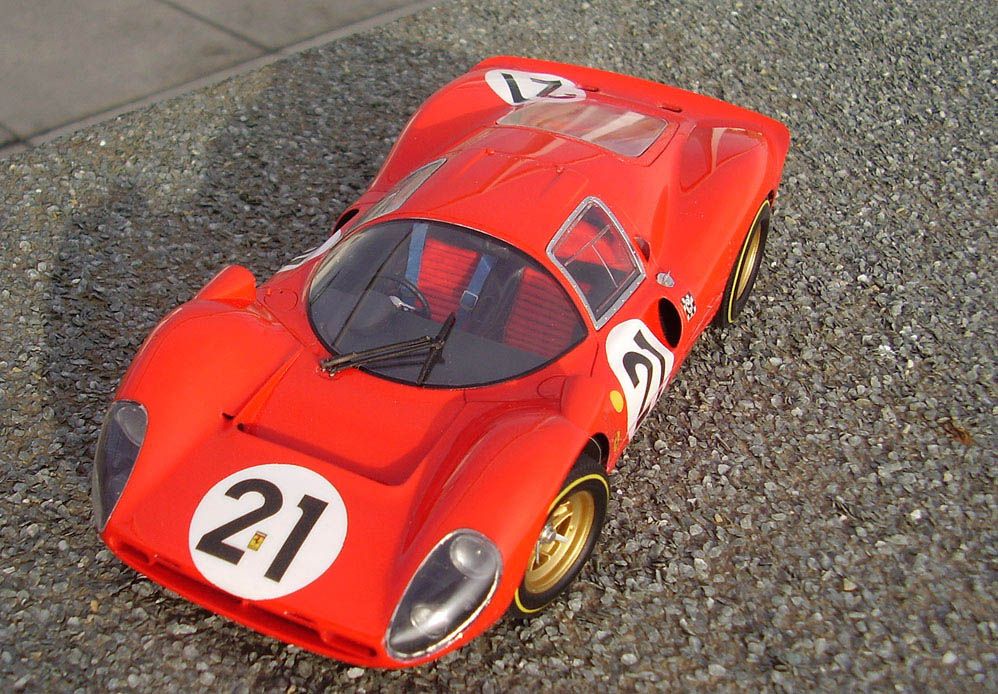
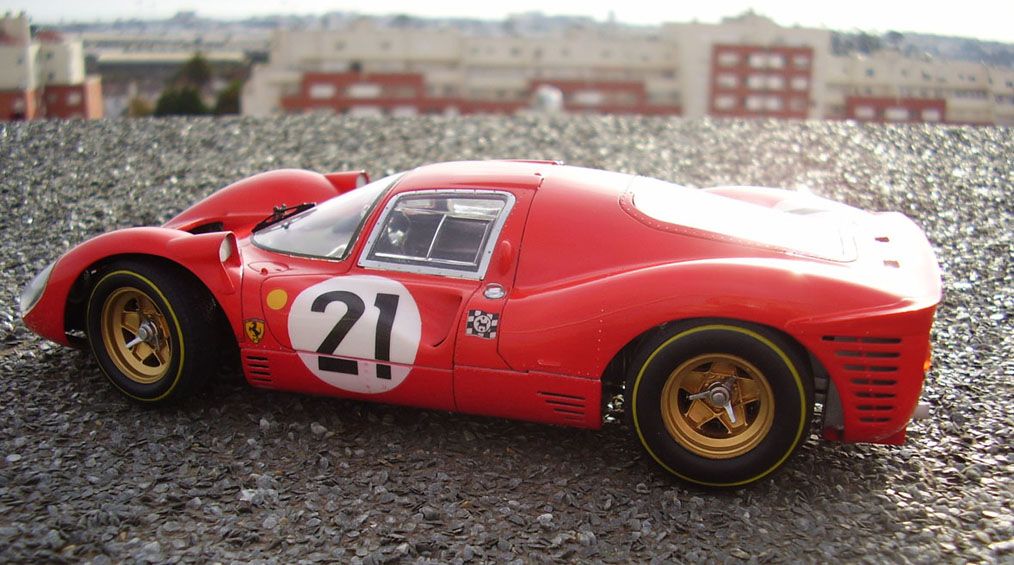
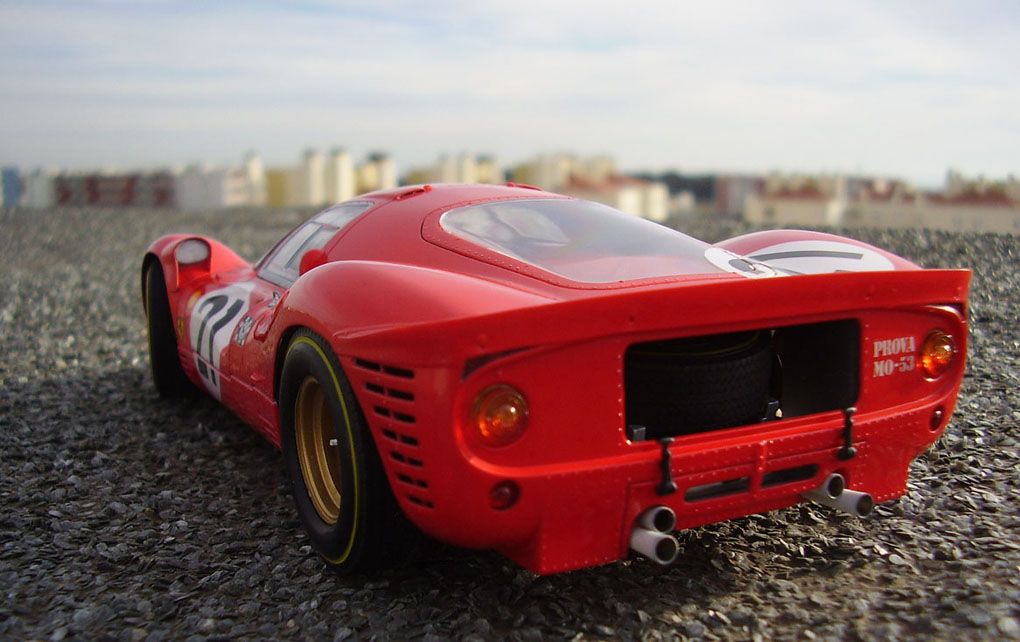
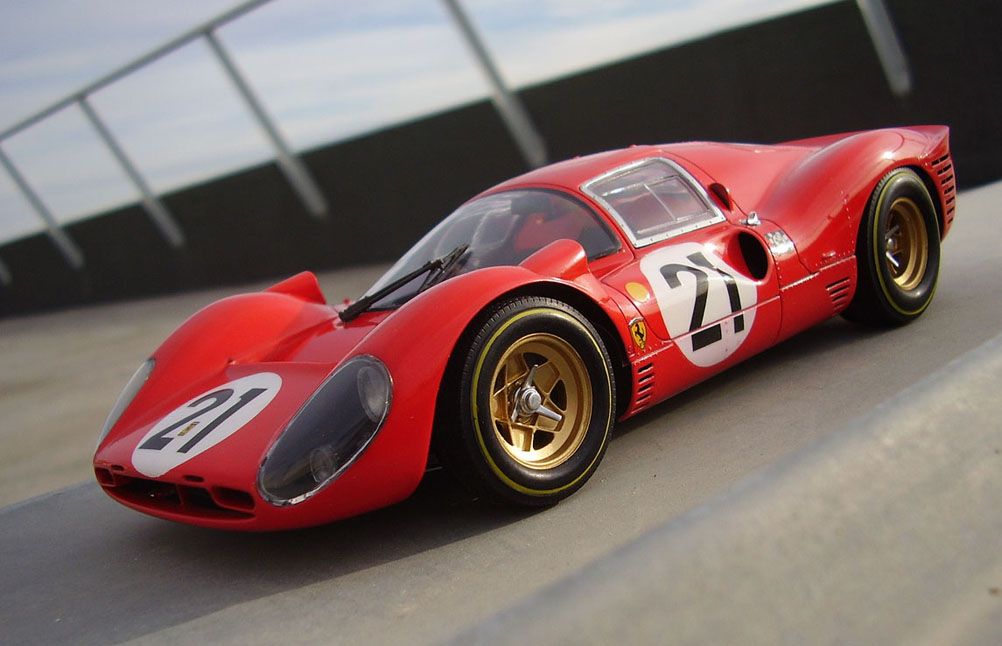
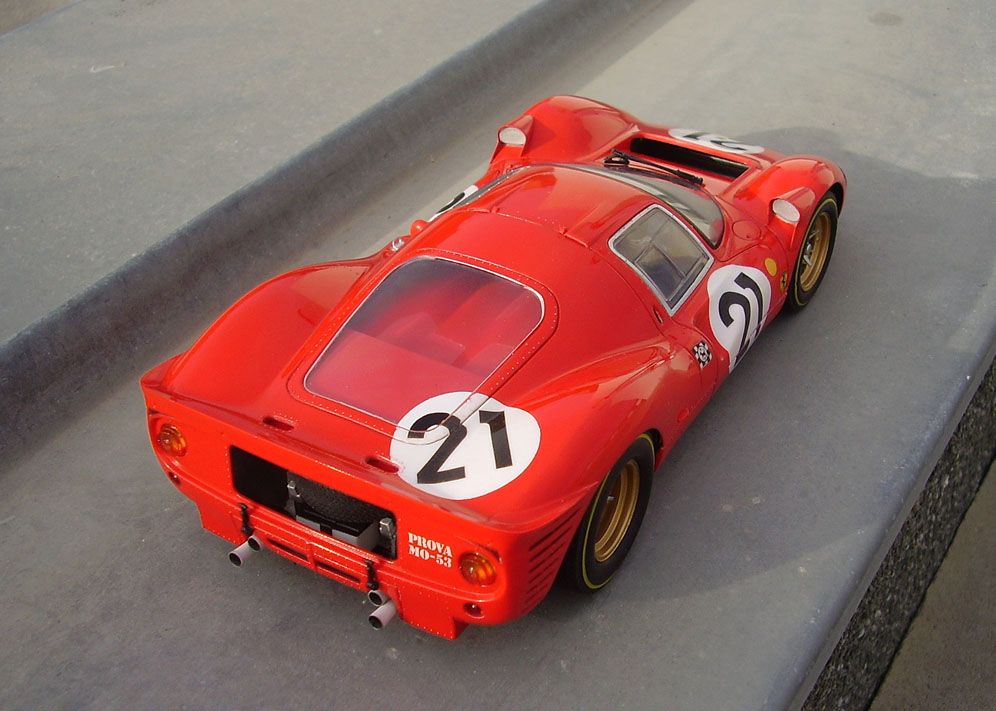
This was my second 1/24 vehicle built (the first car I build was an ESCI Ferrari 250GT SWB, around 1990). There are some defects and mistakes, but it was done with the little knowlegde on the subject and lesser experience I had at the time.
It was also the fist time I used an automotive polyurethane clear coat (two parts) that resulted in a slight orange peel effect and crackling at some locations. So I lightly sanded down the body clear coat with a 3M micro-fine sanding pad and polished it with Gunze-Sangyo fine, followed with super fine compounds. I had to be very careful not to cut through the paint around the edges, but patience paid off, I guess.
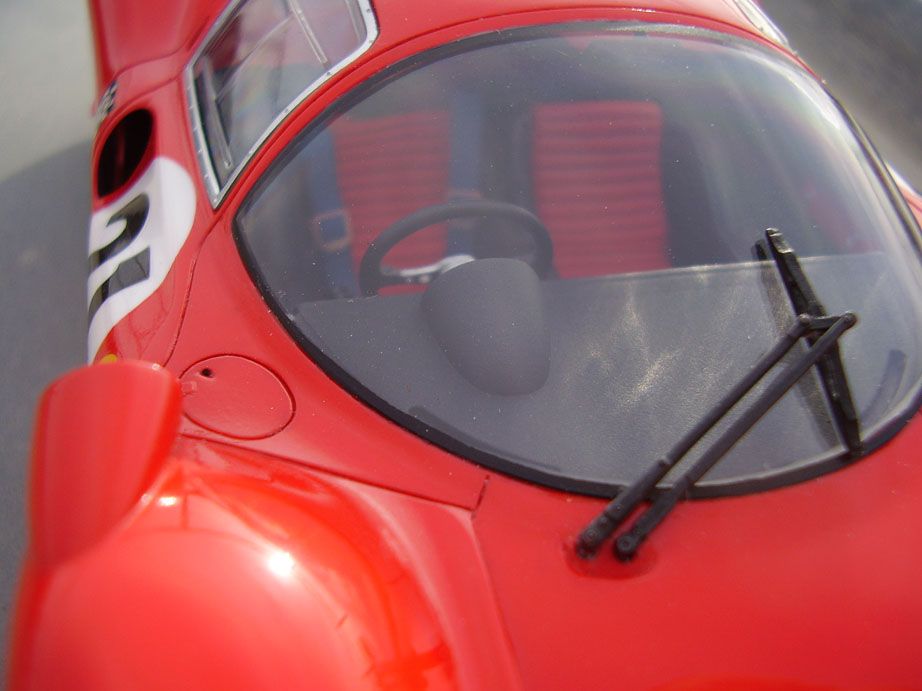
This kit was the curbside 330P4 option. I did not intend to display the model with the engine lid open, but was disappointed to see that from the underside it could be seen the lack of engine and some suspension parts. To solve this I set about scratchbuilding the missing parts (the engine block and exhaust manifolds and suspension bits), which can be seen in the link below.
Hope you guys like this one too!
WIP: http://arquivomnn.com/viewtopic.php?t=4706
-
The masking of the 1971 Mach1 was a bit of a pain but it was worth it. I cut thin strips of Tamiya masking tape (18mm roll) with a scalpel blade. I prefer this method instead of using ready made thin strip rolls (0.5mm, 0.75mm etc) it just doesn't work for me. If you cut very thin strips (slightly less than 0.5mm) you can mask any curved line you need, provided you take your time to set dow the strip carefully.
Thanks everyone for your kind words. I'm very happy that you liked these builds

-
Great build! Very, very well done. Those scratchbuild wire wheel are just prefection!
-
Beautiful build. I love it!
-
I can't believe, a Renault 16! I used to see those around when I was a boy.
Terrific build there, realy awesome!
-
993 GT2 is just the wildest road legal 911! Beautiful work there!
-
It's a keeper. Nice work!
-








1970 Dodge Challenger *environment friendly*
in Model Cars
Posted
Tommy, thanks a lot for your reply!
Best regards