-
Posts
5,816 -
Joined
-
Last visited
Content Type
Profiles
Forums
Events
Gallery
Everything posted by Straightliner59
-
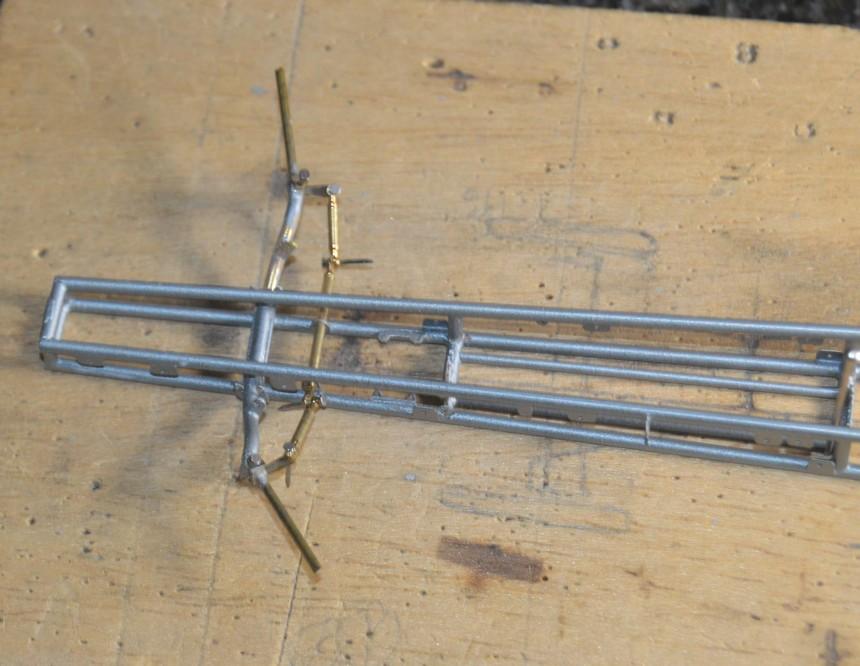
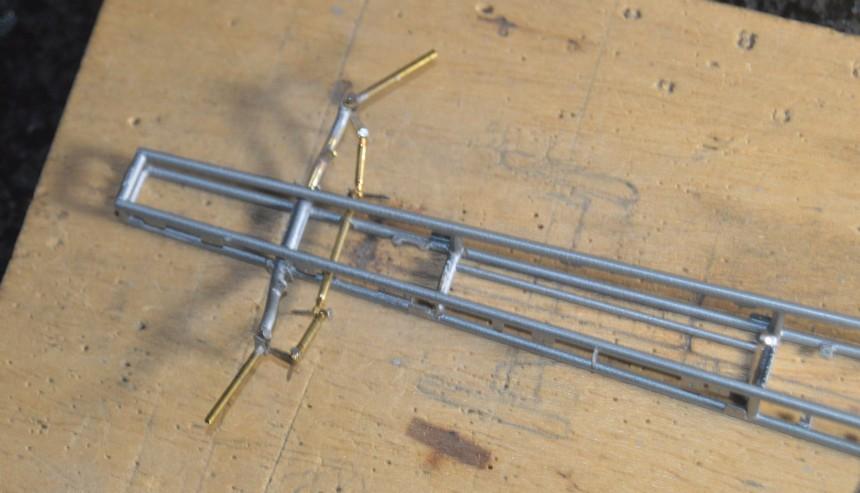
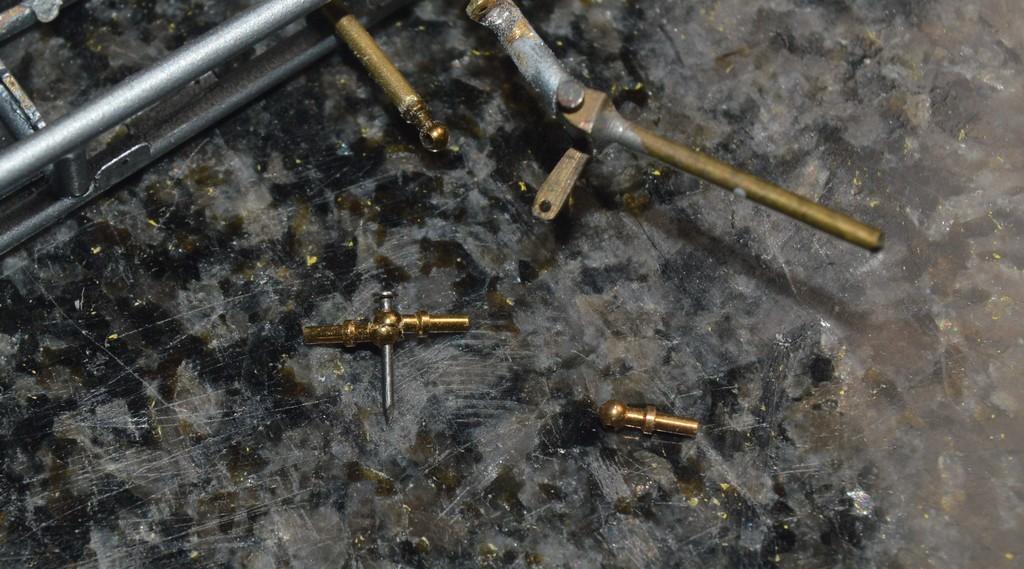
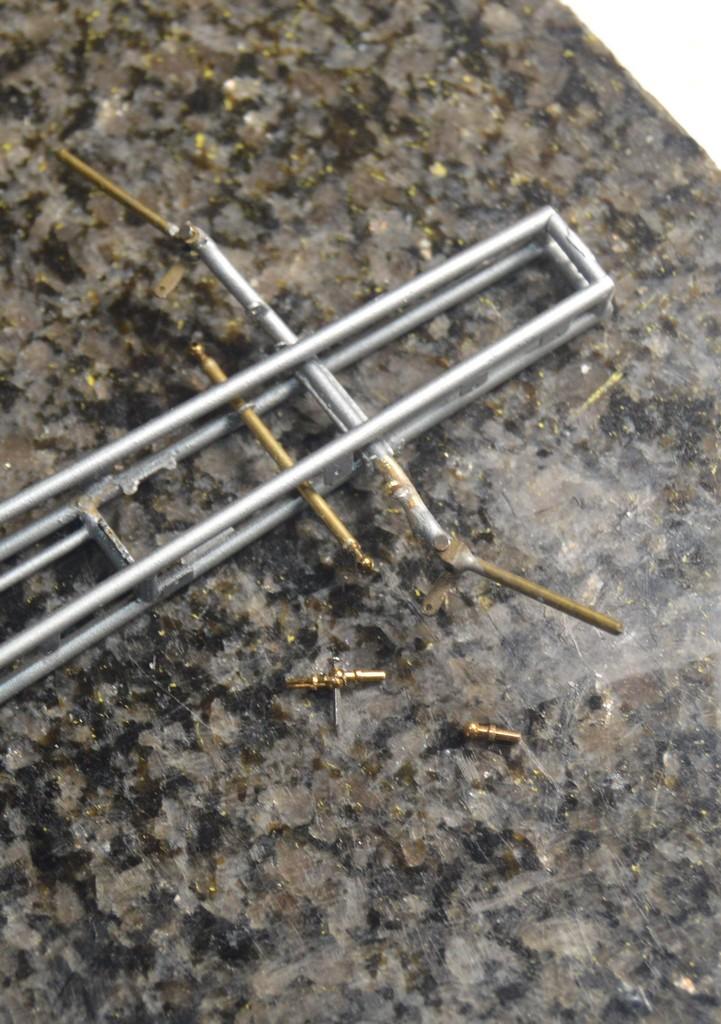
More steering stuff. The milled stanchions worked out, beautifully! I also milled one pair, a few thou, on each side, for the end that mounts to the spindle. It works even better than I'd hoped! It operates very smoothly. I'm kinda happy about it!? The center section needs about 1/16" in length. I can add that in the thickness of a couple of nuts. Now, I need to figure out how I am going to hold these things together! Your questions, comments and critiques are always welcome. Thanks for looking!
-
Thanks, Joe! I like to show what I'm doing, because that's how I learn(ed)--observing what others were doing, and trying it out. Before you know it, you'll be asking yourself, "I wonder if this will work?" There are some fantastic builders on this forum! Some of them make me shake my head in wonder and amazement, too! Thanks for looking in! Thanks, Rick! This is what is fun, for me. Yes, that was one of my early blocks--things went south, when I fired it, so, I had to limit it to static display duty!? That's a great first attempt, Marcos! It's taken me decades to get to the place I could finally say to myself, "It's okay. Learn from this one, and move on." That, alone, has gotten more models off the "island of neglected projects" and into my display case, than anything else! Thank you for your kind words, sir!
-
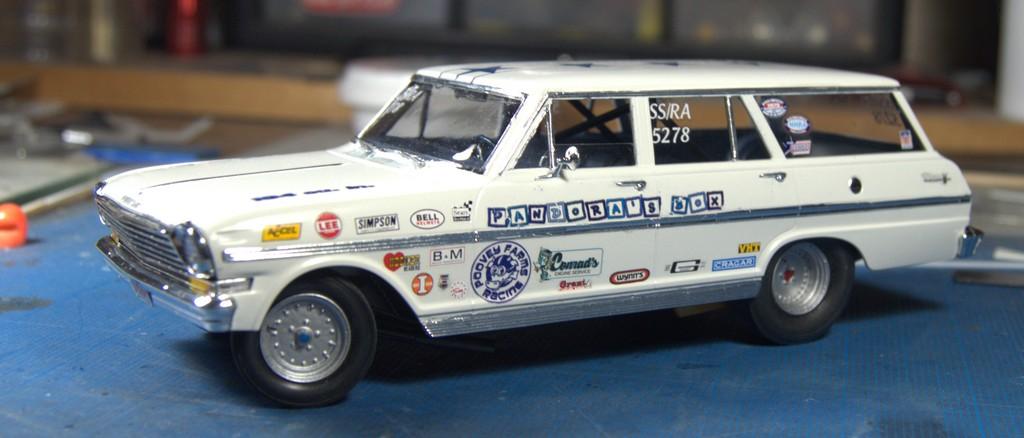
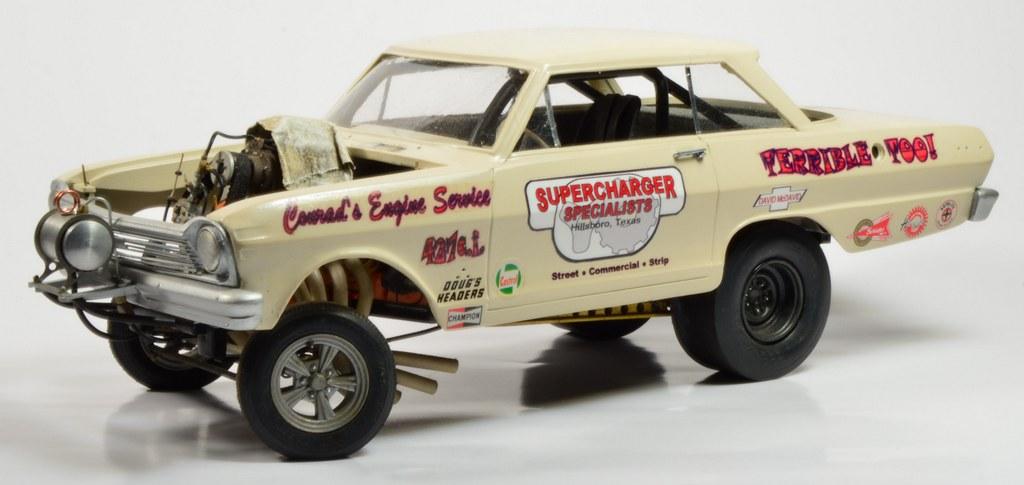
I got them on Ebay. They're Gofer Racing. Really nice! Thank you for the kind words, John. Since your handle is Chevy II, here are a couple of mine! The '63 Wagon is AMT's curbside version. I did it compliant with NHRA's '75 rule book. Its colors match my very first car--a '63 Chevy II 4-door, white, with a blue interior. The FXer is the Rat Packer, that was originally to be part of an ill-fated diorama project. That's why the "terrible towel"!
-
I have been using HO scale model railroad handrail stanchions for rod ends, for many years. The tie rod on this dragster is in three sections. Therefore, it needs two joints to make it work. Two handrail stanchions wasn't going to work--it would look ridiculous! Unless! I mounted one in a pin vise, and clamped it in the mill vise, and milled half the ball off the end. That looked promising, so I tried another...
-
I've been using decals, almost exclusively for tire lettering, the last few years. AMT did some tire sets that were beautiful, but, they're pretty much gone, now, and are often quite expensive. Fireball Modelworks has some fantastic lettering decals. I would highly recommend them! Here's my latest drag racer. I just finished it within the past week.
-
I have a ton of memories of Don. I first met him, not long after I got back into modeling in 1982 (I only took a five-year hiatus for sex, drugs and rock and roll--literally!) when he was working part time, in a hobby shop. We hit it off, because our modeling philosophy was very much the same--we were both always trying something new. That exchange of thought, and having someone else to bounce our crazy notions off of was beneficial to both of us as modelers. Our friendship went far beyond modeling, however. I often hung out at his place with him, and his brother, playing cribbage, watching TV--just hanging out. His brother was acerbic and bitter, and freaking hilarious! The barrel valve is kind of an interesting story. It was one year, in the mid '80s, I think maybe at Salt Lake, Don had built a then-current style fuel altered. The main critique against it was just that it was "too cluttered" with detail. I said, "I don't think that's the problem. I think the barrel valve is too big." When I got home, I started messing around with one. The first one looked good, but it was still too big. I started, again. This time, I was happy with it. Next time I saw Don, I showed him the new Enderle barrel valve. He said, "How did you do that?!" I said, "I made one, as small as I could, then I threw it away, and made one even smaller!" We had a good laugh, over that. Anyway, I still have the original mold we made of that valve. You're right about the MSC ads. He also featured in some for Detail Master, as well as providing Gregg with a lot of content in the magazine's earlier days. He built a Thunderbird Pro Stocker that was on the cover of (then)SAE. He was always willing to share his knowledge with anyone who was interested in learning.
-
Thank you, Marcos! Here are some of the things I have fixed, so far...I reattached the steering box support. I removed the canard mounts, and made new mounting points for them. I will build new supports, better than the old ones, and, so I can mount them after the body is installed. I made a new tab to mount the radius rod, to replace the missing one. The spindles were built and given to me by my long-time friend and mentor, Don Fahrni. I will be proud to use them on this project, in his honor, and his memory. At some point, I must have discovered an efficient way to replicate engine-turning. There appears to be plenty of it, here! I think my best plan of attack will be to build the steering, so I can get the car on the wheels, first. Unfortunately, it's not much, exciting, but, it's stuff that needs to be done. Comments, questions and critiques are always welcomed. Thanks for looking!
-
No sweat! That kind of stuff is a reality, for us modelers. I wish you luck, in your pursuit! I'm trying to figure out just what all these tabs are for! I did fix the steering box support. I found a missing tab on the front axle (for a radius rod), so I will need to make a new one, and clean up that area, so it can be soldered on. I'm trying to decide the best way to sort all this stuff! Yikes!
-

Where Did All The Krylon Go?
Straightliner59 replied to oldcarfan's topic in Model Building Questions and Answers
This! -
Hi, Bob. Thanks for checking in! I think, at the time, I didn't quite have the confidence that I could finish it. I paralyzed myself, wondering/worrying that I had forgotten something. Some projects I had put aside, just because I was bored with them. Over the last five years, though, I've finished several projects that had been languishing for many years. I always knew that, some day, I'd come back to this one. It feels like the right time. I'm sure, now, because when I started giving it a serious look, and playing around with it, it just felt good! So good, in fact, that I actually told it so! ? I hope that you find the inspiration to go on with your project, as well! If this dragster can be a part of that, then that makes me happy!
-
Thanks, David. Thank you, Bill! I appreciate it, gentlemen!
-
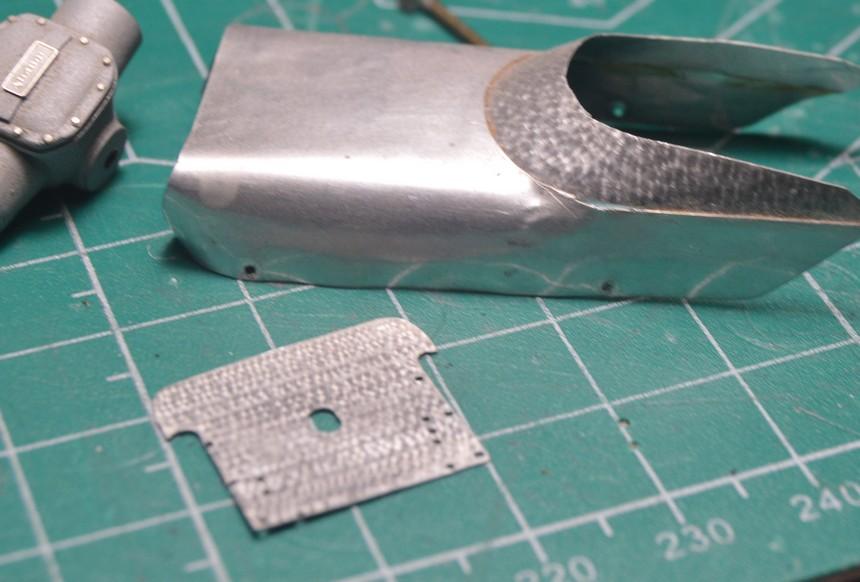
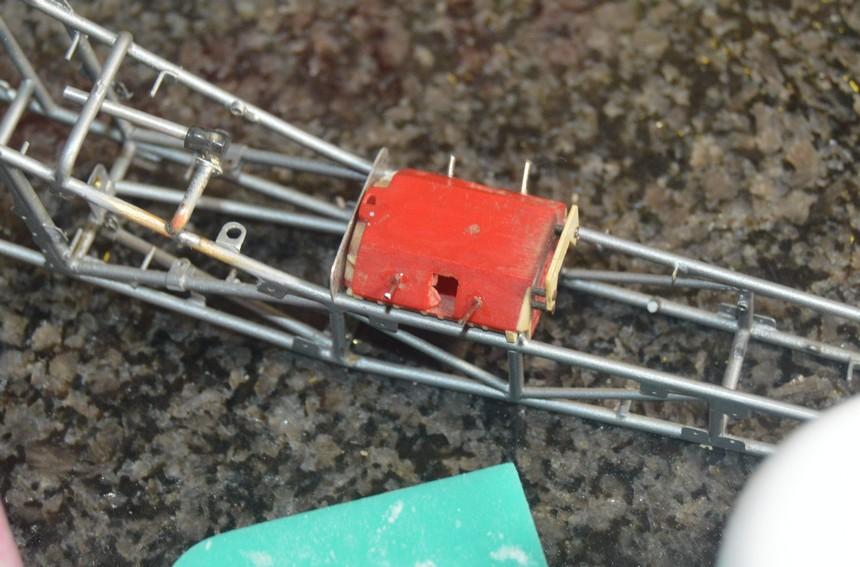
When I started to remove the idler bracket, the fasteners wouldn't come loose, and the bracket broke--unfortunate, in that I was planning to use it as a pattern for the new piece. Anyway, the brads that were pinning the bracket in place had rusted, seizing themselves in place. I guess steel parts will do that, sitting for so long! I made a new bracket from aluminum flashing, and new standoffs from 1/32" brass tube. At some point, some years back, I found a piece of damaged copper weather stripping lying on the ground. It was soft and very thin. It looked like head gasket material, to me. I've used some of it, here. It should be a nice contrast to the aluminum colors of the block and heads. Any comments are welcome. Thanks for looking!
-
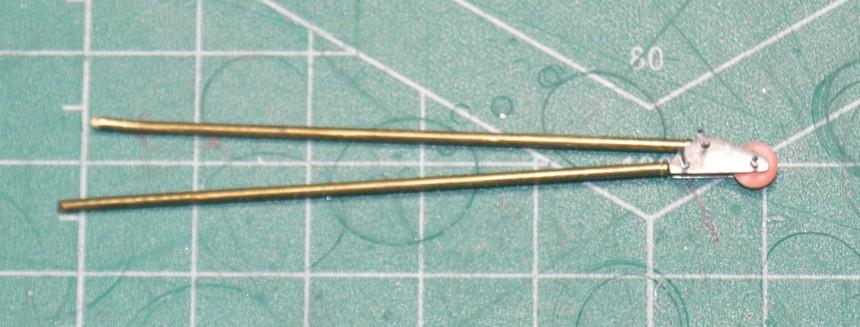
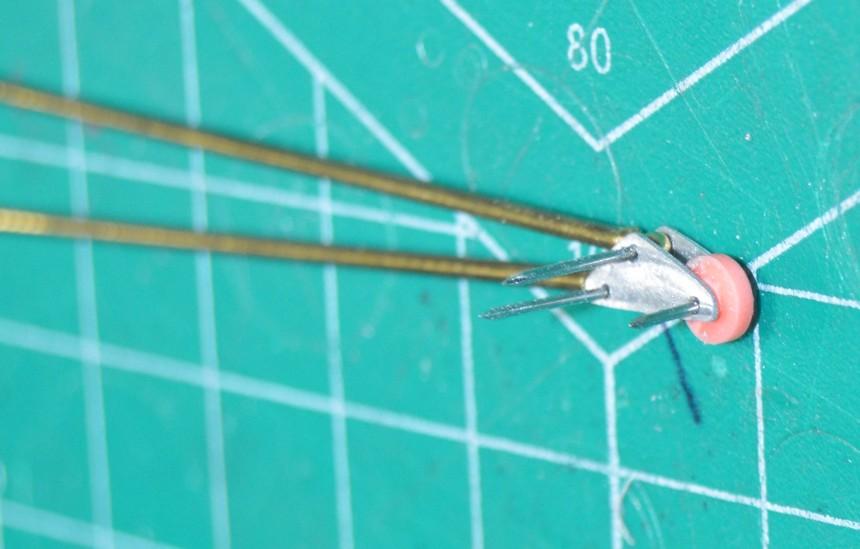
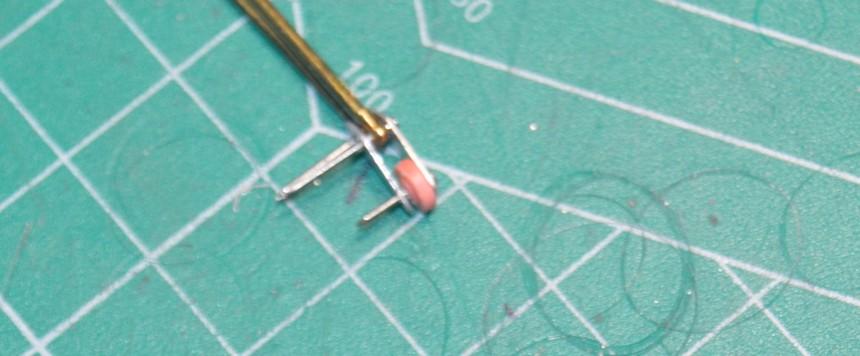
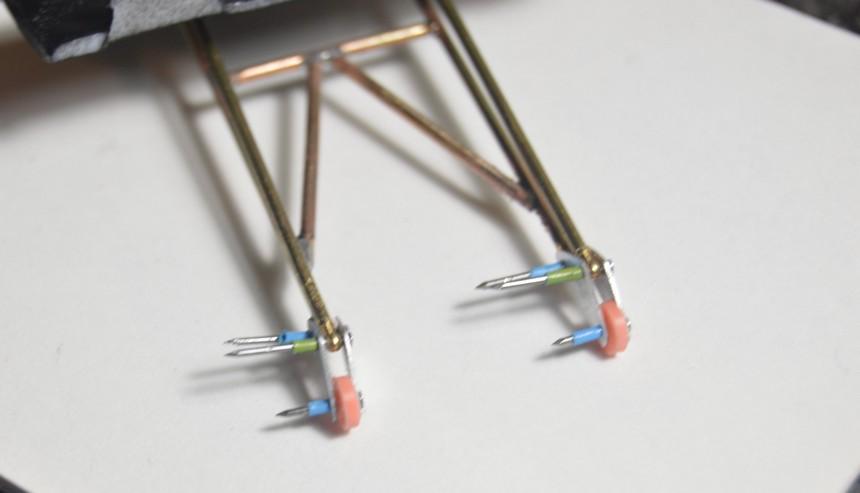
Thanks, Carl. I appreciate it! I soldered brass tubing together, to make the actual wheelie bars (they could just as well be made of plastic). I used HO scale model railroad handrail stanchions for the Heim joints. The side plates were cut and filed from aluminum sheet (or, maybe flattened tubing). The wheels were turned from a plastic coat hanger. The caster assemblies are held together with model railroad hex nut/bolt/washer castings. Here are some photos of their construction.
-
Thank you, John! I appreciate that!
-
Thanks, Scott. I'm glad you did! It was a lot of fun!
-
Okay...here we go! I got the steering box mount re-soldered, and installed pins to align the heads, while engine work goes on. The timing cover I had was wrong. The one from Miss Deal looks like a Donovan unit. I cast one in acrylic nail resin, using a mold I recently made. I can't begin to say, how much money I have saved on parts kits over the decades, just by learning to make and use simple, open-faced molds. Most valve covers, cylinder heads, intake manifolds, and many other components only require very basic mold-making materials and skills to accomplish. The materials are much more diverse, forgiving, and readily-available than they were, back in the mid-'80s. I'd recommend looking into it, if you haven't, and you have a need for cheap, maybe not-so-common parts! Most of my early work, here will involve replacing parts I've already made. I'm considering attempting to mill a new fuel tank and valve covers from aluminum, but, either of those would be down the road. I will look for parts that I think will be good ones to improve my machining skills. The idler pulley bracket will be an early replacement--this time, in aluminum. I have already made a boatload of pieces and parts for this project. I will share some of them, as the journey continues. Thanks for looking!
-

Where Did All The Krylon Go?
Straightliner59 replied to oldcarfan's topic in Model Building Questions and Answers
Walmart hasn't had it, around here, for a few years, now. Home Depot no longer carries it, but Lowe's does. Supply chain issues may be affecting stocks, but, I don't know about that, for sure. The thought of Krylon going away made my mouth suddenly dry!? It's my favorite paint! -
Thanks so much, Joe! It looks like there will be progress to follow. I have already started removing paint from the areas of the chassis that need repaired (although one is really just an improvement over my original idea.). I guess my best plan is to make the fixes, build the new body, then start pinning everything together, so I can be sure it's all there. This is my most ambitious project, to date, but, I feel confident that now is the time that I can "get 'er done"! The question mark has now been removed from the thread's title!
-
Thanks, Gary! You do some fine work, yourself, sir! Thanks, Scott. Promos are pretty reasonable, on Ebay, generally. Kits are a bit more costly. Promos work great for this kind of stuff, though!
-
The pedals look great! Who'da' thunk it?! Glad you're back at it, Joe. I get it, how life can toss a monkey wrench into the works of our happiness. I definitely find interest in what you're doing, so I am glad to be able to follow along.
-
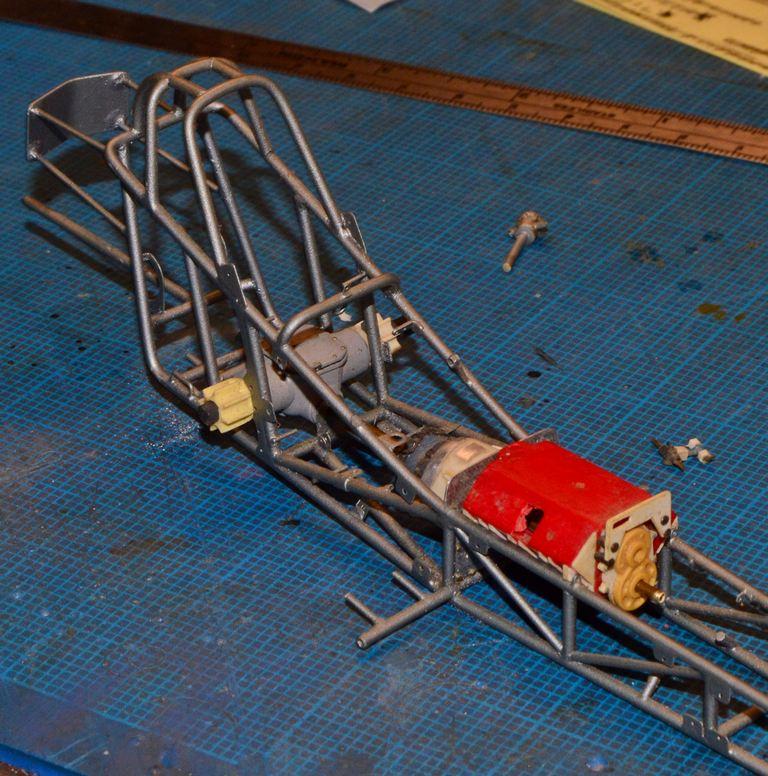
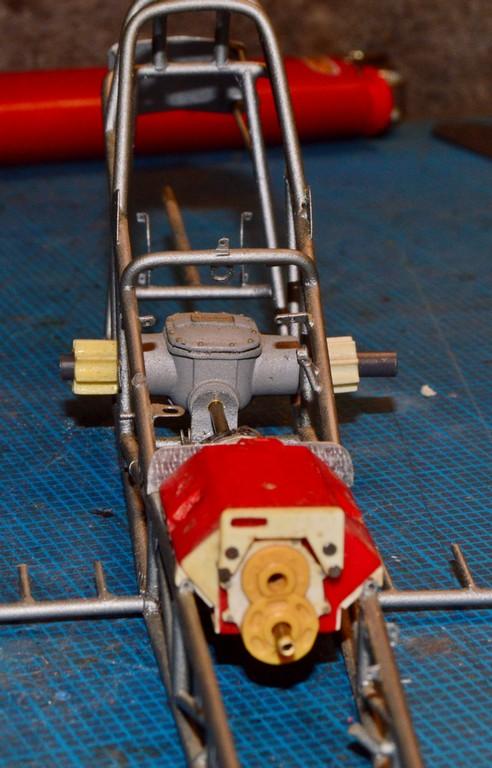
For the past couple of months, or so, I have been giving serious consideration to bringing this project back to the bench. I really haven't touched it in nearly 25 years. I debated beginning this thread, but decided that doing so, would, perhaps, keep me honest!? I have a couple of repairs to make to the chassis, before I really jump in, but, it should be fun! I was having fun with it, before, and kind of became paralyzed by the fear that I'd forgotten something, you know, brass, and all...once the paint's on it. One of the first orders of business will be to build a new body, this time from flashing, rather than the tooling aluminum I used in the interior of the Vega. It should be relatively simple. Since the existing panels fit nicely, they can be used to make patterns for new ones. Here are photos of the project, both old, and current (not that anything's changed, other than I haven't installed the body panels, recently. I should mention that the nose and tail will not be trifled with, in any way! They are hammered and soldered K&S tin sheet, and will work fine, with the new panels. As always, questions, comments and critiques are welcomed. Thanks for looking!
-
Thanks, Christopher.


