Straightliner59
-
Posts
5,817 -
Joined
-
Last visited
Content Type
Profiles
Forums
Events
Gallery
Everything posted by Straightliner59
-
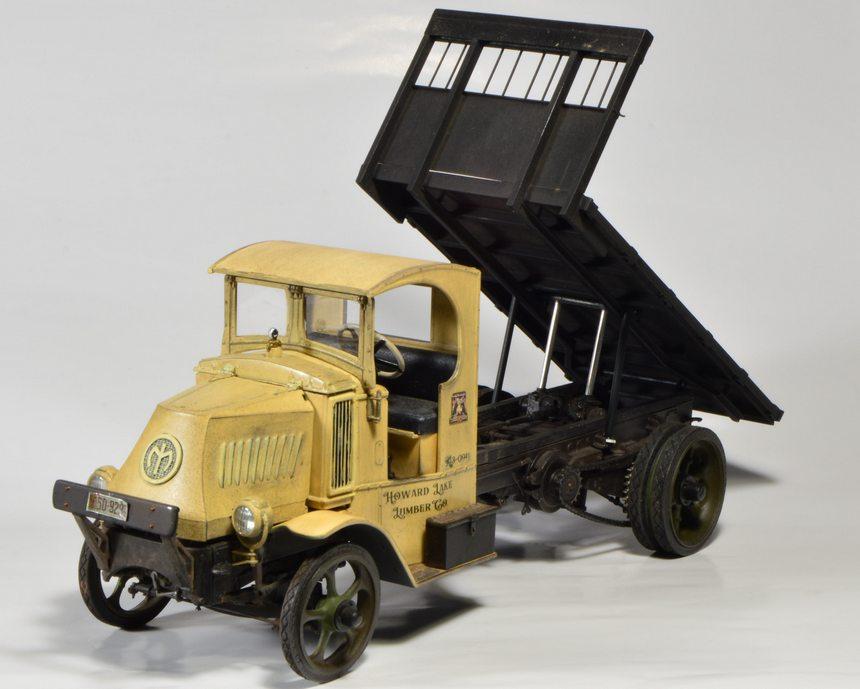
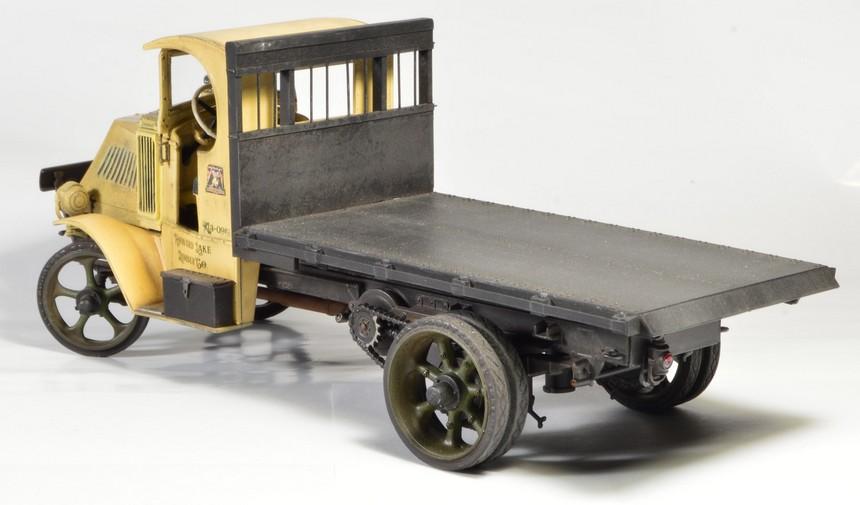
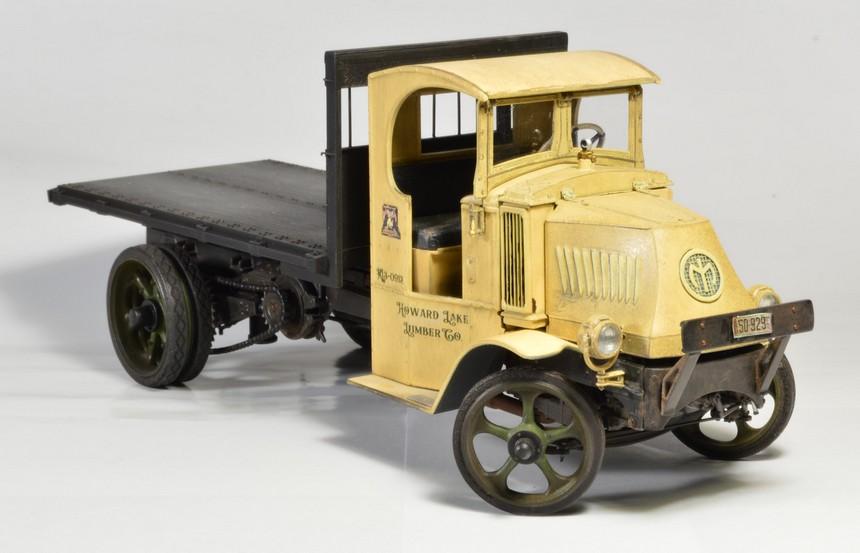
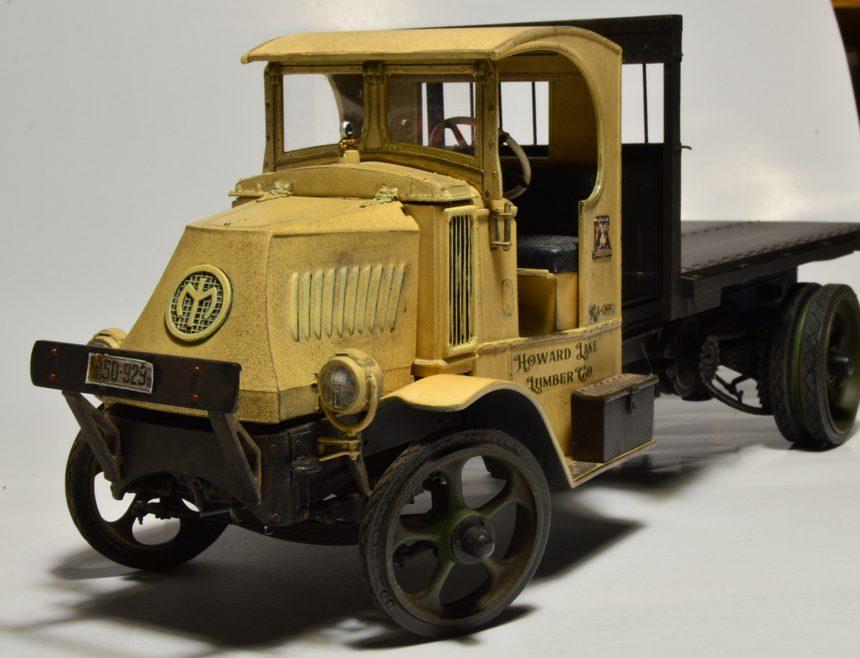
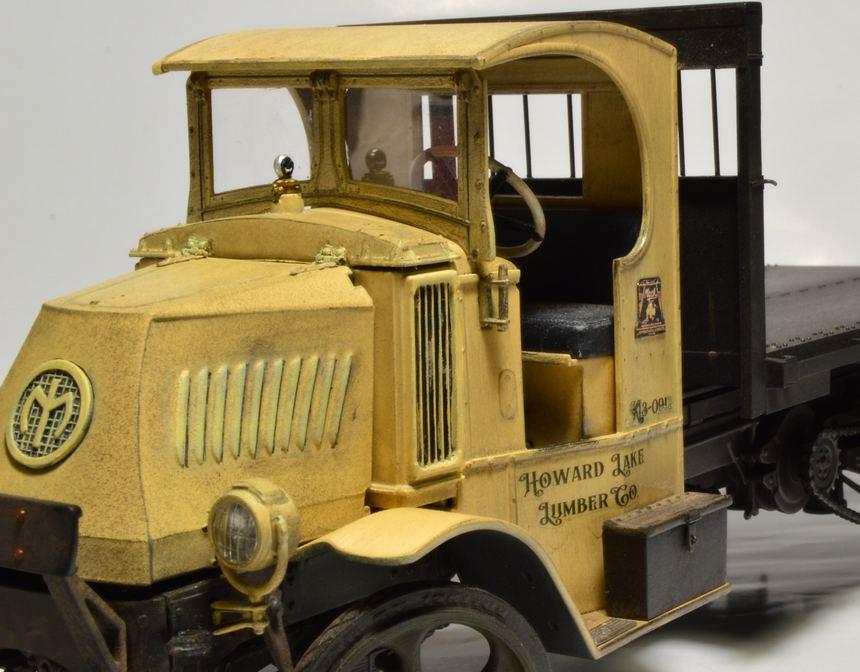
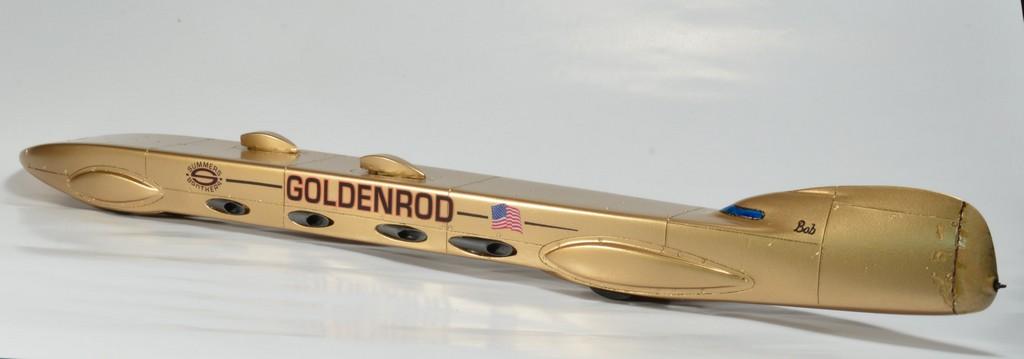
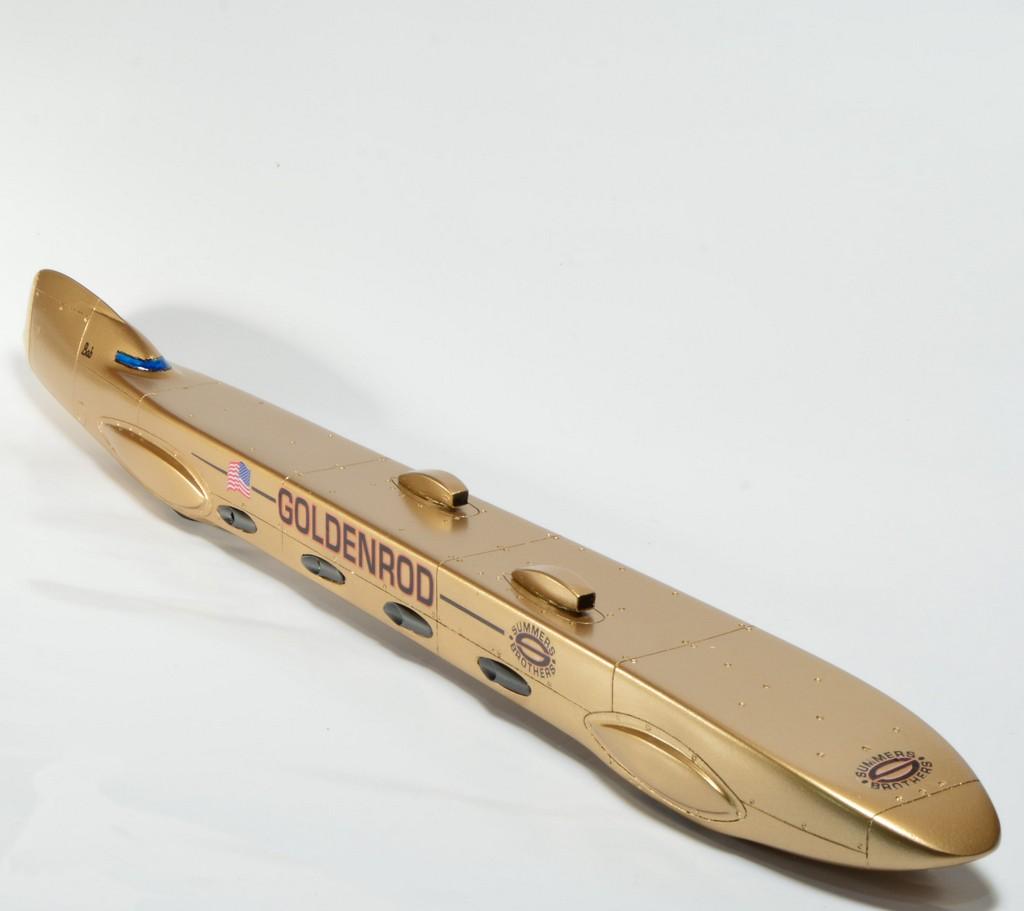
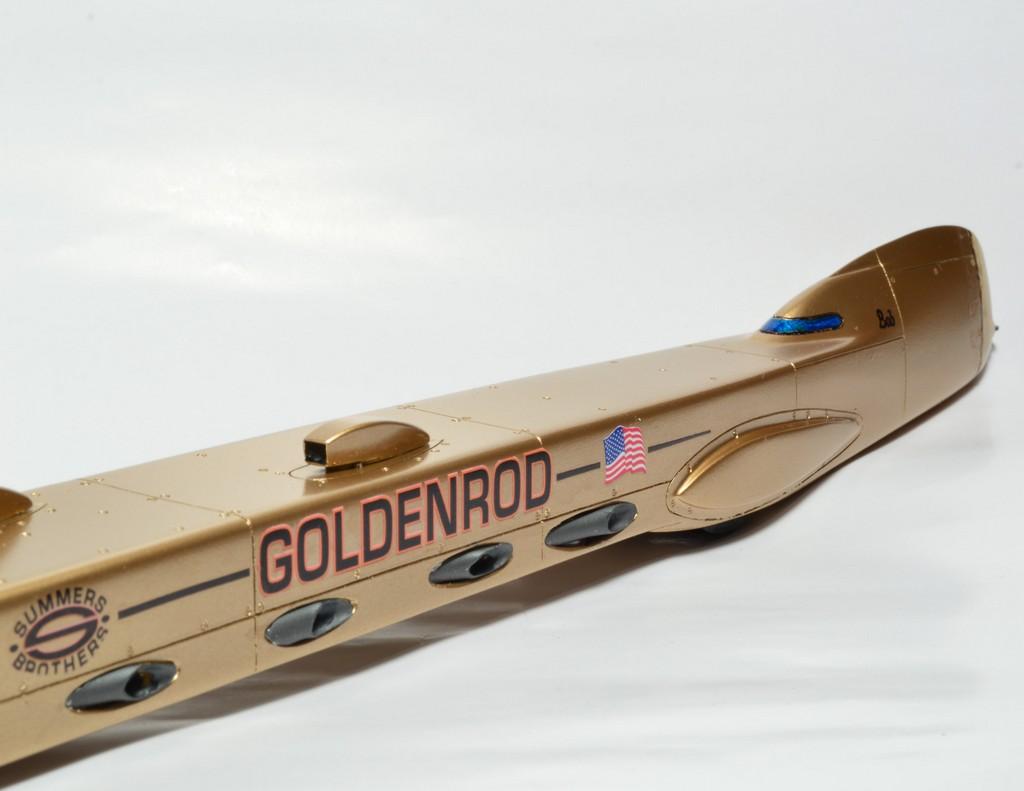
I finished these two in 2021. I started working on the Mack, just before the start of the year. In the midst of that, I built the Goldenrod for the 24 Hour Build deal. The Mack actually won "Best '20s, '30s, '40s" at one of the shows I entered it in. I think that's not too bad, since, hey, it ain't a hot rod. Or a Classic! Anyway, thanks for looking.

-
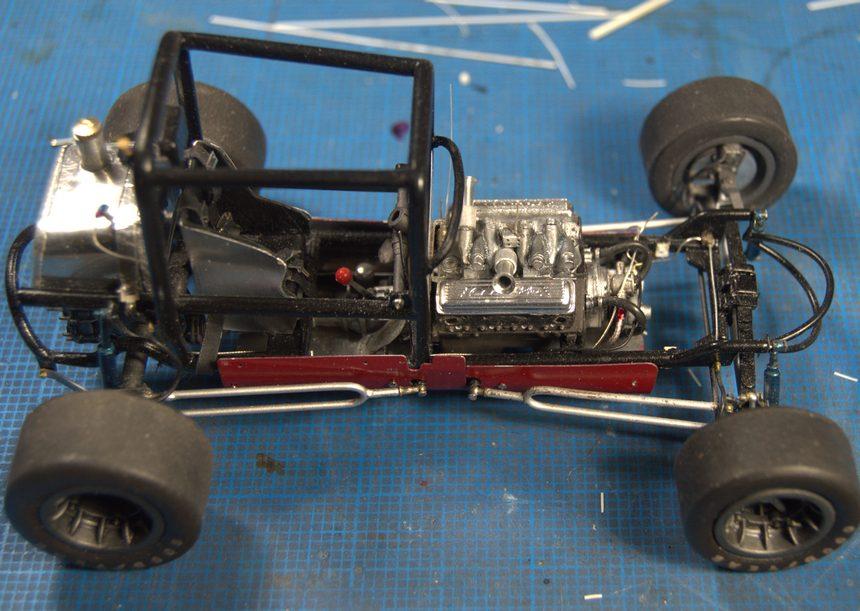
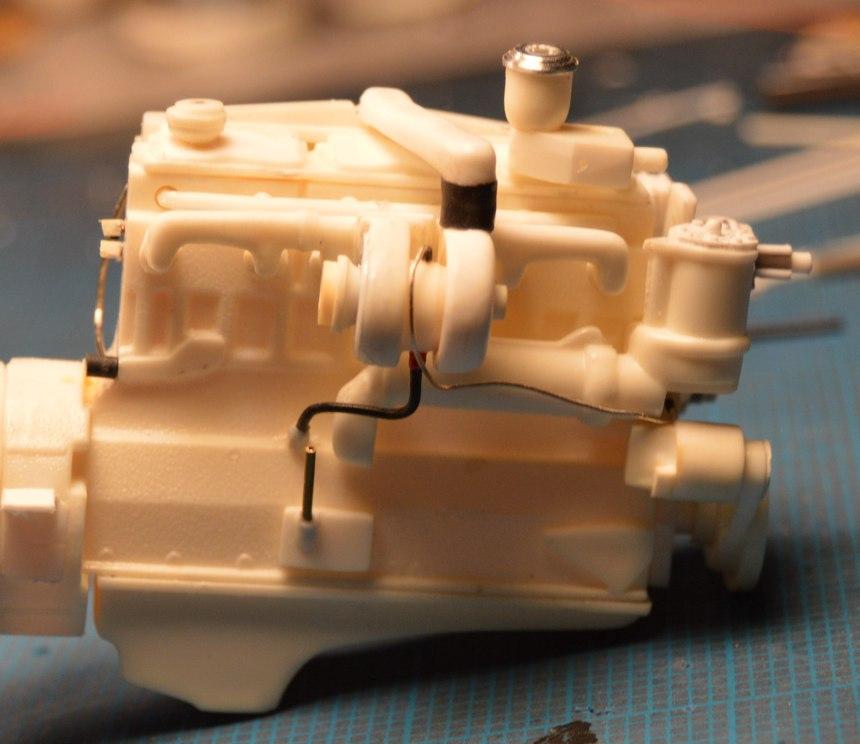
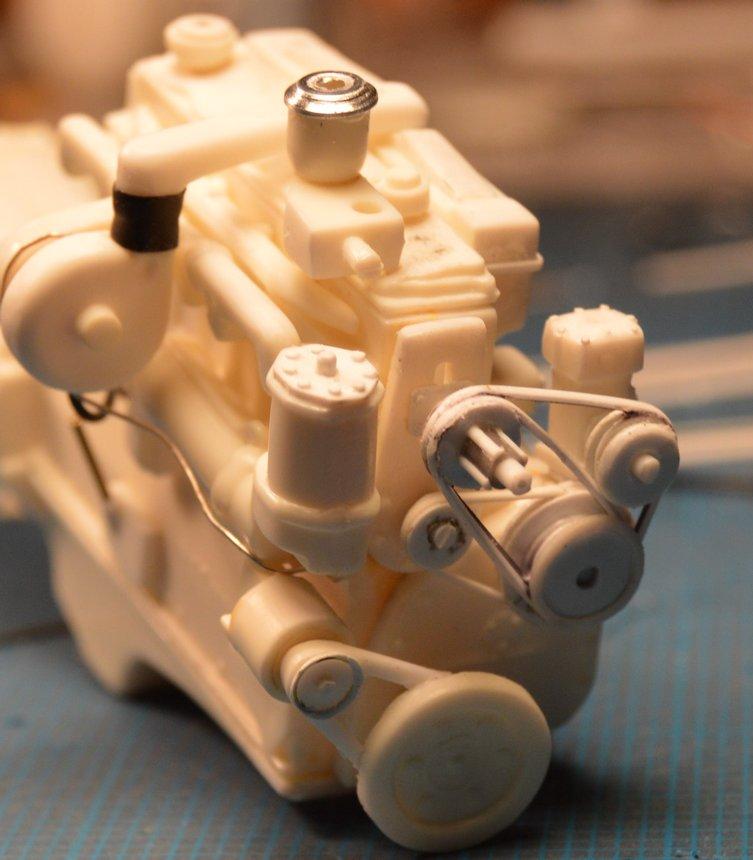
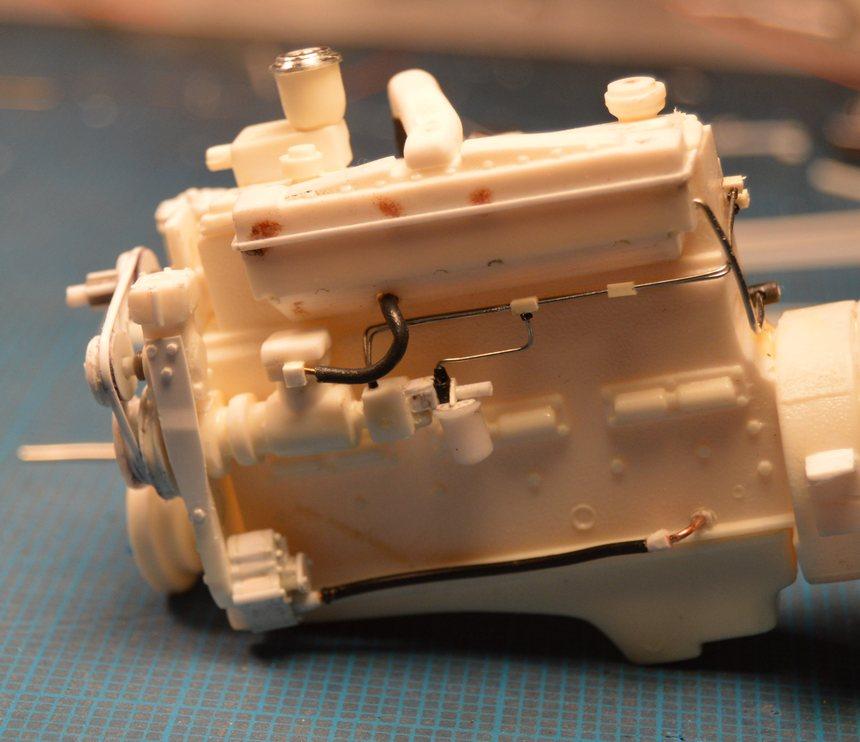
 Getting a bit further along. Who am I kidding? I just wanted to get my first post of 2022 in. I got a bit of a wash on the manifold, and sorted out the mounting for the fuel block/throttle valve. I threw a couple of injector units on, just for grins, and to see how the aluminum works with the paint. I still want to darken the manifold, a bit, via washes or pastels. Anyway--thanks for looking! Comments are always welcomed!
-
Tasty! Nice work, Bernard!
-
GMC Pro Street Chassis
Straightliner59 replied to olschoolkid's topic in Model Building Questions and Answers
That would be my advice, especially if you've never built, but out-of-the-box, before. "Scratch-bashing" will prove less frustrating than a full-on scratchbuild. I have bits of projects from nearly forty years ago that are just as they were, back then, because I didn't have the skills, then, to complete them. Now, I look at them, and know that there's no sense in pursuing them, because I know that I can do better work, now. Should you decide that you want to scratchbuild your chassis, it would be a good idea to visit Alston Chassis' website, to start. As I recall, they have some line drawings, and other things that can be helpful. Have a blast, Matthew! -
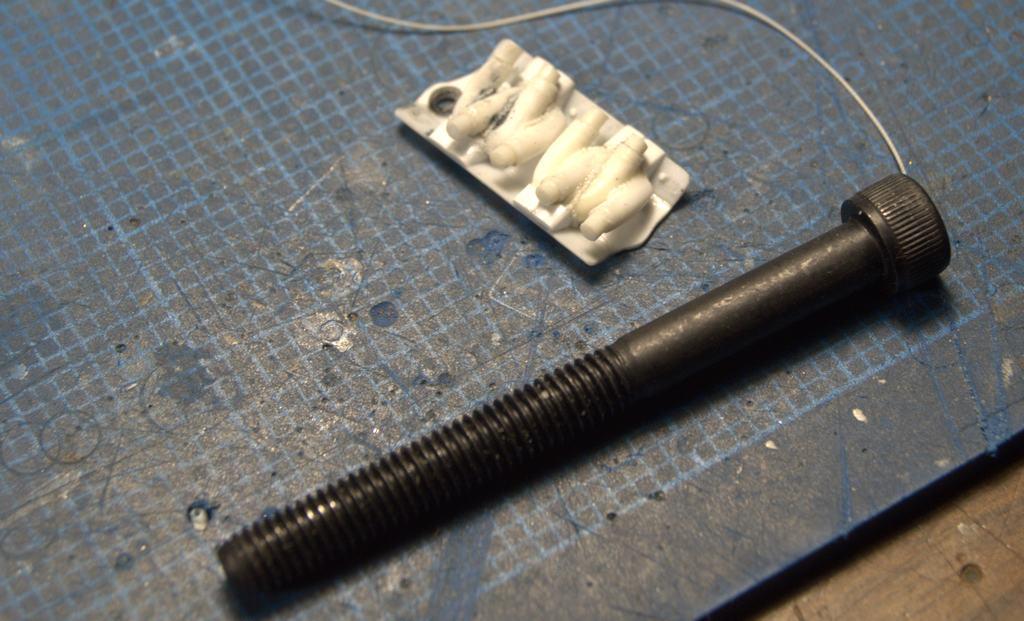
Thanks, so much, my friend! Things have gotten much better, since I got one of those giant dimes, like you have. ? Thanks for that tip!? Kidding aside; I had tried to pull the material through my straight knurls, but it was pretty much uncontrollable. Then, I thought about the flutes on the cap screws. They were small enough to work! They provide even beading, but, once the rod is in place, and has been manipulated, some of the beads get shifted a tad, creating a mostly even, but, not perfect seam. I'm really happy with the way they look!
-
64 Dodge D100 Pickup Pro Street
Straightliner59 replied to AmericanMuscleFan's topic in WIP: Drag Racing Models
I concur! -
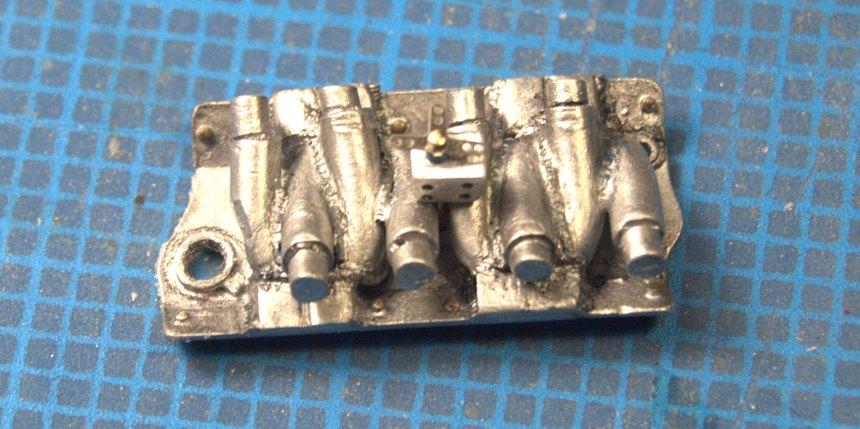
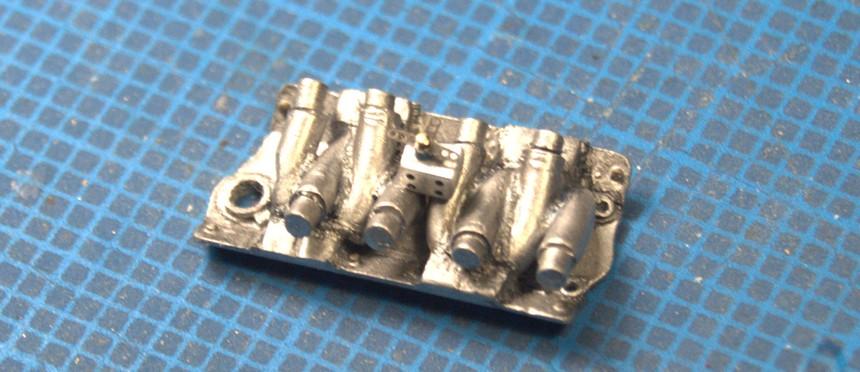
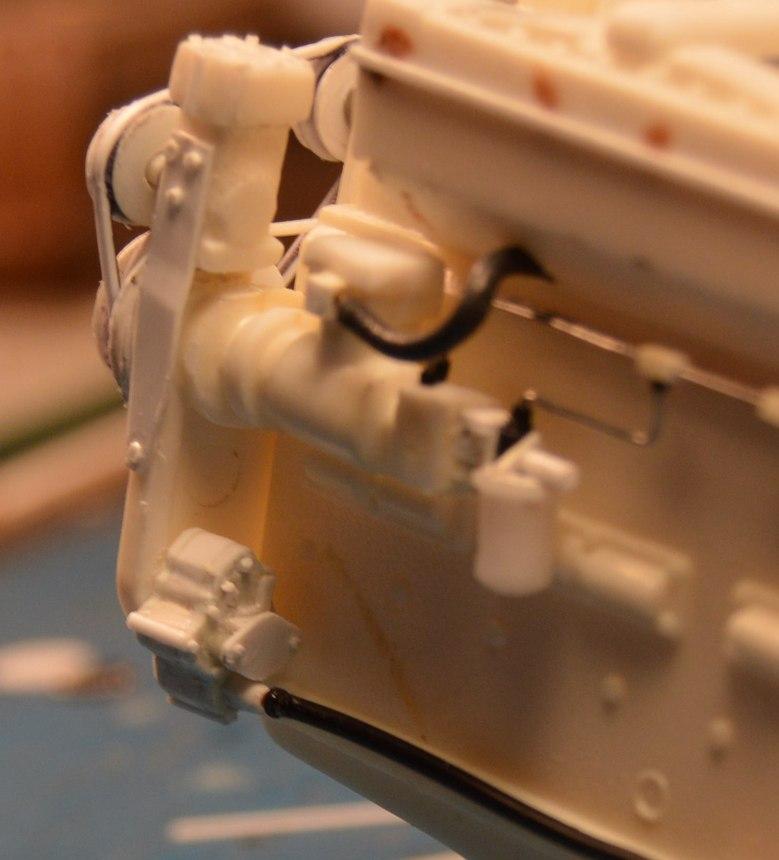
That's some pretty cool wall art, I'd say! Extra cool that they have that kind of history. I really think I want to just "leave" this in raw metal. I think I am going to mount the fuel block/throttle valve on a post, in the center of the manifold. It's about the only thing I can think of, that will work. Anyway, once I had that sorted, I decided to shoot some Testors Stainless Metalizer on it. That really made the welds "pop". I will add some detail paint, and some slight weathering , then start putting the injectors together, and installing them. I kinda' like the way it looks!
-
I'll be checking it out, for sure. Sounds like a very cool project! Is that orange good ol' Competition Orange? I always liked that color.
-
Very nice work, Jim. It's looking good, all around, sir!
-
'66 Shelby Mustang Group II
Straightliner59 replied to afx's topic in WIP: Other Racing: Road Racing, Land Speed Racers
Chassis looks great! I prefer this kind of "subtlety" to high gloss and chrome. -
Machining Steering Columns
Straightliner59 replied to bill-e-boy's topic in Tips, Tricks, and Tutorials
I have been using high speed printed circuit board bits. I like them because no center drilling is required. There are sources on Ebay where I get assortments of sizes, or a box of individual sized for $25, shipped. I have bored holes in. 030" plastic rod with a .0197" bit. They're brittle, but, in a lathe, mill or drill press, they're the cat's meow! -
I would recommend using JB Weld, for your application. ?
-
Utterly gorgeous!
-
Yessir!
-
We have a winner! ?
-
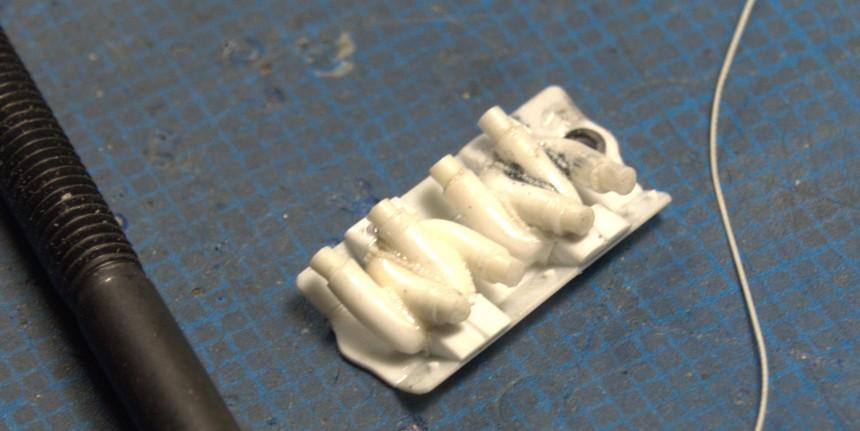
It's getting closer...To make the welds, I rolled the straight-knurled end of a cap screw along a length of .010" Plastruct rod, to create beading. Then using liquid cement, applied with an insulin syringe, I attached it in place, and worked it "in". I still have some work to do, and some parts to add, before I can paint it. For color, I'll probably go with MM Stainless metallizer, and apply a touch of color to the welds, and some overall color, to make it resemble unpainted mild steel. I think I'm pretty happy with the way they look. Paint will tell the story! Questions, comments and critiques are always welcome! Thanks for looking!
-
64 Dodge D100 Pickup Pro Street
Straightliner59 replied to AmericanMuscleFan's topic in WIP: Drag Racing Models
You know I love these cool, little details, Francis! The round mirror is perfect, for this. Fabulous work, as always, my friend! -
Use of embossing powder
Straightliner59 replied to charlie8575's topic in Model Building Questions and Answers
I use a like/similar color paint as the adhesive, and work in sections. There's no need to strain embossing powder, as it doesn't clump, on its own. It's a much superior alternative to flocking. -
And, that's exactly why I asked!
-
That was exactly what I was thinking! I was figuring it was all mild steel, because, as you stated, that would be more common, therefore more likely to be used. My "guy" is just a hobby racer, mostly interested in seeing what he can do with the stuff he has access to--but he likes it to at least look tidy! The main reason I am doing this, is because I don't want "just another Hilborn", and I already built a dragster with a proper, scratchbuilt, Enderle setup. And, I have plans for a Hilborn injected big block car, so, it had to be different! Thank you for your help!
-
Okay. That's the article I was using to build this one...
-
It looks like the drawing isn't very specific, as to the correct mounting point. I would just move that part down to where the service manual shows it. Depending of course, on how far you want to go, with it. That would be the simplest solution.
-
My first big rig build
Straightliner59 replied to raisin27's topic in WIP: Model Trucks: Big Rigs and Heavy Equipment
That engine--well, everything looks great, so far. The weathering on the engine, and the perfect sheen on the tires are exceptional! Very nice work! -
That sounds like an idea worth exploration! I will definitely give that a try, before I move on. Thank you for your kind words, Alan! They're always appreciated!
-
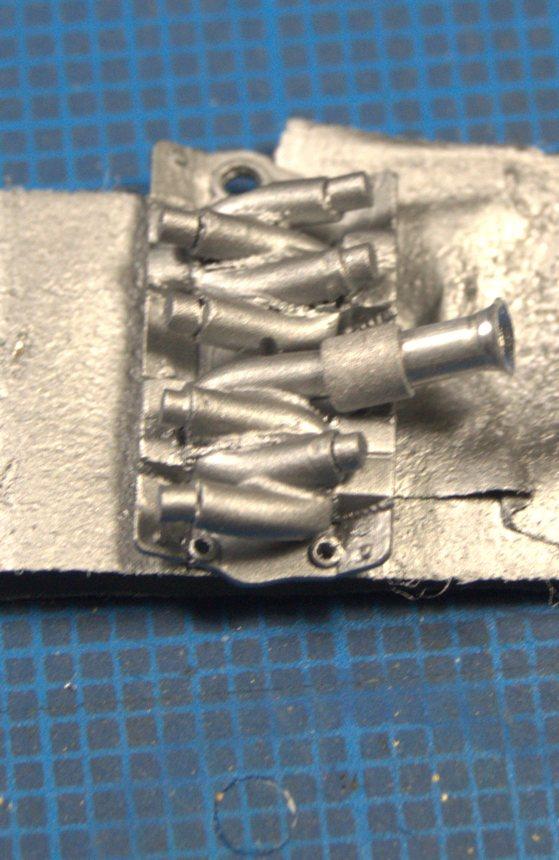
Apparently, with me, fuel injection systems must become some sort of saga. Thankfully, this one won't be taking anywhere near the twenty-odd years the Enderle setup did, for the junior fueler! I need to temporarily mount the injectors, so that I can properly align and cement the runner tubes to the manifold. Once that's done, I can work on the weld beads and finish. I found this old bottle of Floquil paint in my stash. I think it'll do, nicely, to represent the discoloration of the welds. I had a (late) friend who did all the hard-facing on an AMT bulldozer blade and ripper using only Floquil paint, so, I suppose the paint could be used to create the beads, if I care to give that a go. Anyway...it's getting closer. Thanks for looking!