

Mystic32cat
-
Posts
45 -
Joined
-
Last visited
Content Type
Profiles
Forums
Events
Gallery
Posts posted by Mystic32cat
-
-
I am making a set of custom headers and I would like to build a mold so I could use it on other models. How do I make a mold with stuff you would have at home?(like silicone, hot glue etc..)
-
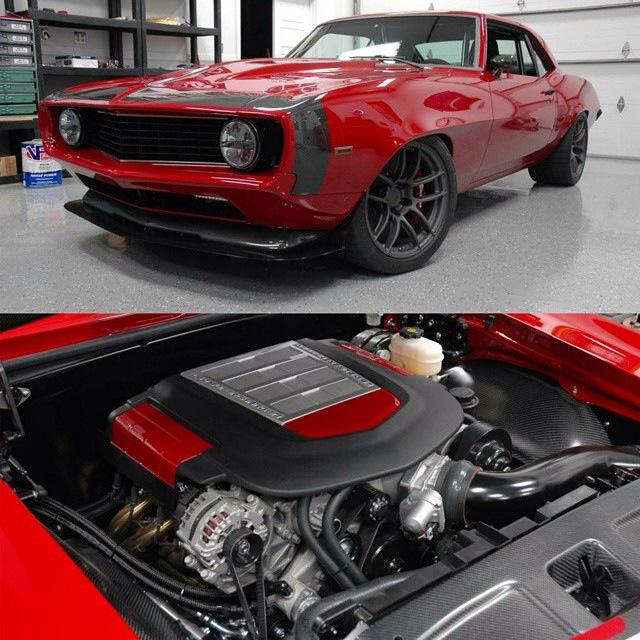
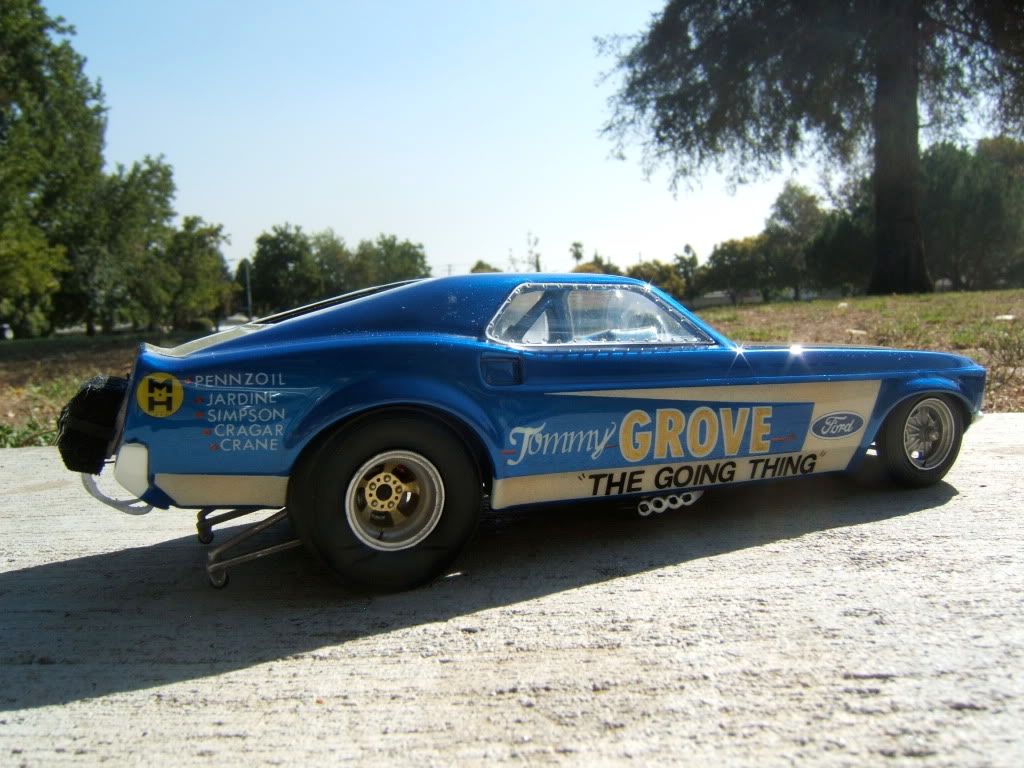
 I am building a 1969 camaro. I am looking for a set of wheels and I need help because I don't know where to get them! I am looking for a set similar to these. If you have any suggestions for wheels please let me know! Not really sure why there is 2 of every picture sorry!
 -
thnx guys :)made the cables a bit more visible again and brushed the black so it not so smooth and a tad less glossy
rusted the diff coverand rusted the floor so the chassis pops more .. now later i will toutch up some things more .. like the bottom edges of the cab .. they are bare again because it sits on the bench .. after assembly i will cover the edges in rust againHow did you do the rusting?
-
Mike/Ron/Chris and Mark......thanks again guys. i'm in the final stance phase and took time today to figure out how to set it up for quick on/off and for accuracy in addition to the actual soldering that I'll do while it's in place. With the doors / front posts and rear suspension coming up soon it's high time I figured out the final fabbing process. The stance at the front spoiler is EXACTLY a scale 3" and at the body in front of the rear tire it's 5". I liberally added past practices of Dave (comp1839) and Clay Kemp in addition to my own ideas to get to where I'm going so I can finish the chassis fab and hopefully use some of the techniques on future builds if successful.. I'll post in a week or so as I make some real progress with it...until then..................Cheers, Tim
I've said many times how tight the interior is on this car, which is why I've spent SOOO much time on the planning and fabbing of certain pieces so far. The distance from the main hoop to the front door post is exactly 2".......talk about putting the proverbial 5 lbs. of whatever into a 1 lb. bag.
where did you get the tires?
-
Where did you get the wheels?I think Stacey David's rod would have looked meaner as a coupe, meaner still chopped. I sent him a photo of this, he probably didn' t like it. I got no reply.
-
Morning guys,
Rather than go through re posting everything I had posted earlier on the vette I will only be posting a general summery of what had been posted before. I'm not the worlds fasted typer on the keyboard so I am not about to try to re post everything in detail. I would rather spend that kind of time working on the model. Taking time away to try to go through and repost everything is time better spent on the model and giving you new updates.
So for now. The idea to start with, was to separate all the rear end half shaft components so they would rotate with the rear wheels and then later add disc brakes to all four wheels.
I started with the making a few spacers cutting apart the rear end assembly and drilling some holes. I then made and installed a pass through tube in the rear end gear housing, and added some evergreen round rod on the ends of each half shaft. A straight pin was then measured and cut and added to the inner side of the passenger side half-shaft to slide through the pass through tube in the rear end housing. the drivers side half shaft will slide onto this pin later.
Here is the work after it was done.
Here is rear suspension with the rotating half shafts mock assembled and test fitted into place on the chassis. Any tweaking for alignment will be done with outer spacers once everything is painted before the brake parts and wheels go on.
I also took time to get some color in the body. I attempted to get as close to Marlboro Maroon as I could by doing a custom mix of Model Masters enamels Stop light red, with a few drops of testors gloss blue, and a quarter oz of testors copper. It's about as close as I can get it. Maybe just a little too much metal flake for 1967 Marlboro Maroon, but I think it's close enough to work.
That's where I'm at with it at this point, I do have stinger decals on the hood now and the body is clear coated and sat aside to cure so it can later be wet sanded and polished out. I will try to get a few pics of the cleared body up later today if time allows. As well as a few pics of a few other odds and ends I have worked on since doing this work.
did you spray the paint through a gun or a airbrush?
-
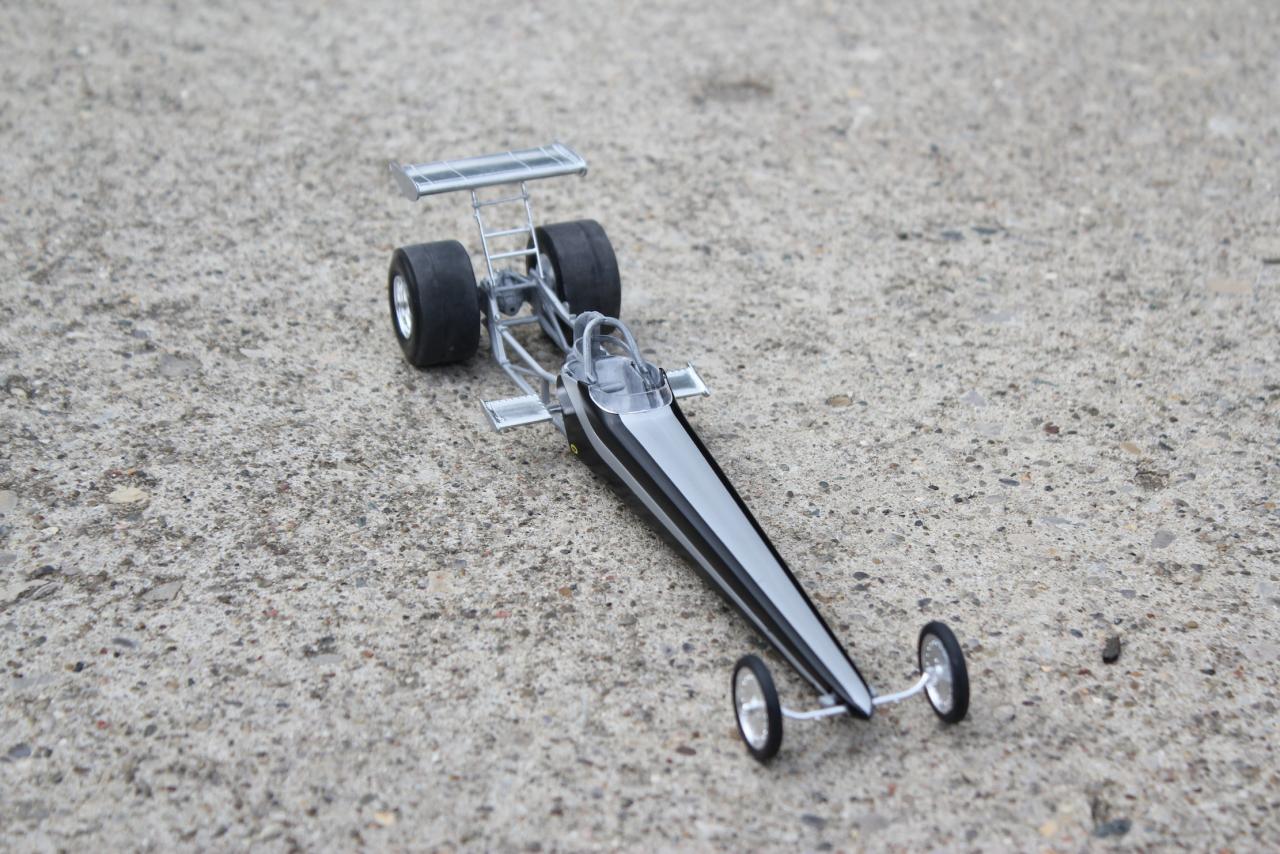
i am building a 1969 camaro pro mod drag car. i would like to build my own chassis out of brass, but i have never built a chassis out of brass and i don't really know where to start.
-
well, I worked on building the other header today, and yea it sucked as much as I thought it was going too!! lol they are pretty much done except I will probably throw a little heat staining on them, I even added some welds to them
how did you do the welds?
-
Hi everyone, very small update. Packaging is tight in the backhalf of the car as Henry J's don't have much trunk space to begin with. So I decided to open up the trunk area for display purposes. I came up with a design I liked, cut it out and made up a brass trunk lid in place of the cutout piece. And I am going to have to do my battery boxes for a 3rd time to make them more space efficient. 2 steps forward, 1 back. Cheers, Tim
What did you cut the brass with?
-
I would like to start using carbon fiber wrap on my models, but i don't know where to get carbon fiber wrap.
-
i was wondering where to buy a model from altered states models. i am interested in the model boat they sell.
-
few more......thank`s.
where did you get the boat!
-
Thanks for the comments fellas... well I got the vinyl top done tonight... I made it from masking tape... I add the foil trim tomorrow...
what did you make your rear wing out of?
-
i am trying to learn how to work with brass but i don't know what to use to soter the brass. what should i use?
-
What Scale?? I have the 1/16th version.
1/24th to 1/25th
-
I need the dimensions of the 1/24th size kirkley race seat from dirt modeler.
-
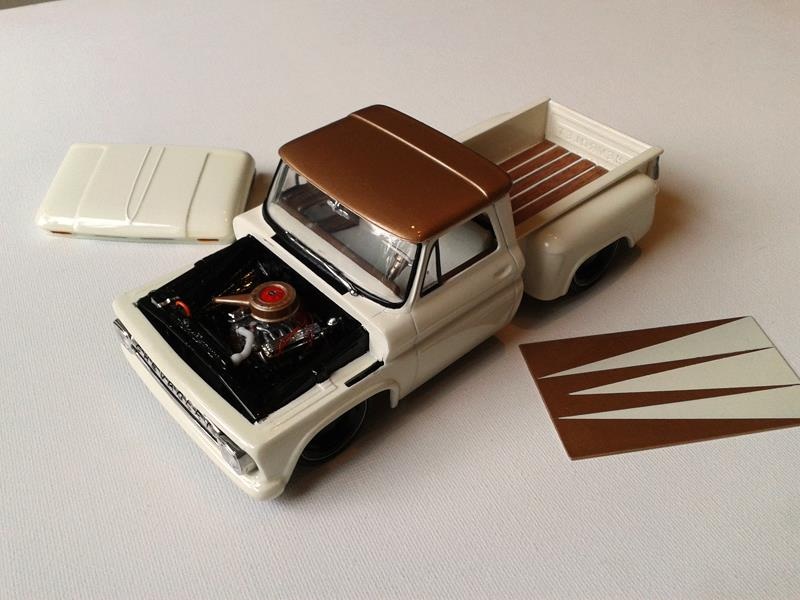
AMT '64 Chevy pickup with the bed from an AMT '55 or '57 Chevy pickup.
thanks
-
Does anybody know what model this is?
-
It's a pretty decent kit. Stance could be tweaked a bit but overall it looks like it fell together very nicely for you. What pearl white did you use?
i do agree that the stance needs to be tweaked. i did a base coat white then cleared it with rust oleum pearl clear.
-
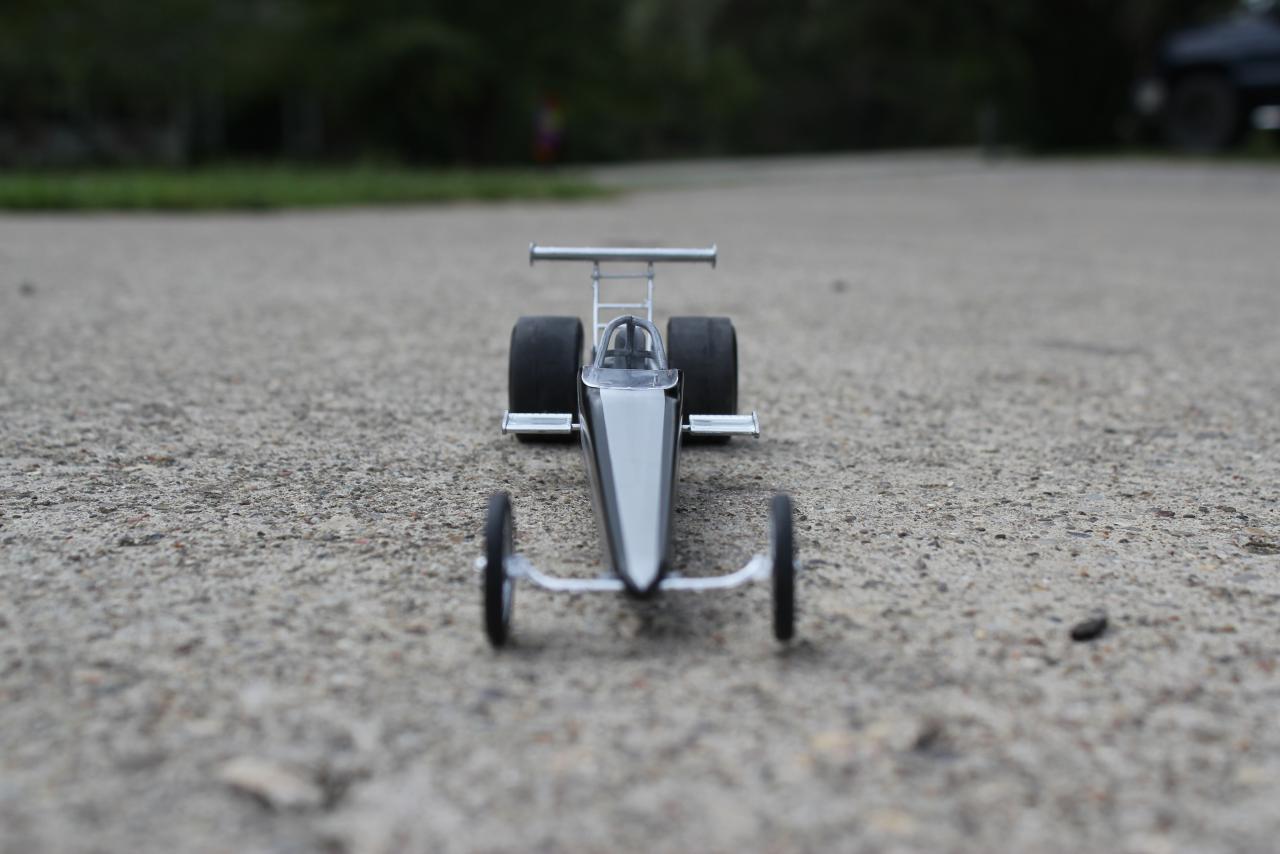
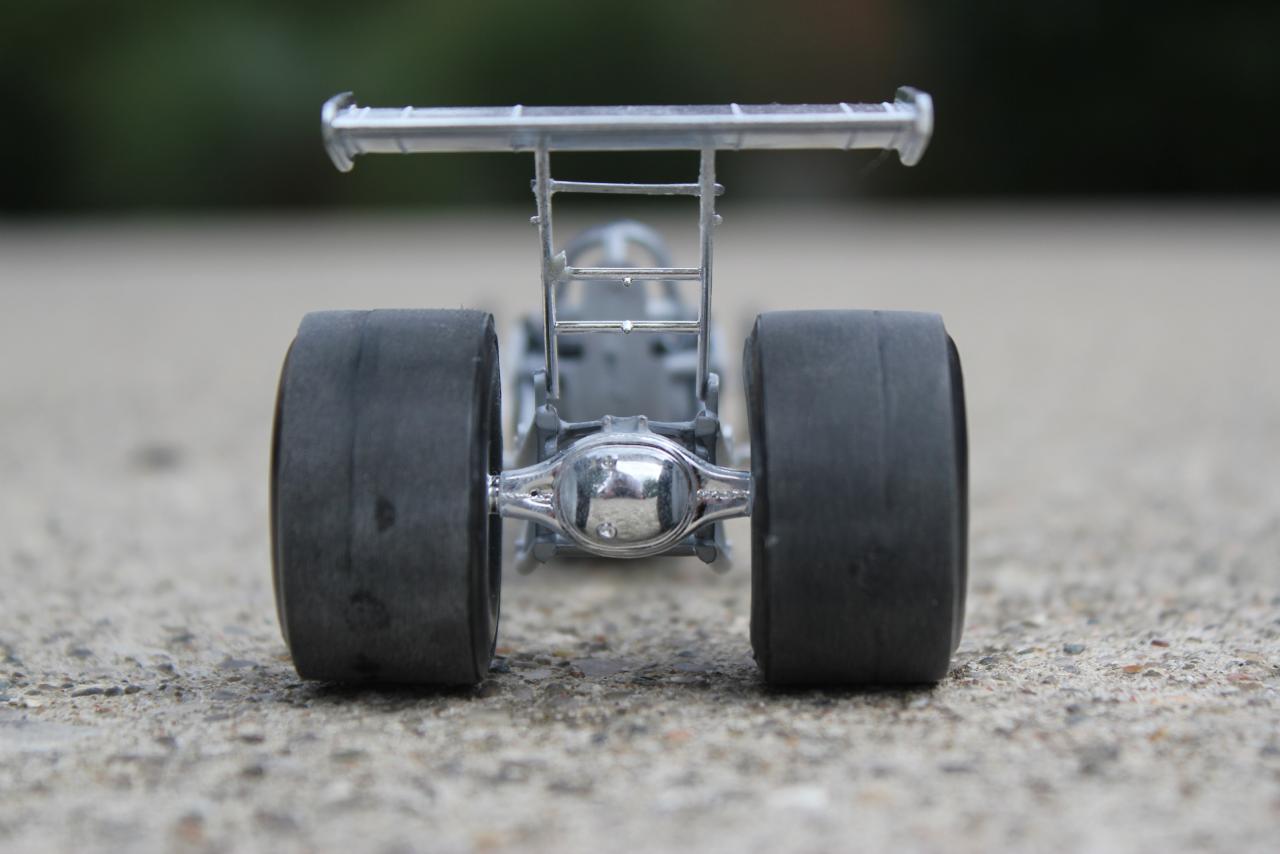
i took the motor from this dragster to put in a 1969 camaro but someday i will put a motor in it!
-
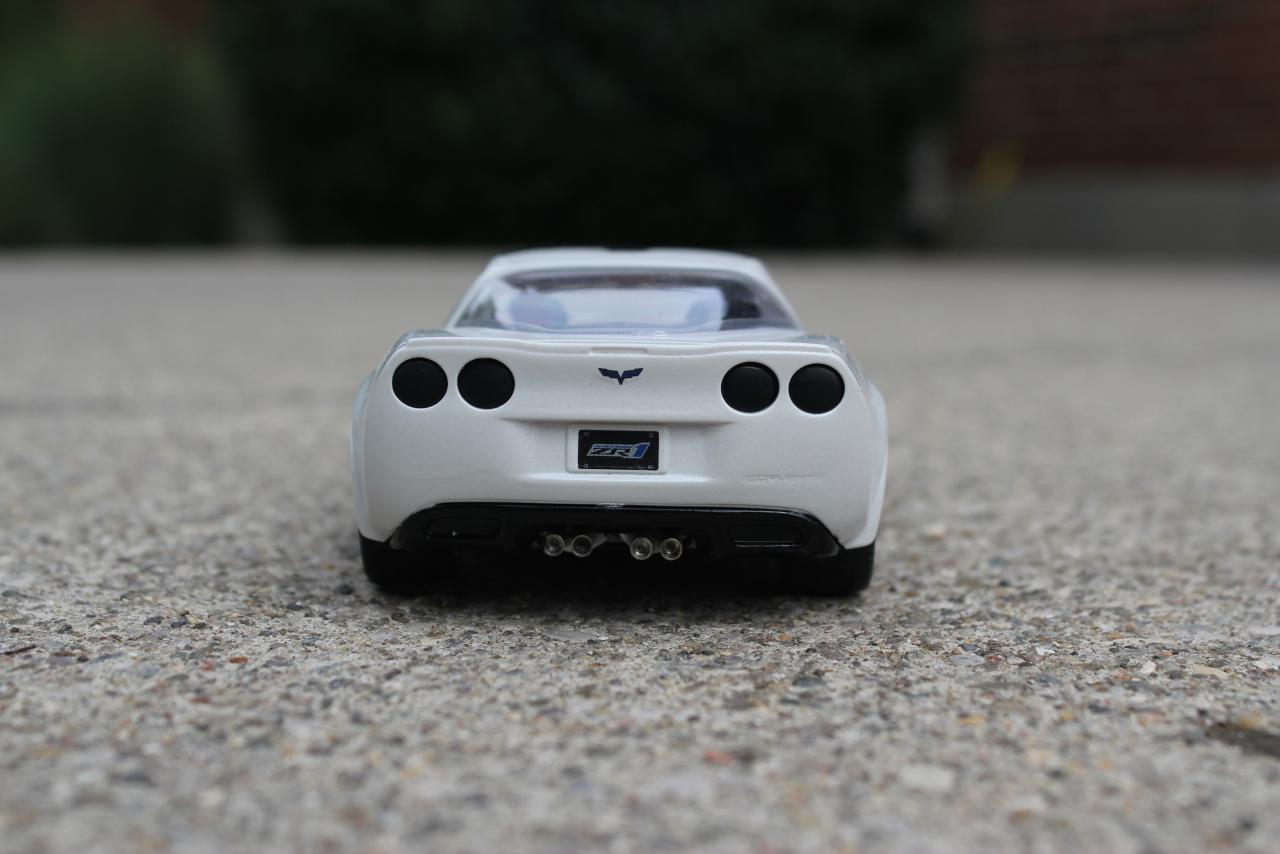
this is my pearl white zr1 corvette i recently finished! i had A LOT of problems with the paint but in the end it turned good!
-
sorry i didn't do any updates (mostly because i didn't work on it for a while) any ways i finished it. it looks somewhat like the picture!
-
You did not say how long the pearl had dried before the clear was put on. Most likely the clear was so wet and heavy it dissolved and re-floated the pearl pigments. I have had that problem when clear coating silver, especially with Tamiya's TS-13. Also an airbrush would probably do a better job when using pearl paints.
I let the pearl to dry for 2 days. I did reapaint last night. I used base coat white then put the pearl on. I am going to clear it tonight.
-
Looks like your clear isn't compatable with your paint or you sprayed the clear too heavily. The only ways to fix it is either strip it (If it's lacquer, use 90% alcohol. If it's enamel, you can use Castrol Super Clean or equivalent) and start over or allow what you have to dry well, sand, paint and clear again. What brand/brands of paint are you using?
I am using rust-oleum clear coat.
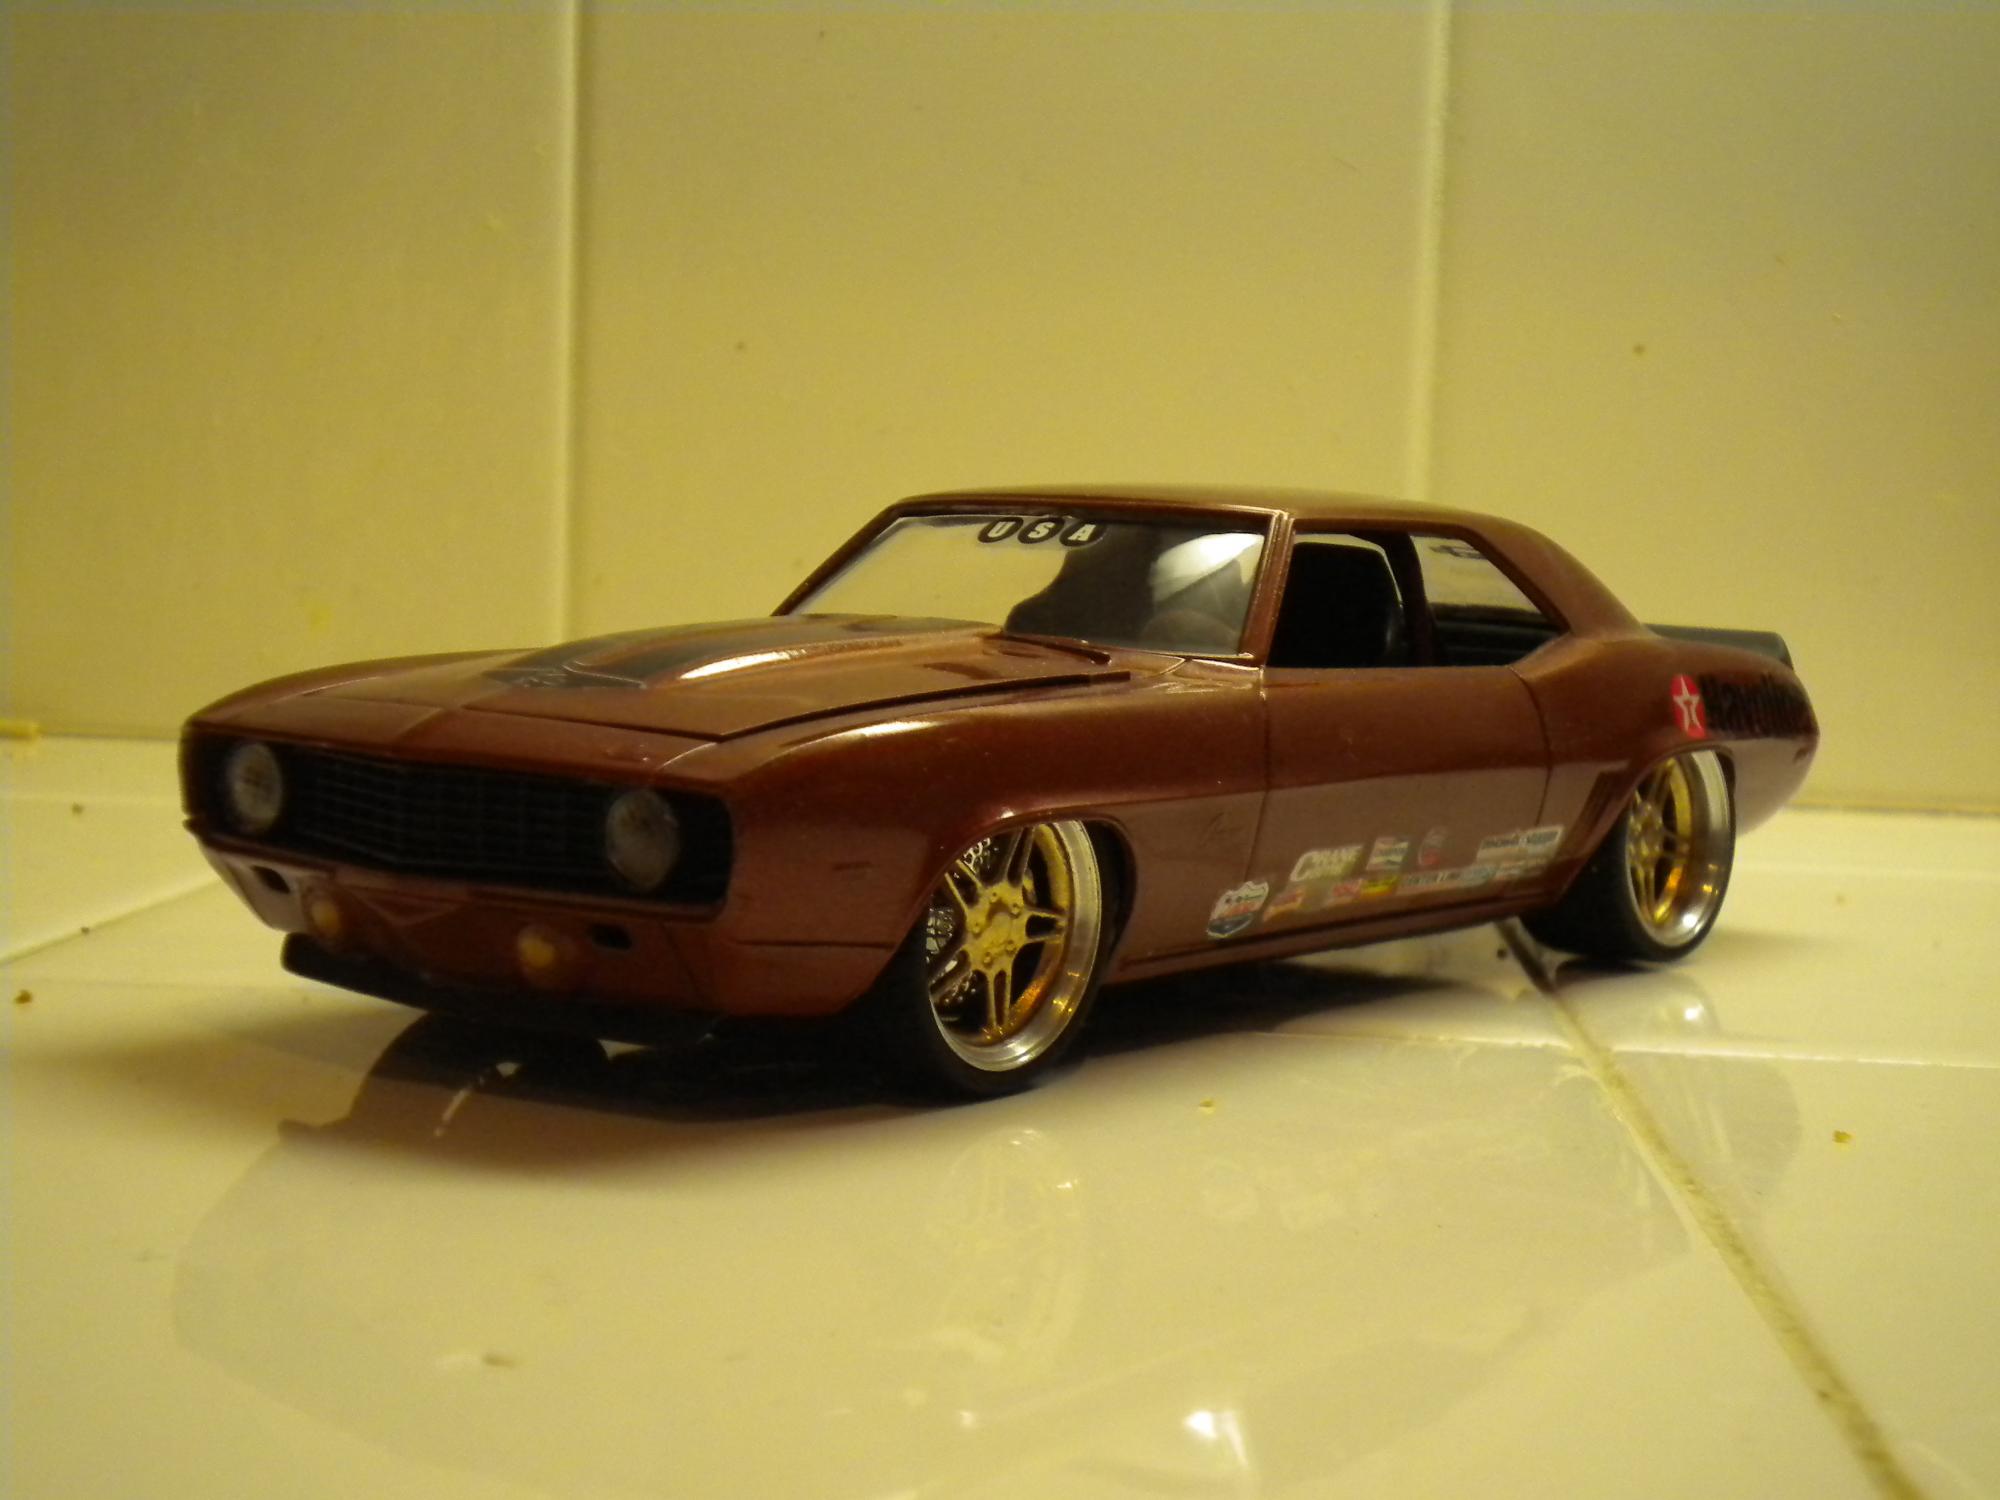
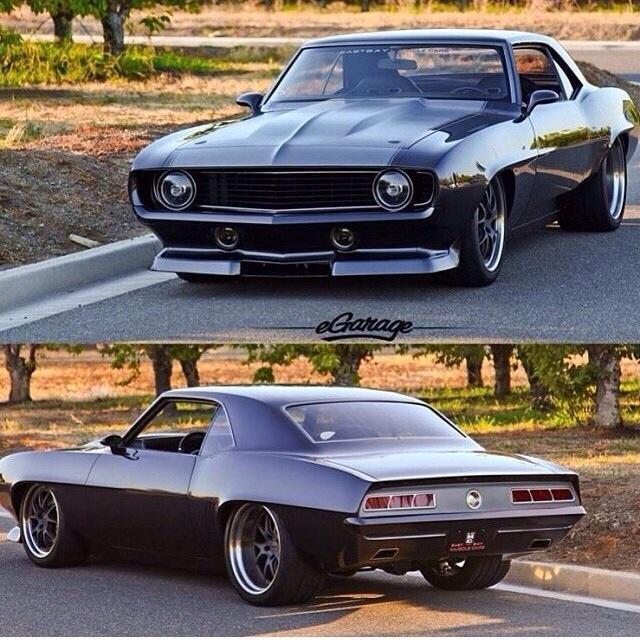 I am building a 1969 camaro. I am looking for a set of wheels and I need help because I don't know where to get them! I am looking for a set similar to these. If you have any suggestions for wheels please let me know! Not really sure why there is 2 of every picture sorry!
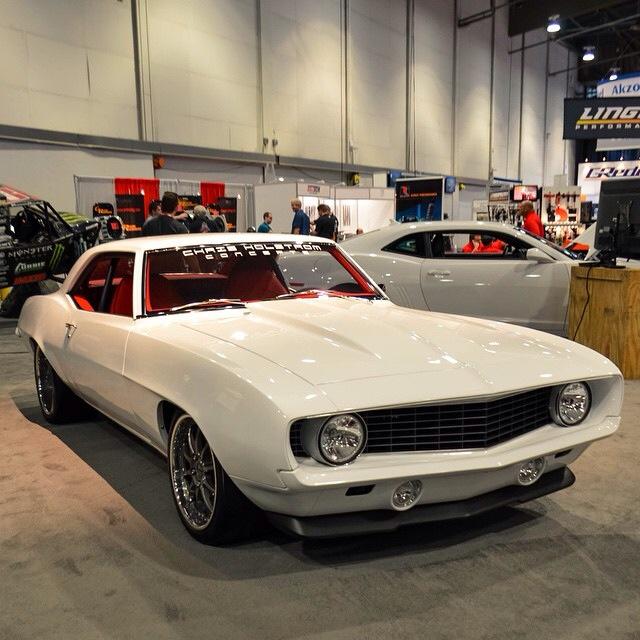
 rusted the diff cover
 and rusted the floor so the chassis pops more .. now later i will toutch up some things more .. like the bottom edges of the cab .. they are bare again because it sits on the bench .. after assembly i will cover the edges in rust again


Couple of my 2015 builds
in Model Cars
Posted