-
Posts
8,151 -
Joined
-
Last visited
Content Type
Profiles
Forums
Events
Gallery
Everything posted by Dann Tier
-
-
VERY NICE!!!!!
-
Hey, everyone!, the PE LED dots are working GREAT!! Heres what it looks like next to the Fujimi part. I only have 9 dots left to go on the other assembly!!
-
Thanks, bud!!…..adding another update now!
-
FANTASTIC SB, bud!!!!
- 75 replies
-
- ferrari 275p
- 360 mondail
-
(and 2 more)
Tagged with:
-
For sure!!
-
They sure can!.....like the way Fujimi instructs you to do for this kit.
-
Thanks, bud!!
-
I could build a million of these!!!....killer kits!!!....word of caution though; be VERY careful when it comes time to put the body over the chassis!.....it needs to be spread quite a bit!!….you may hear weird popping, cracking sounds...
-
This is looking exactly how I expected it to look.....OUTSTANDING!!!!
-
Glad you got that headlamp fixed, bud! my least favorite part is sanding!!….especially frame, and suspension stuff!....HATE IT!! What kind of primer do you use? I use Duplicolor Filler Primer, and if I need to seal it, I use their Sealer Primer over the sanded smooth filler coat. You can put any type of paint over the Duplicolor primers. I've heard silver helps too, but never tried it....haven't needed to.
-
Thanks, guys!...much appreciated!!…..i'm trying to finish-up the lights right now!
-
Here are the final bits I got done yesterday....the sidemarkers actually fit in with NO trimming!!!, and I decided to use one of my 3D stickers for the bonnet emblem, instead of the flat decal. Last bit is the addition of the exhaust tip.
-
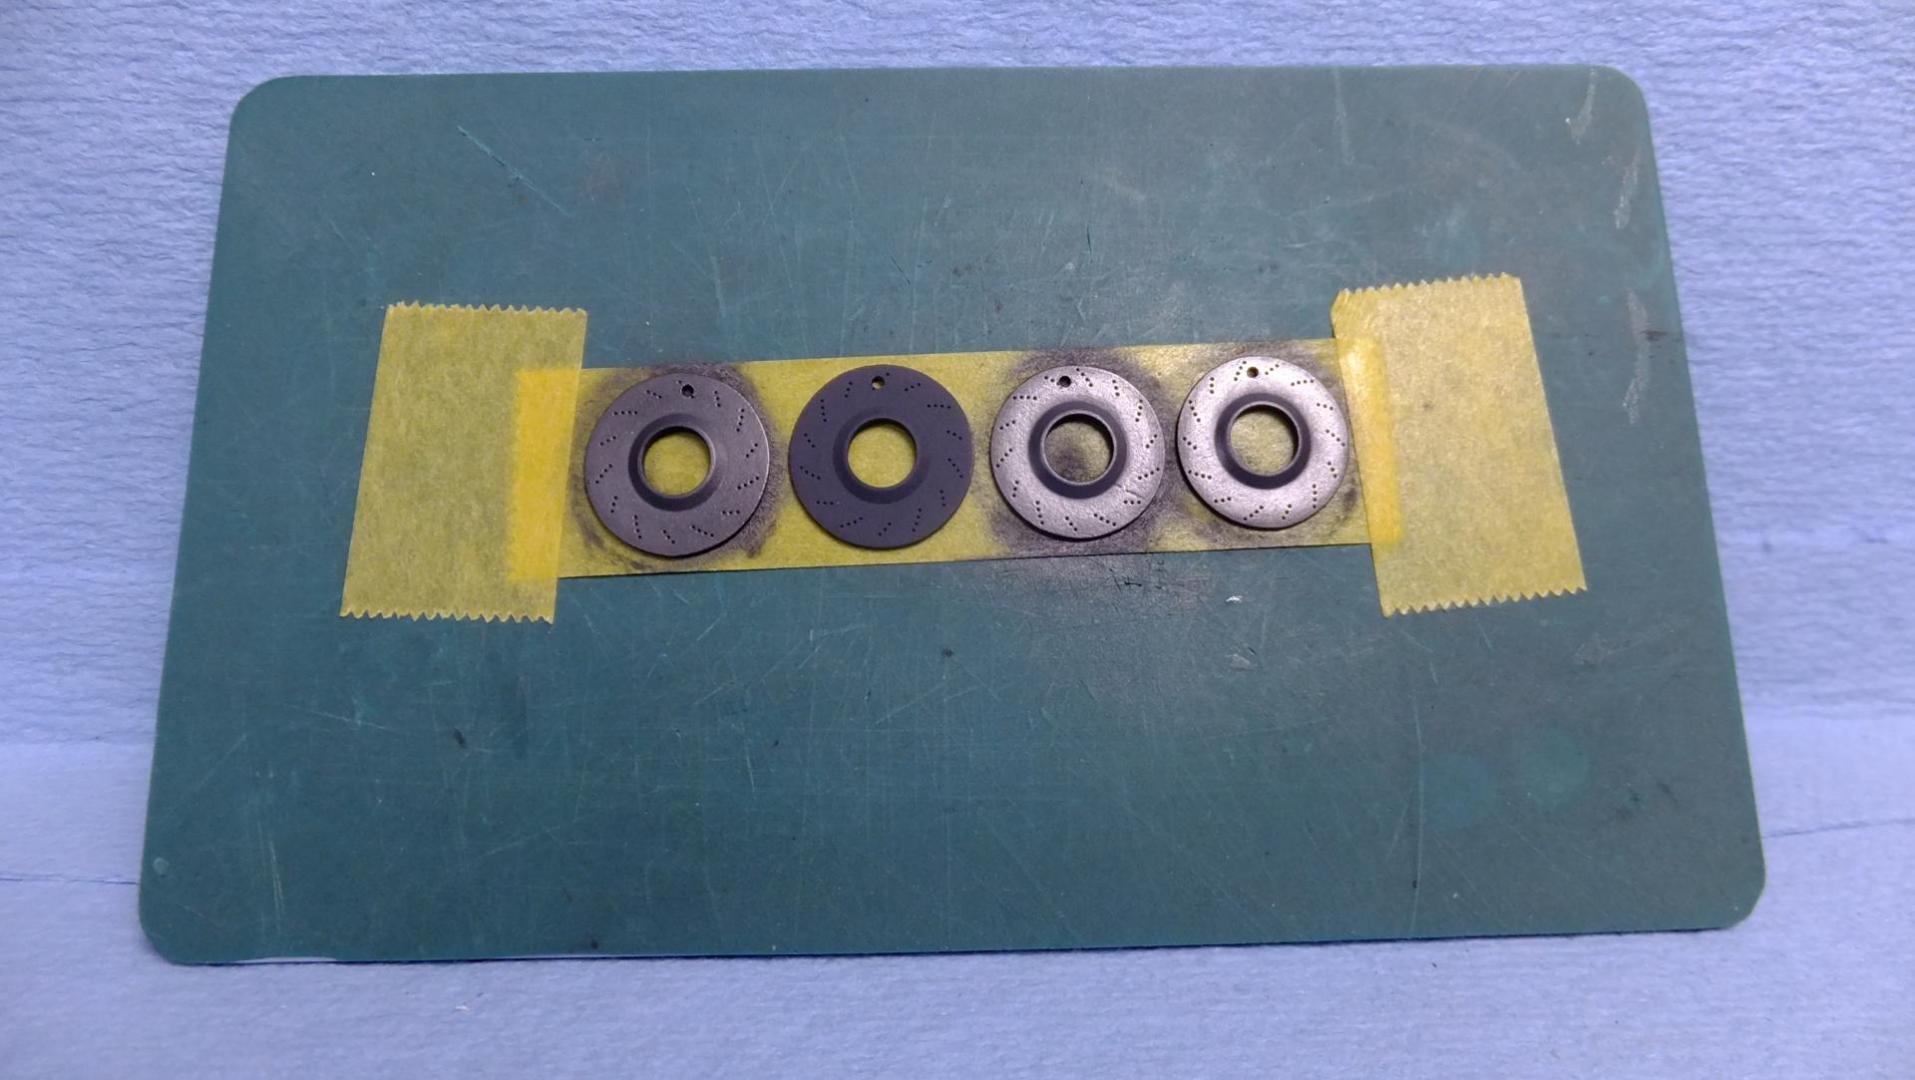
I finally have the brakes done as well. -Photo 1; Here you can see the Hotrod gray primer base on the second rotor, and the graphite powder I rubbed into the other ones. The graphite powder will work on any type of brakes, not just Carbon Ceramics. -Photo 2 & 3; You cannot see the metallic sheen, buts its obviously there, and those PE bits really made the brakes better. I added a touch of weathered Titanium Gold.
-
Now its time for the headlamps!! -Photo 1; Here are the real thing.. -Photo 2; Heres where it is now. To make the top LED's look like the real ones, I will mix a tad bit of yellow, with a higher amount of gloss clear. The front, rectangular lights will be interesting.....I will try to individually make them from clear styrene.
-
-
-
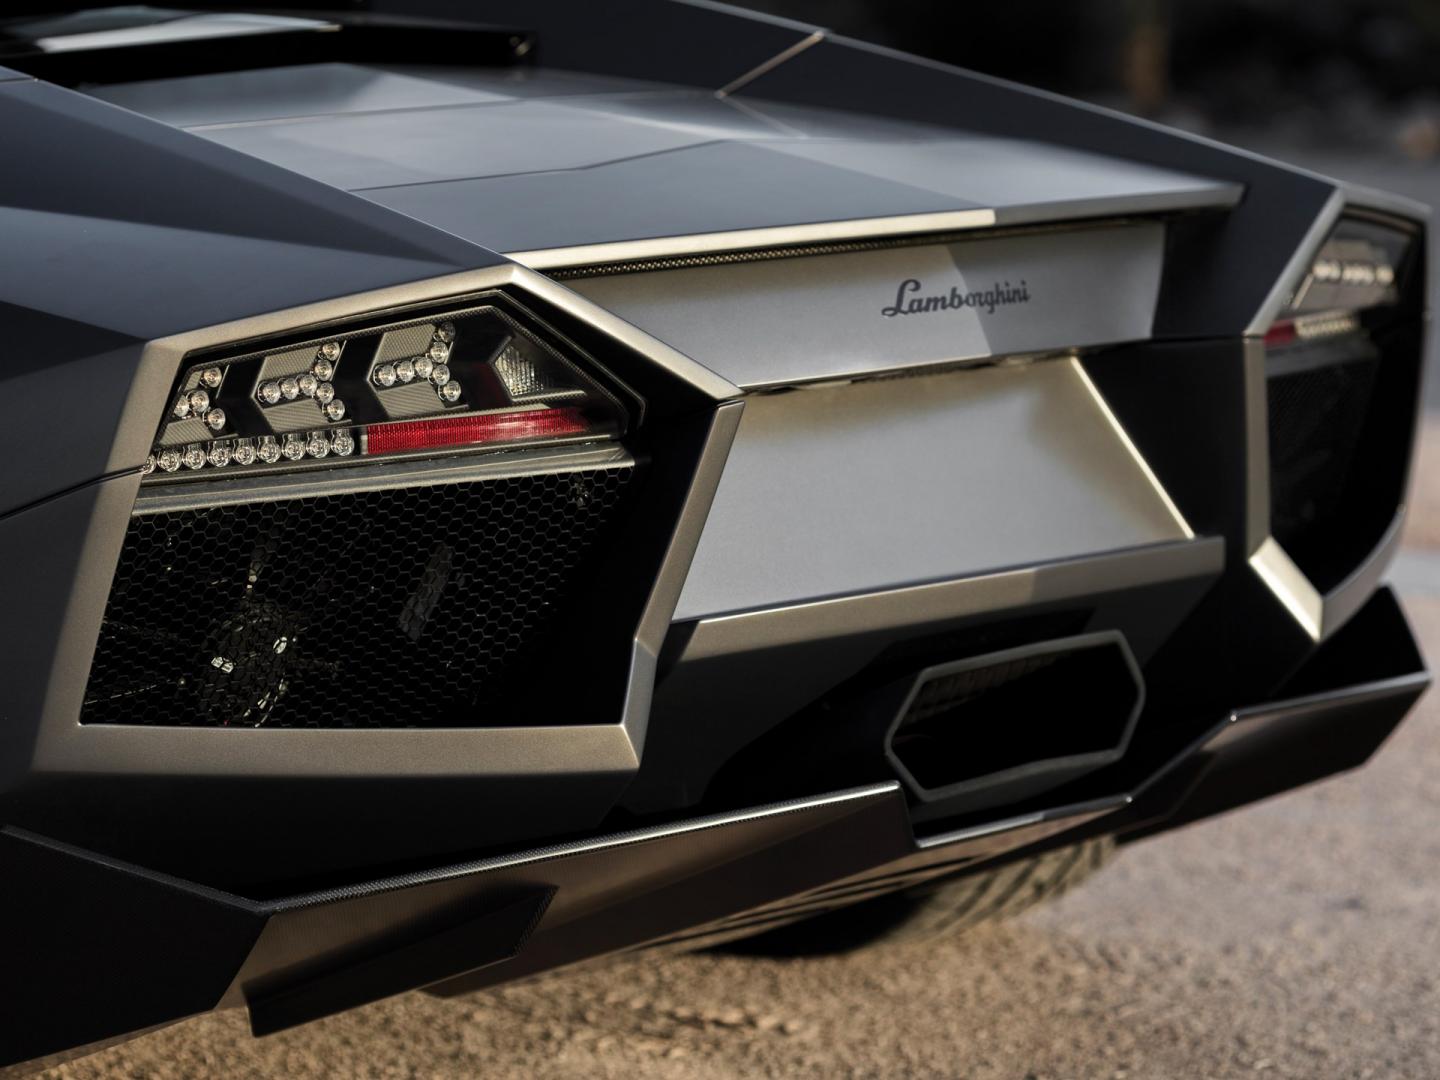
Hey, everyone!, i'm picking up momentum here!, after I get these Lights finished, it wont be long! My original idea to replicate the LED's, was to drill holes for each one, then use clear fishing line to simulate. This would have worked great, had it not been for the DEEP ejector marks on the back side. The plastic was thin in some spots, thick in others, so my bit traveled just enough to make things look stupid!....even broke a bit at one point. I already had a backup plan, so after carefully flowing Plast-Zap into the LED channels, I was ready for round two! -Photo 1; Here are the taillights after the repair....good to go! -Photo 2; These are the new LED's. They are PE dots that I painted with a mixture of white, and gloss clear(50/50) to help simulate the look. -Photo 3; The instuctions tell you to paint these lighter areas red......WRONG!!!!!, they are suppose to be a Steel-like kolor. the kolor I used here was flat aluminum, but after sleeping on it, I will be redoing them today with a darker shade of aluminum. For the back-up lights, I first applied chrome silver as a base, then did a mix of white(1/4), and Gloss Clear(3/4). After that dried, I carefully filled-up the remaining space with straight gloss clear. -Photo 4; I often use this stuff for replicating side markers, reflectors..etc. I will be using it to make the reflectors under the back-ups. I will stick the clear red to the chrome sticker for better reflection.
-
This is going together well!!!, The top view is good, but i'm a bit concerned about the side view. To me, the rear fenders are a tad-bit overwhelming to the front....especially right behind the front wheels....rocker area. If it were me, I would flare out that area a little bit, to help balance the design.....it doesn't need to be that much. just my thoughts, bud. ….you should run it by Ace though....he knows EVERYTHING.....LOL!!!
- 75 replies
-
- ferrari 275p
- 360 mondail
-
(and 2 more)
Tagged with:
-
This should look GREAT, bud!!!!…..I've always thought that this design needed the 57's fins....
-
Its all good, bud!....believe it or not, I love to build basic kits as well, I need a break from detailed stuff....it overwhelmes me quite often. I really like cleanly built OOB builds too!!
-
Thanks, bud!, I shoulda bought a set when I first saw them.....a couple years ago....been searching for that one, or the Studio 27 set....found out that they have been discontinued.....I will keep checking on ebay.
-
LOL!!….i'd try really hard to make it my daily driver!!!!
-
That would be great!...its such a fun kit, I could build a million of them!!….straight out of the box, its got fantastic details!
-
The lack of adjustment nuts is neither here, nor there. with those 3D wires Ace is referring to, you would just have lousy wires with nuts, and texture. The Protar wires are STLL far superior....how hard is it to make a nut for it....without texture? -EASY
- 39,089 replies
-
- johan
- glue bombs
-
(and 1 more)
Tagged with:


