Dann Tier
-
Posts
8,151 -
Joined
-
Last visited
Content Type
Profiles
Forums
Events
Gallery
Everything posted by Dann Tier
-
BEAUTIFUL!!!!!
-
VERY nice looking Porsche!!
-
Beautiful!!!, love those wheels and tyres you used!!
-
Now thats one mean machine!!!
-
Outstanding build!!!...and that interior looks Amazing!!!
-
Freaking sweet!!!...i love these Camaros!!
-
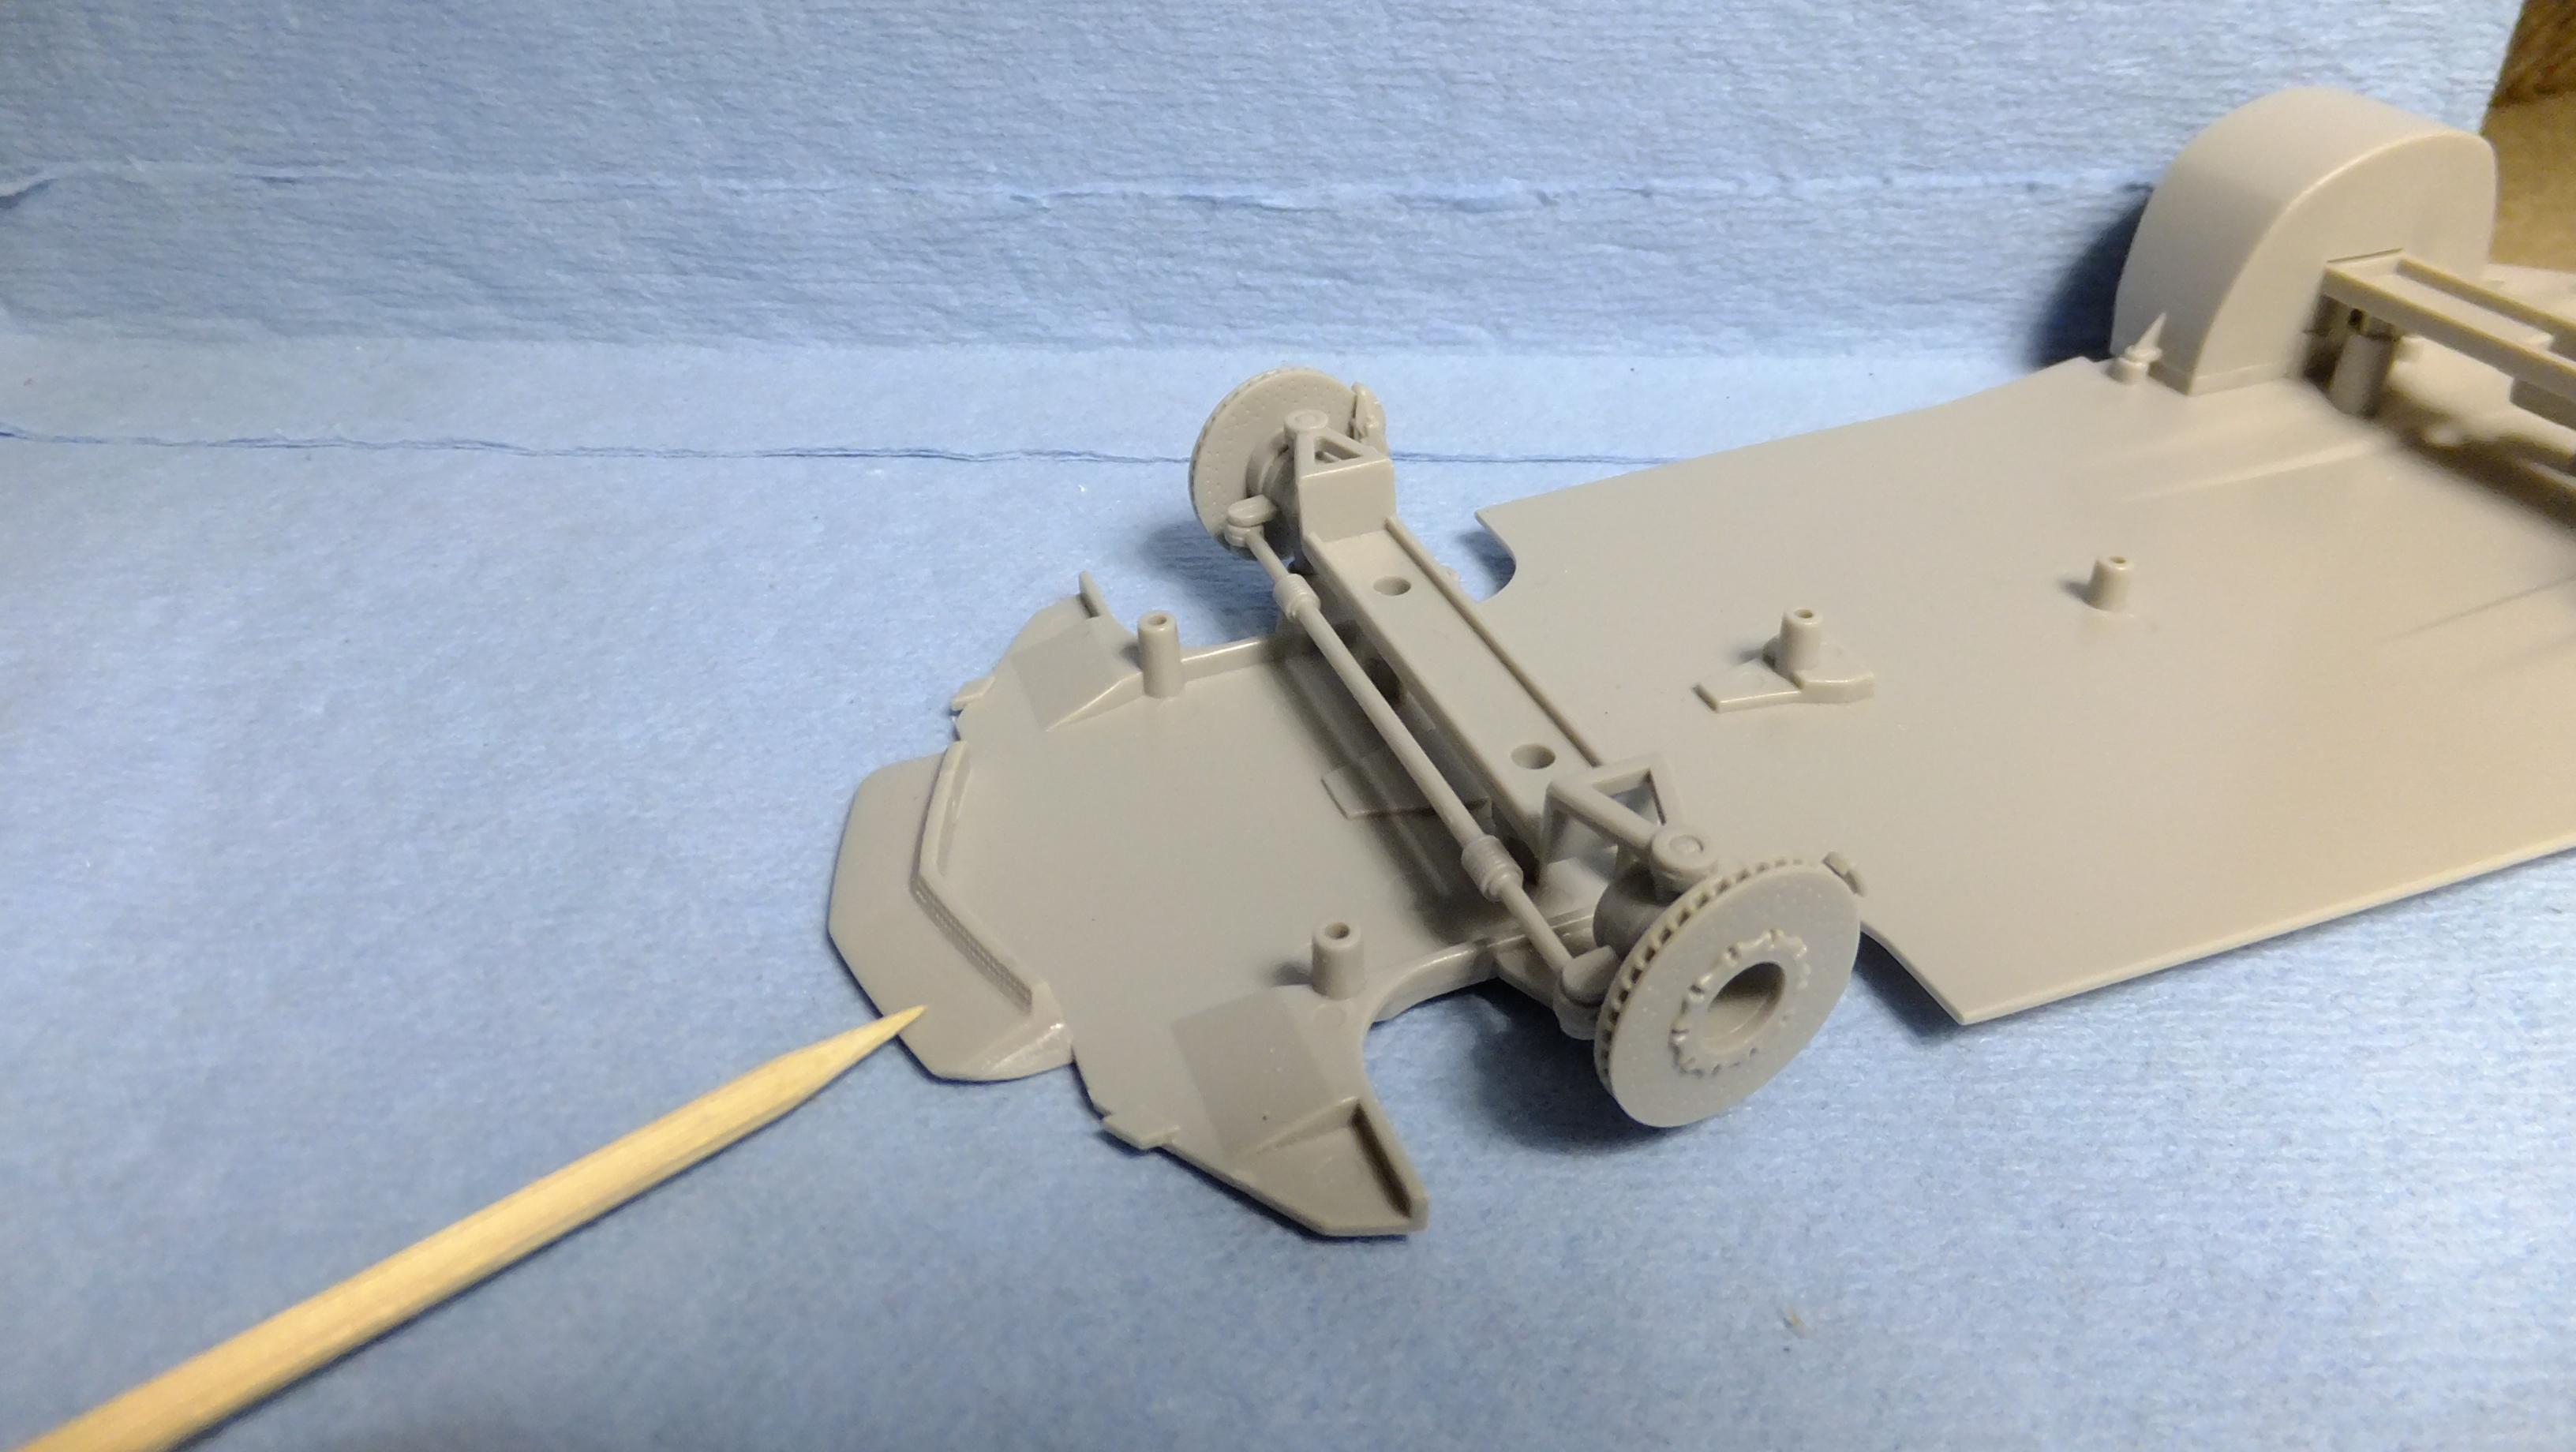
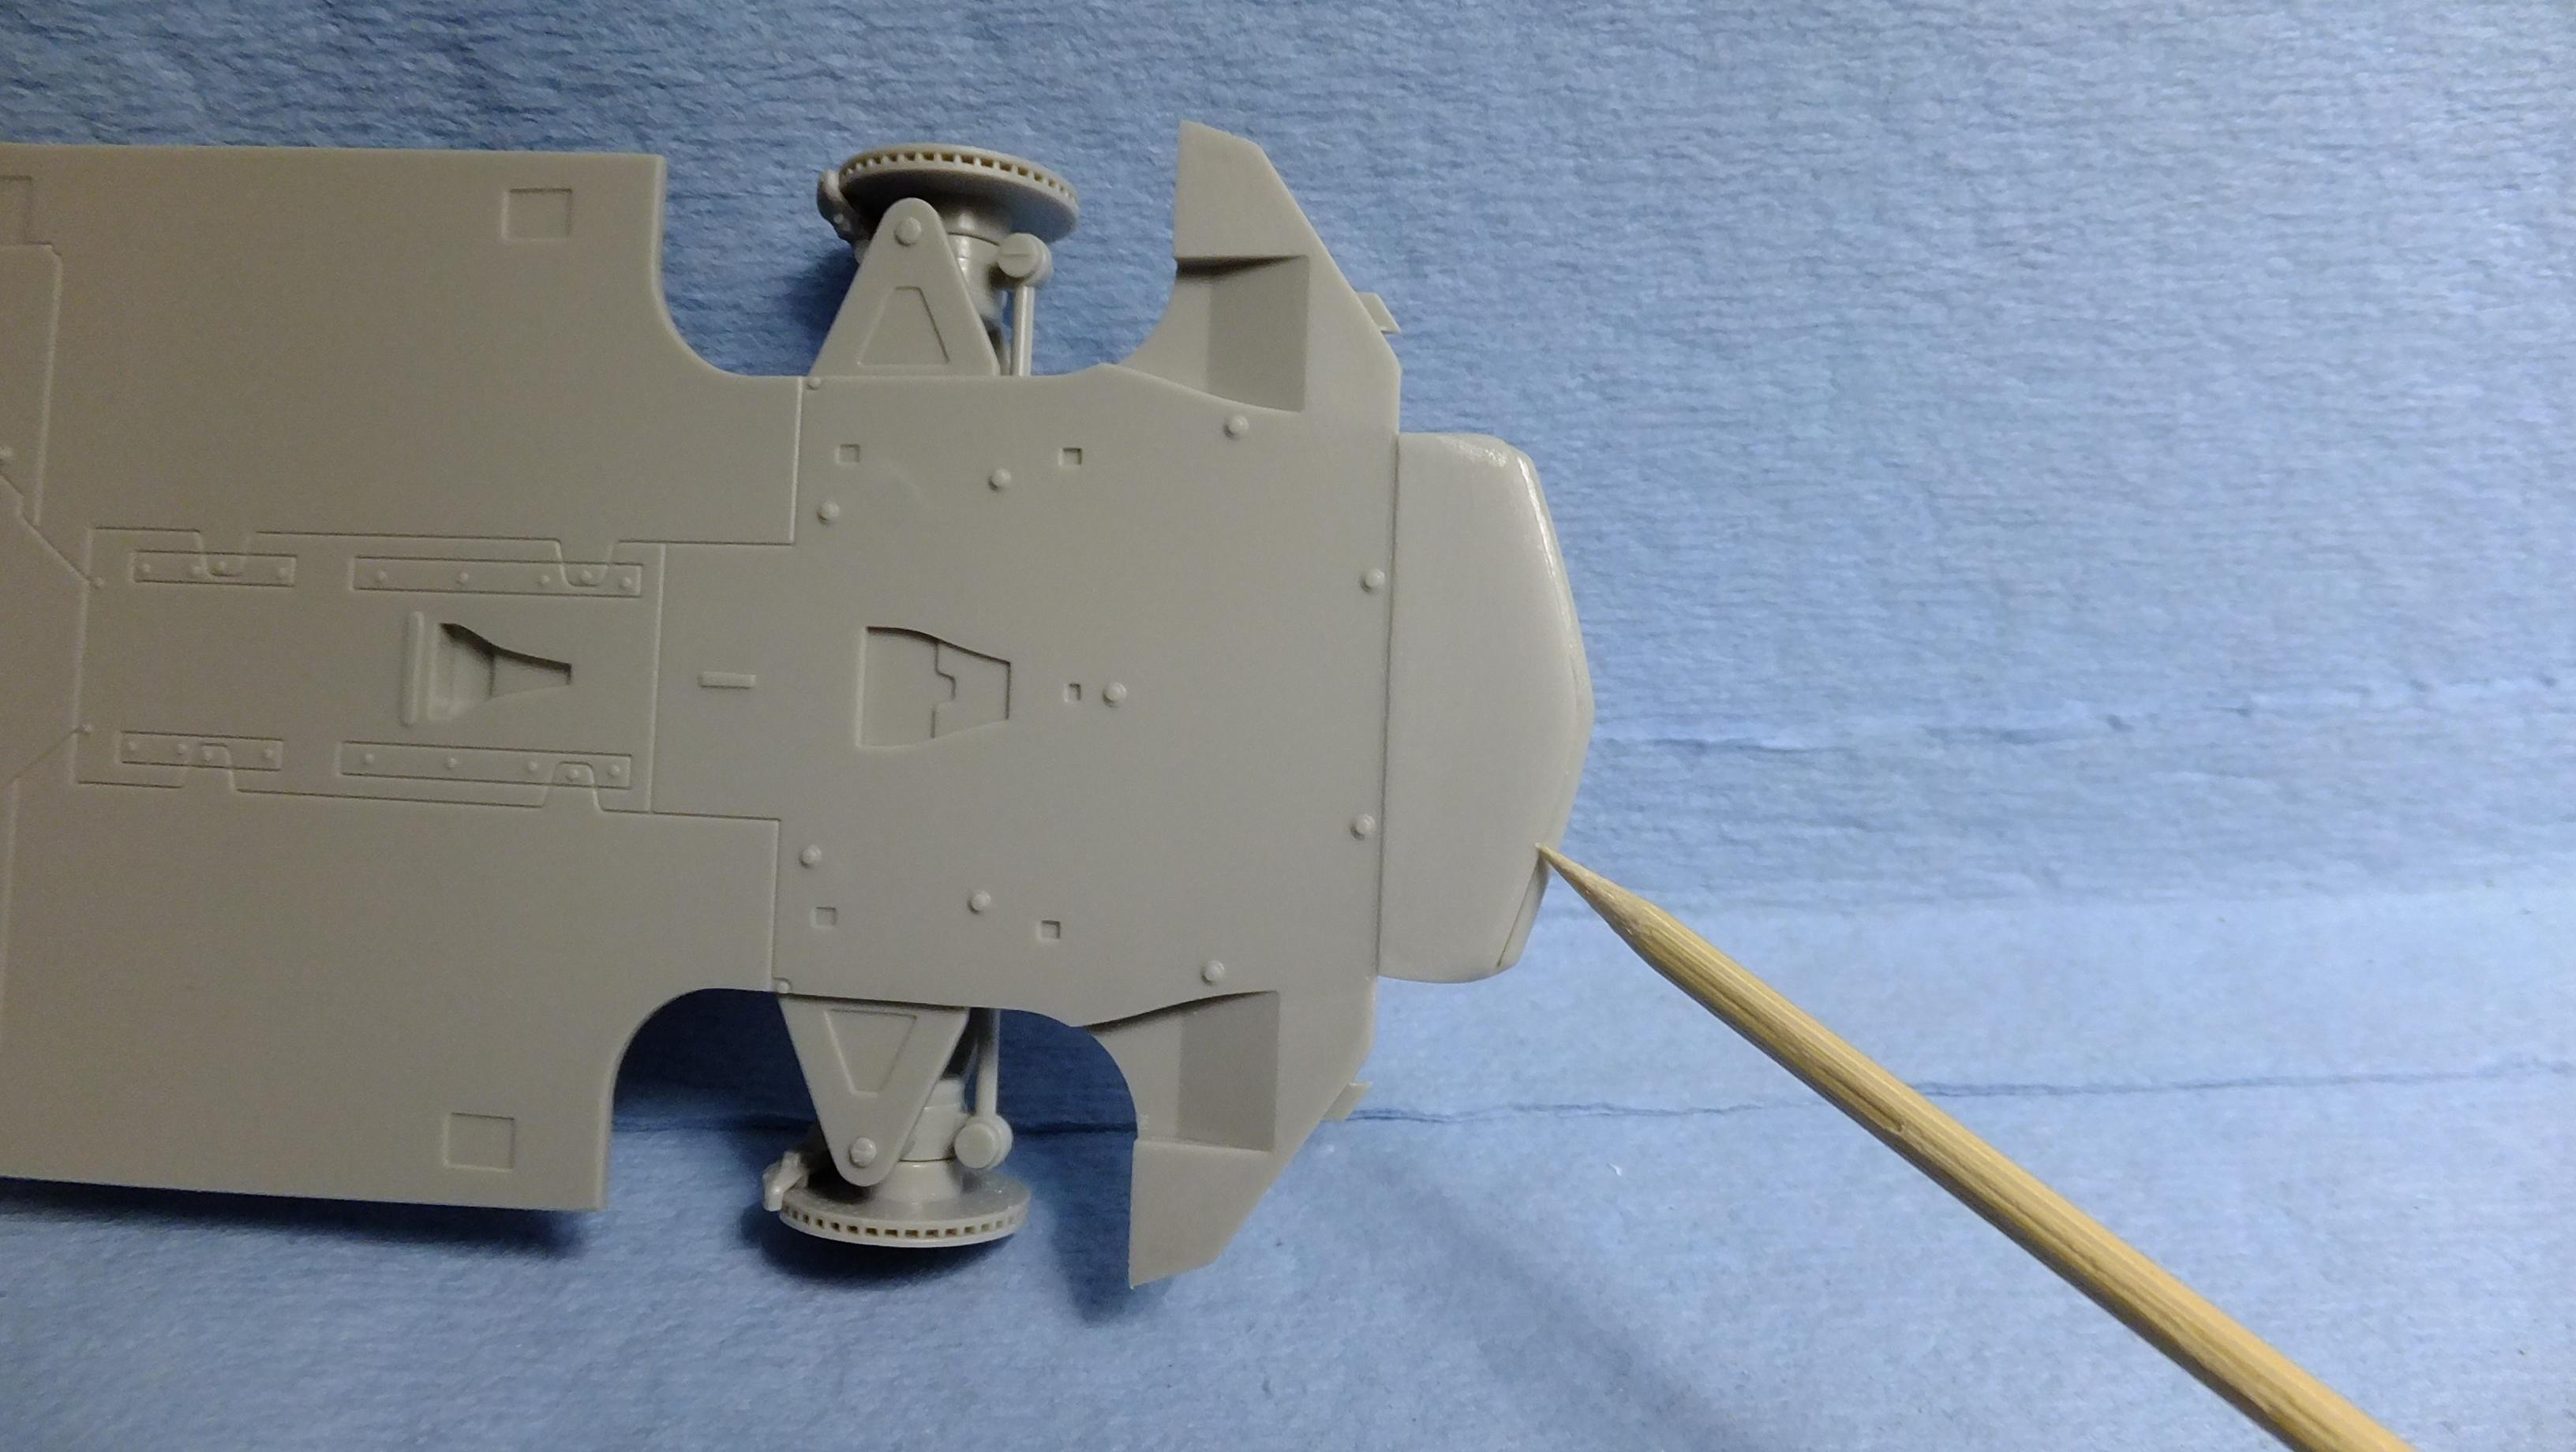
Chassis/suspension time! -Photo 1&2; Here is the chassis with all the bits that i pre-assembled. I really dont know why kits are made to have rolling wheels. I dont play with mine, and i sure as heck dont want it mobile to roll around and get broke. I ALWAYS glue mine still. I dont know why, but i think its a neat idea that Fujimi made the calipers in two parts....not really a big deal though. Aoshimas chassis/suspension parts are just as nicely done as Fujimis. The main difference between the two is that Aoshimas kit has the front, and rear splitters as separate parts. -Photo 3&4; This top bit was a separate bit....just needs the seam to be filled -Photo 5; Here is all you get for the engine....with the cross bar. Since i already have a VERY detailed Aoshima engine, and that the rear windows are black on this version, i will NOT be doing anything with it on this build. Aoshimas engine bay is FAR superior to this one. It has a VERY nice....what i call a 3/4 engine. It can be detailed to look pretty darn realistic. -Photo 6; Here are the last bits to the suspension...I do think that the brakes, and rotors from Fujimi are waaay better than Aoshimas in this case.

-
Nice looking Countach there, bud!!.....you didnt remove that window entirely, did you?....because even that lower half only rolls down half way!
-
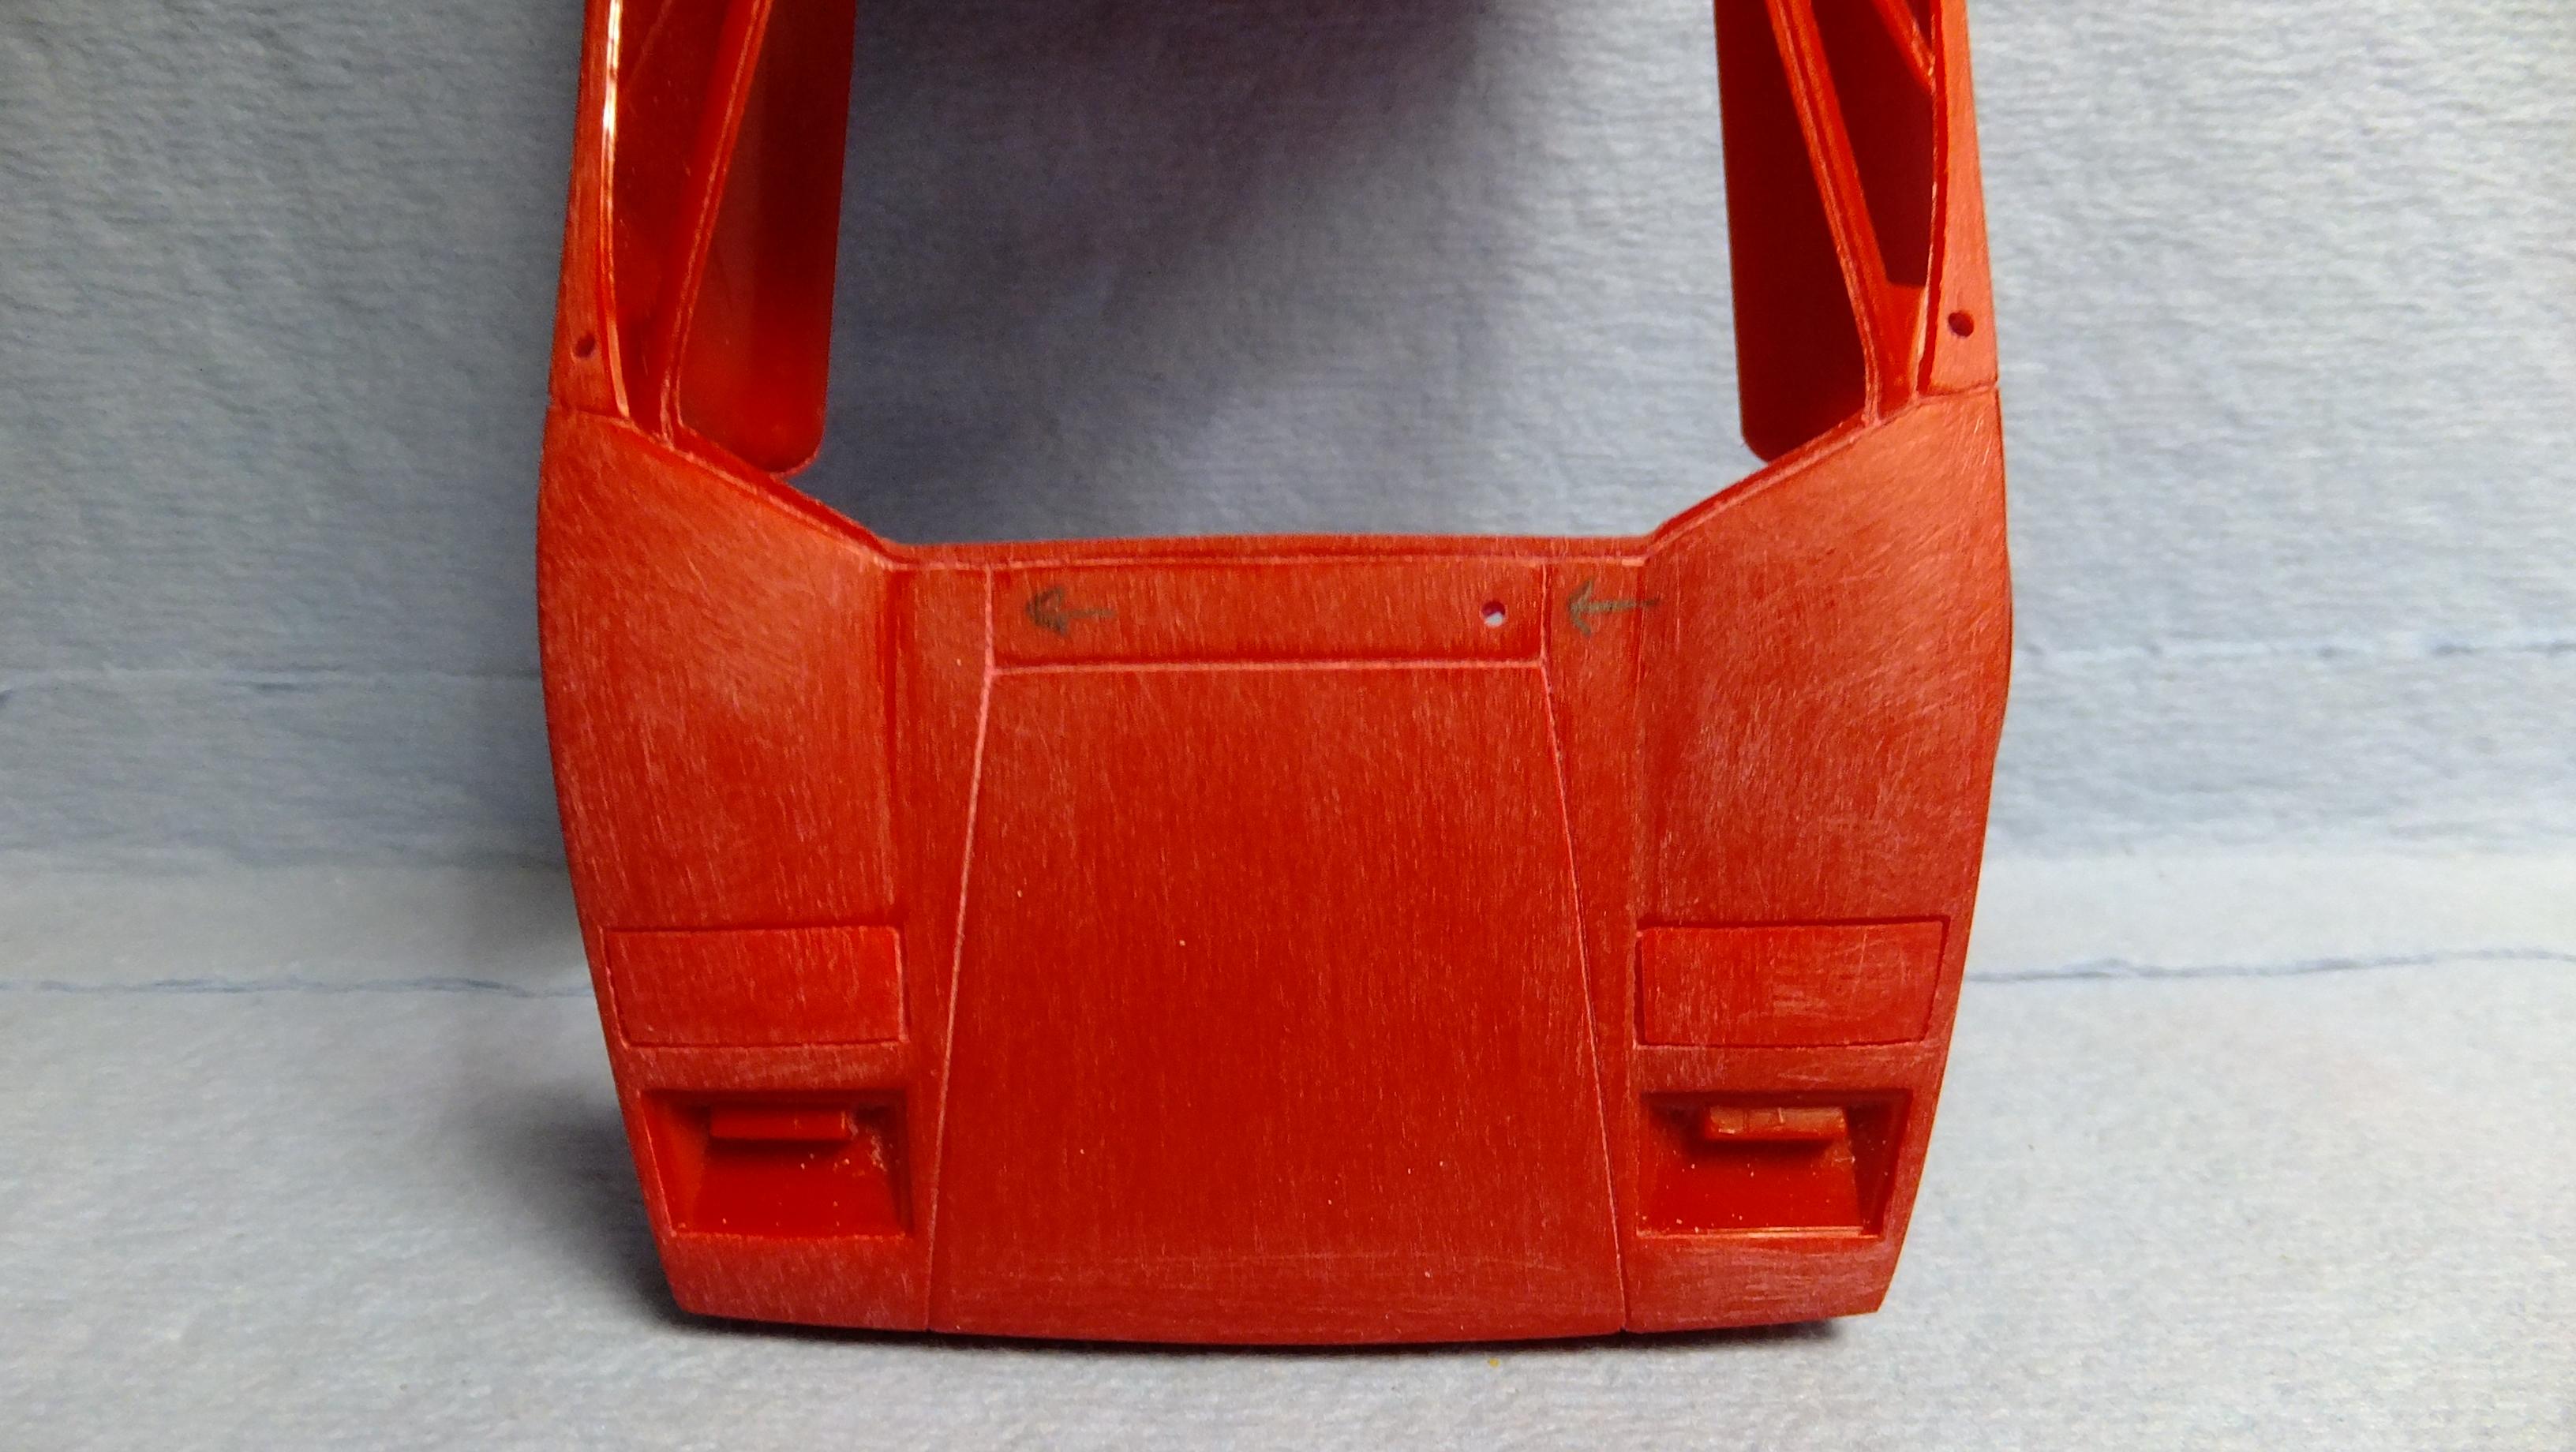
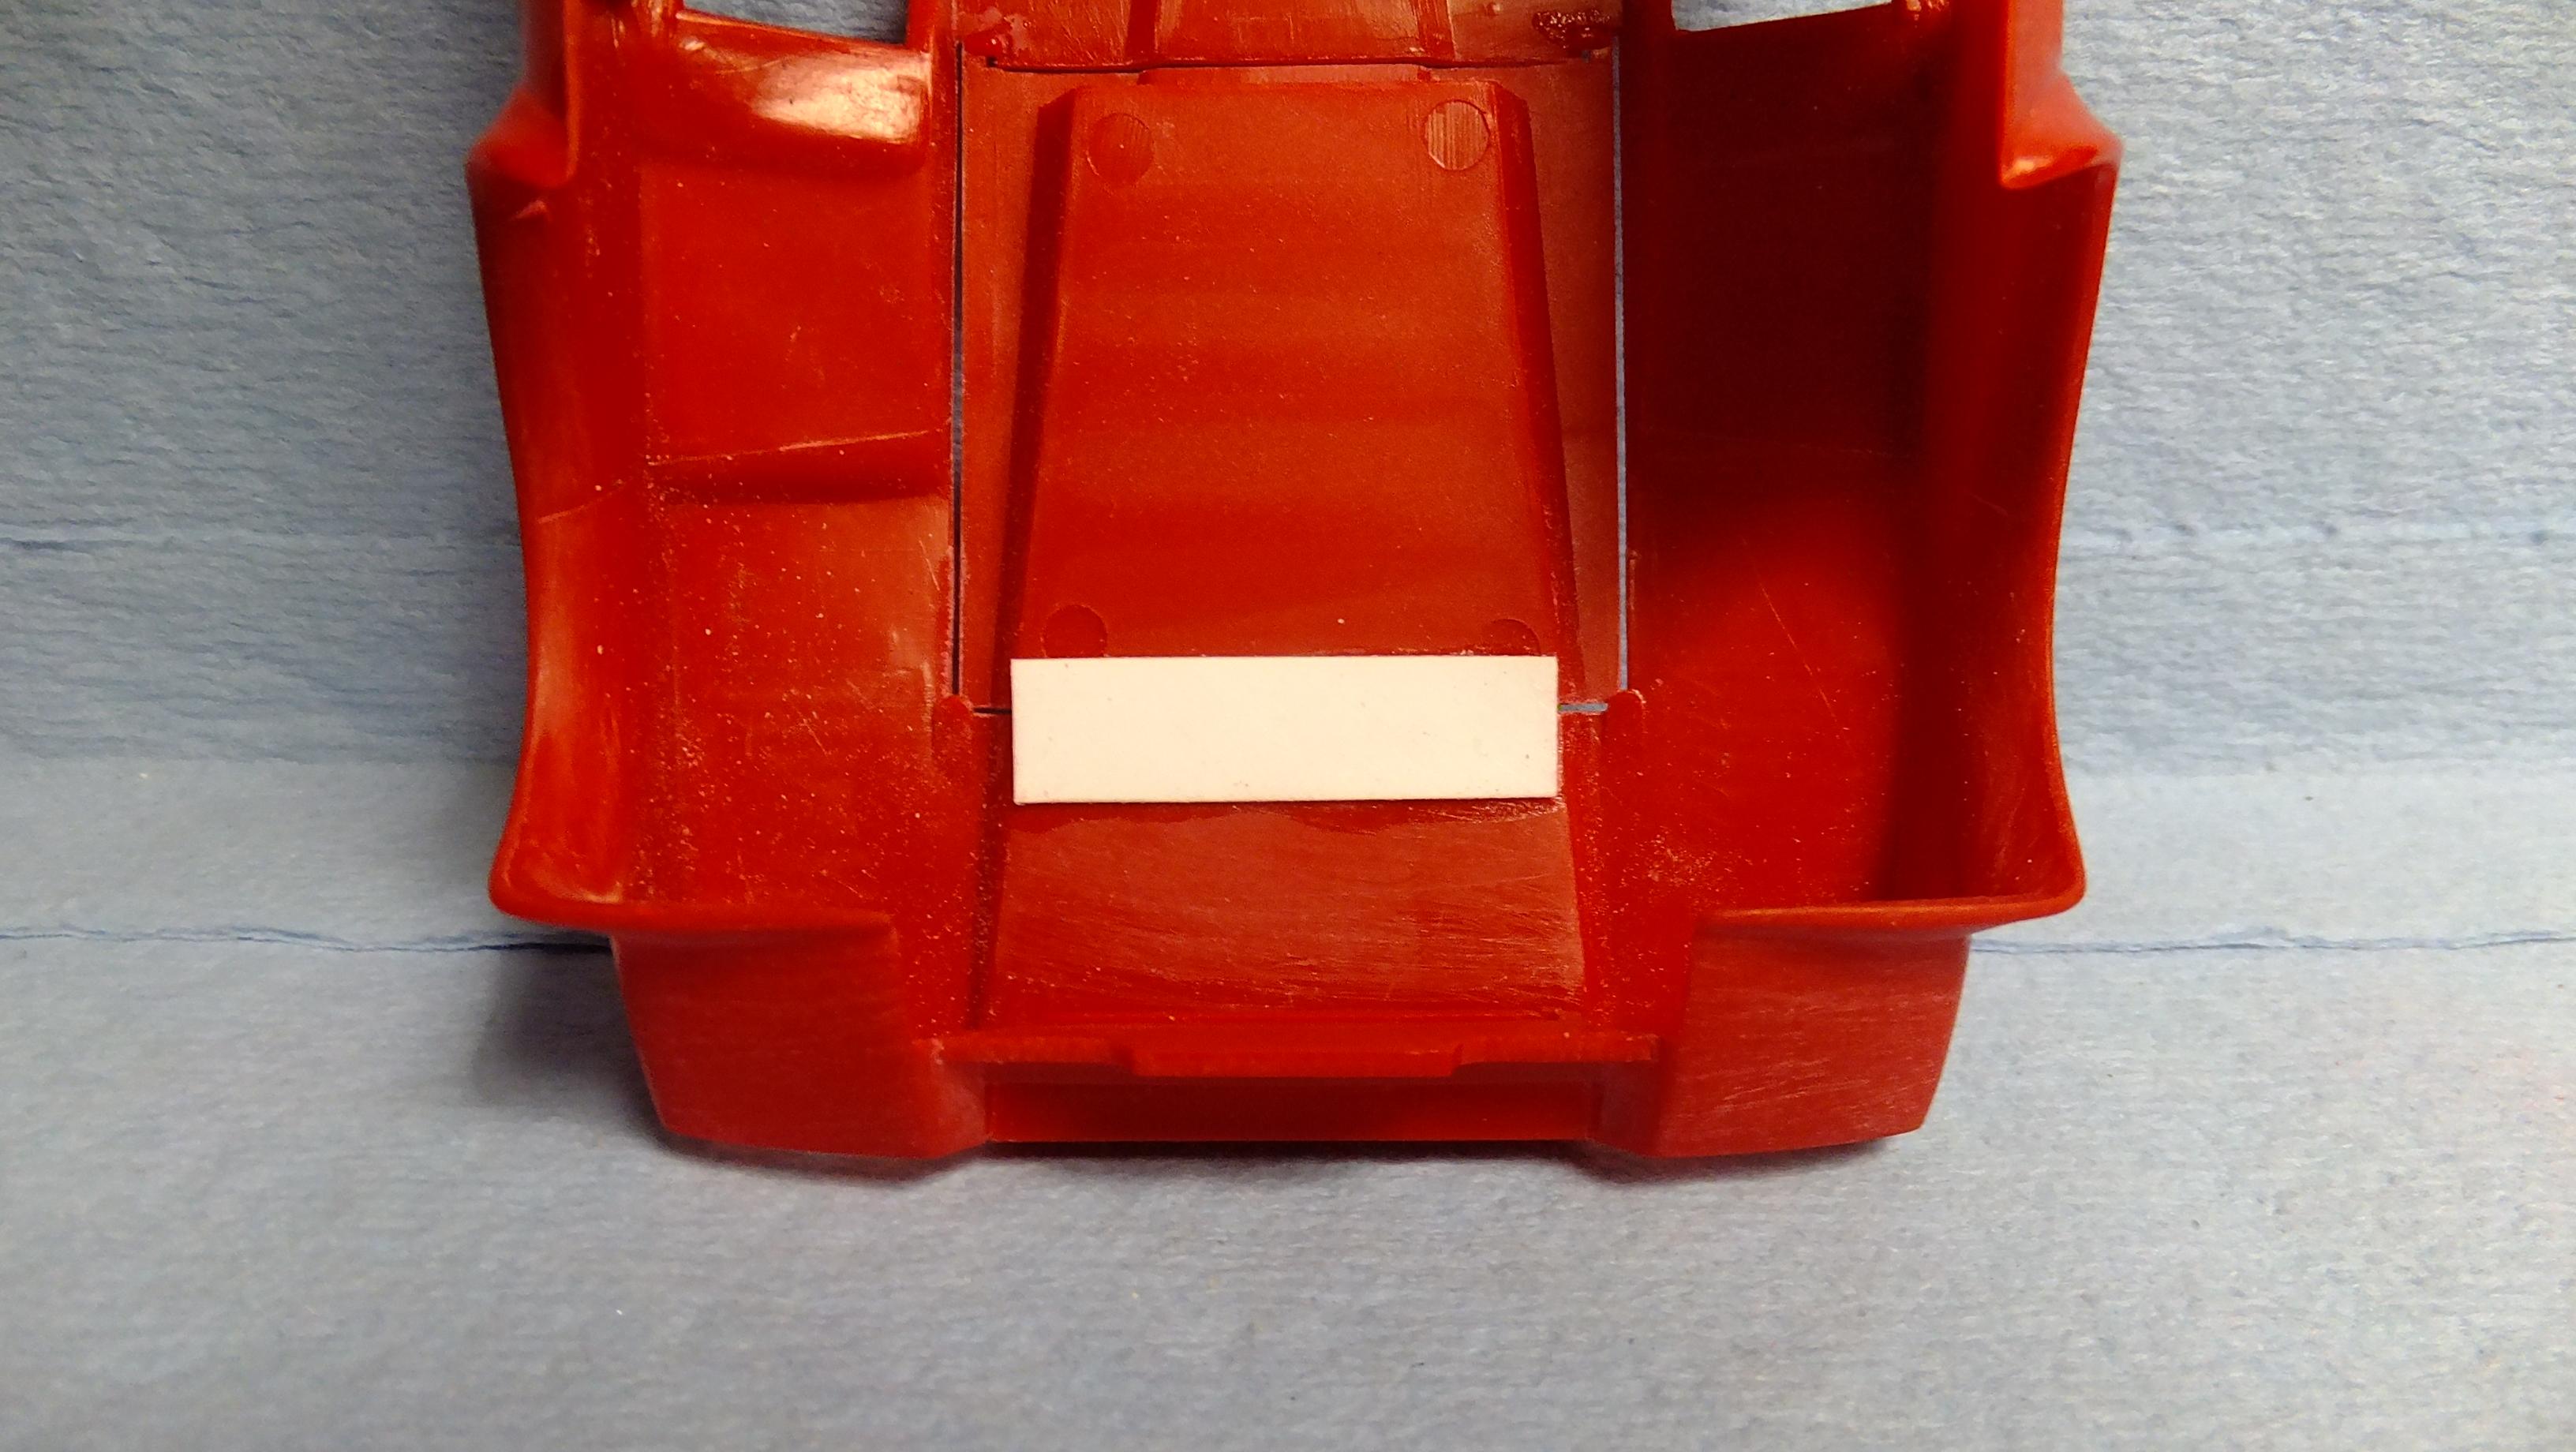
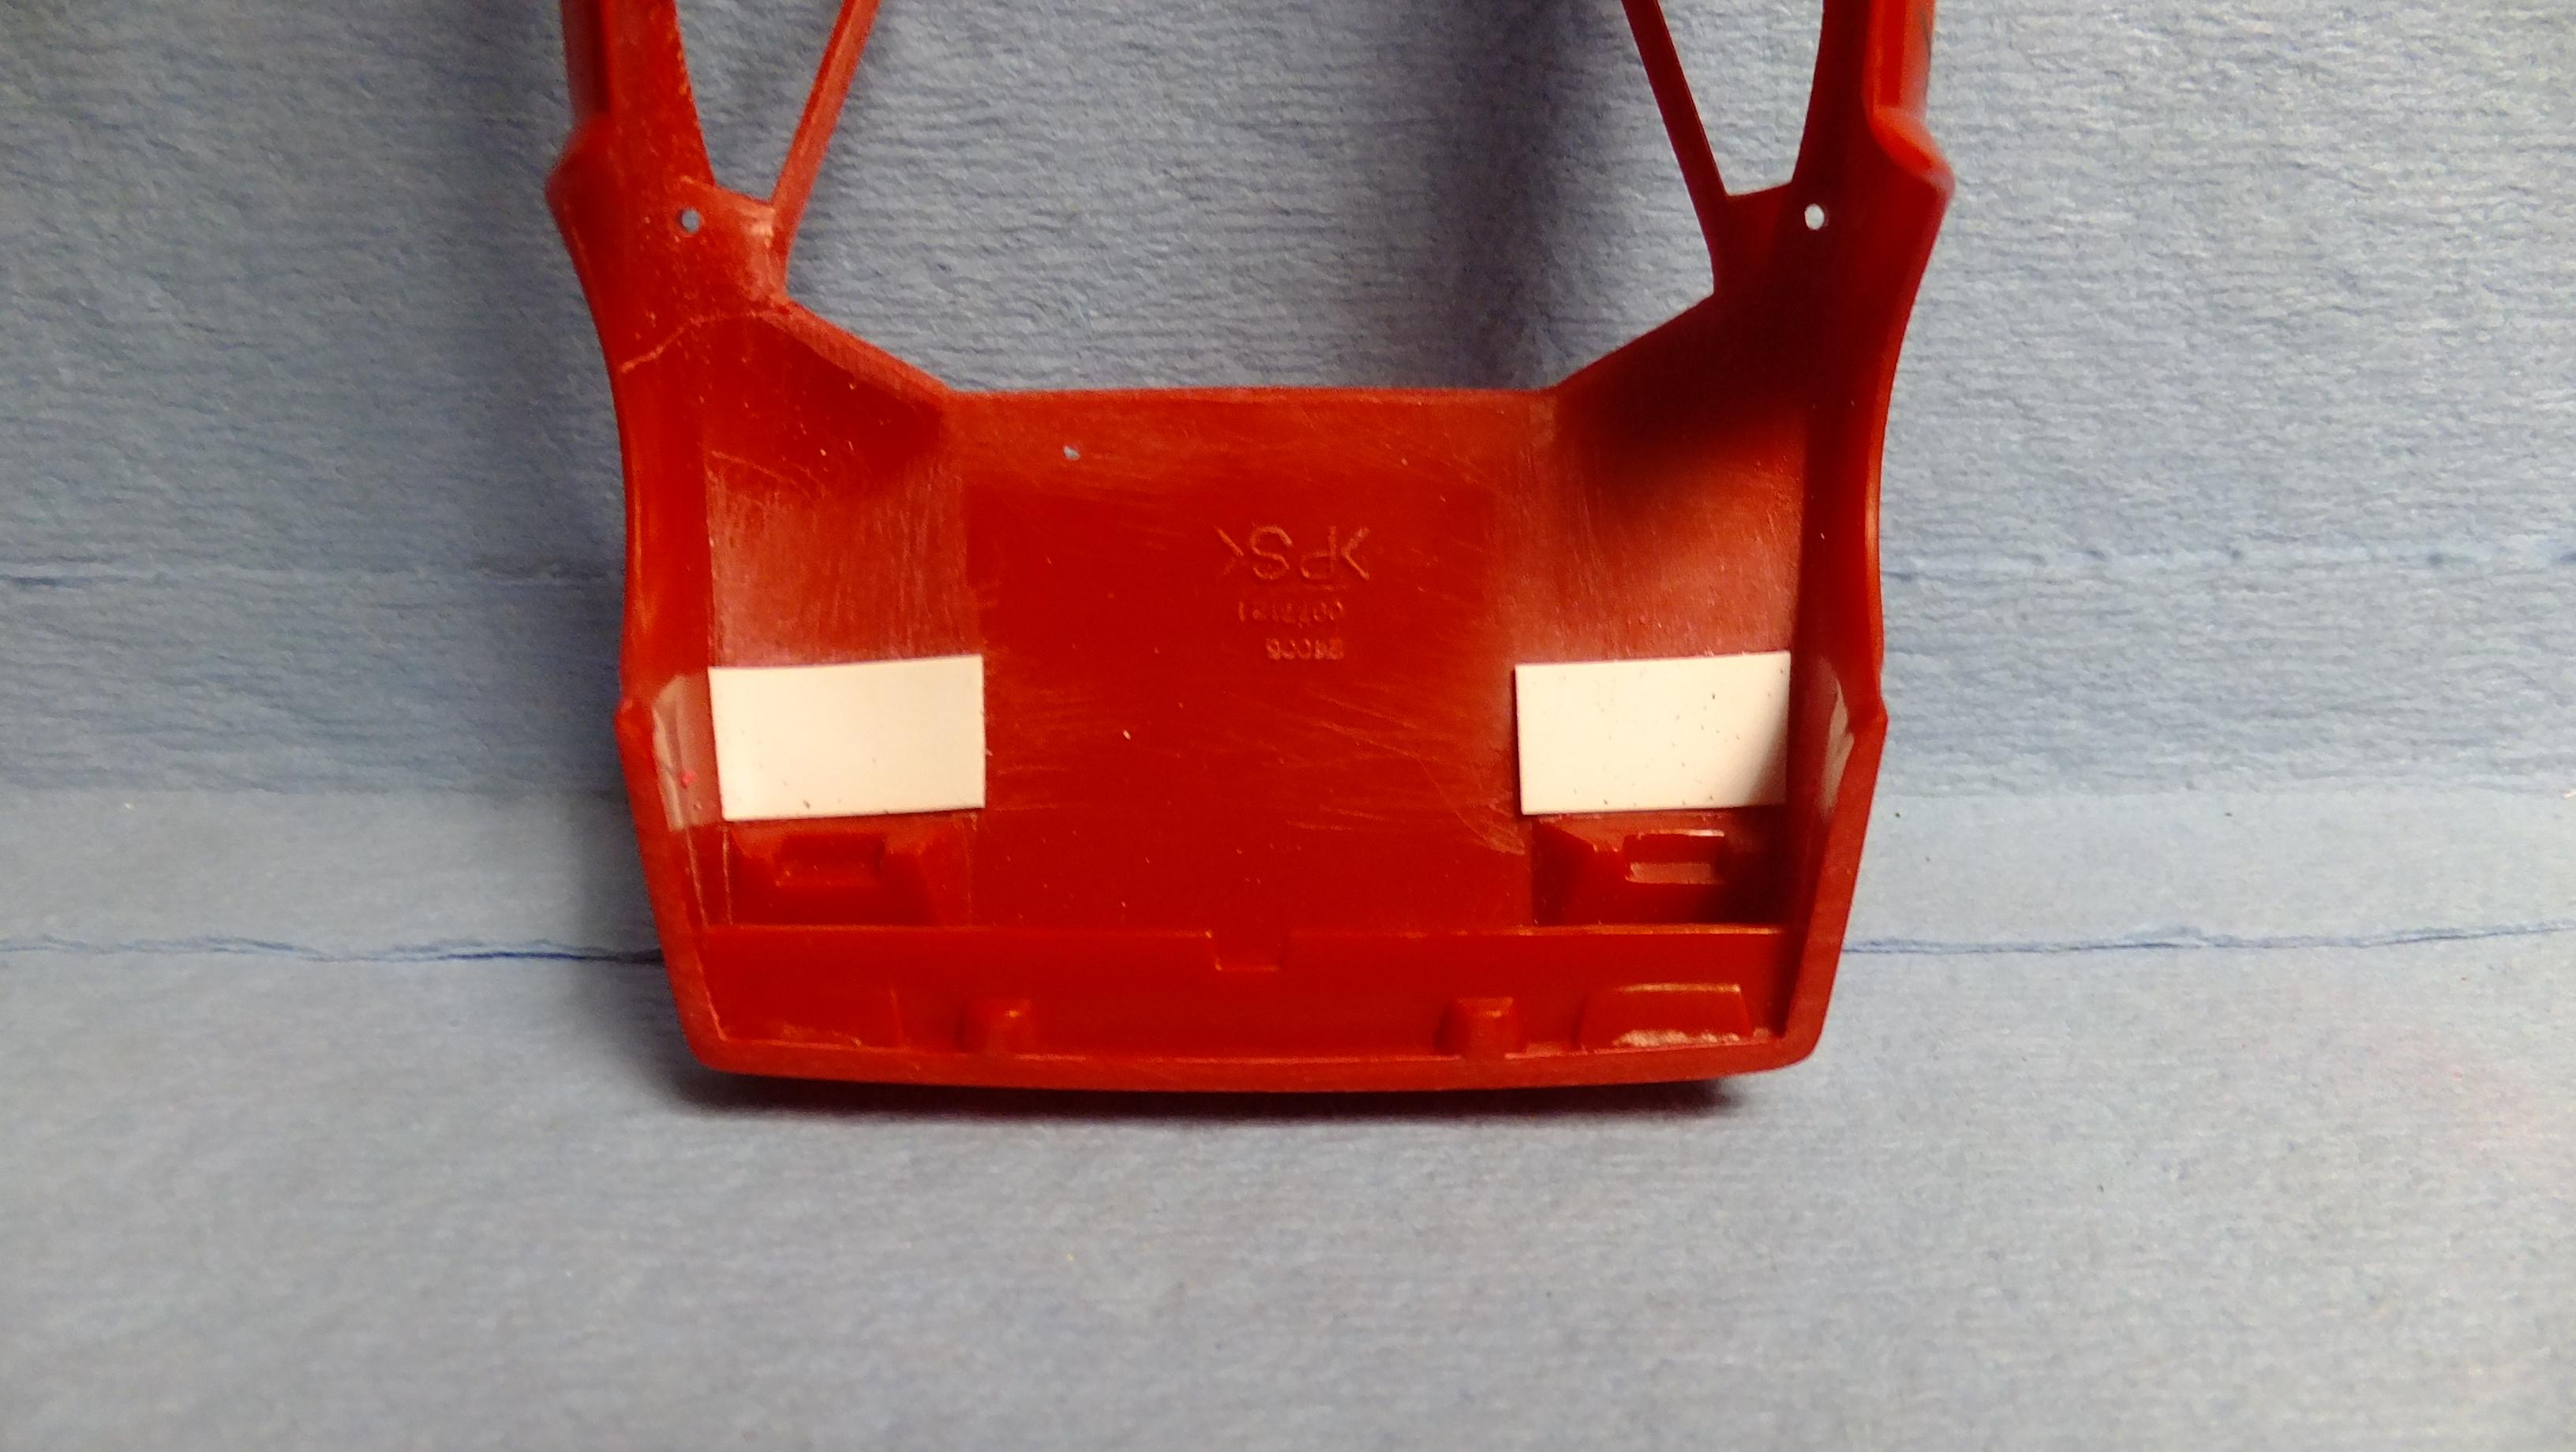
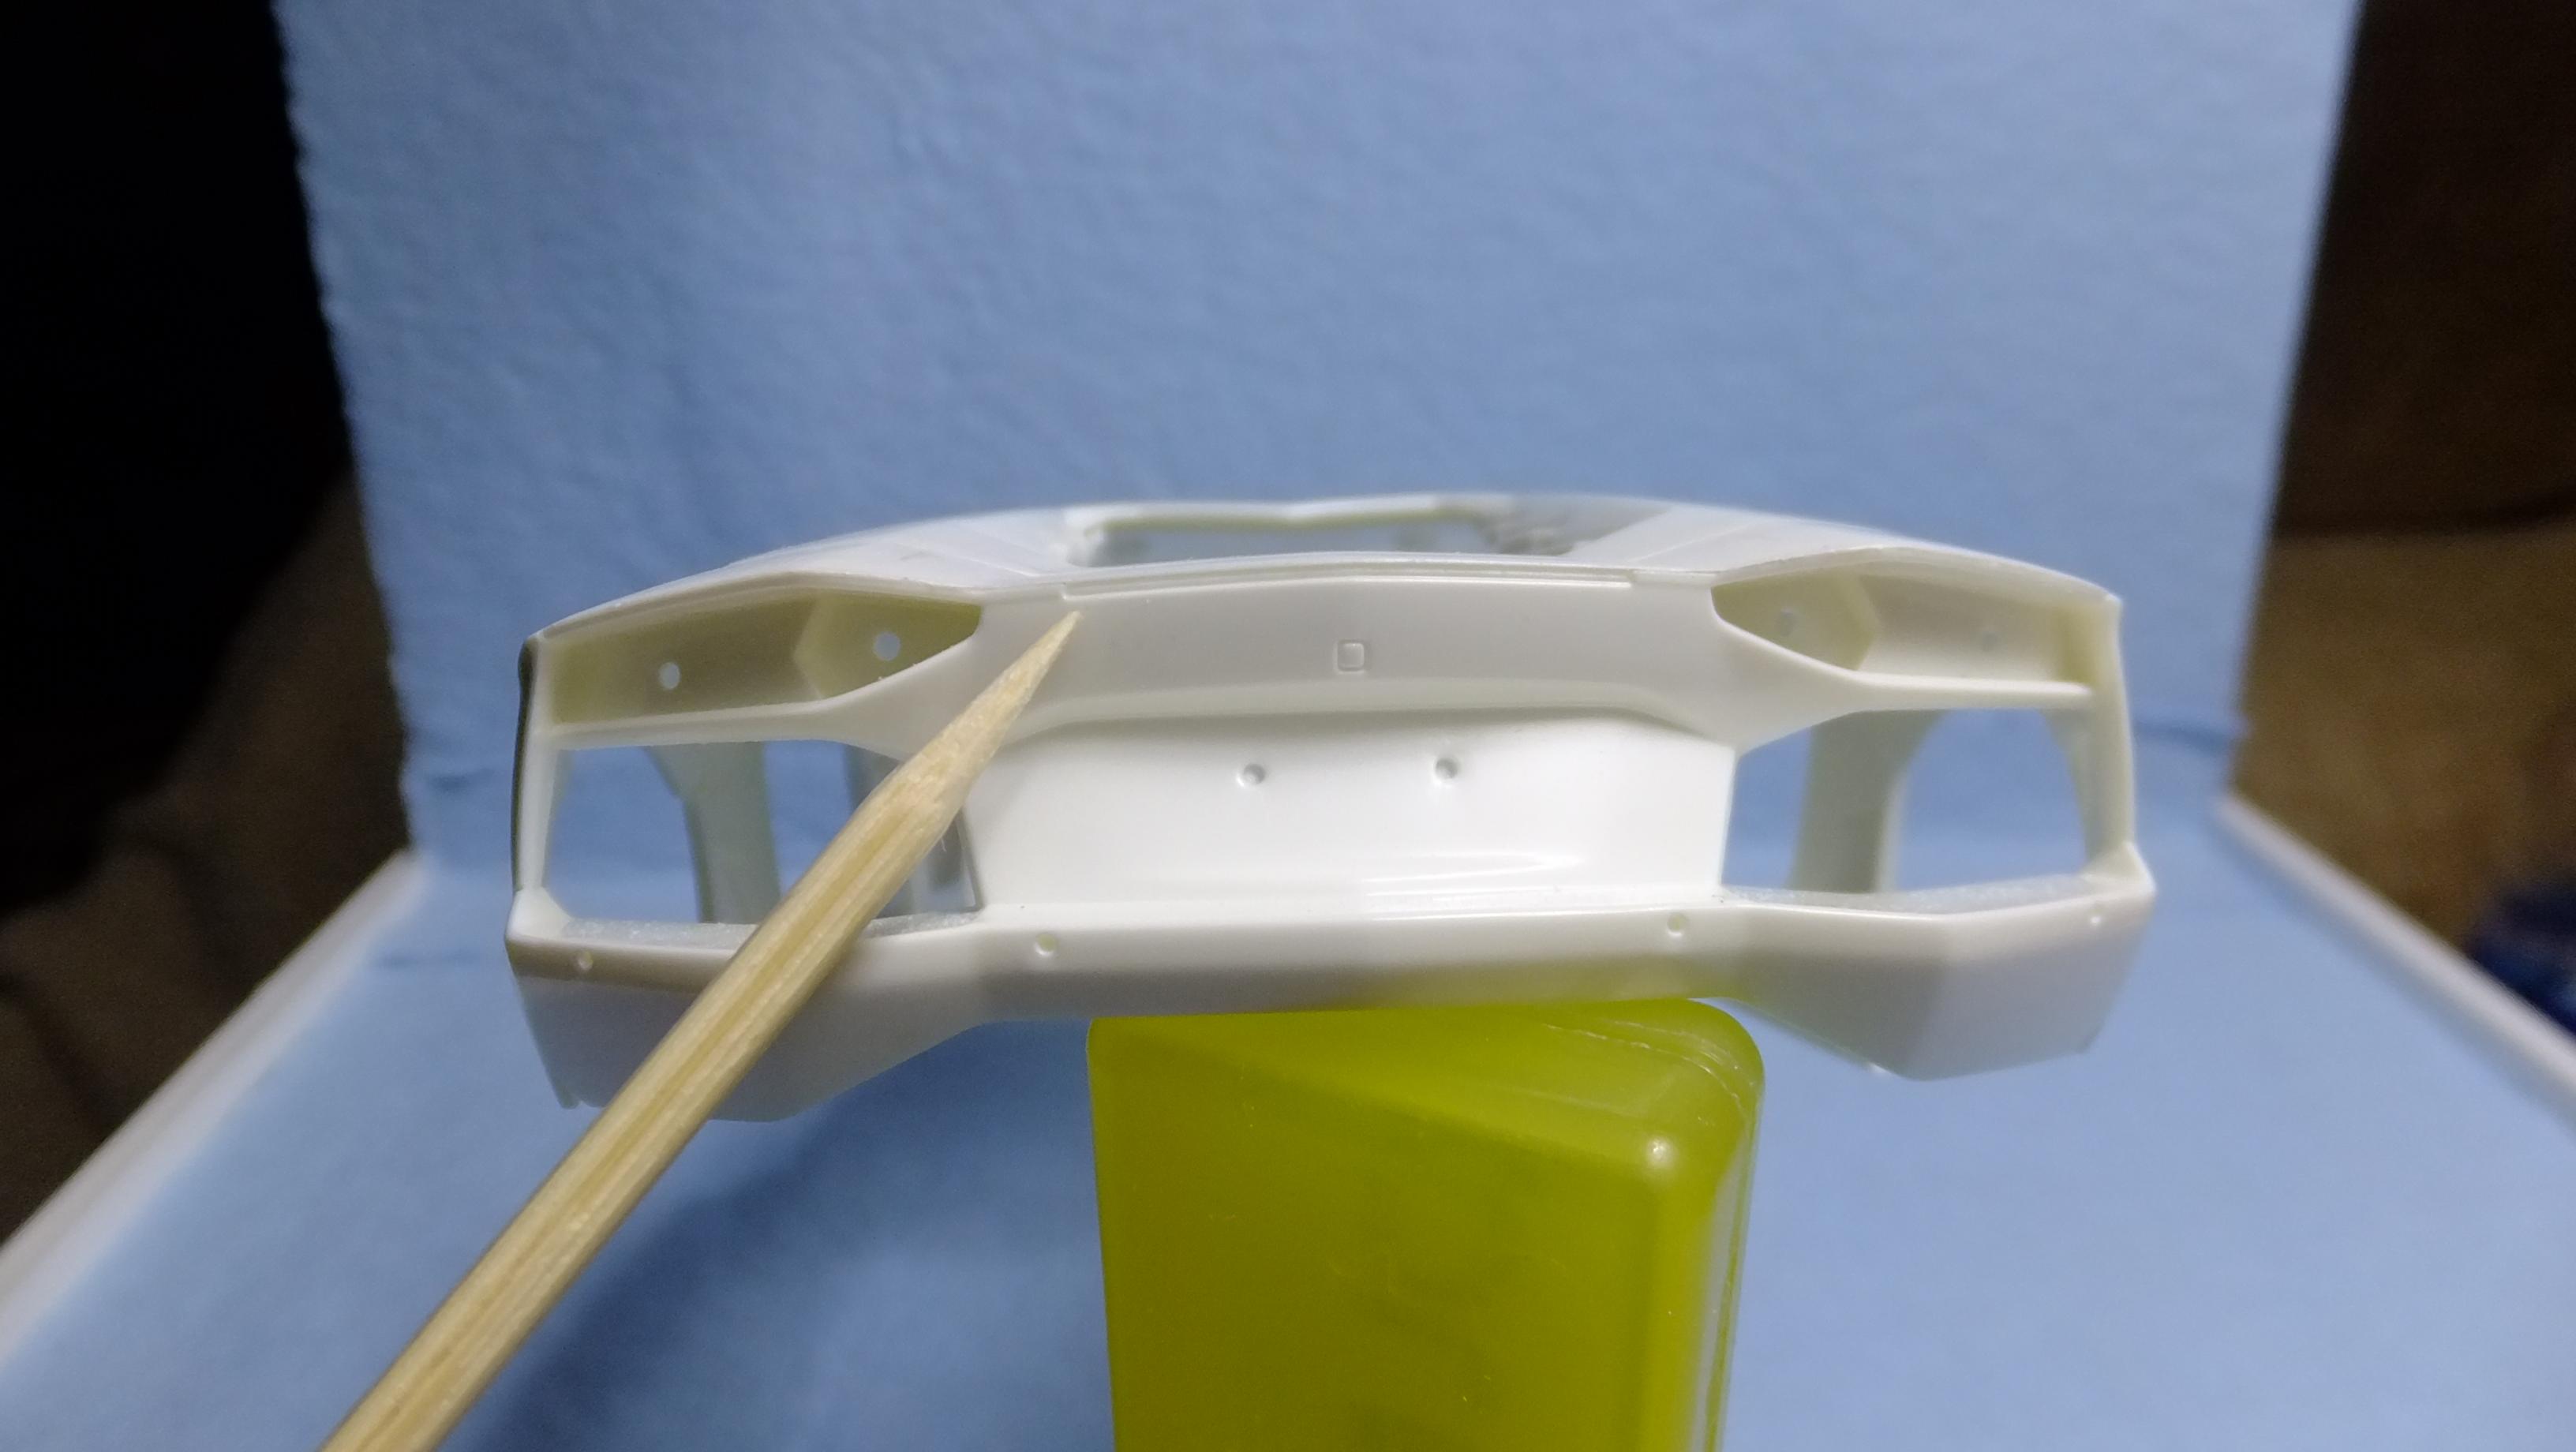
Hey, everyone!, its me again. I've decided that i will be posting WIPs on more of my started projects...hopefully it will motivate me to finally finish them. Who knows, it may even help someone whose working on one now. My objective for this kit was to just make it look a bit more realistic without having to spend too much extra money. Its actually a pretty decent representation of the actual car, and despite the kits age, it fits together well...is fun to build, and looks great when done! There are a few body style changes i made already.....basically an easier, fun build. Dont know how these photos got all mixed up, but here we go... -Photo 1, 5-7; I'm not sure how many people re-scribe every seam the same, but not all seams should be the same depth. For instance; the arrows are pointing to lines that should be shallow, since they are only body panels that dont open. Things like doors...bonnets...and boots need to be scribed deeper to show a deeper shadow insinuating space. -Photo 2; The kit -Photo 3&4; These photos show my kolor choices for this build. -Photo 8; Since i never intended to show the engine, i glued the hood shut, and needed to use styrene for extra contact. -Photo 9; The Headlamp housings dont have enough contact to be level in the closed position -in the up position they work fine. Since i wanted them down, i cut the box away, added sheet styrene to the under side , then reattached the covers centered in the openings. -Photo 10; I glued together the two-part vent boxes, sanded off the molded in front license plate, and began to SB end caps on the wing. Since i didnt like the mirrors that came with the kit, i took some spare ones from an Aoshima Countach kit. -Photo 11; I glued in the exhaust pipes, and used styrene to fill in the unrealistic openings above them. -Photo 12; Here i filled in the remote control switch, and since i wanted to use a newer version wheel from an Aoshima kit, i had to styrene rods that will fit into the backs of the wheels. -Photo 13; Here are the interior bits i am starting with.
-
Does it still show?.....lol
-
just breath calmly...aim, and smoothly pull the trigger.....you'll hit your target.
-
Its definitely giving you the look you're going for!....freaking sweet!!!!....styrene/plastic can do waaaay more than what people think.
-
Heres my opinion on the interior parts... -Photo 1; The interior tubs are pretty equal in quality, but Fujimi too the easy way out, and molded in the freaking foot peddles...Aoshima has them as a nicely done separate part. -Photo 2; Beware when test fitting the interior tub on the chassis...the pis stick VERY tightly , and may break off. Aoshima utilizes the more common pin contact points. -Photo 3; Fujimis seats are okay, but Aoshimas are better for a couple reasons...Aoshima has a separate piece for the backs of the headrests, and they also have the extra detail of the female part of the seat buckles. -Photo 4&5; Although Fujimis dash is nicely, crisply detailed, Aoshima wins here.To make kolor choices easier since theirs comes in two pieces. Its also better because it has a clear lense for the guages...Fujimi only has a nicelt done decal. -Photo 6; The steering wheel bits are very nice in both kits, but if you want to use the plastic paddles, Fujimis are already more realistically thin. -Photo 7; Fujimi wins the center column. Detail painting is waaaay easier like this, and oddly enough, it also has crisper details than Aoshima. -Photo 8; ...fits Perf! -Photo 9;Its like a tennis match with these two kits!....Aoshima wins the door card match...it has Great details, separate door pulls, and speakers. I can kinda understand the molded in pulls -most kits are molded in, but where the heck are the speakers??!!! -now i gotta do their job for'em again.
-
Thanks, bud!!, i hope it does help people. I do wish i had an unbuilt Aoshima kit that i could compare side by side....i will just have to keep giving my honost opinion.
-
Cool project!....i'll follow!!....excellent plastic work, bud!!!
-

1968 RKE/JRT SCCA Trans Am Javelin
Dann Tier replied to swede70's topic in WIP: Other Racing: Road Racing, Land Speed Racers
Overkill??.....i think its Awesome!!!! -
Heres a couple more comparisons pertaining to the body parts... -Photo 1; These are the fujimi door hinges. They are not functional...you either glue them open with these bits, or glue them shut without them. For me, I like to temperarily glue the doors open in kits like these with my canopy glue, take the photos, then glue the doors shut, and finish taking photos. Aoshimas doors are fully functional with the use of wire, but you may have to manipulate the metal to get it to work properly -they can be fussy. -Photo 2; Heres something that baffled me about this kit. There are so many OPEN vents on this kit....why the heck didnt they leave this one open too? If memory serves me right, Aoshimas is molded open. -Photo 3; The windsheild valance is molded in on the Fujimi kit, where as its a separate piece on the Aoshima kit. Neither one really bothers me....most kits has this part already molded in. -Photo 4; Fujimi decided to make a depression for the third brake light for a decal light to rest in. Aoshima provides a decal as well, without the depression.
-
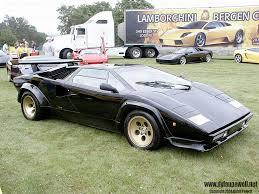
Thanks for checking it out, bud!.....to me, the Aventador is Lamborghinis last TRUELY beautiful design.
-
Thanks, Bud!, i hope so, lol
-
Thanks, Scott!!
-
Heck, bud......look at what you've done already!.....you got this!!
-
WORK OF ART!!!!....Brilliant innovations everywhere!!
-
What do you mean?
-
Thank you very much, Arturo!....glad to have you follow along!!
-
Well done, bud!!!


.jpg.b38589eb0a8a2f1d4e86570e957707c3.jpg)