Dann Tier
-
Posts
8,151 -
Joined
-
Last visited
Content Type
Profiles
Forums
Events
Gallery
Everything posted by Dann Tier
-

Otaki 1/12 Lamborghini Countach Twin Turbo...Mission Statement
Dann Tier replied to Dann Tier's topic in WIP: Model Cars
LOL, thanks!...i put the wires there to keep them out of my way until i'm ready to install them......you're a funny guy -
I have the Aoshima Roadster on the way myself. I dont know much about zoomon...
-
Thanks for following along!!
-
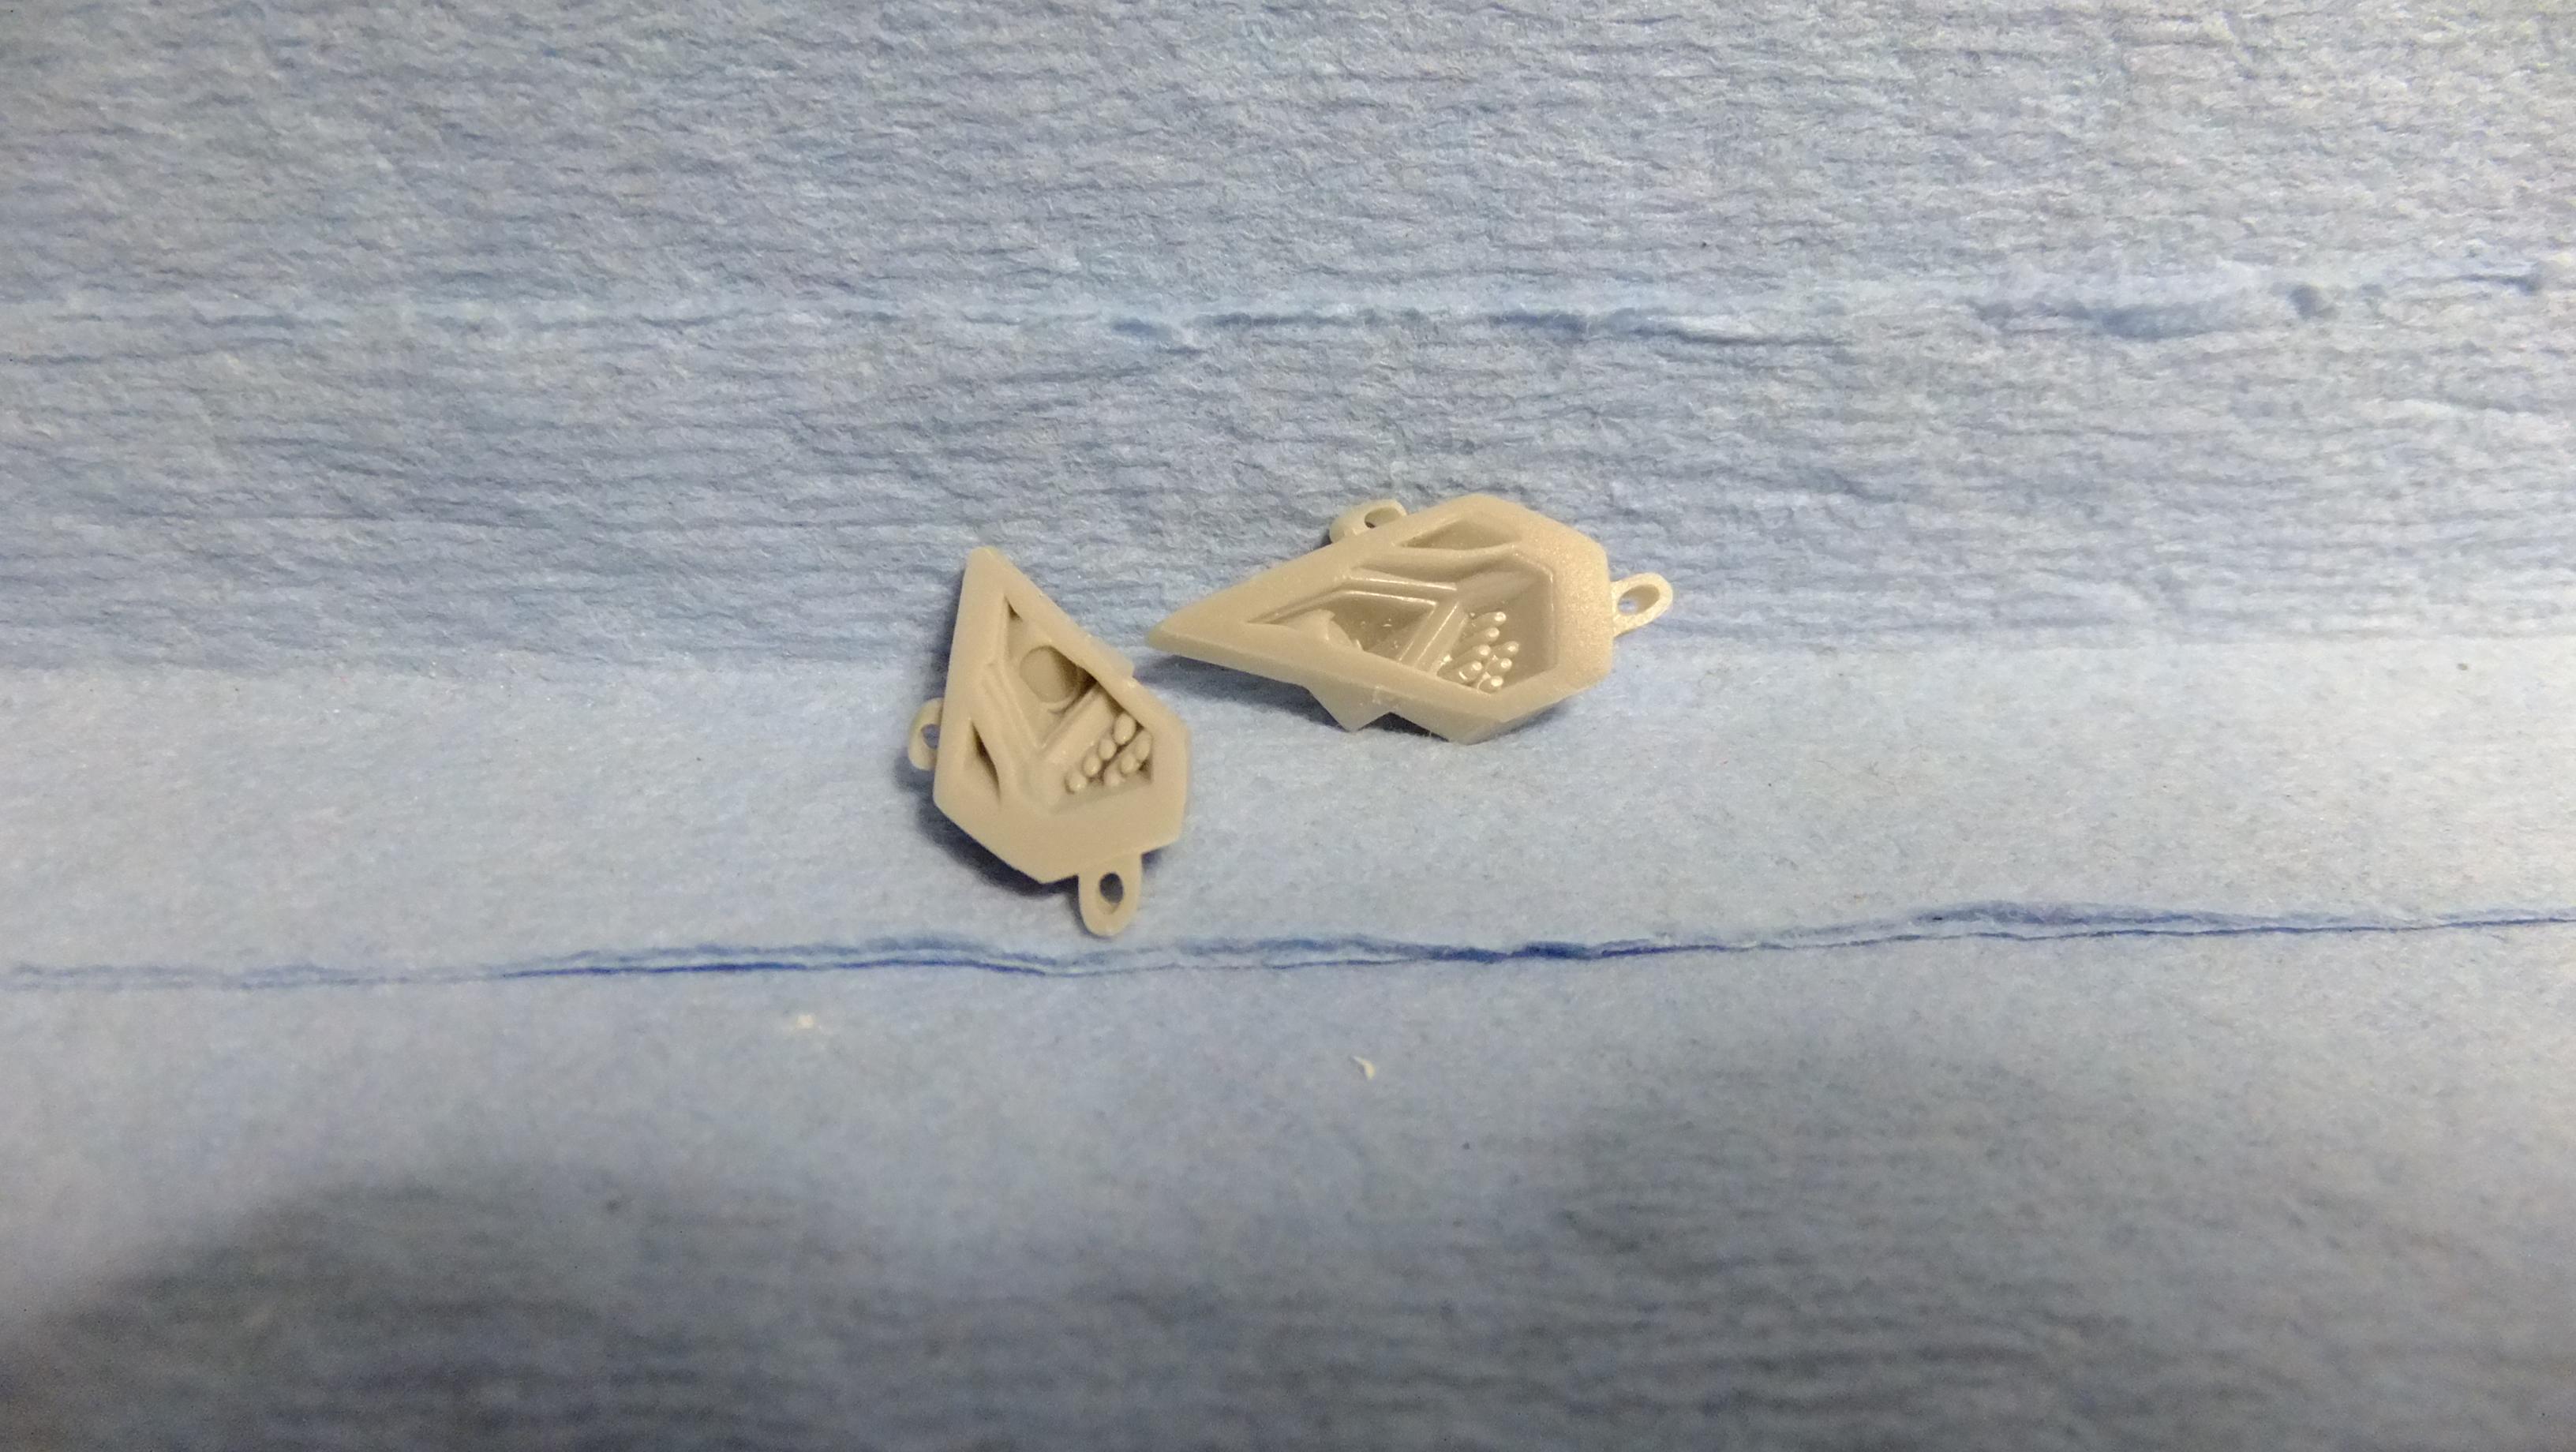
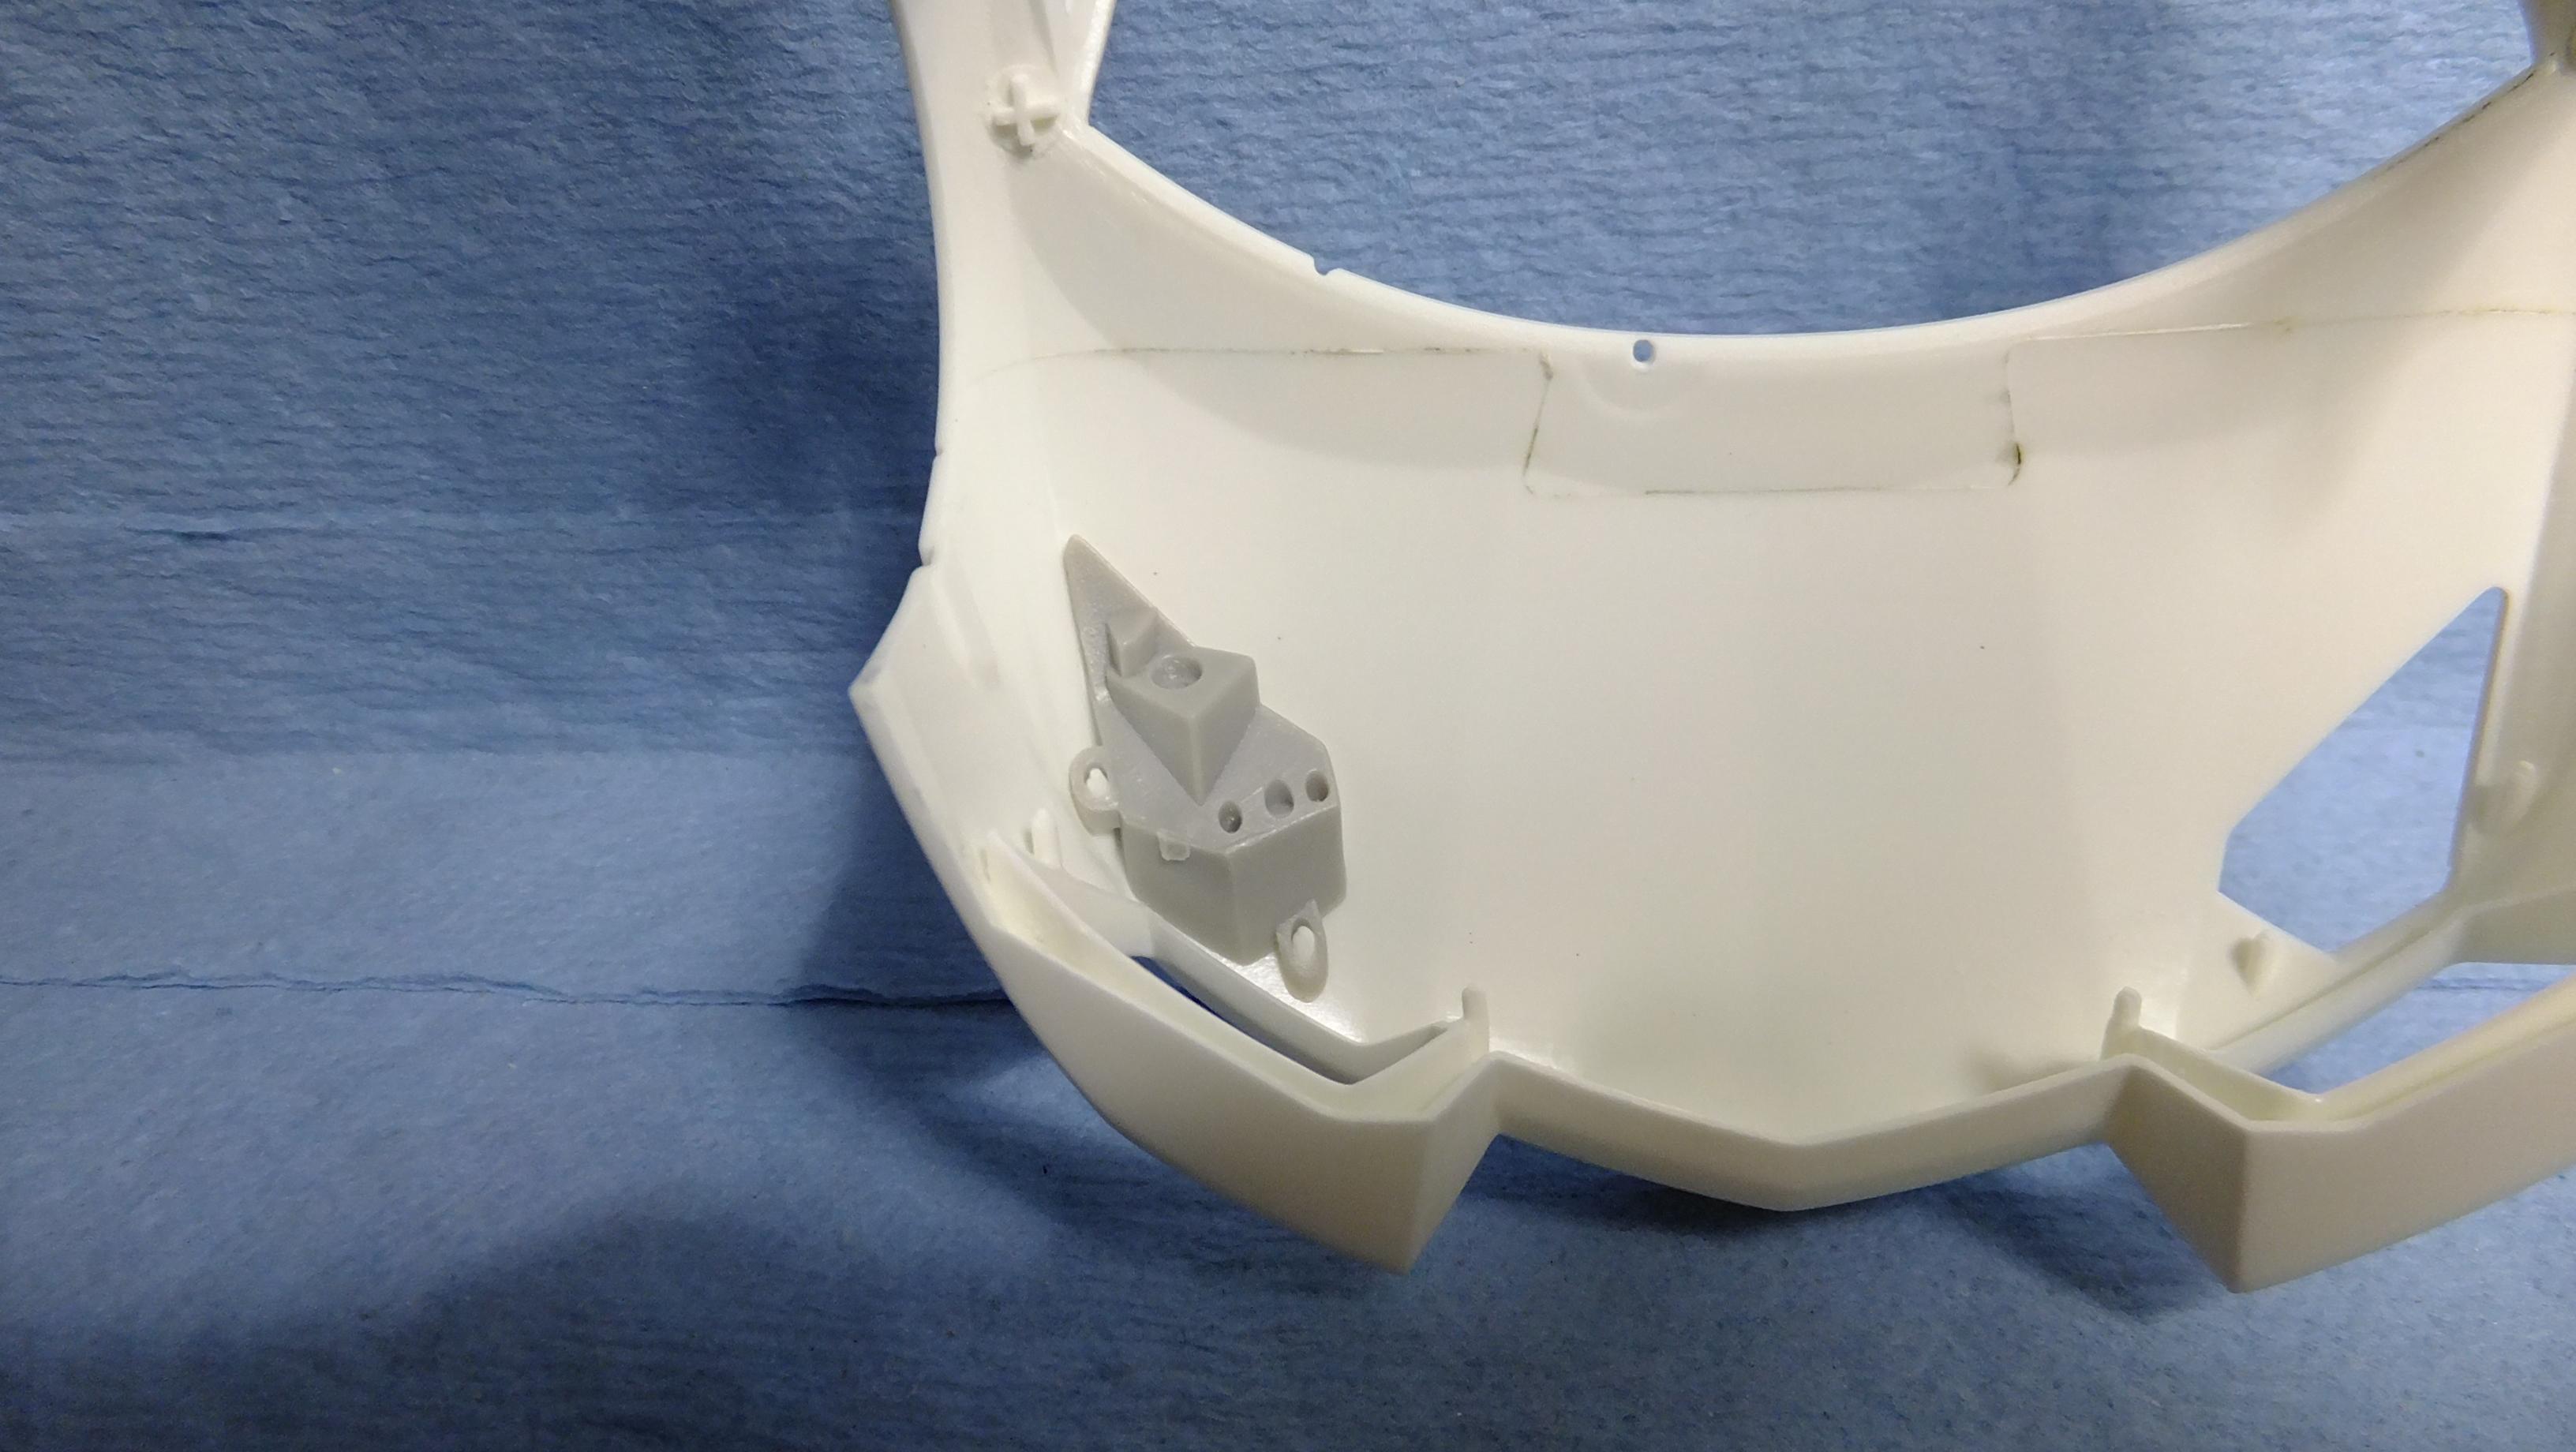
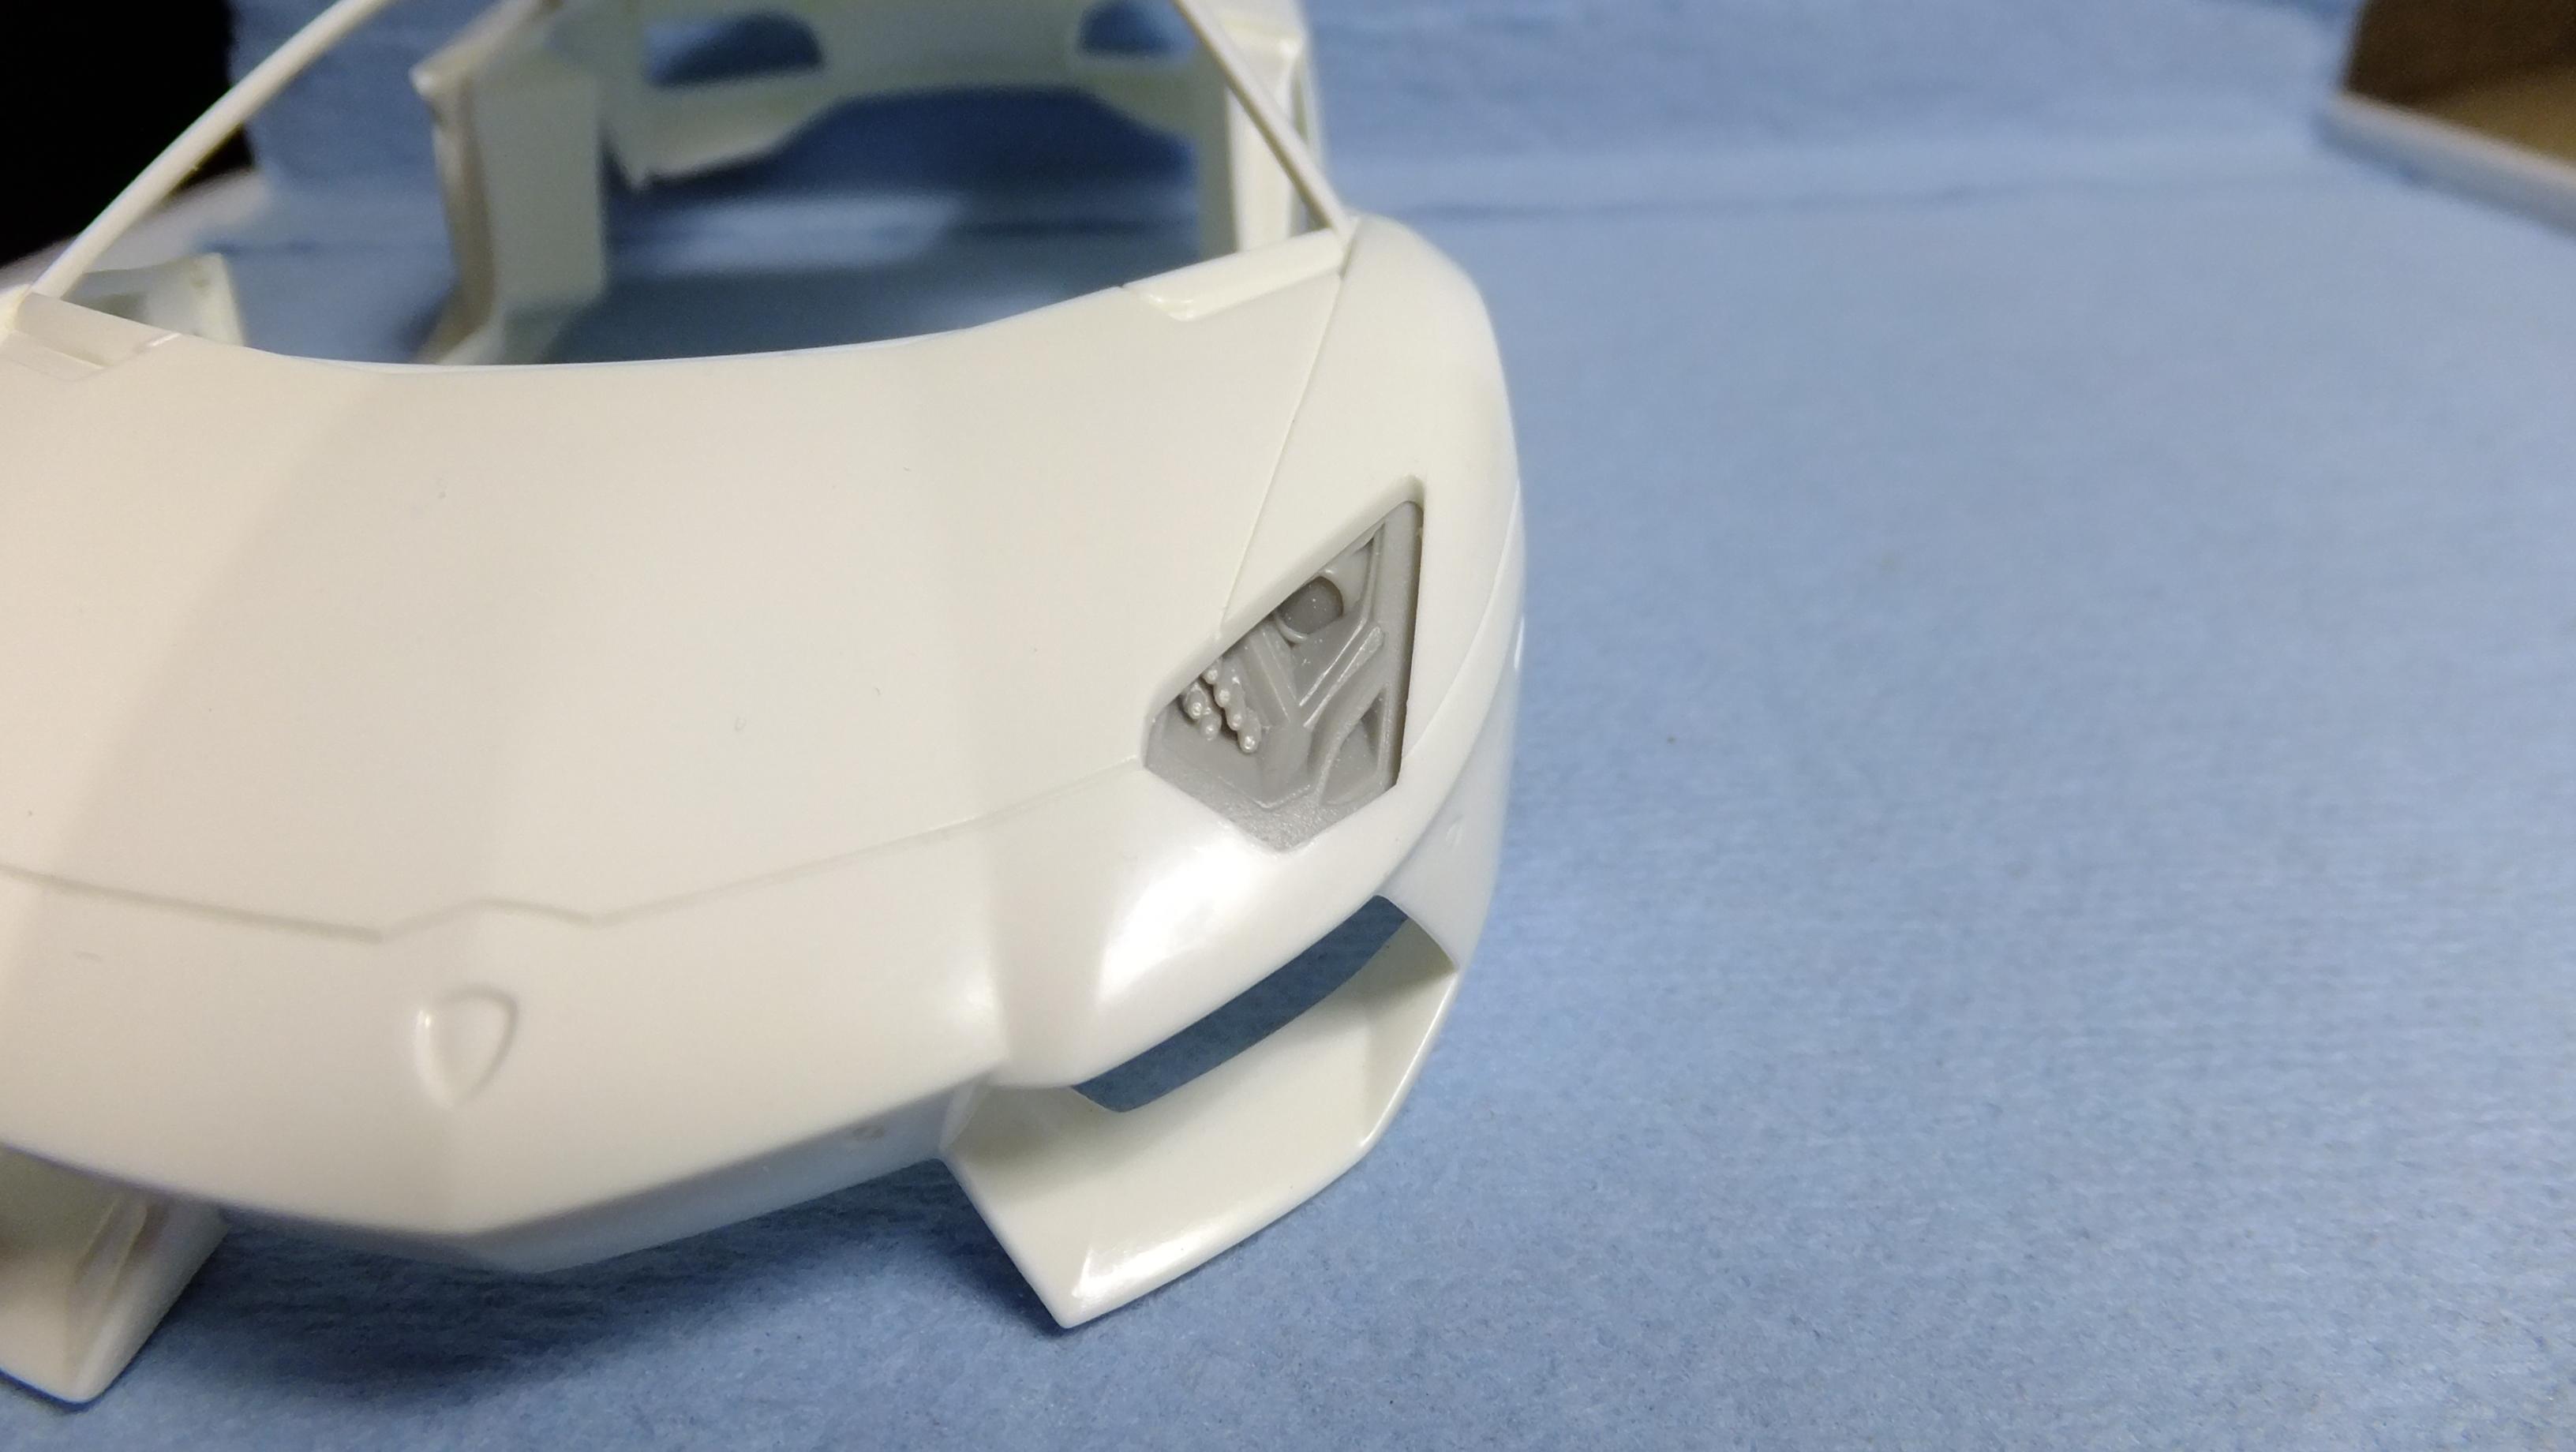
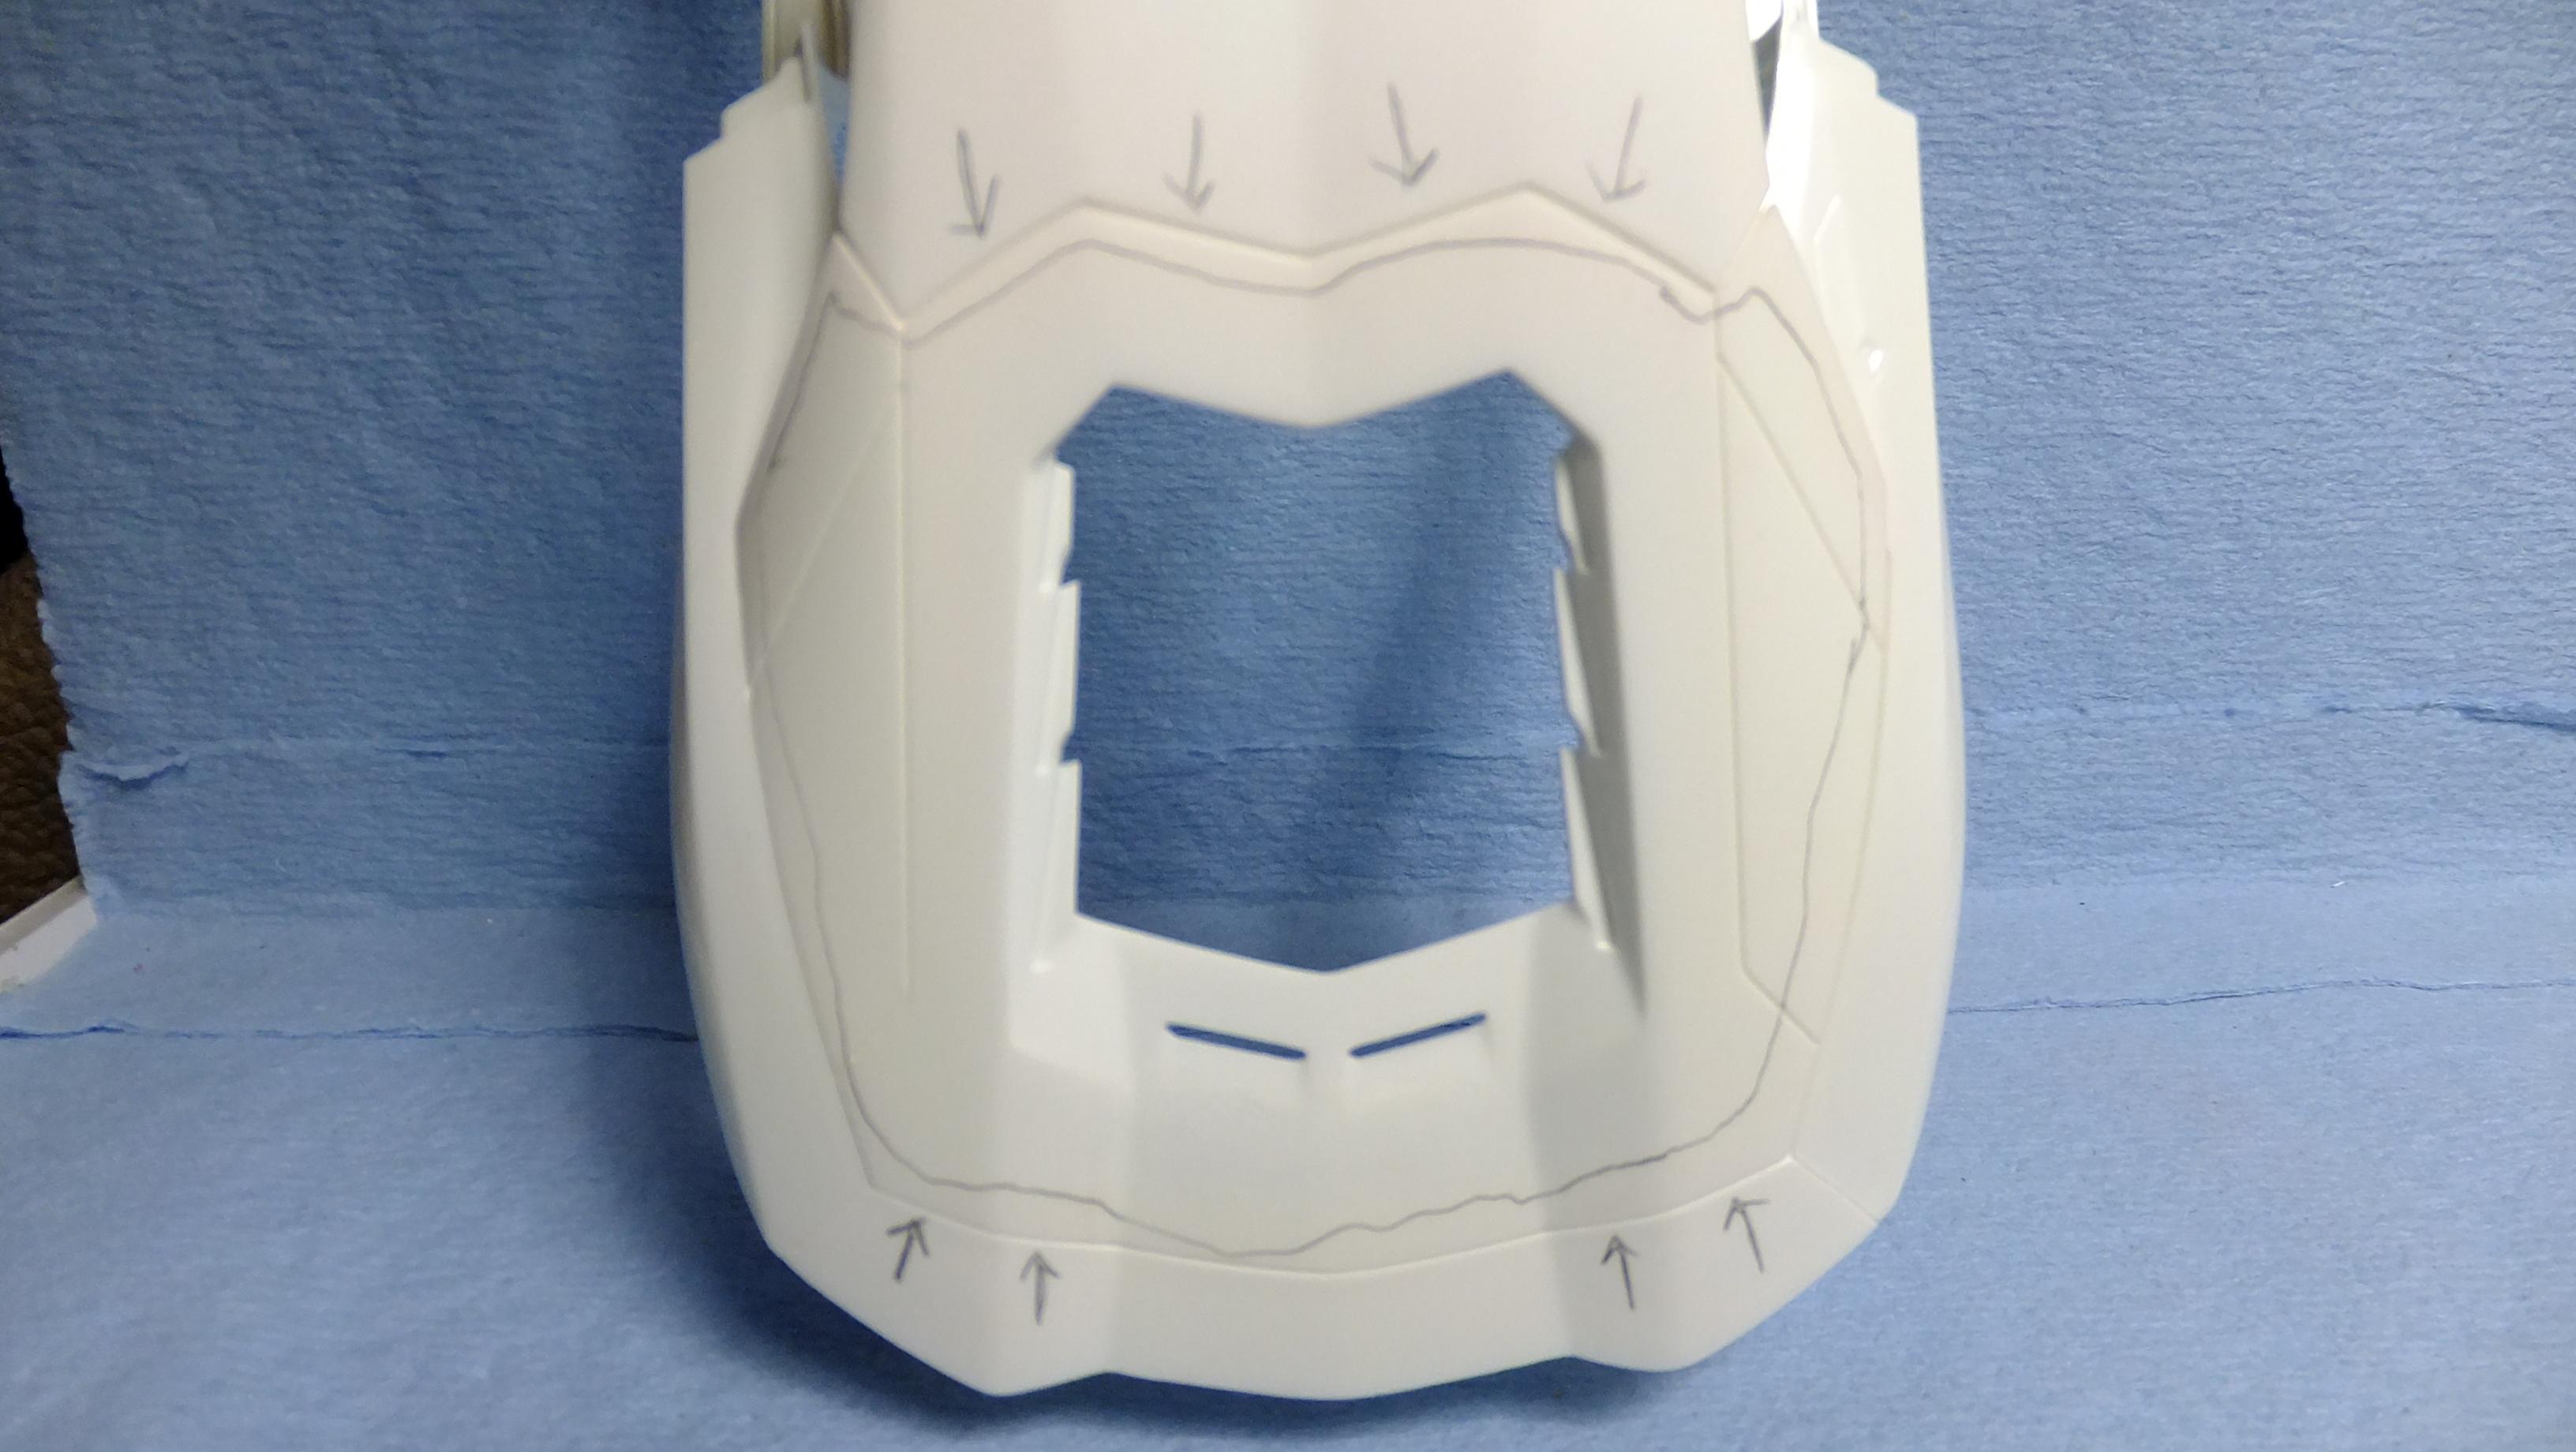
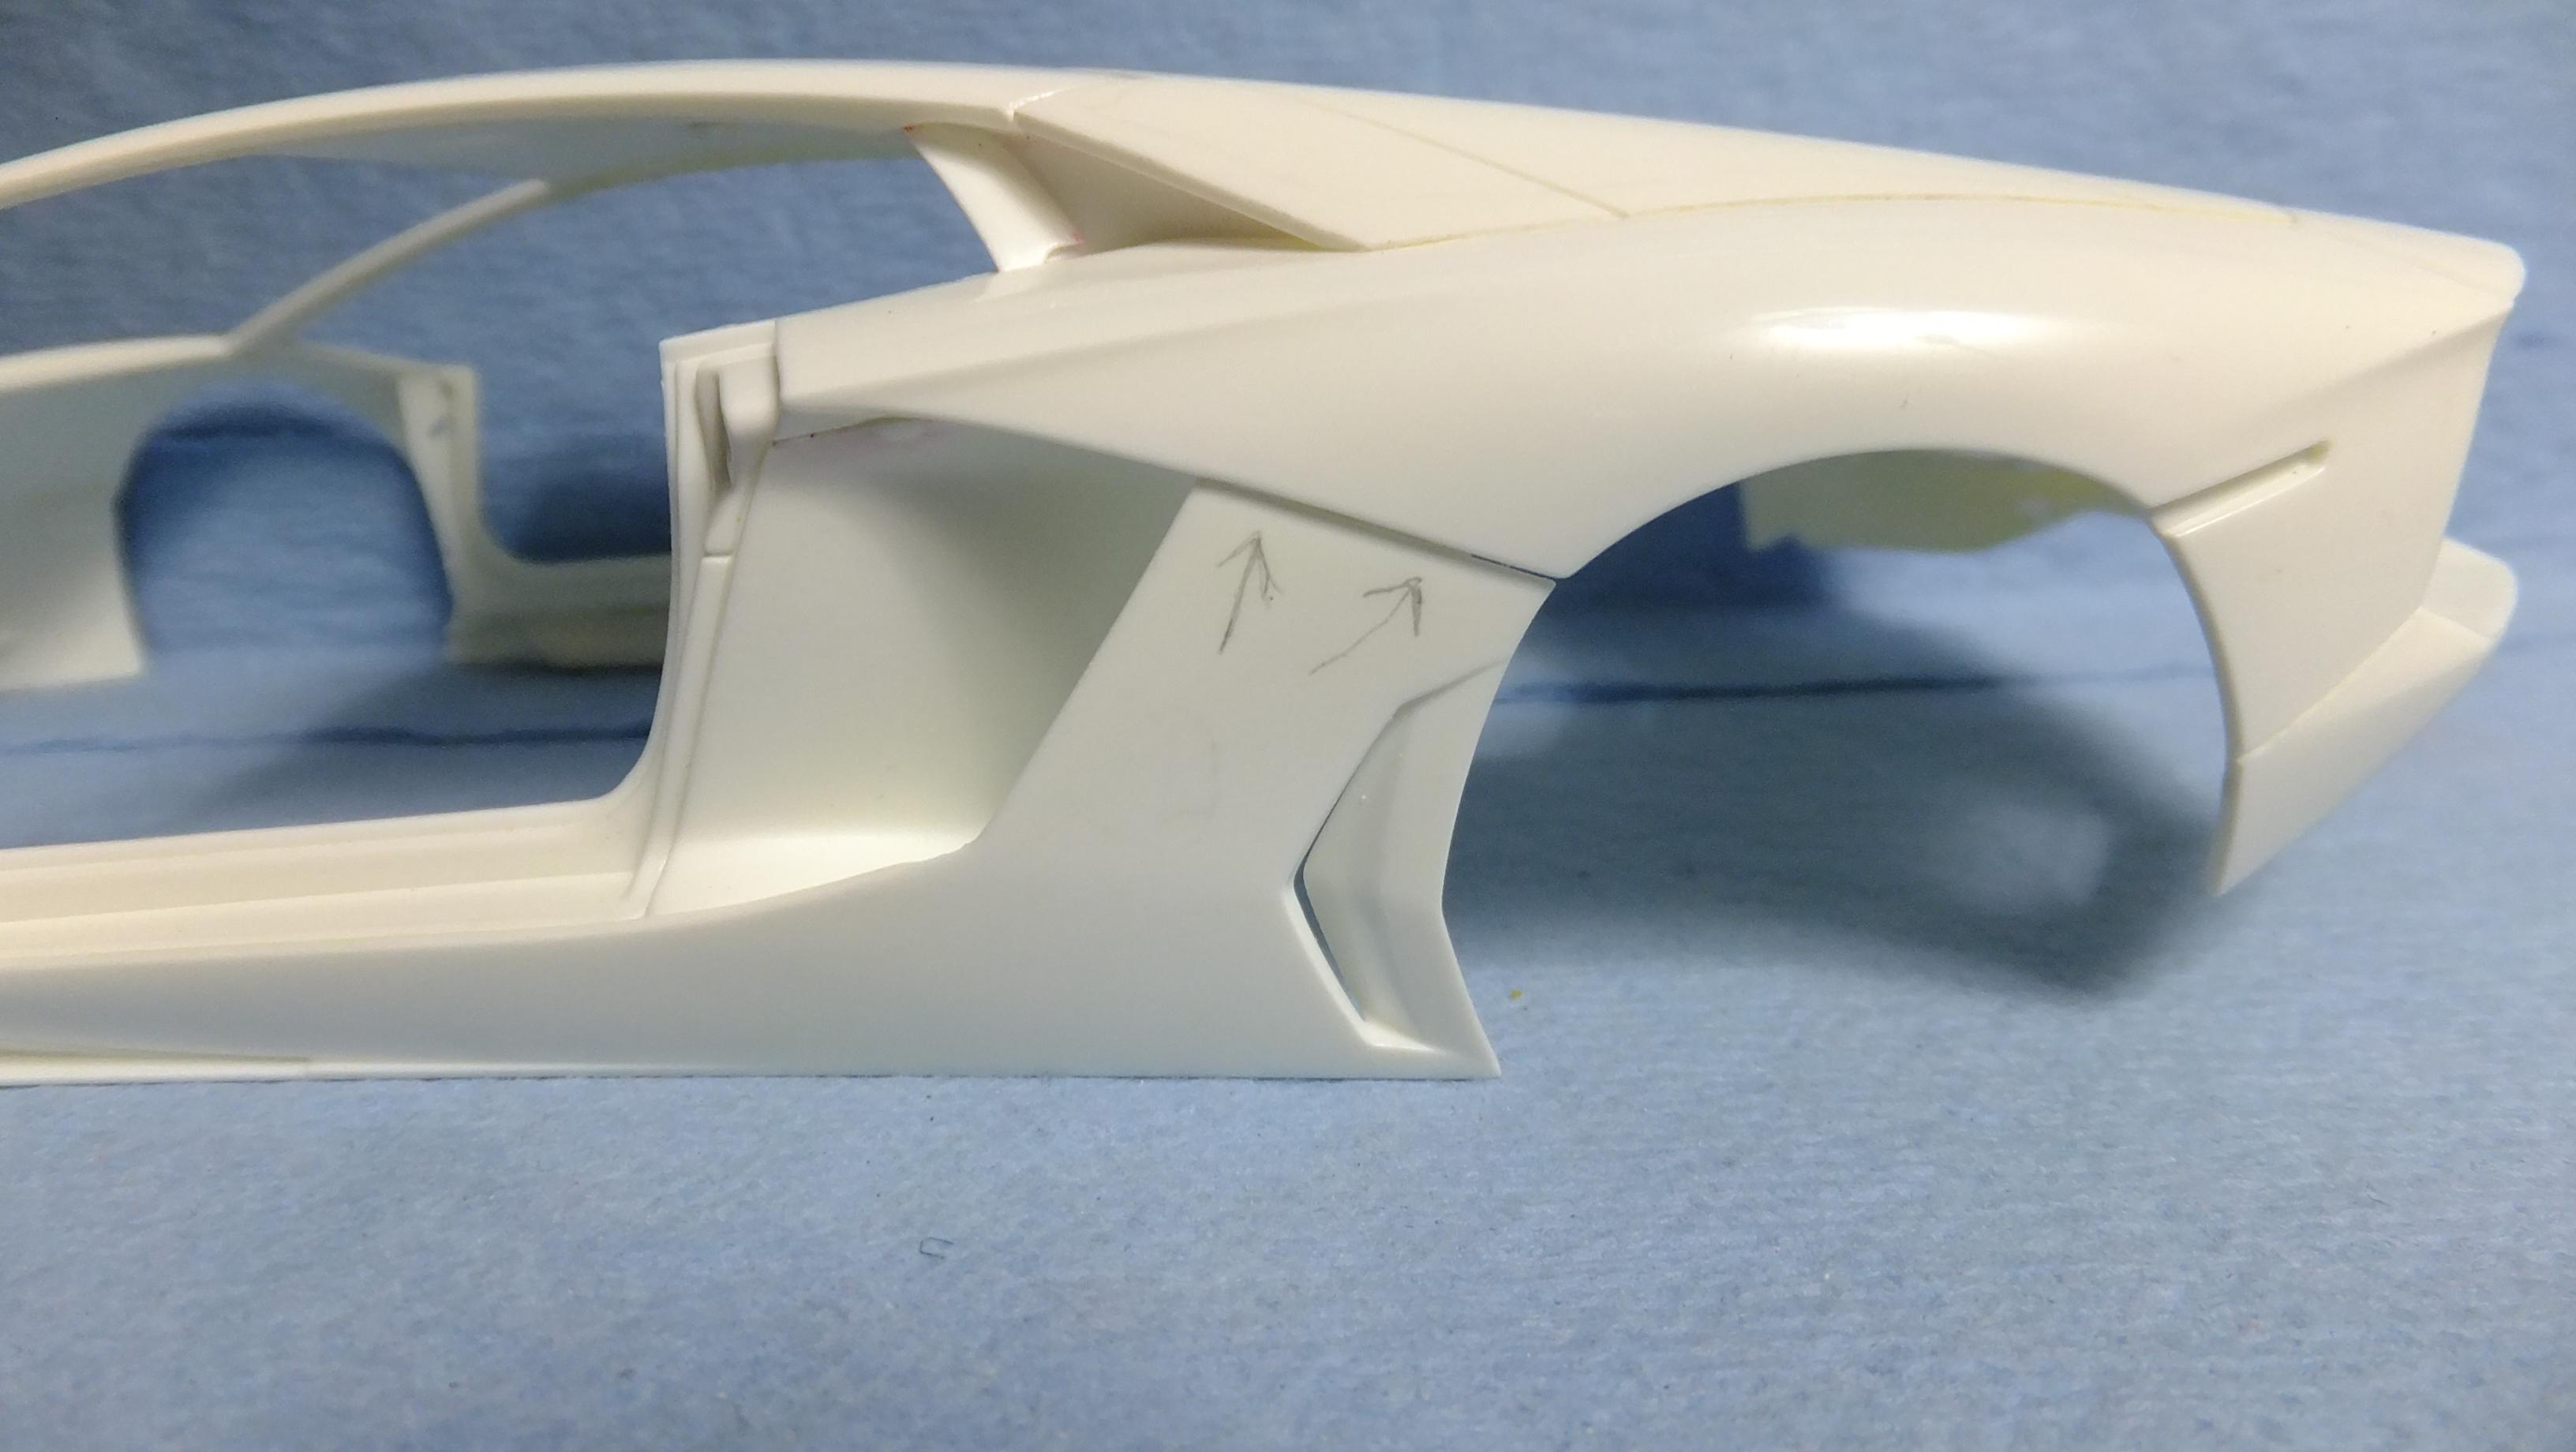
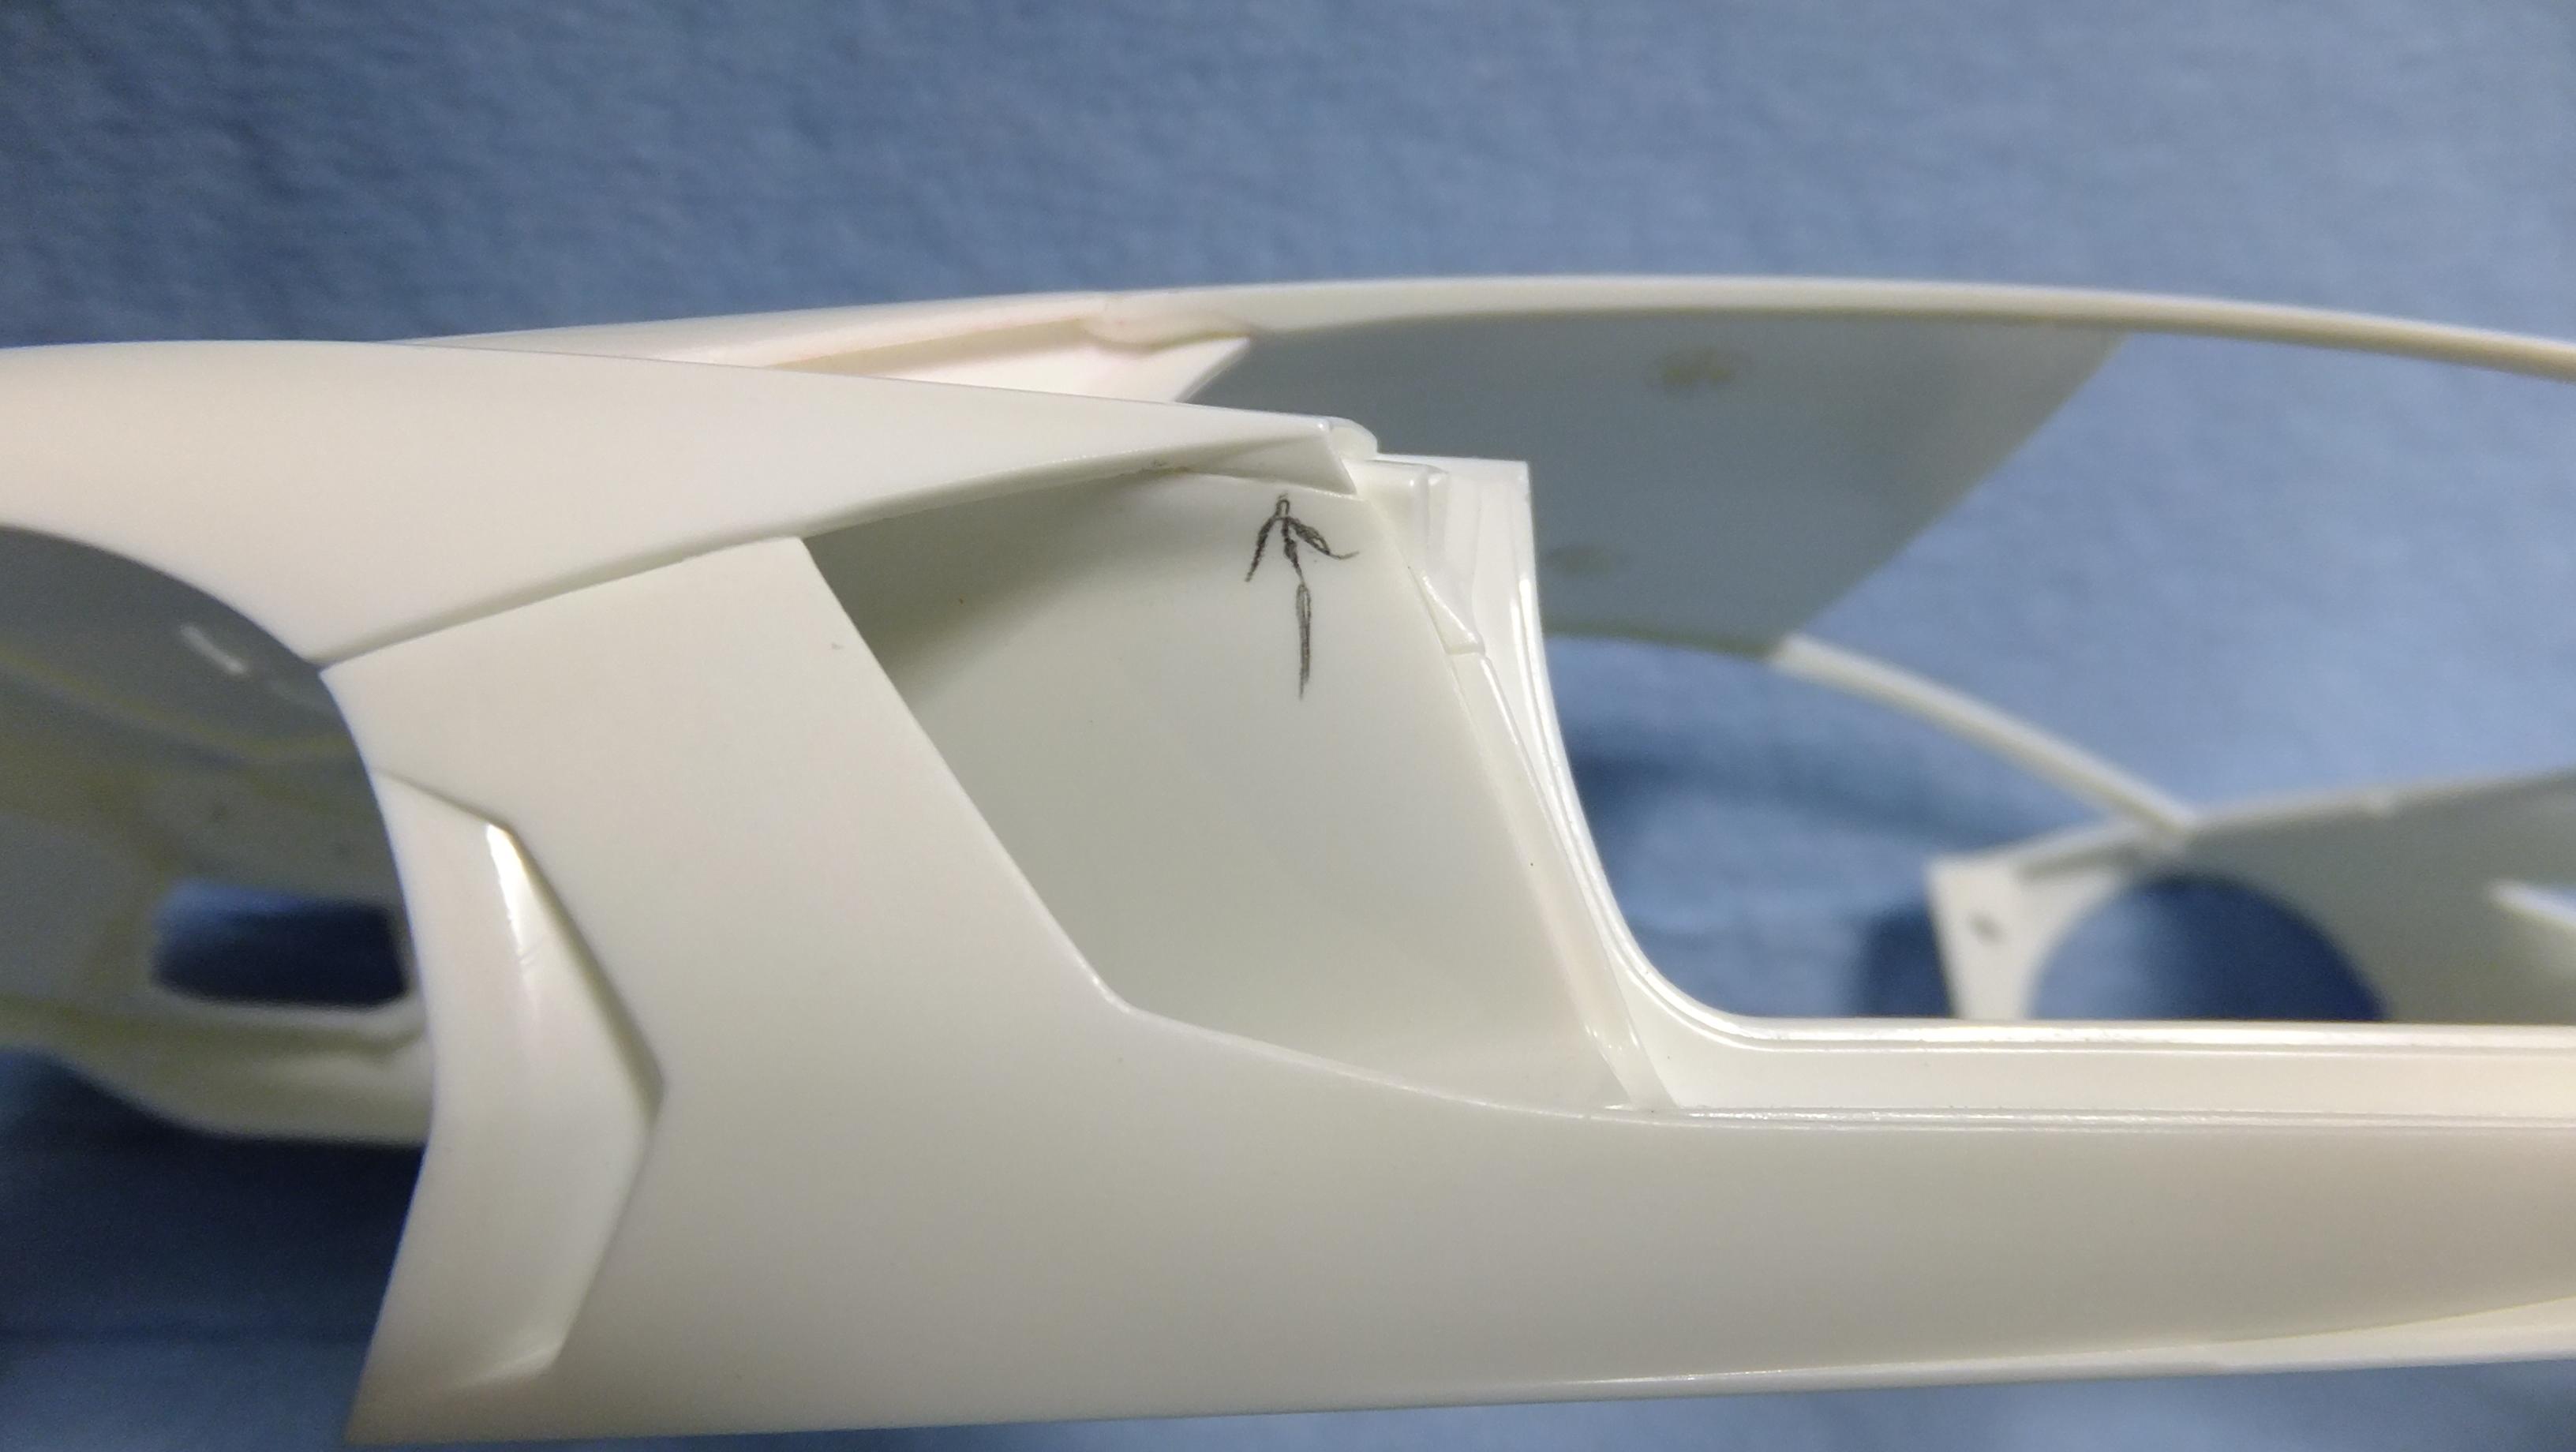
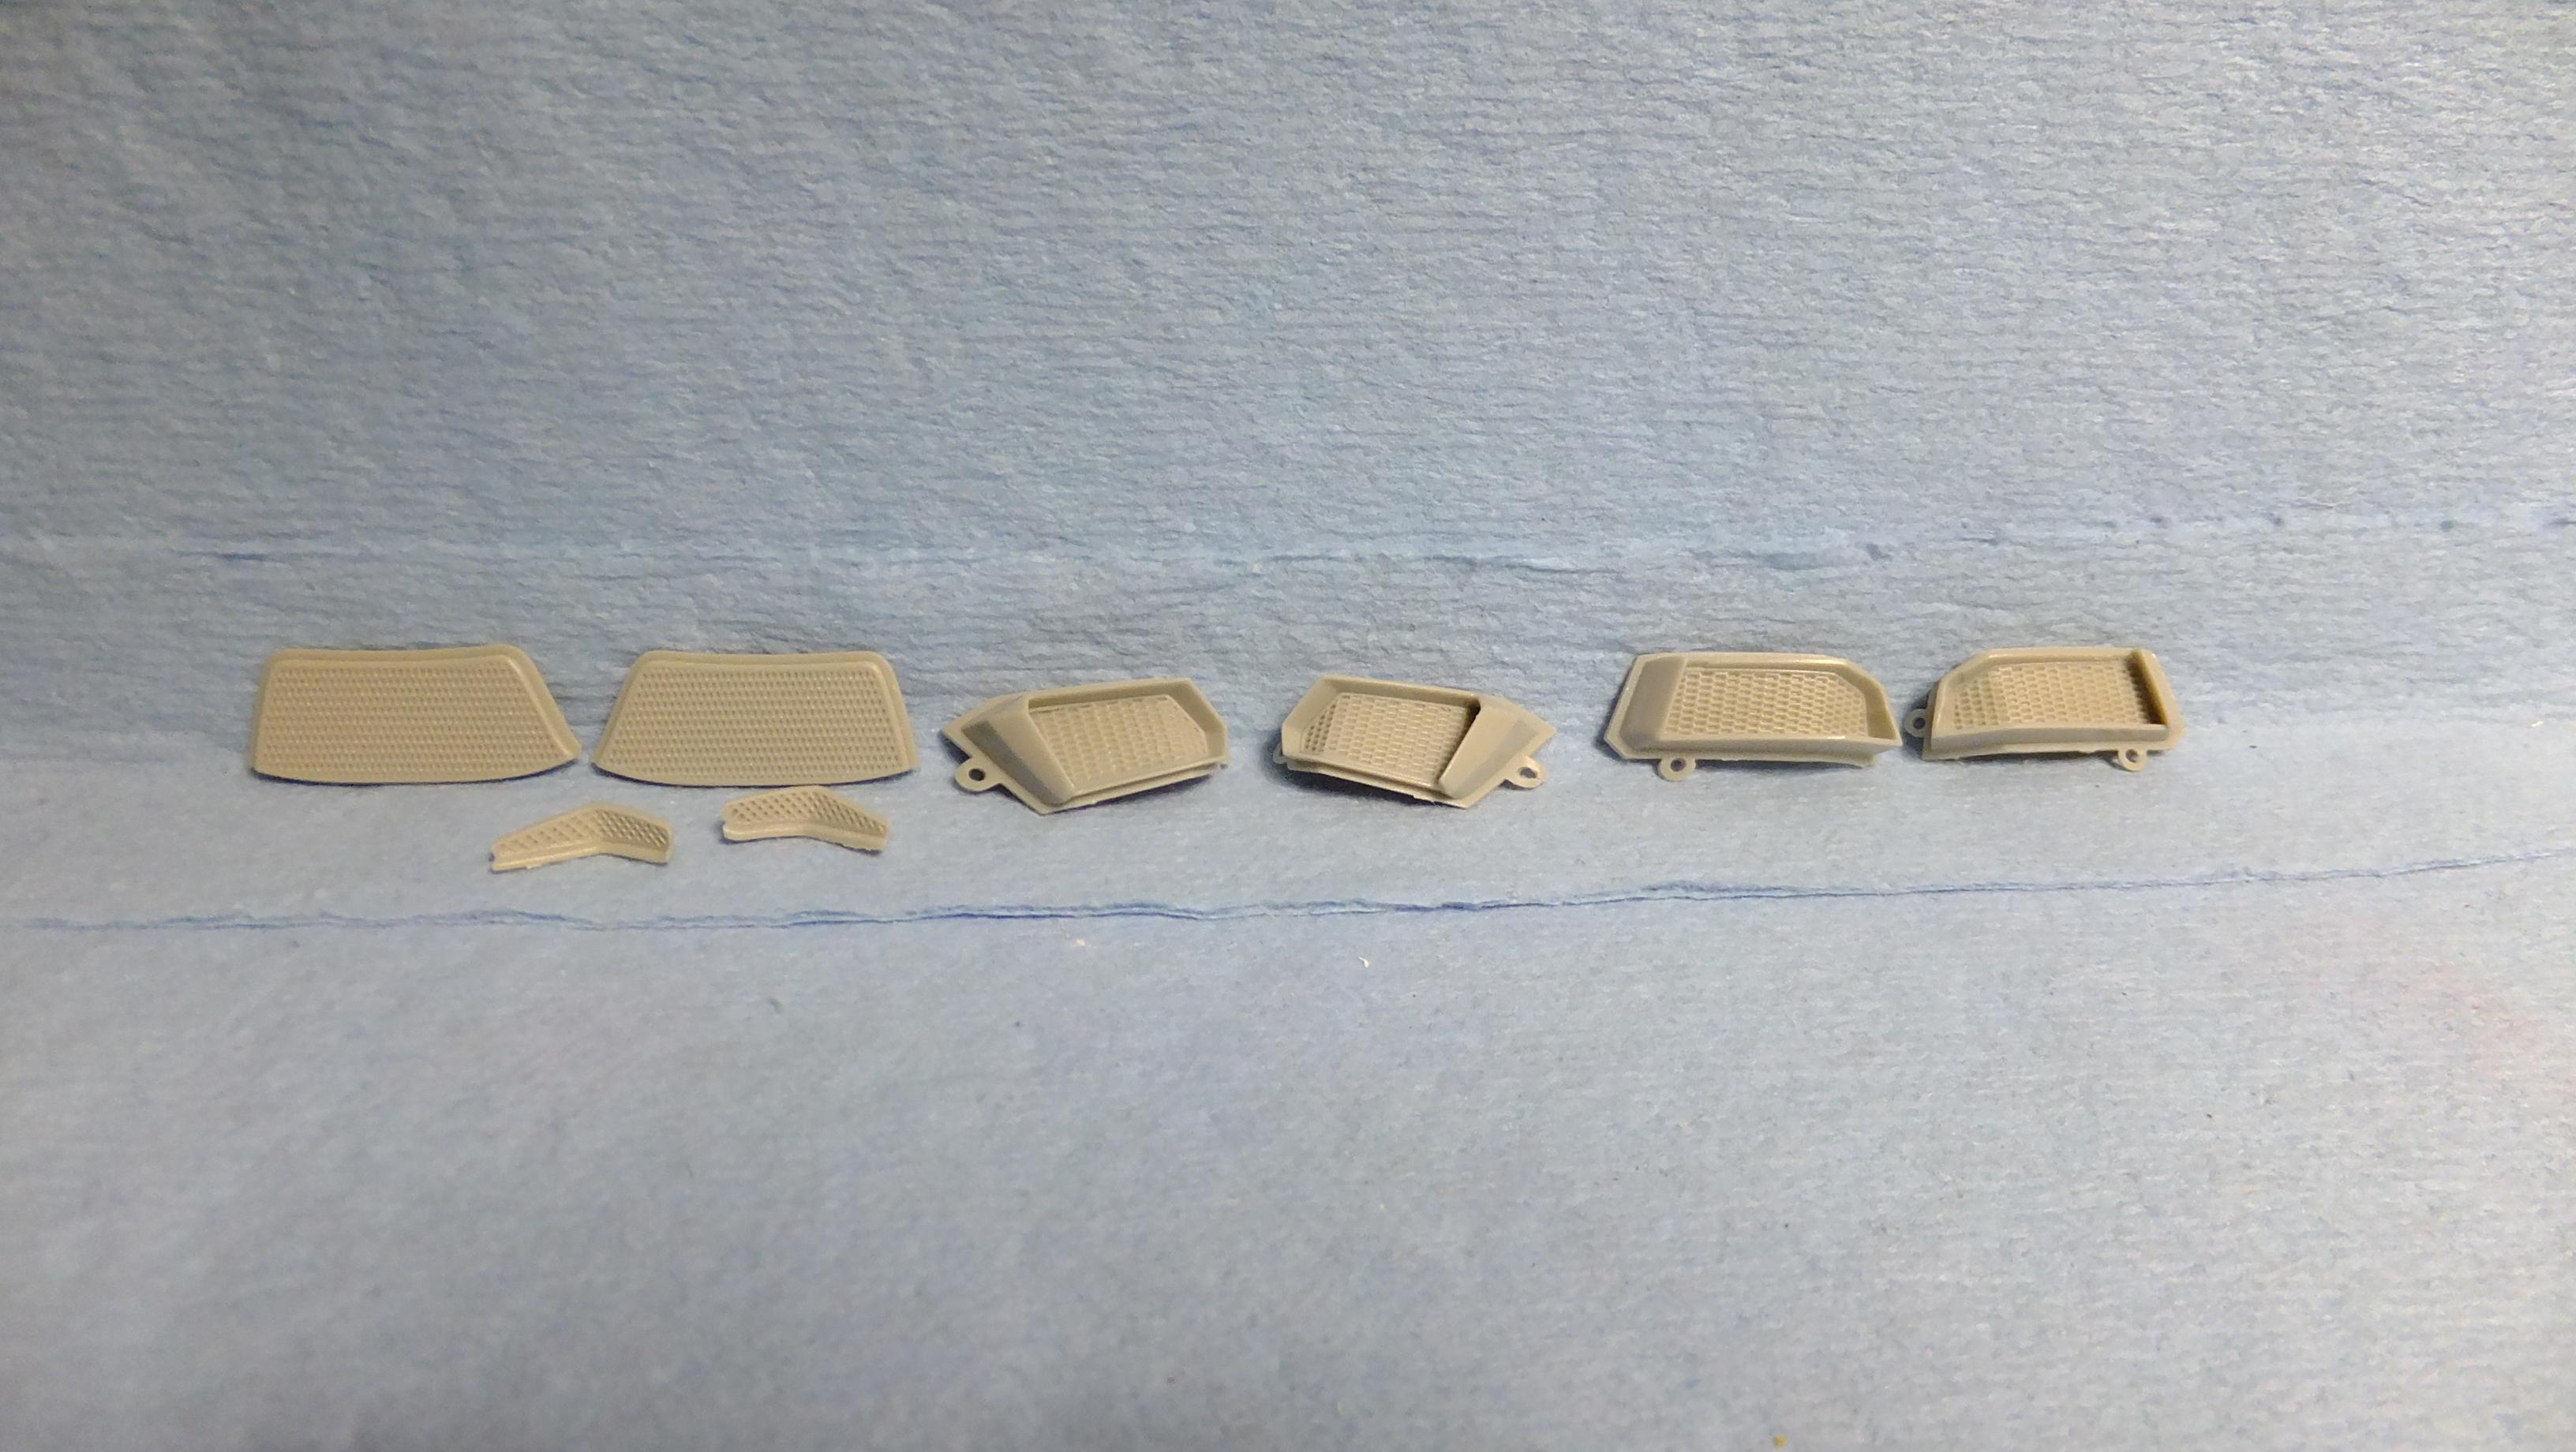
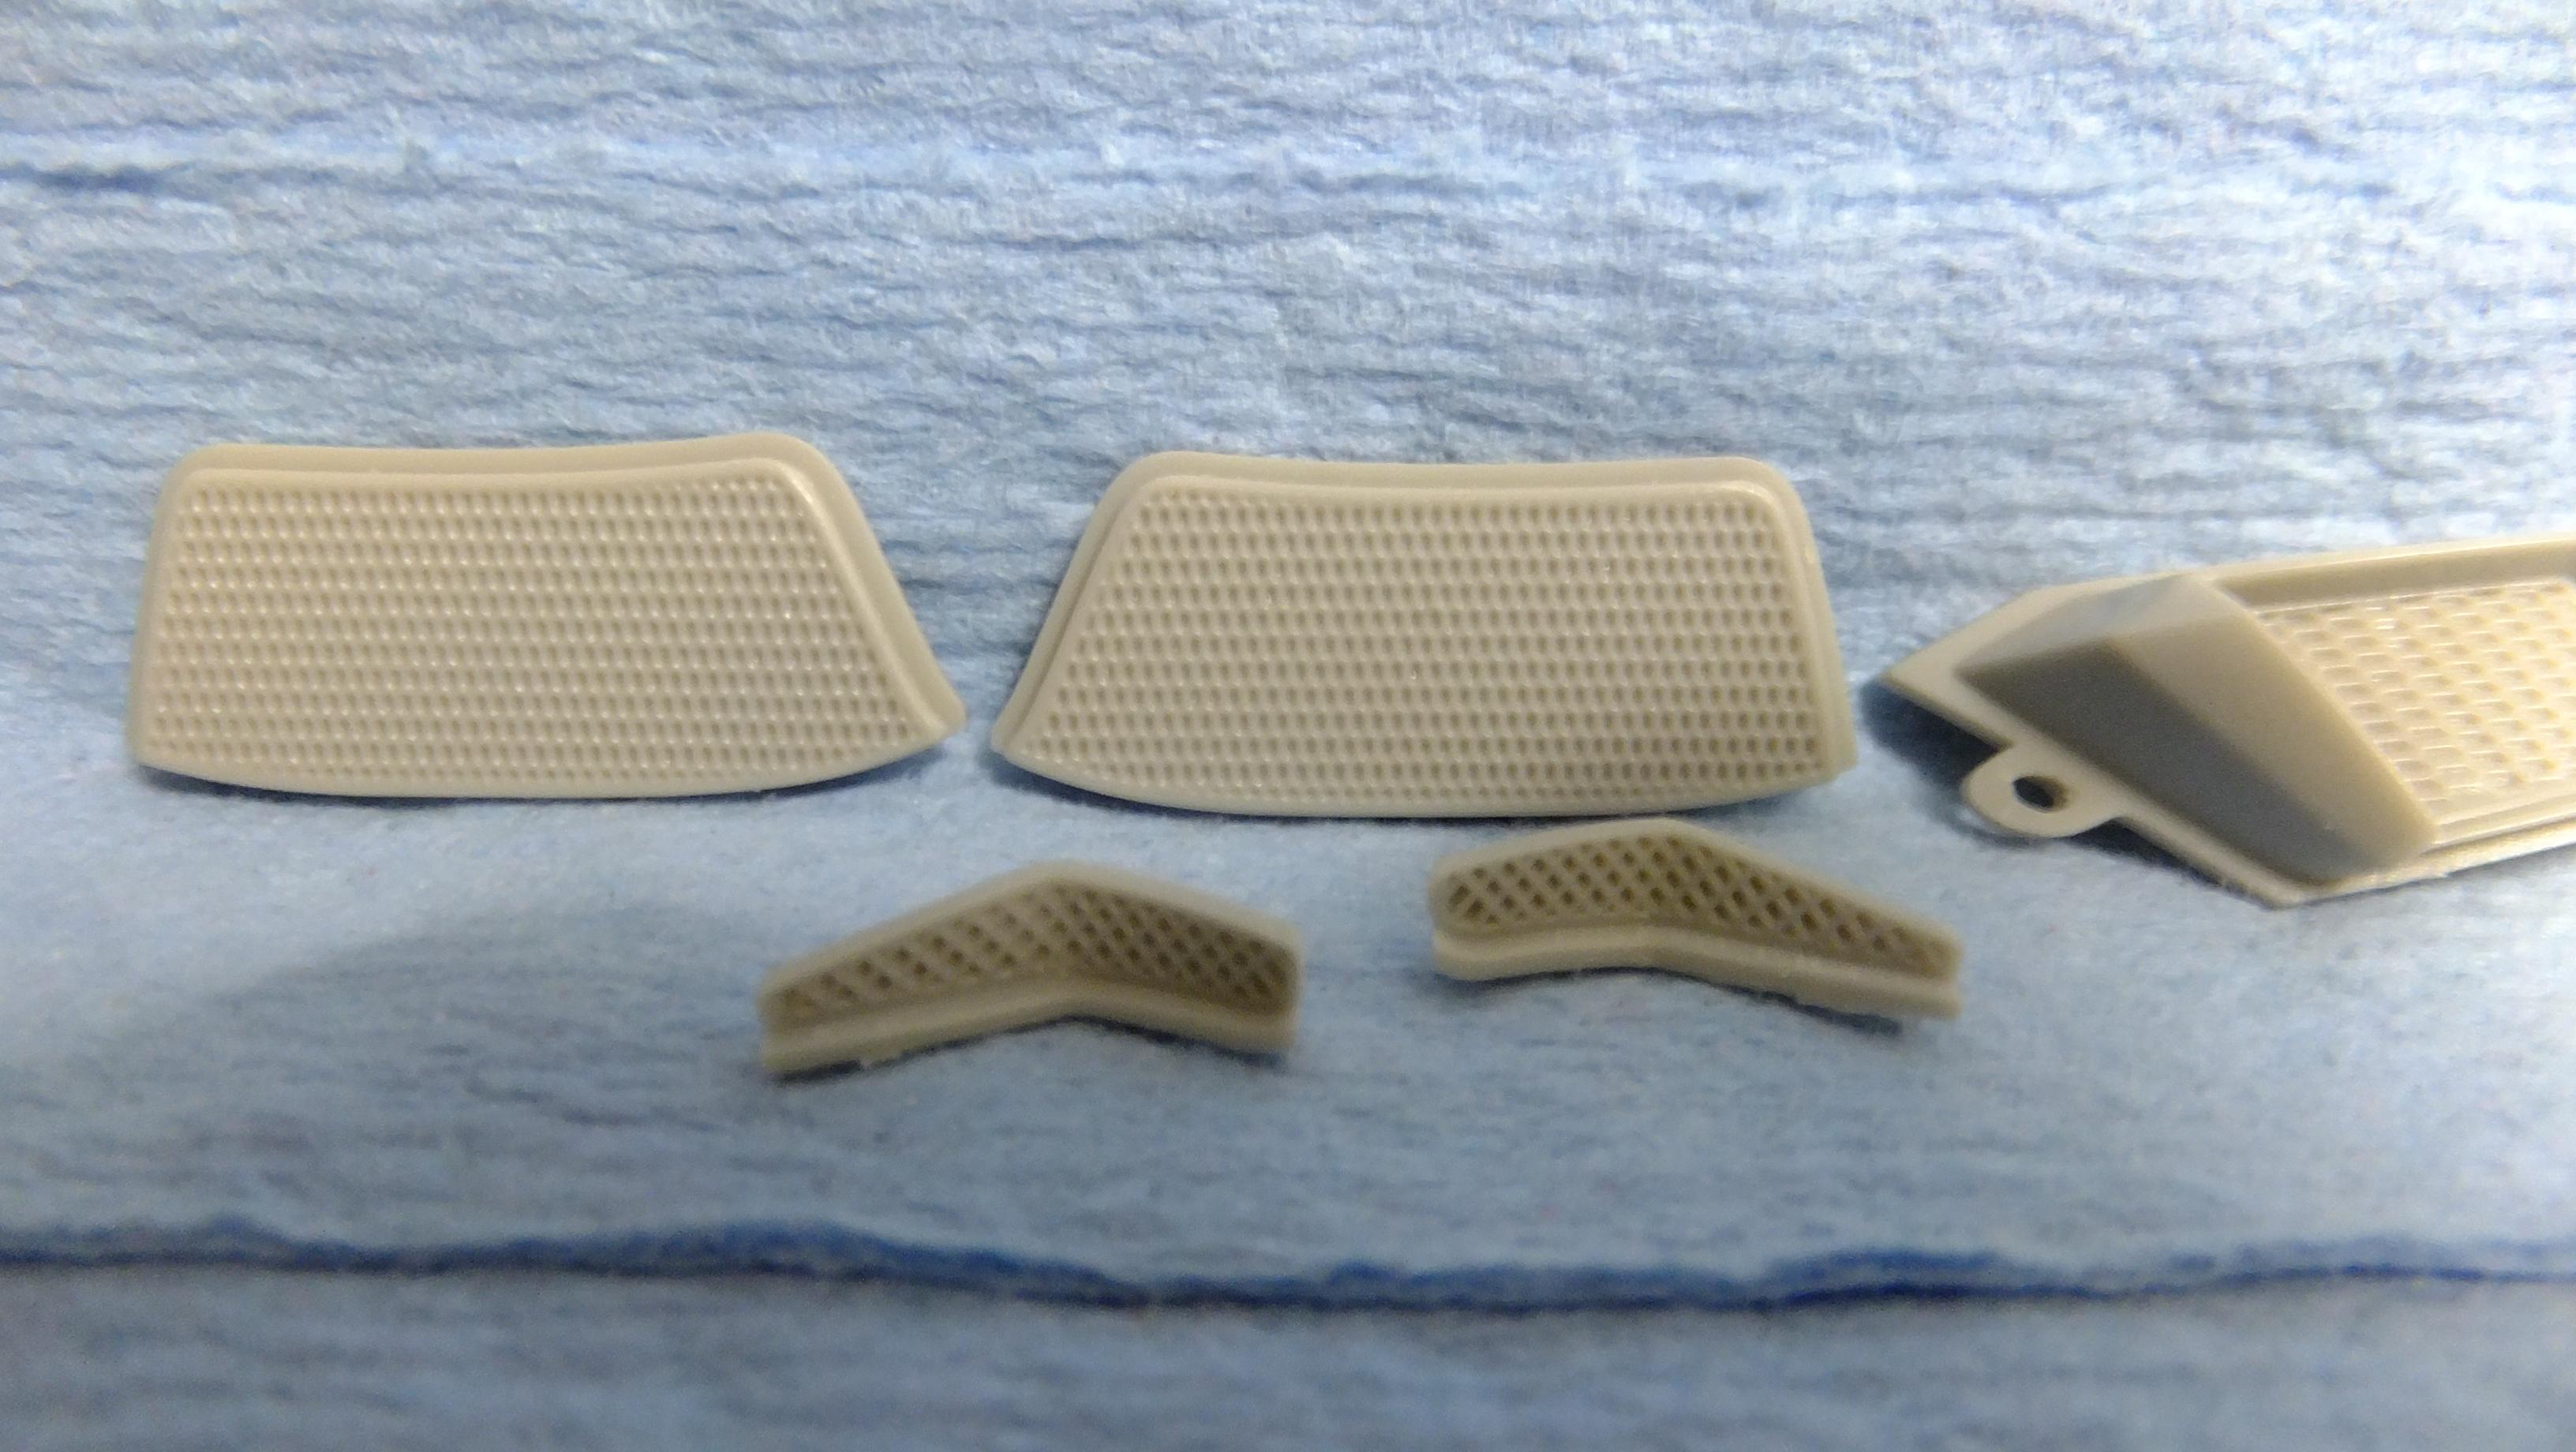
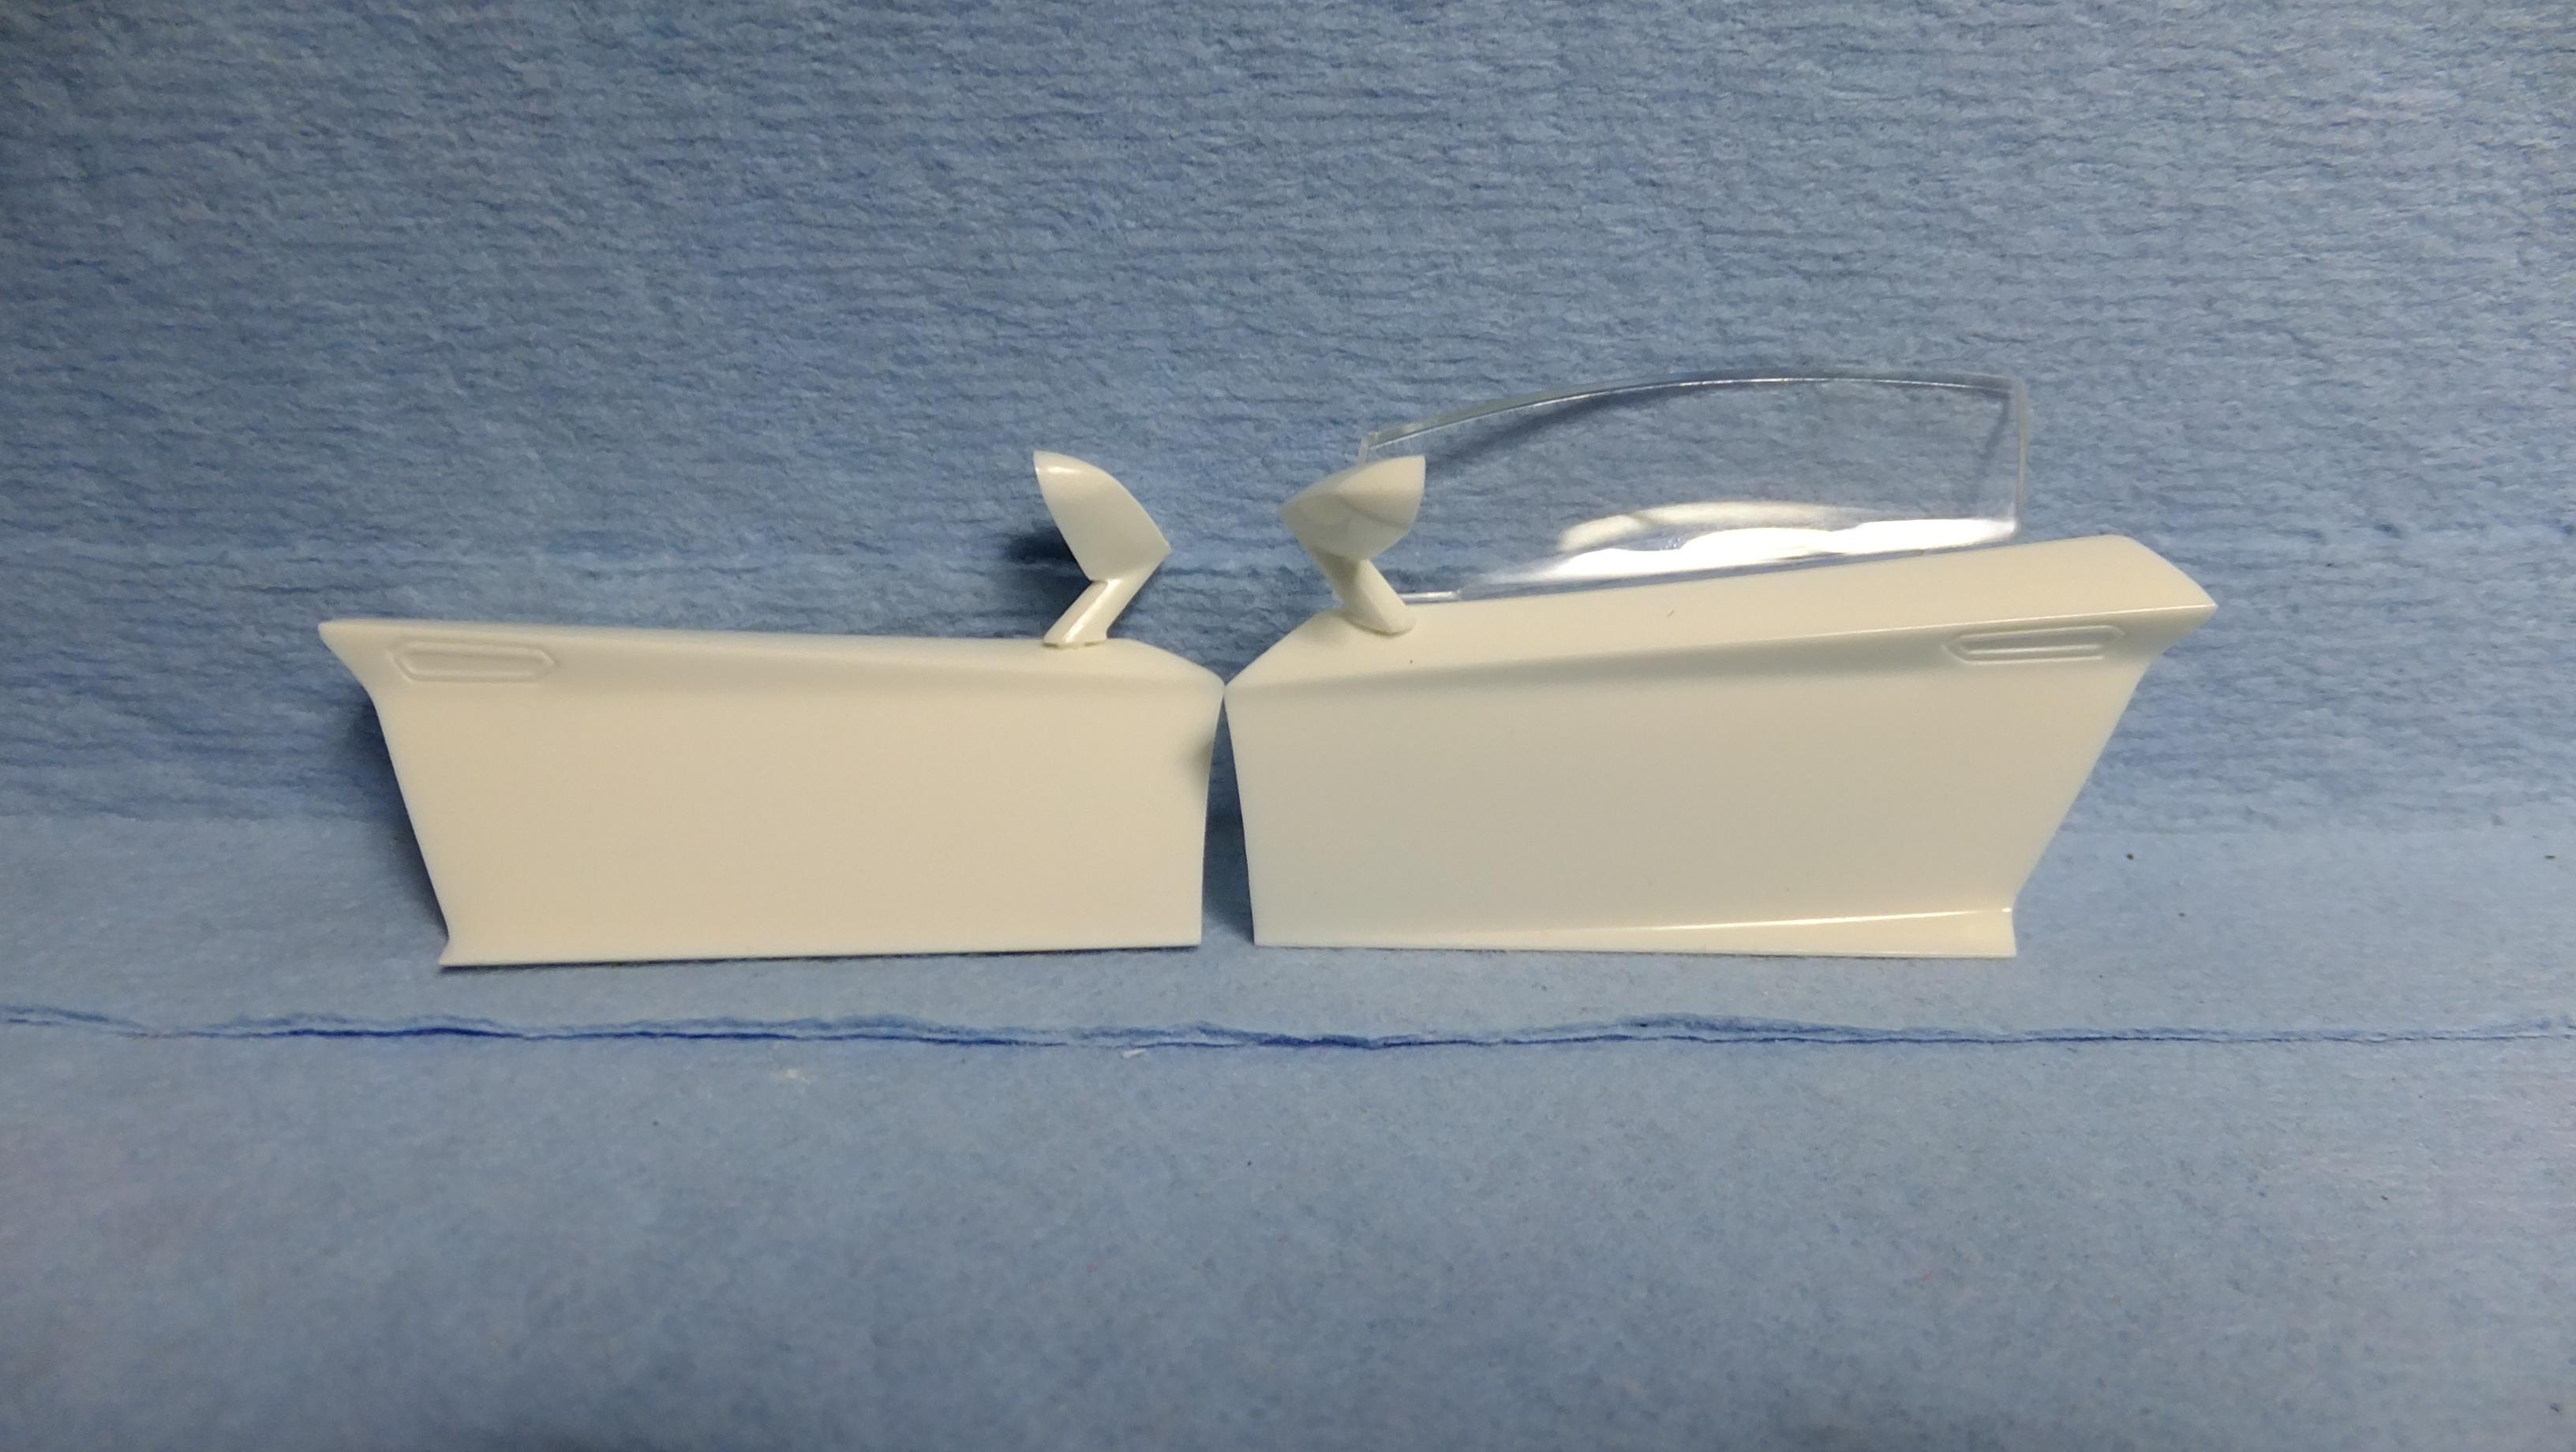
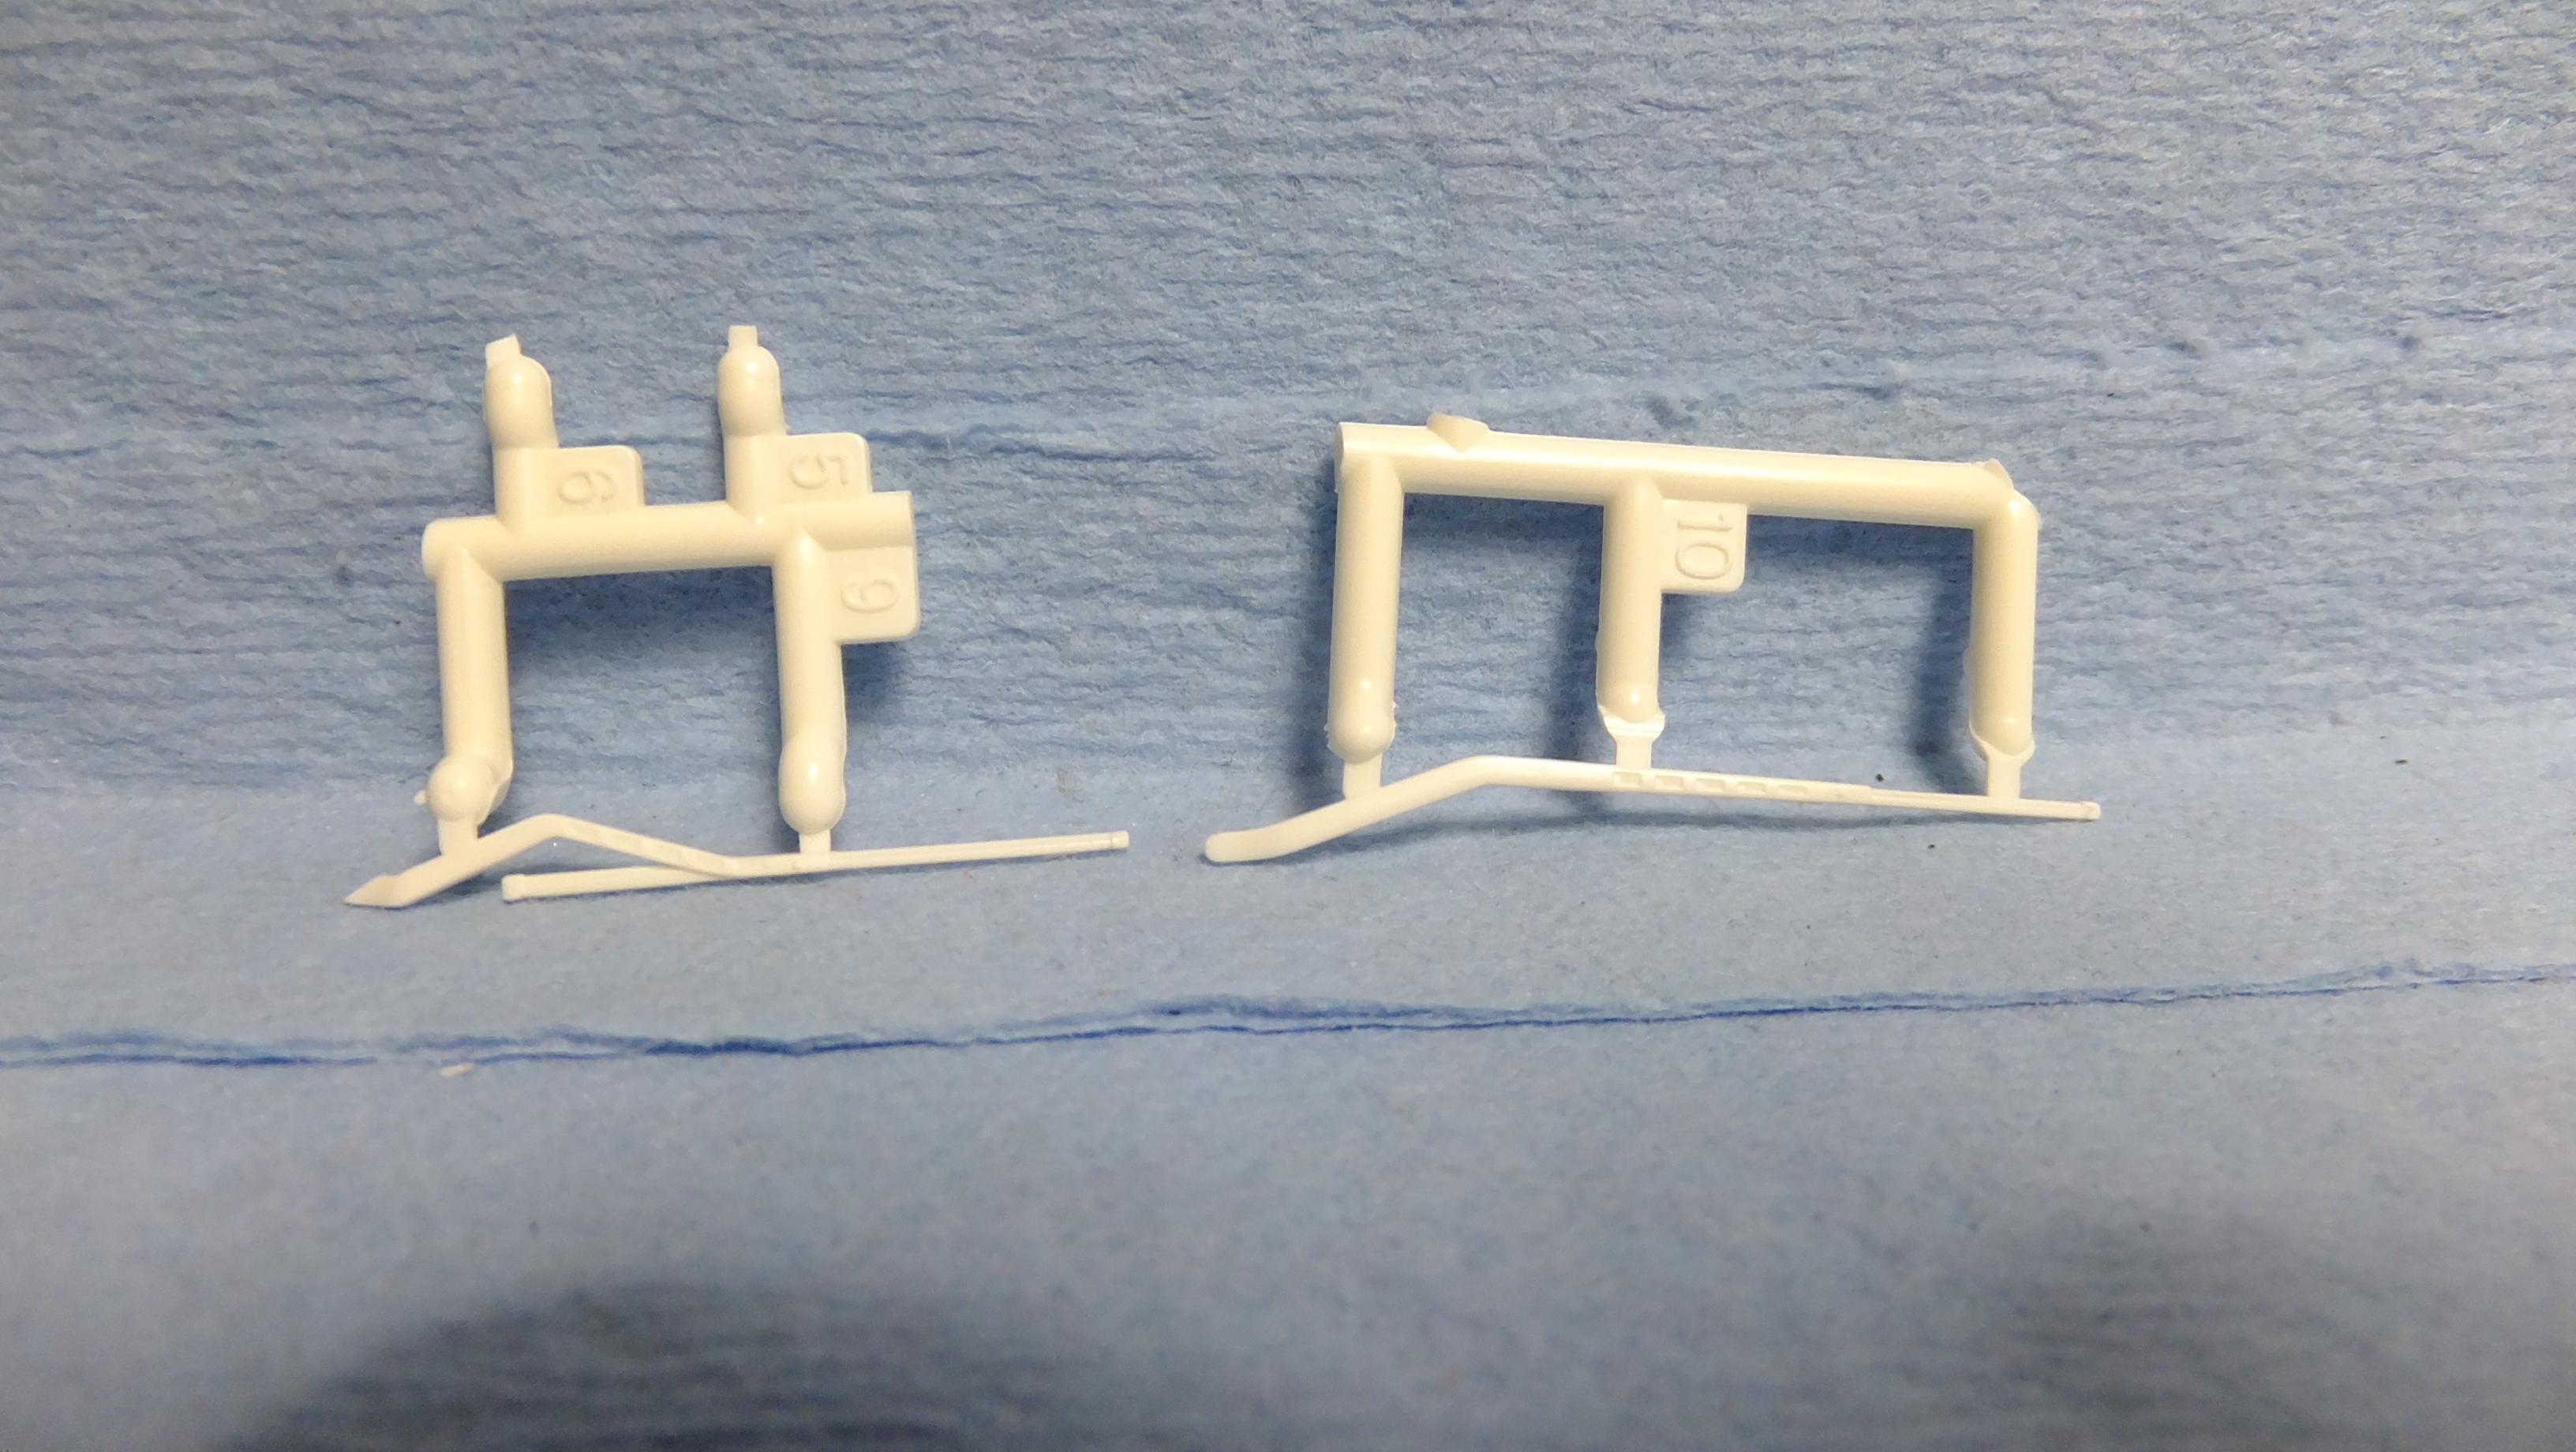
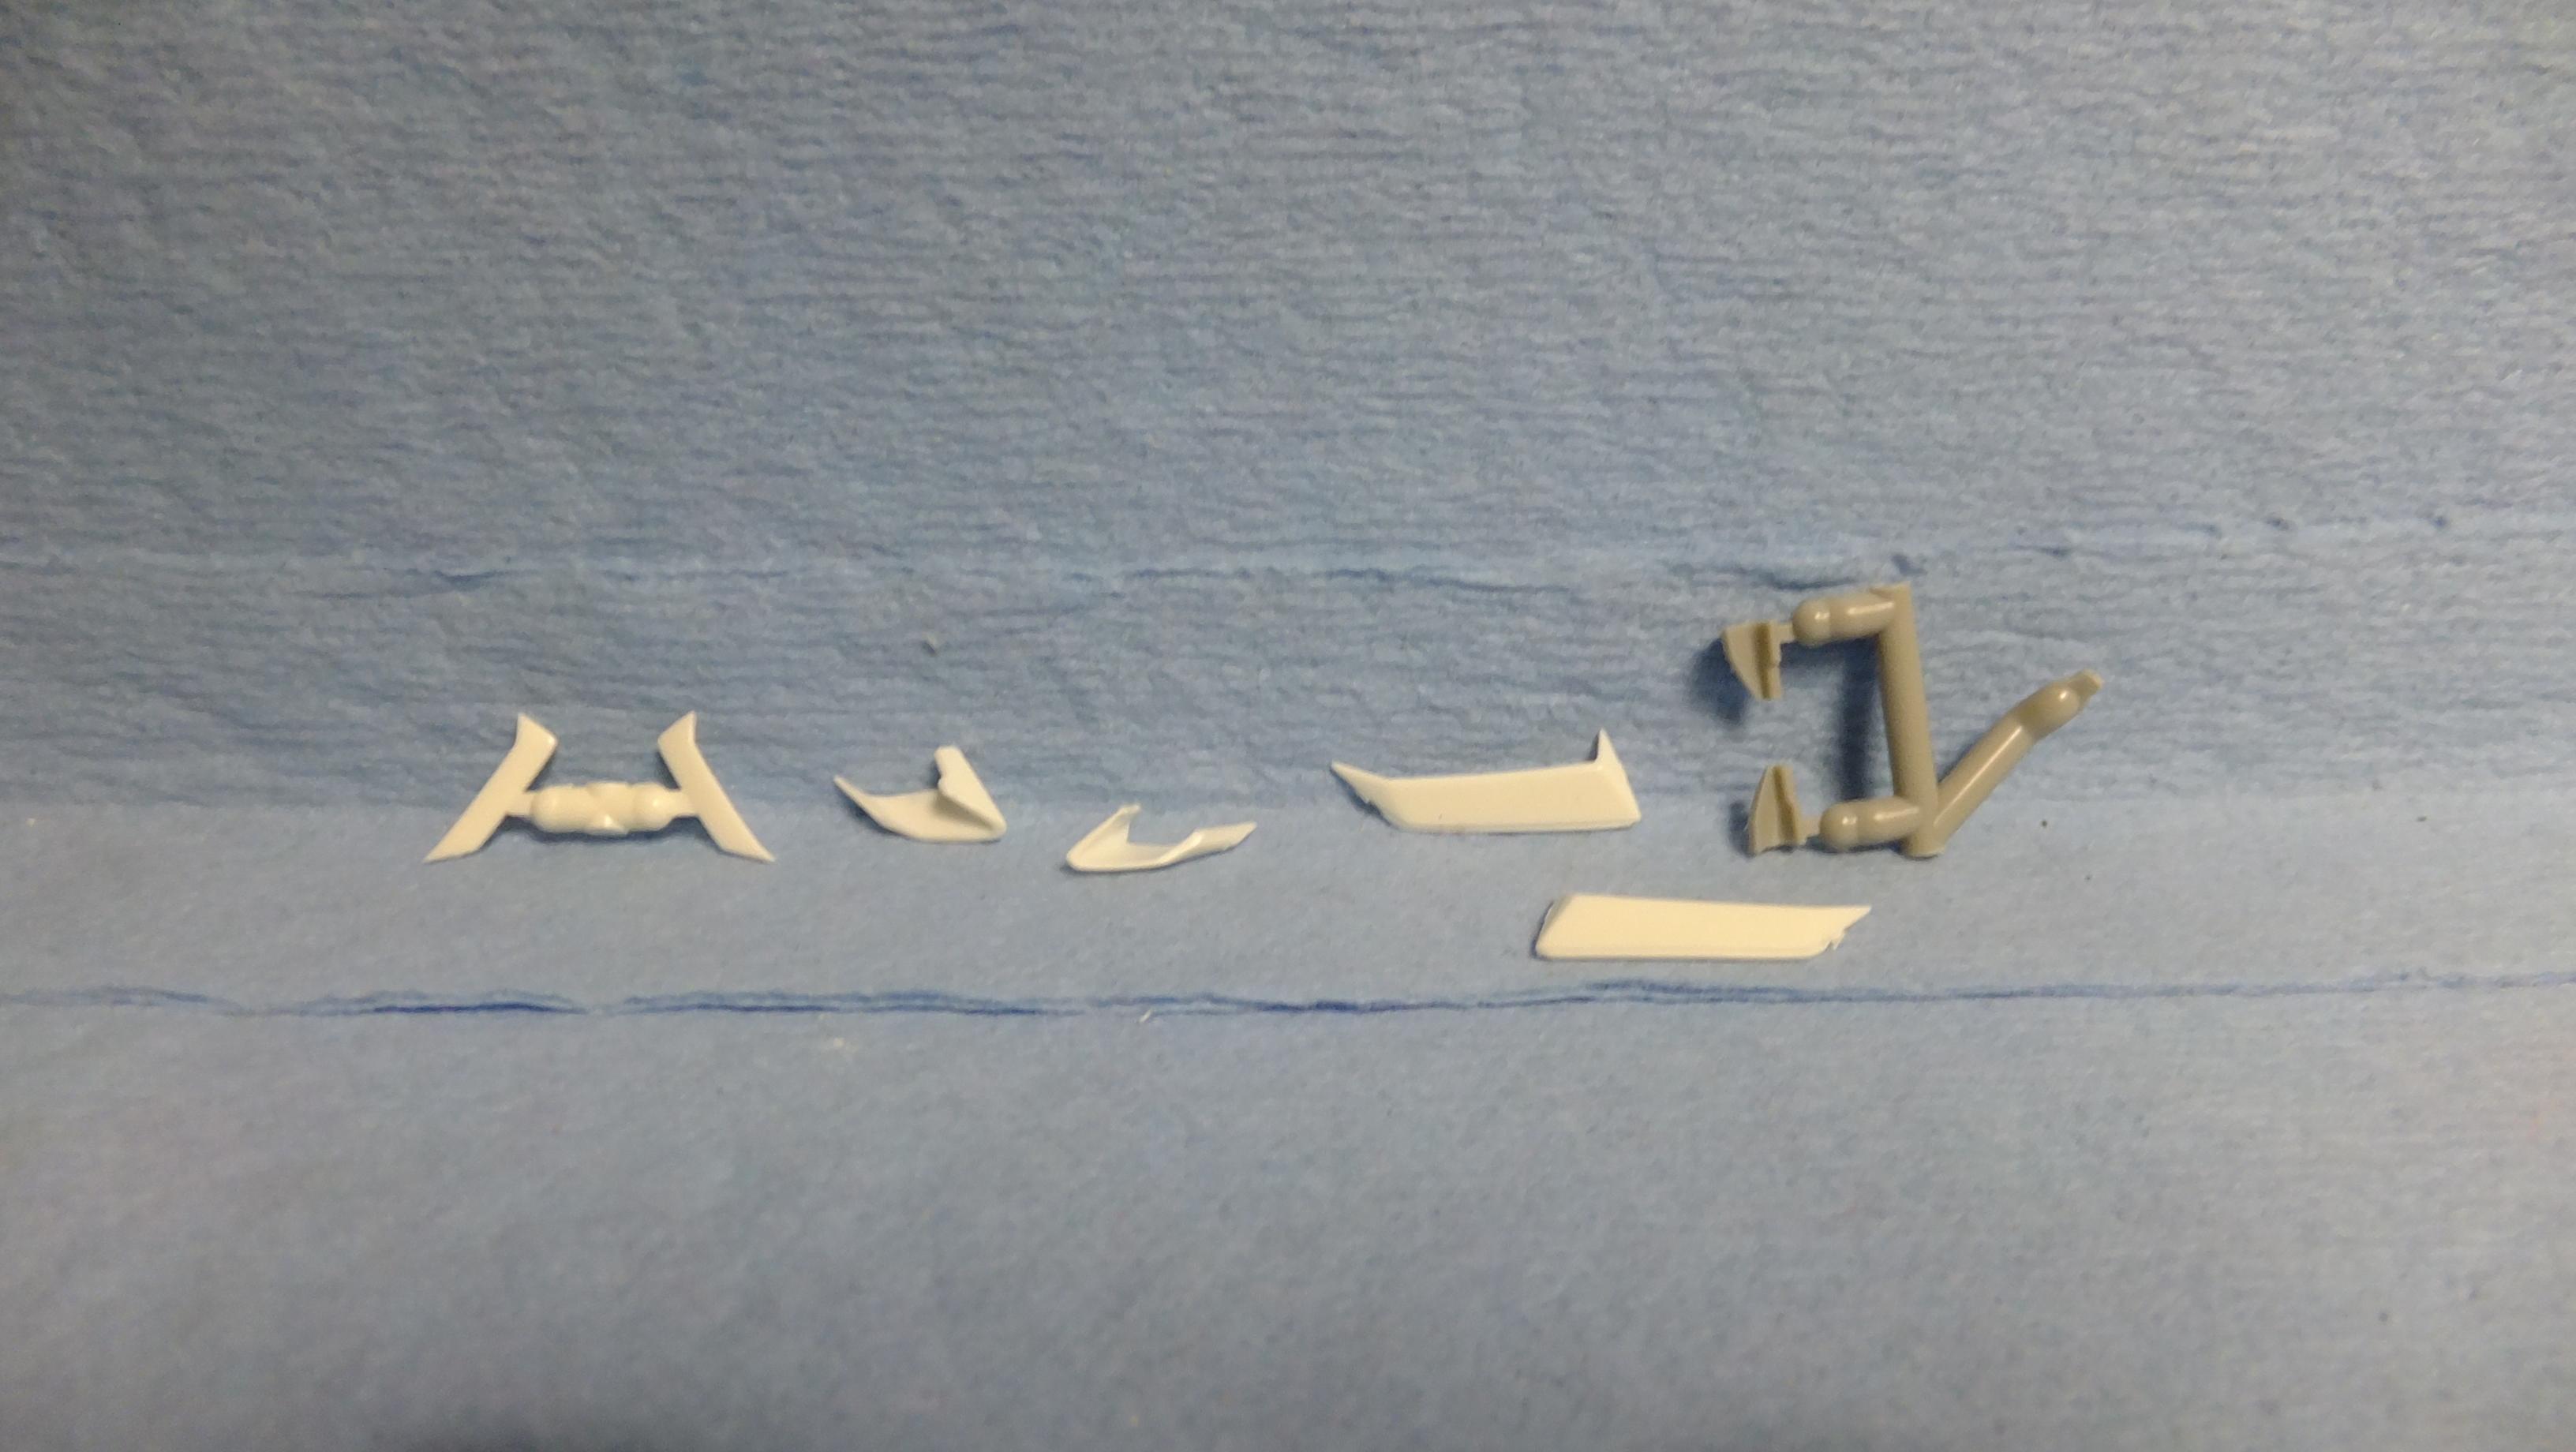
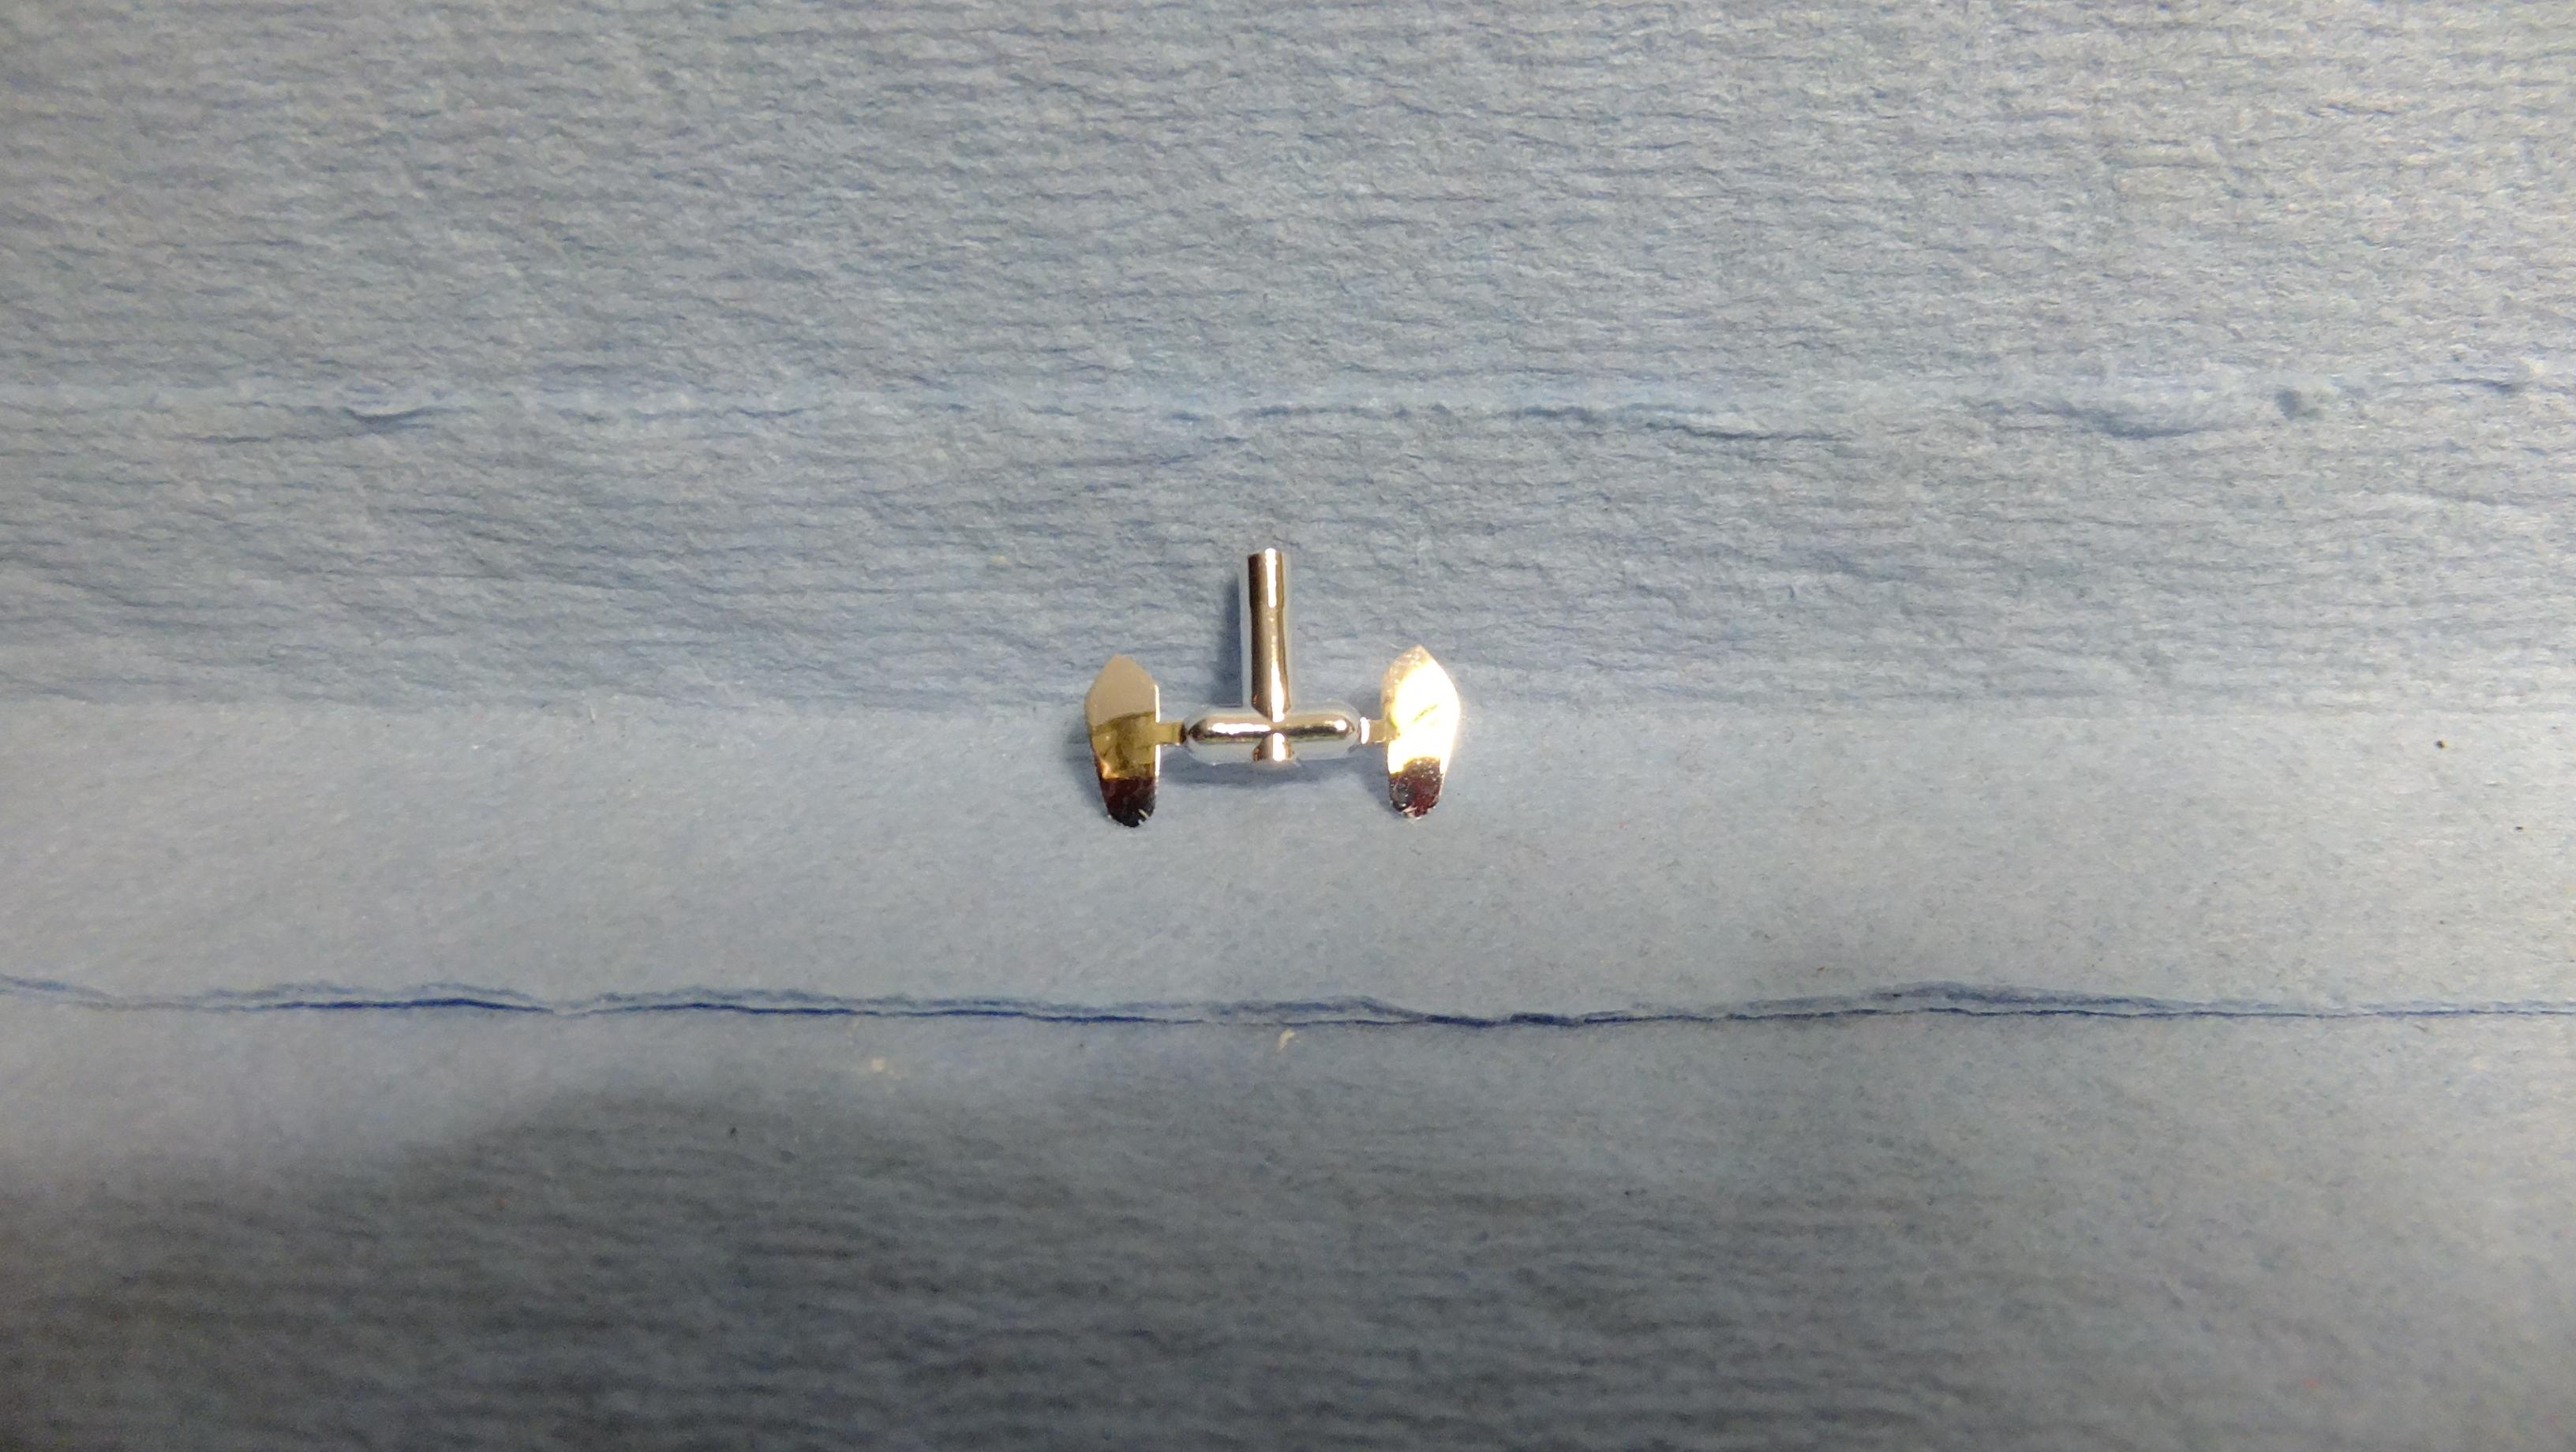
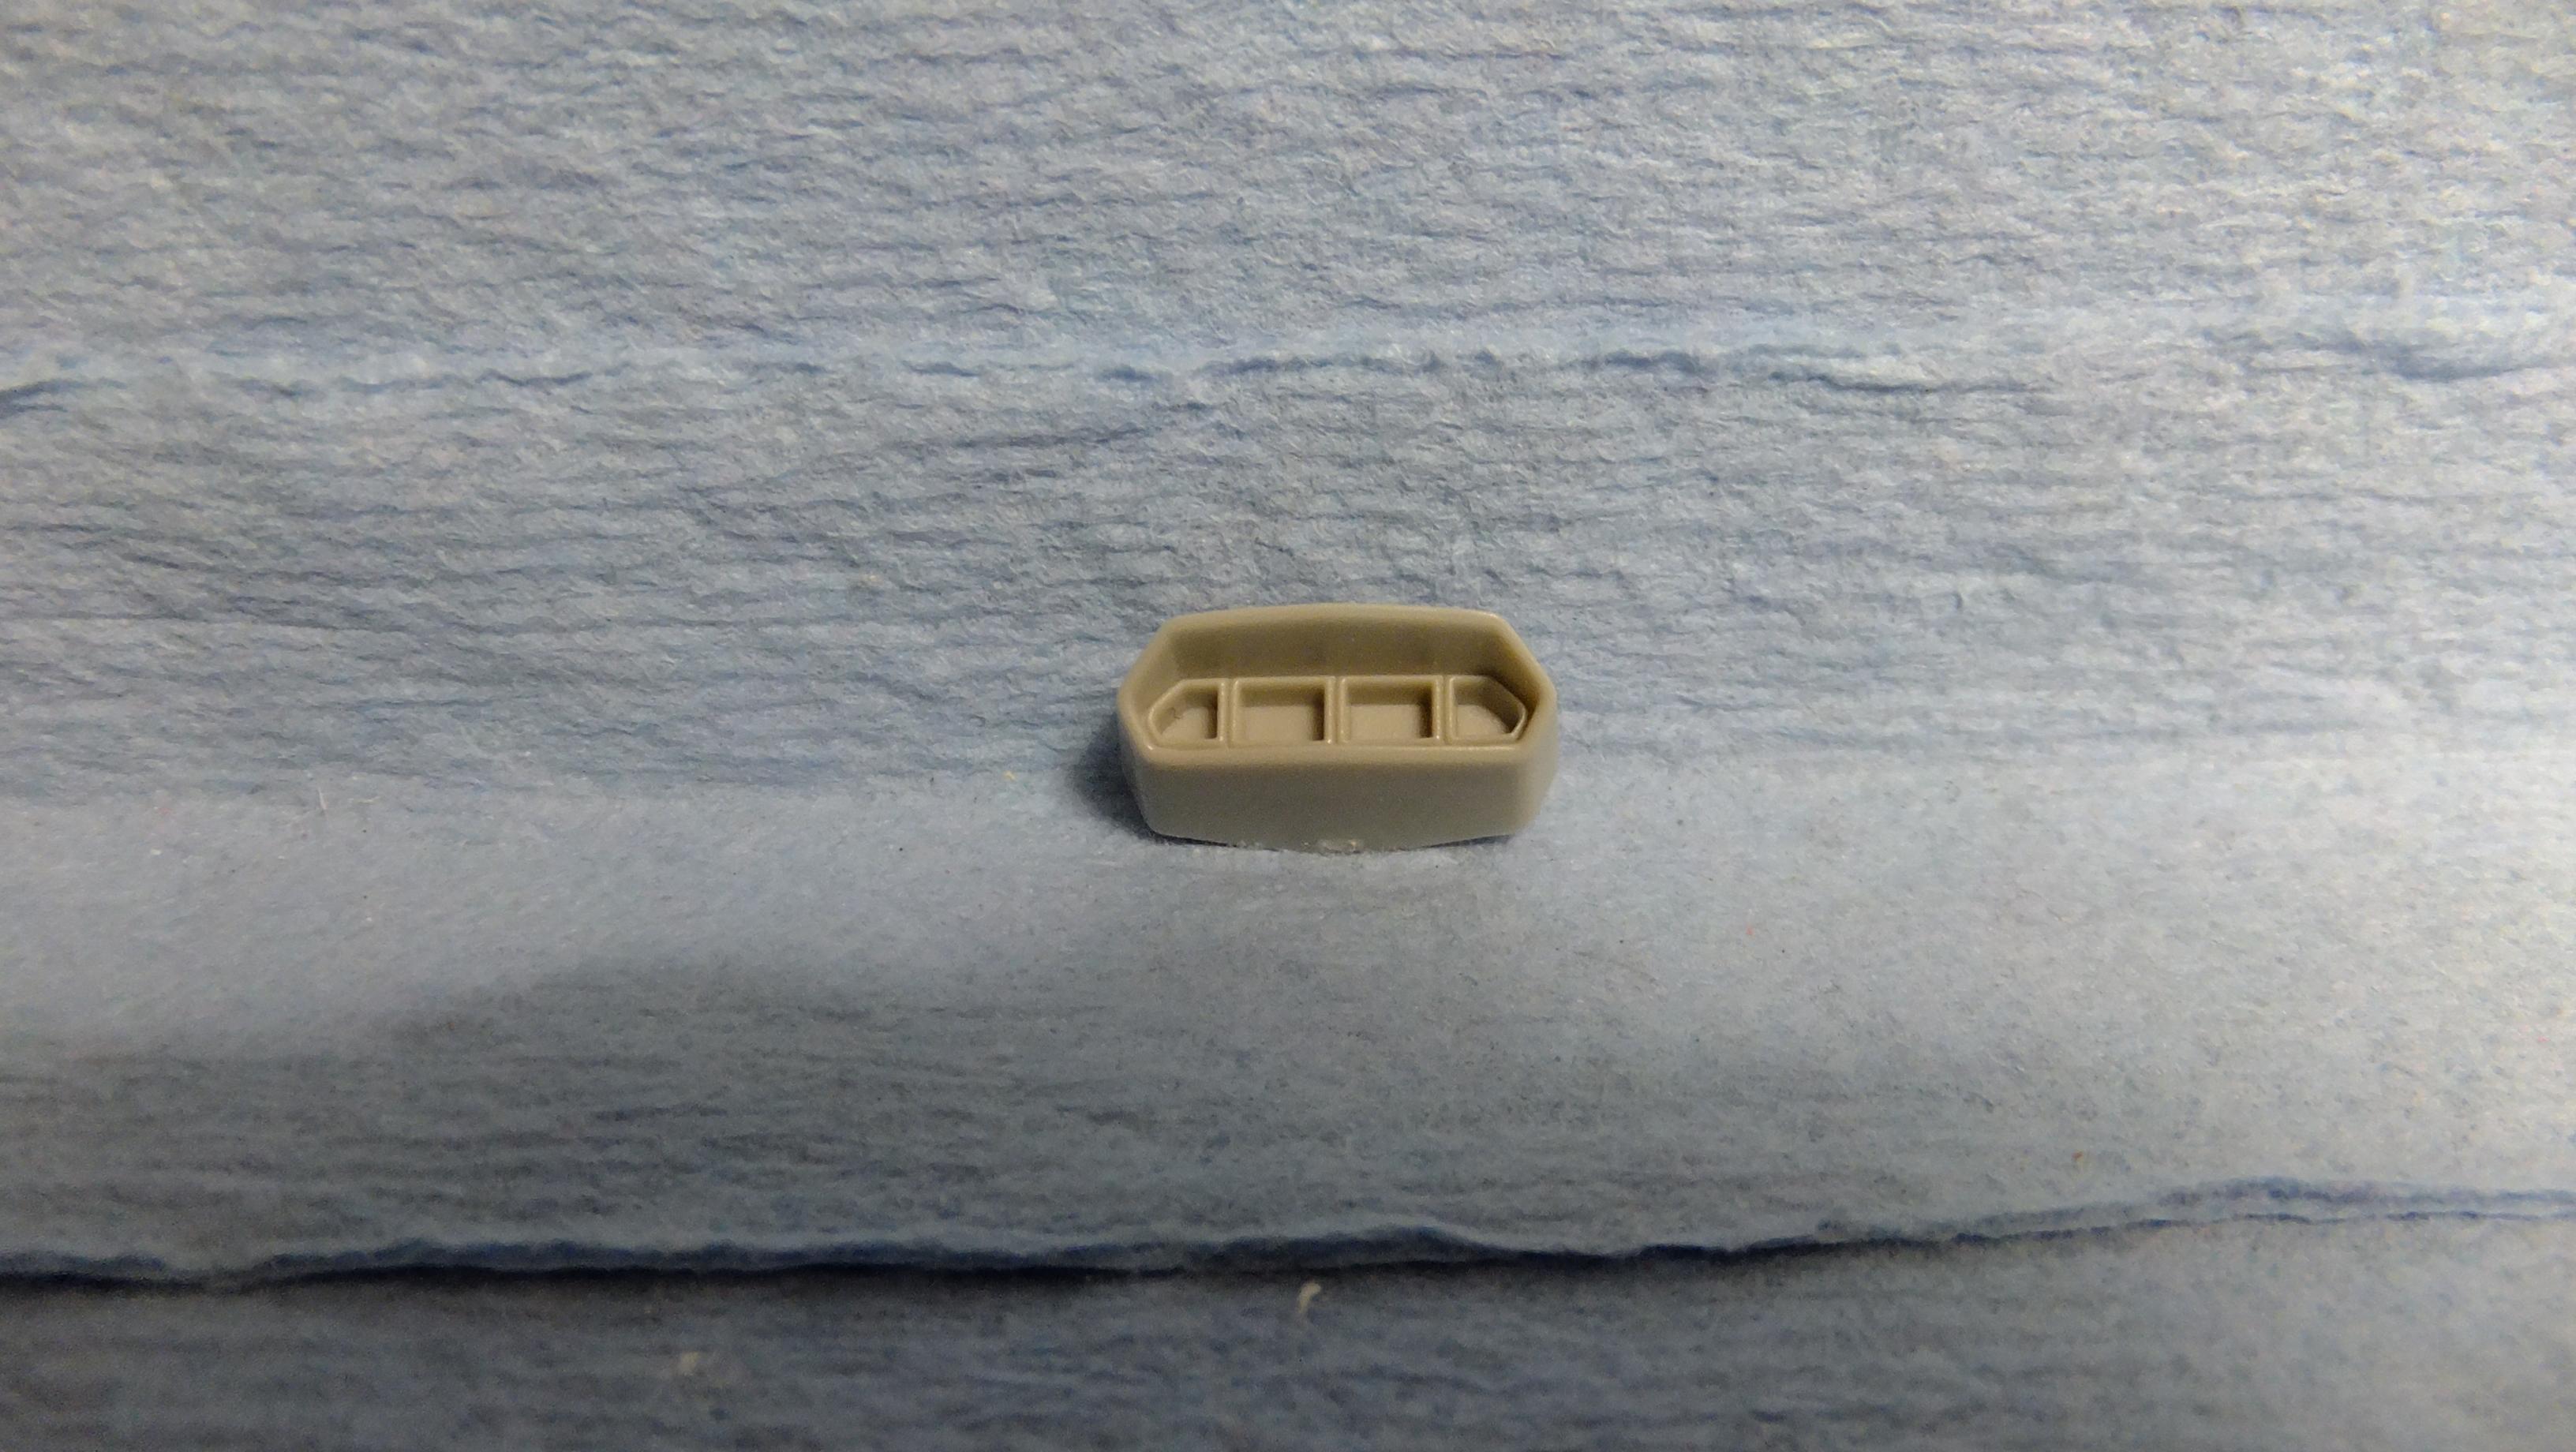
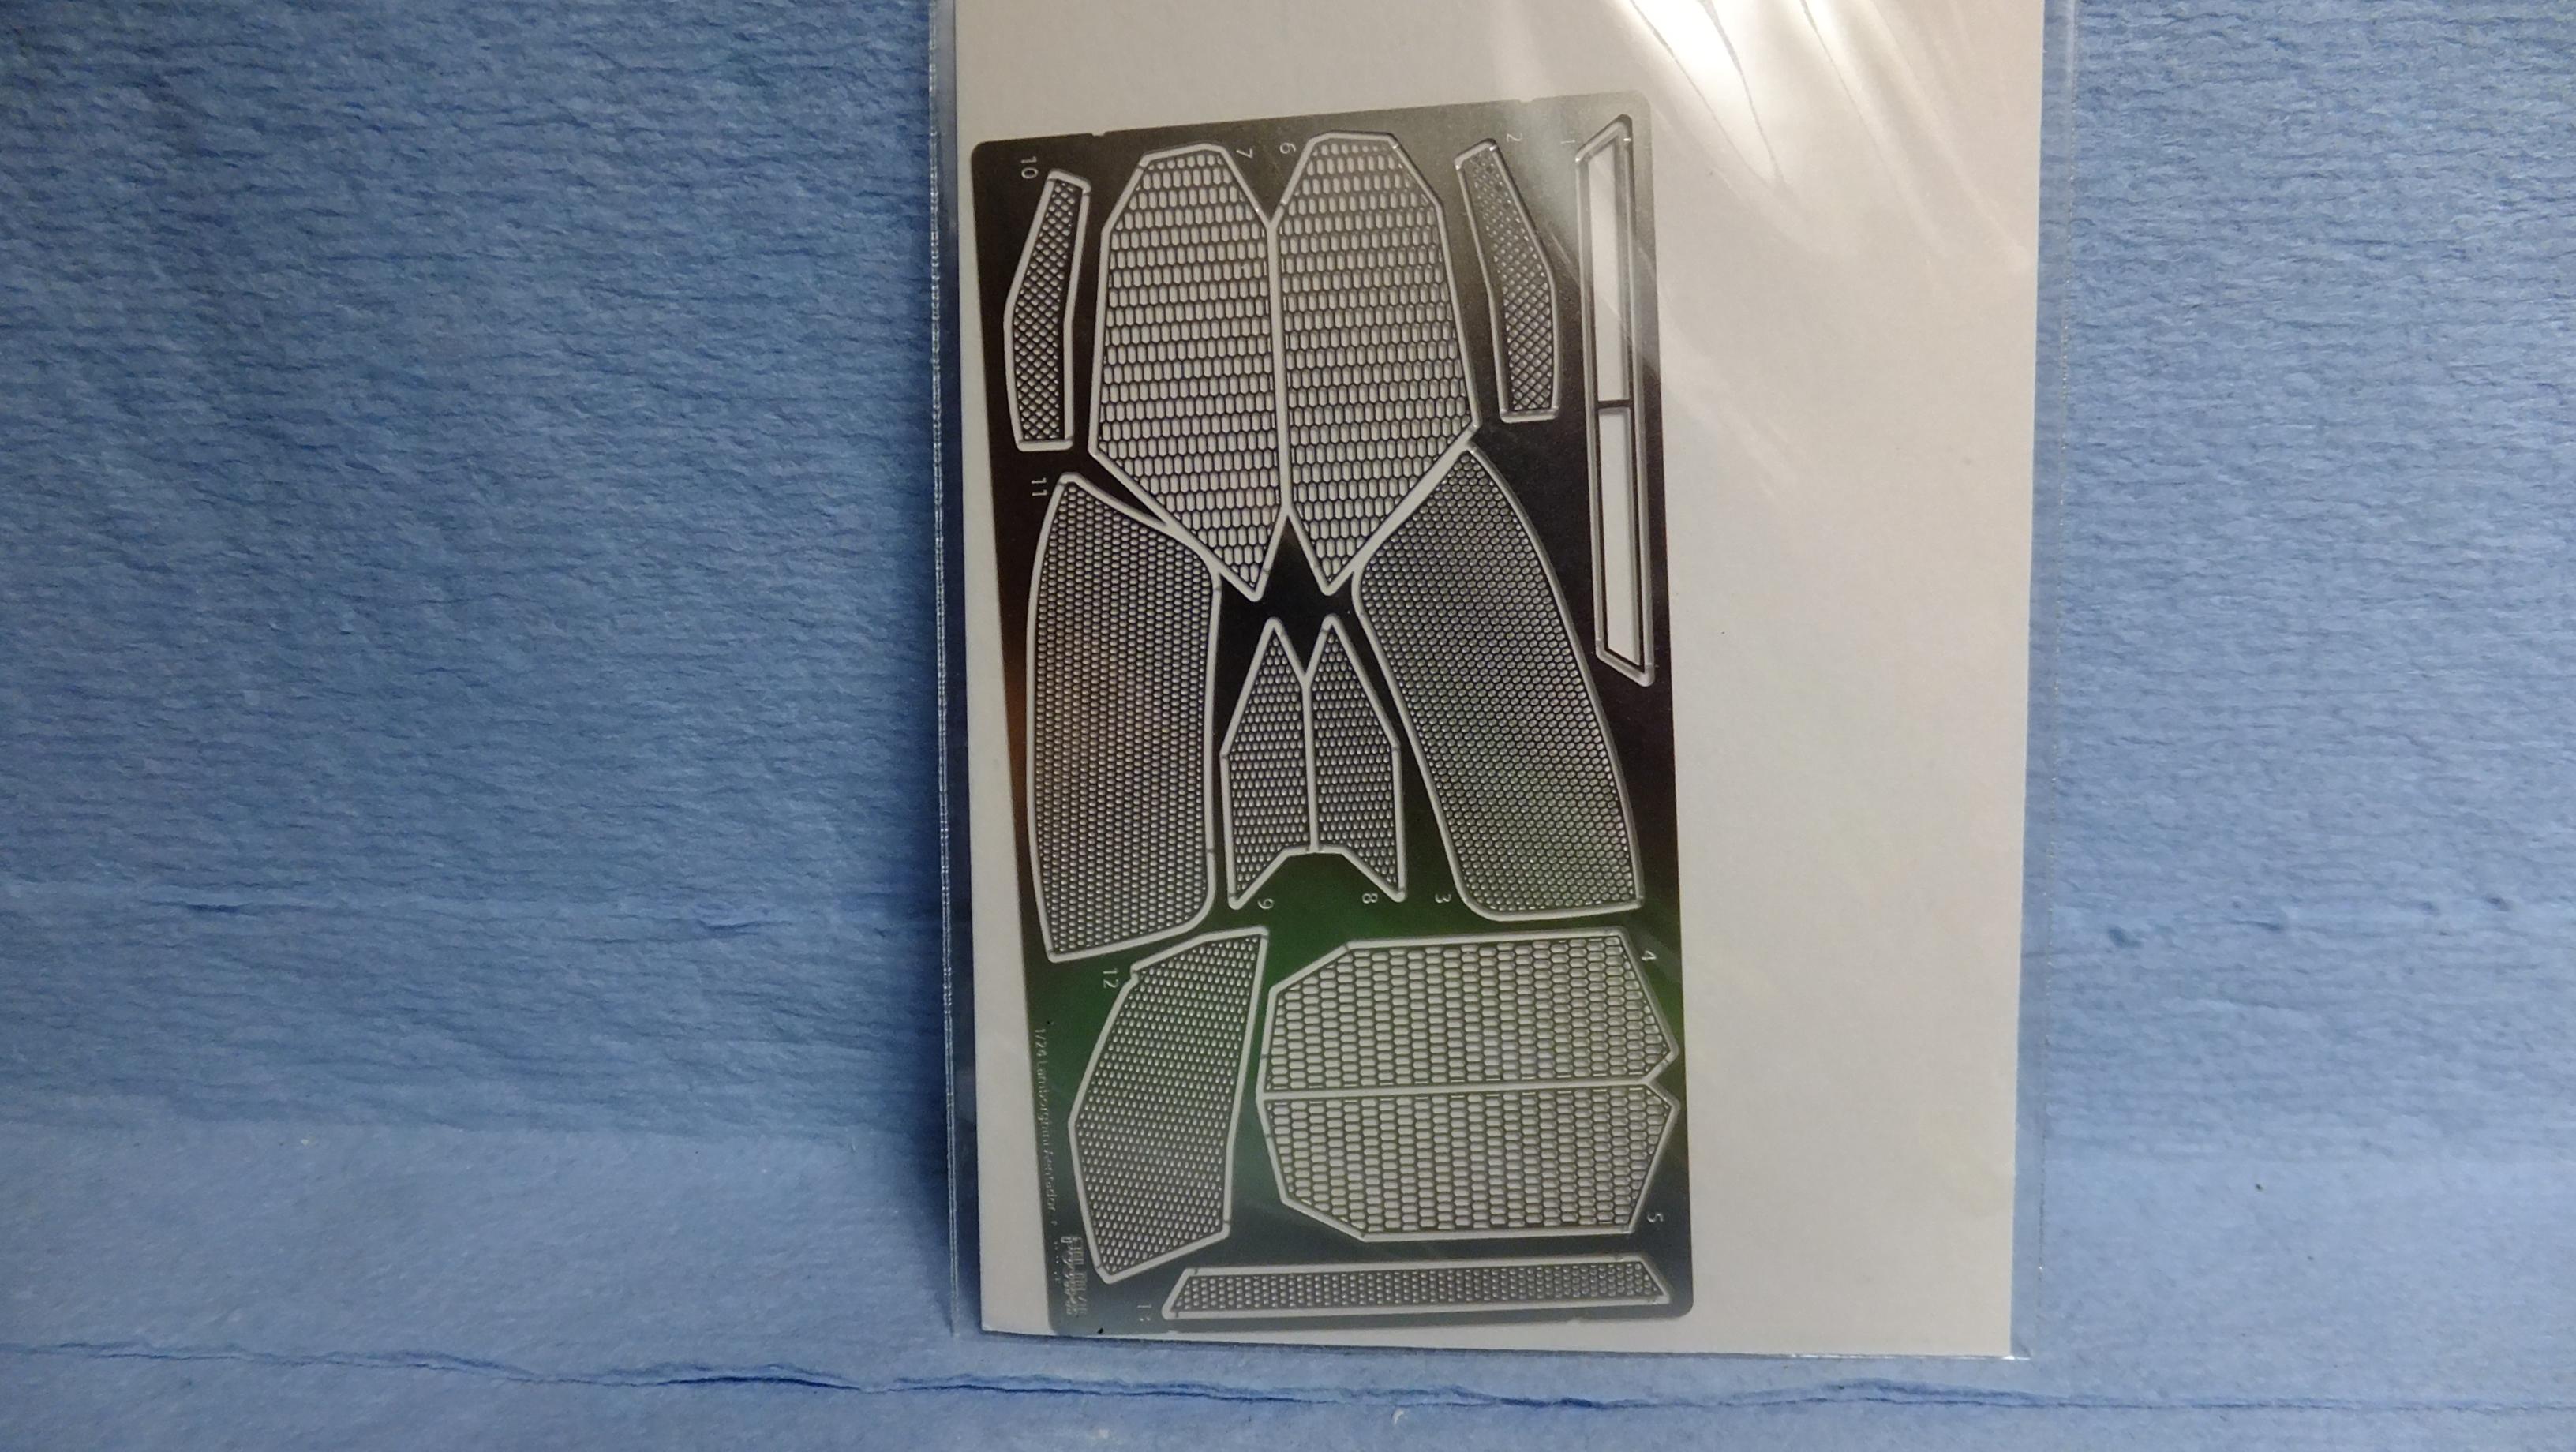
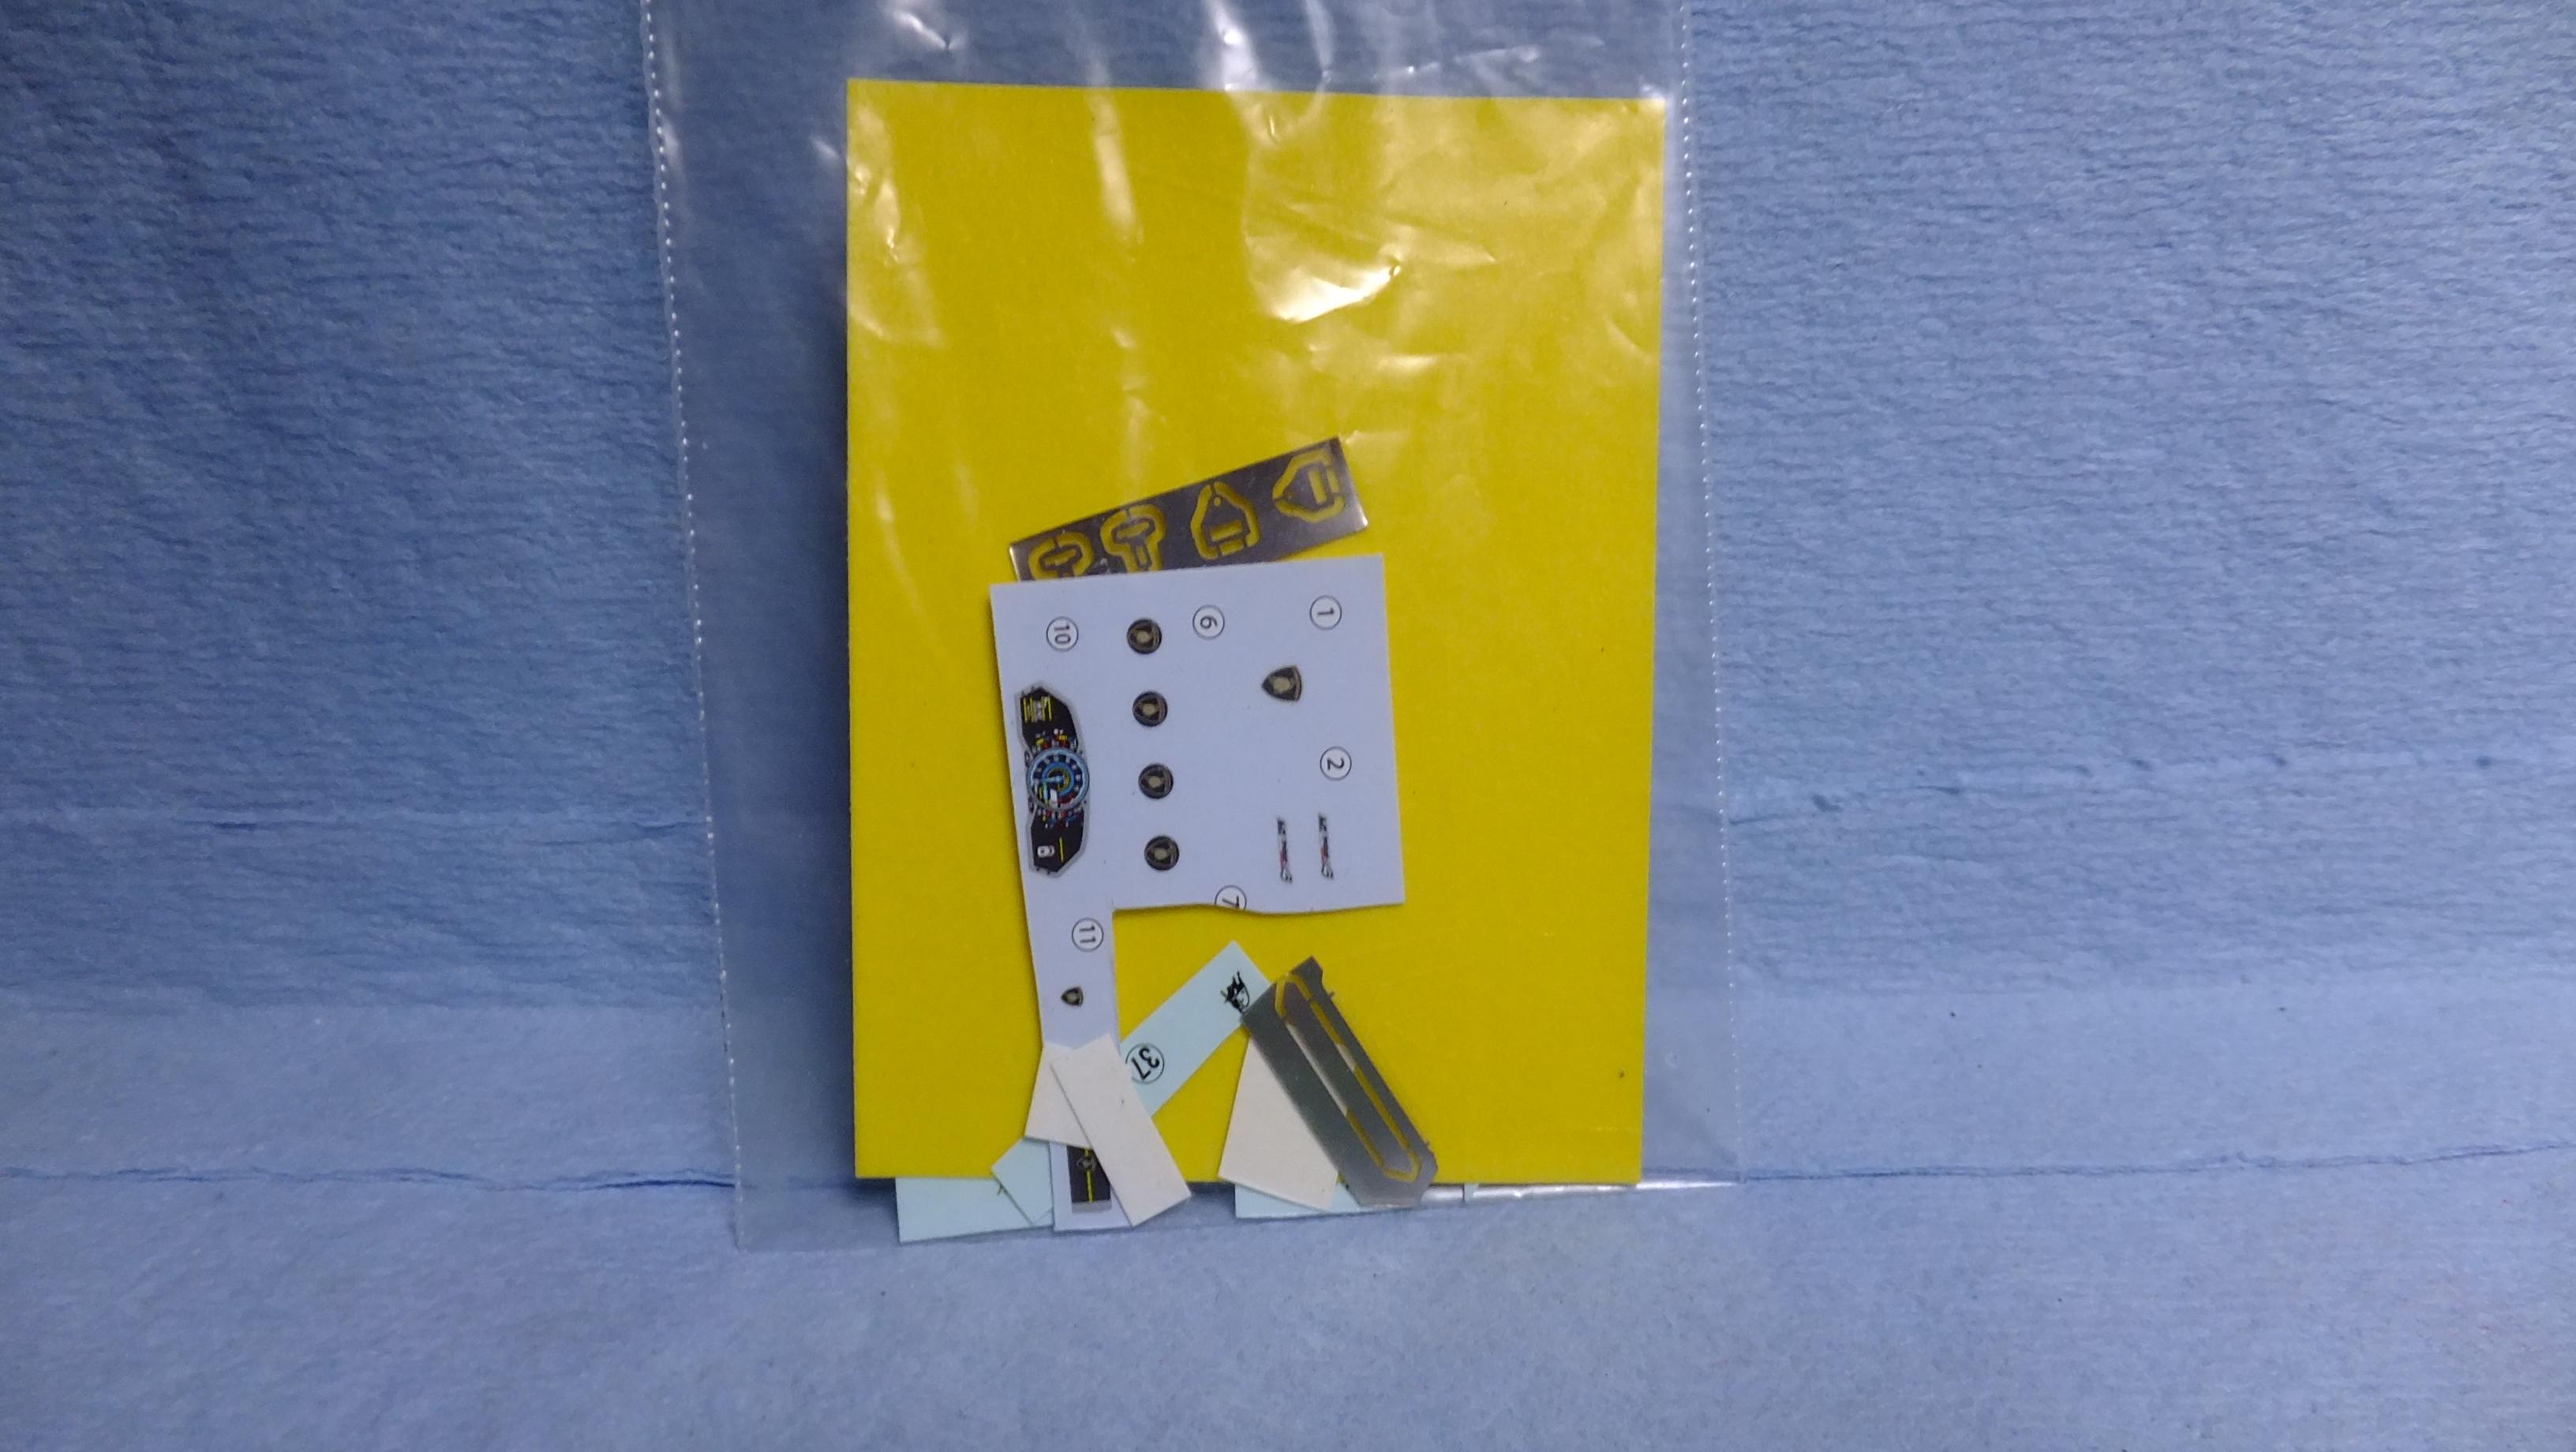
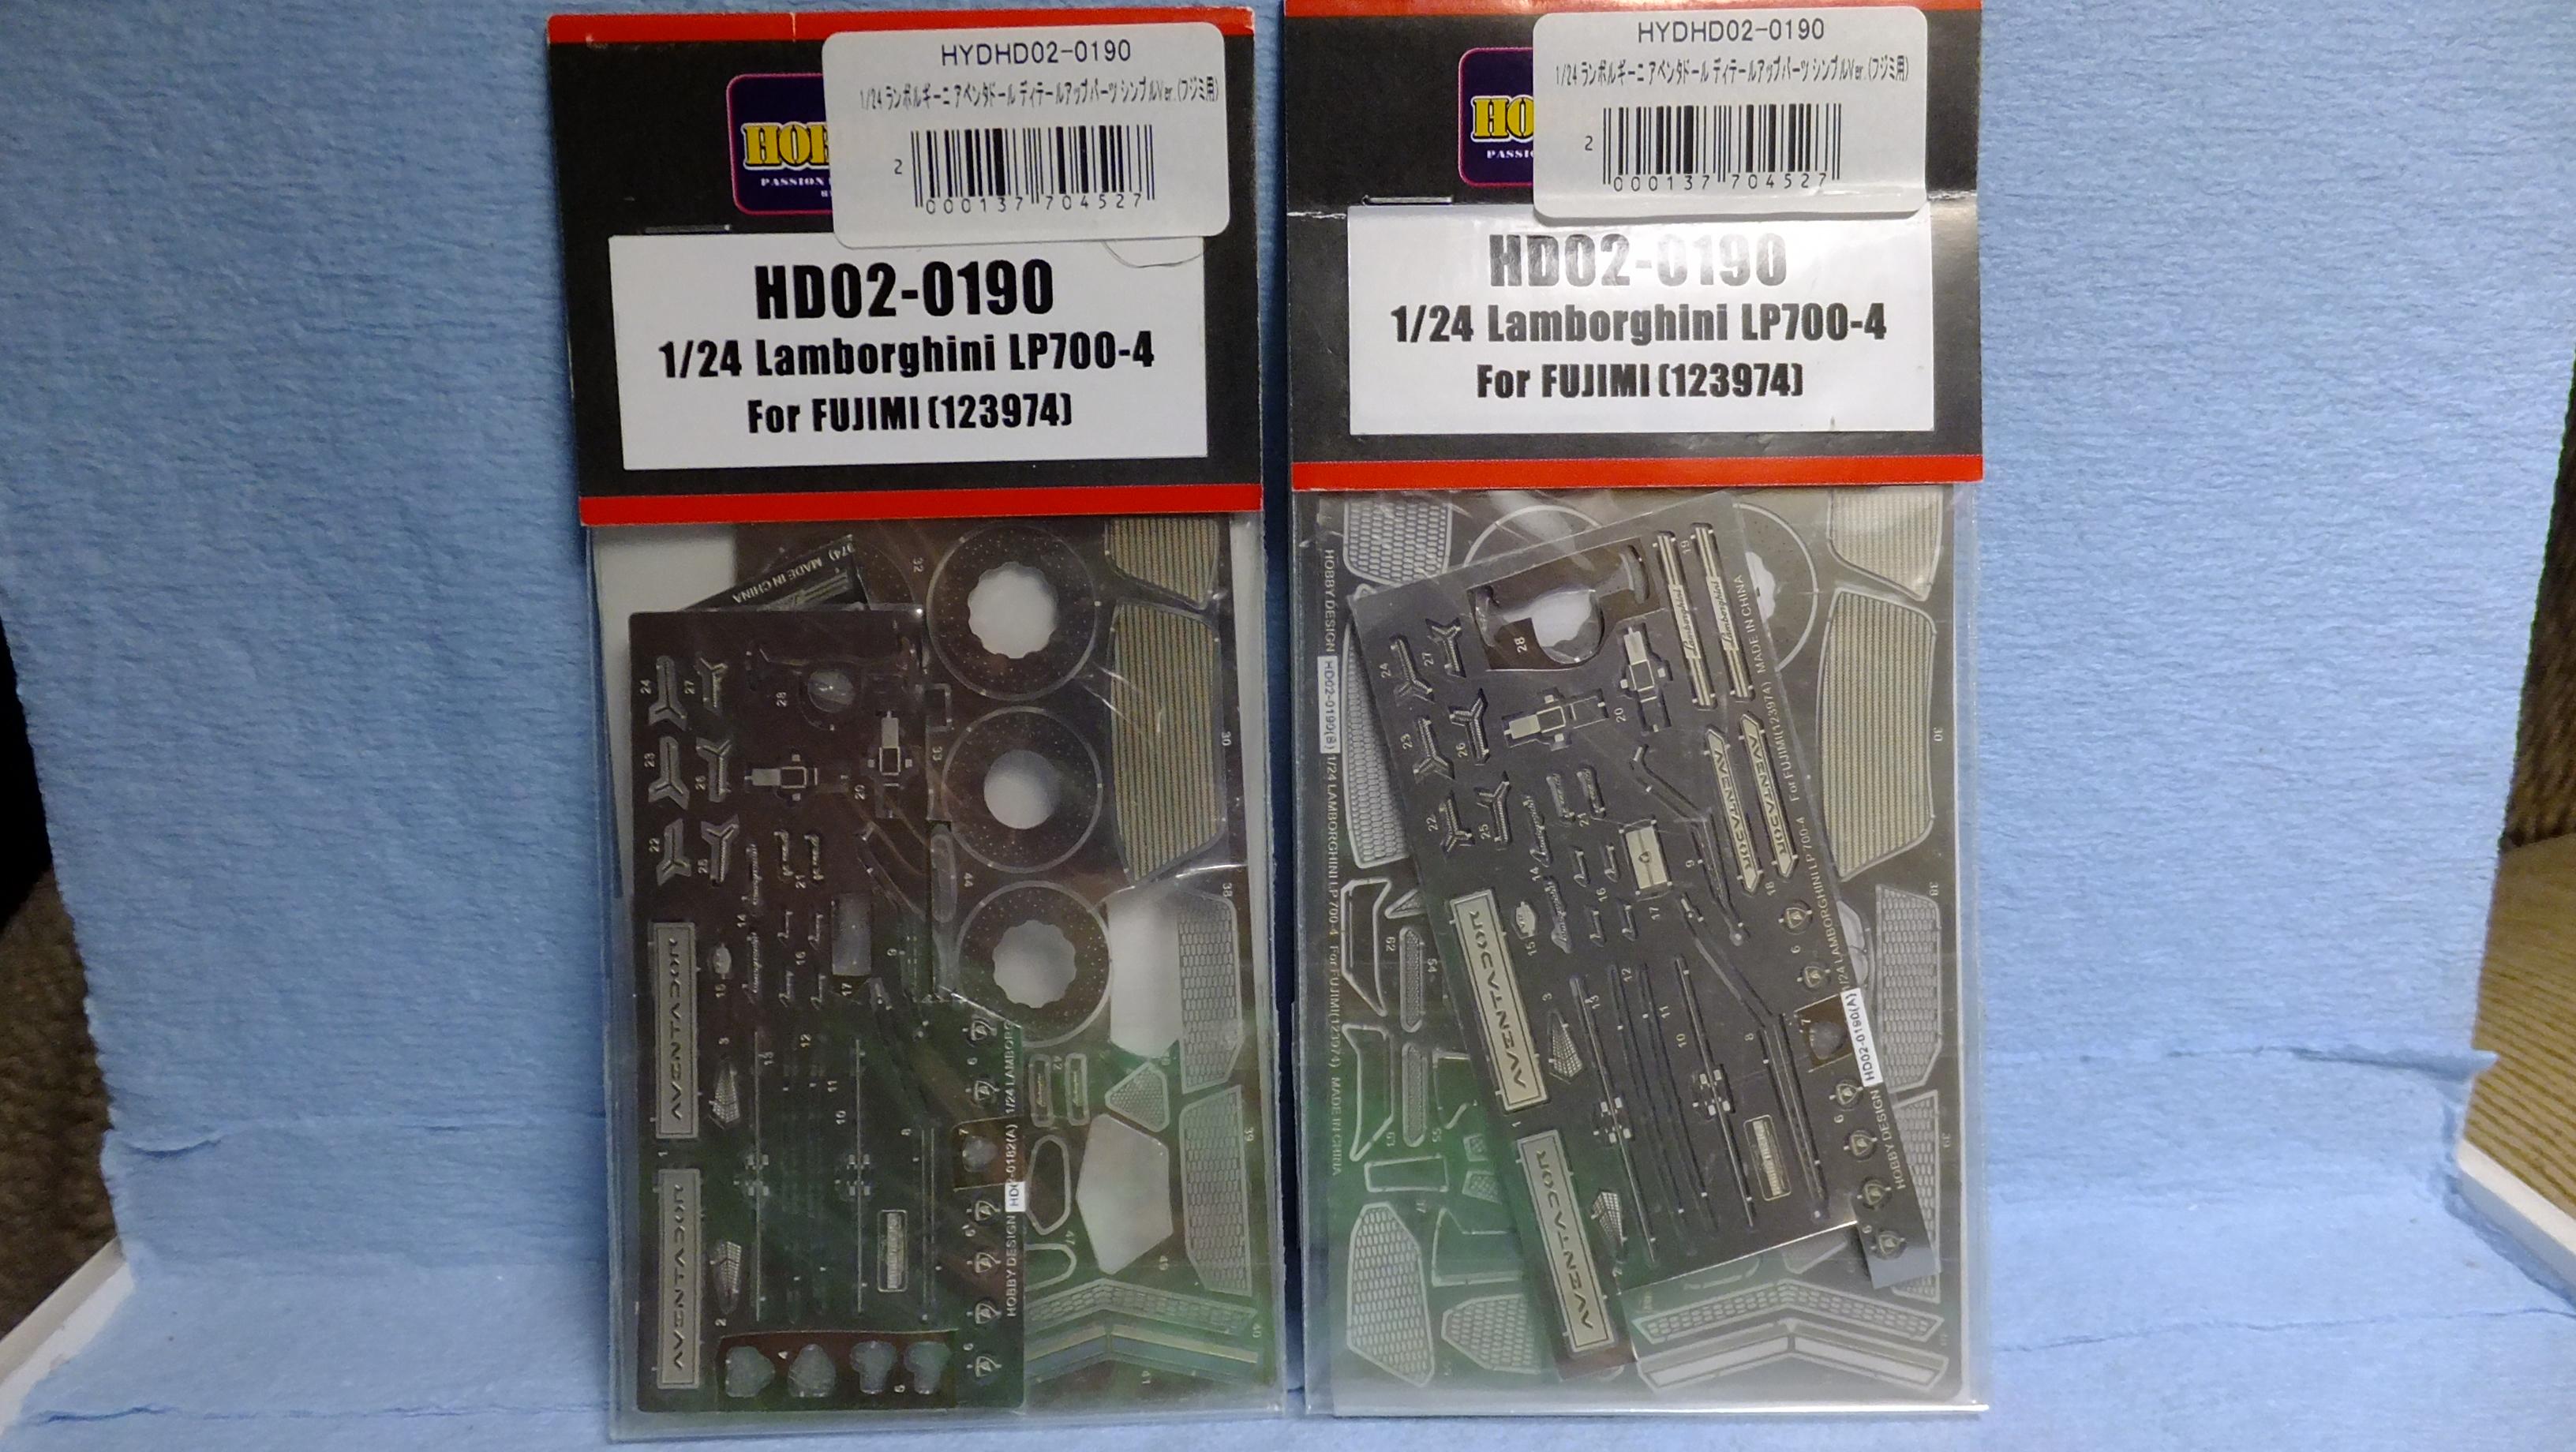
Hey, everyone! I bought this kit because i wanted to see why so many people out there still build this when there are the VERY nice Aoshima kits out there. Having built a couple of the Aoshima versions, i will go through this one, and do a mostly part-by-part direct comparison. Believe it or not, but there are some things that Fujimi did better. -Photo 2; This is how mine will look. -Photo 3-5; I think that Fujimis headlamps are detailed better...are easier to attach, but dont have a separate clear lens like Aoshimas. -Photo 6; The wavy line shows the size of the part....dont know why they did it this way....separate bits like the Aoshima kit is better. The arrows point to areas that are raised pretty decently...it will take a bit to get them level. -Photo 7; If you seat the side panel all the way in, you will end up with a large, uneven ledge, and neither the PE, or the plastic mesh bits will fit in.....so Dont seat it in all the way. Aoshima's Part is better in this aspect. -Photo 8; When this inner side vent part is attached, you will have to grind down, and fill in the seam of the area that the arrow is pointing to...it was a rather noticeable problem. Aoshimas part fit right in, with NO modifications, or unsightly seam. -Photo 9-11; These vents are actually EXCEPTIONALLY nice!! They fit in way easier than Aoshima's, and if you dont want to use PE mesh, these WILL still look totally real! Having built a couple of the Aoshima ones, and adding the PE mesh with SB details behind them, you have to look VERY hard to see through them, so its not really necessary to use the PE vents. Going by the kit parts, Fujimi wins when it comes to the detail, and fit of these vents....Aoshimas plastic vents are molded in smooth, clear plastic, and you have to apply a decal for the mesh pattern....NOT realistic in the slightest. -Photo 12; The doors, and windows in both kits are about the same, but Fujimis has deeper, more realistic door handle detail. -Photo 13; Both kits have pretty nice wipers as far as detail, and fit. -Photo 14; Both kits have decent vents, But Fujimis side vent has a separate trim piece which is nice if you dont want to mask it like you have to on the Aoshima version. The inside of the rocker vent just behind the front tyres, is a separate piece with the Fujimi kit, and is easier to attach mesh to. -Photo 15; This here is a no-brainer....Aoshima has SUPERIOR tailights by FAR!!!.....i'm not looking forward to doing these Fujimi ones....they arent good. -Photo 16; These have to be some of the nicest mirror lenses!....i usually have to strip them on ANY kit, and use chrome sticker as a replacement. Cant remember how Aoshimas were. -Photo 17; The exhaust tips in both kits are pretty close to the same, but the inside detail of the Fujimi one is a bit better....sharper. -Photo 18; This is the PE set that comes in the kit...i WONT be using it, as i'm using the plastic vents. -Photo 19; ...these are all the decals, and seat belt bits that came with the kit, and or the Hobby Design sets. -Photo 20; I basically only got these sets for a few parts.....WONT use most of them.

-
1975 De Tomaso Longchamp (fixing things)
Dann Tier replied to Reuhkapelti2's topic in WIP: Model Cars
I'm pretty stoked to see this Masterpiece done!!! -
Hasegawas Lamborghini Miura SV....new update!
Dann Tier replied to Dann Tier's topic in WIP: Model Cars
Thanks, bud!!, that one has a wee bit of fogging in the finish...couldnt fix it, so thats why i'm building this one -to replace it....Thanks for following!! -
Hasegawas Lamborghini Miura SV....new update!
Dann Tier replied to Dann Tier's topic in WIP: Model Cars
Thanks, bud!!, we all have our own ways of building, and it looks like you have a GREAT Lambo collection!!....you are very lucky to have seen one in person!....i'm jealous!!!, lol -
Thanks, bud!!
-
It wont be as detailed as yours, but it will be fun.
-
Those are SOOOOO Freaking cool!!!...I'm a huge James Bond fan!, and i've built both of these kits -VERY nice job on both!!!
-
Hasegawas Lamborghini Miura SV....new update!
Dann Tier replied to Dann Tier's topic in WIP: Model Cars
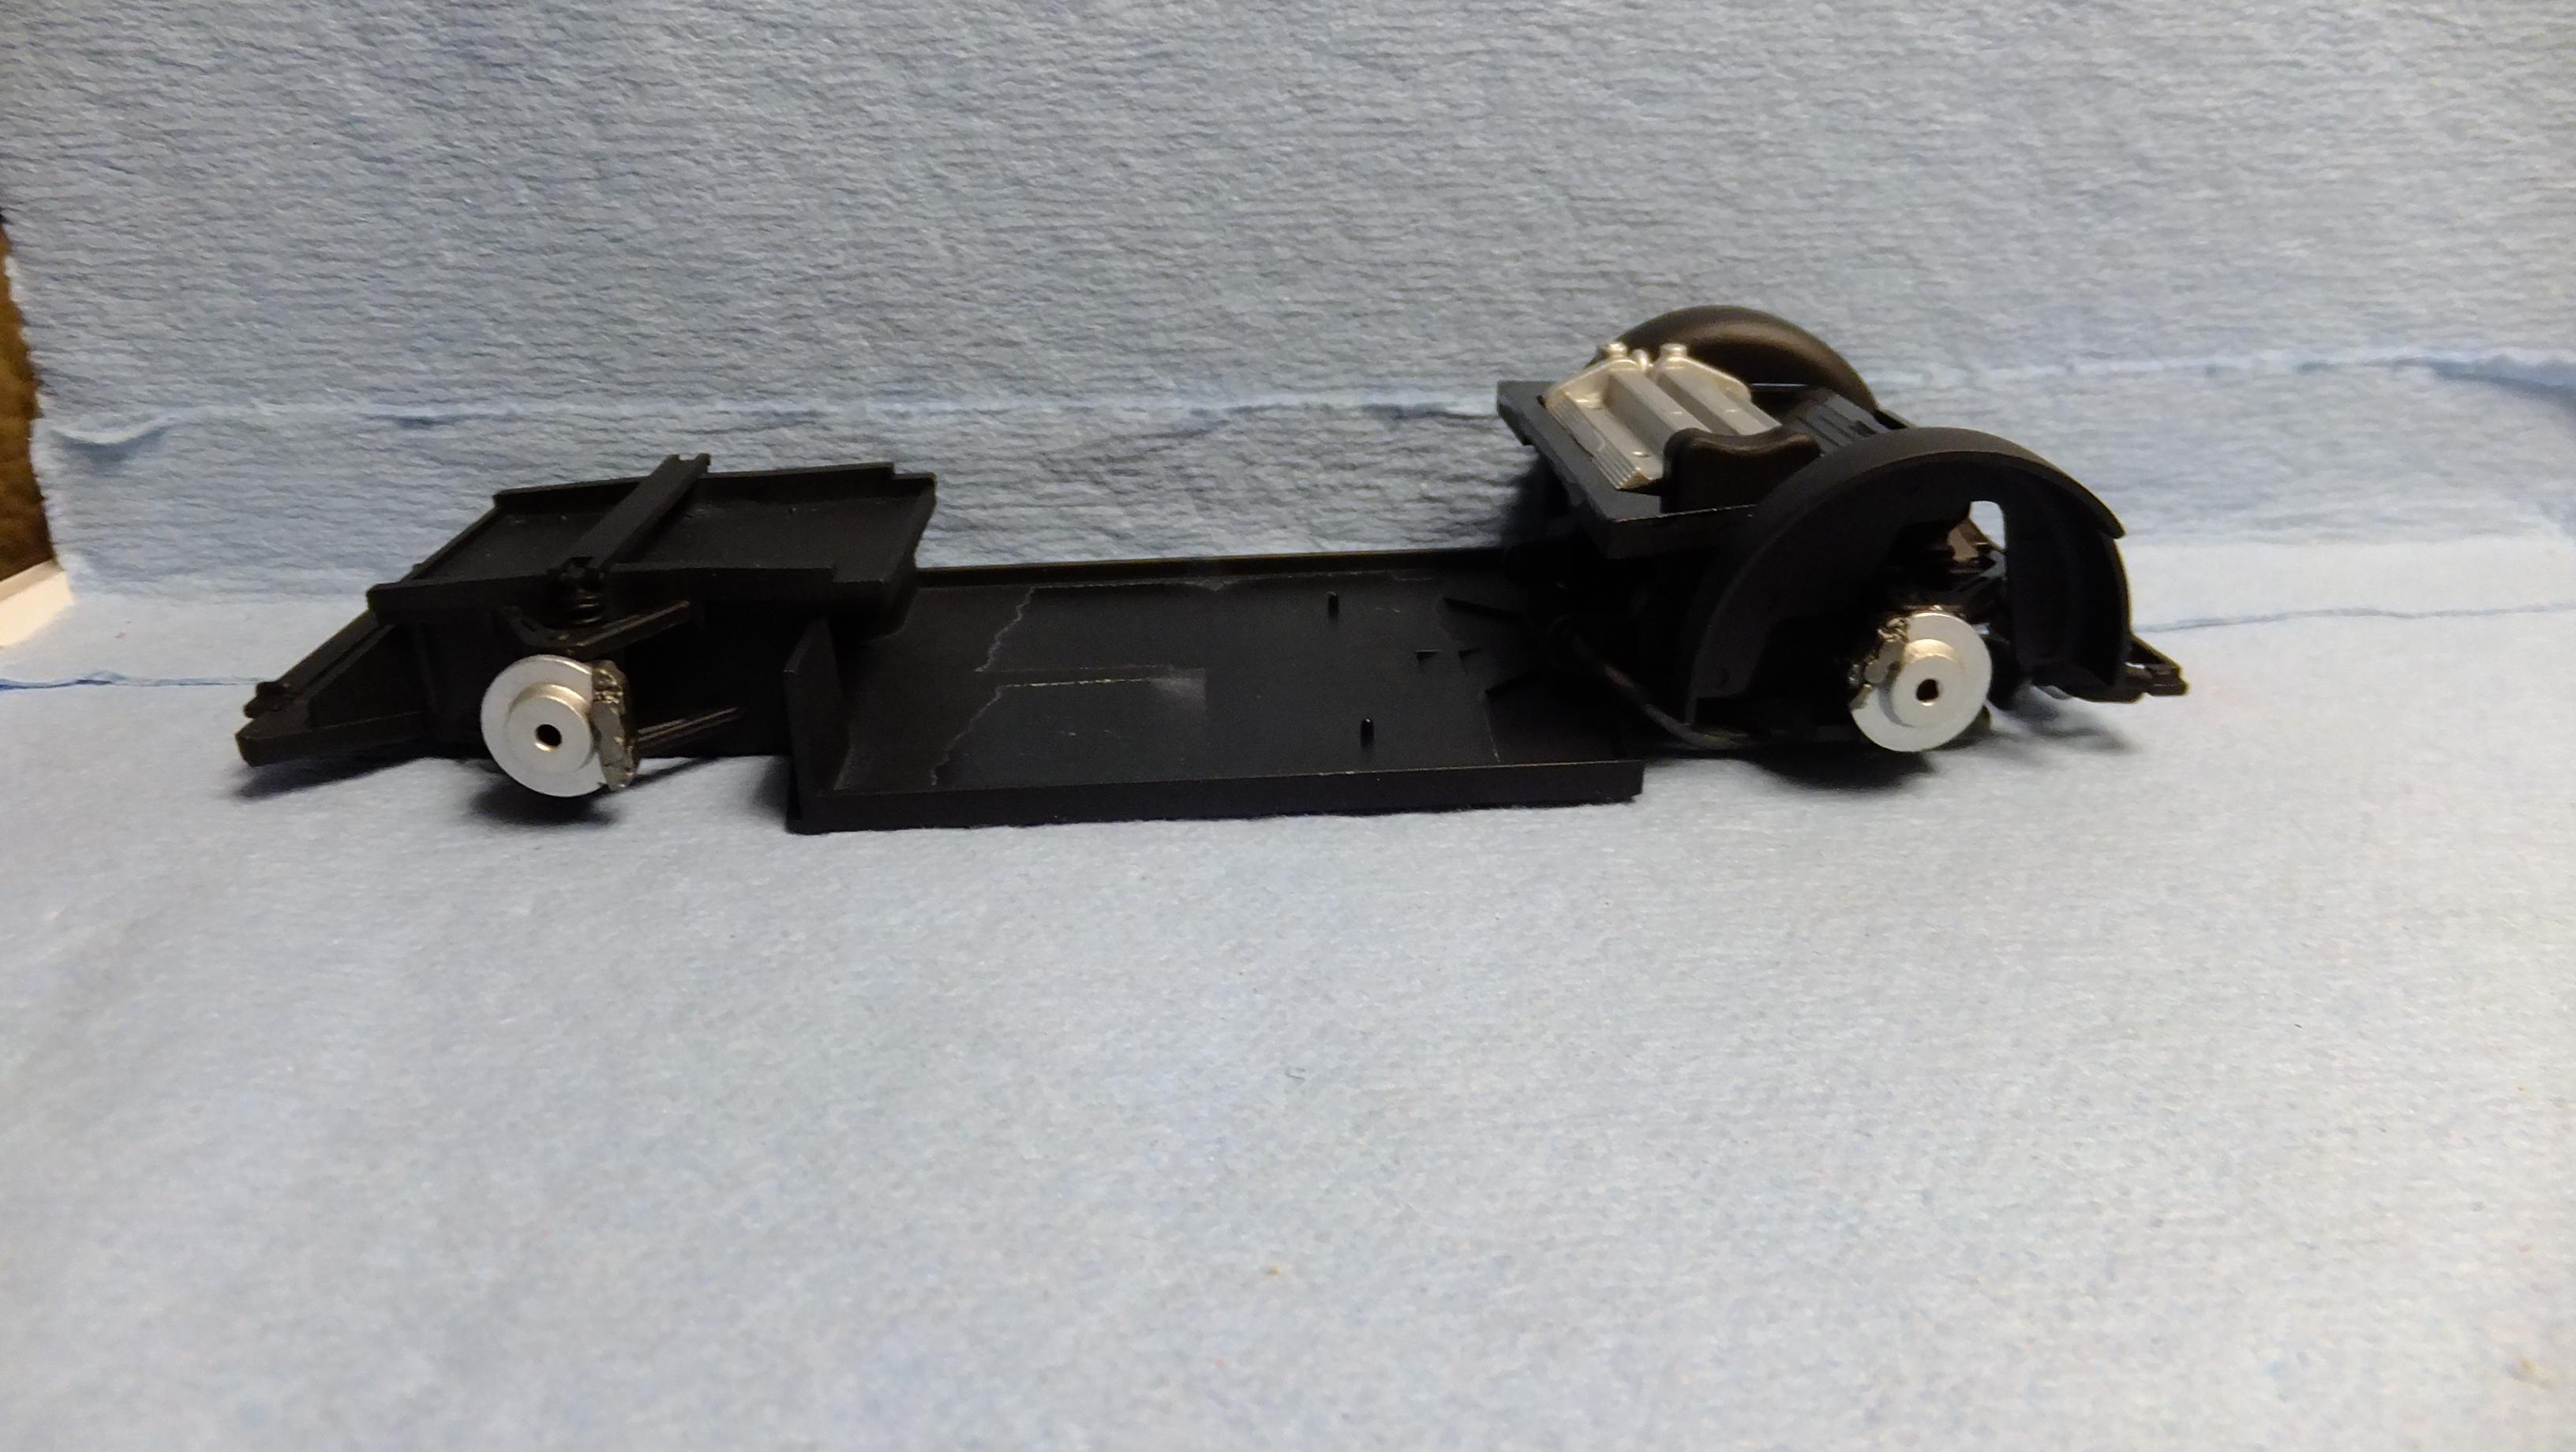
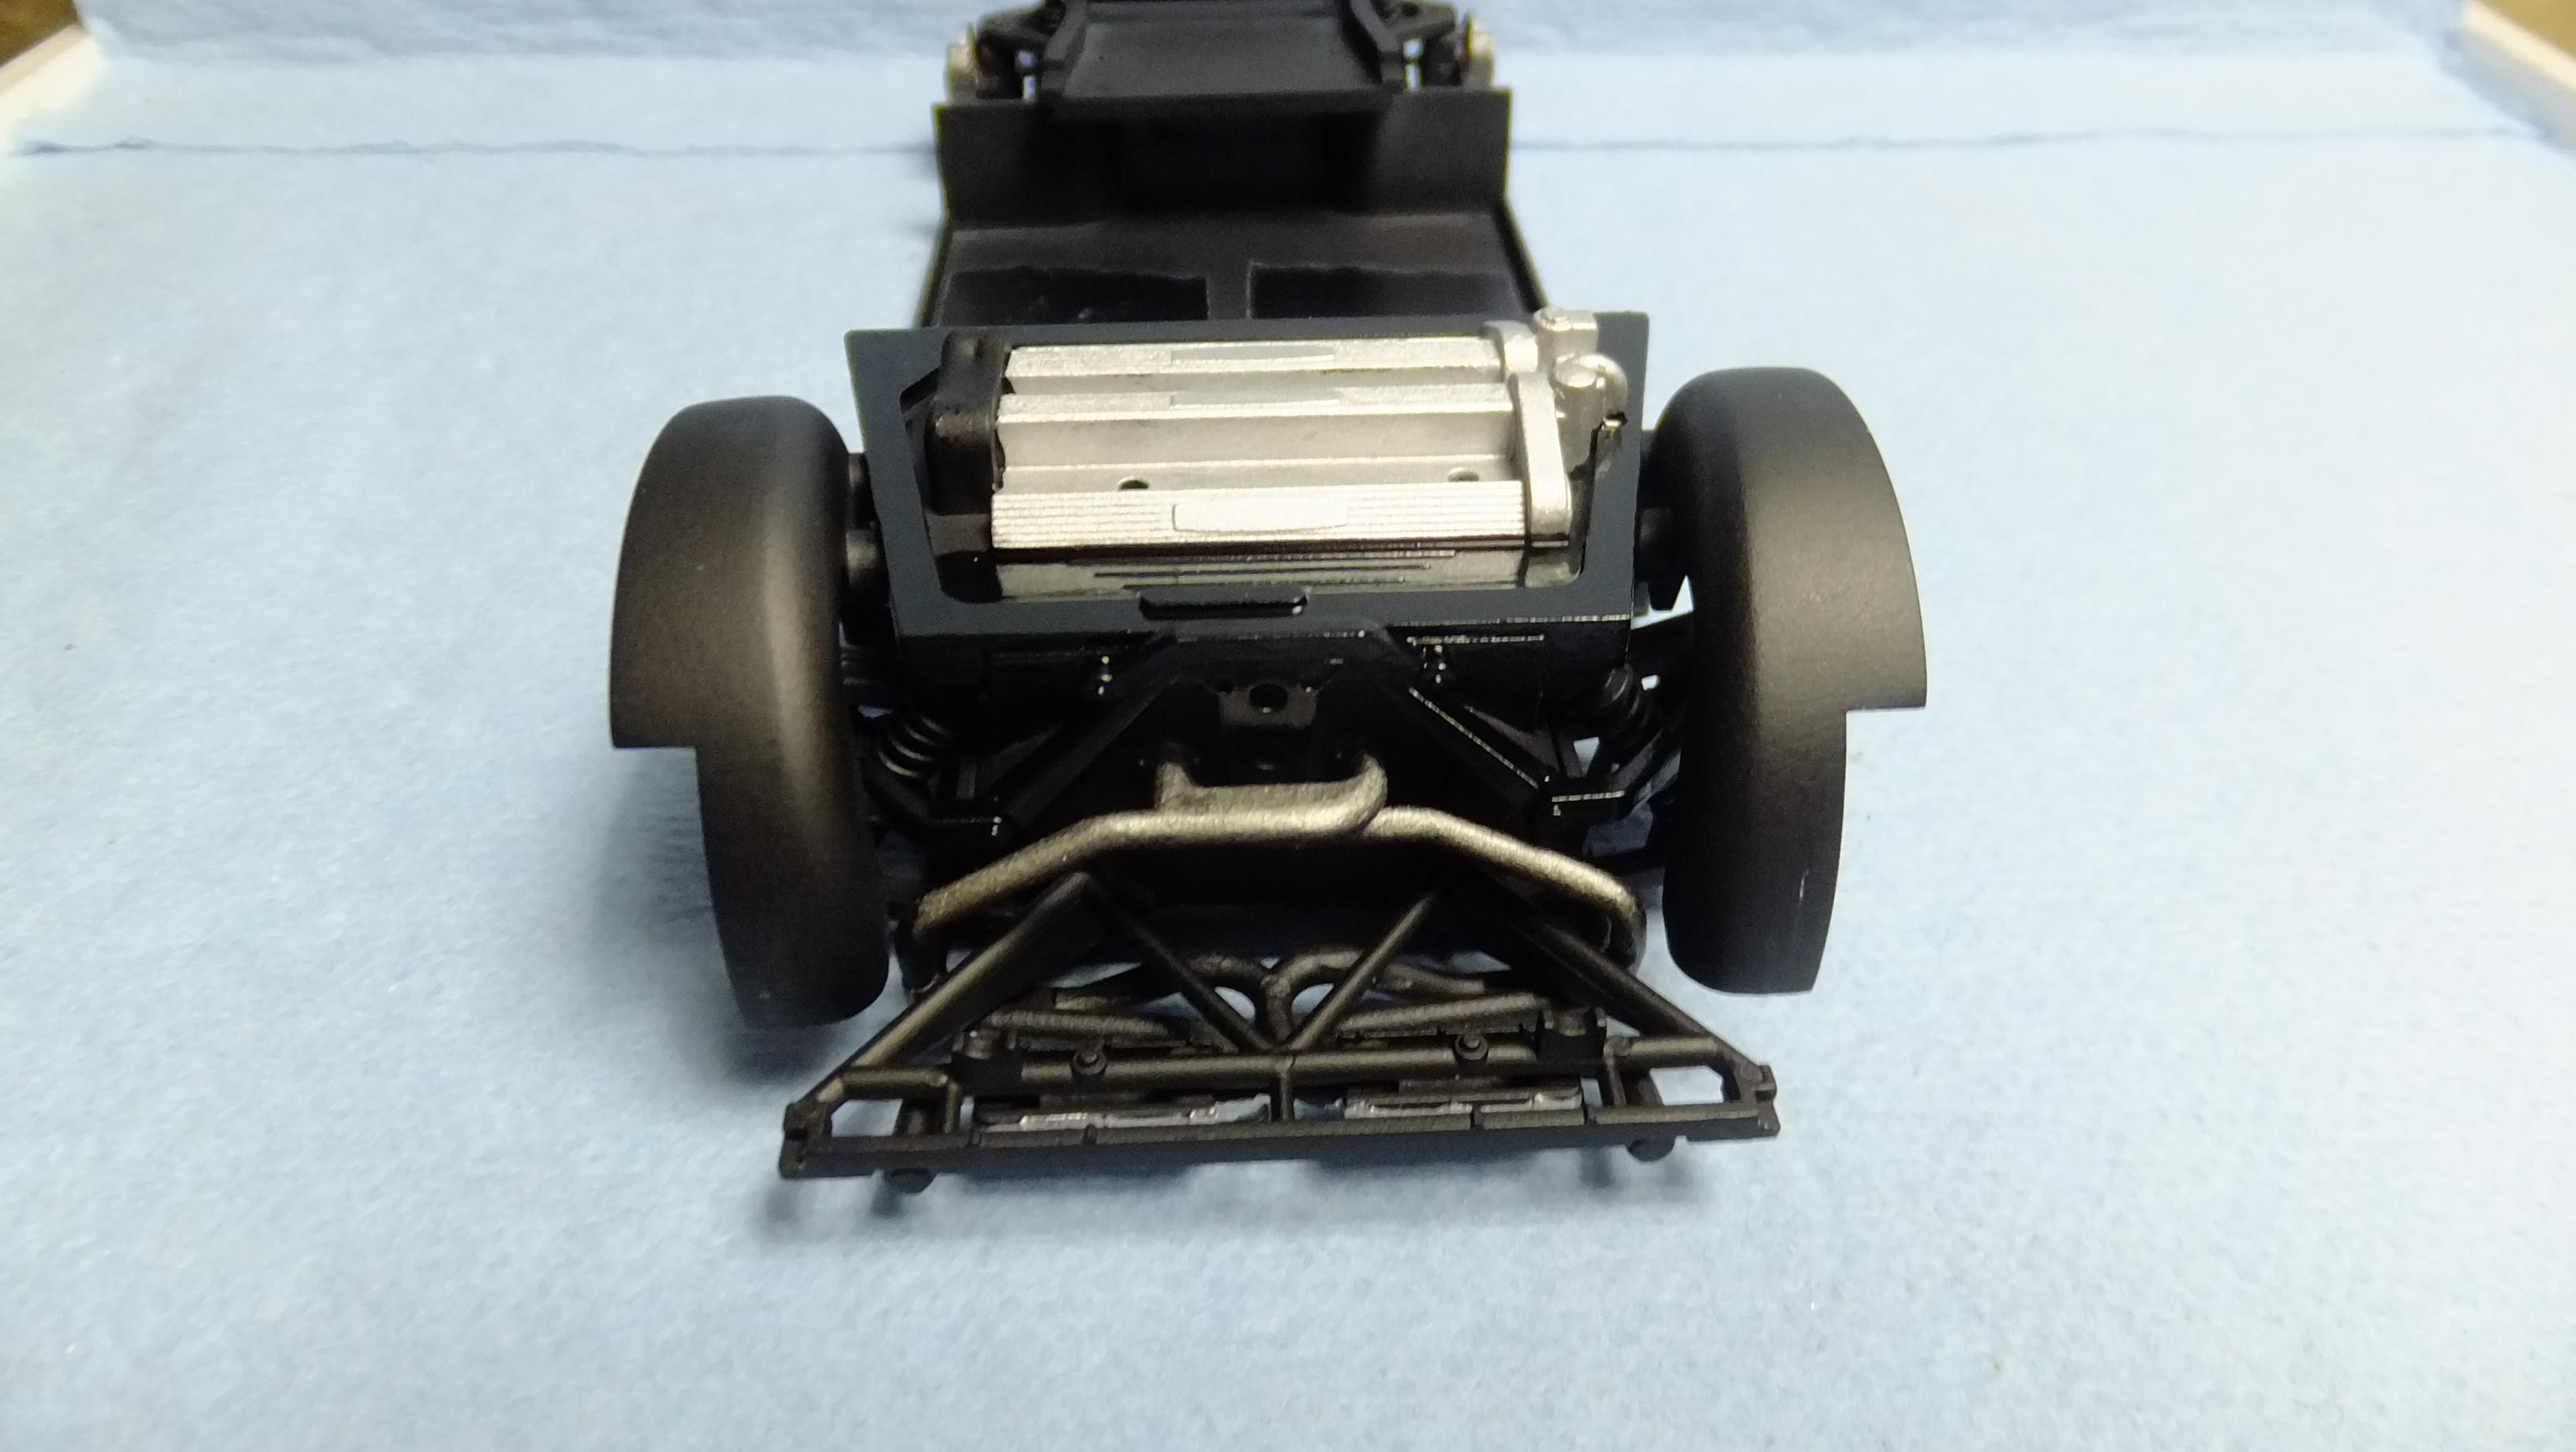
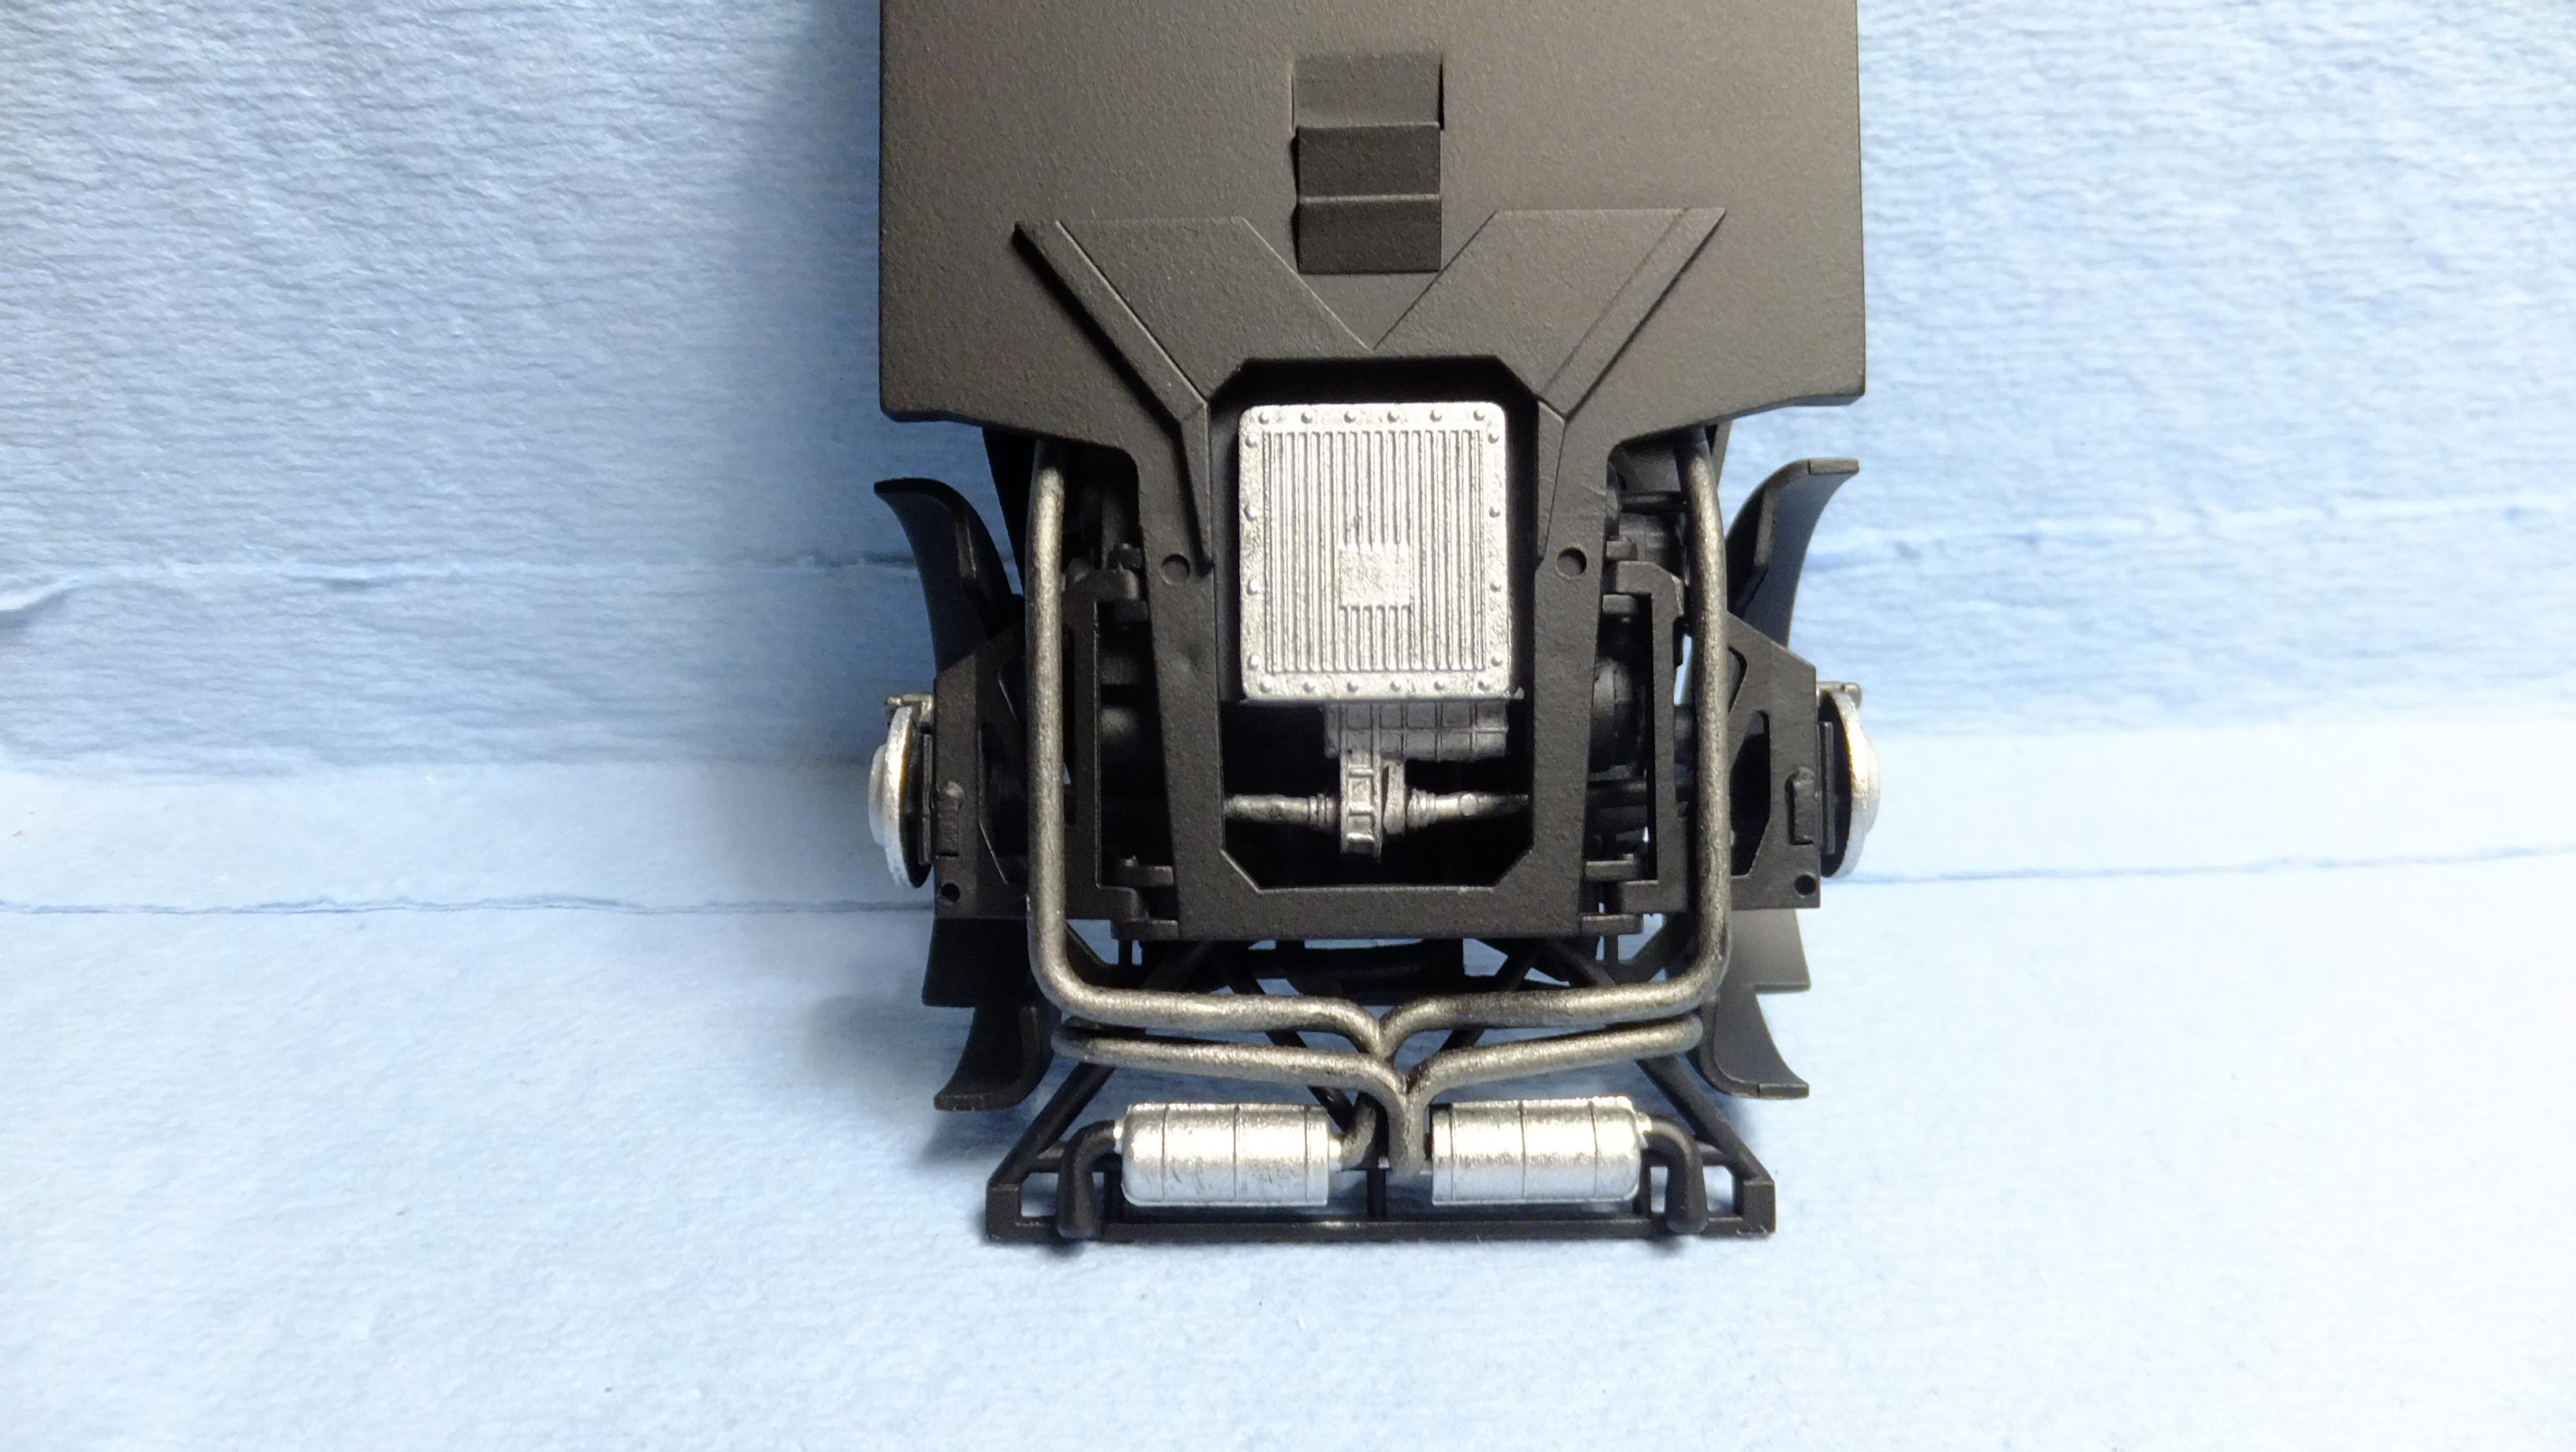
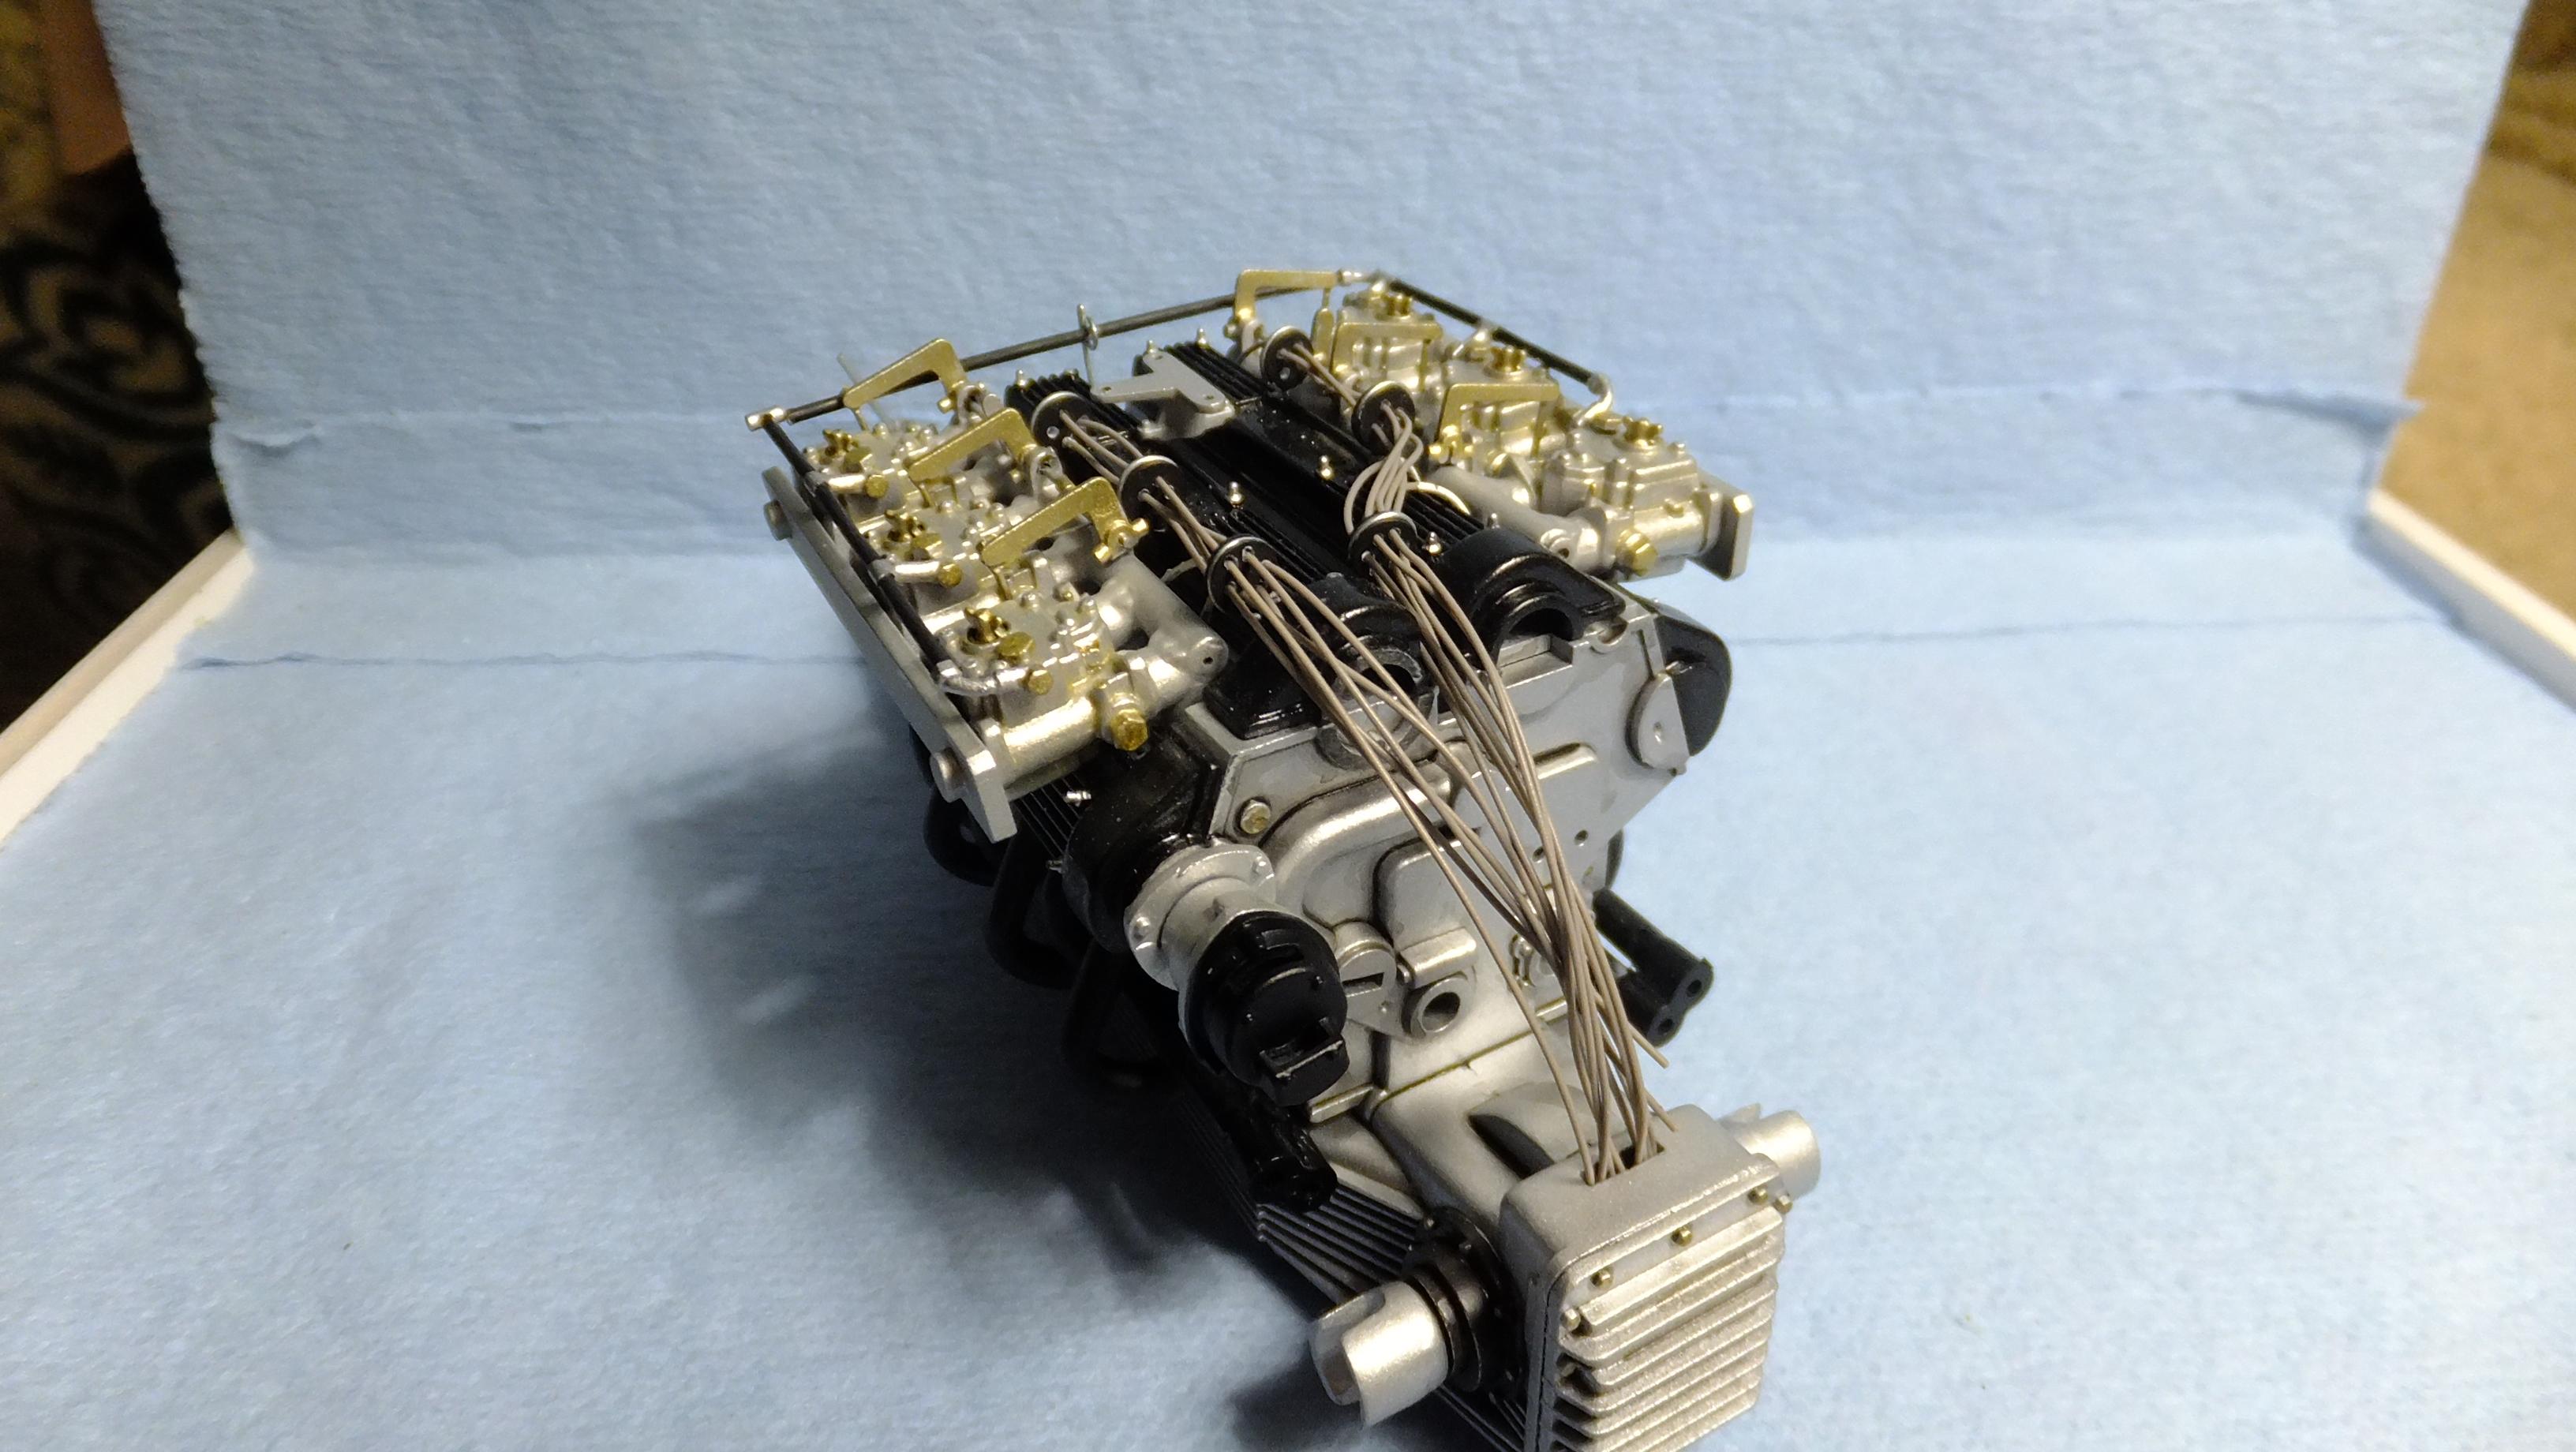
Hey, everyone!, i'm finally back to working on this one as well! The chassis has been in black primer for quite a while now, so what i started doing is painting all the basic kolors. Next will be detailing. I plan on adding ALOT of detail....lets see what can be done! I dont normally paint underside details of my curb sides...only what can be seen as it sits on its base. Just for the heck of it, i i did a quick crank case paint job, lol
-
You did them PERF, bud!!!
-
1968 RKE/JRT SCCA Trans Am Javelin
Dann Tier replied to swede70's topic in WIP: Other Racing: Road Racing, Land Speed Racers
VERY cool build!! -
Great looking brakes!!, as well as a nice sheen on that seat!! -it looks the part!!
-
Otaki 1/12 Lamborghini Countach Twin Turbo...Mission Statement
Dann Tier replied to Dann Tier's topic in WIP: Model Cars
Thats GREAT, bud!!!......i think we all get that from time to time....glad you are back!!.....i post what i dont mind people using....i will NEVER keep secrets about how i do things! Thank YOU for following this build!! -
Otaki 1/12 Lamborghini Countach Twin Turbo...Mission Statement
Dann Tier replied to Dann Tier's topic in WIP: Model Cars
Now thats its all detail painted, i will be adding the final touches of detail...then i can move onto easier things for a while, lol.
-
You will!!
-
Thanks alot, bud!, tomorrow i will be making the dash, and door cards. Thanks for following!
-
It sure is looking great!!
-
I thinks its working GREAT!!!, if it were me, i'd split the sides at the top corners almost all the way to the end, then fill in the space with styrene and filler.
-
Thats how we all start, bud!....keep up the great work!!
-
It is a great kit!, in fact, i too have one that i'm using for my General Lee...only mine will be a curbside build.
-
Looks Great to me!!...curious though, these Porsche Enthusiast kits usually go together great...
-
Thats a good thing then!.....i have no one to leave my stash to, so unless i want the kits to be abused, i better build them.
-
Looks great to me!.....maybe it would feel better to you if the air cleaner had the bottom part added. I dont know what Revell finds so difficult about molding it on, but a disc of thin styrene will fix it.