Dann Tier
-
Posts
8,151 -
Joined
-
Last visited
Content Type
Profiles
Forums
Events
Gallery
Everything posted by Dann Tier
-
BEAUTIFUL car/build!!!!
-
Both beautiful builds!!, but i prefer the Bird myself -SWEEET!!!!
-
Pretty cool!!.....i've always liked these cars...sweet kolors!!
-
I think it looks pretty freaking SWEET to me!!!!!
-
Outstanding job!!!
-
I love seeing these built!!, and yours is looking GREAT!!! I have one thats been ready for paint for the last 5 years, lol
-

Monogram Ferrari GTO 1/24 Scale the 5 year build
Dann Tier replied to Funkychiken's topic in WIP: Model Cars
Thats weird for sure. I use their cans all the time without that result. Nobdy is gonna look at it that close....i wouldnt be bothered, bud -its looking KILLER!!!! -
Yup.....its freaking BRILLIANT!!!!....good luck with the move, bud! -looking forward to more!!!
-
Re-engineering Monograms Lotus Esprit...new update!
Dann Tier replied to Dann Tier's topic in WIP: Model Cars
Because this car has always been under powered. The fact that i'm using this particular engine, is only because it fit easily with minimal work. This car is one of my all time favorite cars, but as the other exotics kept getting faster, sadly, for some stupid reason, the Esprit didnt. It has the looks, history, and performance -It deserves it! I want this Esprit to be a 200+mph super car. Even this Ferrari motor isnt fast enough, hence the twin turbo add-on. MANY car companies for the past 70-100 years has used other companies engines in their cars...way too many to name.....thats why, lol -
Re-engineering Monograms Lotus Esprit...new update!
Dann Tier replied to Dann Tier's topic in WIP: Model Cars
Thanks, Dennis! -
This is looking SWEET!!...love that wing, and attention to detail!!
-
Re-engineering Monograms Lotus Esprit...new update!
Dann Tier replied to Dann Tier's topic in WIP: Model Cars
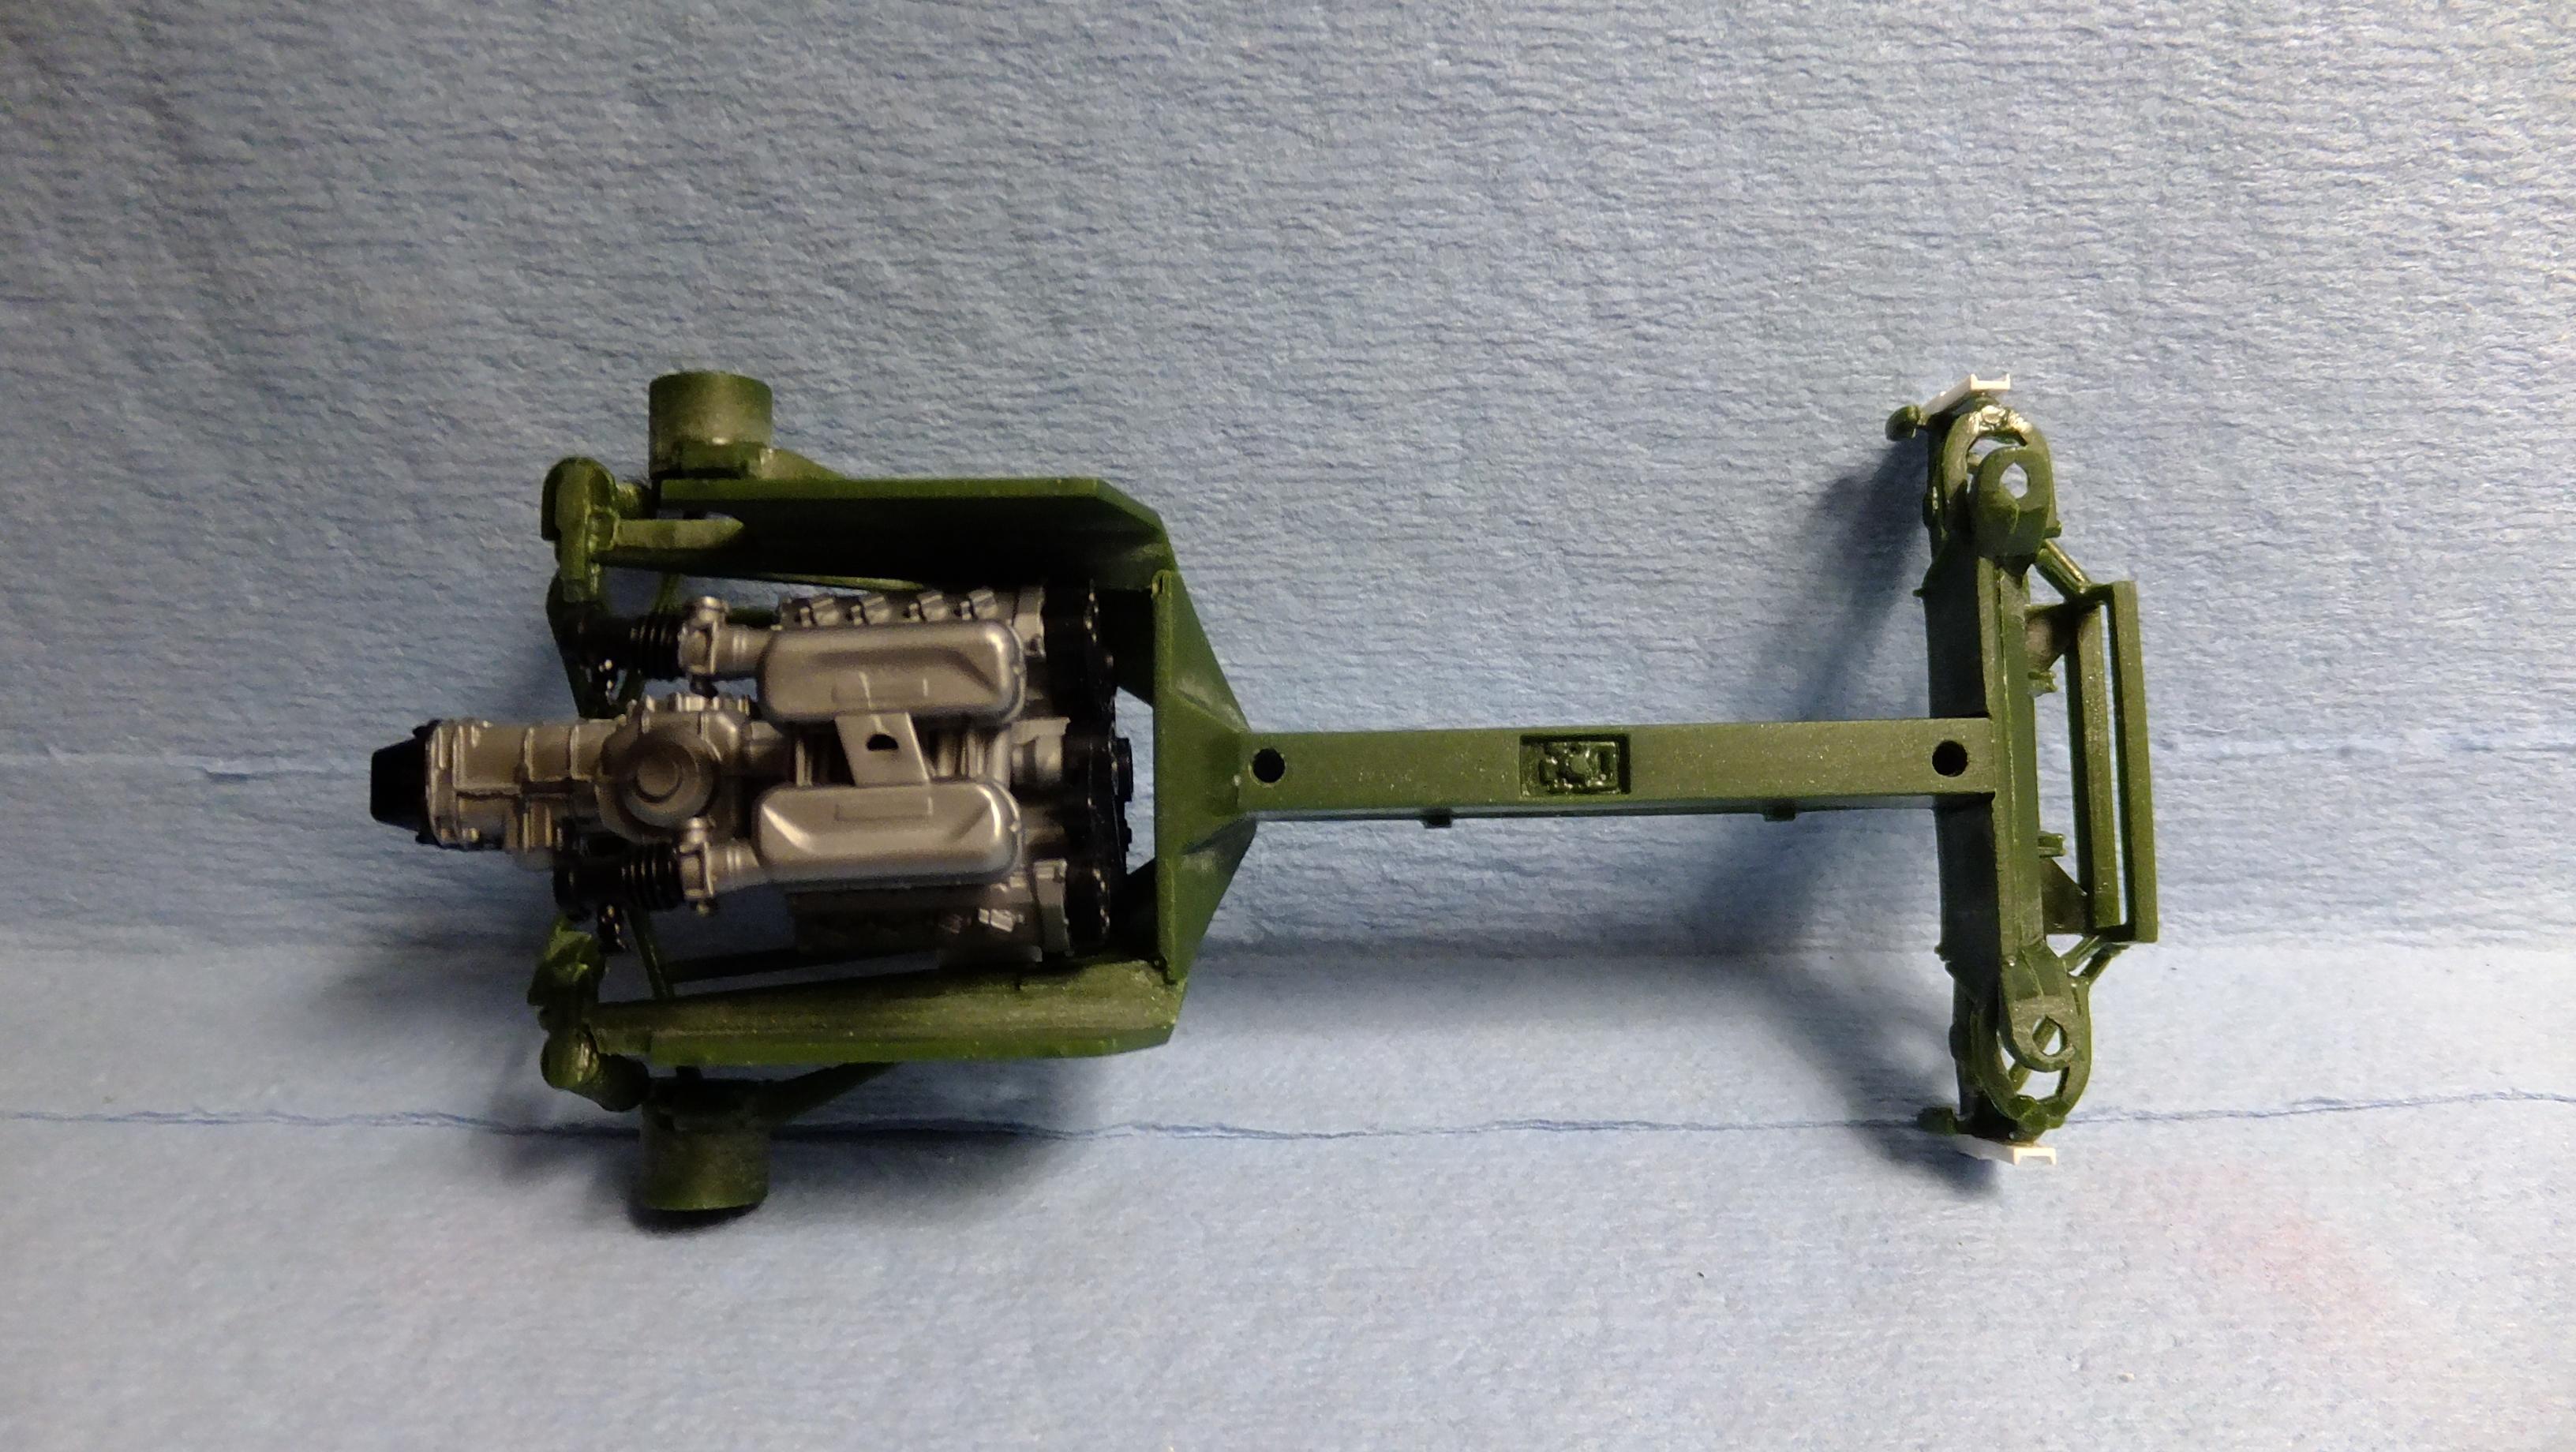
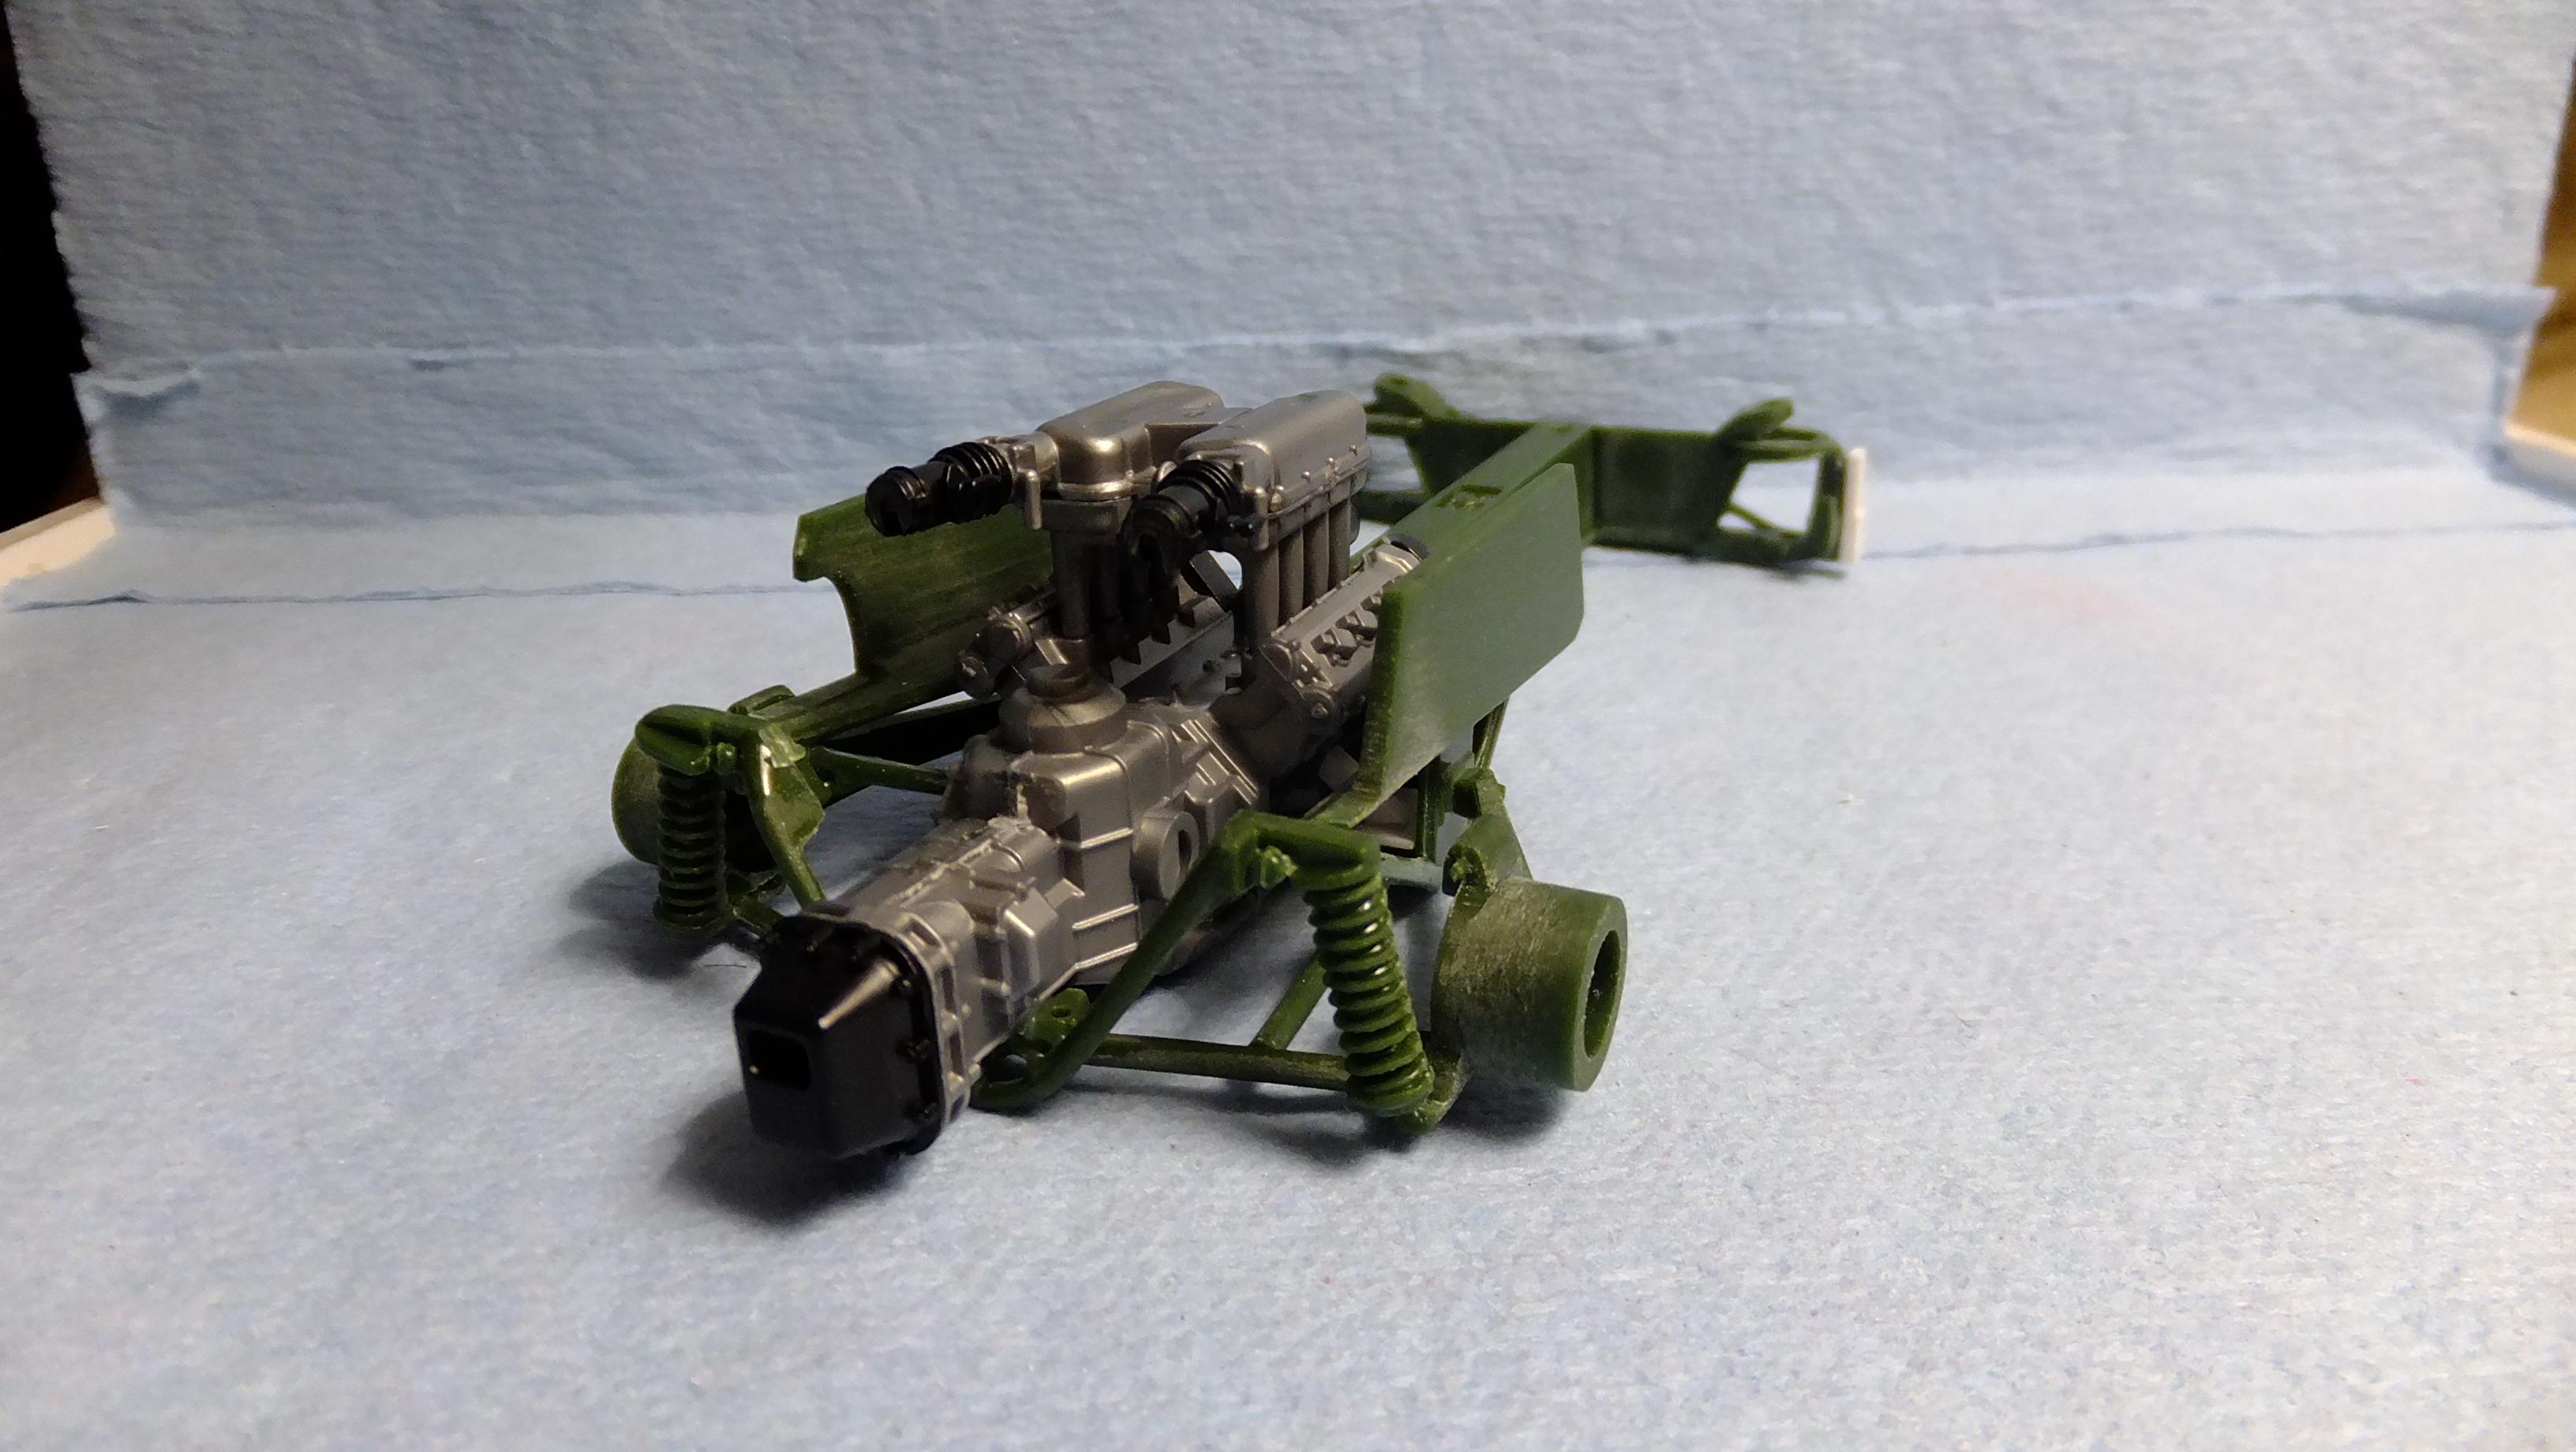
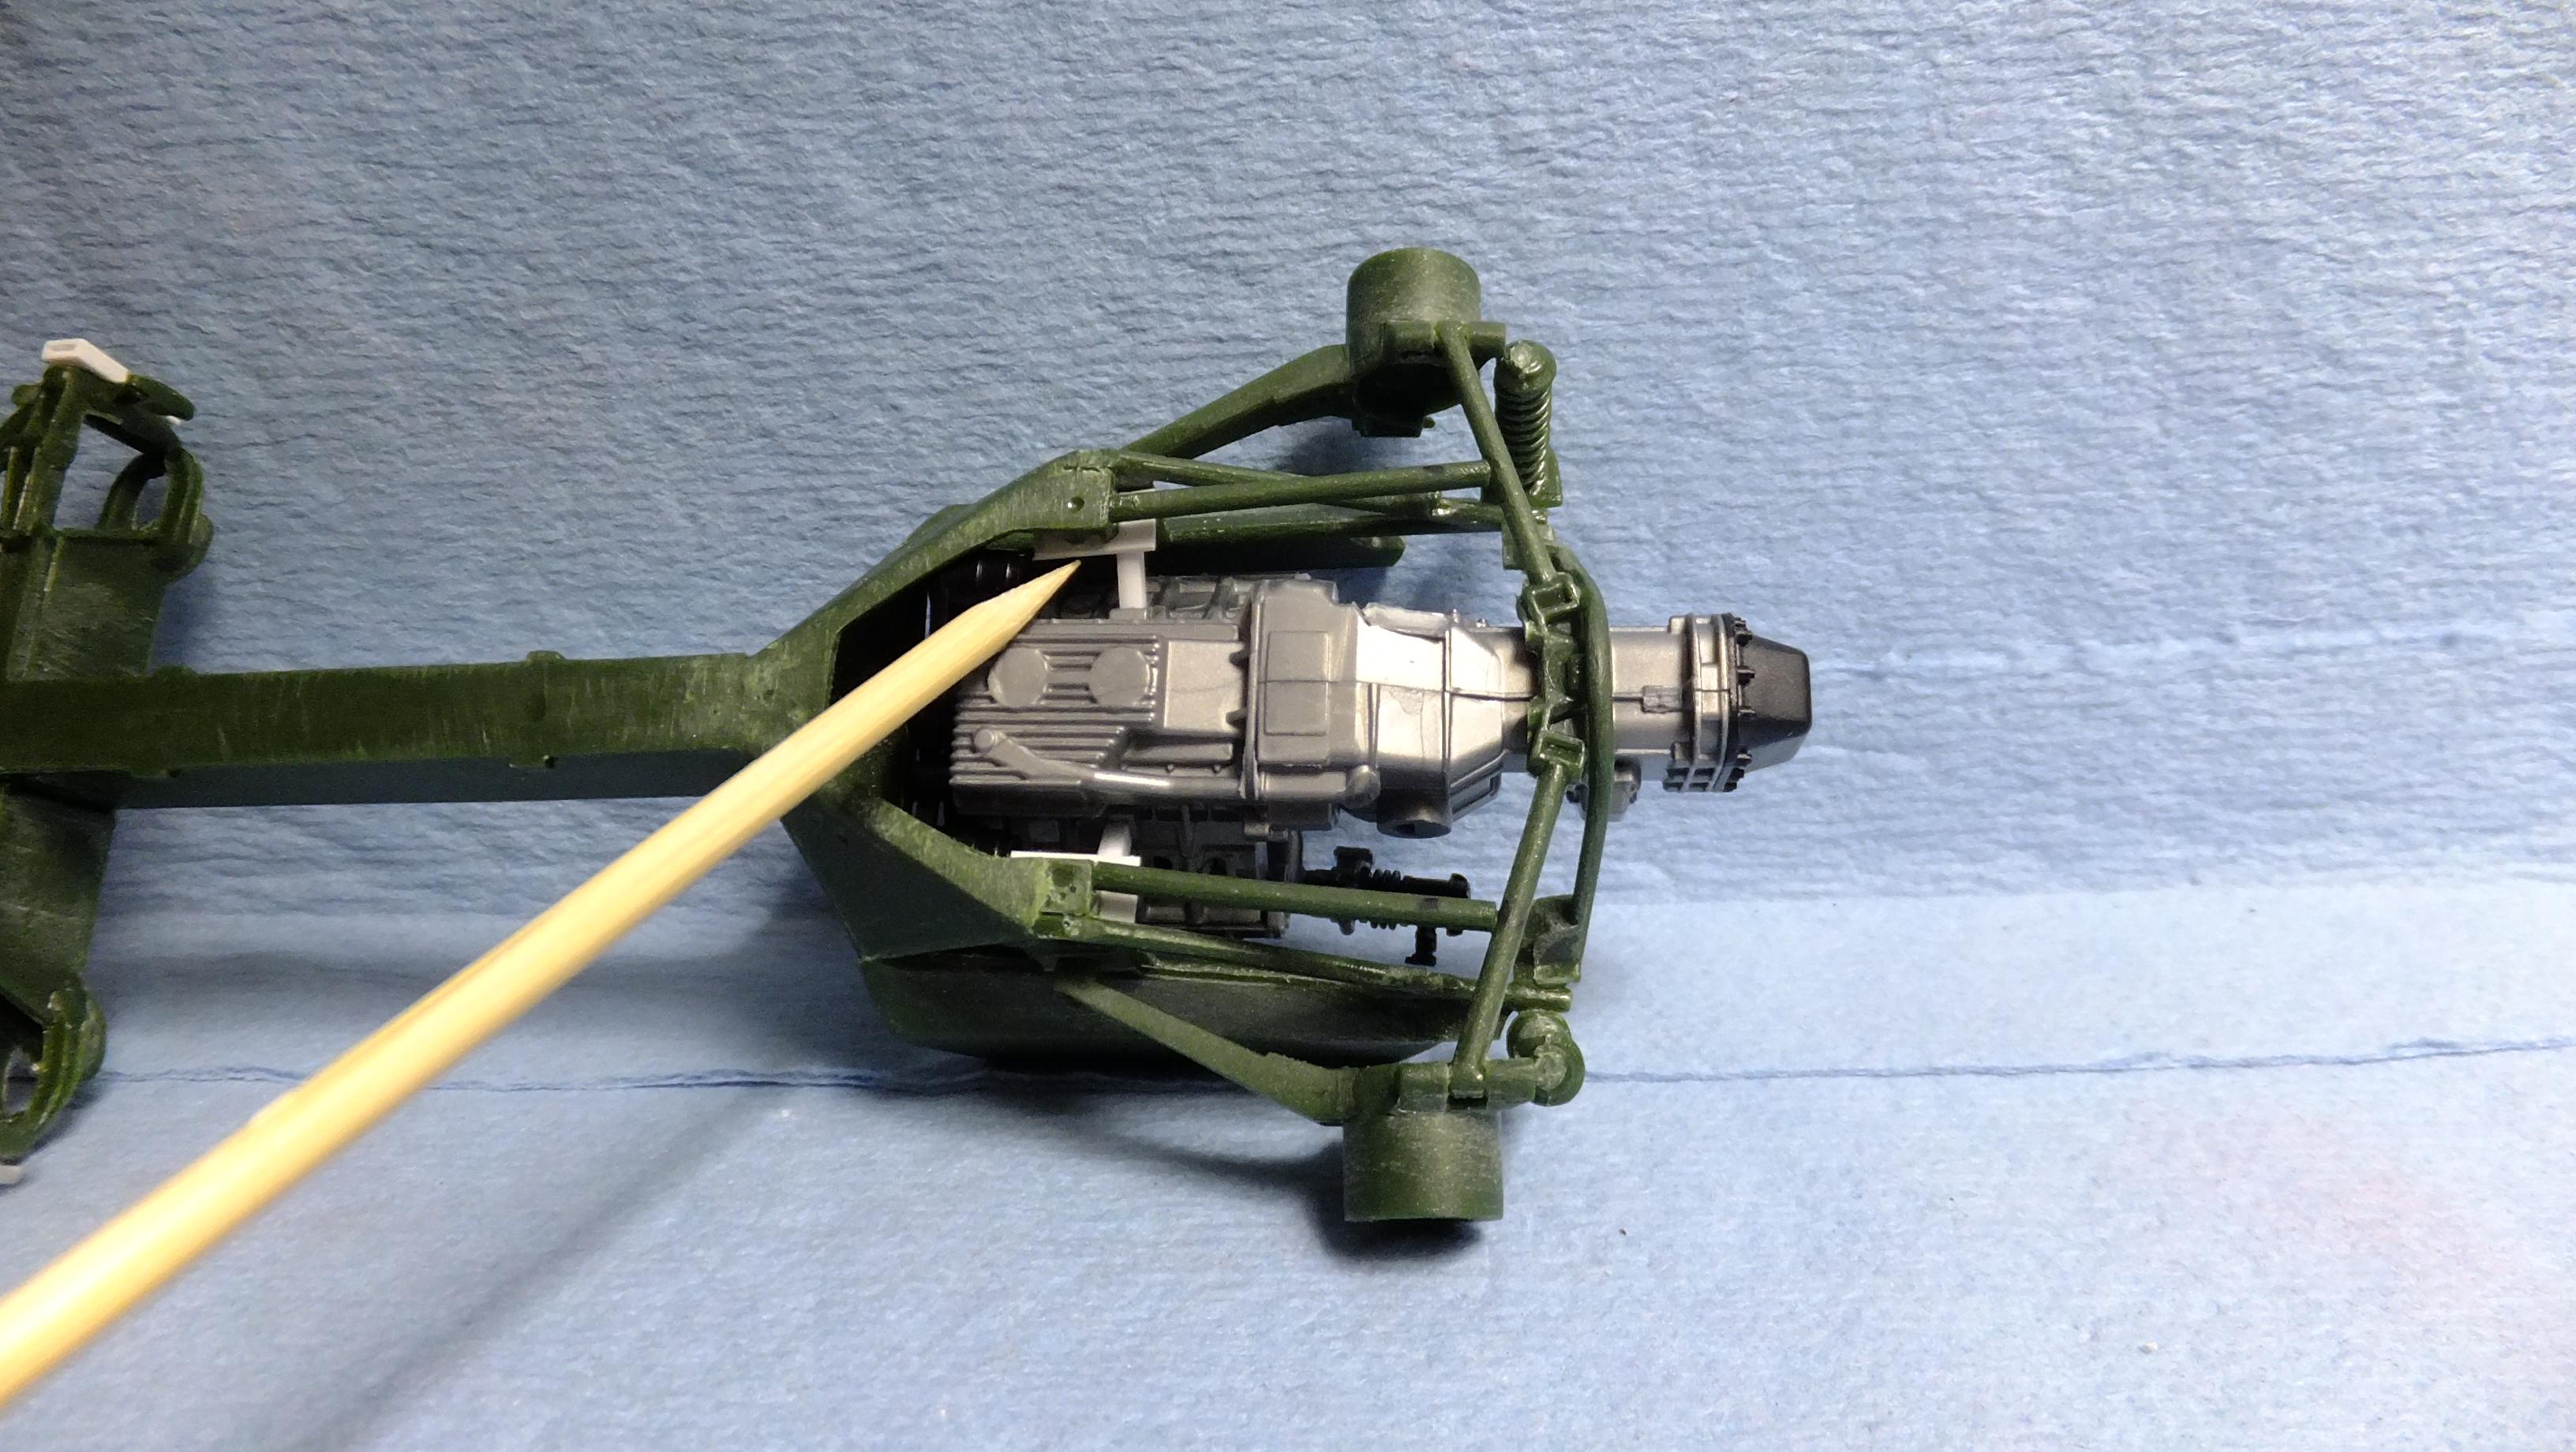
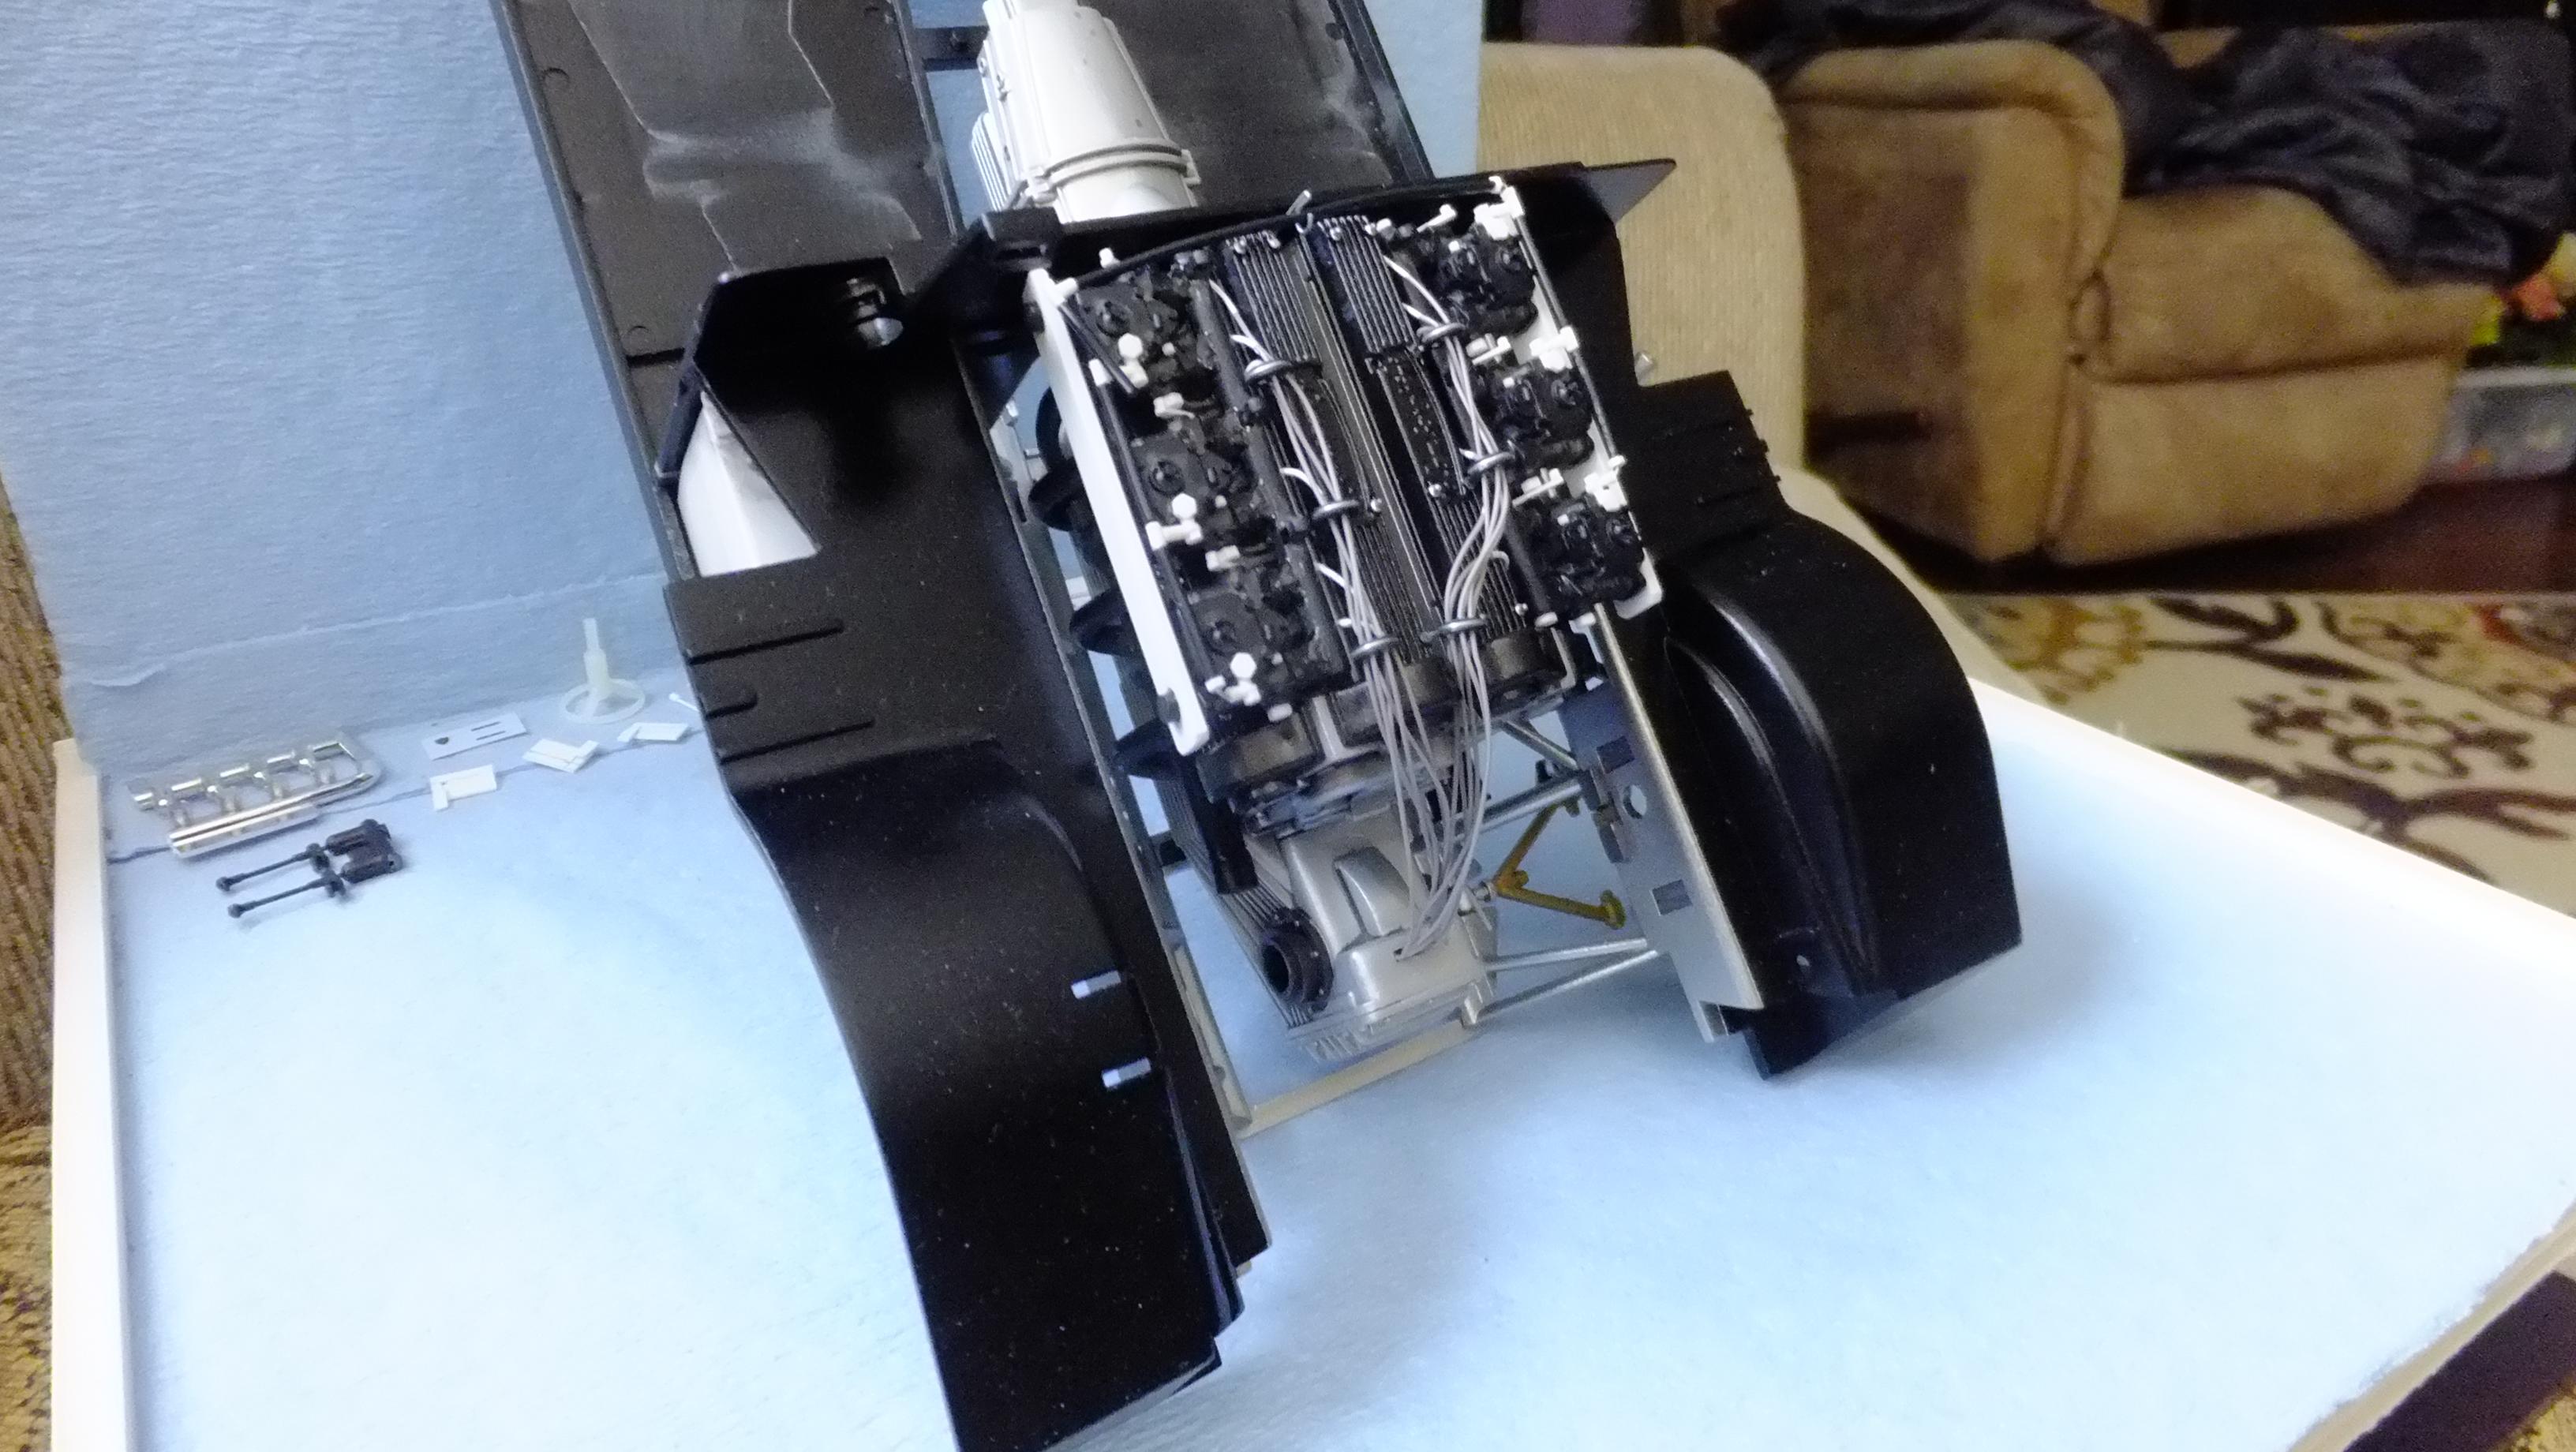
Hey, everyone!, i finally have an update for you!....engine bay work -Photo 1; Believe it or not, but the hood does seat all the way down! -Photo 2; To clear the engine, i cut these supports out, and re-positioned them out more. -Photo 3; It looks like it could have really been in there... -Photo 5; Next will be more framing, and suspension upgrades. -Photo 6; The engine mounts went in rather easily, and they fit right into the slots on the sides of the block
-
Thanks, Alan!, i'm glad you are enjoying it!....hope to see yours!....it really is a fun kit that fits together very well. I'm not bothered by the two-tone paint, i hate red anyway, so i will be doing mine different as i always do, lol...i have some suprises in store!
-
Thanks, bud!...much appreciated!!...wont be long til another update...
-
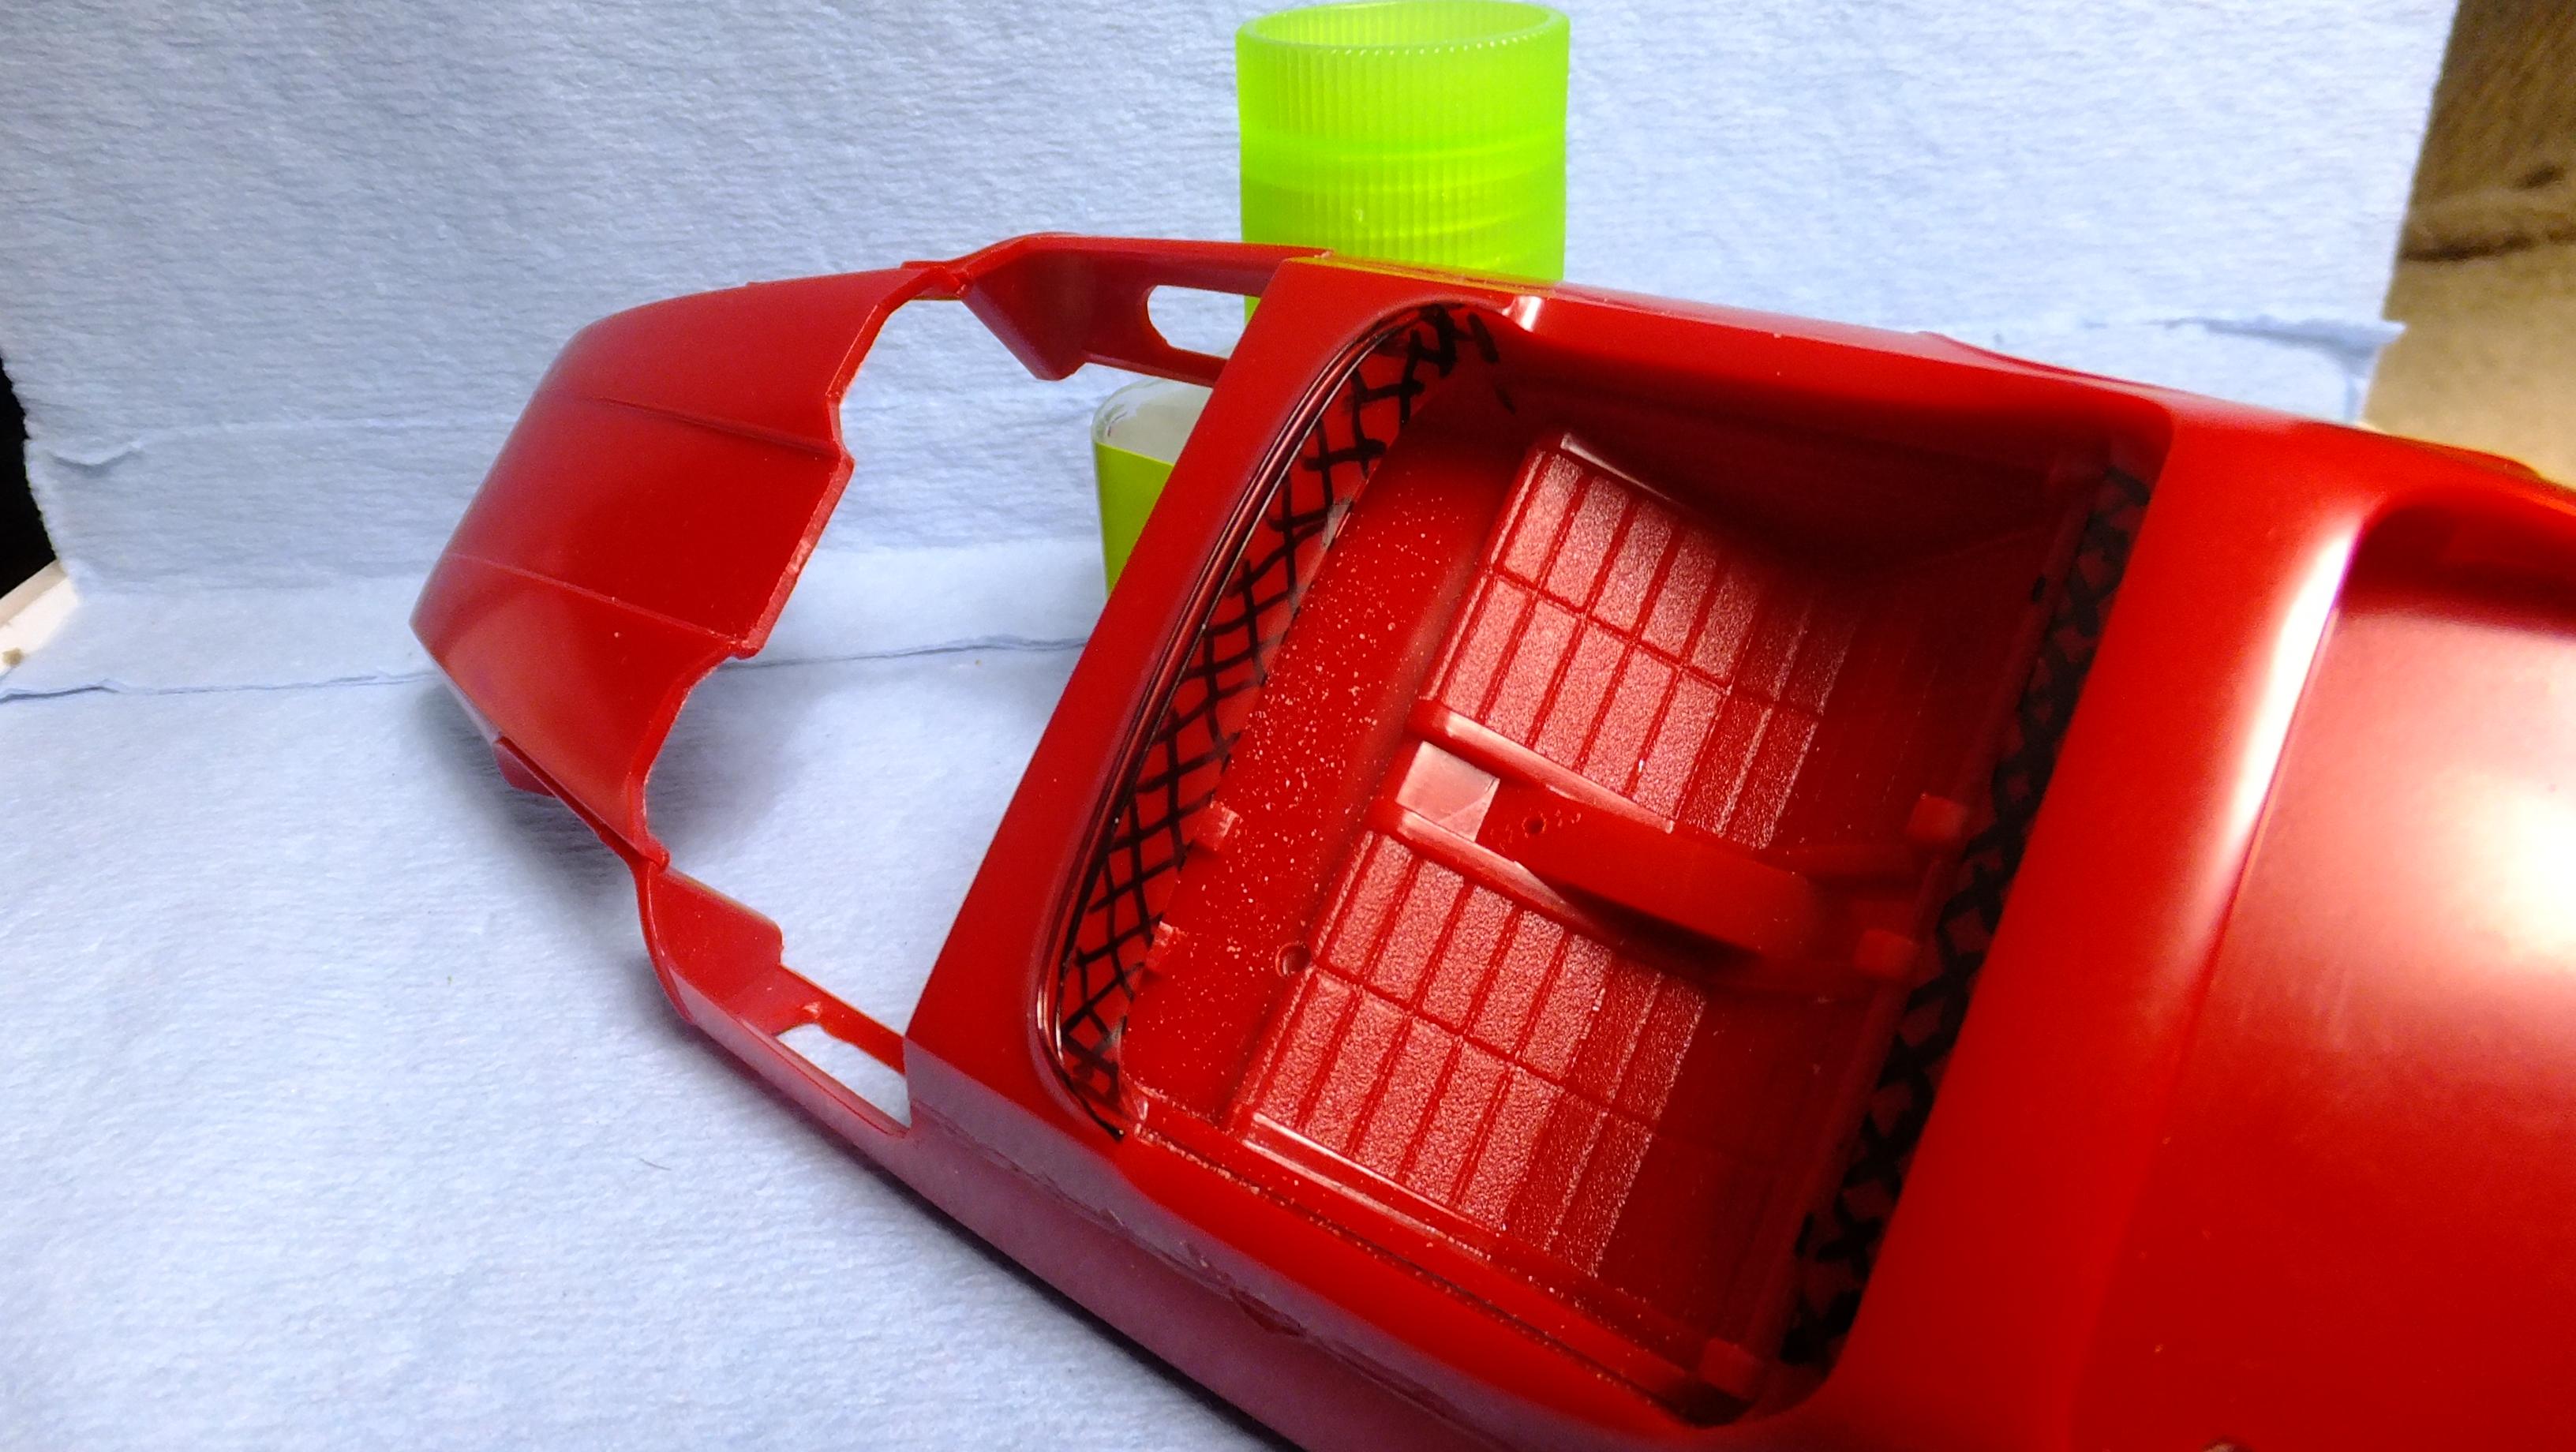
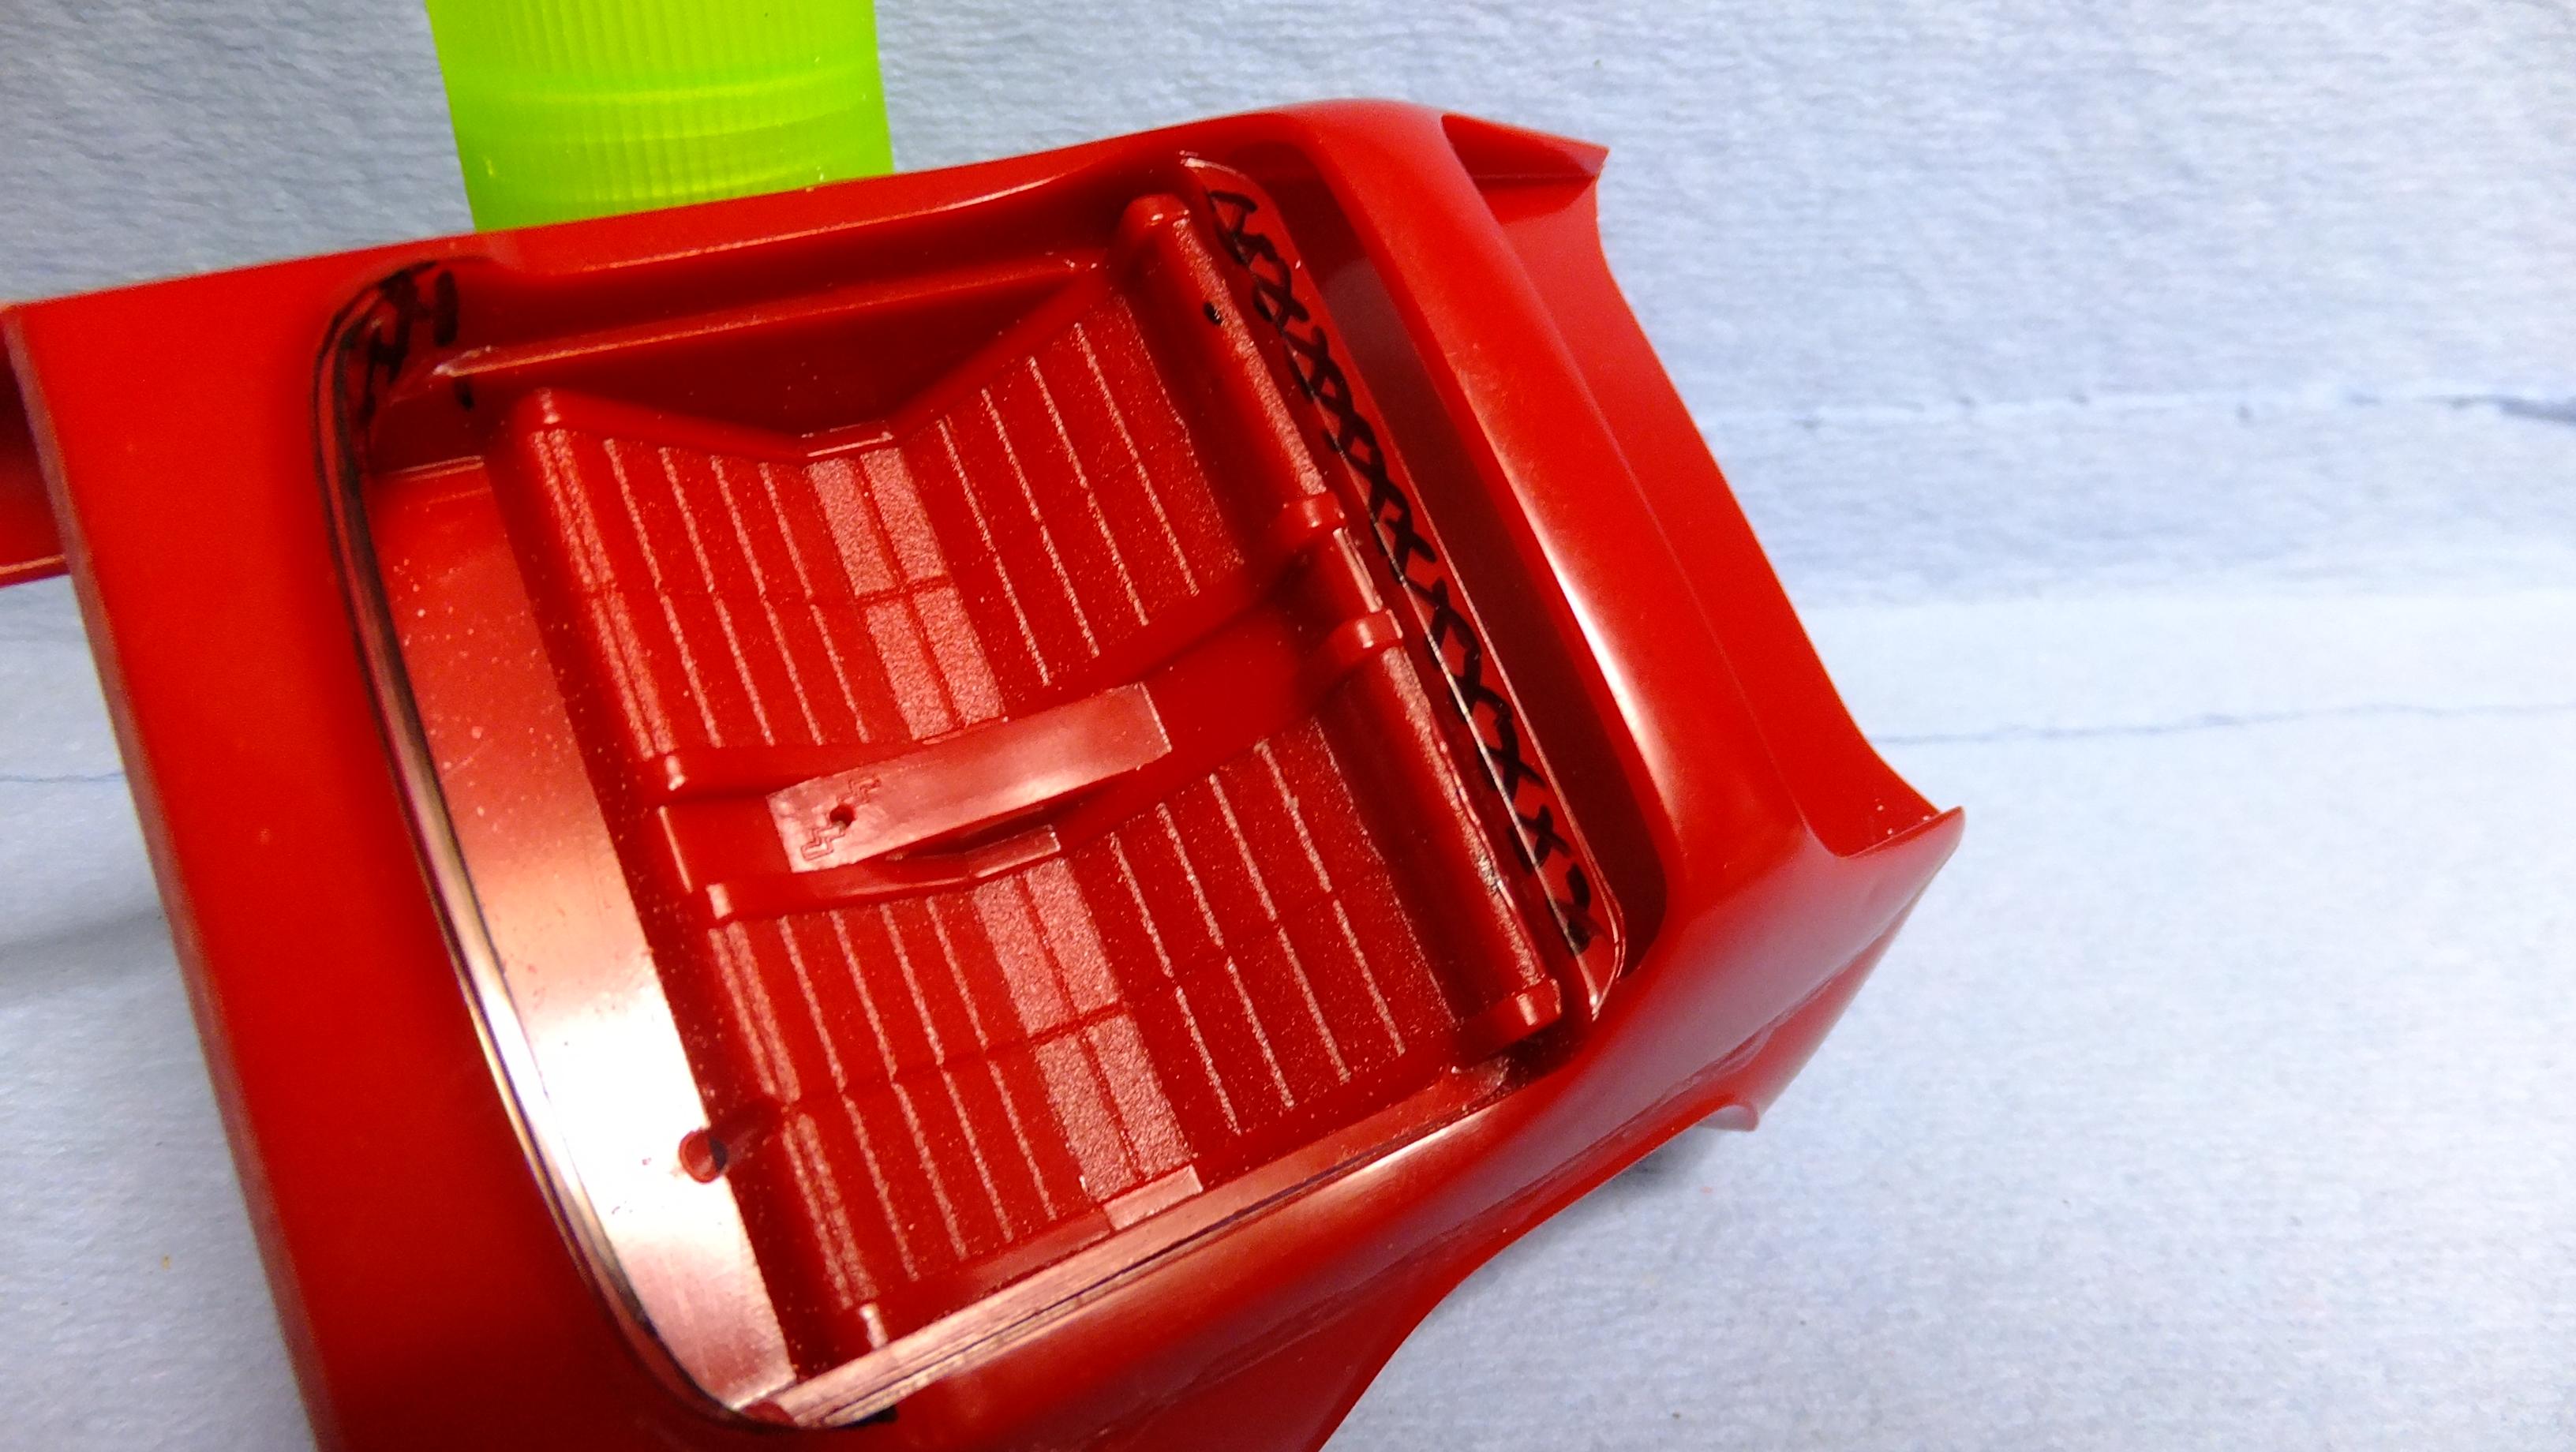
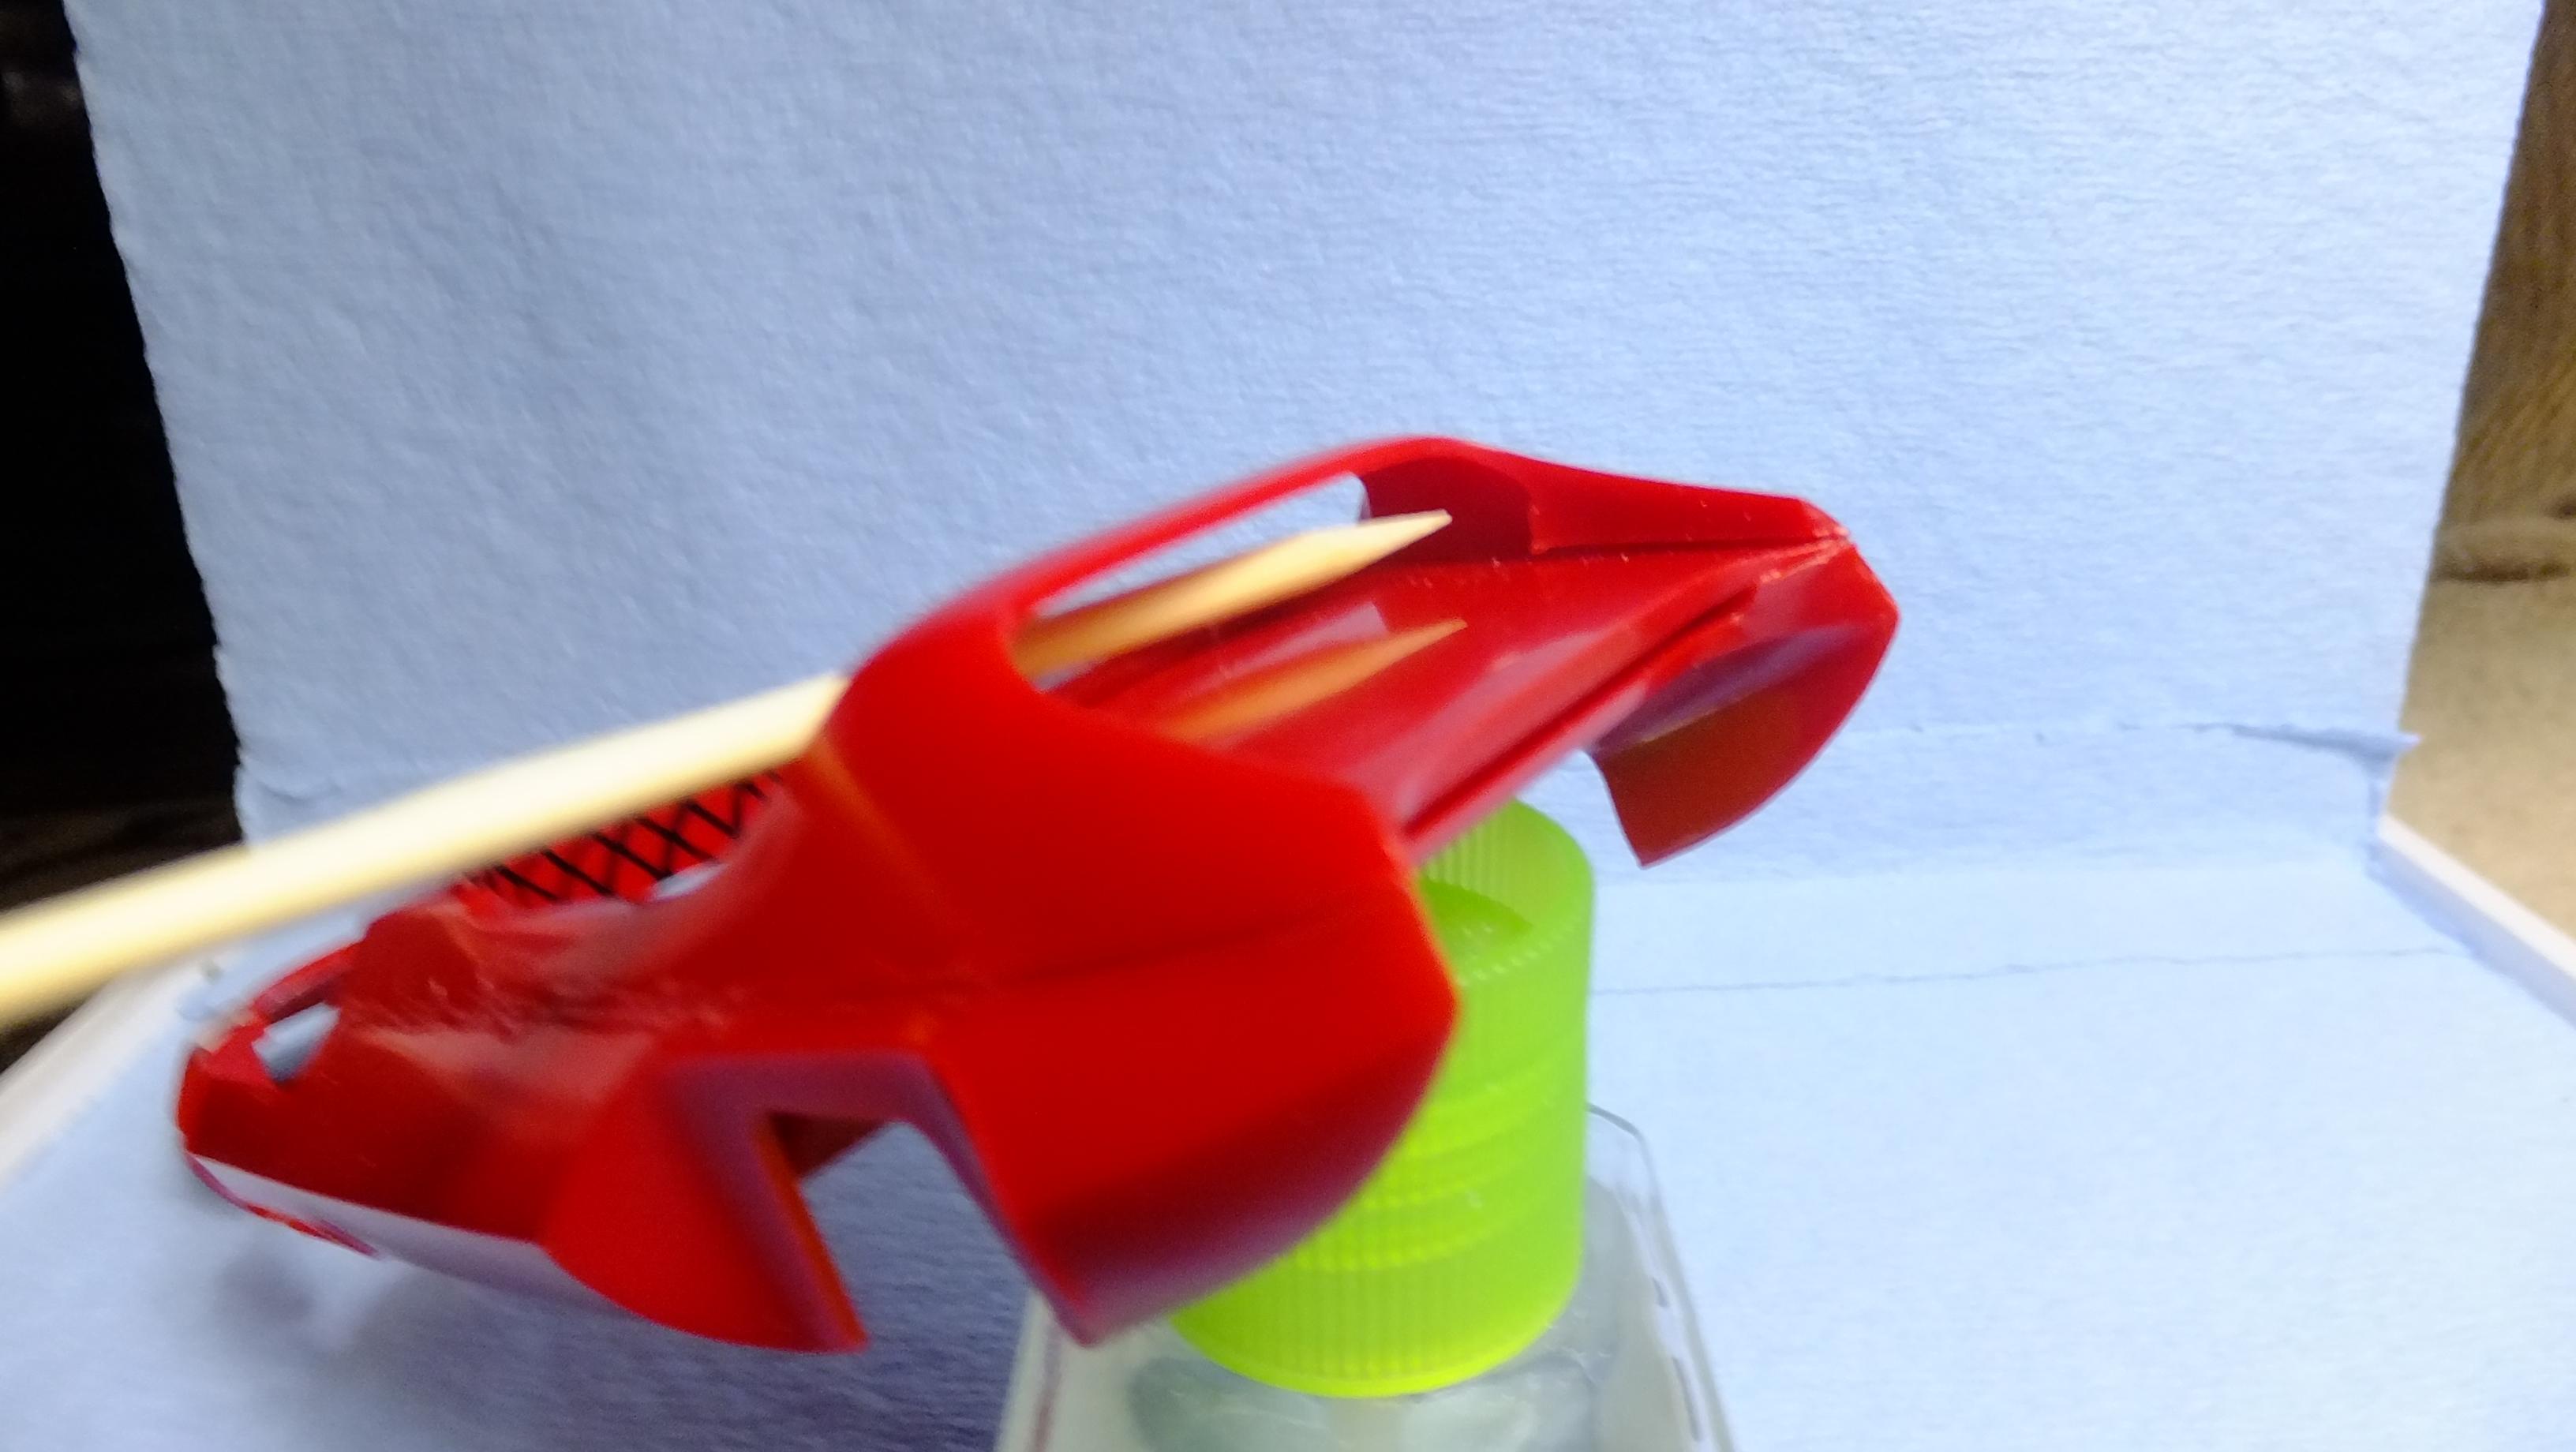
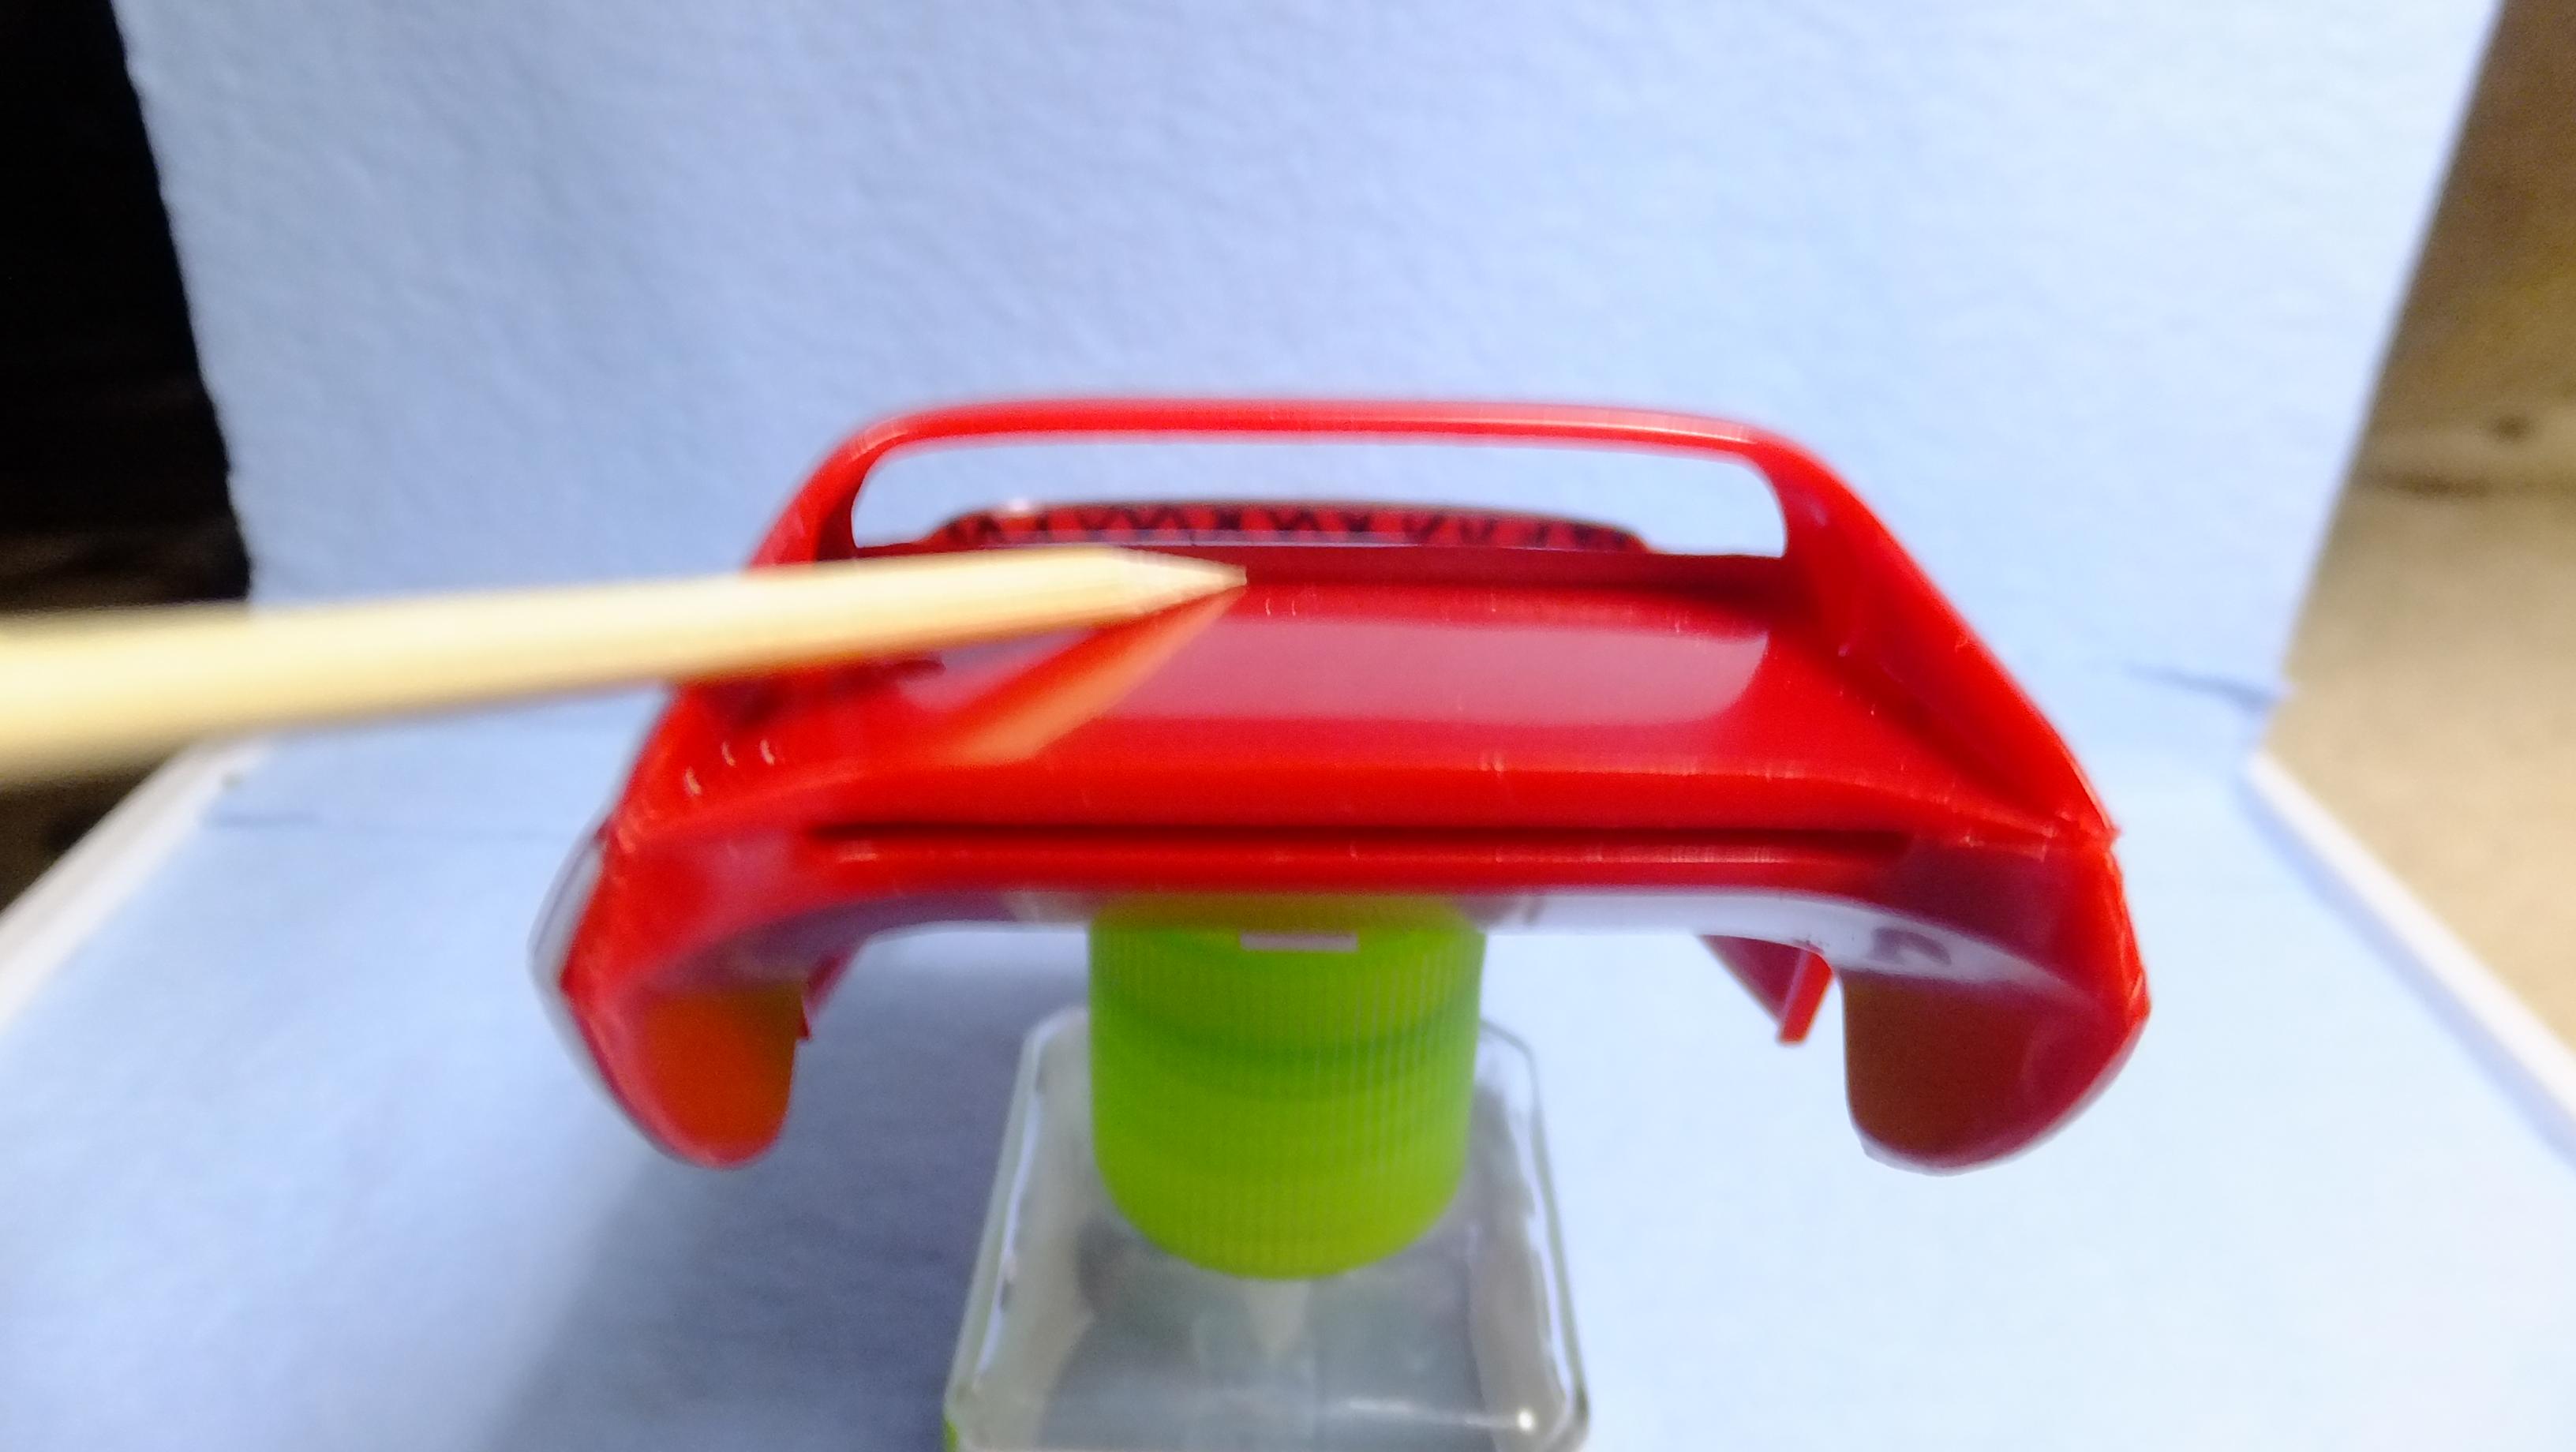
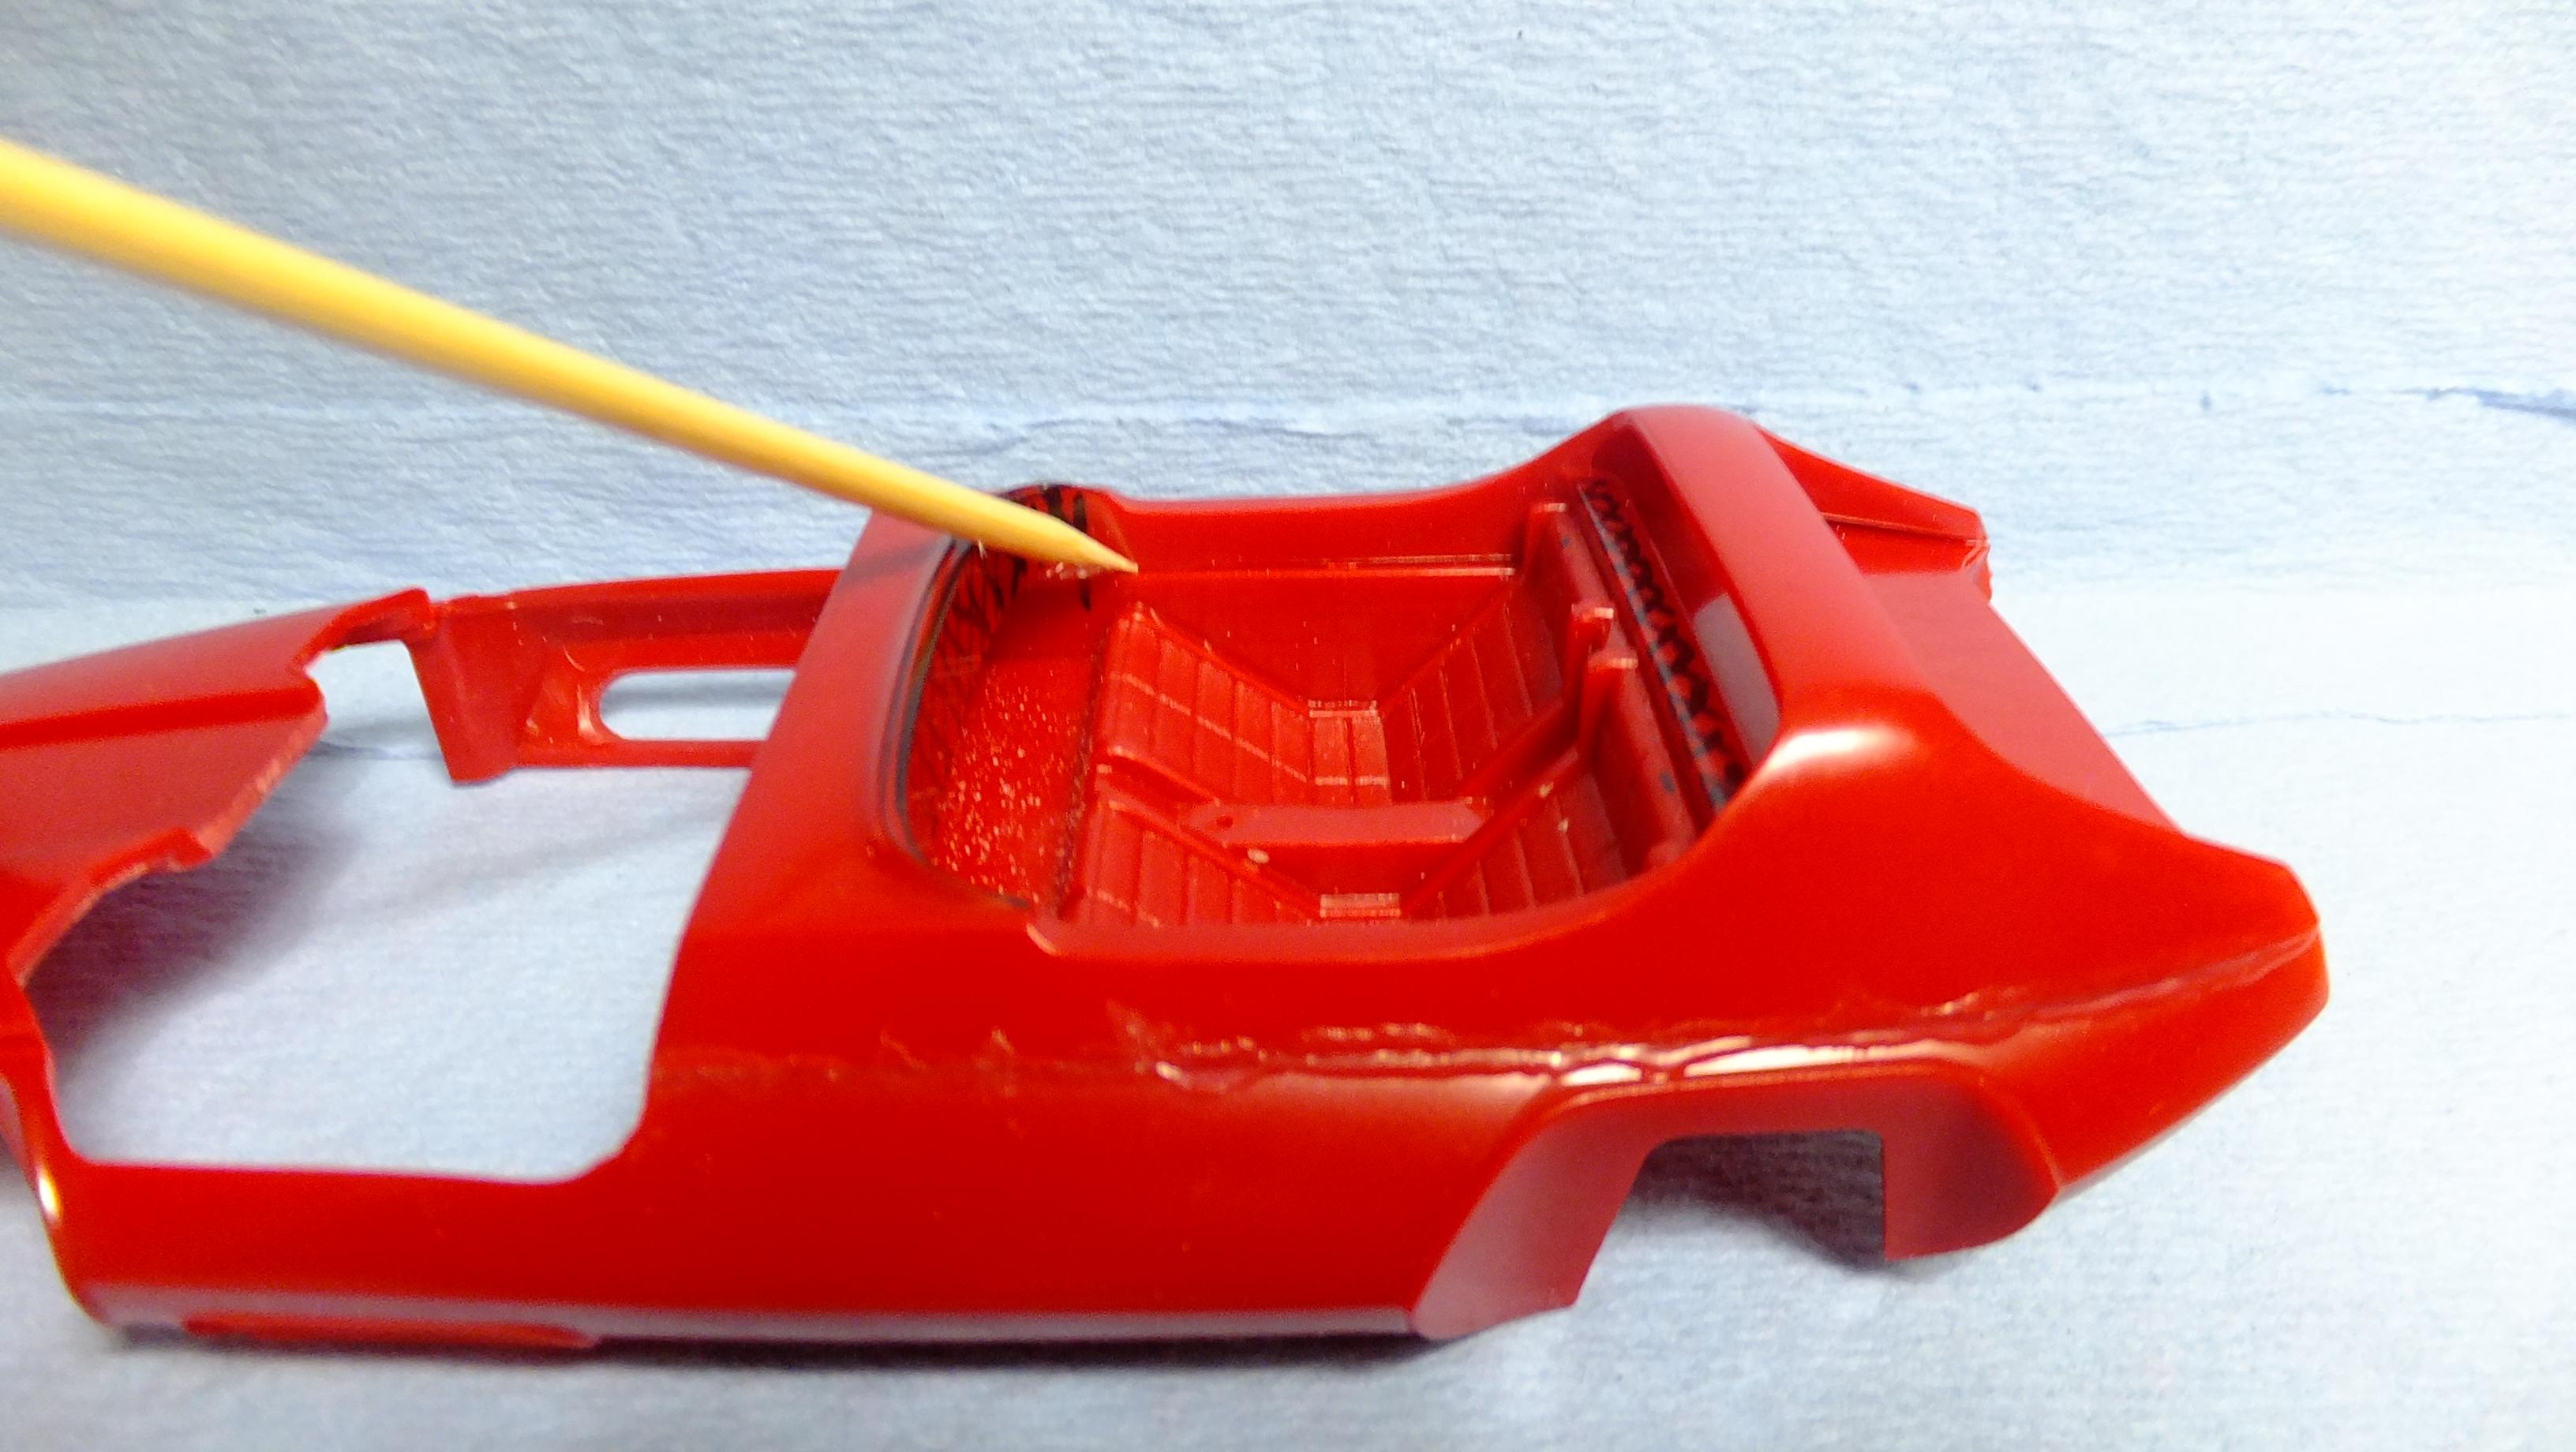
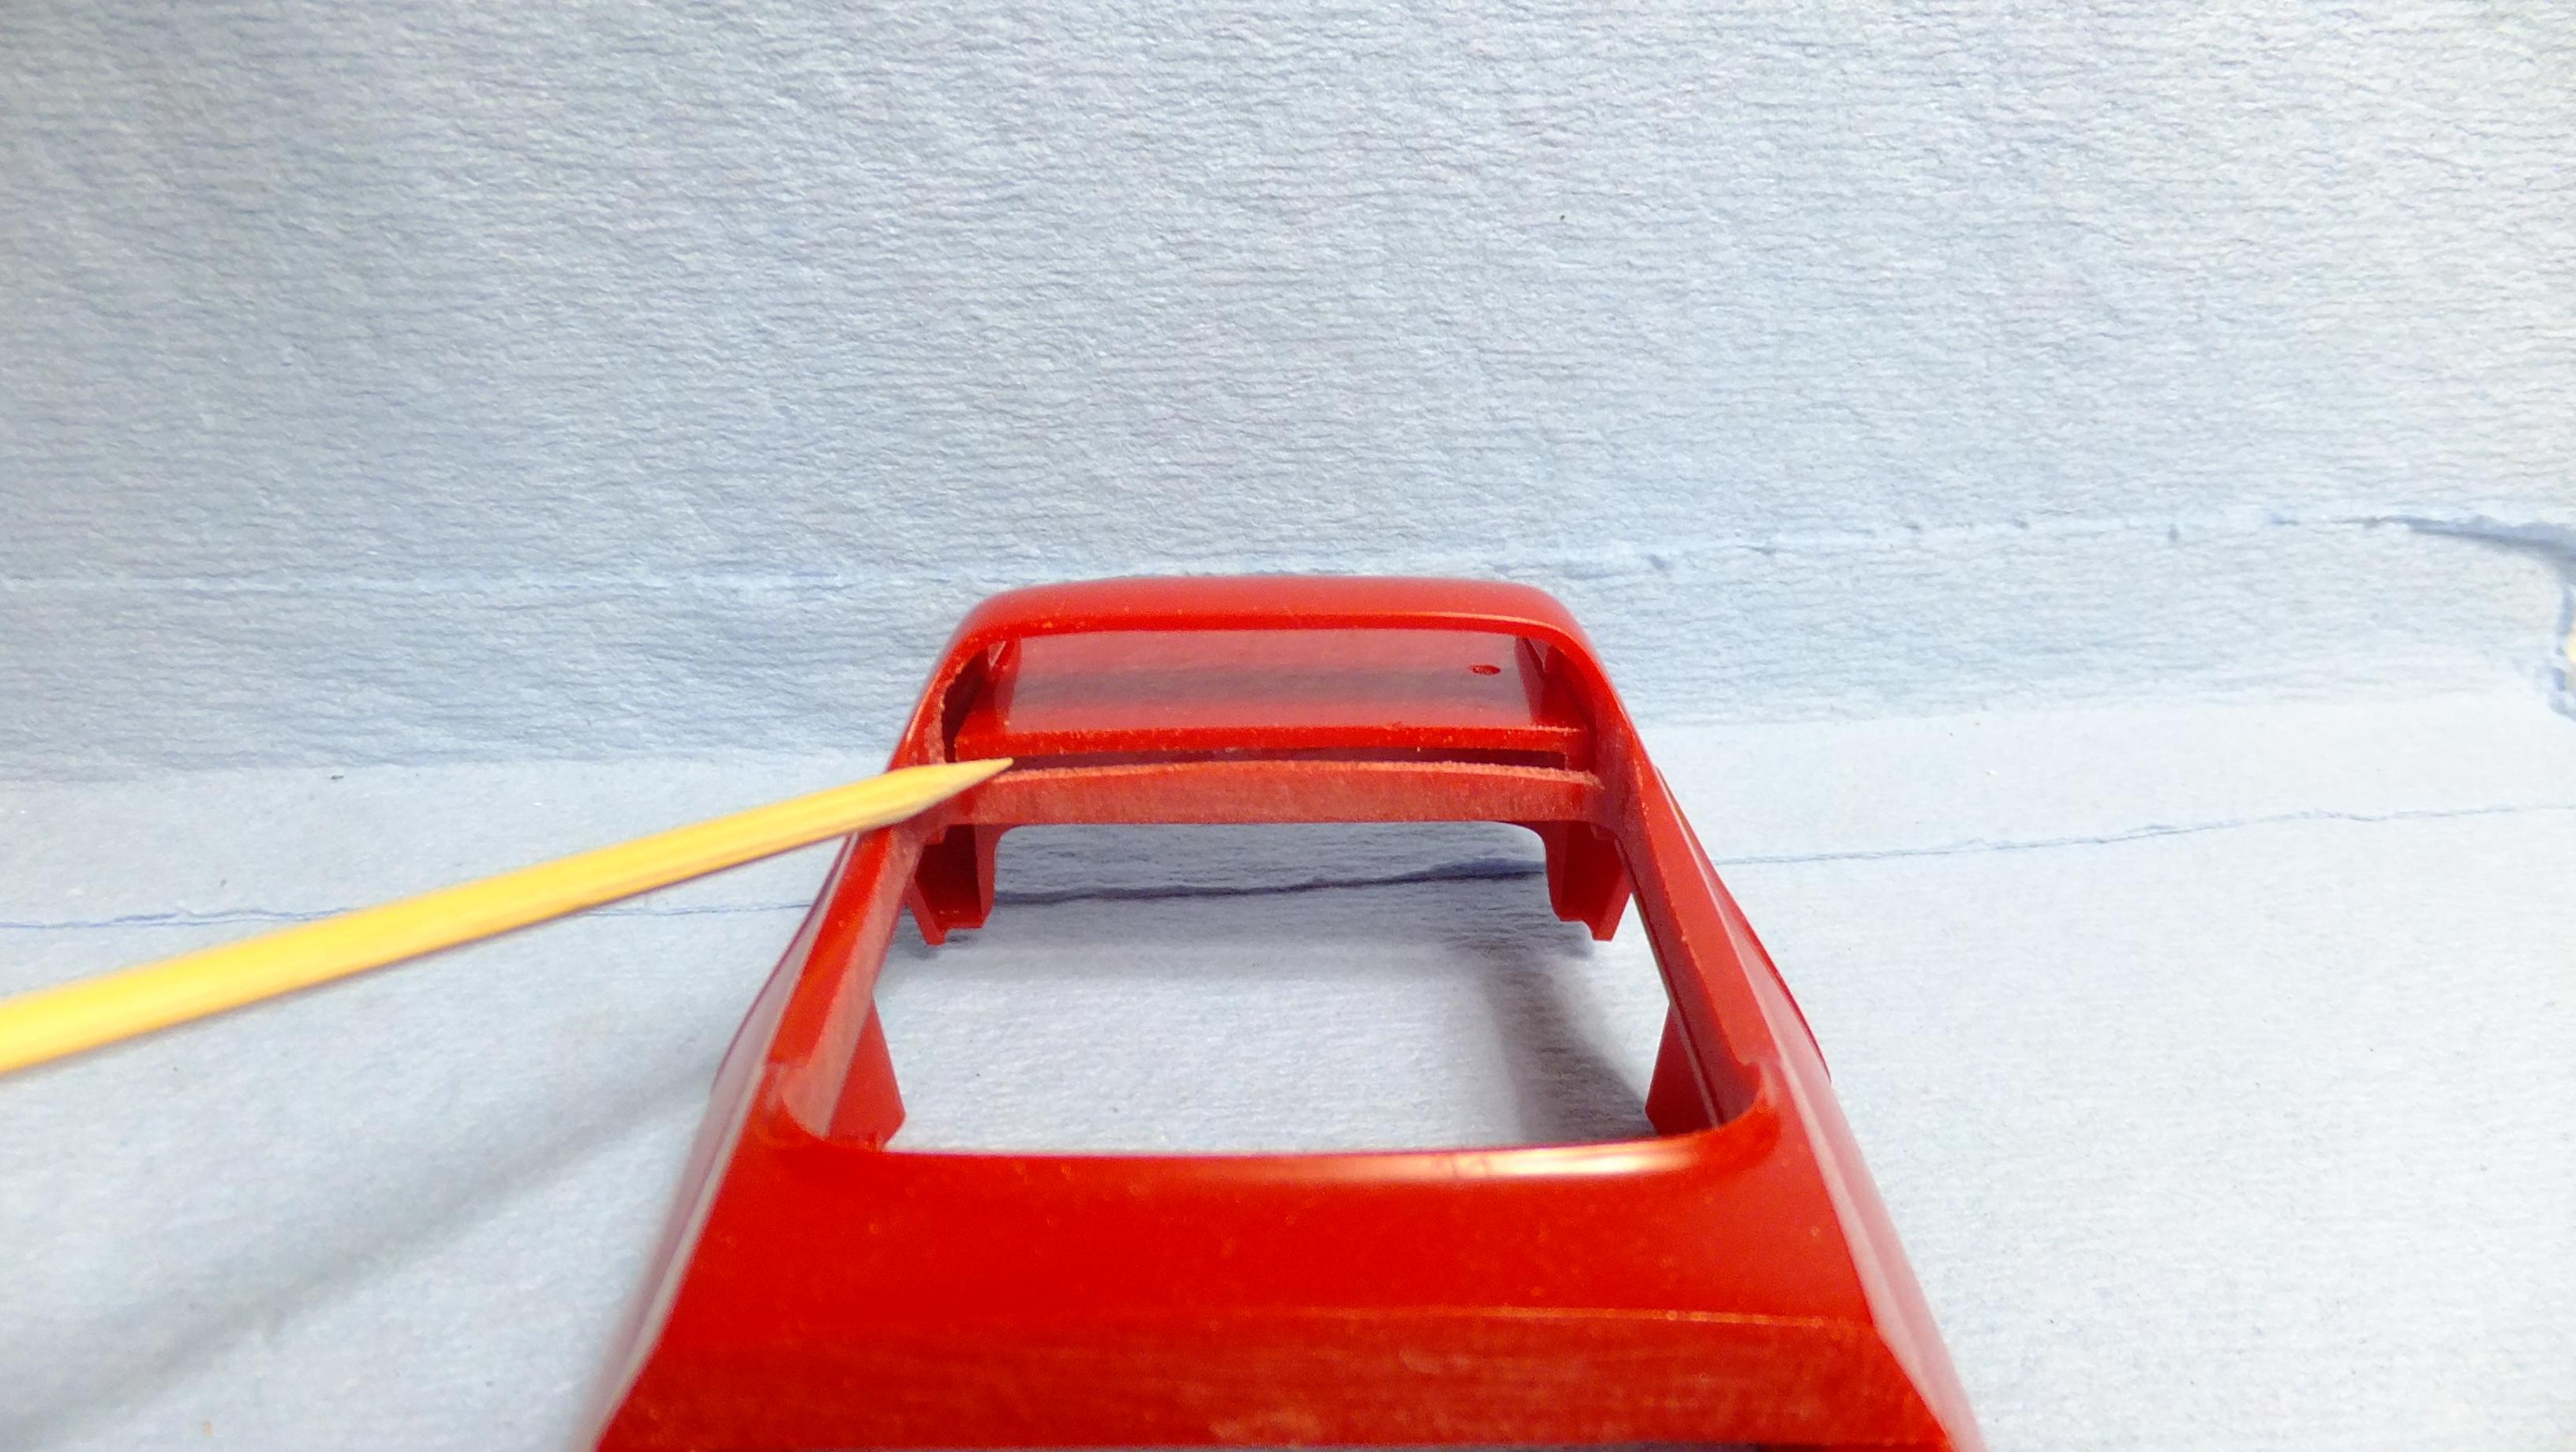
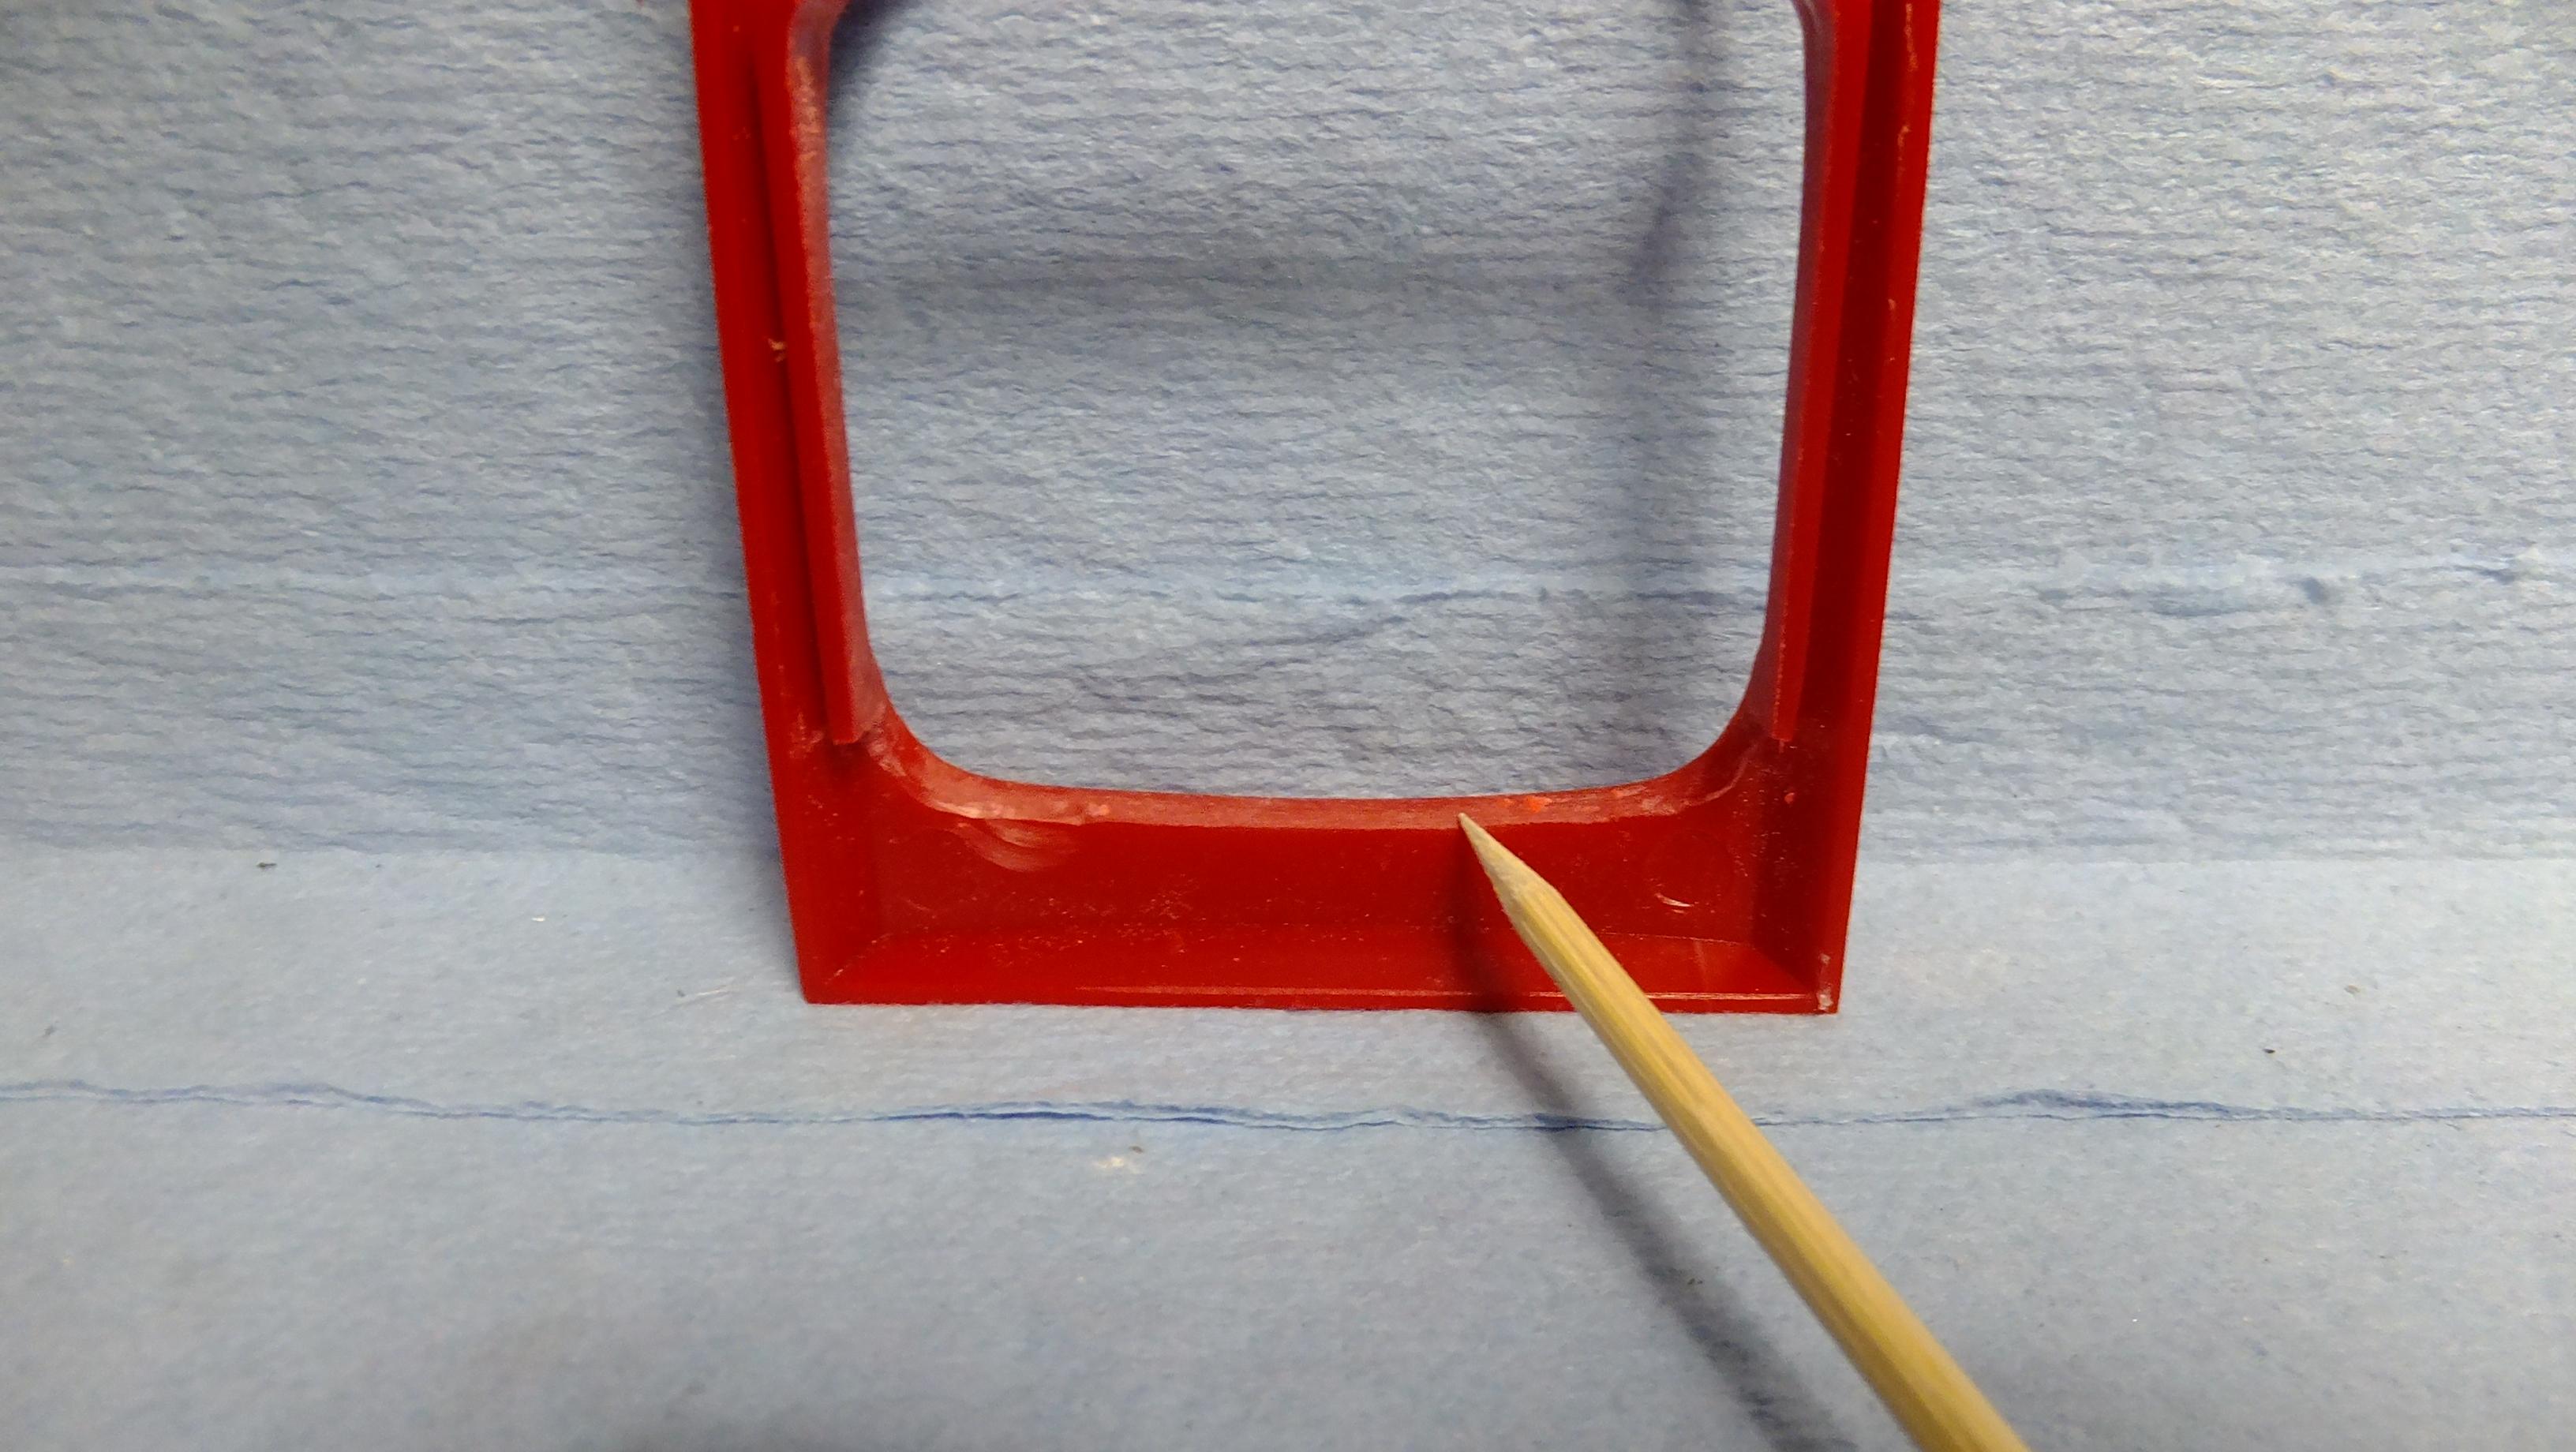
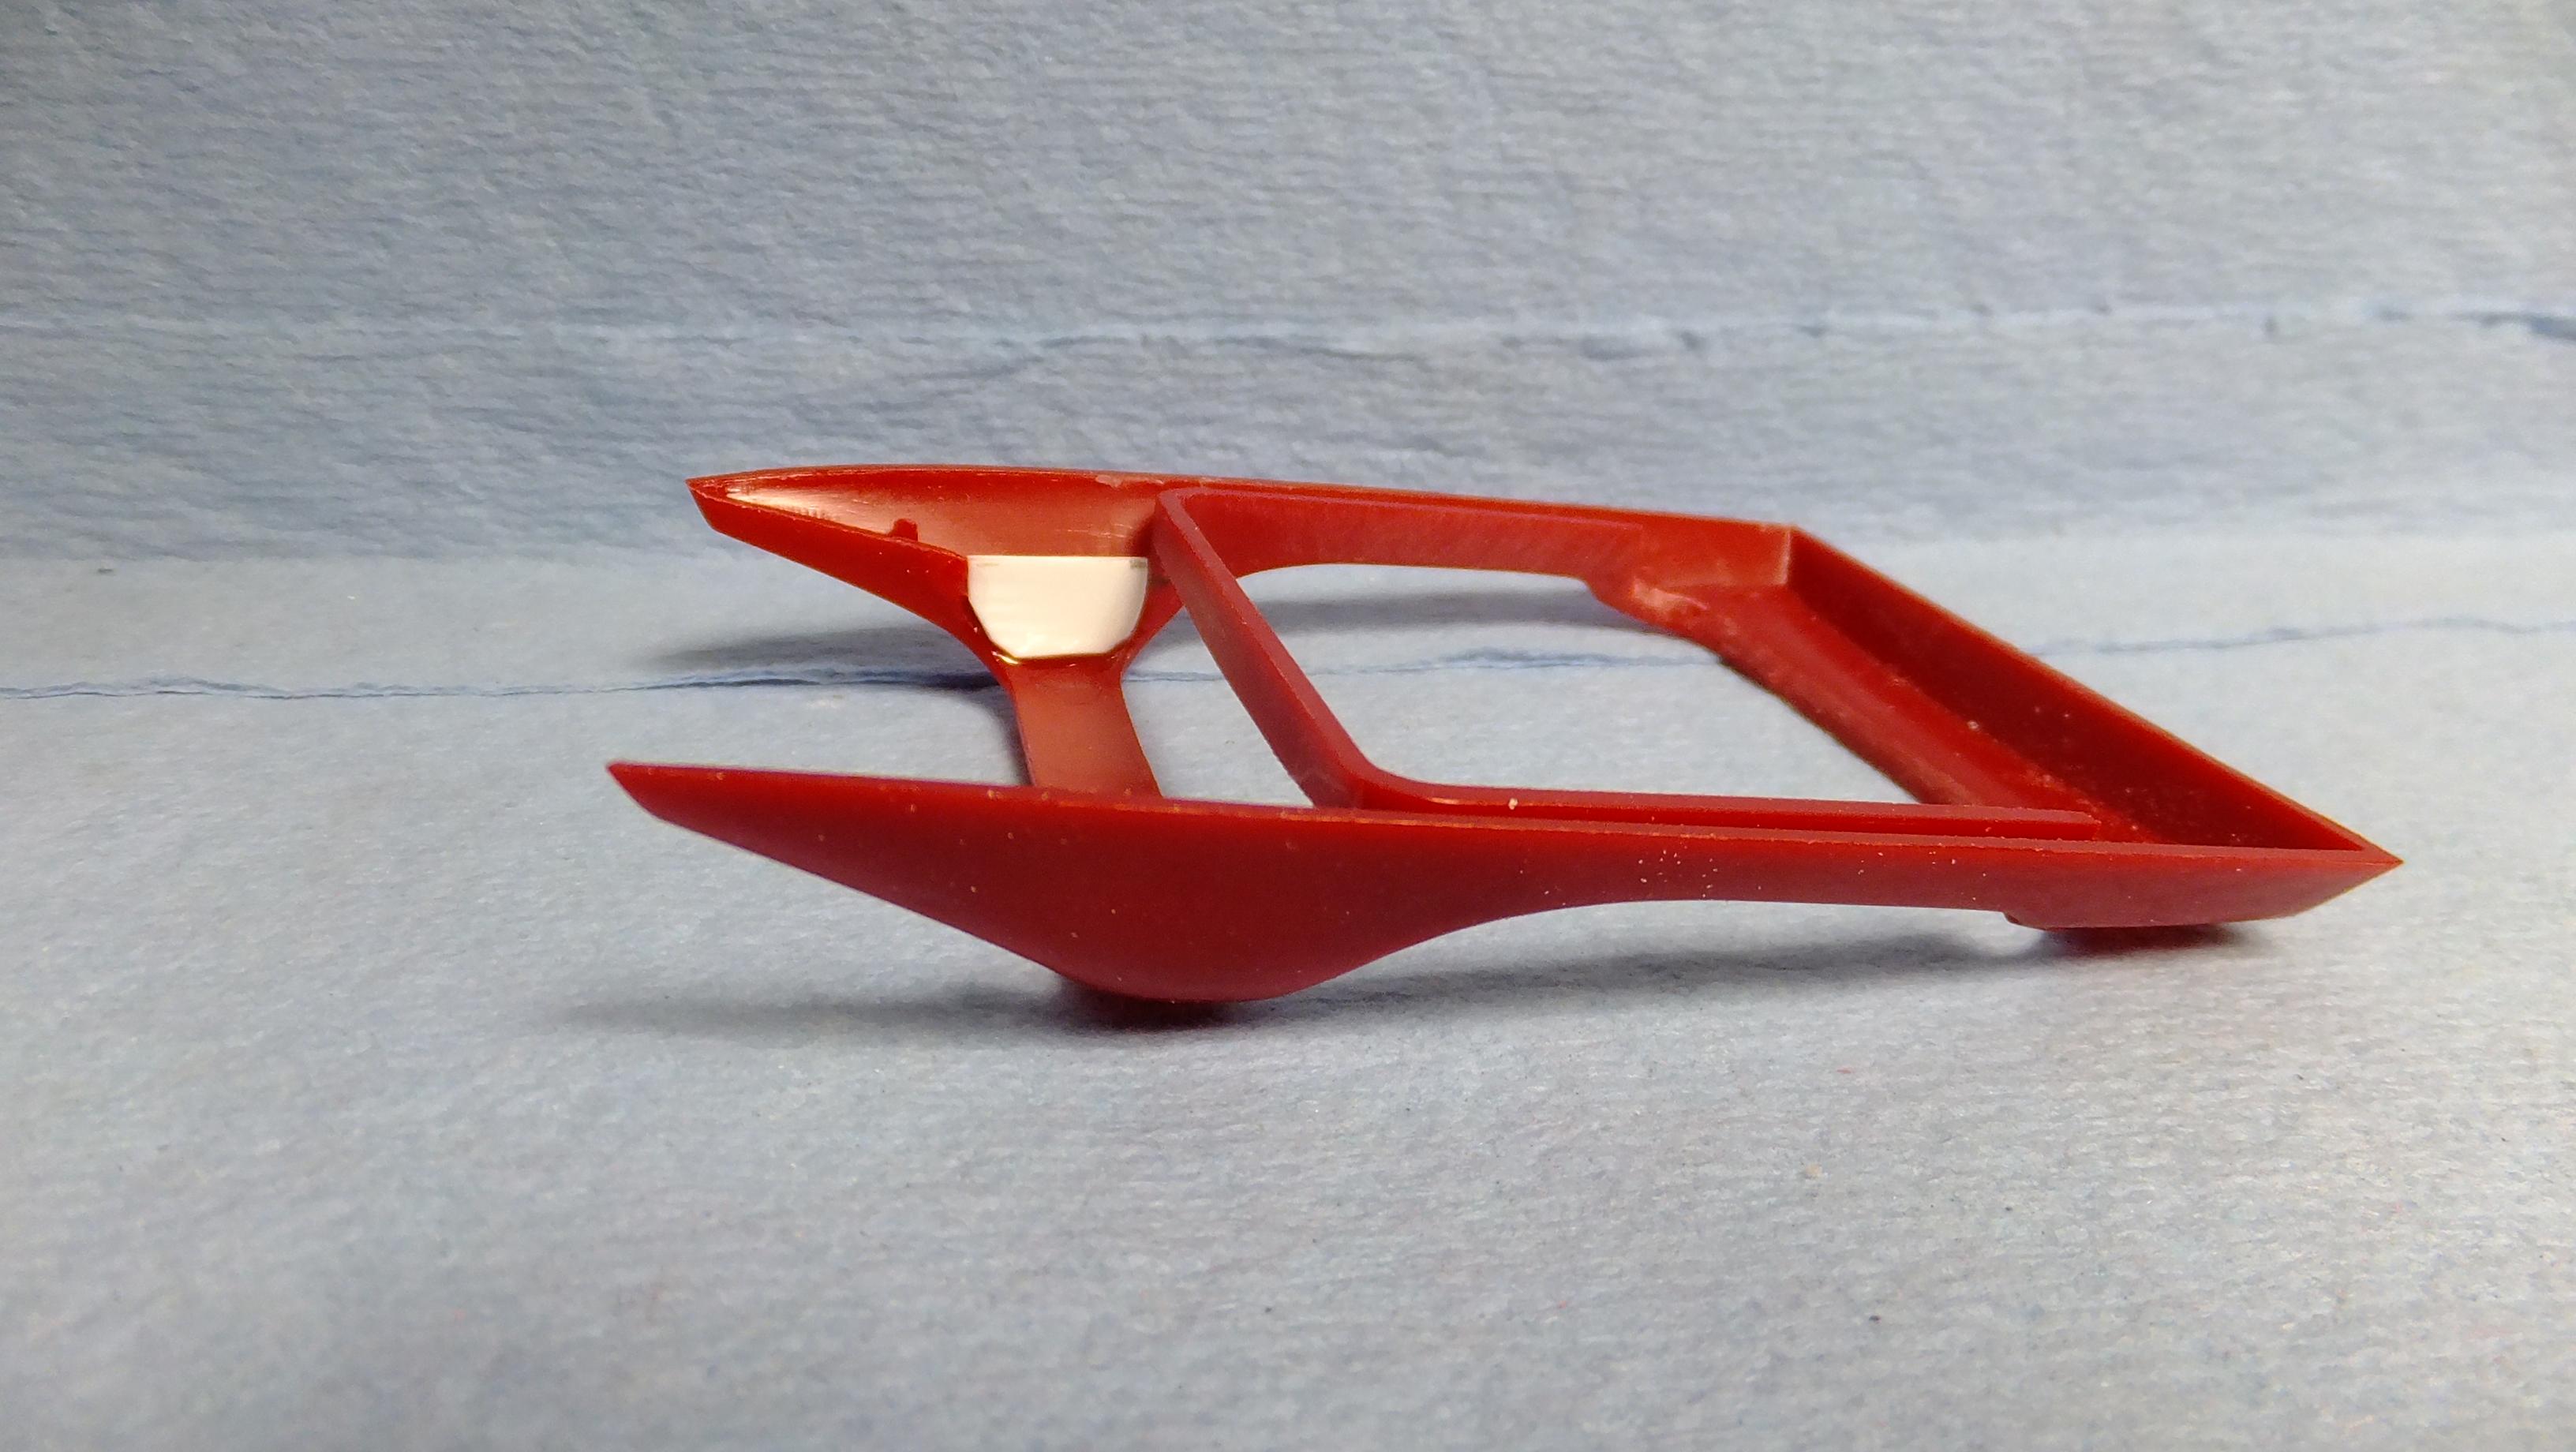
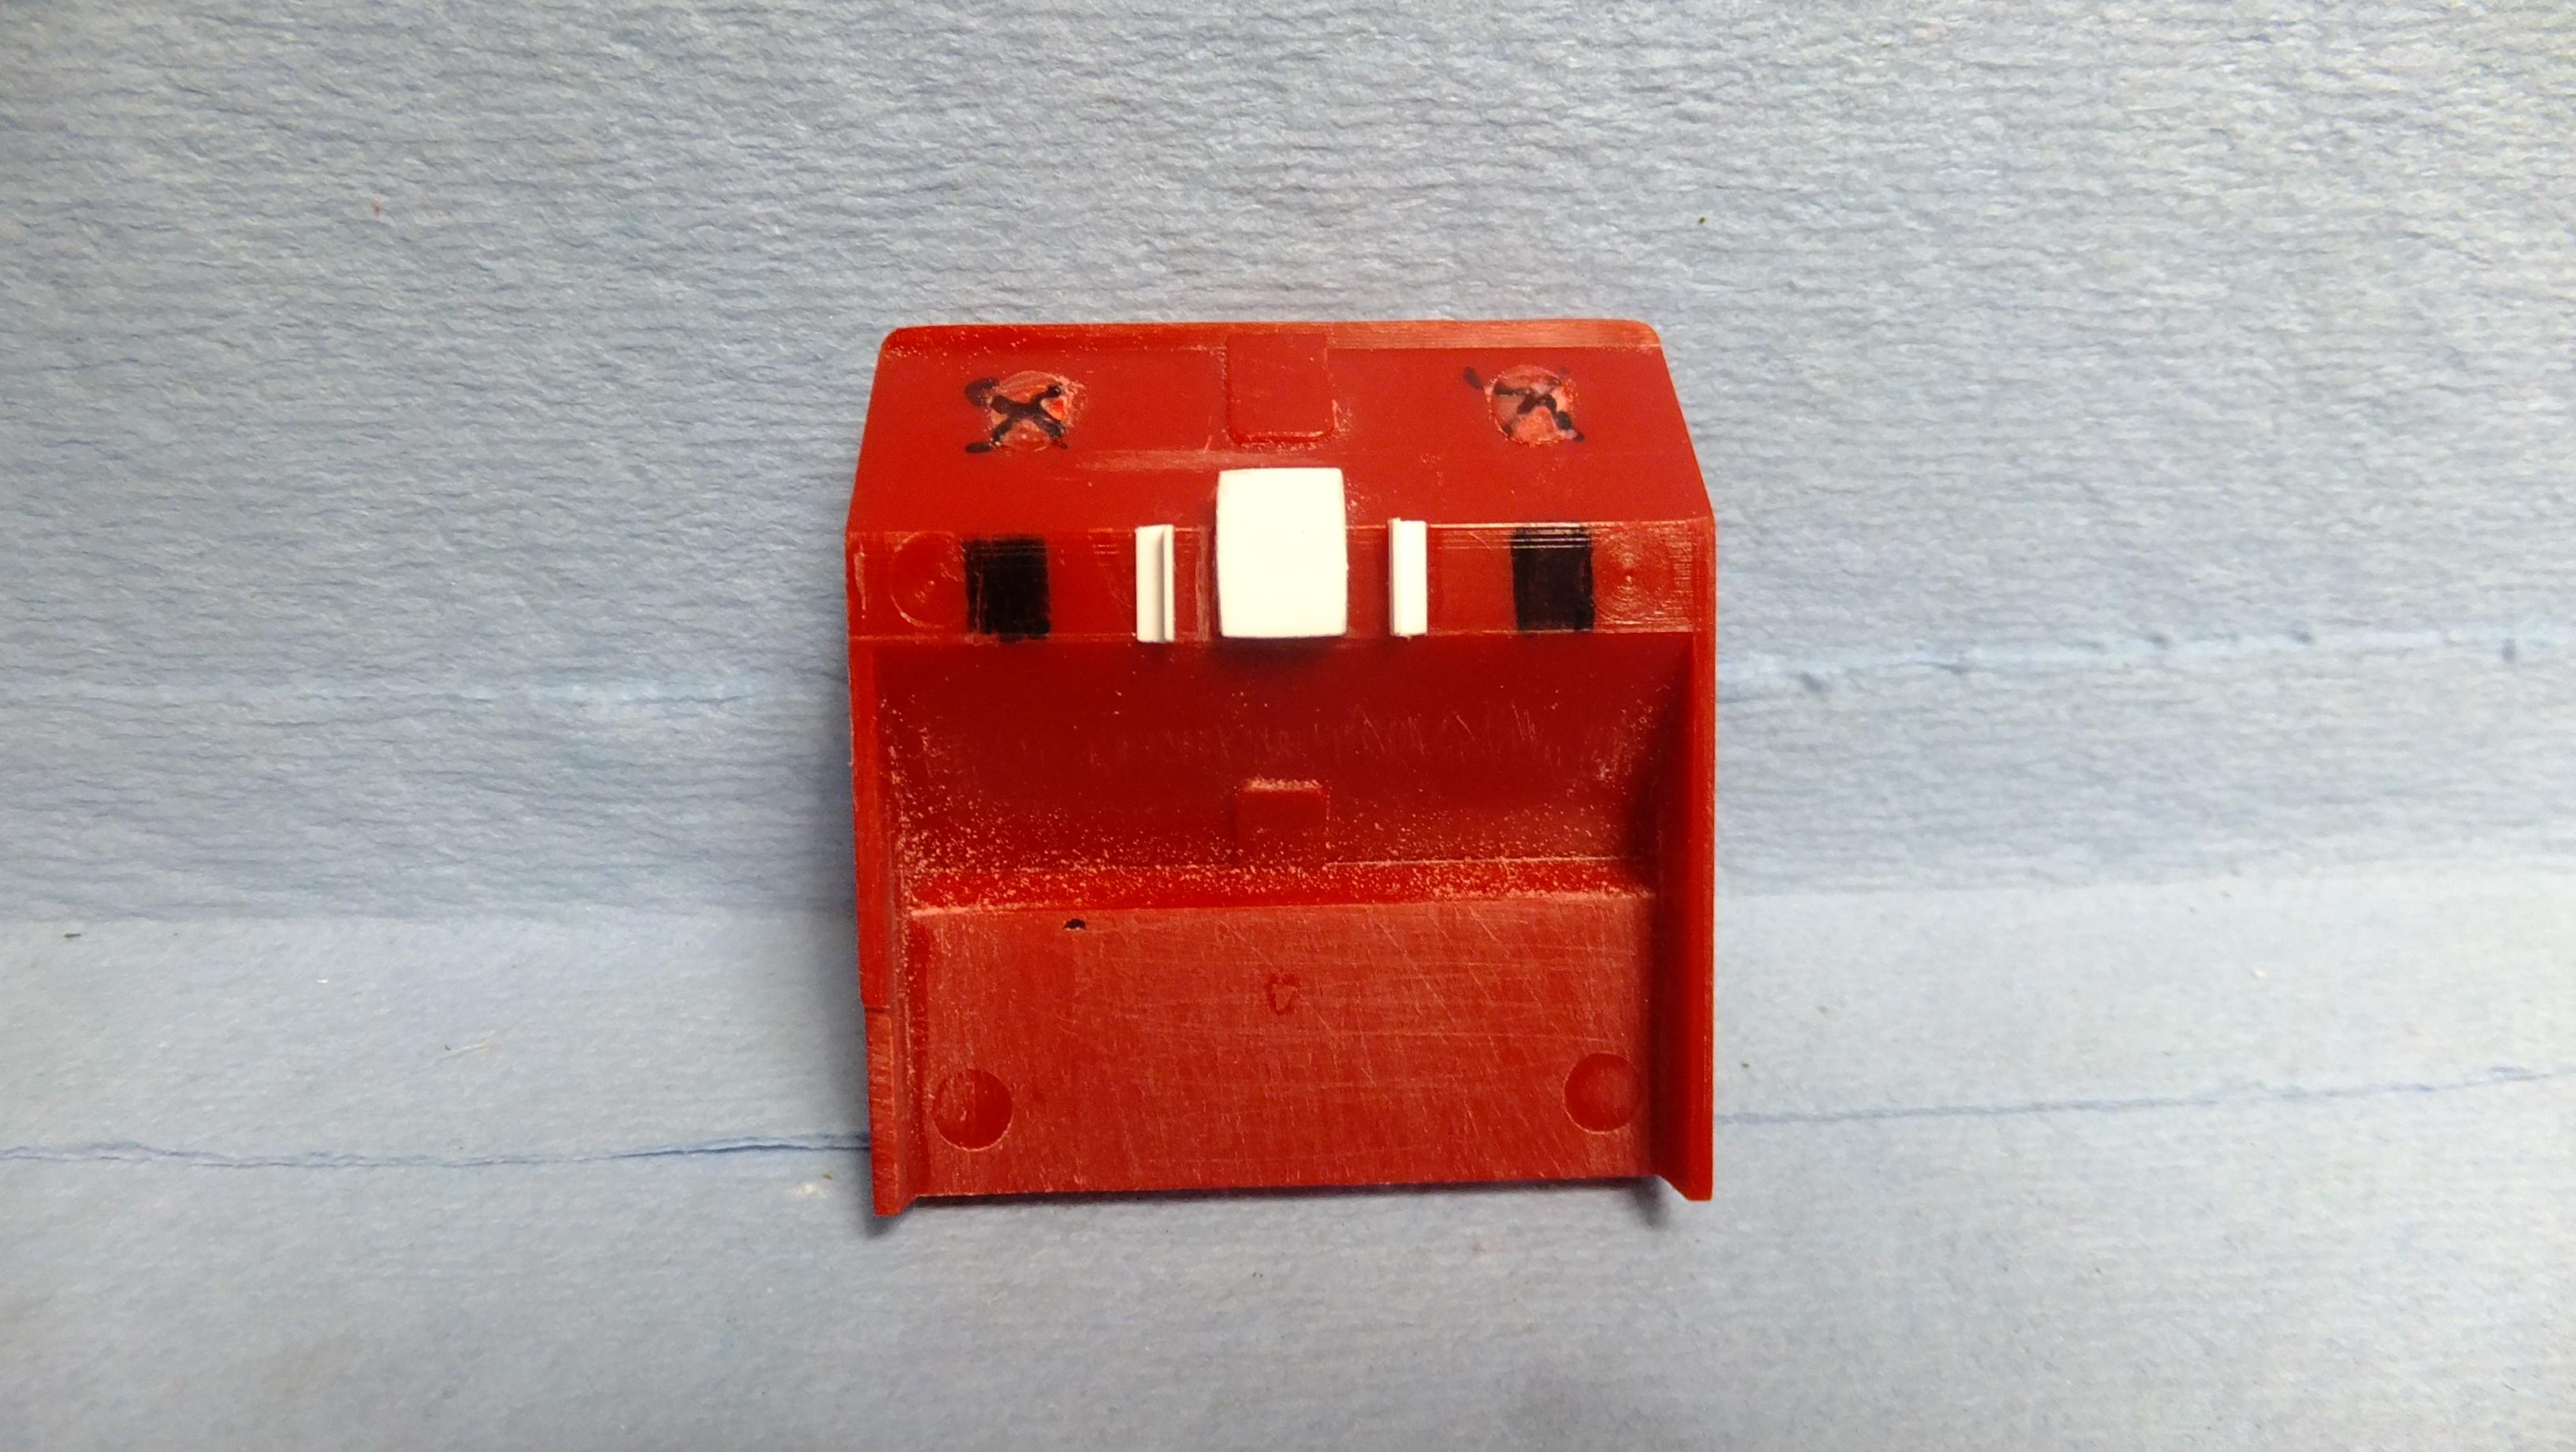
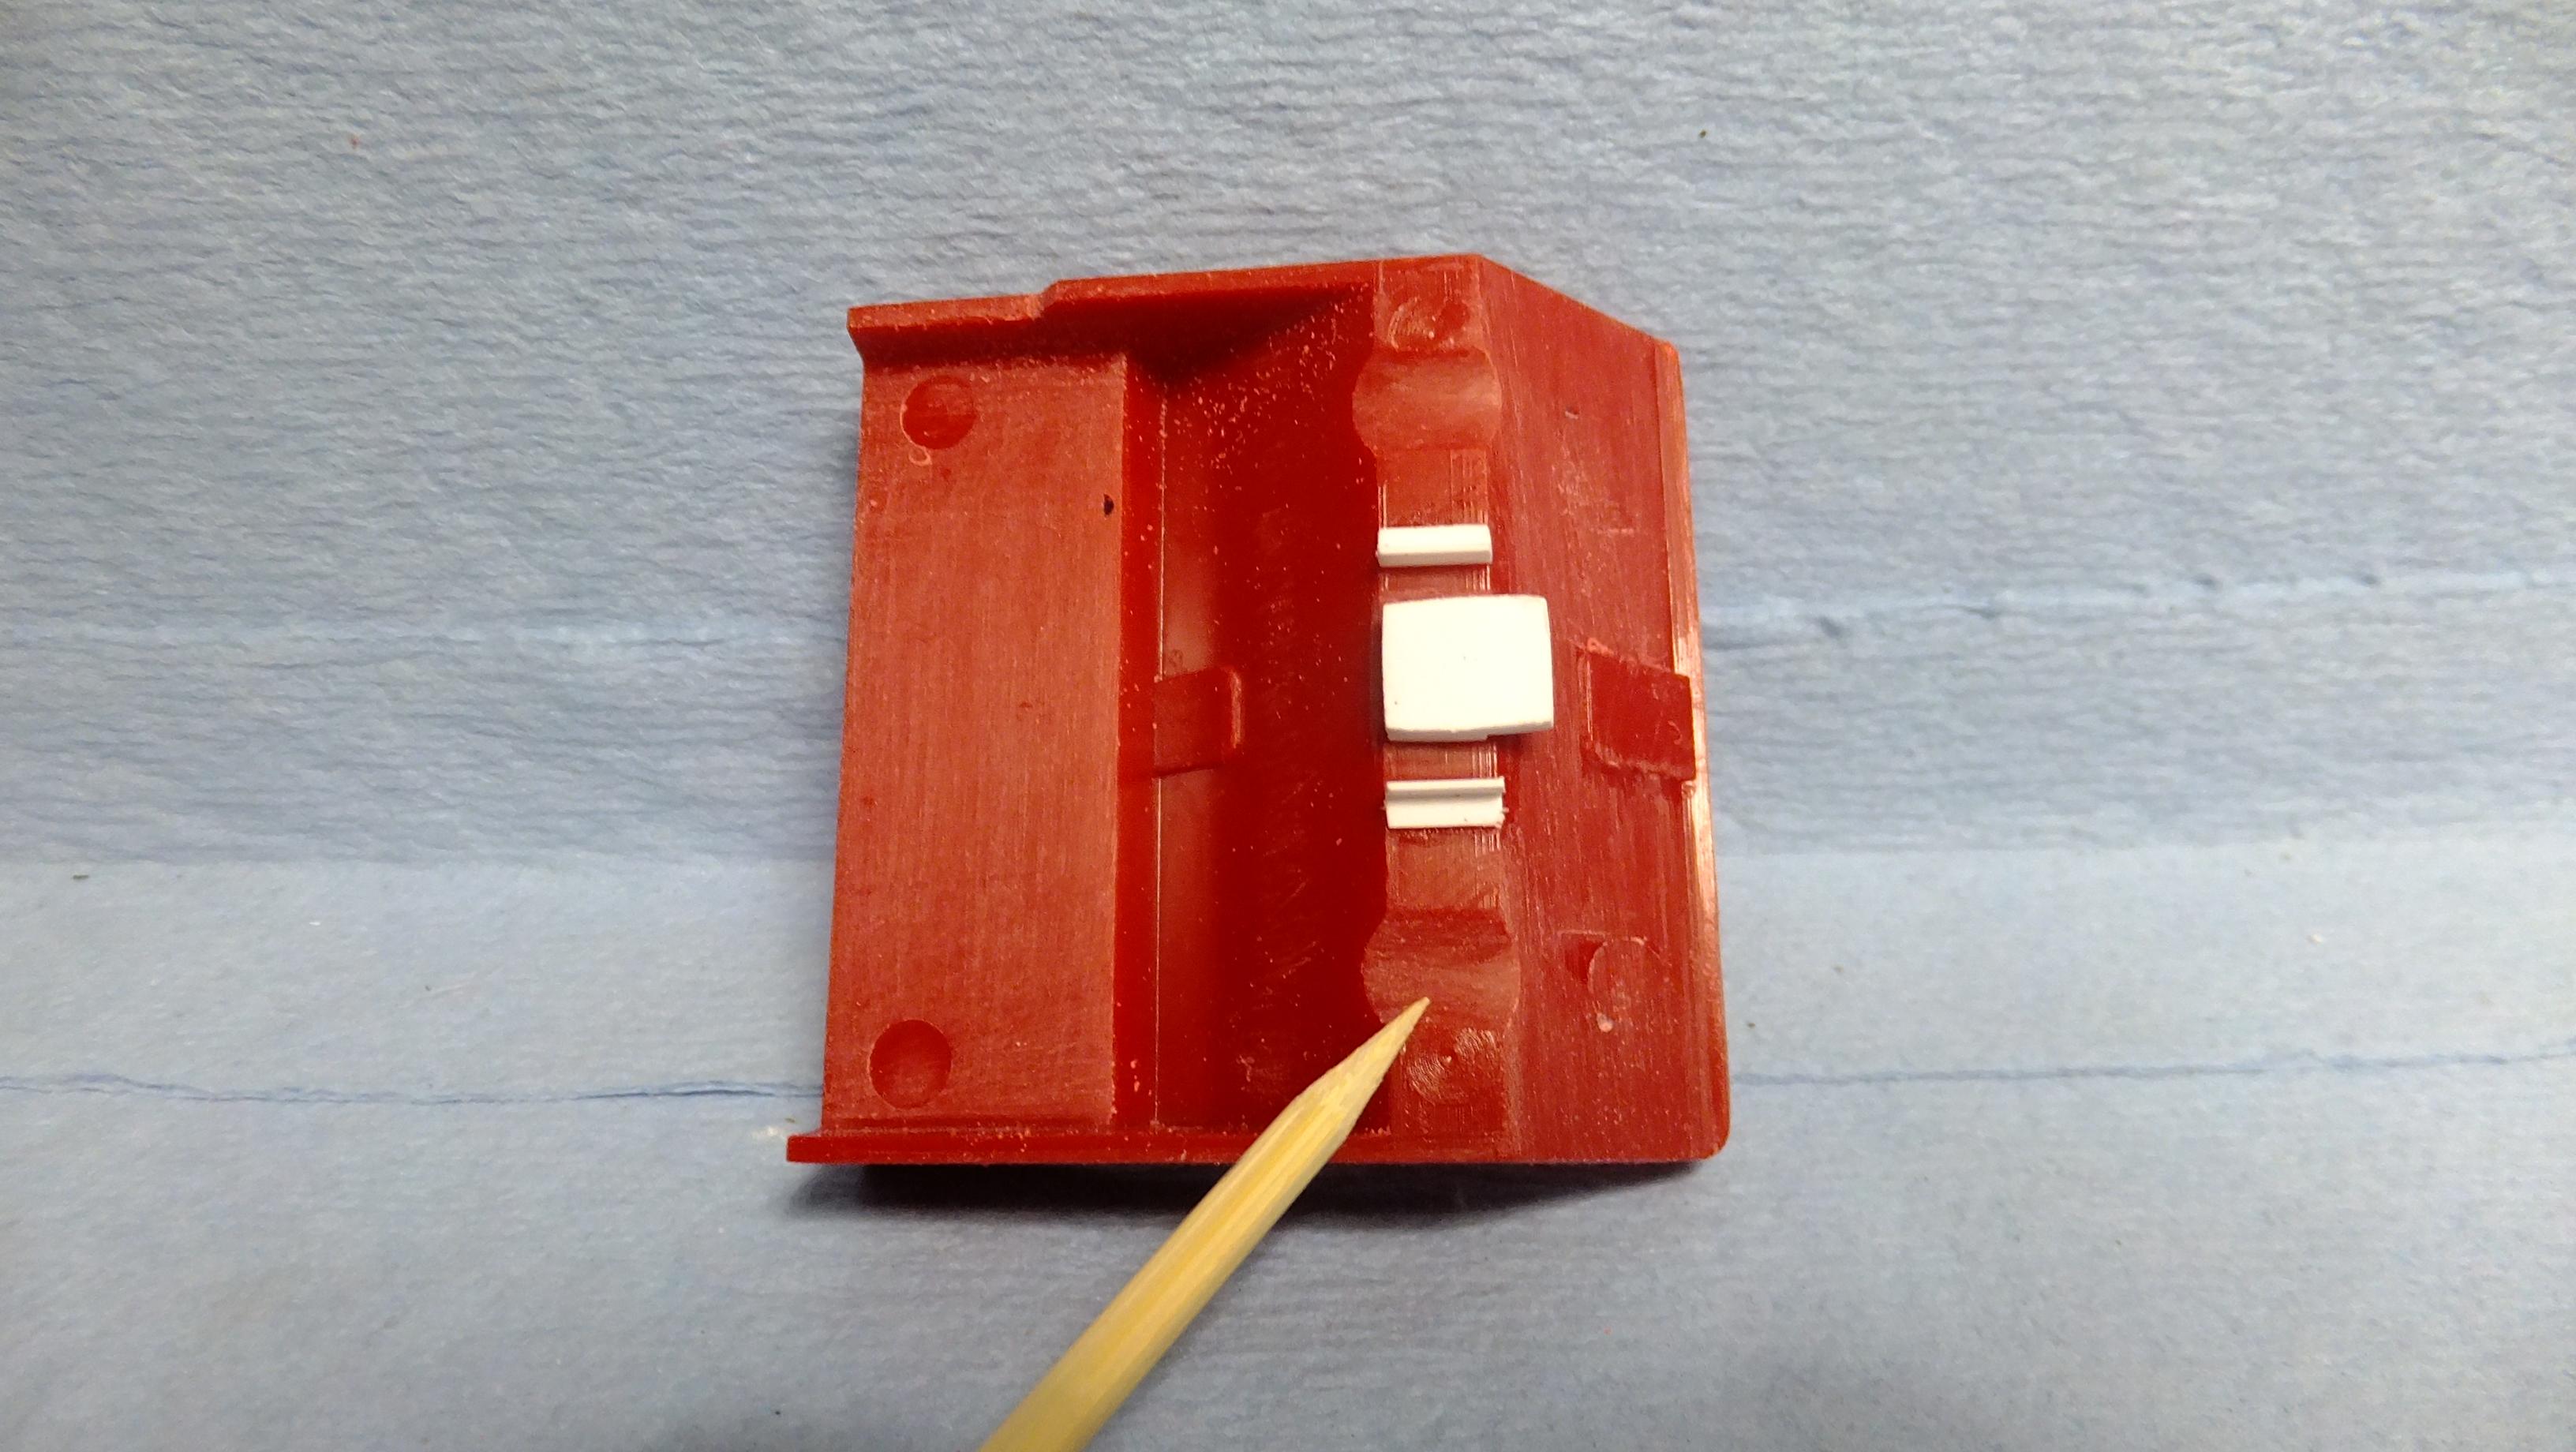
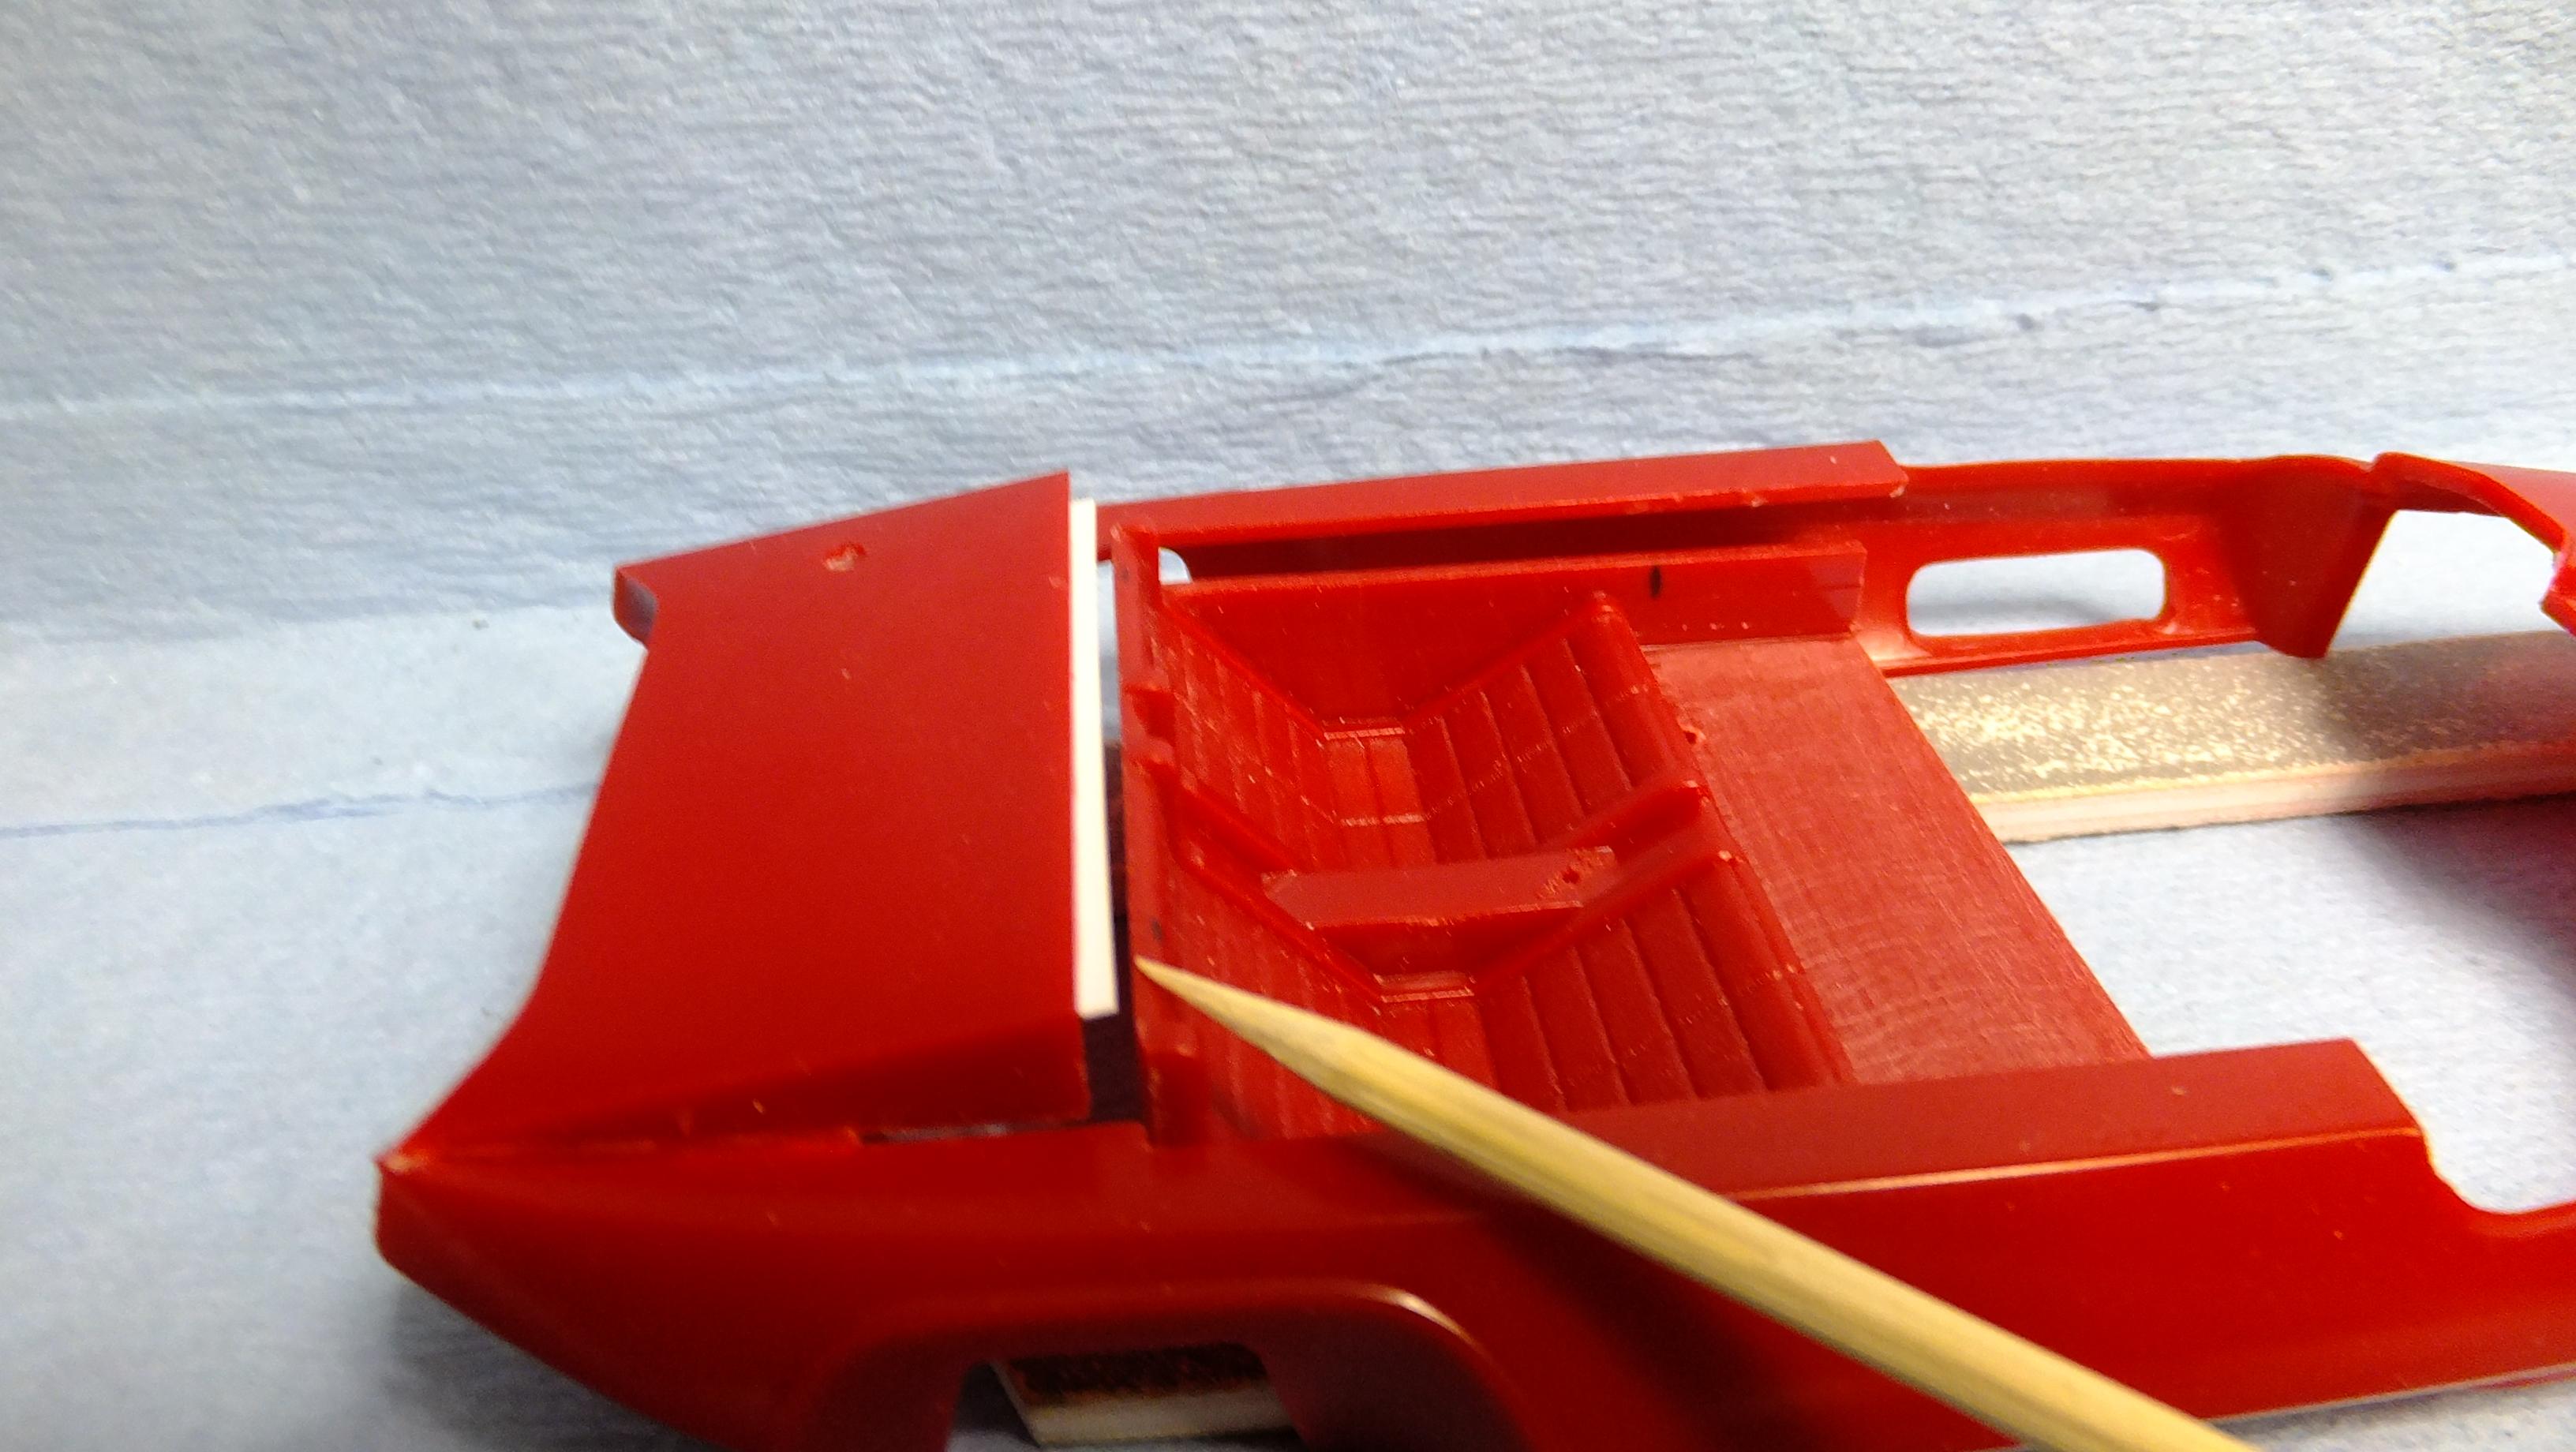
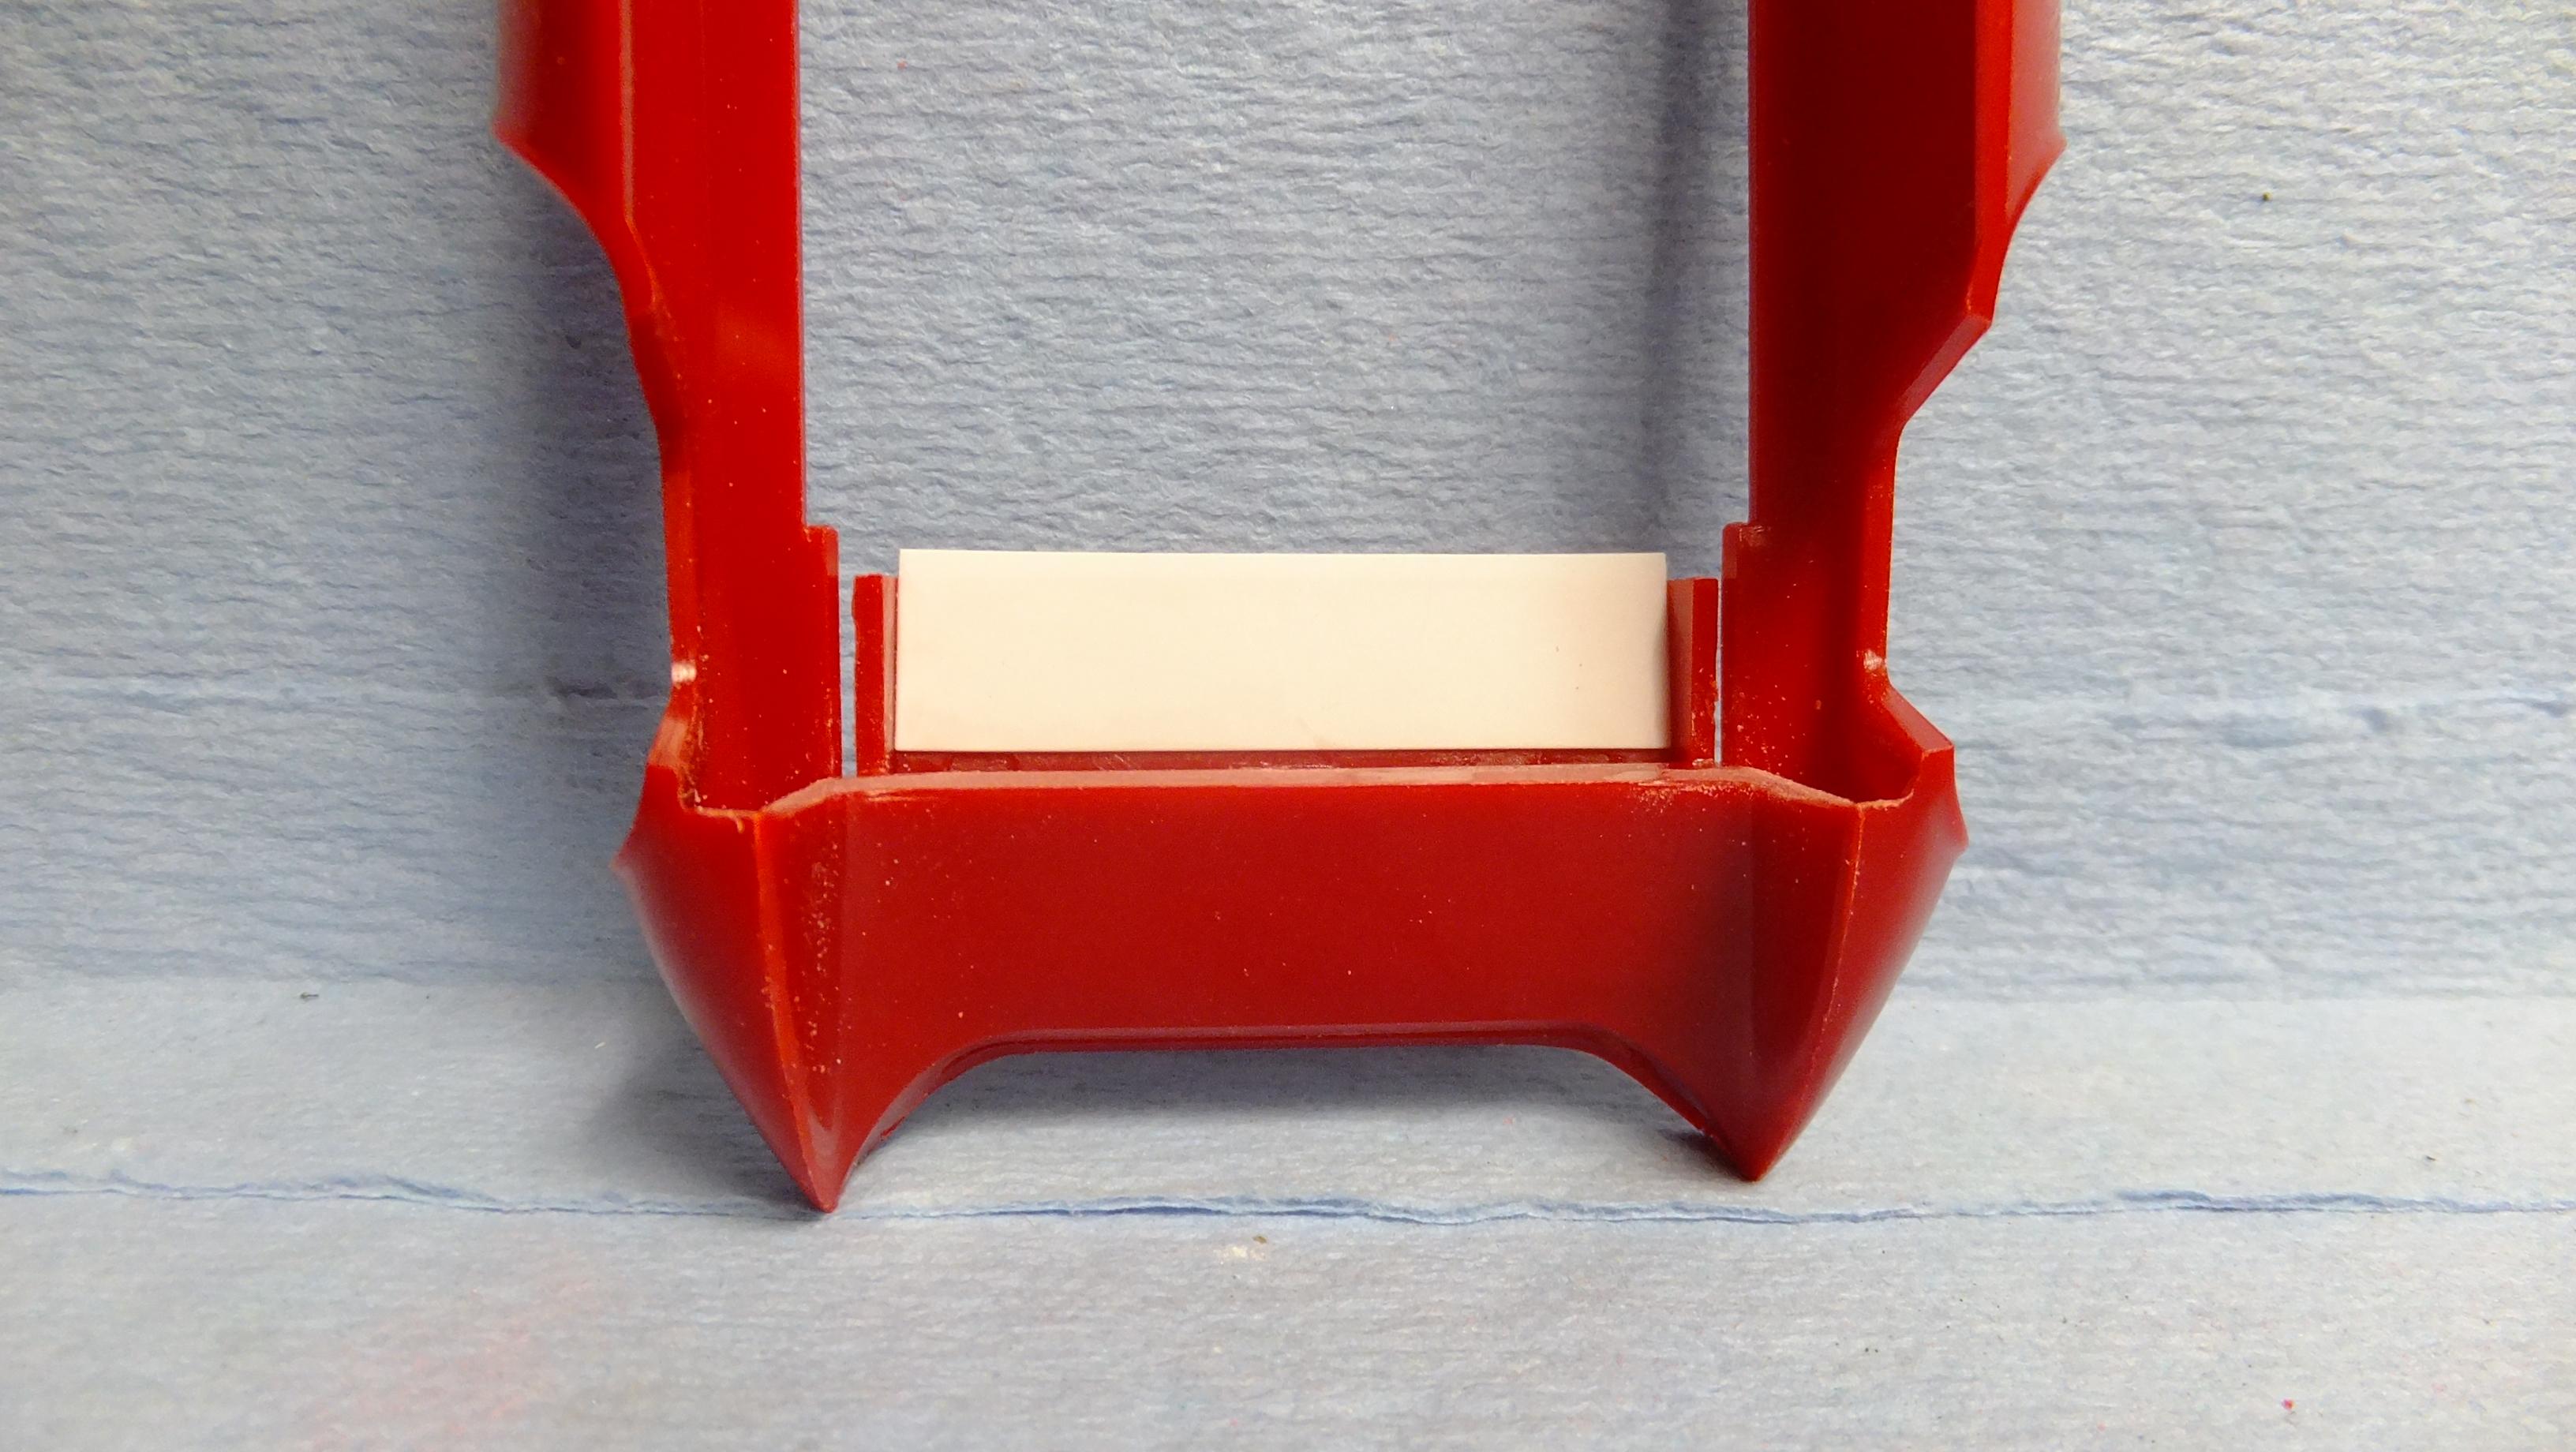
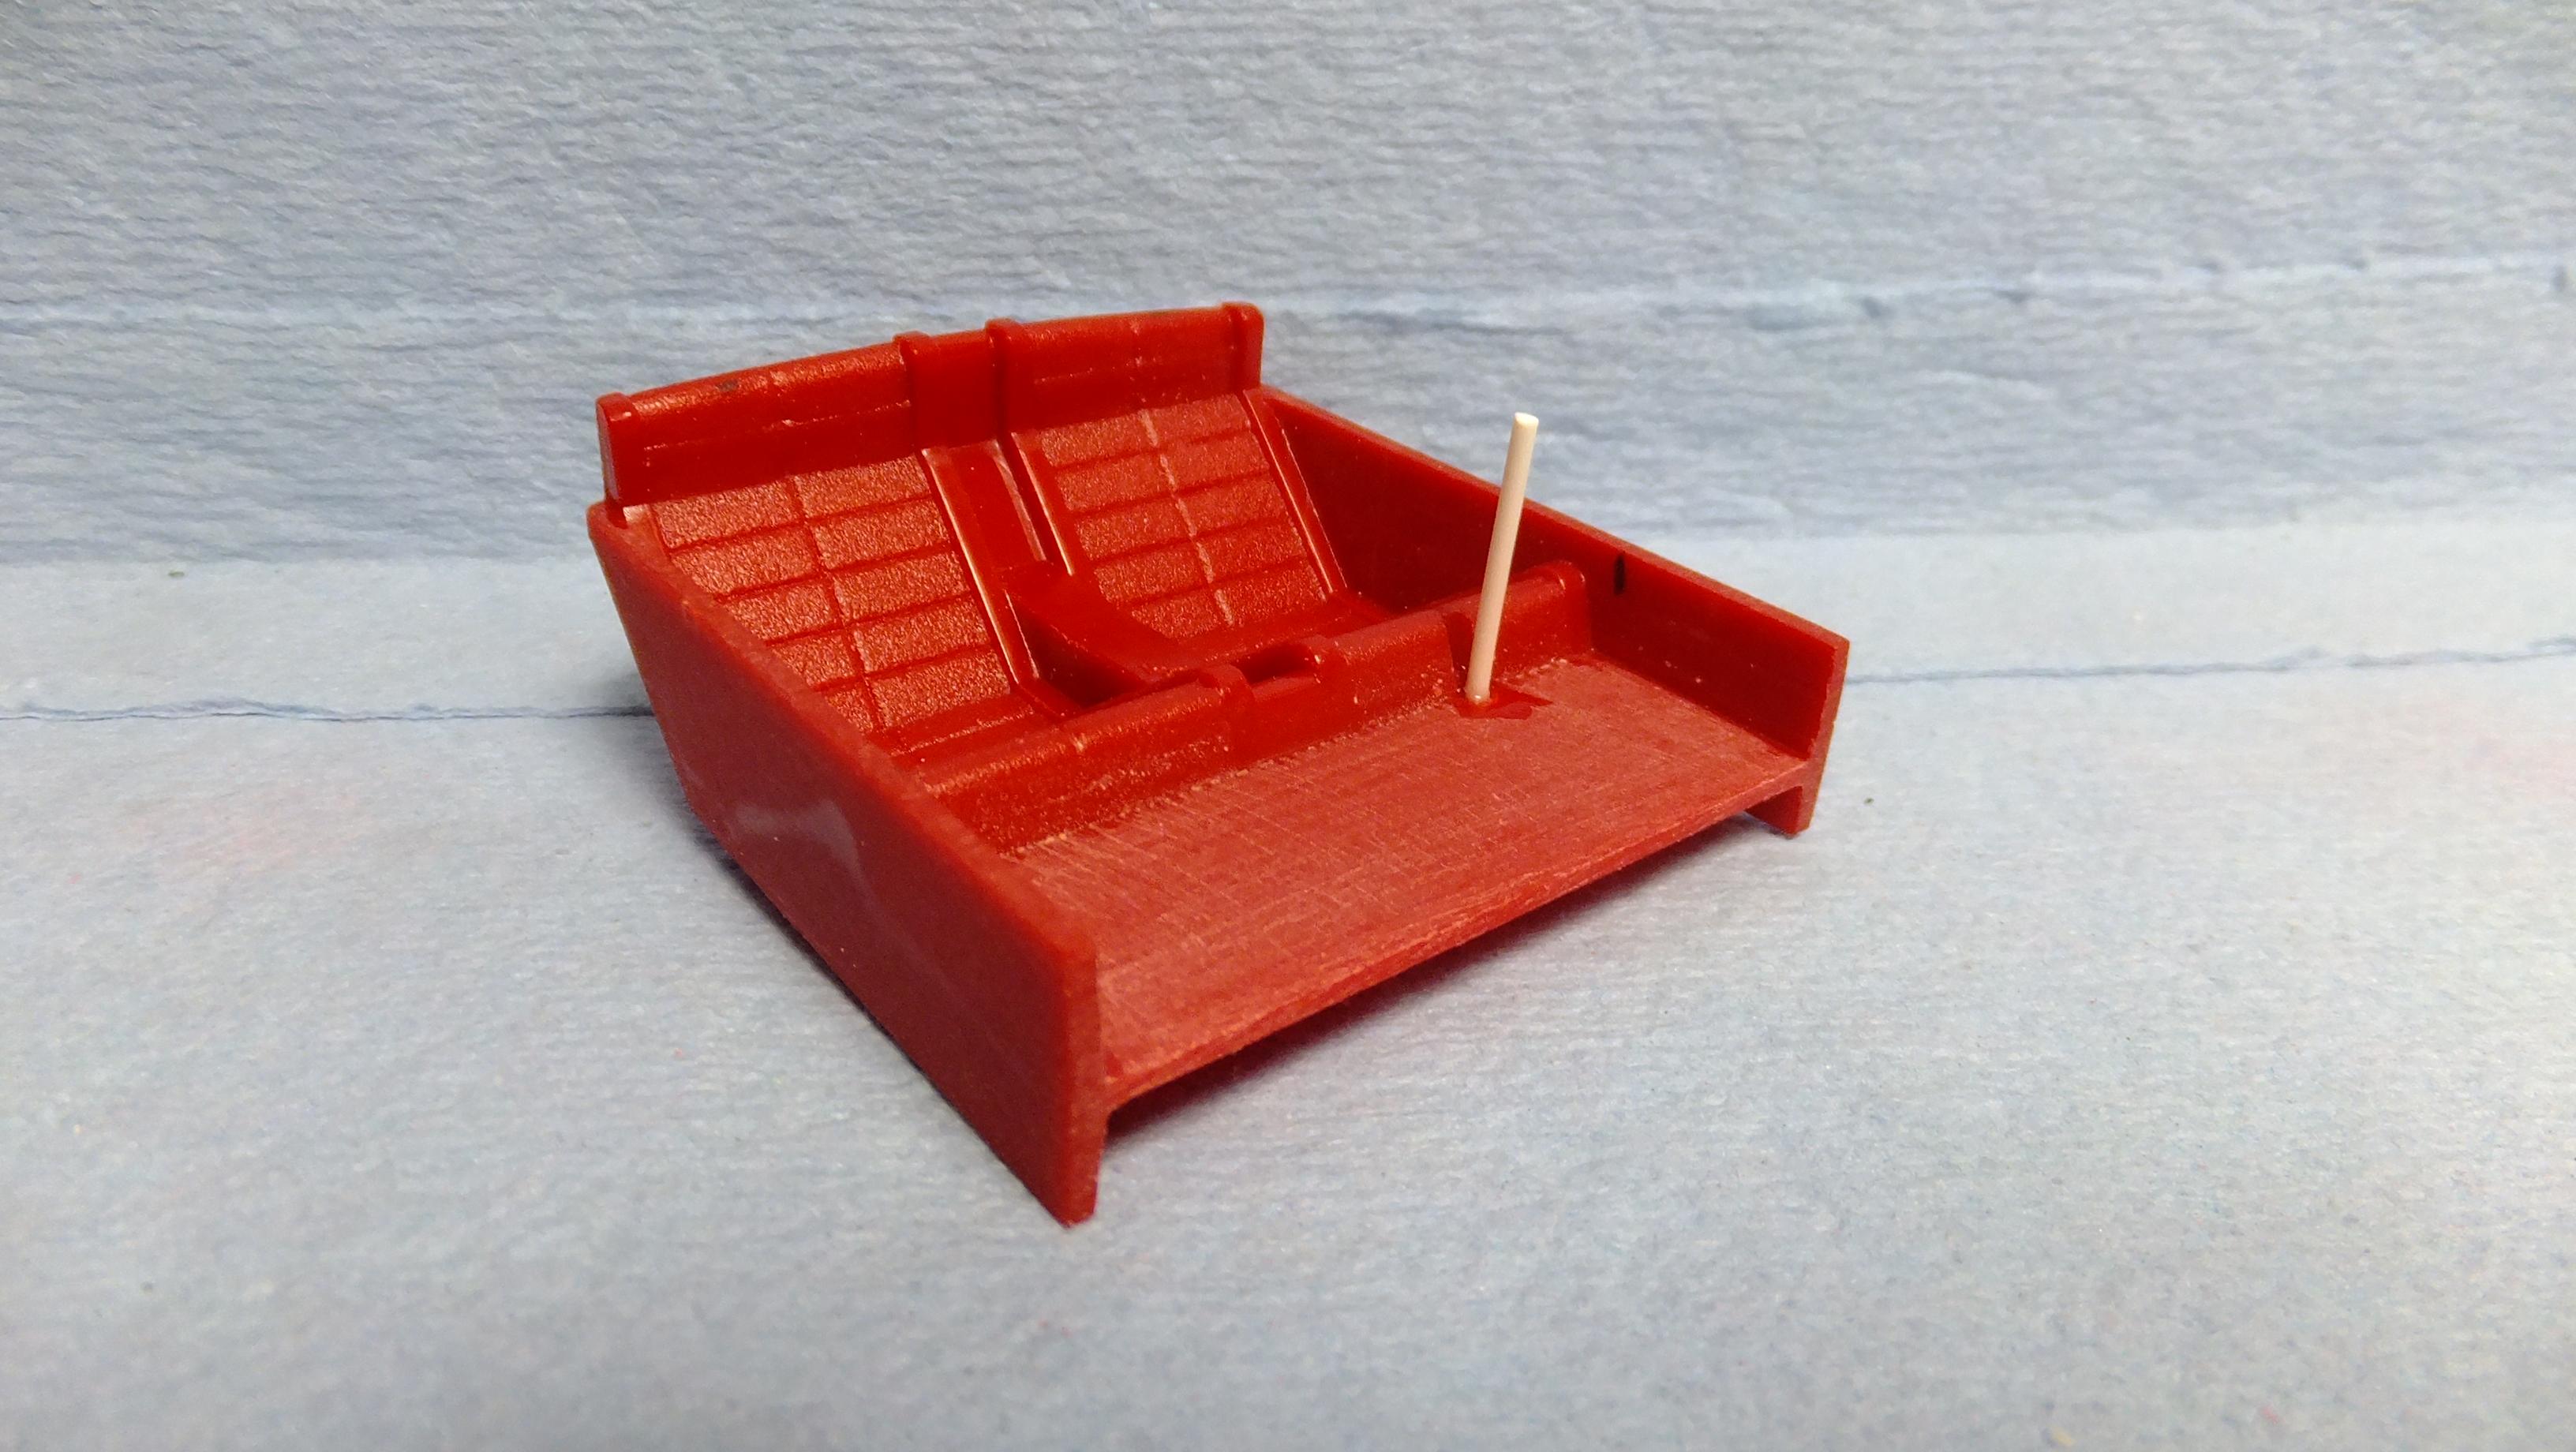
Hey, everyone!, its time to get started on the bodywork! -Photo 1; In order to make things more realistic, i need to remove this rather large windscreen contact point. -Photo 2; I also decided that it would look much better without this ridge behind the seats...its a visual obstruction. -Photo 3; ...next, its time to fill in those sides of the Malibu? Bar. -Photo 4; This is a rear view of that ridge behind the seats...looks to me like an engineering goof-up. -Photo 5; The door cards need to go up higher ....another engineering goof... -Photo 6; After cutting that ridge away, i needed to cut the back lower still, to allow for a styrene tab to be attached in order to add a strip of body filling plastic to be blended into the rear deck. -Photo 7 & 8; All cut-away ready for better things! -Photo 9; I stated off using styrene to fill-in the spaces. I am going to try a new filler that i learned from someone else for the rest. -Photo 10; Time to get rid of those horrible peddles! -Photo 11;Cut away some unnecessary plastic, and made channels for the driveshafts. -Photo 12; All adjusted, just need to filler things, and smooth. -Photos 13 & 14; Here is the gap that needs to be filled, and blended into the rear deck. The tab also covered some things that i woulda had to fill -BONUS!! -Photo 15; The verticle steering column doesnt fit the design of the car, so i filled in the hole, and i will be putting it in the standard position.
-
Otaki 1/12 Lamborghini Countach Twin Turbo...Mission Statement
Dann Tier replied to Dann Tier's topic in WIP: Model Cars
Another little update here....more bits added to the carbs, and fuel rails...I think i will redo the fuel lines...dont like them much...OHH, and i forgot to show how i SB better -more realistic wire looms!...i will post how later. -Photo 2; Here you see strips of styrene that i added for the base of my custom air boxes.
-
Otaki 1/12 Lamborghini Countach Twin Turbo...Mission Statement
Dann Tier replied to Dann Tier's topic in WIP: Model Cars
Thanks, bud!!, gonna try to get these carbs finished up today...dying to paint them!...i think i will start SB bits for the front boot area, and see how that tyre you sent me works in there. -
Otaki 1/12 Lamborghini Countach Twin Turbo...Mission Statement
Dann Tier replied to Dann Tier's topic in WIP: Model Cars
Thanks, Bud!! -
Otaki 1/12 Lamborghini Countach Twin Turbo...Mission Statement
Dann Tier replied to Dann Tier's topic in WIP: Model Cars
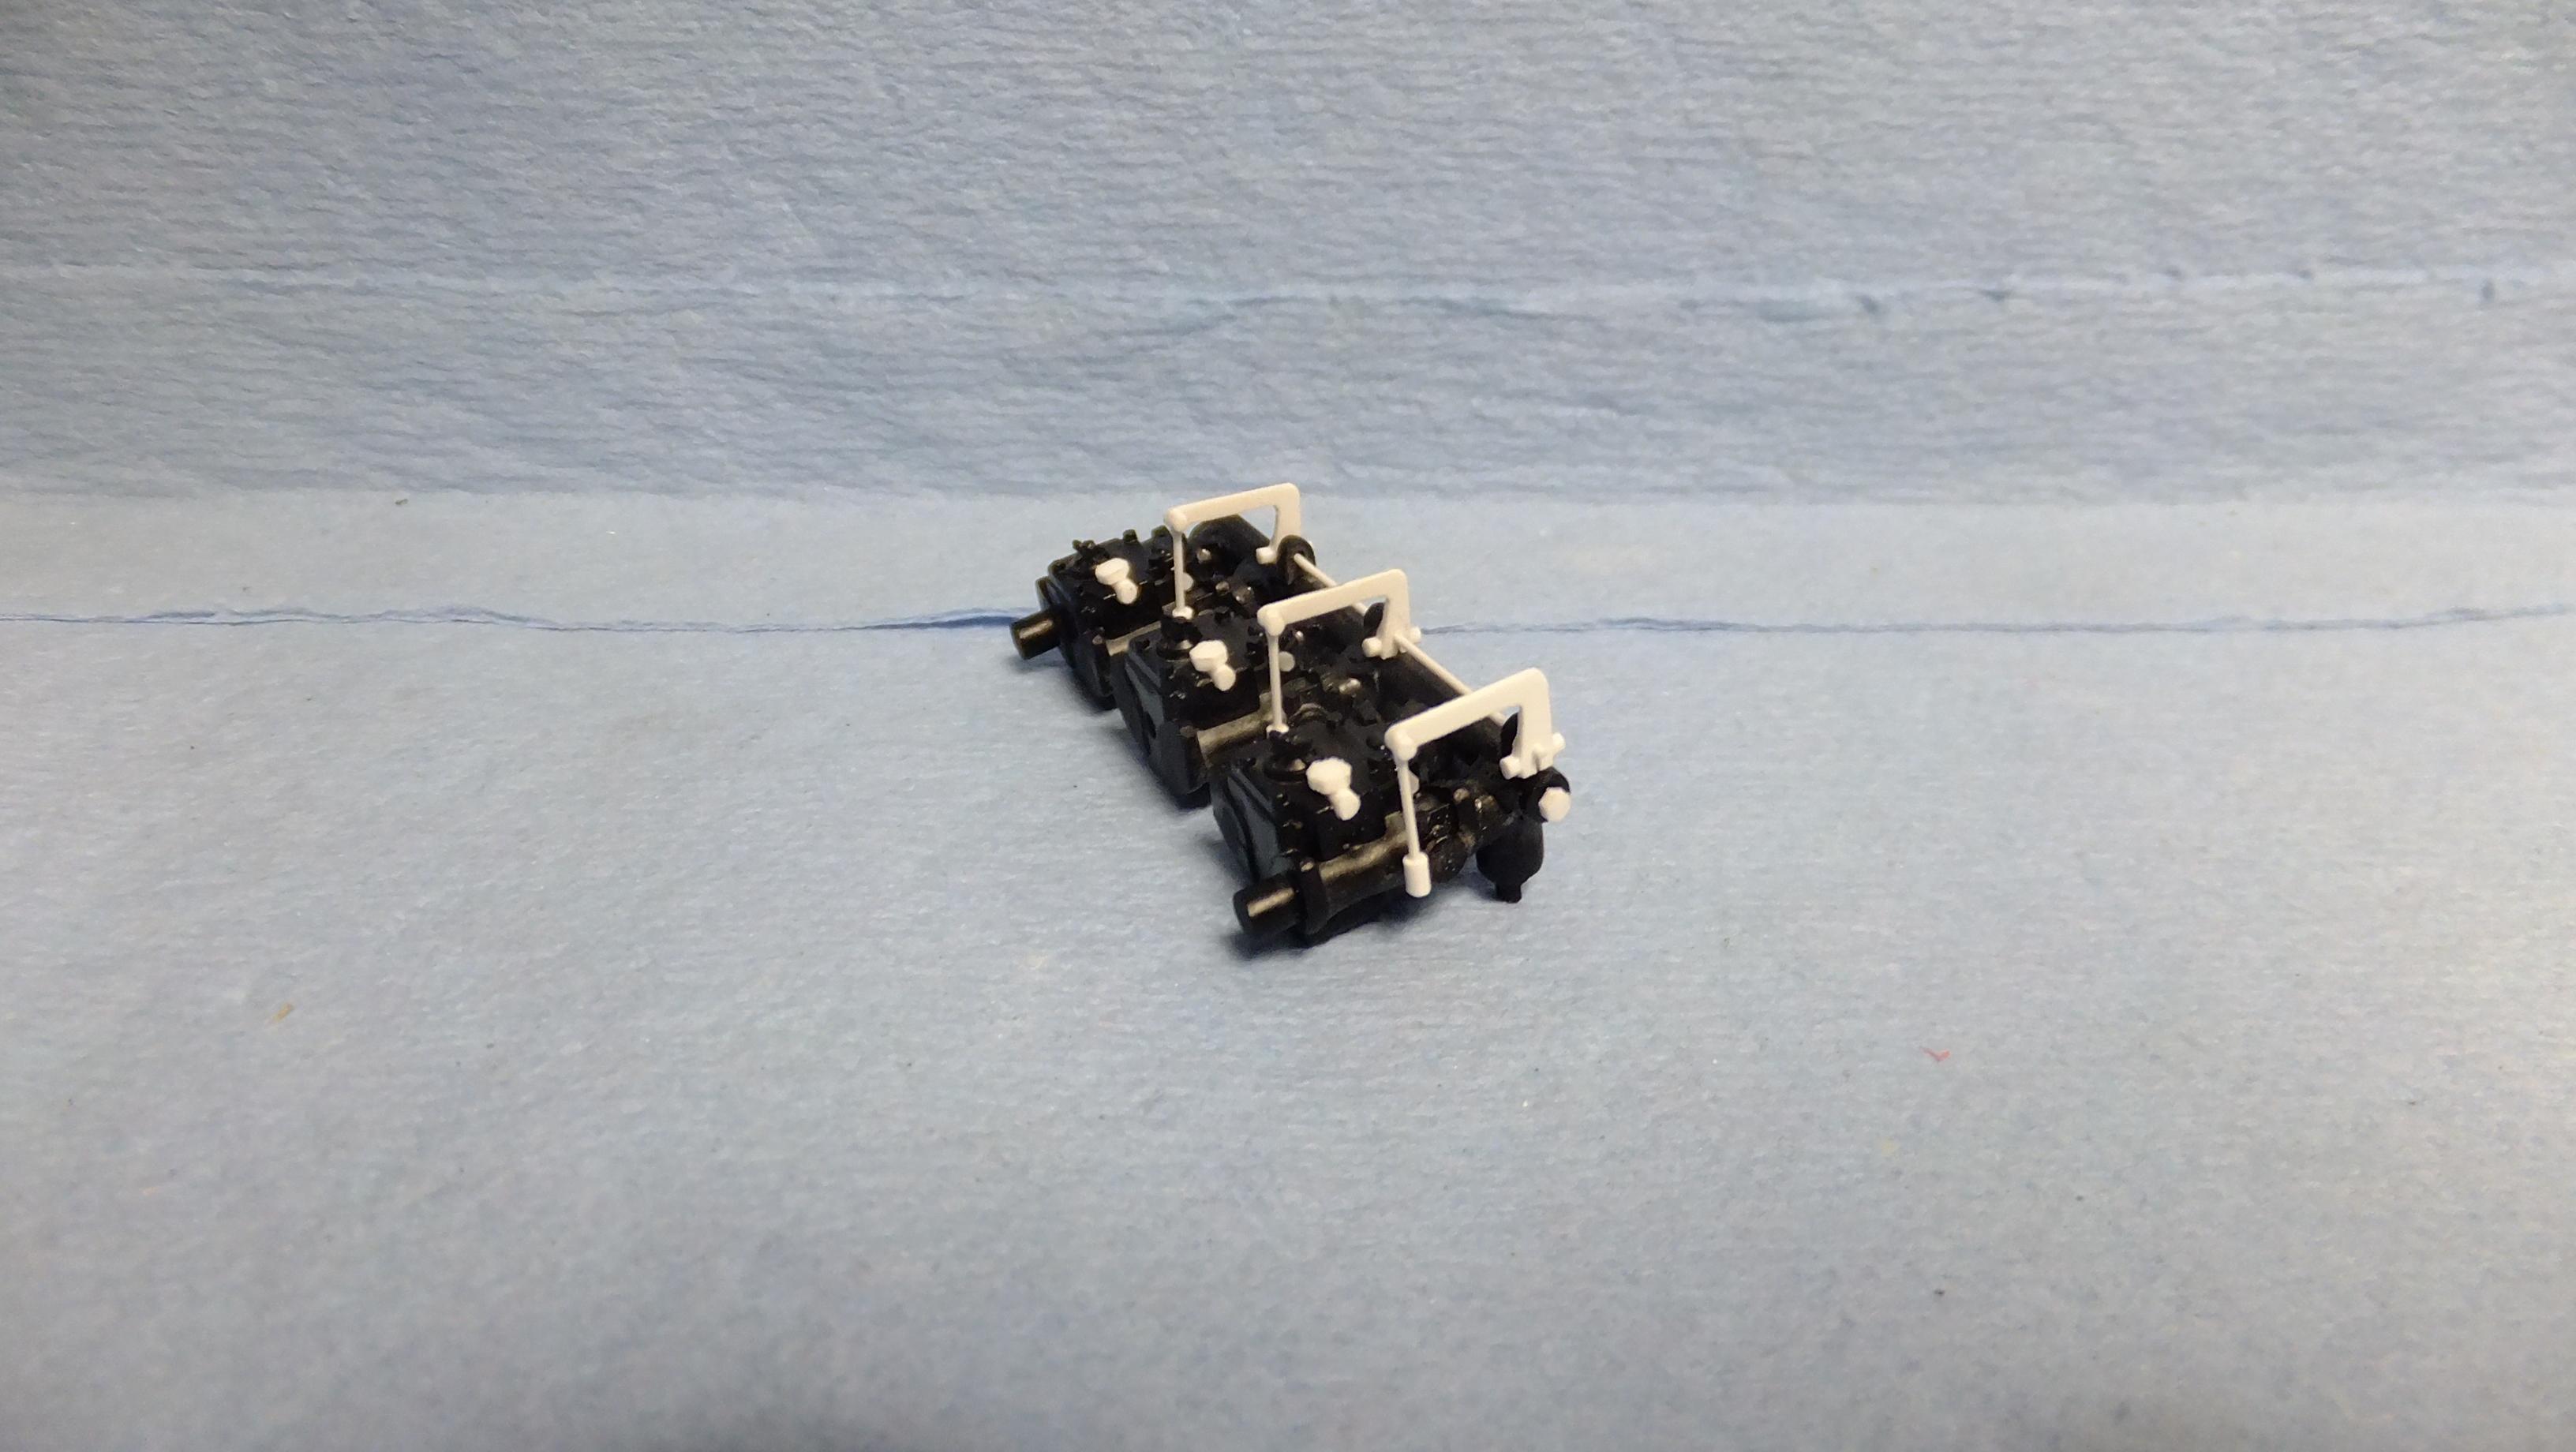
Hey, everyone!, heres a new update!...i'm working on making the carberators more realistic. Theres still a bit more to do, but heres a loose fitting update... -Photo 1 & 2; Here is a loose fit of all the bolts, and linkages coming together. -Photo 3 & 4; Both sides of my new throttle linkages. -Photo 5; Here i'm pointing at the kits version of a wingnut....i couldnt leave them that way, so i tweaked them -notice the adjacent ones...
-
I still prefer this kit over Tamiyas. Tamiyas has bigger fitment issues...Since you can see most of the engine through the back window, i didnt mind it not opening. I wired it all up...added extra details, and it turned out VERY nice. Be careful not to sand too much around the headlamps, or there will be gaps between the lenses and body.
-
The rear window in mine fit HORRIBLE!...i had to do alot of clever trimming to get it to touch all the edges properly.
-
WOW!! this is looking Fantastic!!!
-
Thanks, bud!
-
Thanks!....glad you're enjoying it!
-
Thanks, bud!!, I have some suprises in store!....i'm working on the body now, and i will say this; it WONT be red...anyone who knows me, knows that red is my least favorite kolor, lol