prrtrainguy
-
Posts
10 -
Joined
-
Last visited
Content Type
Profiles
Forums
Events
Gallery
Everything posted by prrtrainguy
-

Improving the Moebius 1965 Mercury Comet
prrtrainguy replied to prrtrainguy's topic in WIP: Model Cars
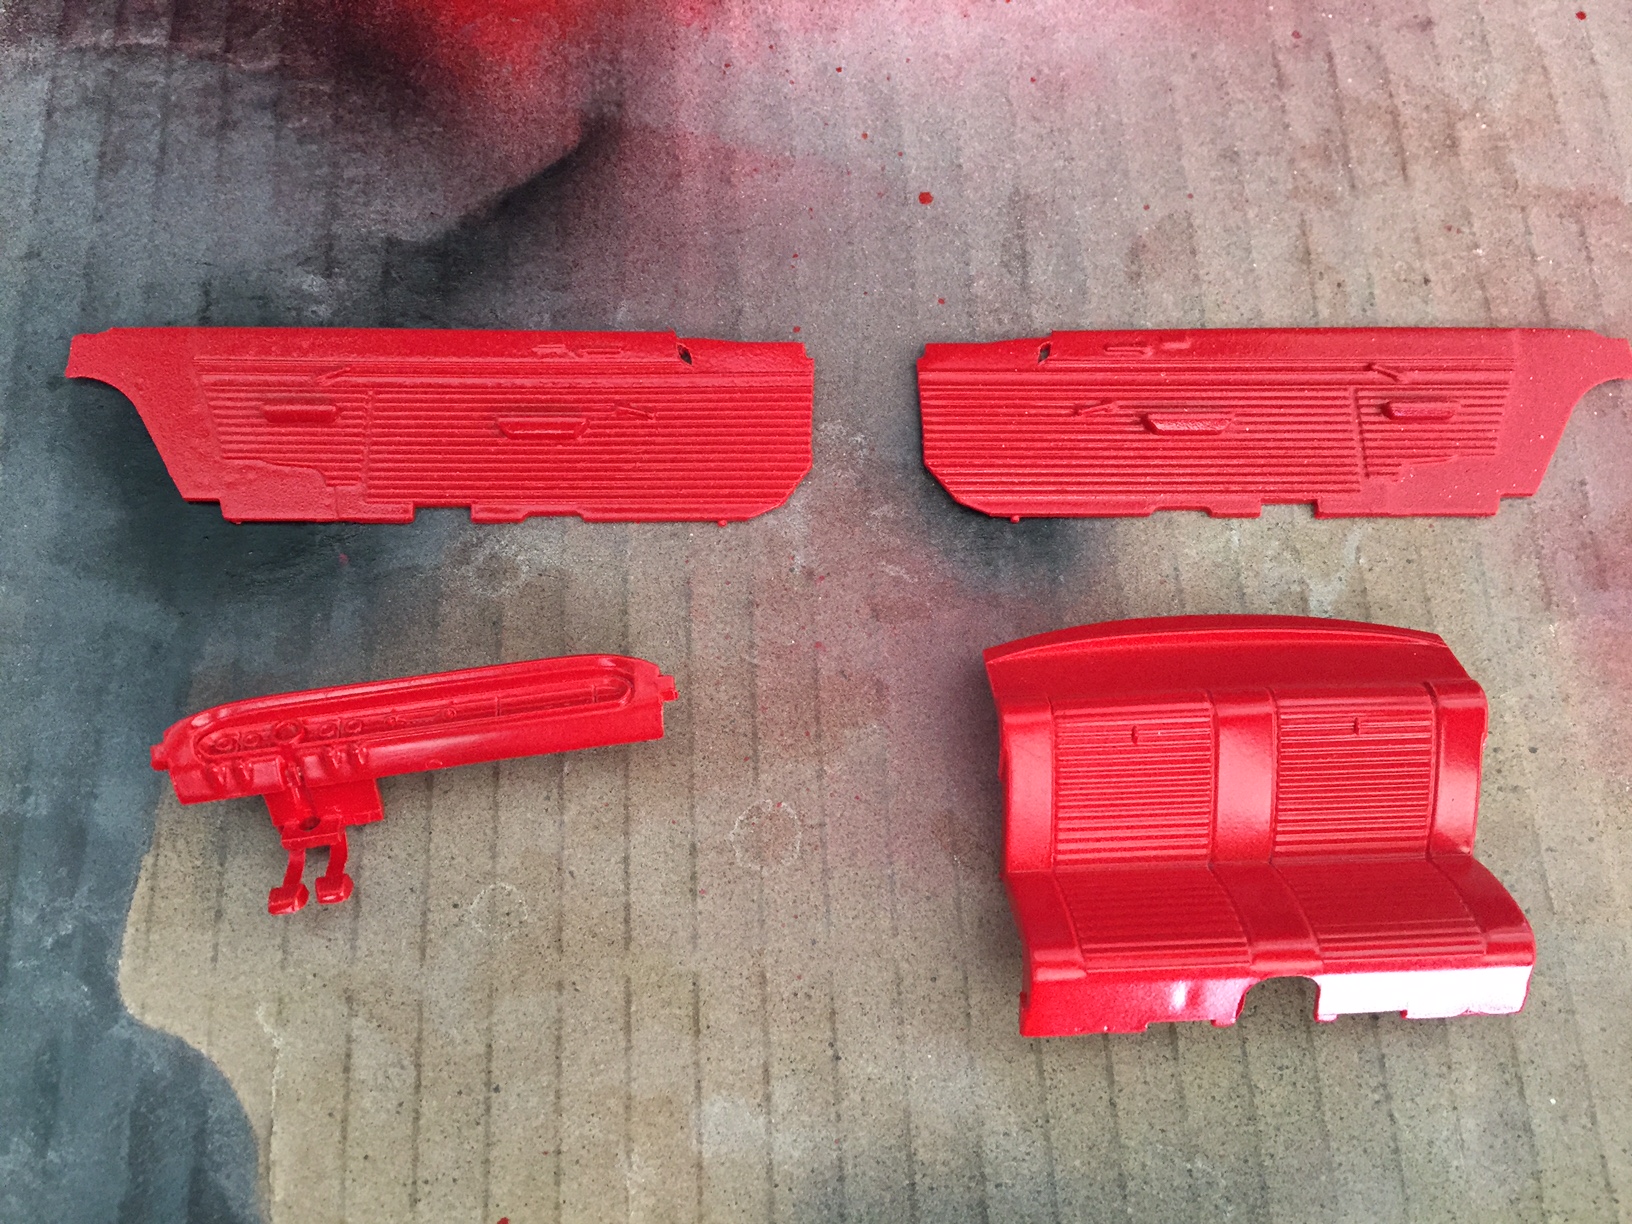
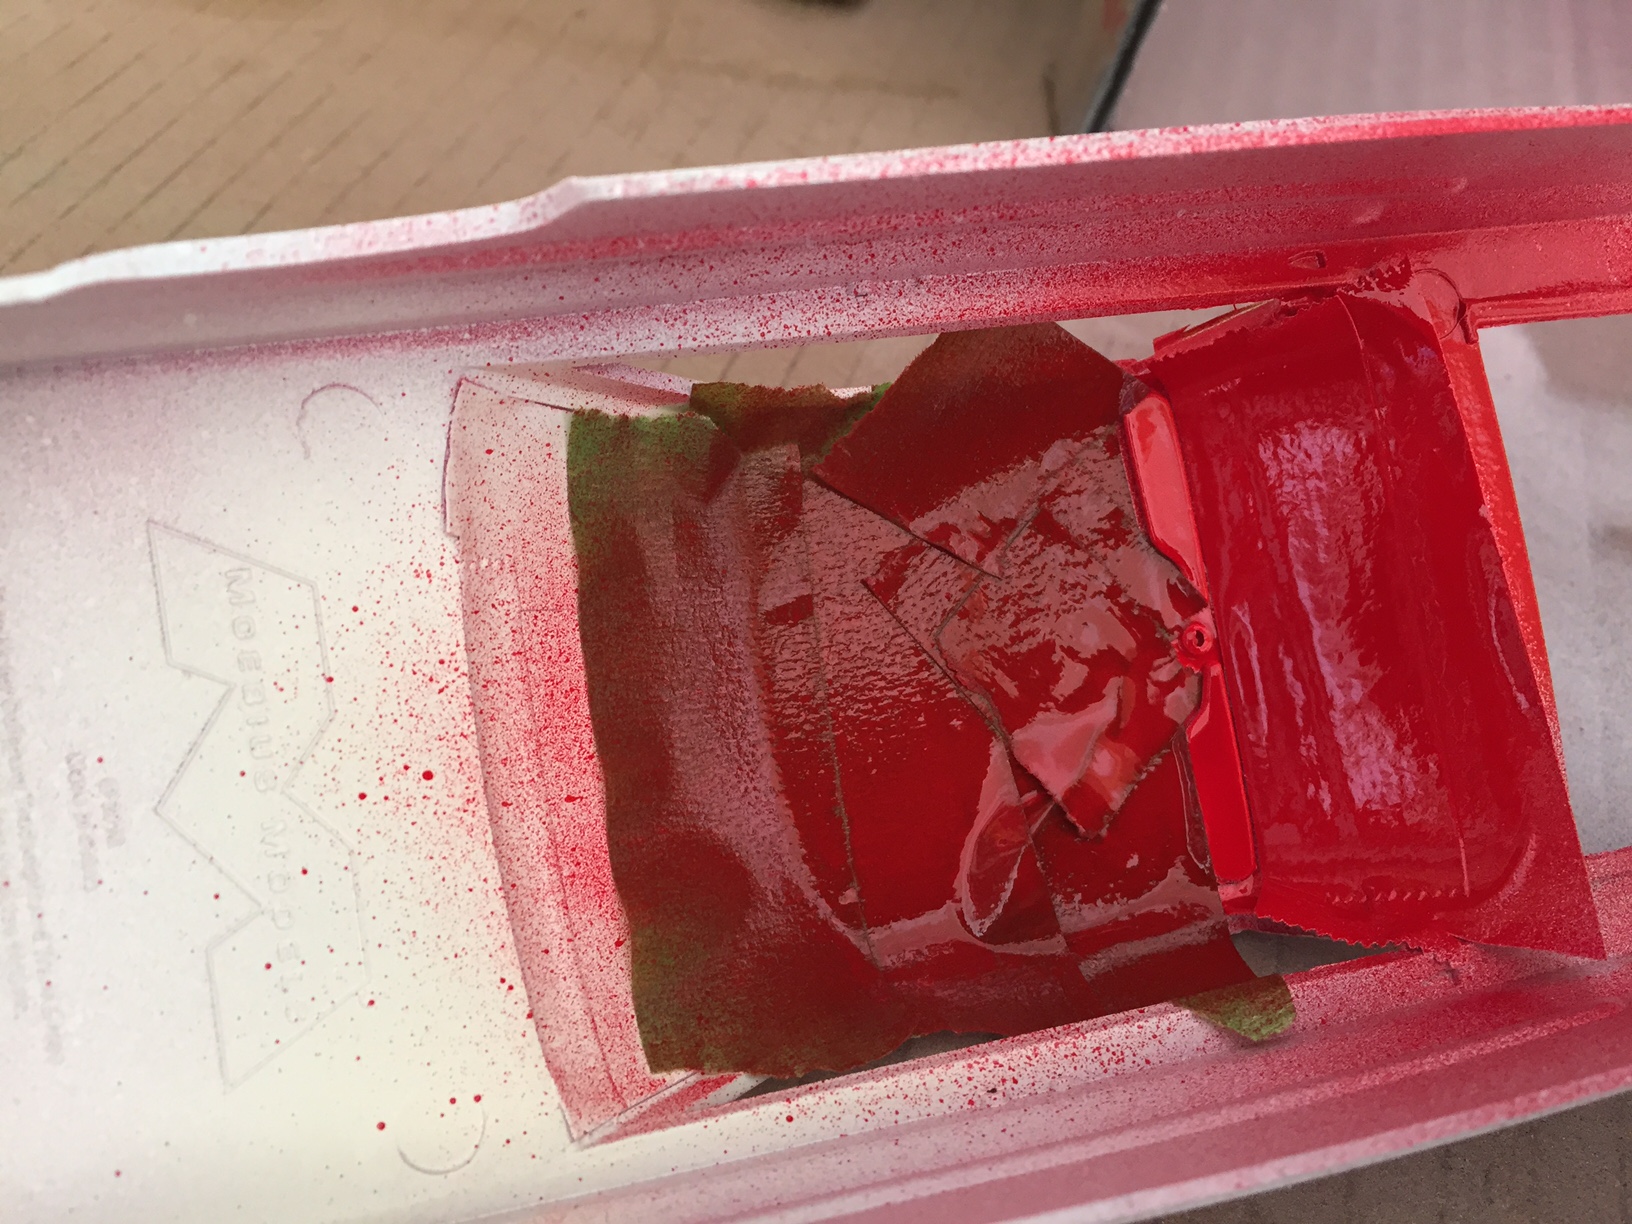
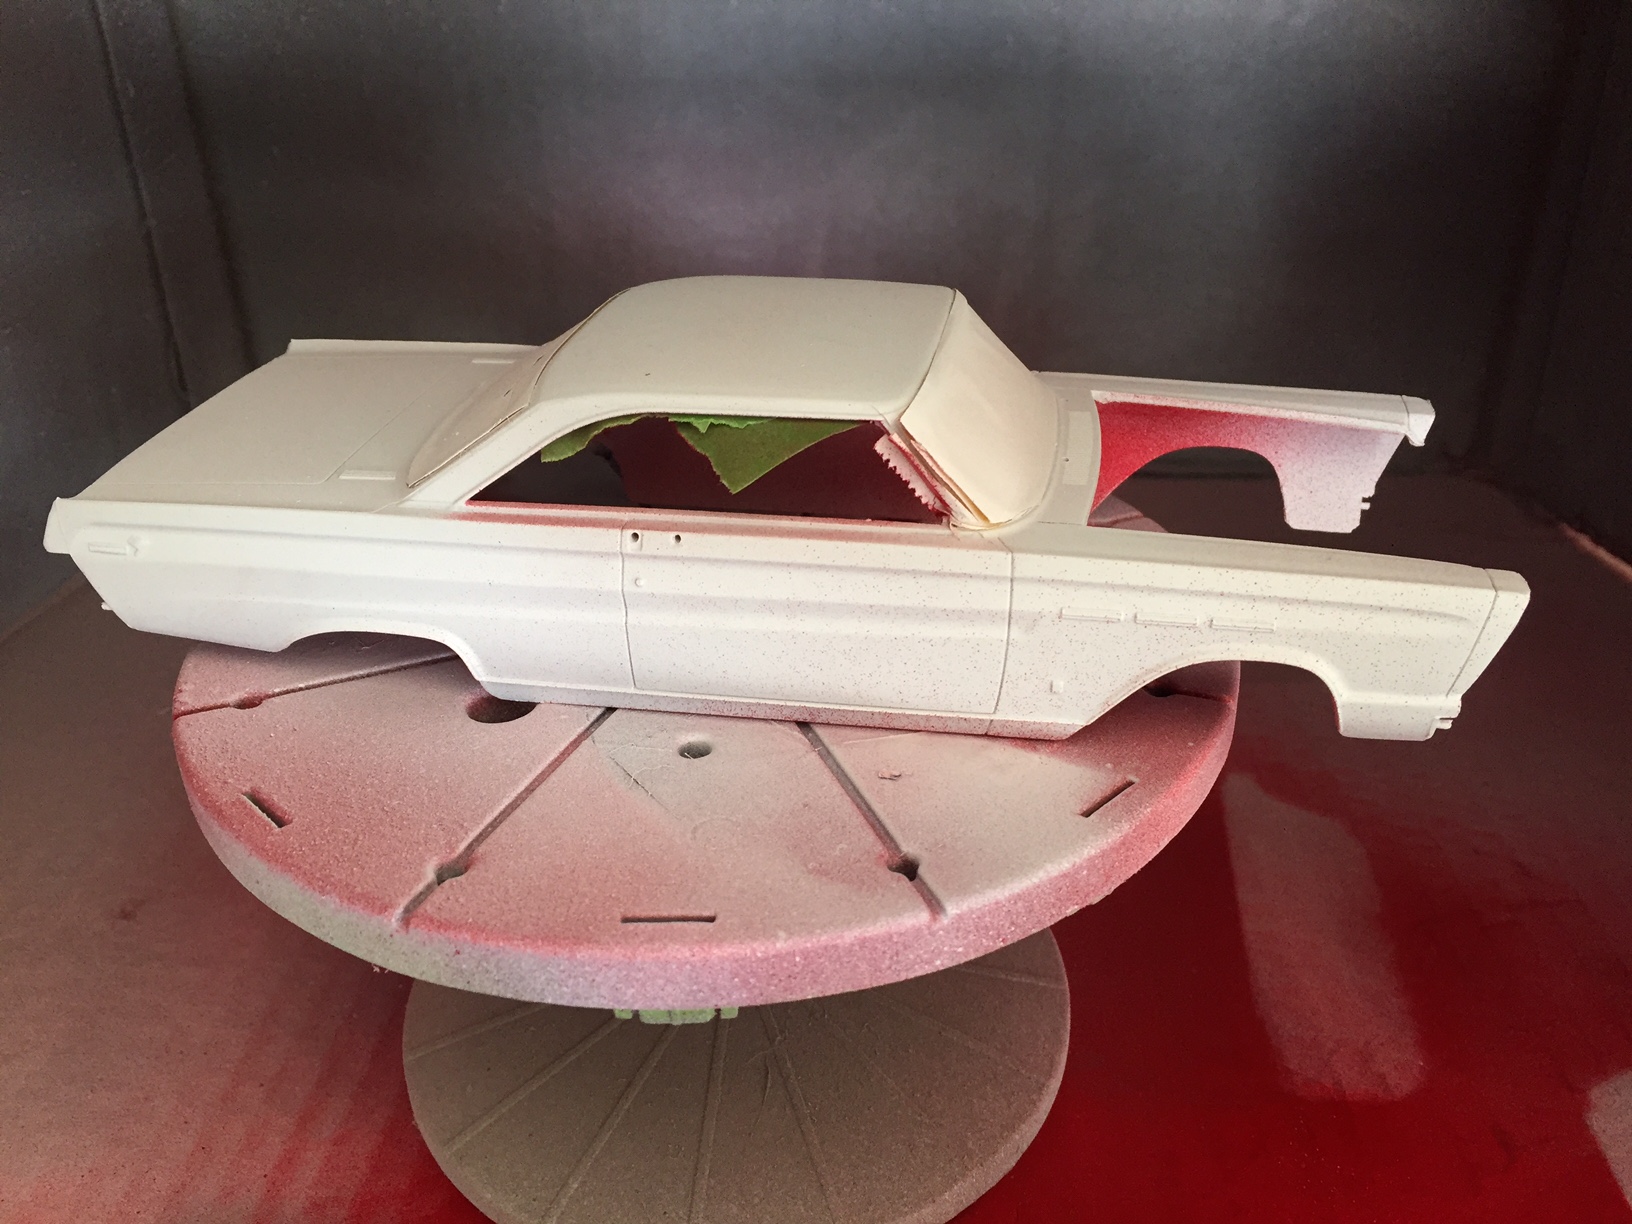
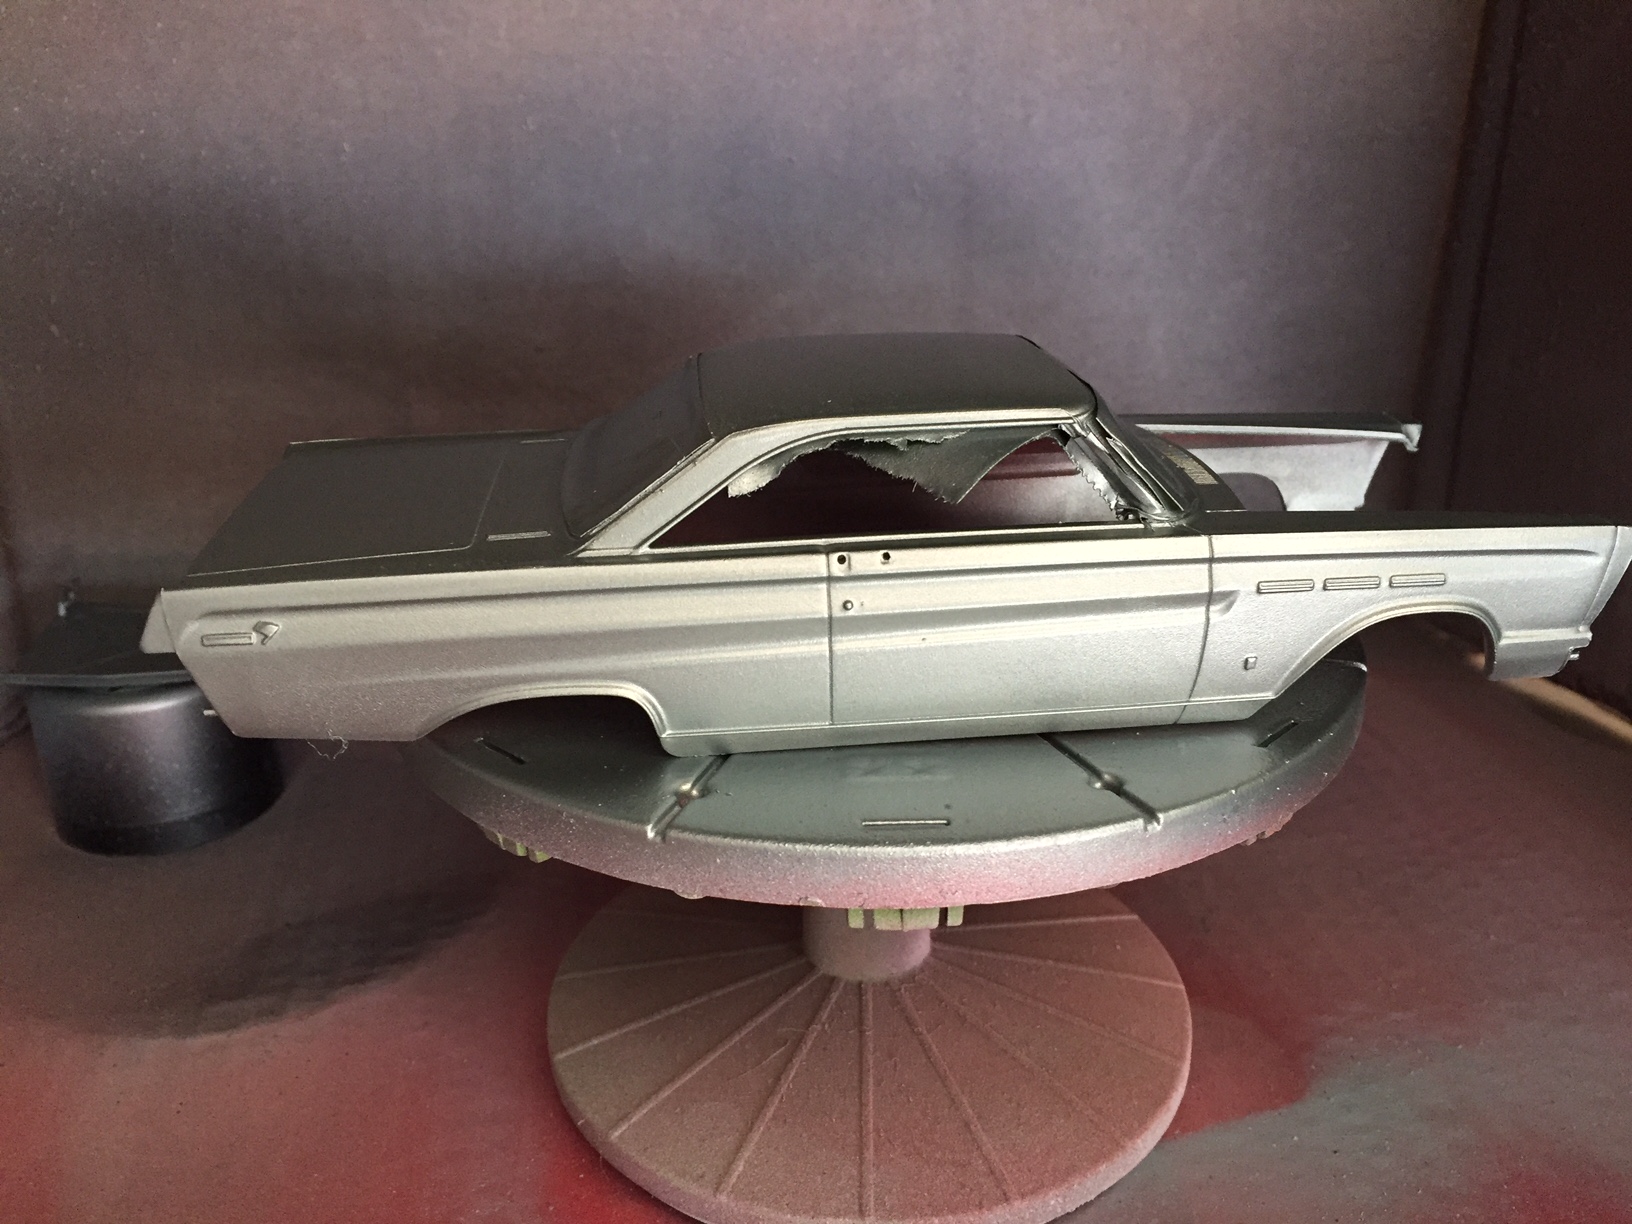
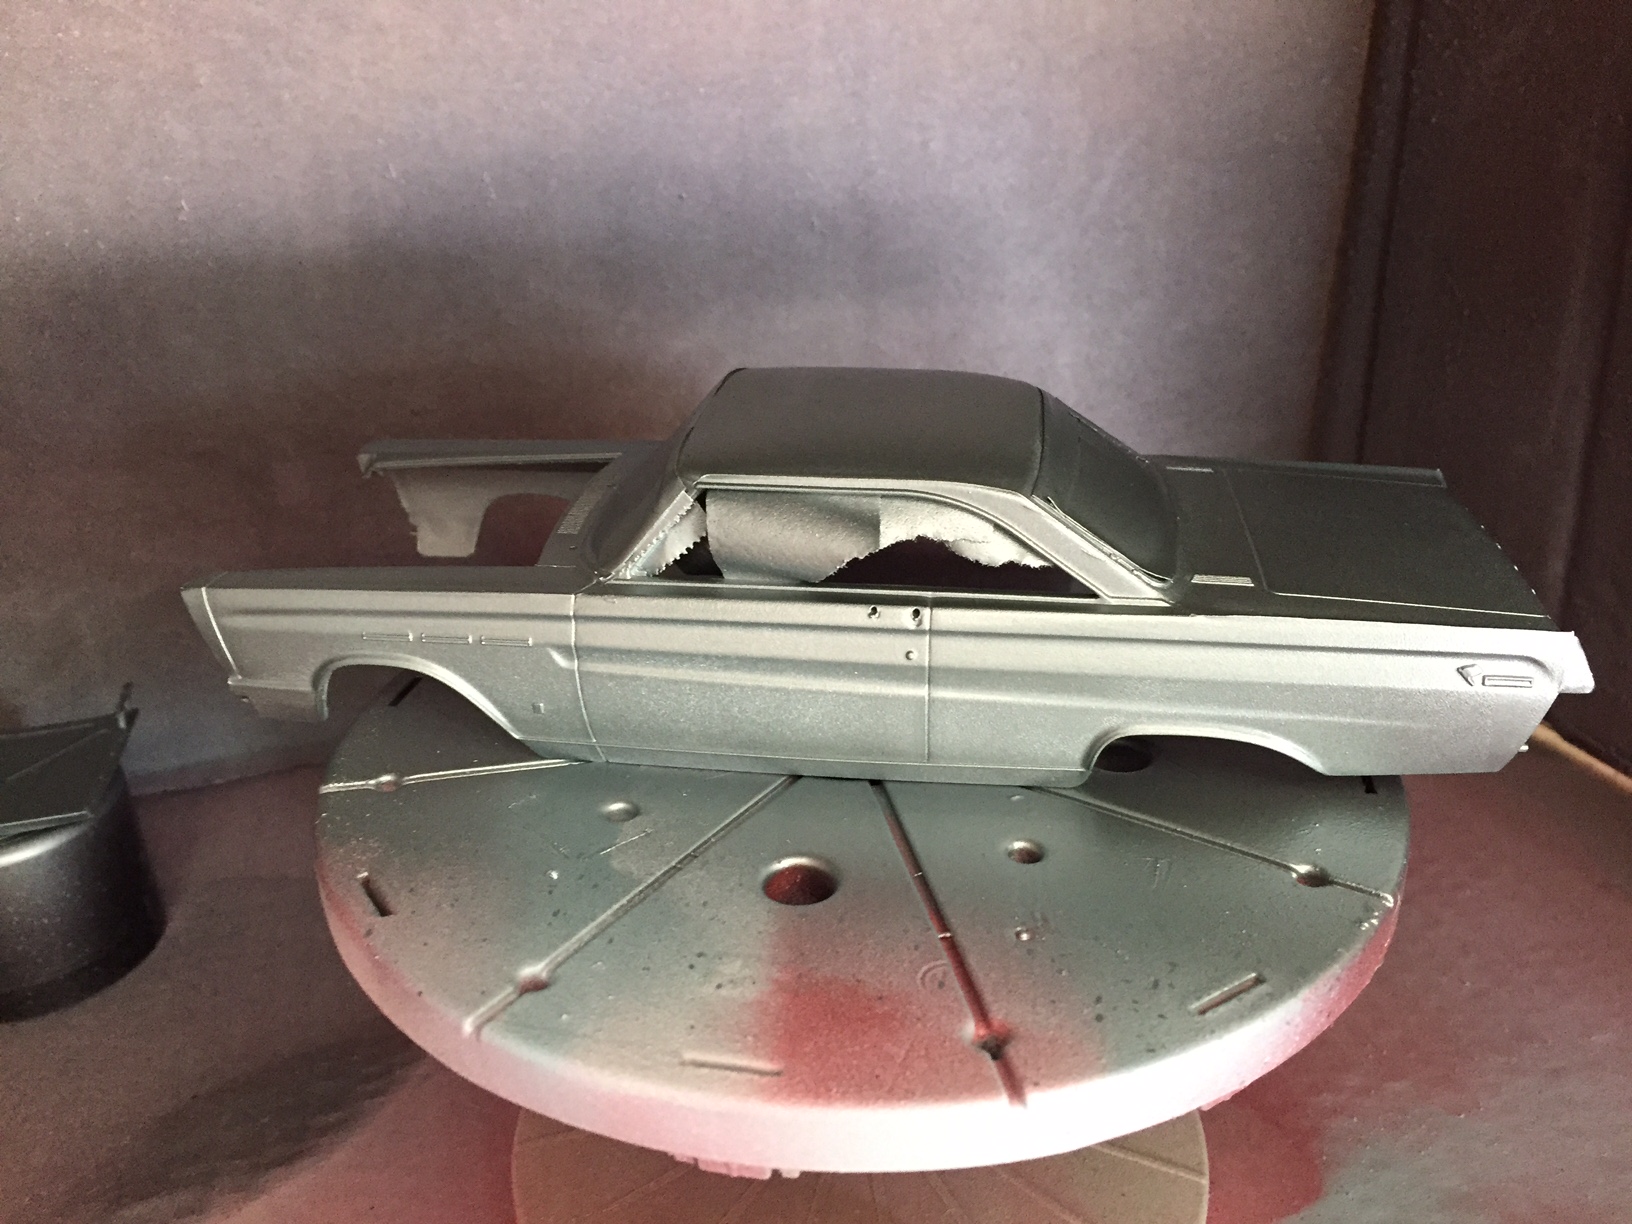
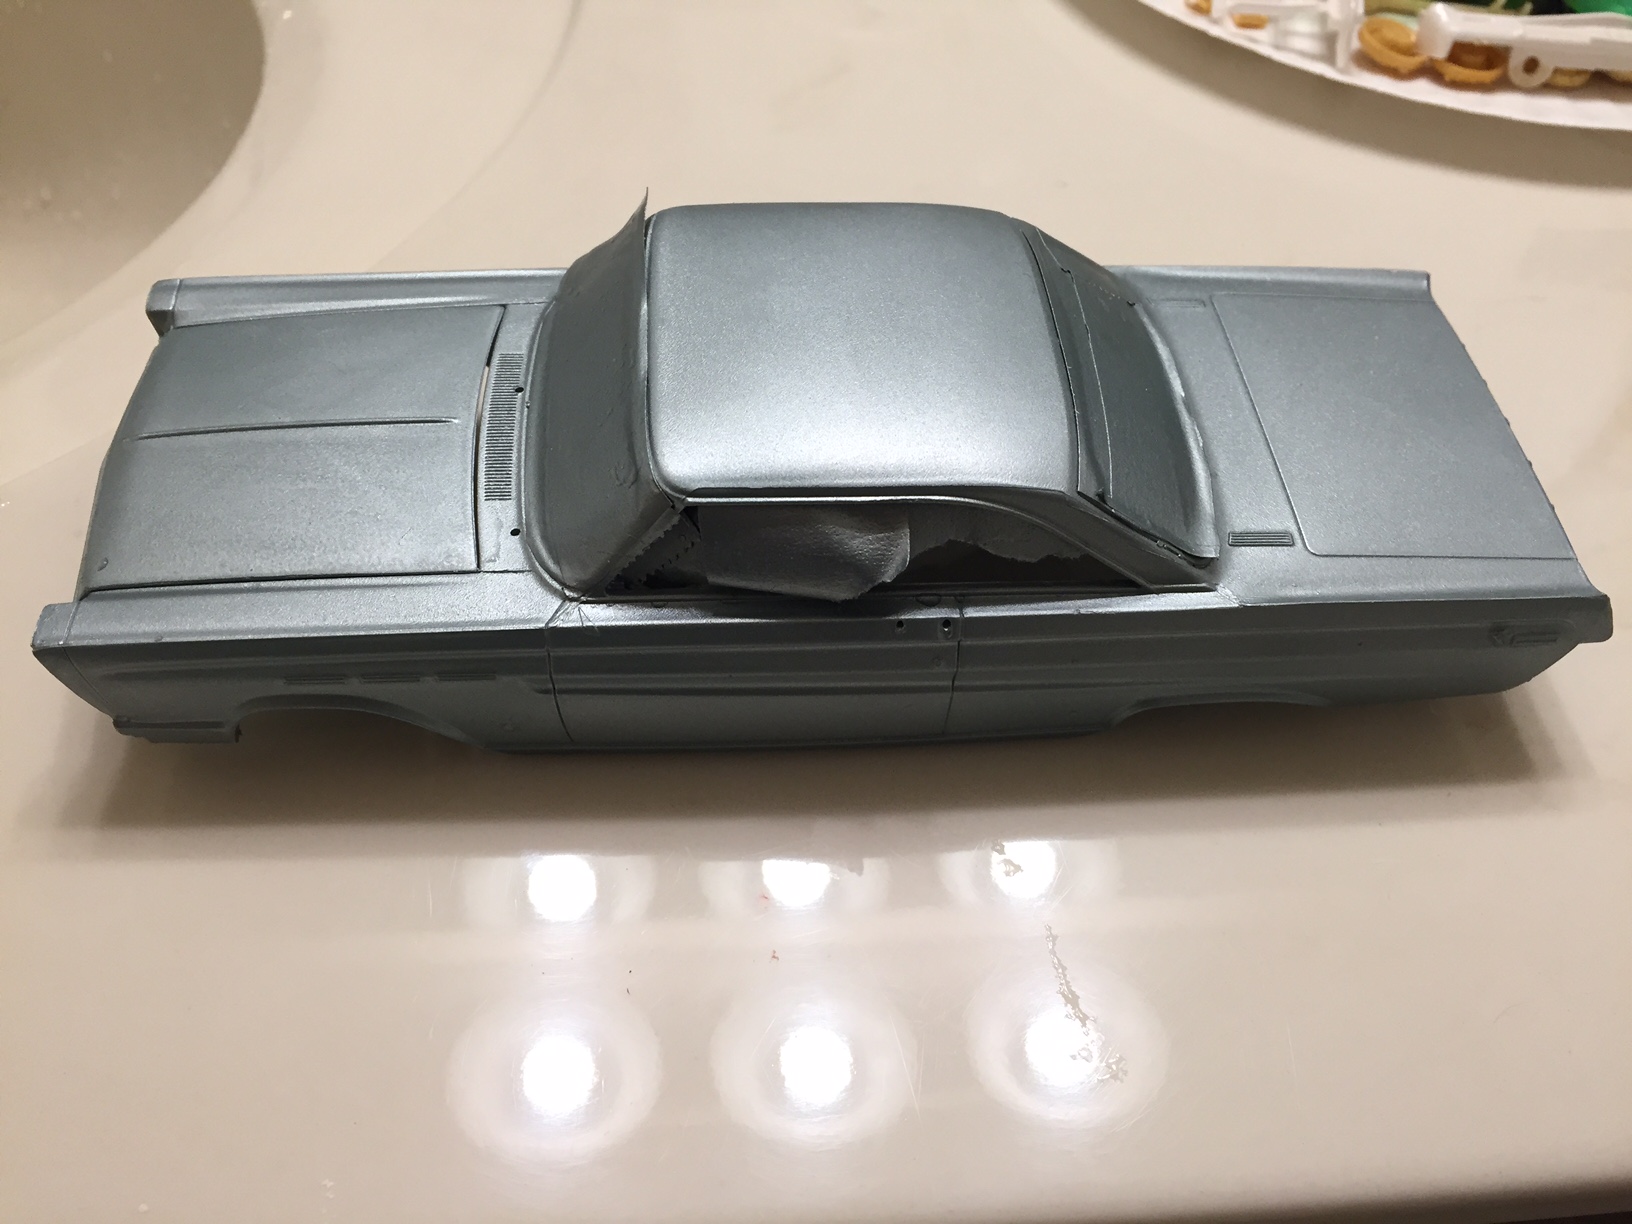
I have been busy the past few weeks, not too much time for modeling. I painted Three cars today, the 65 Comet in Silver Smoke gray, an AMT 1967 Chevelle in Royal Plum and a Resin copy of an AMT 1960 Falcon by Bandit Resins, in Light Blue. I attached the Windows except for the Vent Wings and Masked the Glass inside and out. The Comet Interior was done in Testor's Italian Red, The Head Liner after Internet Research is Not Red but an Off White, I almost forgot to paint the Sun visor's in Red to match the interior. So I am making Progress. Also air brushed a streak of Zinc Chromate Primer down the underside Chassis Drive Train Tunnel, like the Moebius instructions Photo shows. Now the next step is a clear coat. I am very happy with MCW's Automotive Laquers and the results I get using them. Will check back in a few days. Eric T.
- 30 replies
-
- 1
-

-
- mobius
- 1965 comet
- (and 1 more)
-
Improving the Moebius 1965 Mercury Comet
prrtrainguy replied to prrtrainguy's topic in WIP: Model Cars
Ron, WOW, Is that your 60 Pontiac Trumpeter Model or a resin kit? Very nicely done. What did you use to fix the hole for the Speaker Grill min the Dashboard ? Eric -
Improving the Moebius 1965 Mercury Comet
prrtrainguy replied to prrtrainguy's topic in WIP: Model Cars
Steve, Thanks for that info, Too bad that they did not included those gauges in the First release. Regarding the Dashboard, How did they miss the Heater Controls, Speaker Grill, Defroster Vents and Ash Tray on that part ? I am getting the impression that some parts of this kit were "Eyeballed" so to speak and not researched thoroughly. There are number of missing details, many that a 55 year old AMT would have included. If I did not like Mercury's, I would have skipped this one. Just my opinion. I puttied over the Seat backs today to hide that seam with notches on the Front Seat backs. Filled the Dash hole also. Next I will finish the Chassis and Prime the model. With the Front Mounted Glass parts I was thinking of Cementing the Glass in Before Painting, Then masking it inside and out. The Bear Metal foil on the moldings should hide the beige color plastic at the attachment points. I want a secure fit of the glass, and dont want to chance ACC fogging of the windows with Super Glue applied. Any Thoughts on that idea? Eric -
Improving the Moebius 1965 Mercury Comet
prrtrainguy replied to prrtrainguy's topic in WIP: Model Cars
Hey Guy's Any ideal what that notch in middle of the bottom of the Dash Board is for ? I was going to fill it in. Eric -
Improving the Moebius 1965 Mercury Comet
prrtrainguy replied to prrtrainguy's topic in WIP: Model Cars
Thanks, I missed that ! -
Improving the Moebius 1965 Mercury Comet
prrtrainguy replied to prrtrainguy's topic in WIP: Model Cars
Here is a Photo of a 65 Comet Firewall, showing the Heater Blower Location. Not sure why this detail was left out. Don't add a wiper motor, I understand from another Forum posting that it was mounted on the Inside of the Firewall
-
Improving the Moebius 1965 Mercury Comet
prrtrainguy replied to prrtrainguy's topic in WIP: Model Cars
Steve, Thanks for the Interior Shot. Not much we can do with the Transmission hump. I could slice off the Shifter ring and move it left, but I doubt anyone would notice it? I am however, going to fix that "Billiard Ball" Size shift knob, the kit provides, "it's Huge" ! I found a Tach, from a Revell kit I will use on the Dash. Too Bad Moebius did not supply one. I also am cutting off the rear wheel axle mounting pins, Drilling them out and adding a Metal Rear Axle. These always tend to break after awhile being handled. Eric- 30 replies
-
- 1
-
-
- mobius
- 1965 comet
- (and 1 more)
-
Improving the Moebius 1965 Mercury Comet
prrtrainguy replied to prrtrainguy's topic in WIP: Model Cars
I ment the 1961 Falcon/ Ranchero did not have a V8 option as far as I know., Please correct me if I am wrong ? -
Improving the Moebius 1965 Mercury Comet
prrtrainguy replied to prrtrainguy's topic in WIP: Model Cars
"MOEBIUS LOL " How did I miss That !!! Corrected, SORRY !! I built the AMT '61 Ranchero Custom kit recently and the engine in that turned out to be a poor representation of a big block Chevy and not a Ford at all. Do you know if these kits are even related or not ? Not Related at all, the Moebius Kit is New Tooling, the 61 Ranchero was an AMT Craftsman Kit which had No Engine, Ertl Cut the Hood Out and added a 289 in the 1990's I think. They forgot to add the Gas Tank, missing since 1961 and added Dual Exhaust's, so a Stock Ranchero Six Cyl. under frame cannot be built from these 289 V8 Kits. -
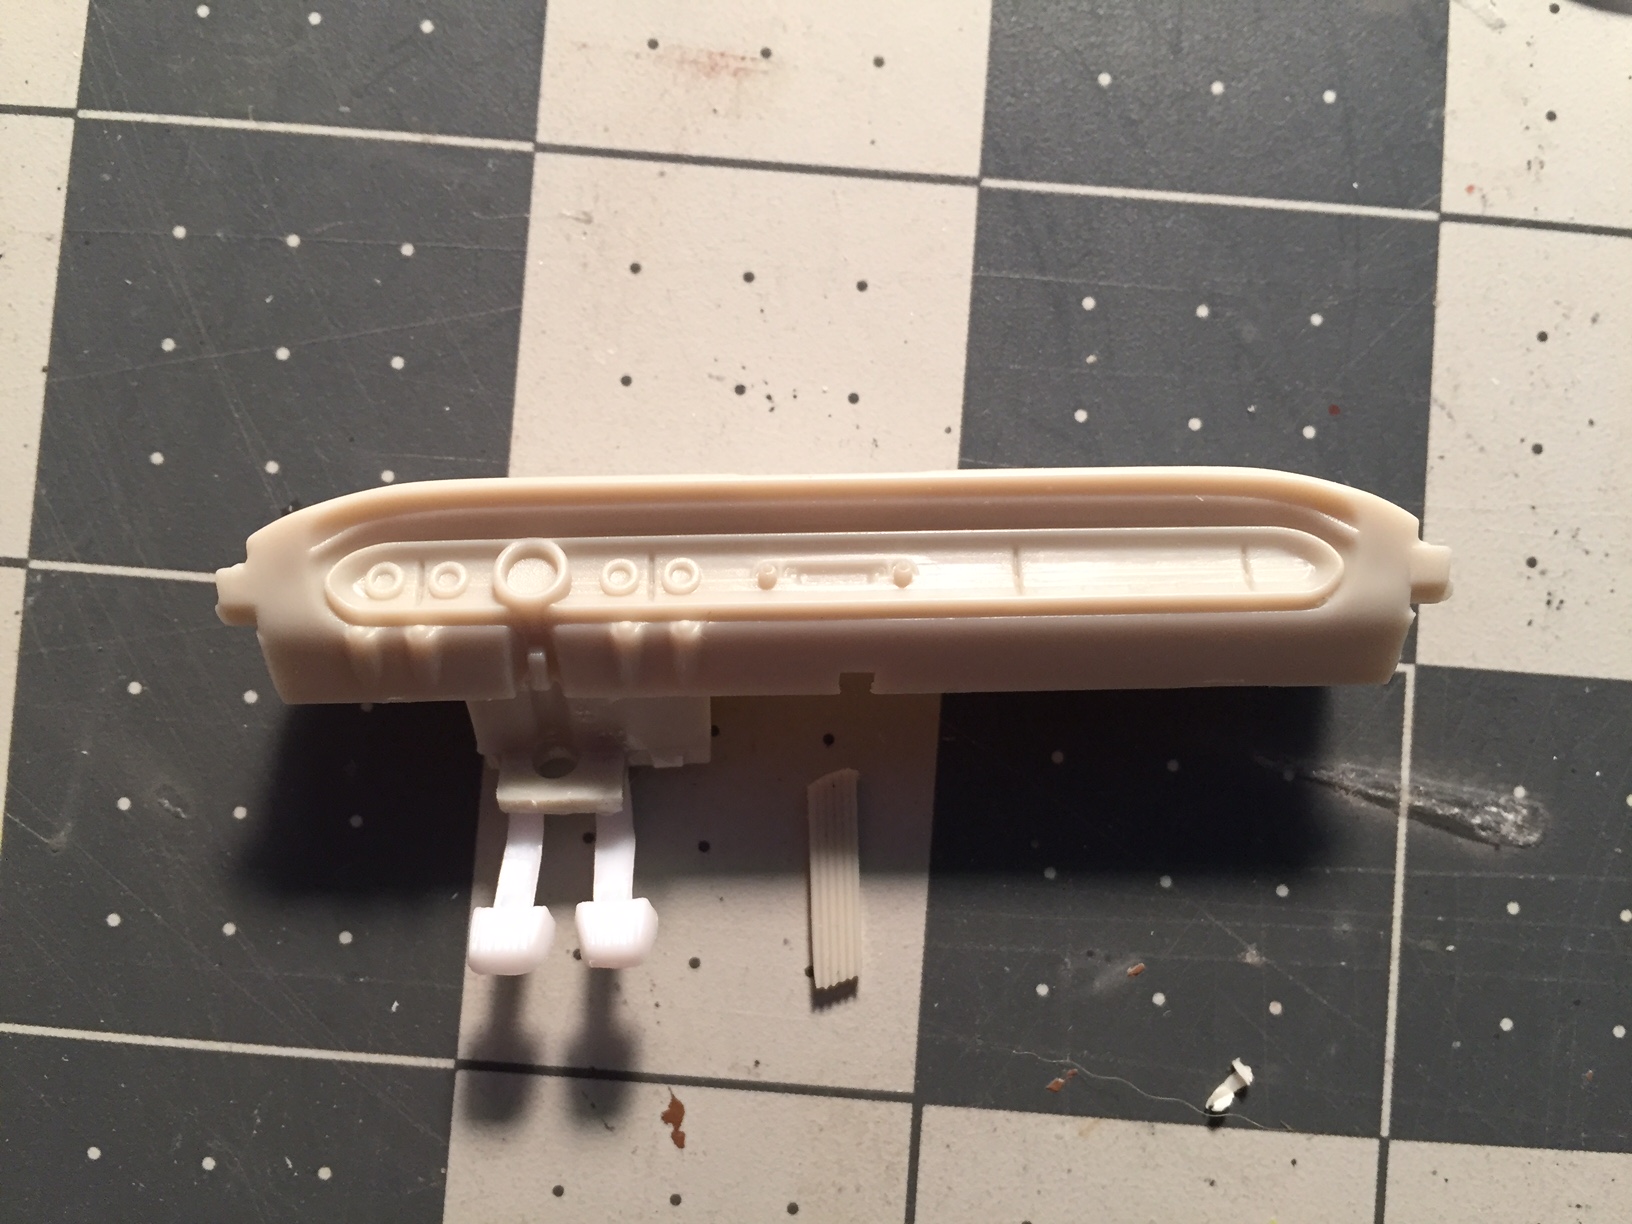
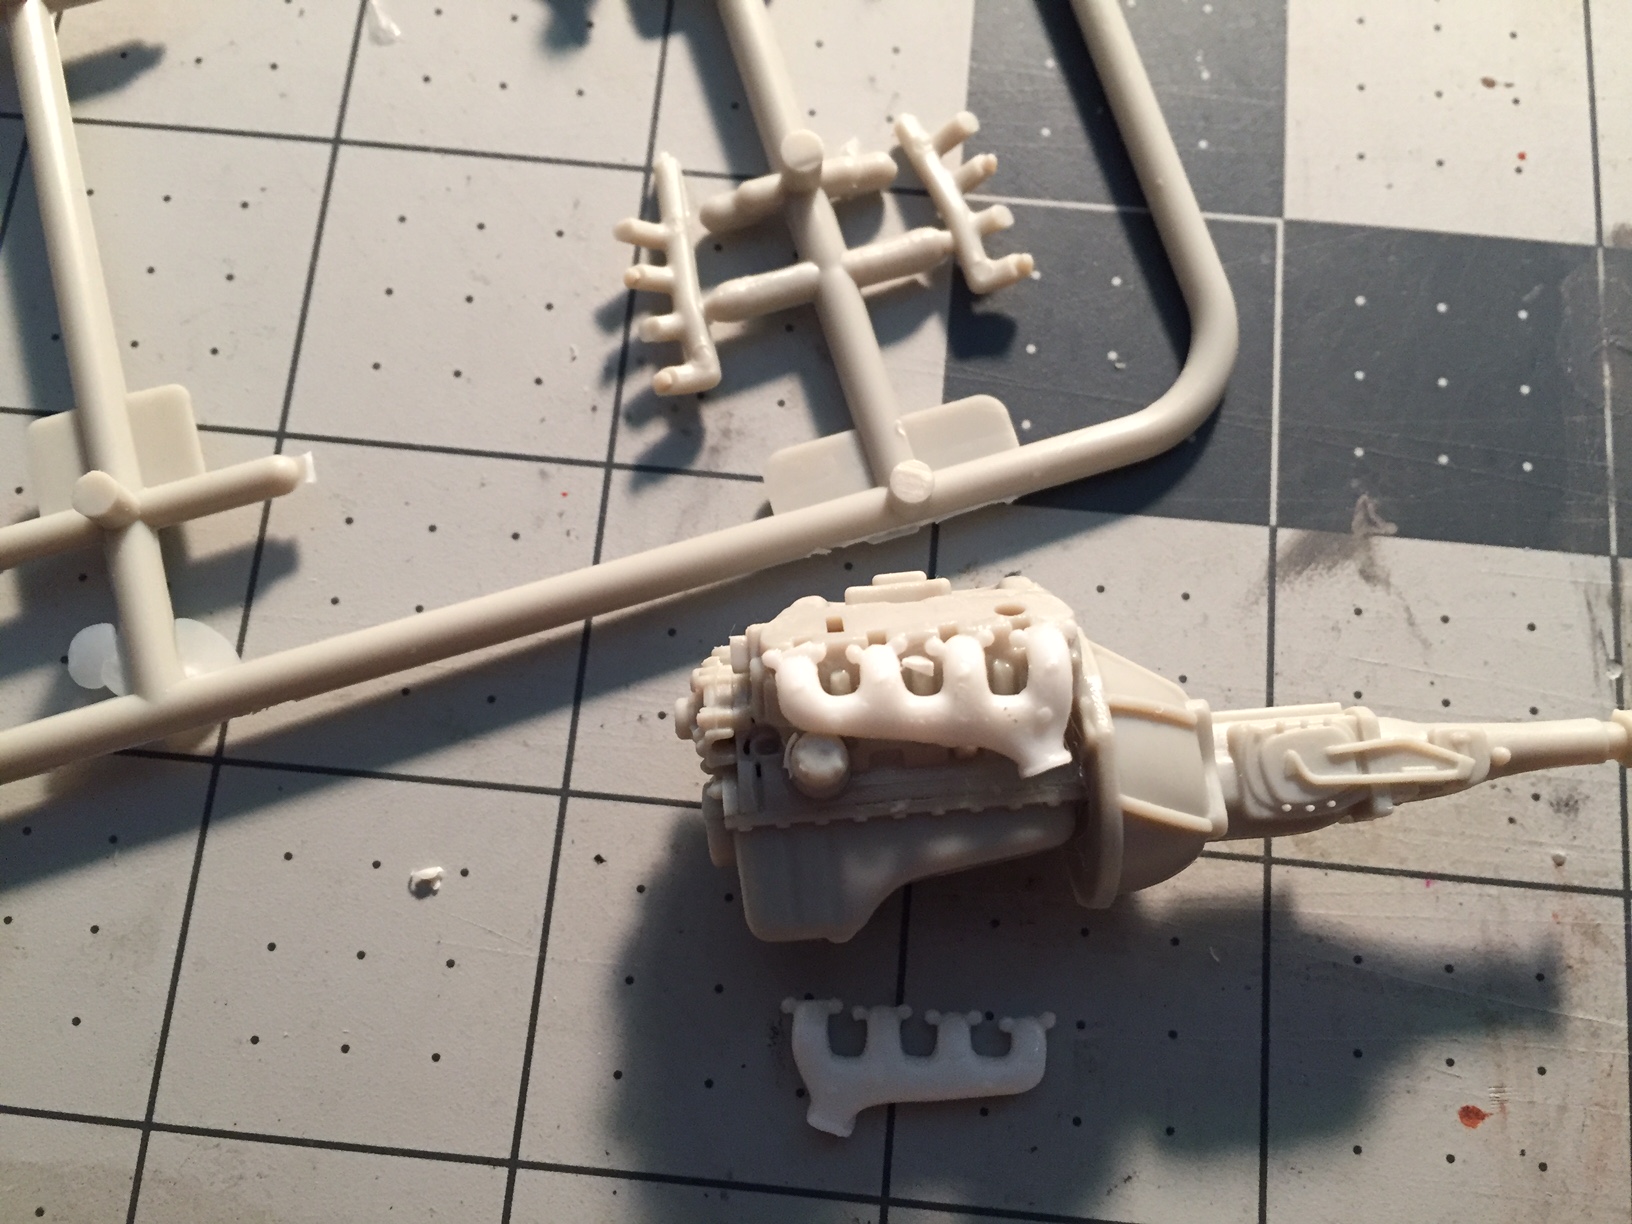
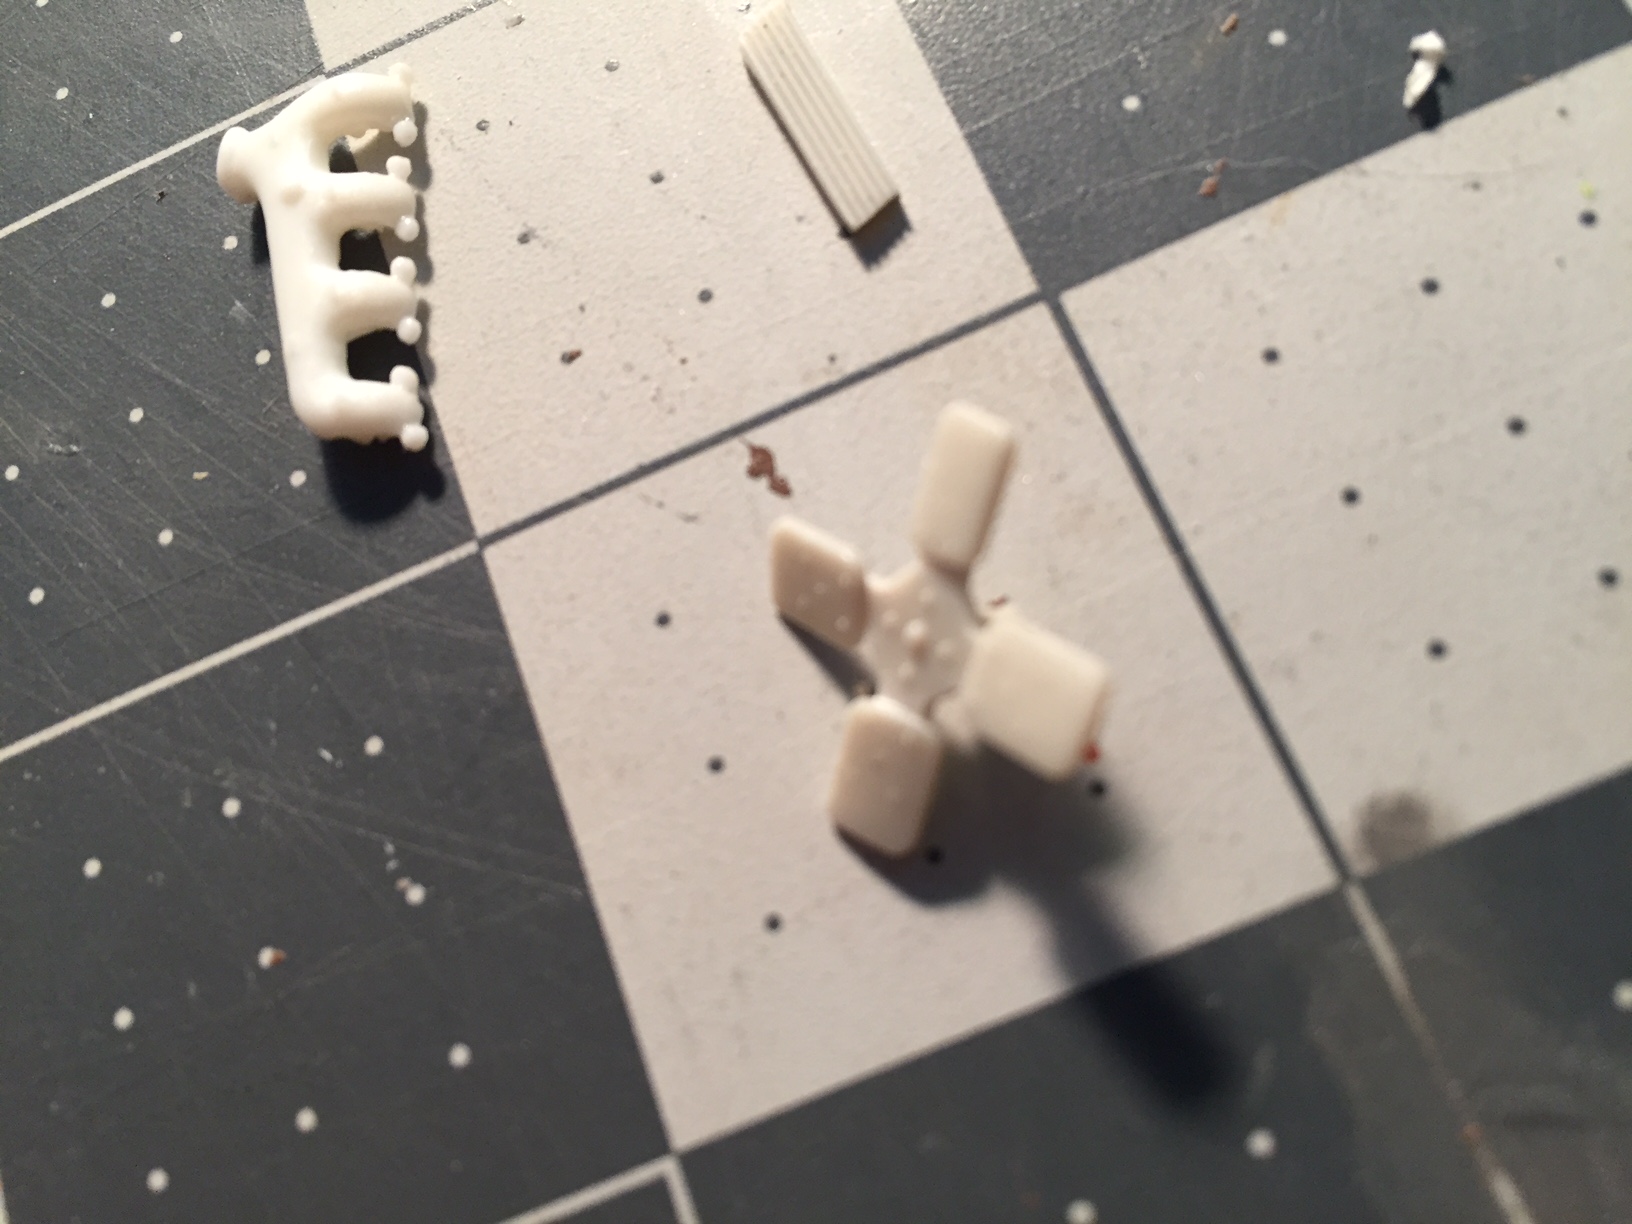
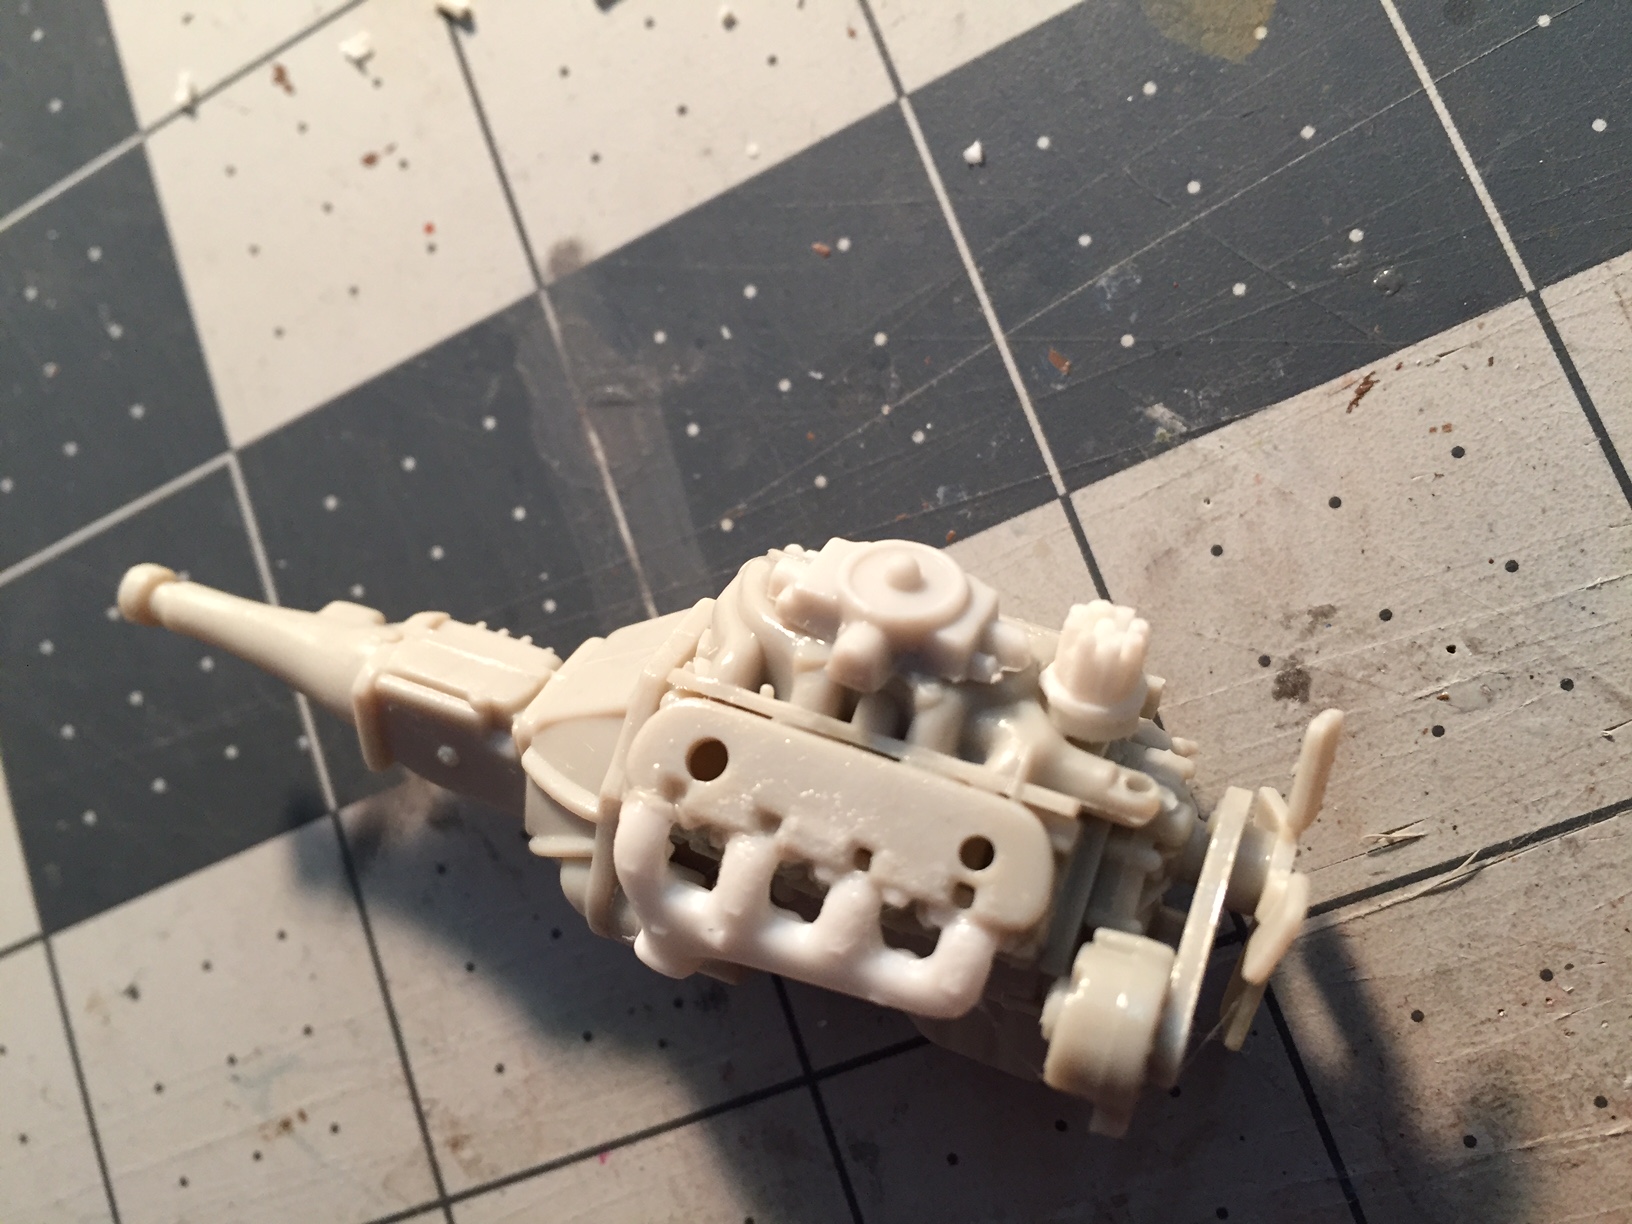
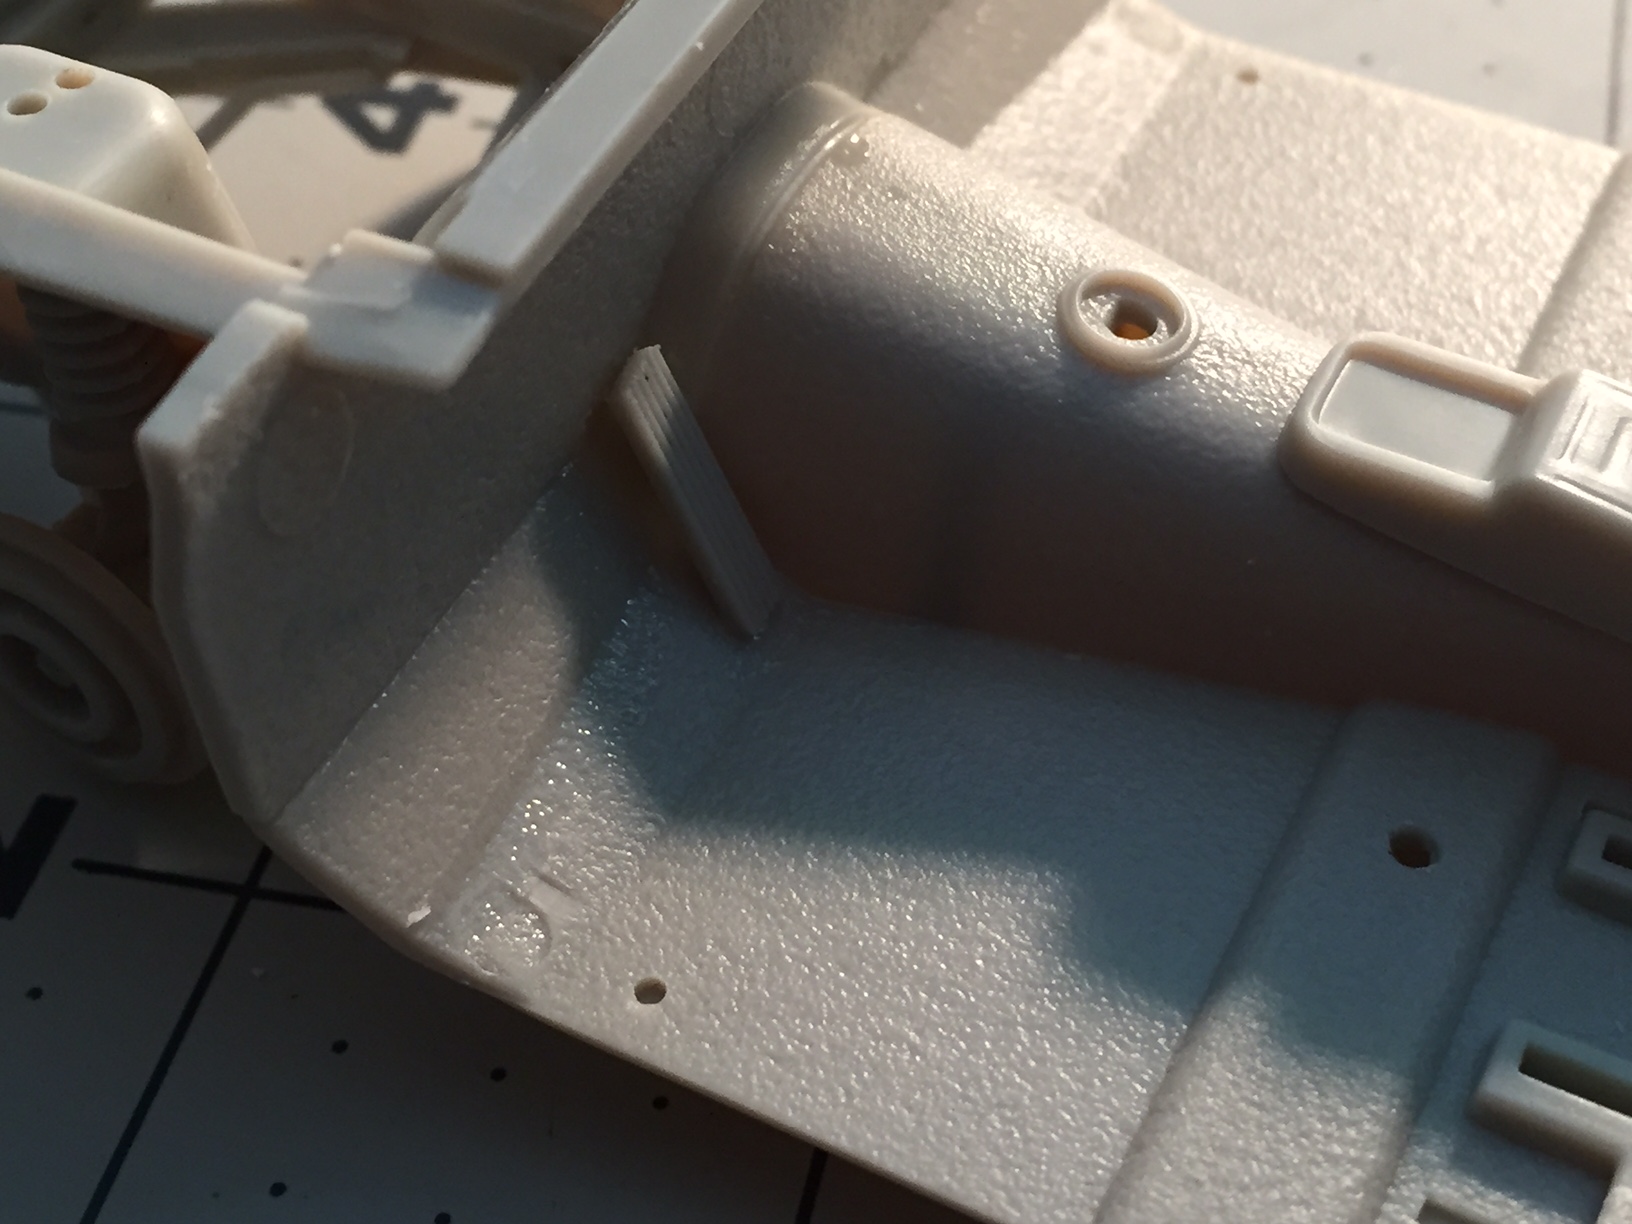
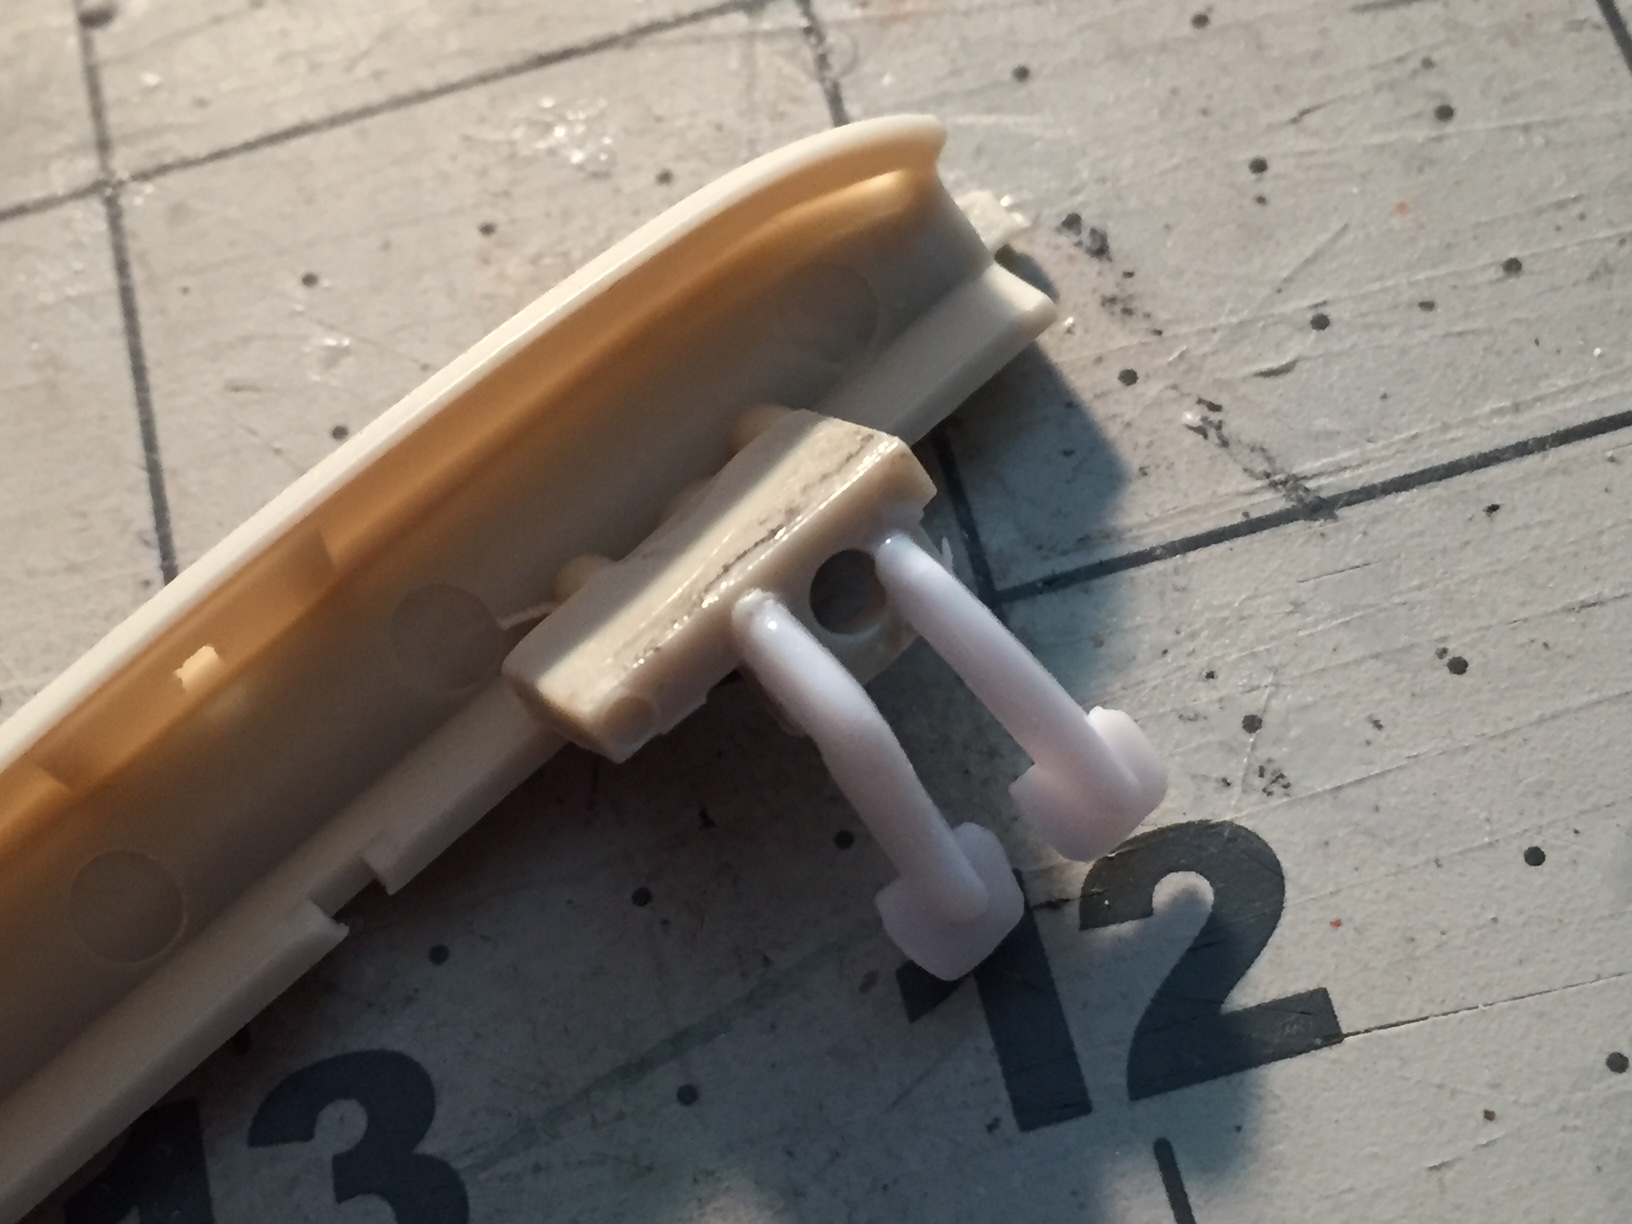
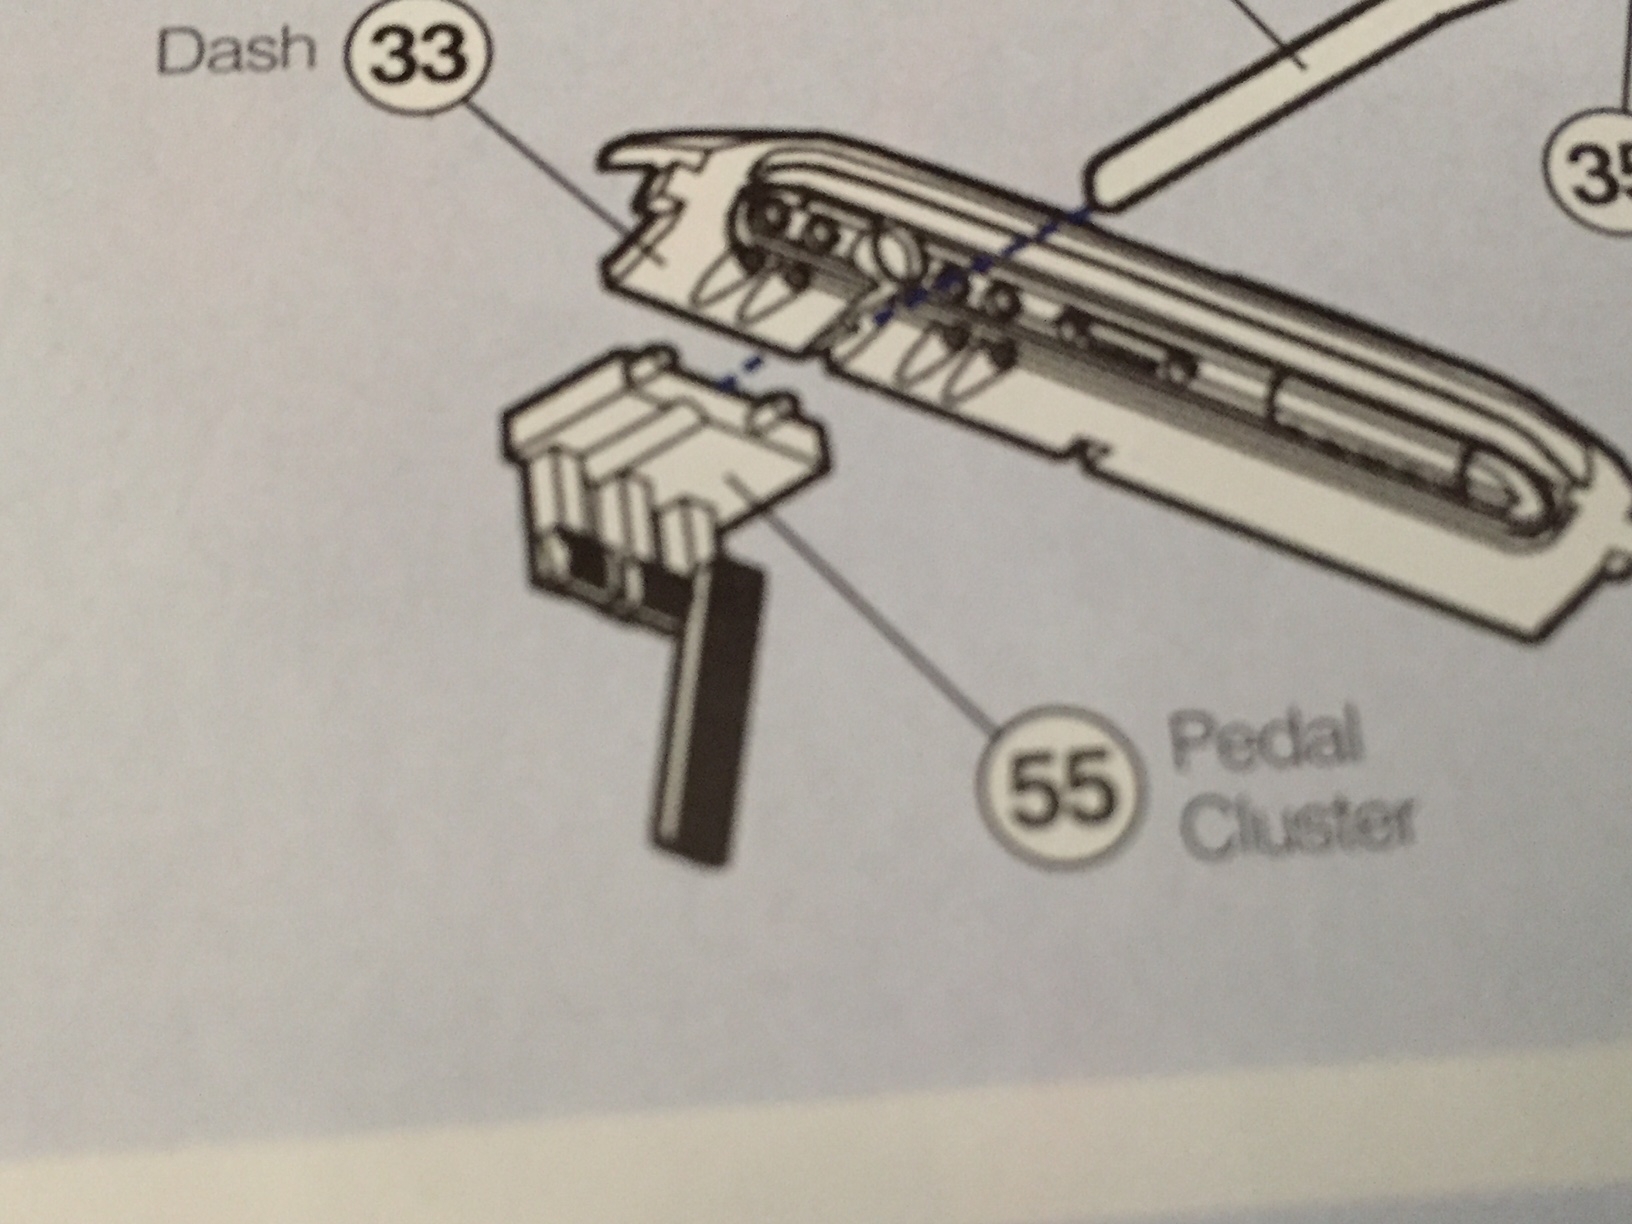
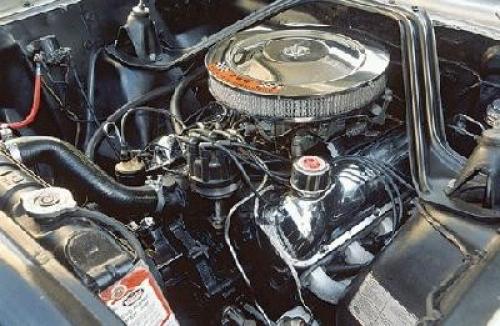
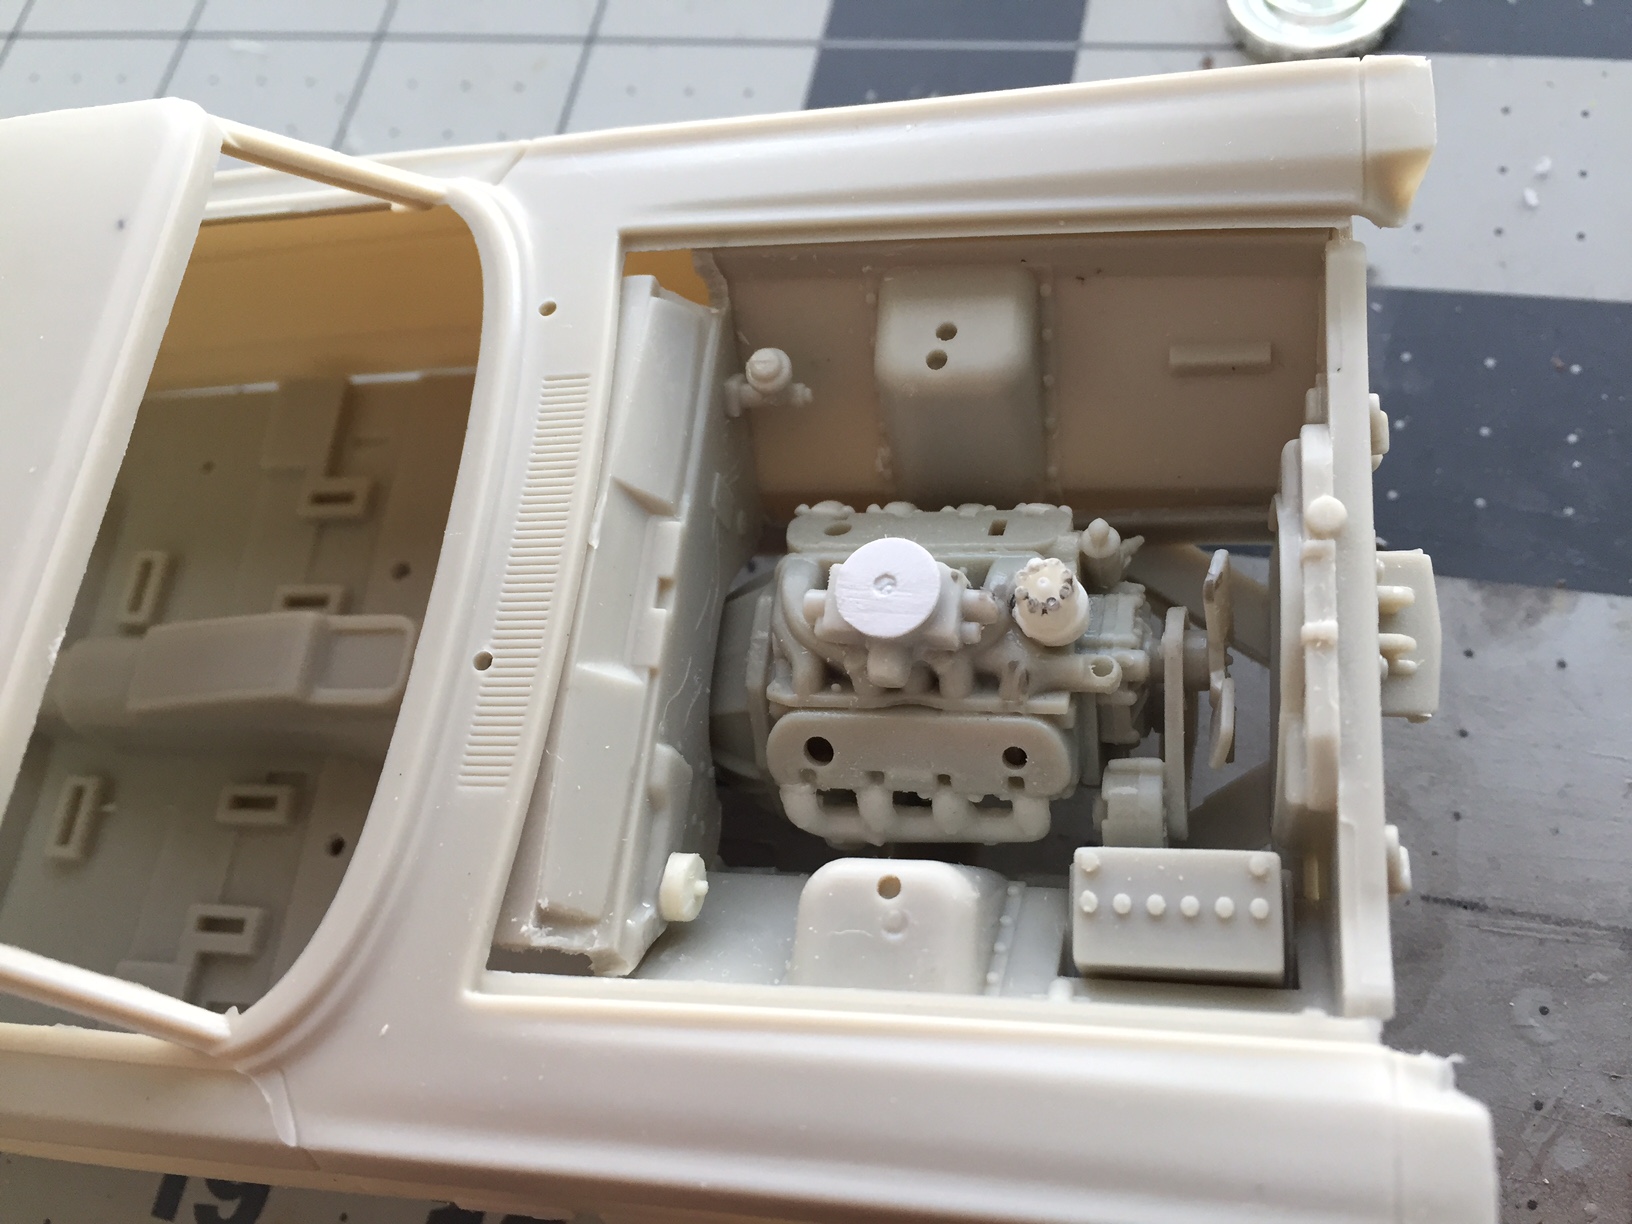
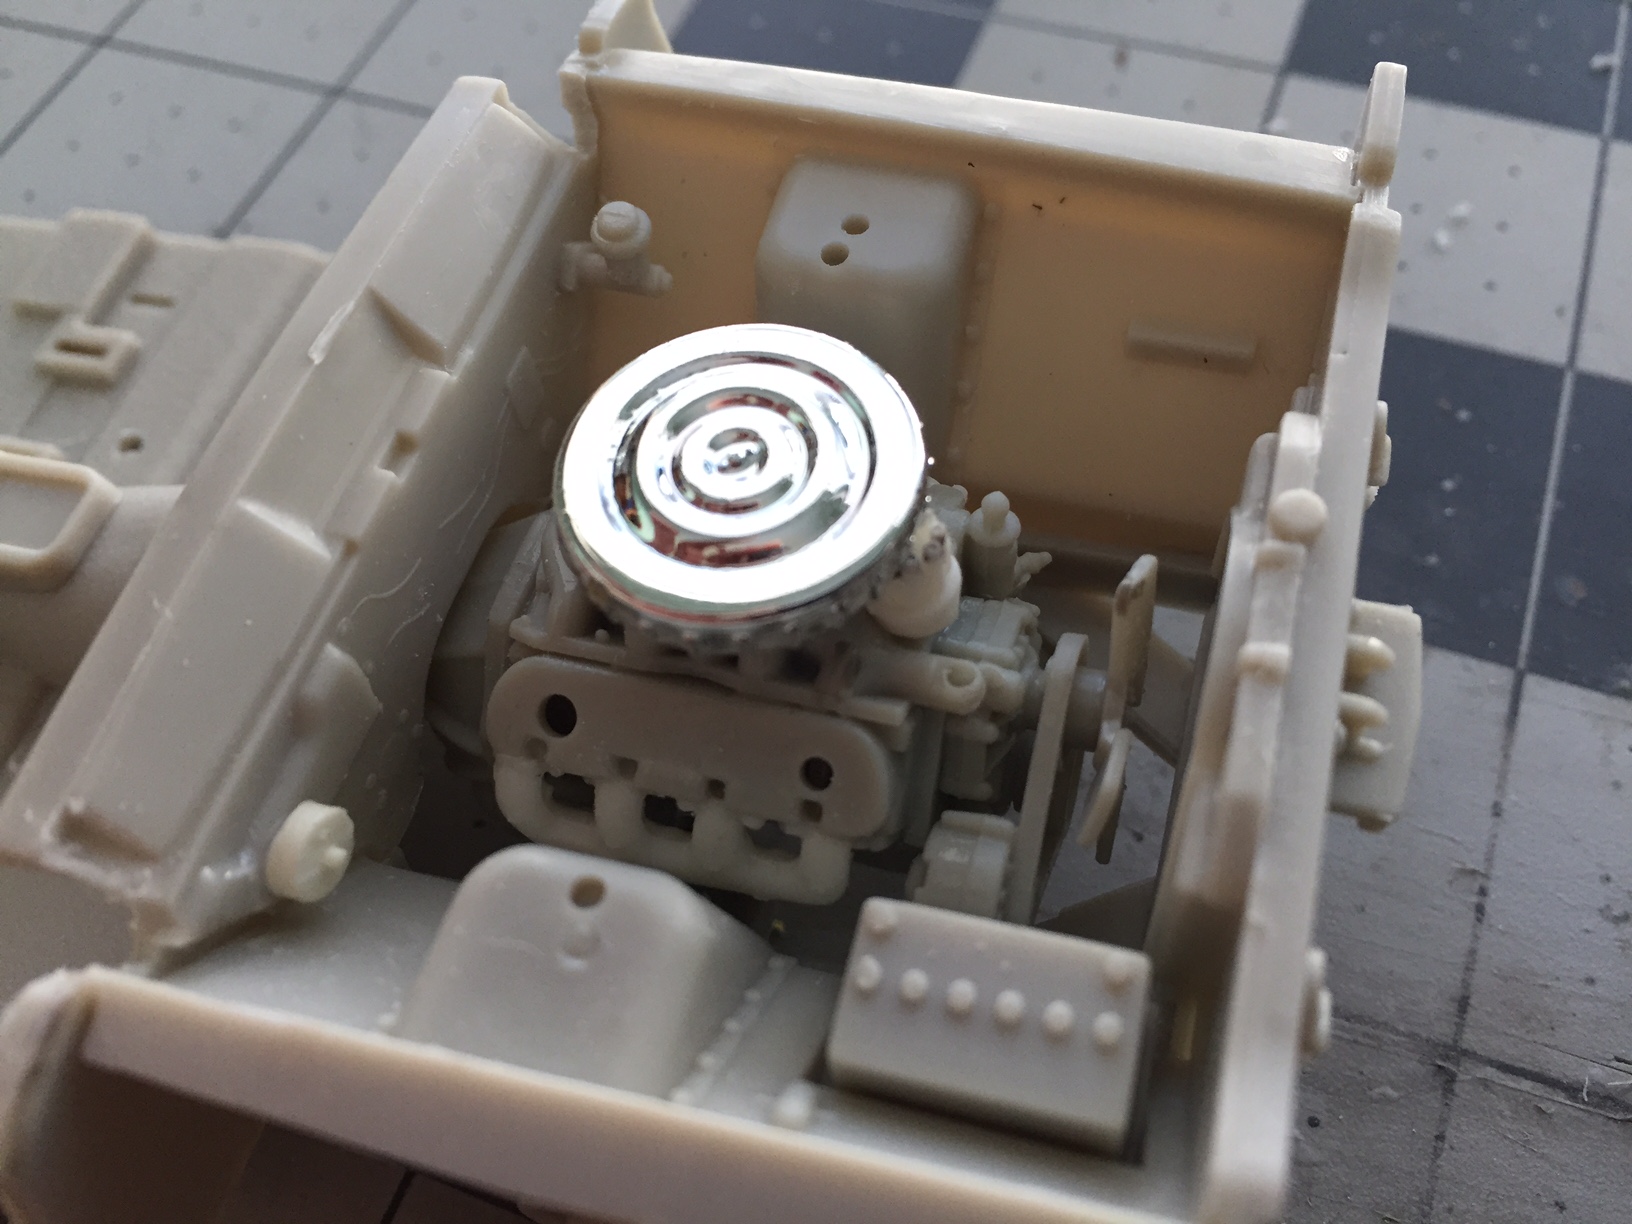
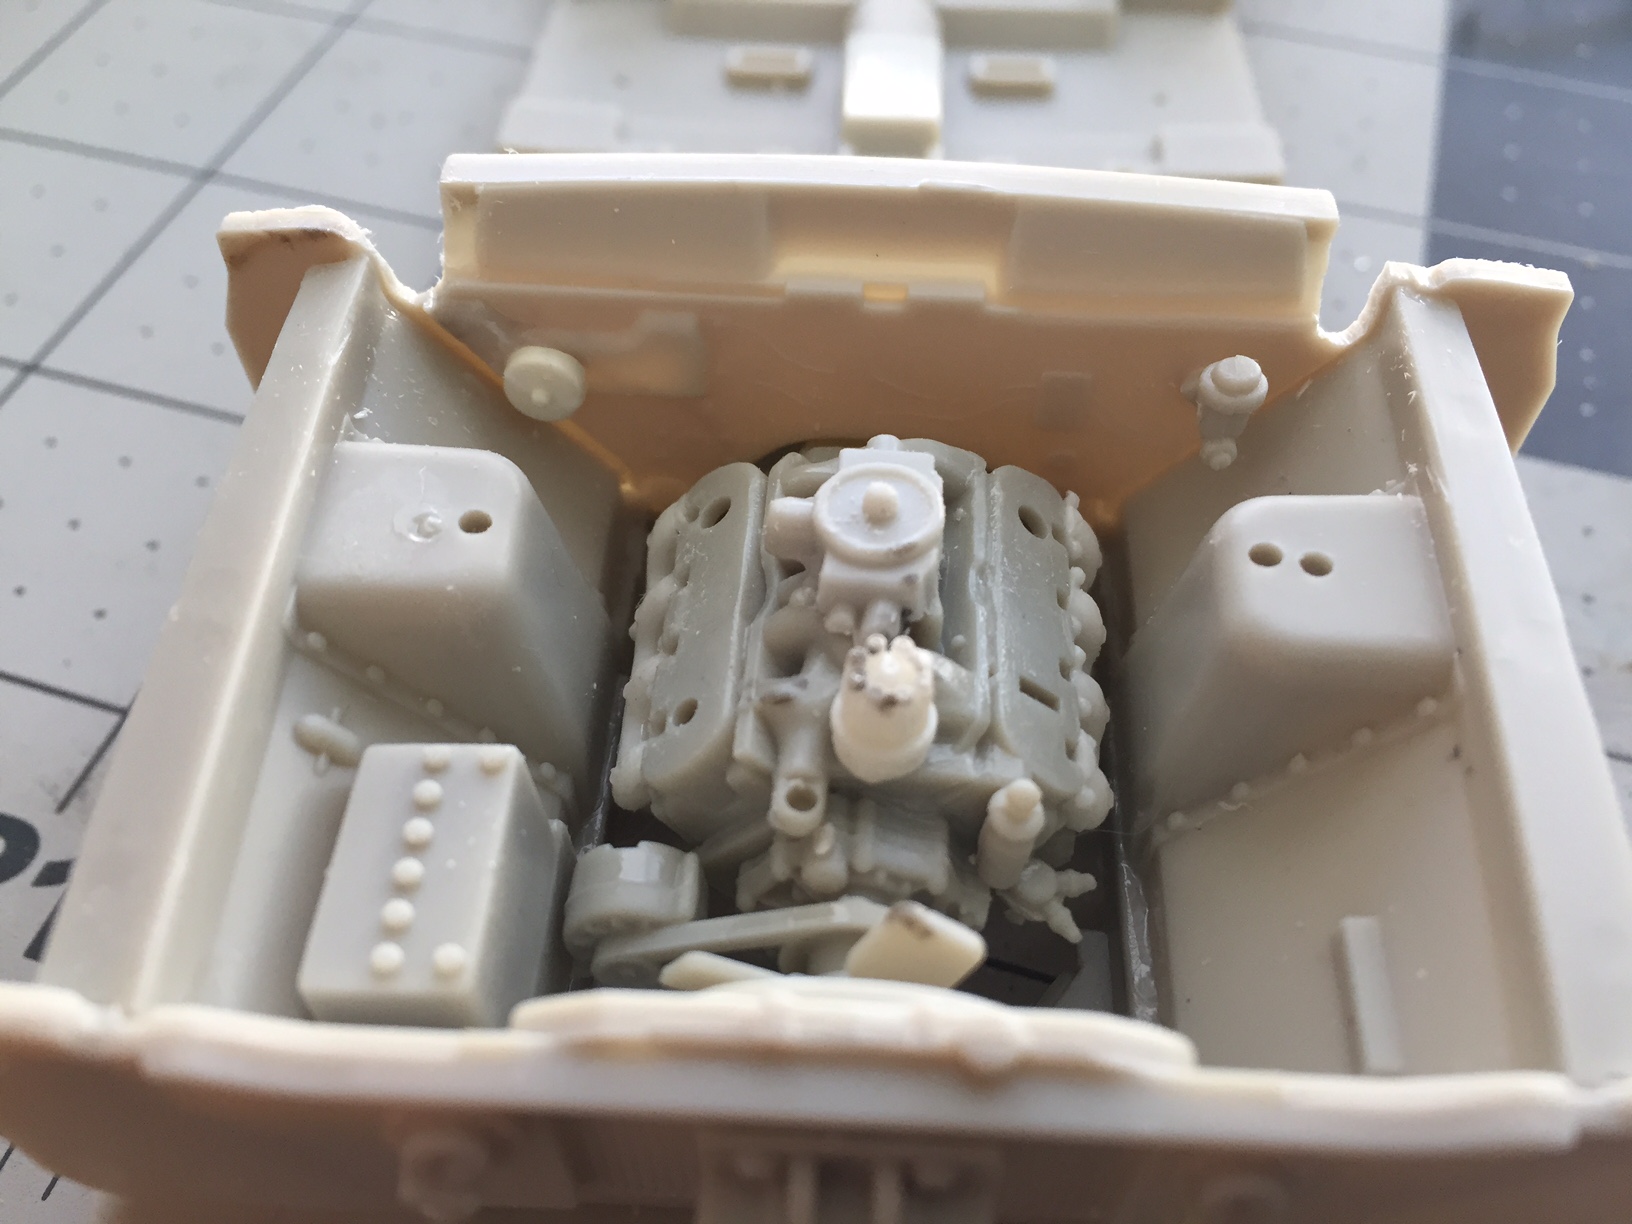
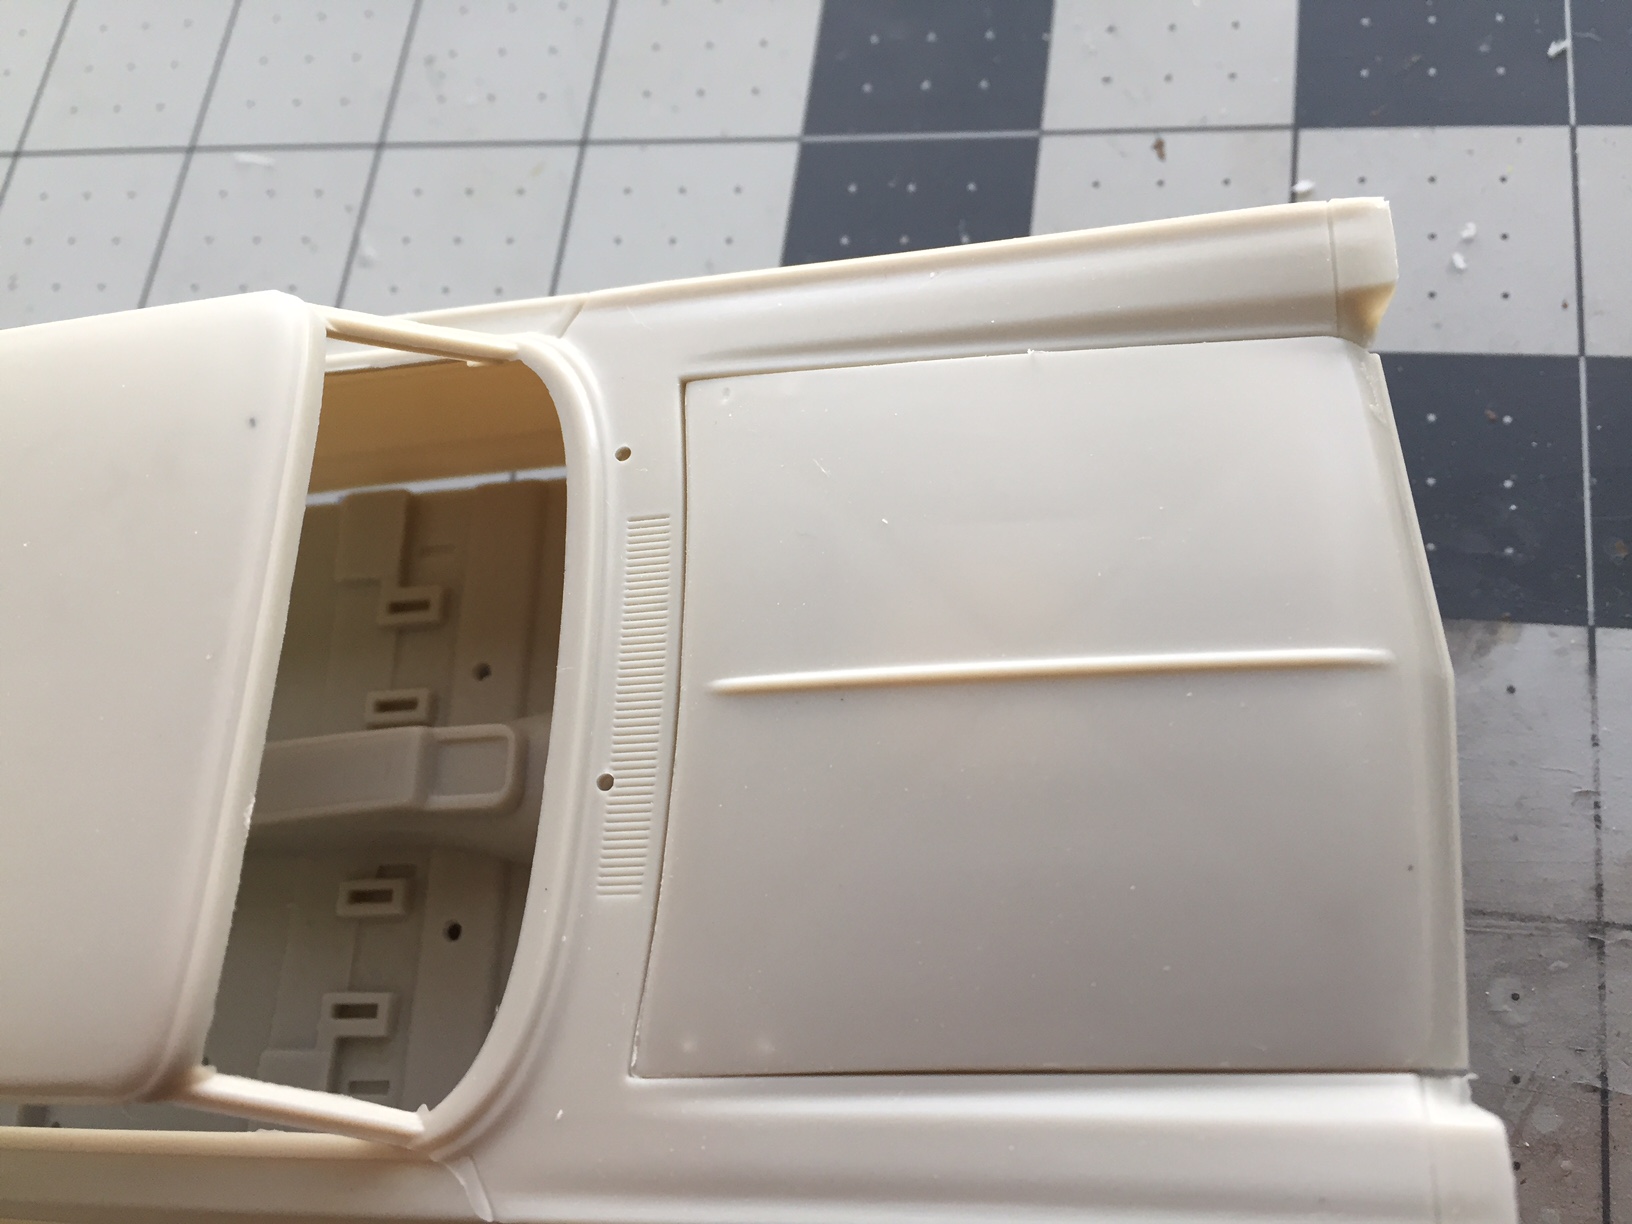
After purchasing the New 1965 Mercury Comet from Moebius, I discovered a number of small but annoying mistakes in the tooling that I wanted to address. First off, I am Not knocking Moebius or the Kit. It is very well done, all said... and I do appreciate that they released this well needed Mercury kit to fill that missing link from the Older AMT Annuals. My intention is to suggest some options to making a better looking model. First, the Brake, Clutch and Gas pedals, Part 55 need some improvement. The gas pedal is way too long and the Brake/Clutch pedals too small and stubby. " I used the Revell 1968 Mustang pedals and cemented them to the back of the Moebius pedal mount part. They have the correct look and angle of the factory pedals. For the Gas pedal, I cut off approx. 1/8 inch from the top and kept the angle at the top of the pedal. I mounted it on the Floor pan next to the transmission tunnel. Most all US auto's had Floor Mounted Gas Pedals until the Late 1960's - Early 1970's. A second issue is the 289 Engine. The Exhaust Manifolds do not look correct, part's 130/131, very Tubular, Not Stock looking. I replaced them with 289 Manifolds from the AMT (Ohio George)1960 Falcon kit. You may also consider the AMT1966 Mustang or AMT1967 Shelby/Mustang kits for these parts. The Moebius Air cleaner is way too thin. I used the AMT 1966 Mustang Chrome Air Cleaner as well as the Stock Chrome Valve Covers from the AMT 1967 Shelby Kit. Moebius provides the Smooth 289 CU Valve Covers, But they are Not Plated. Only the Finned ones are. (See Photo of a 1965 Comet 289 with Chrome Air Cleaner and Stock Chrome Valve Covers) Next, I corrected the Fan by Bending the Blades slightly to get an angle like 40 degrees or so, the Kit Blades are Flat, (No Air moving here) ! Finally, I replaced the Distributor from the AMT 1960 Falcon V8. I cut down between the base and cap and sanded about 1/16th in. off the cap part, then re joined the parts. This way it will clear the Air Cleaner with no problems. I also used the Carburetor from the 67 Mustang/Shelby kit. Last, I sanded off about 1/16 In from the Alternator Shaft cover on the Alternator part. This is over exaggerated and needs to be just a stub. Well that's it so far, I will post additional Info as I make progress on the kit. I have picked MCW 1965 Ford " Silver Smoke Gray", Mercury Pearl Gray Poly) with Testor's " Italian Red" interior with a Darker Red Carpet color, " Testor's Flame Red" for my Model. Please post your Progress, ideas for detailing this kit or any issues you may have encountered. Happy Modeling ! Jan 21, More progress today, I added a Blower motor from an old AMT Ford Starter, cut the front off and cemented to the Firewall Heater Box. Also I carefully Cut slots out in the edges of the Firewall so that the Hood can open, using the Kit Hood Hinges. Also Added a spacer to the top of the Four Barrel Carb so that the AMT 66 Mustang Air Cleaner would clear the Distributor slightly and Test fitted the Air Cleaner to confirm that the Hood would Close completely when added.
- 30 replies
-
- 1
-
-
- mobius
- 1965 comet
- (and 1 more)