
brewsterg6
-
Posts
118 -
Joined
-
Last visited
Content Type
Profiles
Forums
Events
Gallery
Posts posted by brewsterg6
-
-
Pat! You've completed so much since I checked in here last! It's looking really good as you tackle each problem one at a time. For the whitewalls, I hand paint them, but make sure that you use a water based acrylic paint. The oil based stuff goes gunky on the rubber and never dries. My comment with looking at the 1936 Ford kit was to check out how they changed a roadster to a coupe. The body is built so that the roof of the coupe incorporates the top of the cowl area as well, that way the entire windshield frame/cowl shape can be switched between roadster and coupe. It's too late for how you've cut it now, but I was referring to cutting the Ford roof off with the cowl top intact, and fitting the whole section to the Chevy body. You didn't show us how the cut through the roof insert went. If it is ruined, I would smooth it, then cut a piece of masking tape the right shape and paint it for the insert. The tape has the texture you're looking for. Excellent job so far. I like the Knee-Action that you built!
For you 1934 Chevrolet lovers out there, here's I shot I took in Flint 2011 at the VCCA's 50th Anniversary meet. The yellow car is Mark Fullmer's Grandpa's car. There were 6 Master Cabriolet's at this meet. Likely never see six of them all together again!

-
Hey Mark… Burt is a great guy! Tell him Bruce from the VCCA says hi! We have a picture of the hood ornament from his car that my wife took a couple of years ago in Flint hanging in our front hall...
-
Hey Pat, Great to see you on the model cars forum as well! (Pat and I are both regulars over at vcca.org)
If I were you, and was going to cut that roof, the place to shorten the length would be to cut at about the middle of the roof insert. You don't want to mess up any of the corners on the roof insert, or the corners of the windows. You're also going to have to put vent windows in too. An idea for getting the top to fit would be to look at how the 3 in 1 AMT '36 Ford is put together. It has an inter-changeable coupe roof/ roadster cowl that is cut along the same lines as what you are looking to do. The only problem is that you'll have to file down the metal doors. You only get one shot at getting that right! Another thing… measure the door and the gap behind the rear of the door and the rear fender. I think you'll find that the front edge of the door is in the right spot, and the rear edge has to be moved back. That may screw up your rear side window. That frame is different, not only because it is a standard, but also because it has the X member for an open car. Great job on getting the correct dimensions for your frame. That Danbury Mint model has extremely good details too. It may be easier to paint your real coupe to match it!
-
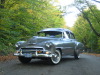
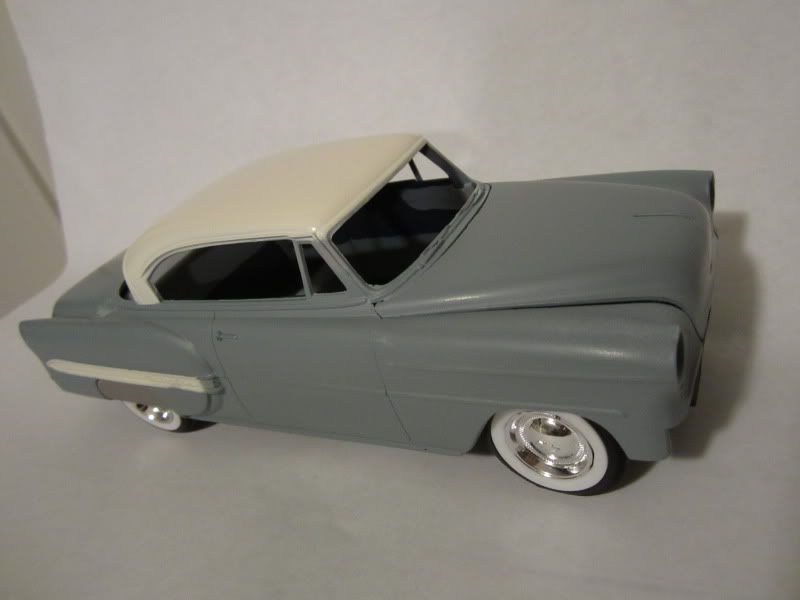
Great idea! One of the main areas that people screw up when doing this to 1:1 cars is in the windshield header. The convertibles had a shorter windshield, so you may want to chop that sucker down a bit. Take the advice posted above about using the '51 Chevy for the top and interior parts, and you'll also get the correct door vent windows that you can measure how far to chop the windshield off at. Also, the top corners of the windshield frame are a little less rounded off towards the rear. The door vent window is curved on the coupe, but more triangular with a flat top on the convertible. Here's a pic of my '50 Chevy. The Olds is the same, but a 1piece windshield
-
Great looking project! The Aussie cars were bodied by Holden, and they built many different bodied Chevys from '28-'52 that were not made elsewhere. Make sure you get a picture of the rear window of your buddy's car. I believe it should be a two piece split window...
-
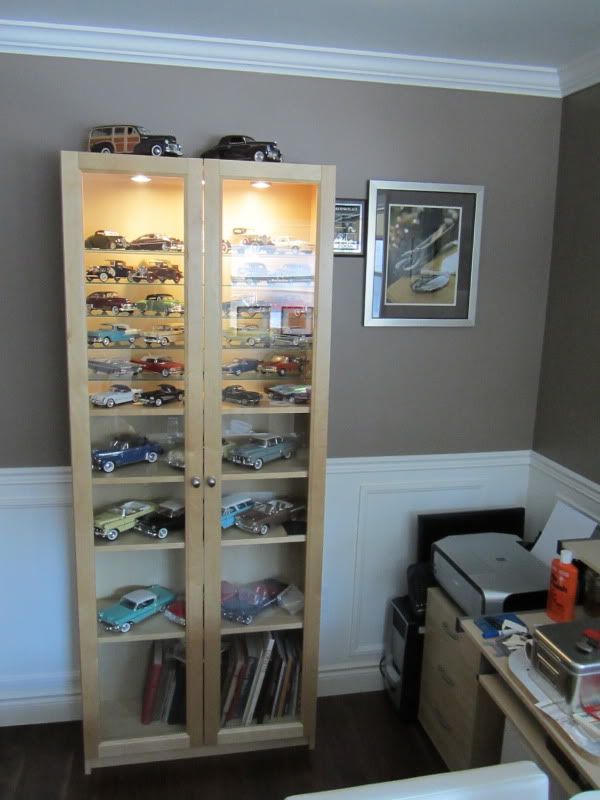
Charlie... The lights were from Ikea too. Out of the lighting section in the down stairs market place.
-
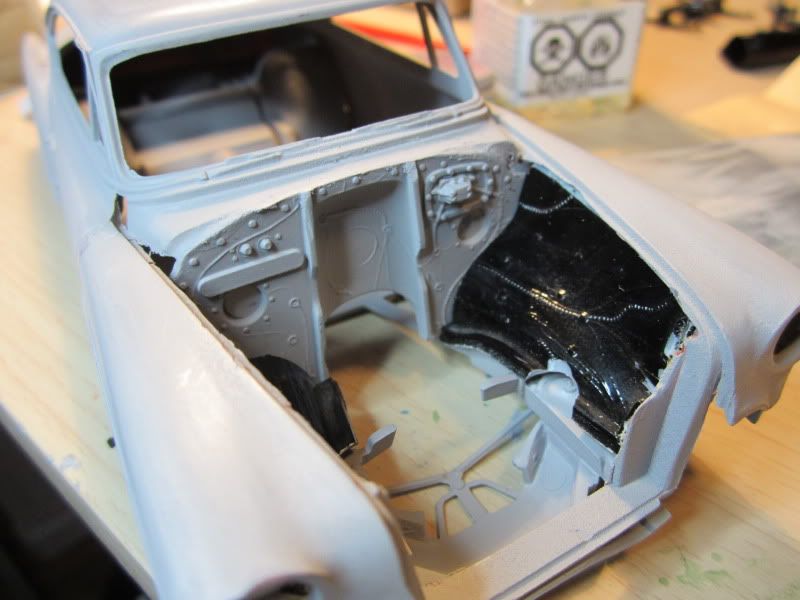
The firewall should fit between the fenders fine because the Monogram 53 Chevy is too narrow., but might need to have a strip added to the bottom because the body is too tall and needs to be sectioned. It looks like brewsterg6 may have made his inner fenders, and this body is too long but I havent looked close enough at this kit to see just where.
The inner fenders and the firewall fit in with minimal trimming. Odd that I had to trim stuff considering the scales are supposed to be the opposite way, but that's what happened! The length was fine because they end at the rad, and on the '51 kit they extend in front of the rad right up to the back of the head lights.
-
I'm using Billy Bookcases from Ikea as well. The more I build, the more times I have to go back for more glass shelves!
-
I'm building a monogram '53 factory stock. One of the details I changed to make it look more stock is to ditch the inner fenders and firewall, and replace them with the ones from the AMT 1951 kit. I've got aways to go: this has been on the back burner...
-
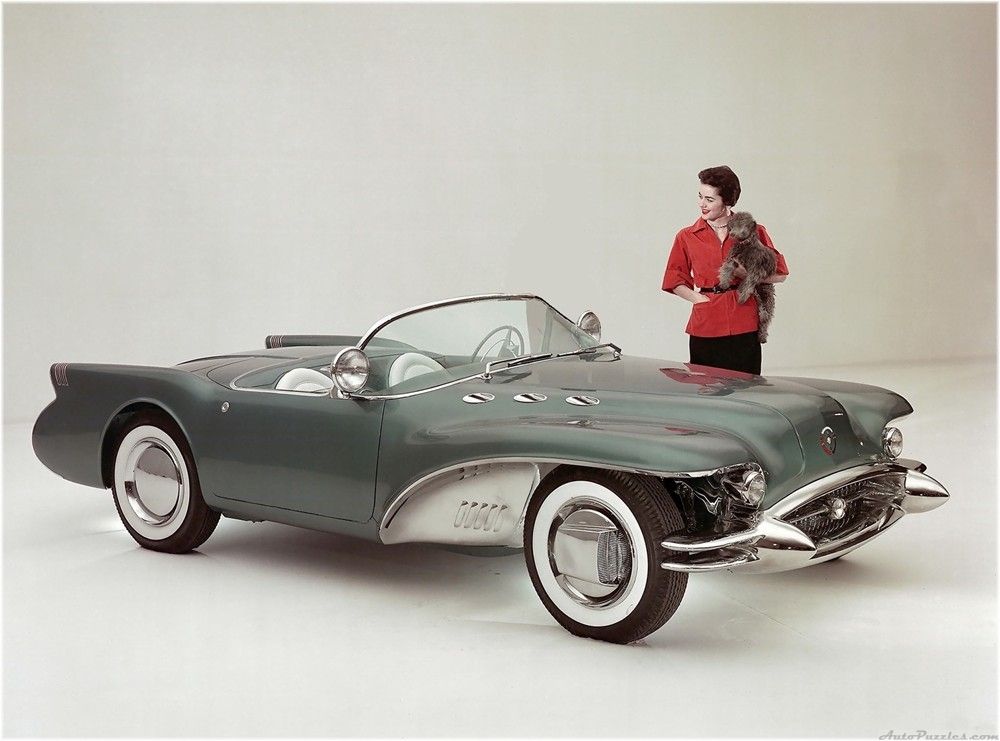
Hey Rick... I also found this early photo of the Wildcat. Check out the hubs. It looks like they don't turn, and act as a scoop for the brakes...
-
Very nice job! It's not as easy of a conversion to make this kit into a convertible as you would think. I built one thinking it would only need using the '59 convertible's roof and windshield frame. It turns out you need the valence between the trunk and the rear window too. The trunks are different lengths, and the hard top's is not as flat as the convertible's. The rear seats are different as well.
-
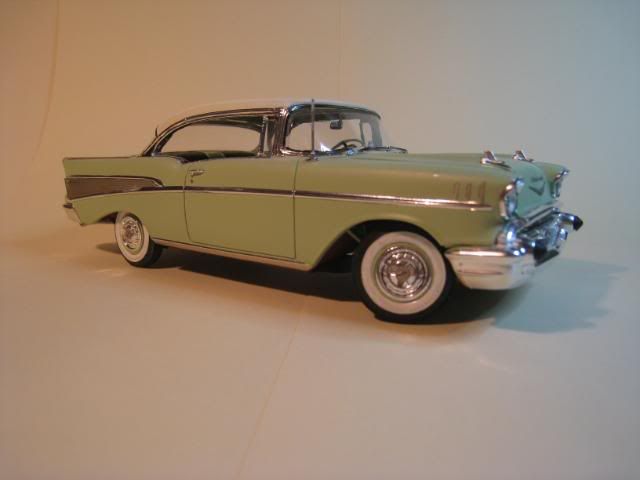
Incredible work! It's a beautiful car. Here's another view that I hope helps you out a little...
-
-
The marketplace was already full of cars selling in the same price class of the Chevy 6, and the car was a commercial failure--even today, seldom ever seen at AACA meets, even in museums.
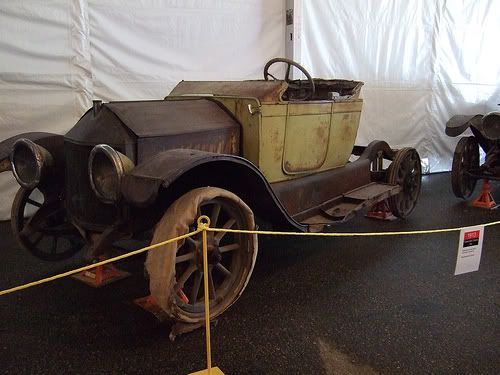
At the VCCA's 100th Anniversary in Flint, The Sloan Museum's 1912 or 1913 (There is discussion about when it was built) was on display, As well as this 1914 Light Six... believed to be the only one in existence. I believe that of Classic Sixes, the only two known are the one in Flint and the Oldest Chevrolet, found in Alberta Canada. If you know of any others, Let me know
-
You know that you can find the stock hood in the '39 sedan delivery kit, right? Great job so far... keep up the great work!
-
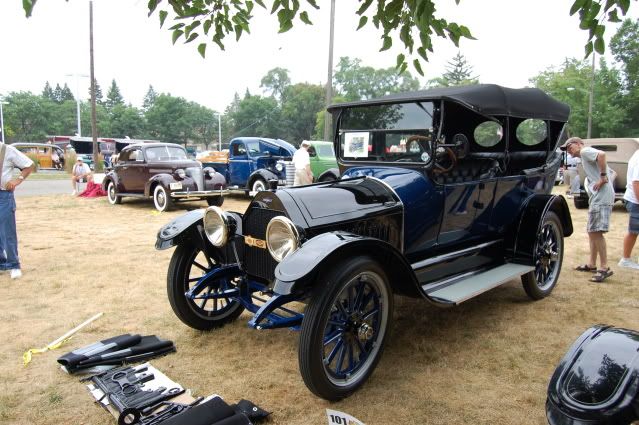
I'm in on buying one of these as well. I've been looking for years, but have been unable to track one down. If someone recasts this, they need to fix the lack of belt line moulding on the body, and get rid of the bowtie on the grille! One was on display at the 50th Anniversary VCCA Meet in Flint Michigan in the summer of 2011, but was not for sale. I also got to see the real car. Second picture is the oldest known Chevrolet, in a museum in Alberta, Canada.
-
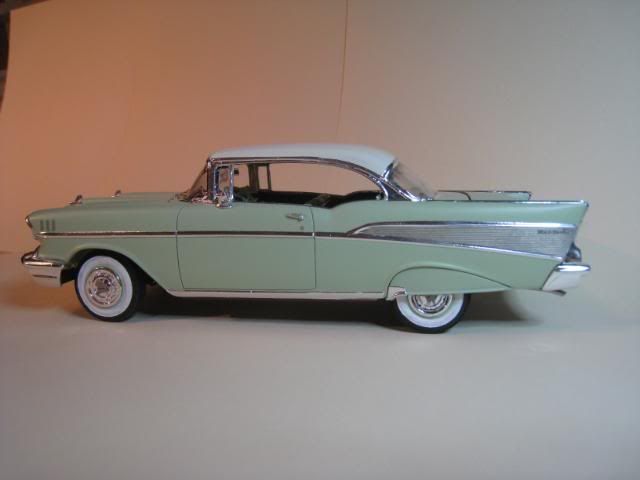
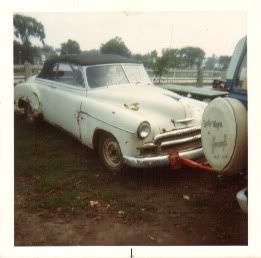
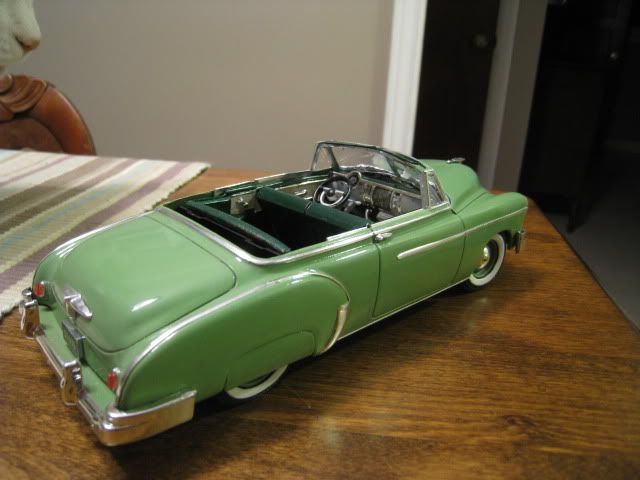
Thanks for the comments, guys... I'll get some outdoor pictures next week. I have finished painting the top boot cover, and BMFed the rad cap. Jon, I do own the real deal as well. It is in my profile pic. Dad found it in 1972, and has passed it down to me.
-
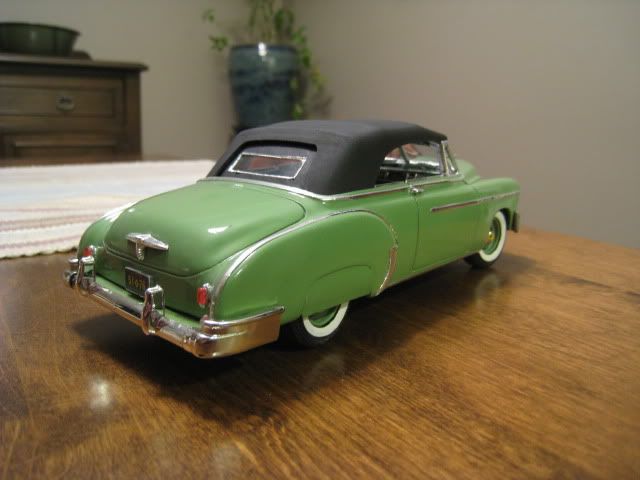
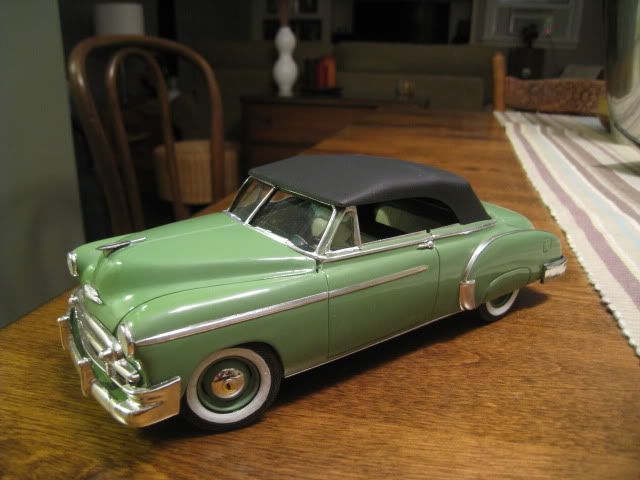
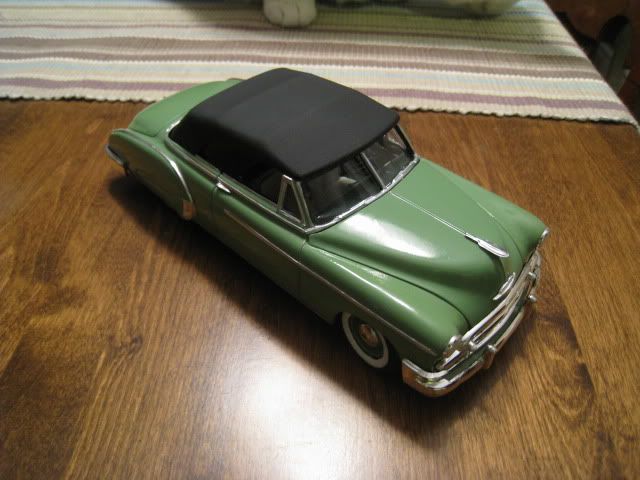
I Stayed up last night and finished this two year long project. I leave tomorrow for the VCCA Anniversary/Chevrolet 100th show in Flint. Here's the results. It looks really green in the pictures, but is not so bright in person.
-
Moved to Under Glass
-
Interesting observations about the color differences. Do you happen to have any access to the Canadian color charts, by chance? All I can find are the AutoColor Library, which is U.S.-spec only.
Charlie Larkin
I have the colour numbers and descriptions for all GM cars, but only for 1951. They are in a set of service bulletins for the Oshawa Factory from the later half of 1951...
-
There are a few Tim Horton's in Southeastern Mass. and Rhode Island. Can't say as though I blame you....great coffee. Just wish they were open late.
Charlie Larkin
We live on it up here! There's two in every town, and they're open 24 hrs... Is the Timmies Lingo the same there? I ordered a 'double-double' (2 cream-2 sugar) at a Dunkin' Donuts in Boston once, and the guy looked at me like I had two heads!!
-
Great Stance, Tumbler! I noticed on mine that the body is a bit warped too... the left fender always seems higher than the right, and it throws off the hood line up!
-
Just for sake of curiosity, what did you have to change to 'canadianize' it?
Not sure if you mean the real car or the model... but the real car was built in the U.S.A... as they did not build convertibles in Canada. There are no changes made to them for export from the U.S. to Canada. I also own a 1951 that was built in Oshawa, Ontario. There are quite a few factory differences between Canadian built and U.S. built cars. Most differences had to do with regional suppliers and factory setup. An example is the paint. Canadian cars had their own paint codes on the firewall tags that differ from the American numbers. Our cars used CIL paint, and US used Duco. Some colours were quite unique up here, like my Metallic Aldershot Grey, where the US used a non-metallic gray. Because our cars were built on a line with Pontiacs, a lot of components were shared. The Pontiacs up here were basically redecorated Chevys, but the Chevs used the Pontiac's 3 piece bumper, and reverse lights.
...and I had to buy a cup holder to hold my Timmies!
-
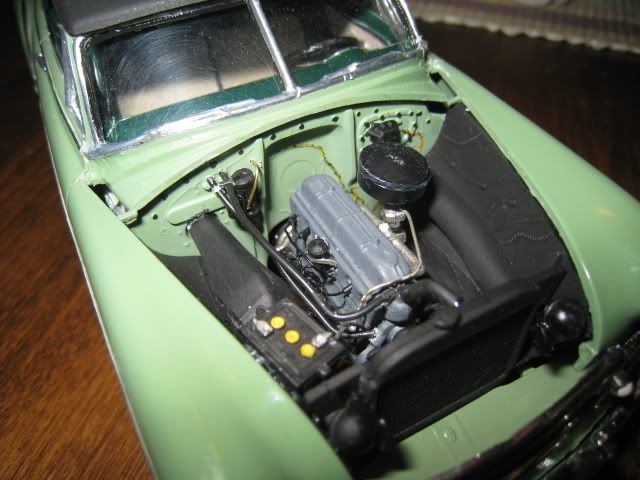
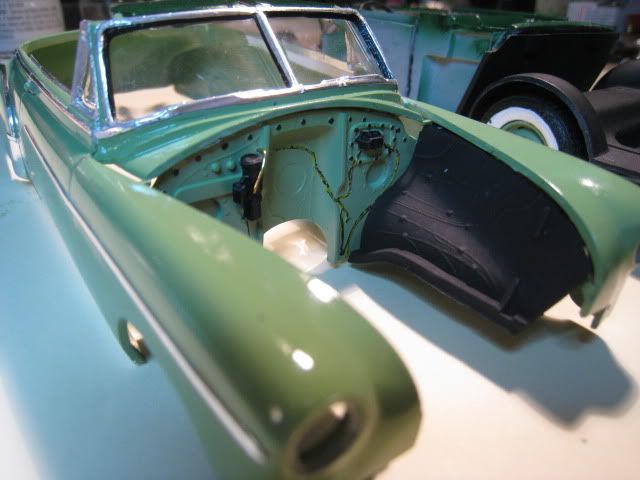
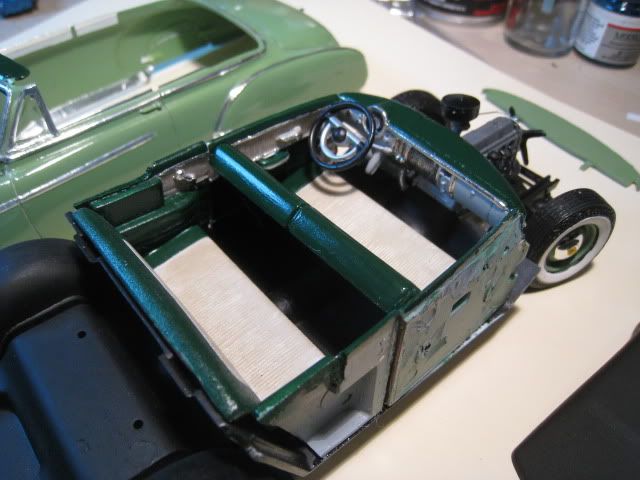
I've started the final assembly of this build. Some real effort went into polishing and waxing the finish to get the shine from the clear coat over the flat base coat paint. I'm Ok with the results, but look forward to making improvements on my next build. I scratch built the vacuum pump for the top and detailed the firewall. The interior has been a pain getting it to go together, but hopefully I have it set. The next major thing will be getting the rear bumper to fit the pan. I've also given up on BMF, stripped the whole car, and redid it with foil tape.
I'm thinking that my next update will be Under Glass! Look for it in a couple of weeks...


First Restoration - 1931 Cadillac
in WIP: Model Cars
Posted
Great subject, Pat! I have the full set of Cabriolet, Phaeton, and Madame X from Jo han of the '31 Caddys. All need to be rebuilt as well, as I first did them when I was about 12. The wire wheels are going to be hard to come by for me as well! Best of luck on them...