

Filthysanches
-
Posts
75 -
Joined
-
Last visited
Content Type
Profiles
Forums
Events
Gallery
Posts posted by Filthysanches
-
-
This is tight, what an insane concept. I think the skirts are too sharp. The rest of the body has more gentler edges in general. Are the skirts going to be flush with the body or over? what is the cage made of? awesome build ill be watching.
-
Update: I've been away from the bench for a while here's an update of what I've done so far.
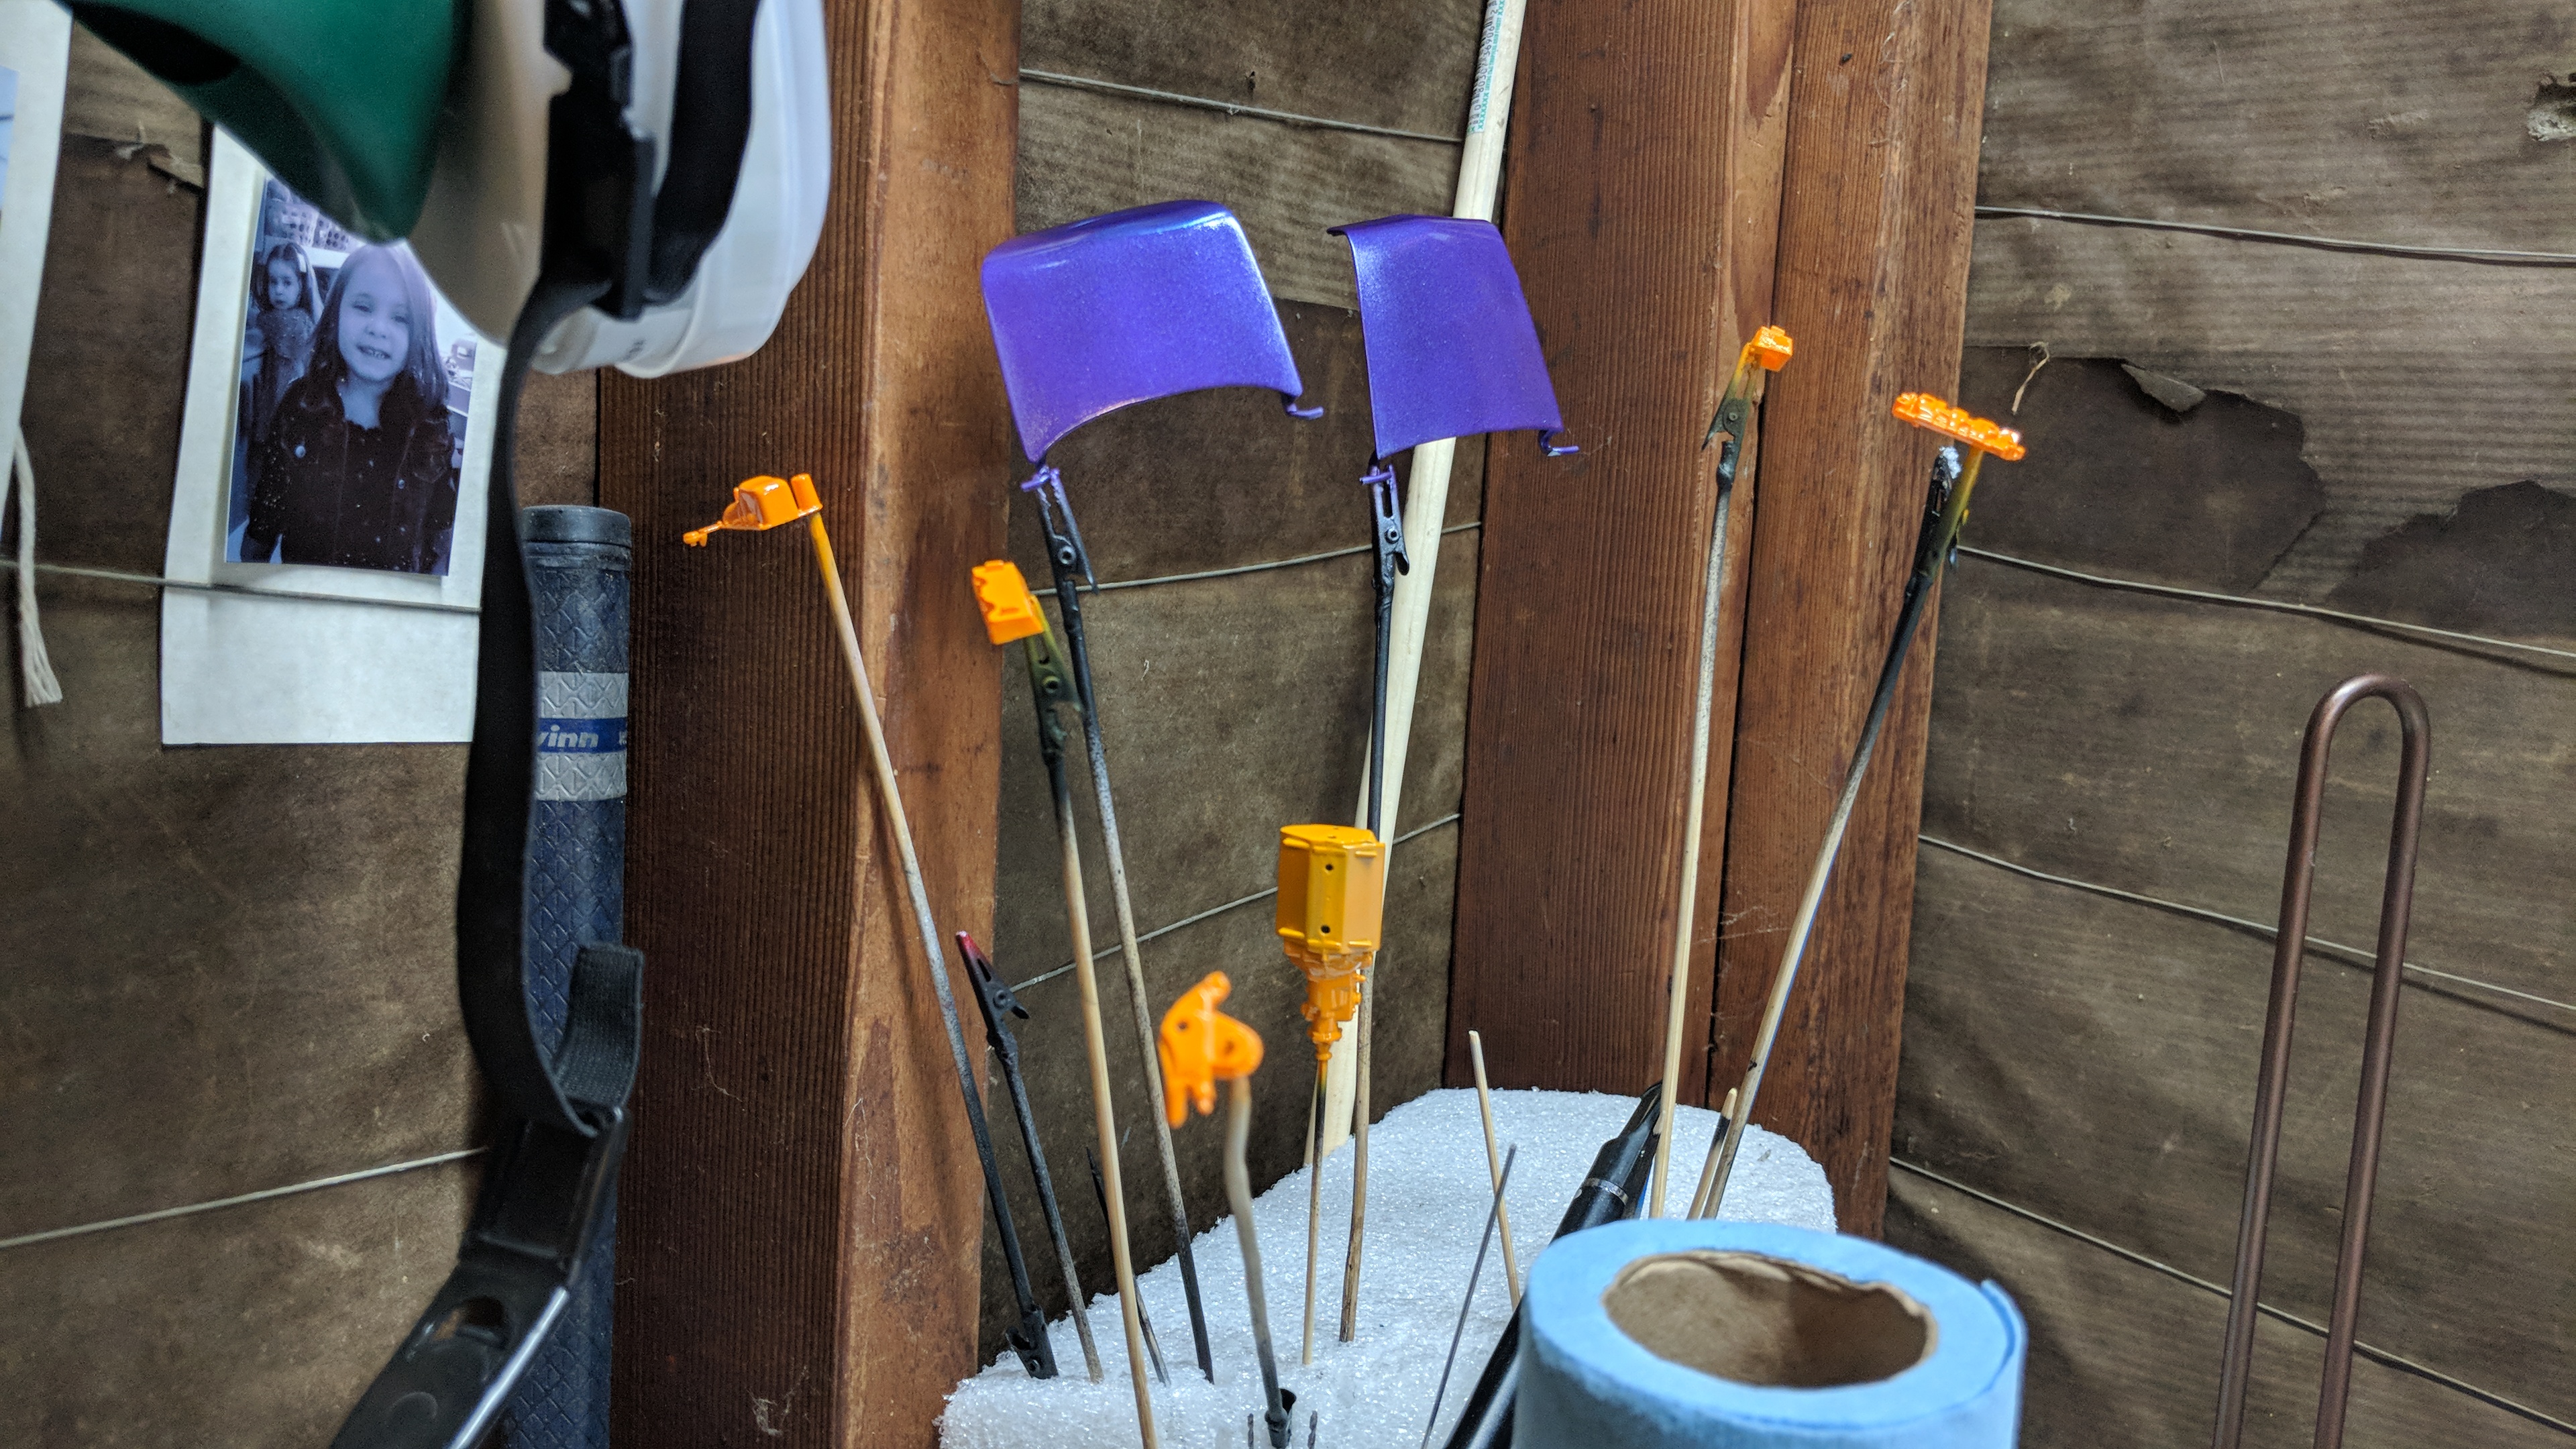
I used this stuff for the pearl top. No Bueno, doesn't stick very well even with acrylic primer

Results
Here is some detail work I did on the bottom
-
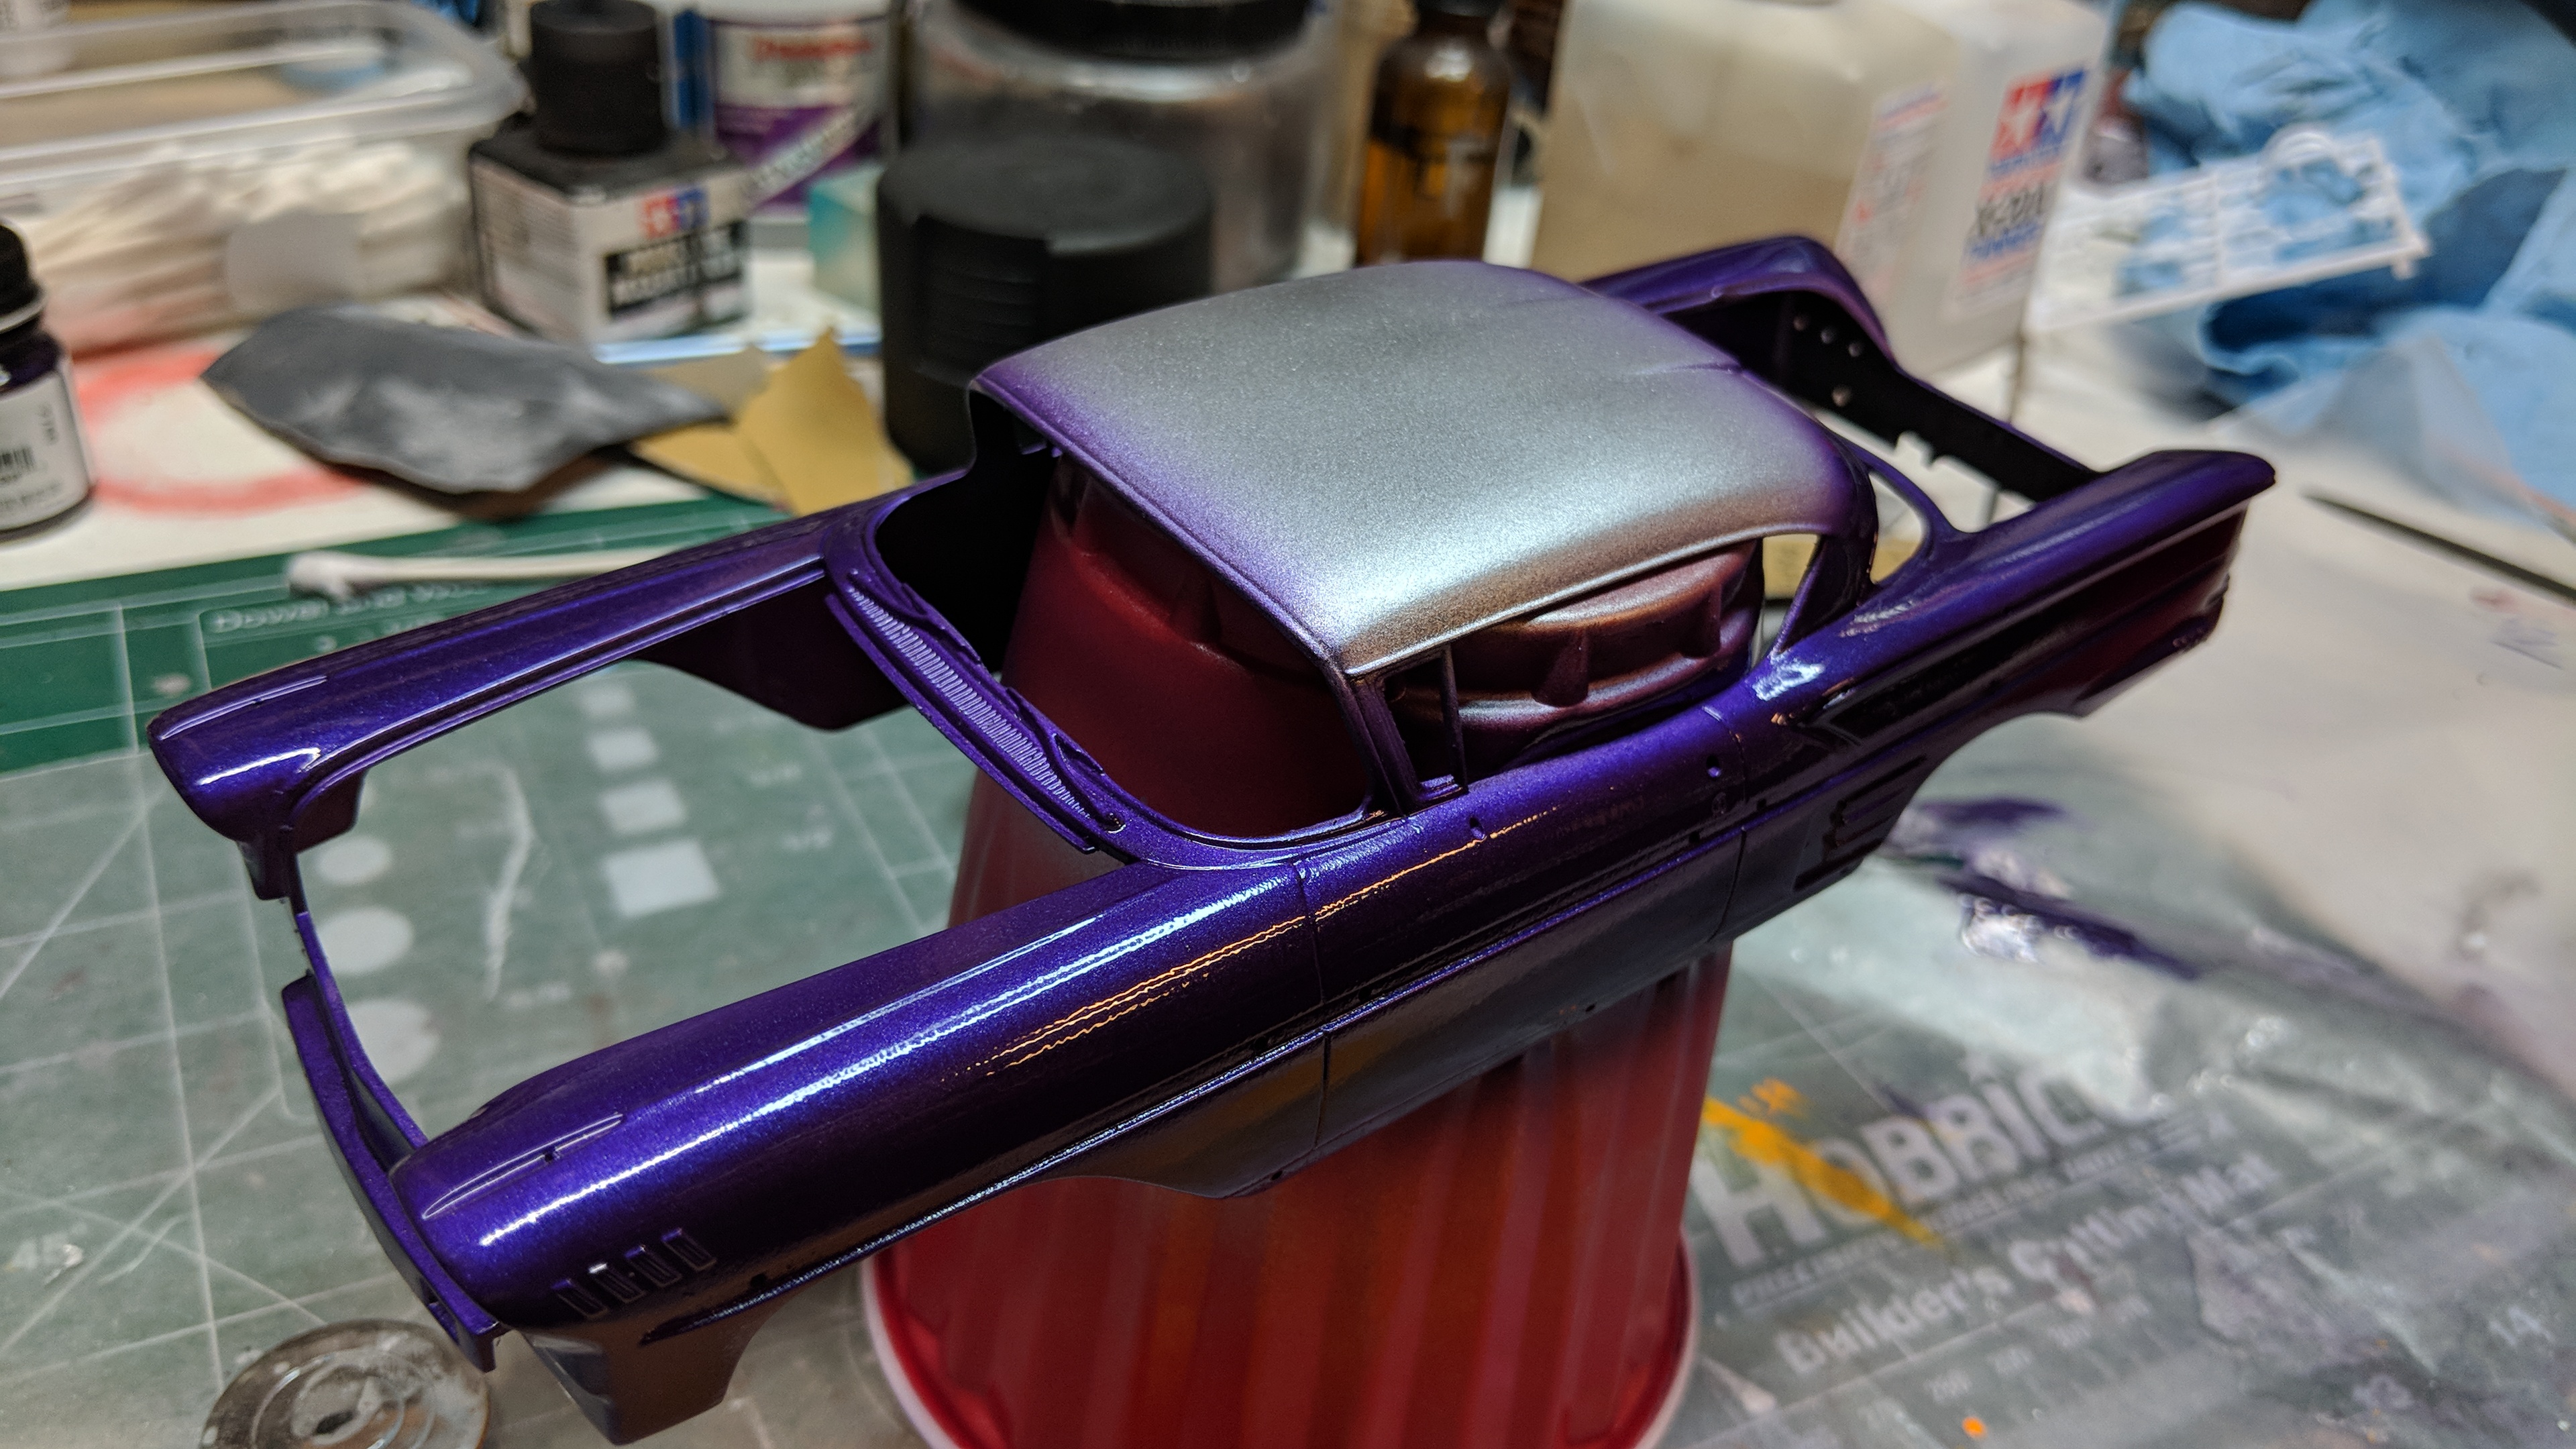
Update: more body work (pearl white roof). The kit came with red pin stripes, wasn't having it, so I flipped the decal over for a white pin stripe. worked well.
In the interior, I masked and sprayed the seats and doors, then dulcoated in order to give it a more accurate finish,without having to try to match the exterior. Also flocked the carpet using flat black as an adhesive.
Next is the clearcoat, can't wait to get rid of the orange peel.
-
i was thinking pearl white actually. this kit looks pretty solid but there are some significant flashing issues so my guess is that i will have to wrestle this kit together.
-
Started on a Cuda, but was immediately disappointed with the model quality, so I shelved that for this model.
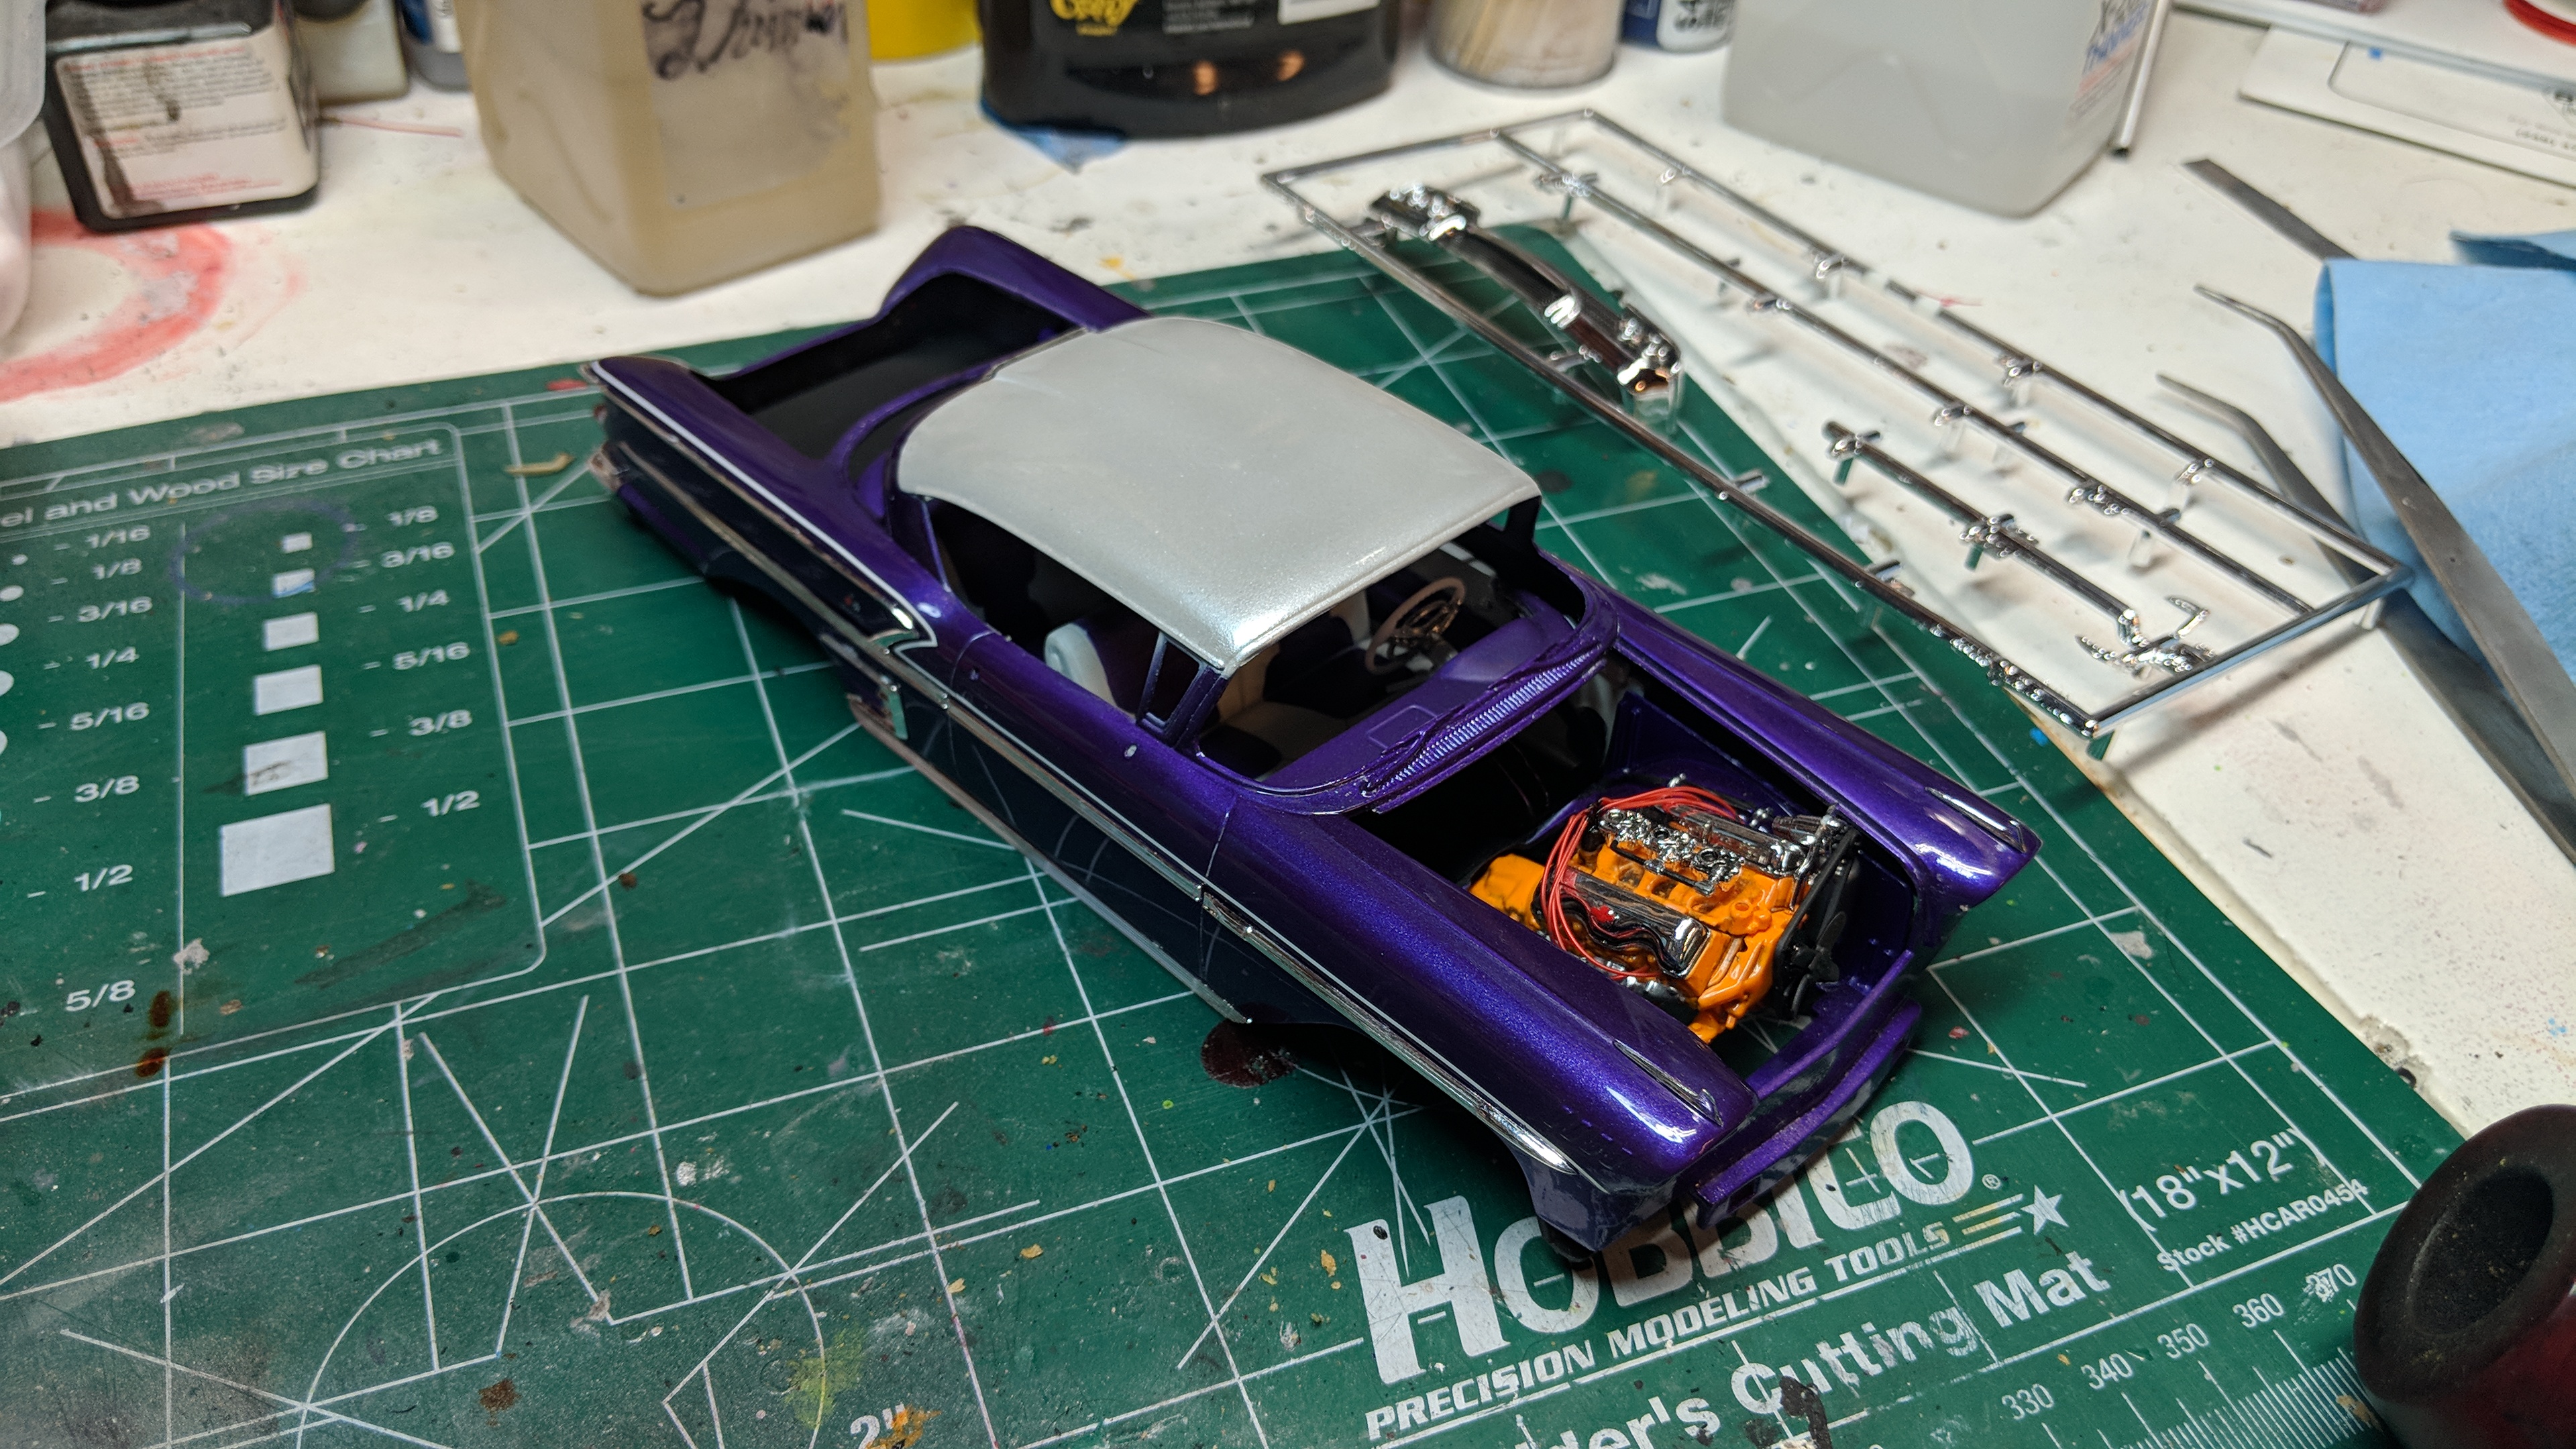
Decided to go with a metallic grape,with a white roof. Not breaking the creative meter, but my apprenticeship must continue before I start modding builds. I imagine I'll be heavy modding whenever I get a 3d printer. I finally found an affordable printer capable of 1/24 scale.
-
-
7 hours ago, Belugawrx said:
Yeah, looking very nice, it's too bad about the kegs, could you seal the grain in the wood and respray with alclad ?
Like the colour combo Jason
Cheers
Yeah, the stock it was turned from is choppy at best I'd likely have to use wood filler and sand it. I'll stick with ye Olde time natural keg.
-
Update: some interior details and some dirt weathering
-
On 6/27/2018 at 2:38 PM, NOBLNG said:
This is looking really sweet! I personally like the wooden barrels better.
I think the wood does too. Ill go with that then.
-
Update: some chrome embelishments
-
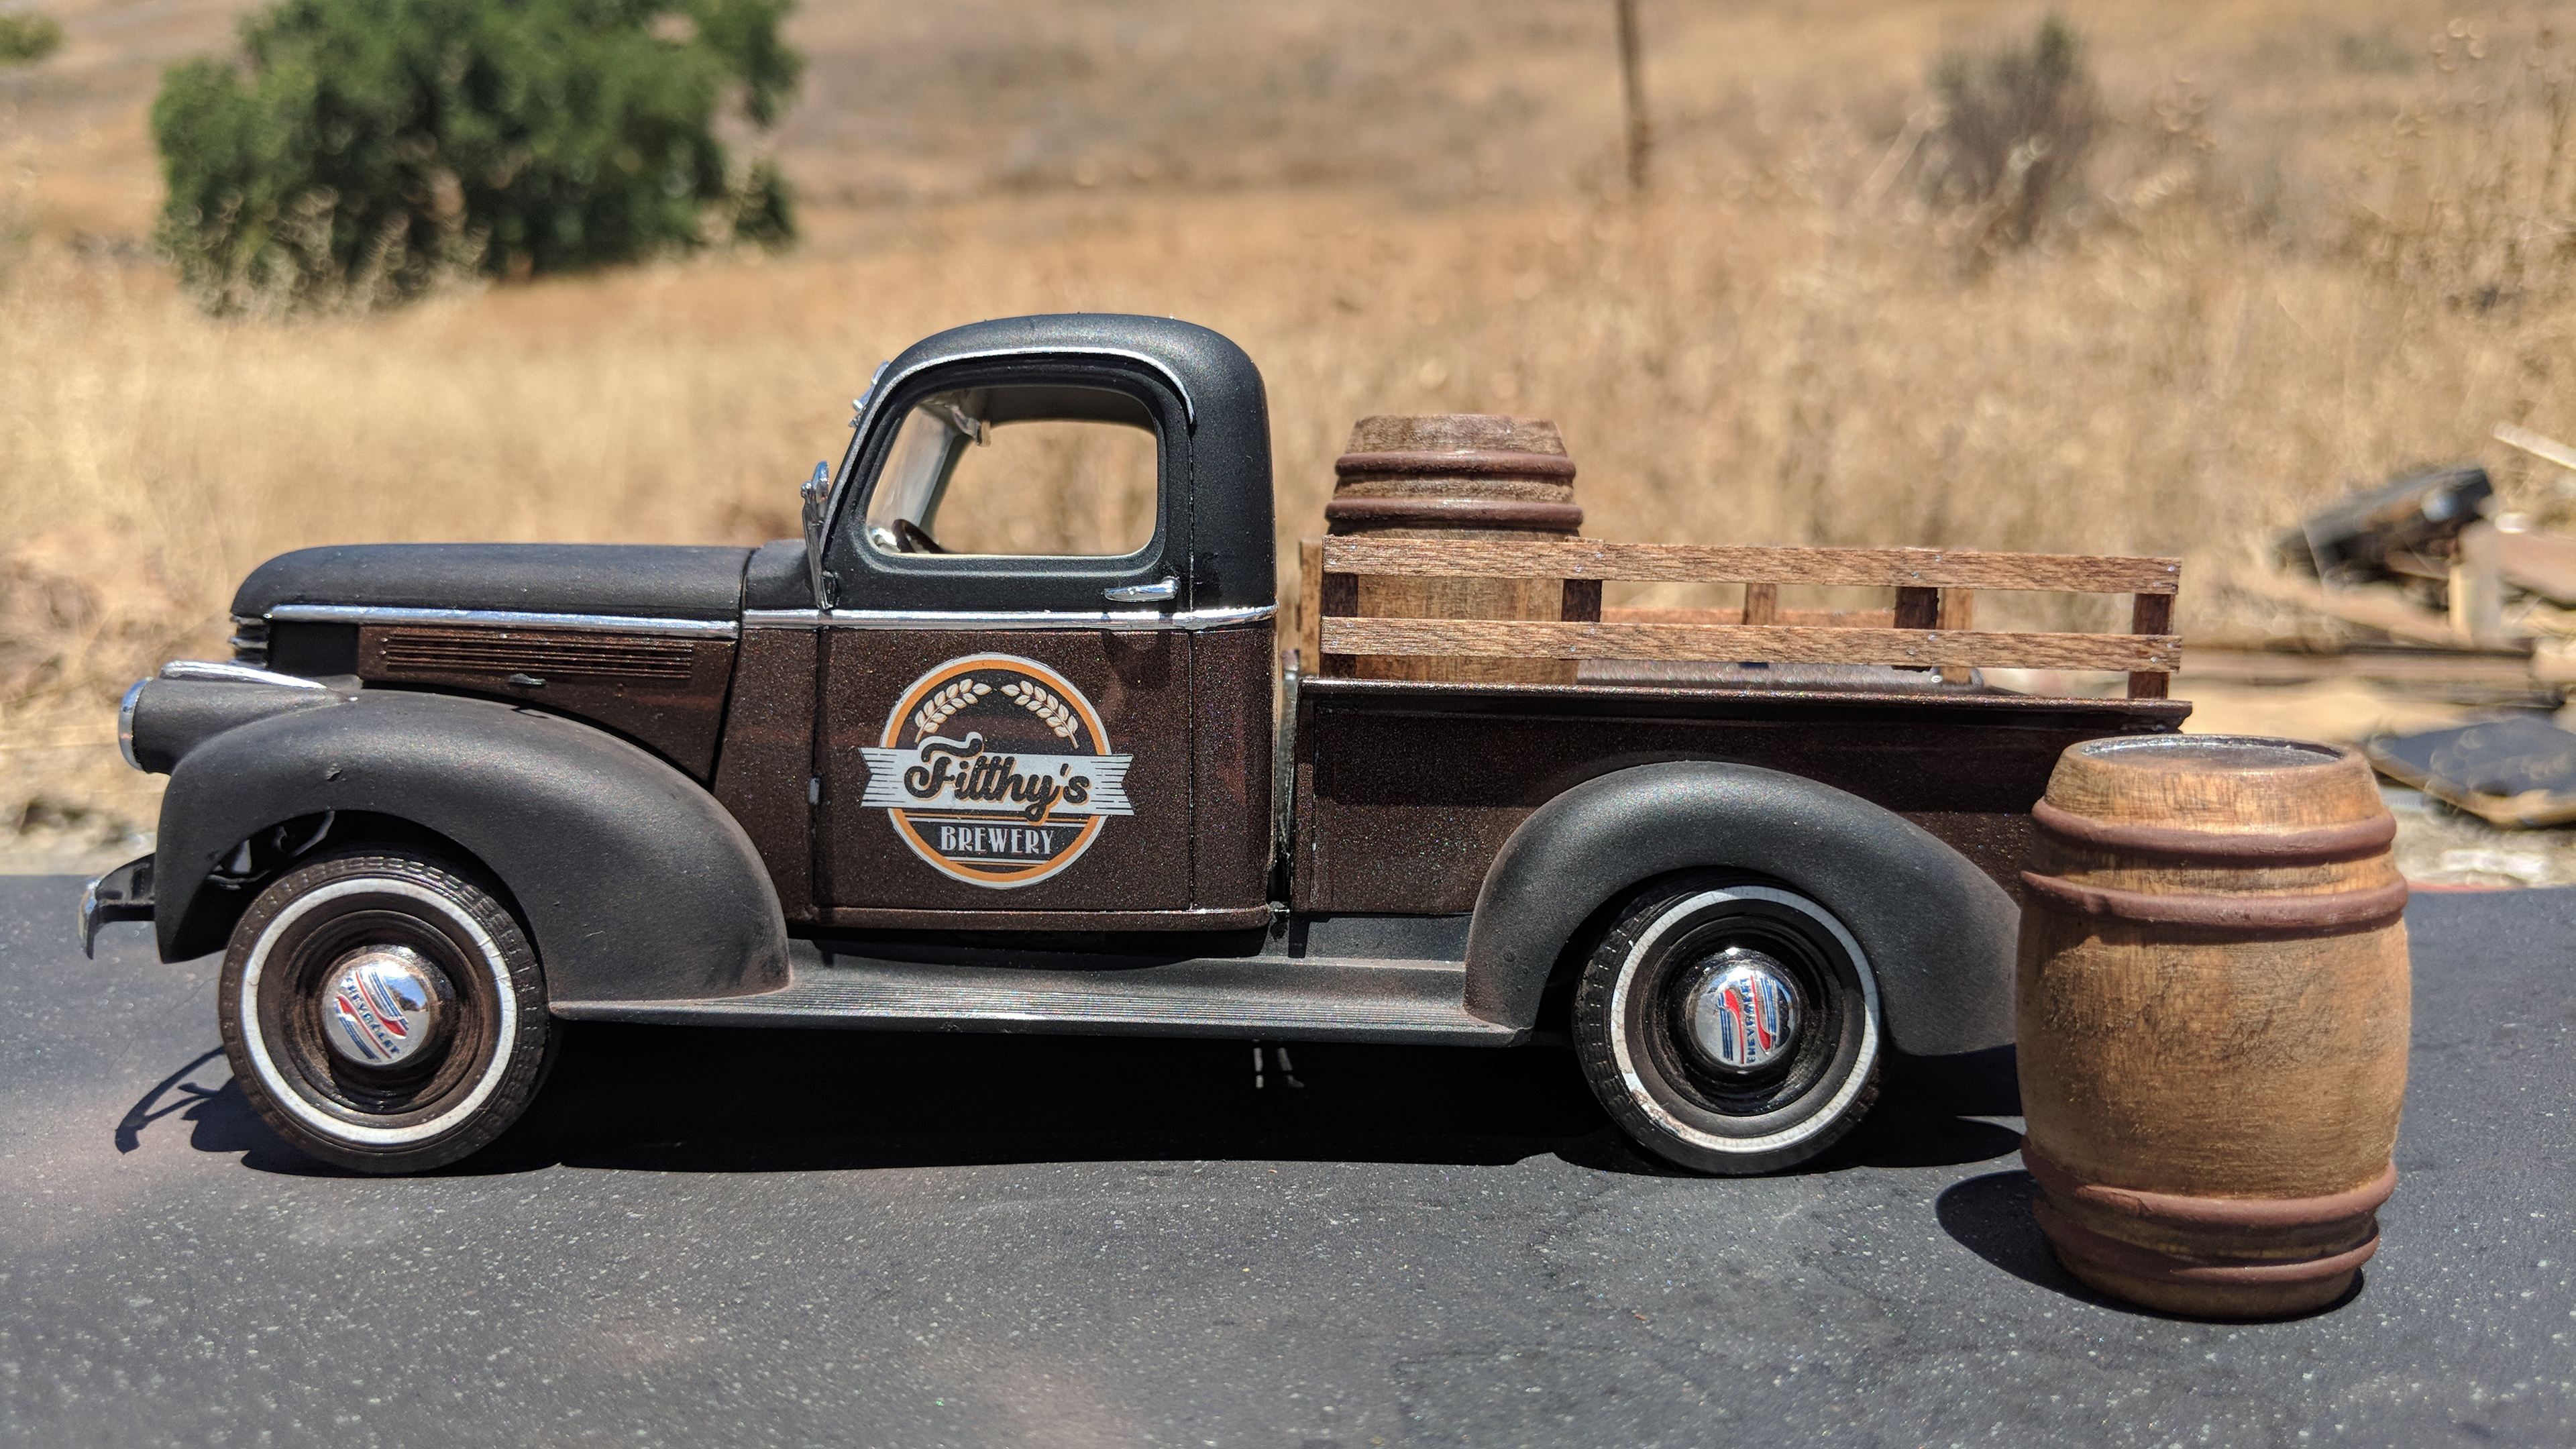
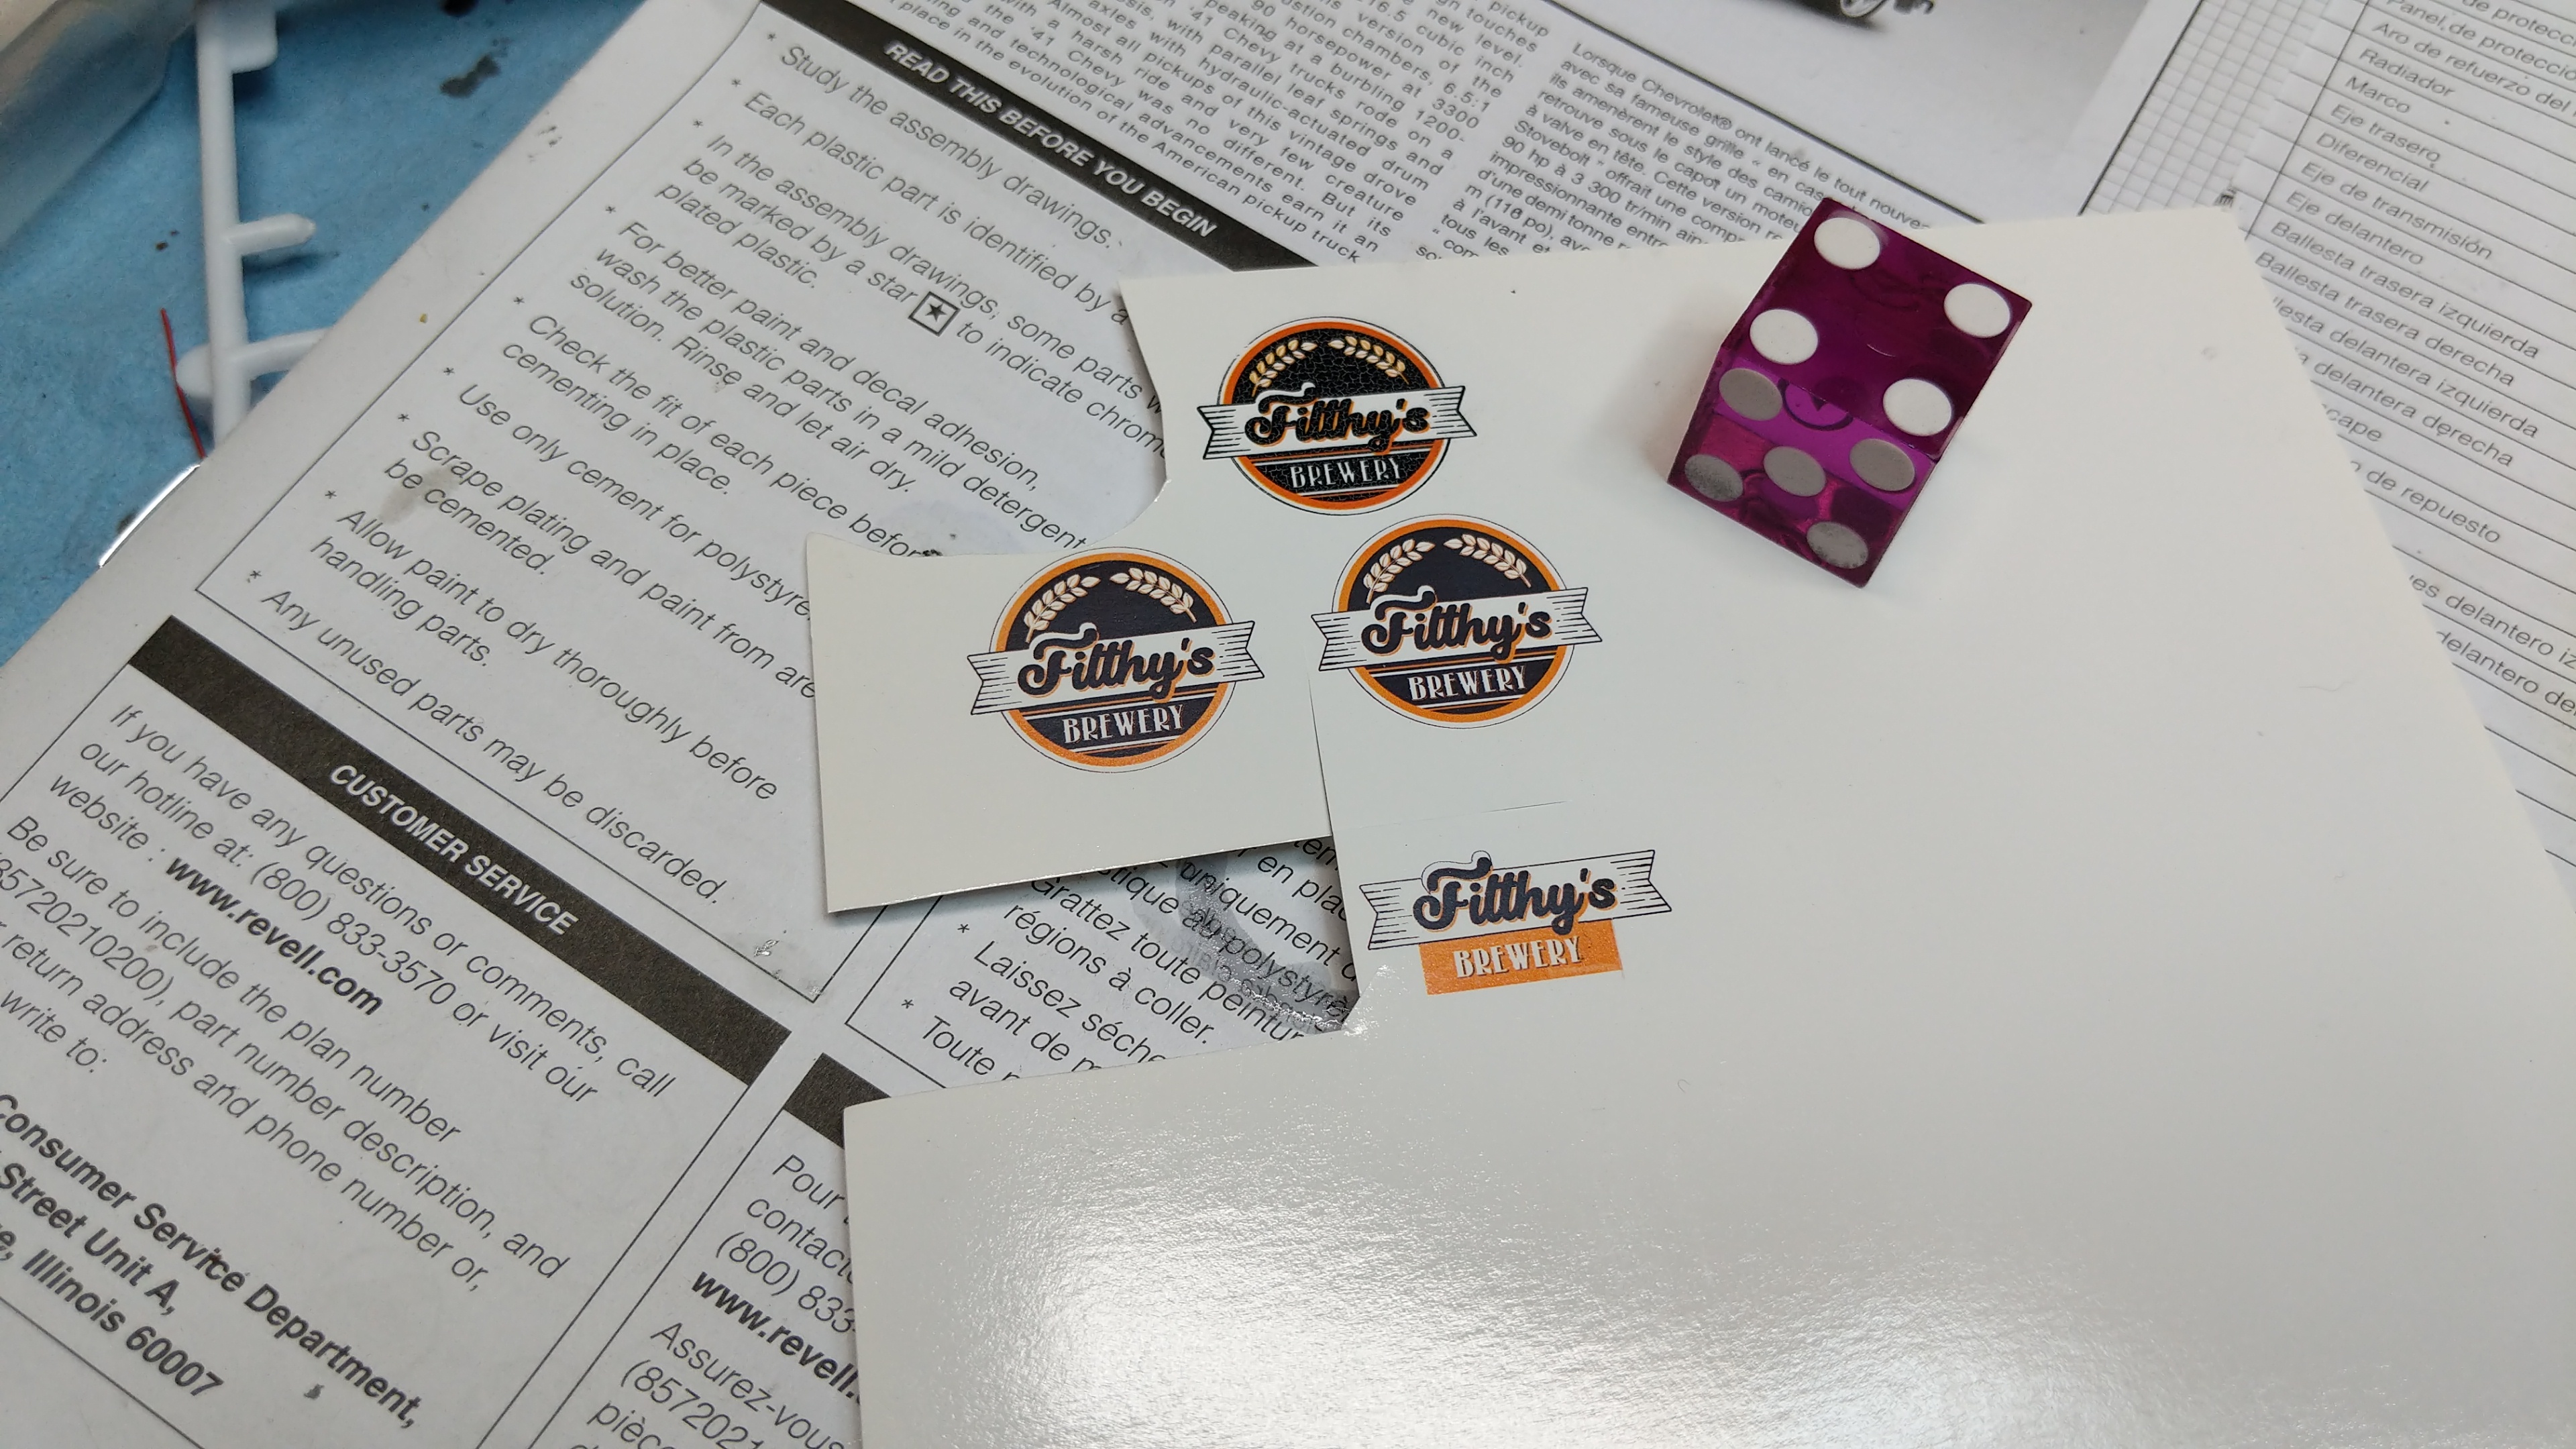
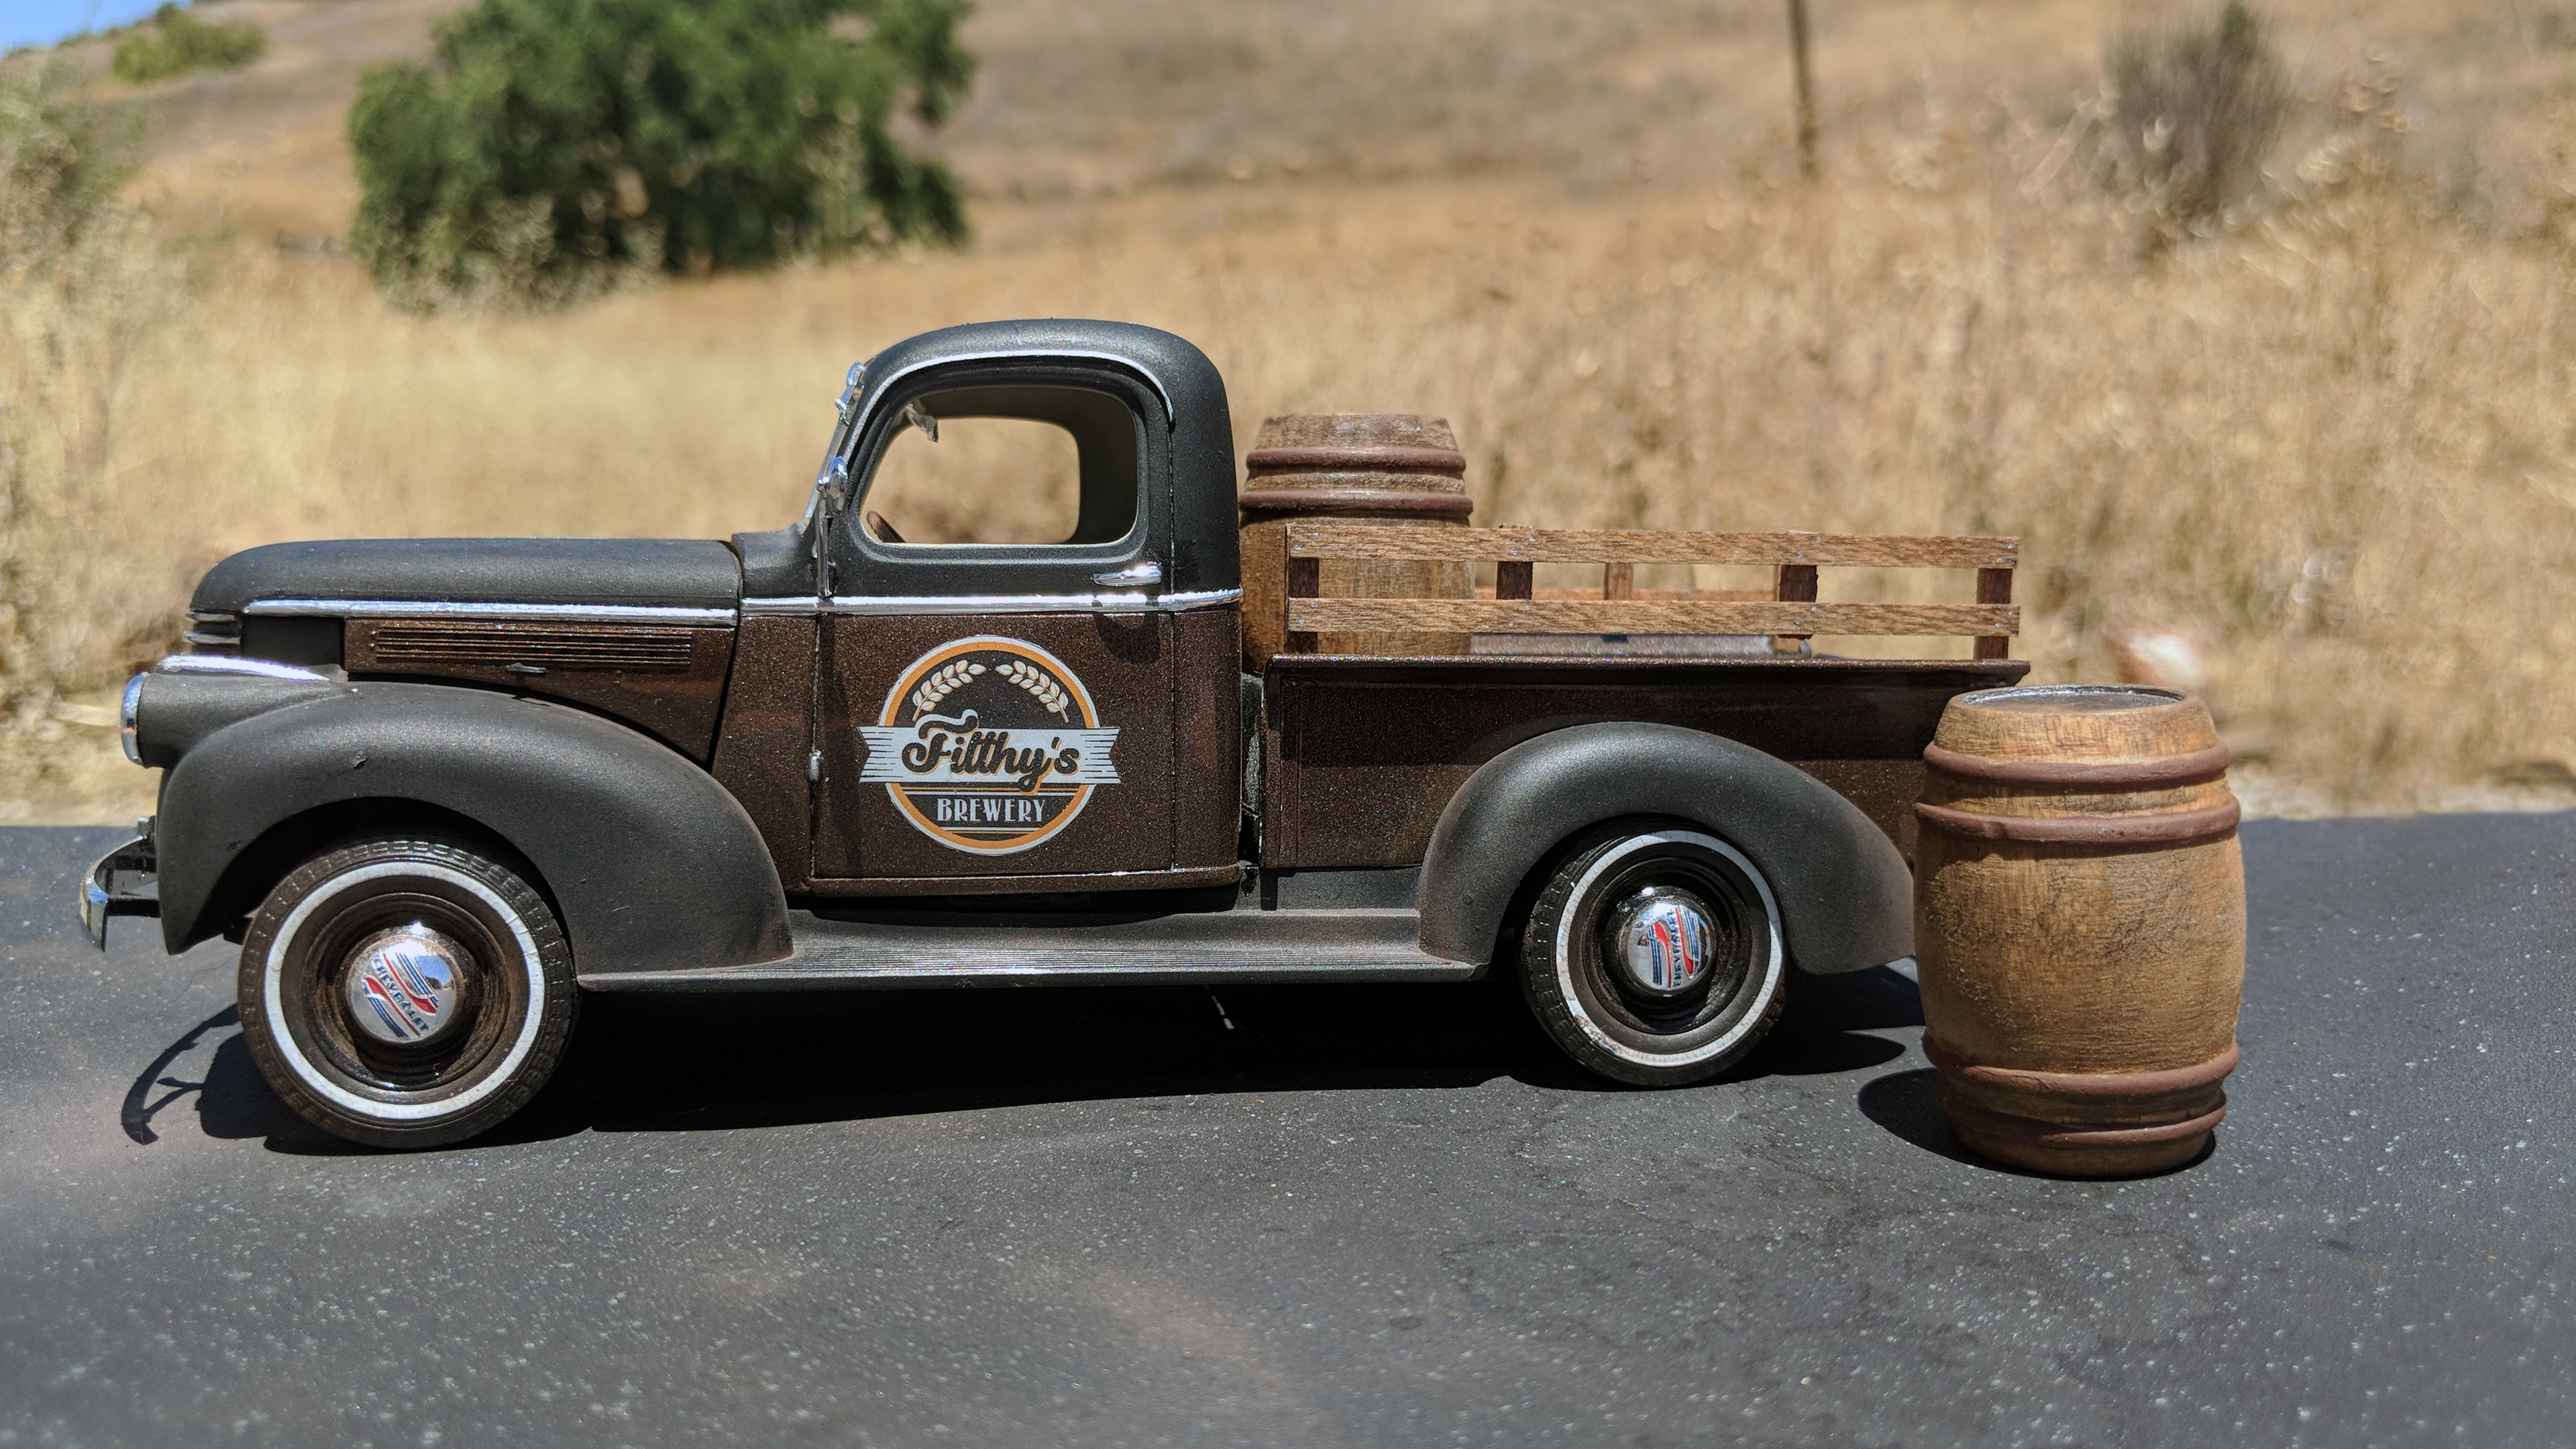
Update: I designed a beer logo, then became abundantly clear of the limitations of my printer, and had to scale back the detail. I just picked these up at hobby town to see how they work.
Here's me testing out the look with a reject print
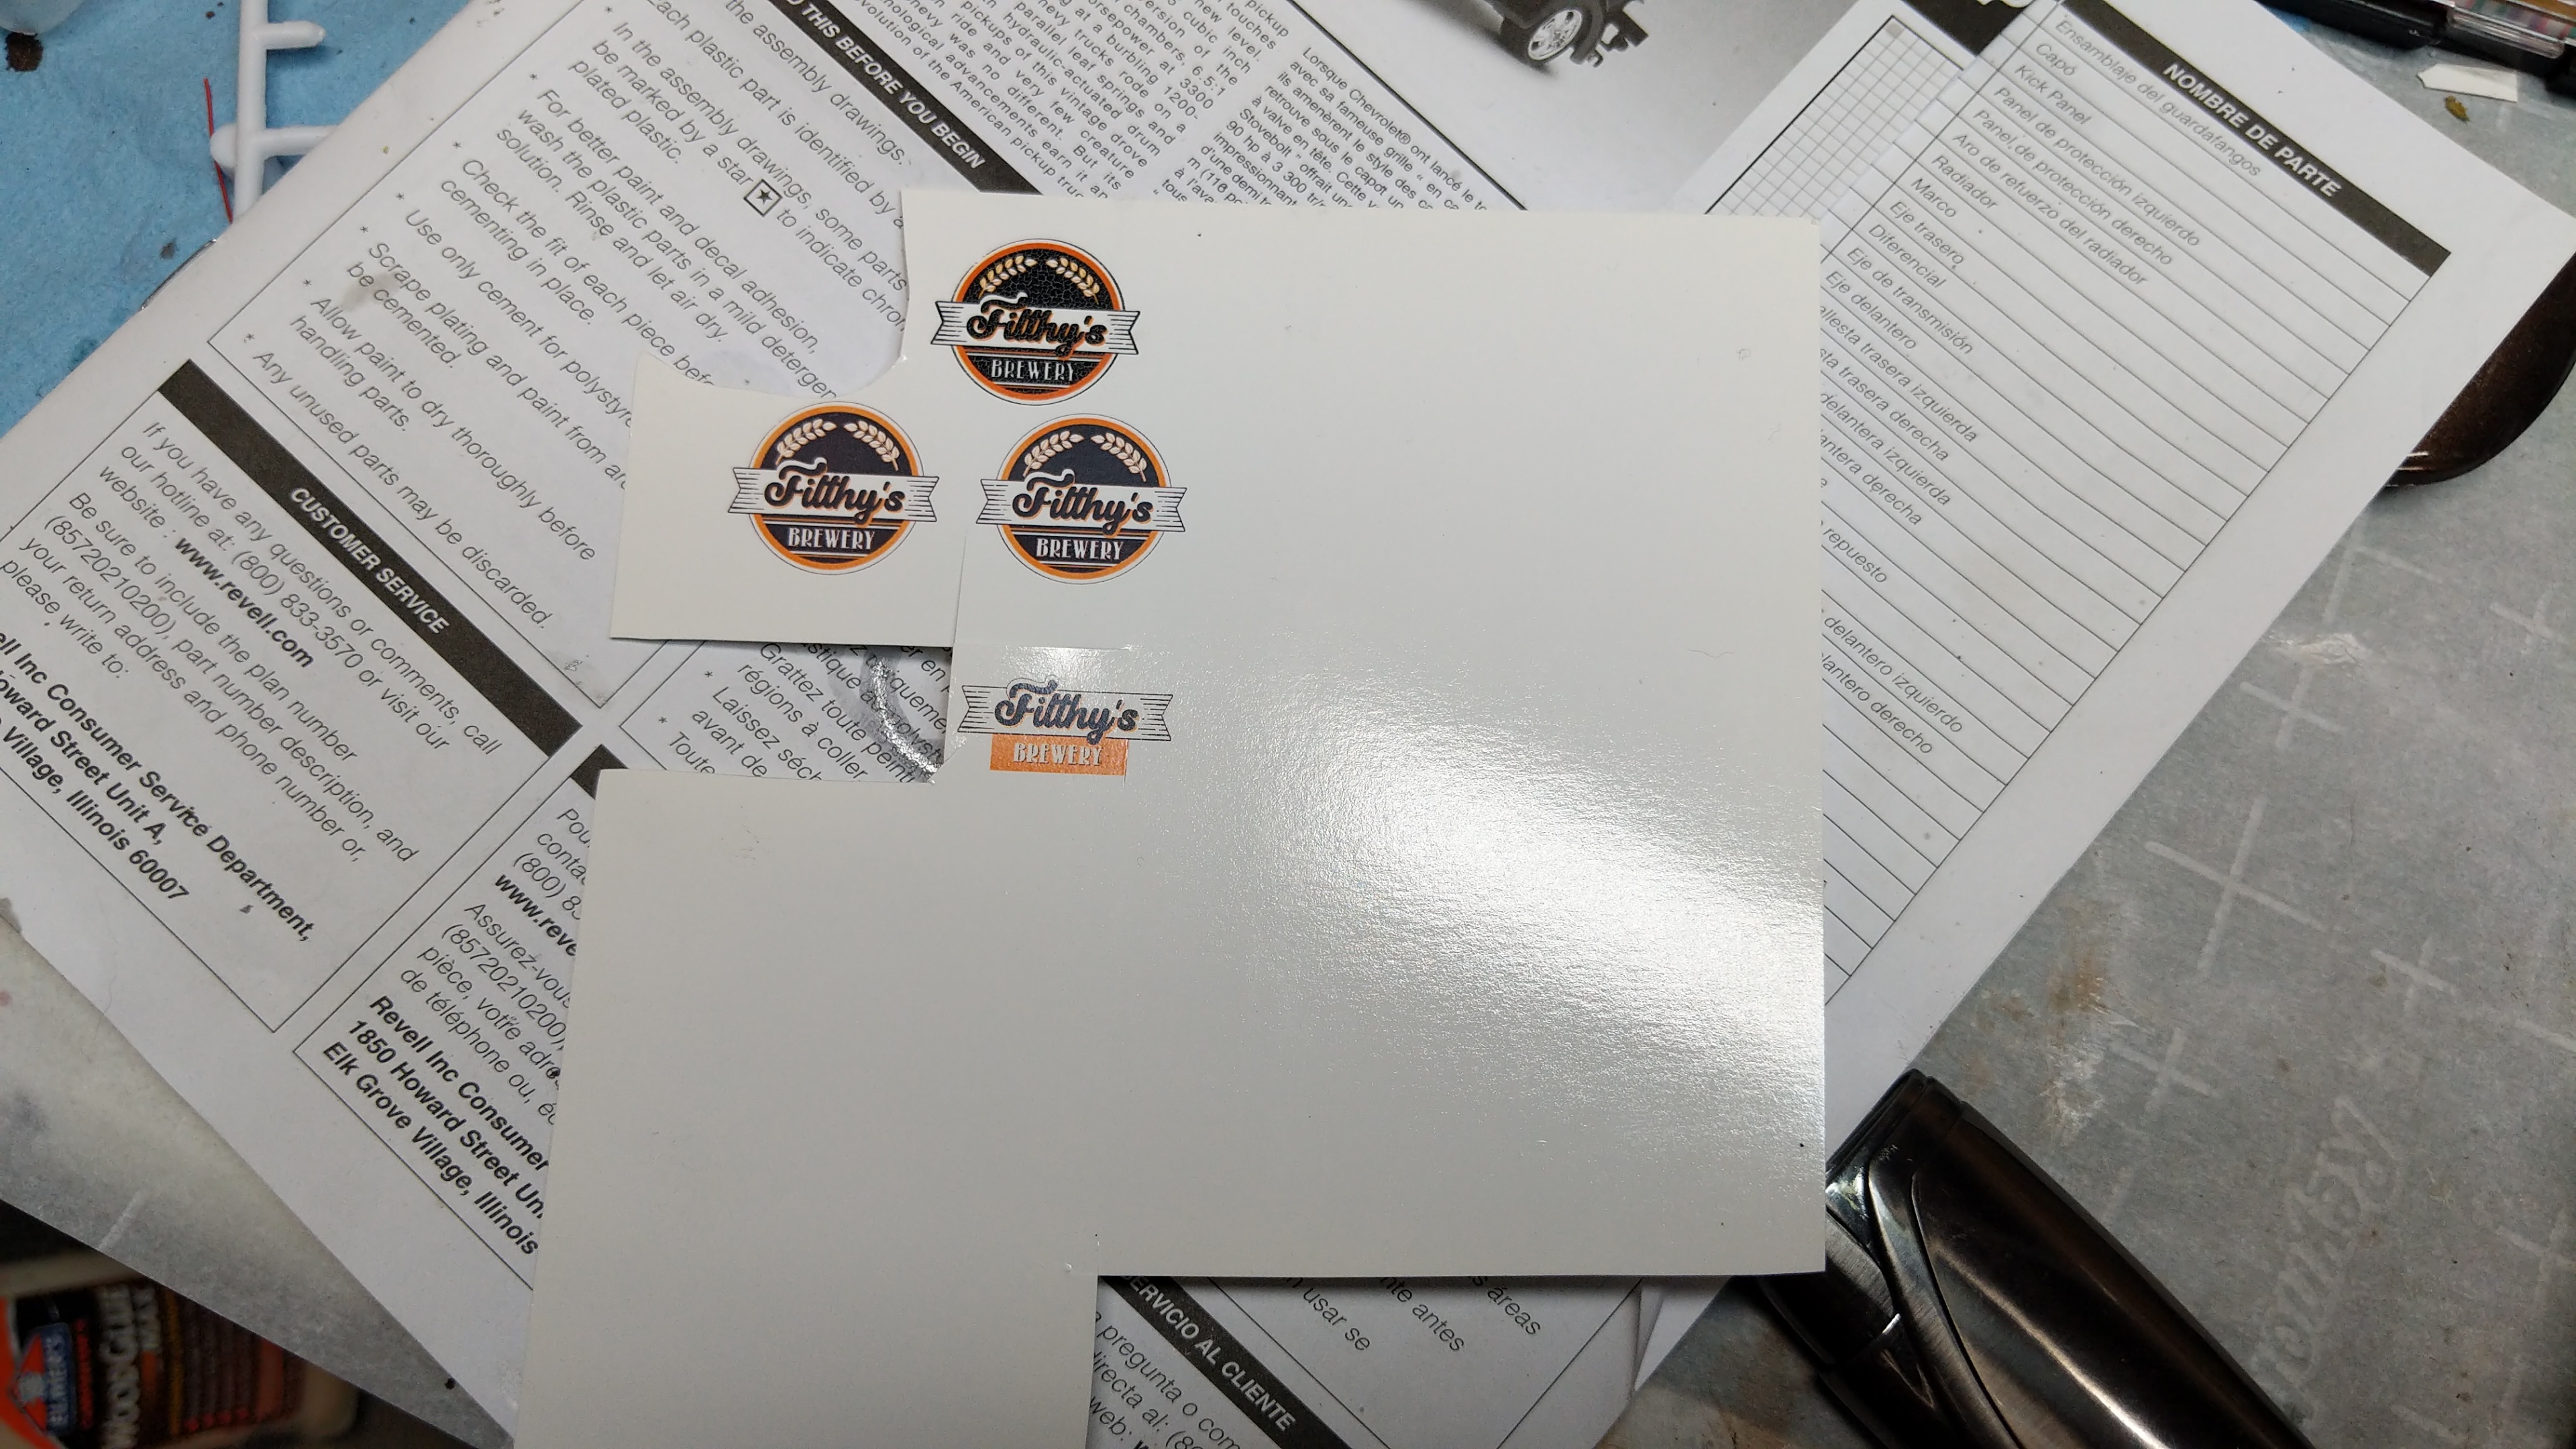
One challenge I had was to find a fixative to seal the ink that wouldn't dissolve under my clear coat. This seems to wotk
Here they are all cleared. I learned a valuable lesson here, I didn't clean the aluminum out of my airbrush well, so I have aluminum flakes in the clear which bummed me out.
More with the mocked body and wood.
I found these barrels on ebay at 1:24 scale. They offer them in wood and aluminum, I bought the aluminum but was somewhat unhappy with the finish quality on what's supposed to be a smooth keg. What do you guys prefer?
Still need to sand and polish the clear to remove orange peel and decal wave.
-
Updated chassis I have more work to do
-
2 hours ago, Jantrix said:
I've NEVER seen anyone us actually makeup to weather a model. I wonder how it will do long term.
Looking good though. Definitely my kind of work.
Its actually stickier than I expected. I saw that Tamyia had similar weathering pigment, although im sure it is made specifically for this. But for a dollar its worth a shot. The redish color matches rust pretty well.
-
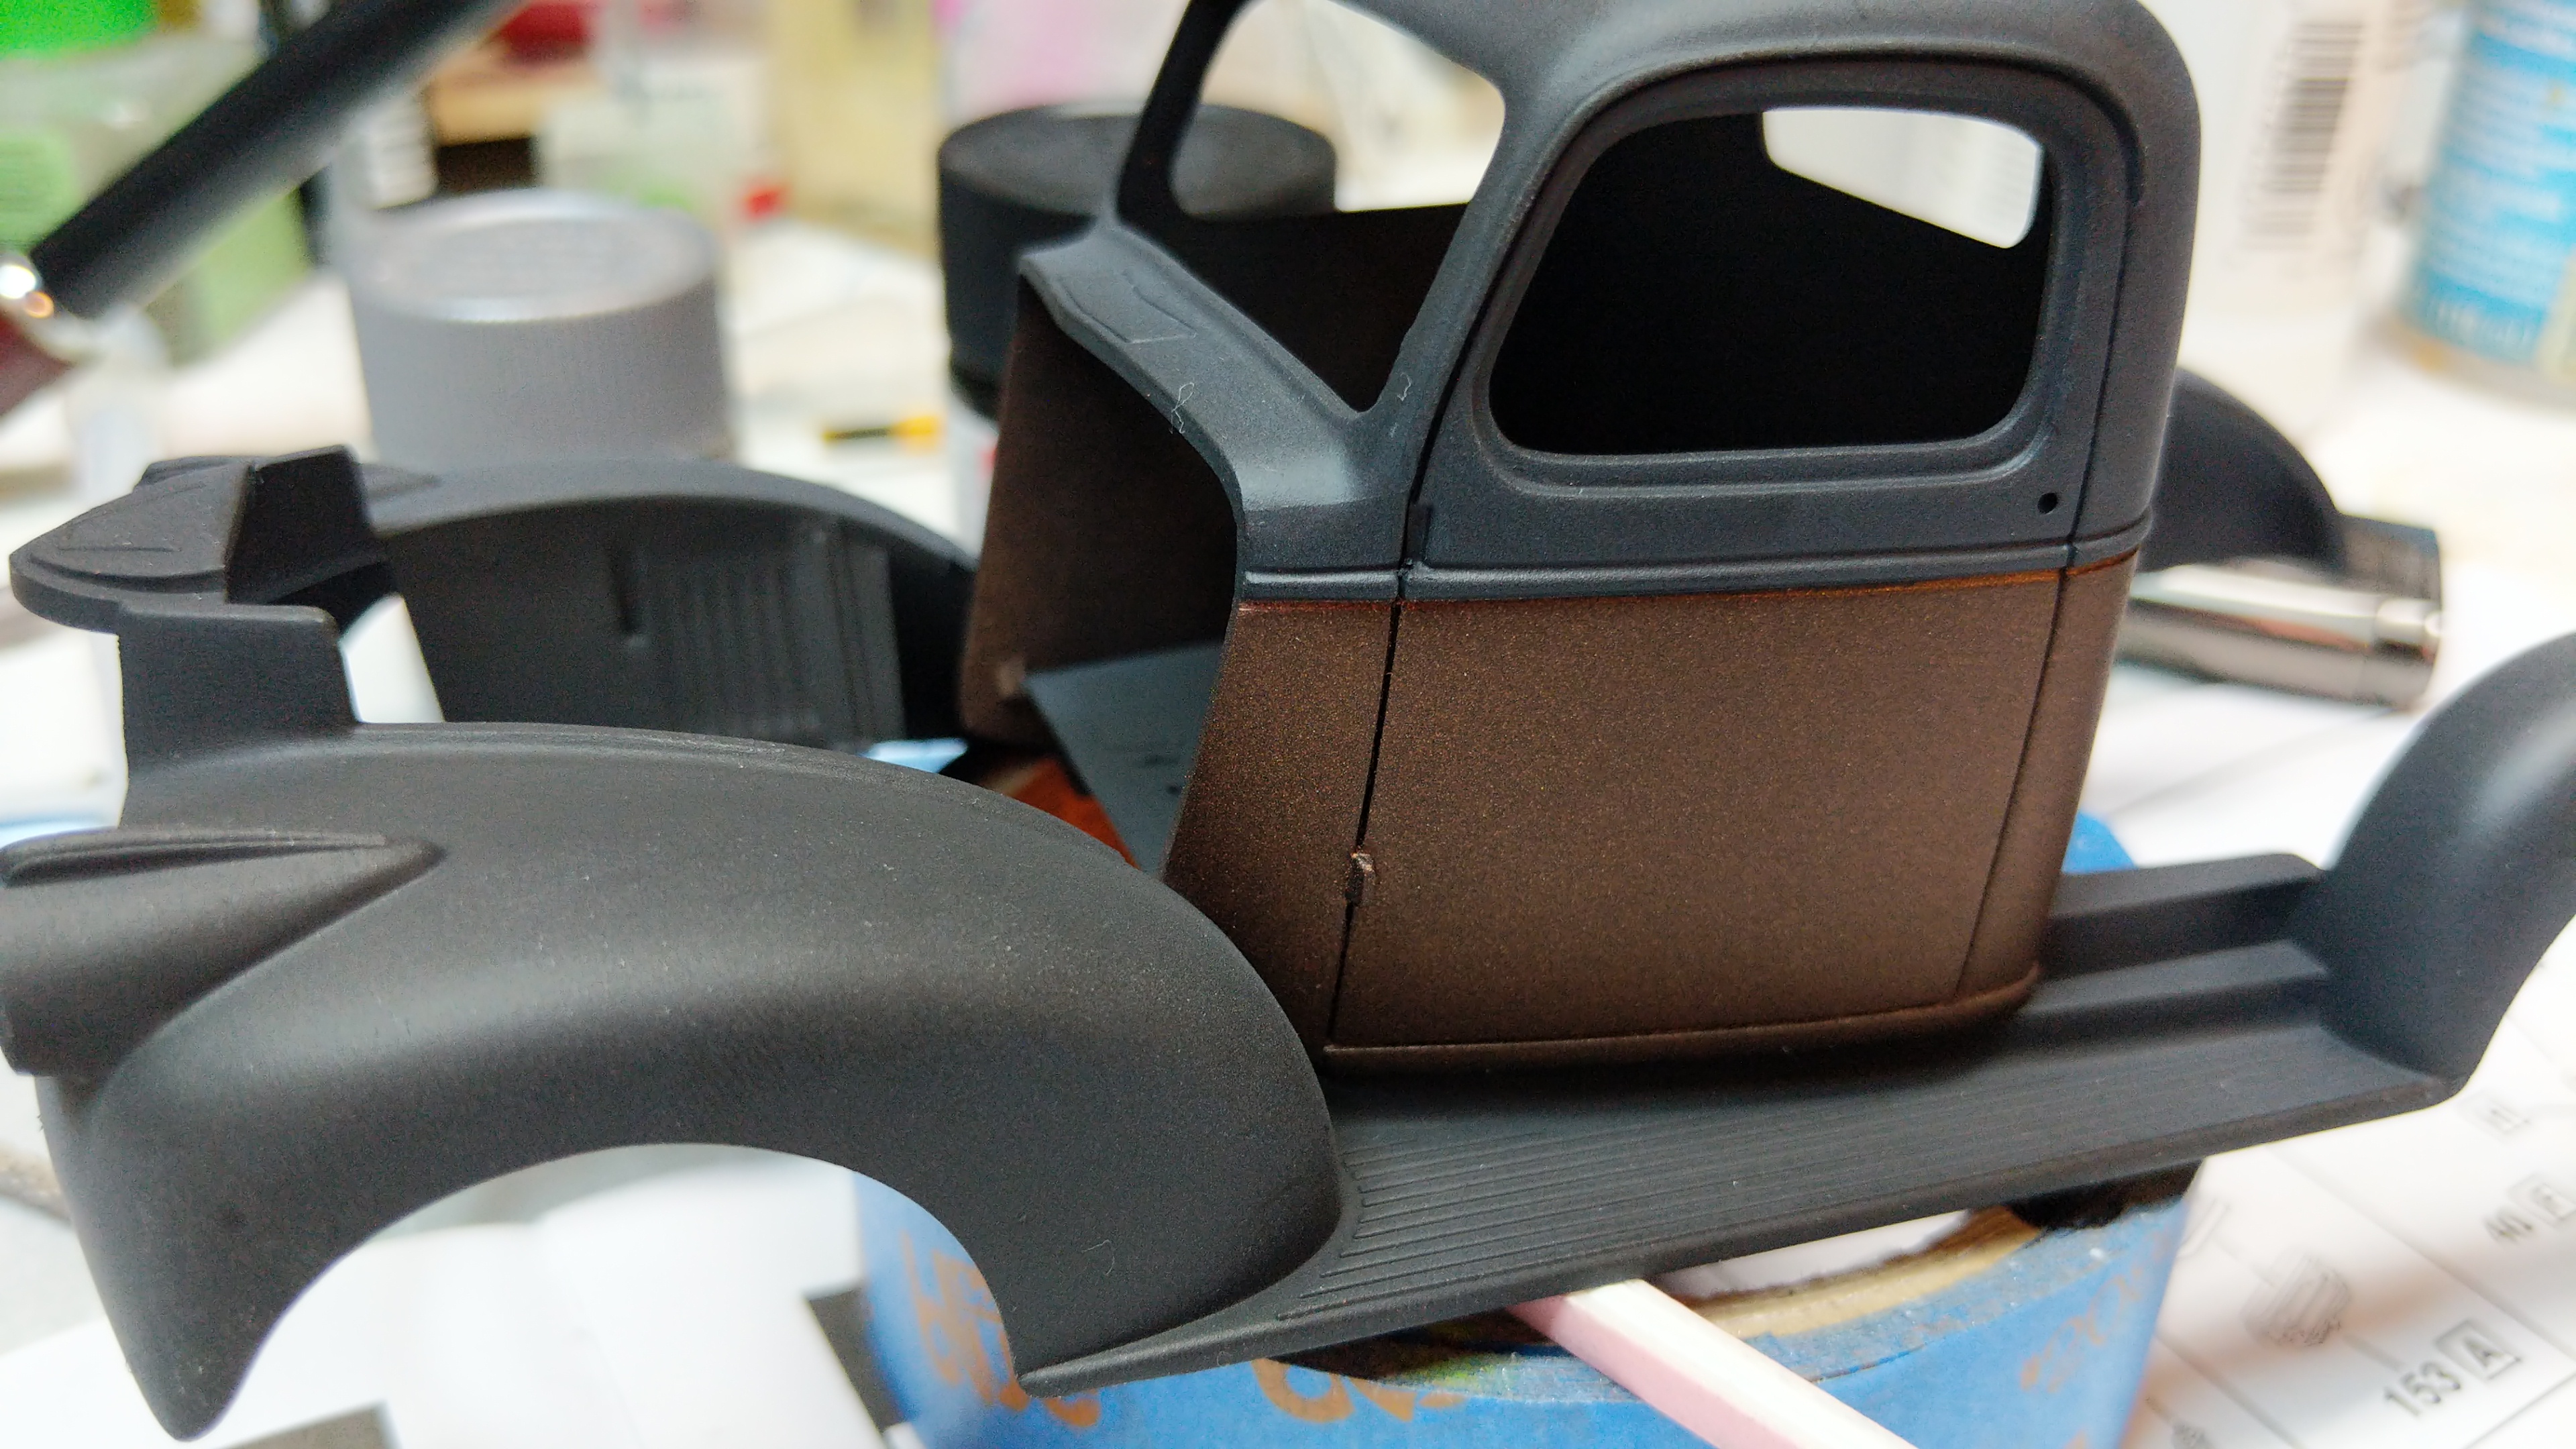
I painted and sealed the black paint with matte clear to keep from scratches. I also shot the copper sides. I'm not going with a standard ratio between colors, I'm looking for a less flashy industrial scheme. Somewhat understated flash of color.
I did my best to keep the surface as smooth as possible. I will be designing a logo for the door, my guess is this and the clear over the bronze will be one of the last things I do before assembly.
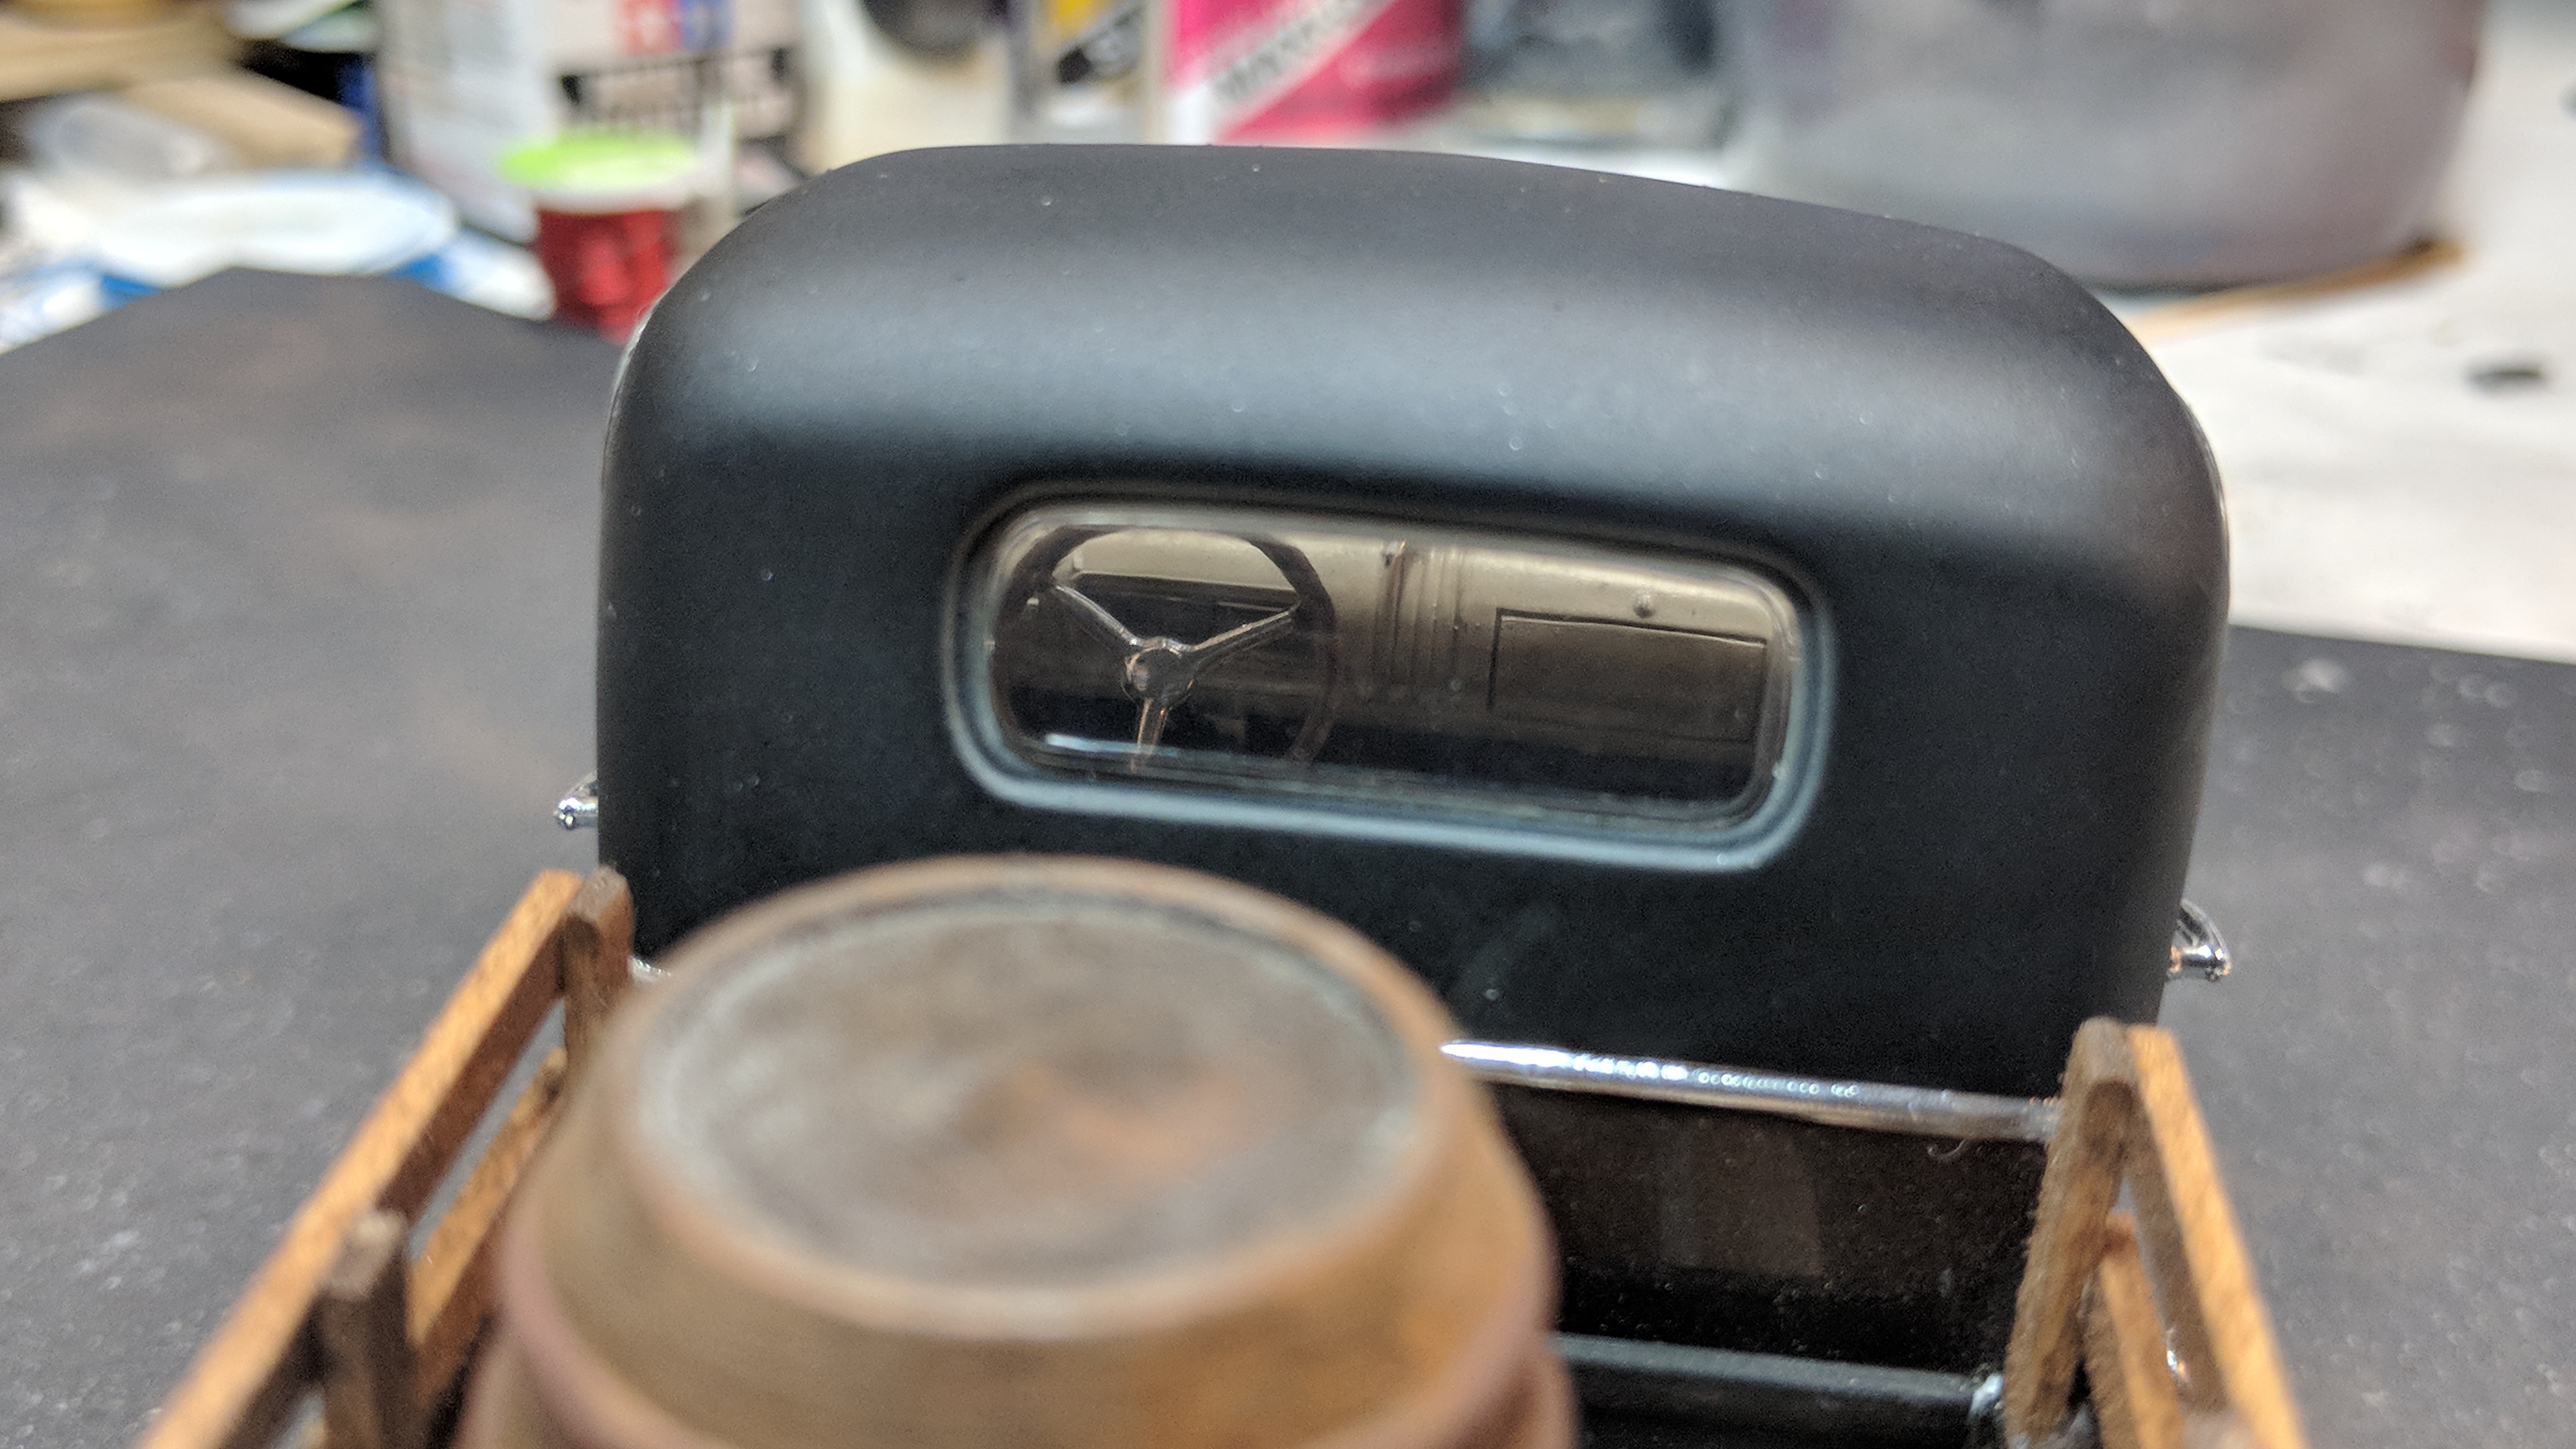
Working on the engine is pretty easy with this truck. Very simple and streamline. I had to bore out the horn as it didn't have a hole. I did some minor weathering, I plan on using some dollar tree eye shadow to add dirt and more surface weather.
For the distributor I used an aluminum cylinder filled with sculpey. I created holes for the wires as spark plug mounts are difficult to work with. I then used a heat gun to cure the clay which hardens the holes. I thin just dipped the wires in superglue and stuck them in the holes to harden. I then painted the boots and wired it into the engine and painted the boots there.
The rest of this was a stock build for now. I intend on doing more scratch engine detail once the engine is mounted.
-
8 hours ago, Modelbuilder Mark said:
I have just gottent ot he point where I will not even try. I just plan my paint work so I hopefully fo not have to handle the chrome. There was a multi part spay on chrome that was on Jay Leno's garage a few years back, that if it worked would be THE solution. Just not very cost effective
This looks cool, wonder if it would work to paint it on somehow.
-
10 hours ago, Modelbuilder Mark said:
I have not had any luck with clears over any chrome
Yeah this is the best I've seen. Some of the guys on Prop replica forum use All-Clad which has pretty good results as well but my opinion not quite as good as this is holding up. Take a look at this spoon I sprayed over the brushing shown above and it's holding up pretty well.
-
This build is tremendous. The quality and care is absurd you should be ashamed of yourself for how bad you make me look.
-
On 5/15/2018 at 6:29 AM, randyc said:
Here's mine finished. Similar color but yours looks more correct than mine. My mom had a 72 in this same color scheme so mine is a tribute to that car. Mom's was a base model so I didn't use the wood grain - just black pastic in there. And you;ve gone farther than I did with some of your detailing. great build you have so far.
I still have no clue how you got the grille that perfect. Trying to show the lights was not happening for me. How did you accomplish that subtle variation?
-
On 5/24/2018 at 2:05 PM, disconovaman said:
I built the S&H car and I wasn't that inpressed but what I've seen here makes me want to give it a second chance. My local Michaels had one and I thought I'd go get it with this 60% discount coupon I have and low and behold it was already sold. Just my luck, but I'm gonna be on the lookout for it now. I think I'll do it as the blue S&H option Ford offered in 76... my neighbor had one back in the day...
This model is solid. One of the best I've worked on.
-
On 5/9/2018 at 6:50 PM, Ron Hamilton said:
My aunt had a 76 Torino in that color combination back in 76 with the exception that hers had a vinyl roof. I plan to do my 76 Torino as a Sport. I have to craft an interior for it. Hard to do, but not impossible.
I would like to see the results of a crafted interior. I'll keep an eye out for that.
-
On 6/11/2018 at 6:12 PM, 1972coronet said:
I agree with Wayne's ( DEL ) assessment completely ---- definitely a masterpiece ! That ridiculous A/C compressor (all Fo-Mo-Co cars had 'em back then !) is a work of art in its self .
Kudos , Jason !
[ Side Note : Which engine is the kit's engine supposed to represent ? 351-M ? 400 ? 460 ? ]
Thanks I appreciate it. It's largely based off of the 351... I think, I had to use a bunch of reference pics so likely some things are off. There just isn't a whole lot of gran torino fans that are not starsky and hutch fans.
-
On 6/11/2018 at 7:26 AM, DEL said:
THAT is just GORGEOUS!!
Personally, I never cared for Torinos back in the day. For me back then it had to be a full-size four door pillared sedan with the biggest engine available. In essence or to be exact a police car. But these have grown on me with the passage of time. They have their place as well for me now. (and even sometimes the odd disco song. Disco Duck, anyone?
)
That said the detail is exquisite on this one. I'm a Ford guy, but the big Fords of 1975-78 are my favs. I'm very familiar with them and I've had plenty of them in that exact color interior but mostly with a white ext. This is detailed to perfection. A museum level piece in my estimation. Kudos, sir!
There is something oddly solid about the look of this car. My old man had a t-bird of the Same year, similar lines.
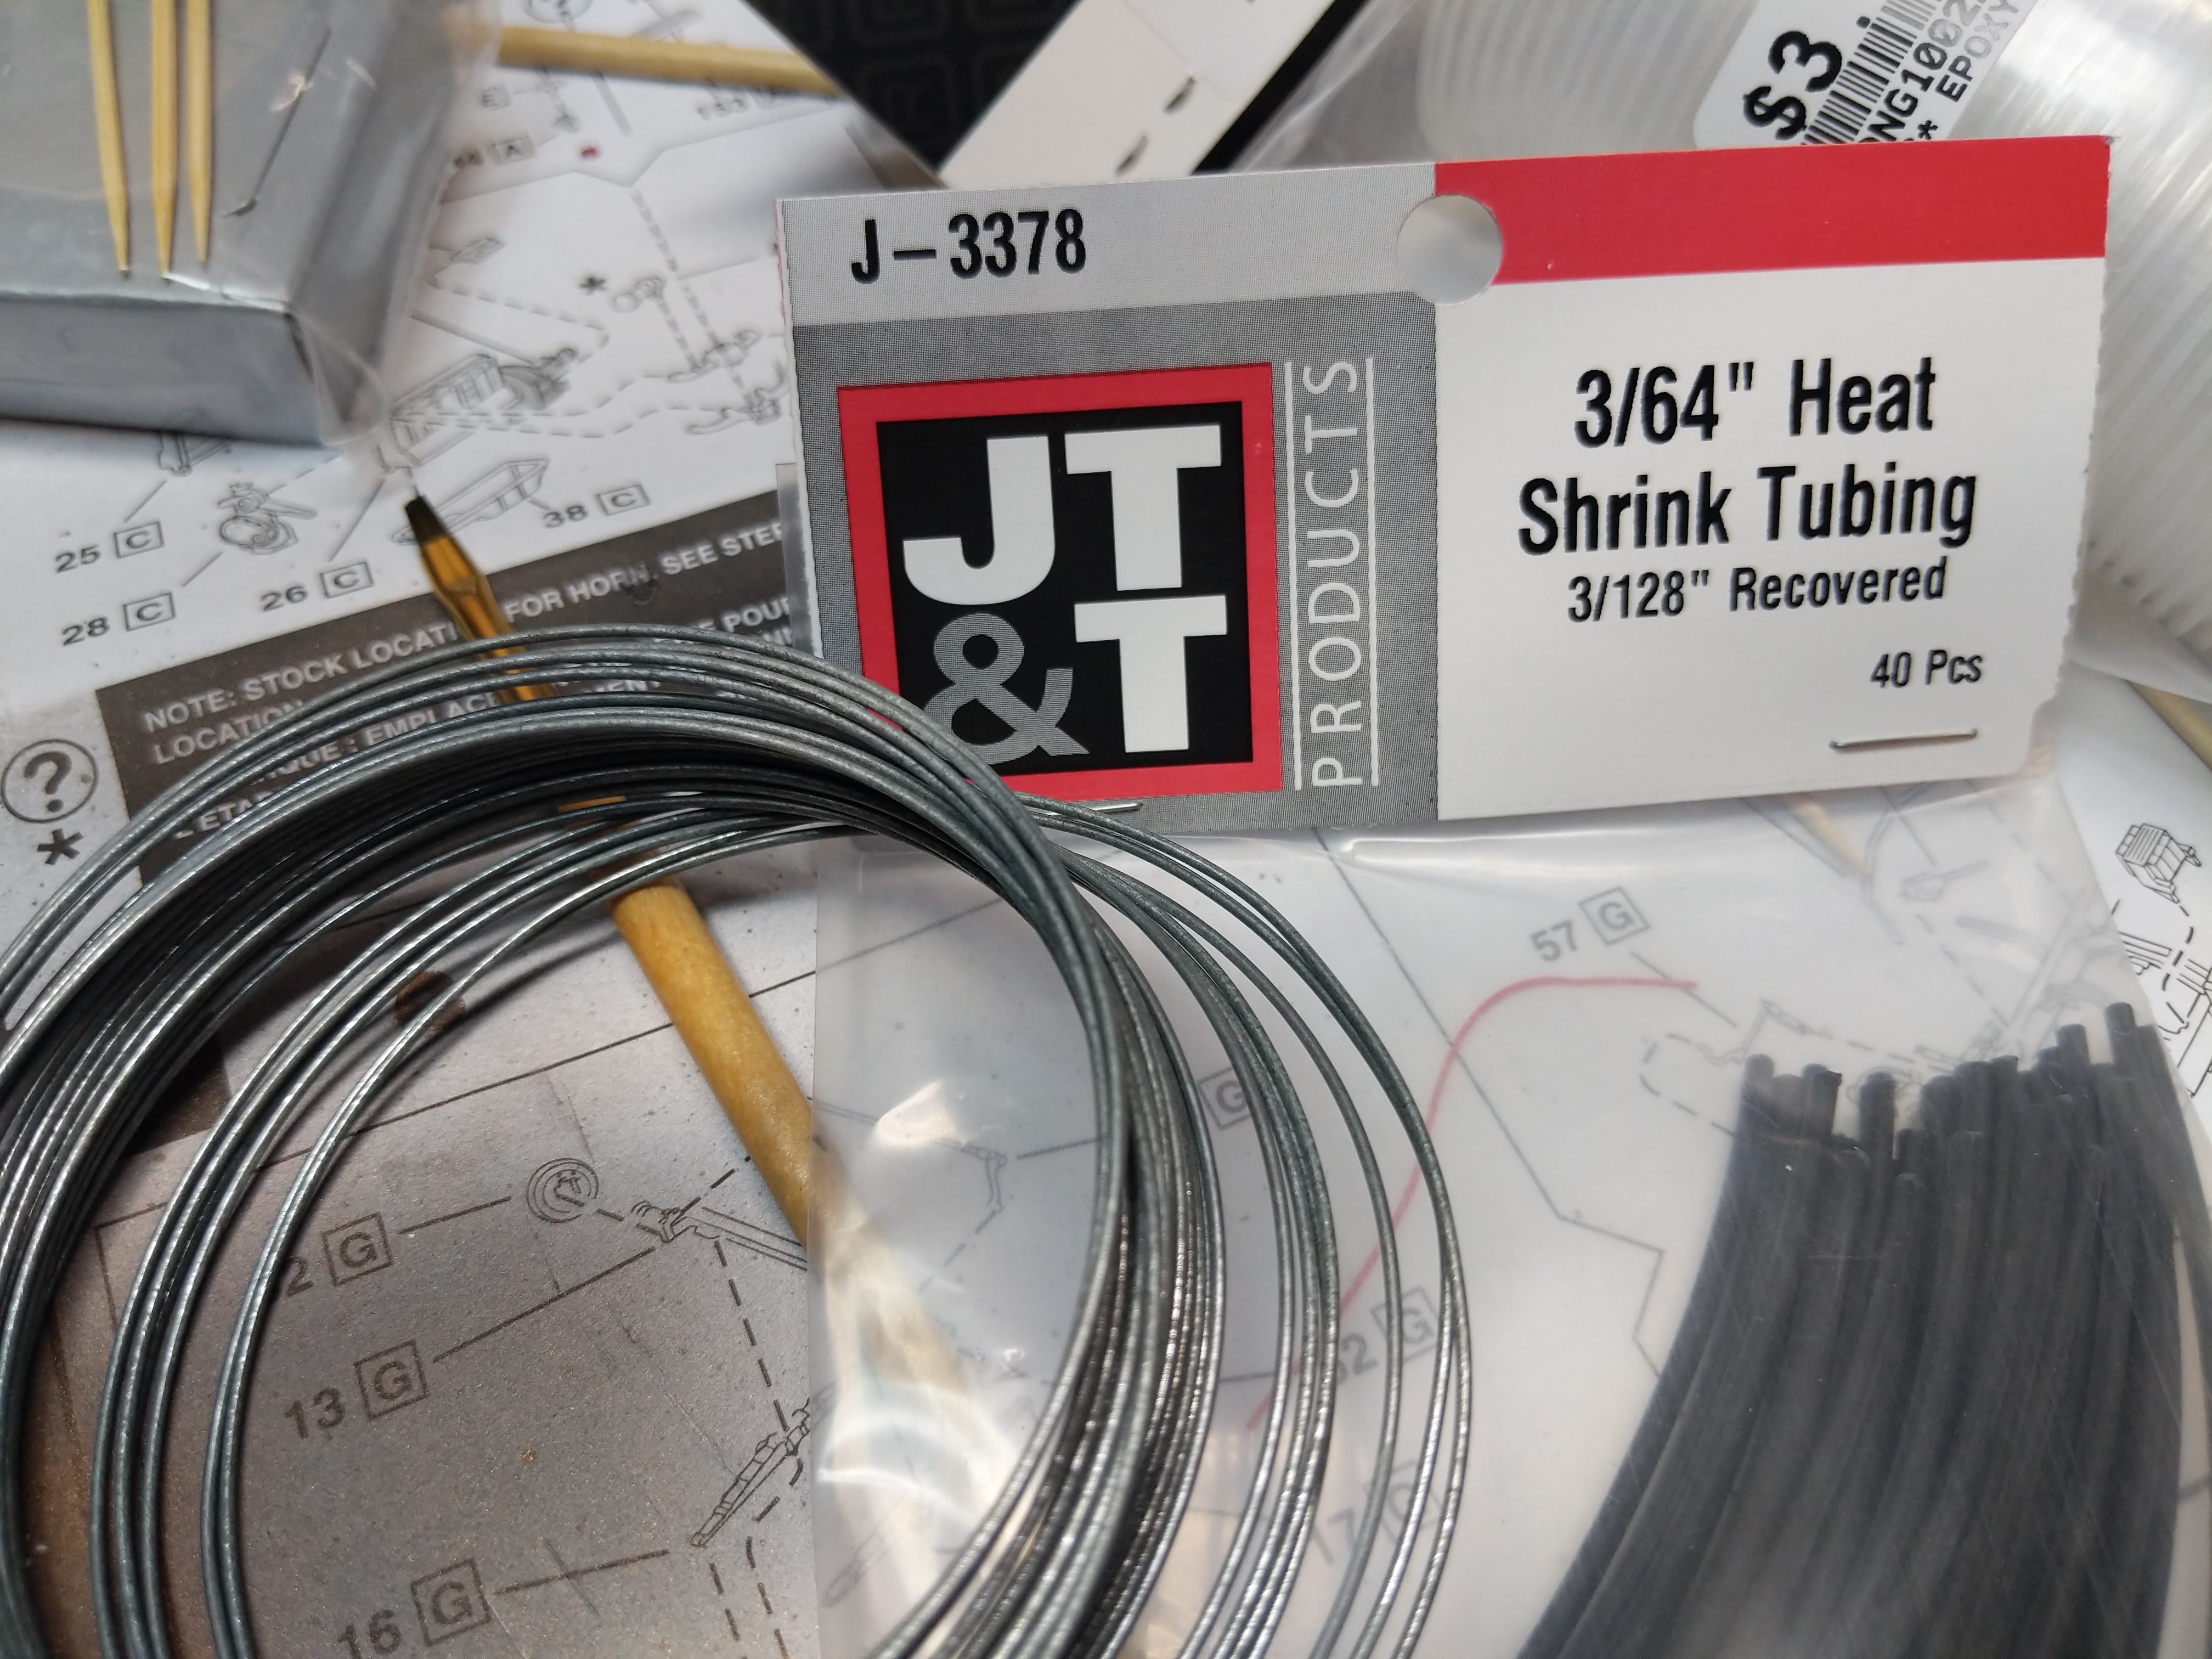
Thank you, it's my first engine detail job. It's not easy scratch building the various parts I screwed up a bunch. Heat shrink tube and bailing wire seem to be perfect for many of the hoses
.
-
Small update but I think it's an awesome discovery. Maybe some might know and I'm behind the times.
Molotow liquid chrome, is nearly impossible to clear I've tried everything, even rpf doesn't have a solid solution to clear coating it. You can see the line for the coating top and bottom, with bare molotow in the center. For both these clears. I haven't tried spraying it mainly because I use it for trim and highlights. But the difference is negligible hoping it dries as well as it looks wet though I suspect it will. It's unclear what the difference between these two are as they are from the same company.
For comparison here is another test with various other clears including an automotive 2 part similar to alclad, which I understand is popular.
-
4 hours ago, Filthysanches said:
I'm thinking I'm going to make this a beer wagon with casks of beer and a custom brew decal but it's kind of a work in progress at the moment. I was going to convert a Ghostbusters ecto-1 and Bash building with a 58 caddy since the original ecto-1 kit does it come with an engine but since my last build was kind of intense I decided to take a breather with this one.
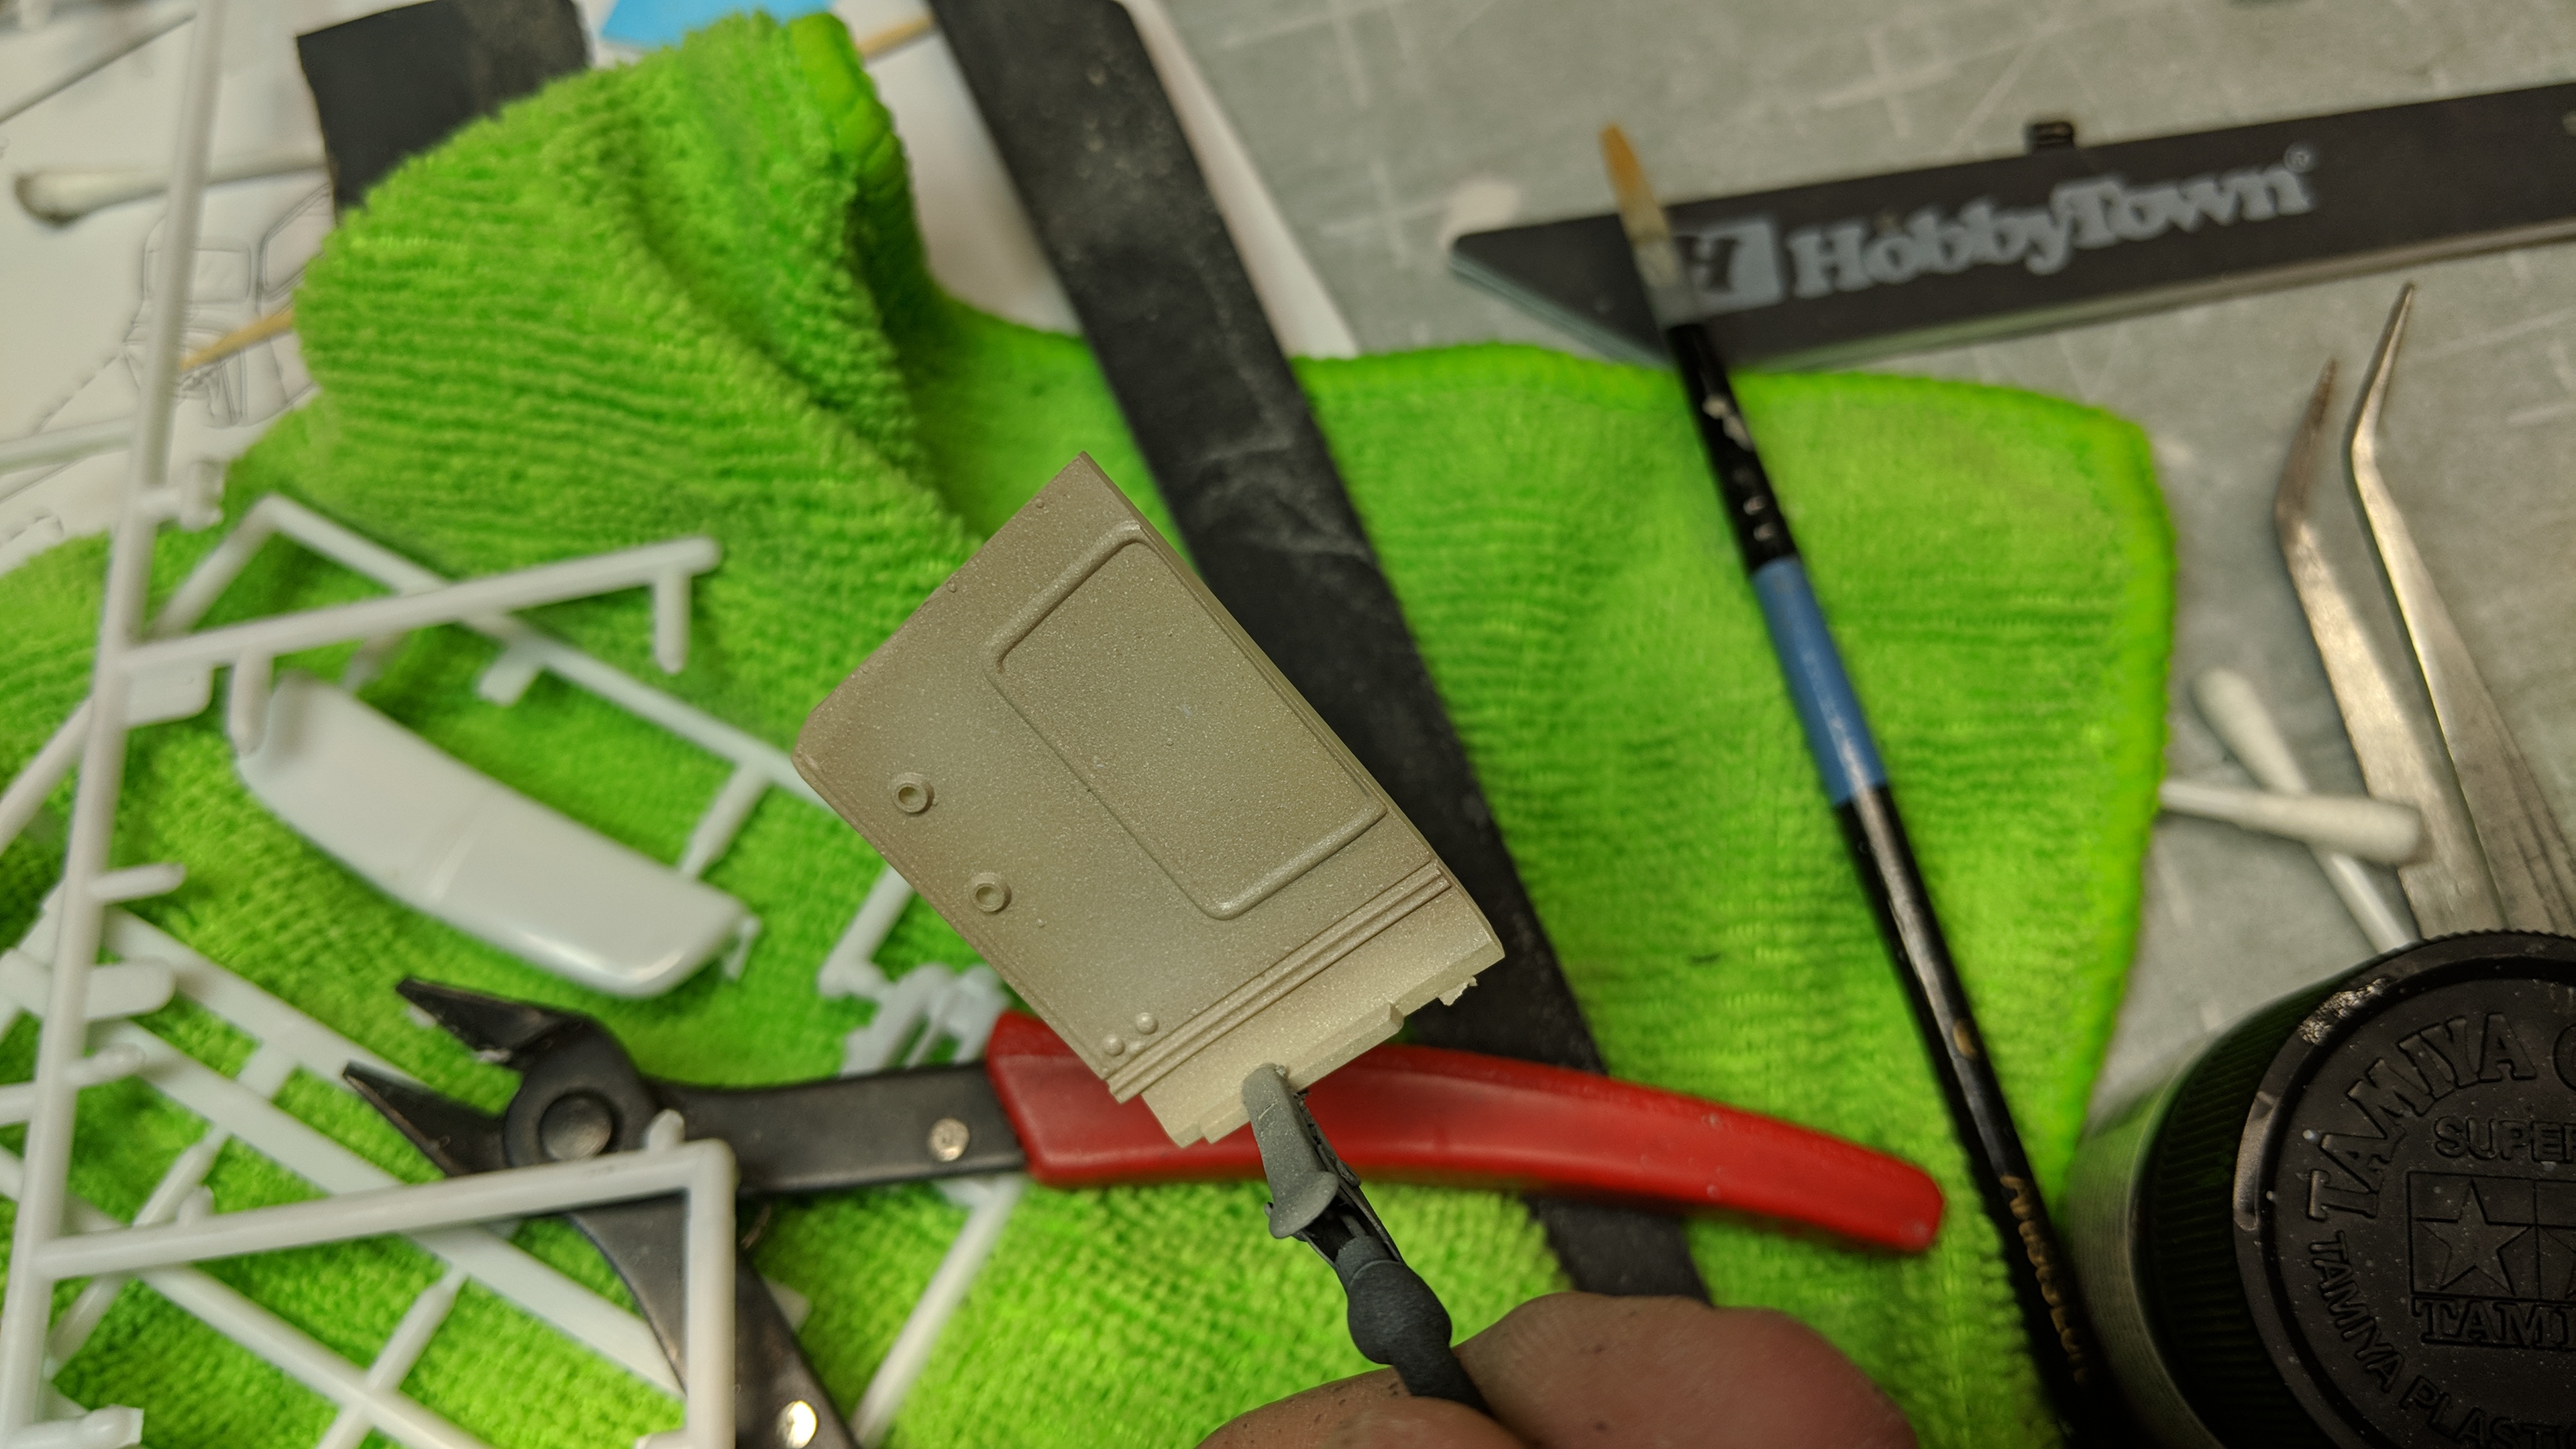
I Sanded and prepped and primed the main body
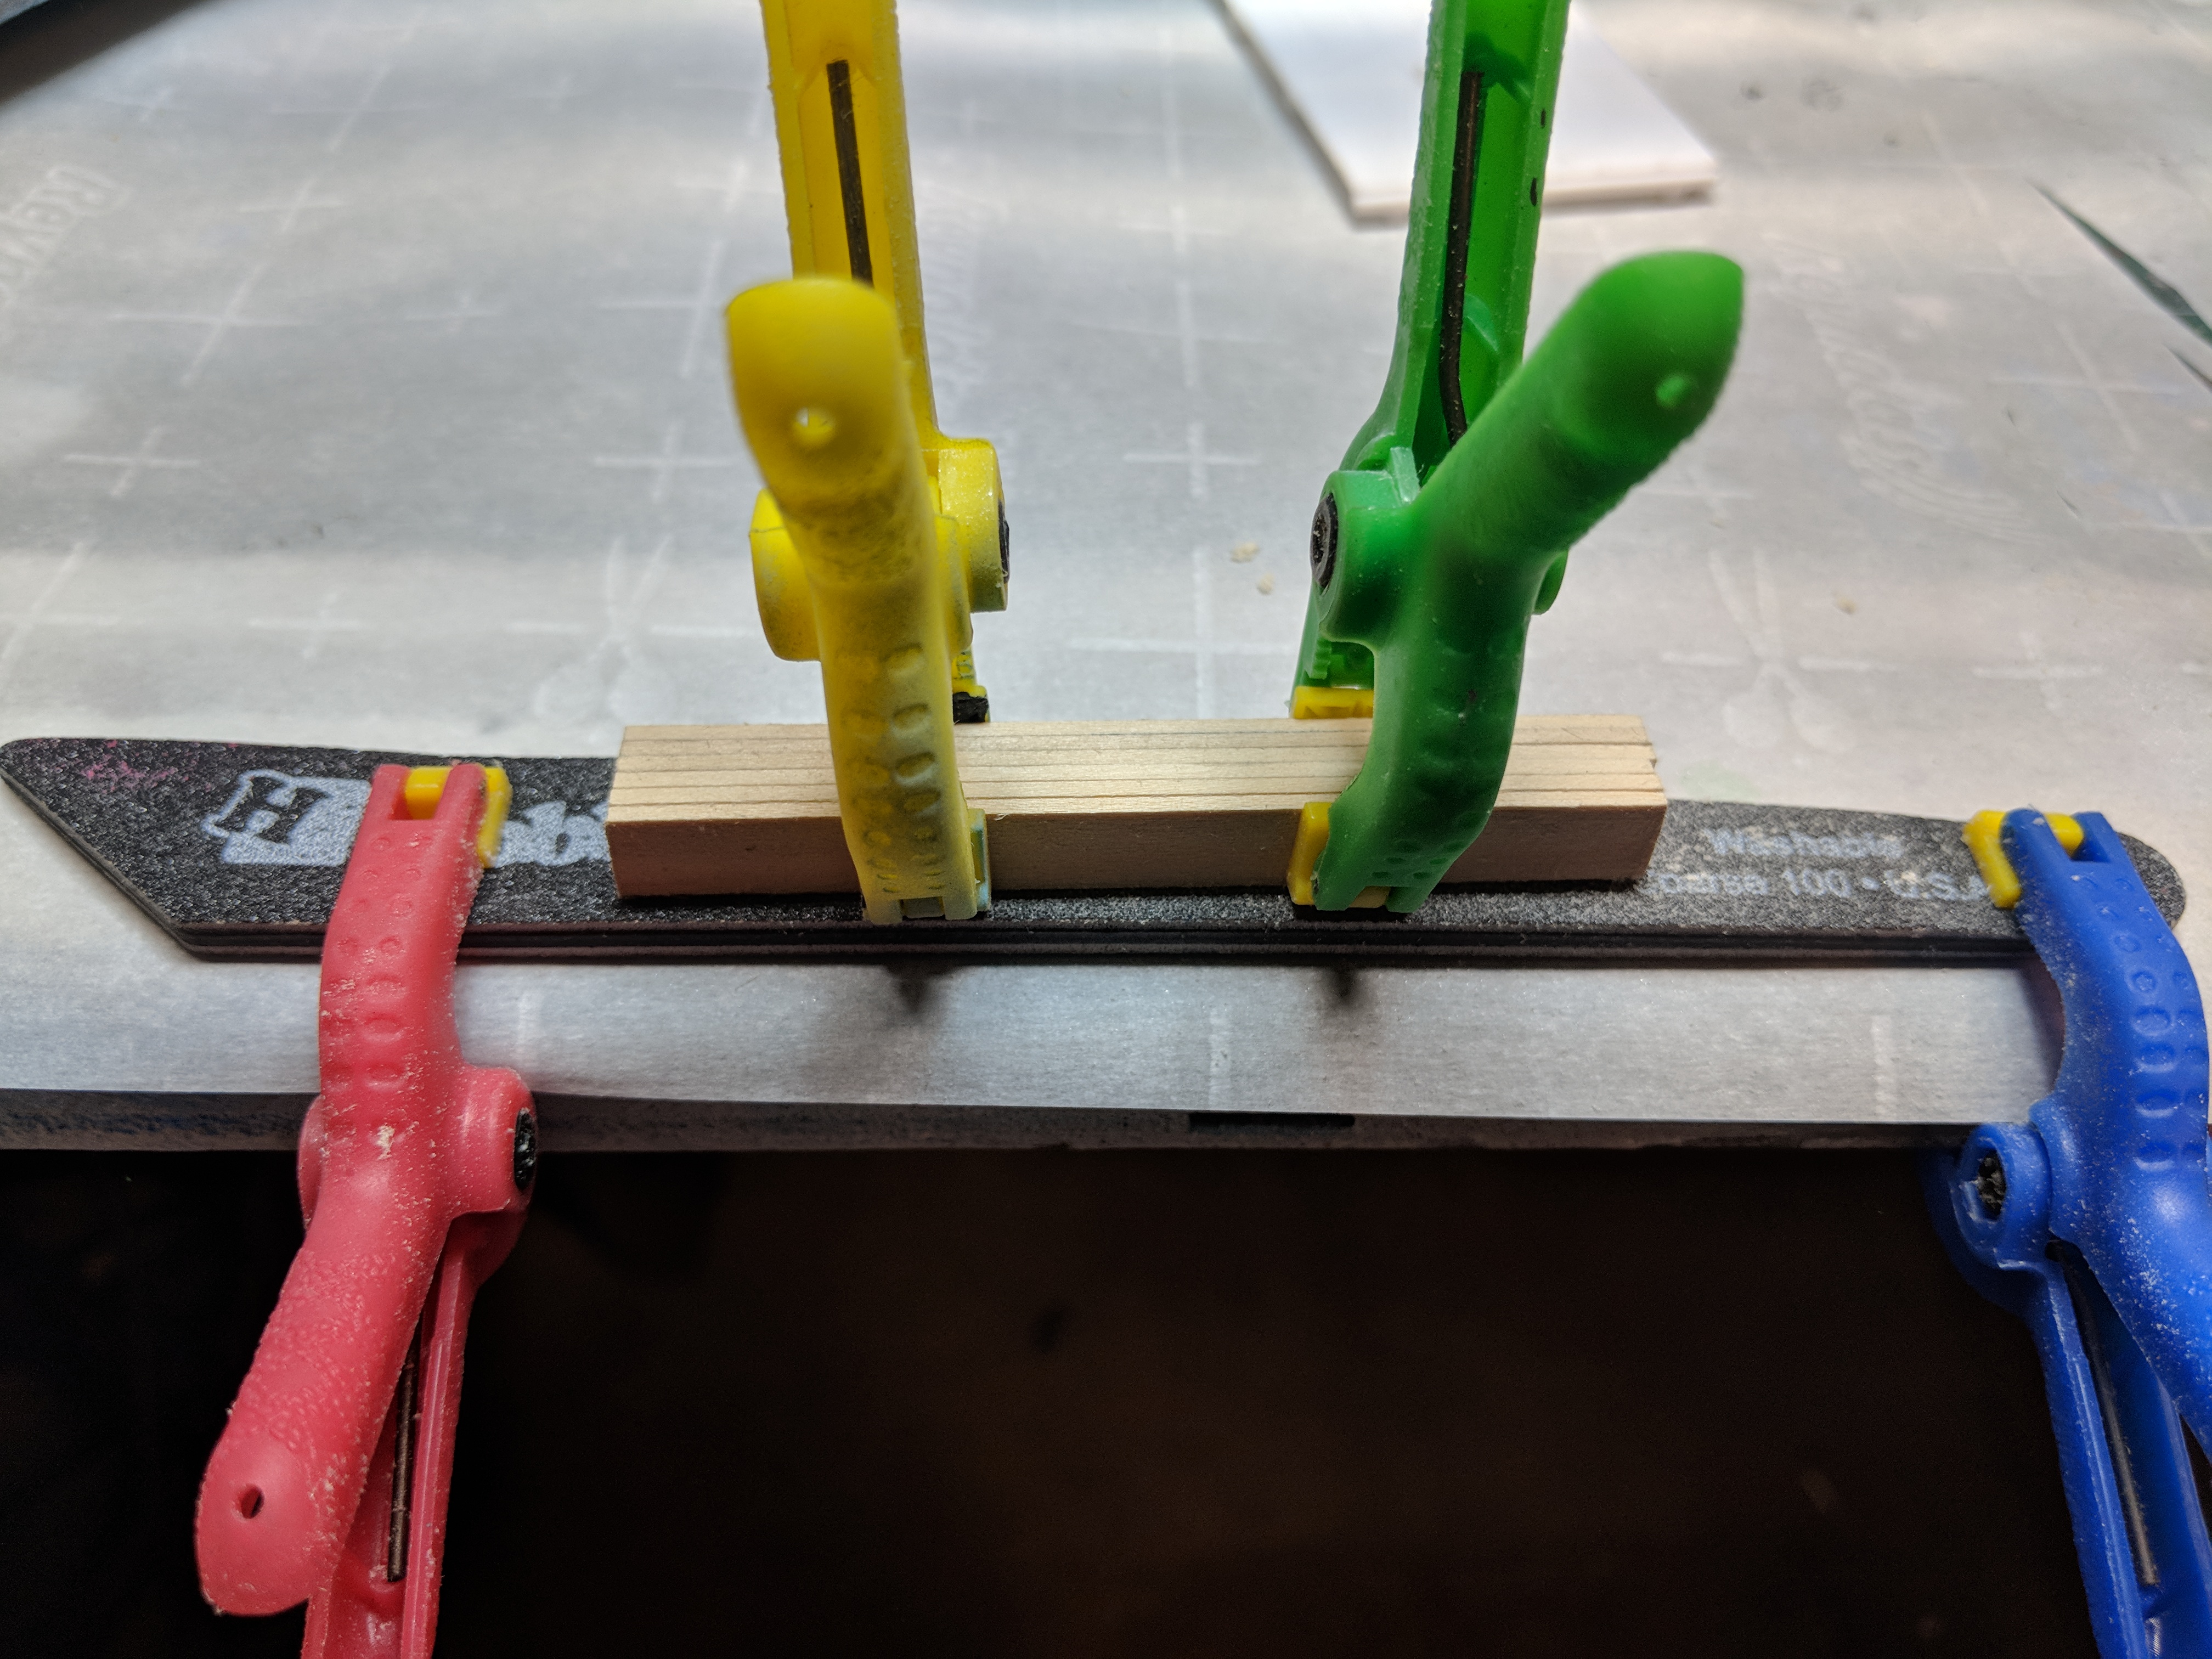
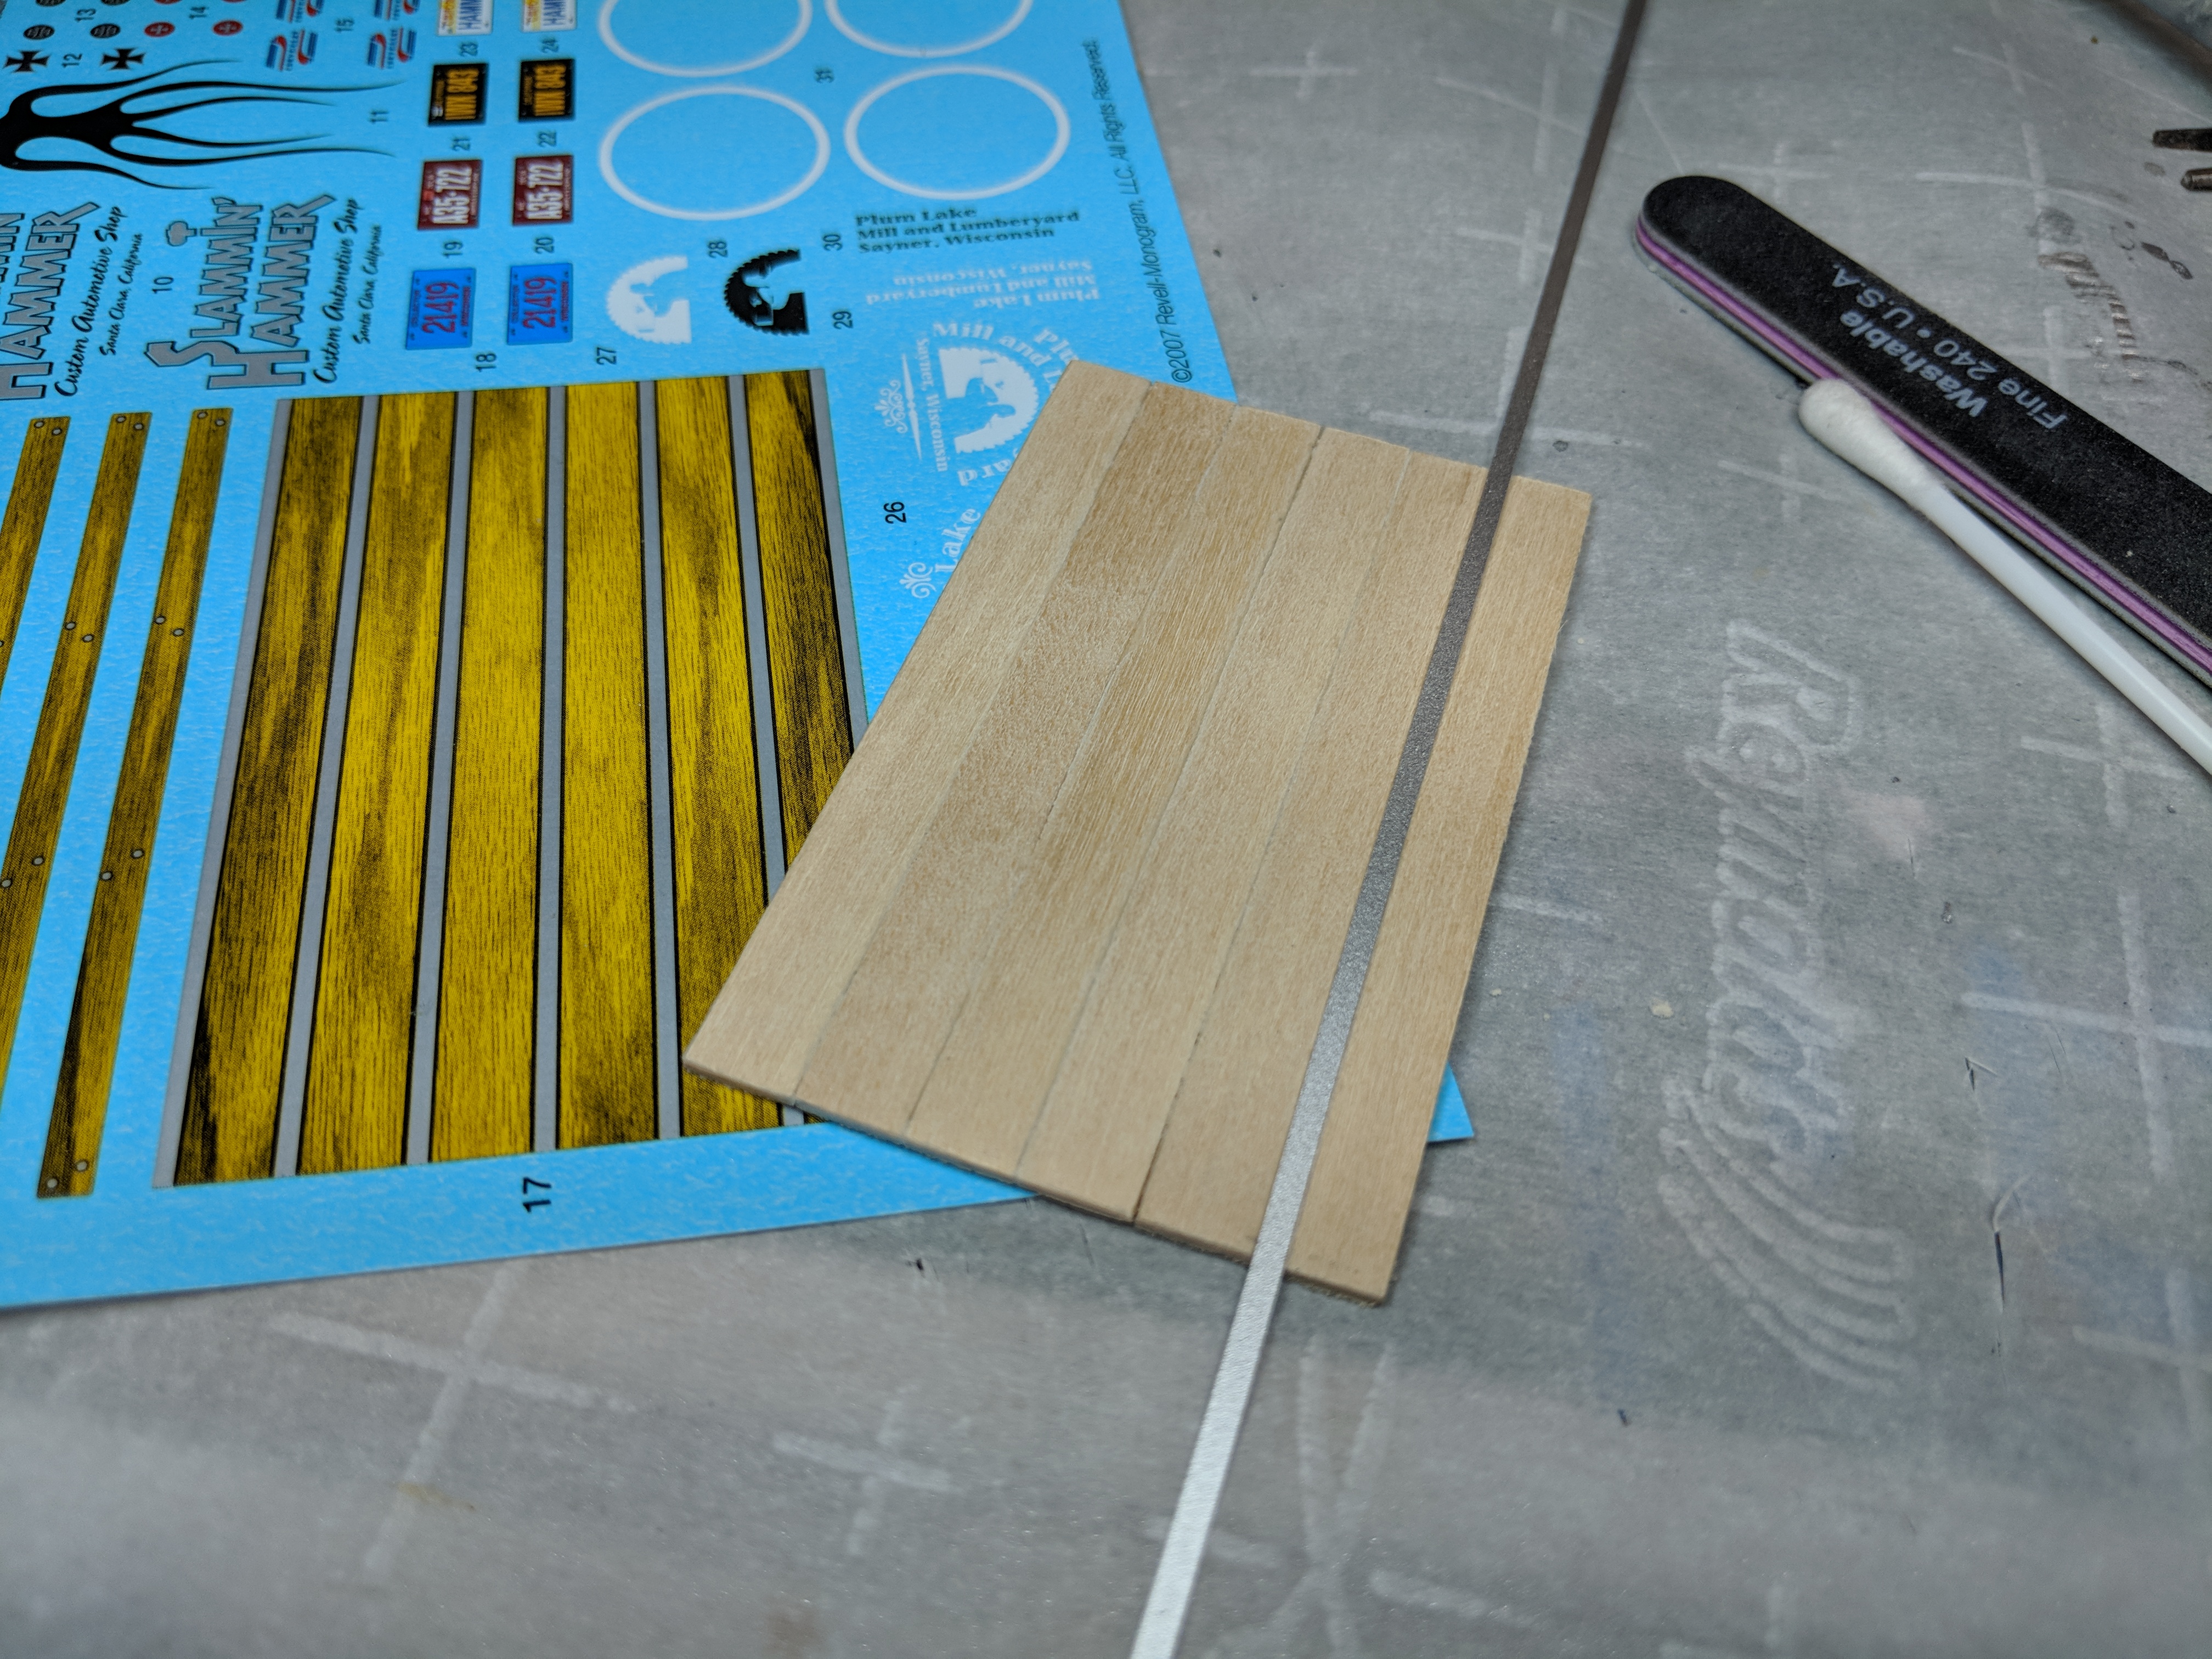
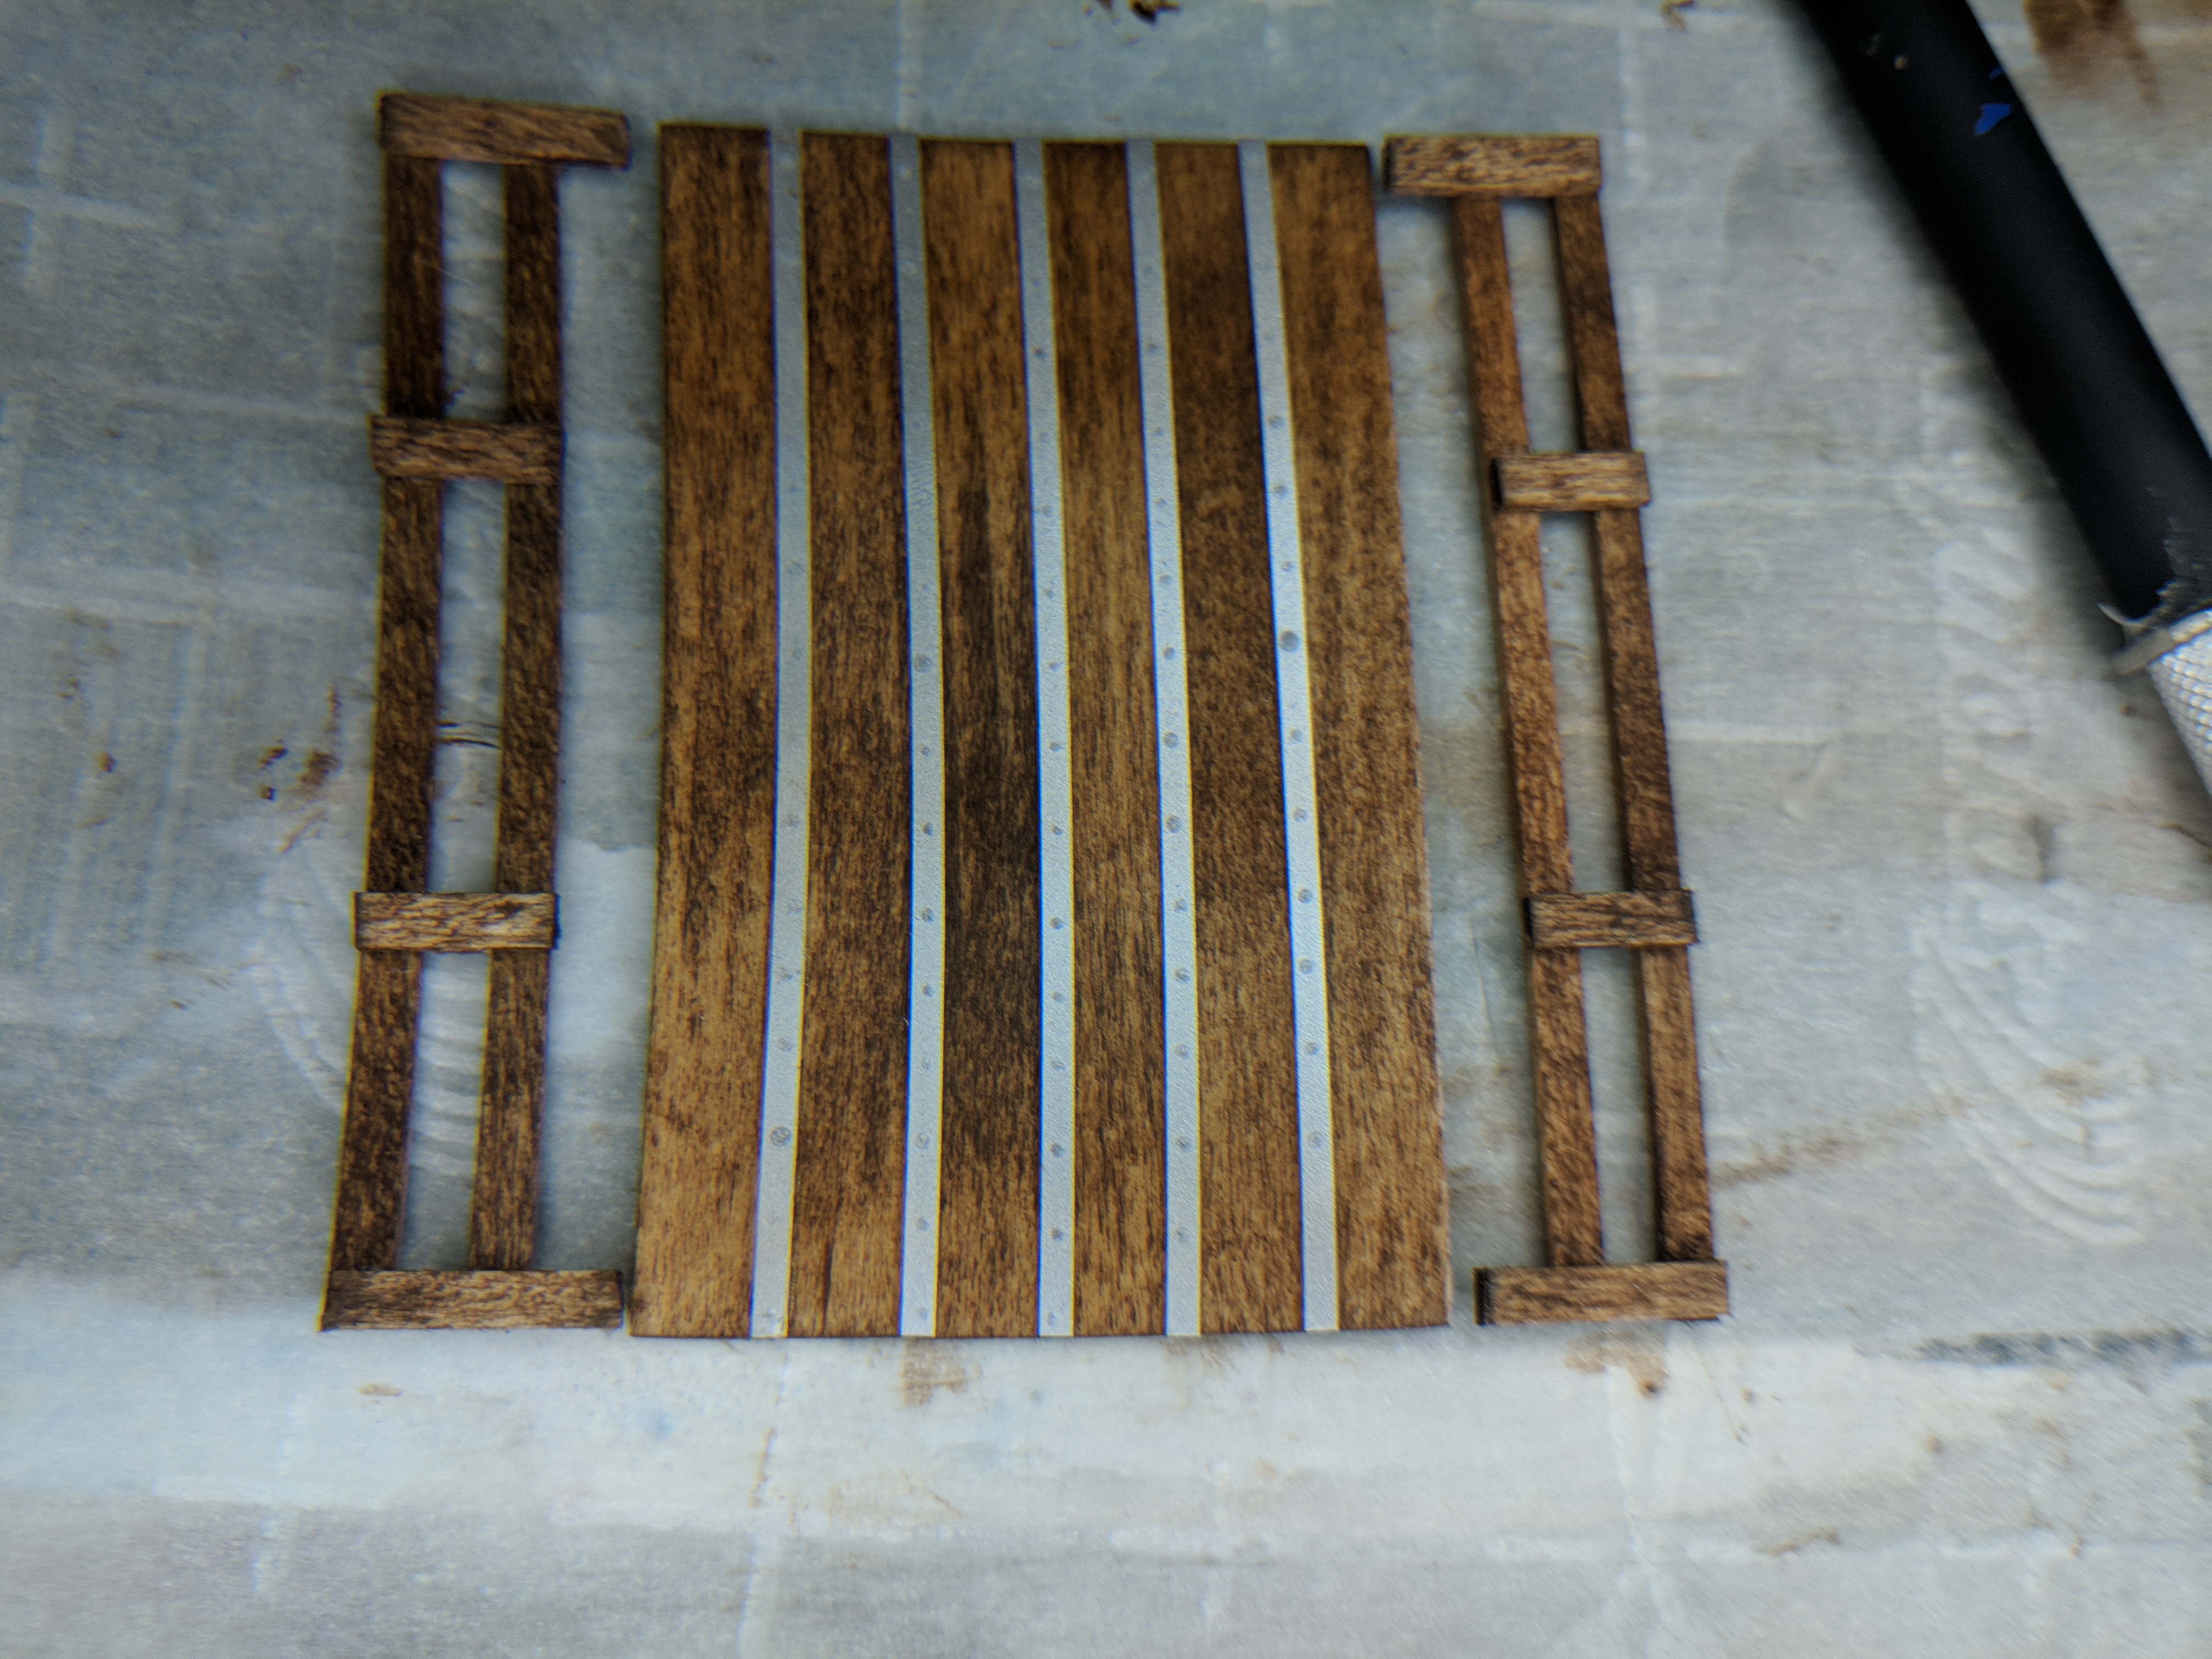
I find the stock bed on these trucks to be too plastic to feel heavy and real, so I decided to scratch build the bed using wood strips as opposed to the normal plastic and decals the kit comes with. The hardware store didn't have the width I needed so I had to rip and sand the planks by hand which is a pain in the a$$
Next I had to glue the planks together
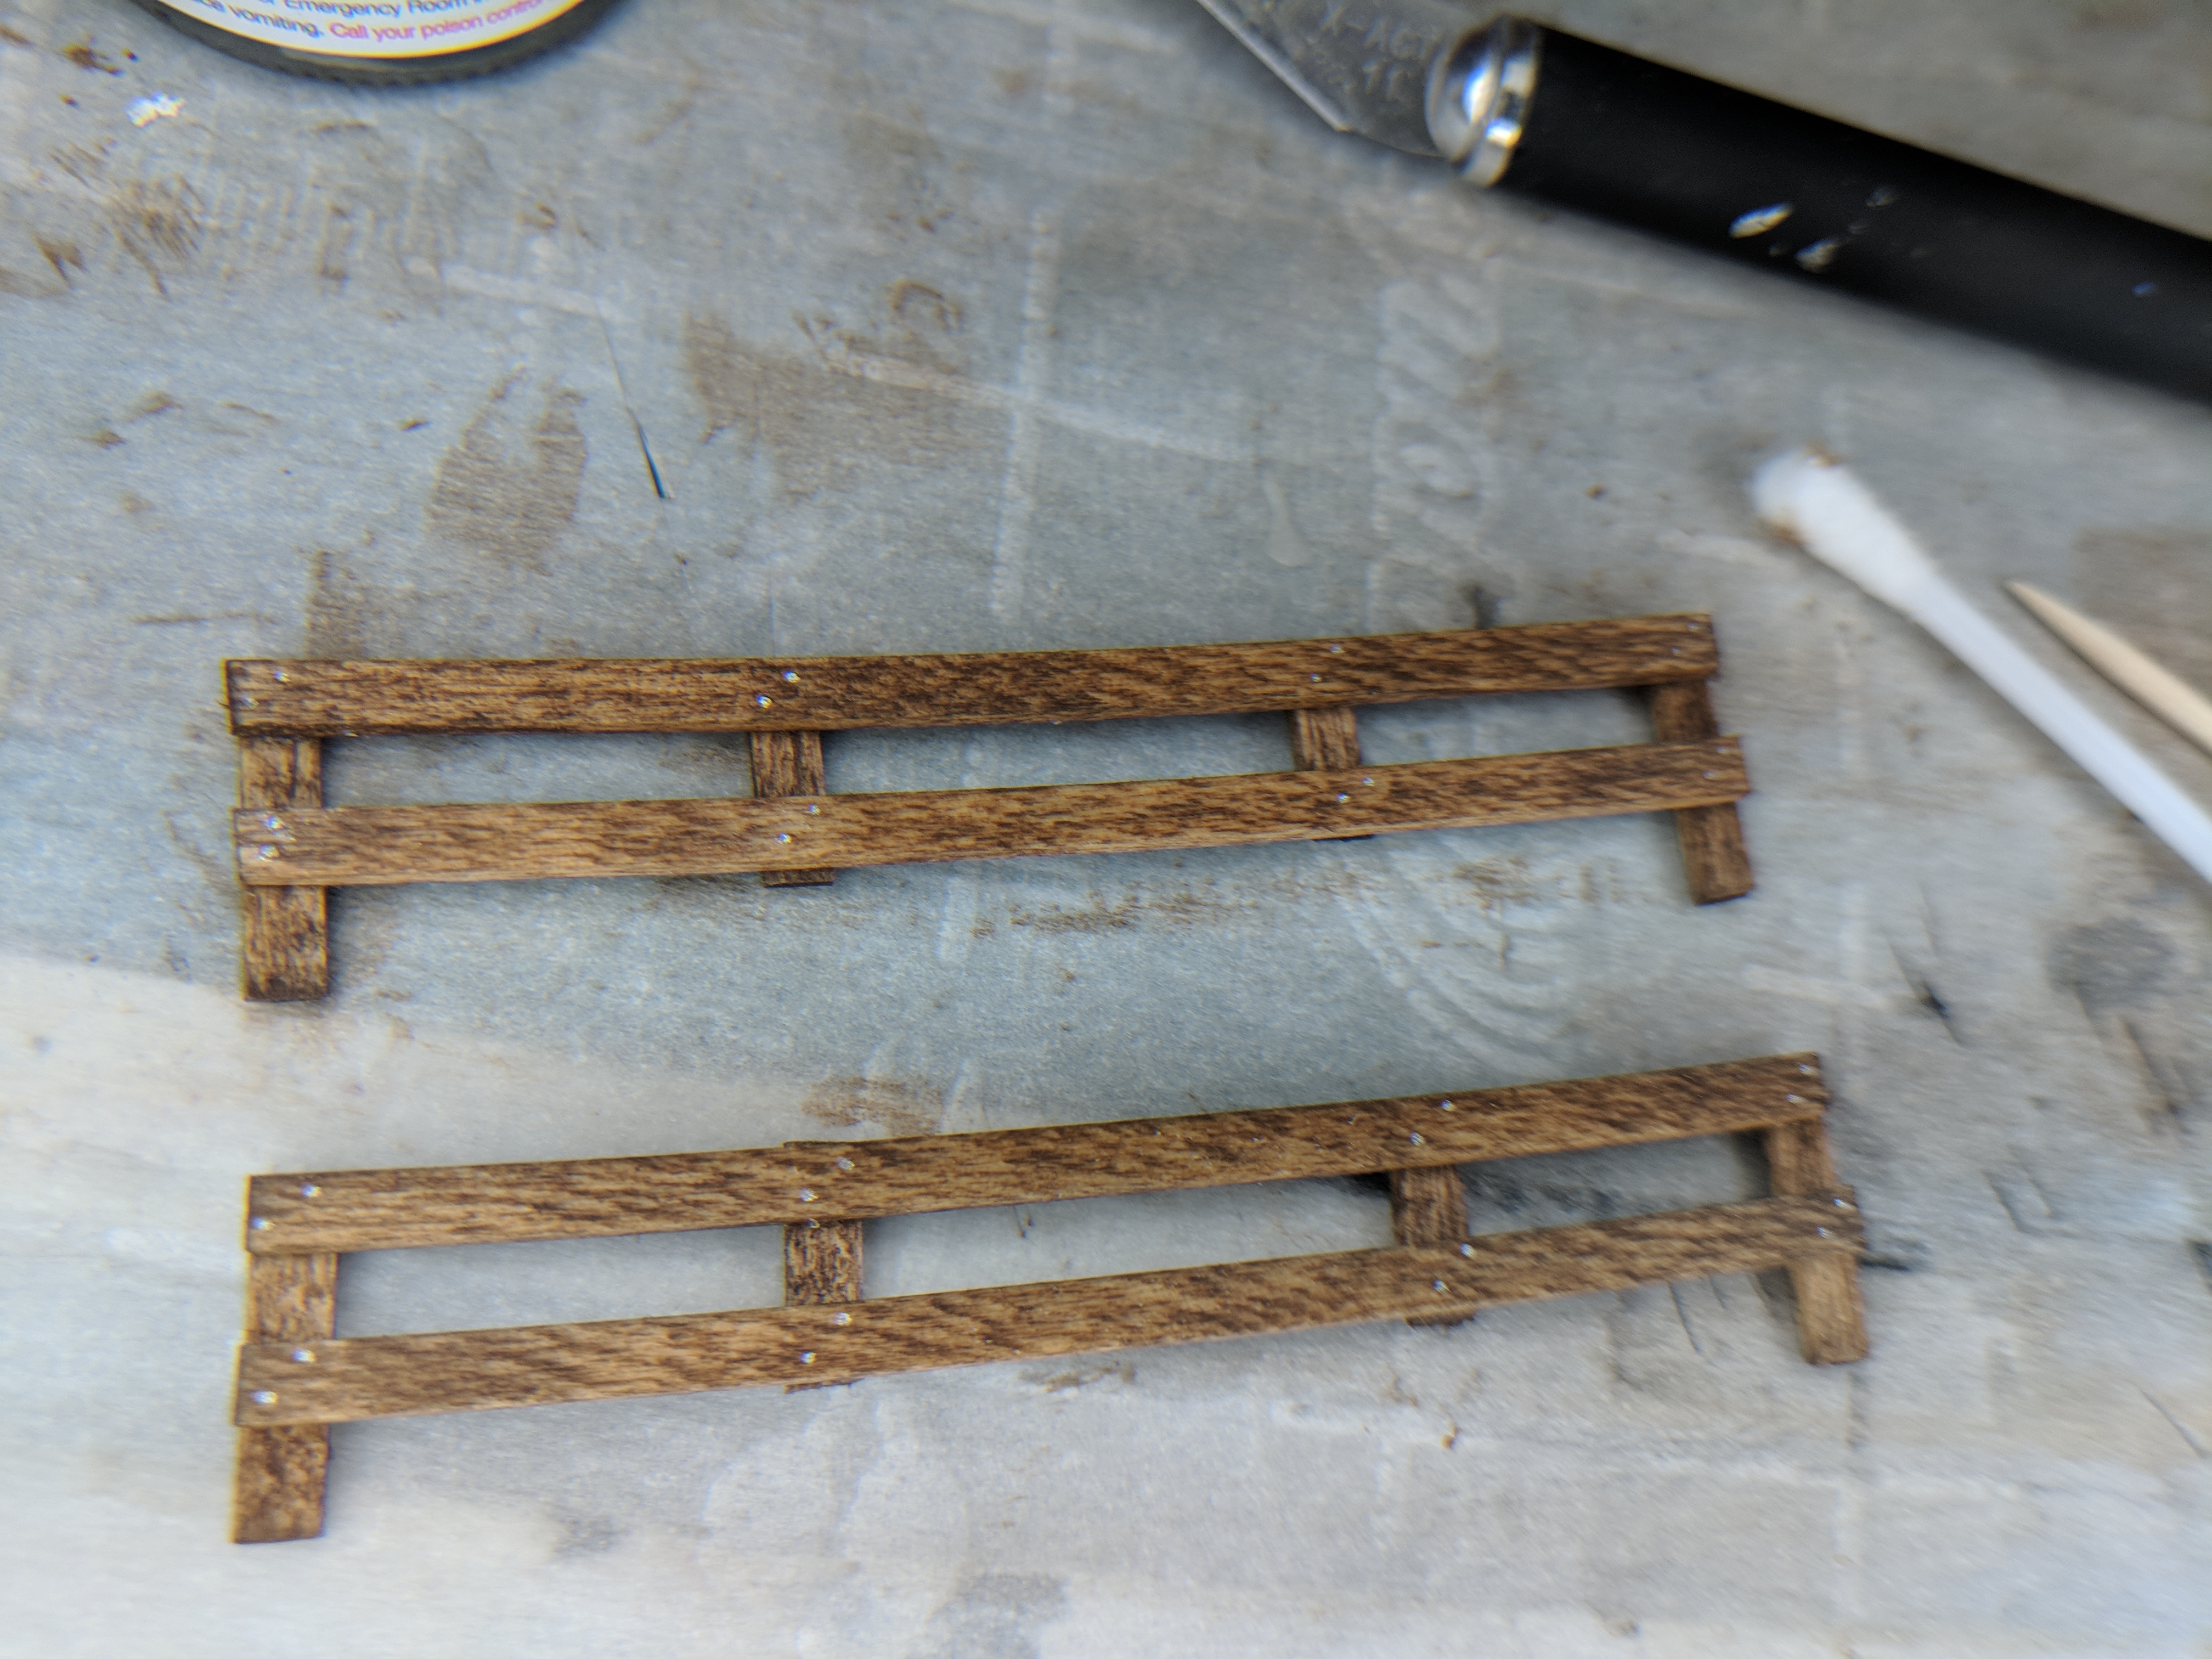
The joints are pretty bad but I lack the equipment and patients to make better work of them. The railing (styrene strips) should cover most the crimes I'm about to make.
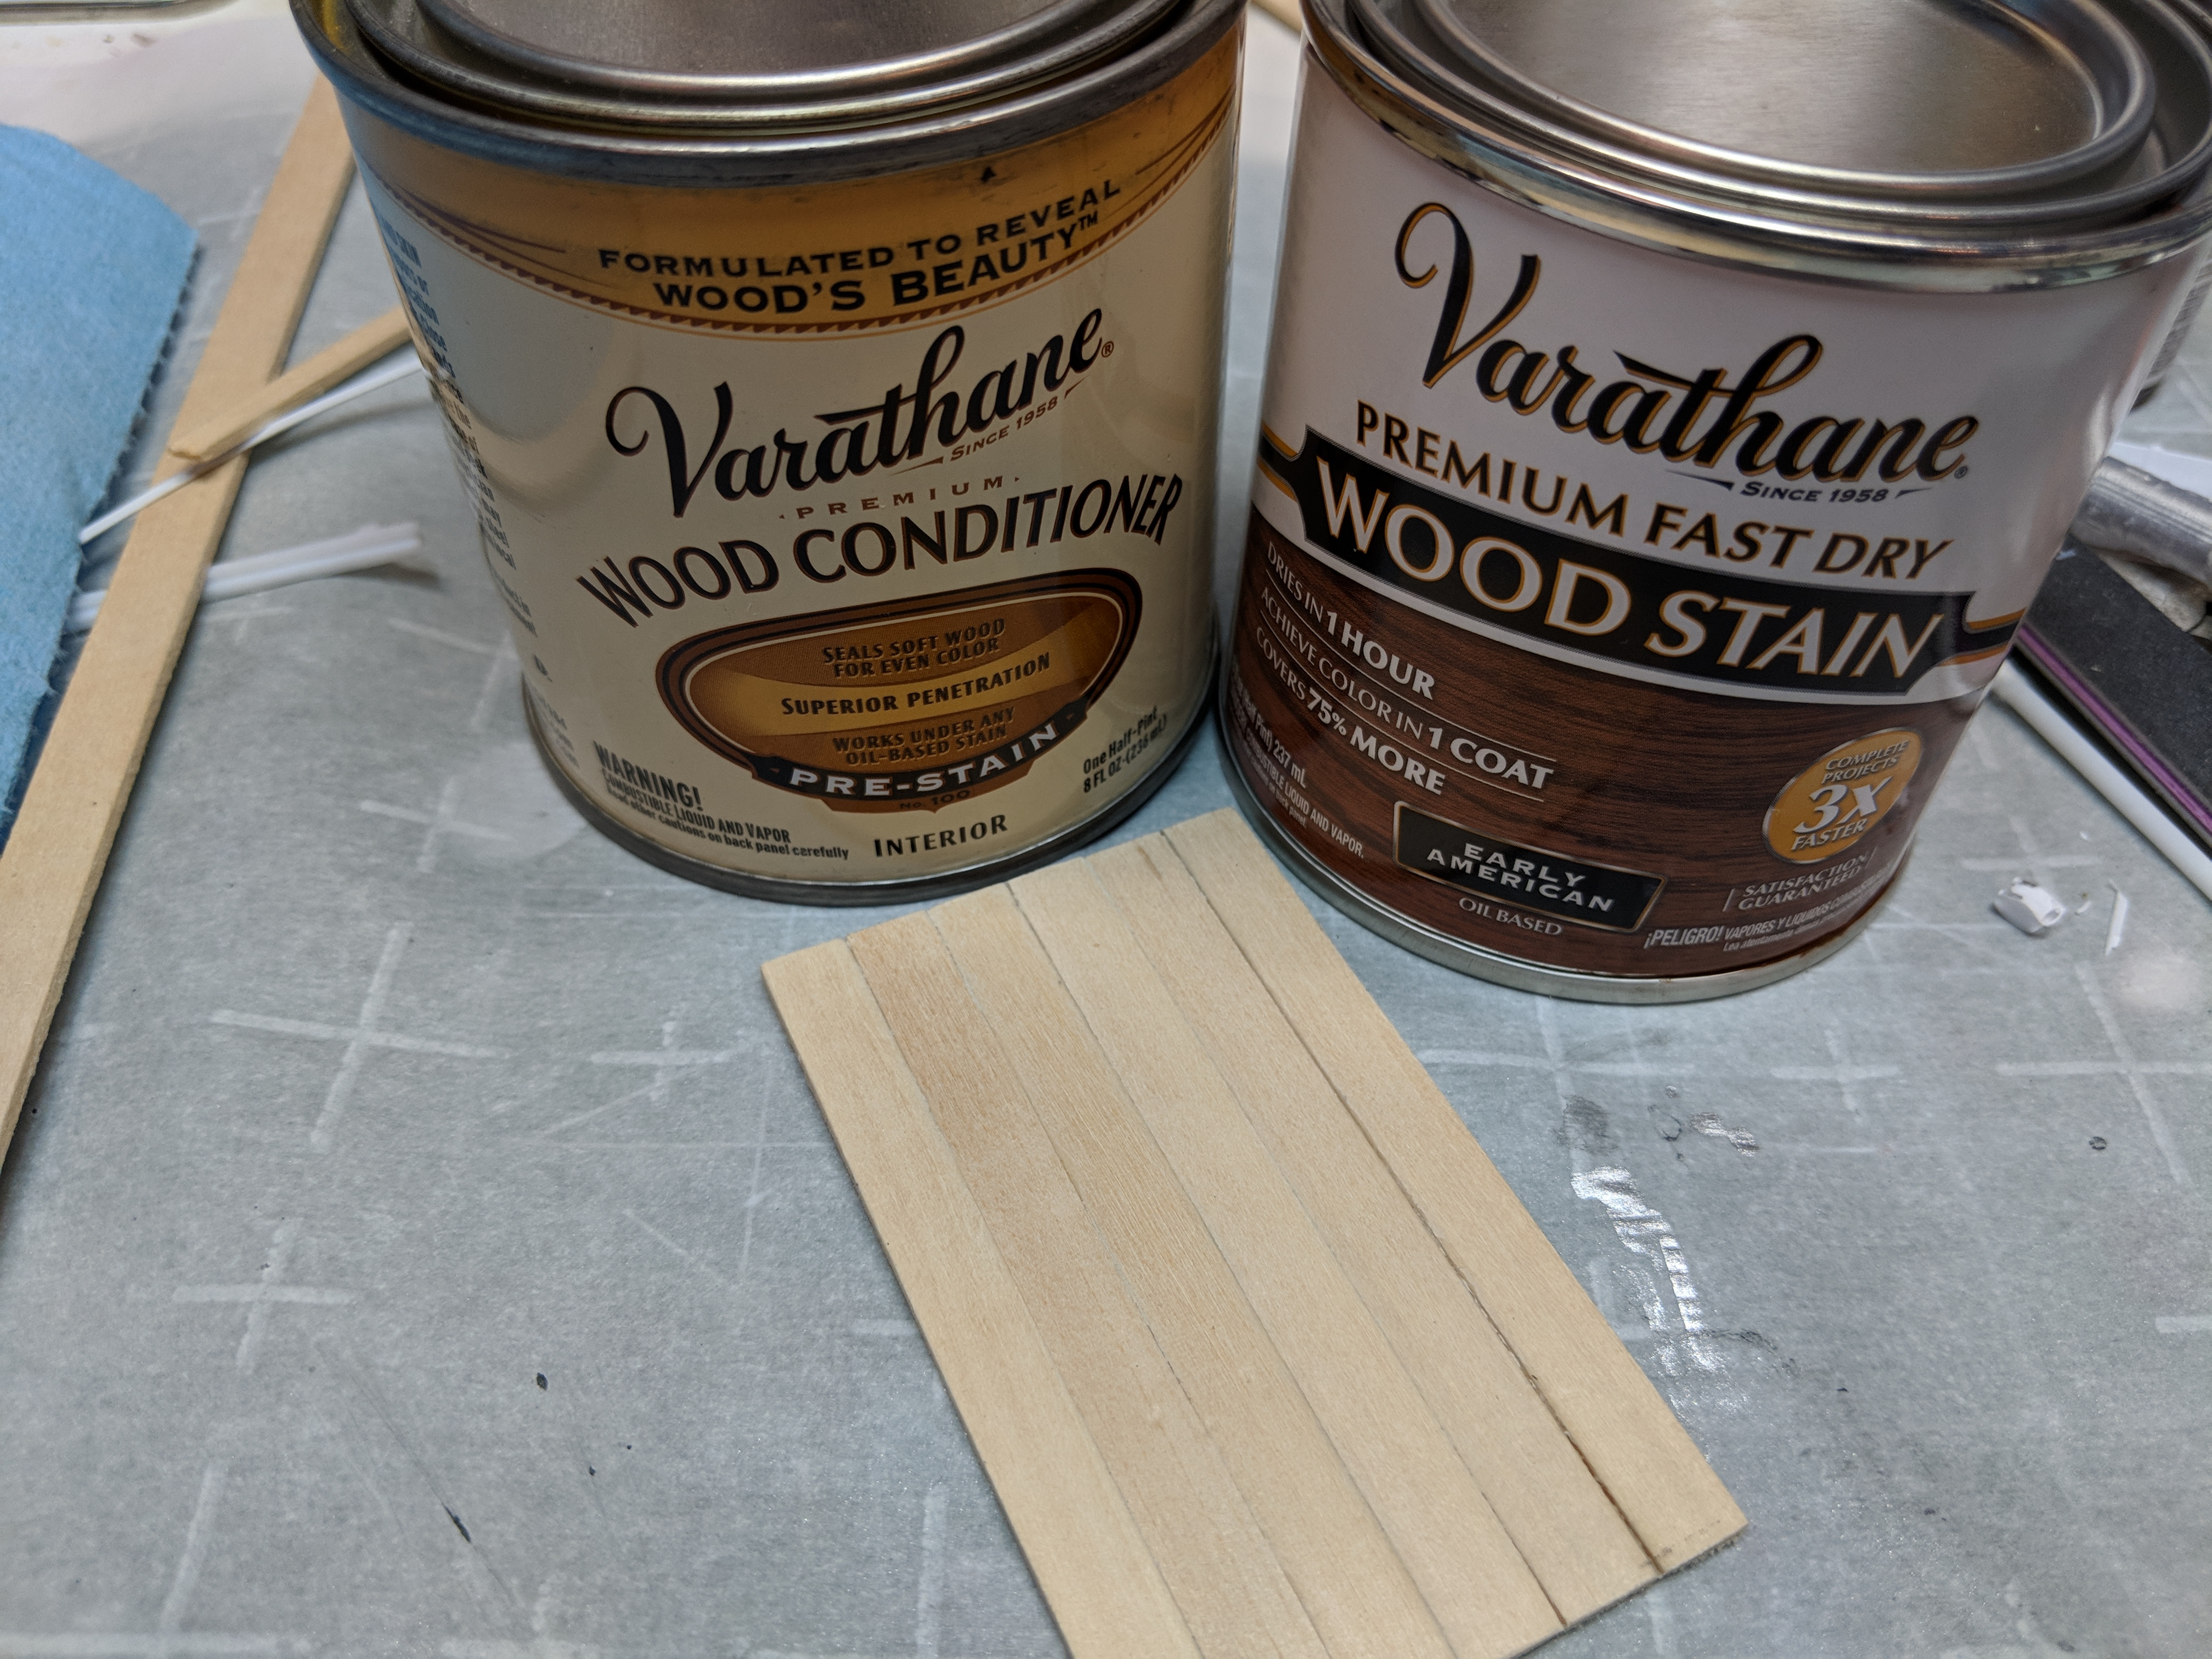
I'm sure some of you are wood workers and for those wood purists please forgive my use of stain as finding darker wood strips is difficult, and I have a color scheme in mind.
I'm planning on doing a subtle two tone paint with flat black and this metallic bronze as a highlight. In person the wood matches a bit closer to the subtle color pallet in the paint.
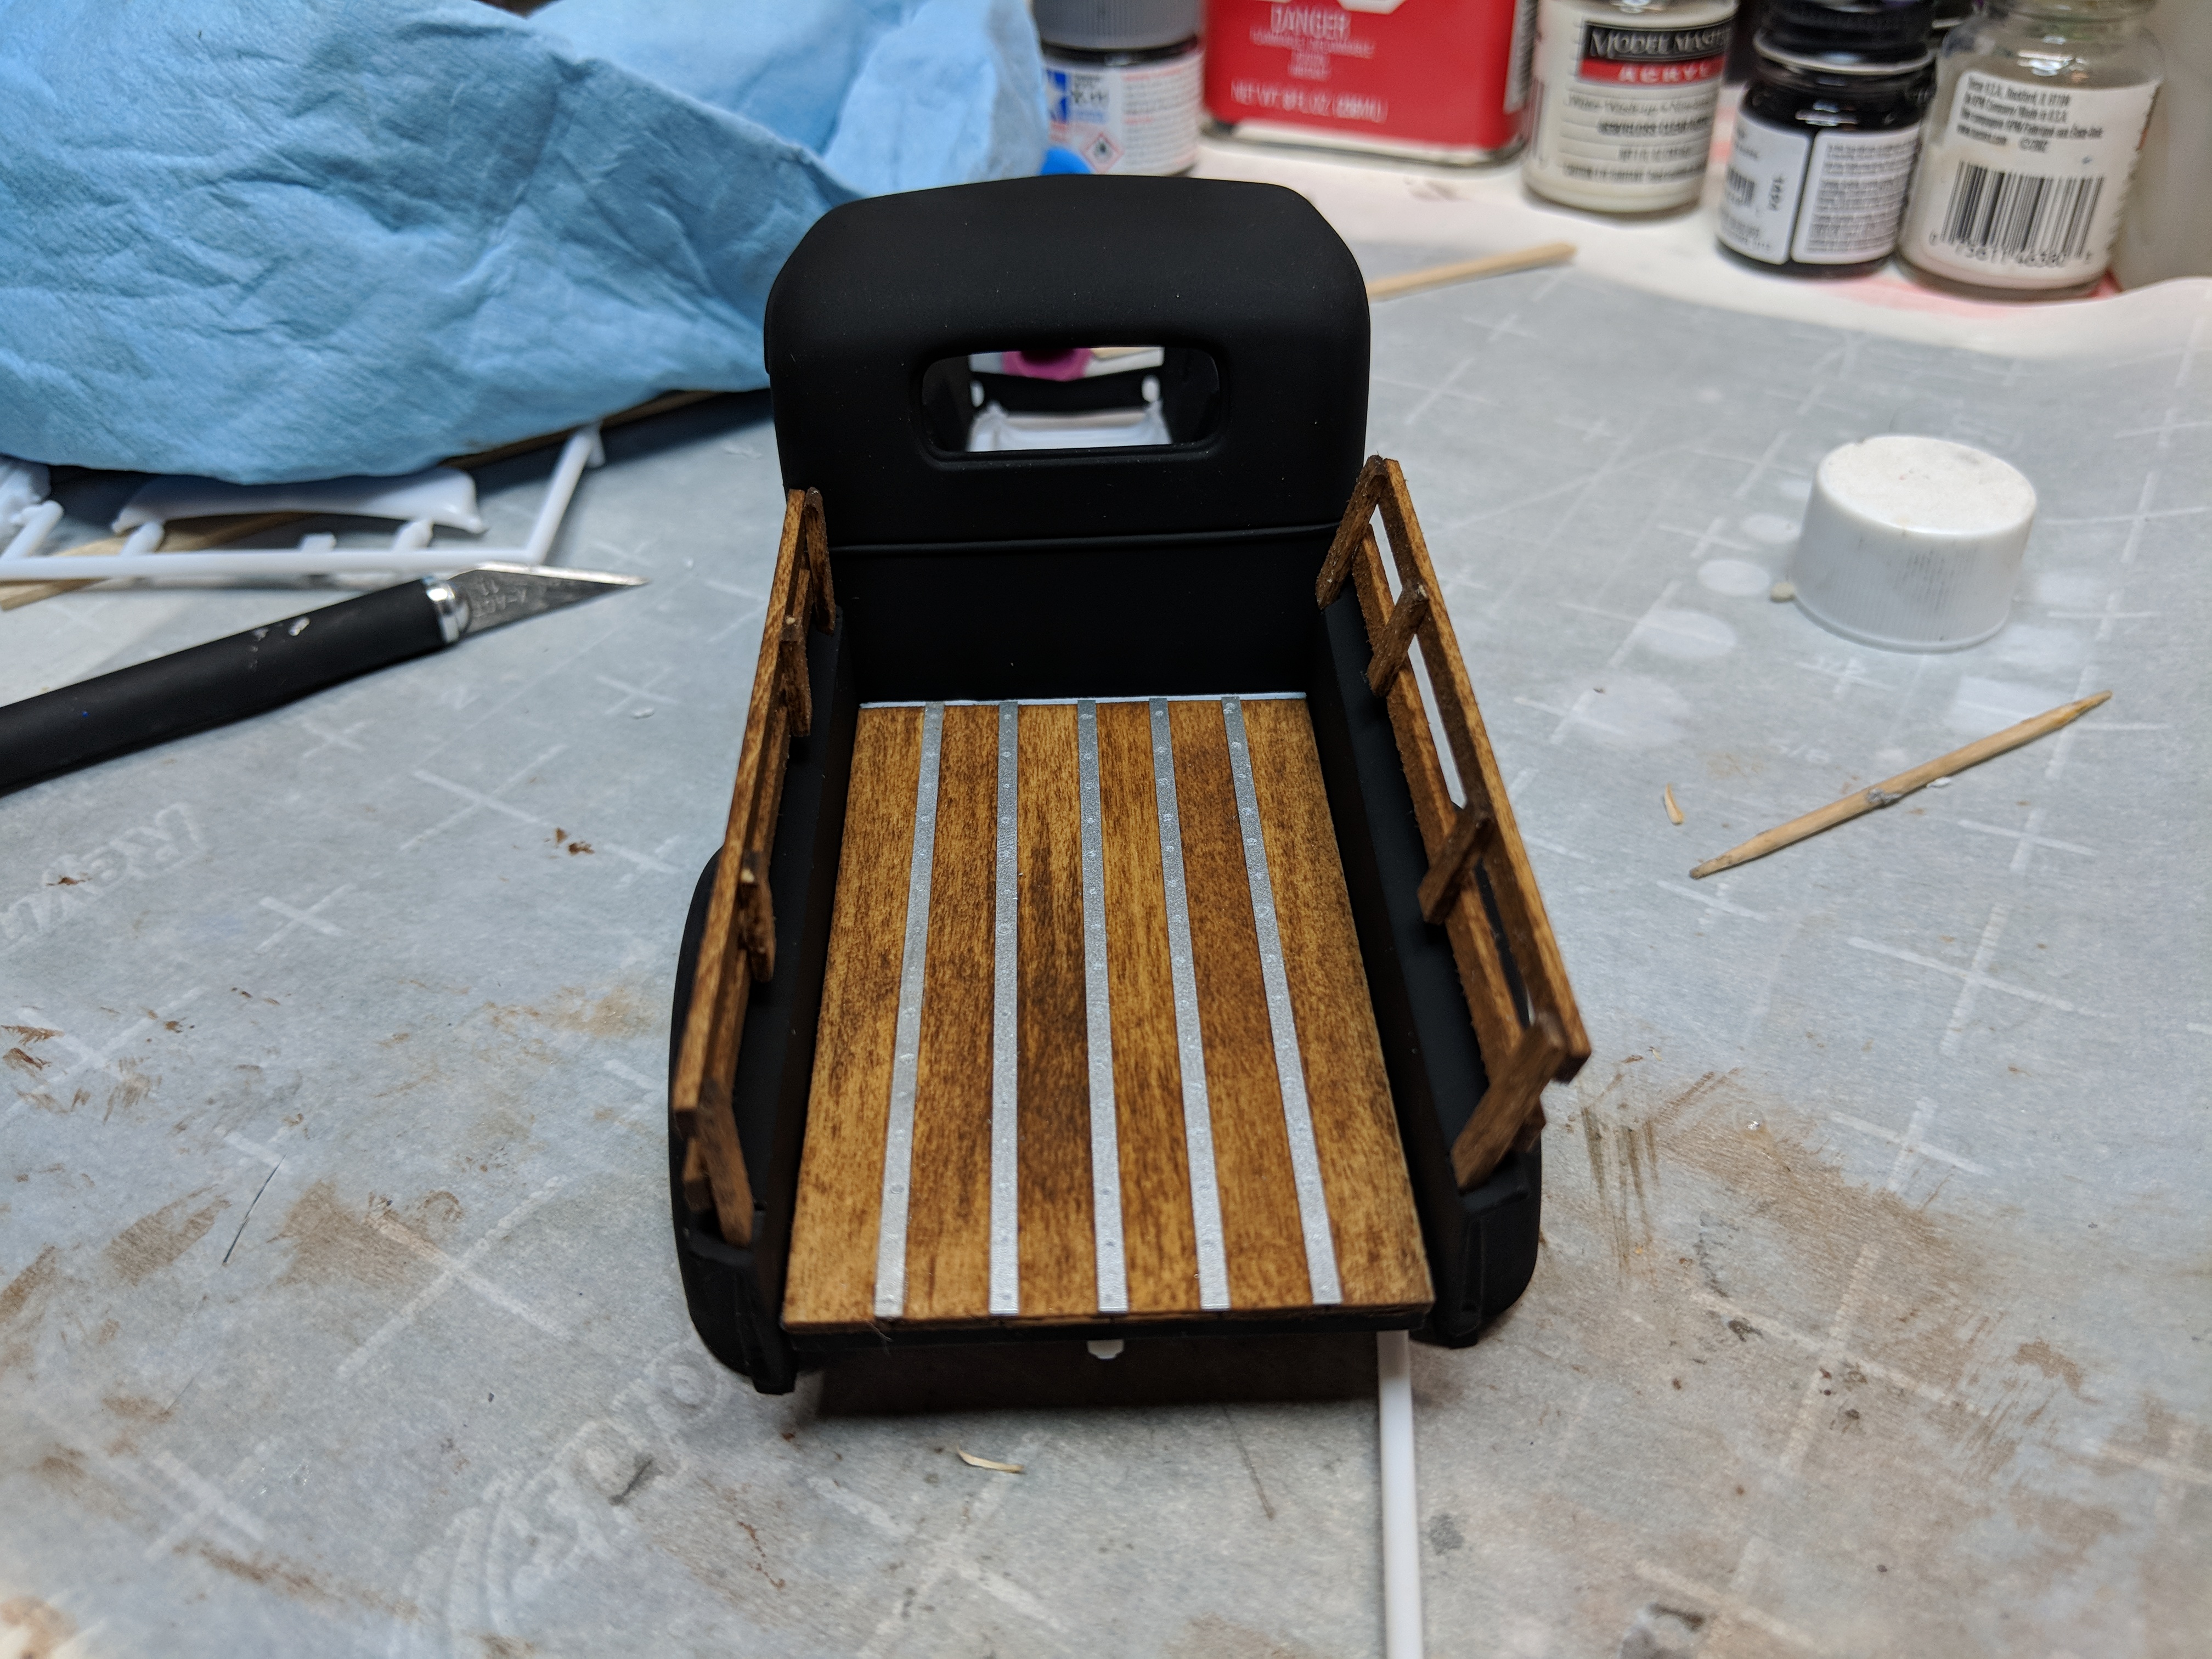
This is where I have got so far, tonight I will likely assemble the bed add the bolts and all that fun stuff.
Bed update


58 Impala
in WIP: Model Cars
Posted
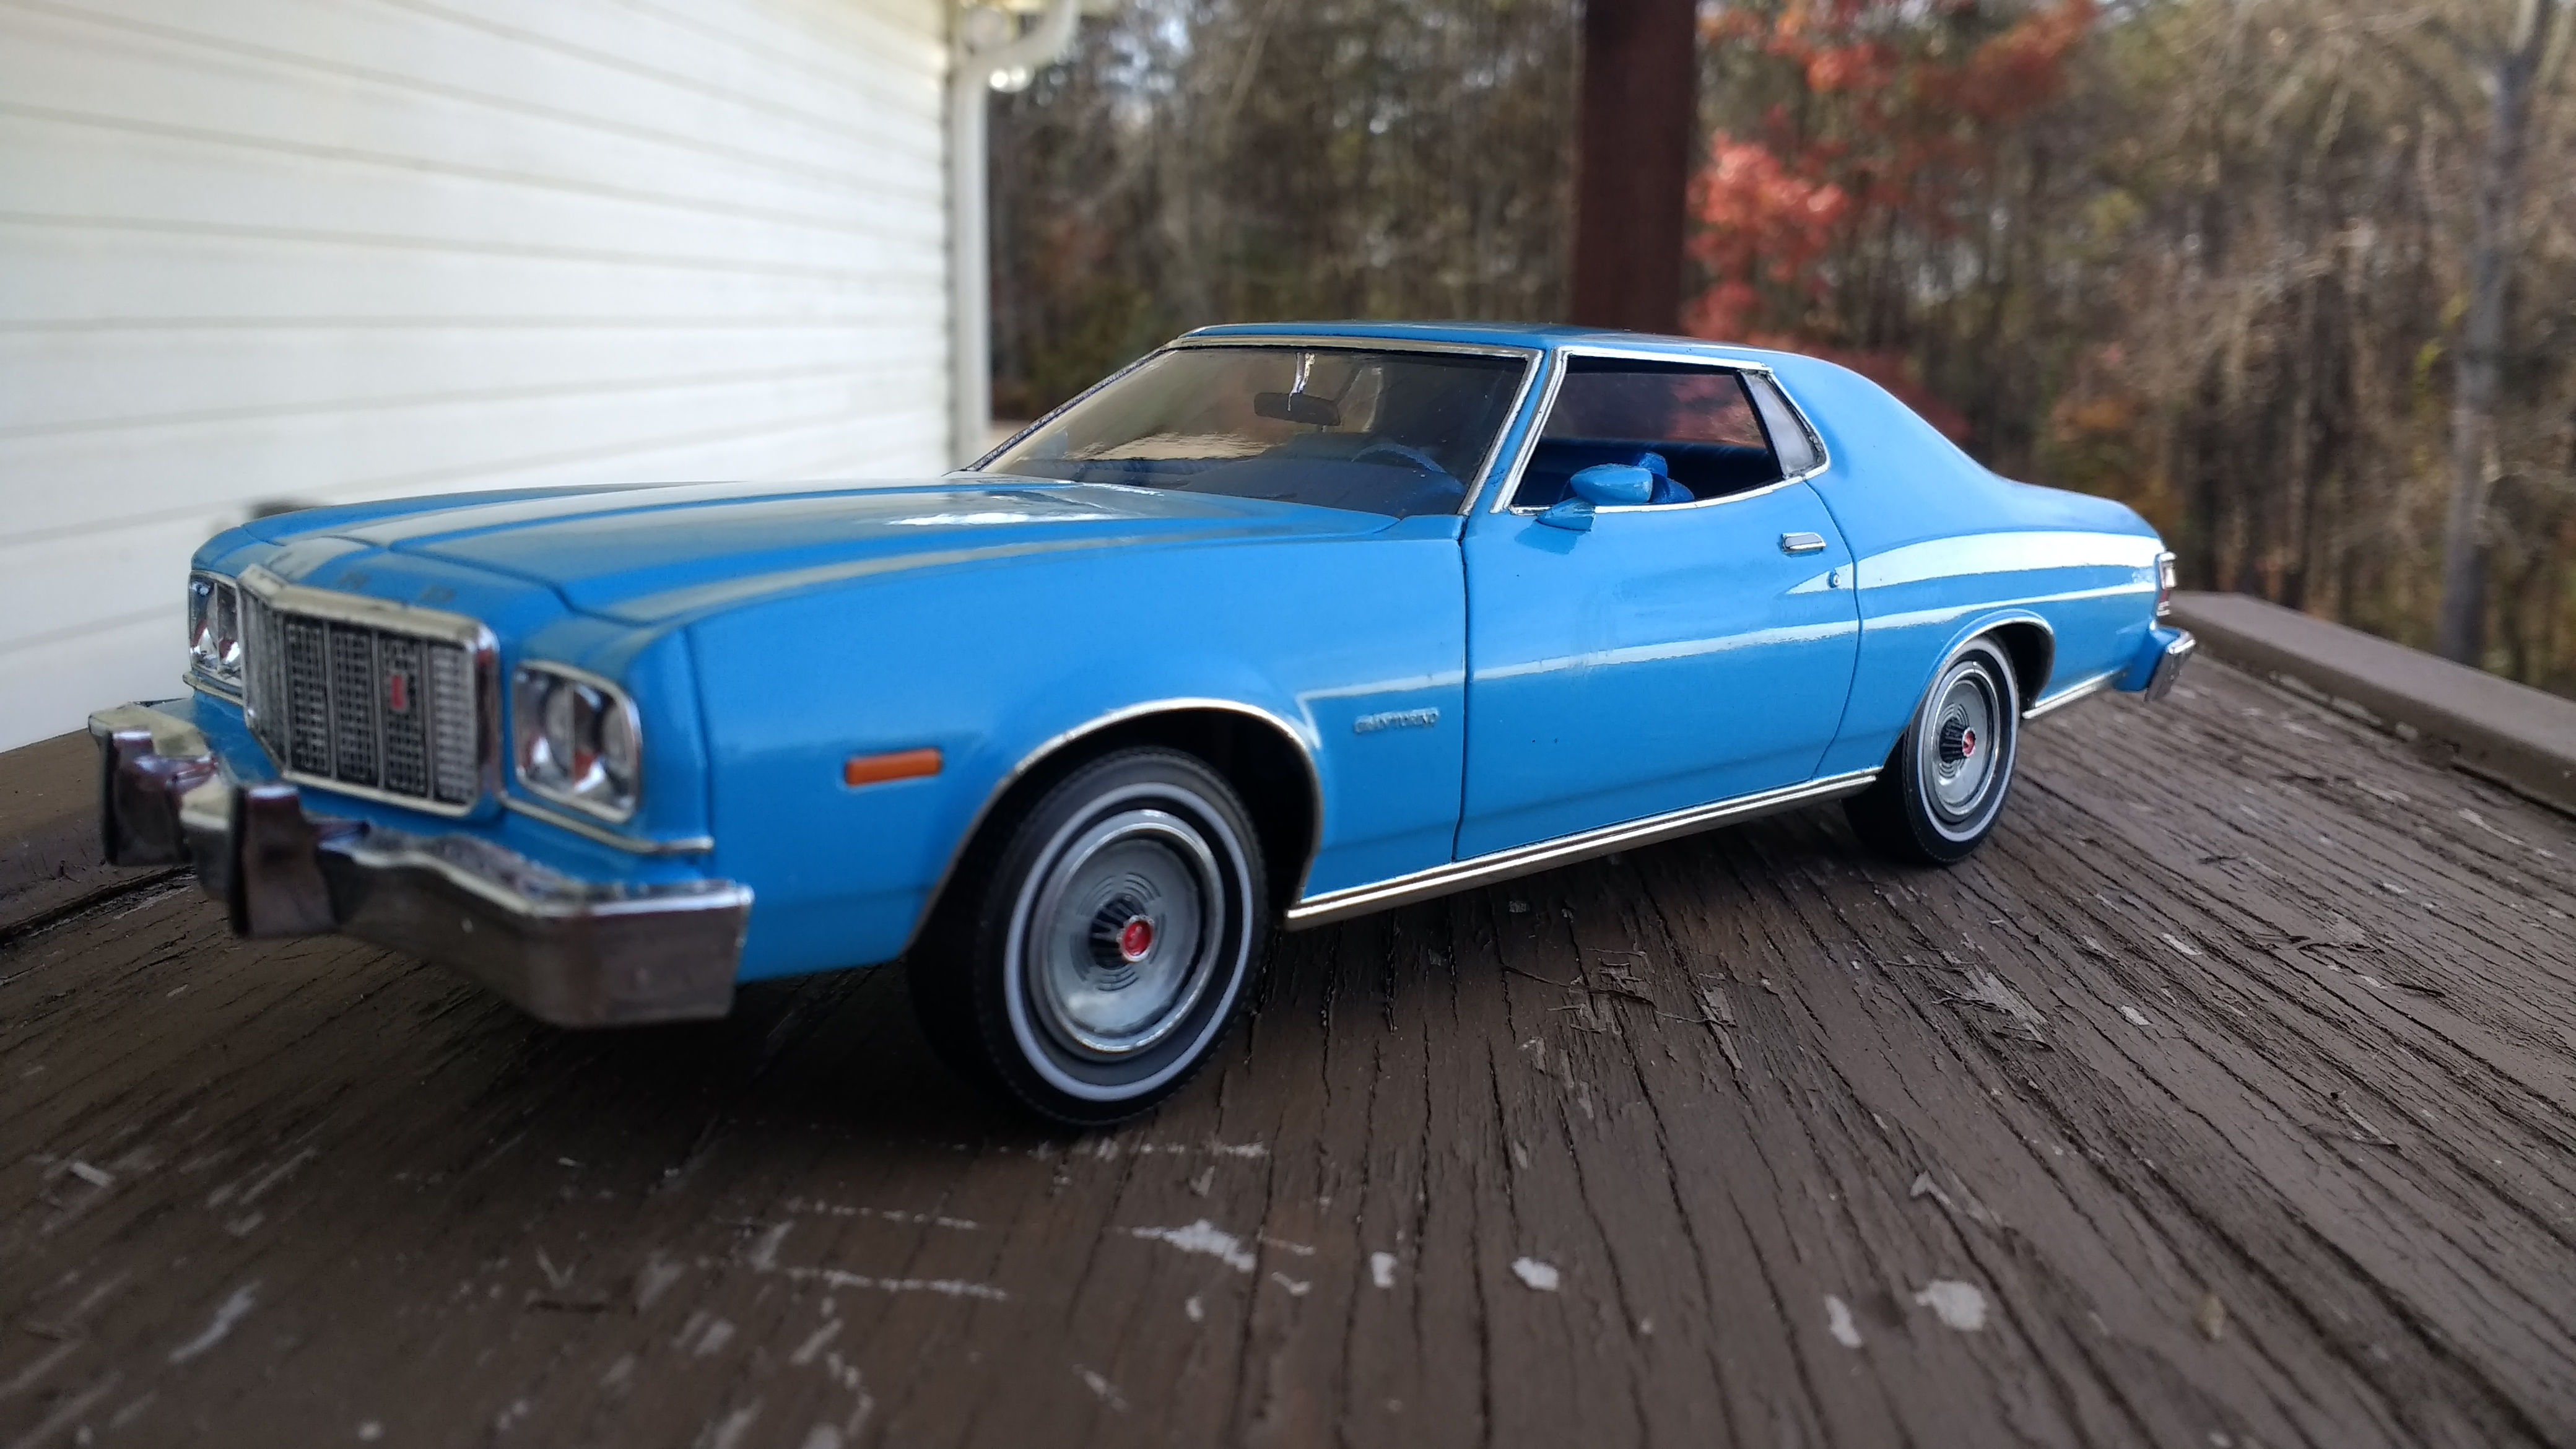
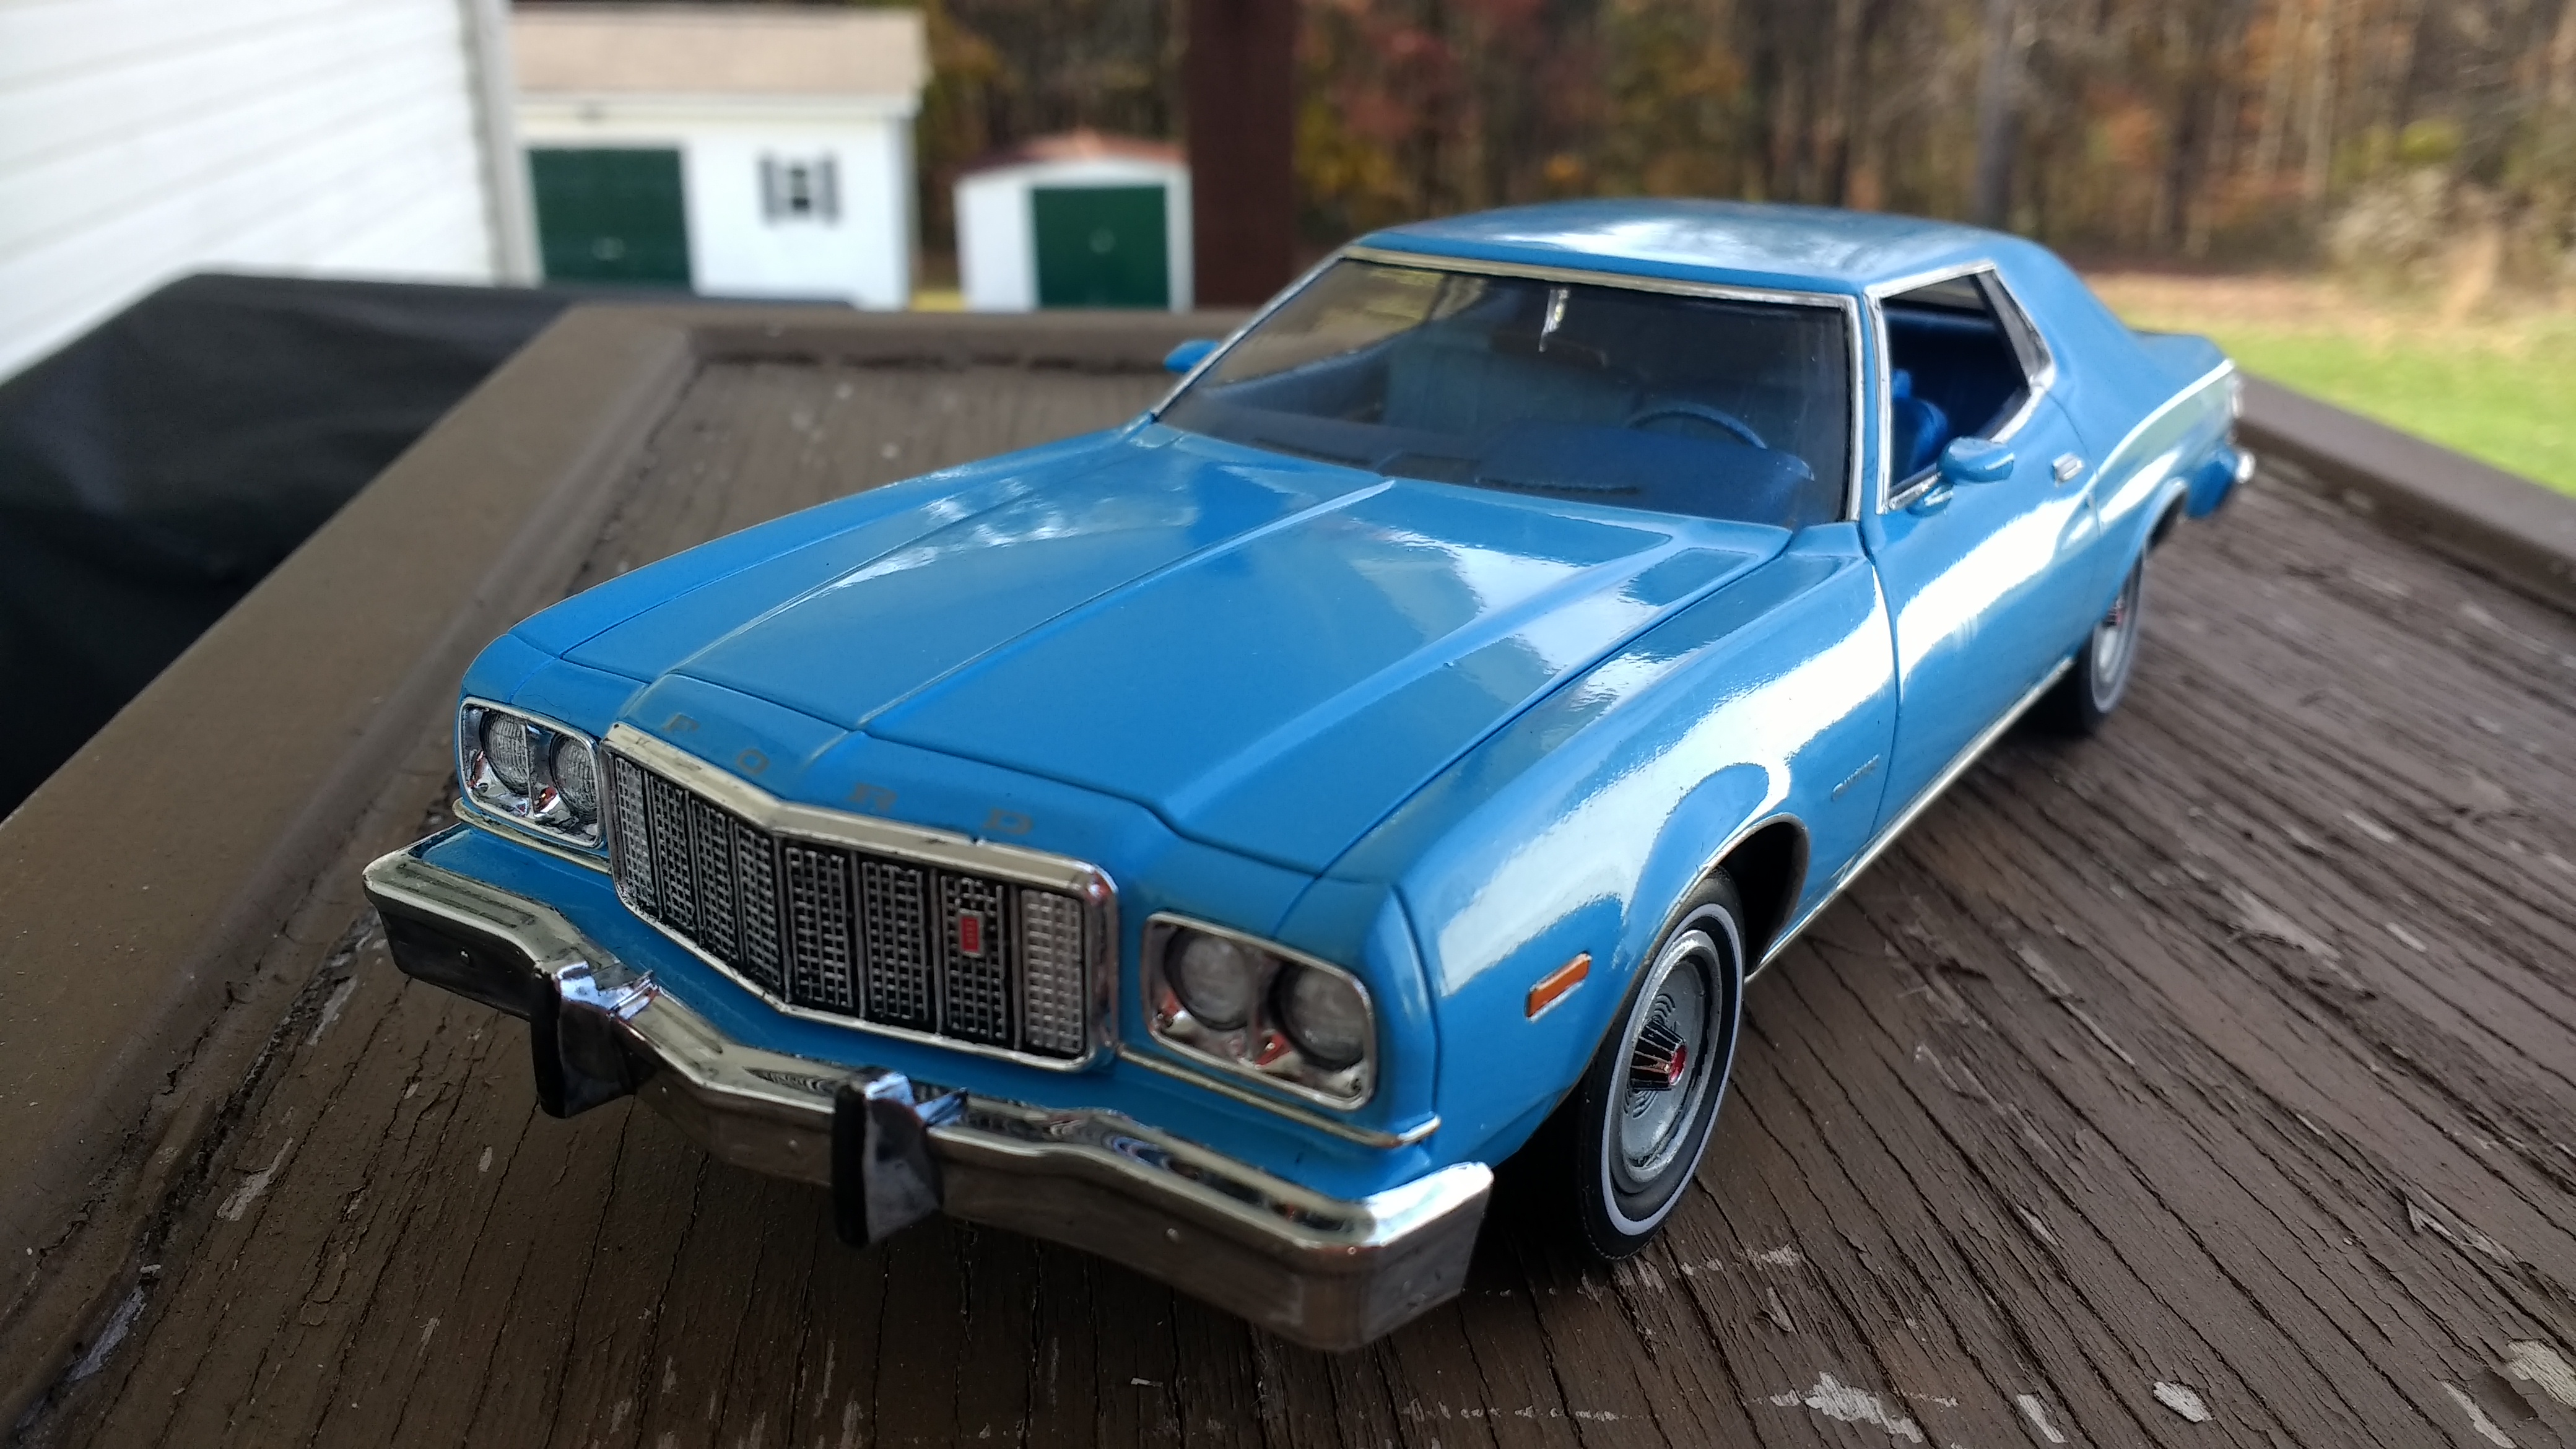
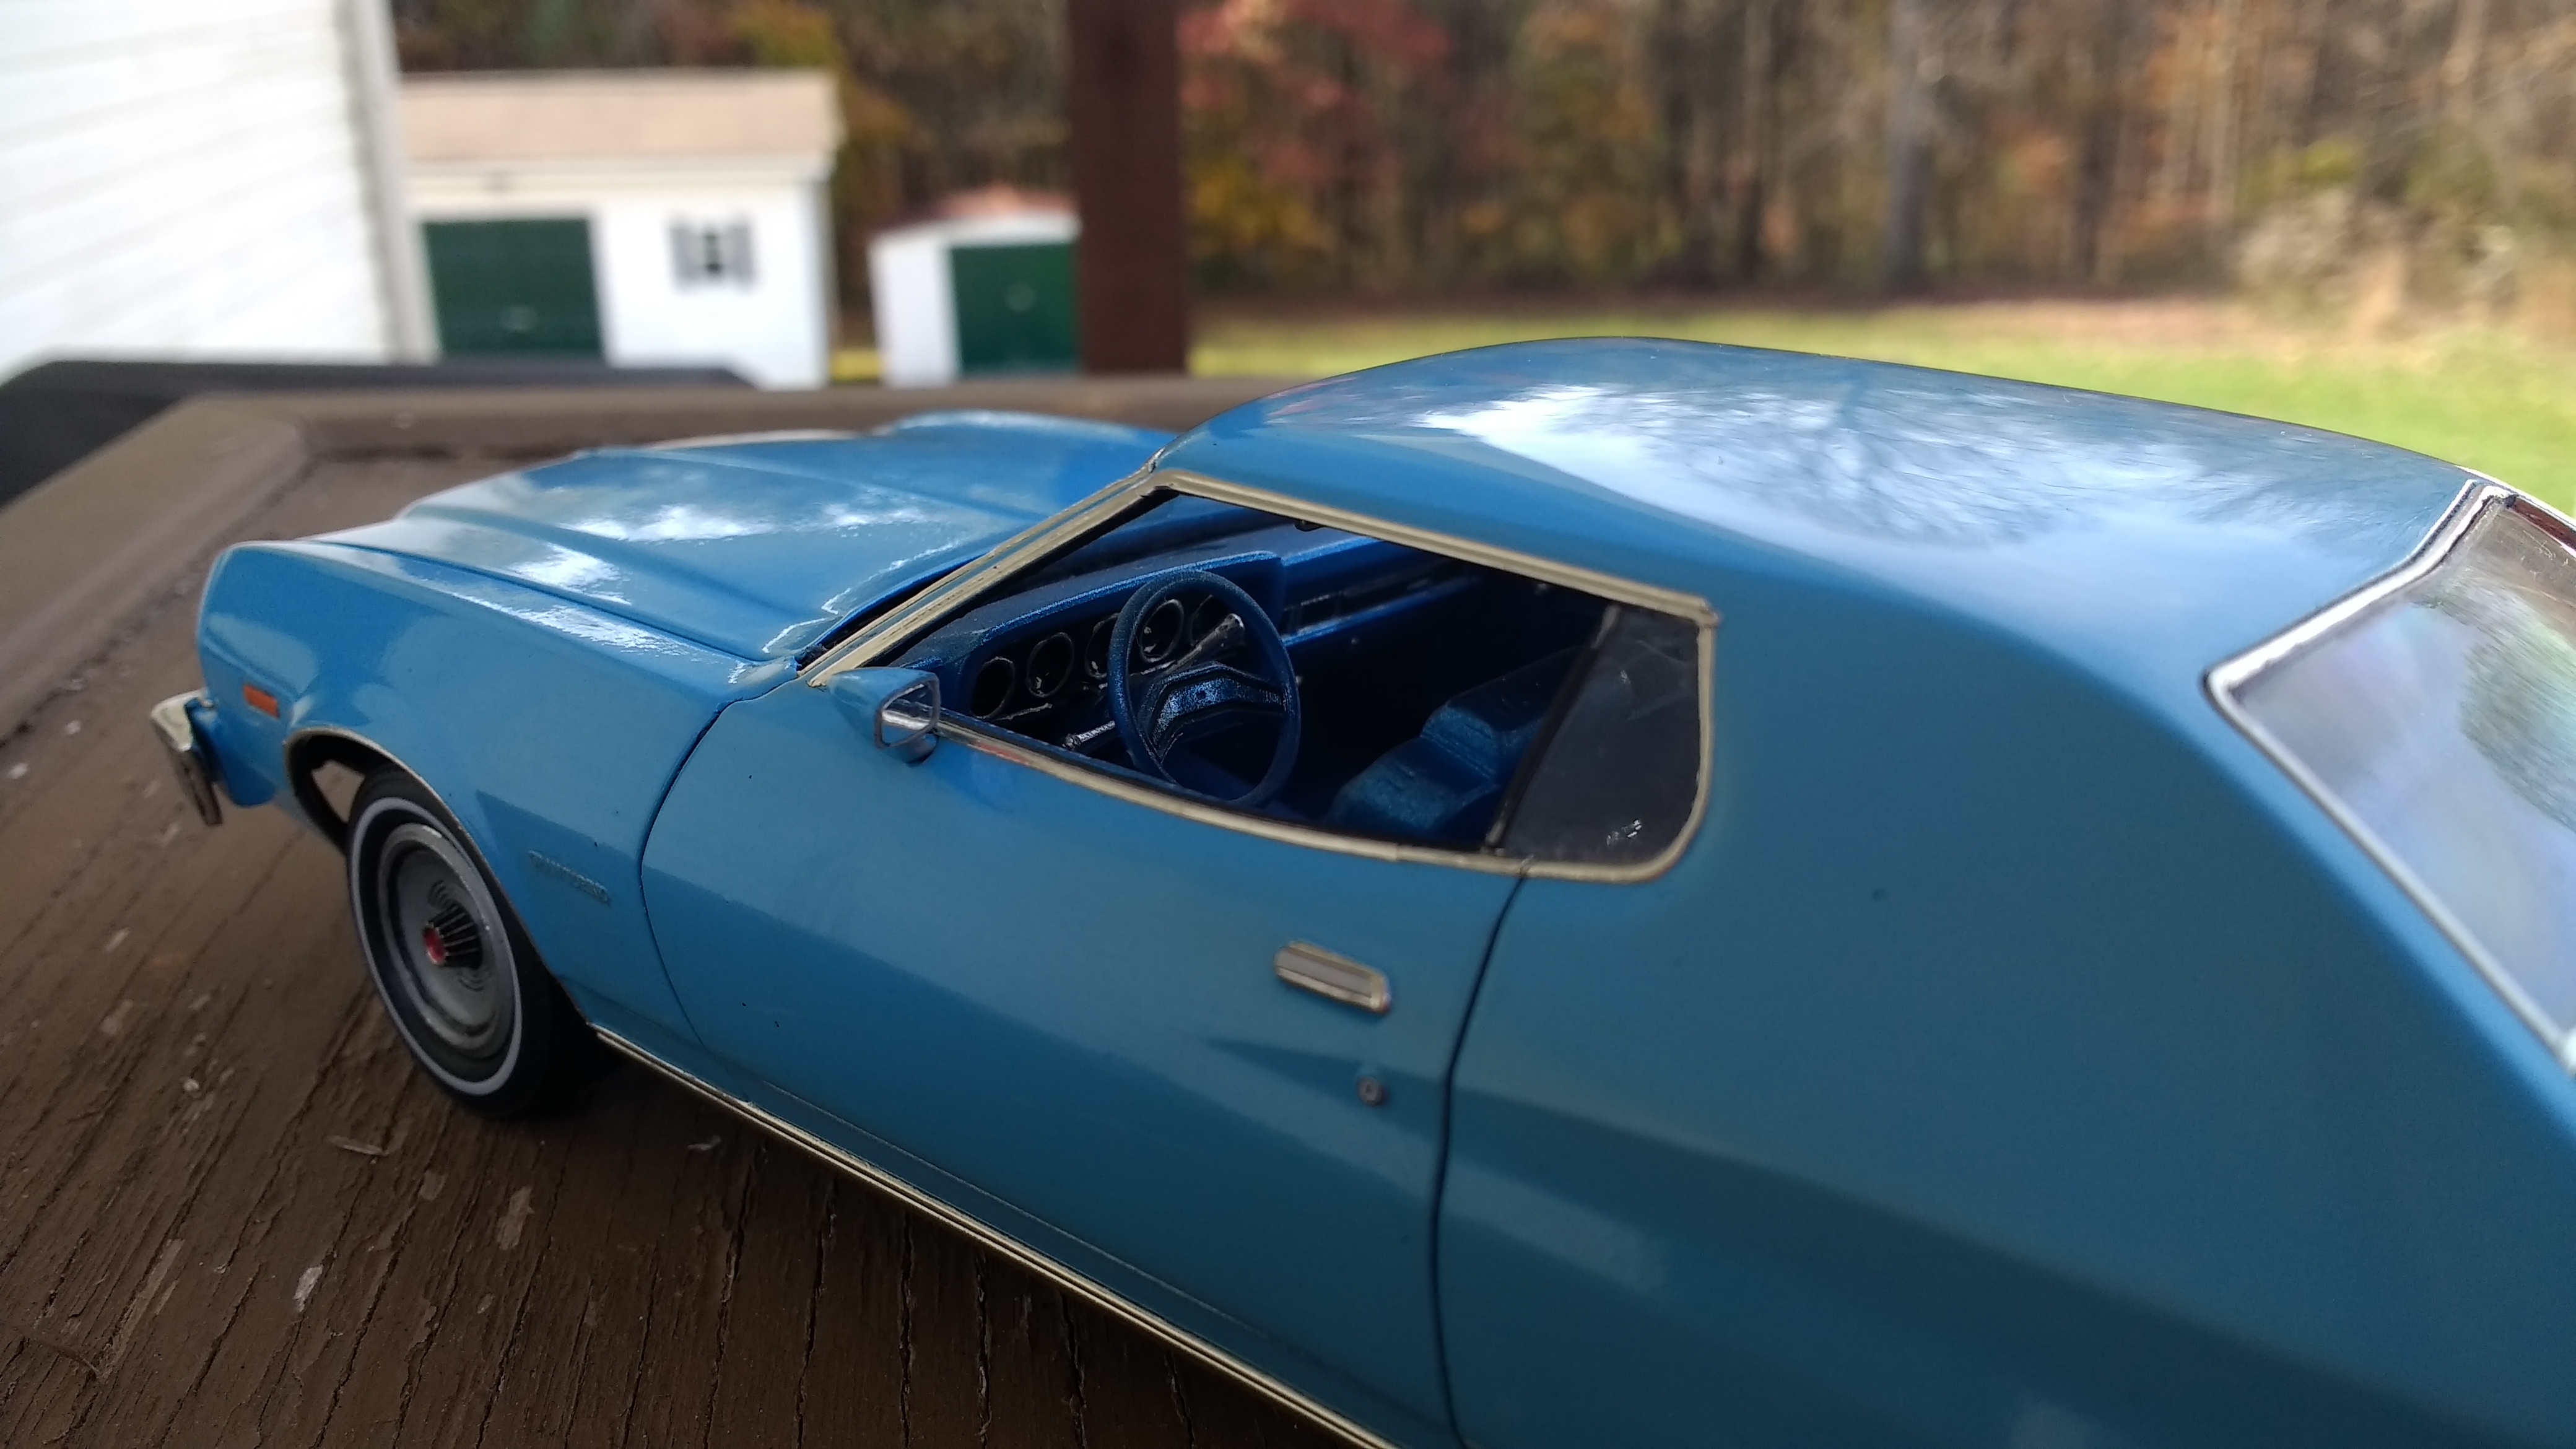
Update: I think I'm done with this one. The model had issues with fit, I had to redo the paint job a couple times, and at a certain point my eyes started wandering to other models. Not overly happy with how it came out but here it is. And it is dead to me.