

videocast36
-
Posts
44 -
Joined
-
Last visited
Content Type
Profiles
Forums
Events
Gallery
Posts posted by videocast36
-
-
A real show stopper there. well done!!
-
I feel better now. Thanks to all of you.
-
This kit was a nightmare for me. made by Revell it had problems only an advanced modeler could possibly see and fix ahead of time. even so It came out pretty good but not ever to see a show. I have learned quite a bit from it, and my next project should be easier knowing what to look for and slowing down before putting glue on it.The rear body panel is a horrible design and a bear to glue in place in the proper position. The front grill or the left fender is warped or something but just wouldnt set in place by a person of my skill level. other things too, but I'll stop whining now.
The paint is Tamiya pearl green with speedo kote 2 part clear about 2 coats. all in all I like the cars stance and design. I'll put it on display at home with the left side against the wall.?

-
thanks. there are a few mess ups that don't show up in the photos, but it pretty much looks good. I have to stop being so hard on myself.
-
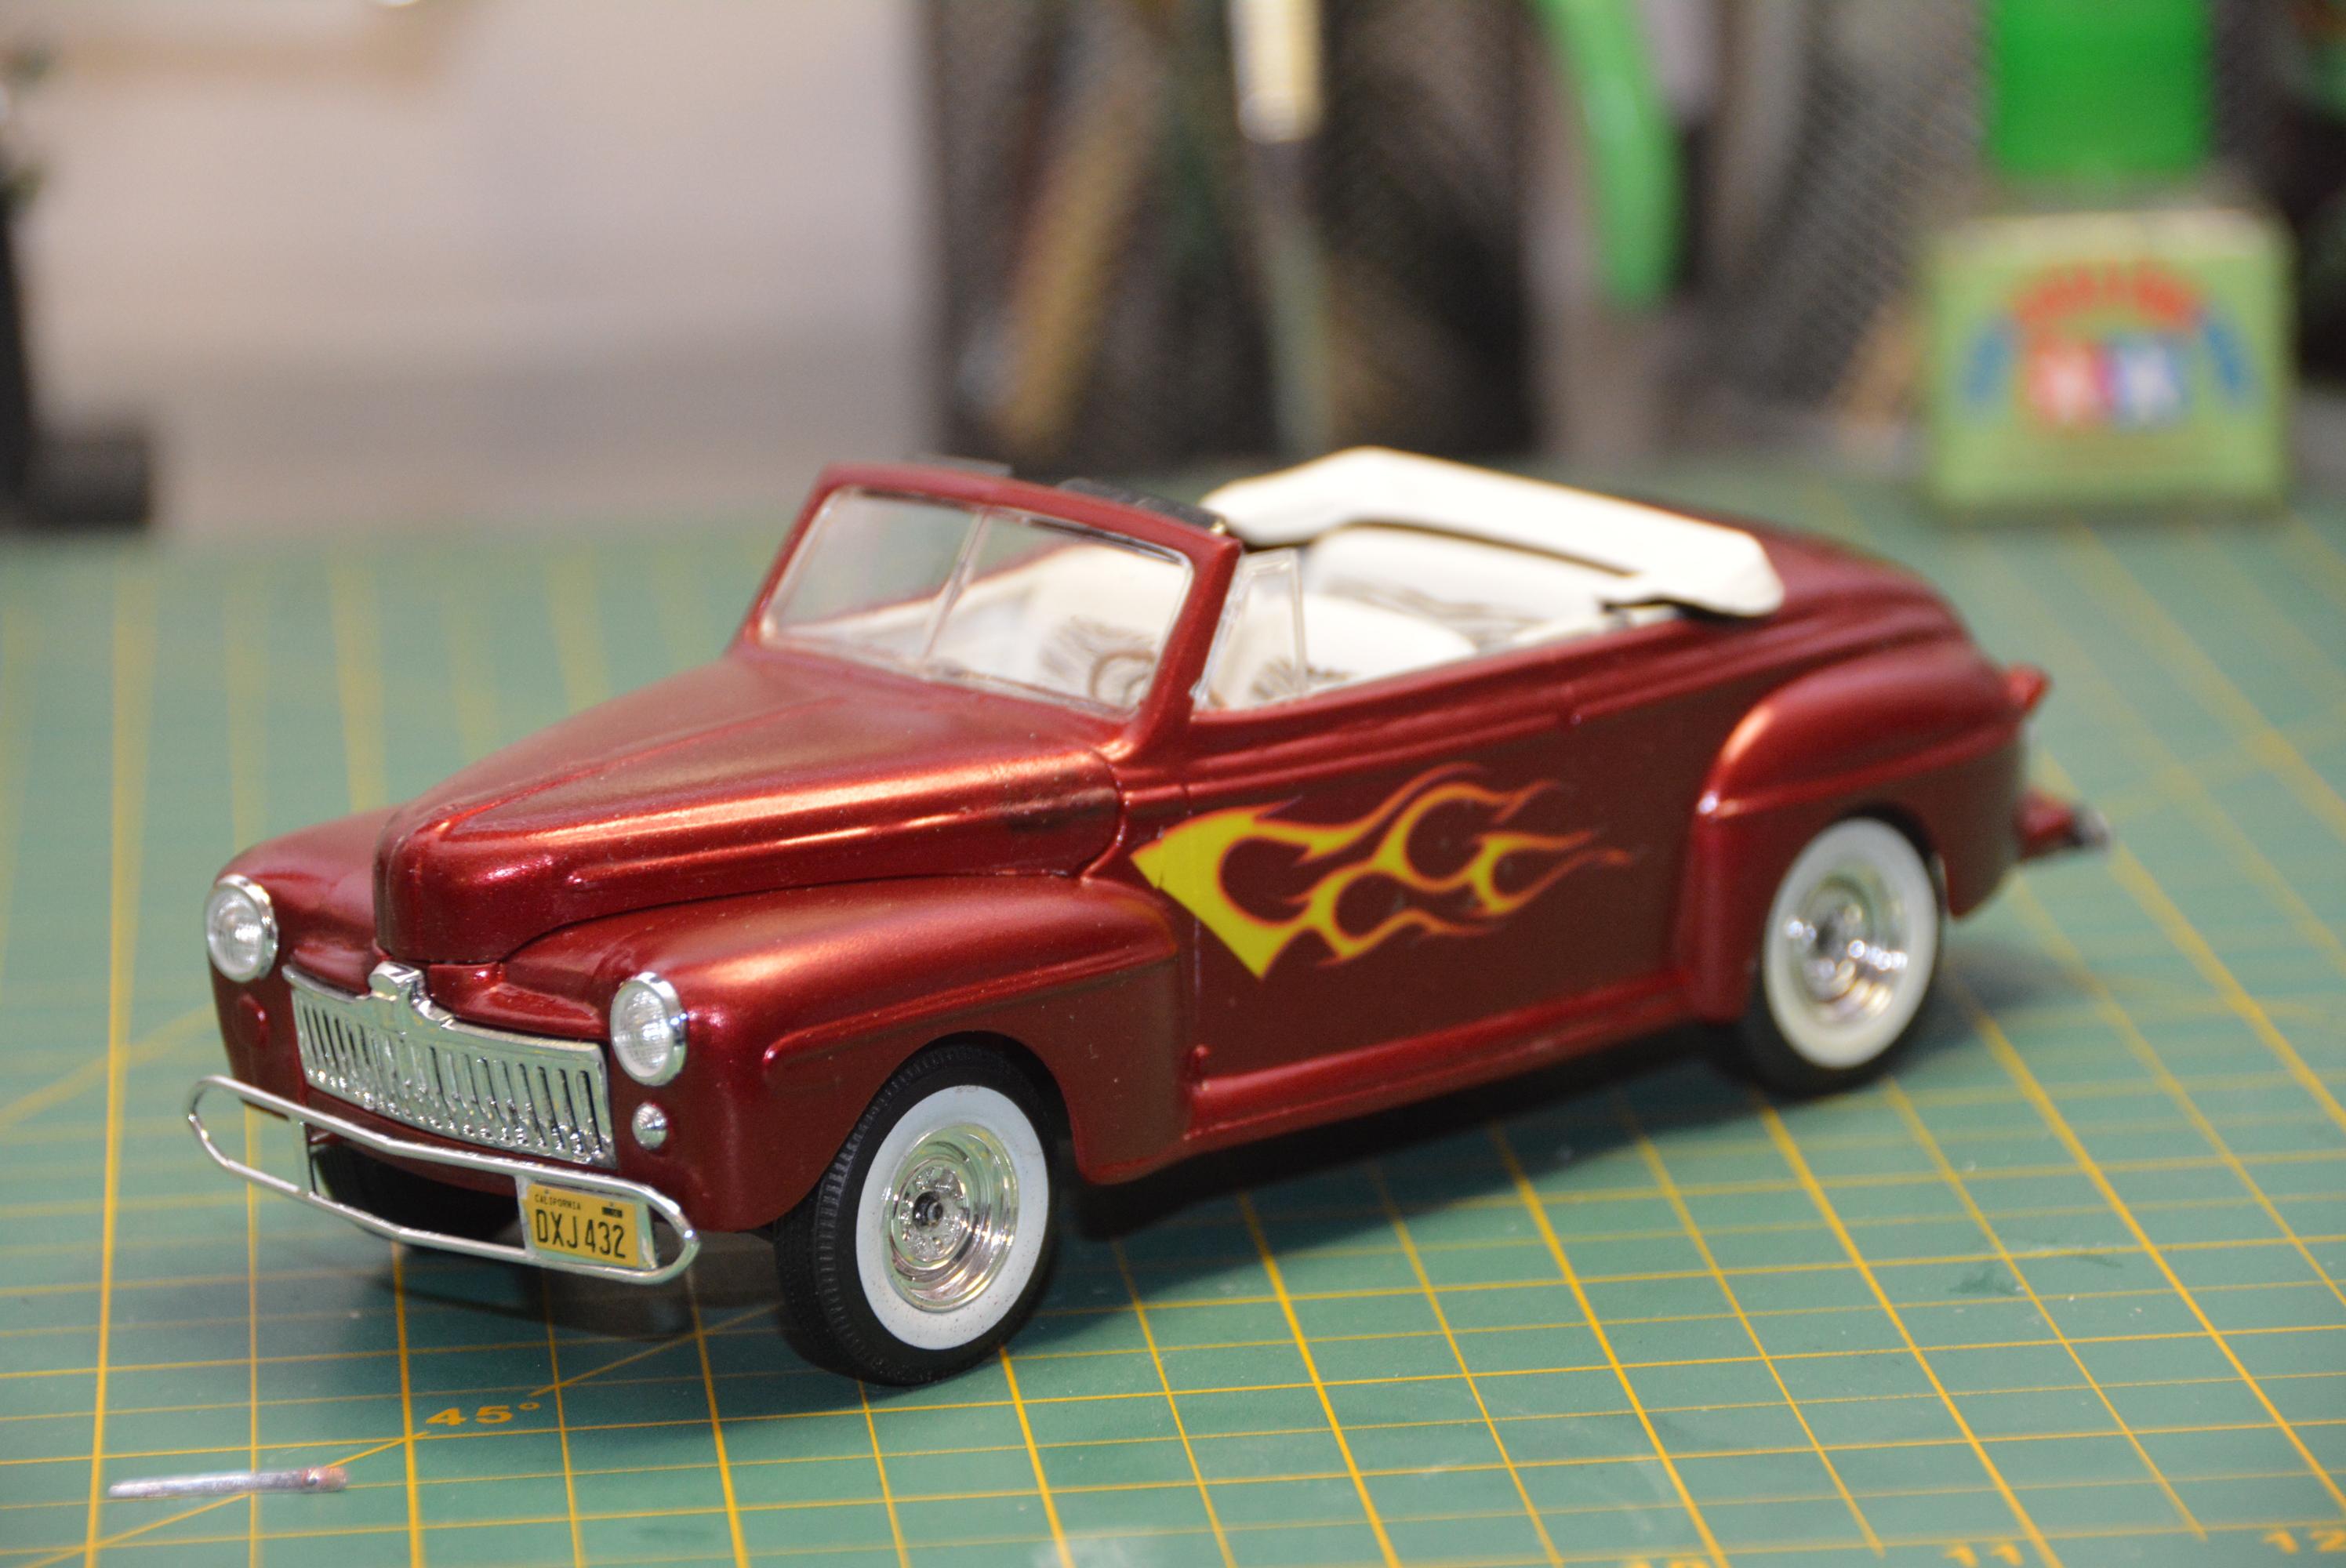
I chose to build and paint this one differently than the box art. the build started out real good and fairly easy, even the paint job was one of my best, until murphy popped up. turned out to be a disaster, but I fixed everything to the point I didnt have to scrap the project, and settled for what I got. the interior was the only thing that didn't give me trouble. it came out as one of my best. I must have been thinking I was young again or something. ?
-
looks good enough in photos to mistake for the real thing. congratulations on an outstanding result...
-
12 minutes ago, StevenGuthmiller said:
That's a great color......and a smooth execution!!
Steve
appreciate that Steve.. ?
-
this one is going slowly due to weather problems and health problems. but I plod on!! next step is clear coating the body, then on to final assy.
-
BMW
in Model Cars
well done
-
19 hours ago, LL3 Model Worx said:
Oh yea, it's not easy by any means...
But, I'm glad thinning the paint worked out well for you. It truly makes a massive difference in the quality of paint application either sprayed or brushed.
Another rule to remember is always paint light to dark... with your colors. Paint your light colors before your darks as the dark colors cover the light colors more easily and in less coats, making for neater/thinner coats and thus more definition and sharpness.
Another thing I learned is, "it's easier to paint a broad straight line, than a narrow one"... so like say on door panel trim (if you aren't foiling) it's easier to paint the trim first where you can afford to be "sloppy" and then come back and do the surrounding area in your base color...
Lots of ins and outs of brush painting, that you will learn by trial and error.
Keep pushing and you can achieve great results, just keep at it!
great tips. thanks for taking time to put them down for me. I will print out this page so I have instant reference to them. so now if It comes out sloppy, Im going to blame you. hahaha...take care my friend.
-
9 hours ago, LL3 Model Worx said:
Doesn't look too bad... I've personally done ALOT worse at one point.
If you are spraying paint either can or airbrush.. tape off what you can. And that will help with cleanliness.
If you are hand brushing, thin the paint well and paint in multiple light coats, and use the appropriate sized brush for the part you are working...
Alot of times people think they need a real small brush, and that's not the case at all, large brushes usually work better because they hold more paint so they don't dry out as quickly and they tend to flow better because the amount of bristles and paint. So the finish result is usually smoother.
Then, practice, practice,practice.
I painted figures for a long time and that helped my brush skills quite alot.
Thanks Leroy. I did thin the paint like you suggested and sure enough it improved greatly. good advice... there sure is a lot to learn to make a show level model ...
-
my favorite muscle car and extremely well done..
-
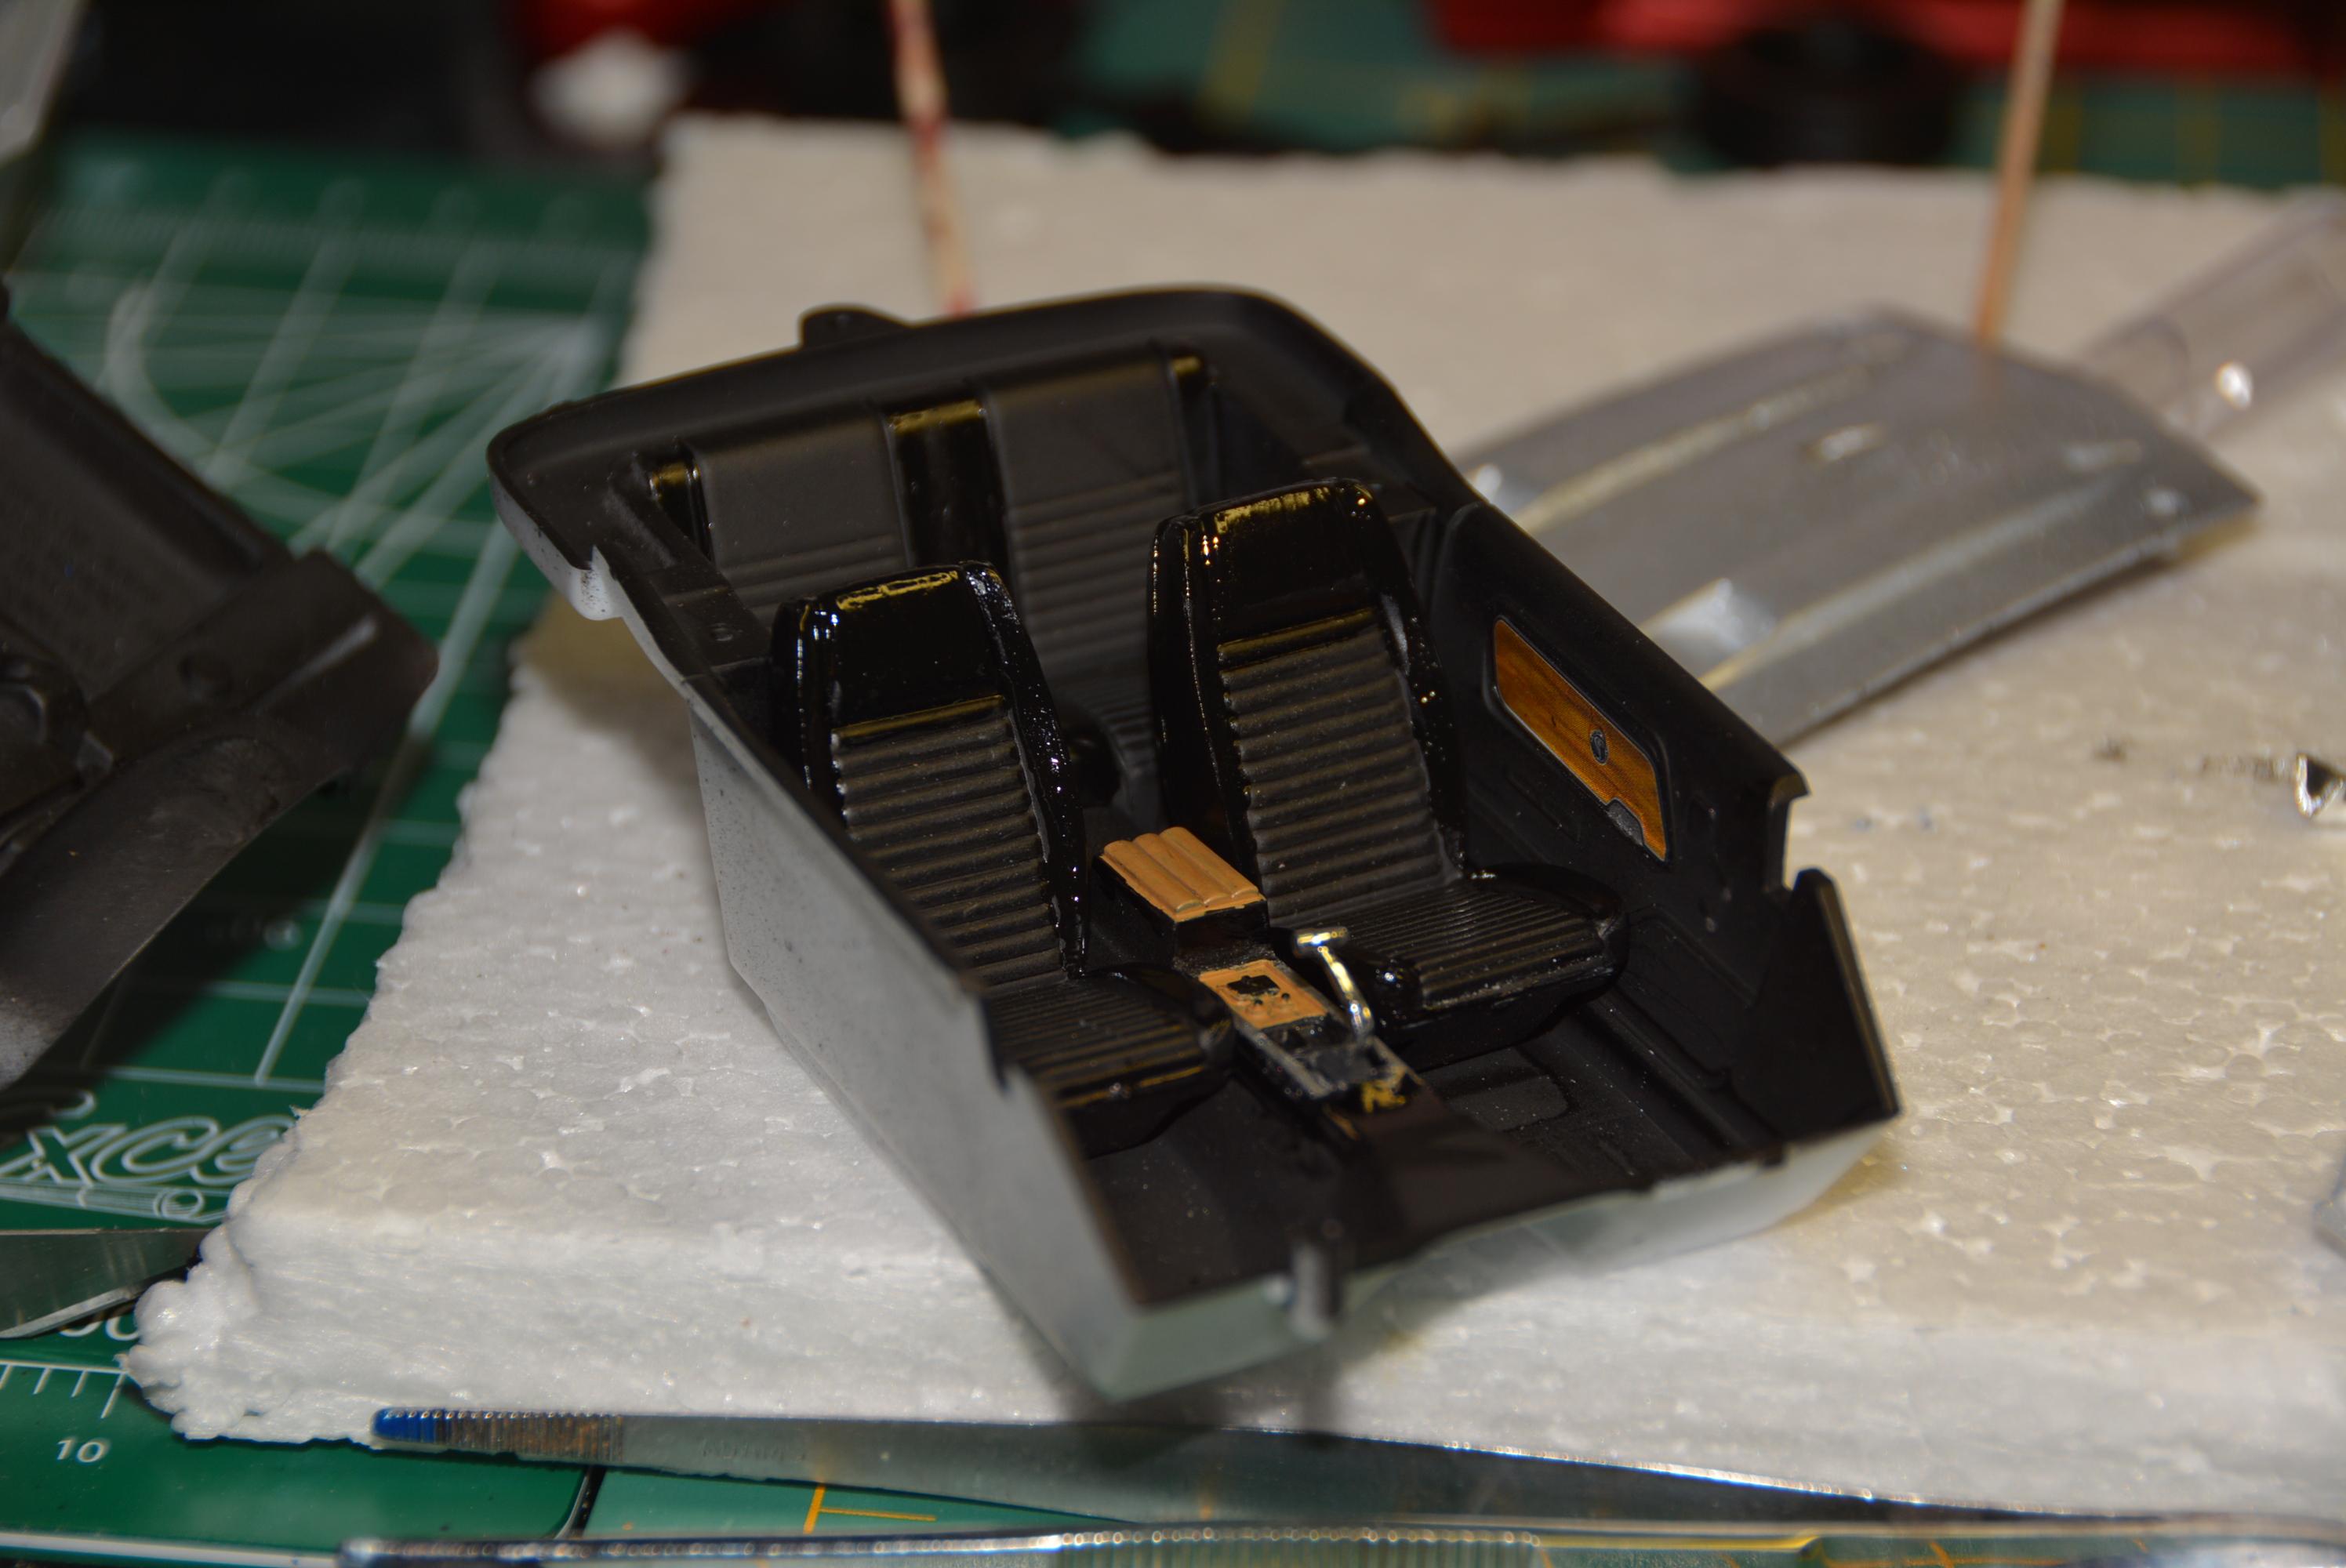
well, here is the partially finished interior. Im still having a problem with sloppiness. it looks good with the naked eye, but with pictures blown up like this, it looks too sloppy to me. I will keep on trying to figure out how to do this better..
-
I like to say nice paint job, but the whole thing is just fantastic. Great workmanship!!!
-
10 hours ago, MrObsessive said:
For mold lines, I like to first sand them away, then put some liquid glue over the part that was sanded. The liquid glue will cause the sanded area to "ghost" and then after drying, I re-sand that area again getting rid of the plastic's "memory".
Once painted that shouldn't reappear unless you're using a very hot automotive paint in which I'd strongly suggest using some kind of barrier coat in that instance.
As far as the silver paint, you could try using perhaps Testors plain silver 'chrome' spray out of the can. Very fine pigments and it being a model paint would be very mild on the plastic.
Hope this helps!
I followed your instructions exactly, and it absolutely worked! no more mold lines. thank you very much!!
-
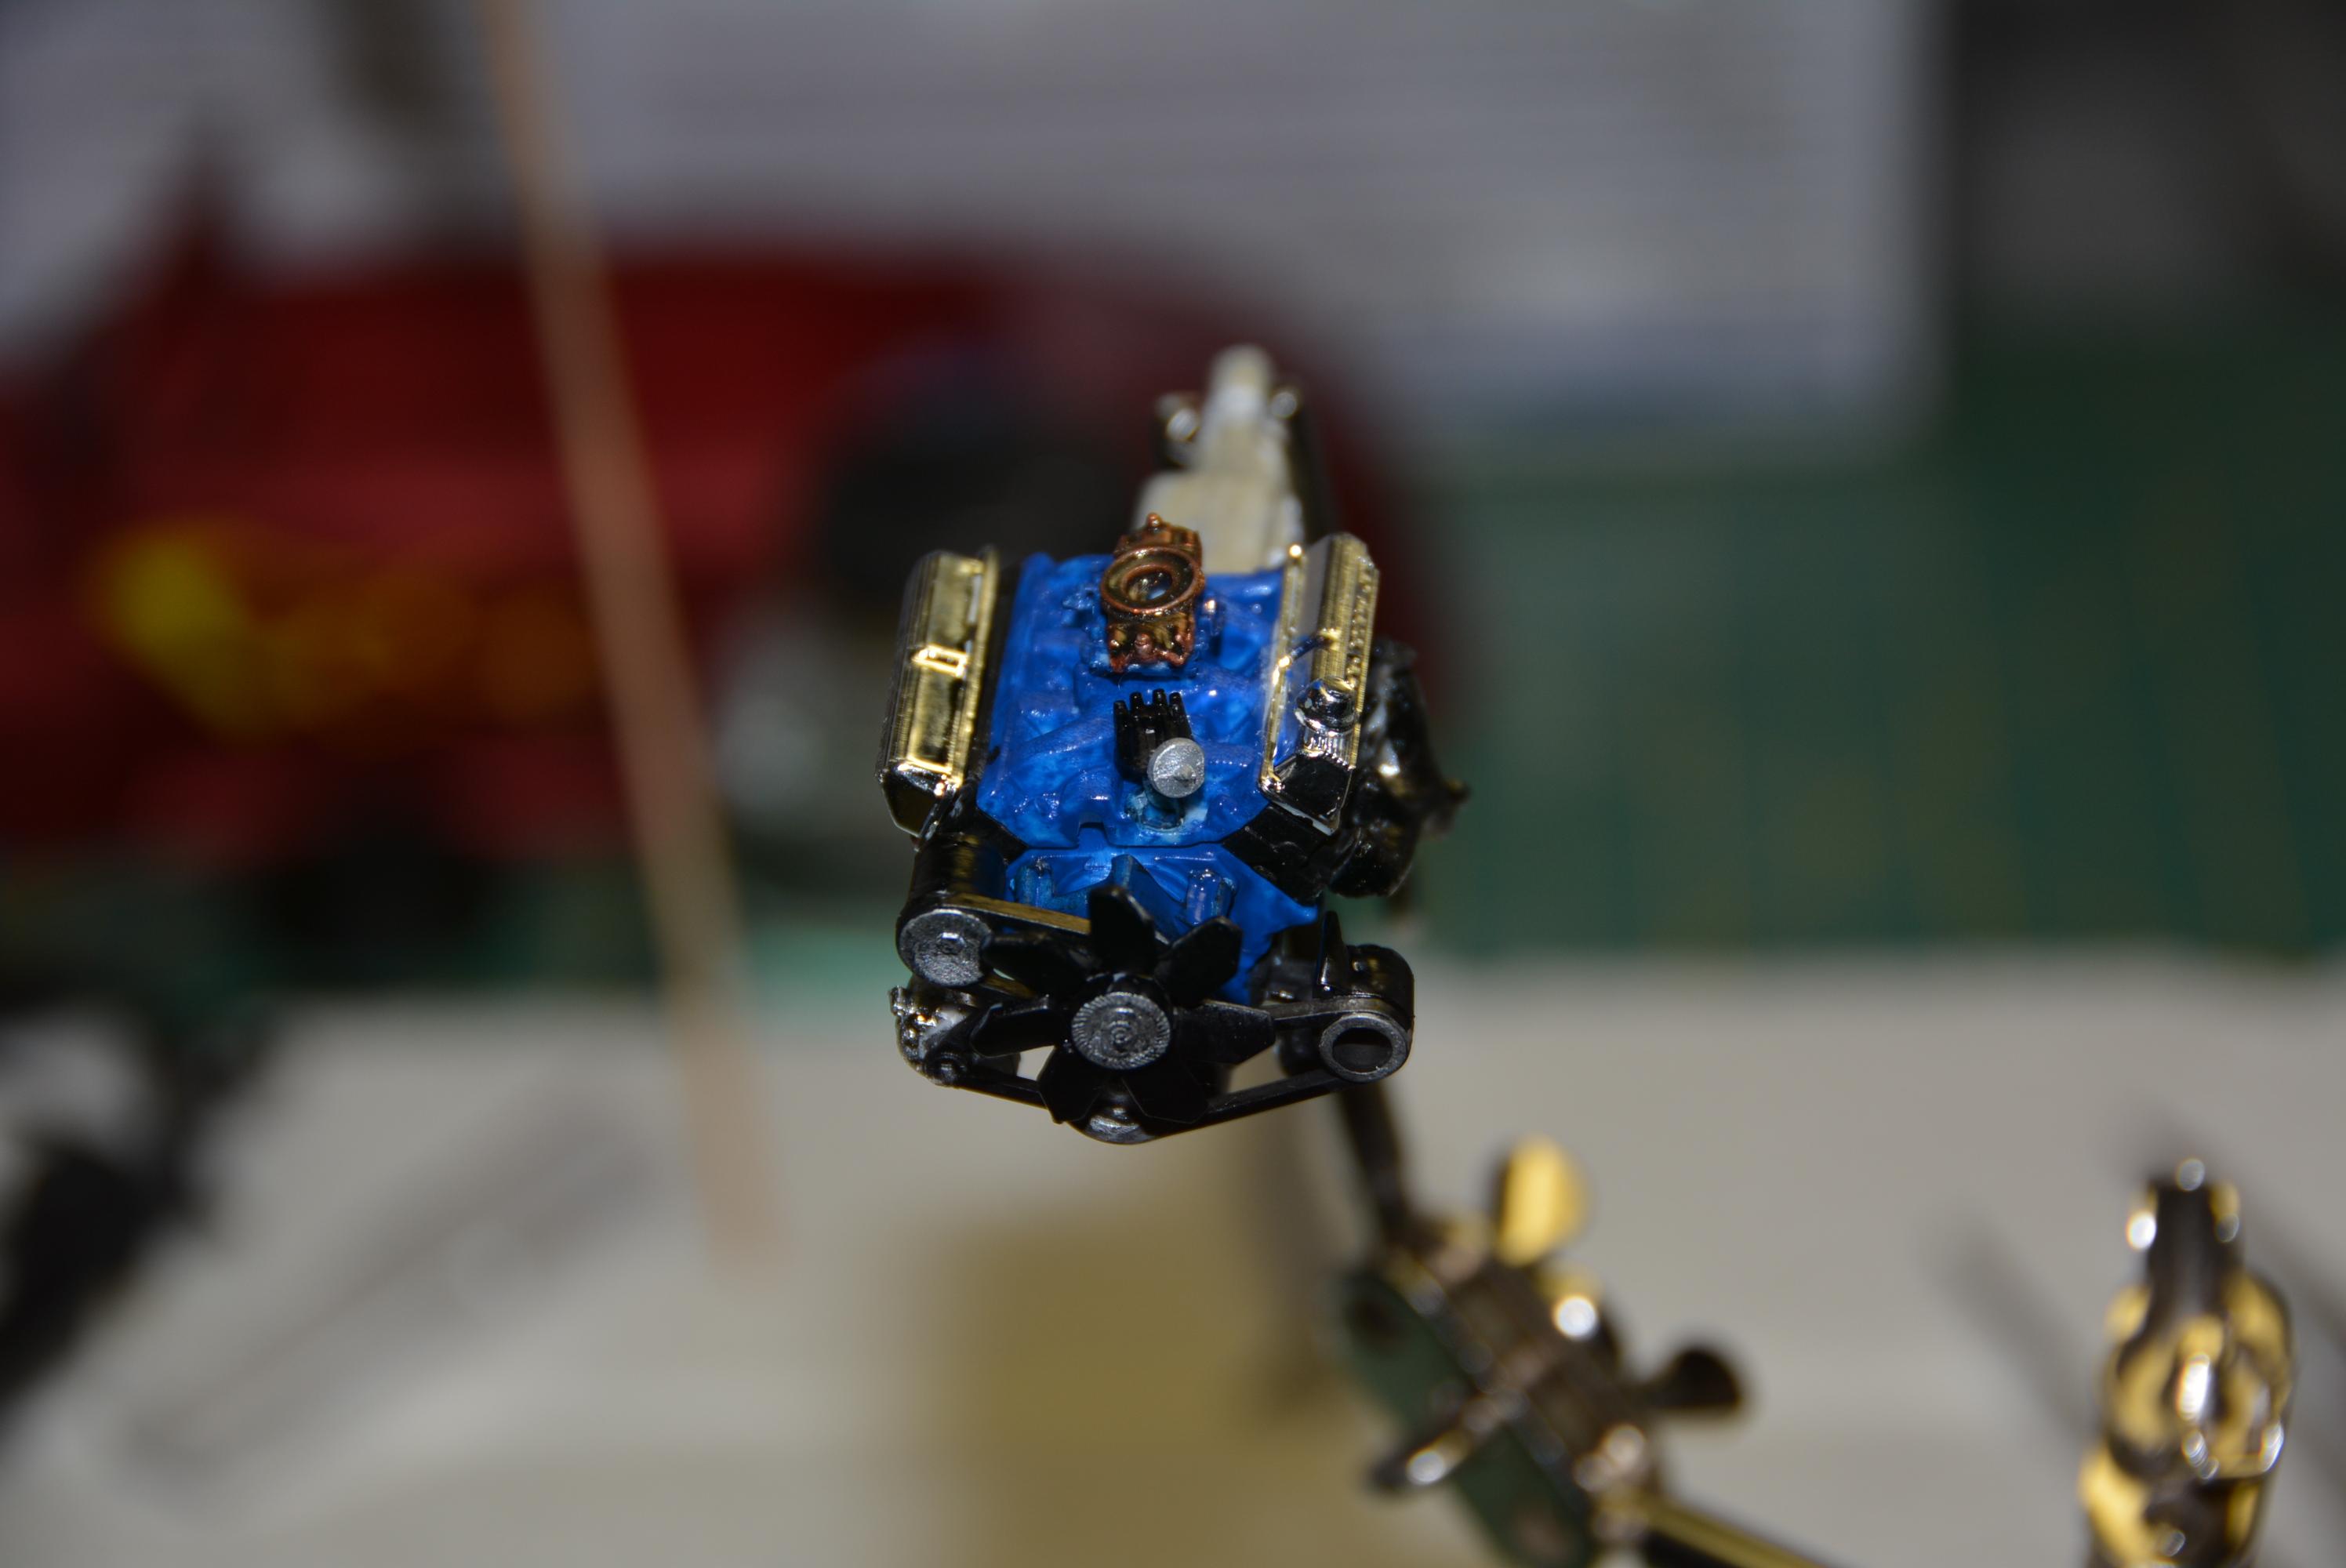
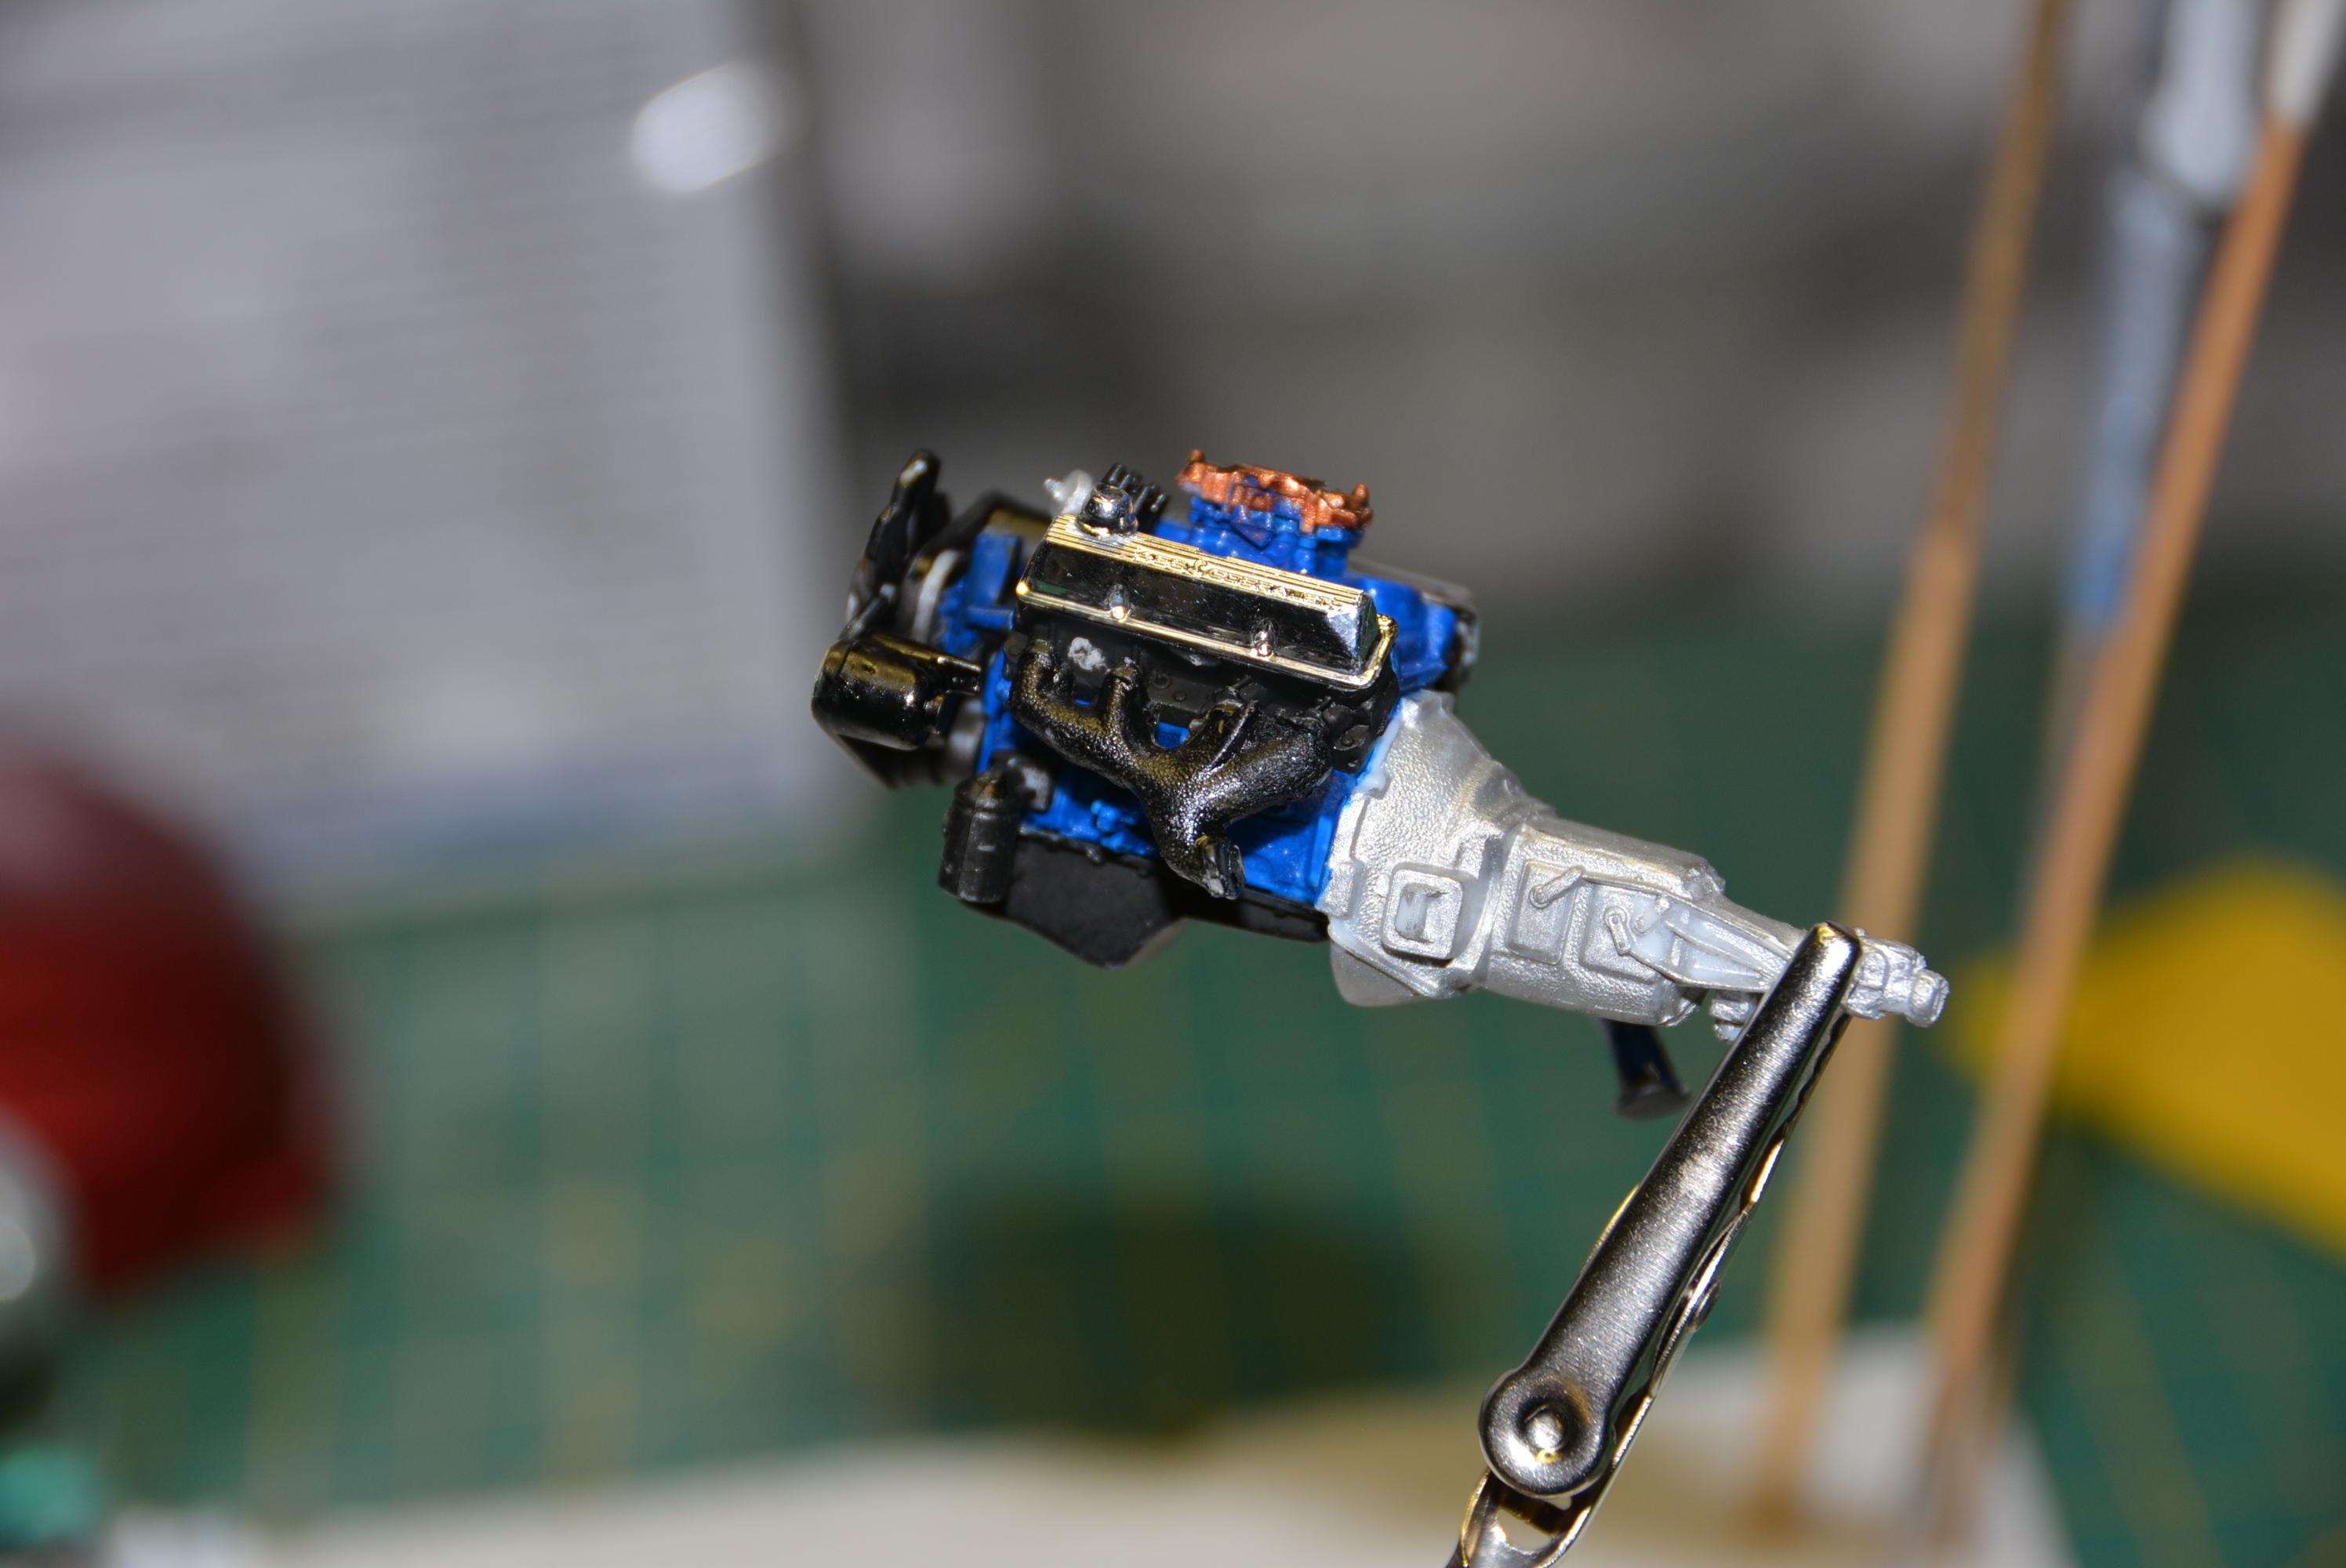
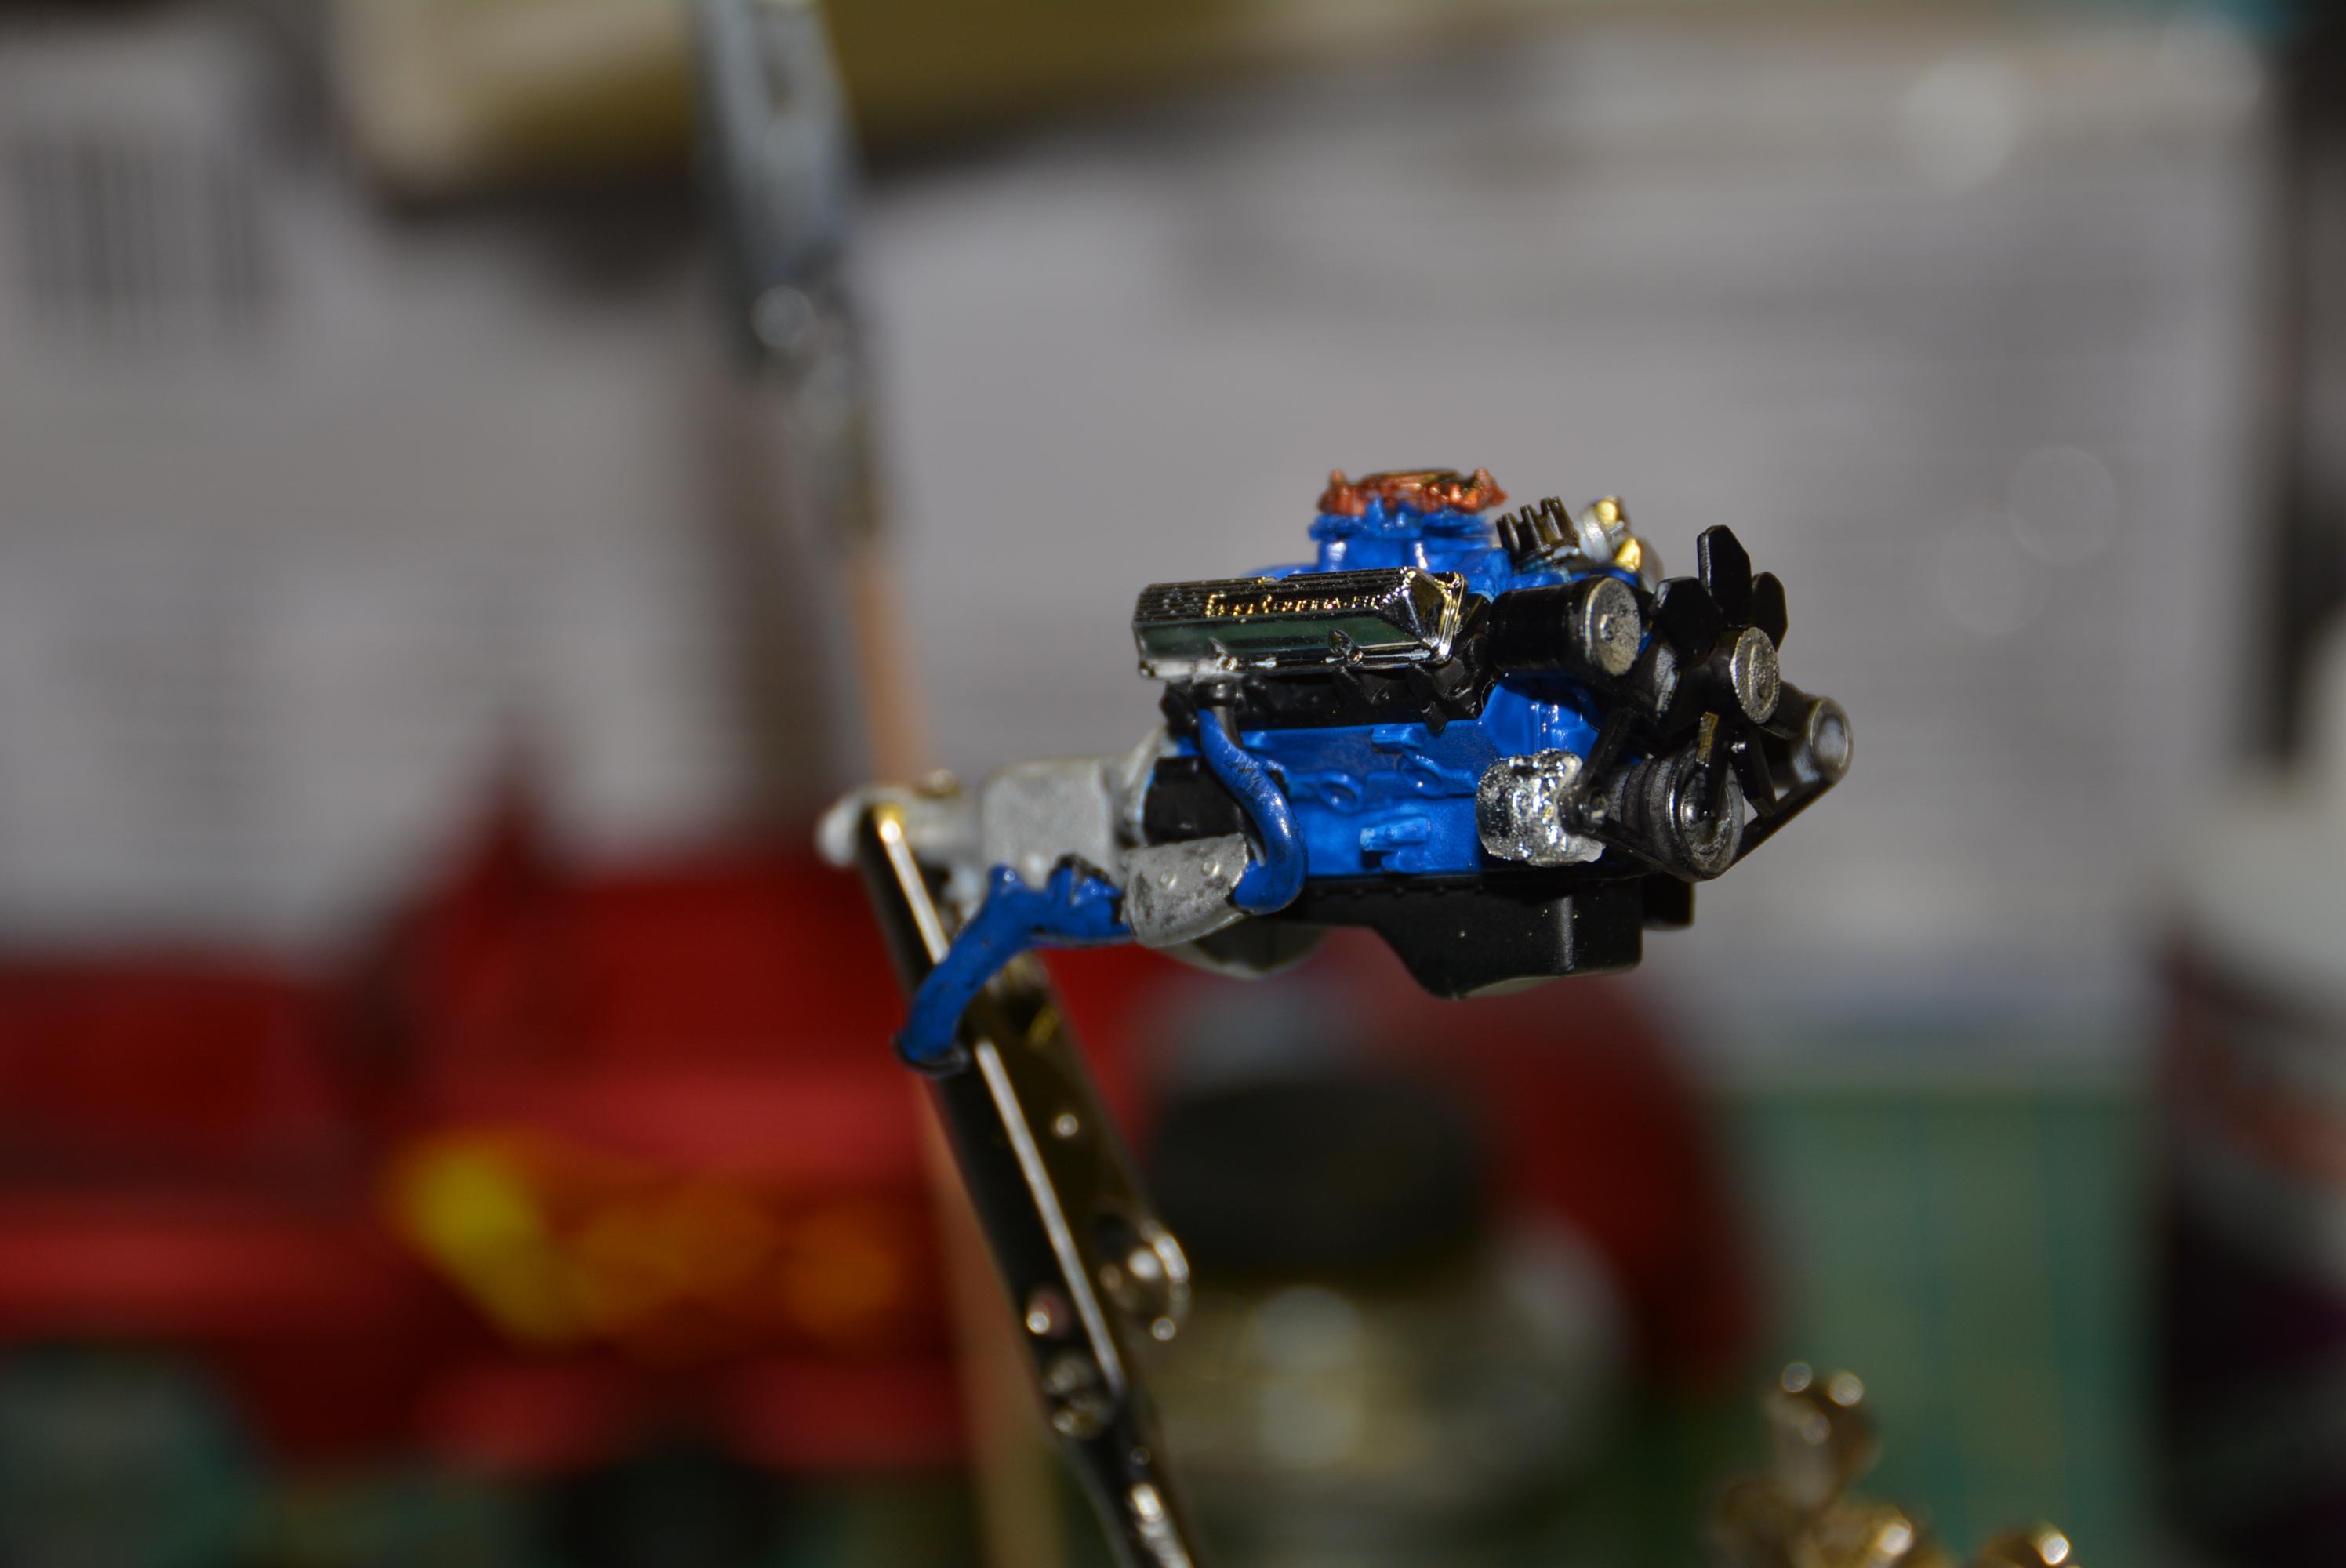
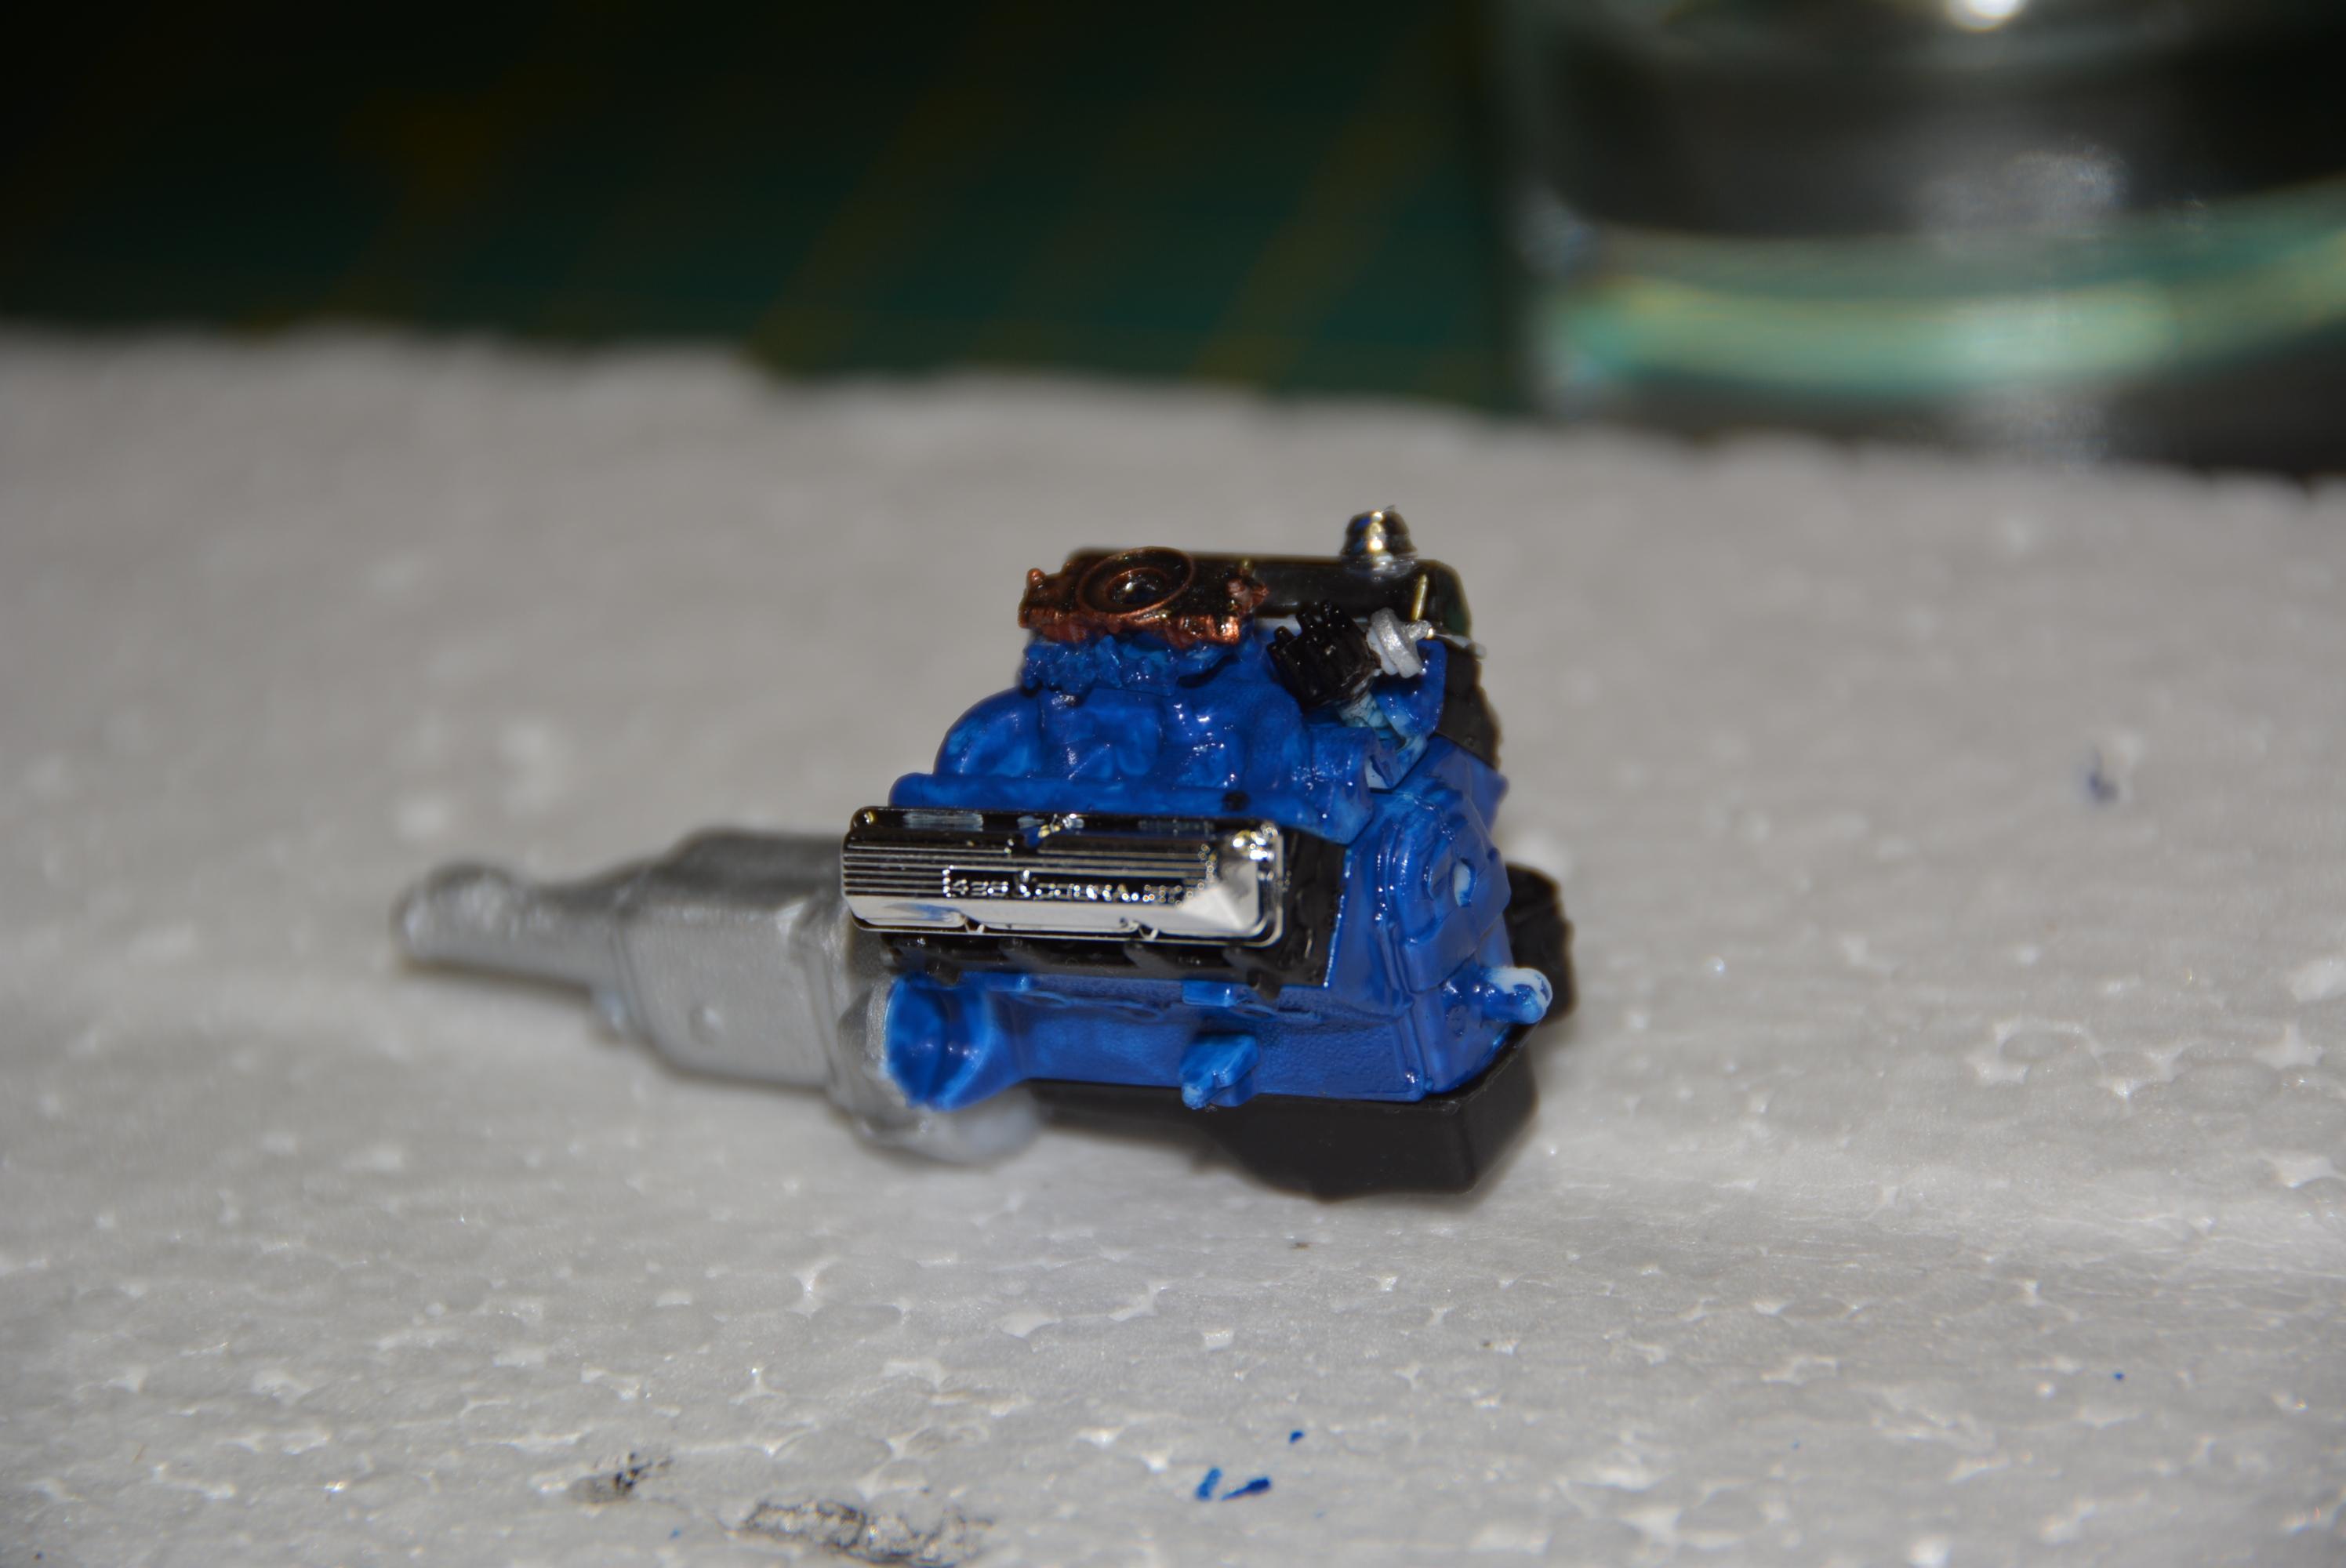
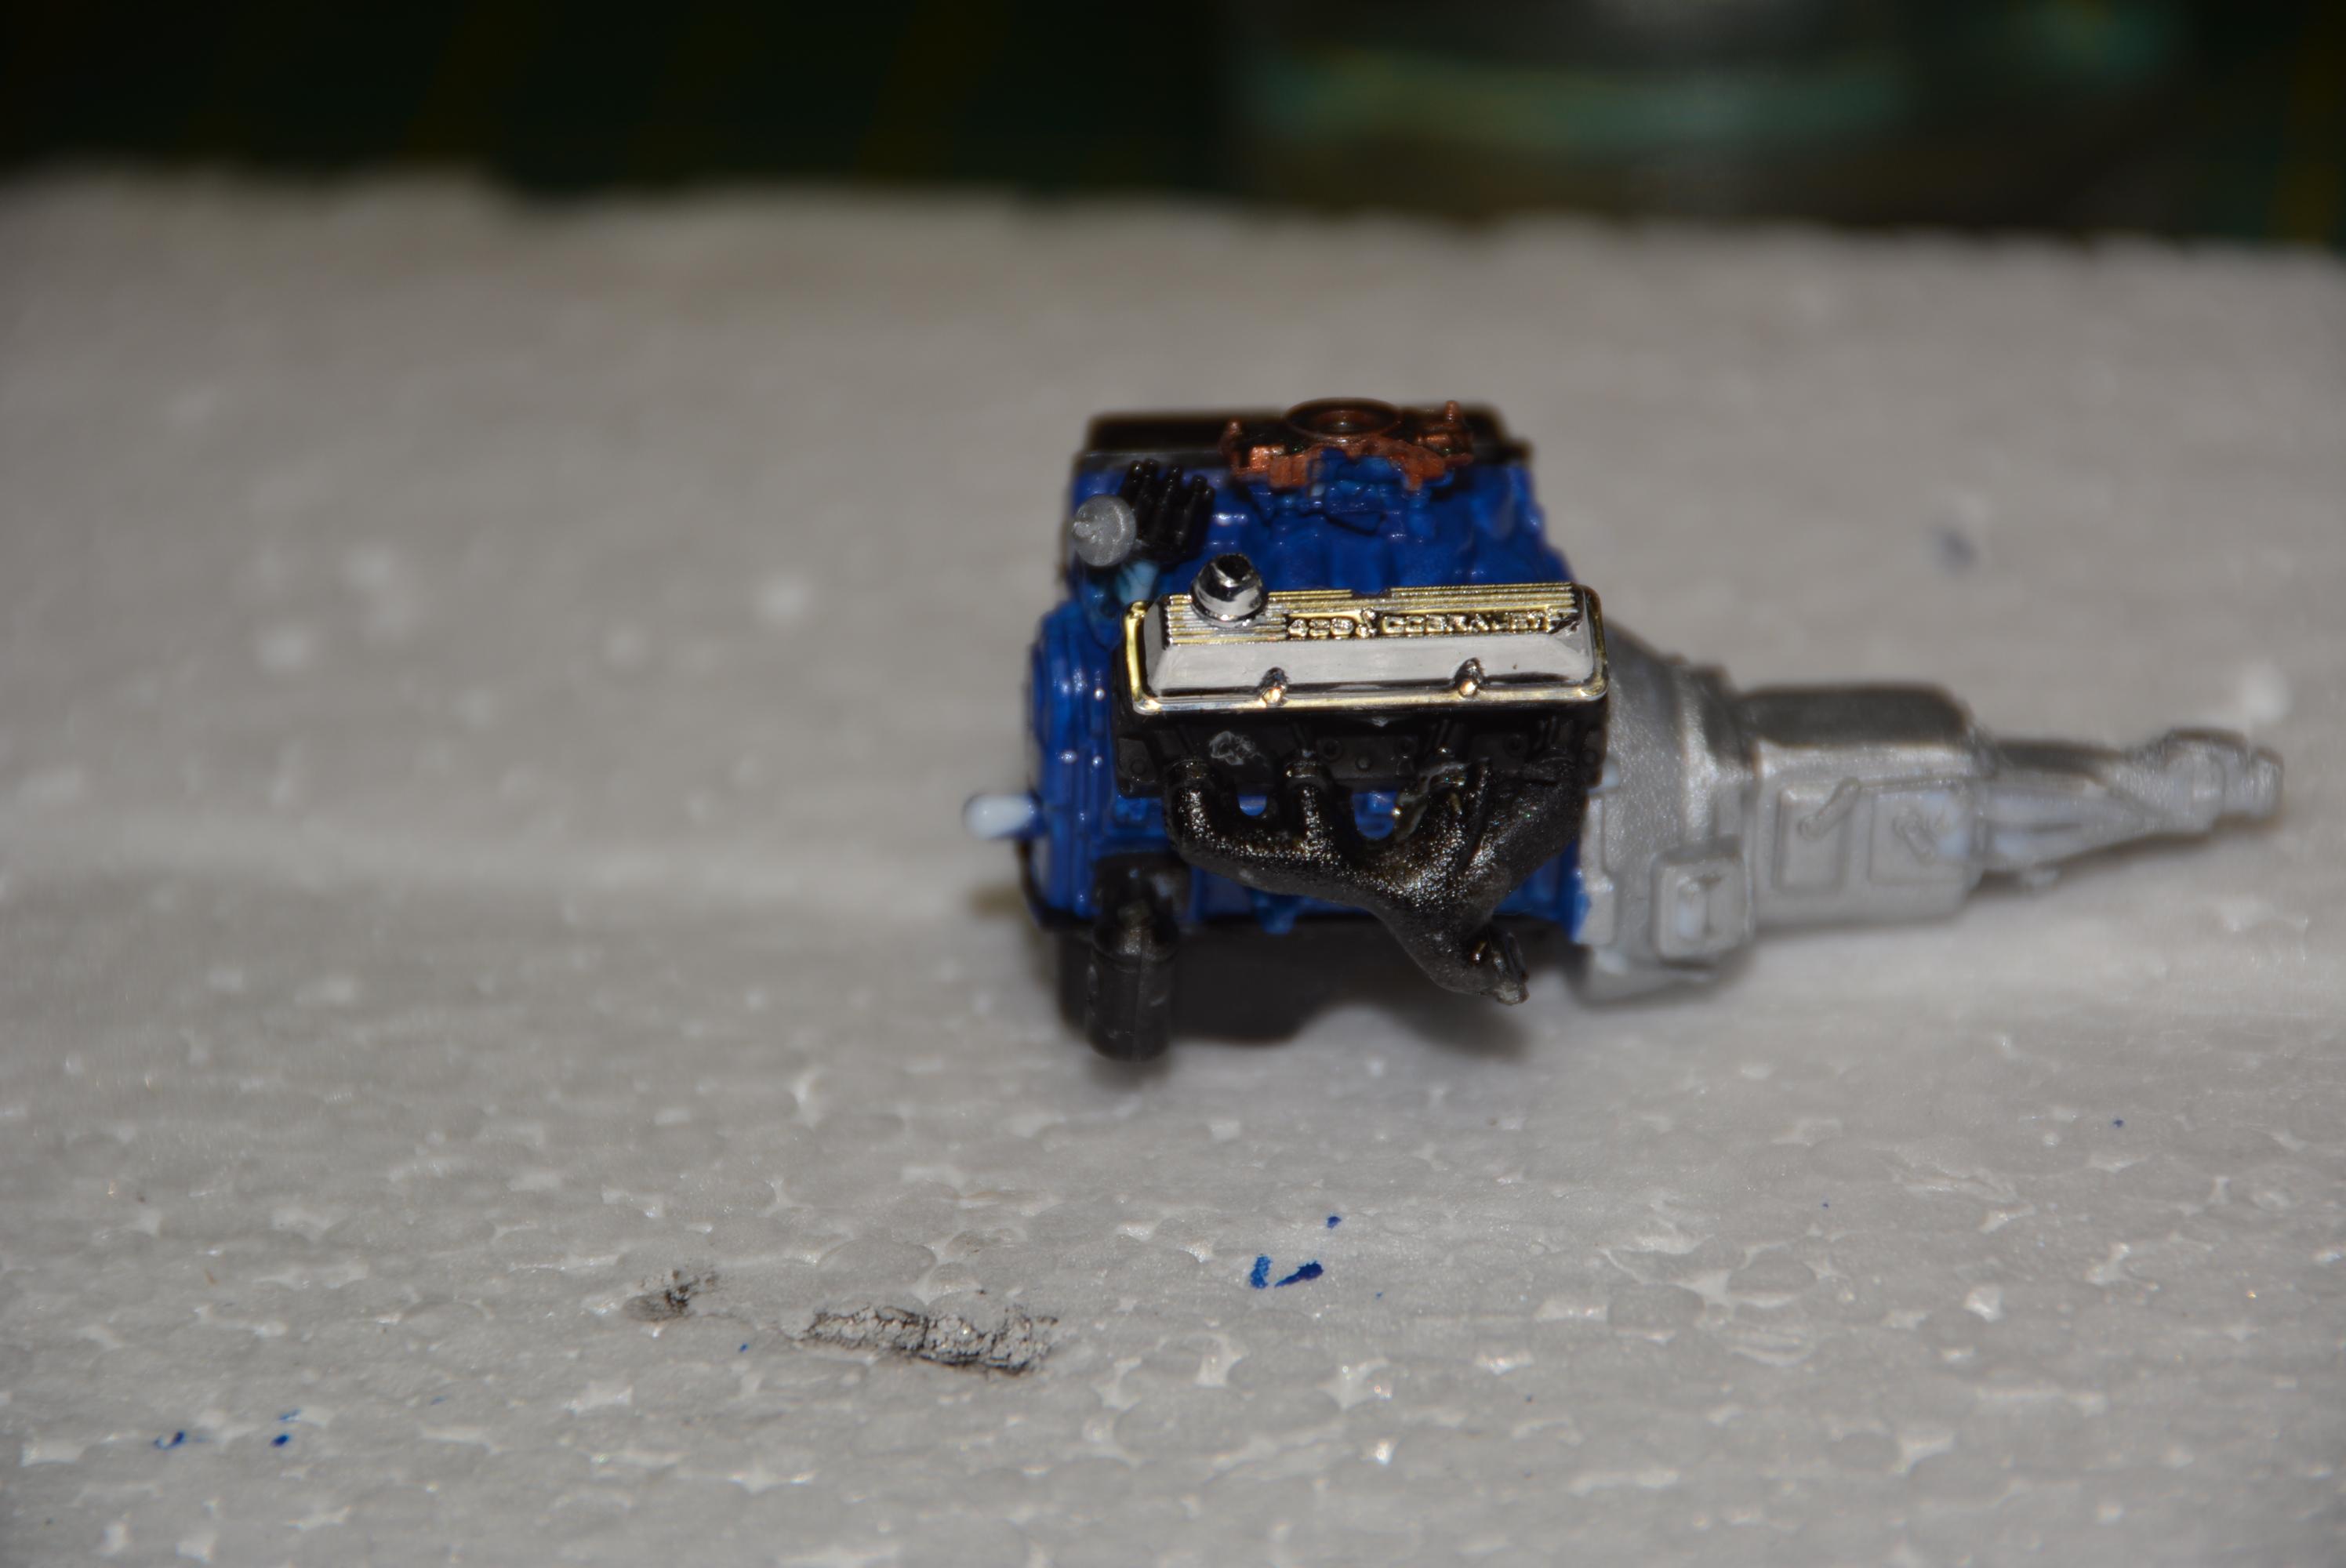
engine complete. on to the easy stuff..right!
-
I know exactly how you feel. looks great so far. there is tons of masters on this forum that will help you make a pretty good model. good luck...
-
7 hours ago, MrObsessive said:
For mold lines, I like to first sand them away, then put some liquid glue over the part that was sanded. The liquid glue will cause the sanded area to "ghost" and then after drying, I re-sand that area again getting rid of the plastic's "memory".
Once painted that shouldn't reappear unless you're using a very hot automotive paint in which I'd strongly suggest using some kind of barrier coat in that instance.
As far as the silver paint, you could try using perhaps Testors plain silver 'chrome' spray out of the can. Very fine pigments and it being a model paint would be very mild on the plastic.
Hope this helps!
I will definitely give your method a try. sounds very effective. cant thank you and all the others for your help and experience. I never realized model car building could be such an amazing challenge.
-
9 hours ago, LL3 Model Worx said:
Lookin like you are having fun so far... I'll stay tuned!
You wouldn't happen to be Randy Hanson the guitar player would you?
That would be too awsome!
I wish. I could play a little Hendrix in my den, but I did play drums for many years locally a long time ago. not famous. lol...
-
9 hours ago, StevenGuthmiller said:
Looking good so far.
My only suggestion would be to find a better silver paint.
The heavy and large metallic particles in the paint you have started with is way over the top.
Steve
Thanks Steve, but the silver is going to be covered with a regular paint color. I was told by a fellow local modeler that a silver coat will show all the defects to be fixed before painting the selected body color. this silver is rustoleum 2X which is cheap, down,and dirty.. I have used it before and it hasn't reacted with my regular air brush paints.
-
I thought I would share the build of this car as I go along, just for practice if nothing else. there is nothing special and I believe I will build this box stock as my skills are limited. I just enjoy it like some people enjoy puzzles.I welcome any and all comments and or suggestions of course.
I sanded a section of the body that had a mold line, and painted it silver to see any other defects. unfortunately my sanding wasn't enough and the mold line came through. so I had to re sand the area and I will repaint tomorrow.
-
how do you get your call sign tag. that's pretty cool. also the antenna's are a great touch on the model. well done. 73..
-
you sure are good at painting. everthing else too..?
-
great colors. I envy the interior painting you did. excellent.
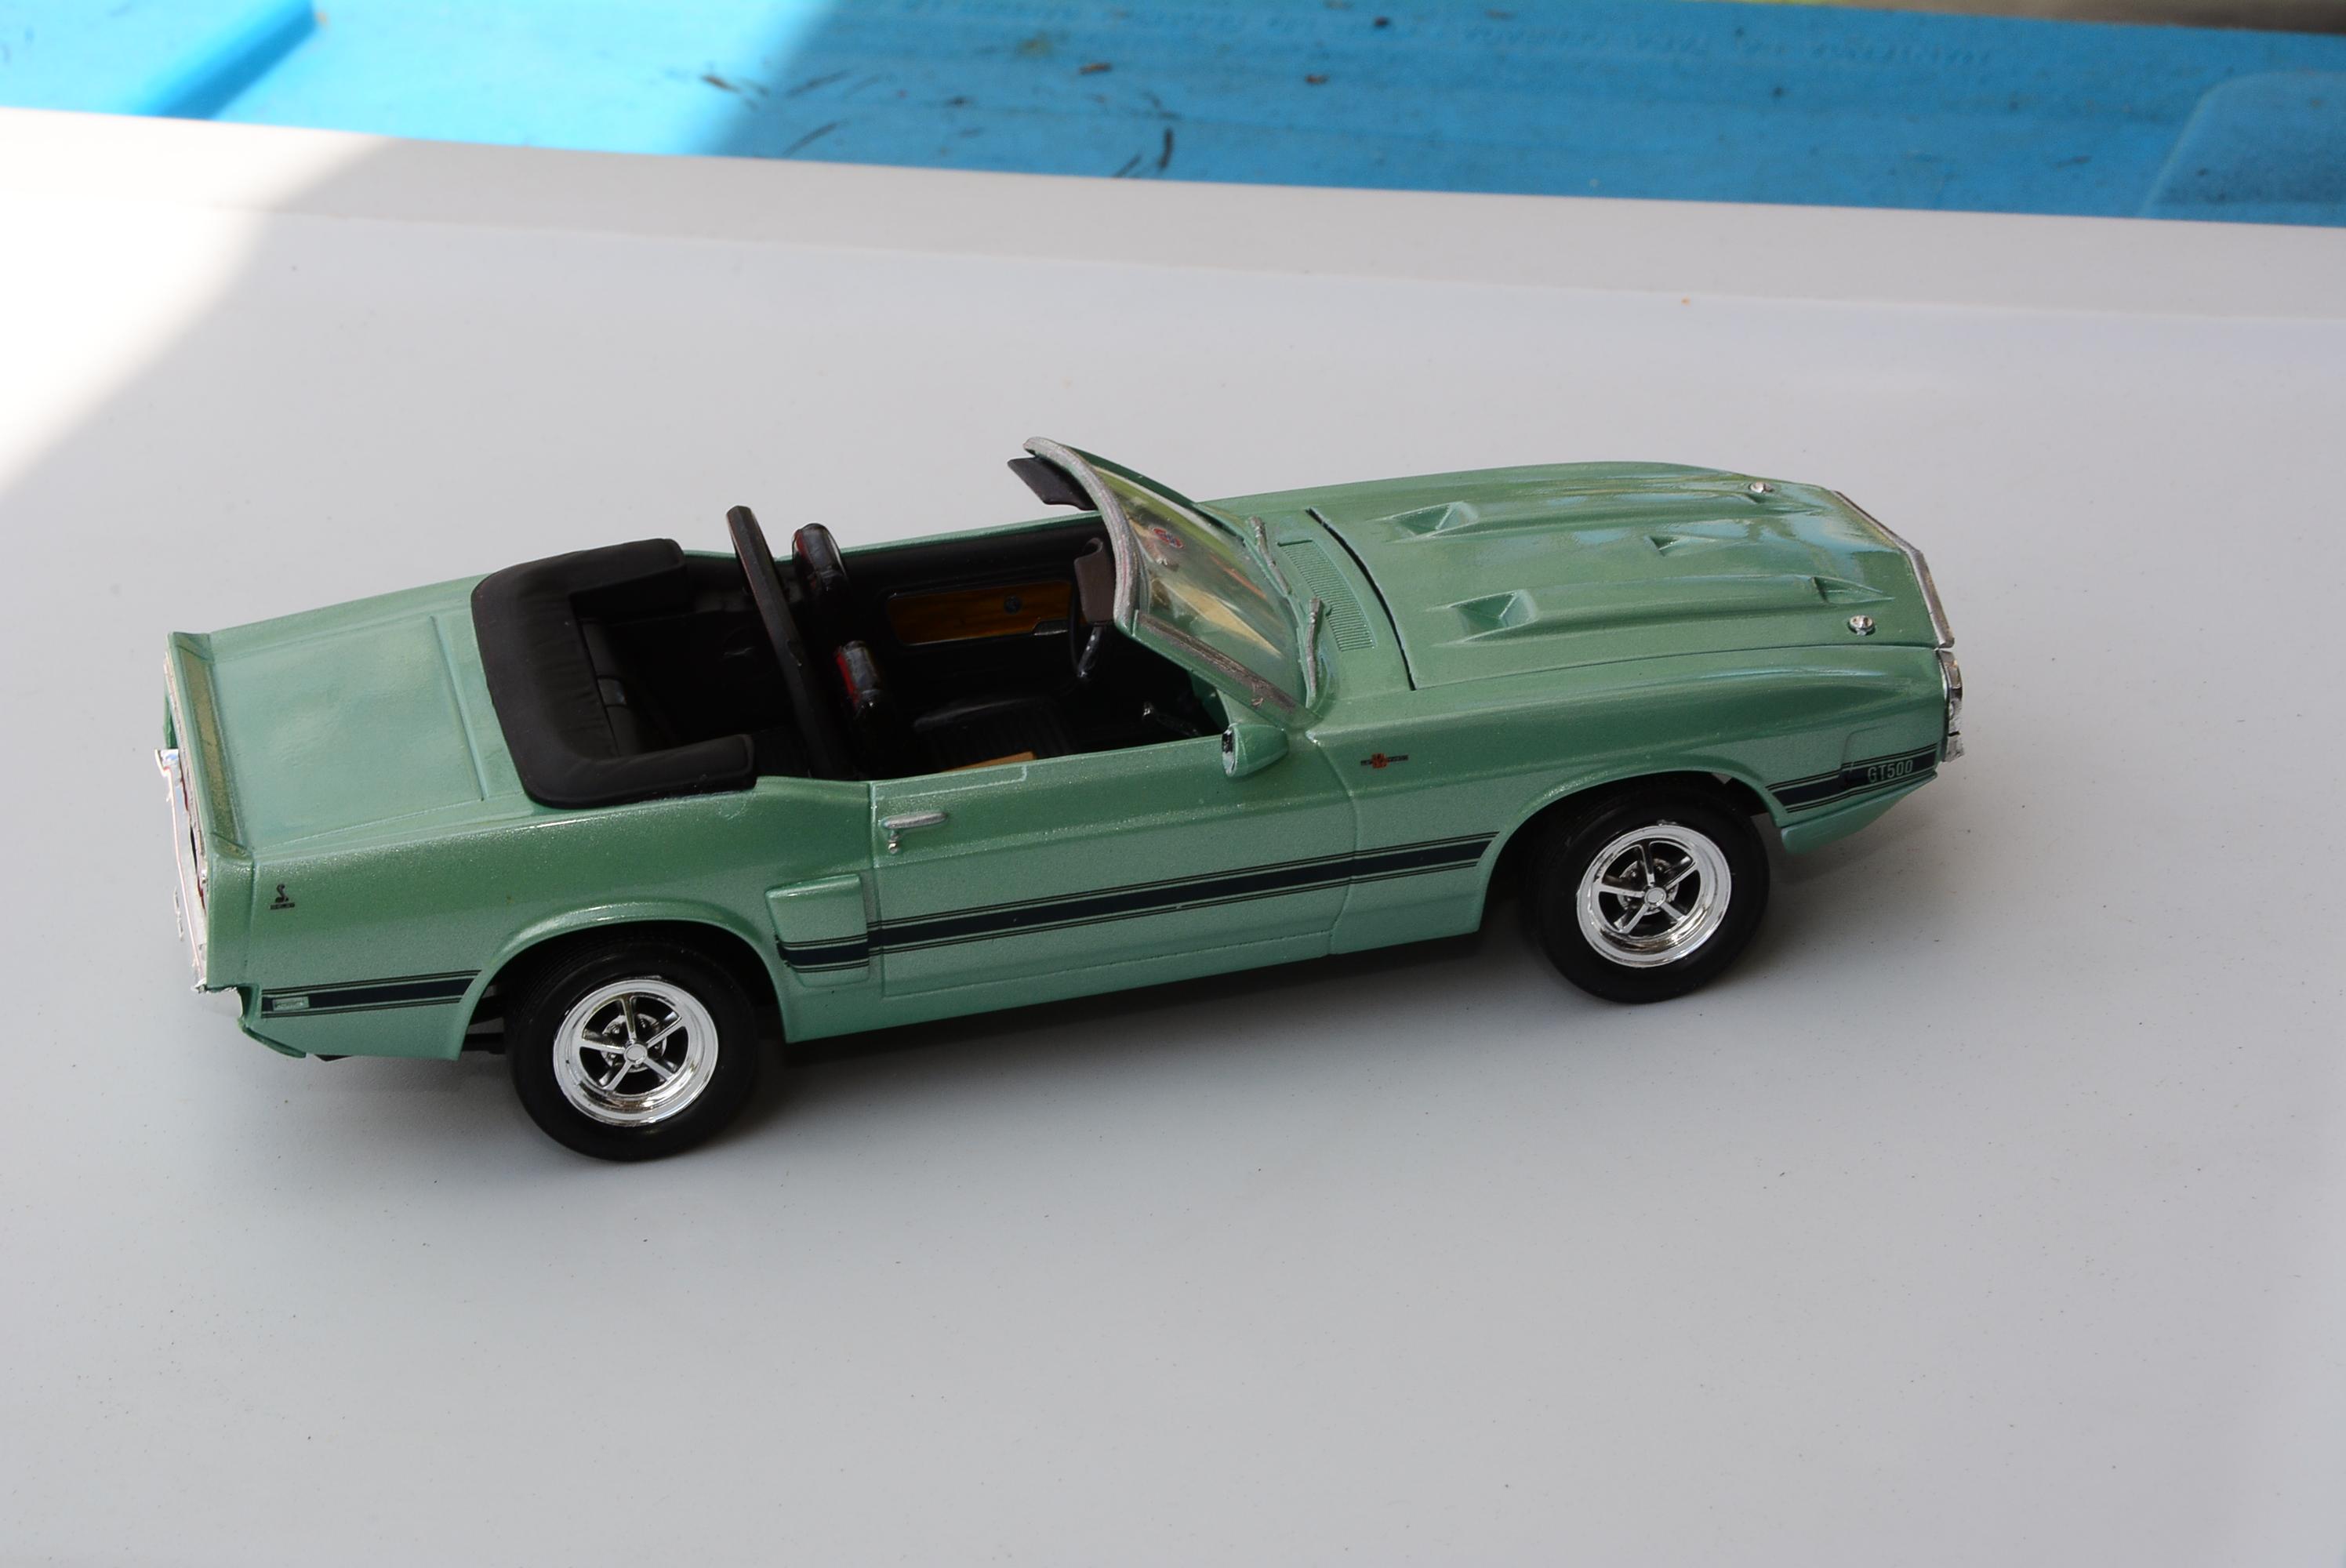


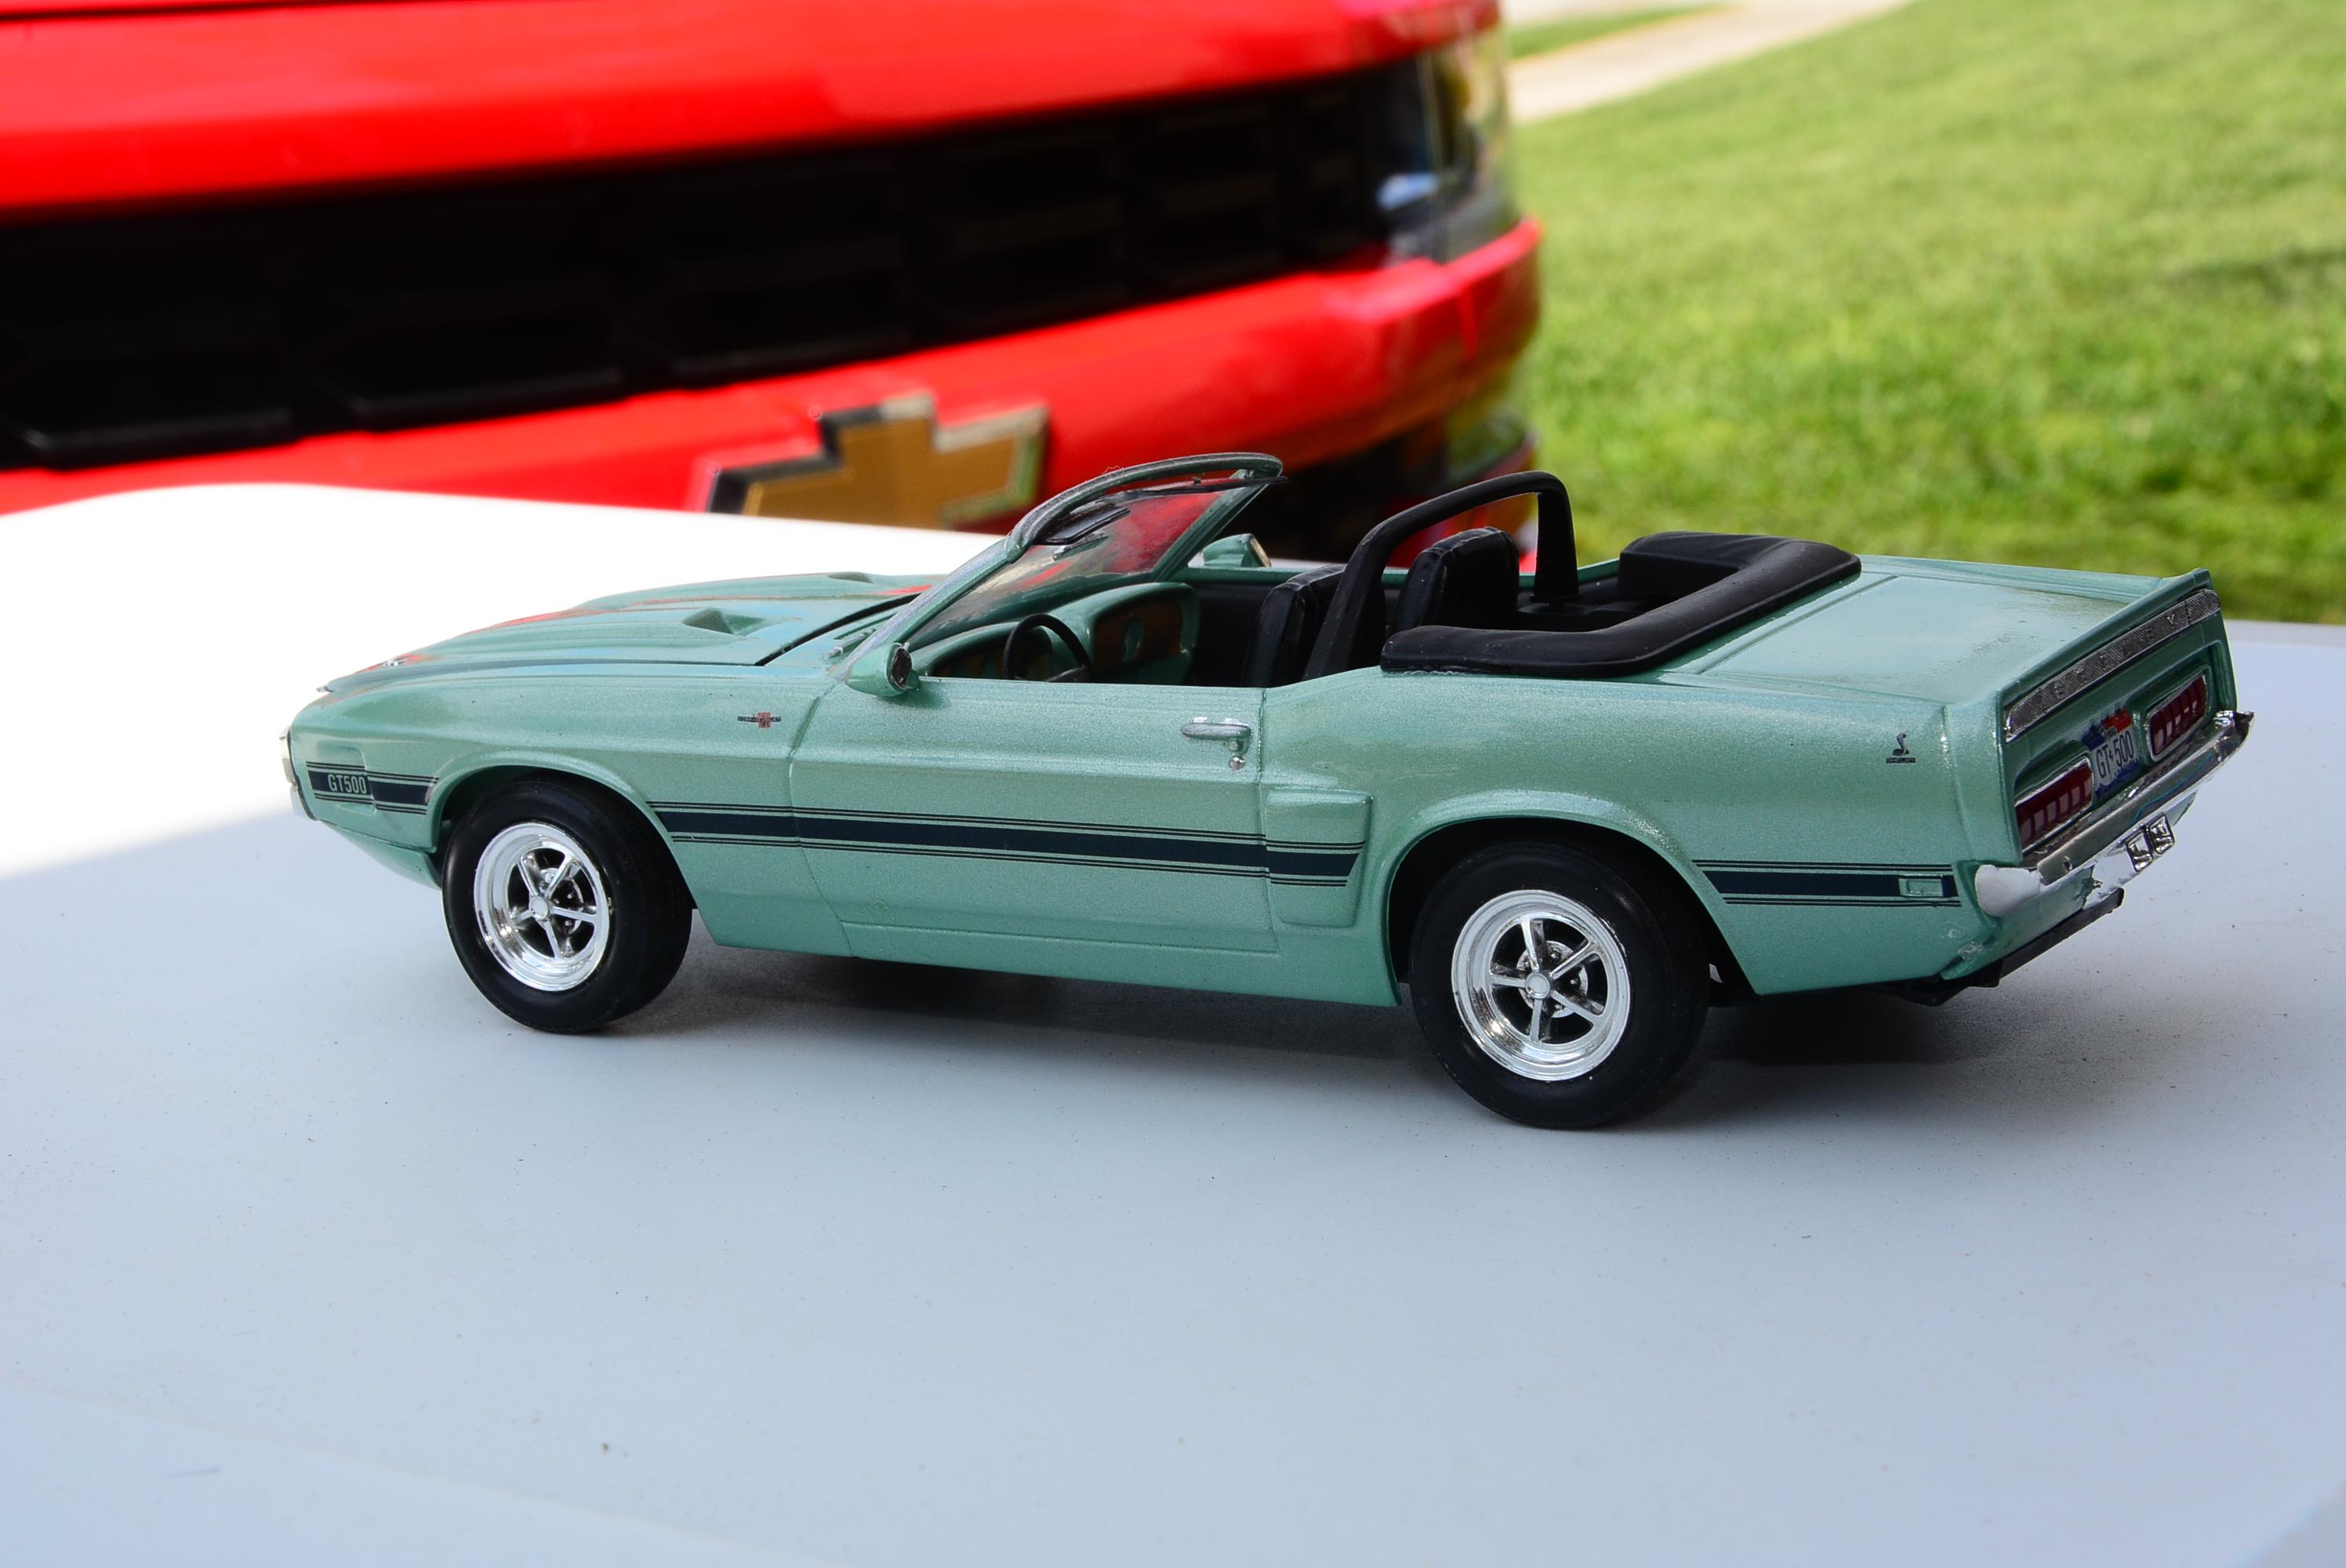


69 Shelby GT500 done
in Model Cars
Posted
Tanks again !!