Bills72sj
-
Posts
4,589 -
Joined
-
Last visited
Content Type
Profiles
Forums
Events
Gallery
Everything posted by Bills72sj
-
Thank you all for your encouraging comments.
-
I know, I did play with some editing on the picture files but going lighter washed out the subject. I think the camera struggled with the white subject matter.
-

2020 Round2 Car Kit News & Announcements
Bills72sj replied to Casey's topic in Car Kit News & Reviews
A full bumper 2nd Gen? I would definitely buy that too. -
Dude! You scratch building equipment just blows me away! It is very motivating. I am DEFINITELY doing my diorama NEXT!
-
Very nice car. I didn't know you could get a 340 6-BBL with A/C in '71.
-
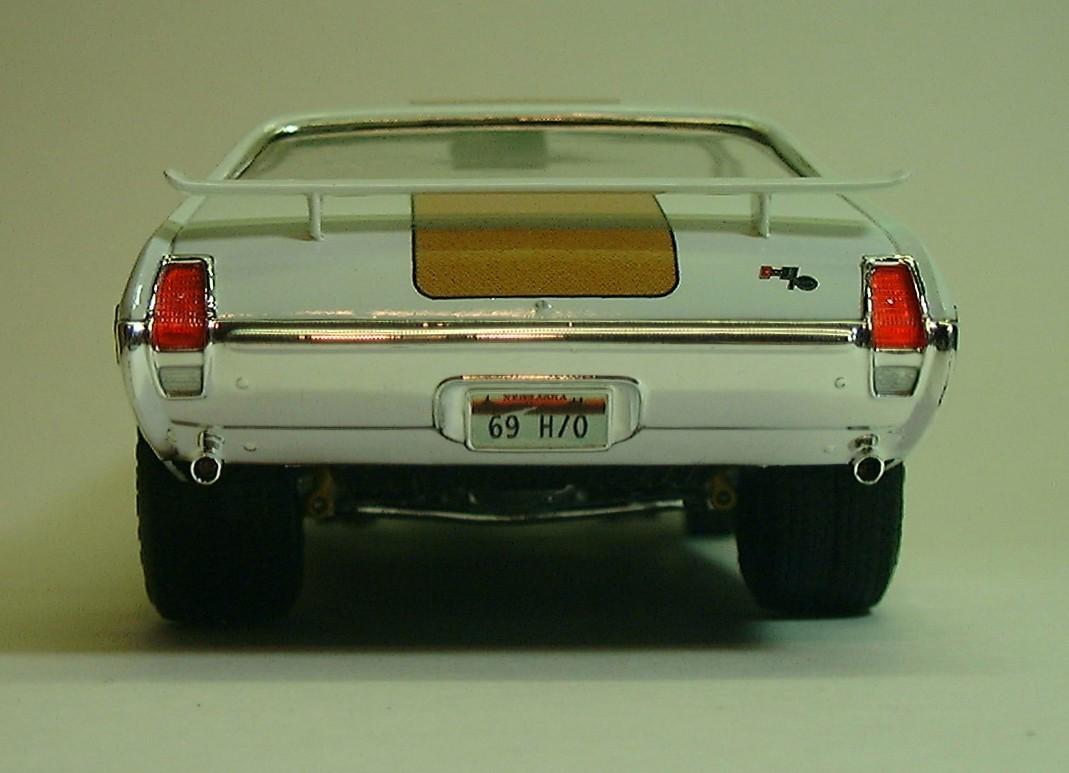
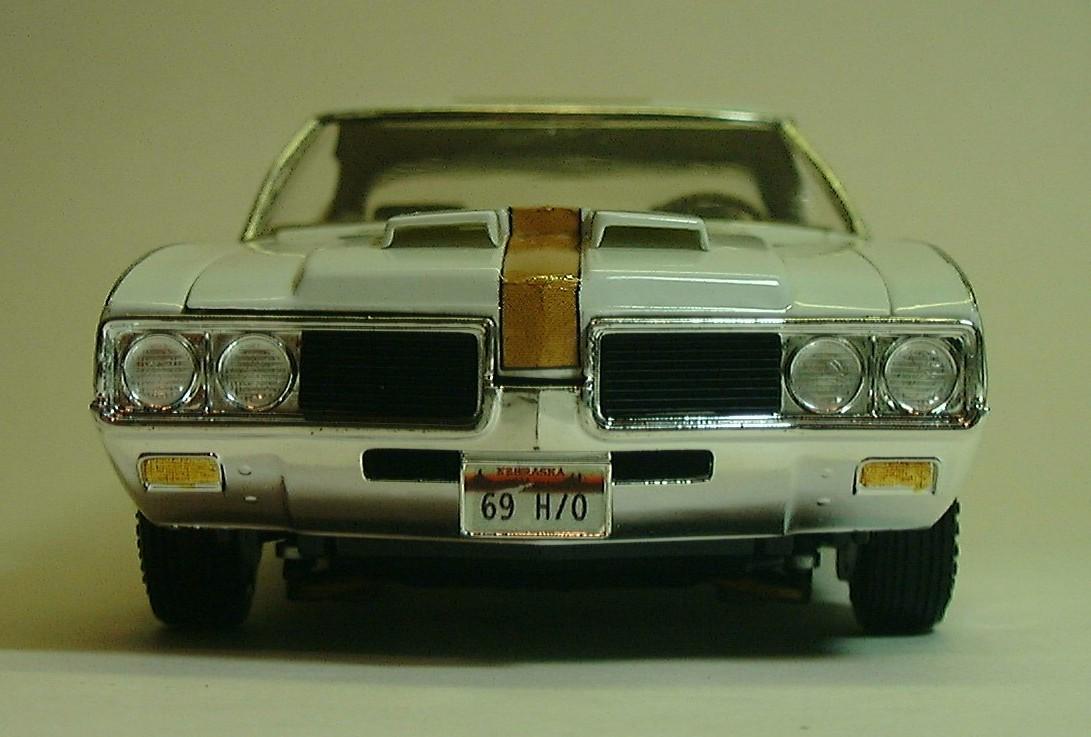
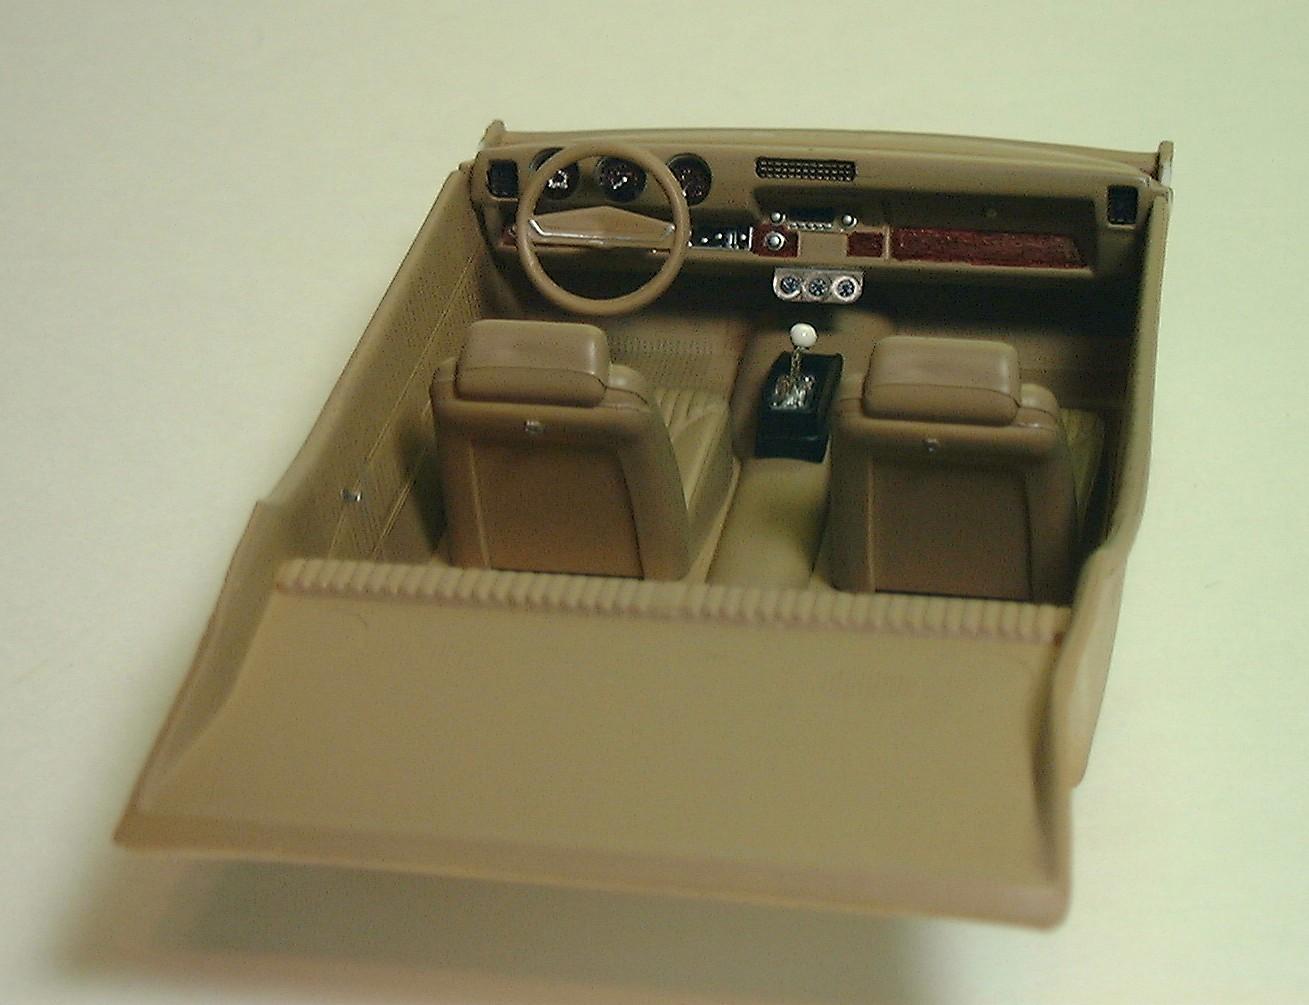
This is a 1969 Hurst Olds I finished awhile back. It started as an open eBay purchase that was fortunately complete. The only issue was that the decal sheet had been wetted then dried. It was built basically box stock with some minor mods. I did my trademark widened rear wheels and tires. The gold detail painting on the wheels was a challenge. I had to get the gold only on the spokes and not on the lugnuts, center caps or hole trim. They actually came out perfect. I was quite pleased. I removed the locator pegs from the tail light lenses and BMF'd the backs to make them more realistic. I added a Detail Master triple gauge set under dash to compliment the "His and Hers" Hurst shifter. I got the triple carbs and manifold from a 69 Olds 442 kit. The air cleaner element was painted with transparent aqua. The fit and finish of this kit was amazing for an AMT offering. It has been years since I had a body drop right onto a chassis perfectly without having to trim or tweak something. The bumpers actually fit perfectly as well. The only trouble I had was that the windows are barely bigger than the frame leaving very little overlap for gluing. The chassis is quite detailed including separate pieces for control arms, springs and shocks. The decals did require soaking about 5 times longer than usual to release from the backing paper but they held together well. I really wish I had a wired distributor to top off the engine. I highly recommend this kit as I had very little frustration building it. In fact this is the first model I have ever built where the steering actually WORKS!

-
2020 Round2 Car Kit News & Announcements
Bills72sj replied to Casey's topic in Car Kit News & Reviews
I would definitely buy this one. -
WOW thanks guy for the enthusiastic responses. ?
-
KW W900 Day cab
Bills72sj replied to Oldmopars's topic in Model Trucks: Big Rigs and Heavy Equipment
Very clean build. Great job! -
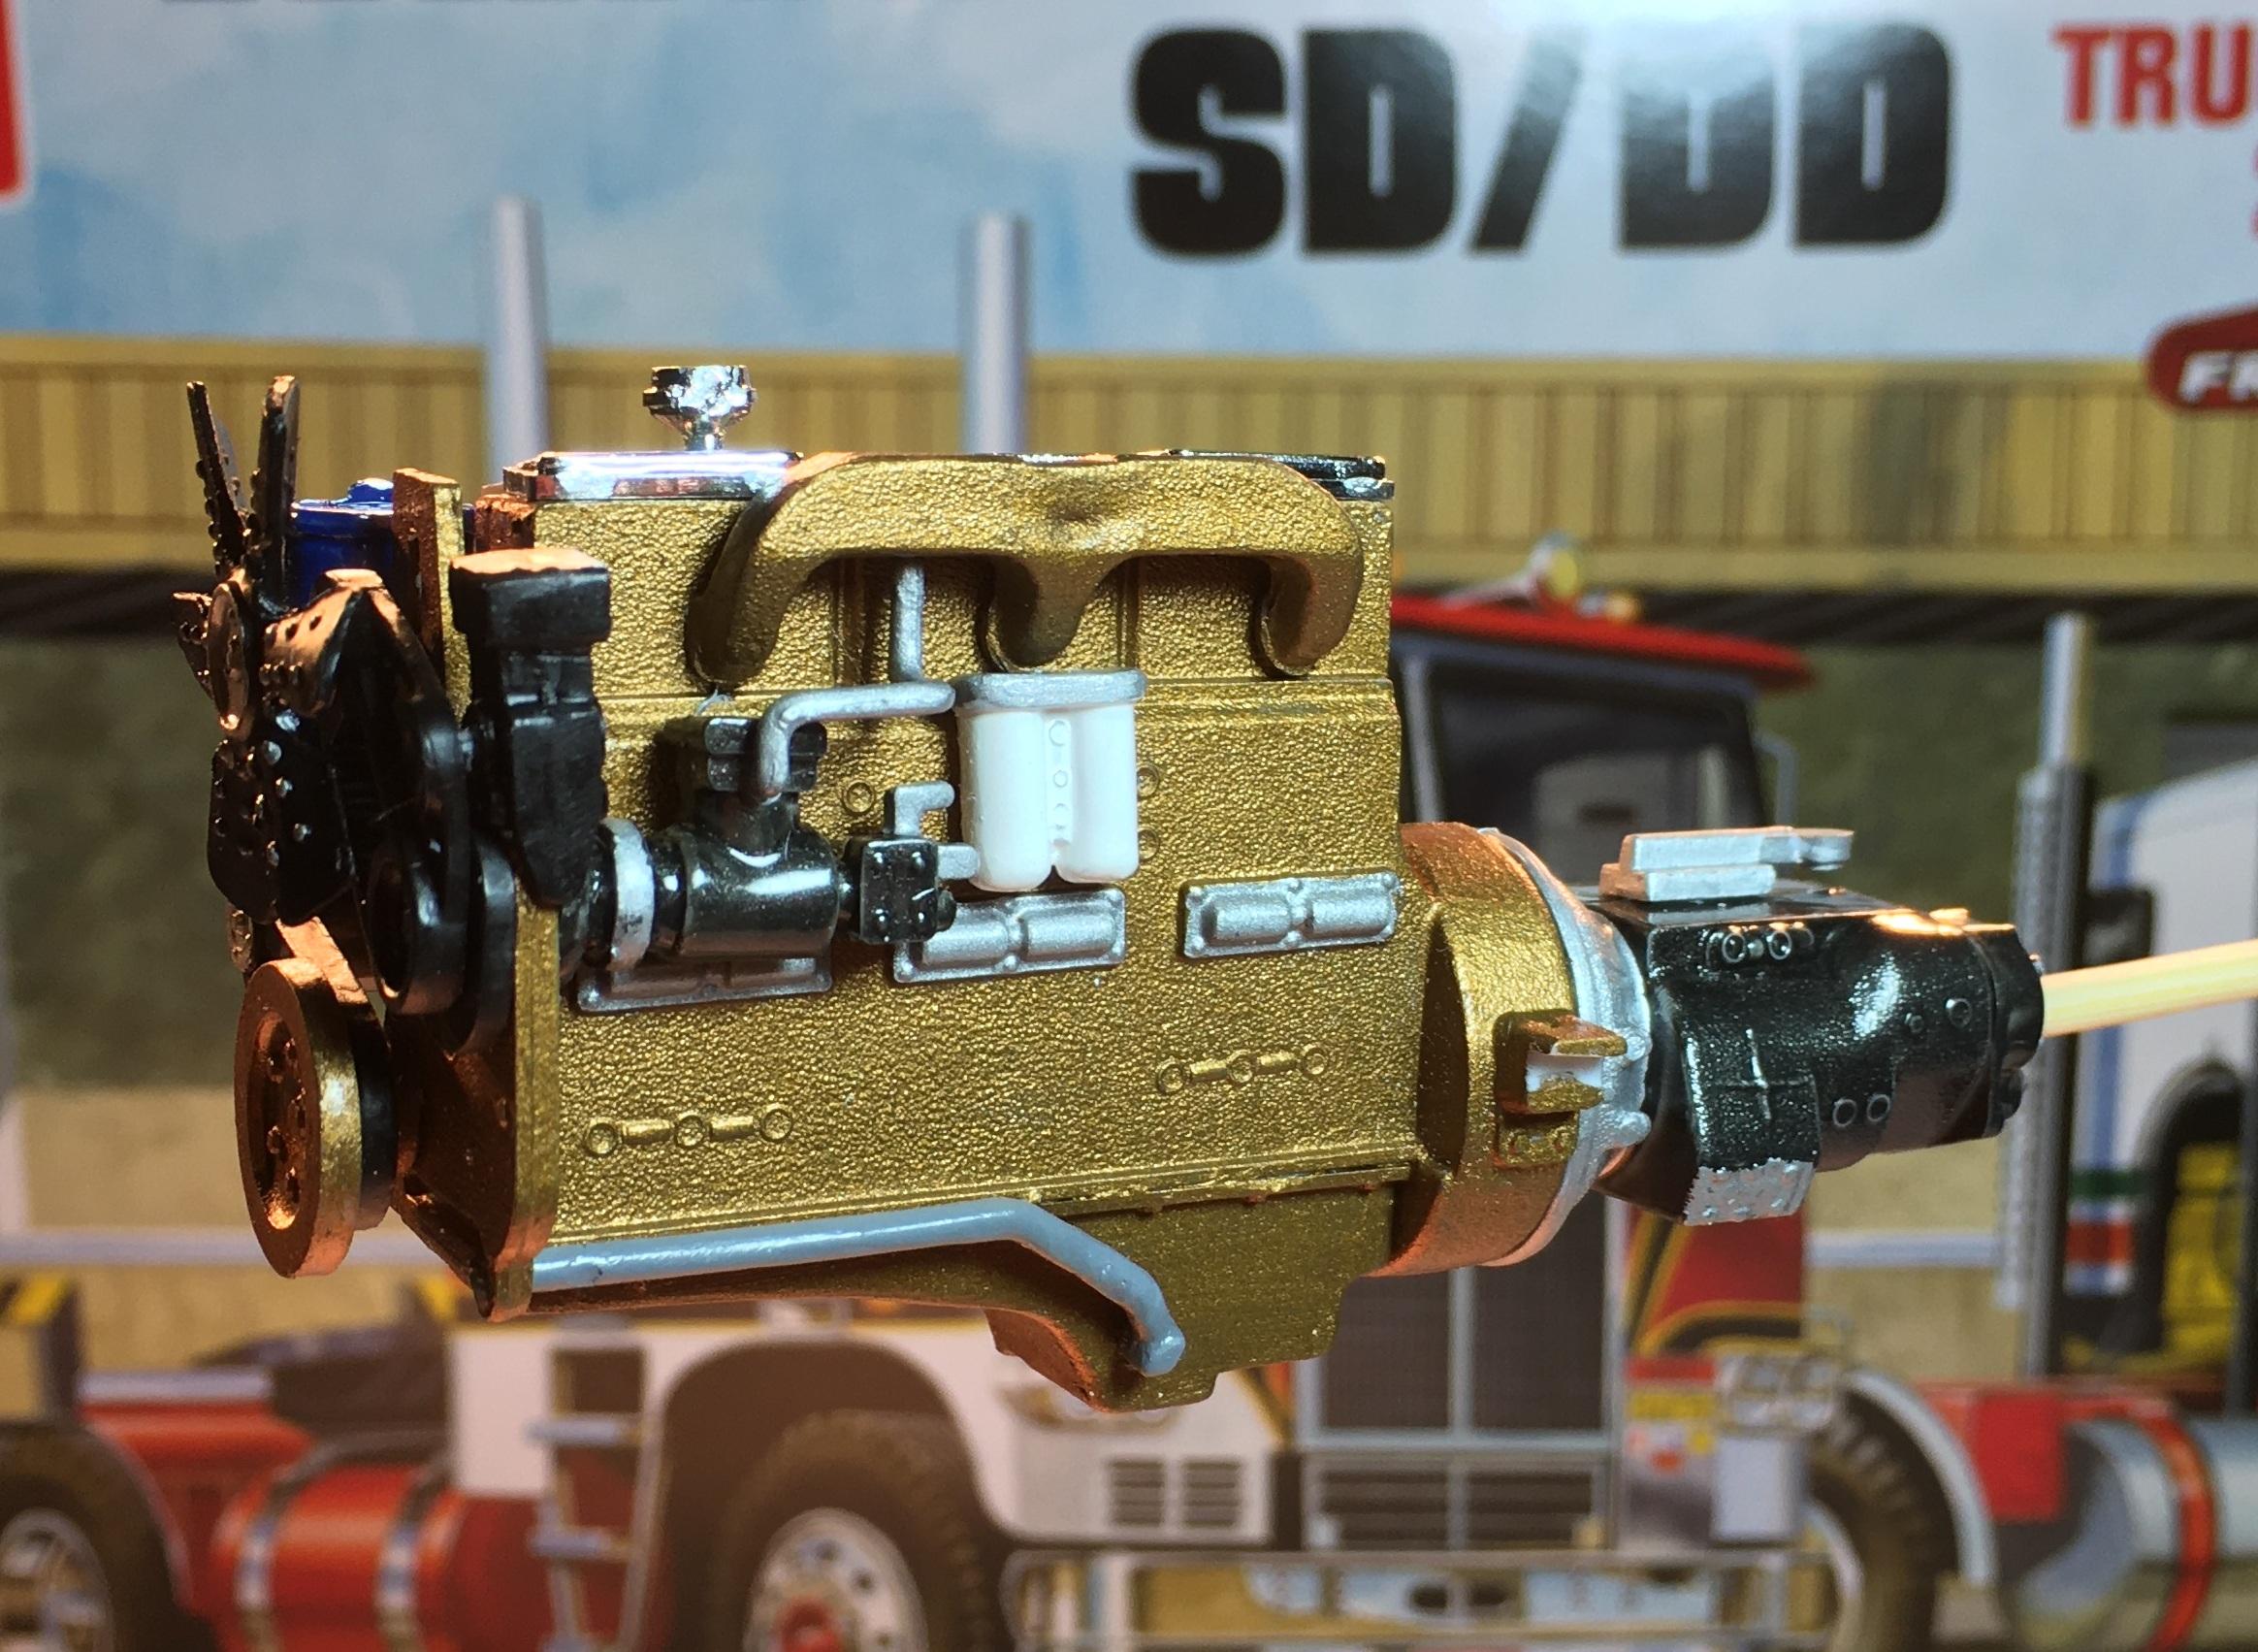
I bought (2) White Freightliner 75th Anniversary COE kits. The stock options are Day cab single drive (SD) and Sleeper cab dual drive (DD). I have chosen neither of these. I am building one as a Day cab DD and the other as a Sleeper cab triple drive. It has been slow going but I try to work on them a little bit most every day. I have painted the stripe (under) color on the cab and masked it off in preparation for the black top coat. I researched photos of the proper engine colorings but it was too boring so I went artistic on it. I modified the frame to keep the DD length but provision it for the day cab mounts. Since I needed extra wheels and tires for the triple drive, I got some Moebius aftermarket wheels and tires for this one. My cat lost my front axle and center link so I robbed them from a Ford Coca Cola straight truck kit. I got the brake backing plates from the Ford kit as well. Oh, and I converted the headlights to rectangular ones from Auslowe using just a file (no putty).
-
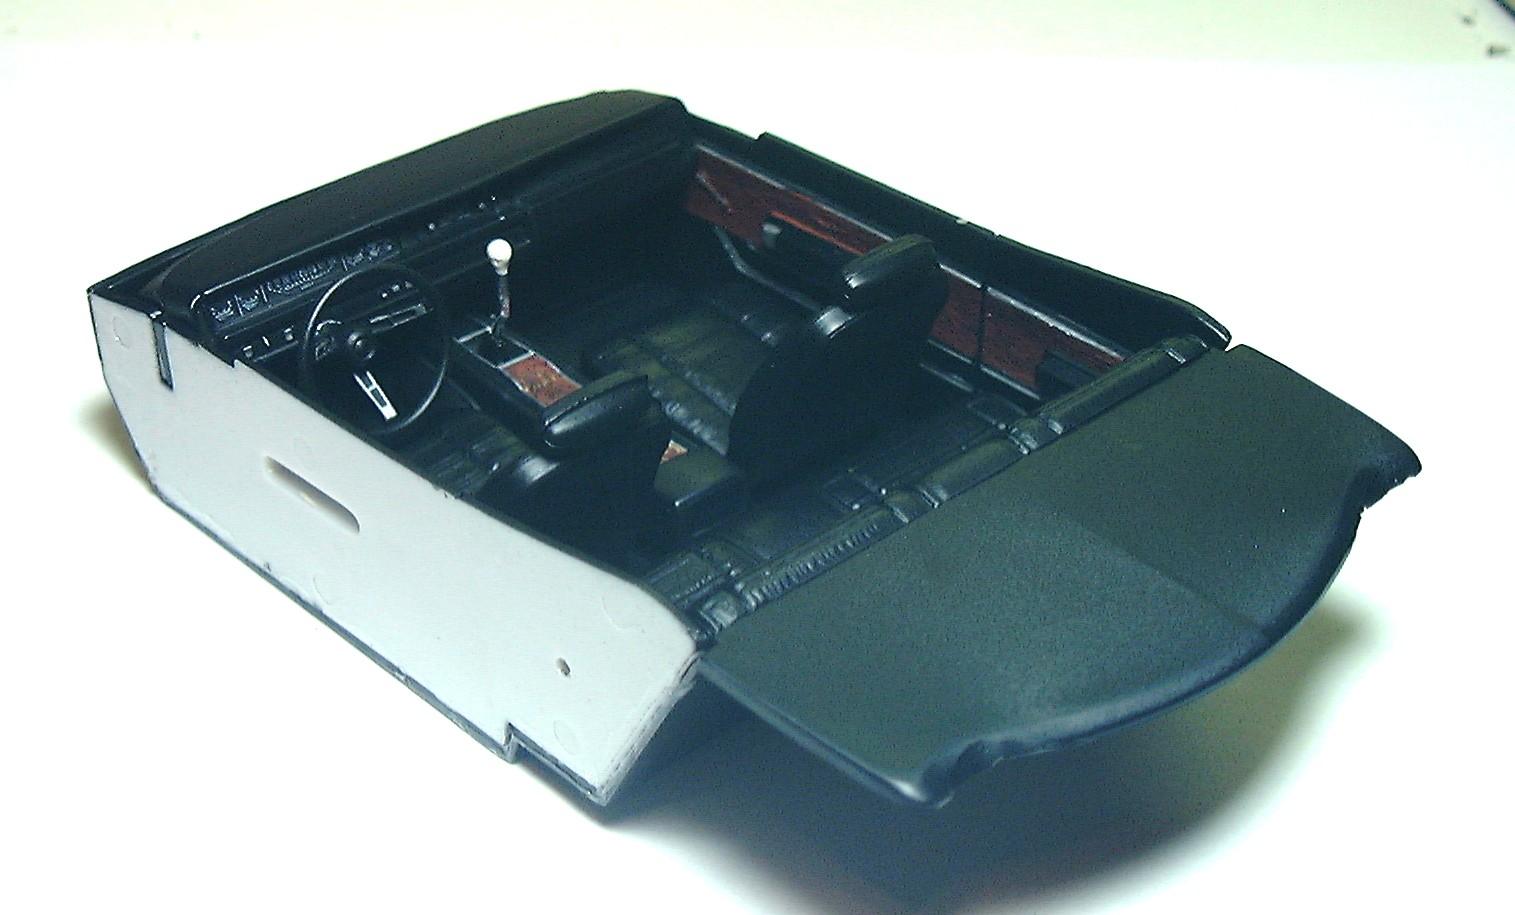
This one was built pretty much box stock with detail painted parts box wheels and tires. The interior dash and woodgrain turned out pretty well. It looks pretty wicked from the rear.
-
I love big block '69s. Following.
-
Who made it. Is it a promo?
-
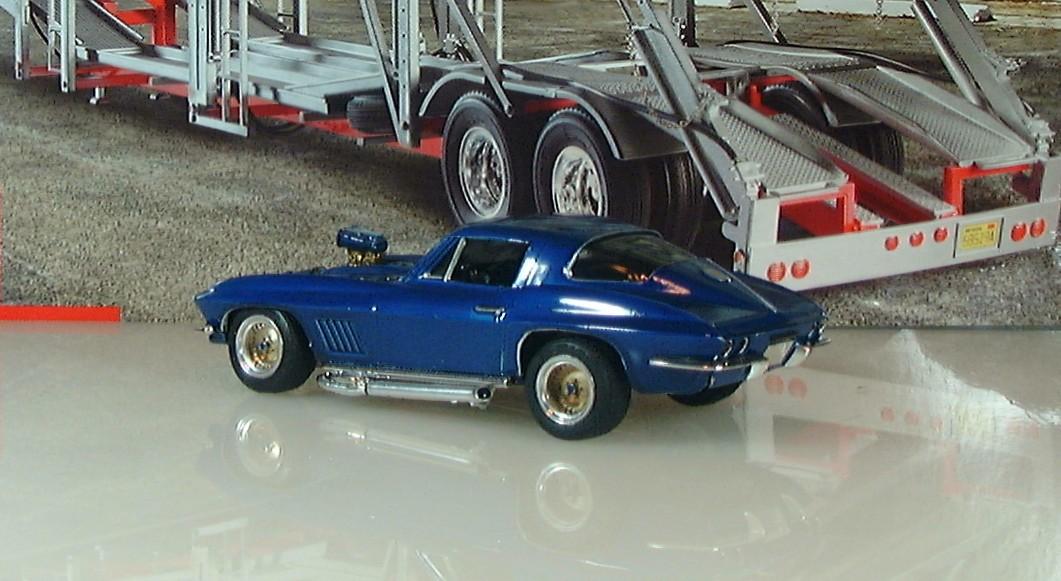
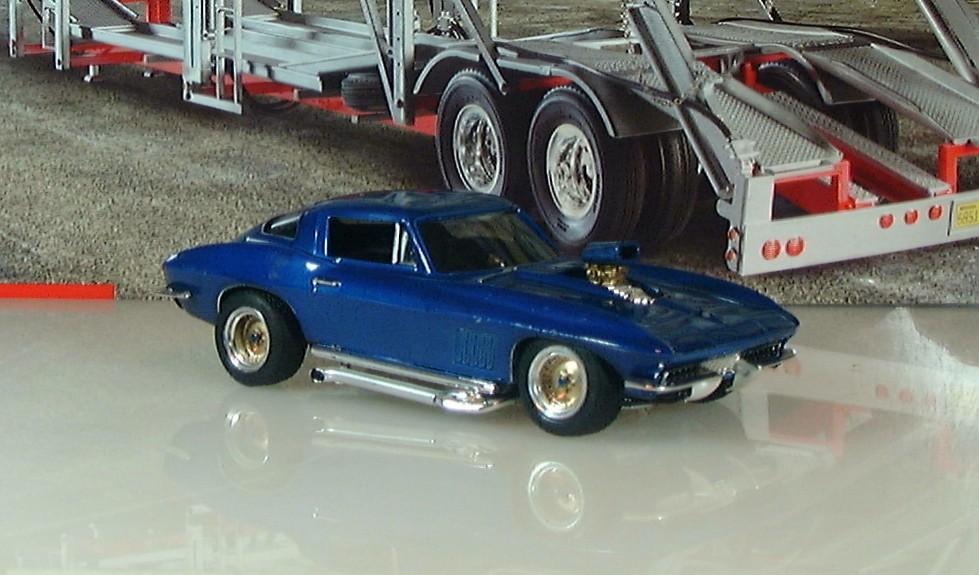
I built that kit so long ago I can't even remember the decade. It was my first ever transparent candy paint job. Just this month I bought the black Night Stalker version so I could have another go at it. The wheels are Cragar SSTs in gold.
-
Sweet custom. I love it!
-
70 Dodge Polara? What kit did you start with?
-
I like it in white. Great job!
-
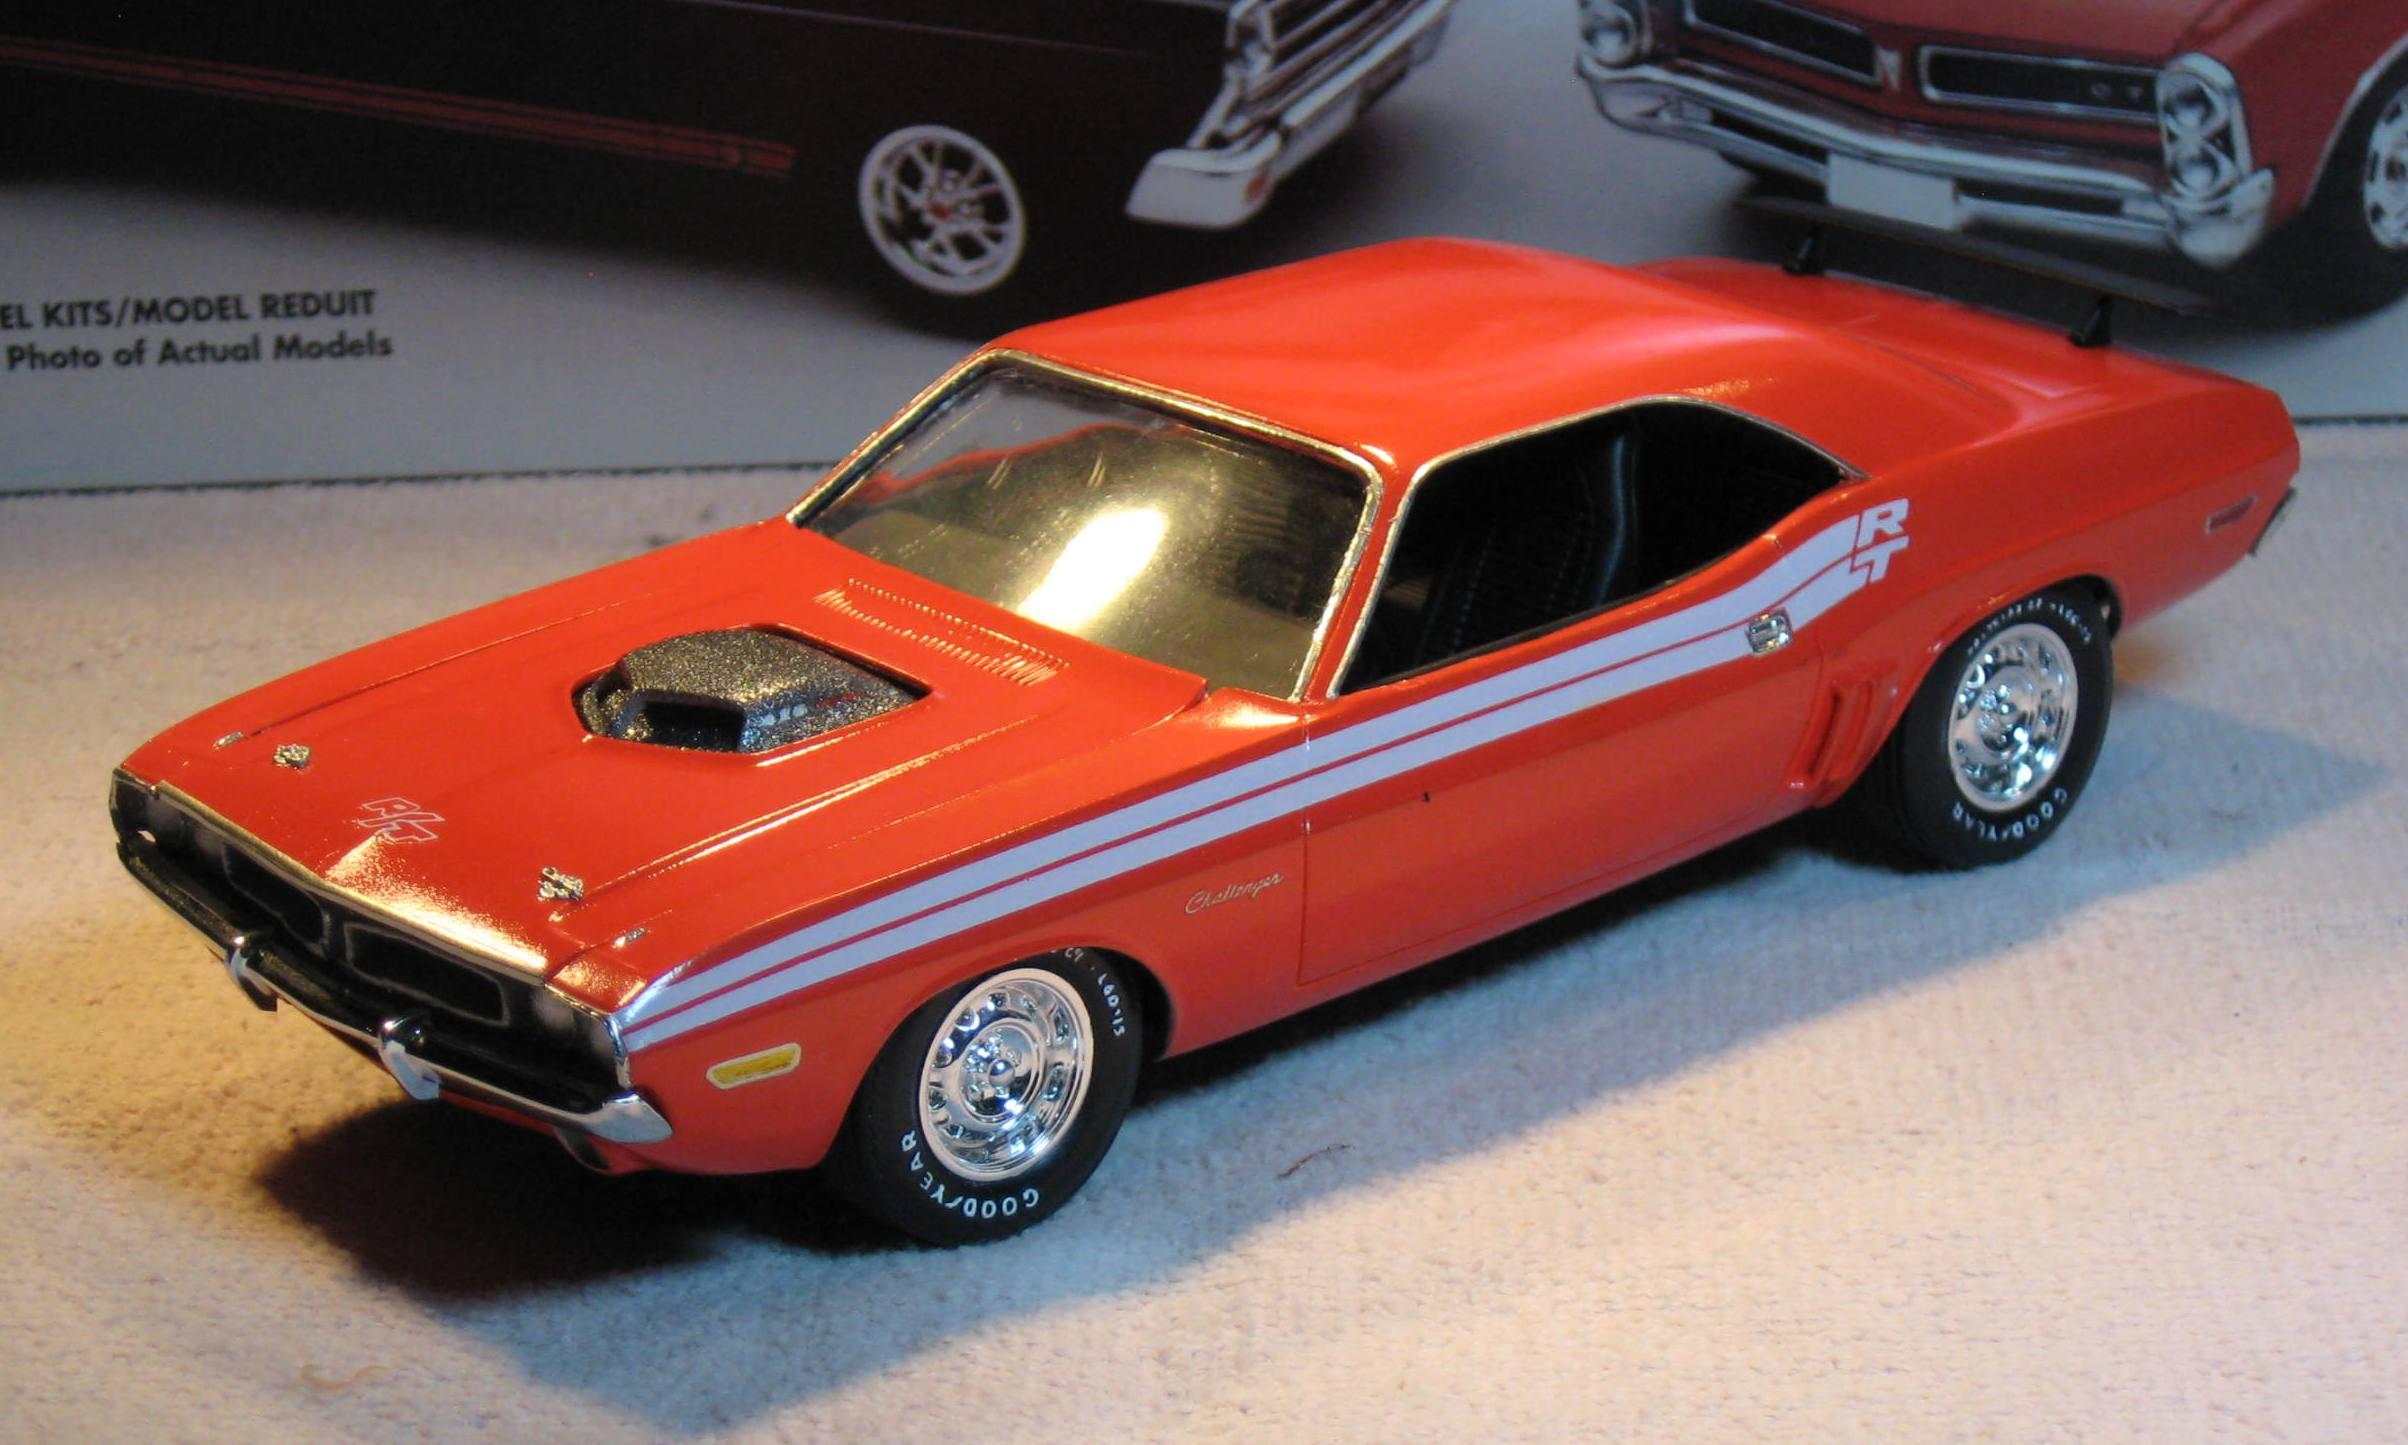
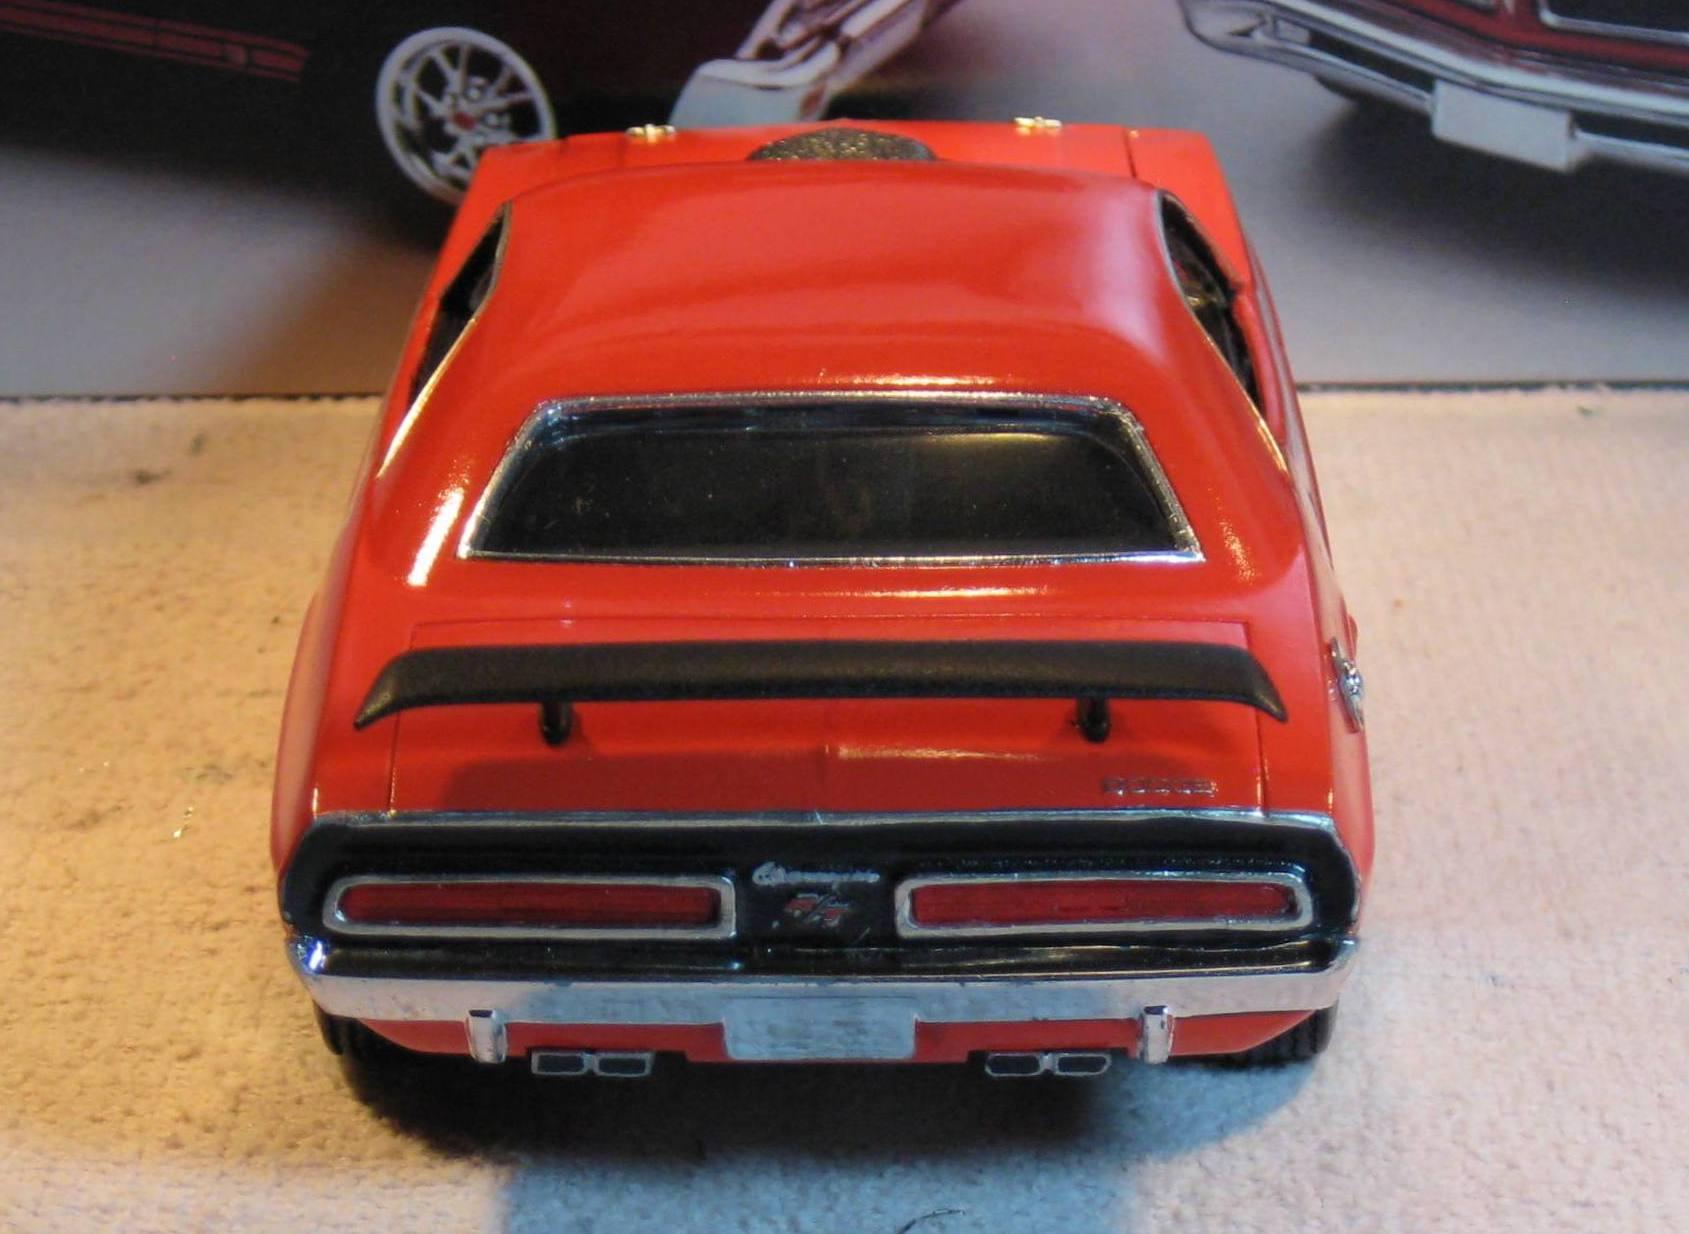
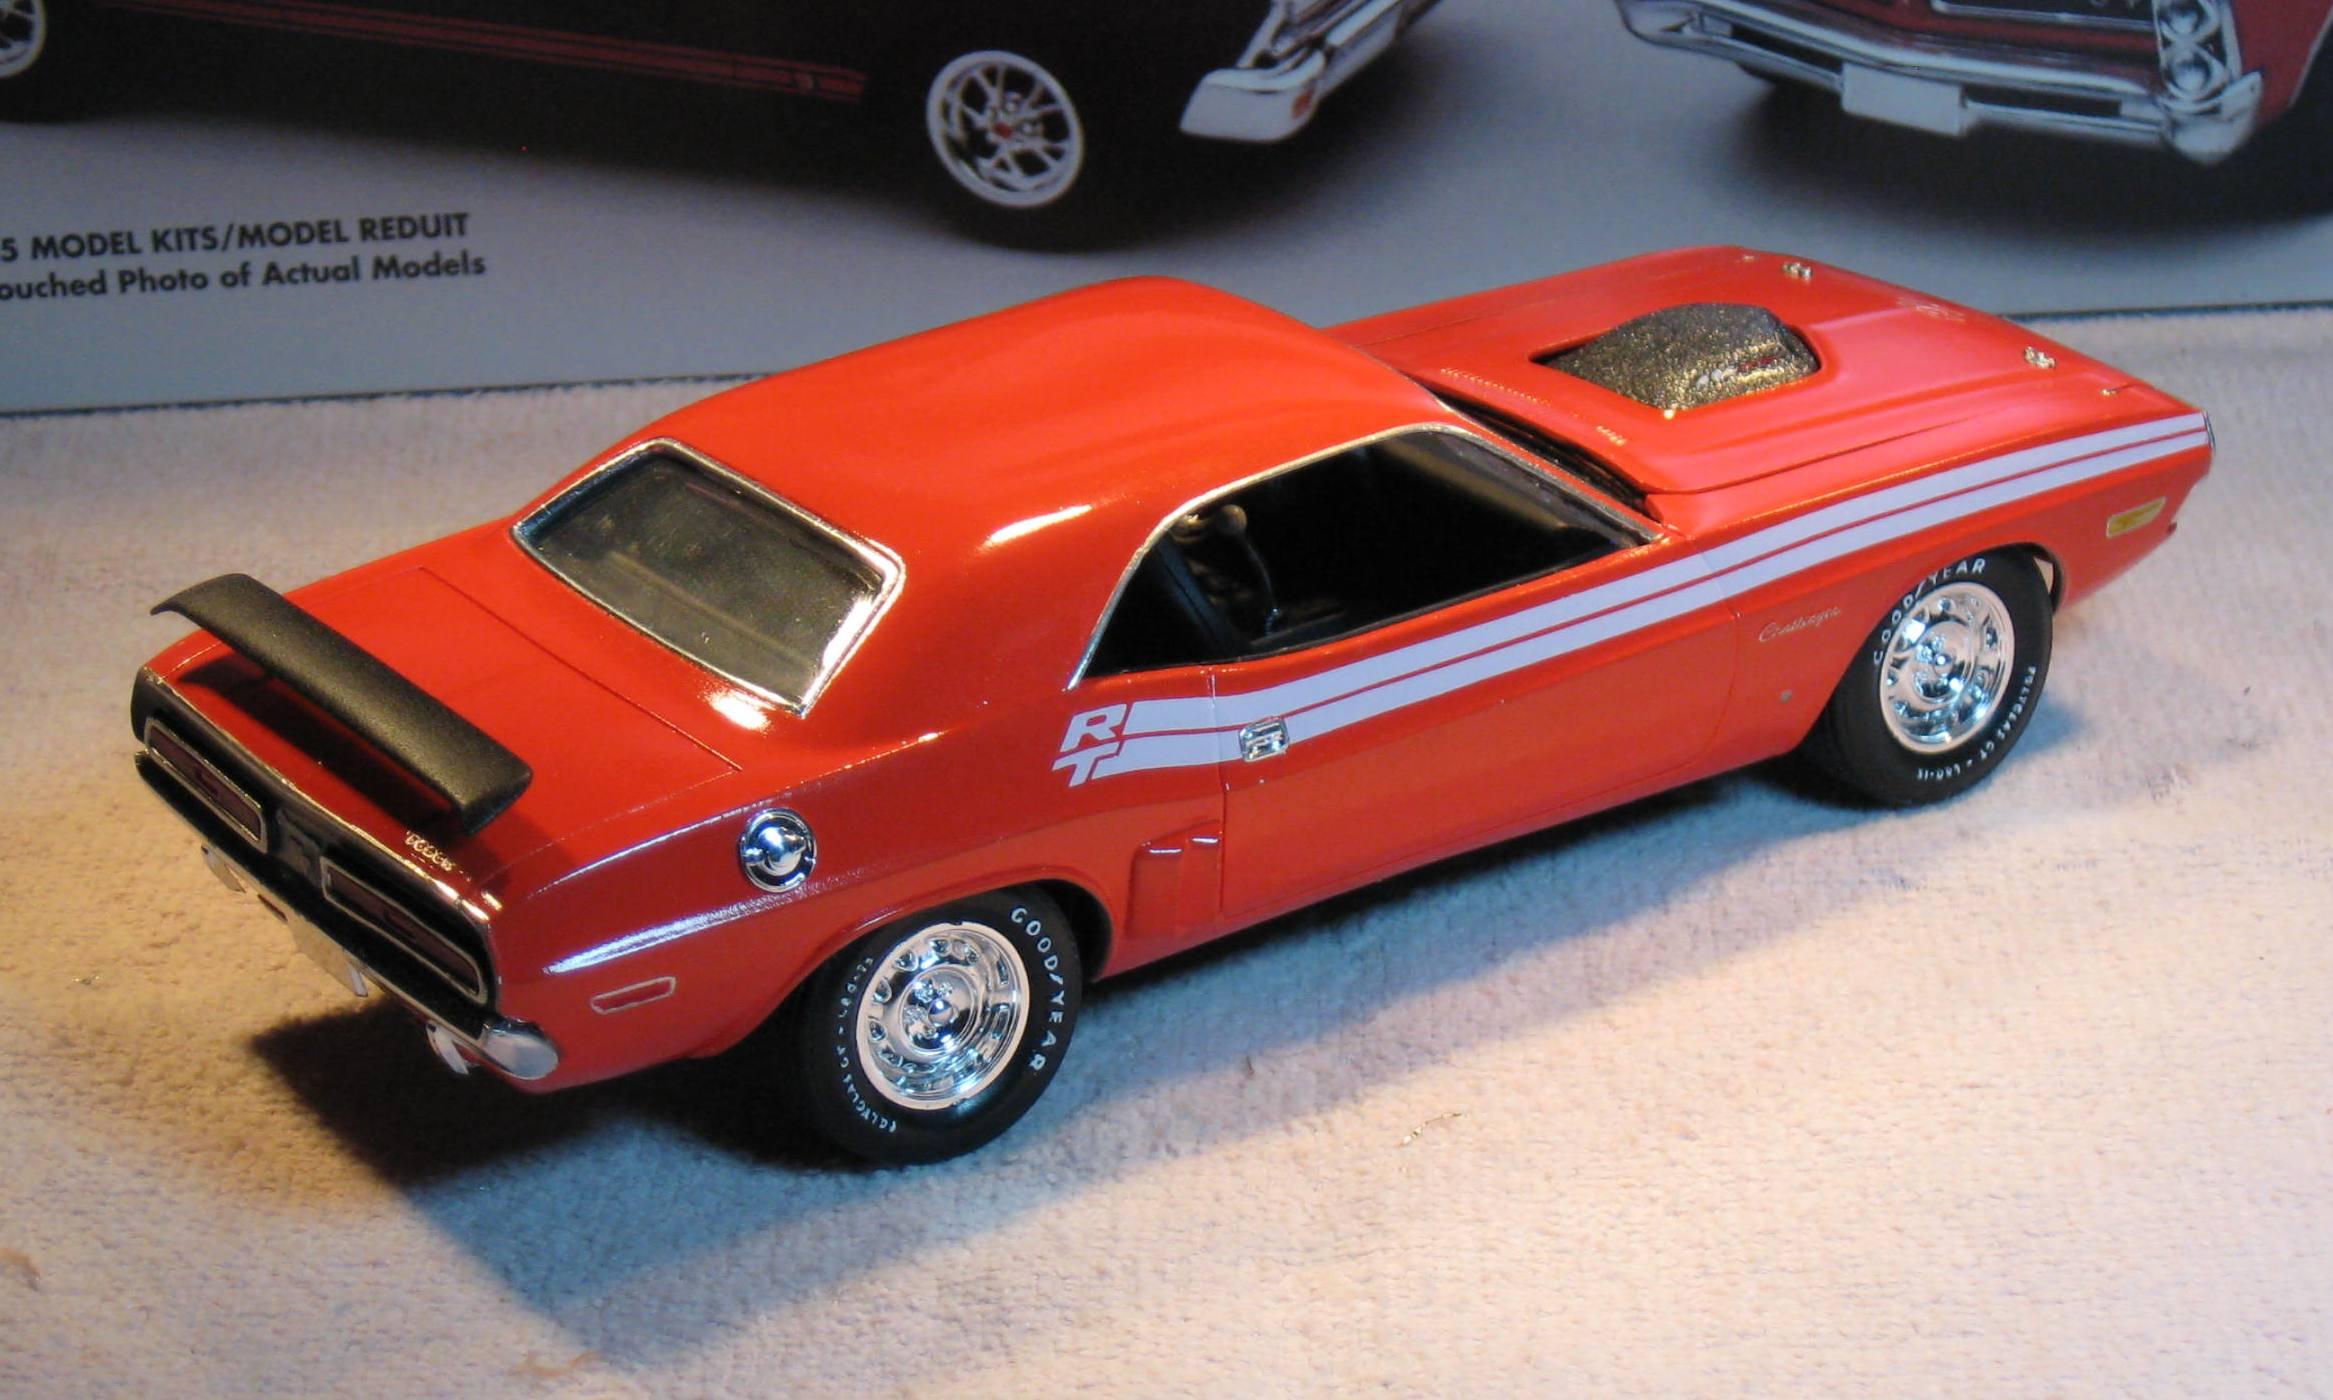
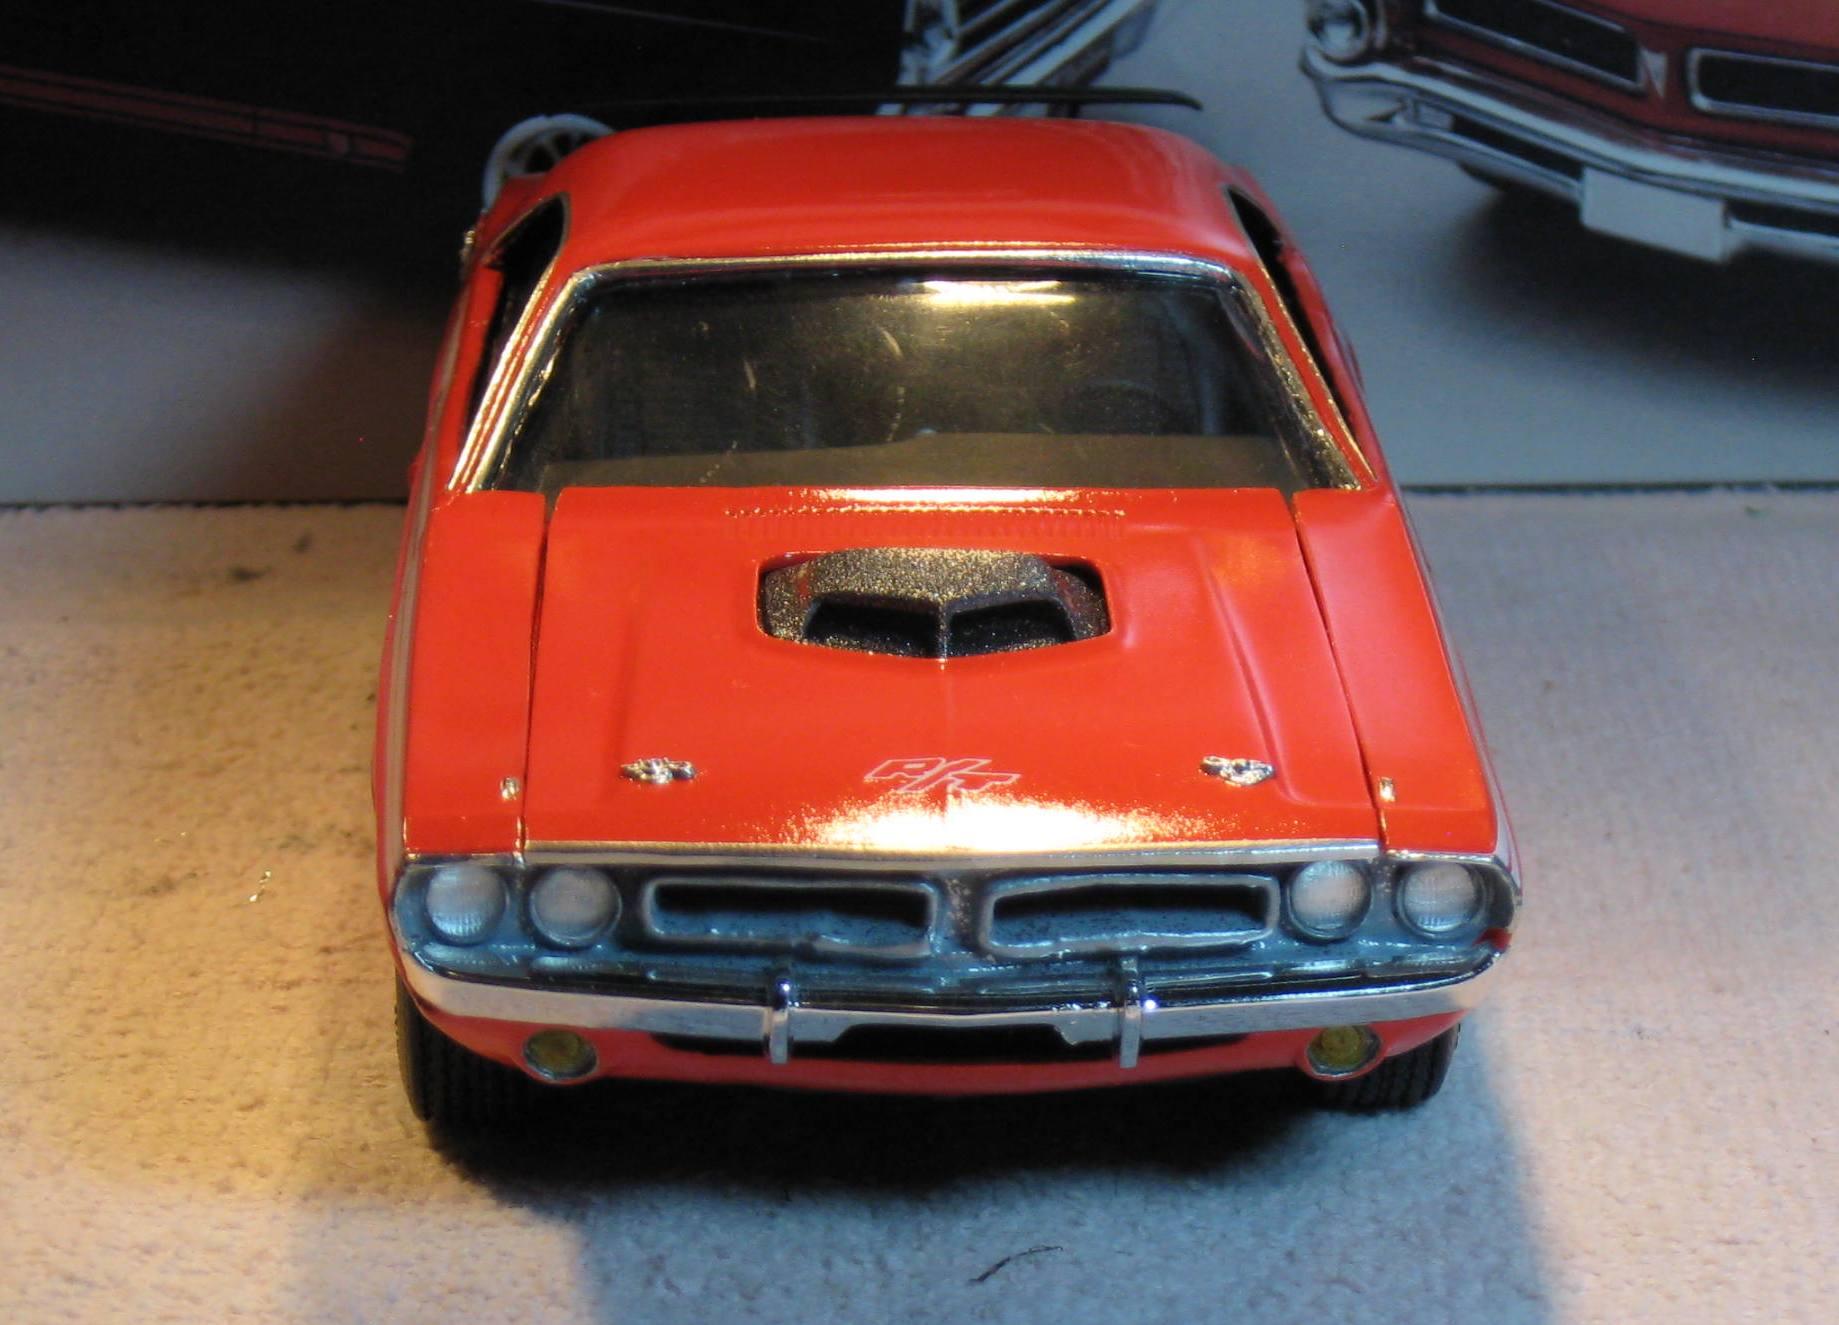
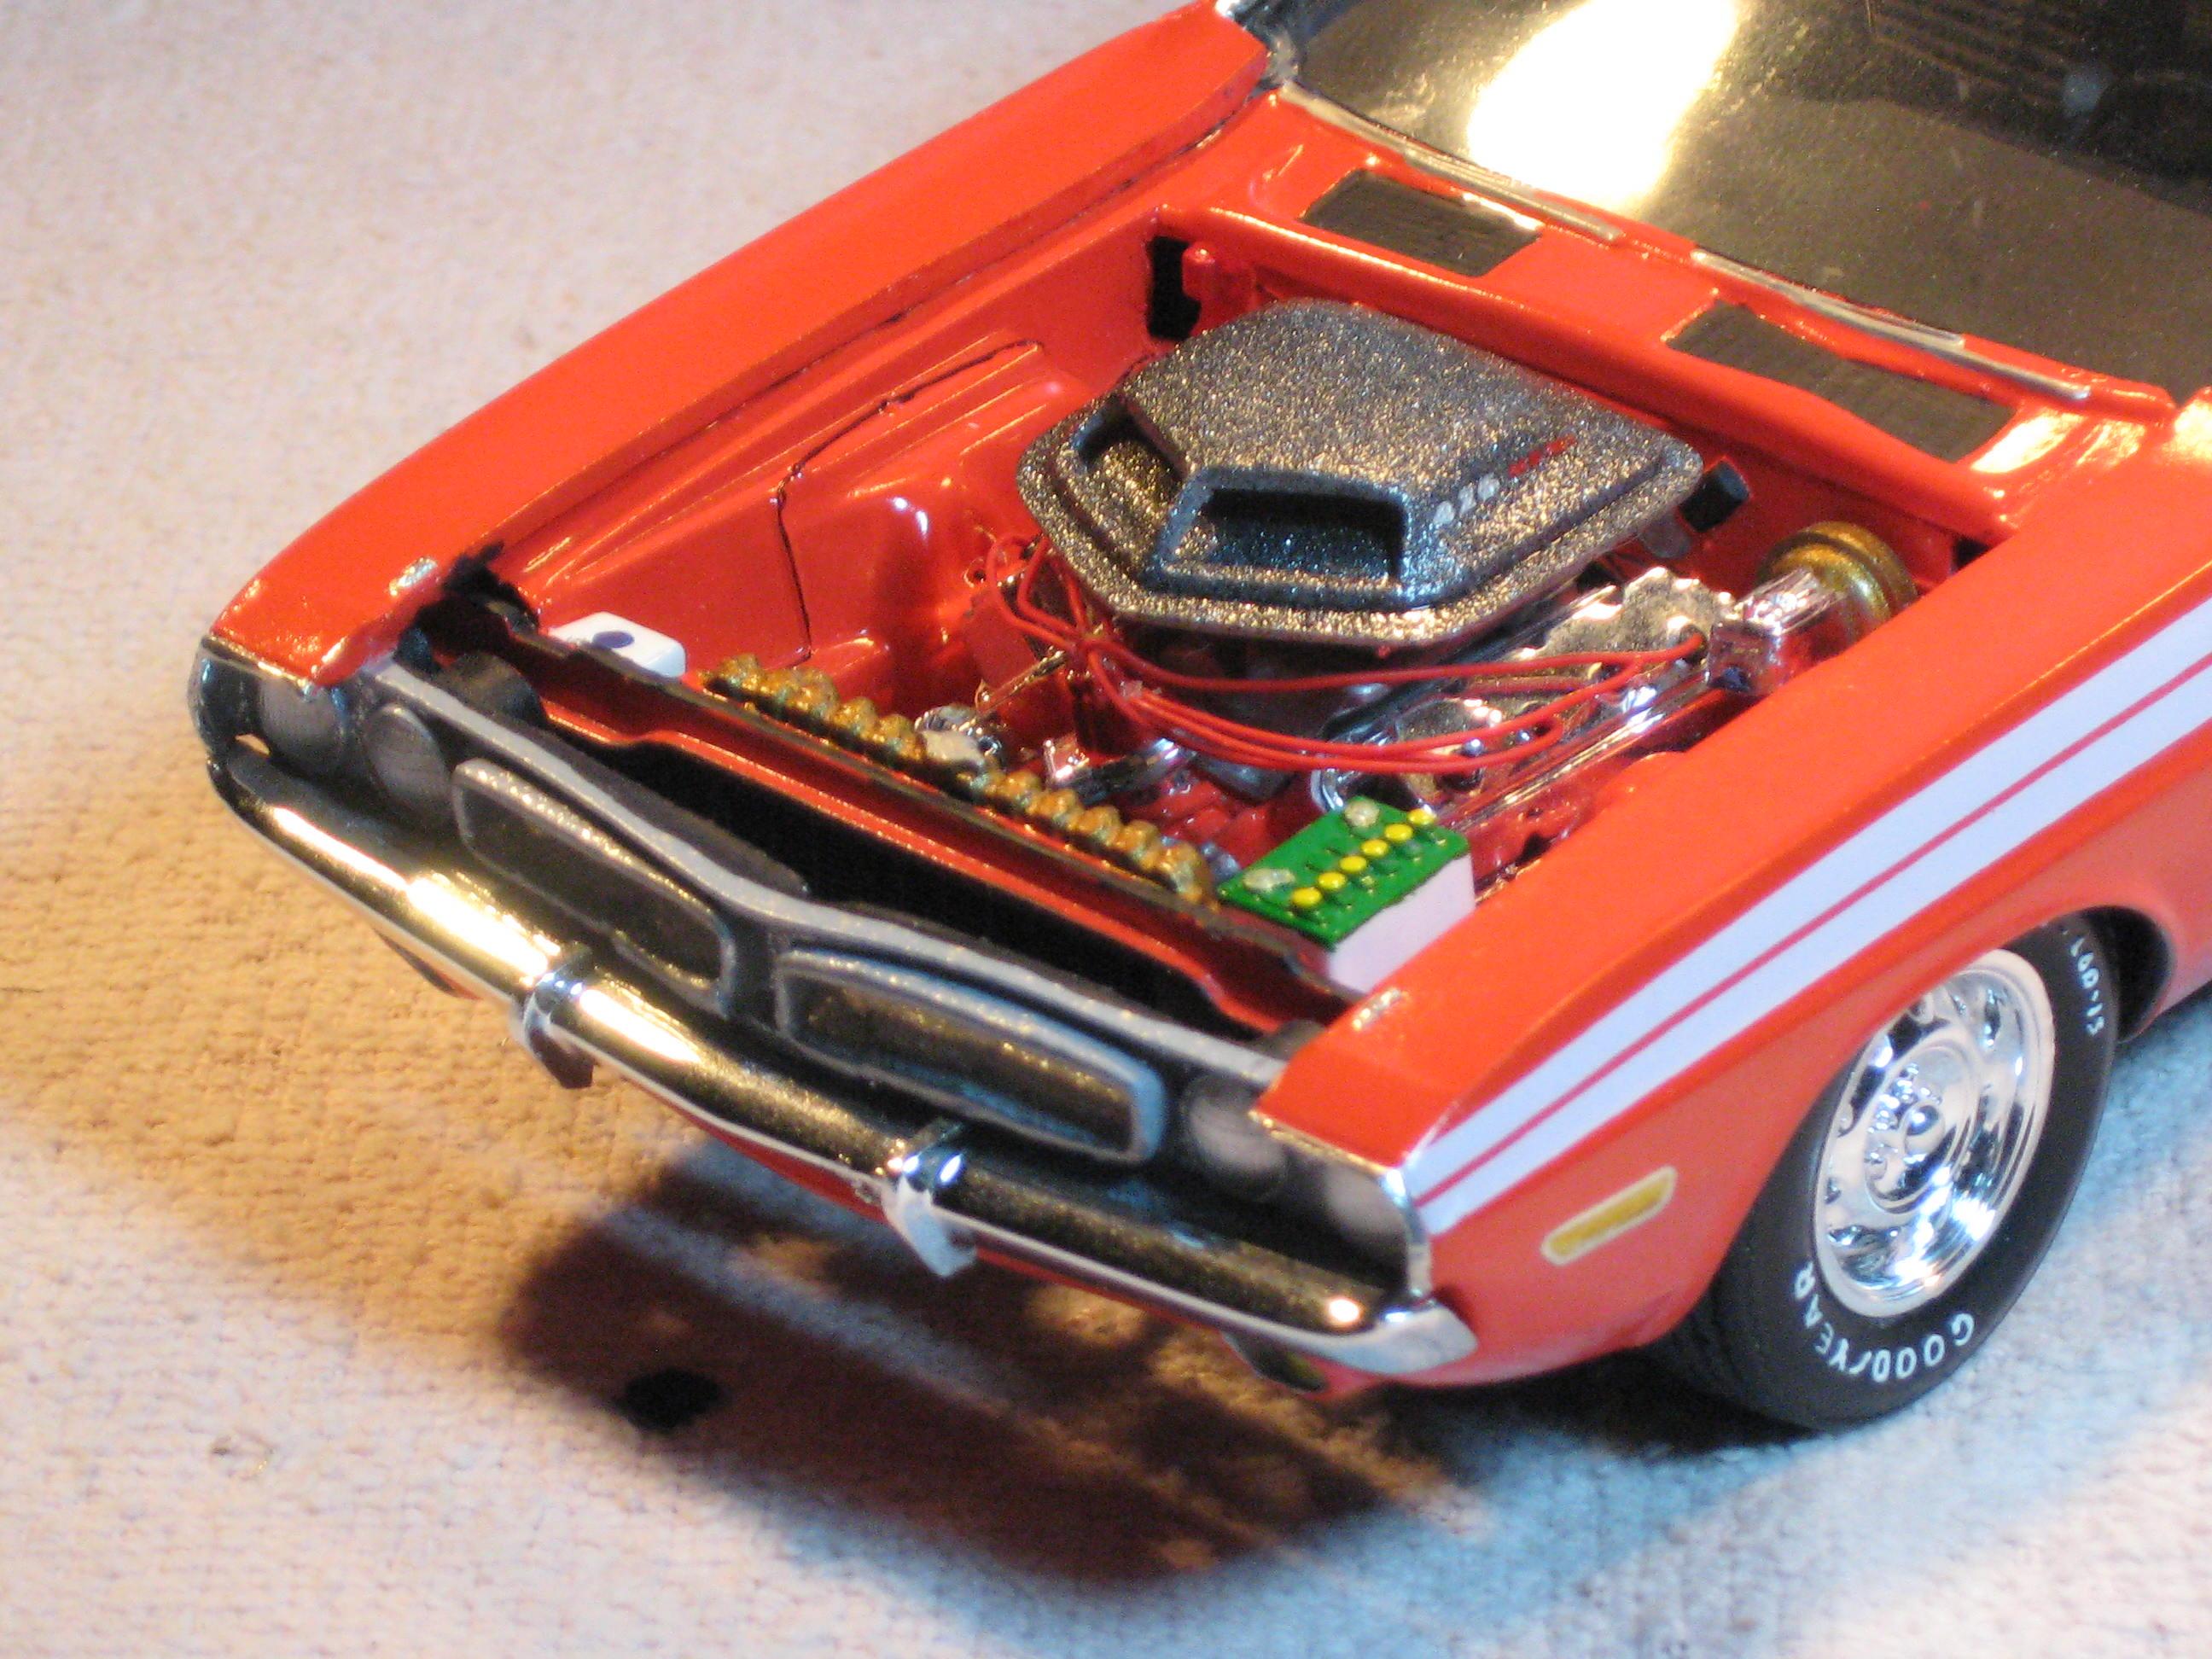
This model was a difficult endeavor. The body was a resin copy that had a few of resin's typical issues, namely warping and thickness variances. It also was cast without an engine compartment or cowl. I used an AMT Yankee Challenge kit as a donor. With a lot of trimming, most all of the parts fit together. One of the challenges was having no grille or headlight frames. The 1970 parts are way too different to use so, I made them from scratch. The "floating" grille sections turned out so-so, but they do make it look like a 71 at least. The tail lights were drop in with minor trimming. (I think) the fake side scoops were sourced from Drag City Casting. The rear "Go Wing" came from an AMT 71 Duster Kit. The Hemi came from one of my Challenger kits or parts box (it has been a long time). The R/T stripes came from an ebay vendor. Too bad the artwork for the letters was slanted WRONG on the drivers side. (no way to fix it either). I would normally detail paint the rally wheels but after all the other battles, I just wasn't up to it. The first shaker hood I painted and decaled was warped so I tried to fix it with heat. BAD move. I turned it into a potato chip. Fortunately Will, from DPMCC, came to my rescue and sent me a replacement. THANKS WILL!
-
Awesome looking builds. Quality workmanship. When I was in grade school, my neighbor up the street had an orange Superbird. They only had it about a year.
-
LOVE LOVE LOVE your Charger. Beautiful work.
-
Thank you guys.
-
Thanks again guys.?
-
I like your basic layout. I have two 4 post lifts and one 2 post lift. I like the office space too. I am space limited to 34"W x 11.25"D x 8.5"H. I fear my bays will be depth limited as yours are. I have to make sure it fits in my display cabinet or it will be at grave risk to my naughty cat and future toddlers.
-
I wish to follow along. My 1st diorama shall be my next project.
-
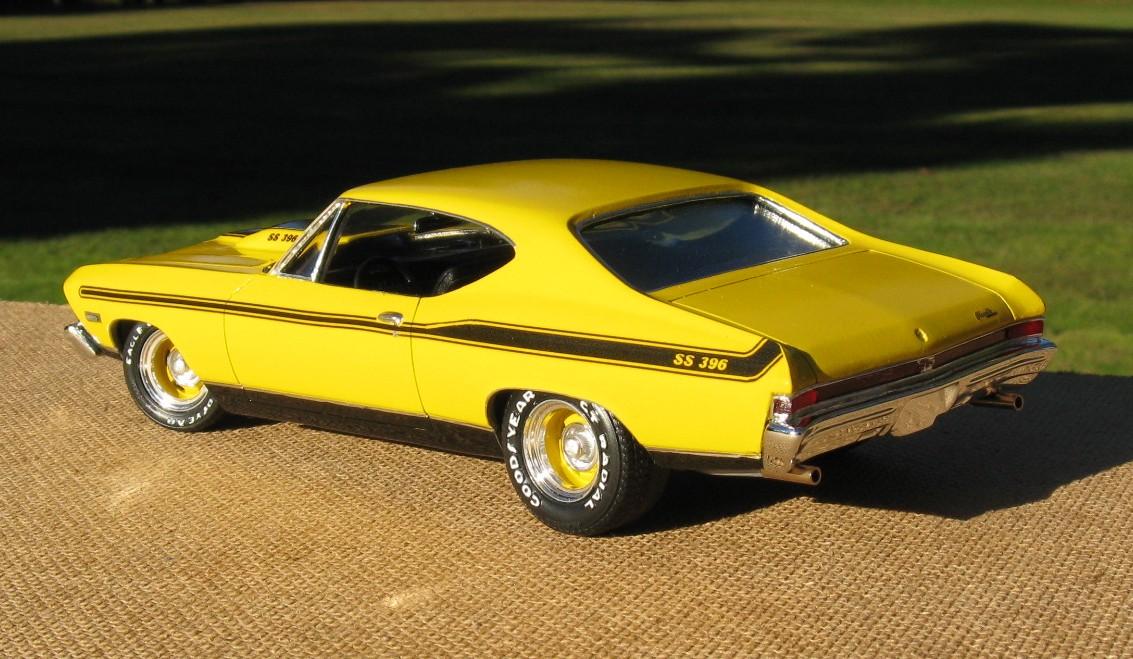
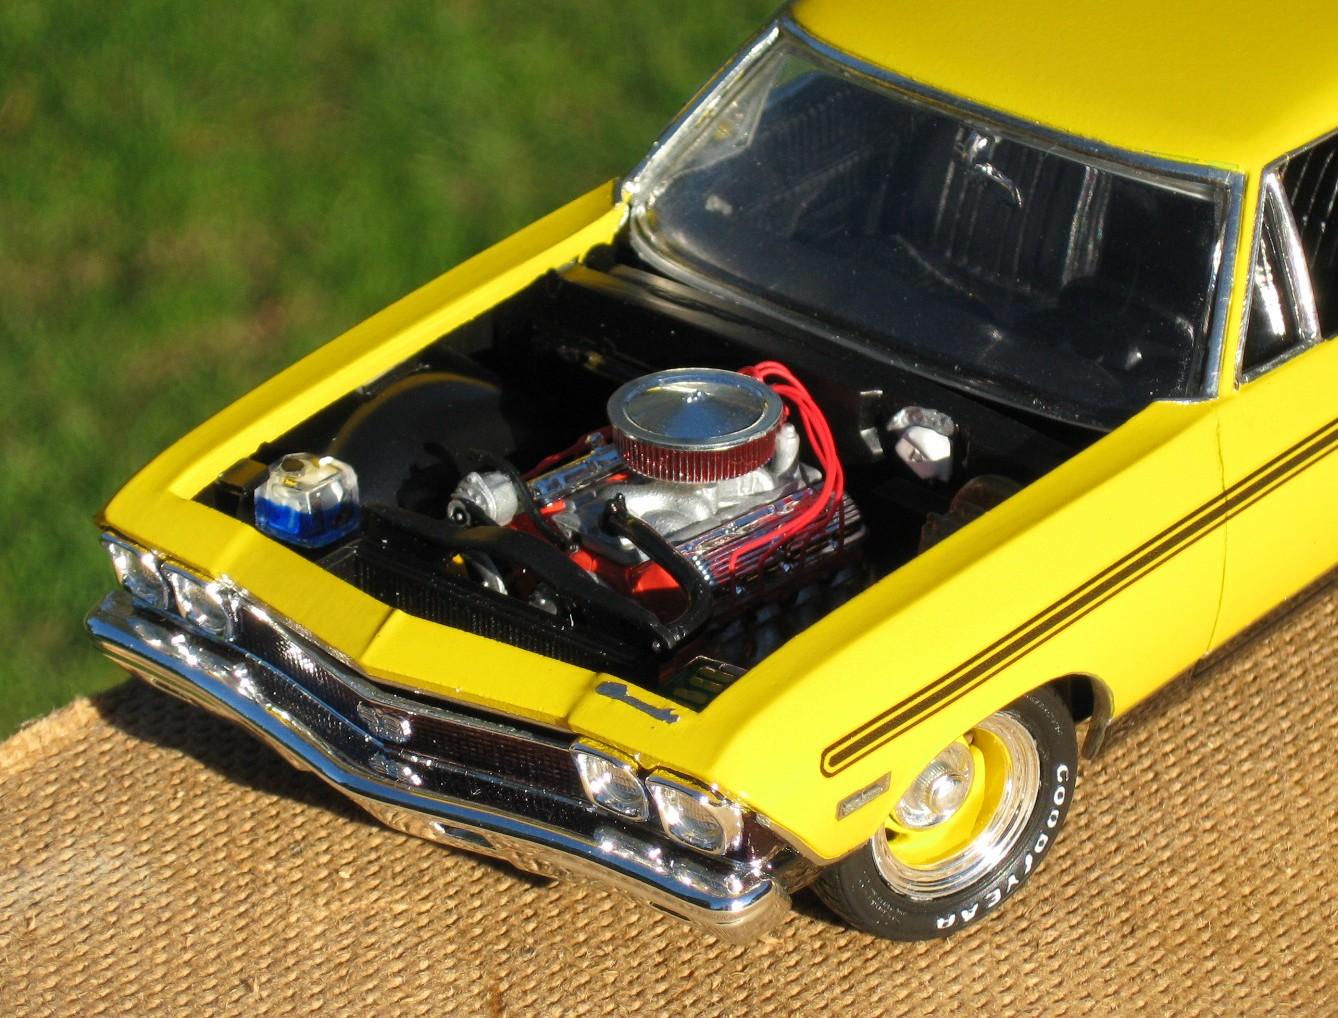
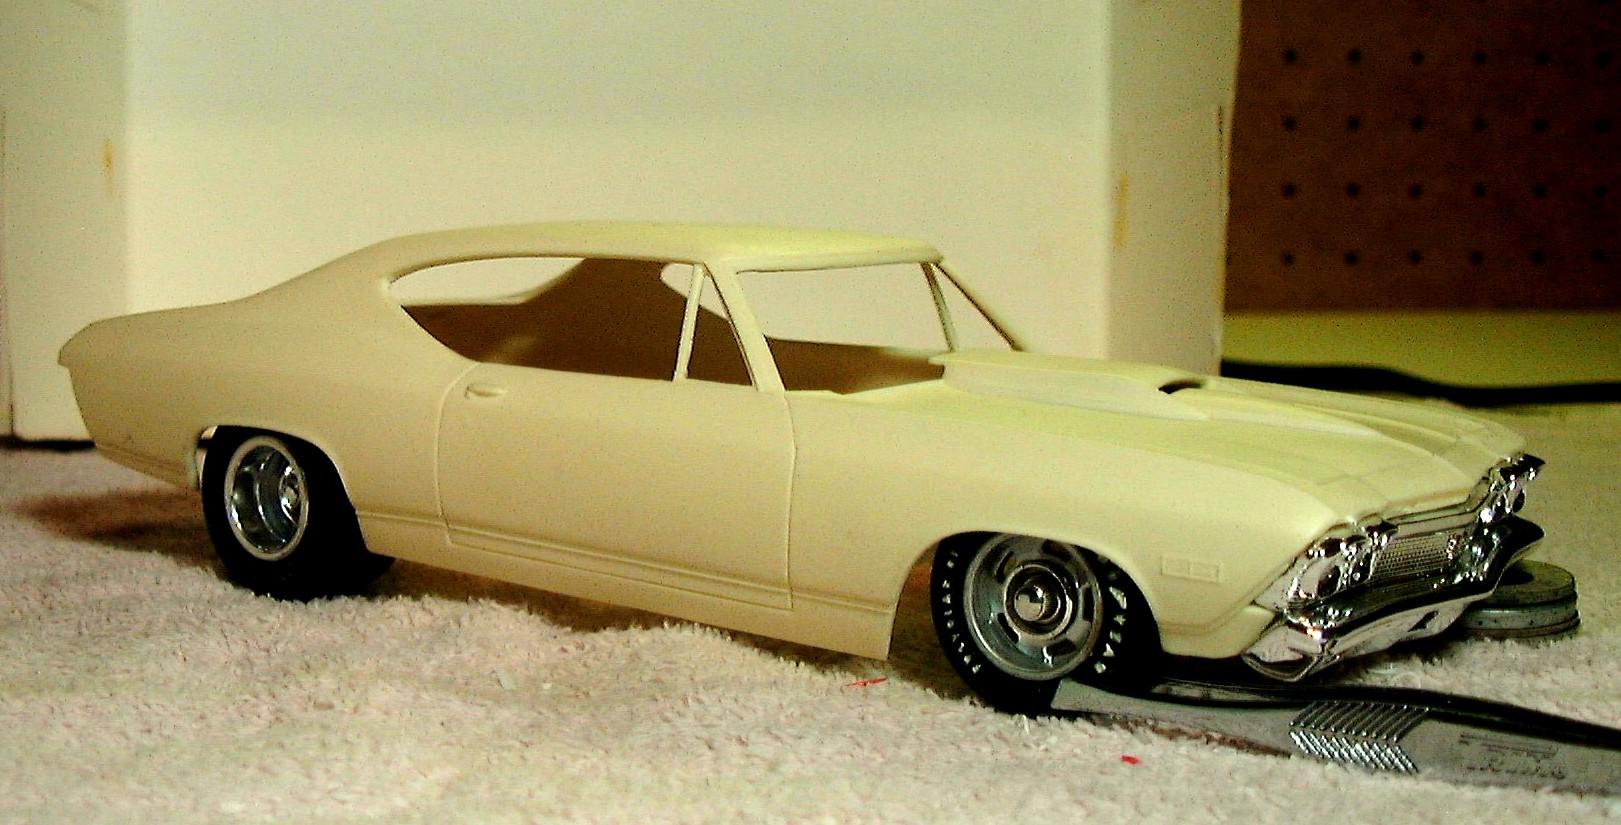
This model is the first full resin body conversion I have ever attempted. It is a 1968 Chevelle SS casted by Ed Fluck of Drag City Castings http://www.dragcitycasting.com . It was pretty easy to work with, which is nice, since I do not have any body work skills. I simply removed the flashing and thinned areas as needed. A couple of donor kits were used in this build. The first was an AMT 68 El Camino. From that I took the windshield, dash, steering wheel, front seats and console. The interior tub and complete chassis were donated by an AMT 69 Olds 442. It has a very detailed chassis with multi-piece suspension and working steering. Floor pan-wise, it took very minor trimming to fit nicely under the Chevelle body. The rear glass is from a 69 Chevelle. I originally wanted to do it up as a Yenko Super Chevy. However, after doing some research I found out that Yenko did not modify any Chevelles in 1968. Besides that, the Drag City Castings “Stinger” hood wouldn’t accept the YSC decal format. Since I had already purchased the Yenko decal set from Keith Marks http://public.fotki.com/mofobow/chevy/chevelle/ I scanned them in my PC and modified the side stripes to read “SS 396”. The hood decal artwork I designed from scratch in MS Paint as a .bmp. I used my inkjet printer and Testors decal paper to produce them. The yellow color, which I like to refer as “Magazine Cover Yellow”, is some craft store rattle can my wife got awhile back. The paint and decals are clear coated with Future. As you can obviously see, I used BMF as there is a lot of trim. If I had to do it over I might have added a black vinyl top. The wheels are multi-piece Corvette rally wheels that have been widened in the rear. I also widened the rear tires and lettered them with a Gelly Roll pen. The exhaust tips are nickel plated ‘crimp’ tubes (for RC planes) I picked up at my LHS. The big block Chevy engine came from the parts box and is a basic High Performance 4-BBL with ribbed valve covers. The wired distributor I made myself from scratch. The K&N air cleaner is high enough to be visible in the hood scoop opening. The front and rear bumpers including red tail light lenses are Modelhaus items http://www.modelhaus.com .