

Techwriter
-
Posts
17 -
Joined
-
Last visited
Content Type
Profiles
Forums
Events
Gallery
Posts posted by Techwriter
-
-
25 minutes ago, Flynlo said:
I would just coil the brace wires inside the fuselage passing them through the wing from above and below cutting them off after the glue sets. This would be similar to what is described for the tail brace wires above
Thanks.
I've bee out of modeling for more than twenty years, and back in the '90s I'm not sure there were forums like this online. There certainly weren't any of the resources now available. I've been doing a lot of reading and asking lots of questions. It really helps to have more experienced ears to bend, virtually speaking.
-
On 4/21/2020 at 10:07 AM, Flynlo said:
The “wires” on these are steel colored carpet thread.
I drill all of the holes prior to assembly.
The wires are coiled up and taped to the inside of the wing halves before assembling the wings.
Leave approximately 1/4” sticking out to grab onto later. A large knot in the inboard end keeps the line from pulling out completely when tightened.
I leave the engine/cowling and wheels off until final assembly. This allows me to pull the rigging out from the wings and thread them into the corresponding holes in the fuselage and wheel pants after paint and decals are applied.
Pull the lines taught with tweezers through the open end of the fuselage and wheel pants. Secure the lines with CA and trim the ends when dry.
The tail brace wires are taped inside one side of the fuselage with ends protruding from both sides. After painting, pull these up through the horizontal stab, thread them through the opposite sides of the horizontal stab. The ends of the lines will cross as they pass through the top of the vertical stab. Pull them tight from each side and secure with a drop of CA.
It takes some pre-planning but I find it to be worth it as there is little risk of damage to the finished model.
On biplanes you can do a similar technique by starting at the outboard “N” struts and working towards the fuselage.
I just bought the Lindberg Coca-Cola Gee Bee racer, because it was cheap and I want to play with it a little. (It looks like a good project for me to learn basic airbrushing, for one thing.) It comes with a loose coil of wire for the rigging, so of course I am already seeing some problems with making it taught when I assemble the model. Unfortunately, that model is made so I don't have access to the inside of the fuselage once I've glued it together, creating another challenge for tightening those wires. Do you have any suggestions on how I might be able to work this out?
I want to paint this model like the City of Springfield Model Z (as it appeared in "The Rocketeer"), even though what I have is an R2. That means I'm also trying to figure out how to do that big number 4.
-
16 hours ago, peteski said:
Hey, whatever works for you.
Make sure not to lose the tiny cork washers, or you will have air leaking out of the couplings. I lost one of those washers and made a replacement from thin slice of cork. That much futzing I was willing to do.
")
And you just can't go to the local auto parts store for itty bitty o-rings anymore.
-
17 hours ago, John Pol said:
You get what you pay for want to go cheap won`t last
You're right, of course. I think I may have phrased my original question wrong. I probably should have asked if anybody had tried it. After looking into it, my real problem looks to be that standard aquarium tubing is the wrong size. That makes the whole discussion moot.
-
16 hours ago, peteski said:
OK, so I went to Badger's website and at http://badgerairbrush.com/Acessories_4.asp found the following:
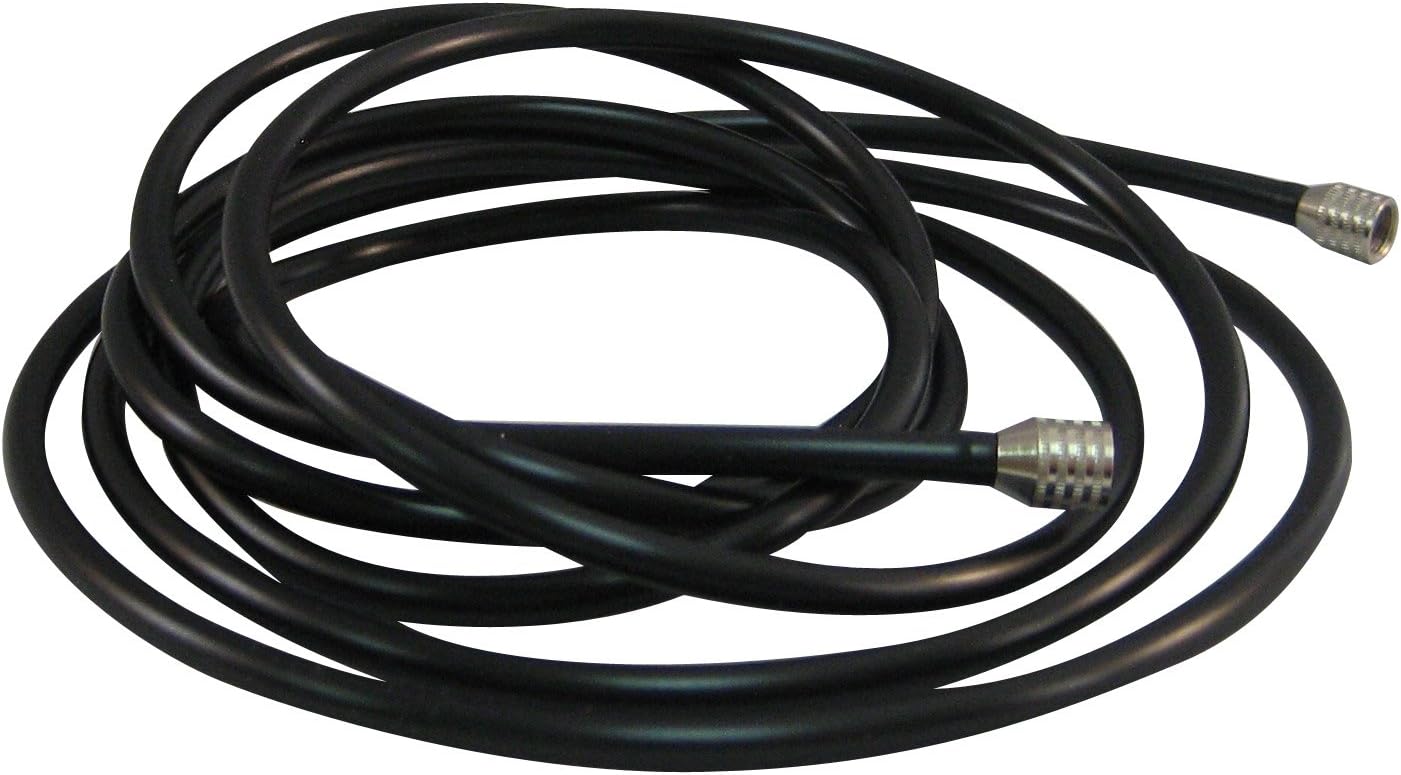
Transparent Vinyl Air Hose
Flexible clear air hose enables the airbrush user to detect any moisture or impurities in the air line, thus preventing any related mishaps or work disruption. Swivel connection for airbrush at one end and varying air source connection at opposite end. Recommended for use up to 50 P.S.I. Available in 10ft.(3.05m) length #50-2030, 6ft.(1.83m) length w/ in-line moisture trap(50-2014) #50-2026, 10ft.(3.05m) length w/ in-line moisture trap(50-2014) #50-2021, 8ft.(2.44m) length w/no fittings at either end (for use with 80-3 bakery compressor only) #50-1011.
I highly suspect that it is the same clear vinyl that aquarium hoses are made of.
I use their 50-001 hose. It costs 6 bucks. Why not just buy it, instead of futzing around with the aquarium hose, and trying to install the couplings on it?
Just Google "Badger 50-001" and you find lots of sources for it.
Because I like to futz? The old hose, the ancestor of 50-001 literally rotted off the old couplings, so removal was no difficulty. I figure as long as I have these itty bitty couplings, I might as well connect them to each other.
-
I think the last Lindberg airplane I did was a 1/72 scale Sopwith Pup o Sopwith Triplane back in the late '60s. I saw this at Ollie's a couple of weeks ago and couldn't help myself. I've always thought the Gee Bee racers were pretty cool.
Now, even though this is an R2, and i know there are differences in the two planes, I want to paint and detail it like the Model Z in "The Rocketeer." This means, of course, I need to figure out how to get or make the numbers, and that big number 4 on the side of the plane is what really has me scratching my head. Any suggestions on where I can find 1/32 scale decals that will do the job? Or any suggestions on how to reproduce the numbers? Lastly, Lindberg doesn't tell how to install the wire rigging. How do i do that and make the wire (which comes with the kit) look taut? If I just super glue it in place I fully expect it to sag.
-
I'm lucky in that I am working from home. However, it also means I am home from work a LOT sooner! ?
I'm seriously playing with making my other '50 Chevy pickup a three-window cab, but I want to take a good look at the one I'm modeling it after first. It's a long story, but it began with a movie made here in Kentucky back in '96 . . .
(Tom Geiger, I remember the comic books ad you take your profile pic from. Like, I first saw them back when LBJ was in office.)
-
Bill-e-boy, years ago a coworker started calling me Don-e-Boy, and the name stuck. Link-Belt Construction Equipment, for whom I worked divided into to concerns, Link-Belt Cranes and LBX, which specializes in excavators. I was laid off in 2003, but last year I got my current job with LBX. I hadn't been at work two days when I heard a familiar voice say "Don-e-Boy! I heard you were back!" I told him nobody had called me that in a loooong time.
I'll for some aquarium hose. It's not like I'll be injured or anything if it blows at 25psi.
-
I have the necessary adapter. It came with the kit. I just need to know if I should buy a Badger hose or if I can use vinyl aquarium tubing.
-
Dang straight it feels good, especially since it has been so long since I last built one. Just prior to this model I did a Johnny Lightning Batmobile, but that was a MUCH simpler model.
I have another '50 Chevy pickup in the pipeline, and that one is bone stock. I think I bought the two kits just to have one custom and the other stock.
-
I ruined an AMT '58 Impala some years ago trying to remove a botched paint job. I kept it, and I've been raiding the kit for some parts. I'm thinking of making a Mad Max (the original movie!) inspired custom. I also bought another kit like yours, and plan to start on it soon.
It looks like yo are planning a two-tone paint job. I'm looking forward to the finished product.
-
As it happens, I just replaced the now-defunct compressor I have used for keeping air in my cars' tires, and it came with a regulator. Today I bought an inline moisture trap.
-
Years ago I bought a Badger 250 airbrush and never used it. It's old enough that the air hose was made of rubber, and that rubber disintegrated while the kit was in storage. I've been getting together the few things I need to run it off my pancake compressor, and now I need to replace that air hose. I don't want to invest a lot of money into it yet, because I am a novice to any sort of airbrushing. I want to find out if I like it first (and I have three models in the pipeline I want to try it on). So, to my question:
Is 1/8th inch vinyl aquarium tubing strong enough? I understand a Badger 250 runs in the area of 15-25psi. Or, should I go ahead and by proper air hose for it instead of trying to be a cheapskate?
-
I really like that Olds engine, too. I've been wanting to put that style air cleaner on my (real, sitting in my yard) '54 Ford F-250. It was stock with some Ford products back then.
-
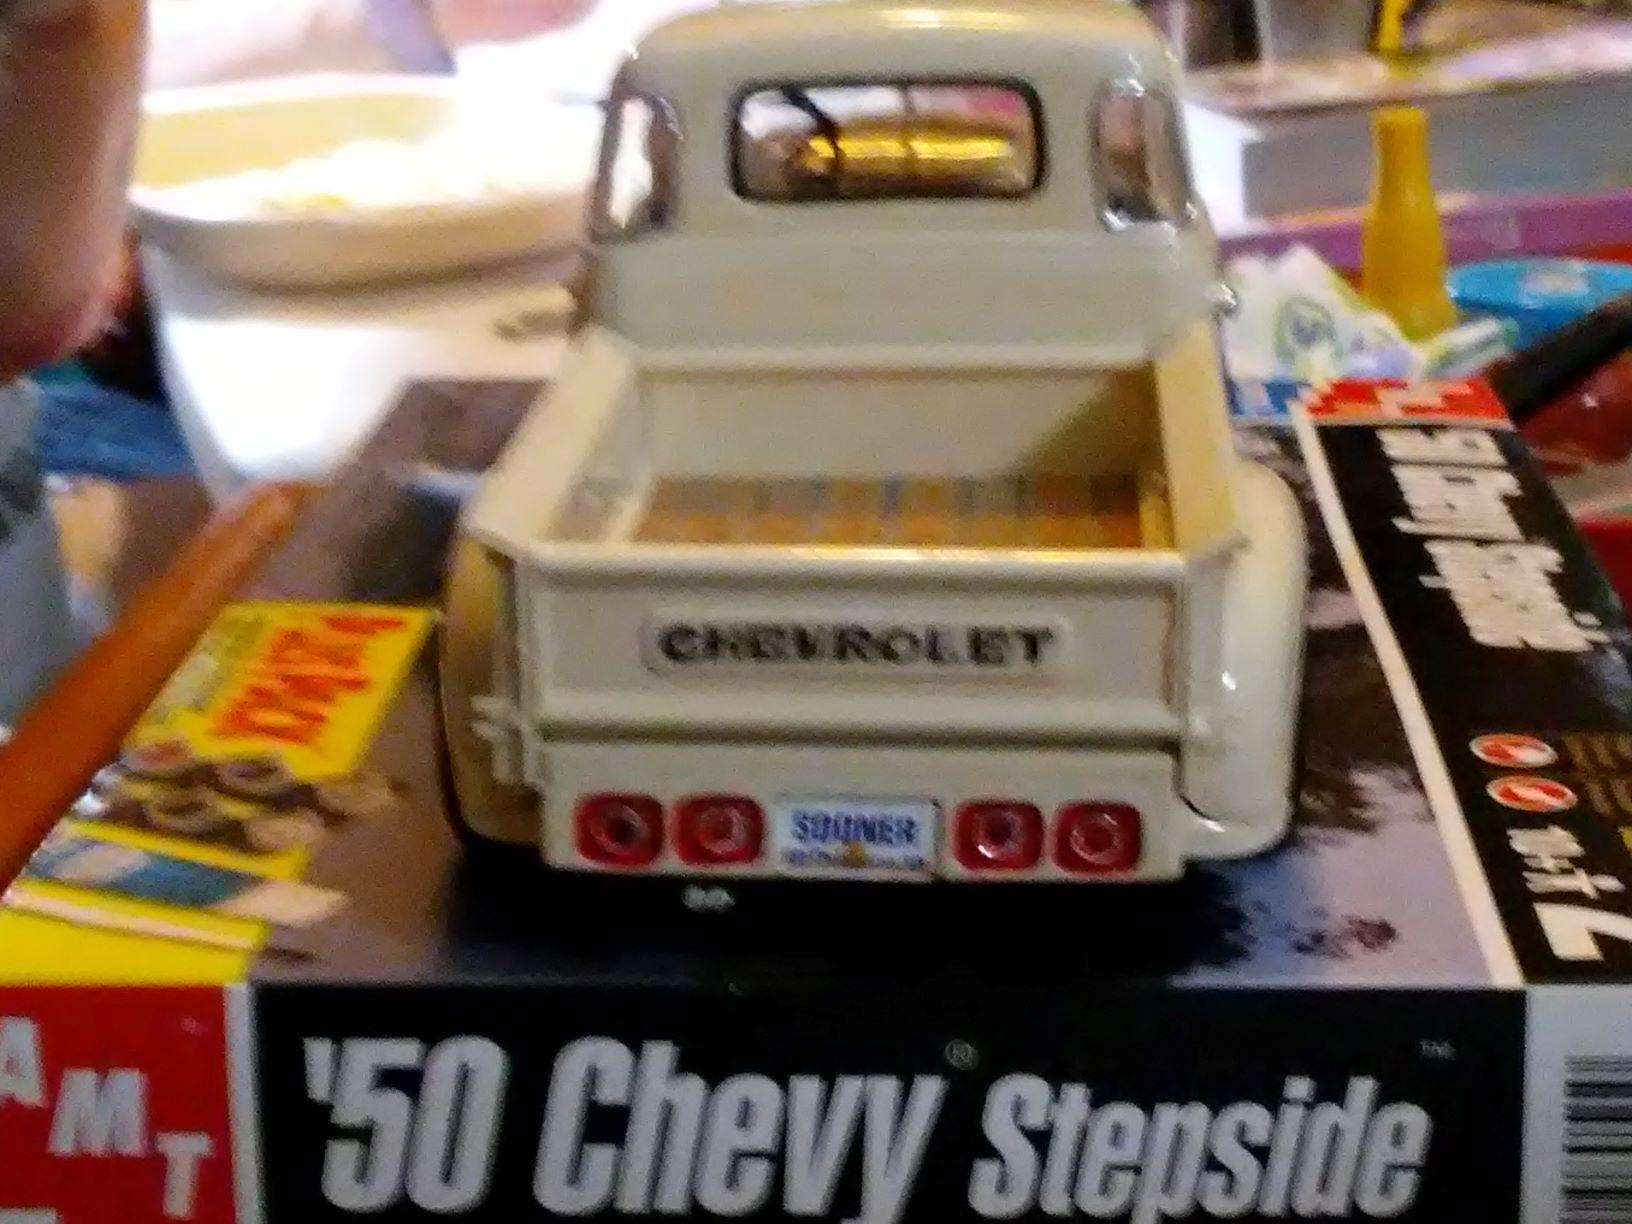
I just finished this, but here are some in-progress pictures. I bought this kit in the late '90s and then didn't do anything with it. It came with paint and glue, and I made the mistake of trying to use the paint. When the black started flaking off I had to clean it all up and repaint it. I didn't paint the body, but instead tried my hand at the details, since I haven't made a model in a long time. Unfortunately, the overhead light is yellowish, so the off-white model has a yellow cast to it. (I'm not much with a cell phone camera, either!)
1 - Just a look at the cab. All the chrome is made from household aluminum foil.
2 - The engine. The paint came with the kit, and I've decided it is too blue. I should have painted the transmission flat steel, like I did the hood latch, some engine details, and the exhaust. The chrome fan and generator came from my spare parts supply.
3 - Interior. The seat and steering came from a '58 Impala model.
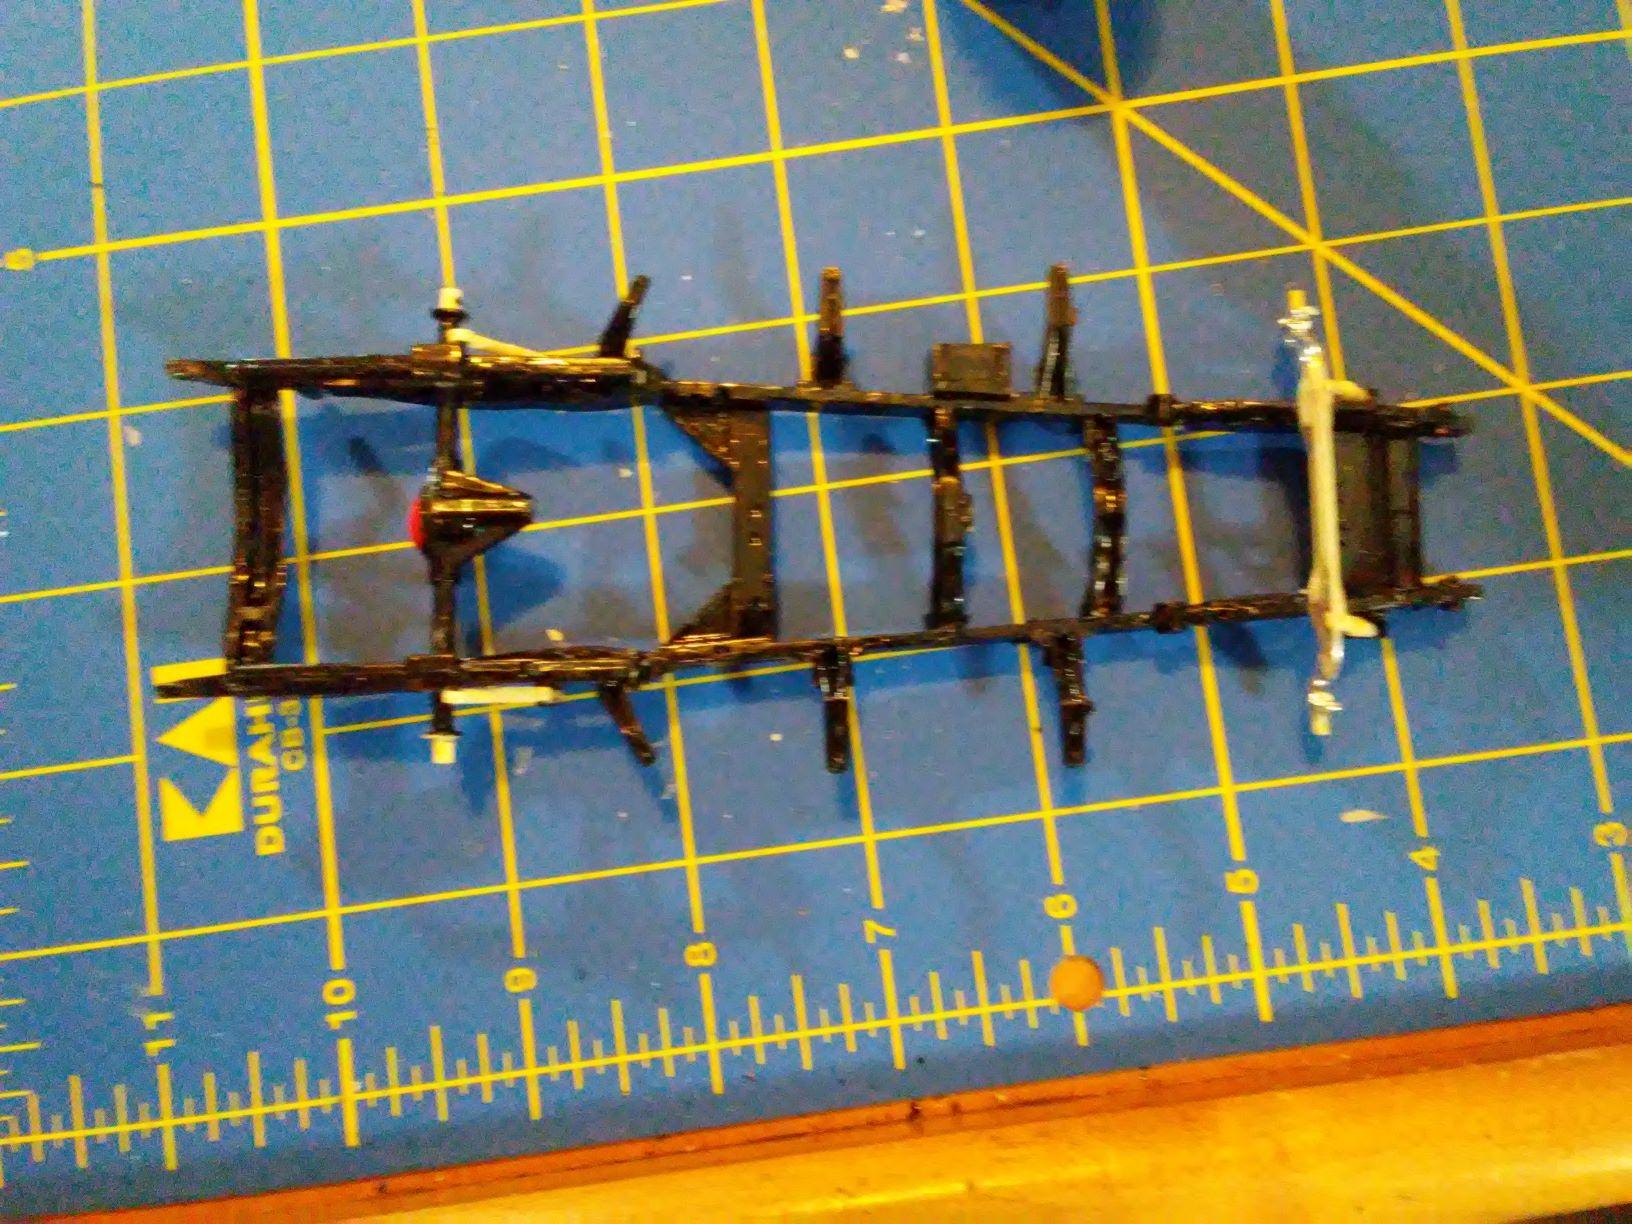
4 - Watching the glue dry on the axles and chassis.
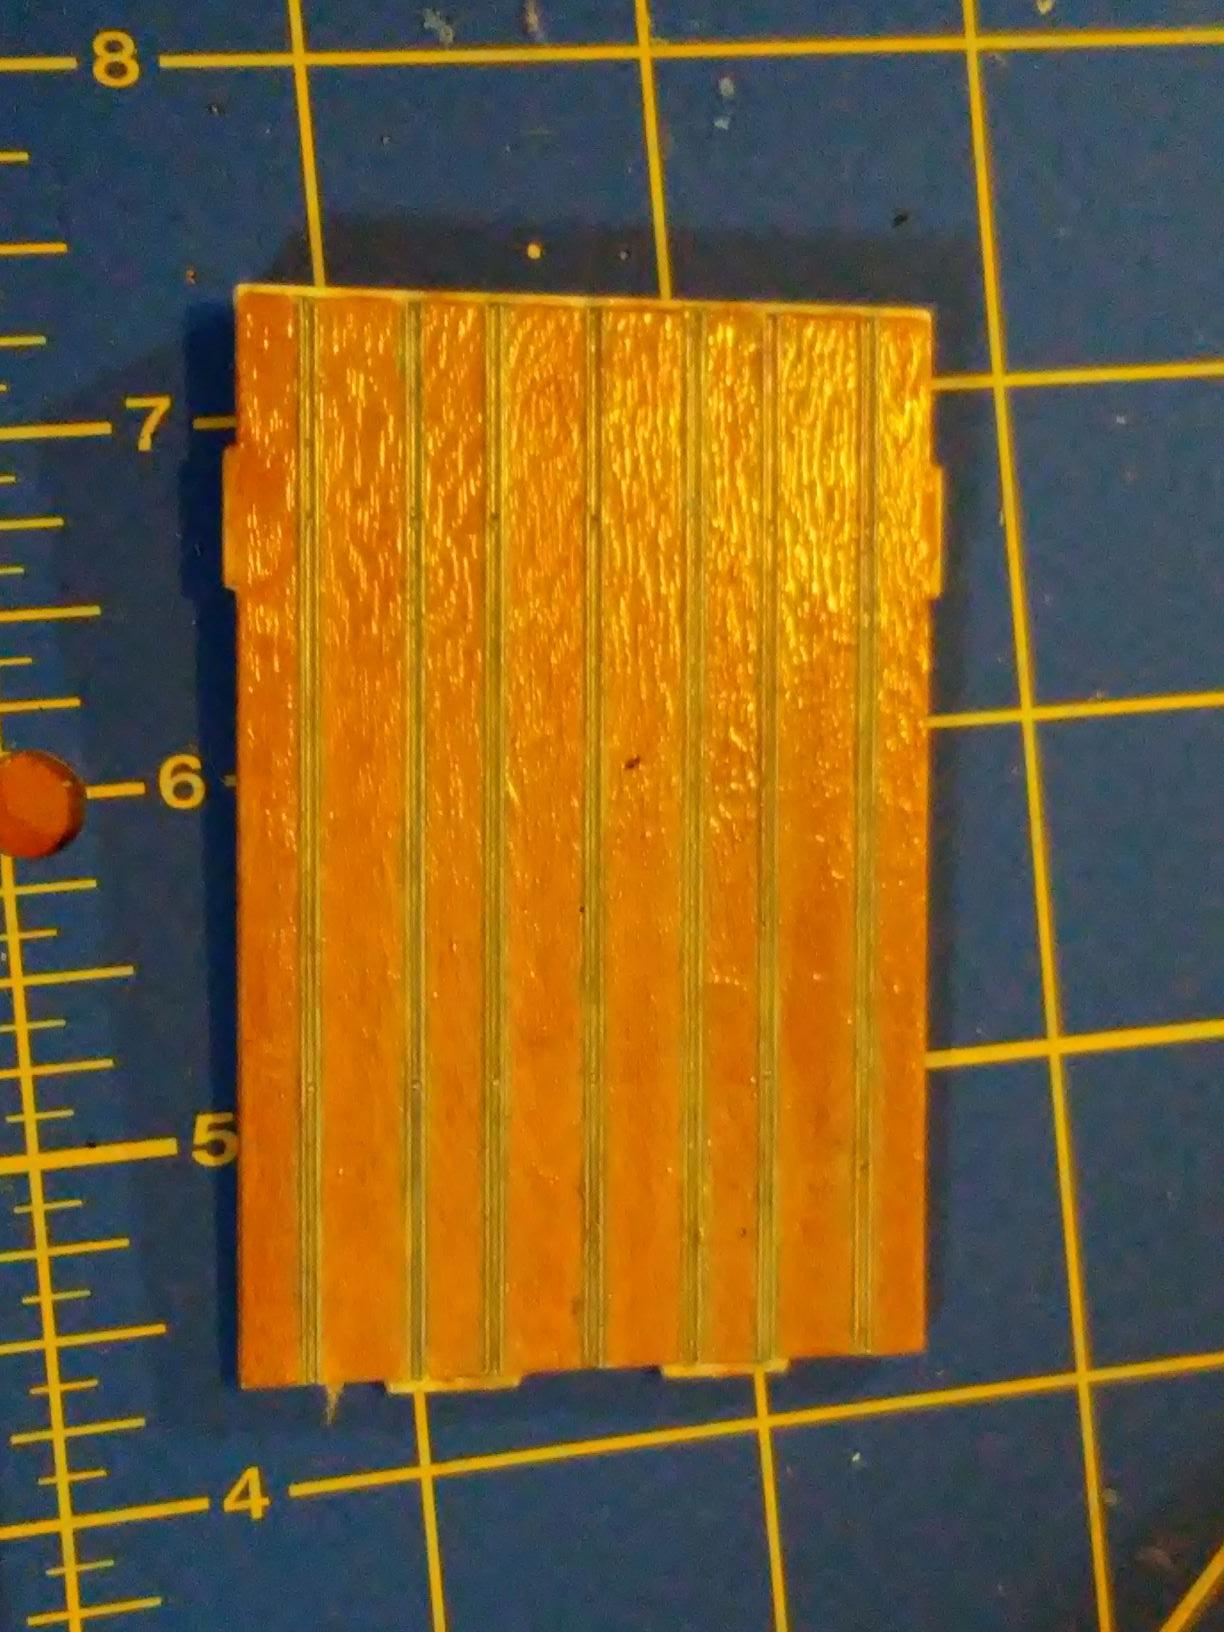
5 - The bed strips are flat steel. I painted the bed with flat wood, then tried my hand at dry brushing (there has to be a first time for everything!), and while I didn't really detail the wood grain that well, I am pleased with the color. I finished it off with a coat of clear.
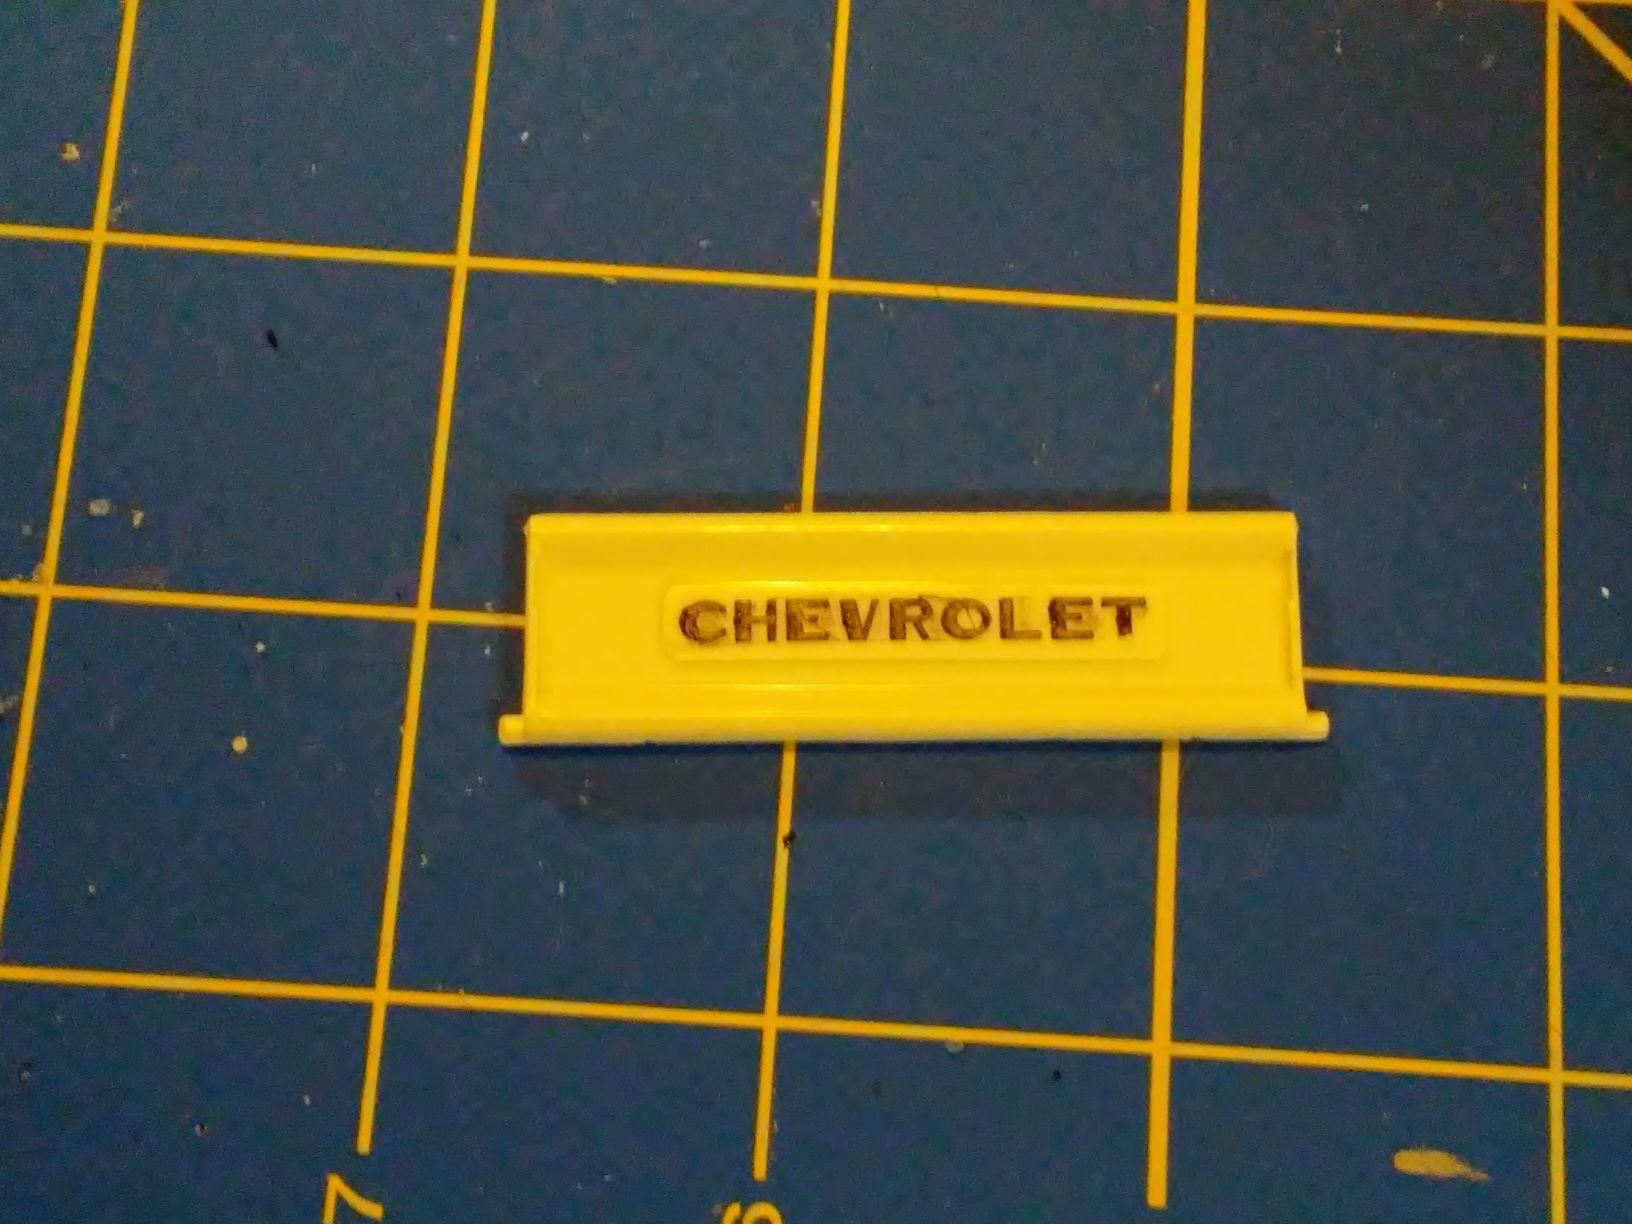
6 - I tried dry-brushing the letters.
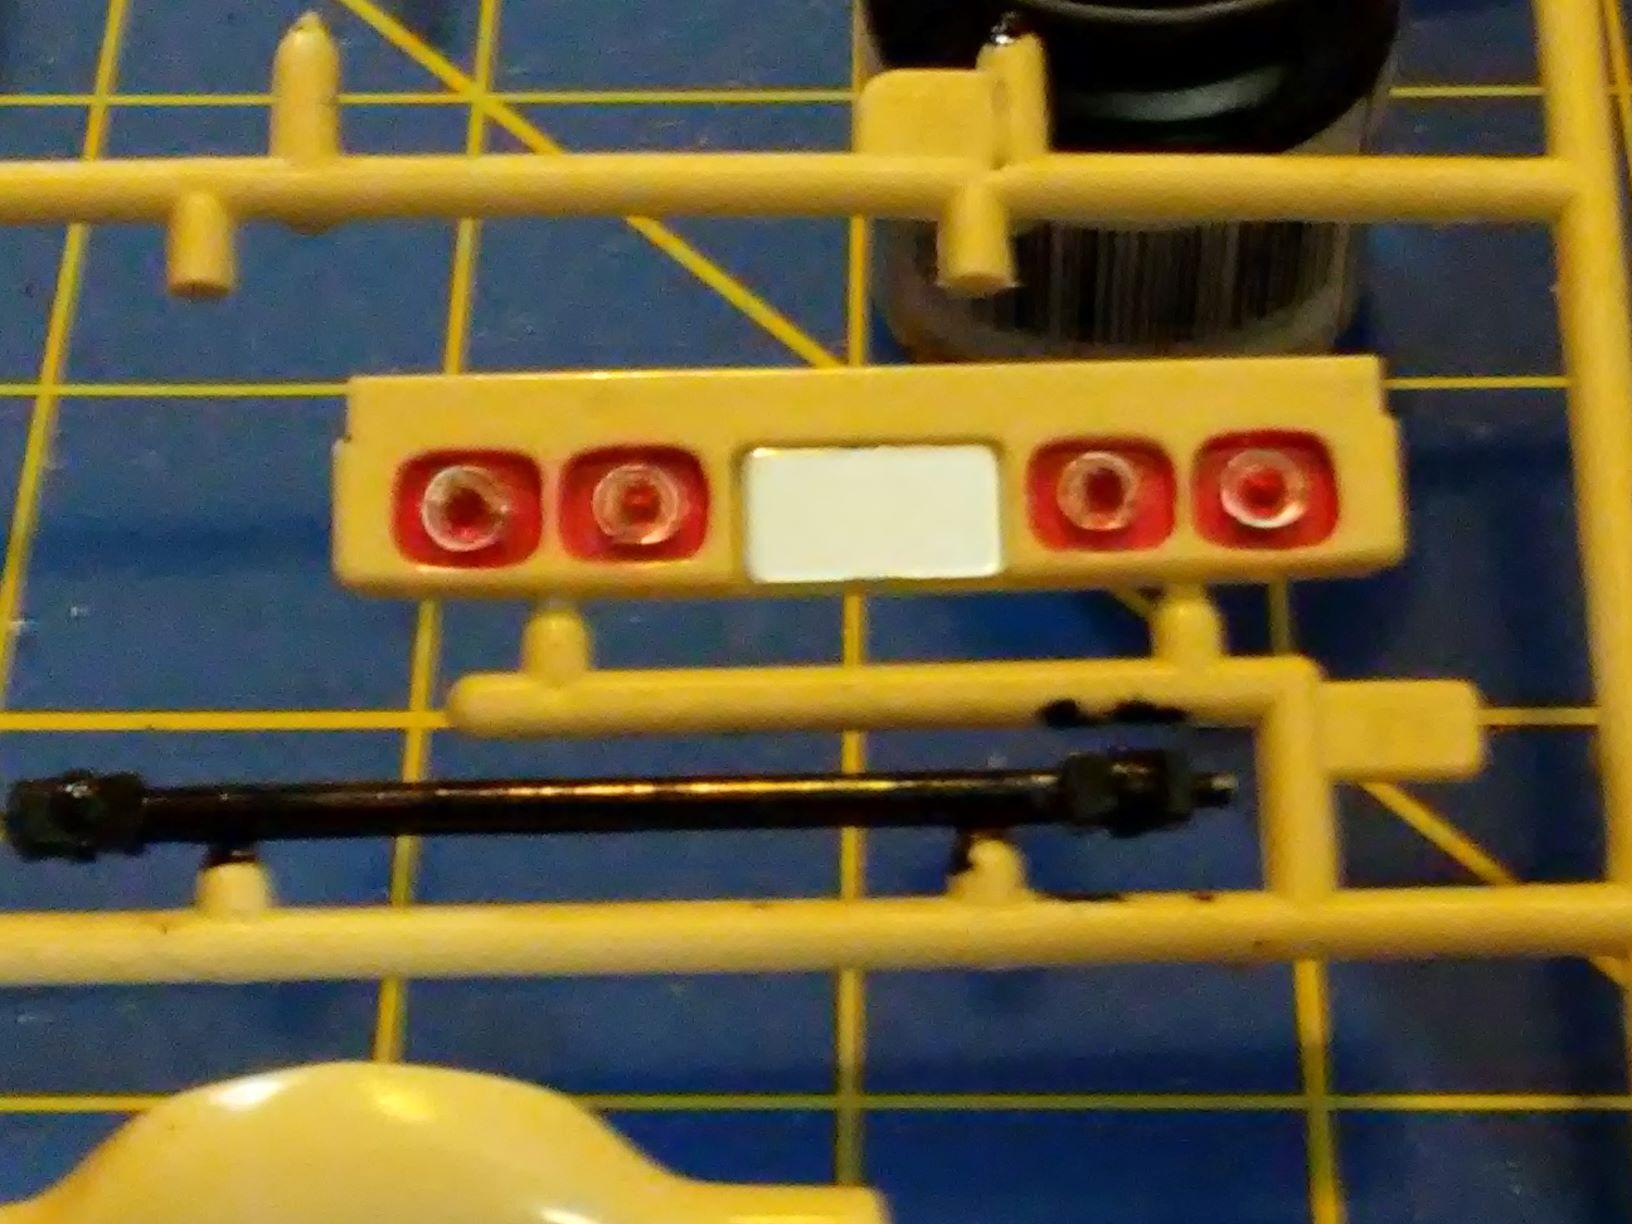
7 - I didn't like the tail lights that came with the kit, so I painted the recesses red to emulate "Frenched" tail lights, then installed the lights from my donor '58 Impala.
8 - The finished product. The rims also came from the Impala kit.
9 - Oh, and the Impala kit had an Oklahoma license plate in it.
I'm learning and relearning. My next project is the Liindberg Monitor and Merrimac kit.
-
I'm getting back into scale modeling after a two decade hiatus. It's all because that Johnny Lightning Batmoblile model I had sitting on a shelf, still in the box, finally got through to me. I'm a long-time resident - but not a native - of Kentucky, drawn here by the wiles of a Kentucky woman to whom I've been married for nearly four decades. Generally, I like doing models of classic cars, though I have a Monitor and Merrimac model waiting in the wings.
I have lots of questions. :)


1958 Chevrolet Impala (Revell)
in Model Cars
Posted
Beautiful work! I've got an AMT '58 Impala on my to-do list. It will be painted in a jade green metallic. I'm still thinking about what colors I'll be using for things like the headliner.
Oh, and I know what a Y block 292 is. I have an old Ford truck with a 239 Y block under the hood. Love that engine!