
IanH
-
Posts
116 -
Joined
-
Last visited
Content Type
Profiles
Forums
Events
Gallery
Posts posted by IanH
-
-
Trying to move along quickly with this one, as I have started another build along side this one, will create a separate thread for that when there is something worth posting...
So was interested in seeing how the Gravity Colours (Spain) base colour would lay down, I have gc-205 which is colour matched for this car, followed the instructions and sprayed at a low 15psi pressure, and it went on like a dream... I know it has a really flat finish, so crossing fingers it's going to look right when the clear goes on...

Got stuck into the decals earlier today, I really would like to improve on my decal skills which I hope to do with this build, so first up was the big one on the roof which was easy peasy, then went for the huge side one... What a struggle... A pleasant struggle, but a struggle nonetheless.
I have only experience with really old decals, so was a pleasure working with these, was able to move them around without tearing.
Had to hit it with microsol and a GHD, first time with the GHD, and I must say that sorts out the creases quite nicely!
Anyway over an hour later and I have 2 decals on.... Will try get some more on in the coming days.
Quite stressful but successful so far!
-
 1
1
-
-
New kit I have just started, plan to do this one stock standard out of the box, with the intent on honing my decal, clear coat and polishing skills.
This kit is close to my heart as we're keen Subaru fans and have owned around 8, and currently have a 2011 Wrx with some minor mods including launch control, flat foot shifting, etc.
Anyway have started sorting suspension parts on the kit, and done a first few light coats of primer on the body after removing seam lines.
-
1
-
-
Thanks.... So I guess I can stop shaking it now... And rather toss it!
-
Resurrecting this old post, just trying out my Molotow pen now, which has been lying on its side for years, and with a bit of a shake and a few pumps the ink runs out nicely... but not chrome, its a shiny grey at best.
Not a consistent grey either, sometimes shinier than other tests stripes.
I have now shaken it until my arm fell off, managed to put my arm back on, but still not a chrome drop coming out of the pen...
Something I am doing wrong, or has it gone bad?
-
On 6/8/2023 at 3:11 AM, François said:
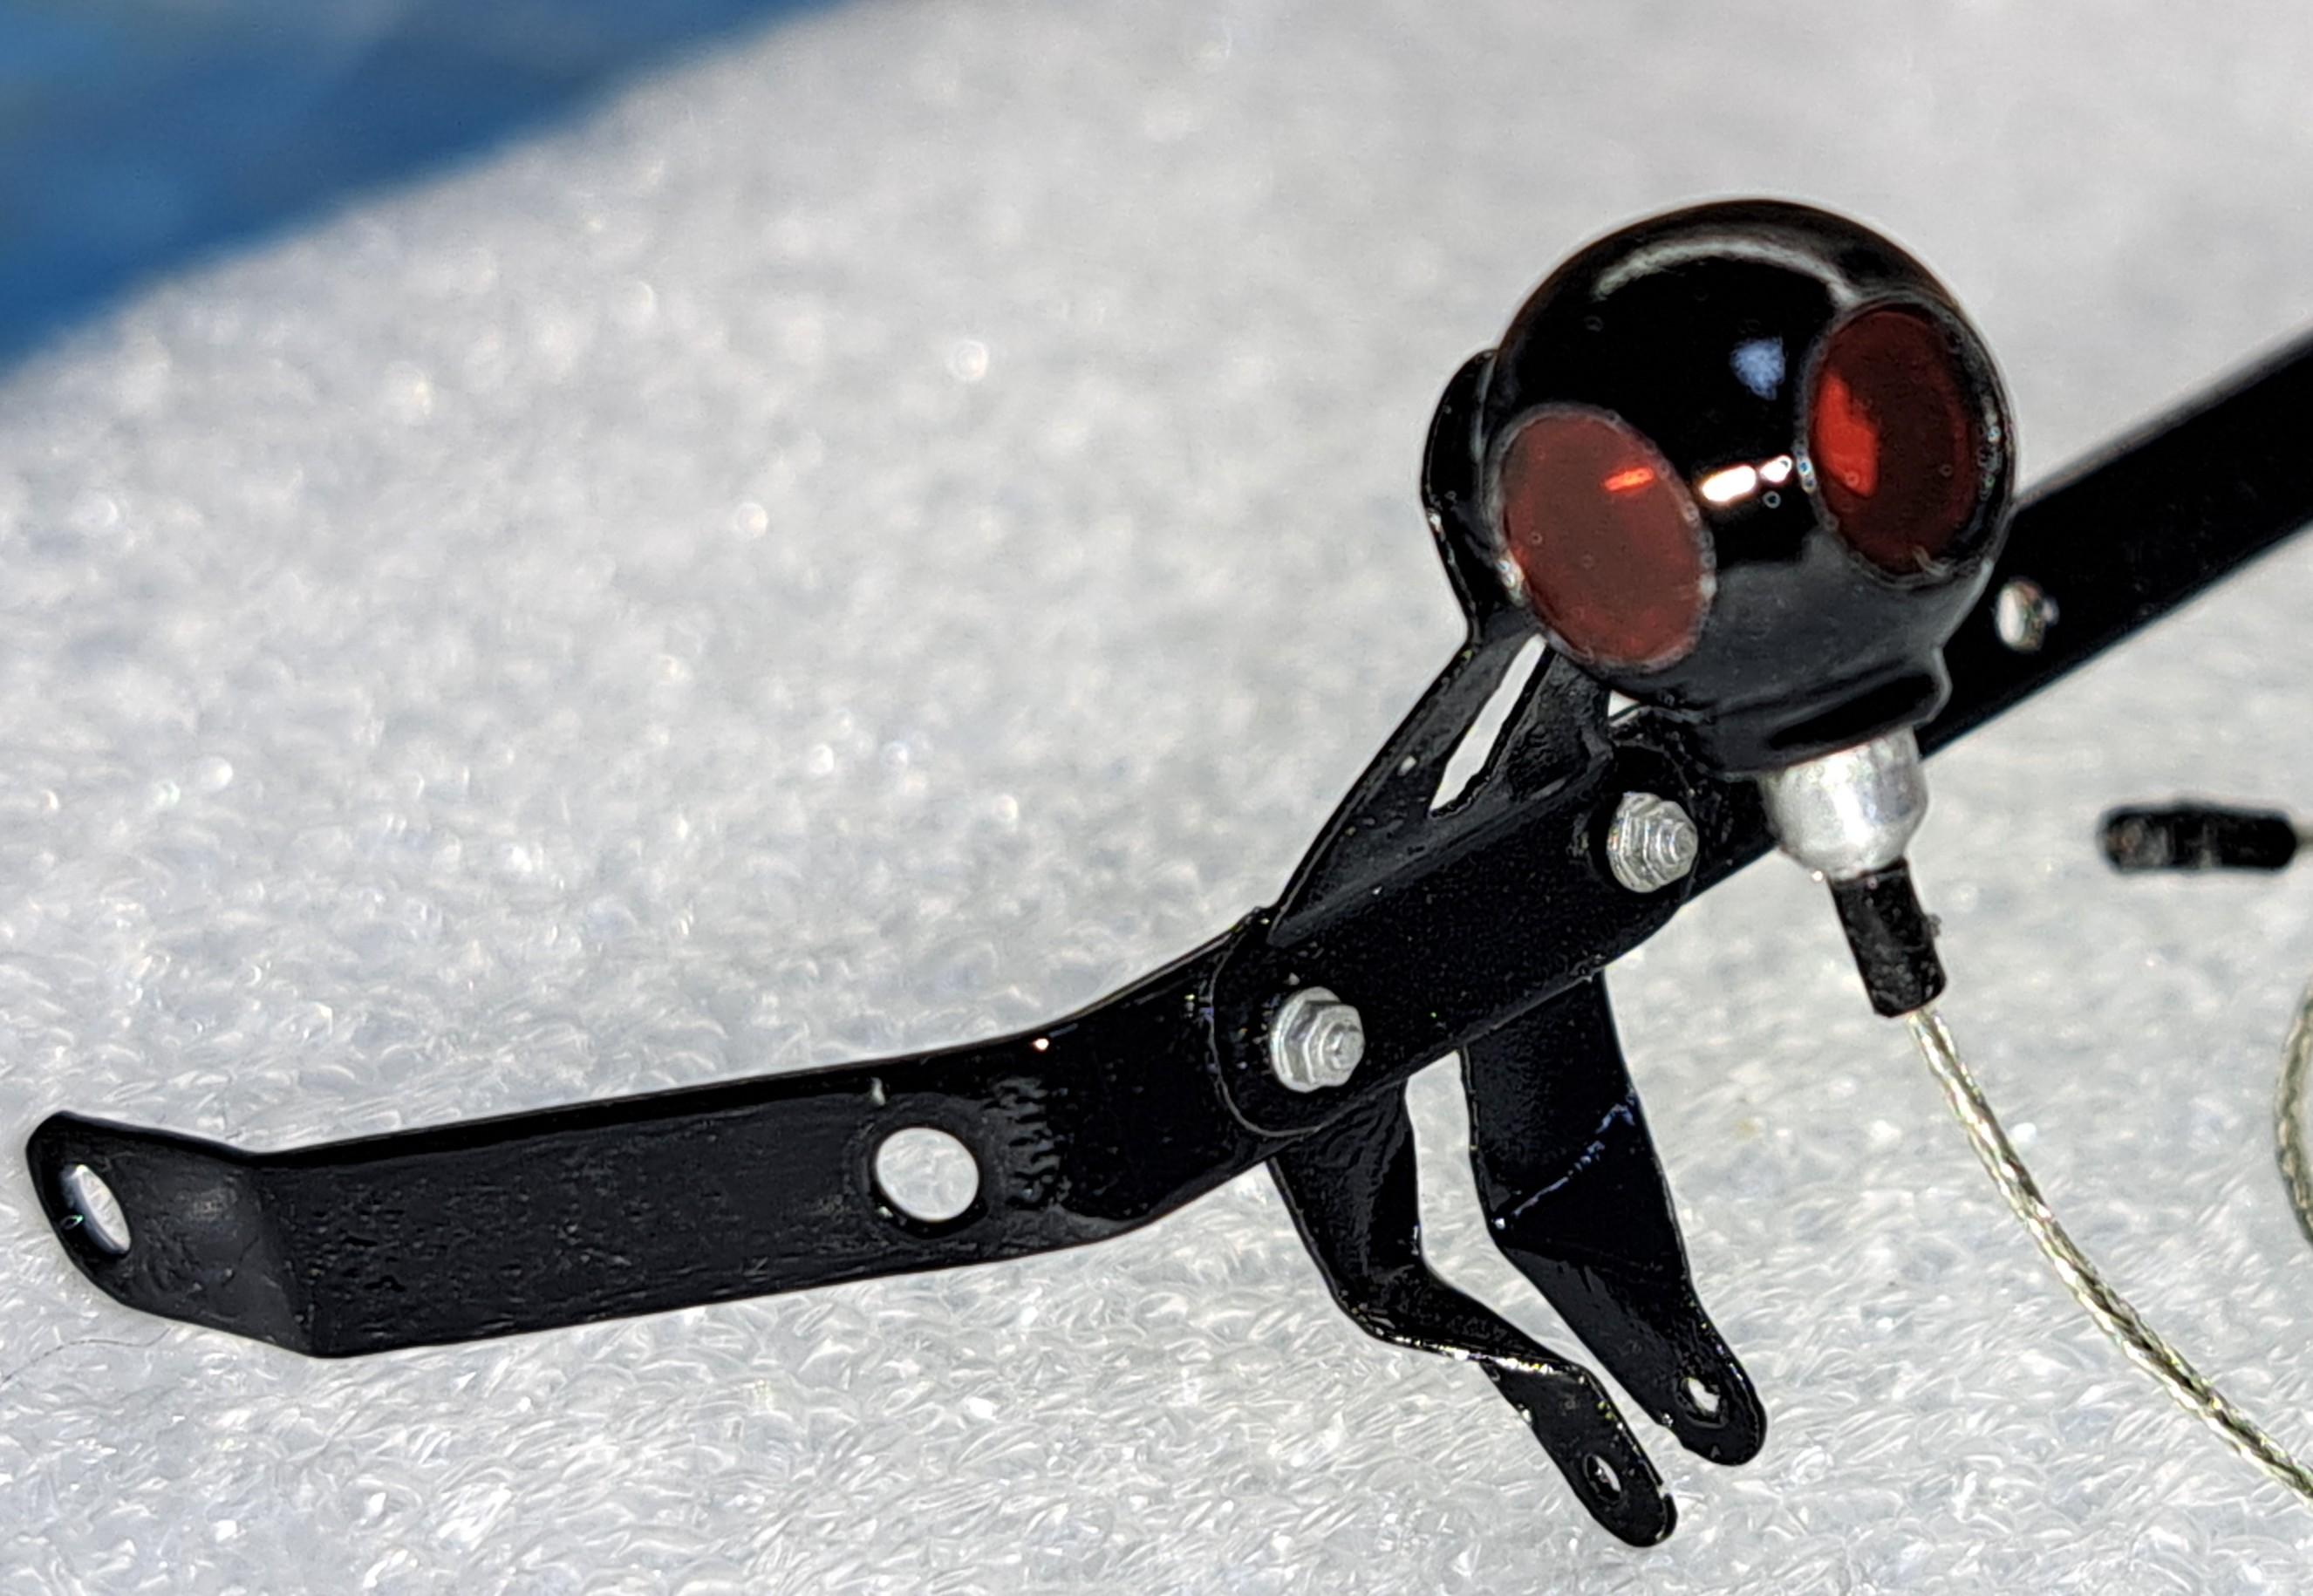
Did a little bit of assembly on the tail lights. So far so good... I think
the real thing
We'll I just stumbled across this build now, and only on page 2 so far...
Funny thing though, just this morning after reading about these interesting taillights, we went out to a small airfield to view the gathering of Mustangs celebrating 60 years of the Ford Mustang. While there I stumbled across a hanger containing 2 beautiful Bentleys, and one of the first things I noticed was these taillights!
I learnt something new today and it came in at just the right time!
-
That looks stunning!
For interests sake they have this Tyrrel on display about 20 minutes drive from me at the Franschhoek Motor Museum, not the exact year/version as yours, but I thought I'd share it anyway.
-
Love that you are working in scale too... Resting the motor on some tyres... Lol 😂👍
-
Hi Rich,
Thanks, yeah I'm really chuffed with it, put in a lot of work into such a small kit!
I am thinking of perhaps adding the helmet alone to rest on the seat, with my changes to the steering column I don't think the hands will align with the steering wheel, so am probably not going to add the full driver.
I was seriously considering making the steering work, but the connections of the tierods are so small I could not figure out a way without taking away from the look I had planned, so the steering is fixed and not movable.
-
If anyone is interested, all 3d printed parts used in this build are available on cults as an Upgrade Kit.
https://cults3d.com/en/3d-model/game/fujimi-senna-kart-upgrade-kit
-
1
-
-
Looks fantastic, this is a wonderful kit which I also have and hope to start soon.
-
Finally completed this build.
Really enjoyed it, a lot of new skills acquired during the process, particularly with my 3d printer and scratch building.
In this last step, installed the tie rods (3d printed tie rod ends and added them to the ends of 0.5mm brass rod.
Also re-designed the steering wheel to delete the digital lap counter as that did not exist then.
Here are some final photos of this build.
Thanks for following and the interest shown.
Appreciate it.
-
3
-
-
Looks spot on, brings back good memories of the btcc.
-
Looking great!
-
1
-
-
This will be an interesting build to follow as I have the same kit, the details you've added so far look great and should be an impressive model once complete.
-
Spent some time over the weekend getting the rear end together.
Painting the wheels rubber black and then masking off the flat surface and sprayed the side walls lightly semi-gloss black, thought this gives a nice smooth used look. Applied the decals to the decals to the tires which went down nicely, however it's quite difficult to see them!
Put the decals on the number boards, and started making springs to hold the exhaust using the 3d printed exhaust bracket, decided to also put some smaller springs on the exhaust as well.
Have also put in the brake lines and brake disc.
So rear end is now basically complete, except for the chain guard which I still need to modify to fit correctly.
-
2
-
-
A little bit more progress to share, seats in, motor is on with sparkplug cable added, sprocket and chain fitted, as well as the 3d printed carburetor resembling the correct period carburetor.
Reference photo of the original type of carburetor below :
Quite some fiddly bits still, tomorrow hope to finish connecting the fuel line, and measuring up the throttle cable.
Thanks for looking, hoping to wrap this one up soon.
-
2
-
-
Small update, doesn't look like much, but this has been quite a fiddly task and taken a fair amount effort and time to plan and finally execute.
Used Tamiya tape cut to the width I needed, and coloured black to resemble tape securing the fuel line and breather line, as well as a thicker one securing the fuel bottle. Had to use some super glue as well to keep the tape from peeling up.
This should start coming together quicker now as this was a main item which needed to be completed before other parts can be assembled around it.
-
3
-
-
With the start of the new year time on this kit has been a lot less than I had hoped, but nevertheless it's time to get cracking again.
New fuel filler cap being printed.
Painting a few items, and trying give the illusion of fuel within the tank/bottle - wip.
-
2
-
-
You're doing a great job on the body, love the chrome work.
-
Love it!
-
1
-
-
Looks great!
-
1
-
-
That mock up looks fantastic!
-
This is something quite different, like it a lot.
-
 1
1
-
-
Very interesting, nice work.

Tamiya 1/12 Williams FW14B with Top Studio Upgrades
in WIP: Other Racing: Road Racing, Land Speed Racers
Posted · Edited by IanH
Typo
So this to me is a bigger project than I have ever attempted, I picked up this kit over 4 years ago, and over time collected the various Top Studio upgrade sets.
It's the first time I'll be working with photo etch (and there's a ton of it!) and carbon fibre decals.
Although there's not much to show at this stage, I've recorded 10.5 hours just cleaning up the engine, drilling holes, cutting off bolts which are to be replaced by photo etch, etc.
I painfully at first started adding the little PE nuts to the PE exhaust manifolds, got into a nice rhythm and have that done now.
Trying my best to not leave any glue residue exposed on such small parts, difficult at first, but getting the hang of it!
In all updates, I'm going to end of with my current time spent on the build so that I can have a reference of how much time I have spent up to what point. I'm using Clockify to record my time, it's a cool and easy way to keep track, and I think may provide some shocking numbers!
10.5 hours