
The Phenom
-
Posts
139 -
Joined
-
Last visited
Content Type
Profiles
Forums
Events
Gallery
Posts posted by The Phenom
-
-
Hi Guys?
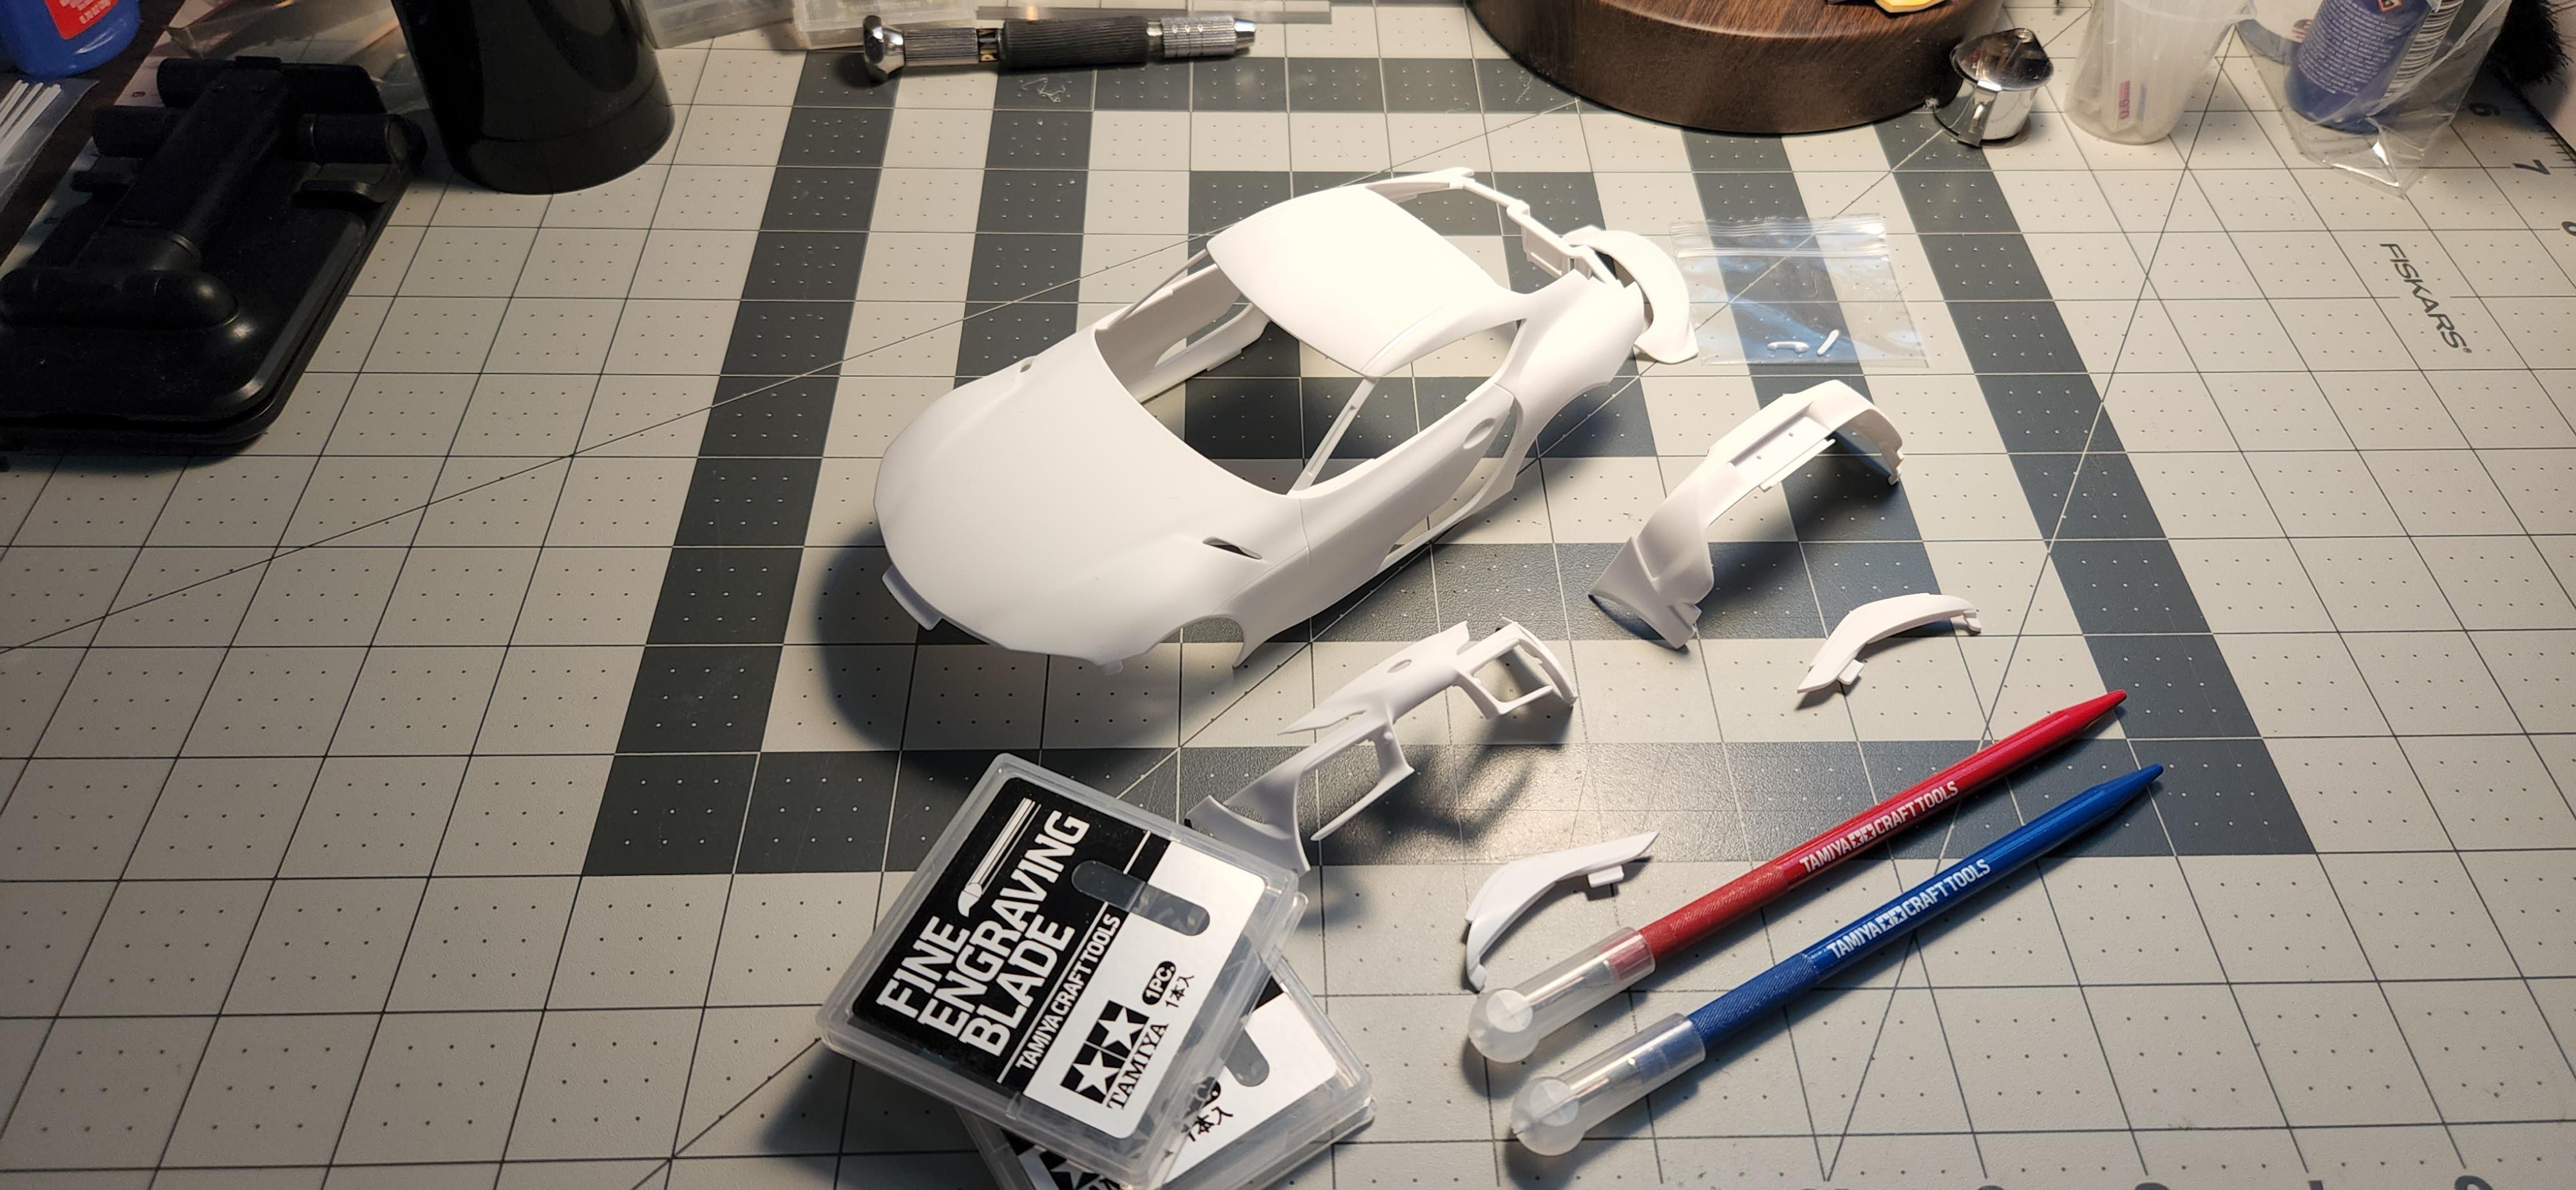
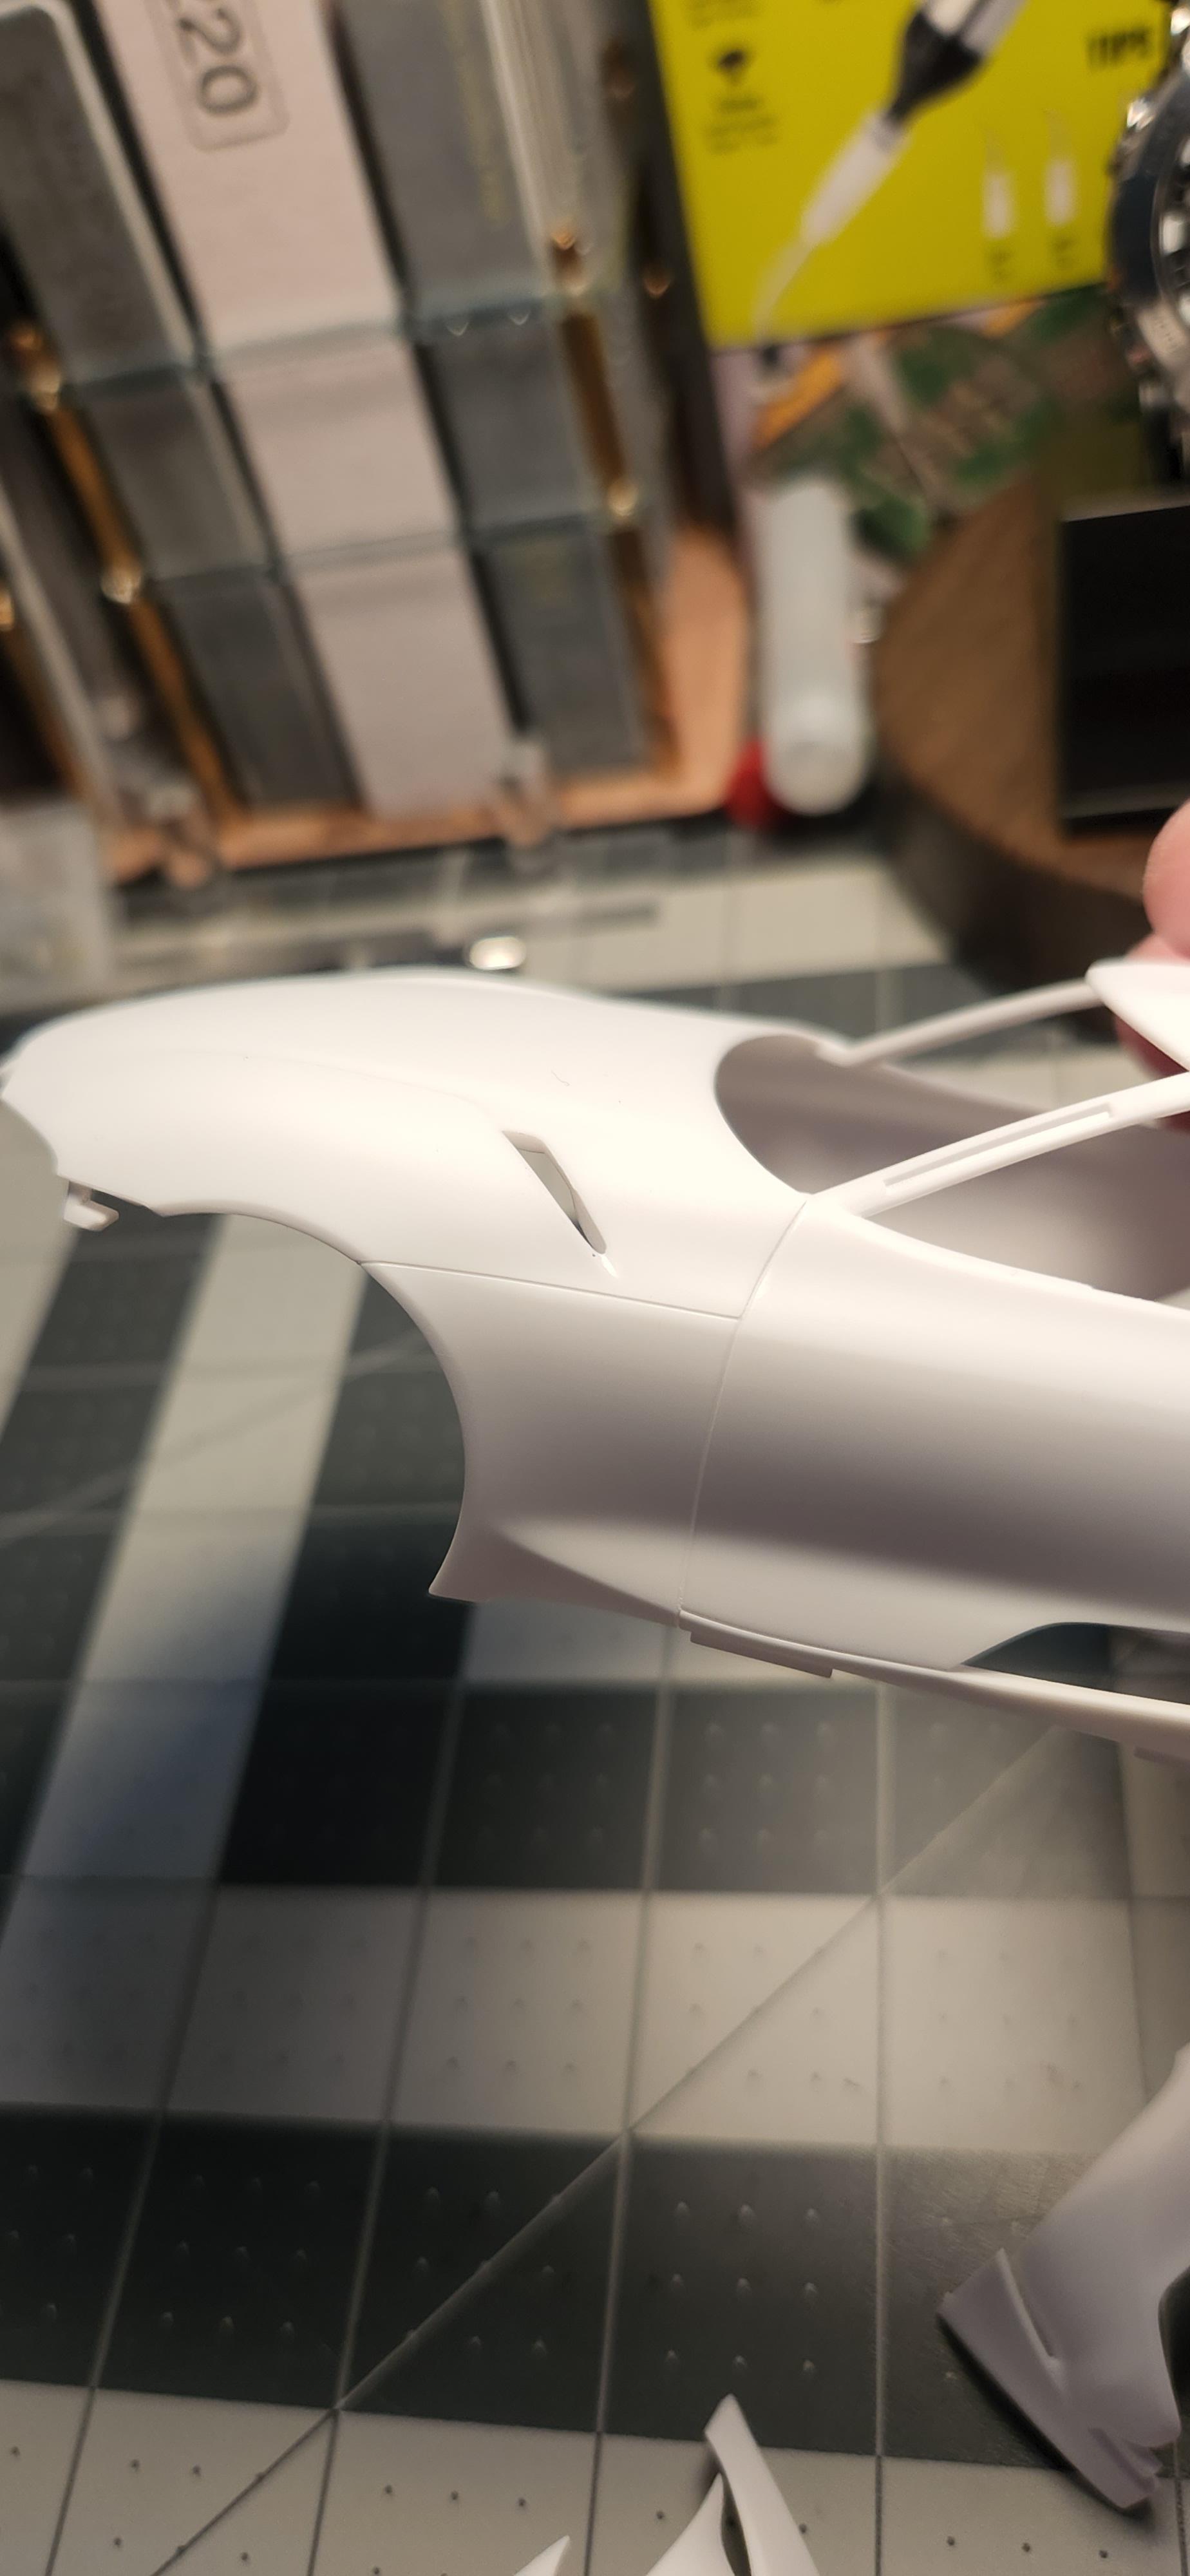
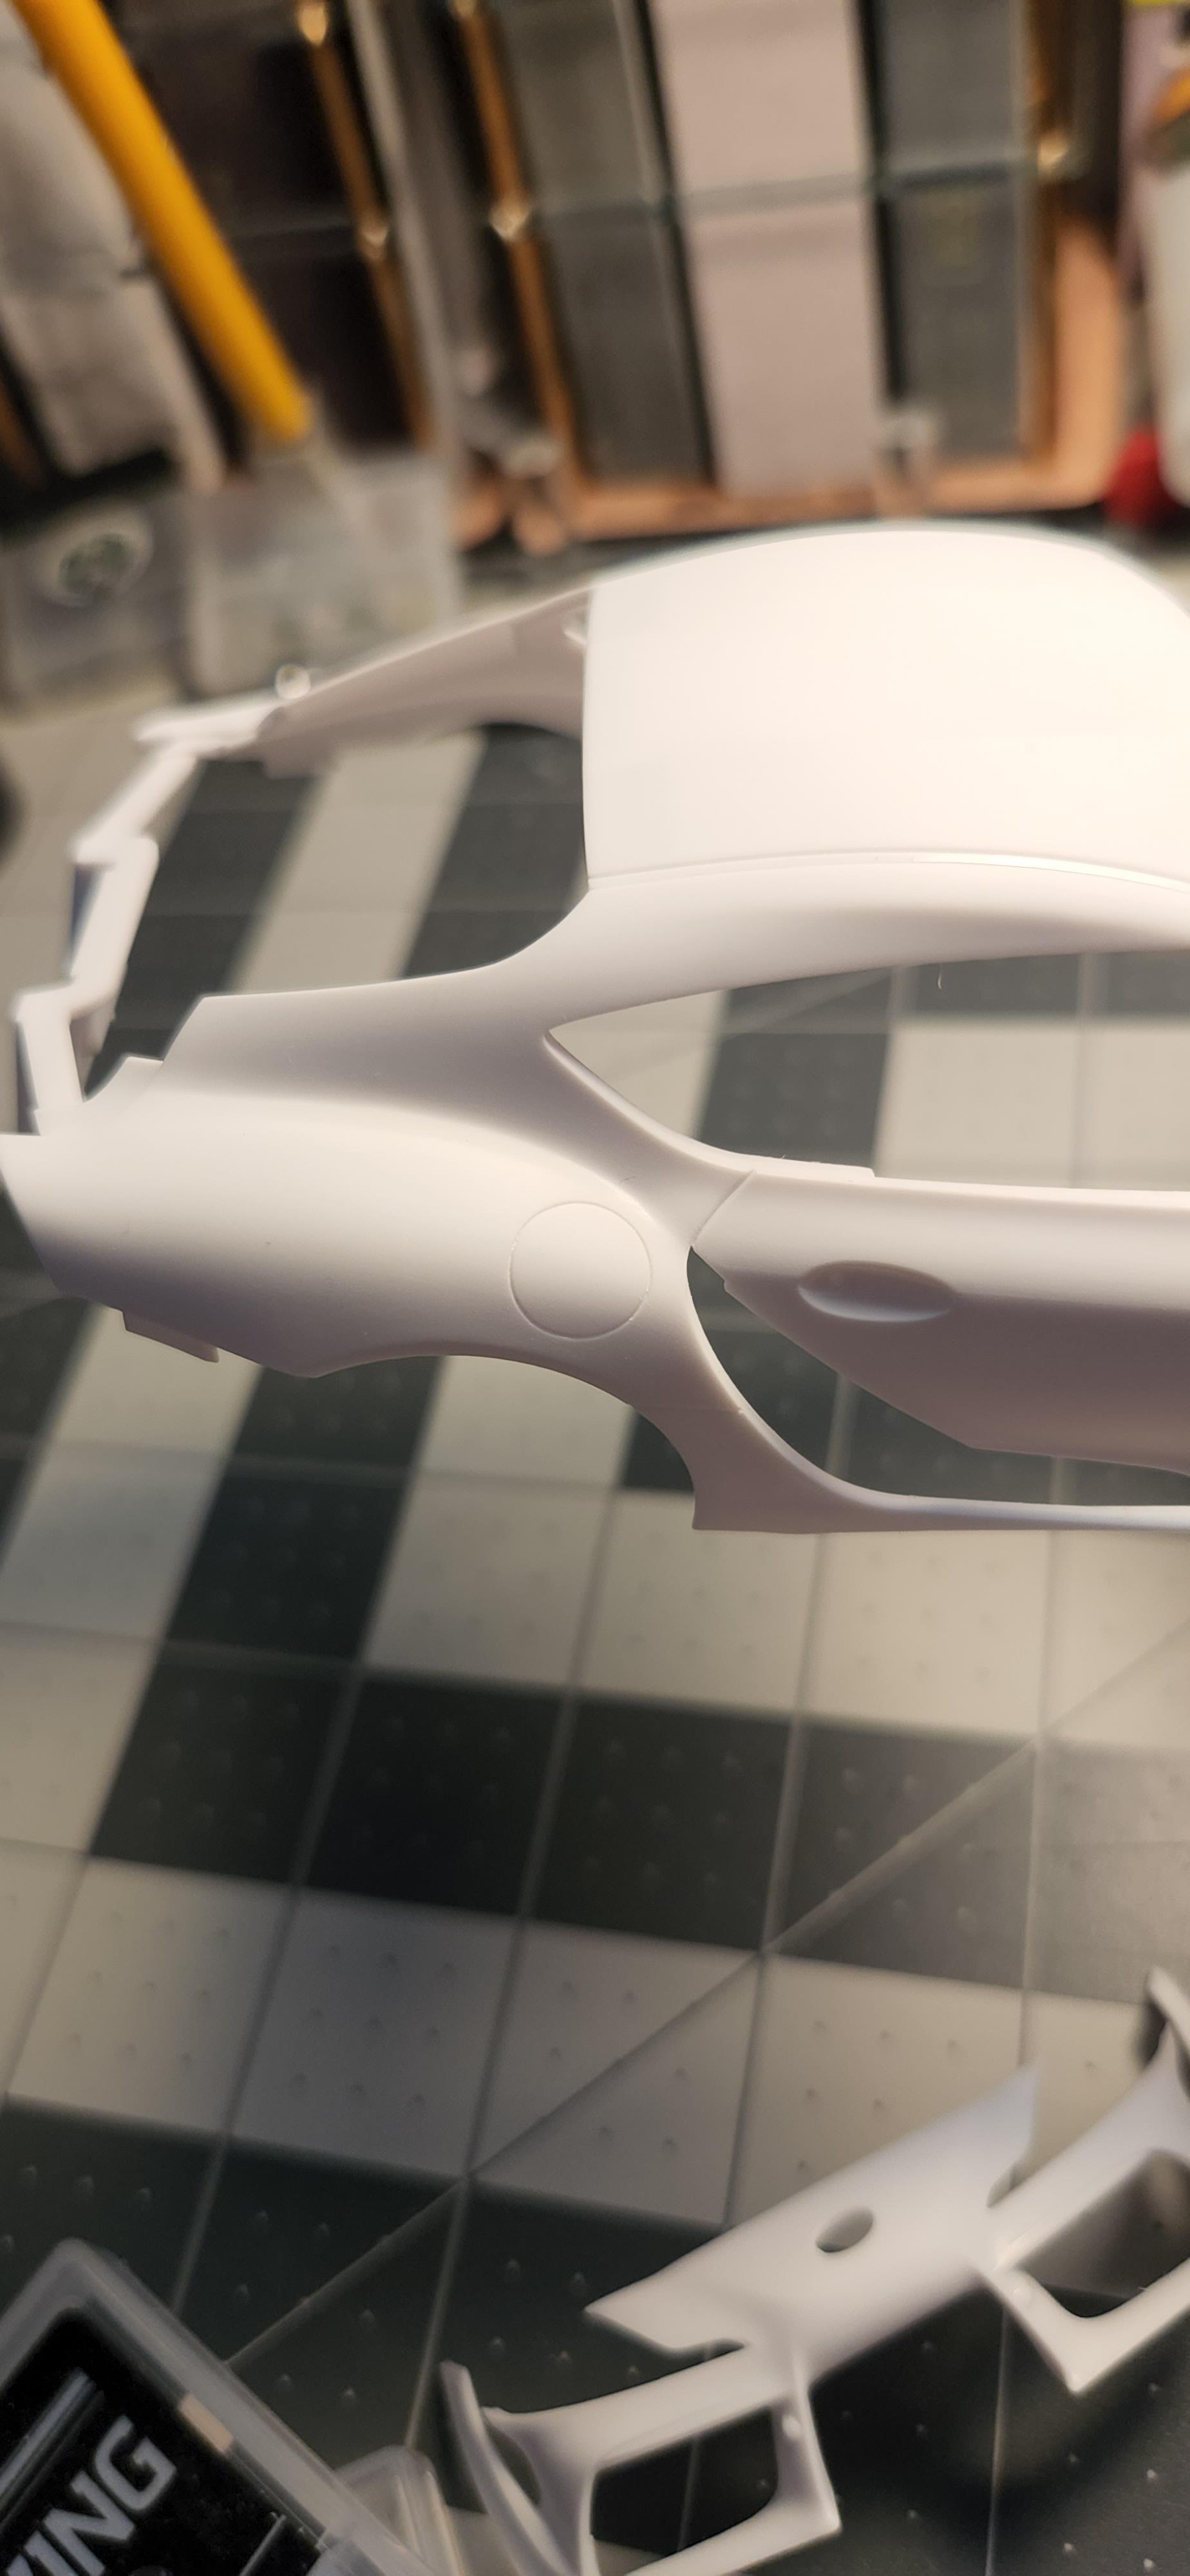
Few weeks ago i started the new Tamiya 240ZG and im very impressed with the level of detail on this one.I just bought some goodies for it to add some extra detail .Hobby Design makes some detail up parts and some resin mods to this kit ,low suspension components ,wheels ,tyres and photoetch set.
I started with the body making some cleanup and panel scribing ,filling some tiny areas with epoxy putty (on inner fenders ) to hide the atathment points for the fender extentions and left only a surface spot to locate the pins of the fender extentions..soon ill post more of this build....by now i don't have in mind color combinations but ...ill see
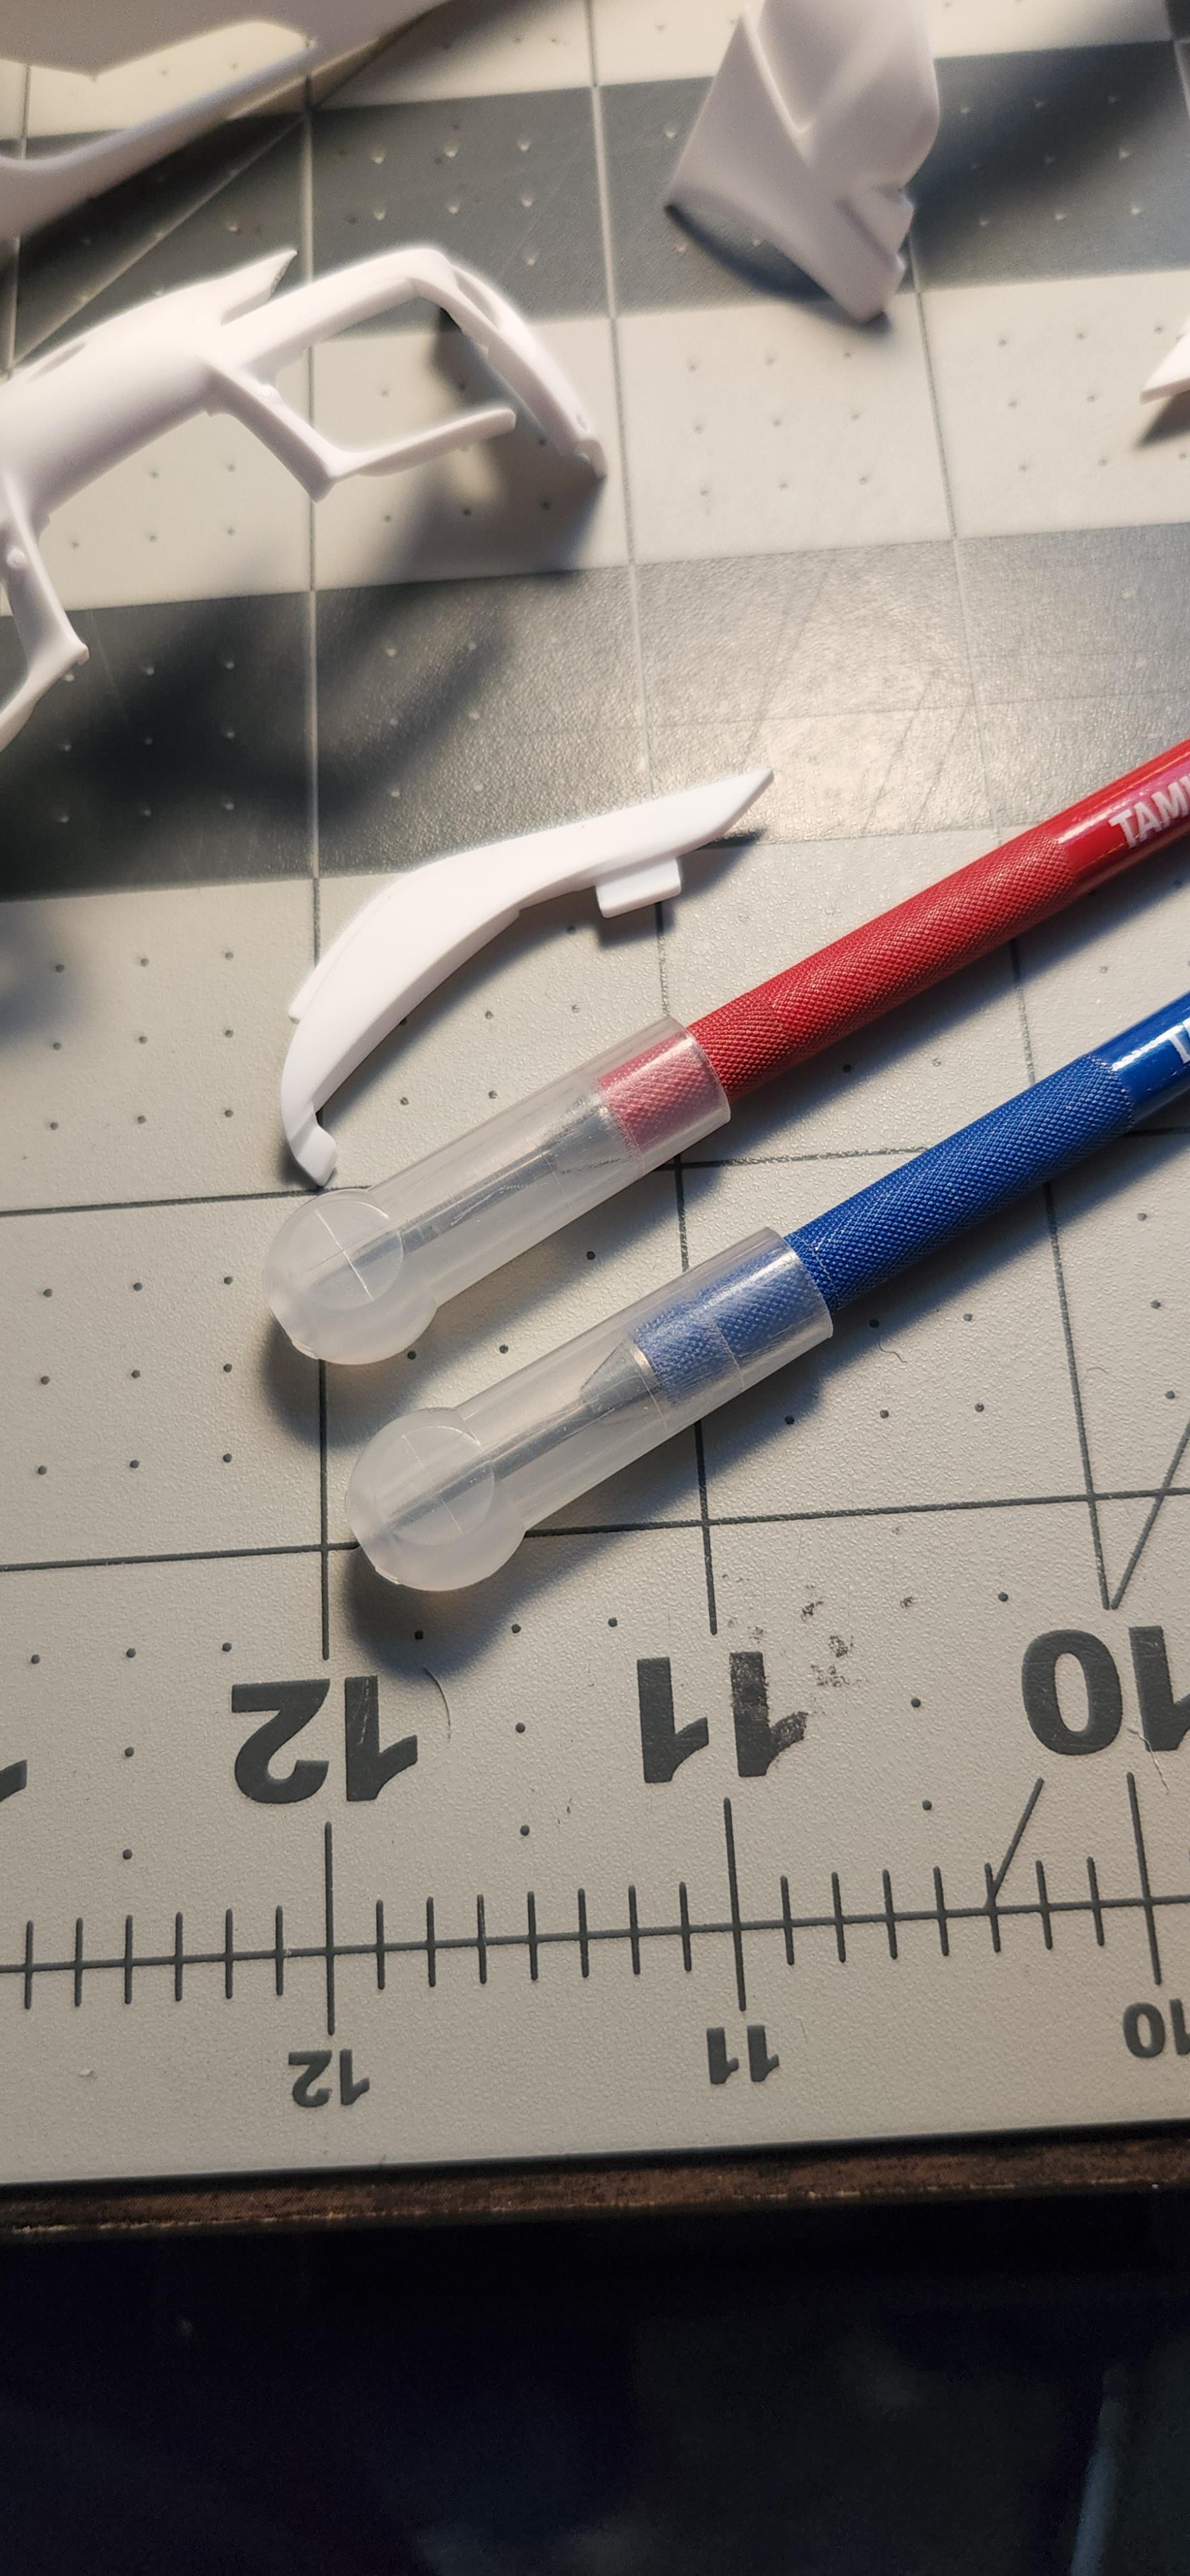
I scratchbuilded an air cleaner (custom style) with sheet styrene ..i need to add some extra surface detail to finish it
Hope you enjoy !

-
 1
1
-
-
Hi guys !
Well.,the weather here in my town today doesn't cooperate at all ,...i just had the chance to spray some primer to the bodyshell before rain comes...I used Mr Hobby lacquer primer 1,200 and 1,500 this time...now ill let primer to cure enough to spray the color, then clearcoat the parts later ..just bumpers are still on bare plastic ,i need to finish the detail on them before primer ..and that 240z build will be posted here soon .!! ( some scratchbuild and resin inclued)
?
-
1
-
-
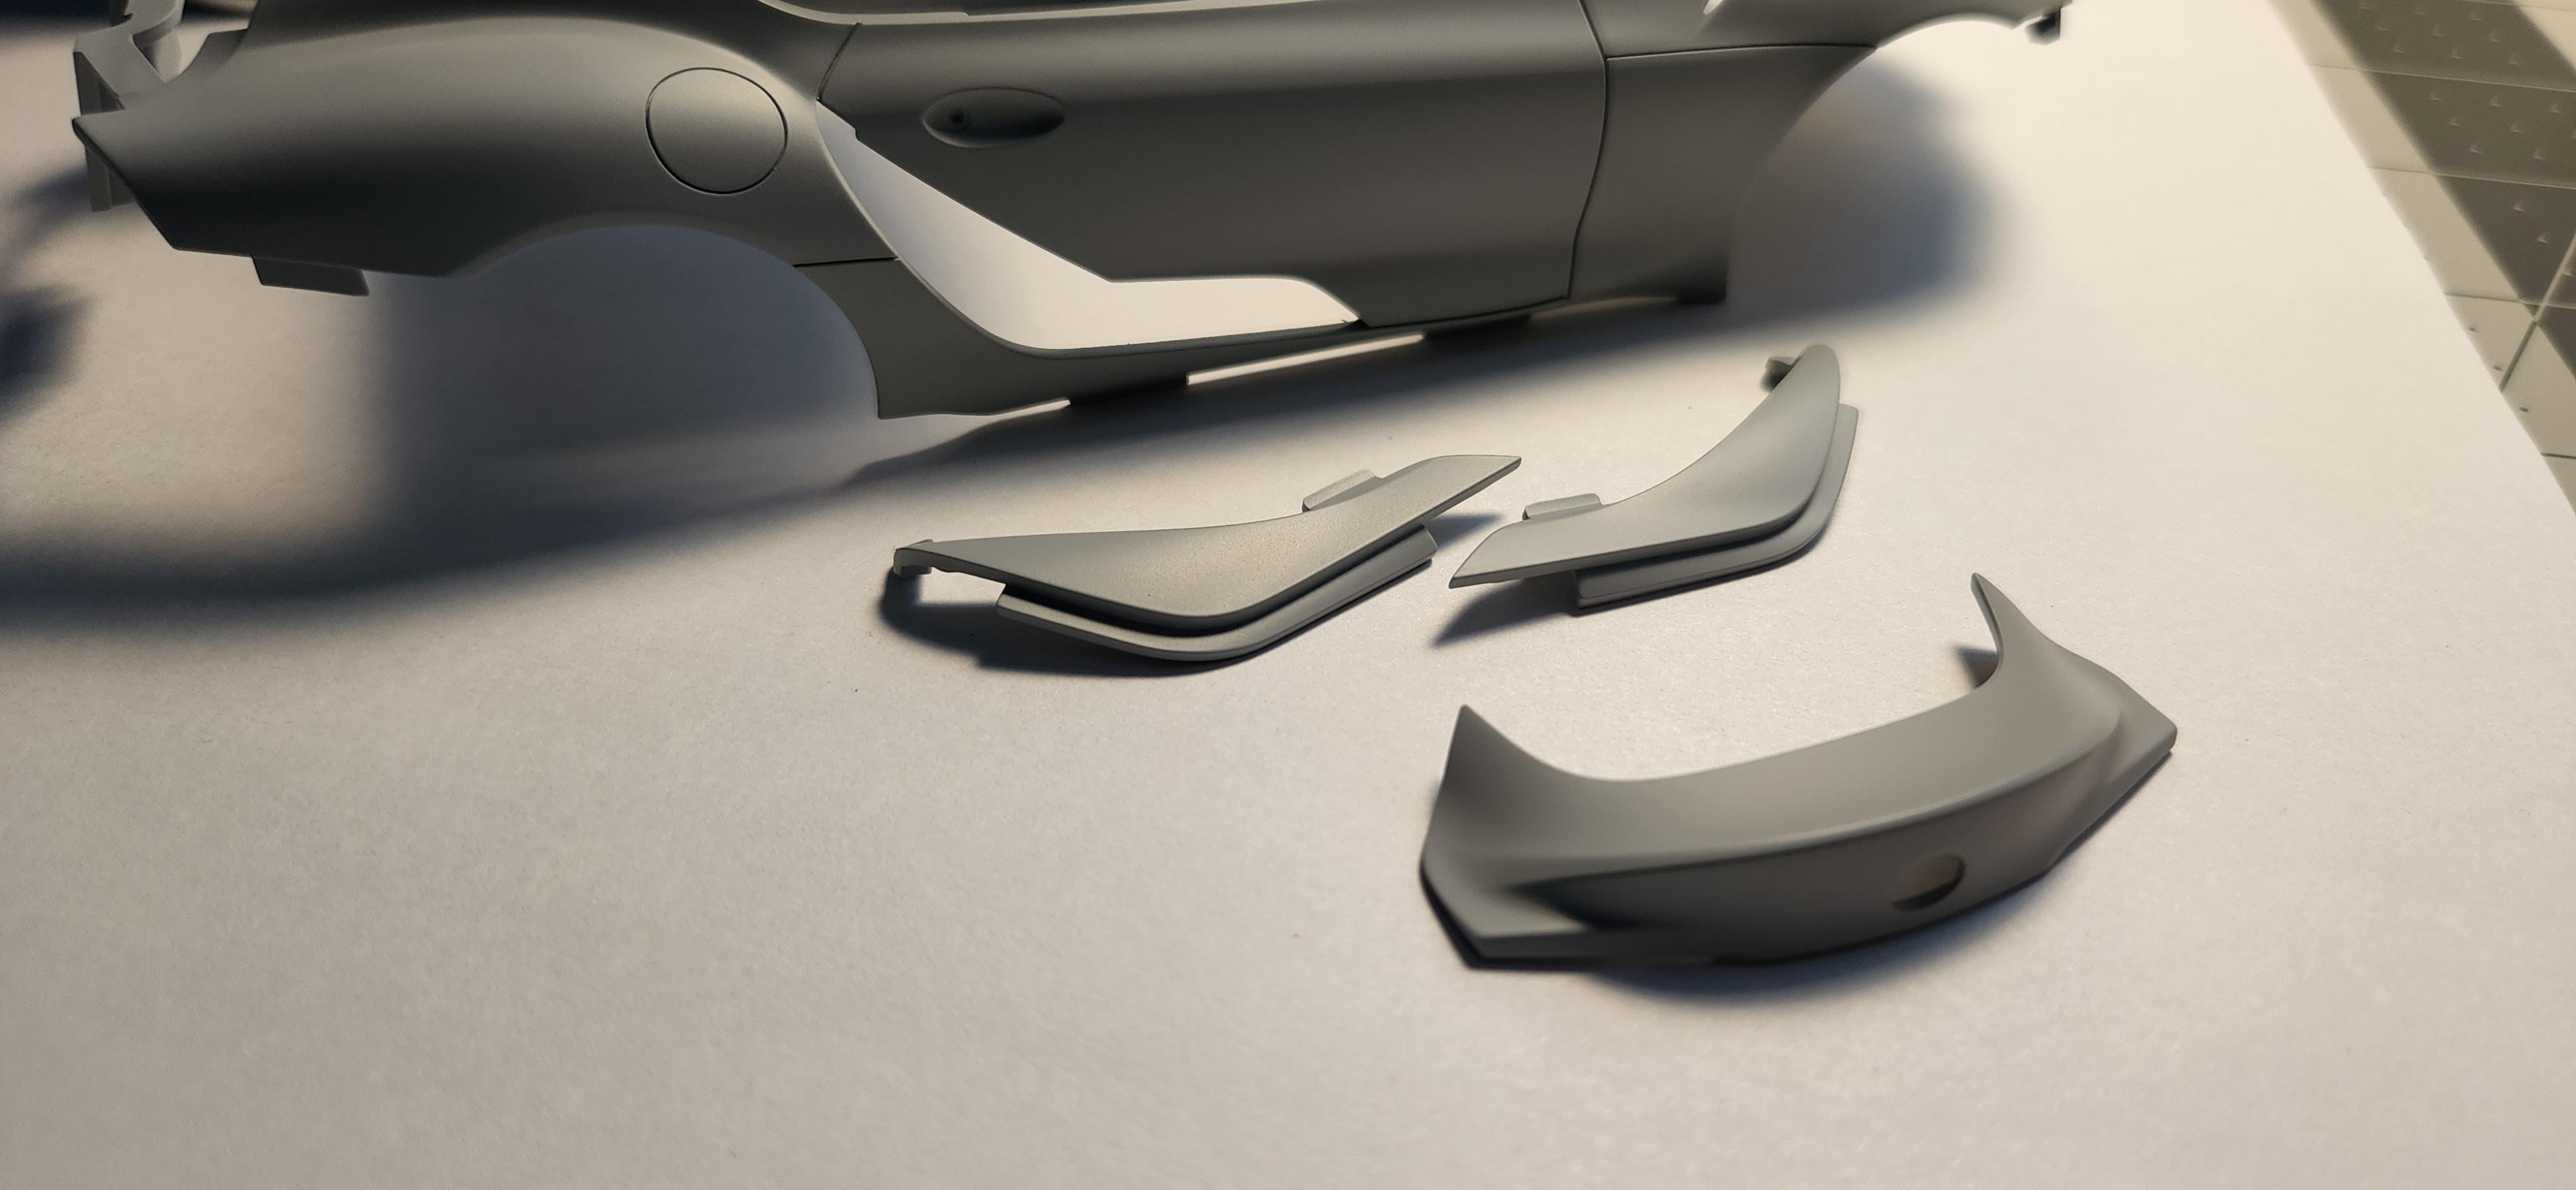
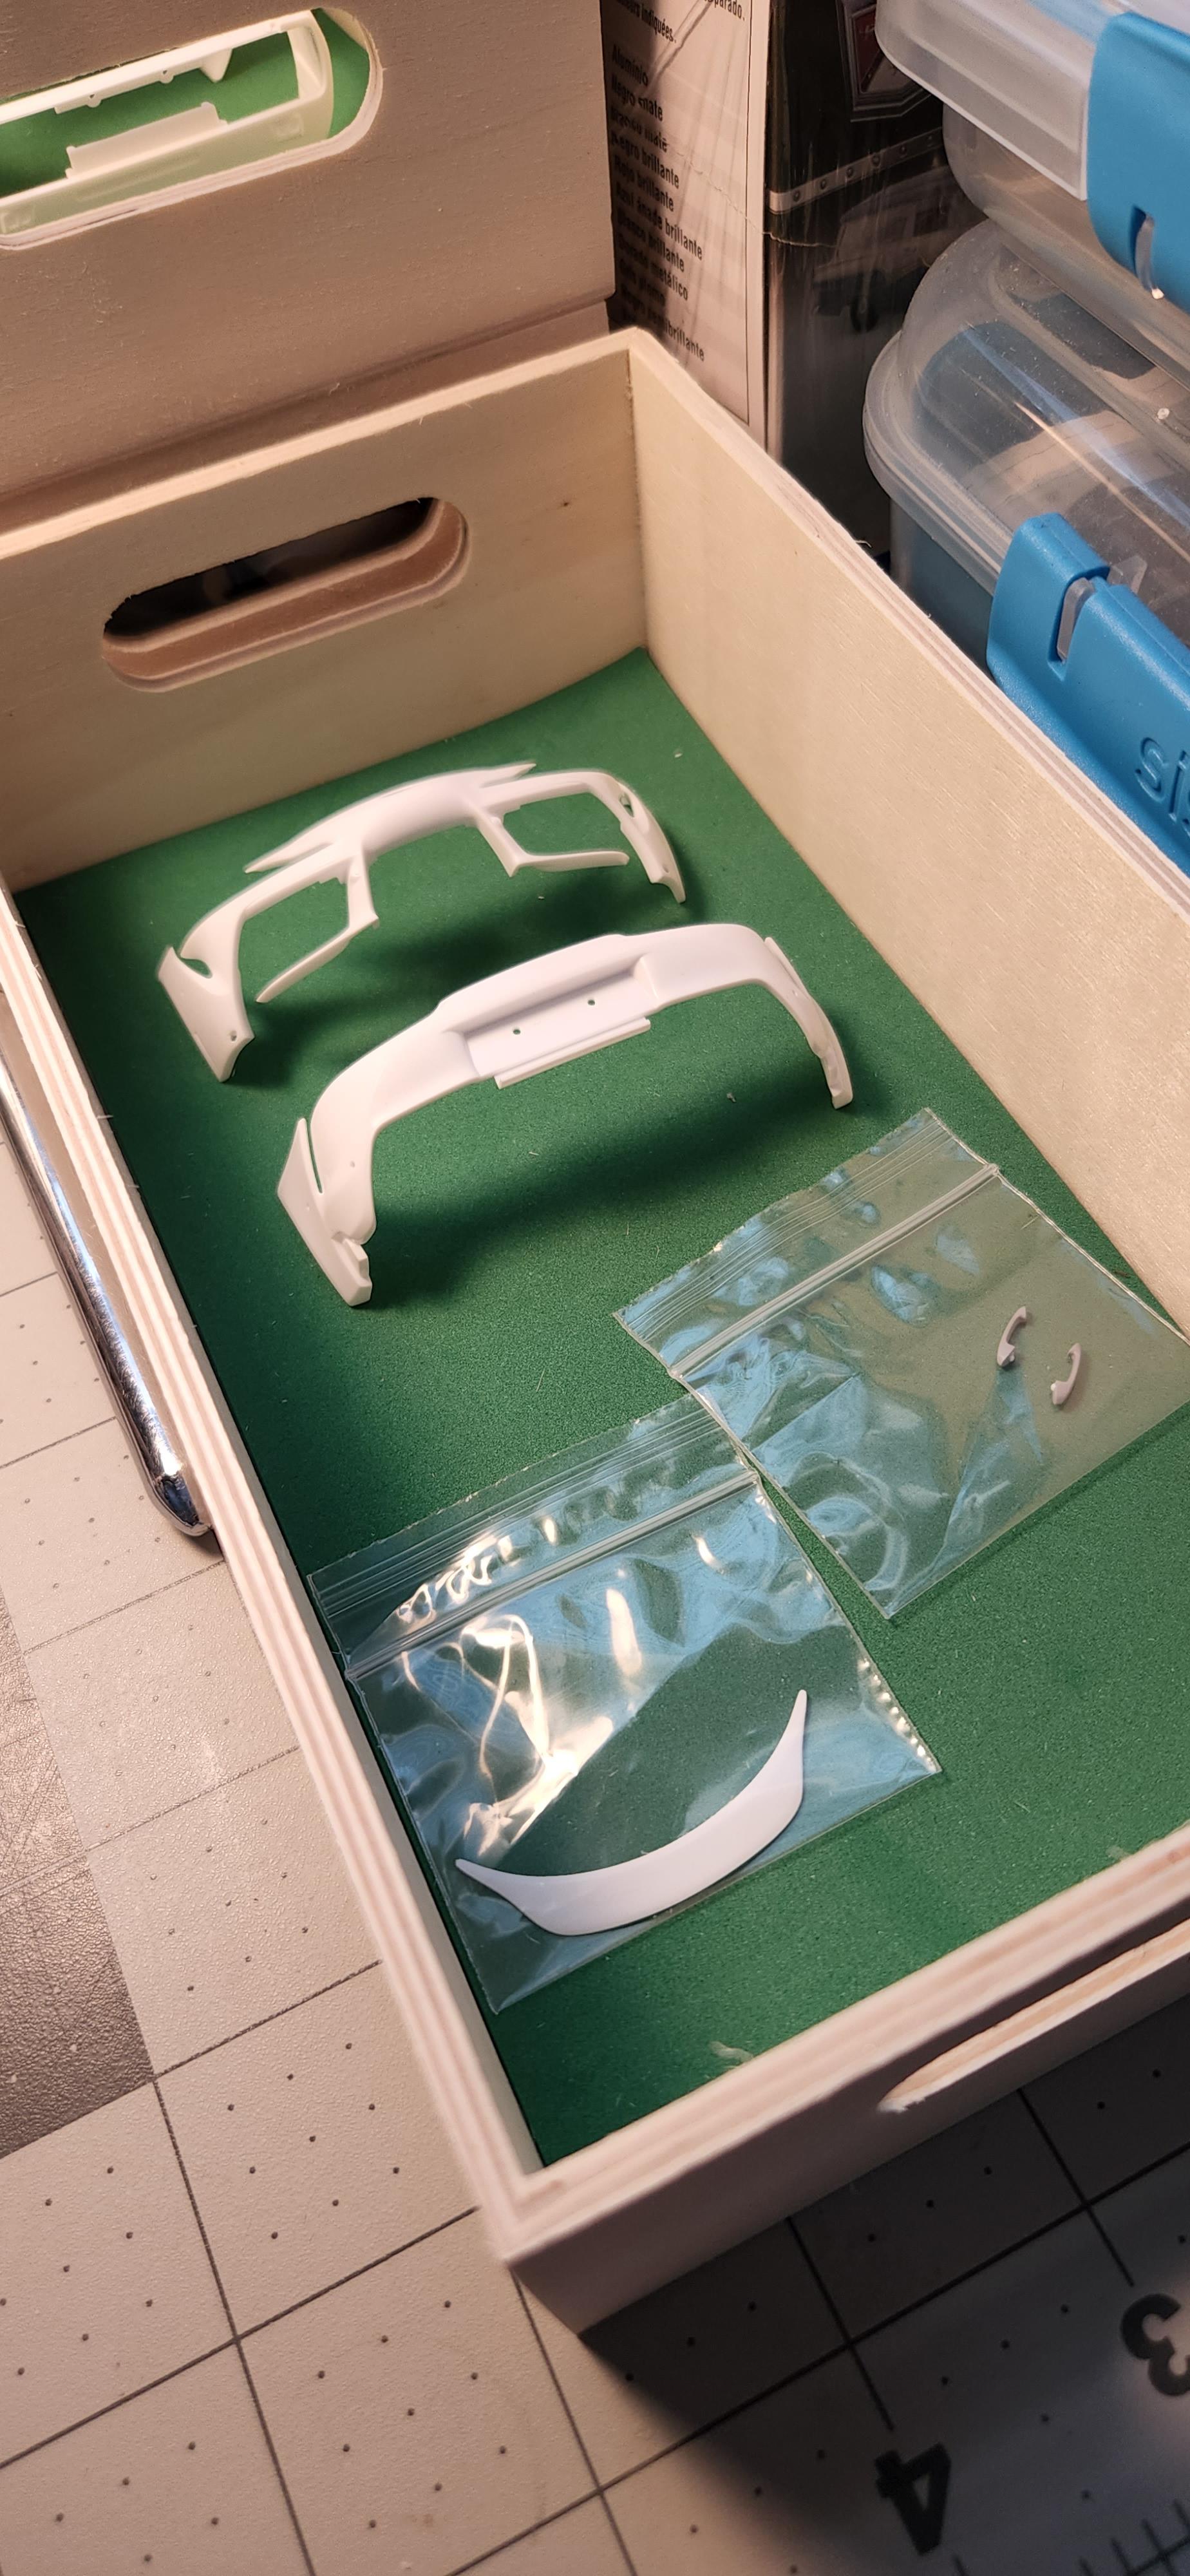
Well...working on some scratchbuild rear decklid spoiler . A91 supras came with a rear spoiler and some quarter panel short decorative stripes ...so i decided to make my own...not exact at the moment,i just making some test pieces to recreate a close convincent replica and then using some epoxy putty ,sanding etc...to sculpt one ..i hope i can do this hehe wish me lucky!
-
2
-
-
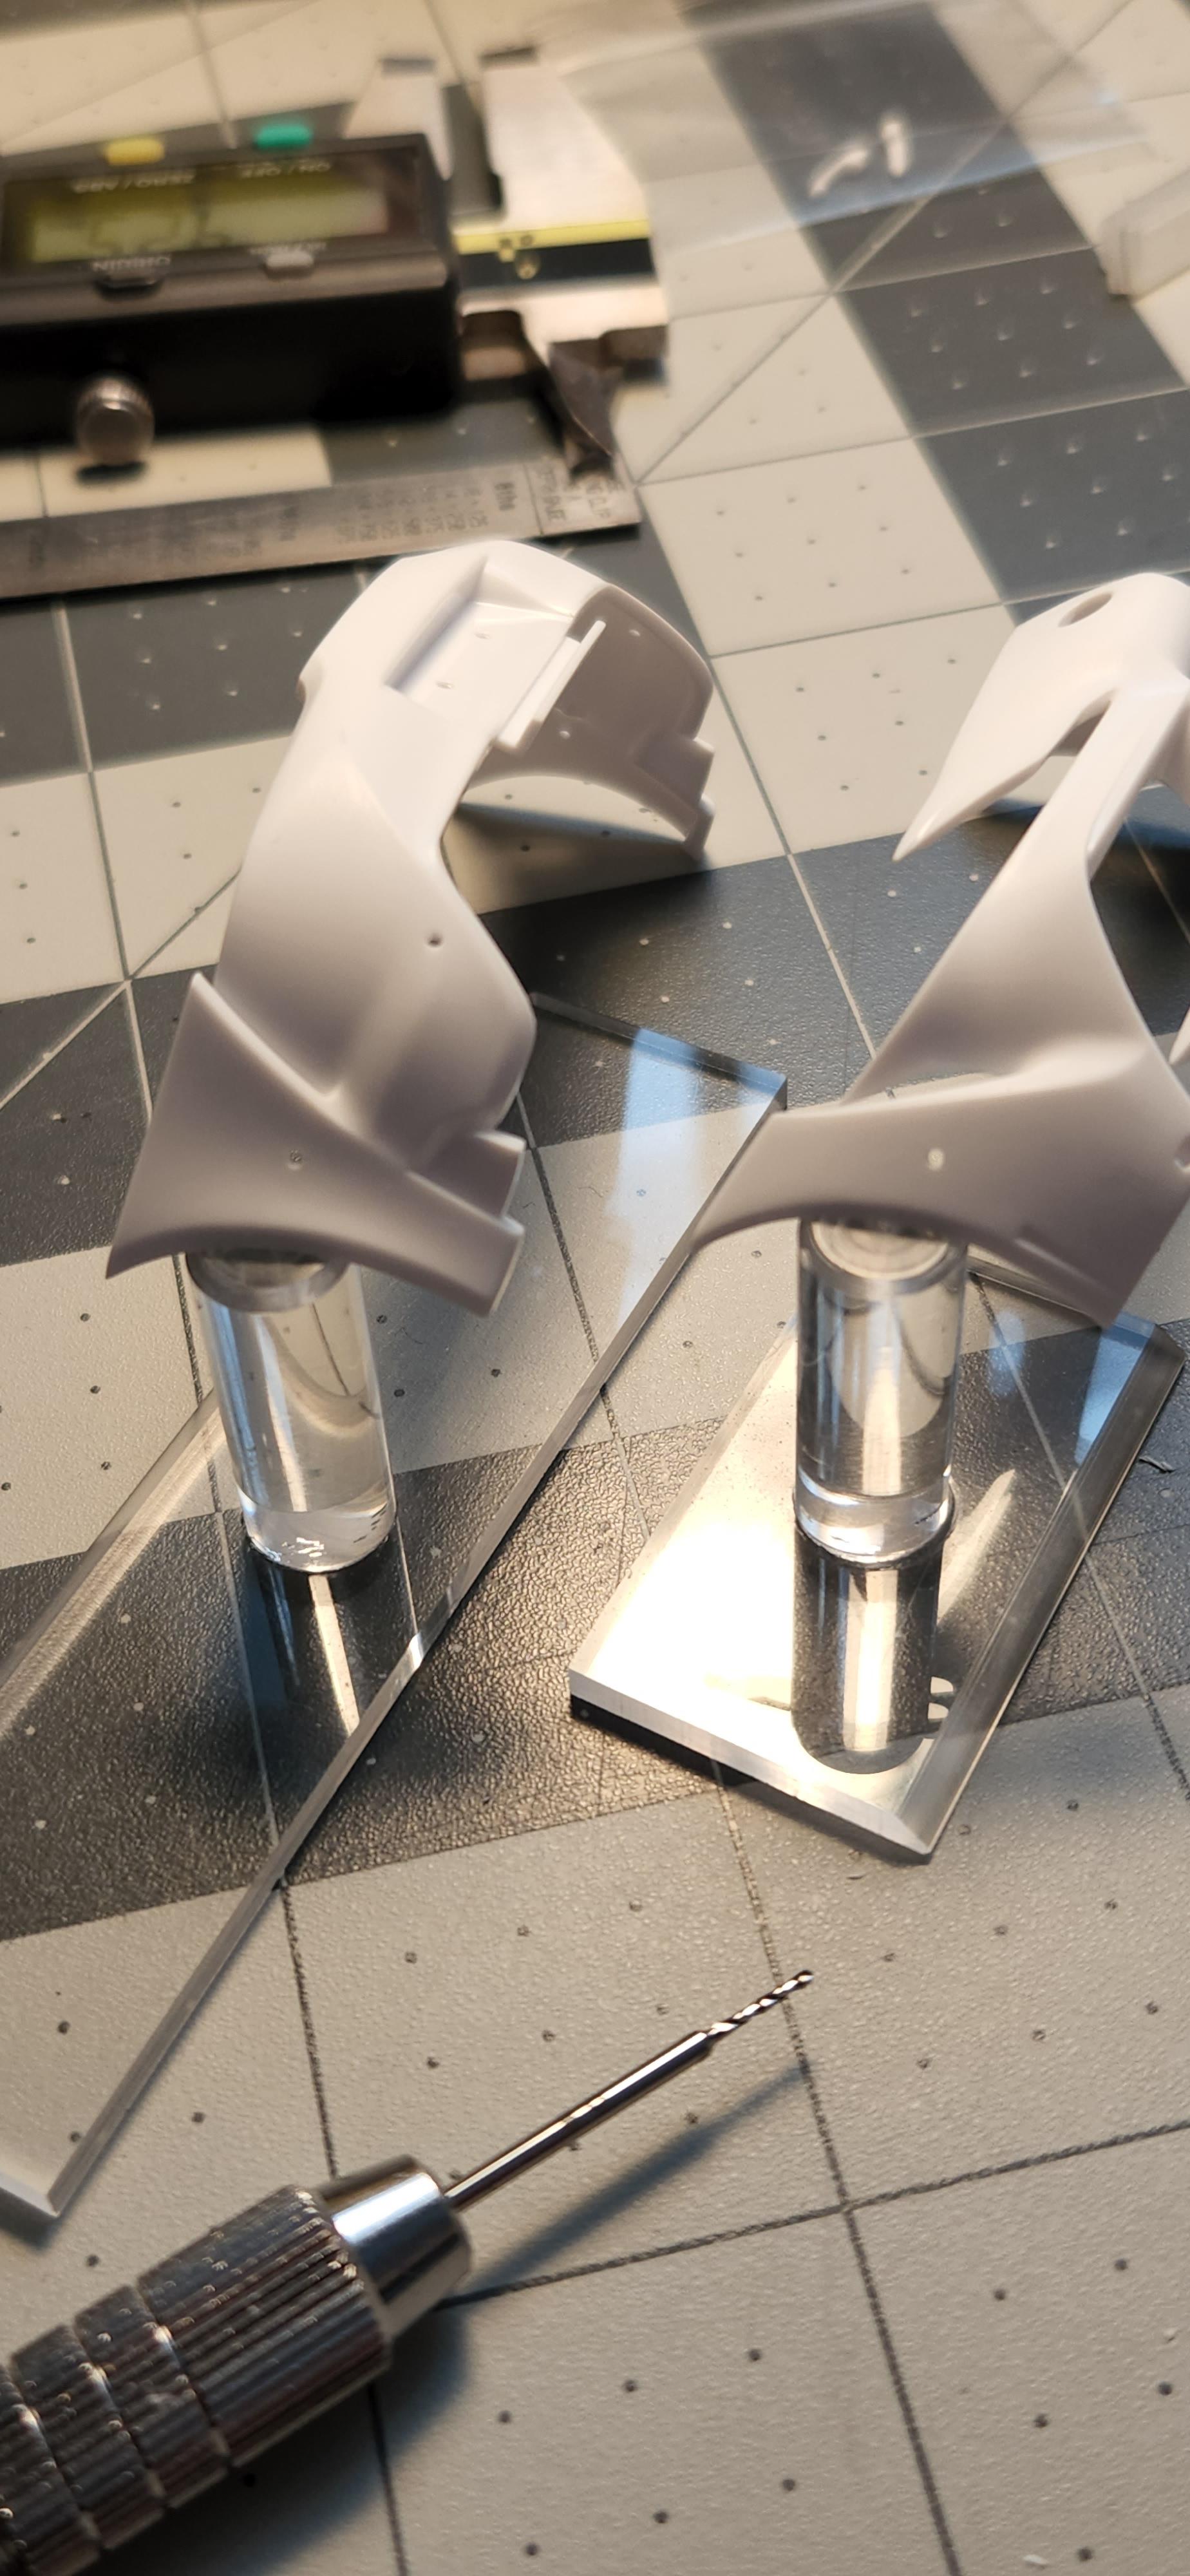
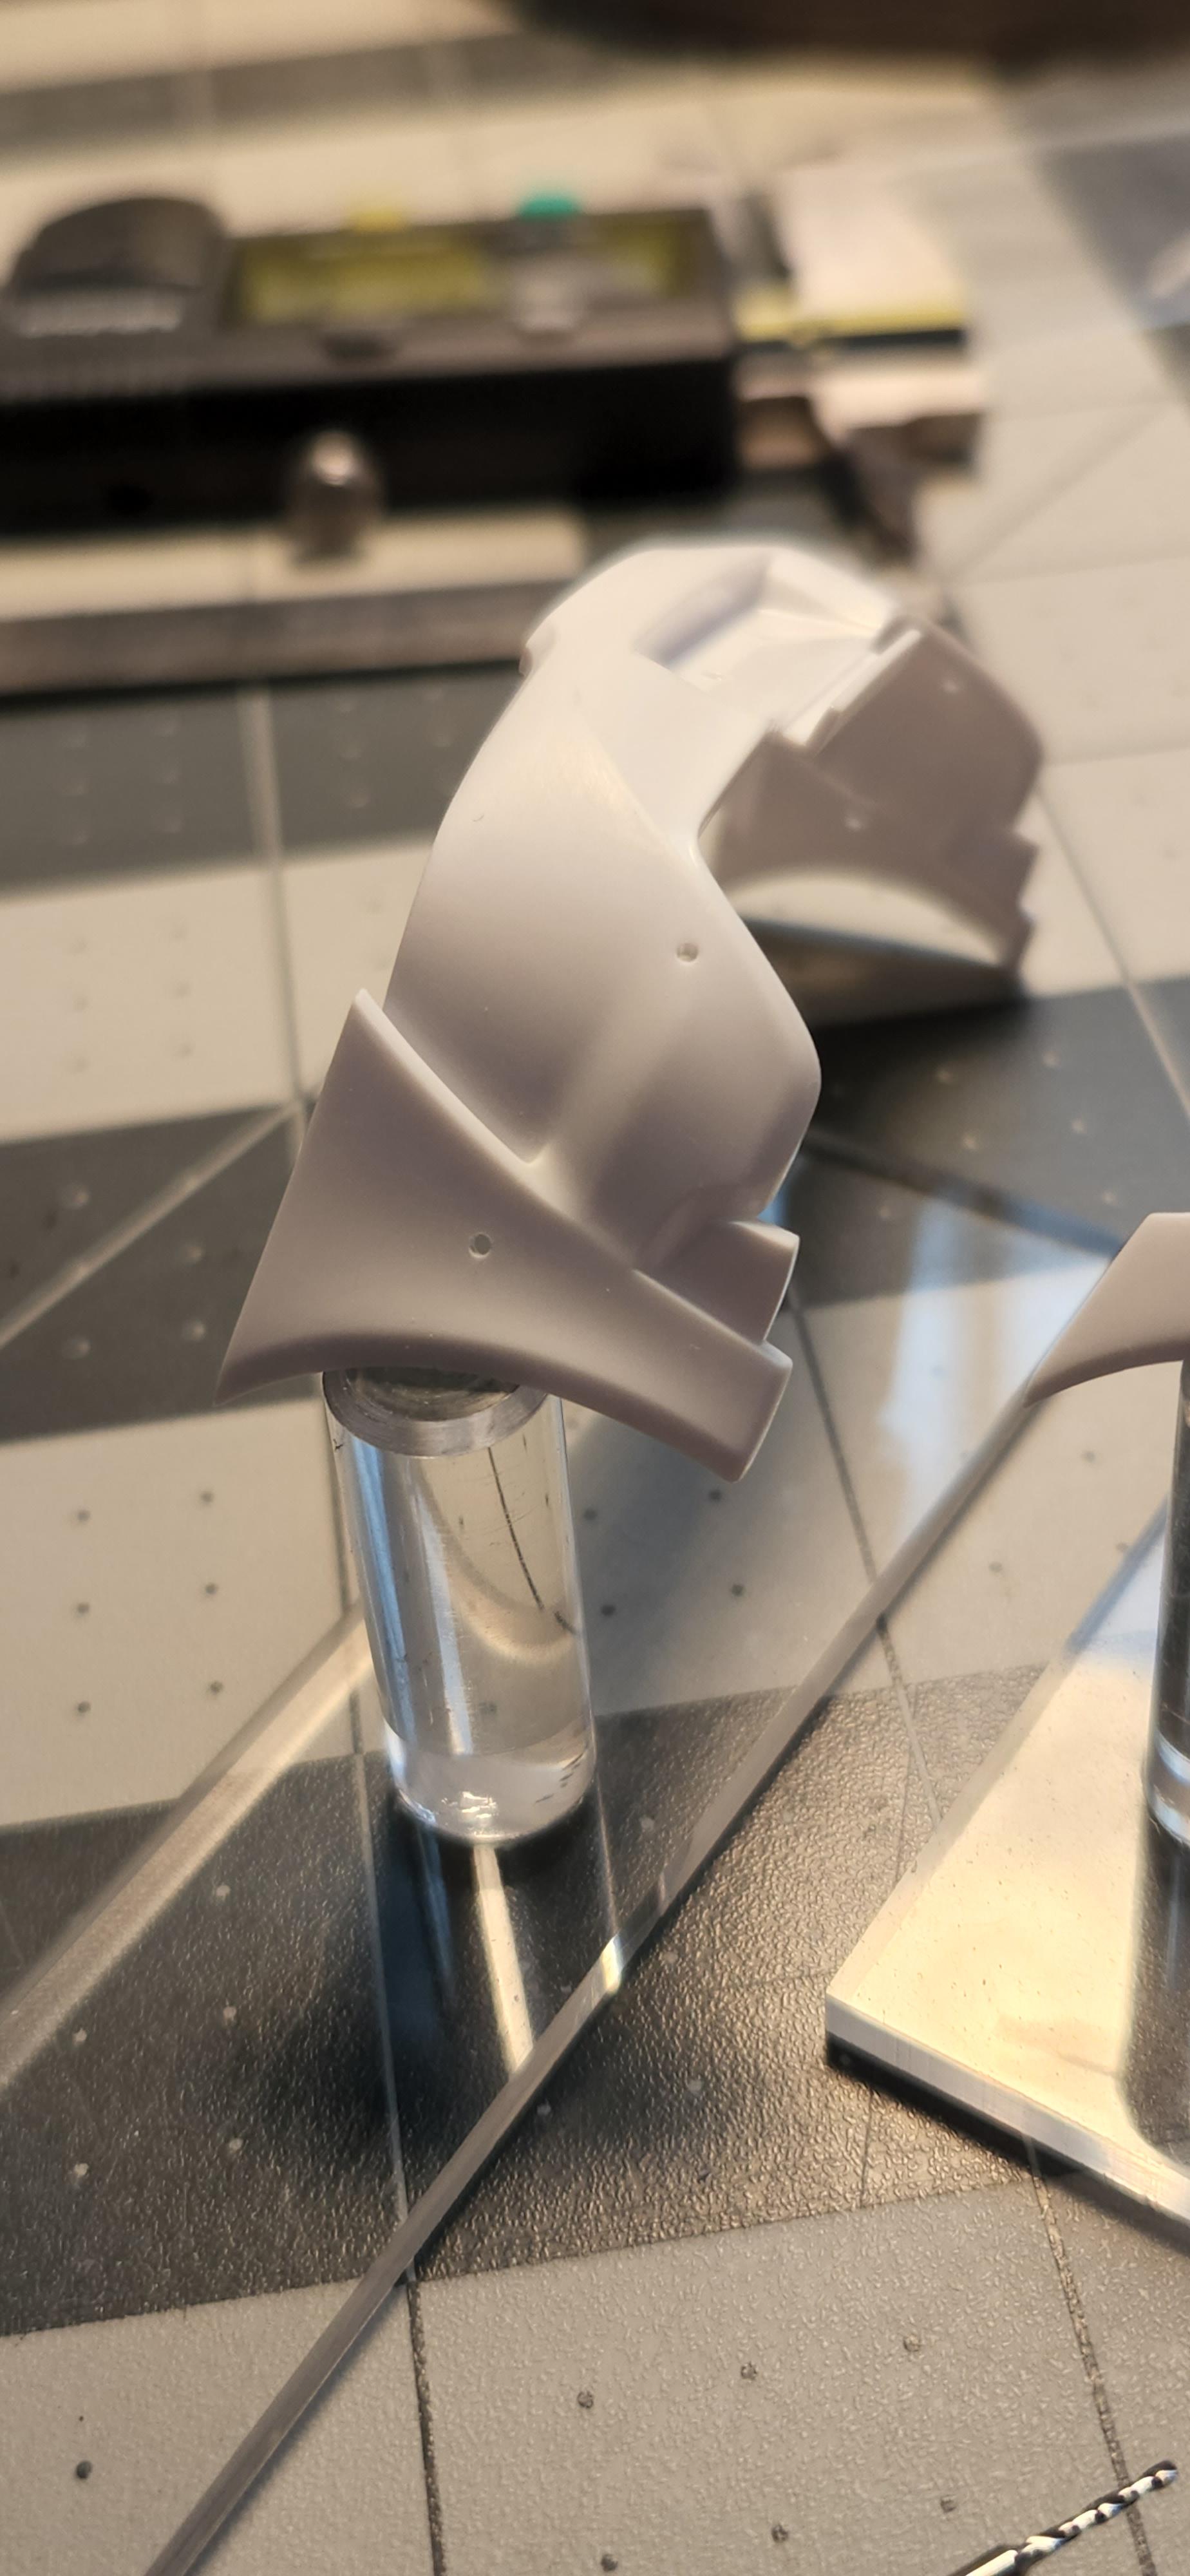
Working on some extra attention to detail on supra bumpers ..i removed the molded in sensors to replicate a more convincent ones...I drilled every sensor to create a new one using round styrene..giving the apeareance of a separate piece at bumper level leaving a little step between bumper surface and sensor ..once bumpers were painted they'll look better ! By now we see only a simple spot ..
-
1
-
-
Hobby Design released a good PE set.comes with everything you need to add some extra detail ! Toyota wheel center caps and front ,rear emblems are from Acu Stion..painted black then polished to show the detail out and clear coated with urethane clear to give that glossy finish .
-
1
-
-
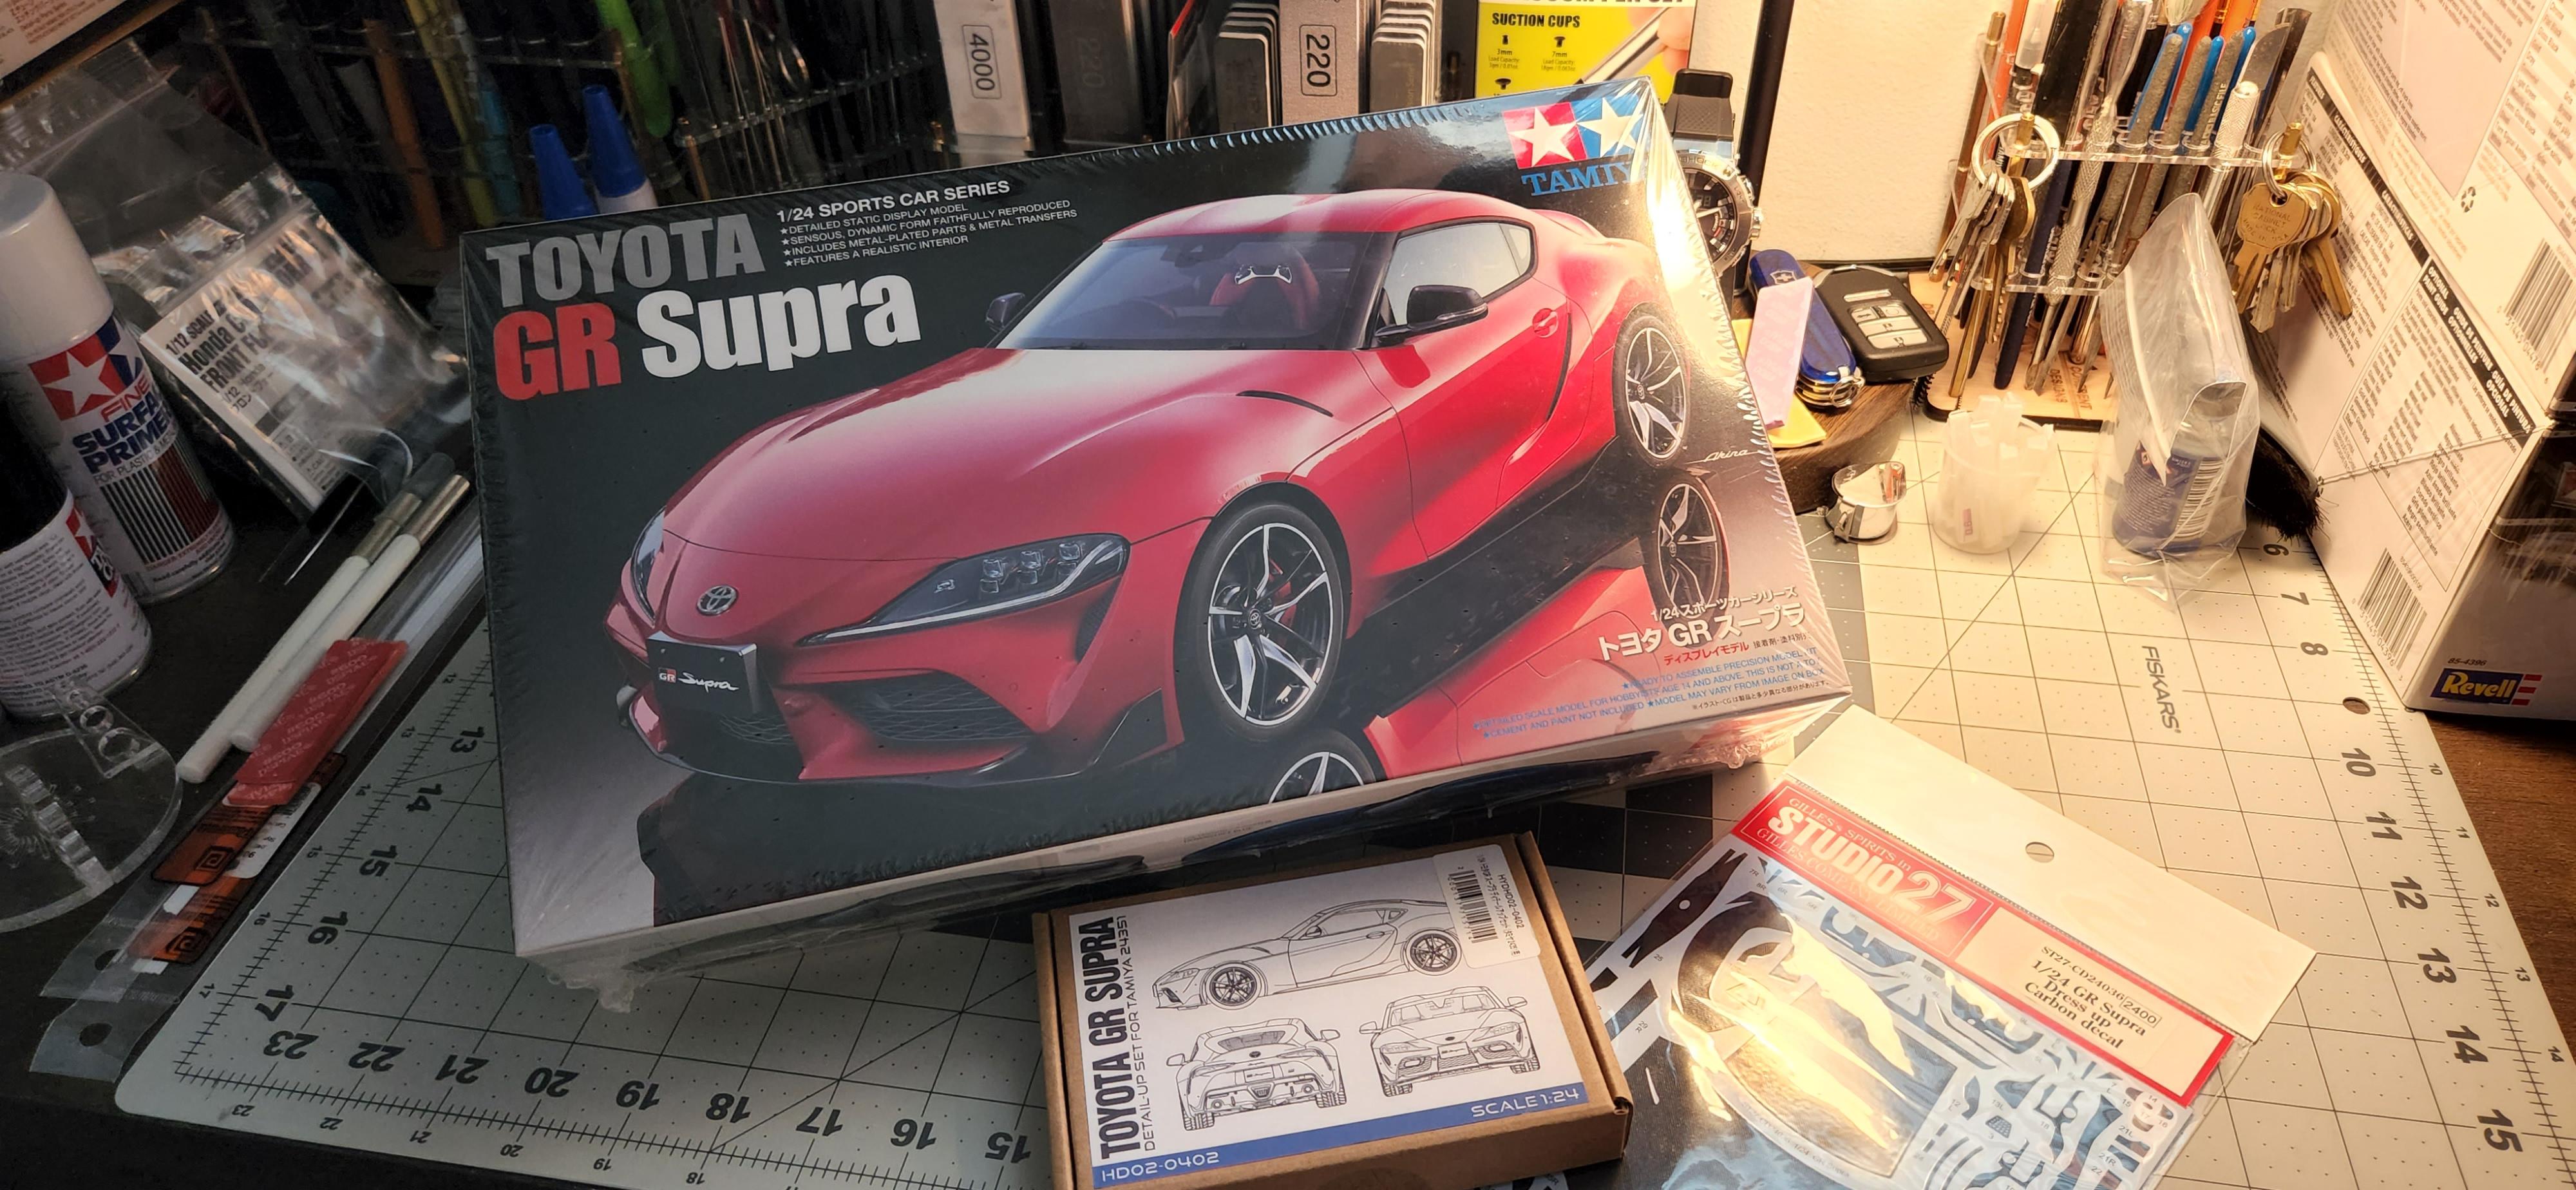
Hi guys !! Long time inactive but im back again with some good builds that i started few months ago.Now., i just sterted with the recent release of Tamiya's Supra GR...few months ago i started other GR's in blue ,yellow...but this one will be in Refraction blue (2021) color.Now i just started with the bodyshell ,bumpers and other body parts ,cleaning ,sanding a little bit,scribing and polishing the parts before primer.i used tamiya scribing tool .10 and .15 for doors ,gas cap door etc...
Soon ill post more progress!
Thanks
-
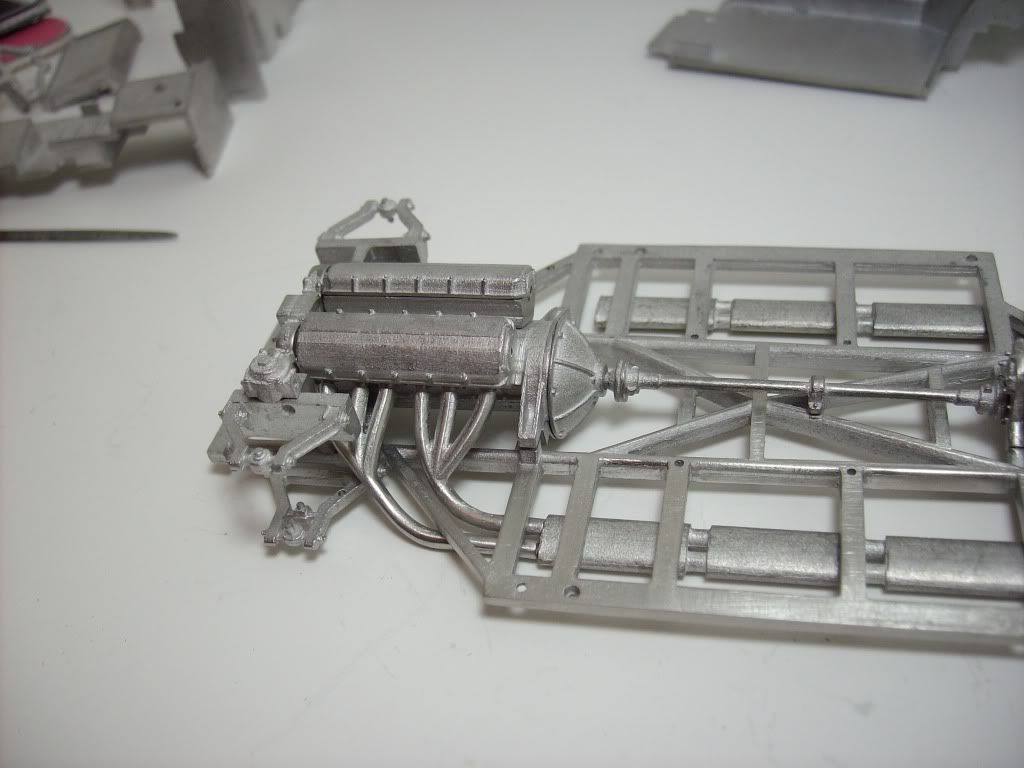
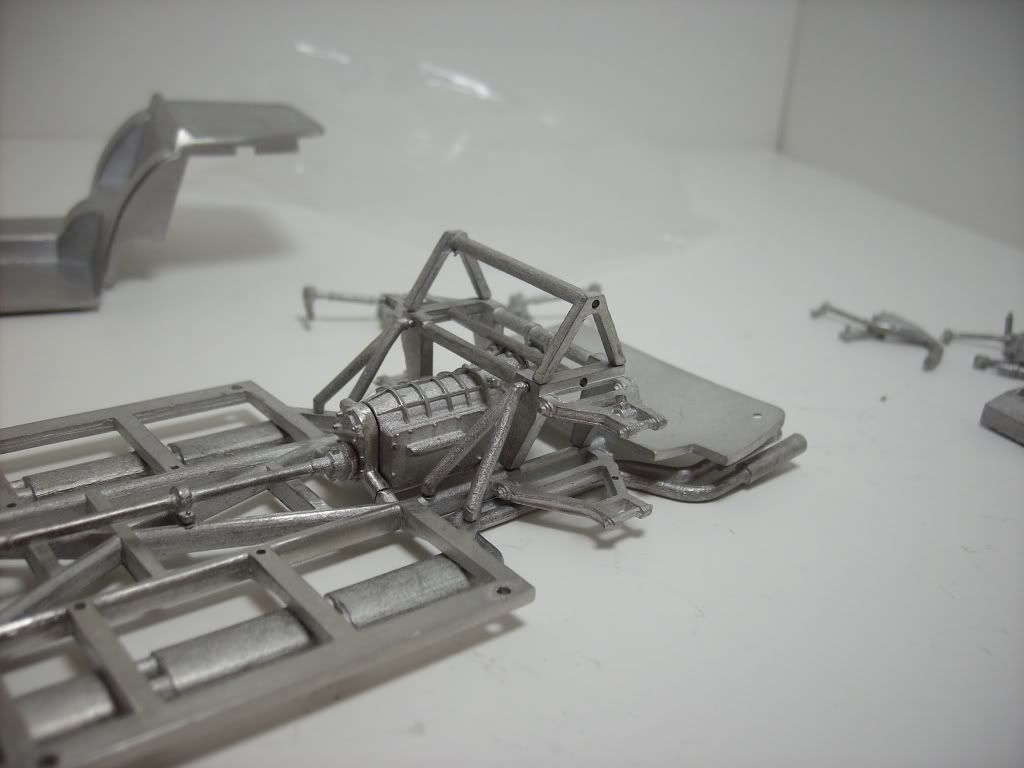
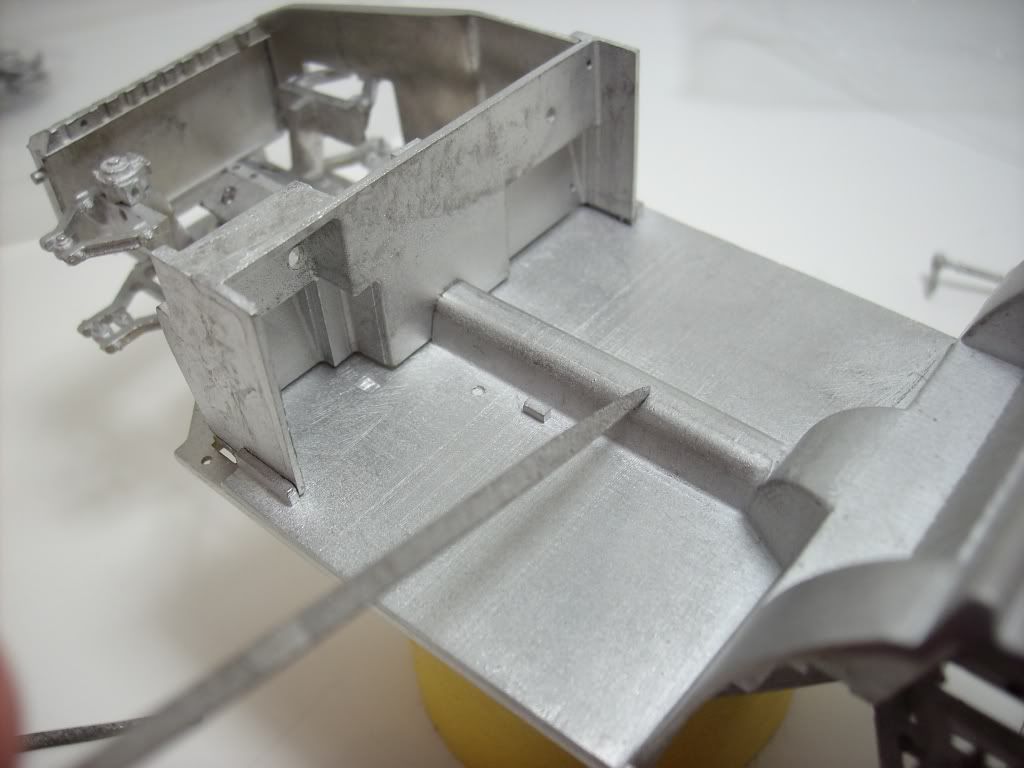
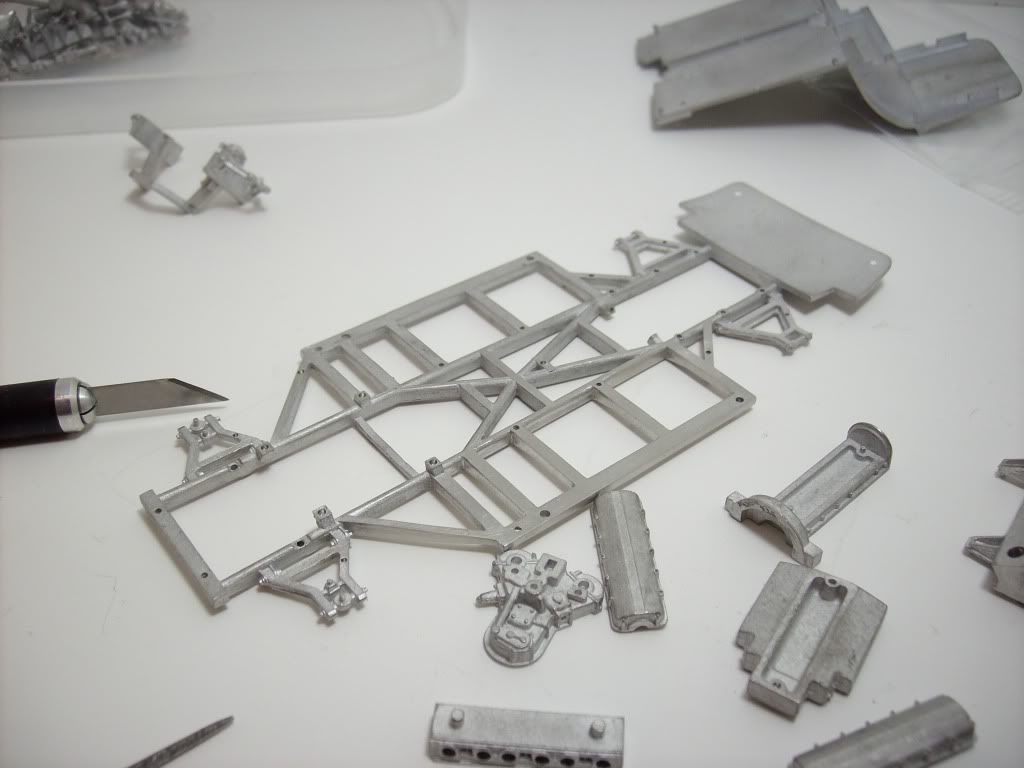
here most of the chassis parts and engine were installed to see how fit ,next i will adjust the suspension wheel spindles and rear axle., stay tune!
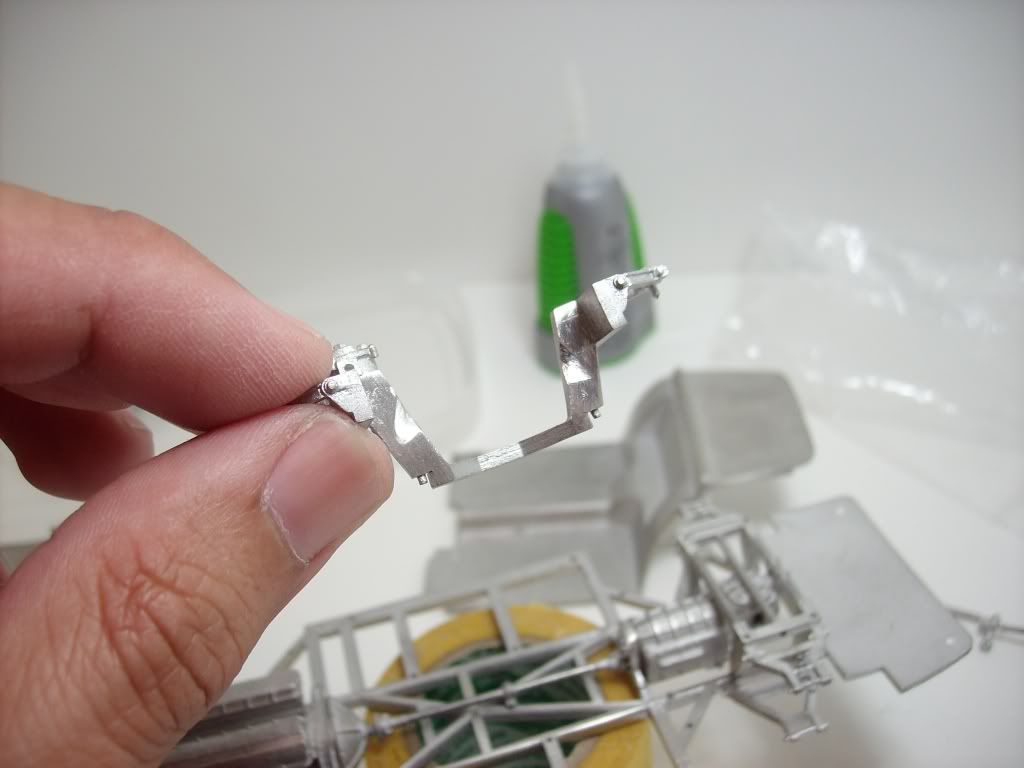
most of the parts instaled needed modifications drilling and a lot of work
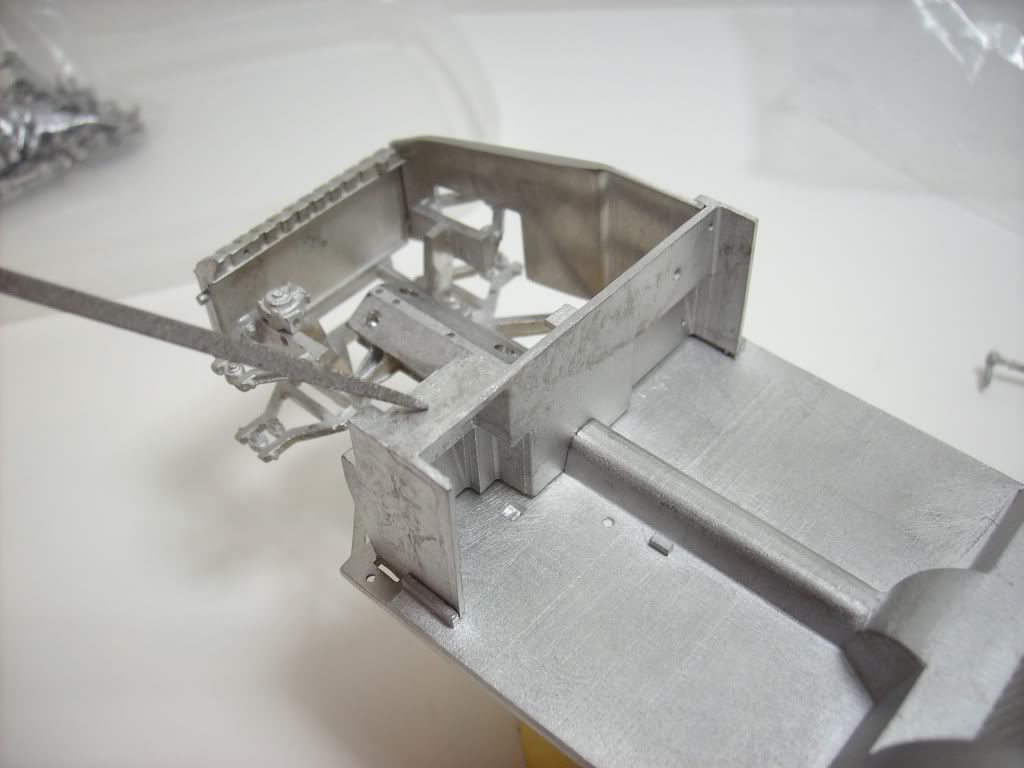
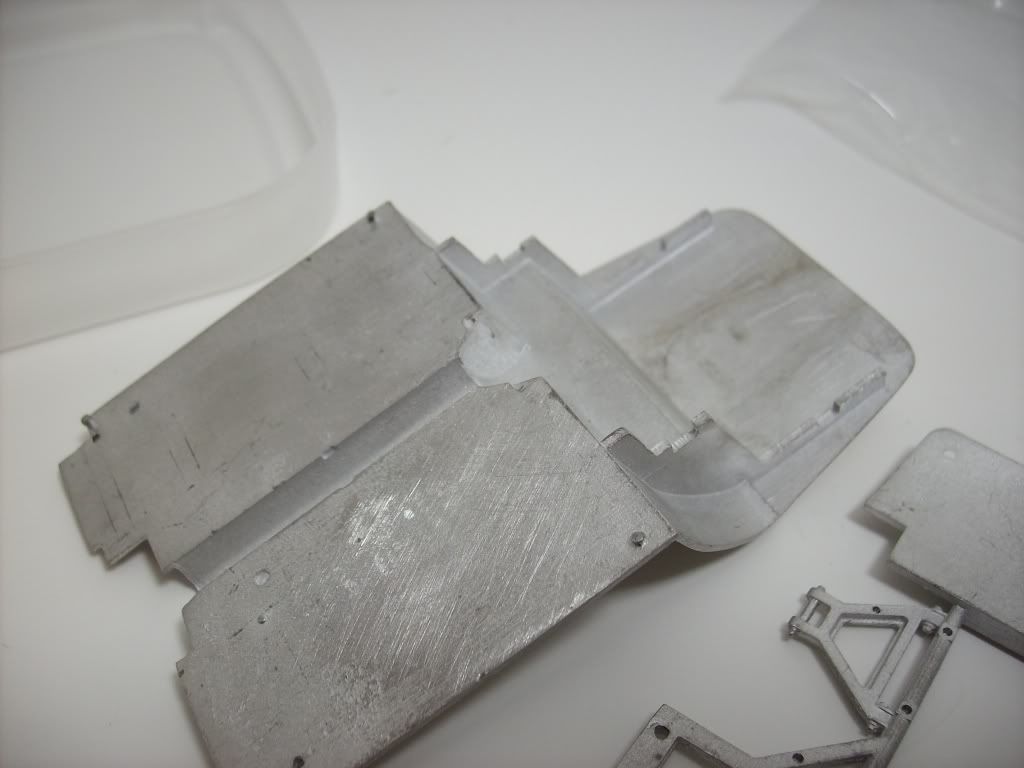
the front upper suspension were modified to fit correctly to the chassis and headers fit .,this is the part without modifing
and this is the modification to let the headers fit well in the cylinder heads
-
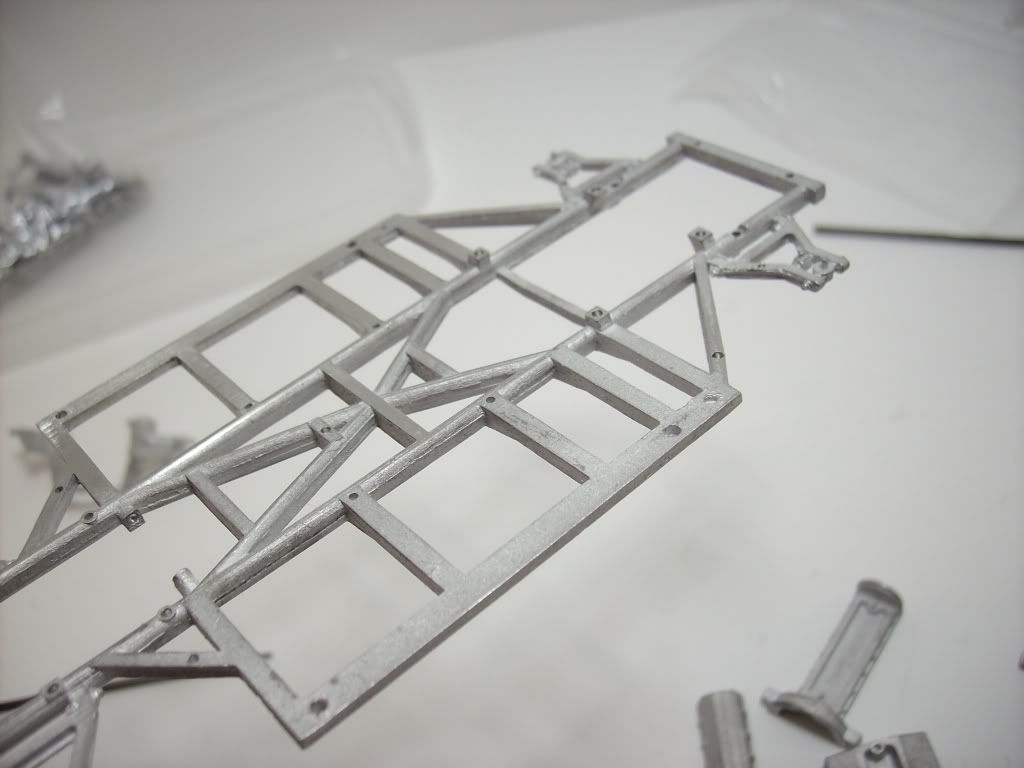
i use diamond files from squadron and sanding blocks to clean the chassis and other parts
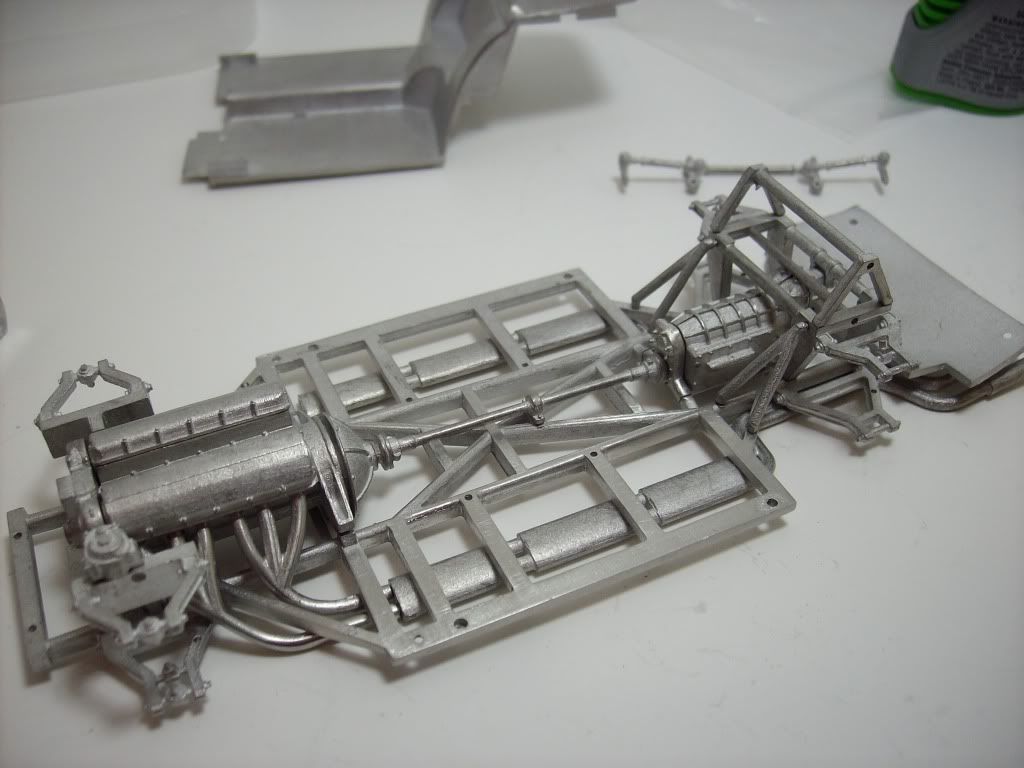
here i check the fit of the floor pan.i need to align the chassis to fit flat to the floorpan ,note the poor molding and rough material
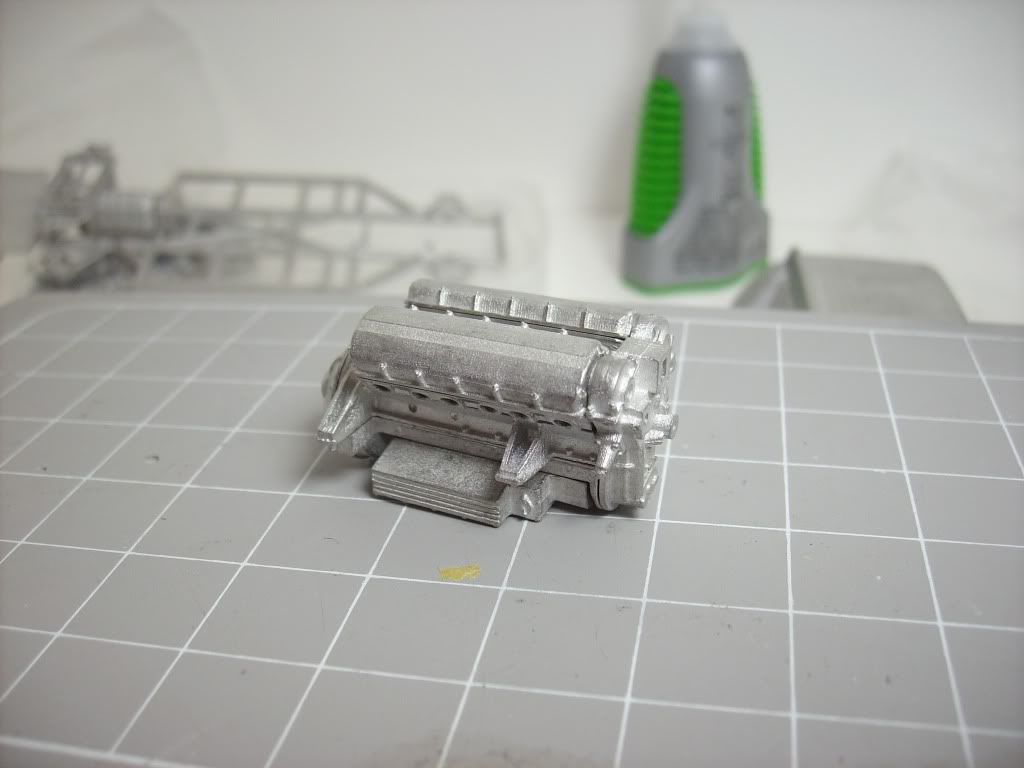
i reworked the engine because all the parts doesnt fit prefectly so i drilled the pinholes a little larger and adjusted some warped parts
-
Hi guys!
i bought this kit a few years ago i stored for a while until i get enough time to work with
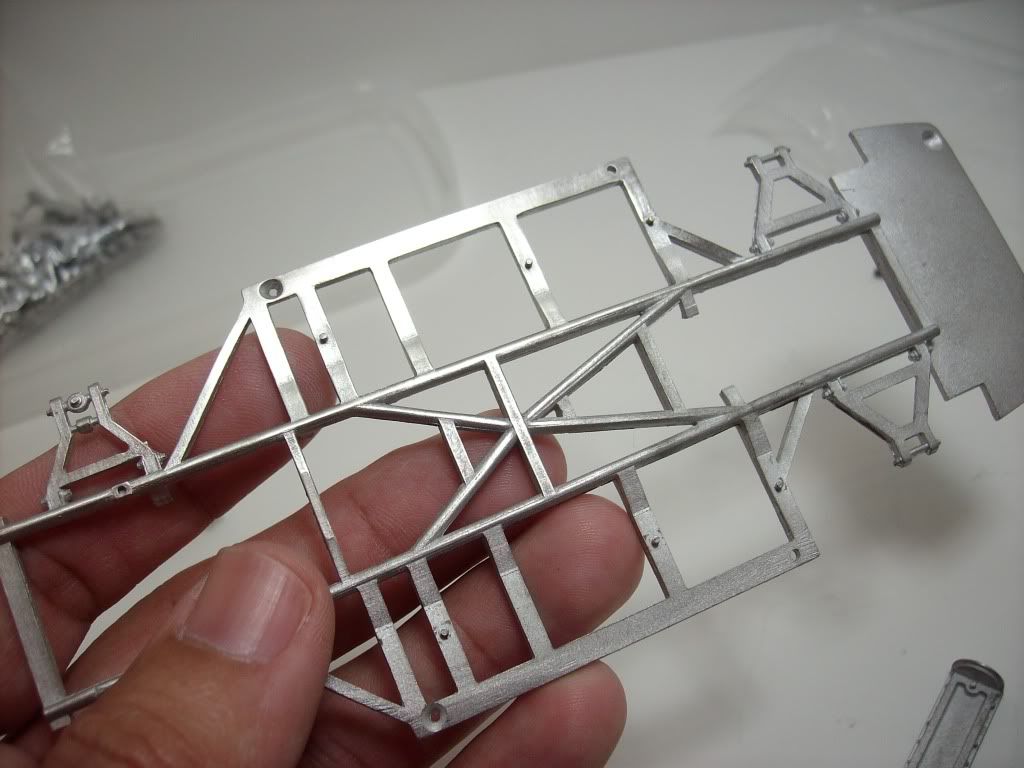
let's start with the chassis .as you can see the rough material of the parts made this kit a little dessapoint one but with a little patience and work with the correct tools it will look great.,all the details are there but they are hidden by a little rough film that is the mold release powder,this type of powder is used to make easy to remove the part from the rubber mold so a little sand and file will remove it ,some of the parts doesn't mold well in the spin cast process so those parts needs more attention and some fill with white epoxy
almos all of the parts were aligned prefectly and drilled to pre assemble the chassis to see if have any issues ,and i found a lot,this cause a assembly problems and poor fit of the parts causing a poor appeareance ,
-
Anyway, congratulations Rey, looks like you are taking this contest hands down but I will assure you that it's gonna make someone more envious than ever, then again, you knew that already!
Marcos! dont forget,you are near with your thunderbird!! and we are a week away! to end this poll so congrats to you too!!!
-
No podia ser una mejor fecha... oops...
You couldn't have picked a better date... jajaja
:huh:
-
Anyway, congratulations Rey, looks like you are taking this contest hands down but I will assure you that it's gonna make someone more envious than ever, then again, you knew that already!
Thank you marcos !
-
I am wondering what was the idea behind this comment, he knows very well that John Teresi is not part of the Scalebuilder forum and on top of that, he is even more aware of the people that belong to the Scalebuilder forum....
:blink: :lol: -
Hi guys!!
here some pics .,
i assembled the hood hook pins,these hood pins are made from 5 springs(comes with the kit) and the photoetched hooks
the hood needs five ,so i glued the parts with 5 minute epoxy ,since they are functional they need a strong glue to avoid loose the parts when remove the hood. see...
-
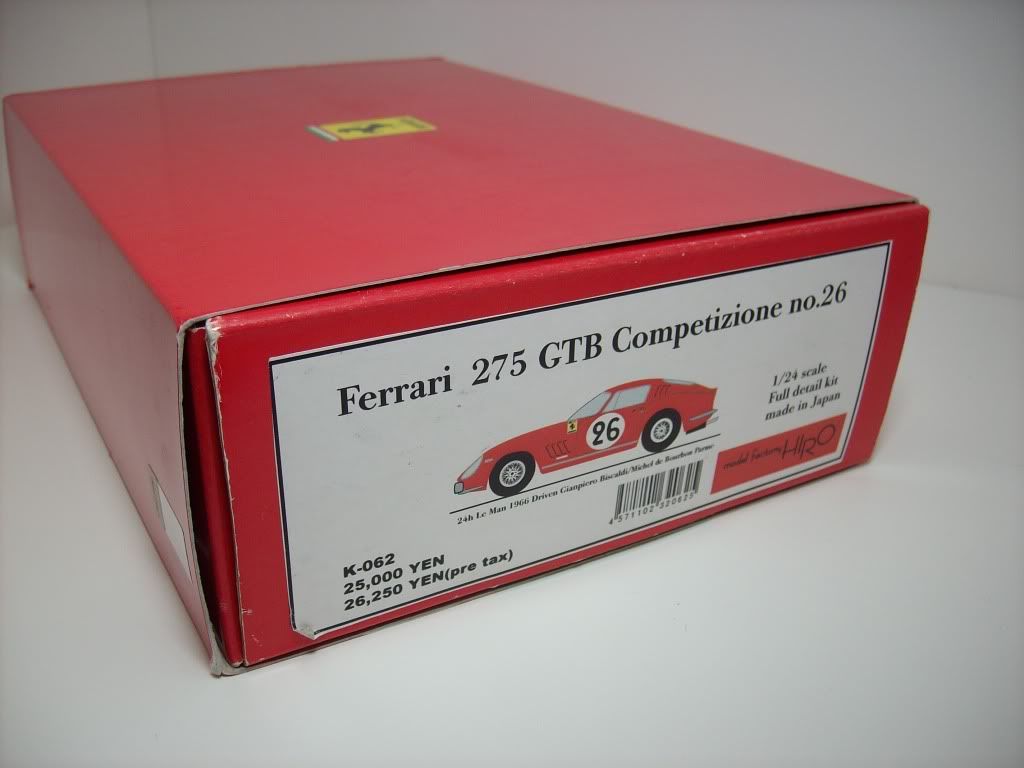
Must say that this is truly a magnificent build and superb work in detailing of a quite difficult and expensive model...as all HIRO kits seems to be!!, as very well said by fellow forum members, the result shown here is the result of a LOT of work and a master touch by the builder.
Fred
Thank you very much for those kind of words Fred!
-
Thanks guys. I have been having trying to get a body for the past four months.
check your messenger
-
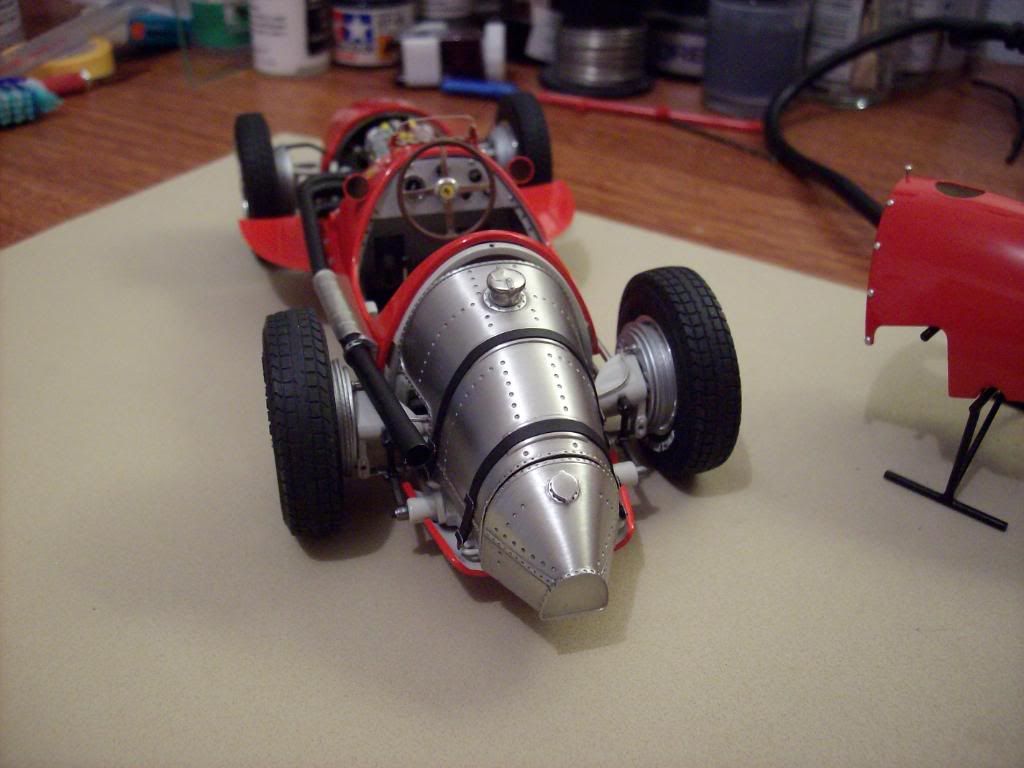
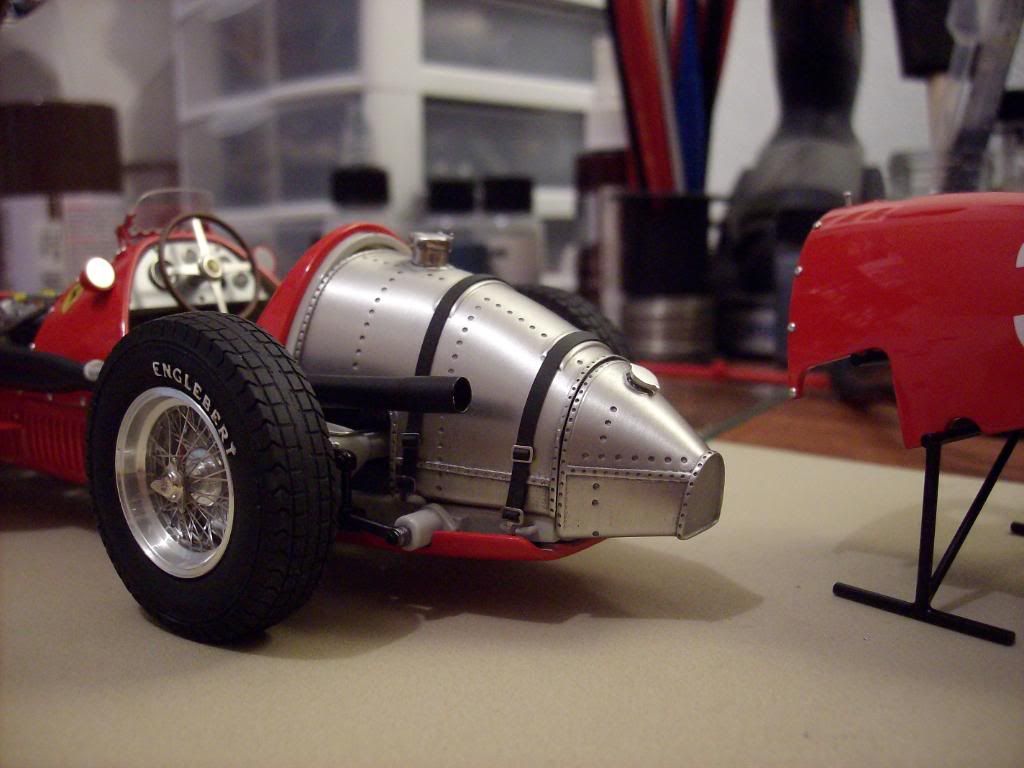
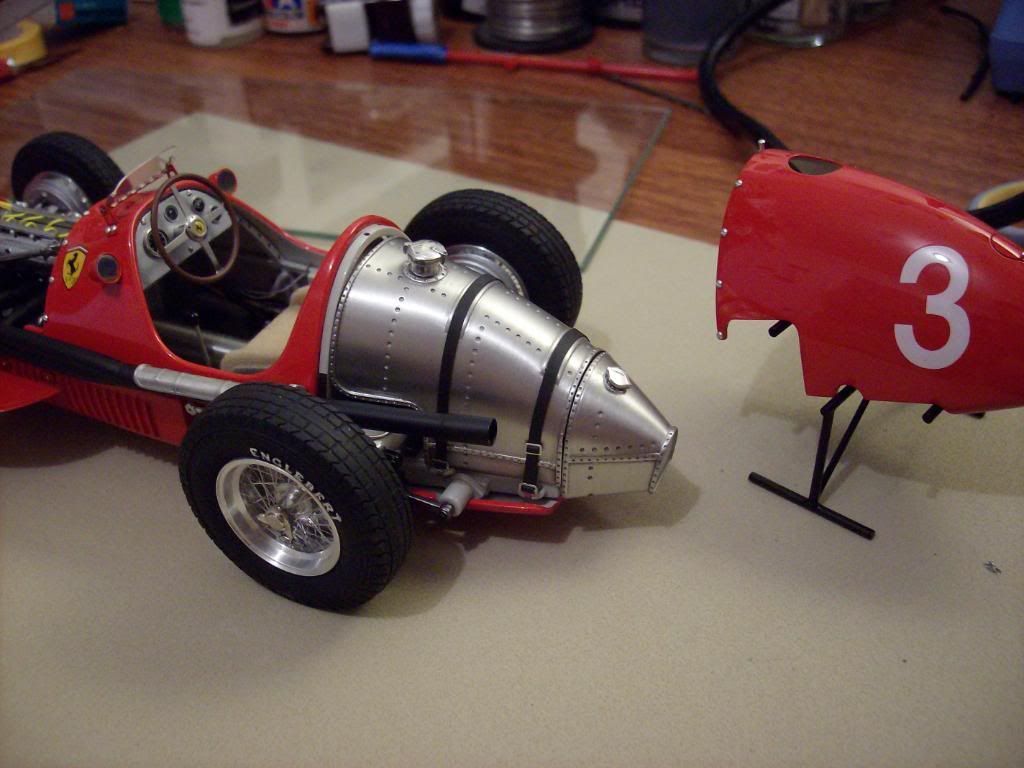
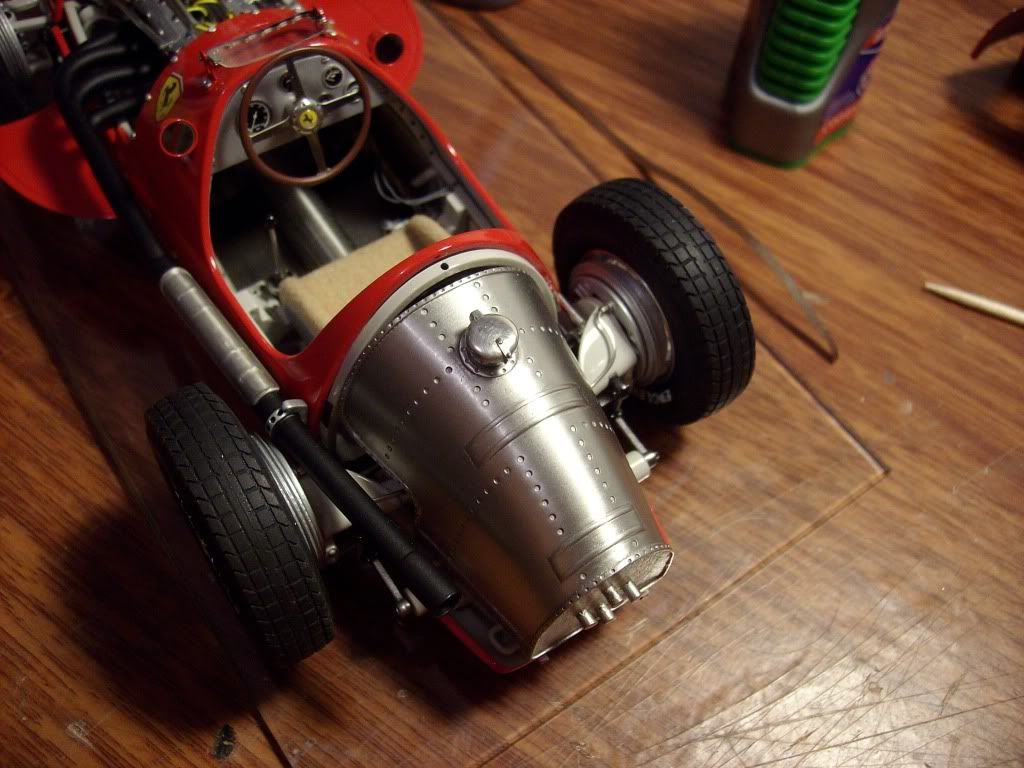
well the tank is done!
the tank belts came with the kit i made it functional so they can removed.,the buckles are from KA models -
That's one super clean build. Great job, Rey.
Thank you Jackson
-
the tank was clear coated with tamiya semi gloss clear ts-79 ,this clear gives a look of aluminum to white metal
-
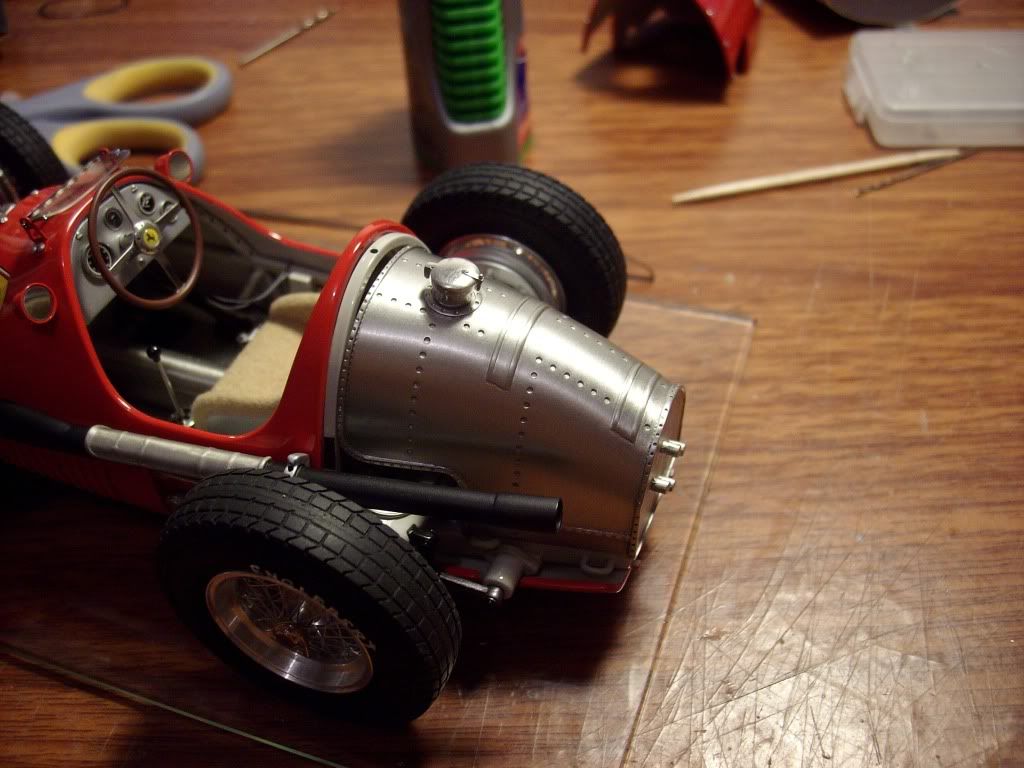
Hi guys !
this is part of the fuel and oil tank before i start to work with
,ugly huhh!?now after hours of sanding,polishing,metal priming,a little welding here an there., drilling and make some adjustments
Now looks better ,looks like a real aluminum hand formed fuel tank,i just need to complete the oil tank in the same way that i do with the fuel tank and is done!,the oil tank goes on the rear part of the fuel tank in those tinny pins.,
-
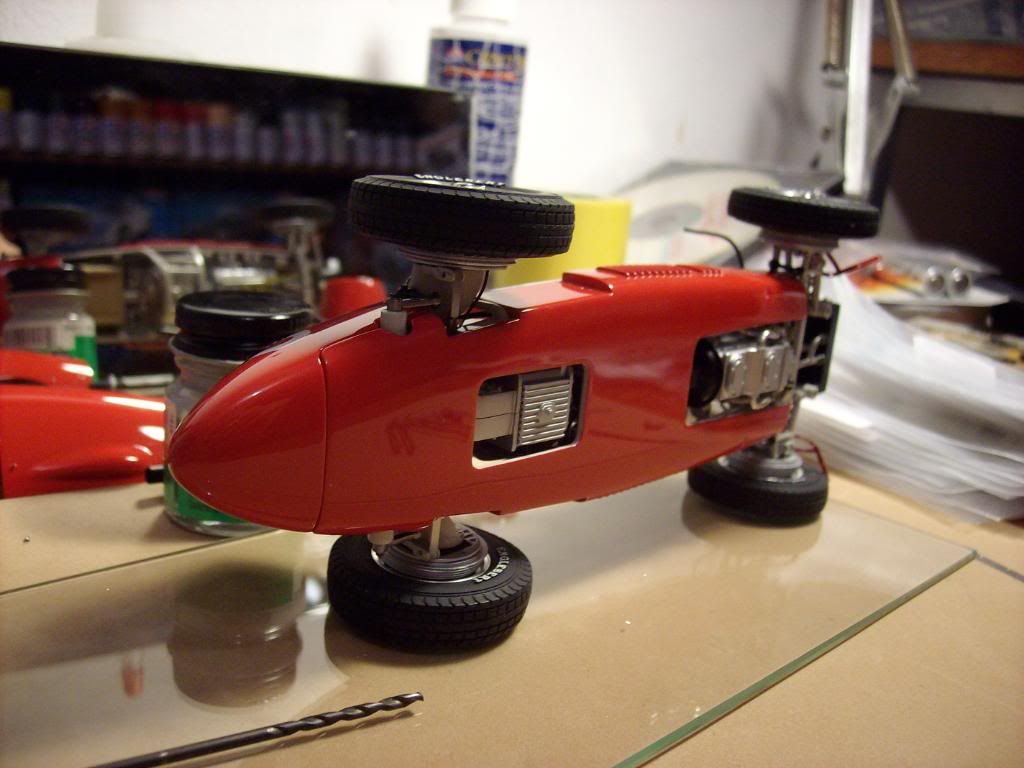
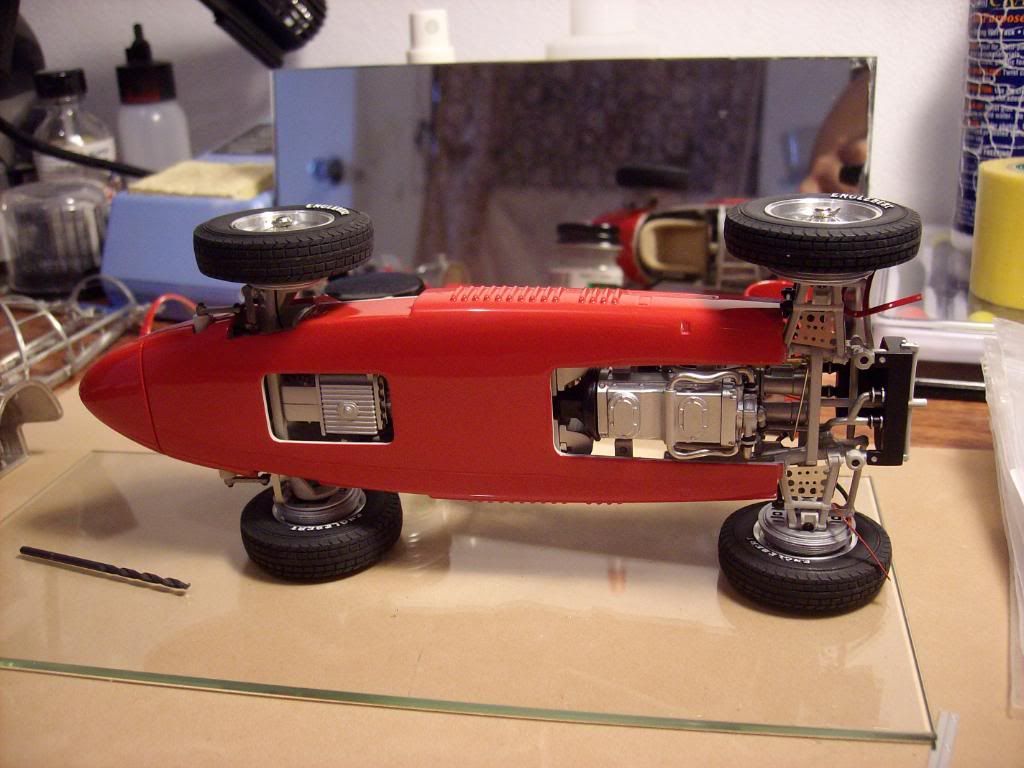
the undercarriage done
-
the rear and front suspension done
-
Terrific build man, these kits are surely not a walk in the park, they are crude and difficult and require real talent to master. You should put this on the Under Glass section of the forum if it's finished brother.
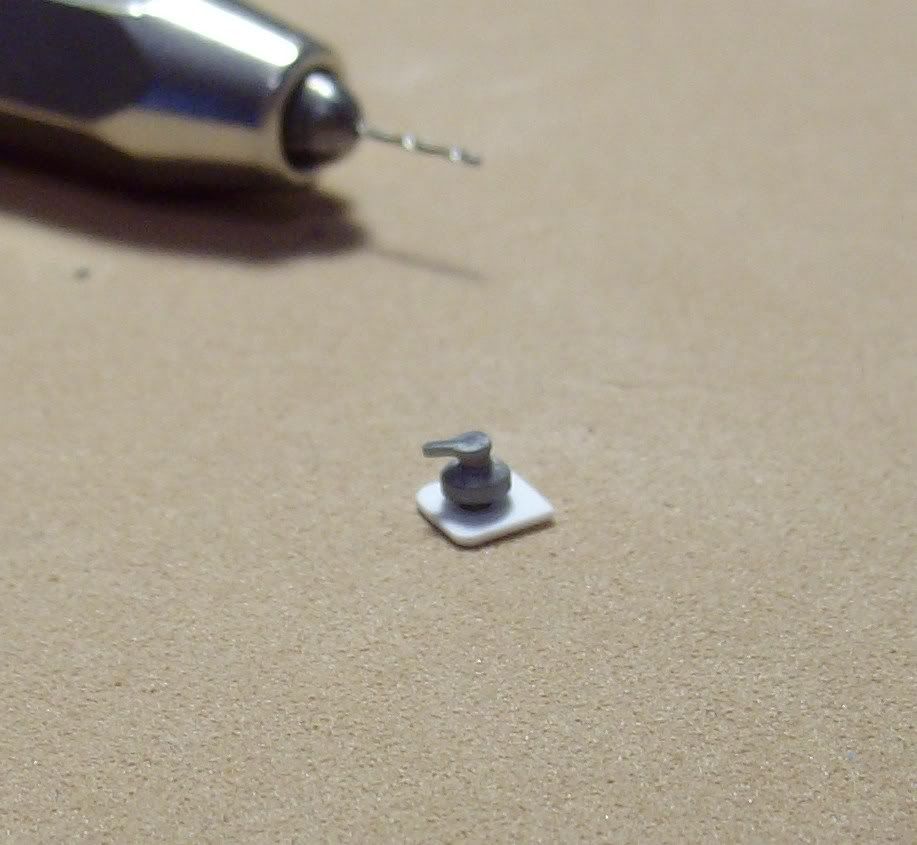
Thank you Kevin i will finish the model very soon, i am working on the fuel tank and the throttle linkage ,the linkage is scratch build because the kit doesnt have any..the car needs some scratch build parts, im working an ignition kill switch made from styrene.
-
Great work my friend and for the record? Kustov does not come close to your building talents, that's a fact. He might know a lot about the history of Ferraris and is a great builder but he is not this good.
Gracias Marcos (thanks So much)
You know how is this.,


 :huh:
:huh:  :lol:
:lol:


 the tank belts came with the kit i made it functional so they can removed.,the buckles are from KA models

 ,ugly huhh!?
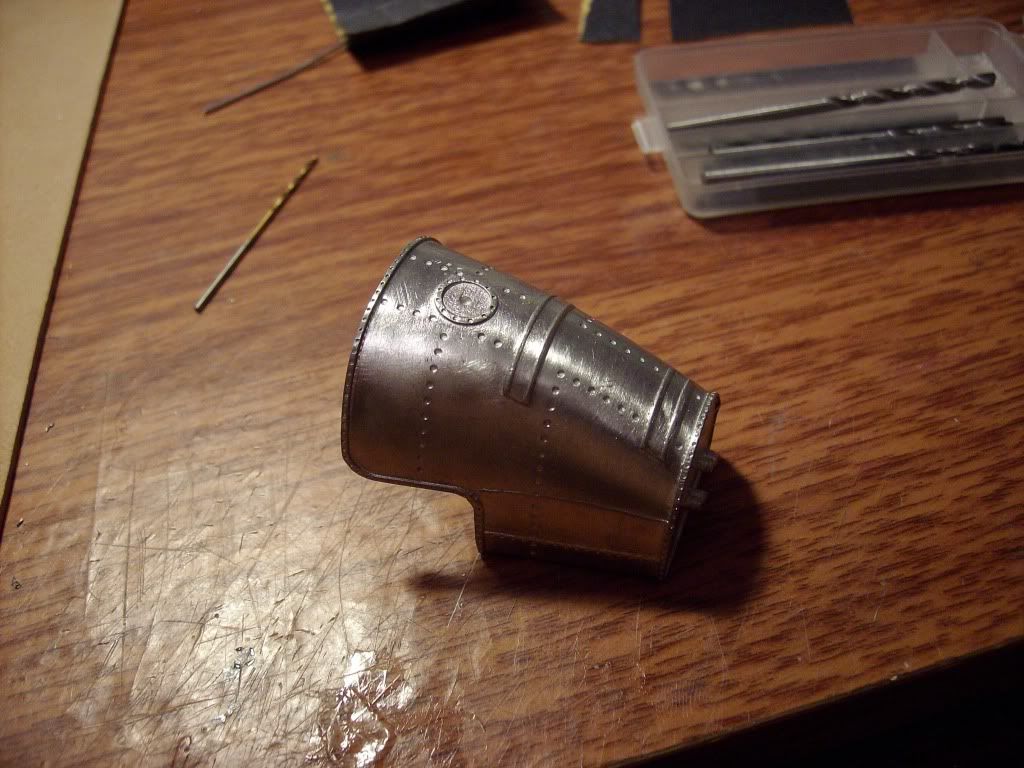


Tamiya Nissan 240ZG
in WIP: Model Cars
Posted
Hi!
Yes.,This Hobby Design suspension components gives a lower ride height and have the adjustable ride height nut detail on the strut,looks pretty nice ! I need to test fit first to see how it looks using the resin tyres and wheels! Soon ill post some pics!
Thanks !!