

VVM
-
Posts
7 -
Joined
-
Last visited
Content Type
Profiles
Forums
Events
Gallery
Everything posted by VVM
-
Yeah, color tint really looks a bit light and burned by sun. For the next time probably should choose something on the bright side. Mud on the bottom strangely interfere with red background. In reality, it should be black rust-stop coverage and intense dry pigmenting and minor tears. Scratches on front bumper taken from real car - couple a years ago dad took my car to go to village house and tried to skip some obstacle between wheels on road - resulting in broken HVAC radiator, bent bar under main radiator and full set of deep scratches on bumper bottom.
-
Moved to ready models:
-
Finished it couple a days ago. Messed with hood, so should repaint it. Headlights are chrome and covered by PVA glue to keep dim look of reflectors. Varnish looks satin - probably flow was too low. Hope to improve my skills at the next build. Side decals are strange a bit. Filed tires with drill to make them dusty. Washed bottom to make it not so clean

-
Build is finished. Tried to photo by phone, but result is not good
-
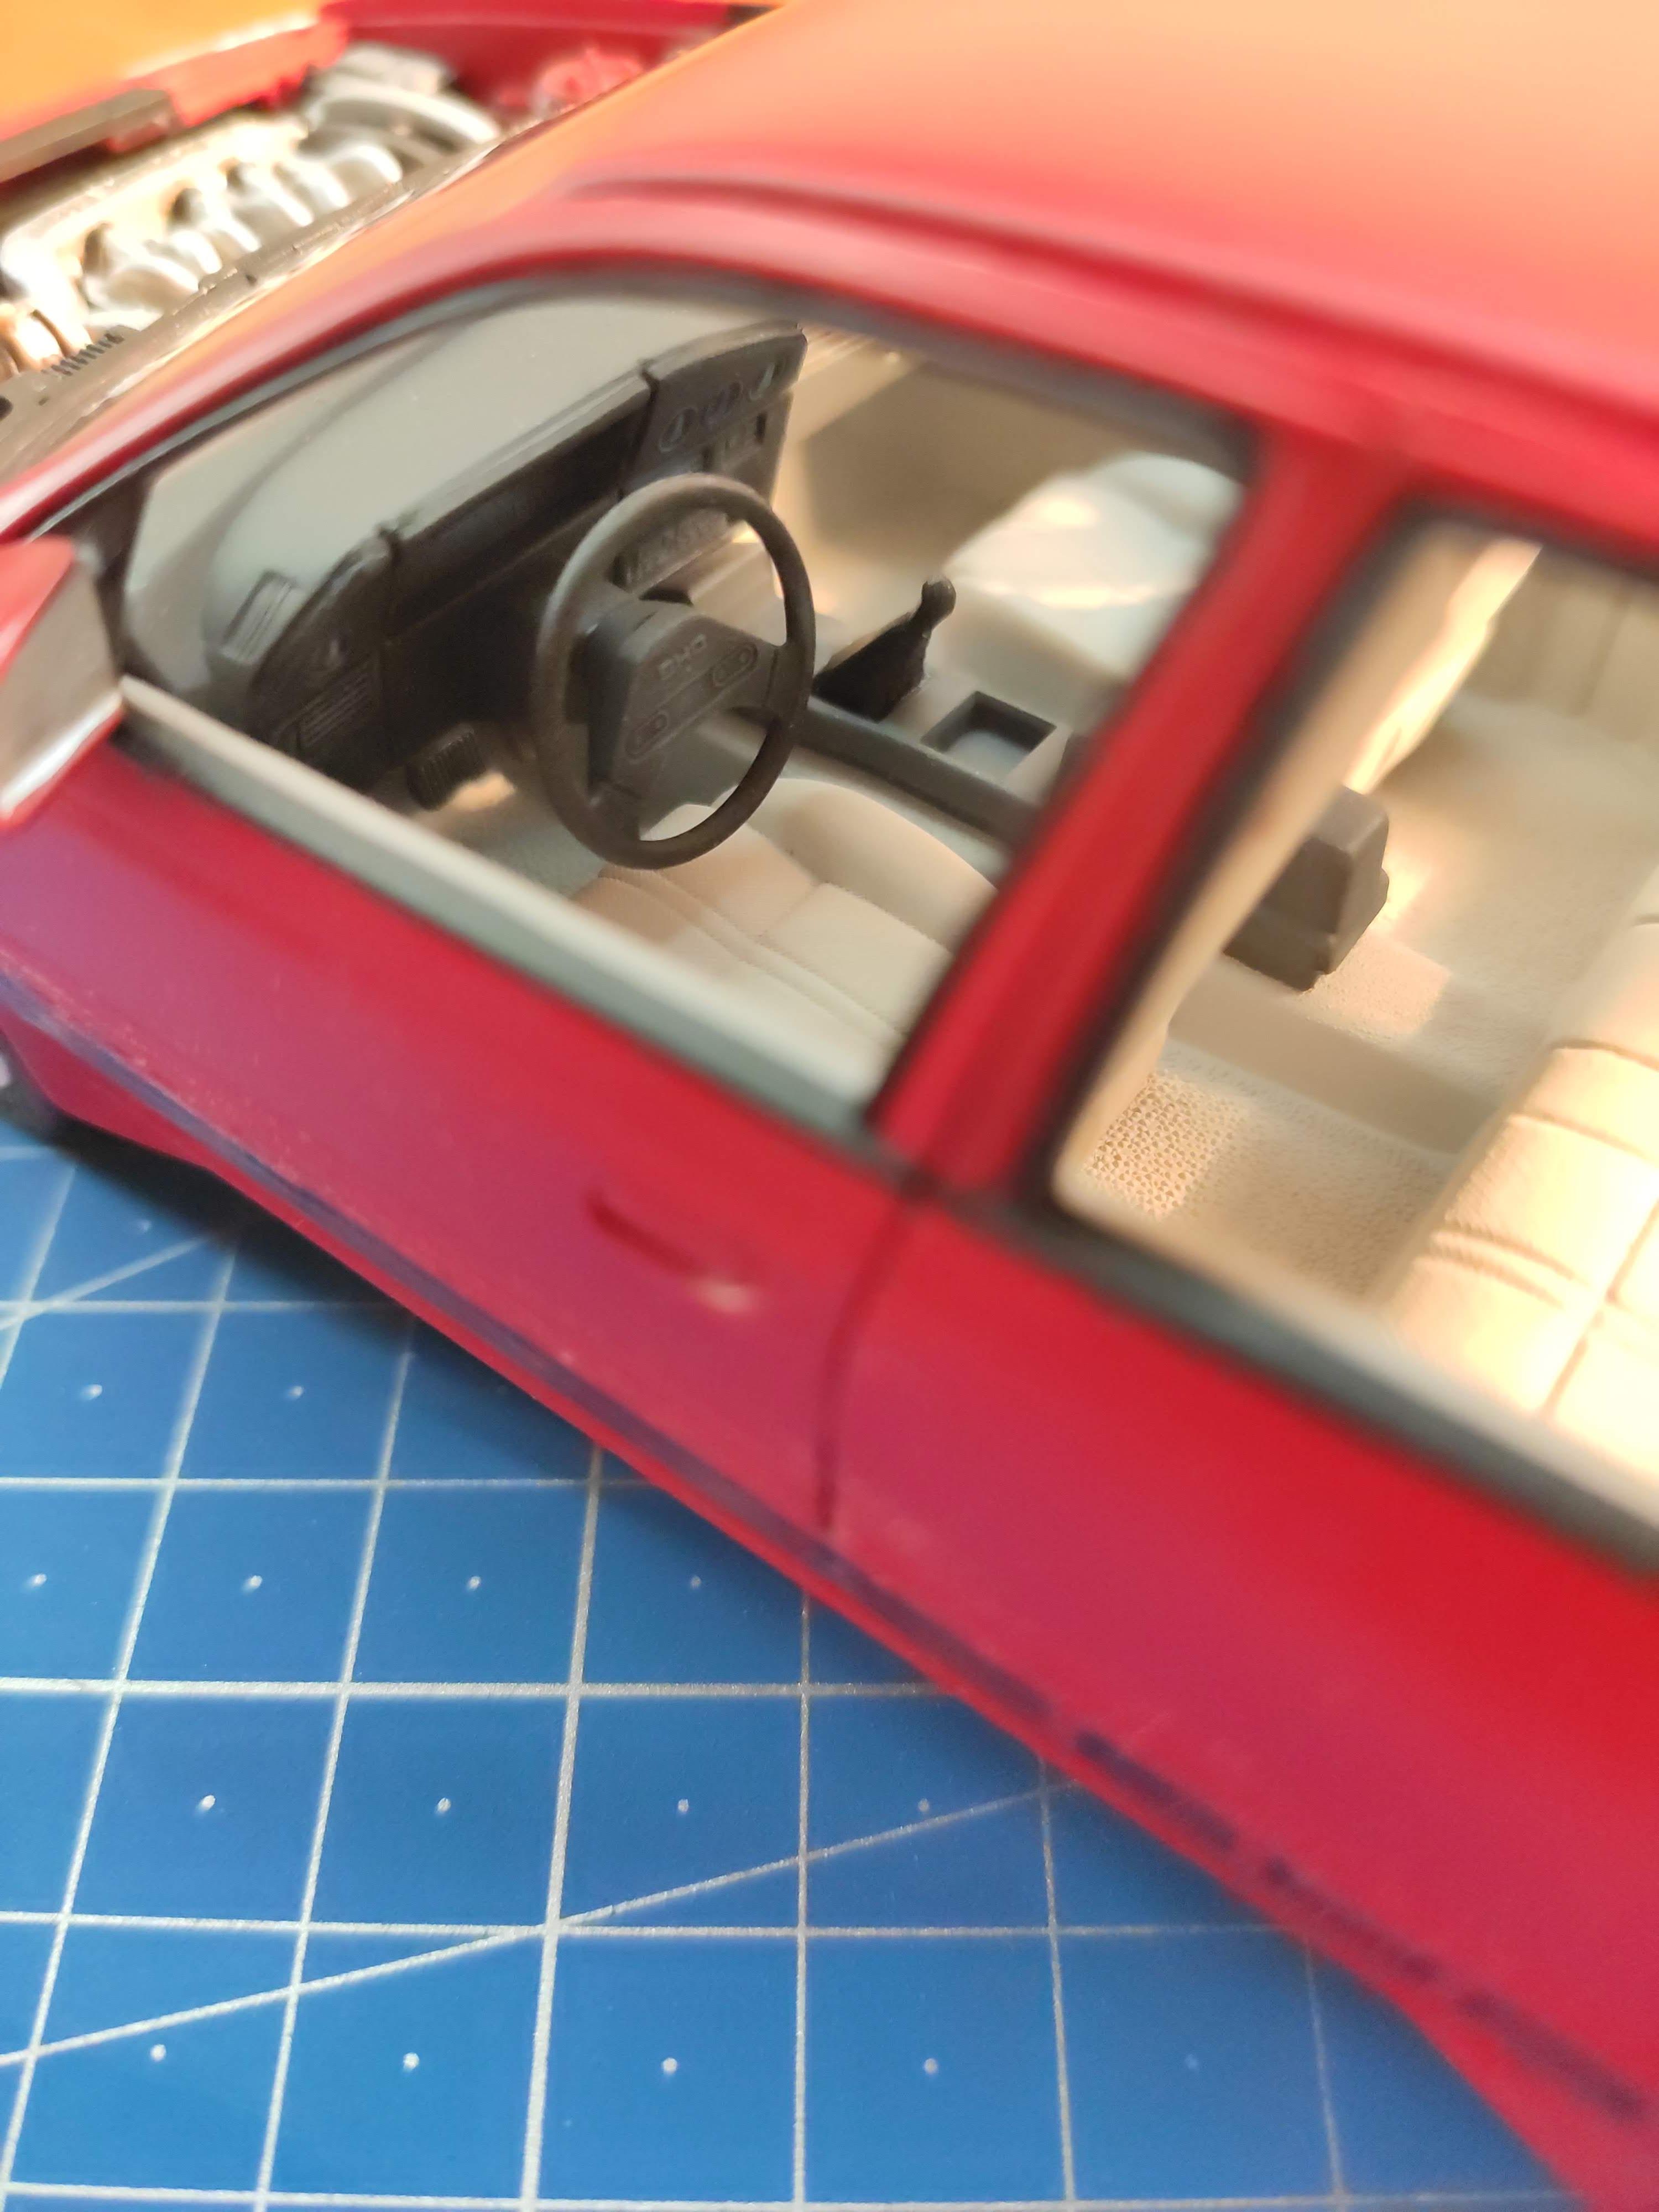
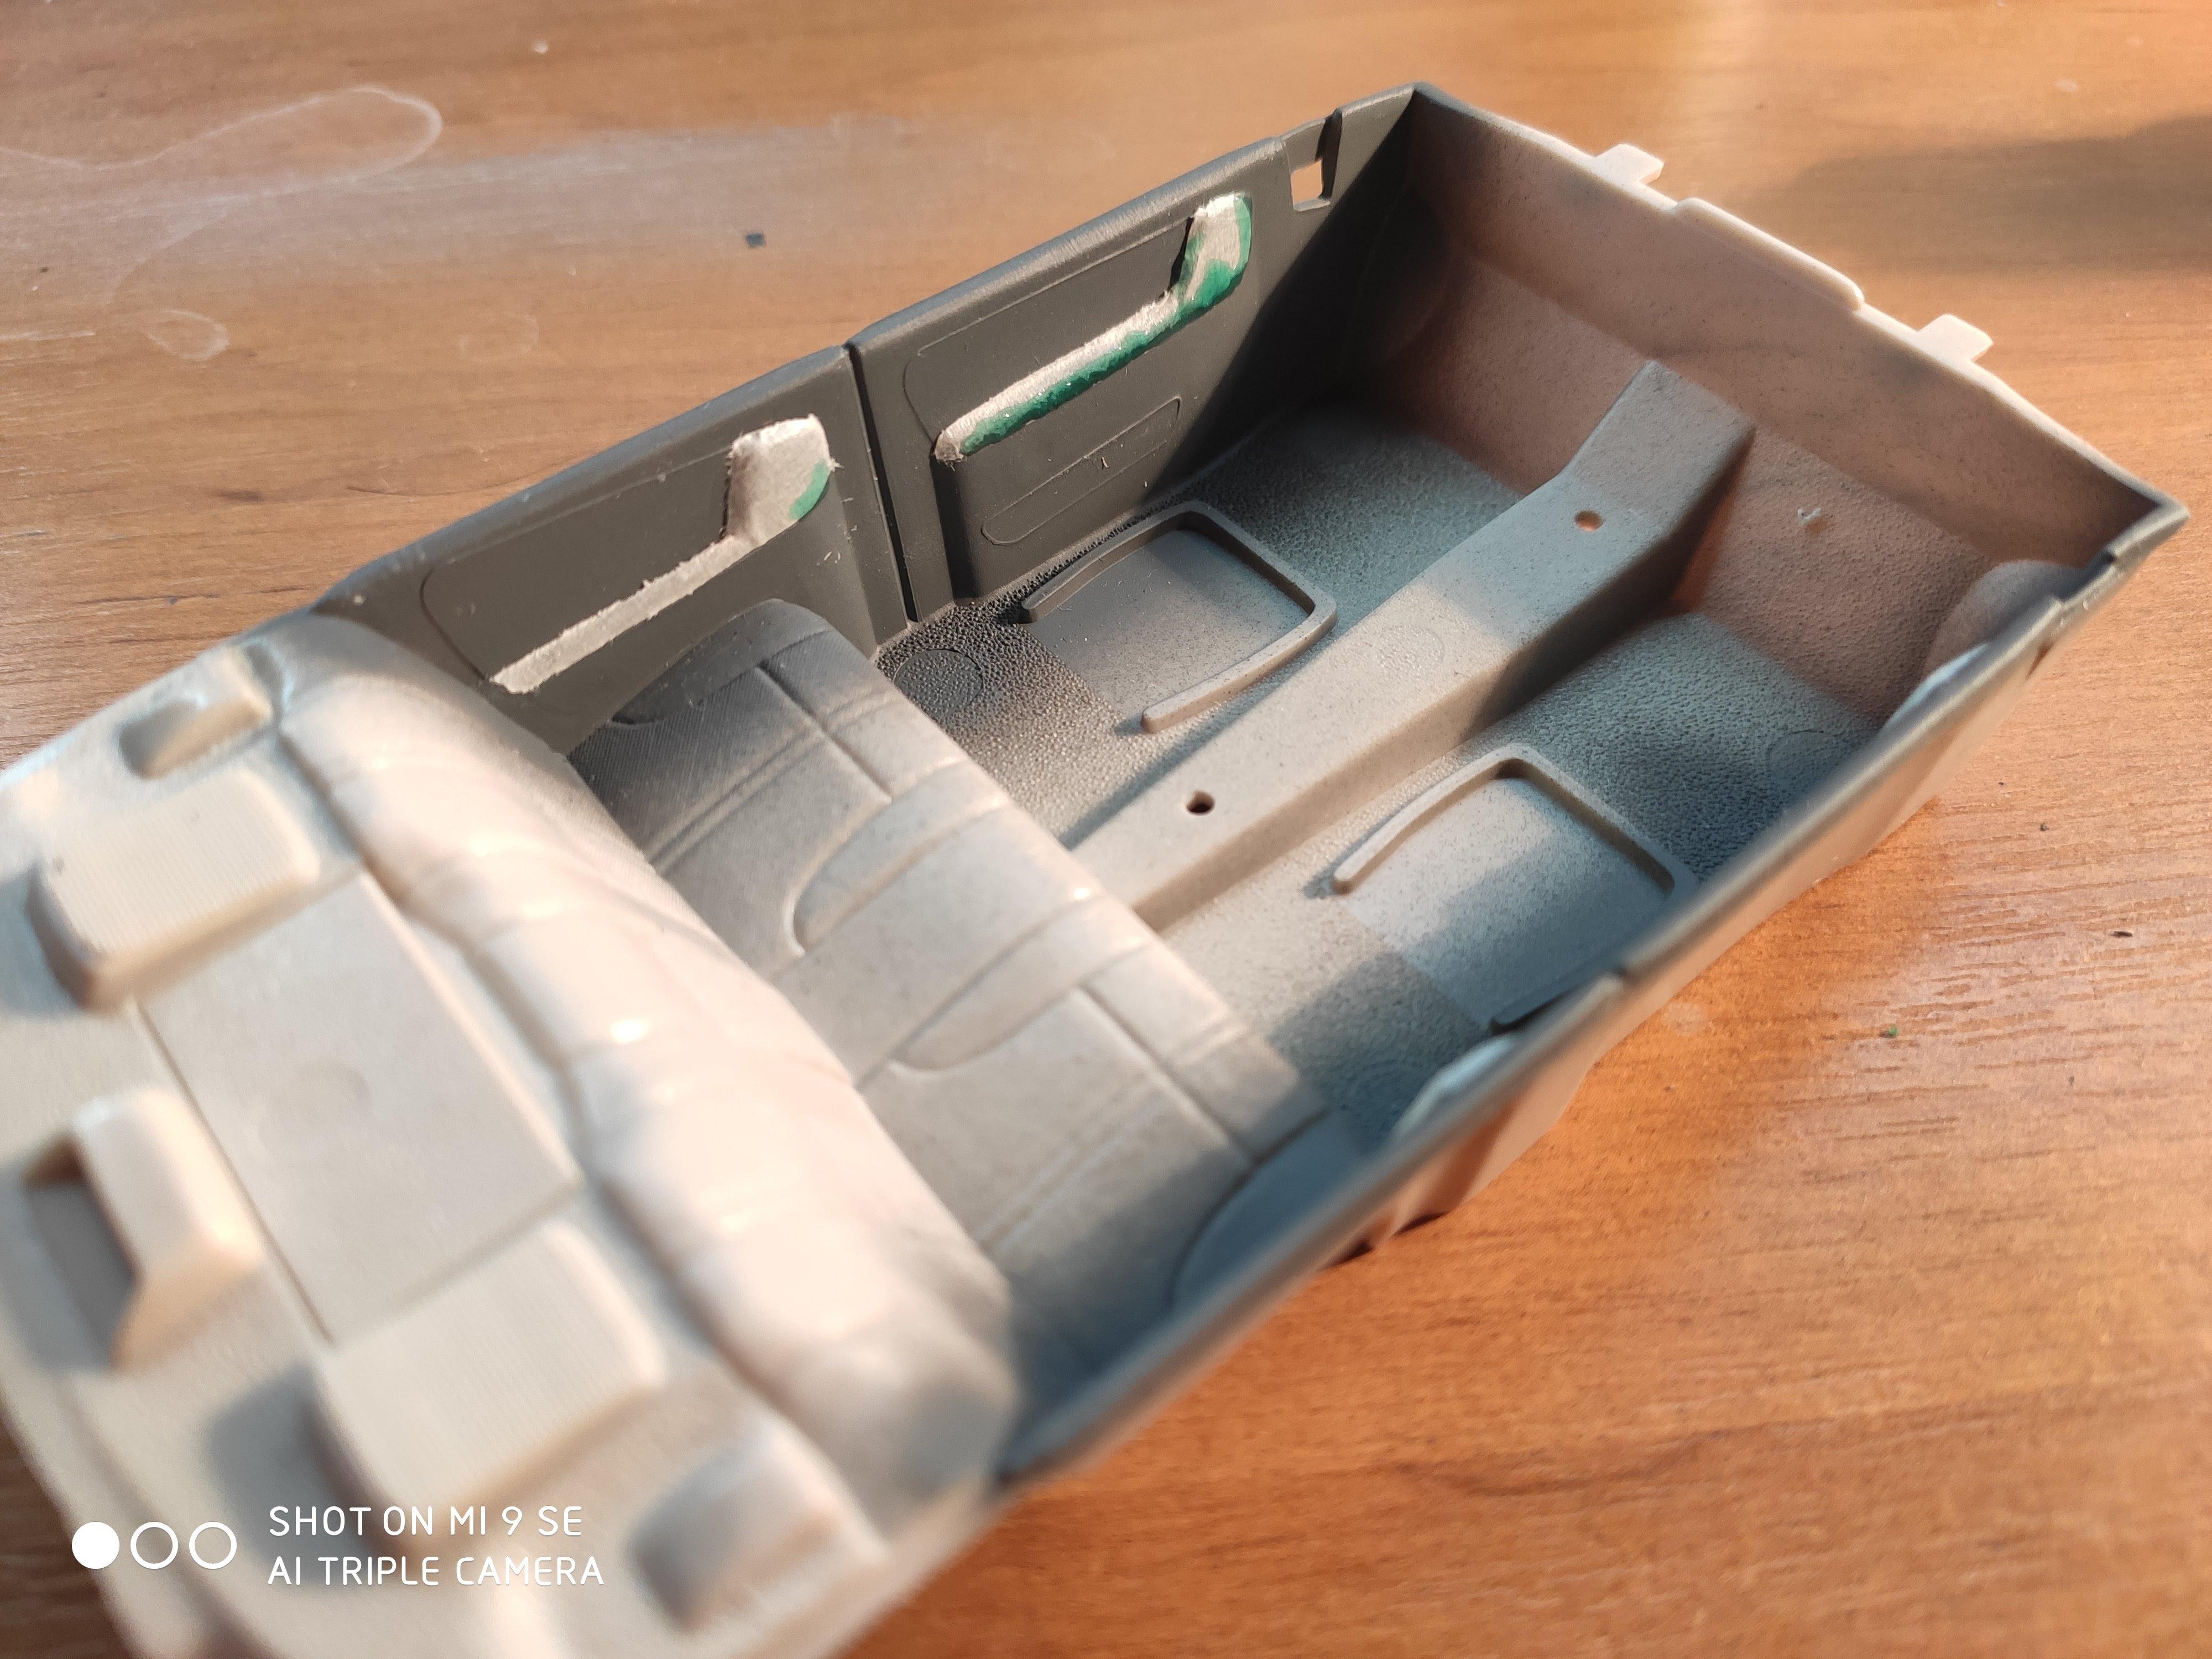
Finished interior and various bits and pieces, mostly under the hood. Door panels looks not good, next time need to think about better masking of such parts. Also speakers looks dirty. Maybe, should repaint them in flat grey, like front panel
-
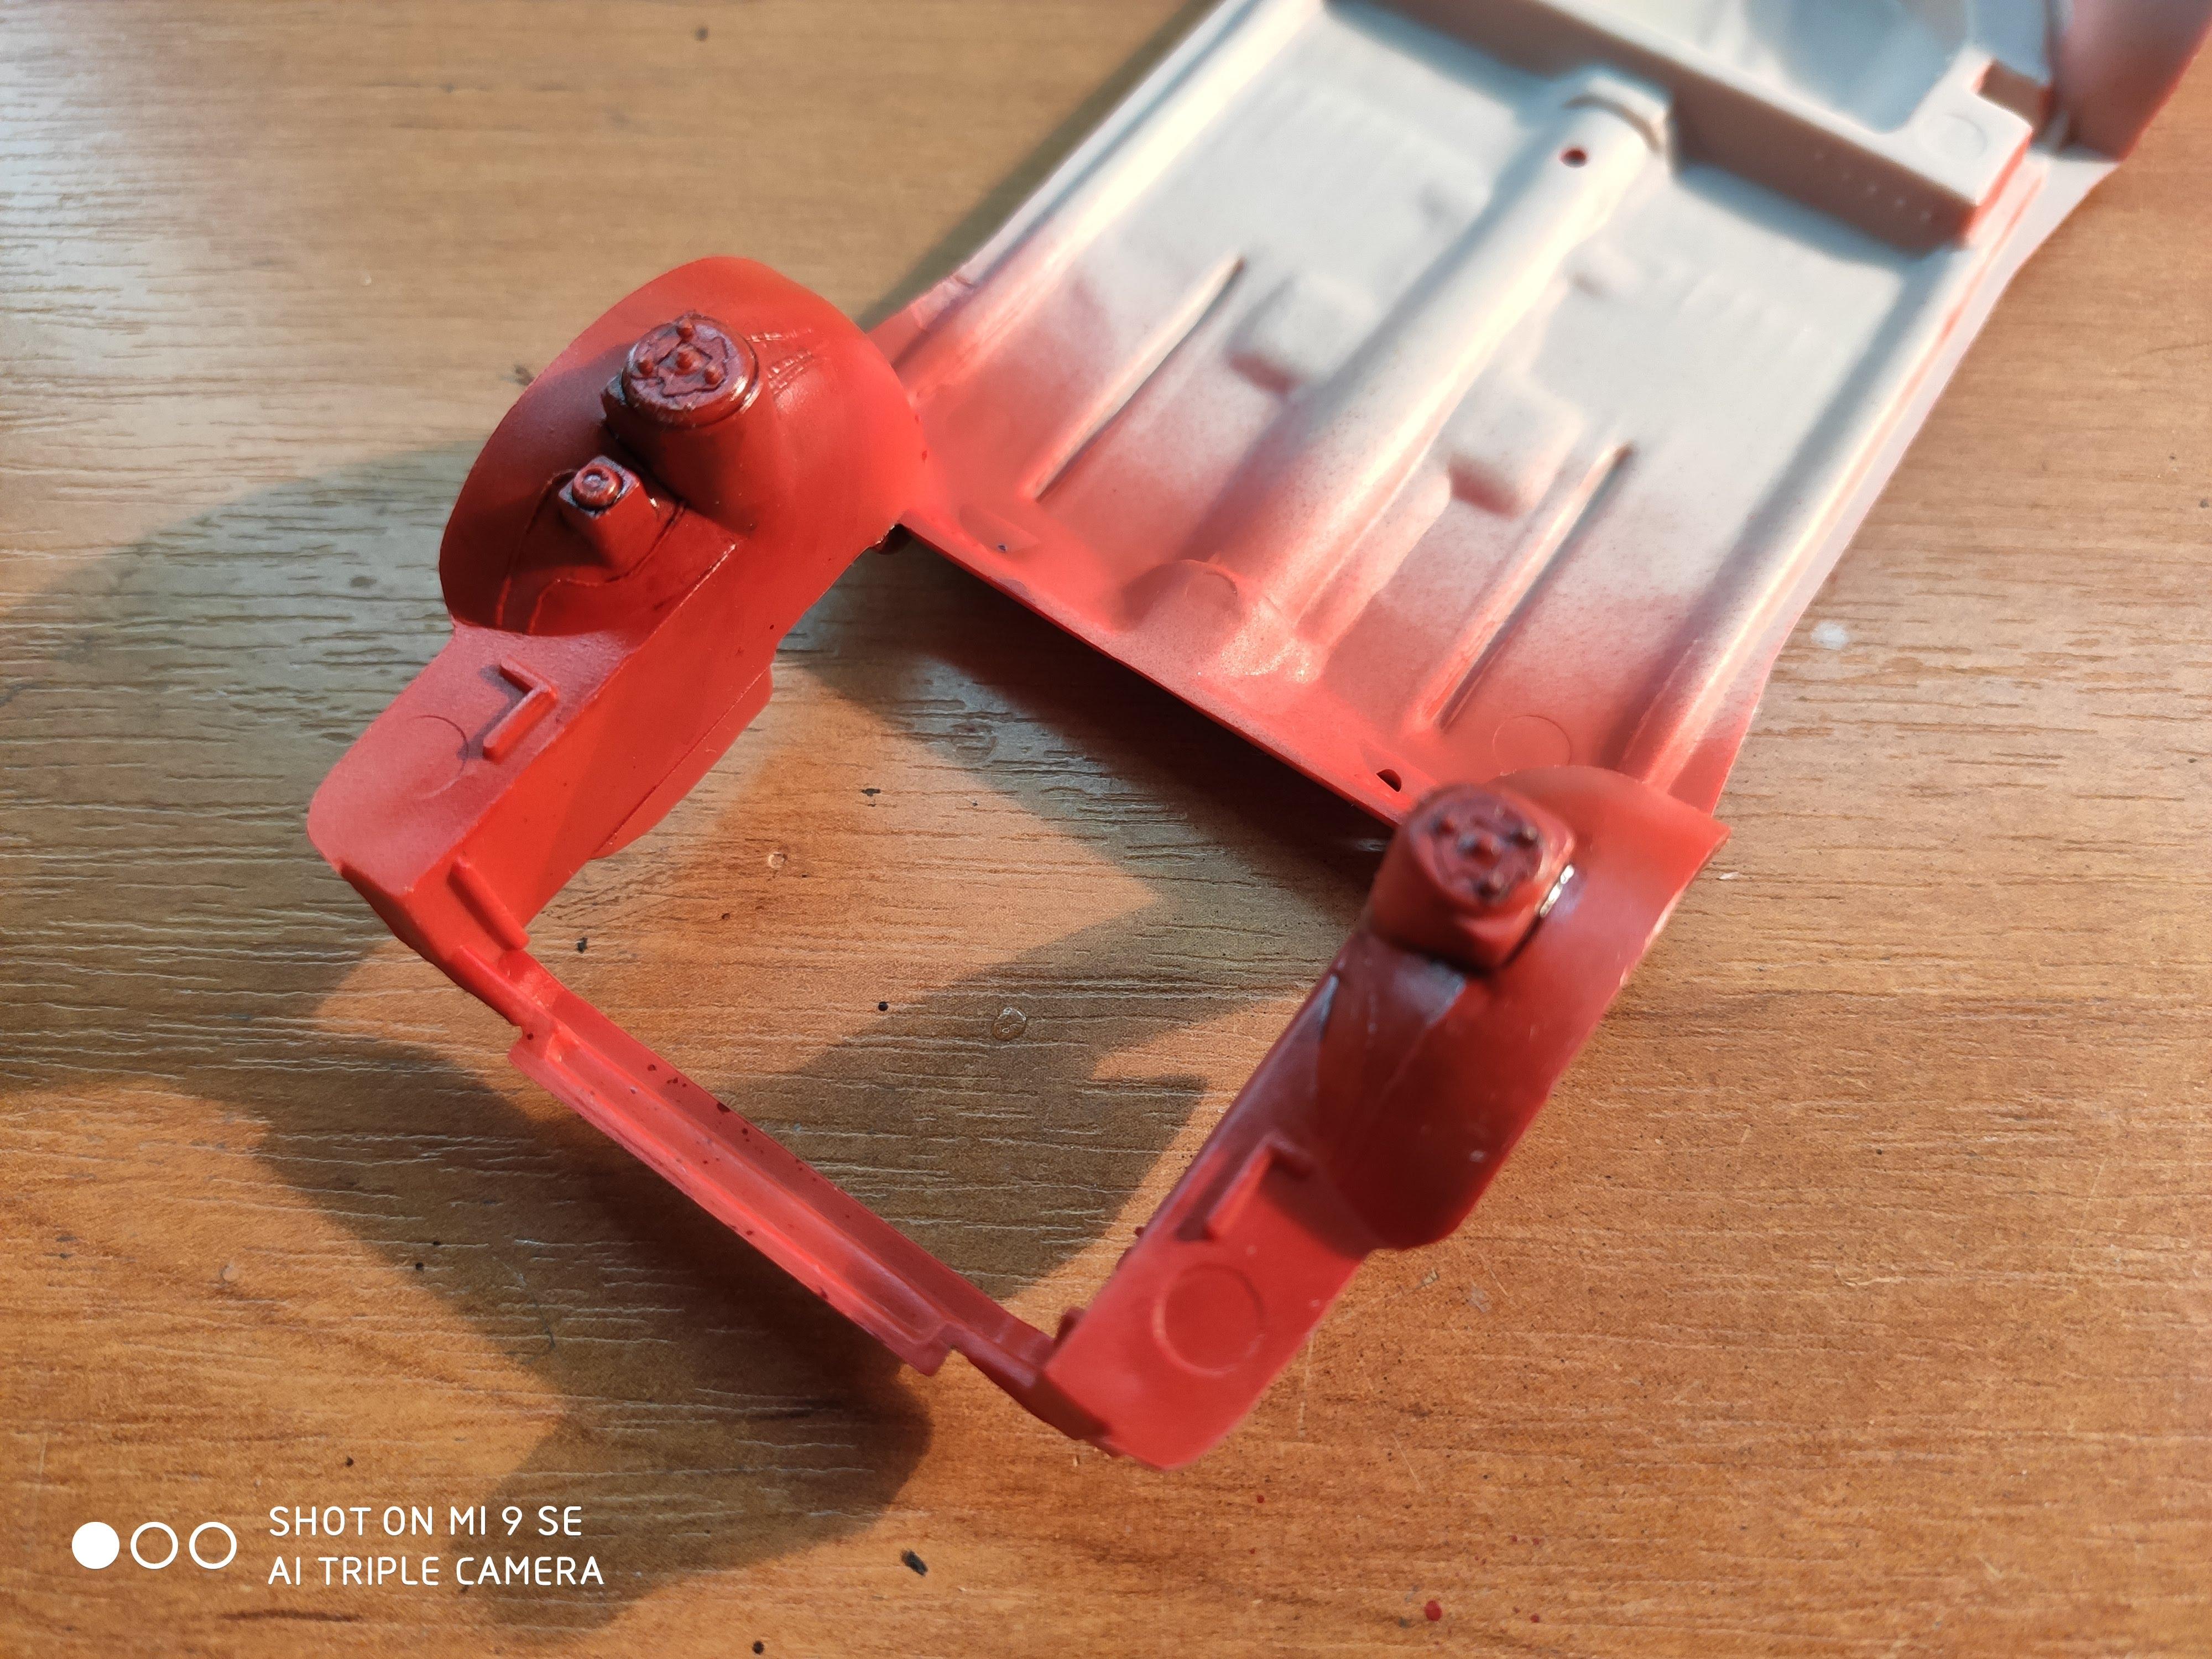
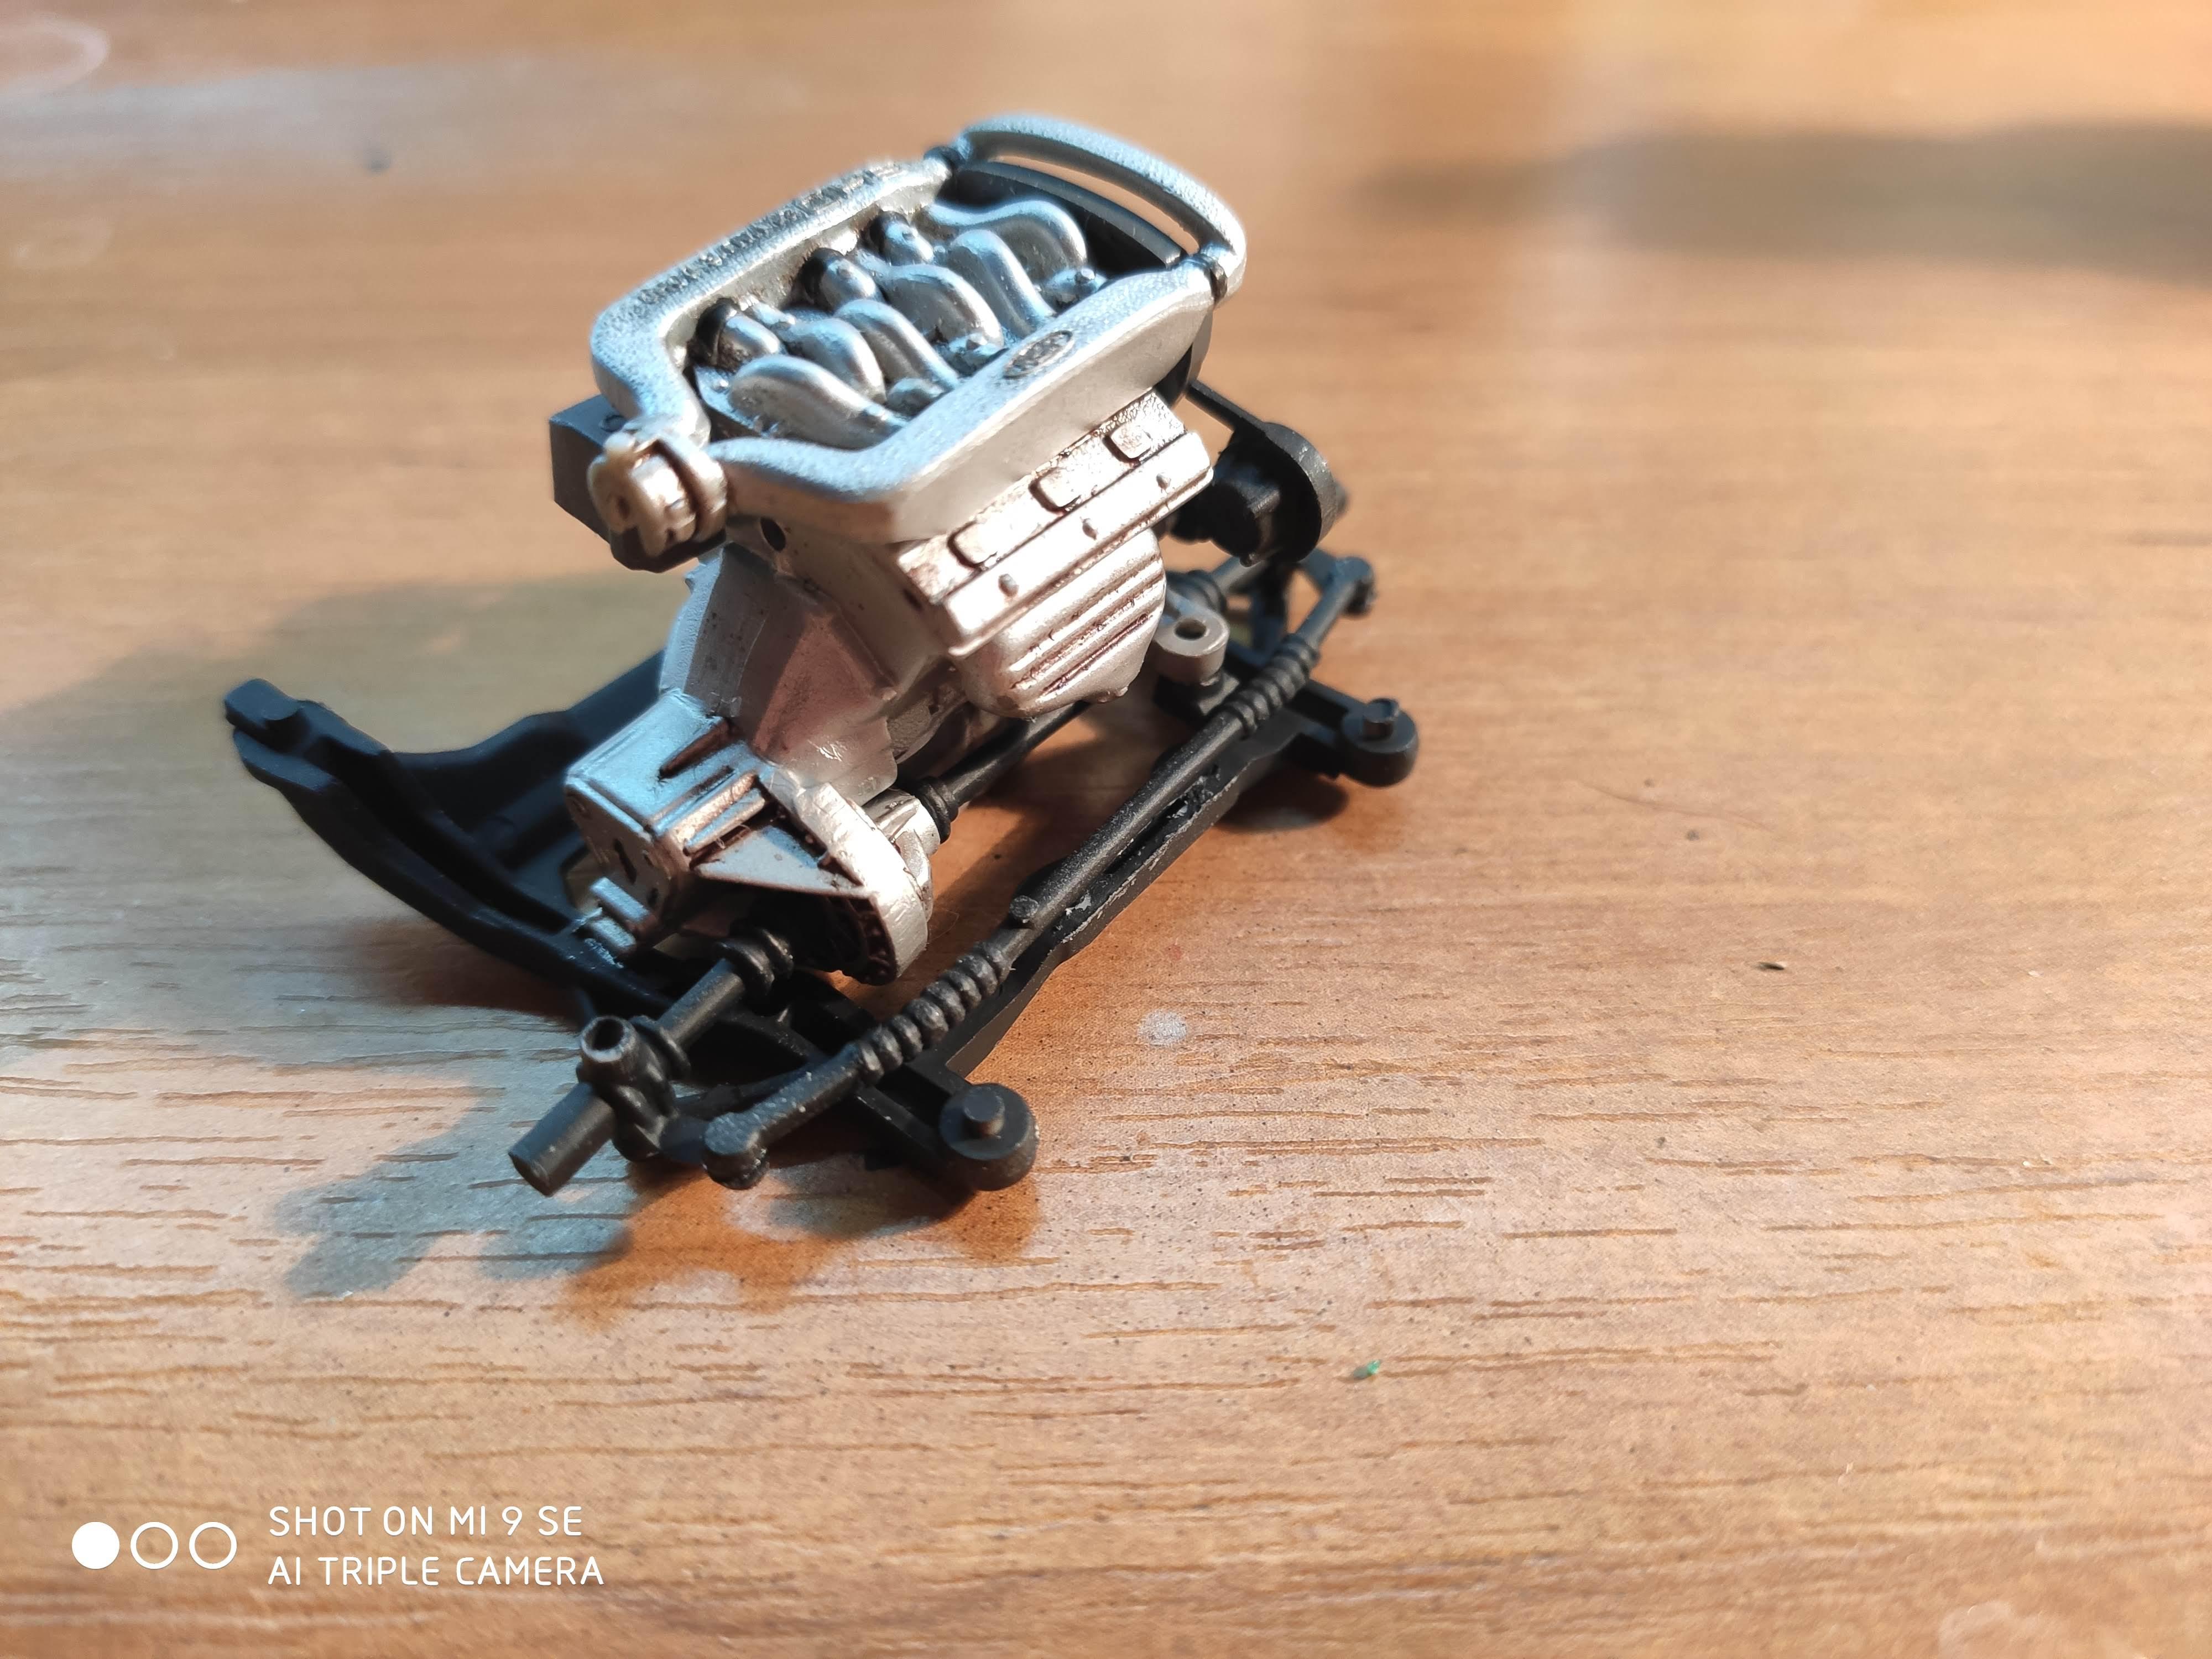
First kit built with the airbrush painting. As for now, need to finish interior, small pieces around motor, polish body and assemble everything together. Decals were soft and not yellowed despite they are 32 years old. Side decals have quite strange design and interfere with plastic molding. "SHO" sign looks good, but plastic stripes and badge at the front door would be better done by dry brush. Added some wash to panel lines. Bottom is detailed well, but wheel arches need some additional weathering. Not sure what to do here. Rubber tires had circular mold line, removed by knife. Also, sanded protector a bit to do slightly worn look. Some pigment to tires is planned, but maybe after the completion of model. Headlights are awful. They are chromed and have some mold depression. Only way is to cover them by the white glue. Tried to use krystal klear glue to mold them in-place, but surface is soft, uneven and impossible to polish. UV glue for cellphone screen is also bad - it dried only partially and remains sticky. Maybe, some jewelry UV epoxy might help? Fog lights on the front bumper are covered by krystal klear a bit, corner lights are molded over the surface - so only paint here. Used Vallejo Model Air paints and auxiliary chemistry and Xoma Farba gloss varnish from local manufacturer. Varnish is strange a bit - after thinning it forms droplets on paint instead of film and doesn't withstand oil washing, so i almost failed rear bumper. But it polishes quite well.
-
Hello from Kharkiv city, it is in Ukraine. My name is Vadym. It is my third attempt for modelling, hope this time it will be longer then previous. For me, modelling started in mid 90-s (i was about 8 or 9), when my auntie presented me fine decorated box with model kit of MiG-29. I glued it in one day, without any painting, only with decals. After it i assembled couple of small planes, and dad presented me Lancia Beta from Heller. I started it, but without painting it was really dull. And supplies of hobby things were veeery scarce at this time. So, Lancia moved to storage for several years. Next try was more successful, in about 2002. On the way to pre-university classes i found cozy shop with the plenty of boxes. At this time i was reading some historical books, so inspired by them bought BT-7 tank in 1/35 scale and set of paints. Paints were nitro and stick well to surface, but smells awfully and pigment were set in nice rainbow-colored layers. At this time i didn't know that paint should be mixed thoroughly. But after the tank, i finished Lancia. Also migrated to Revell enamels - they were quite thick even for brush work (proper thinning was also unknown), but it was great progress. Also, it has funny smell of sour milk. In several years i assembled several models of different types and scales. Last one was Yamaha R1 motorcycle from Heller. At this point i found, that acrylic paint from local manufacturer gives quite uneven coverage, and i need to upgrade to airbrush. At this time it was not possible, so Yamaha went to cupboard for about 10 years. 2020. Quarantine, absence of outdoor and presence of WFH. During swiping of Facebook it propose me some quite ASMR videos of model building from nice Canadian guy named Scale Auto Garage. It was glitch of FB advert, or so, because i never get such videos before it. But videos very satisfying, and i subscribed for it. In some time he does giveaway of assembled Subaru BRAT. I made a promise to myself to buy airbrush and finish Yamaha if i win. I'm here at forum, so result is obvious. During quarantine our only offline model shop moved to cheaper location, but i bet that the nice lady who consult me about modern paint for airbrush is the same who sell me Yamaha ten year ago. Current state of car building will be soon.


.jpg.e2dbf7ee91ec38cde7280cb54235ae87.jpg)

.jpg.ac3049f9ebcb5802bc6d55cec1c55d1a.jpg)