gami8630
Members-
Posts
213 -
Joined
-
Last visited
Previous Fields
-
Are You Human?
yes
-
Scale I Build
1/24 anf 1/25
Contact Methods
-
Website URL
https://cyclotourist.web.fc2.com/profile/plasticmodel/making_nascar.html
Profile Information
-
Full Name
Yoshimi Sasaki
Recent Profile Visitors
The recent visitors block is disabled and is not being shown to other users.
gami8630's Achievements

MCM Friend (4/6)
-
1995 DieHard Chevy Race Truck
gami8630 replied to gami8630's topic in Stock Cars (NASCAR, Super Stock, Late Model, etc.)
Thank you for your kind reply! -
1995 DieHard Chevy Race Truck
gami8630 replied to gami8630's topic in Stock Cars (NASCAR, Super Stock, Late Model, etc.)
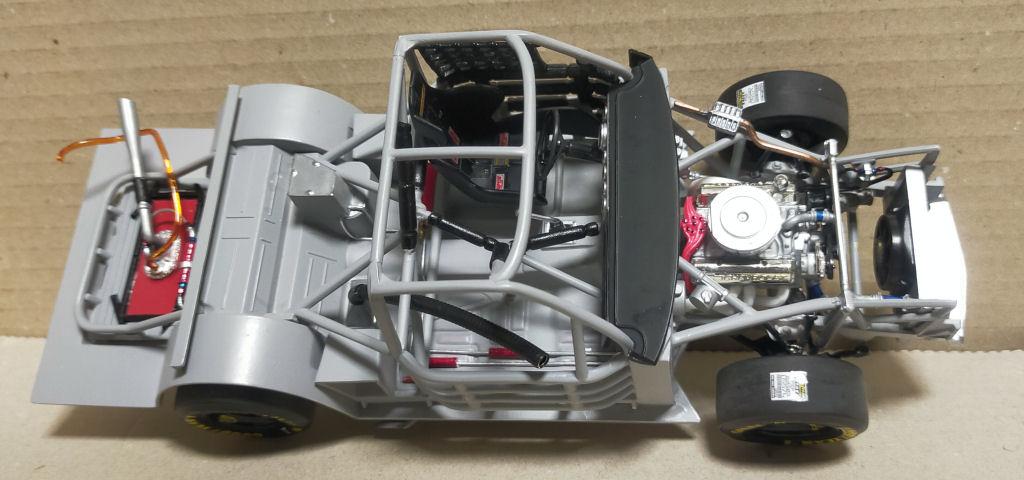
Thank you both for your replies. This kit faithfully reproduced the engine accessories and roll bar safety pads, making it an easy-to-build kit requiring almost no additional work. -
1995 DieHard Chevy Race Truck
gami8630 replied to gami8630's topic in Stock Cars (NASCAR, Super Stock, Late Model, etc.)
Thank you both for your replies. I feel like having a background image makes the finished kit look a little more like the real car. -
1995 DieHard Chevy Race Truck
gami8630 replied to gami8630's topic in Stock Cars (NASCAR, Super Stock, Late Model, etc.)
Thank you both for your replies. While it may not be obvious in the images, the actual modifications and detail work are quite rough in many places. -
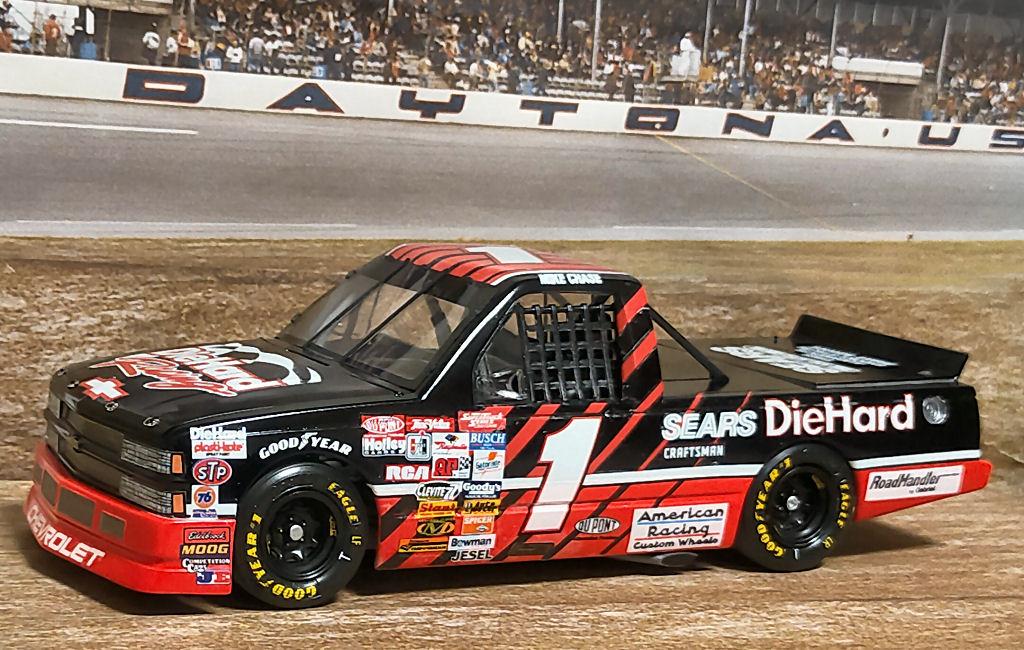
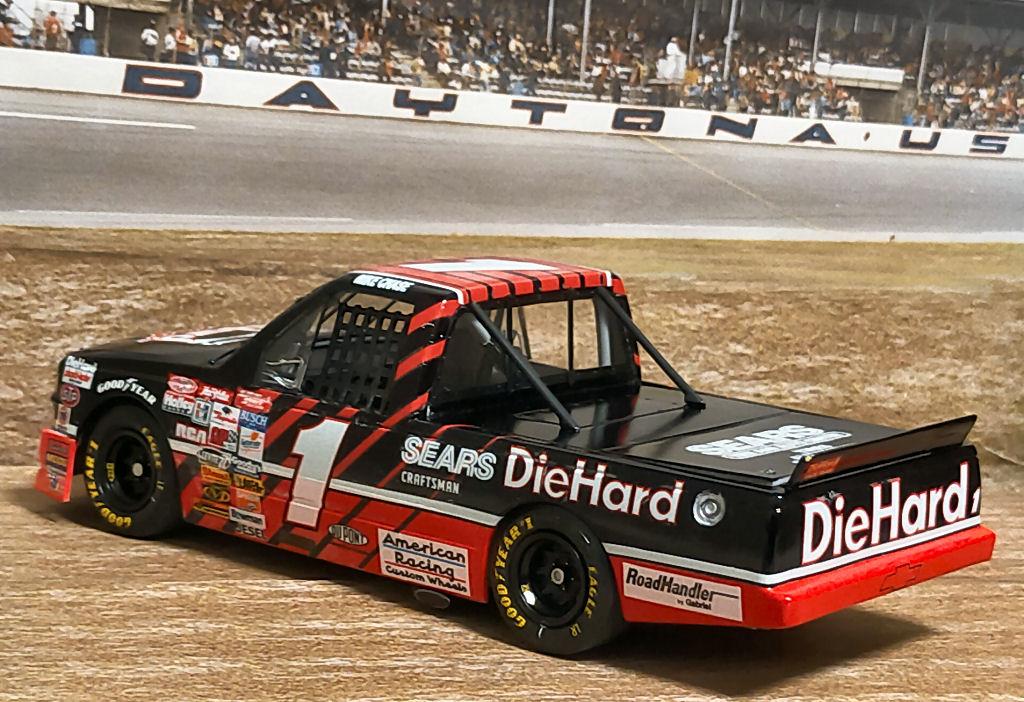
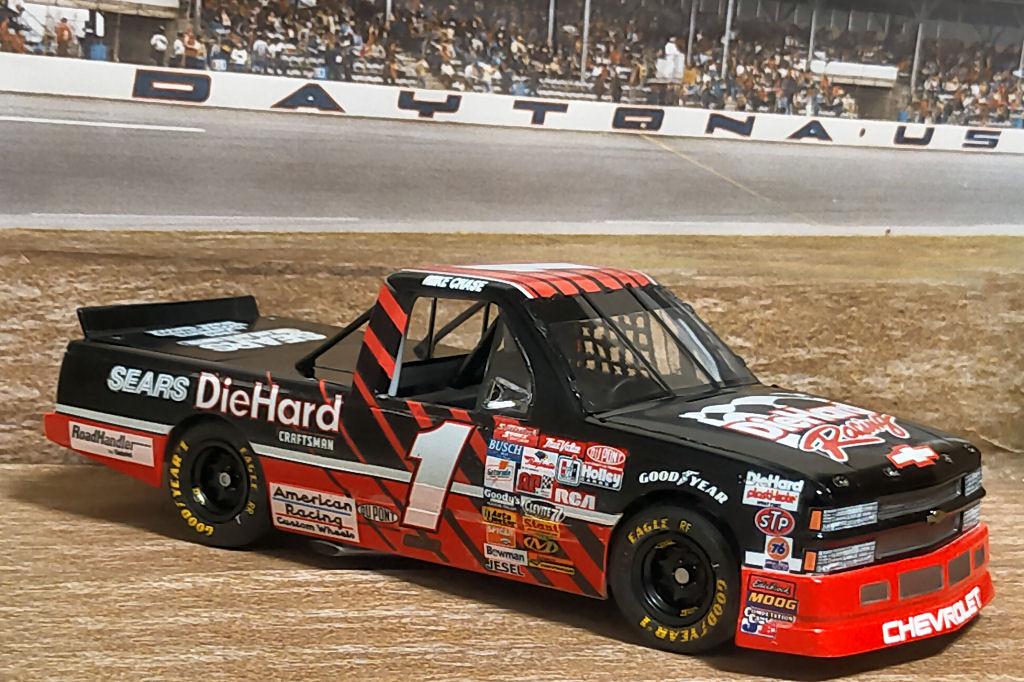
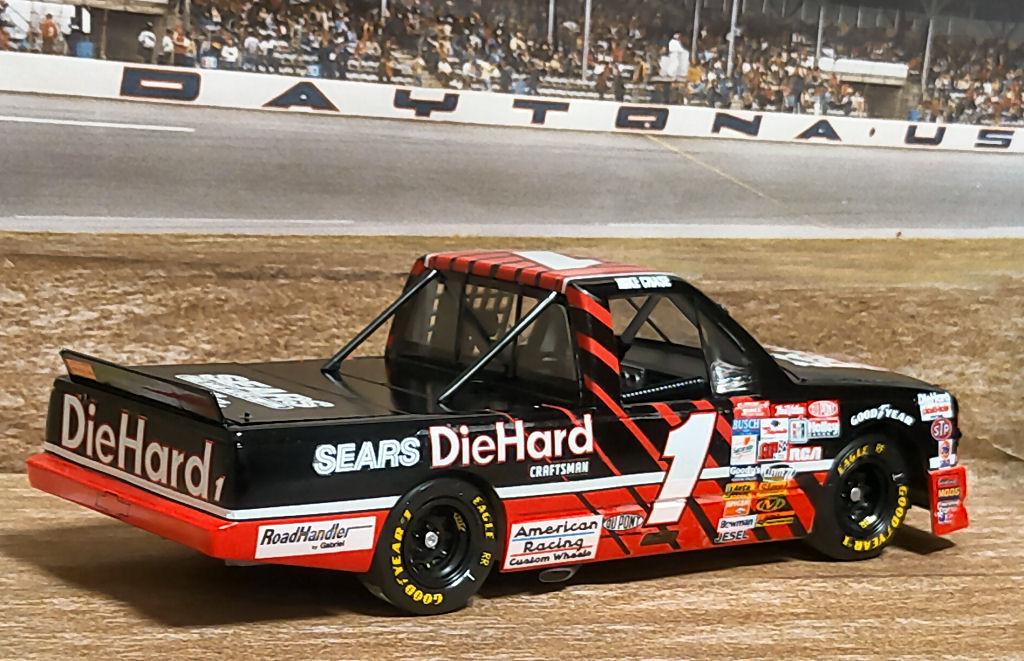
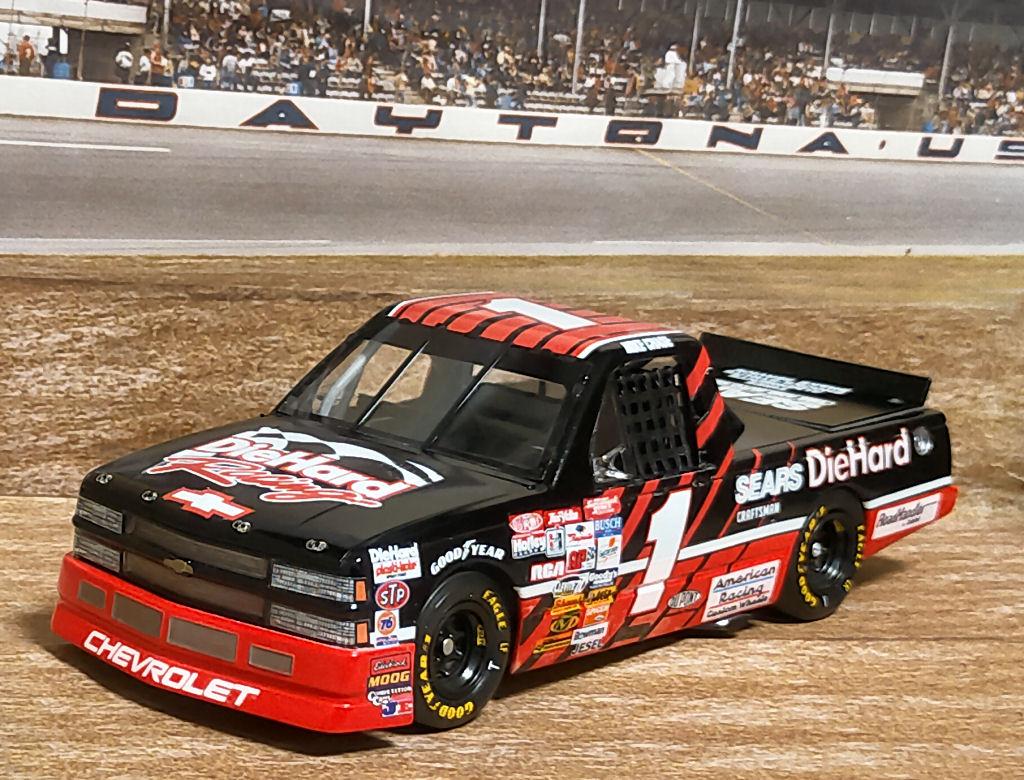
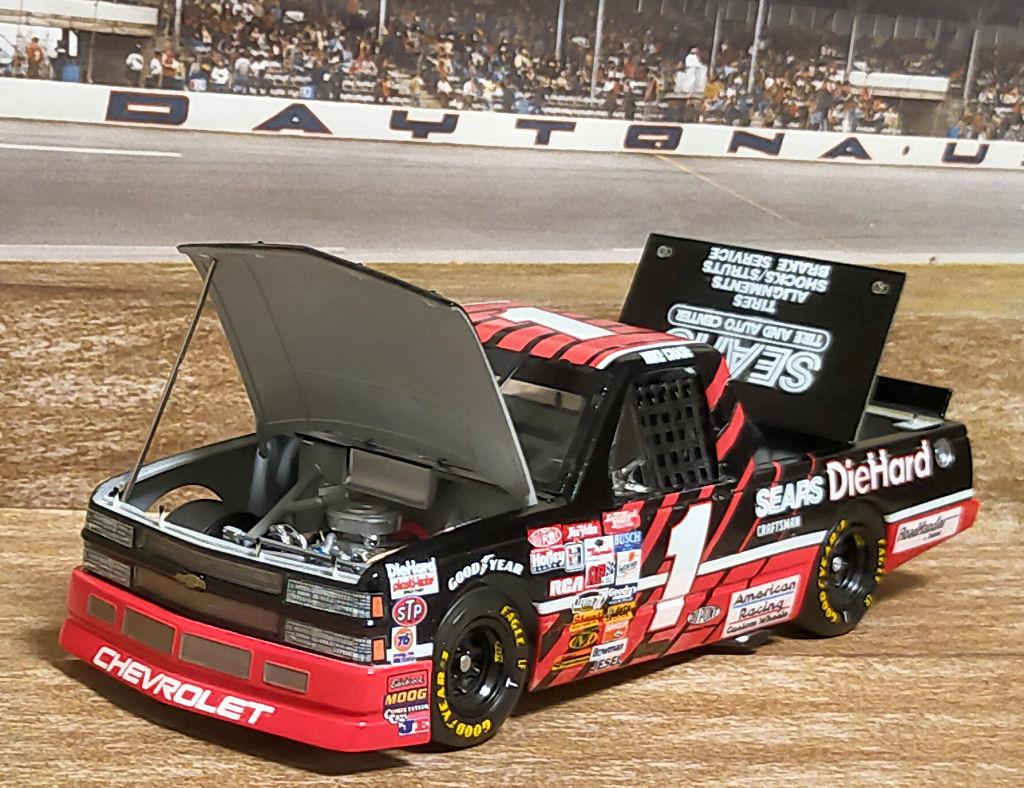
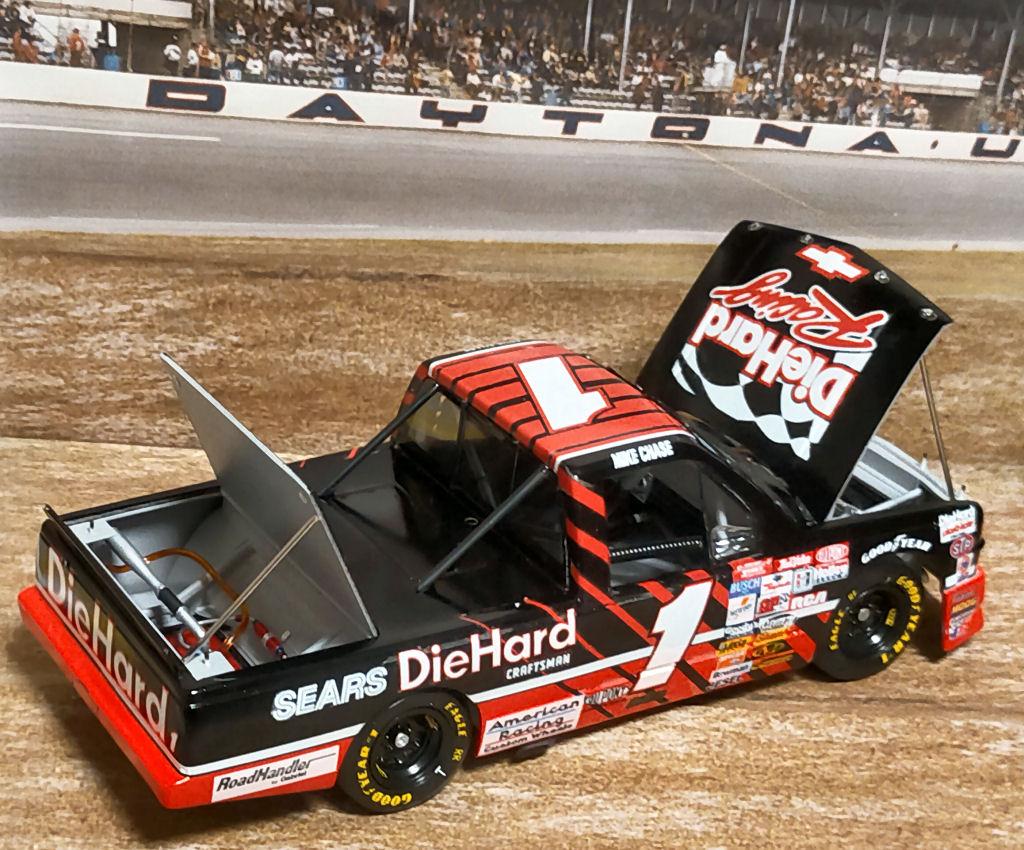
This kit I built is the Chevy Race Truck from the DieHard RACE TEAM that competed in the 1995 CRAFTSMAN TRUCK SERIES. The team owner was Frank “Scoop” Vessels, and the driver was Mike Chase. The base kit is Monogram's “#1 DIEHARD CHEVY RACE TRUCK,” released in 1996. I purchased it at the time of release and stored it until now. This time, I basically assembled the kit almost as-is, only performing the additional work and detail-up shown below. ●Body The rear cargo cover was detached to allow opening and closing, providing a view of the fuel tank area. ●Cockpit Piping from the oil tank to the engine was added. Power Slide decals were applied to each gauge, then enamel clear coat was poured in to represent the lenses. ● Fuel Tank Added a homemade fuel pump made from plastic rod, piping, and fuel/vent hoses salvaged from a junk parts box. The body was primed with Tamiya Super Surfacer (Gray) and Fine Surfacer (White), then sprayed with TS-14 Black and TS-49 Bright Red. The decals had deteriorated due to age since purchase. I managed to apply them, but the finish isn't very clean. Still, the fact that a pickup truck racing series is one of NASCAR's three major categories struck me as a uniquely American trait, reflecting just how deeply pickup trucks are ingrained in everyday life.
