ZMSC Modell Works
-
Posts
15 -
Joined
-
Last visited
Content Type
Profiles
Forums
Events
Gallery
Everything posted by ZMSC Modell Works
-
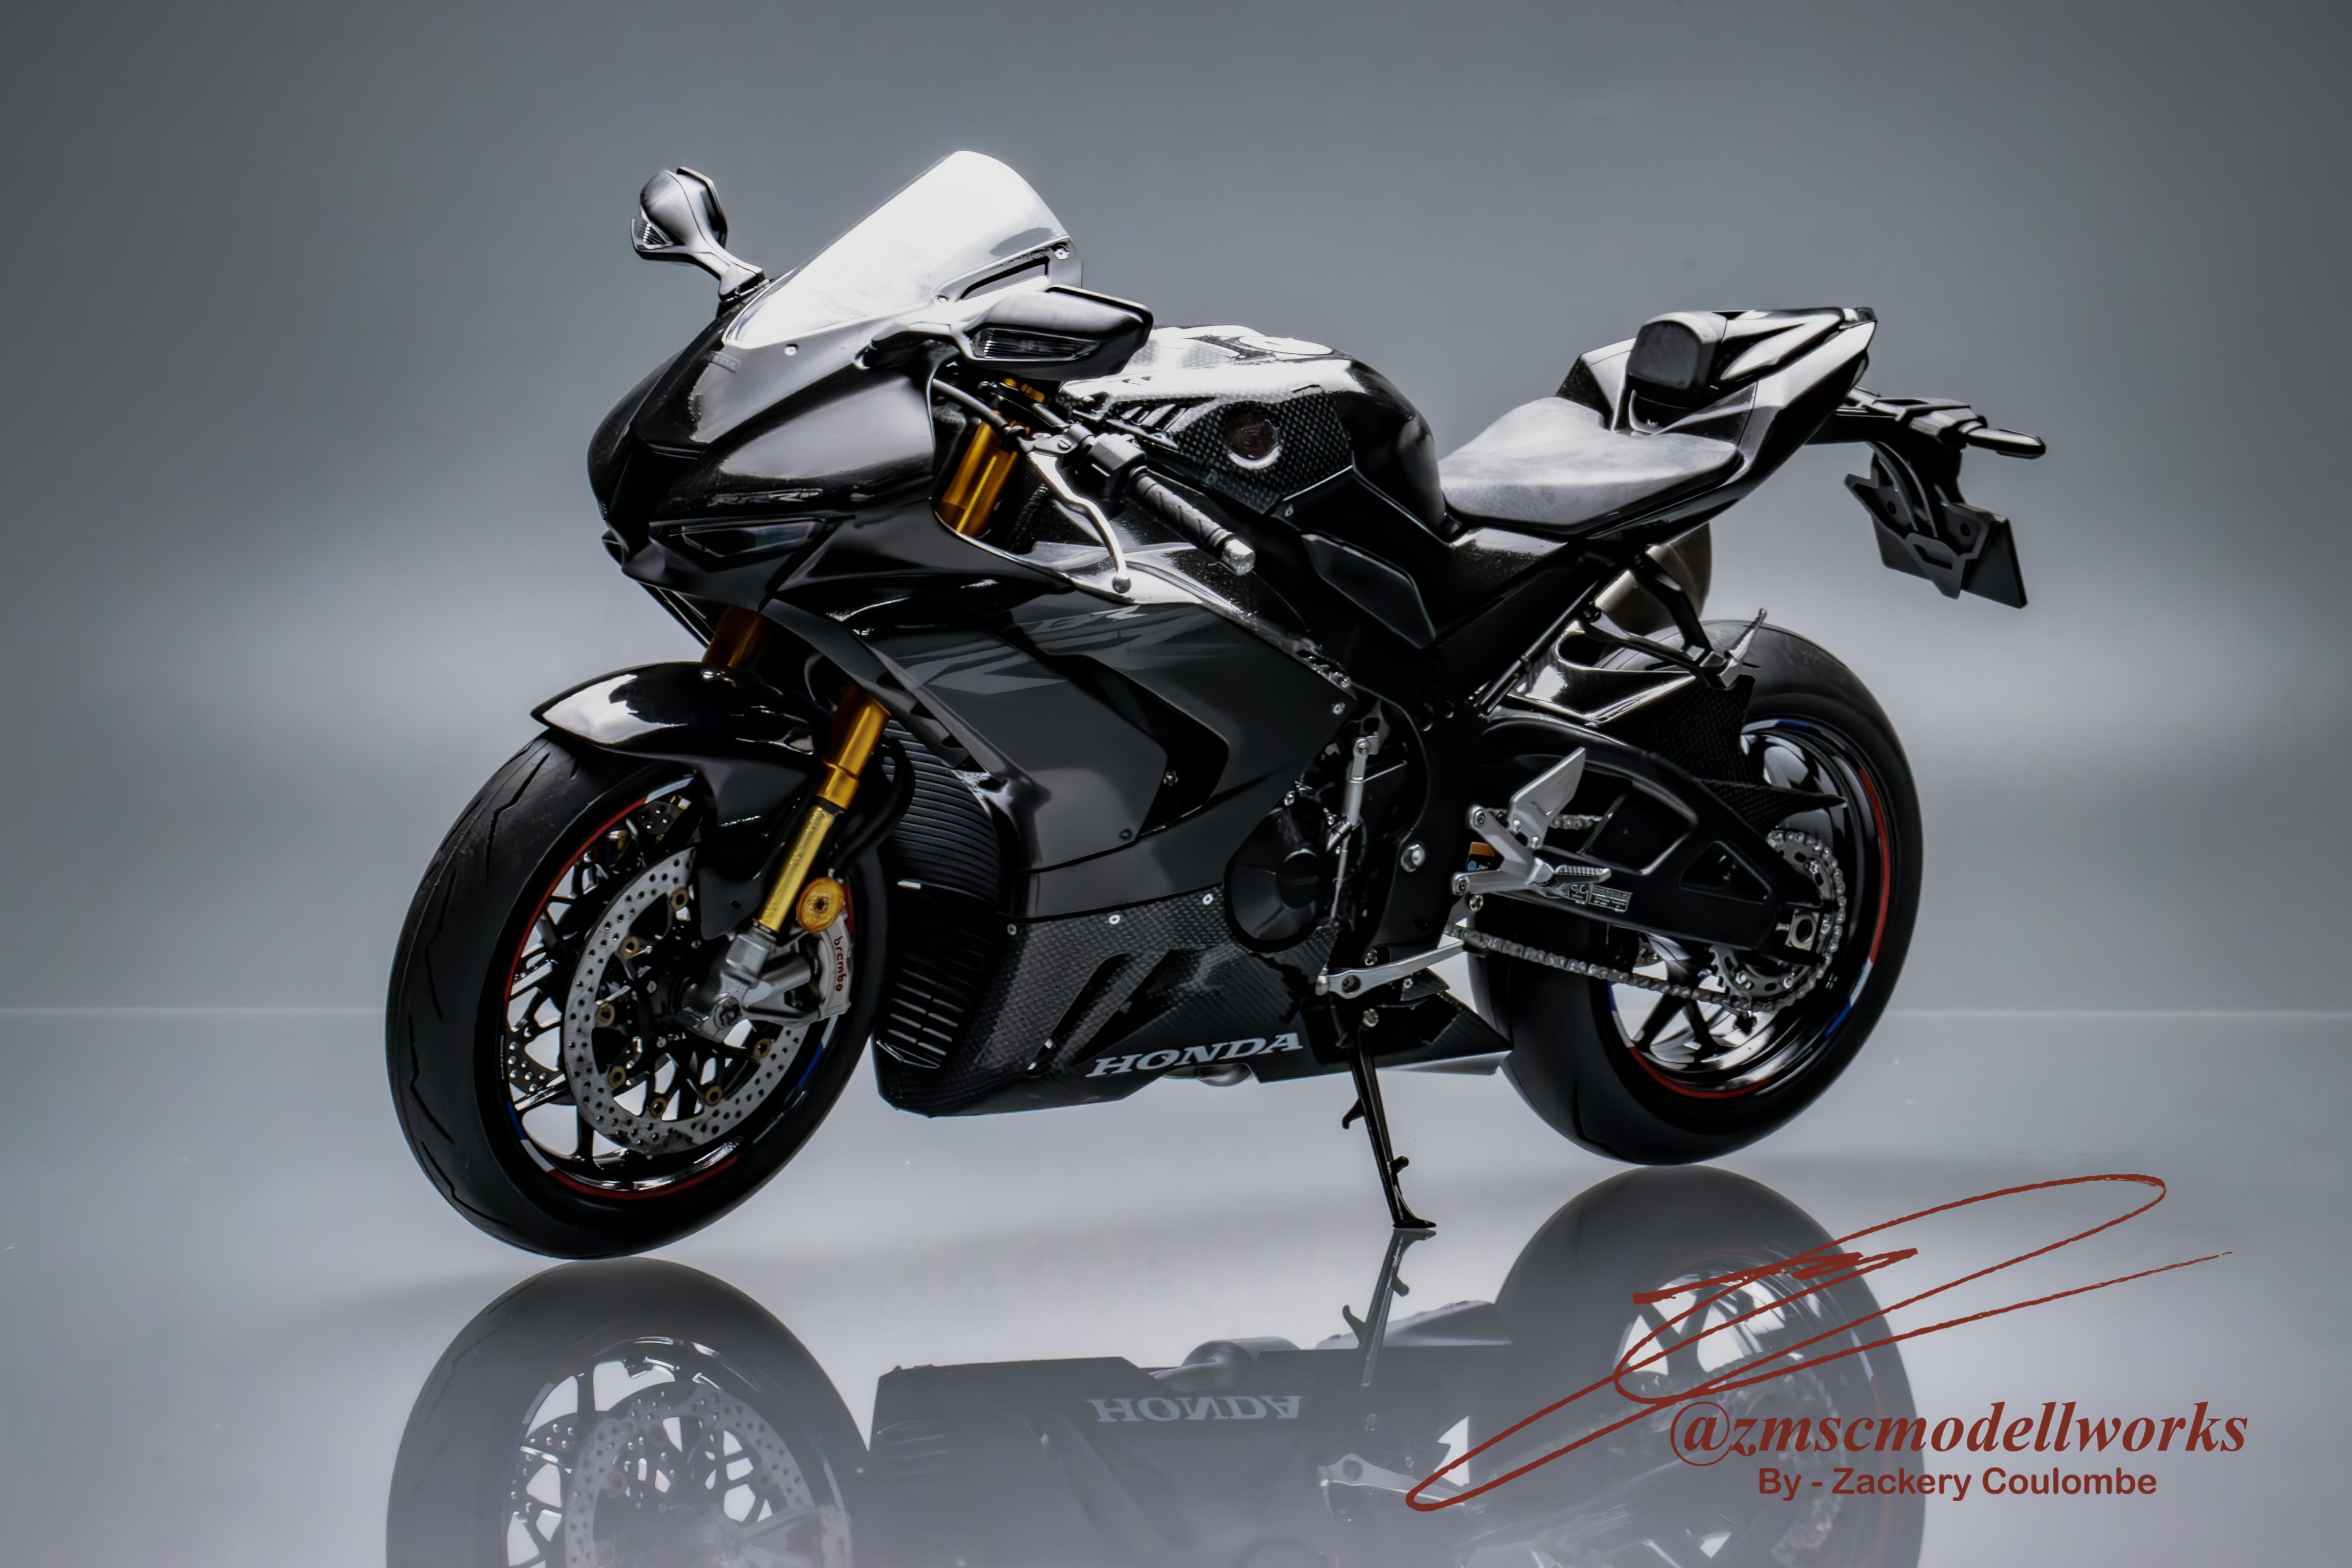
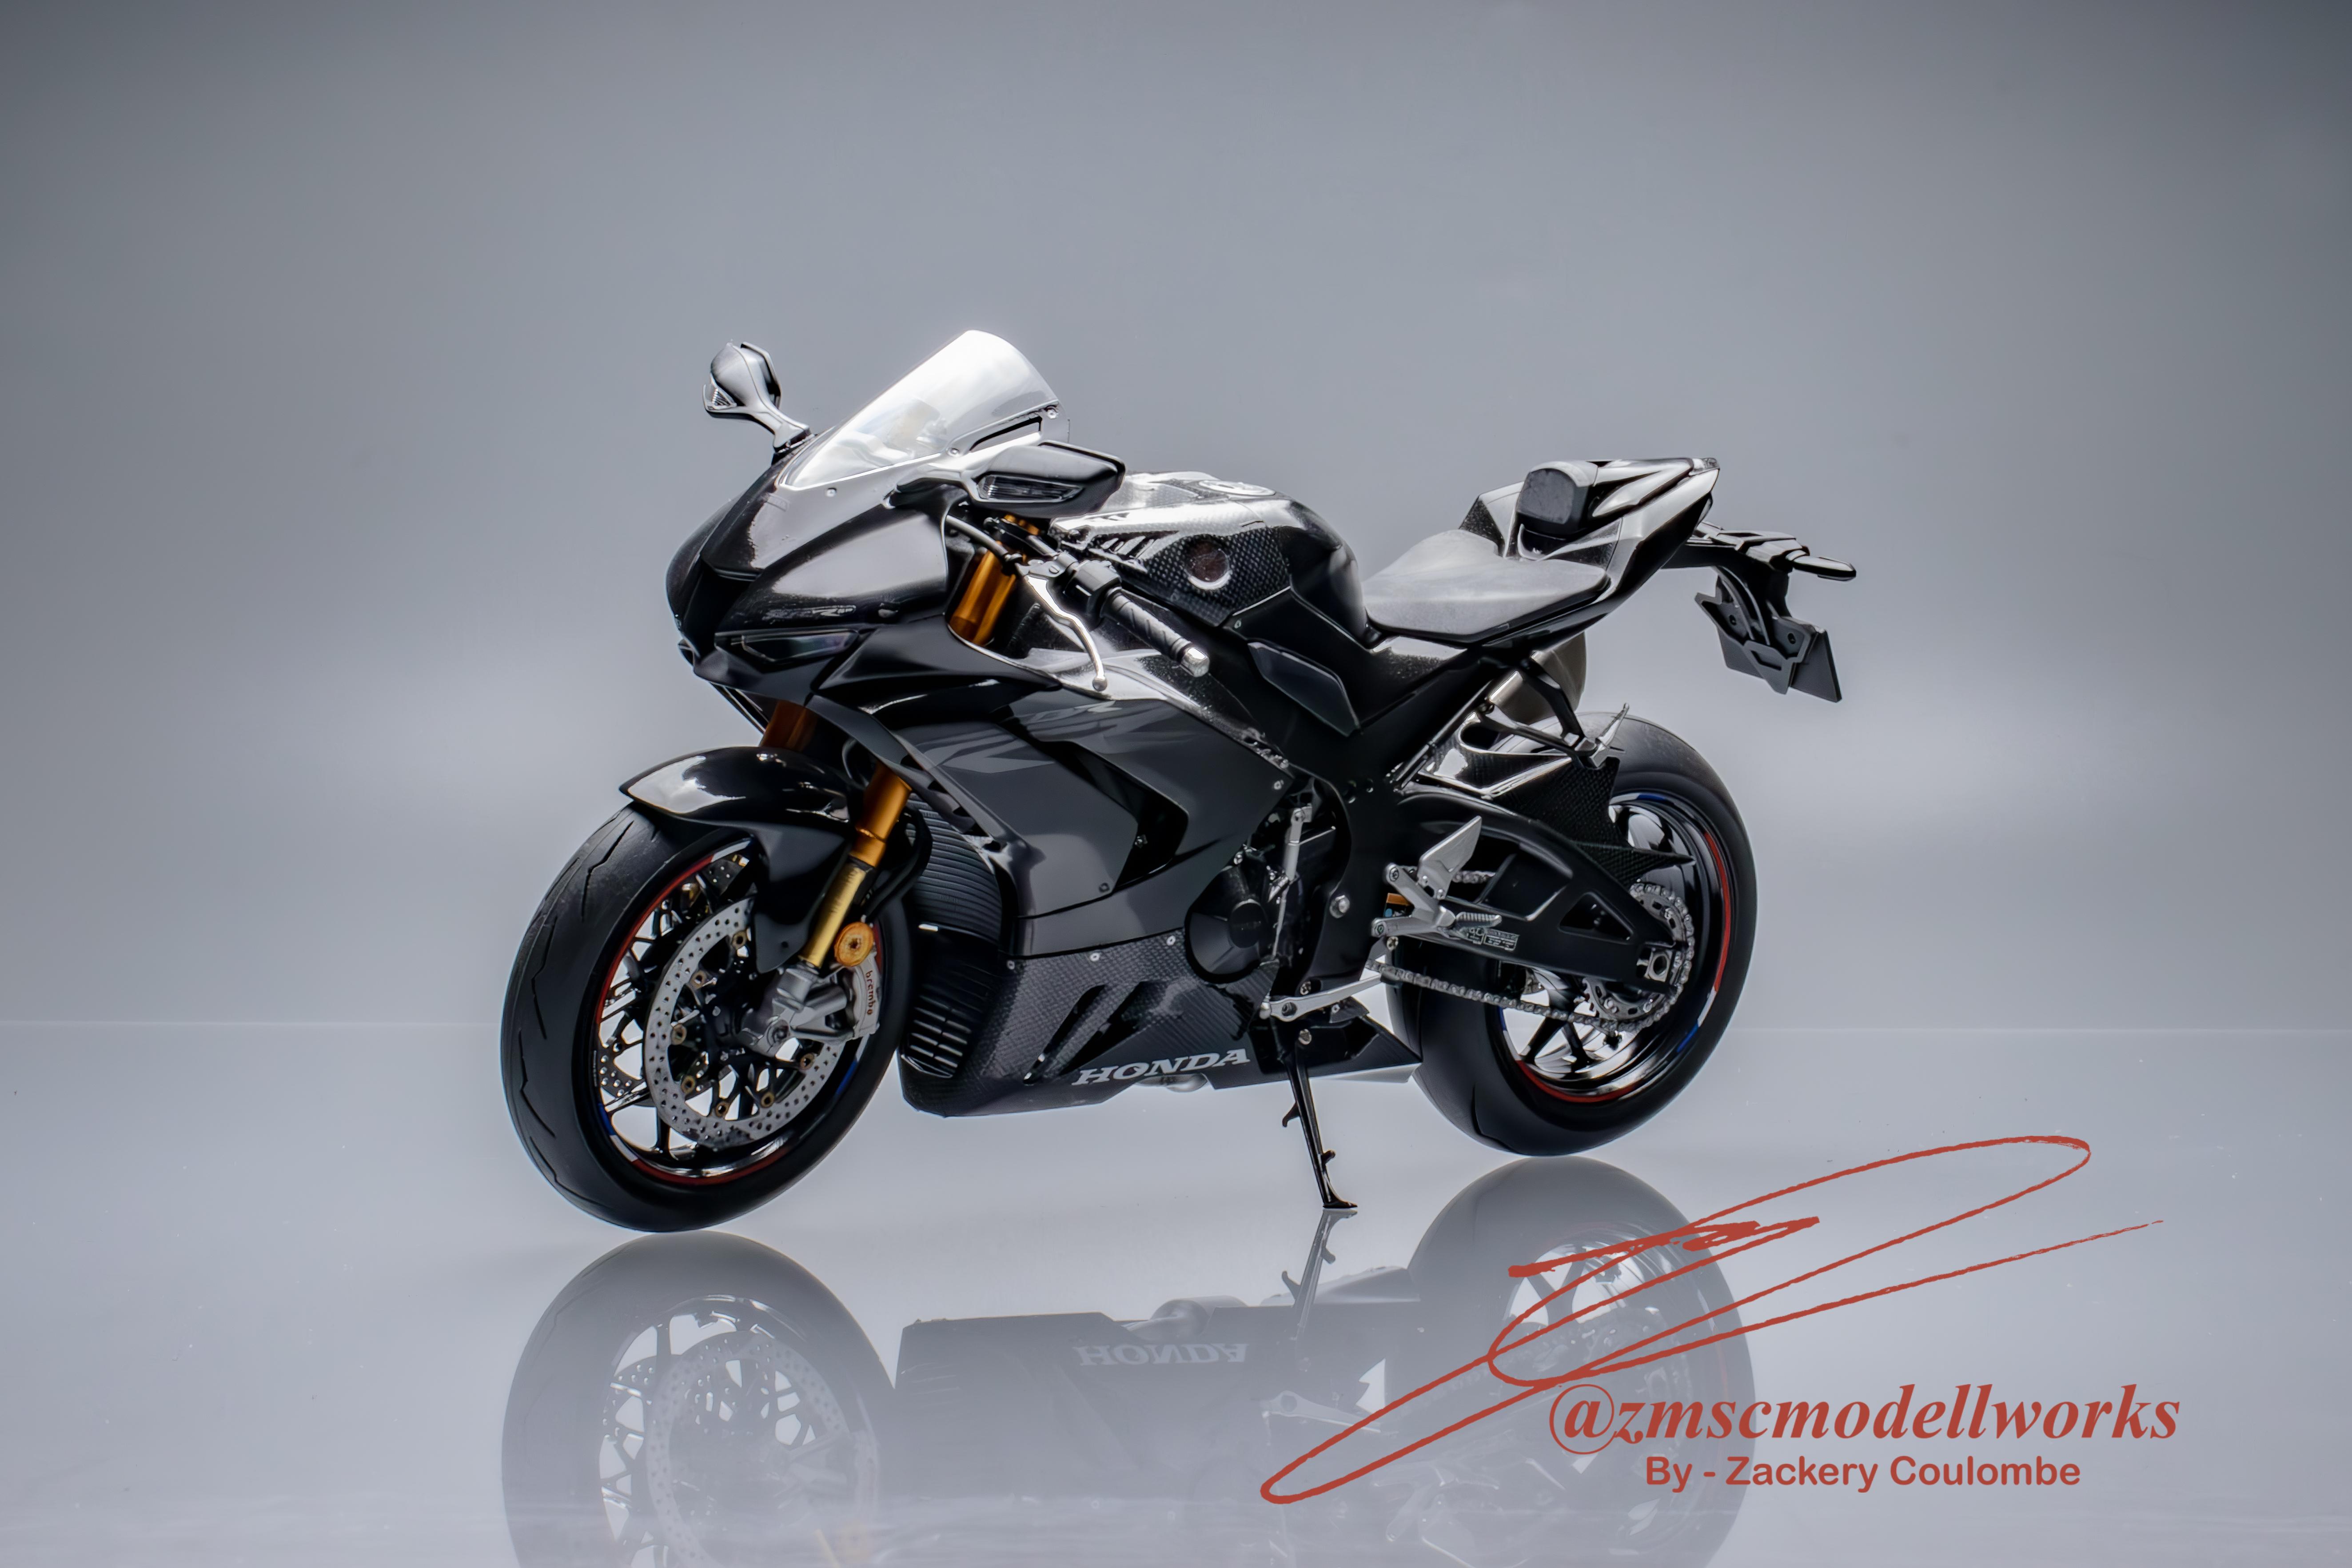
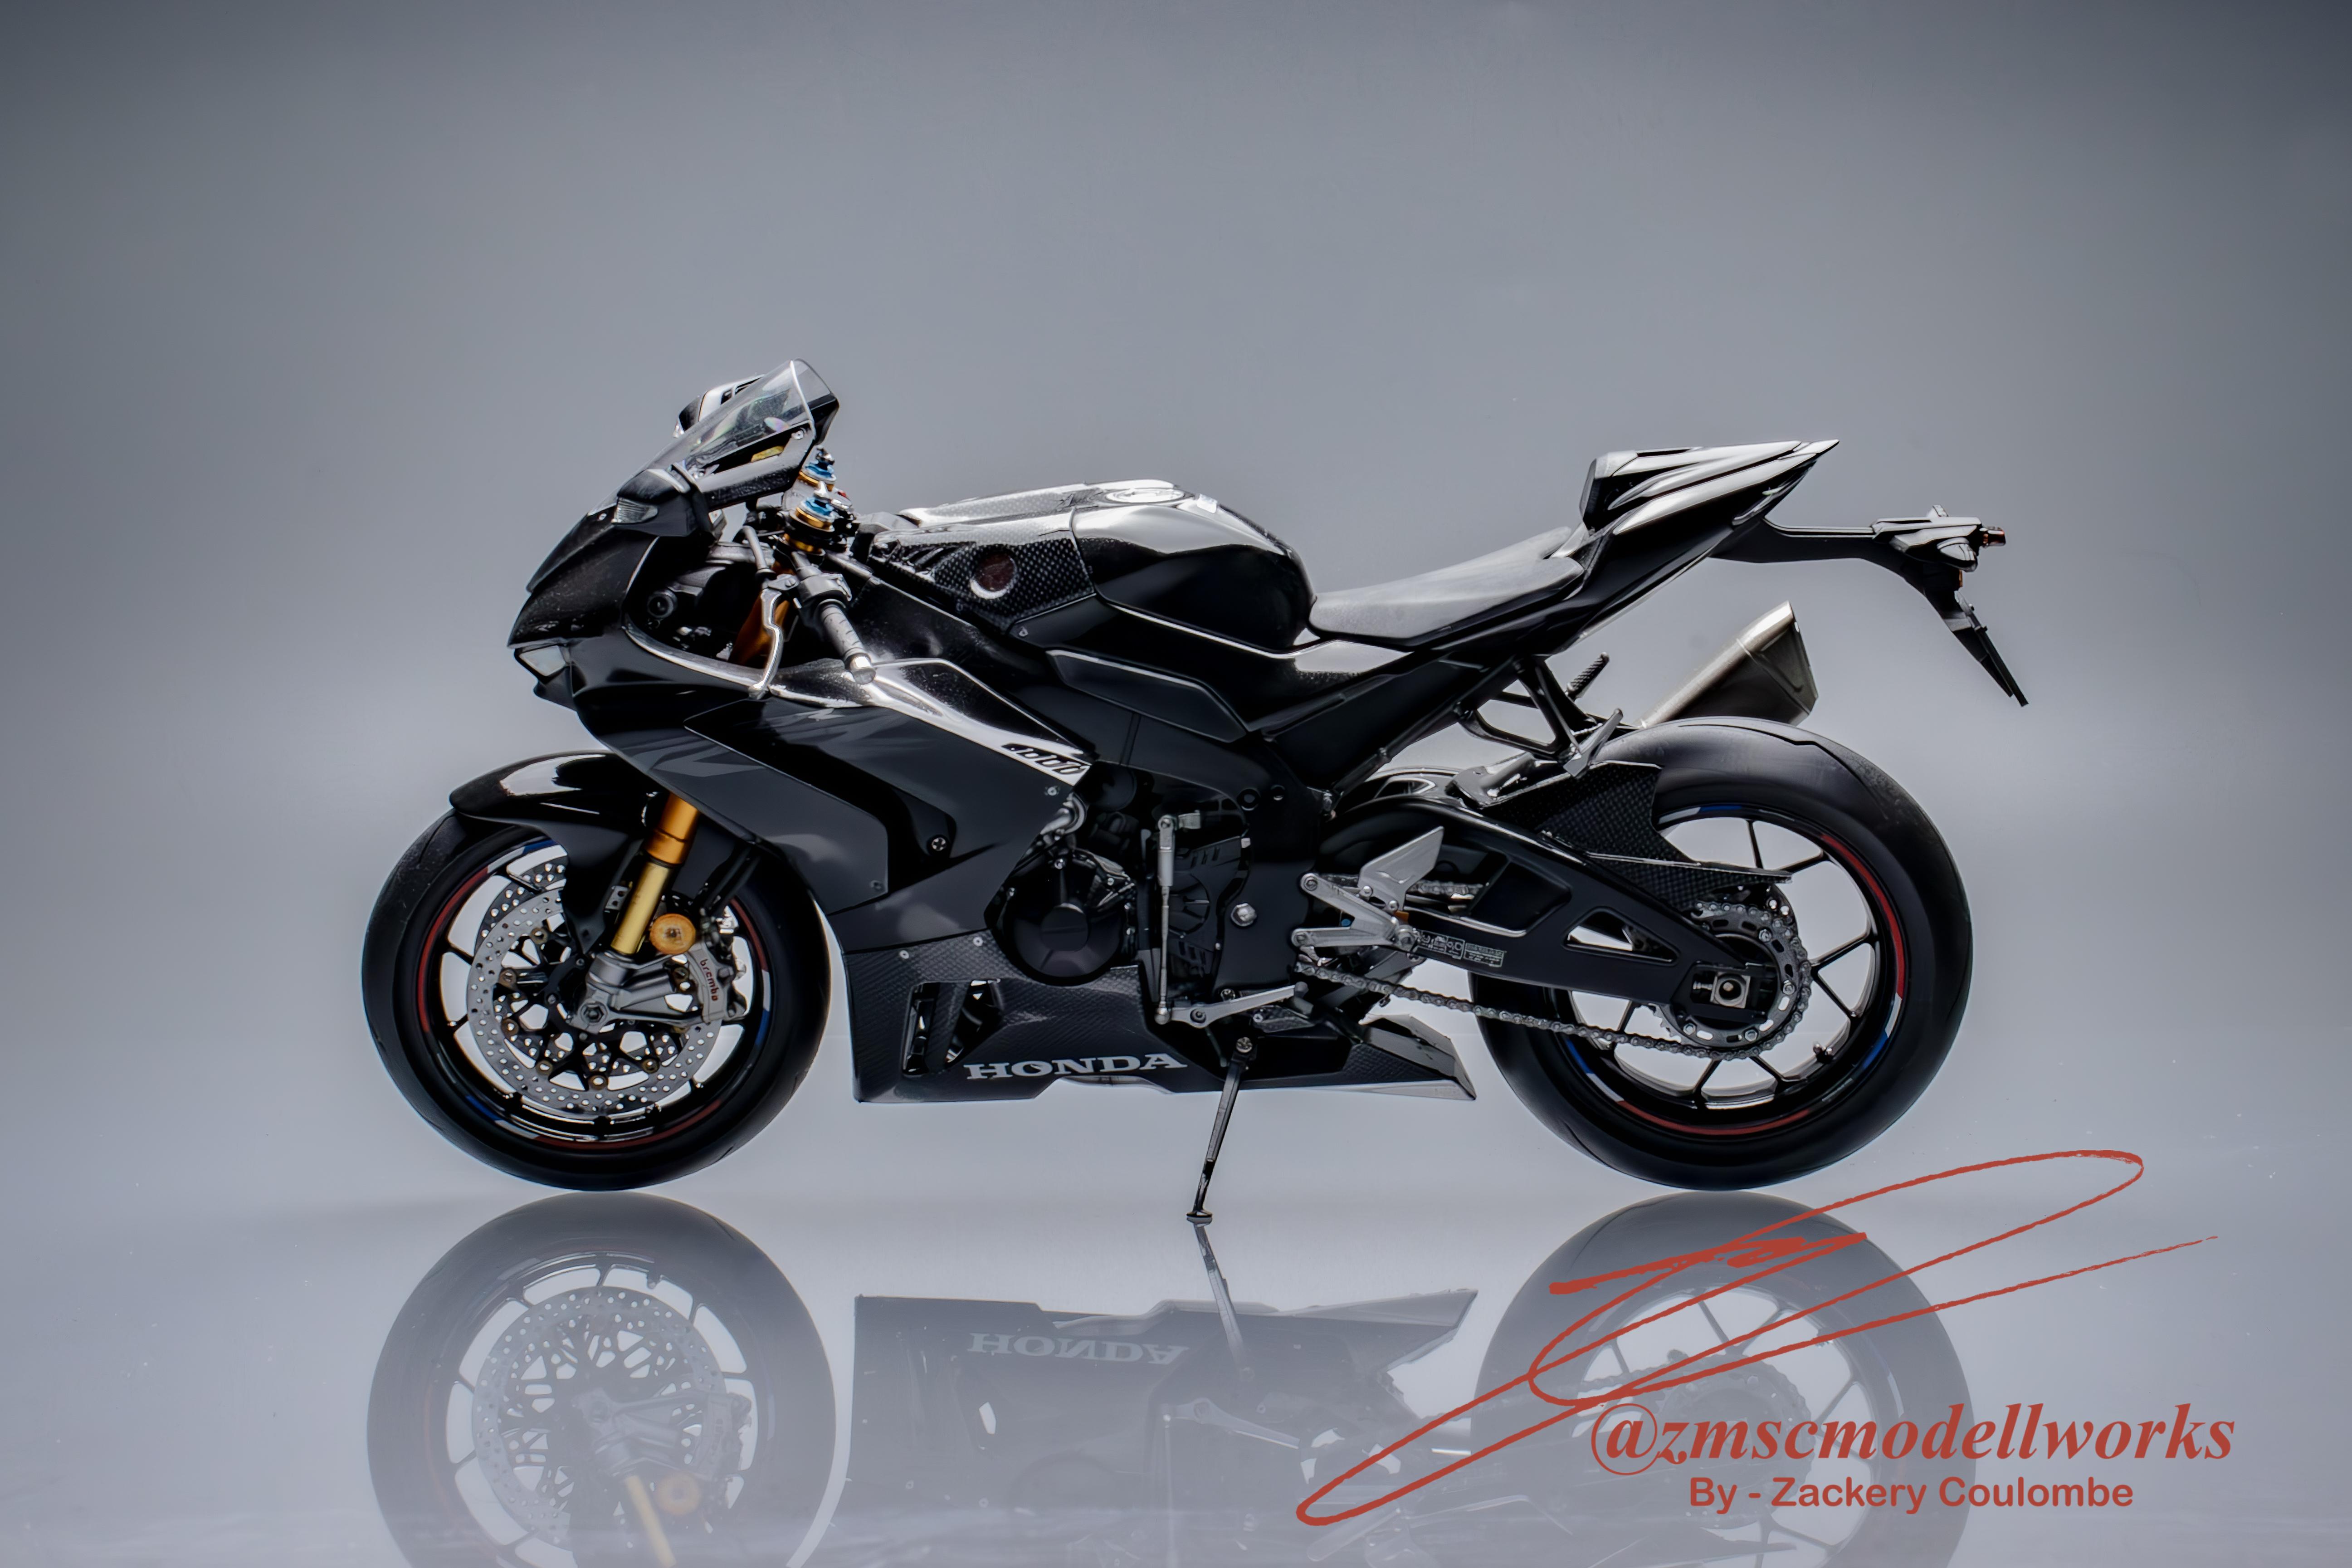
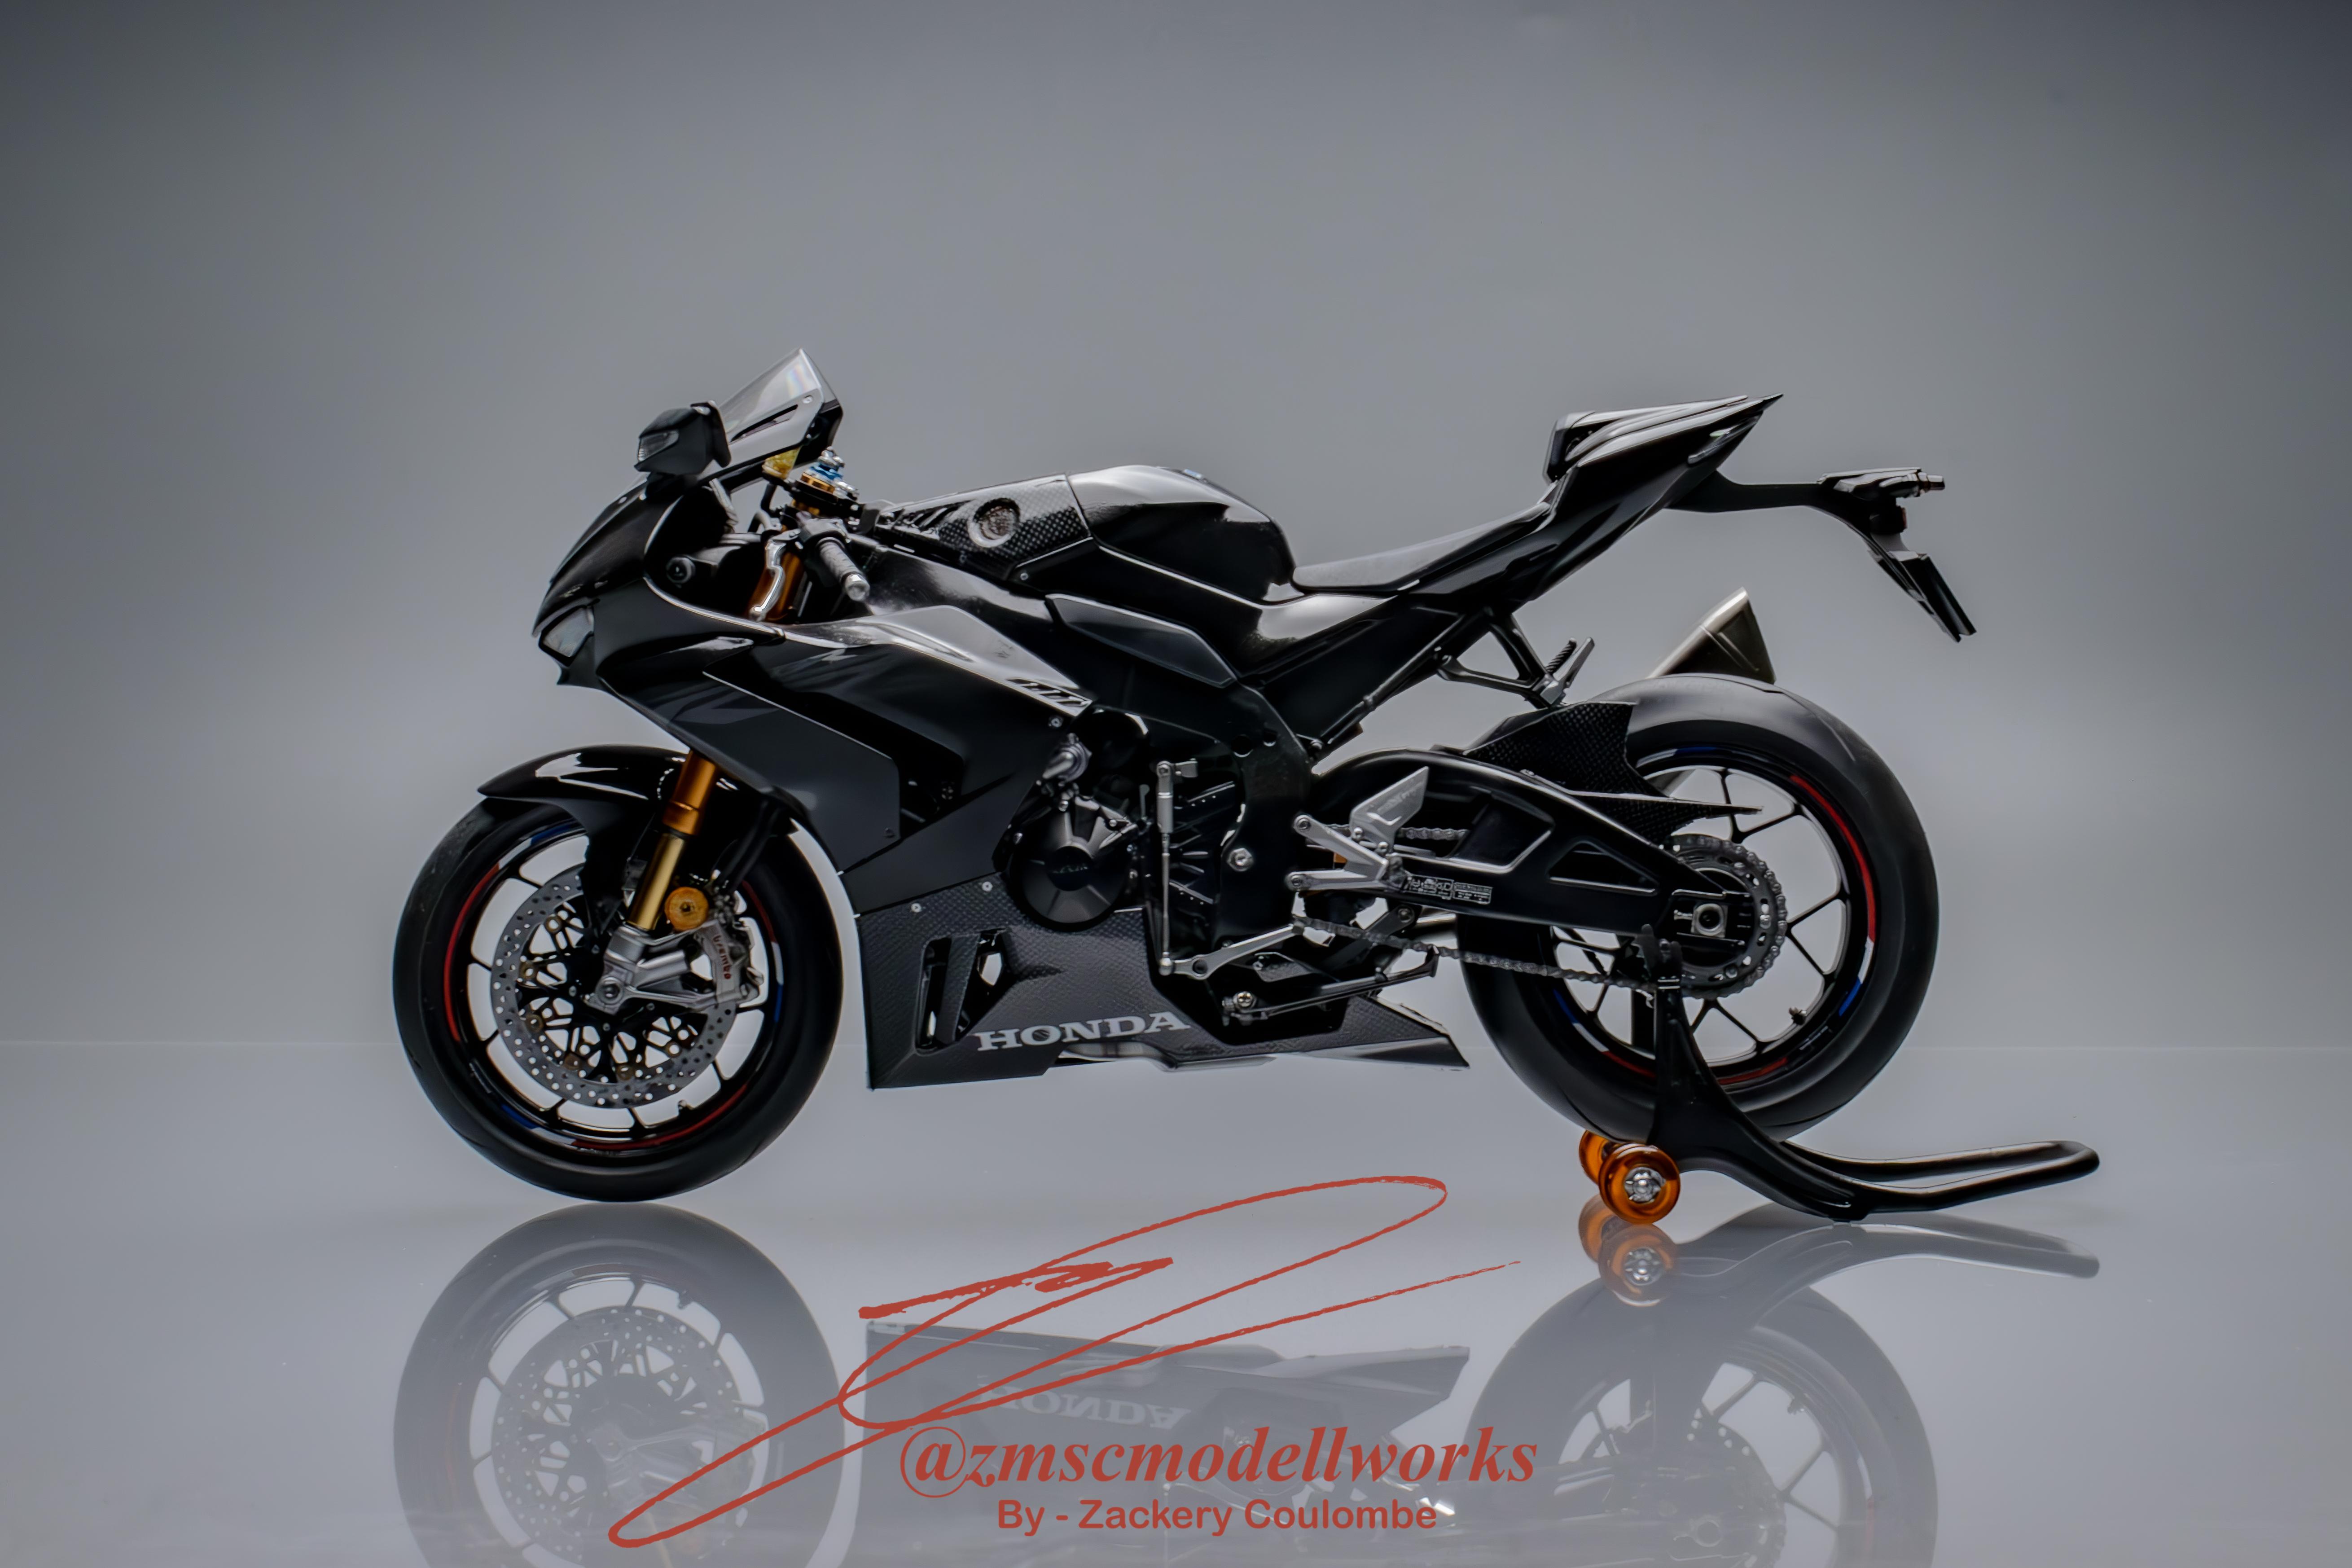
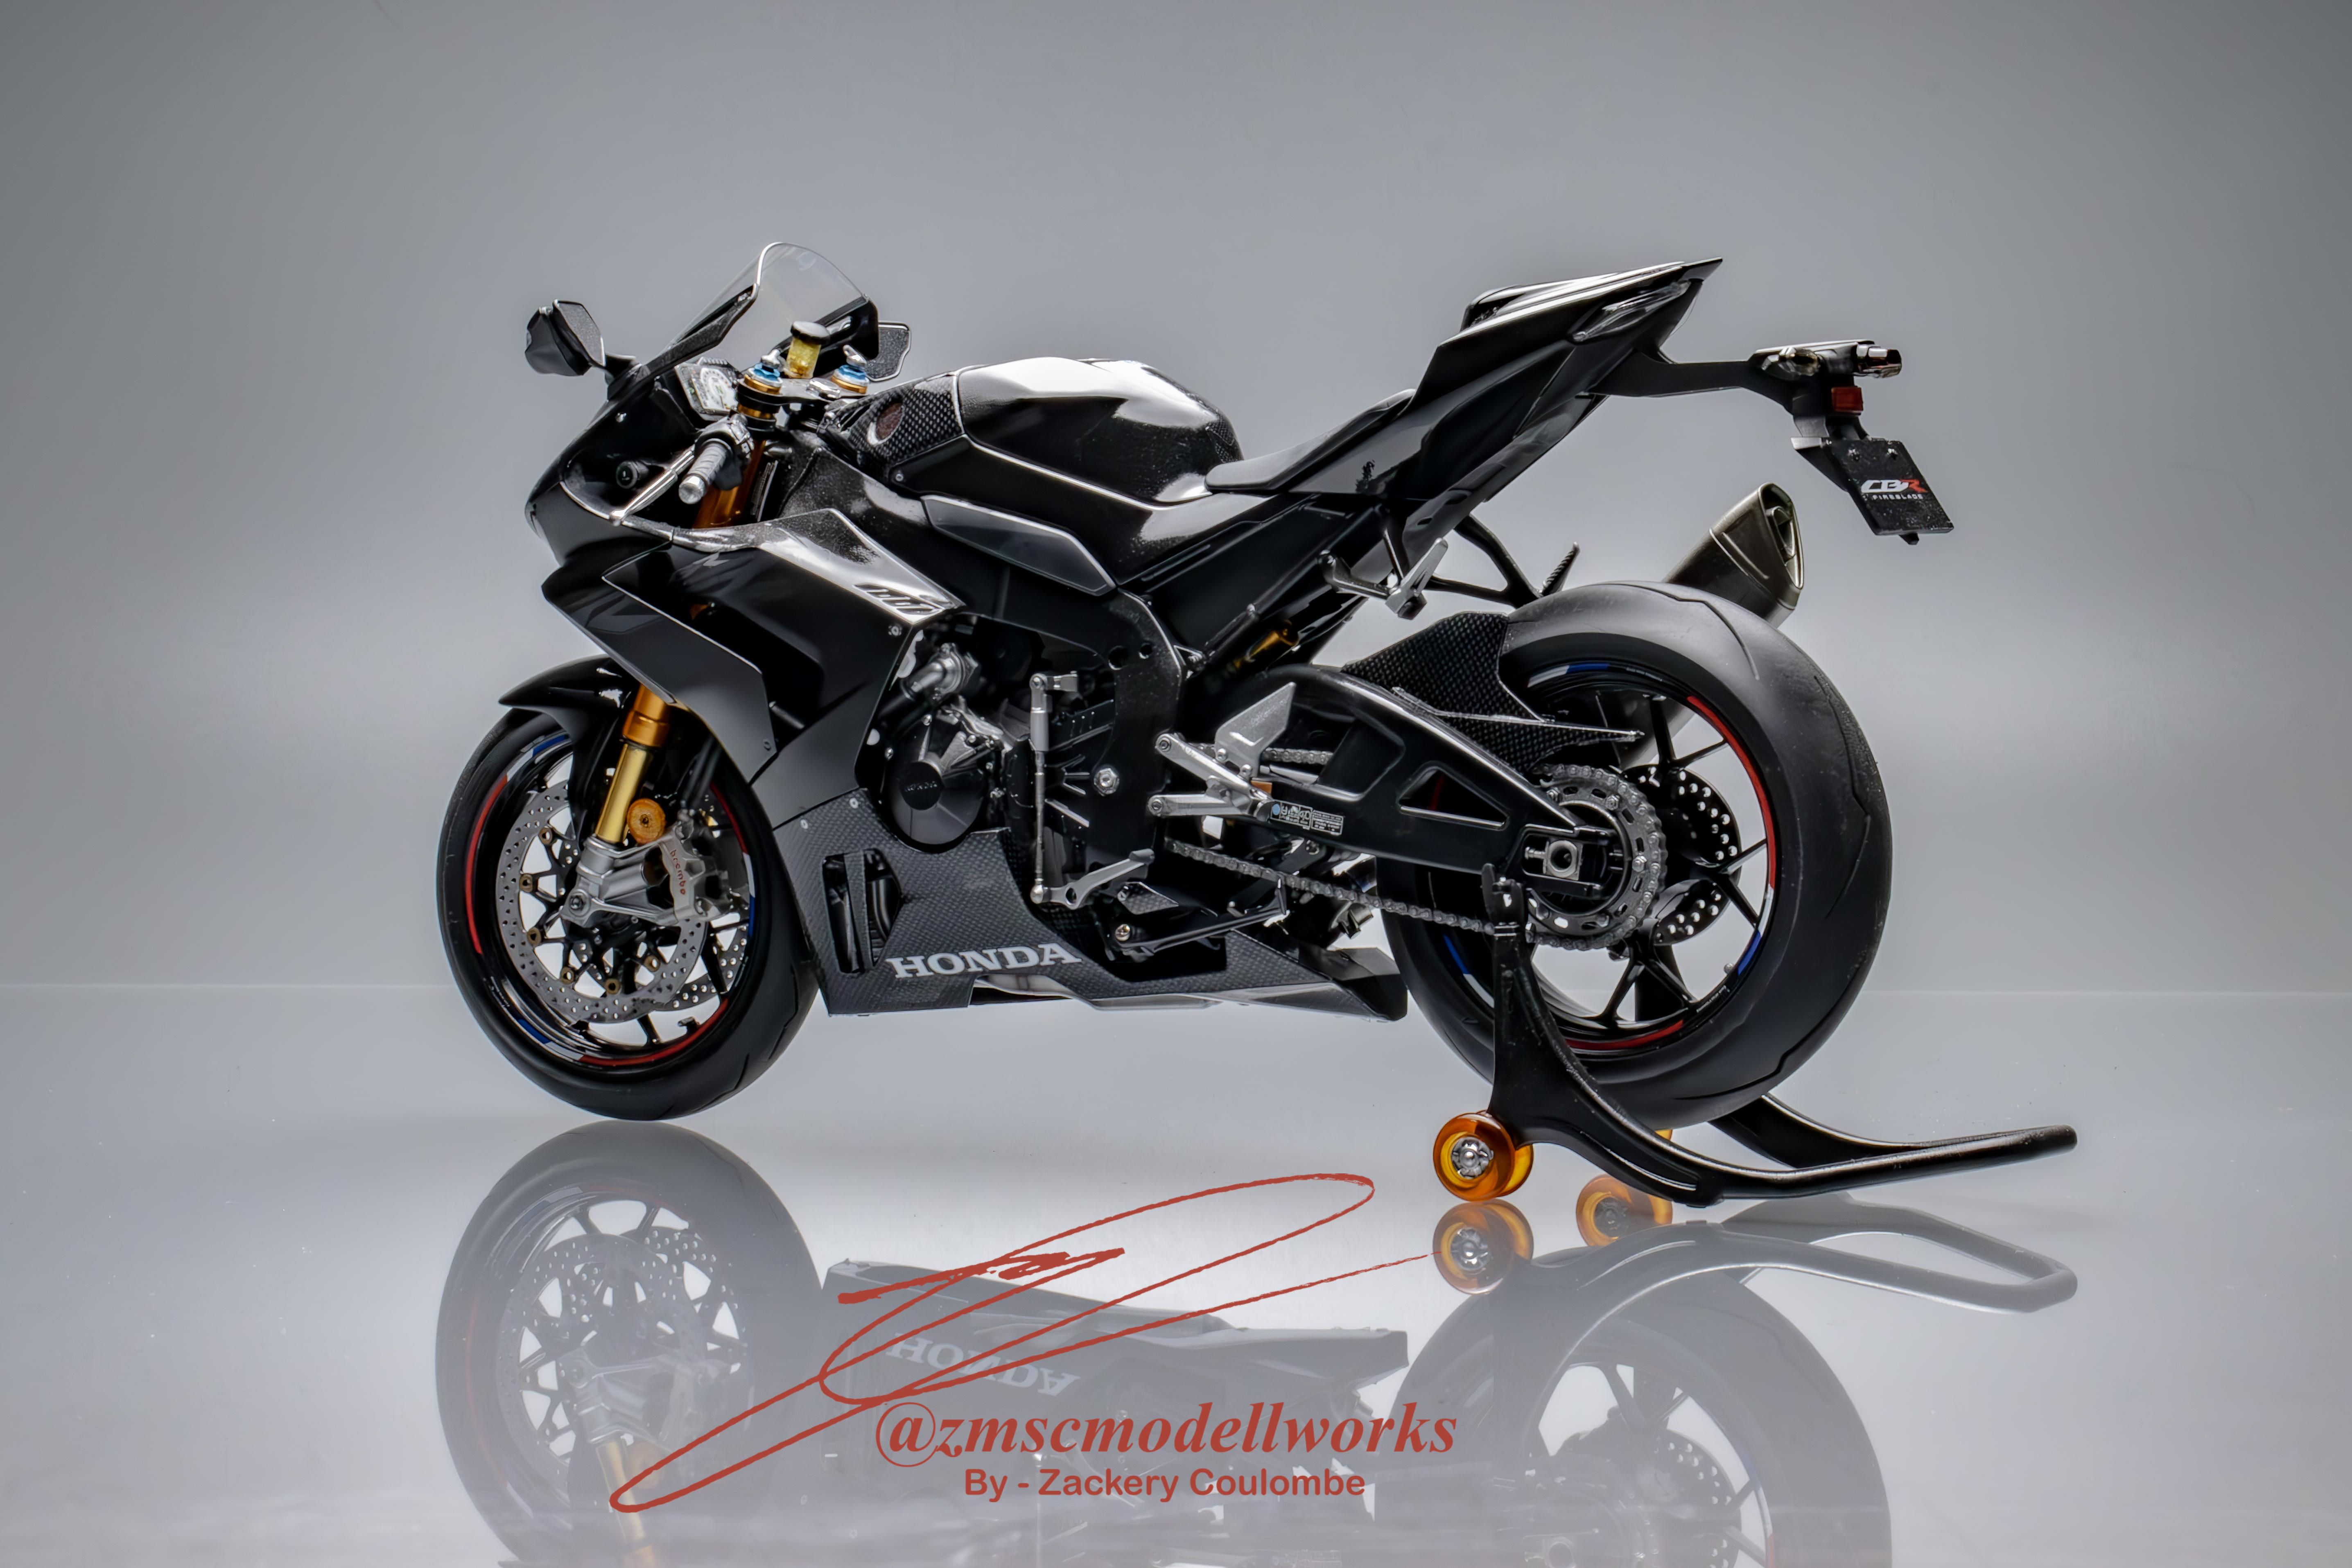
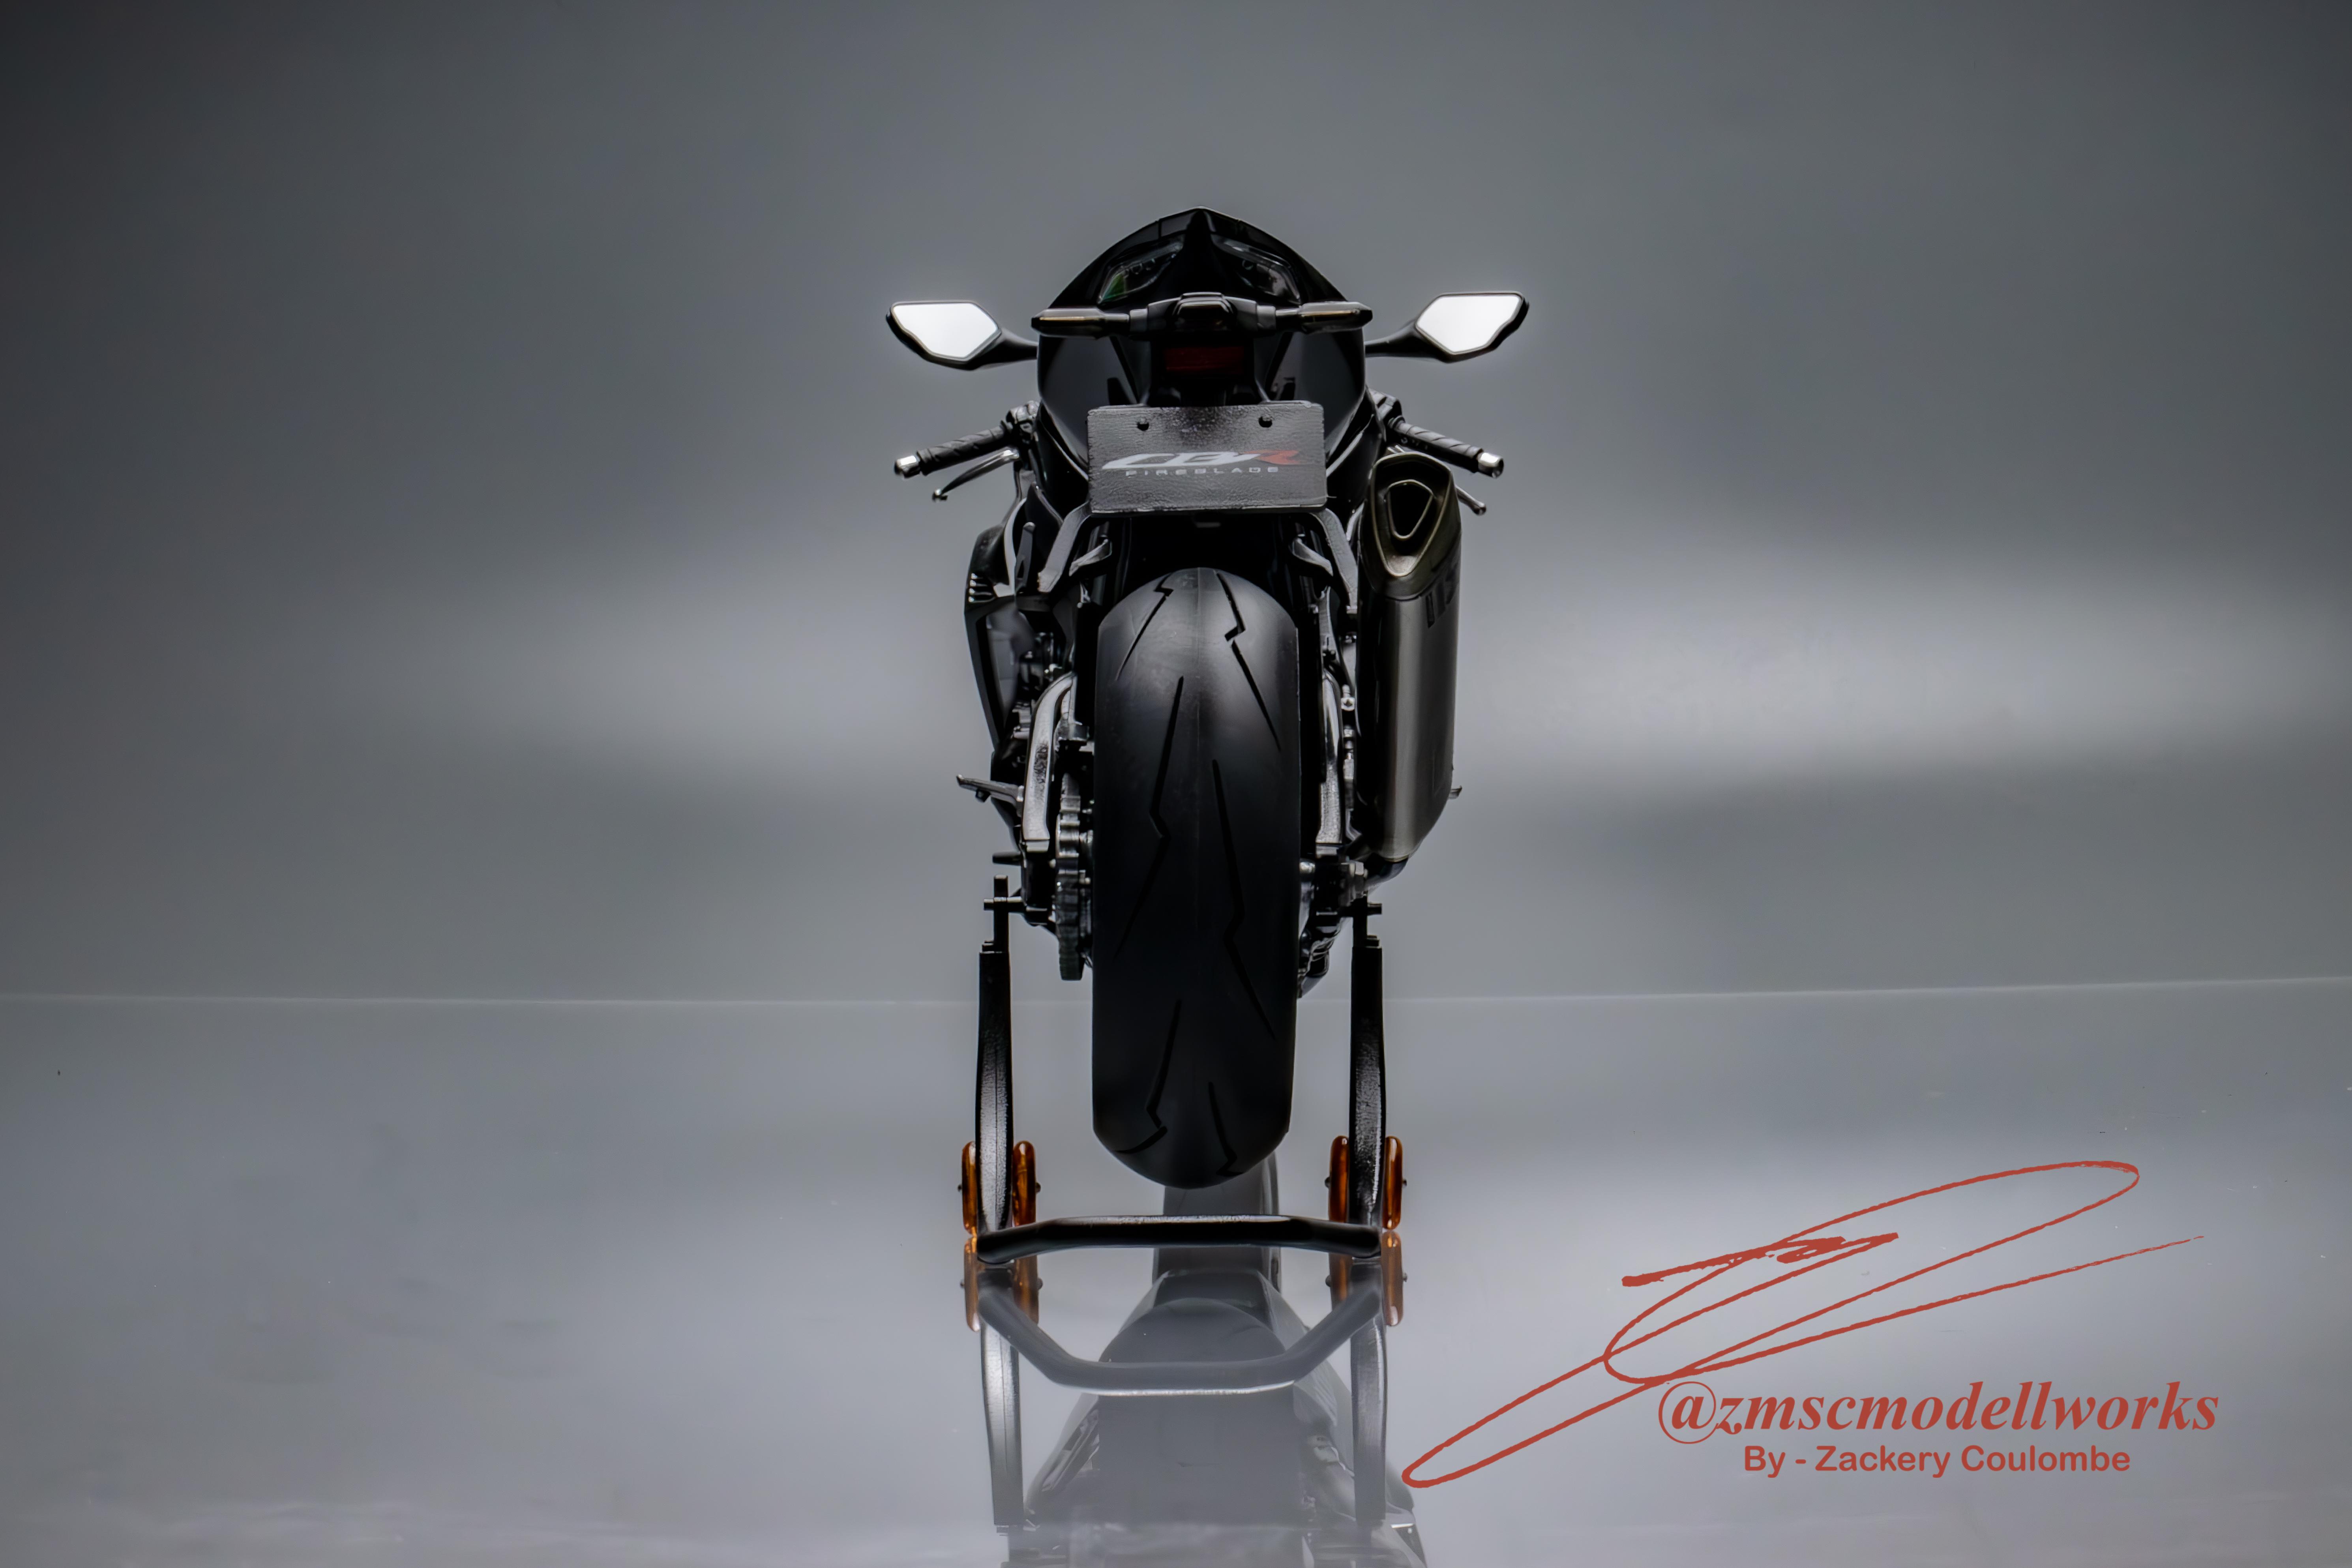
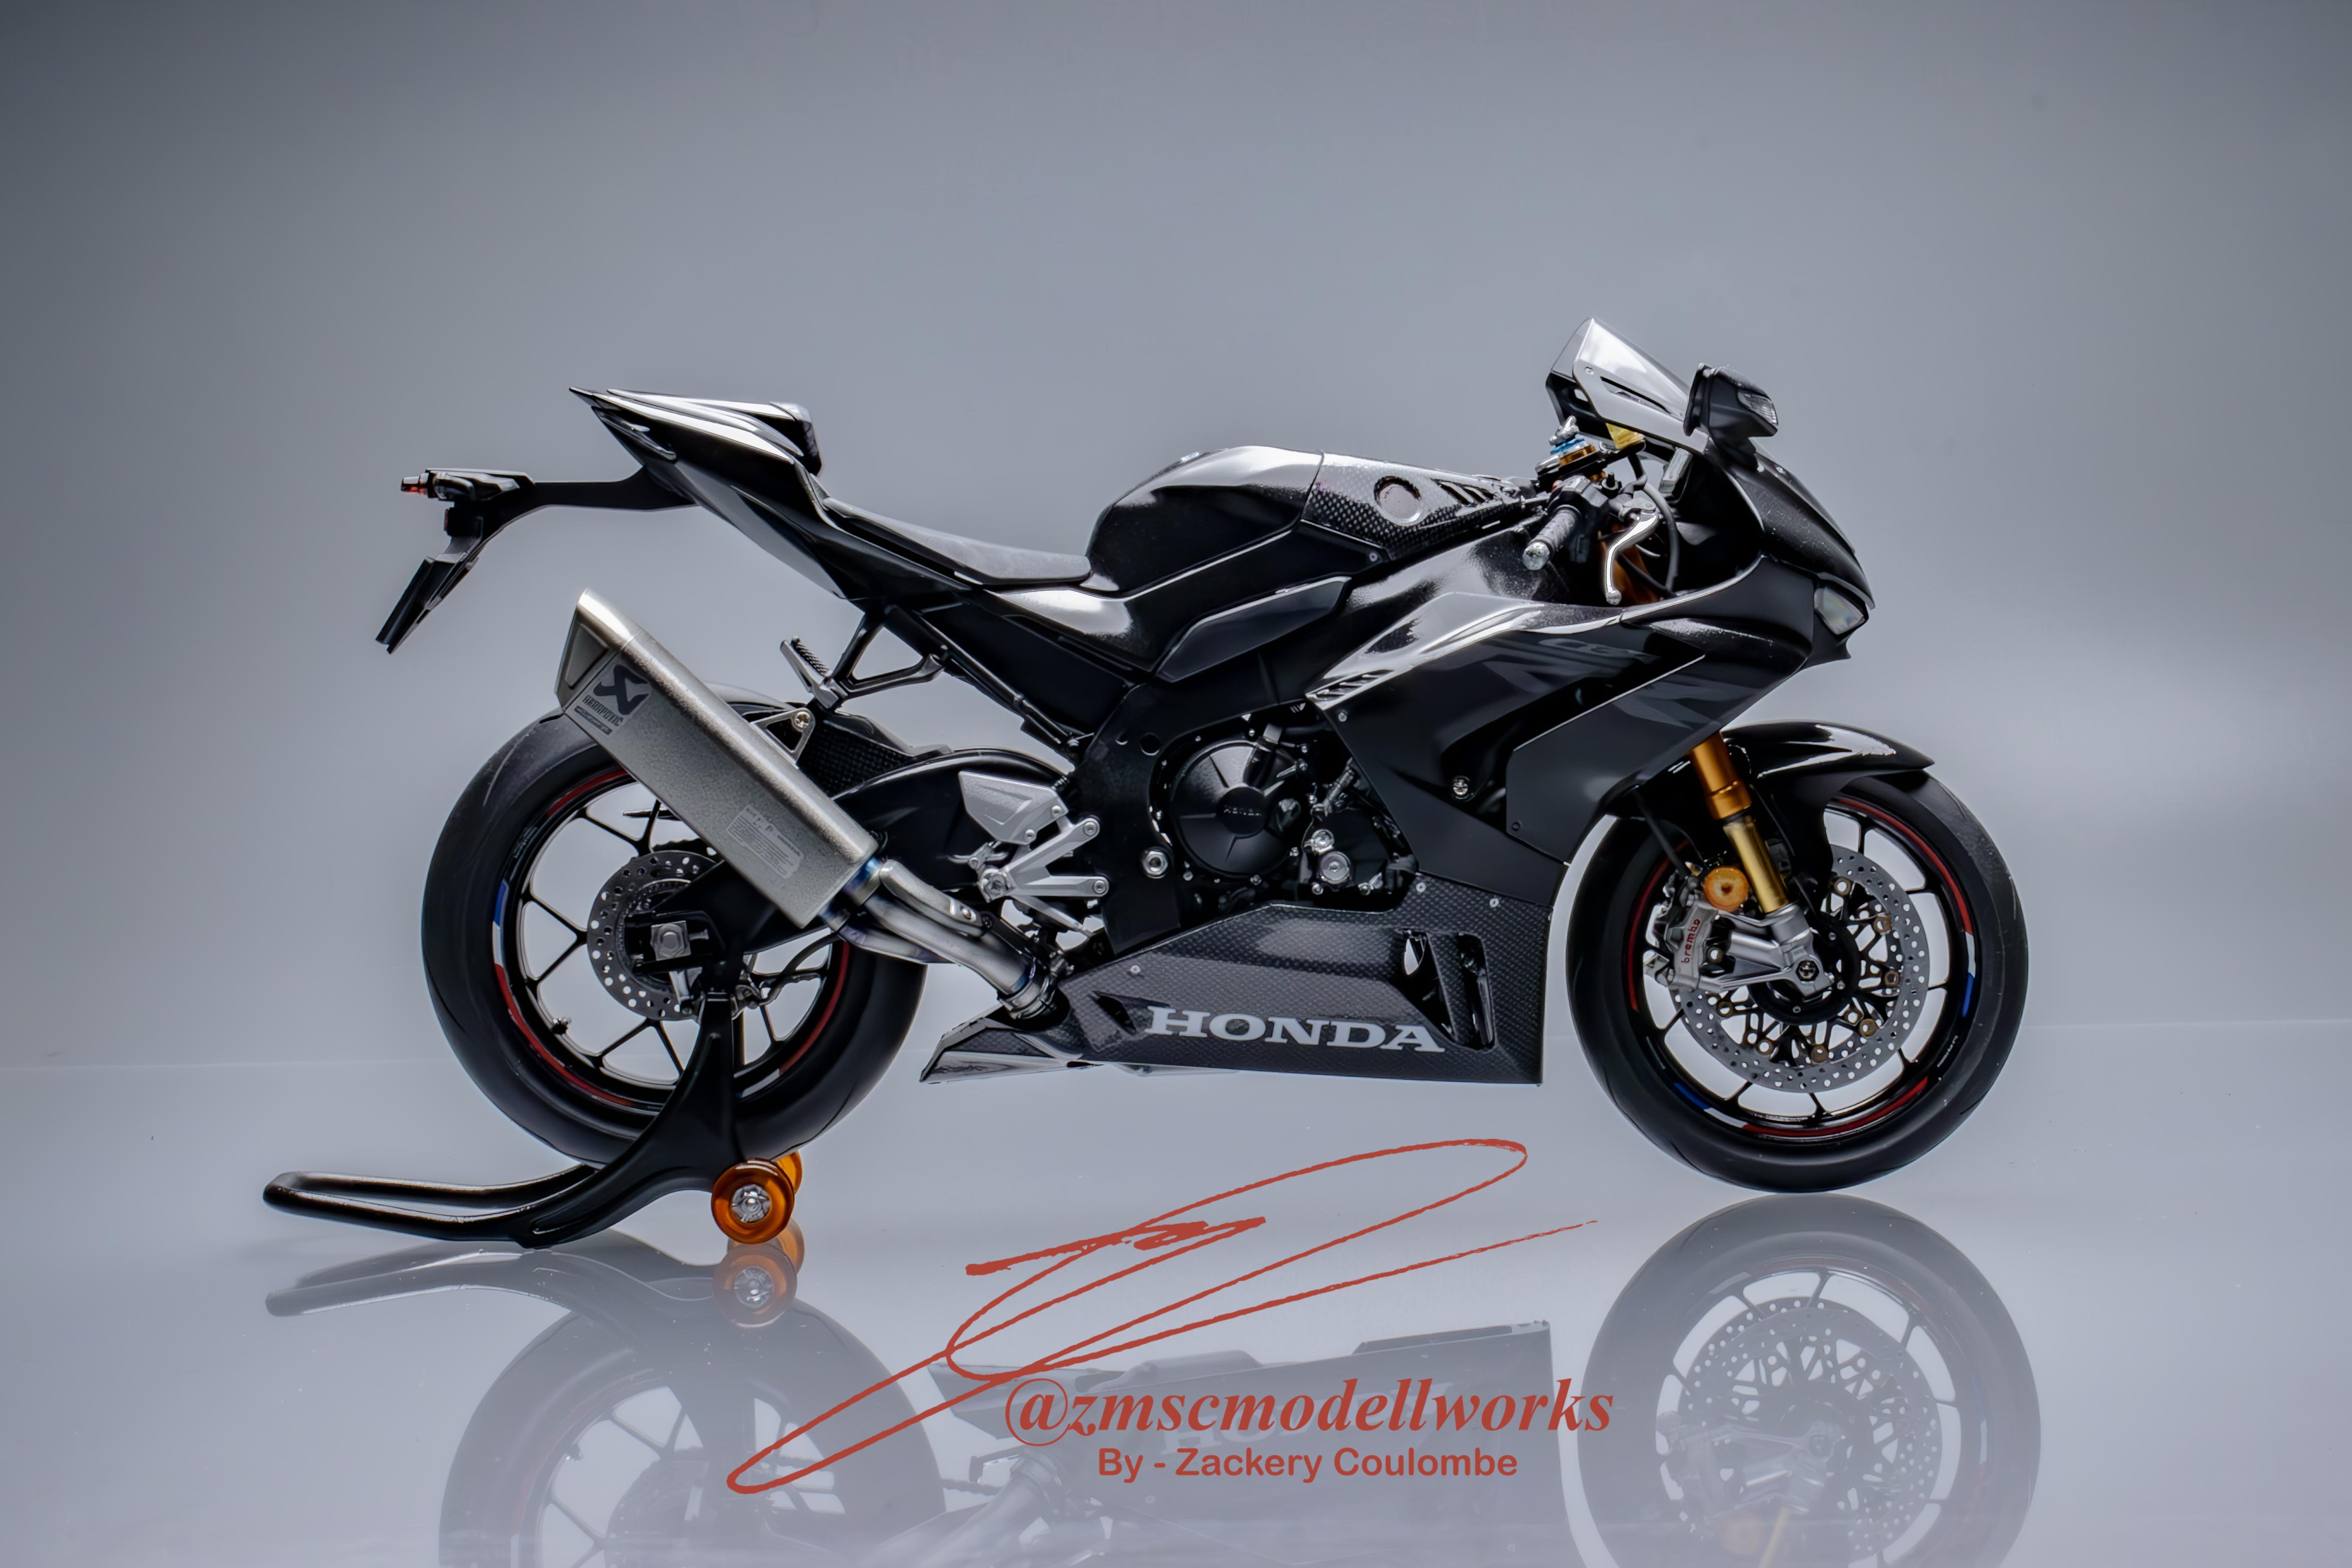
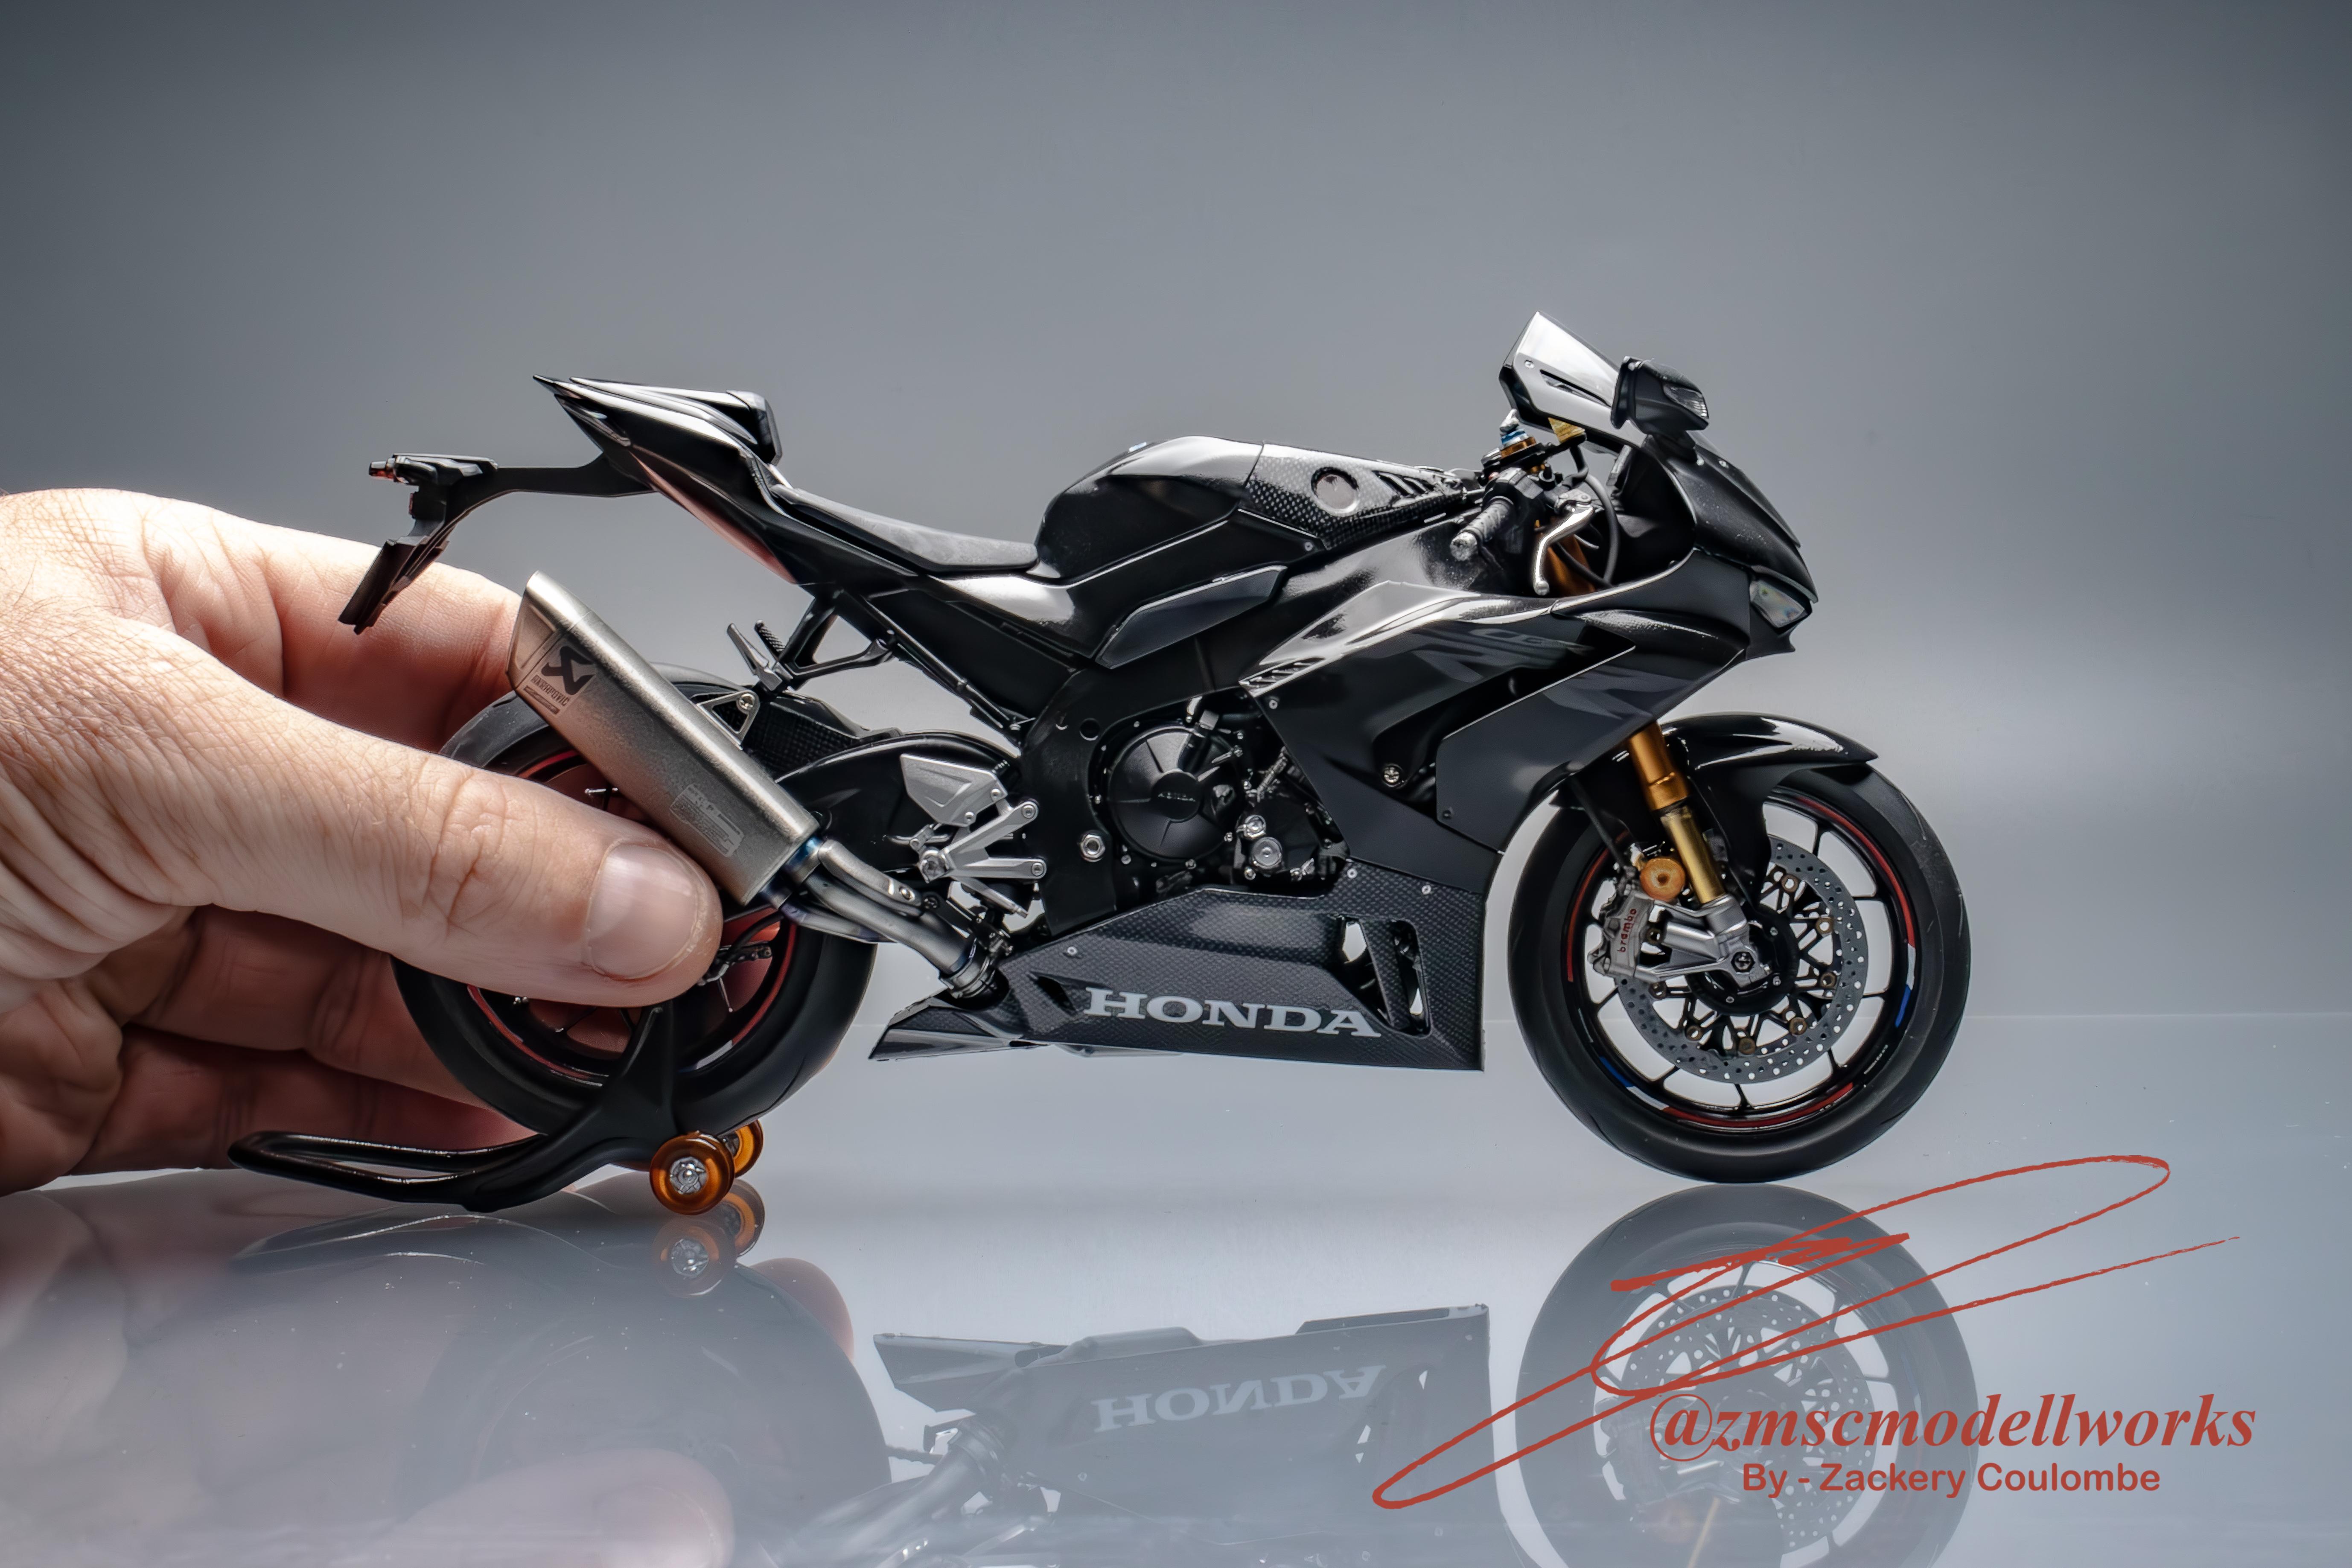
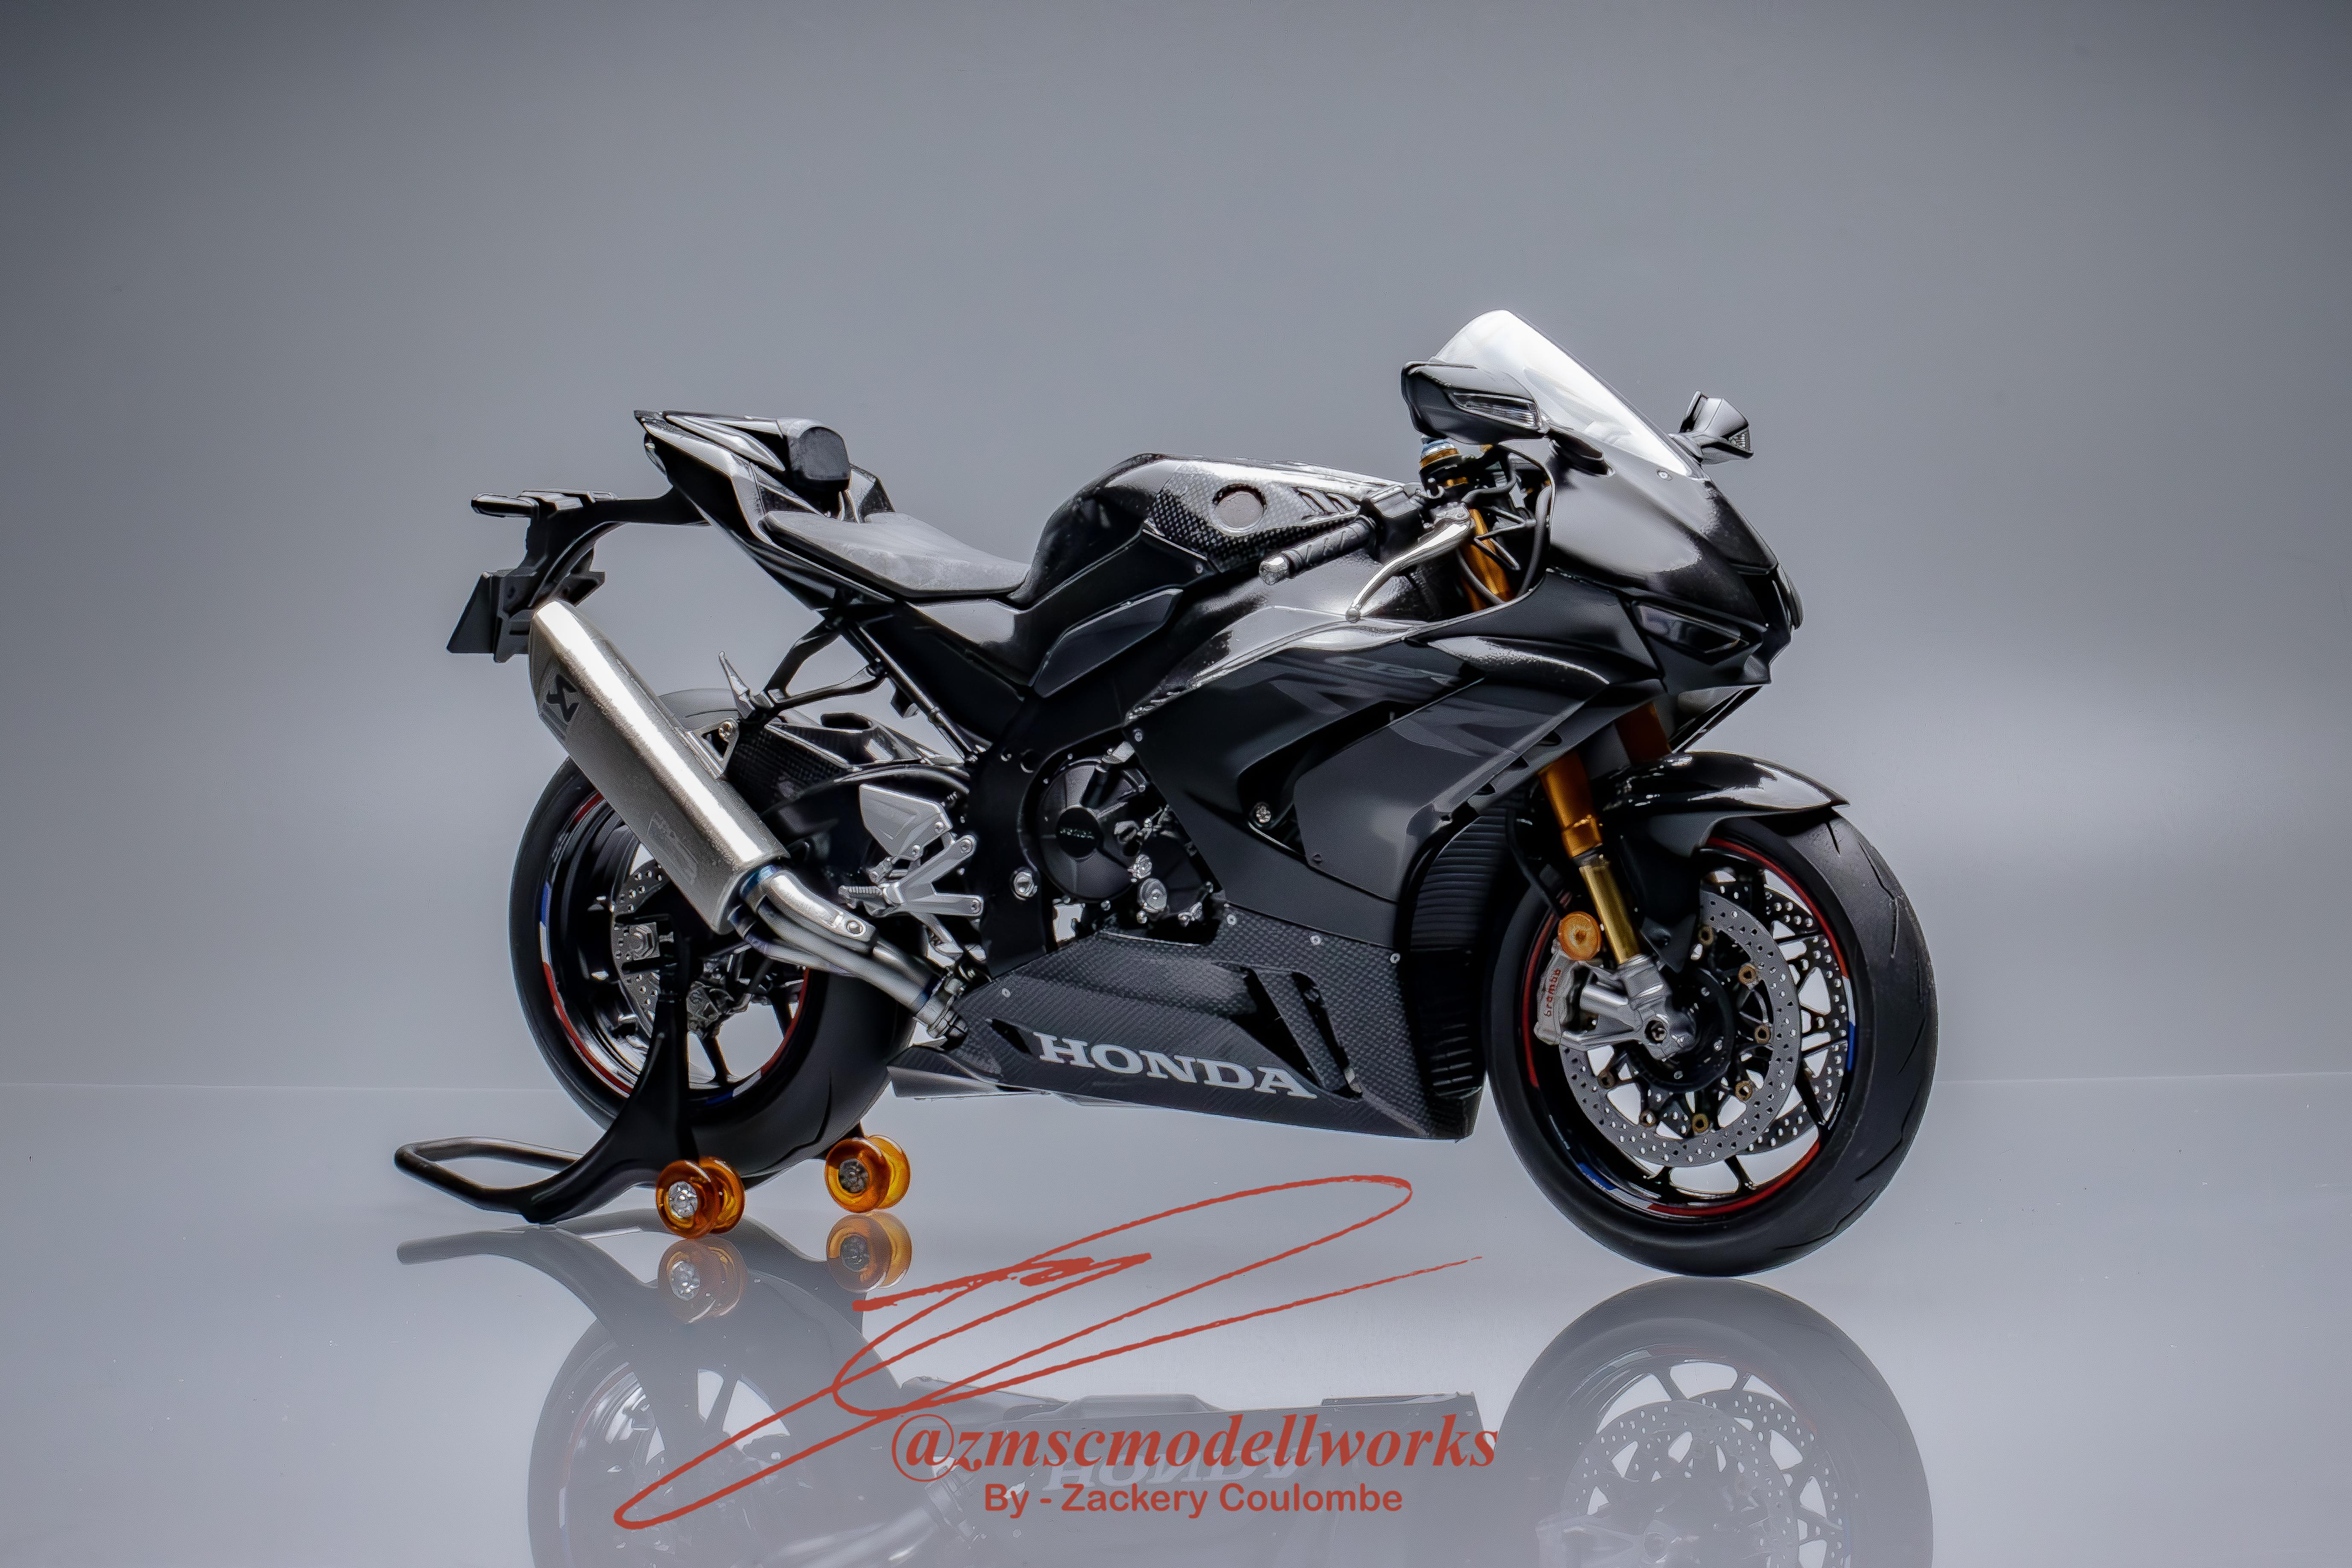
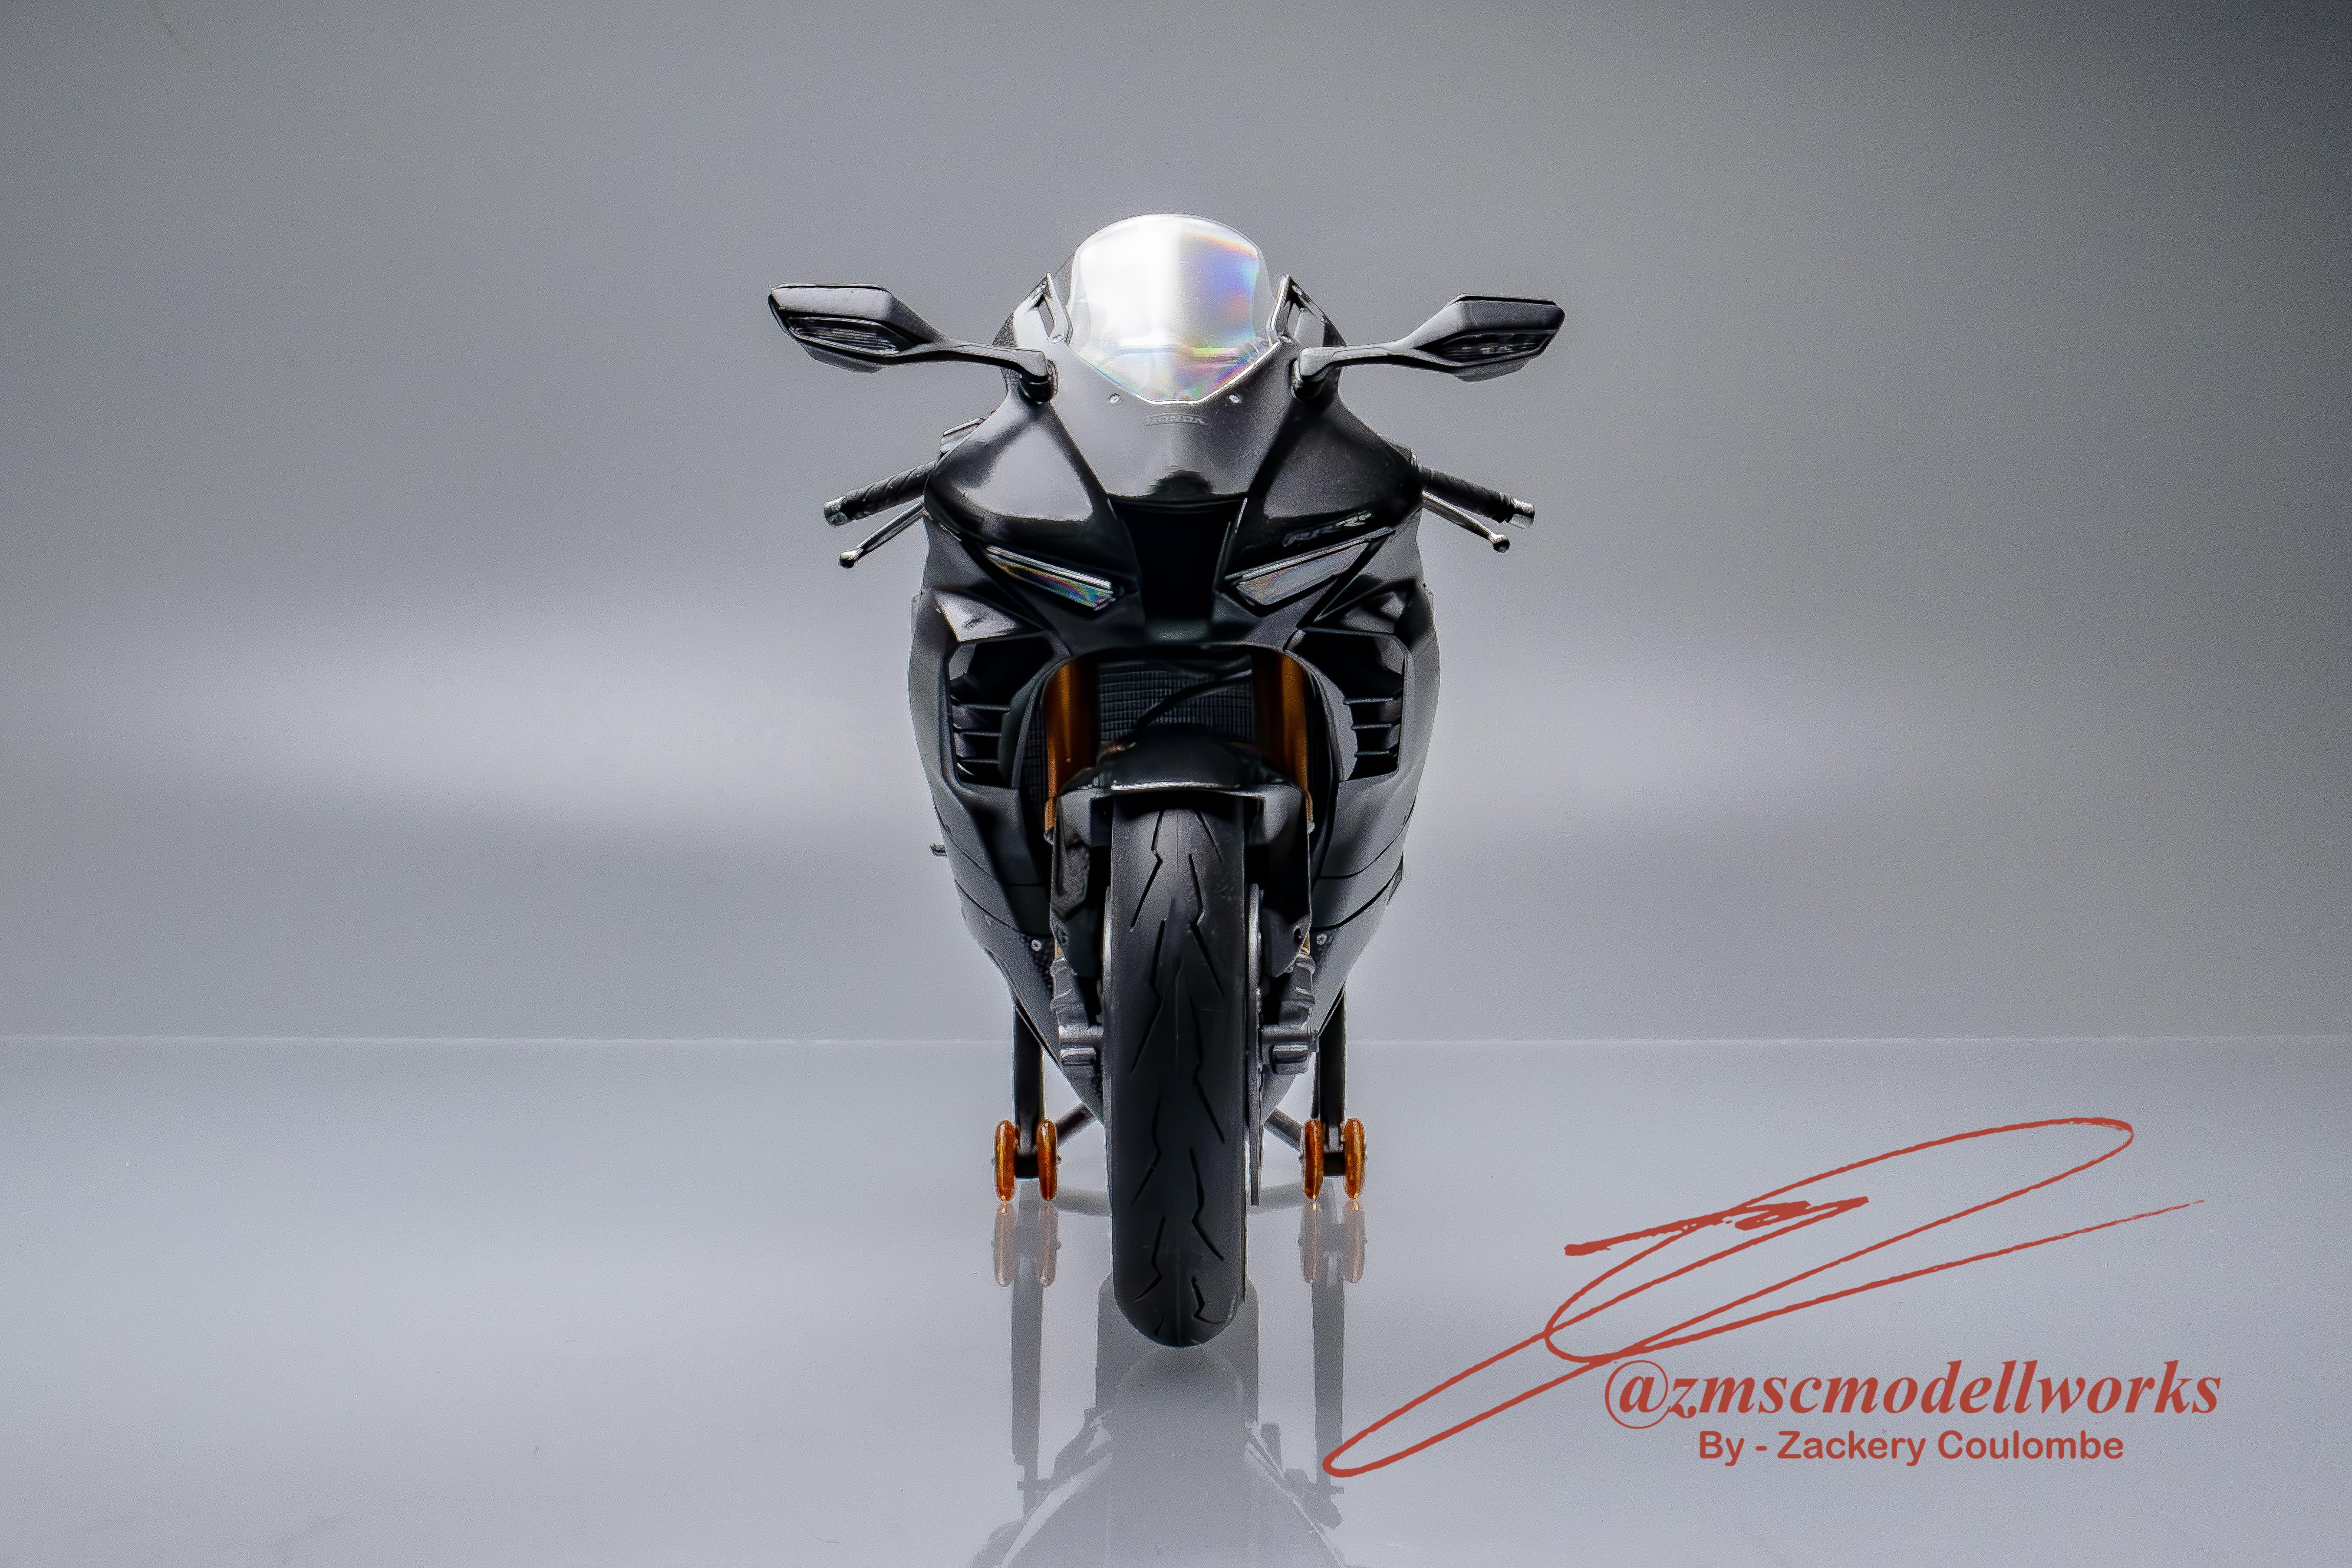
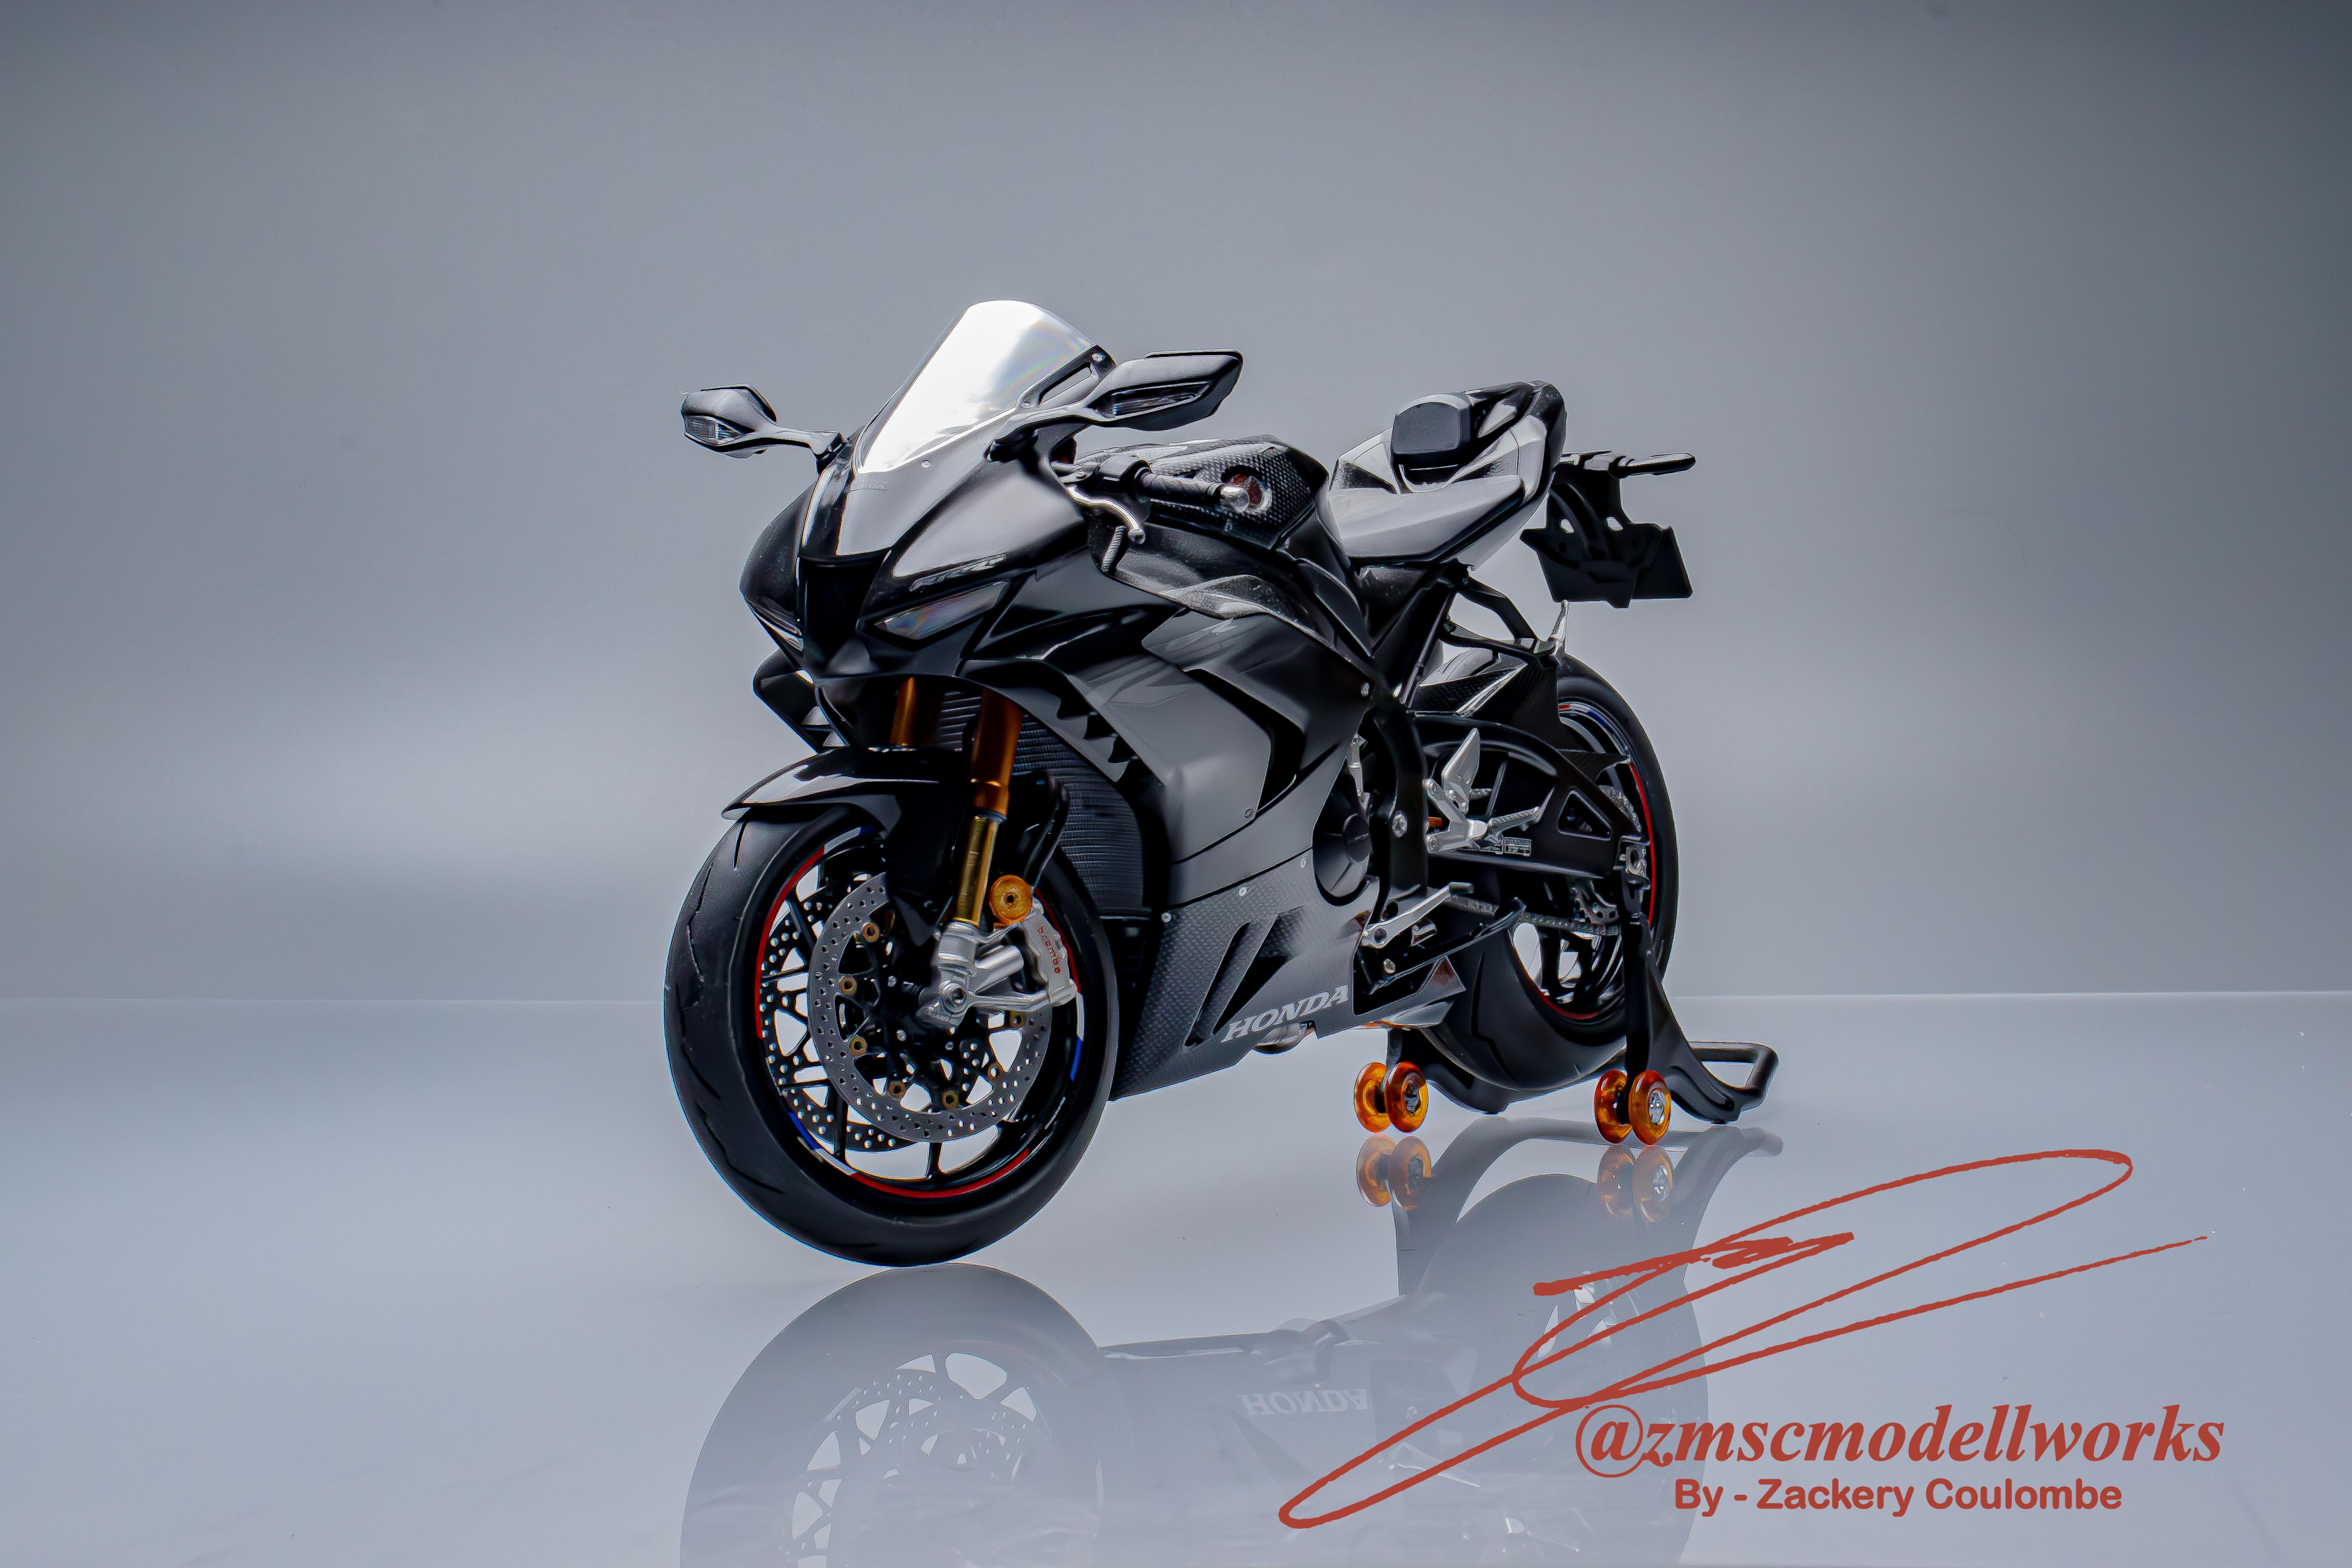
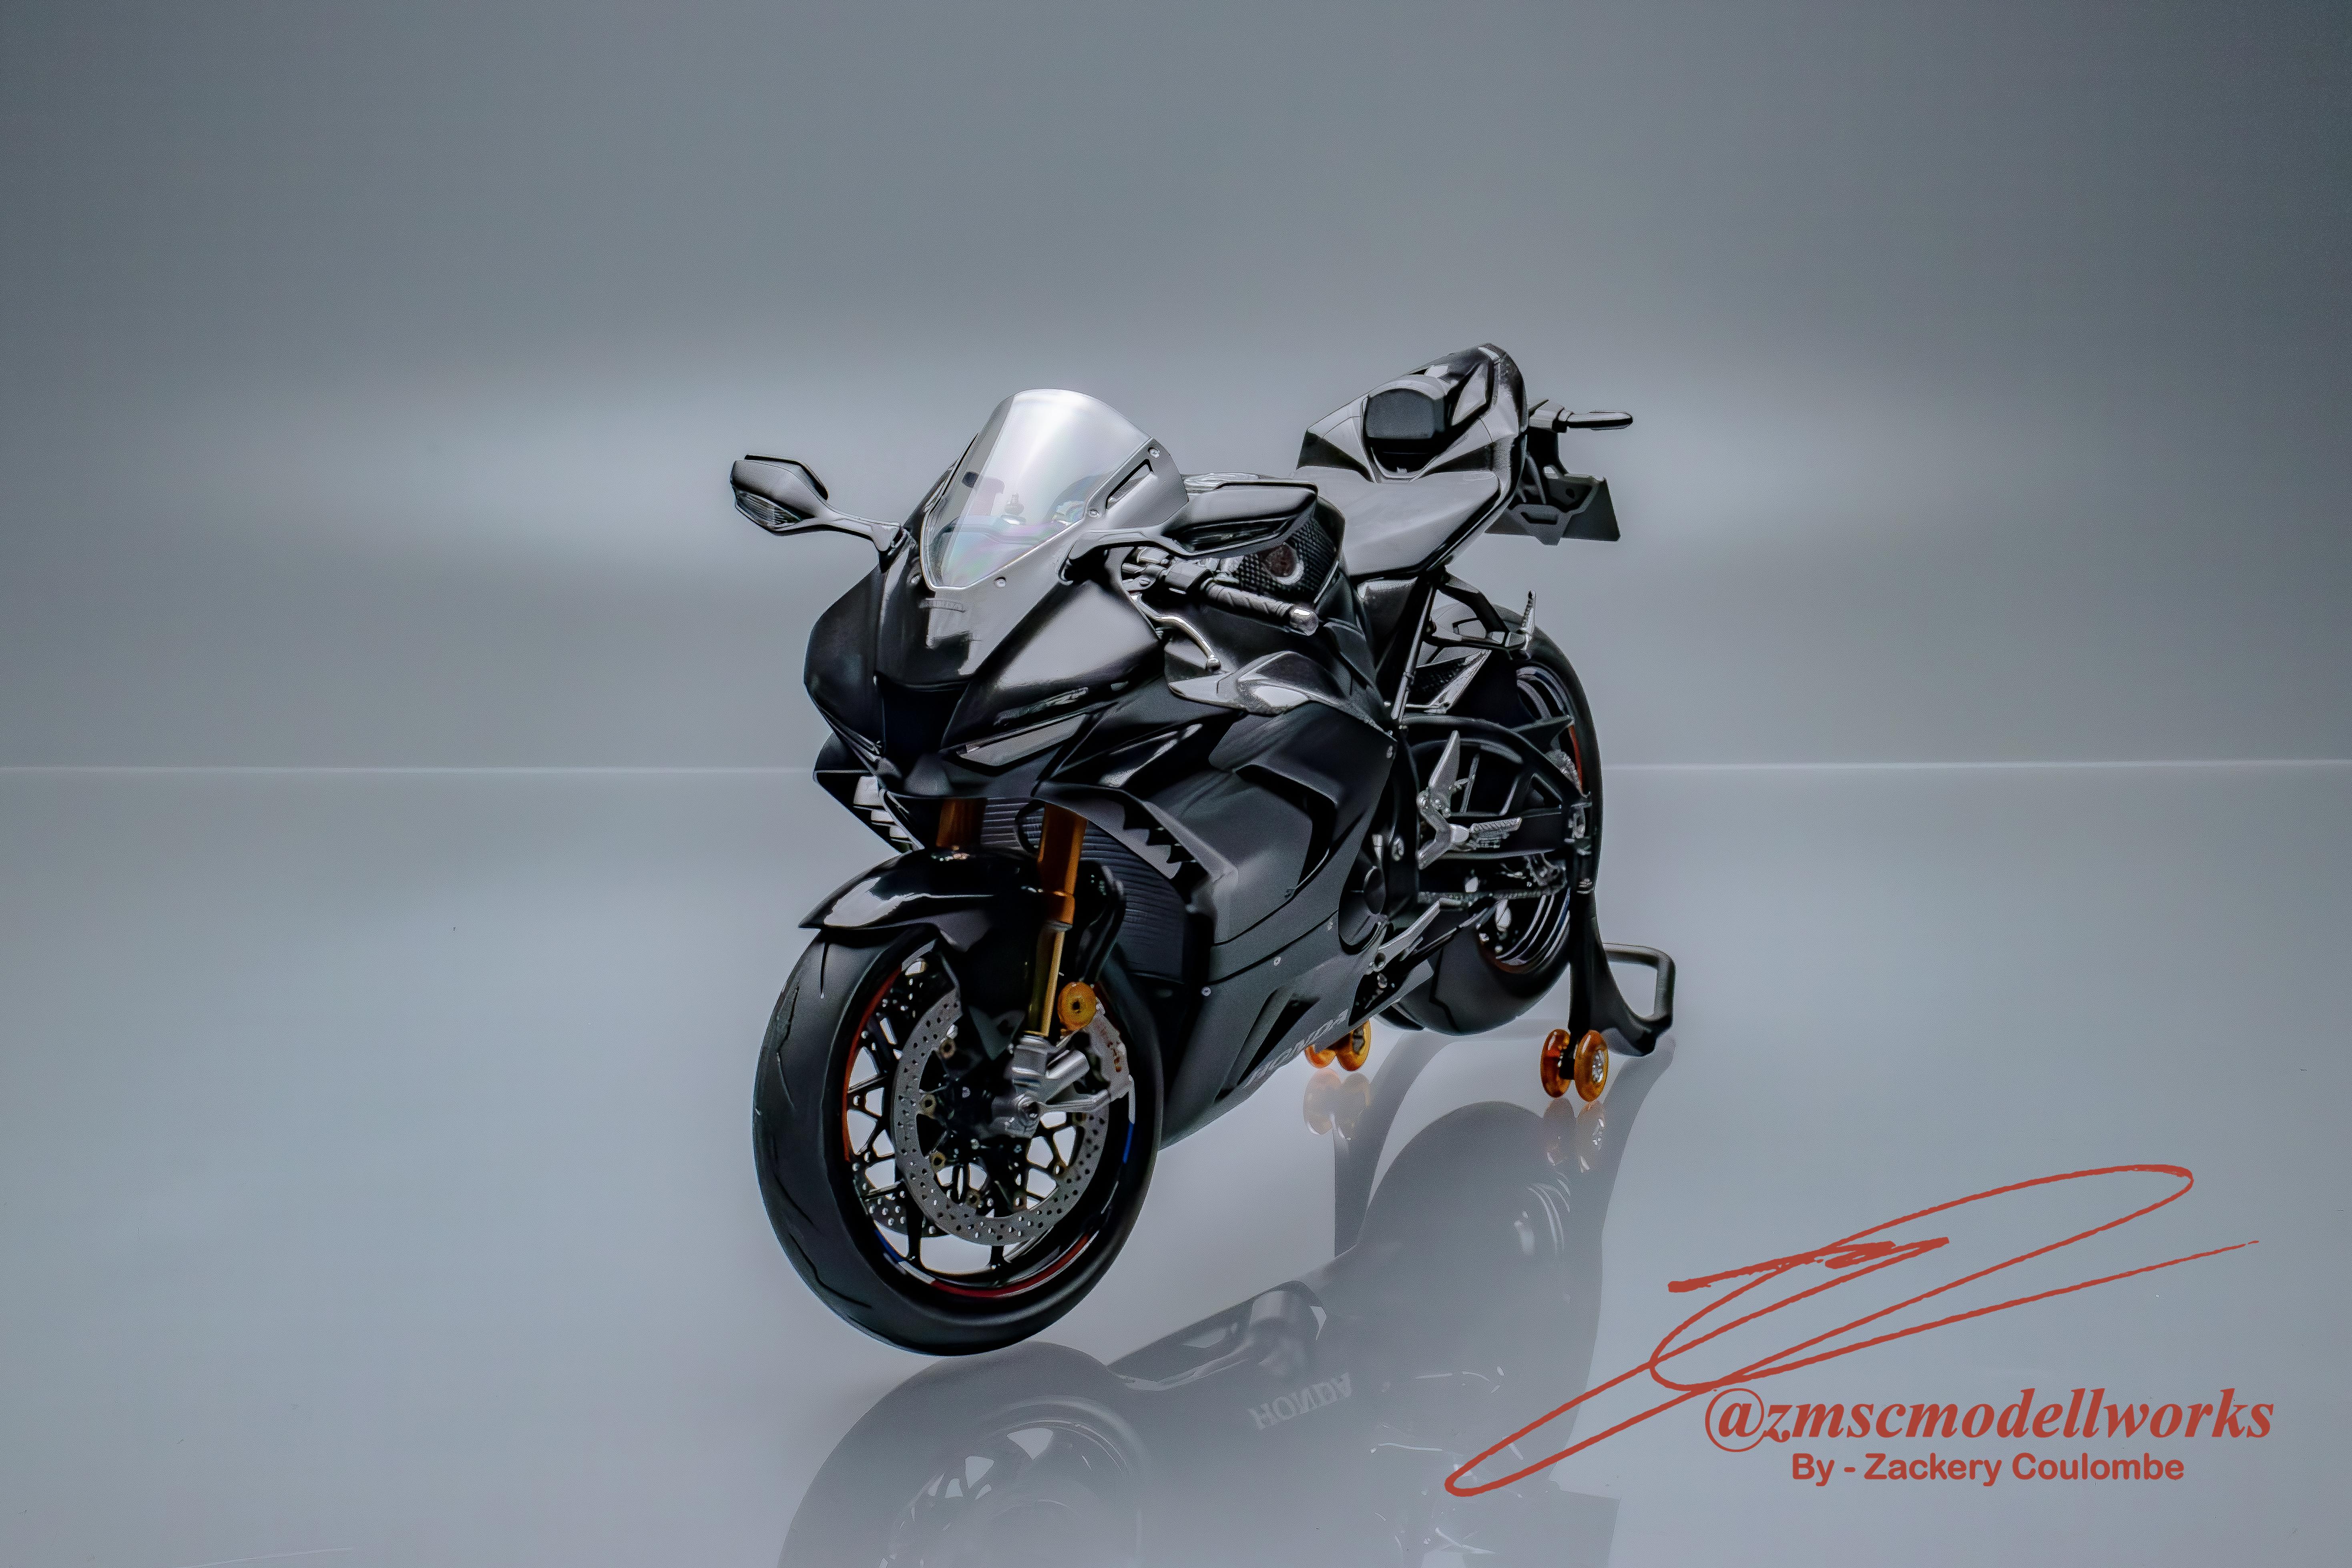
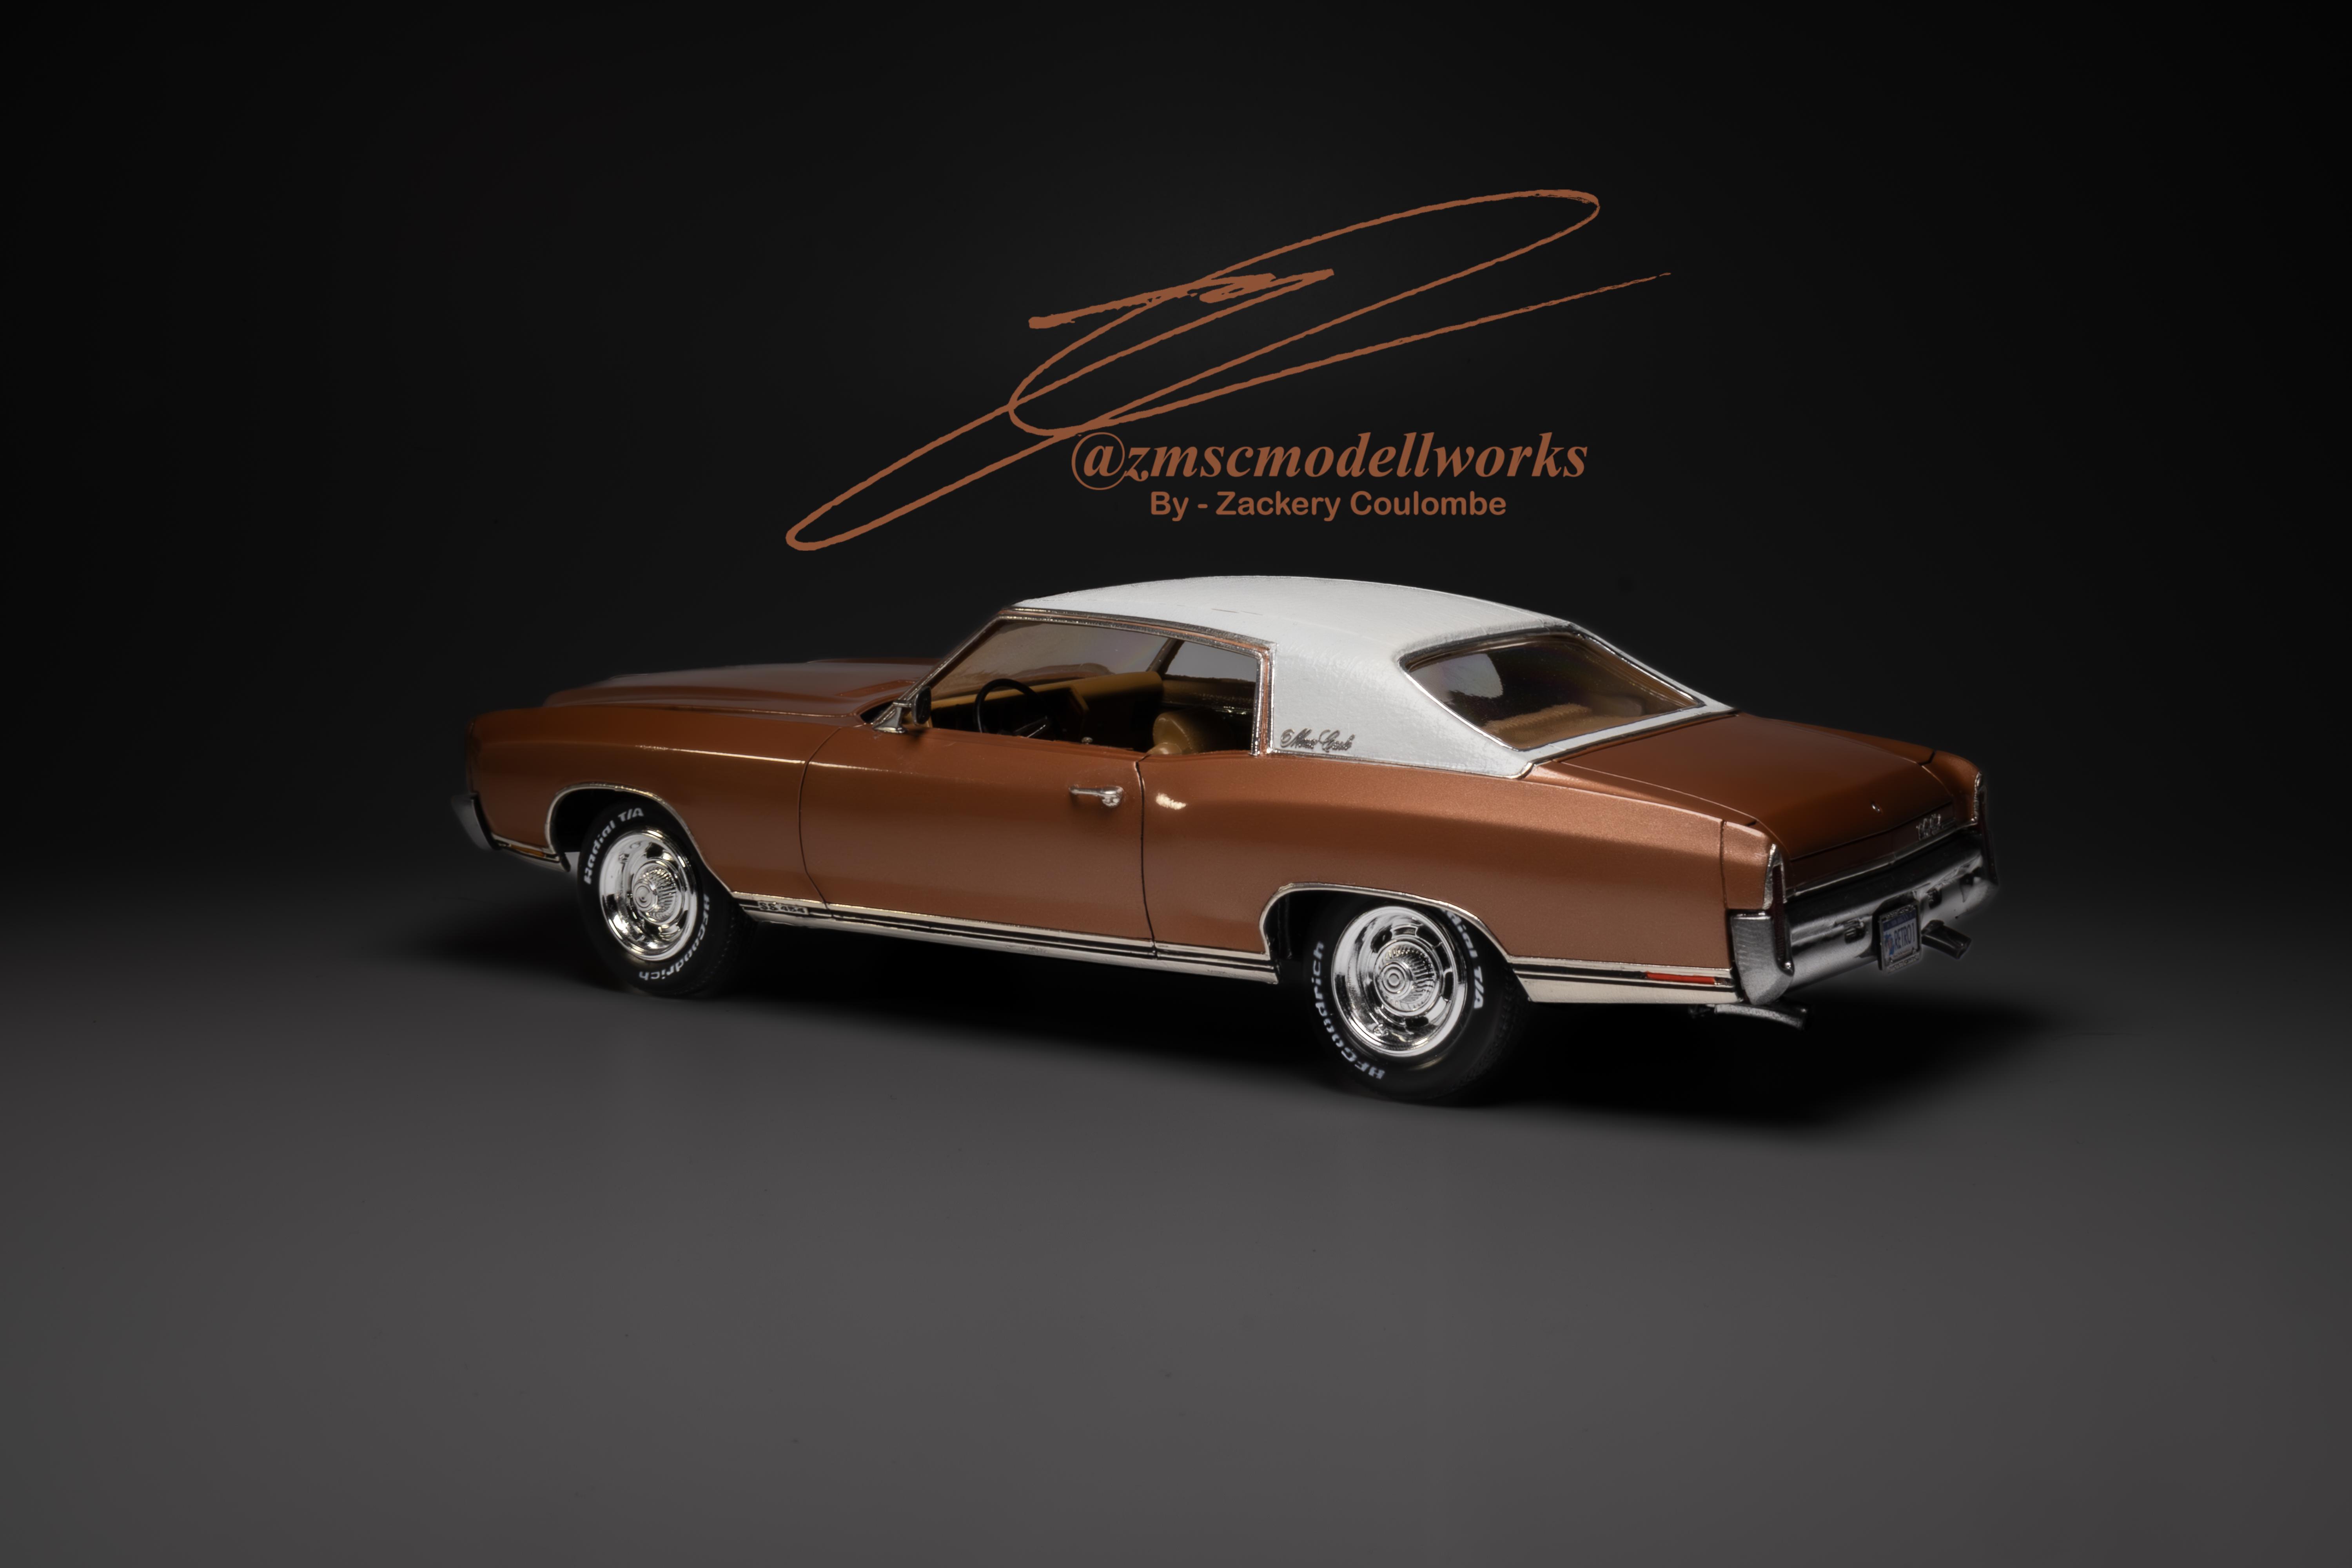
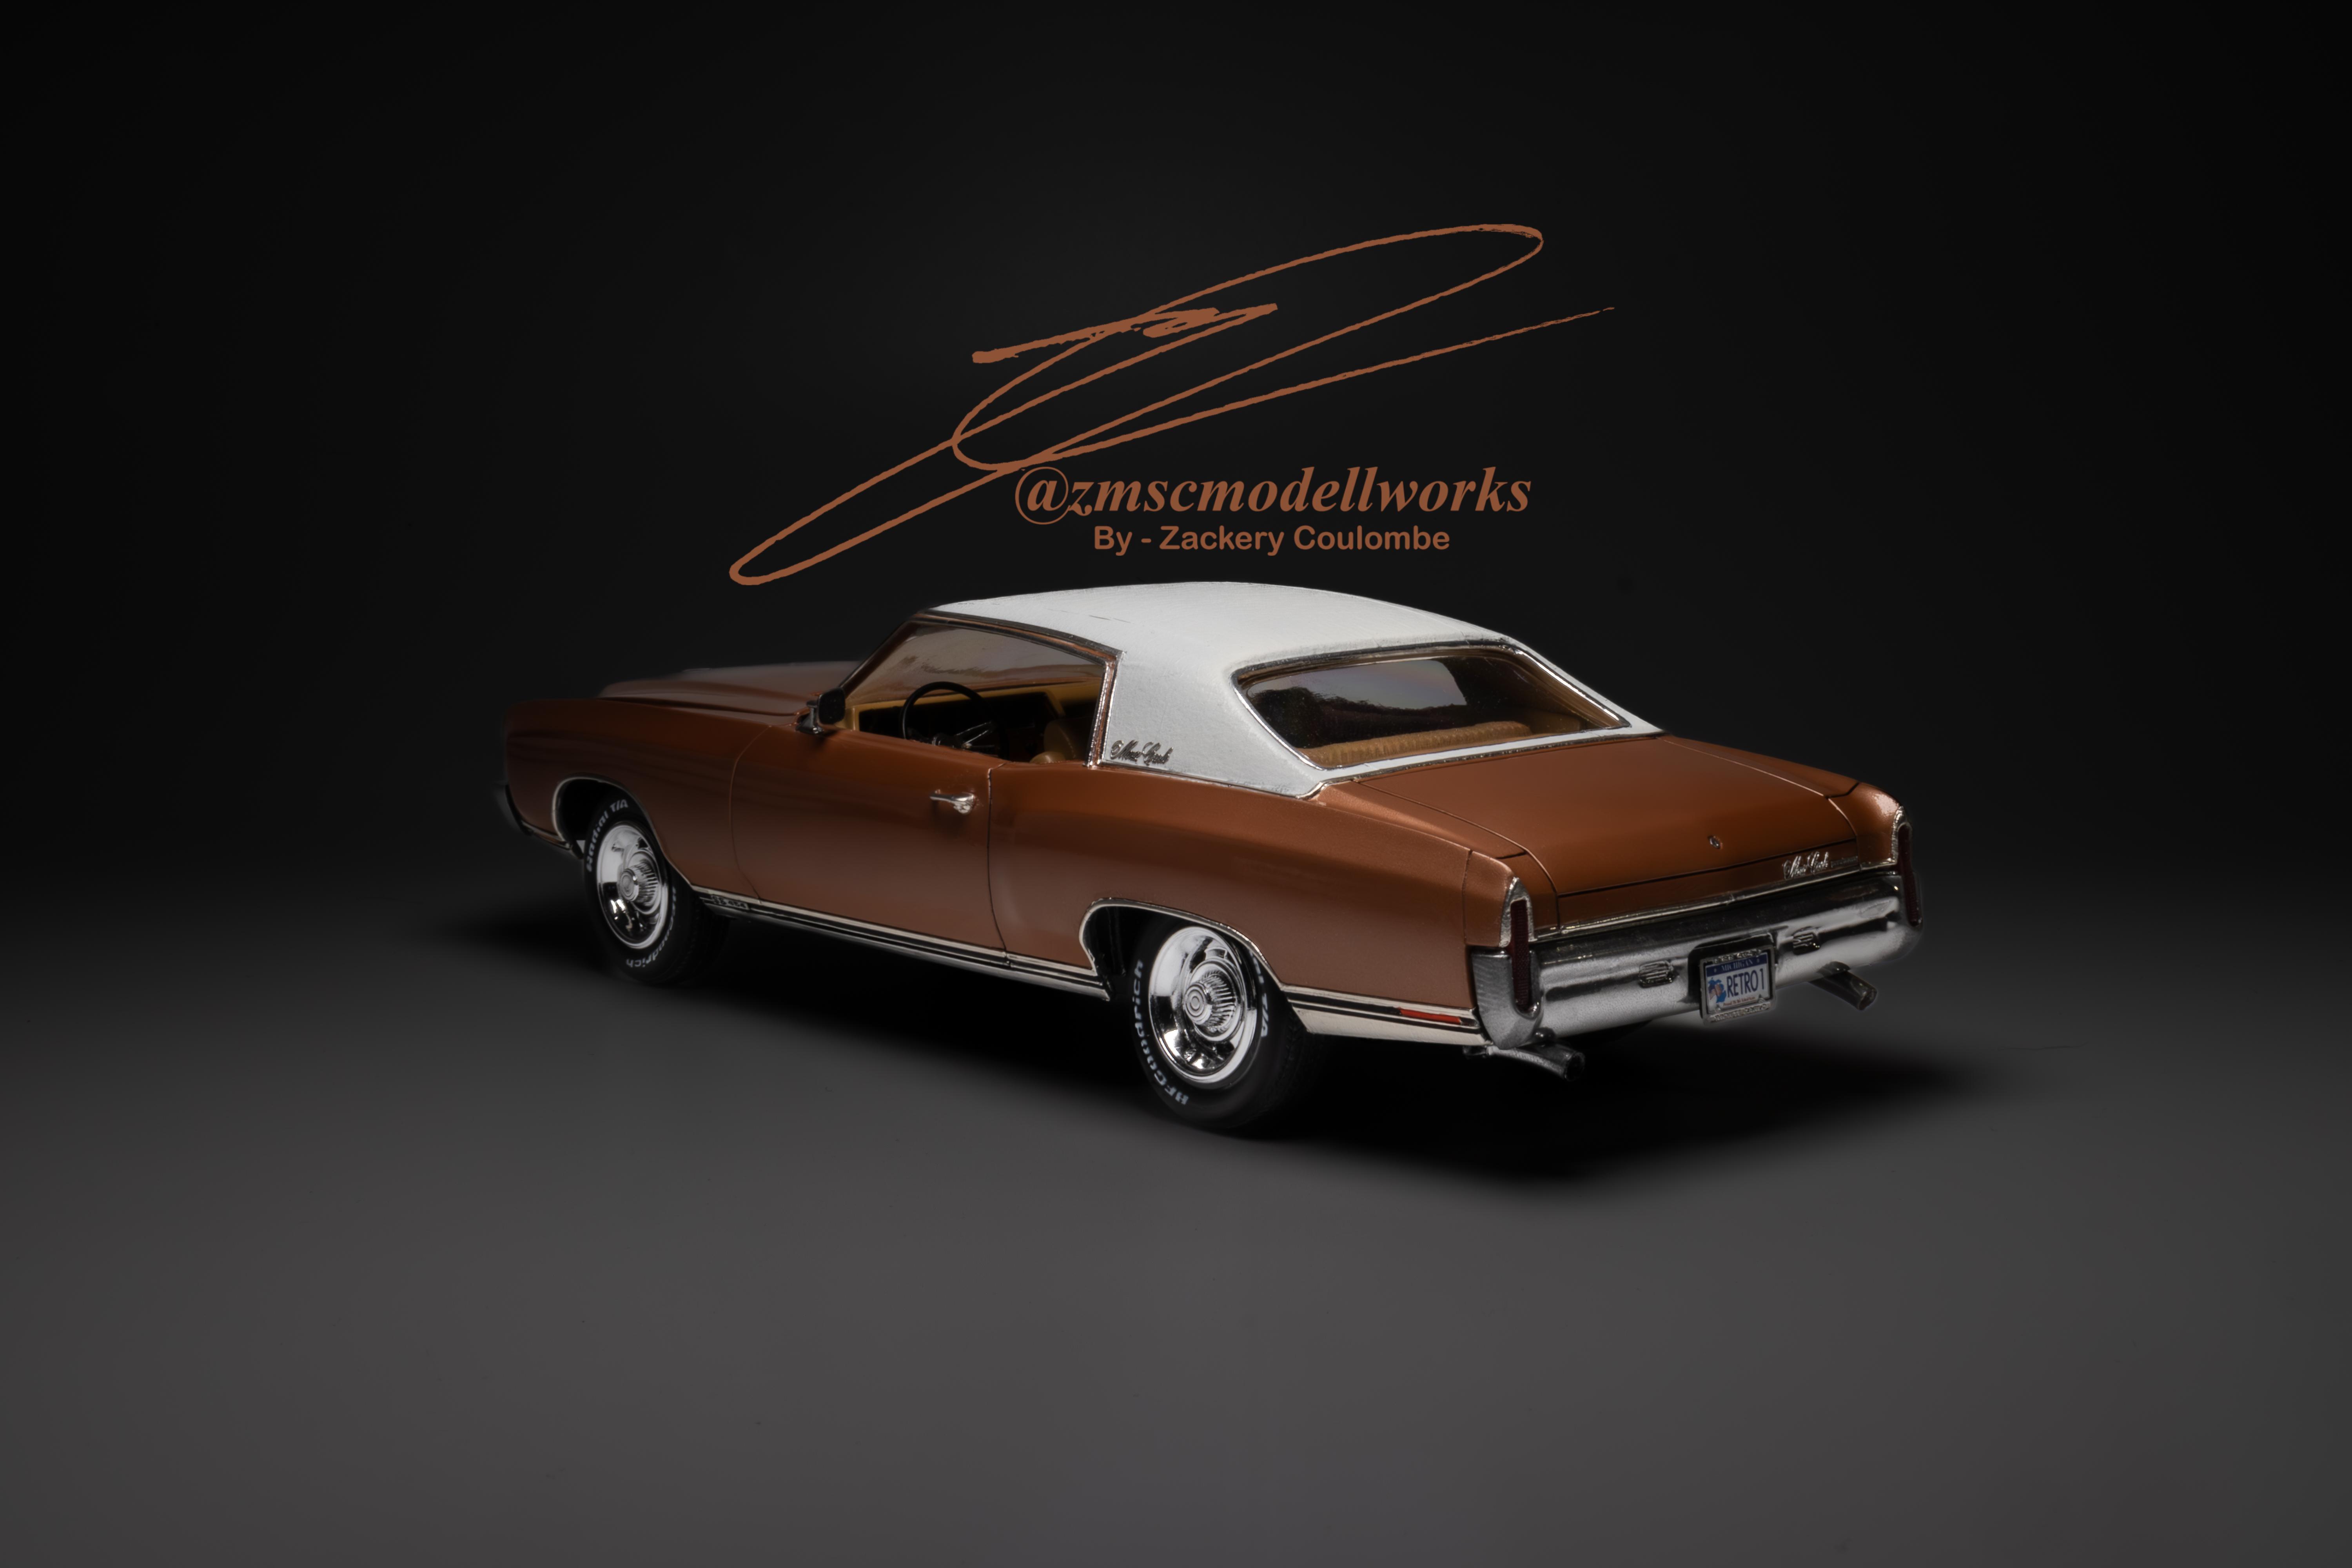
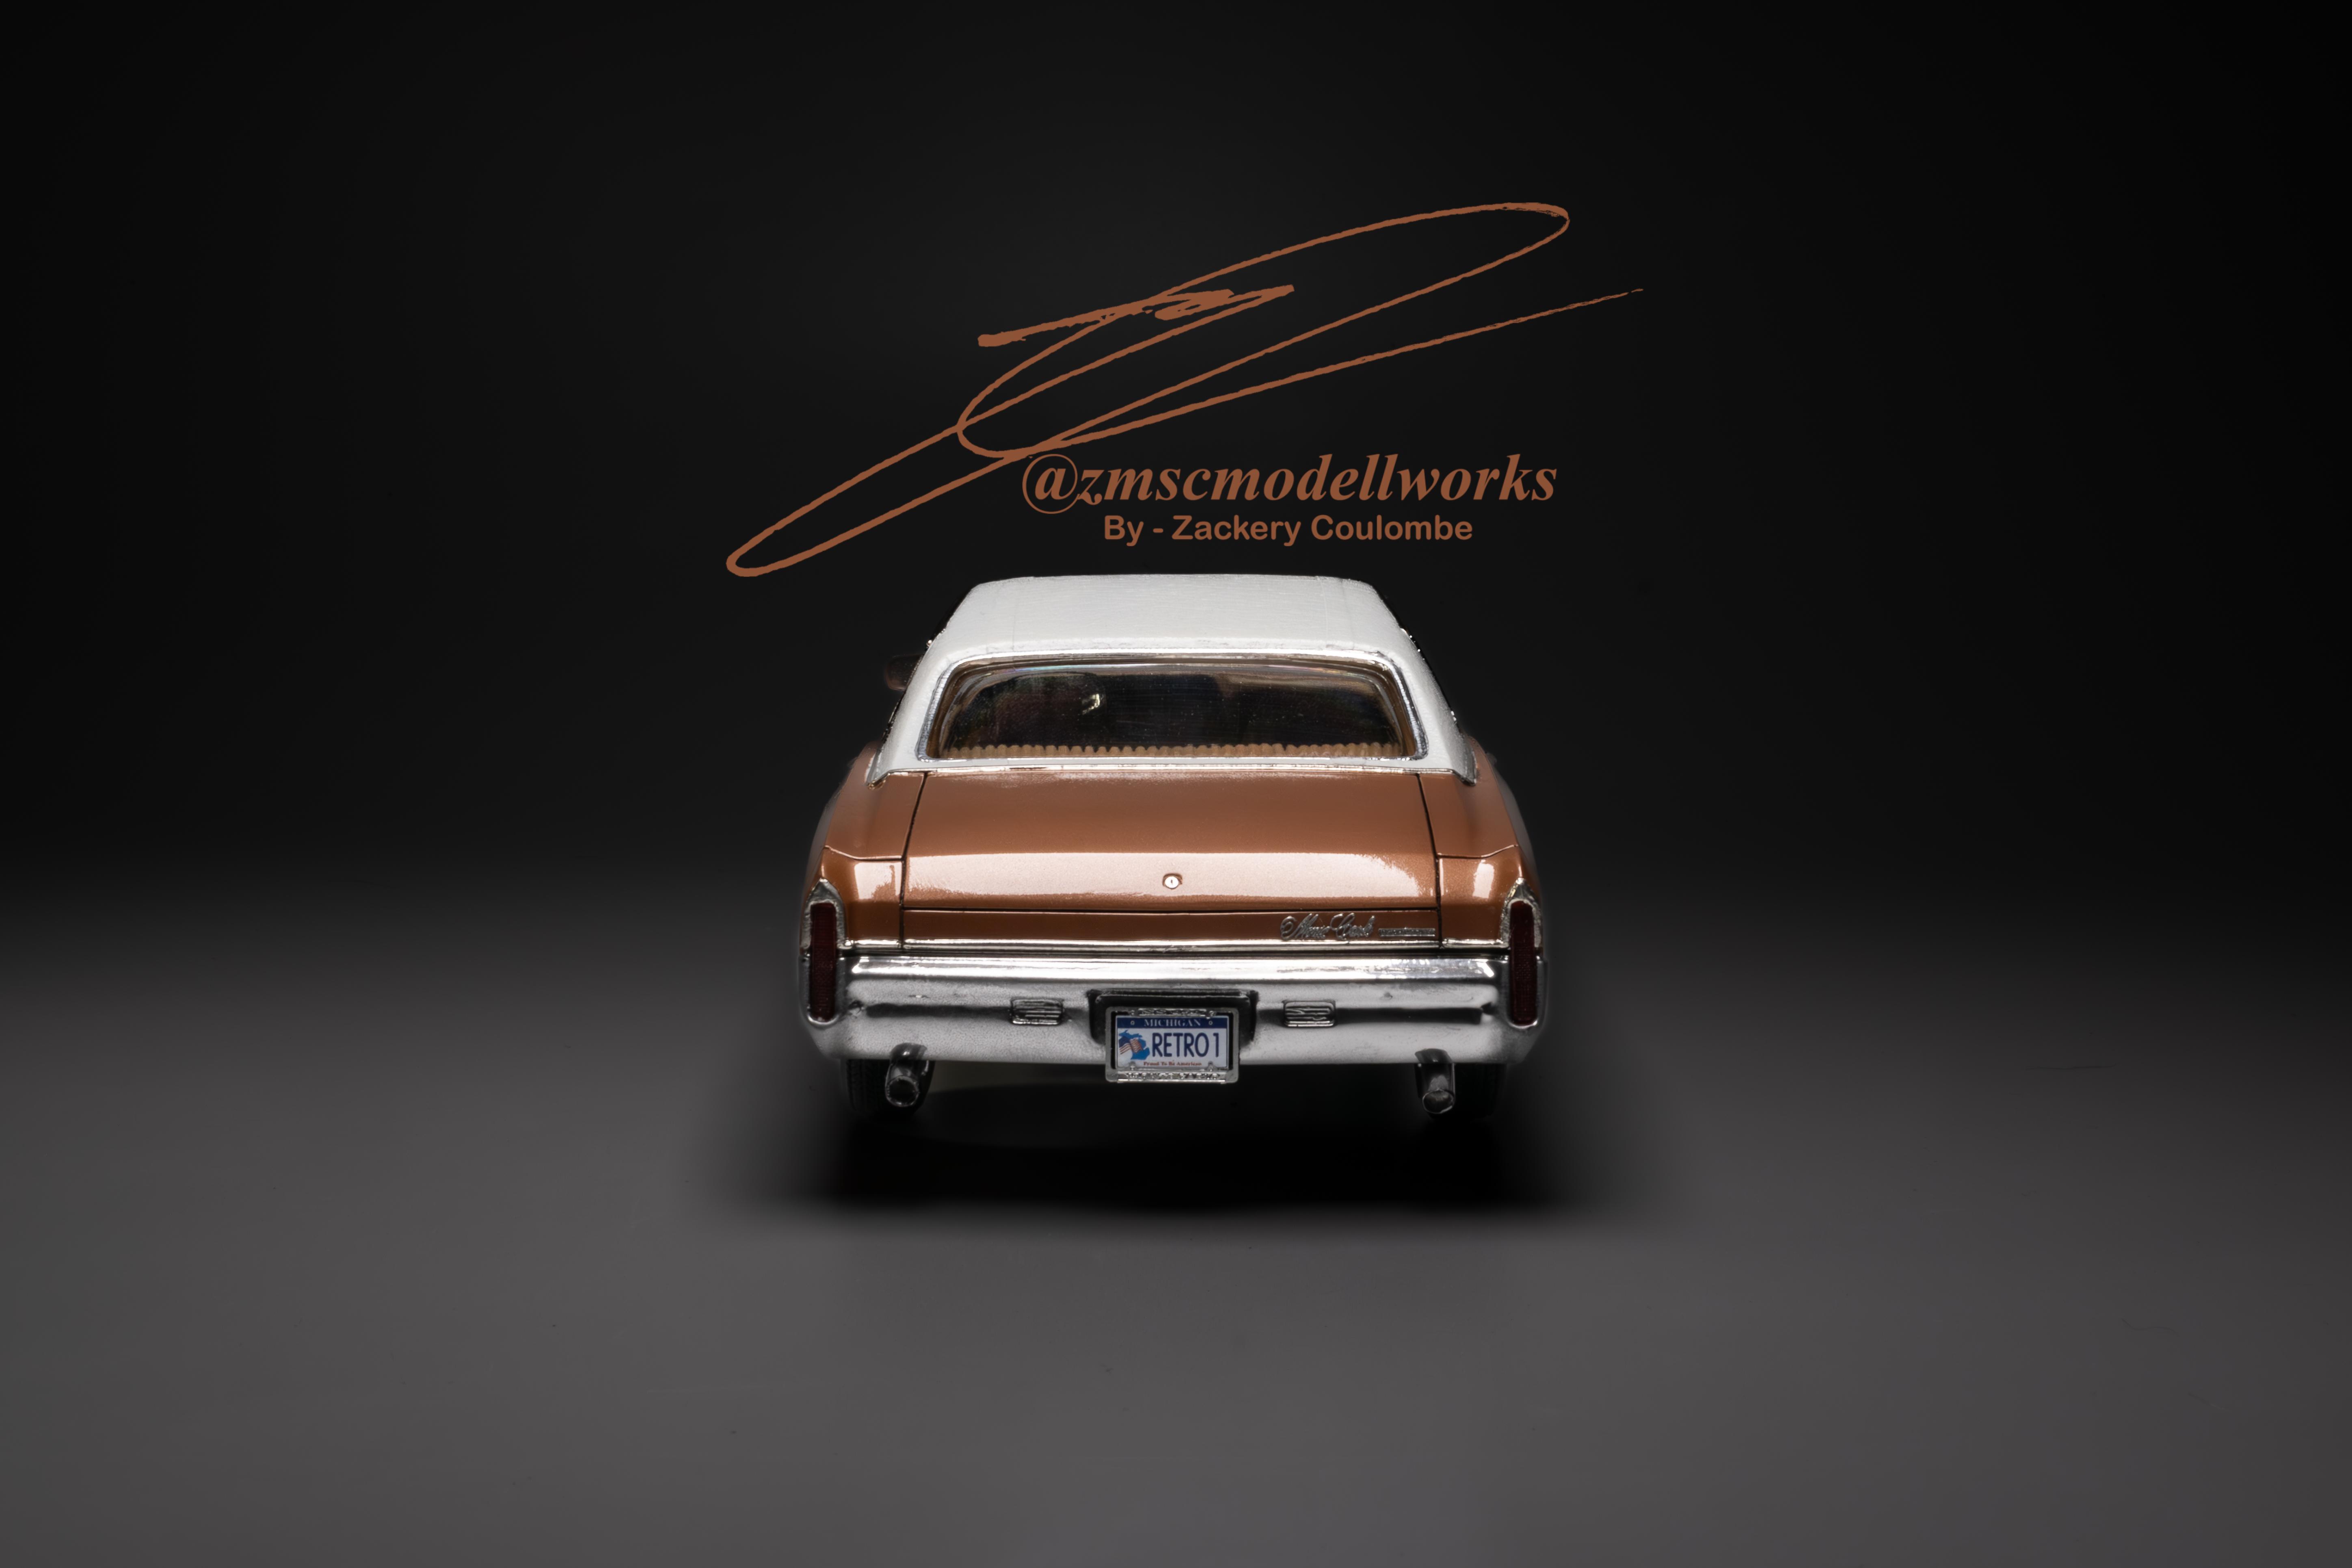
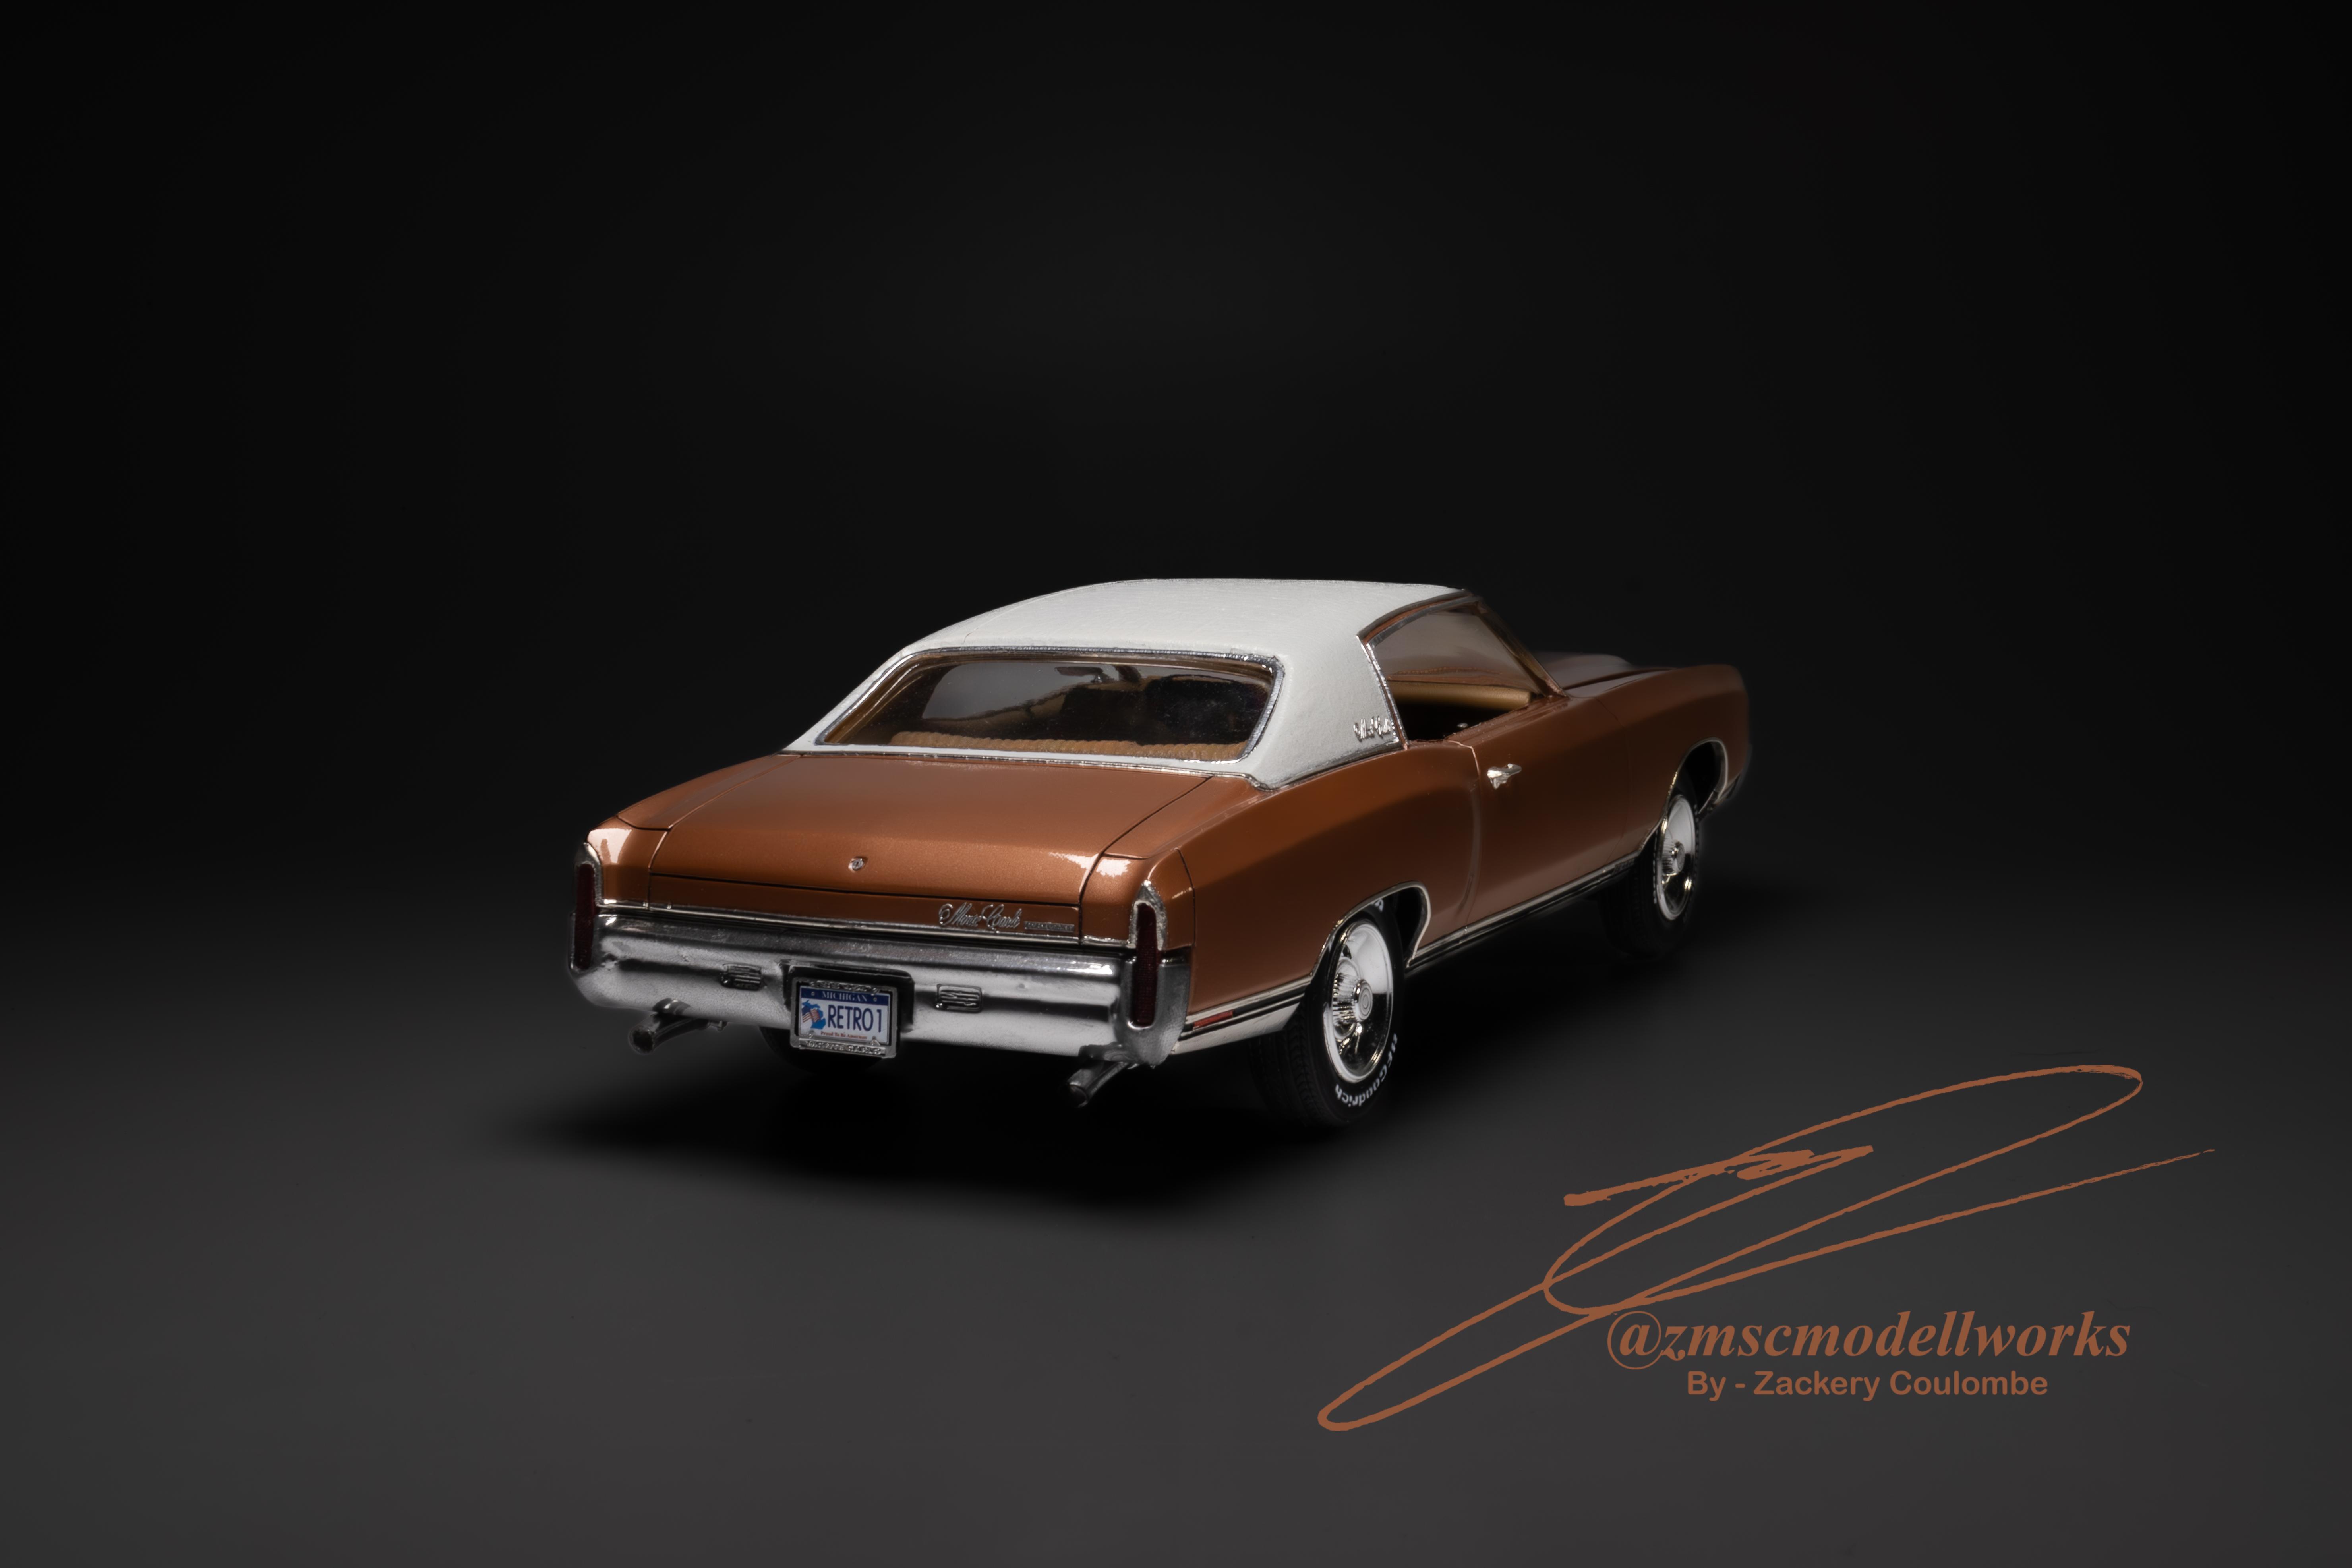
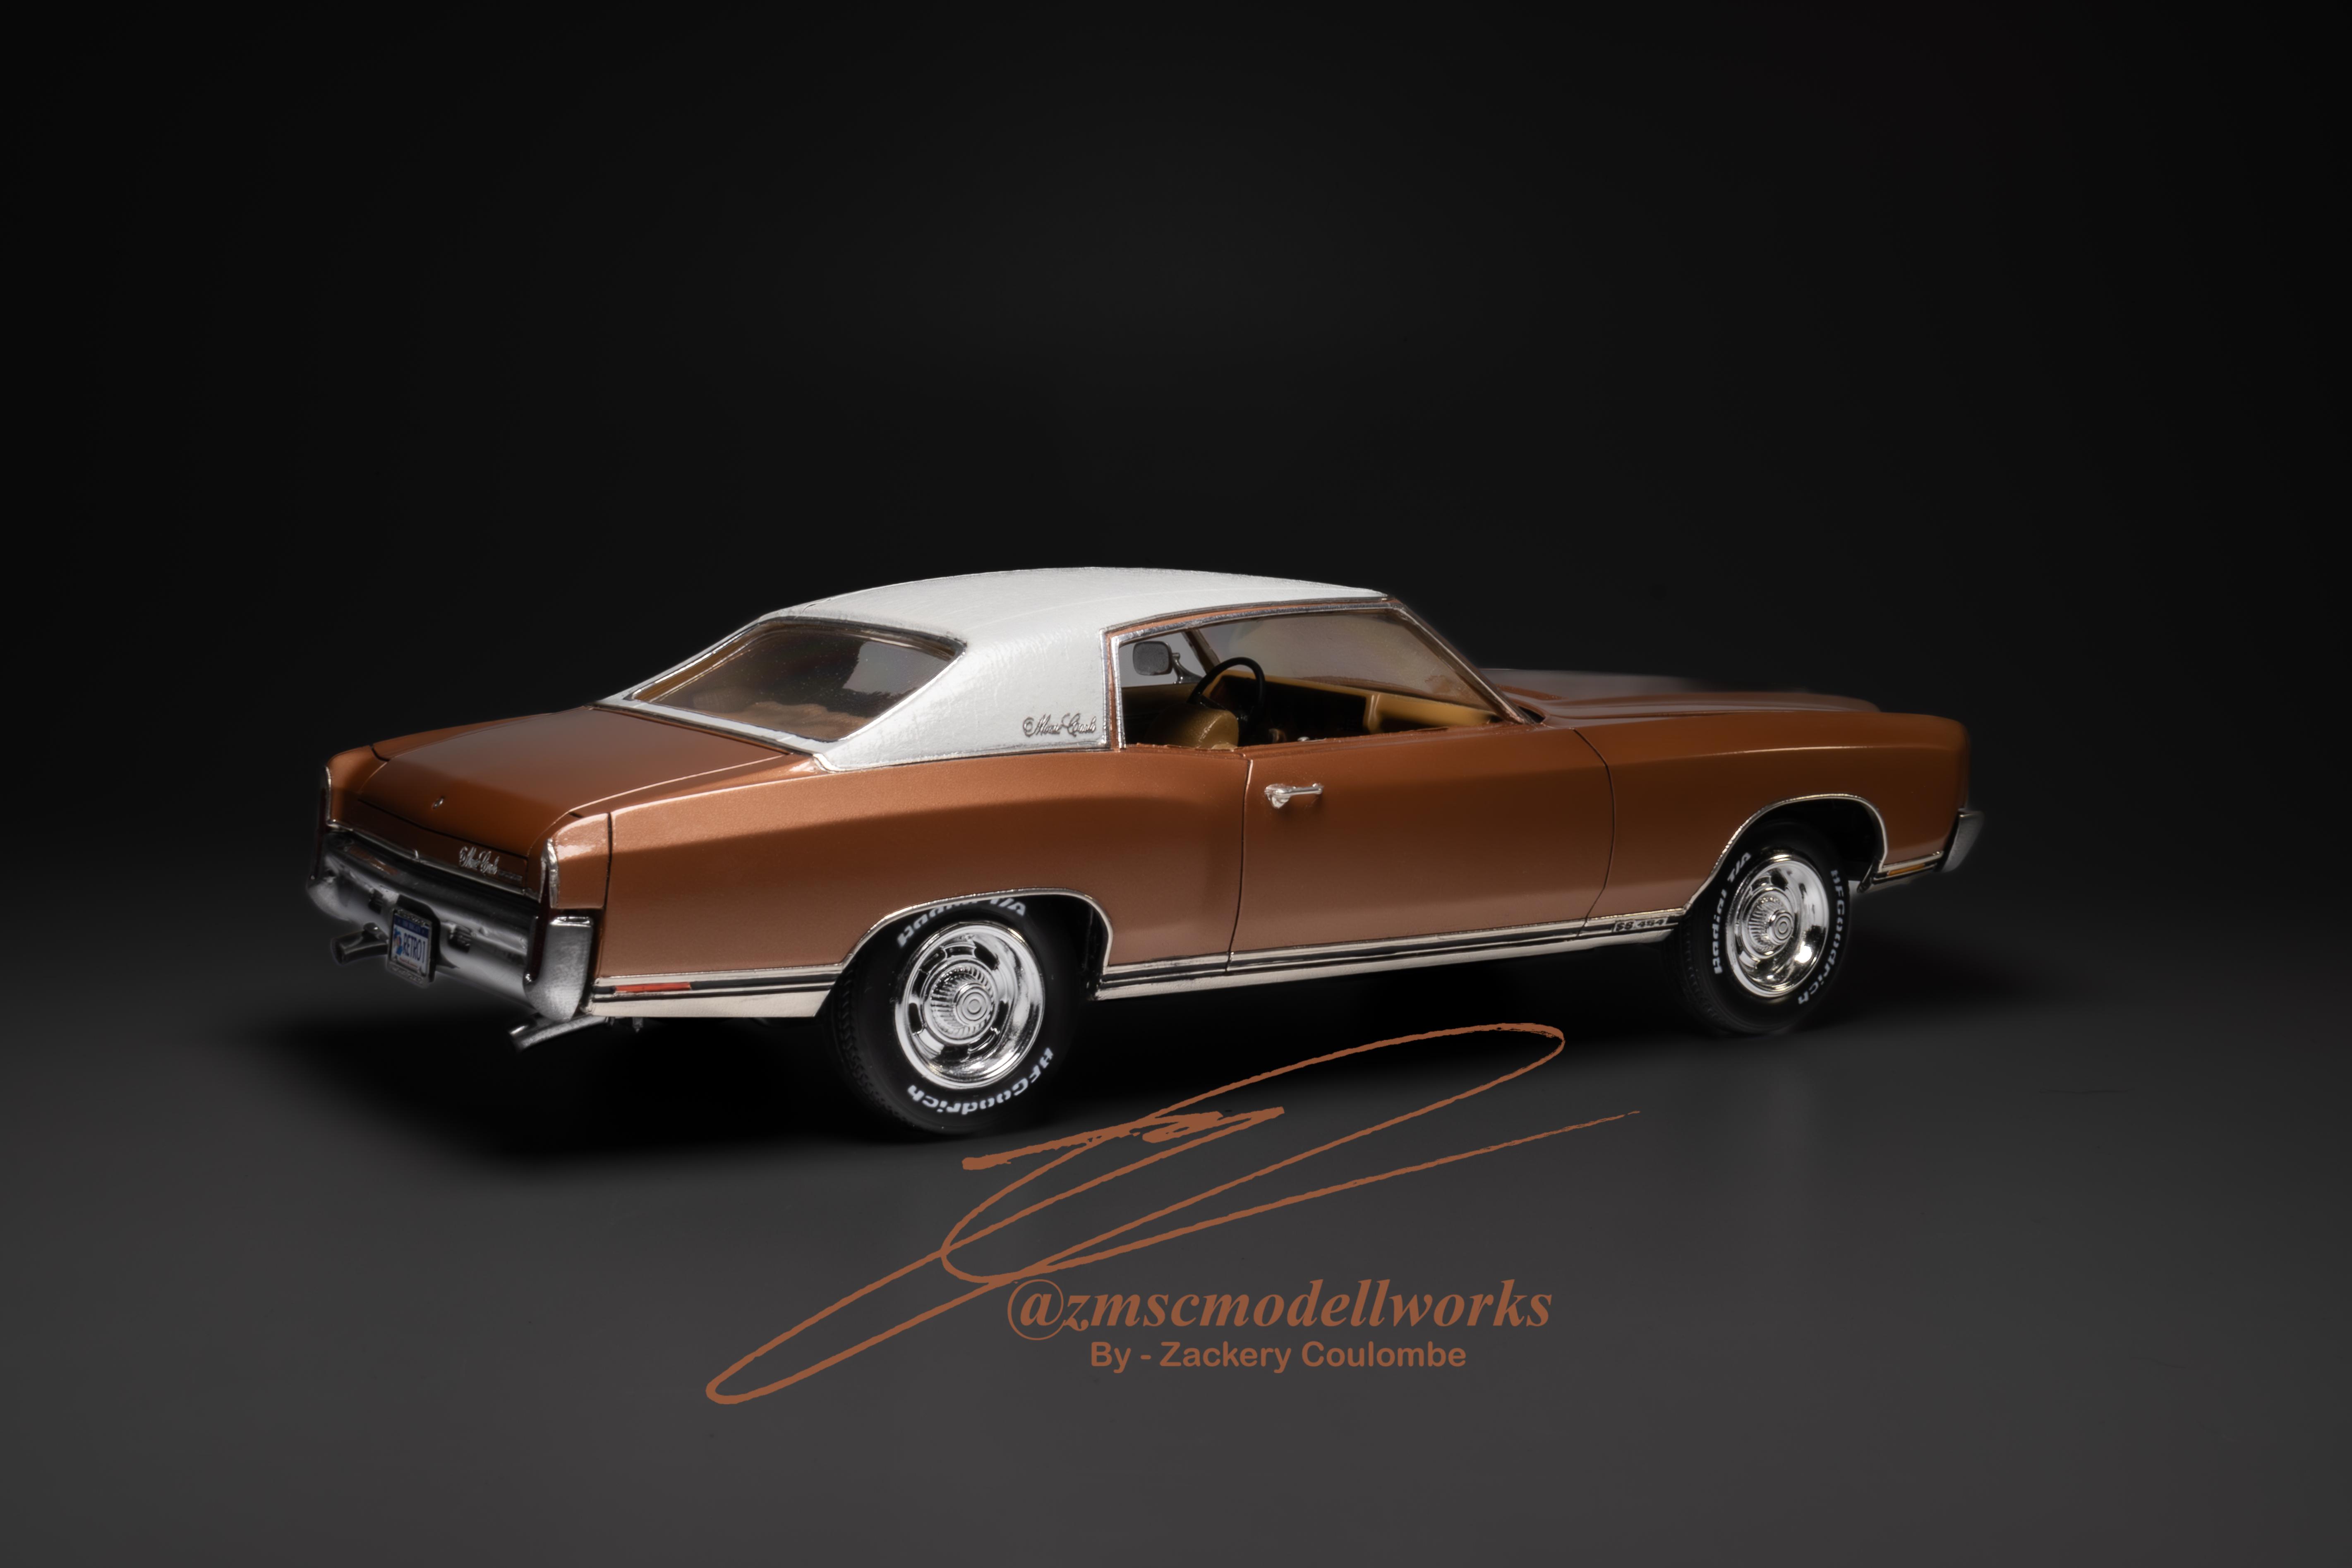
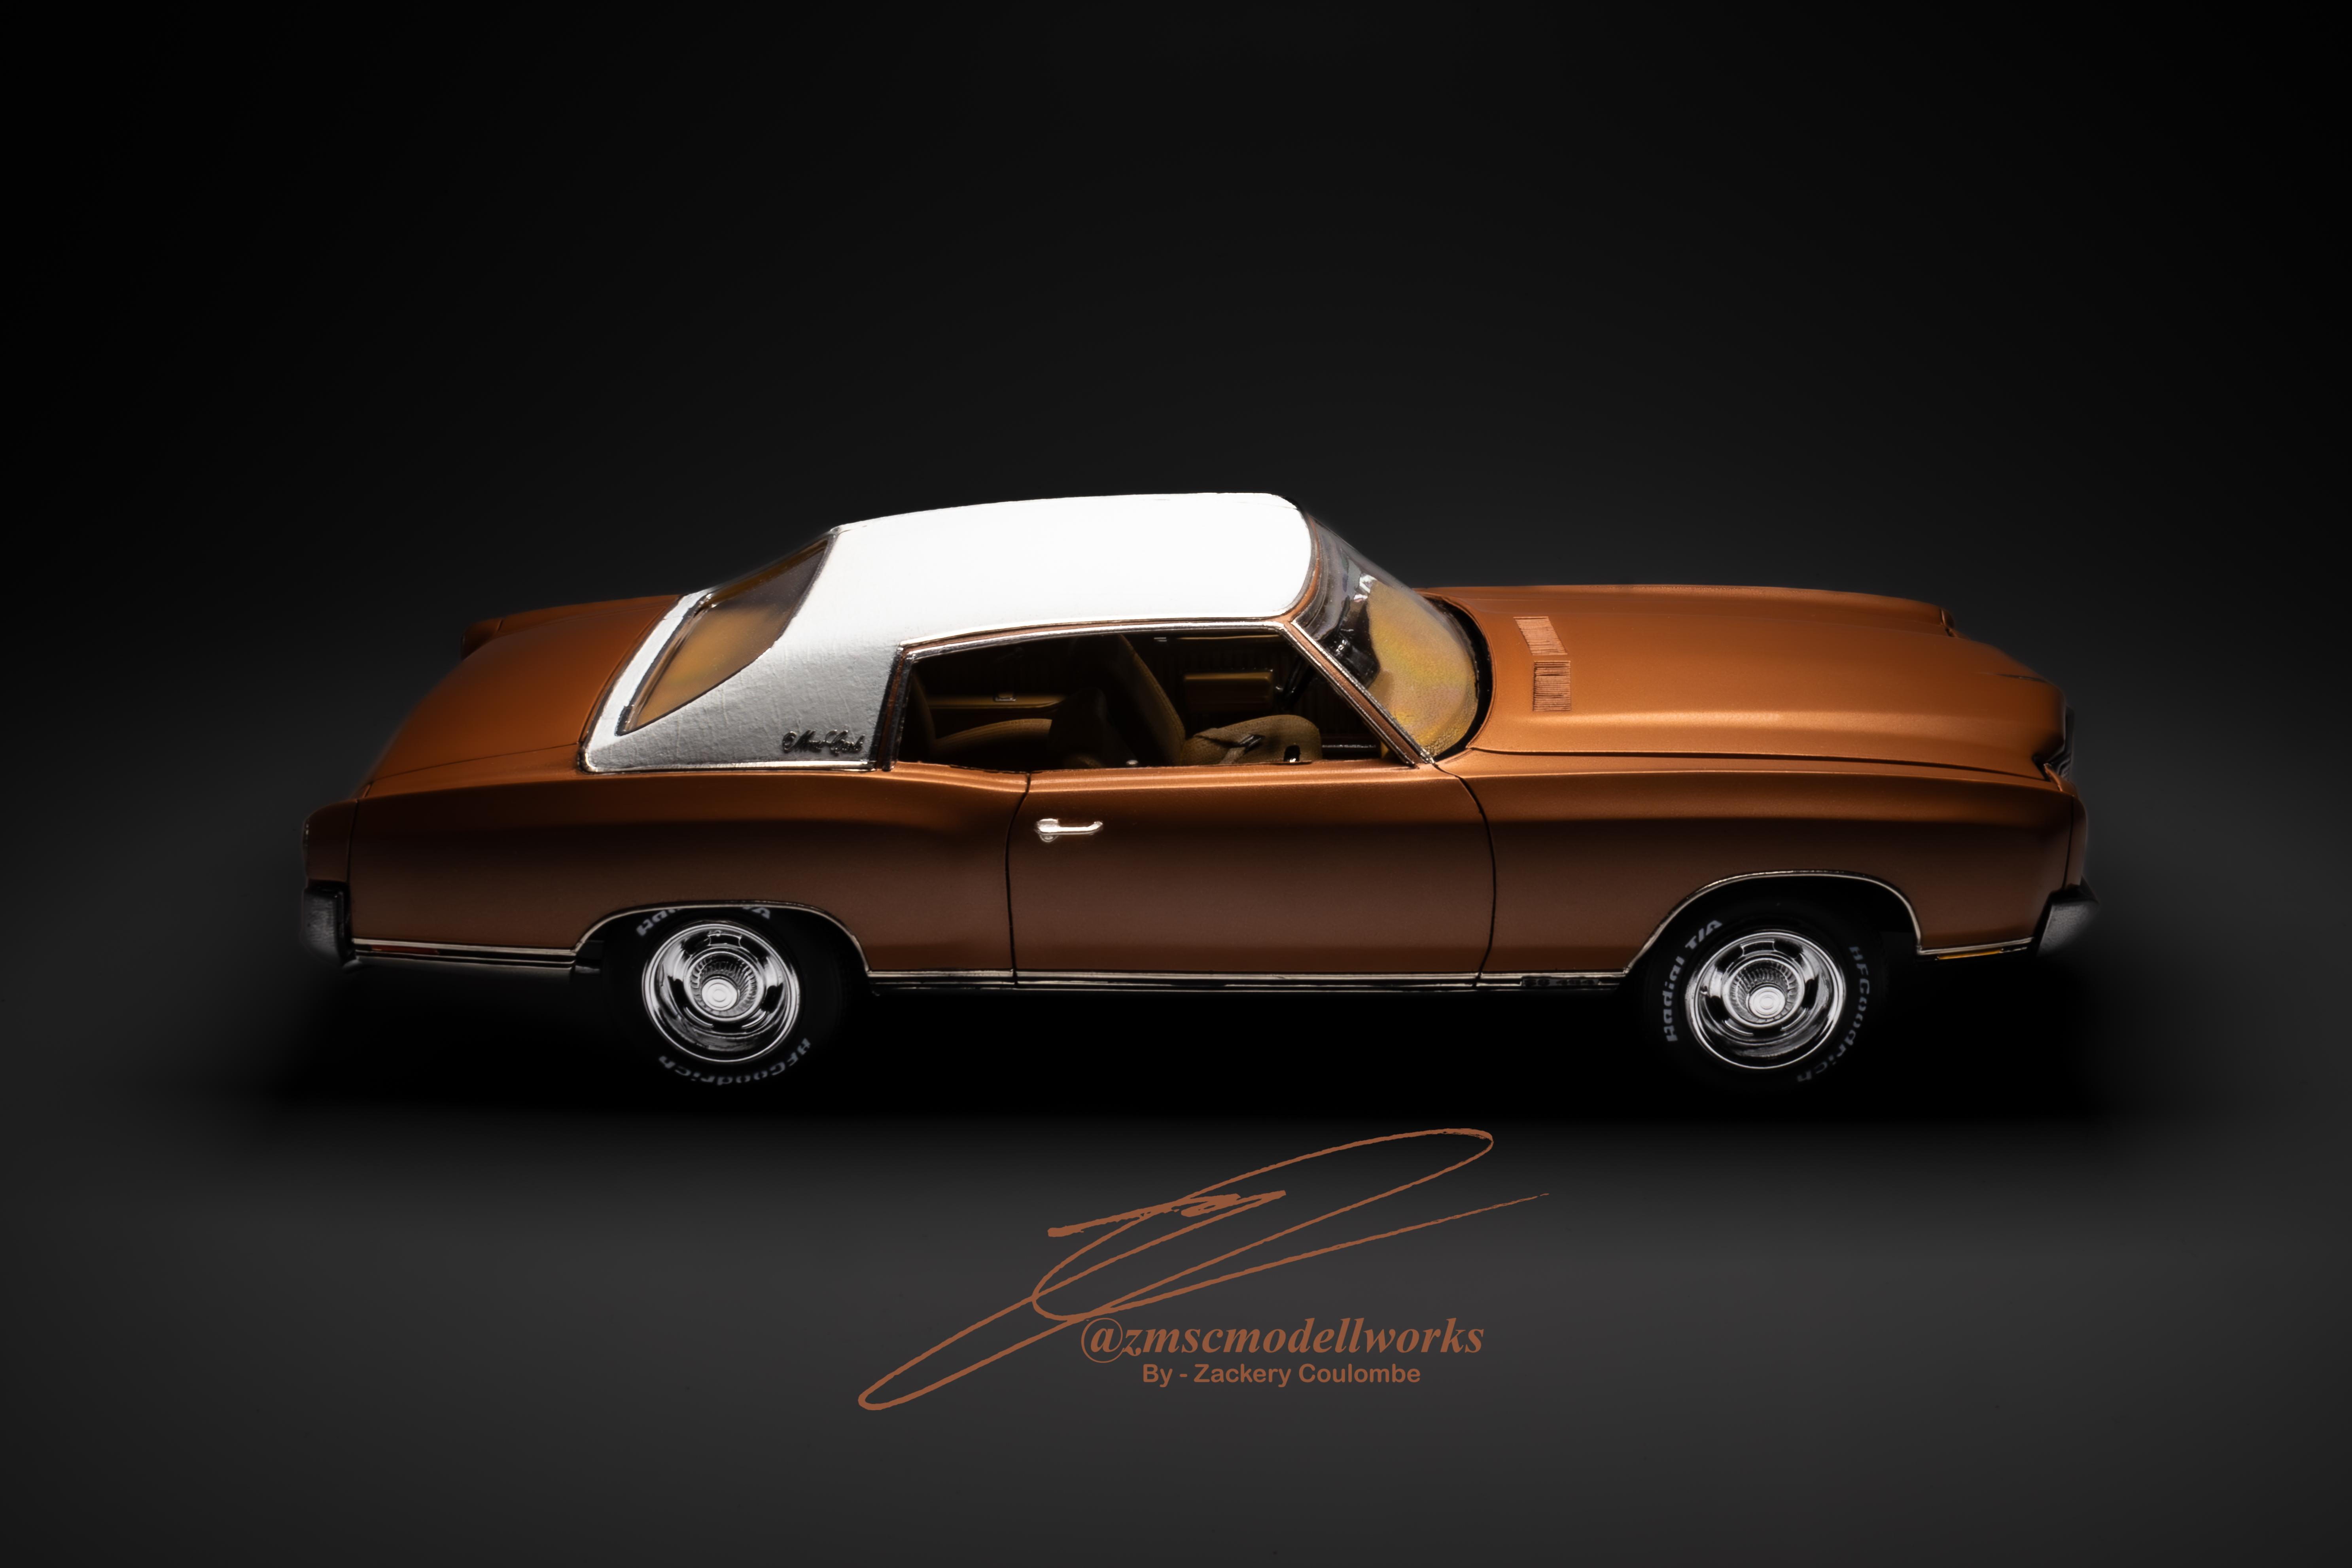
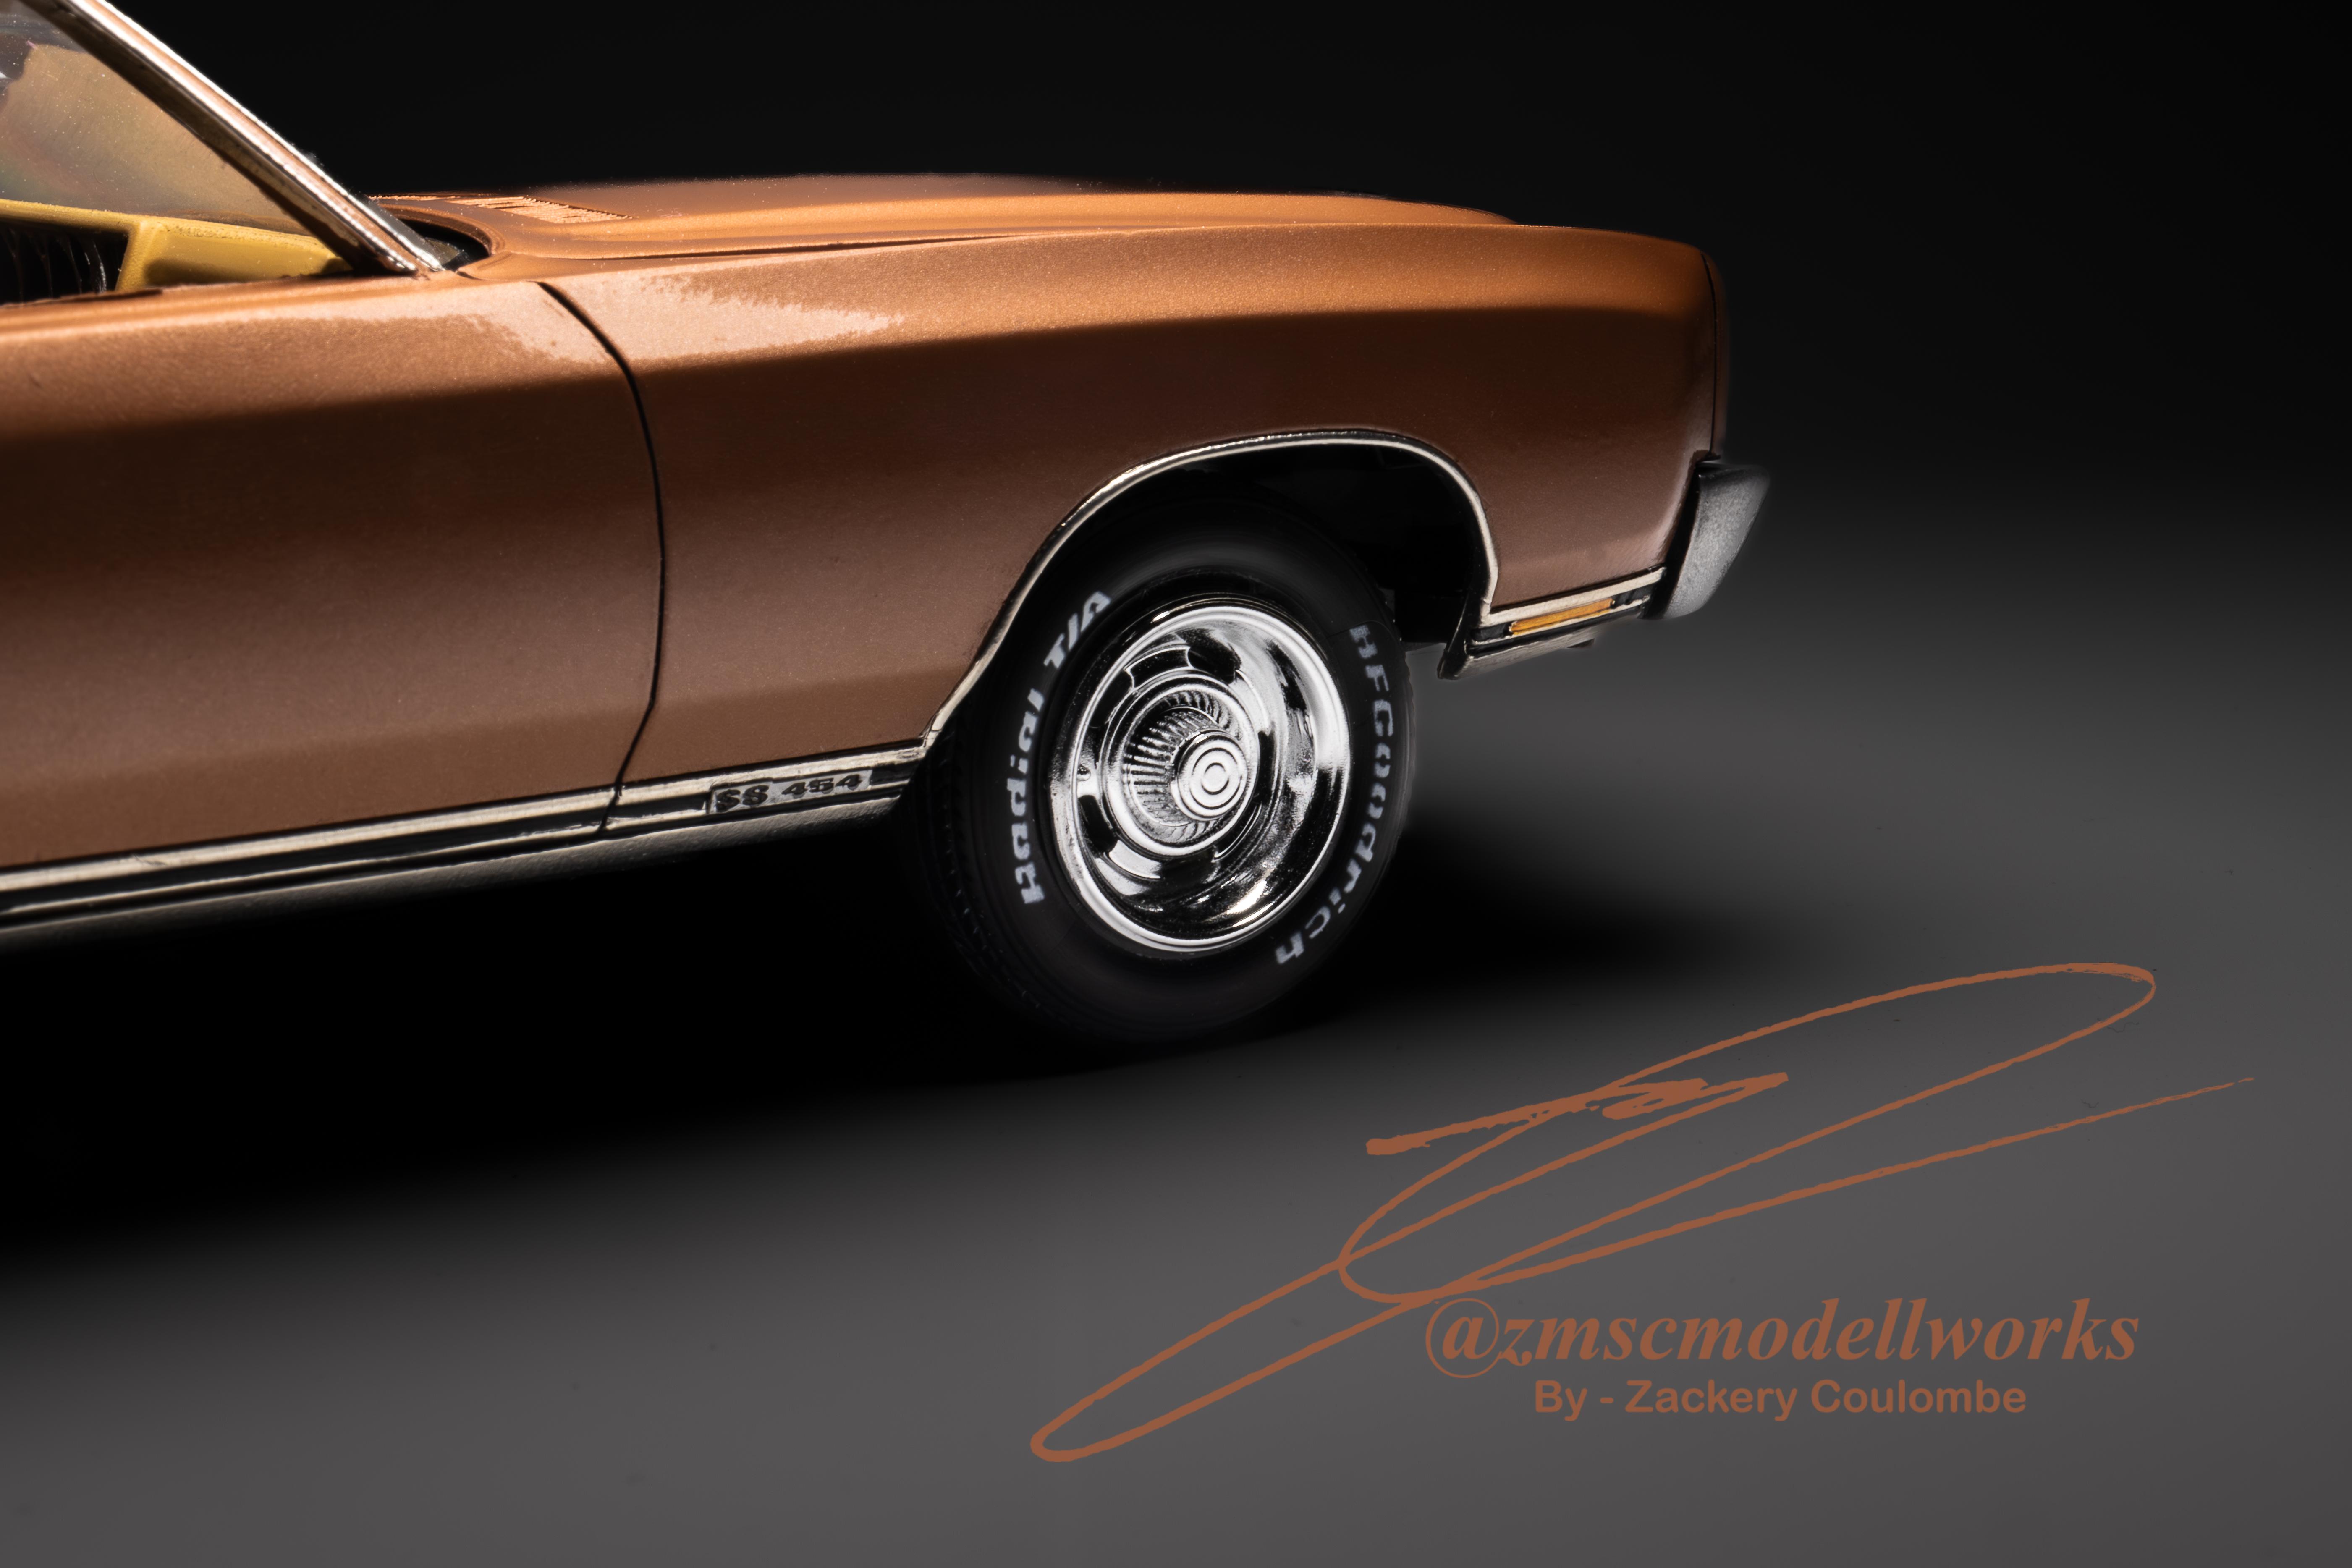
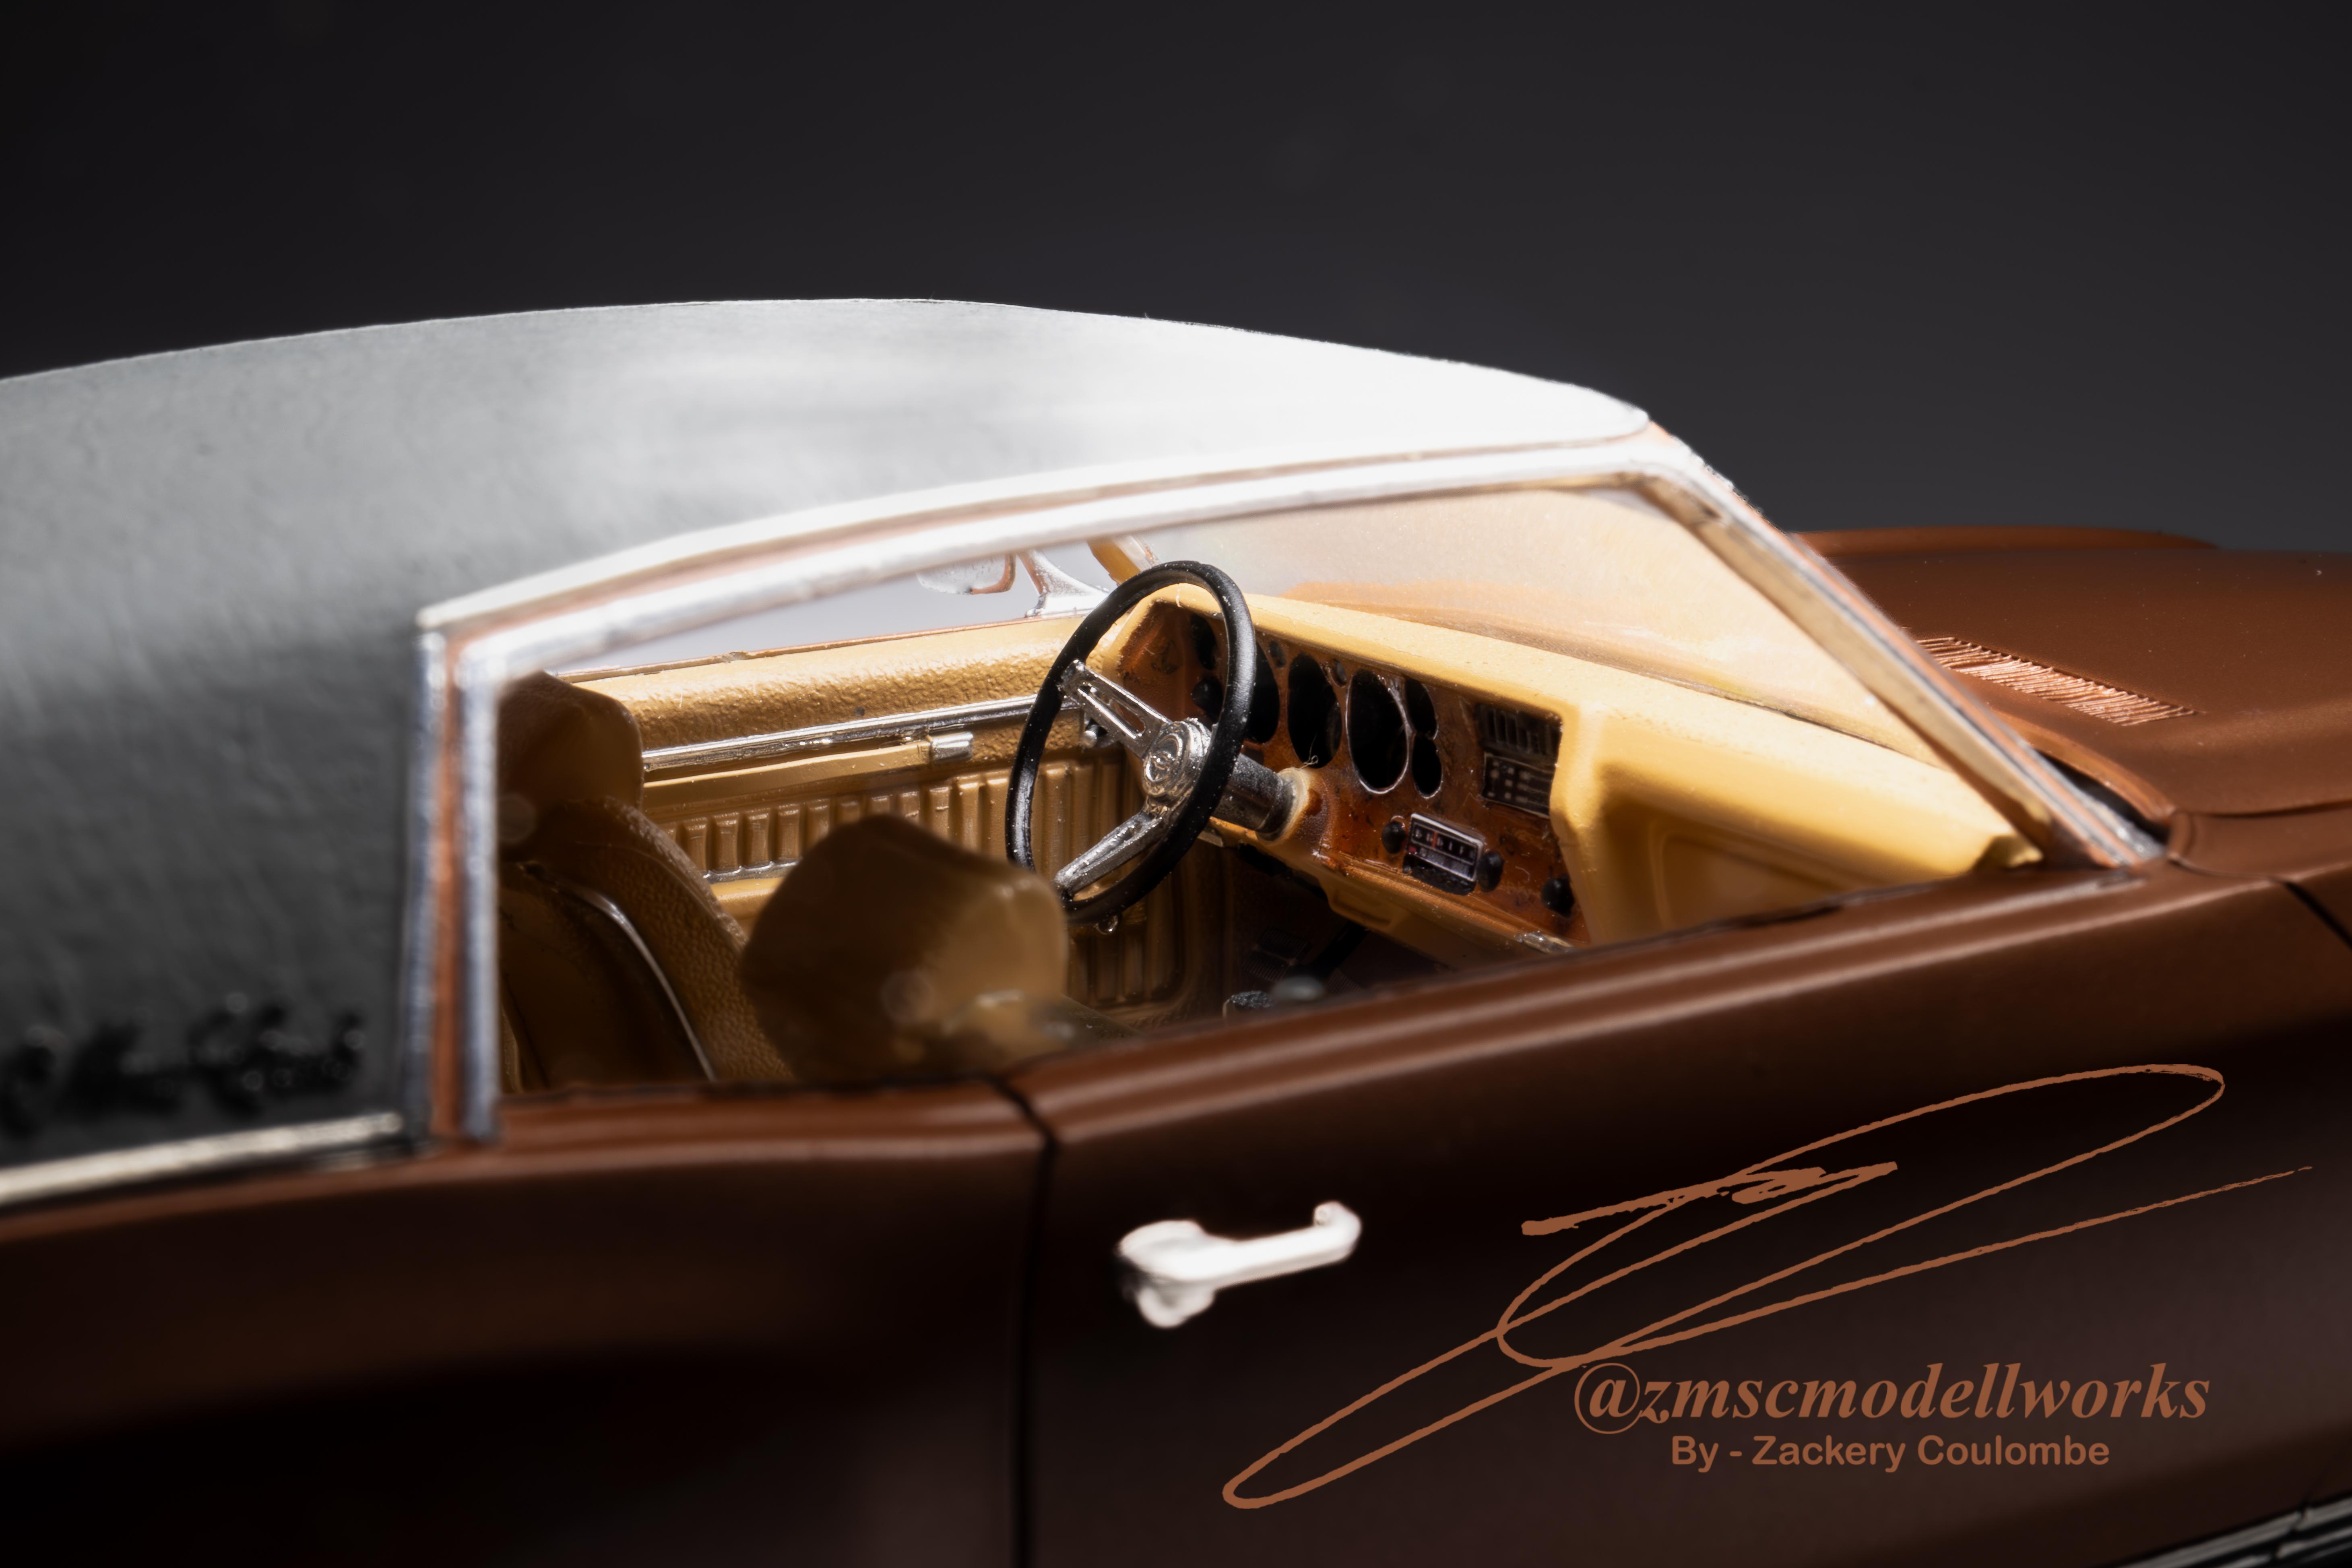
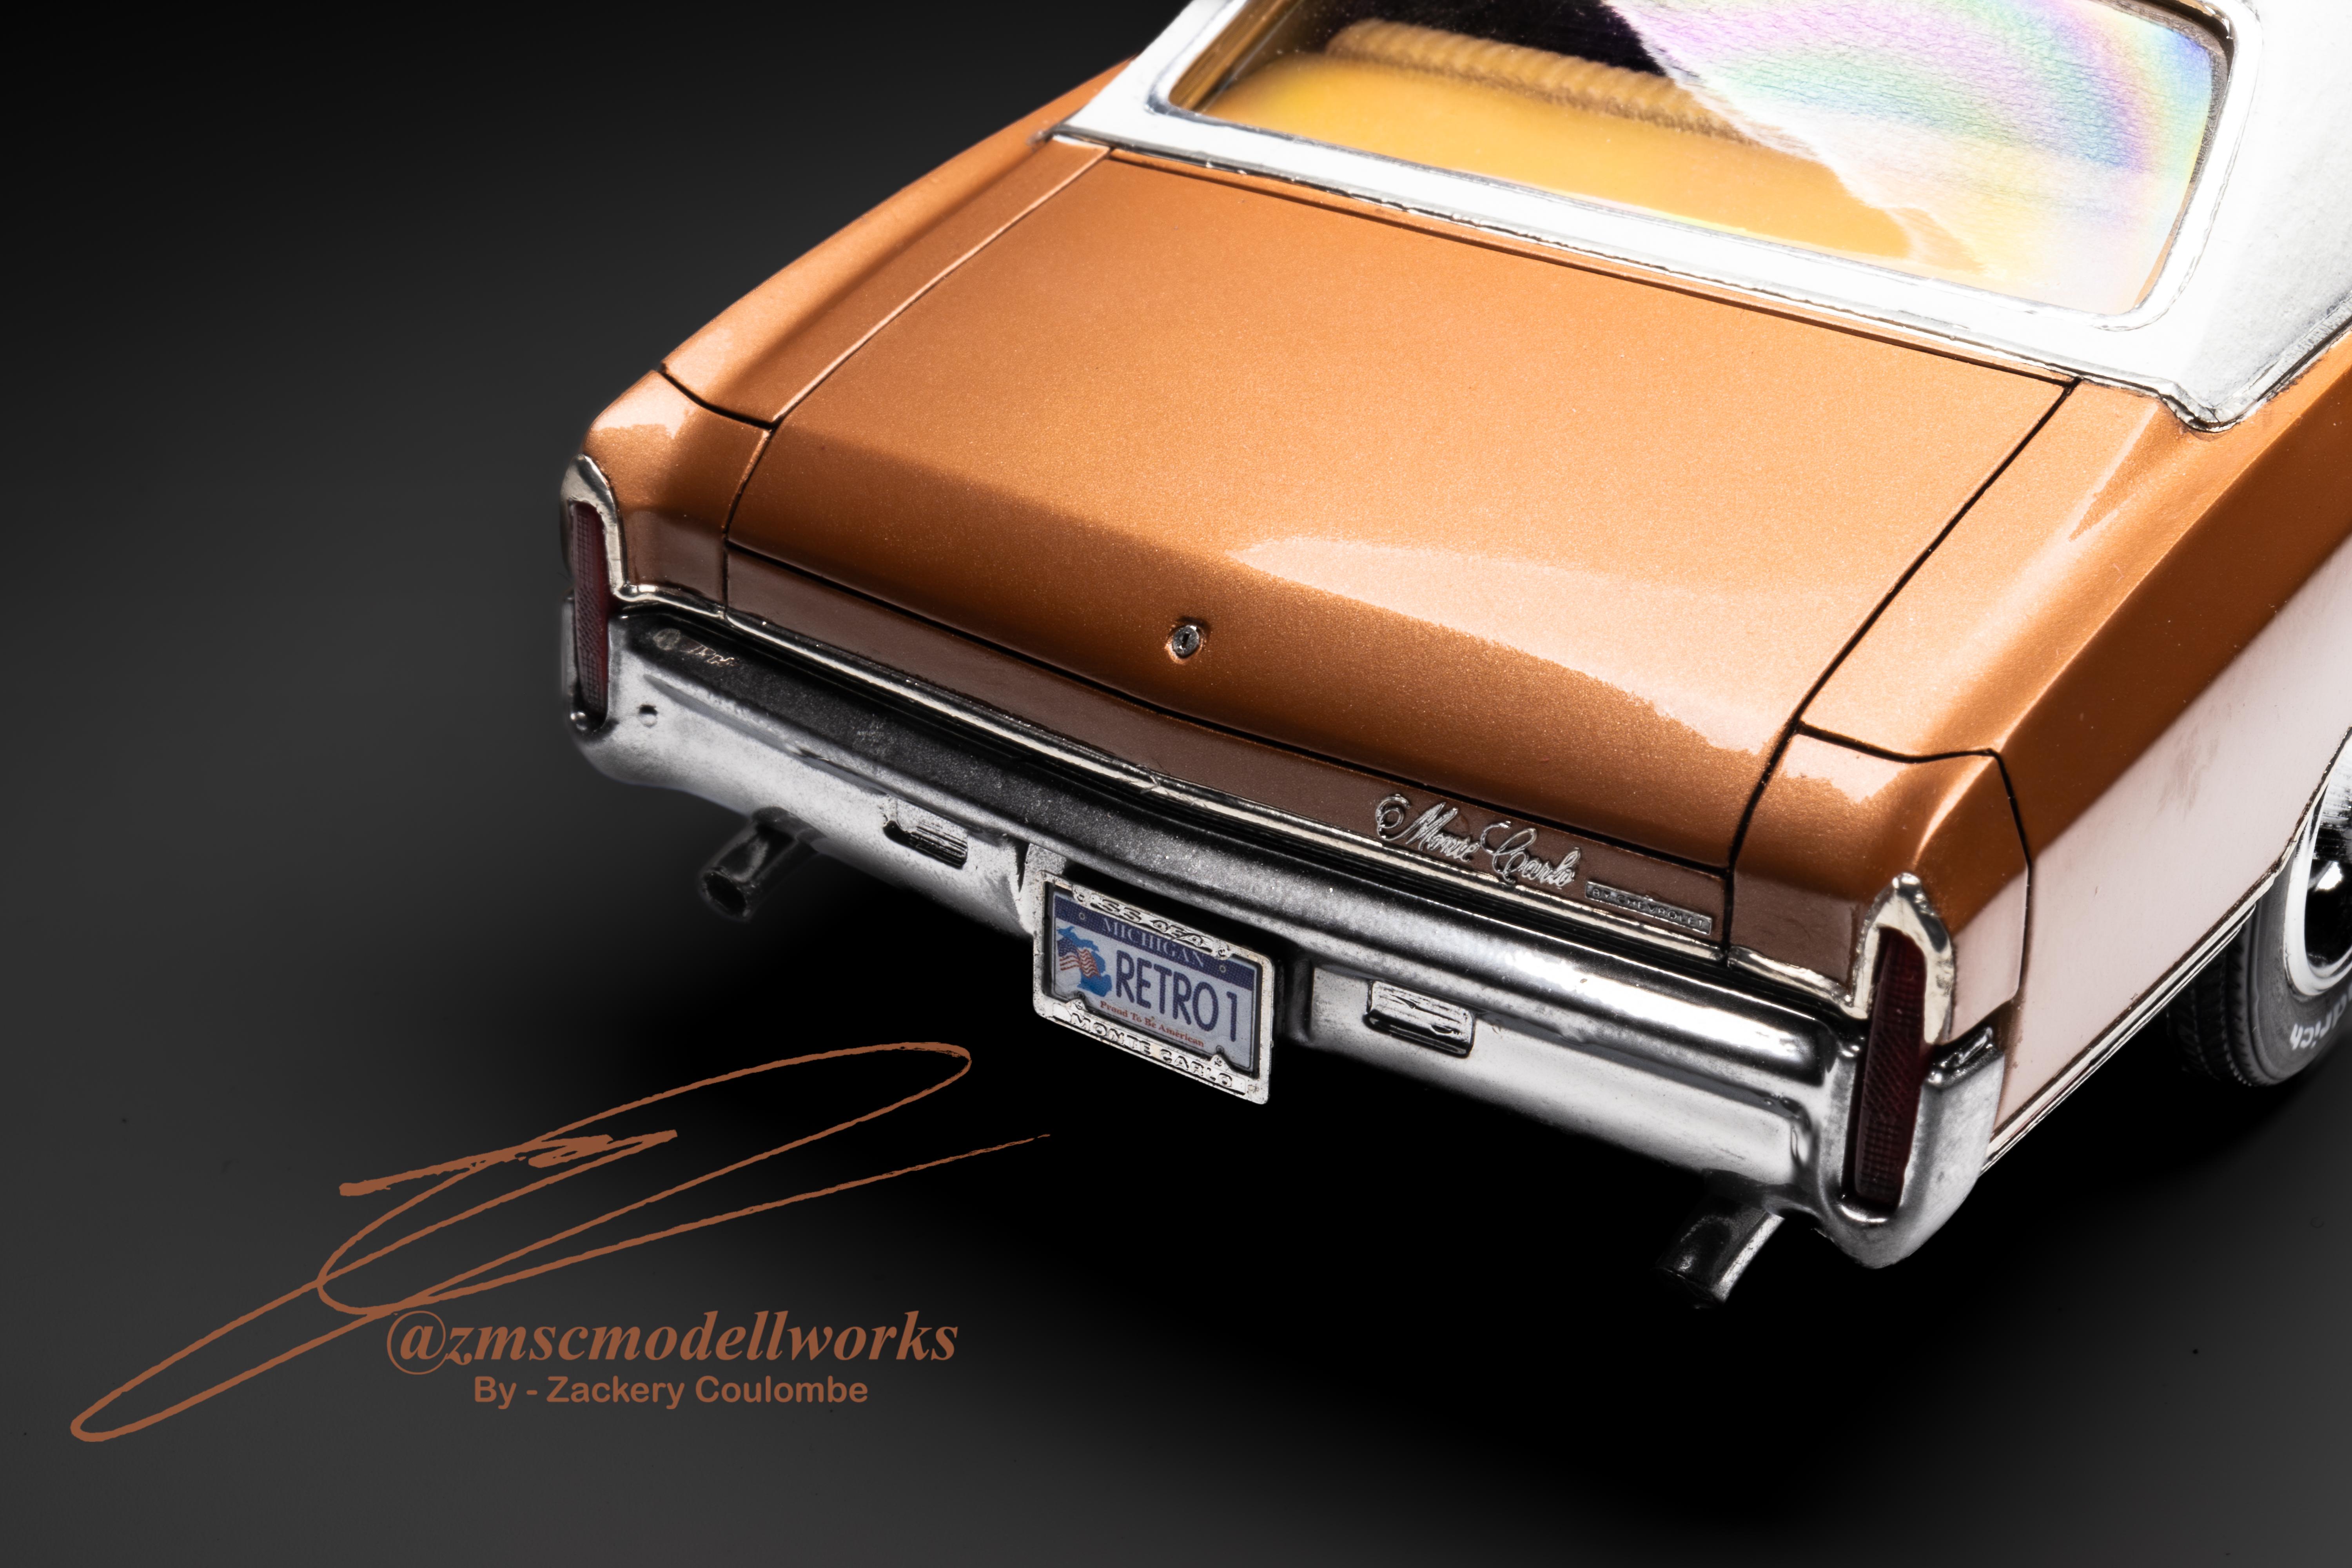
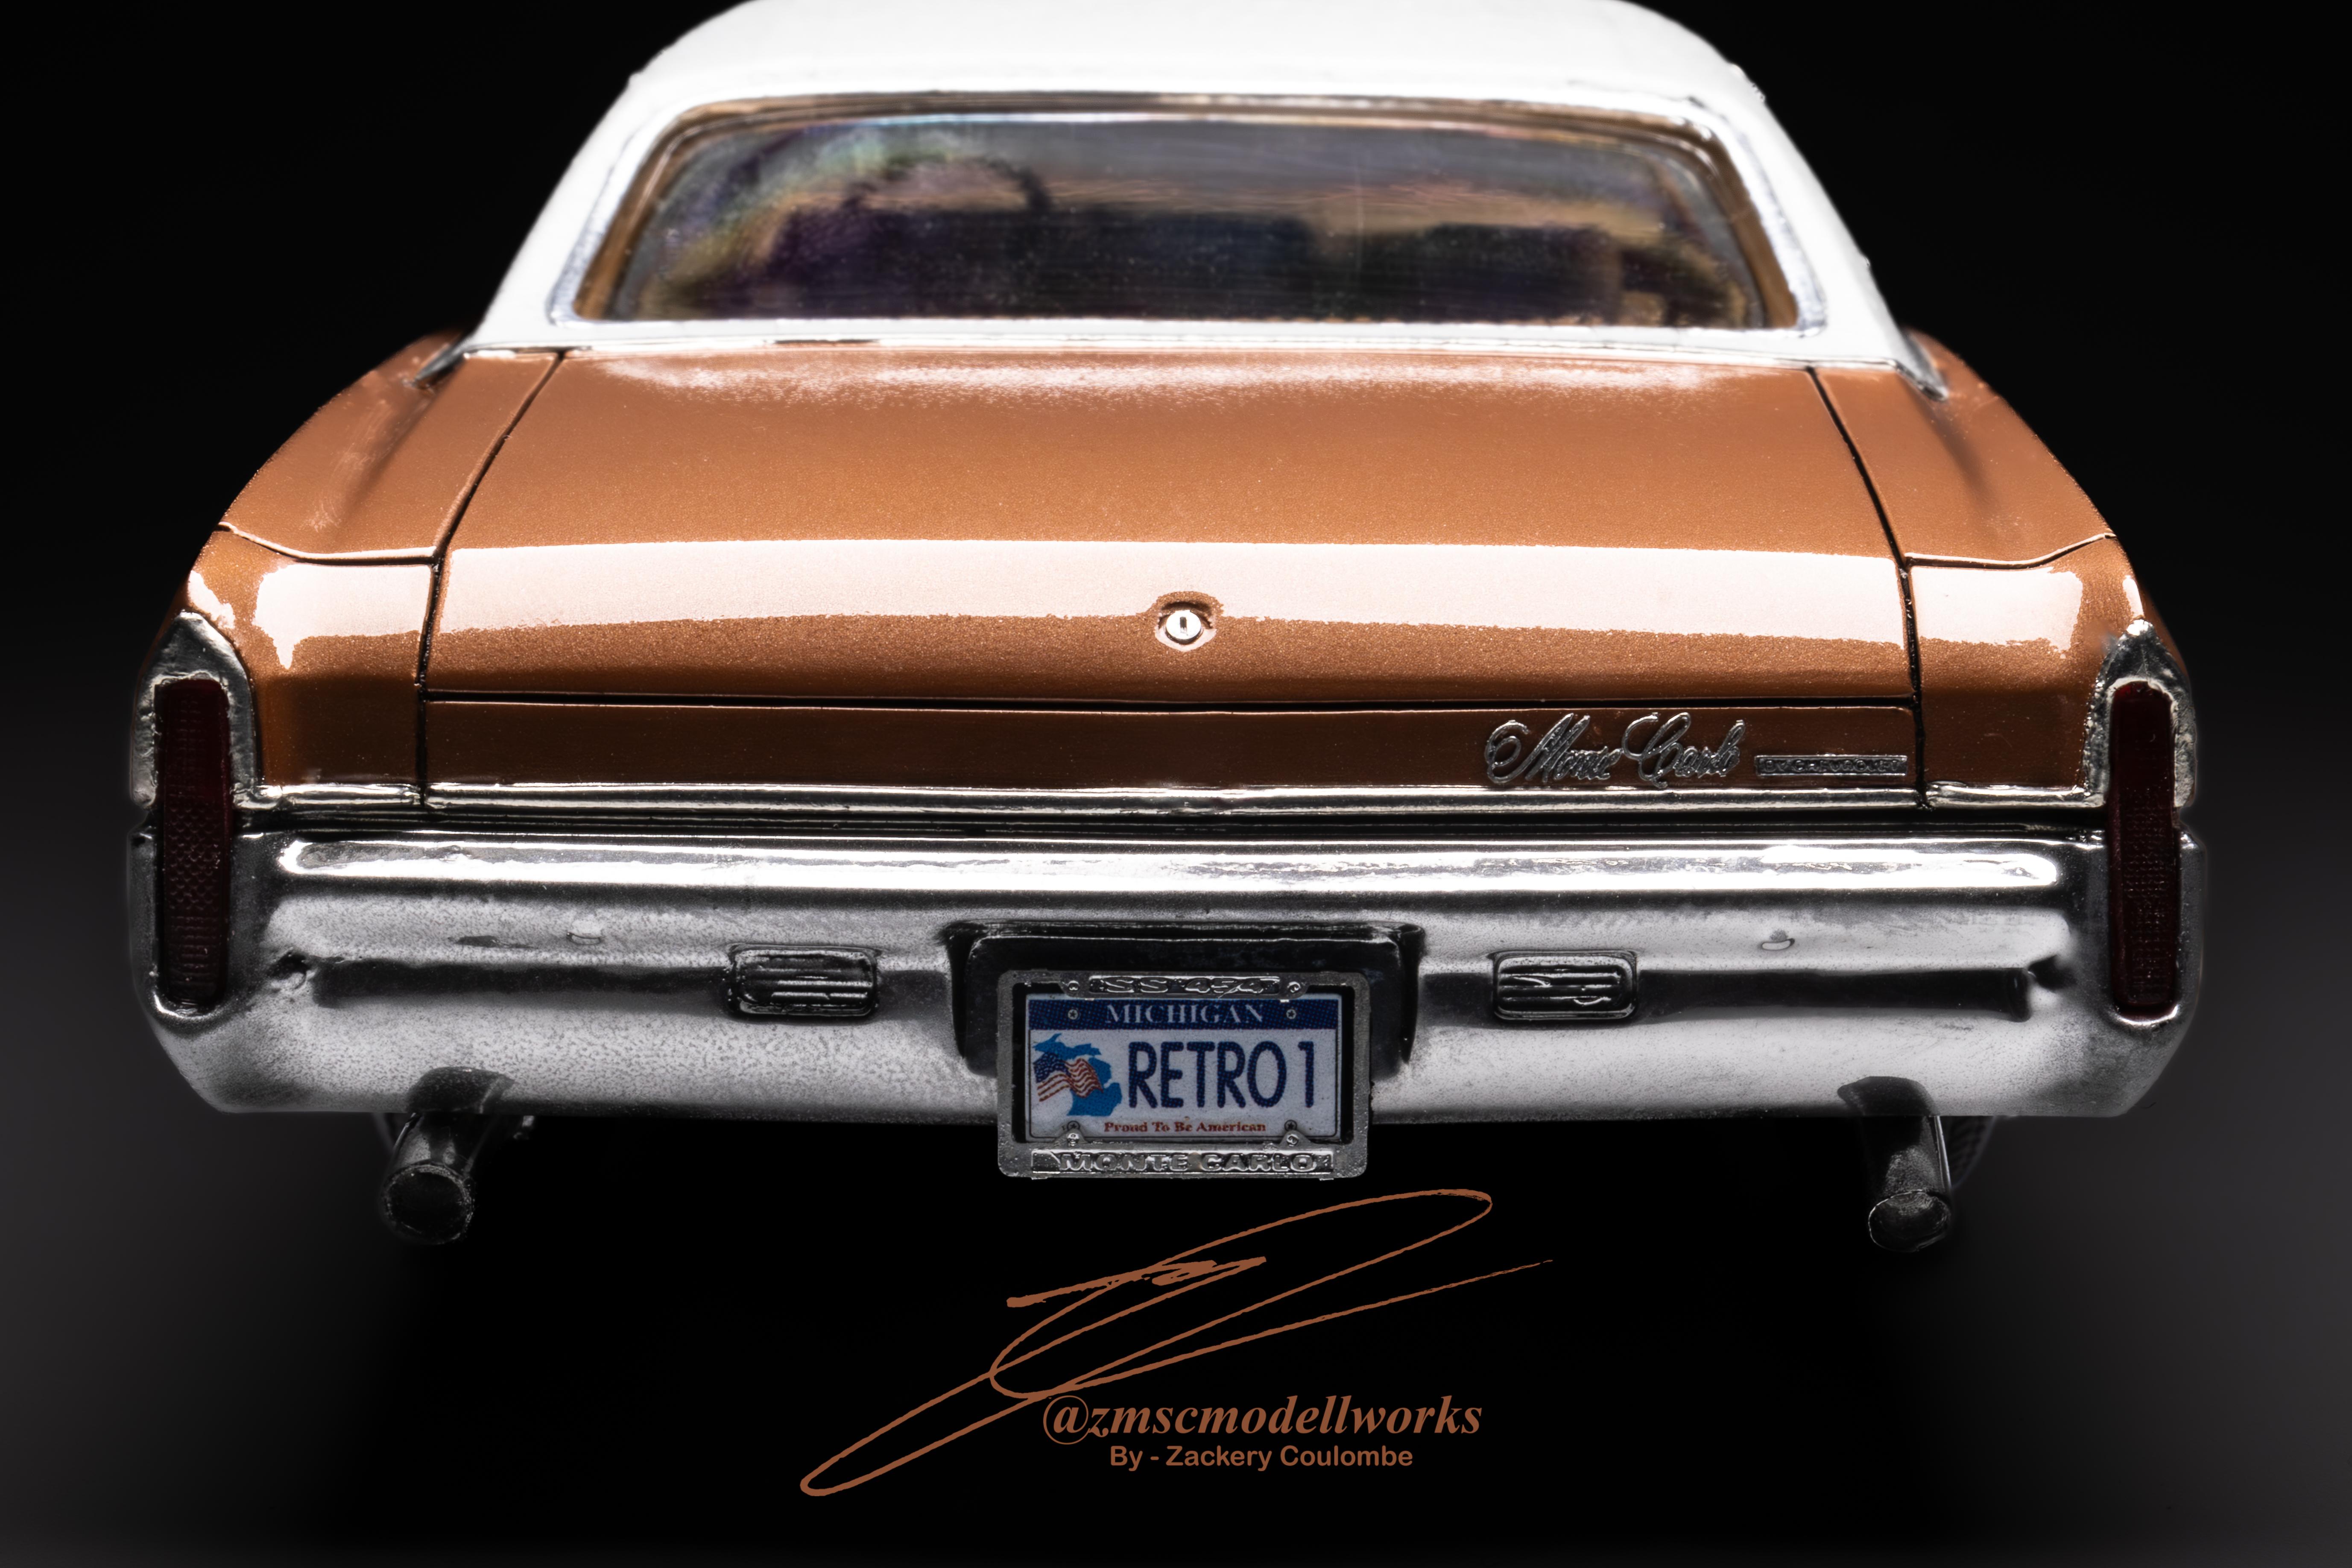
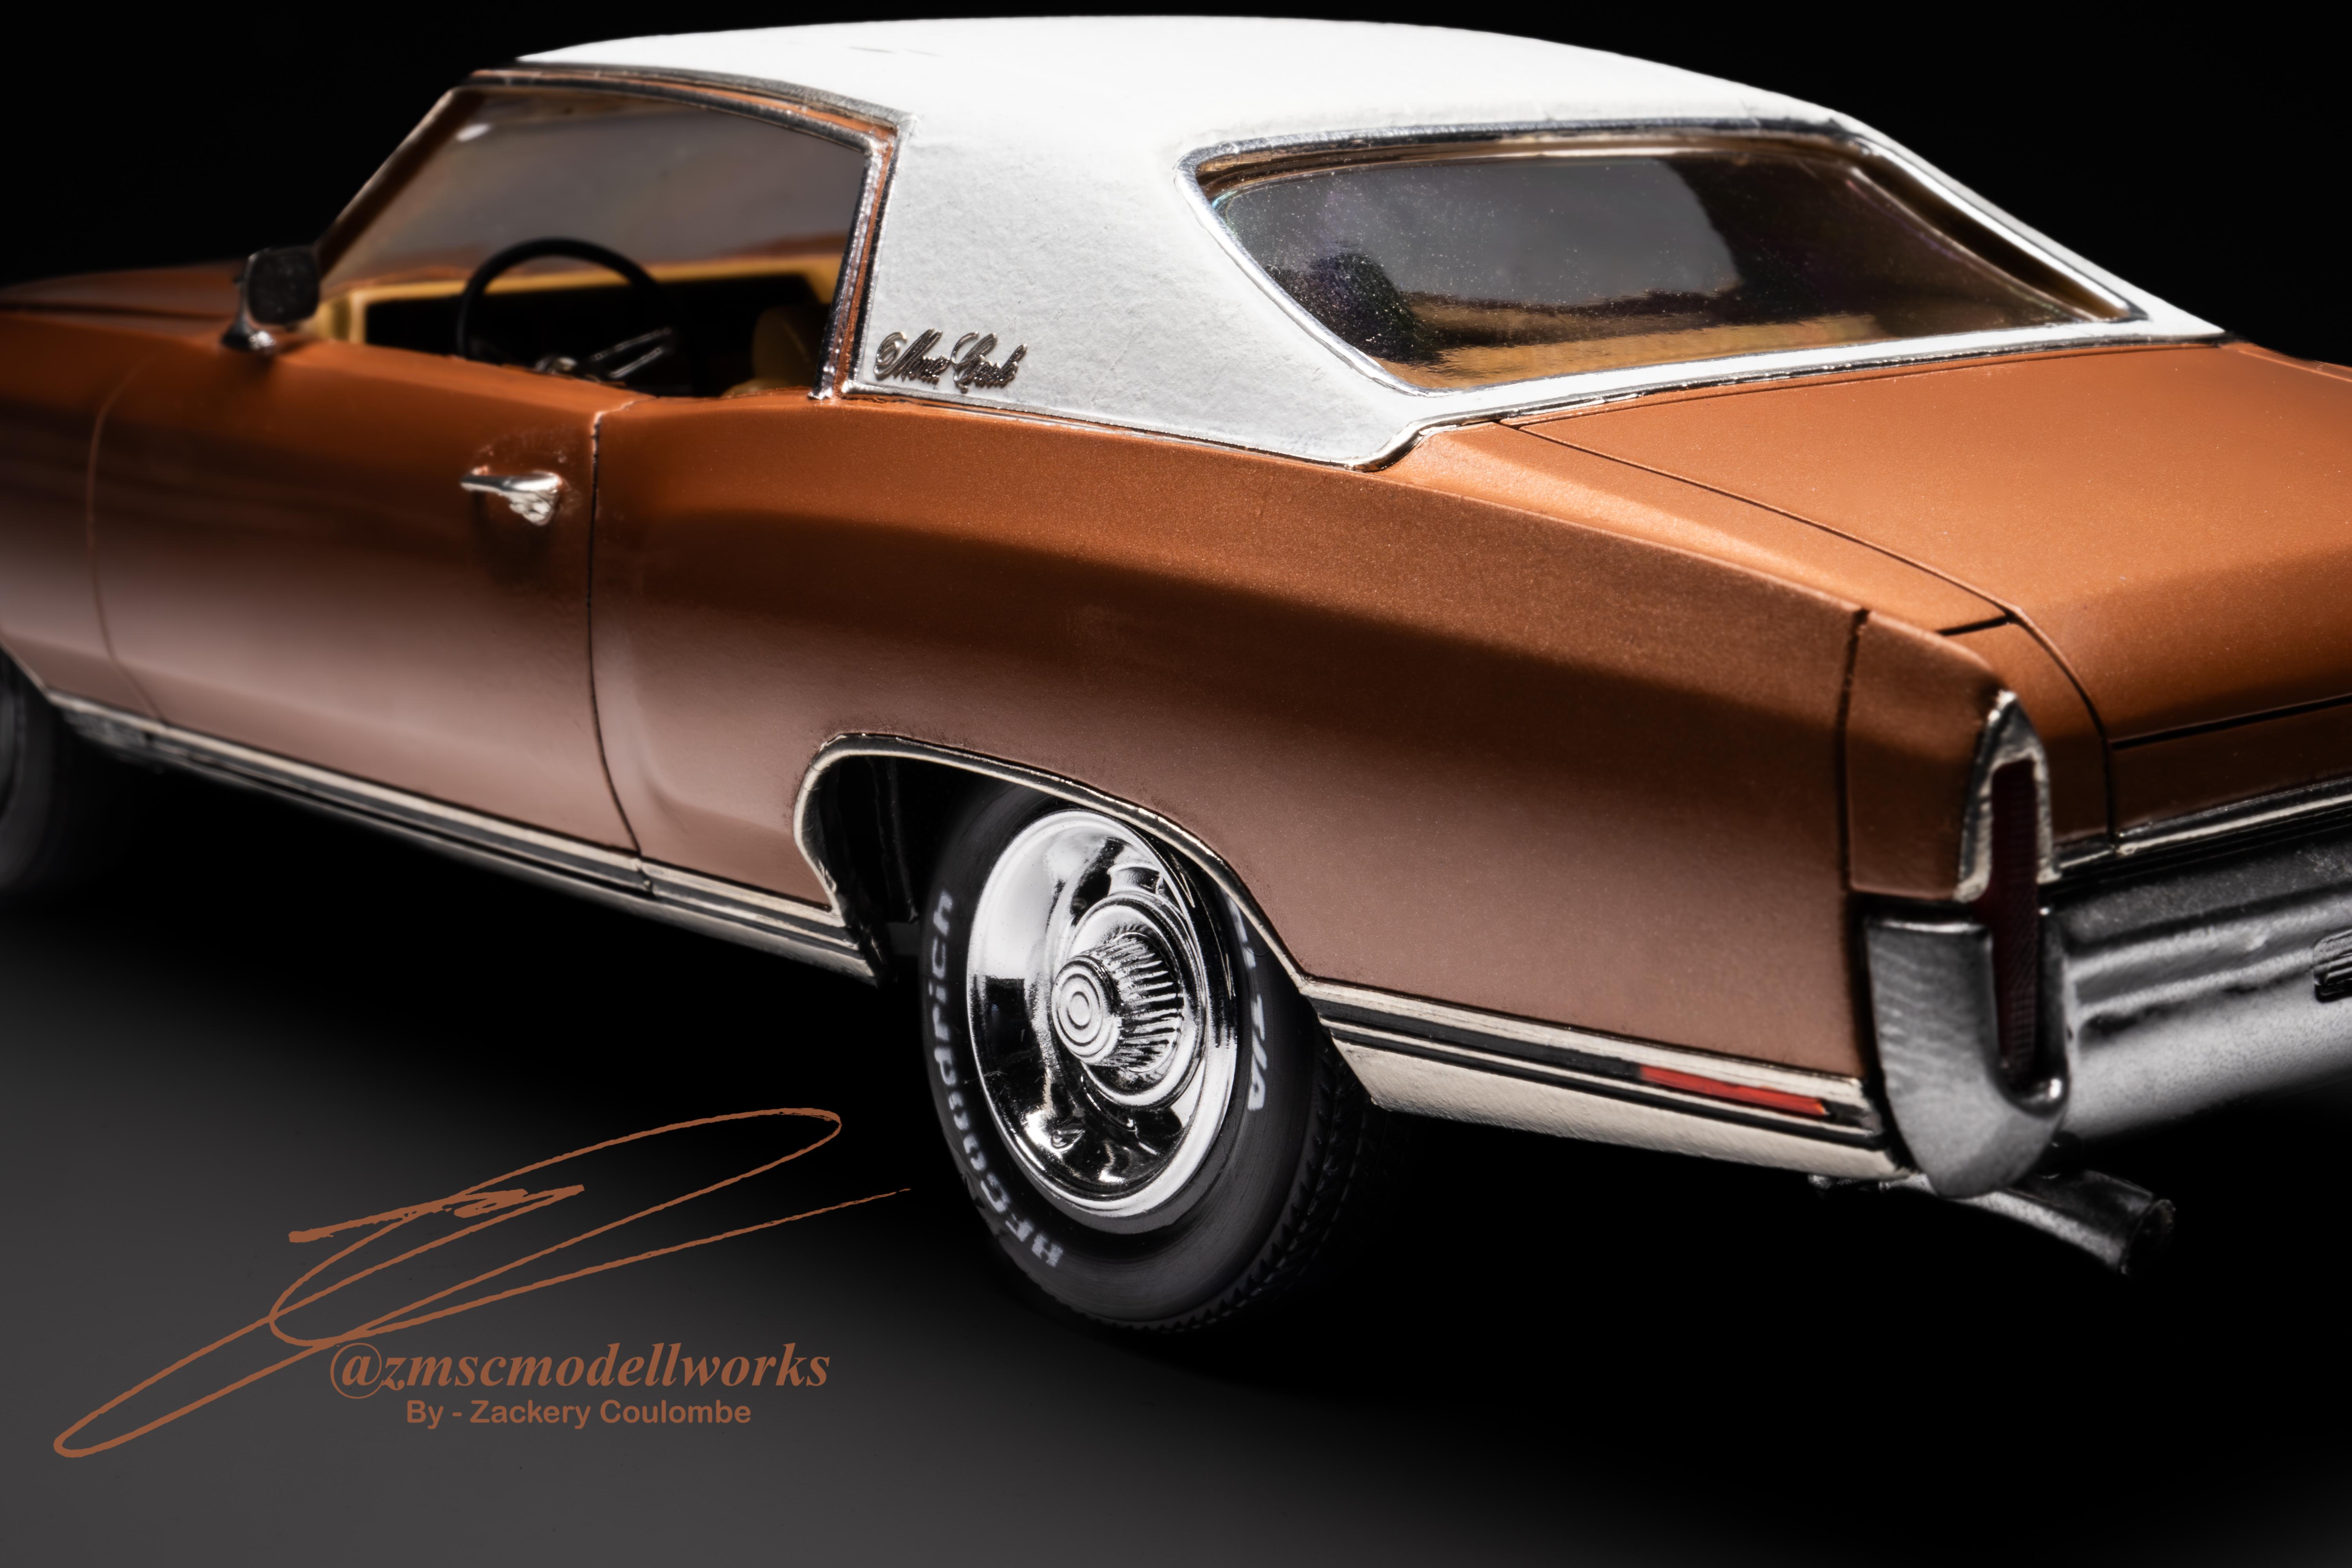
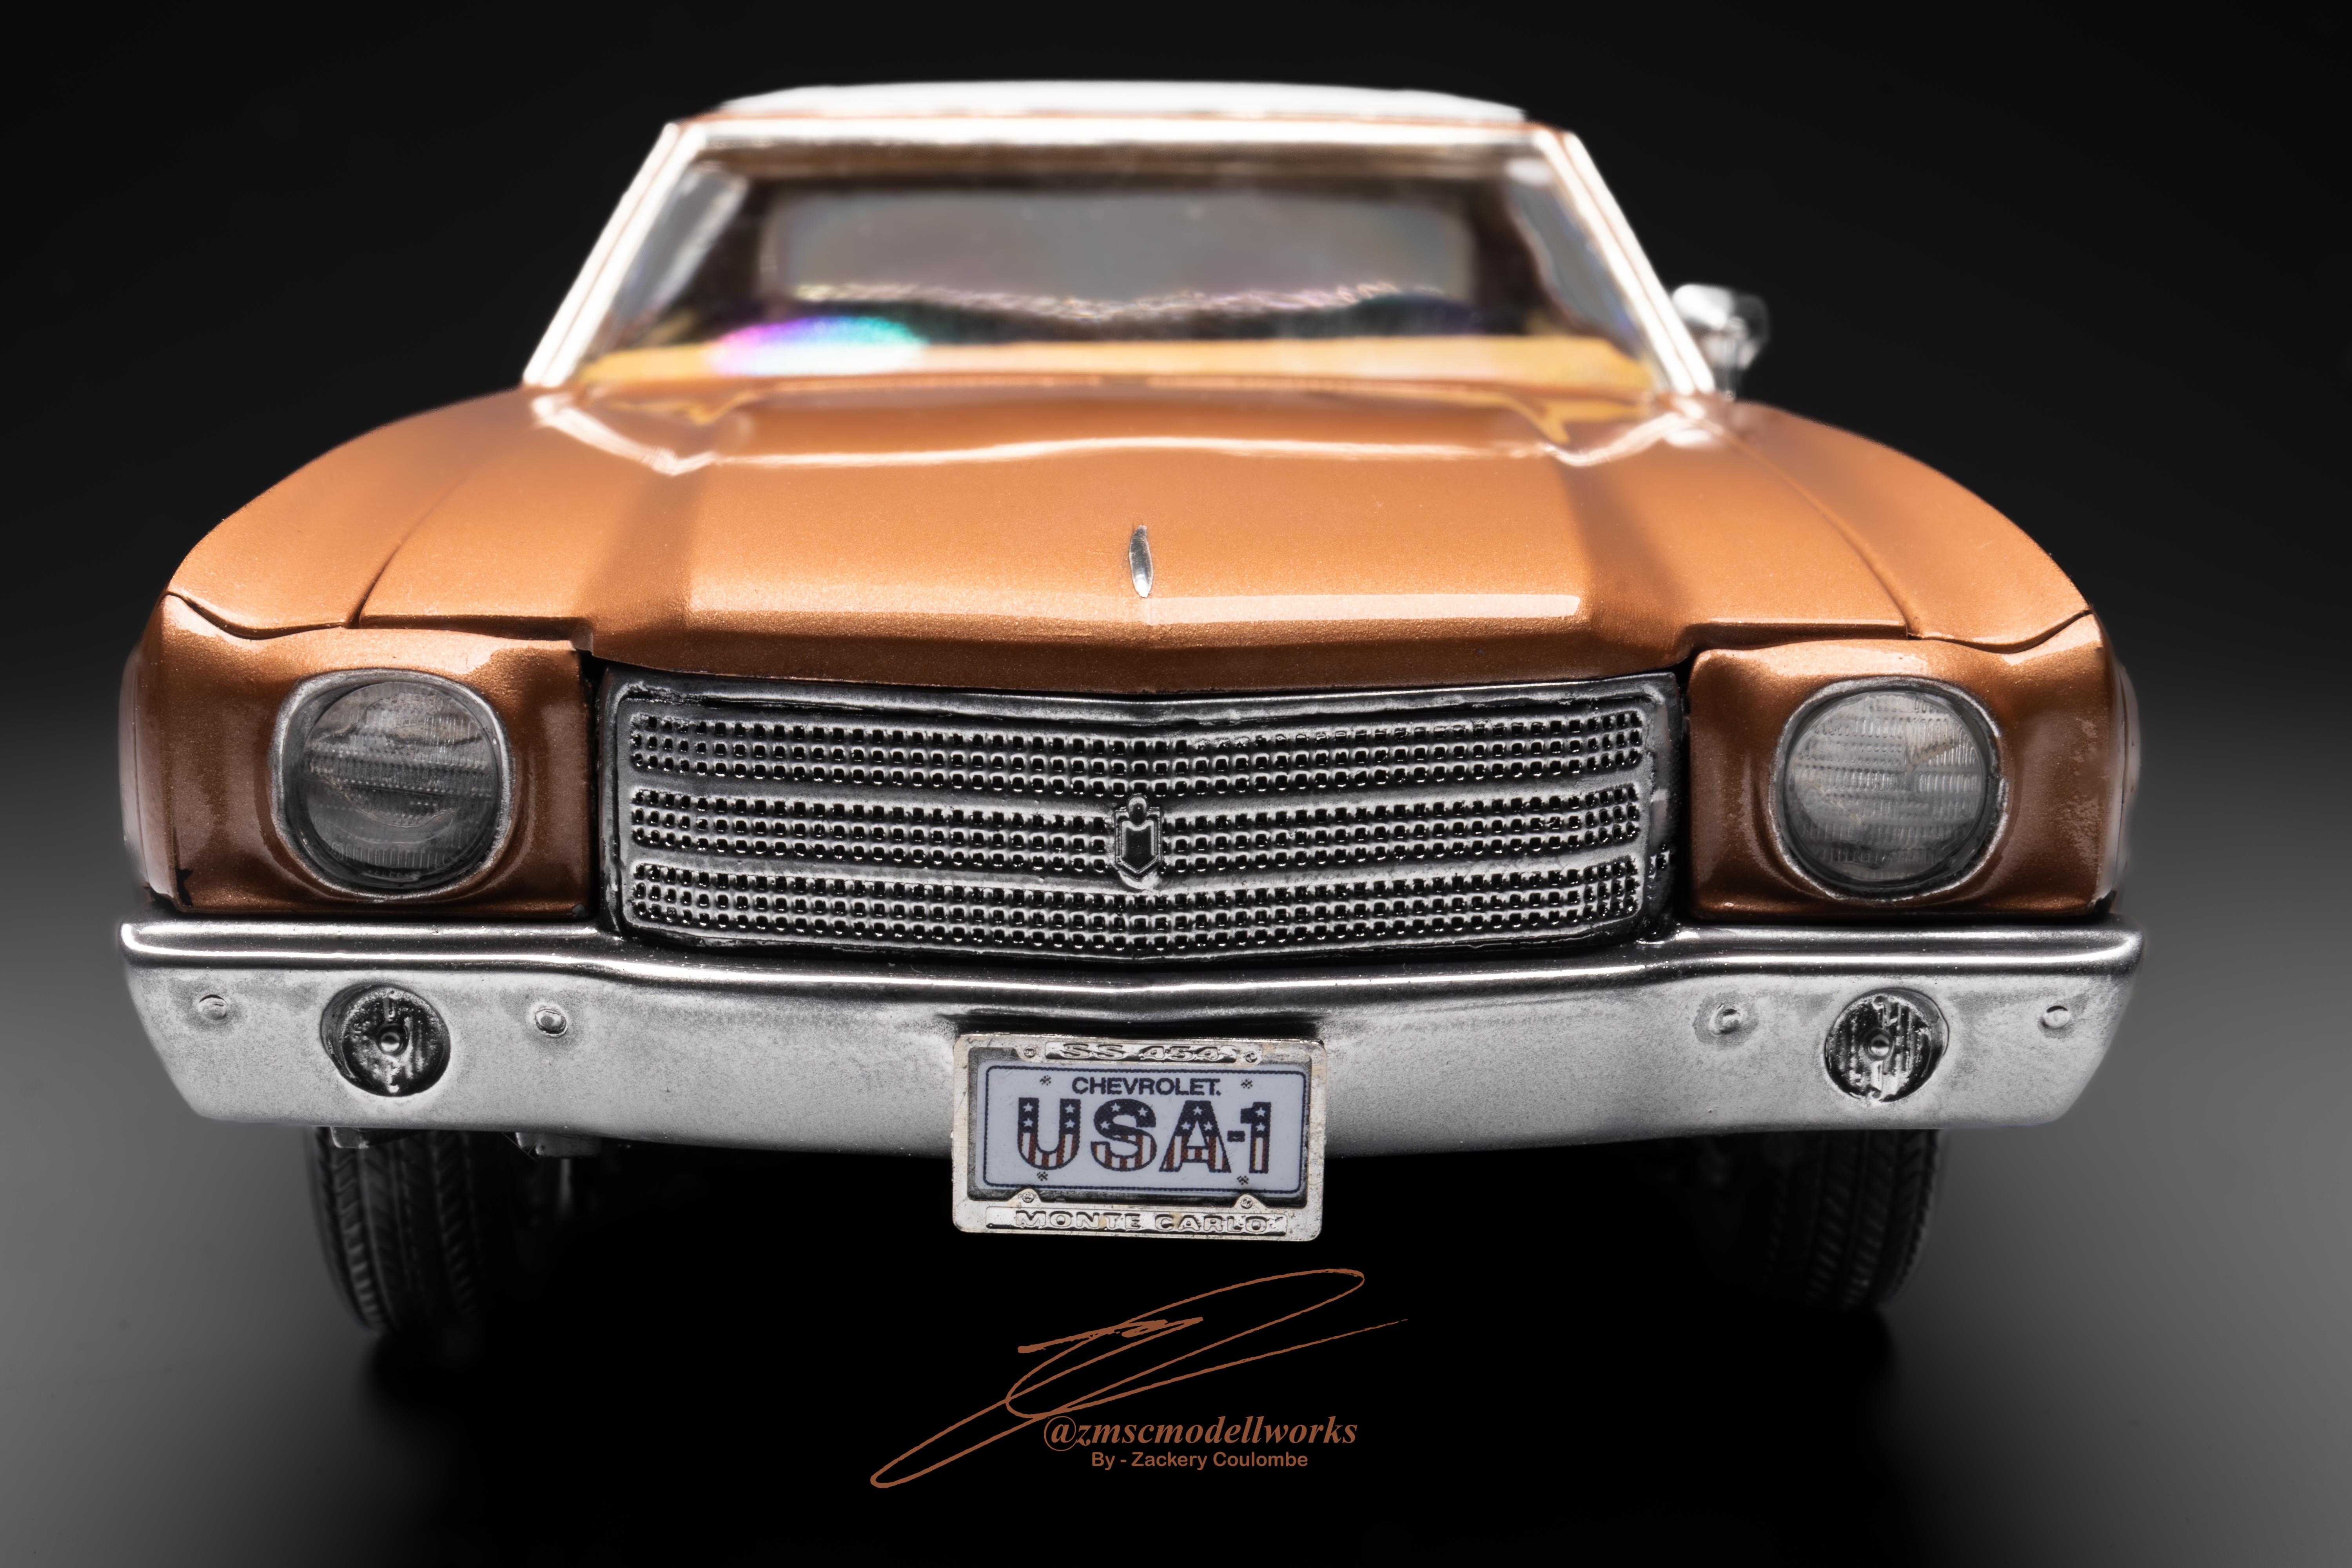
 Recently went to dust off the display shelf and this one nearly took a tumble. Upon realizing I didn't have any proper pictures of it I decided to take this 4 year old model and do it justice. Incase anything should happen to it in the future.
-
yeah the v10 drag pak was a 3spd powerglide with the ZB-II V10 at 512cui
-
I have a tonne pf reference photos on my smugmug from mecum and bringatrailer for the various modern CJs
-
What class would the V10 drag pak challenger fall under/ would have fallen under then?
-
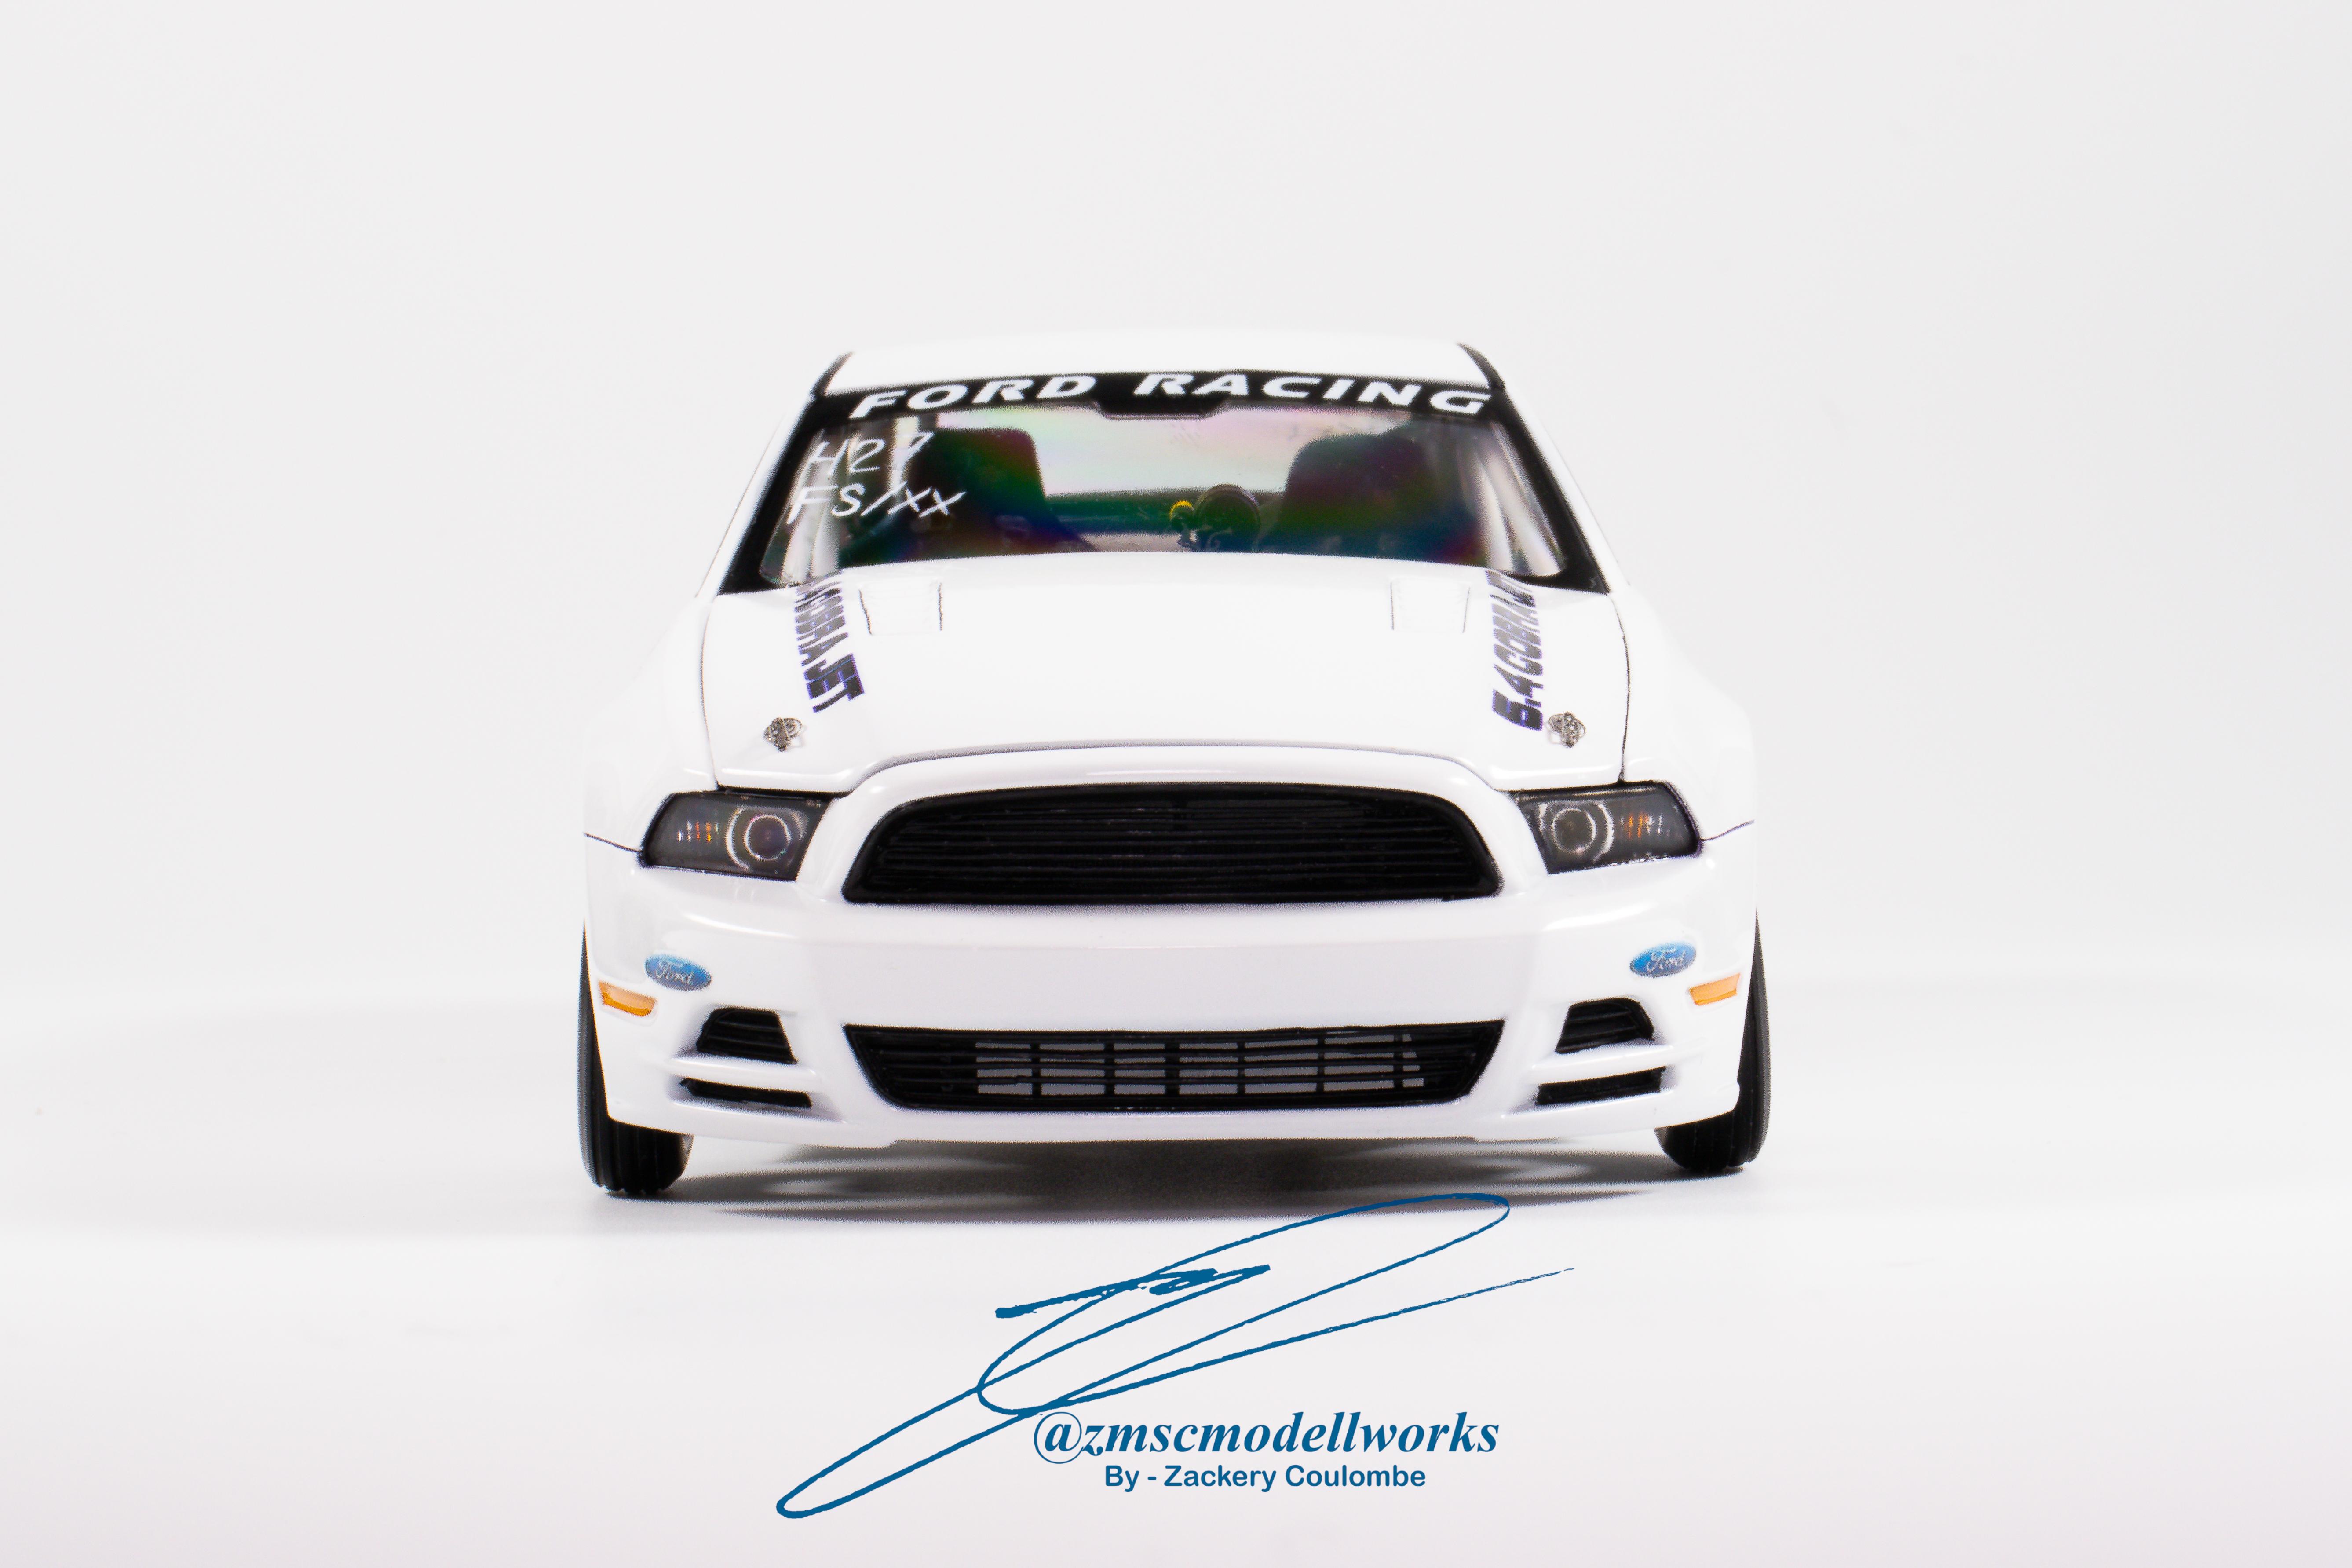
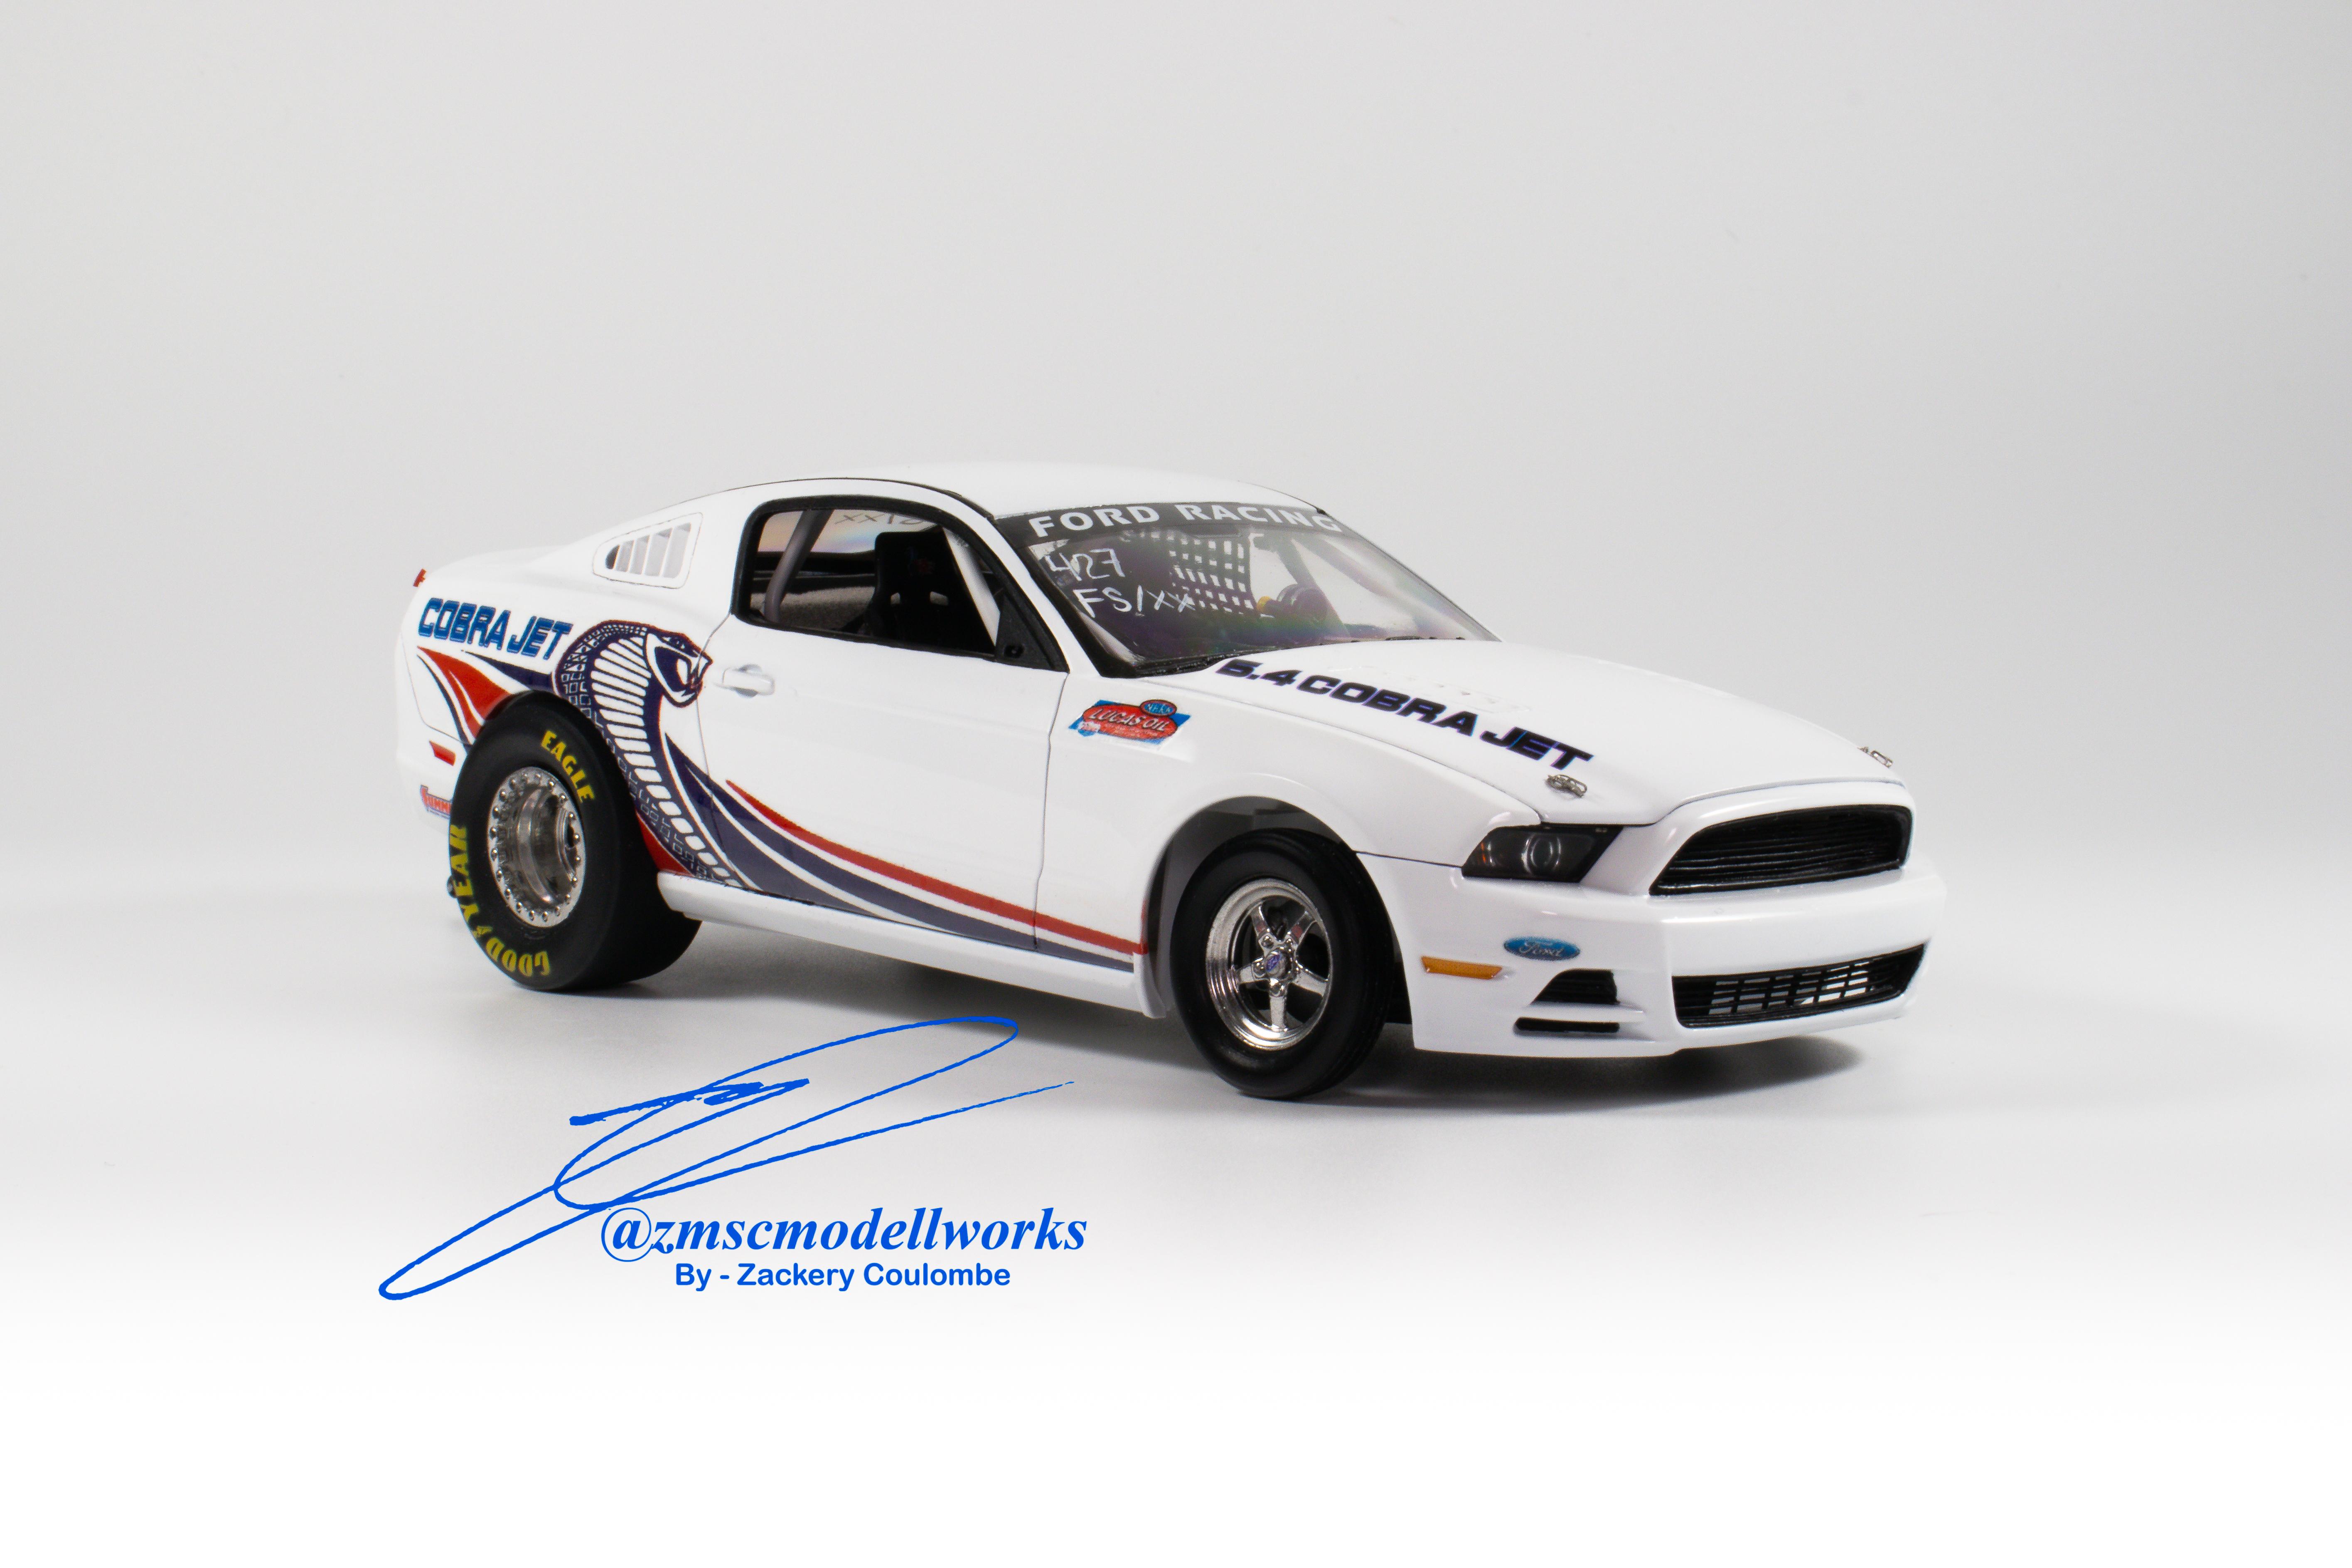
@Maurice Henderson Thank you a tonne for your criticism, and just so that its clear, this is NOT sarcasm. I truly do appreciate when someone with more experience and more knowledge tells me exactly where I went wrong or how I should have done things. This was the first drag car I really build with intent. It was part of a 2 month Racing The Strip buildoff on instagram. Box unopened. The intent was originally to build the CJ but when I opened the box I had no idea the amount of work that was going to be undertaken. I found alot of my references on places like bringatrailer and Mecum and compiled them HERE . Yes the transmission is not correct as it was a compromise between fitment and time. it should have a 3spd Auto but instead is a 5spd stock tranny from the kit. I did manage to find the proper engine/ transmission combos now so when I do the next one it will be 3D printed and accurate. The window markings were a total guess, and I guess were almost right. I believe ( and correct me if I'm wrong because of your knowledge) but the original 3 test mules Ford sent out to test wore XX markings. Again, could be wrong but at least I guessed half right. Thanks again for your feedback, and in the future, do you have any resources to look at for markings and classes? I have a few more factory stock builds in the lineup that I would like to get right next time. PM me with those details when you have a minute because I would love to pick your brain.
-
@Mike 1017 if everyone thought that way then we'd have no plastic models to build. It just always seemed odd that there weren't any modern CJs, COPs, or Scat Pax seeing as the licensing was already there for the makes. I guess it it just means that I've build the only 1/25 2014 CJ in the world lol
-
@Mike 1017 just be aware that there's the 2013 Mustang GT and the 2013 Boss 302. The GT has almost all moulded in detail. Came to find out after that the 2013 Boss 302 has its separated like the rest of the revell Mustangs. I'm going to be making a 2008/09 Cobra Jet and that's taking 3 kits to make 1. A Bullitt, a GT and a GT-H because while they make 3 in 1 kits all the time, they couldn't offer different variations of the mustang in 1 lol.
-
Converted from a 2013 Mustang GT, plenty of modifications tho its better to just read it from my site as that's where it was recorded. Here you just get to see the ub-bridled beauty. Most notably is the window net is poseable, cage was built from scratch, and decals wee knockoffs of the Slixx set. Because of me not knowing at the time and finding out later, I went and bought the whole Cobra Jet line and intend to build them all as an apology to Slixx and to myself for not doing my research.
-
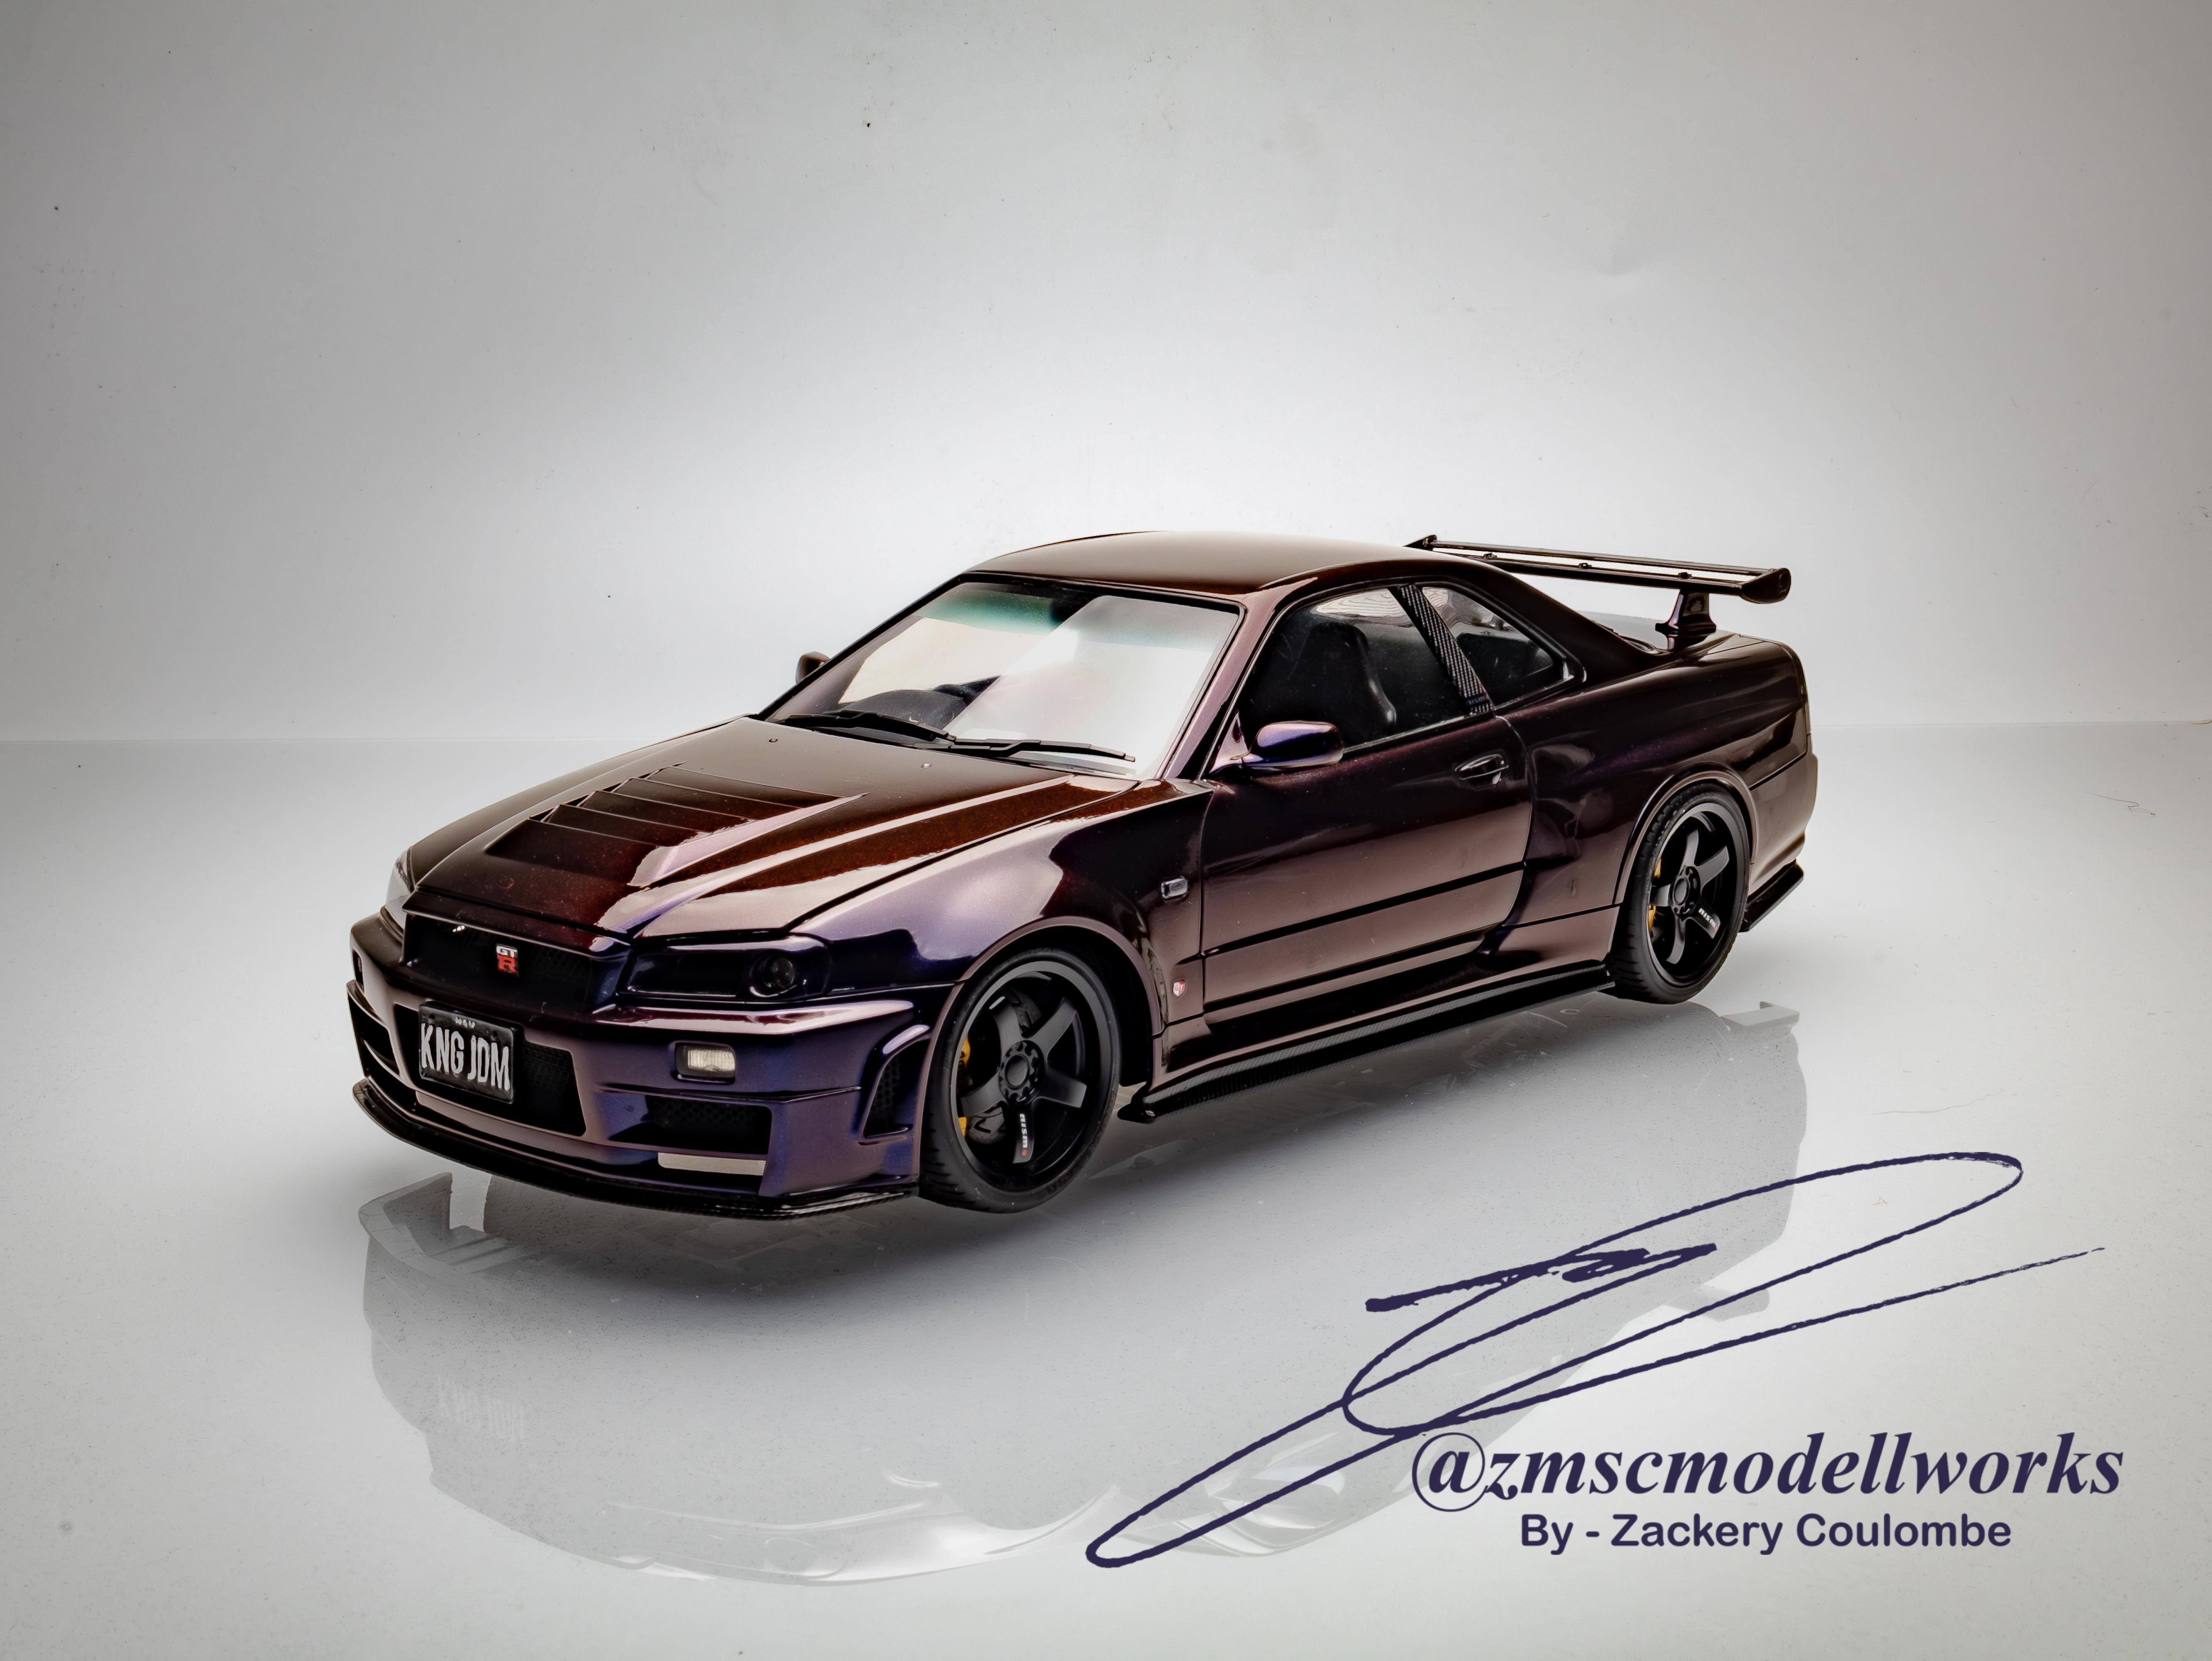
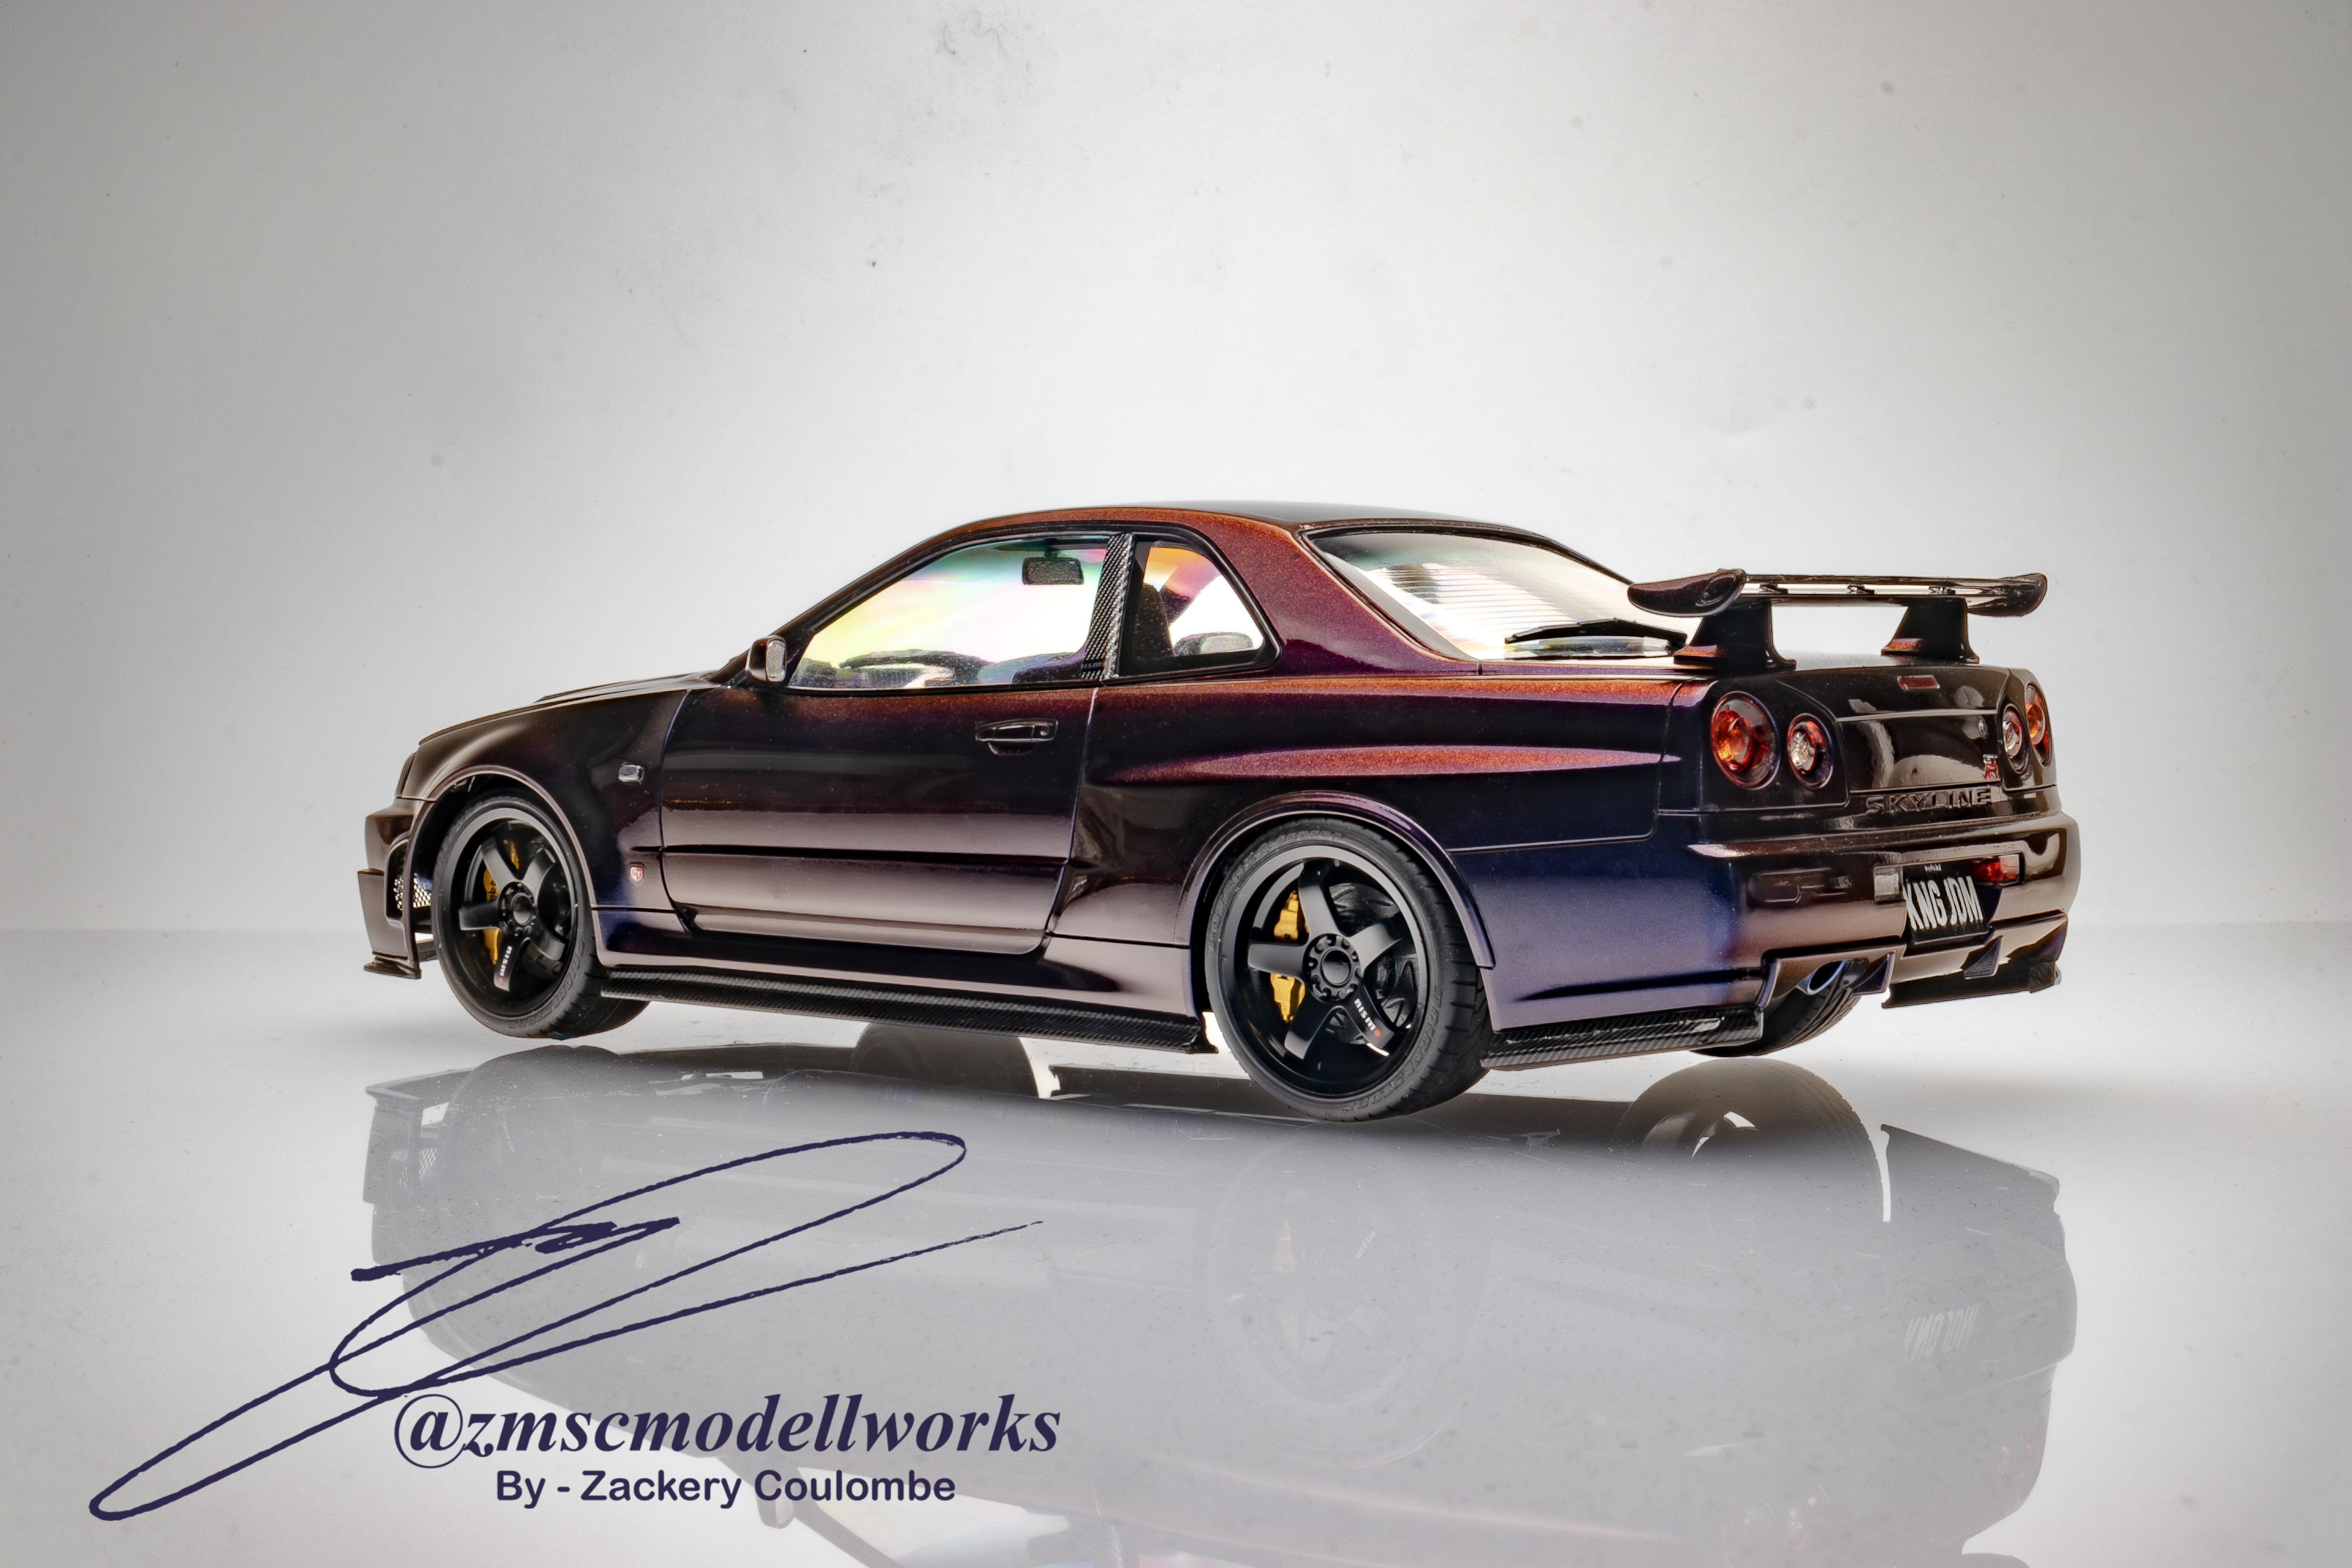
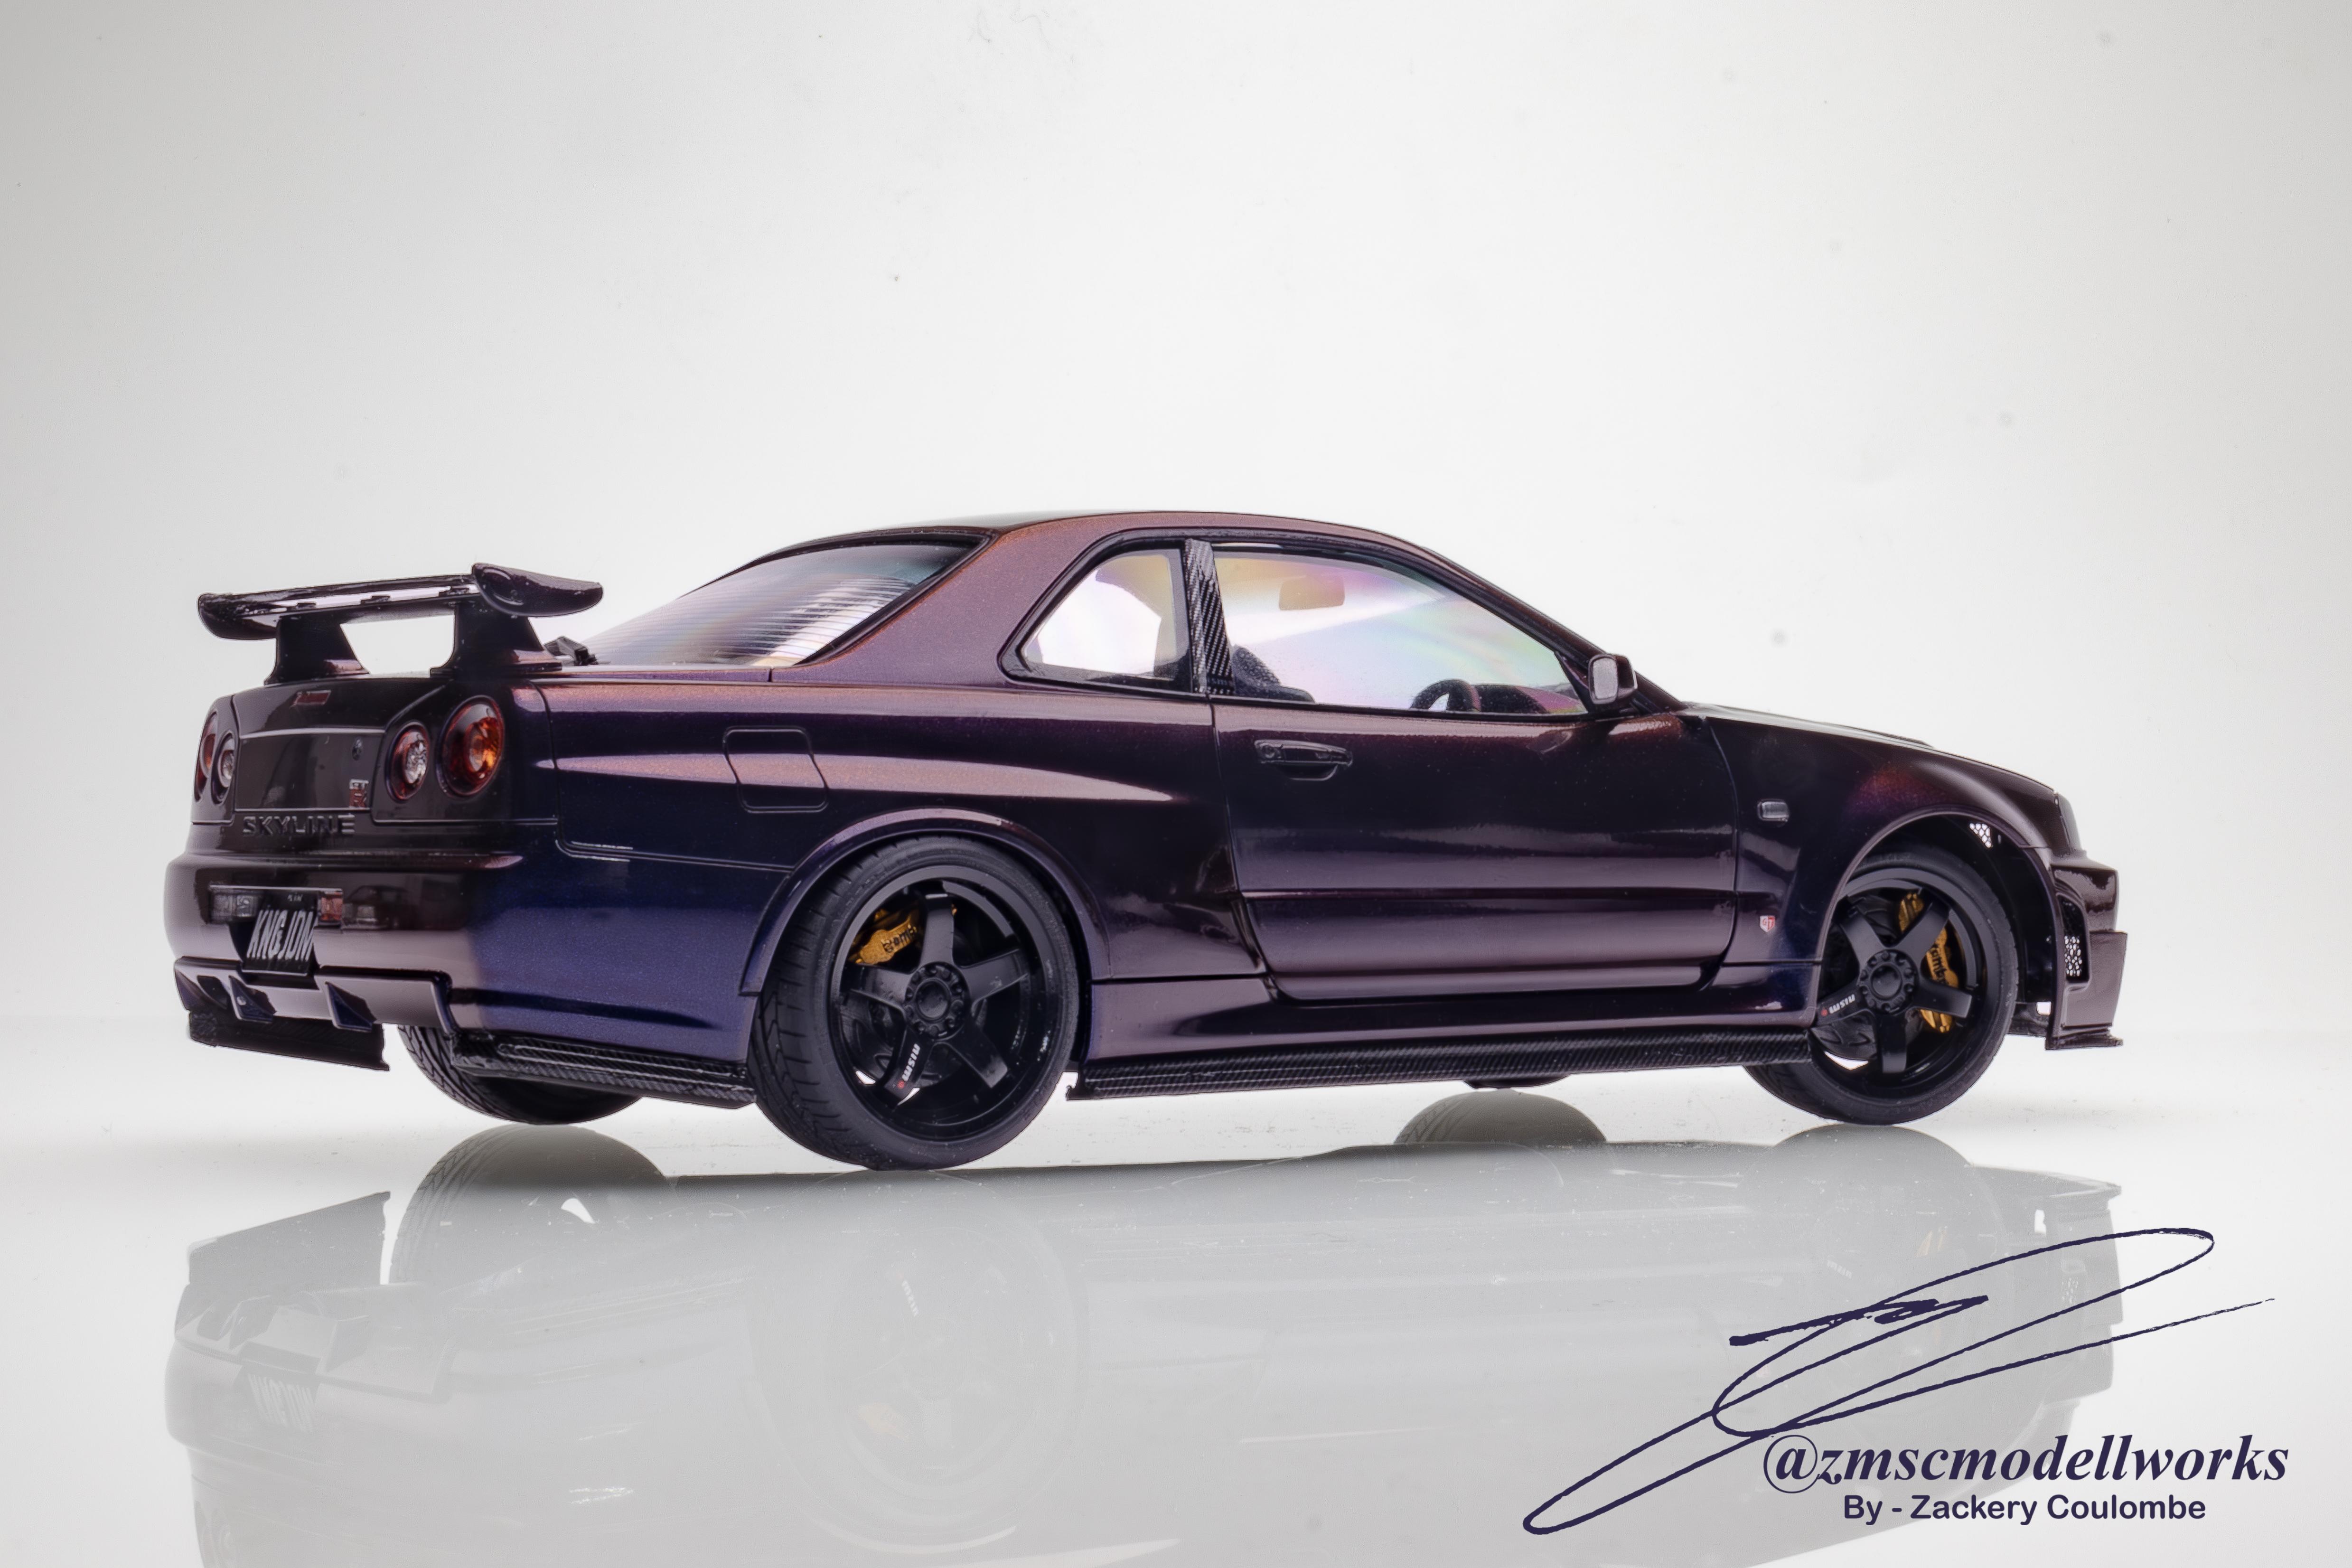
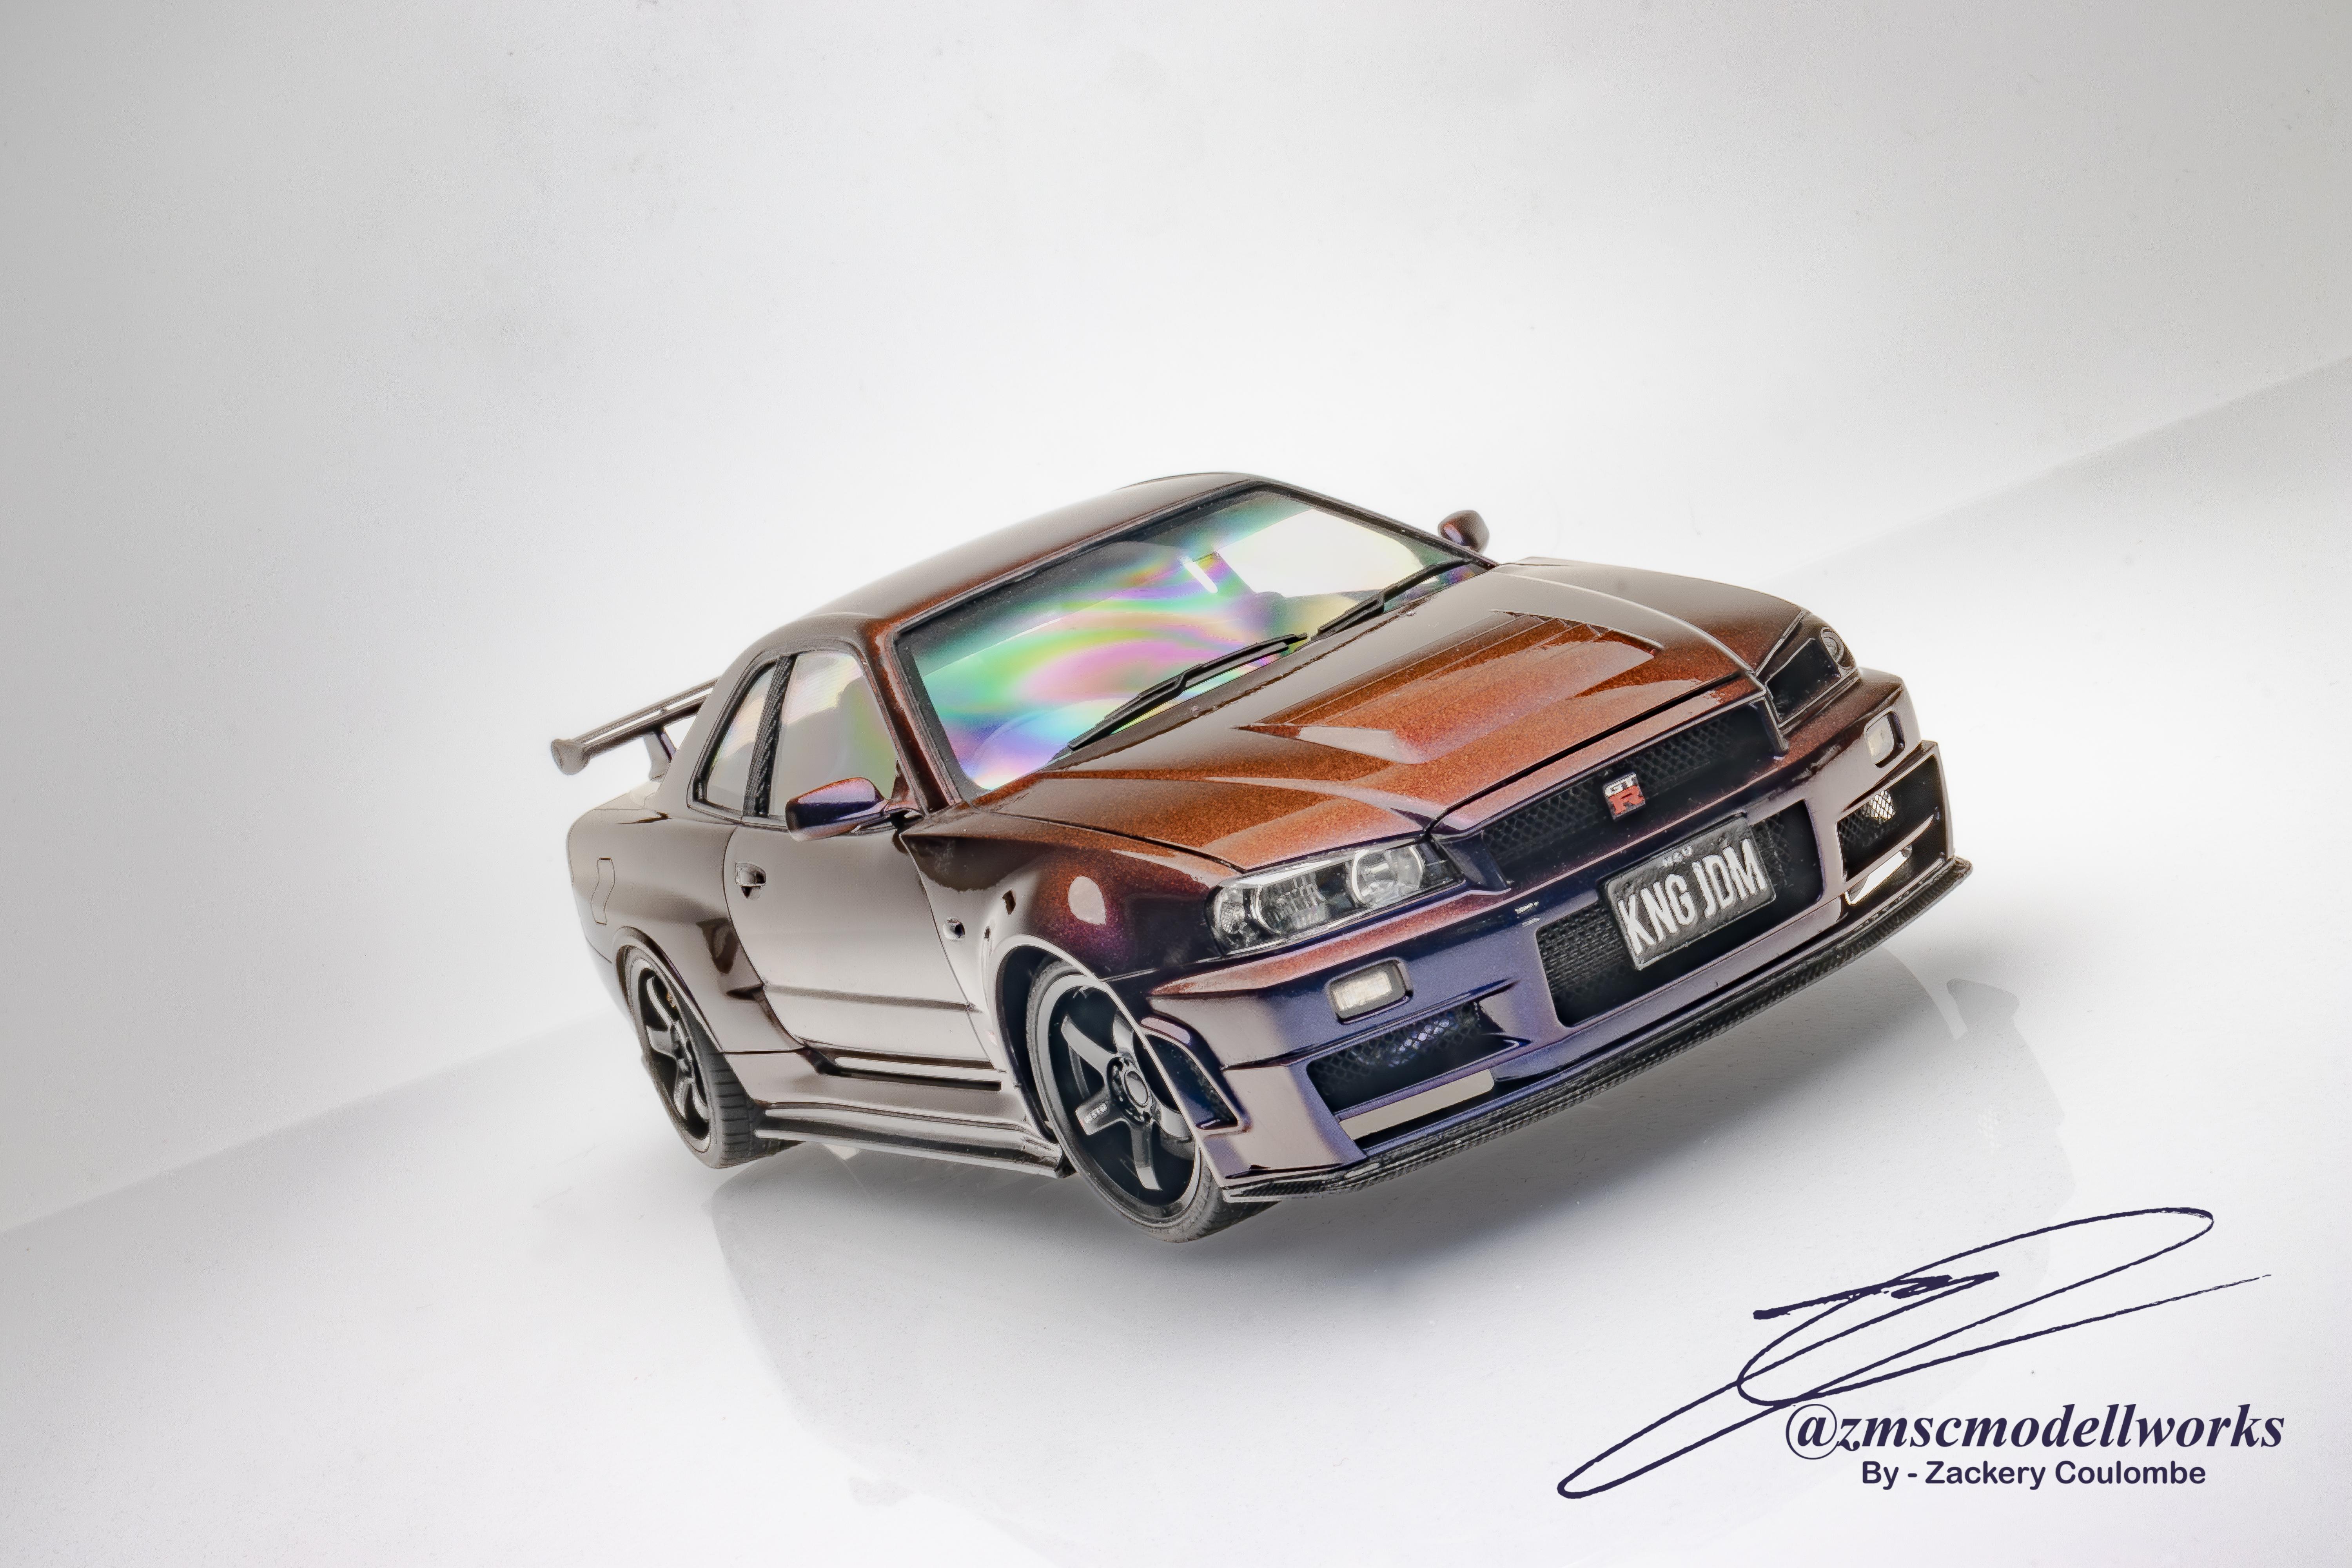
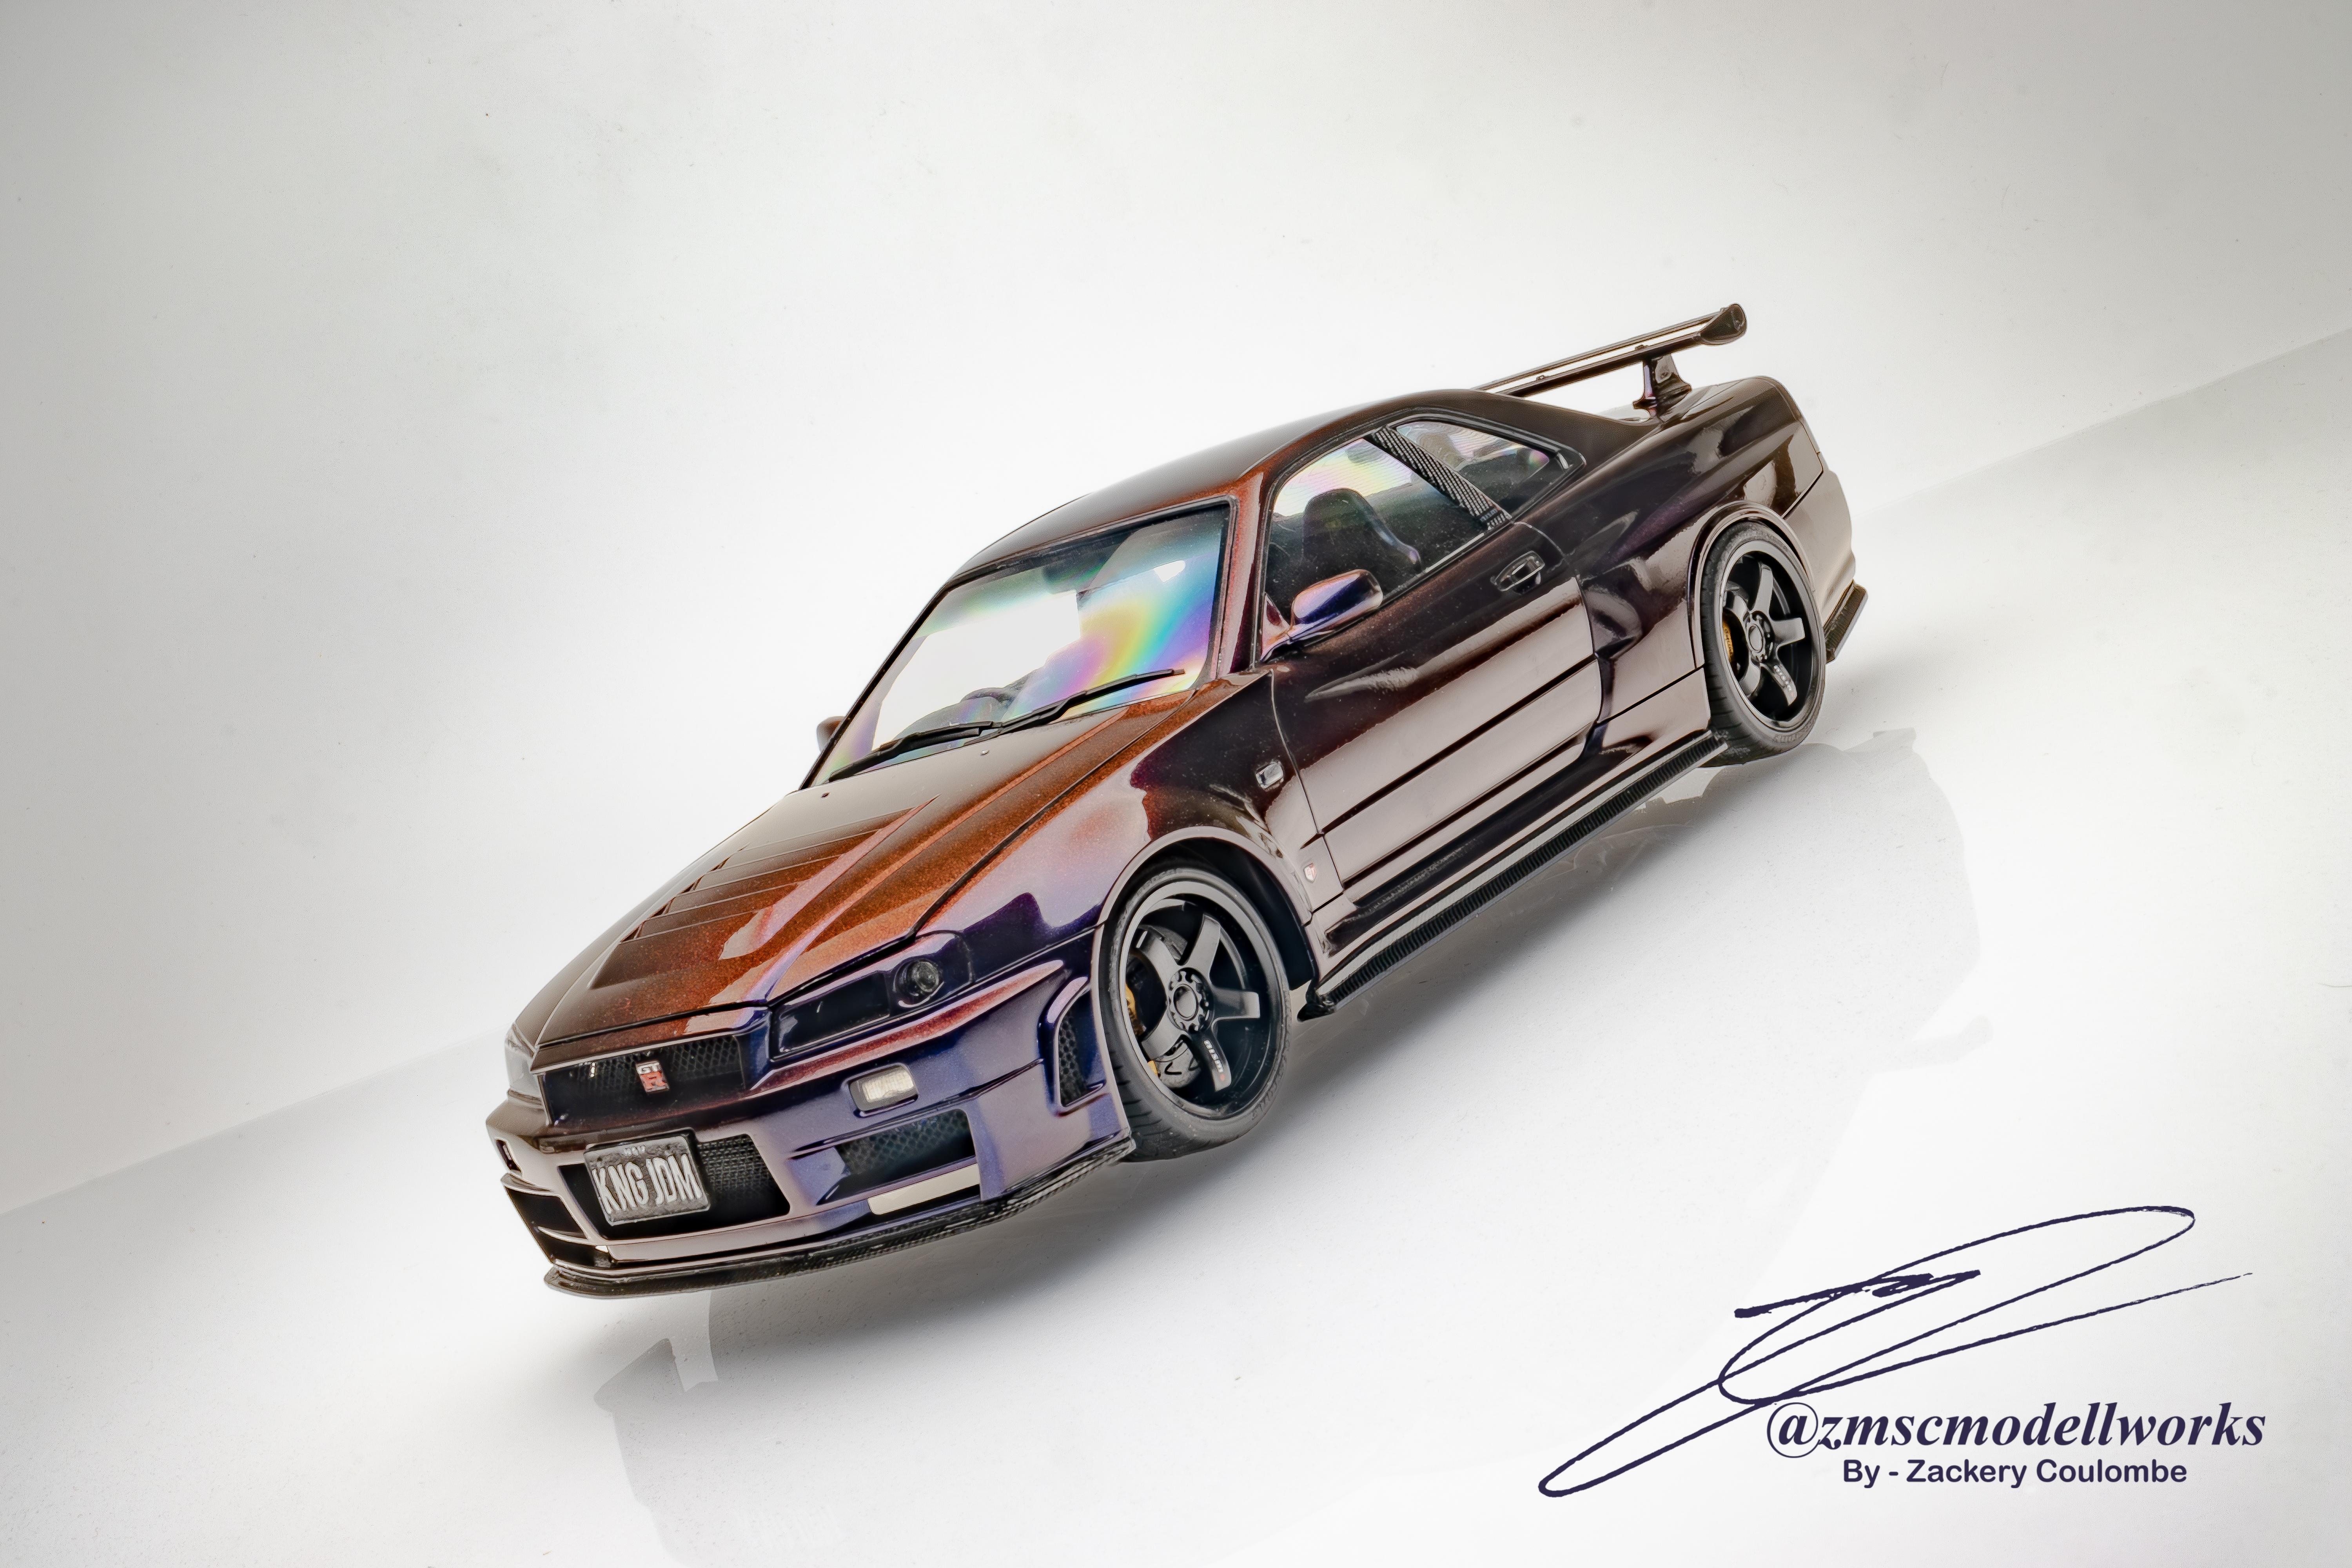
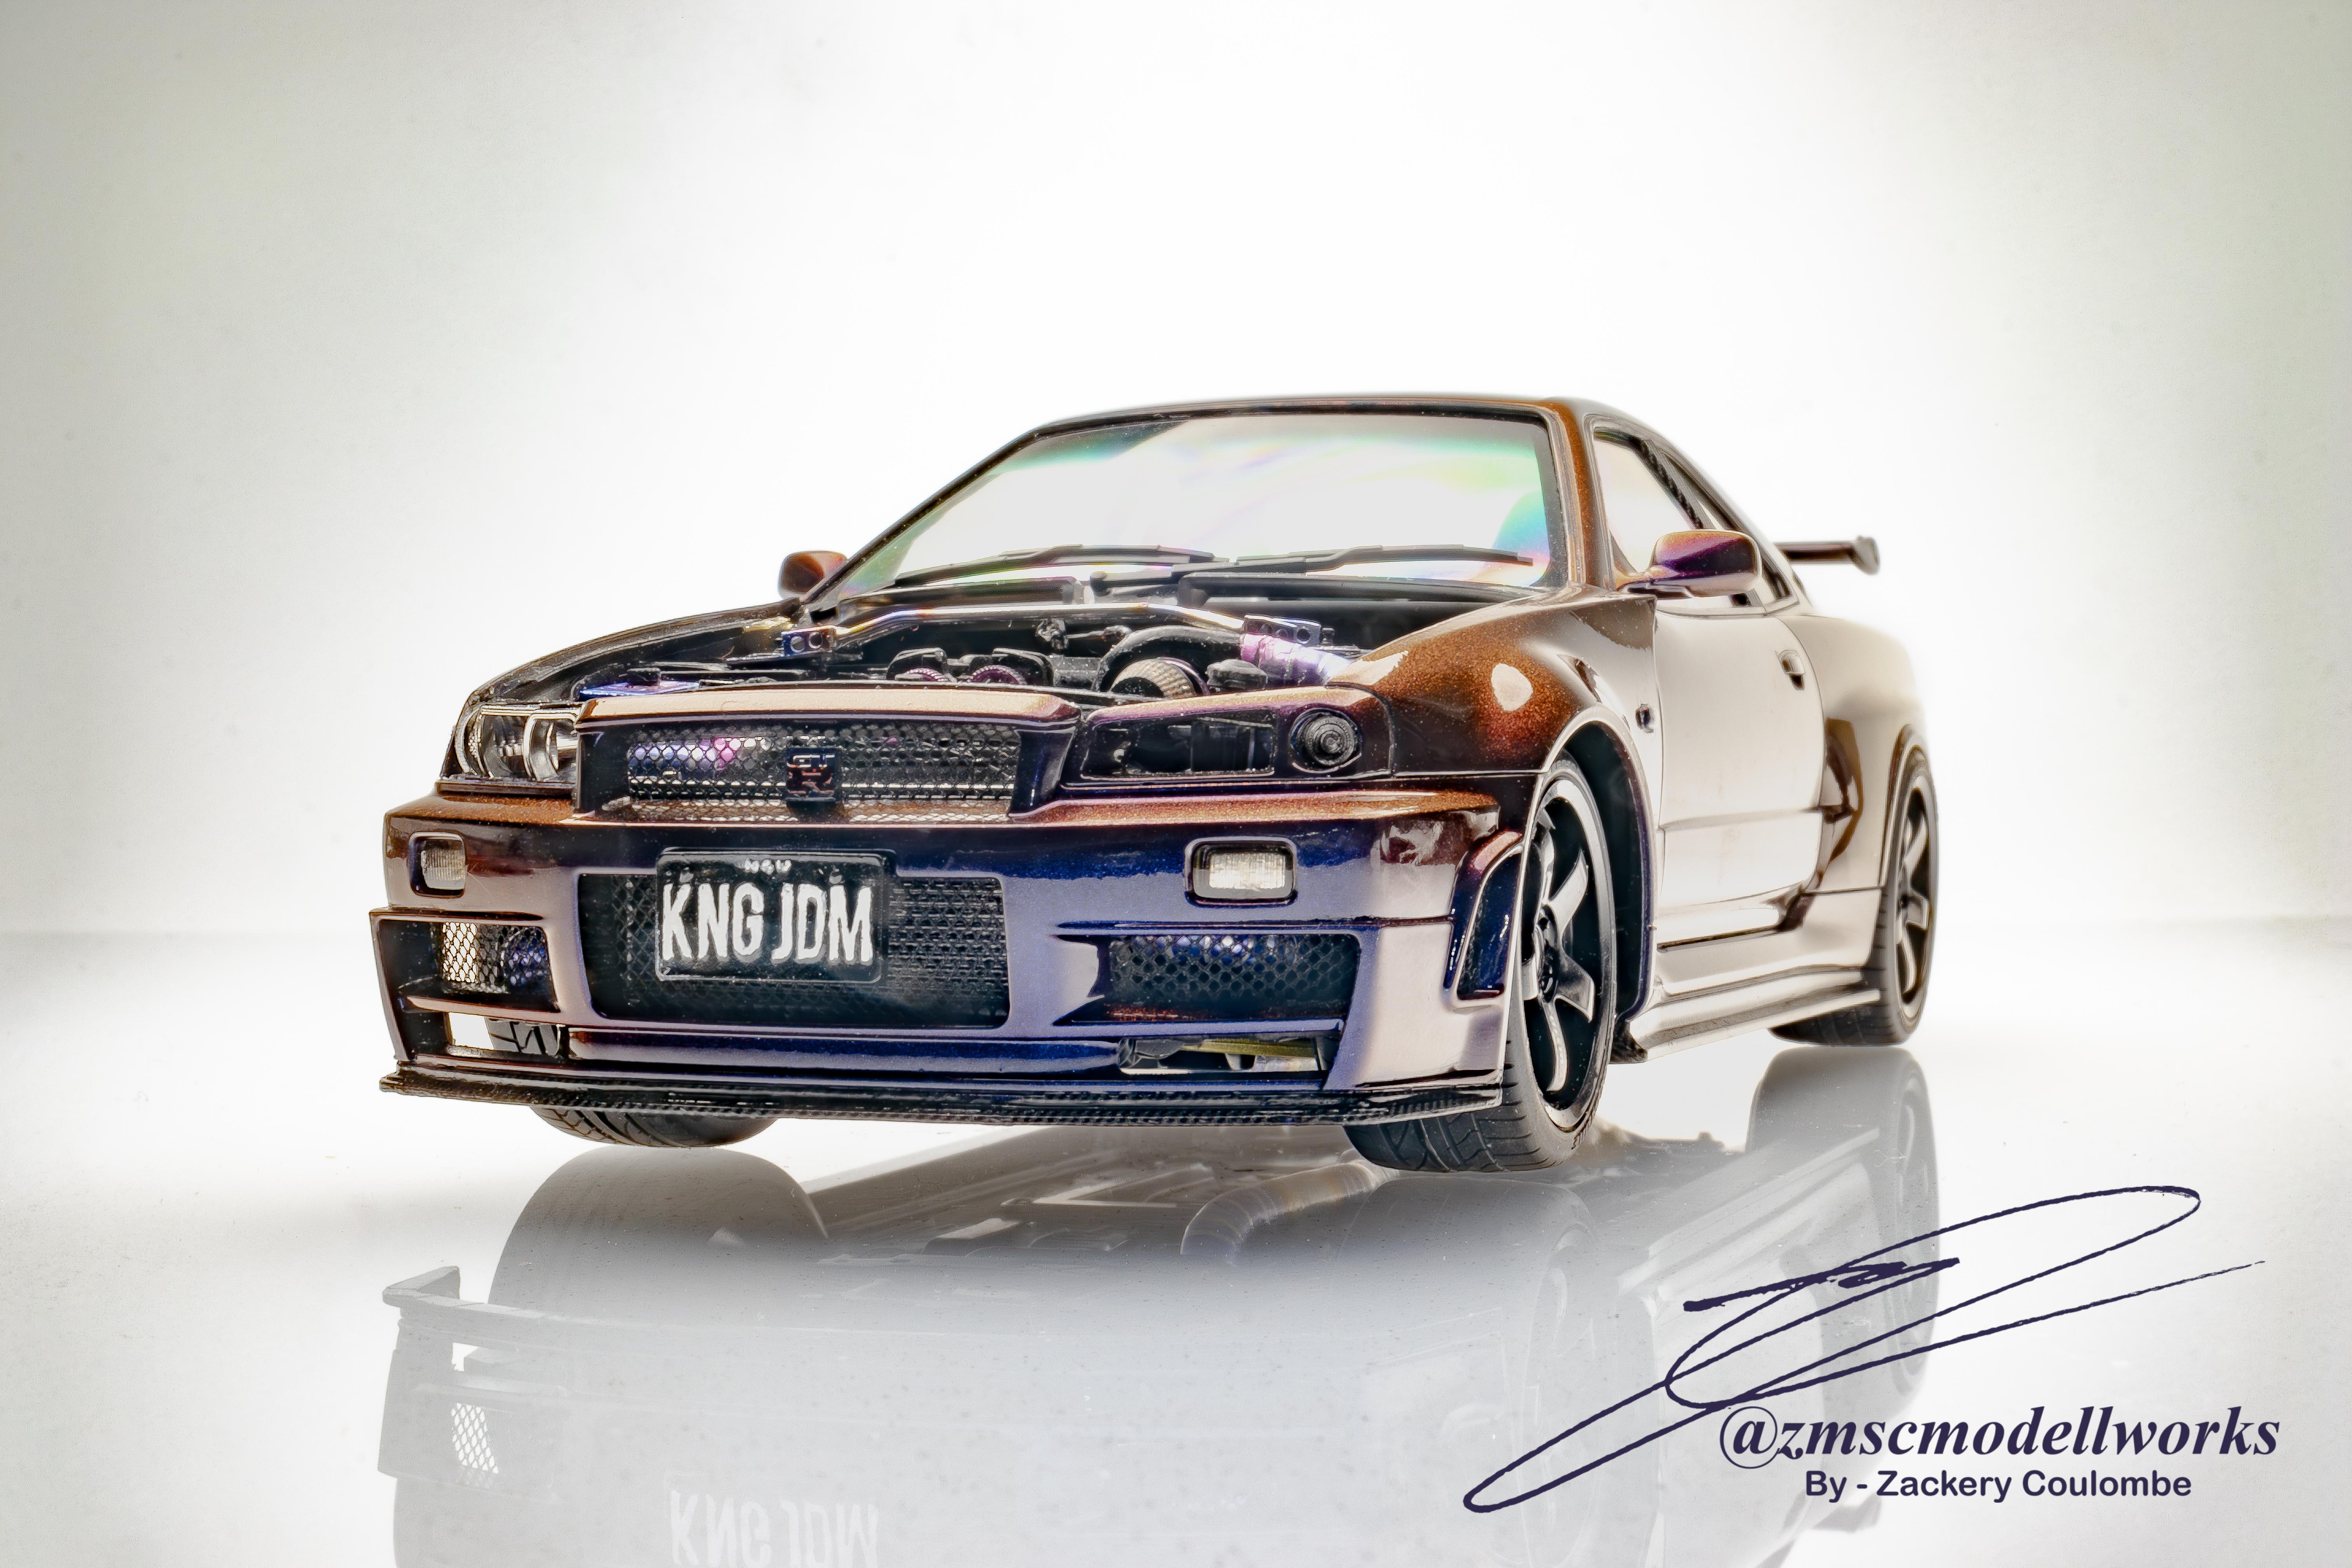
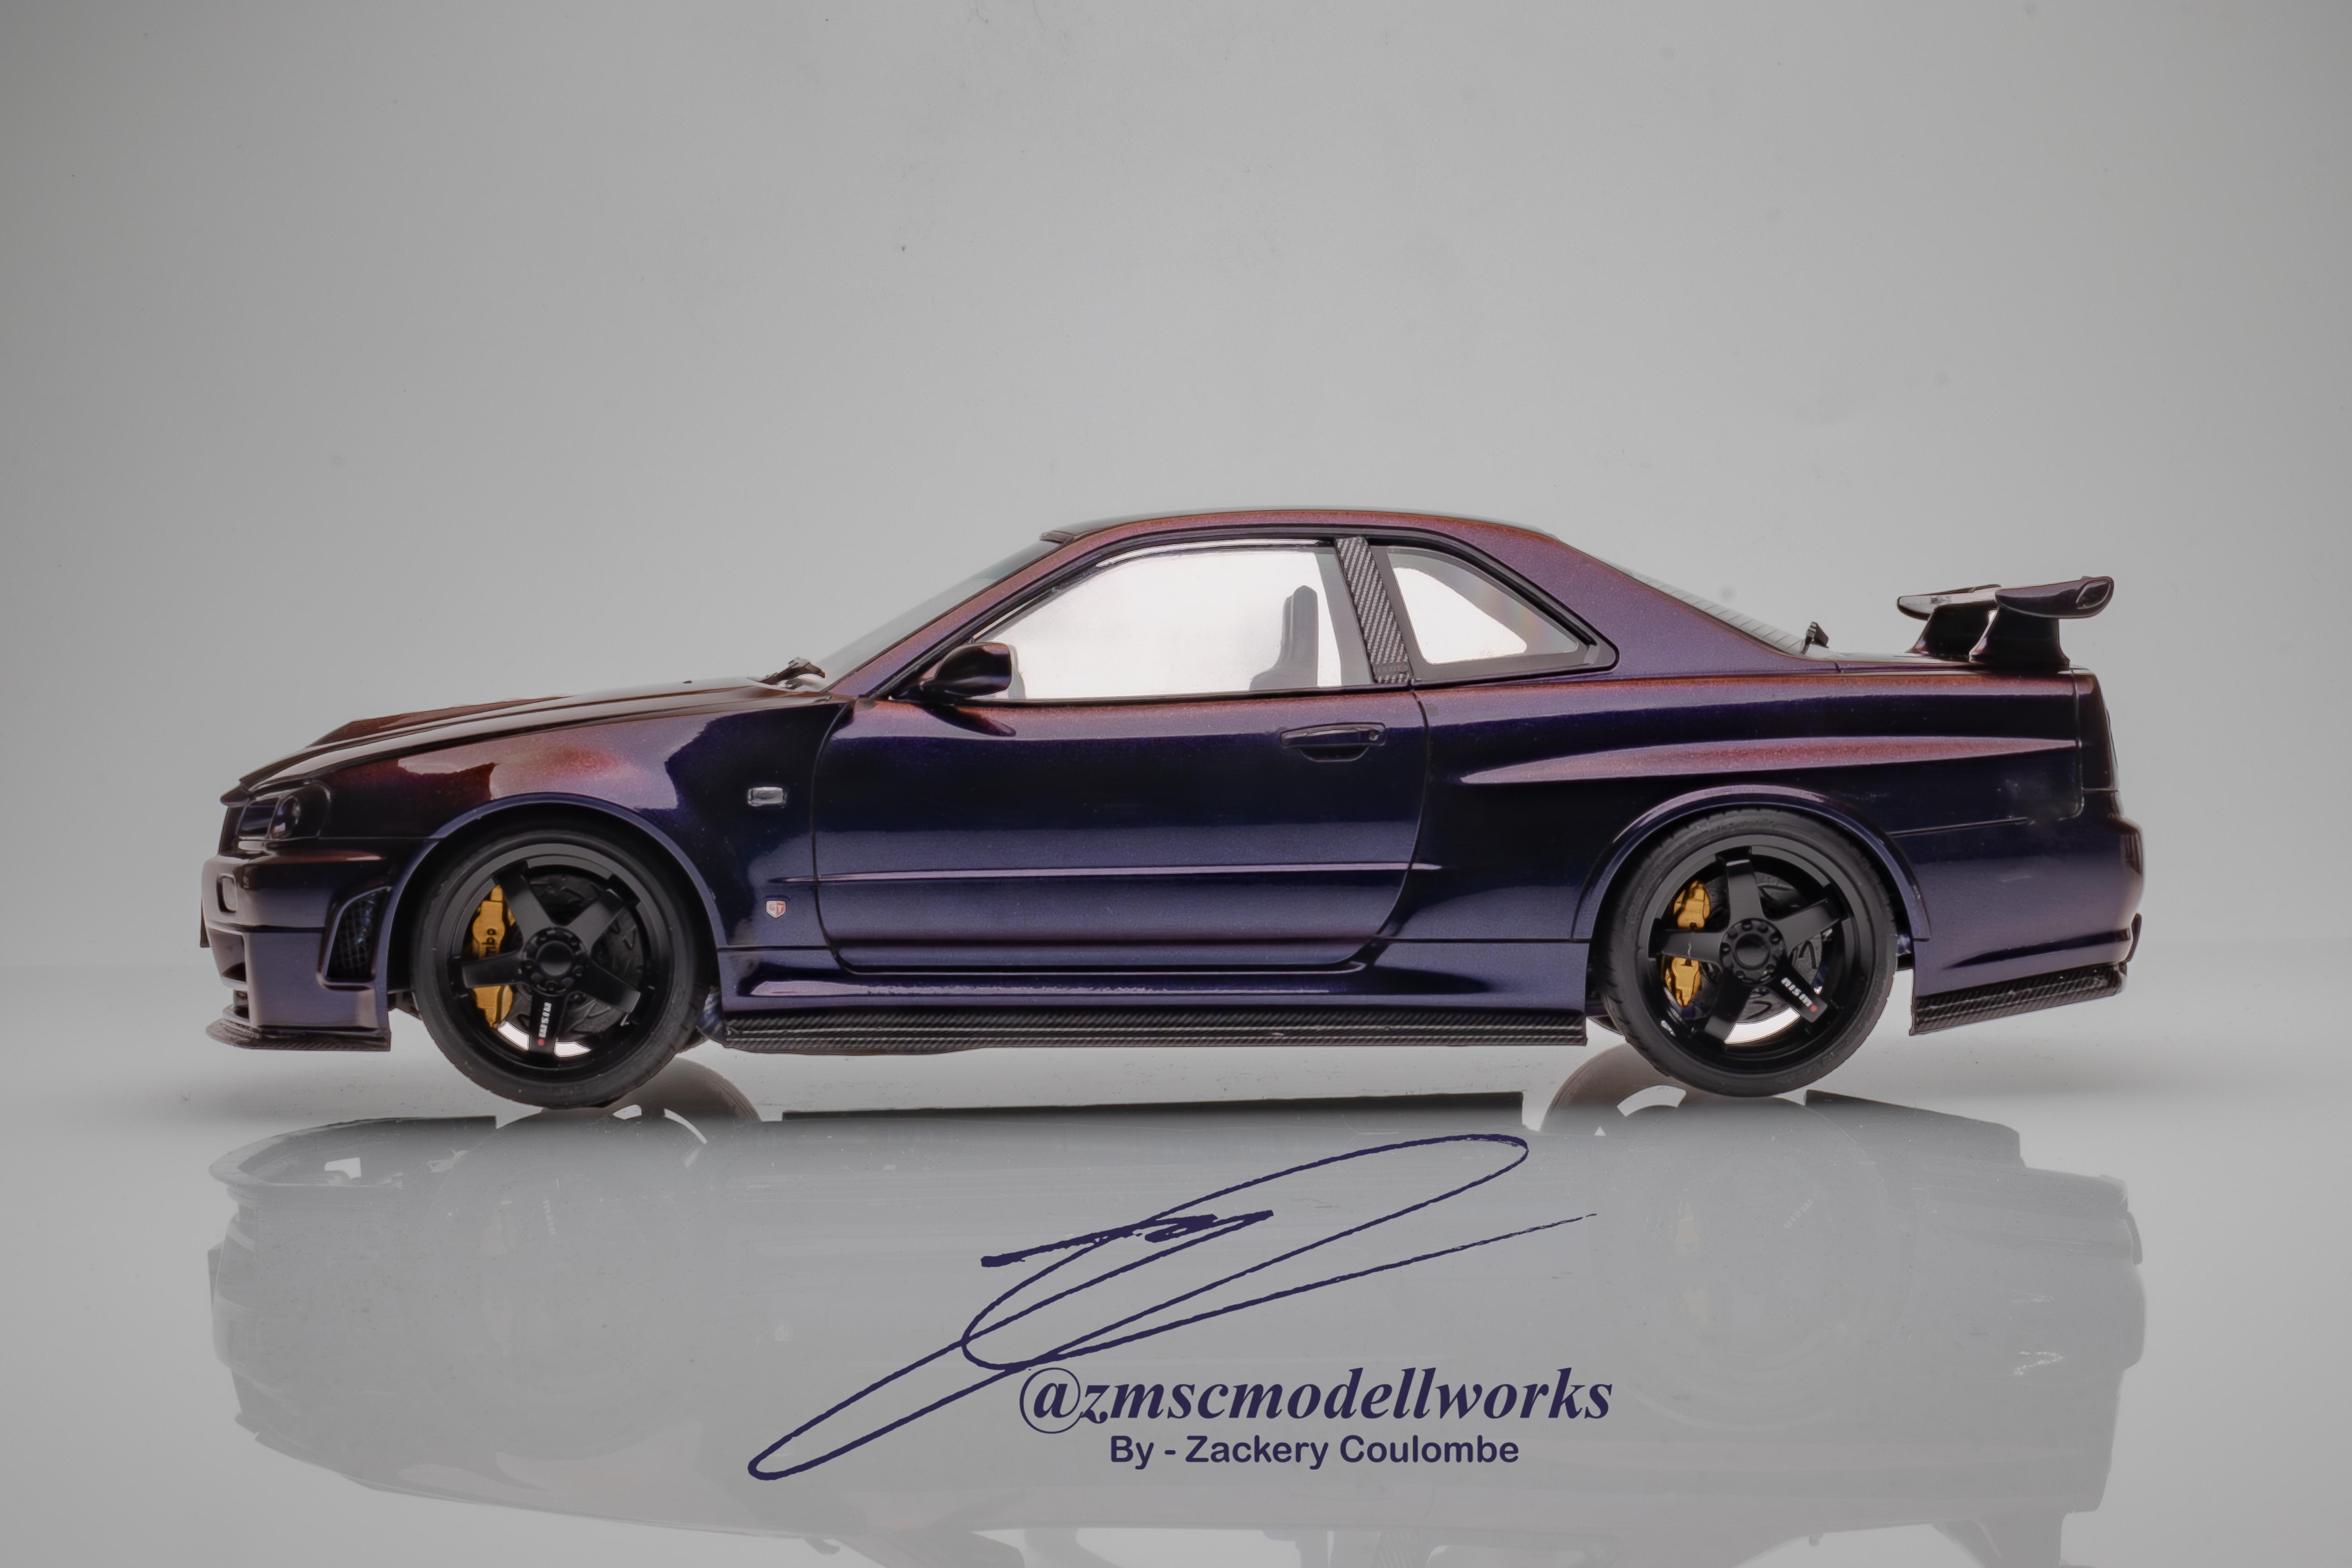
Nissan Skyline R34 Z-Tune "KNG JDM" - Tamiya 1/24
ZMSC Modell Works replied to ZMSC Modell Works's topic in Model Cars
@lordairgtar yes in fact tho for whatever reason it kept popping off and rather than continue to ruin the look with glue, I just left them exposed. @espo thanks, overhead panel light and rotatable UV lense filter -
Fully 3D printed engine bay and drivetrain. Paint is Splash Paints 2K Primer Black, Midnight Purple 3 and 2K Clear. Scale Motorsports Carbon Fiber - Pewter Twill.
- 26 replies
-
- 17
-

-
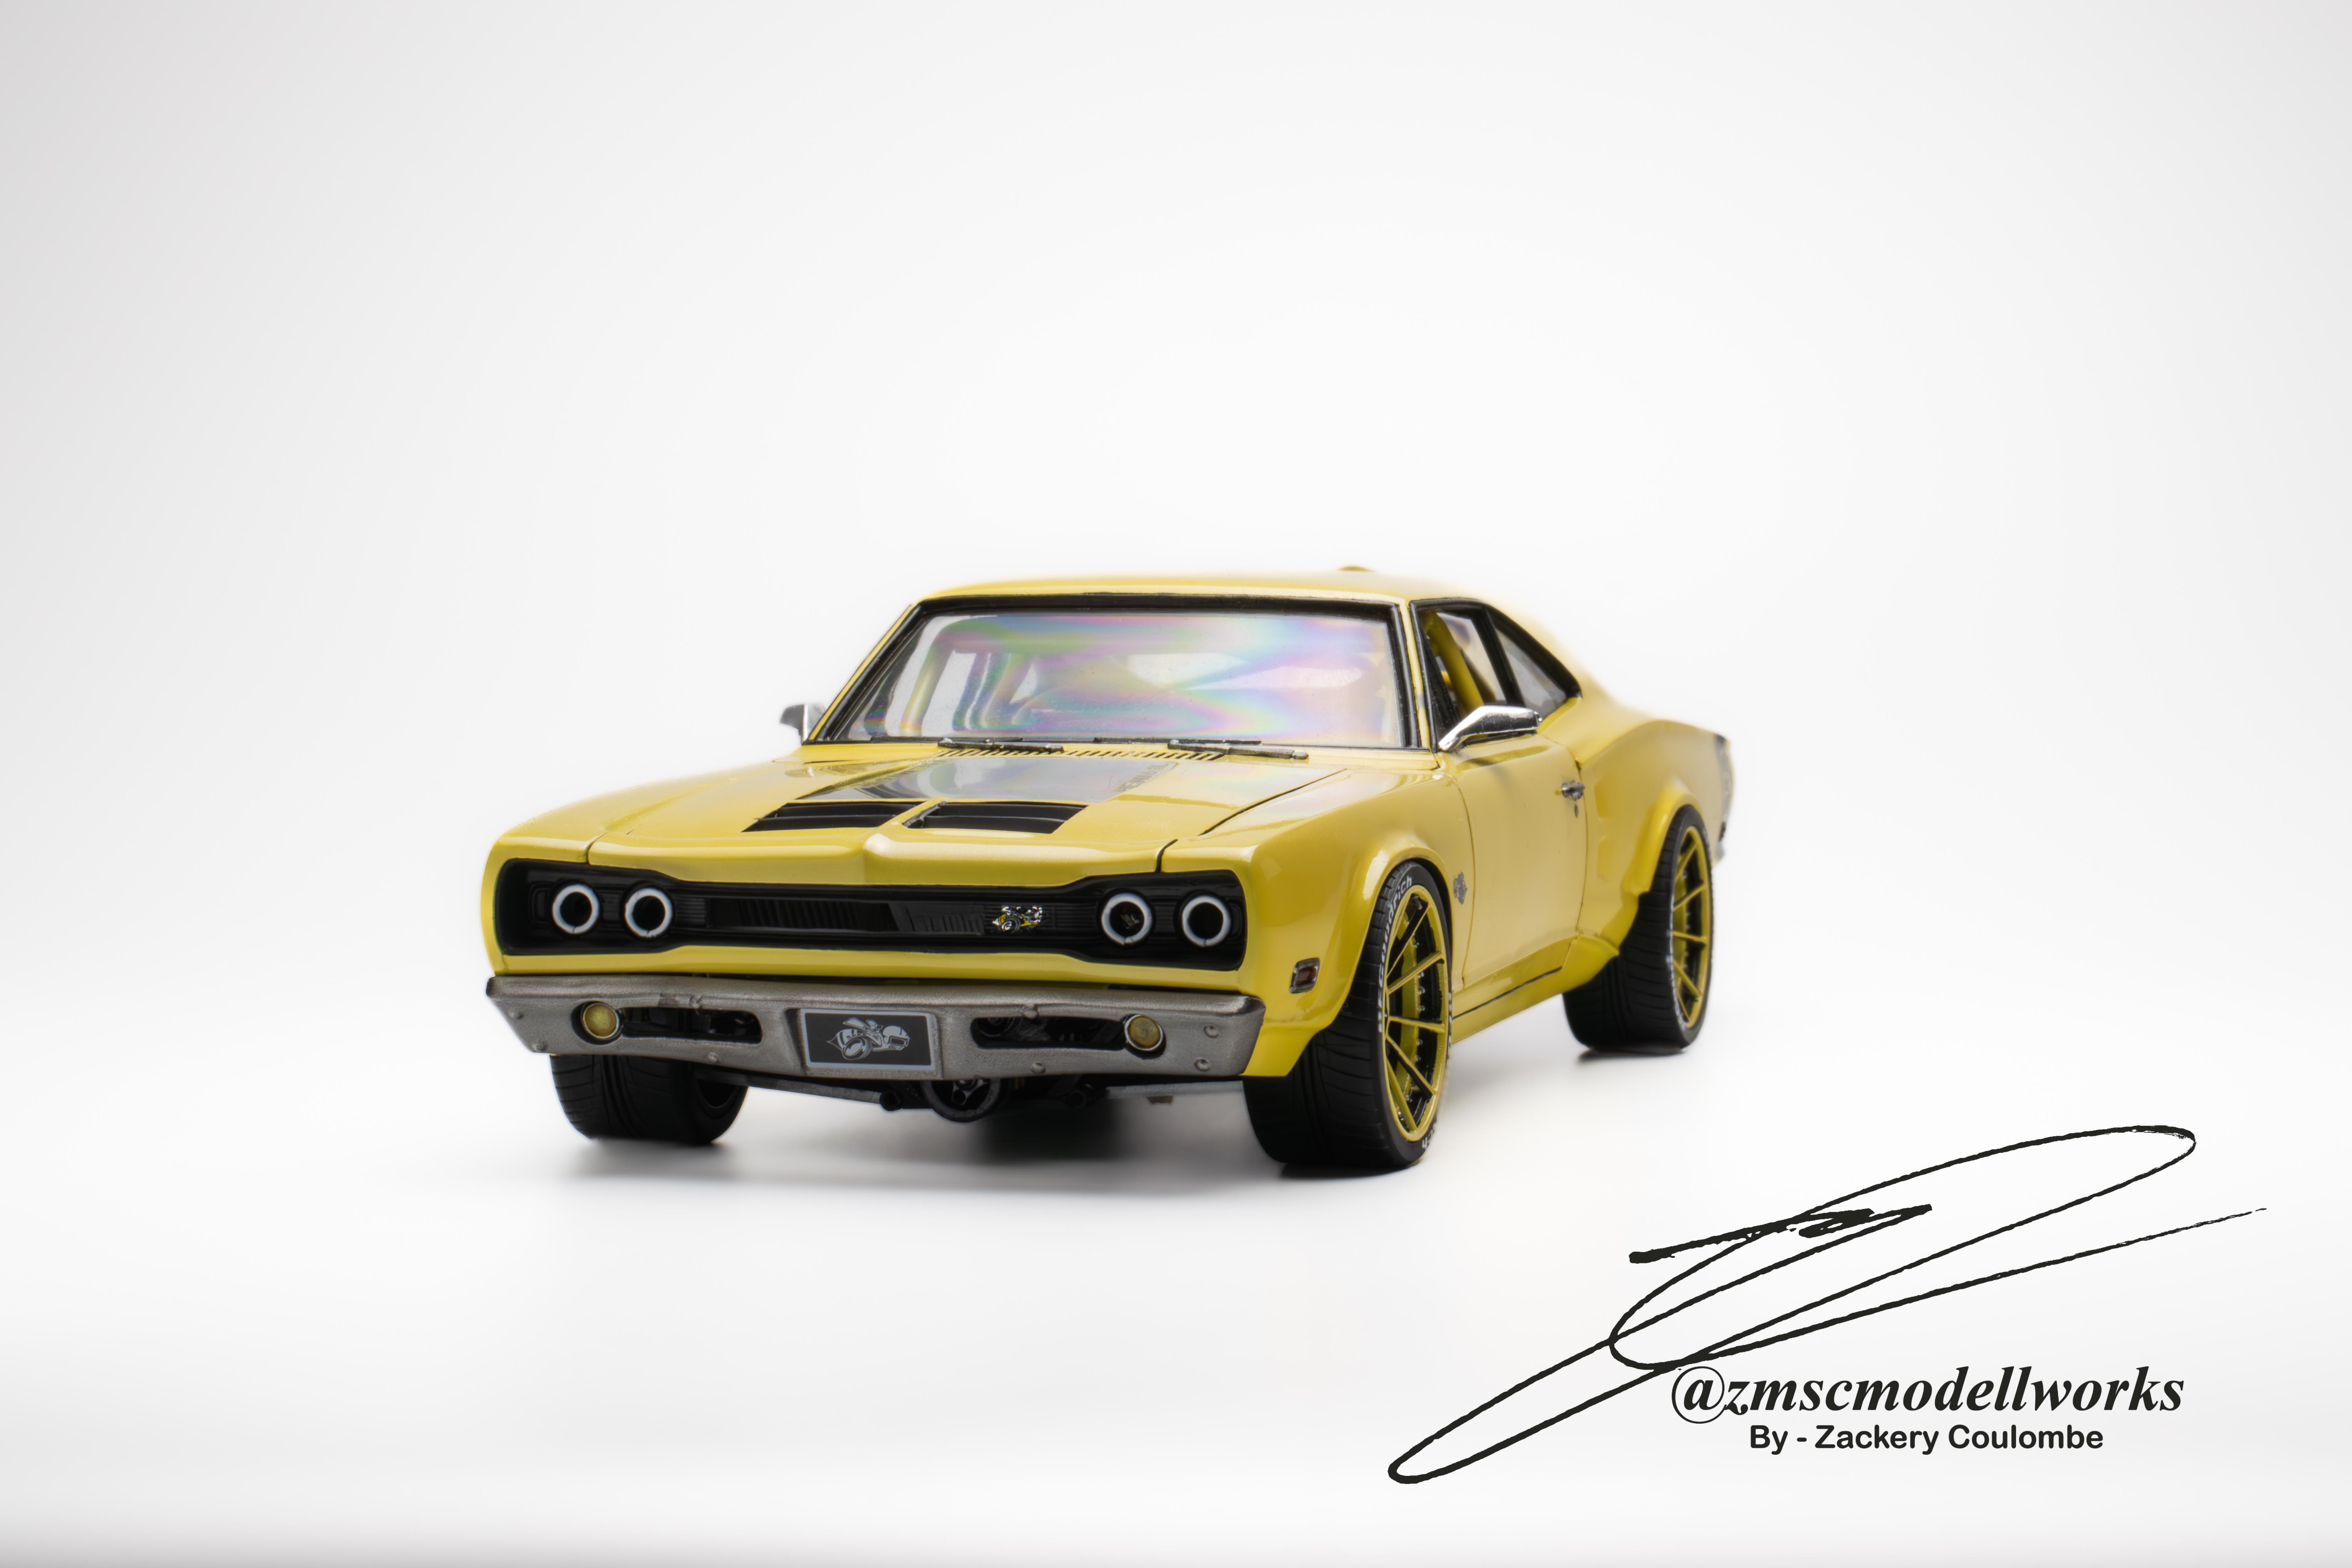
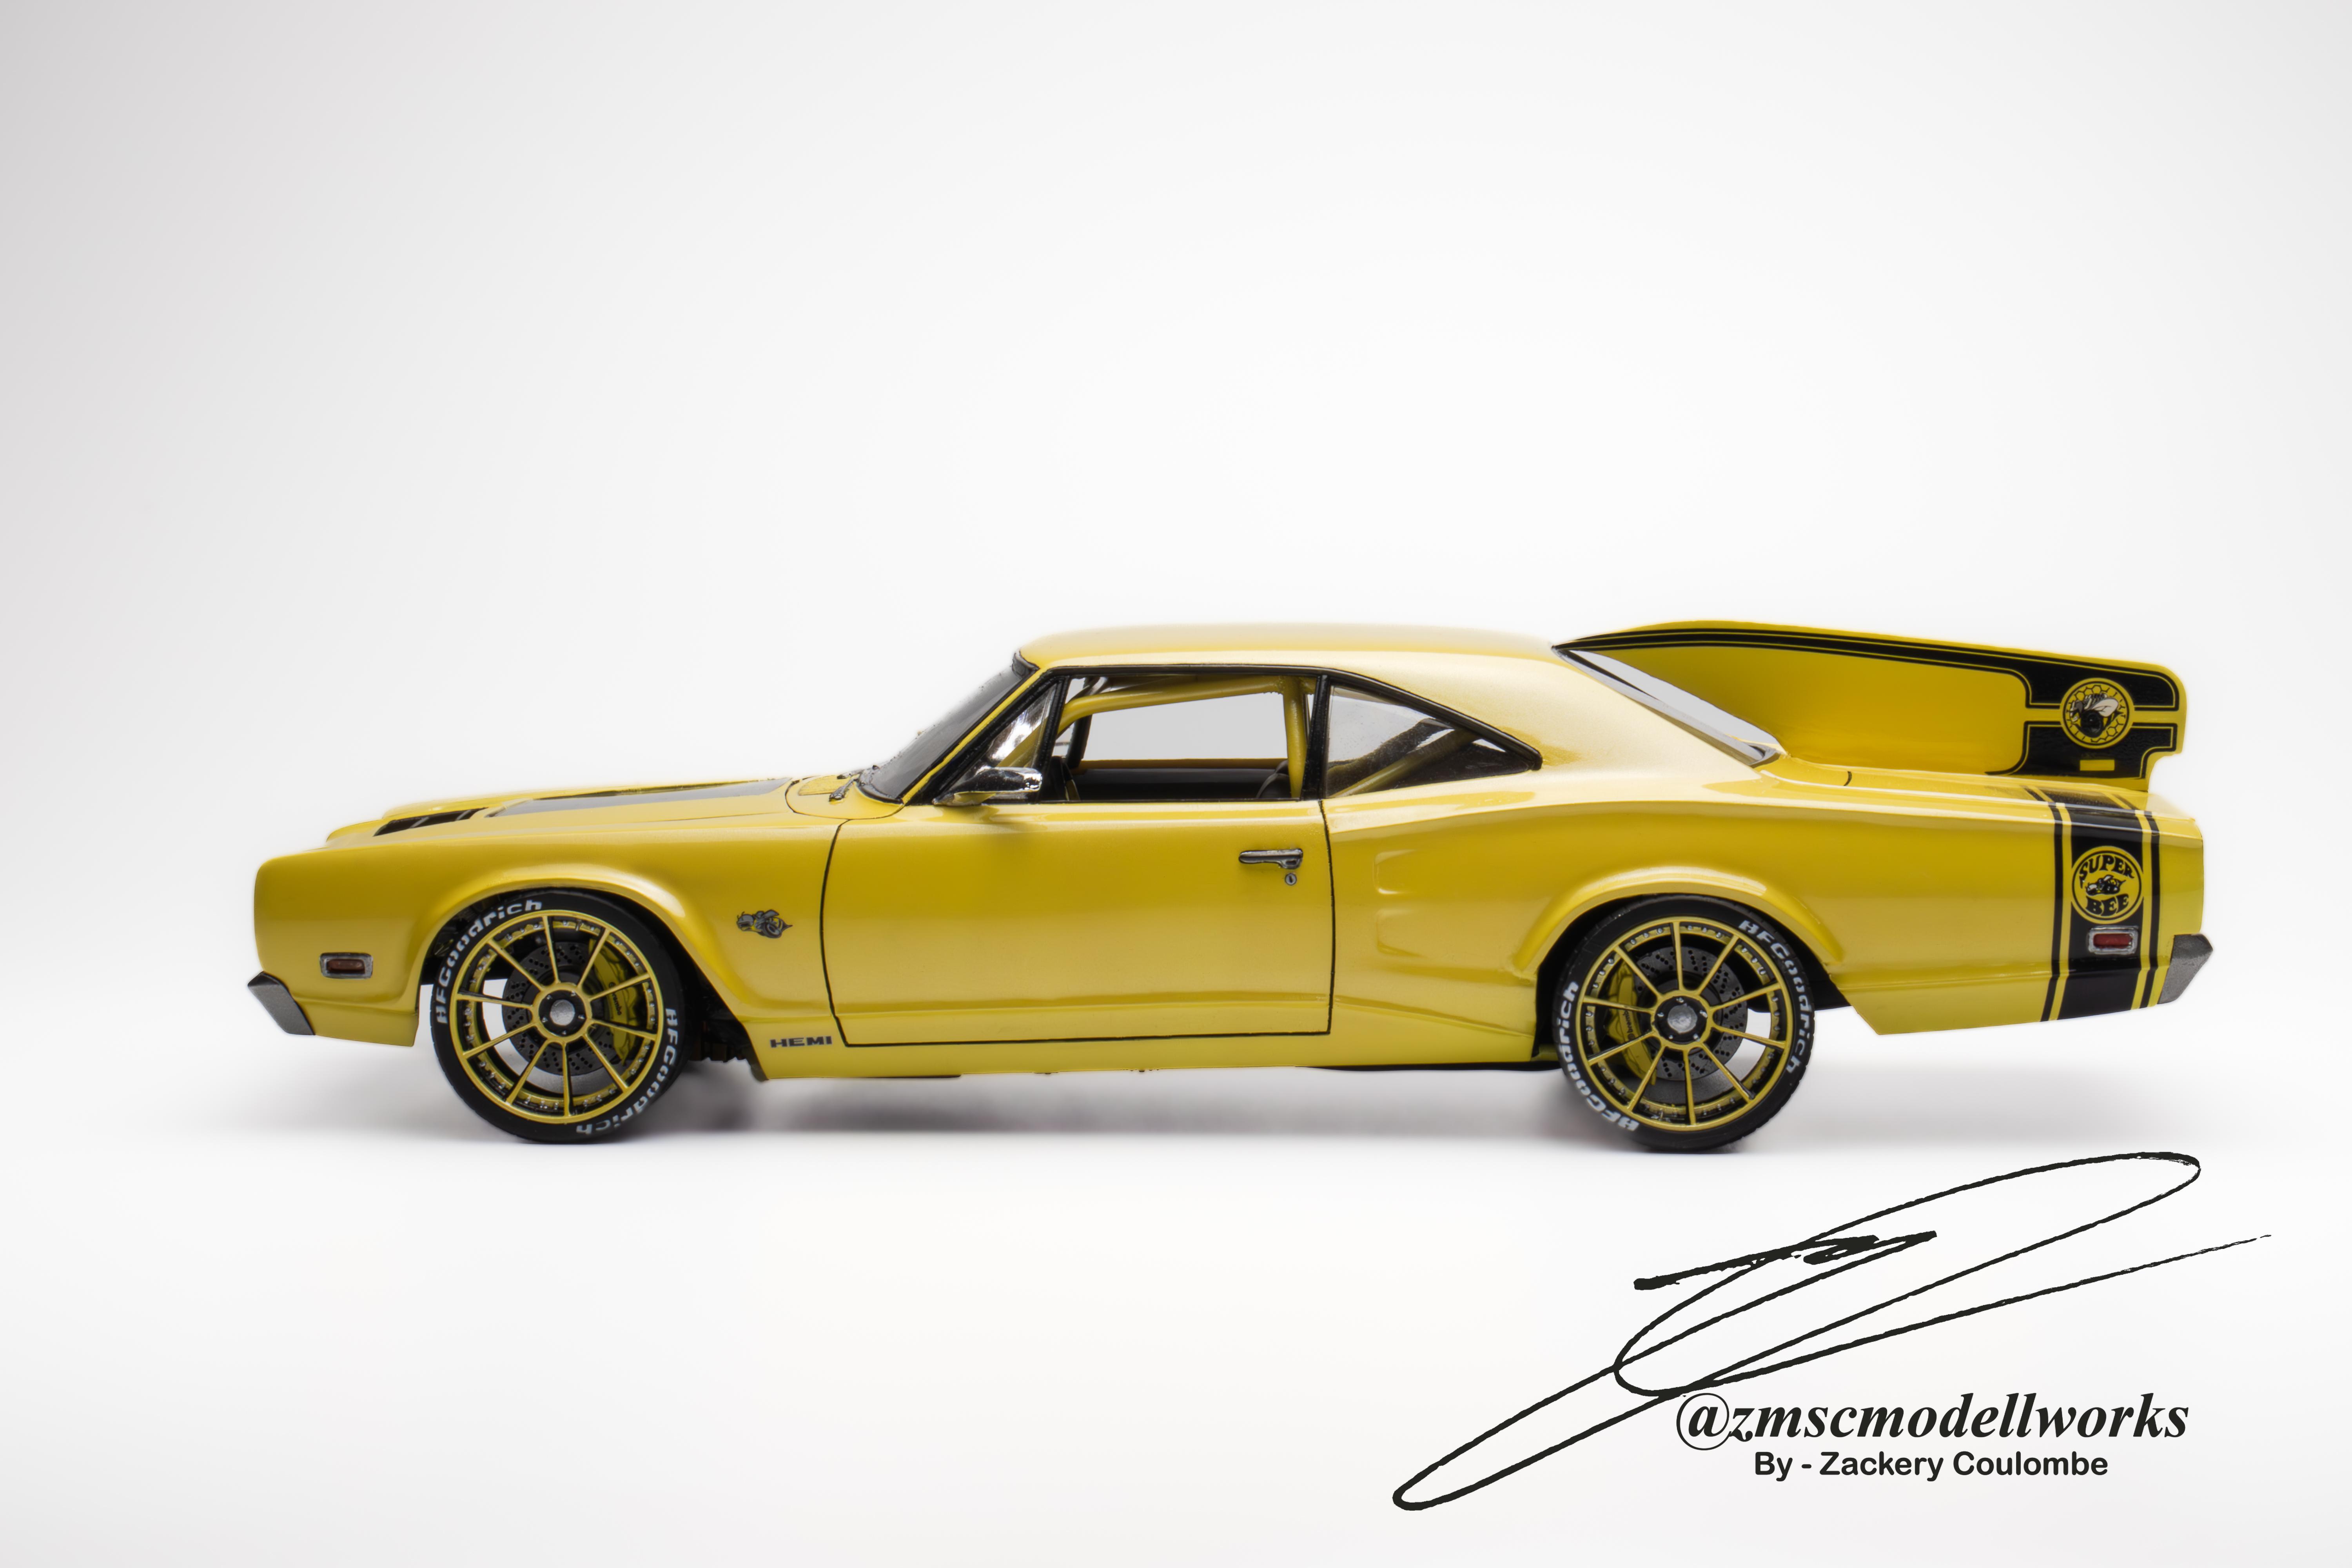
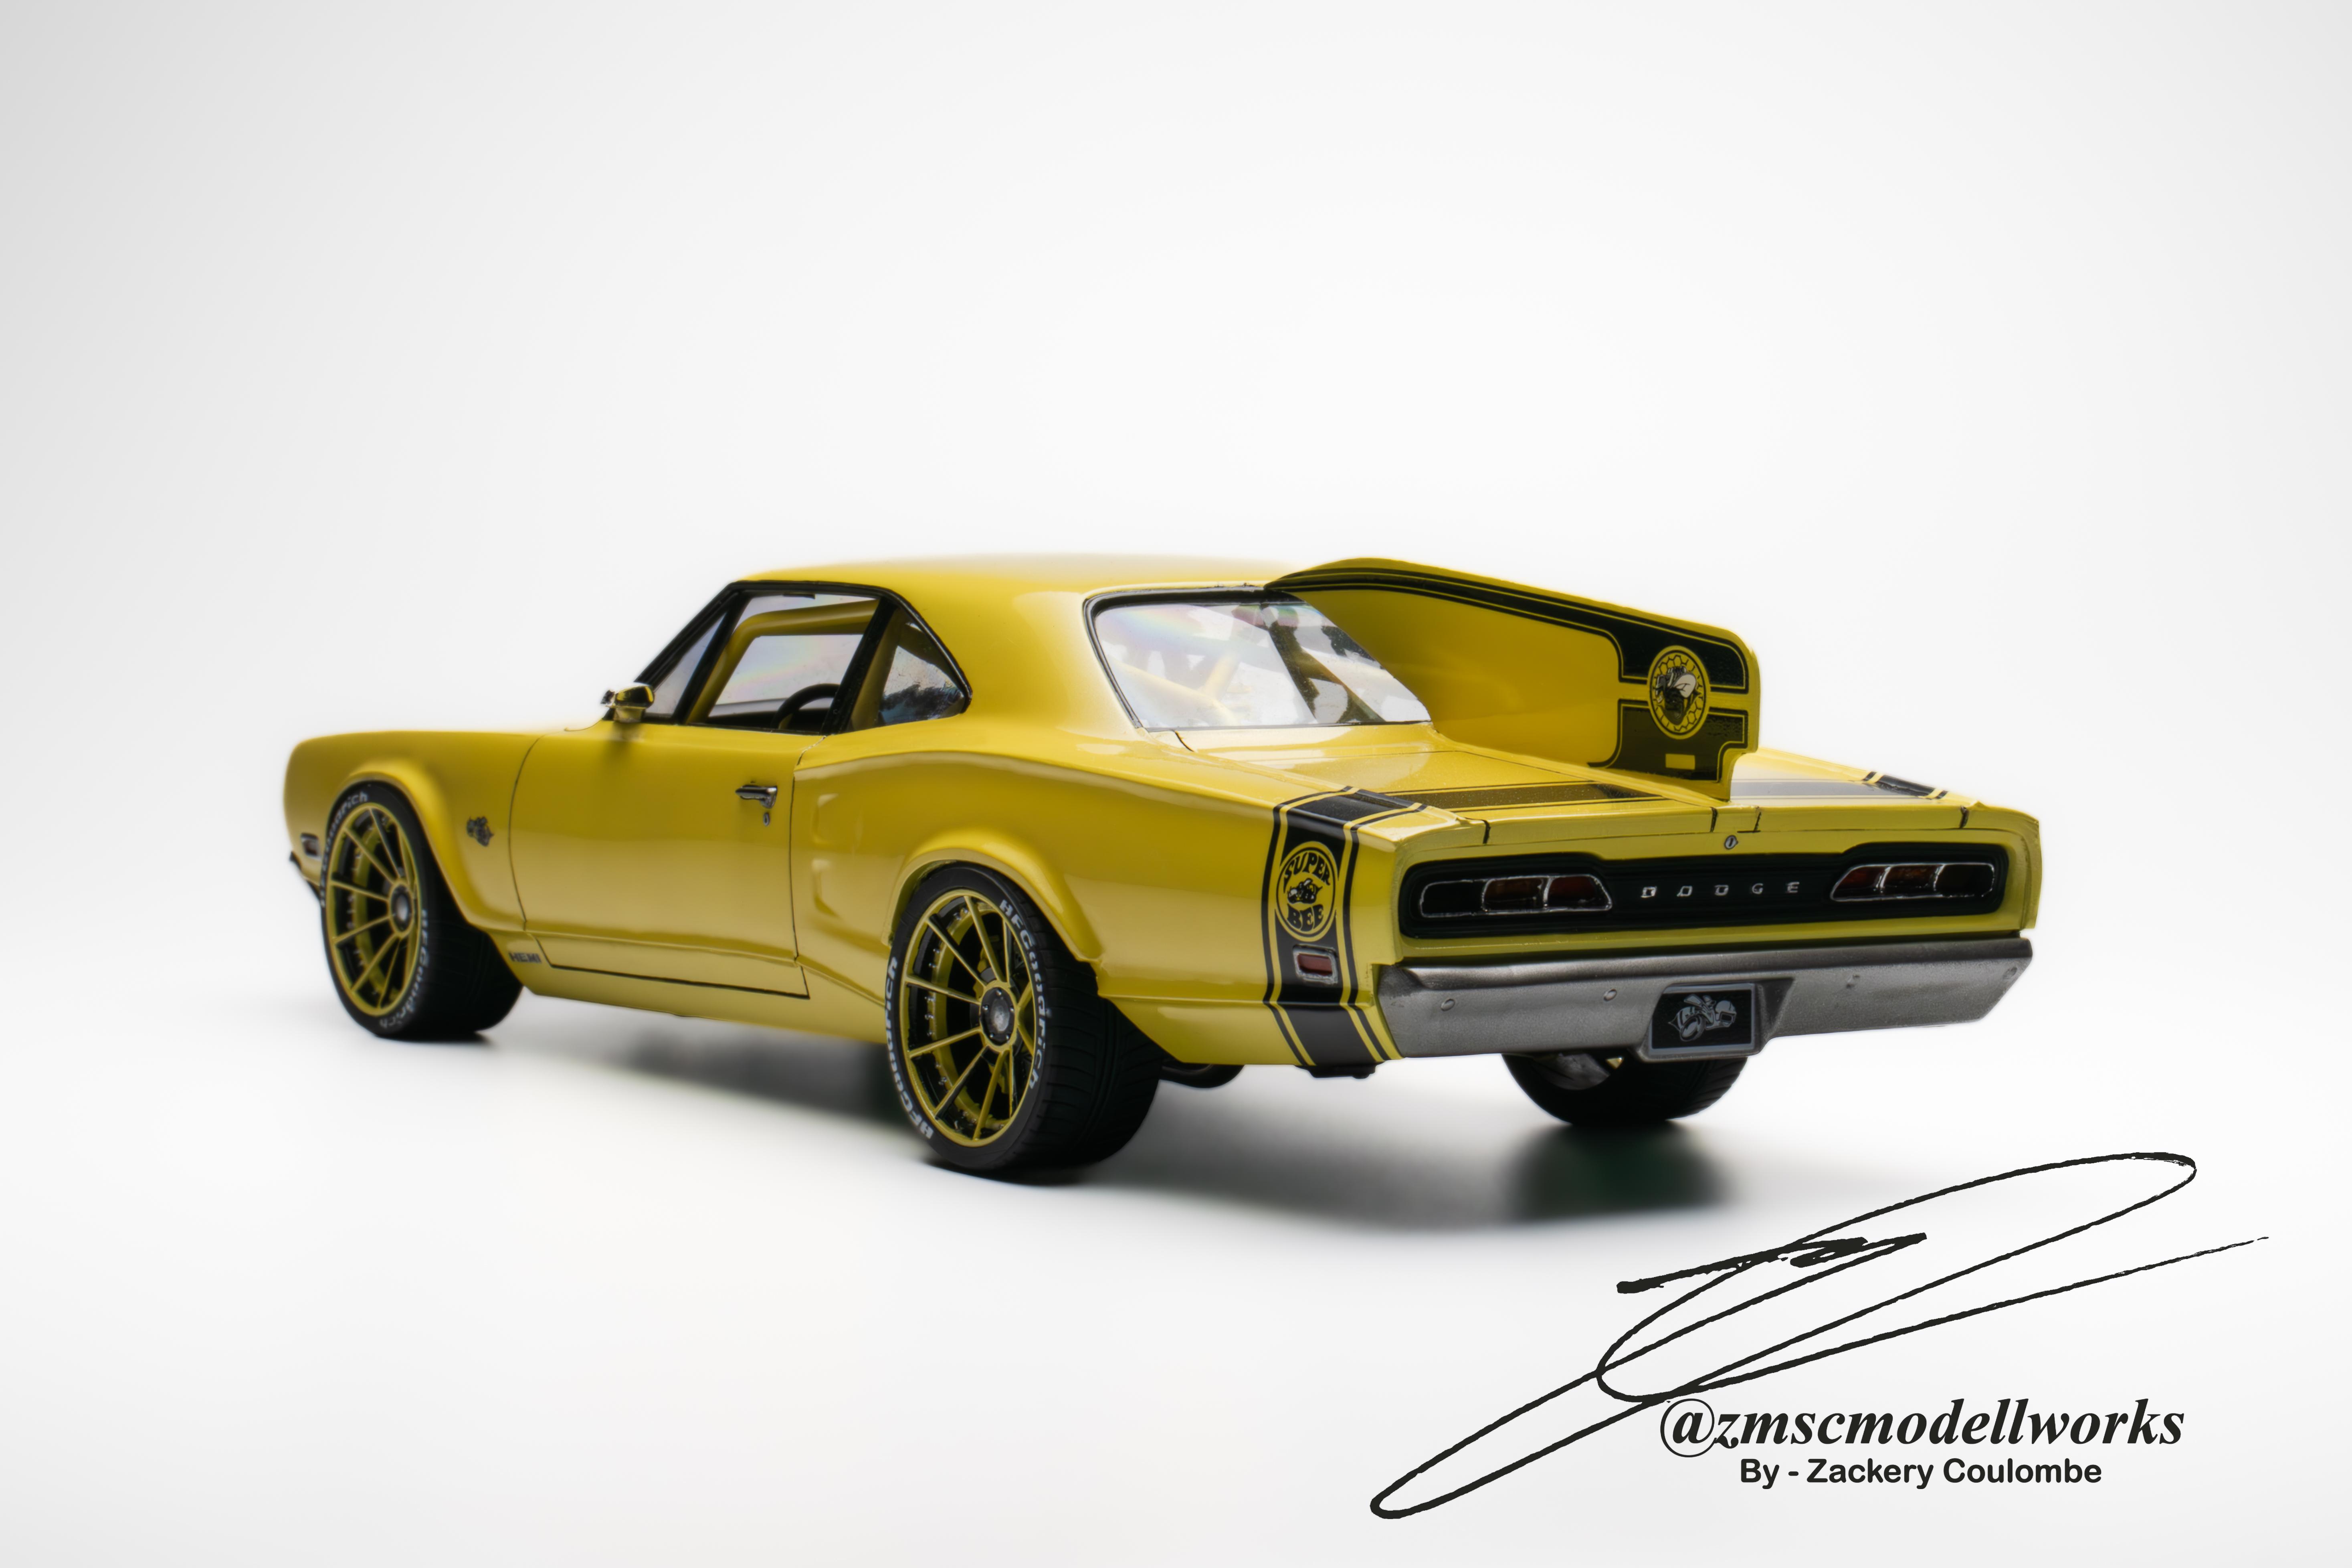
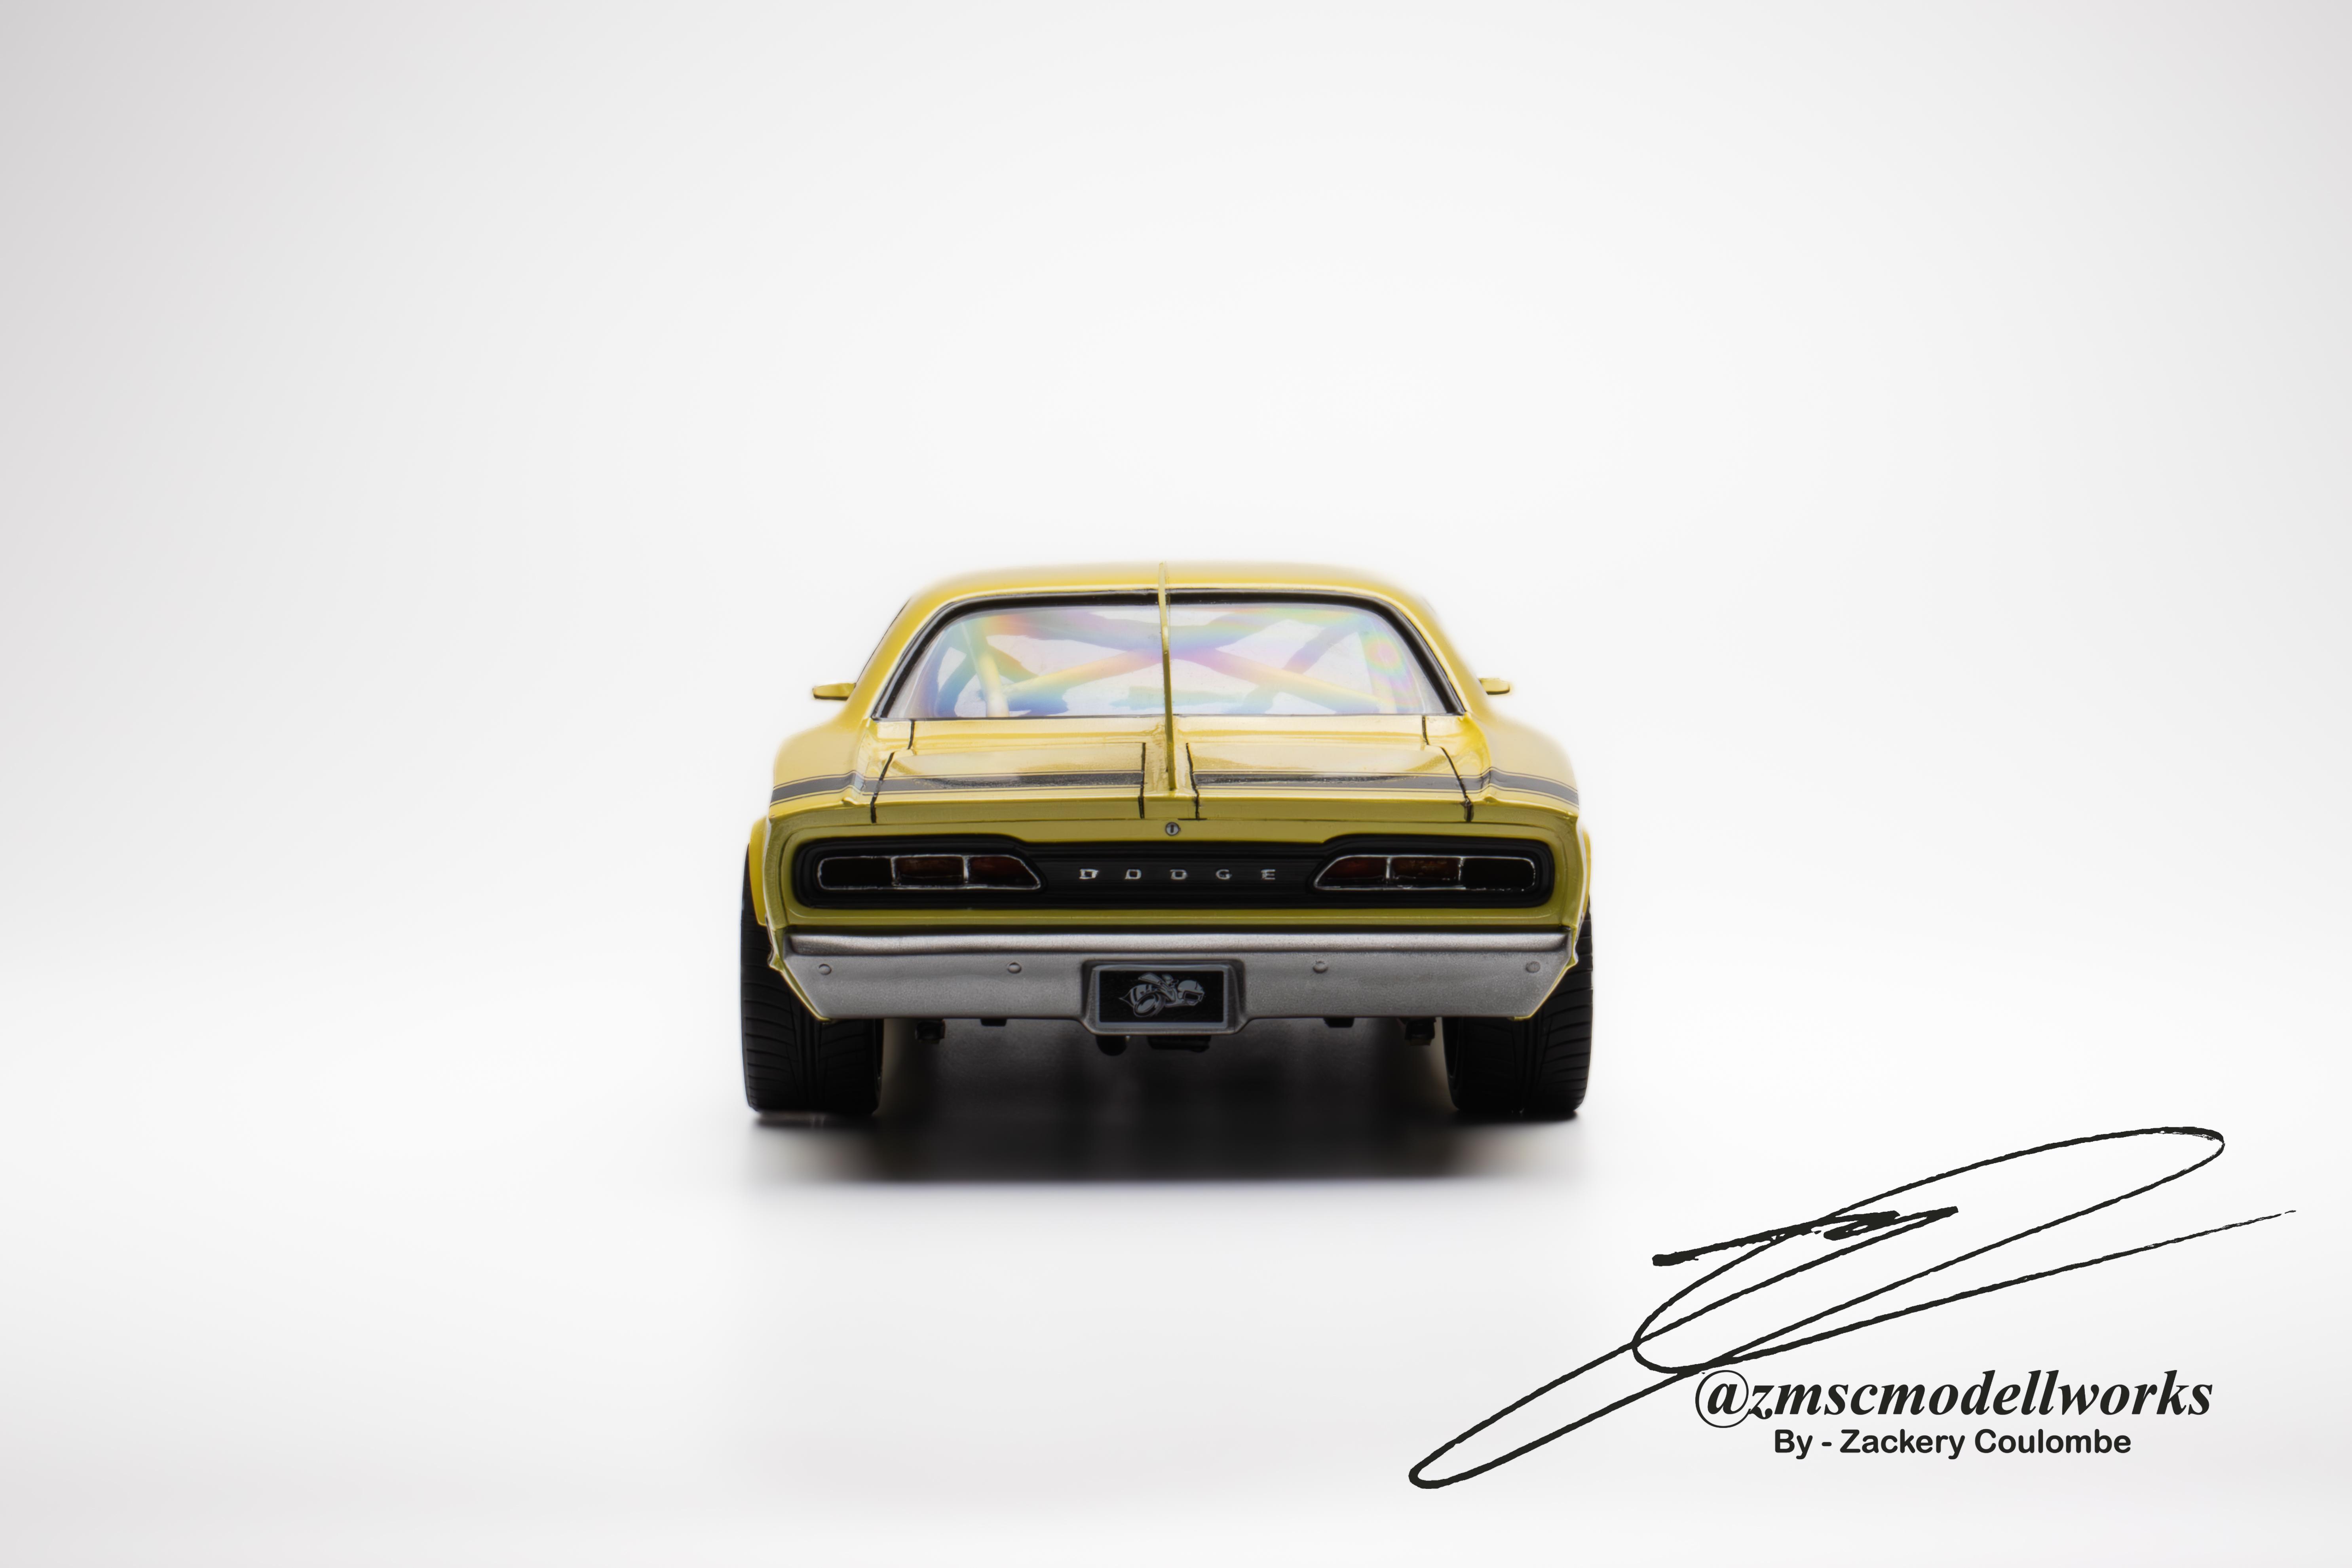
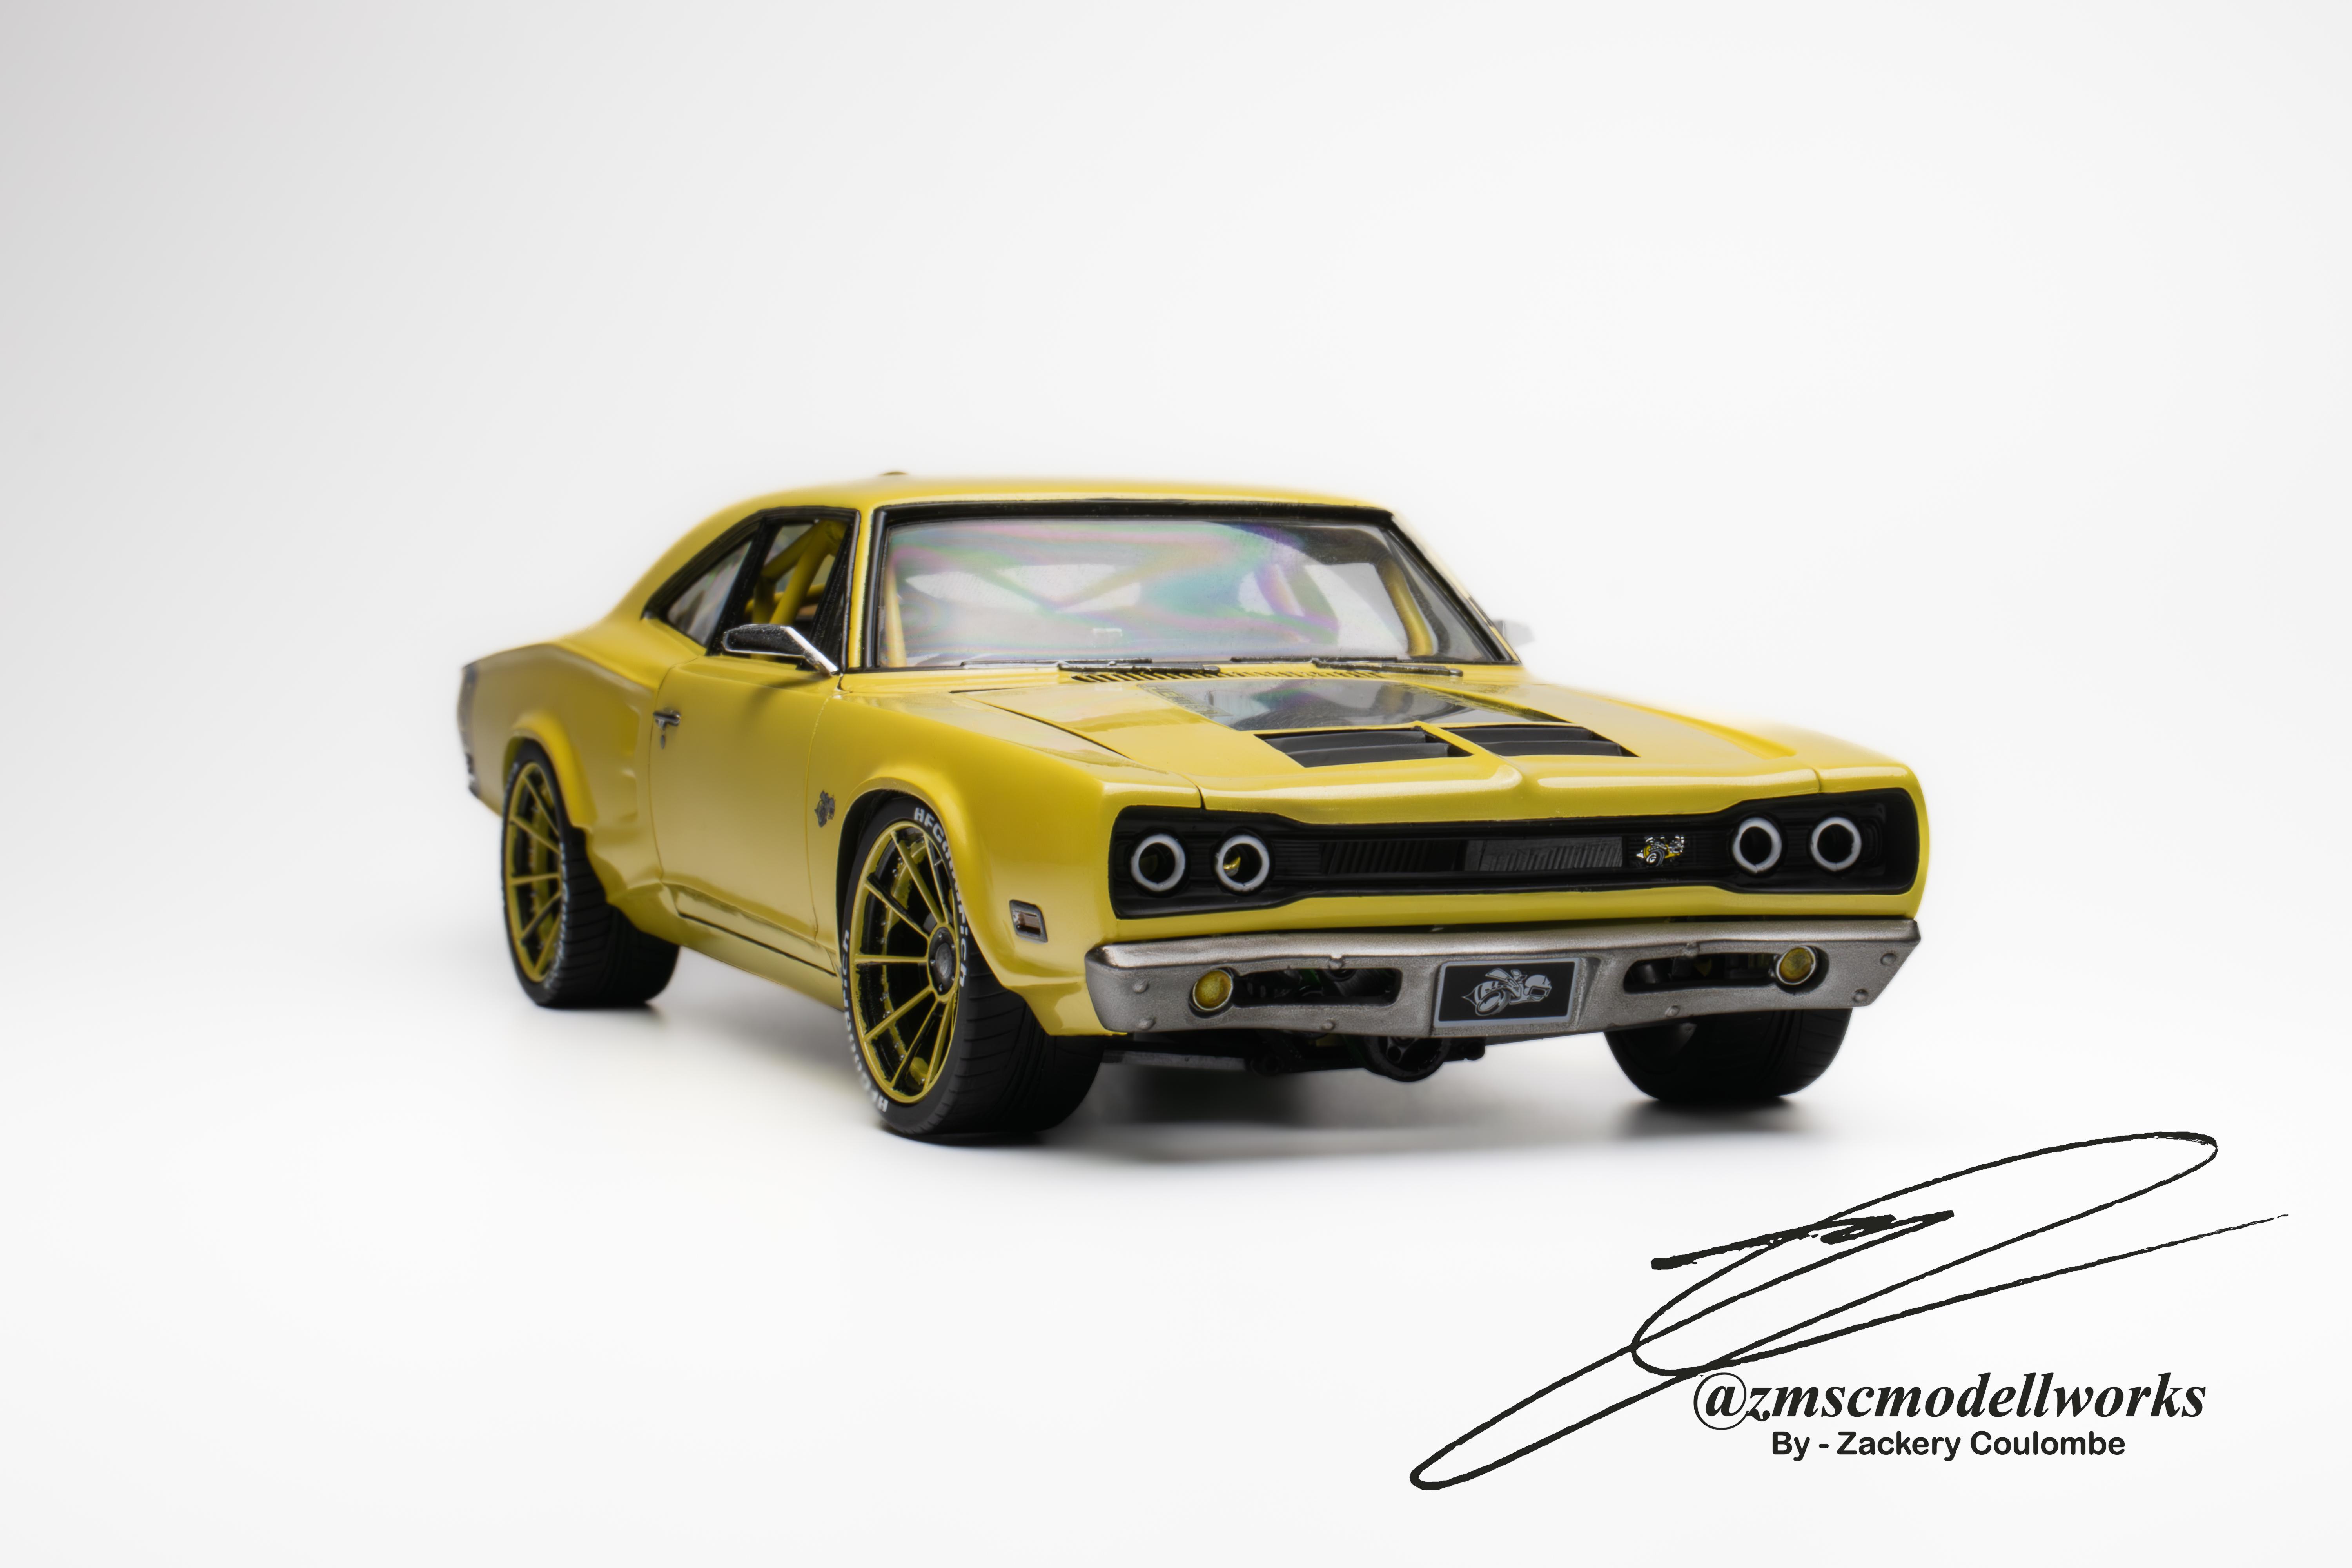
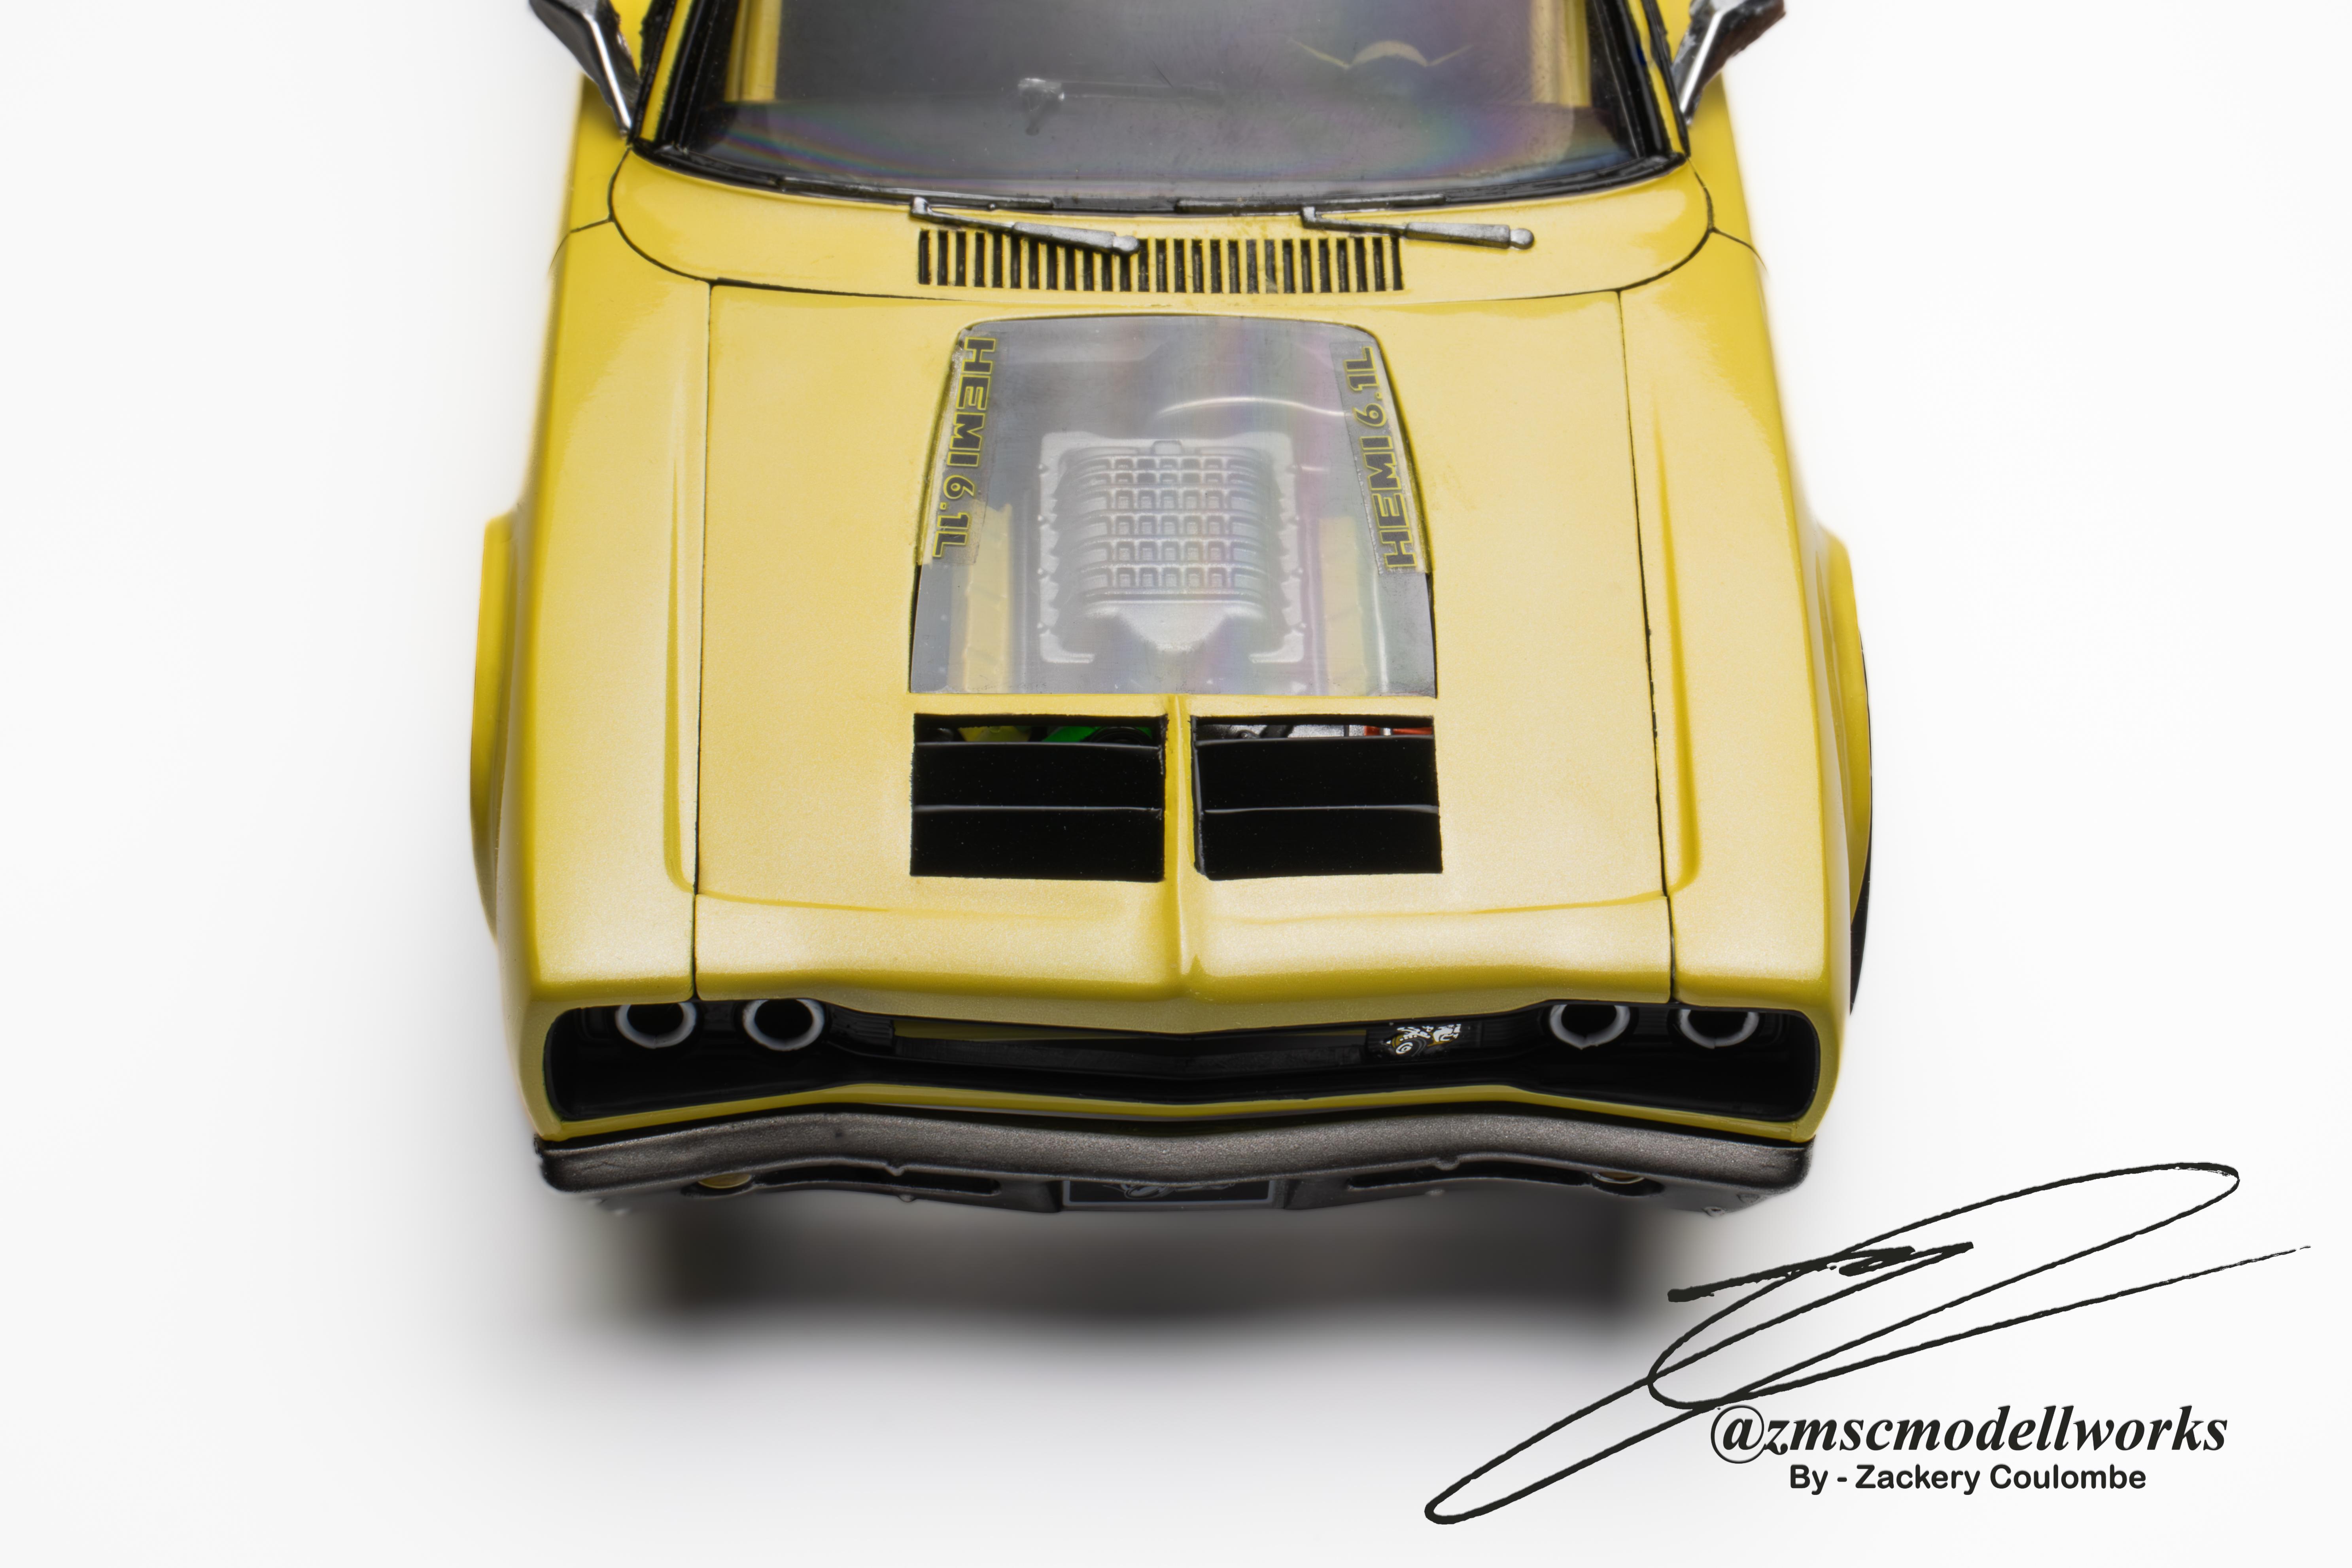
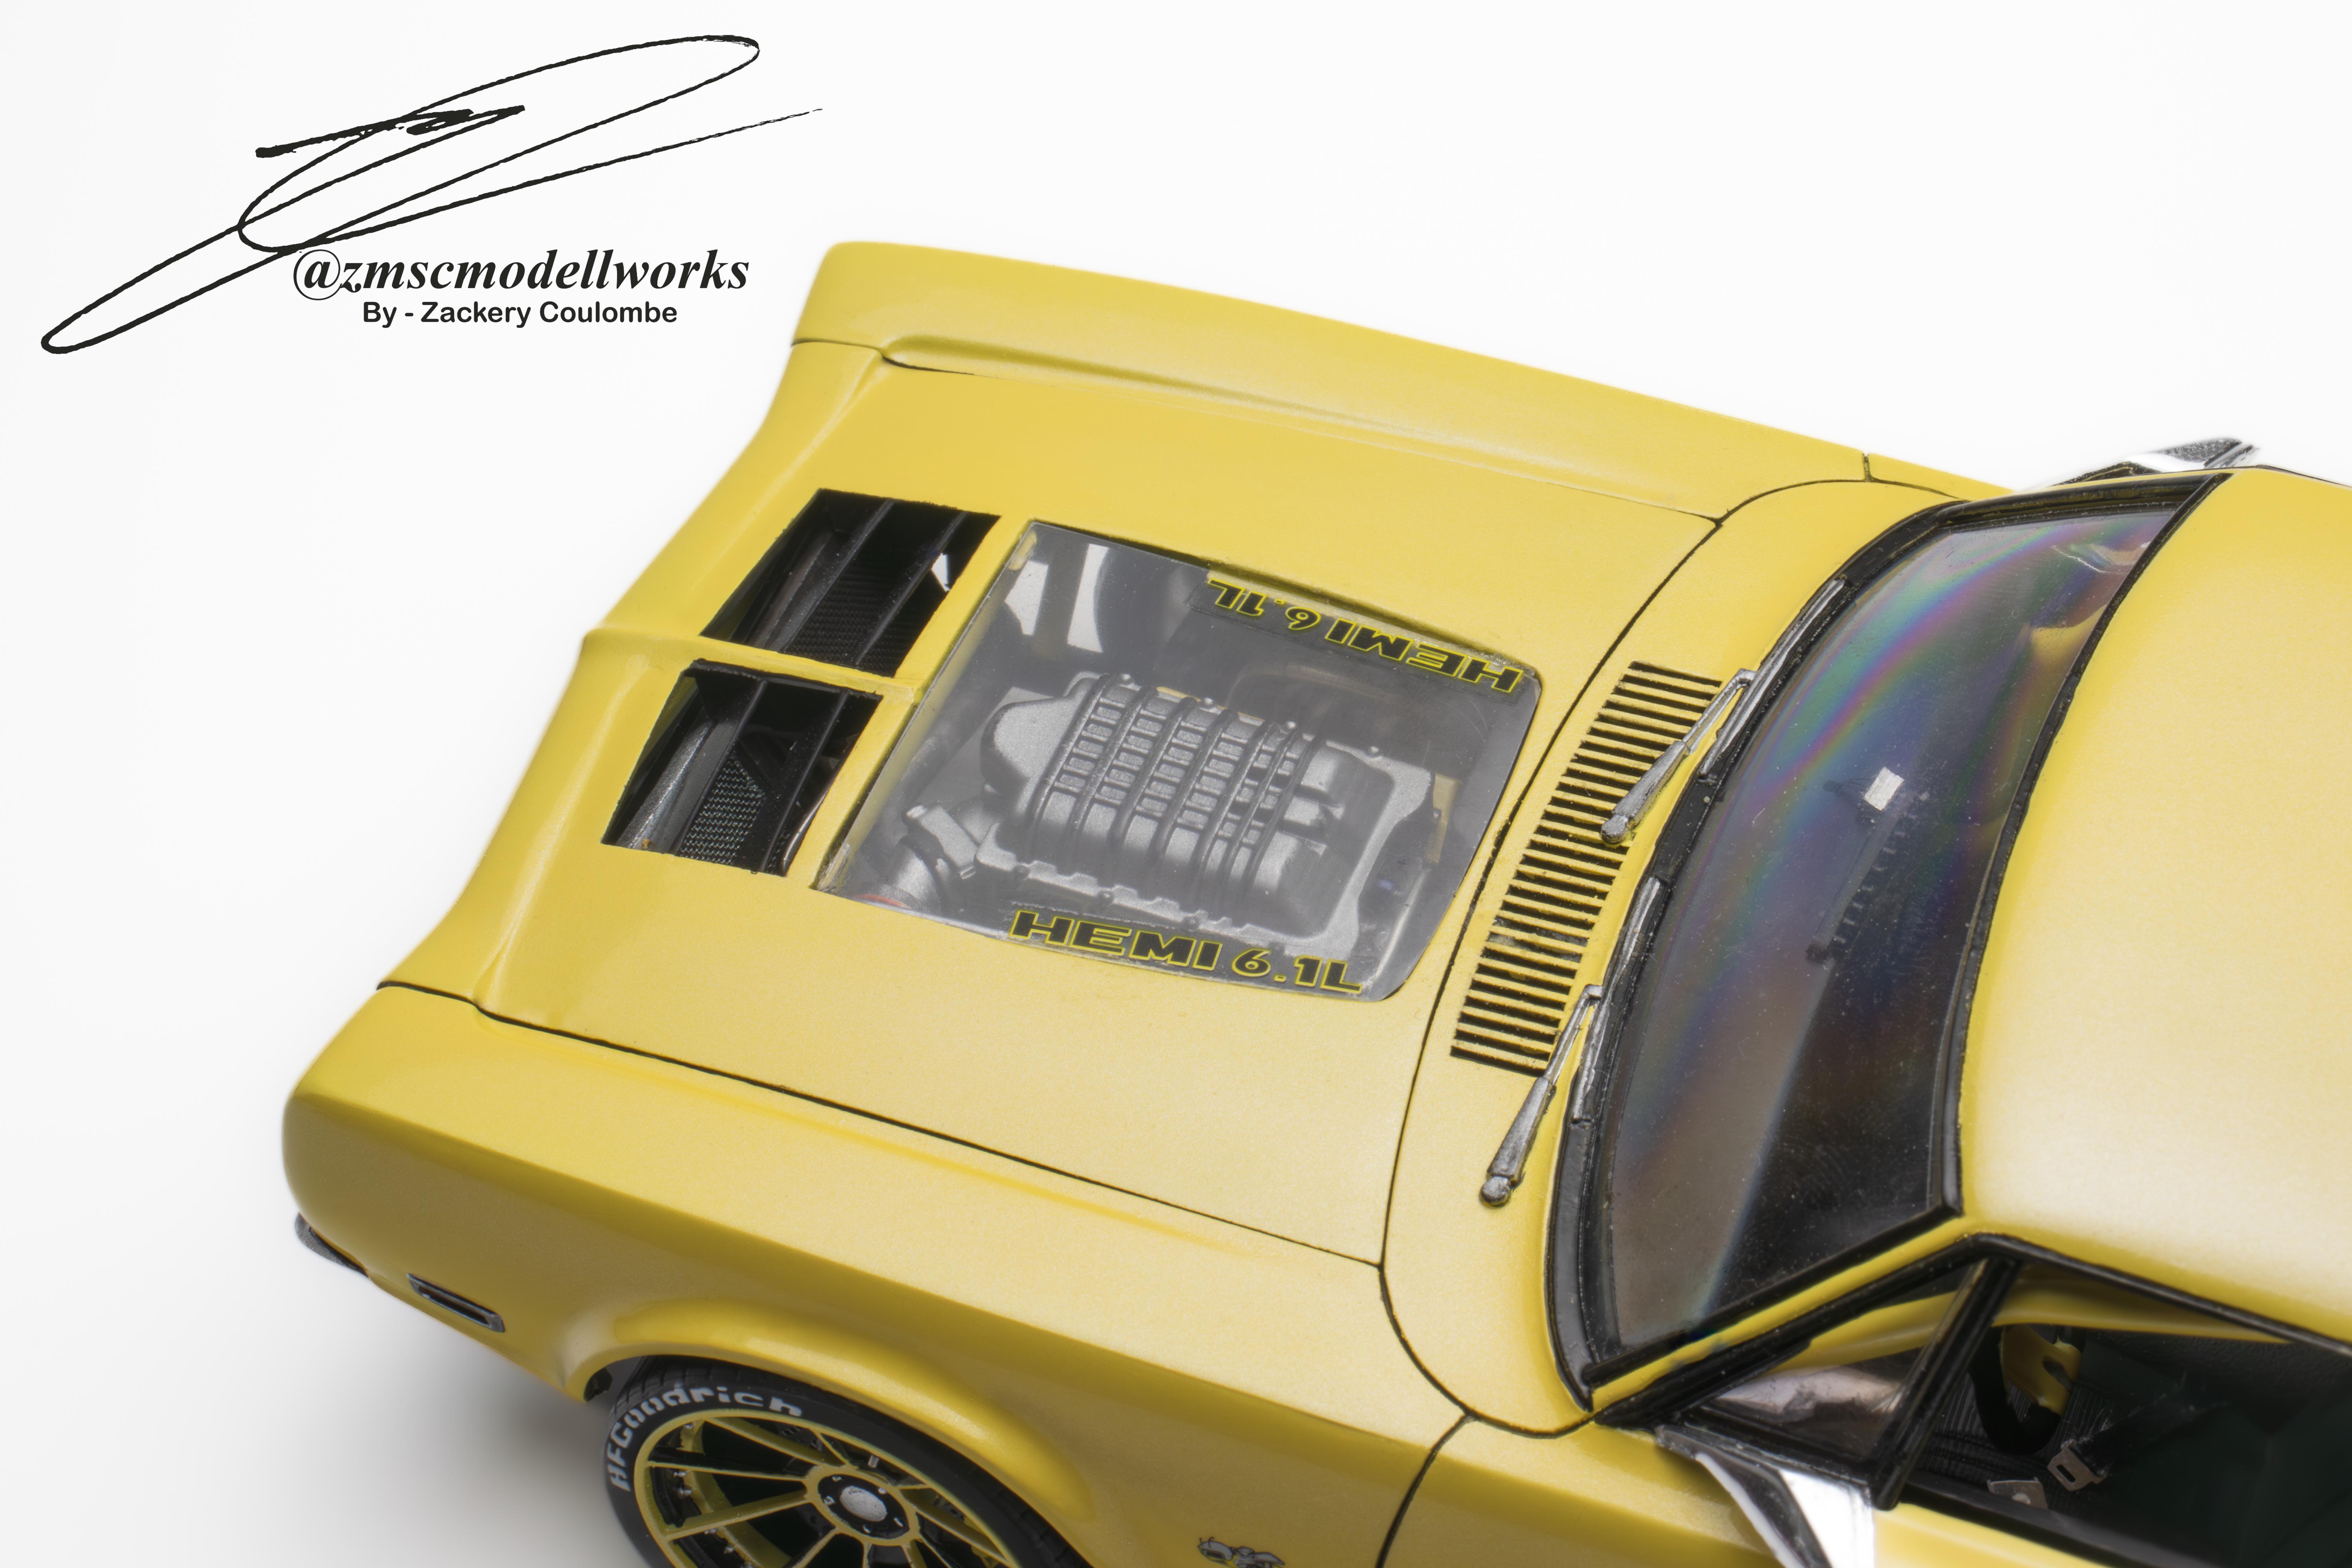
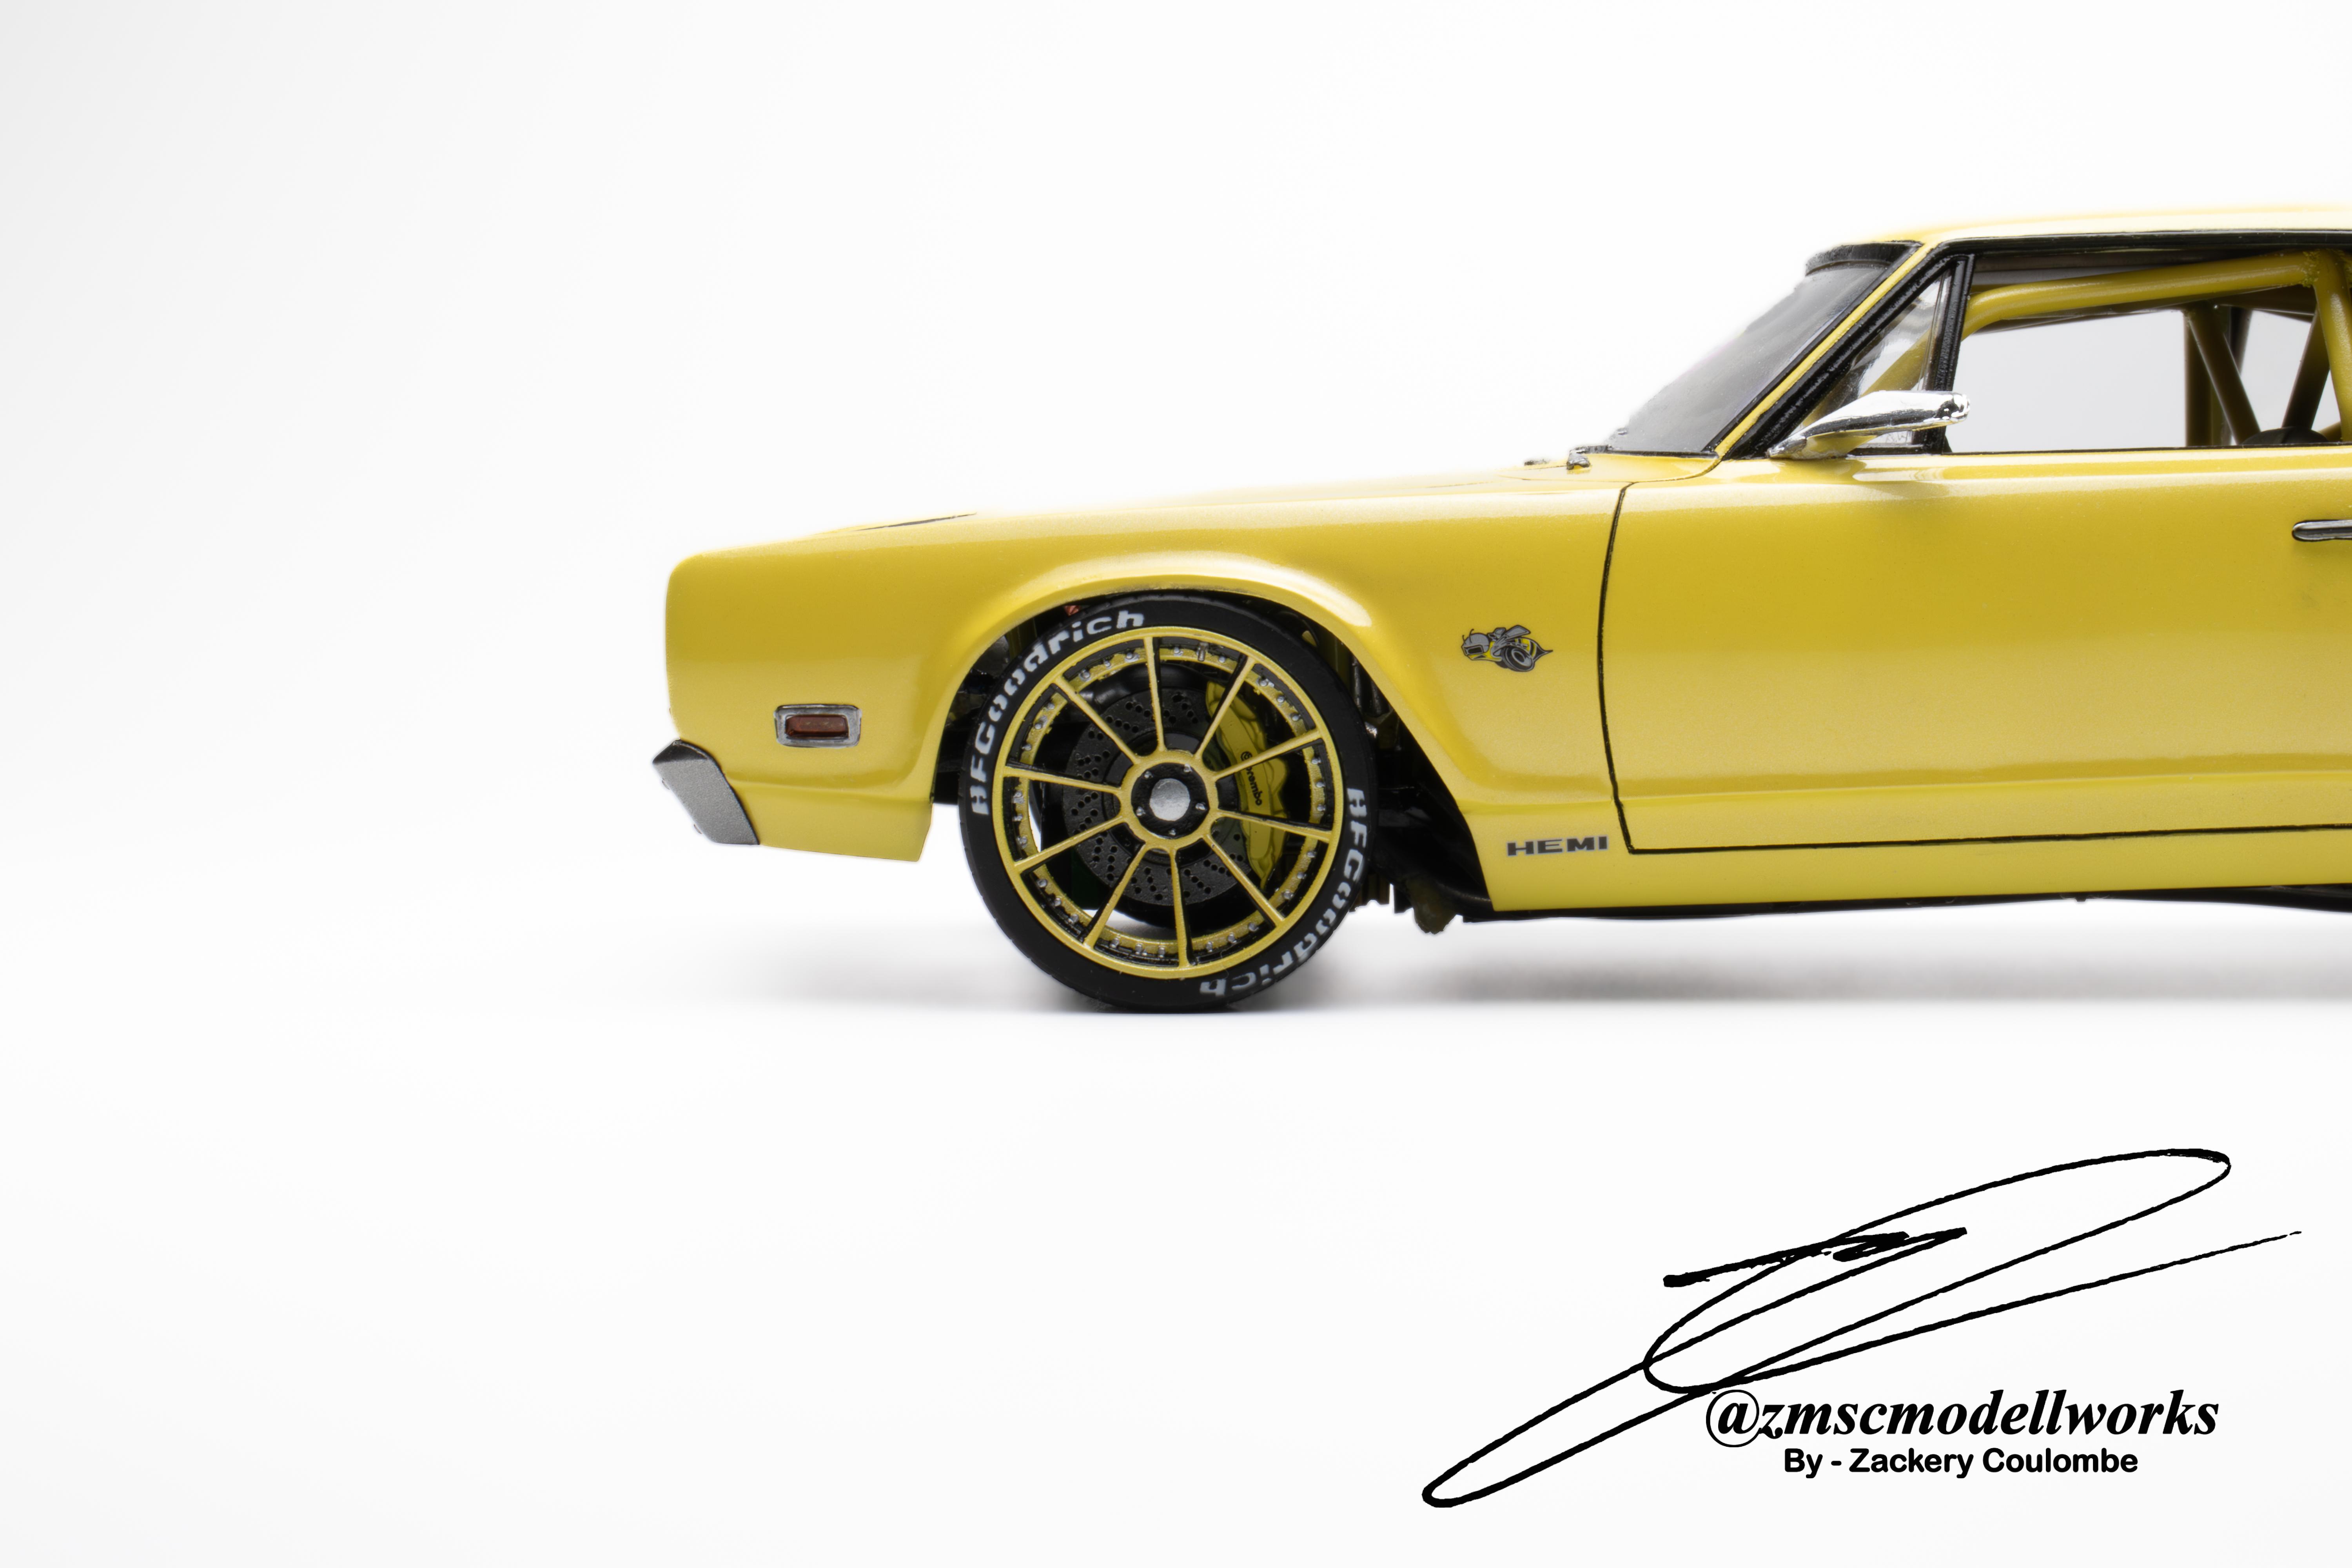
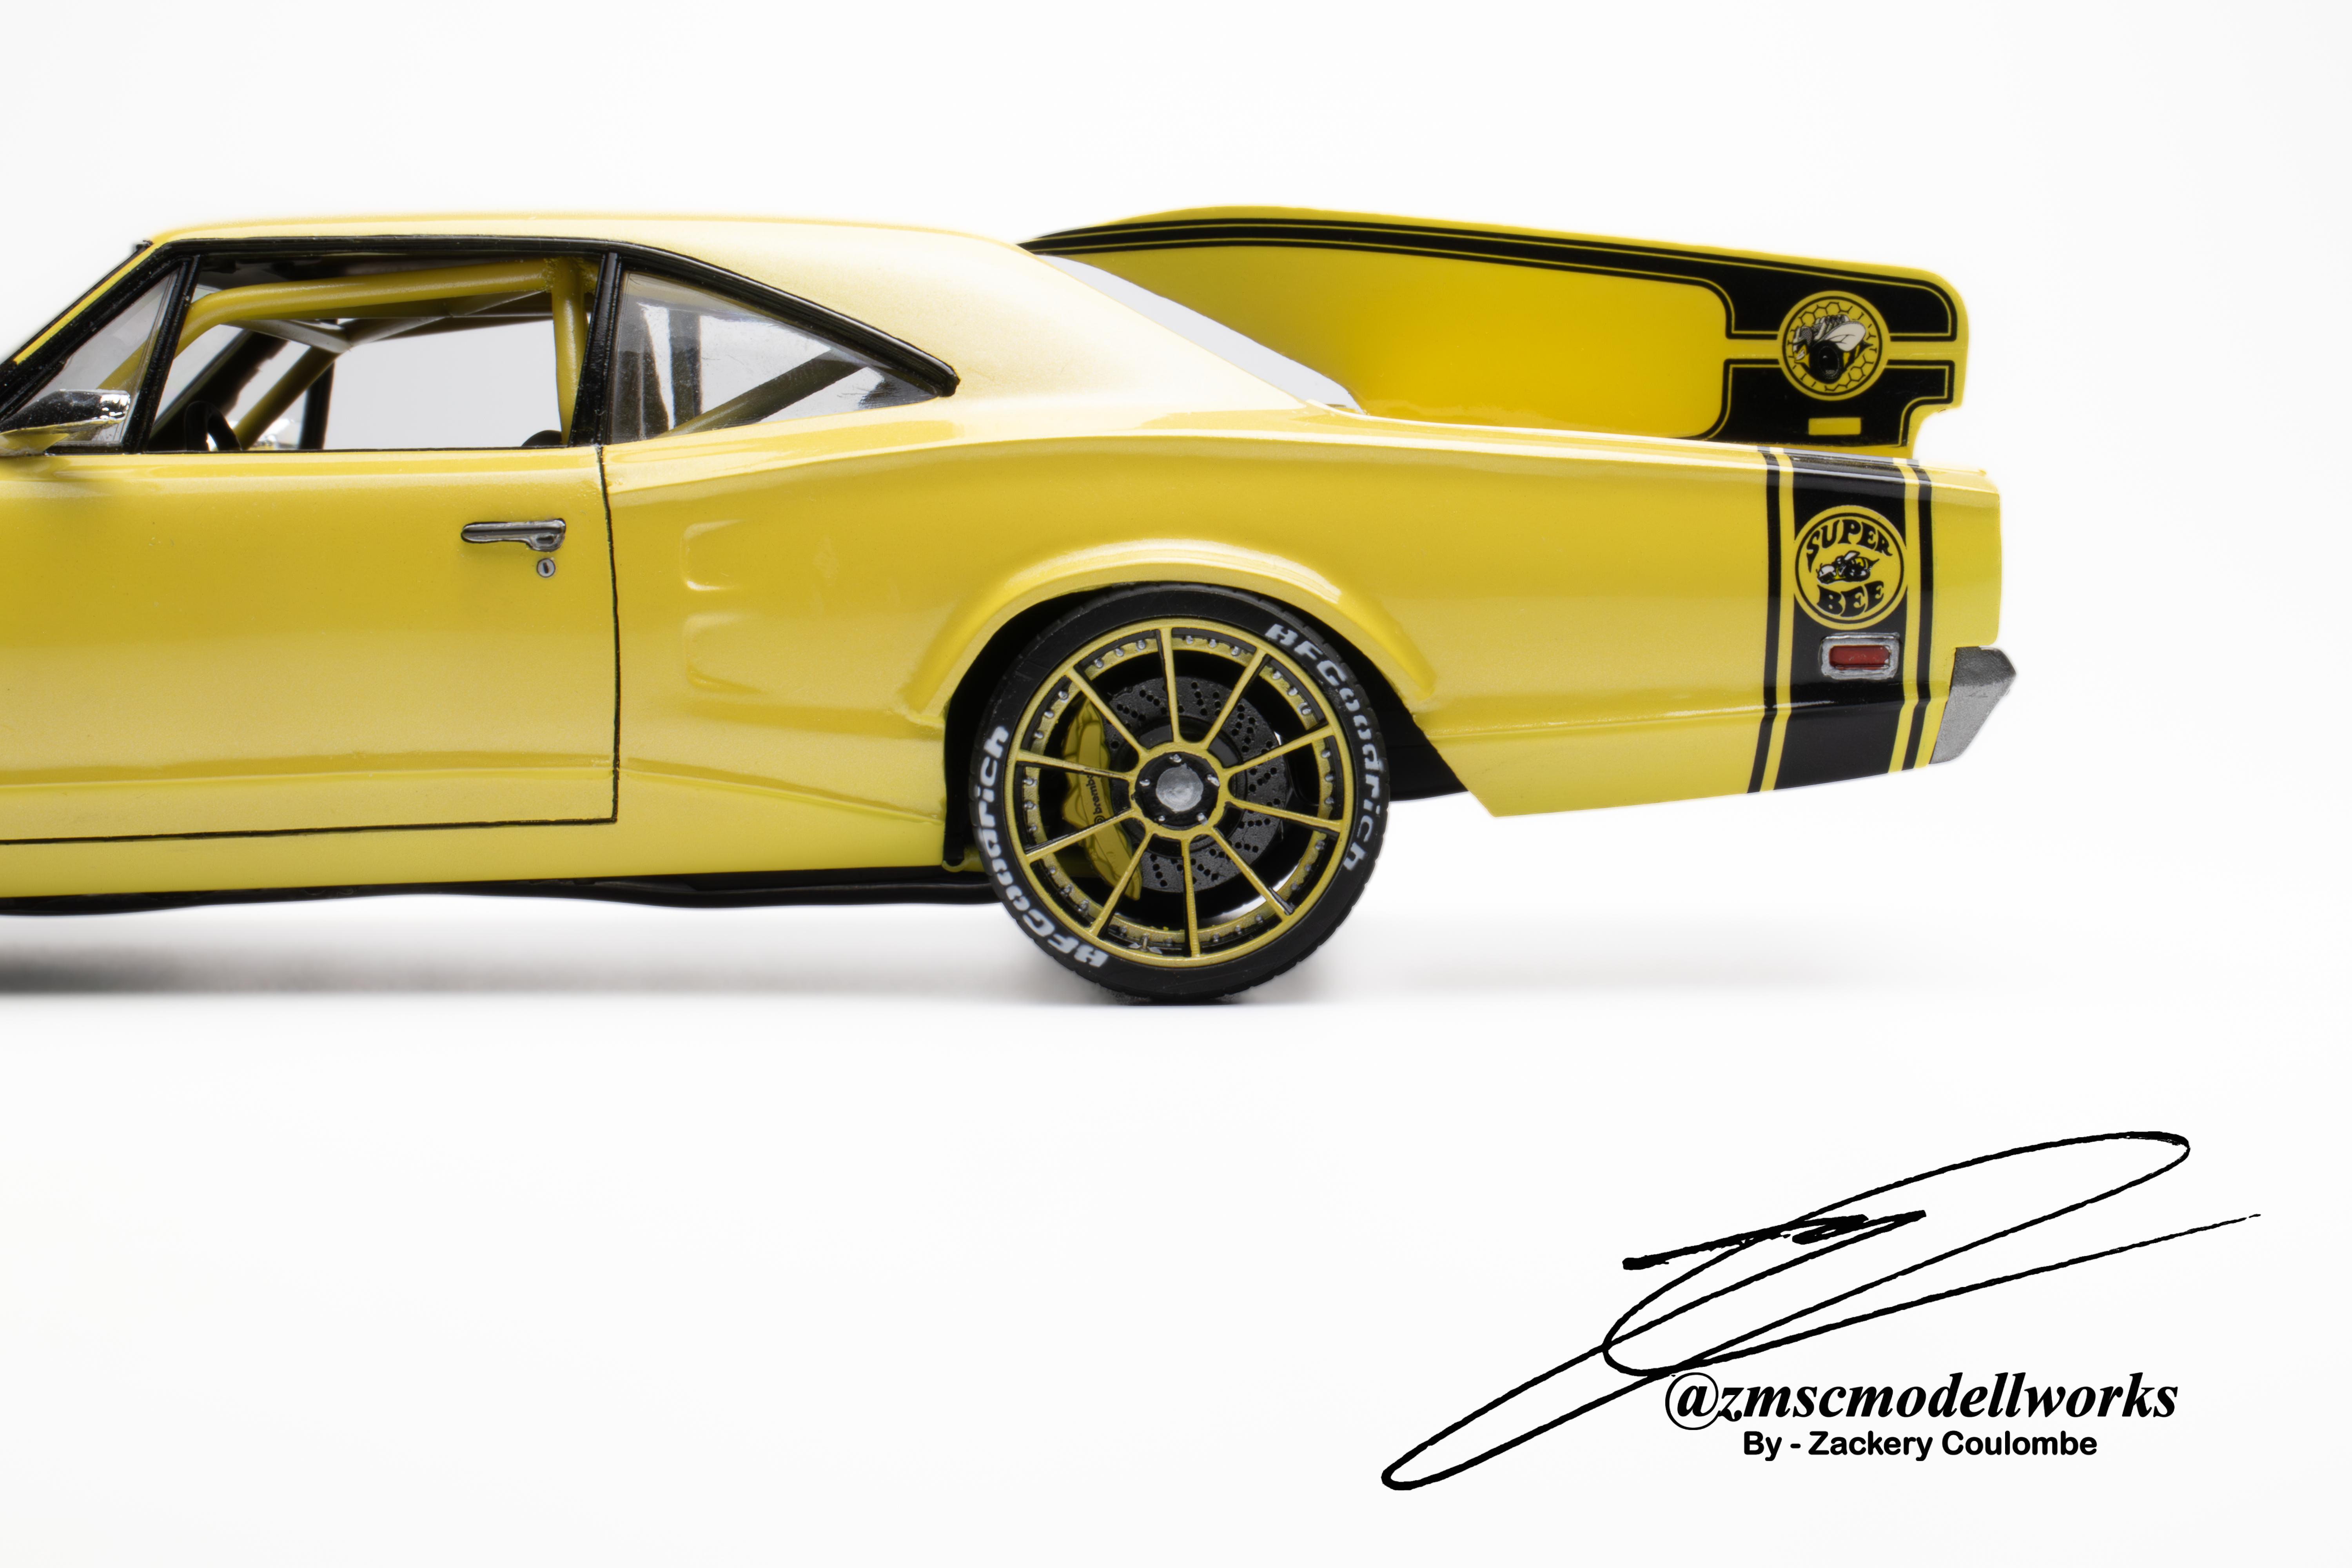
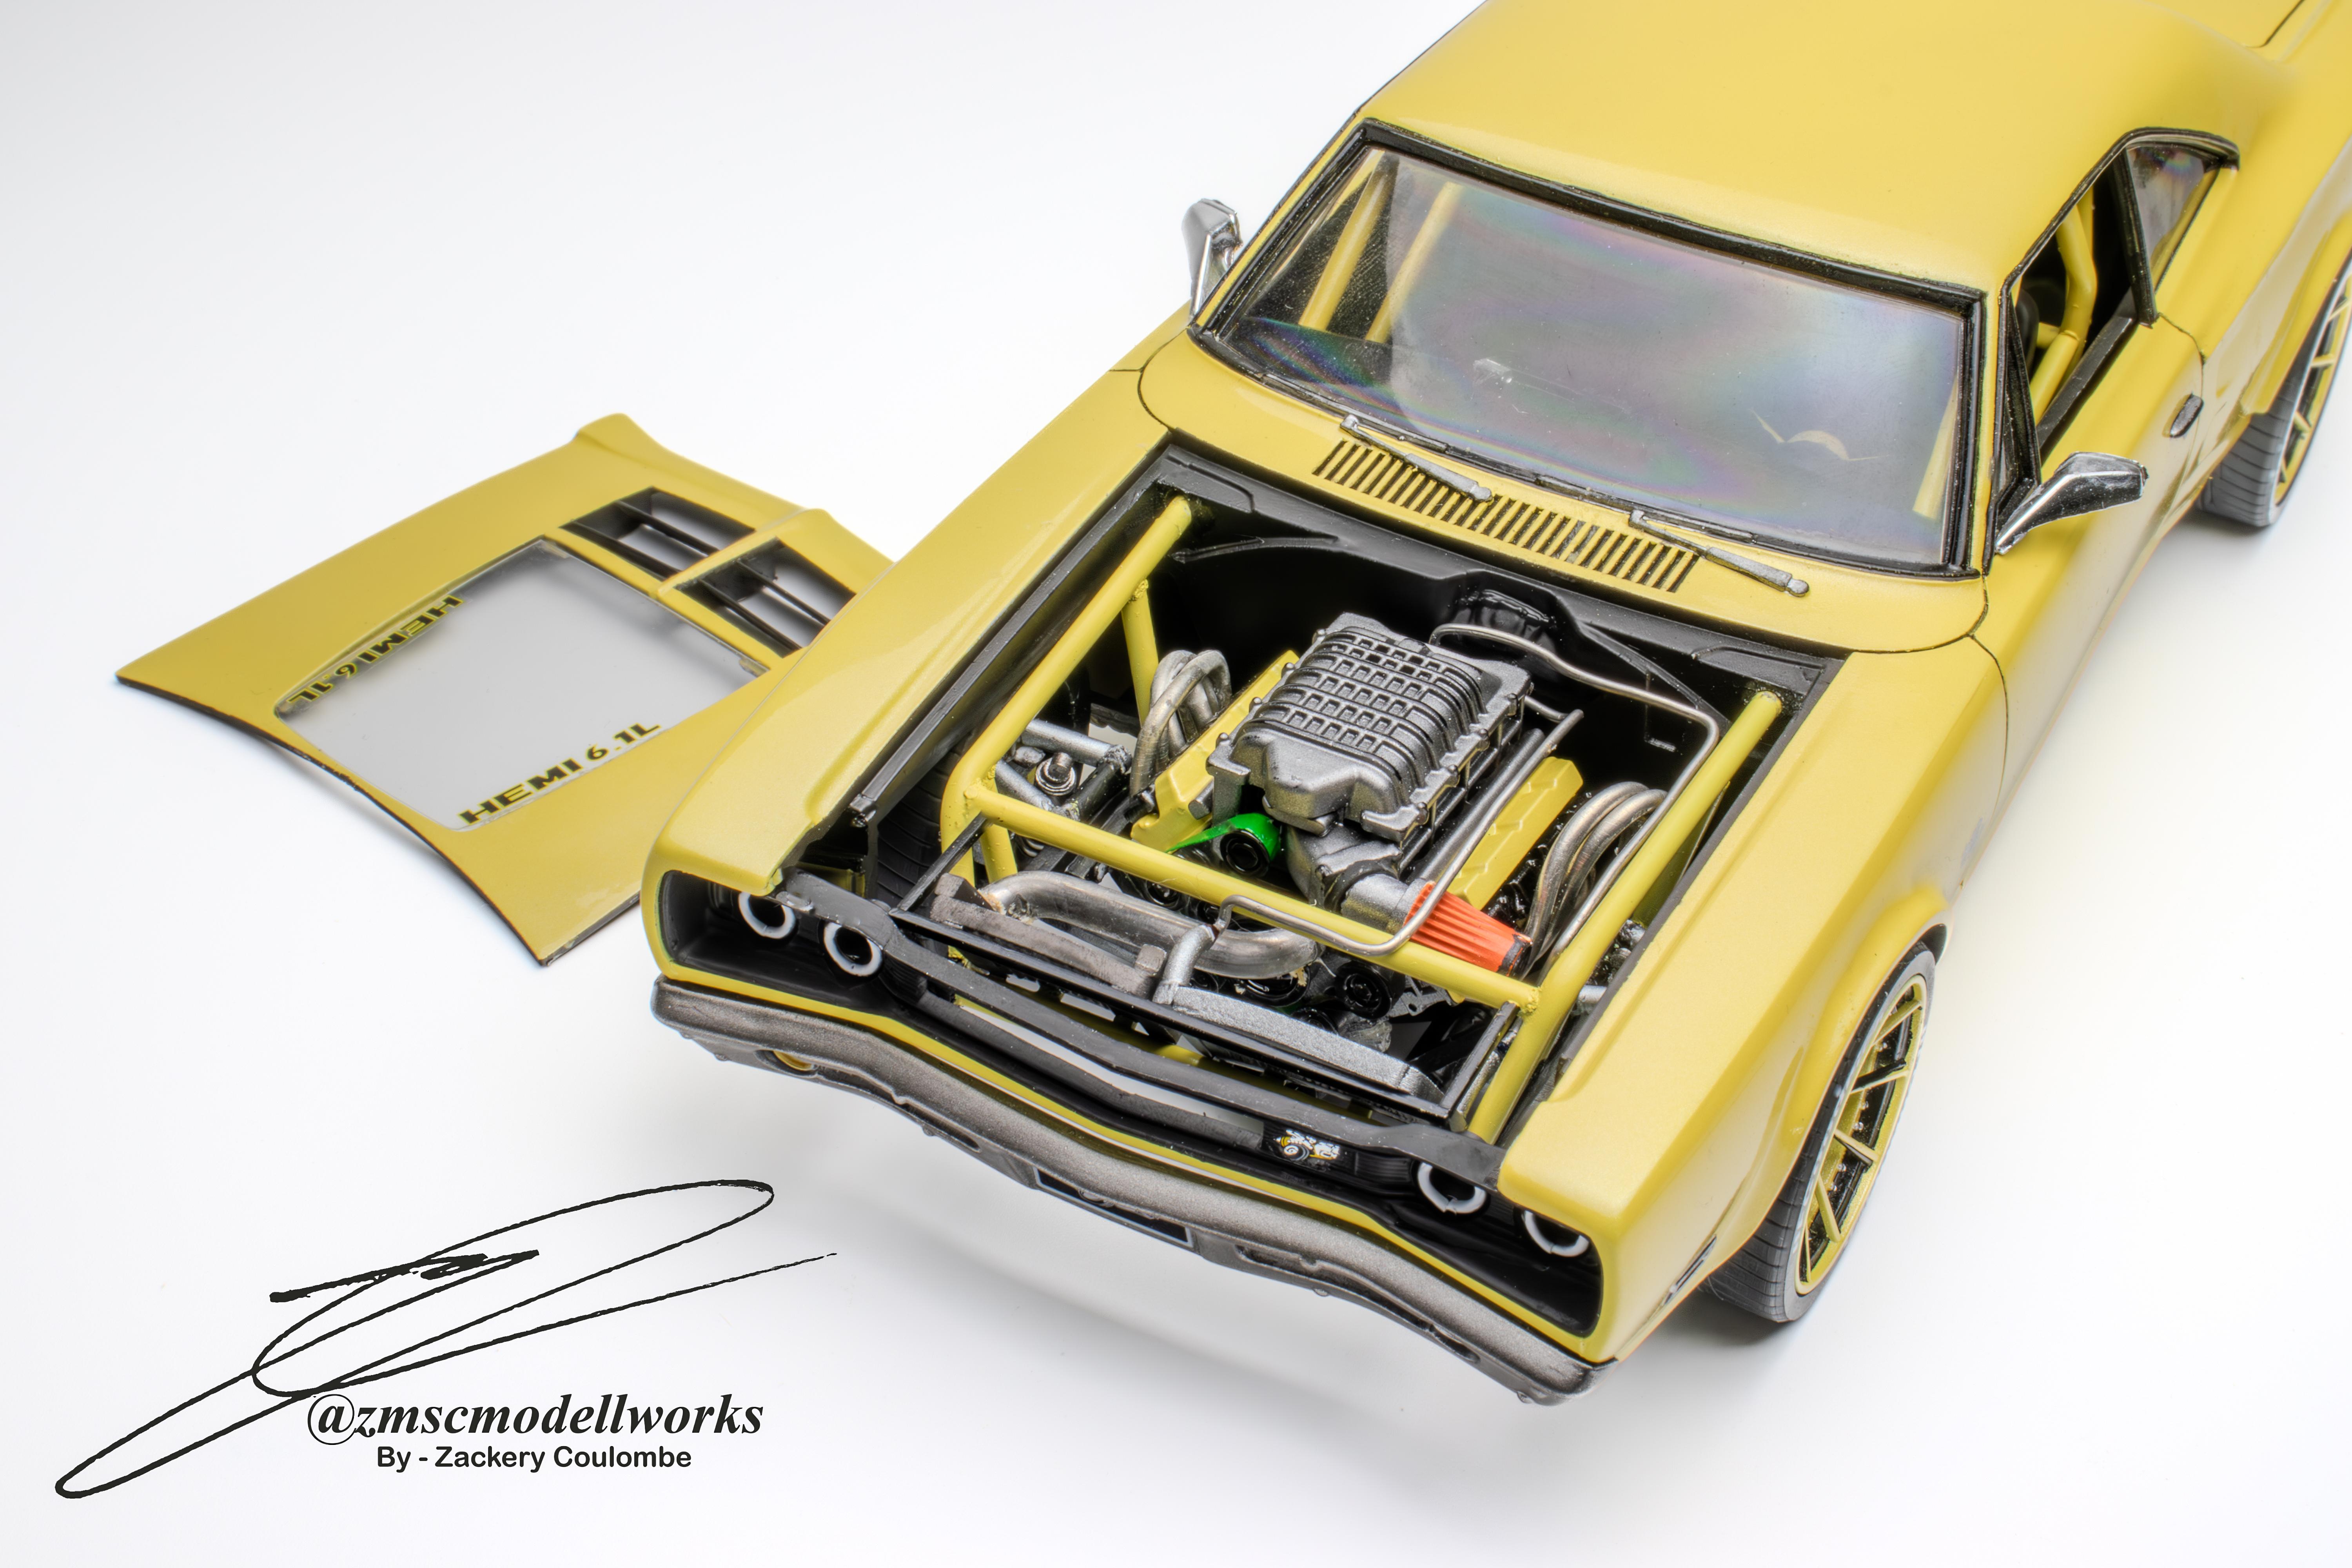
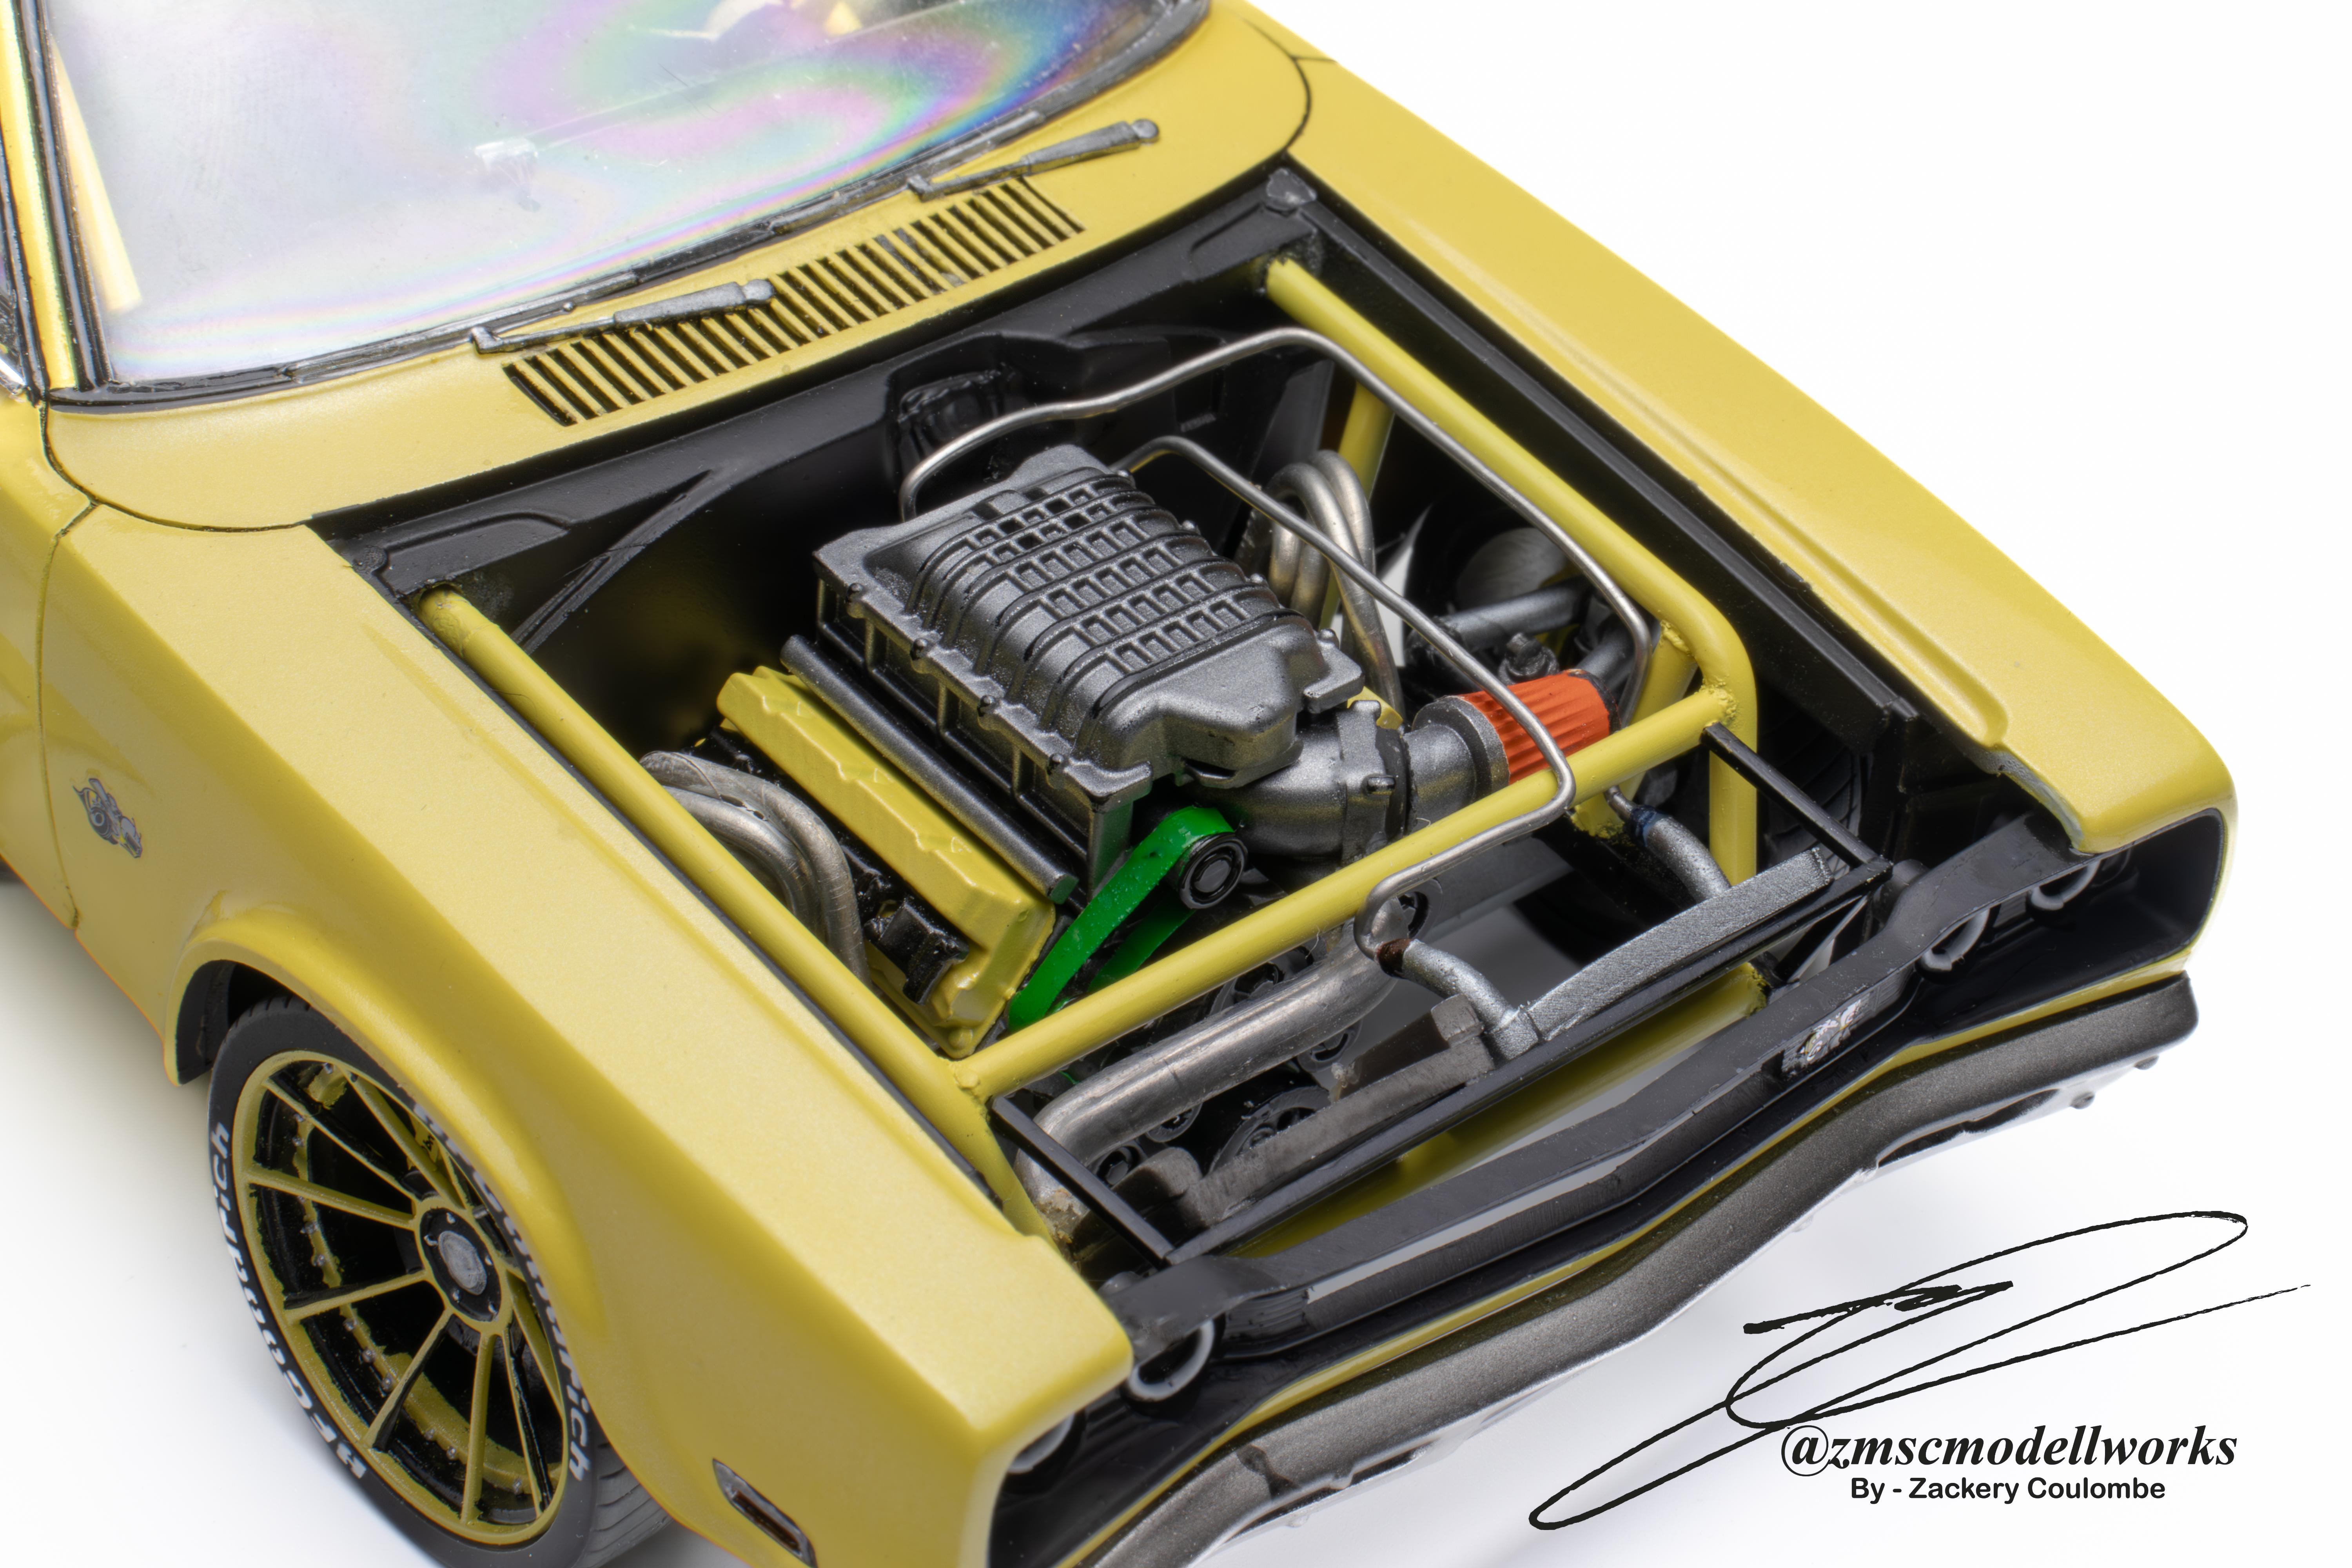
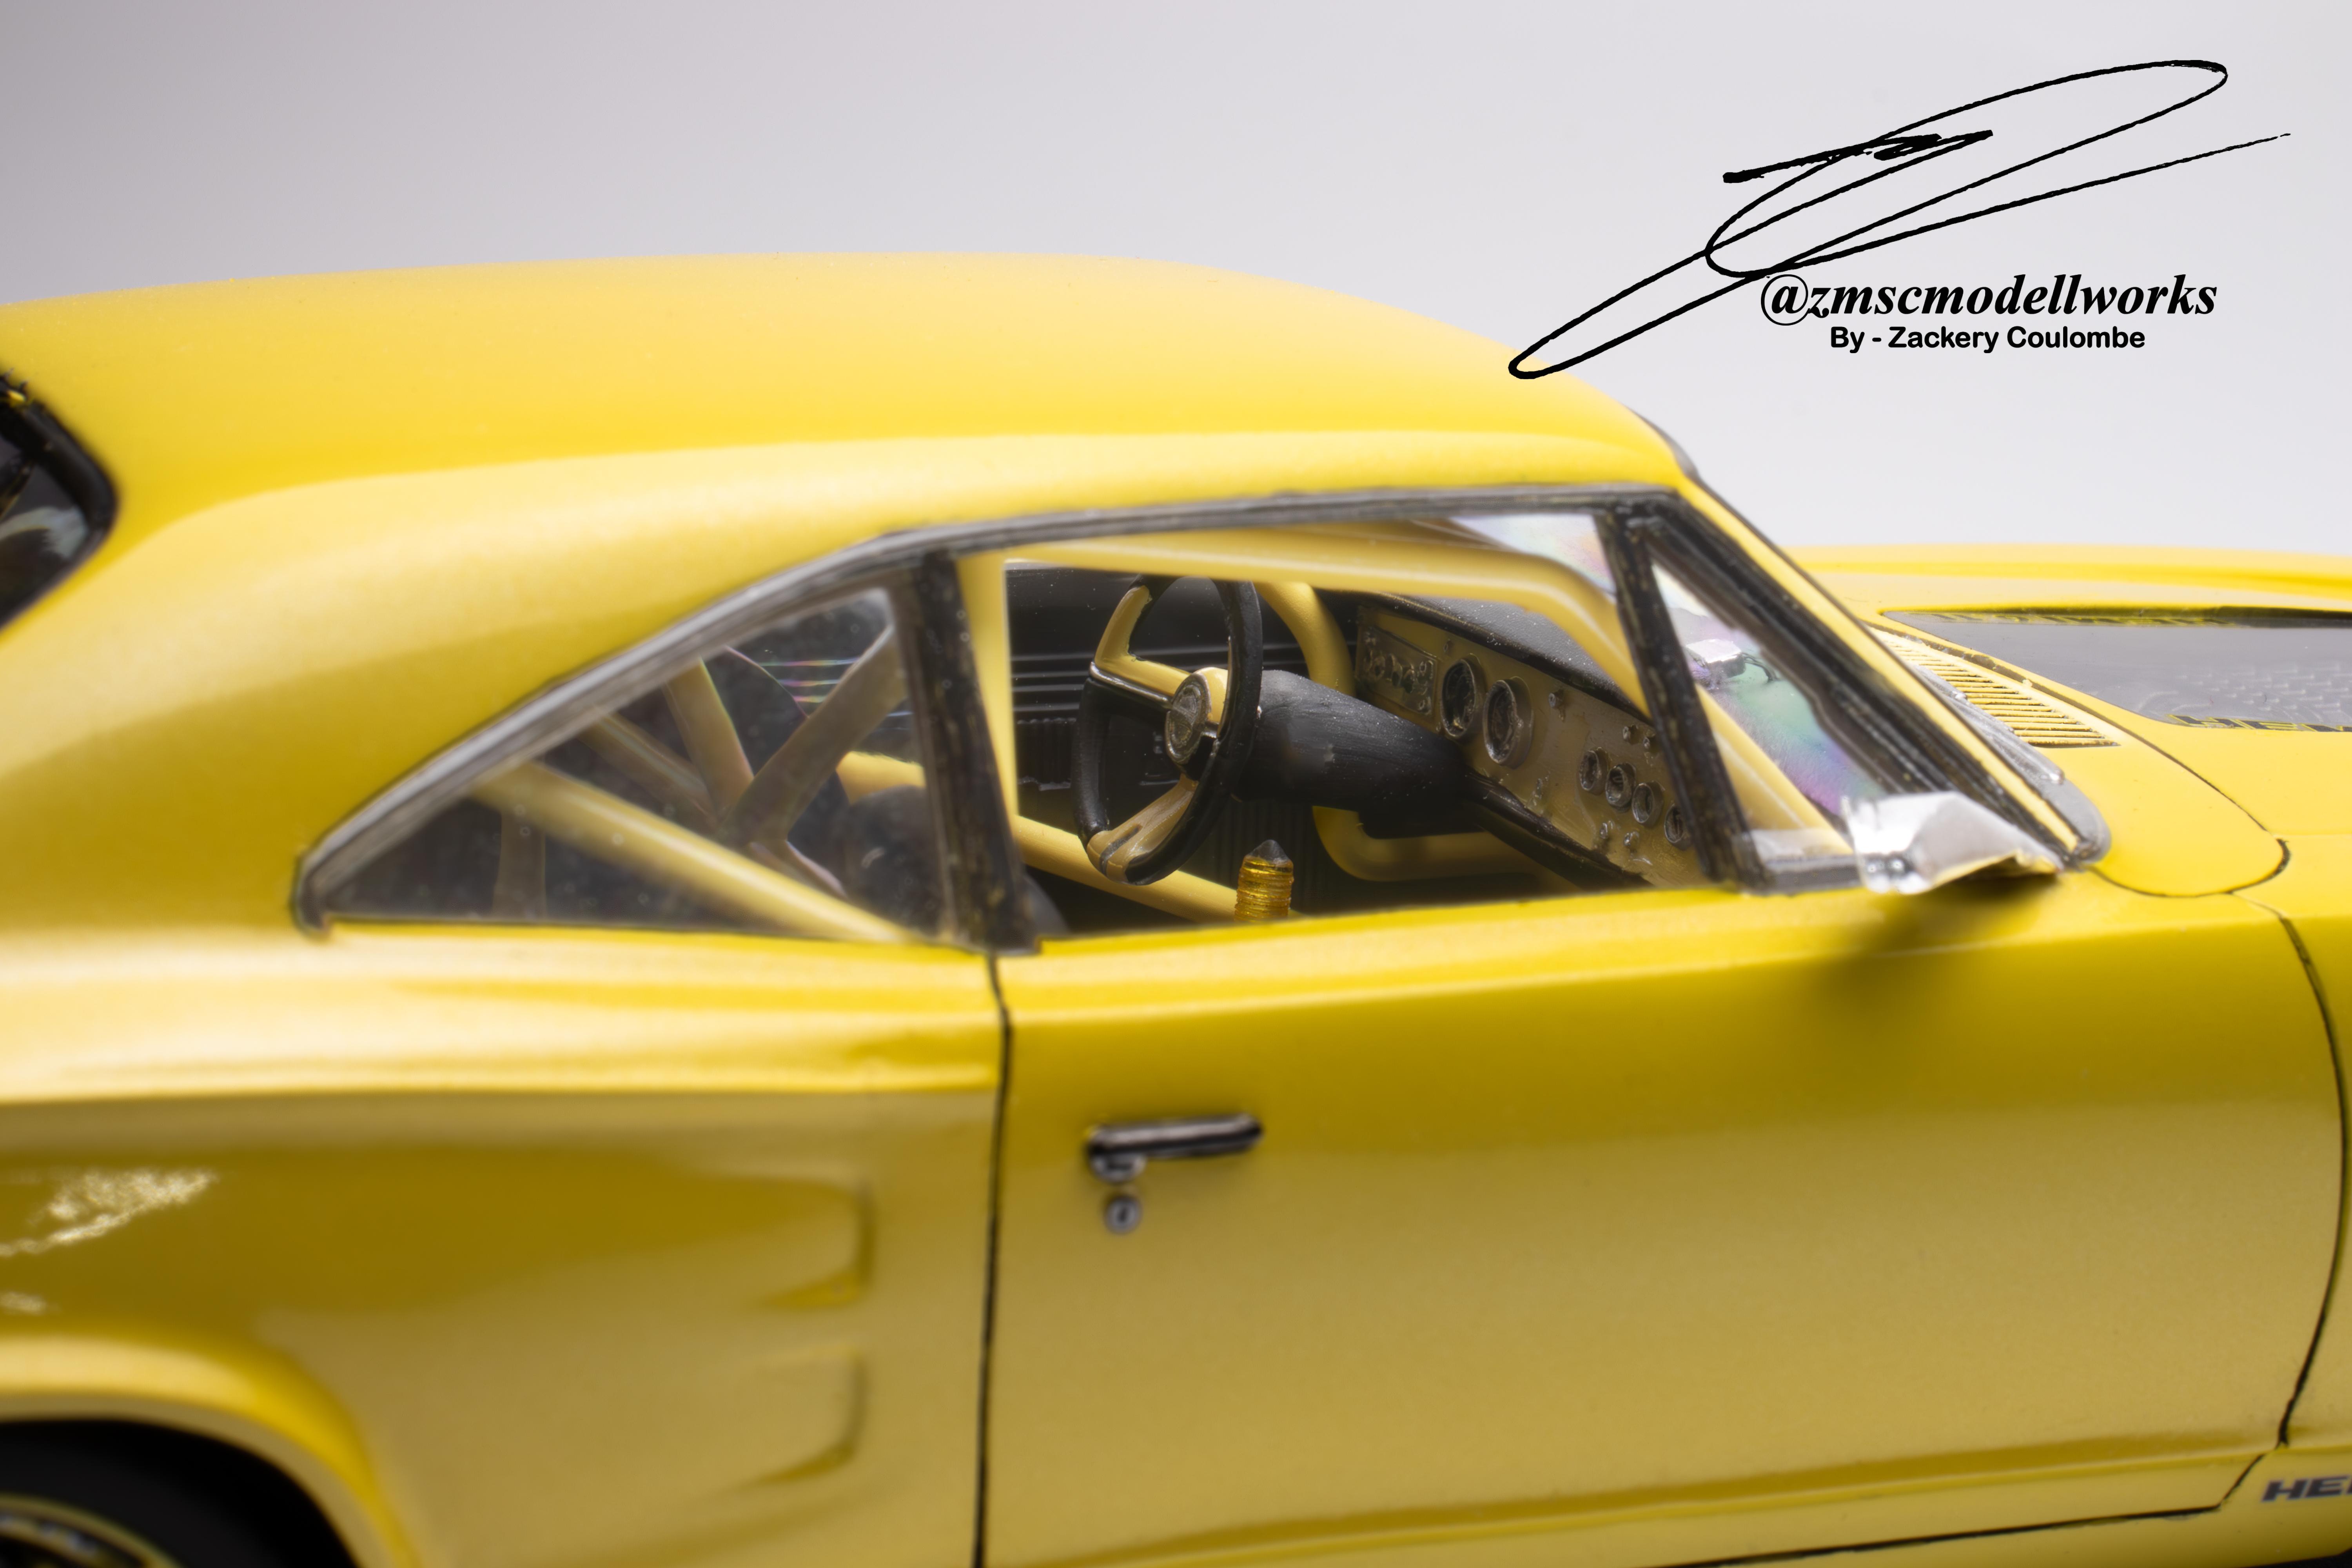
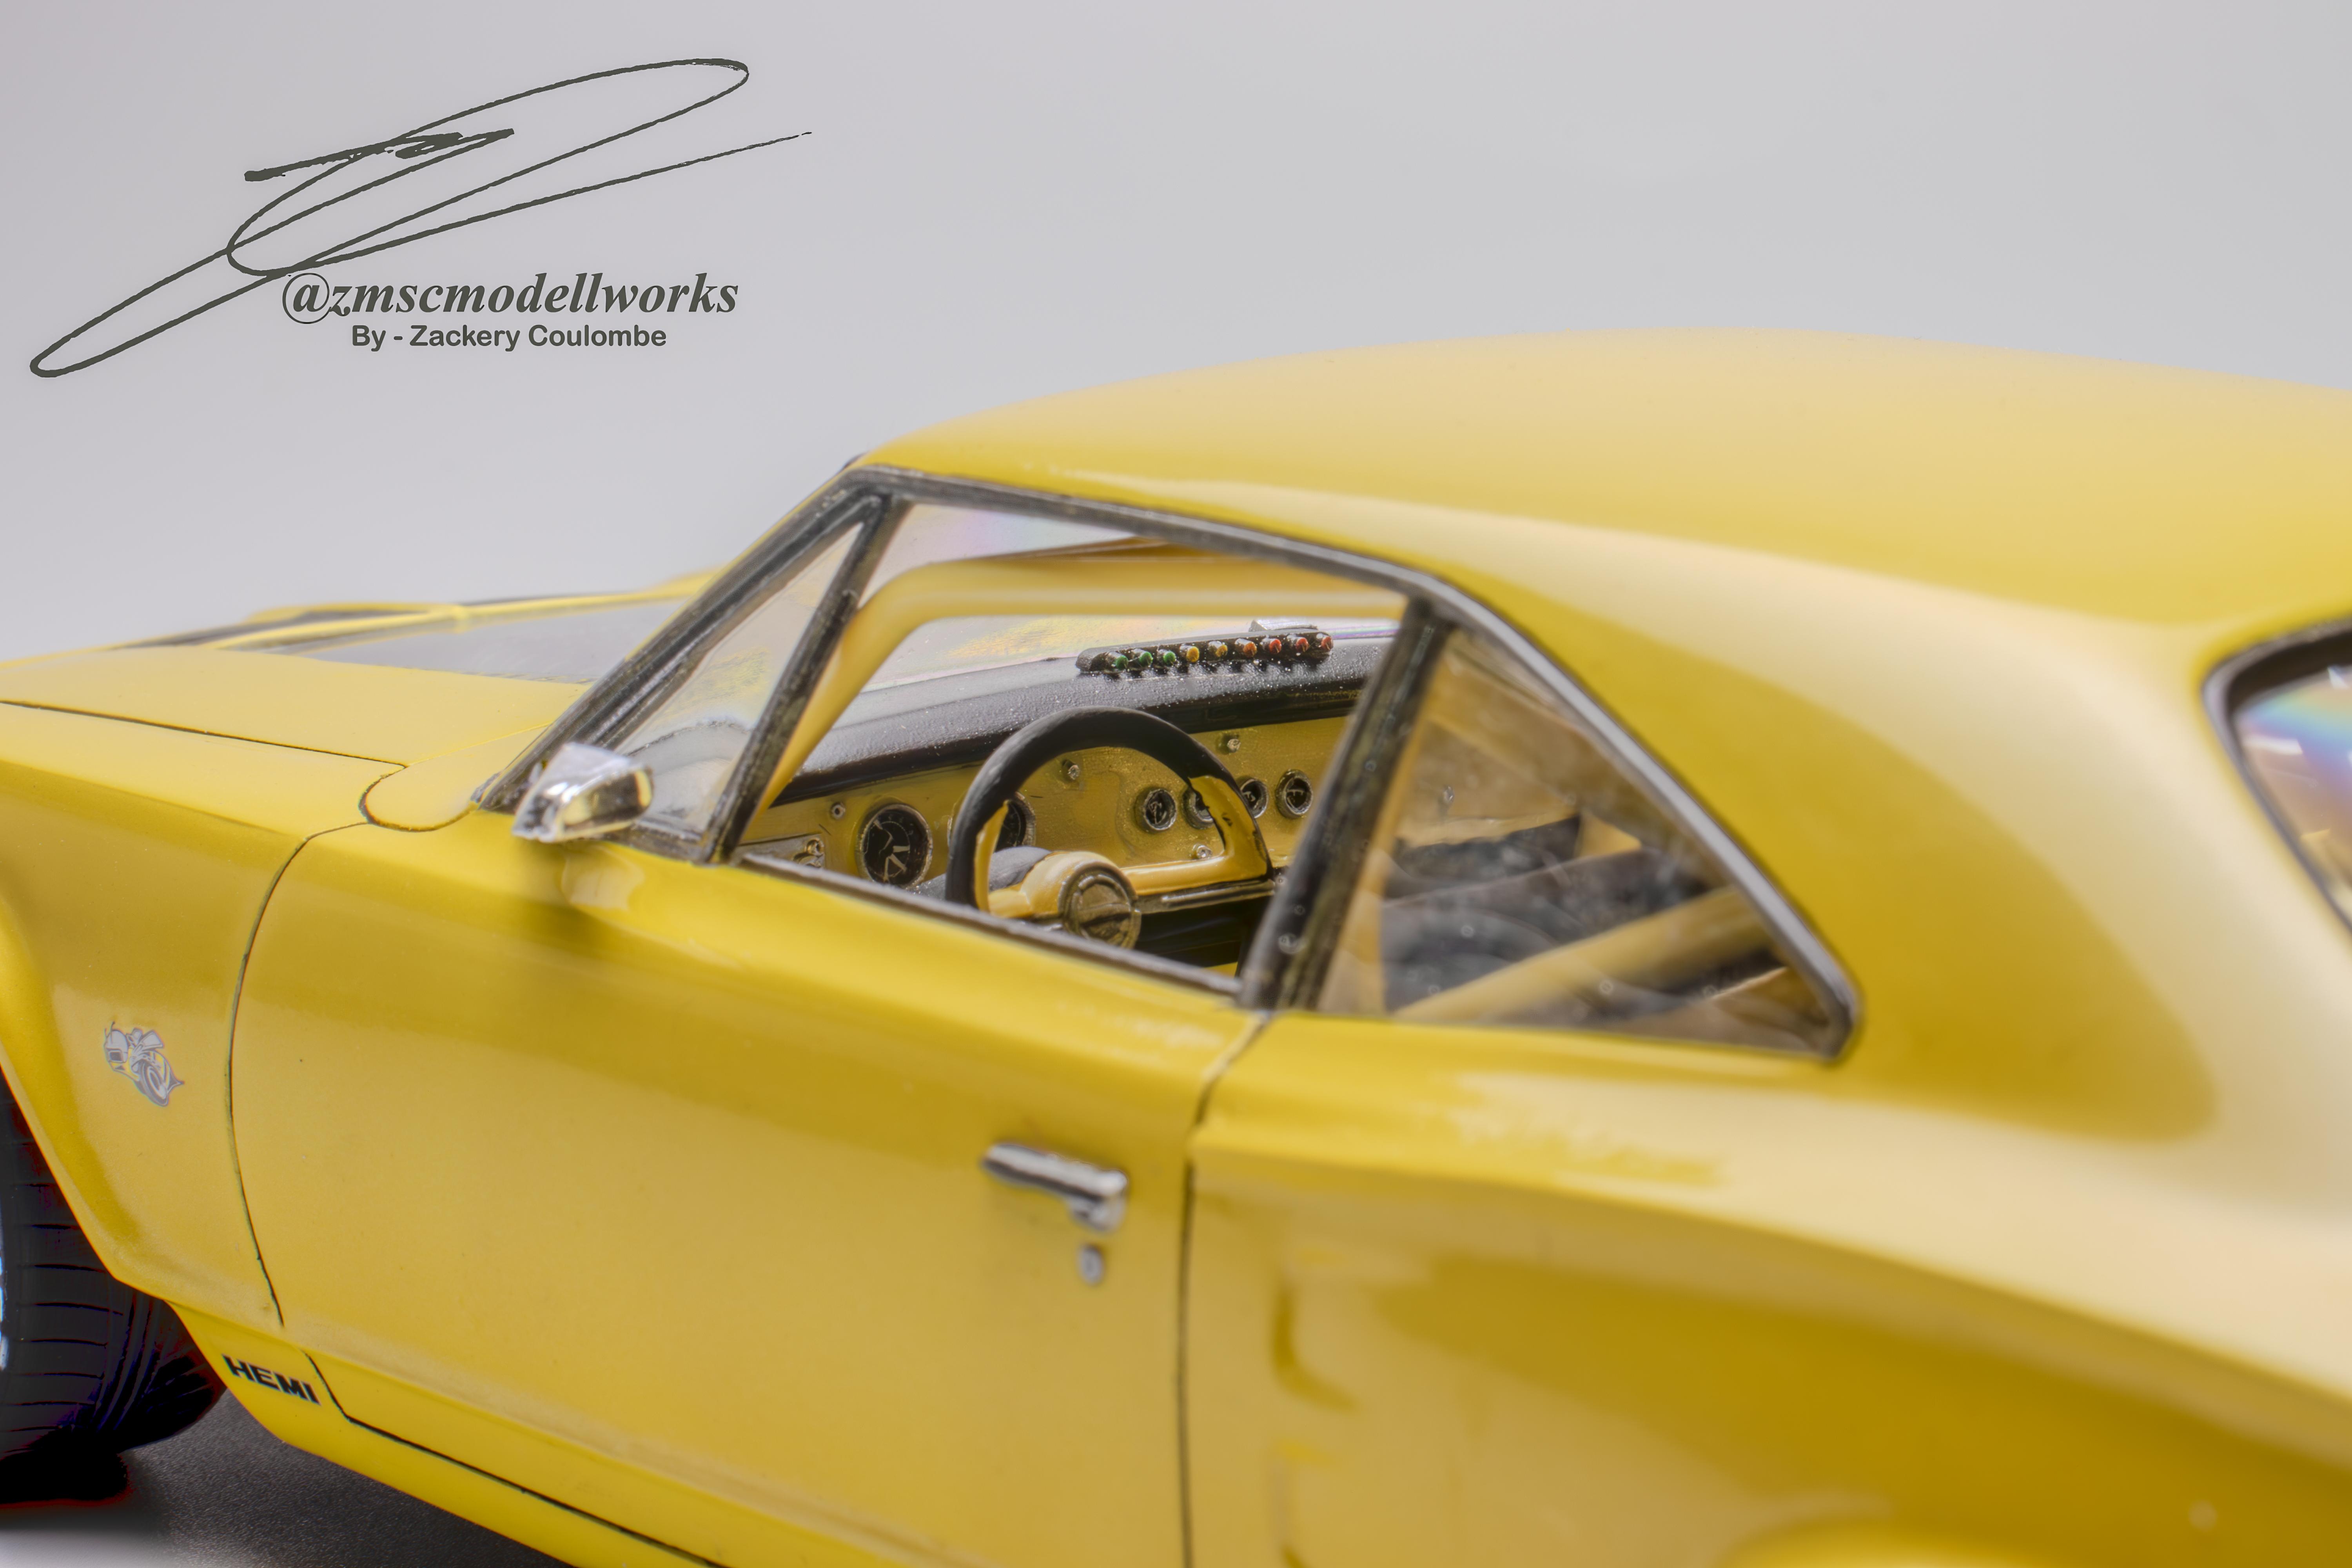
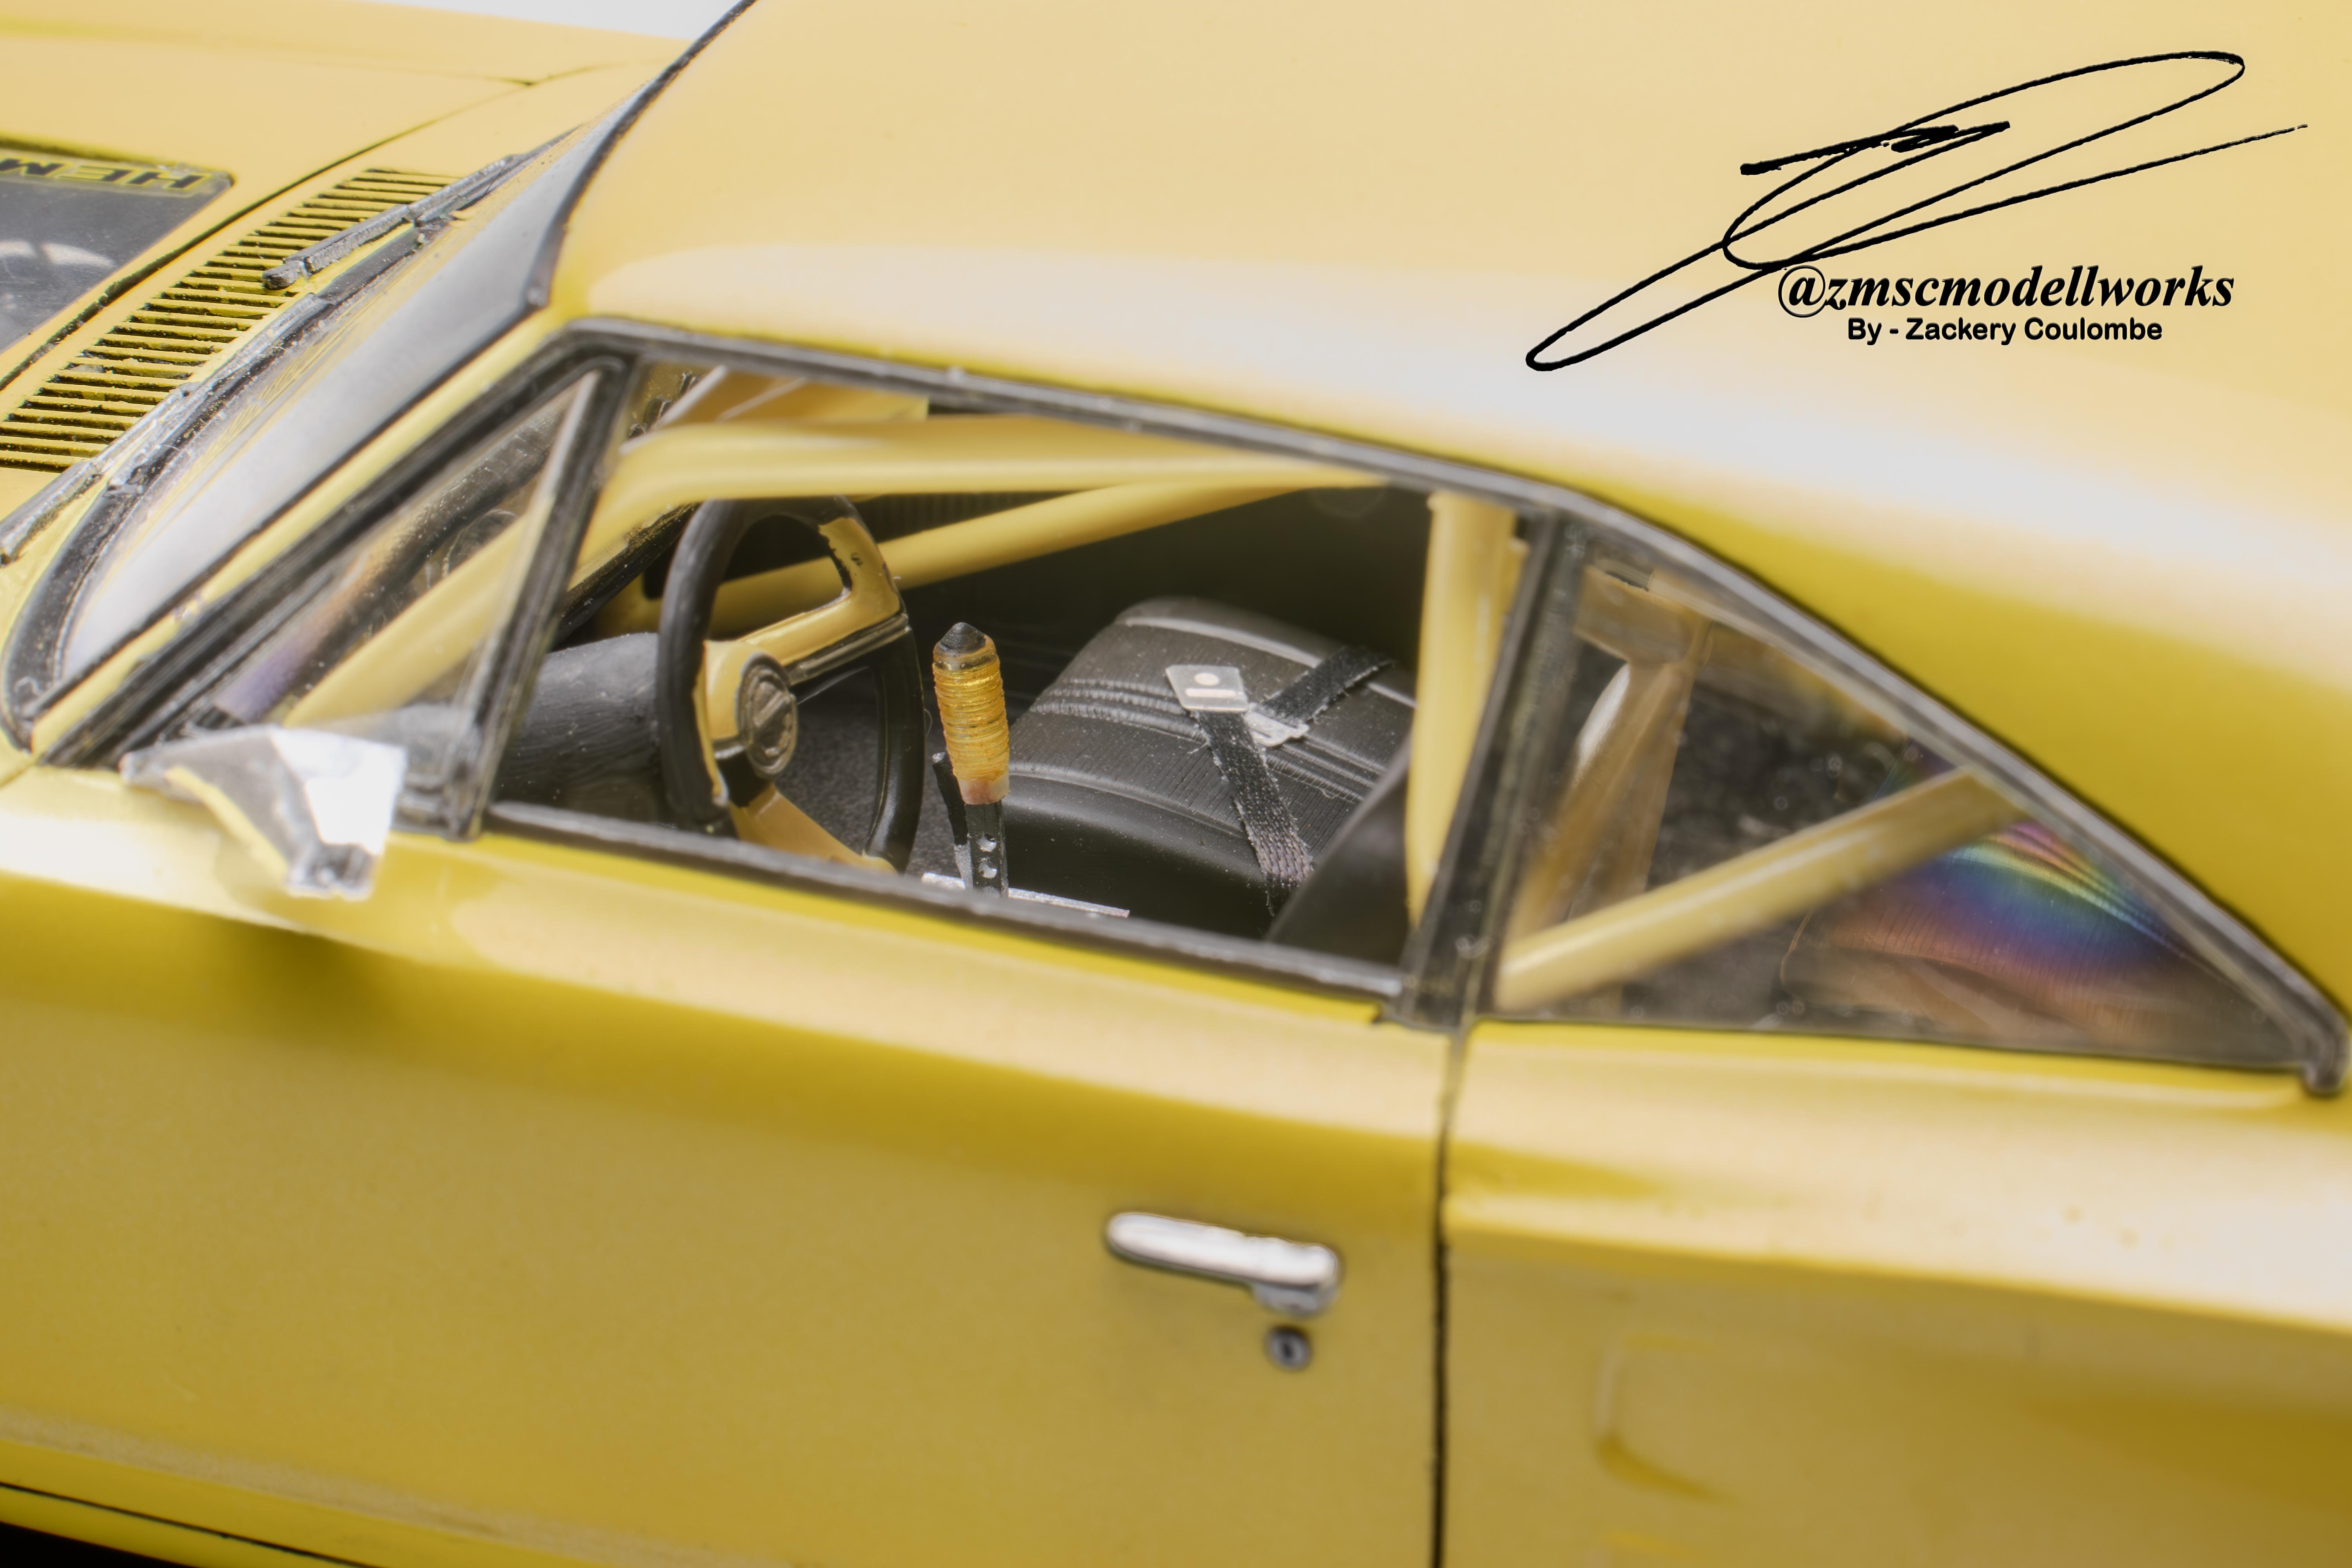
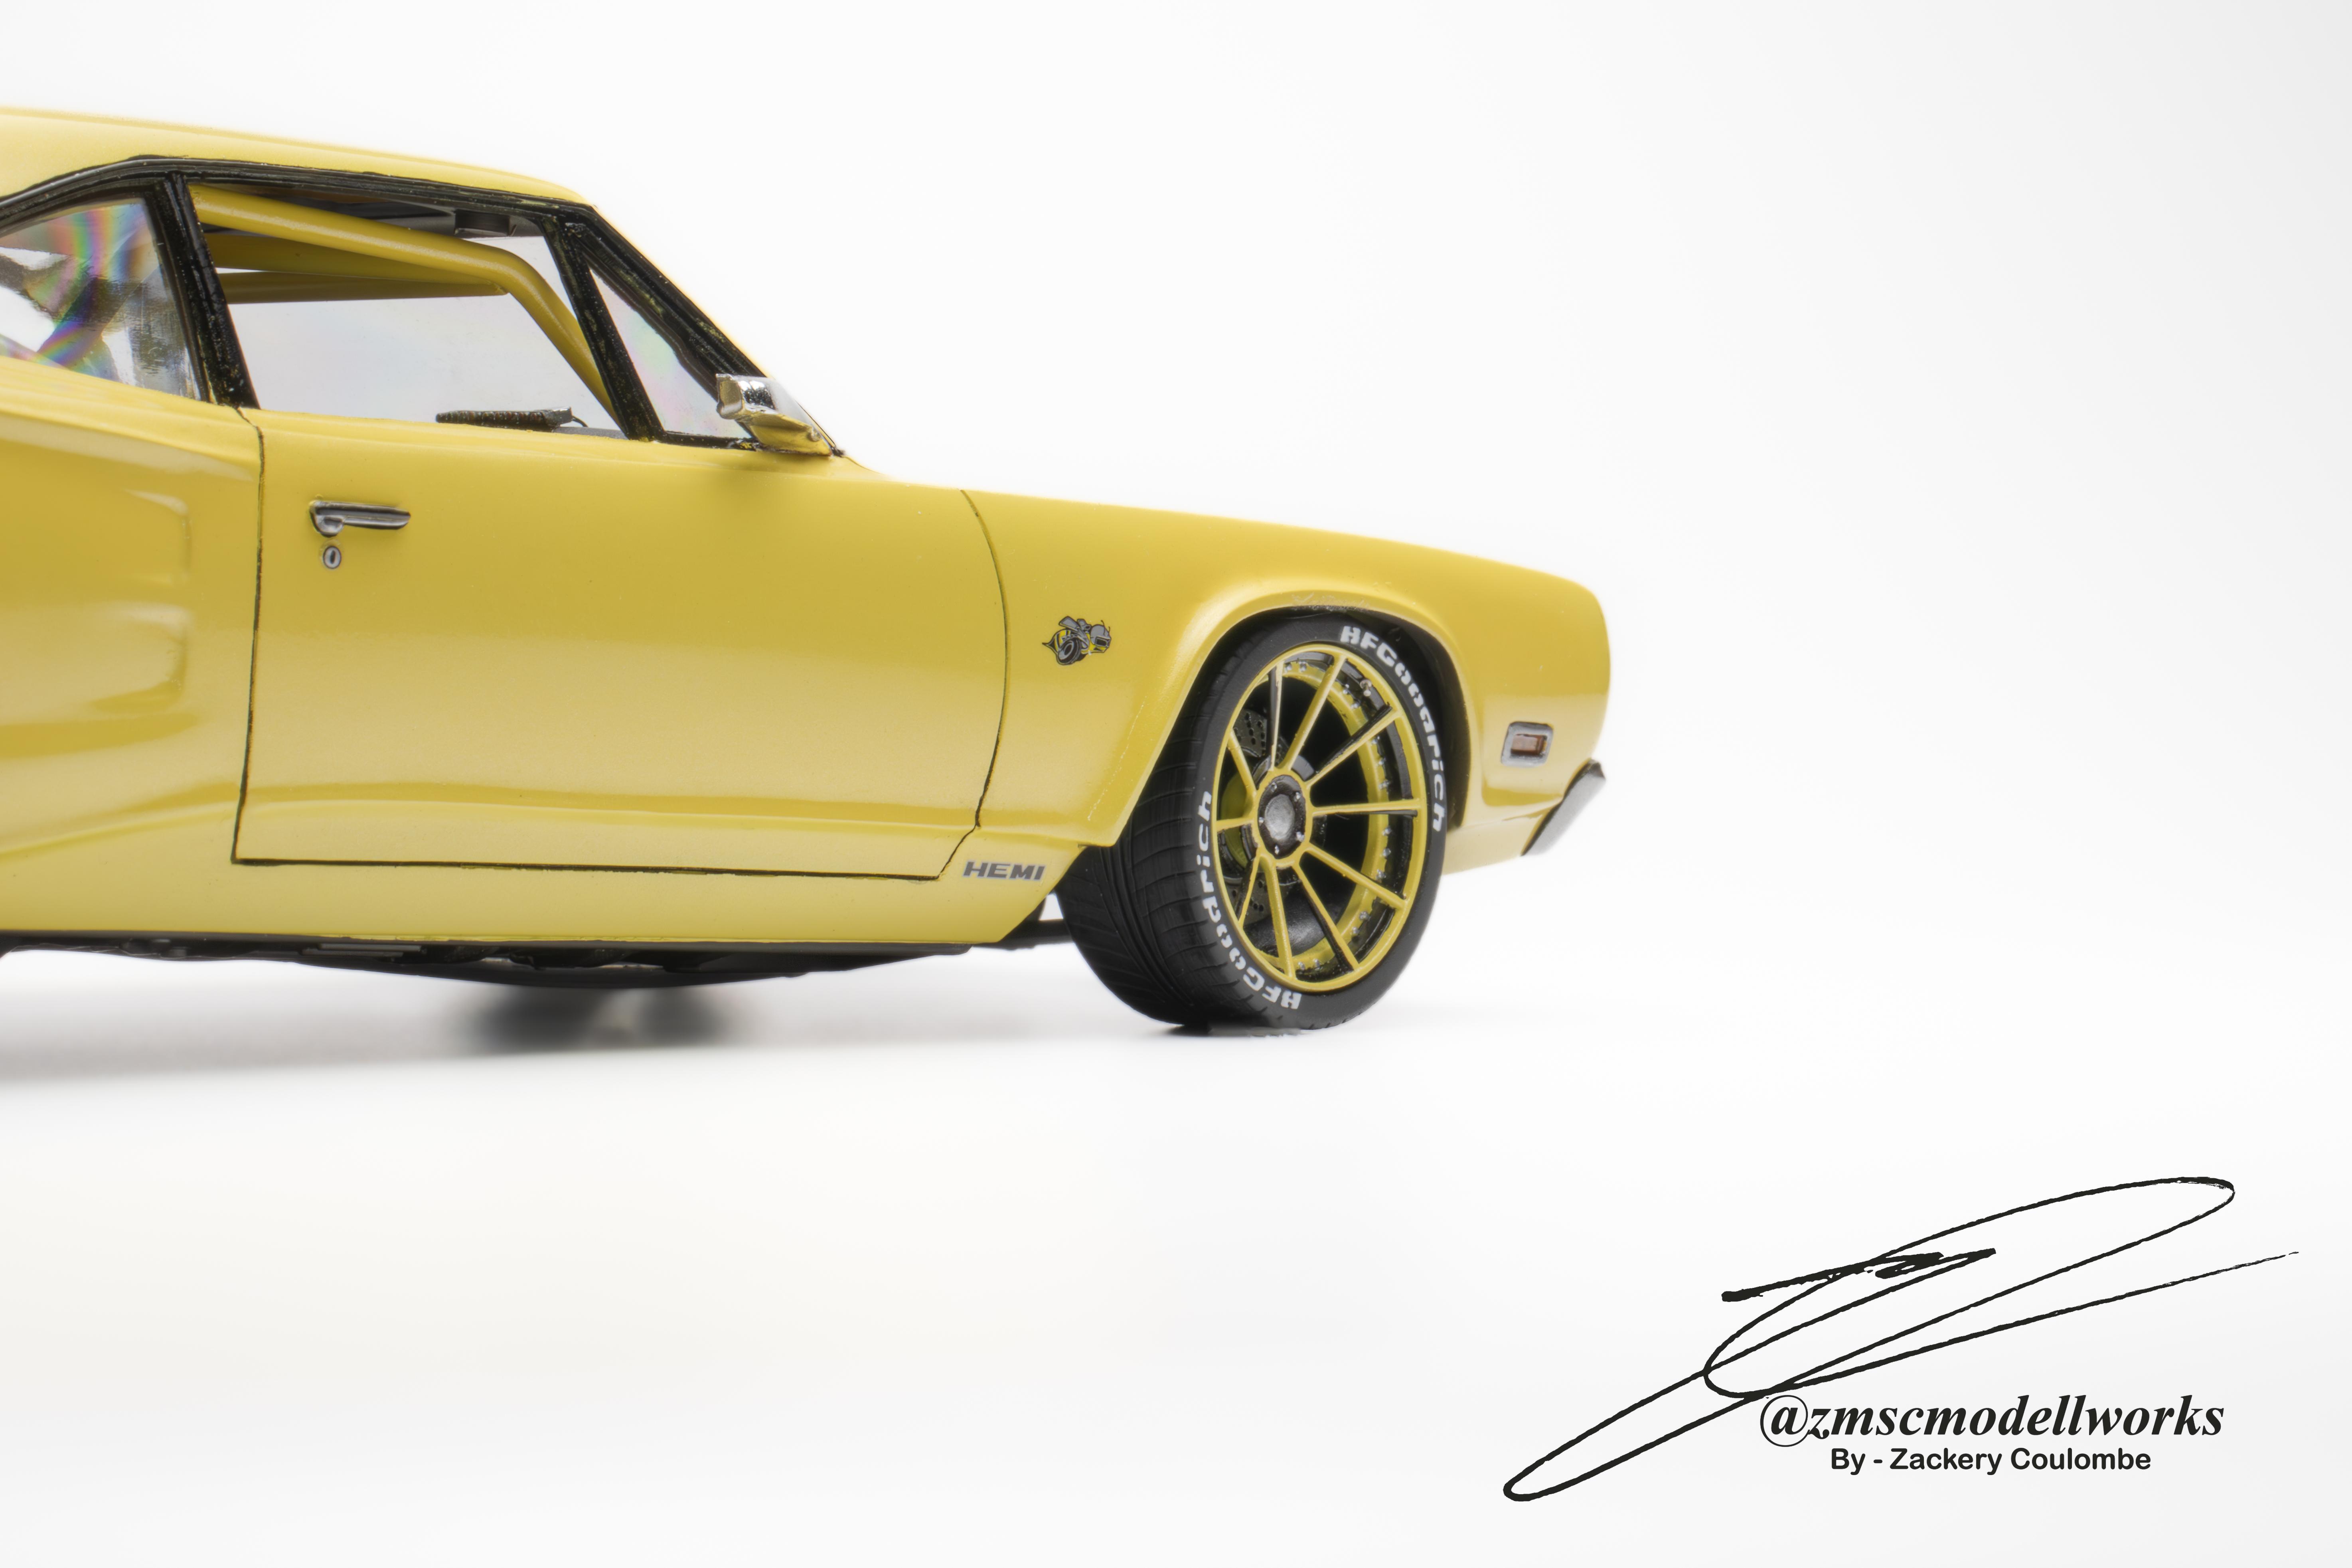
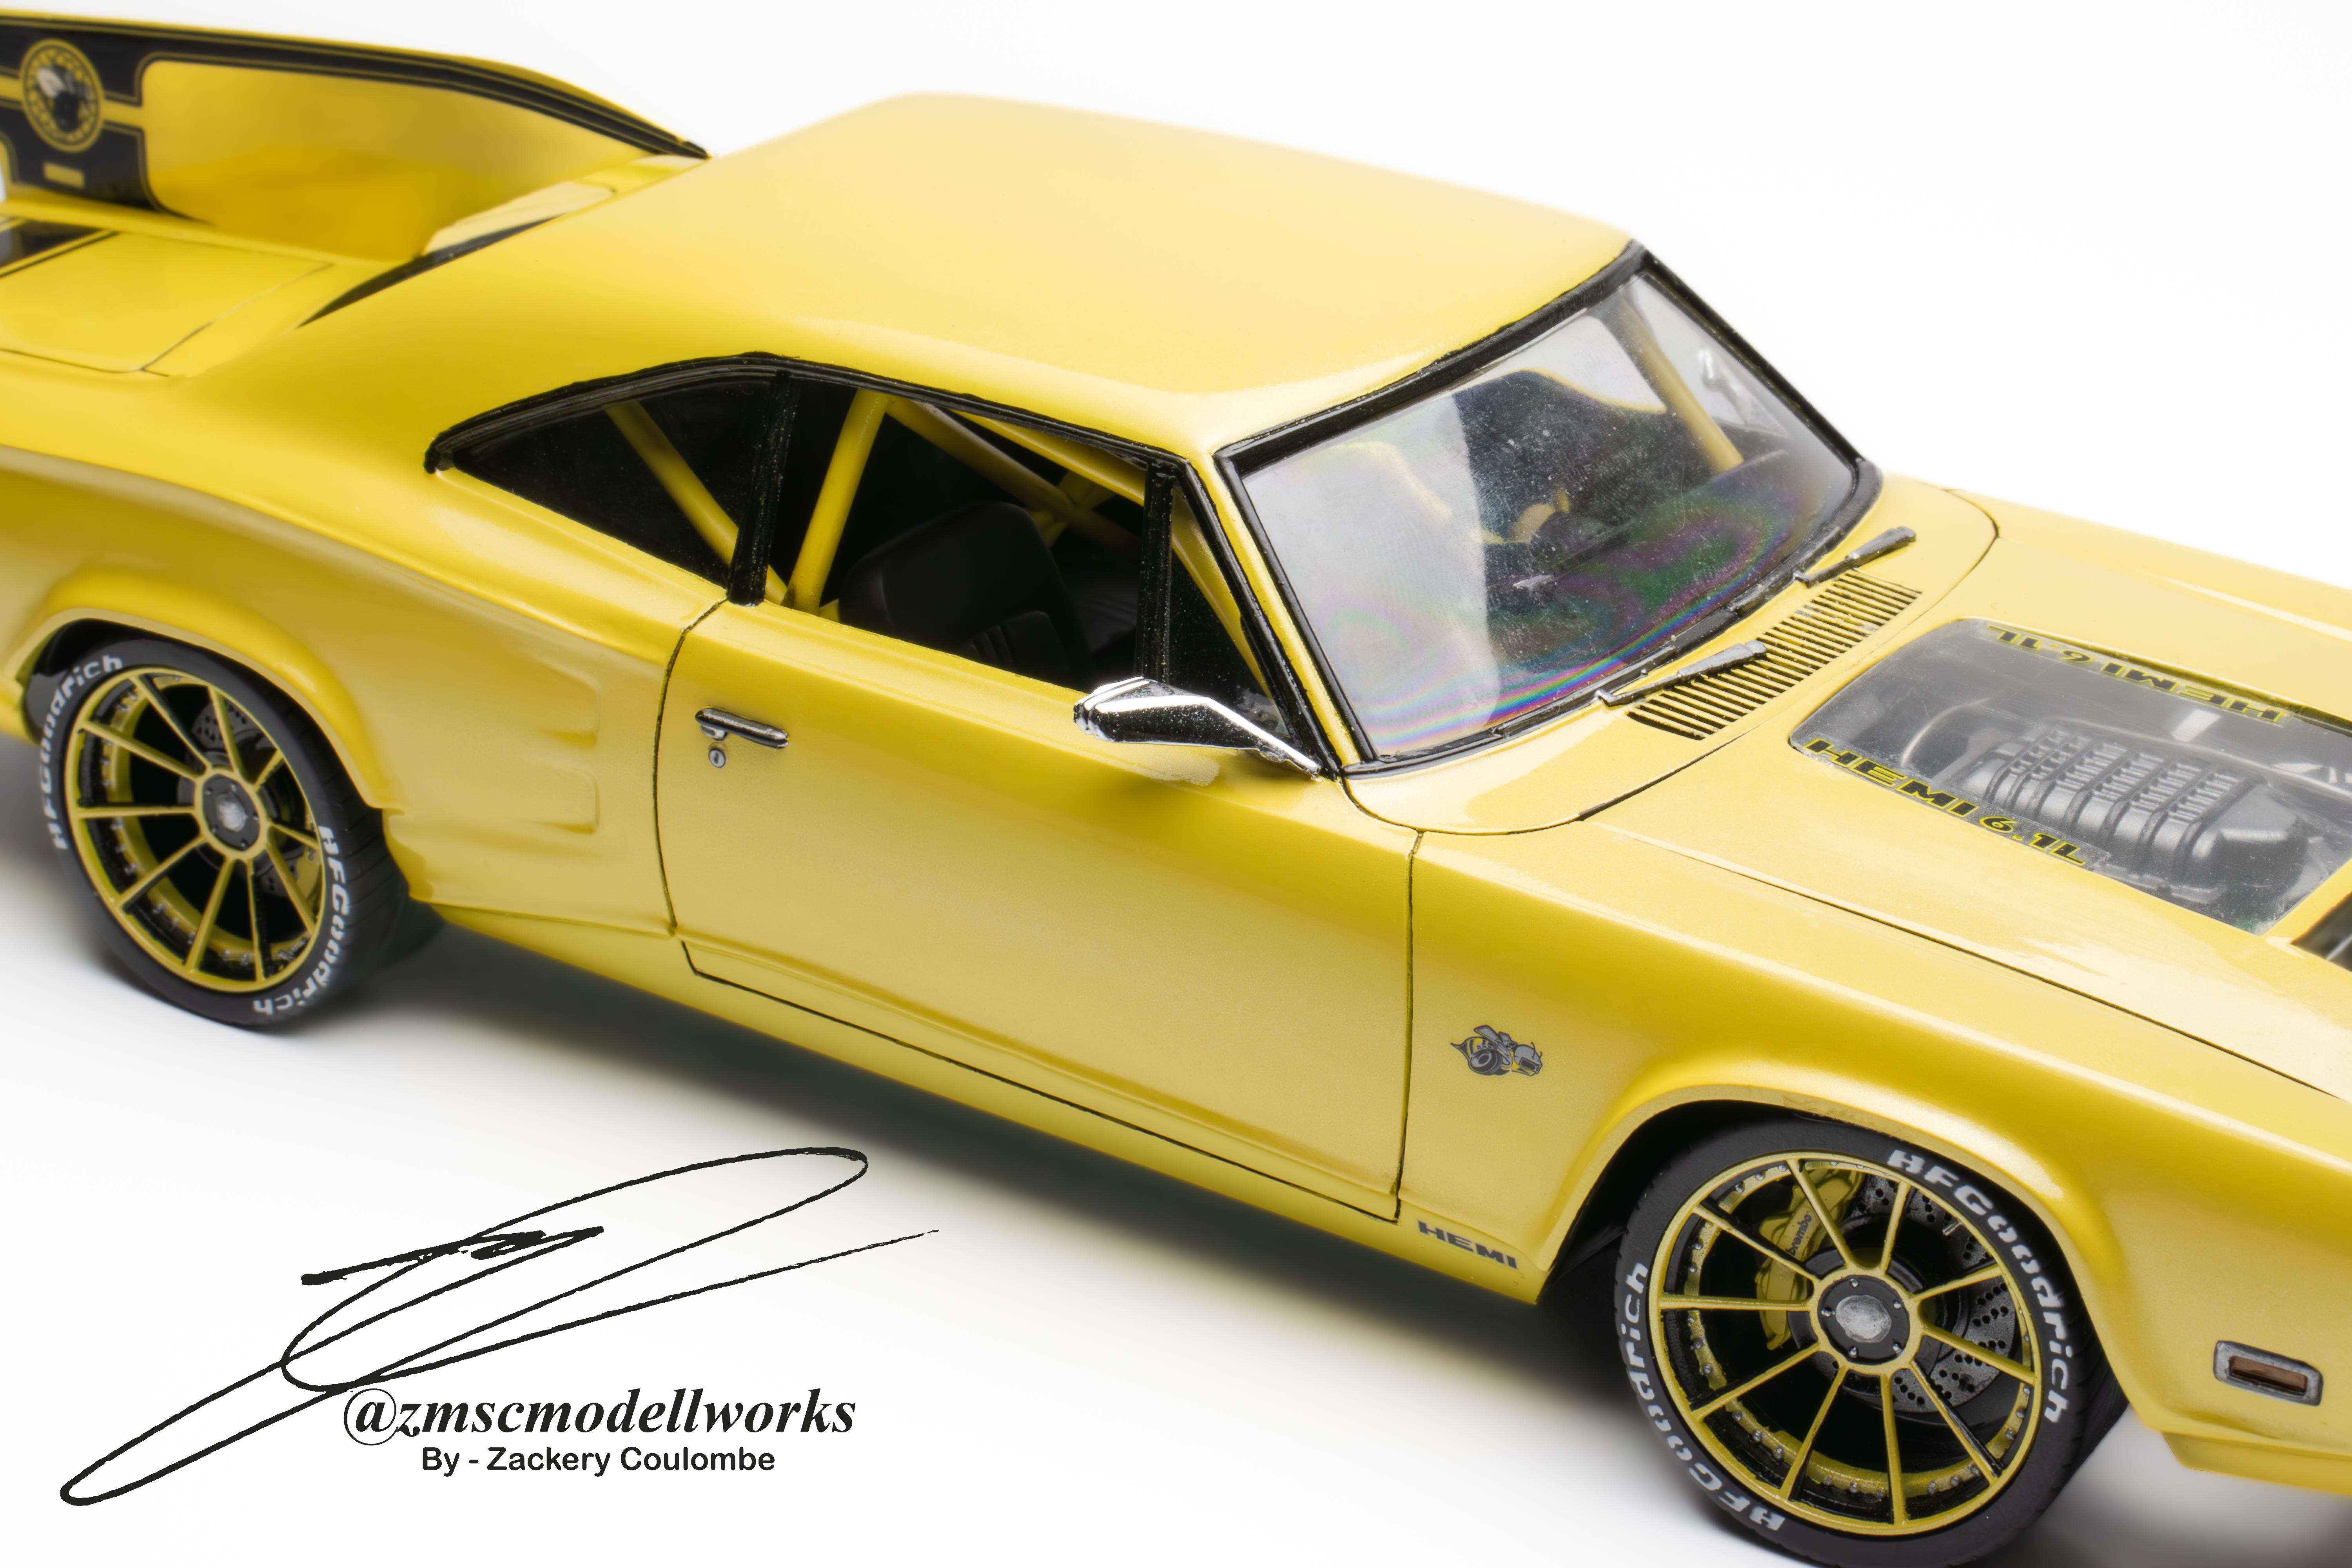
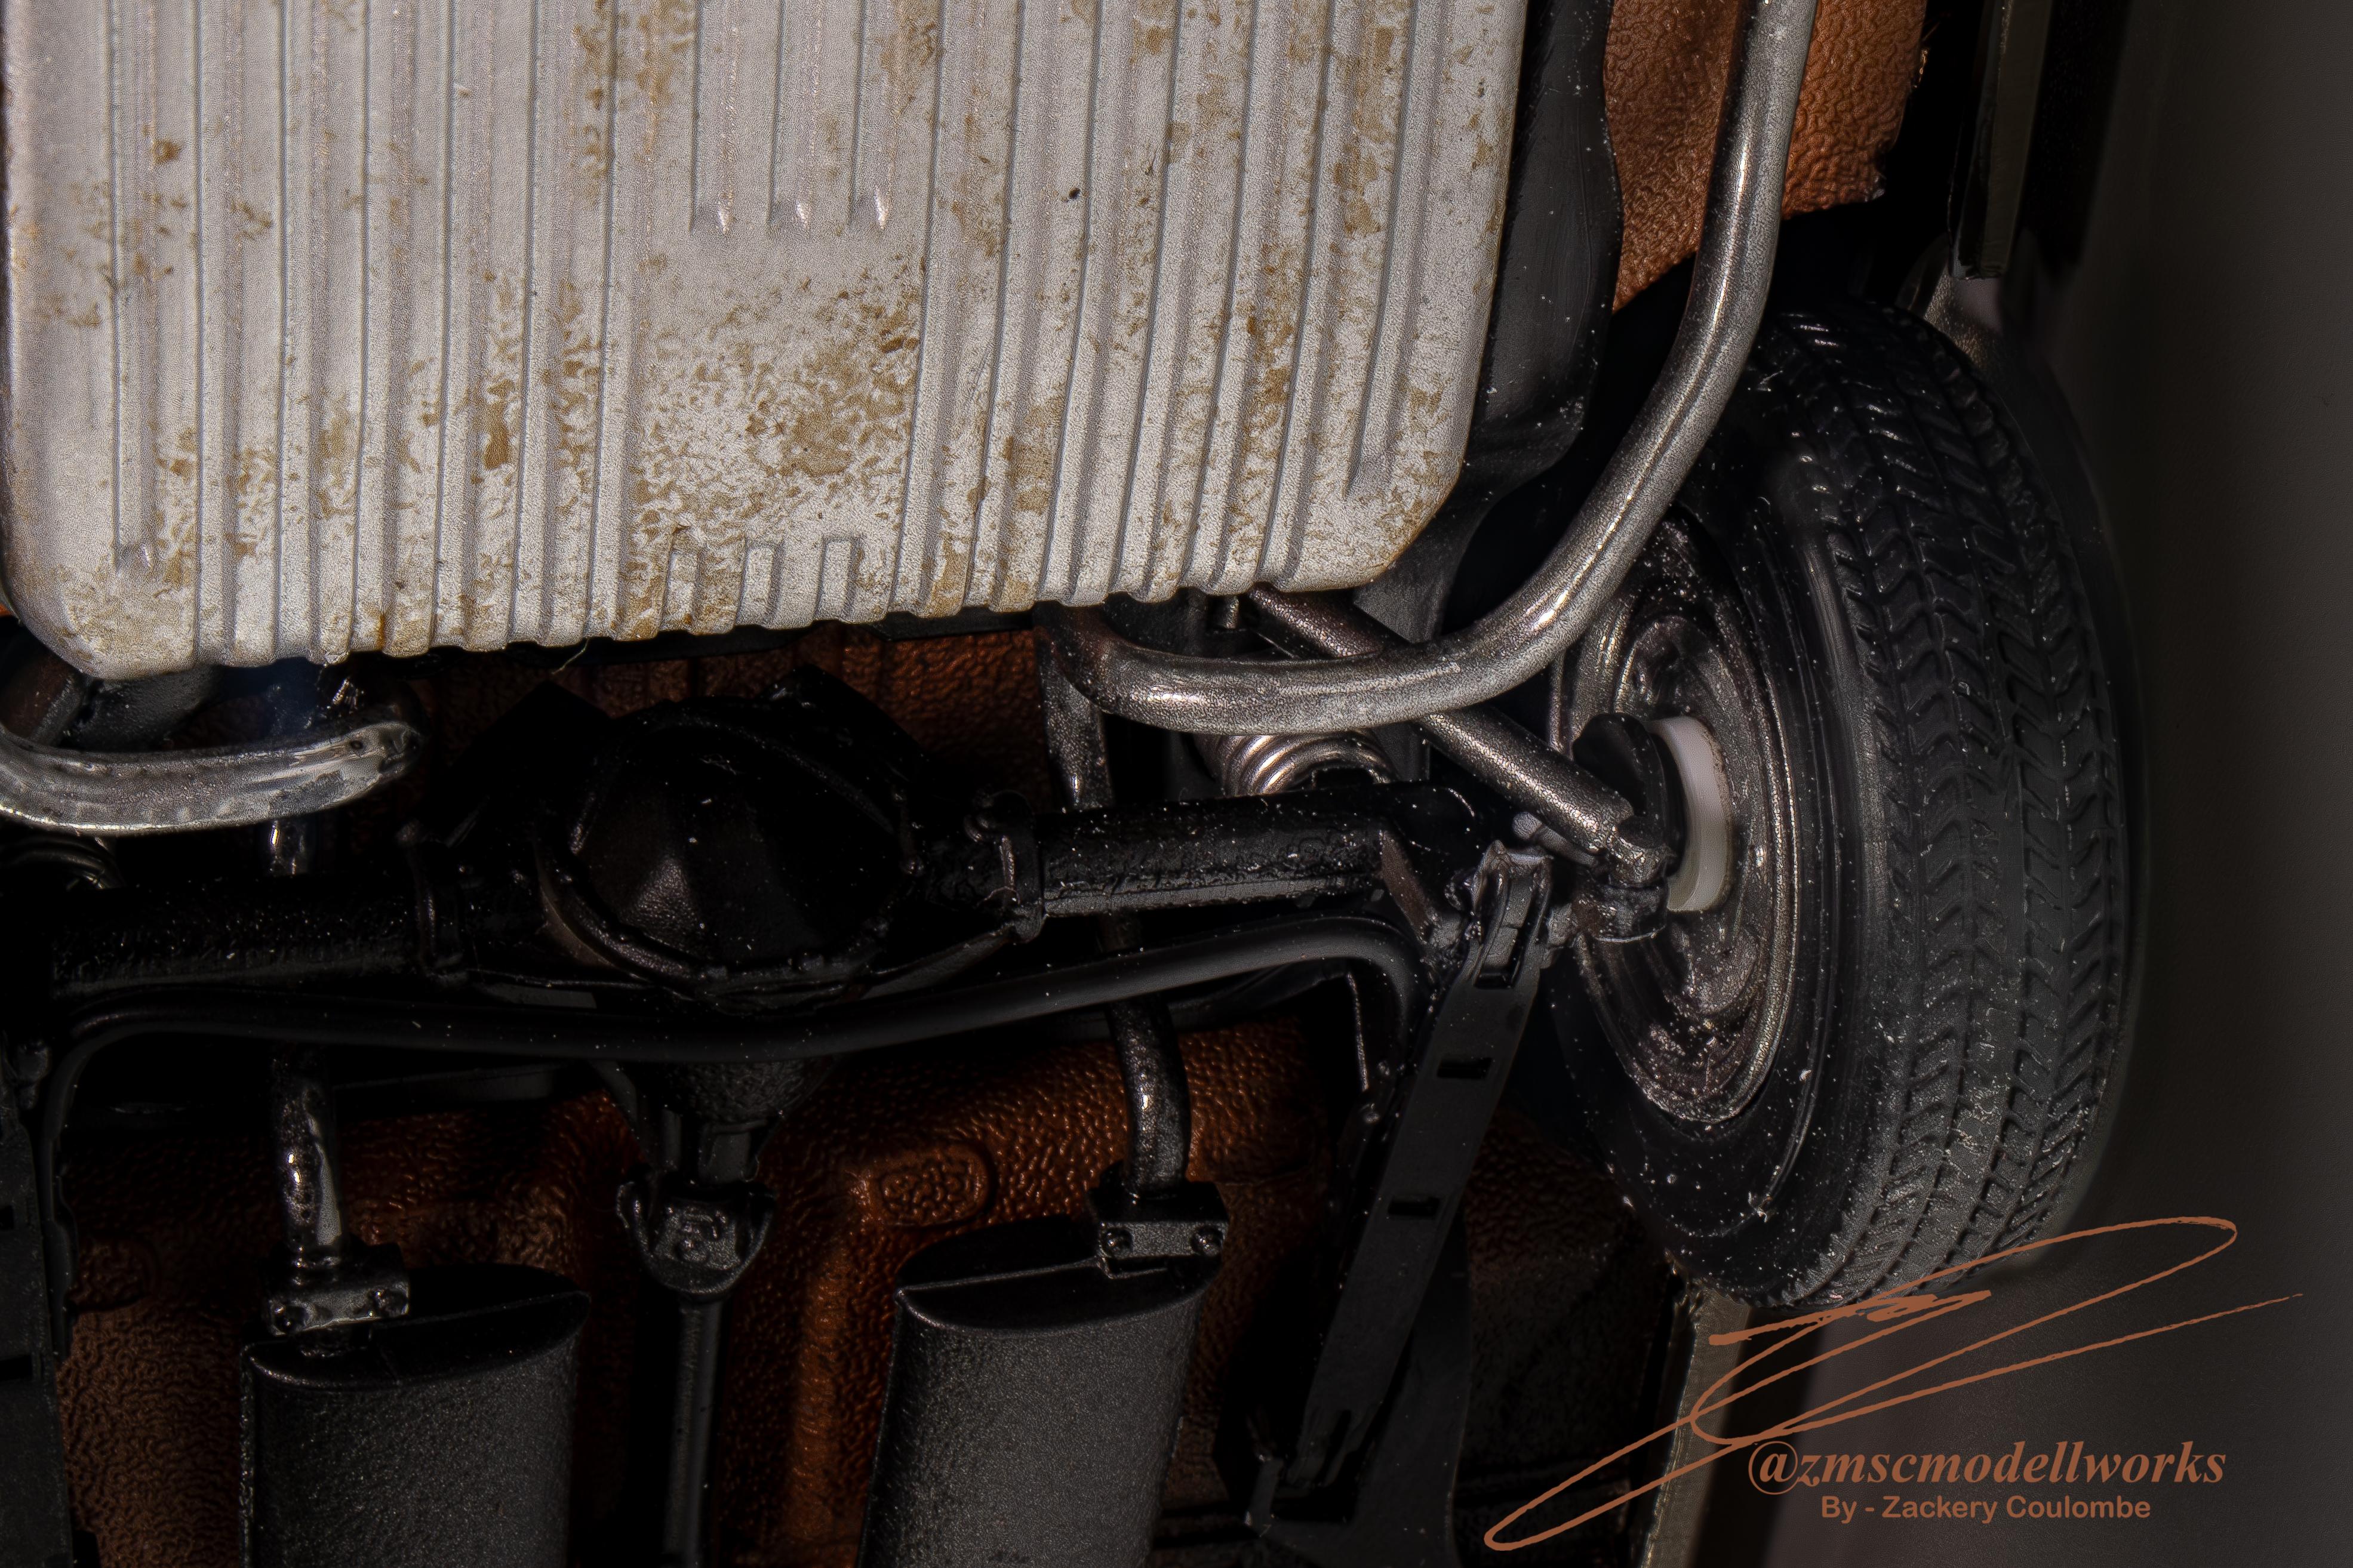
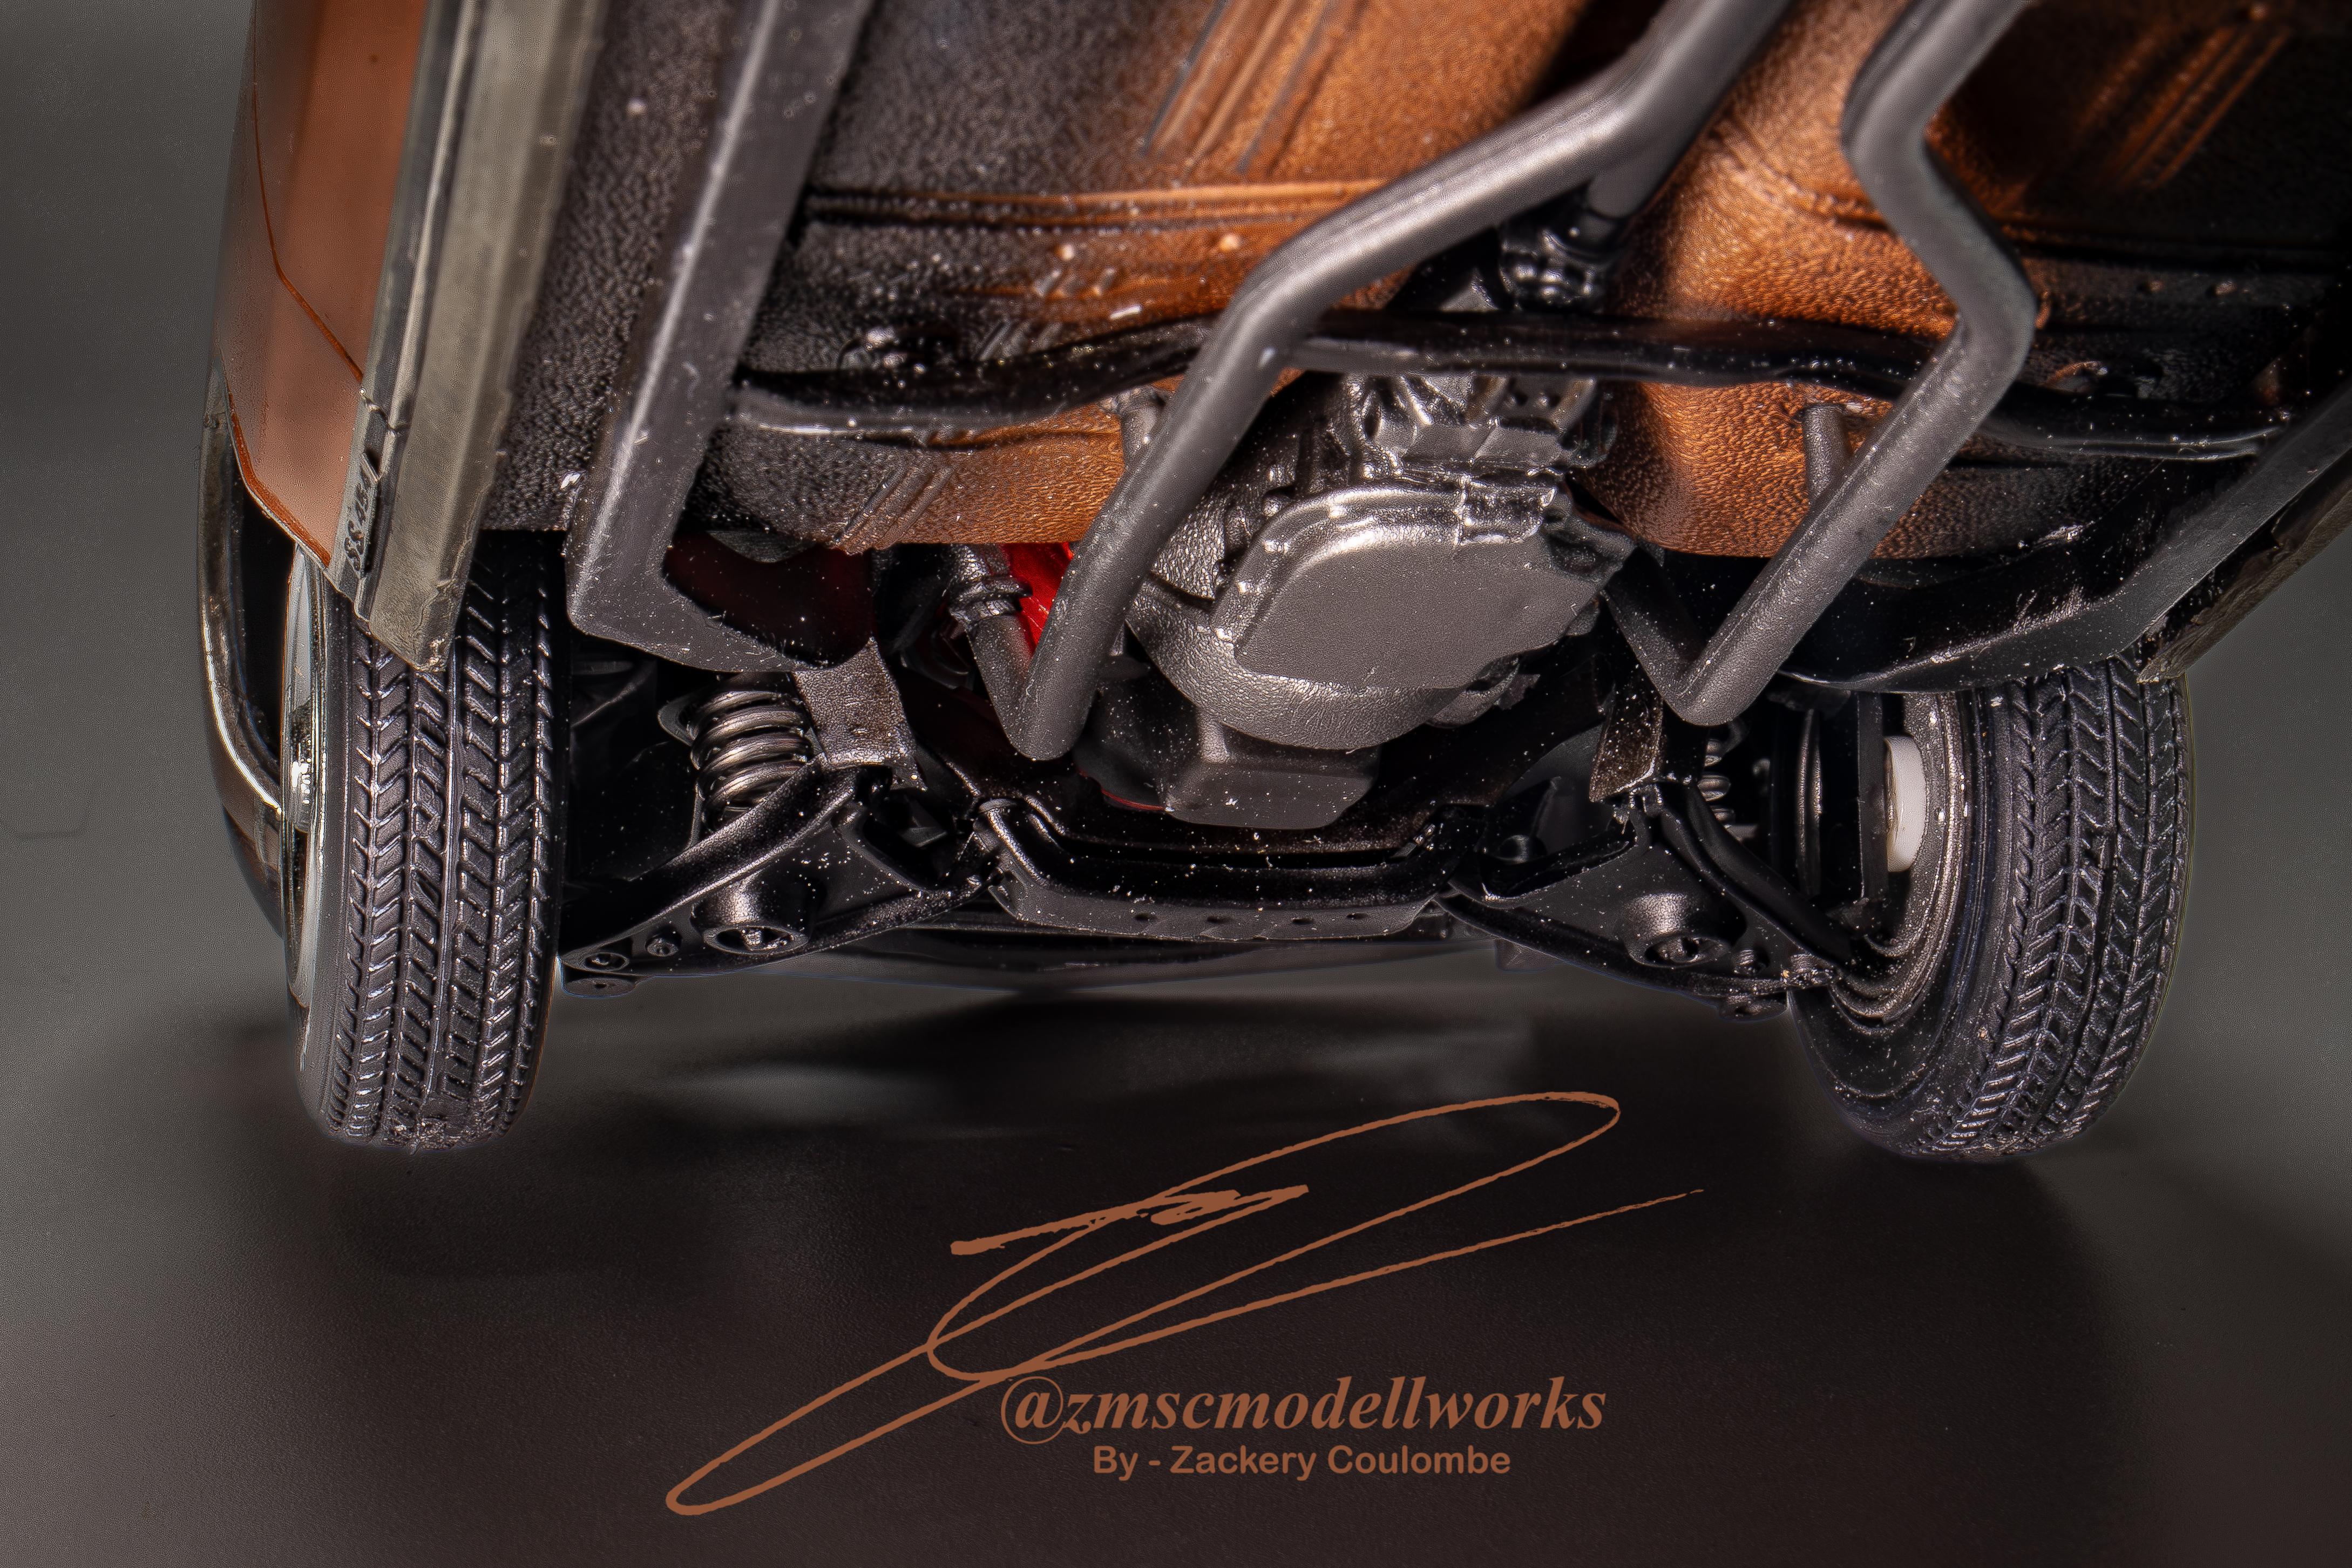
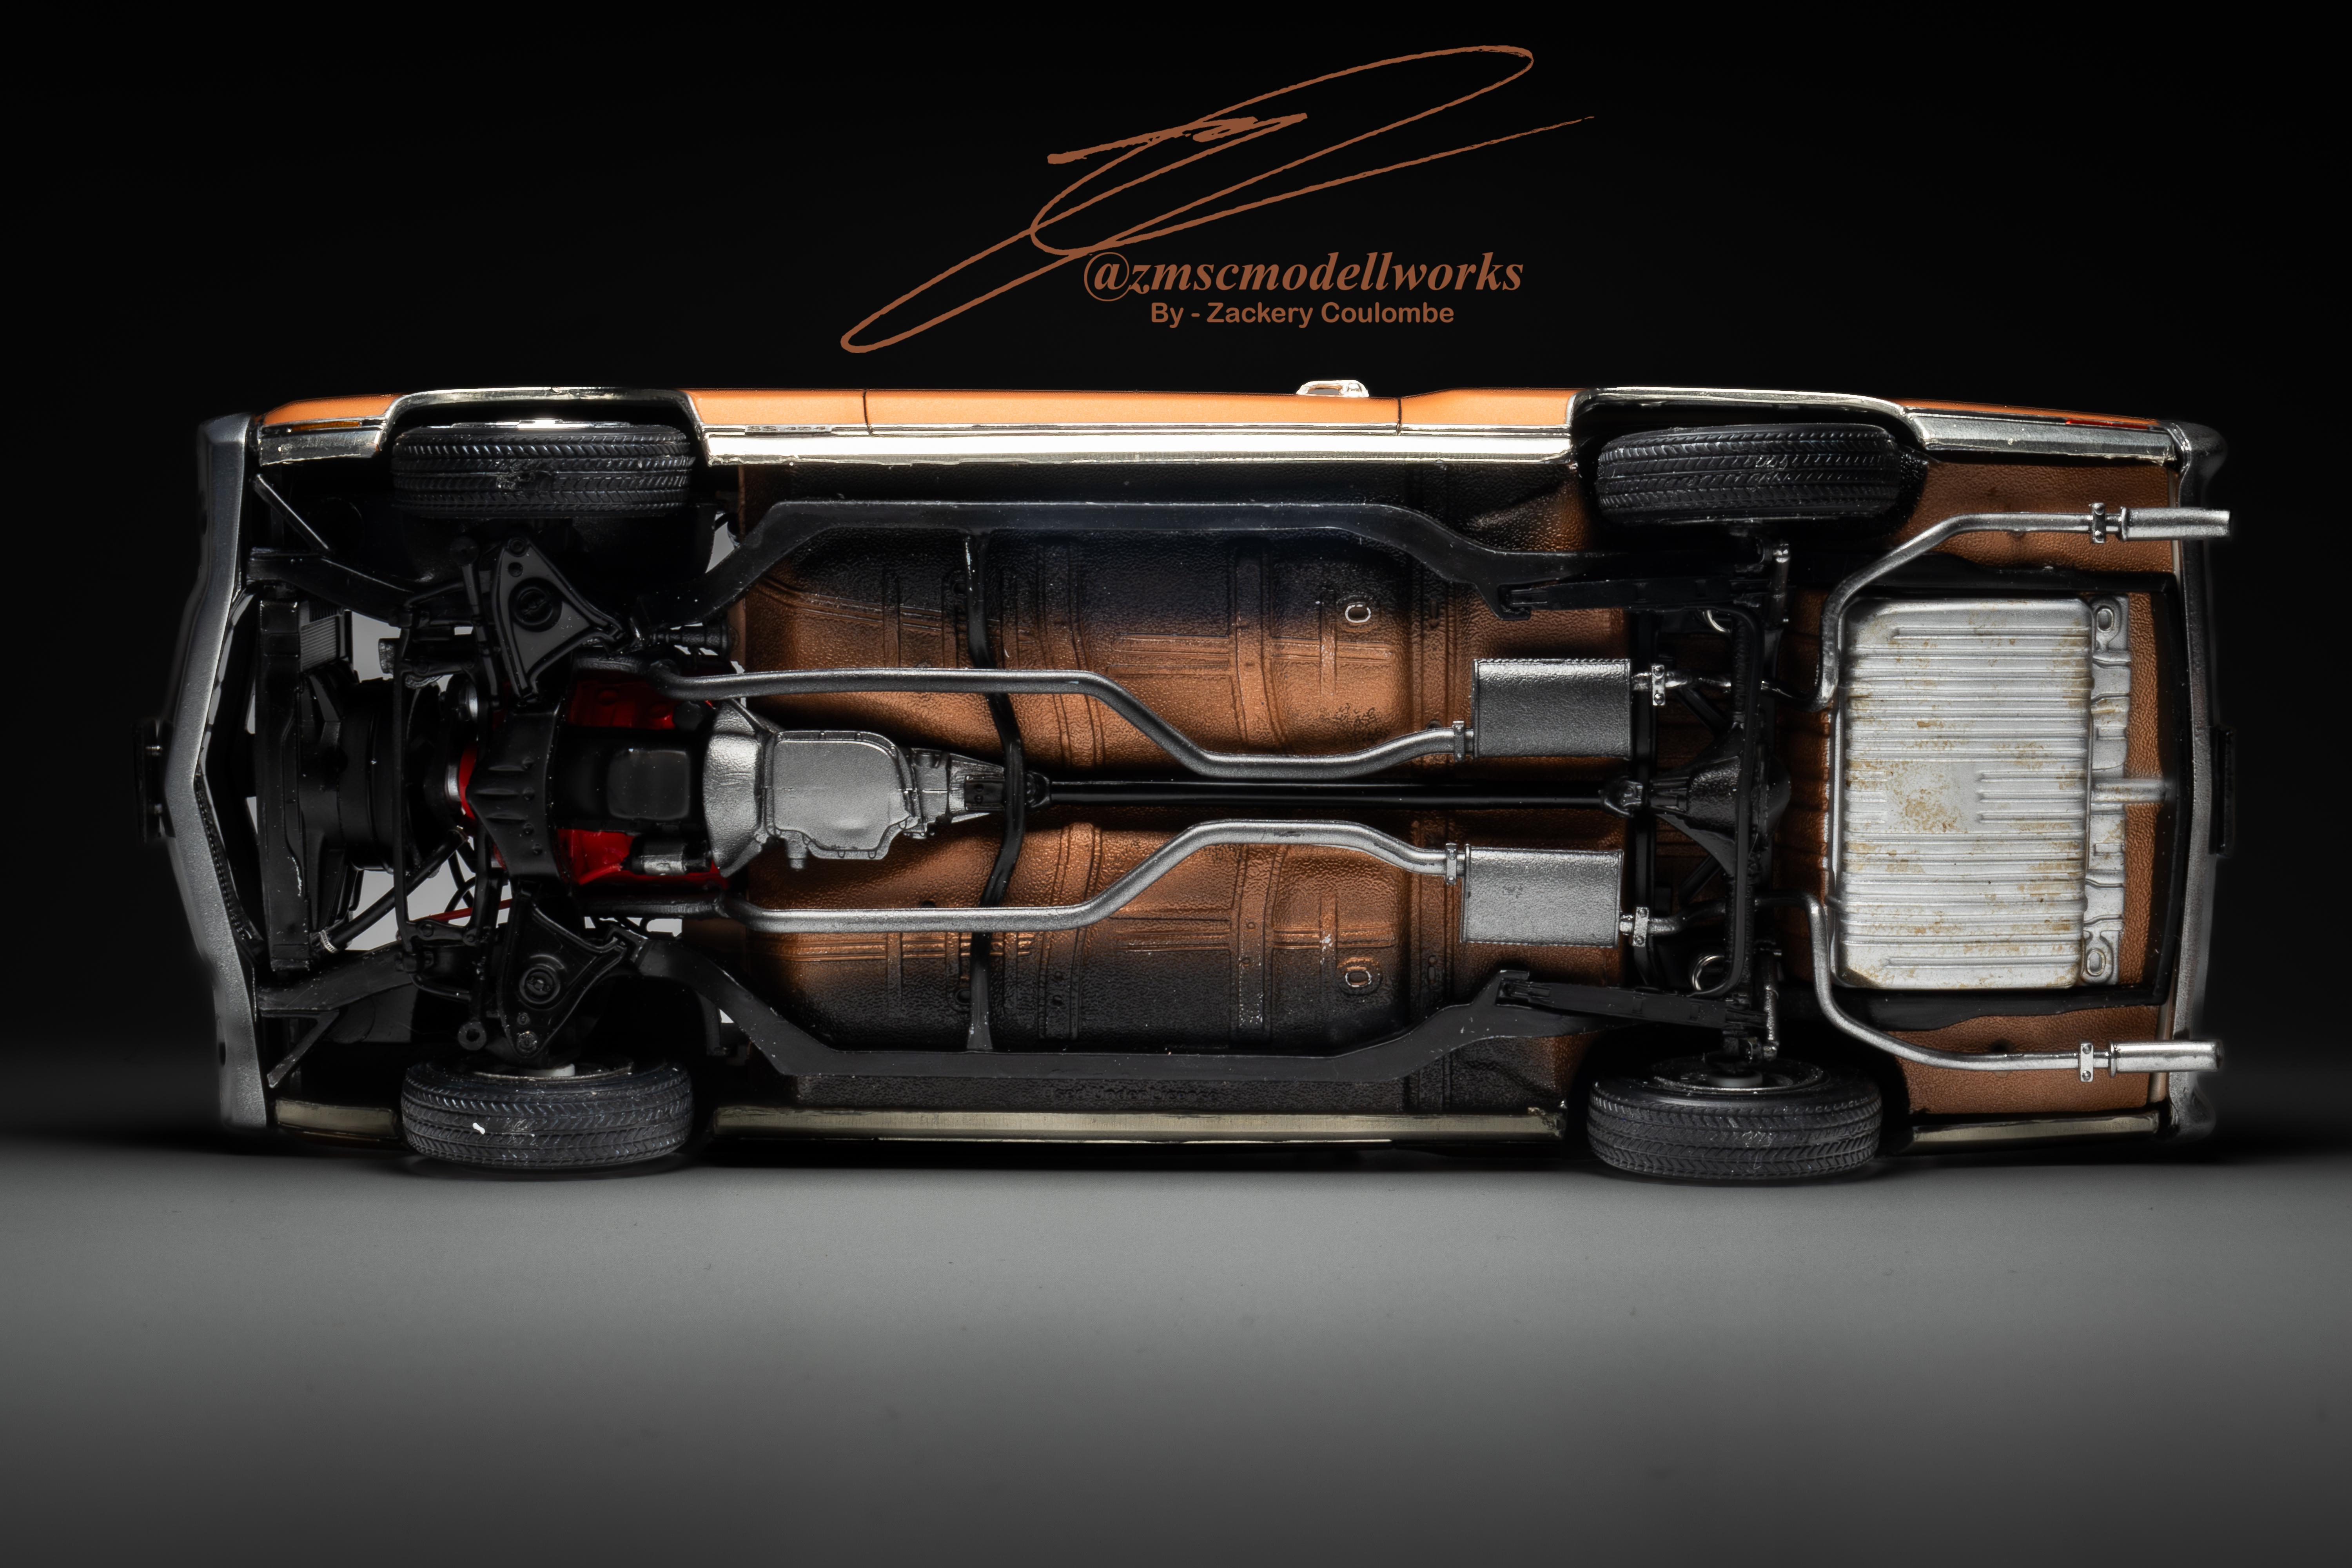
Next on the block of my heavily modified MOPARs is this 1969 Dodge Super Bee Ill start on the exterior and move down and in. First off and most notable is the large tail fin out the back. The profile was shaped off of the Dodge Coronet Super Bee's stripe that runs from the back of the rear quarter up to midway on the door. Besides that I wanted to keep the rest of the body lines yet make those more aggressive. 0.5mm Rod was laid along some of these sharper lines to extend them out from the body, the 2 part autobody filler was put in and sanded to blend everything together. 1x2mm rectangular styrene was used around the wheel arches and got the same treatment. The body was finished off with Splash Paints-Lemon Twist, a factory matched MOPAR color before being given 3 layers of Zero Paints Pearl Effect top coat. Decals were applied and then sealed in with Splash Paints 2K Clear. As I couldn't find any mirror STLs that suited the build, I went diving into the spares box and came across a bunch of parts I didn't use on an old Concept Camaro. These were left chrome to keep with a bit of the factory flair. I did however decide to not rechrome the front and rear bumpers as they sat out too wide from the body and required shortening. These were simply painted Steel from Splash Paints. With the huge wing out back, this prevented the trunk from opening and closing normally. The idea then was to do side opening trunks with a nitrous bottle and fuel cell on each side but erring on the side of not completing the build from being too complex, I opted to just re-scribe the panel lines to show two halves. The exhaust was initially going to run down the side of the rocker panels but mocking it up I felt like it was going to add too much visual weight si I ran the 3in exhaust all the way to the back like normal but entering the trunk spack from the back of the wheel arches. This was then "run" through to the outermost taillight housings and exits through there. The front grille was opened up to give some space in the nose for the radiator and supercharger heat exchanger while the headlight buckets themselves were removed and replaced with rounded lead wire to represent HALO lights. More airflow was gained by cutting out sections of the front bumper. Of course I had to add the yellow fog lamps. Originally the plan was going to use the Charger hood scoop from the 2 in 1 '68 kit but then while building my 07 Super Bee and Super Bee Wagons, I noticed that the black HEMI logo looked like a really good shape for a window so I made a template, rotated it 90 degrees and made that the top down window into the engine bay. The extra space up front was measured and cut for air extraction. Some 6.1L HEMI decals were sourced from the newer Revell Charger Super Bee with the scissor doors which was the donor kit to the Charger Super Bee XL. Wheels and Tires I could not remember what they were or where they came from but they were in the spares box and tickled my fancy at the time so they got body colored and blacked out as well, fairly certain that they scale measured at 22x13. The tires were painted with Splash Paints Rubber Black. 3D printed Brembo 6 Pots were body matched and paired to 18" drilled rotors. The front end was caged to make a custom subframe to mount the Hellcrate in. This allowed me to pretty much do whatever I wanted suspension wise on the front so I opted to do double wishbones and coilovers to modernize the ride height. The engine is the Hellcrate design from Motabas on Cults 3D, minus the exhaust manifolds. These were custom made, 4 to 1, equal length headers made scratch from 2.0mm lead wire leading into the dual 3in exhaust out back. With the dropped engine and custom subframe, over and down was required to get proper ground clearance The engine was plumbed, wired and belted to keep a clean look. Had this not been done in 2 months for a group build I probably would have not gone for a "tucked look" and made everything look more or less an OEm styled harness. The tube front end and the cylinder heads were body colored as well. Moving inside, nothing too crazy was done. While the back seat was "retained", its not much good now with the intricate, body matched roll cage installed. The dash was refaced with a flat sheet, riveted in with some custom '70s era NASCAR gauges with chrome bezels. Along with the mirrors and rear diff, the steering wheel + column also came from the Concept Camaro kit. The sequential shifter was a scratch made piece, the grip being made from clear styrene rod and dipped in Tamiya Clear Yellow. I usually keep the longest and thickest pieces in the spares box for instances like this. In keeping with the racecar theme, I made a digital light rev counter. Just a rectangular styrene piece with 0.25mm rod ends glued along and painted with clears gives a good effect on what exactly it may be. A simple set of factory MOPAR buckles finished off the interior. Hope You enjoy this one, let me know if you'd like to see more like this.
-
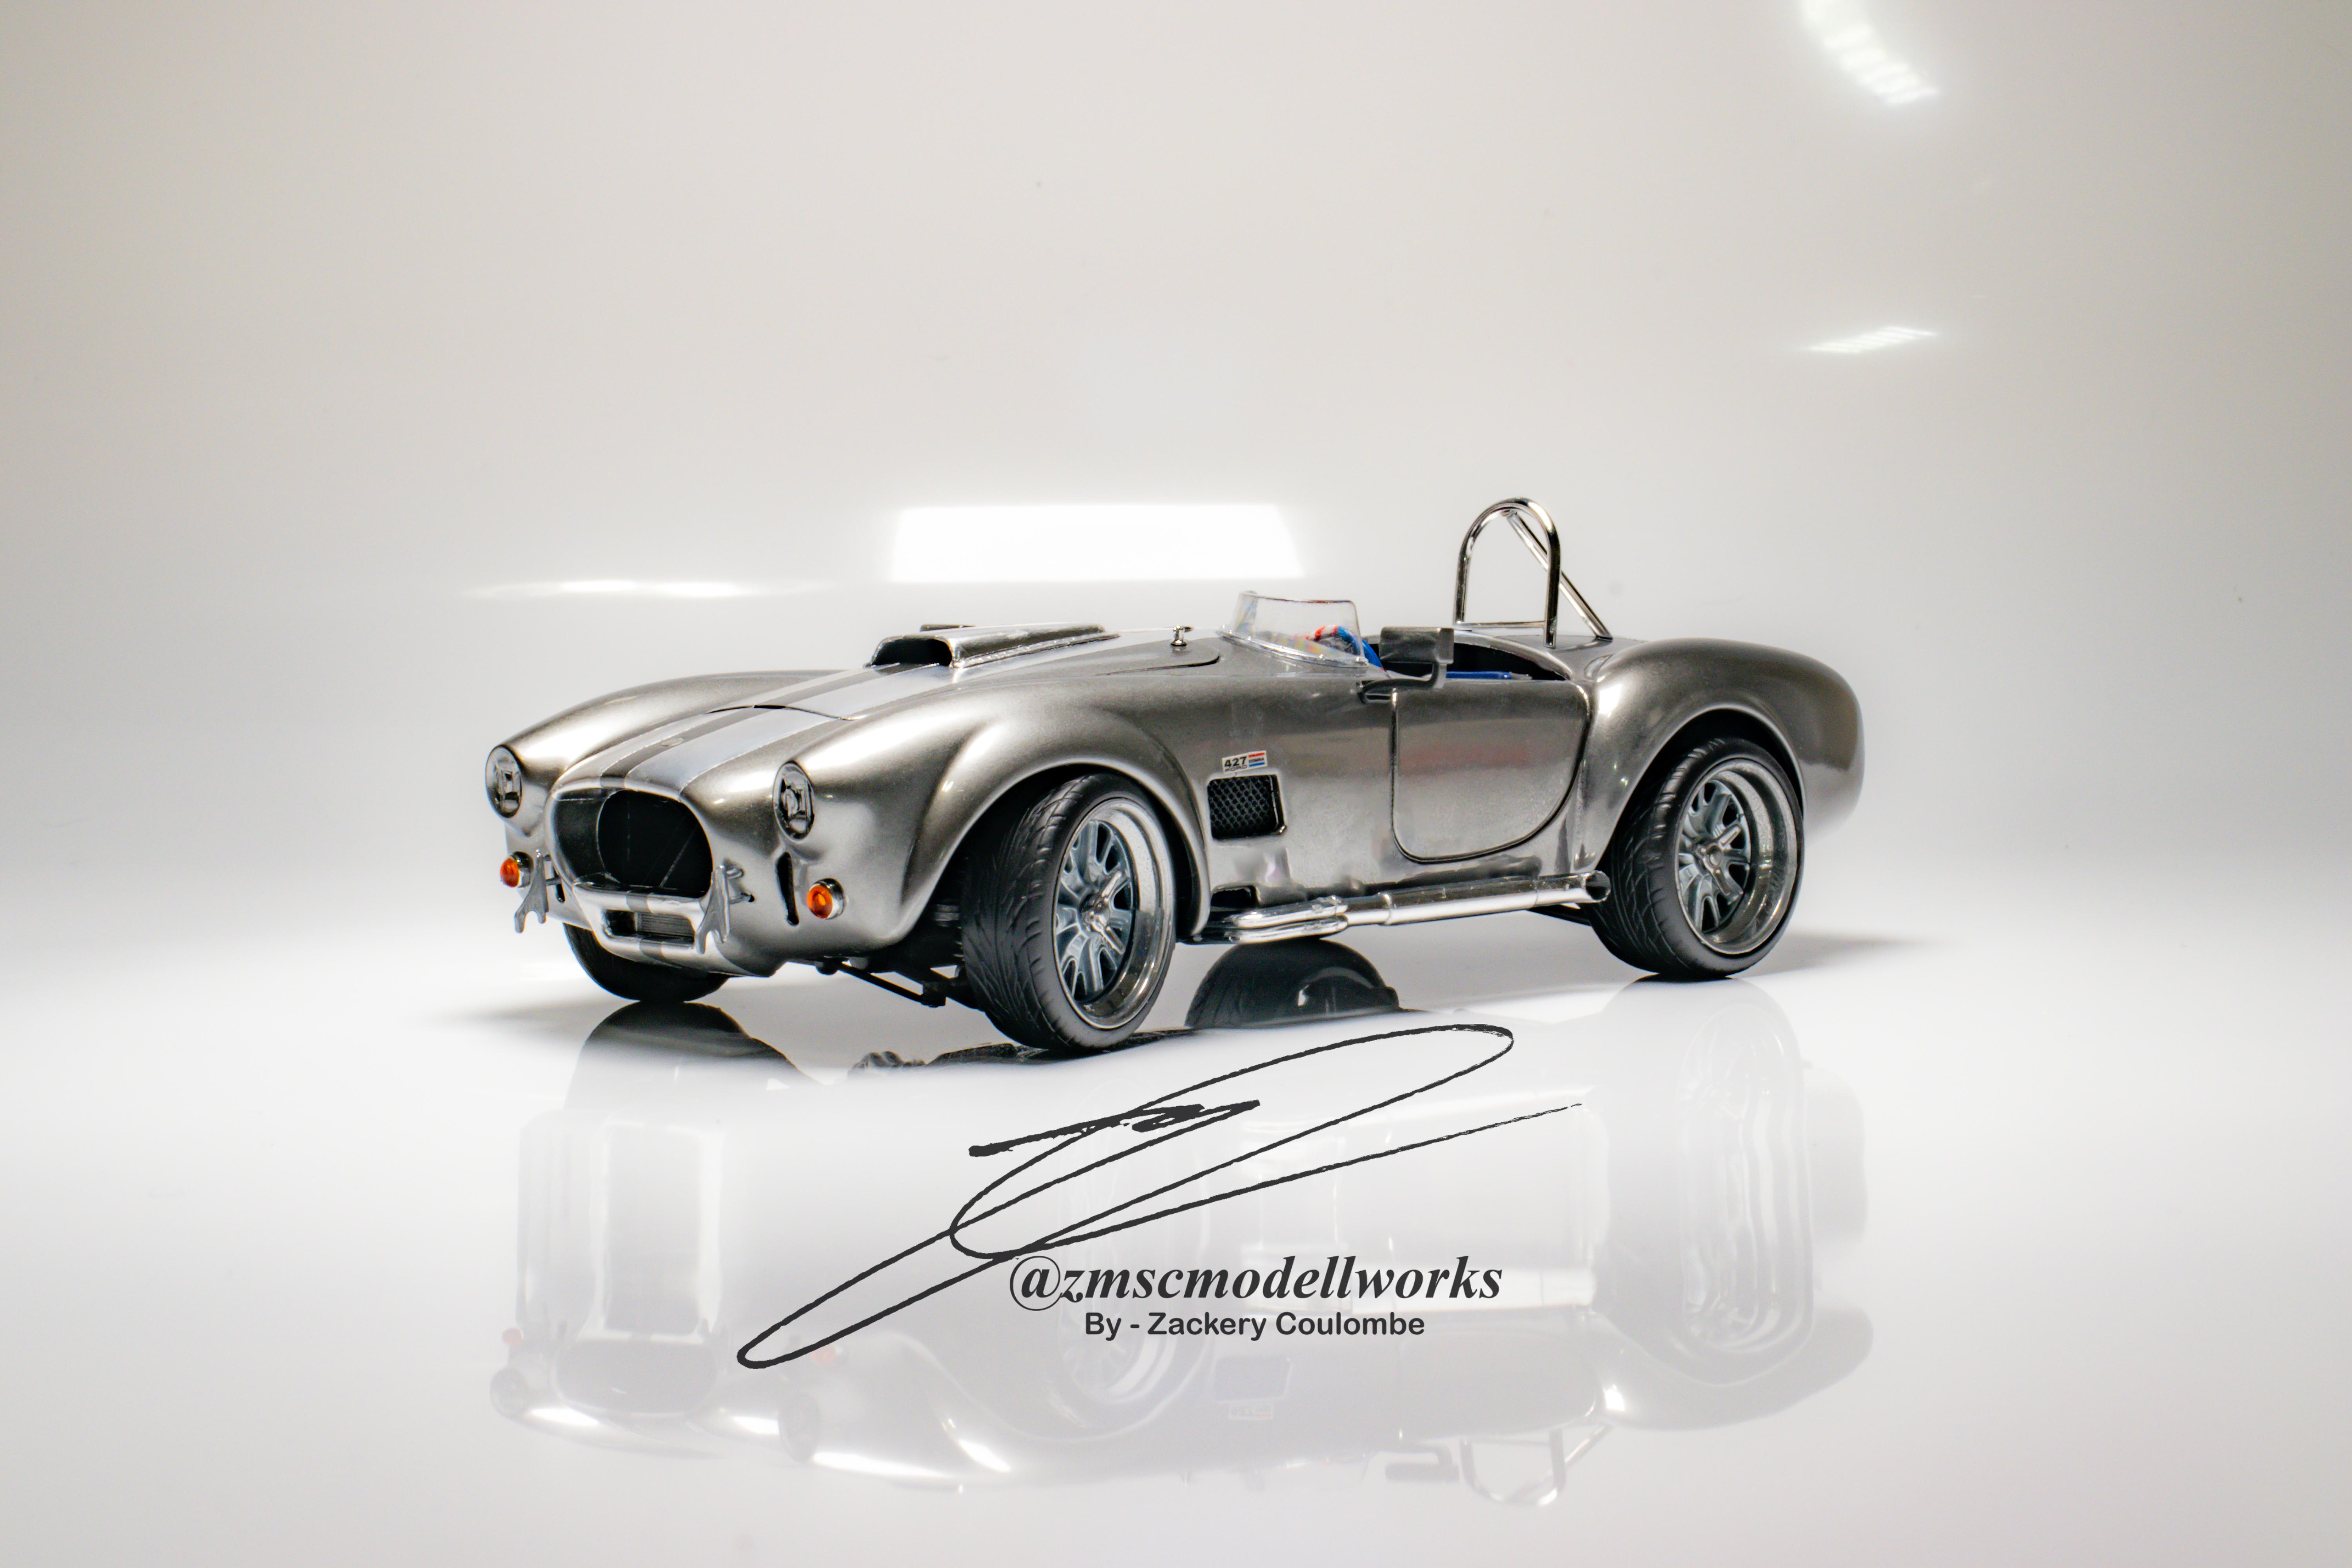
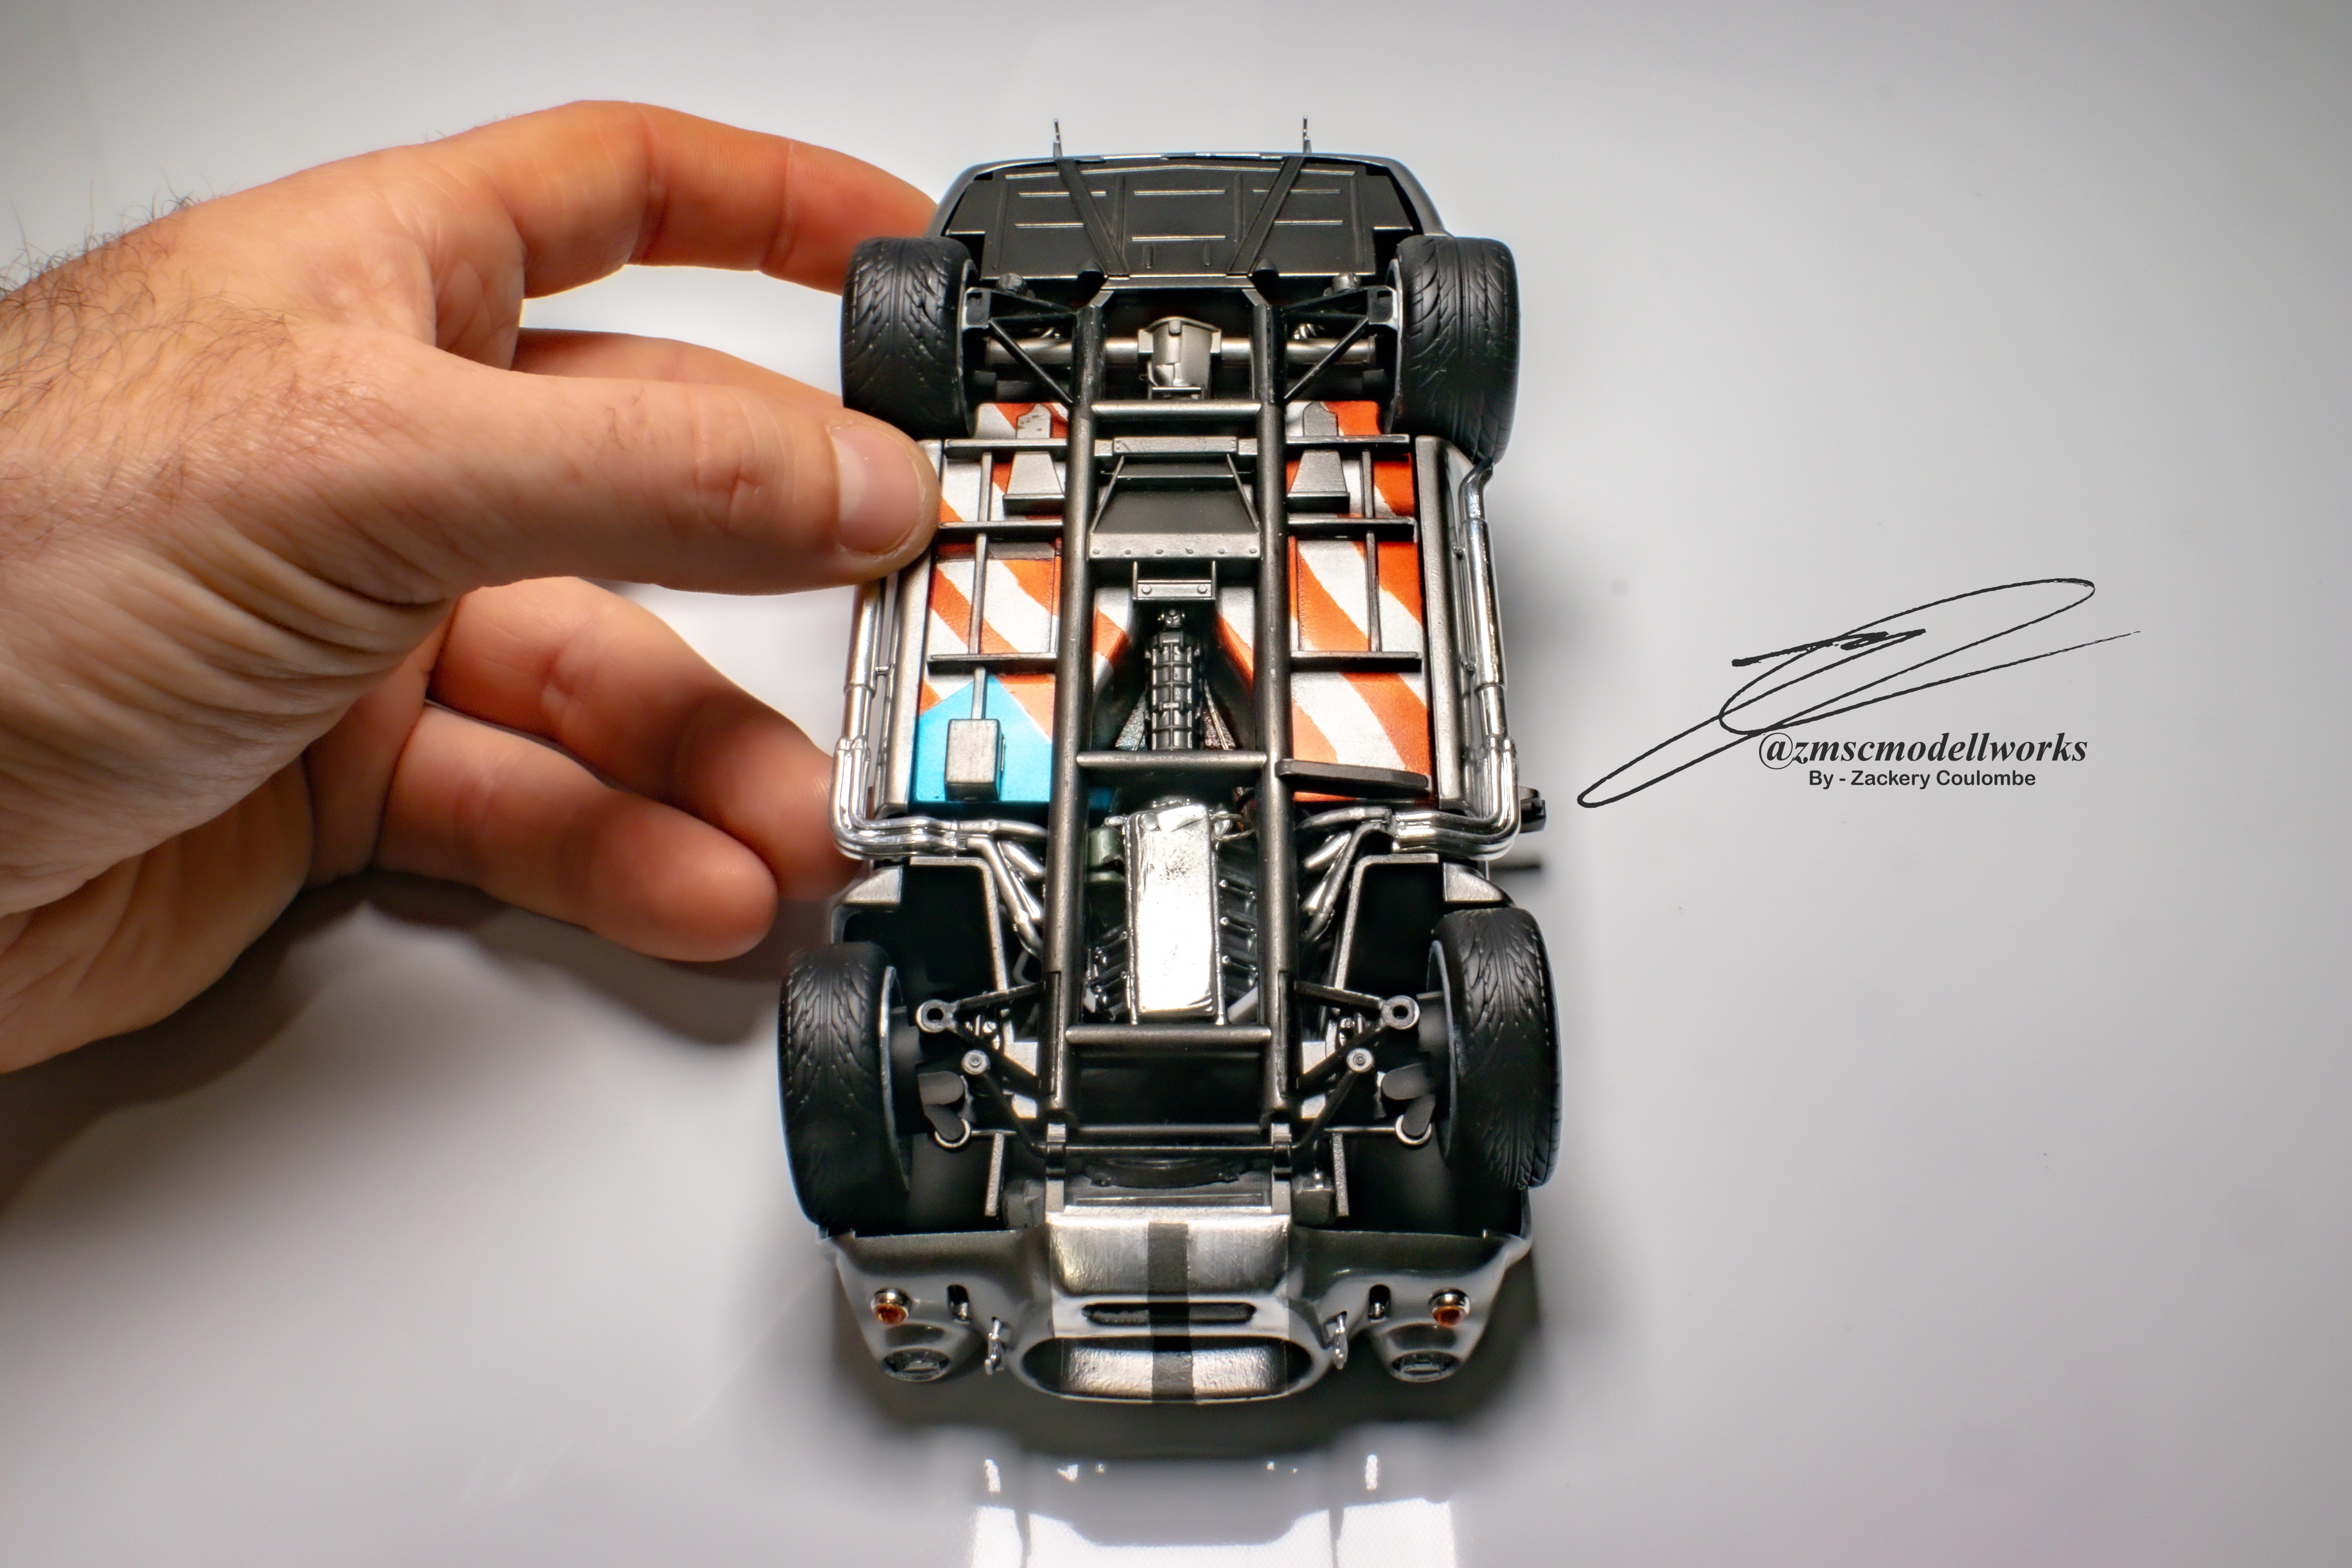
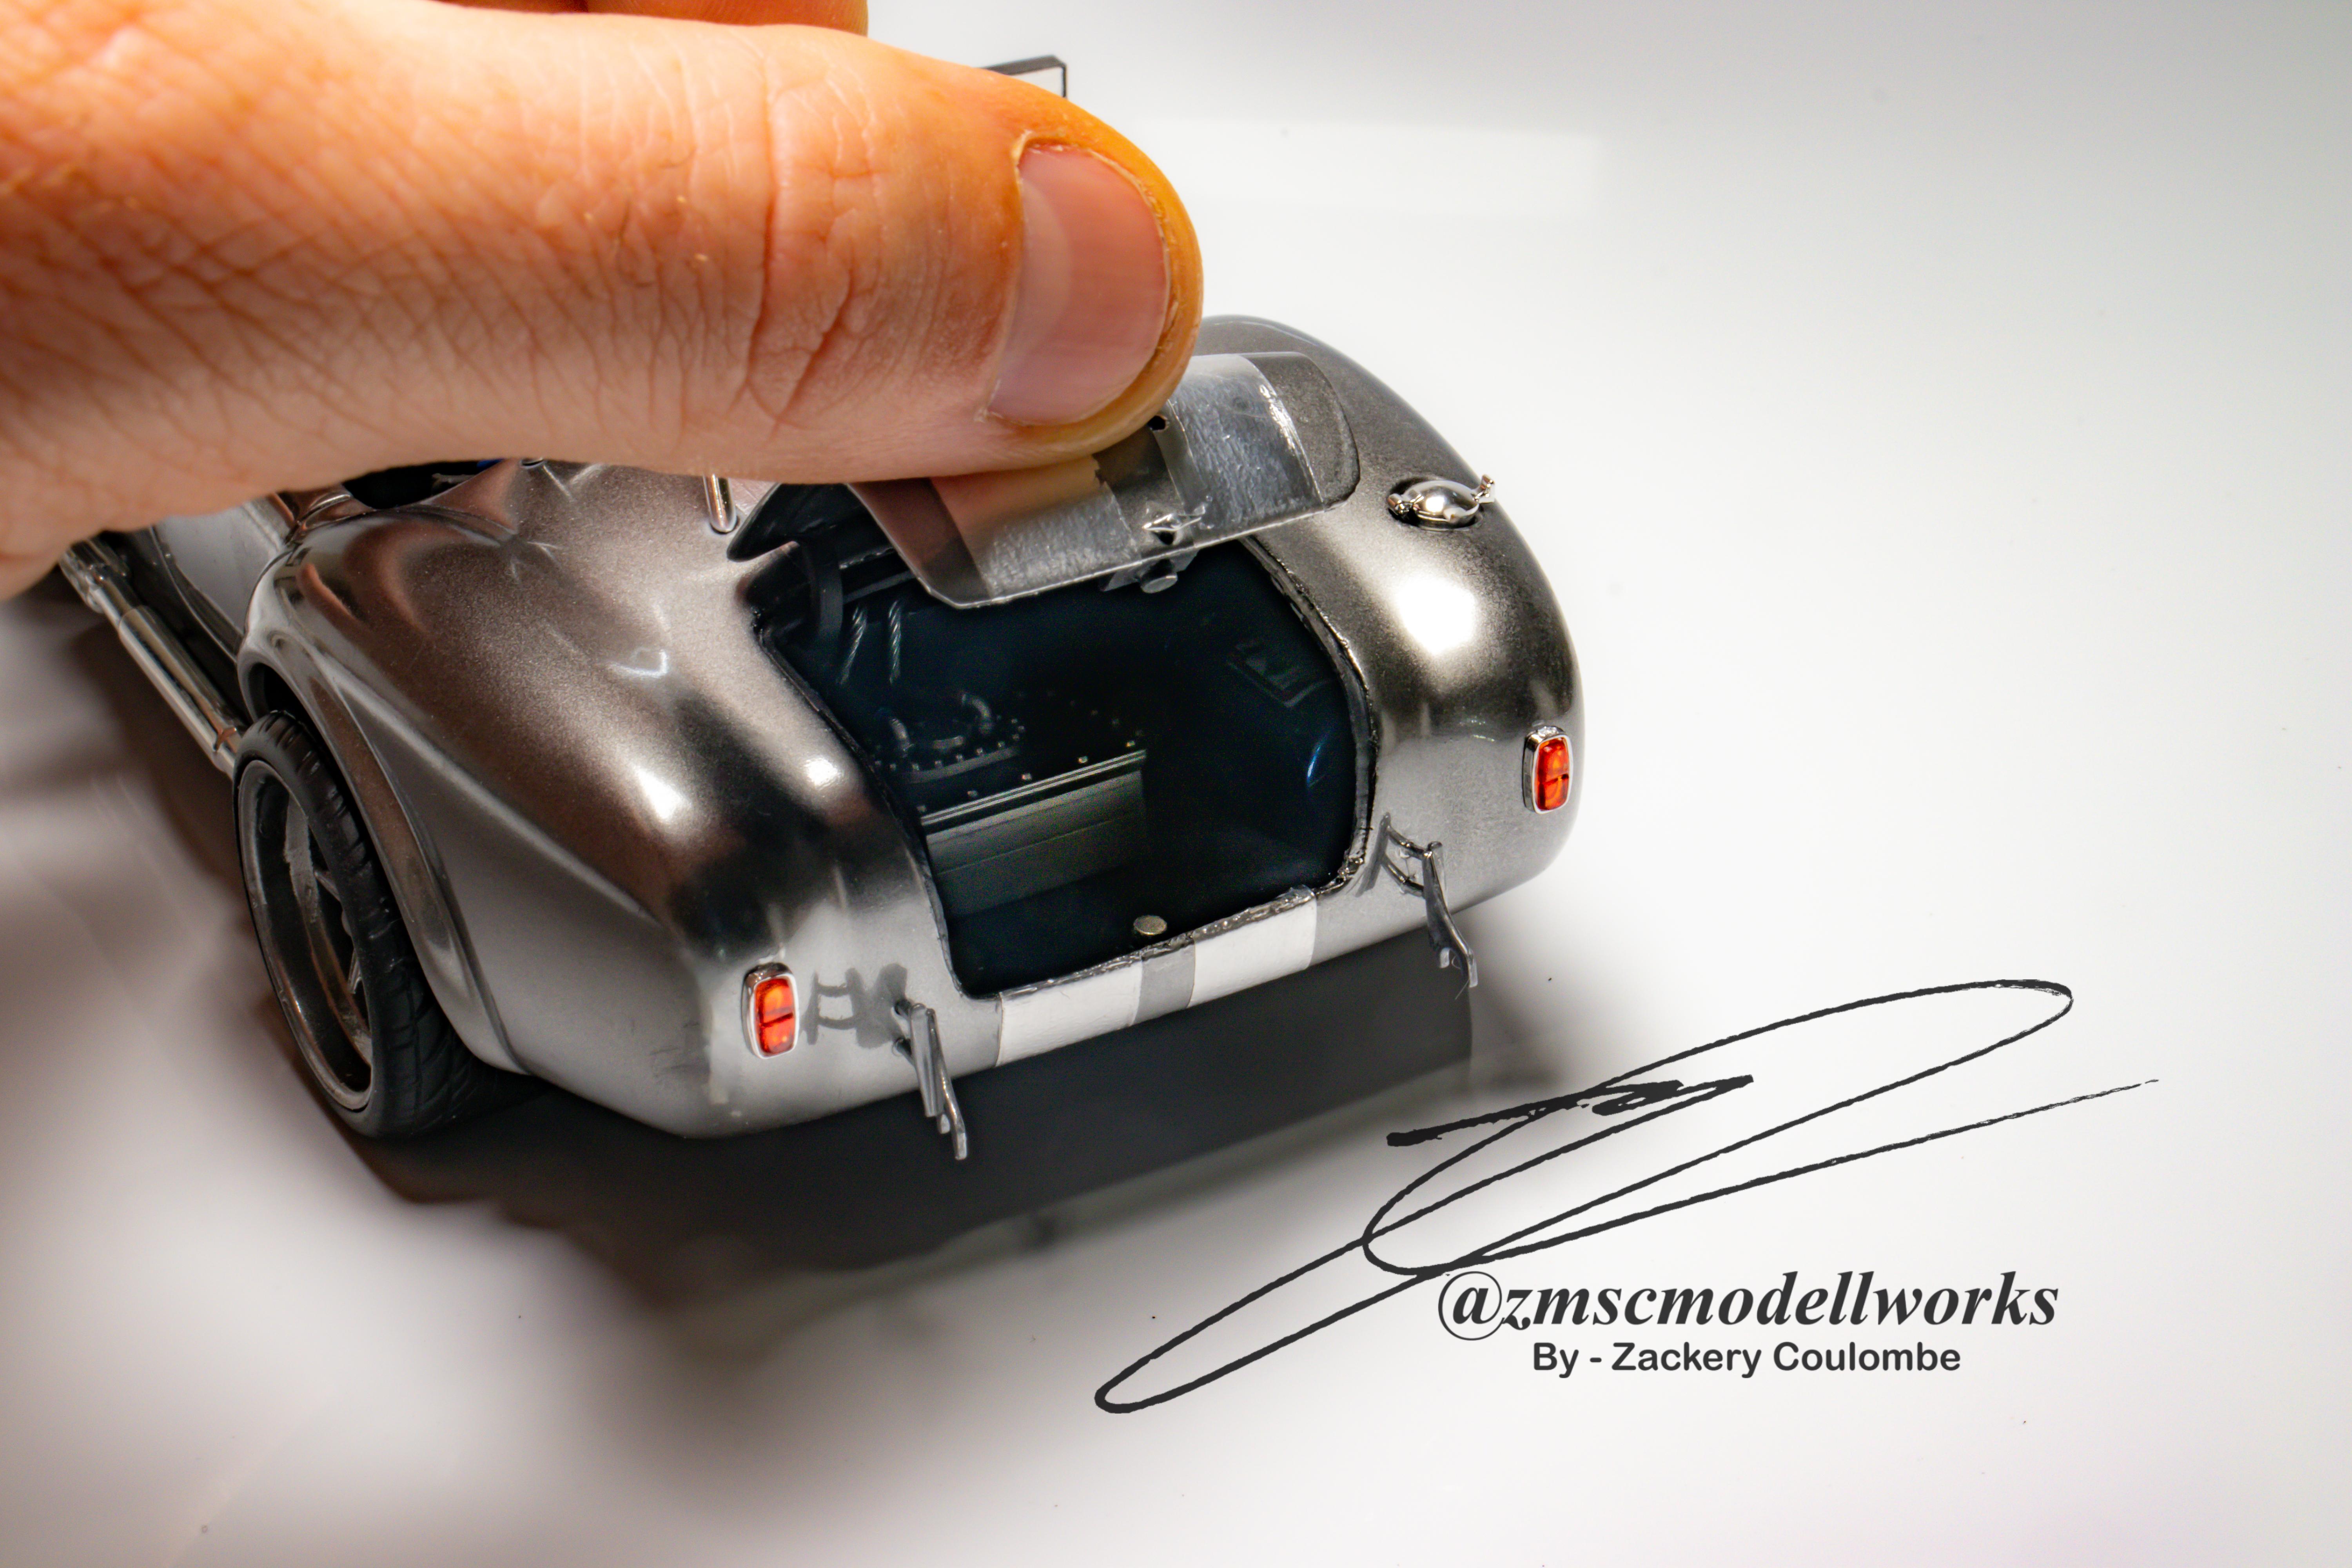
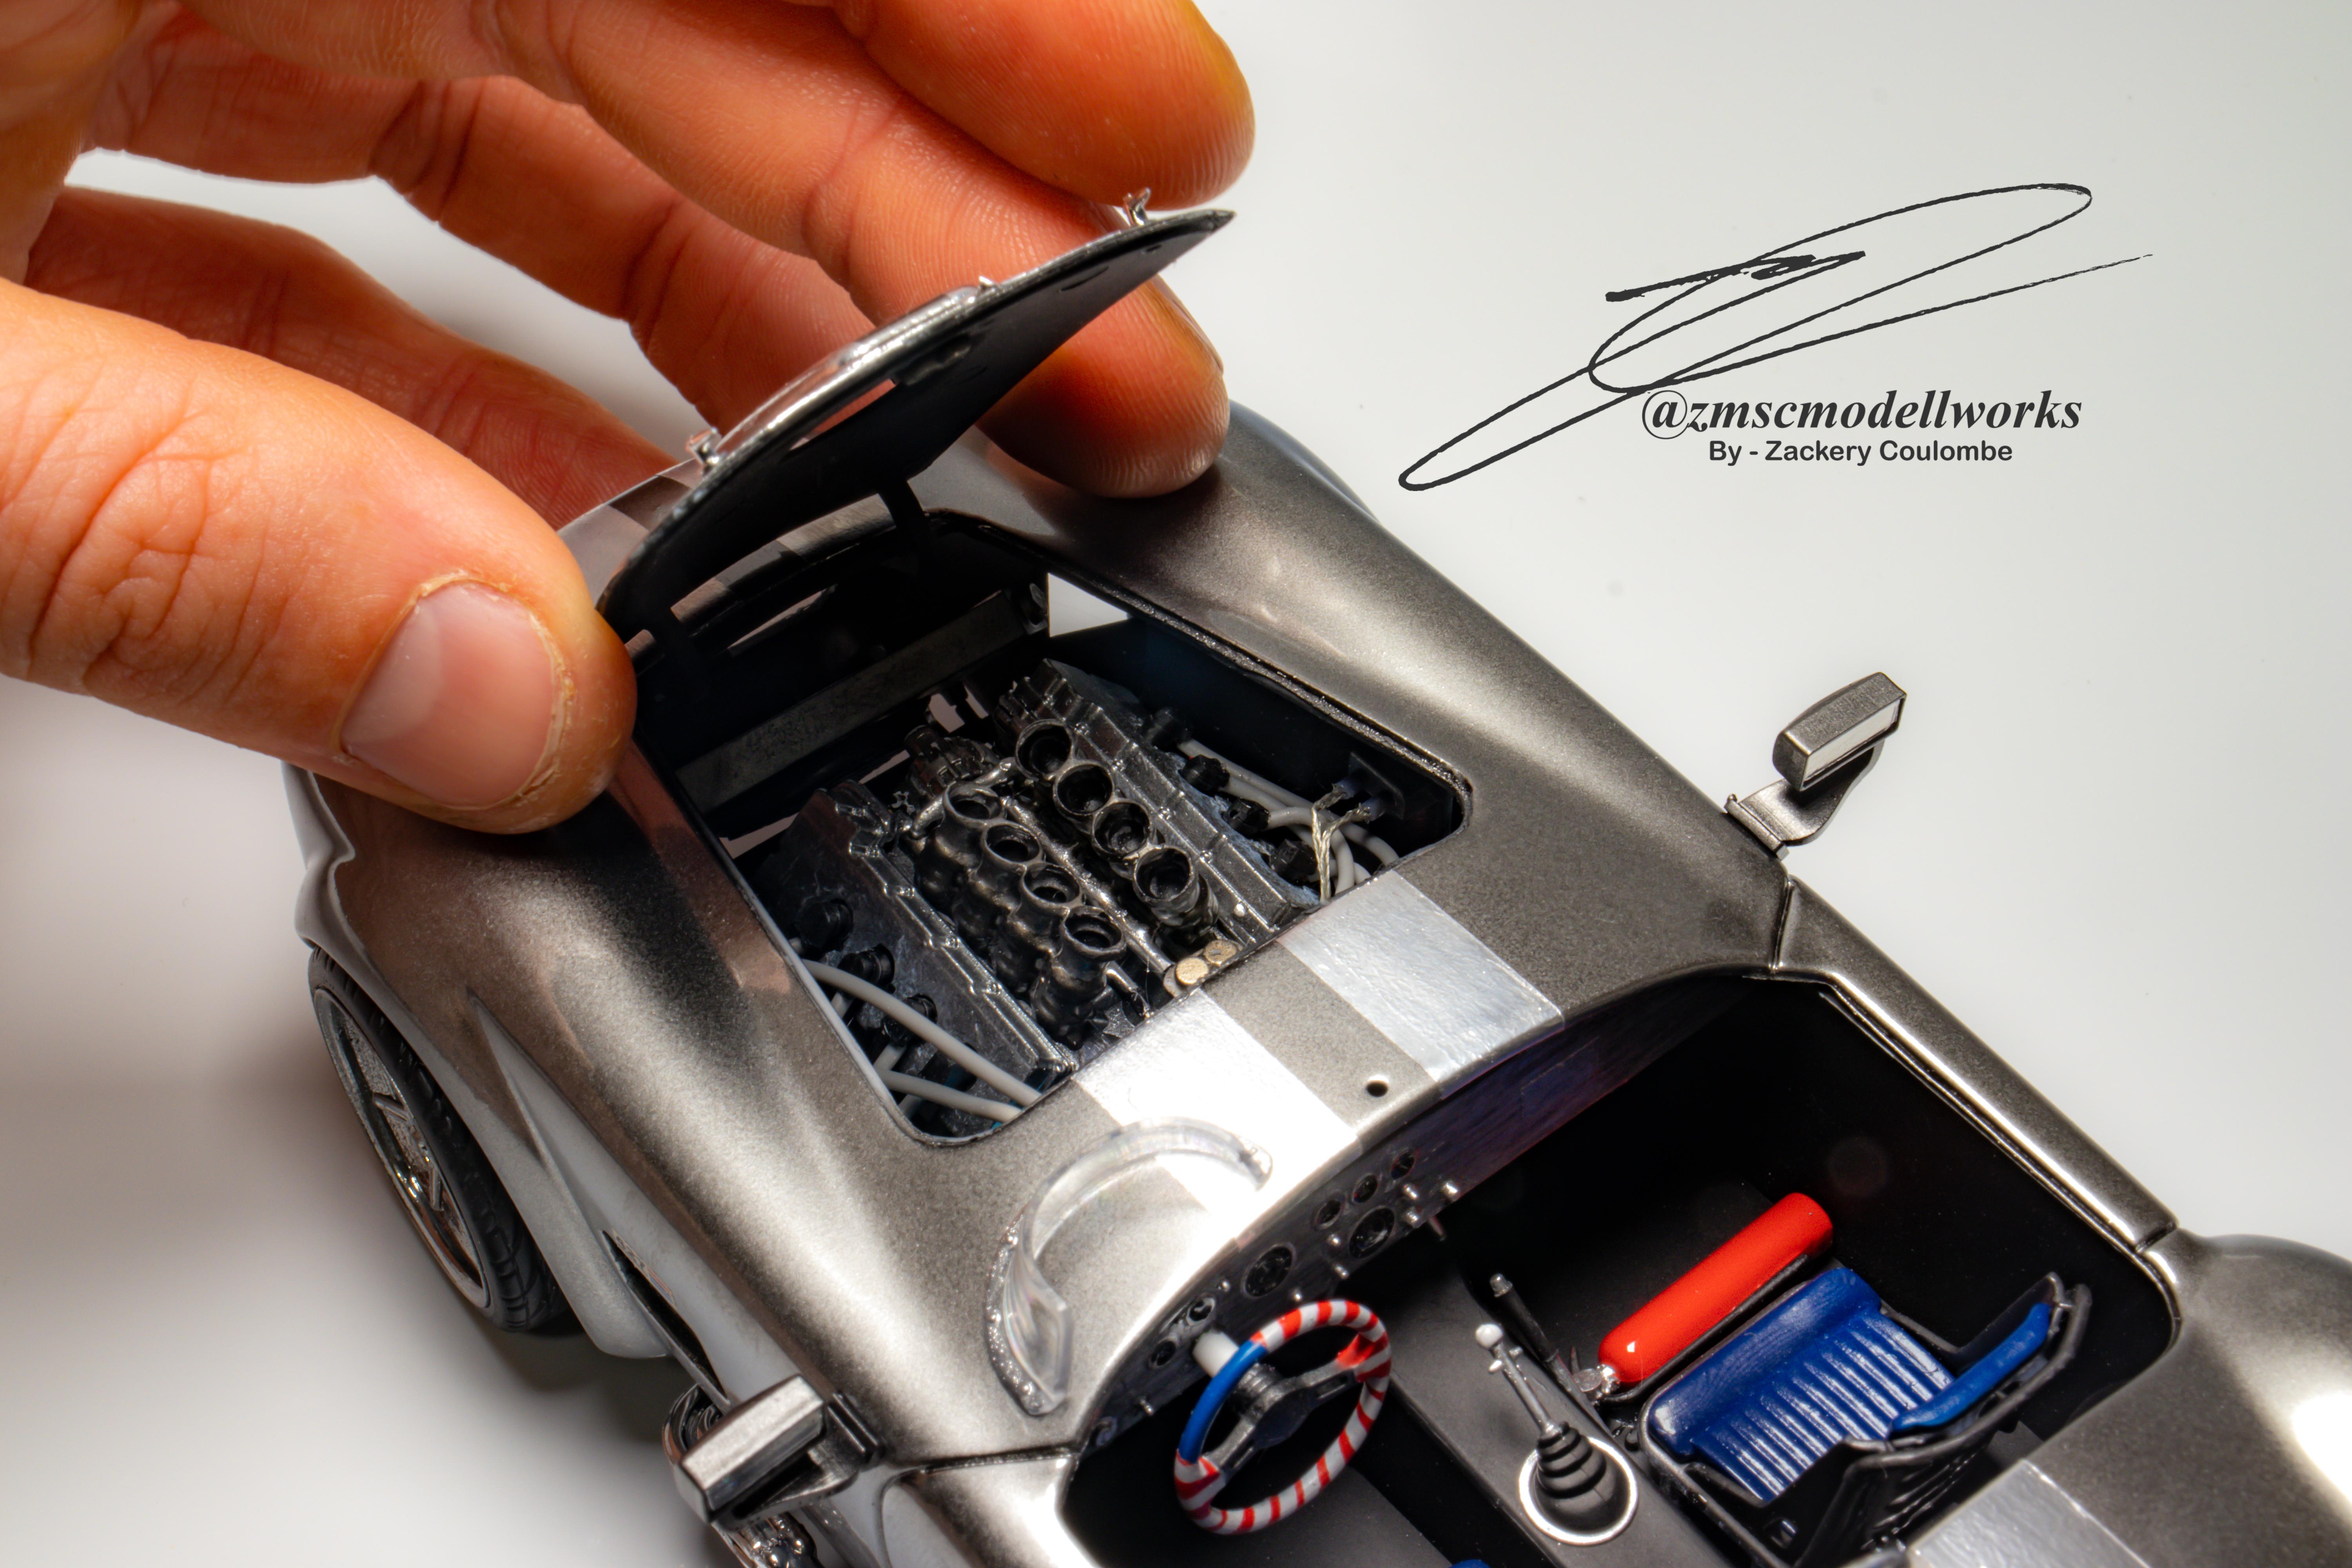
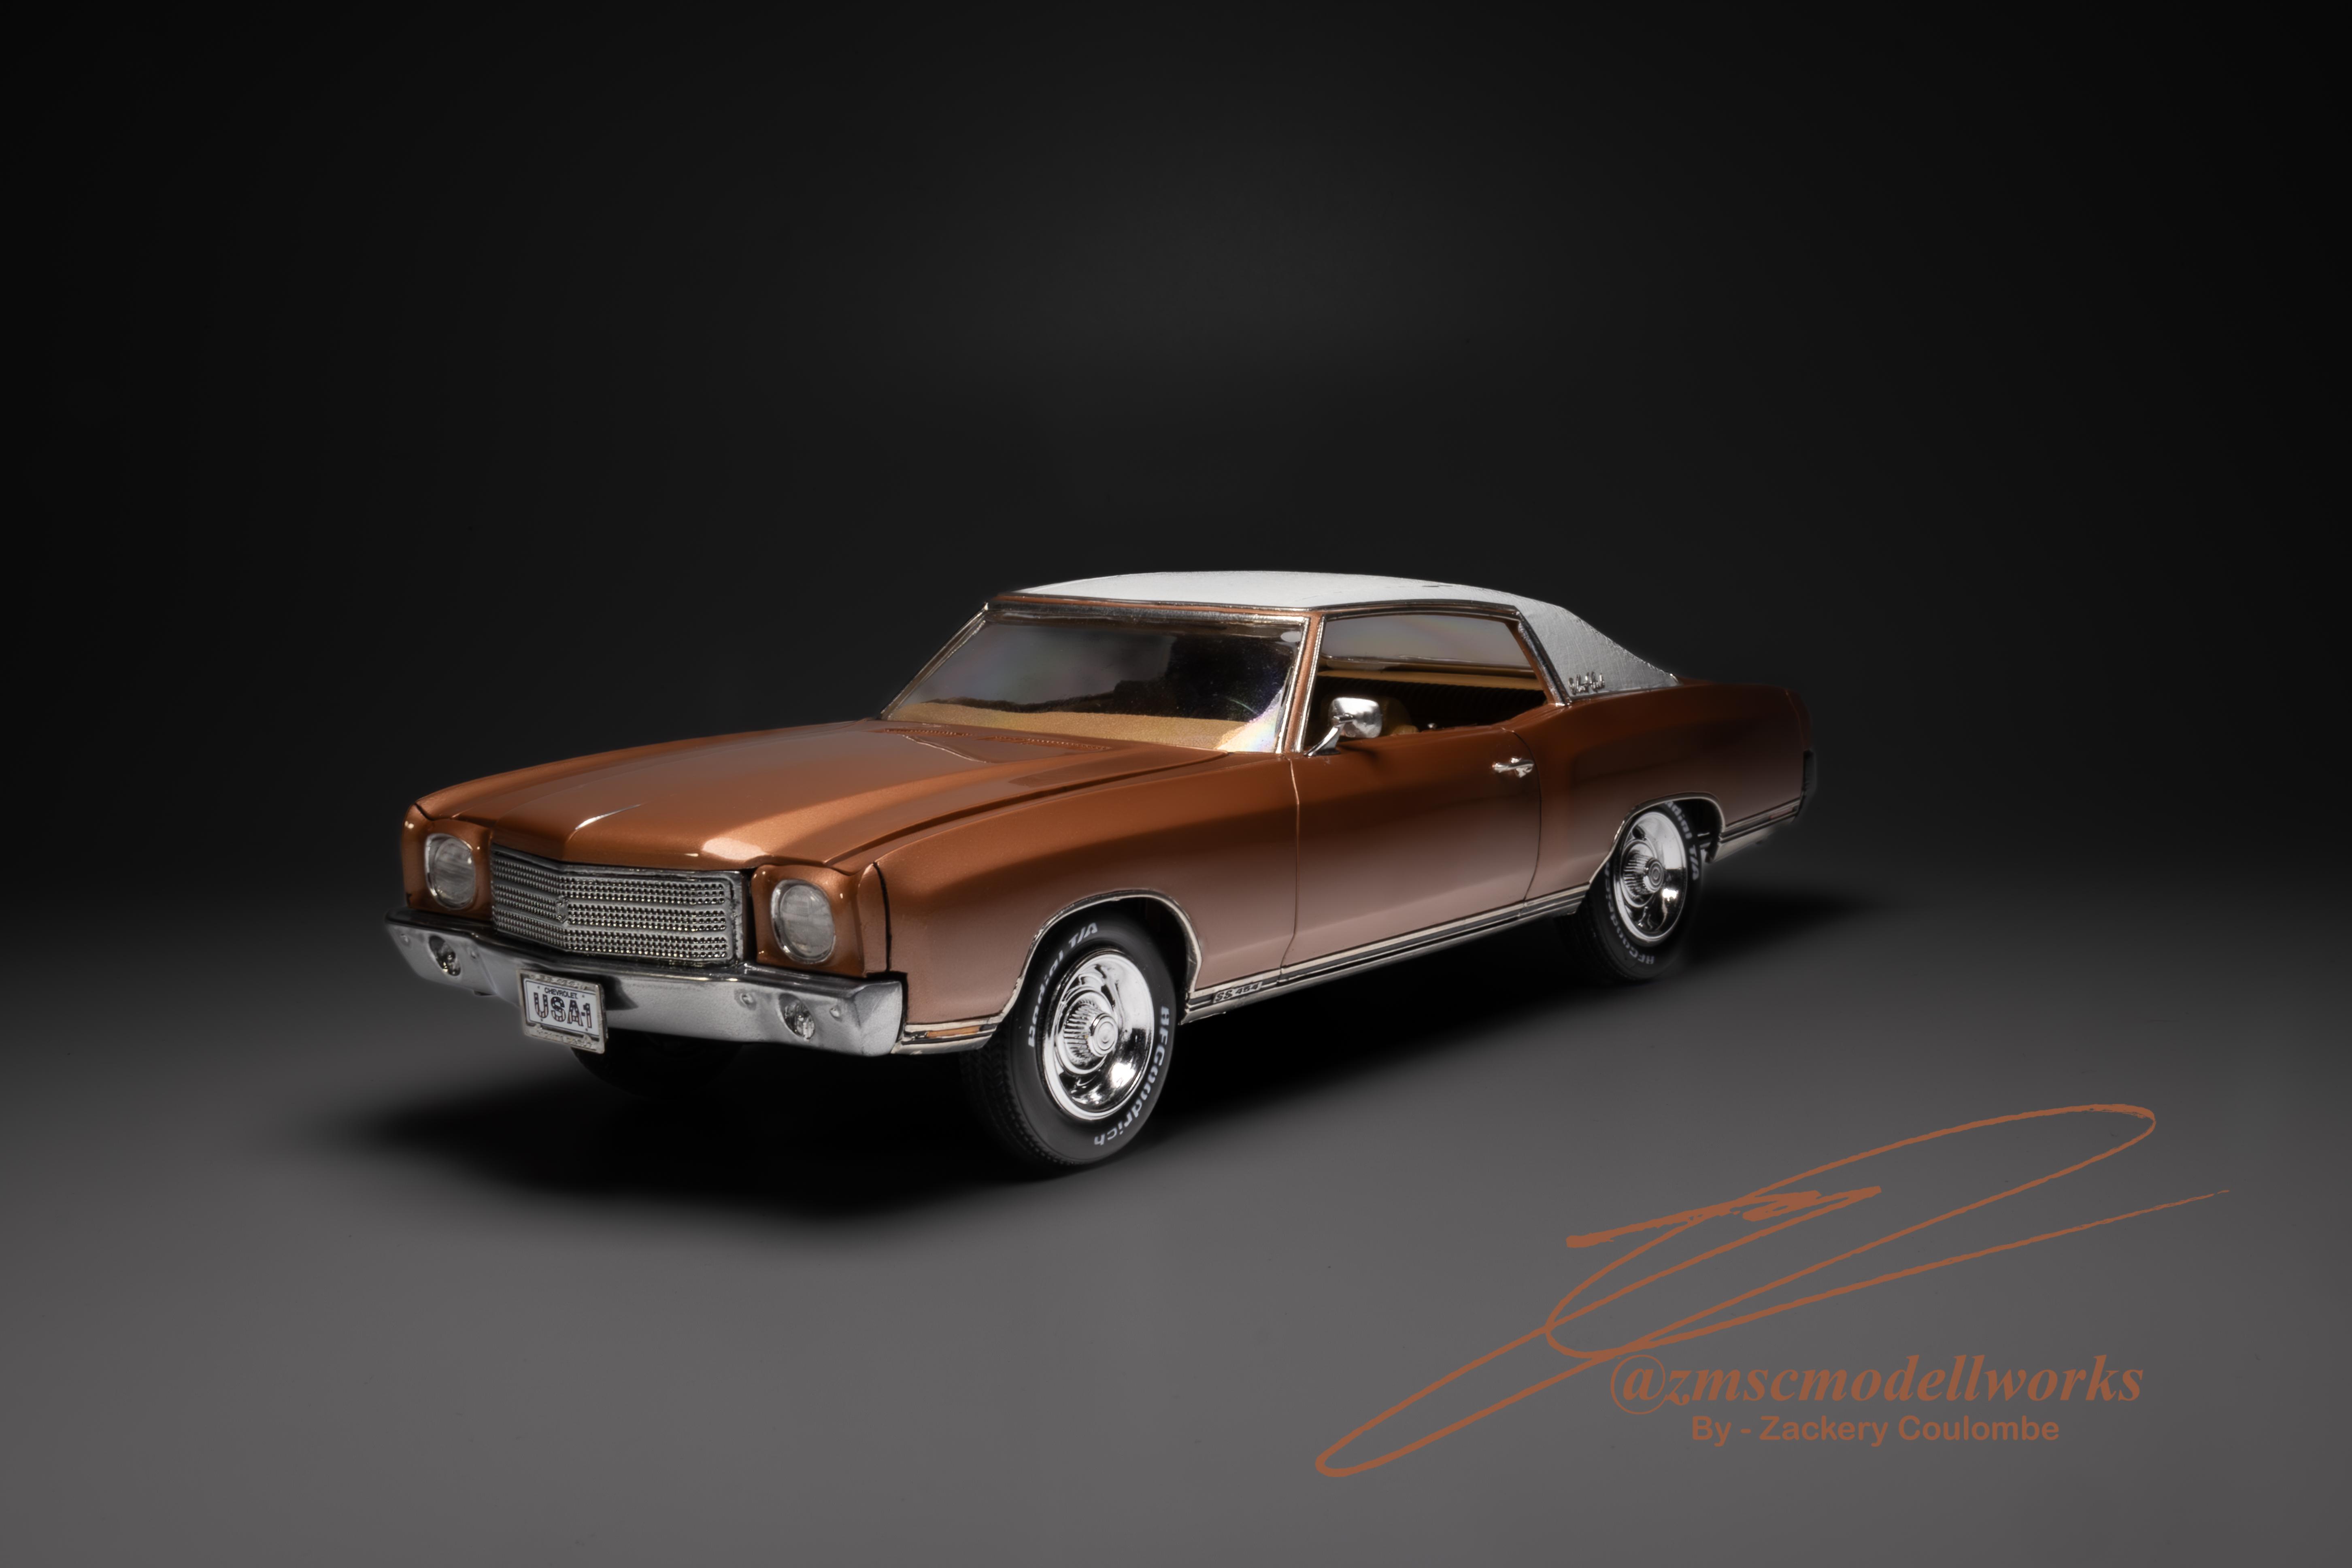
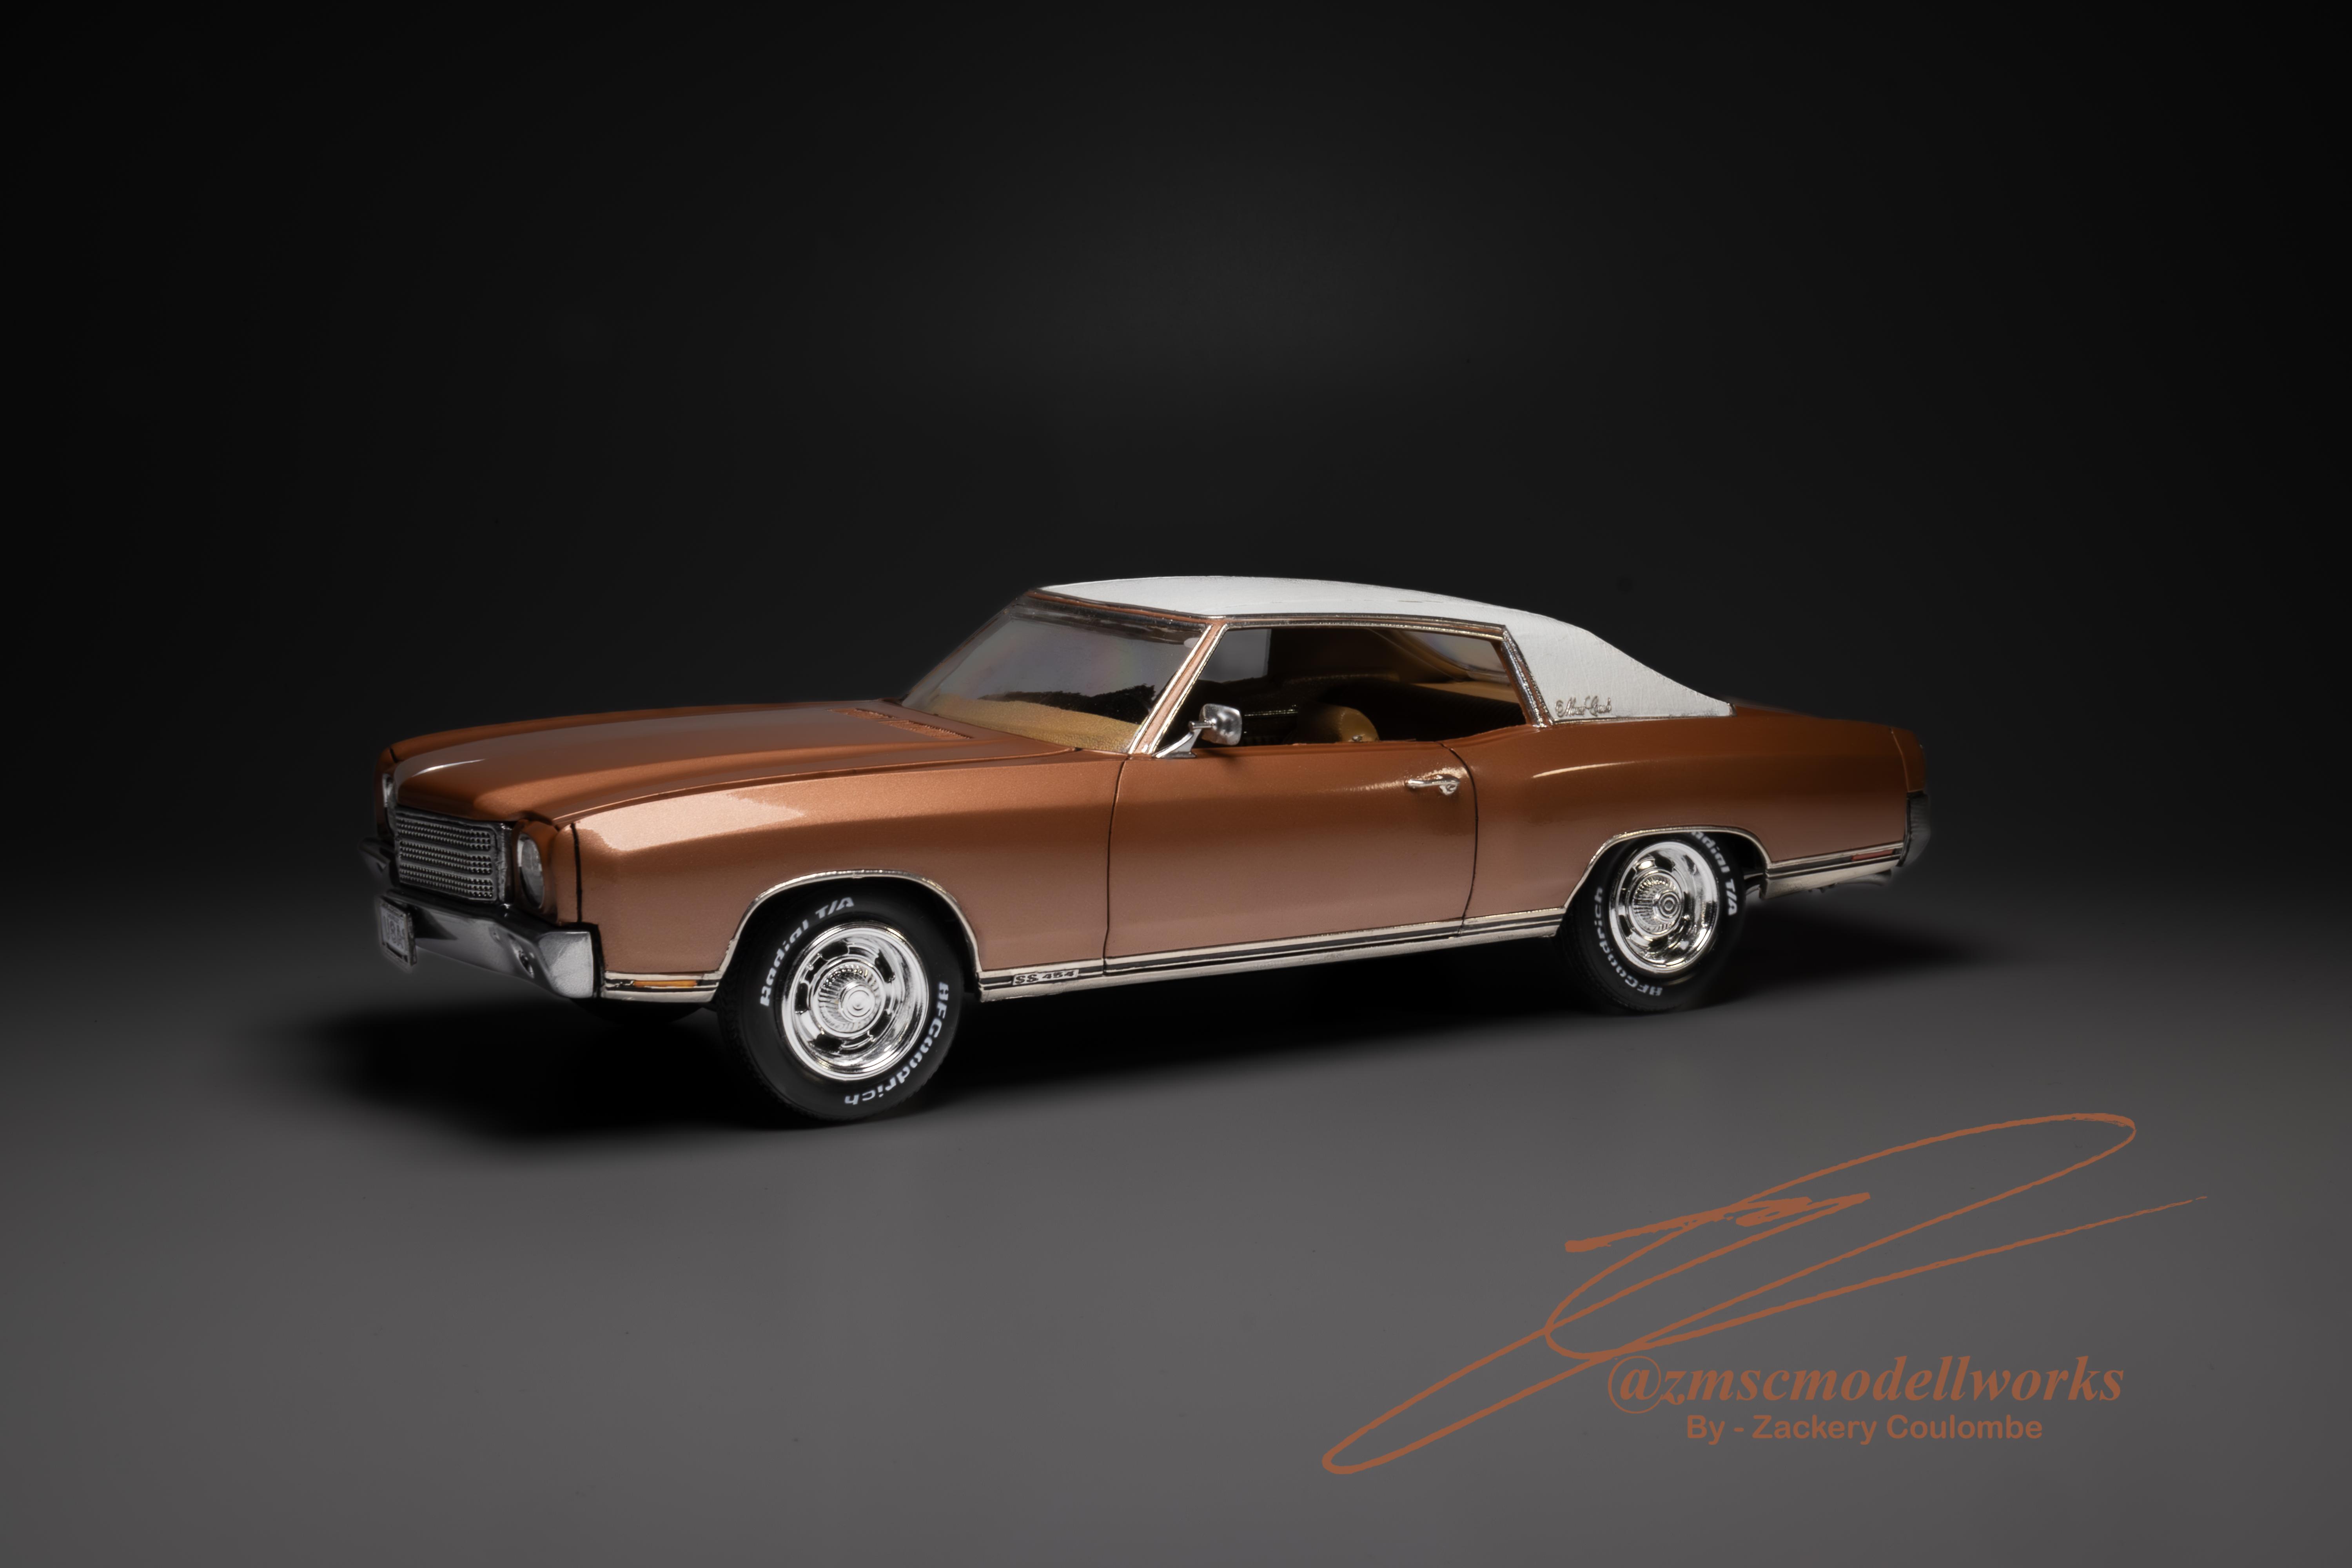
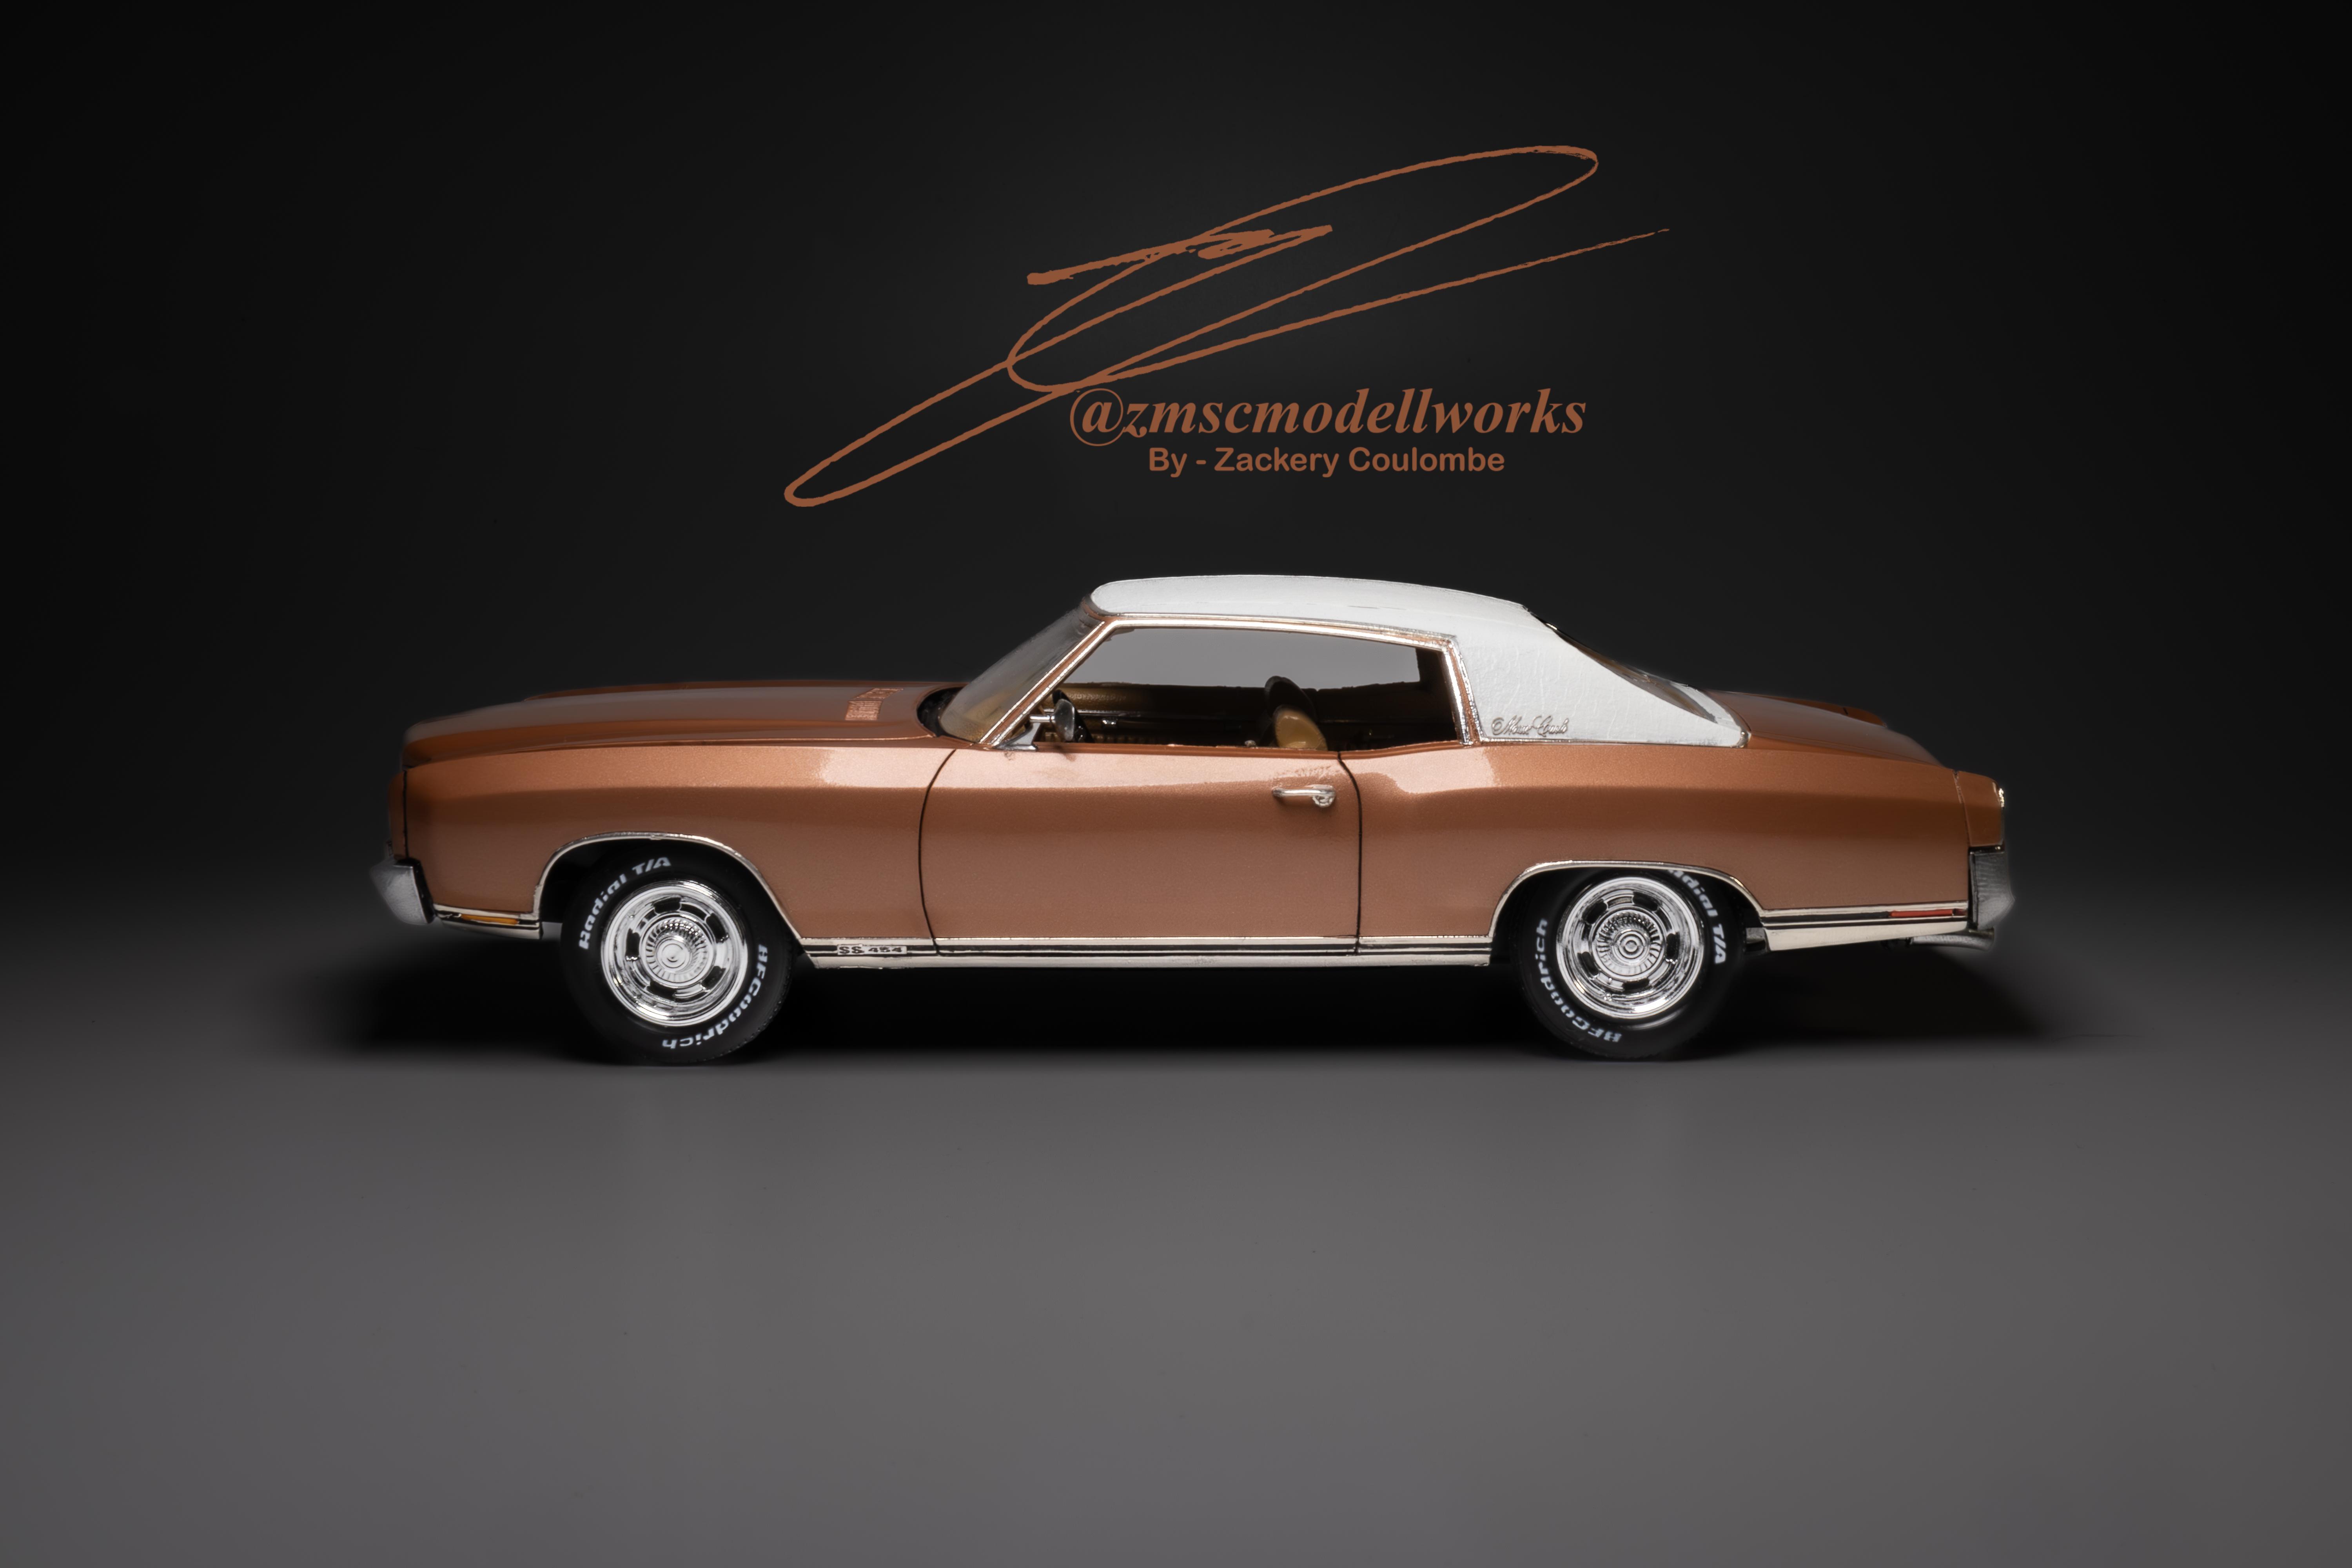
ITB Billet Coyote from MCS design, Upsized Halibrand Knockoff's from ZFMW, custom bucket set and wheel. Opening trunk with custom fuel cell and nitrous. LED lights conversion with modern aero mirrors. Splash paints candies for the american flag, Hyper silver for the chrome, brushed aluminum from BMF as racing stripes.
-
Minor things are 3D printed 454, vinyl roof with chrome trim, and Model Car Garage P.E. Detail Set
- 28 replies
-
- 17
-
-
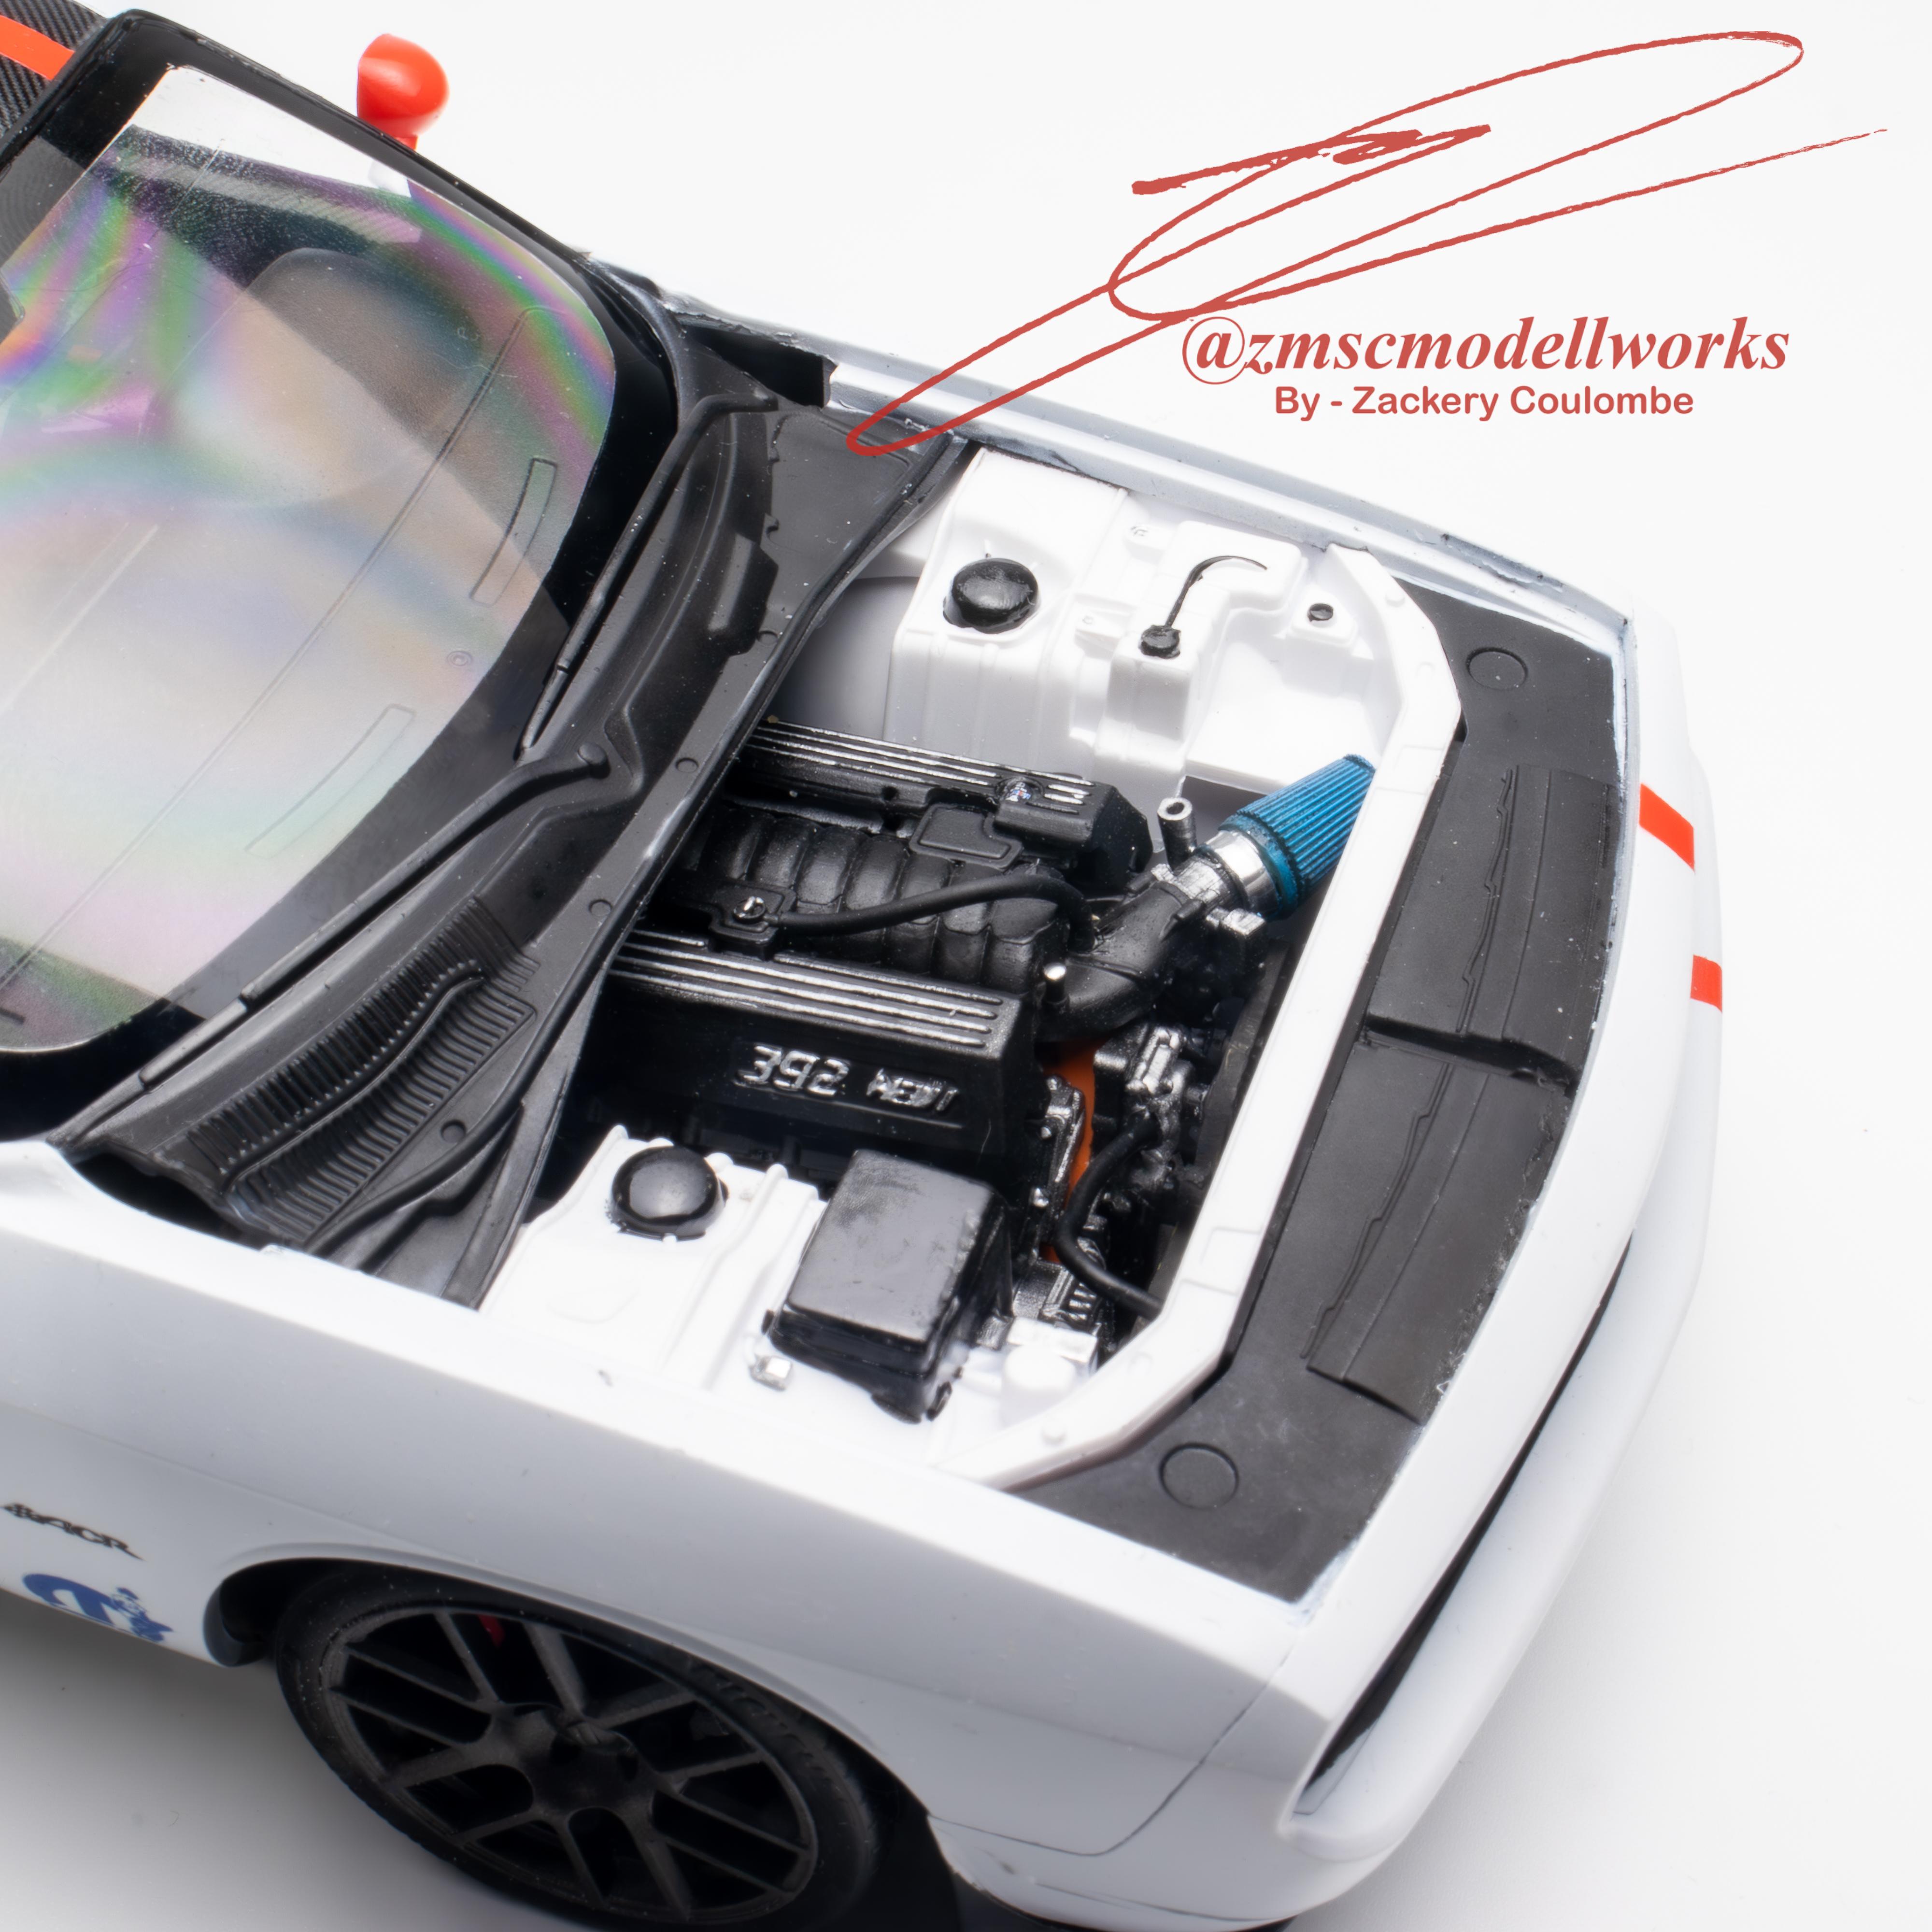
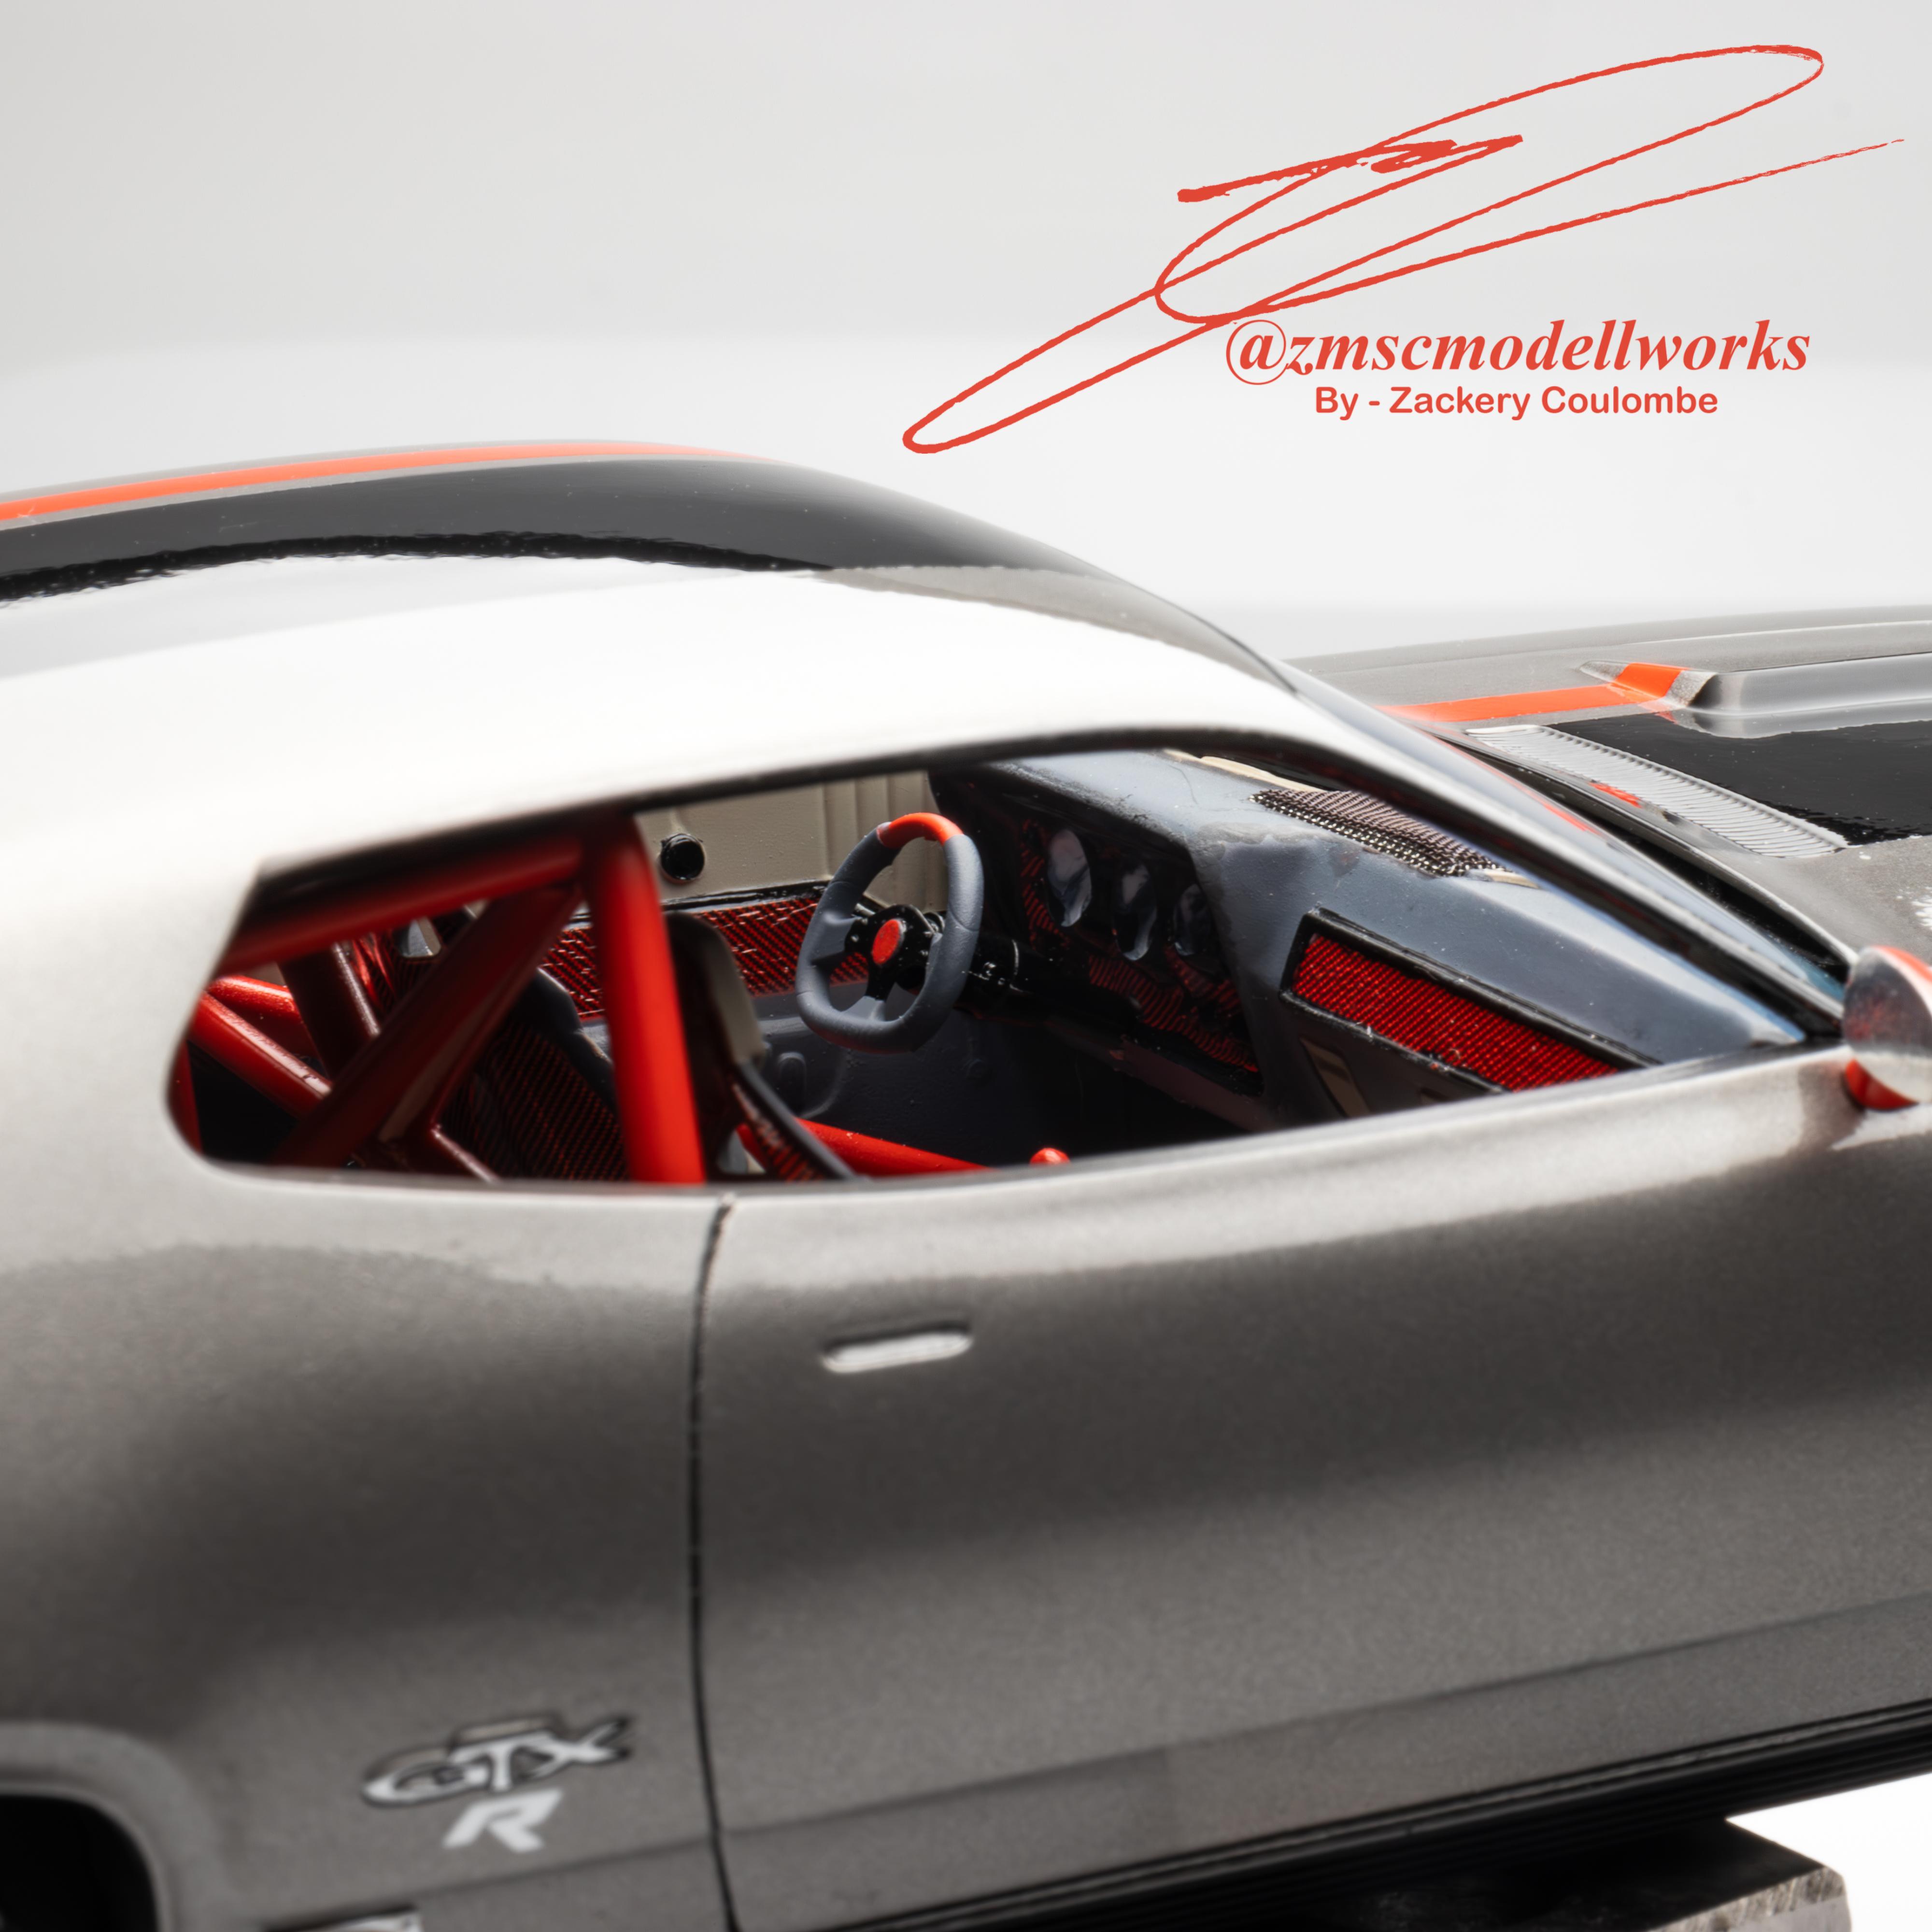
Carrying on my ACR theme. The ACR Challenger concept. Custom 3D printed wheels and the 392 Hemi was also 3D printed from Motabas' cults 3d files with a tremec T56. Interior cage was hand built along with the custom carbon door cards.
-
So Greg talked me into joining the forum so I'm posting the finished pics here. Revells new tool GTX, heavily modified and swapped with a ZB V-10. If you want to know more you can follow the link to the article I wrote about it. https://www.zmscmodellworks.com/build-log/gtx-r-10-acr
- 12 replies
-
- 10
-