rumb
-
Posts
10 -
Joined
-
Last visited
rumb's Achievements
MCM Member (2/6)
-
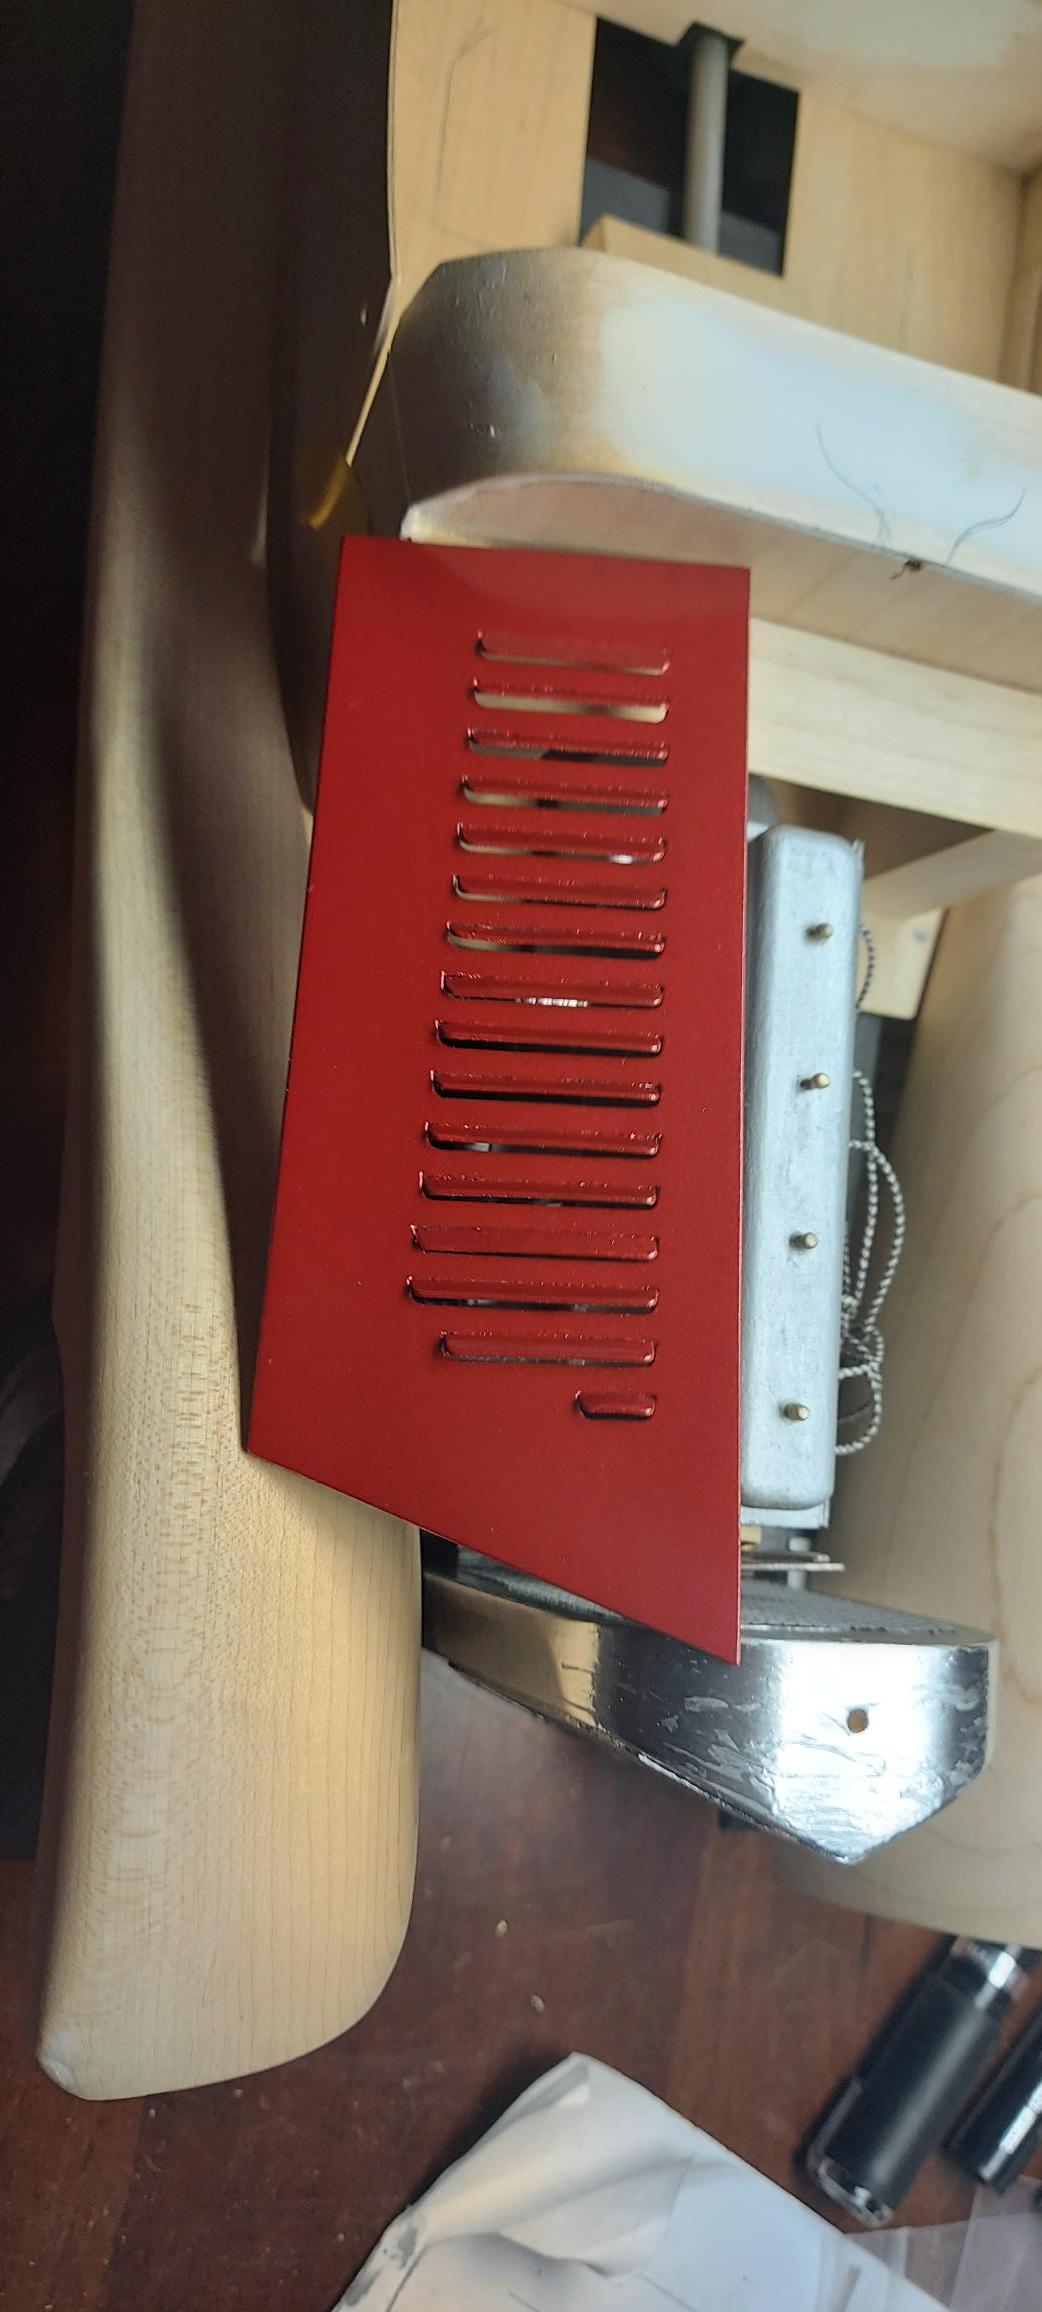
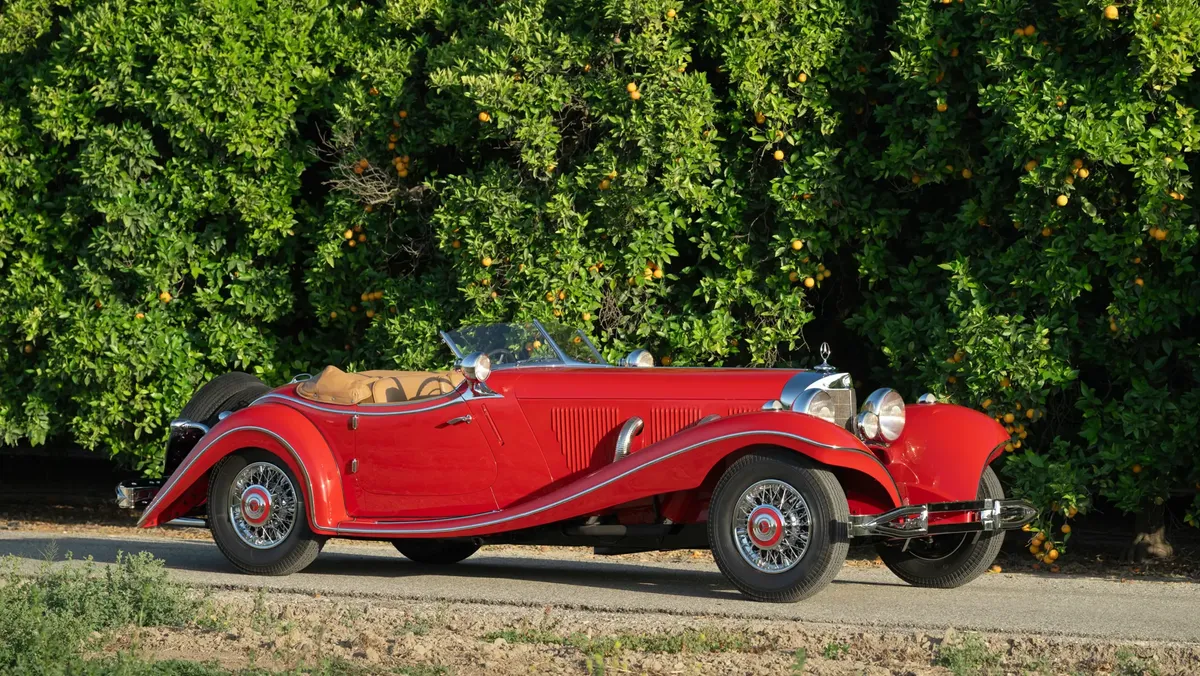
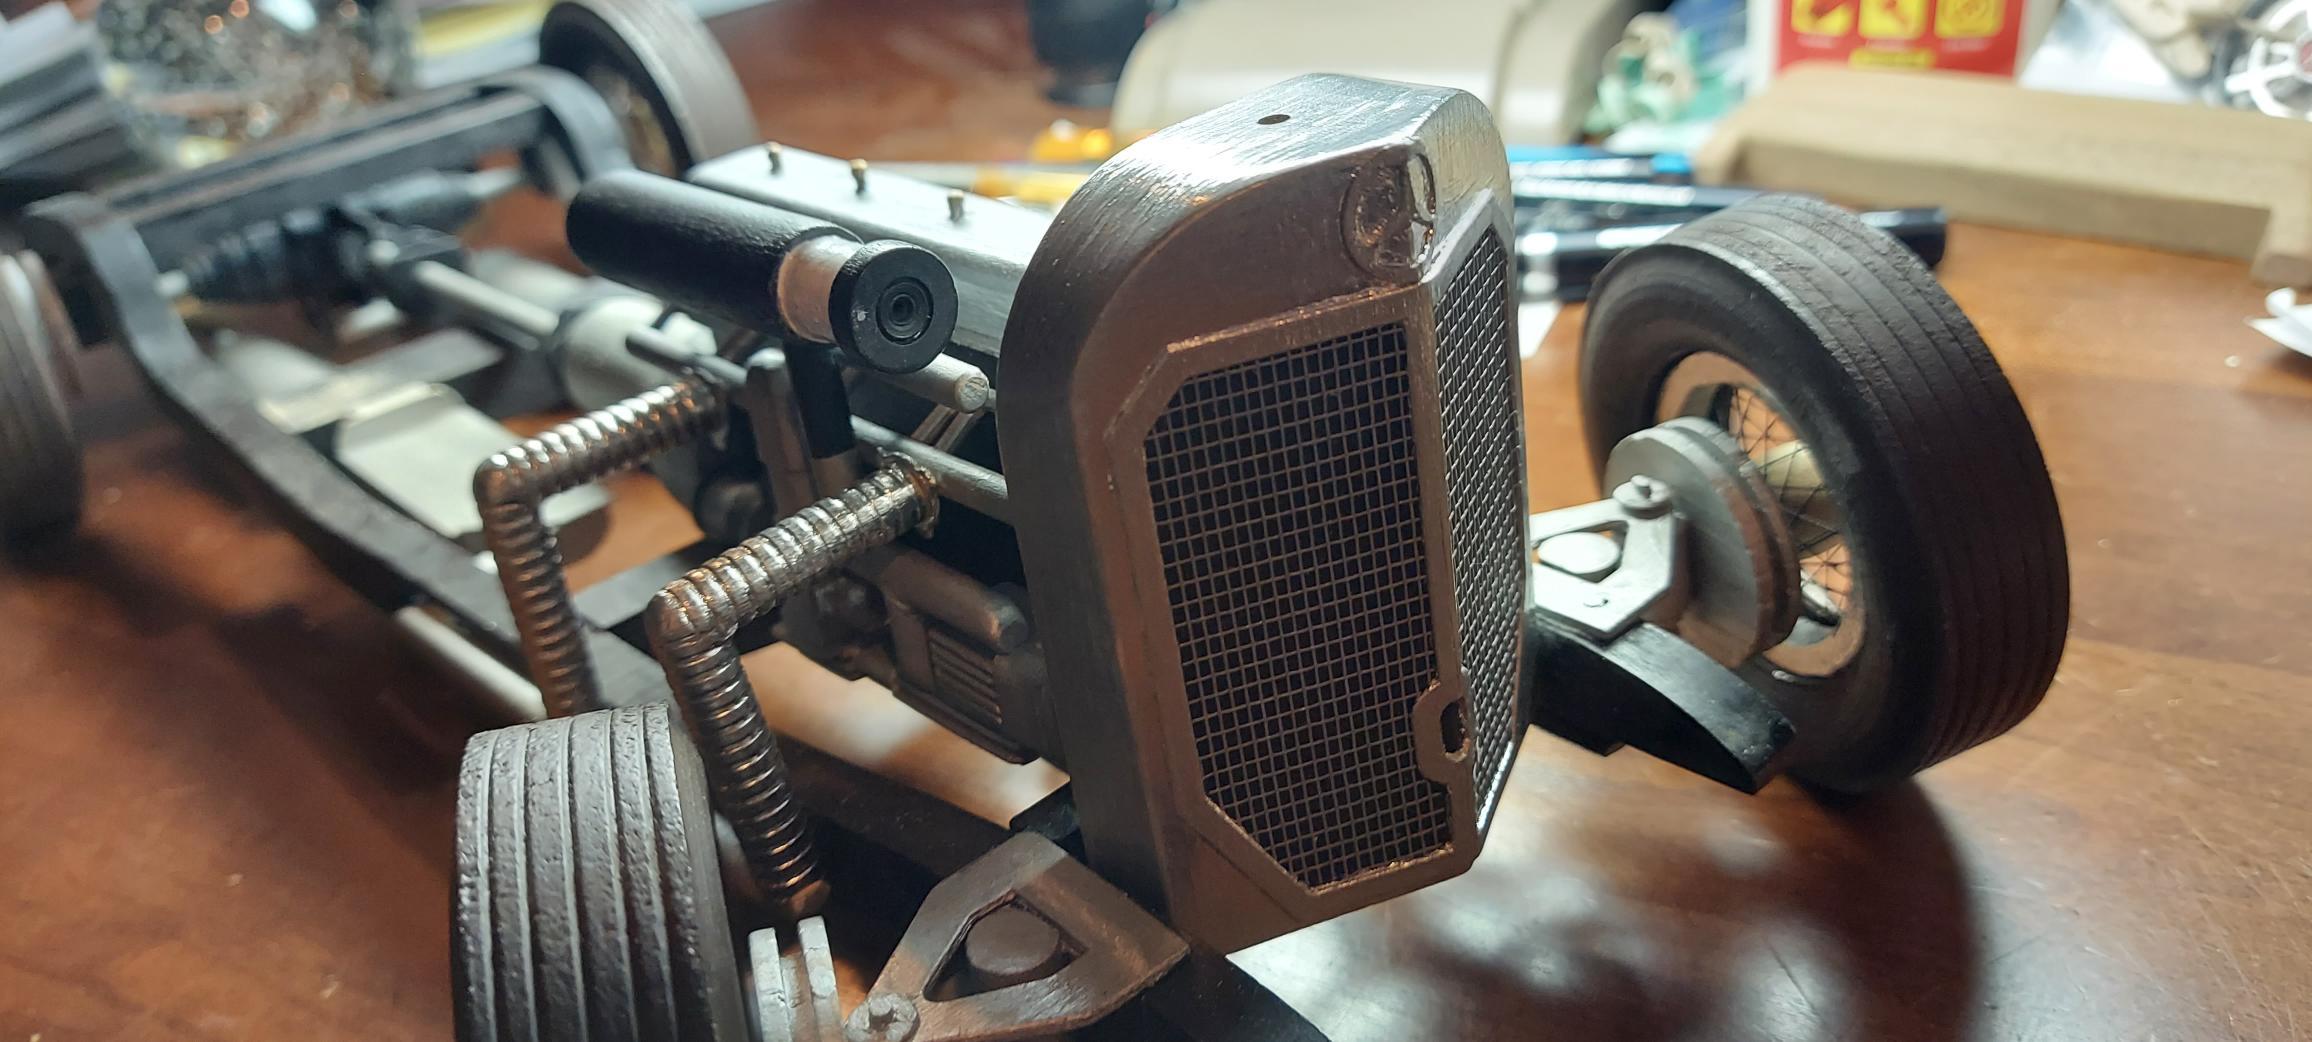
Paint color! red with fine metallic. still trying to get chrome paint even on radiator grille. any suggestions?

-
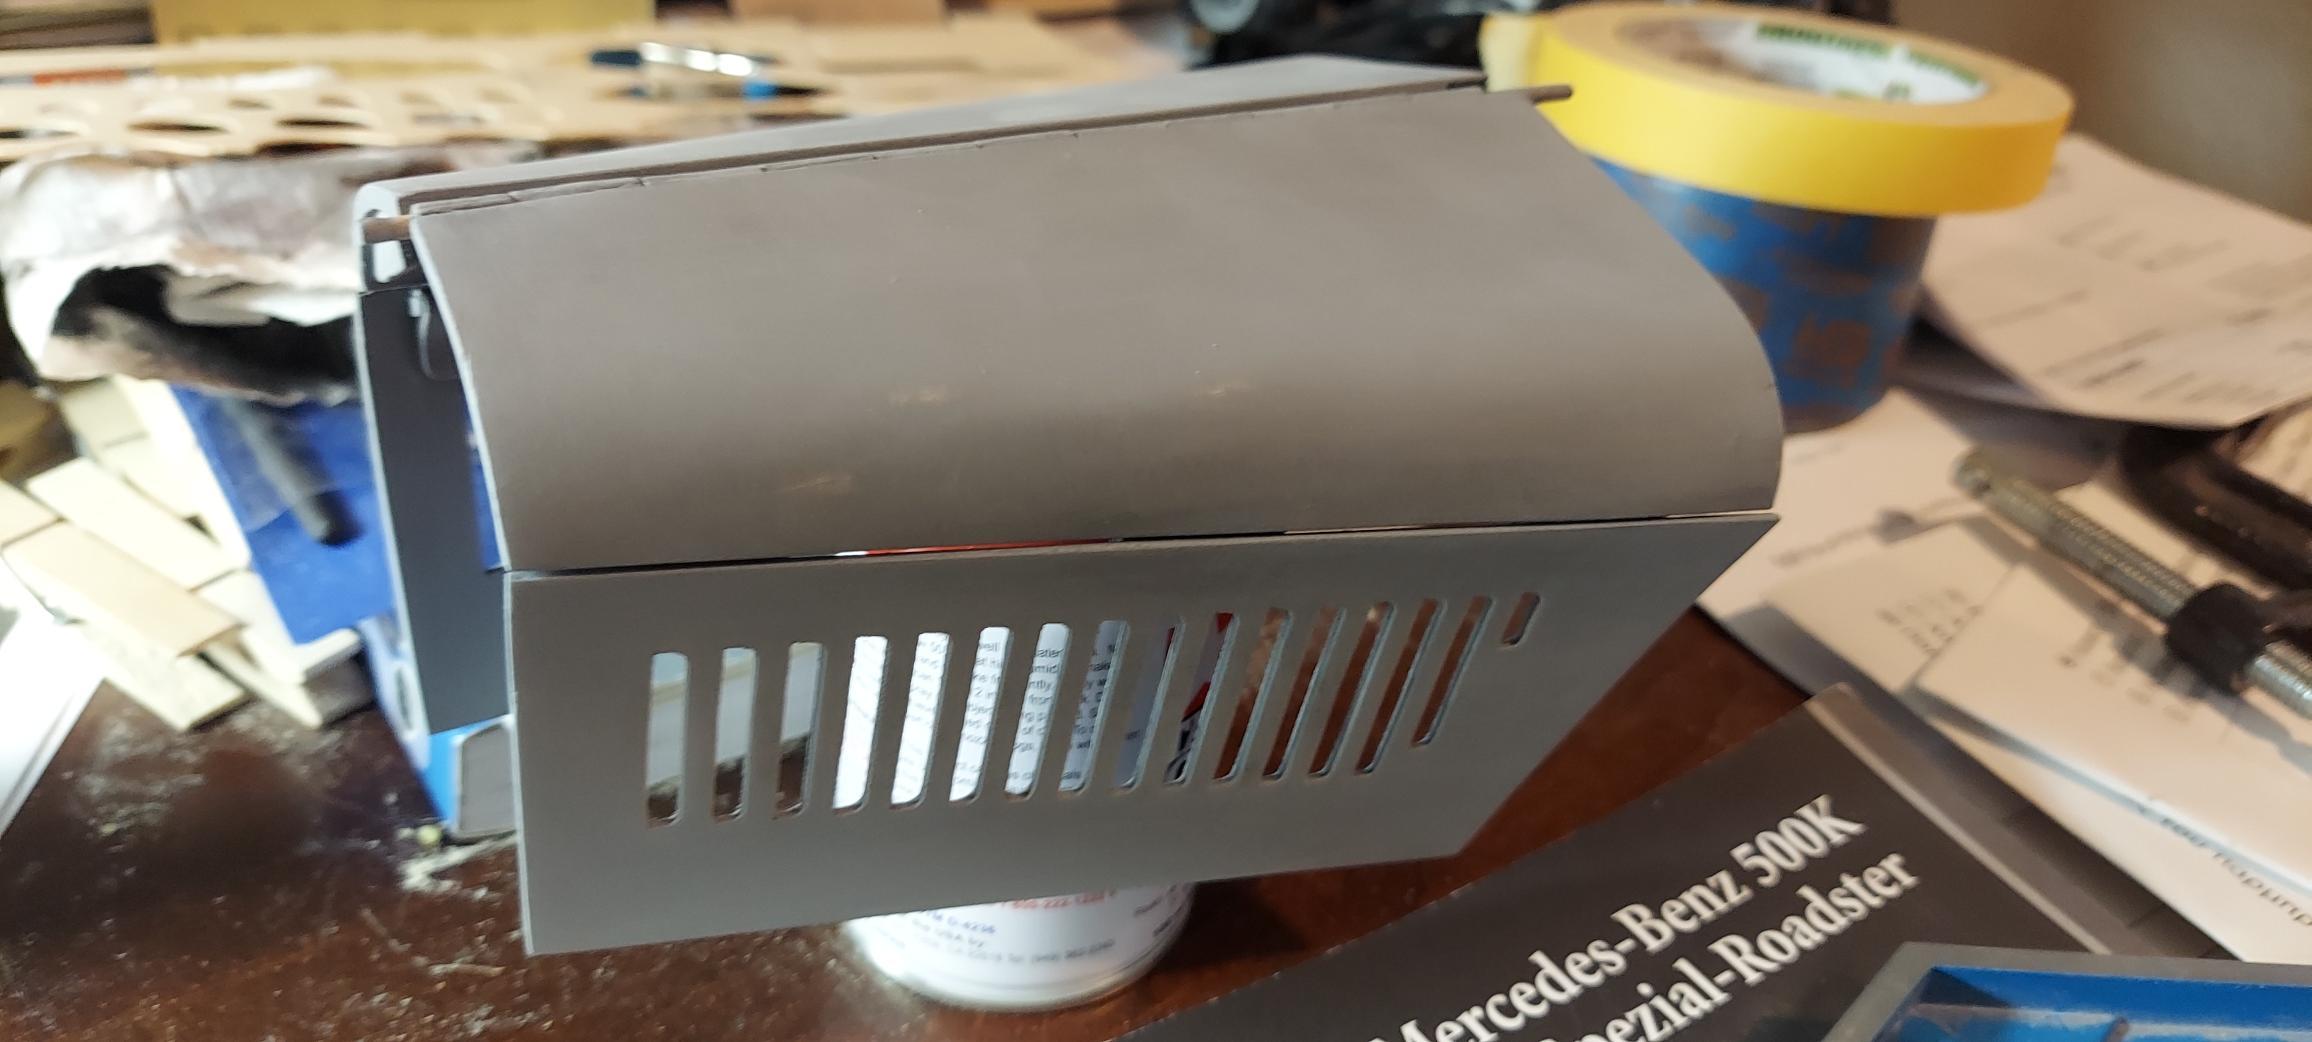
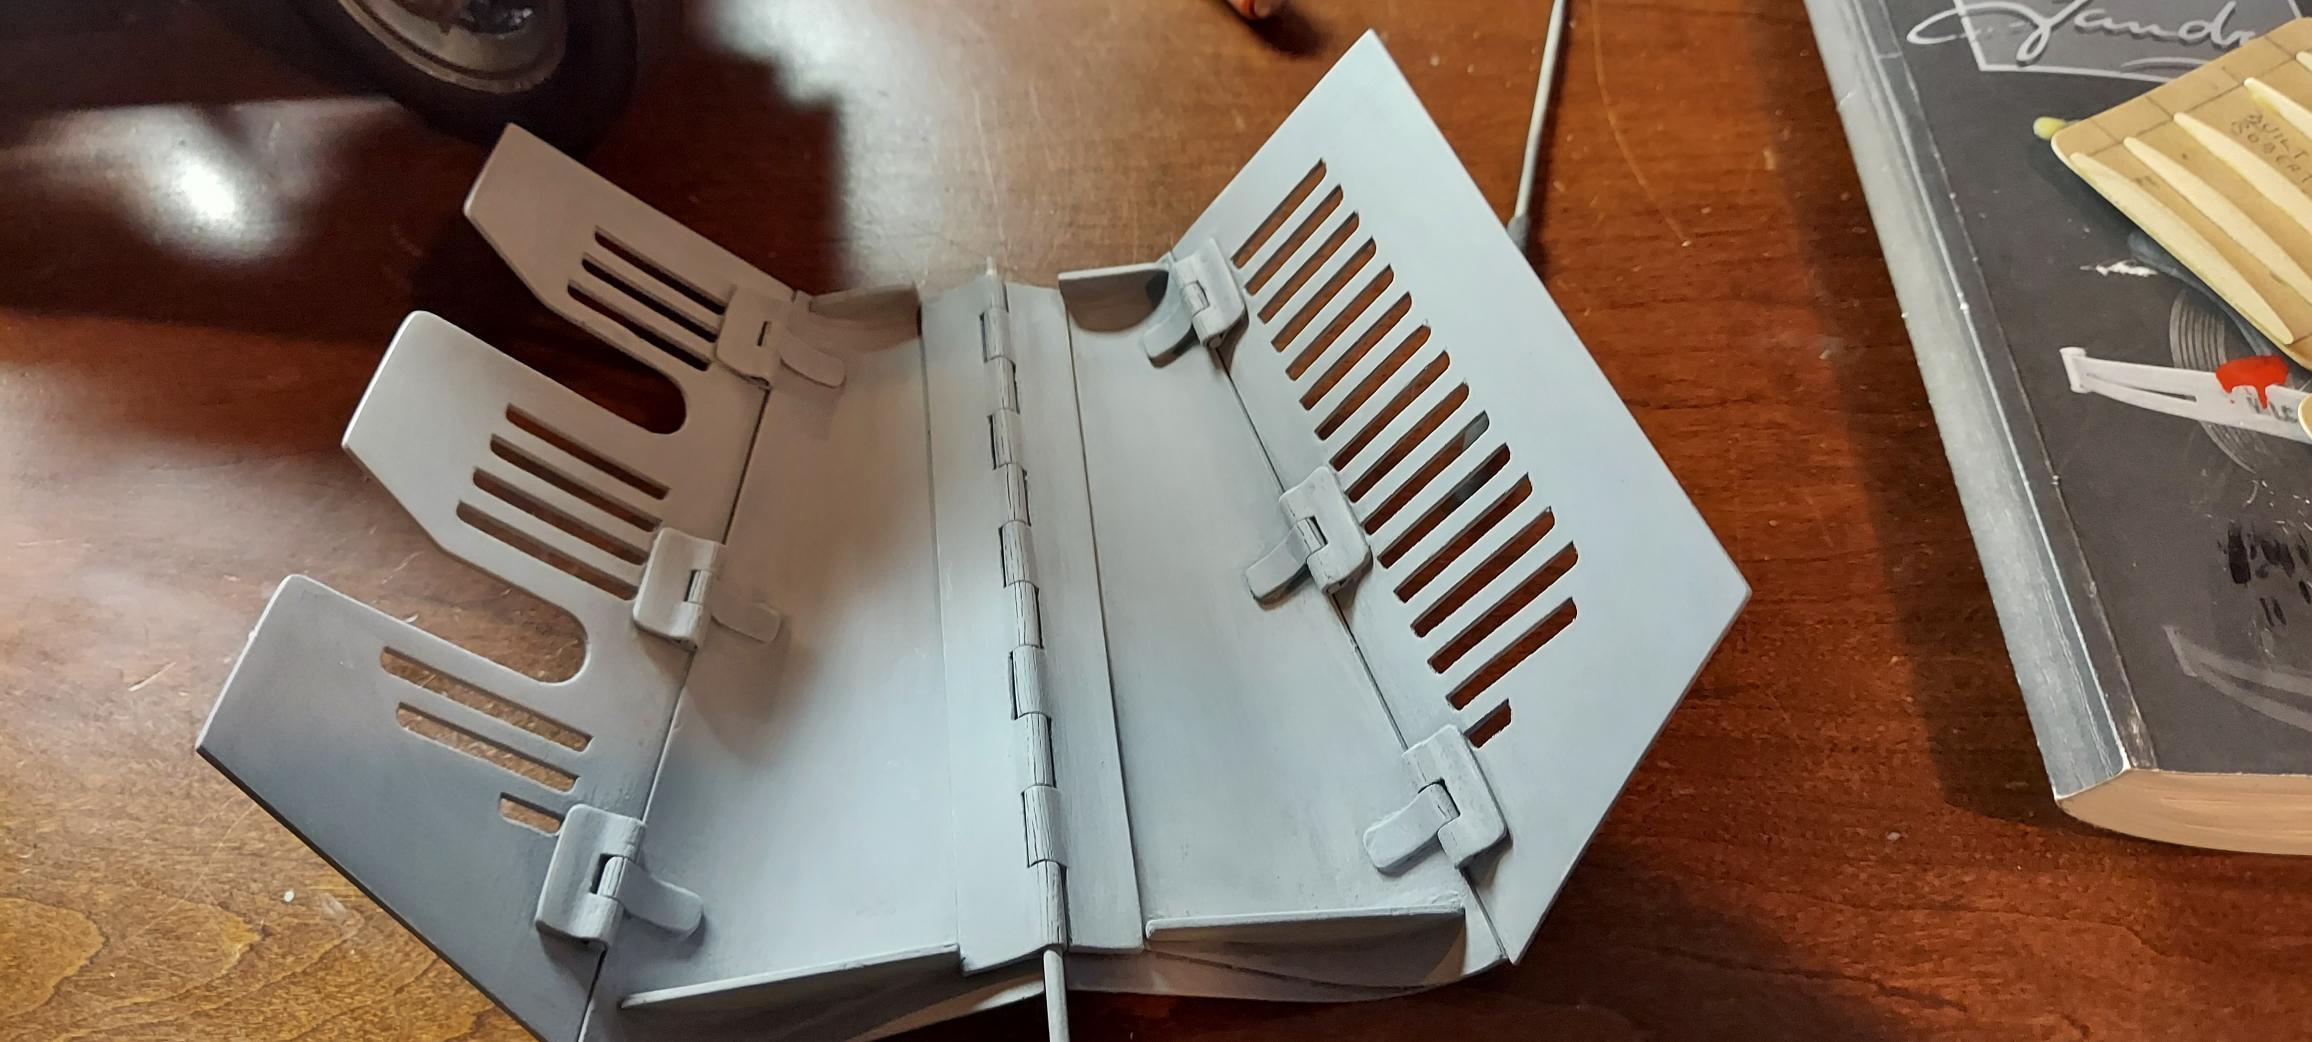
After a 3rd attempt I got the top of cowl made. All major body parts are now attached. Working on trim items next. One side of the hood now has tiny little lovers.
-
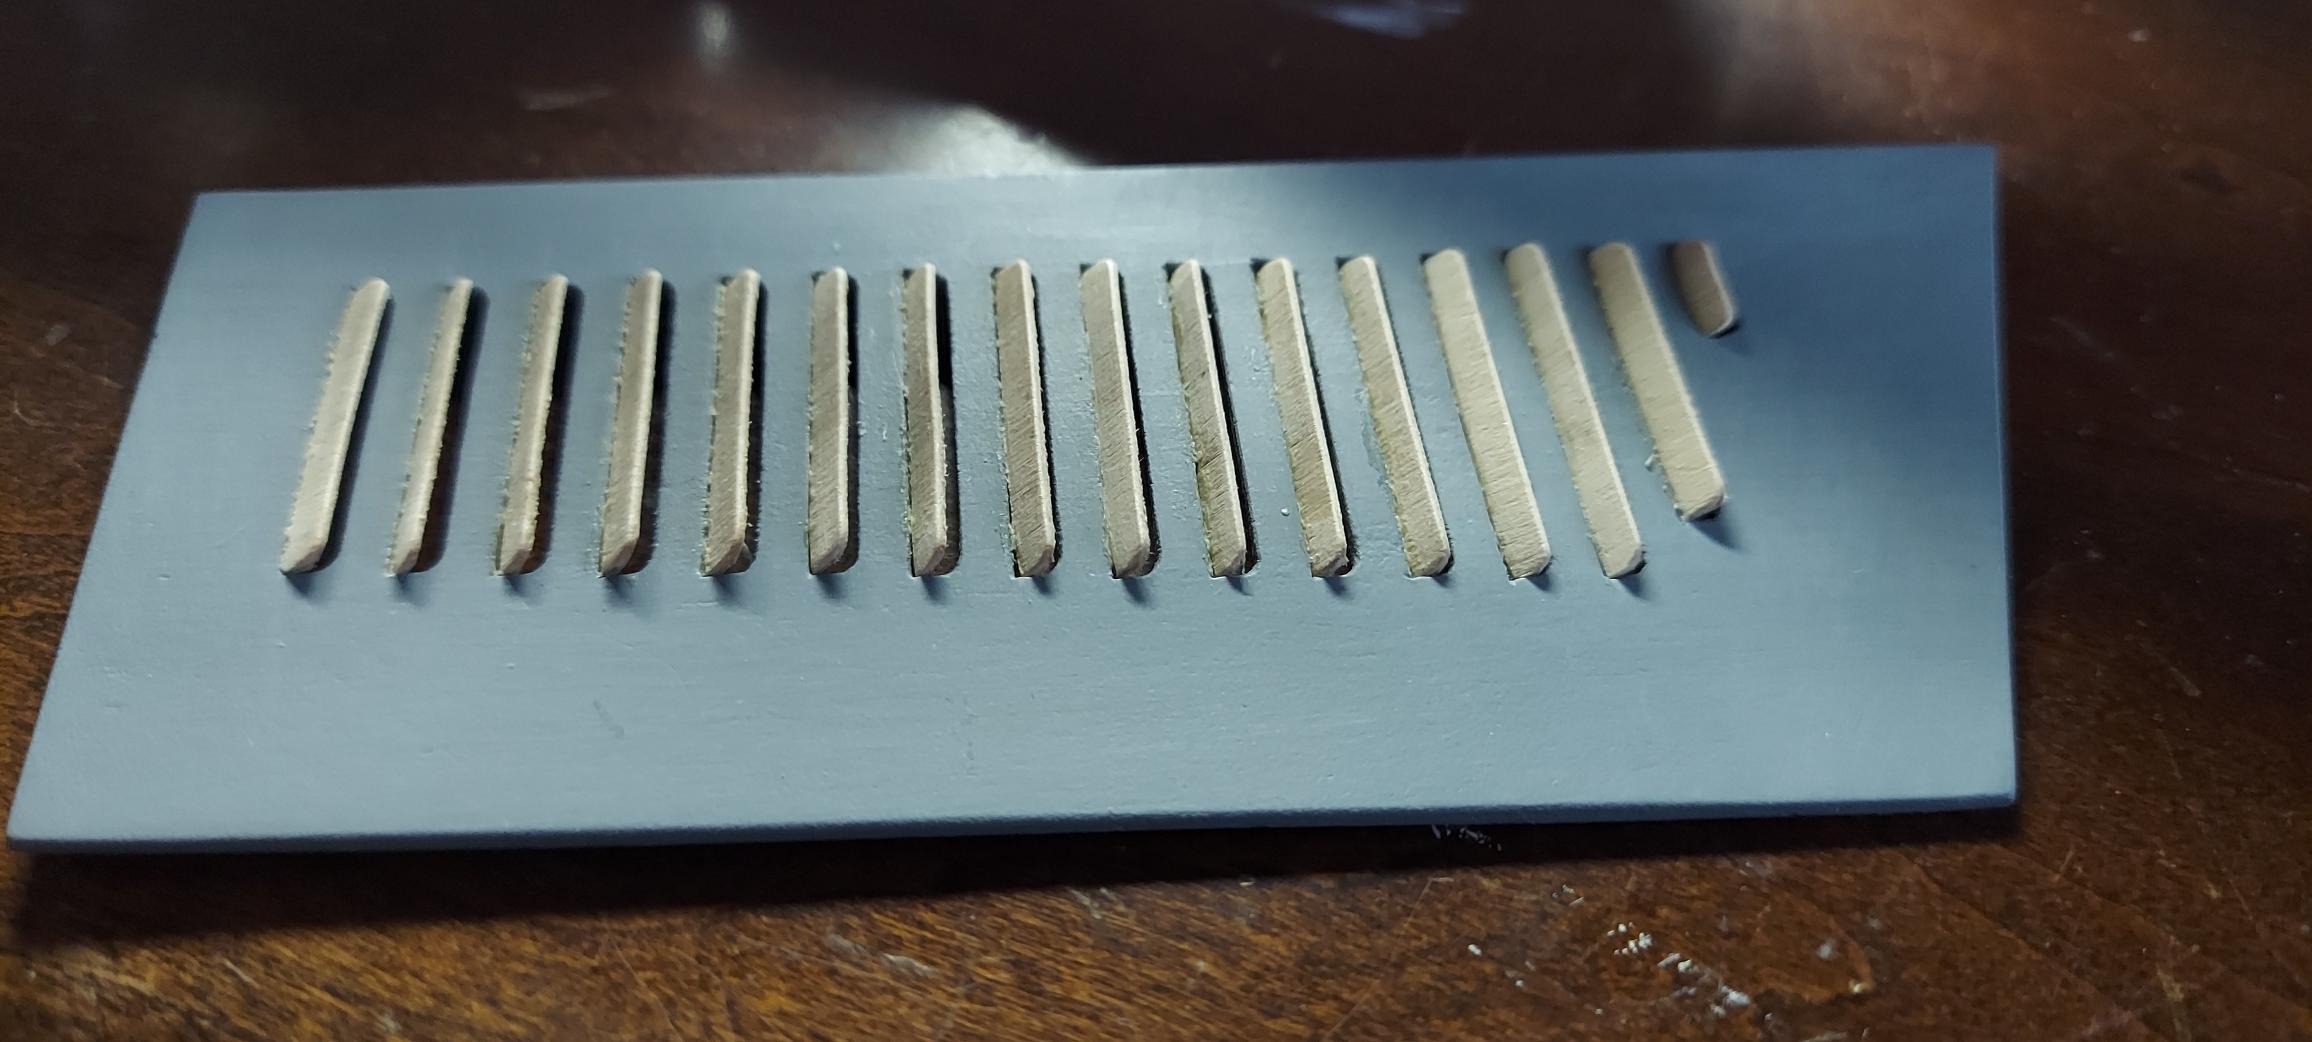
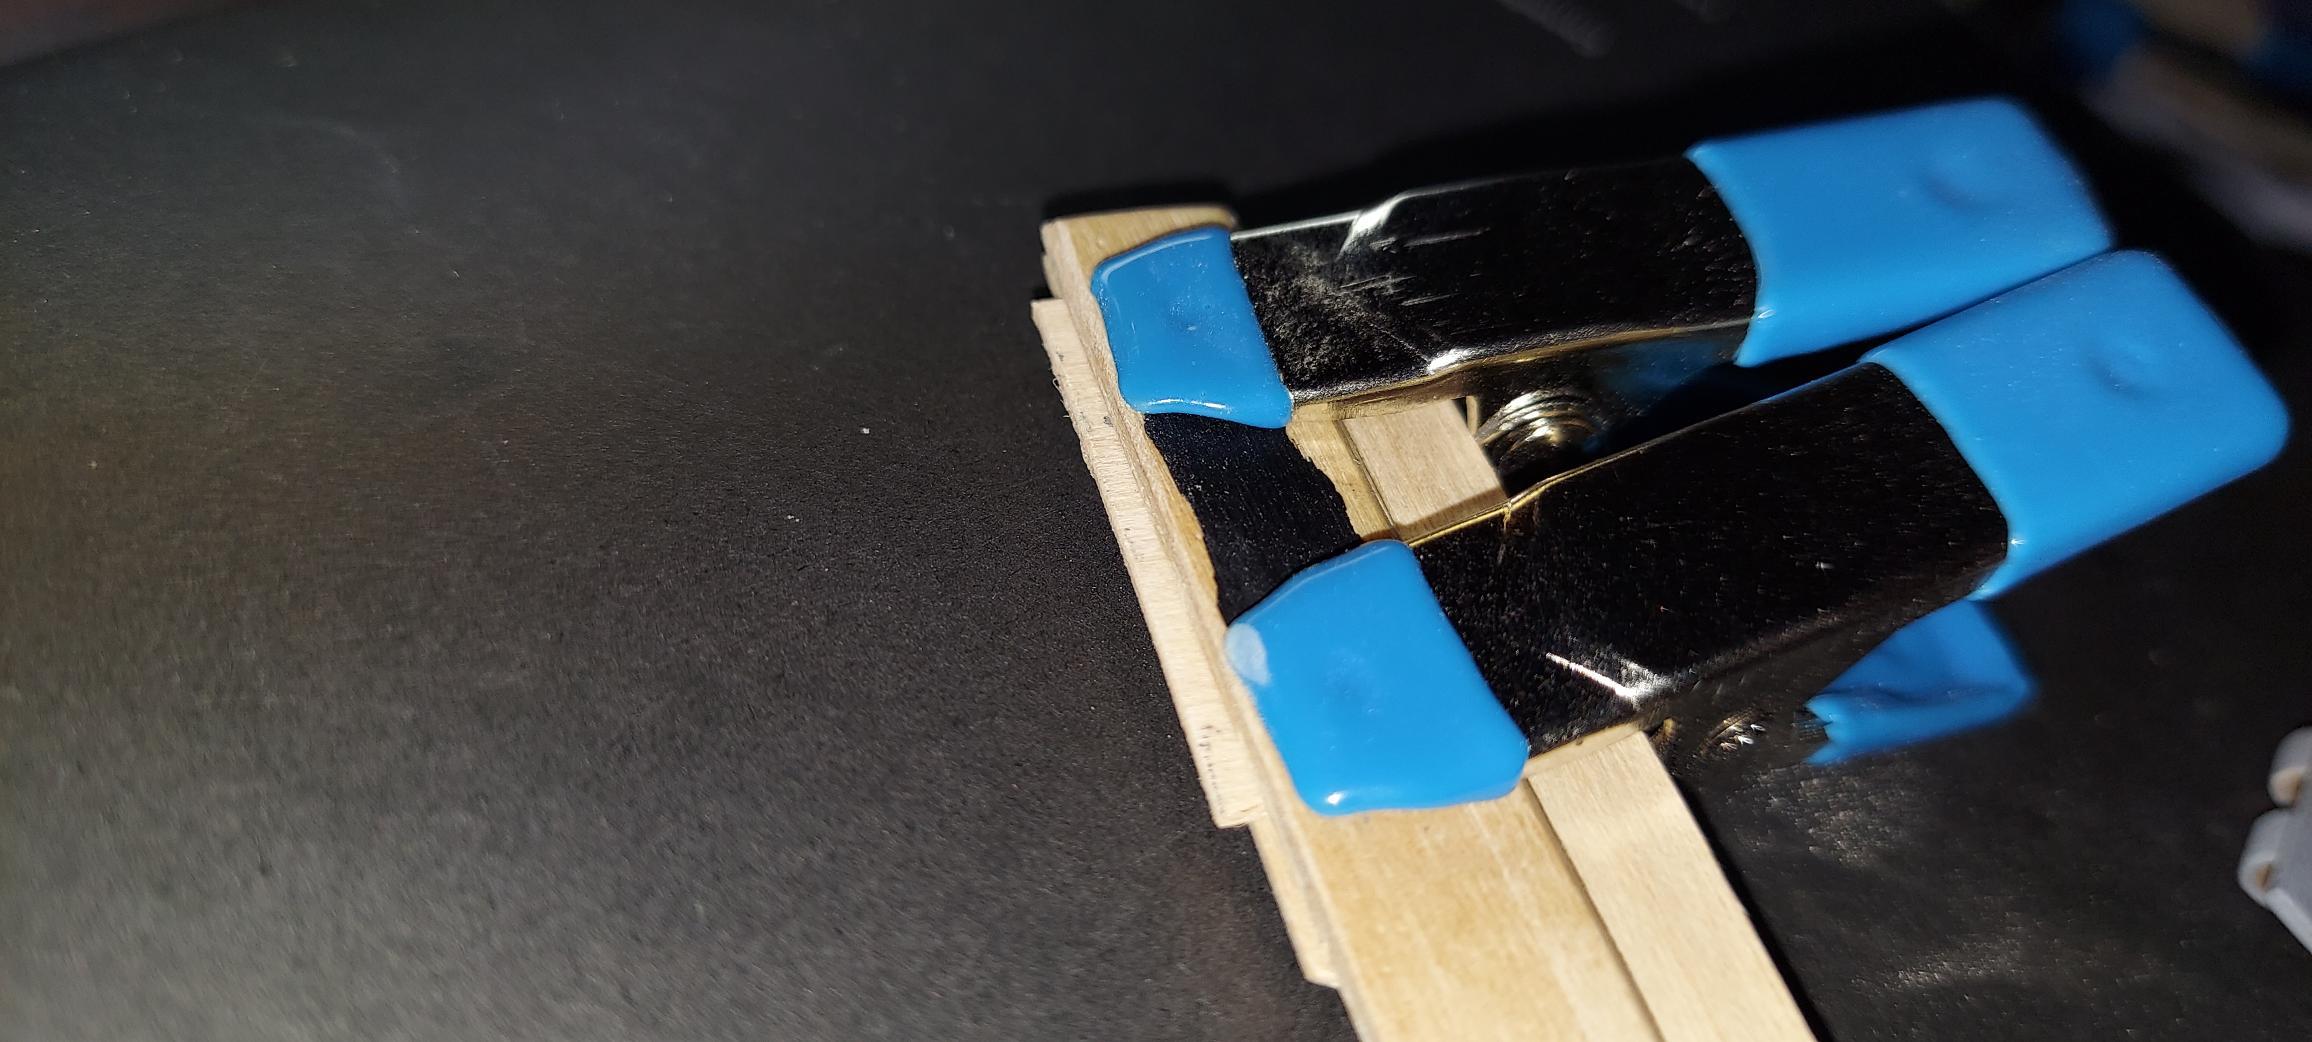
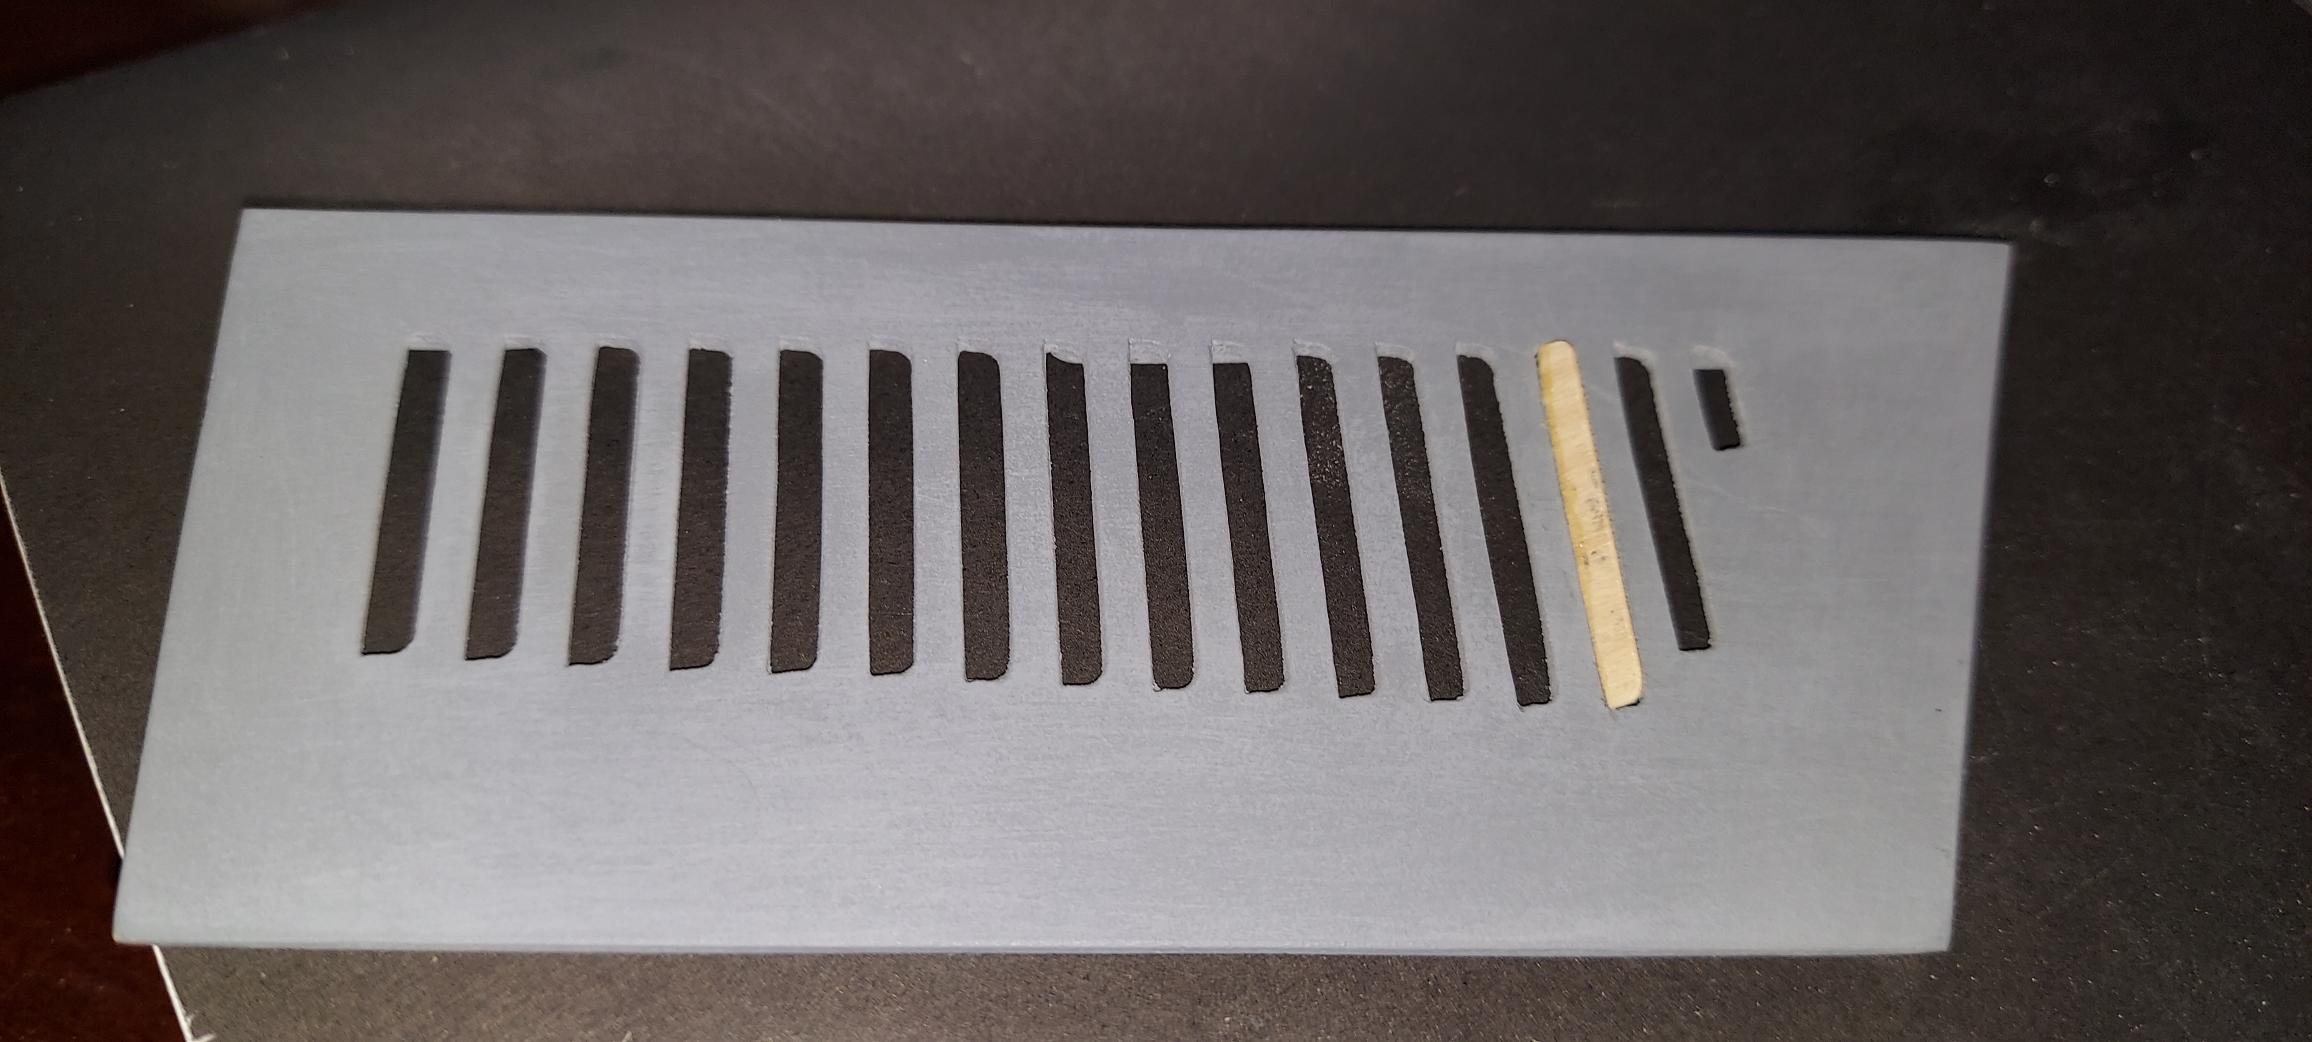
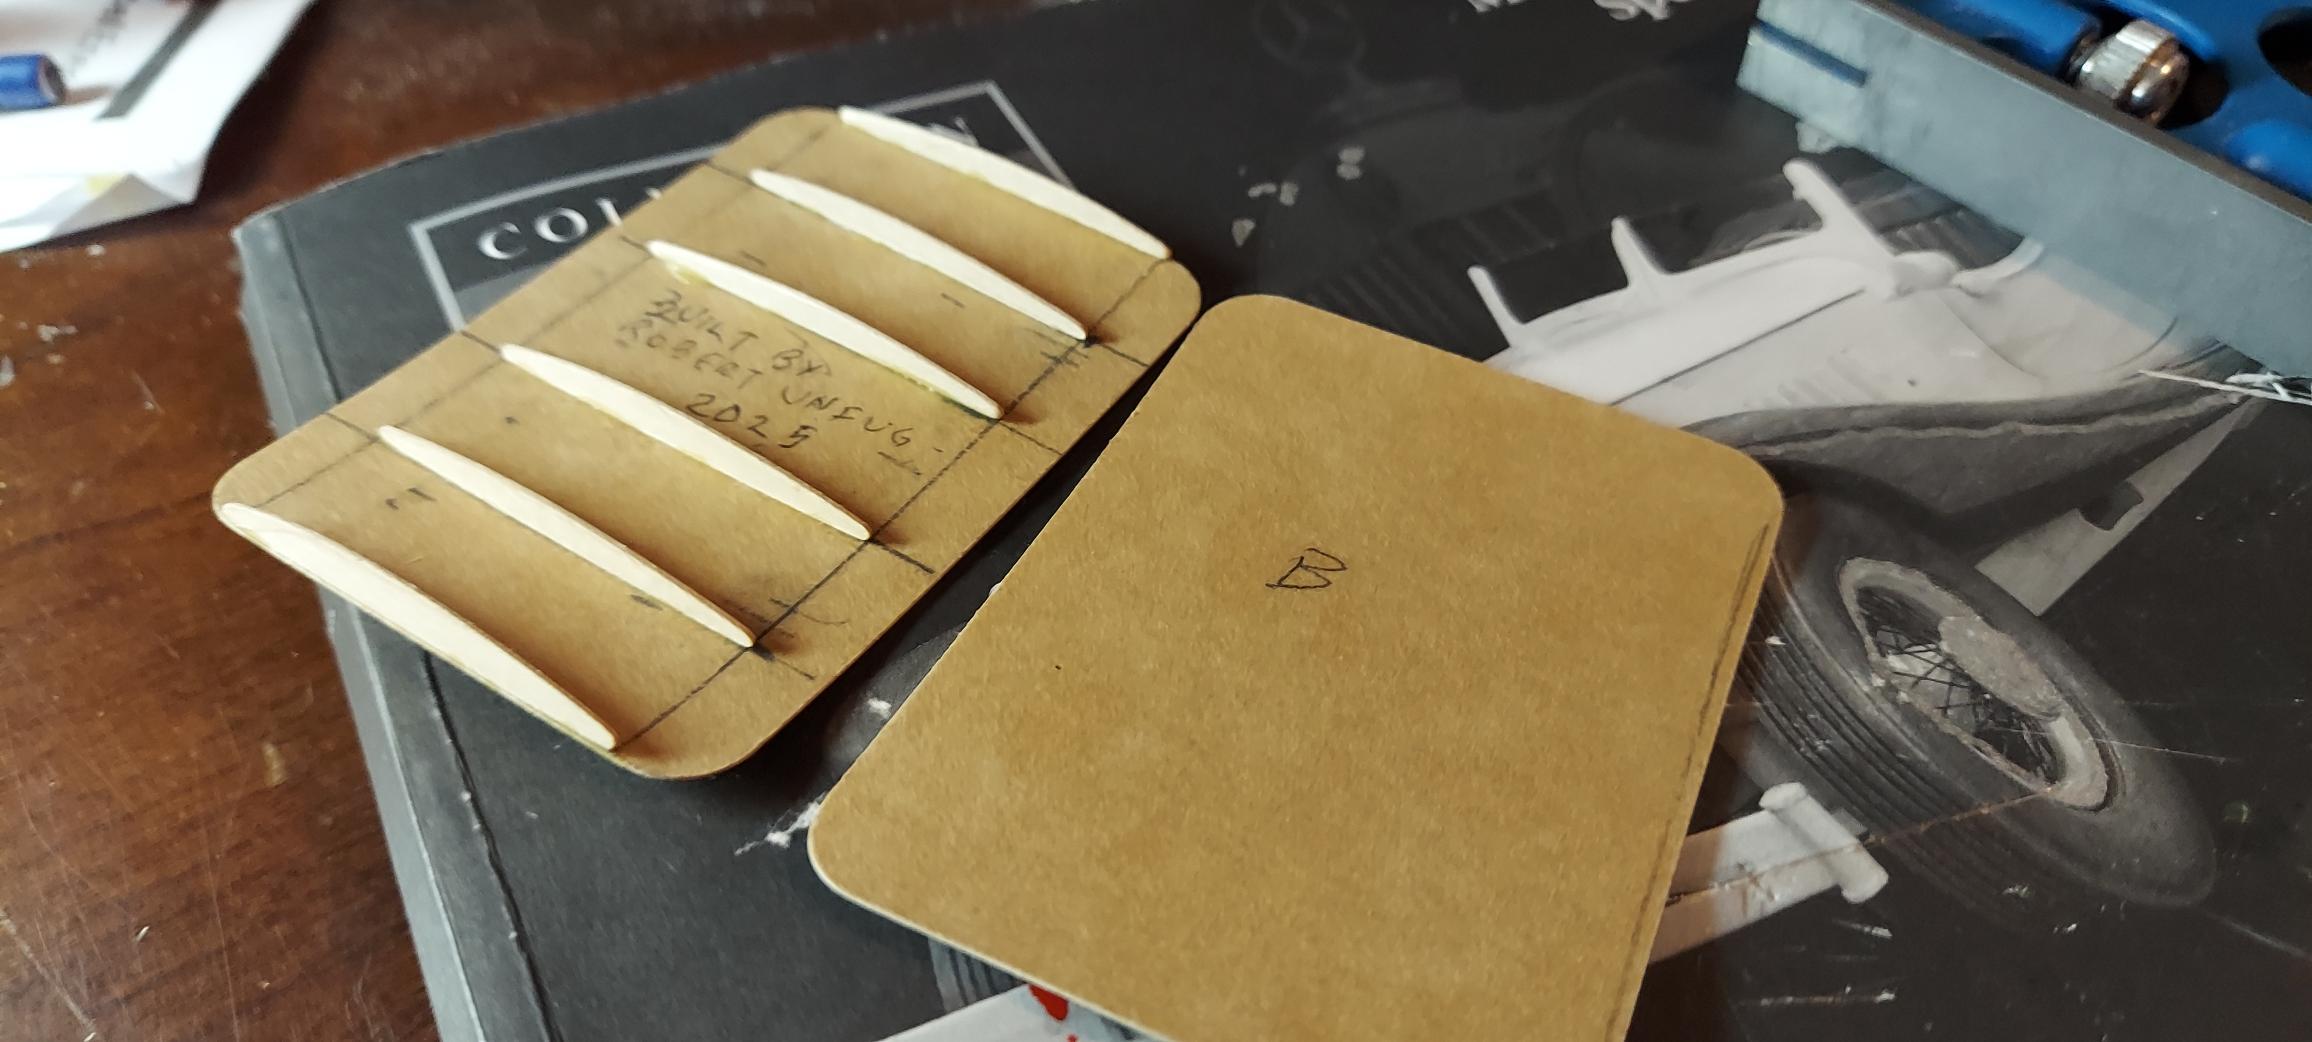
First of @40 louvres to install. Made clamp to put 30 degree bevel on one edge and then carefully glue each one in. Probably going to take a while... Playing with thin wood strips for chrome mouldings. Might work.
-
There is already a groove of sorts where the trim would go. What kind of wire were you thinking of? Might be something like 14 gauge wire measures approximately 1.628mm in diameter. That would be copper. I suppose I could even hammer it to shape the profile if needed.
-
The real cars have a thin chrome trim all along the fenders and side. Any ideas on how to make some thin trim? I can paint them with chrome pen.The real cars have chrome trim on the fenders. Any suggestion on what/how to make something thin and long that can be chrome painted and applied?
-
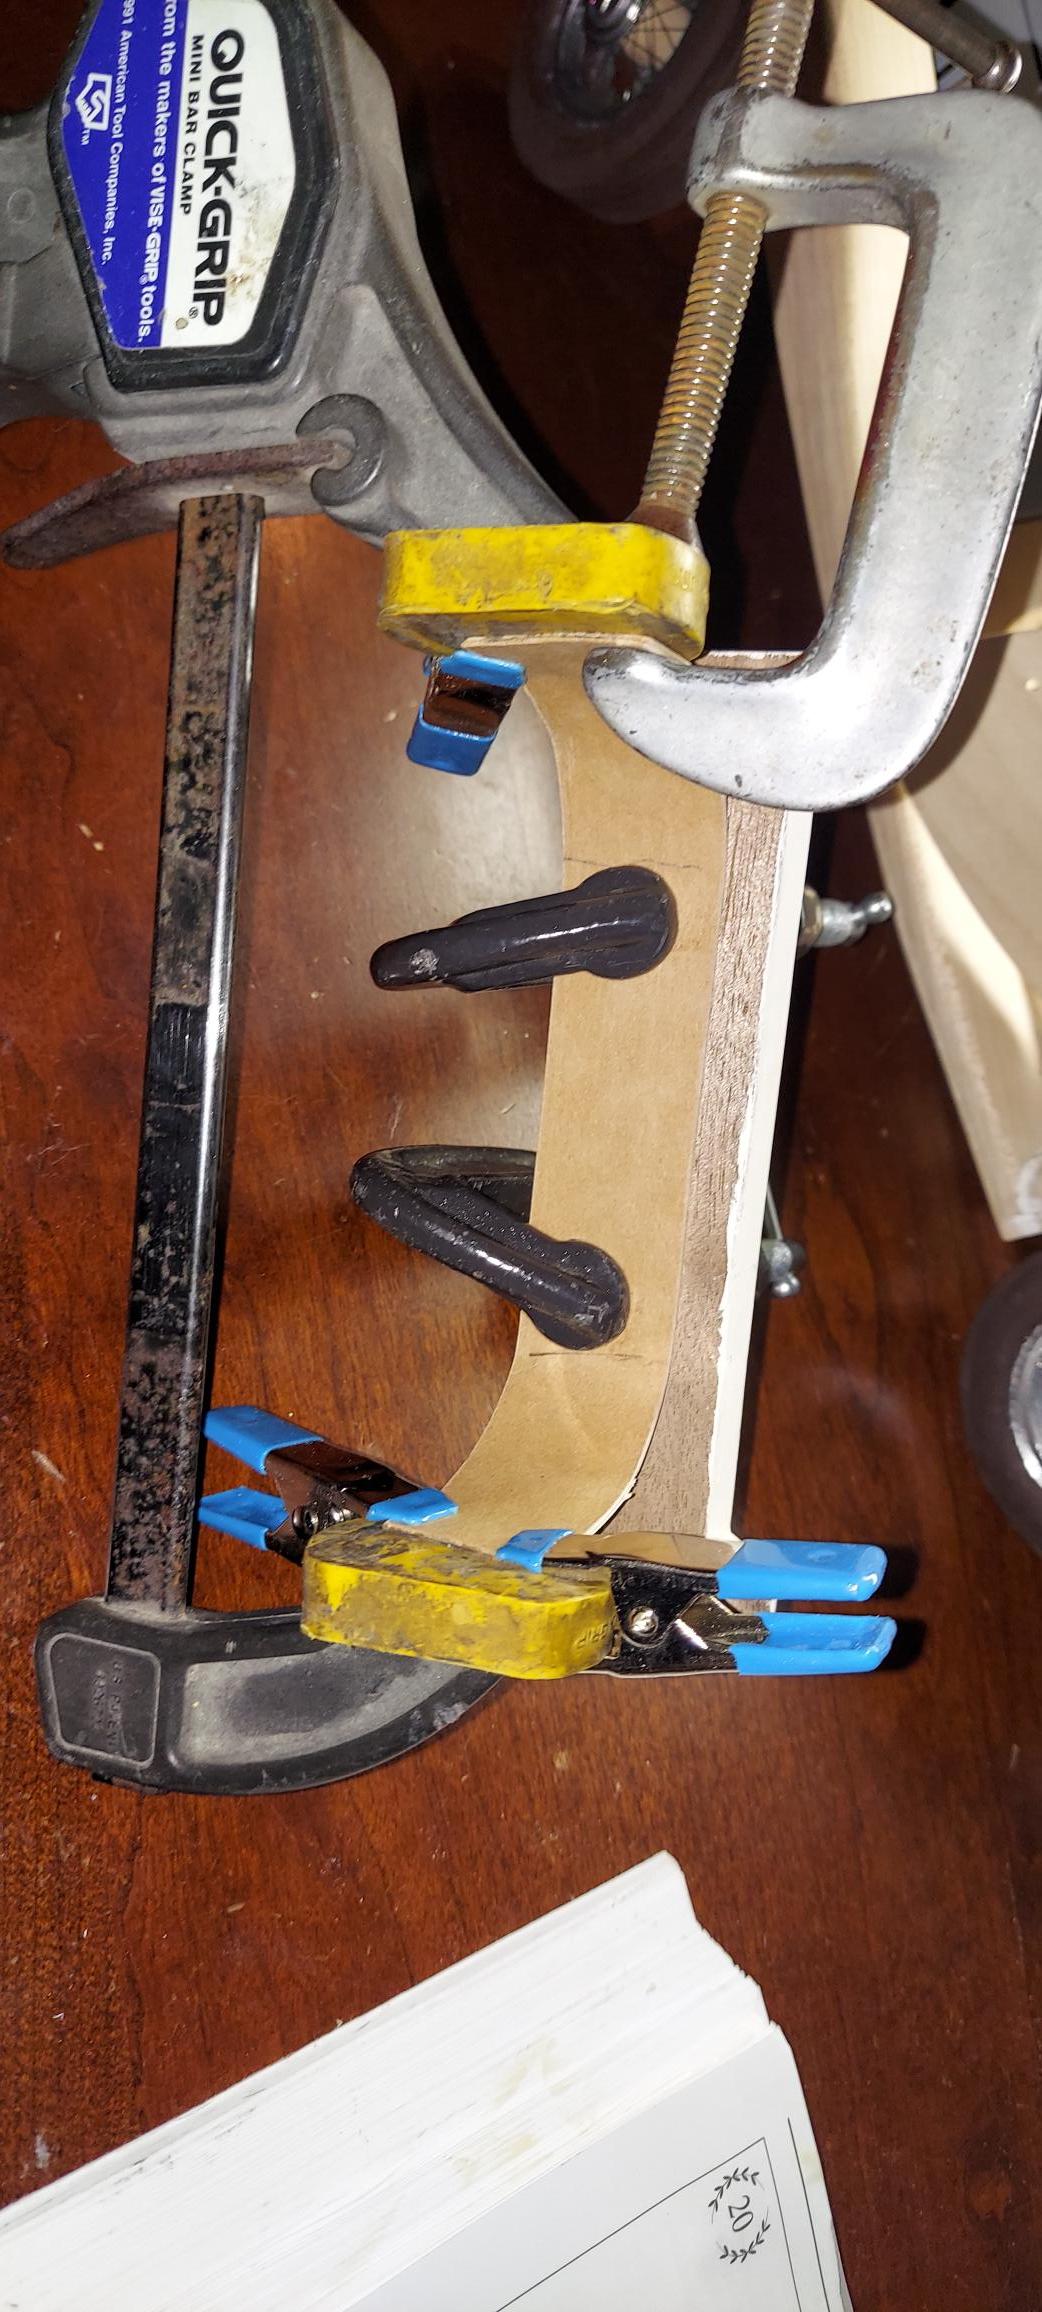
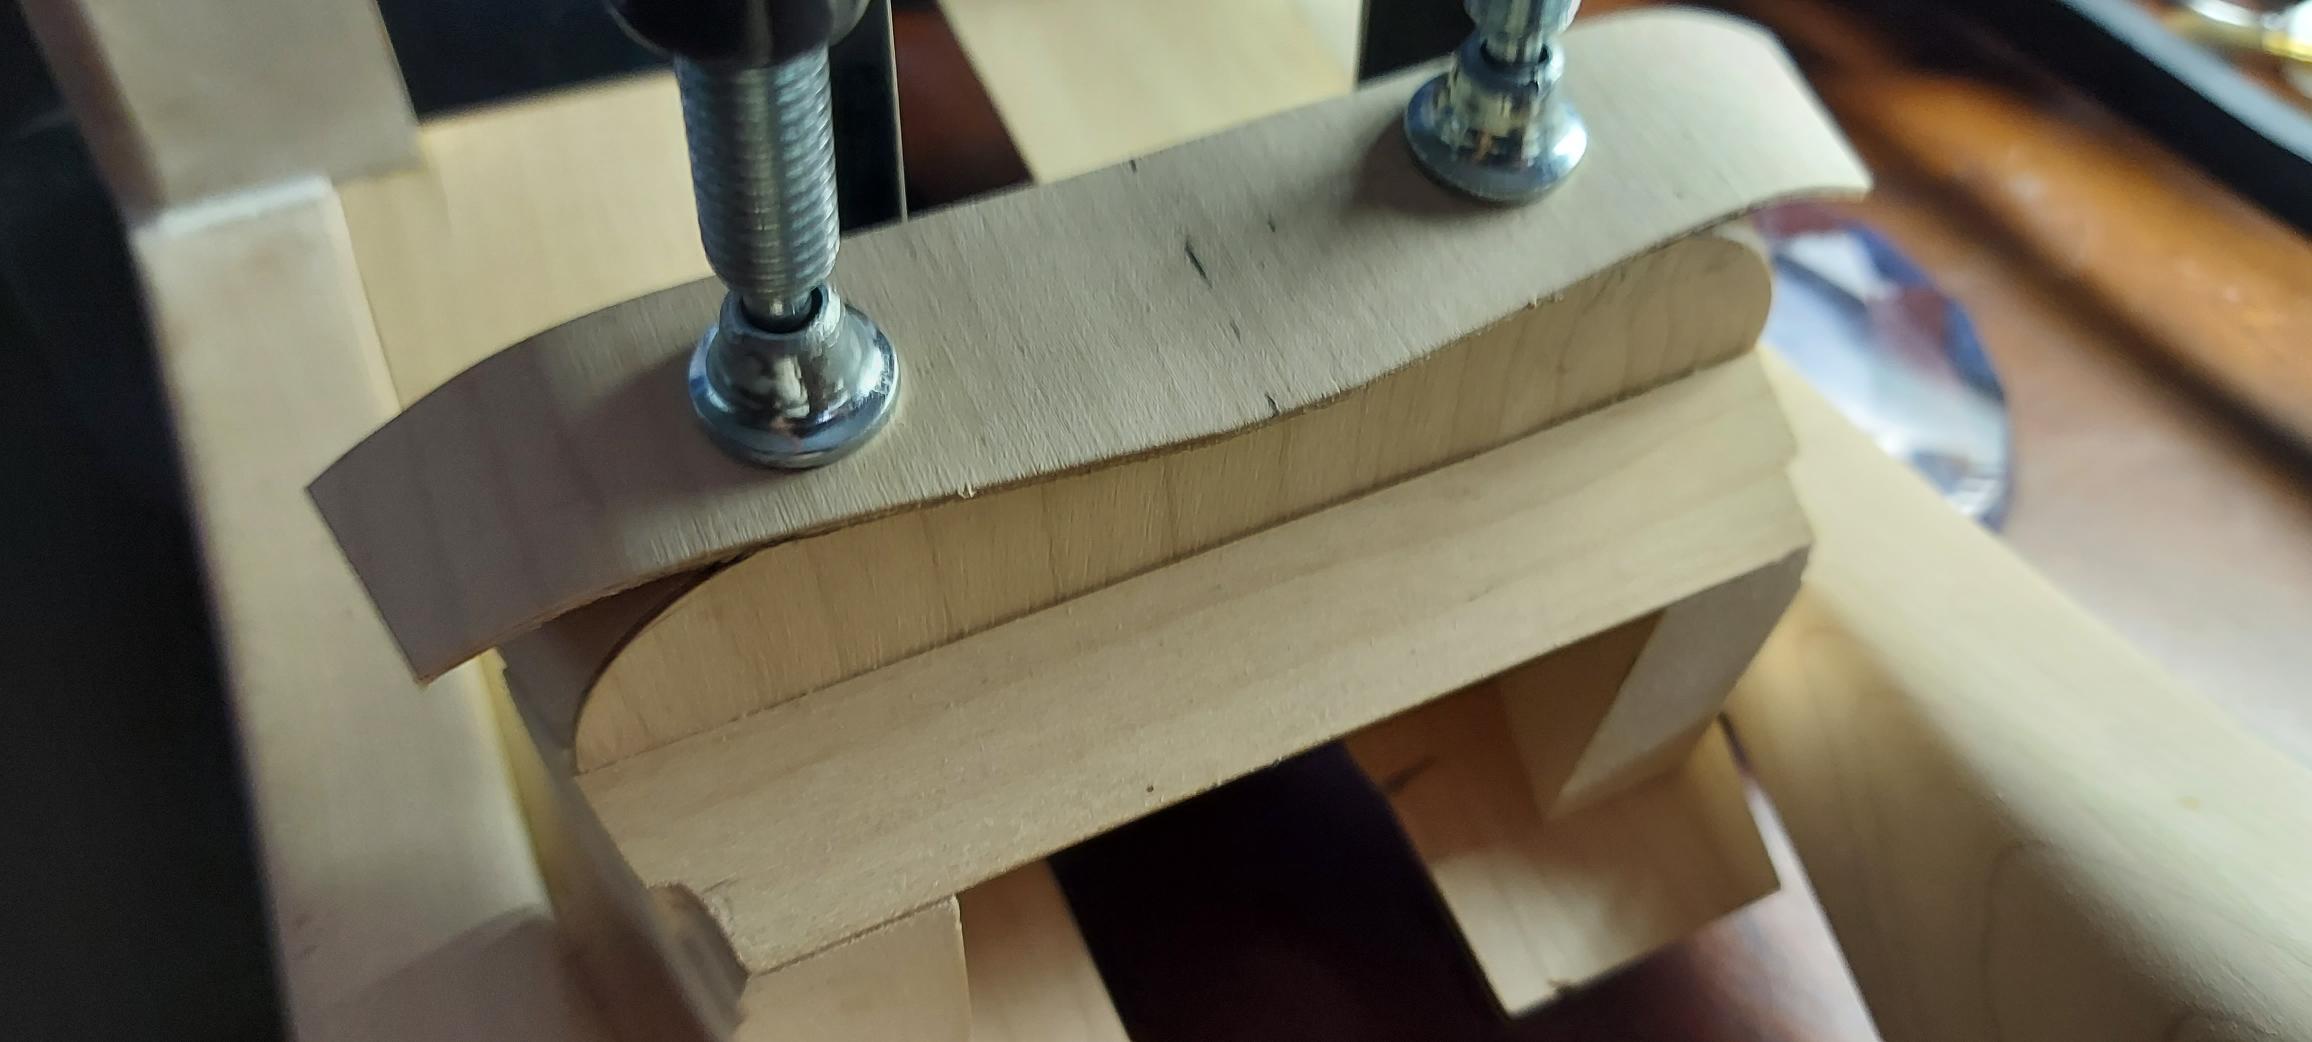
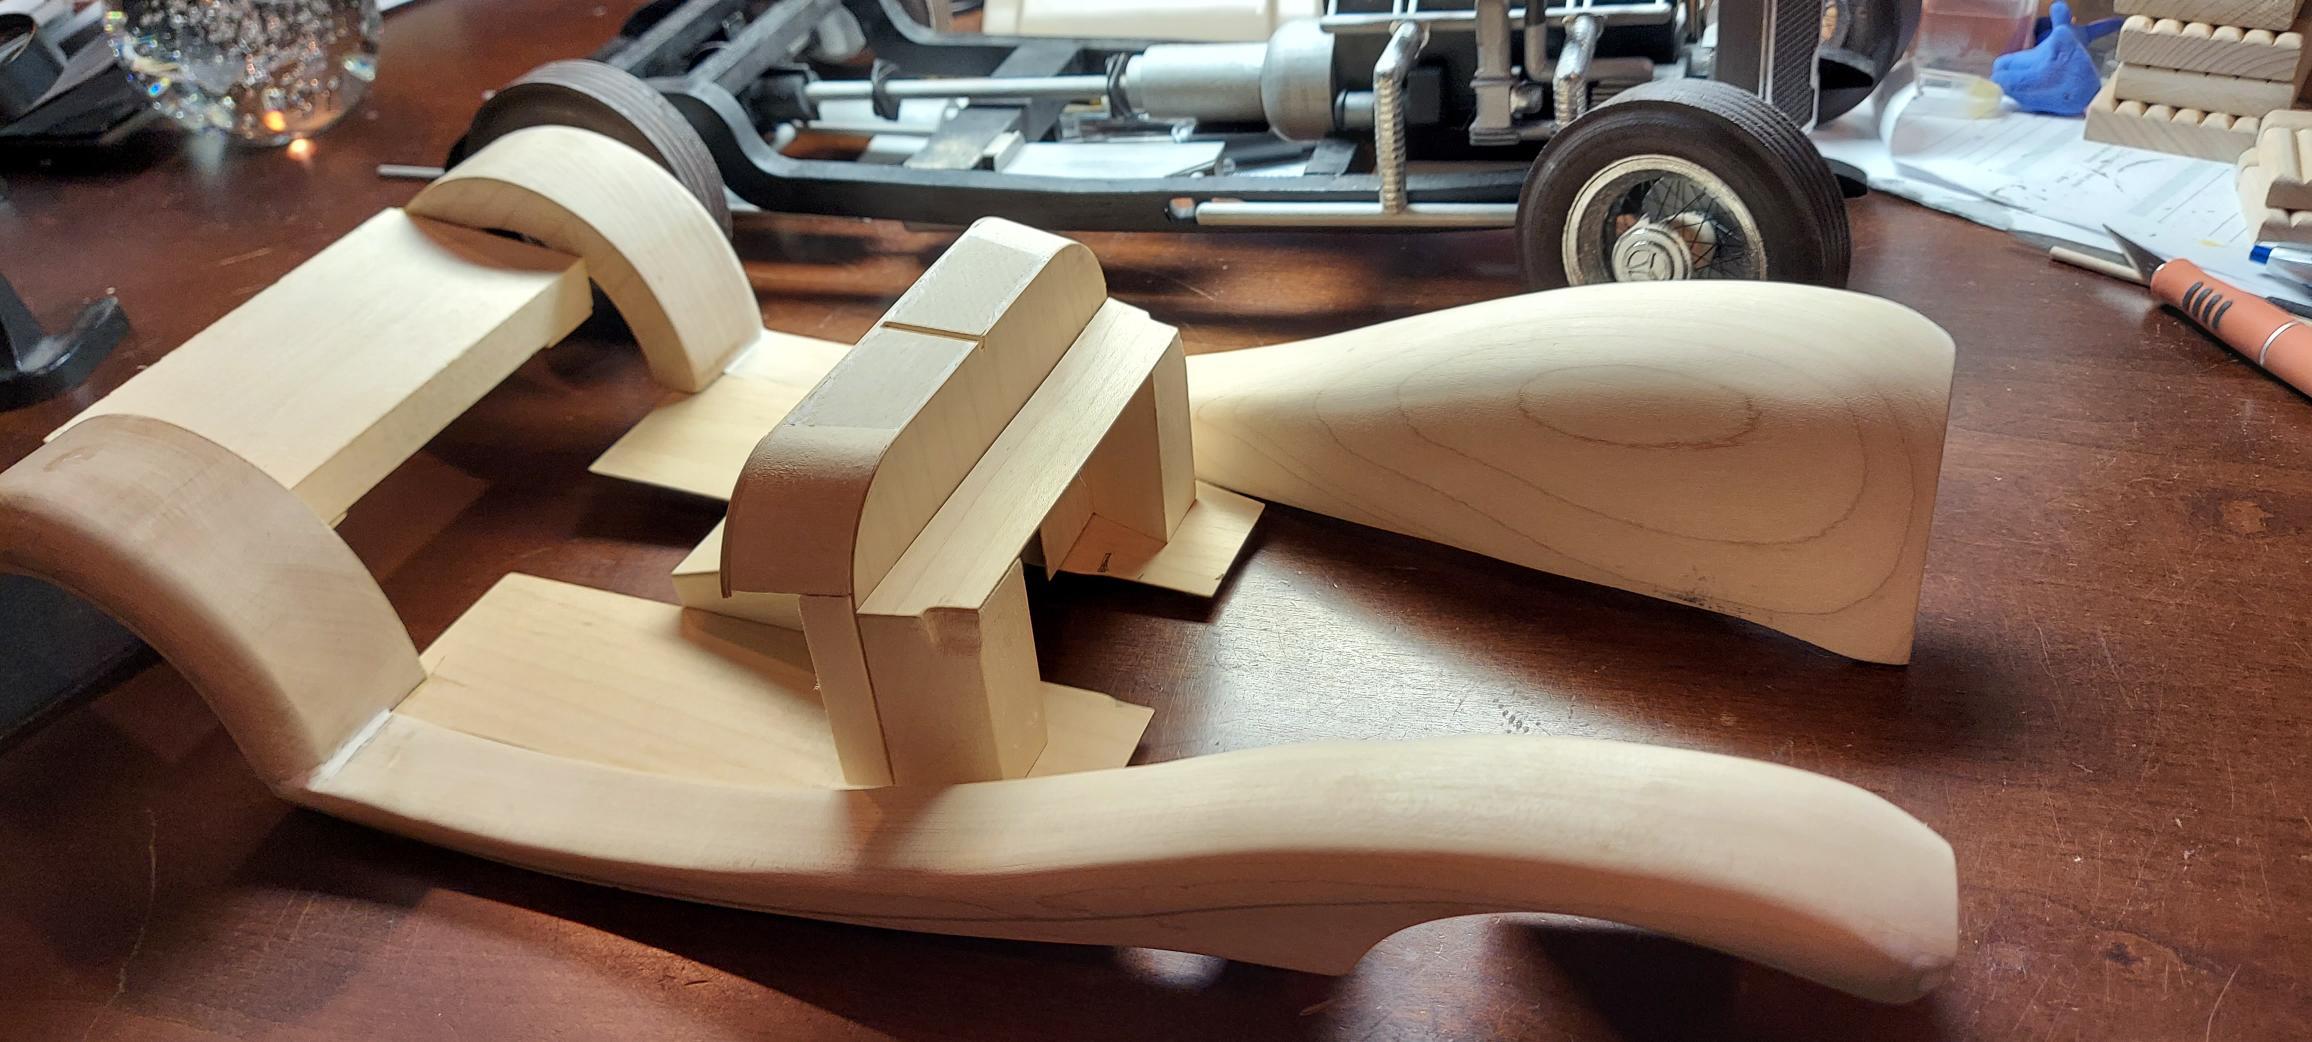
Making new piece for cowl top. Laminate 2 layers, wet, bend and clamp.
-
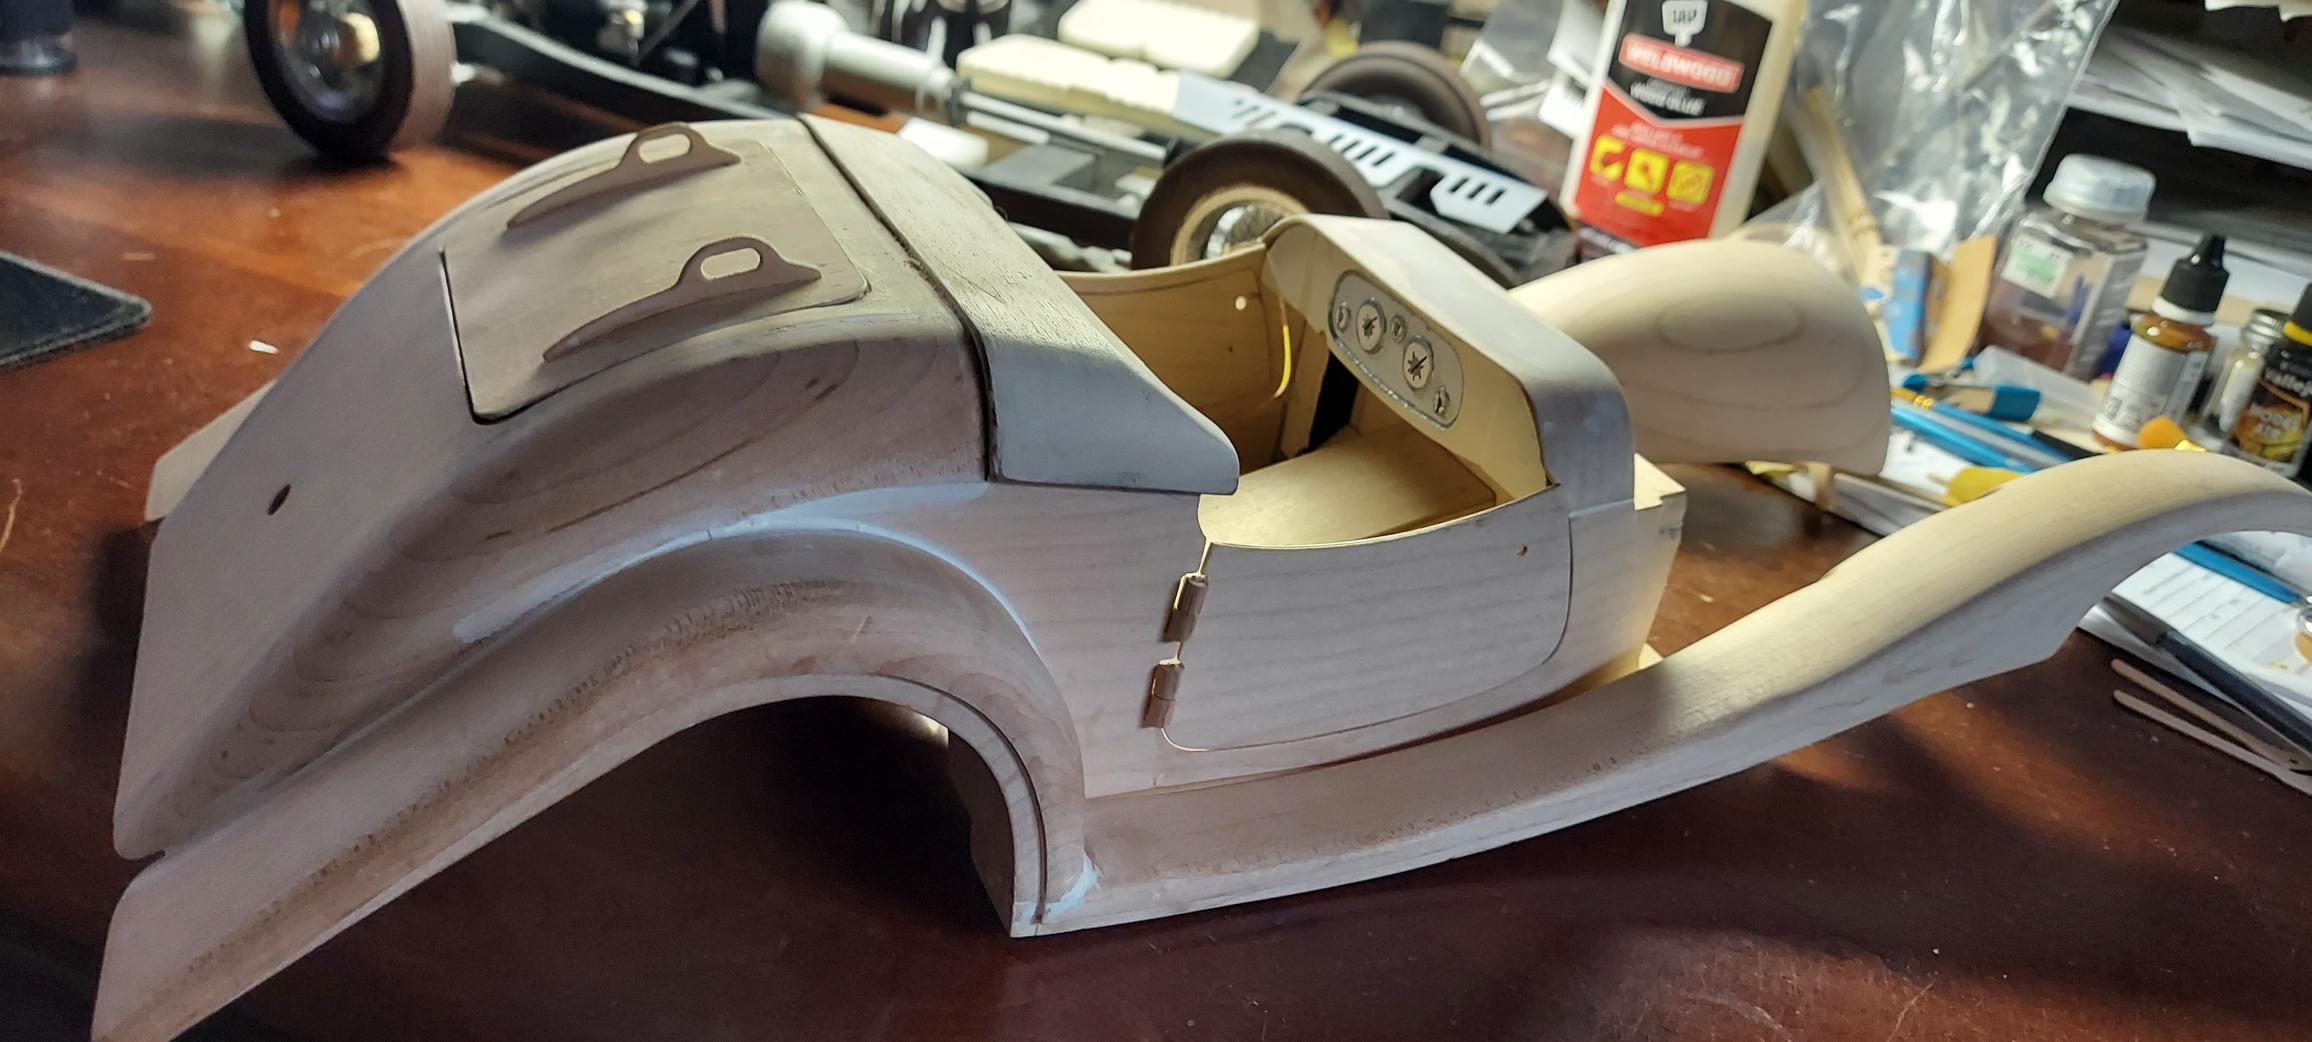
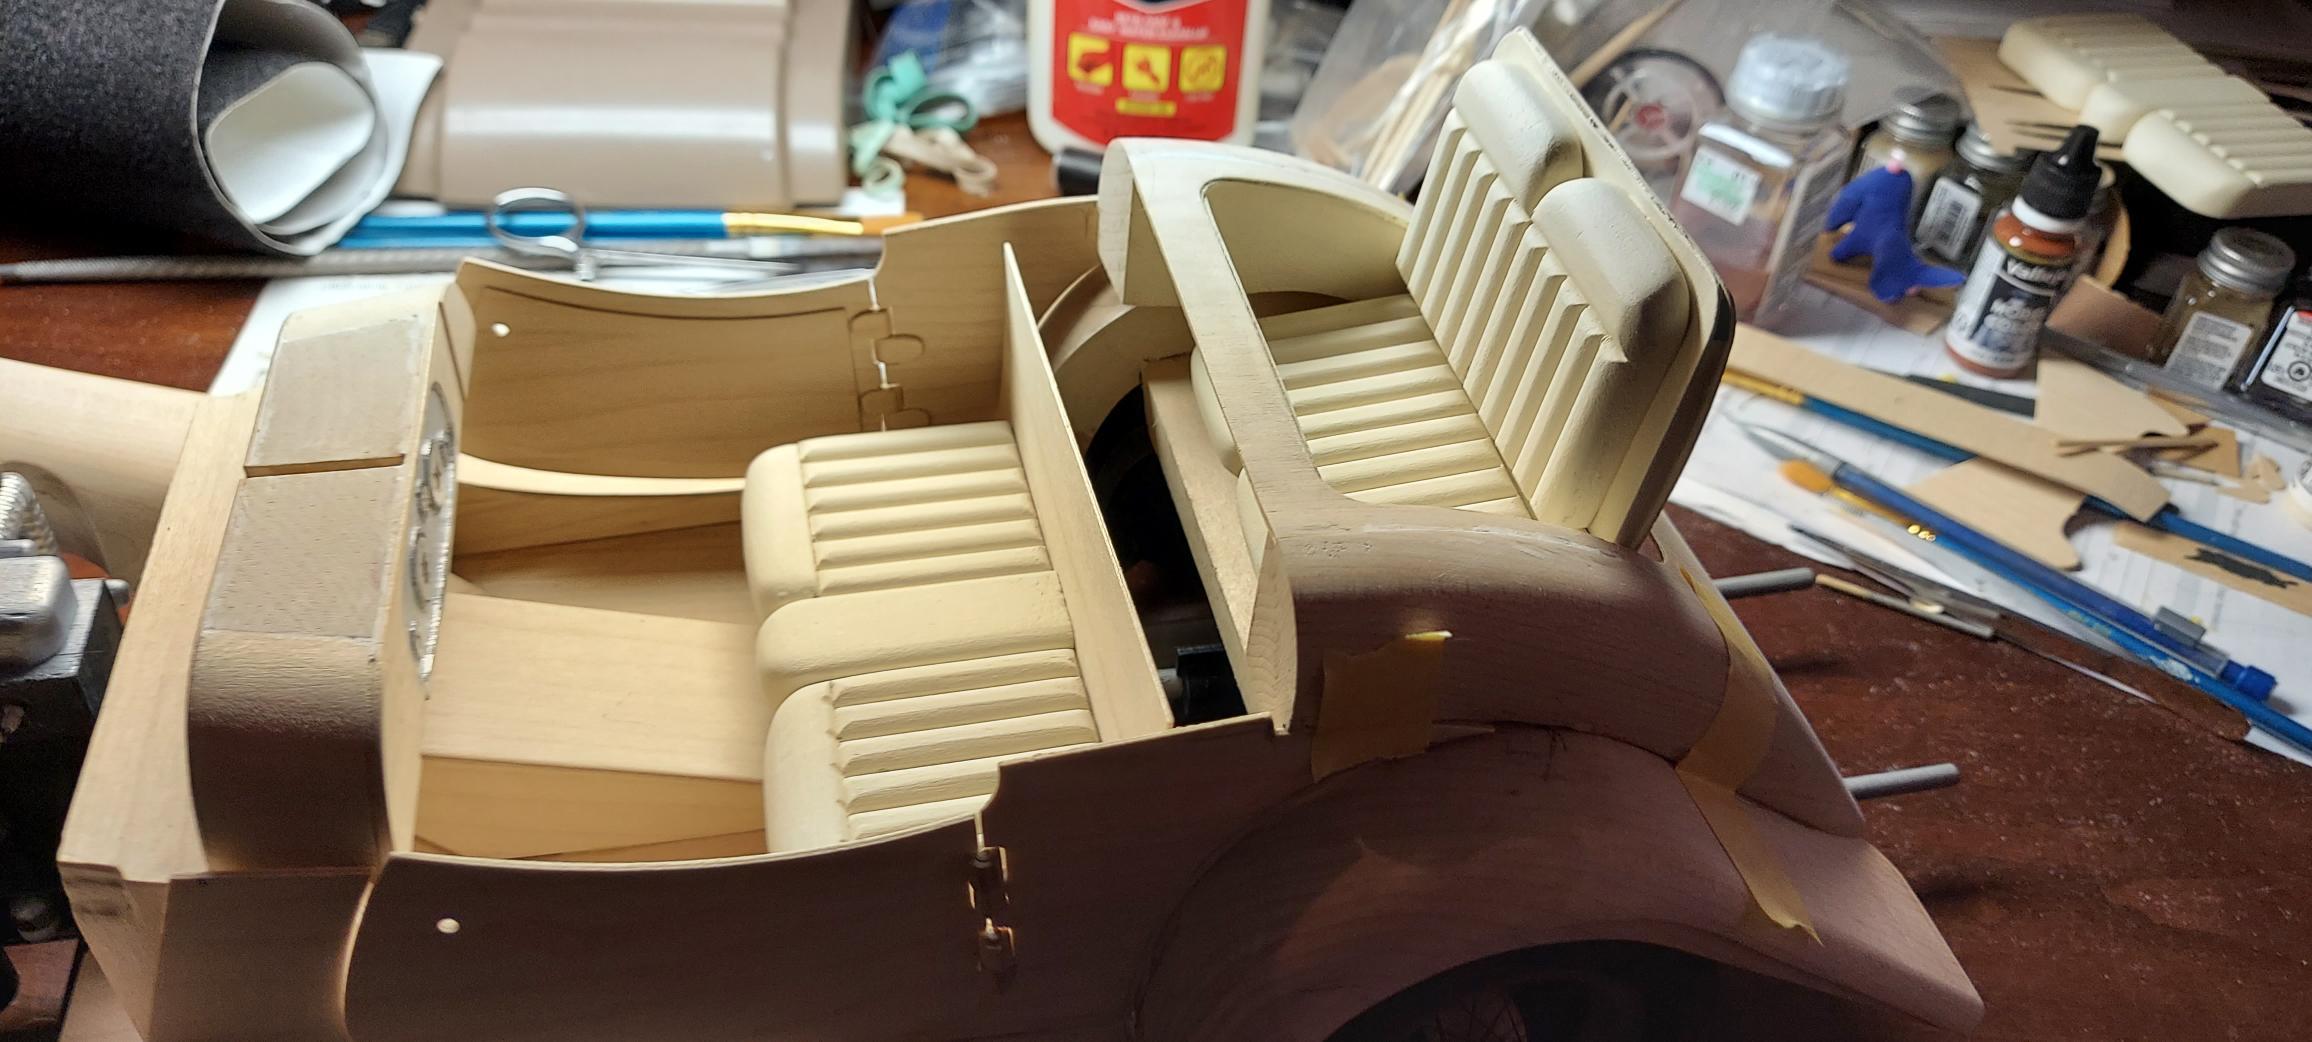
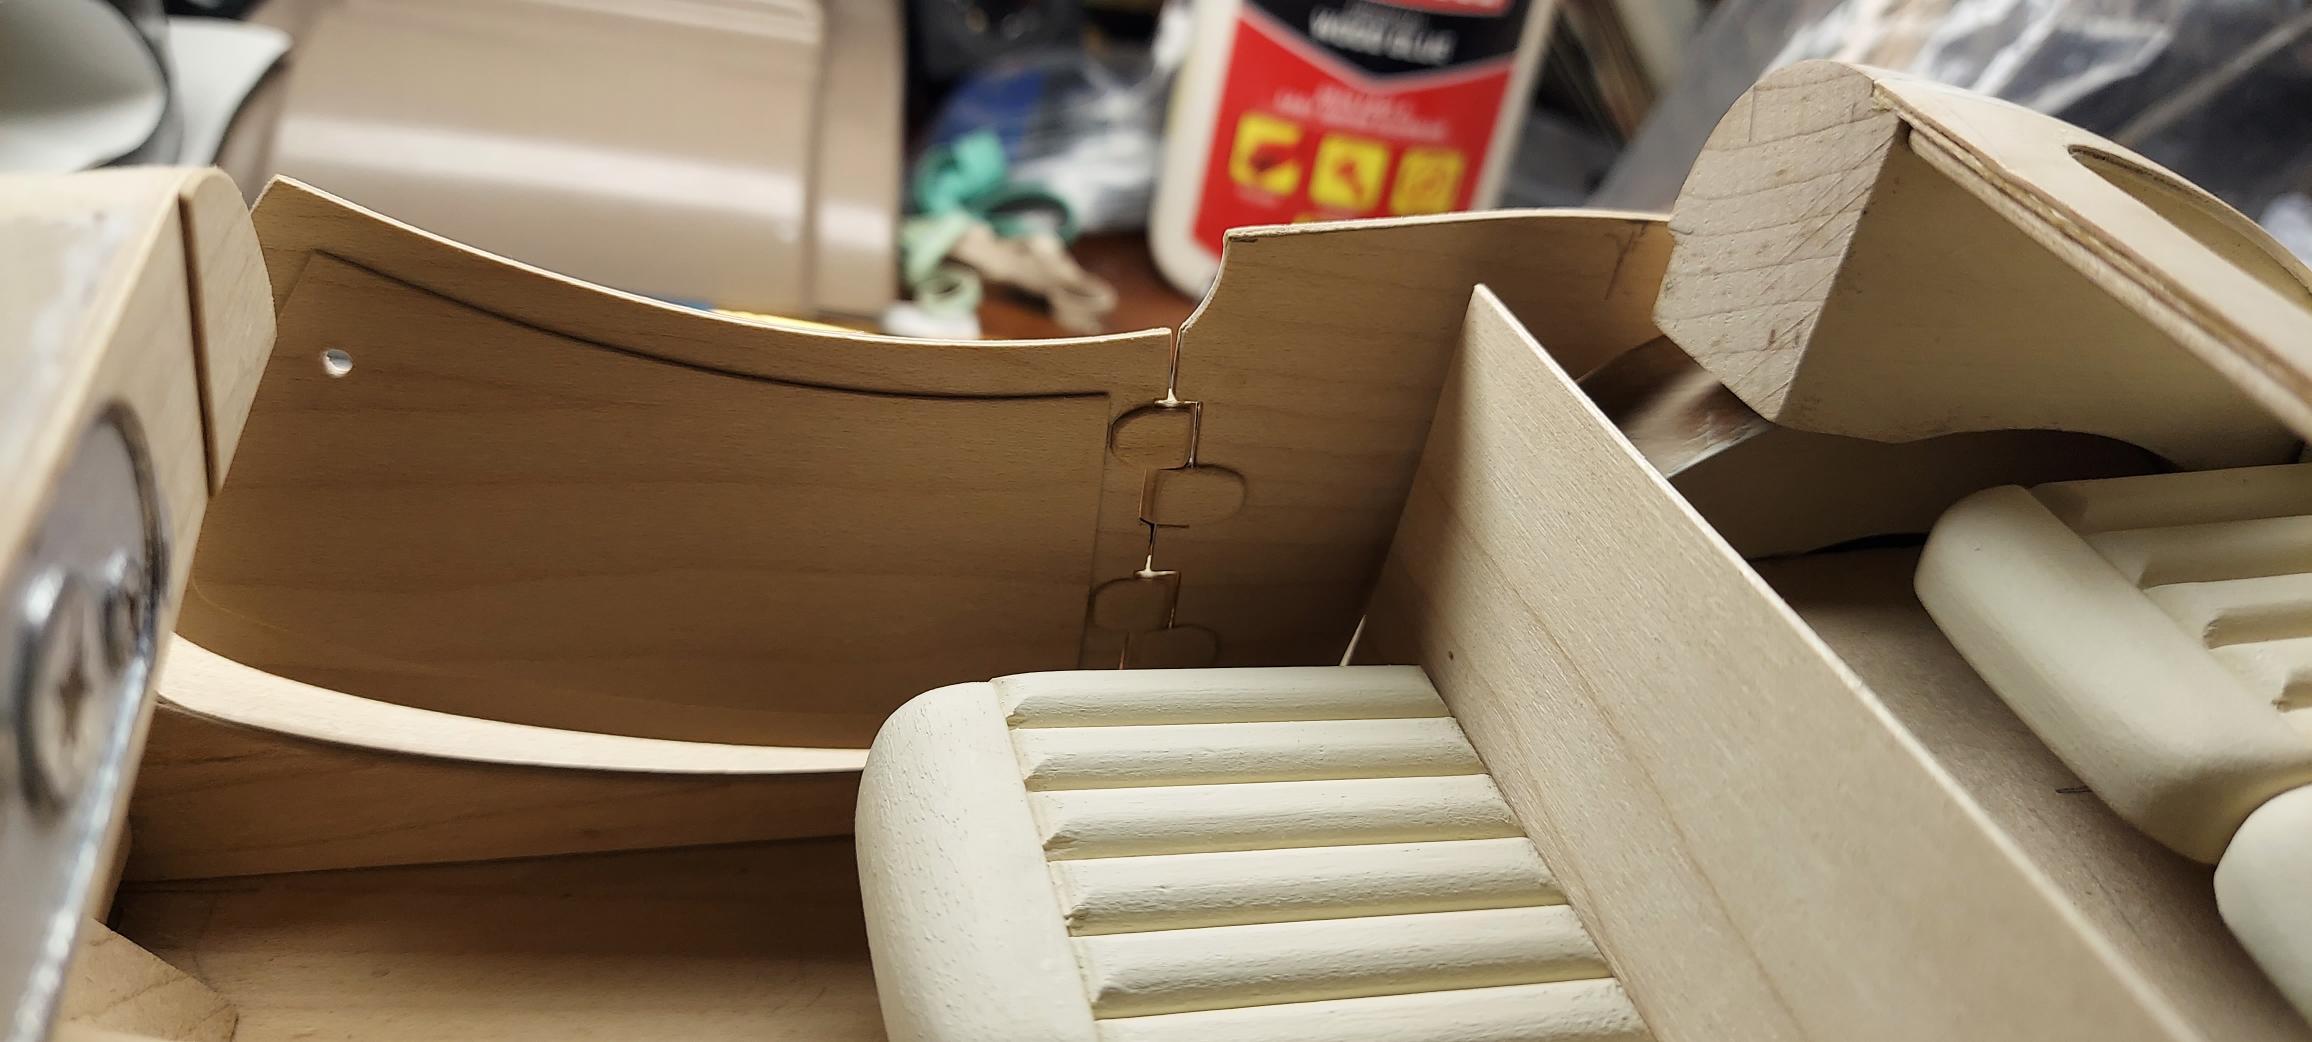
Made carpet pieces for later use after paint. Much better time to have access to interior. Paper patterns make final cut easy. Just glued back of car onto body, then sides will be attached soon.
-
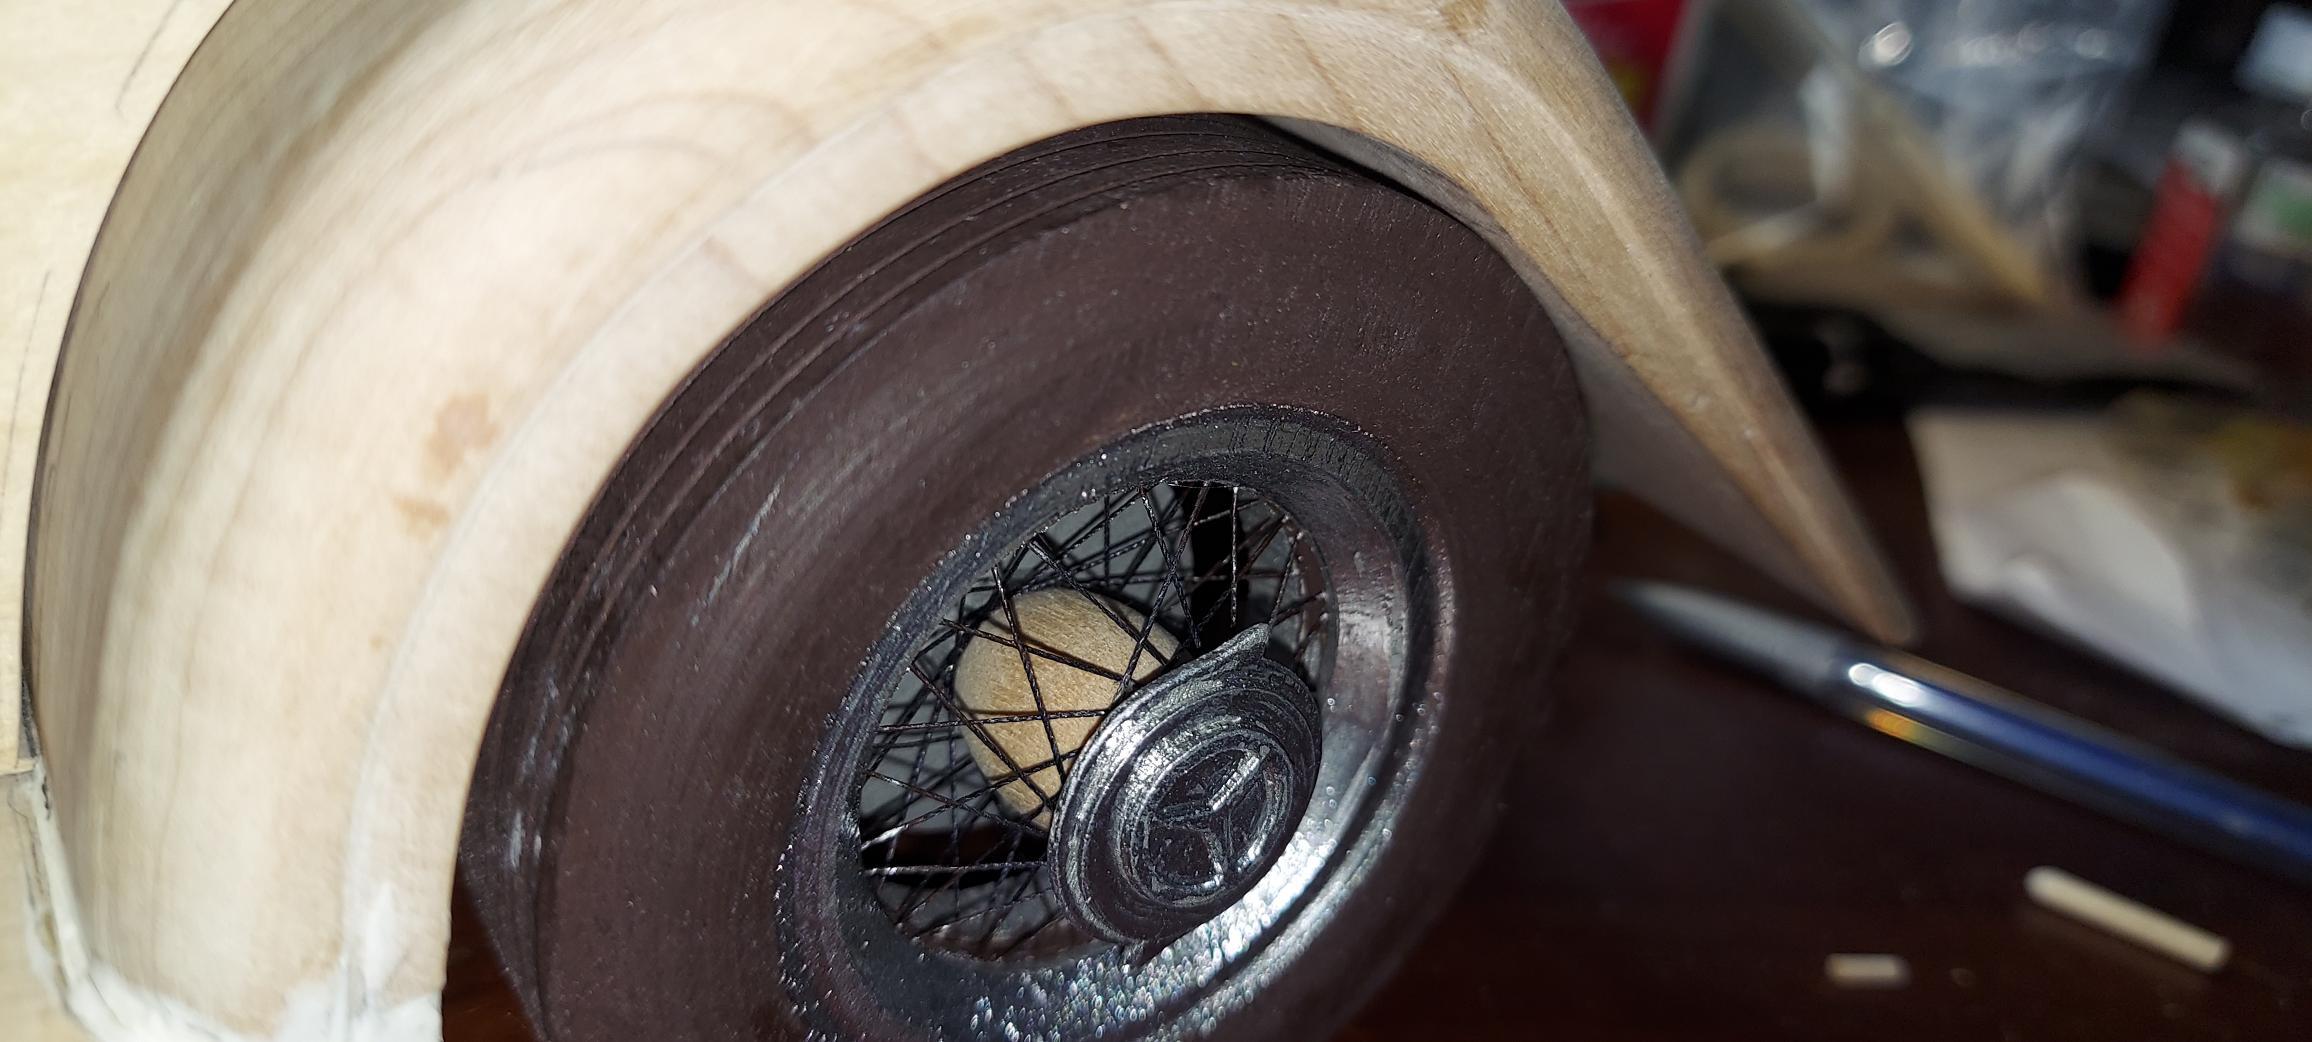
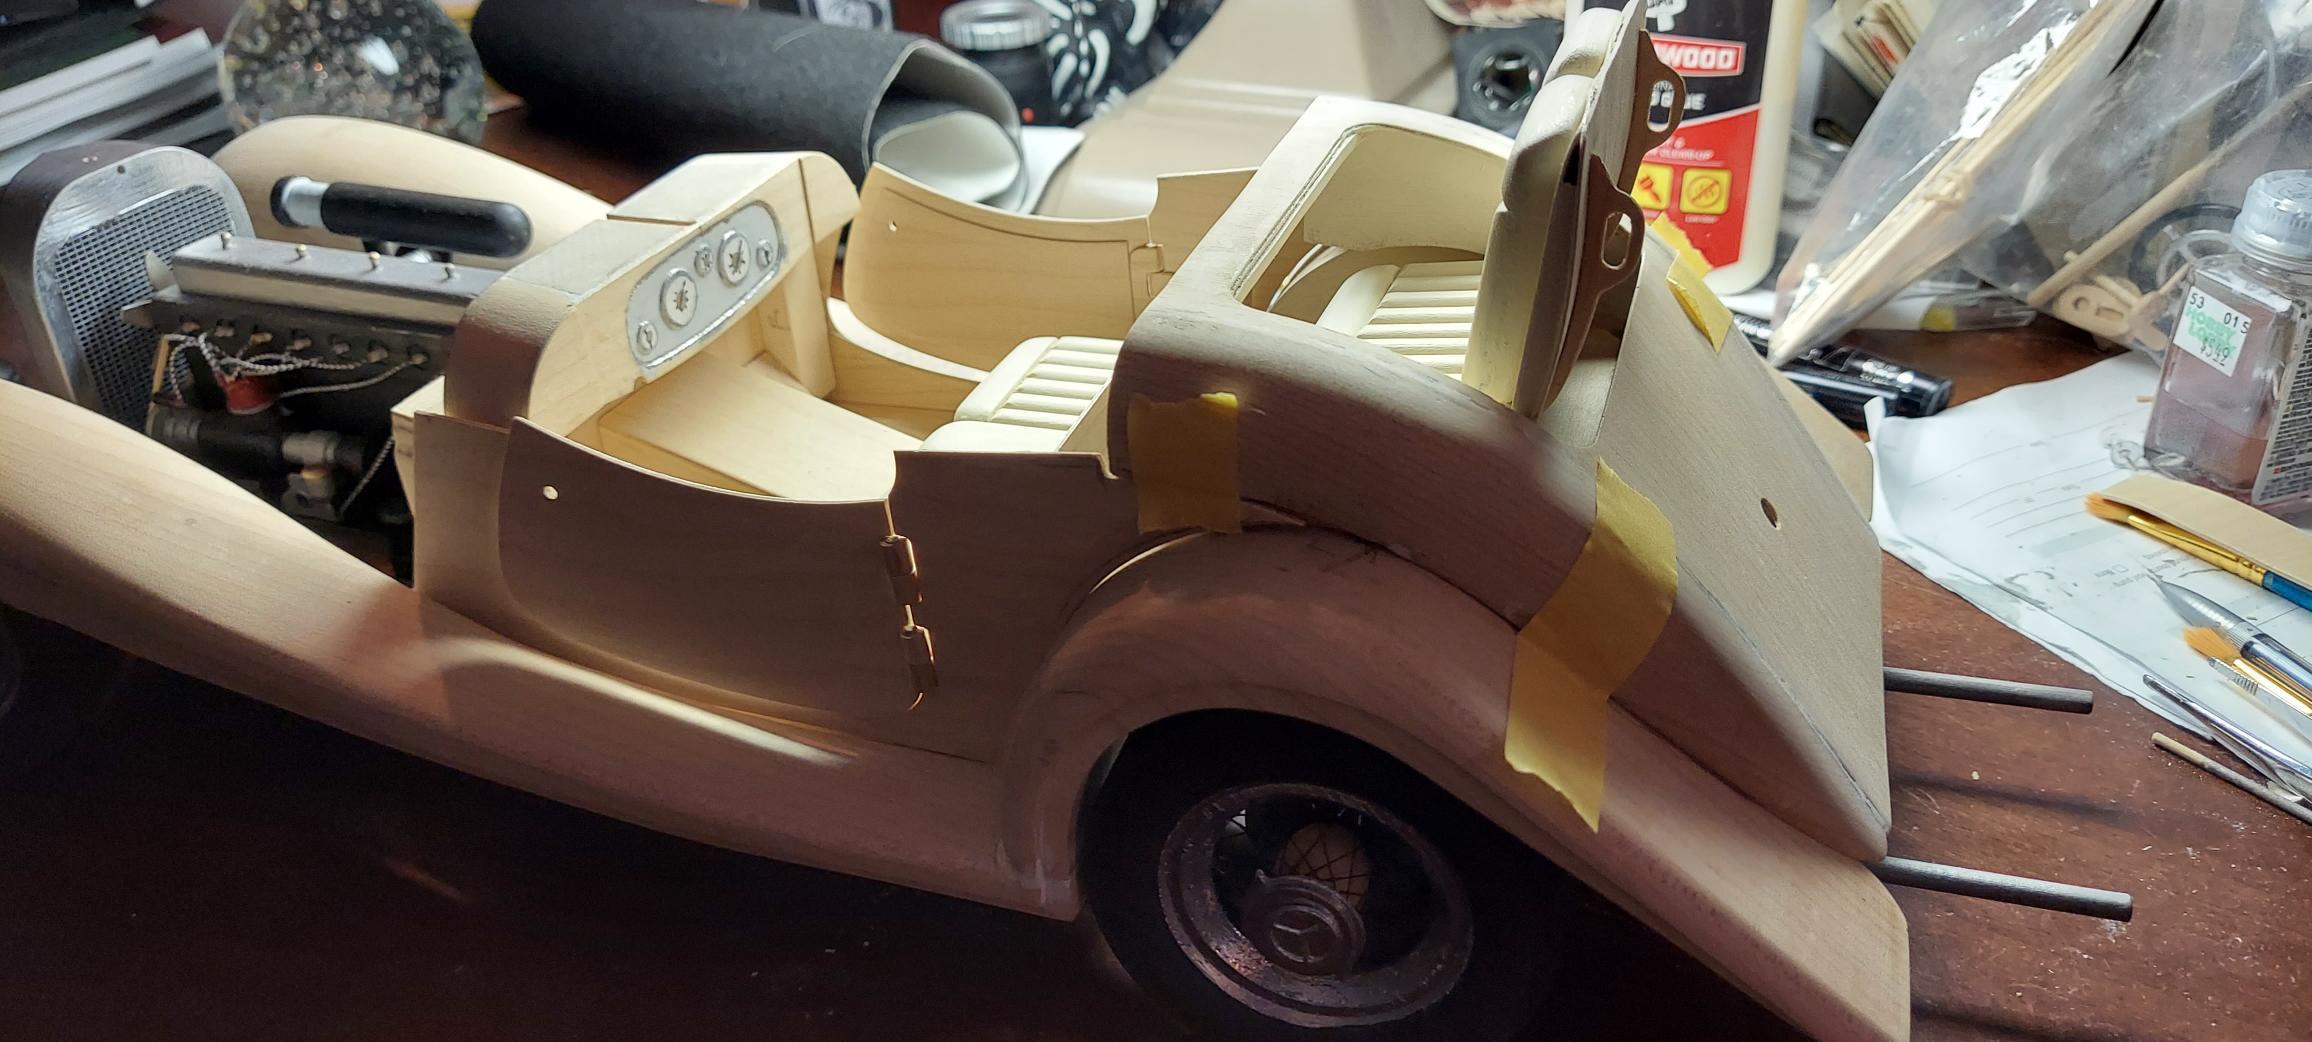
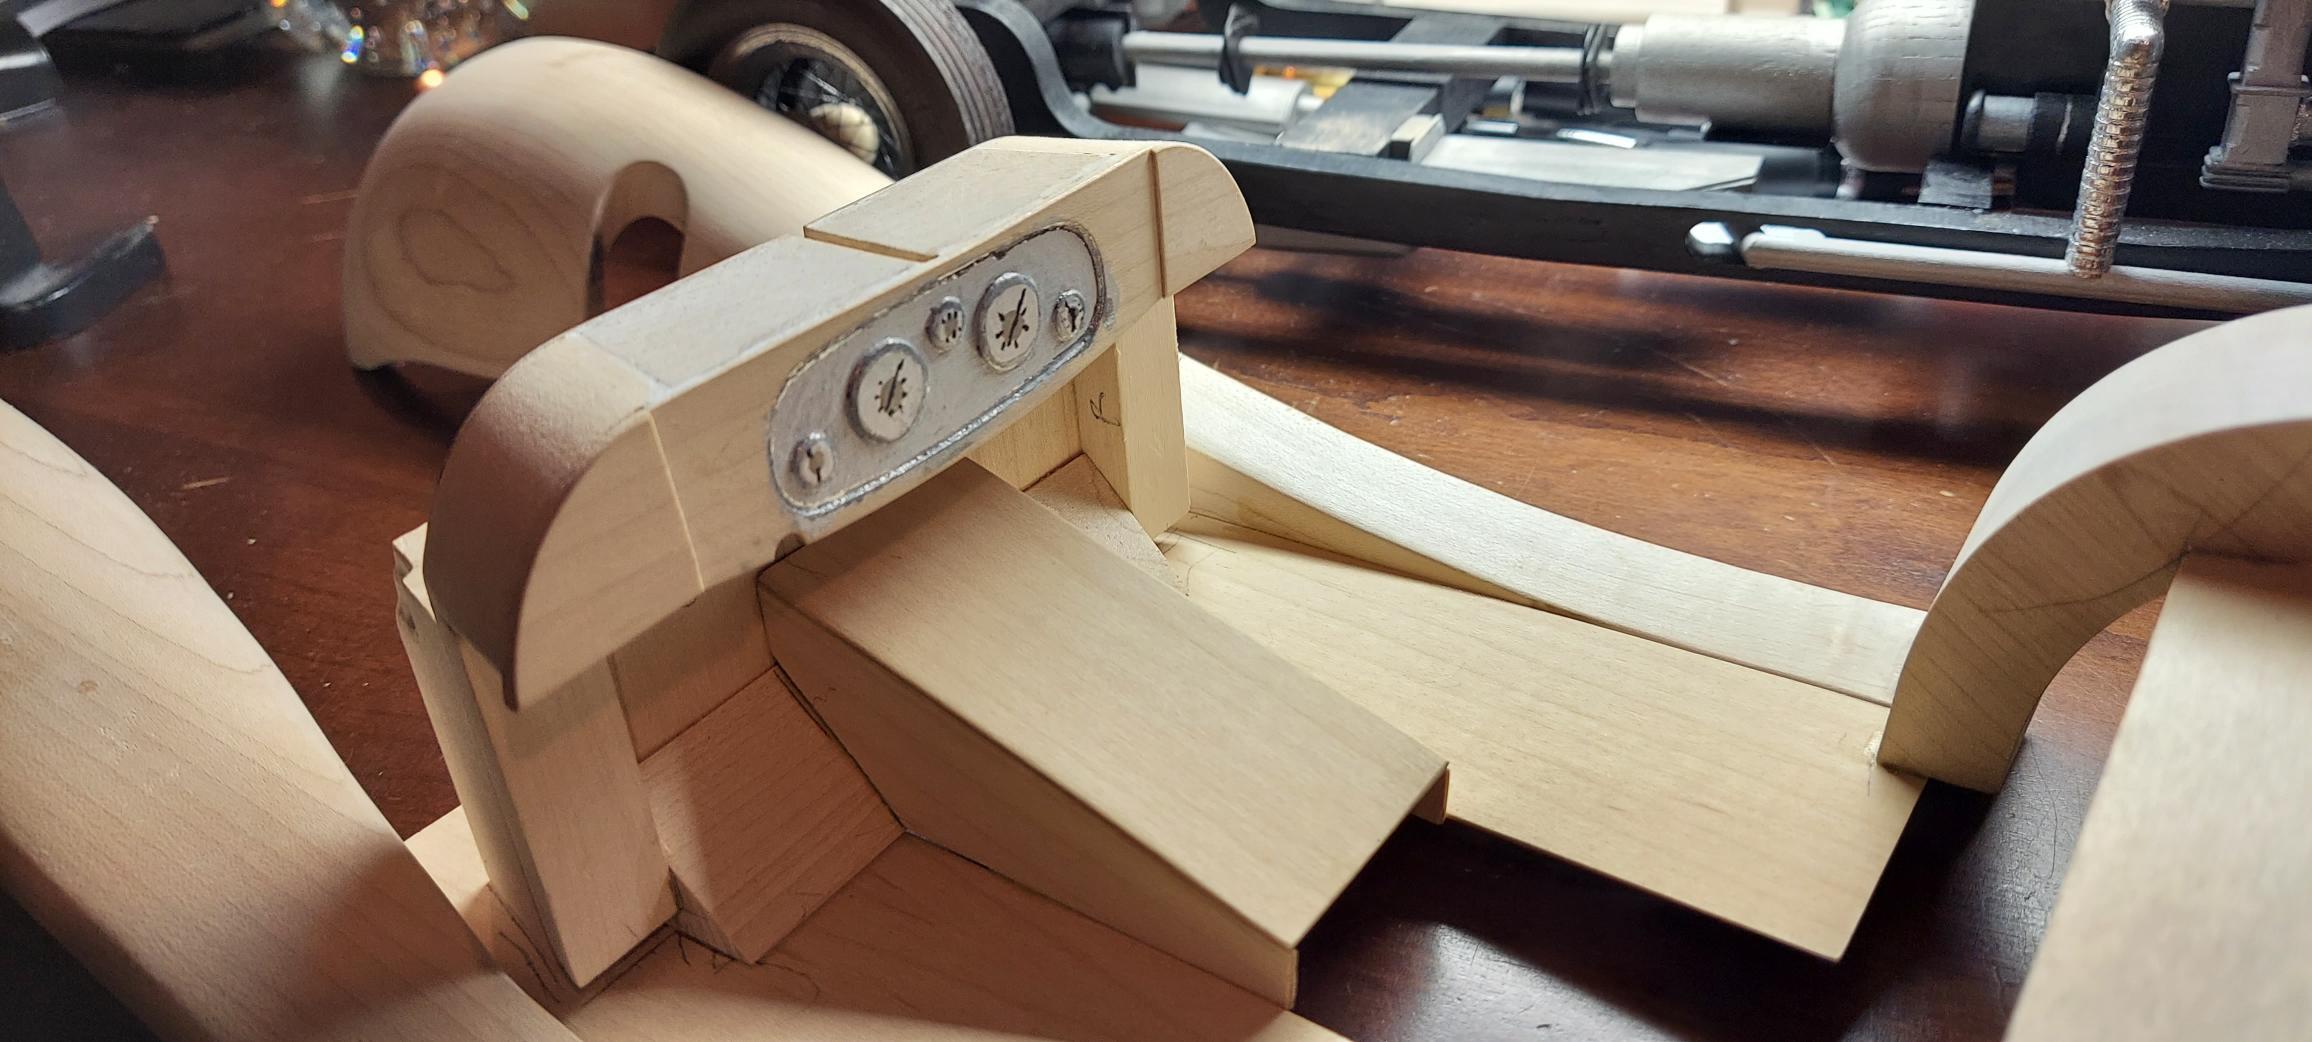
Lots of progress with jump seat, doors and side panels. Still a lot of fitting and soon attaching rear to body. Still trying to figure out how much of interior to paint. Using Vallejo Cream on the seats - looks good to me. Seats were heavily reshaped to look more lifelike and not just blocks of wood. Got some doll house black carpet for the floors later after painting. The door hinges took some time to shape more appropriately.
-
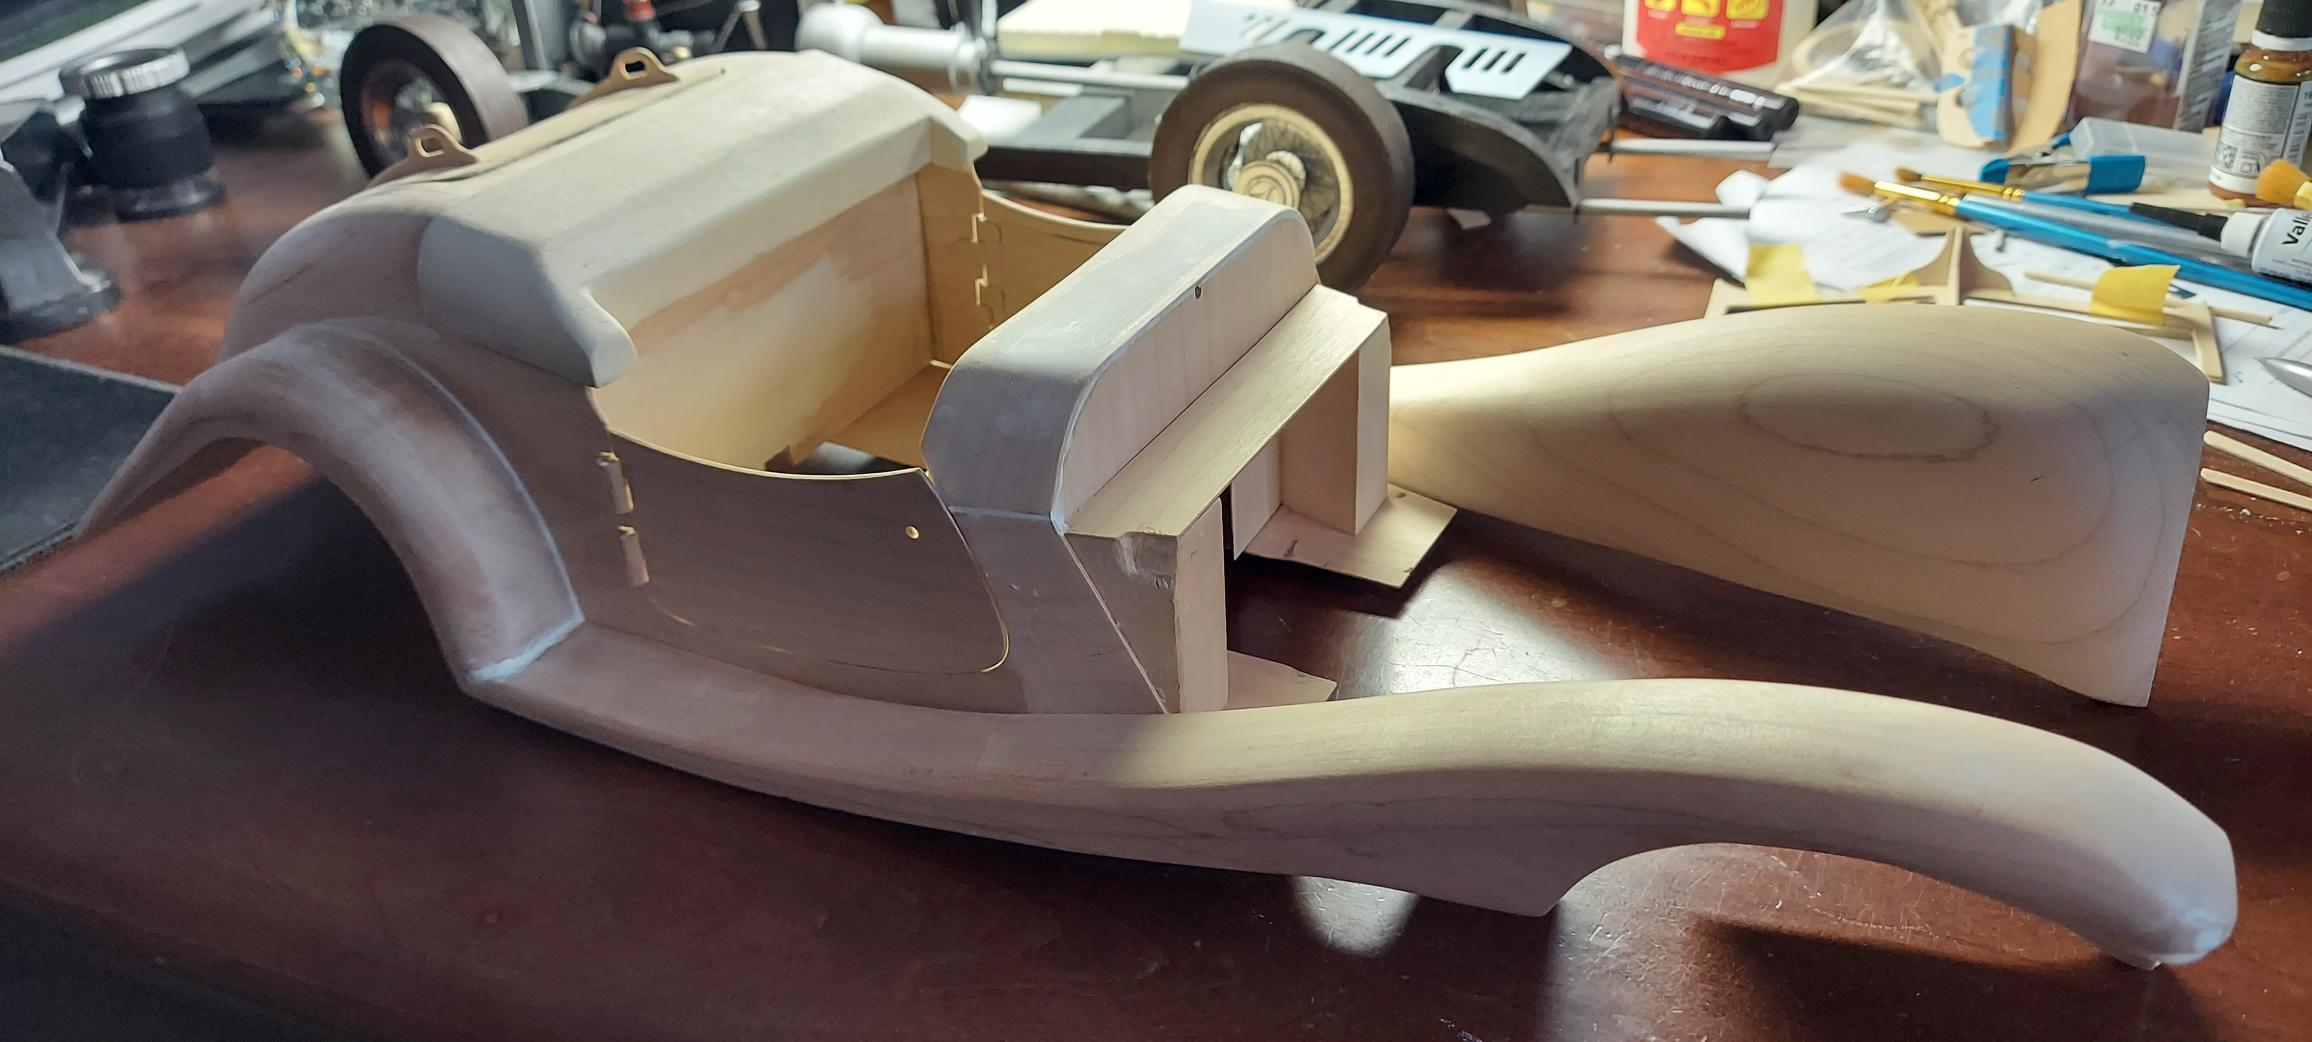
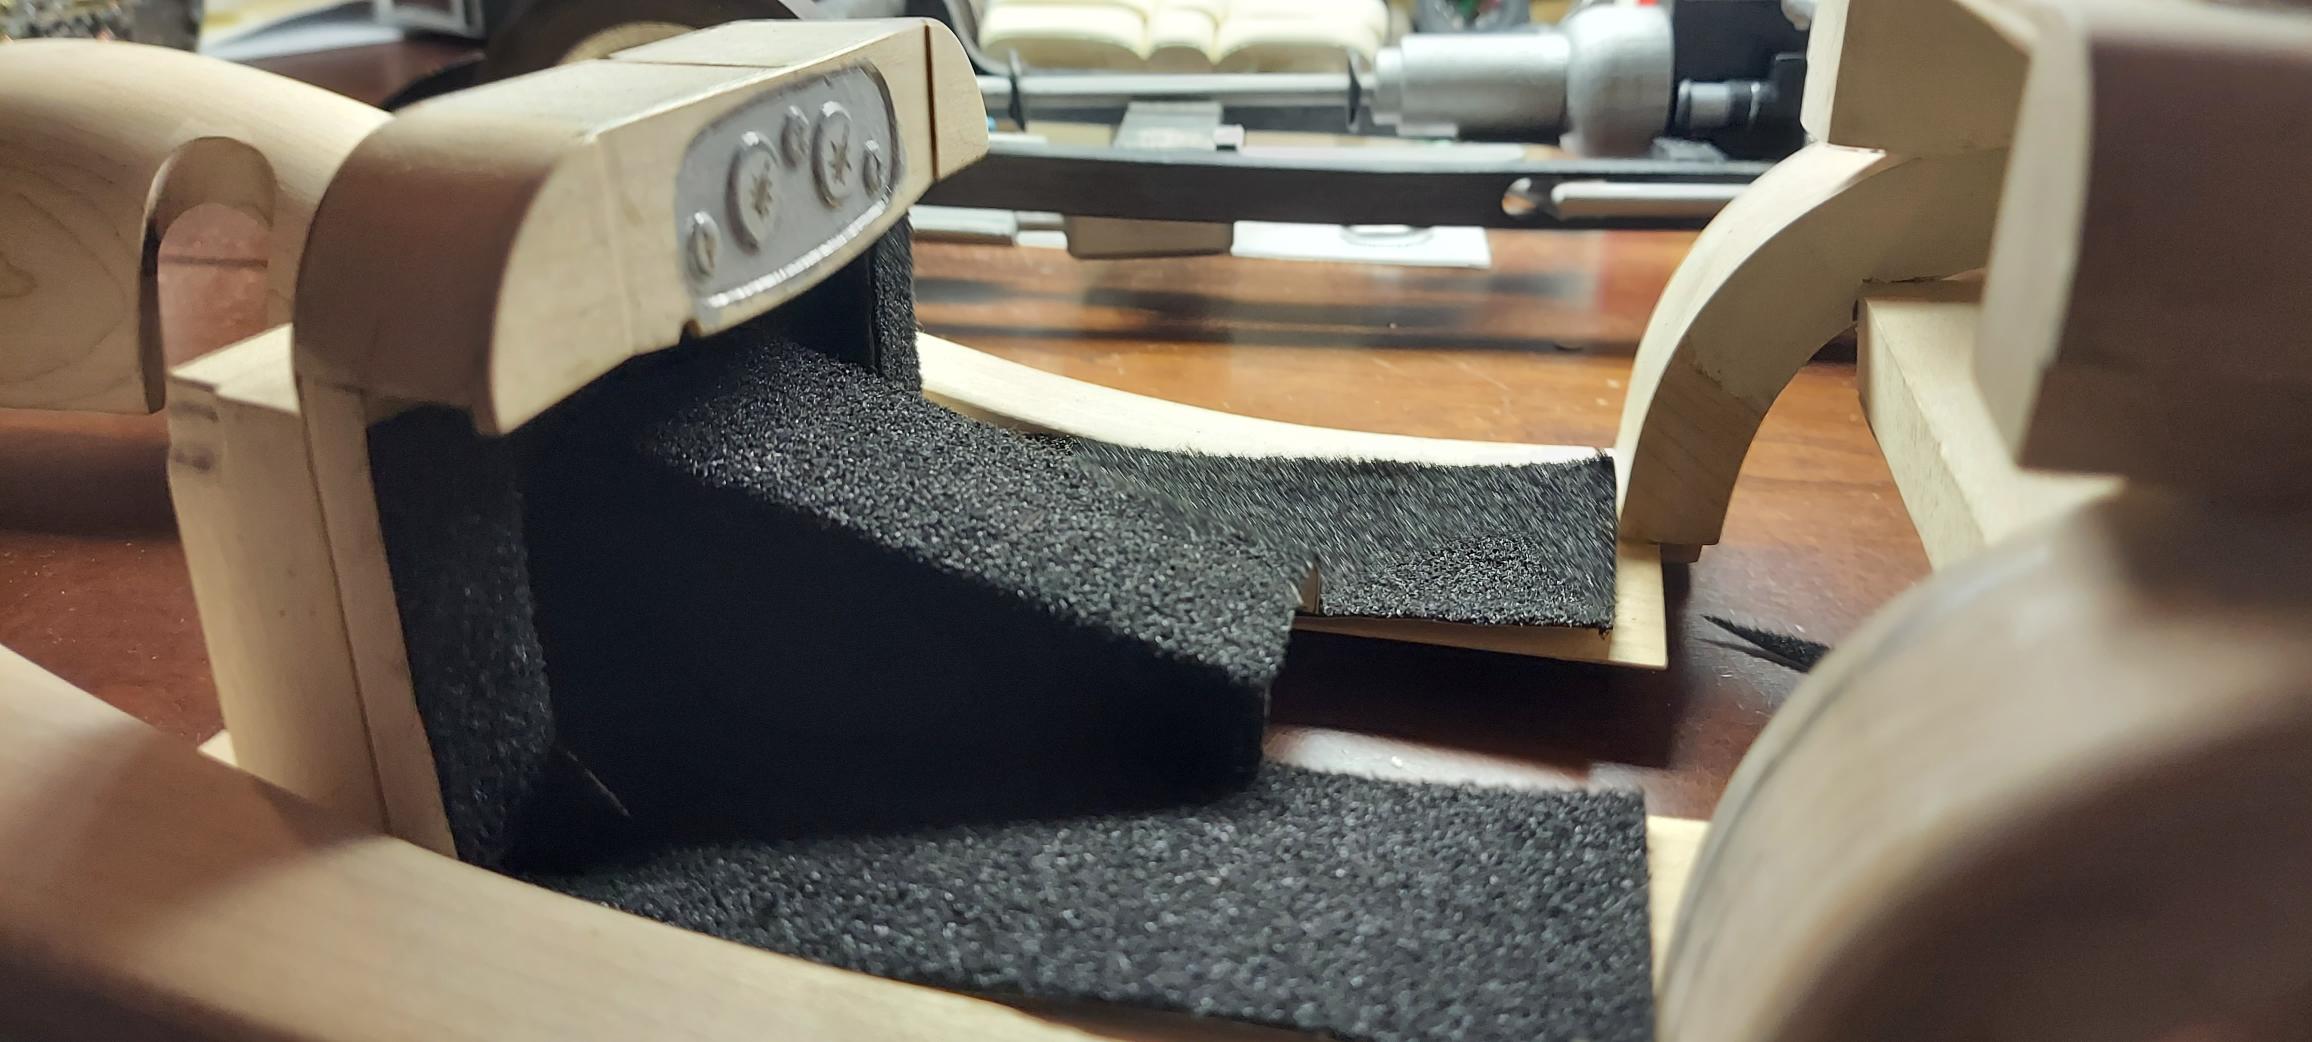
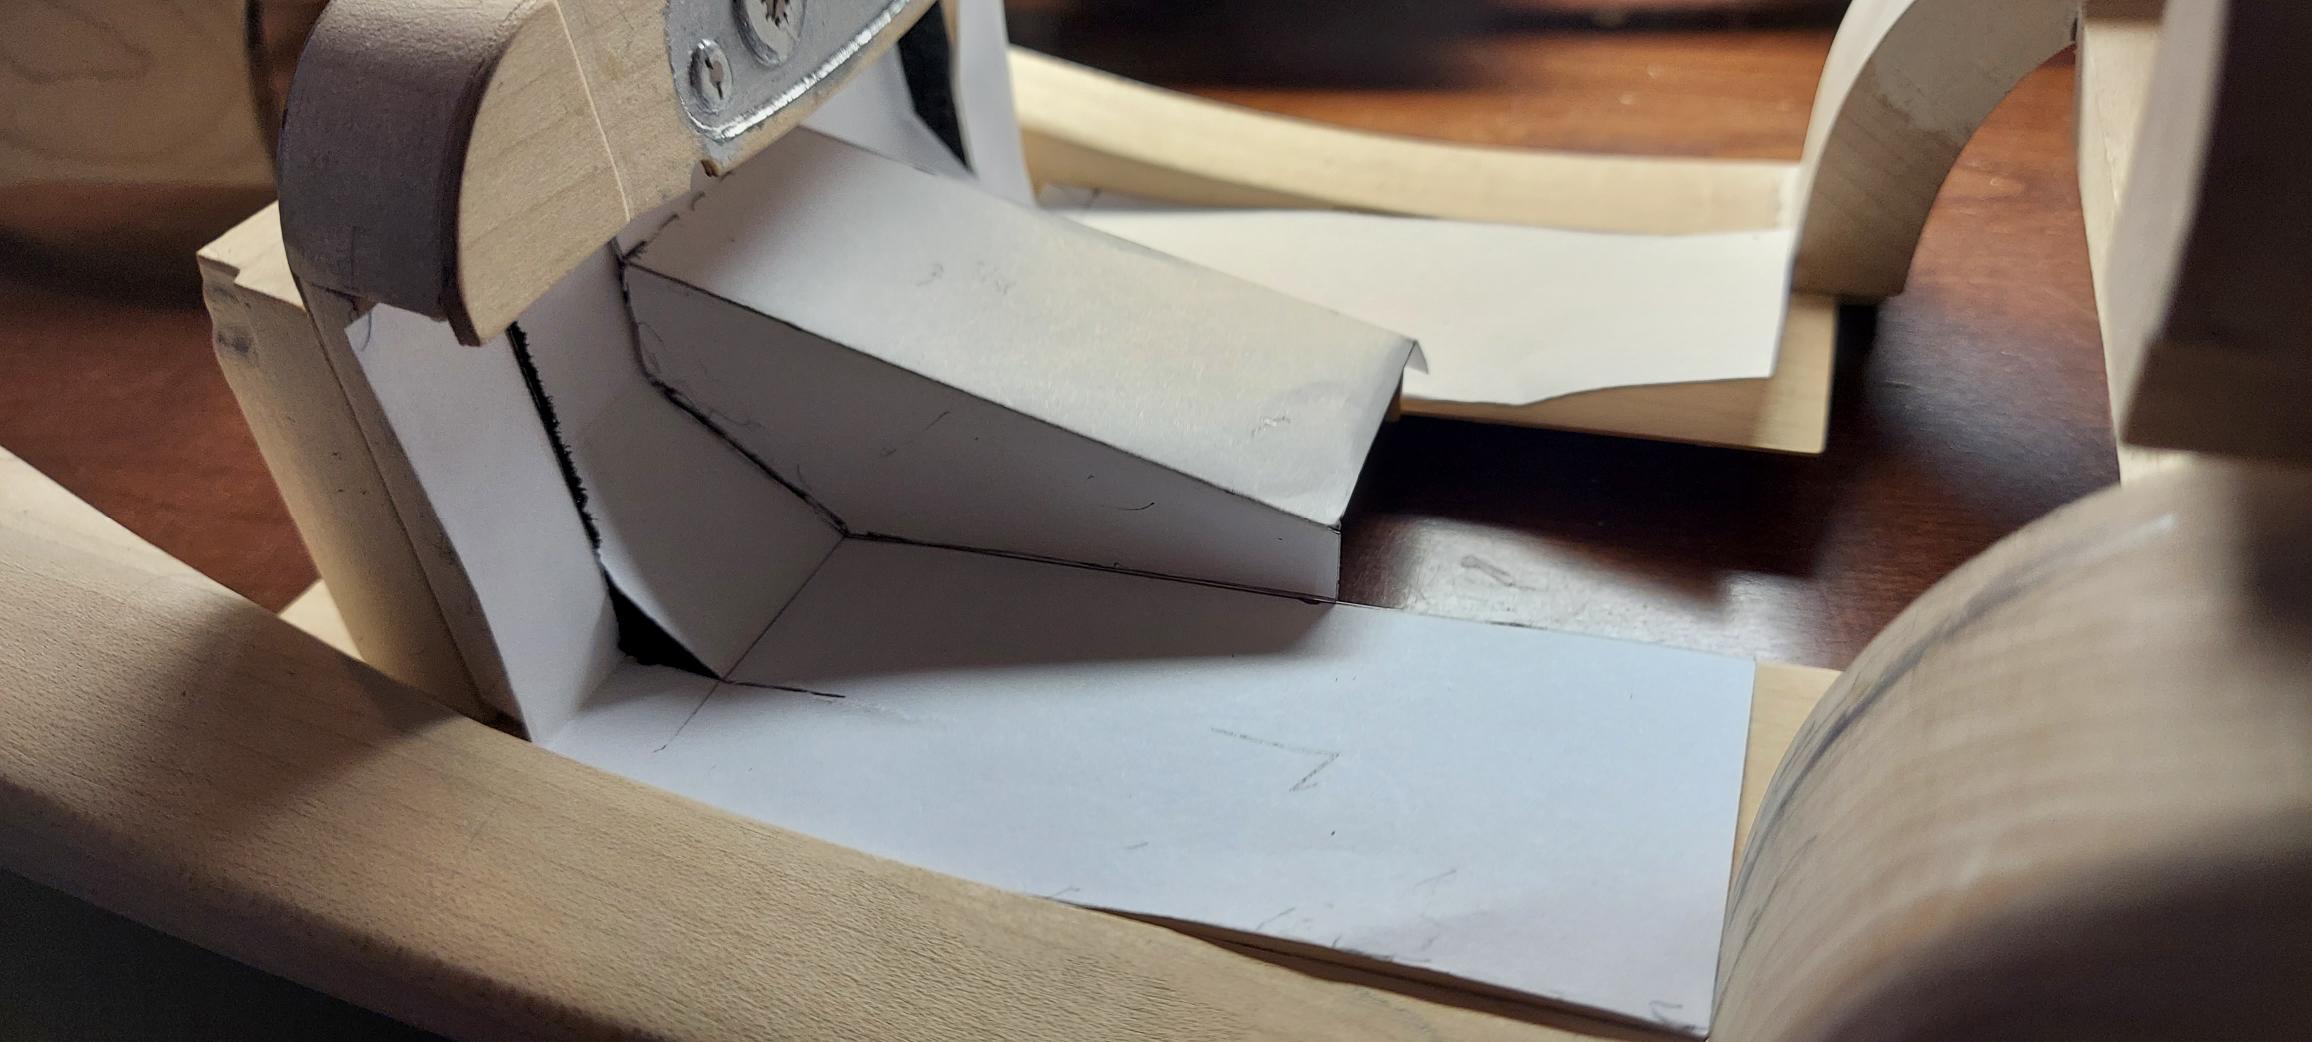
That moment when you realize that 3 months and 100+ pages of instruction later that the back of the hood should have been angled. That's my biggest complaint about this kit that the instructions are lacking in several areas. Like the 40+ louvers I punched out of the hood sides and threw away months ago... Fortunately discovered them all in the bottom of my trash can!! Comments appreciated. I'll just cut some angle pieces and graft them on.
-
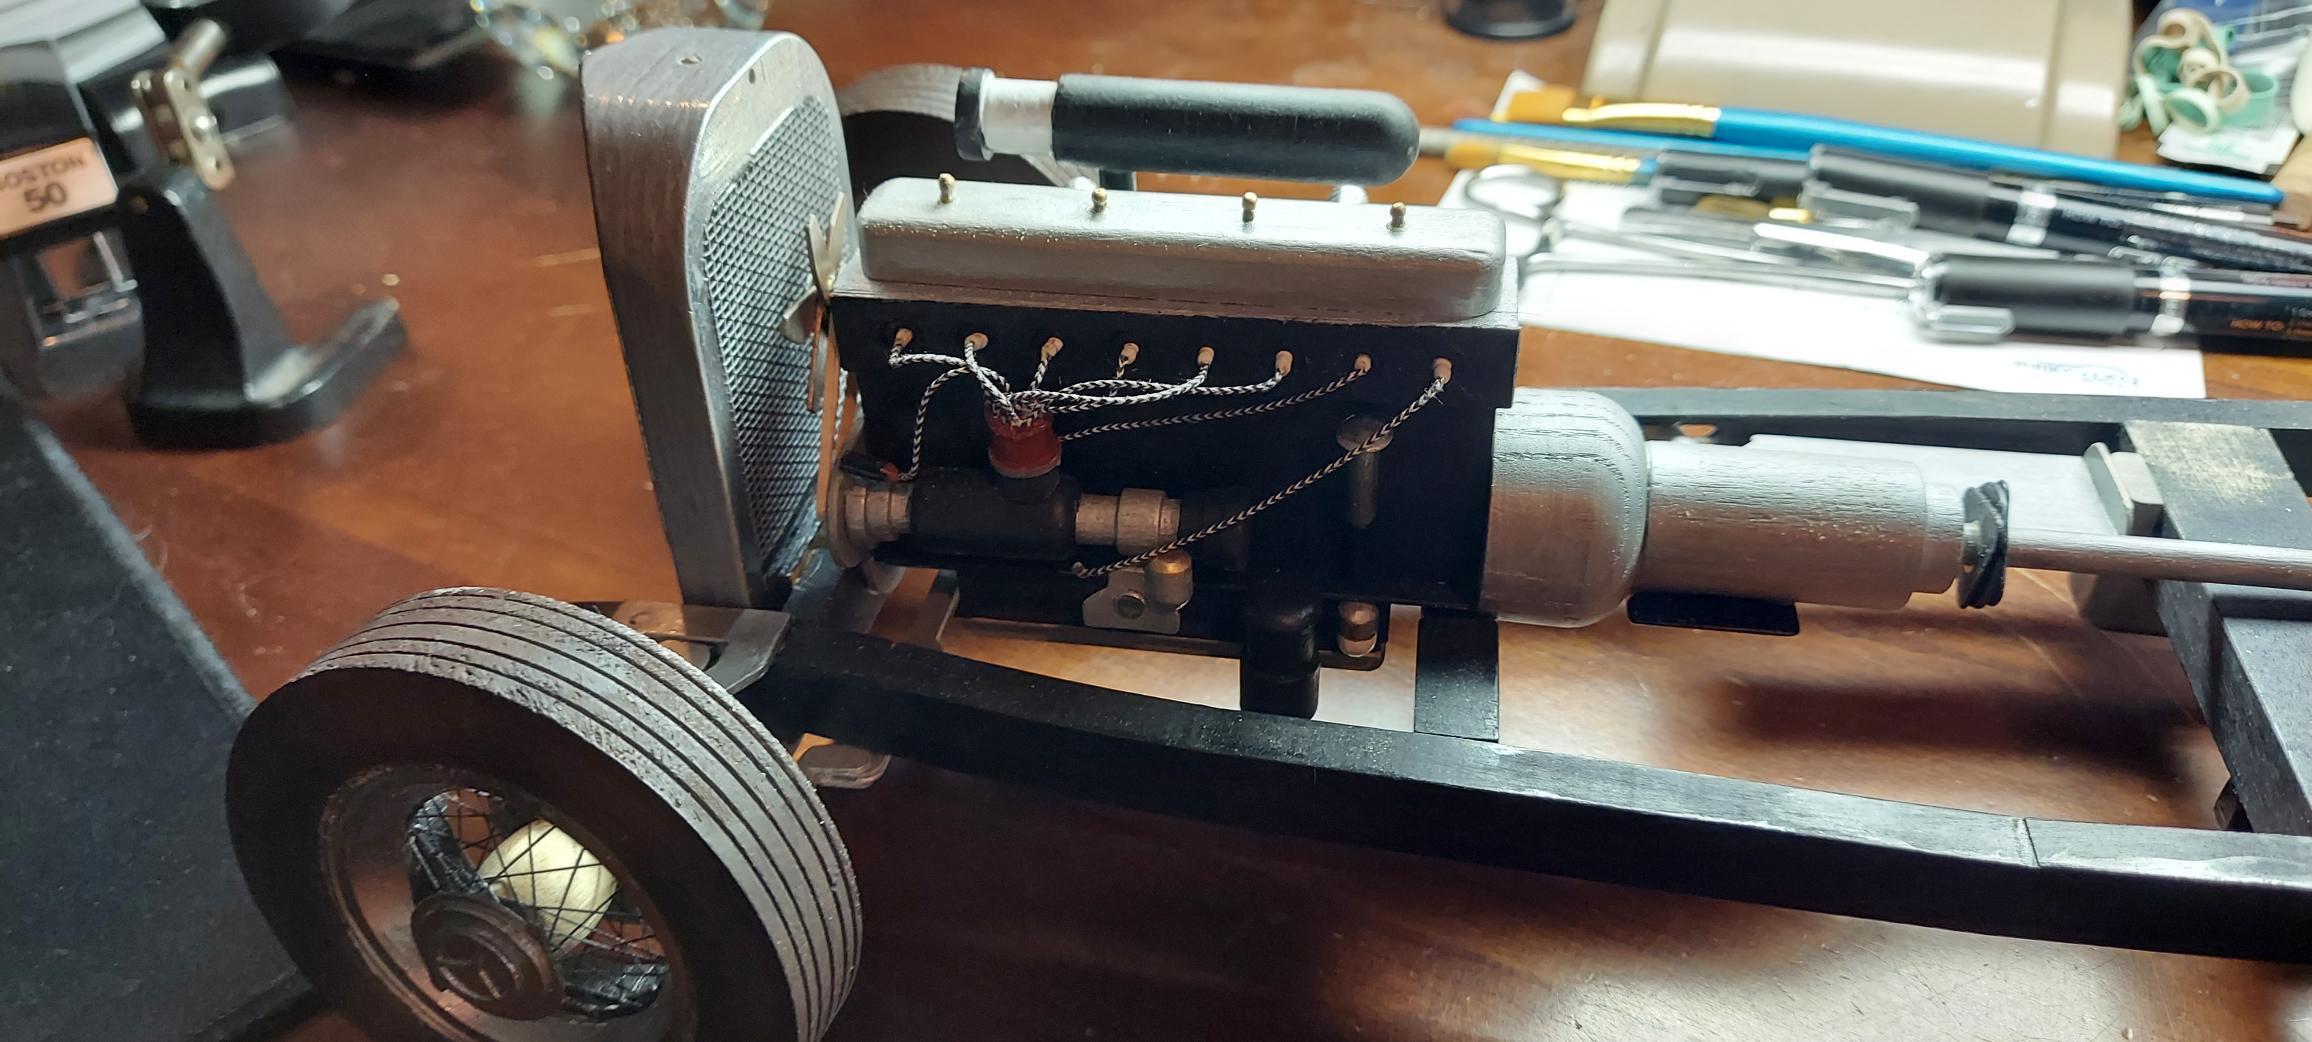
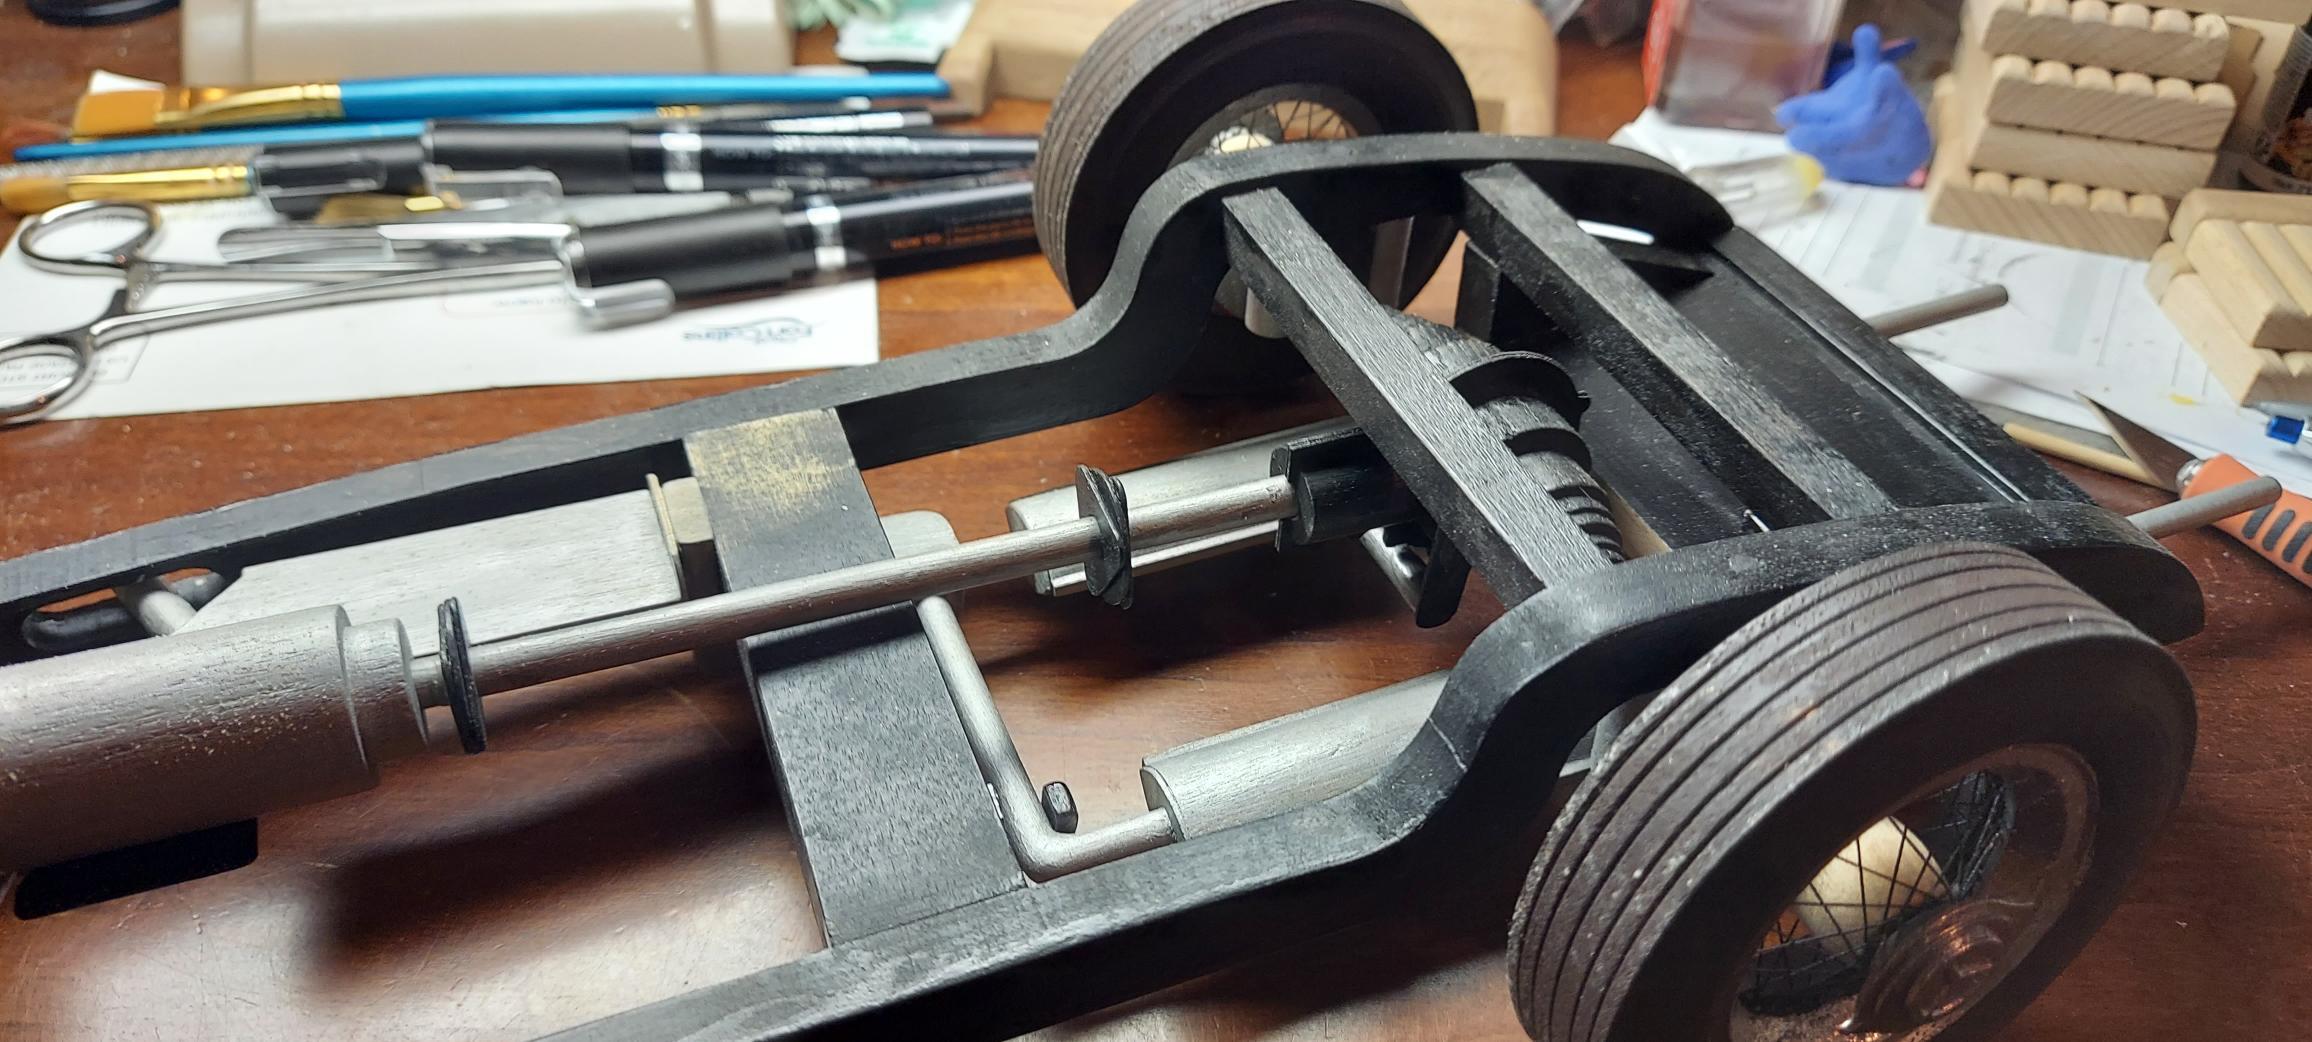
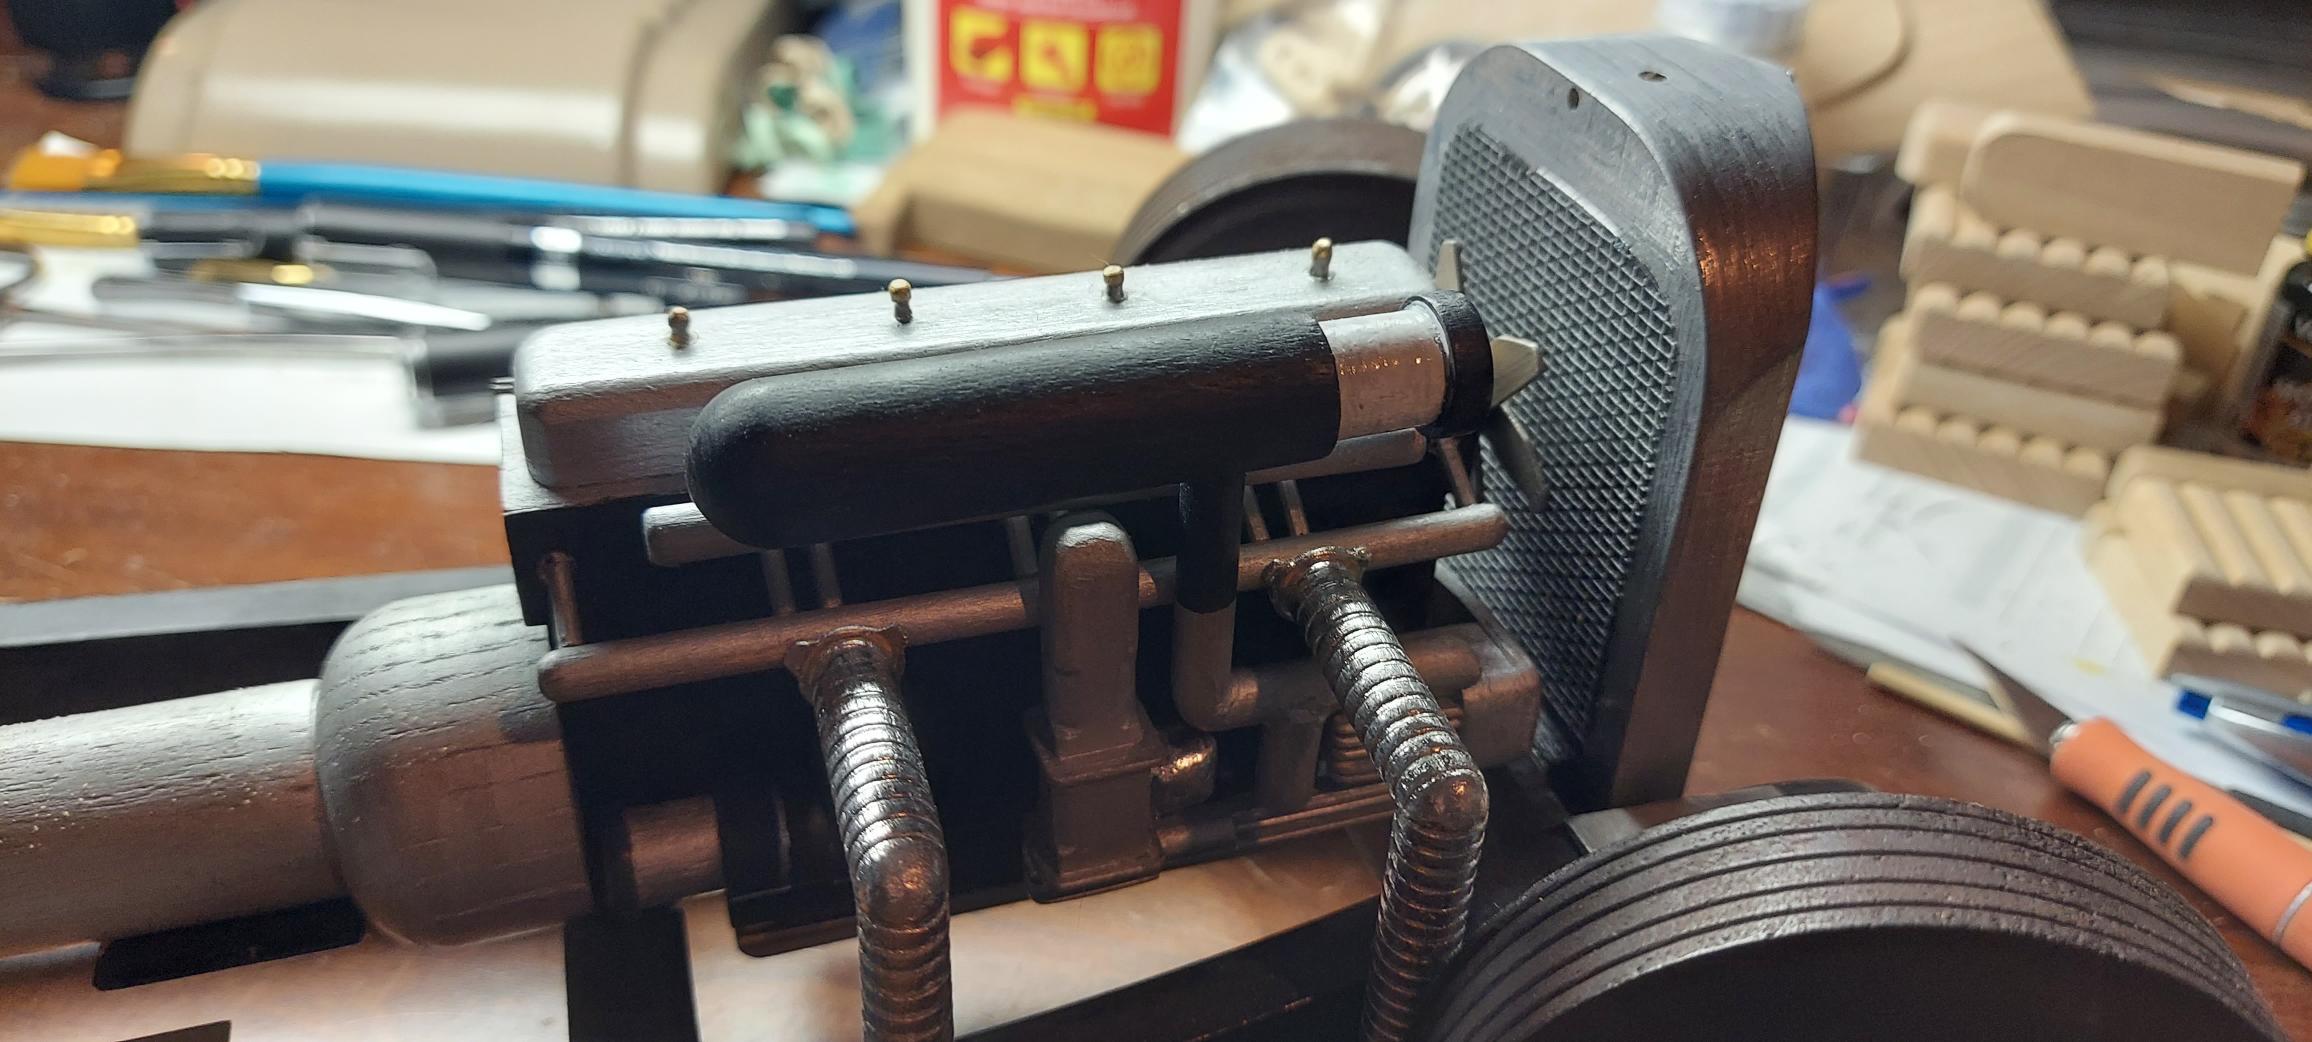
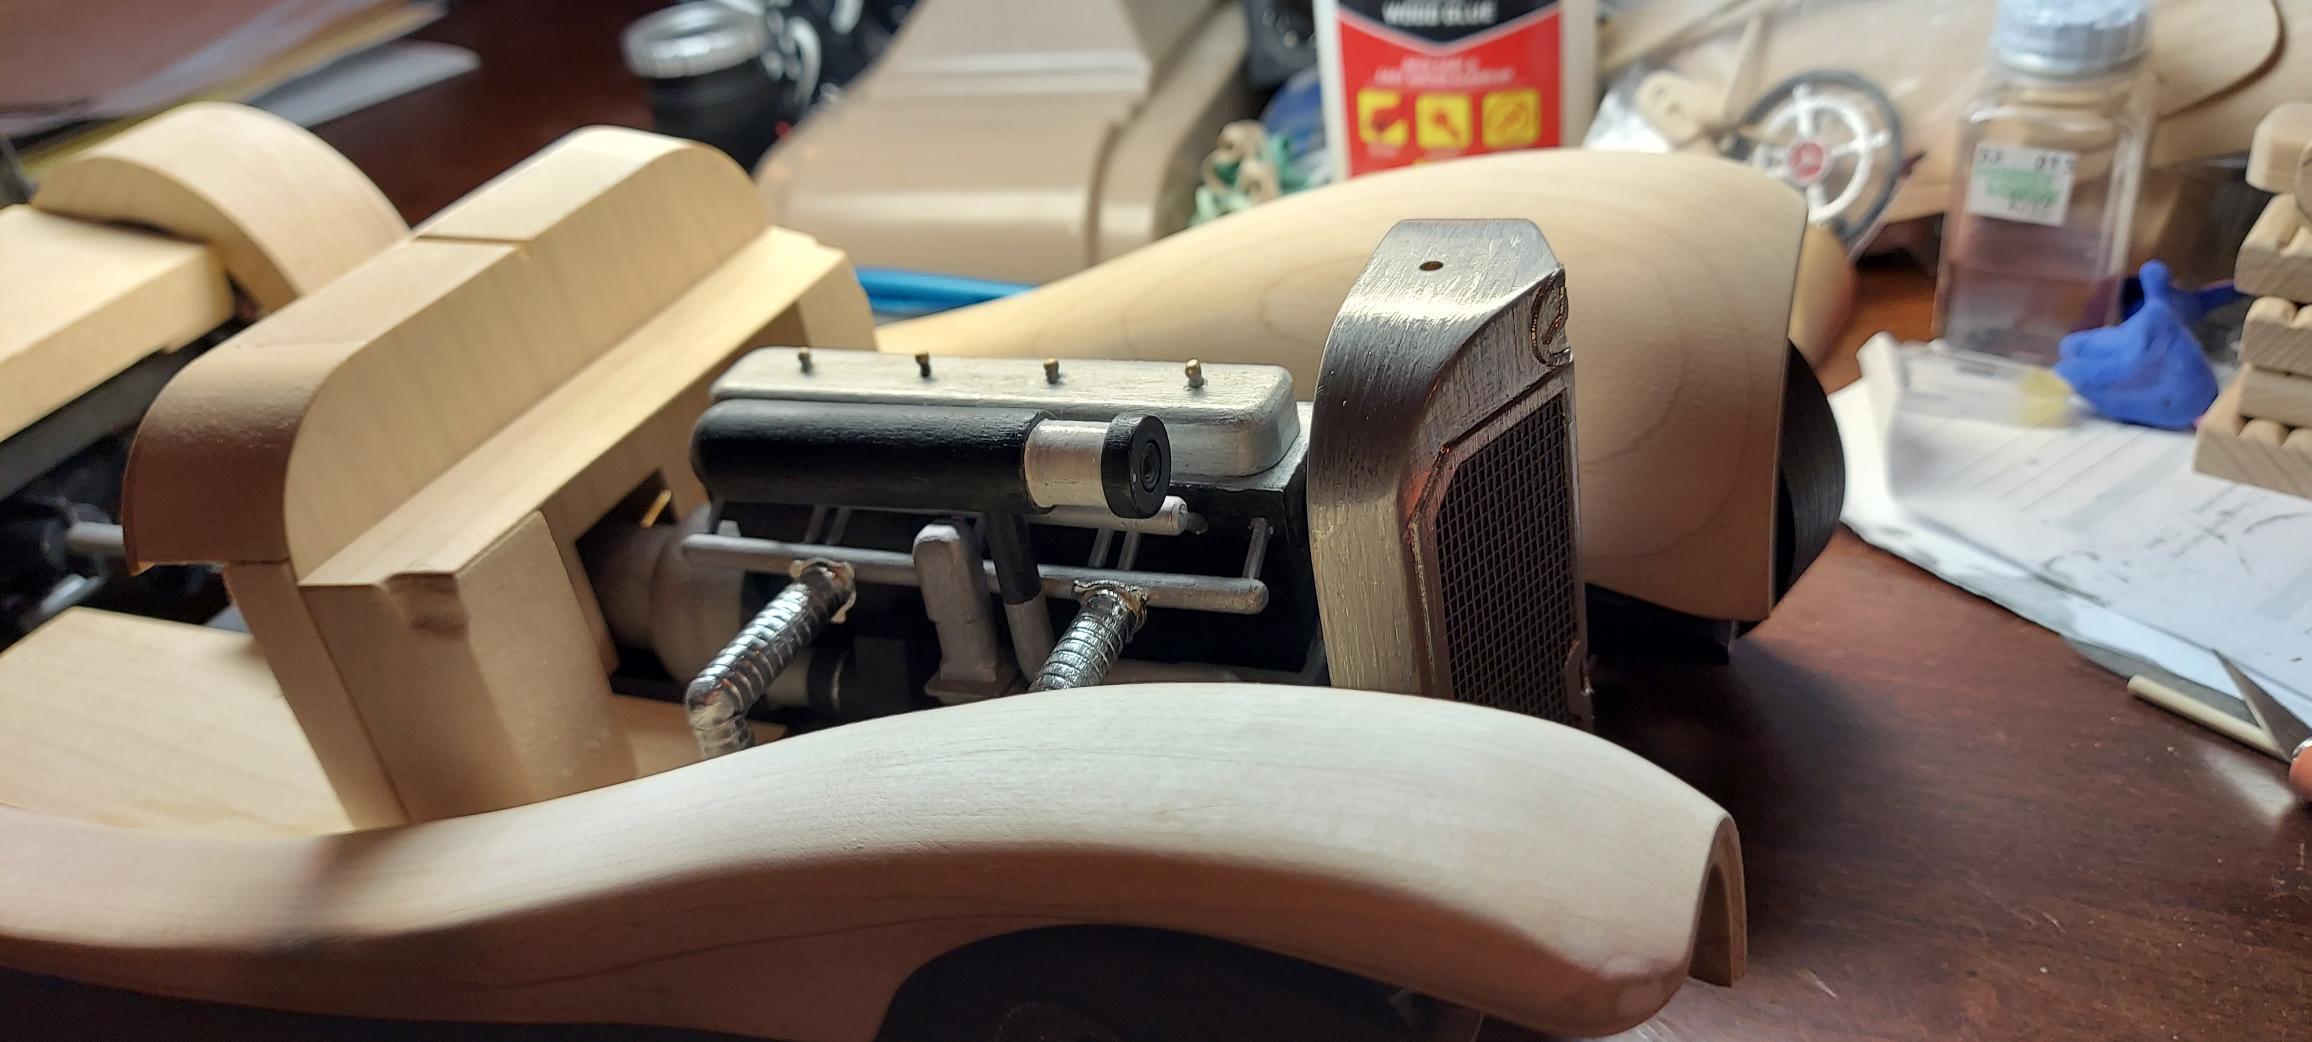
Here is the model I am working on. Had this kit for a few decades and decided to build it. I suppose most people finished it with varnish to show the wood, but I never found the wood to be that nice, so I decided to paint it. Kit is definitely advanced material, You need to always be looking forward in the instructions to see how it all will fit, especially with paint so you dont paint matching surfaces. I have been trying to make the body removable, but I suppose it will get joined at the very end. I cant install the steering until the body is attached. I want to paint the body completely before that step in gloss red. I have detailed many parts to improve over what was supplied.