Exotics_Builder
-
Posts
3,302 -
Joined
-
Last visited


.thumb.jpg.e12e5df0ccf757b78eedbb1abdd7fb95.jpg)


Exotics_Builder's Achievements
MCM Ohana (6/6)
-
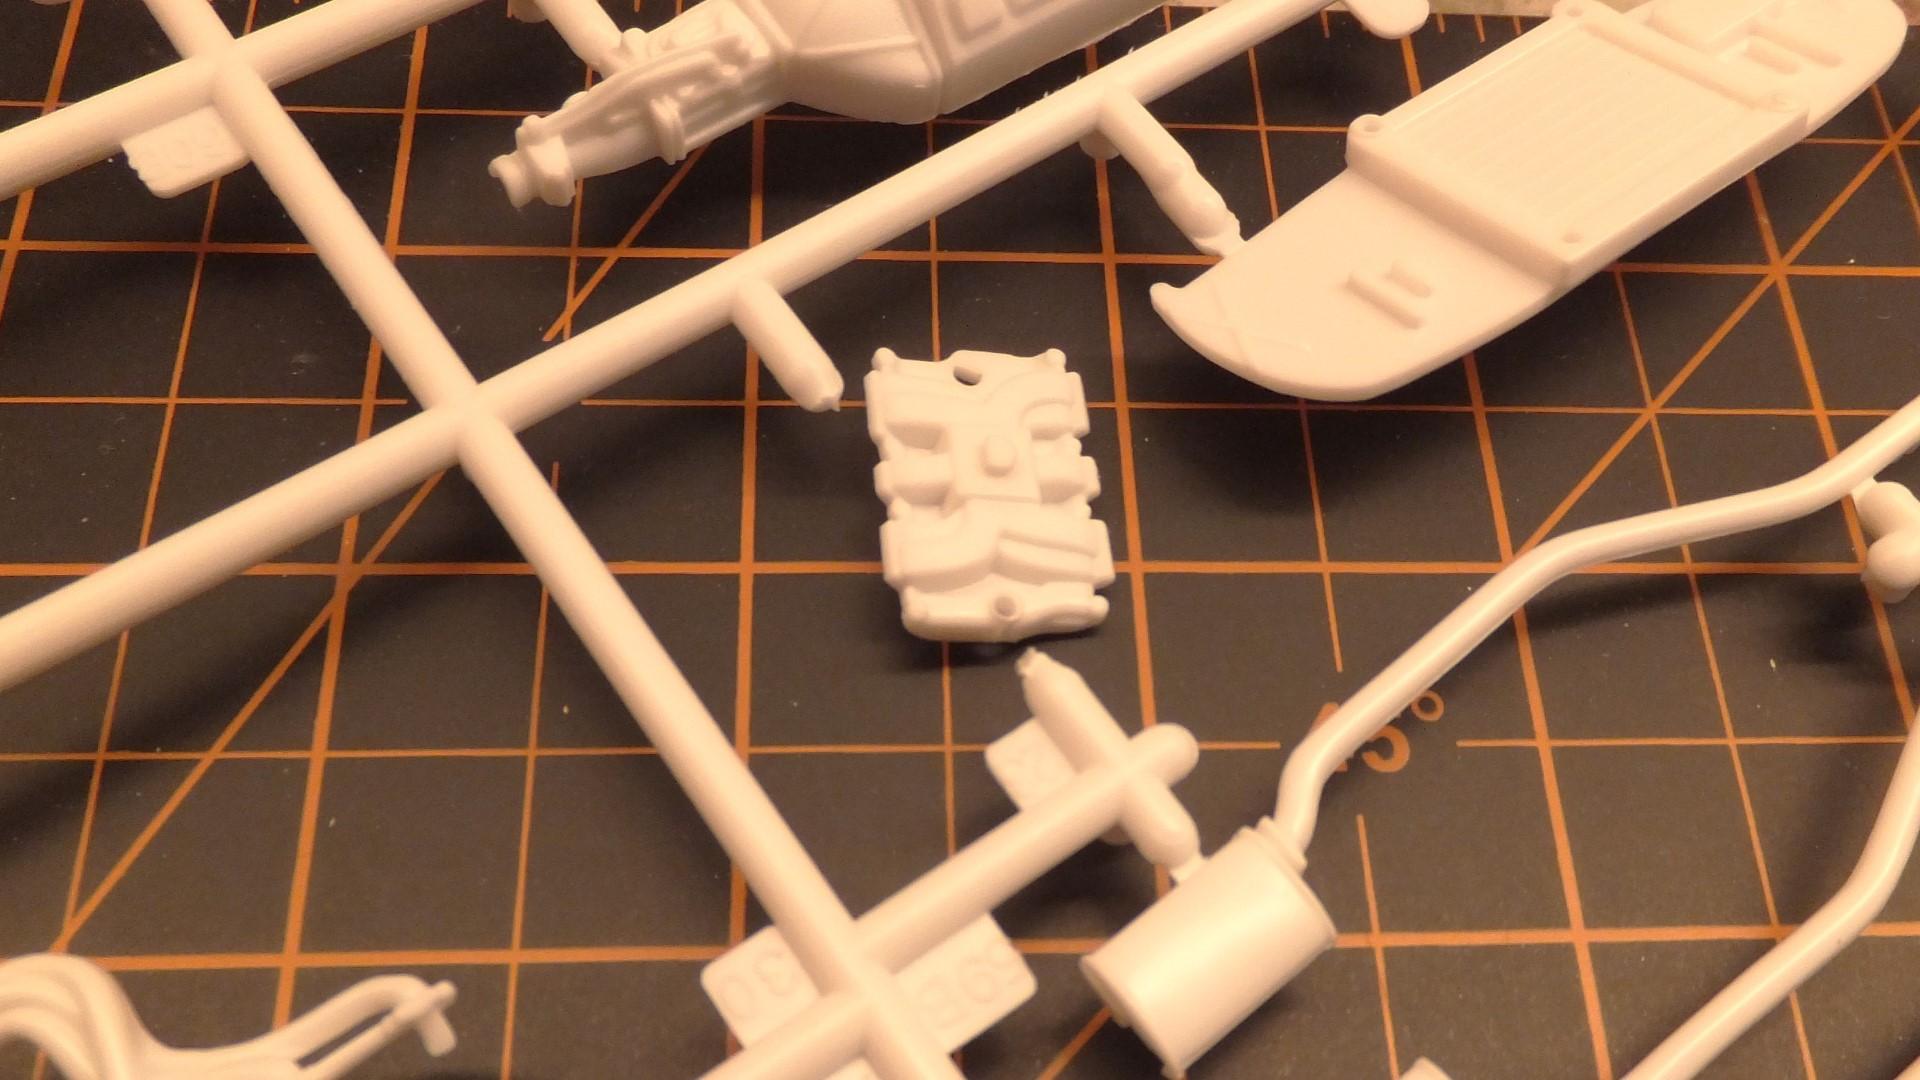
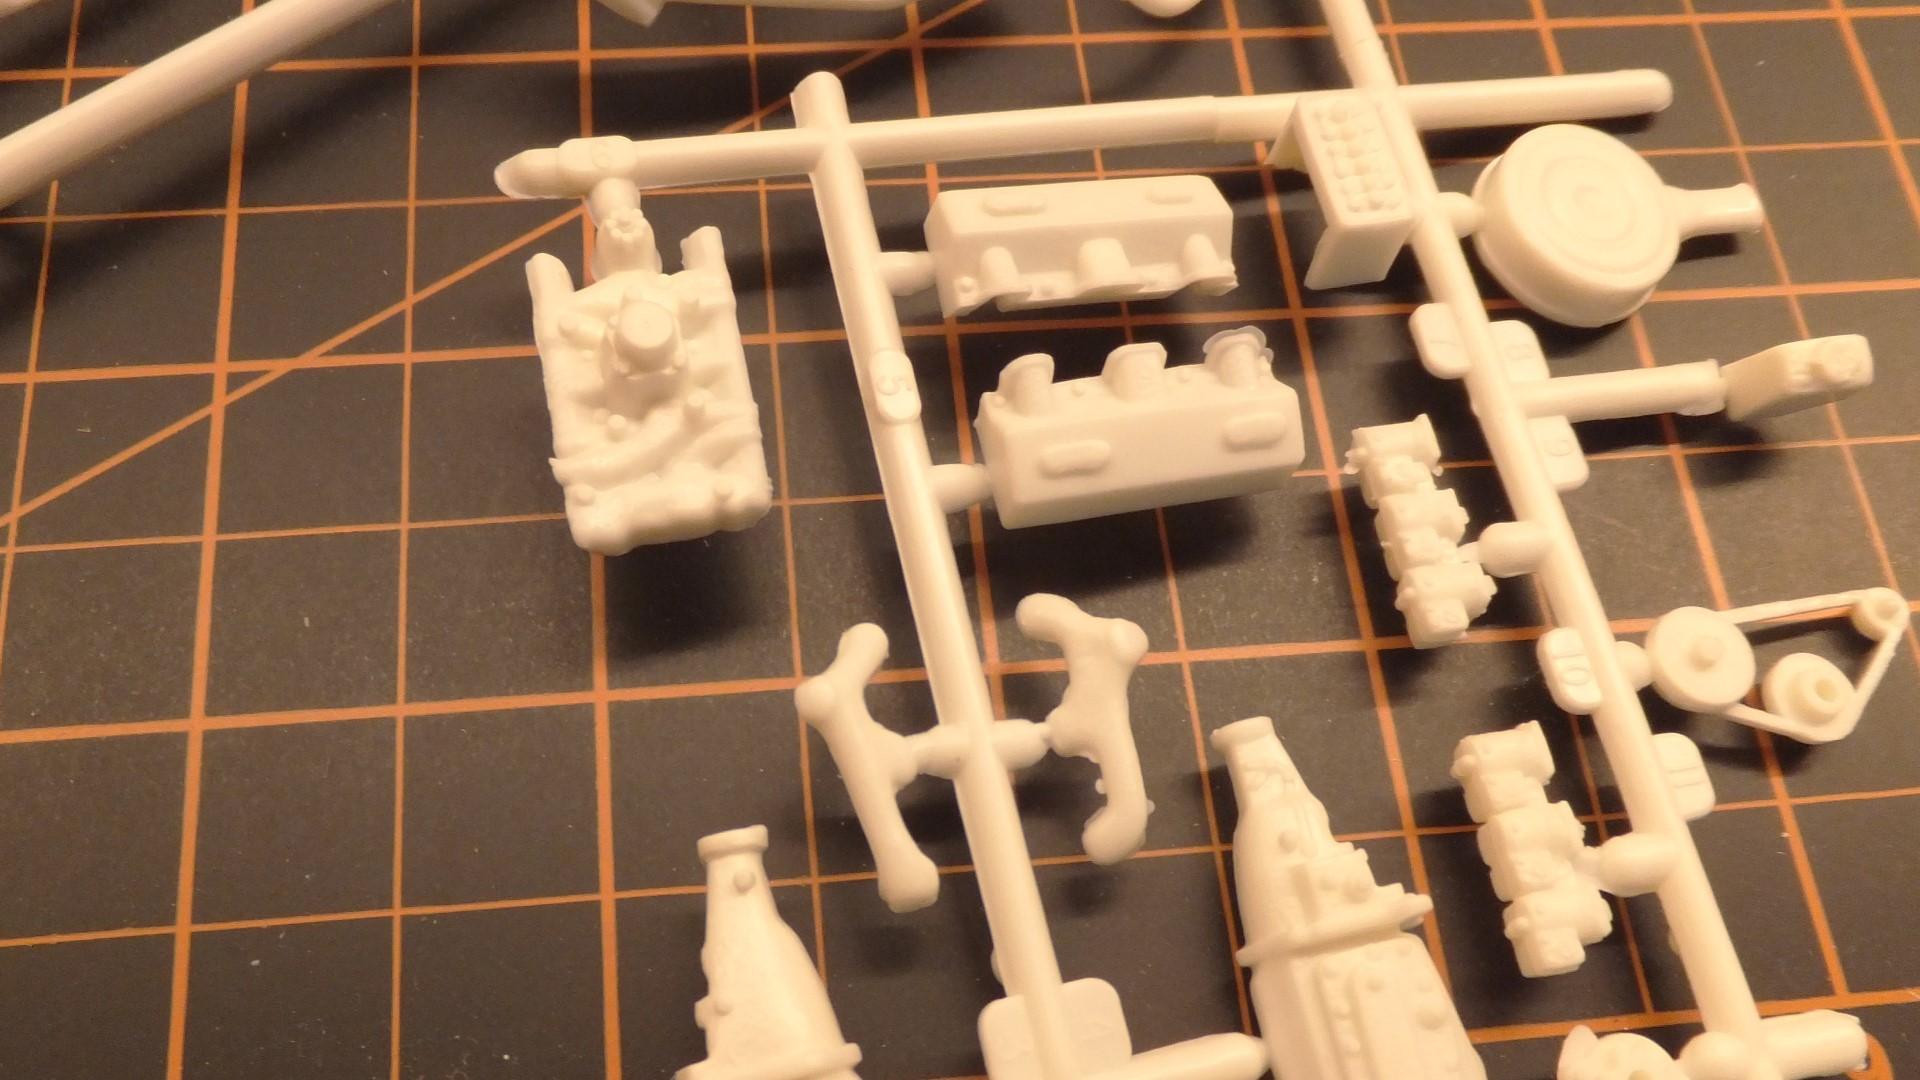
 Going to try again after several months. After the move back to Washington State, as I went through the model stash, I discovered a missing parts tree from this kit: The parts tree is C and has these parts: I have gone through all the boxes and cannot find it. I certainly would not plan to buy another complete kit (long out of production). The Tamiya parts sources no longer have anything for this, nor does Tamiya. If you have one you are willing to let go, let's work a trade. I have quite a parts stash. Thanks for looking. Any help is appreciated.
-
I've ordered from them before. And some US online stores carry them, but out of stock at the moment. Besides Future Attractions mentioned above, there is also Aber, Top Studio and Yamamoto Model. Burbank House of Hobby has an Aber set. The others, except Future Attraction, you'd likely have to get from Europe.
-
Of the top of my head, Mr. Model (from Brazil). There are some others
-
I'm confused. That is what it says on the instructions. Do you have the model number?
-
This one? https://www.tamiyausa.com/media/files/16003ml-1006-3ad4.pdf
-
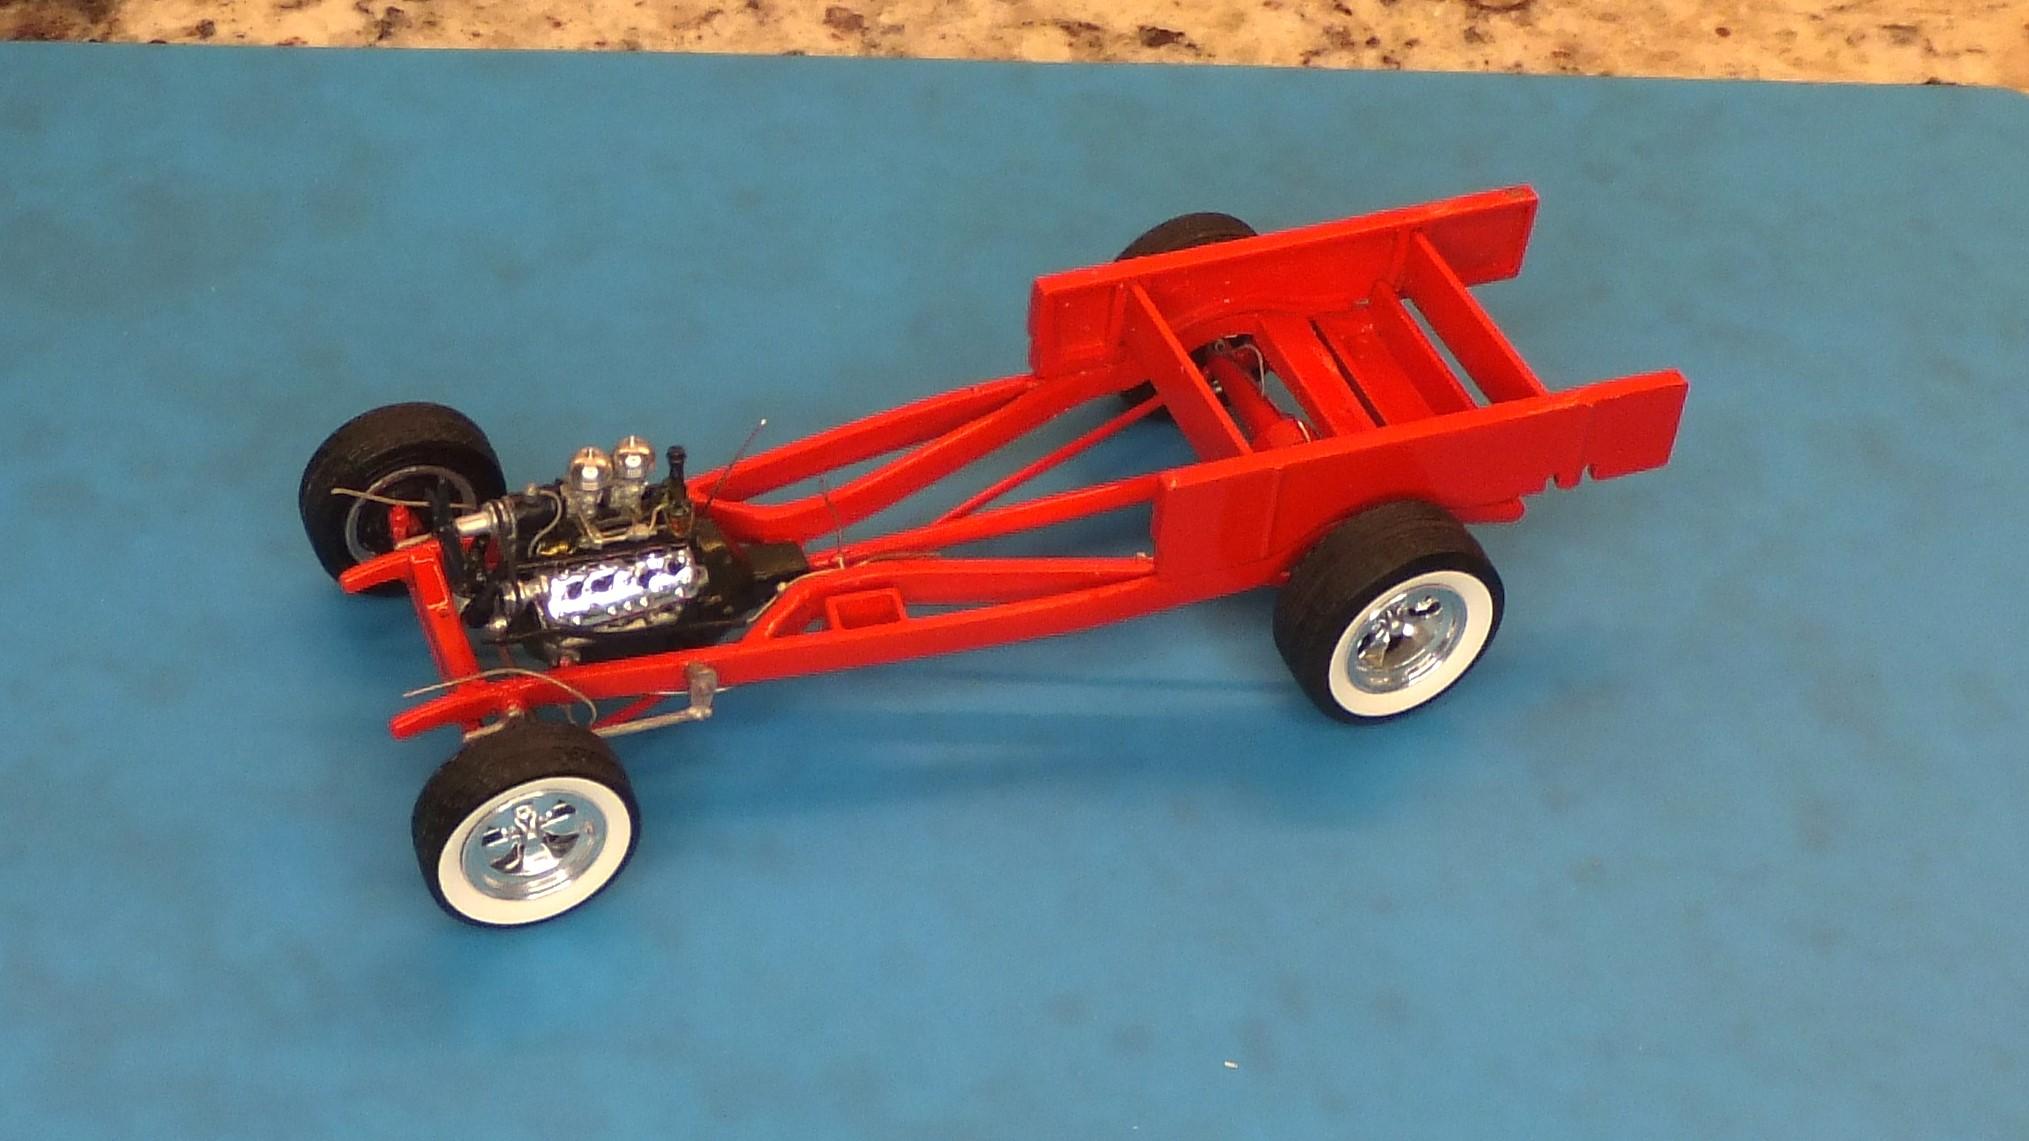
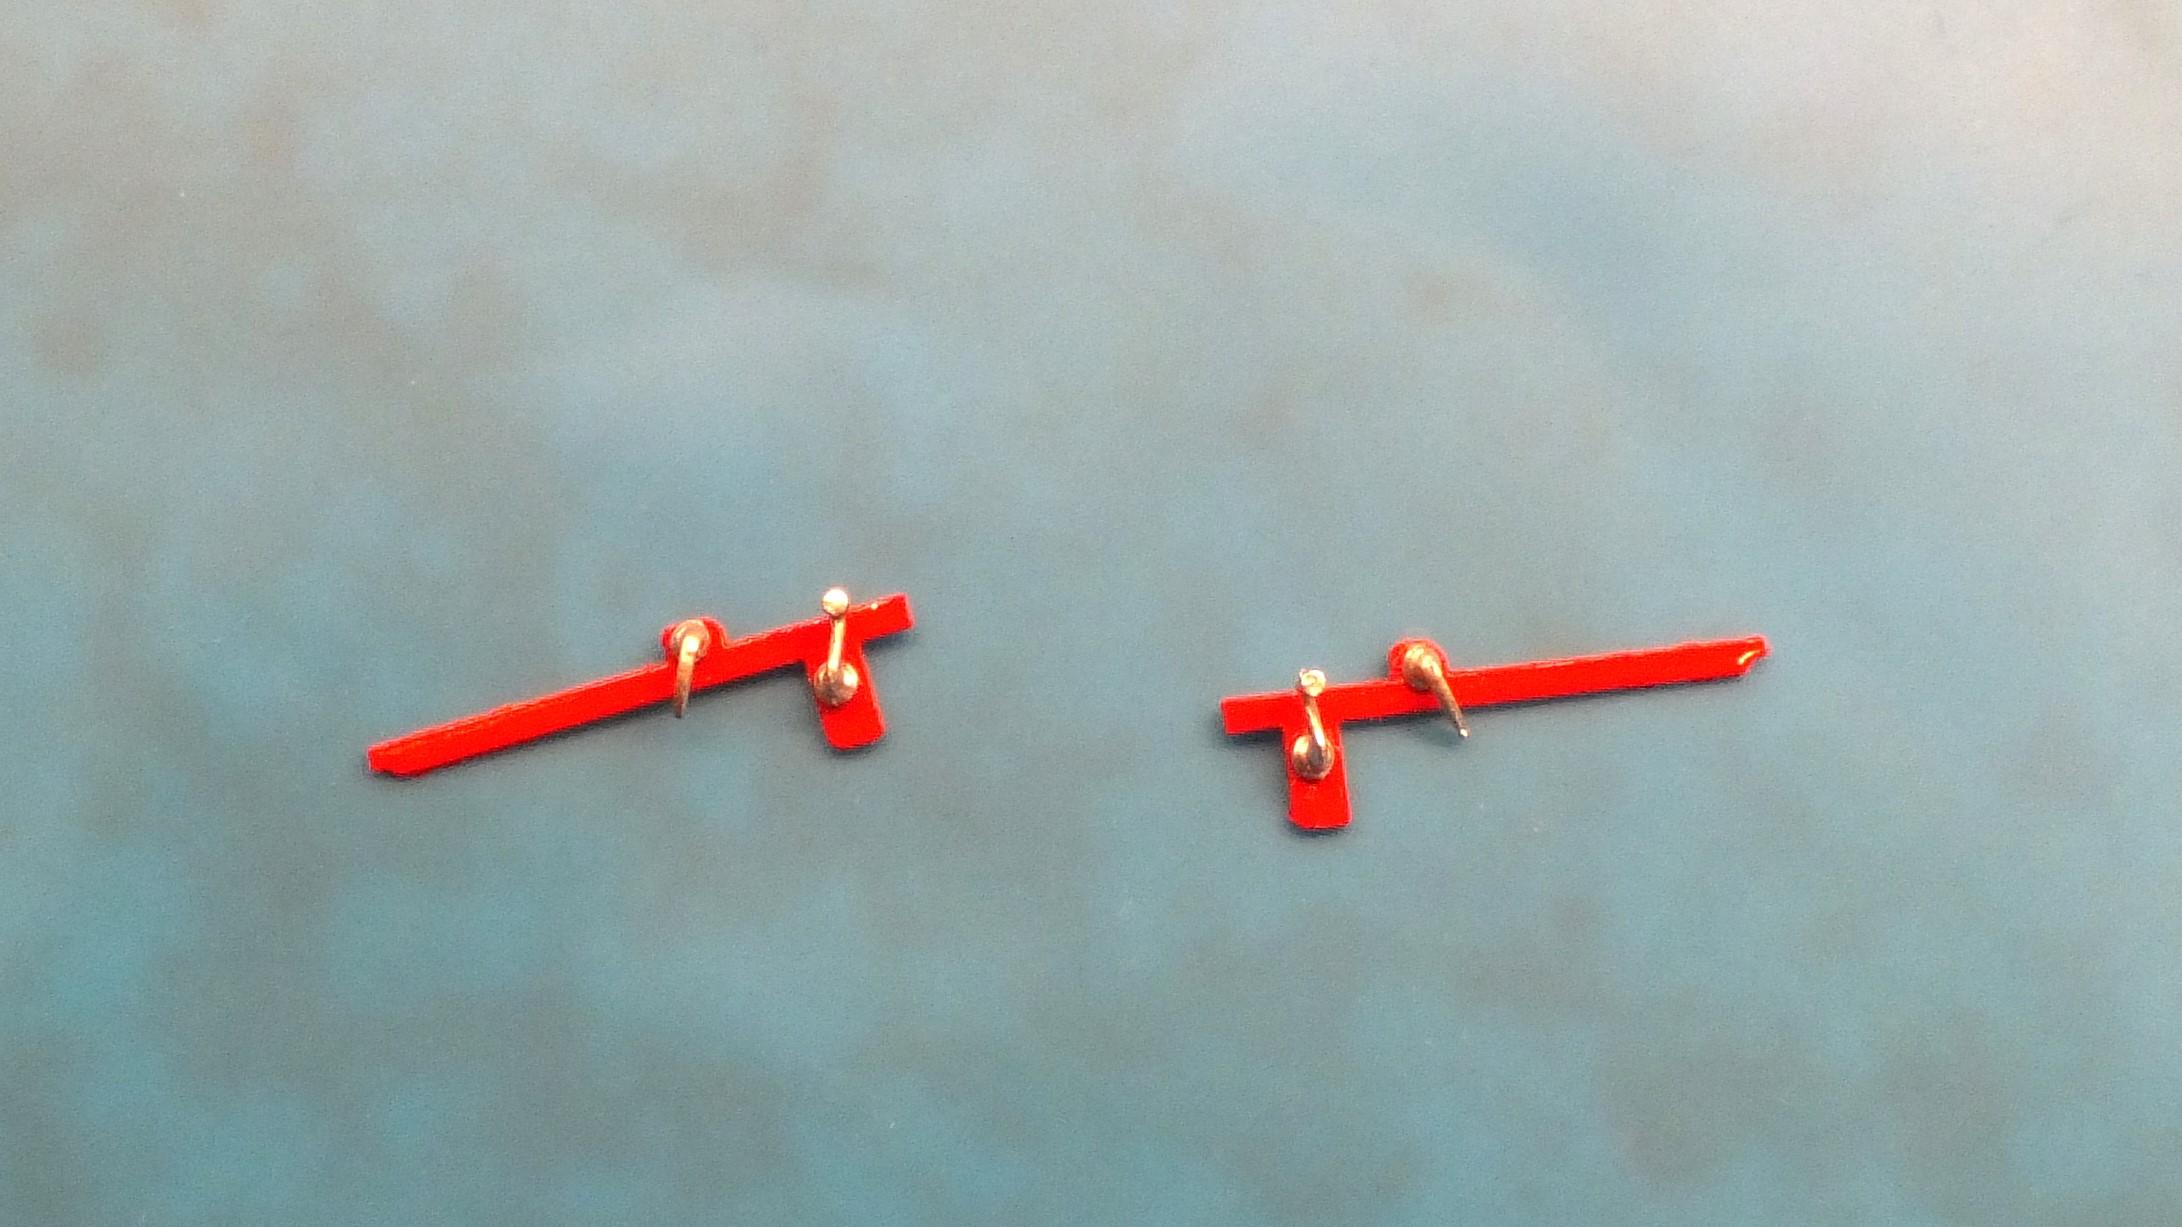
Update 4/18 - Engine to Chassis and Interior Door Detail Got the fuel and brake lines in place as far as I can go without the engine. So, I mounted the engine to the chassis and installed the wheels and tires. I will attach the brake lines to the wheels as well as to a scratch built proportioning valve. Took the brake booster from the kit and removed the vacuum assist. I built a piece to mount to the chassis and will run a line from the valve to the reservoir. I will also attach the fuel line to the engine. Still debating on a beehive filter addition. I am not installing door cards either scratch built or from another kit. It will not go with my intent on the model. There is an extremely fine etching of the interior door in the kit, including handles. But it is so fine that it does not even worth mentioning. Since the cab will not be chopped, I decided to mockup the top panel piece and add resin door handles and window crank. When ready, I will attach to the door sides.
-
1/24 Scale Seat Belt Buckles?
Exotics_Builder replied to Noah H.'s topic in Model Building Questions and Answers
Just a sampling. https://www.spotmodel.com/advanced_search_result.php?osCsid=tfvkj66i0fh3qipic86emkgko6&types_id=48&scales_id=9 https://www.google.com/search?sca_esv=0bc39af9d1d15b37&sca_upv=1&q=hobby+design+1/24+seatbelt&uds=AMwkrPuHg33dywq06rO2P3P076cYG-R6xtVZ5pXBPPWNFYnSGmHkF2q6VHUPe07FfO7TfhPP4U21n1YWrZlZnDRm2KXVtIArolHnGWprz33RJK_WvQyfdKEPxy3zJvj8CgklXyUrmeF-RDruafPNL97ilUu1uok446S4l4lFPDpbGyyeVxxuLu-2F1Nu3DodGMm0_k9ZjtqGzGShh1Y-oMju666f1Pct2itc_PrM2wS8FpkzmlLvZSvxuI4cStCYLa_3yJdaBggNnpI5Jbar_OPKuAEizvNXHOr1MG-n7YRmh01Q00hr3EC94CNhYw_eNeSf16IYCyFi&udm=2&prmd=isvnmbtz&sa=X&ved=2ahUKEwjhyMnCrMKFAxXrBDQIHe6_A9QQtKgLegQIDRAB&biw=1674&bih=832&dpr=1 -
No. I added the tread plate on top of the wood slat bed as this will better fit what the final result will be.
-
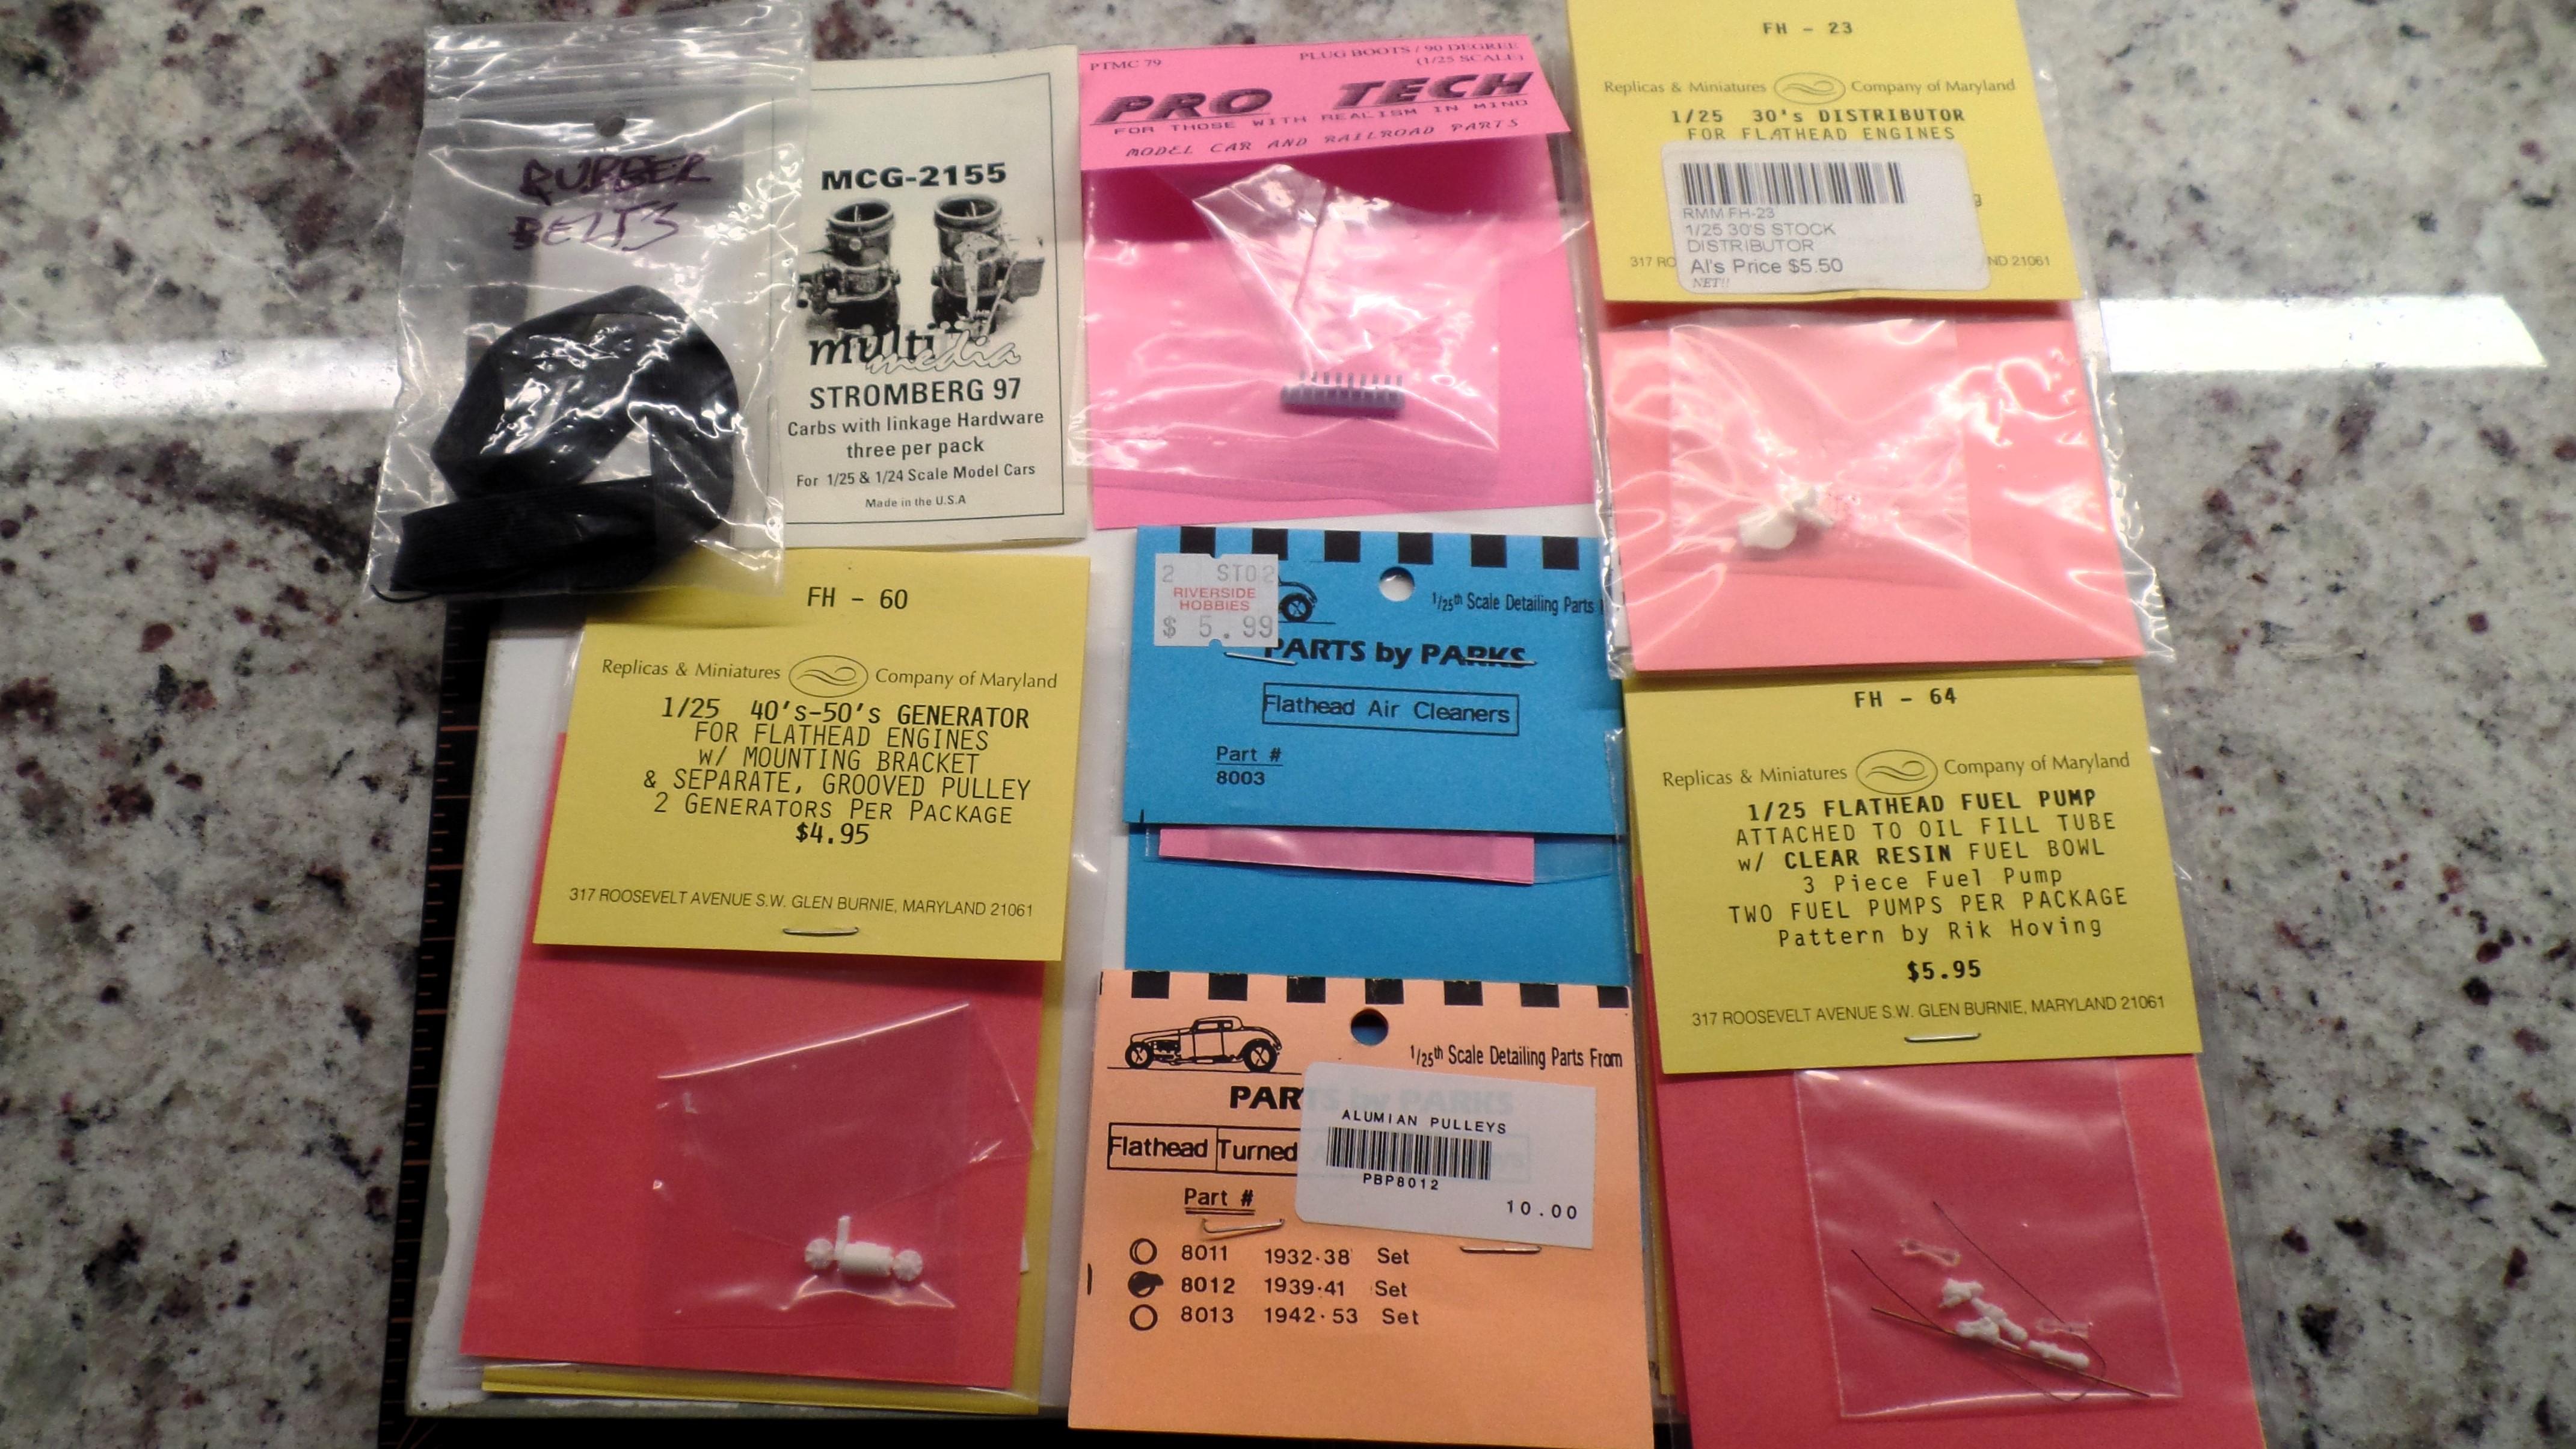
Wires are Detail Master I've had in the parts box for years. Boots are 3D print from Pro Tech. I used Round Styrene tube to extend from the distributor and drilled through for the exit points.
-
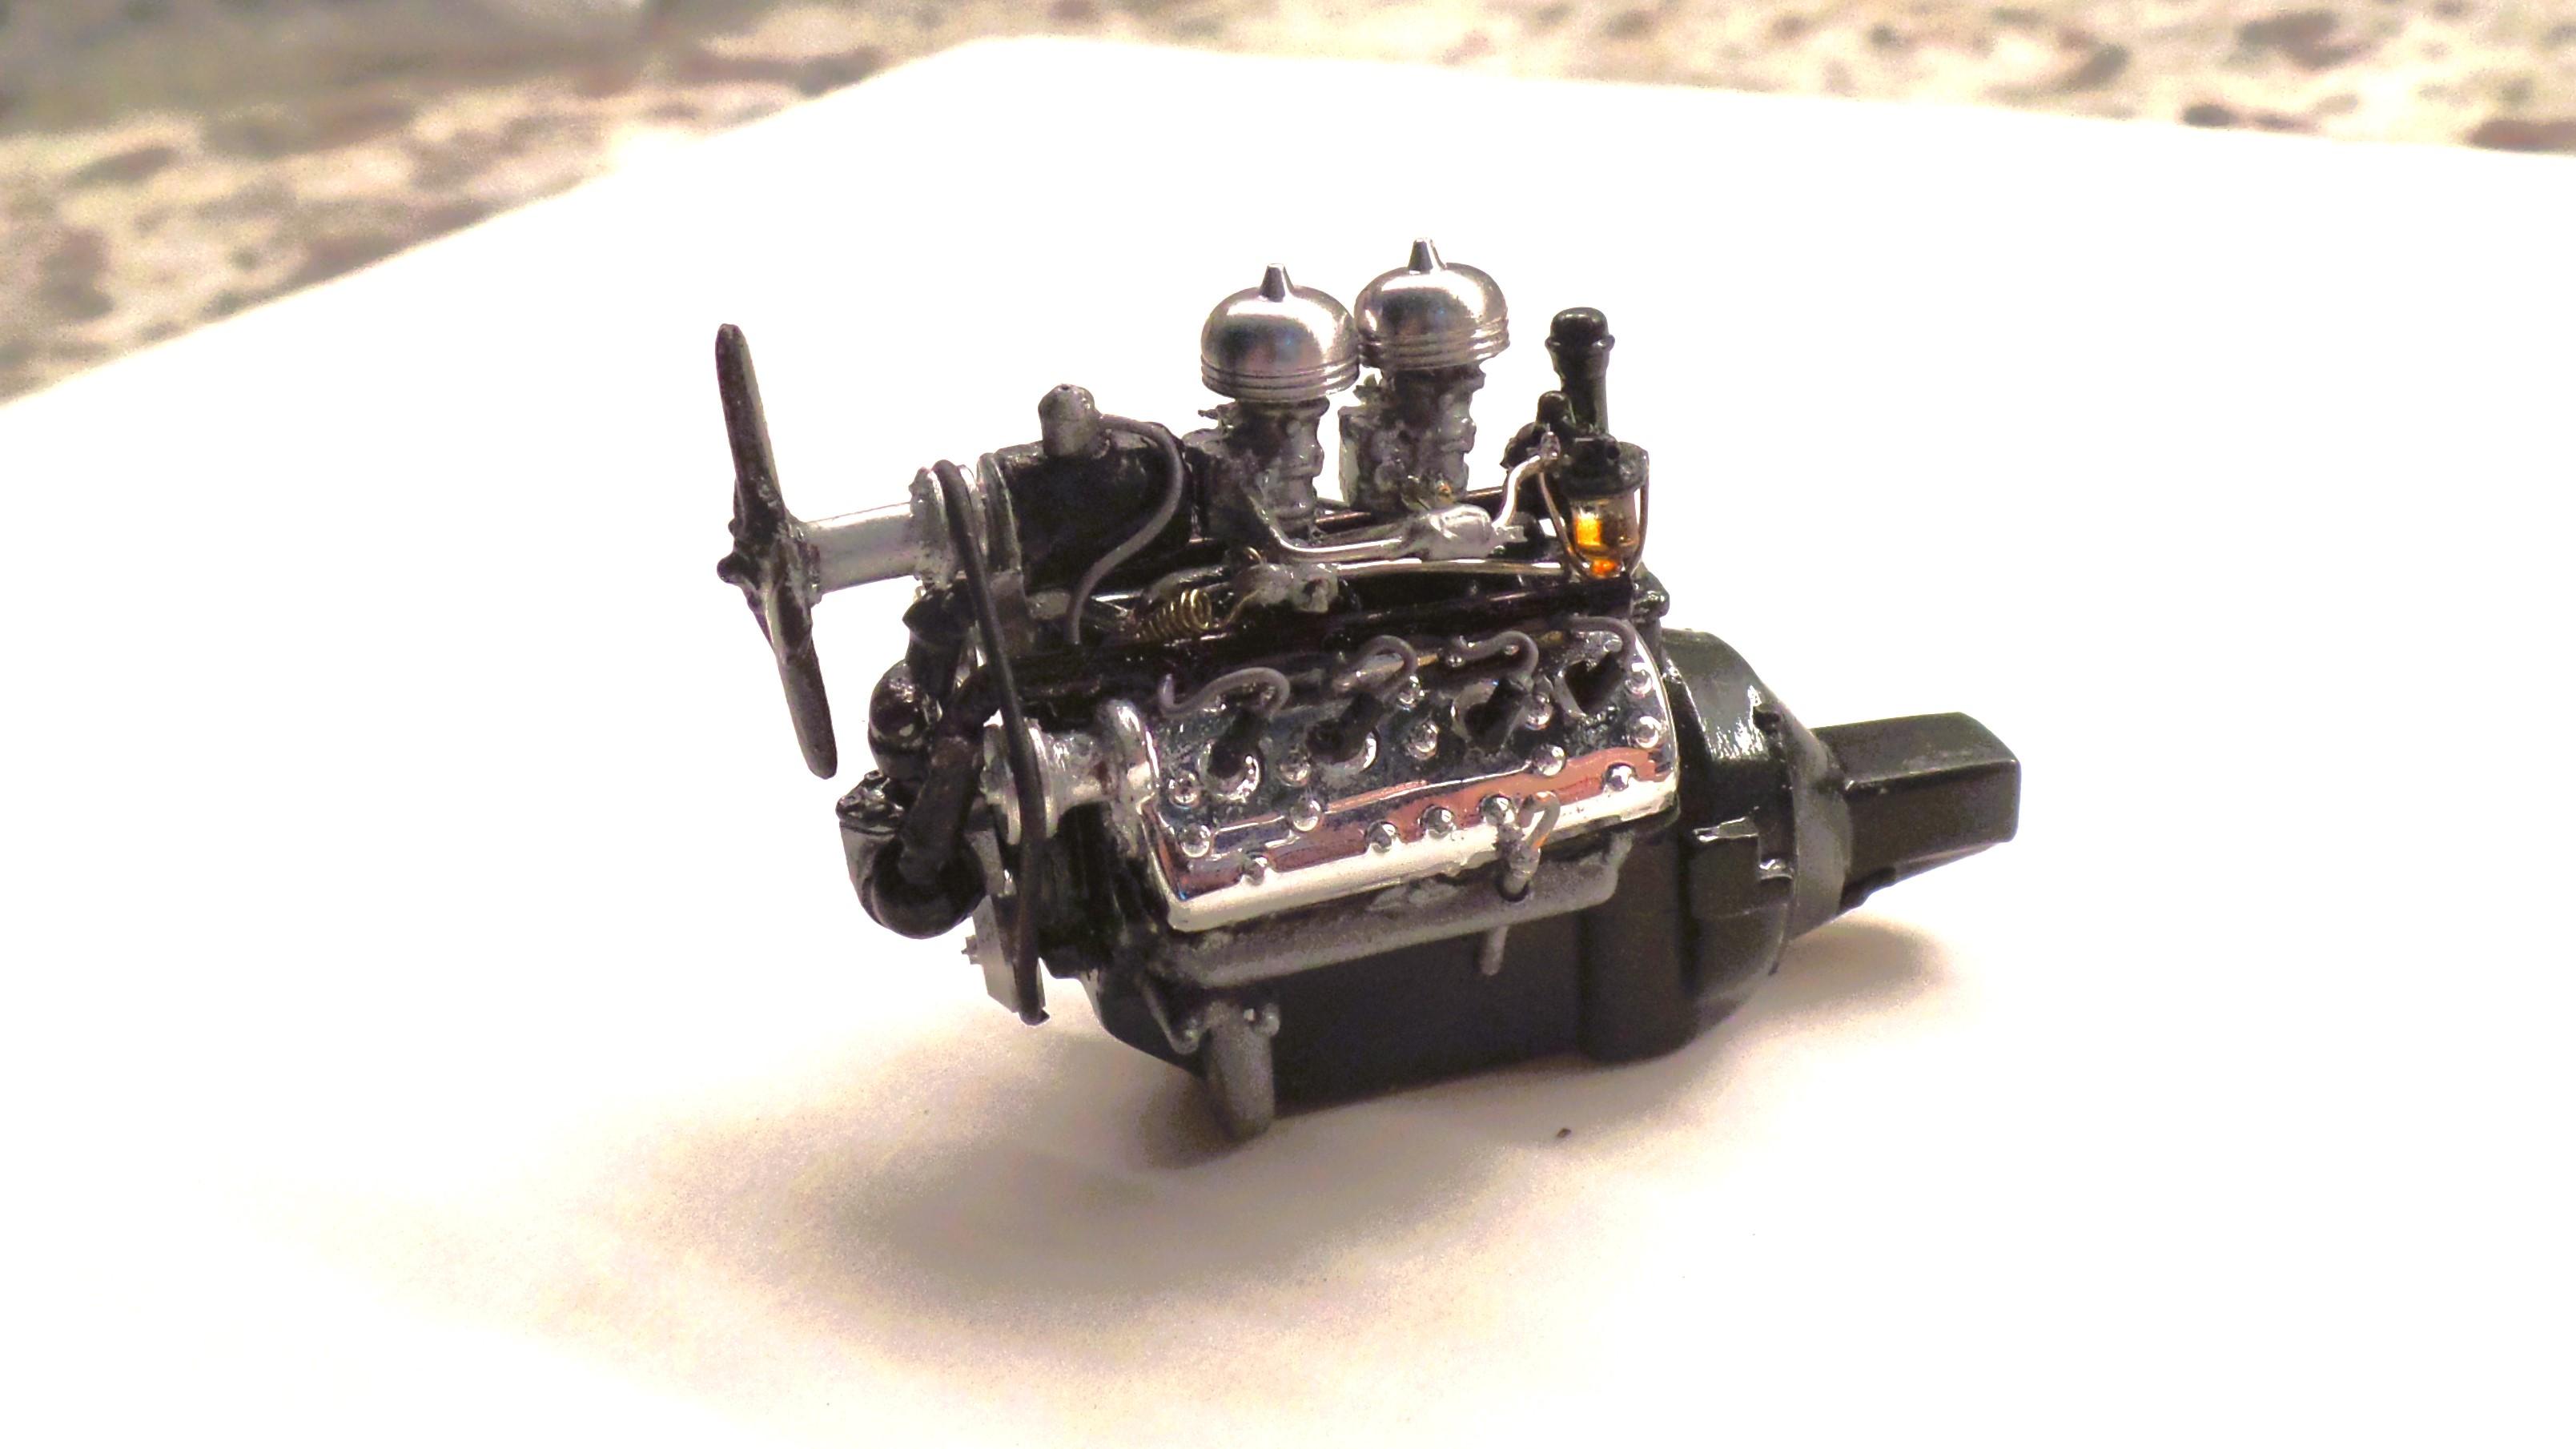
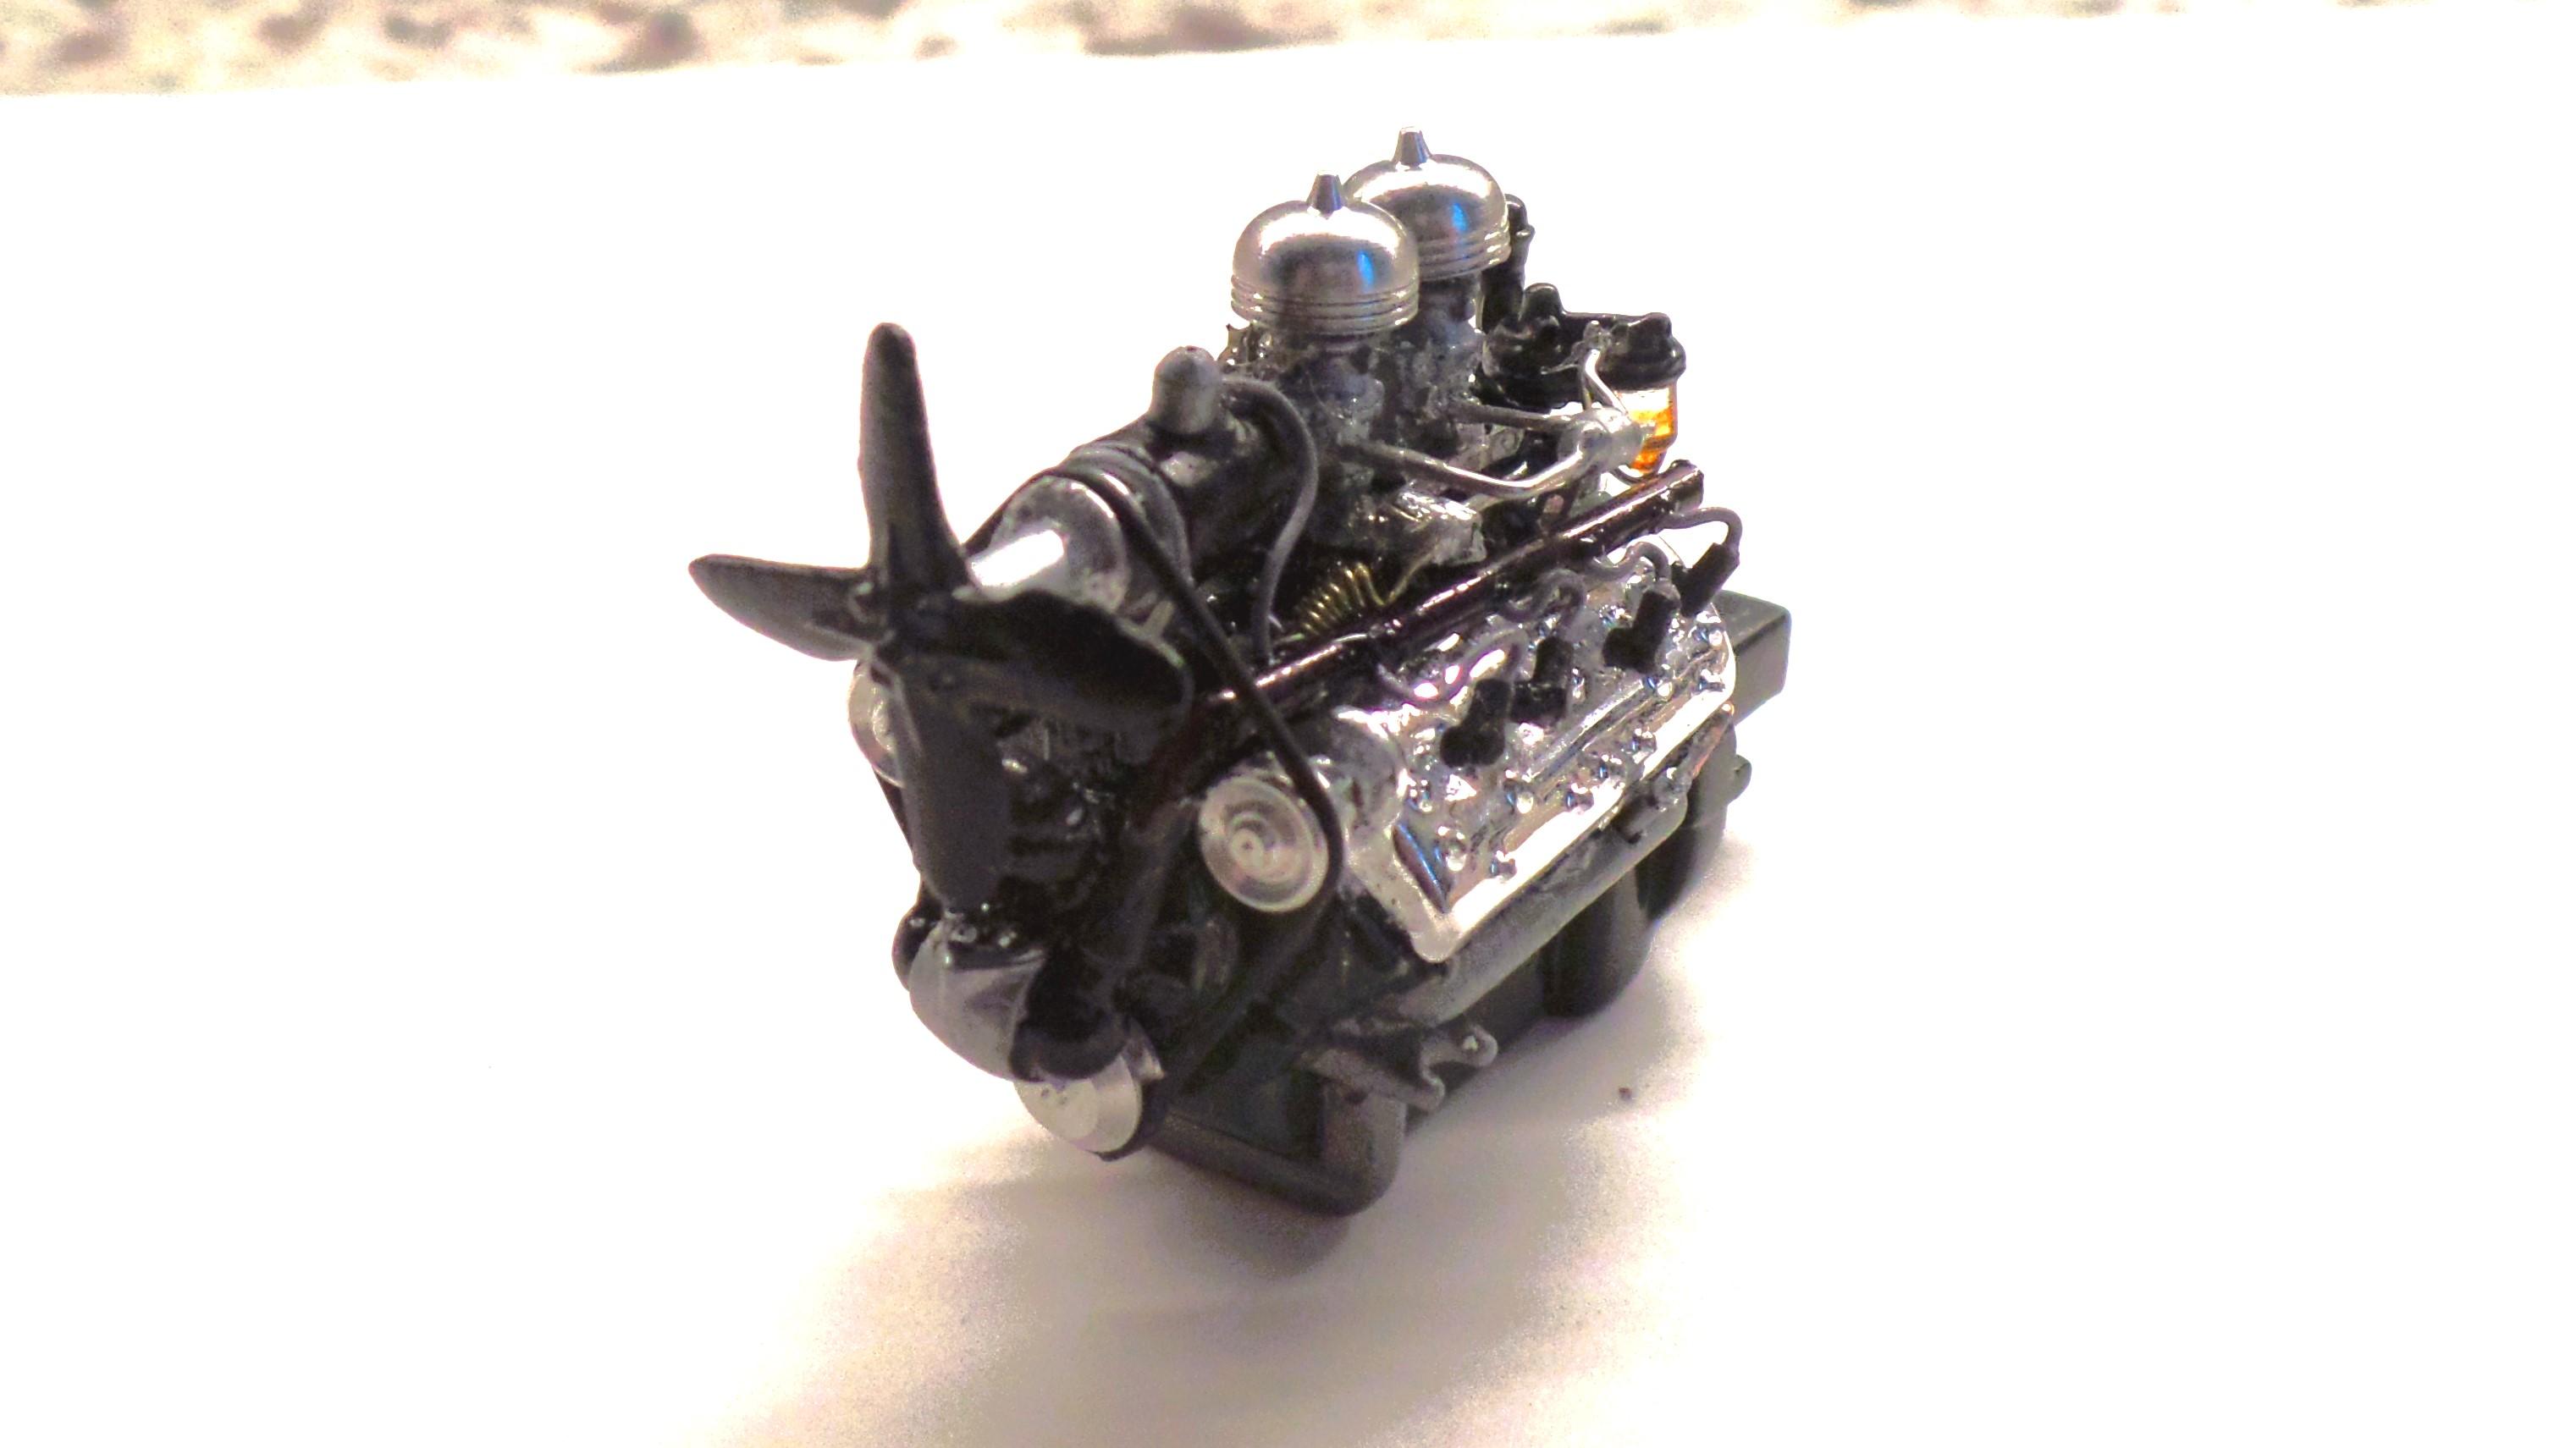
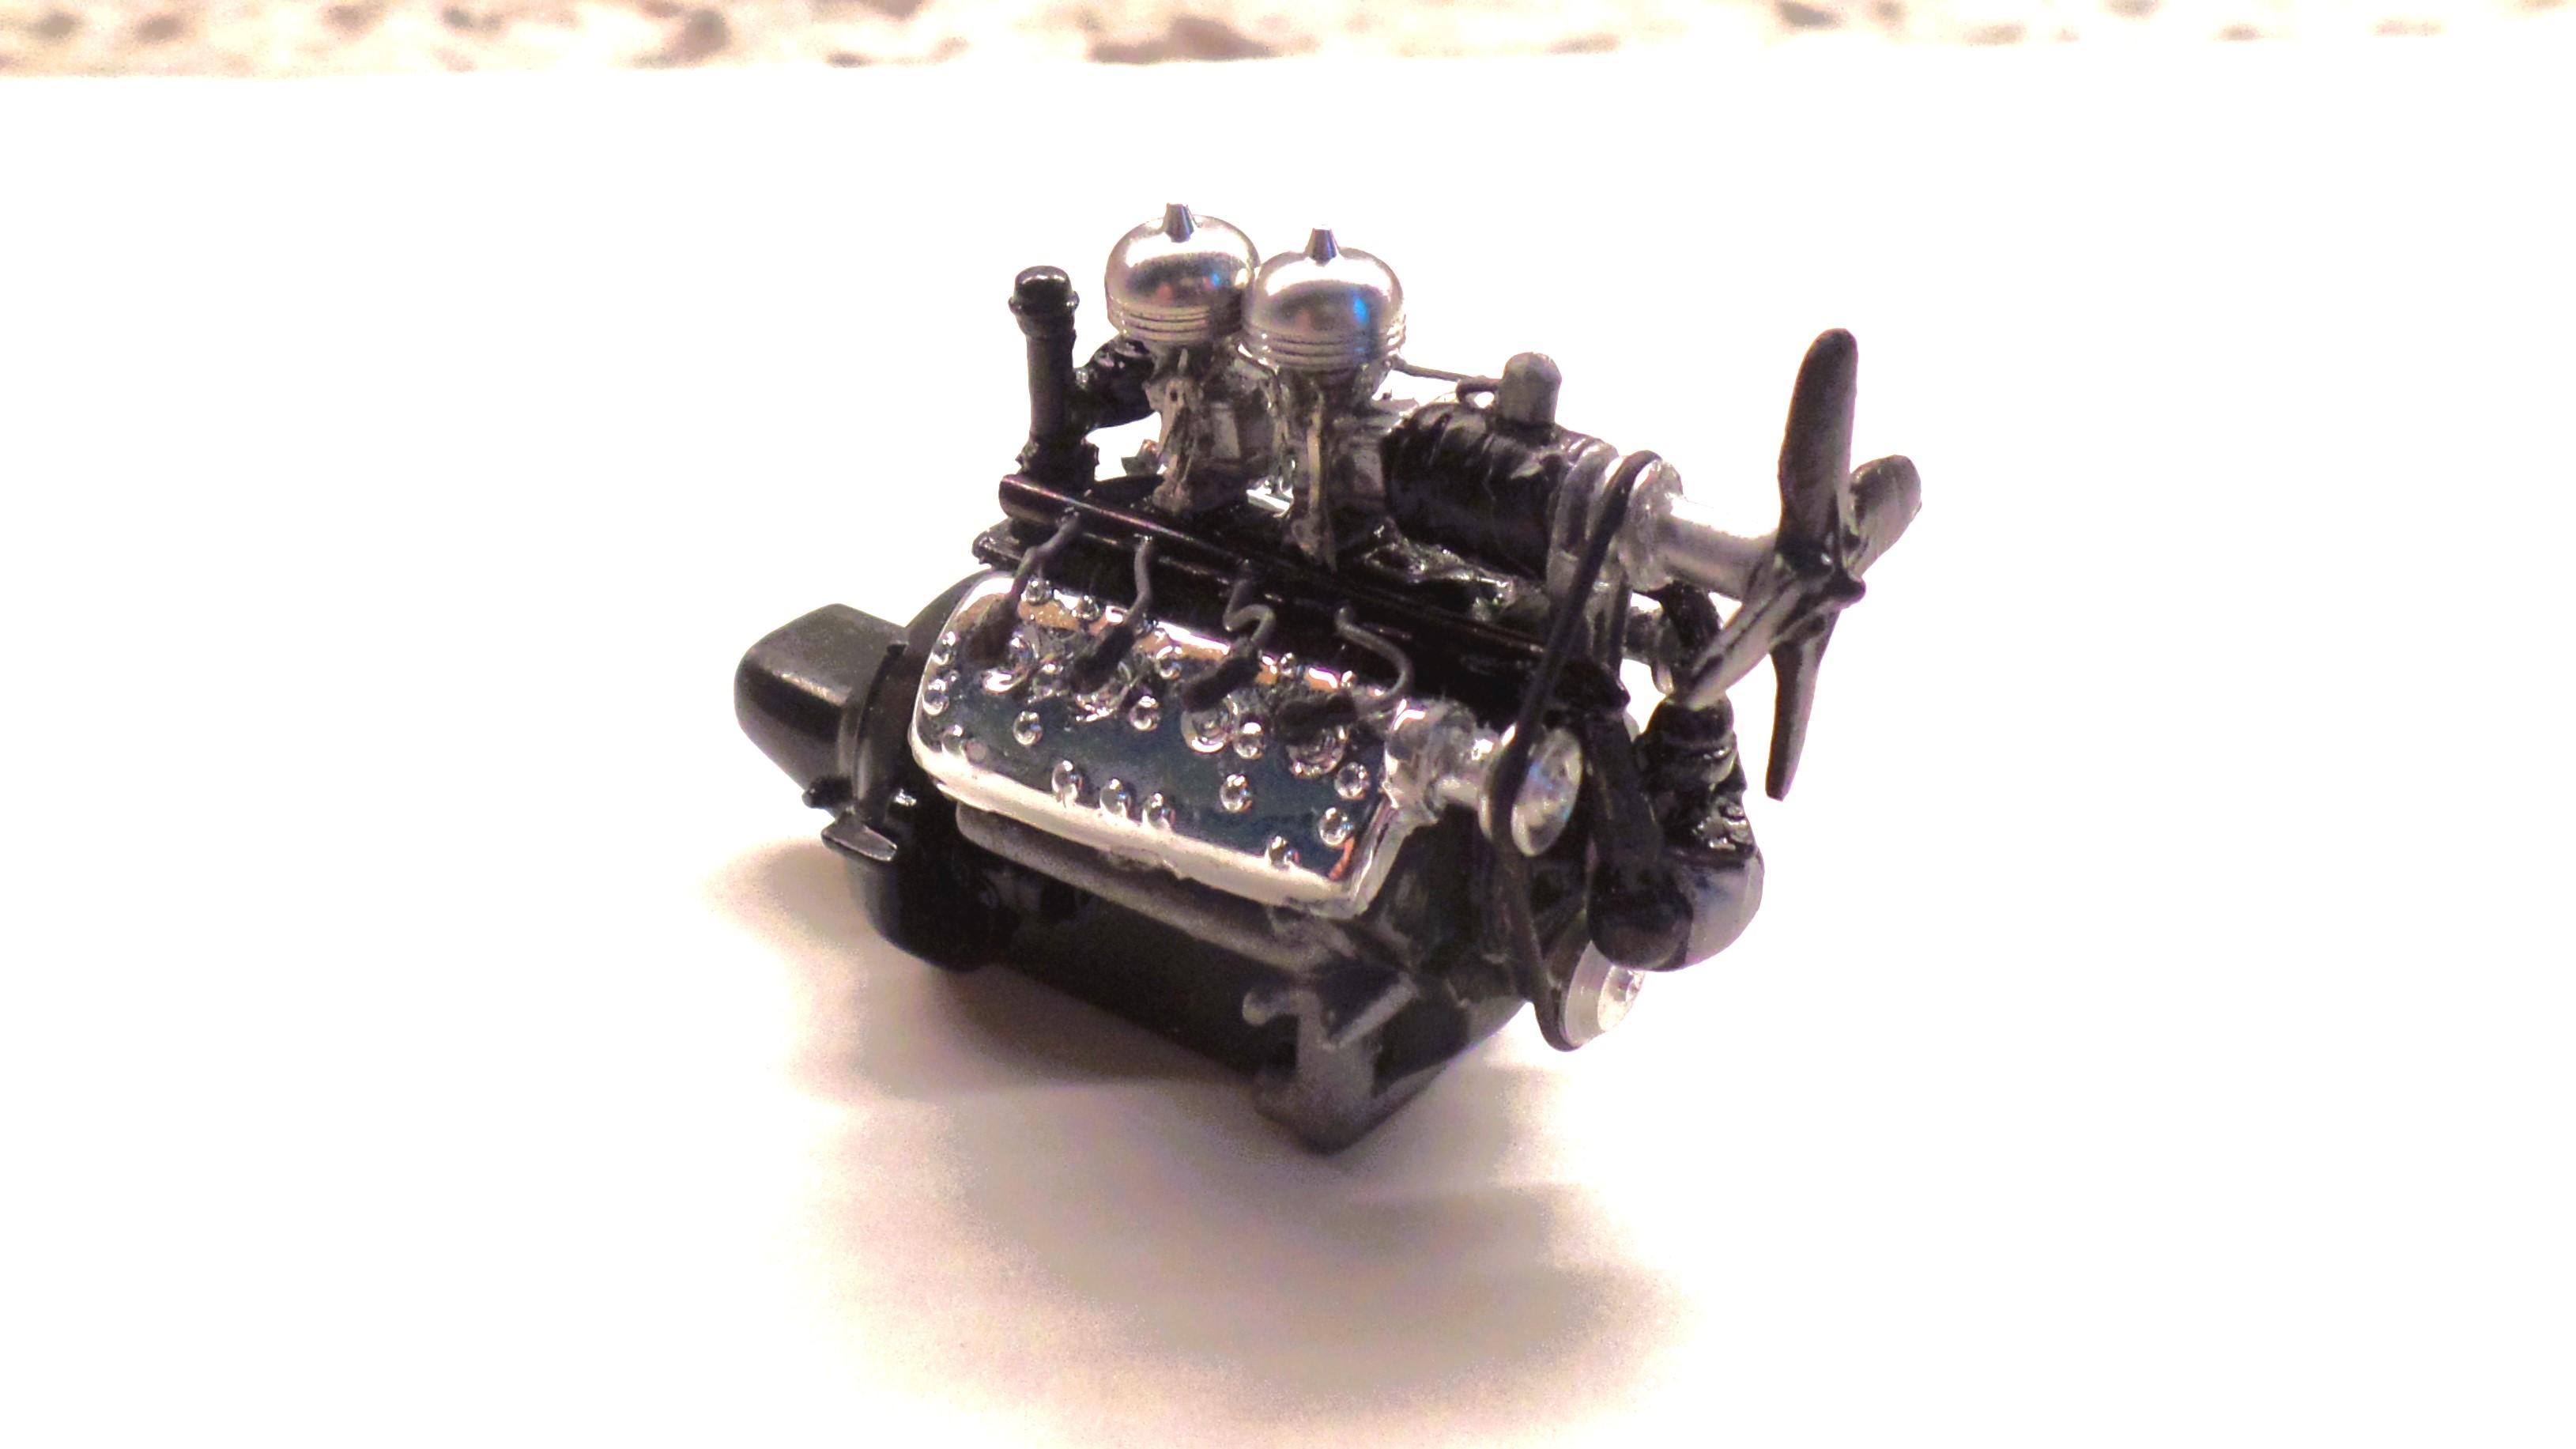
Update 4/7/2024 - The Engine Pretty got the engine as detailed as I plan to do it. I kept it reasonably period correct starting with the kit flathead. Some Replicas and Miniatures of Maryland Flathead pieces added realism to the engine. I borrowed the twin carb manifold from the AMT 49 Mercury and added Model Car Garage carbs/linkage and Parts by Parks air cleaners. Some additional aftermarket pieces plus some pieces from the parts box finished it off. Paint is Flathead Green from MCW.
-
Revell '56 Chevrolet 1/25 scale Bel-Air sedan chrome body trim
Exotics_Builder replied to horsepower's topic in Wanted!
56 BelAir in 1/25? Would that be the much older version? The current Revell 56 is a 210. This picture is from the web (not mine) but is this what you seek.
-
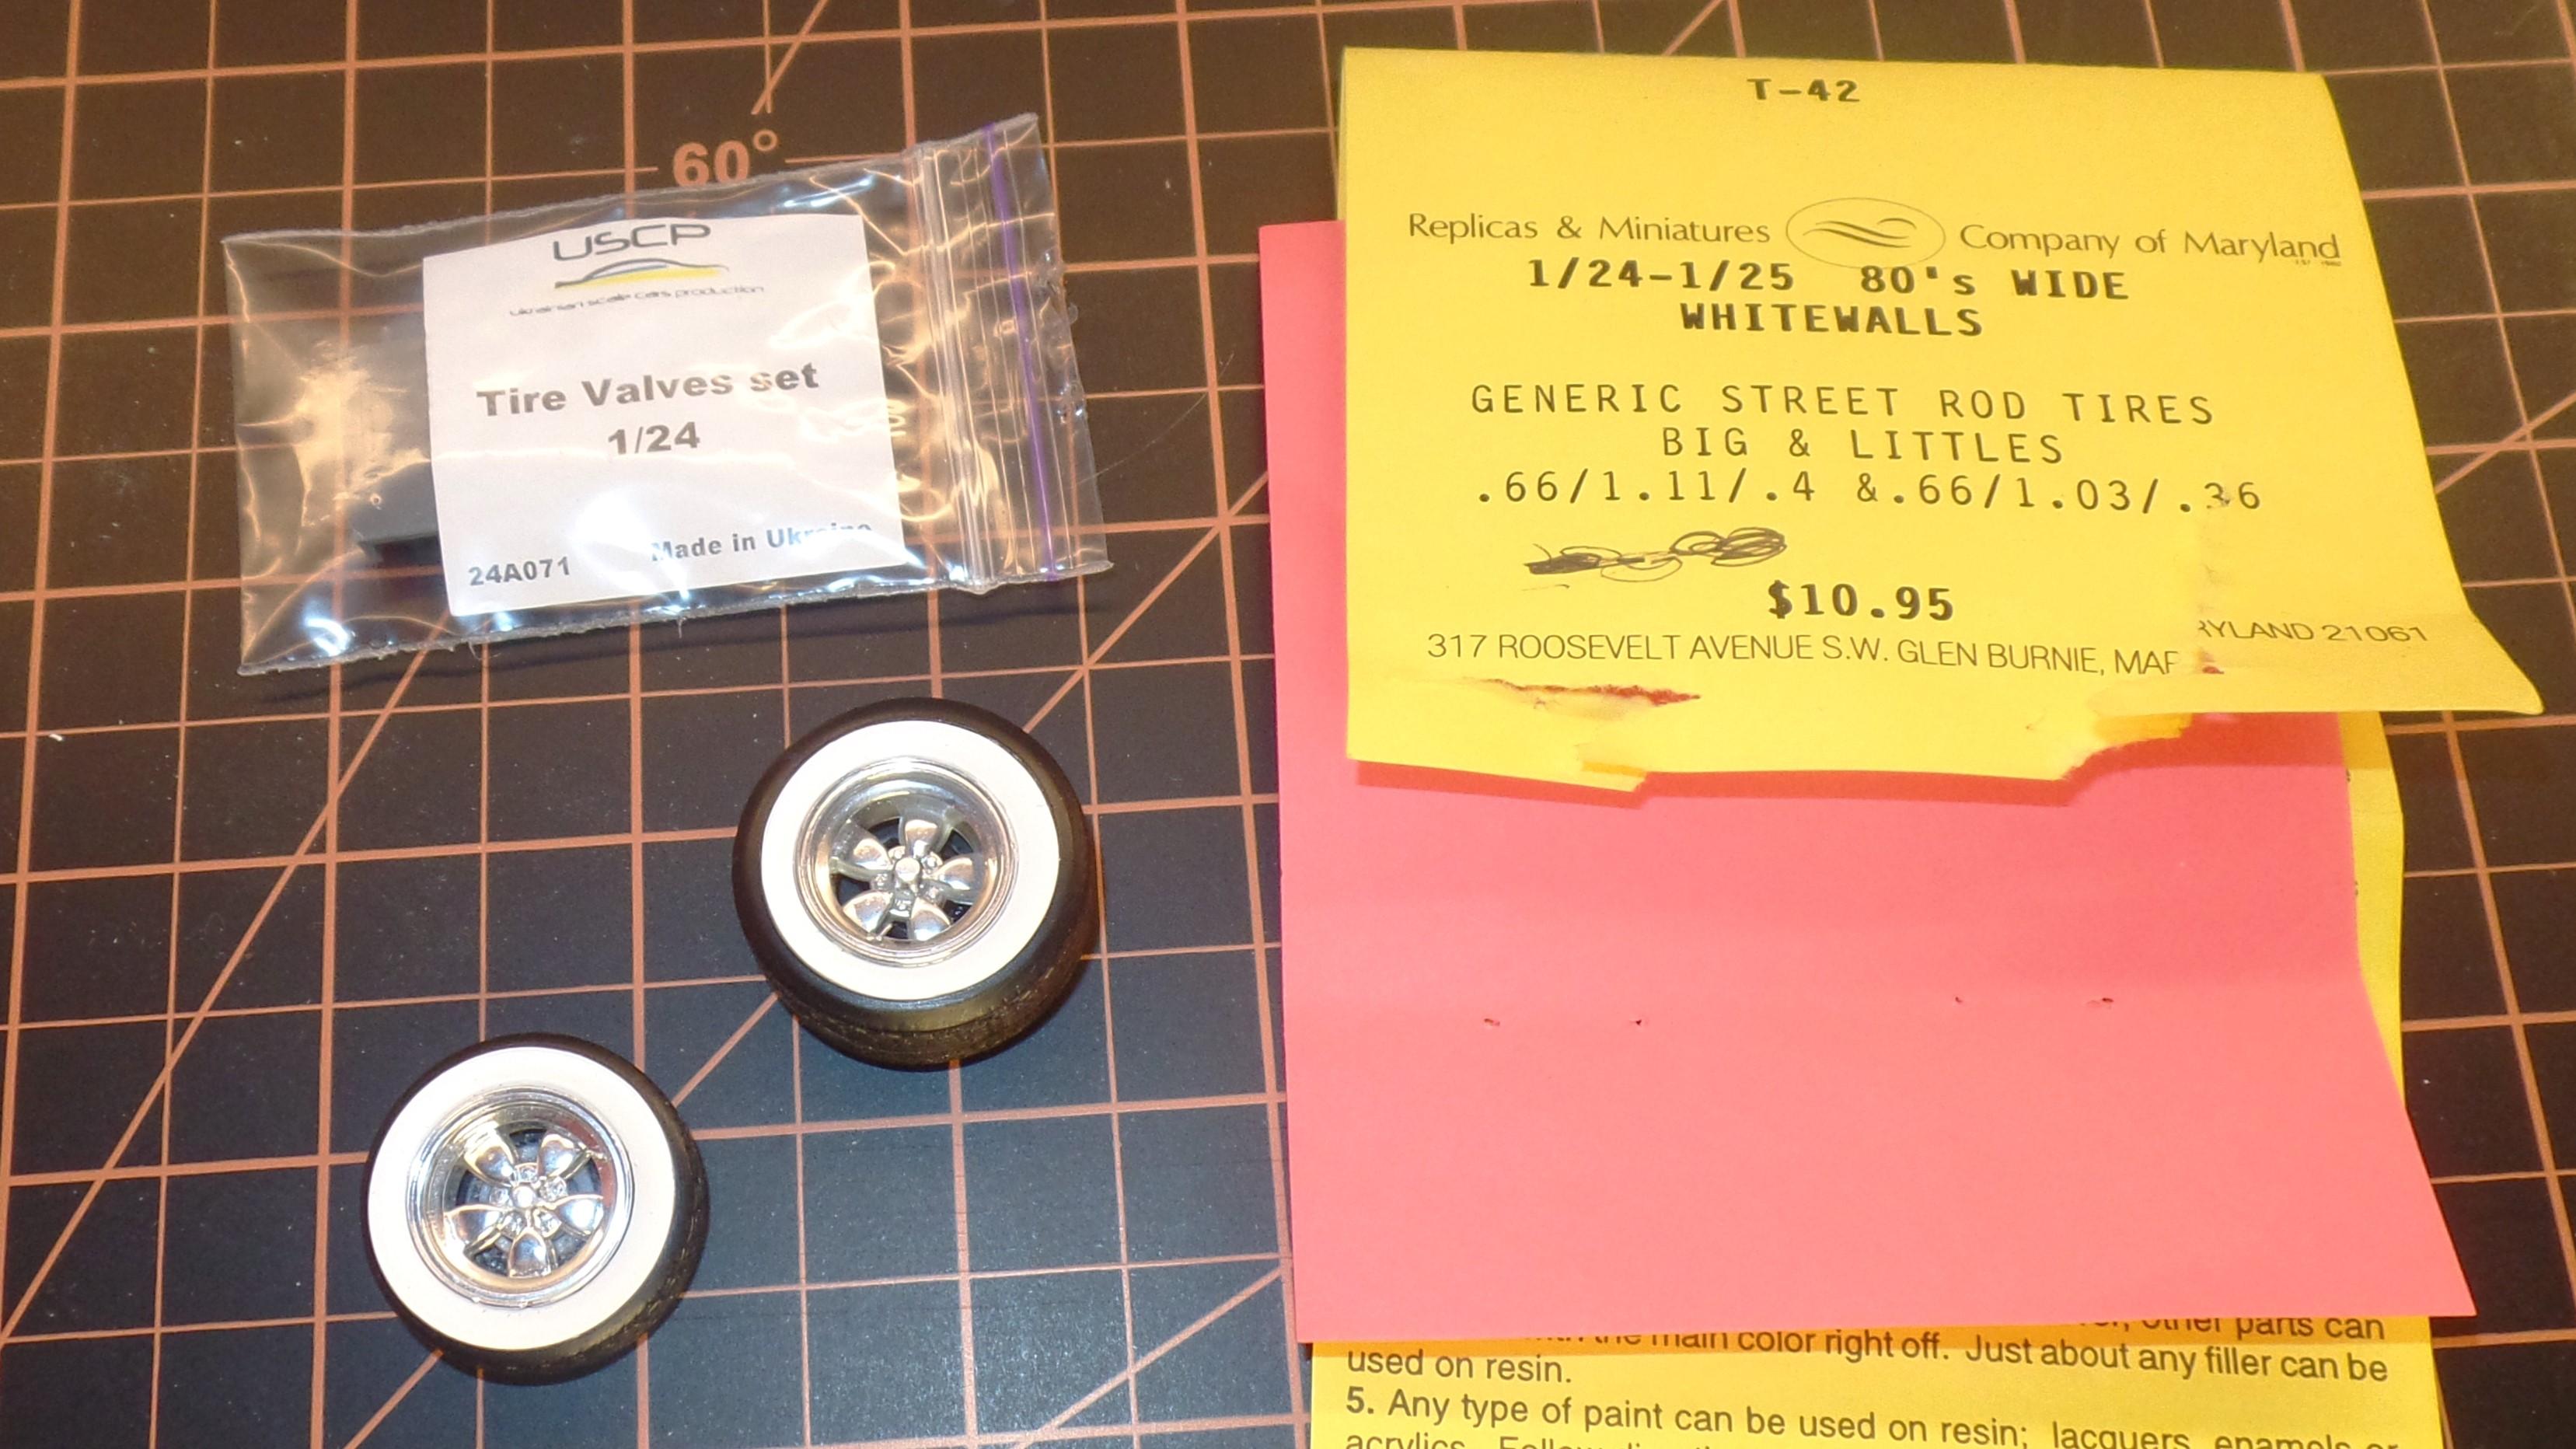
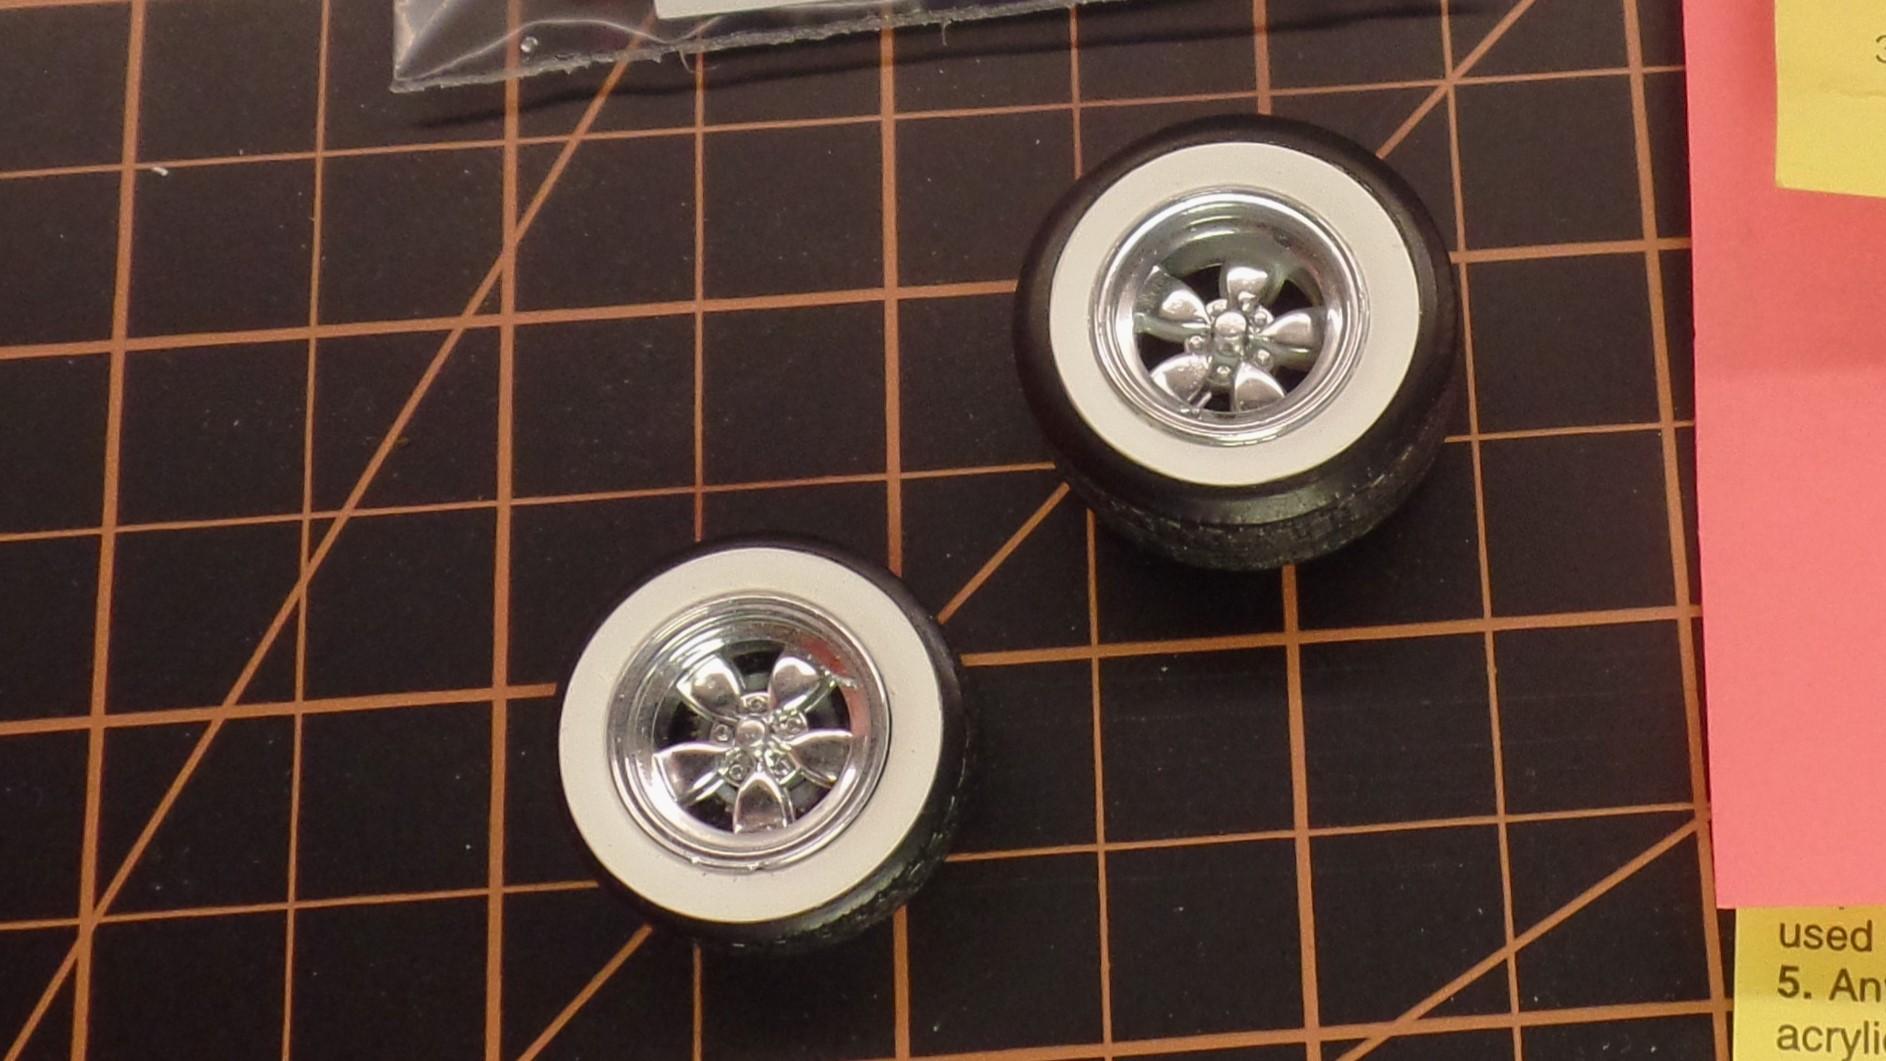
2024-03-31 Update - Wheels and tires. For this project, I decided on Replicas and Miniatures of Maryland Big and Little Whitewall Resin tires. Wheels came out of the parts box. I believe they were originally from some MPC 70’s kit, but don’t really recollect. To dress up, I added some valve stems from USCP that I recently got. I do have different valve stem sets, but decided on these to try out. Wheel backs were from the parts box as well and integrated with the kit’s to fit the mountings.
-
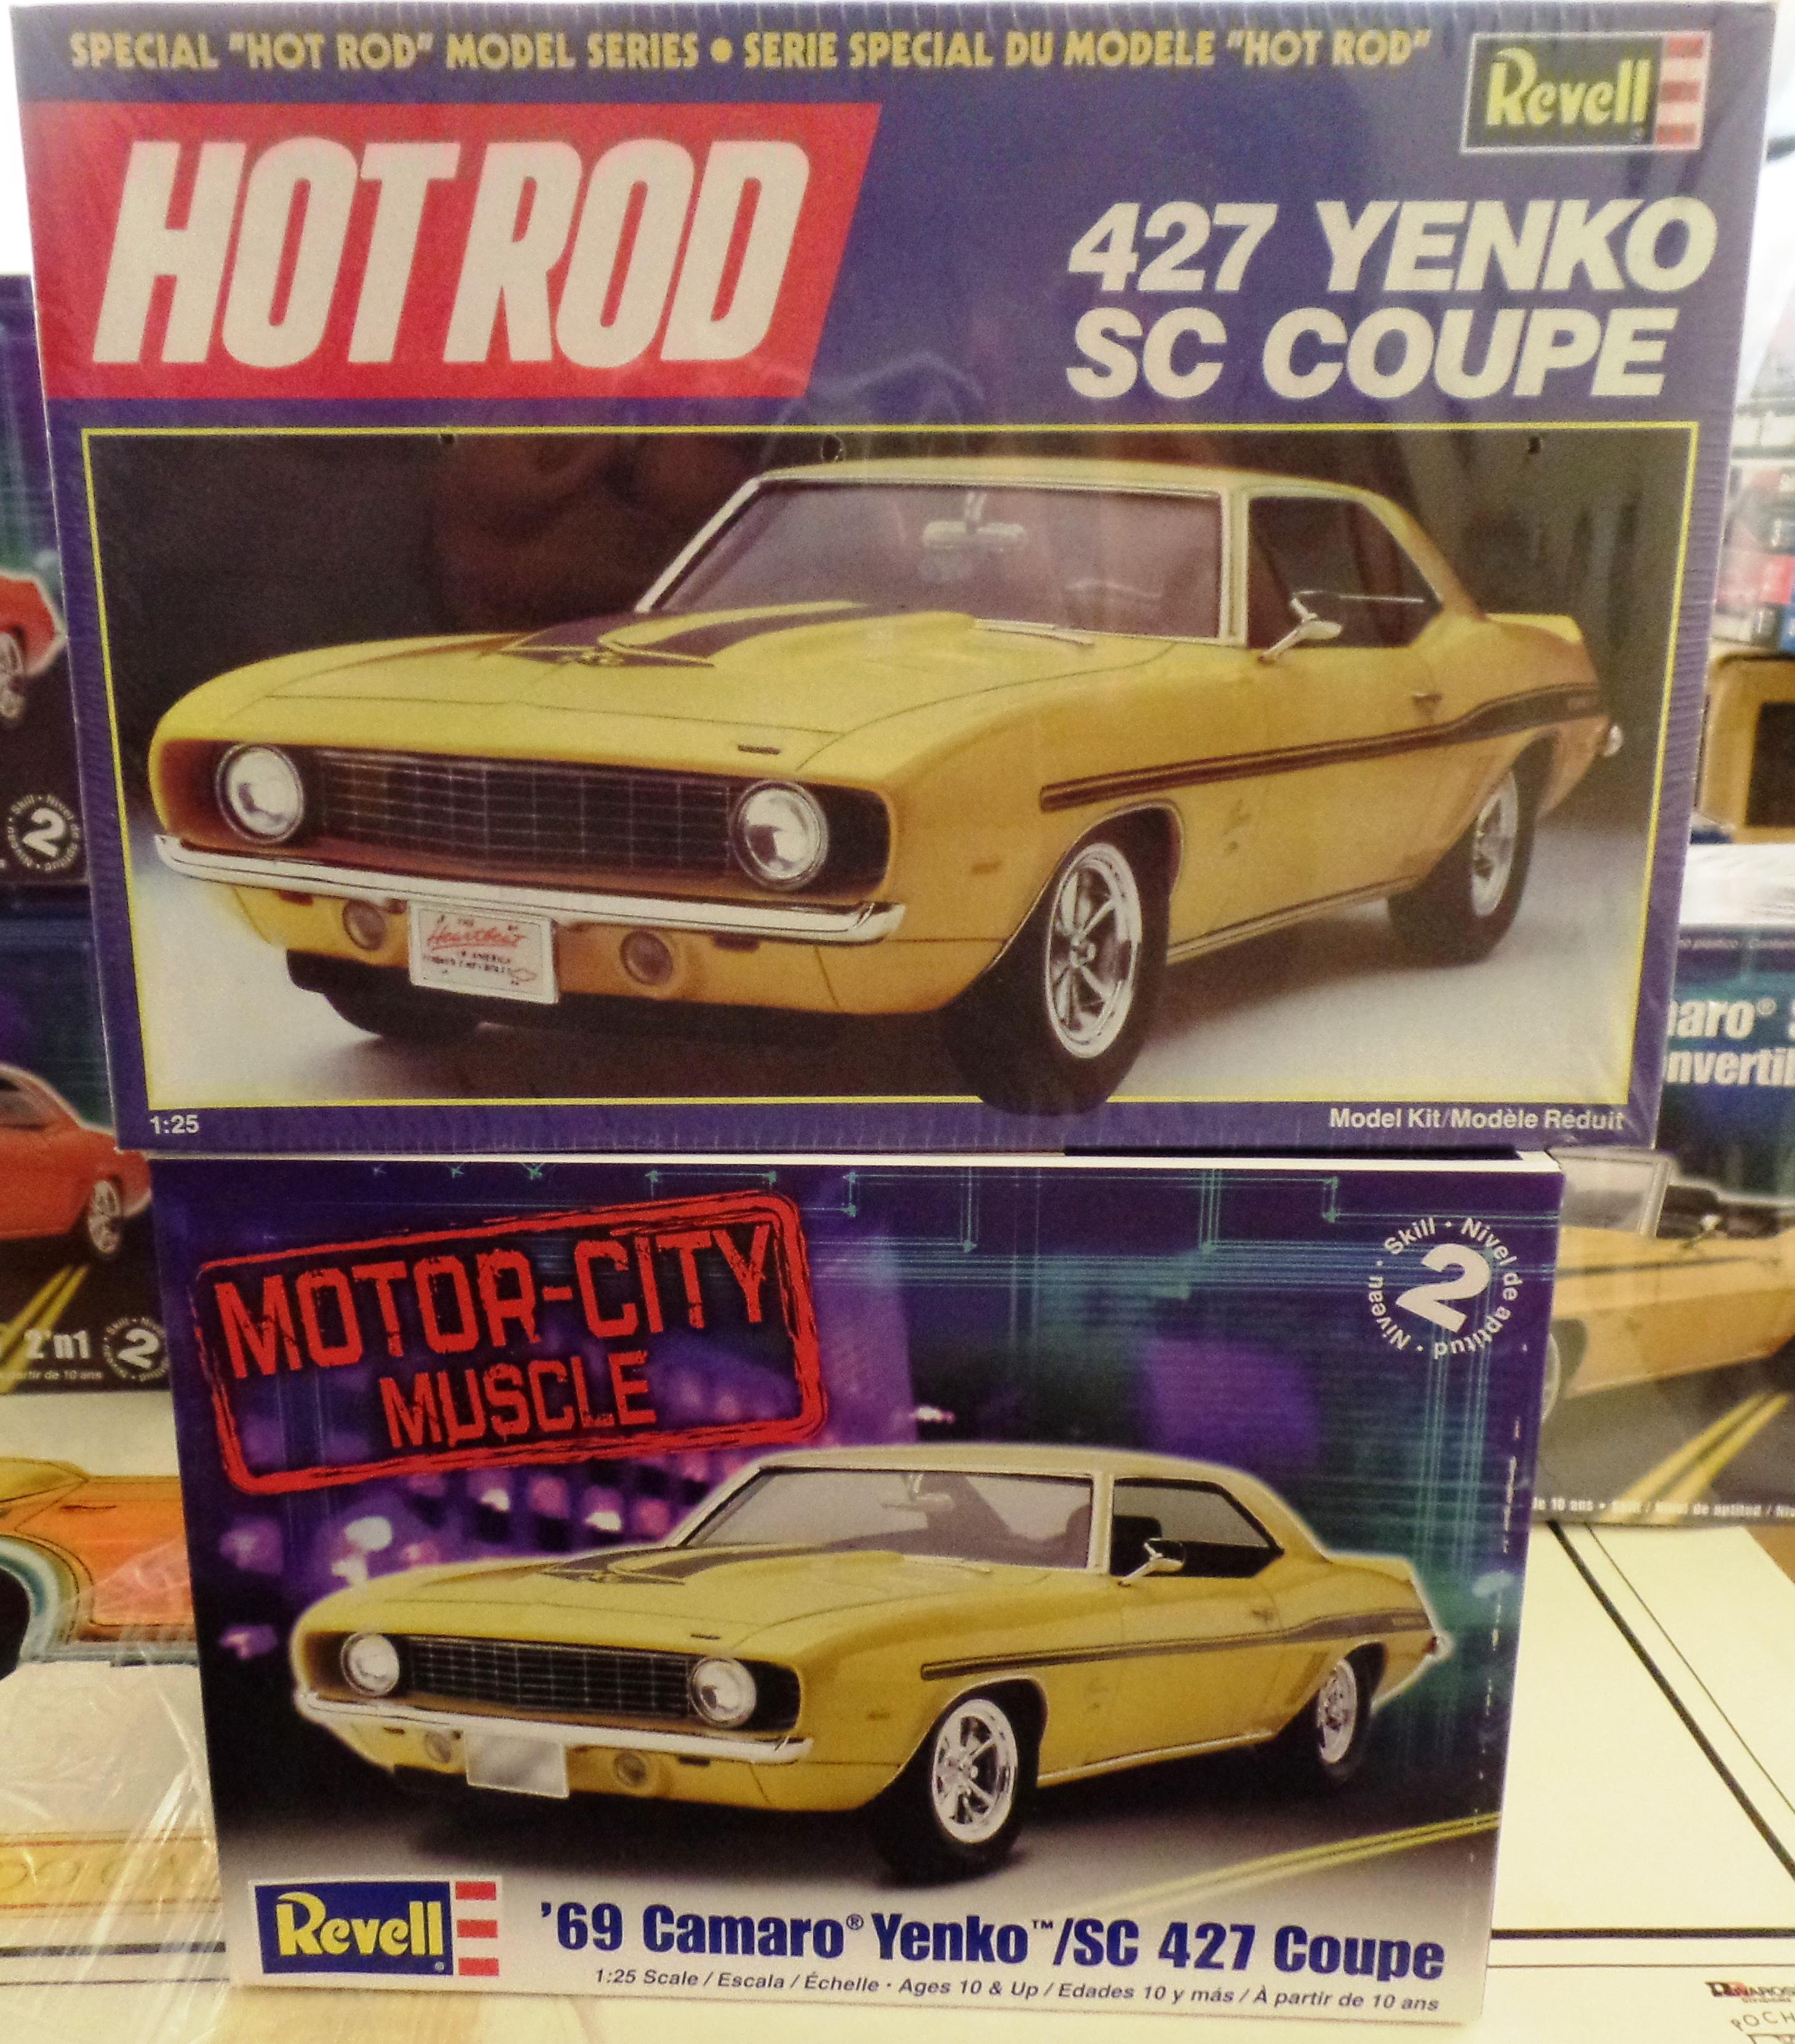
AMT vs Revell 69 Camaro
Exotics_Builder replied to Brutalform's topic in Model Building Questions and Answers
The Revell 1/25 scale 1969 is the best option. And Revell did issue a Yenko version of it. Keith Marks also offers a Yenko decal set for the Revell kit. The Monogram 1/24 is very misshapen. https://public.fotki.com/mofobow/chevy/camaro/69_camaro_yenko/69_camaro_yenko_a-1.html
-
You got it. If you are using the 66 GTO engine as the base, then the Firebird manifold is best. Blobular is a good description of the AMT manifold. PM me your snail mail and I will get it out next week. I'll ping you with a tracking number.
-
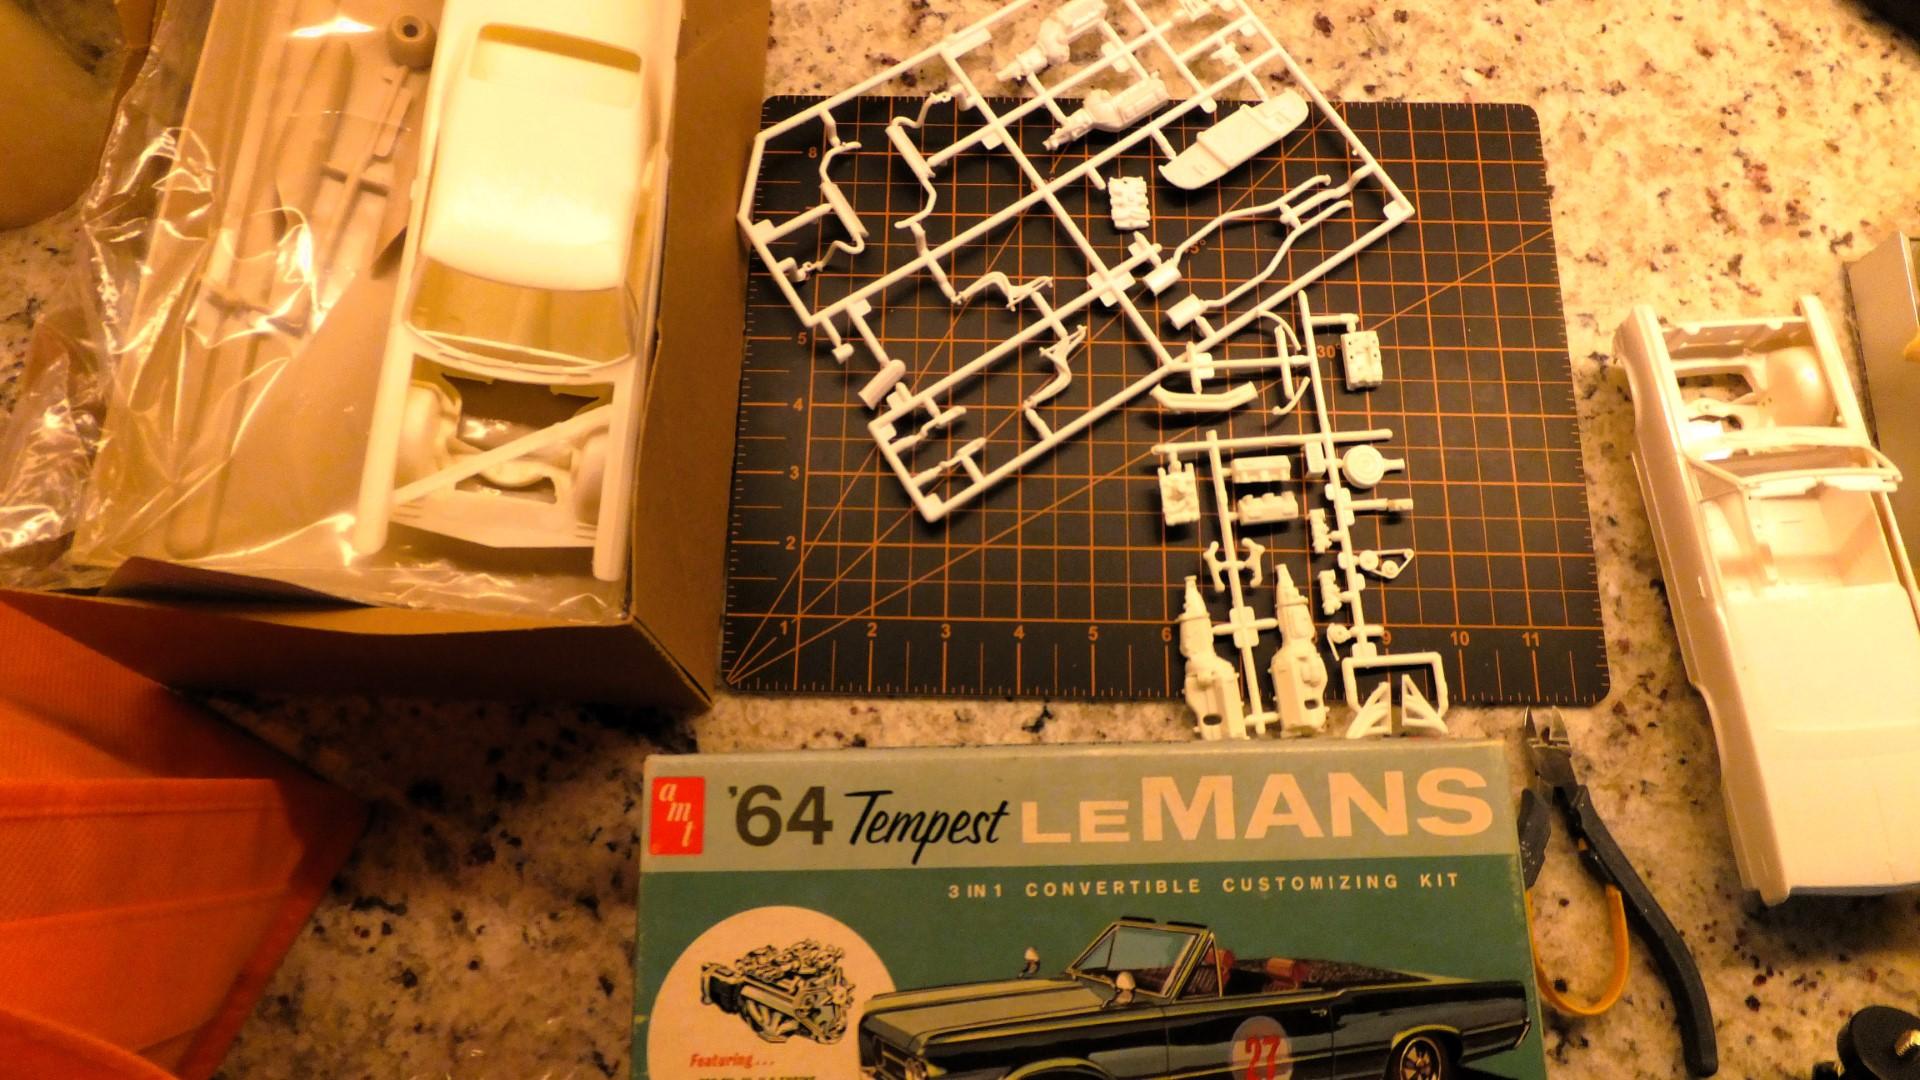
Not to complicate things. I did find the Revell Manifold. I also pulled out the Prestige version 65 Bonneville and 64 Tempest I have. They both have a single carb manifold (appear to be exactly the same). It gets down to what engine are you using. I did a quick match of the Revell manifold to the engine in my 64 Tempest and it is a bit wider, needing some added surgery for fit. Let me know which would work better for your build.