

Exotics_Builder
-
Posts
3,587 -
Joined
-
Last visited
Posts posted by Exotics_Builder
-
-
This is the California Wheels issue from a few years ago.

-
 1
1
-
-
Expand
you dont have to spray the Revell Chrome over a black surface. you will still get the same shine..i live in the deep south of Louisiana and the Chrome i can handle it in 2 days with out any clear coat..
I know. I give a week to be on the UBER safe side. I live in the Pacific Northwest. I always prime and I did the wheels along with some other parts. I have sprayed over other colors and also older chrome that was intact but not great shape
-
3
-
 1
1
-
-
Expand
FWIW, at the ACME show last month, I saw an application of Revell's chrome that had been done earlier by the guy running the display, right out of the can.
It was very obviously done without extensive prep or special technique, as there were multiple dust nibs in it.
There was one flat-sided part and a set of 4 wheels still on the sprue.
The shine was as good as "quite good" kit chrome, no silvering, no visible "grain" either from flake size or dry-spray.
I purposely rubbed one side of one part with my bare finger, pretty hard, and the gloss did decrease noticeably.
I believe that gentle handling, especially wearing light cotton gloves like come in some diecast model boxes, would make the dulling almost a non-issue.
Wearing cheap latex gloves while handling Revell "chrome paint" parts might also alleviate the dulling issue.
Obviously, the worst opportunity for handling-caused dulling is probably going to be in situations where higher pressure is applied, like pushing wheels into tight openings in tires.
EDIT: IIRC, the guy who did the application thought the wheels looked better, and I thought the flat-sided part looked better (as far as the chrome effect went), so opinions are subjective, as always.
Revell spray over Mr Hobby 1500 Black Surface Primer. Wheels are 3D printed. Dried for one week.
-
1
-
1
-
-
-
Expand
I have had the Gaahleri swallowtail airbrush since June 2024. I too bought it based on the review by Barbatos Rex. This is my experence.
When I received the airbrush it would not blow air in first stage. When you pulled the trigger it would immediately start spraying paint instead of just air coming out. I contacted Gaahleri and the determined the "Needle Chucking Guide" was the problem and quickly sent me a replacement and that took care of the problem. They said the collar on the needle chucking guide probably had slid out of position due to rough handling during shipping.
The gun sprays very good. I have sprayed with the fan cap. I did spray one car model with it using enamel paint and it did fine. But, I do agree with Nacho Z. It does not a even fan spray. That being said I have not set down with it and really put the fan cap through a good test. I was pleased with the way it sprayed the one car I did use it on because I was able to spray the whole car quicker.
But, after 3 months of using the Swallowtail the Needle Chucking Guide is starting to give me problems again. It started doing the same thing it was doing when I received it. That is not blowing just air when you first pull the trigger. Since I know now what causes it I can quickly remove the needle chucking quide and put the collar back into position. But, it keeps happening.
I actually contacted Gaahleri today to see if they have a solution to the problem.
Again, the airbrush sprays very good. I mostly use the 0.3 nozzle. Atomization is very good. And, again, I have used the fan cap very little.
Also, the airbrush is easy to clean because of the large opening where the cup screws on.
This is good info. I won one at our club's contest in May but have yet to try it since I have several other brushes, mainly Iwatas. Guess I should check it out and see how well it works.
-
2
-
-
Getting closer. Brought this back to the bench. Got the body through base coat, first clear coat, decals (a whole story on that one because no decal offered is Hugger Orange) and second clear coat. This clear coat is sanded down to 10,000 grit ready for final clear. Then the "marriage" of body to interior and chassis and finally the last PE details. Will be glad to get this done. Took these photos at the club meeting on Sunday.
-
2
-
-
Expand
Thanks, scribing the side panels to look decent will likely be the toughest part. I added .156” of Evergreen to the middle so that the upholstery centerlines roughly match the front seat spacing. I added some extensions to the side panels from .080” Evergreen. I used Tamiya extra thin to weld the pieces back together. When thats well dried I’ll dress the outer edges of the seat and add the required amount of Evergreen to both ends. Then try to clean things up.

Looks like you're in the zone. Sometimes rear seats don't go all the way to the side panels (there is a little filler gap) but usually do. Looks a good fit to the 1:1
-
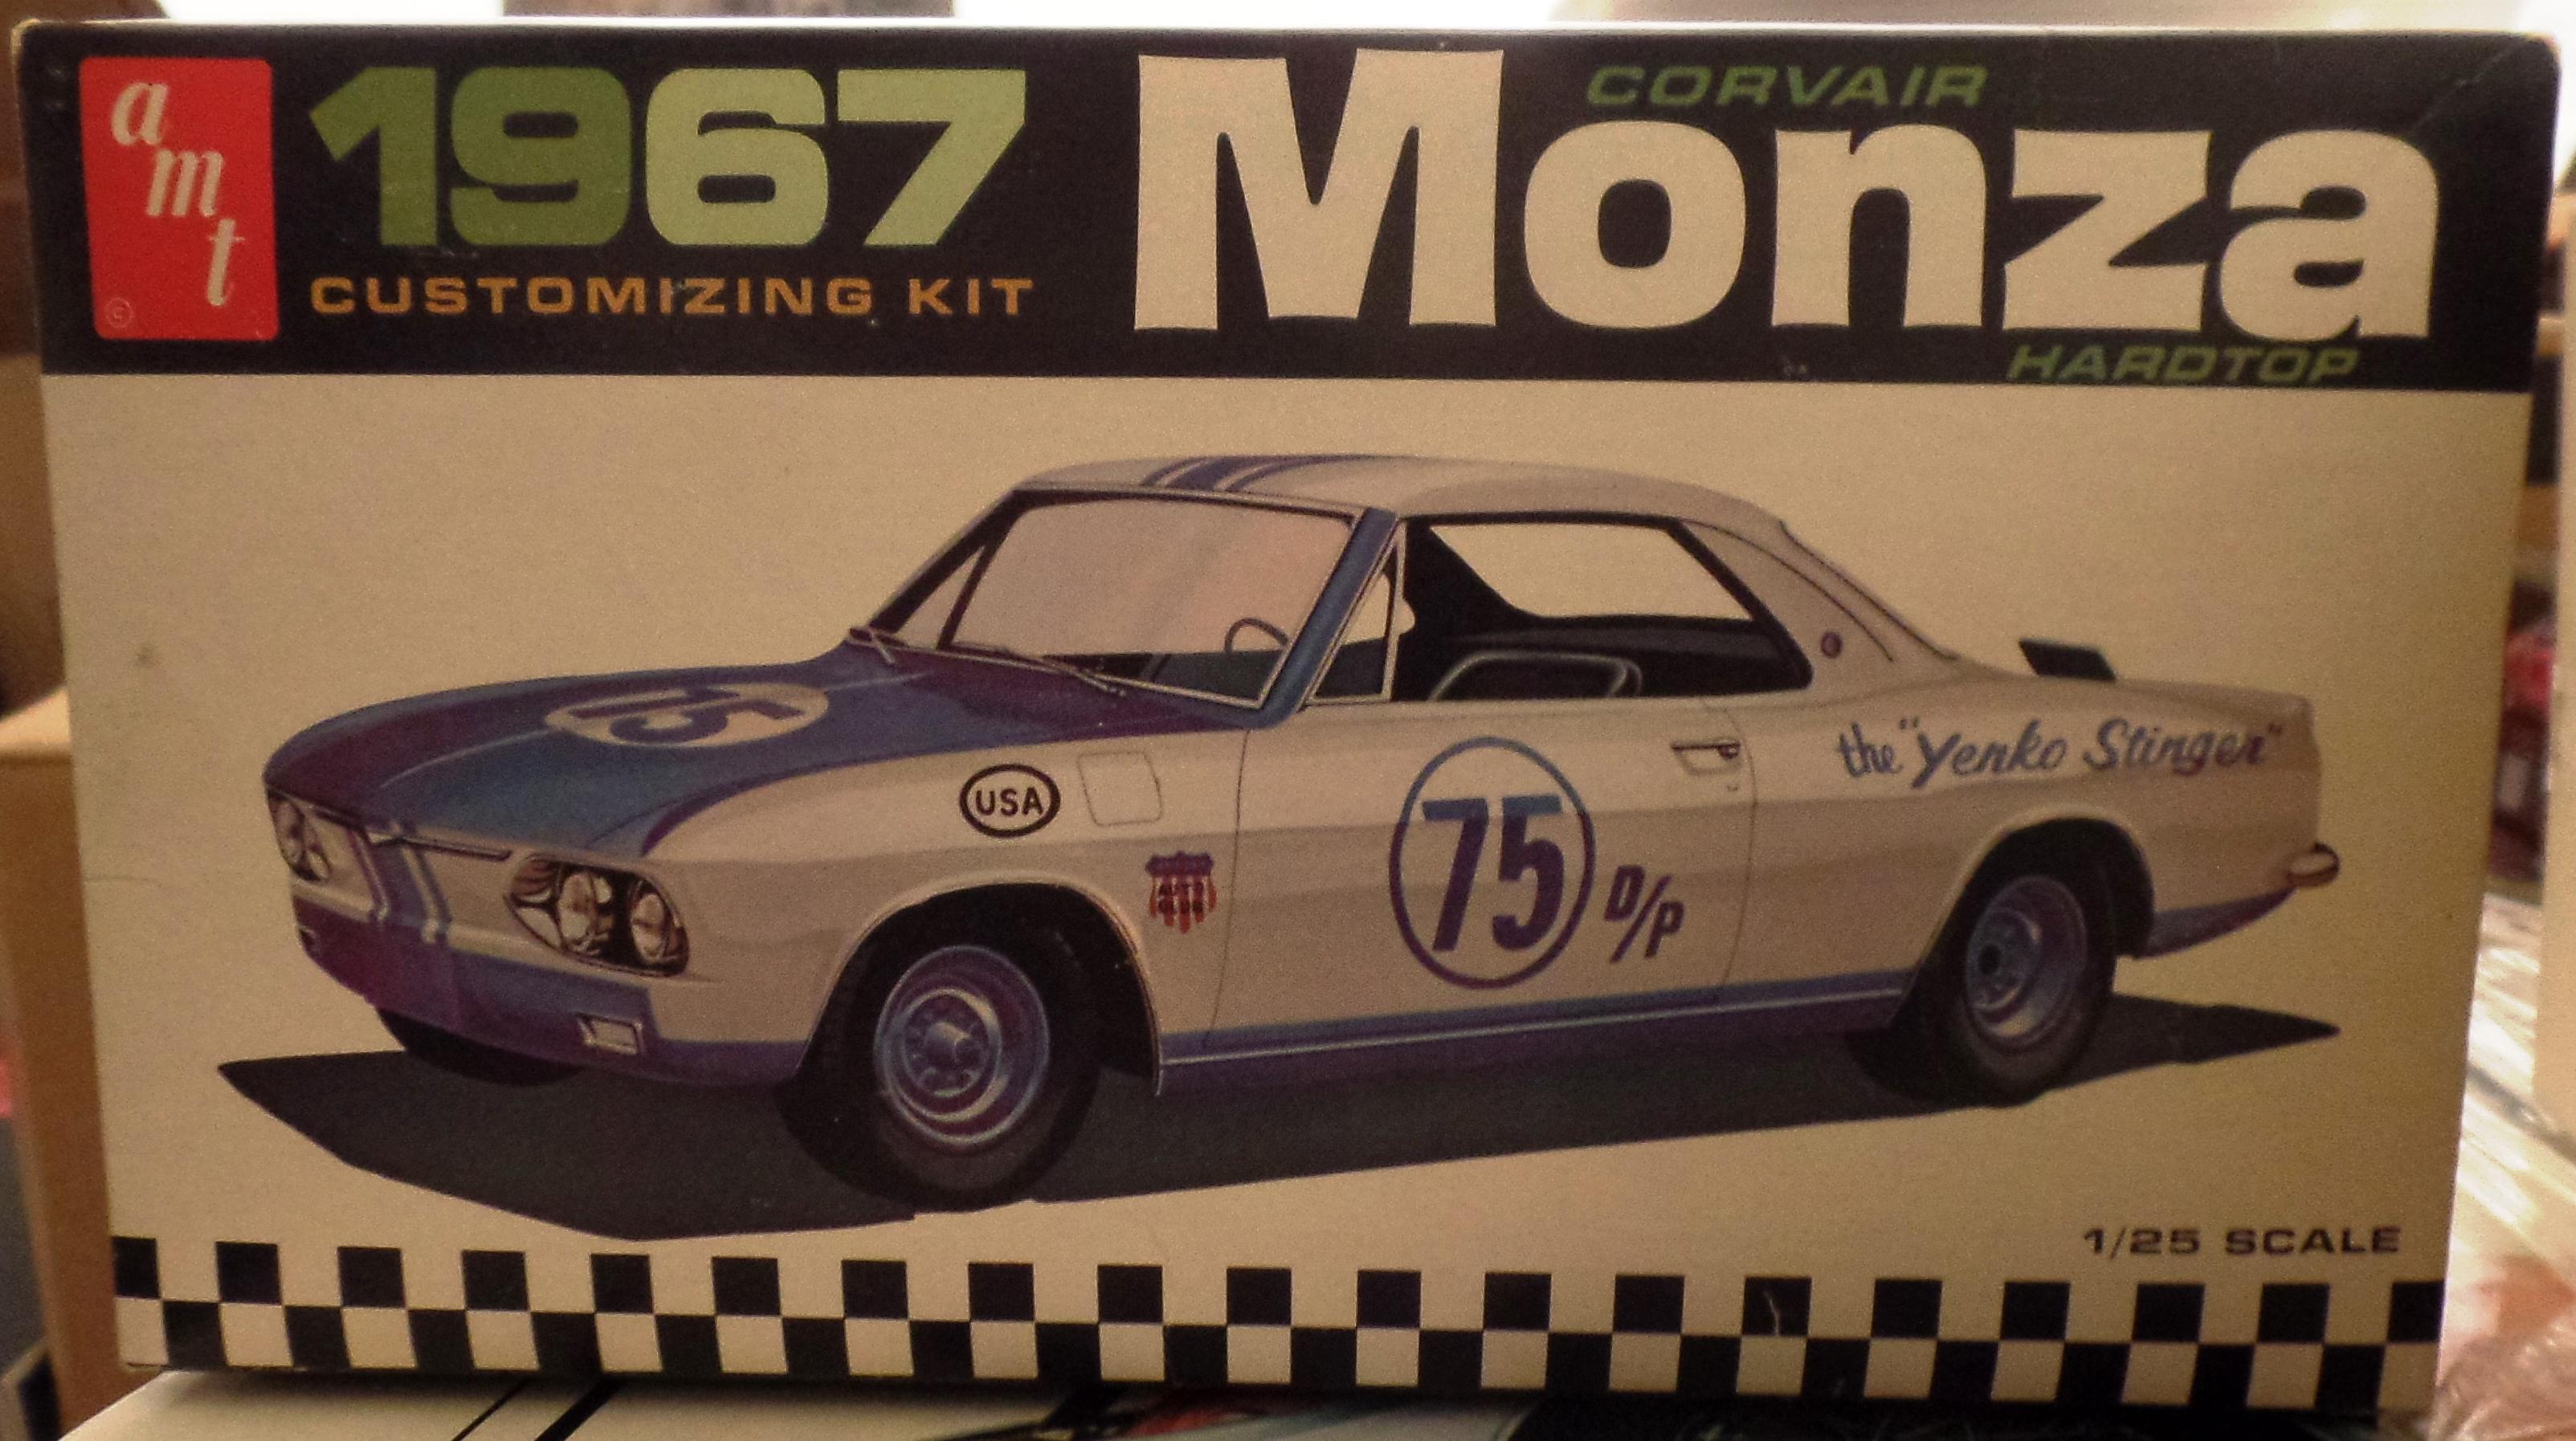
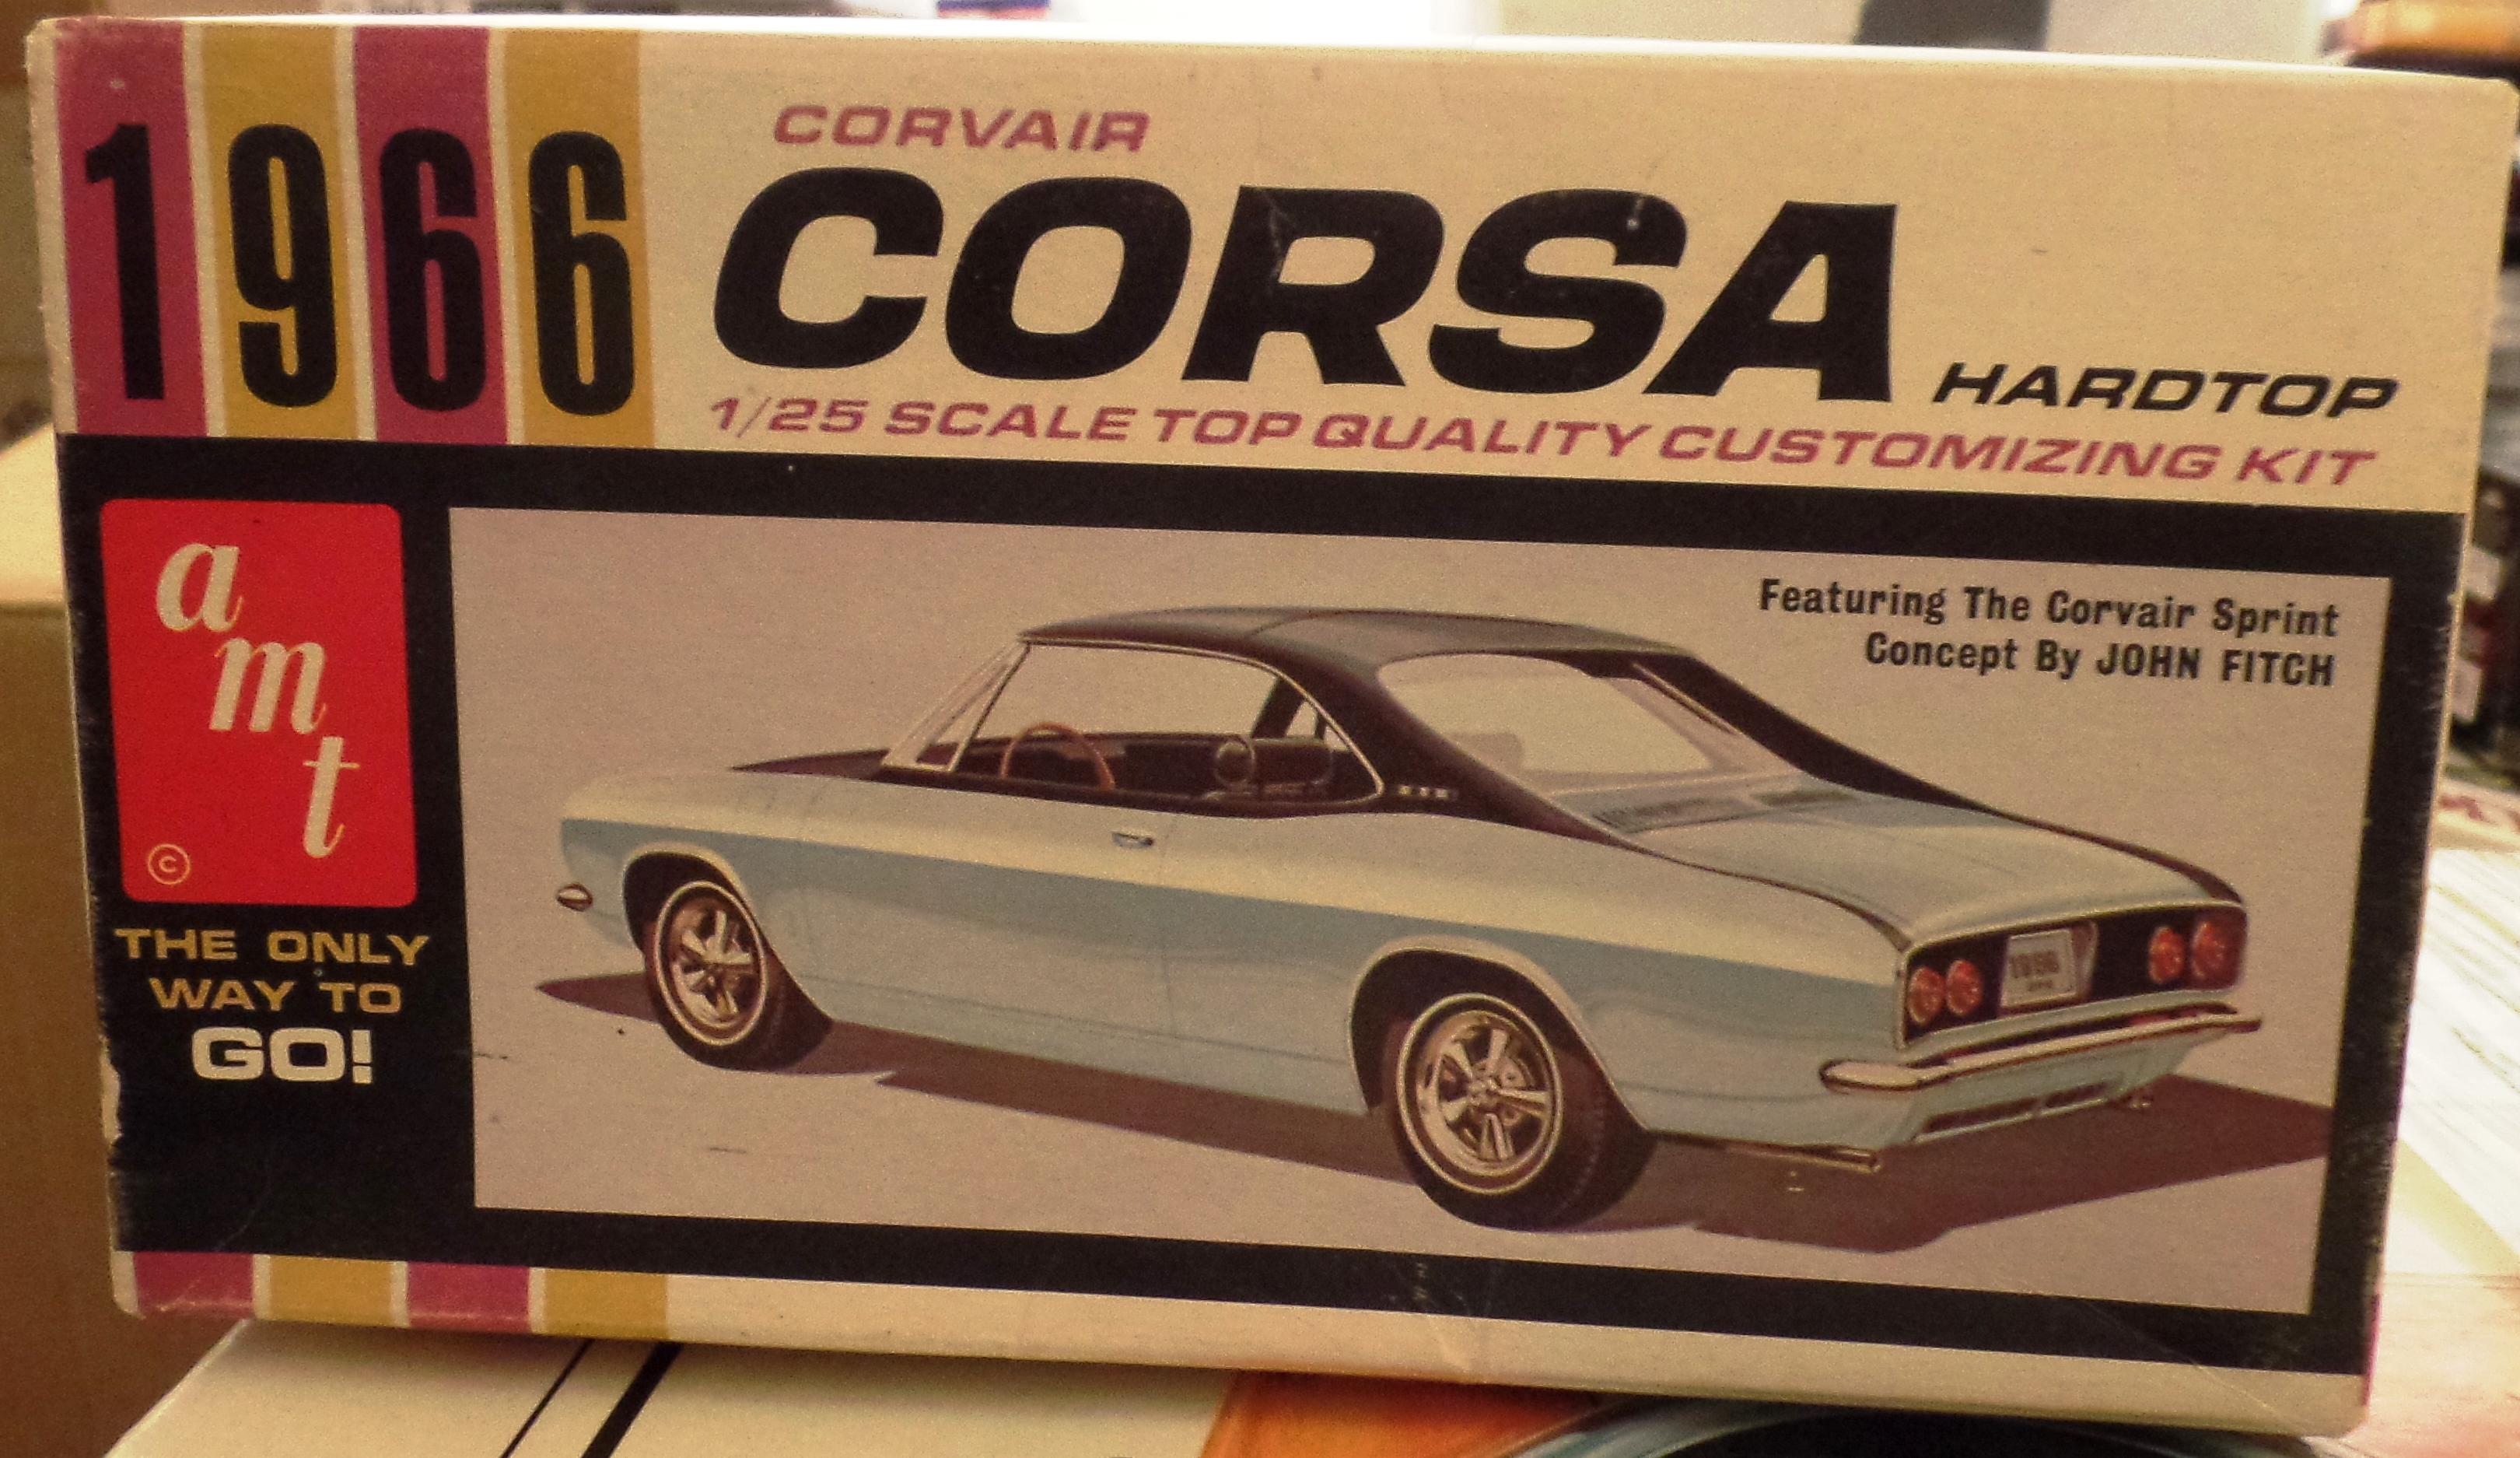
Well, i went to the stash and checked my unbuilt 66, 67, and 69 Corvair kits and all have the flying buttresses for the convertible (as already stated). The 65 GTO from AMT also suffers from this and if I looked into some of the other kits, there are likely more. The interesting thing about the 67 is that it also has the automatic transmission lever on the console as well as the manual gear shift (and this is the Yenko Stinger option kit).
-
Yes. Still have it. It is in the To Sell stash.
-
1
-
-
I'll check the stash tomorrow AM and let you know
-
I'll double check, but should have this one available
-
1
-
-
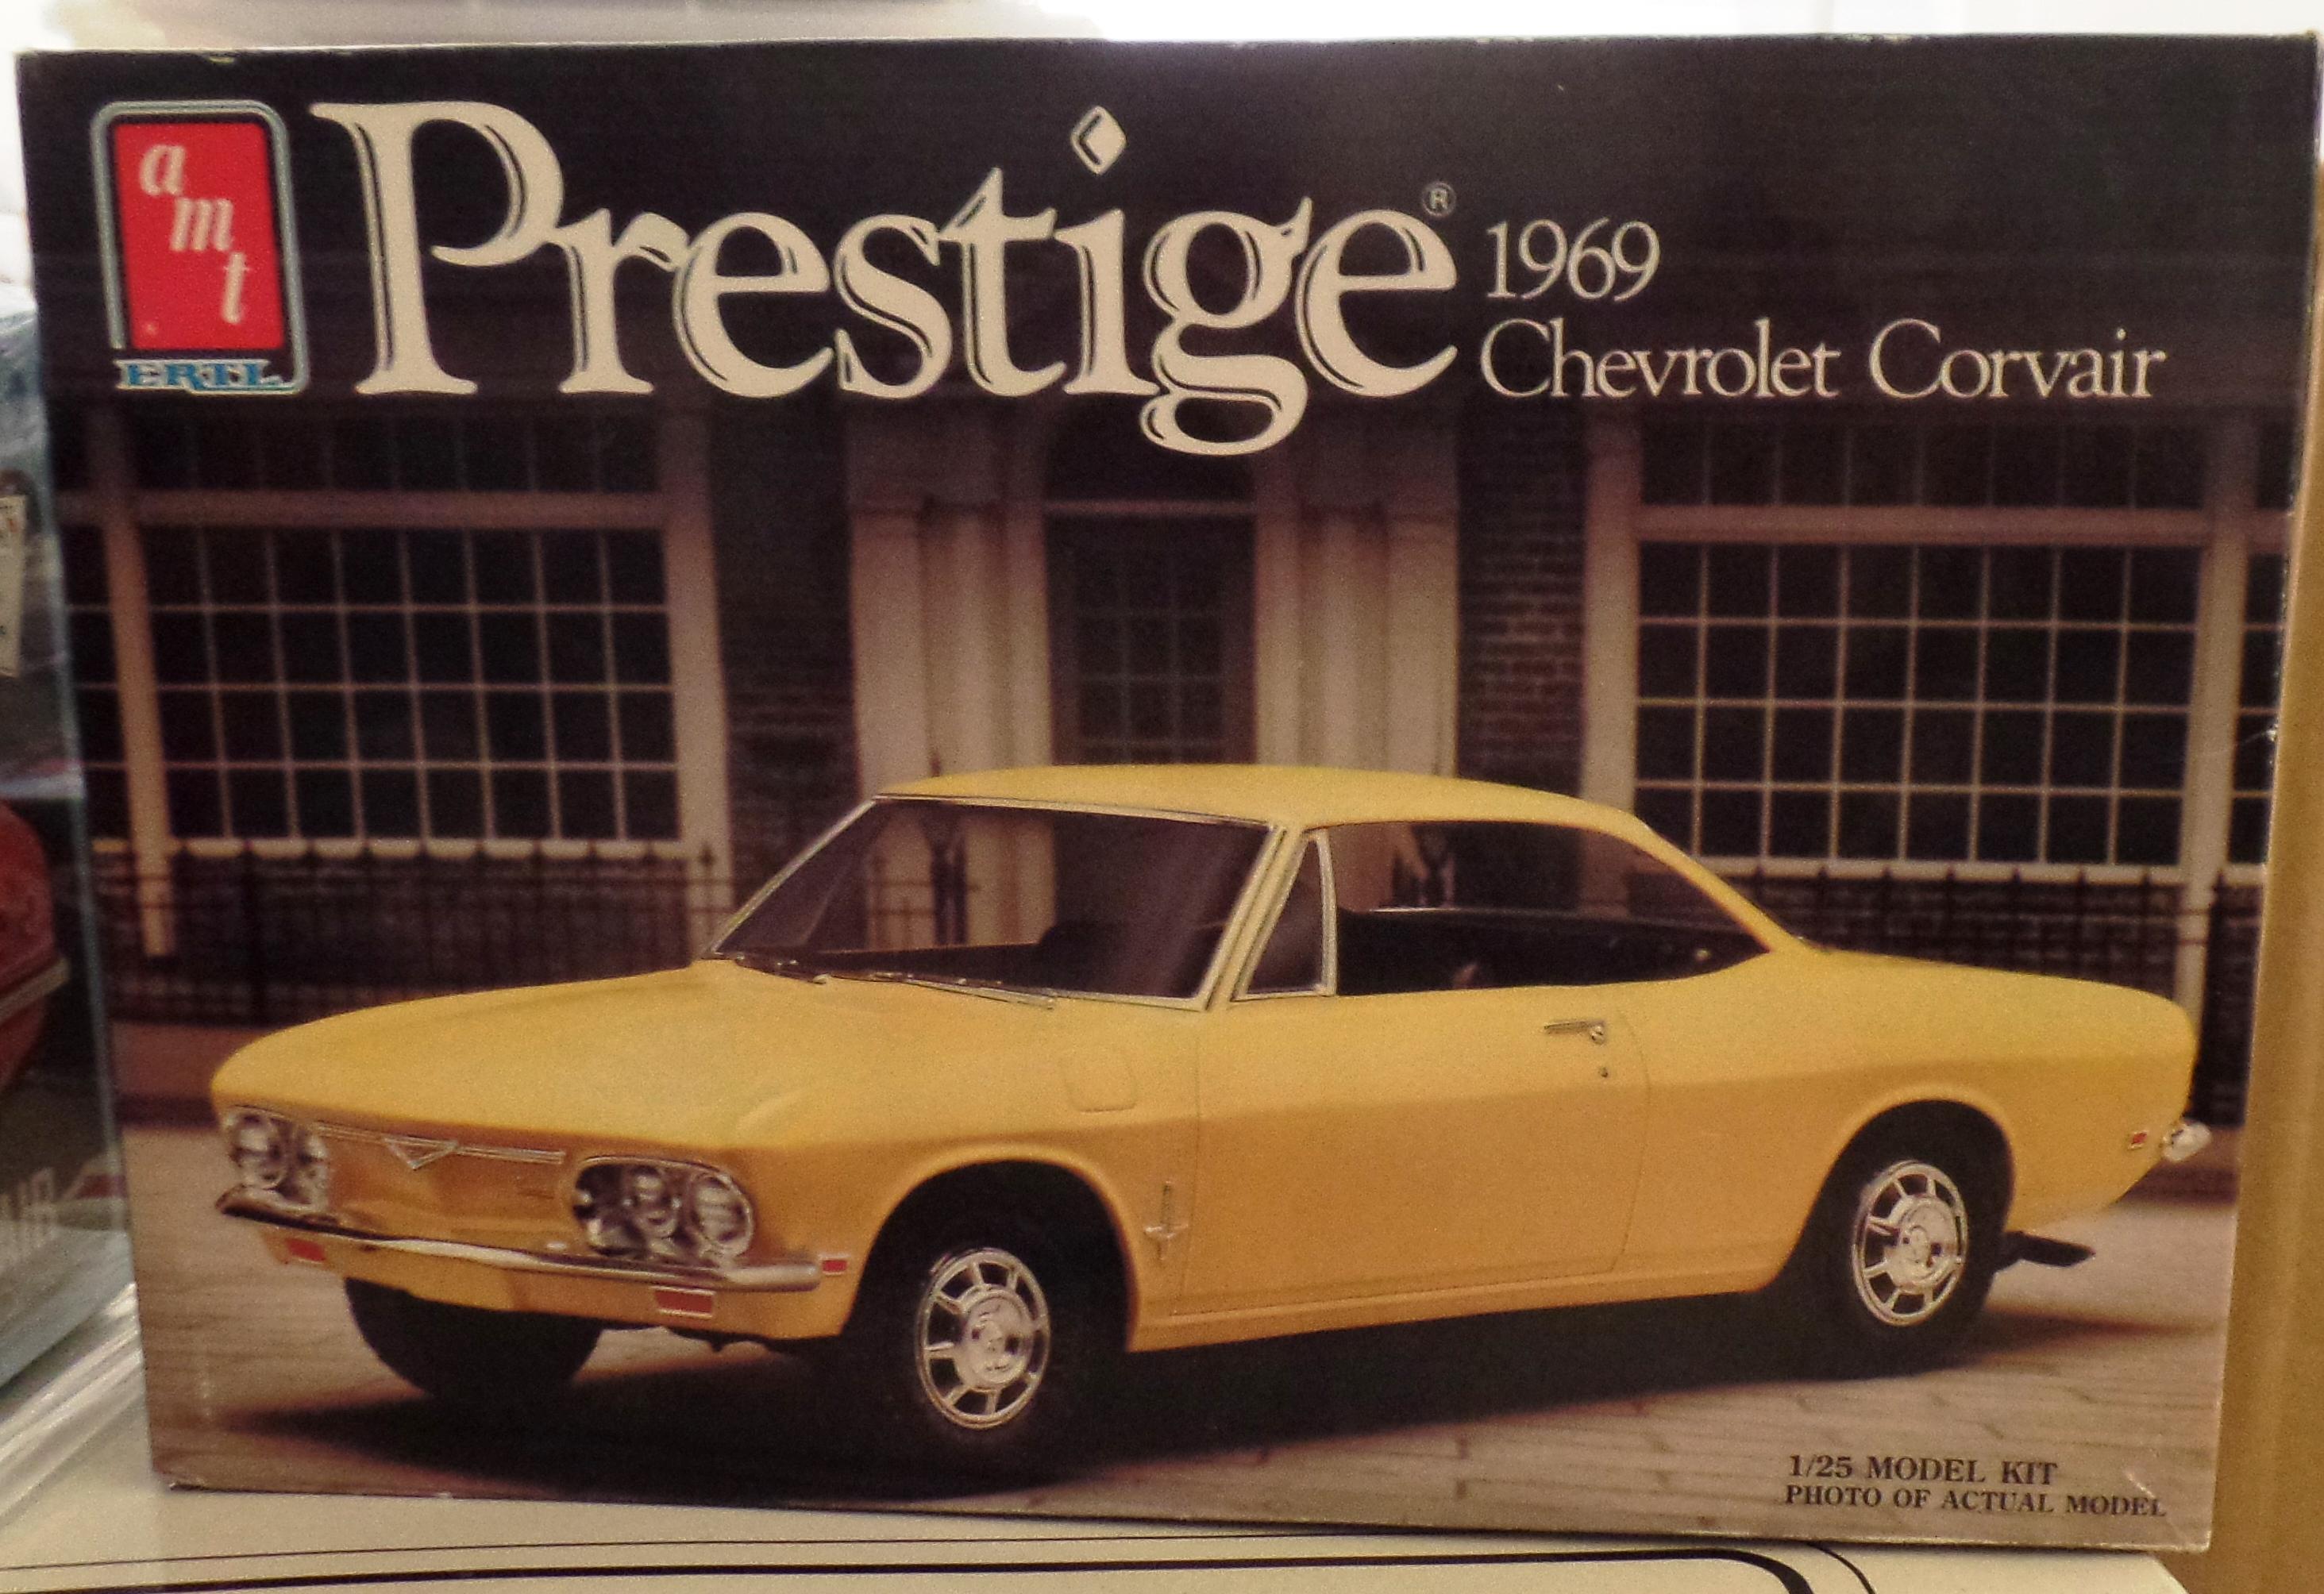
I know you said you were okay, but I was curious, so I checked the box contents of the Prestige kit. Apparently at some point, I stored the Parts Pack engine in it since it had the Turbo and the "145 engine" instructions ARE for the Parts Pack. Everything in the regular instructions say 1968 but box says 1969. It has a 1988 date on the box (my other prestige kits have 1987 and 1988 dates as well). That maps with ERTL ownerdhip.
I also looked at the 66 and 67 kits and they both come with the turbo as an option. But not the prestige kit.
-
1
-
-
Glad to help
-
Expand
Thanks. I just emailed them now. I have one but I don’t feel like breaking up my California Flash kit just for a window. We will see how it goes. Are they, as a company, pretty good on replacements?
Only had one occurrence with them on the Ford Ramp Truck with the warped ramp body and they handled that well. It was a known problem, so they were prepared. Sorry I can't say more.
-
Have you tried contacting Pegasus Hobbies about it? They own Moebius now
-
Expand
Odd that your kit instructions are for a prestige kit, but call it a 1968. The Scalemates 099-38159 instructions match yours, but do not show the display stand.
The "display stand" pen holder is in all the Prestige kits. I'll check the contents later today.
-
Interesting, I never looked at the year on the instructions, just took it out of the box. This is the kit I have (should be original). The instruction sheet number on mine does not match the one you got from Scalemates.
I don't have an original 68 to compare to but do have a 67 and 68
-
Expand
Thank You very much Gerry.? I have parts that are not shown on the Fotki site, so I’m not sure what I have and don’t have. Edit: I have a complete kit and it is apparently identical to the next release.? Parts for the “145” engine and ”Spyder” option are not included in either of these two kits.
I'll check my kit tomorrow to see what is in it as compared to instructions. Maybe that set refers to the Parts Pack Corvair Engine?
-
My list would be too long to display but does include some of what is already shown above.
-
2
-
-
These are the instructions plus 2 additional sheets in the box.
-
Expand
Really good to think that Google's miraculous AI...the source that loads of people are going to cite as gospel...has as much trouble with letters and numbers as recent products of common-core "education", and my local PO carrier who can deliver to either the right street number or the right street name, but not both.
I'm more and more impressed with our brave new world every passing day.

Know what you mean. After over 40 years in computing, I can tell you many war stories about various types of learning/reasoning techniques that needed vast data bases to scan to INFER an answer. AI is no different, just the technology has evolved. Just like we can have a "False" or mistaken memory (as time flies the neuron paths rearrange), so can AI
Didn't this guy become self-aware in 1996 or thereabouts?
-
 2
2
-
-
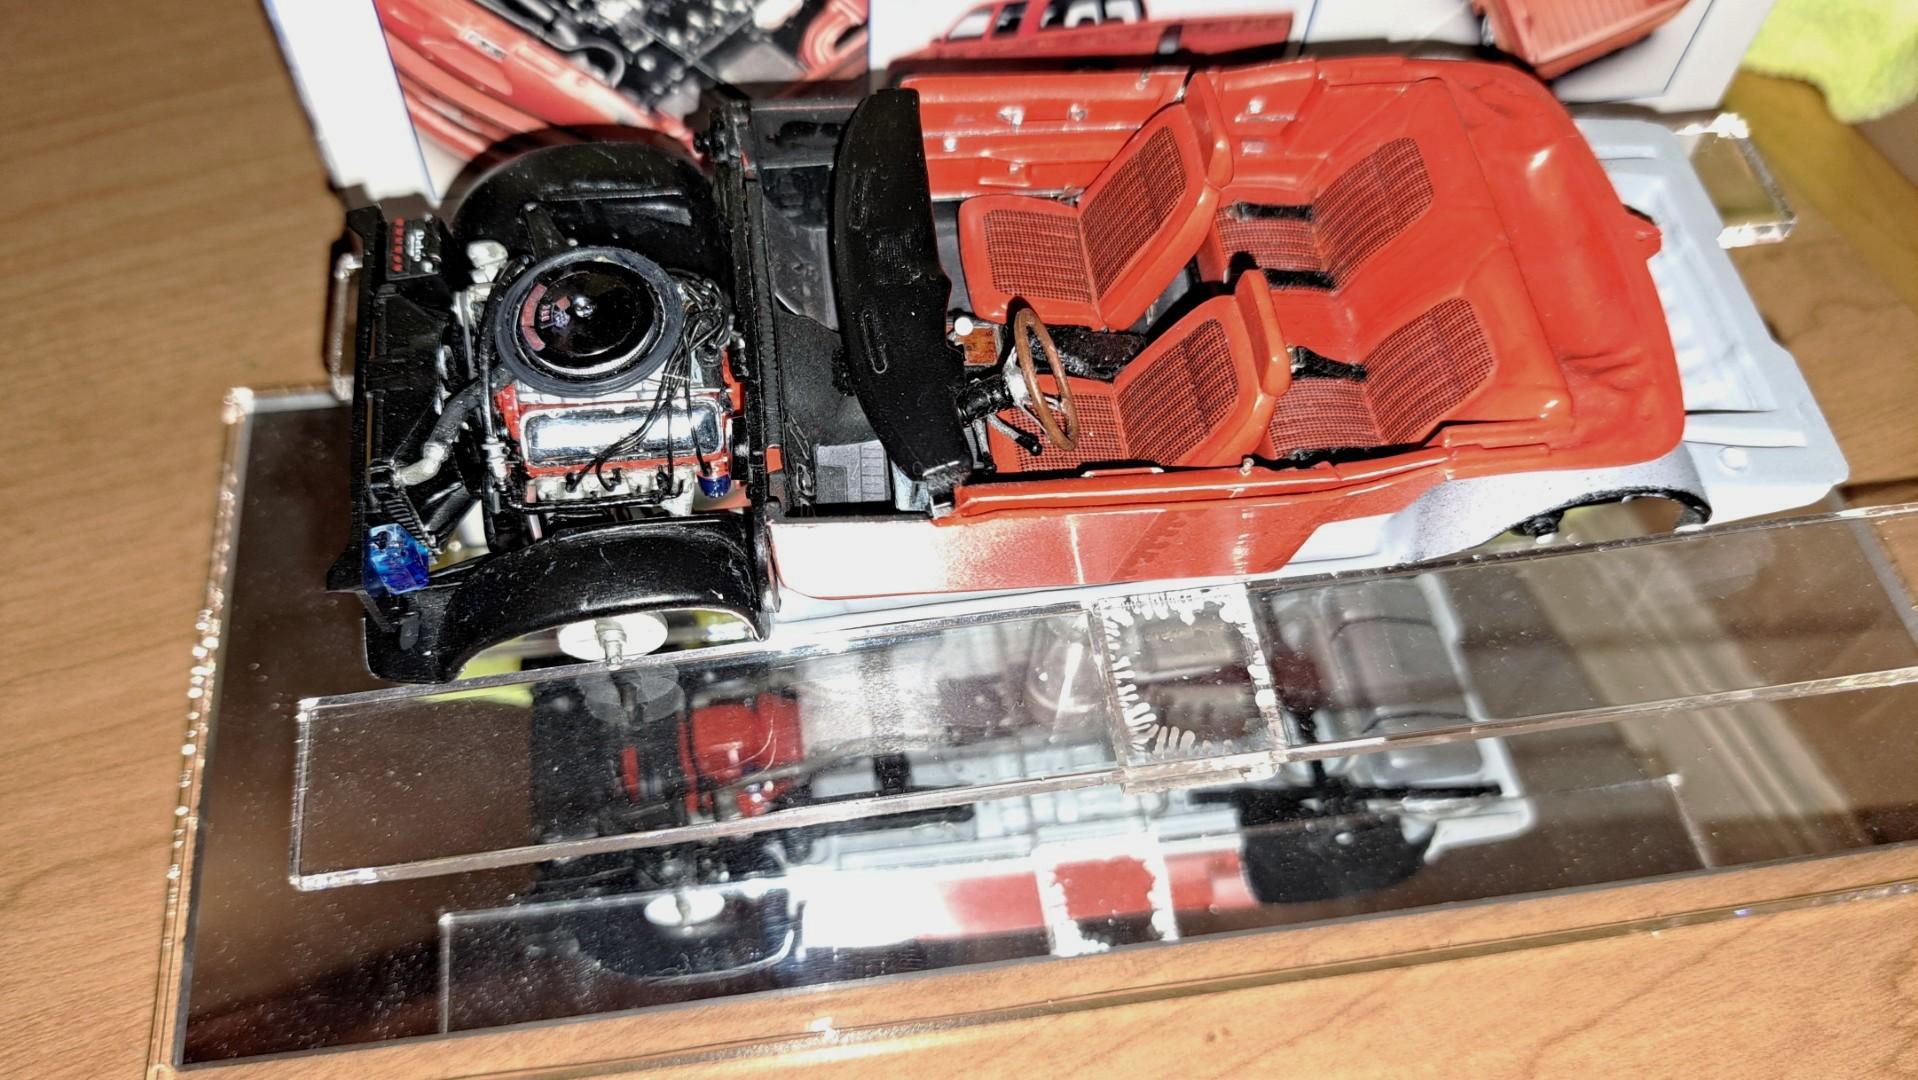
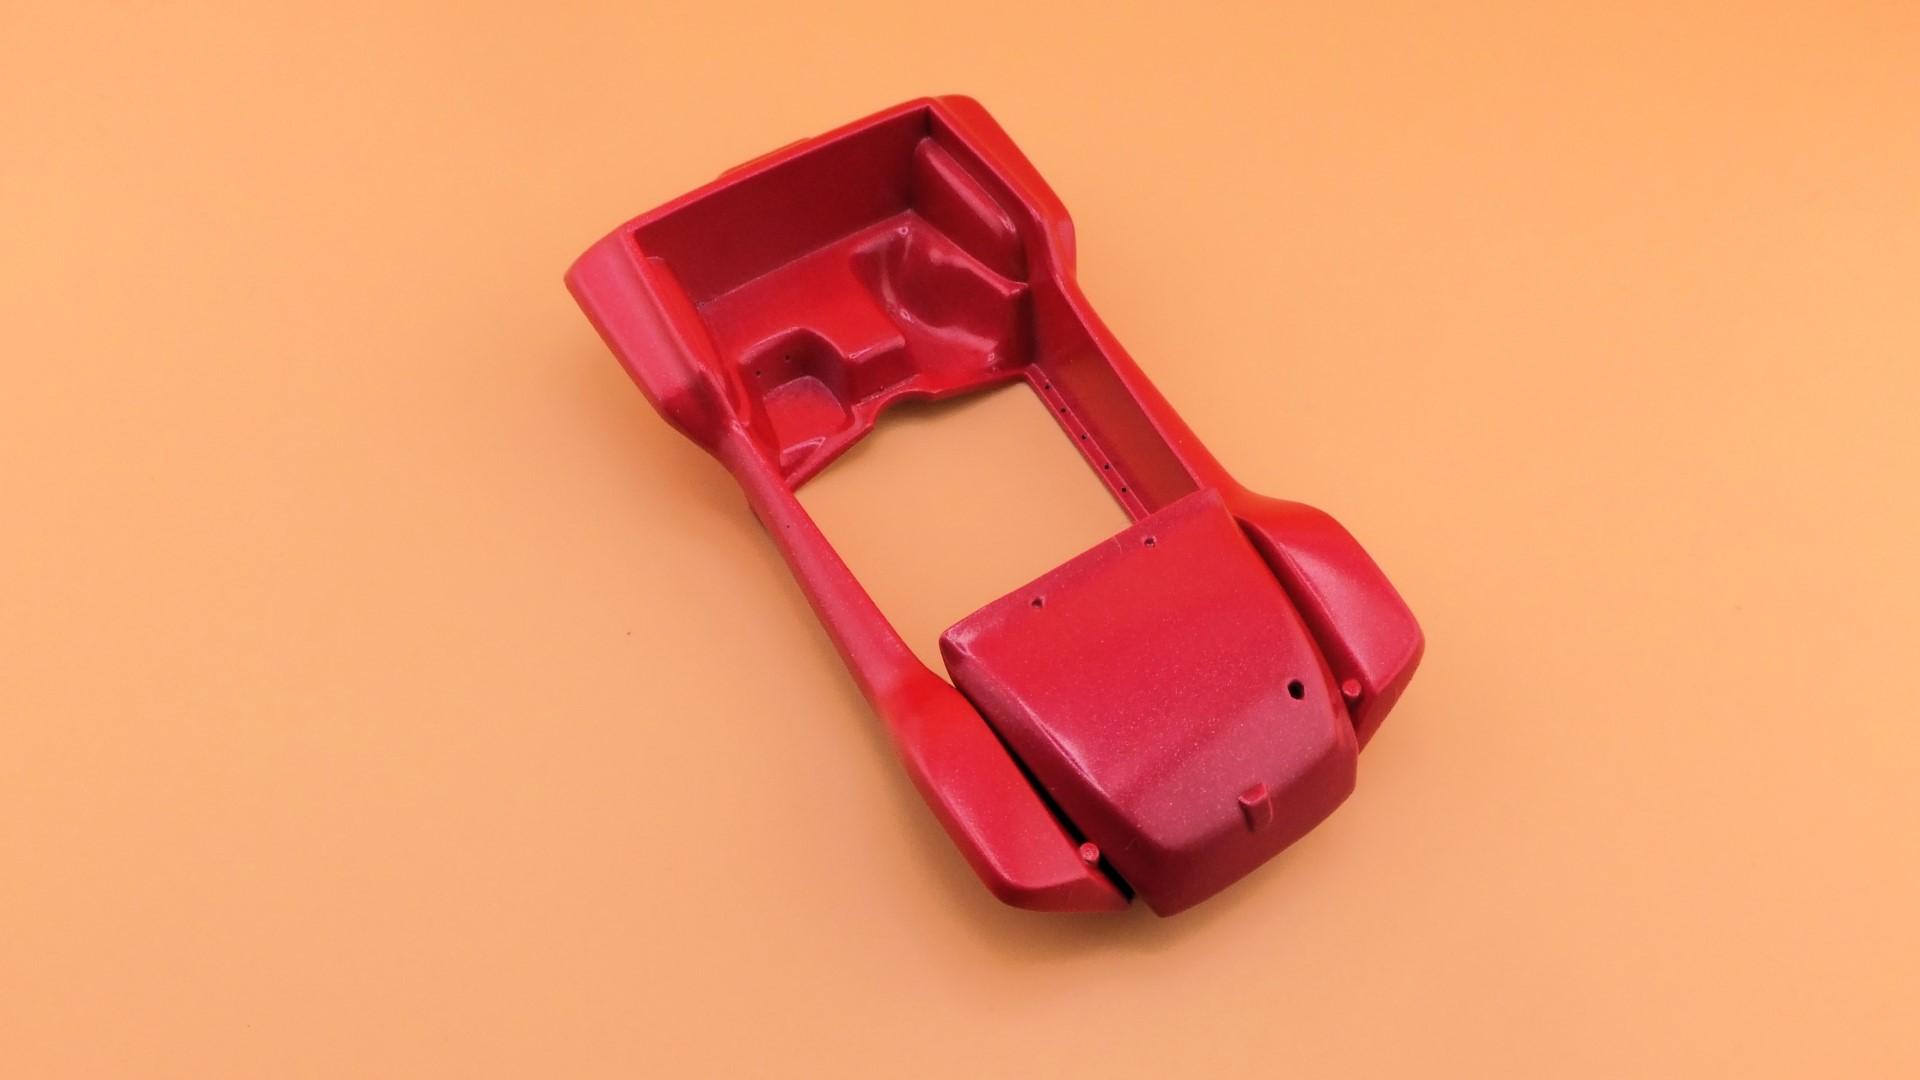
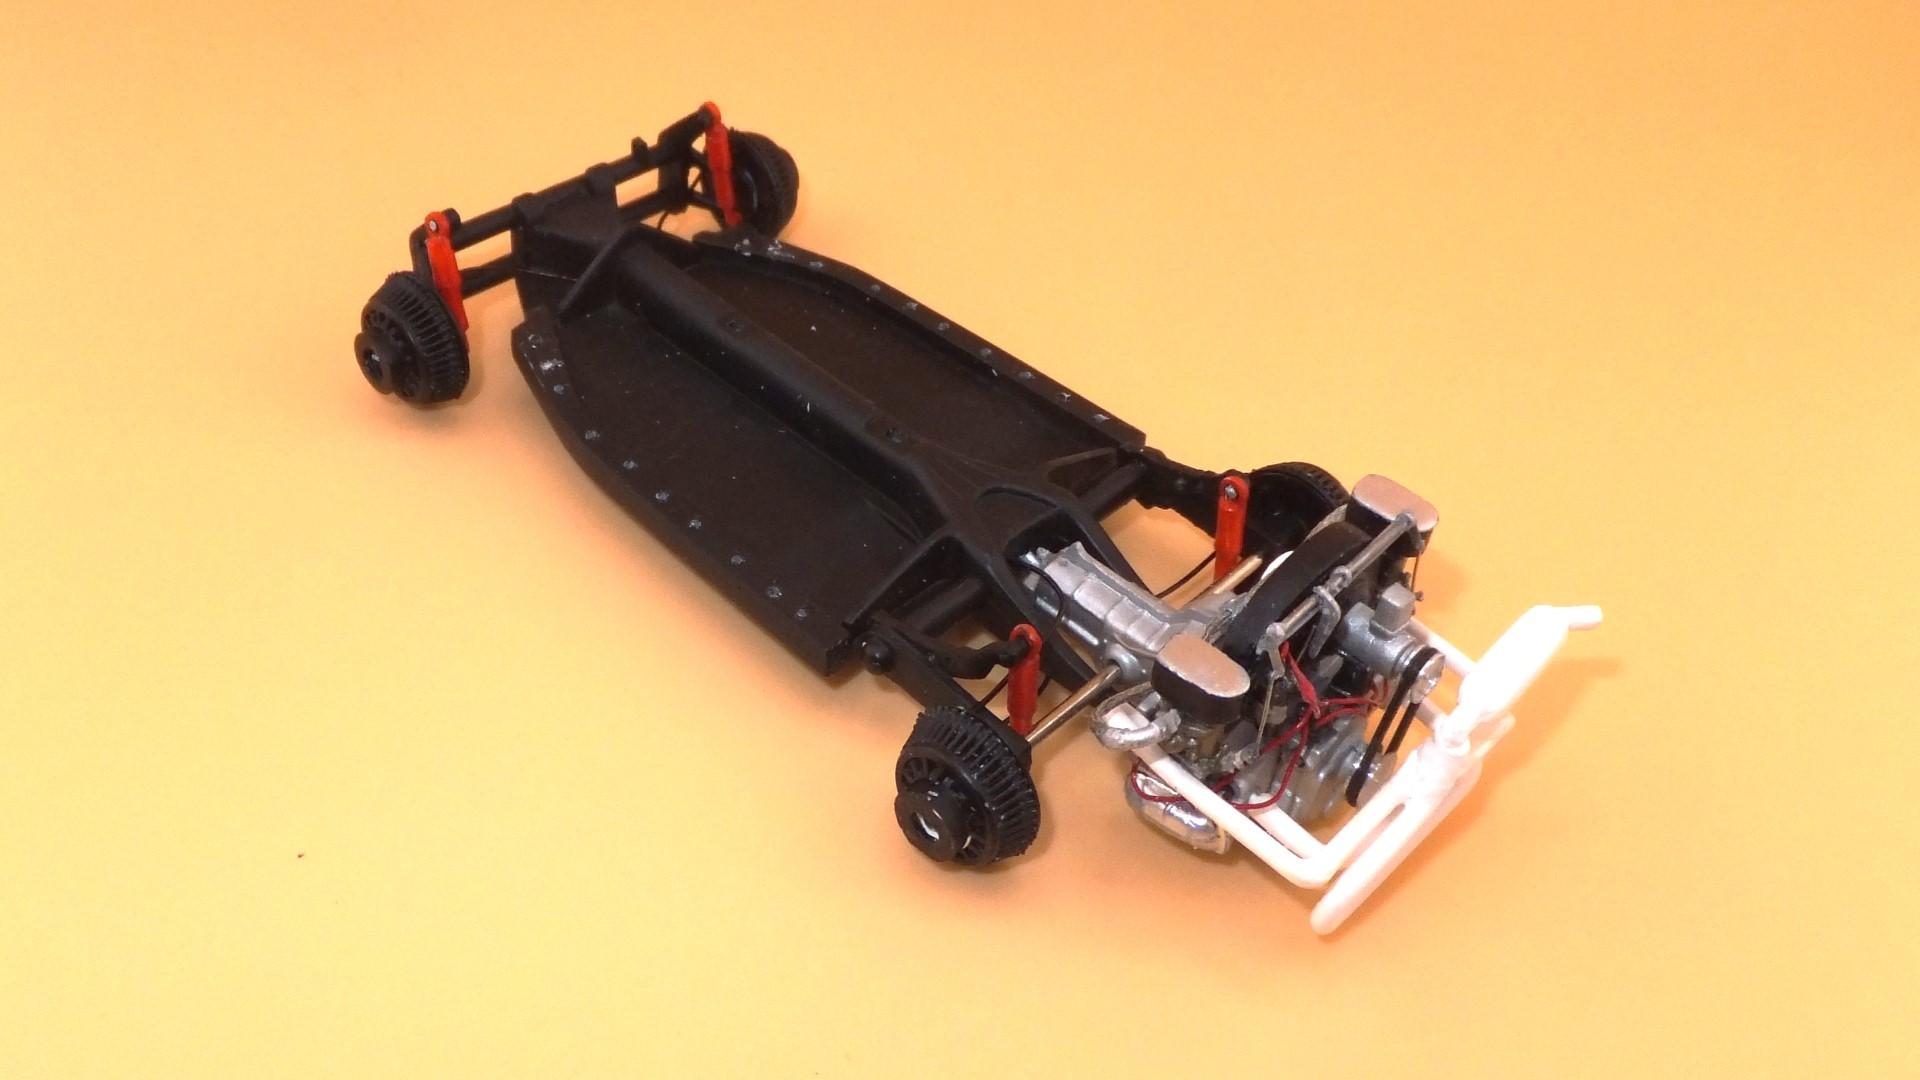
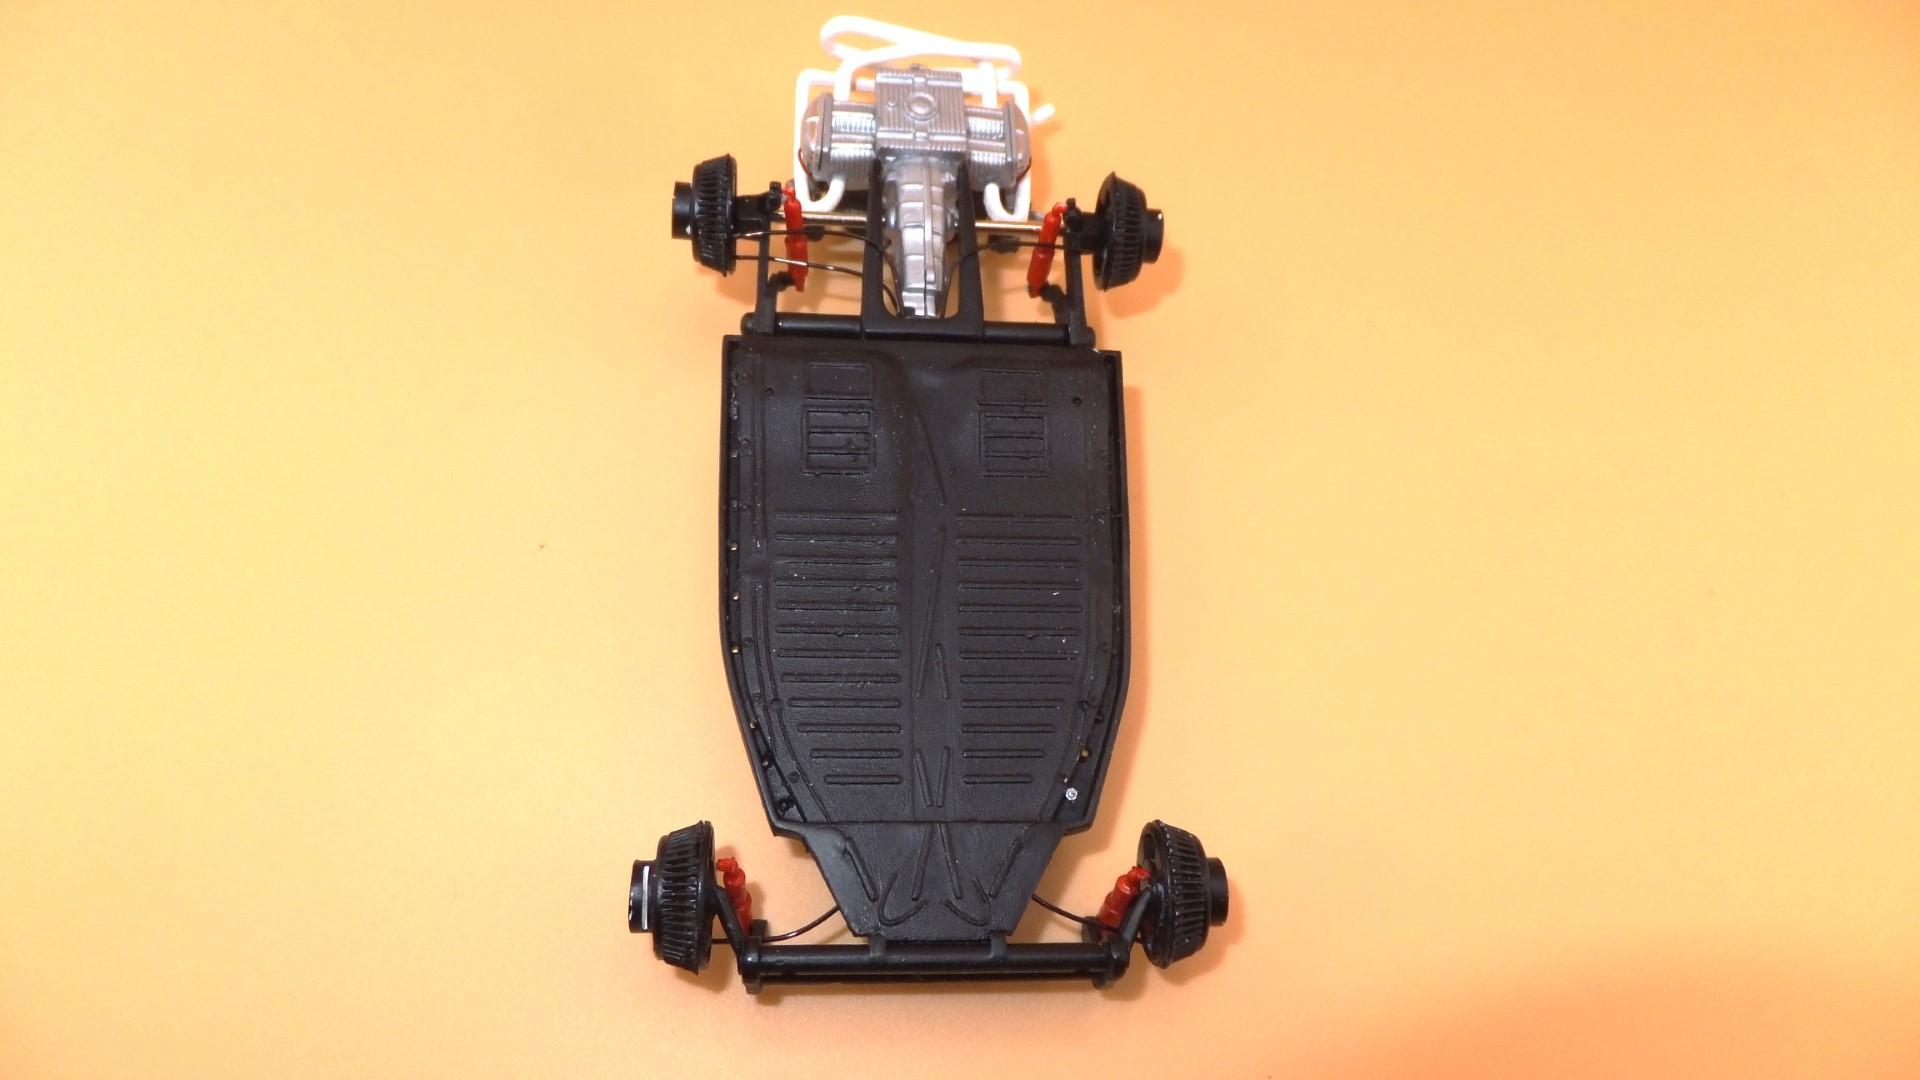
Back at this as time permits. I selected VW custom wheels and different tires. The wheels are from Diolex and 3D printed. I cleaned them, then primered, and coated with Revell Chrome Spray. I did drill out for the eventual air valves.
Looking at reference data of the 1:1, there are a set of bolts attaching the body to the altered VW Beetle chassis. I marked these and drilled them out in the body and the chassis. I will be using resin bolts and nuts to mimic the “hardware” and give a more realistic look.
I chose to paint the body Testors Electric Pink and will use Mr. Hobby Black Primer for the lower part of the body. Here you see it painted in the base coat, awaiting the clear coat and lower body color.
I assembled the engine as I usually do, adding wiring, fuel lines and linkage. I needed to do a little “surgery” to get the Webel Carb Air Cleaners to clear the body shell. For the suspension, I went into the parts stash again and fitted Replicas and Miniatures finned brake drums, adapting them for the wheels. I chose Drum brakes all around instead of disks because I felt it would better fit the period of the vehicle. I am not totally wild about the straight rod simulating the drive axles (no boots) but decided to leave as is.
Will add the resin bolts to the chassis and then put aside until I paint the body and attach them. Still deciding on the interior; rear seat or tonneau cover or open with battery exposed.
-
1
-
-
I'm going to assume IT confused it with the 275 GTB (totally different animal).
-
Expand
Most excellent trades with NitroMarty and Exotics_Builder.
Thank you, gentlemen.

Great to trade with you as well
-
1
-

.JPG.9555adb0cc725b7e9cc2e0faeaba846c.JPG)


Printable Decal sheet recommendation please
in Model Building Questions and Answers
Posted
Laser or inkjet? I use laser paper. I've used with Sunnyscopa Waterslide Decal Paper for LASER Printer (both clear and white) with success. Can't offer any advice on inkjet paper. The stripes on the 69 Pace Car were done with the Sunnyscopa clear decal paper on a HP color LaserJet. The reason for the custom decal is that the stripes are Hugger Orange, and the decal set is too orange.
The biggest deal is quality of the graphic. If possible, vector versus bitmap is preferable.