

Bastardo
-
Posts
398 -
Joined
-
Last visited
Content Type
Profiles
Forums
Events
Gallery
Posts posted by Bastardo
-
-
Thank you, guys!

I'm really happy with this project so far, because I have learned a lot of new stuff during it. Probably the most educating project for me so far when it's up to weathering. And I know she'll bring joy to my face every time I see her finished in the display case
Truth be told, I'm so happy with the results I'm actually thinking of a miniature diorama or at least a display base for this birdie
-
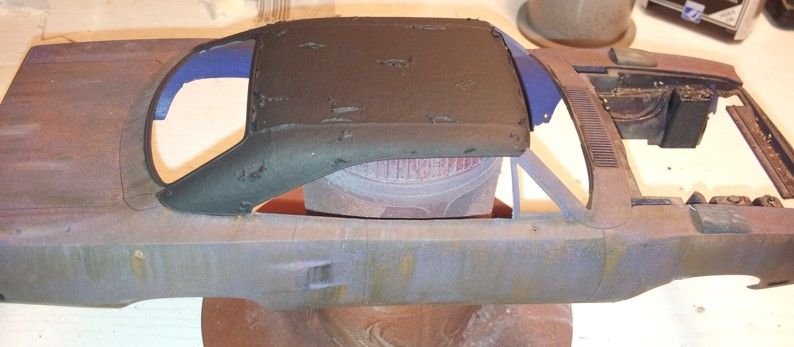
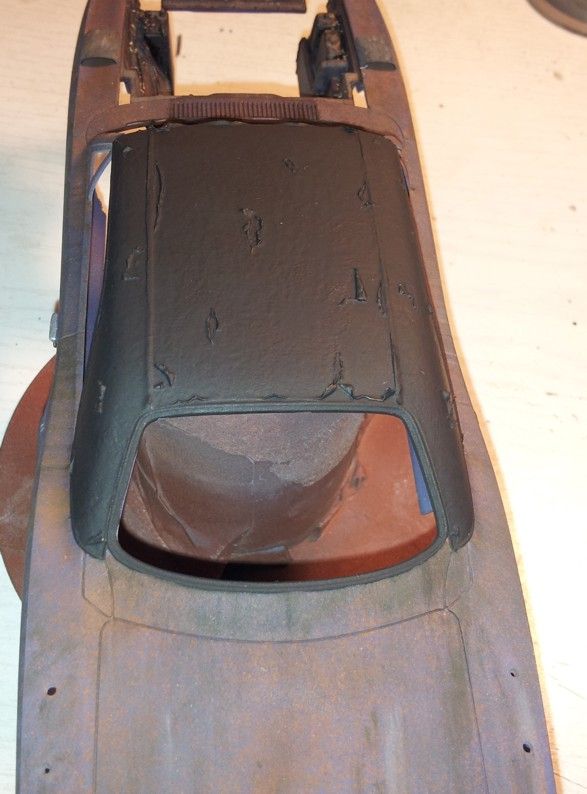
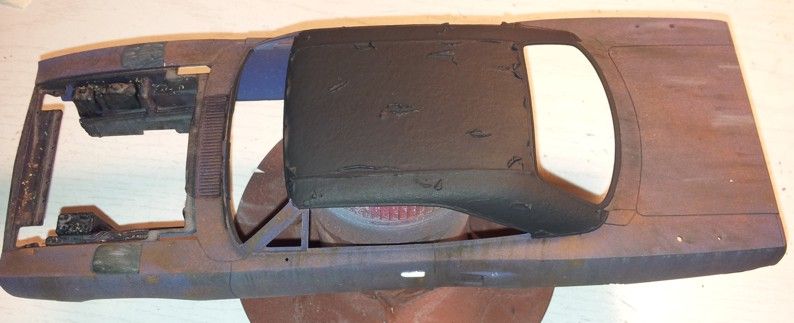
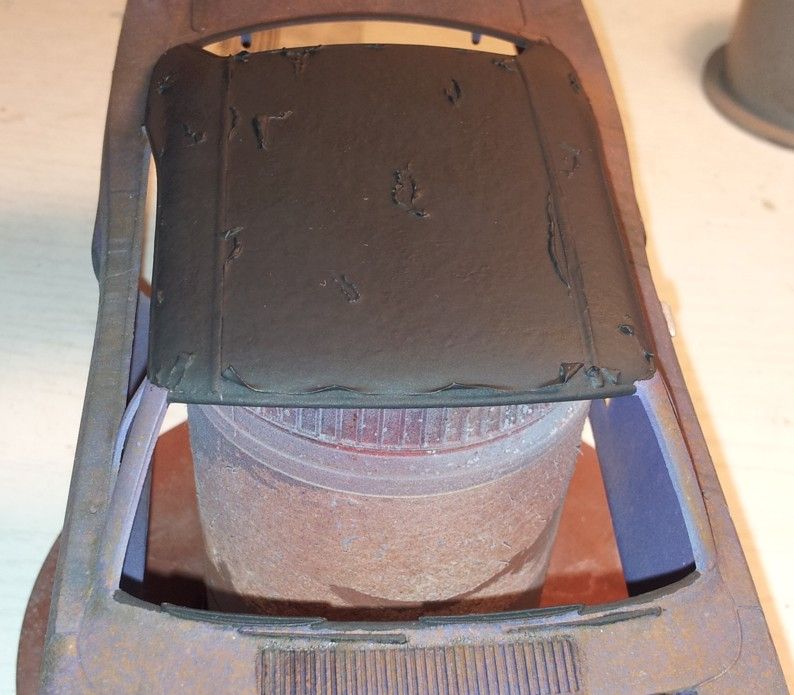
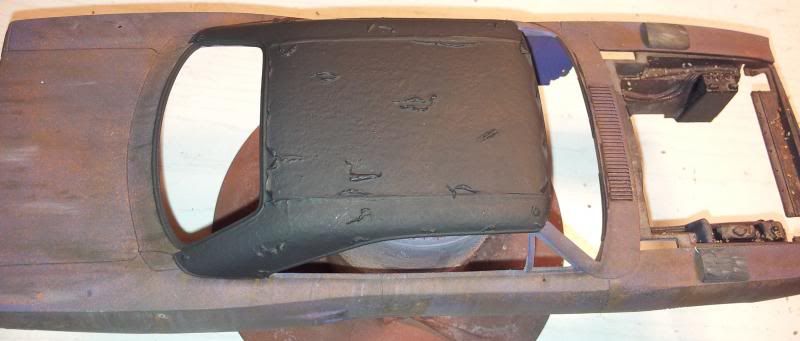
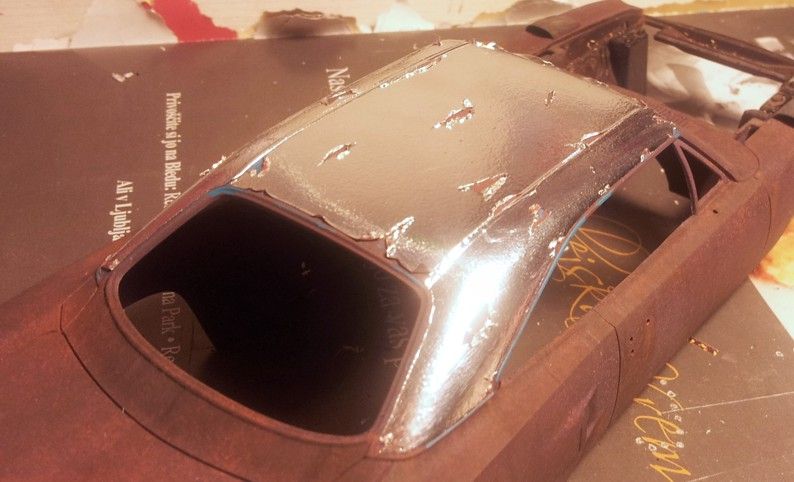
Hand-painted with a thick mix of Revell flat black + flat white + a few drops of flat brown:
I think there aren't enough damadged (torn) places on the roof, so I'm slowly adding more. But this is where I stopped last night - less is more and it is easyer to add more than bugg myself because there are too many
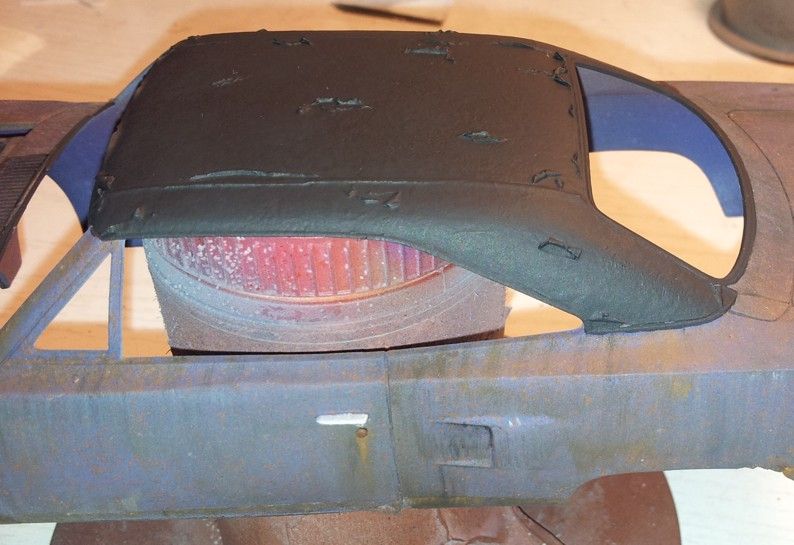
Next up considering the roof:
- More torn places
- Dirt
- Dry-brush
- Washes
- Pigments
- Oil paints
- ...
I am way happier with the result than I thought I would be
It came out much better than I expected TBC!
-
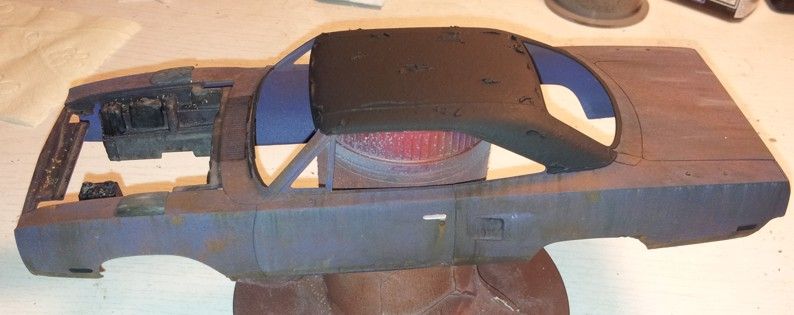
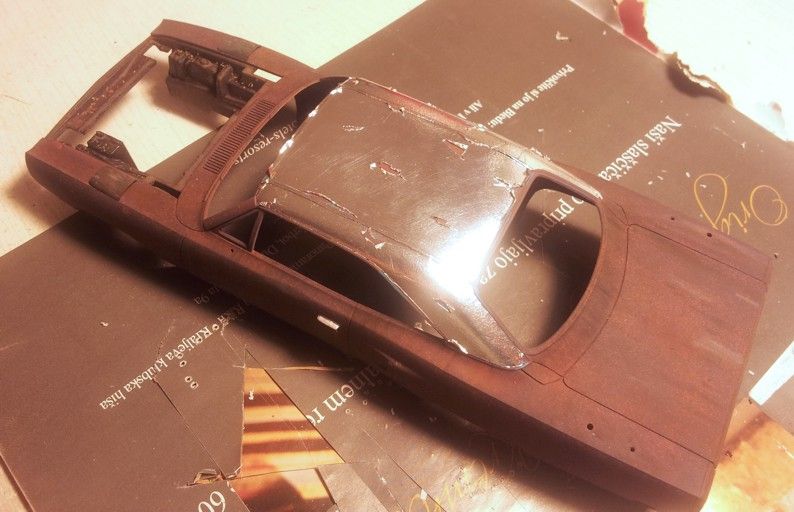
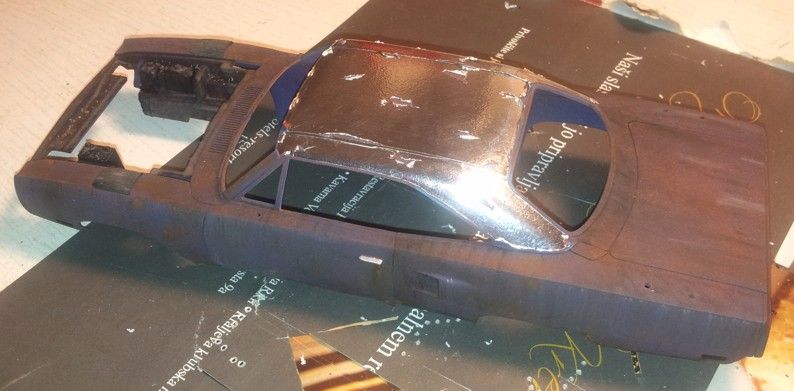
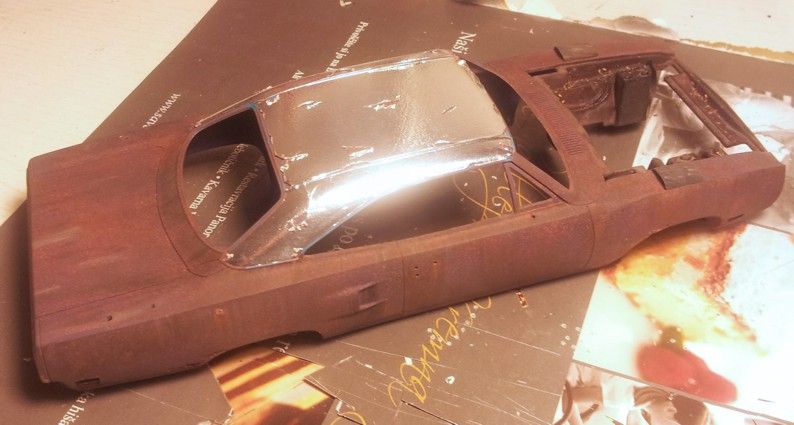
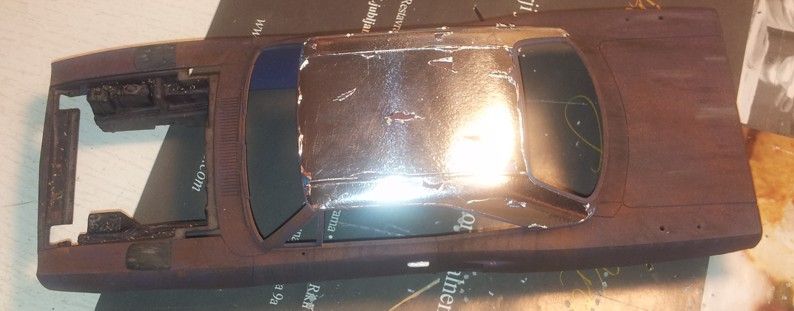
Finally got my guts together and tried the foil technique to simulate old, torn vinyl. Why so much hesitation? Because I was pretty much sure BMF would ripp off any paint off the model it touches... And boy was I right... Luckilly I was able to cover only the necessarry places of the model and the only paint that got torn off was on the windows frames - and I intended to paint them black anyway
Roof in BMF:
-
Incredible weathering, Alain! Great work!
-
Not my style neither, but the model looks great and it is ovbvious you've had a lot of fun building it
-
I love it! Considering the scale it looks even better. Great work on the springs and weathering. One sweet little model you sure can be proud of
-
This is just outstanding! Original, fresh, great design, great color combo, looks just great and yes - keep the wing!
Well done!
-
One of the best and most original automotive dioramas I've ever seen - and I've seen MANY! Great work! Congrats!
-
Music, talk shows on the radio (I just love talk shows on different topics, such as politics, music, science, ...) and one thing I can't imagine doing anything without: Chocolate. Galore. All the time. Yes, please!
-
Thank you for the nice comments, guys!
Charlie: I have two accounts on photobucket and one of them is maxed-out on bandwidth... I'll try and post some body shots from the second account in the next days
-
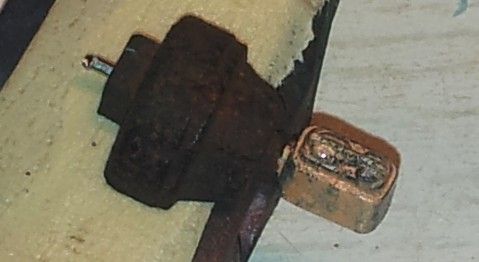
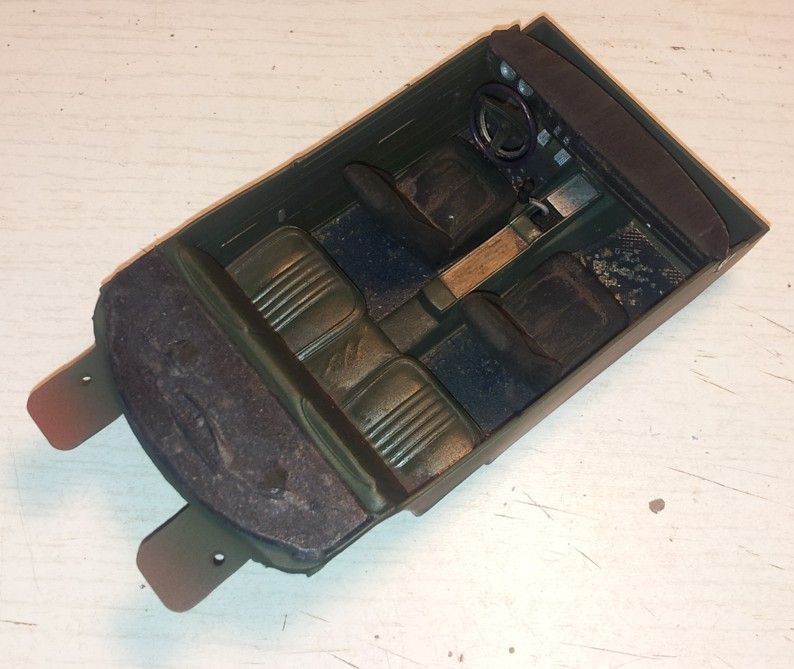
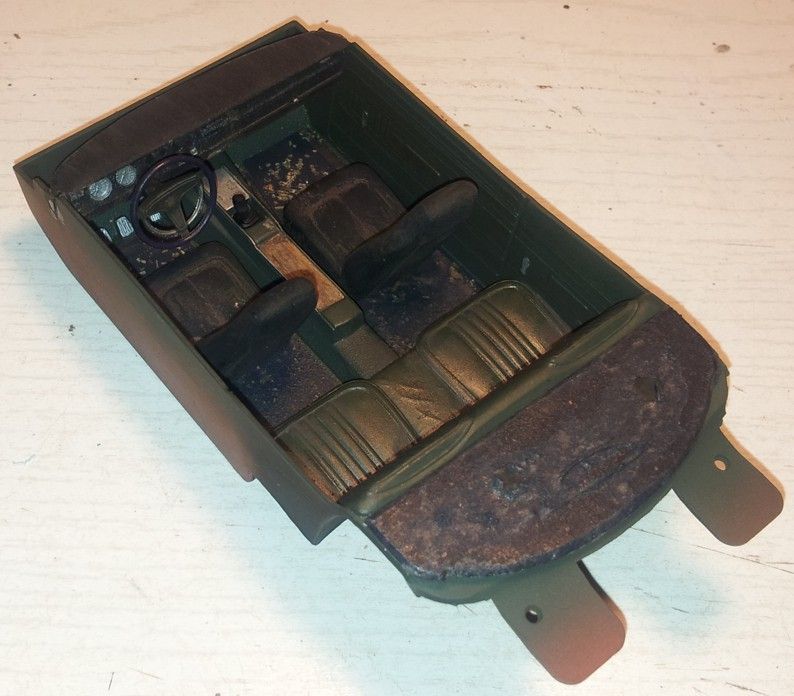
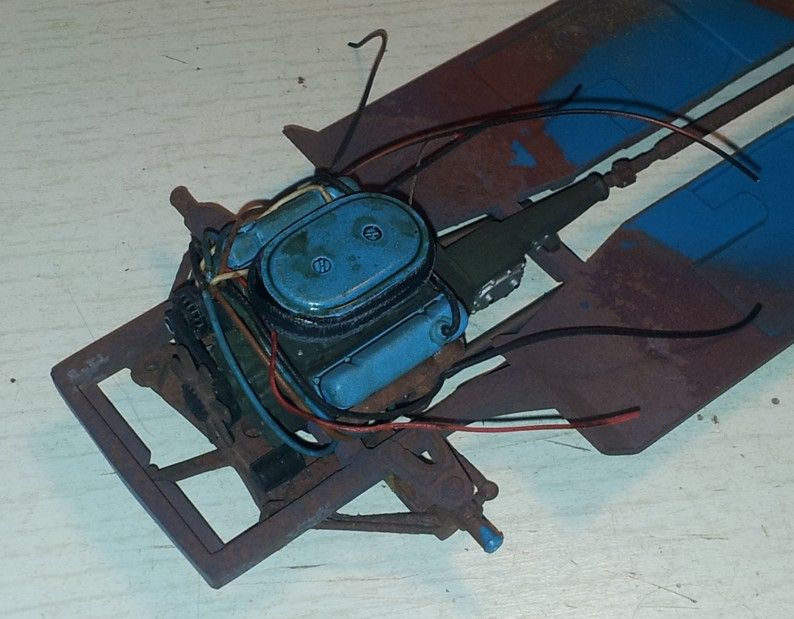
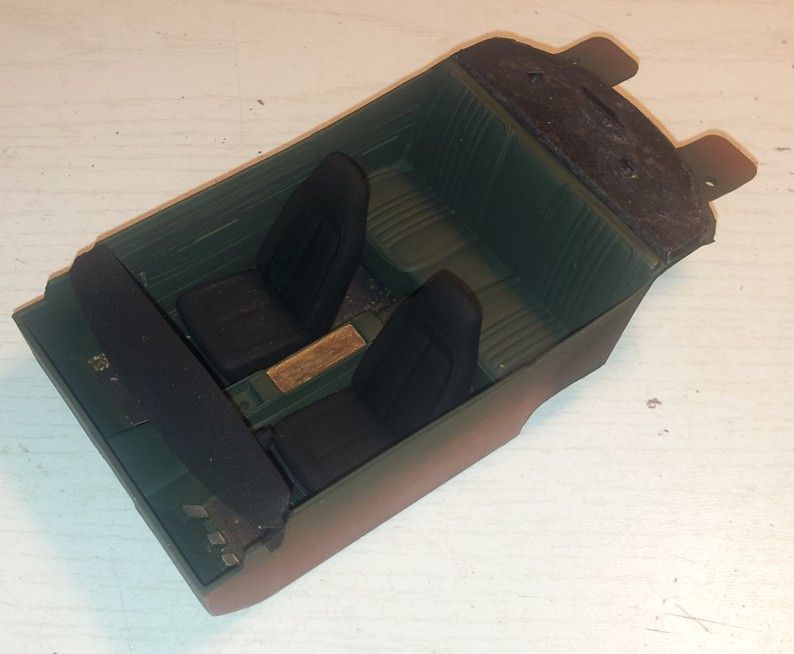
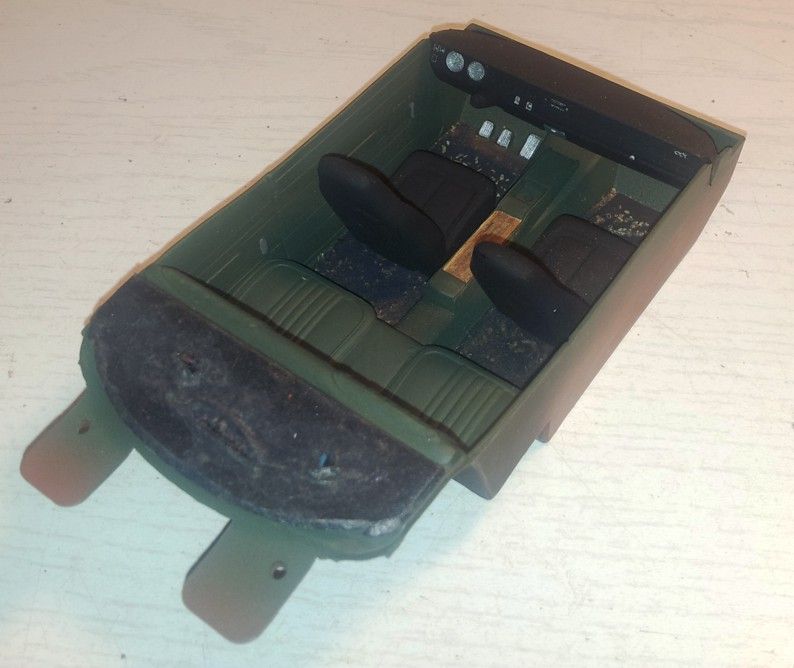
Servo got some paint on it and a metal pin which will ensure better positioning on the firewall. I learned from my experience: Two painted areas are always a PITA to glue together for good, specially in a case like this: Small glueing area and a piece that could be touched or moved during the final assembly...
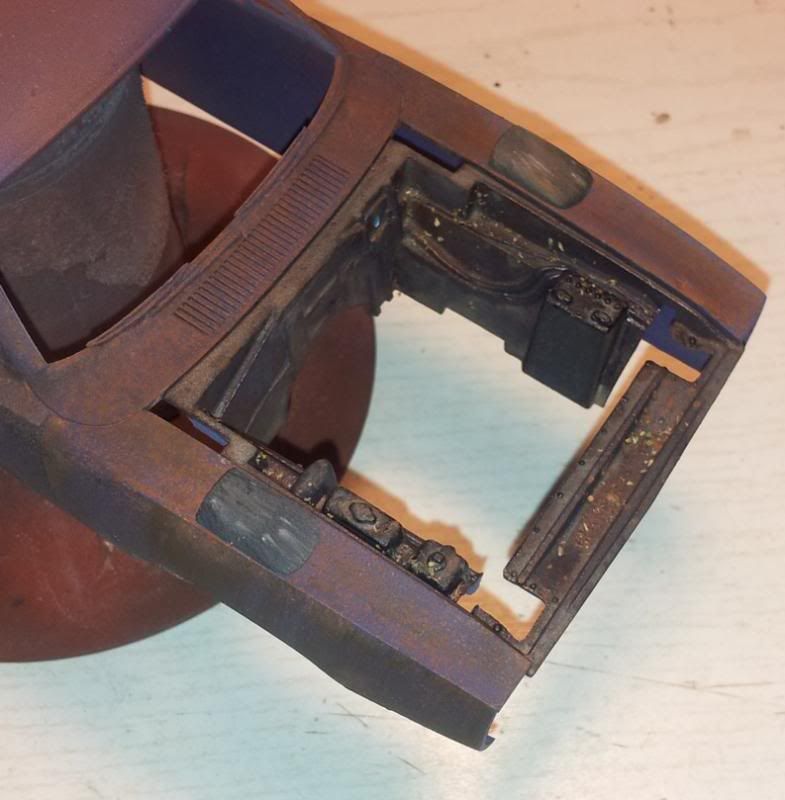
Vents are mounted:
The interior is almost done. Maybe some more bits n pieces, but this is more or less it
TBC!
-
Thank you, Bill
The show goes on...
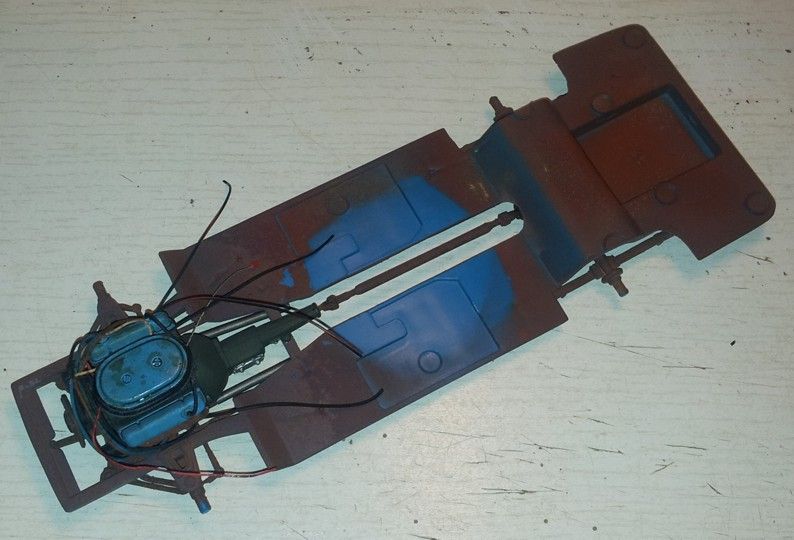
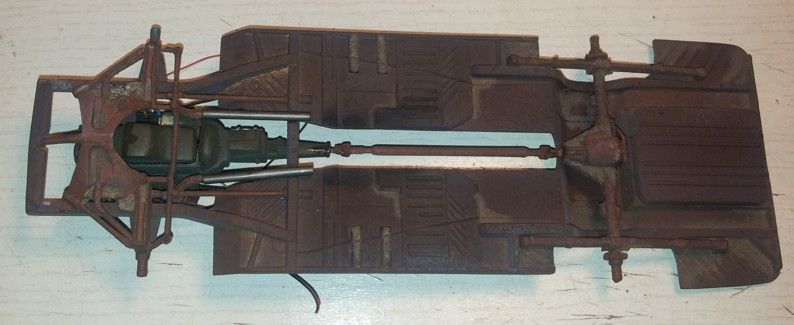
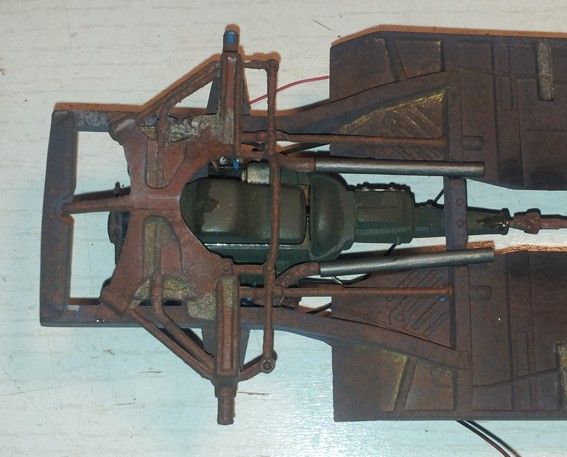
Engine mounted on the chasis and by this the undercariage is more or less done:
I changed my mind in the last moment - exhaust is not stock:
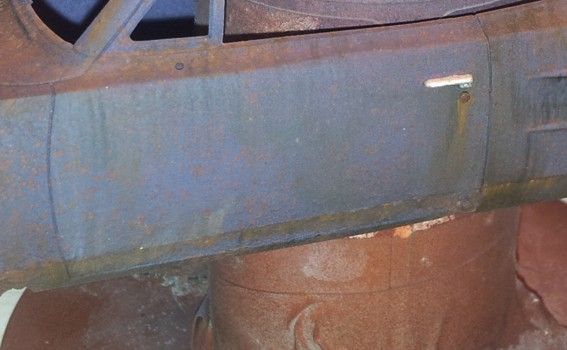
I glued back the left headlamp. Crooked and dirty - jus the way I like it
Front fog lights got crashed in the accident and now they're rusted
Hood weathering continues:
I painted the door handle and added the lock - painted and weathered pin head:
-
STOP POSTING FUZZY PICTURES!!! Especially if they are taken with a digital camera! You can take pics until the battery dies!!!
Exactly!
Kennyboy: Congrats to your daughter for that result - it looks great! Hope she sticks to the hobby, she seems to be doing good and has a good teacher
-
Outstanding! There's nothing I would change on it
Congrats, great work! -
Thank you, guys
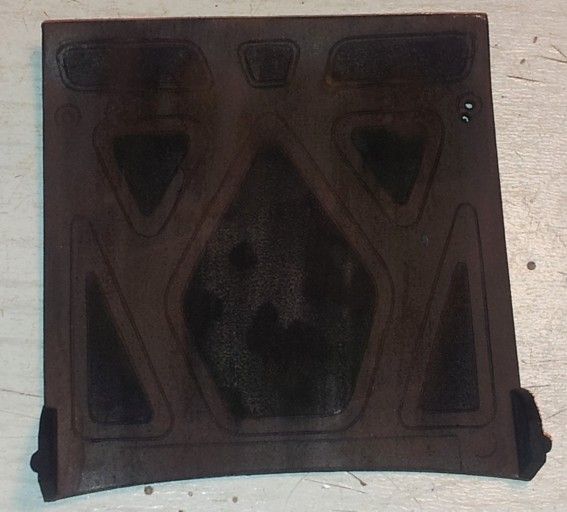
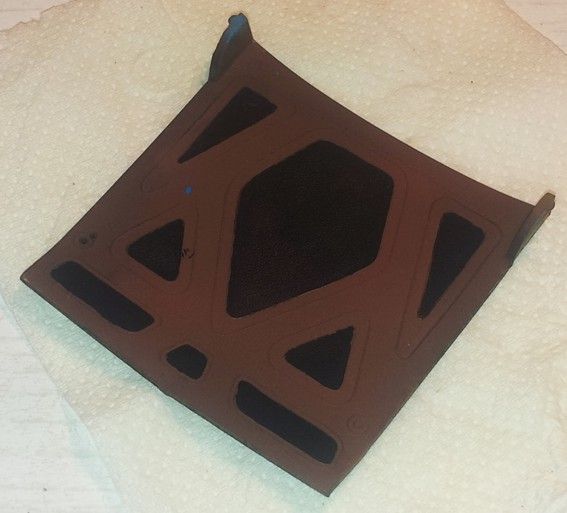
Started work on the inner side of the hood::
Don't worry, I'll fix it
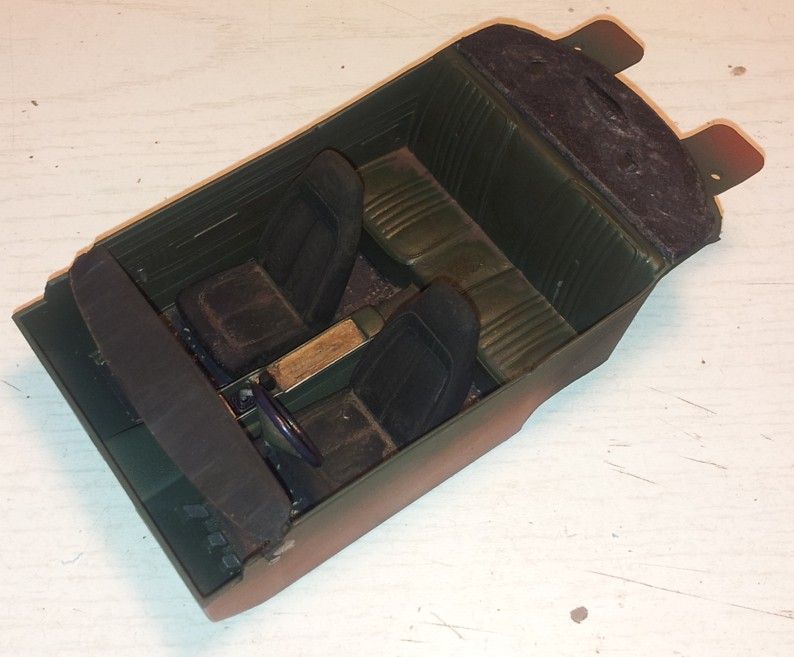
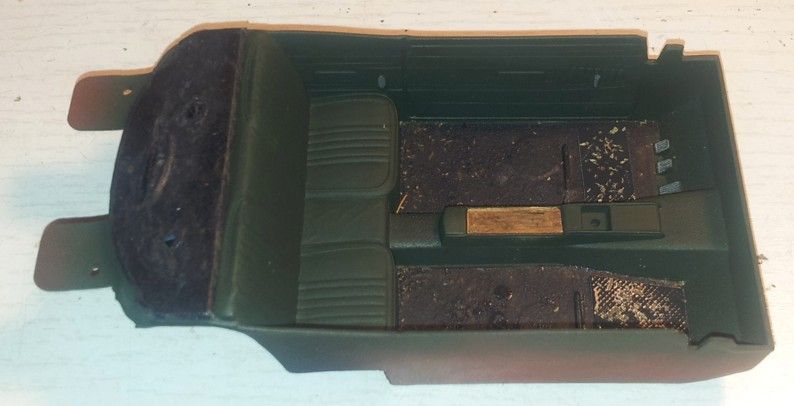
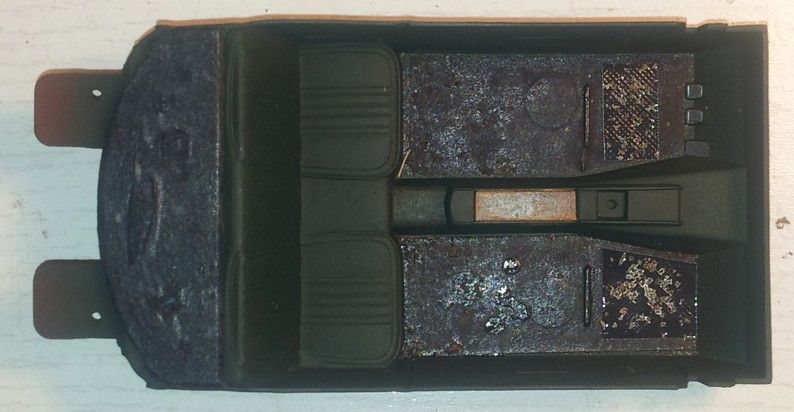
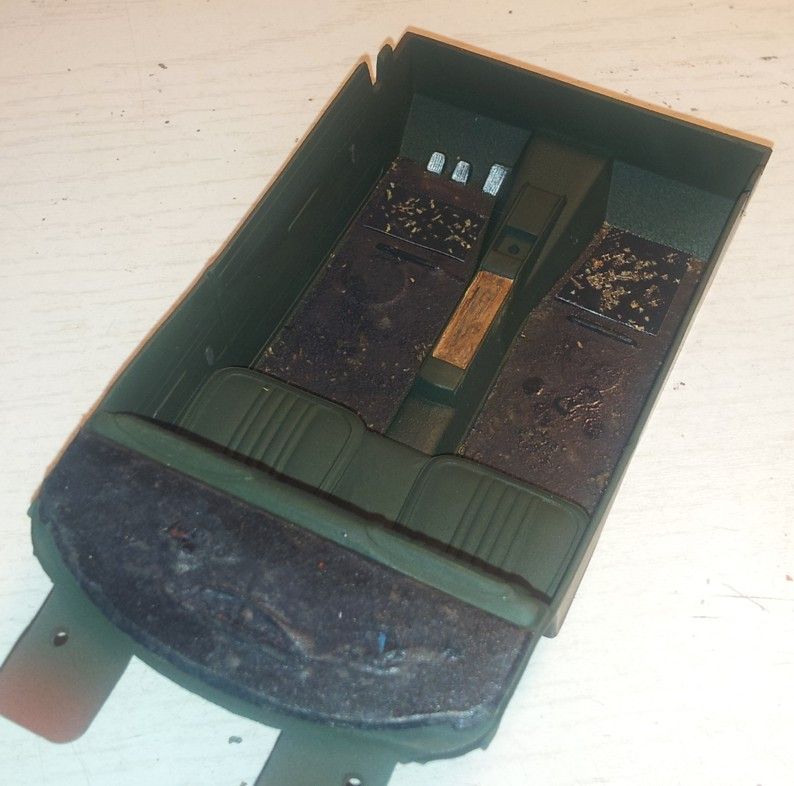
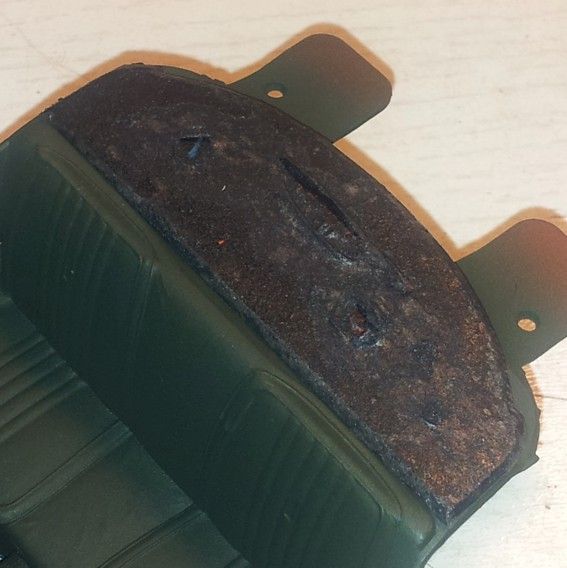
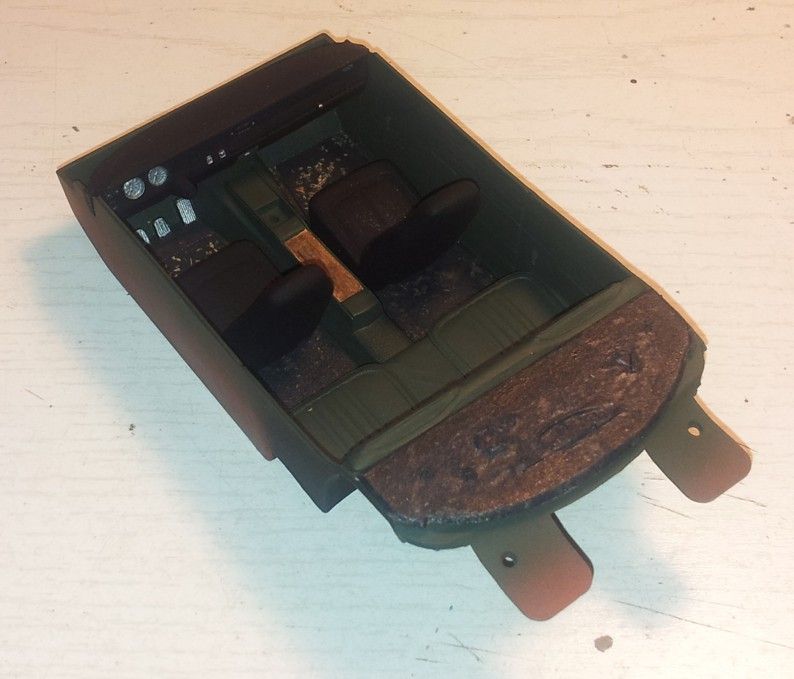
I made the carpets and wood imitation on the console:
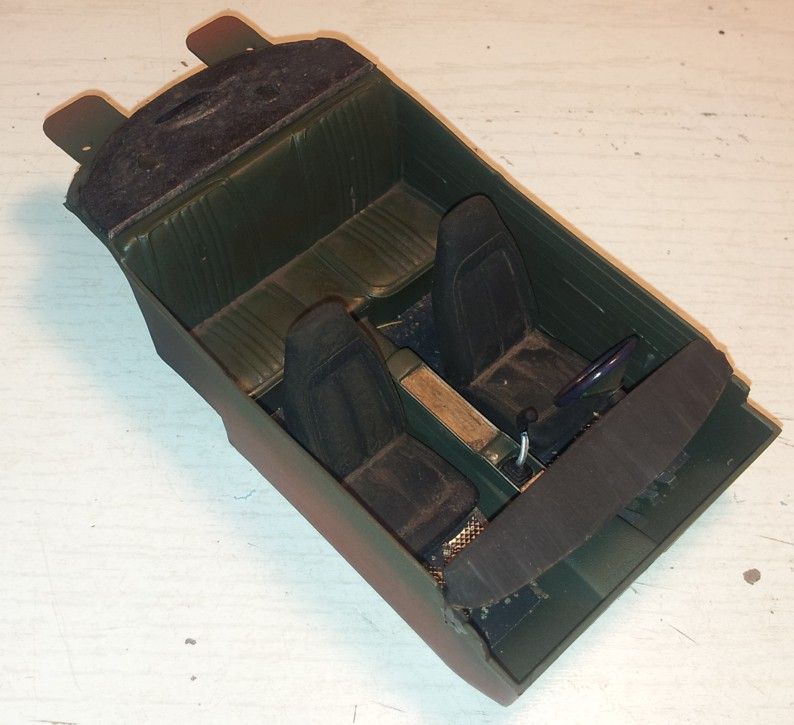
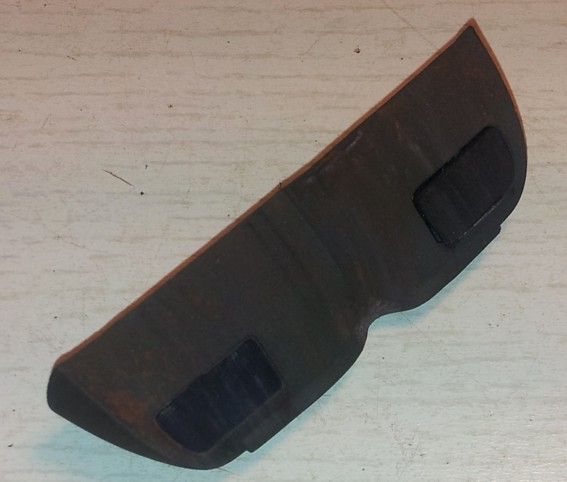
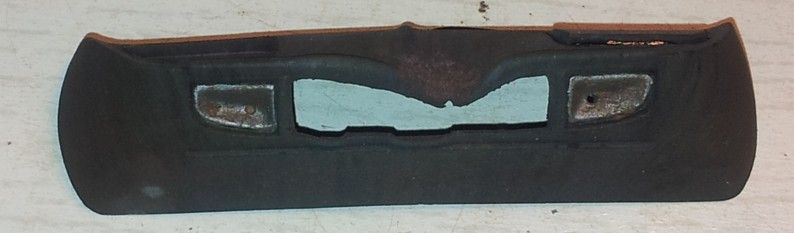
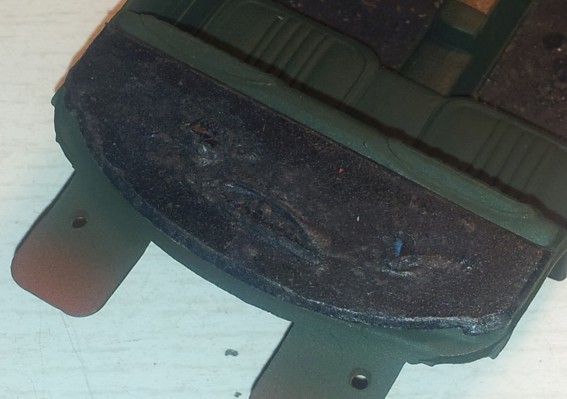
The rear deck was a testing ground for the torn vinyl imitation
I used tea filter bags. Great material as it doesn't wrinkle when it gets wet. It also holds the shape after it is clearcoated.A quick dry-fit of the interior:
Plenty left to do
TBC!
-
At first I was kind of sorry you didn't leave in primer grey (I'm a rat-rod fanatic and I just can't help myself...
), but after taking a few more looks at it in that wonderfull green color I changed my mind. Great work you've done so far, Marc! -
Appart from a few fingerprints on the glass parts (I know, without the flash you can hardly see them
) it looks just lovely! Cute little french beauty -
I was about to write I miss some altering and detailing on it, but then I read the part about building it for a review...
Anyhow: It looks great!
-
Simple and gorgeous
-
Don't even think about it...
Stick to whatever lens you have now. I'm using my Tokina 28-80/2.8 and my Nikkor 50/1.8, but prior to that my Nikkor 18-55/3.5-5.6 and my Nikkor 18-105/3.5-5.6 did the job just fine.
My tips would be:
- Put your model on a one-color background (a piece of paper or cardboard will do just fine)
- Get enough light on the model (you can also use flash, but try not to flash directly at a model - some kind of difusor would be great to use. If you don't have it, just tilt your flash into the cieling. If you can't tilt it, put one or two layers of paper tisue infront of your pop-up flash.)
- Set the white balance or choose the one (pre set WB settings on your camera) that is the closest to the temperature of your light source(s). Experiment, give it a try. This will make the colors look corect on the pics.
- Set the apperture to the one that assures the best sharpness for your lens and also enough DOF (depth of field). As an example: My Tokina is happy at 28/5.6, my Nikkor is happy at 50/8 or 50/11 and so on. Again: Experiment and see what your equipment will give you.
- If possible, use a tripod or any other non-moving surface you can lean your camera on. A bag of rice can be a great substitute. Also a stack of books. Heck, I've even used my Tokina's lens-hood a few times to stabilize my D90 while taking shots
- Set ISO to the lowest possible value - this will make the images look sharper. Yes, you will need stronger light and/or a longer exposure time - this is why I recomended a tripod.
- Don't get too close - we're not expecting photos of molecules of paint on the dash of your model
Step away, capture the complete model or part in the frame and leave at least 15-20% "empty" space around it. This will give you enough manouver room for editing on the PC (straightening, cropping, resizing, ...).- For the pics of the details, just shoot the piece you want and later on crop the image on your PC. Not sure about the sensor size in your camera (I'm a Nikon guy), but I'm sure 1:1 crop at a low ISO from your camera will provide great shots for the forums. Even my Olympus 550 UZ (not even DSLR) provided some pretty decent 1:1 crop shots of my models in the WIP moments.
You don't need fancy equipment worth hundreds or thousands of "moneys" to make decent shots of your models
Digital photography is great as it lets you experiment and make mistakes over and over again in the search for that perfect setting.
One more thing: Since I've gotten a phone with a better camera (Samsung Galaxy S2) I usually take WIP shots with it
Flash on, WB = flourescent, EV compensation = +1. All I need -
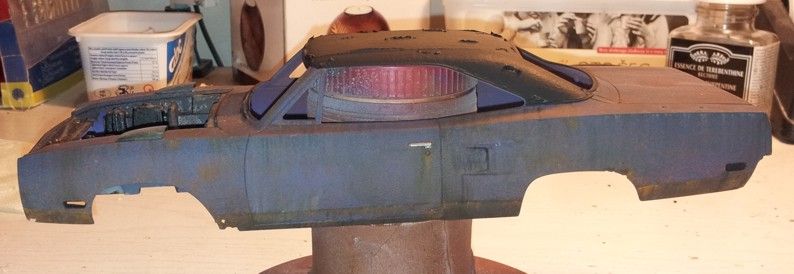
Looks like you're making my Superbird's twin sister...
-
Mike, I've never heard of this stuff - thank you for the info! I will check it out on them interwebs
-
Thank you, guys! I'm doing my best
At first this was going to be just another quick build with a bit of rust, but then I got sucked into the project and now I just can't stop complicating with the weathering... -
The wing in it's new paint:
TBC!


Ferrari 340 Competizione FINAL PICS UP.....Getting casted!
in WIP: Model Cars
Posted
Another artwork is being born...