
Bandit17
-
Posts
18 -
Joined
-
Last visited
Content Type
Profiles
Forums
Events
Gallery
Posts posted by Bandit17
-
-
Some thoughts here:
1) There was an excellent "how to" article in either Rod & Custom or Rod & Custom Models magazines circa 1962-64, by legendary Los Angeles car modeler Don Emmons on hand-lettering on model cars. If you can find this article, it's a God-send, literally, because the techniques Emmons showed are both simple and very doable, even more-so today. Surely someone who frequents this forum or the one sponsored by Spotlight Hobbies has that article and can scan it for you.
2) The techniques for "sign writing" on a model car are really not that much different than the old "classic" sign-writers used--only 1/25 (or whatever scale one is using) smaller.
3) Good reference photos are most valuable, even if they aren't of the exact graphics you are trying to replicate, as sign-painters tended to have a pretty good repertoire (albeit often huge) of lettering fonts and styles that they learned over time. Many of those lettering fonts and styles can be found online. Of course, a lot of race car numbers tended to be very "stylized", particularly by the late 1950's and through the 60's, even beyond, but the basic principles and techniques really didn't change all that much back in the days of hand-painted signage (virtually all the painters who lettered and numbered those race cars of decades past were professional sign painters, and in between the infrequent race car gigs could be found lettering all manner of commercial vehicles, as well as painting signs, storefronts, even lettering office and retail store doors. And this leads me to the next suggestion:
4) A very good reference for how those sign painting artists did what they did, is to look for pictures of well-worn commercial vehicles (they are out there online for the sheer dozens. Worn hand-painted signage often shows the brush strokes, how they did what they did, which can show how sign painters filled in the larger, wider graphics, brush stroke by brush stroke, and that leads me to what I used for brushes in 1/25 scale:
5) I pretty much settled on just three or four sizes of detailing brushes: #1, #0, #5/0 and #10/0 artists "rounds", which can be found with shorter handles like the detailing brushes we modelers tend to use. Look for good quality red sable brushes, and further, look carefully through any selection, choosing only those which have a well-defined sharp point to them. Rather than looking at common brushes often found alongside model paints in a hobby shop--if you have an art supply store handy (or even the artists' supply department of a Michael's or Hobby Lobby), check out their brushes--and keep looking to find the best.
6) As for paints, while yes, "One Shot" sign writing paints are tremendous, they are not available just anywhere, and they do come in pretty large cans--4-6 fluid ounces. In addition, One Shot is old-fashioned "4-hour" enamel (unless their formula has changed markedly) meaning that they take almost that long just to get to the "tacky" stage, and require a good 24 hours or more to dry thoroughly. For my model race cars (mostly built 1966-85) I found that Testors bottle paints worked just fine.
7) While I didn't have available clear decal film for most of my race car building "period", when it became generally available, I found clear film very valuable for hand-painting letters, numbers and race car logo's, simply because it was far easier to do that "on the flat" than on the undulations and curvature of a model car body shell. Once these were done on decal film, they can be cut out, and applied just like any printed decal.
For a palette, I found, per Don Emmons' article, that a small glass mirror (Emmons used mirrors from his wife's old purses and/or cosmetic compacts) for testing brush strokes and even for mixing tiny bits of color. When done, a razor blade, Xacto knife, or even a bit of paper towel soaked in lacquer thinner cleans all the paint off glass in a heartbeat--and the paint does NOT soak into glass.
Here is the one remaining example of an Indy car that I built in 1978, AJ Foyt's 1977 Coyote, the car that carried Foyt to his 4th Indianapolis Victory--virtually all the graphics specific to this car were hand painted with the brushes and paints I described. Those include the #'s 14, the Gilmore Broadcasting Logo, Foyt's "signature" name on the sides of the cowling, the "cowboy hat" logo, and the "Coyote" emblem on the front of the cowling. Of course, the Diehard and Goodyear logo's are decals.

In short, nothing beats the look of that old-school hand painted work by classic sign painters (who ruled before the advent of laser-cut, computer generated graphics) than miniature hand-painted race car graphics, in my opinion.
Art
Thank you Art, very cool, and very good information!
-
As someone who has hand lettered vehicles for over 40 years, I will suggest lettering quills for brushes, One Shot or Ronan lettering enamels for paint, and for reducer, I use Dupont 3812 enamel reducer. A lot of people will tell you to palette your paint using a phone book, I strongly disagree, flat paper can pull fibers into your paint so use a glossy magazine. Practice on some glass as when you are done you can wipe it off or let it dry and scrape it off with a razor blade.
Lettering is not as easy as many think, very few people pick it up right away. To letter a 1/25 scale model is WAY harder than 1:1. If you need more assistance, PM me.
This was all done with One shot and the numbers are 23K gold leaf.
Great work!! Thank you very much. I'm going to try it out, I just want to make it look original!
-
Bandit ,
Head for the local art supply store and explain your needs . Might cost you a bit , but you'll be using quality brushes which will produce a stellar outcome !
I'll try that! Not sure why I didn't think of that....
Thank you!
-
I know a guy that used to letter 1:1 racers. He now hand letters his model race cars. He uses the same 1-shot lettering paint for both.
I may have stated my questions incorrectly! I am not necessarily looking for which paint to use (although that is helpful) I am wondering which brushes to use to get clean lines, and if it is possible that there is an easier way (like a fine tip paint pen) to get the correct lines and letters? I am not a sign painter, or pinstriper, but I can draw, just not sure what tool to use?
-
I know a guy on Facebook who does this sort of thing. He does a lot of short- and dirt-track cars. I believe he uses sign-lettering enamel and does it all by hand.
Any chance you could find out what kind of brushes or other items he uses or recommends to? I can do the lettering etc. I just don't know what to use to apply it, or if there is such a thing as markers or paint pens that are fine enough and user friendly enough to do it?
-
That's what I want to avoid! I have plenty of "vinyl guys". I would like to paint it on instead, just to make it more realistic.
-
I am wondering what others are using to letter their race cars, (fine tip markers, paint brushes, etc.) I am building a couple of 1960's short track cars, and really want to paint the numbers and sponsors on it like the real cars were (before vinyl) Any suggestions?
-
I have a similar question, which grit sandpaper should I use to wet sand the color before I clear coat?
-
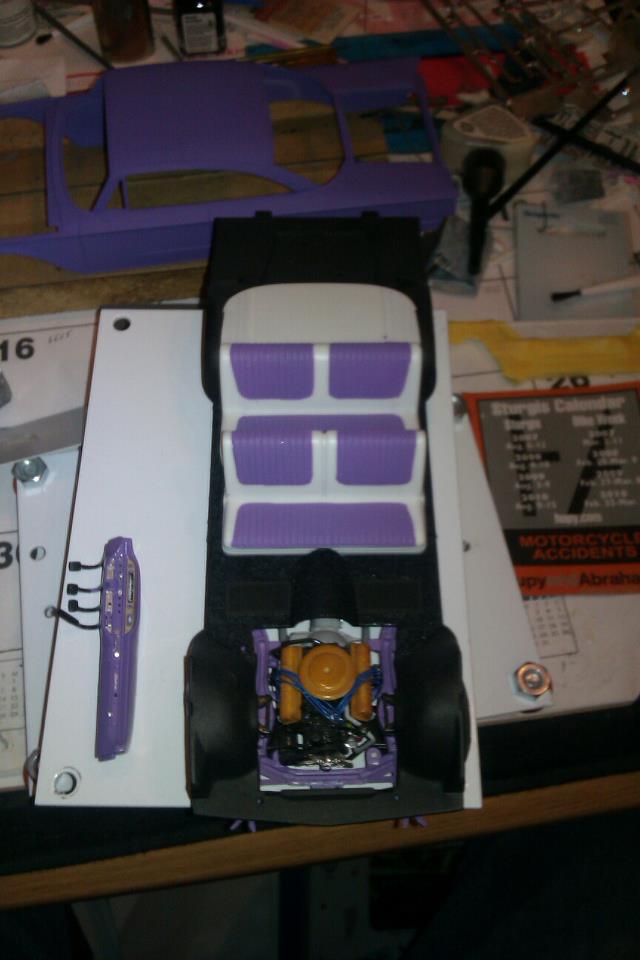
Slowly in the process of organizing a work room, and building things to help consolidate the mess! Here's where I am so far, still lots more to do!
-
Thanks everyone! Yes, it is a bold color, but it looks so nice on those body lines!
I posted my paint problem in the model building questions and answers. I started with the wrong paint and didn't realize it (Napoleonic Violet is a flat paint) so now I am trying to get it repainted, cleared and floor polished to get a decent shine!
More to come soon!
-
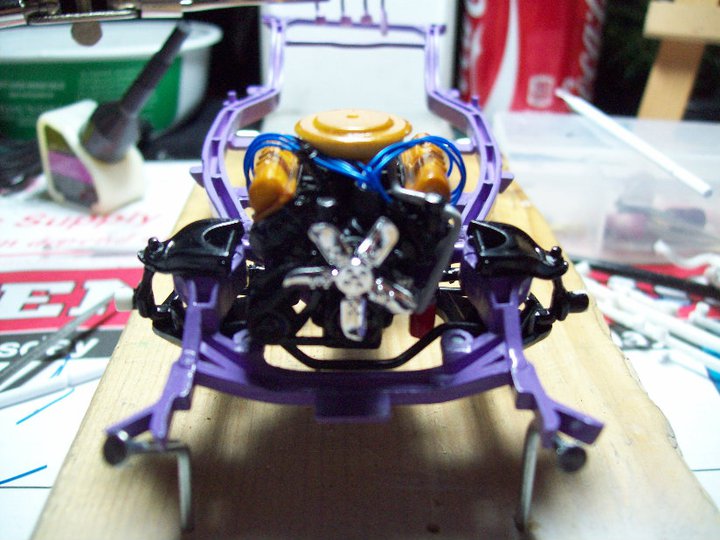
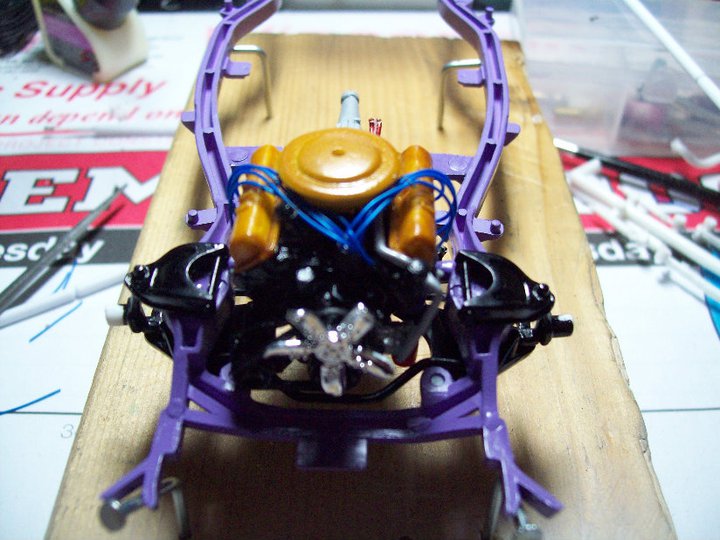
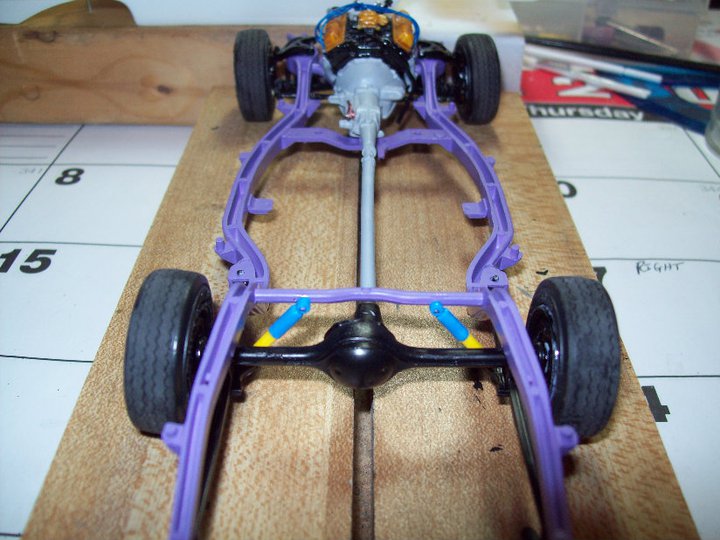
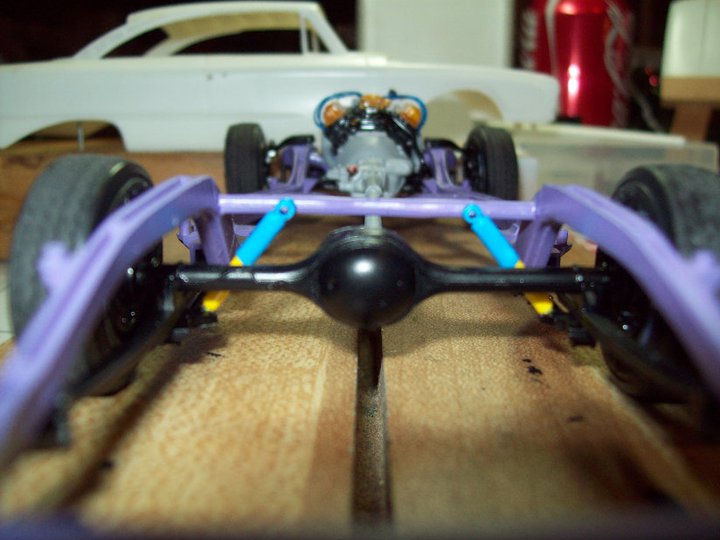
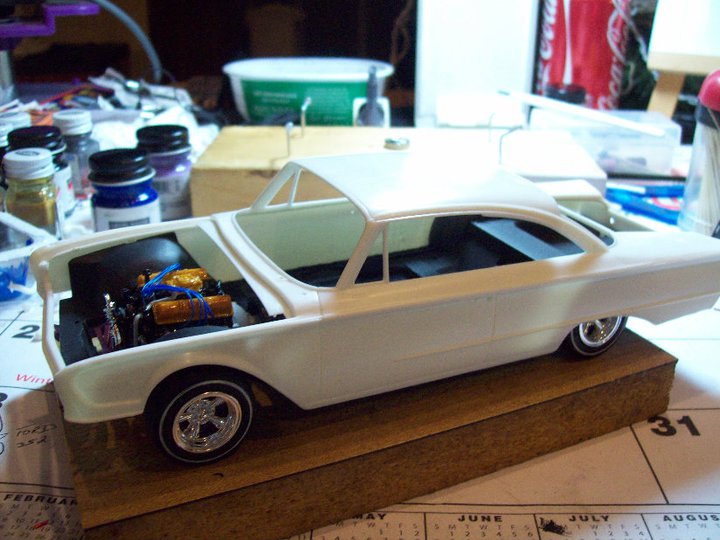
Here are a few pics of my current build......if I could ever get the paint to turn out the way I want, it might get finished!
-
Very impressive so far! I love Galaxies, My kid sister currently has a 65 500XL, white with a 352. Can't wait to see this one complete! Keep up the great work.
-
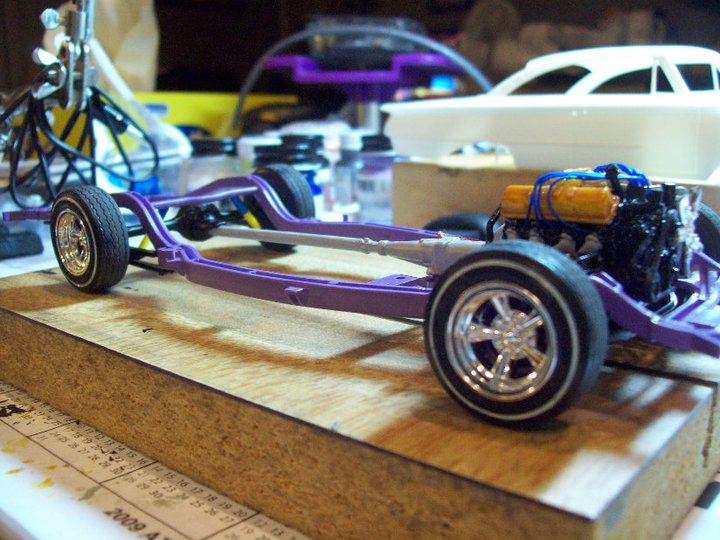
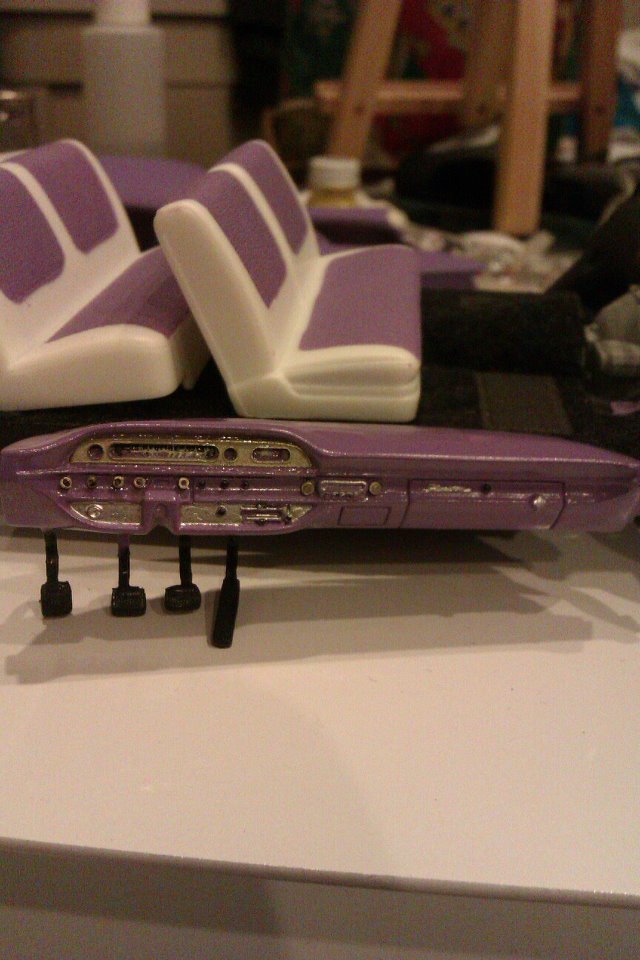
I work slow, here's what I have so far..not trying for a ton of detail, just a fun build somewhere near period correct, we'll see.
Wheels & tires from Moebius 55 Chrysler
Interior done, Moving on to the body next...console & steering wheel are from 49 AMT Merc..TV has show about 67 Cougar..
finished it today, only took a year.....
Photos coming soon!!!
Very nice! I like the color, can't wait to see it on the body!
-
I'm certain that that color is a flat only.You can gloss it with Future(it levels nicely) OR use a clear enamel(not lacquer!) with your best option for that being the clear gloss in the Model Master line.Wait until the violet is dry to shoot the gloss-see the bottle side for any recoat window information.You can sand it if you choose but the smoothness will be as a result of polishing the clear enamel or the Future leveling out as it dries.
Ok, that sounds good to me! I will try it out and see how it goes. Time to get this build done.... Thank you Tony!
-
Thank you everyone! Some very helpful and fun stuff on here!
-
Finally making some posts on here! I've been a member since 2011......Made my first post today and realized I never said hello, so Hi.
-
I have been struggling with painting models most of my life. I can build them, detail them, make them look like they are the real thing......except when I get to the paint! This time I think I finally have it figured out and i get the wrong paint.....
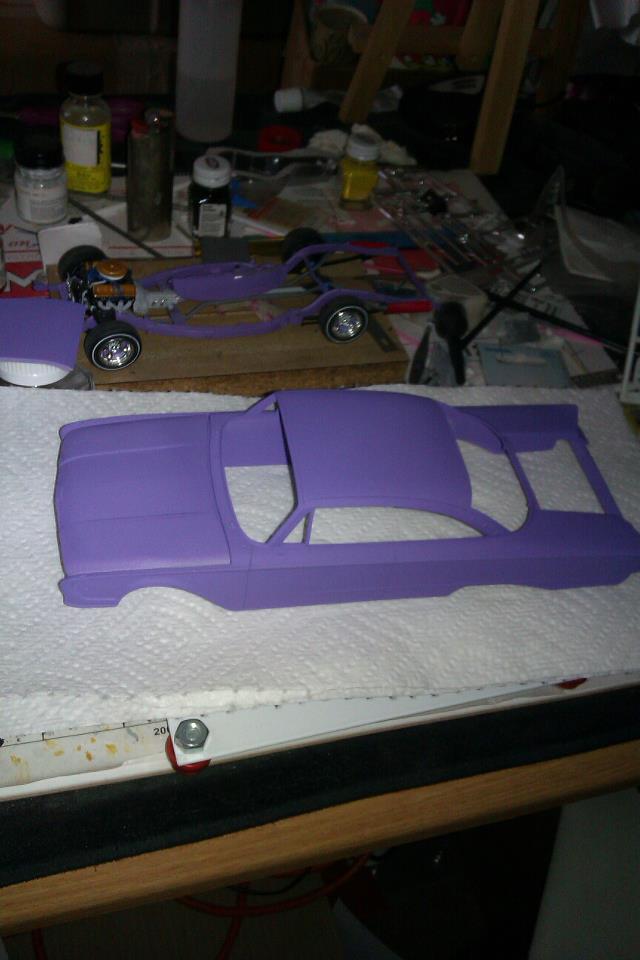
I am building a 60 Starliner, that is turning out great, I went with Model Master Napoleonic Violet for the color, I did the frame and all the interior with this color and trimmed it in white. (Still not realizing I would have a problem later) I painted the dash, and then cleared it, it turned out great, then the body was ready for paint, so I loaded up the airbrush, got the booth ready and started to paint! A few good coats, and it looked flawless, I thought it would be my best paint job yet! Until.... After it had dried, I realized that this paint was flat %&#@. So I decided to wet sand it, paint it again and try to clear it, it didn't help much! So now I soaked it in Purple Power, and am ready to start over.
Because this build is looking so good, I really want to stay with this color, I think it fits the Starliner beautifully! I know people use Future Floor Polish for a good clear and I've seen how well it works. Question is:
1) Will that make a flat paint shine?
2) Should I still clear coat it?
2a) How long should I wait to put the clear on?
2b)should I wet sand it before I clear it?
3) Is Napoleonic Violet available in a gloss?
I am really up against a wall here, this is the first kit that I had built in 15 years, and I haven't touched it in a year (mostly because of building a new work room). I love building model cars, and I want to stay in it, but am a little lost right now as to what to do! I need to finish this one so I can go on to the next.
Help!


Race car lettering
in Model Building Questions and Answers
Posted
Thank you everyone! I have some great info to work with now. Exactly what I needed. I will post some pictures as soon as I get it done......gonna be a little while, but the work has begun!