eajonesgue
-
Posts
34 -
Joined
-
Last visited
eajonesgue's Achievements
MCM Regular (3/6)
-
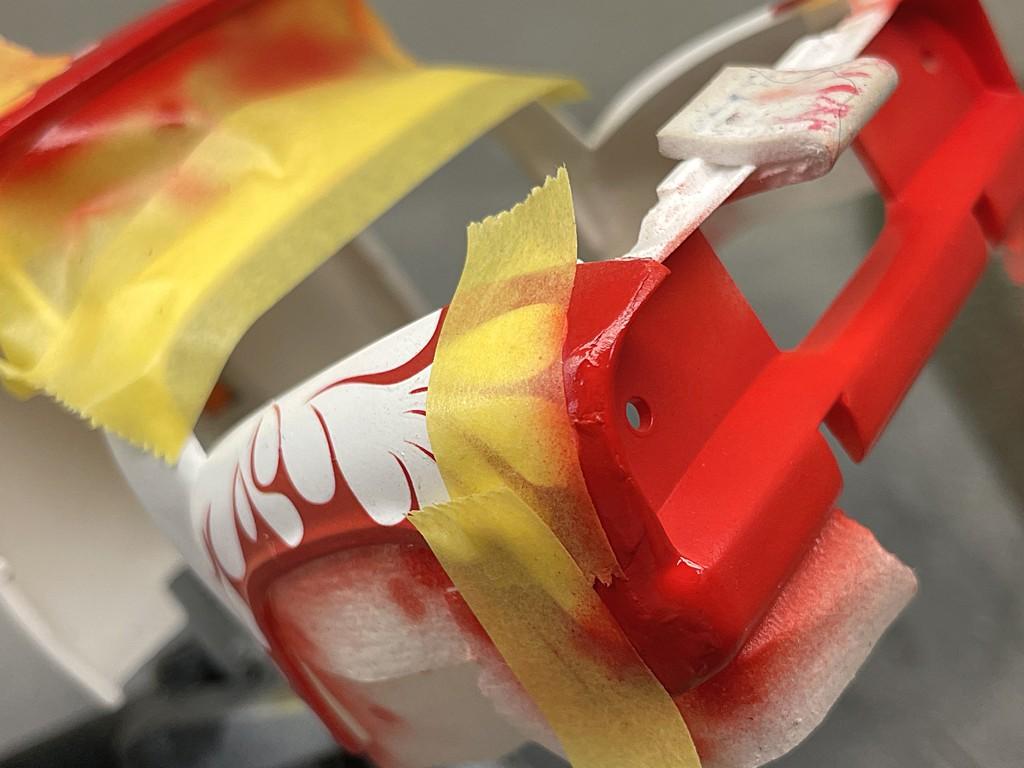
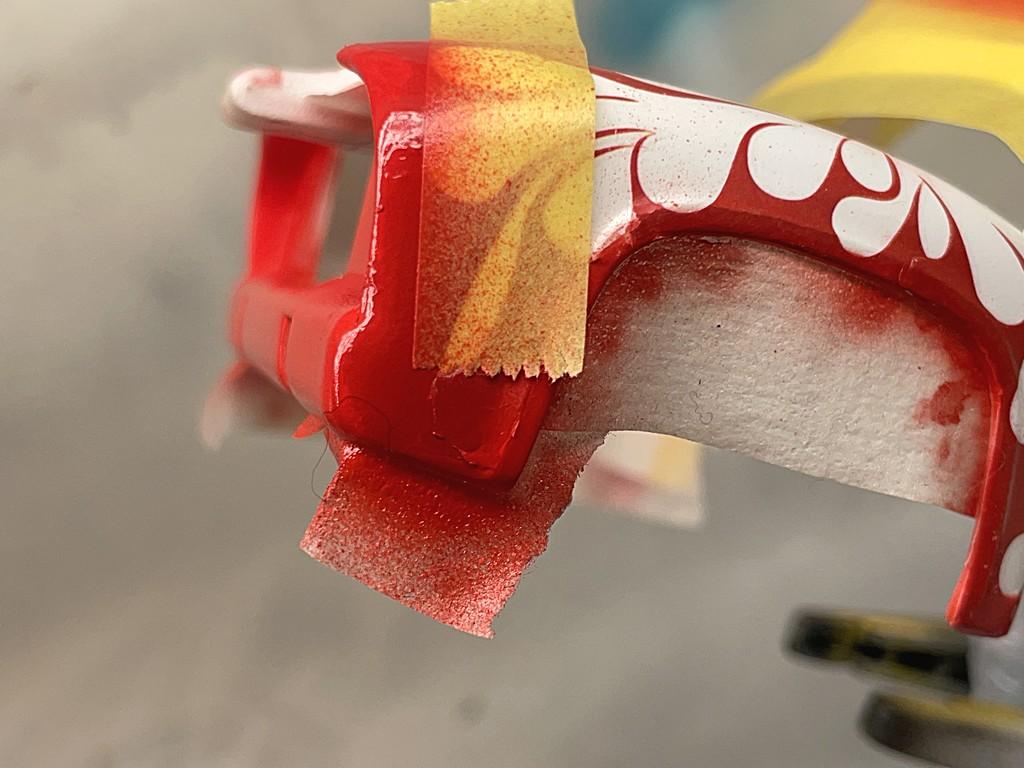
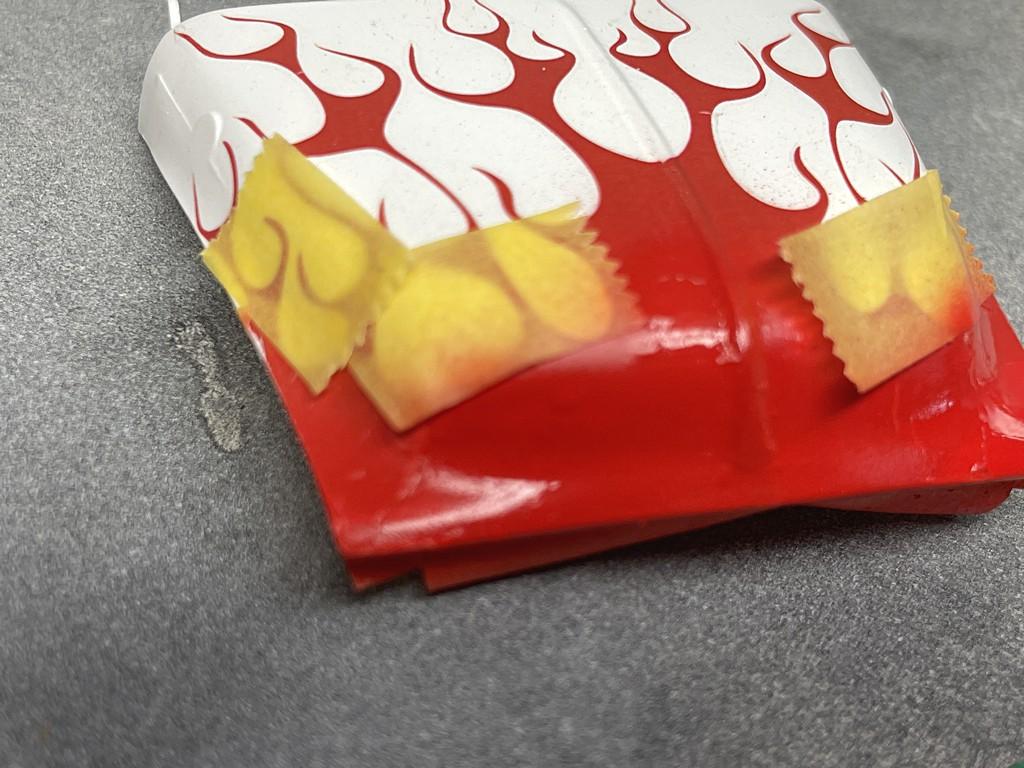
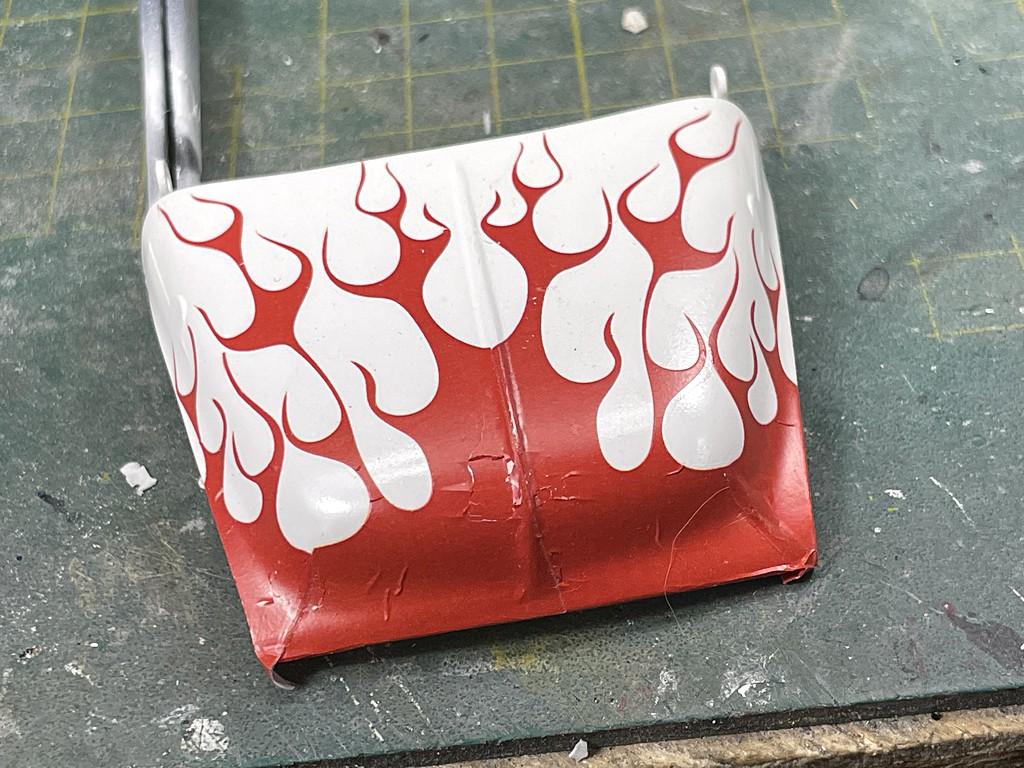
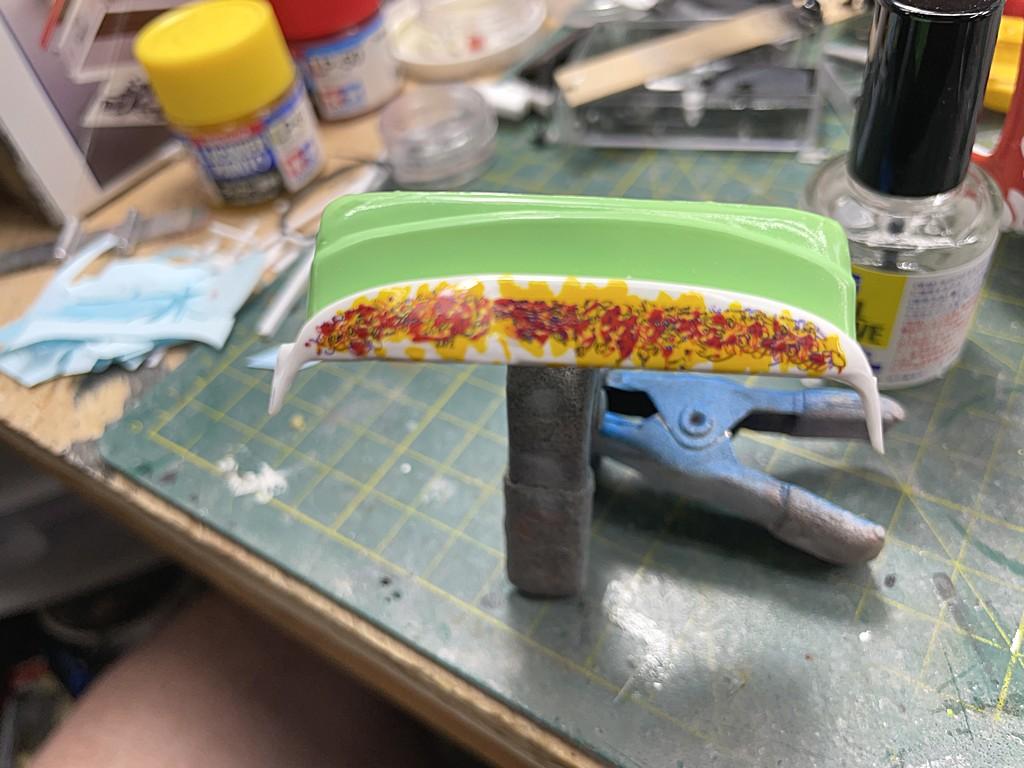
Well, I tried to fix the issue with the wrinkles and overlaps with the decals by lightly sanding the affected areas and then touch up painting. However, as you can see from the photos, I had mixed results. I have removed the decals and am going to put this model away until January (2026) and try back at it. I will go back to Plan A, which is to paint the red areas, use the masks that my club member made and paint the white. See you next year.

-
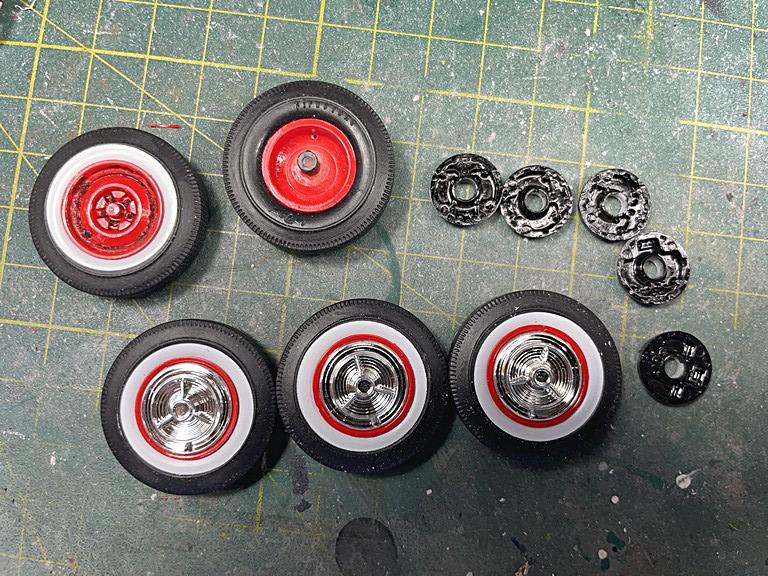
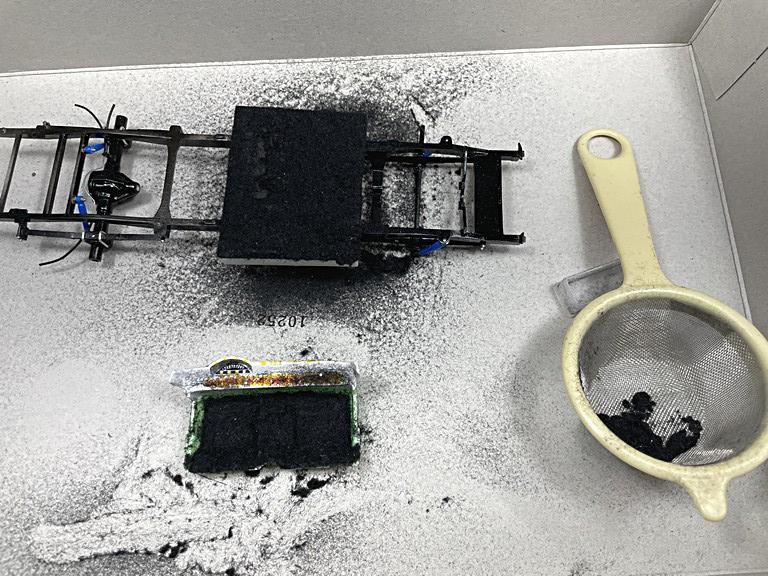
Some more progress shots: - wheels have been airbrushed LP-50 bright red. Be careful - the spare tire wheel is not the same as the other four wheels, the stub at the back is a bigger diameter (you can guess how I found out about this) - made a mold of the Tweedy Pie drum brakes and have cast a number of them. Five of them have been brush painted gloss black and the best four chosen for the axles. - the floor has been flocked with black, but a very sticky white glue was used and it looks like it dried too quickly
-
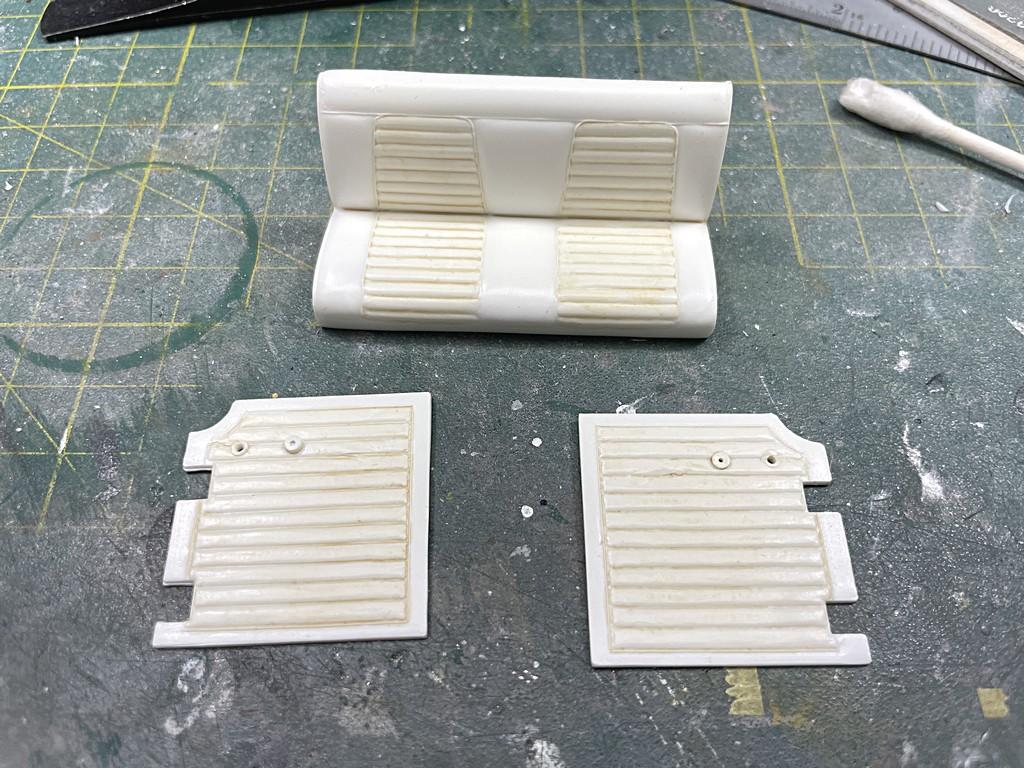
I took some artistic license on the seat and door panels and used a light coloured wash to highlight the upholstery seams. This was followed by a coat of flat acrylic clear (which does have a bit of shine to it). It just didn't look right all plain white.
-
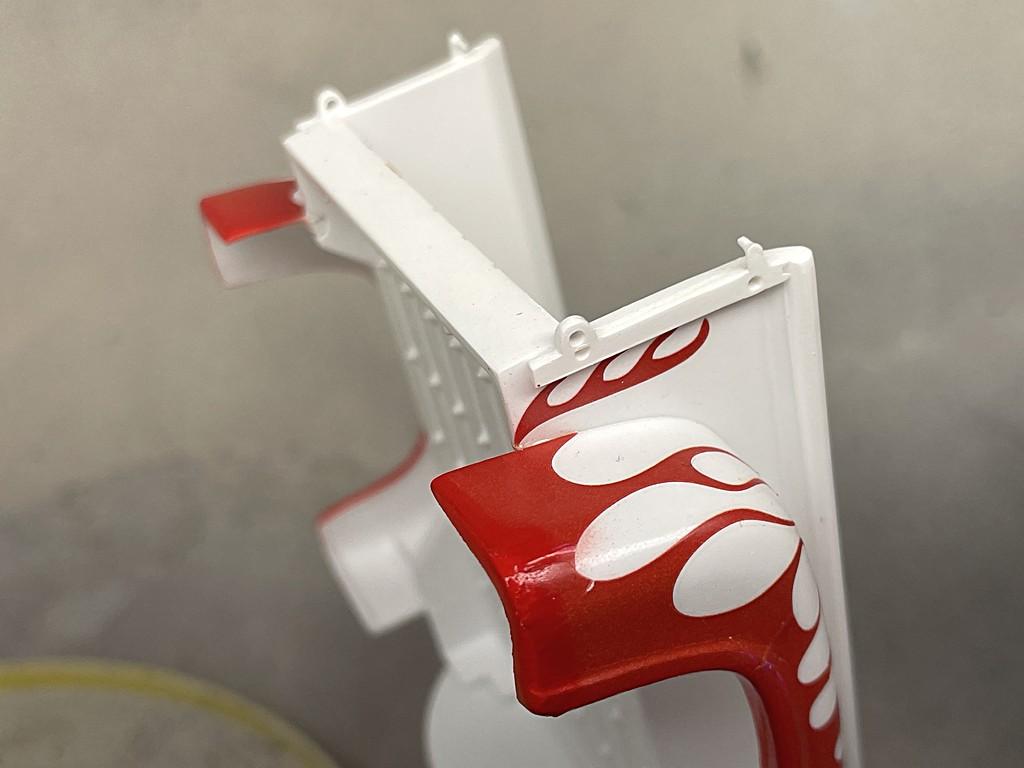
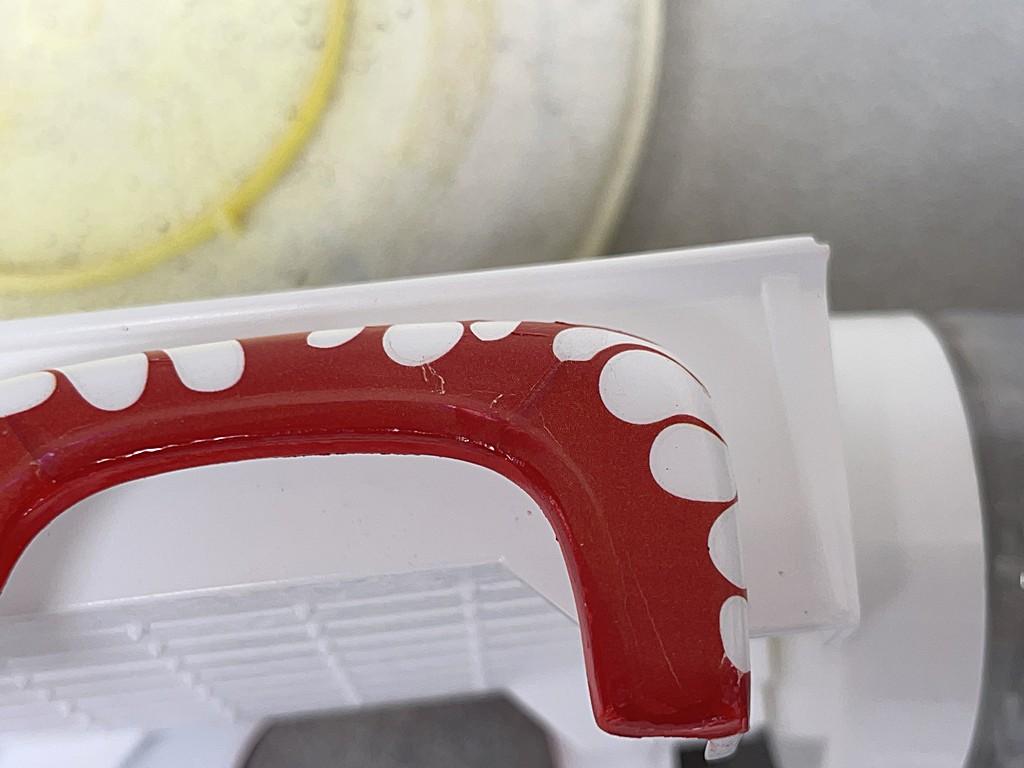
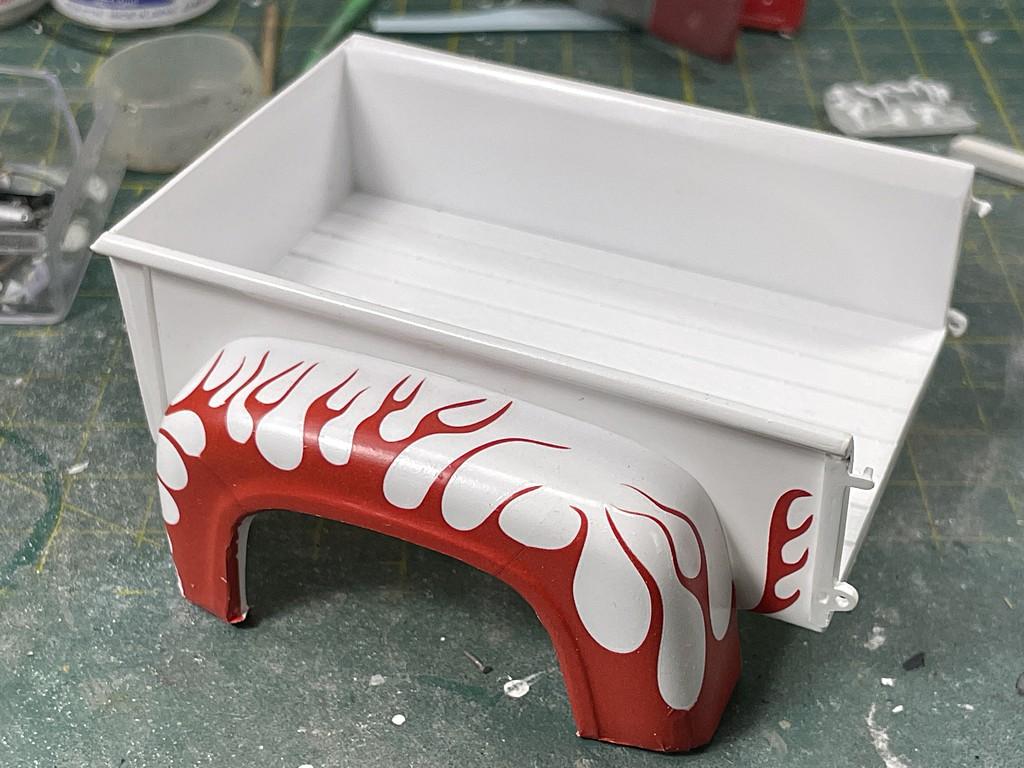
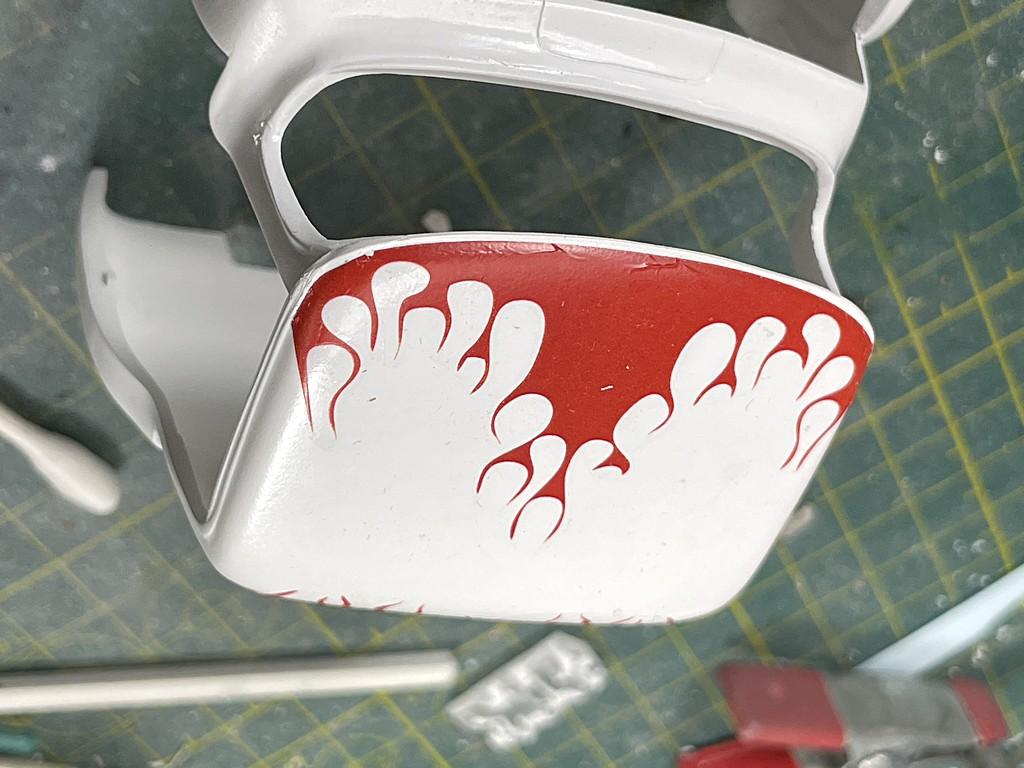
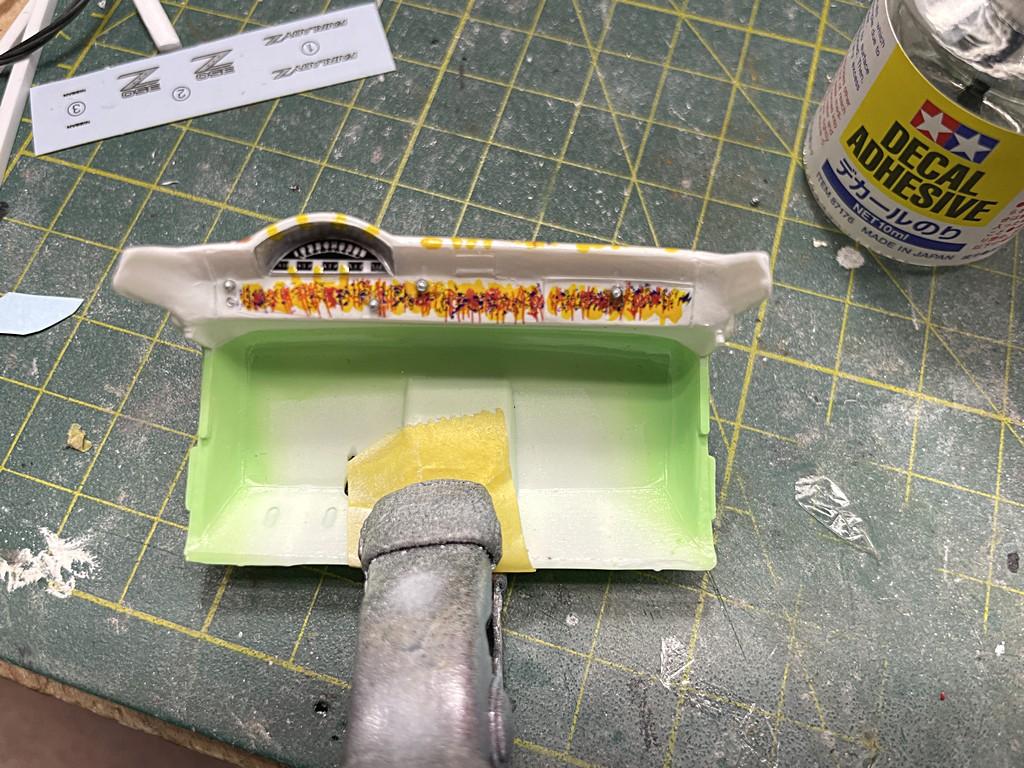
I have got all the flame decals attached, but there will be a number of touch-ups needed where the decals did not lay down smoothly (see front grill) and the lips of the fender wells. I have also used Molotow chrome on the door handles and window cranks.
-
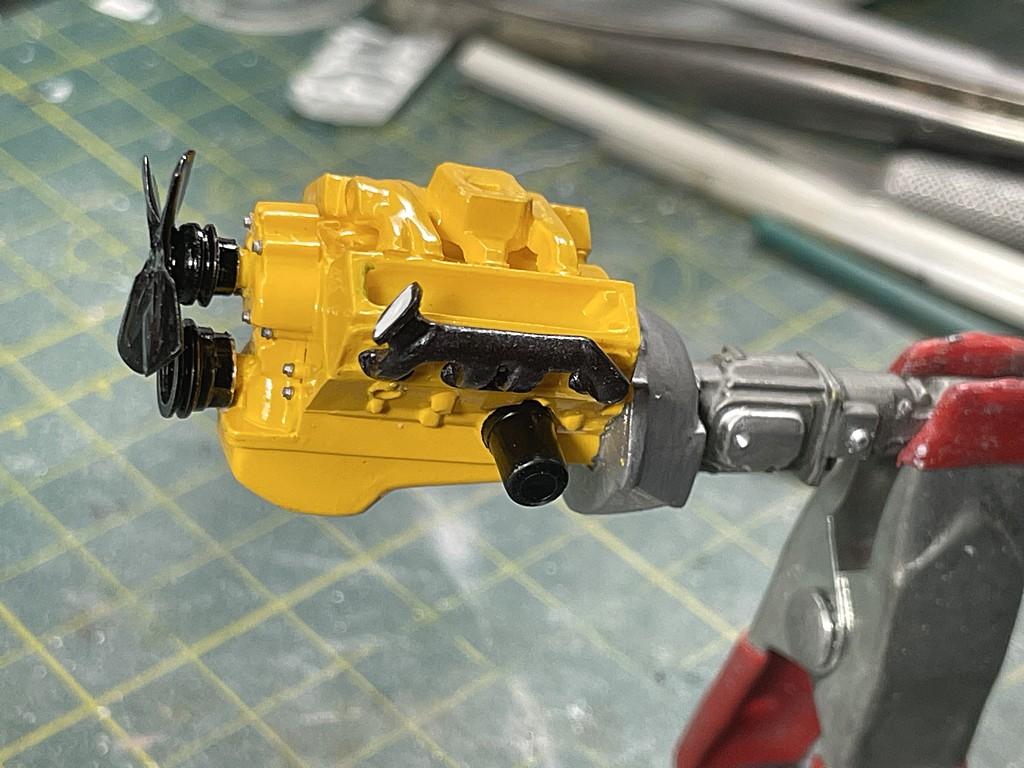
Started to attach some of the engine parts
-
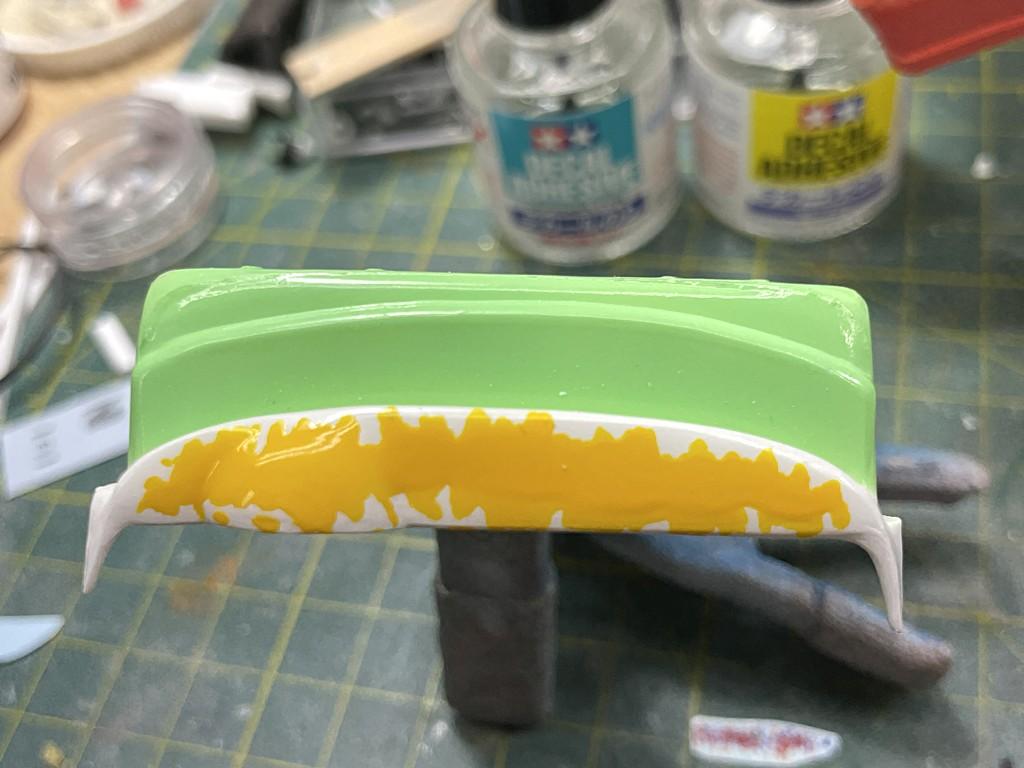
I have some of the flame decals on the rear fenders, roof and hood. Work is slow as I have to cut around all the flames first. There are still some wrinkles that need to be smoothed out.
-
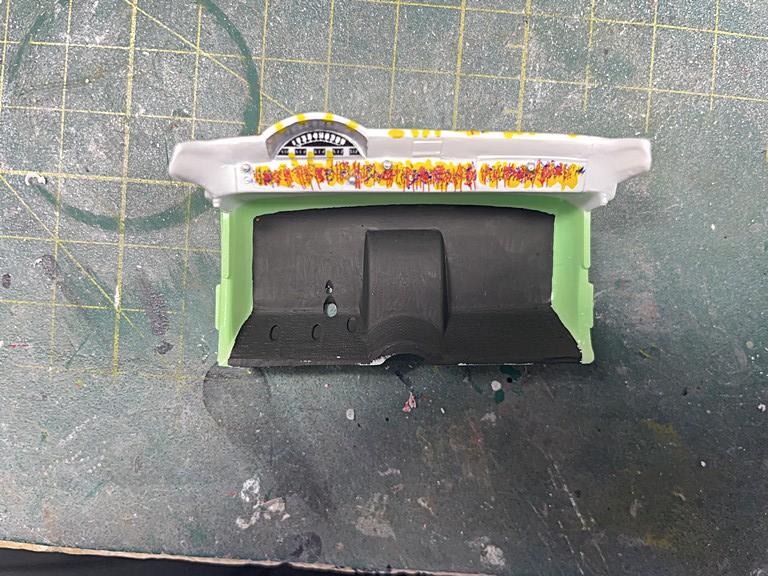
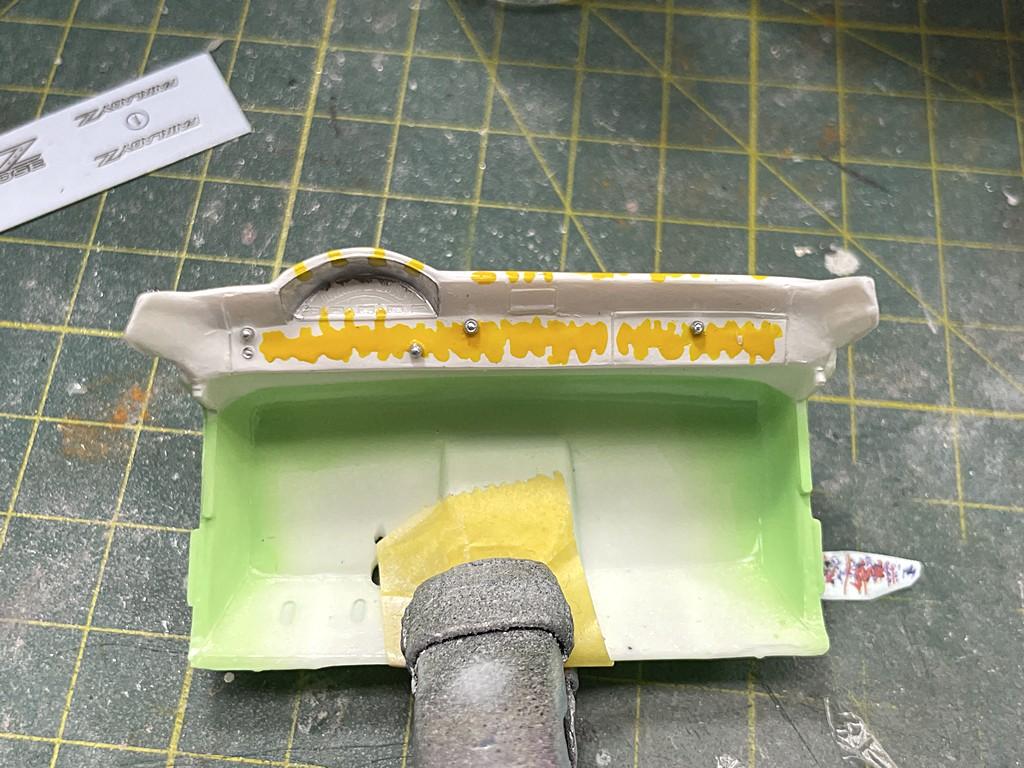
The dashboard was brush painted Tamiya lemon yellow and the a BestModelCarParts (eBay seller) dash gauge was added. The red and blue markings are a decal, custom made by Precision Design Company (PDC.ca). It looks pretty darn close to the dash in the restored car. I am now starting on the flame decals, which are quite the challenge.
-
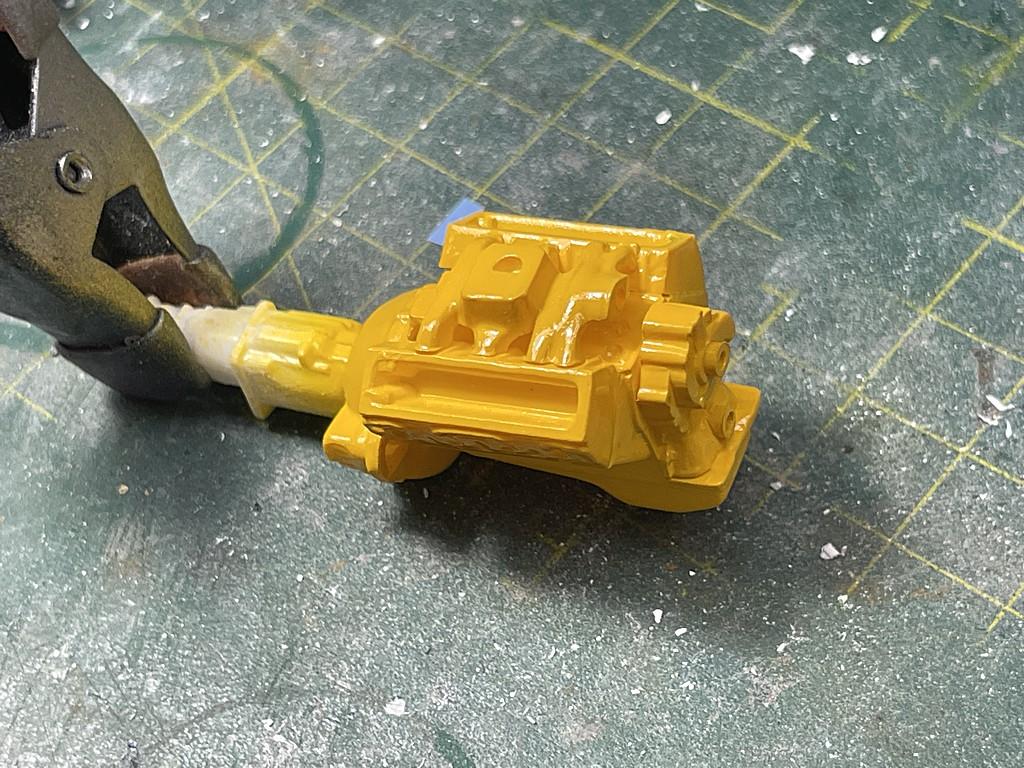
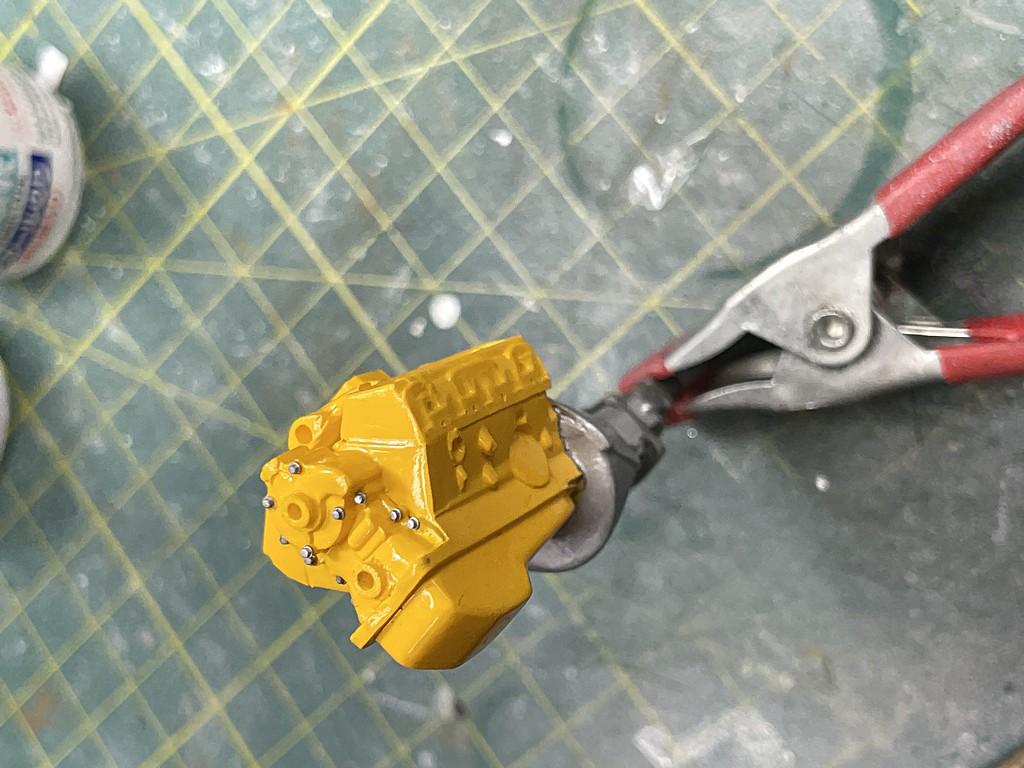
Hey, I was away on a trip for a couple of weeks and then summer activities have taken up much of my time. Below are some of the progress I have made since the last posing June 1. Engine was painted decanted Tamiya chrome yellow, transmission was brush painted with Tamiya enamel flat aluminum. I also added some 3D printed detail bolt heads (these are from Falcon Scale Models)
-
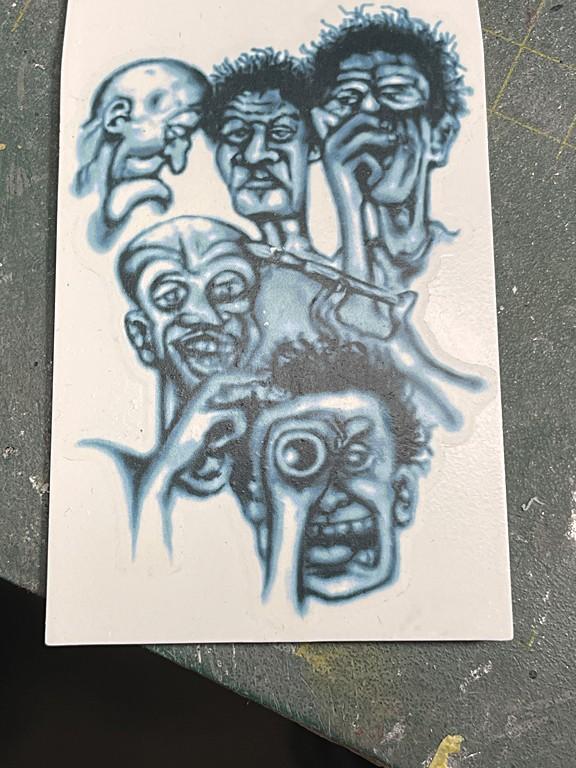
My original intent was to paint the flames on the body, using masks printed out by a club member on his Silhouette machine. The reasons I wanted to paint were: - the decals looked like they were going to be difficult to lay down around the compound curves of the fenders - the flame decals don't seem to be the correct colour for the restored truck - they seem more of a reddish brown shade than a bright red - the original sheet has two decals that were damaged (see photo) However, the vinyl masks had a number of tears in them and the vinyl masks did not stick very well. Before looking at the masks, I contacted Bill Brillinger of Precision Design Company (www.pdc.ca) about getting him to make up decals for the dashboard. I sent him the photos I had of the interior and some dimensions. I did a mock up of what the dash would look like using masking tape. Bill mentioned that he had the artwork for the flame decals that he did for a customer in HO (1:87) scale (talk about tiny). I am ordering the dashboard and the flame decals (in a brighter red colour and in 1:25 scale). During our conversation, I wanted to see how the original decals worked. I applied the bed cover mural decal and it worked flawlessly. I will use the kit decal pinstriping and lettering decals.
-
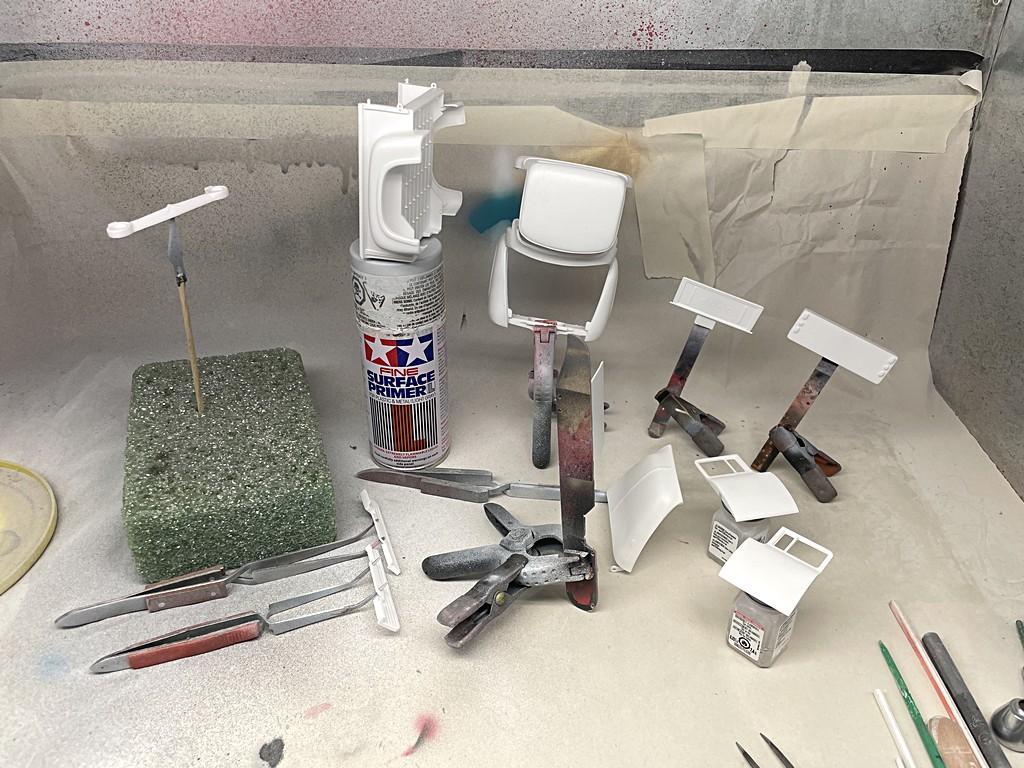
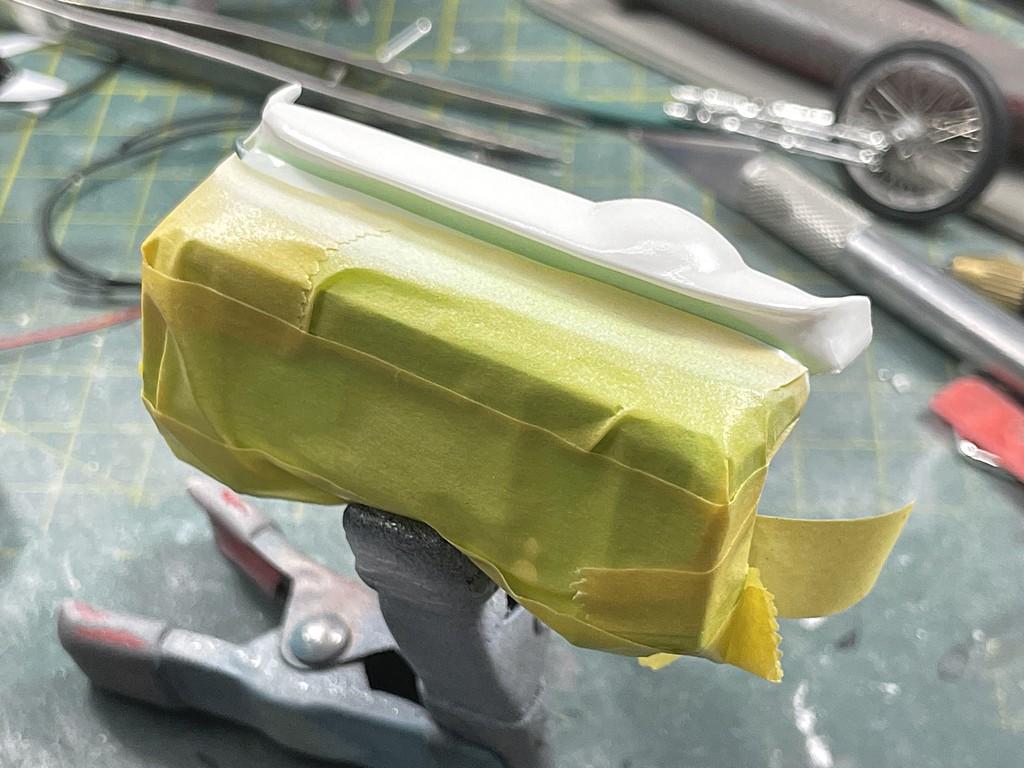
Ron, thanks for your comments. I don't know how I missed that video on Model Car Muse. Great work on your truck. If only I had seen that video 2 months ago, it might have taken me down a different route. As it is, I have invested too much into the current project to stop, regroup and start over. I am also trying to meet a (self-imposed) deadline of mid-September. That's when a local car model car contest has a "Keep on Truckin'" theme. After cleaning up the windshield opening, I finally got Tamiya white primer on the body parts. There are quite a few parts as you can't really do a lot of assembly and then paint. Here is a picture of the various parts in the spray booth, after first coat of primer. I may have to do the top coats on a couple of parts in two stages (e.g. tailgate and bed cover), because it is difficult to hold them for painting. I was thinking of painting the inside/underside, waiting for that to dry and then painting the outside/topside afterwards.
-
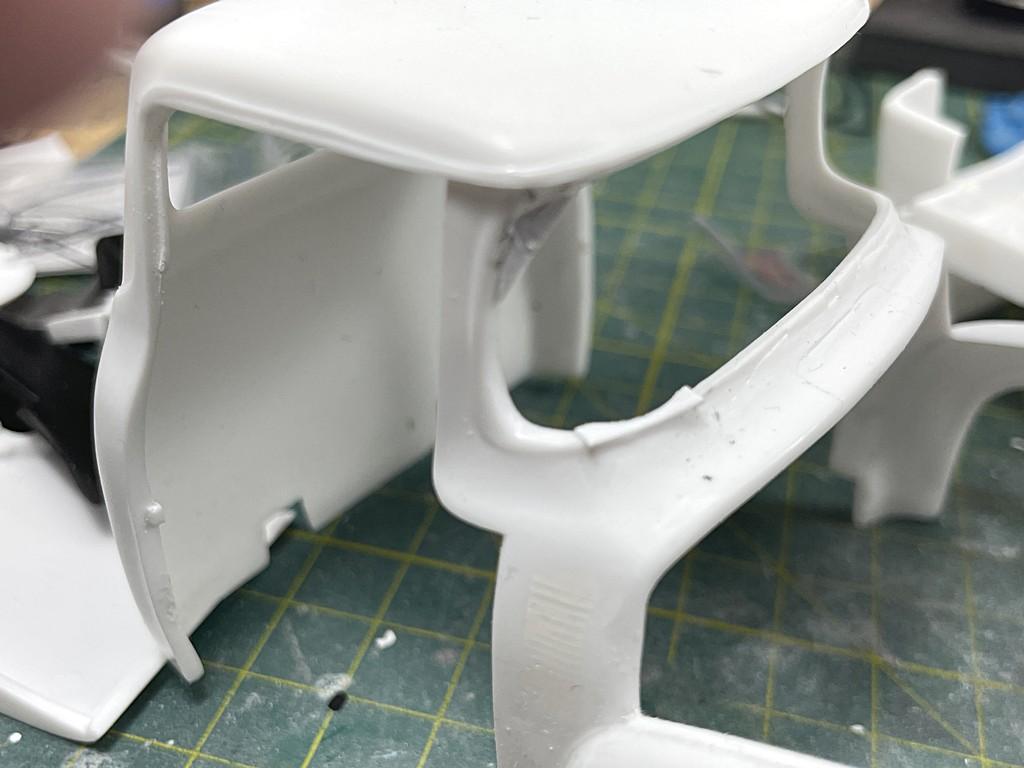
Not a lot of progress last week. Hopefully, some paint will be put onto the body this week. Inner front fenders were airbrushed decanted Tamiya pure white lacquer, then masked and airbrushed with Tamiya semi-gloss acrylic. The windshield glass had a couple of gaps in the 'weatherstripping'. These were filled in with sheet styrene and once dried, will be sanded down so the windshield fit is better. Also, in the photo, the windshield wipers have been removed and the side vent louvers have been filled in with putty. It just looked like it was too much trouble to try to detail the vent louvers.
-
Airbrushed Tamiya racing white in seats and door panels. These will be followed by flat clear to down down the shine. These parts don't exactly match the restored truck, so I am using artistic license to modify. Also in the photo are the fender wells in semi-gloss black (foreground) and the steering column in gloss black (right side)
-
Masked the green on the firewall and airbrushed pure white. Now comes the tricky part - painting the dashboard to replicate the graphics on the real car.
-
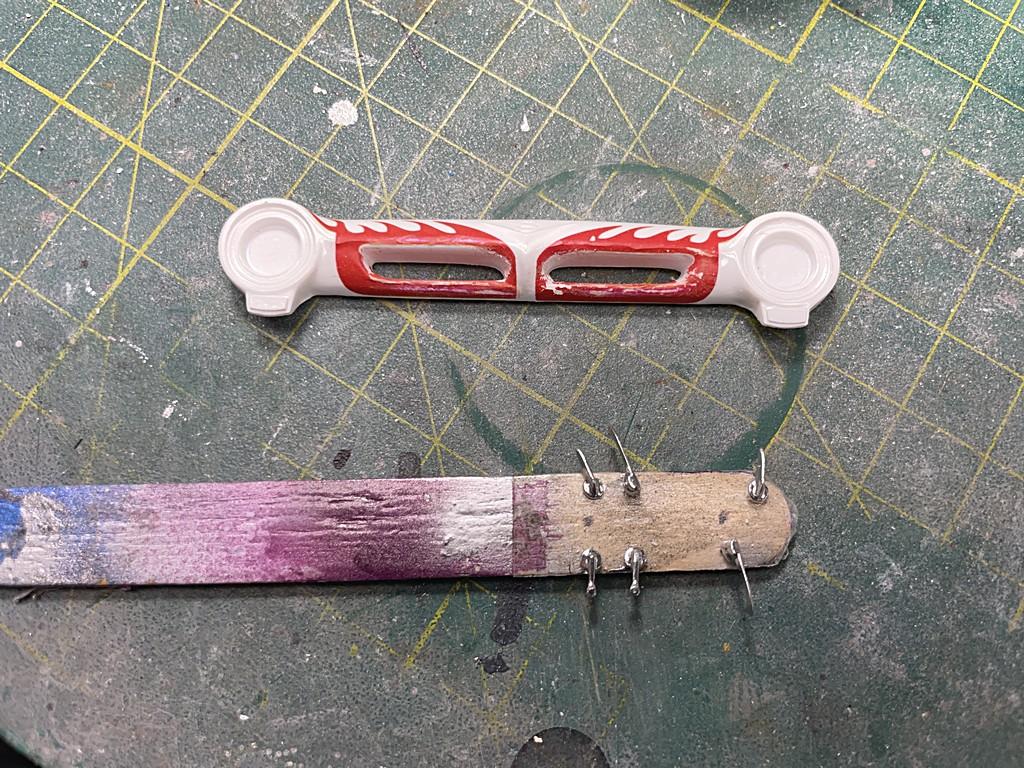
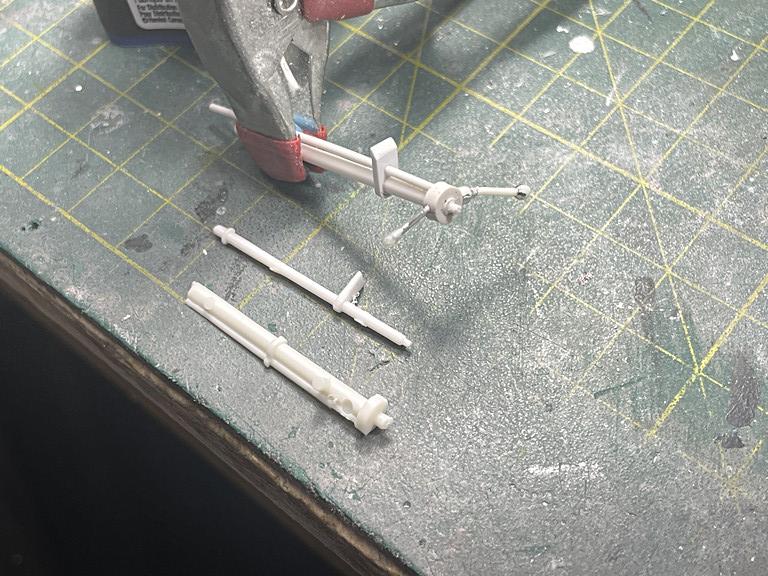
The Revell kit is for a 'four on the floor' stick shift, whereas the restored truck is a 'three on the tree' shifter. The photo shows the steering columns of the AMT '53 Ford F100 (bottom), the Revell kit (middle) and my scratchbuilt version with the shifter from the AMT kit (top) Turn signal stalk is a piece of aluminum wire (20 gauge, 0.8 mm, 0.032" diameter) with a blob of superglue that was then sanded to shape.
-
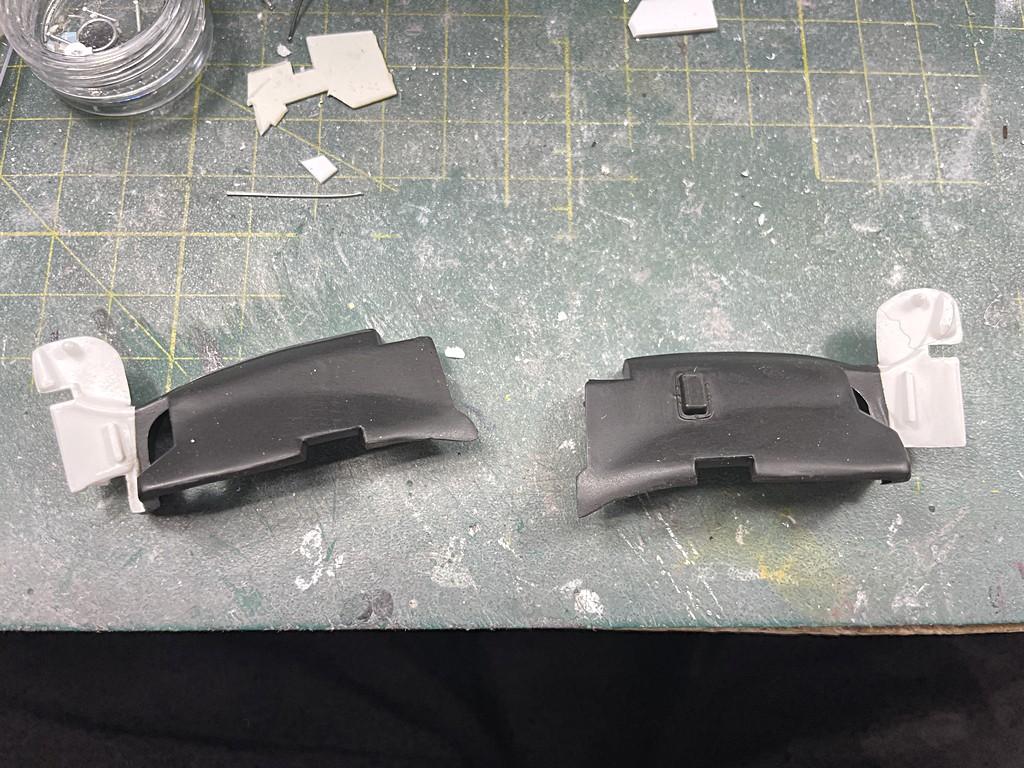
I did reach out to Galpin Auto Sports and will see what they respond. The Revell instructions are to build the tailgate and the 'hinges' at the same time. This looked to me to be tricky to smooth the seams and paint. I glued the hinges on the rear of the bed, puttied and sanded smooth. By trimming just a bit of the tailgate, and bending it slightly in the middle, it can slip into the hinge holes. There is a bit of a sink area at the rear of the bed that also needed to be puttied (hard to see in these photos).