espo
-
Posts
23,317 -
Joined
-
Last visited
Content Type
Profiles
Forums
Events
Gallery
Everything posted by espo
-

I am Speechless
espo replied to Mike 1017's topic in 1:1 Reference Photos: Auto Shows, Personal vehicles (Cars and Trucks)
This looks like a car that was in Hot Rod or Rod & Custom around '57 or '58. This was just a one or two year old car at the time and it wasn't worth near what it is today. This is an acquired taste paint work, but he looks proud of it. I want to say the paint work was credited to Von Dutch but I'm not 100 % on that. Isn't that cute his shirt even matches the paint work. -
What sort of base coat are you using under the Yellow ? I remember another builder mention that he was disappointed with the moldings on the Hood. I'm sure it has to do with the age of the tool since the ones I built years ago had very sharp trim moldings. This and the '40 Coupe have always been a favorite of mine as they sort of fall together and a body style that has always been good looking.
-
This looks great. I like the Intimidator look. I remember several Nova SS's running around with the 396 engine in different horsepower ratings and they were nothing to mess with.
-
Beautiful looking Impala SS. All of the body trim is neat and cleanly done. The paint job is really special looking also.
-
The interior wood graining looks great.
-
That's a great kit, sort of an old standard.
-
What did you see on the road today?
espo replied to Harry P.'s topic in General Automotive Talk (Trucks and Cars)
That Yugo may be either a Repo or a Lease return. -
OOoo, If we only still had Jackie Gleason around. He was able to be what ever person a director wanted him to be and you would believe it when you watched his acting. I used to love to watch him threaten Alice that" he was going to send her to the Moon". And in real life you would not want to challenge him to a game of Pool. He would take your money and show you how it's done on the felt. Should anyone here not be familiar with Mr. Gleason might want to try YouTube and see if they don't have any of his old skits
-
You know thinking about they way the world is right now with very few or at least largely reduced number of cars on the road using far less gas this may be having a major impact on all of the oil companies. The other issue, and I'm not trying to be political here so check on these things on your own and form your own opinion on this. My understanding is that the Saudi Royal Family and the members that control their Oil Interests and Russia are kicking dust on each others shoes over the price of oil. We might as well start hording gas since we can't find any TP. That was a thing years ago during the gas shortage in the early to mid '70's. We're seeing a buck and a half for regular and I'm astatic about the price, just can't go anywhere right now.
-
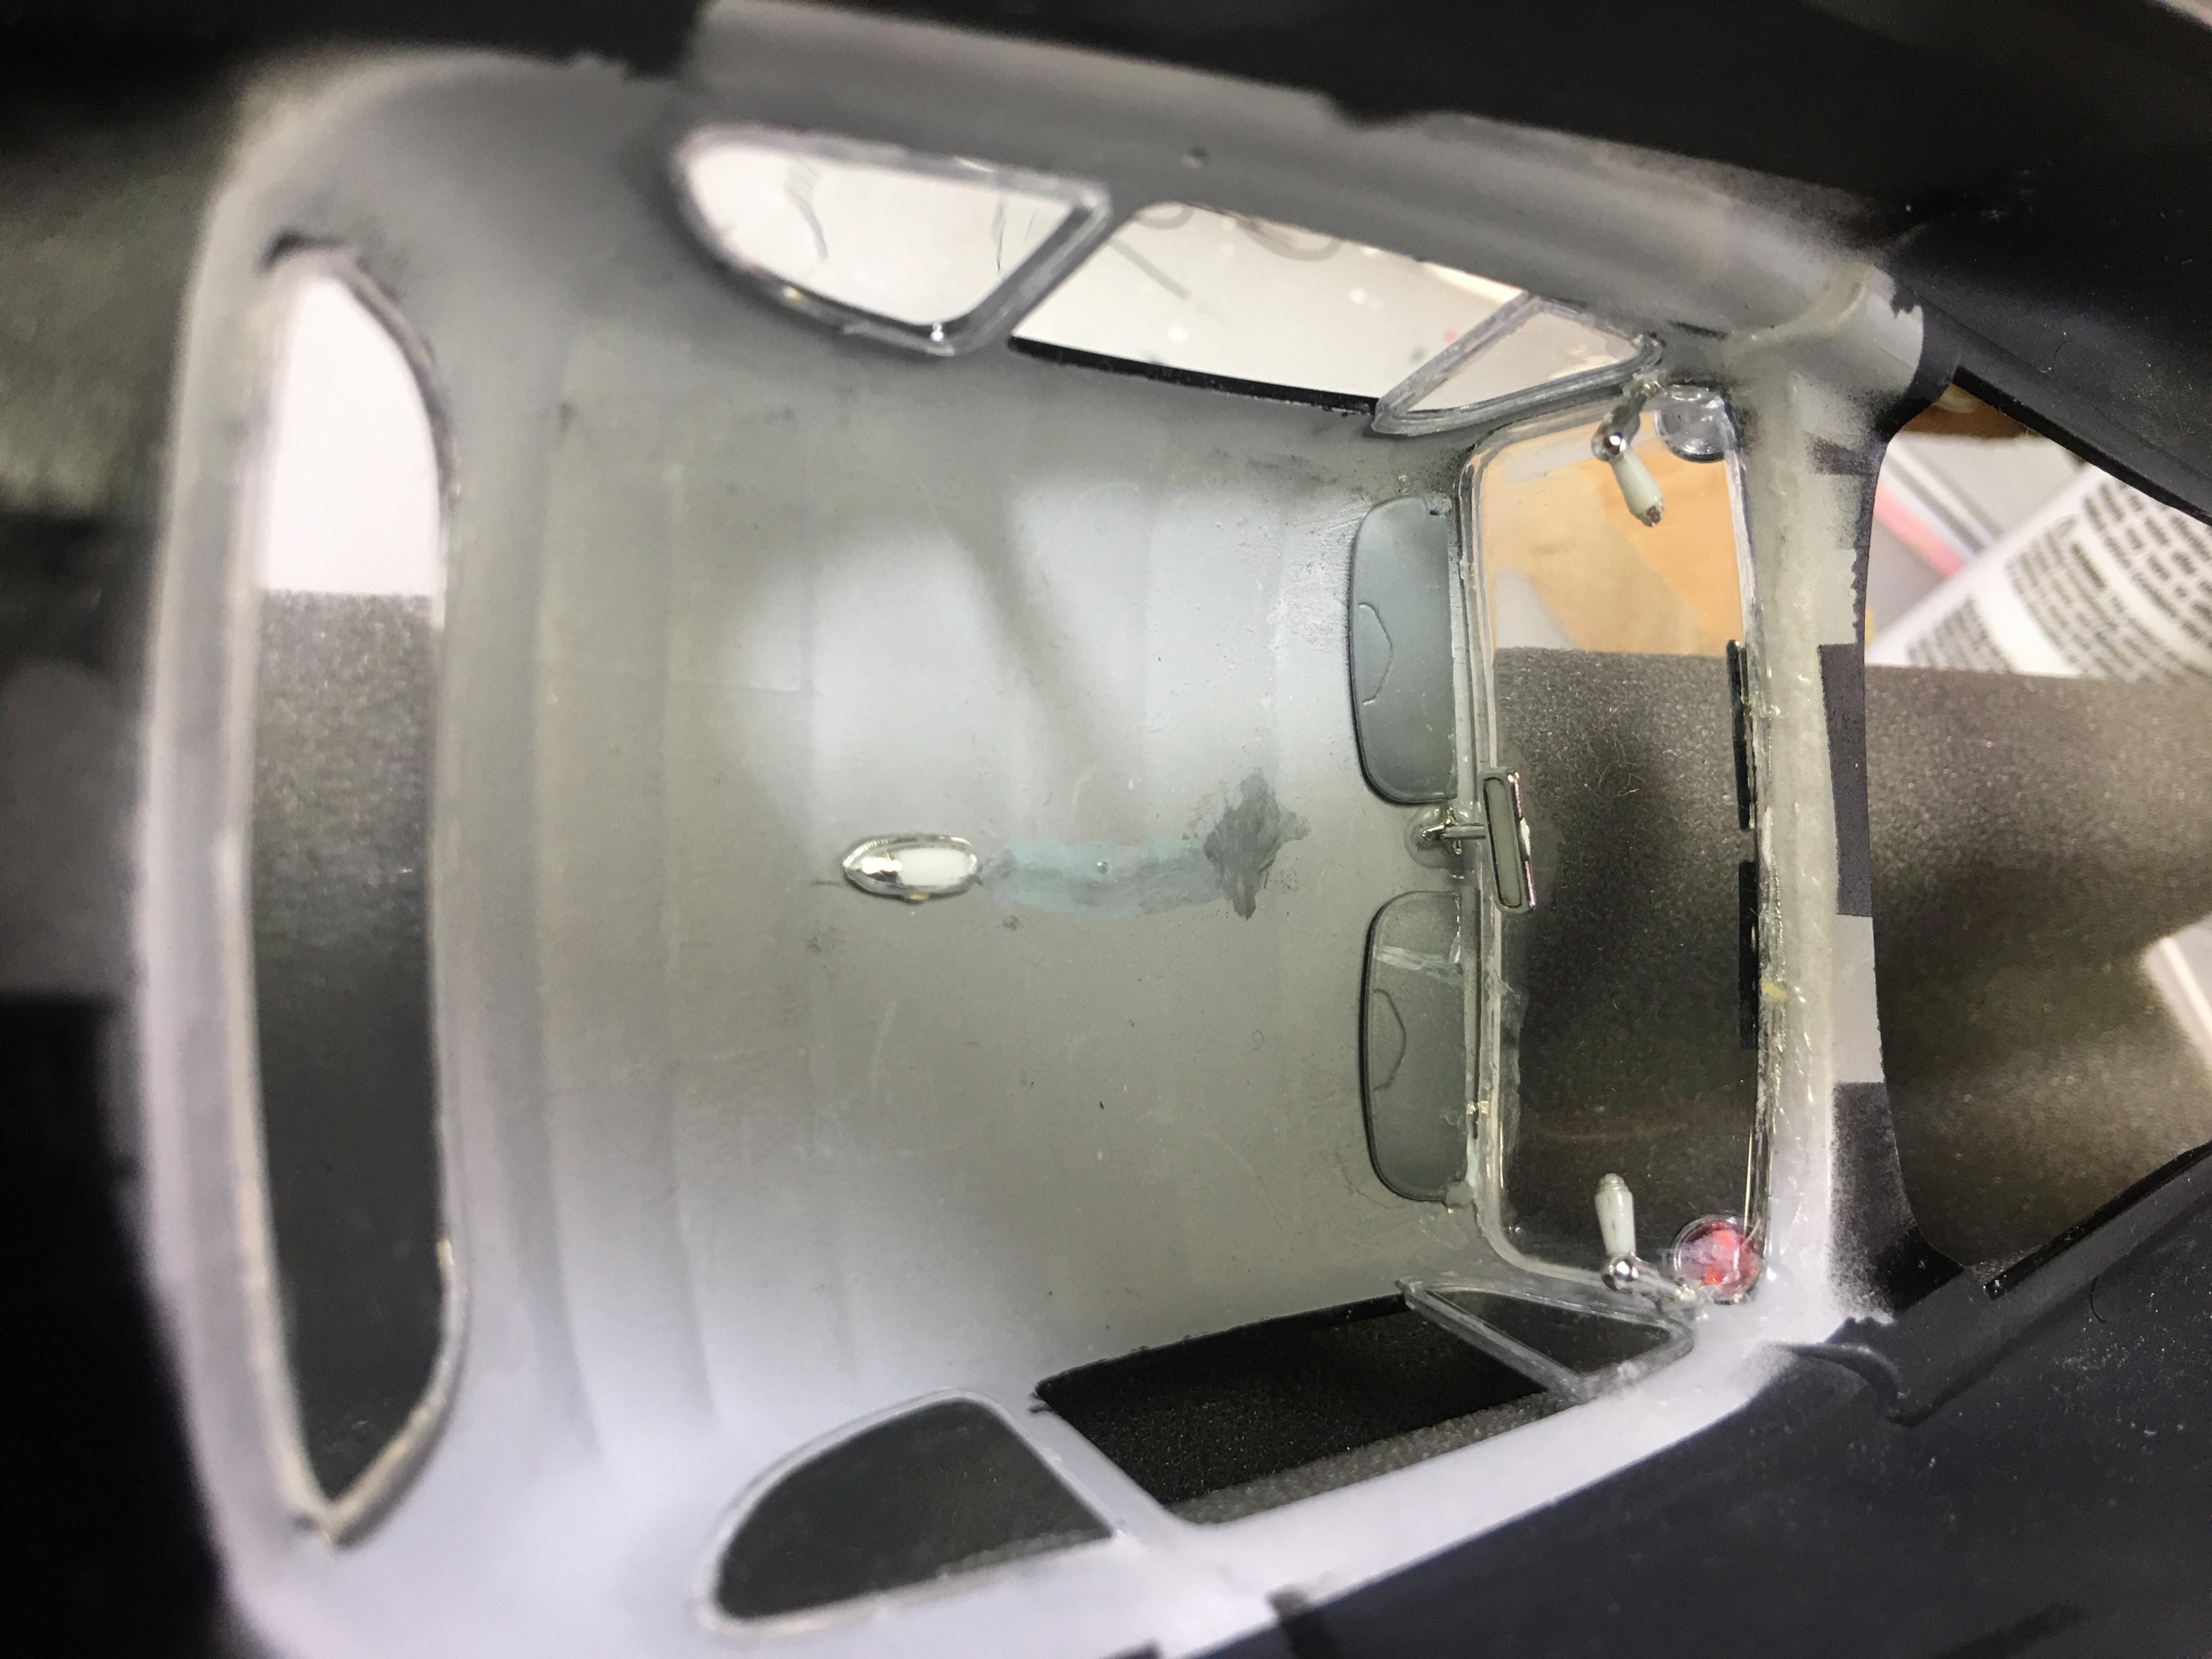
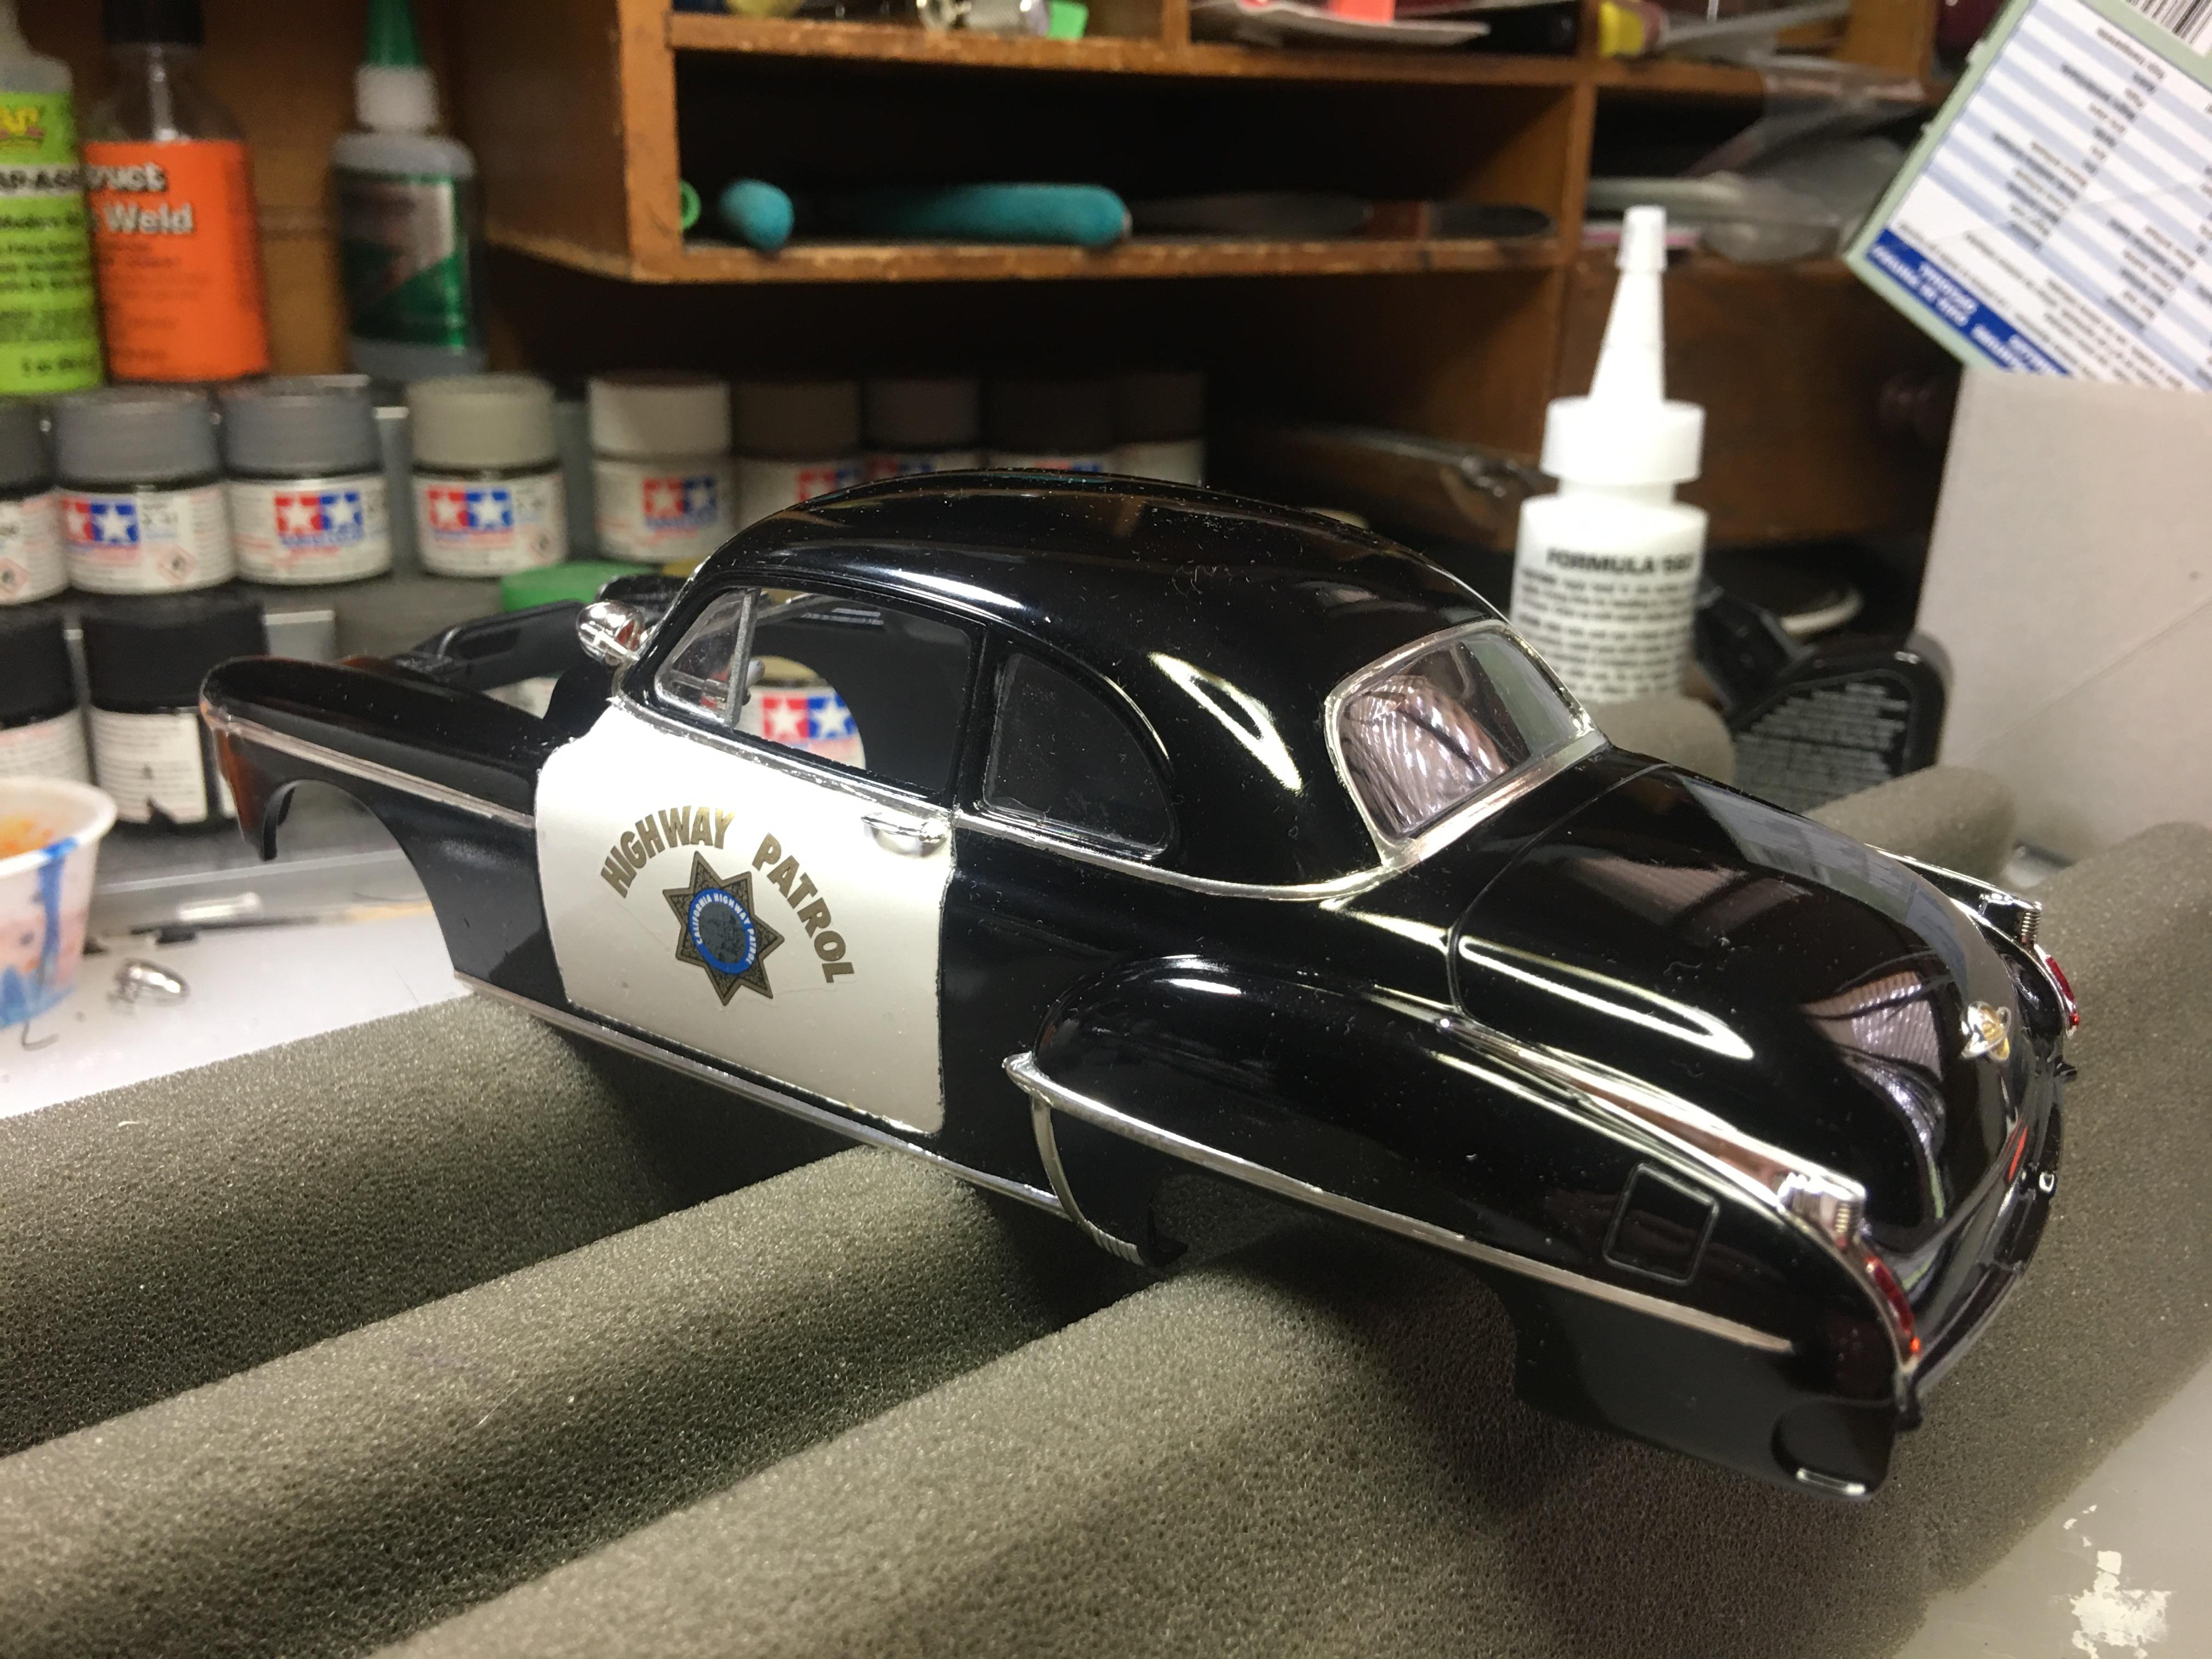
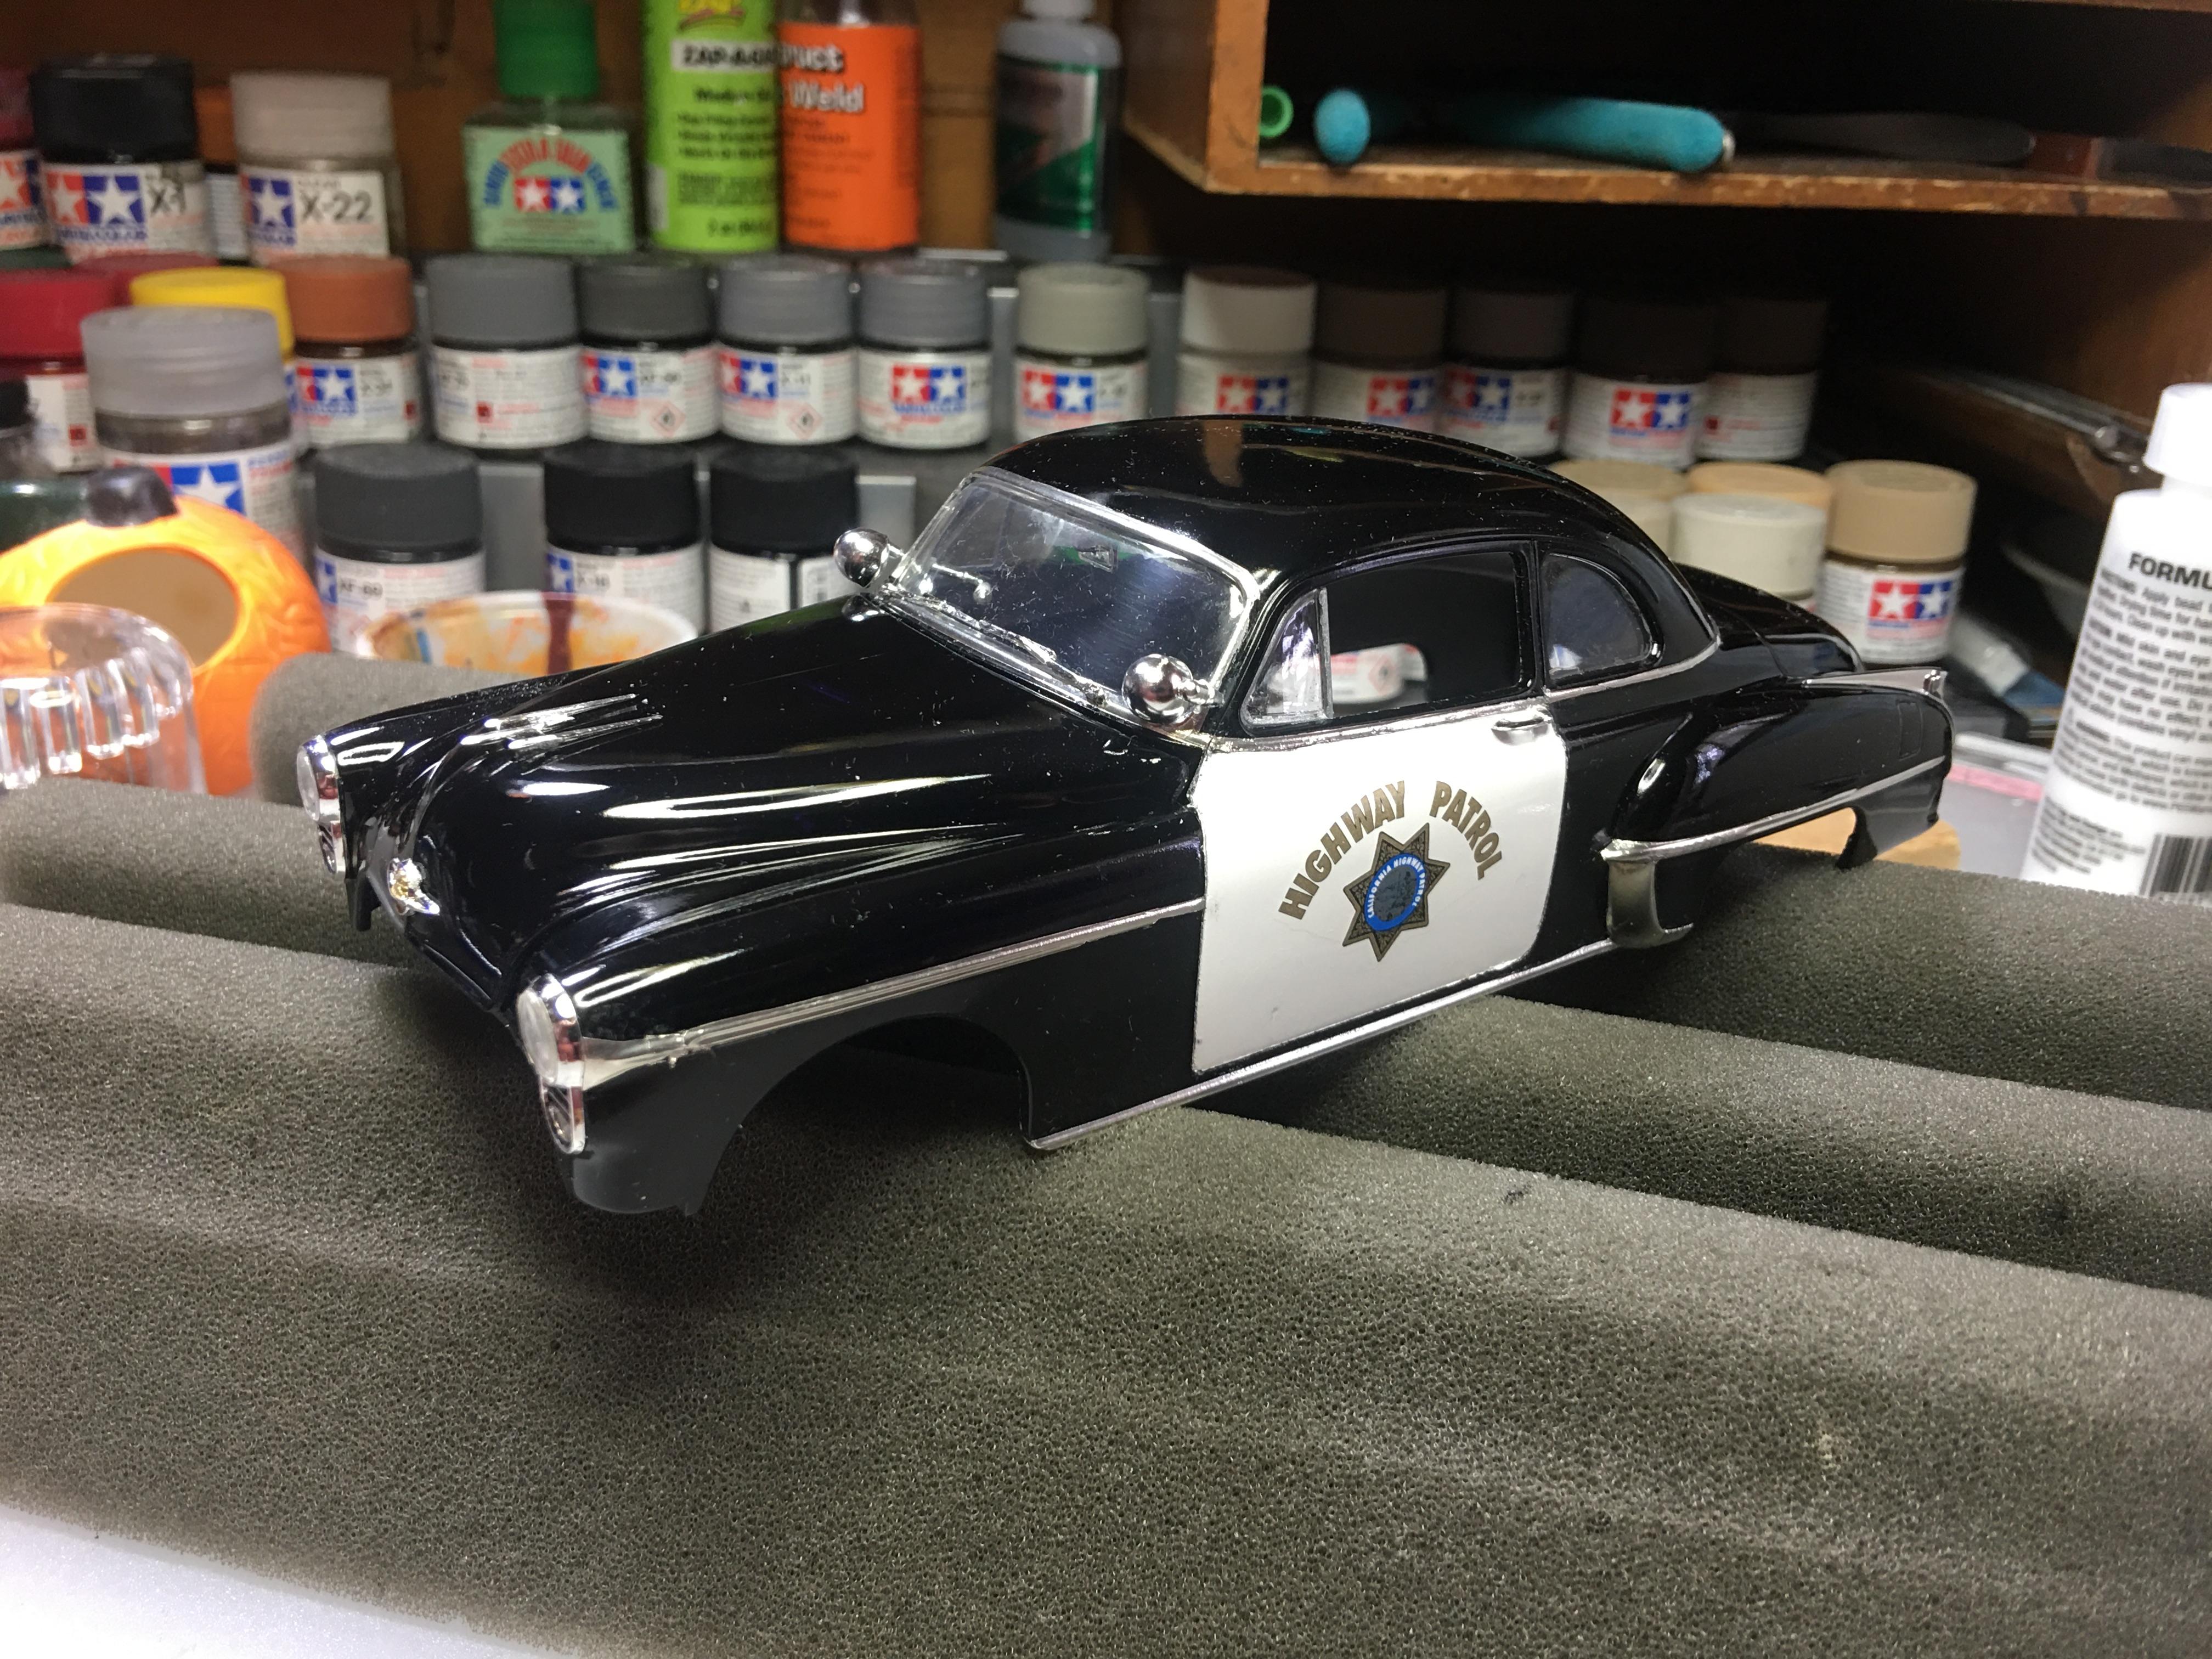
This is something I've been working on. I didn't bother with a full chassis build up since it's very straight forward OOB style with the only real detailing being the use of different shades and gloss finishes of black much like a 1:1. The interior is based on photos from the internet from original sales brochures. I added a 2 way radio and eliminated the factory AM and clock. The steering wheel is white since this was something that the CHP had on all of their cars into the late '60's or early '70's when they started to have AC in their cars and was based on cars being used in the high desert area. The engine has spark plug wiring and I even tried to replicate spark plugs. This is a first for me and will require some more practice on my part. The door trim molding has been removed as was the 1:1. The spot lights are from a '48 Chevrolet Galaxie kit and the rear deck lights are the fog lamps from the same kit. The door decals are from a sheet I bought from Chimneyville Hobbies long ago. The paint is Tamiya TS-14 Black and TS-26 Puree White with TS-13 Clear. Before final assembly I need to add a 2 way radio antenna and some other small details. I hope to have this Under Glass this next week. Thank you for looking and any suggestions are always welcome.

-
I had know idea of Spams popularity in other parts of the world. The only way I knew about Hawaii was this was a fact pointed out to us on our visit there in '87 or '88.
-
Chopped 51 Chevy Fleetline from J and J Resin
espo replied to Sledsel's topic in Car Aftermarket / Resin / 3D Printed
The only thing I noticed about this casting is the windshield opening. The original AMT kit had an odd mounting for the upper windshield making it appear as if the windshield is "tunneled" or the top edge of the opening is just to thick. From the picture it seems that all of the original trim is present and sharply done. A couple of years ago I built an Olds fastback that was based on a combination of the AMT fastback roof body section but used the Revell Olds for the remainder. It is my opinion that the Revell Olds has a much more realistic windshield opening and moldings. This body looks nice enough I'd consider getting one but work on the windshield area to see if I could improve its appearance. I look forward to seeing your build on this. -
Chopped 51 Chevy Fleetline from J and J Resin
espo replied to Sledsel's topic in Car Aftermarket / Resin / 3D Printed
Looks like a great job on the chop. Very hard to keep the roof proportions on this body style when you whack the roof. -
Ya, you were able to slay the beast. I know how you fought this one. All worth it in the end, Beautiful looks finish and the chrome body trim is very clean.
-
You might have a plot for a rerun here. More valid than a load of Coors Beer.
-
What did you see on the road today?
espo replied to Harry P.'s topic in General Automotive Talk (Trucks and Cars)
Ya me also. I was just trying to be funny. -
What did you see on the road today?
espo replied to Harry P.'s topic in General Automotive Talk (Trucks and Cars)
You should have gotten out of the safety of your car and grabbed him and explained how rude he was being. I'll bet no one waiting in line said a thing let alone a store employee. -
Last time I bought gas that cheap I was thick of hair and thin of waist, unlike now.
-
I haven't had any Spam for years and it was a big part of my early adulthood. Sort of an economic issue you could say. You will not believe what state consumes the most spam. Aloha.
-
1934 Ford big truck
espo replied to junkyardjeff's topic in Model Trucks: Pickups, Vans, SUVs, Light Commercial
Great looking old work truck. -
"EMERGENCY" Squad 10
espo replied to GLMFAA1's topic in Model Trucks: Pickups, Vans, SUVs, Light Commercial
This sure looks like the truck on the TV screen. A lot of scratch building and I like how you even got the Utility Bed Doors done. -
This should be interesting. A suggestion on the channeling of the body. Unless you're going to move the engine forward there may be some fitment problems between the cowl/windshield area and the back of the blowers. All part of the fun and it looks cool so far.
-
T/A Pontiac Aztek
espo replied to Mike 1017's topic in 1:1 Reference Photos: Auto Shows, Personal vehicles (Cars and Trucks)
The Aztek was the result of several focus groups that GM had with young buyers who couldn't afford to buy a car anyway. Then they took the most bizarre suggestions from these groups and created the Aztek. I with hold my personal opinion, but who ever let this creation hit the showroom is also partially responsible for the demise of the Pontiac Motor Division and should have to give up their company retirement benefits. Something more on the order of Mike 1017's picture might have sold a few. -
I was just wondering. You made it look factory.
-
Great looking build. I followed along when you were working on this and know how hard you worked to make it correct. This was an interesting chapter in racing with the Big 3 slipping untold amounts of money out the back door to curtain teams. Great looking paint finish and all of the sponsors decals.