

slownlow
-
Posts
221 -
Joined
-
Last visited
Content Type
Profiles
Forums
Events
Gallery
Posts posted by slownlow
-
-
18 minutes ago, bbowser said:
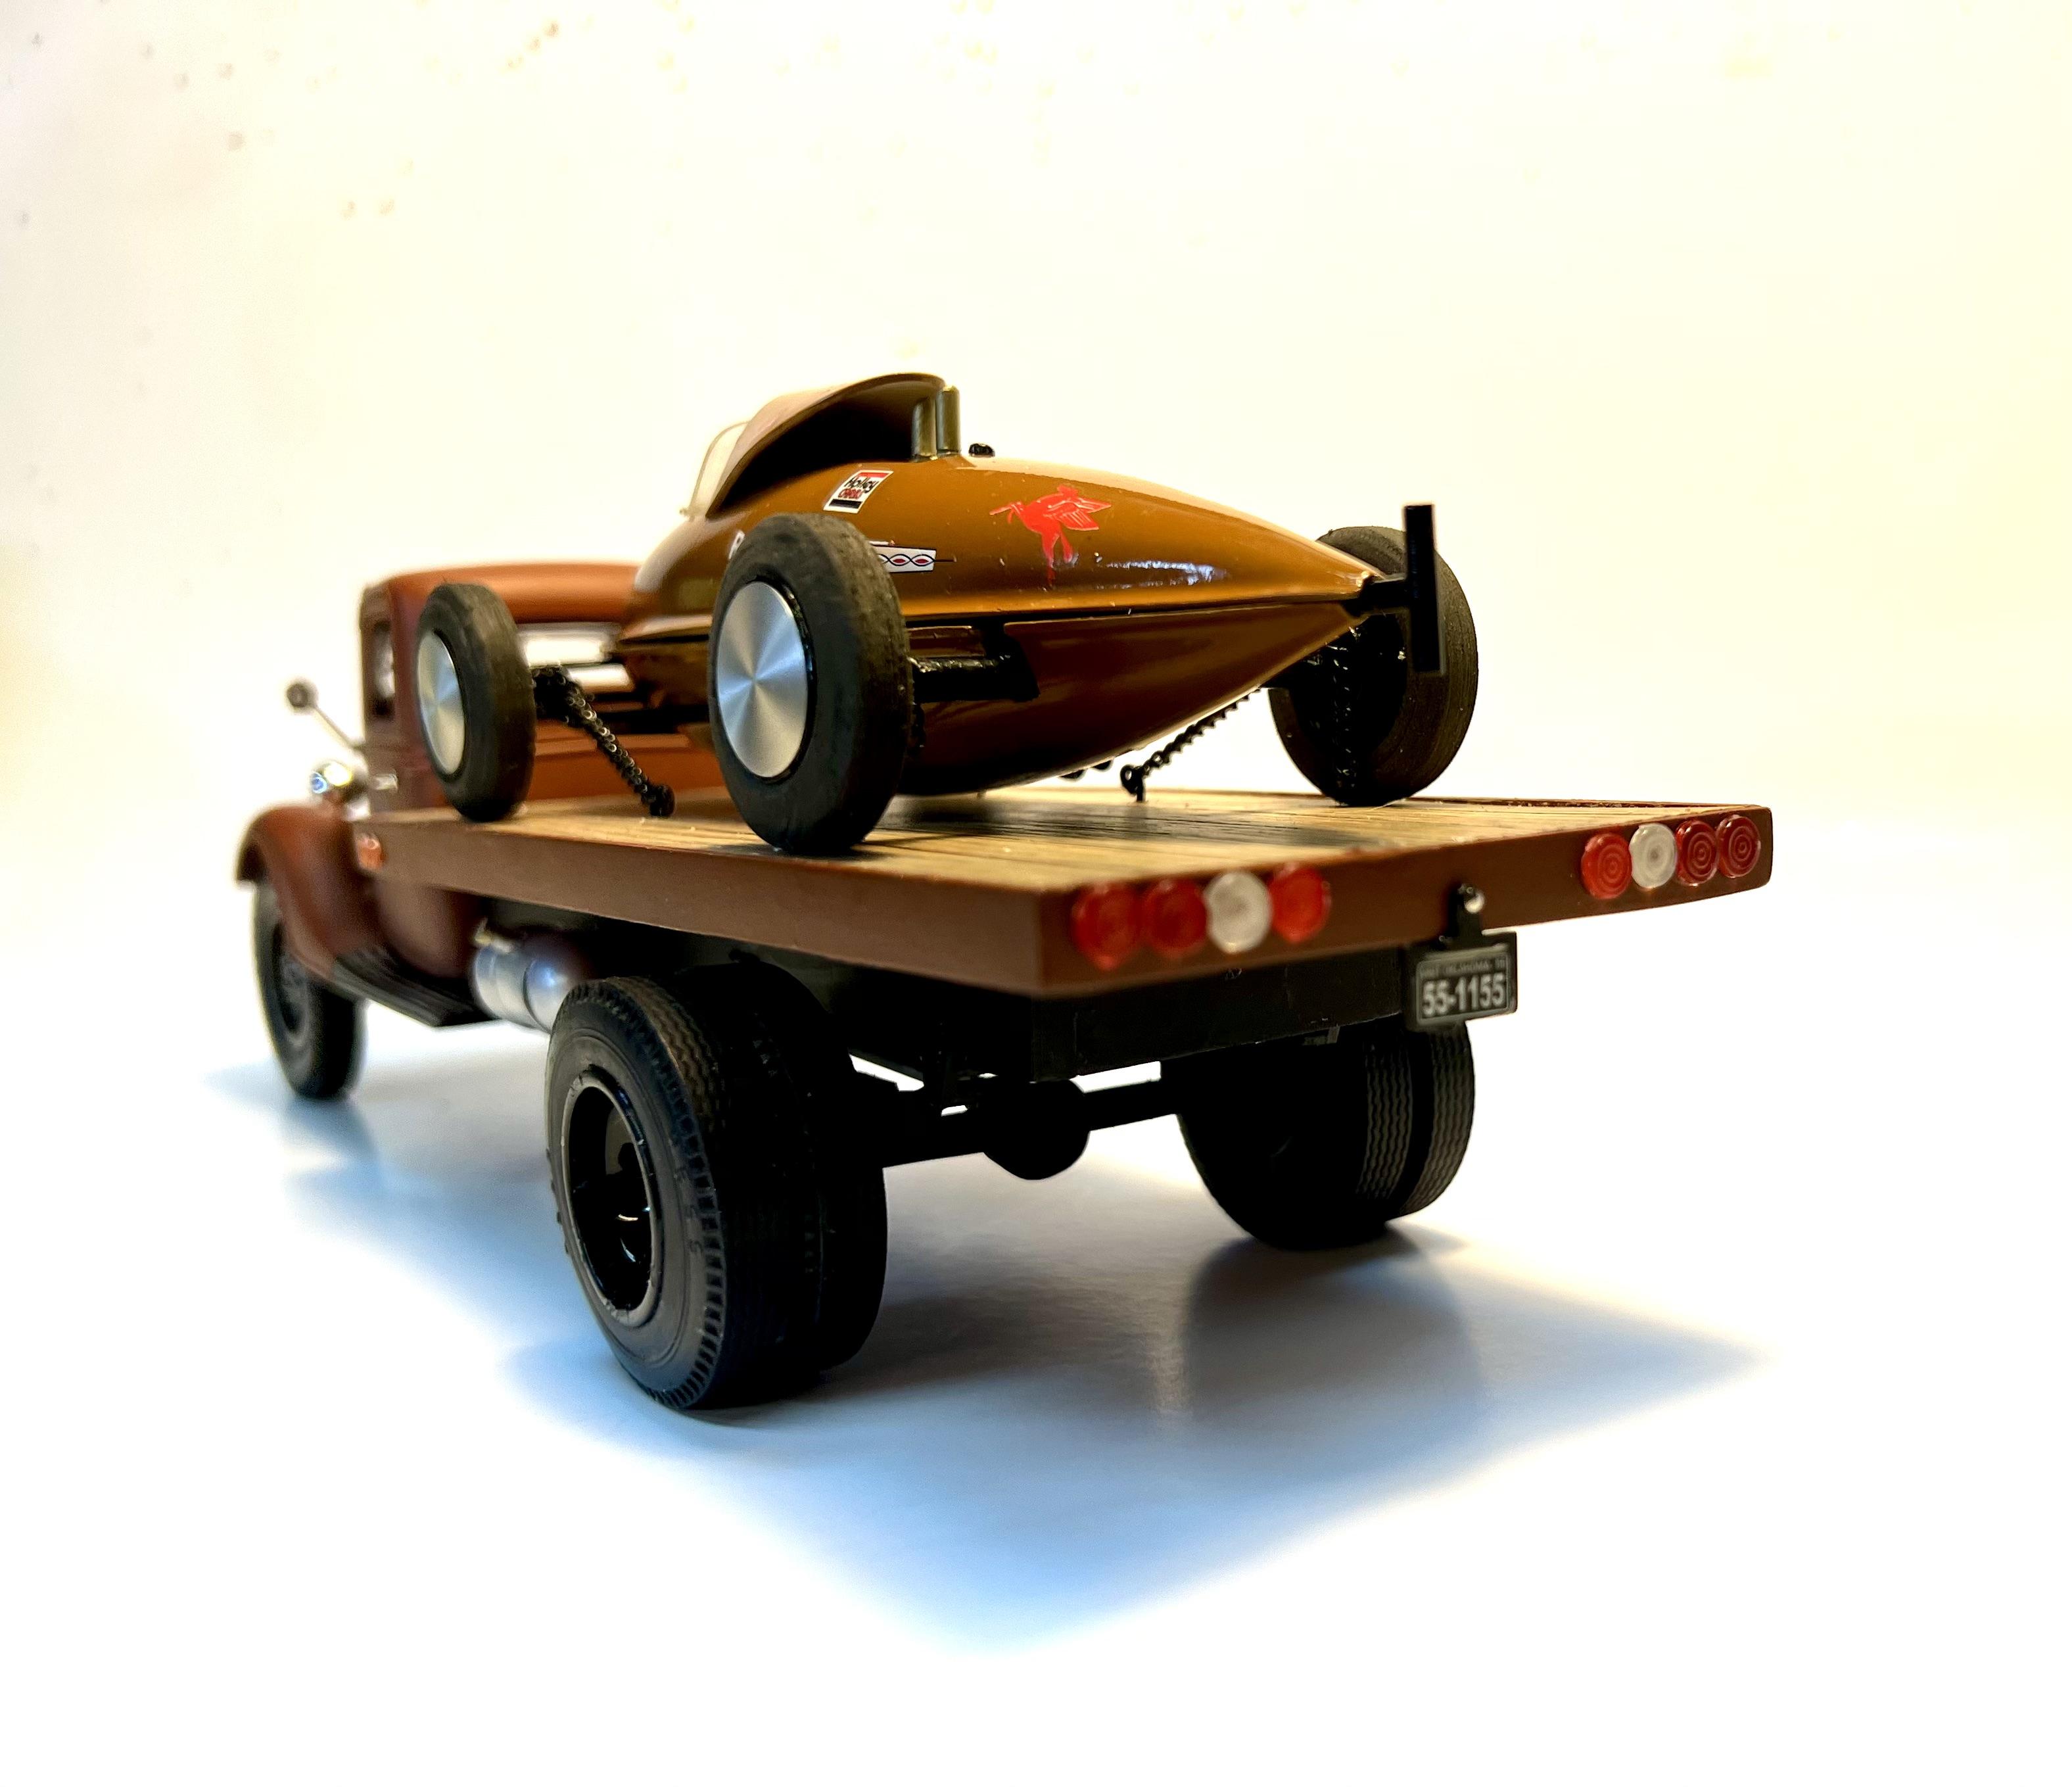
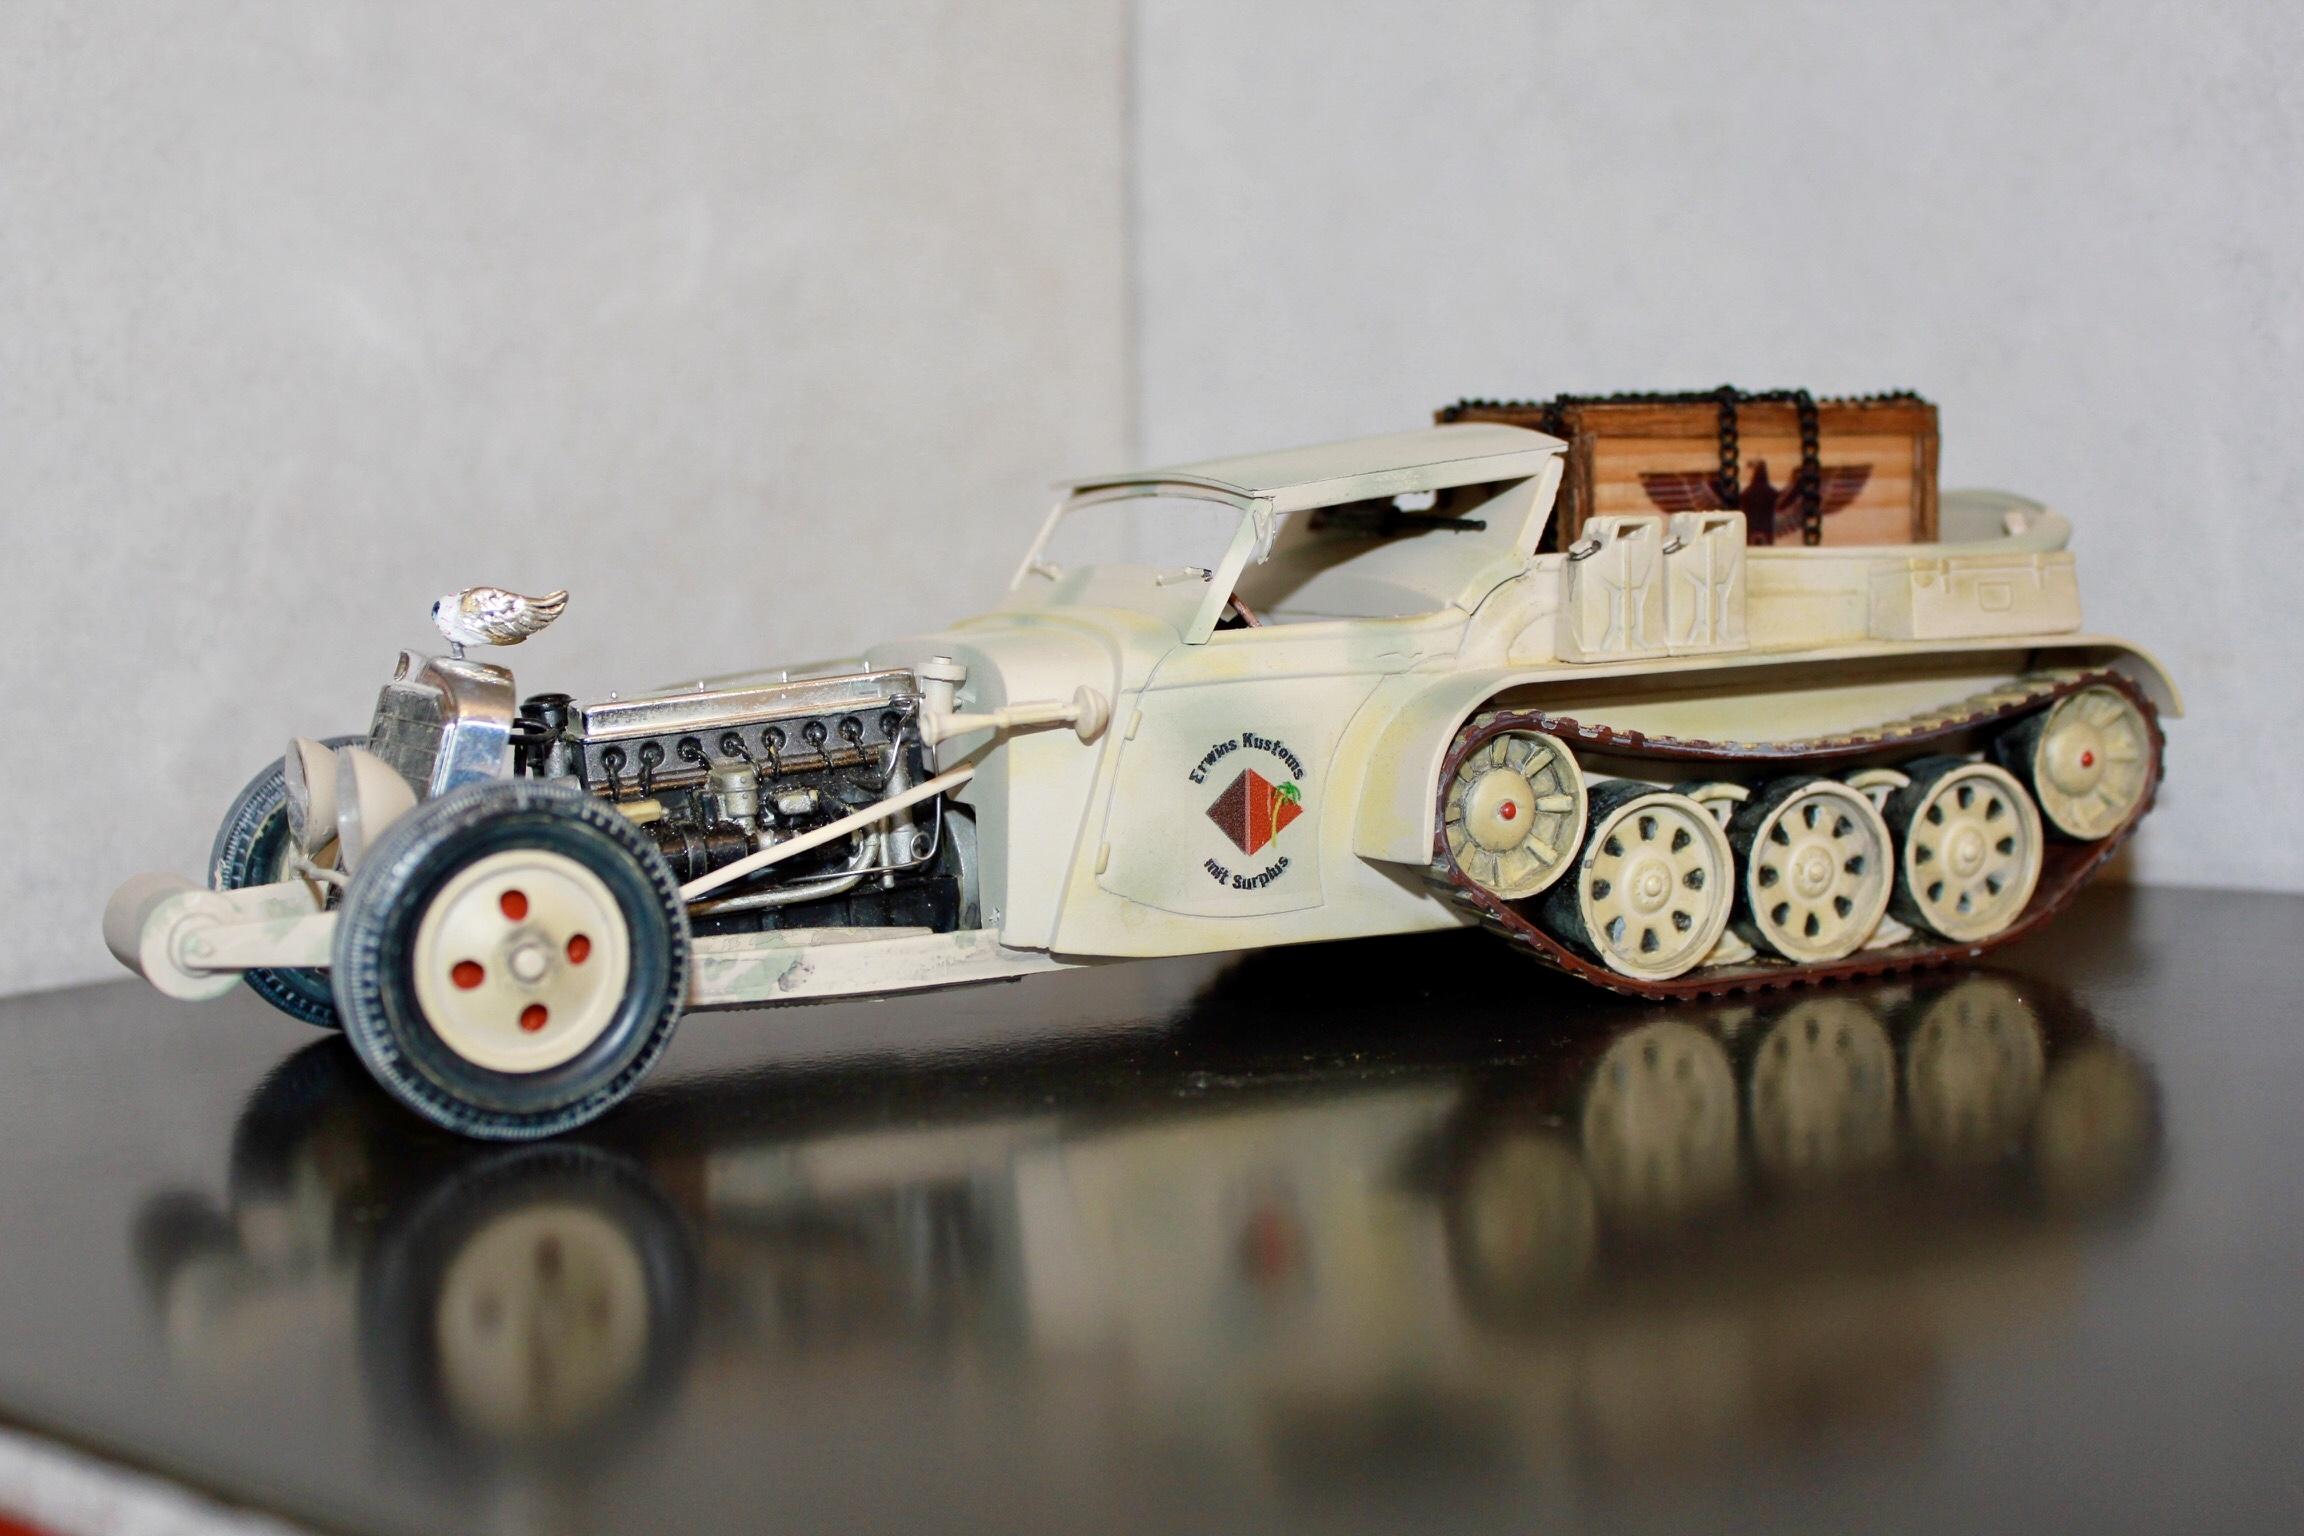
Very cool! The tie down chains are a nice touch.
Thanks, The chain came from Michael’s not sure what the original purpose was but it looks right. To get the “under tension” look I super glued it but was stumped on how to loop it over the axels. Then read superglue won’t stick to WD40 so a liberal coating on the axels and success. Now the chains can be removed at will.
-
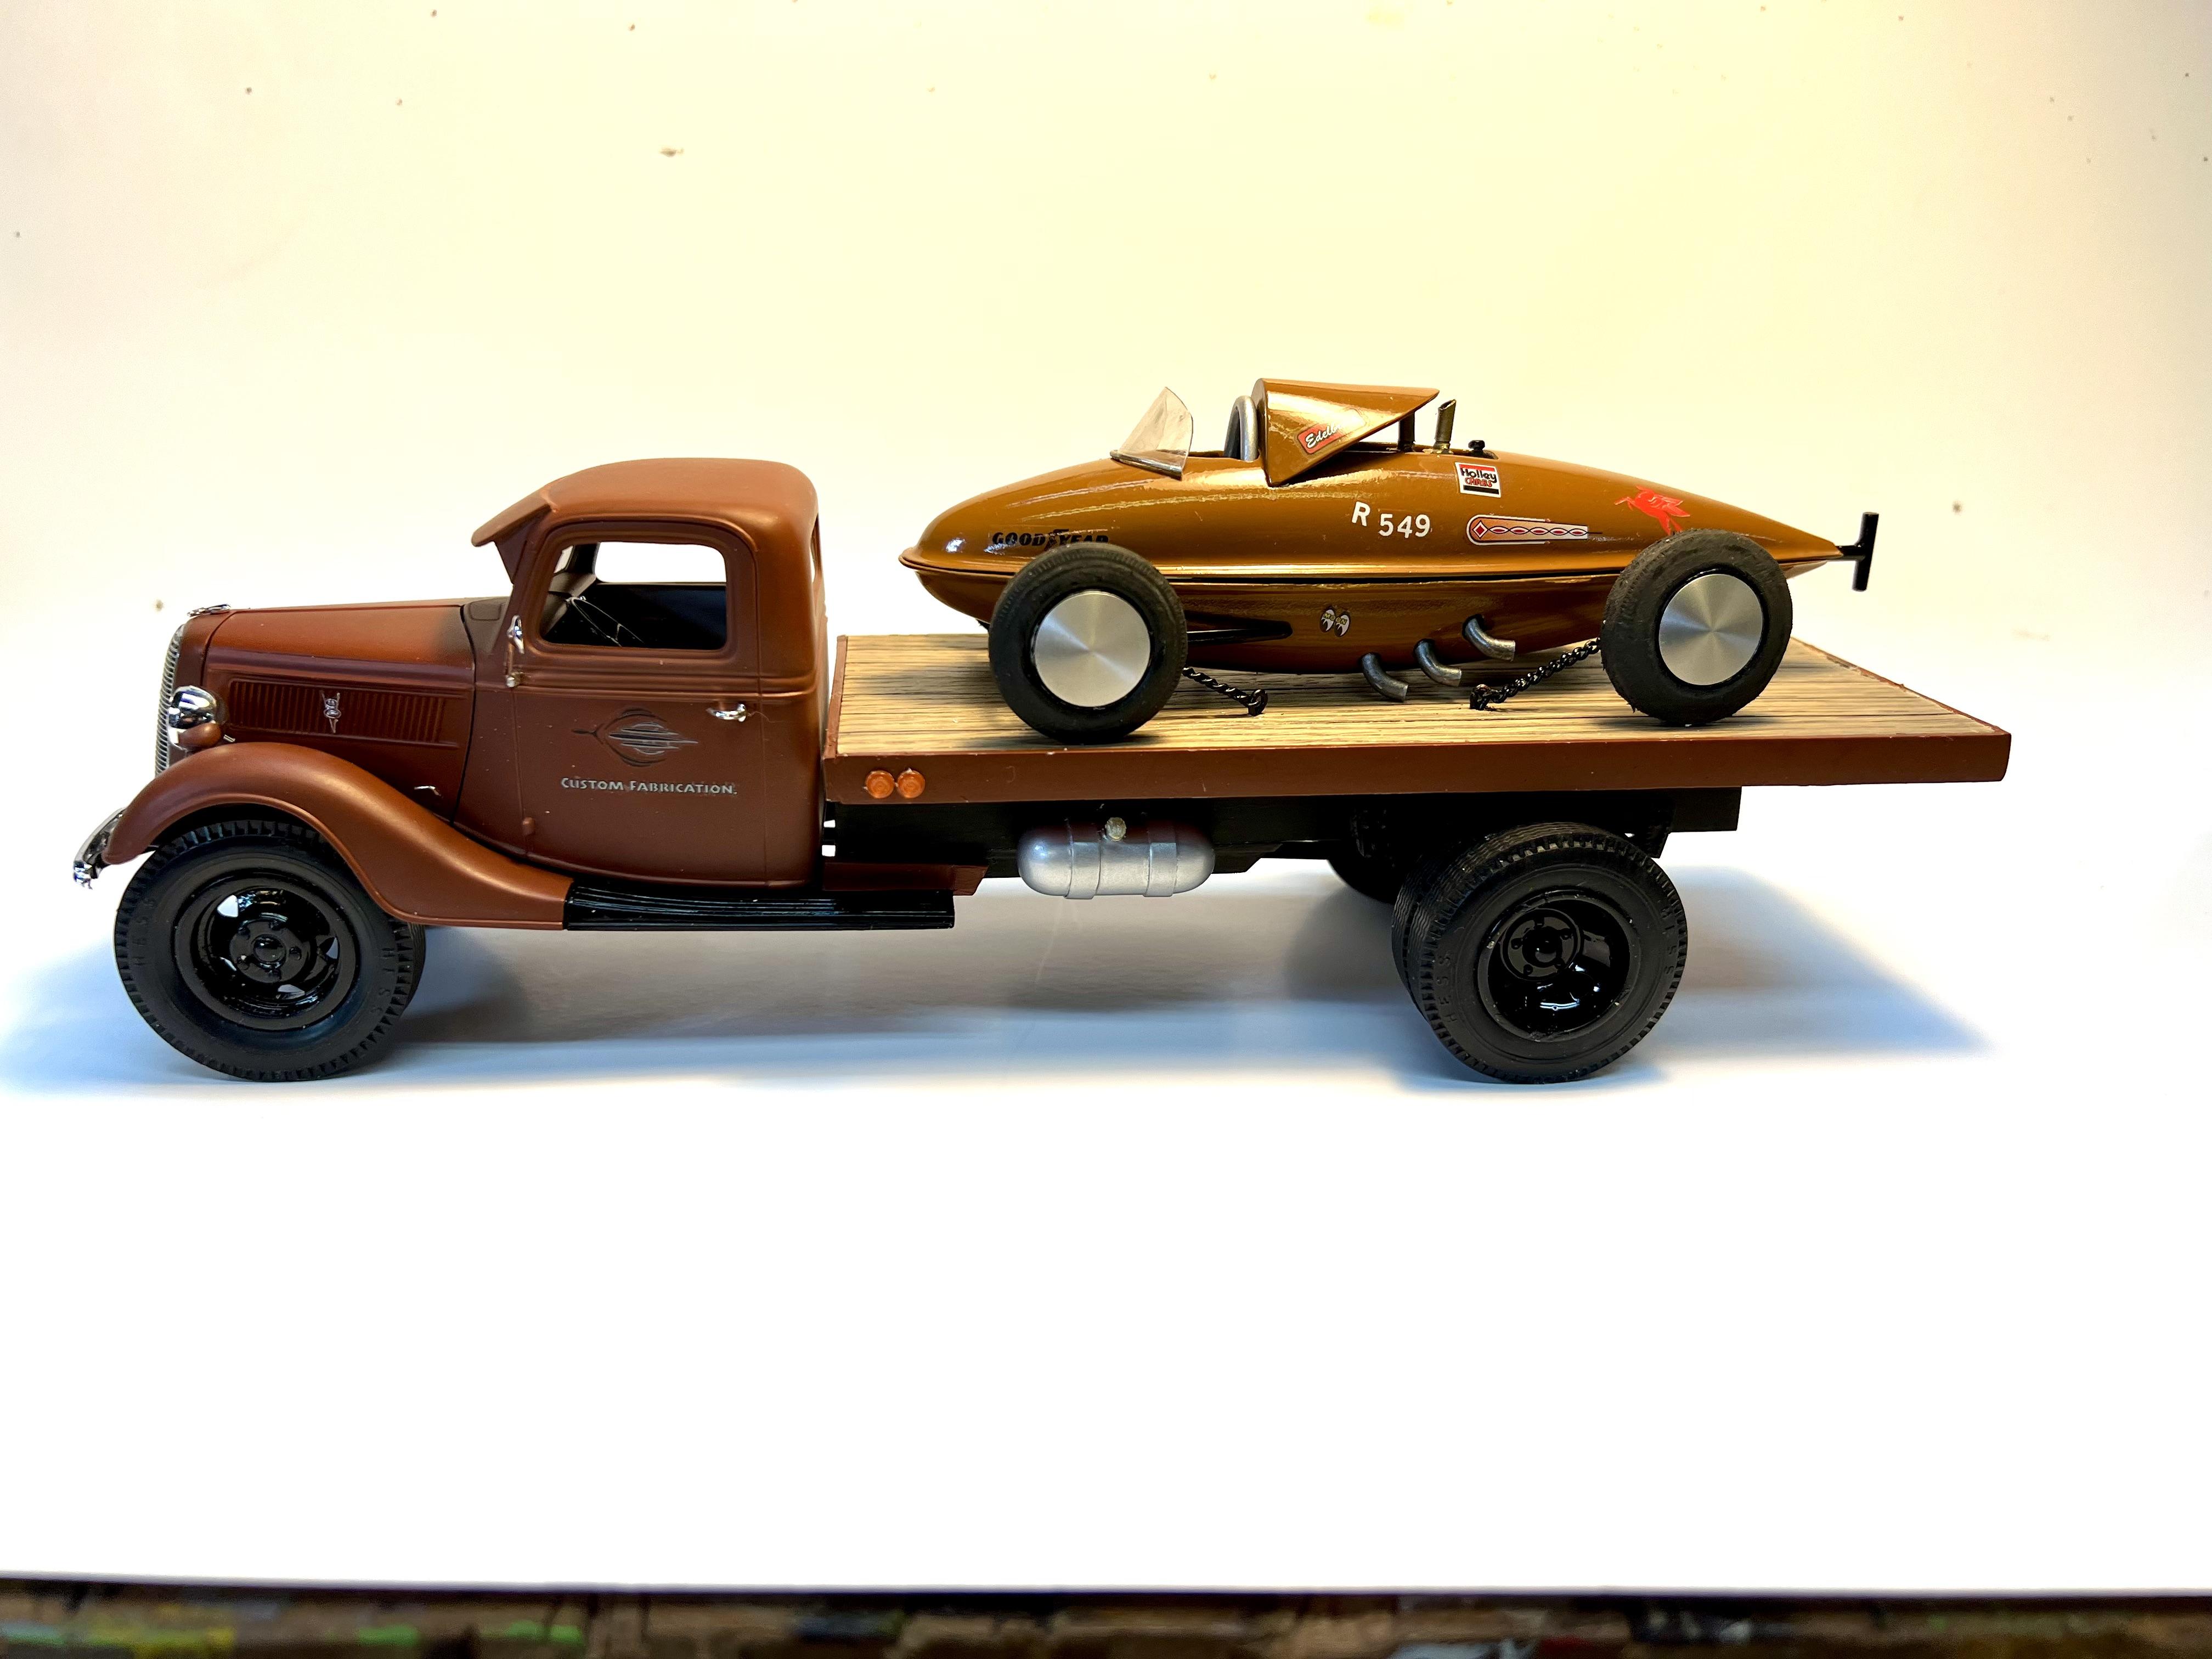
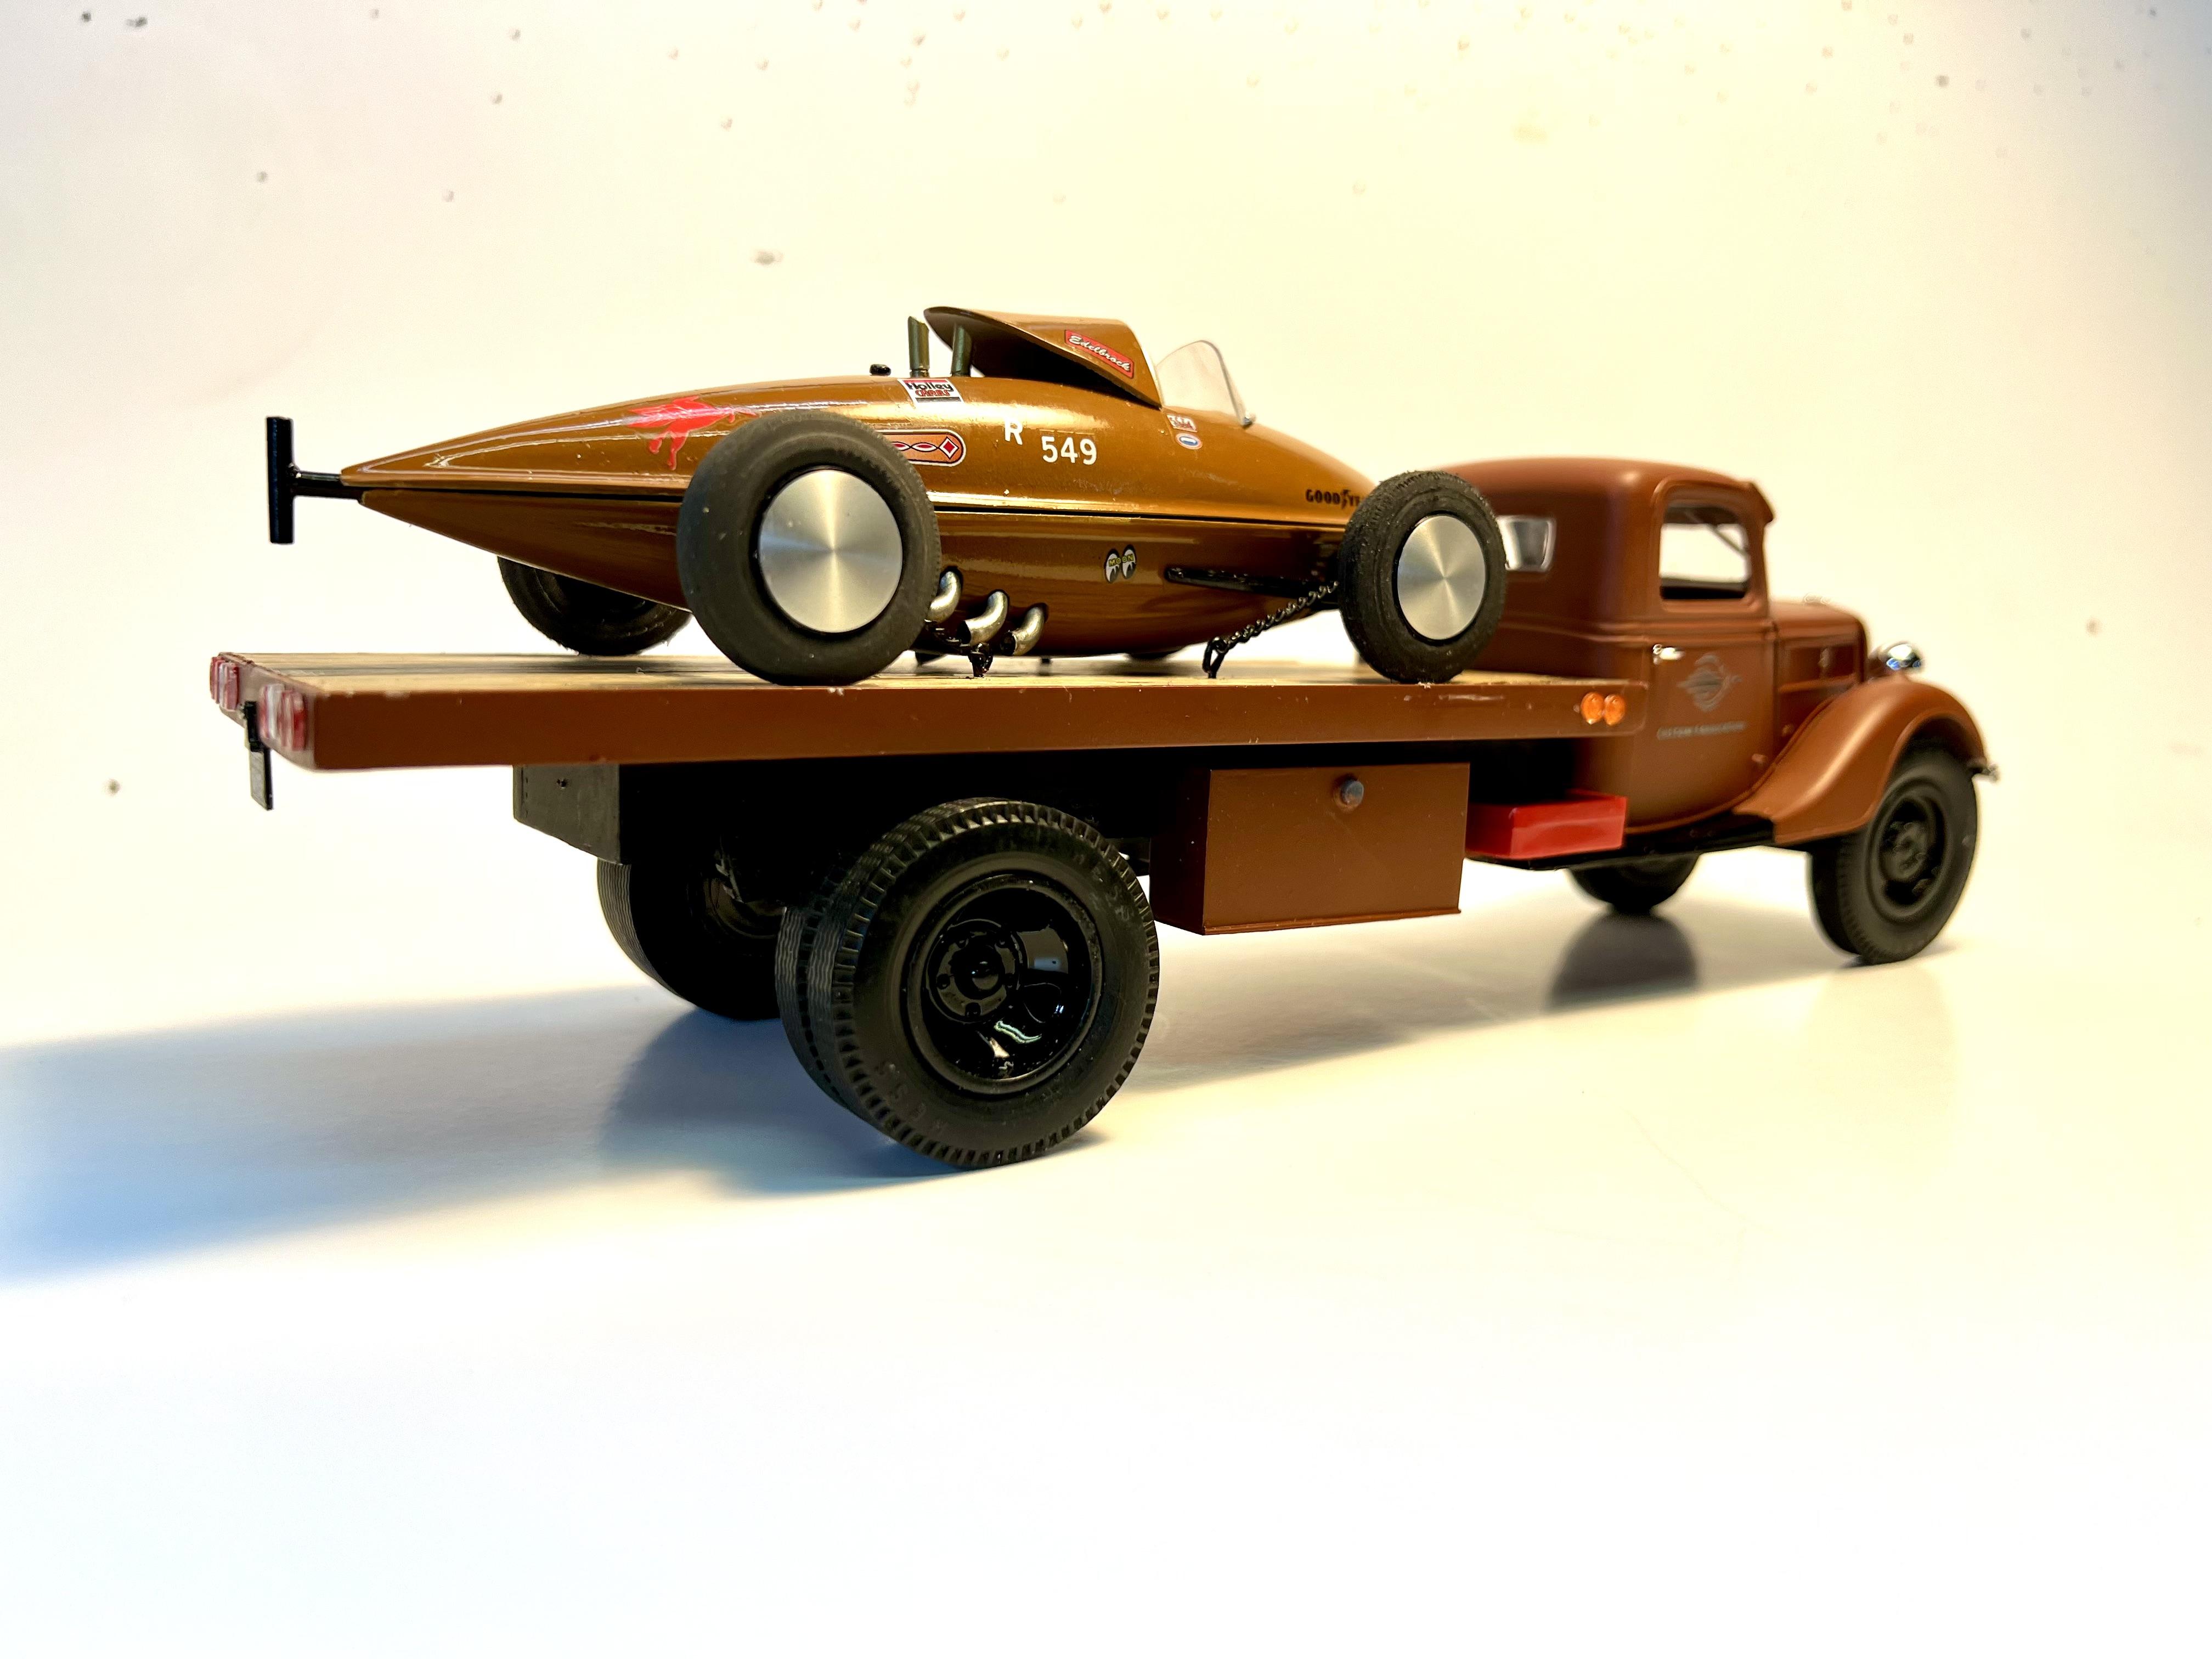
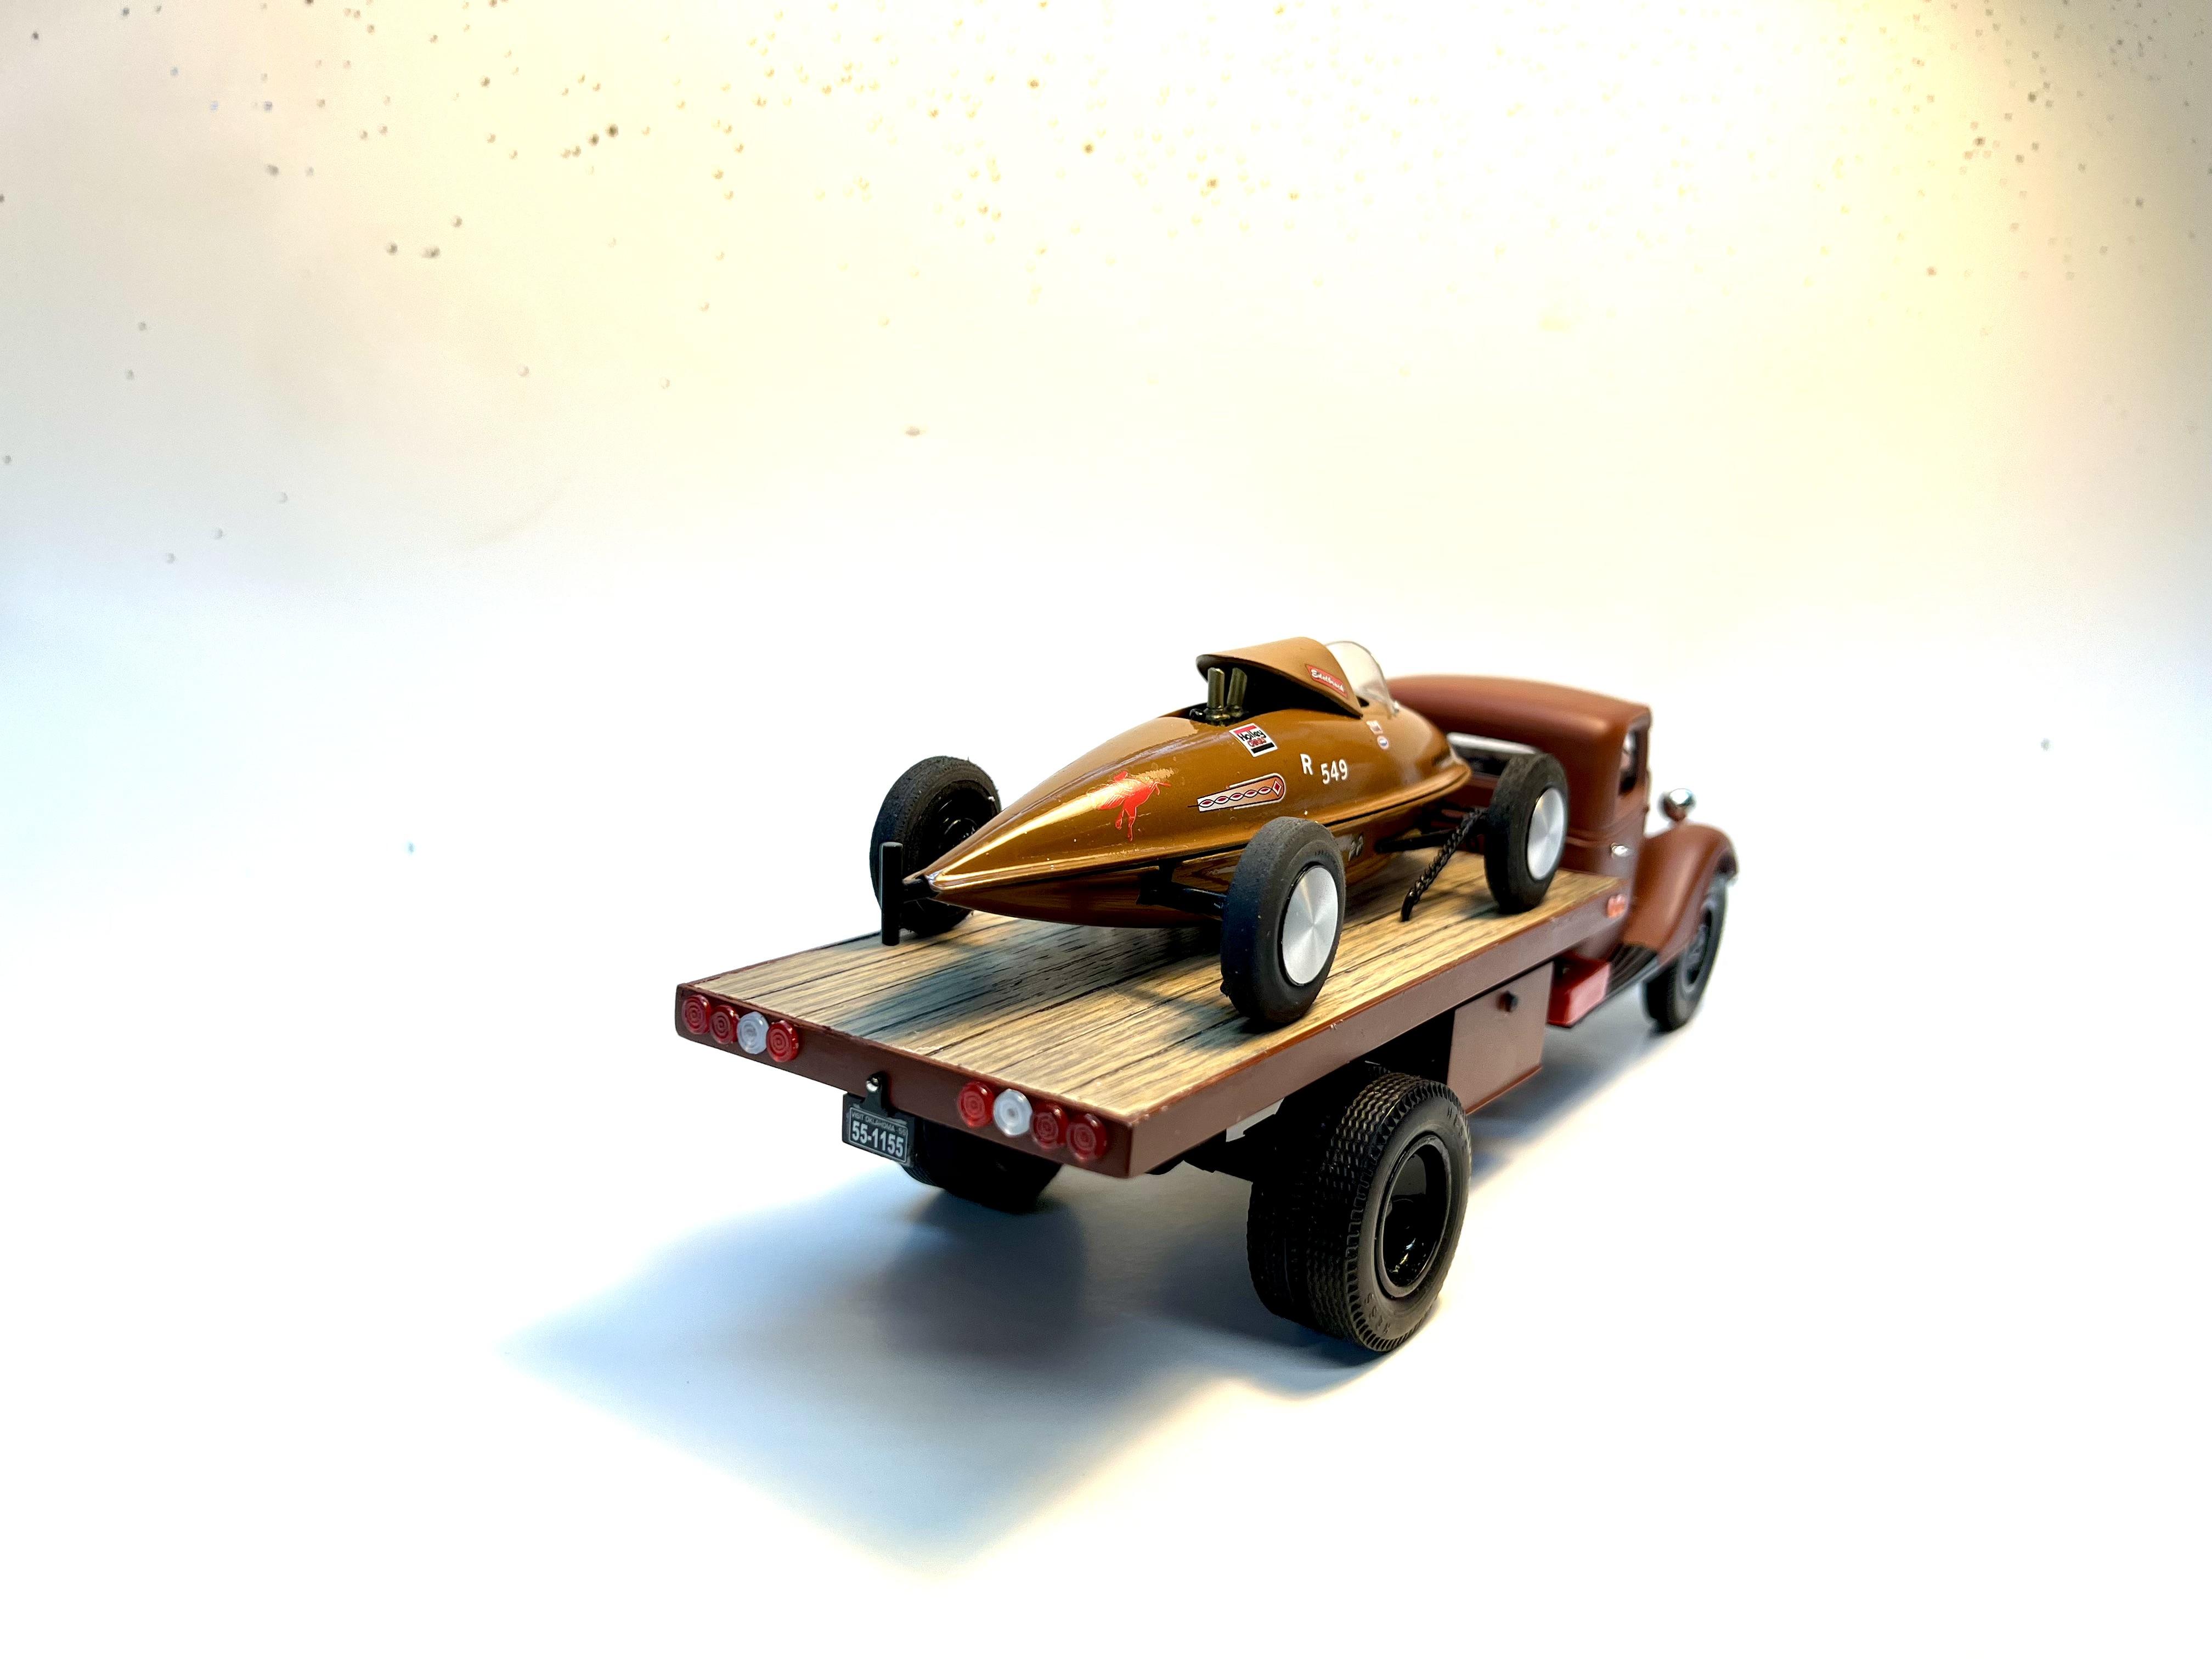
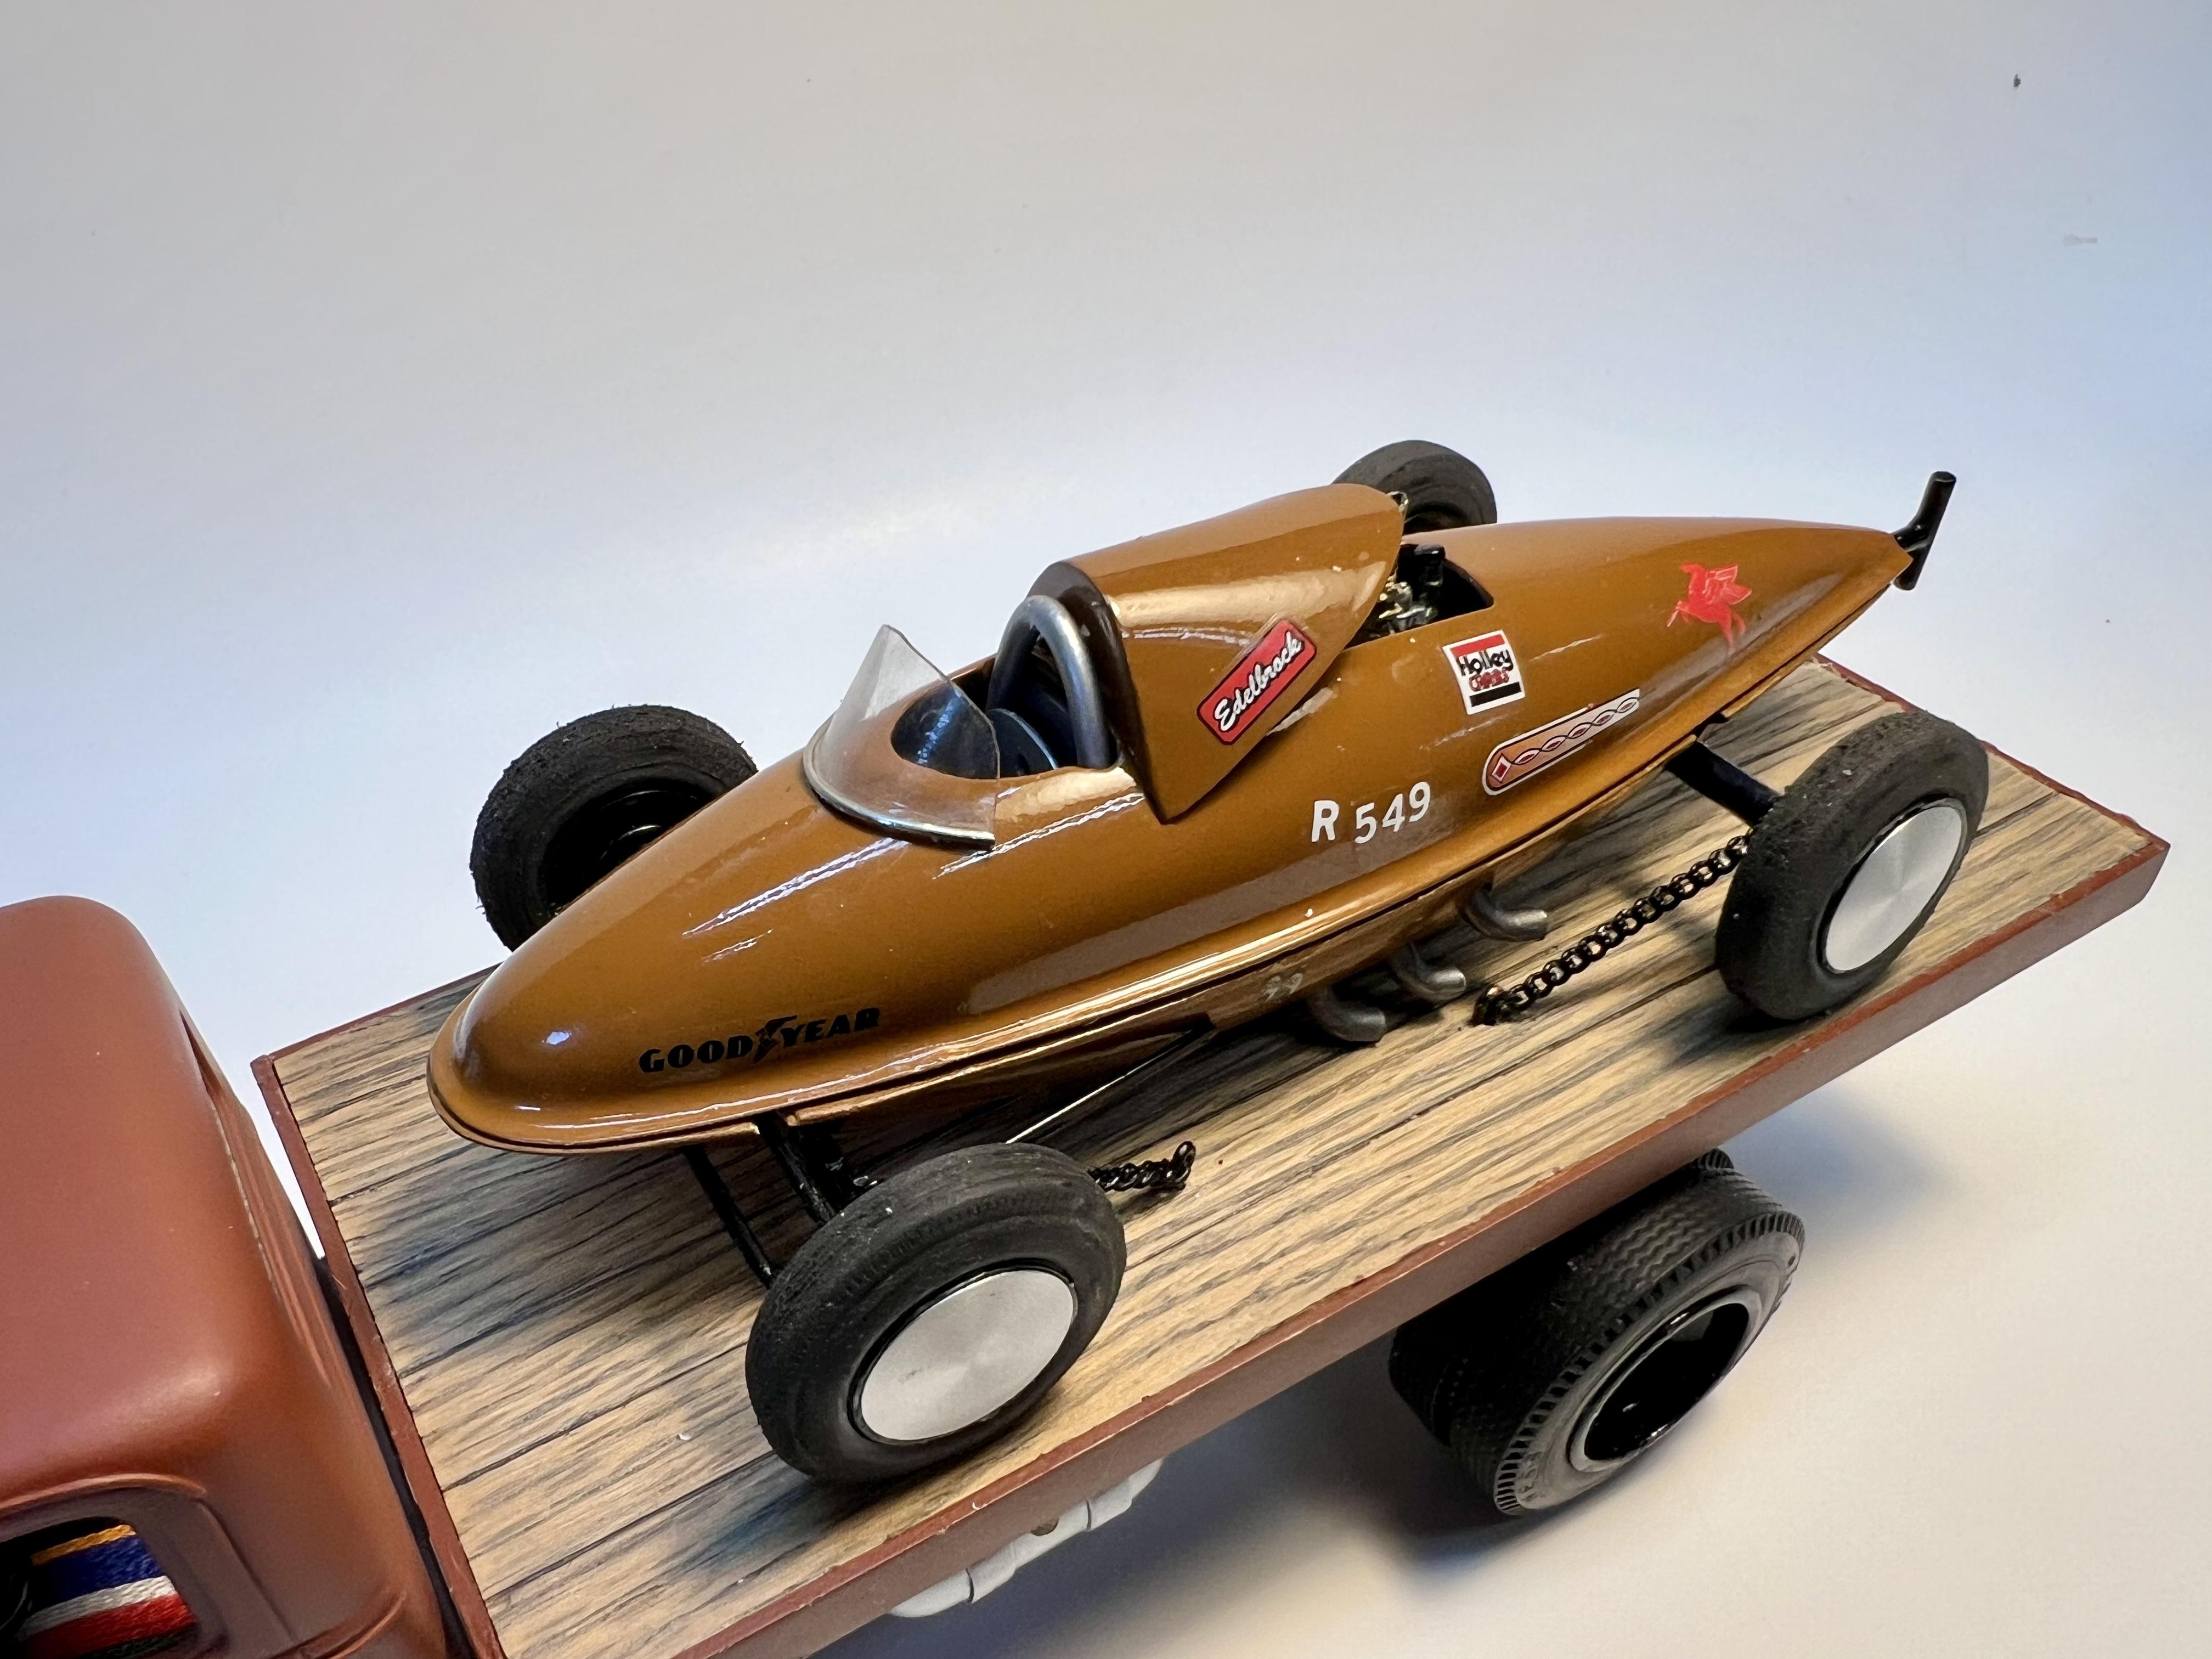
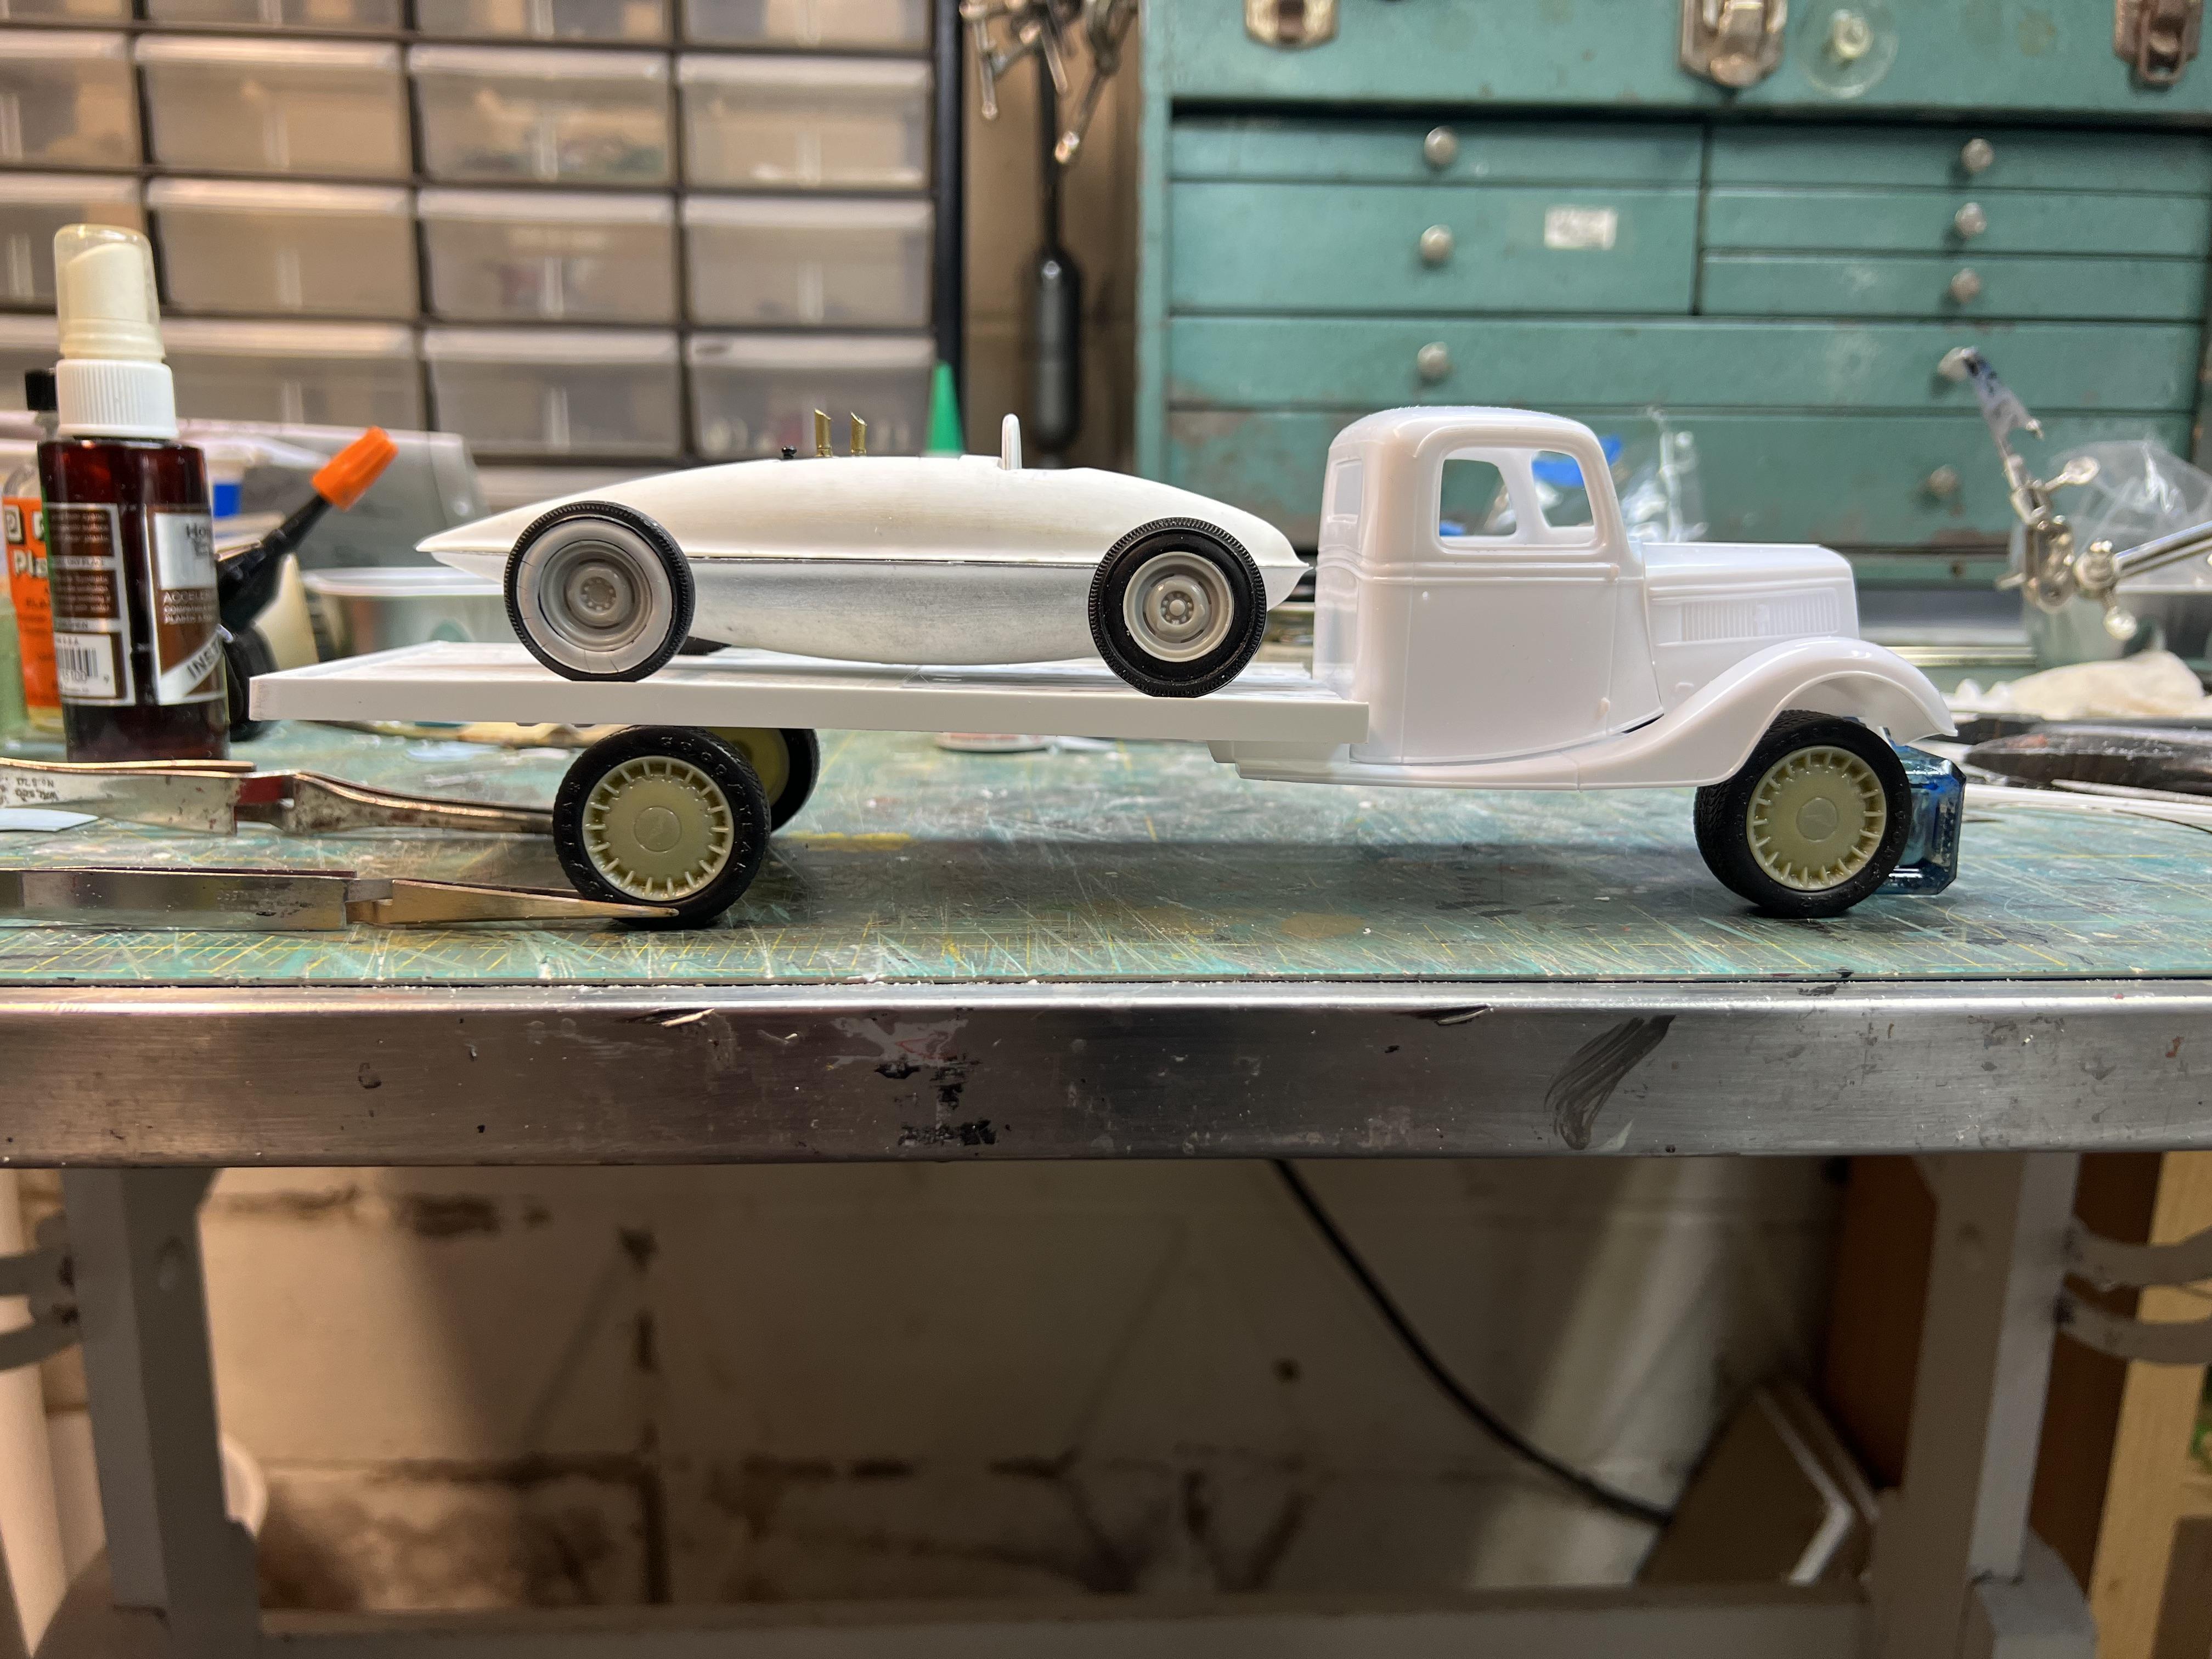
Stick a fork in, they’re as done as they’re gonna get.

-
 8
8
-
-
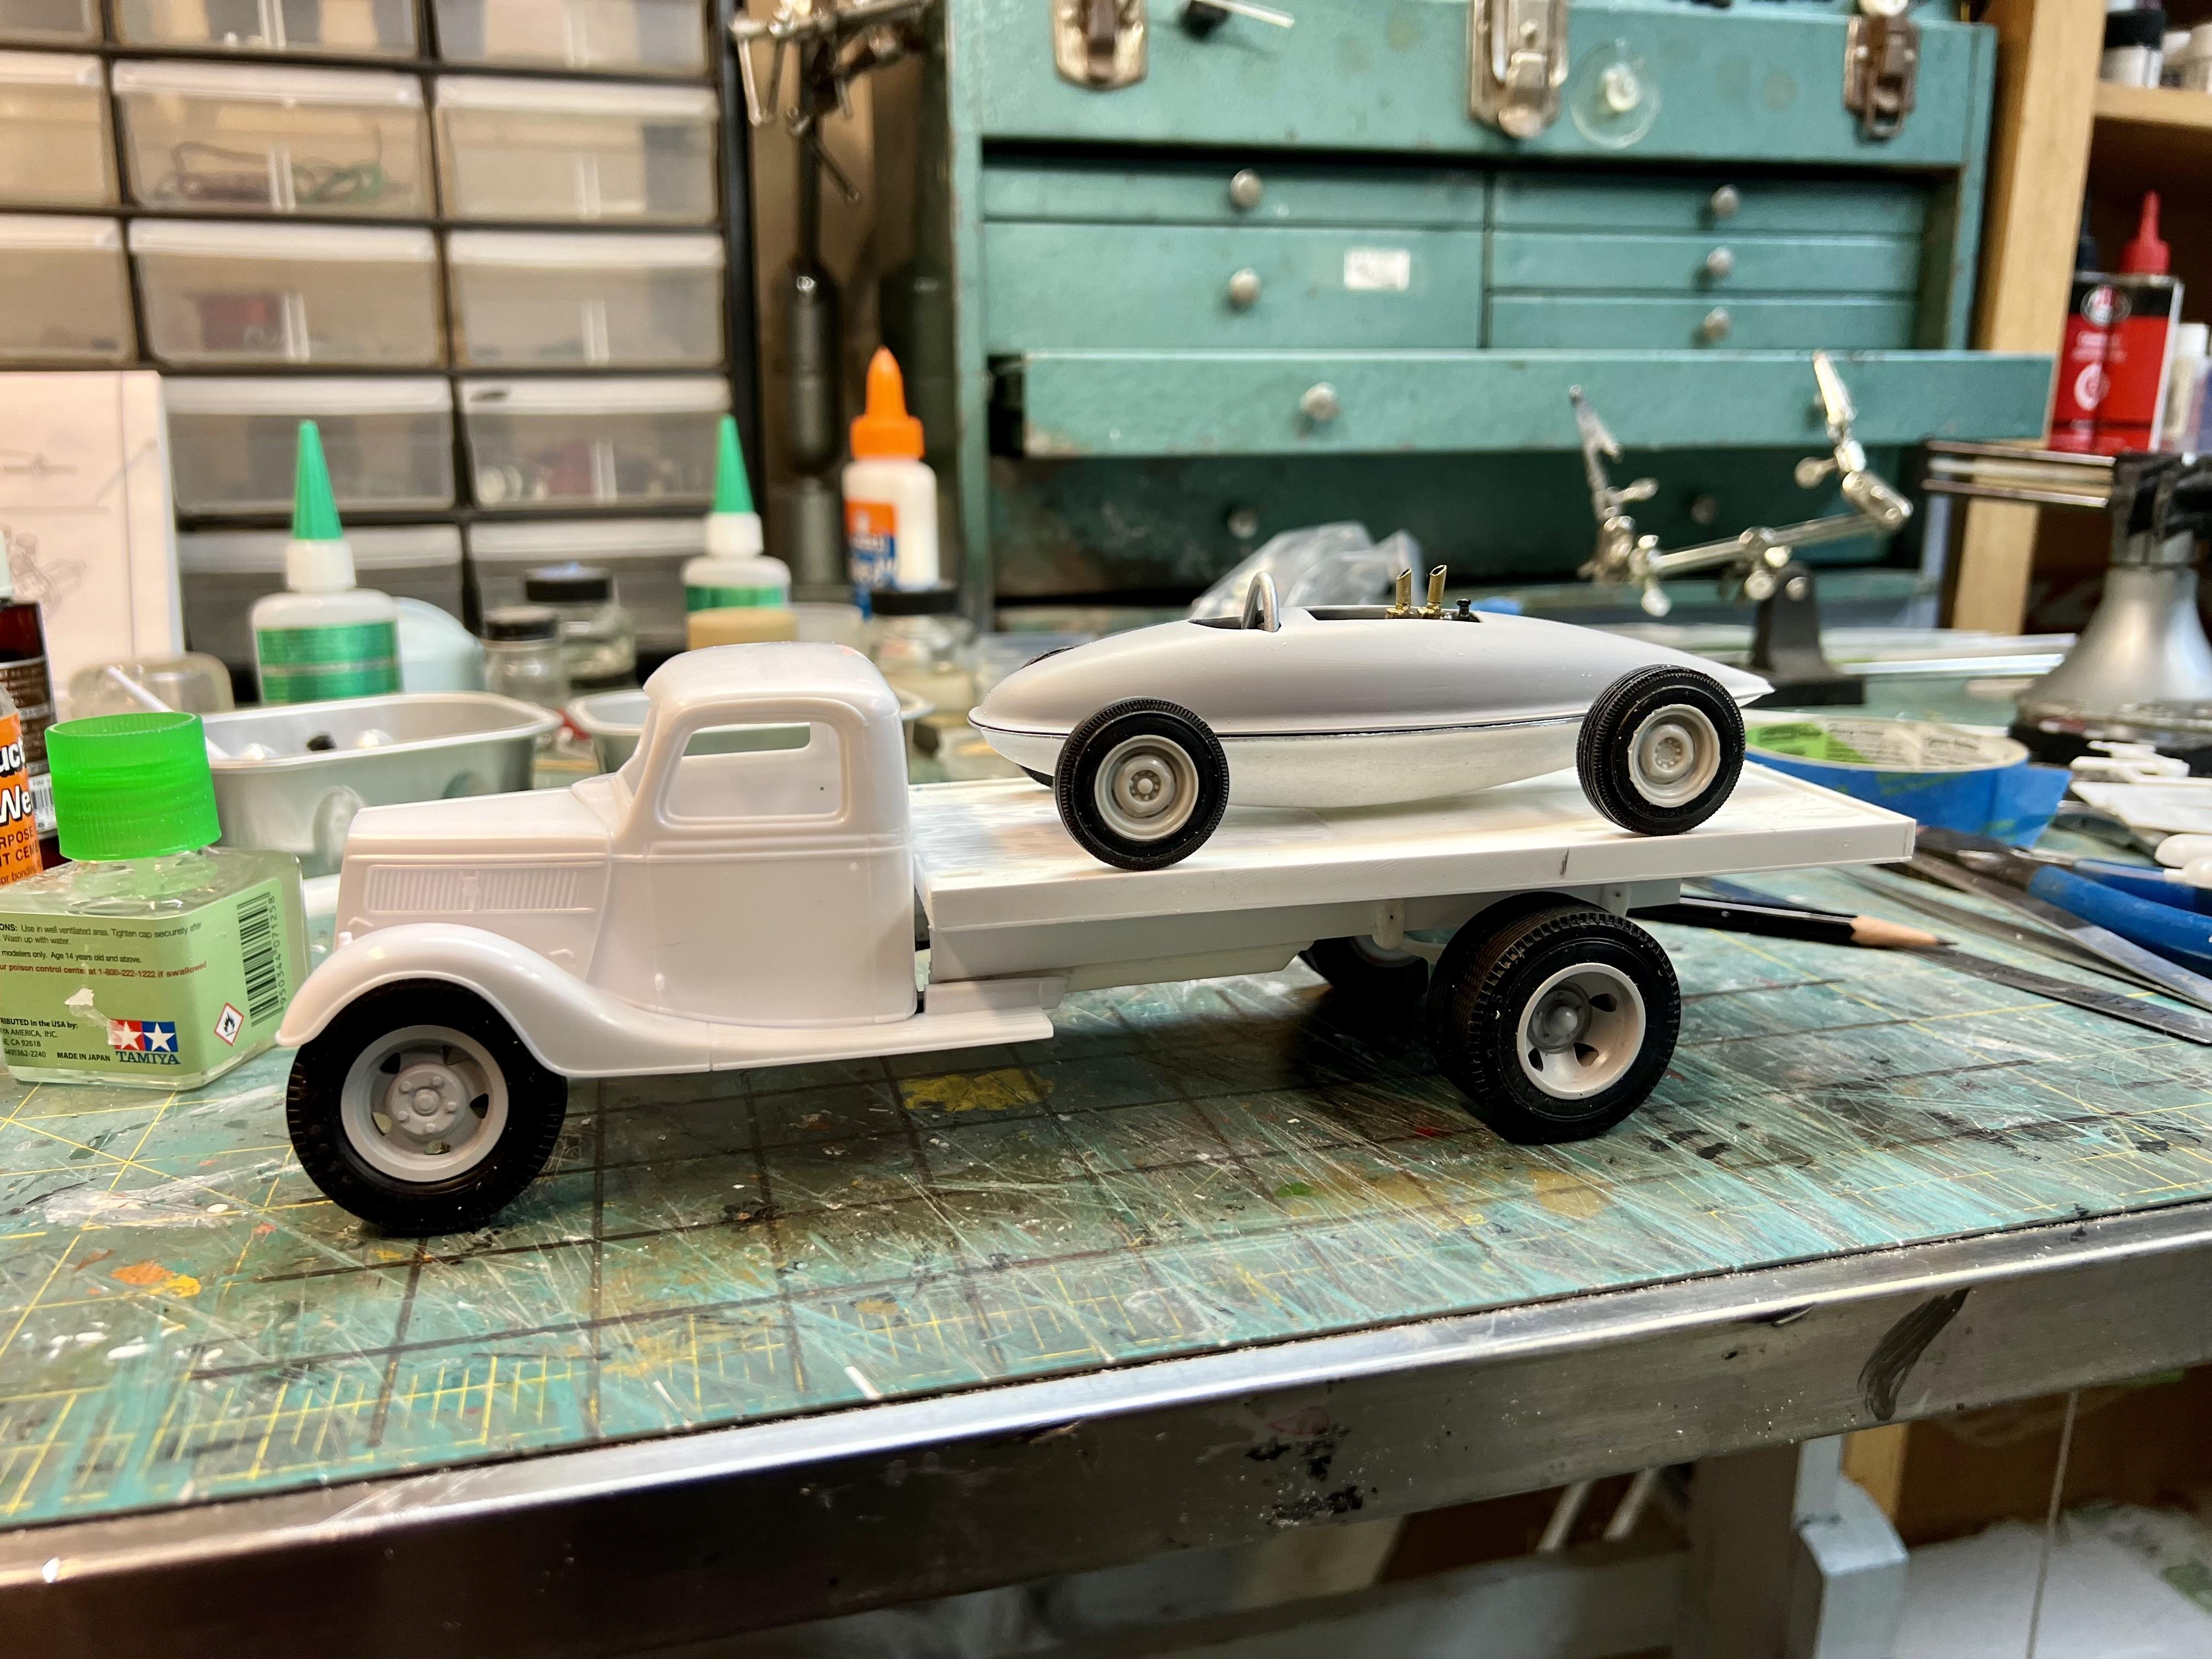
Here’s where I’m at now
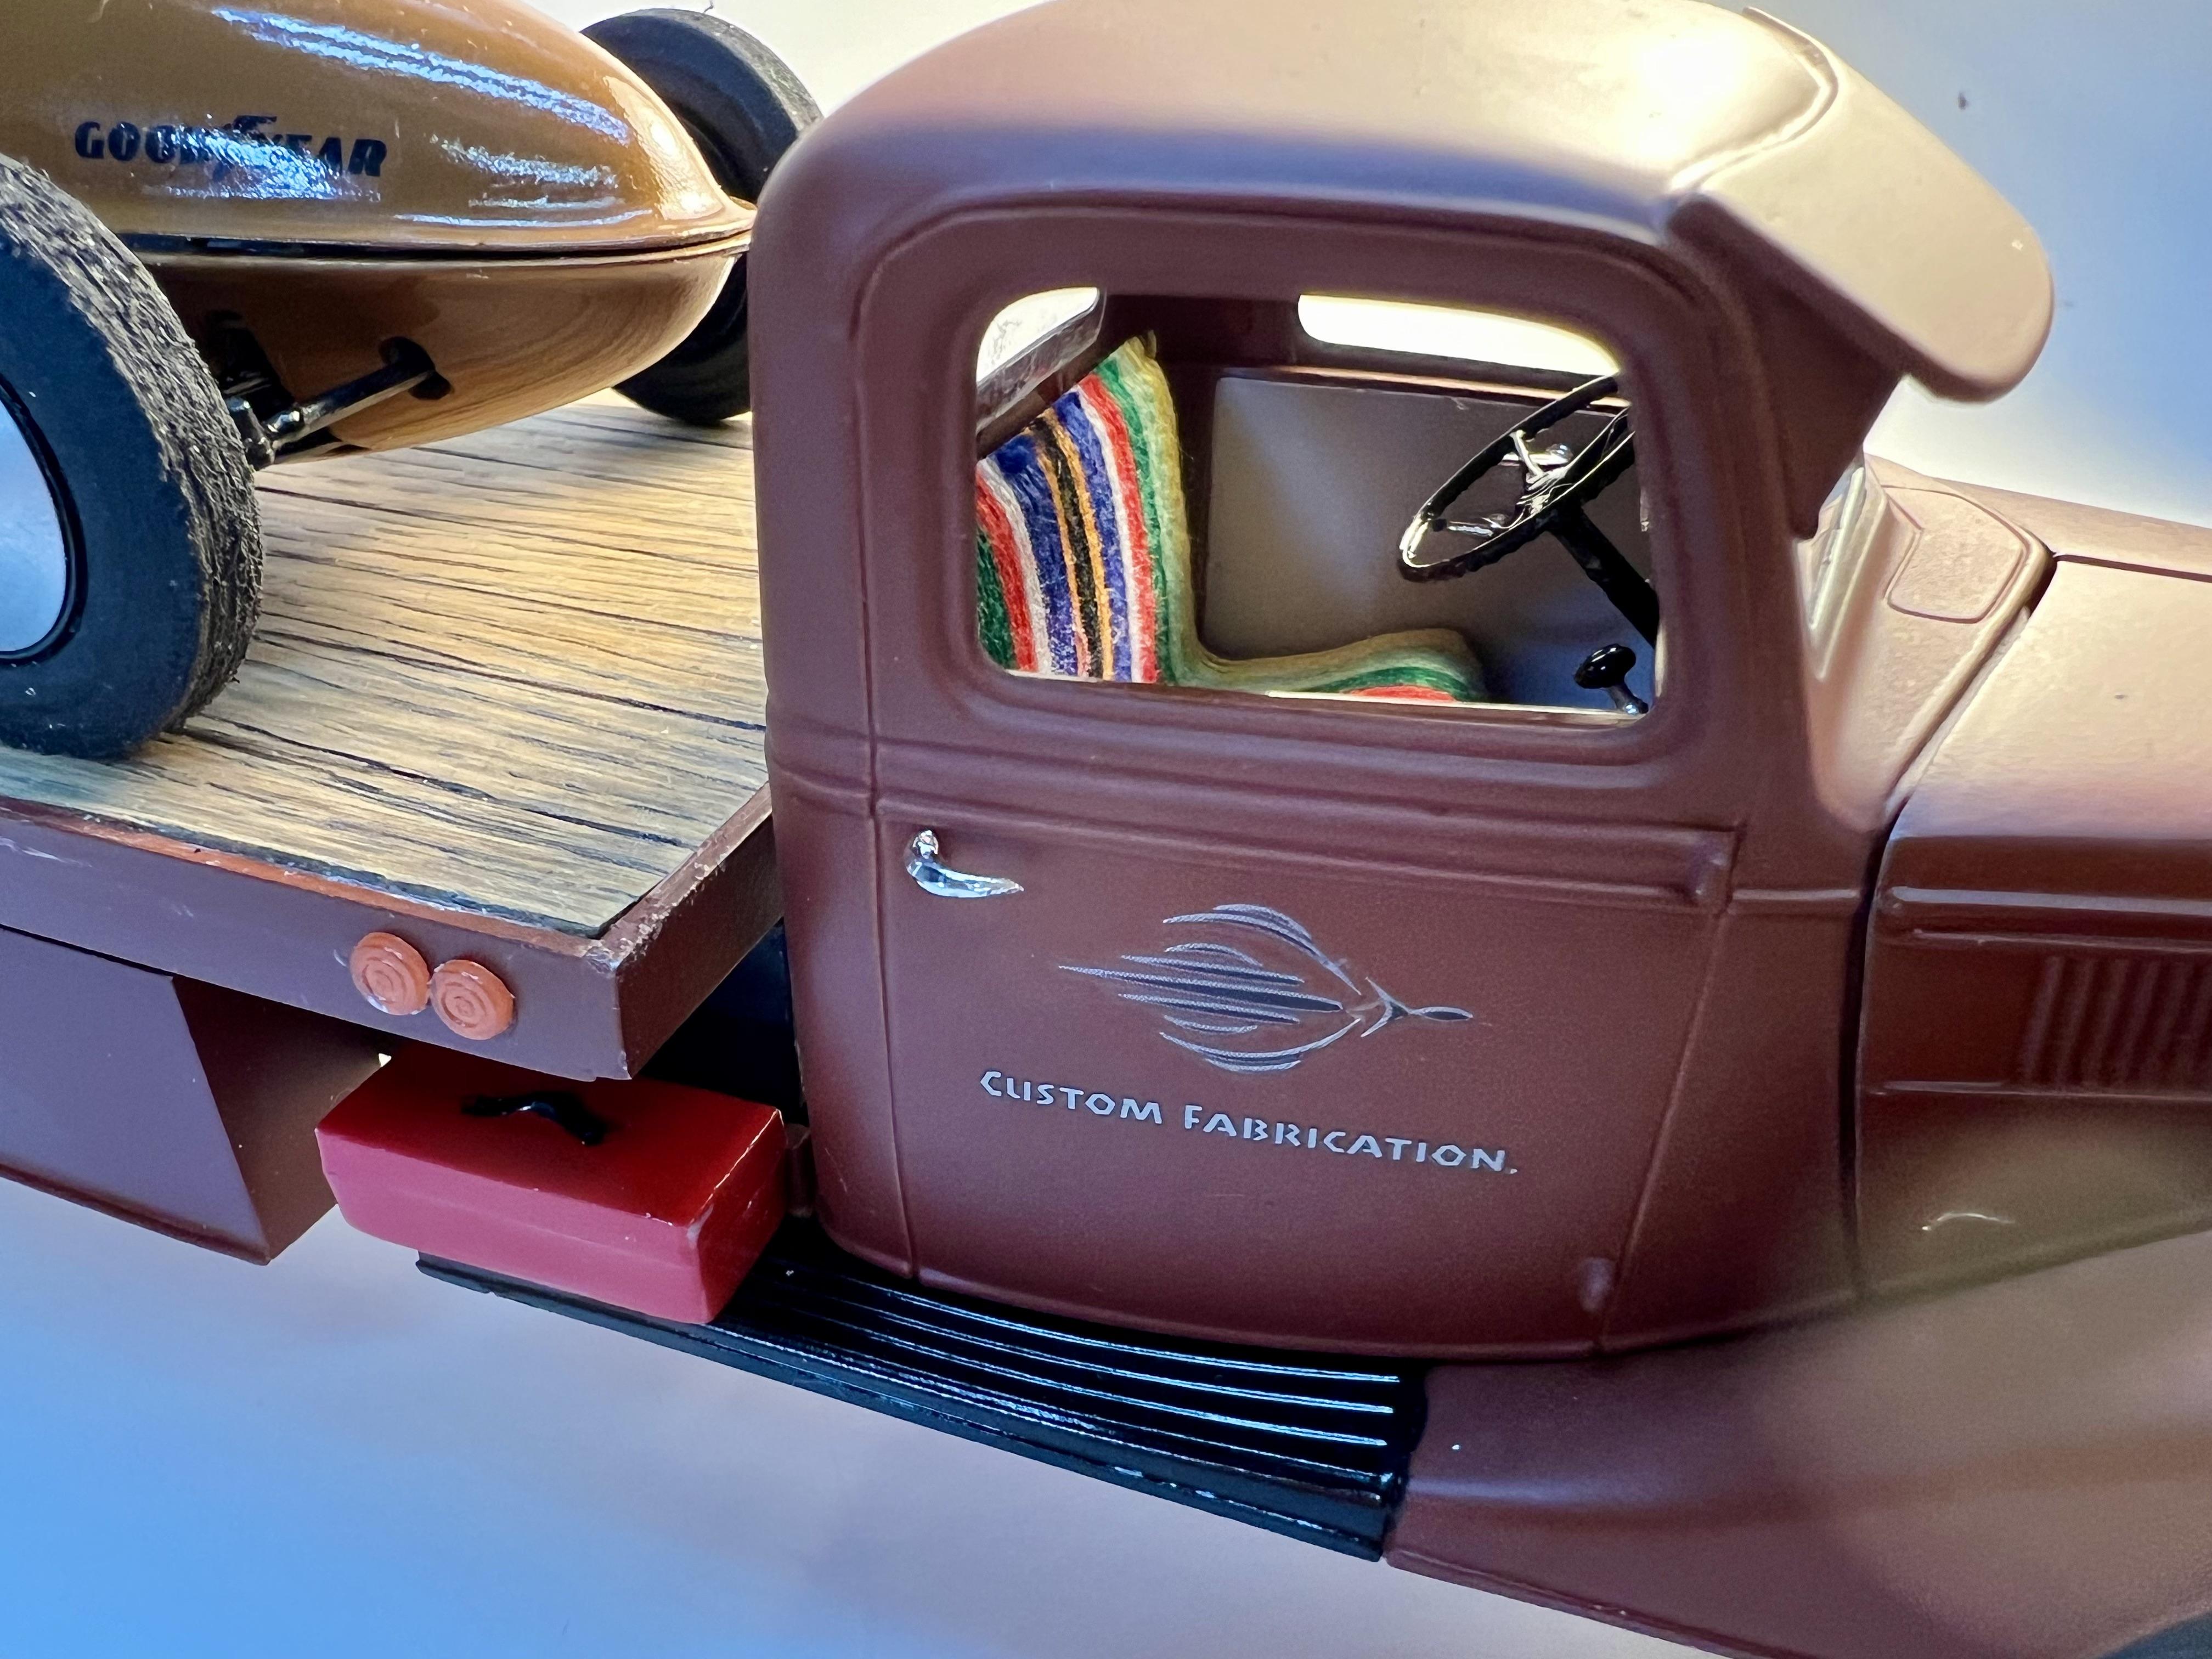
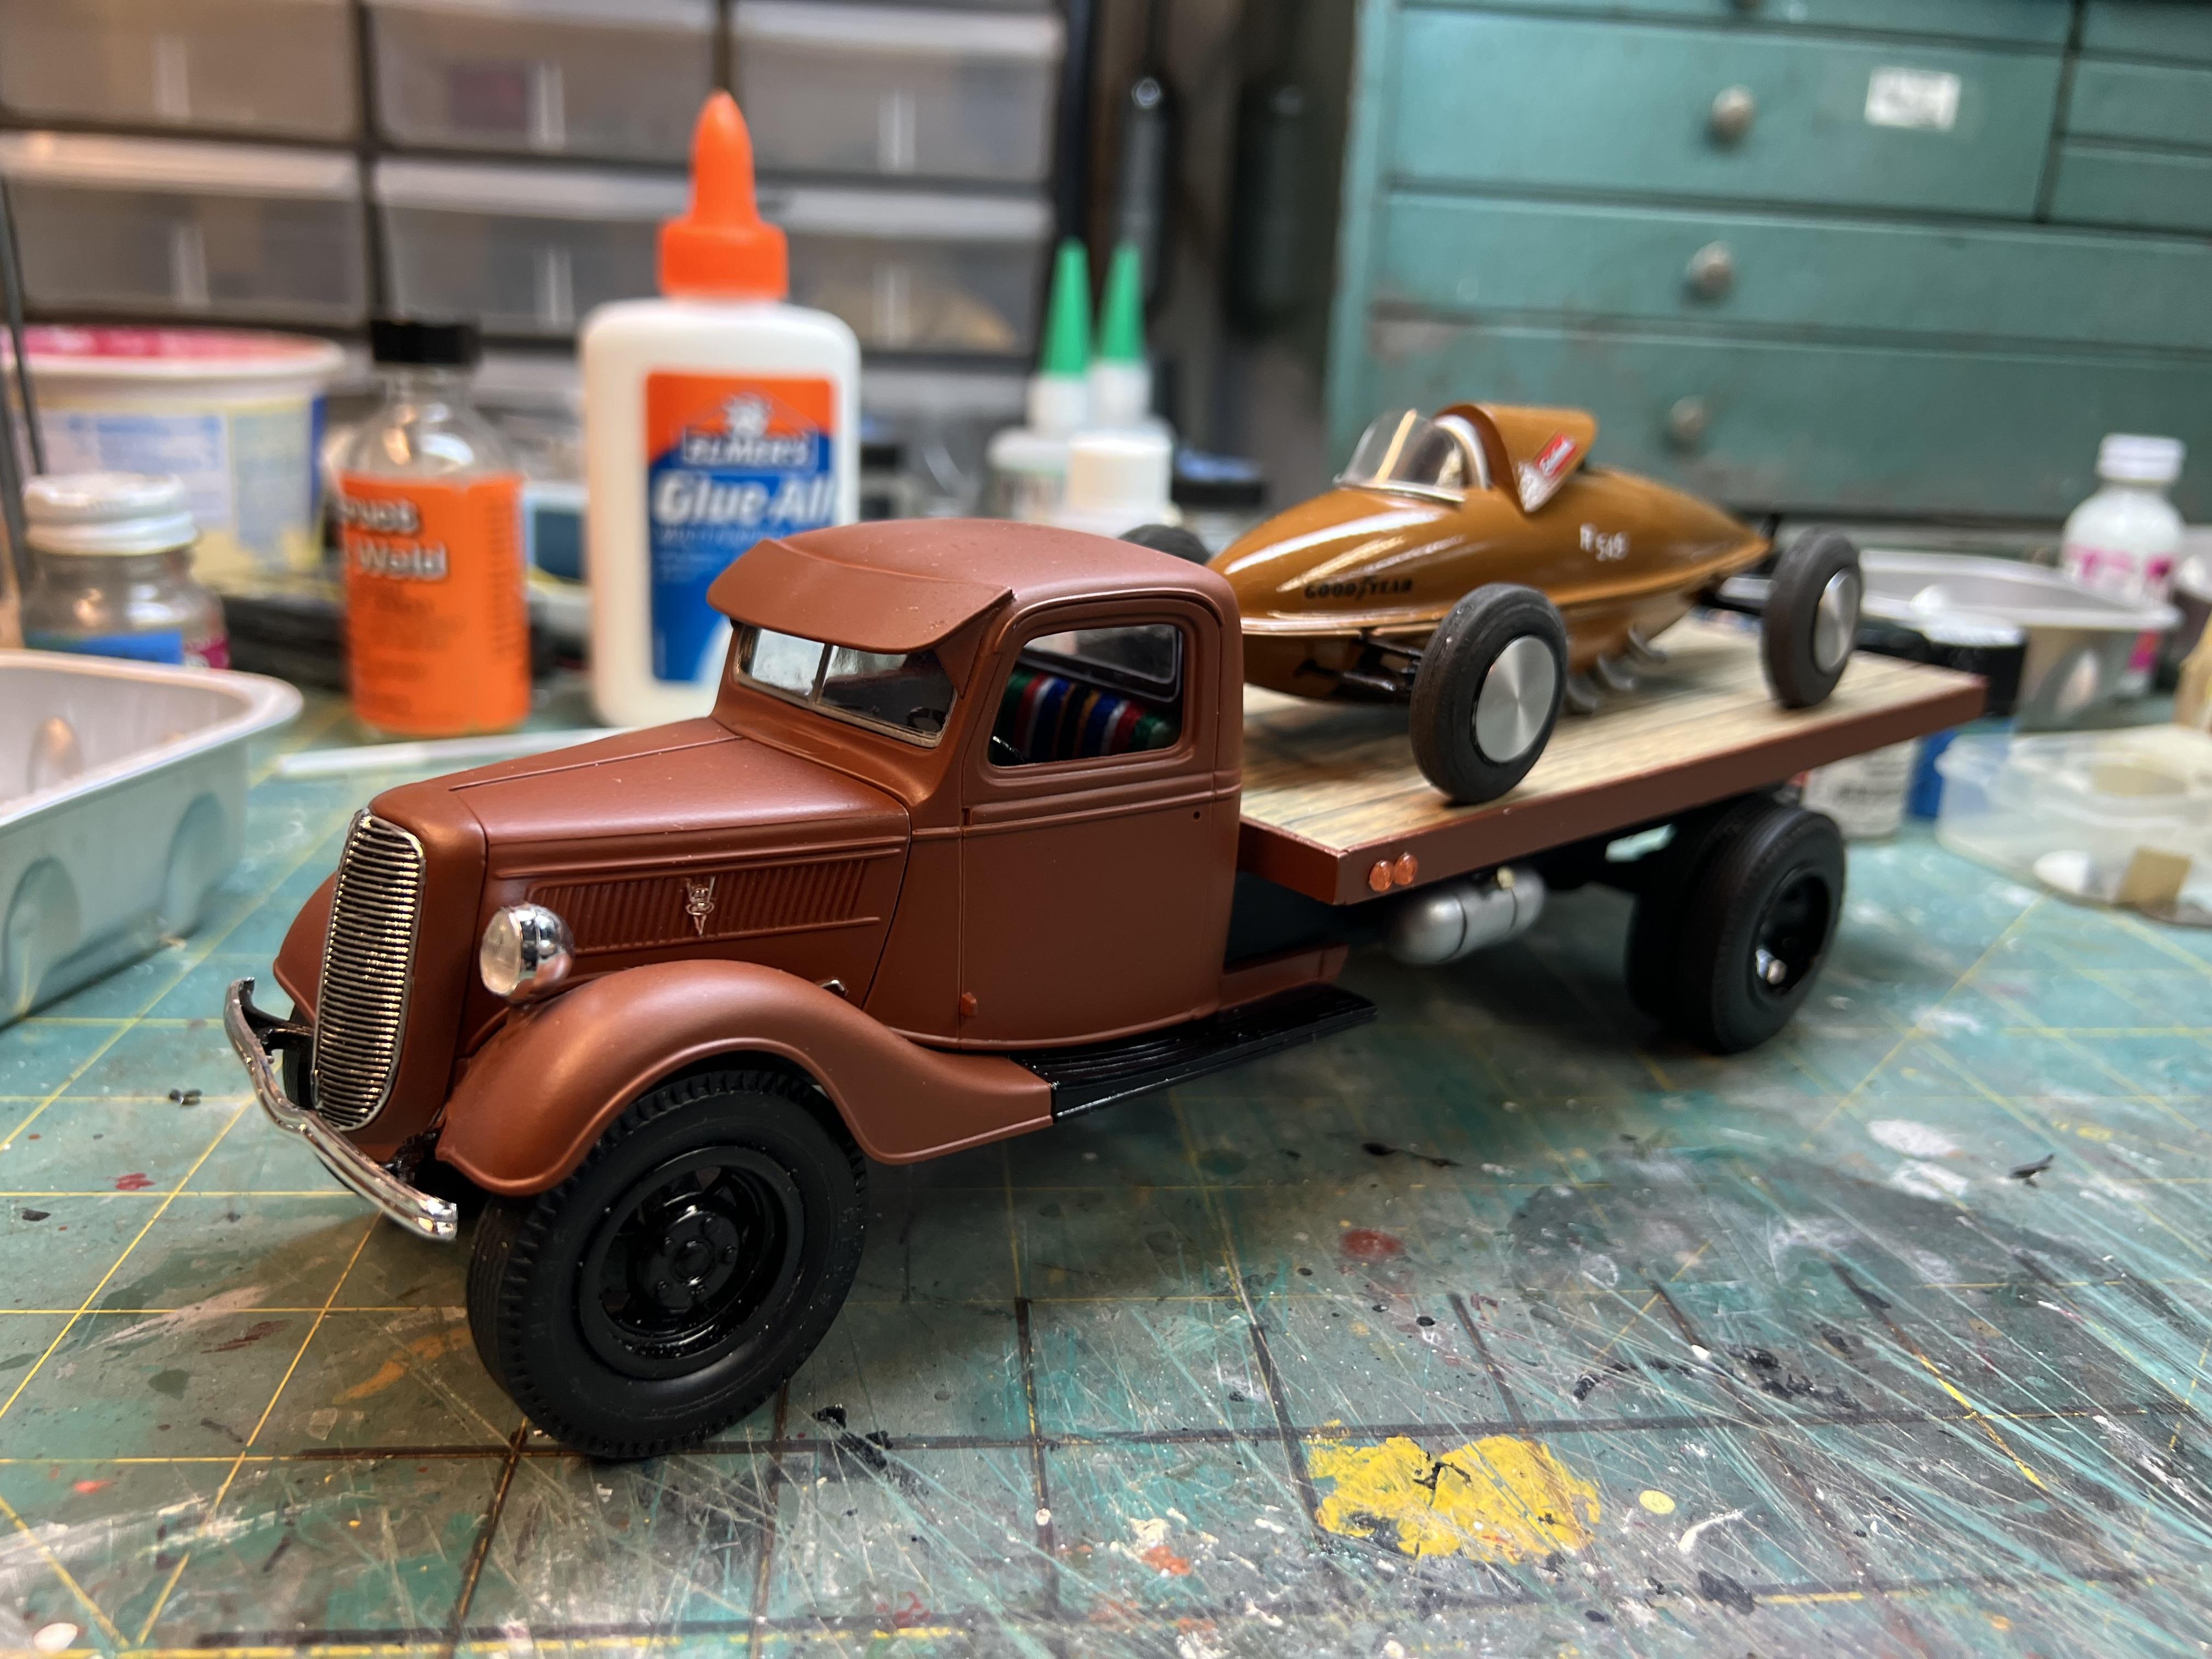
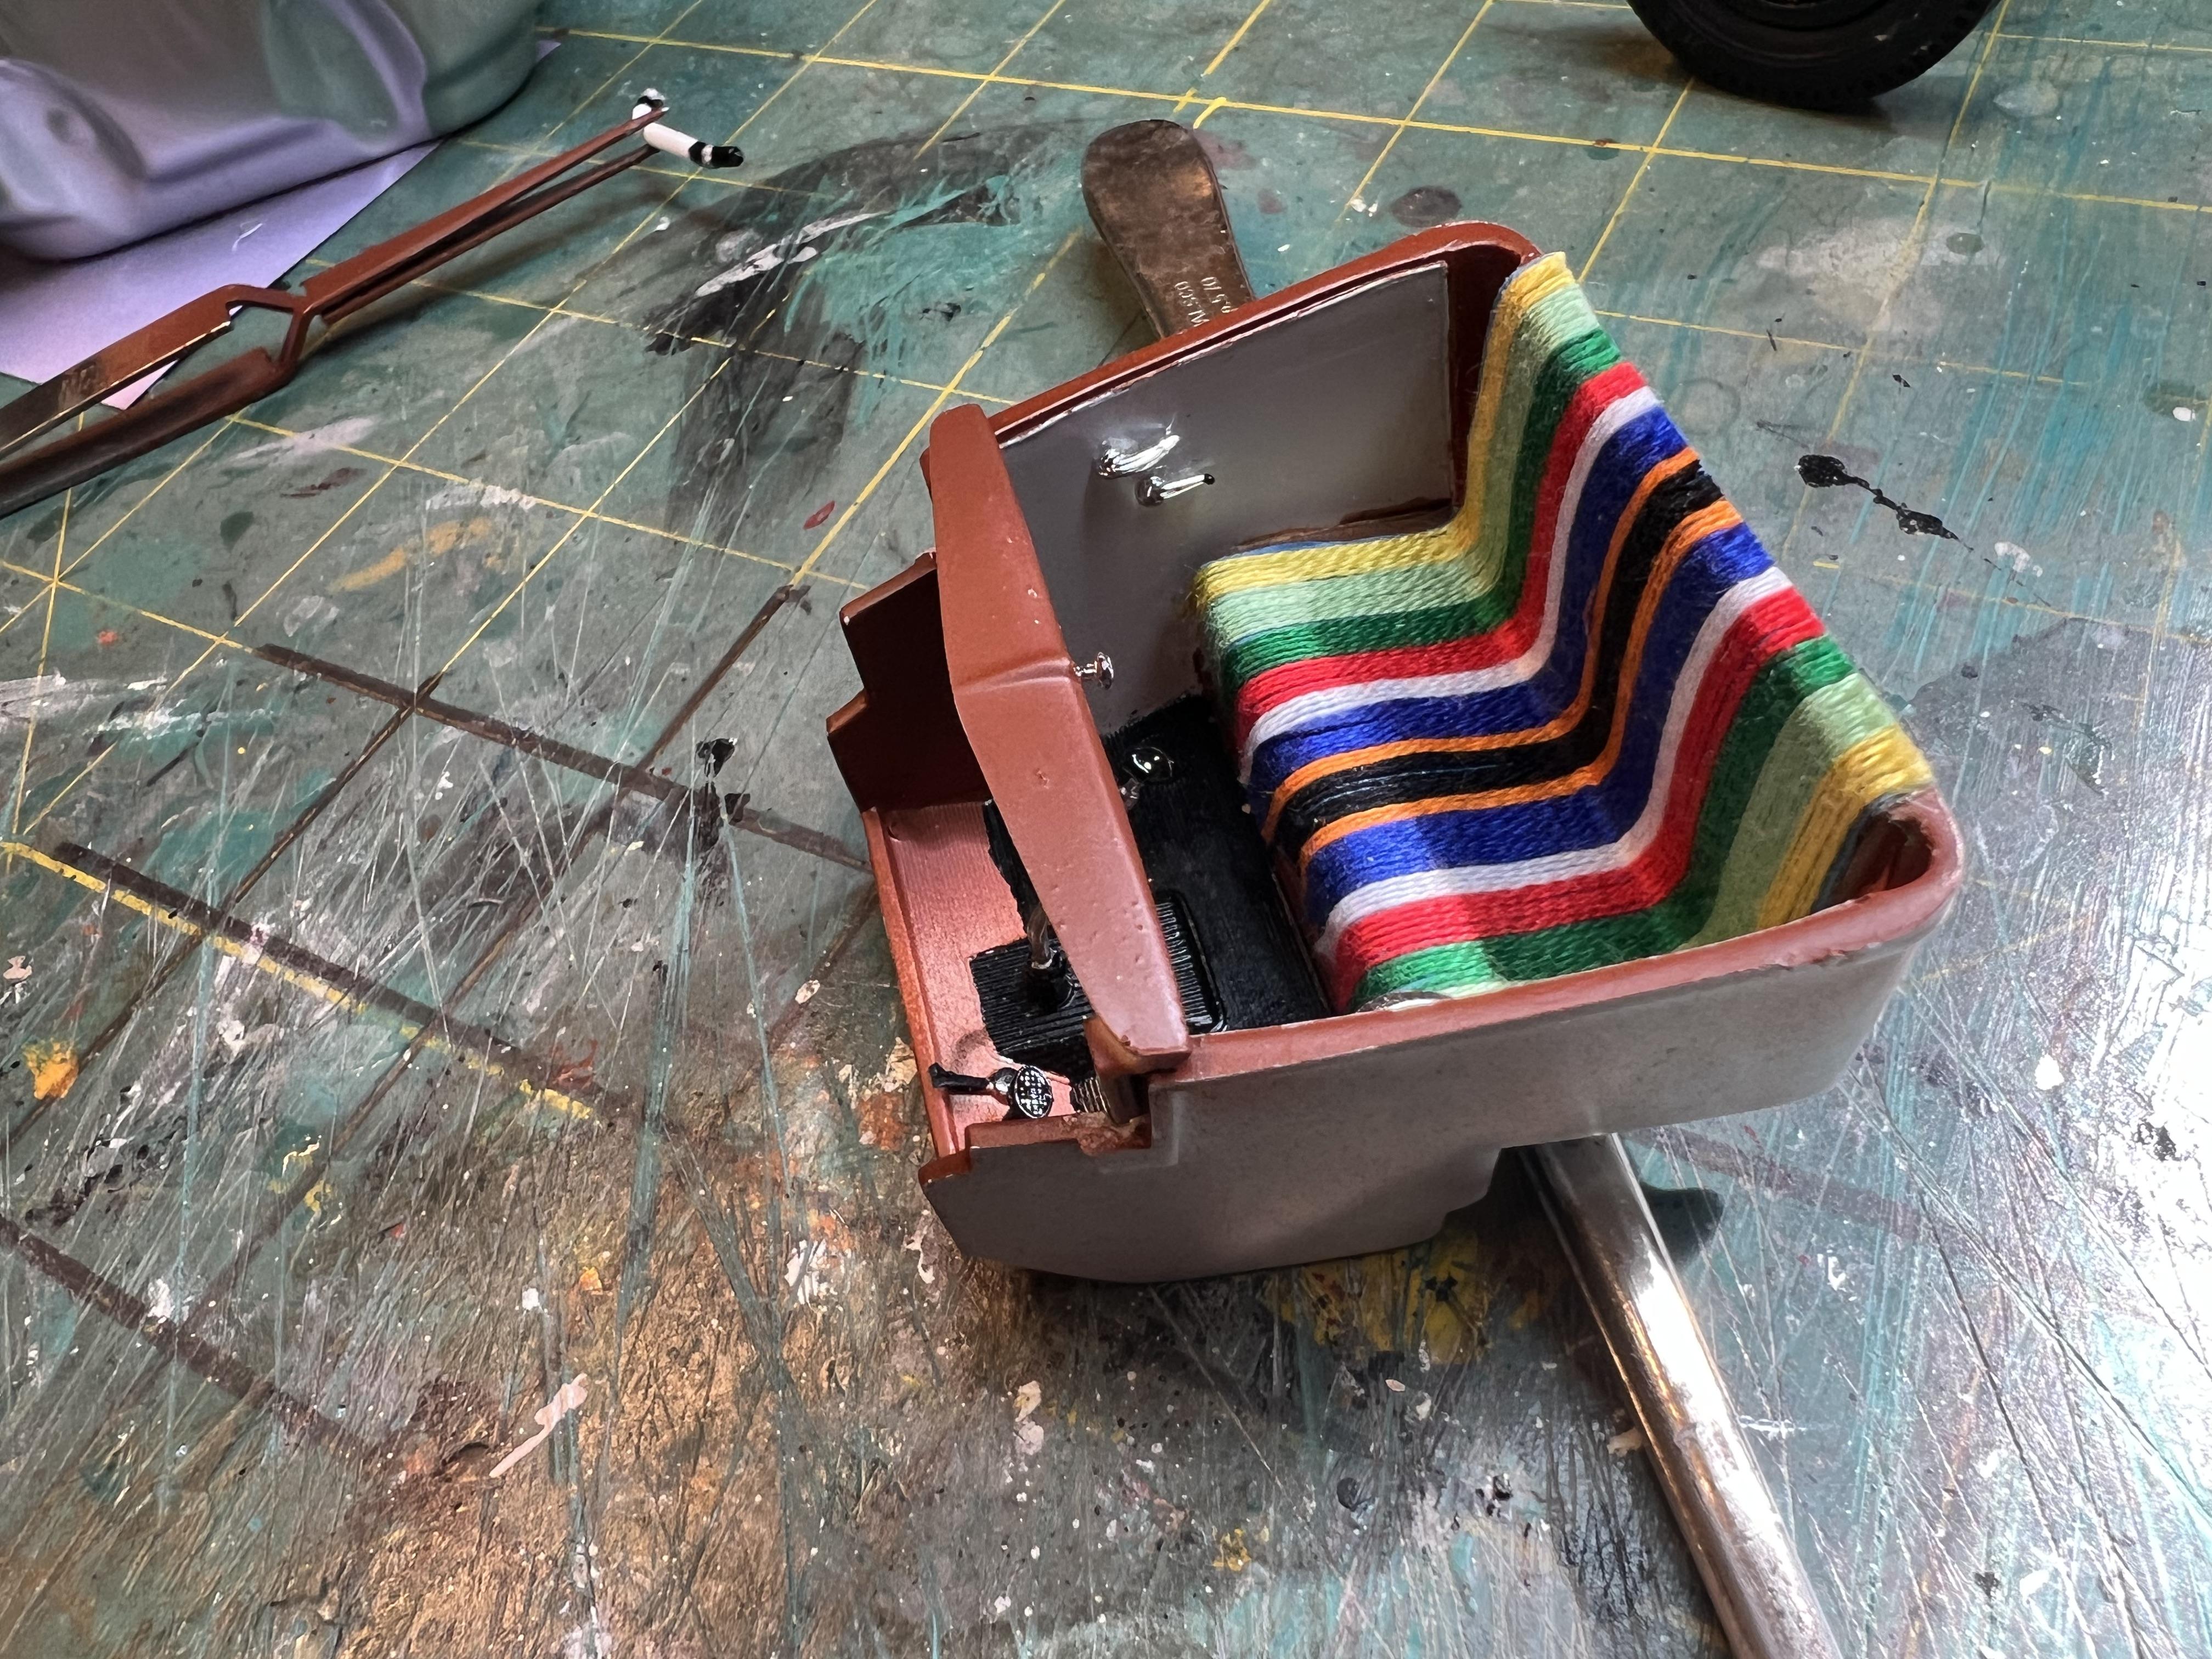
The Moon Discs are from Parts By Park. He has a nice variety of after market parts.Because the truck was looking kind of drab she got a Mexican blanket for the seat. Now on with making some sort of tie downs to keep the car on the truck. The trick will be making it so the car can still be removed.

-
1
-
-
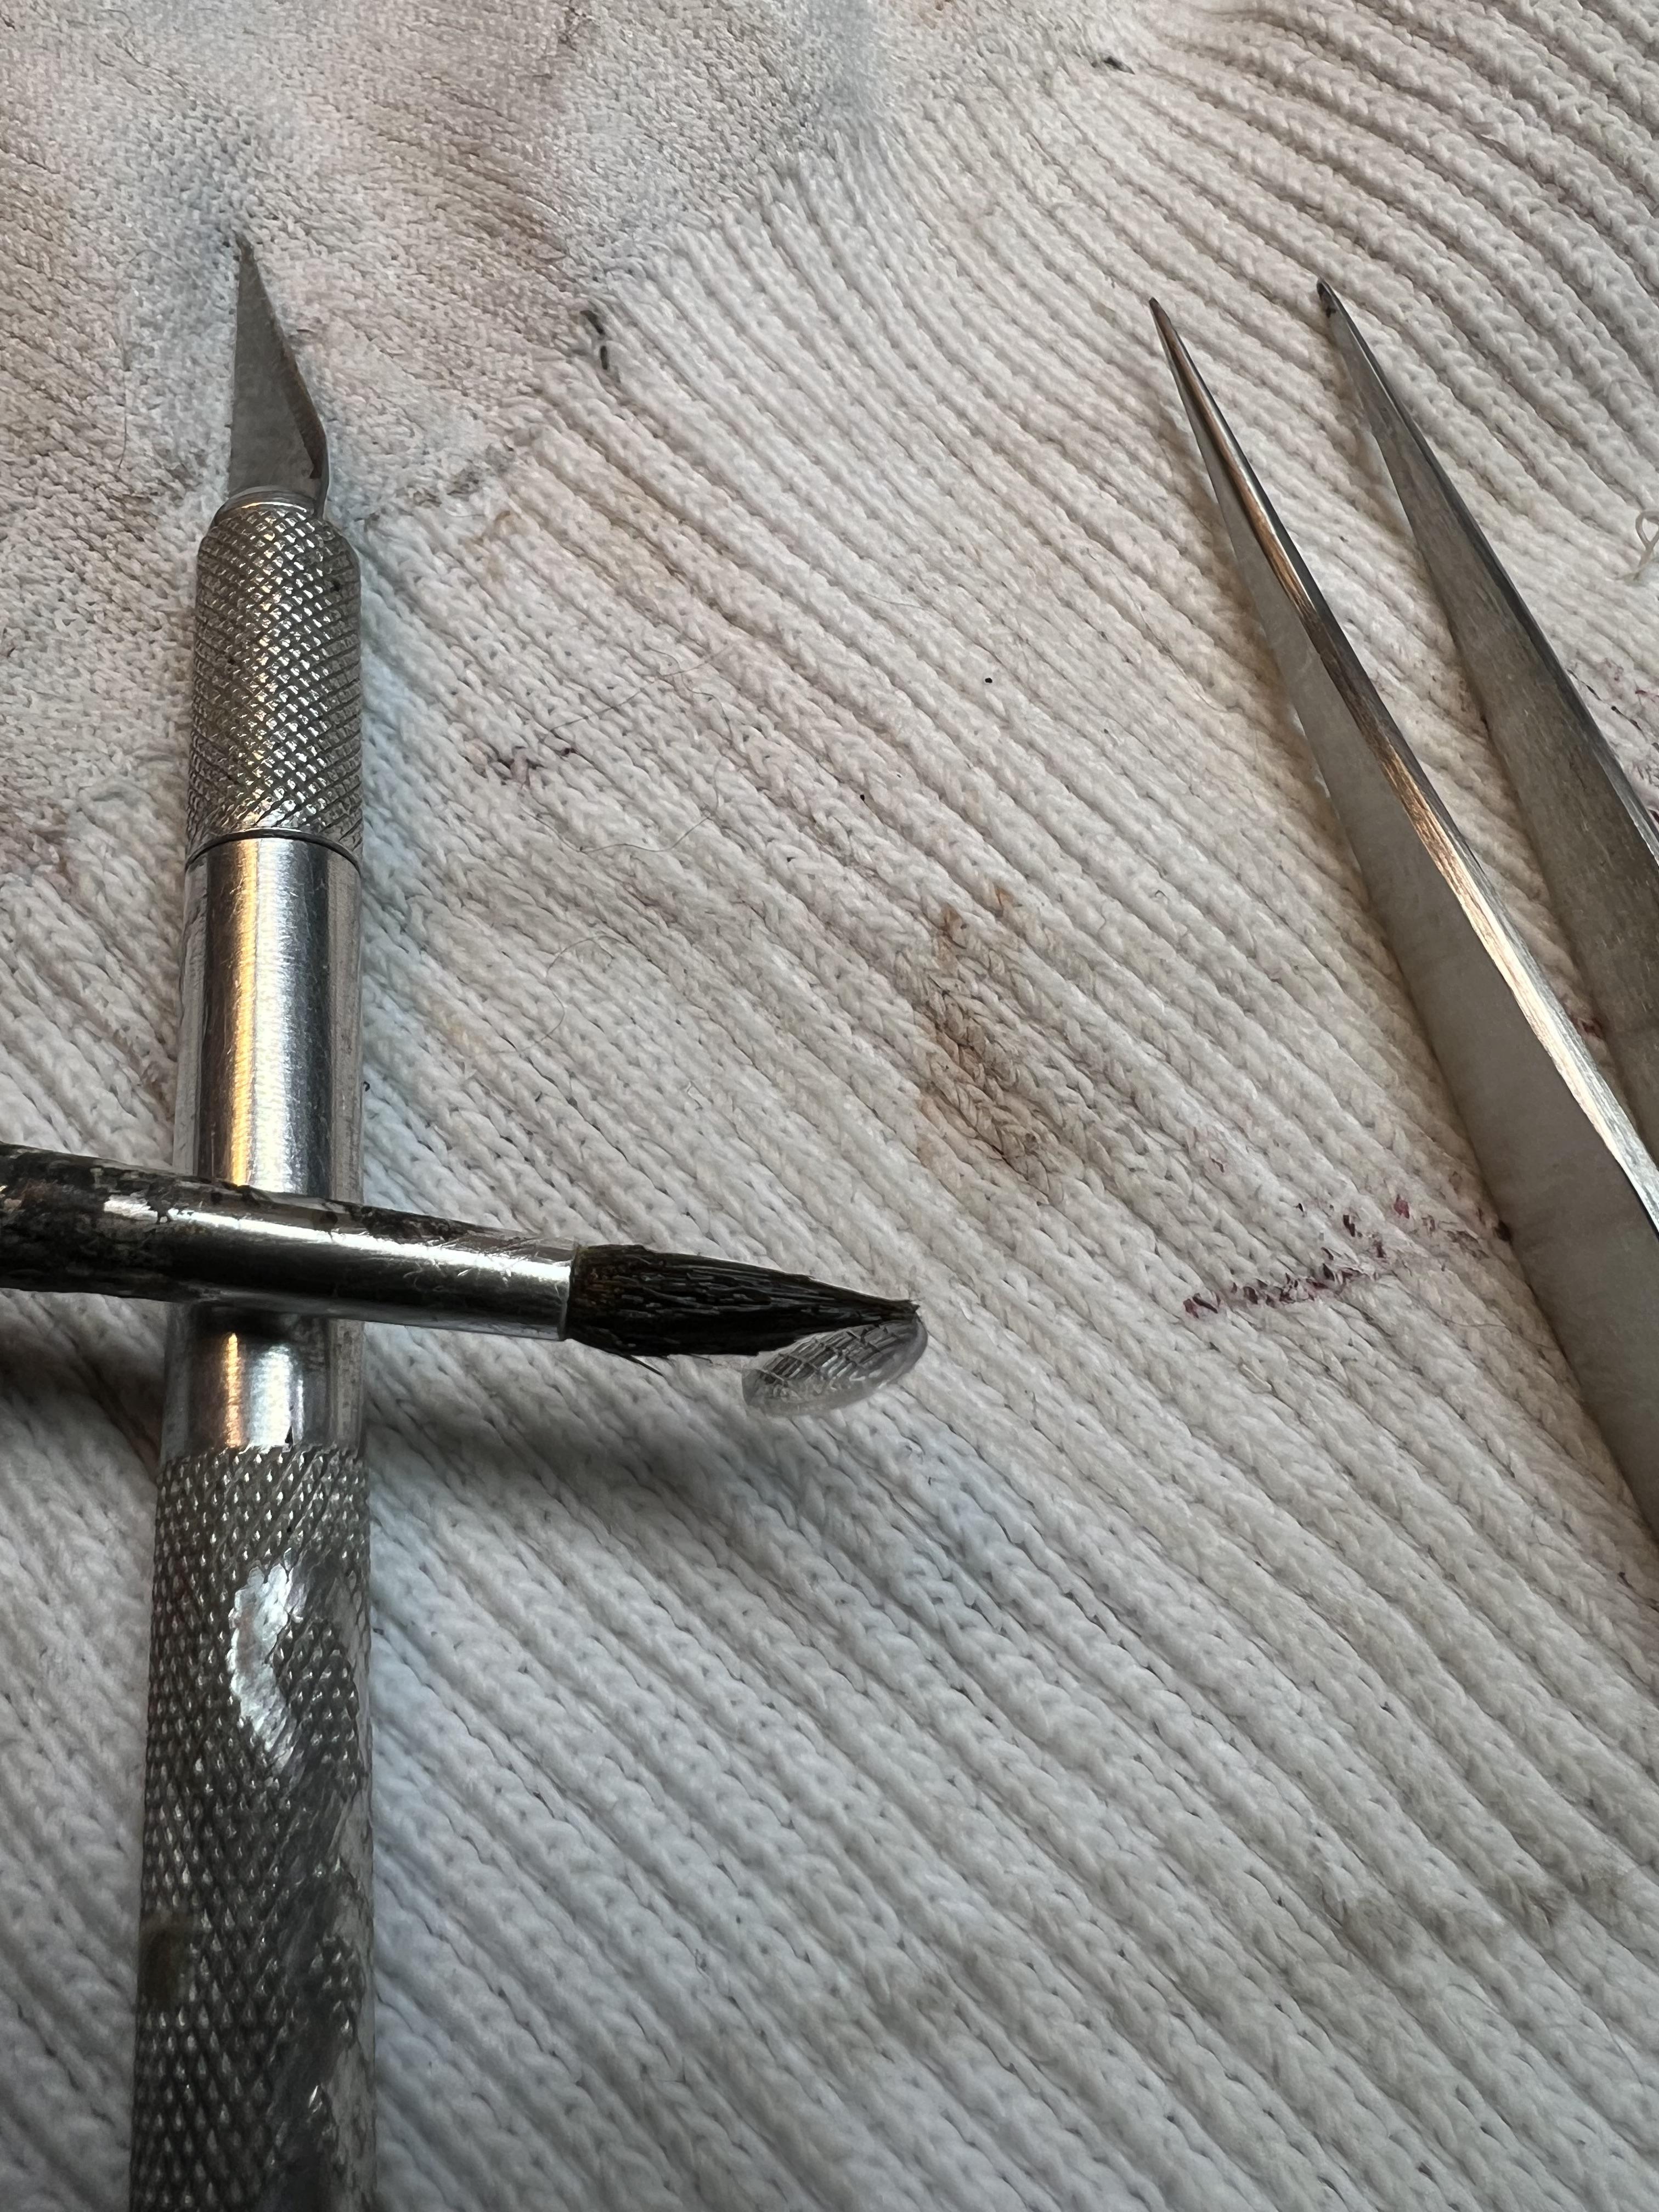
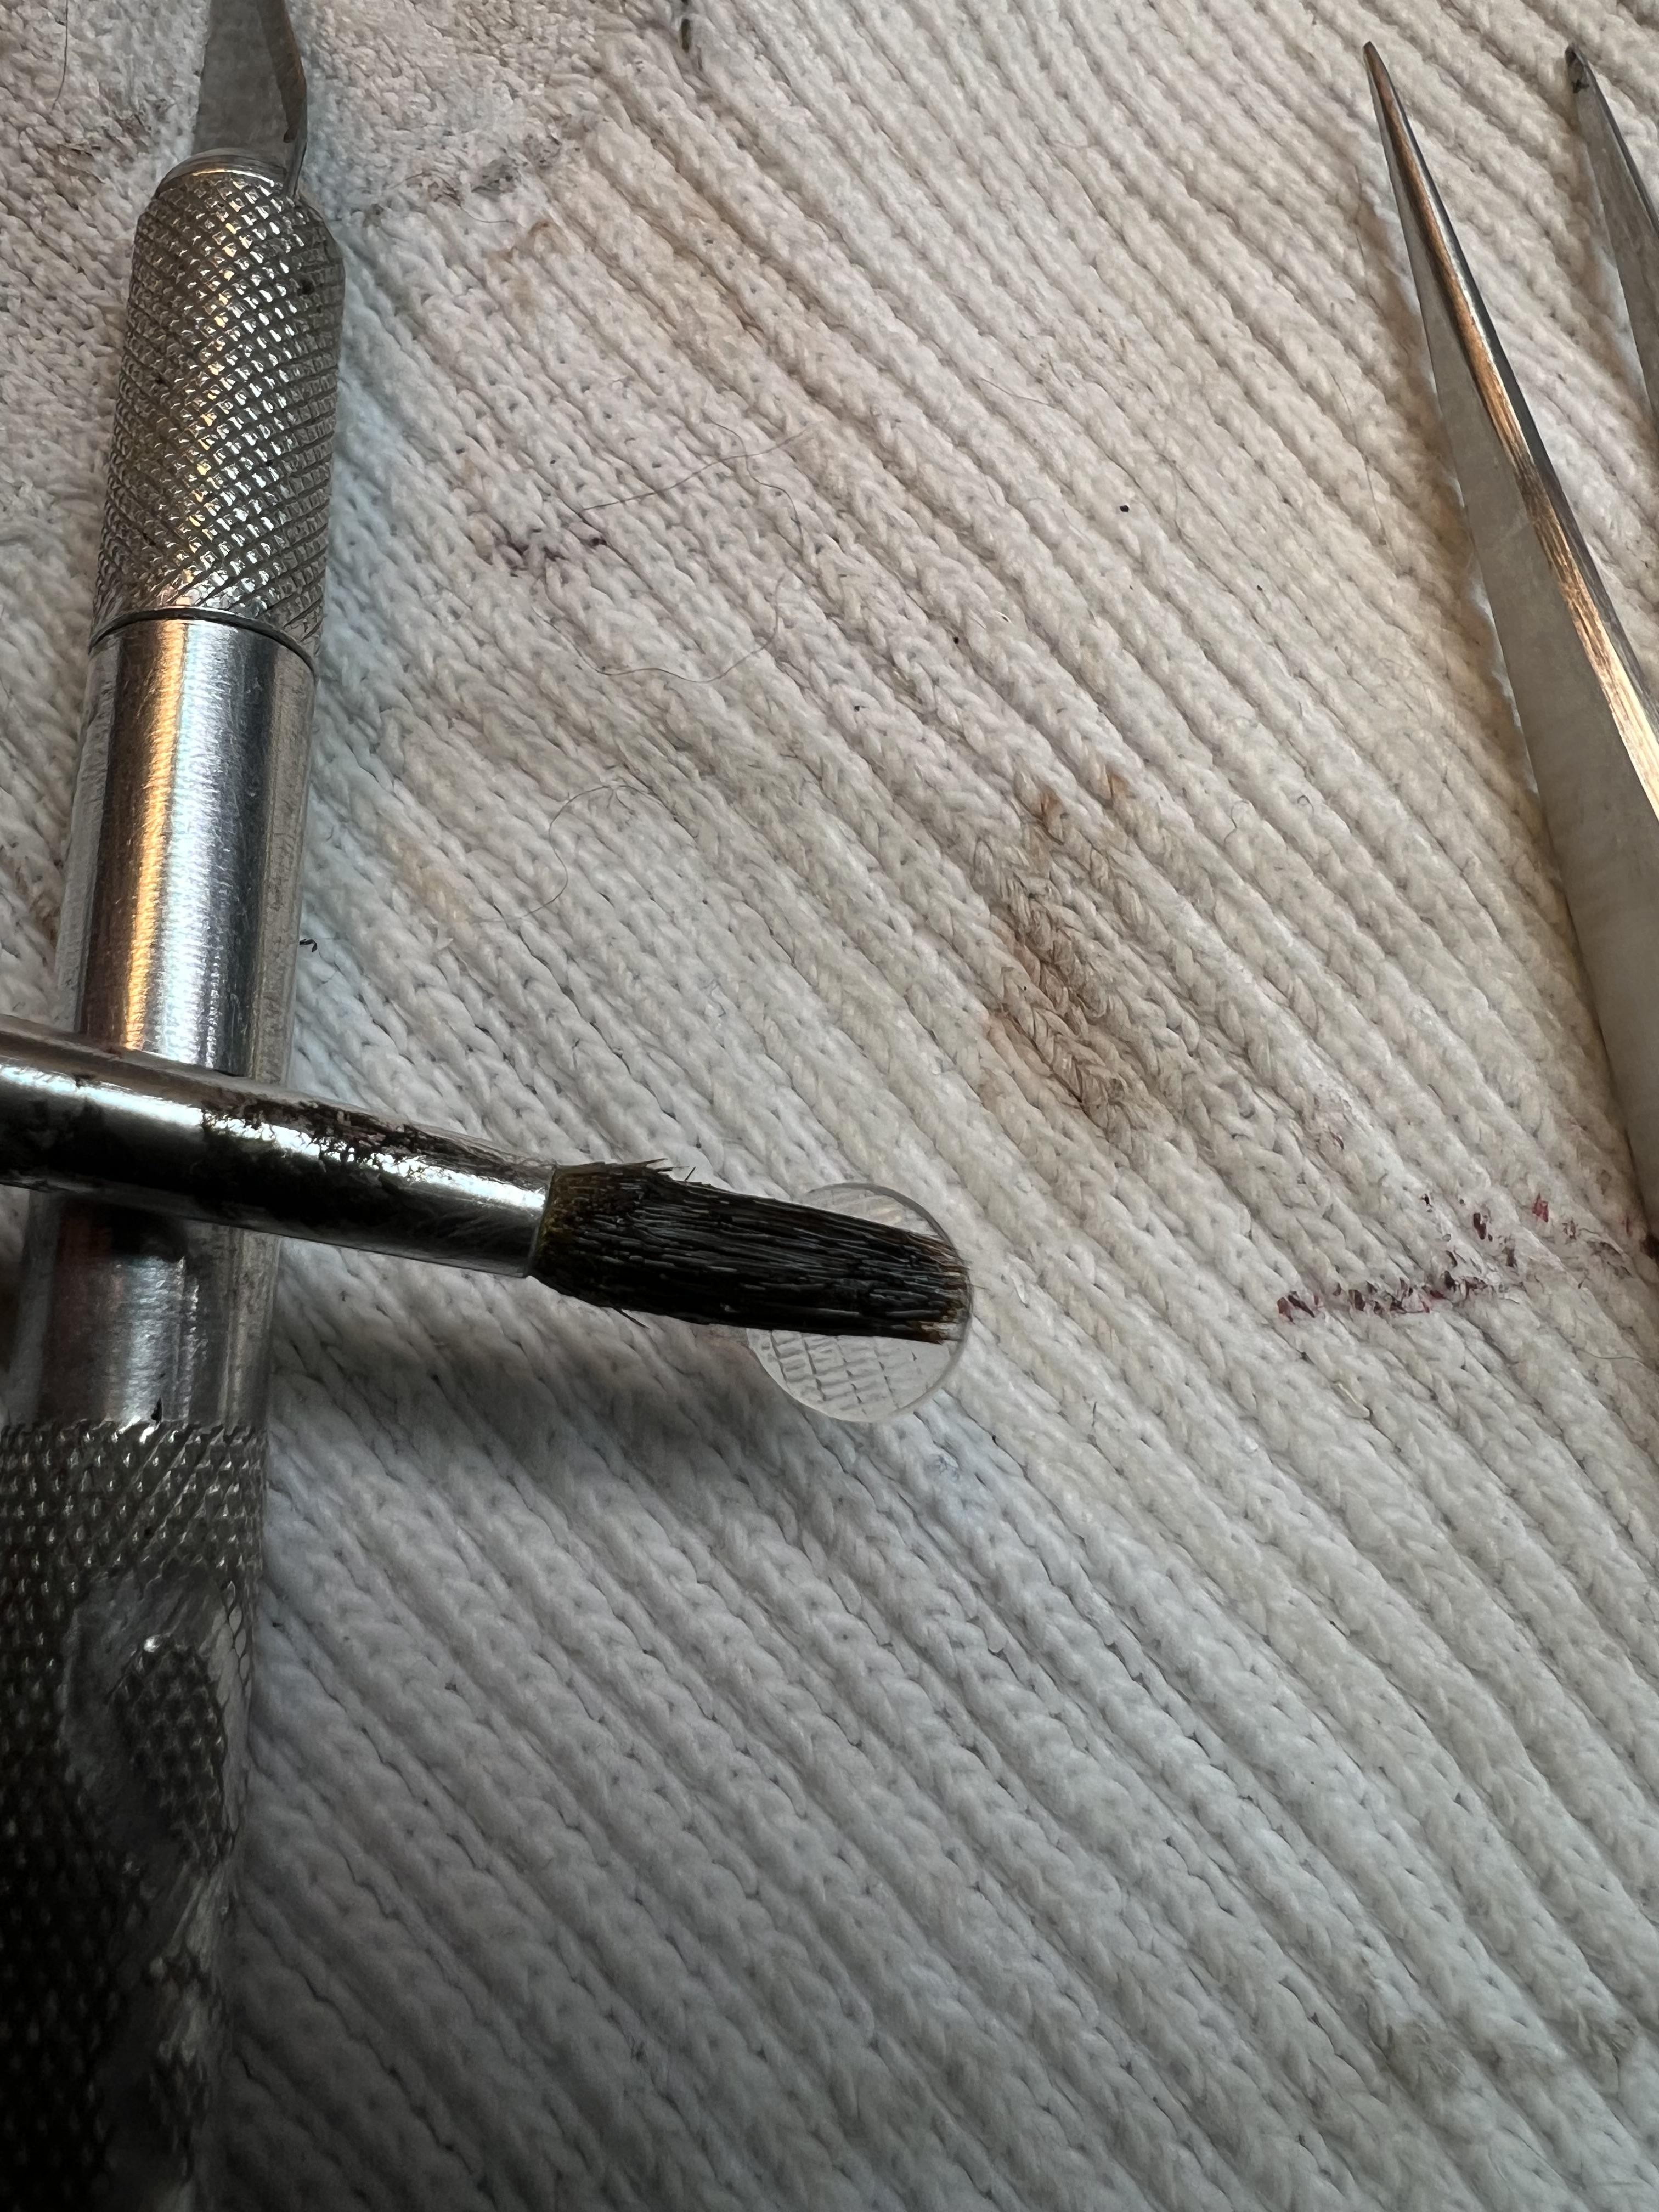
I always struggle with very small parts. I know there is some tool jewelers use but not sure what to look for. In the meantime I found wetting a medium small paint brush will give enough surface tension to pick up a piece and position it.
-
2
-
-
19 hours ago, dirtbag said:
Where can I find a 1:25 - 1:24 belly tanker?
See my very first posting in this topic I identify my source there. At the time I got mine there was only one left but they may have recast more. You might also try a search for 3D printed sources.
-
Thanks for the suggestions. I’ll definitely get it straight from Bare Metal Foil in the future.
-
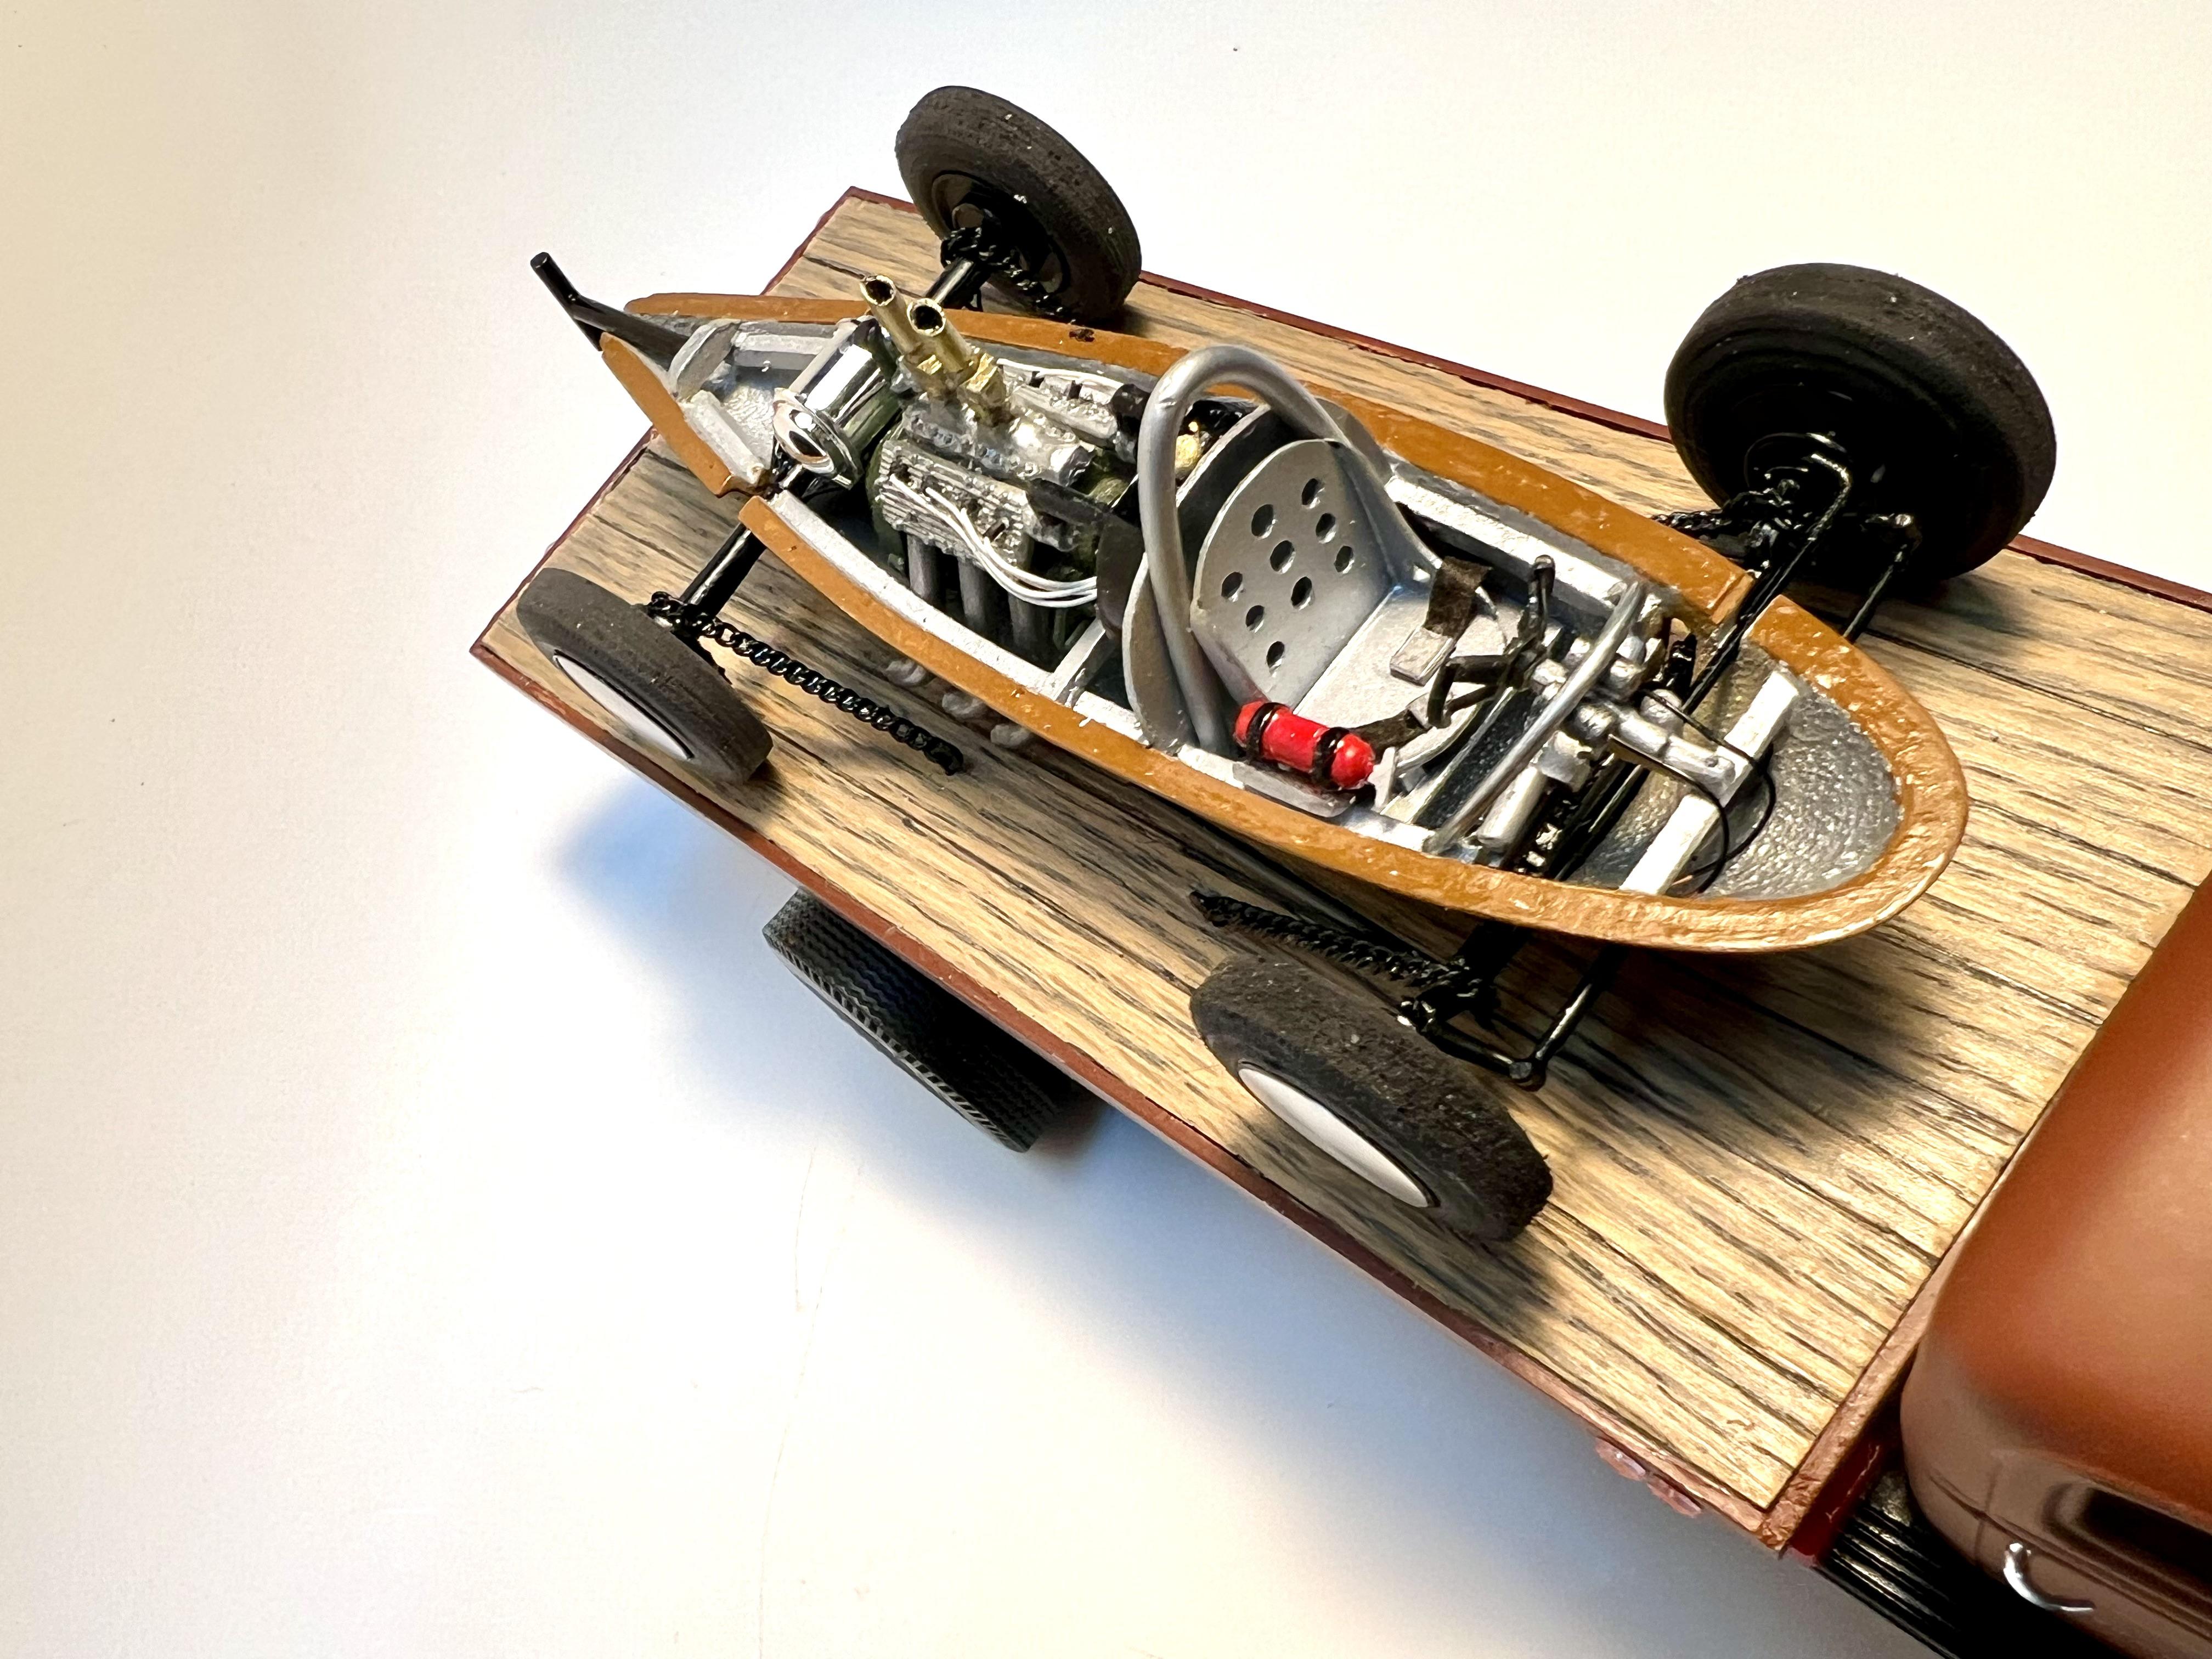
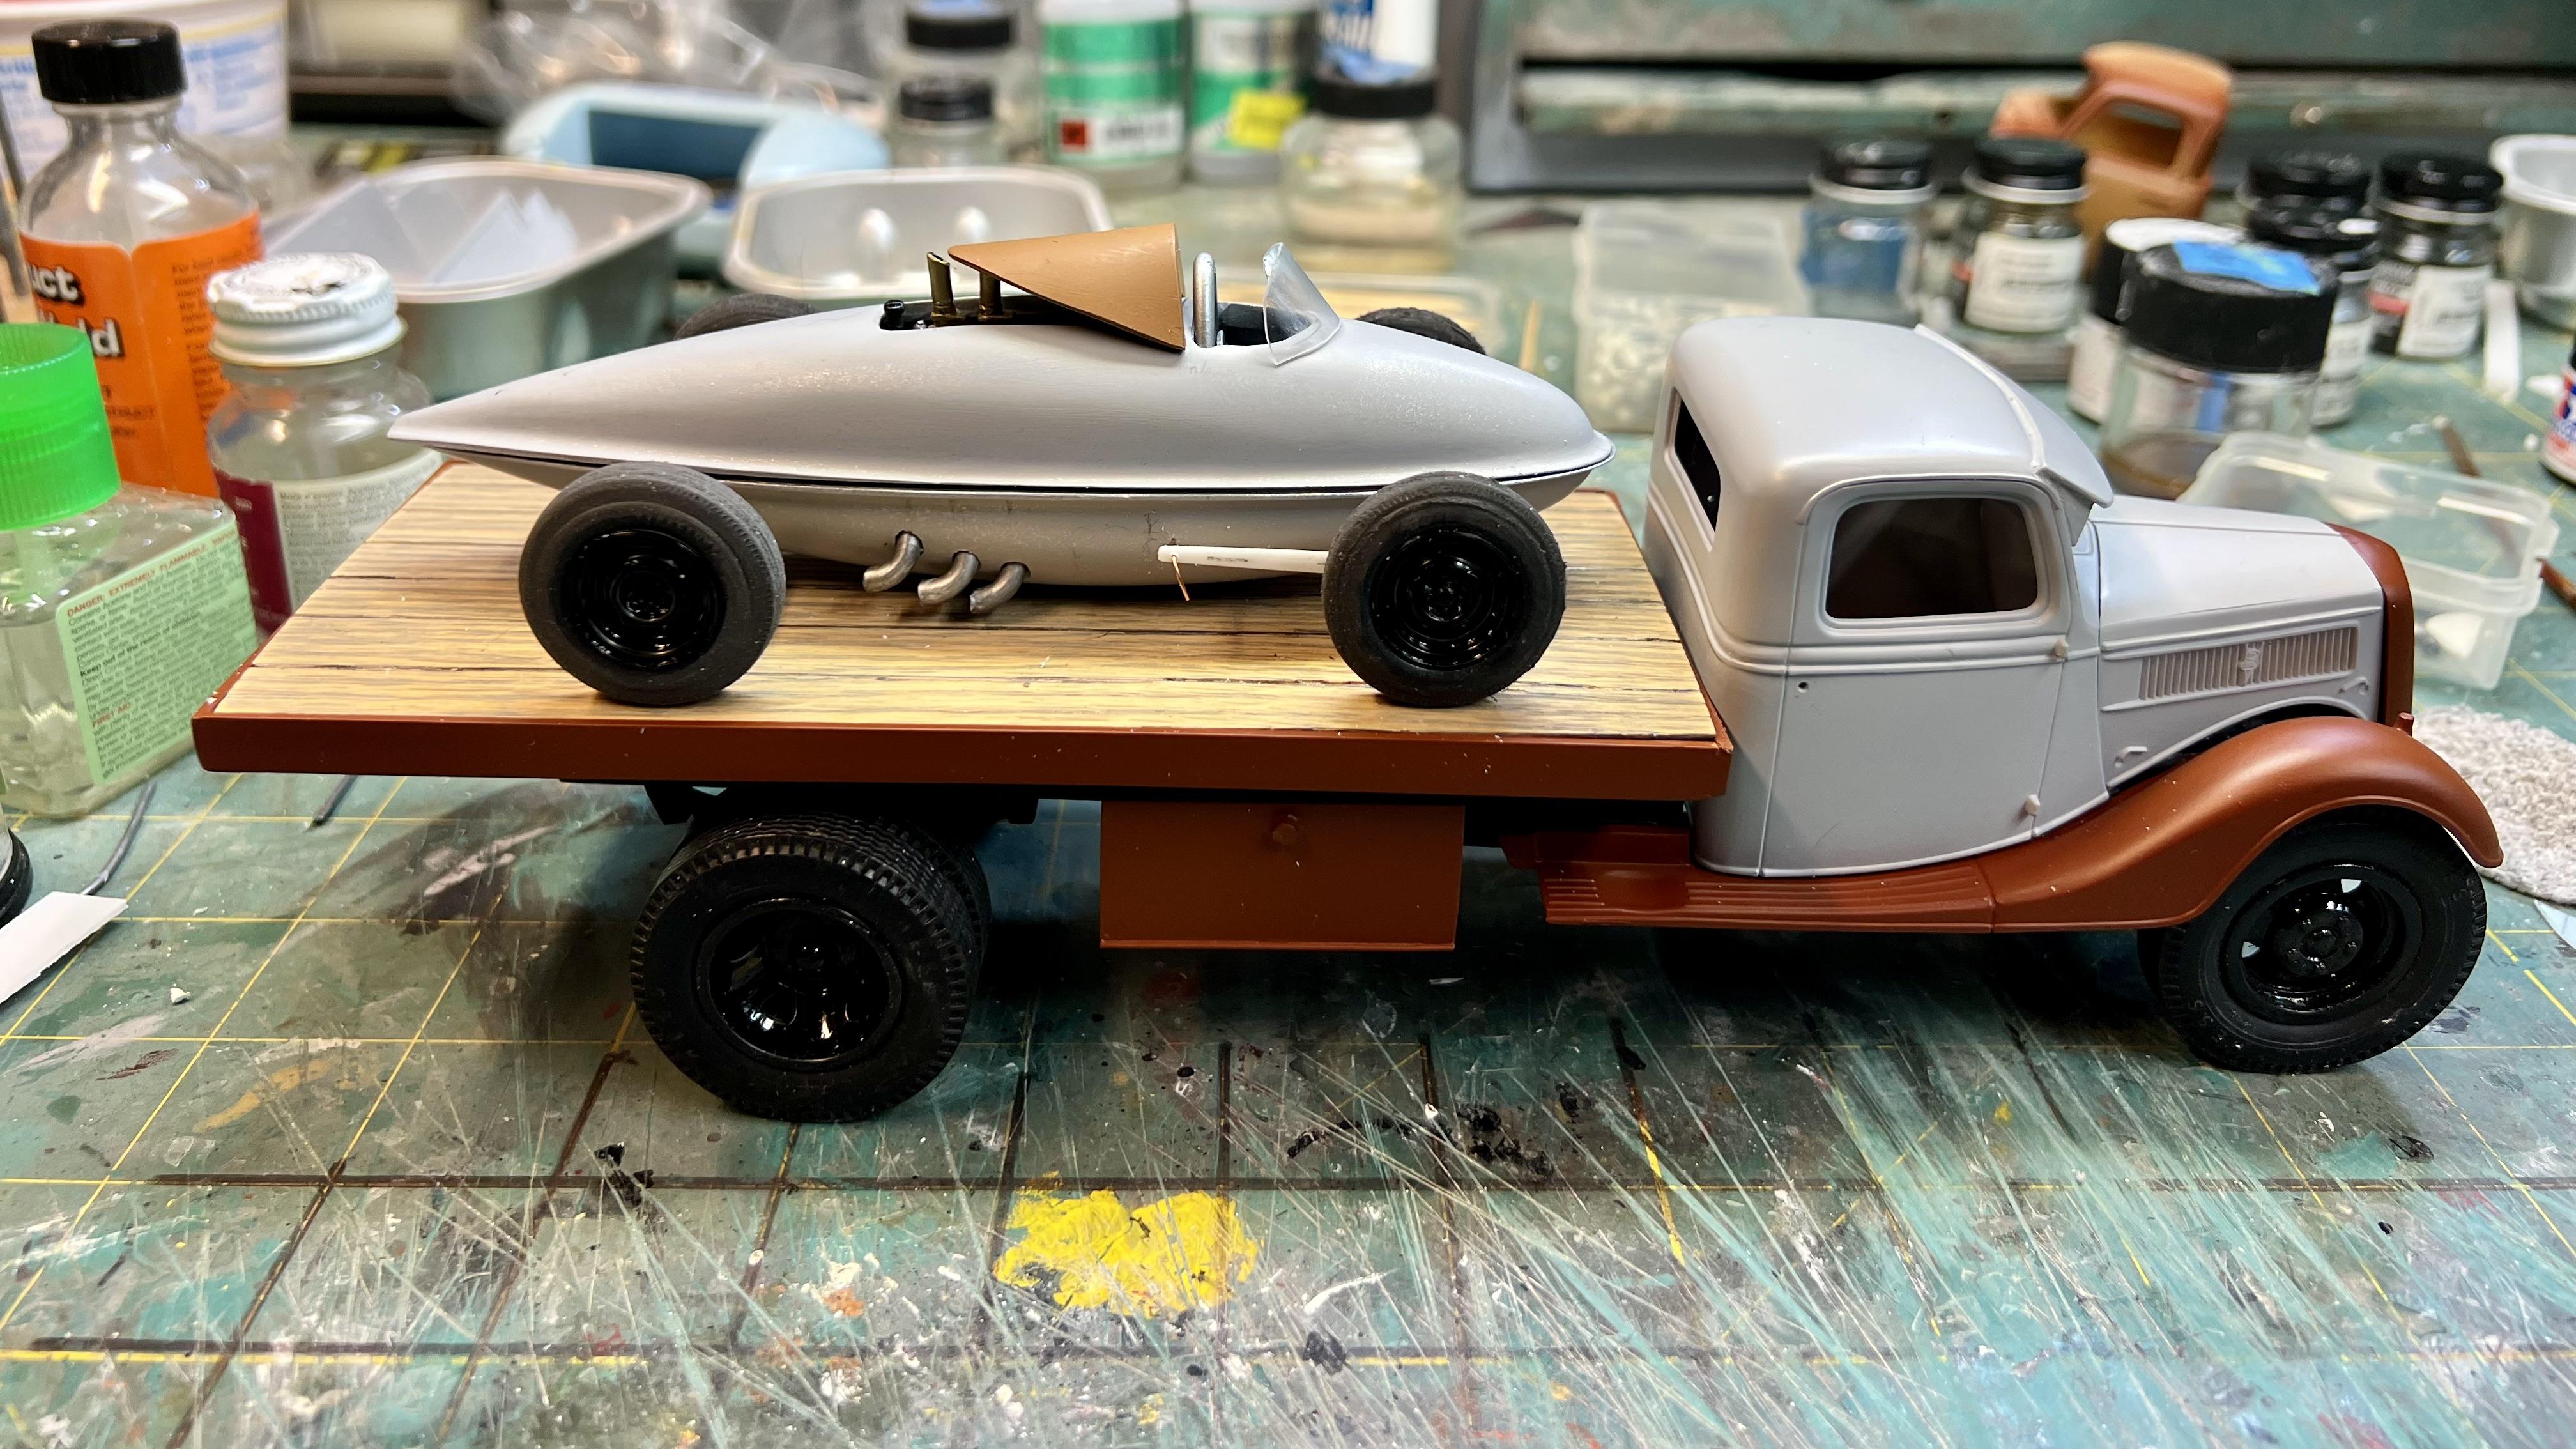
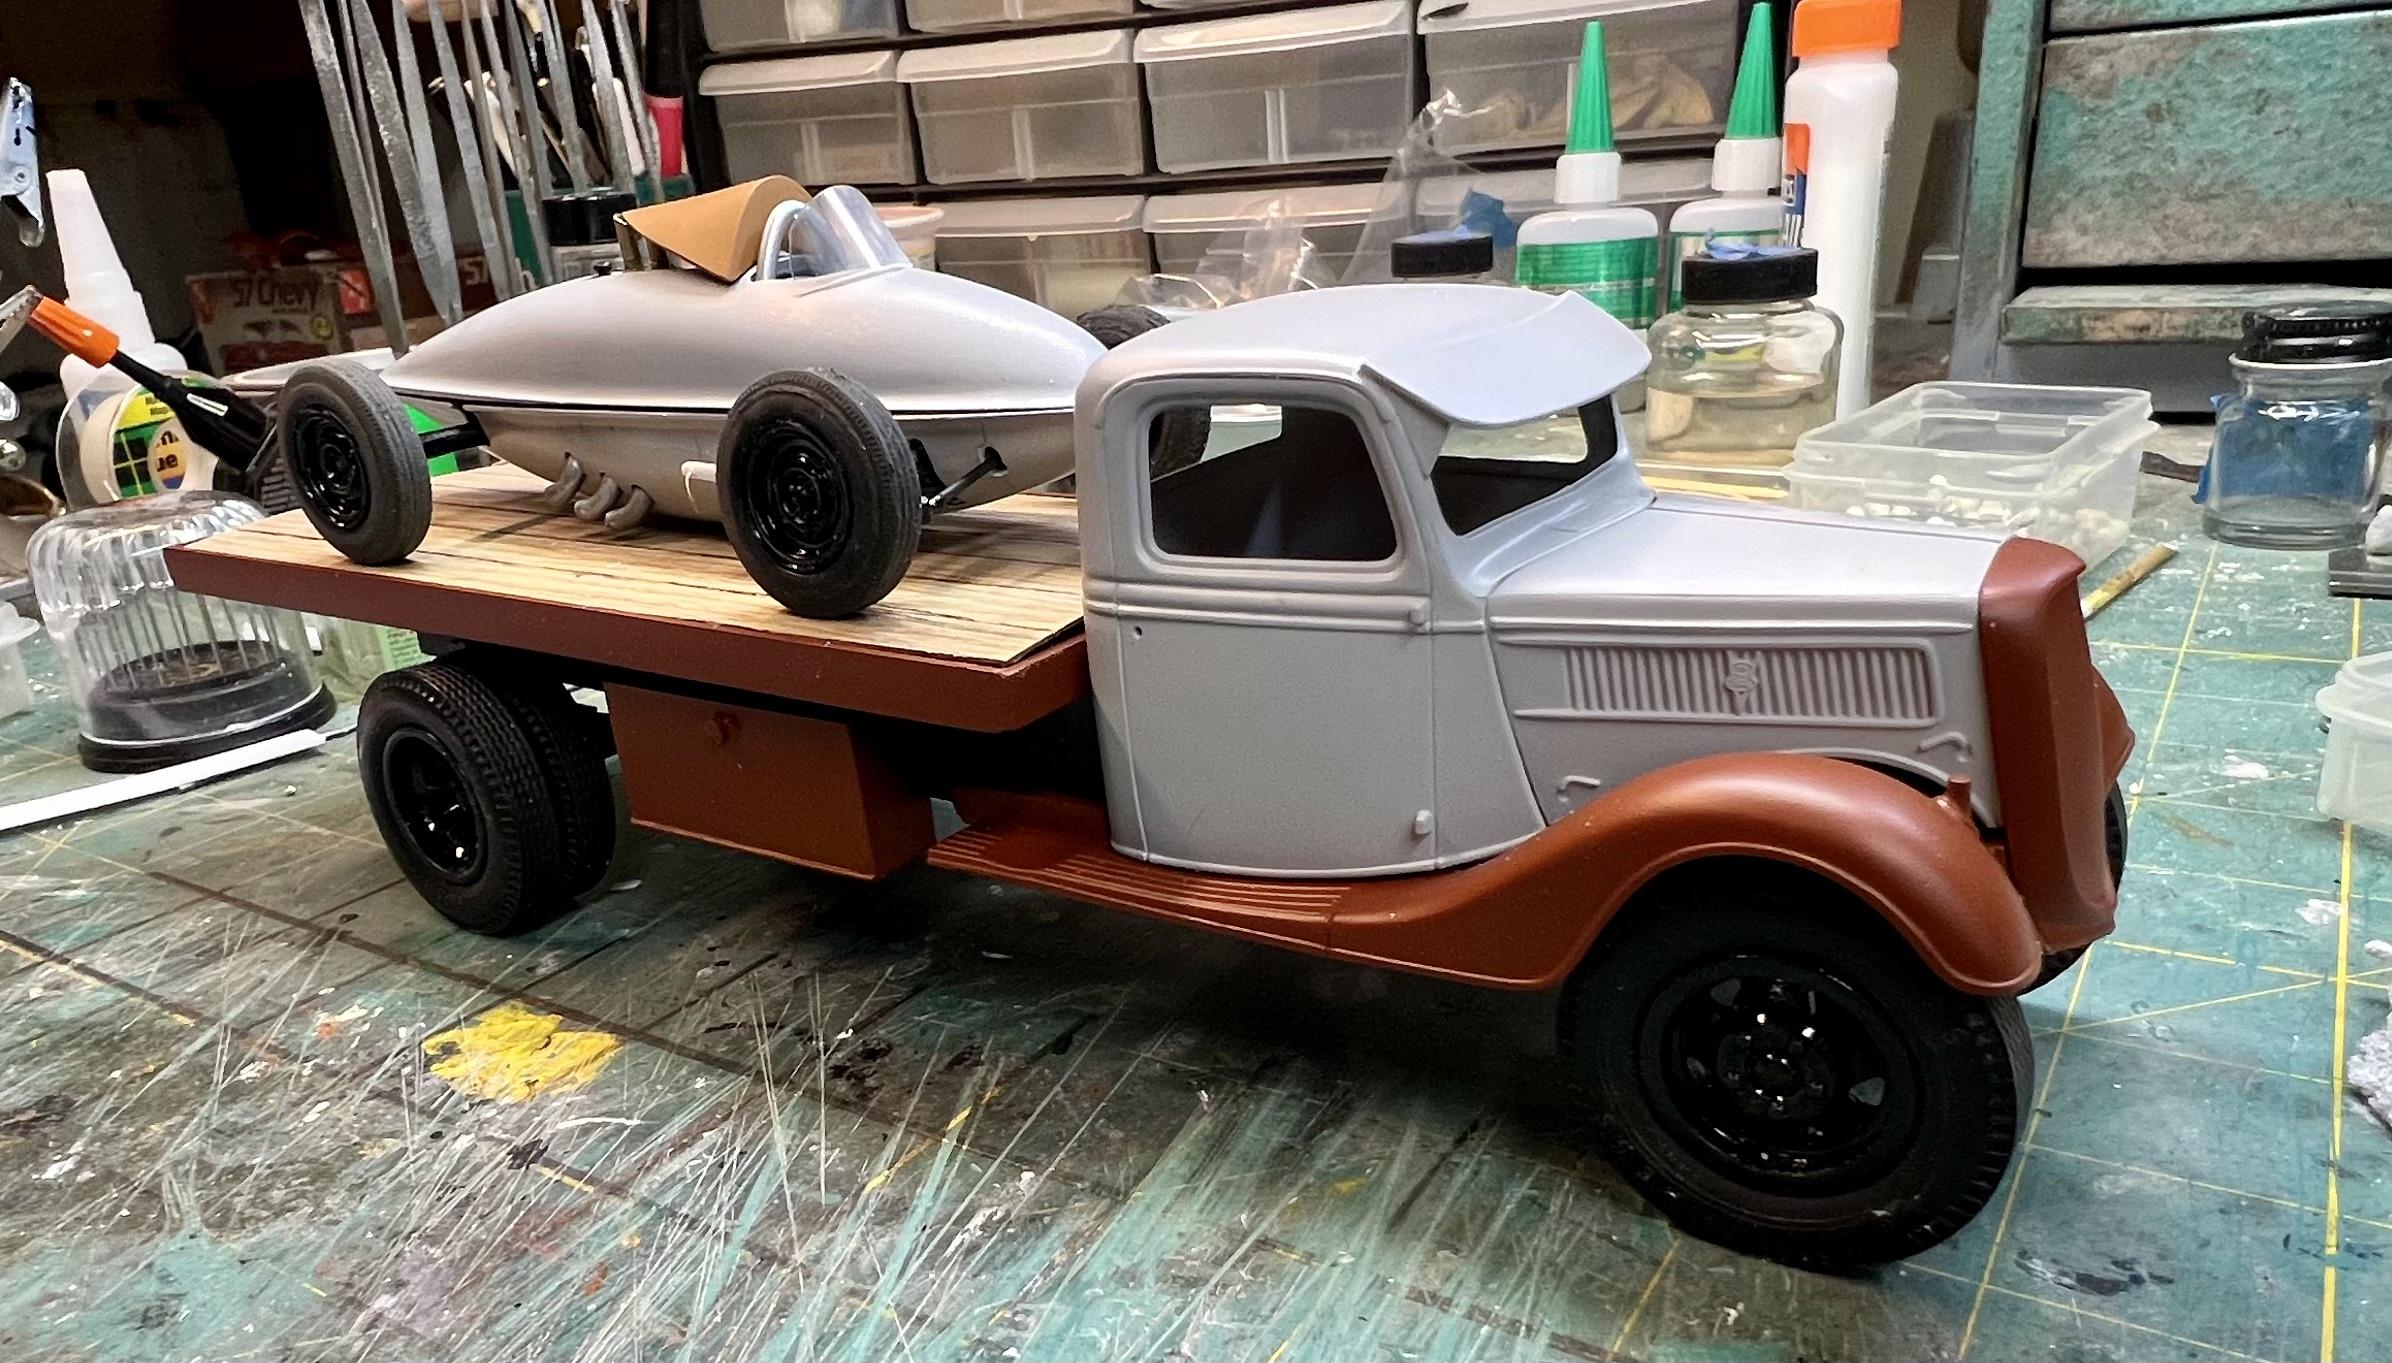
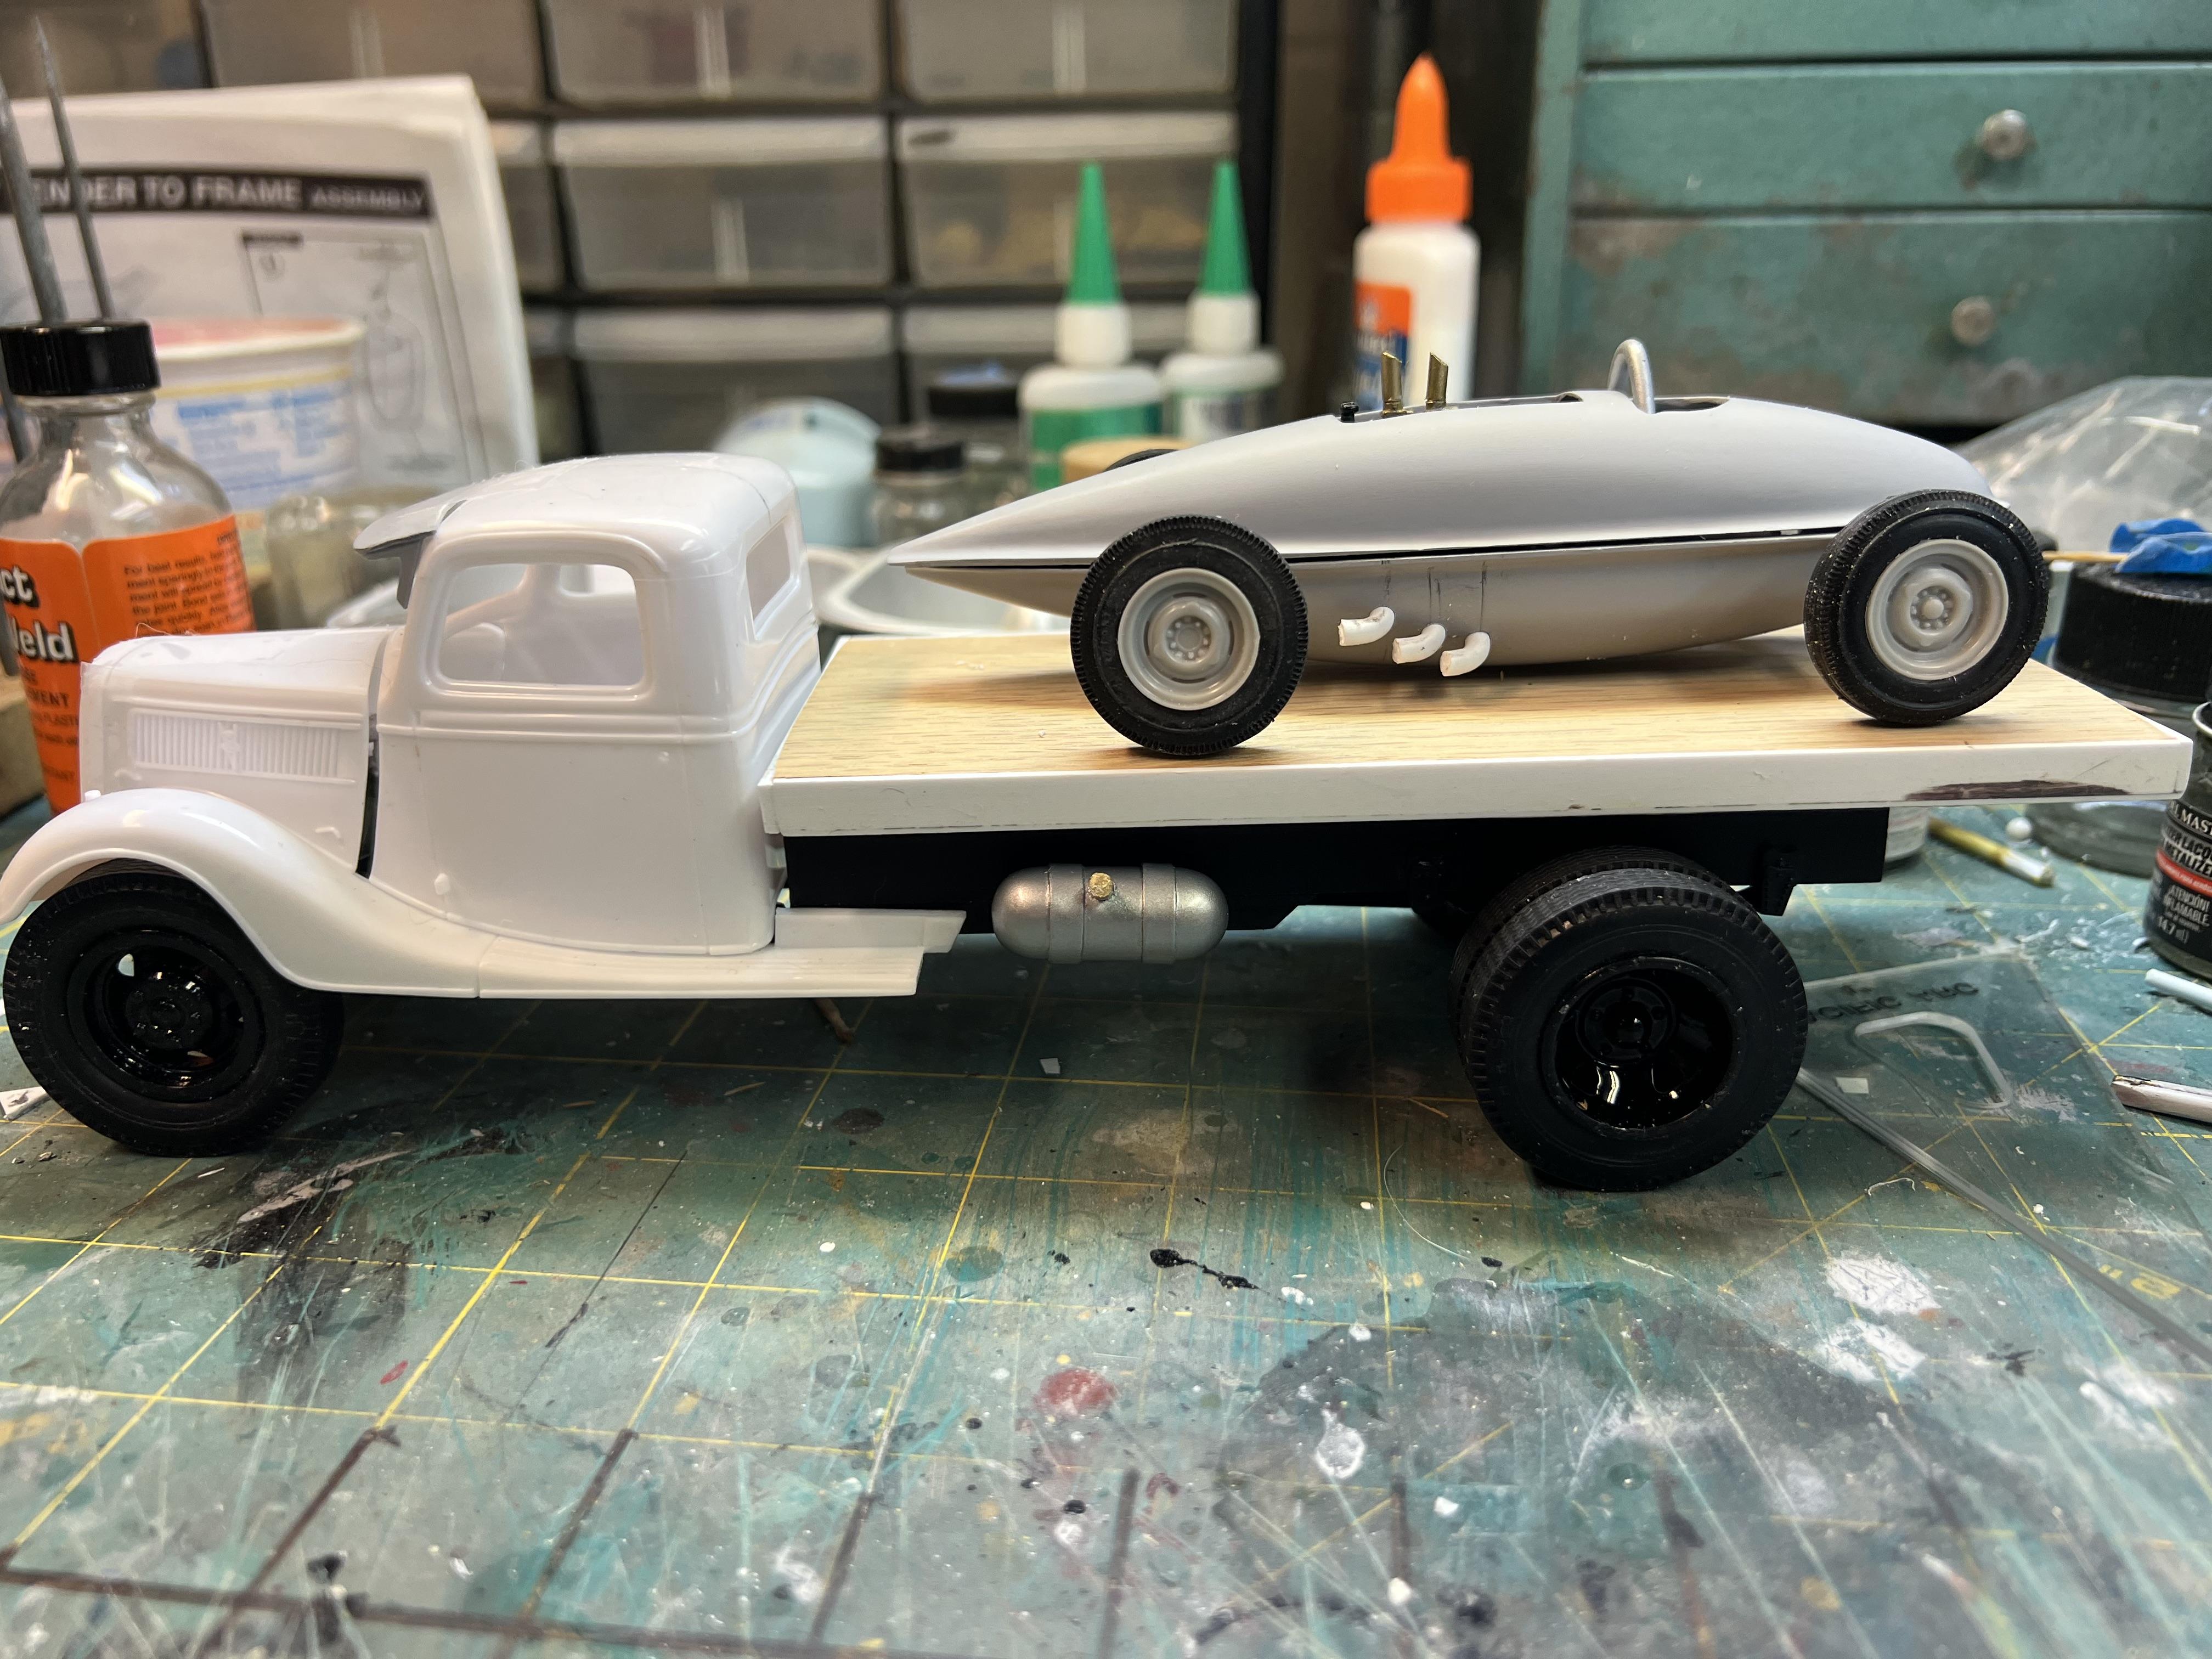
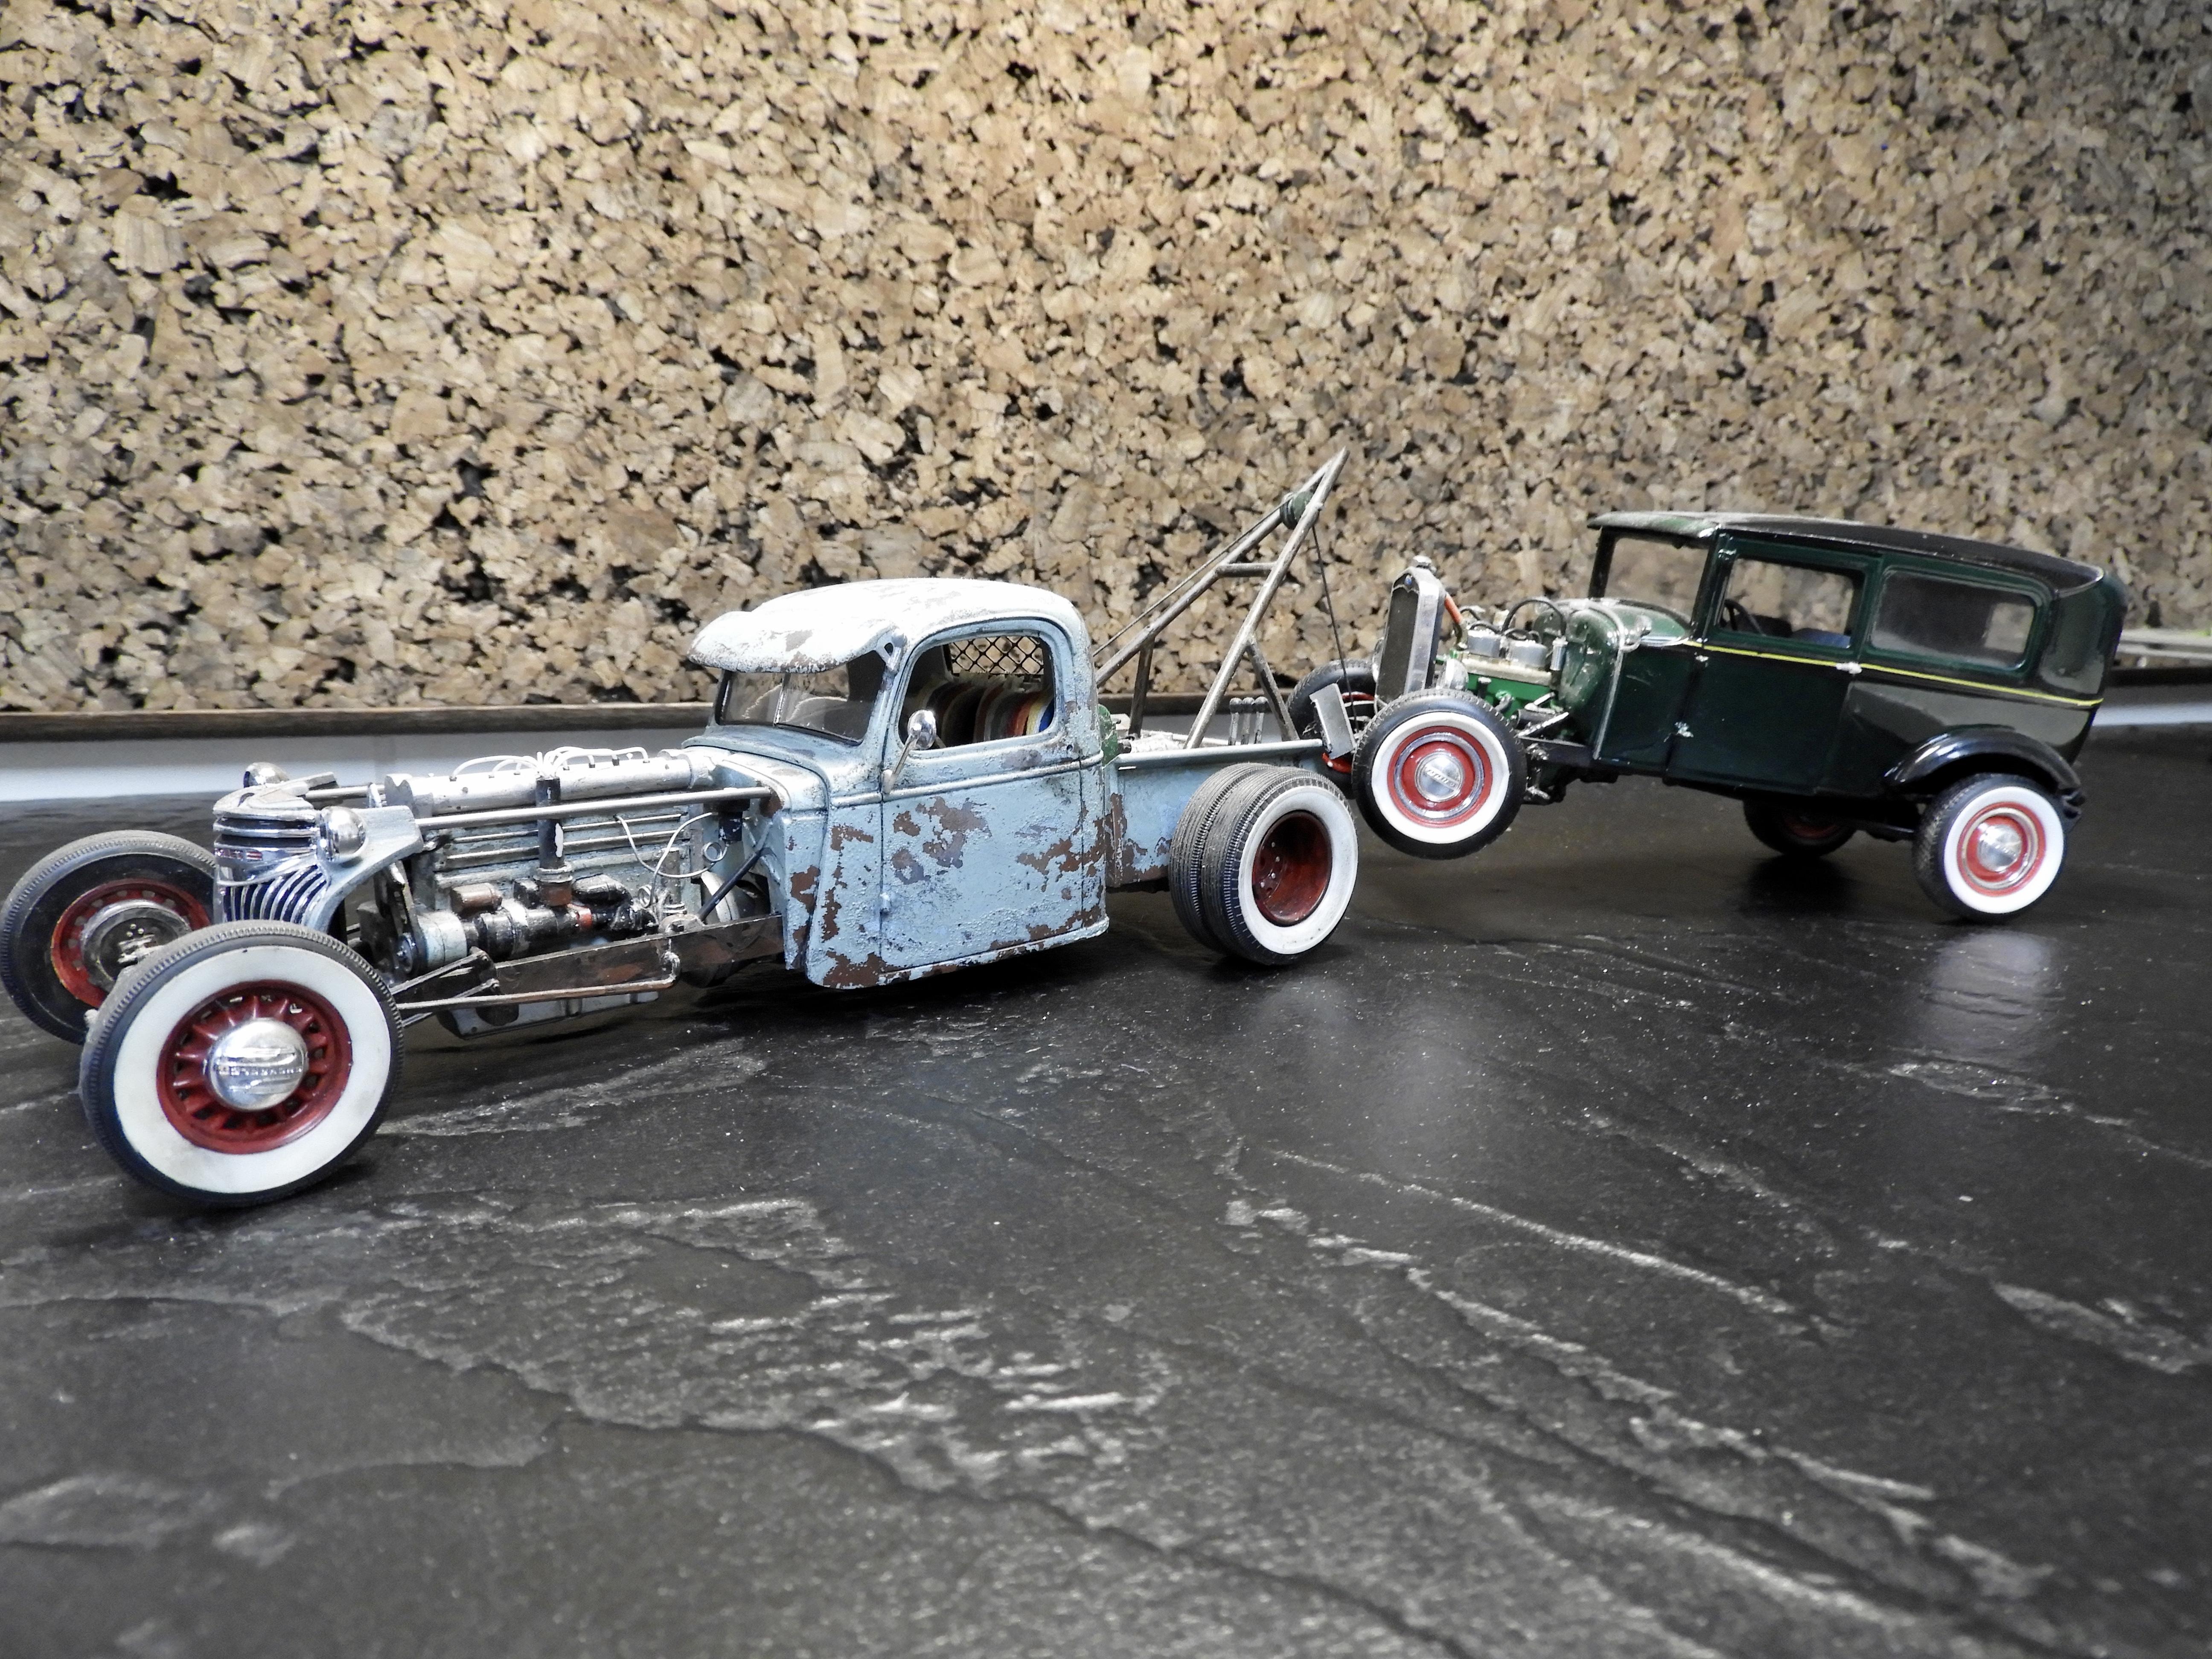
Updates. Both the car and the truck been getting attention. The car has received tie rods, a half a** shroud over the engine, a wind screen, and radius rods. I plan to paint the car raw sienna, like the shroud, unless I change my mind. The whole theme of this build is total lack of sophistication so some design features will be crude and the colors simple and subdued.
The trucks wood bed is stained gray and then golden pecan. To simulate planks saw kerfs are cut part way through and then highlighted with a pencil. Storage box added to the right side. The color of the truck is burnt sienna.p
-
5
-
-
Has anyone else had trouble getting it. All the stores in the Des Moines area don’t have any and say they’re having trouble getting it. Amazon doesn’t have the chrome but do the black and brass. I ended up getting some on eBay.
-
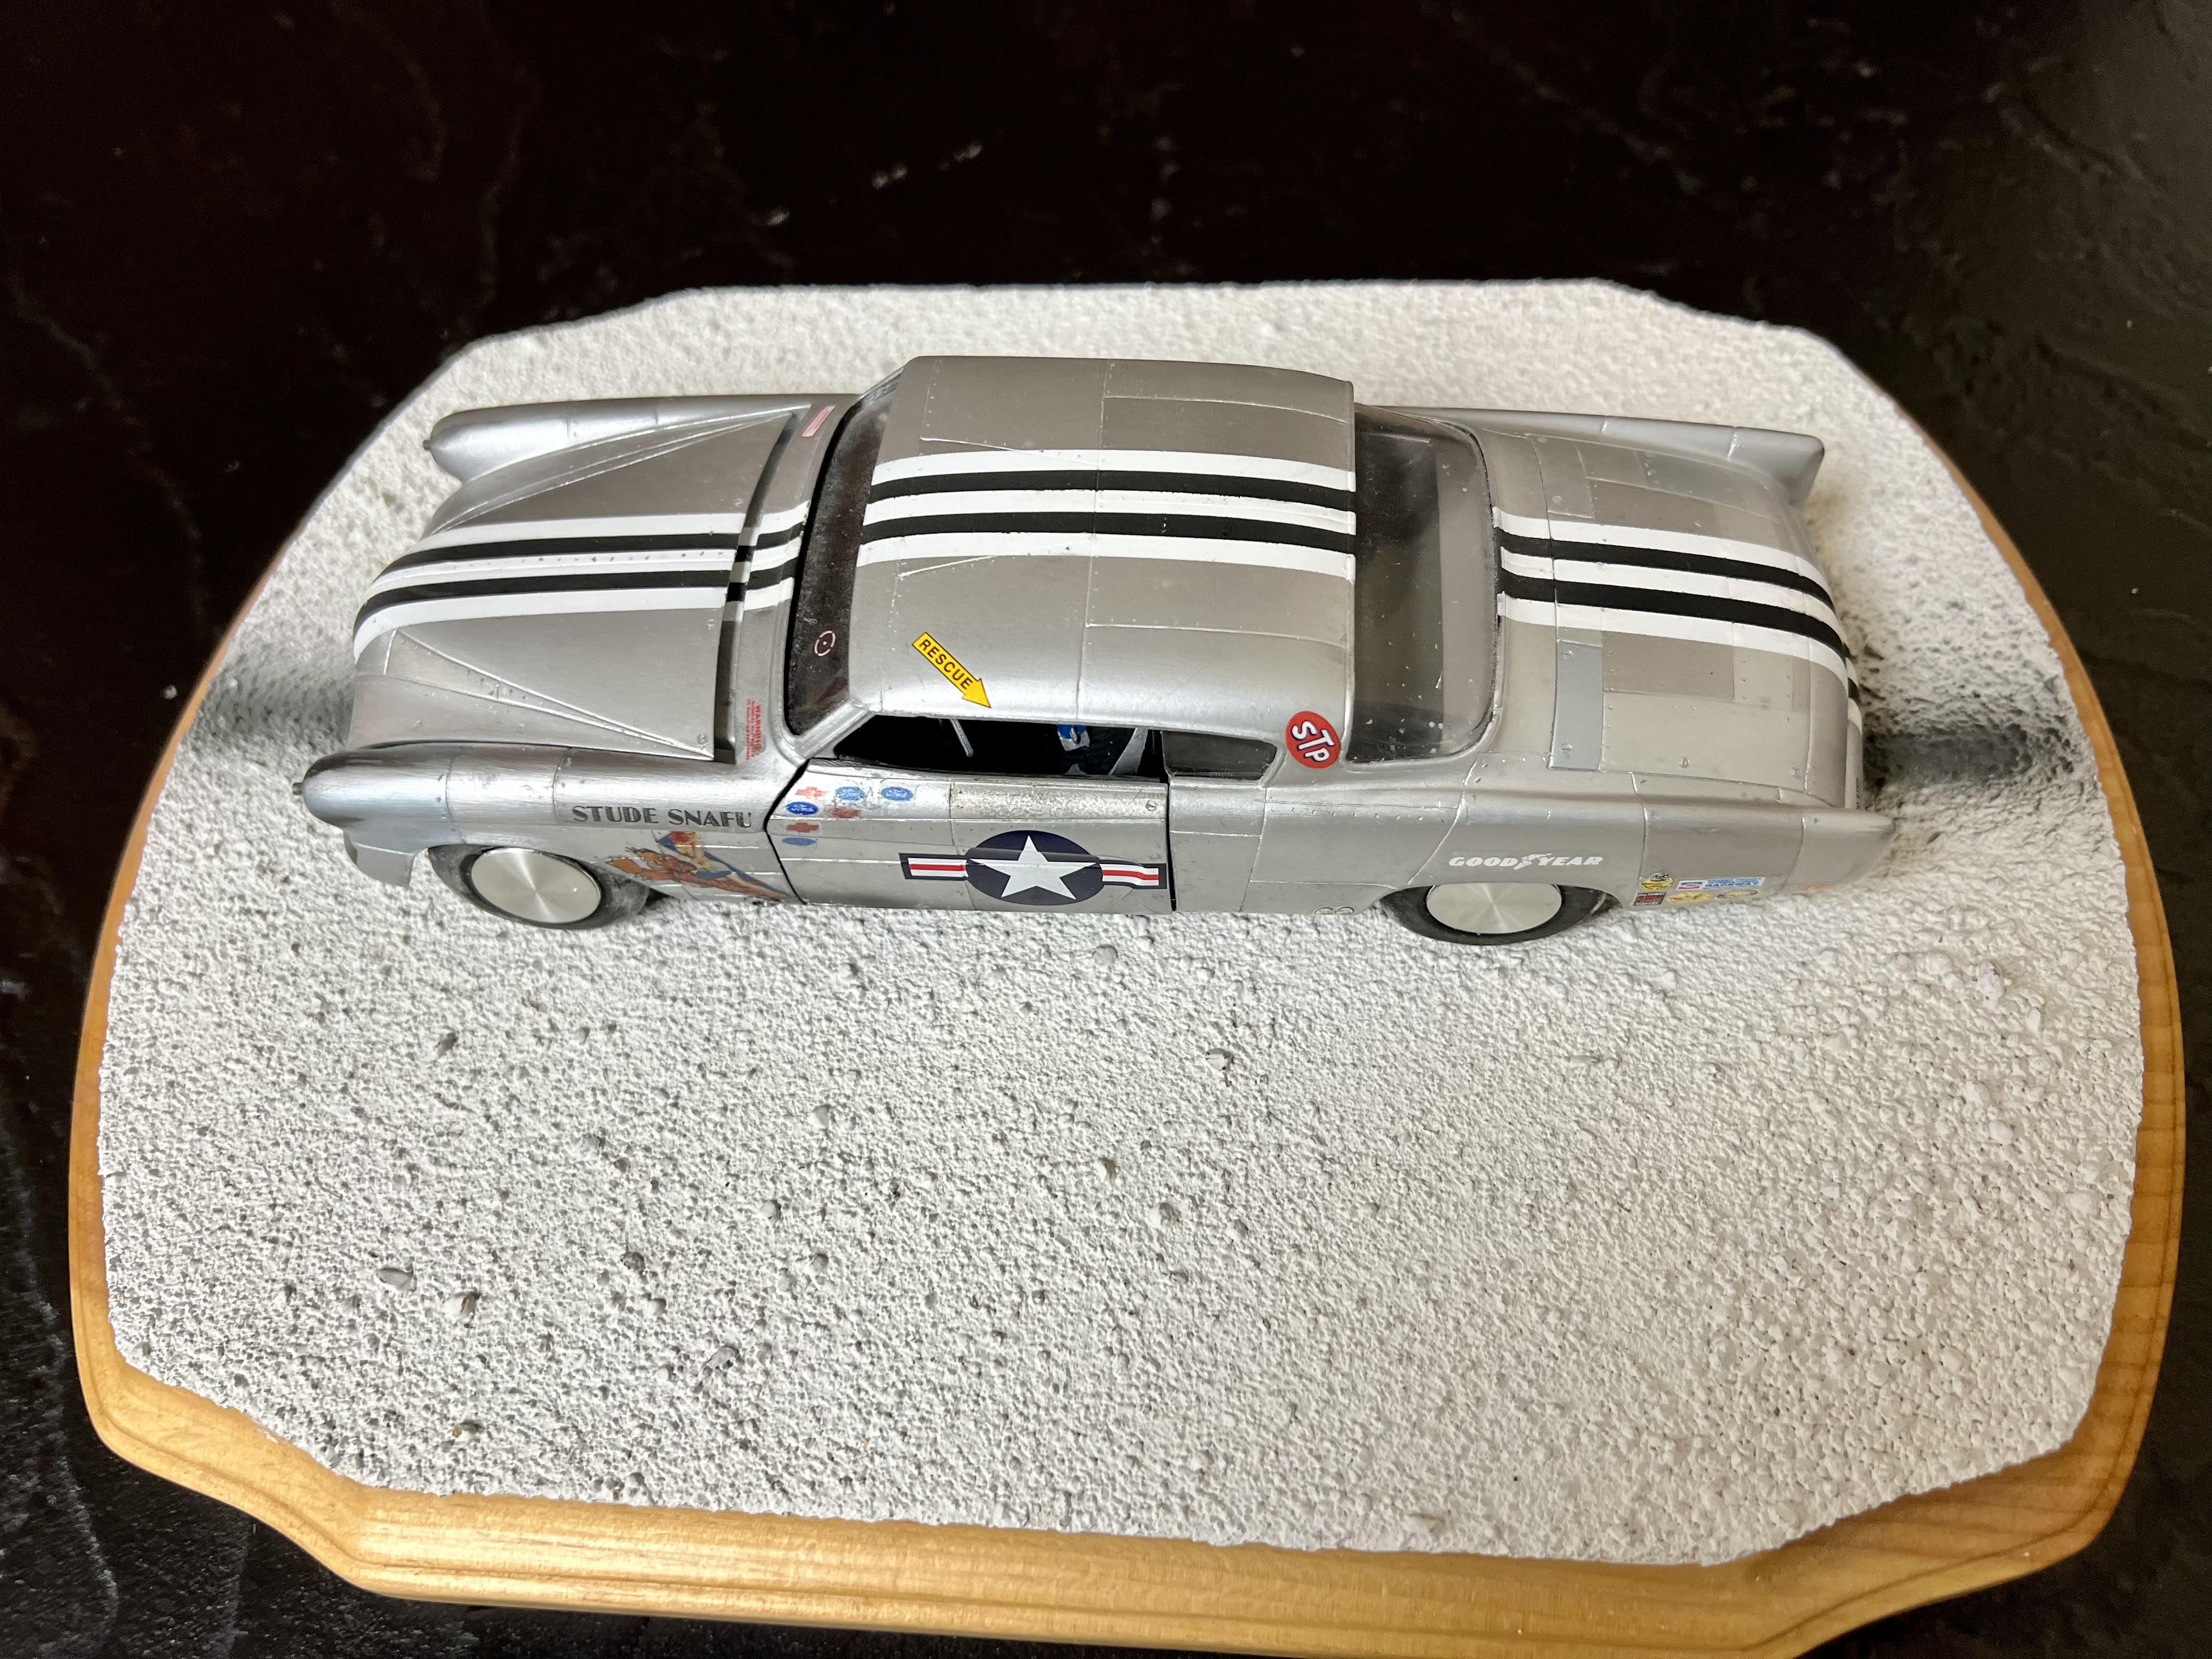
Here’s what the sand you get at the big box stores for your sidewalks looks like. The plaque was painted with white house paint then the sand was added and after drying another coat of paint. It seems a little coarse for 1/24 but maybe okay with the bigger scale.
-
 1
1
-
-
How big is “big”? In some cases a plug can be made from the kit’s sprue. Some shaving to match the right size may be needed. Another technique is to make “sprue glue”. Cut up small chunks of sprue and add what ever solvent glue your using. The plugs will dissolve and form a paste which can be applied to the hole. After drying the patch can be sanded to match the piece. There are also 2 part epoxies on the market that will also fill areas. My favorite is Milliput extra fine. Which ever way you choose good luck.
-
1
-
-
On 1/24/2024 at 9:14 AM, stavanzer said:
Great Project!
The Bed / Frame modifications are done the way it would have been back in the day.
Measure, cut, measure again, weld.....
I've seen a number of Farm / Oilfield machinery that was modified just this way. You have a great looking truck project.
The Belly Tanker Racer is neat.
Good Show!
Thanks Alan. I spent some time in the oil fields at Elk City, OK in the mid 70s when you couldn’t buy a job elsewhere.
-
I’ve made progress on both the car and the truck. On the car the exhaust outlets are, measured then measured again and just to be safe measured once more. Then with tremendous courage the holes were drilled. The final pipes are yet to be bent. Looks like they will require a complex bend. Wish me luck.
The truck got a fuel tank made from the air pressure tank off the L-700. The wood for the bed is fitted also but the stain and varnish will go on after painting.
Still debating what color to use. I’ve done enough red and black combos to last a while so vasilating between an electric blue or just some faded old truck look for both the car and the truck. For a sponsor John’s Lubritorium has been chosen
-
3
-
-
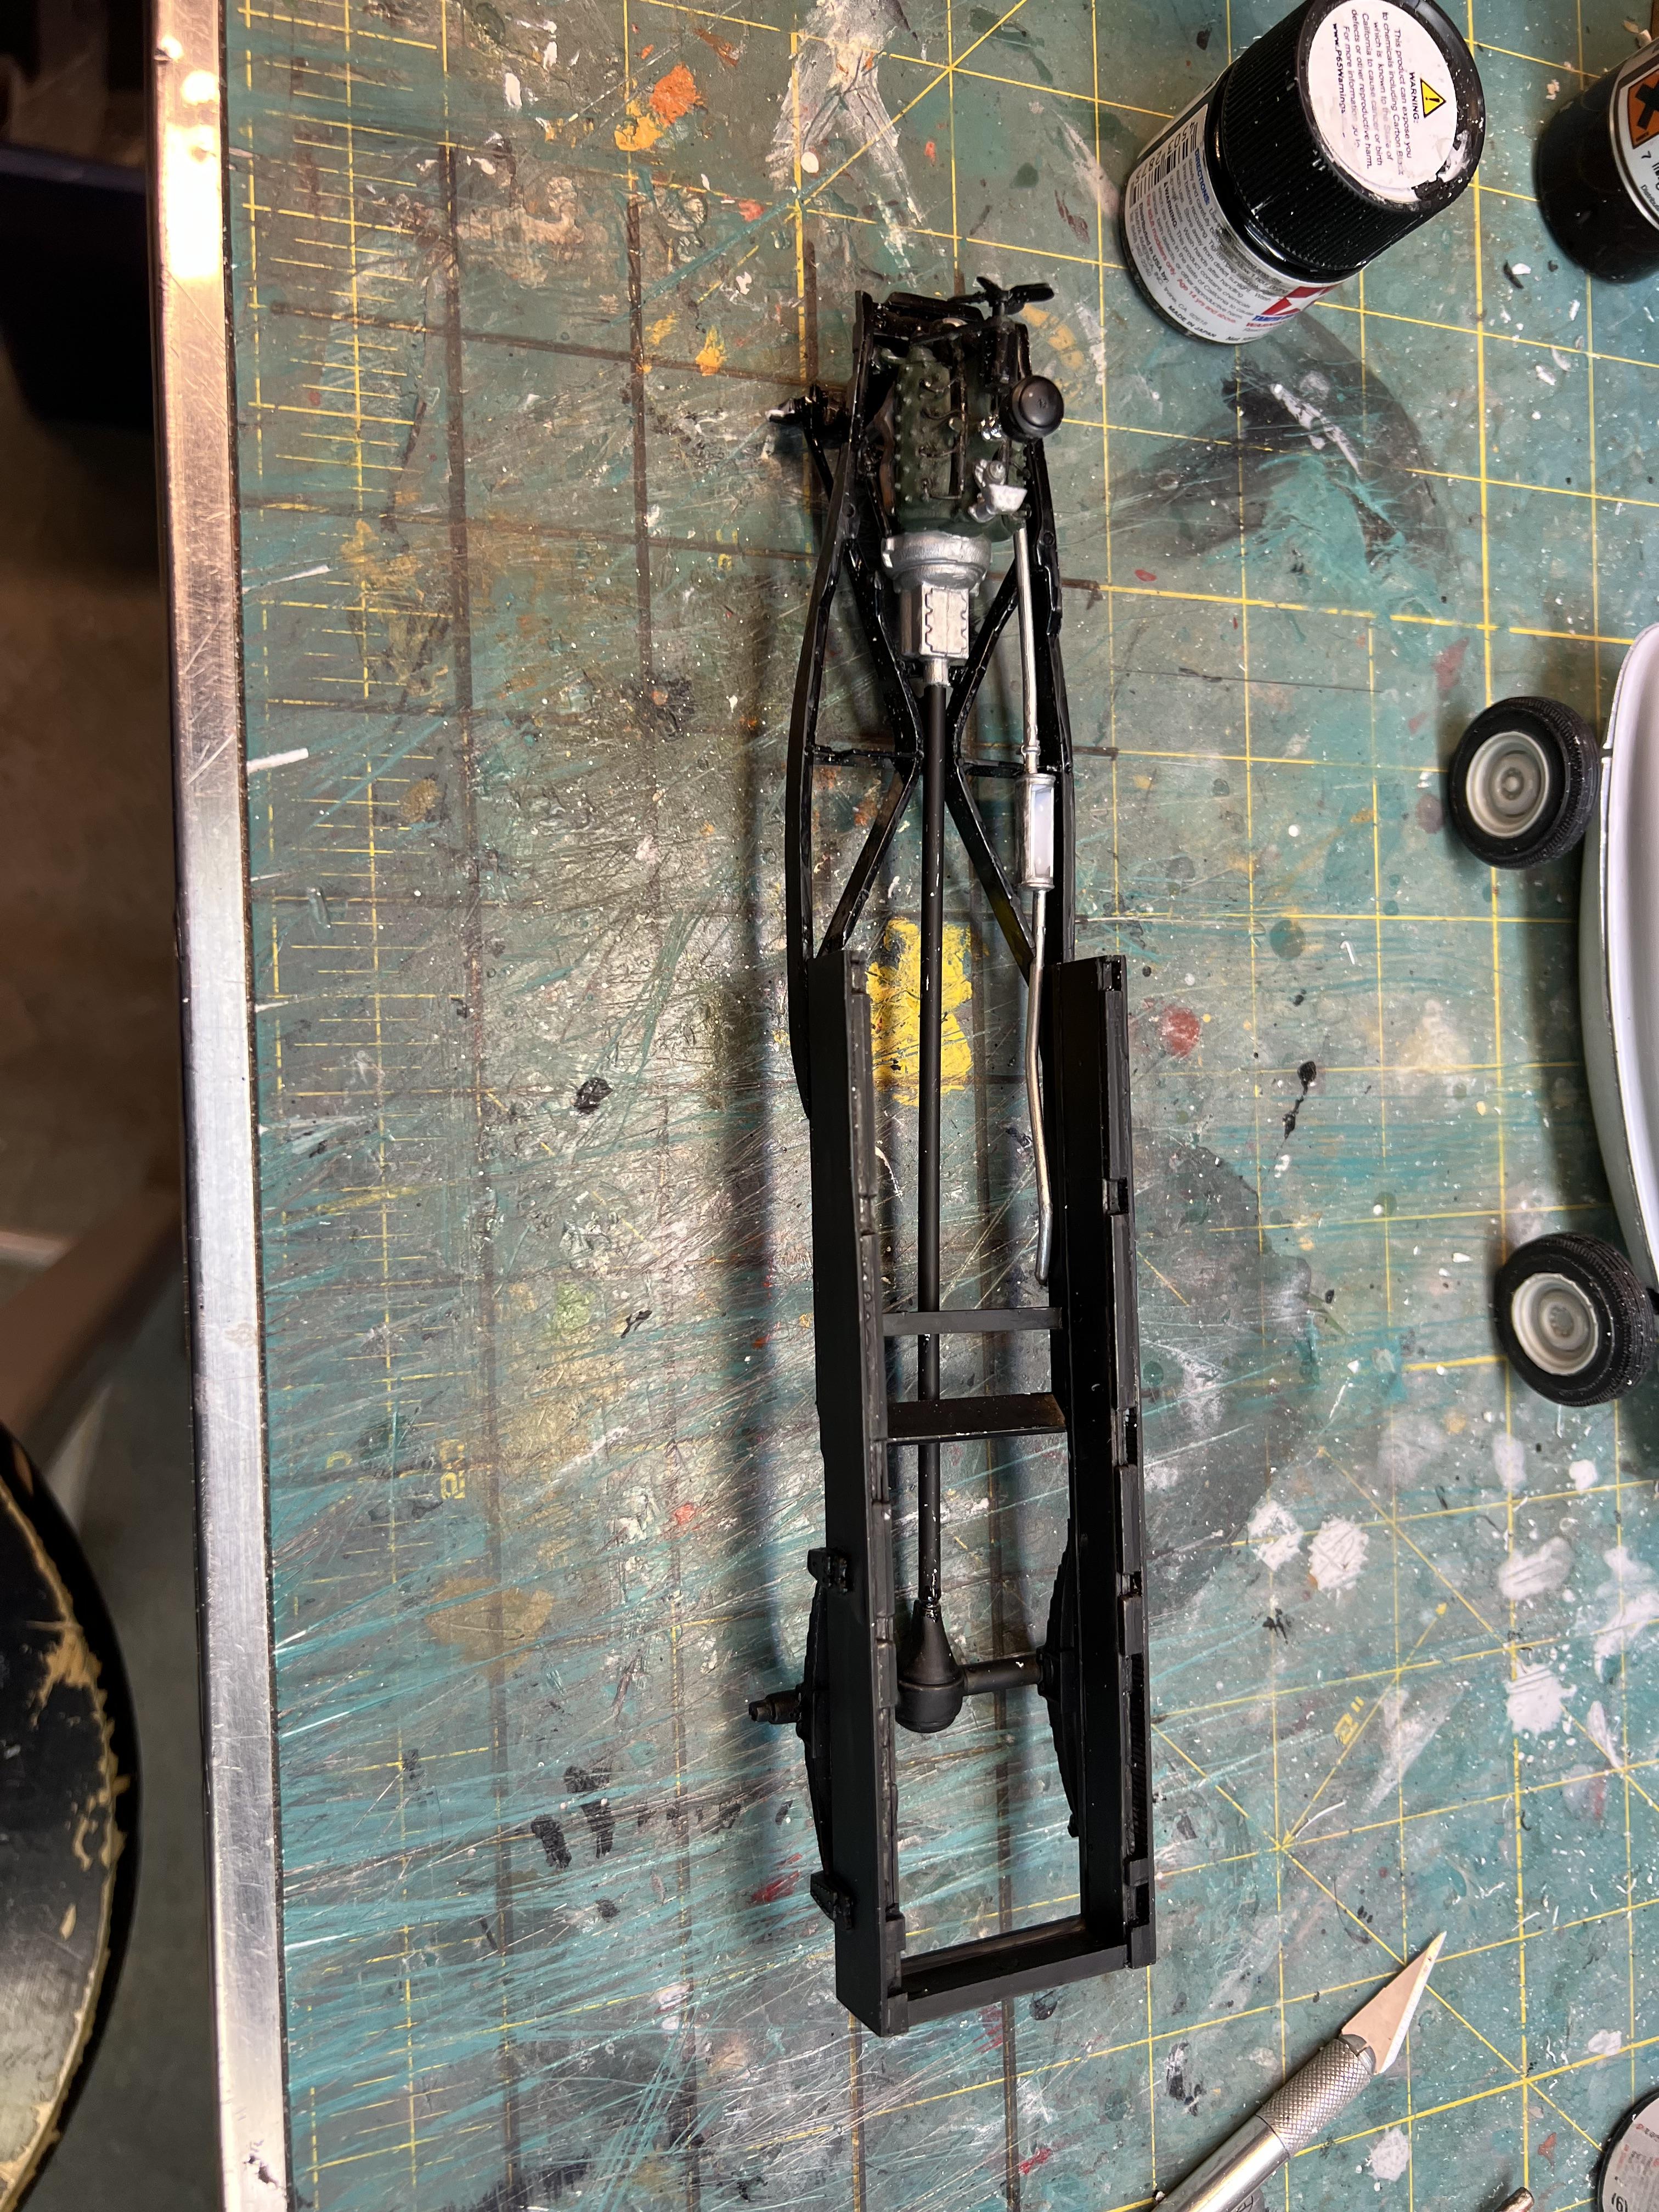
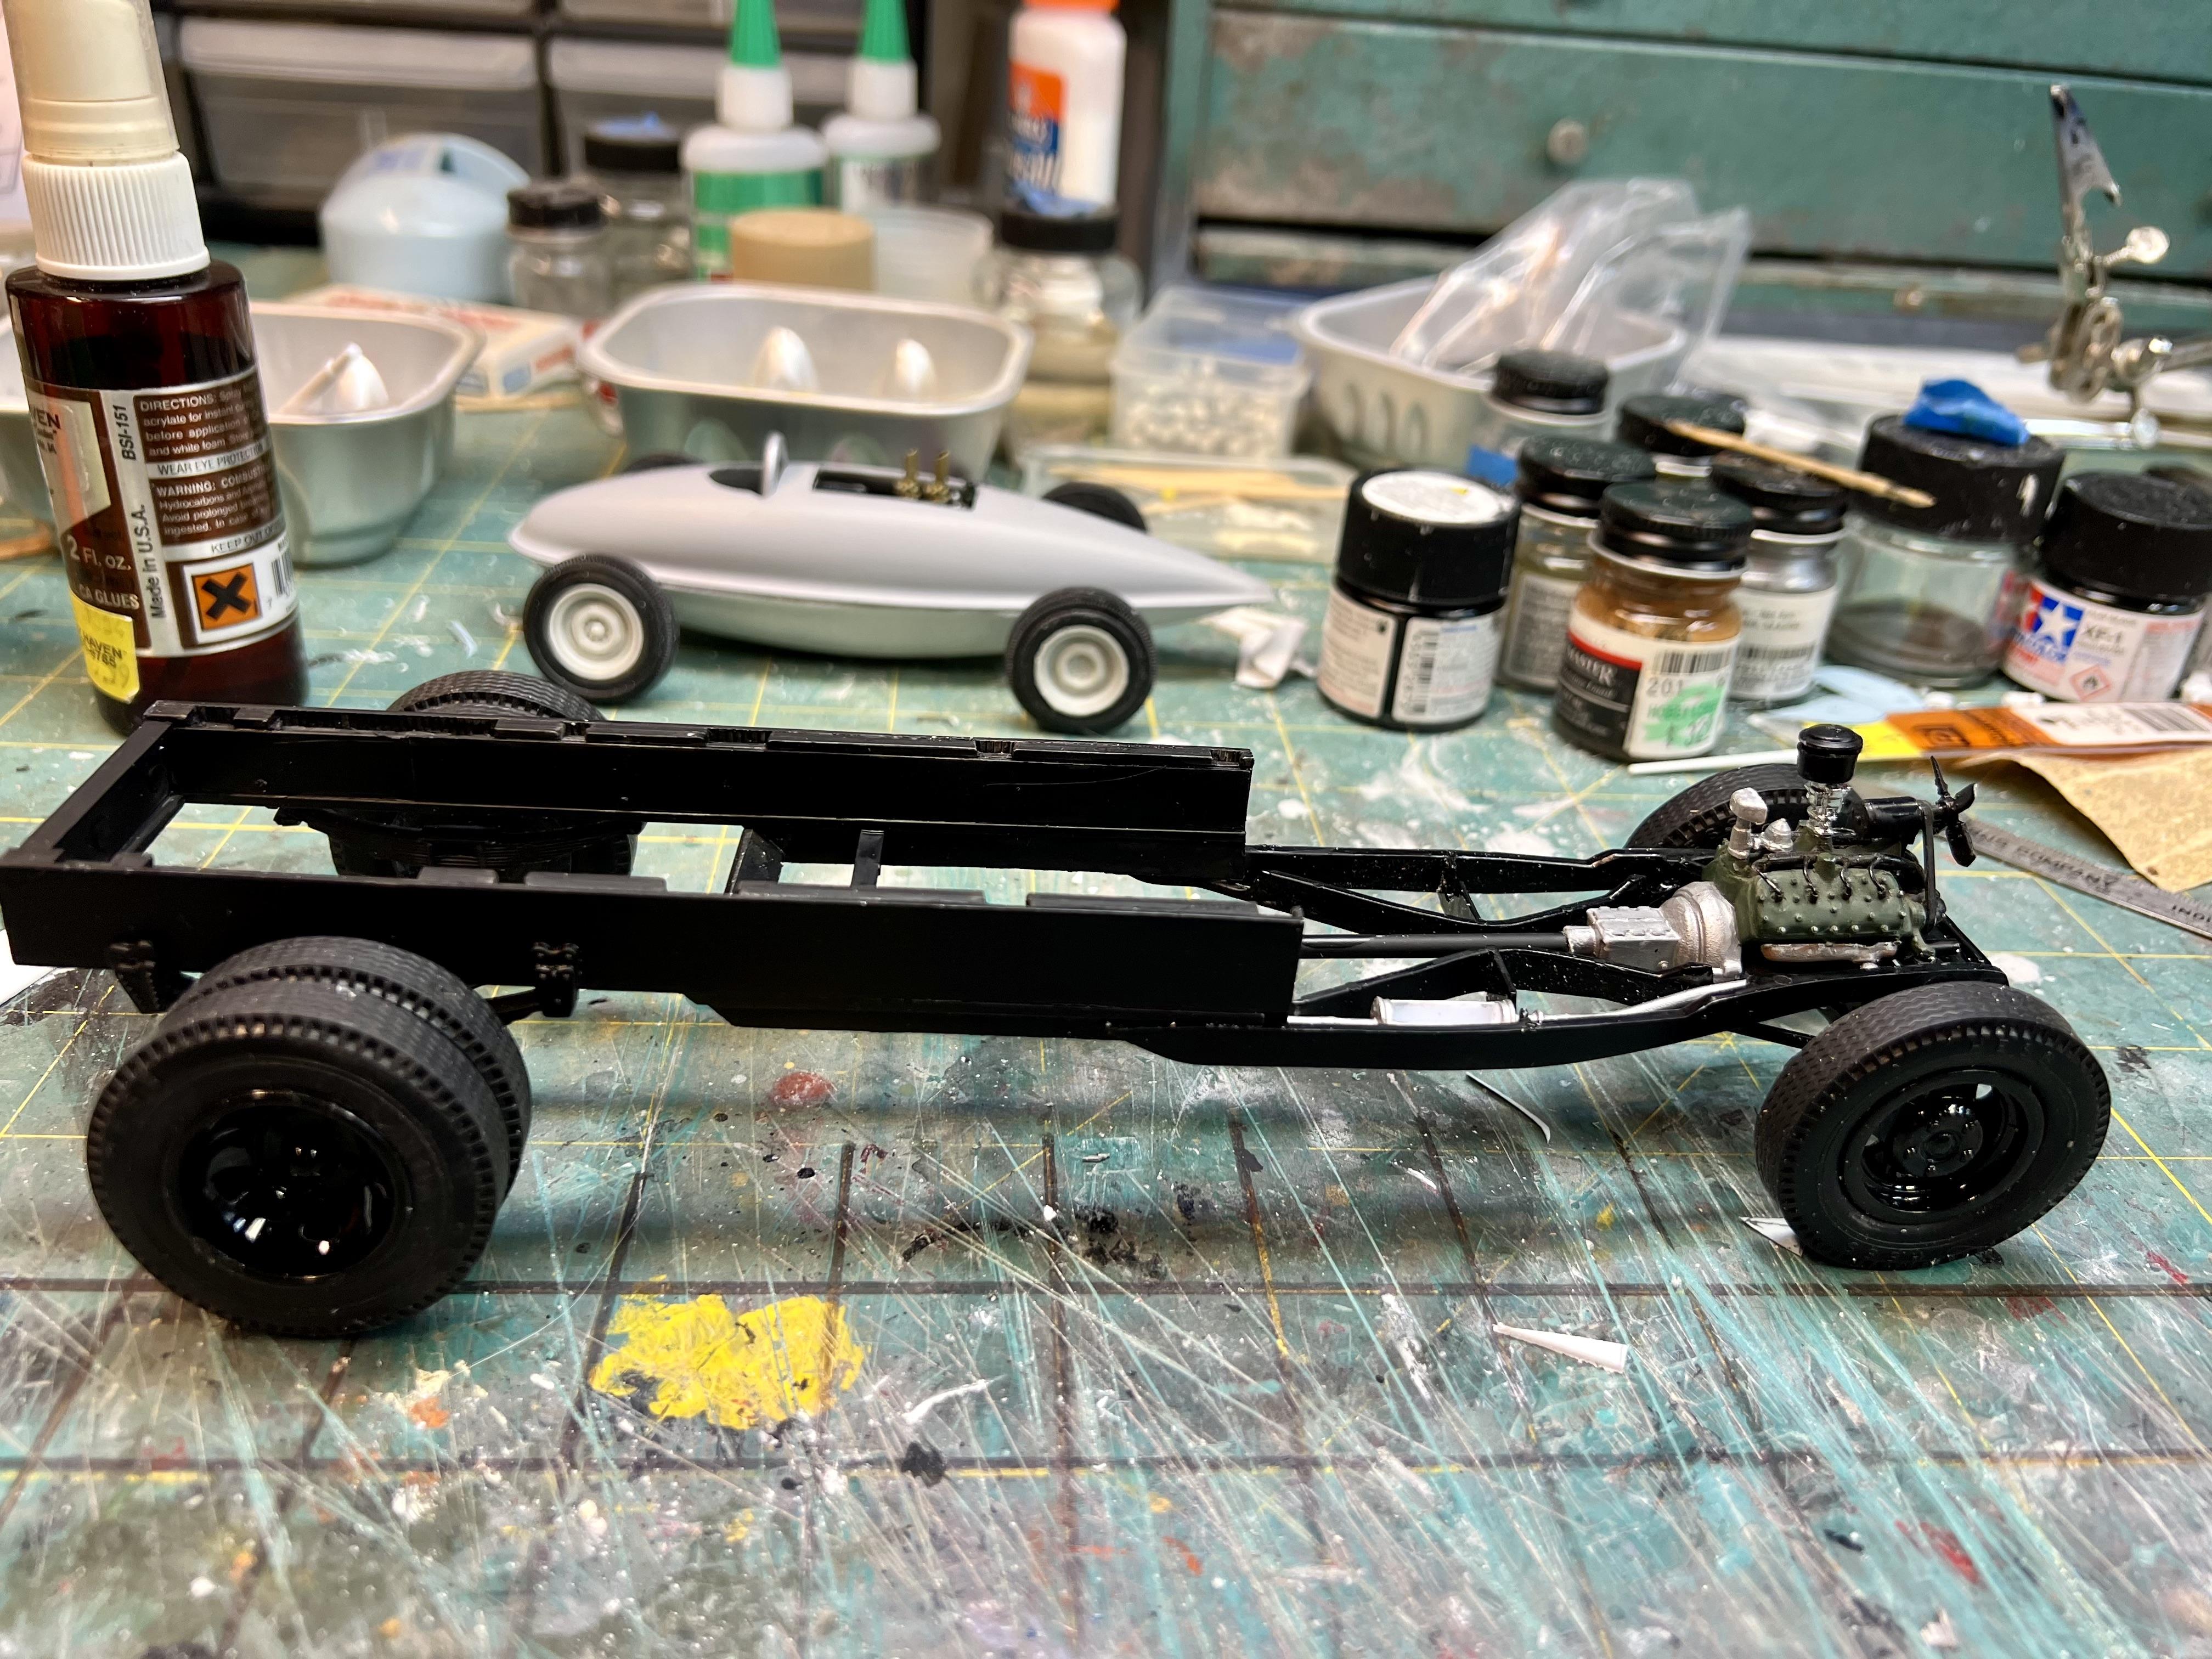
18 hours ago, absmiami said:
Love that truck - reduce depth of visor a little ? - if you have any more assembly photos of the truck before attaching the bed - pl post - gracias -
Here’s a couple of looks at the frame modifications. The kit frame was cut as it began its upward sweep for the kit rear axel. Then a narrow rail was overlapped to support the wider member the rear suspension is attached to. The width of the upper piece was dictated by the tires clearing the bed. The length and width of the bed was set by how much room the car needs. Hope that all makes sense.
-
2
-
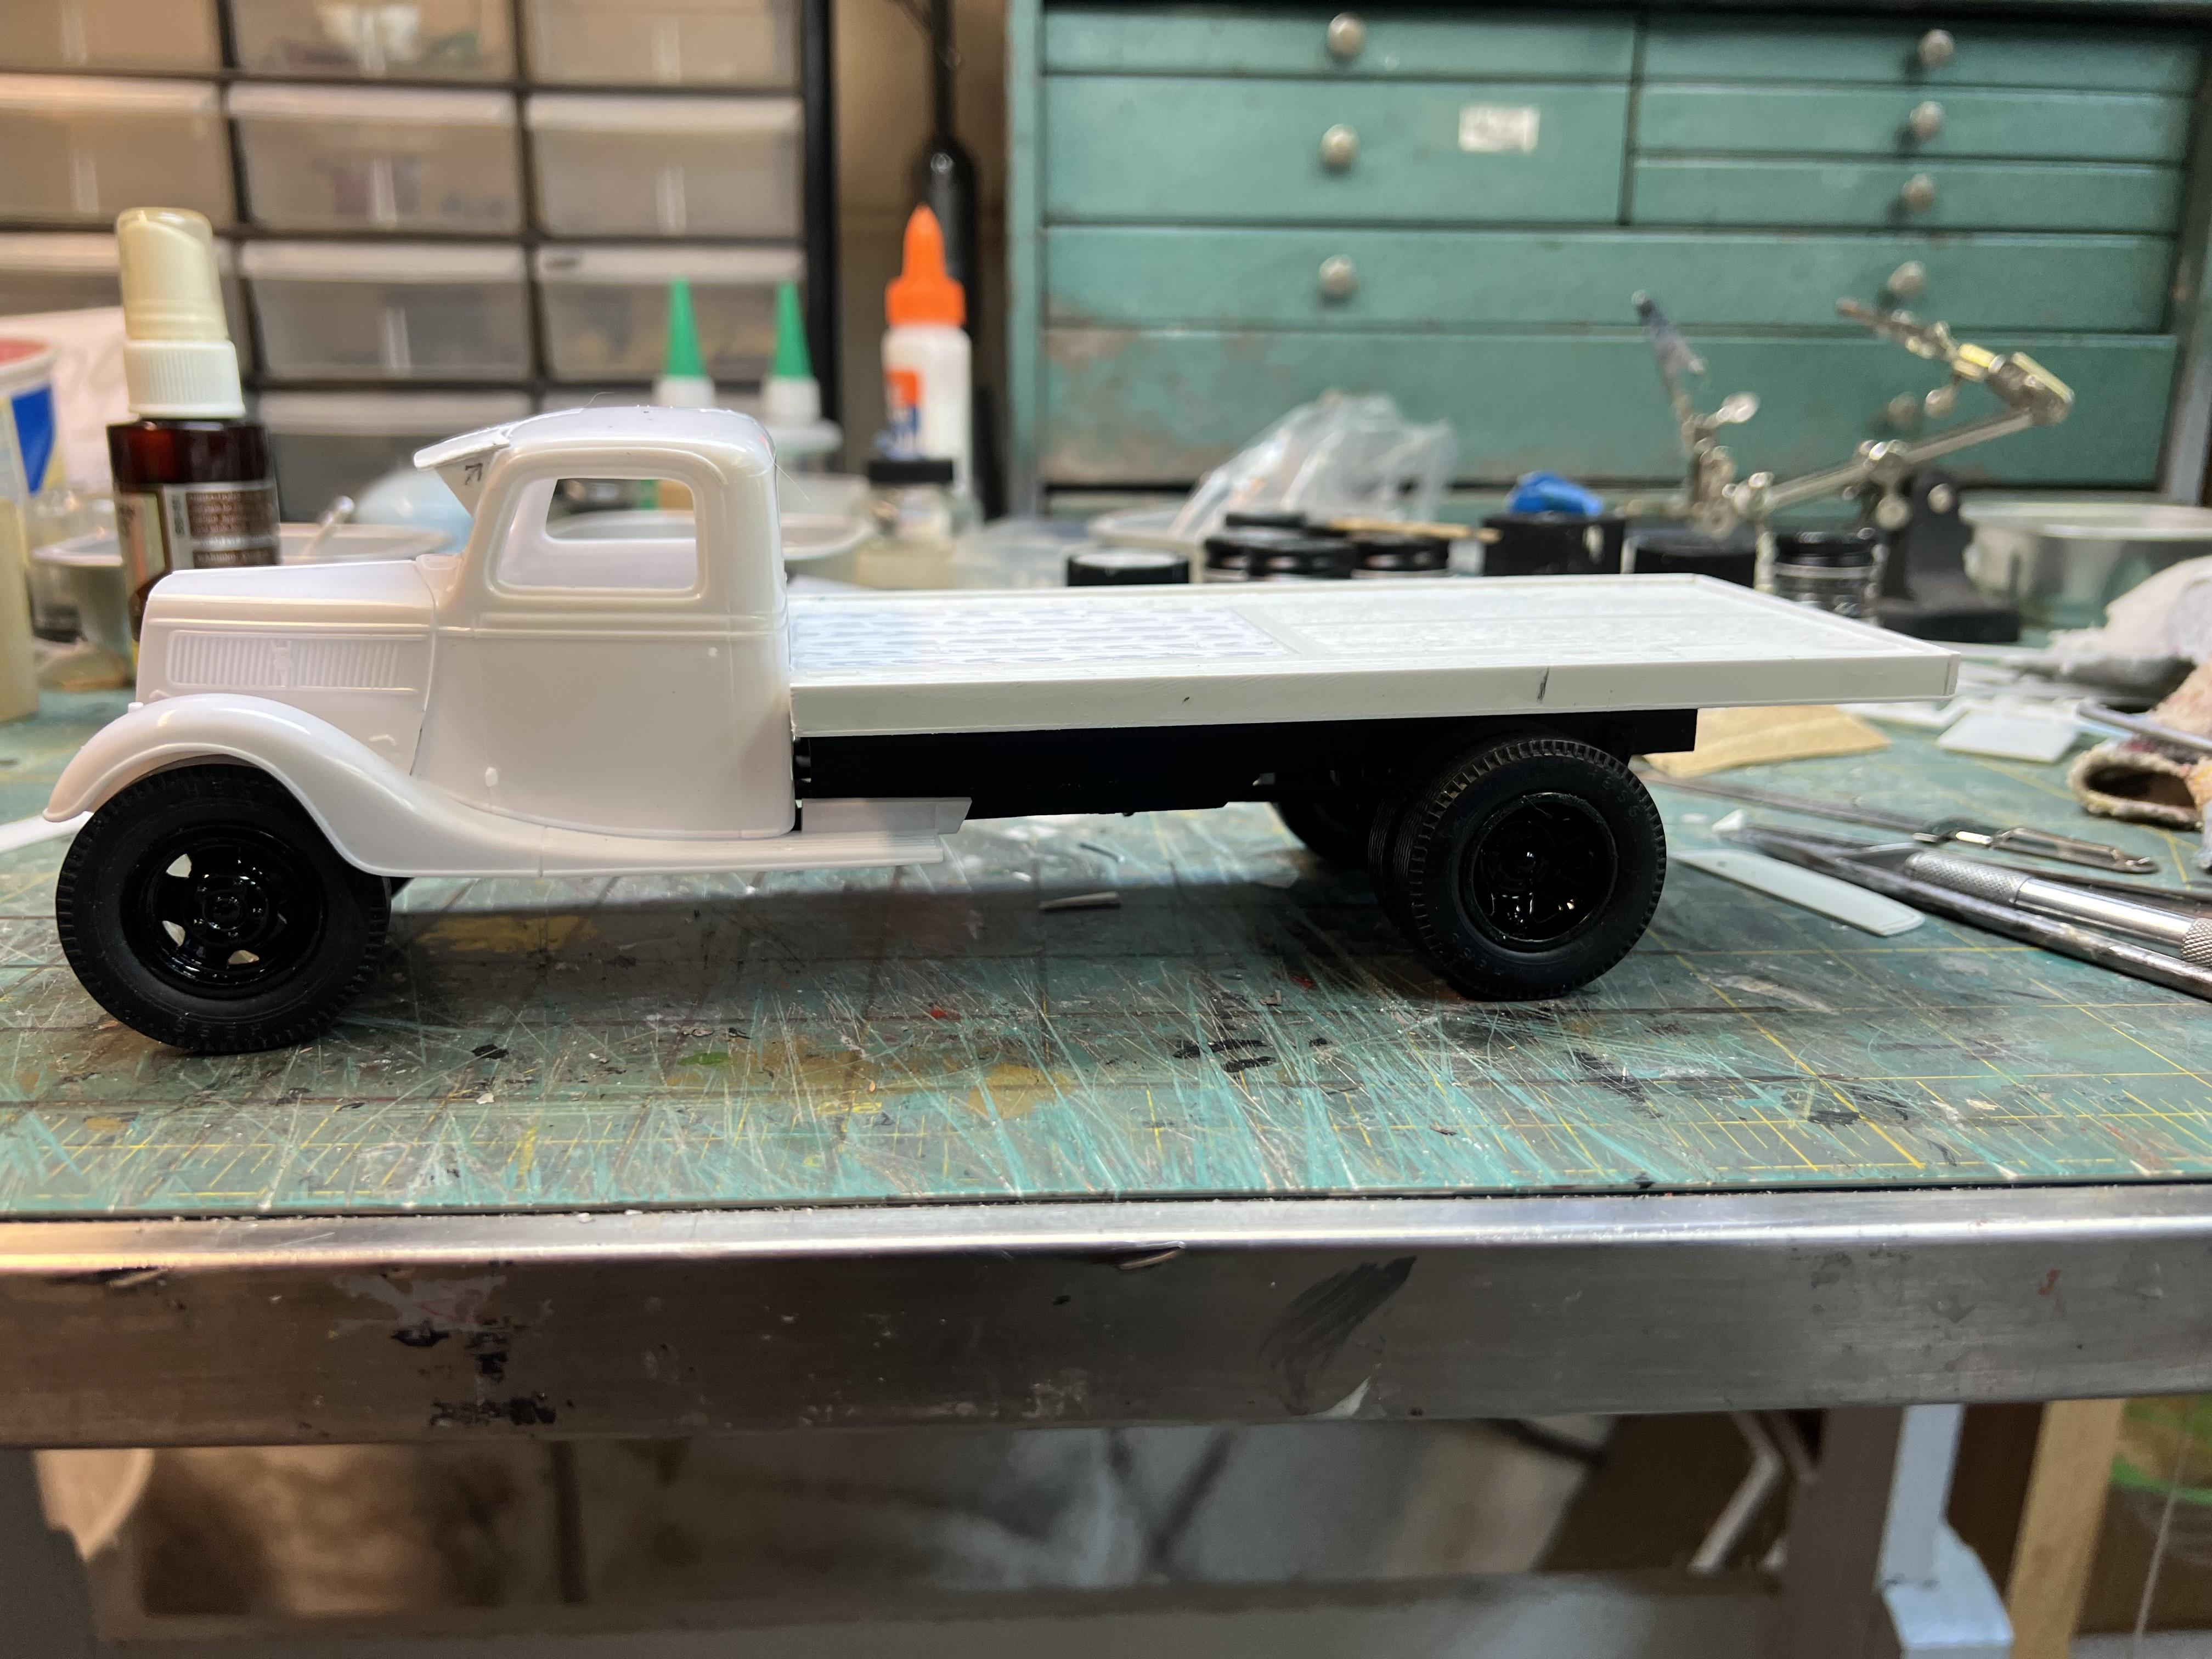
-
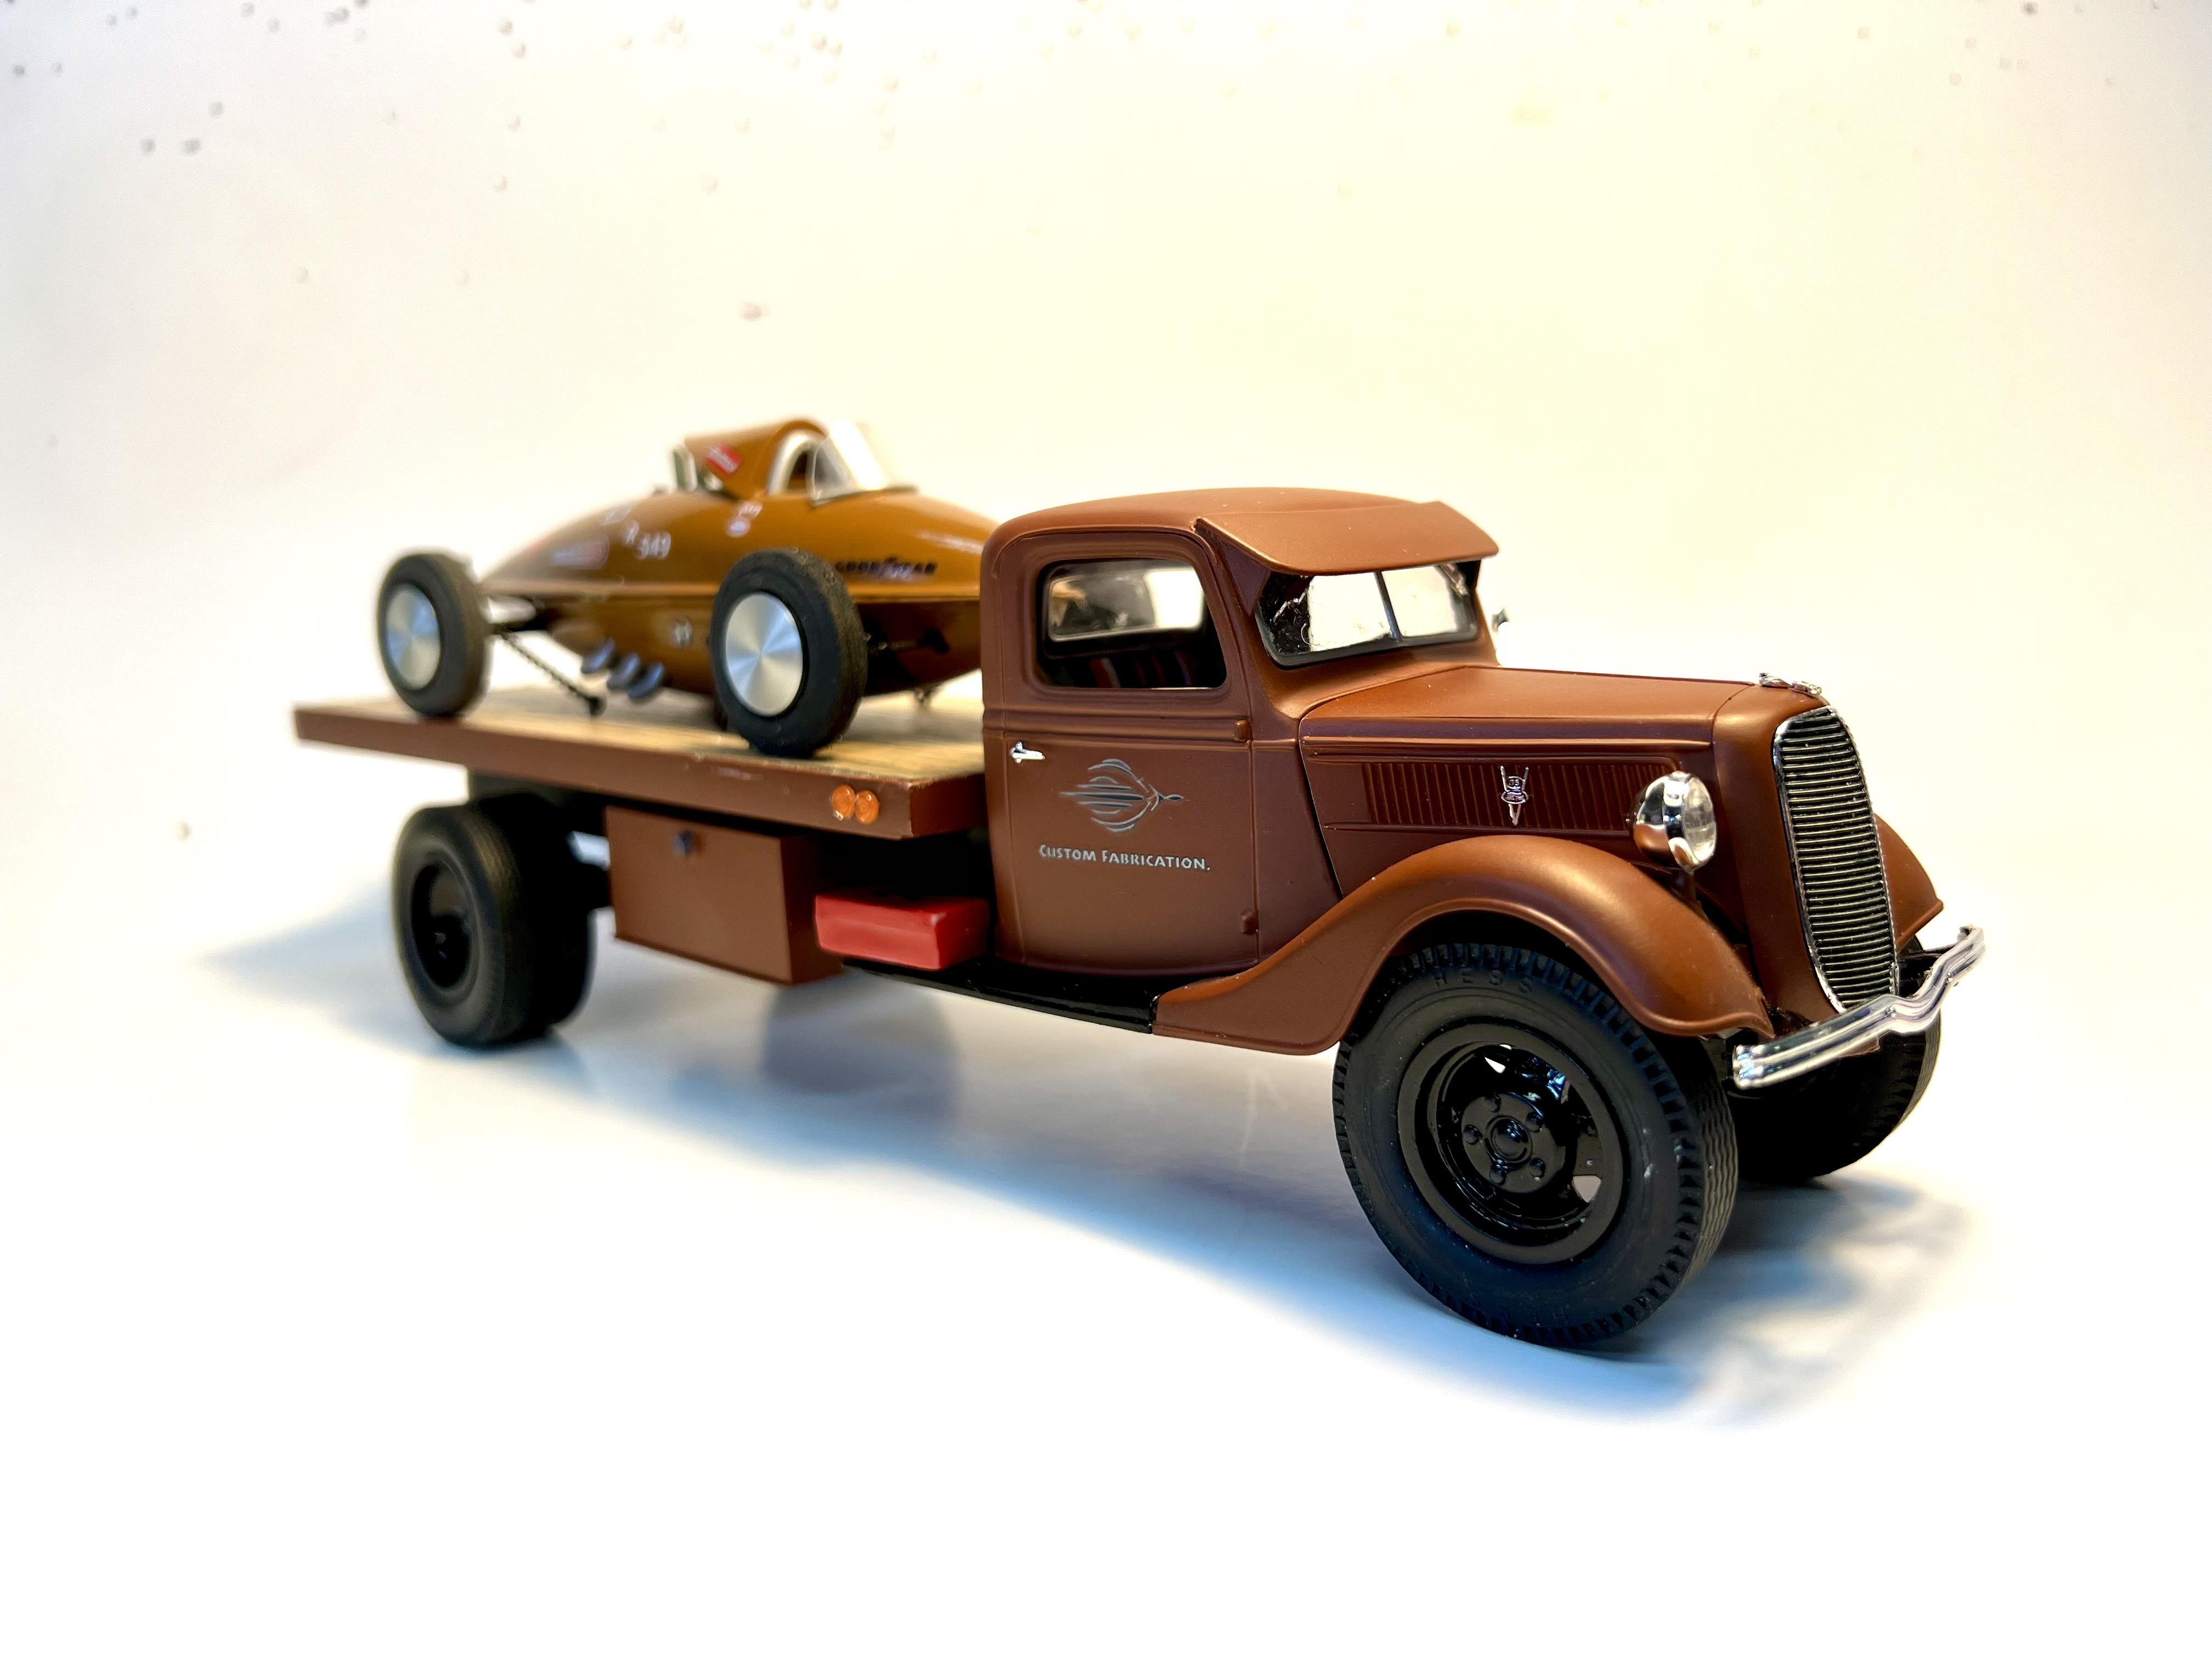
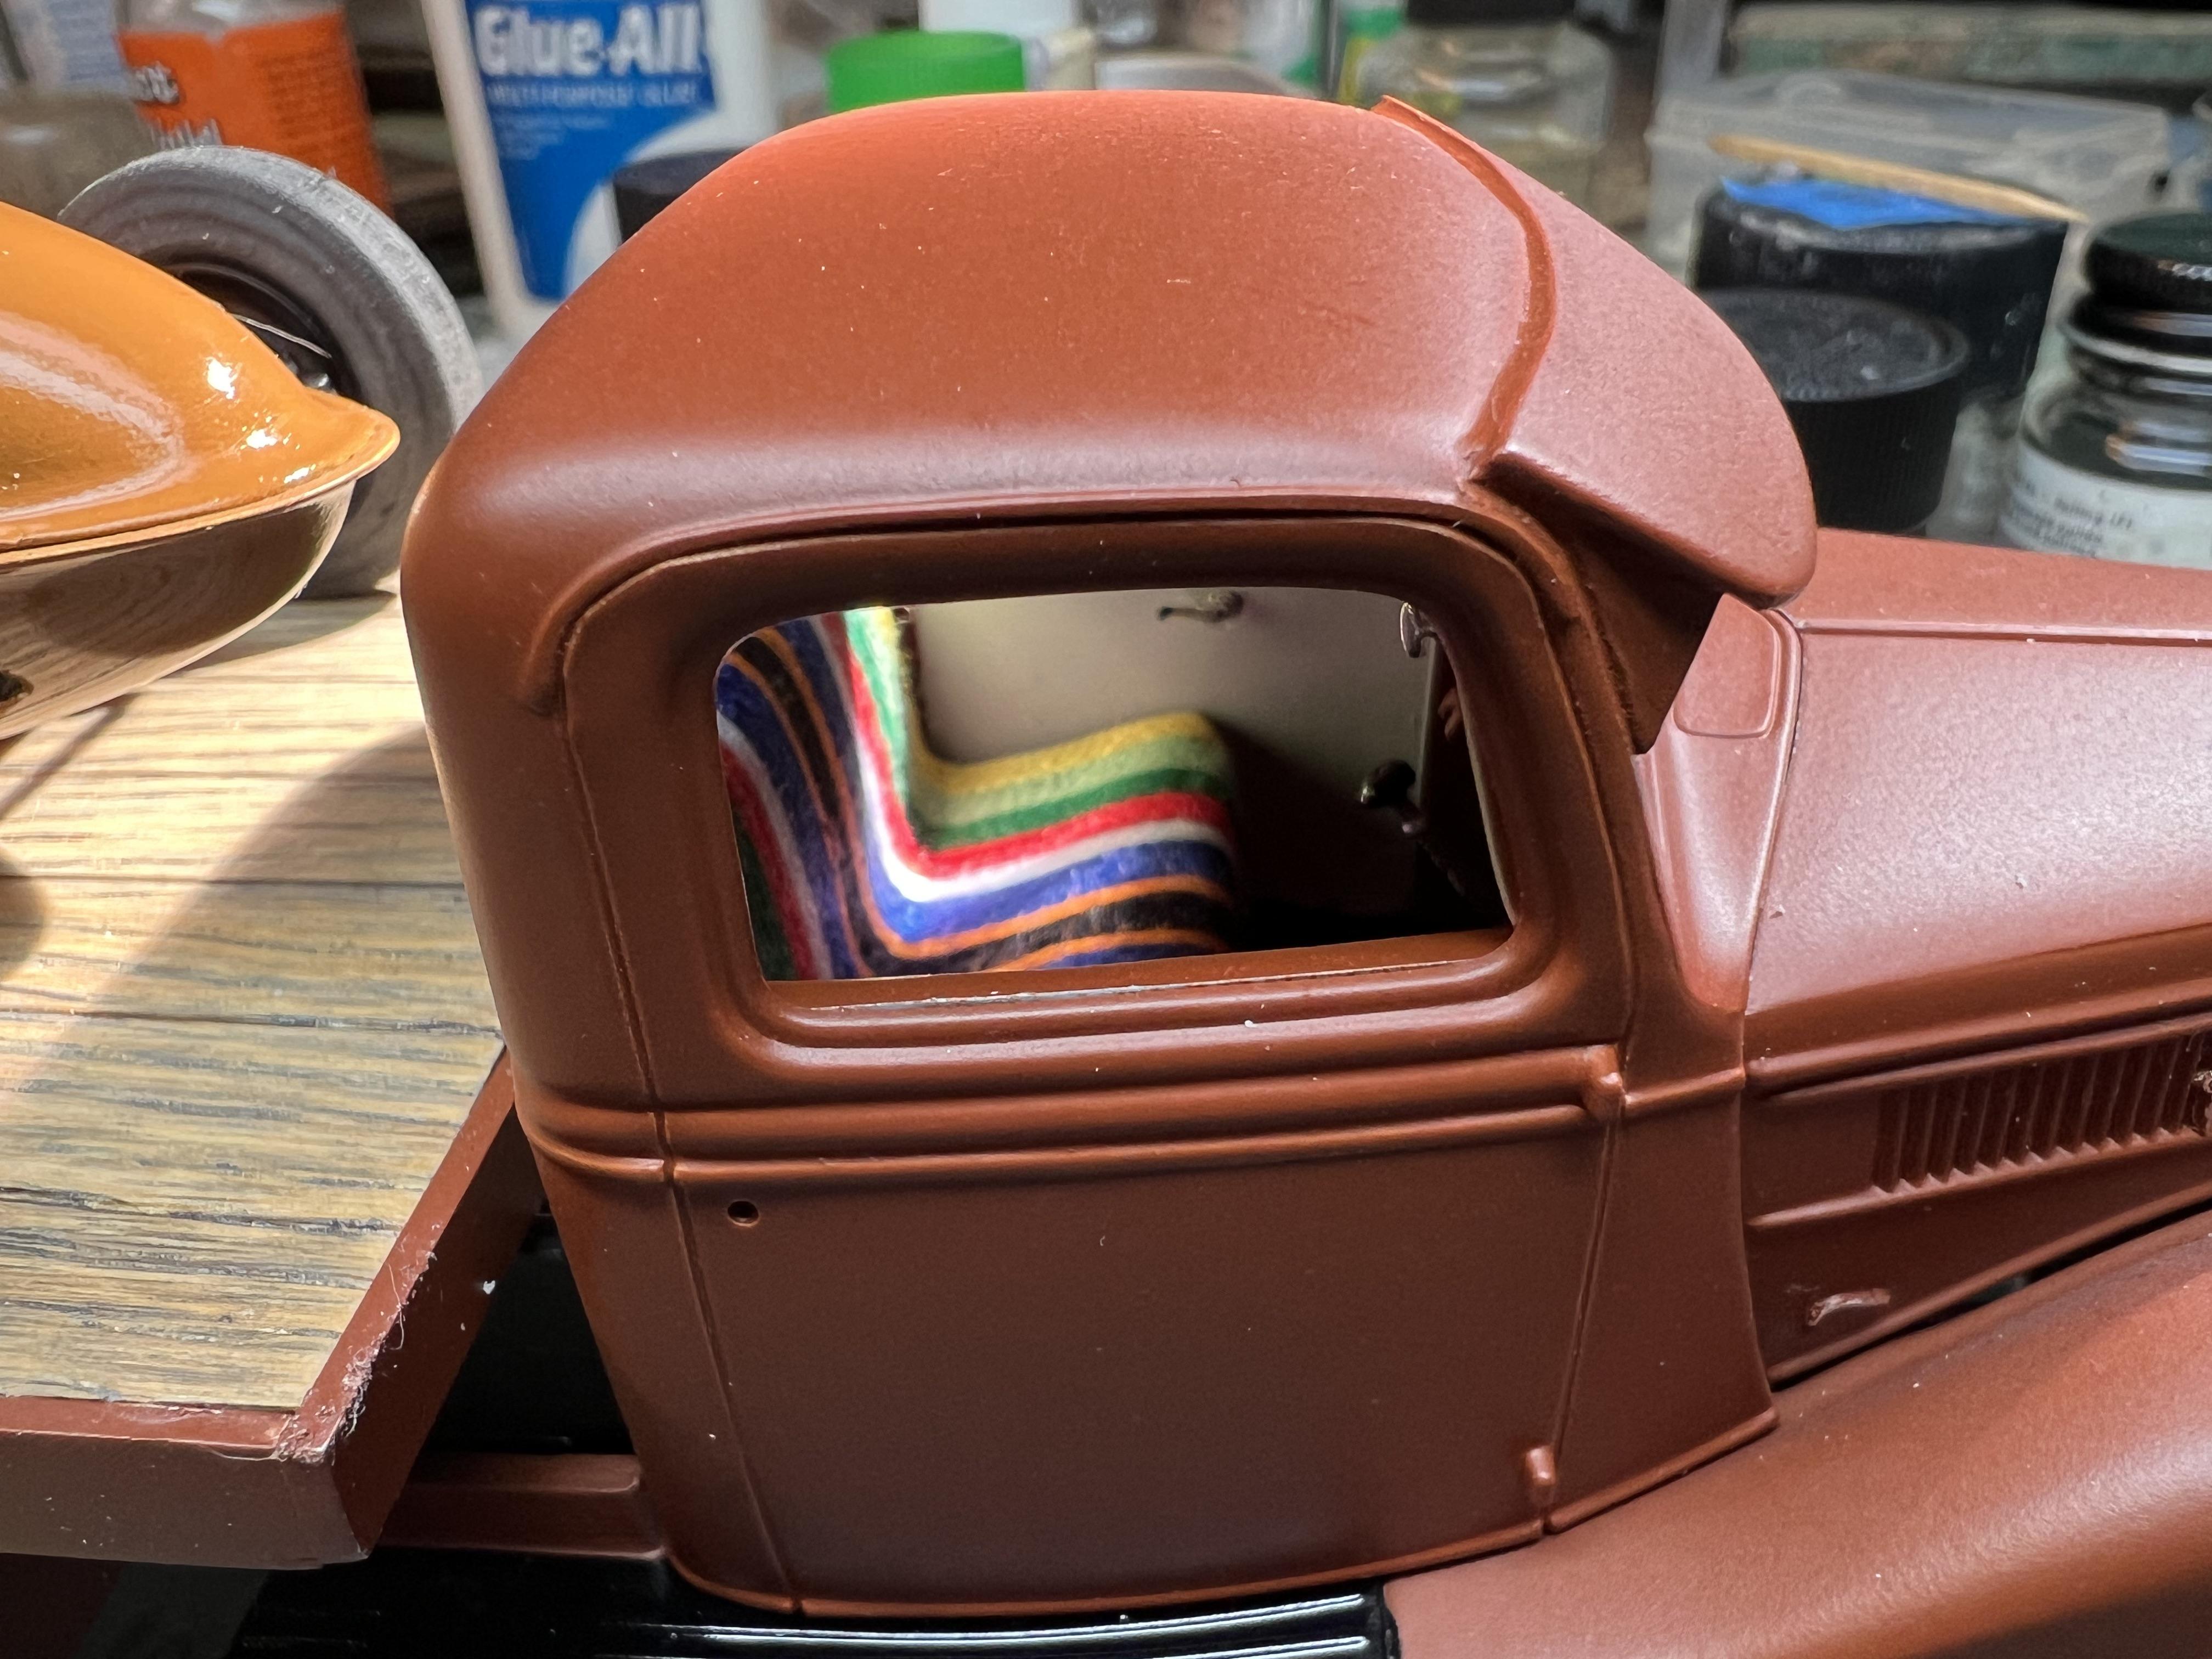
I got a wild hair and fabricated a sun visor for the truck. Thoughts, too big? more of an angle? not at all. Inquiring minds want to know.
-
2
-
-
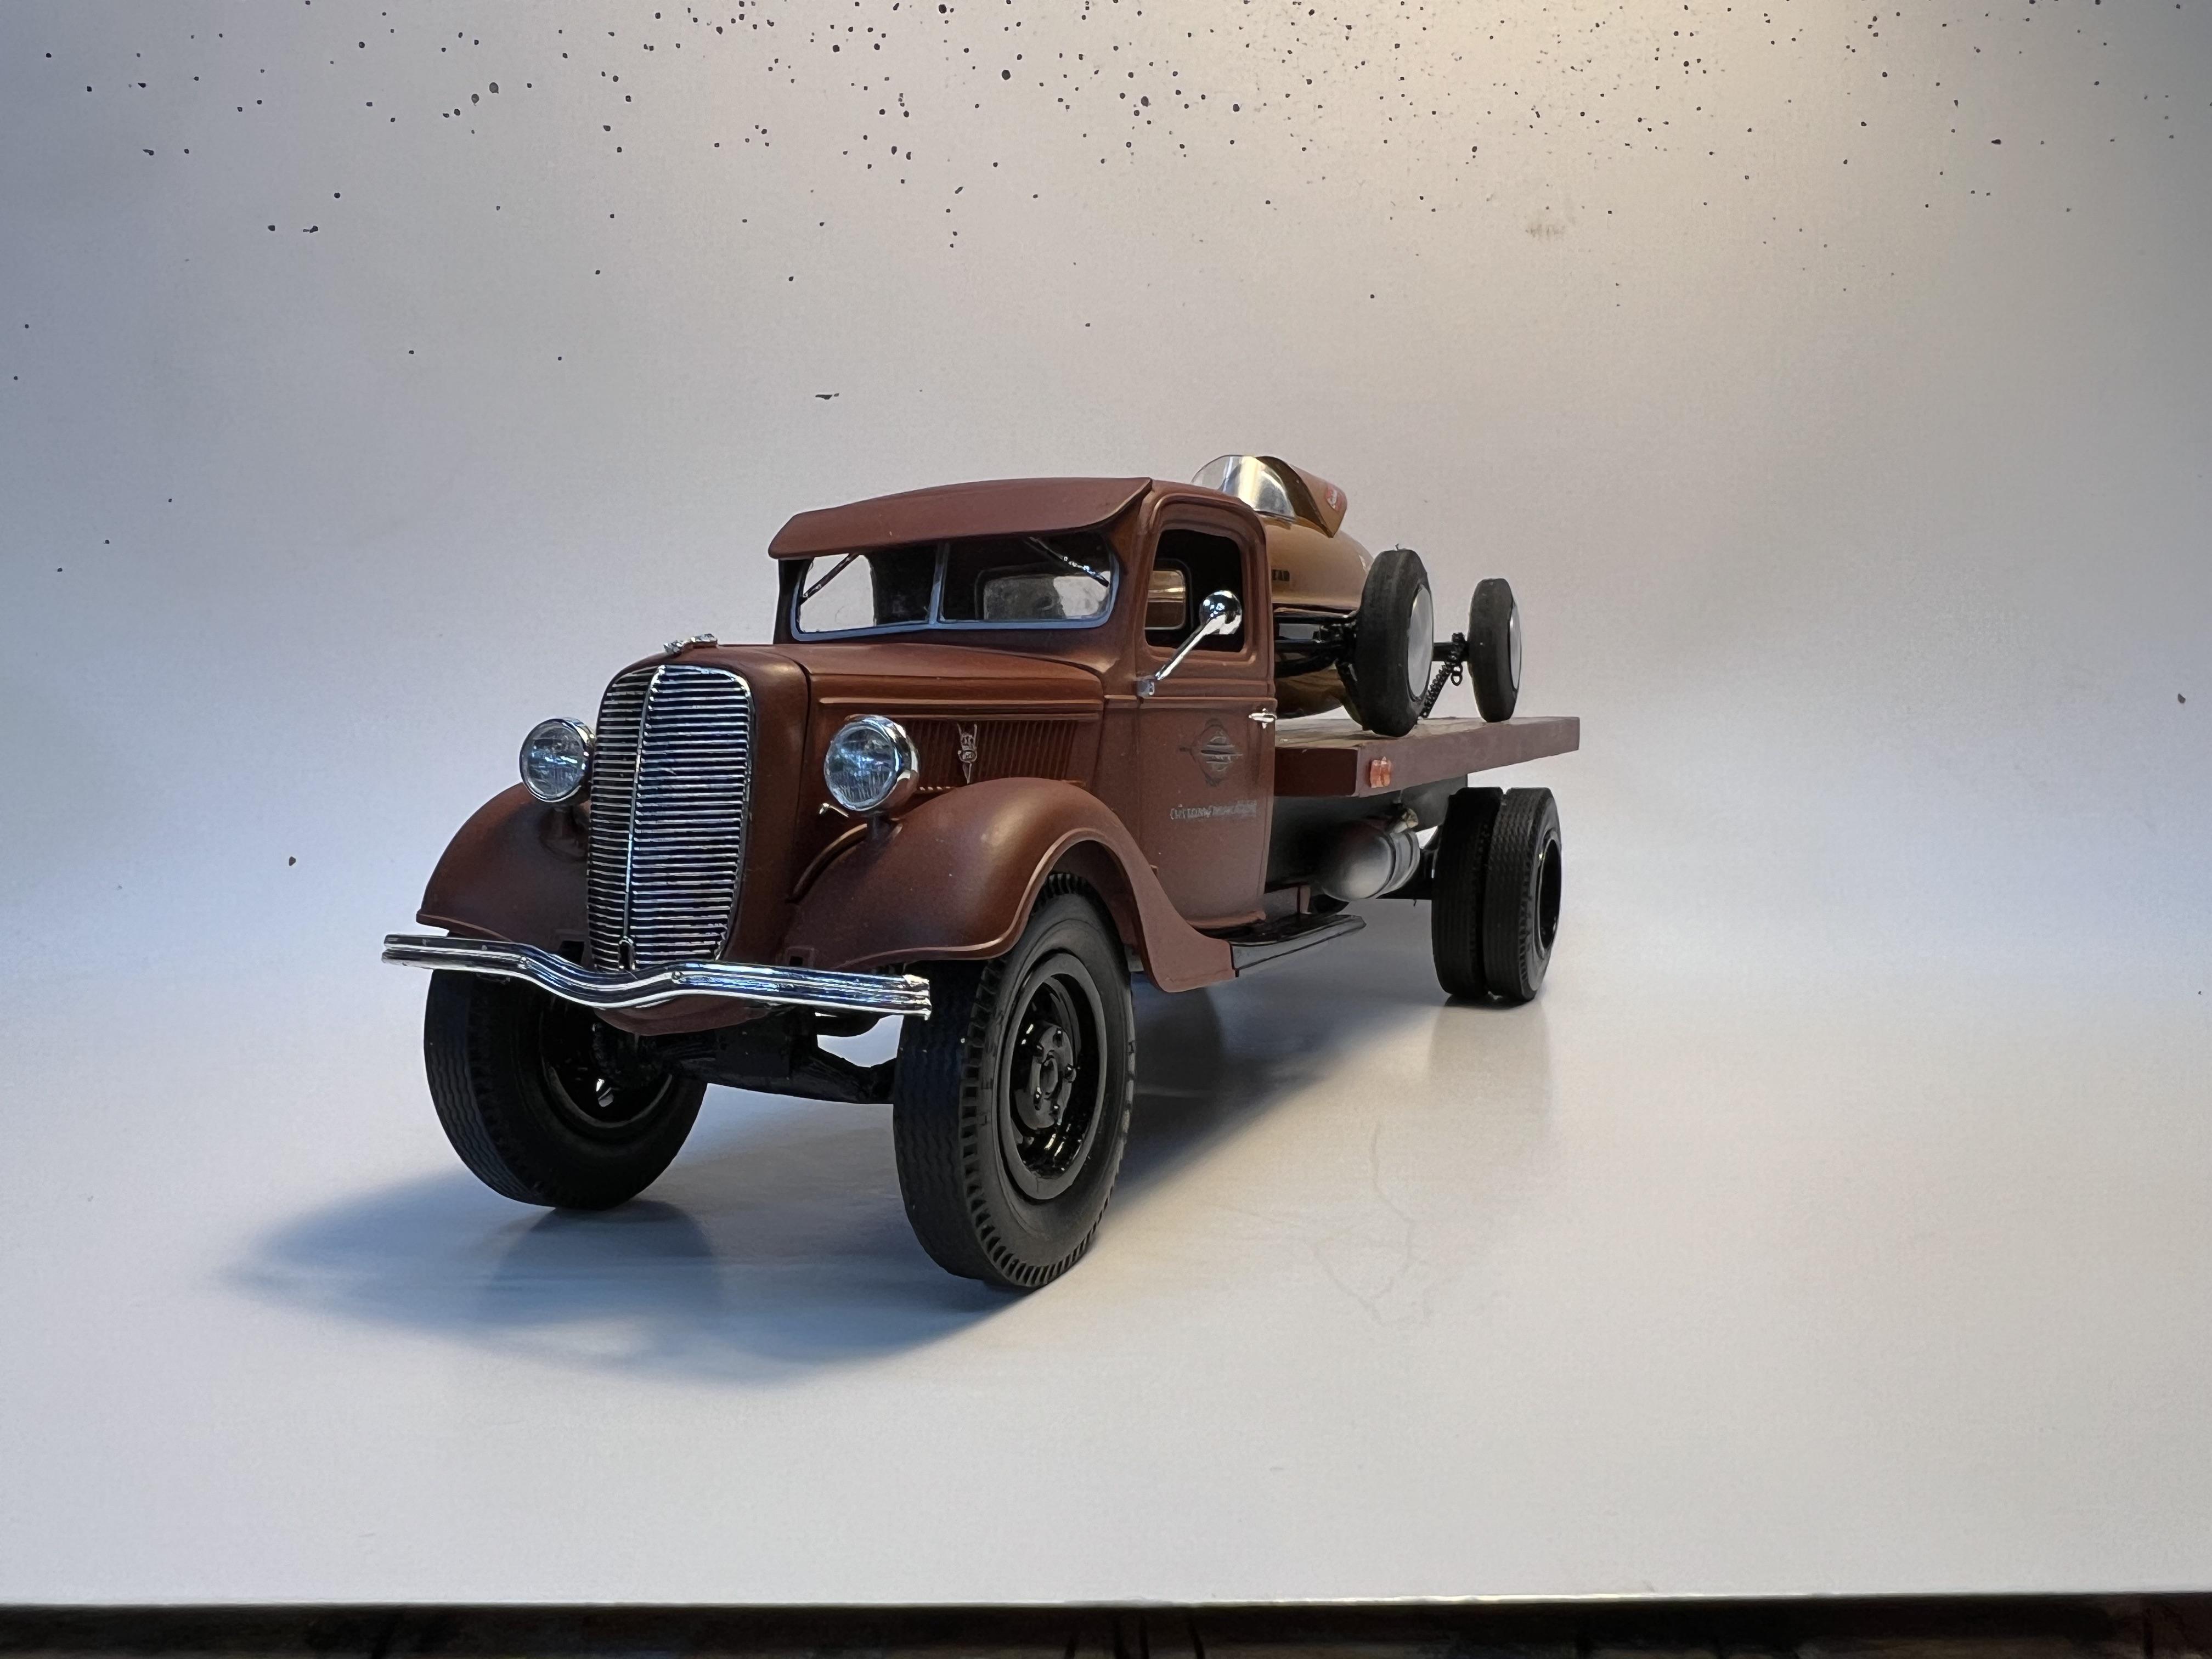
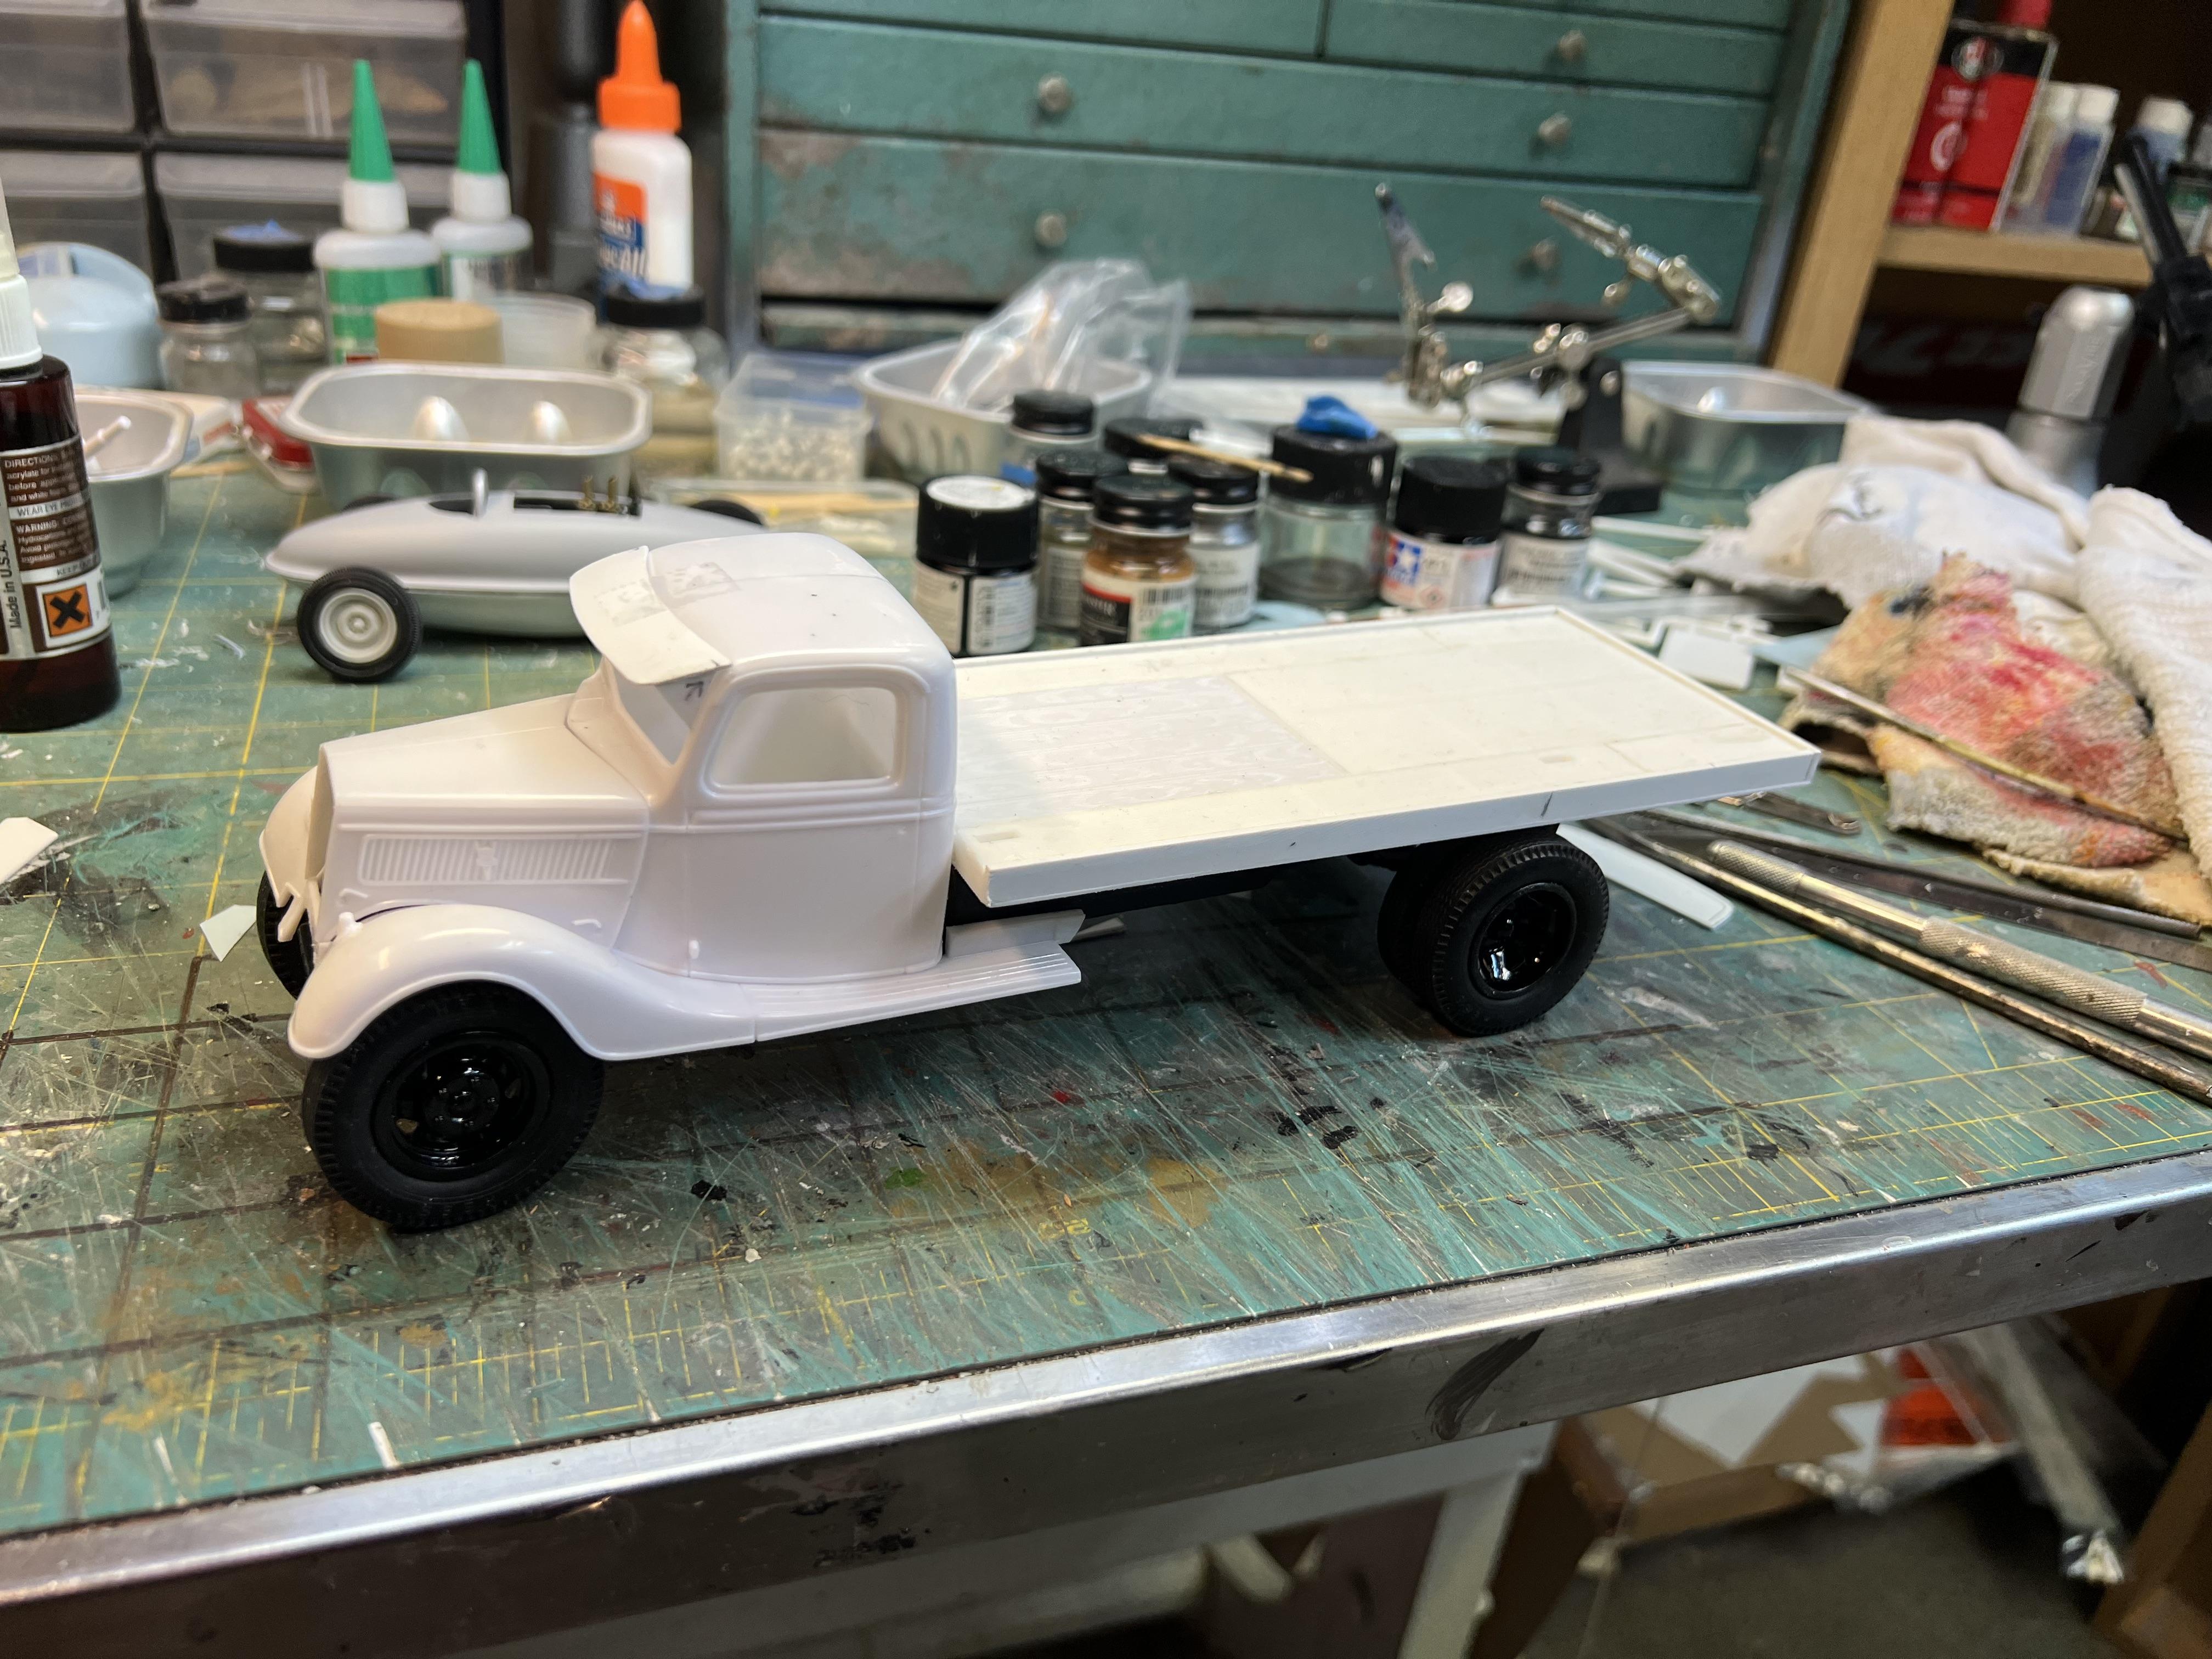
This project has two principles. The first is the belly tanker and the second is the transport truck. Rather than split them between two catagory topics I’ll take a chance and hope the administrators allow me to piggy back the truck on this topic.
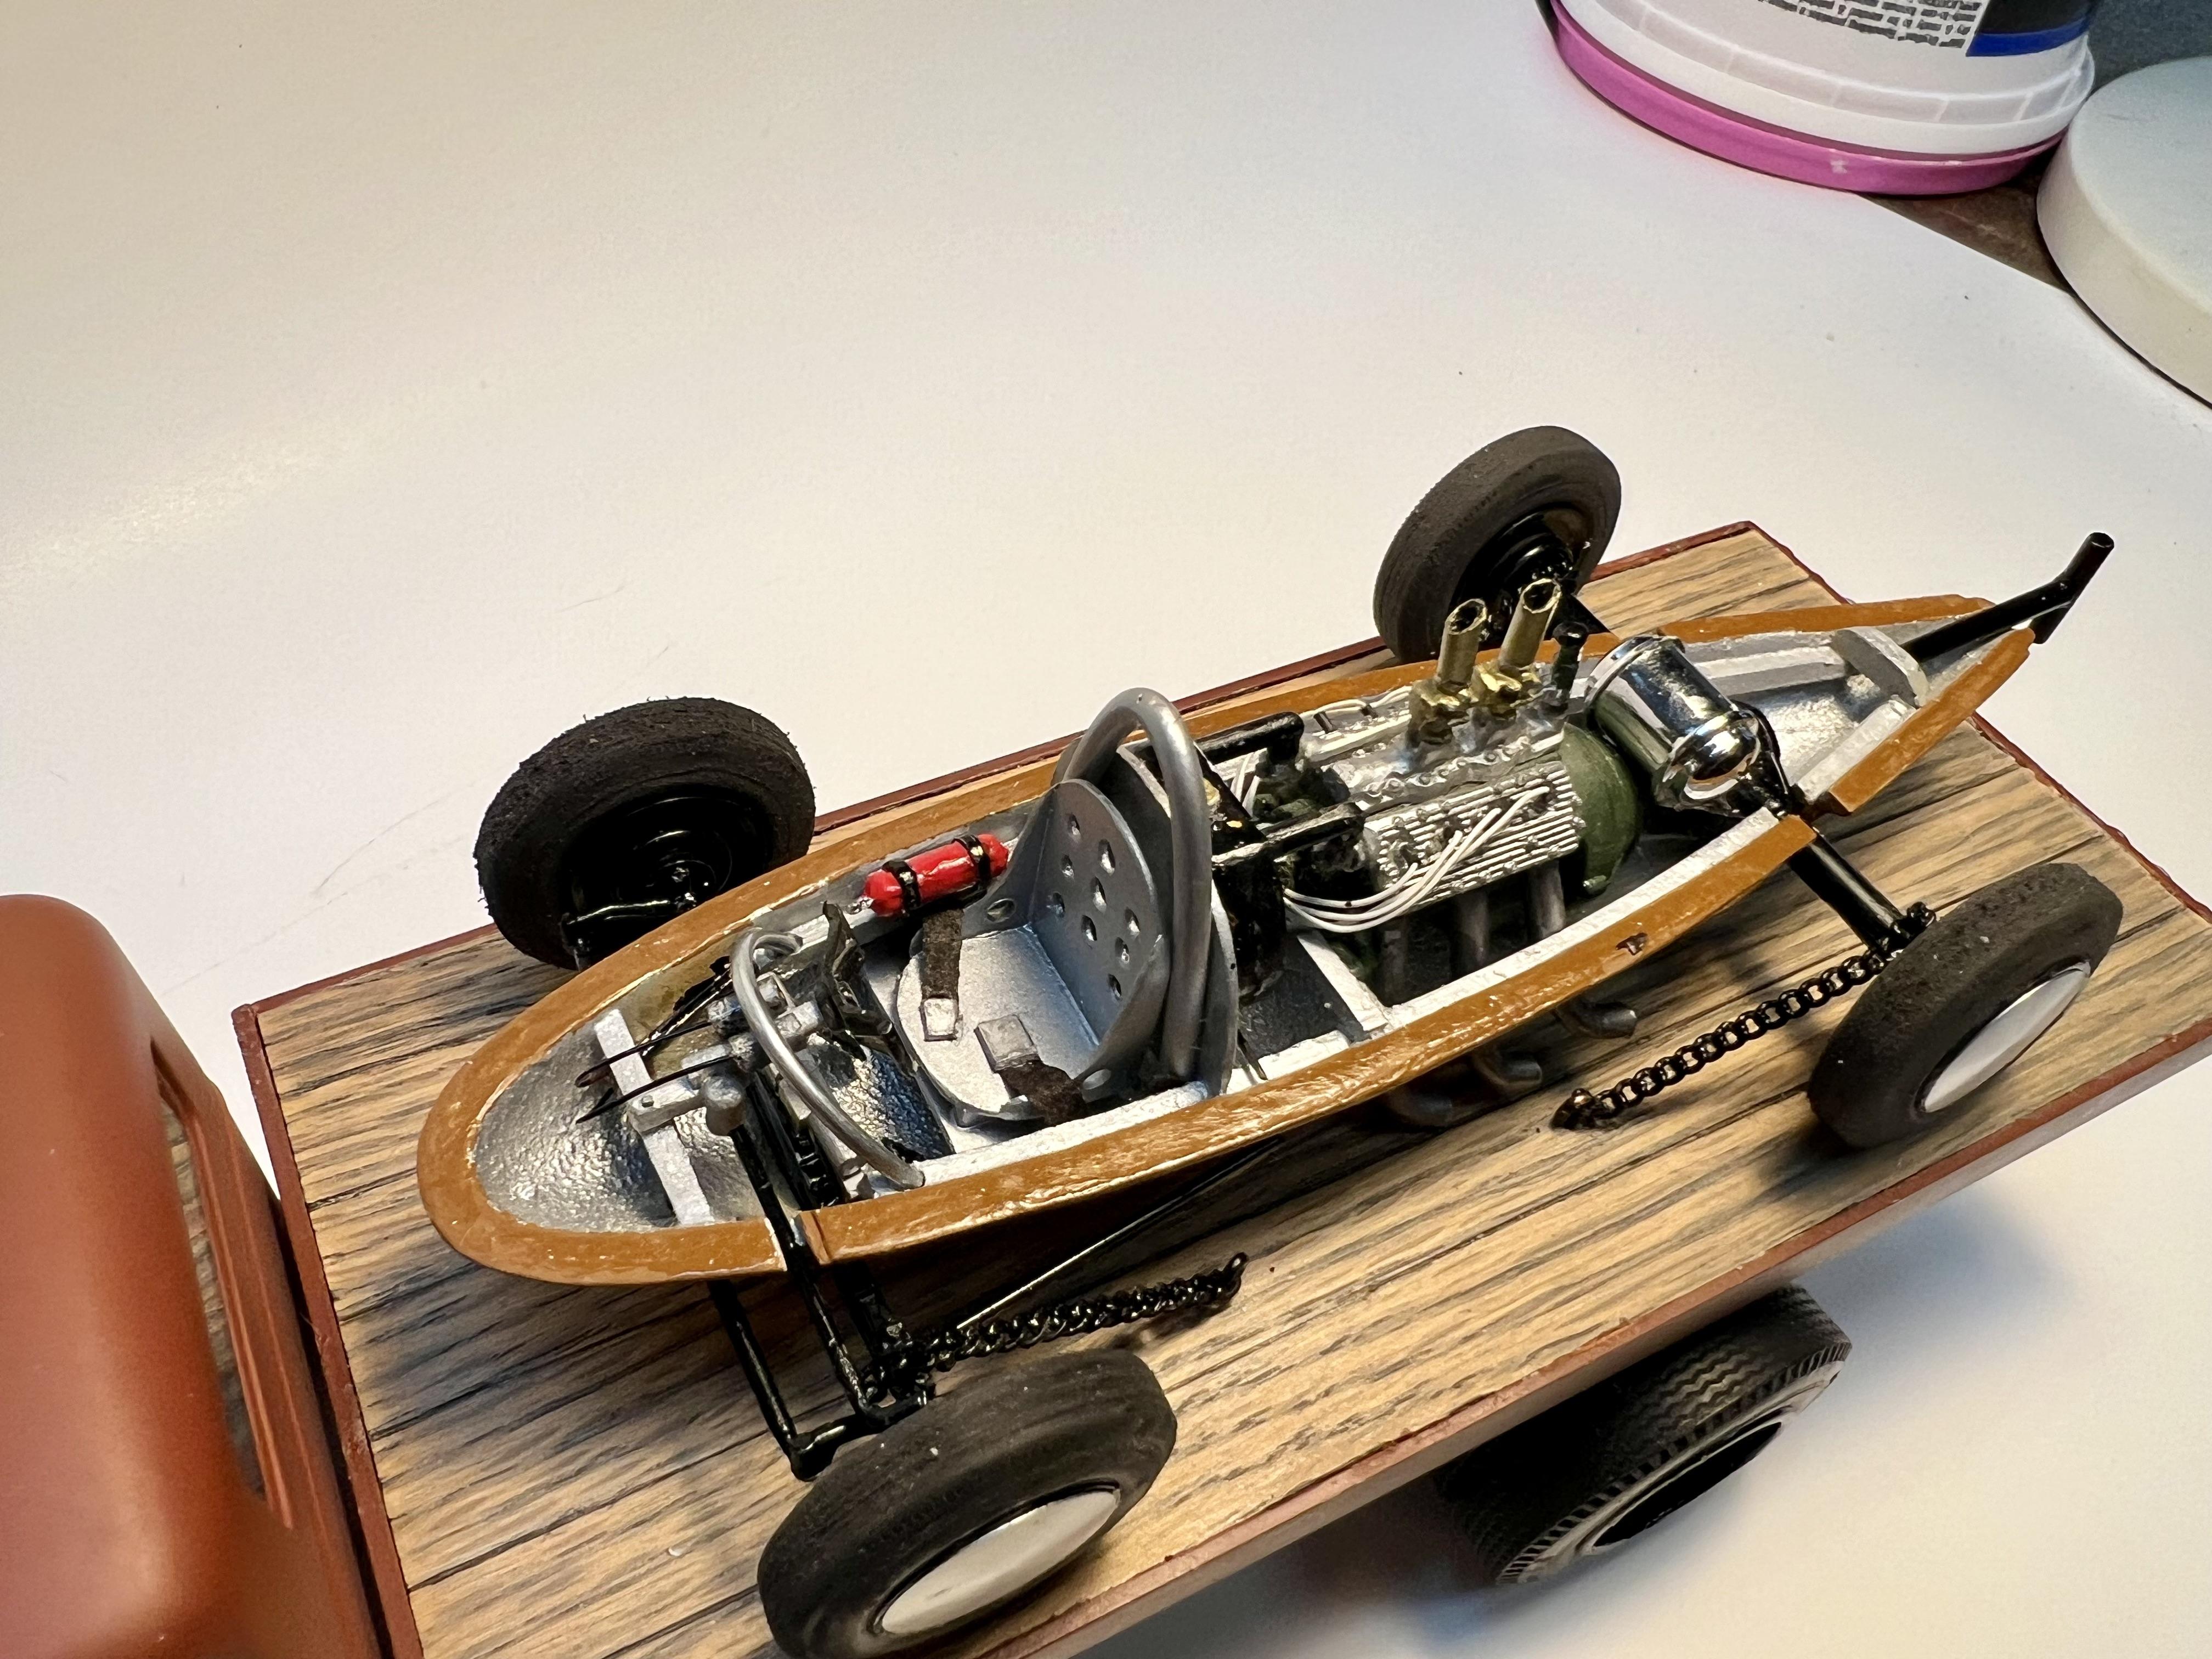
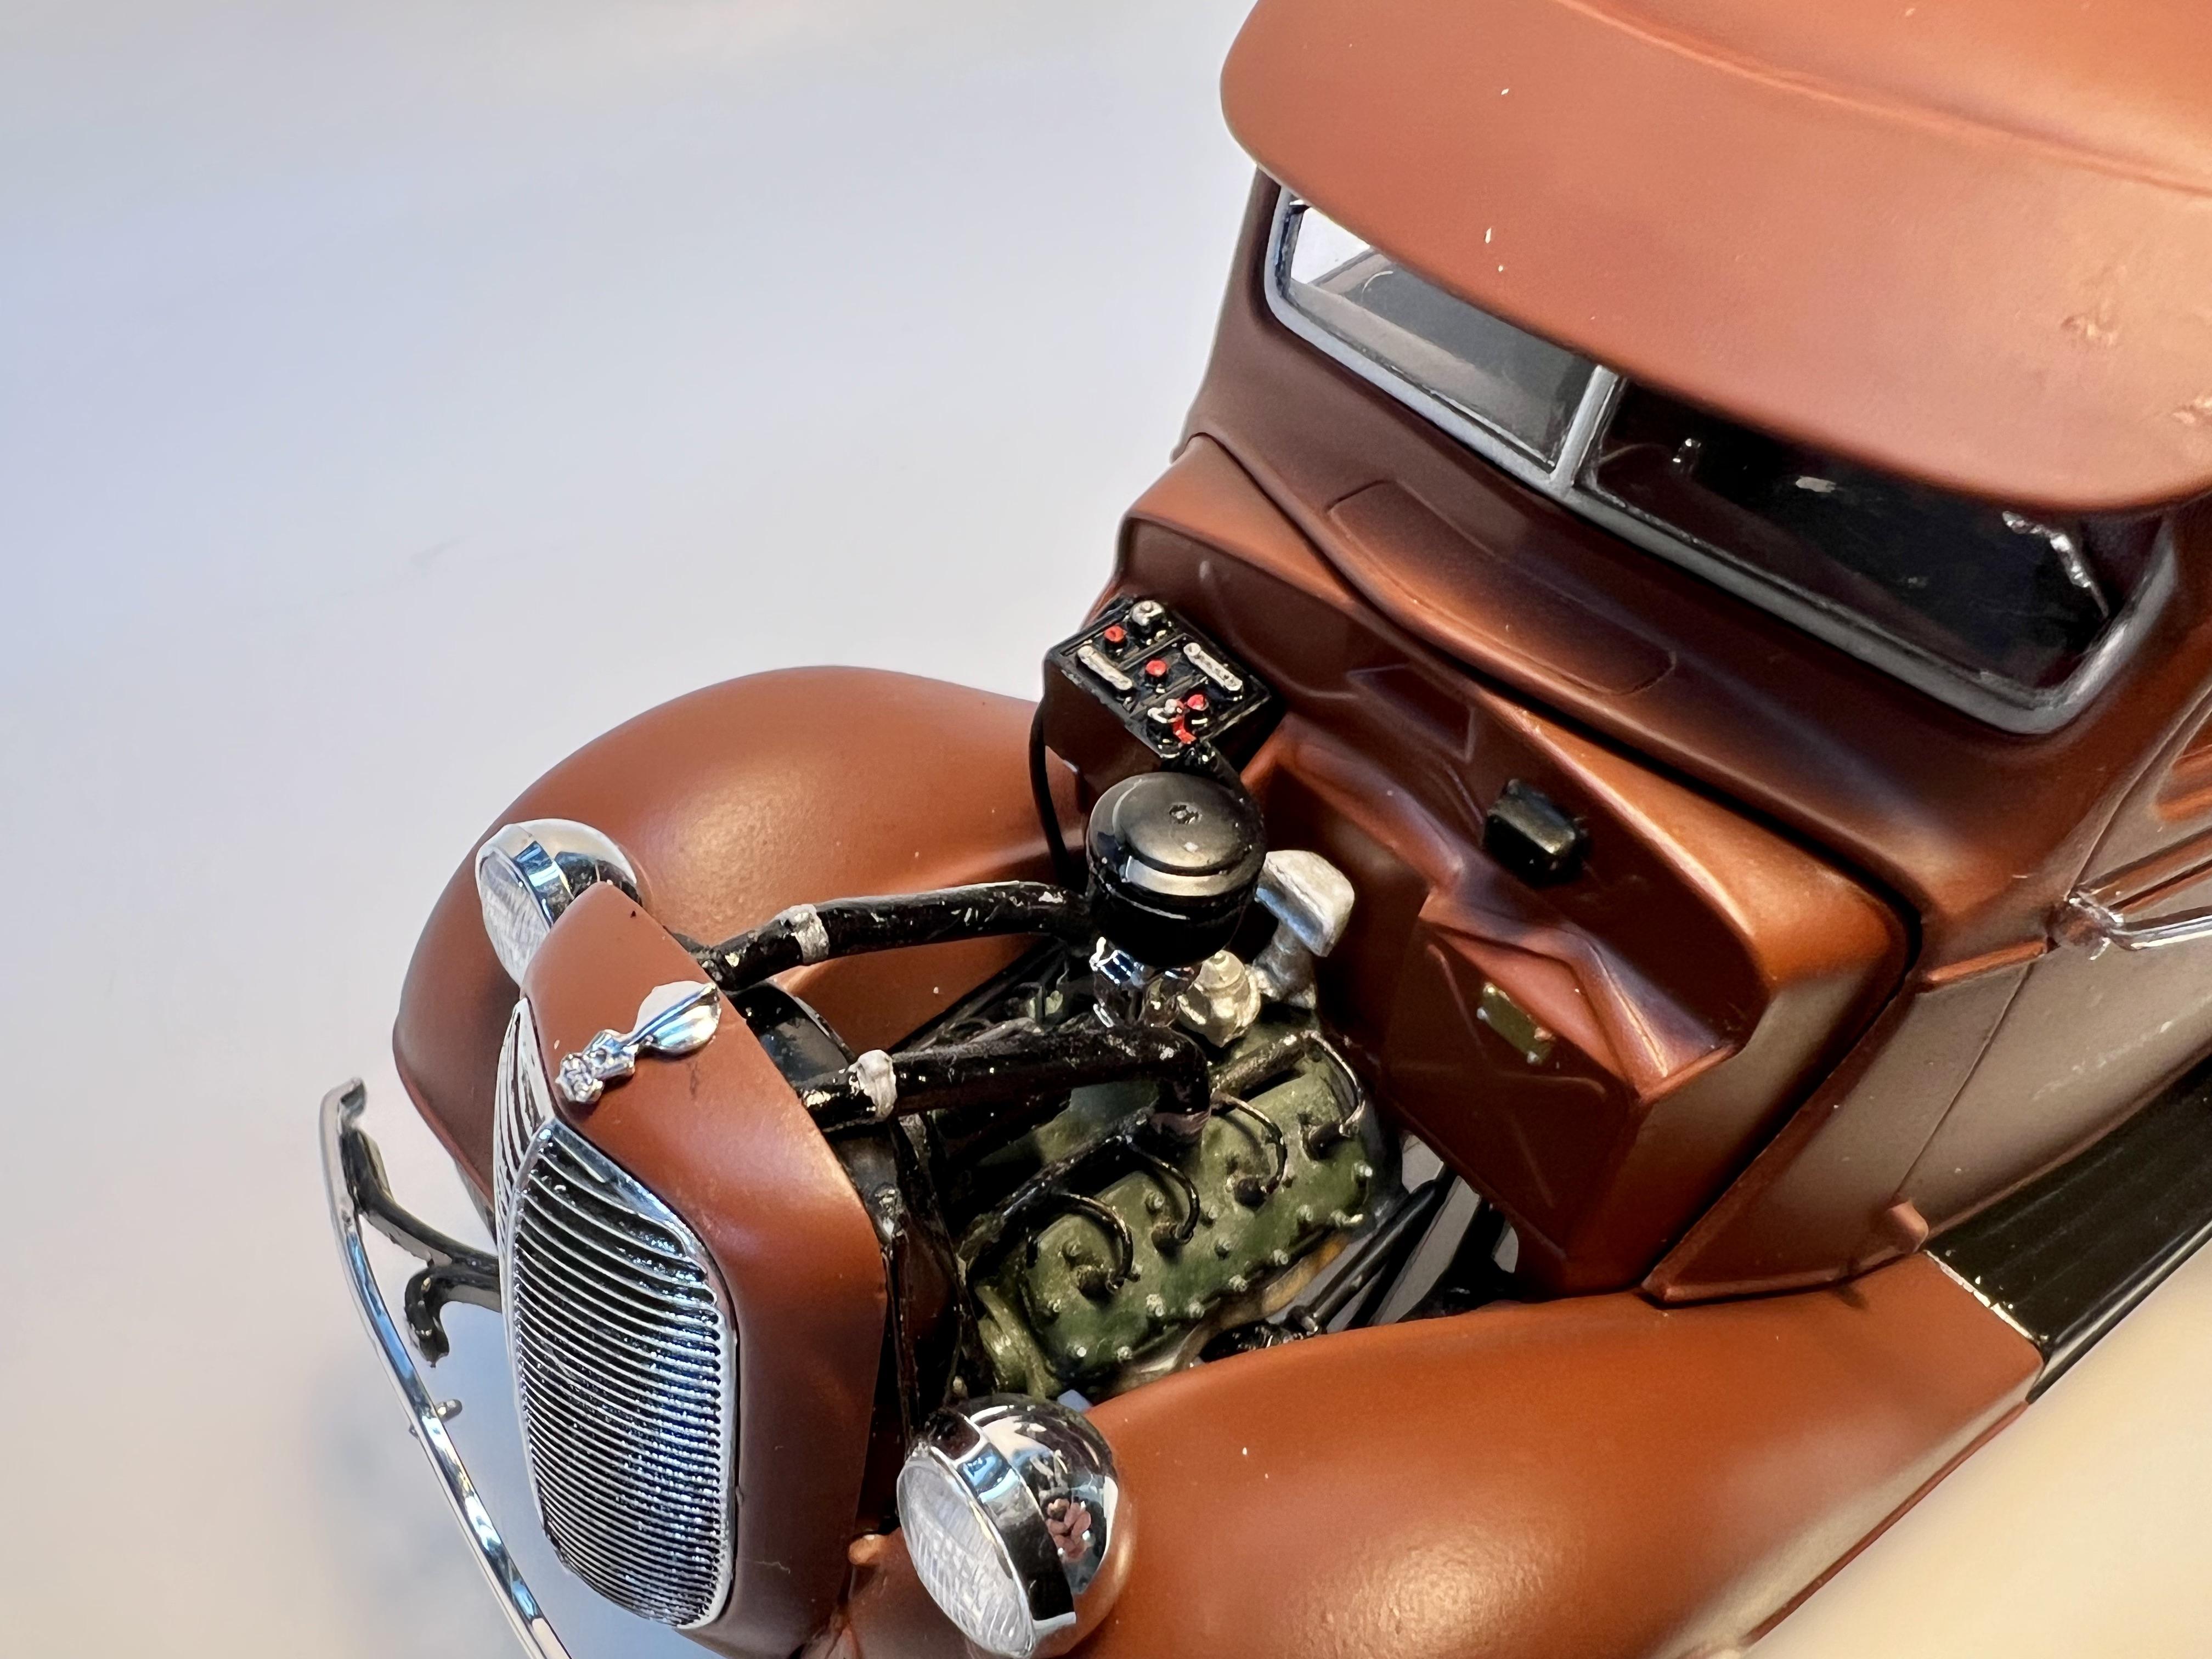
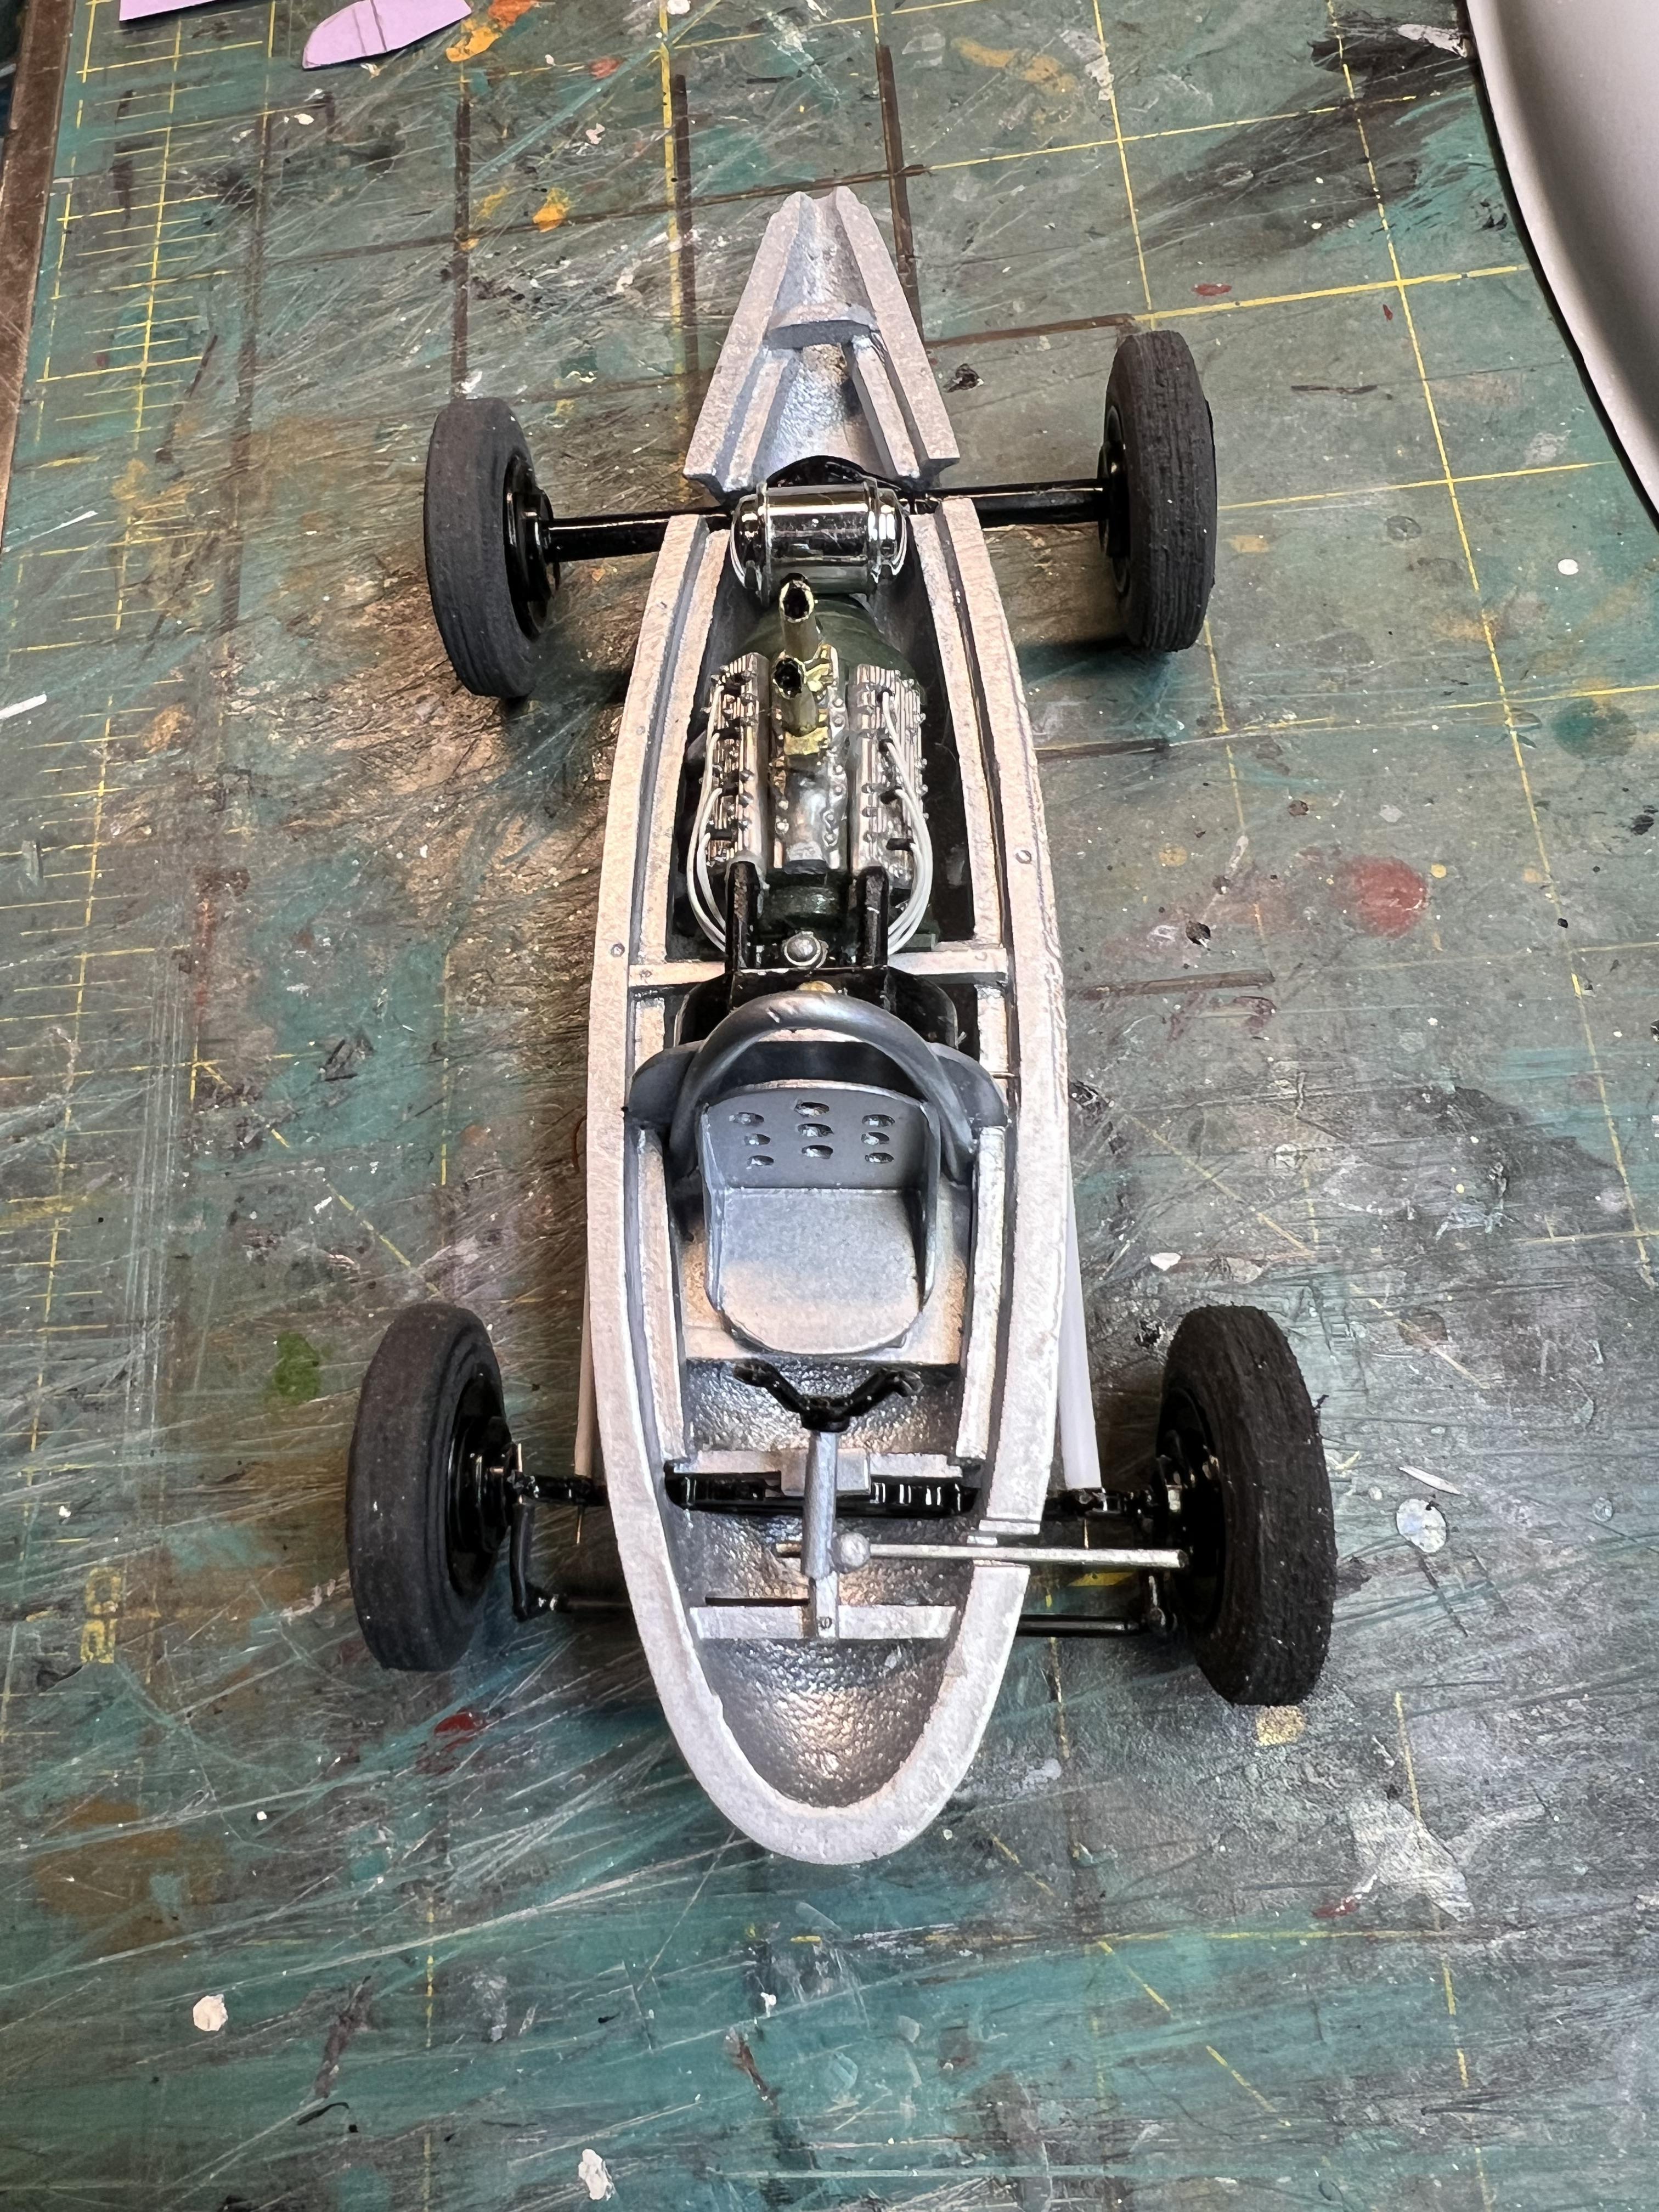
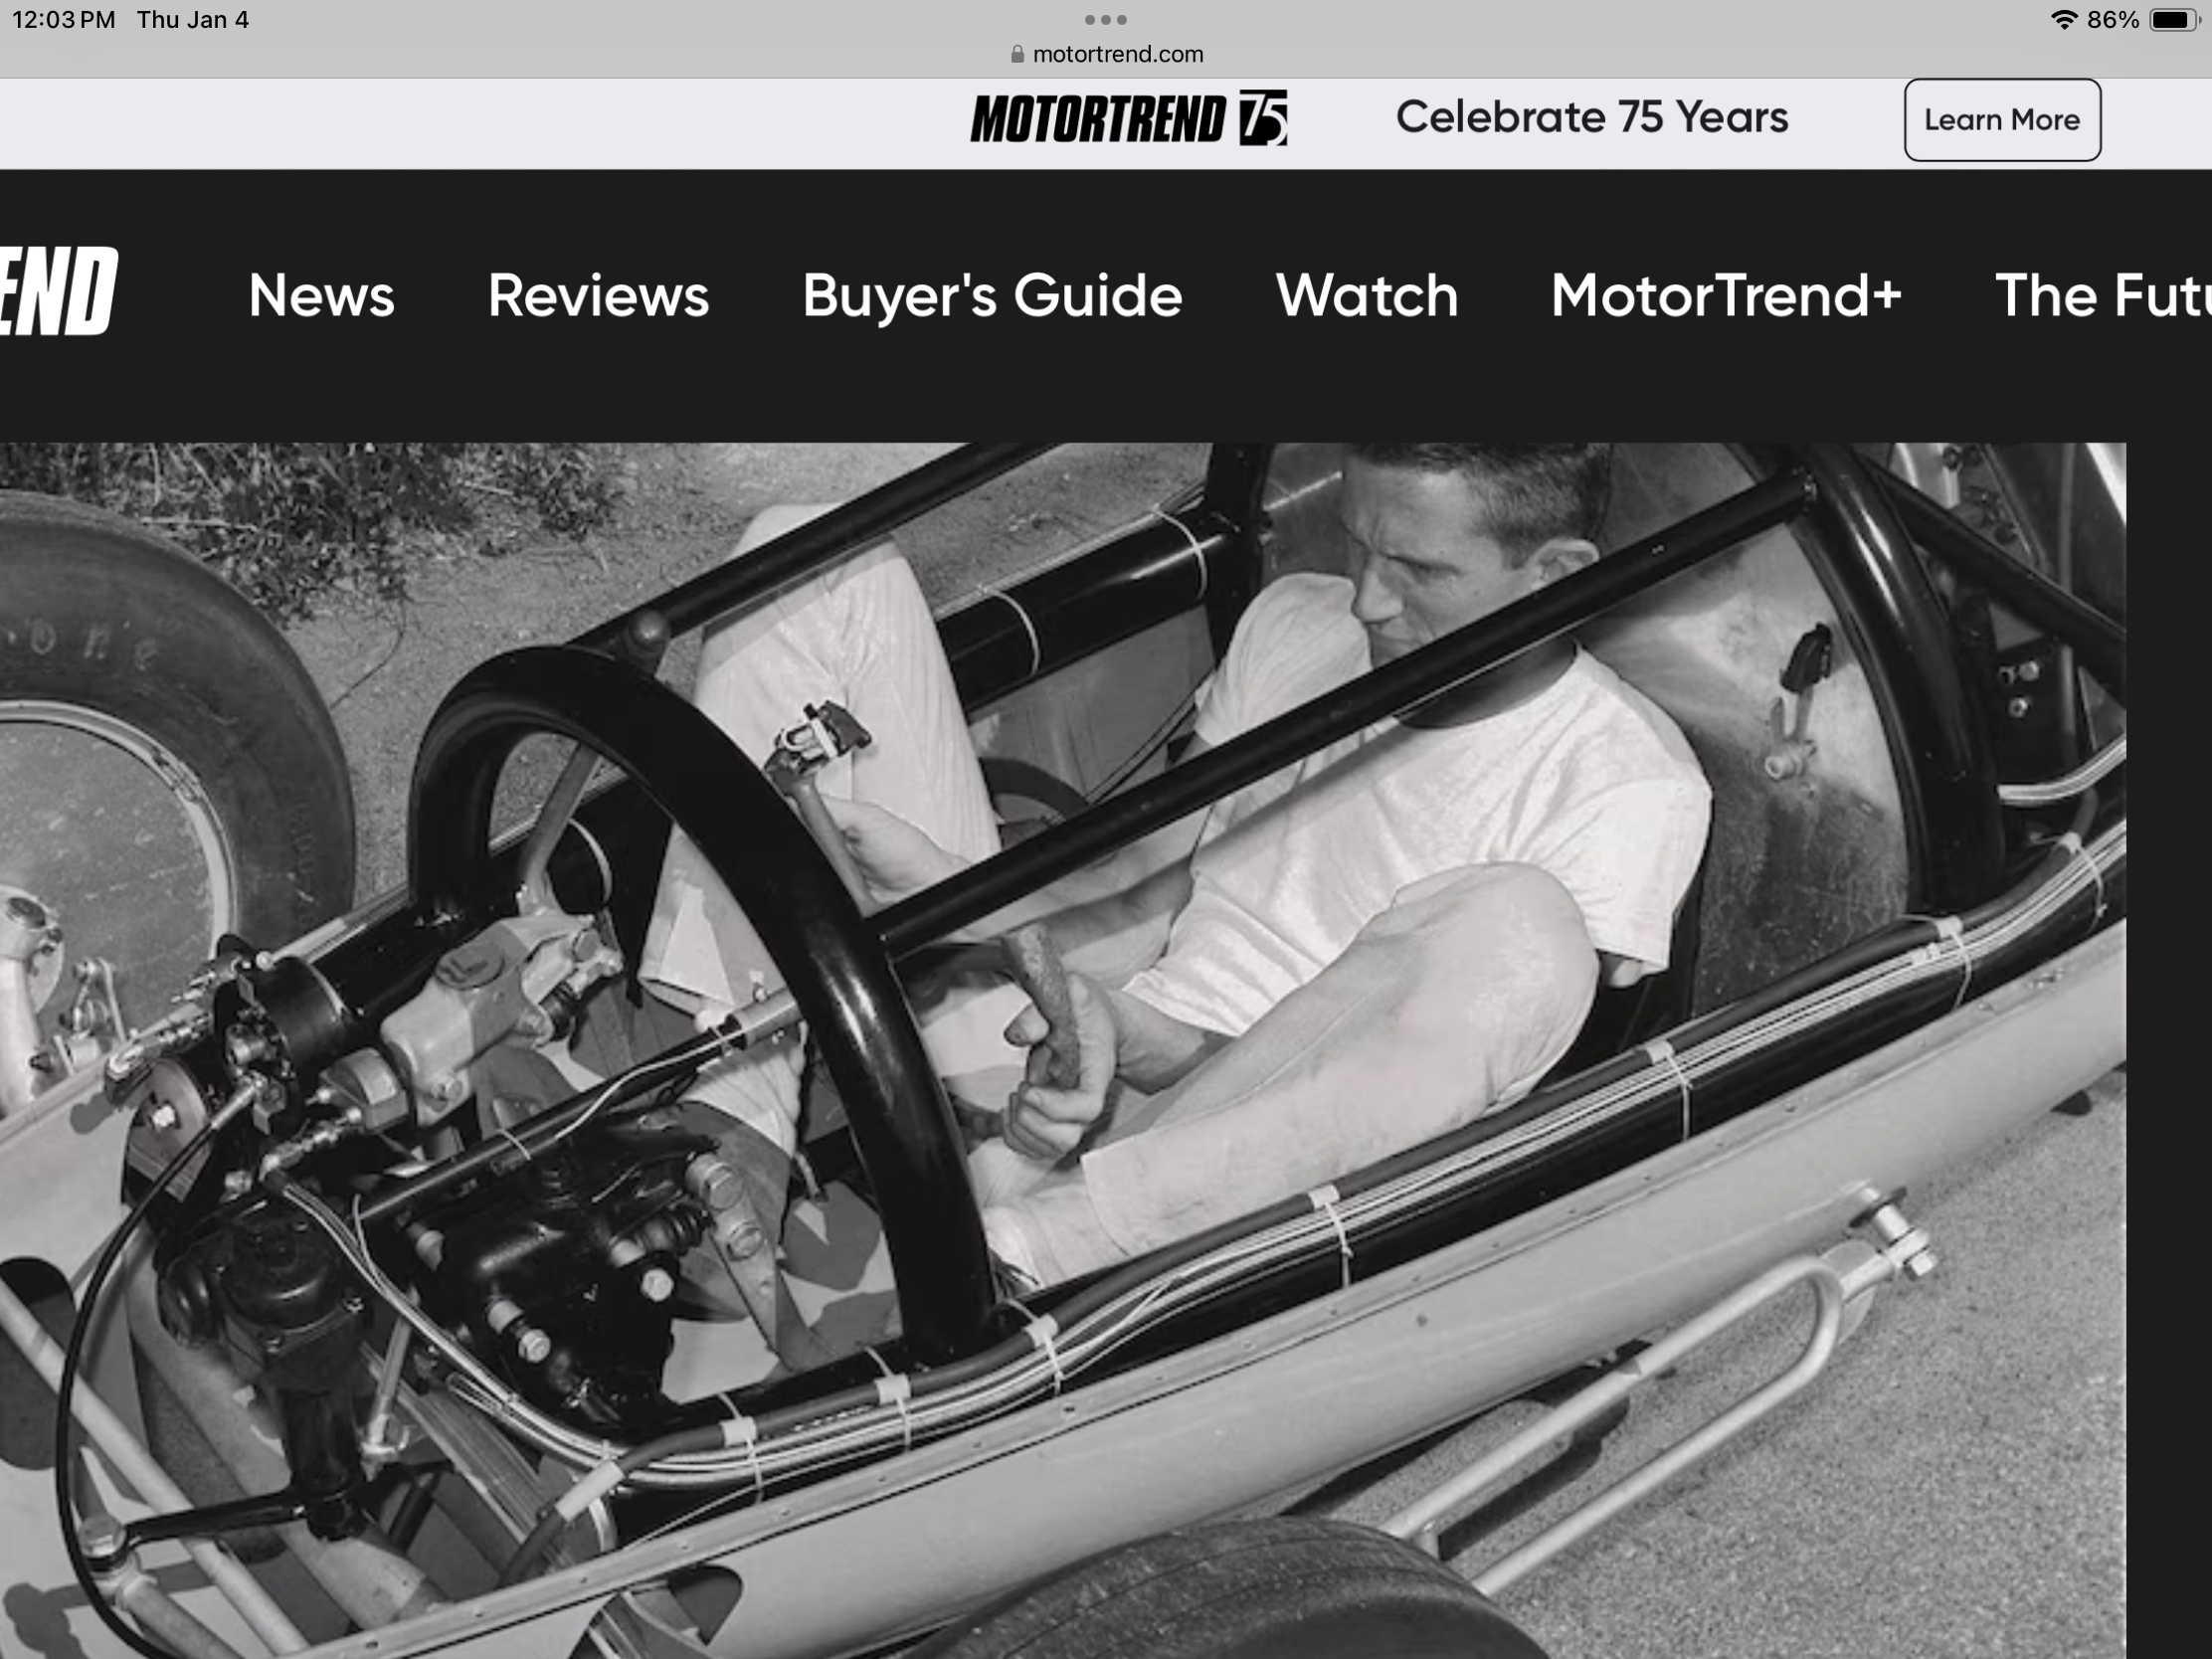
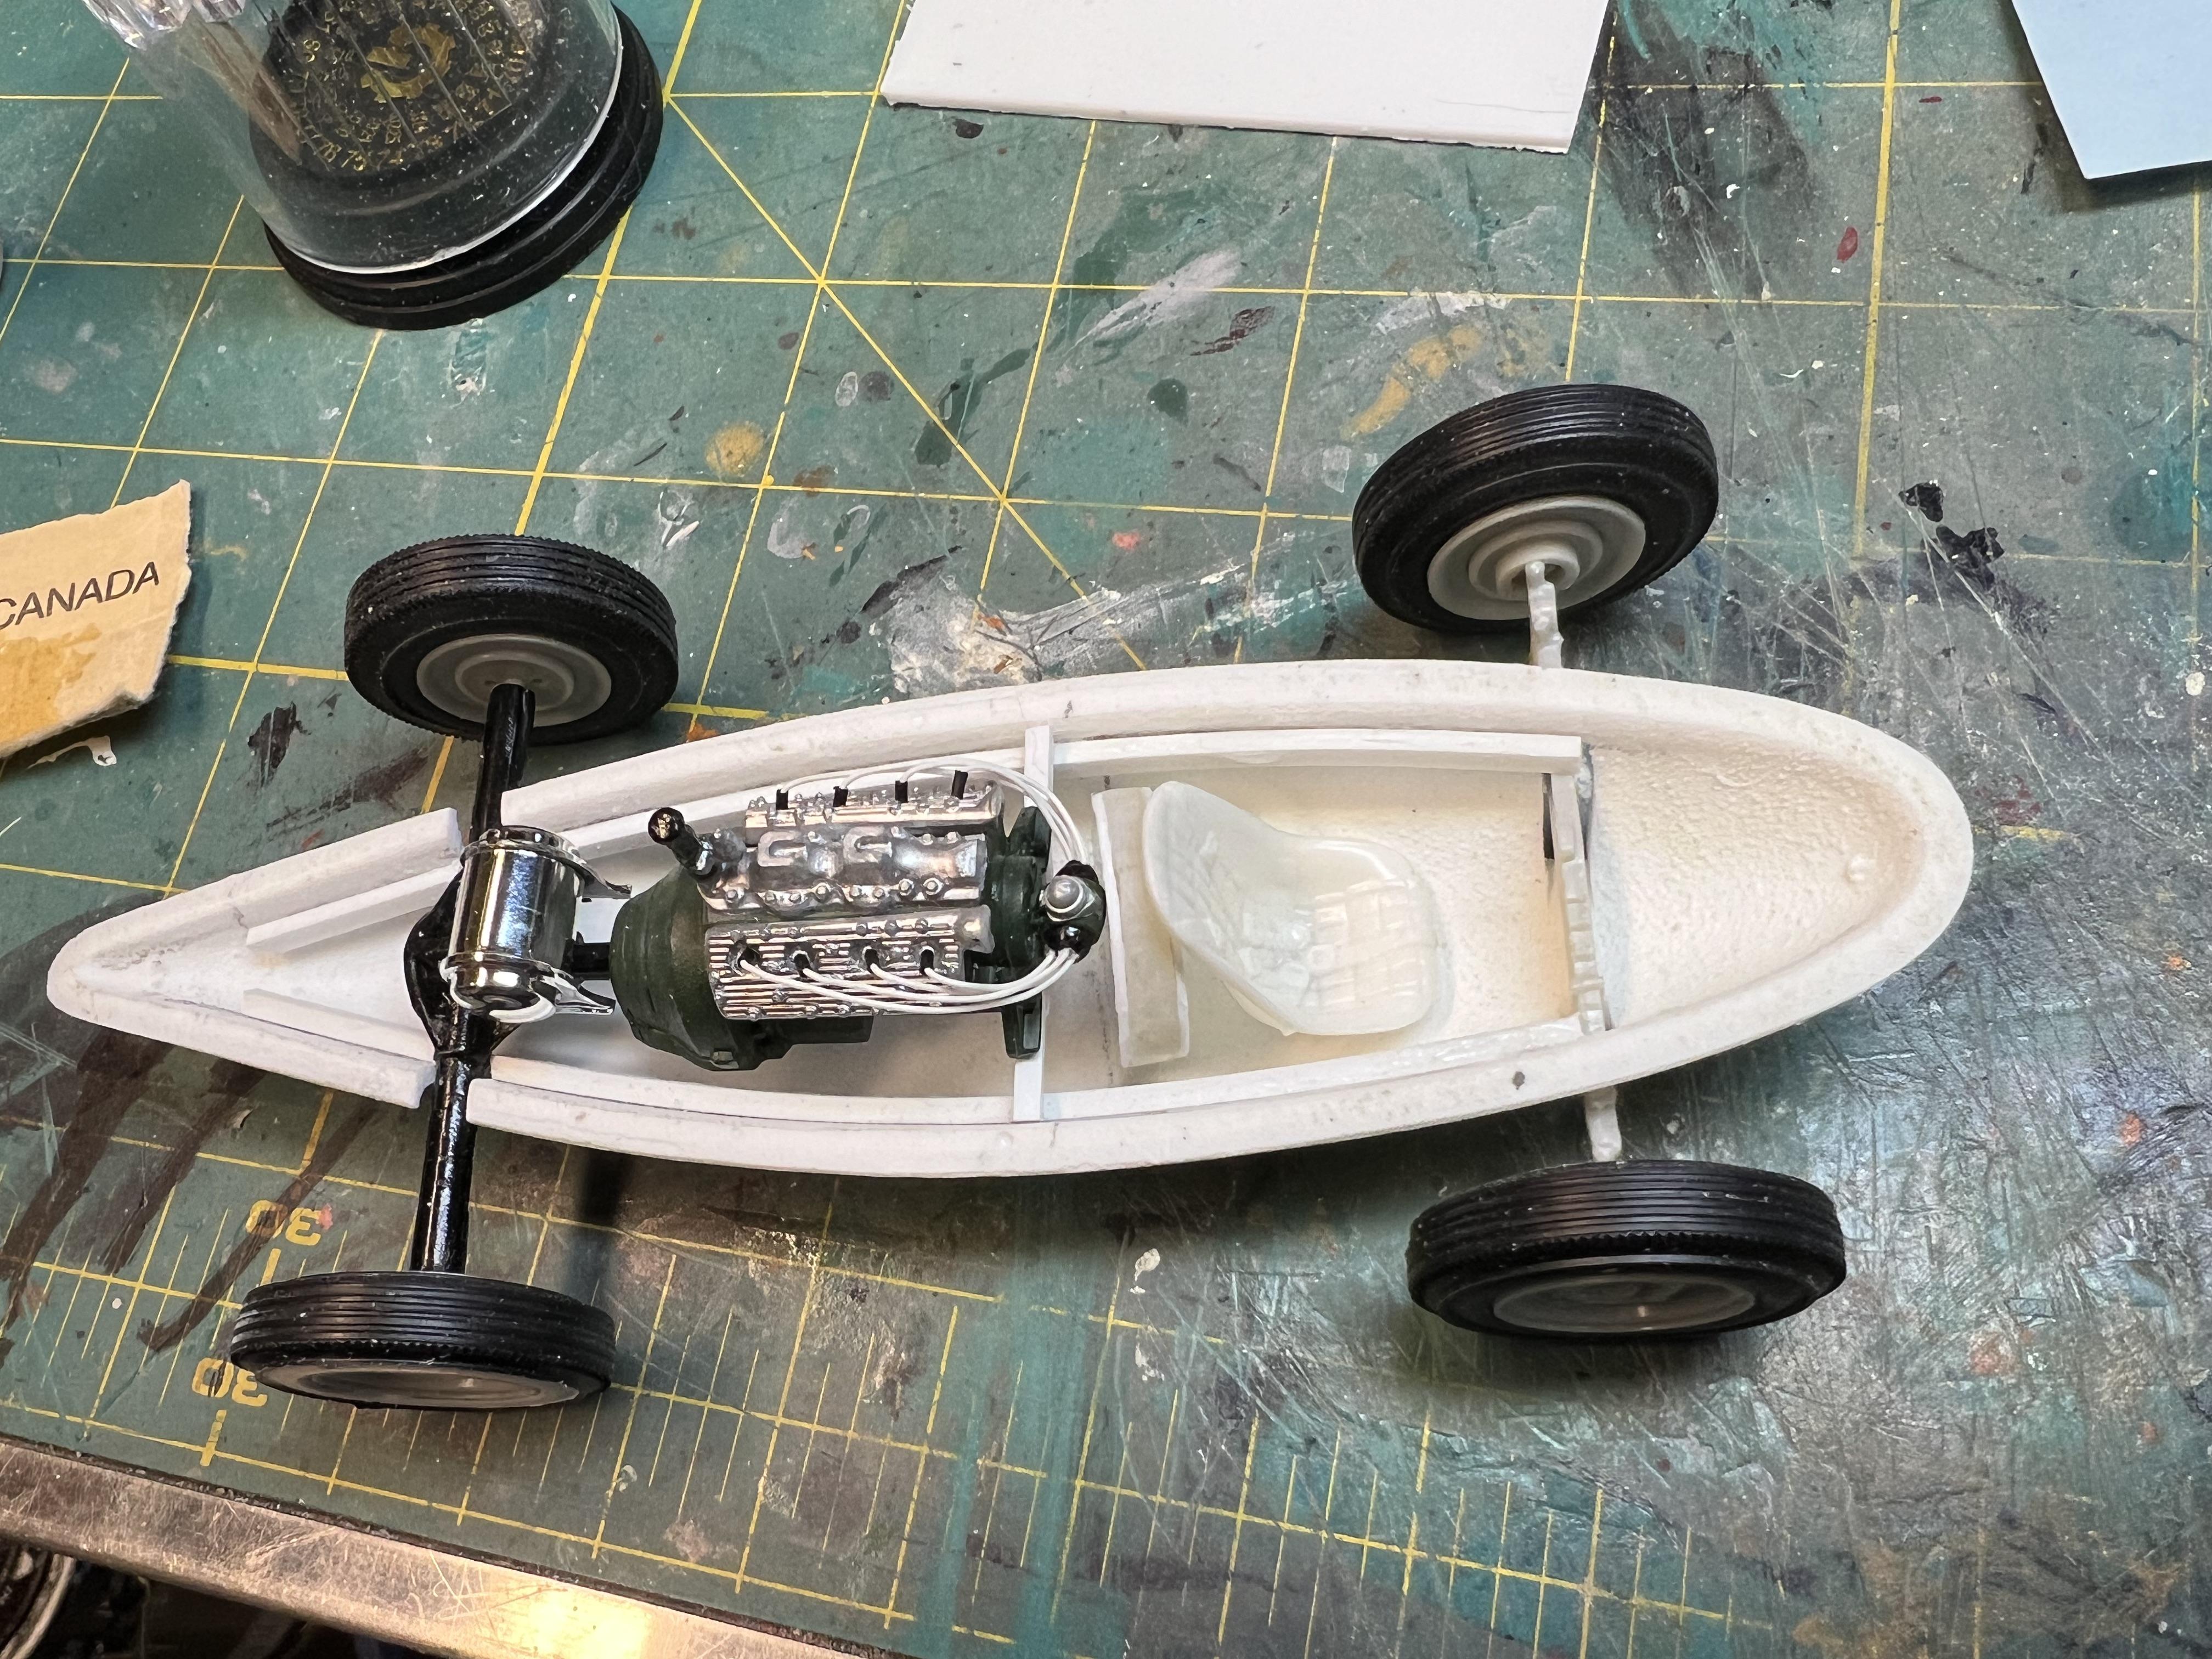
The car is coming along. The stash didn’t provide a suitable seat so a simple bomber seat was fabricated. I was getting concerned about how congested the driver area was becoming until I came across a picture of driver seated in one and saw how cramped he was
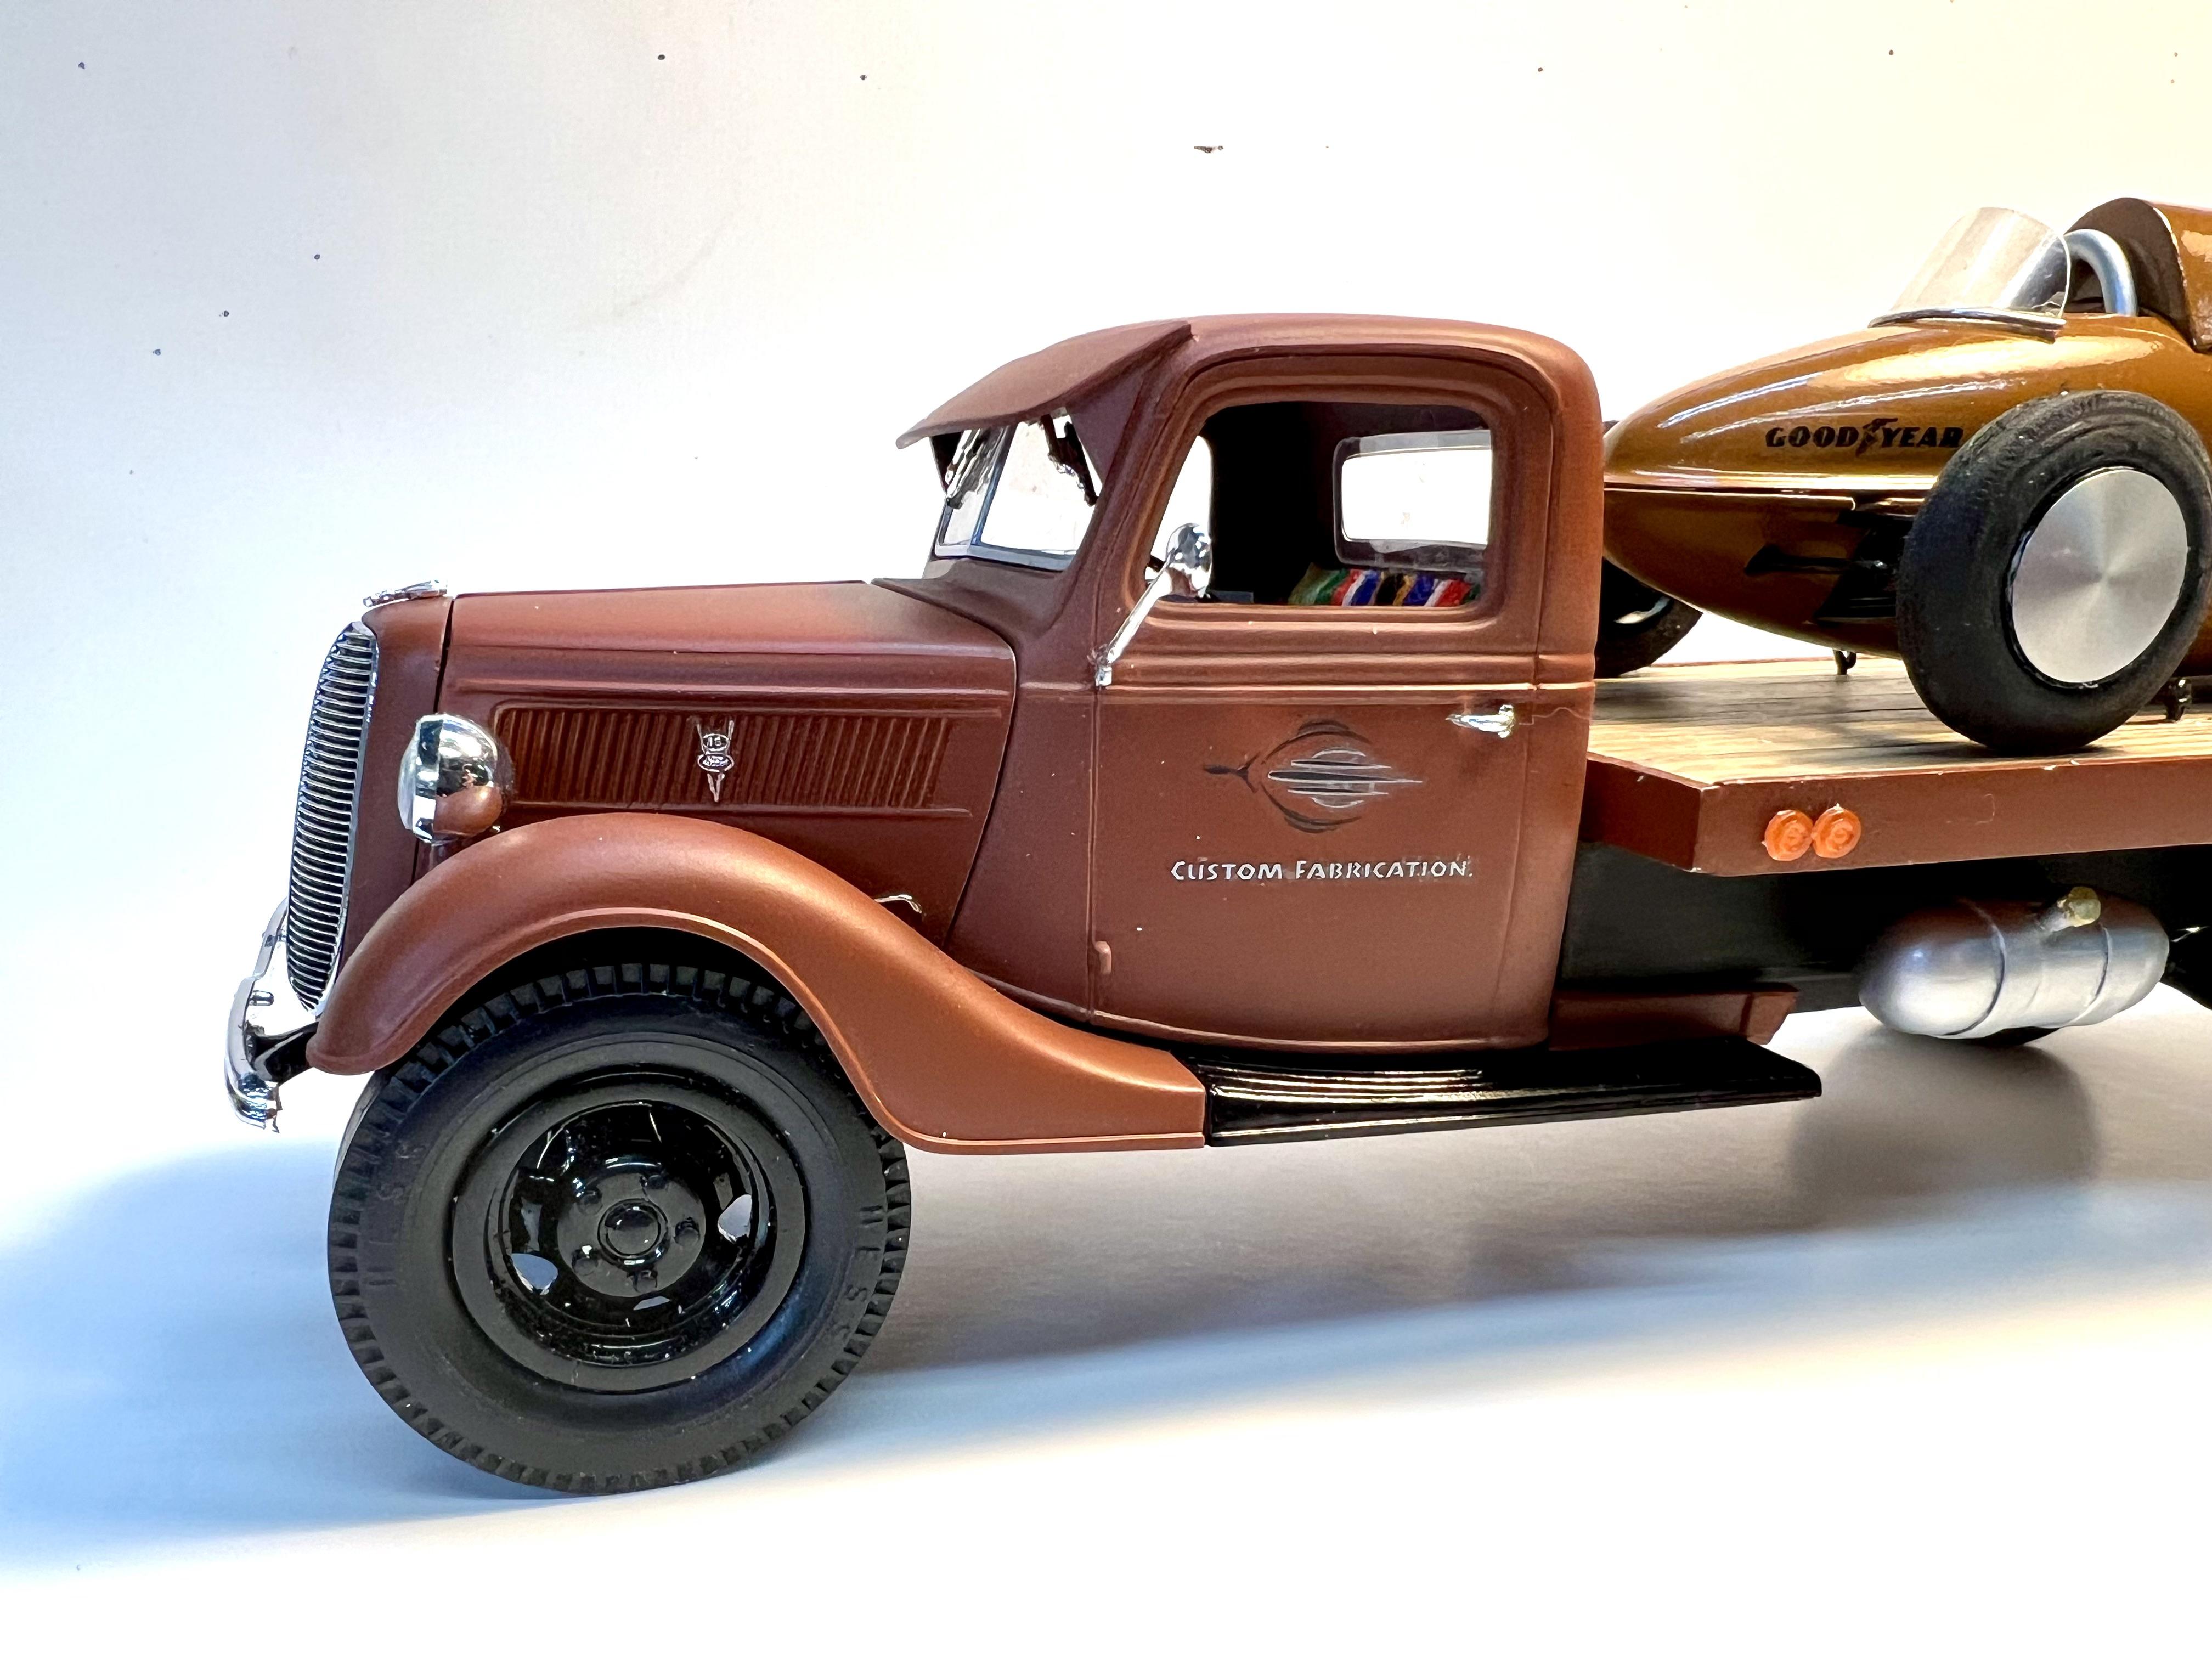
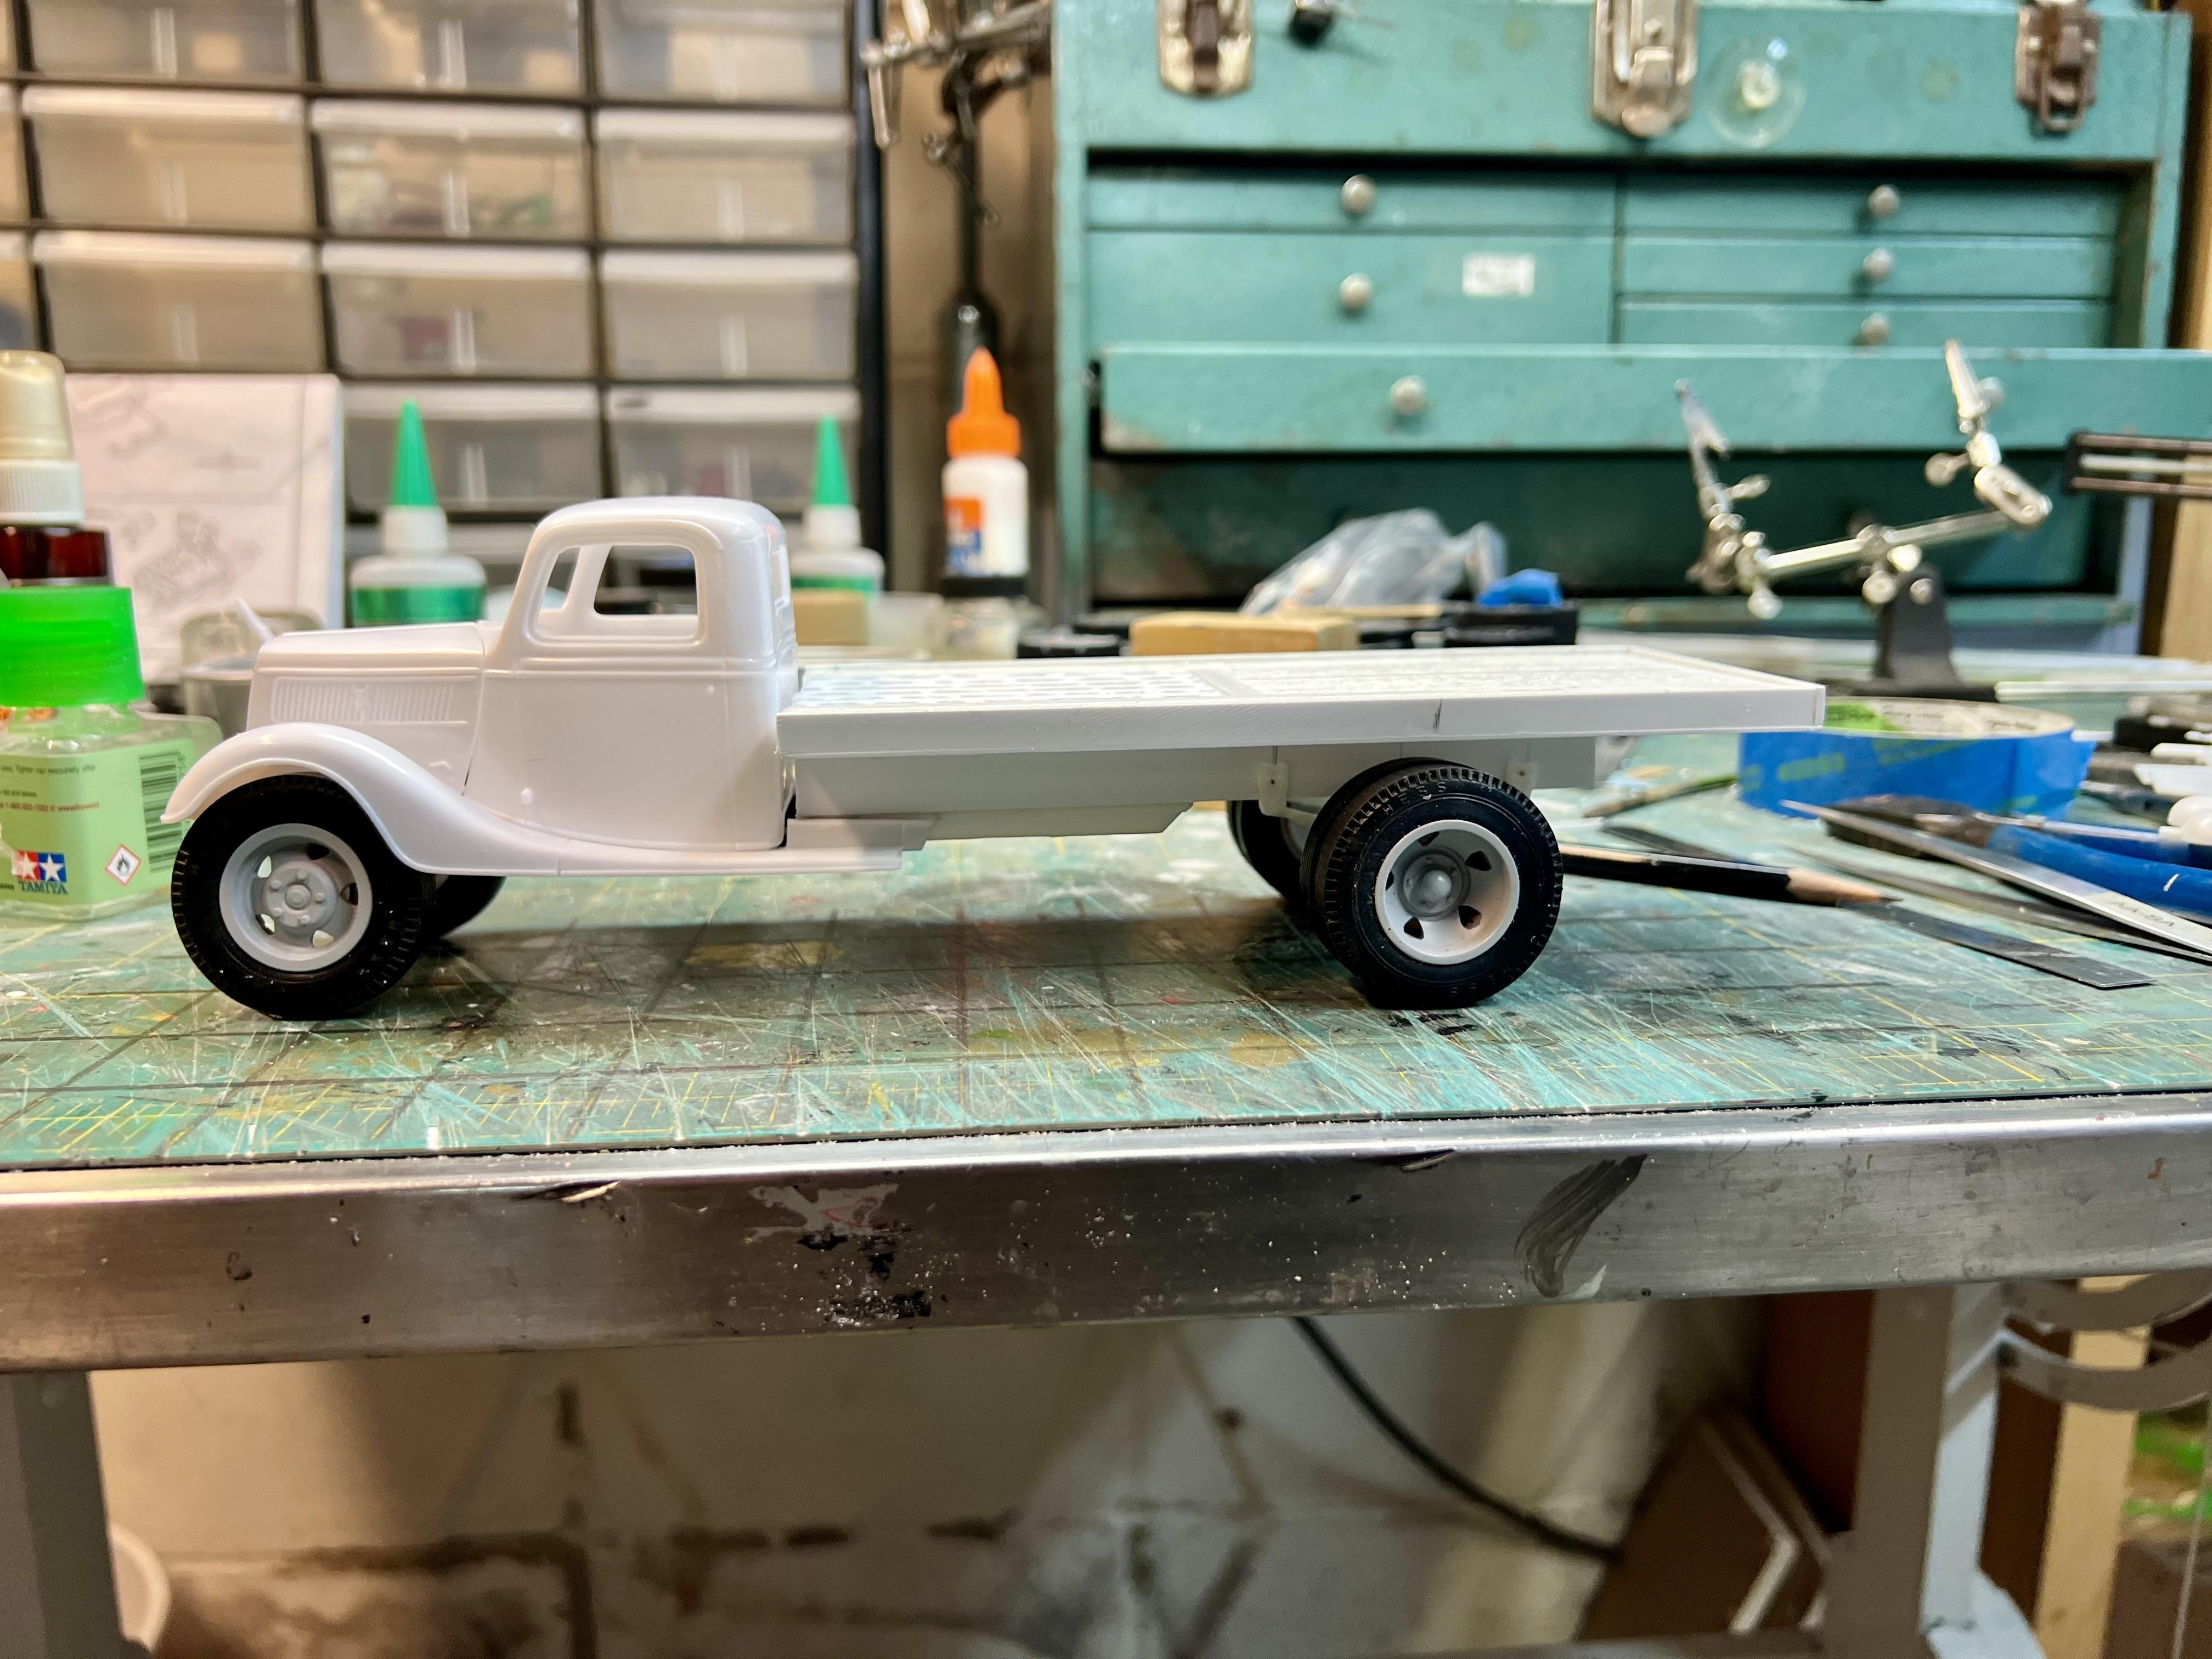
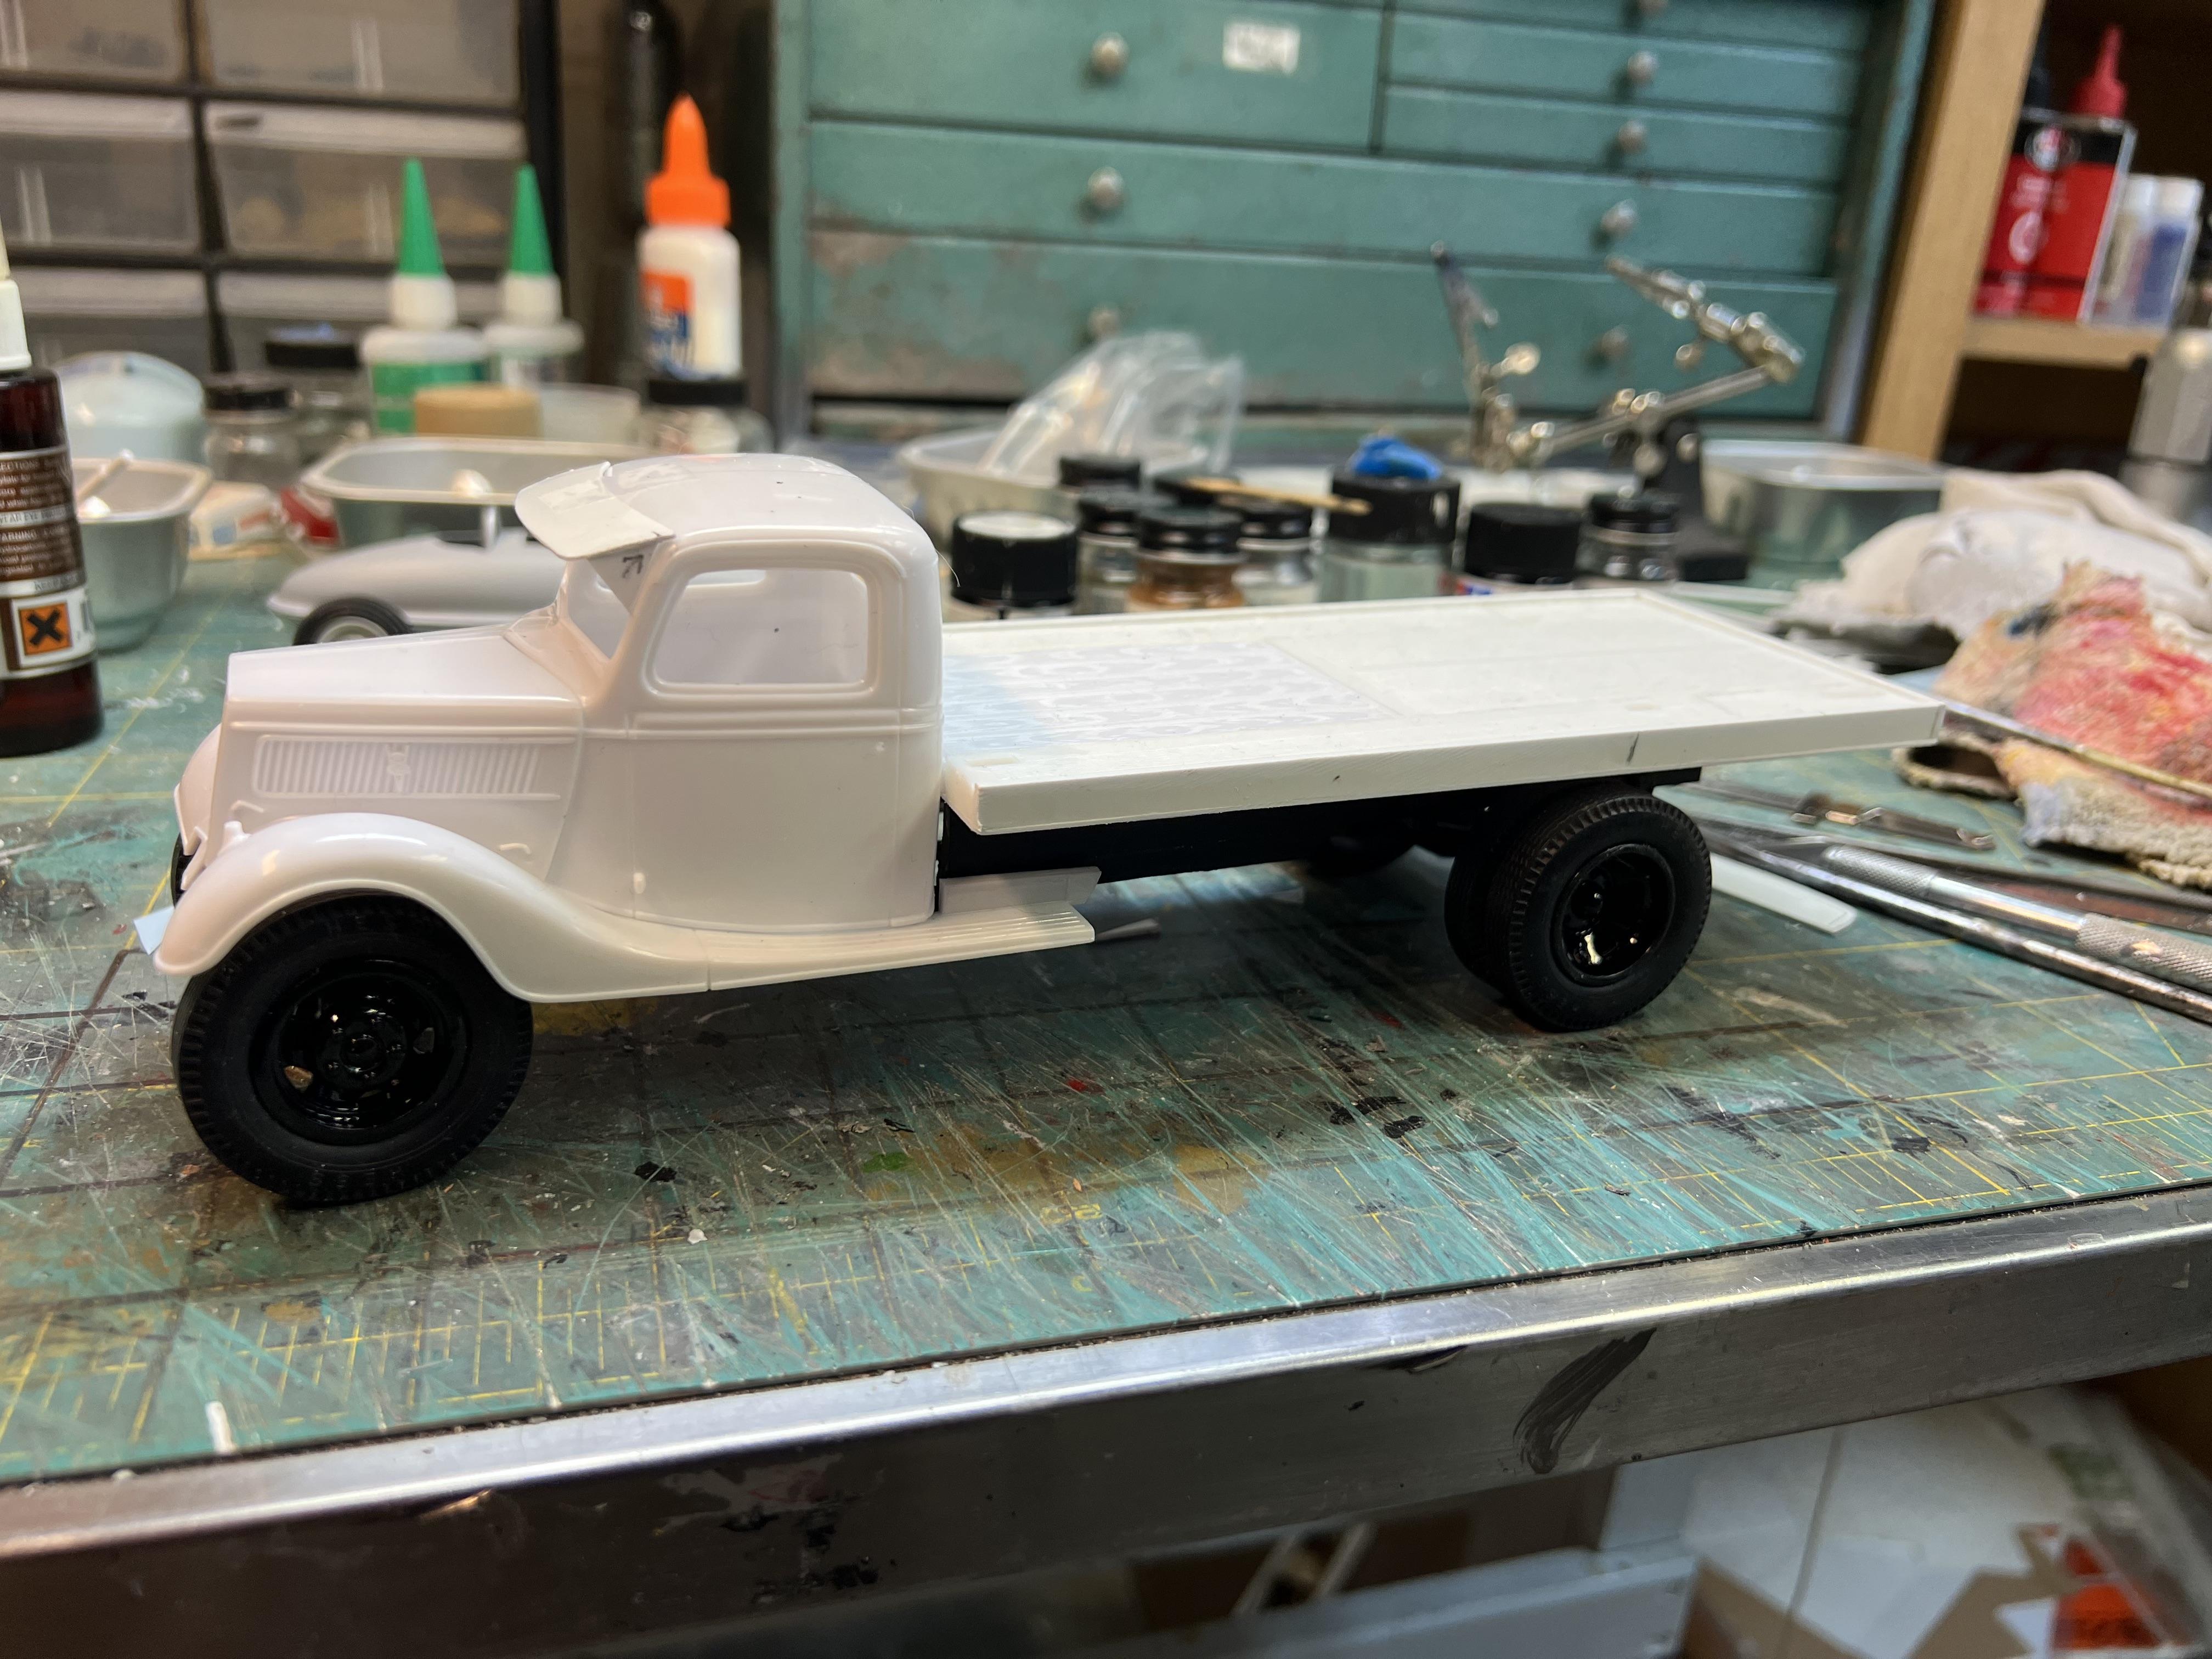
The nice thing about a two part project is you can move from one to the other as you mull issues. So the car is on pause while I work on the truck. It started life as a 1937 Ford pickup. The bed is extended as is the frame. A club member located some era correct wheels. The rear axel is from the parts box as are the springs. The bed needed to be raised clearance and the front axel had to be lowered from the frame to clear the fenders.
Anyway that’s it for now. Thanks for looking
-
5
-
-
1 hour ago, Paul Payne said:
Loving the belly tanker! Is this a kit or 3d printed?
Thanks Paul. It’s a resin casting of just the shell. The rest of the bits are from my parts box or imagineered. The transport is the 1937Ford pickup with the bed lengthened.
-
2
-
-
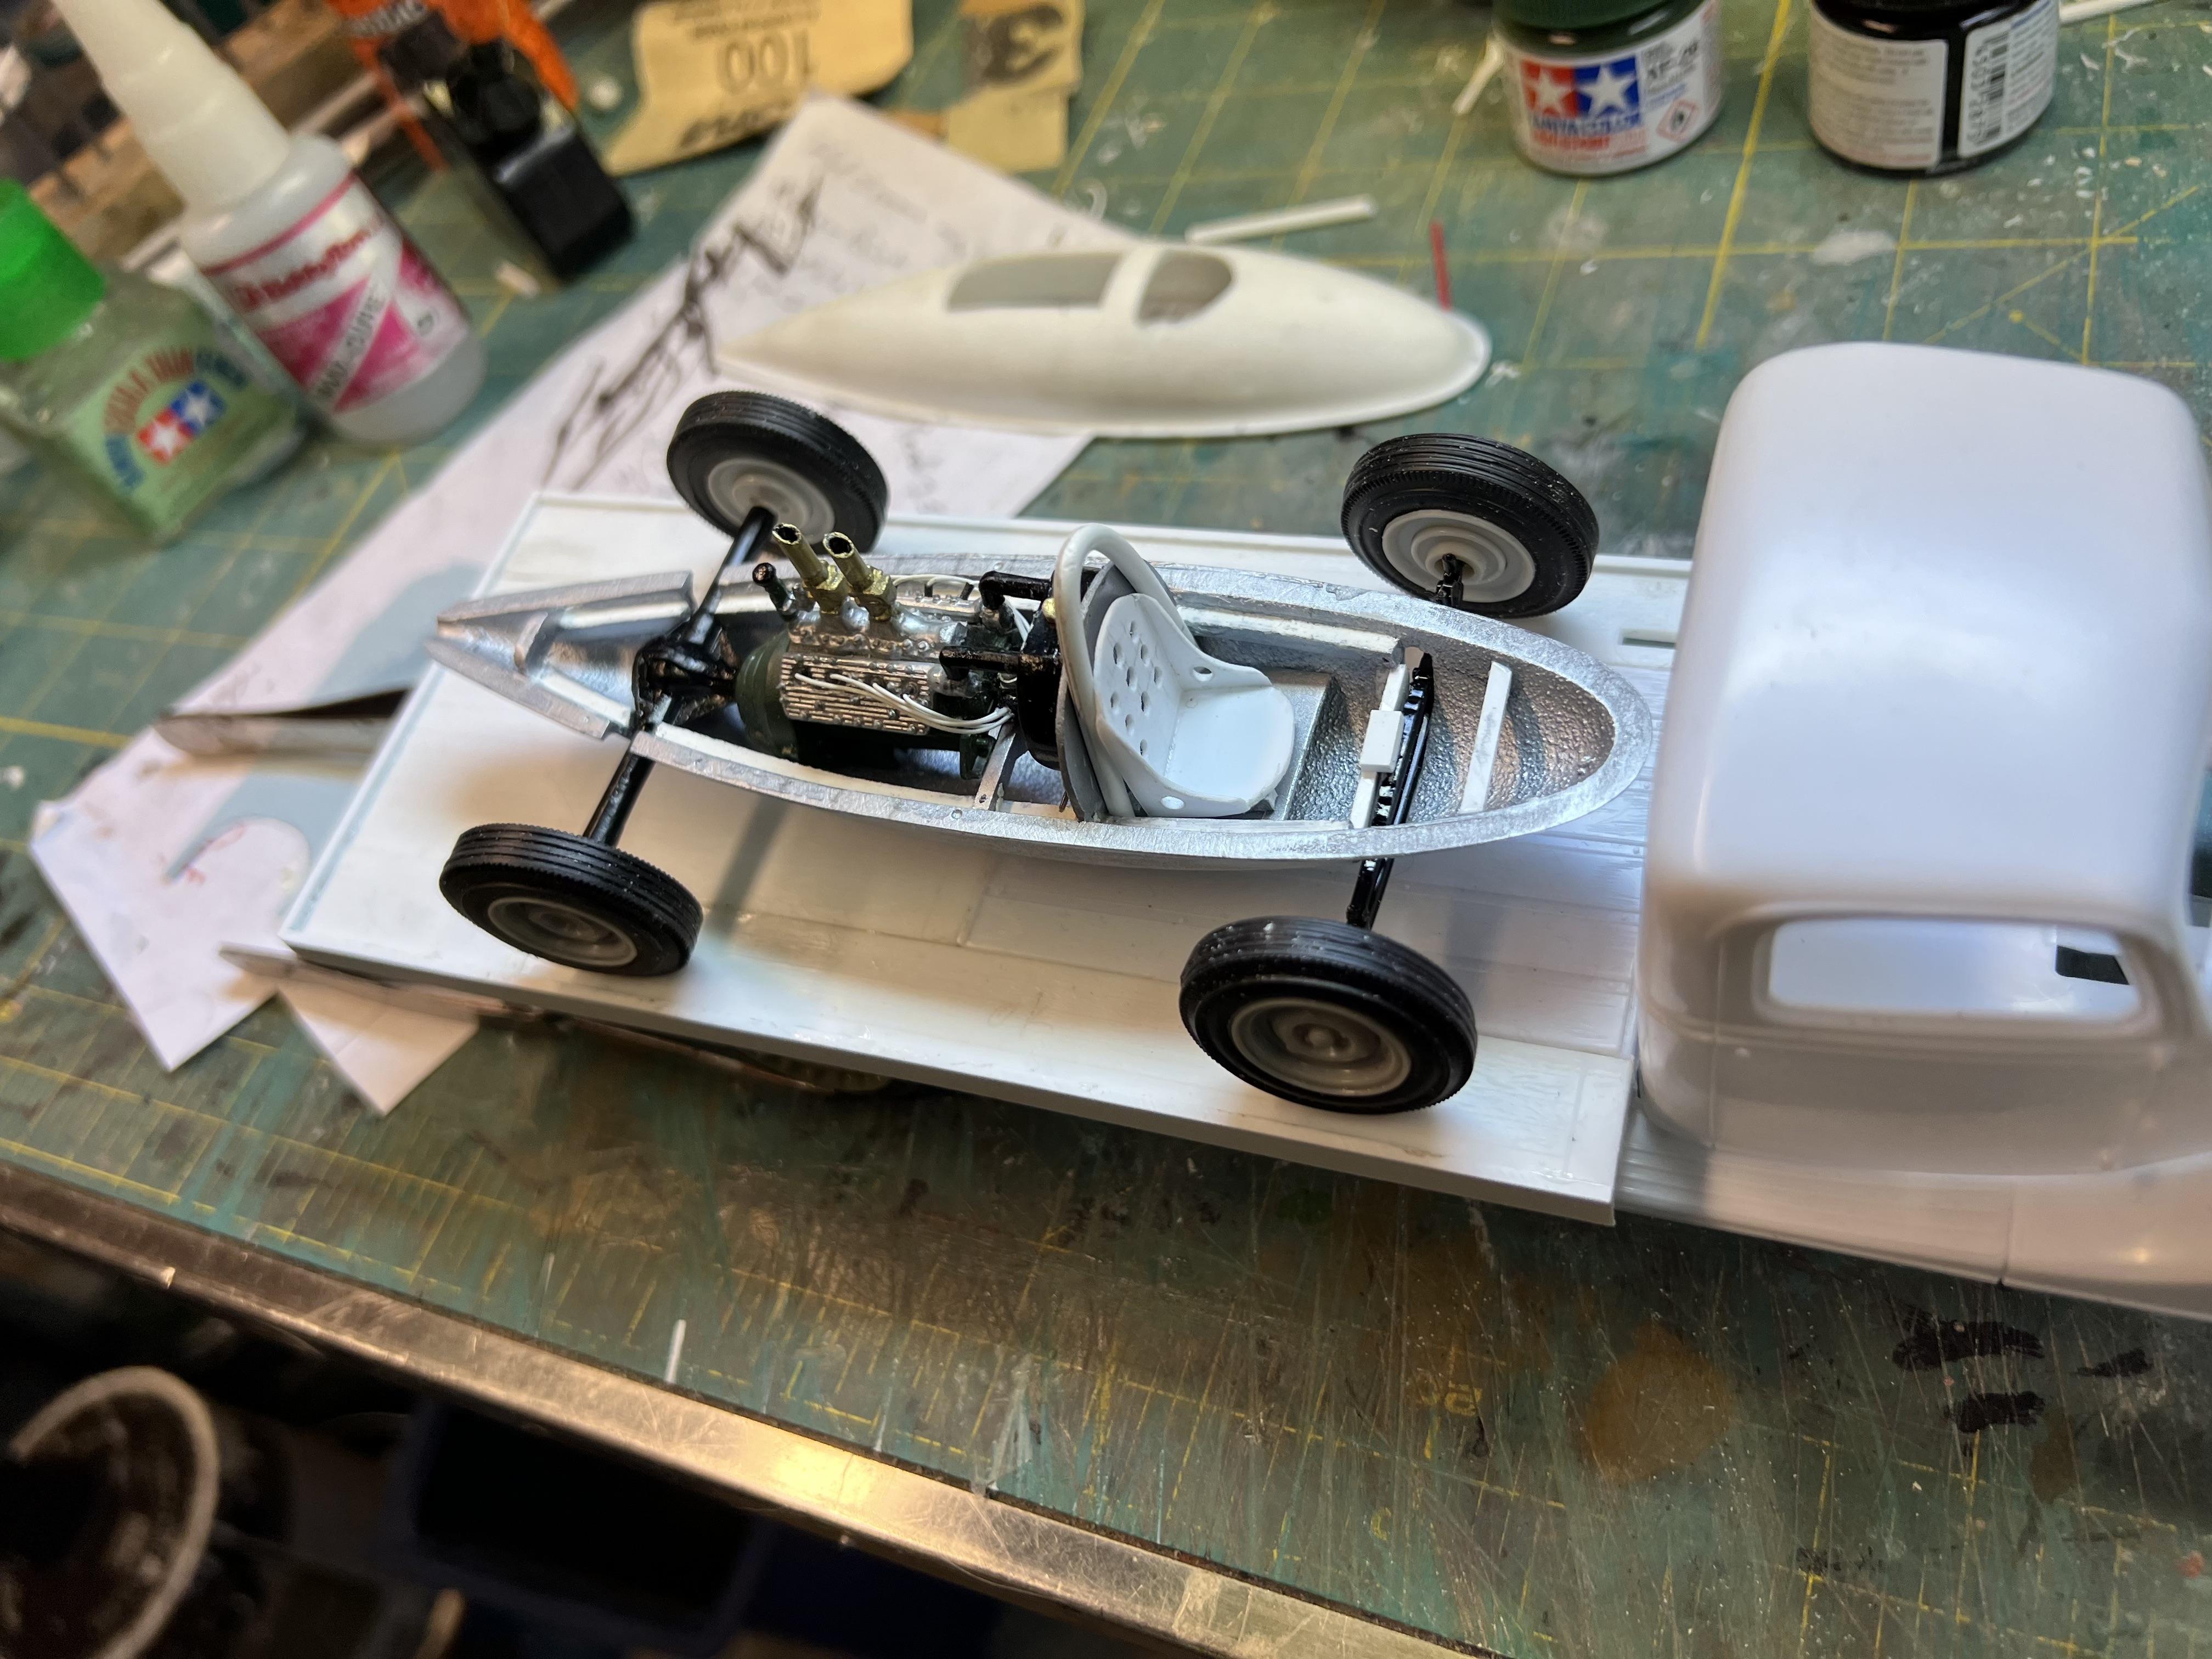
Getting there is half the fun. Not sure about the wheels for the truck but close. I went through my parts boxes and couldn’t find a seat I liked so came up with this bomber seat.
-
11
-
-
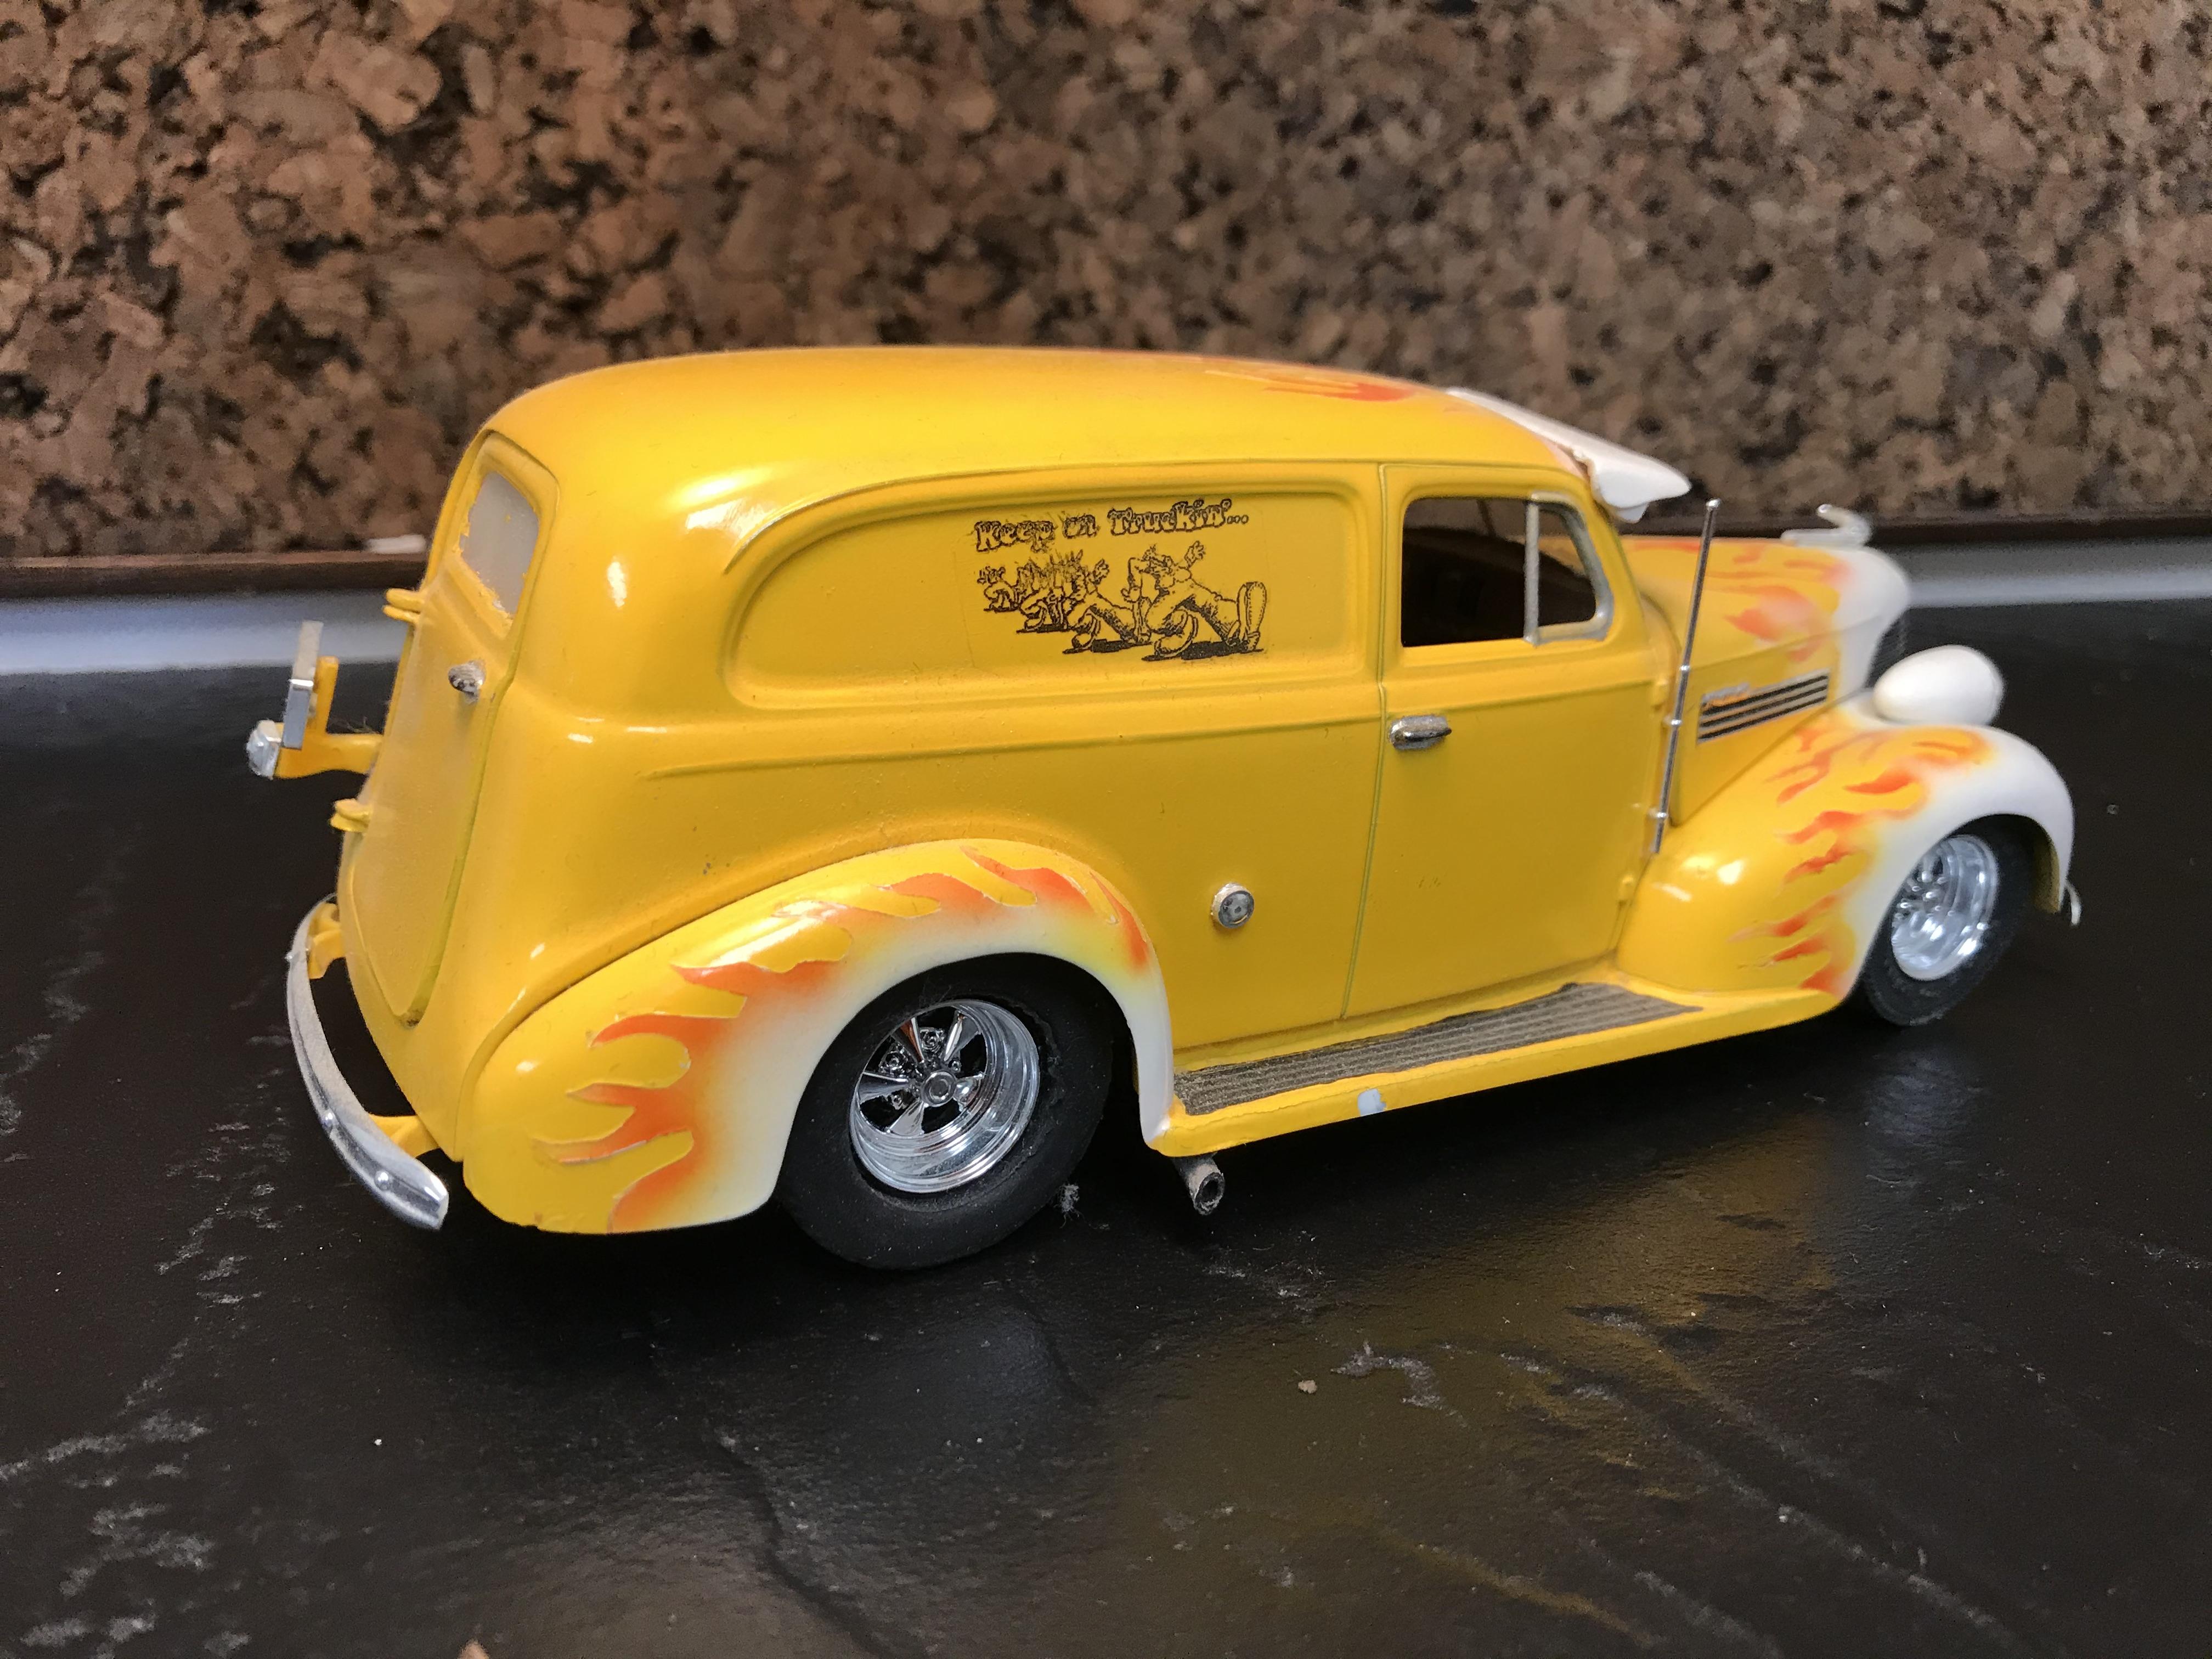
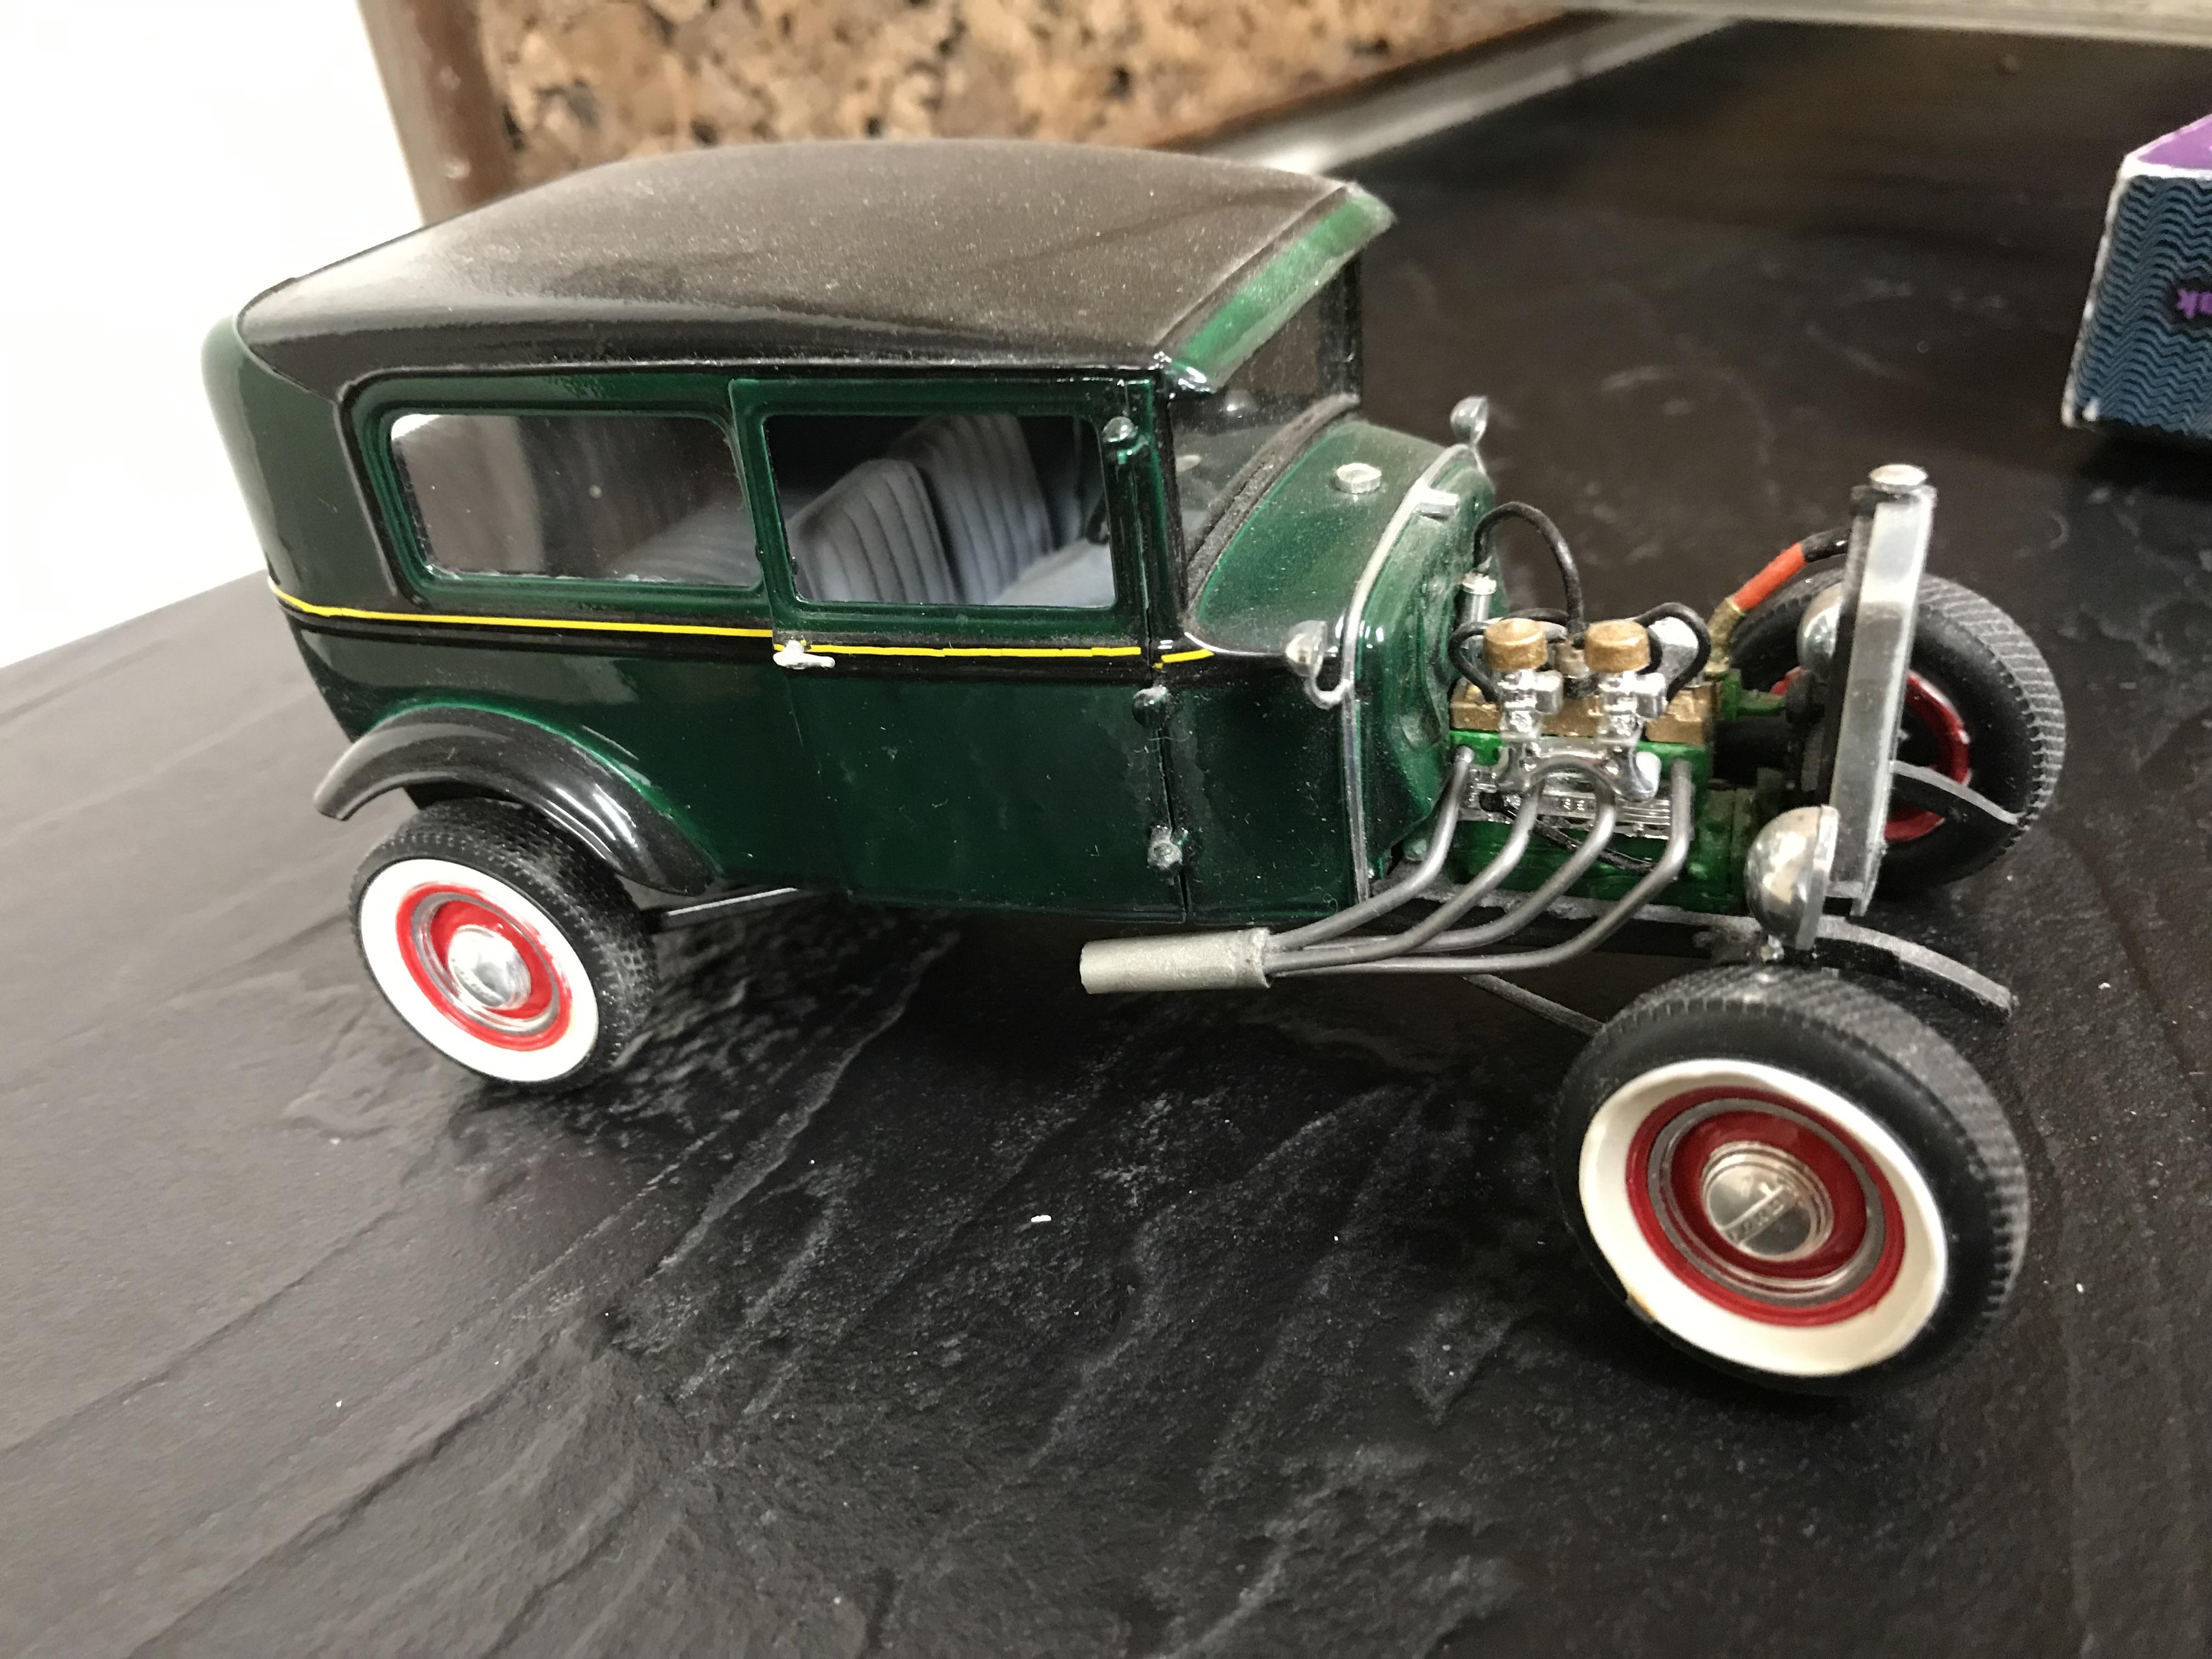
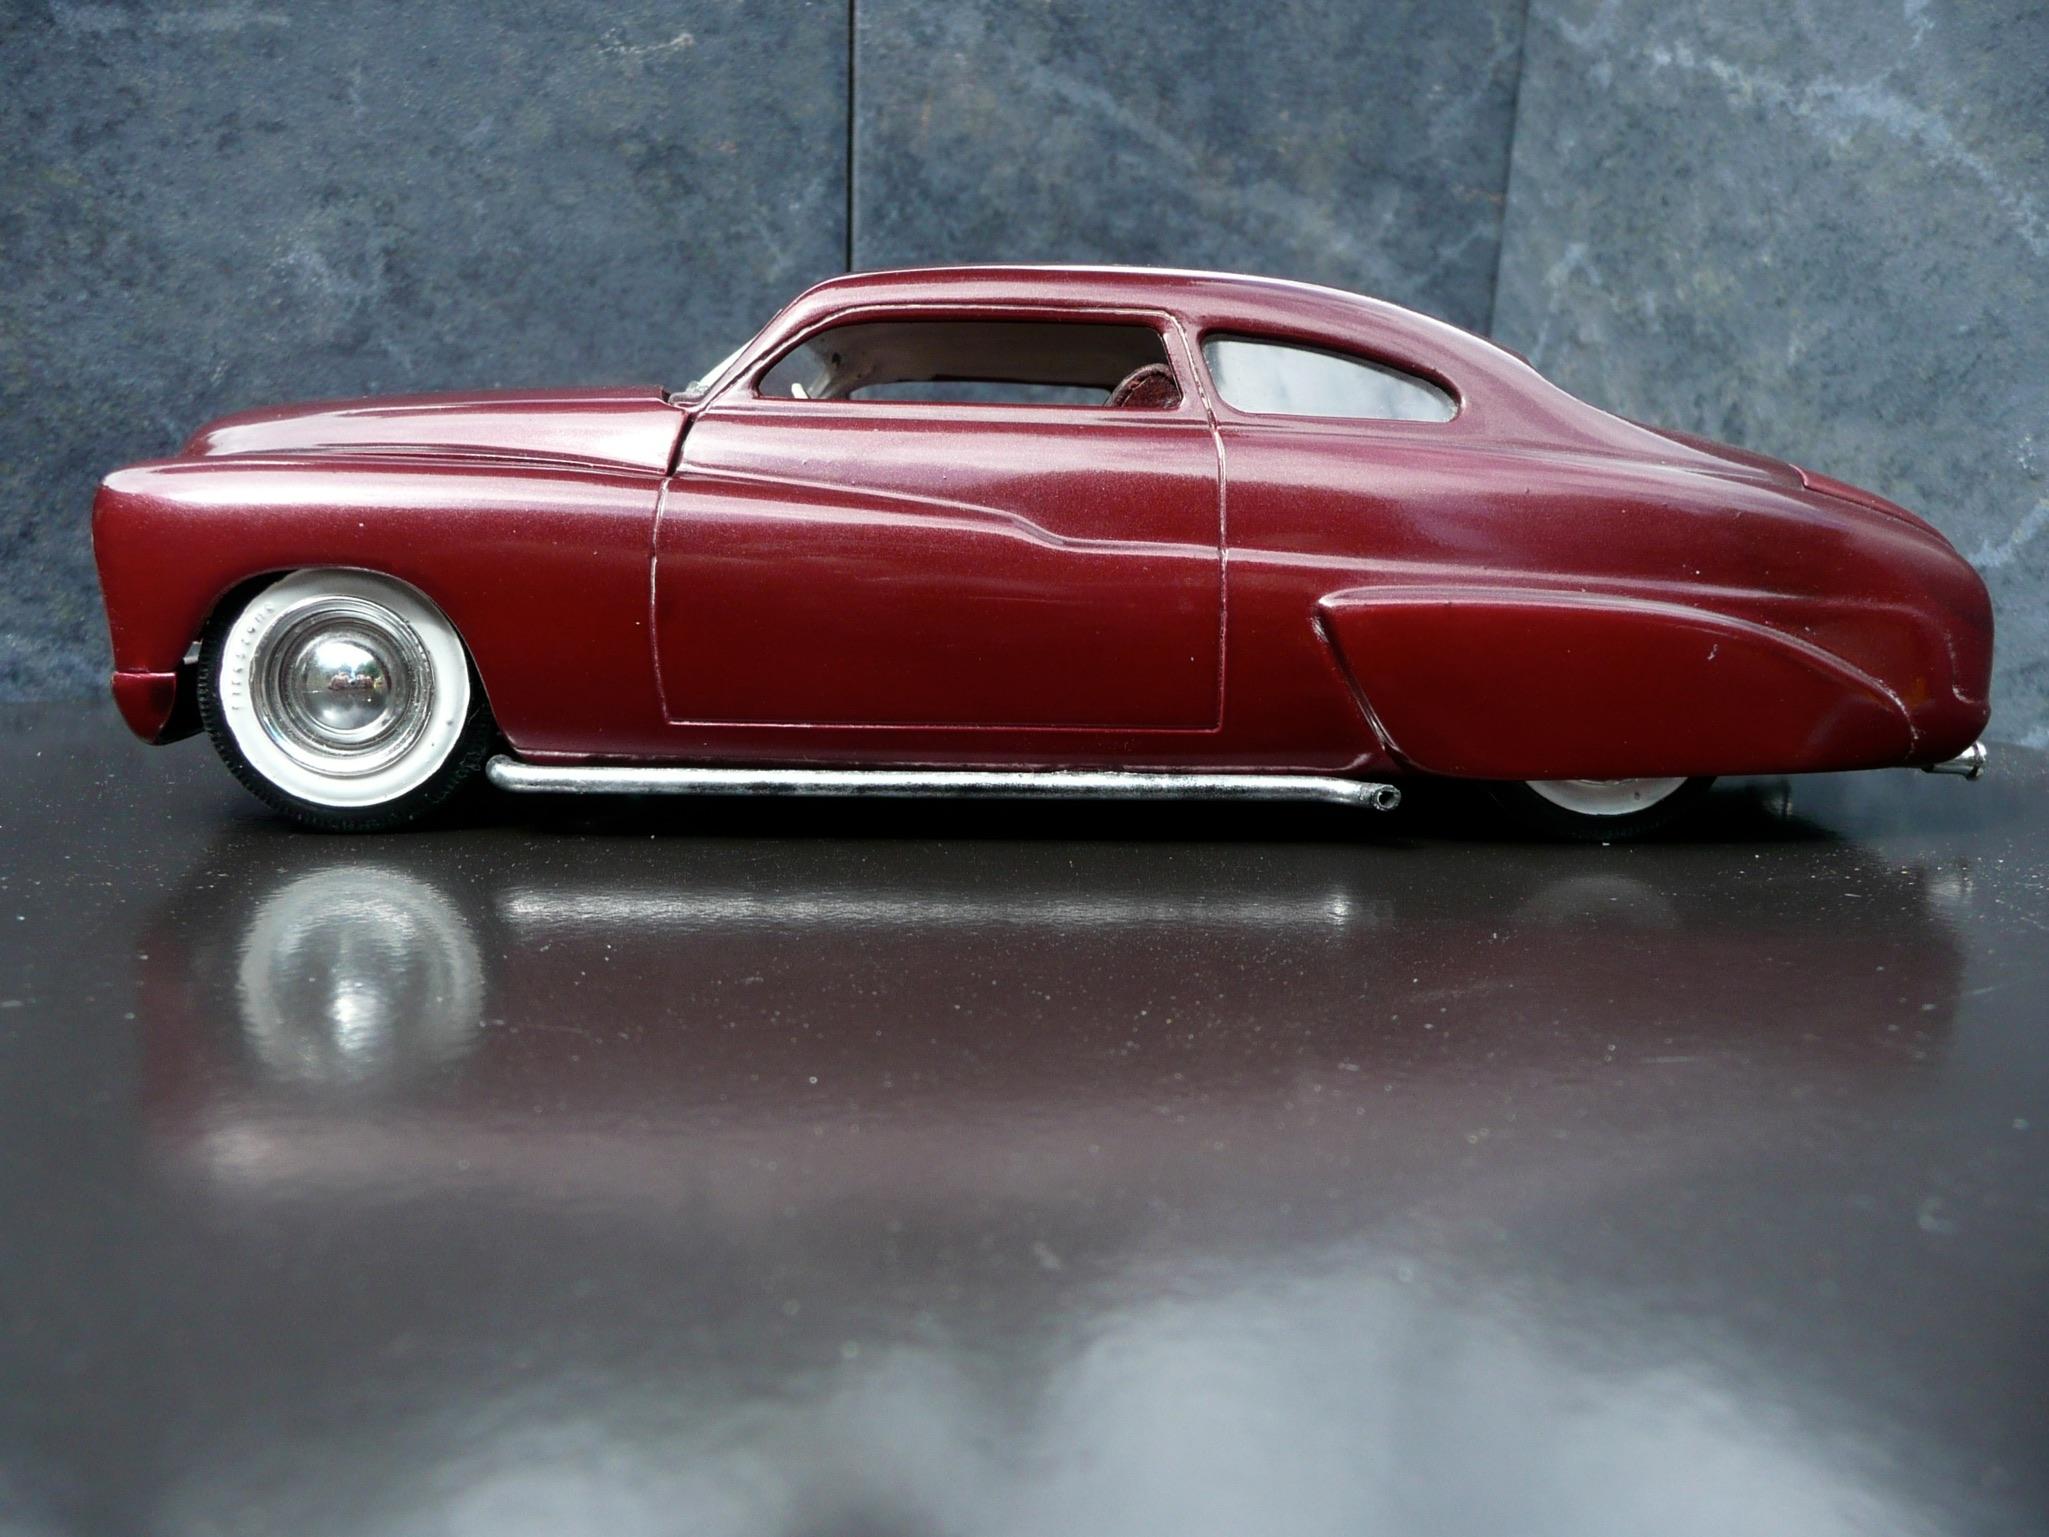
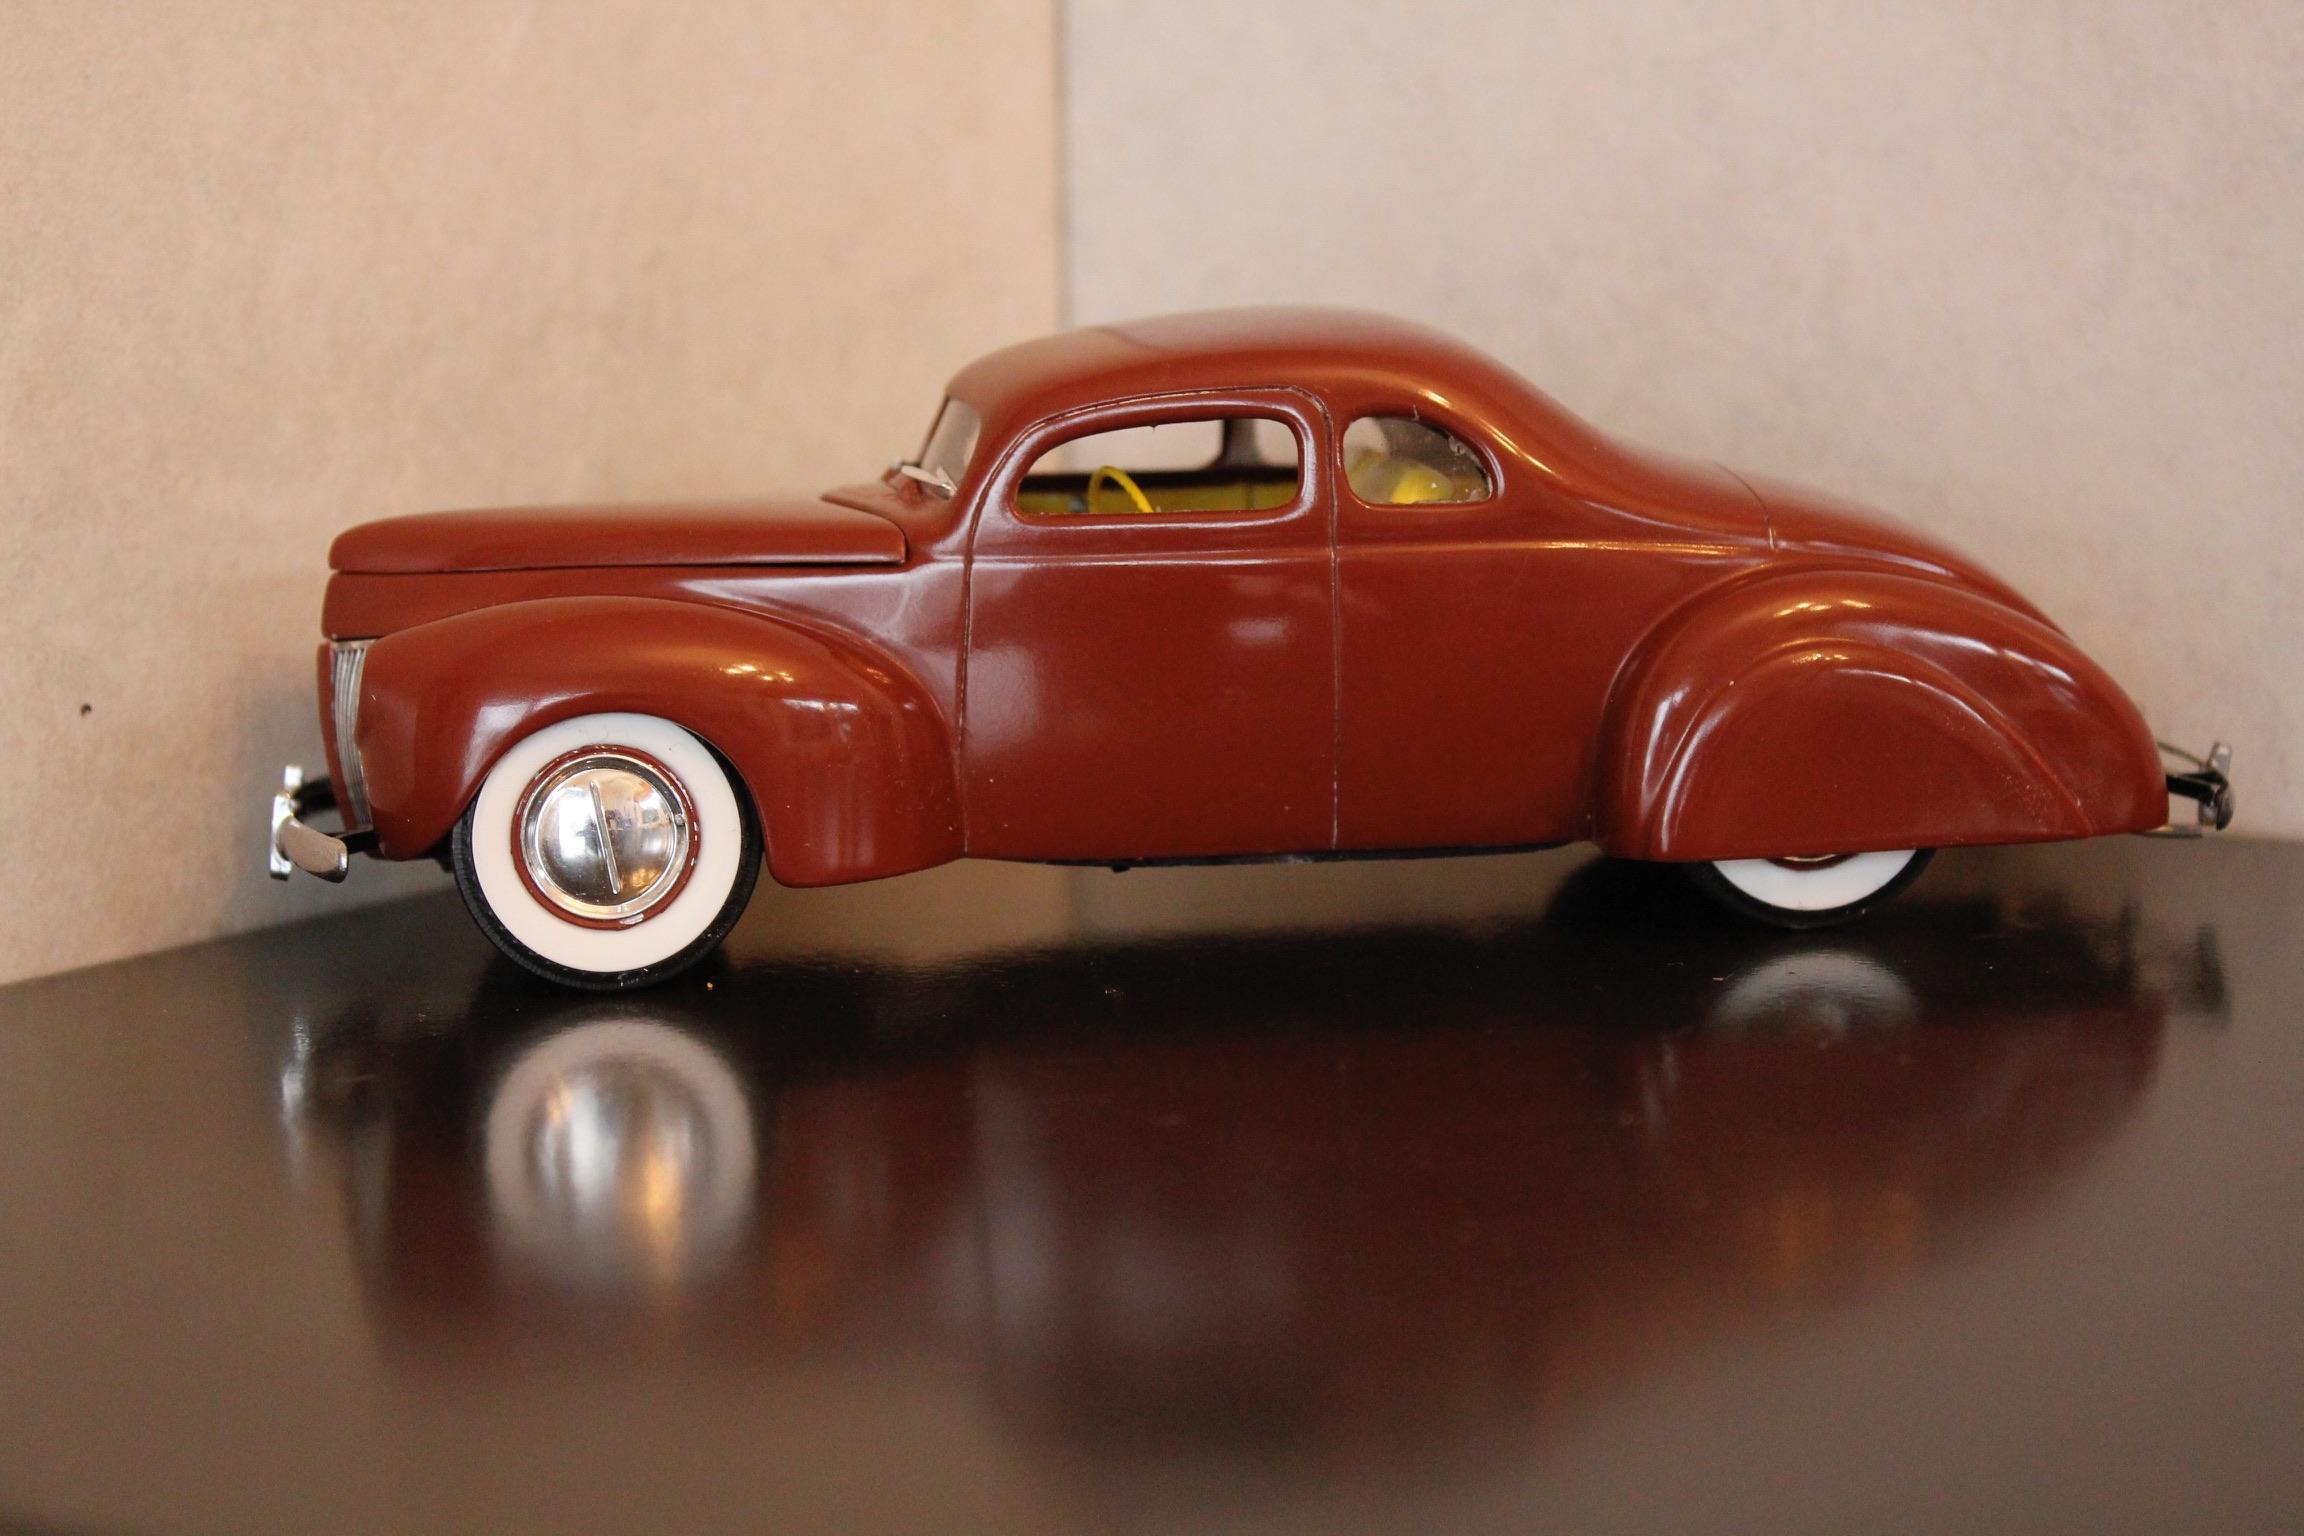
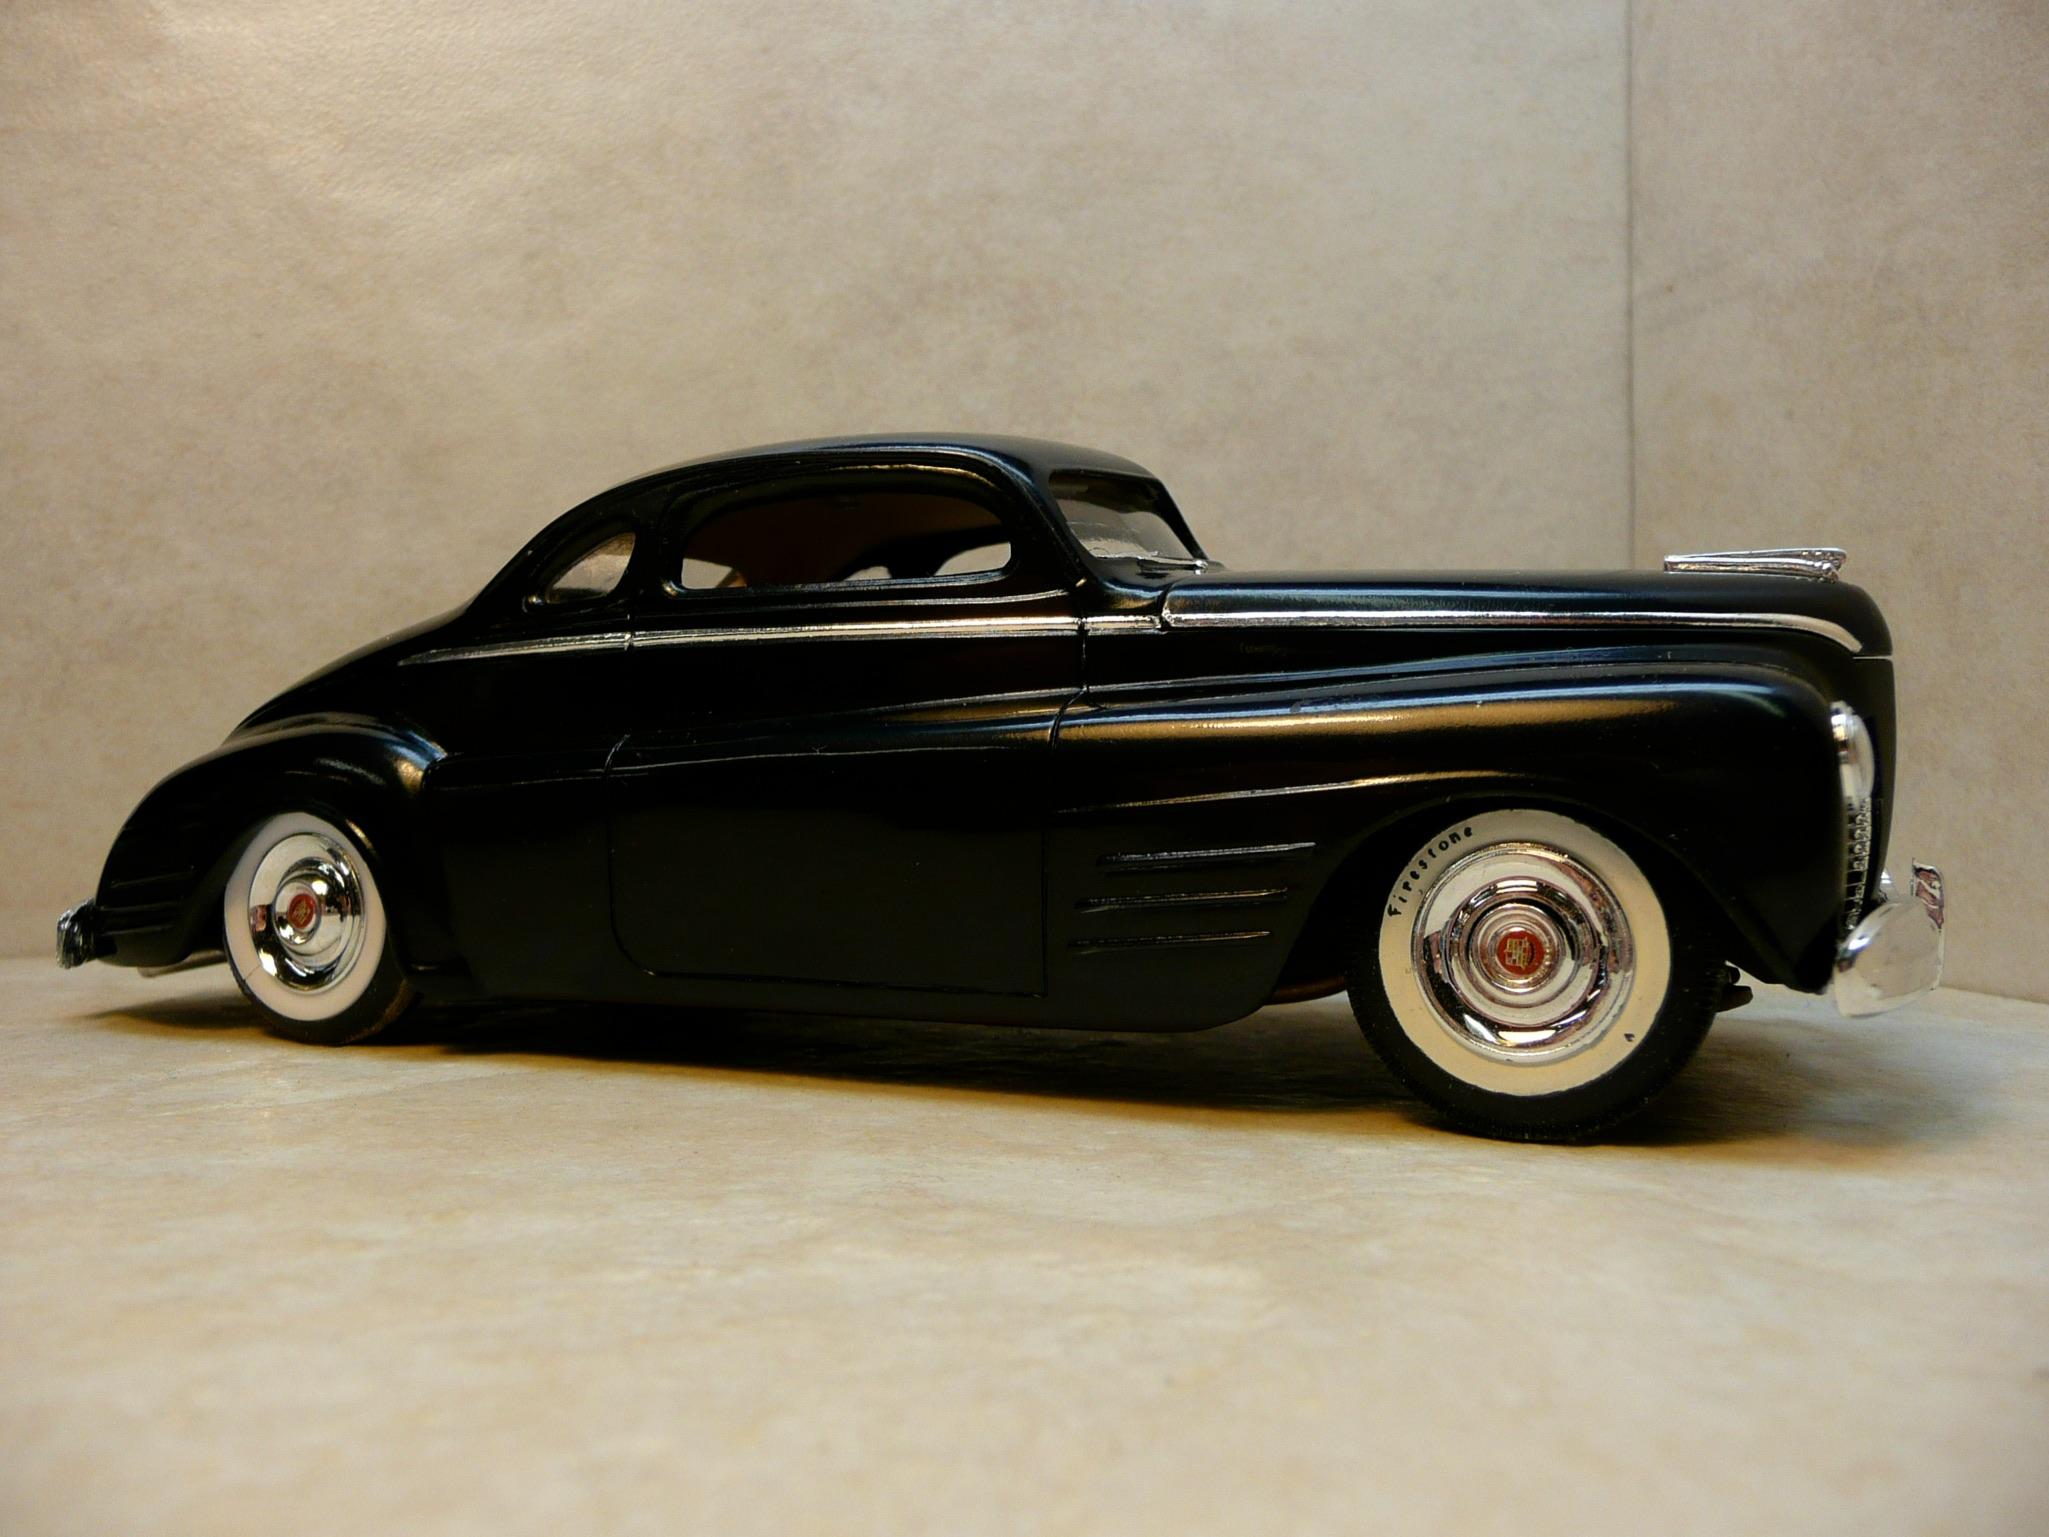
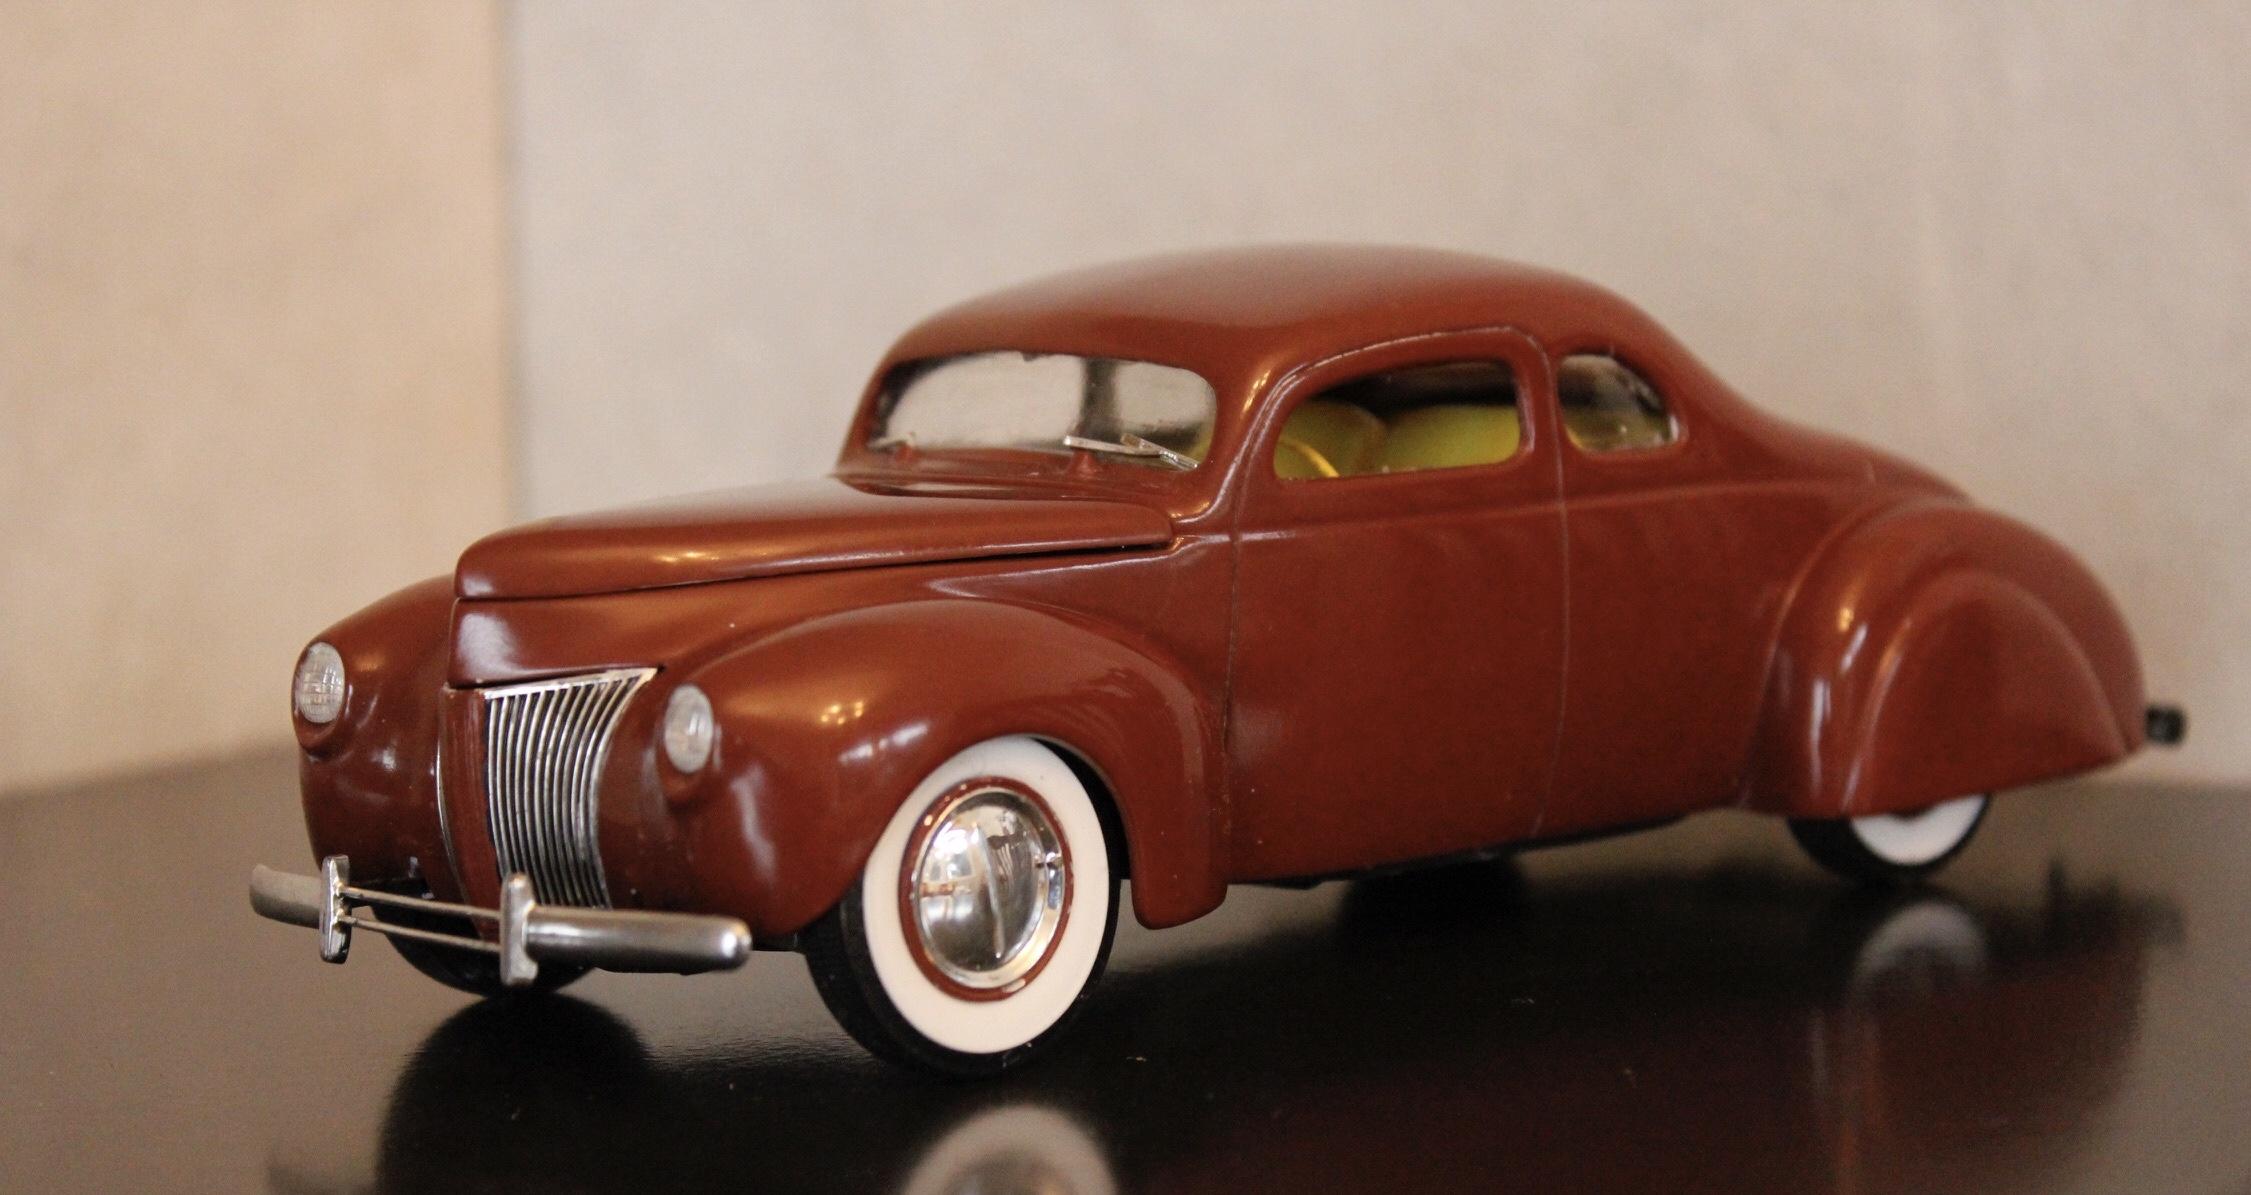
Here’s a gathering of my old models. Not as old as many here as I took time out for about 40 years.
I’ll trill try to post them in the order they were built..
-
6
-
-
2 hours ago, TarheelRick said:
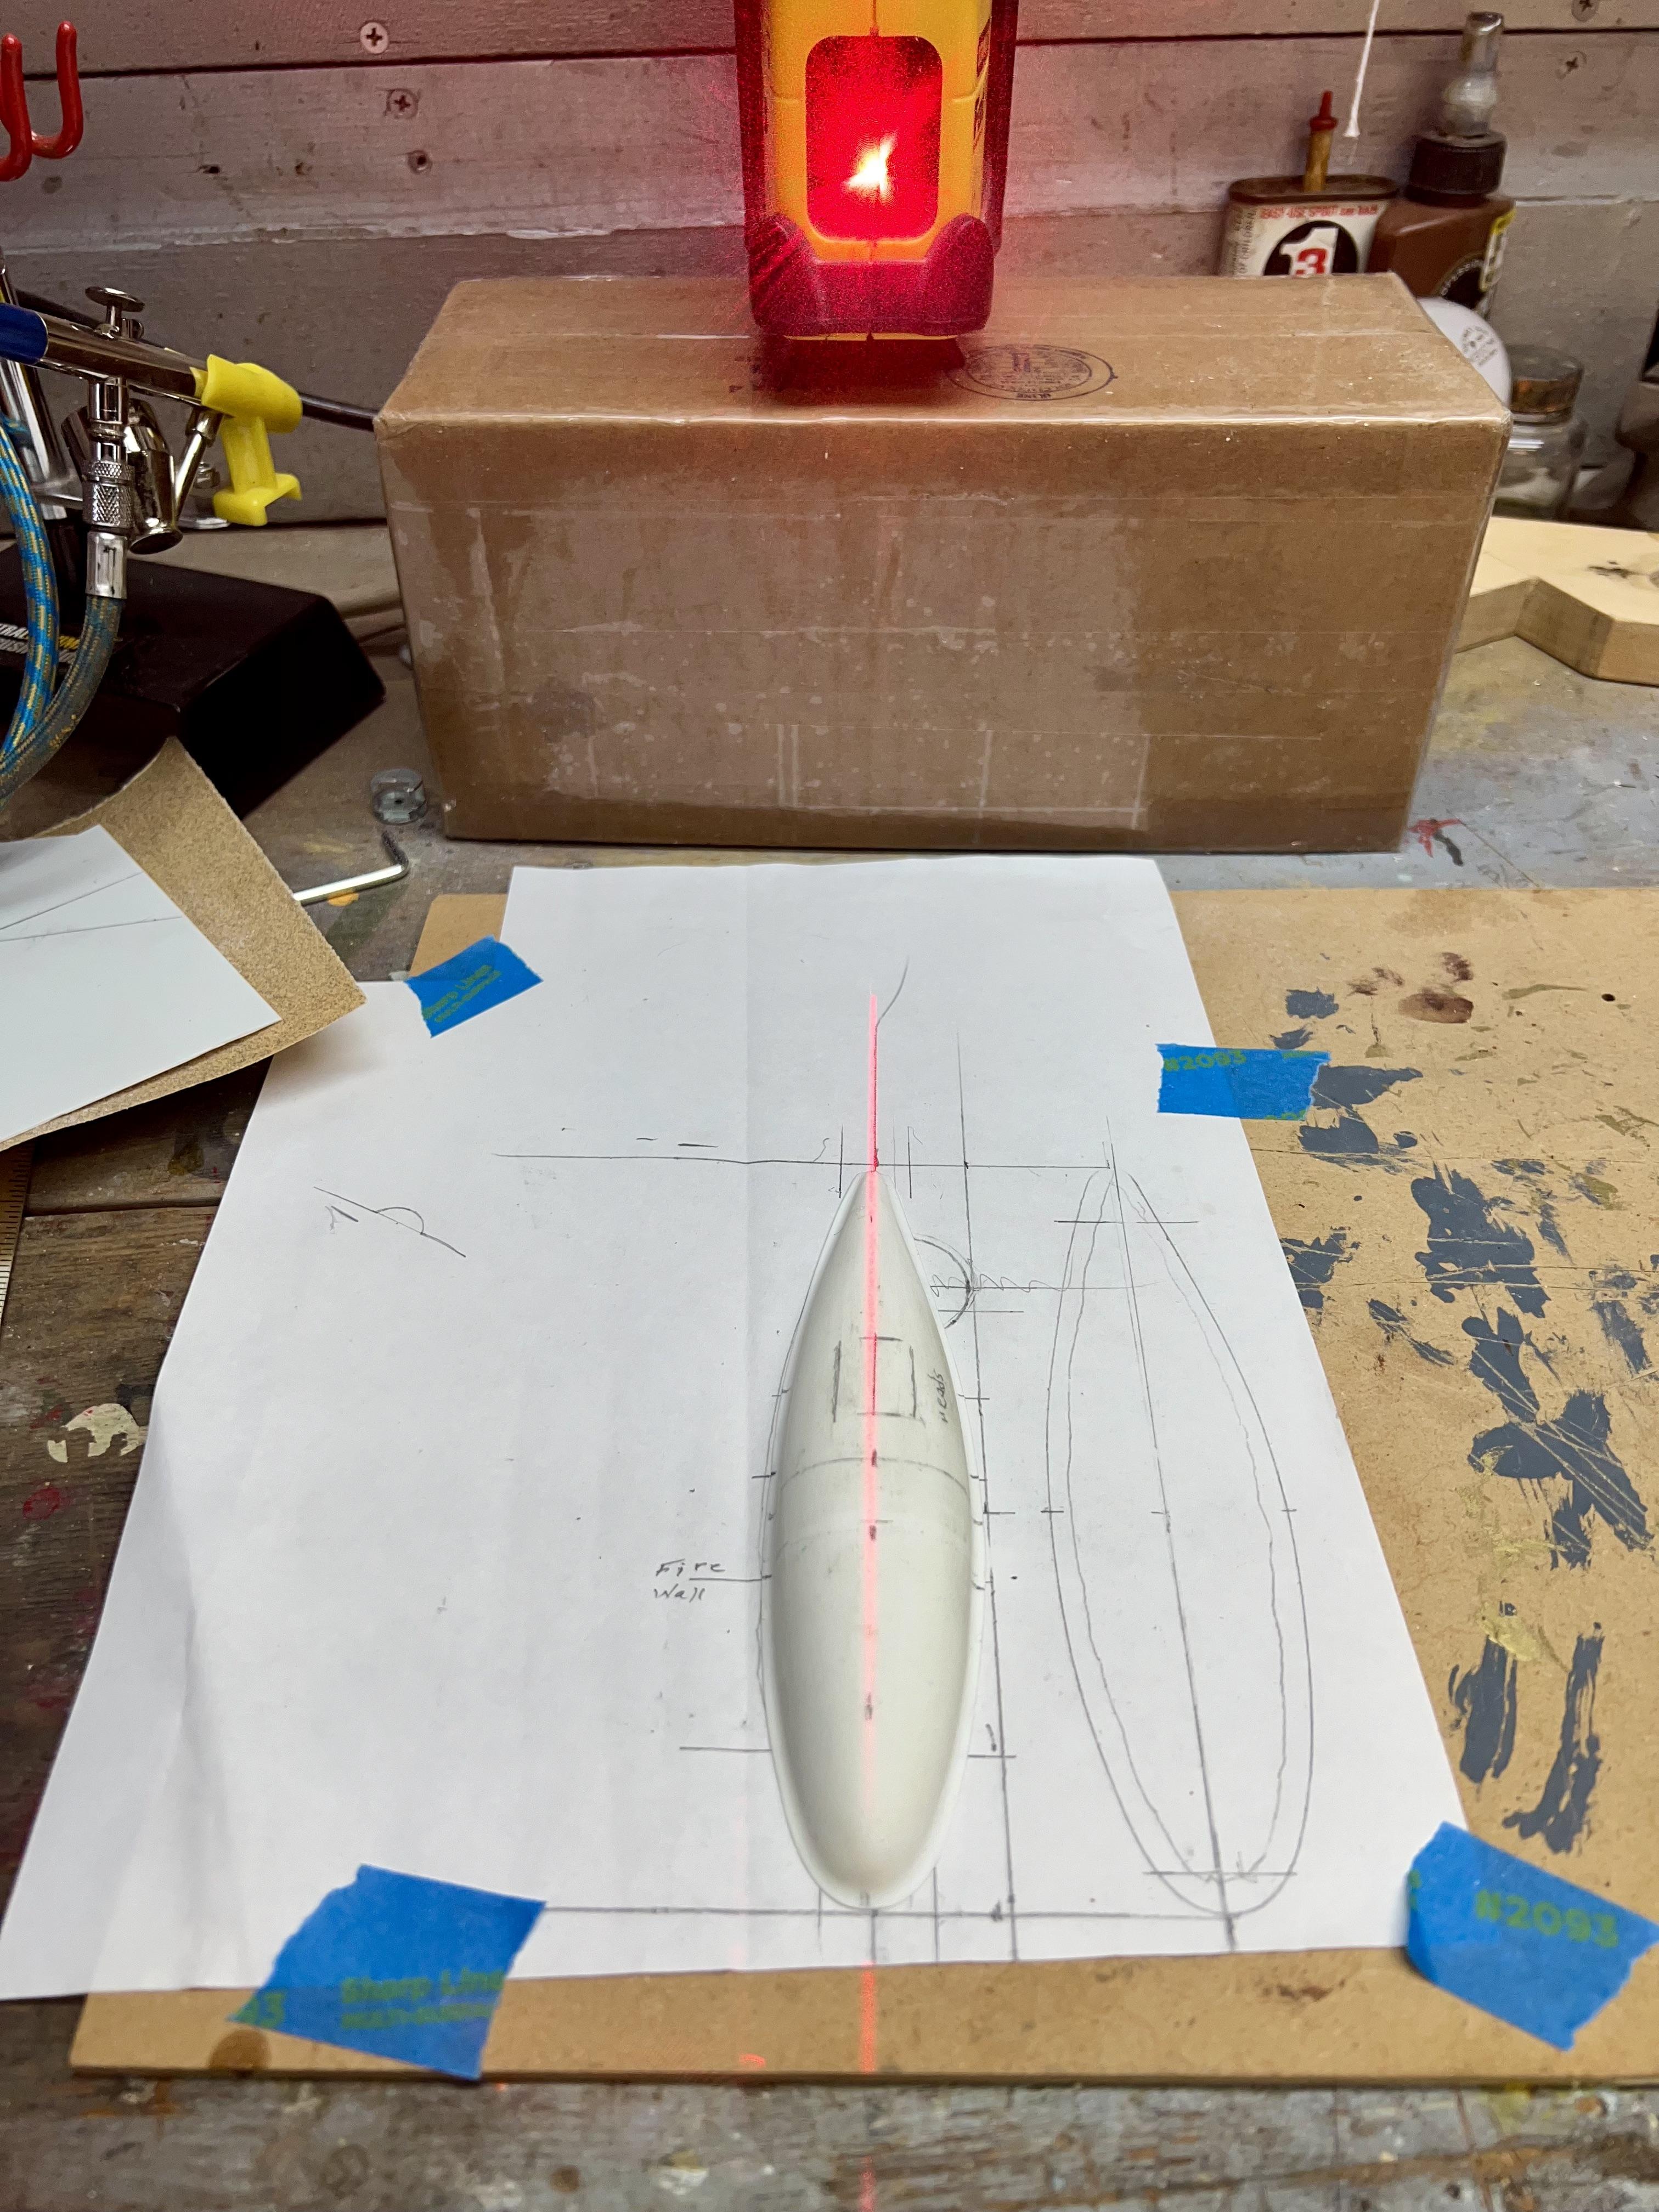
Excellent idea, seems like it will also work to verify symmetry when doing custom work: makes sure custom headlights are even with each other, things like that. Thanks for the tip. I bought one from Harbor Freight that has a magnetic base and is designed to be stuck to the tool being used, such as a power saw. There are two problems with this: 1. most circular/power saws have aluminum bodies, 2. if it is attached to the saw then one slight bobble of the saw will move the laser line in line with the bobble and you are off the mark. But I think it should work for this since there is no movement involved.
I can see how it would be a problem with a hand held saw but I’ve used compound miter saws with them and they help there.
-
19 minutes ago, peteski said:
Yes, that looks quite useful.
But laser pointers or cat toys emit a single narrow laser beam which results in a point of light. It seems that what you are using is one of the lasers which projects a line (like a laser level).
You’re right it does need a line projected. The nice thing about the laser shown is it self levels. No need to fuss with getting it level before turning it on.
-
iI struggled to keep things straight and true on a belly tanker as it has no corners or true circles. Then I remembered a laser I had from days gone by. This was a Fat Max brand but any laser, even a cat toy, would work. I traced out the profile on paper and established a center line front to back. Then as components where built their dimension’s be laid out on the paper. Then a line struck at 90 degrees. Now the tanker can be positioned and the laser lined up to transfer the marks to the castings.
-
3
-
-
RRR,
That’s a some impressive modeling.
-
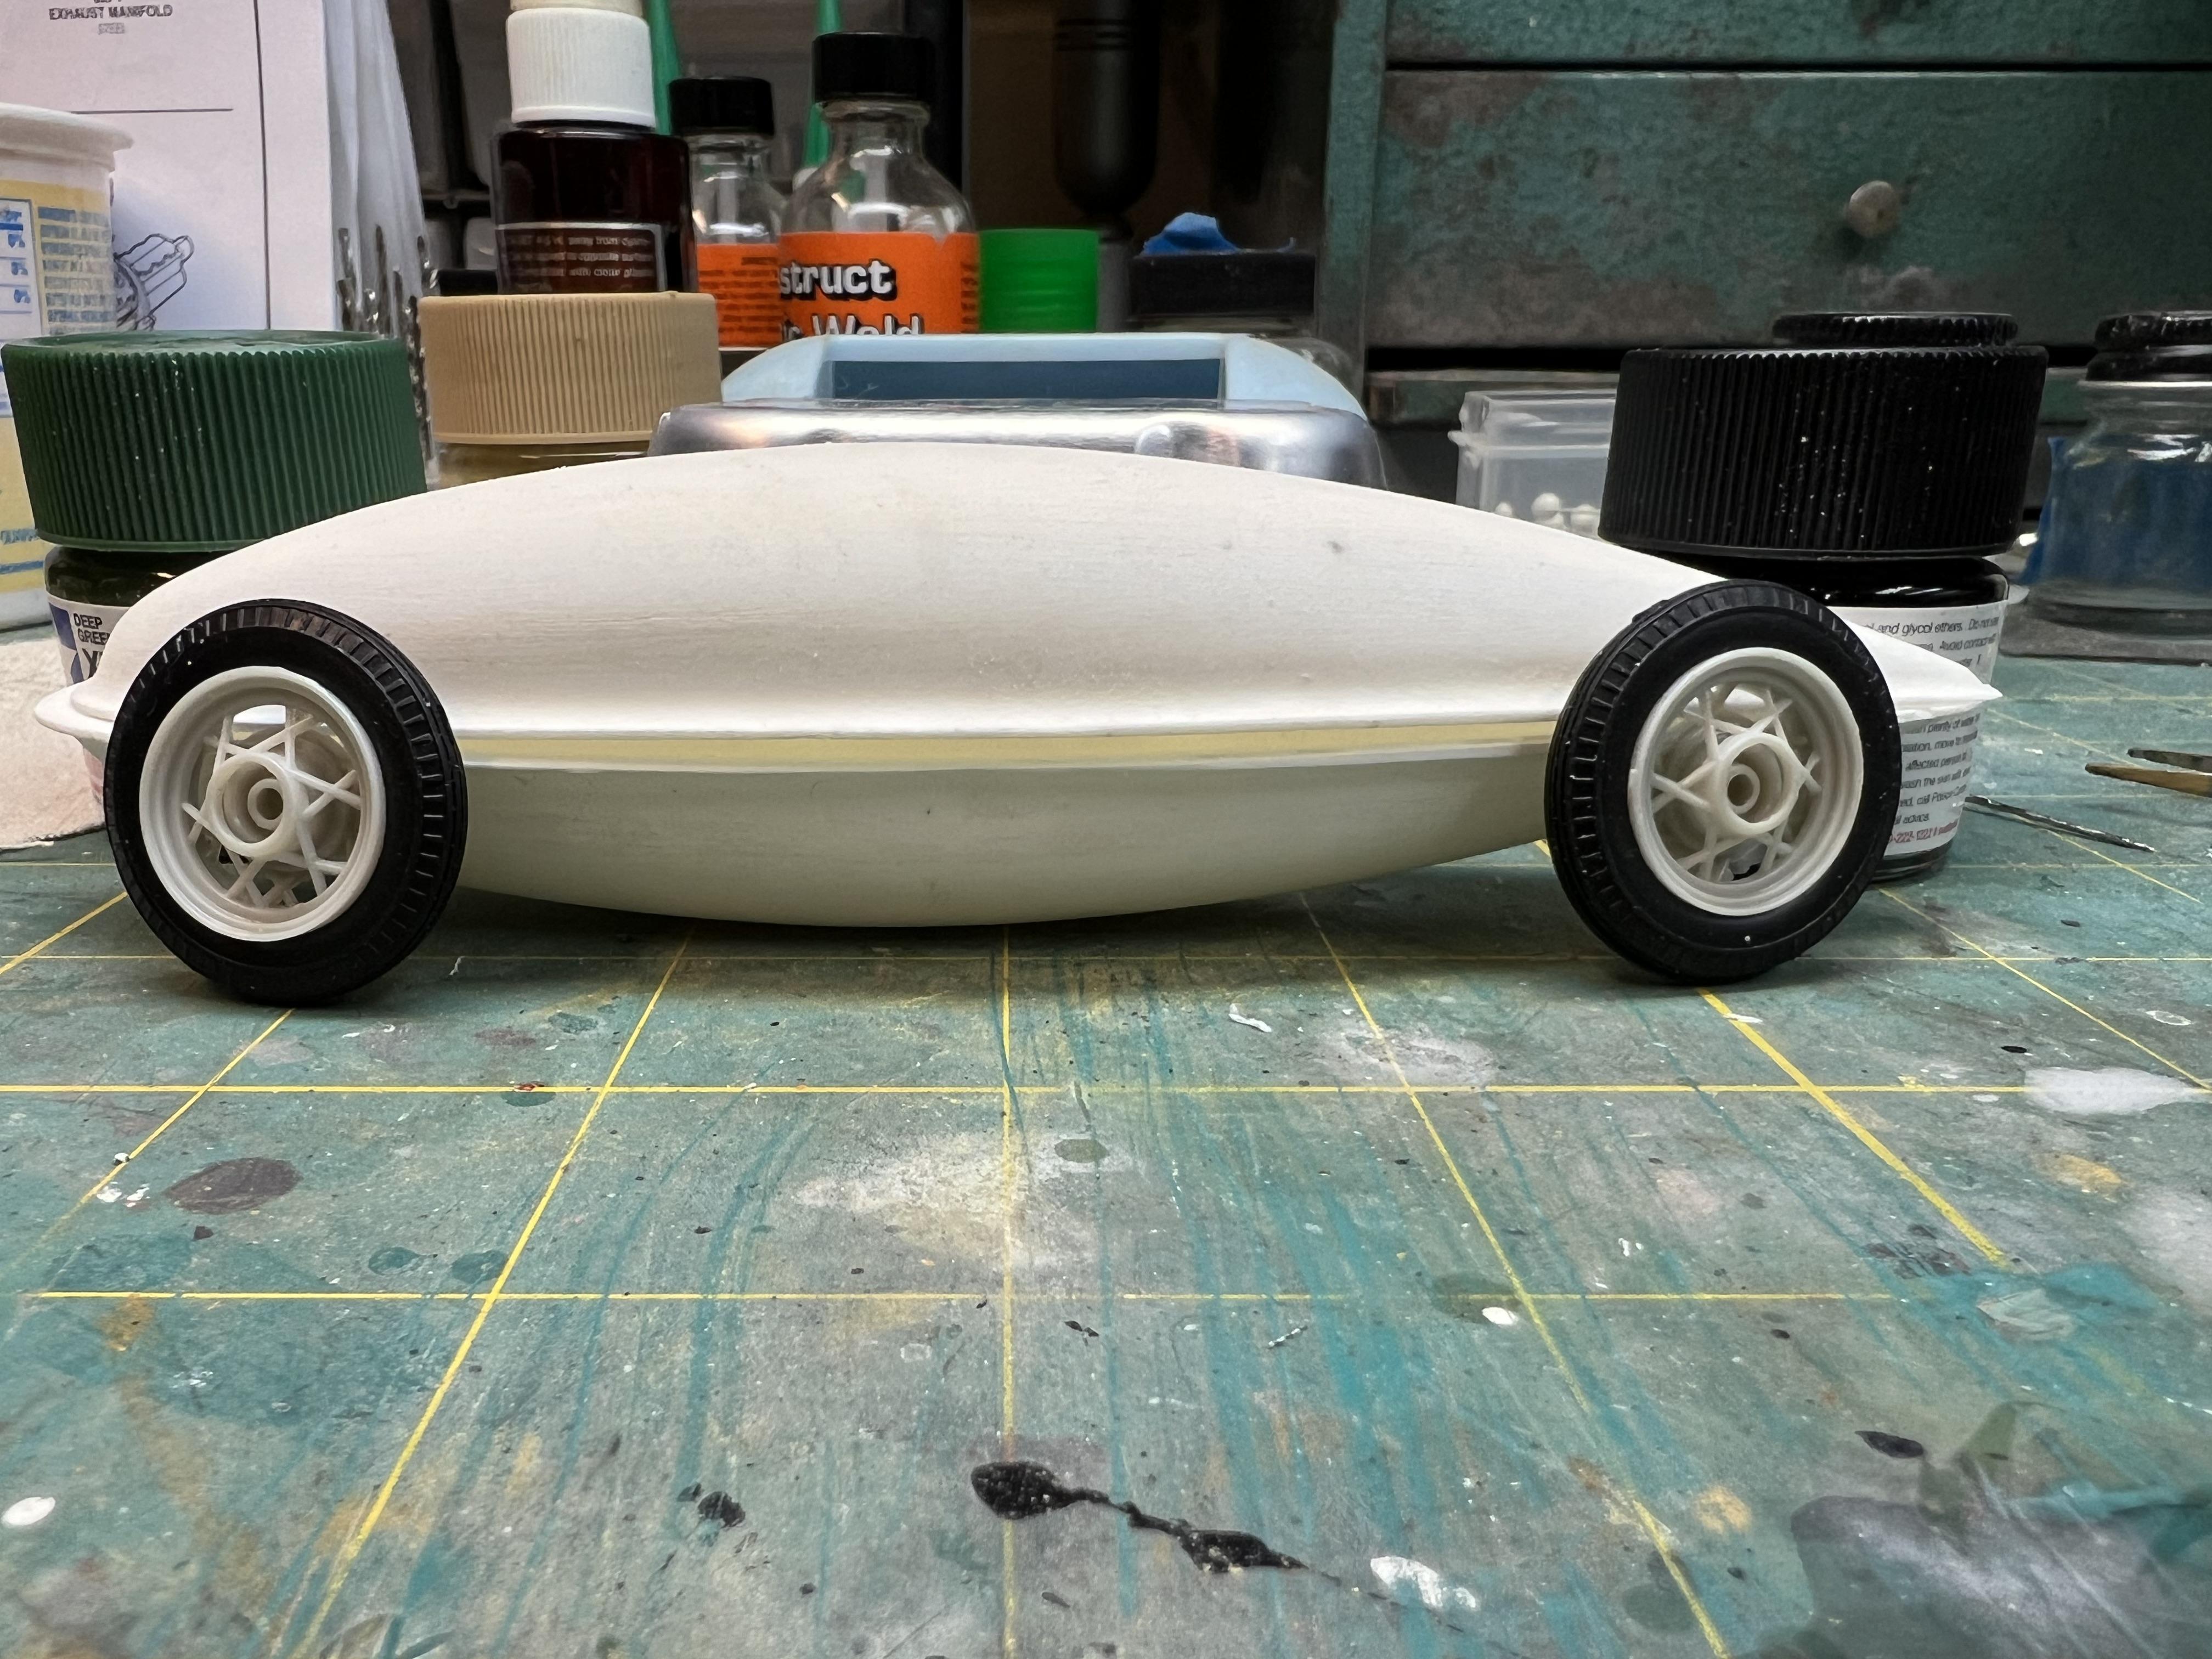
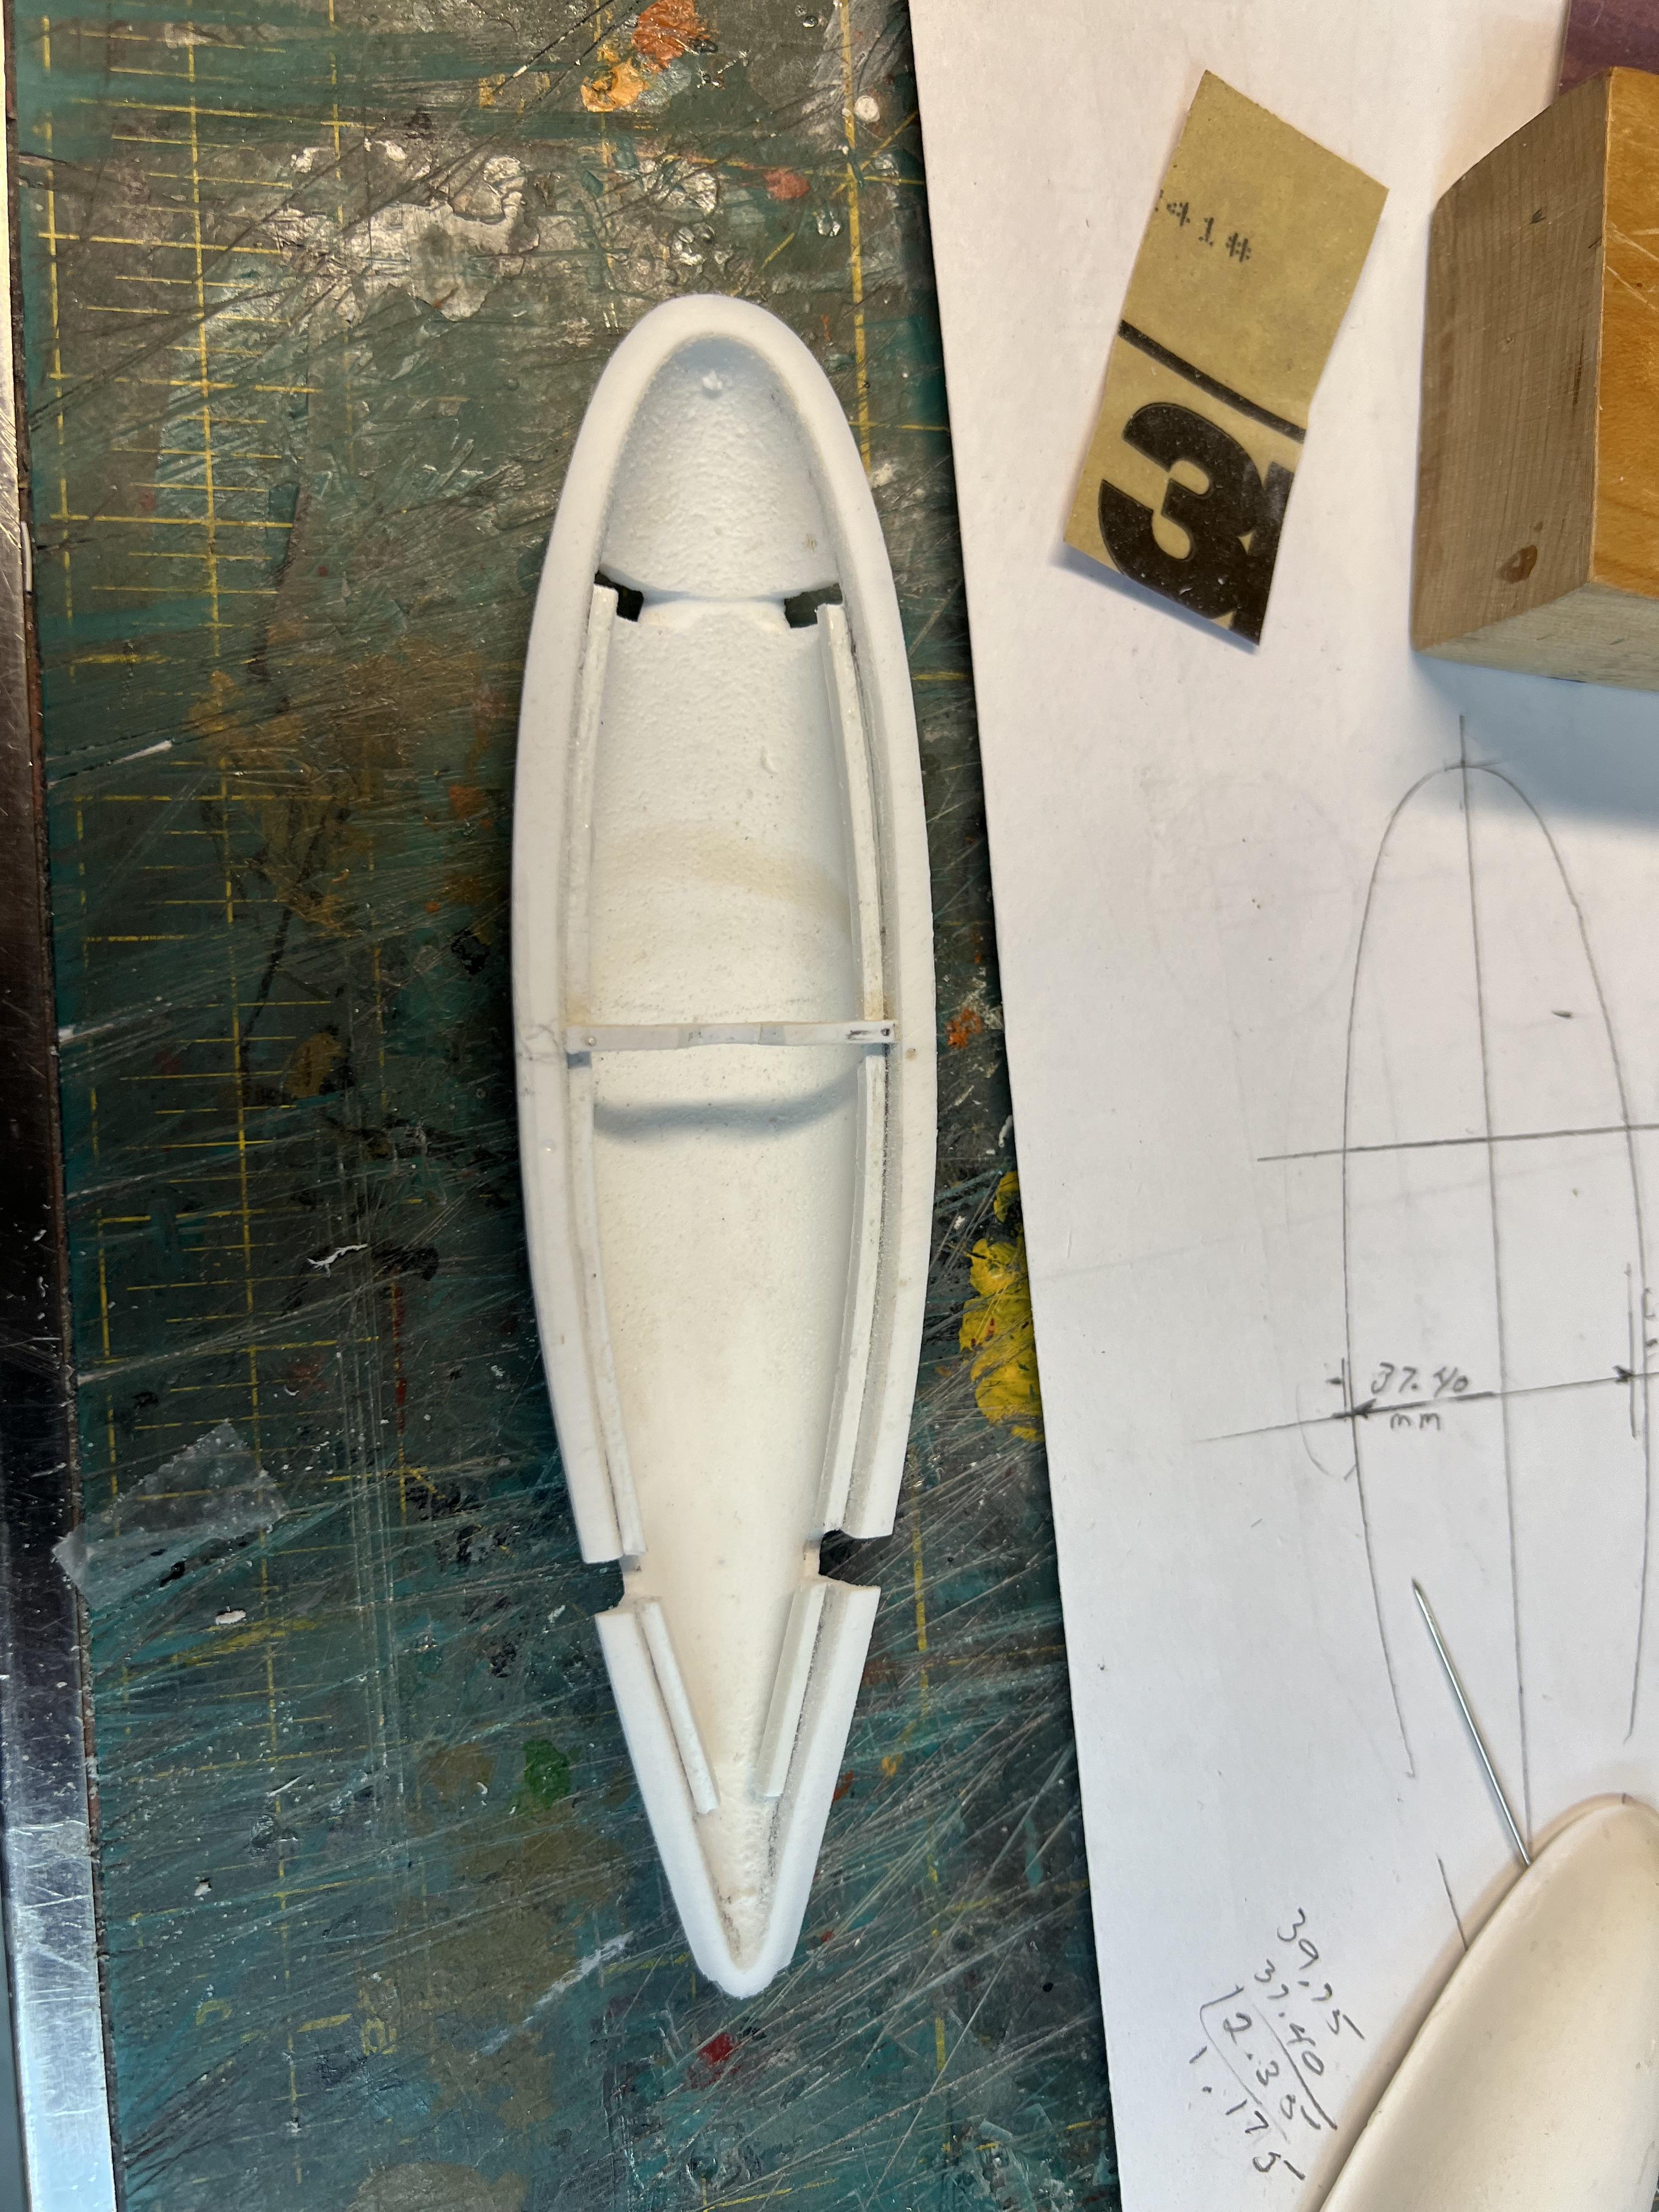
After asking for a source for belly tanks from the question and answer forum I purchased a resin mold from Fremont Racing Specialties. When they came I found that the halves didn’t match.
However, when I pinched them they would match up. Because I needed a front motor mount I used that to hold the width needed.
With this project I find diagrams essential. The pic above shows how the halves were different width and the math needed to find the motor mount width. Side view diagrams were also done to position the axel locations.
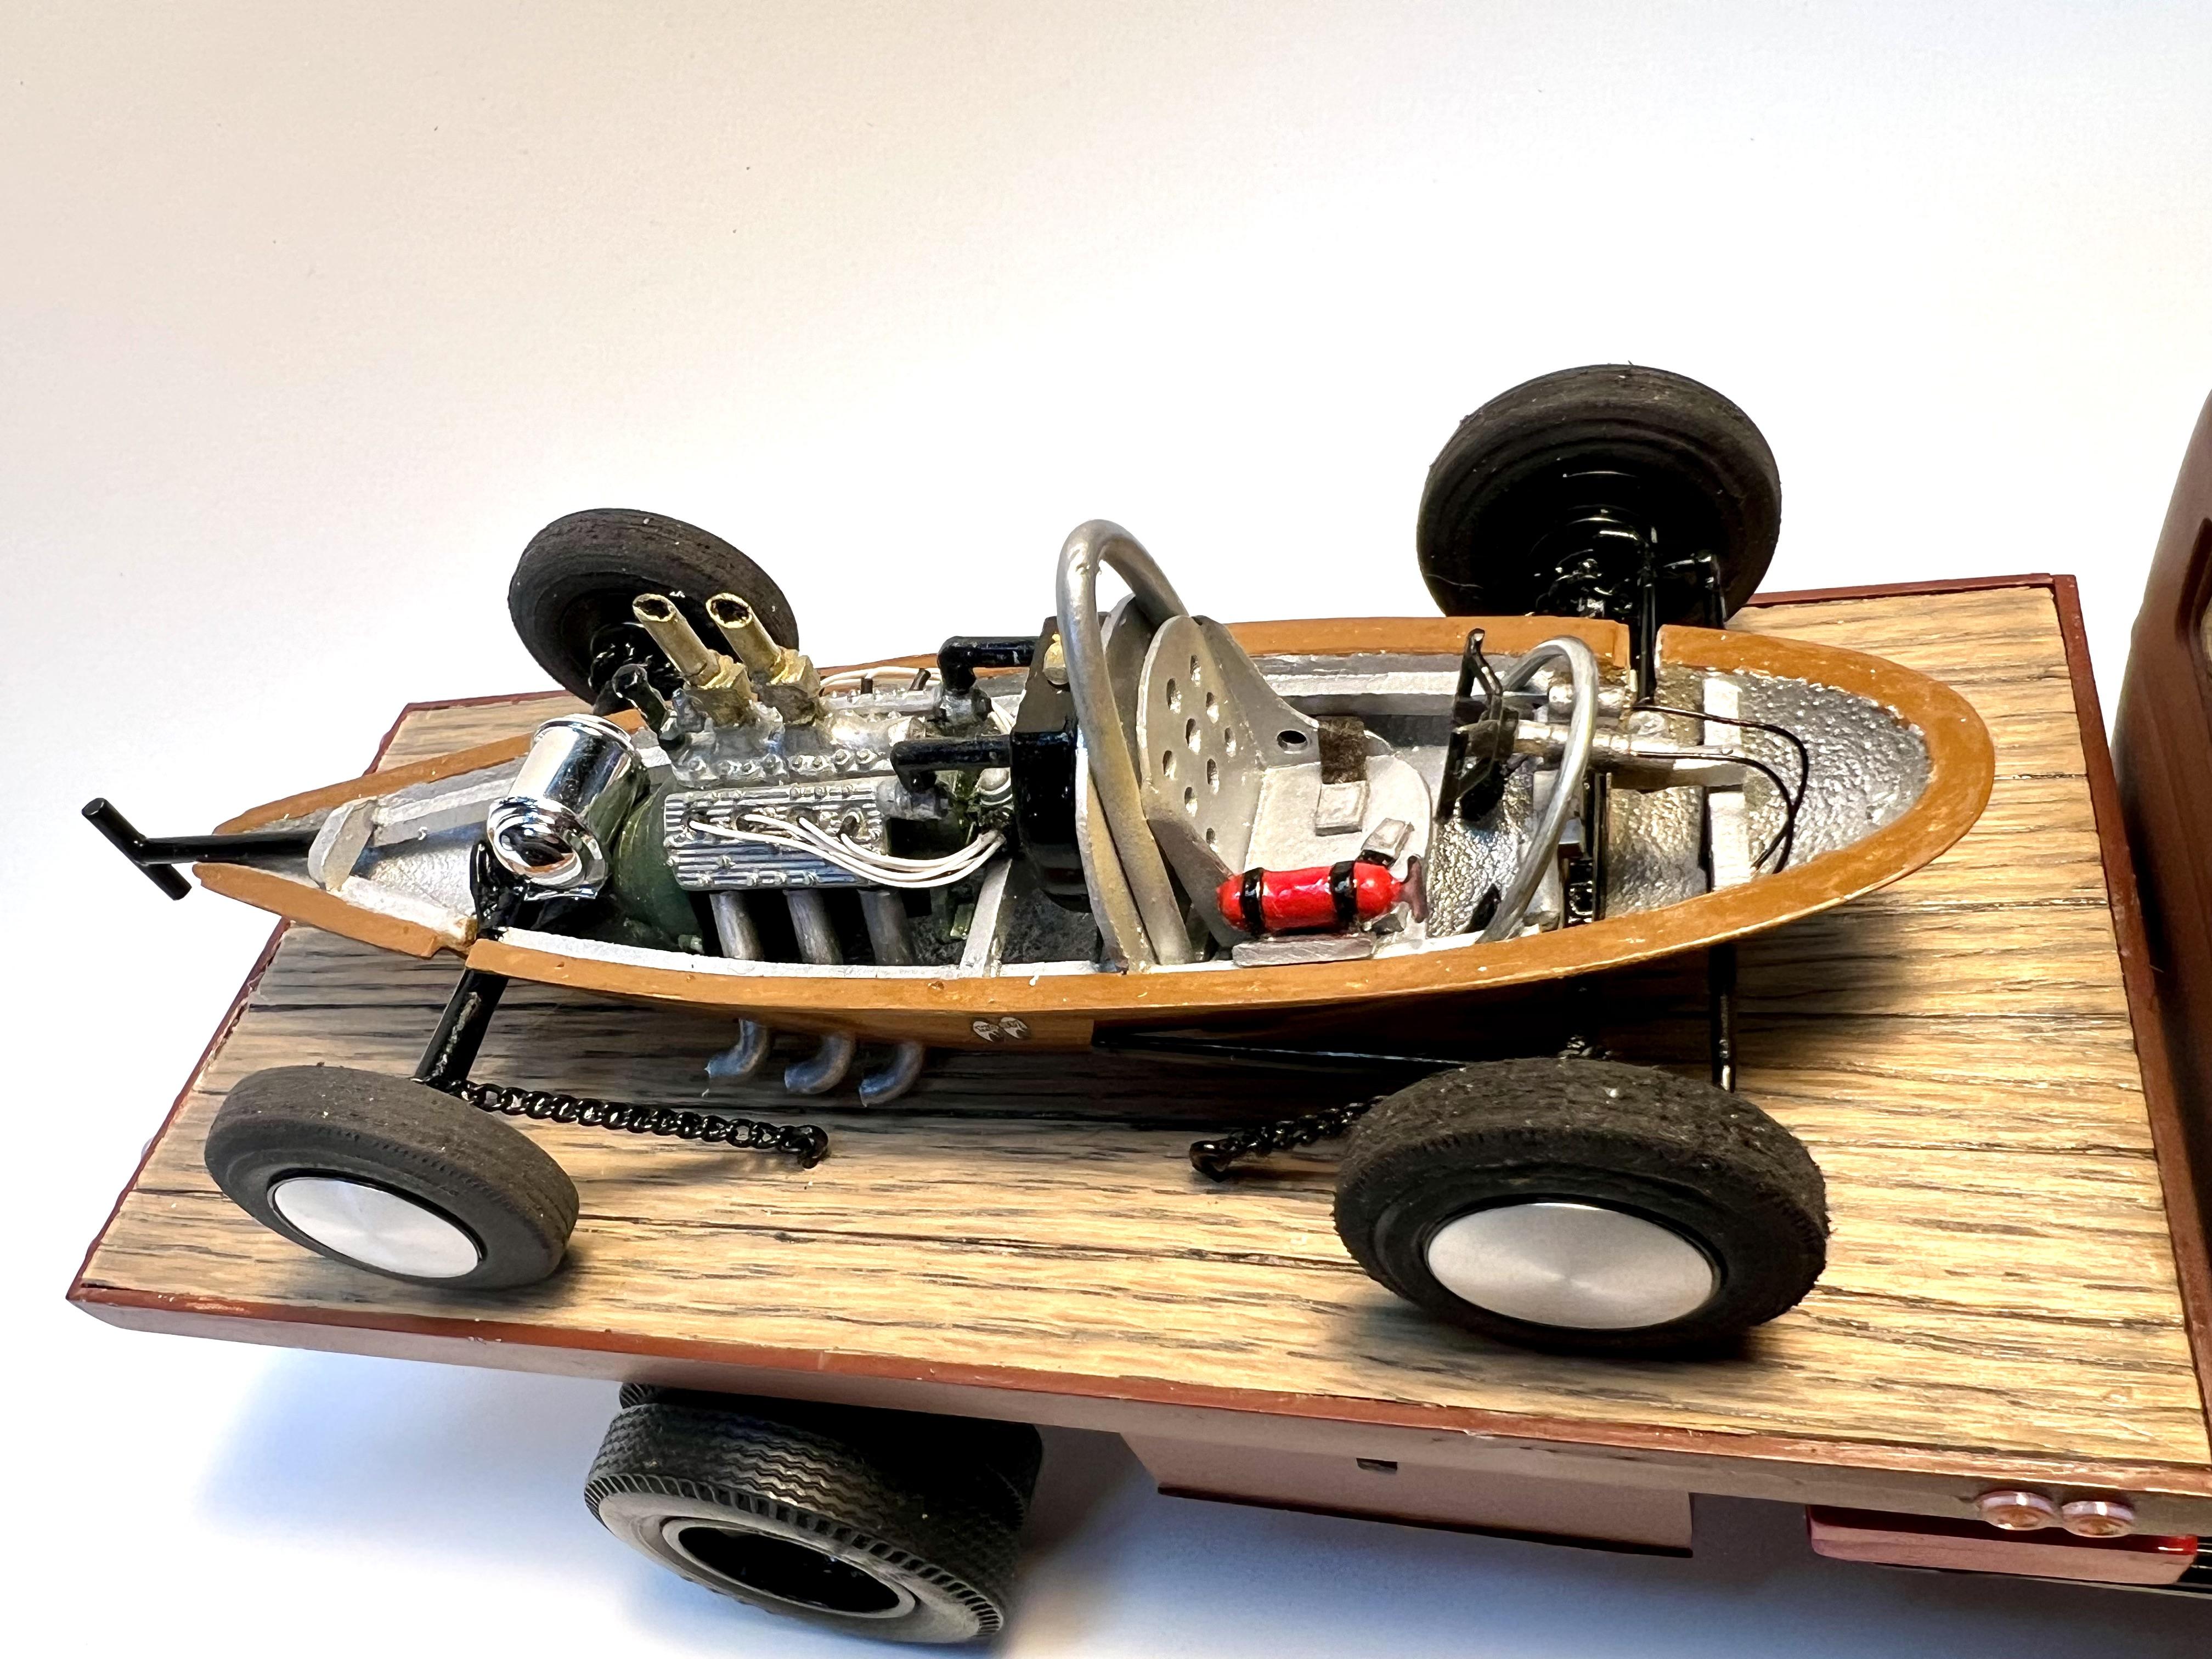
Now onto the more fun stuff. The Moon Tank behind the engine will be for fuel. The heads and intake were stripped of their chrome and painted with non-buff aluminum from the last remaking bottle on earth. To me wiring is always worth the effort. It adds so much realism. Between the engine and the seat is the water reservoir. Right now it’s just a circular drum but I’m messing with the profile to get the look I went.
Anyway that’s it for now.-
4
-
-
There are several techniques. My favorite is after letting the can sit awhile slowly poke a small hole in the side where the can part meets the top. Slow and easy is the key here. My favorite tool is an ice pick. These cans are not much thicker than a soda can. When the gas starts escaping let it sit till all is exhausted. I then take a box cutter and remove the top. When it’s off slowly stir the paint and bubbles will come out. After those bubbles quit let it rest a while. I leave it over night. Then stir again and more bubbles will escape. Now you’re ready to pour it into the jar you’ll be keeping it in. Good luck
-
2
-

 p
p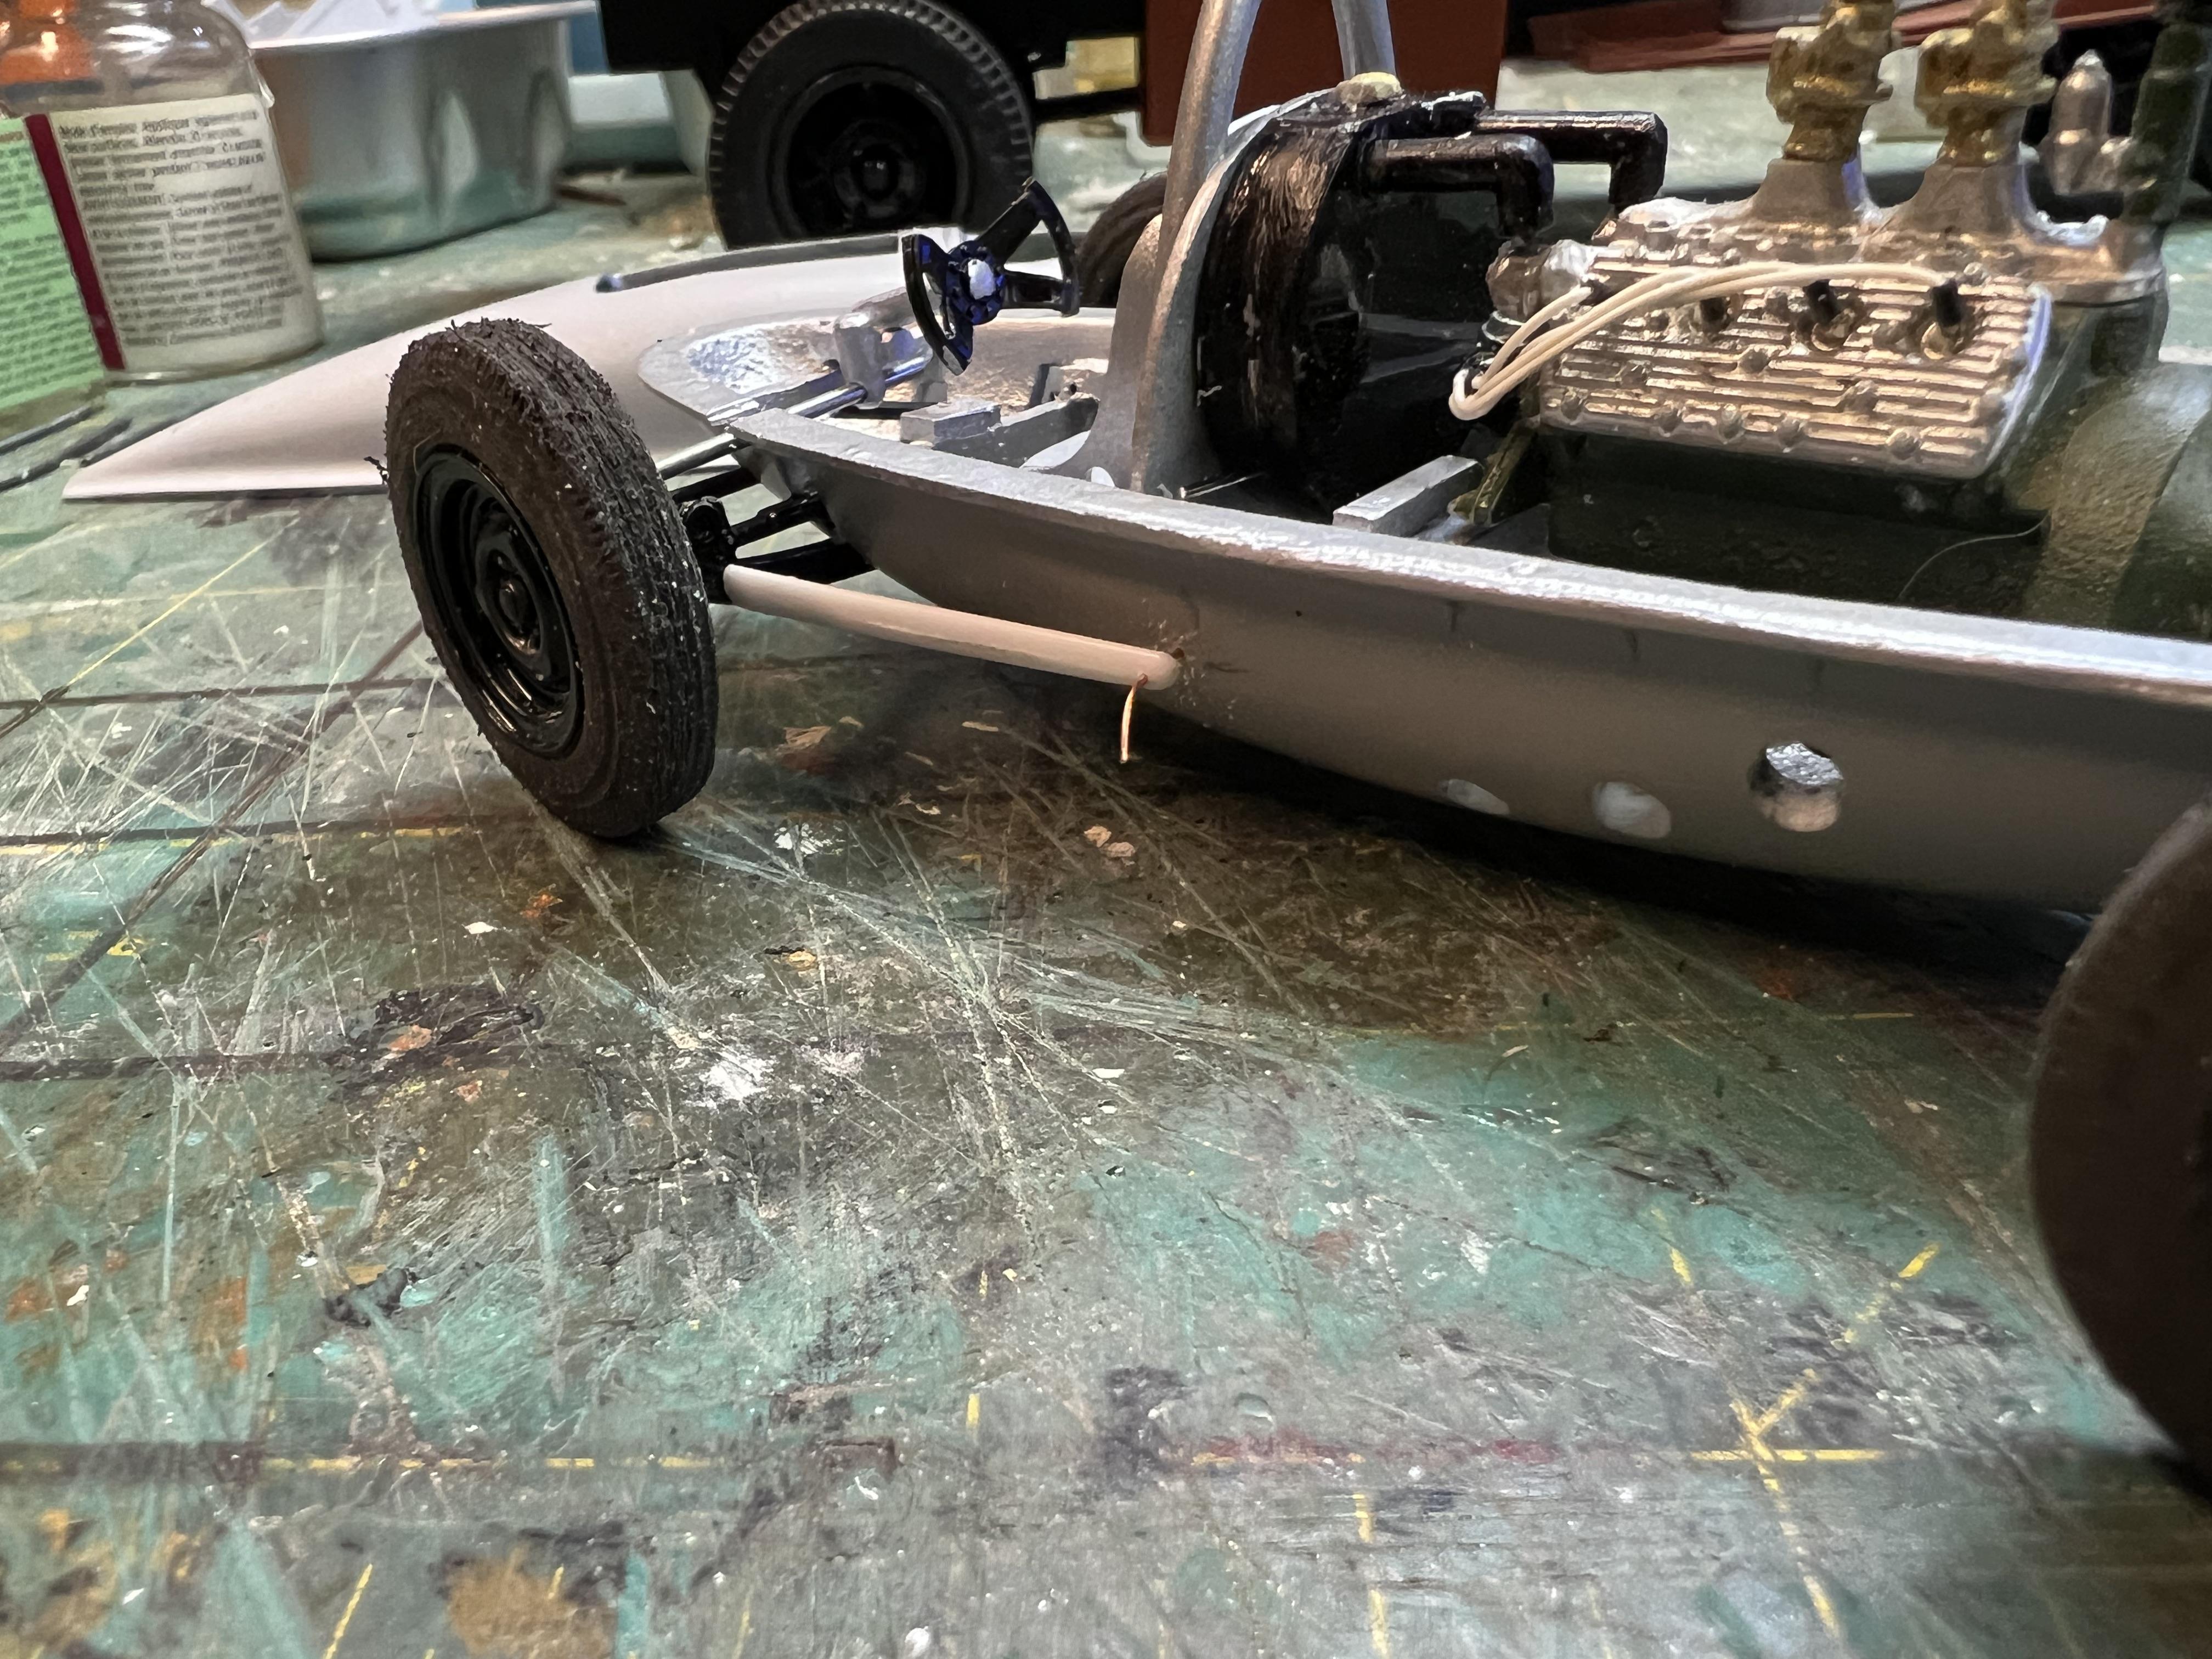


Belly Tanker and Transport
in Other Racing: Road Racing, Salt Flat Racers
Posted
Thank you all for the kind words. It certainly was a long and winding road.