Search the Community
Showing results for tags '1958'.
Found 15 results
-
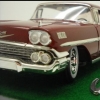
Some of you regulars know that I used to build box art models for AMT back during the Ertl days. I built display models ranging from mostly cars to even Star Wars from 1990 to 1995. The last three cars I did were for the Chevrolet Classics set shown below. Once they were built, as always I would hand them over to the Ertl Company and I might occasionally see them on the box, in the catalogs, or in the Blueprinter. When Ertl was finished with them, they would raffle or auction them off at model car events, then donate the proceeds to the Model Car Museum in Salt Lake City, Utah. I have no idea where most of them went after their box art days, but one day, while perusing Spotlight Hobby's predecessor, the Hobby Heaven Message Board, I saw a post by the late "Viper" Dave McGaughey showing the 1958 Chevy Impala I built for the box. I contacted Dave a few times over the years, inquiring about purchasing it, but his reply was always "it's in a good home". Sadly, David McGaughey passed away in 2018. I reached out to one of his sons asking about the model, but never got a reply. Then I reached out to mutual friend Ted "Chopper" Lear, who informed me that Dave had sold much of his collection to Richard Geis. So I messaged Richard in 2018 and asked if he knew of the model in question. Two years later, I got a Facebook message from Richard, apologizing for the delayed response, as he had recently just got back on Facebook. He had the model all along, having won a raffle for it, and that he would be happy to sell it back to me for what he had in it, plus shipping. Needless to say, the deal was consummated, and I am happy to report that one of my very favorite builds has returned, and Richard had indeed given it a very good home over these past two decades. And so here it is! You are probably wondering where the glass is. Most box art builds for Ertl were done sans glass, as it induced glare and distortion. Instead, the retouchers airbrushed (and later Photoshopped) the glass in. Box art models can lead rather rough lives during their travels. A sharp eye will reveal that during Ertl's ownership, it had been damaged, and the front hood and grille trim rather crudely glued back on. (It didn't leave my house with those big glue smudges on the hood!) Fortunately that old Krylon Teal paint is pretty robust, and I was able to polish a lot of that out after this photo was taken. At some point I'll be fixing the trim, along with the now glued solid steering. And the missing wind splits will be replaced on the fenders. The radiator hose and oil filler were there when it was delivered to Ertl. They will be replaced. Given the tight time constraints, these were no contest models. I built all three in about a week. So things that didn't show, like drive shafts, shocks, and on this one, even the exhaust were left off. In retrospect, I probably should have added the exhaust. And who knows, that could still happen. I've got a few extra 58 Impalas in the stash. it was a very different world a quarter of a century ago in 1995 when I built this model. My oldest two kids, now in their mid 30s were 8 and 9 years old, my mom and dad were both still alive, and I was a long haired guy going to college for an Engineering degree. Looking at this 58 Impala brings me right back to those days... I want to thank Tom Carter for the creating Hobby Heaven, and now Spotlight Hobbies Message Board for making this reunion possible, Ted Lear for hooking me up with Richard Geis, and especially Richard, for not only taking such great care of it, but being kind enough to reunite me with this bit of my history, one that I will be able to pass on to my son. And I want to thank anyone who took the time to let me share this story with them.
-
Got this kit at a Hobby Lobby sale. It's an AMT kit. It's not bad at all. Makes for a very nice build. Note that if you put the Continental on the back you will not be able to have the rear plate. SAM_0009 by Eric Lucas, on Flickr SAM_0010 by Eric Lucas, on Flickr SAM_0011 by Eric Lucas, on Flickr SAM_0012 by Eric Lucas, on Flickr SAM_0013 by Eric Lucas, on Flickr SAM_0014 by Eric Lucas, on Flickr
-
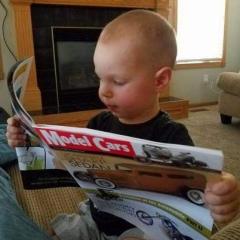
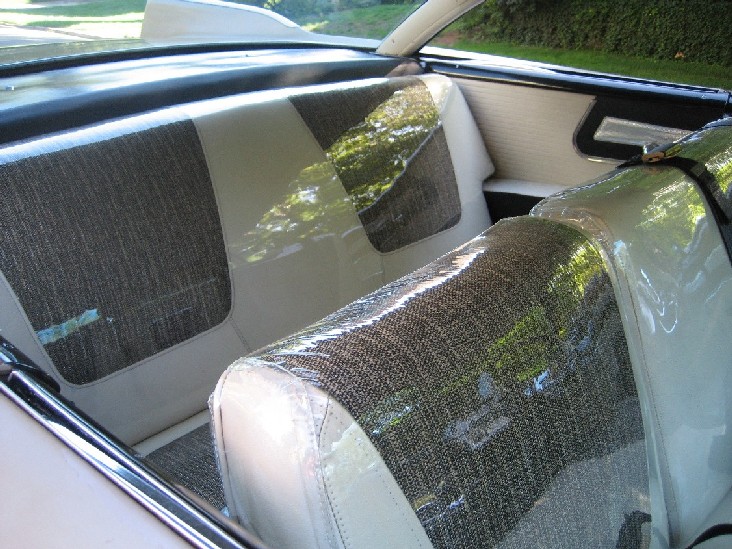
 I am getting ready to start a 1958 Plymouth kit (The Christine one) and realized this interior is a little more accurate for Plymouth Belvederes of that year. Any idea how one could replicate the interior in the first picture? How would one make the white seat background? How could one recreate the black textured part of the seat? Both are slightly different. Thanks
-
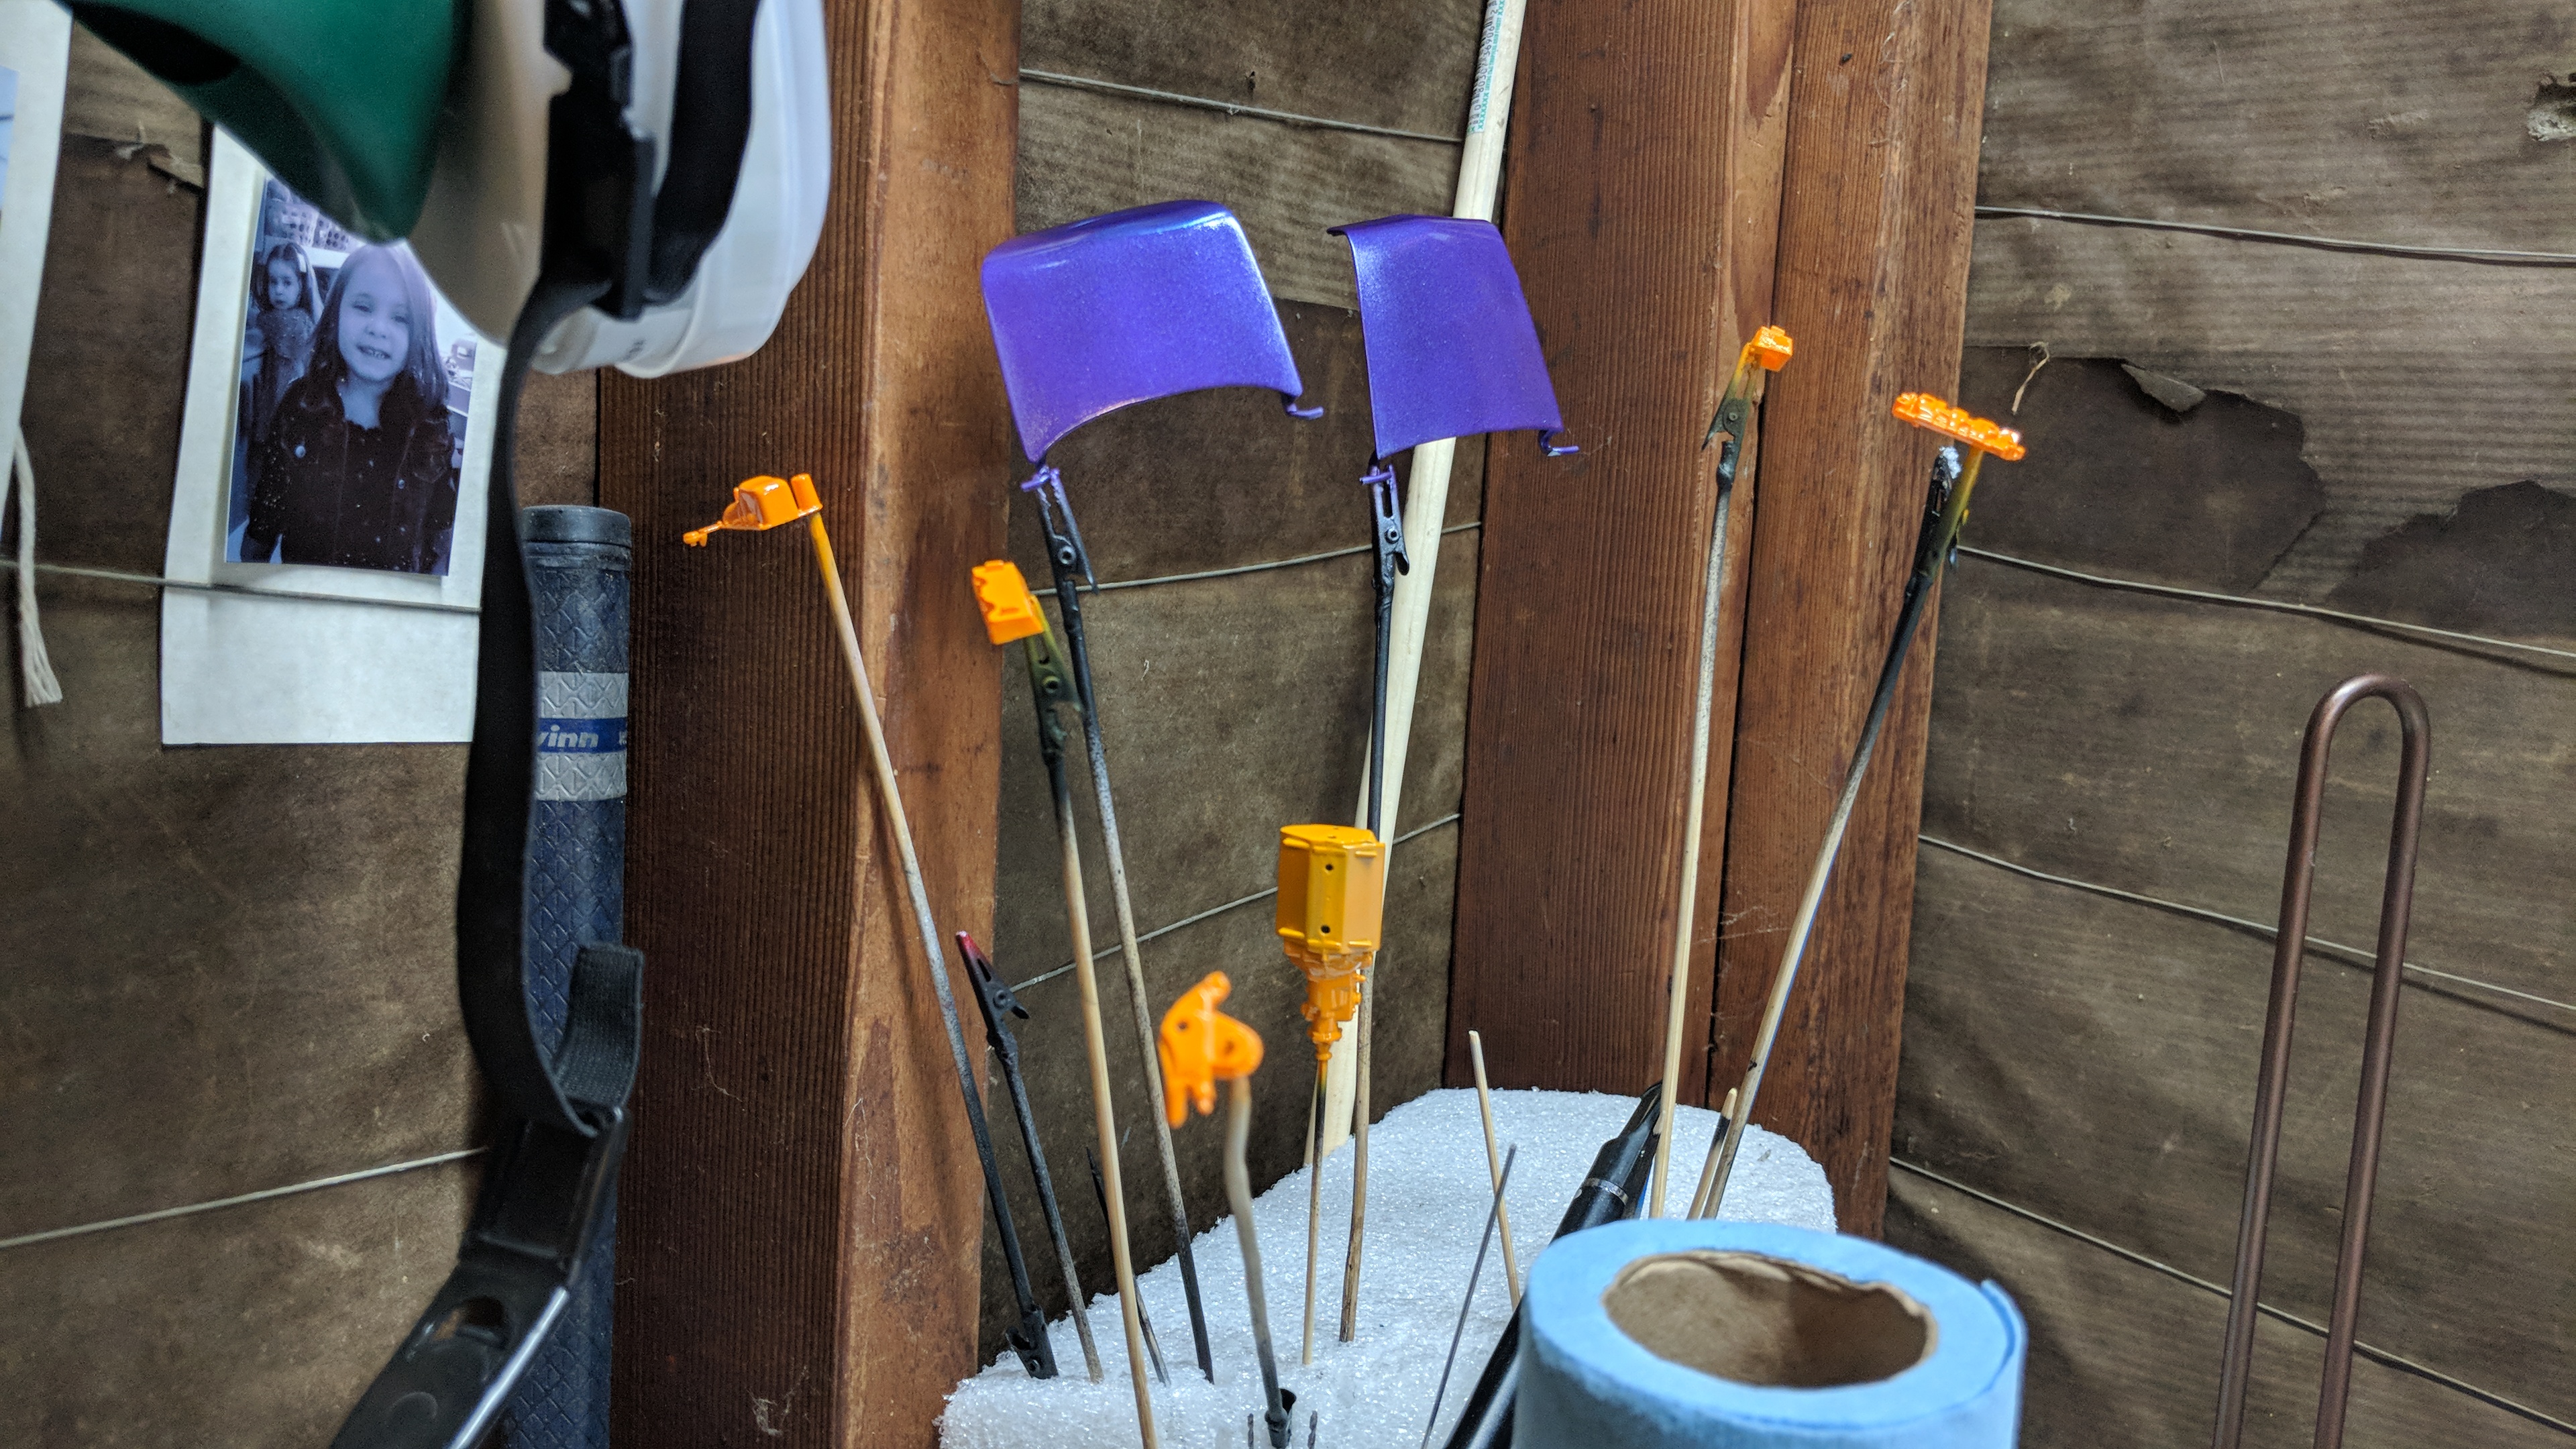
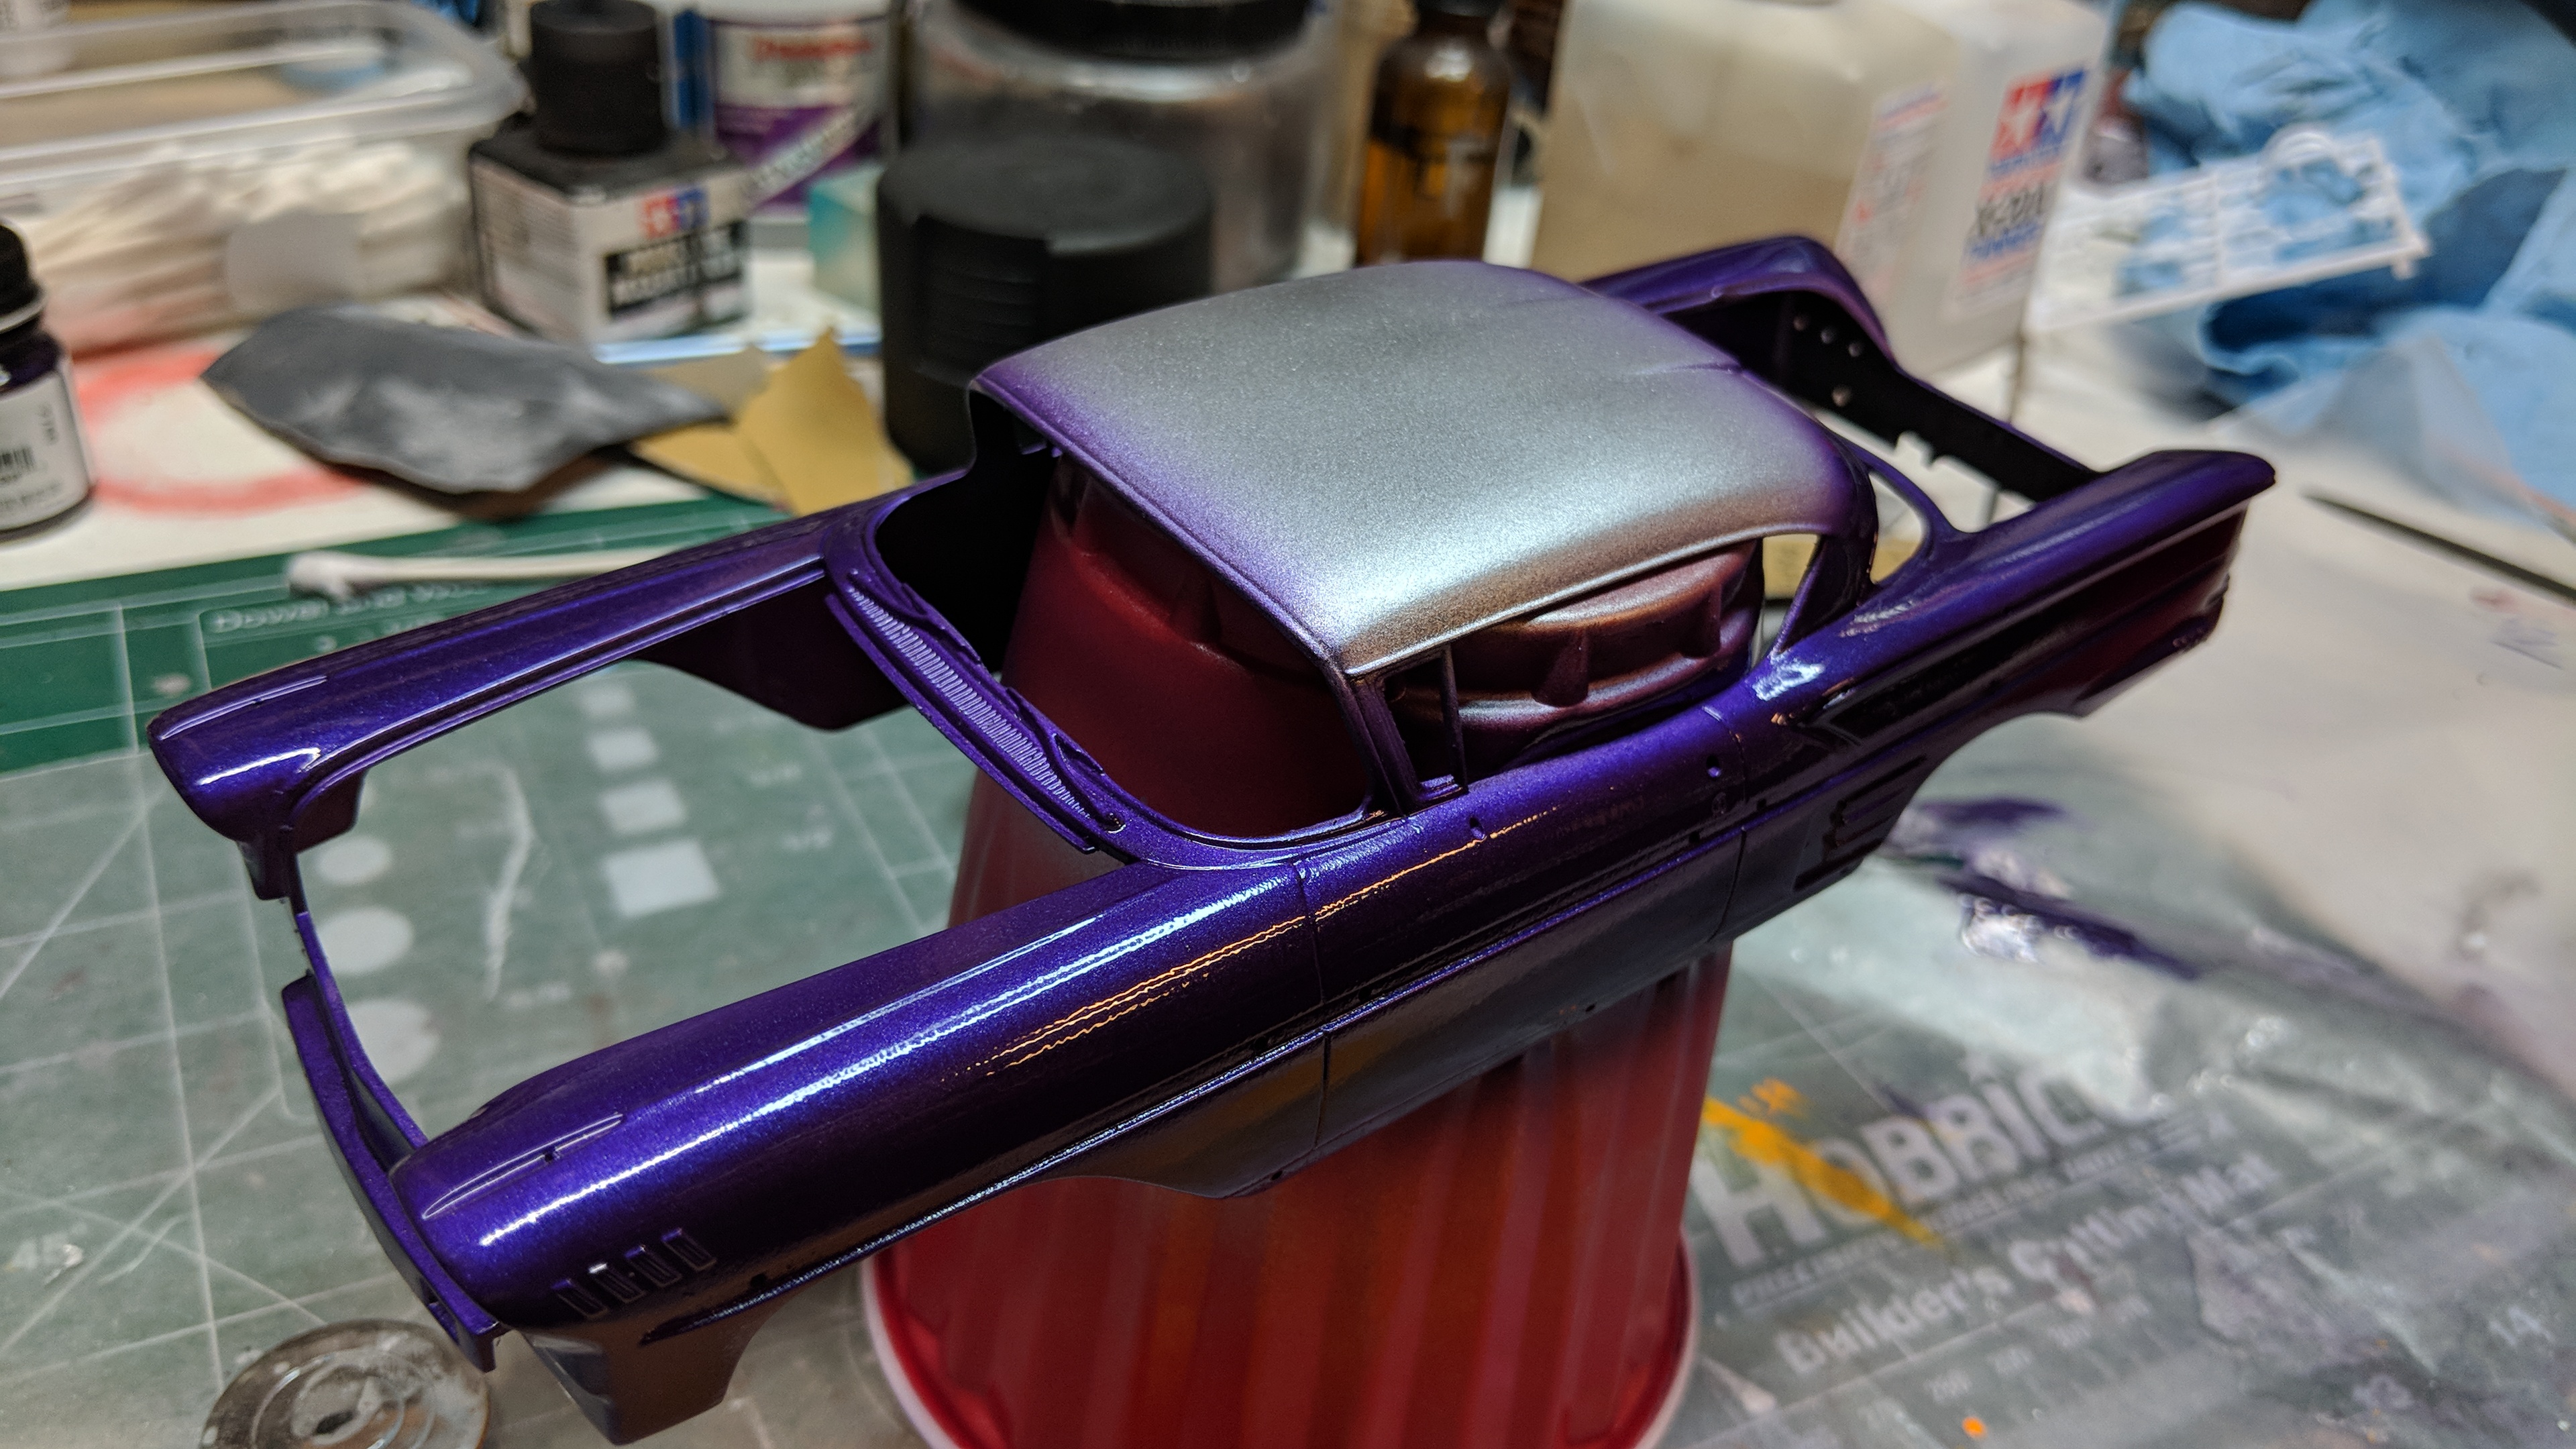
Started on a Cuda, but was immediately disappointed with the model quality, so I shelved that for this model. Decided to go with a metallic grape,with a white roof. Not breaking the creative meter, but my apprenticeship must continue before I start modding builds. I imagine I'll be heavy modding whenever I get a 3d printer. I finally found an affordable printer capable of 1/24 scale.
-

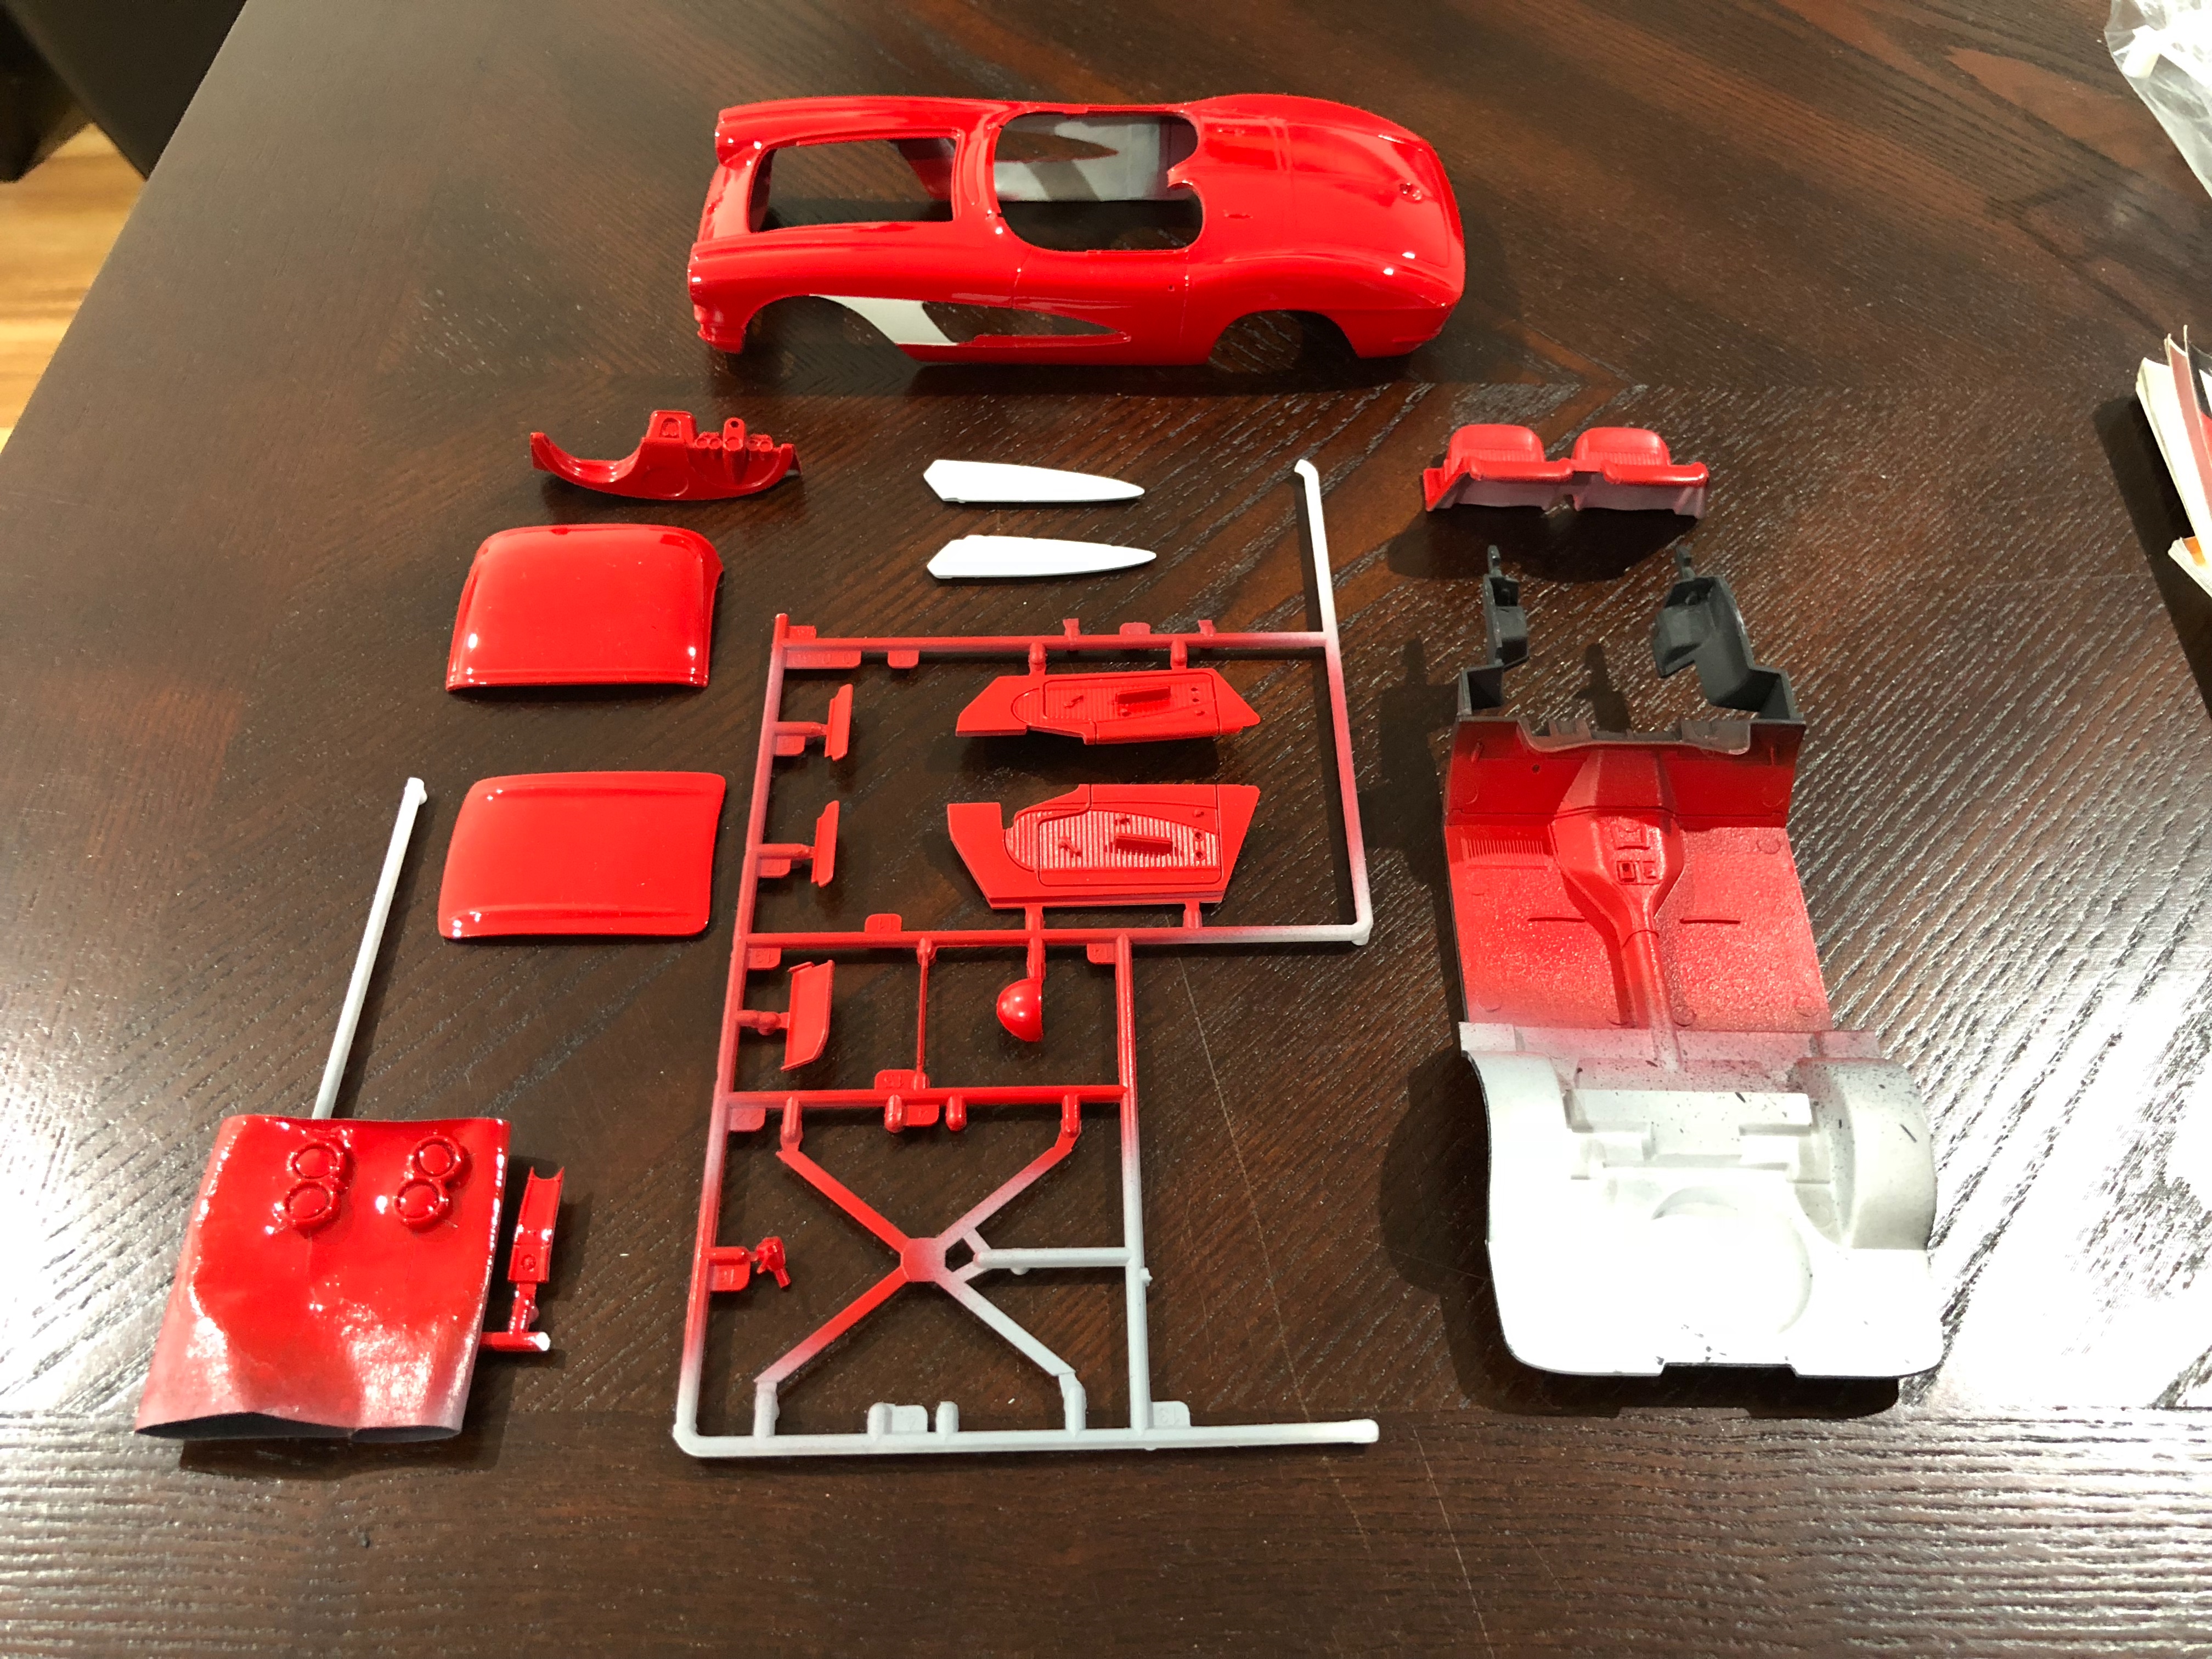
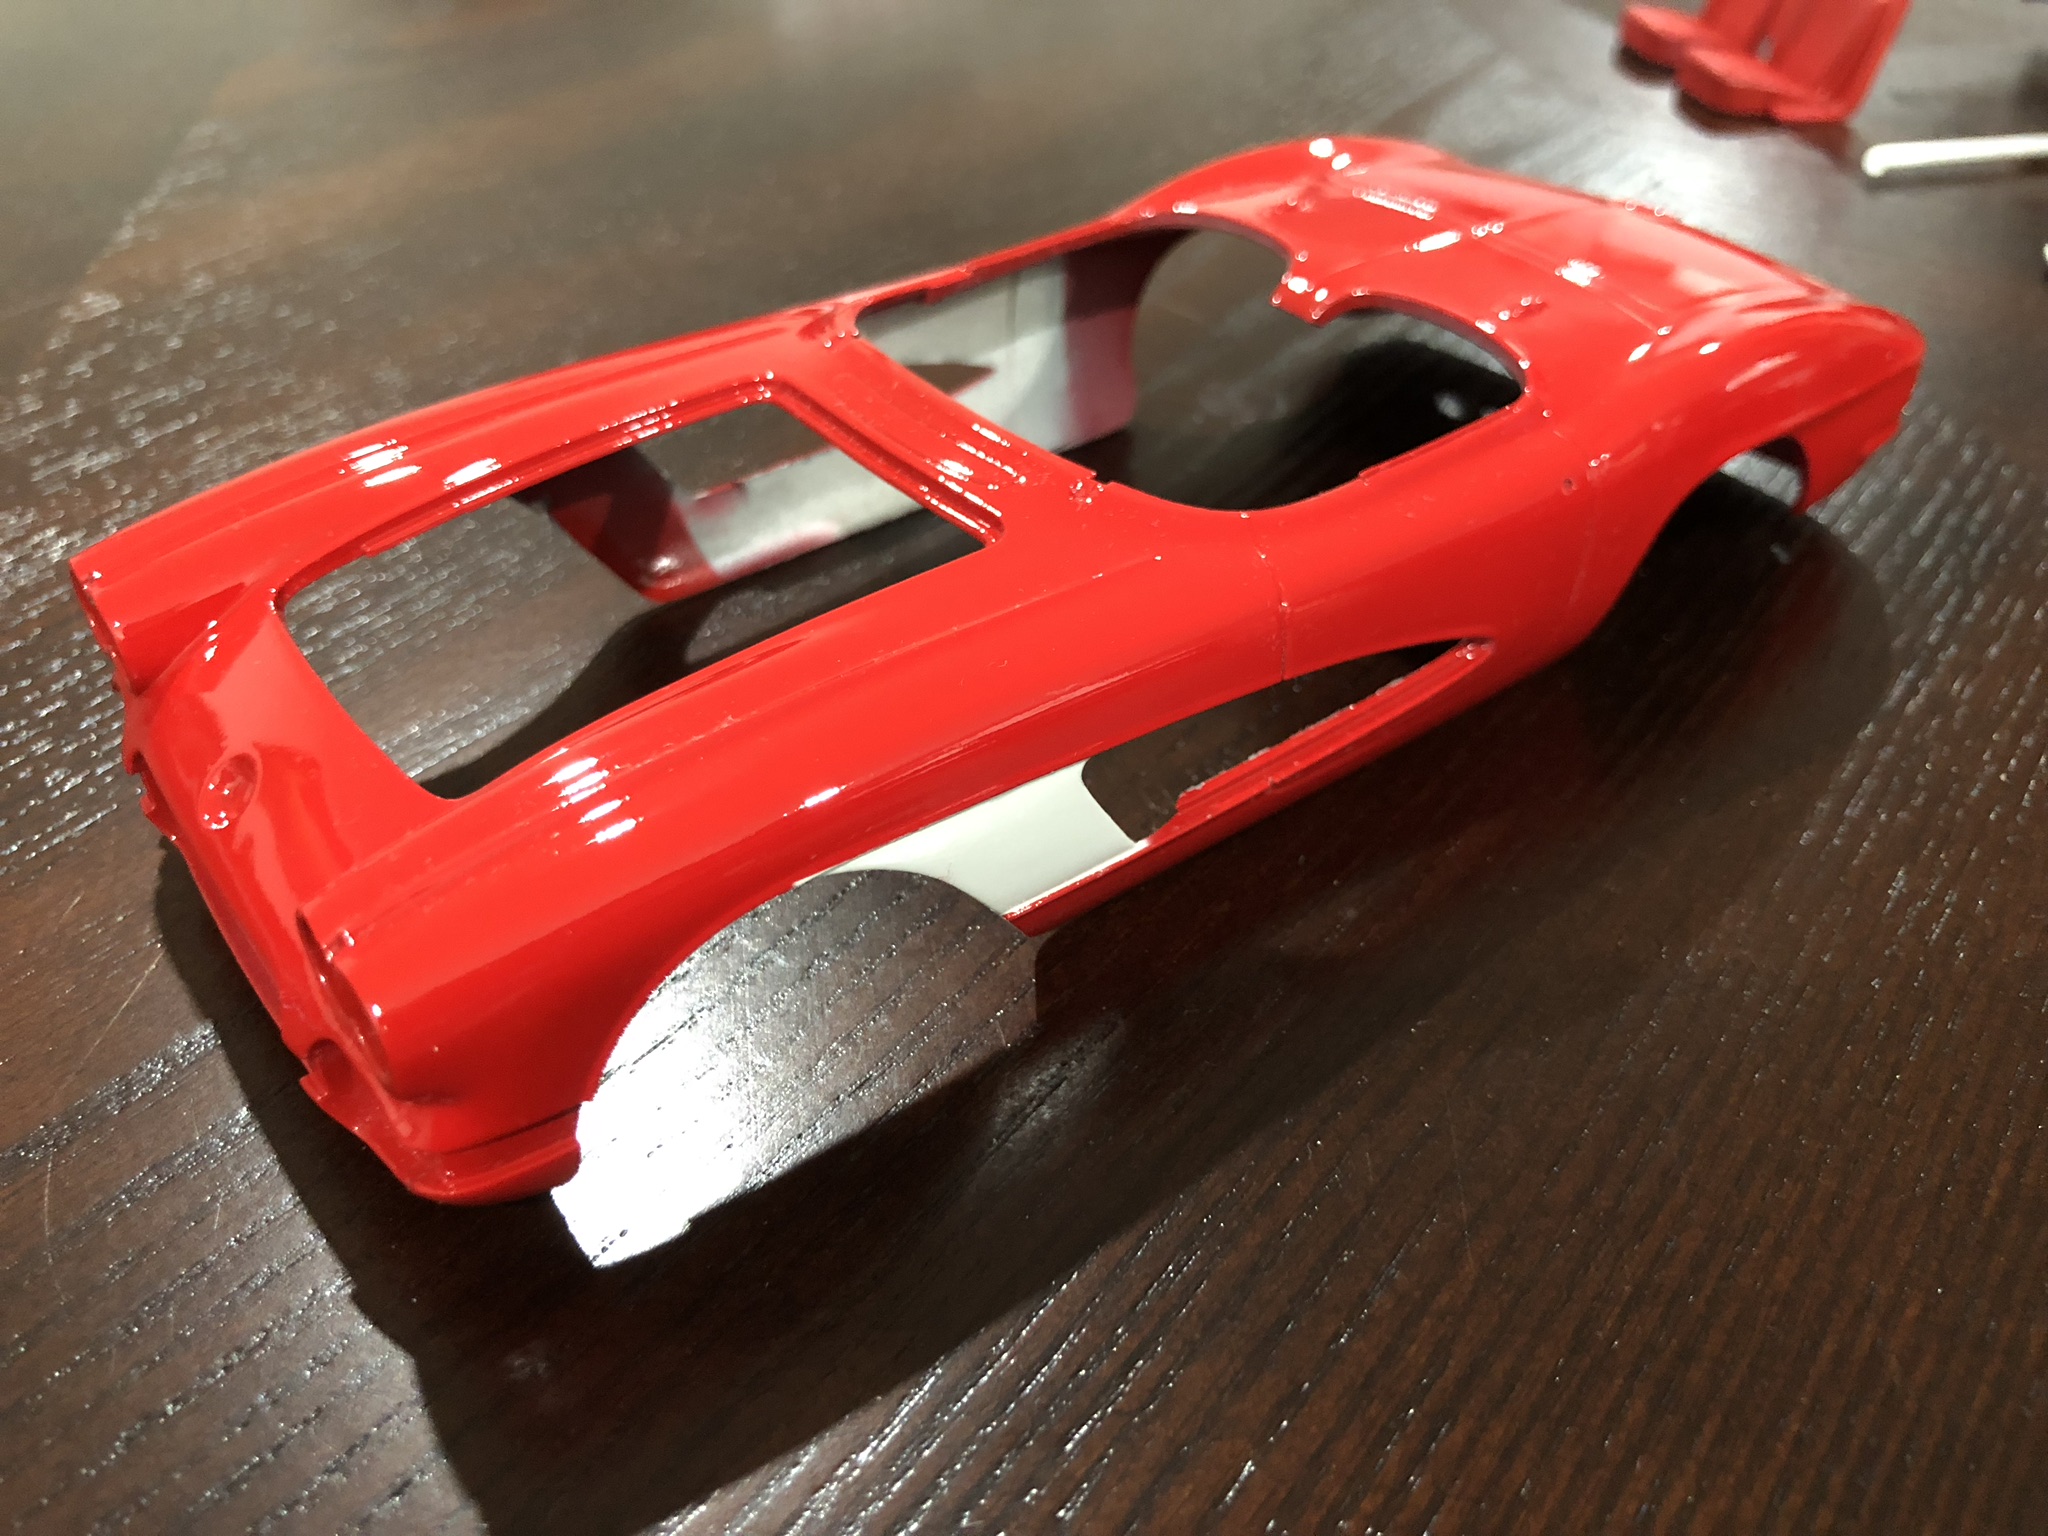
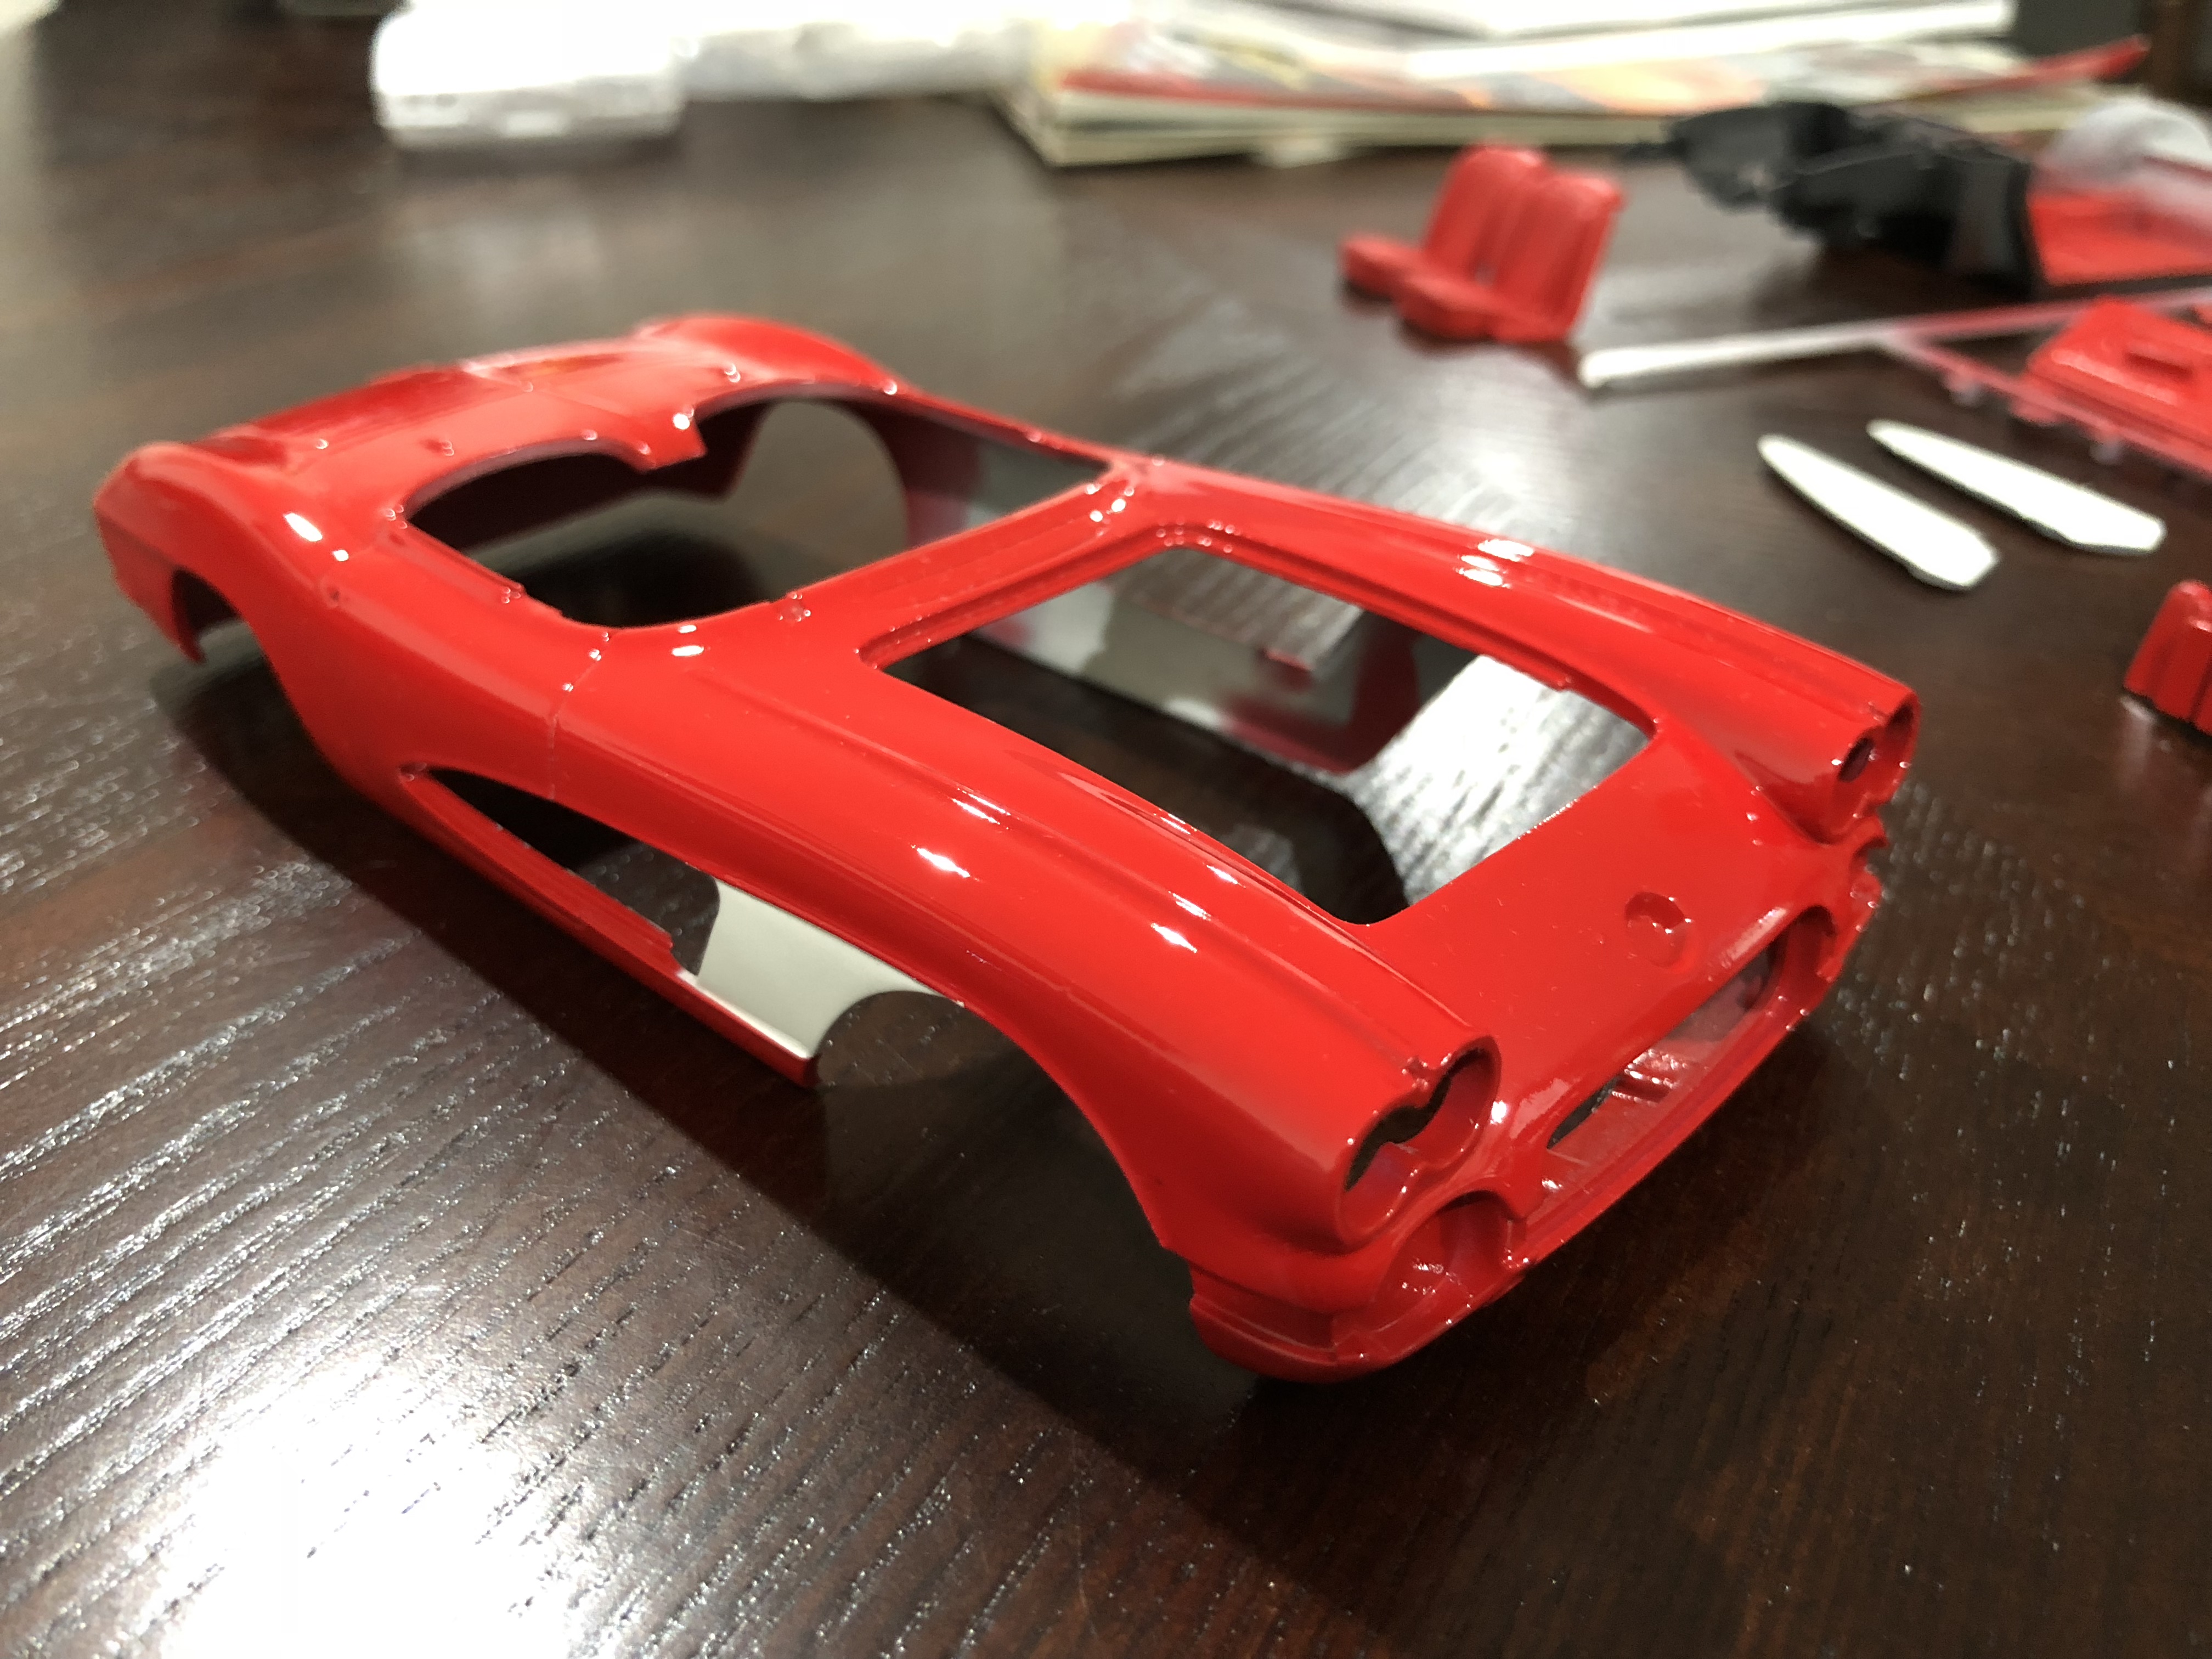
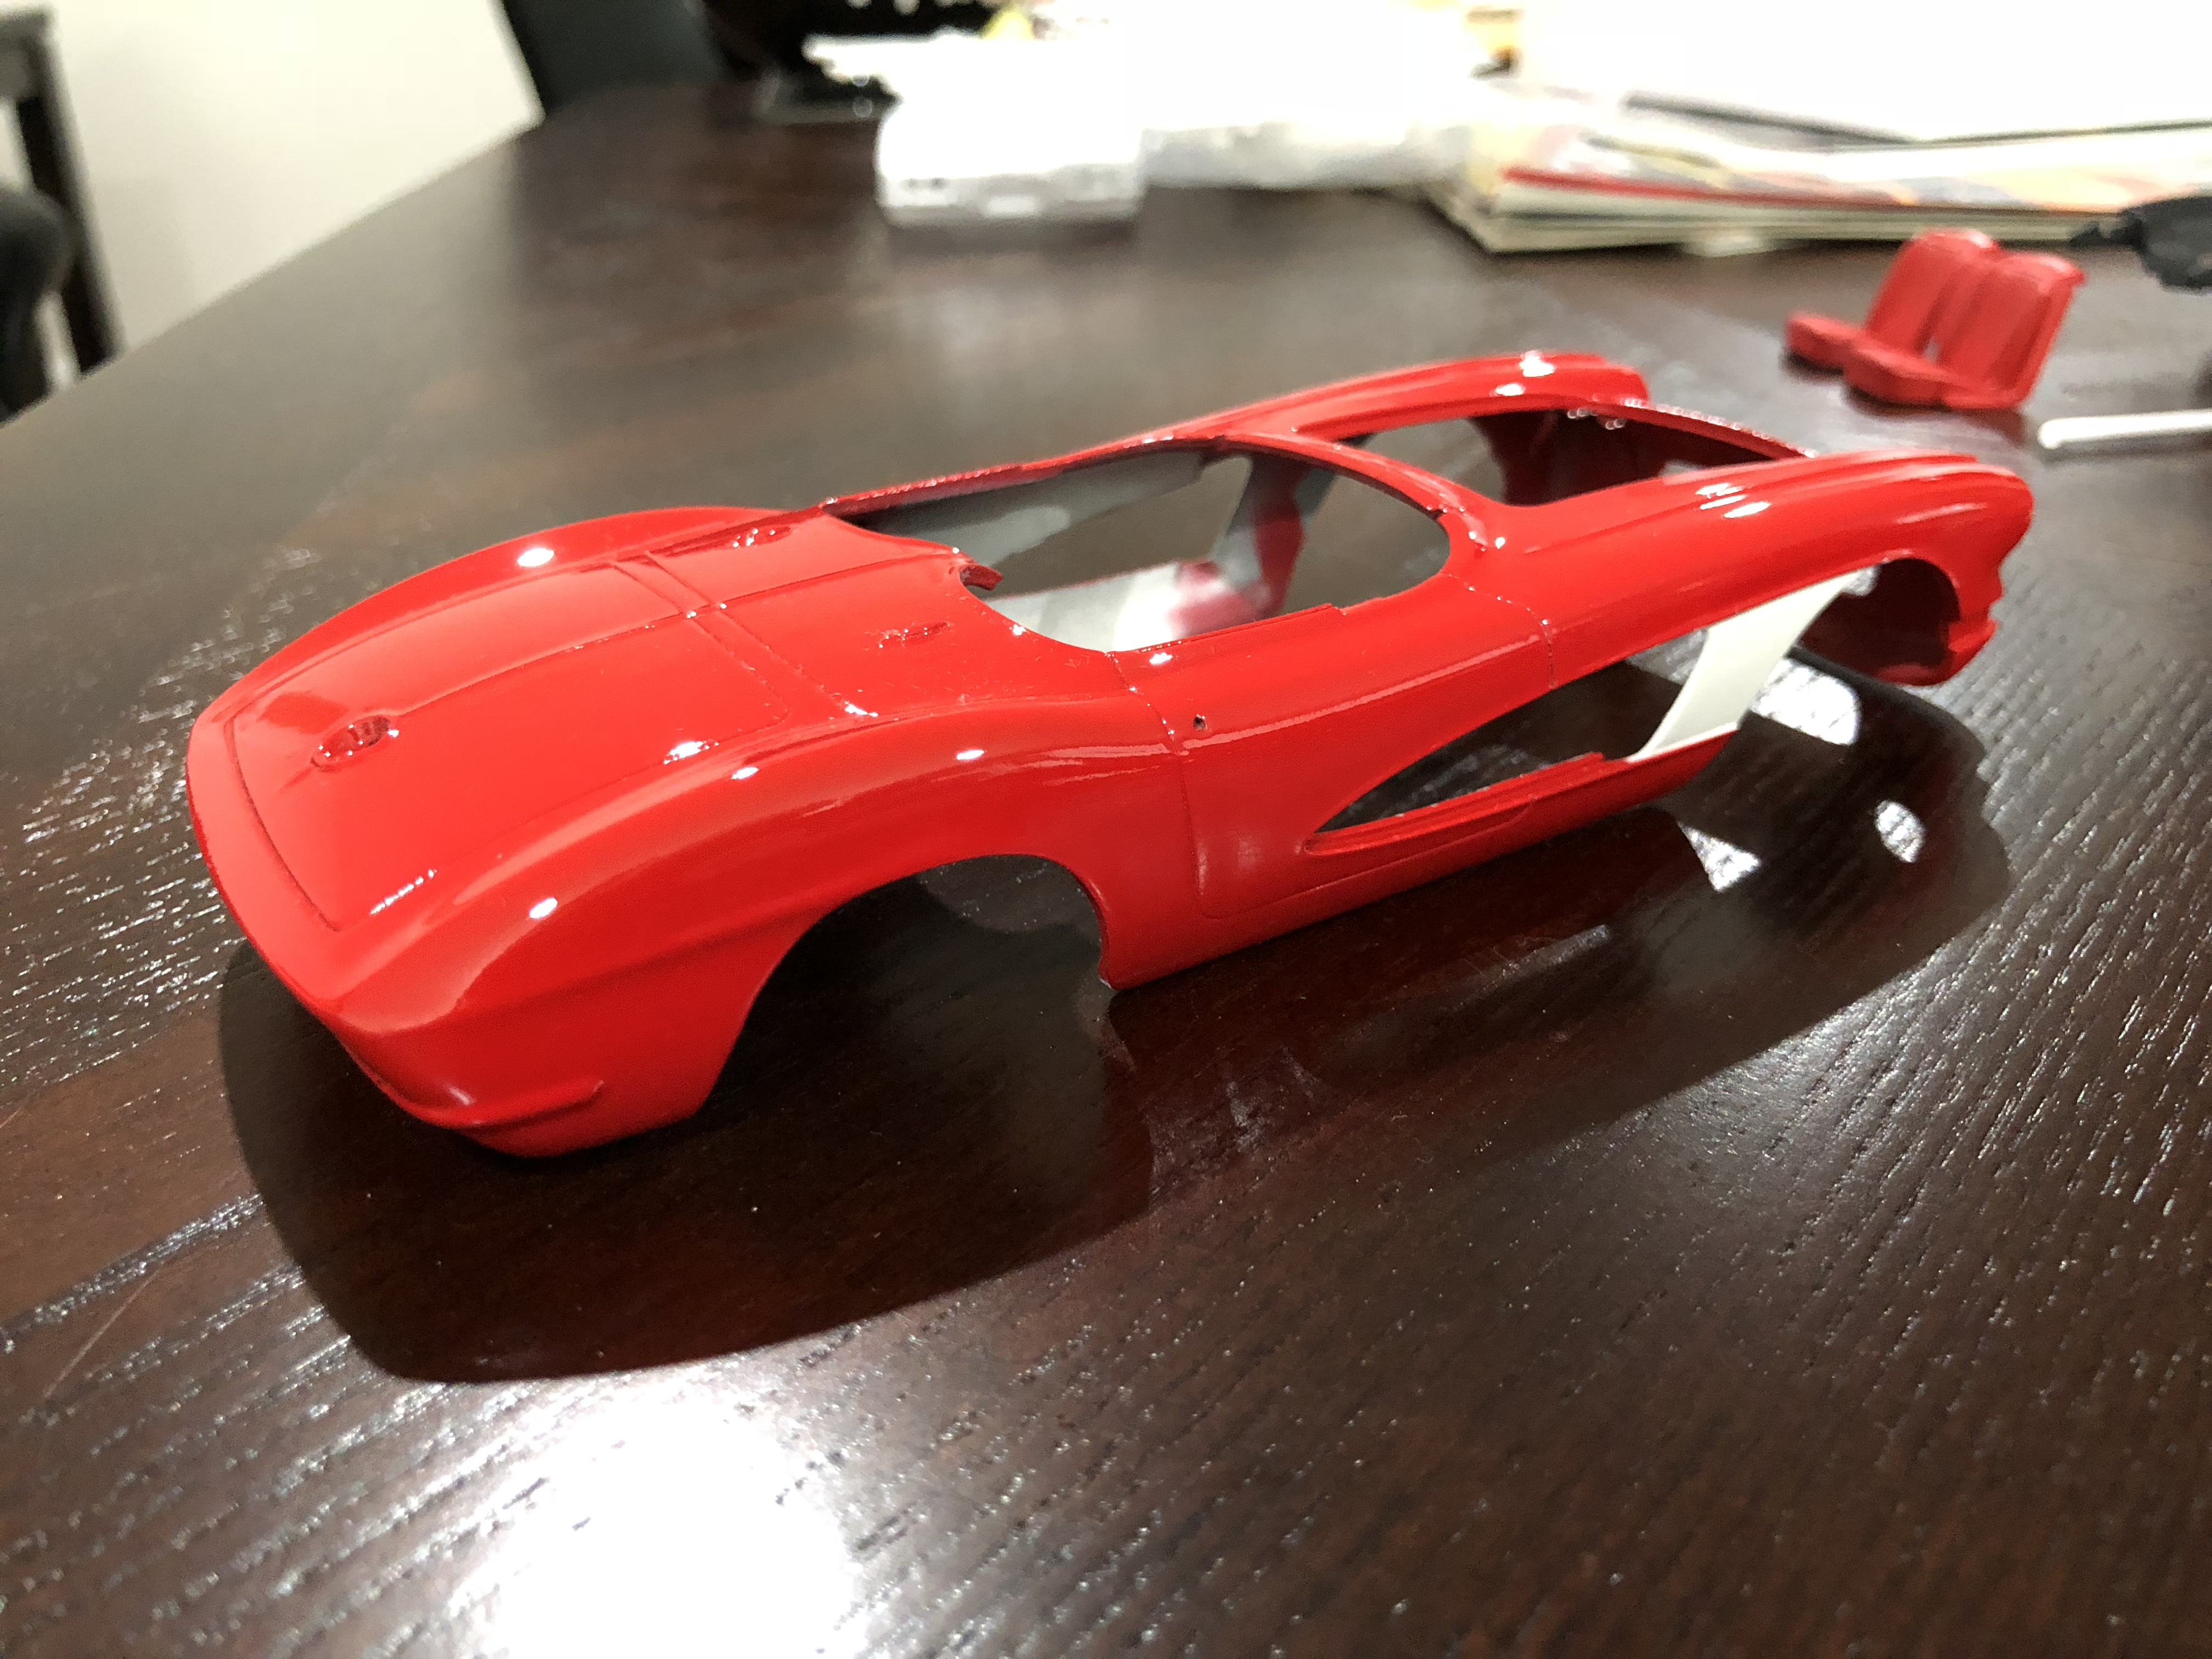
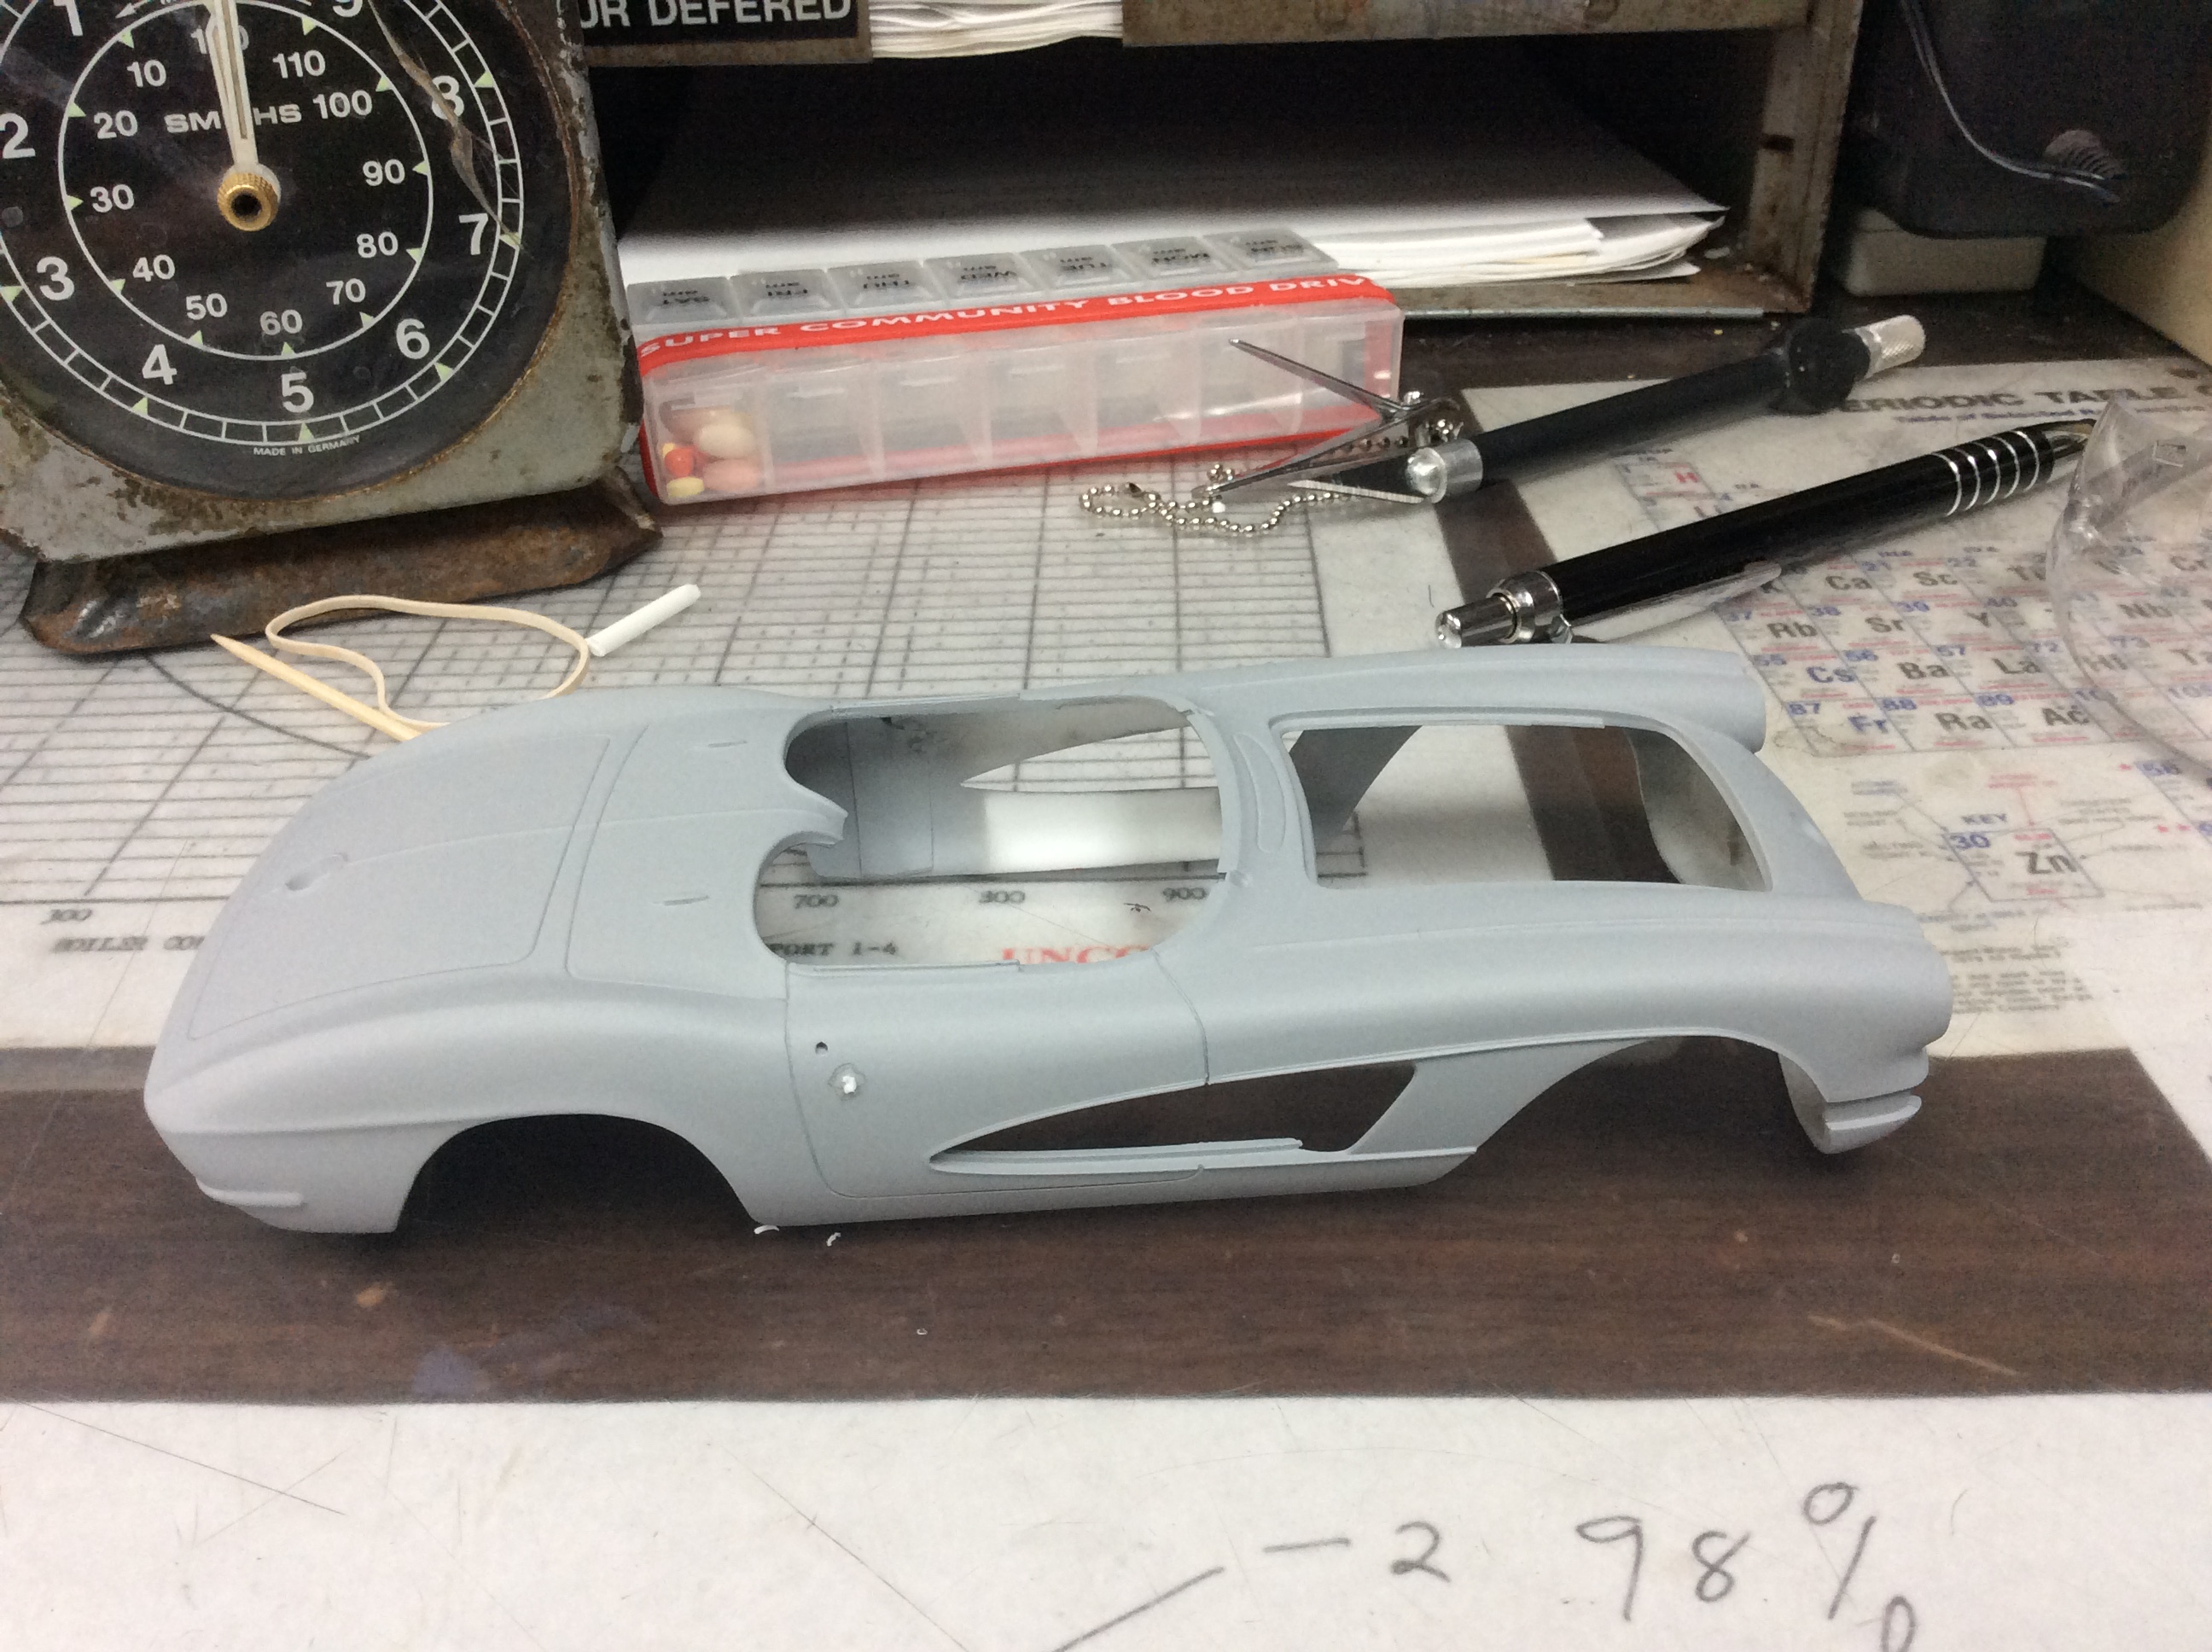
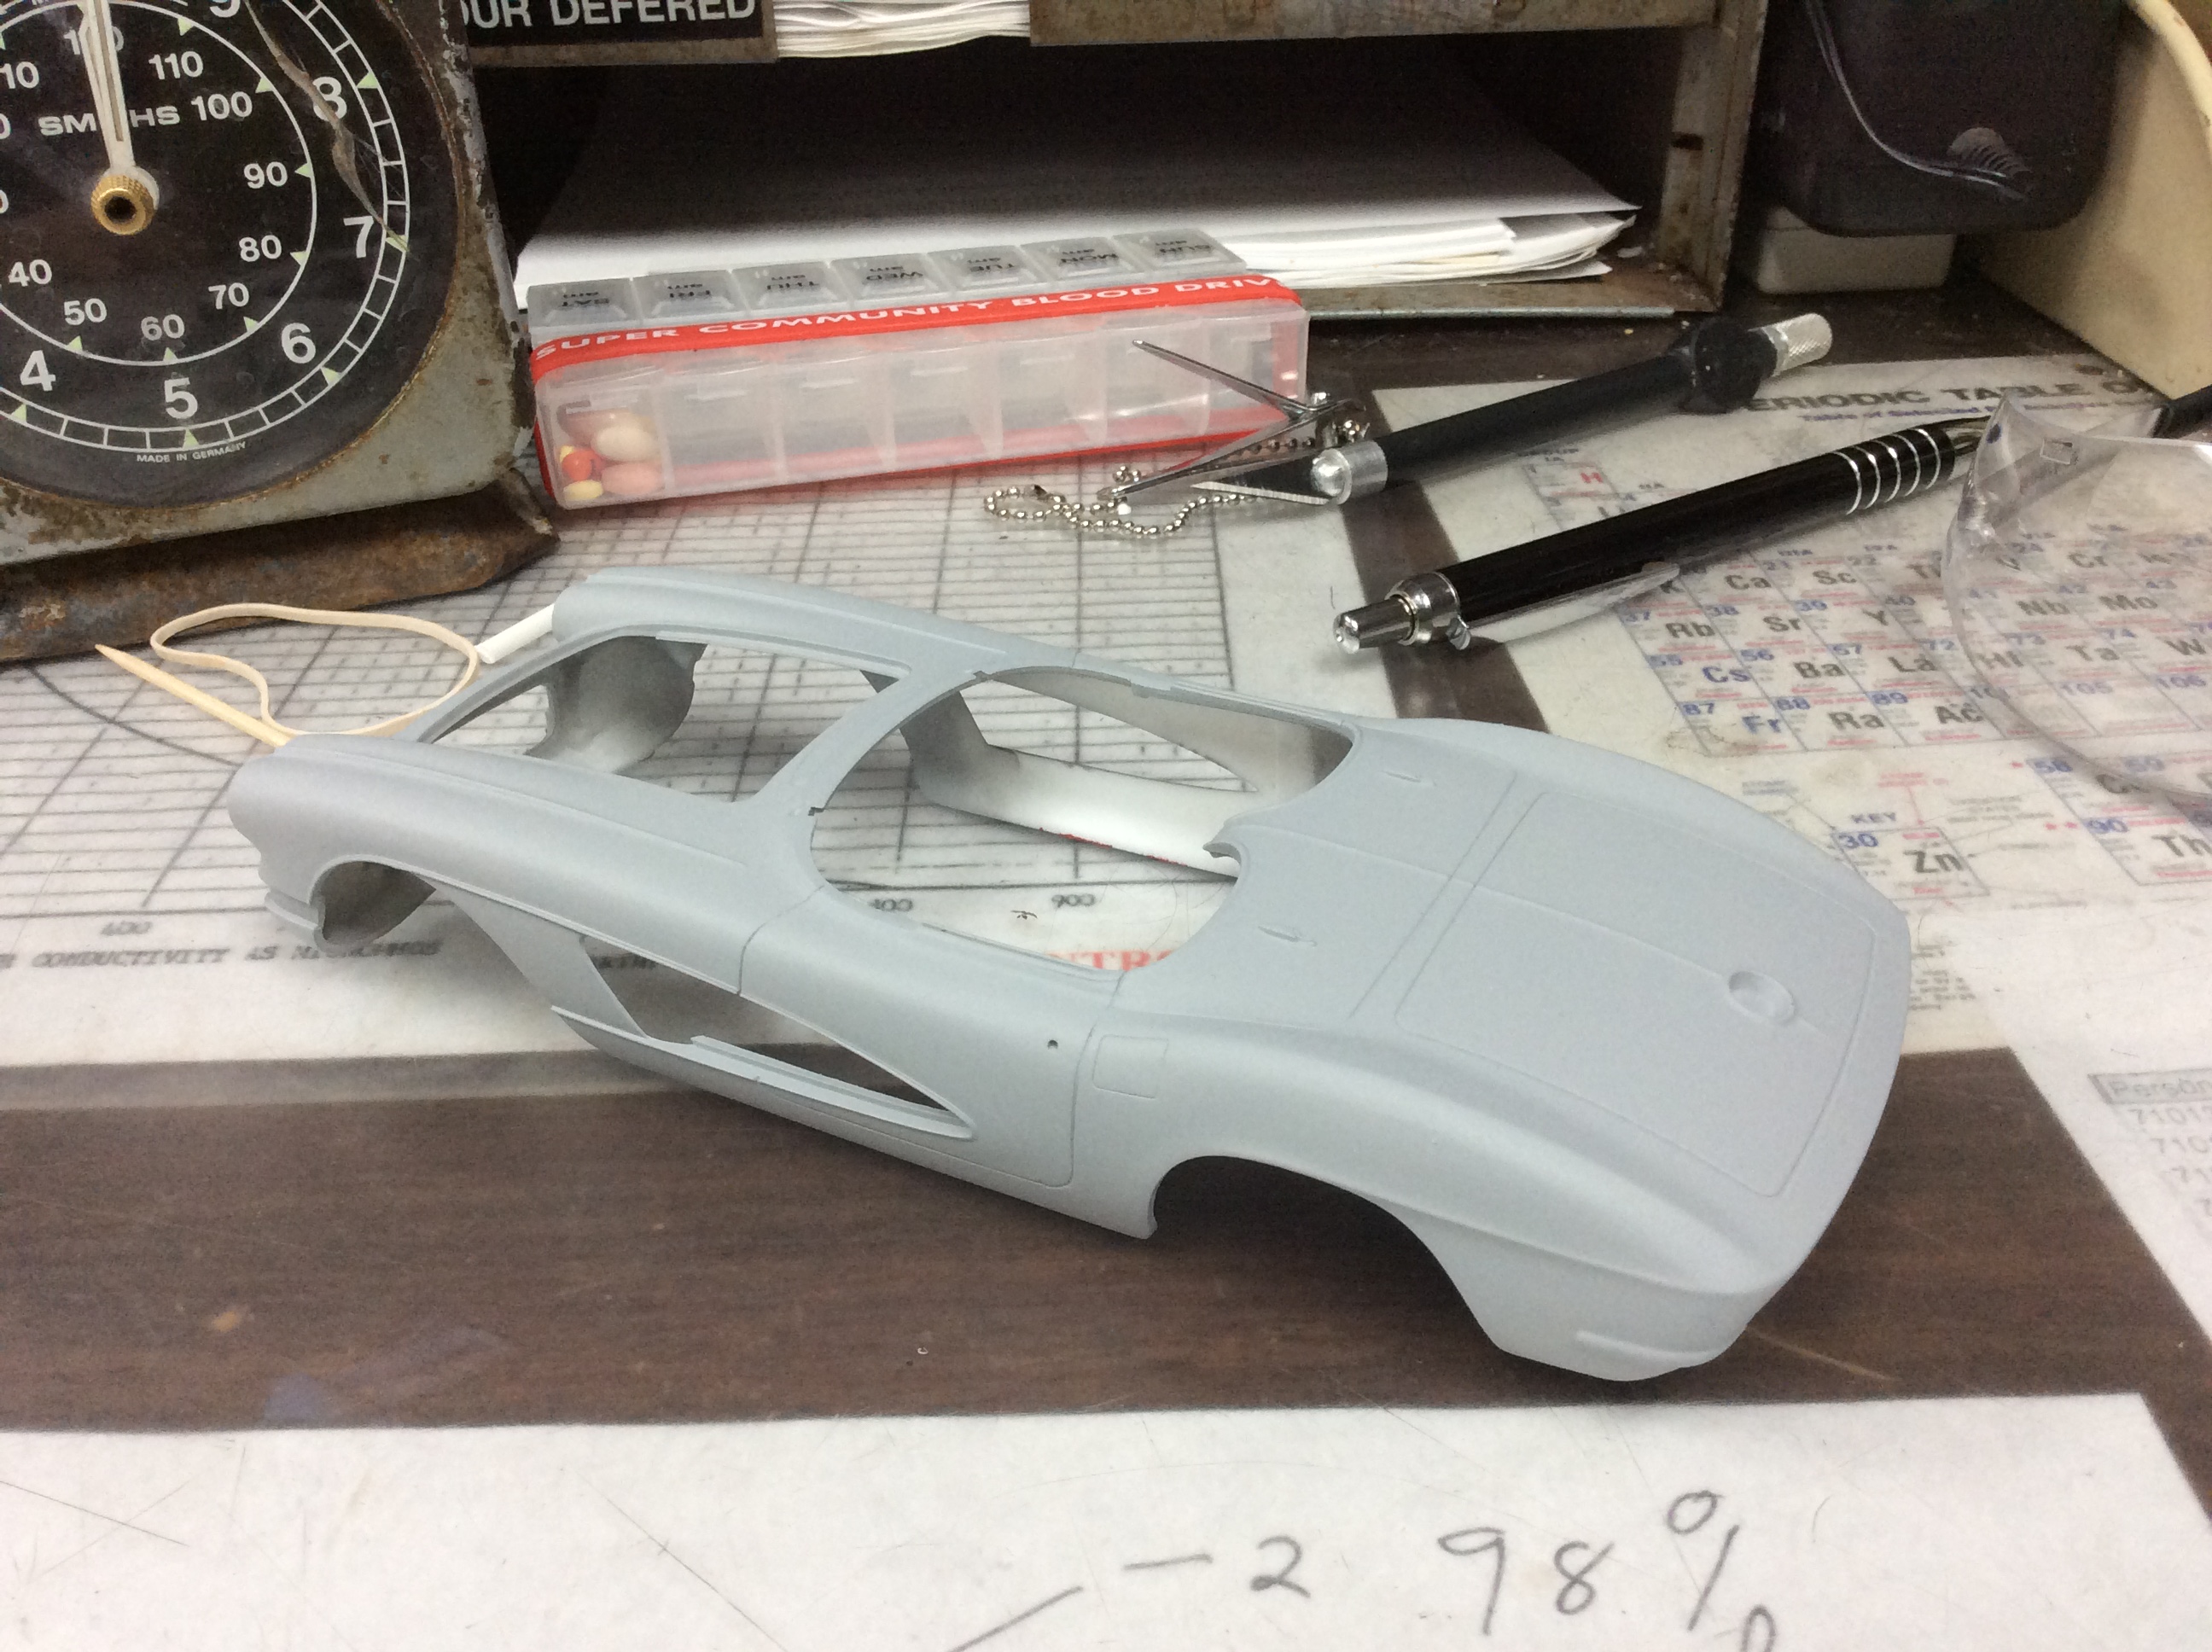
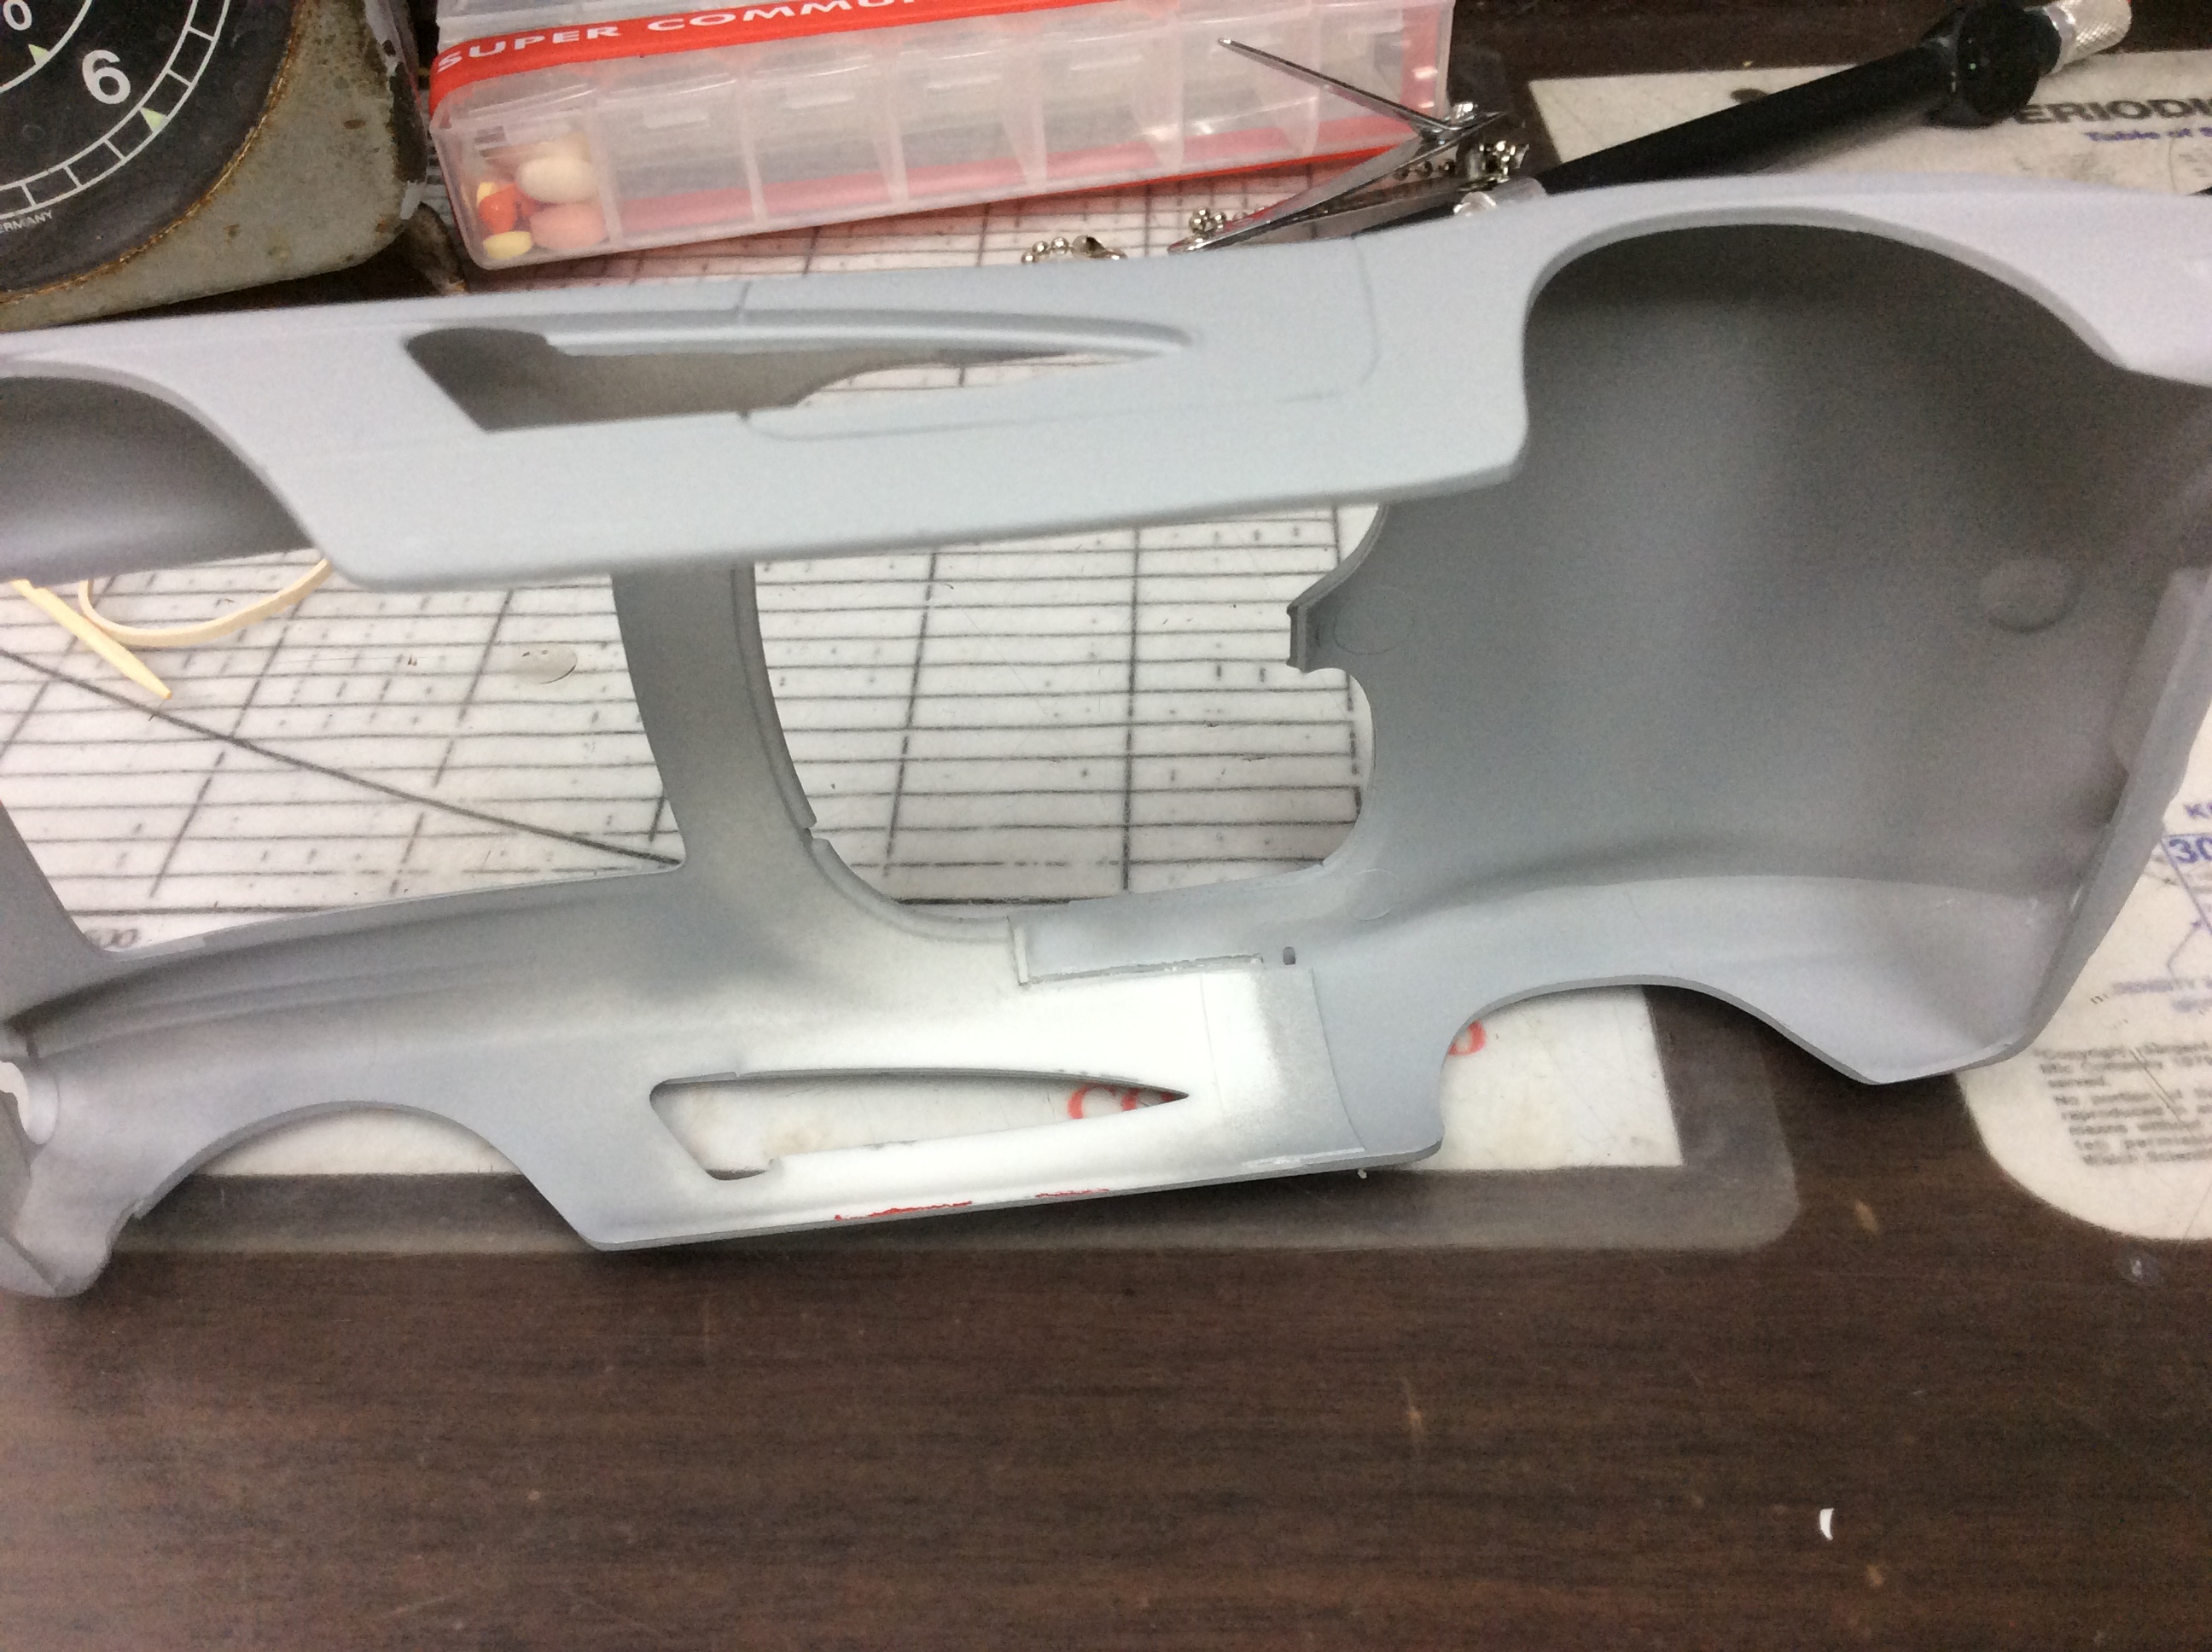
Kit bashing a 1961 Corvette from two Revell kits
Superbird McMonte posted a topic in WIP: Model Cars
I did the conversion on this model about two years ago. I got it into prime and then let it sit for a few months. I wet sanded it and painted it red about a year ago. I used Dupli-color Chevrolet Torch Red and urethane automotive clear. That sat for about another year. I figure by now everything is good to handle! So I took it out and started work on it last night. I’ll add some pictures with the chrome foil later today. I realize last night that the door panels may not be correct for a 61. I’ll probably go with the 58 door panels instead. Which means prime and paint but no clear.
-
Started with the Revell kit. Regular gloss black and Gloss Guard's Red. Came out looking pretty good after a little bit of trouble with the trim. SAM_2367 by Eric Lucas, on Flickr SAM_2368 by Eric Lucas, on Flickr SAM_2369 by Eric Lucas, on Flickr SAM_2370 by Eric Lucas, on Flickr SAM_2371 by Eric Lucas, on Flickr SAM_2372 by Eric Lucas, on Flickr SAM_2373 by Eric Lucas, on Flickr SAM_2374 by Eric Lucas, on Flickr SAM_2375 by Eric Lucas, on Flickr SAM_2378 by Eric Lucas, on Flickr
-
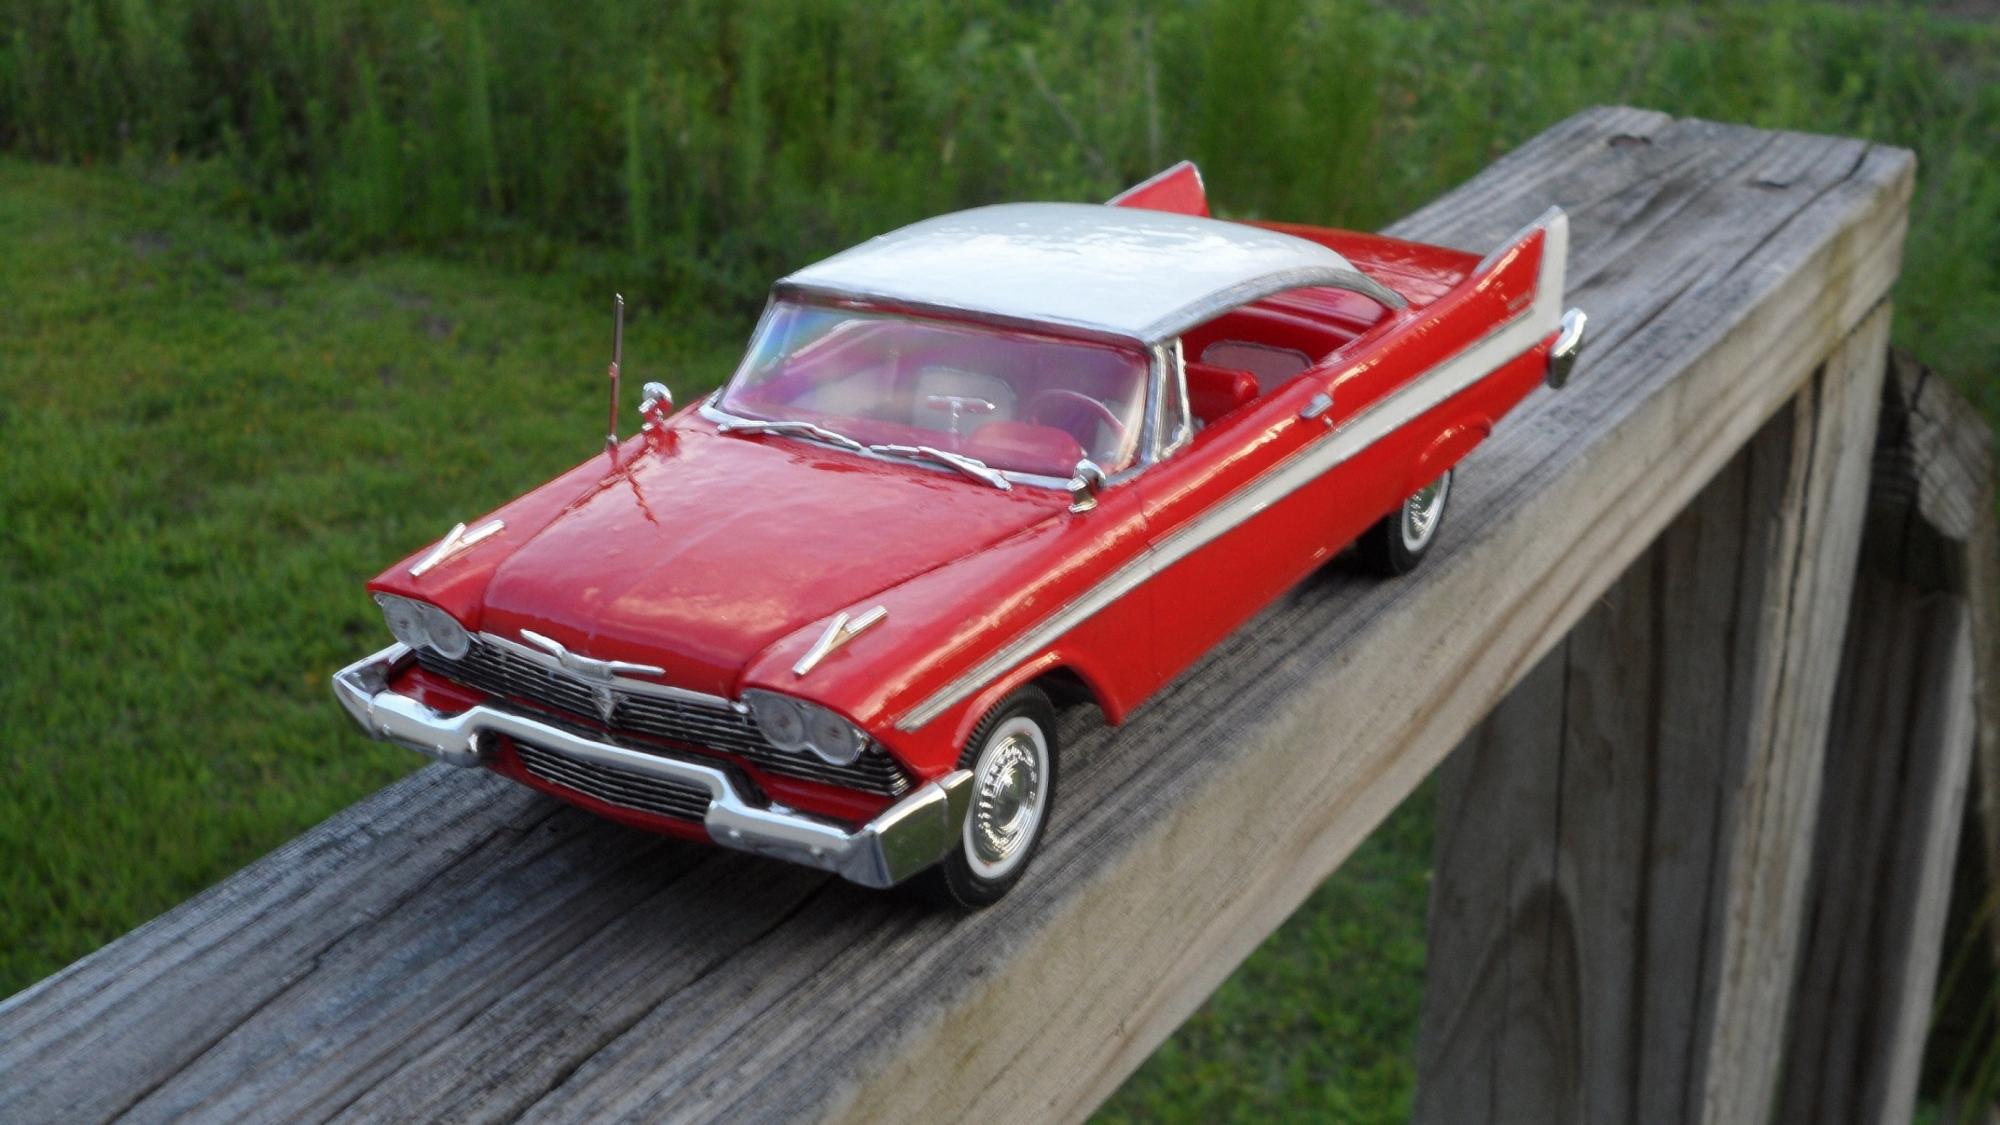
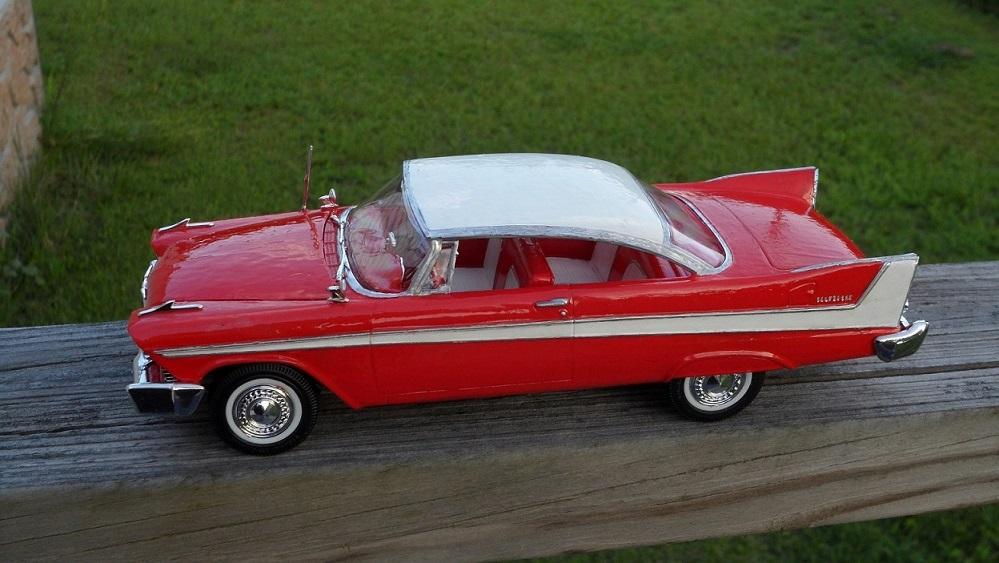
I've been away from the hobby for 15 years. This is the second kit I've built since returning. The color is Duplicolor Plymouth Red. For me, this kit went together rather well. The only problem that I ran into was during assembly of the glass. I cracked the rear window. Also, I forgot how much I dislike working with BMF. I am considering aluminum foil with elmers next time. I would like to build another curbside with no motor or interior with all the windows blacked out with working head and tail lights. Thanks for looking
-
Had some trouble with it, but it came out looking OK.
-
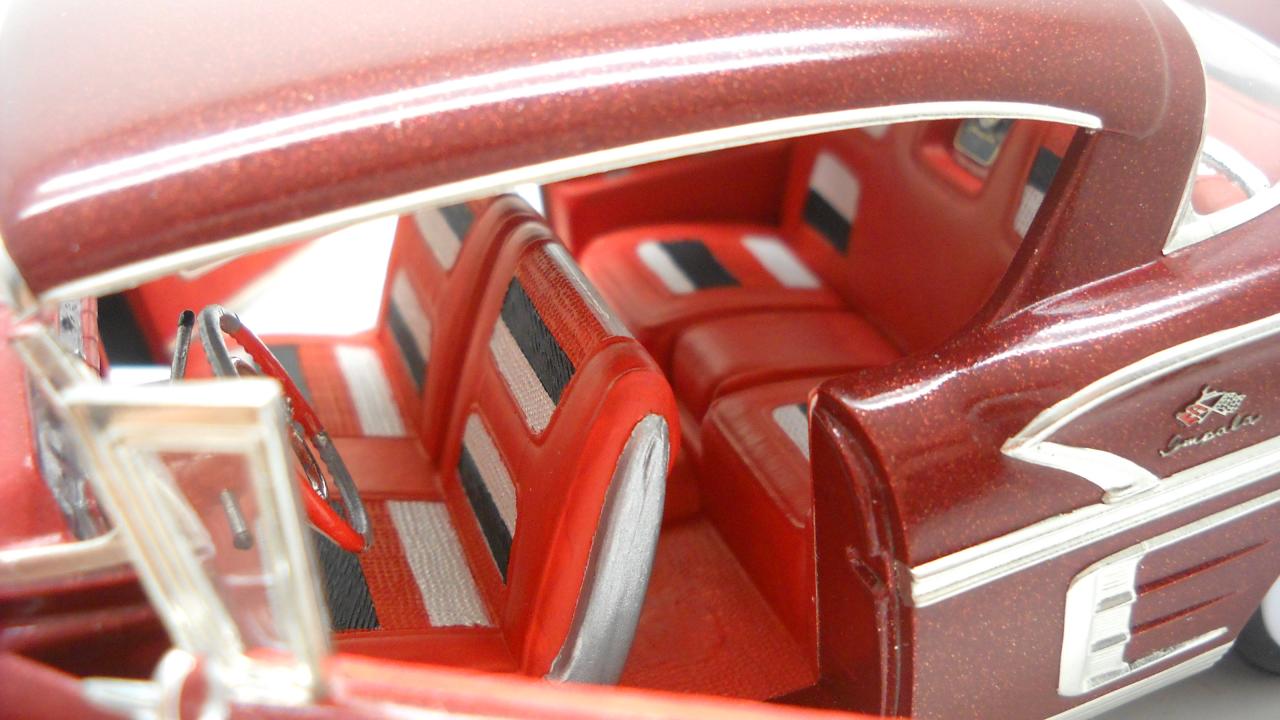
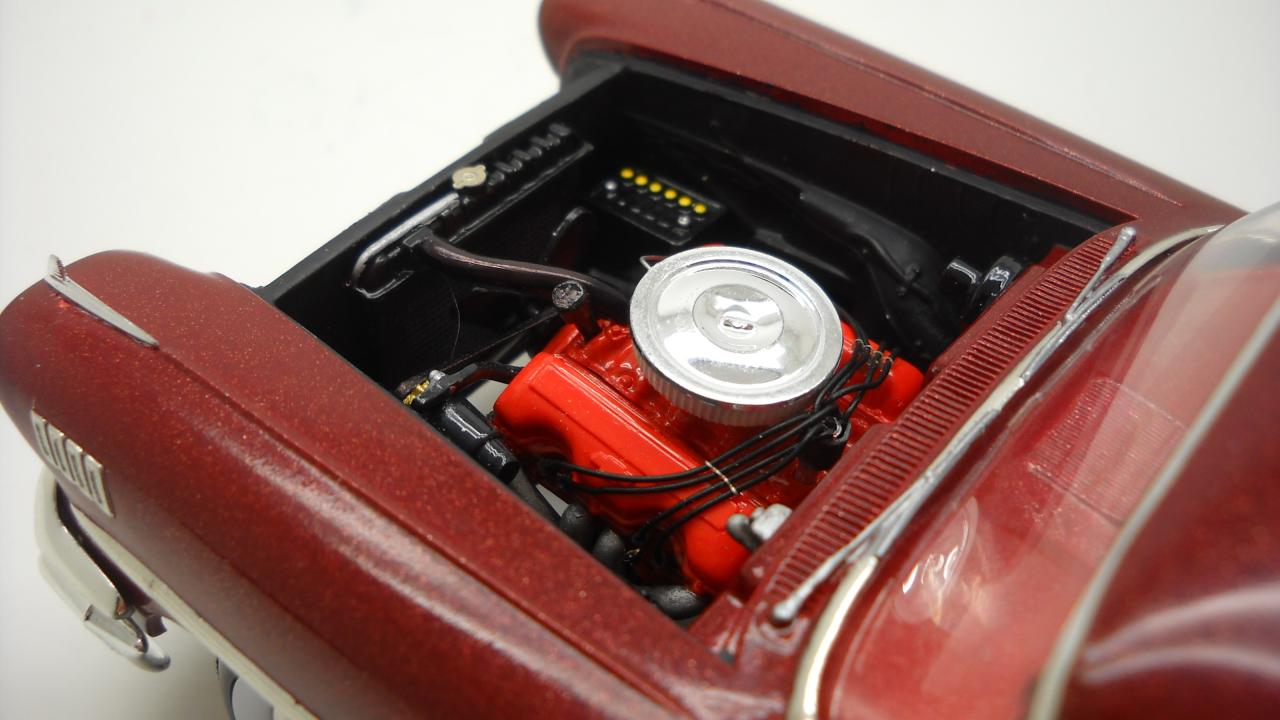
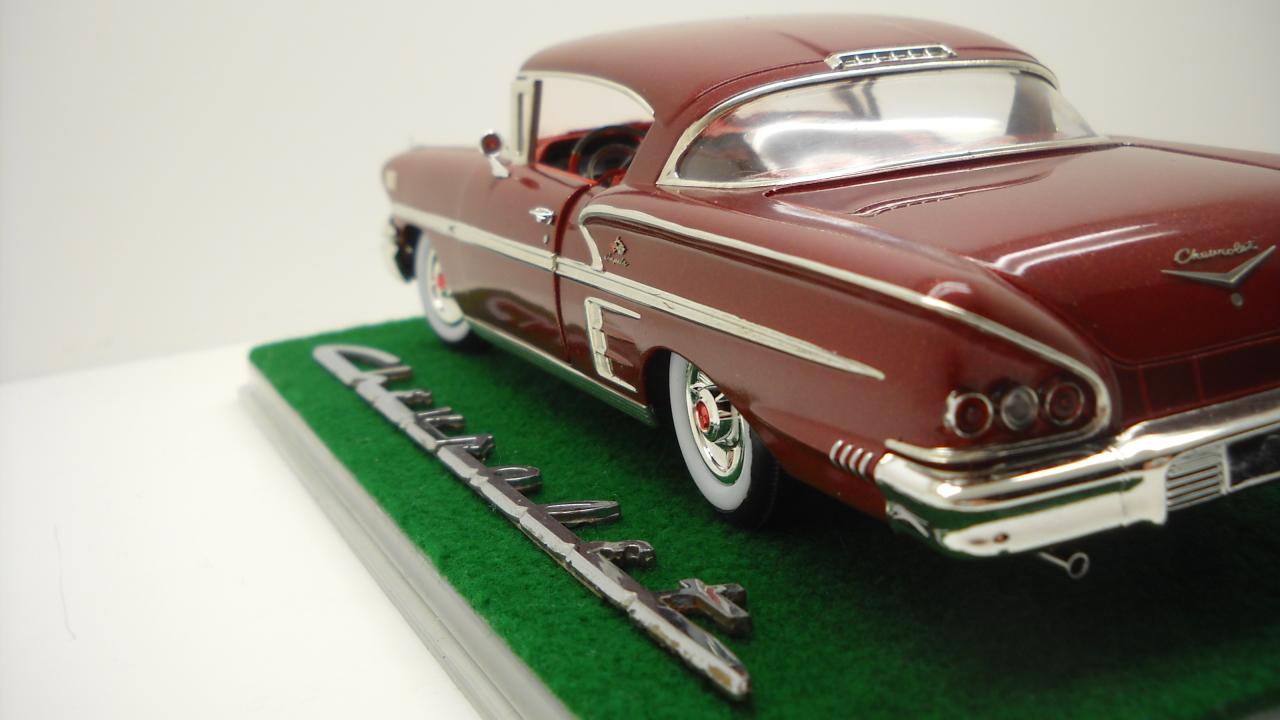
Here is my take on an iconic car.... I had to sacrifice a distributor, an antenna, several coats of paint, and extra time to the gods to build her, but she came out rather nice I think. Intake manifold, dual carbs, and dual air cleaner setup from an AMT '57 Chrysler 300c, but the parts fit perfectly on the engine block. I also had photoetch I was going to add to it, but research showed that very little badging was put on the car to keep her and her 24 "sisters" simple for the camera. Let me know what all of you think!
-
This is the old AMT kit. I have seen some write it is kinda bad,but i enjoy building it. Any comments are welcome.
-
I built this to replicate a car my dad used to own and gave it to him for his birthday, the tail lights didn't arrive in the mail so i had to make a last minute purchase and collect the Ed Roth Outlaw. In case anyone's wondering the thing on the areal is a fox tail (My dad had one on his 1:1) I will let the pics do the talking.... All comments welcome.
-
This is my '58 Impala, mostly by AMT, with a few bits from the Revell kit because I thought they were more cleanly molded. The color is Testors 1 coat lacquer Mythical Maroon over Tamiya white spray primer, no clear coat. Photoetch set from Model Car Garage, pre-wired distributor from Preston's Car Parts. Not the best distributor I've seen, but this was the first engine I've wired (but yes, they are in the correct firing order!) If any of you have a favorite brand of scale distributors, let me know, so I can get one for my next build. I started this car at the beginning of September 2012 and finished it at the end of March. It took so long mostly because a college dorm room isn't exactly the best place for model building. Still, I was able to clean up almost all the pieces and get them ready for paint so I could do all the painting over Christmas break. The pieces I took from the Revell kit are as follows: headlight assemblies, fender spears, tail light bezels and lenses, metal exhaust tips, tires (mainly because of the convenience of the white wall inserts), door handles, driver's side mirror, steering wheel, rocker covers, generator, and fuel pump. The air cleaner is from a '66 Mustang GT350. I also added a dip stick and a couple other little bits of plumbing. The springs were replaced with real springs from a retractable pen. They aren't perfect, but I think they look a lot better than the molded atrocities it came with! I cut out the trunk, too, but I guess that doesn't really matter since I didn't end up putting anything in it. The dash board gauge decals are also from the Revell kit. (Interesting side note: the chrome 'Chevrolet' script on the display case base is from the dashboard of a 1949 or '50 Chevrolet Deluxe I found in the woods. The rest of the car was pretty much a big pile of rust, but that little piece of chrome was in almost perfect condition!) Overall, I think it came out really well. Tell me what you think and please share any tips or constructive criticism that I can draw upon for future builds!
-
I started this a while ago and decided to post what I have got so far here. This is what I'm aiming for: here is where I'm at now: i have glued in the doors, removed all side trim, lengthened the roof and begun filling the door lines to make it a 4 door.
-
One more today, becaus i have time this T-Bird was a bad try to remove paint. From the beginning. i wanted to make this old monogram kit with opening doors in a color like biscuit. I think, that i have always bad luck with red plastic. after more than three color layers, always red will come thru the paint. "What doing, little Dominik?" I ask my self. straight in a bath of oven cleaner to remove the paint and wait 24 hours, there was the result: in places departed paint down to the primer. Bad, bad result. so i took my gun and painted like van Gogh a rusty, old look. Some dust and paint for rust and - ready.Put some new wheels and windshields in, new licenceplates and up for it on the track. It is tooo heavy i think, looks like a old ship in the ship graveyard...but it was a experiment and has also a place in my showcase. What do you think about? ...
-
Hallo everybody, today i want to show you my first custom-built. It is based on the first issue of the amt 58 Imala, that i have built "since i was a little child". It is too old, that i remember Now, that was the first "look": Nice, isn't it? I took it in May 2010 and gave him a totaly restauration and - sure - a complete new look. What changes have i done? - made it 2-Seated - extendet the trunk - also i extendet the intigrated frontbumber - mounted a continetal kit at the back from a 54 Victoria - channeled the backlights - removed all trim - new coat and interiorcolors - installed a Hemi - mounted Centerlines out of a "Heavy Cevelle"-Kit - made a small Display with gimmicks - for sure, i changed the roof and took one out of my partsbox A Picure from the work on the body: ...and from the scratchbuilt gimmicks And thats the result: ...tbc...