Search the Community
Showing results for tags 'countach'.
Found 8 results
-
 Hey everyone!, this is gonna be my first ever large scale build......and my last. A friend of mine gave me this kit, and I said that I don't normally do large scale, but if I did, it would be a Countach, so here I am! I say "upgrade", because EVERYBODY builds this kit as the kit specifies...….NOT me, I will be turning it into a later model 500s, while getting inspiration from the lesser-known Twin Turbo prototype, so there will be a TON of scratchbuilding involved! -thanks for checking it out!
-
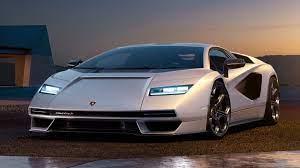
When the new Countach first came out, i had several friends ask me what i thought of it, since the Countach is my most favorite car ever. I was excited...until i saw it, then i got sick. I dont even know where to begin. With it being arguably the most iconic super car, wouldnt you think that it deserves its own new identity? Lamborghini did what most domestic car companies do...use a platform for multiple "different" cars. I just want to start off saying that i love the Aventadors, but this new Countach is nothing more than yet another version of the Aventador -how lazy, and boring. Not only is it a rubbish attempt at a Countach, it does the Aventador a huge disrespect. It takes more than a few body tweaks, bucket seat padding, and a nme plate to make a proper Countach....so its got some EV -big deal. There are a few concepts out there that would have been better, but mine will still be different, and will make the fans of the original prototype, pariscope, and useless wing/fender flares lovers ALL happy. This car will be made from all the latest technologies to compete with top Hyper cars. It will have a Lamborghini 7 liter V-12 with quad turbos, active aero front, and back, and you wont have to sit on the sill to back it up...in fact, all the horrible rear view issues will be fixed with the use of cameras. It will also have an 8 speed tranny, and AWD.
- 65 replies
-
- 1
-

-
- lamborghini
- countach
- (and 1 more)
-
 Hagerty Drivers Foundation film released 1/12/22. Takes about 1/19th the time of the last record to watch this awesome film.
- 3 replies
-
- 1
-
-
- cannonball run
- countach
- (and 1 more)
-
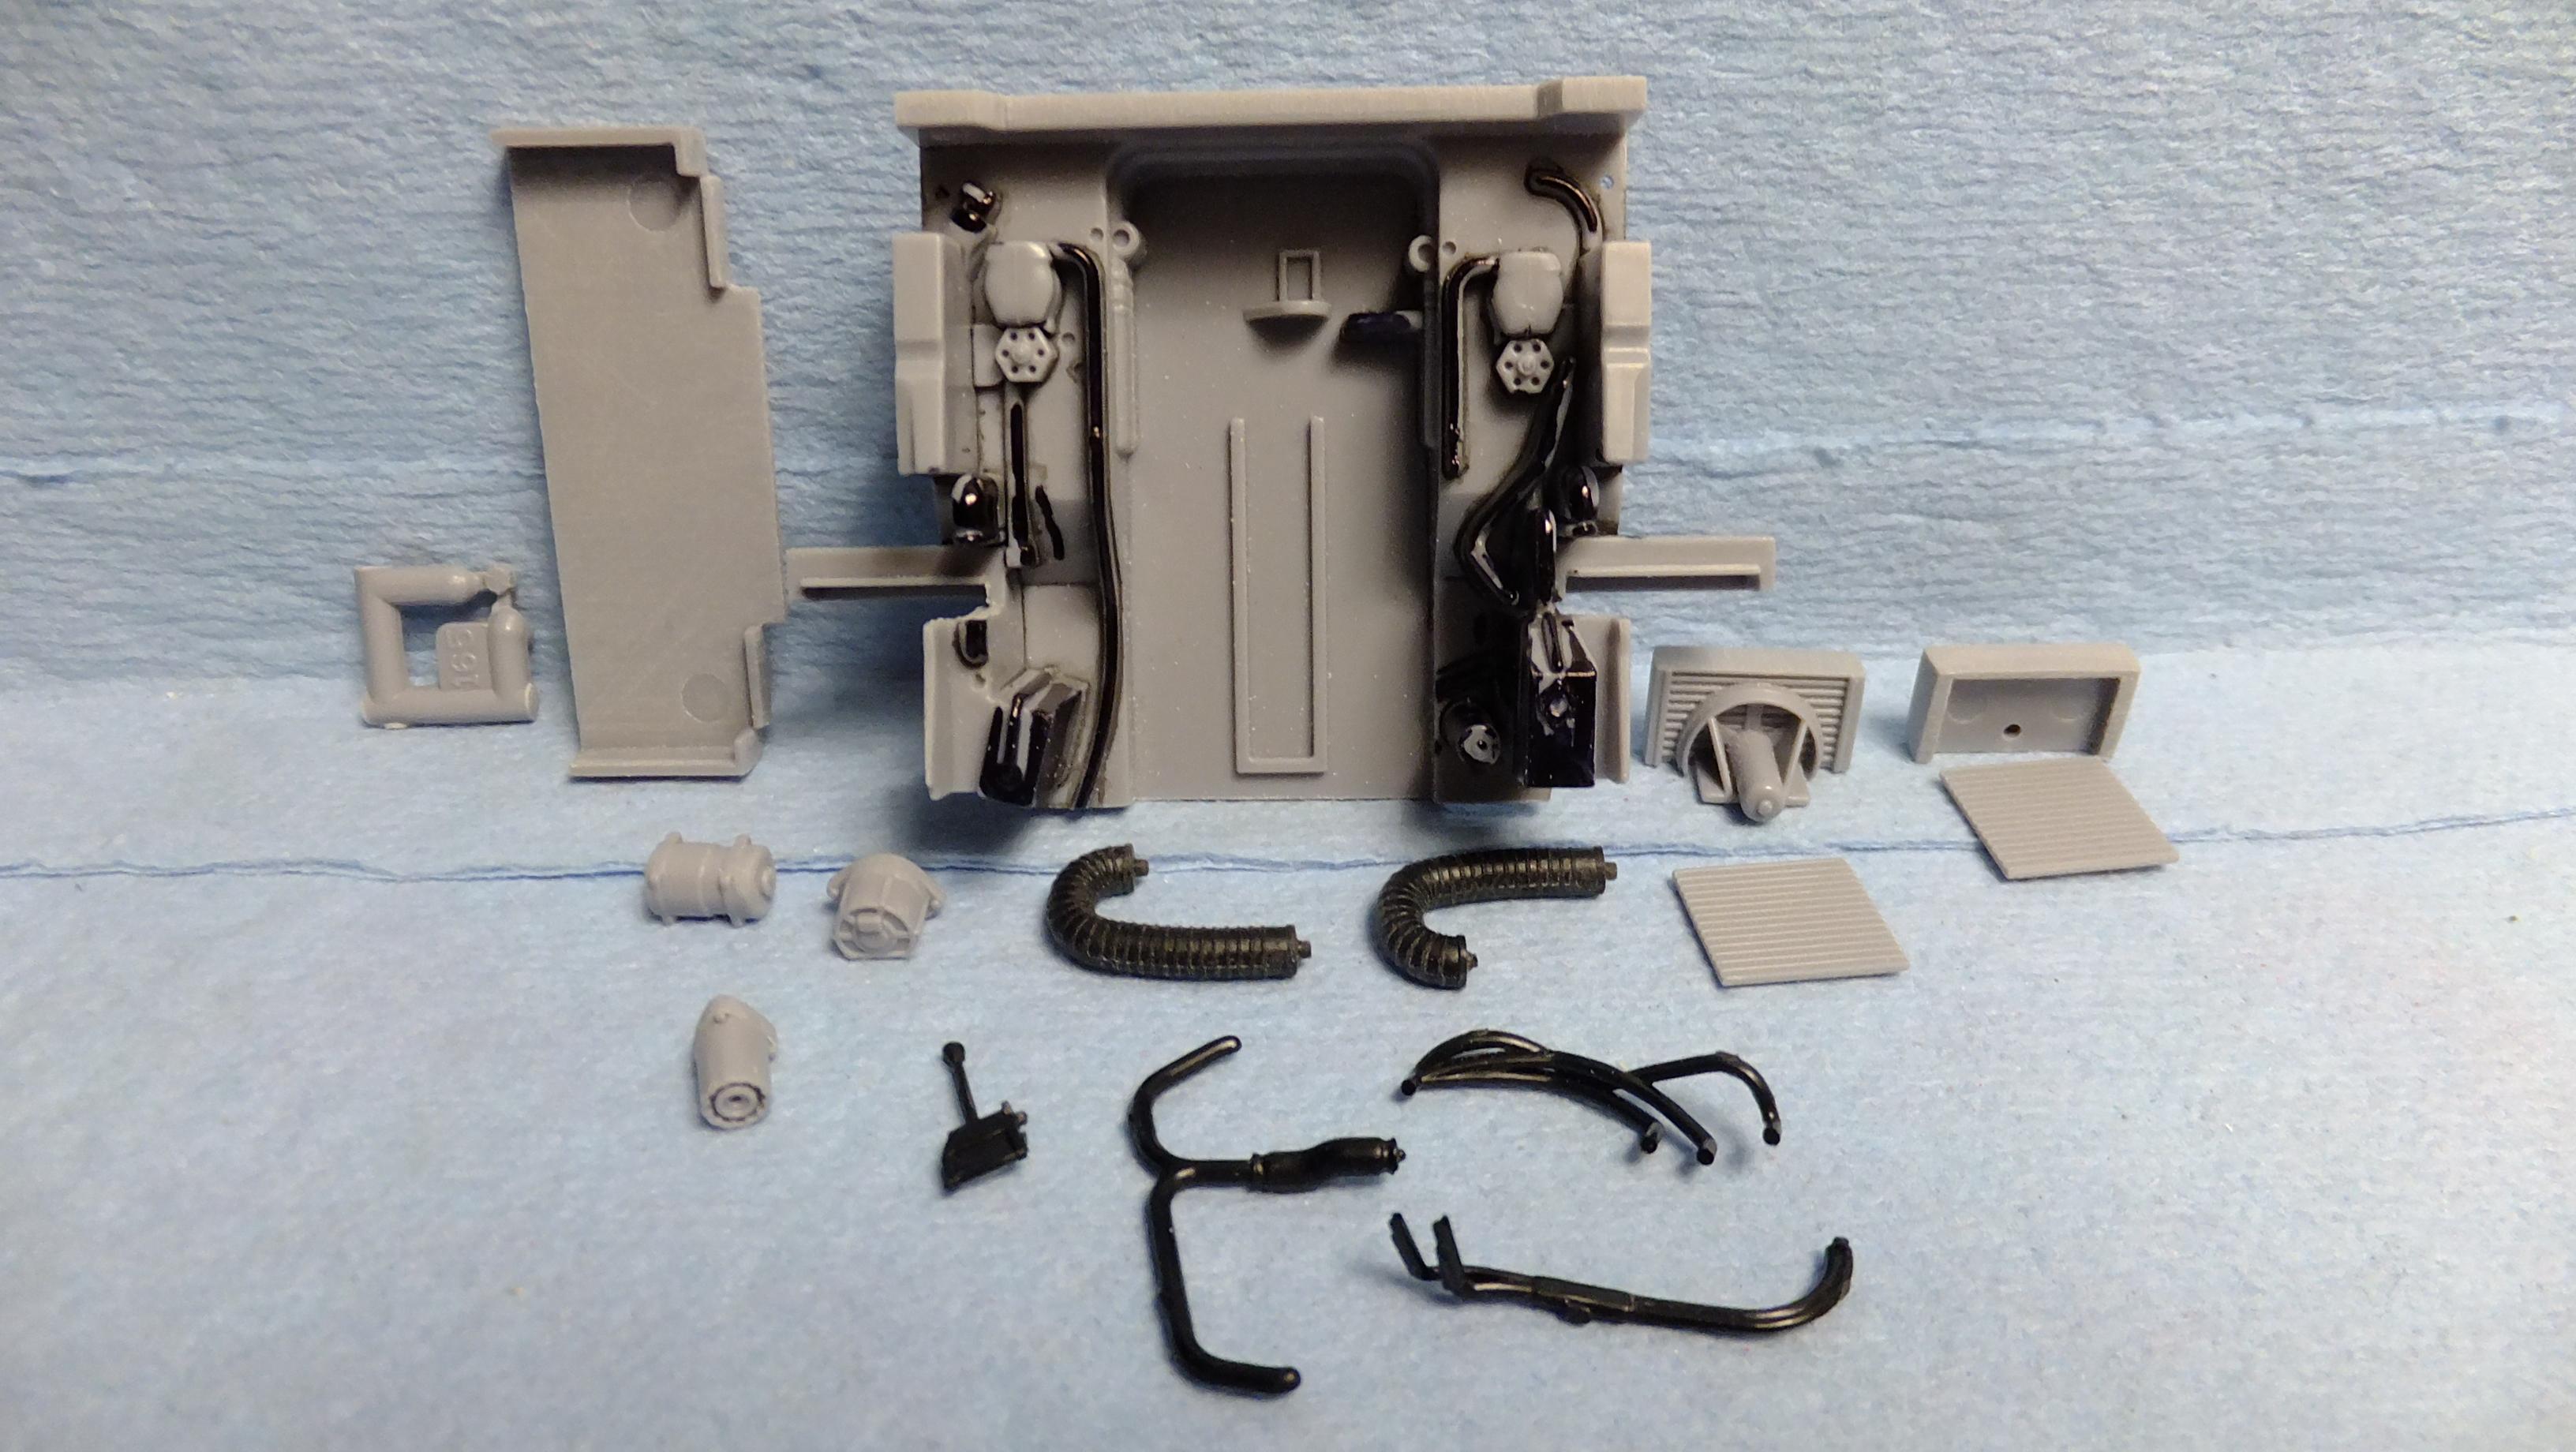
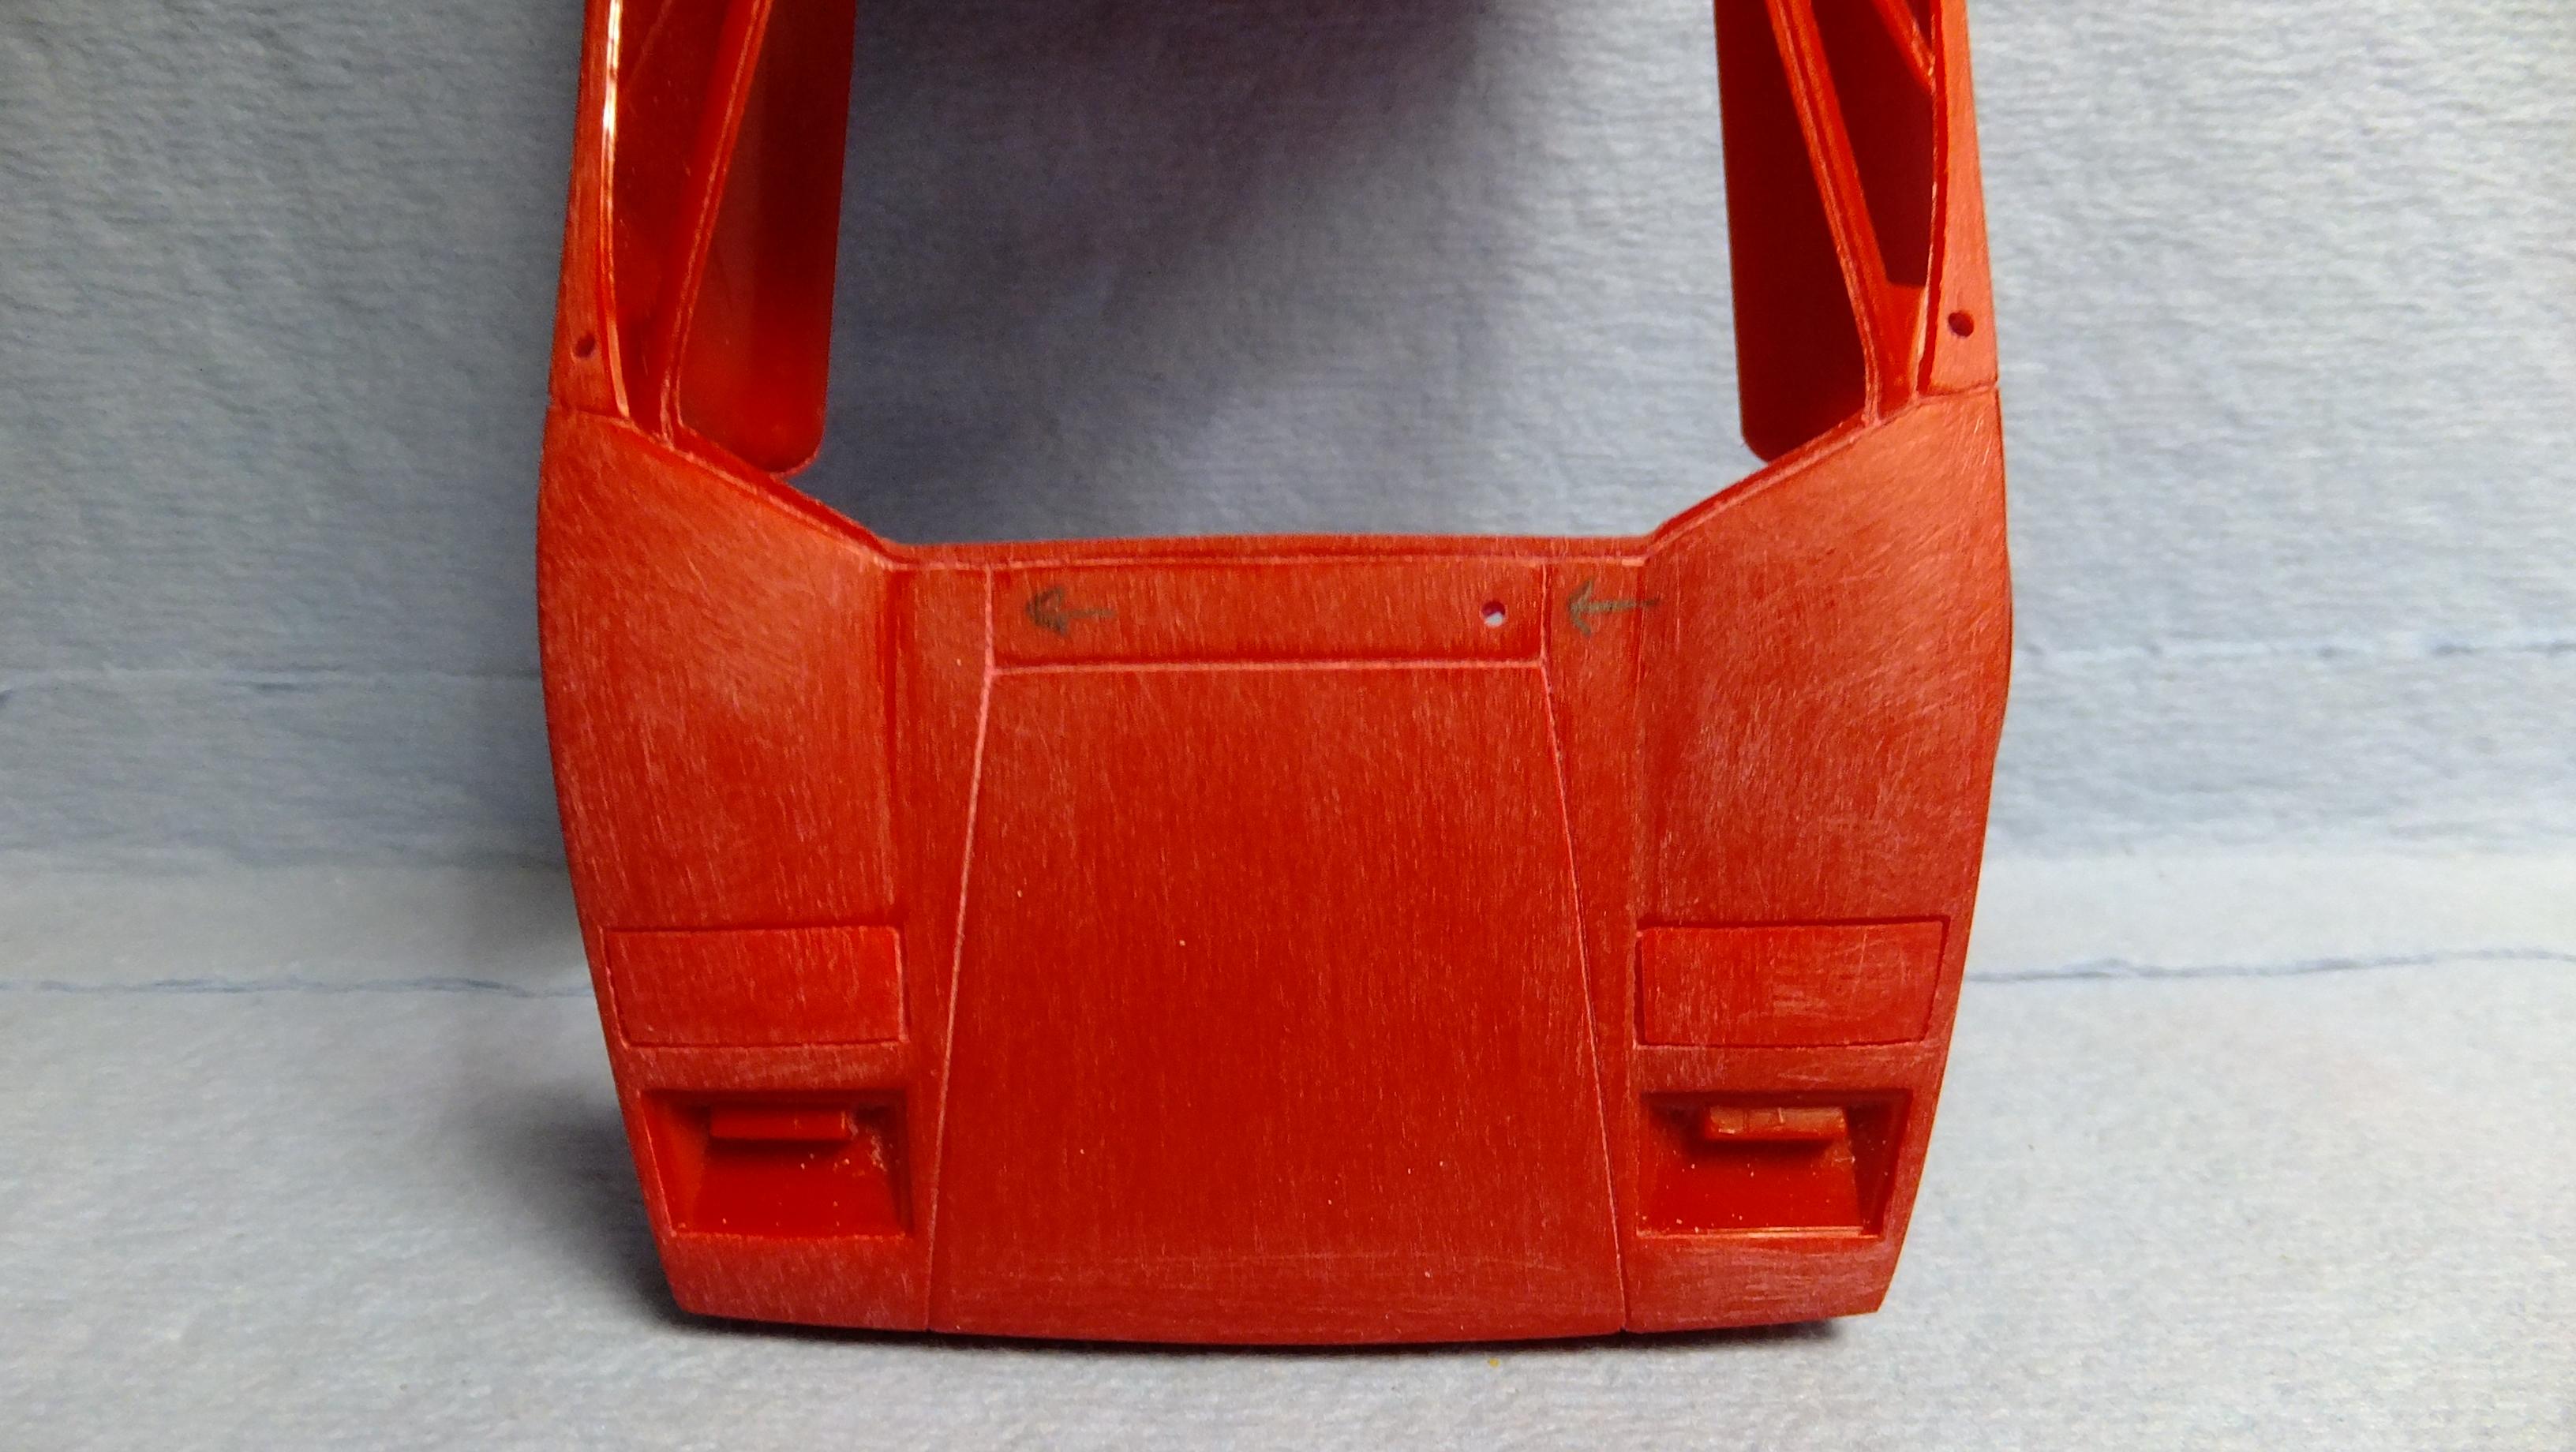
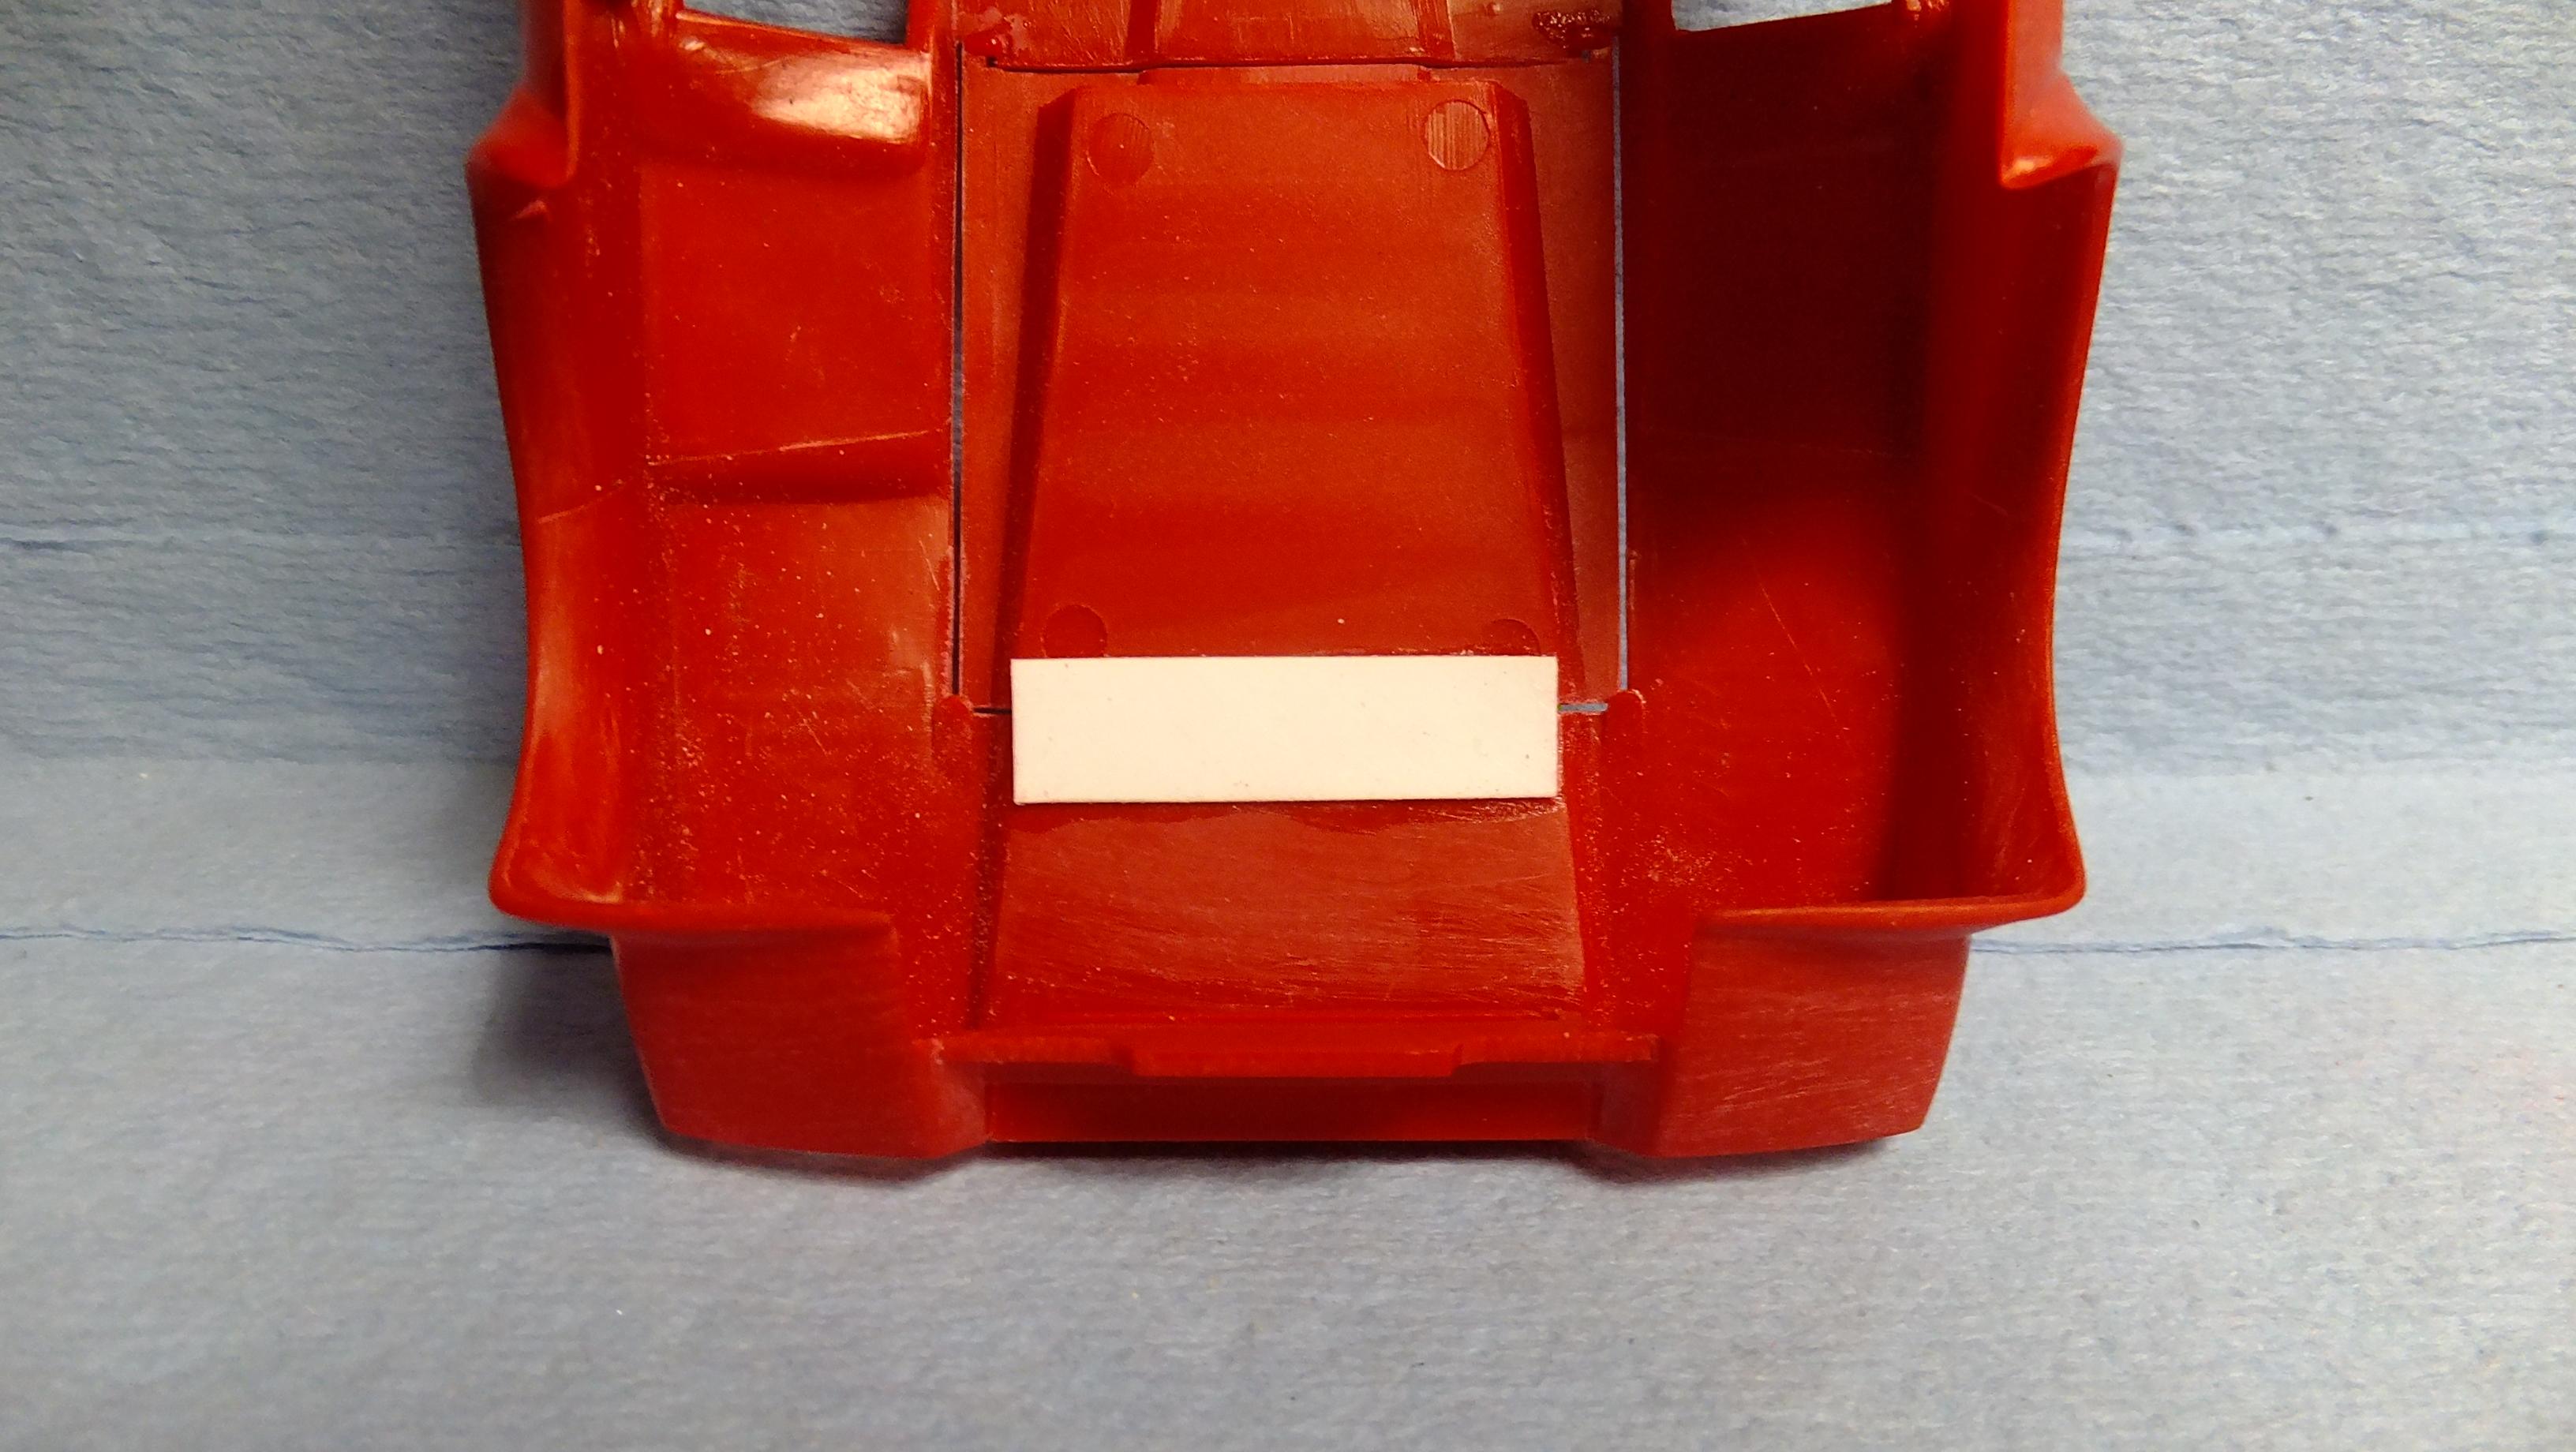
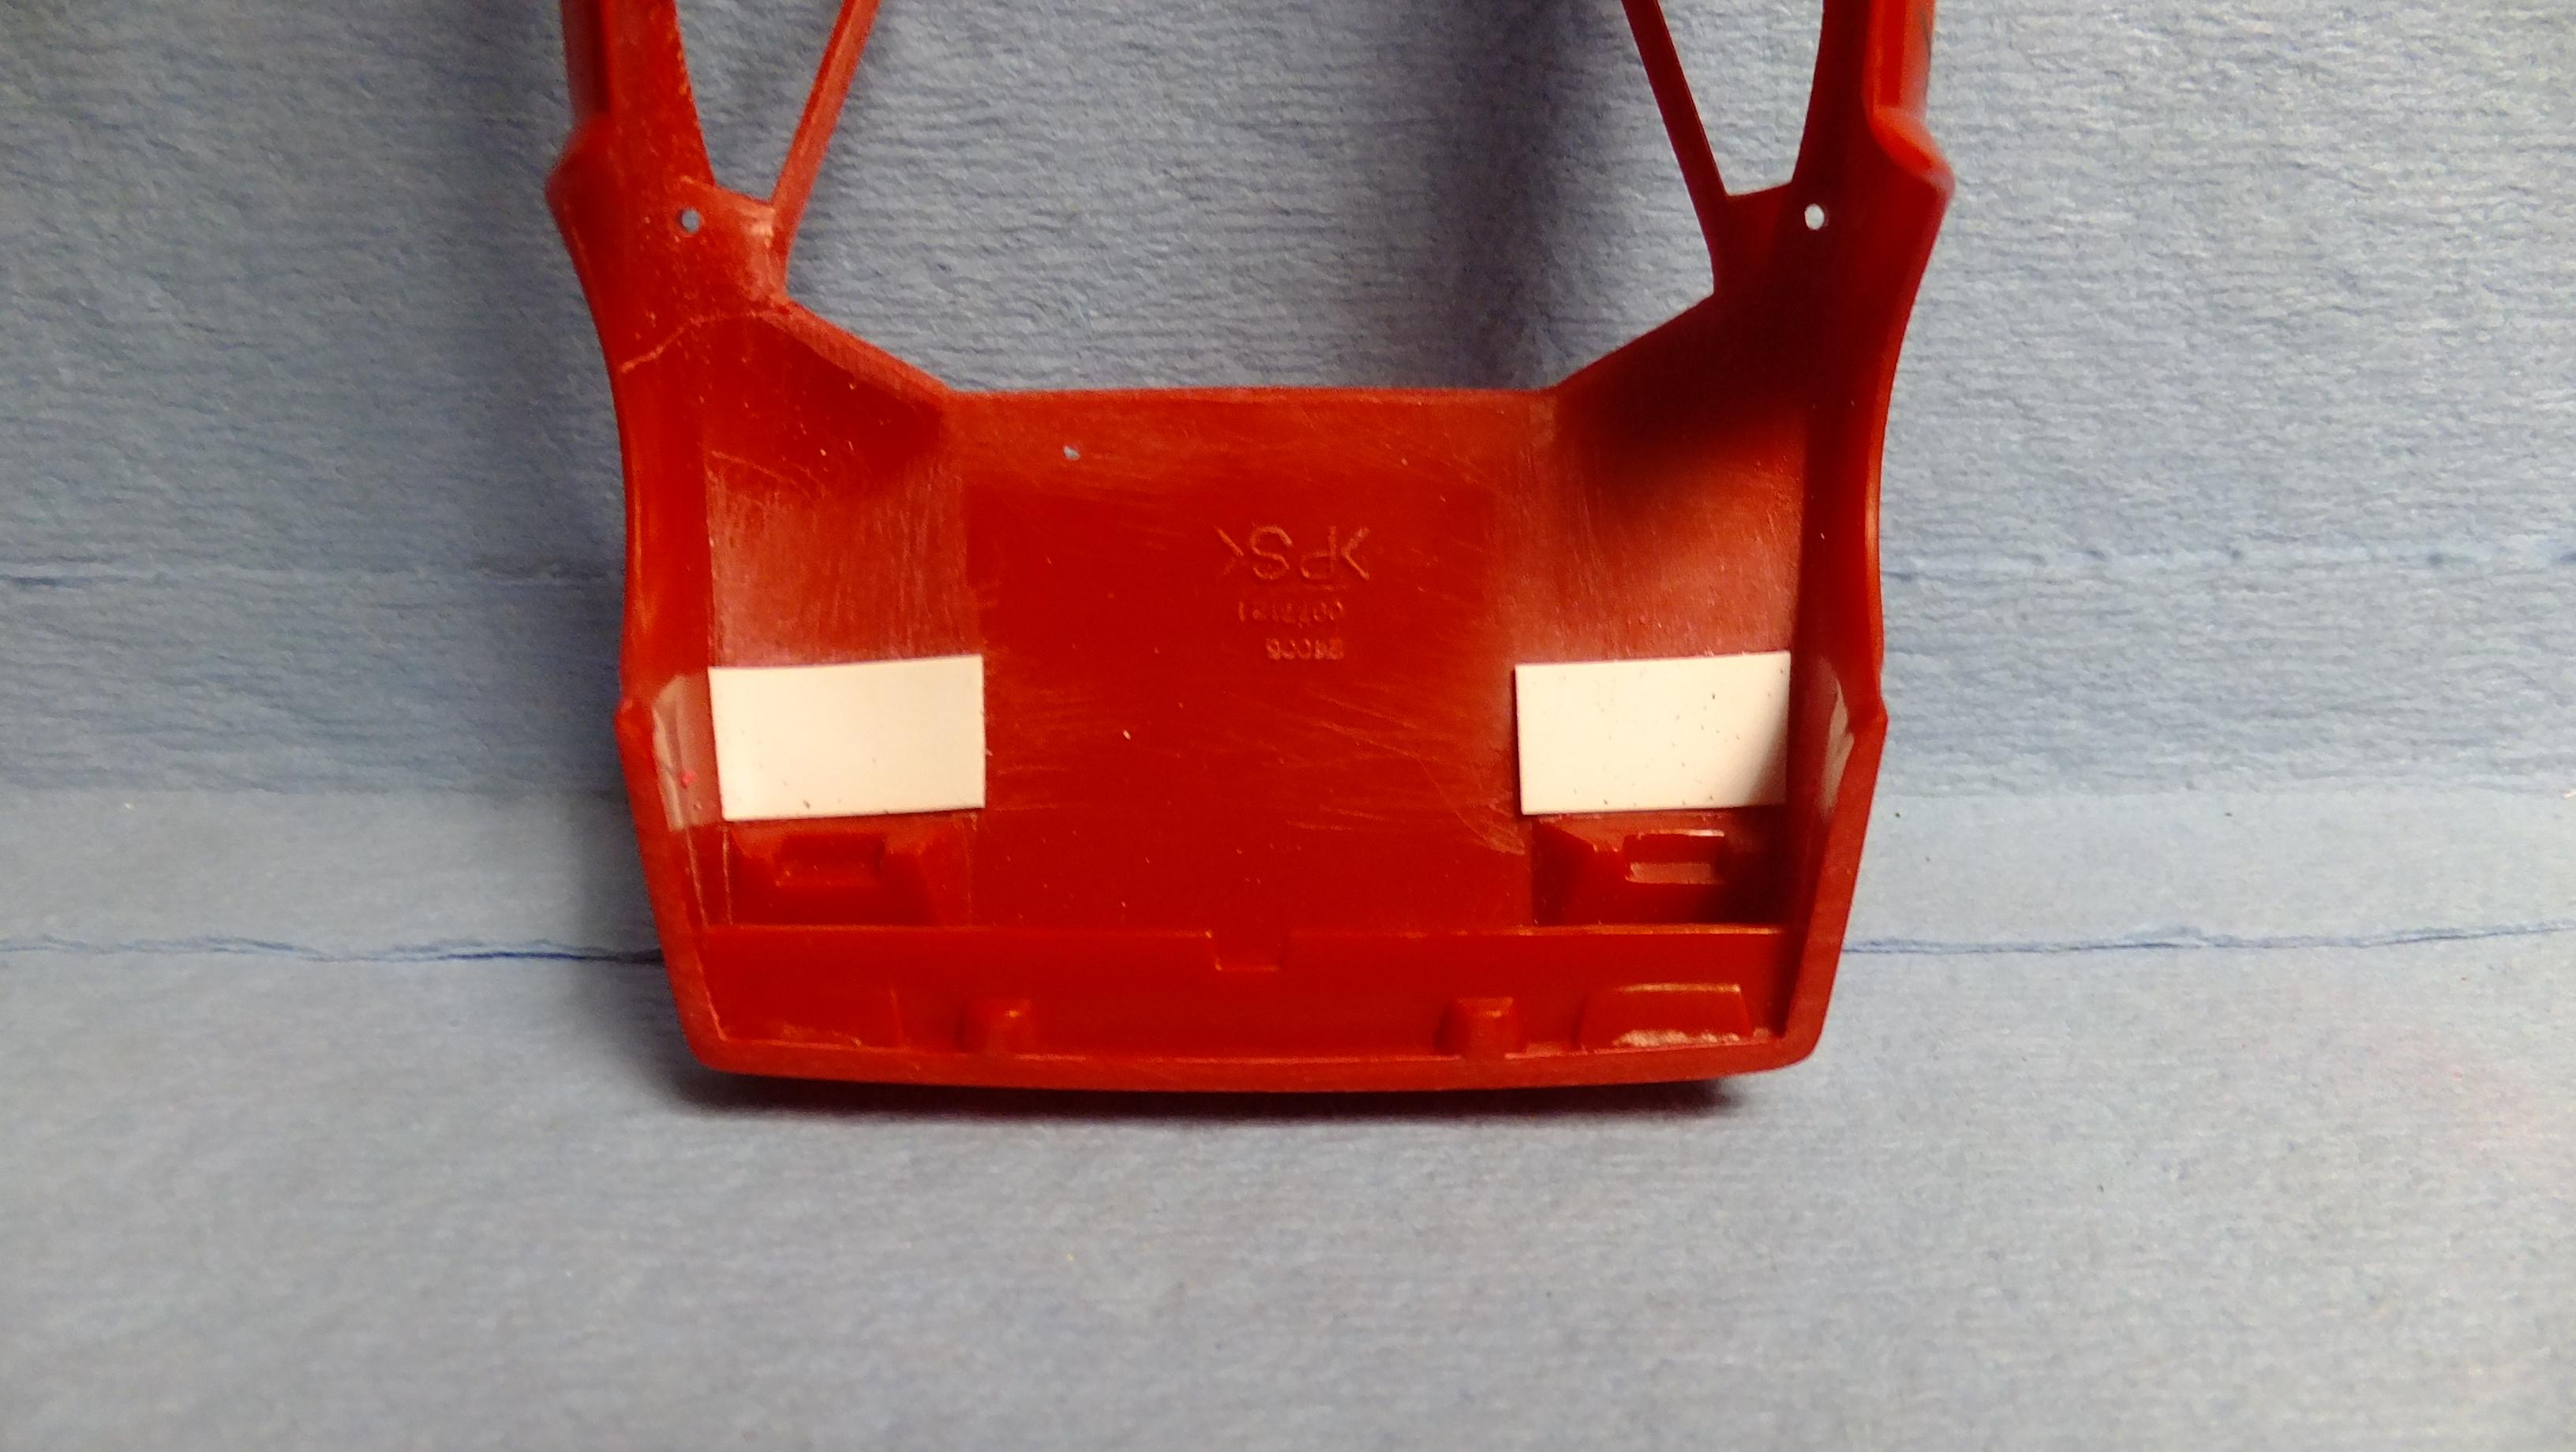
Hey, everyone!, its me again. I've decided that i will be posting WIPs on more of my started projects...hopefully it will motivate me to finally finish them. Who knows, it may even help someone whose working on one now. My objective for this kit was to just make it look a bit more realistic without having to spend too much extra money. Its actually a pretty decent representation of the actual car, and despite the kits age, it fits together well...is fun to build, and looks great when done! There are a few body style changes i made already.....basically an easier, fun build. Dont know how these photos got all mixed up, but here we go... -Photo 1, 5-7; I'm not sure how many people re-scribe every seam the same, but not all seams should be the same depth. For instance; the arrows are pointing to lines that should be shallow, since they are only body panels that dont open. Things like doors...bonnets...and boots need to be scribed deeper to show a deeper shadow insinuating space. -Photo 2; The kit -Photo 3&4; These photos show my kolor choices for this build. -Photo 8; Since i never intended to show the engine, i glued the hood shut, and needed to use styrene for extra contact. -Photo 9; The Headlamp housings dont have enough contact to be level in the closed position -in the up position they work fine. Since i wanted them down, i cut the box away, added sheet styrene to the under side , then reattached the covers centered in the openings. -Photo 10; I glued together the two-part vent boxes, sanded off the molded in front license plate, and began to SB end caps on the wing. Since i didnt like the mirrors that came with the kit, i took some spare ones from an Aoshima Countach kit. -Photo 11; I glued in the exhaust pipes, and used styrene to fill in the unrealistic openings above them. -Photo 12; Here i filled in the remote control switch, and since i wanted to use a newer version wheel from an Aoshima kit, i had to styrene rods that will fit into the backs of the wheels. -Photo 13; Here are the interior bits i am starting with.
-
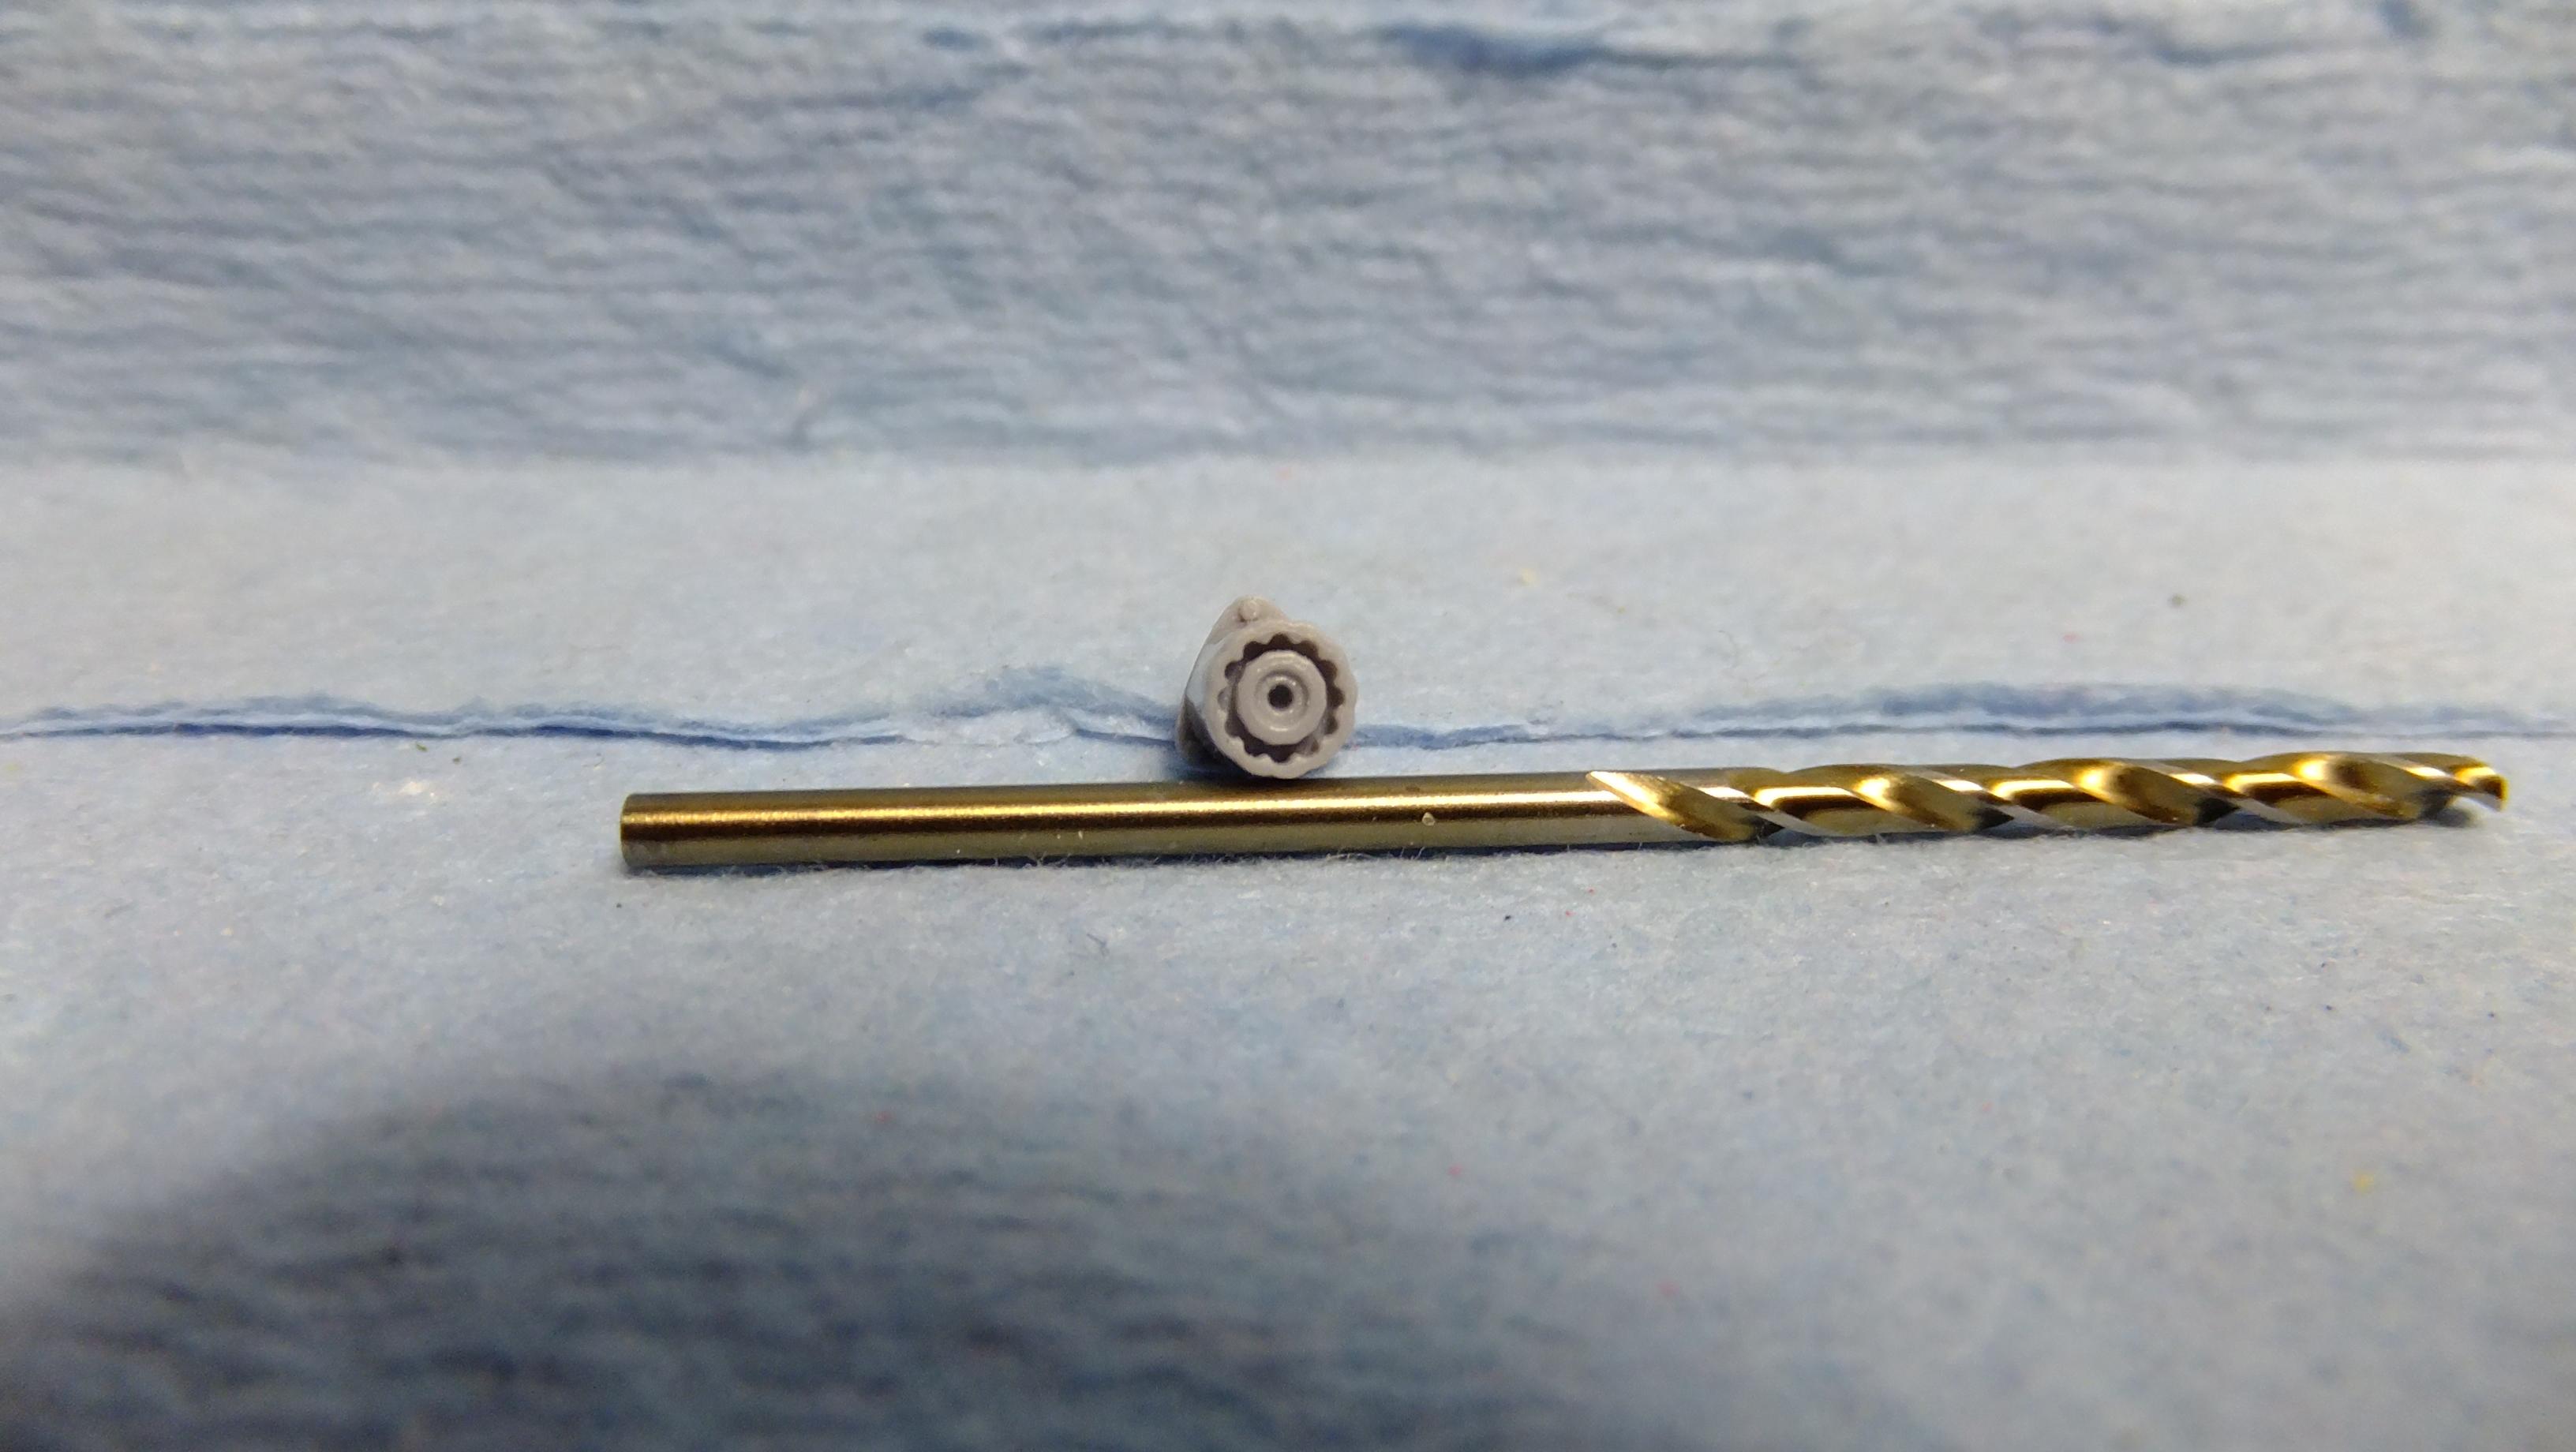
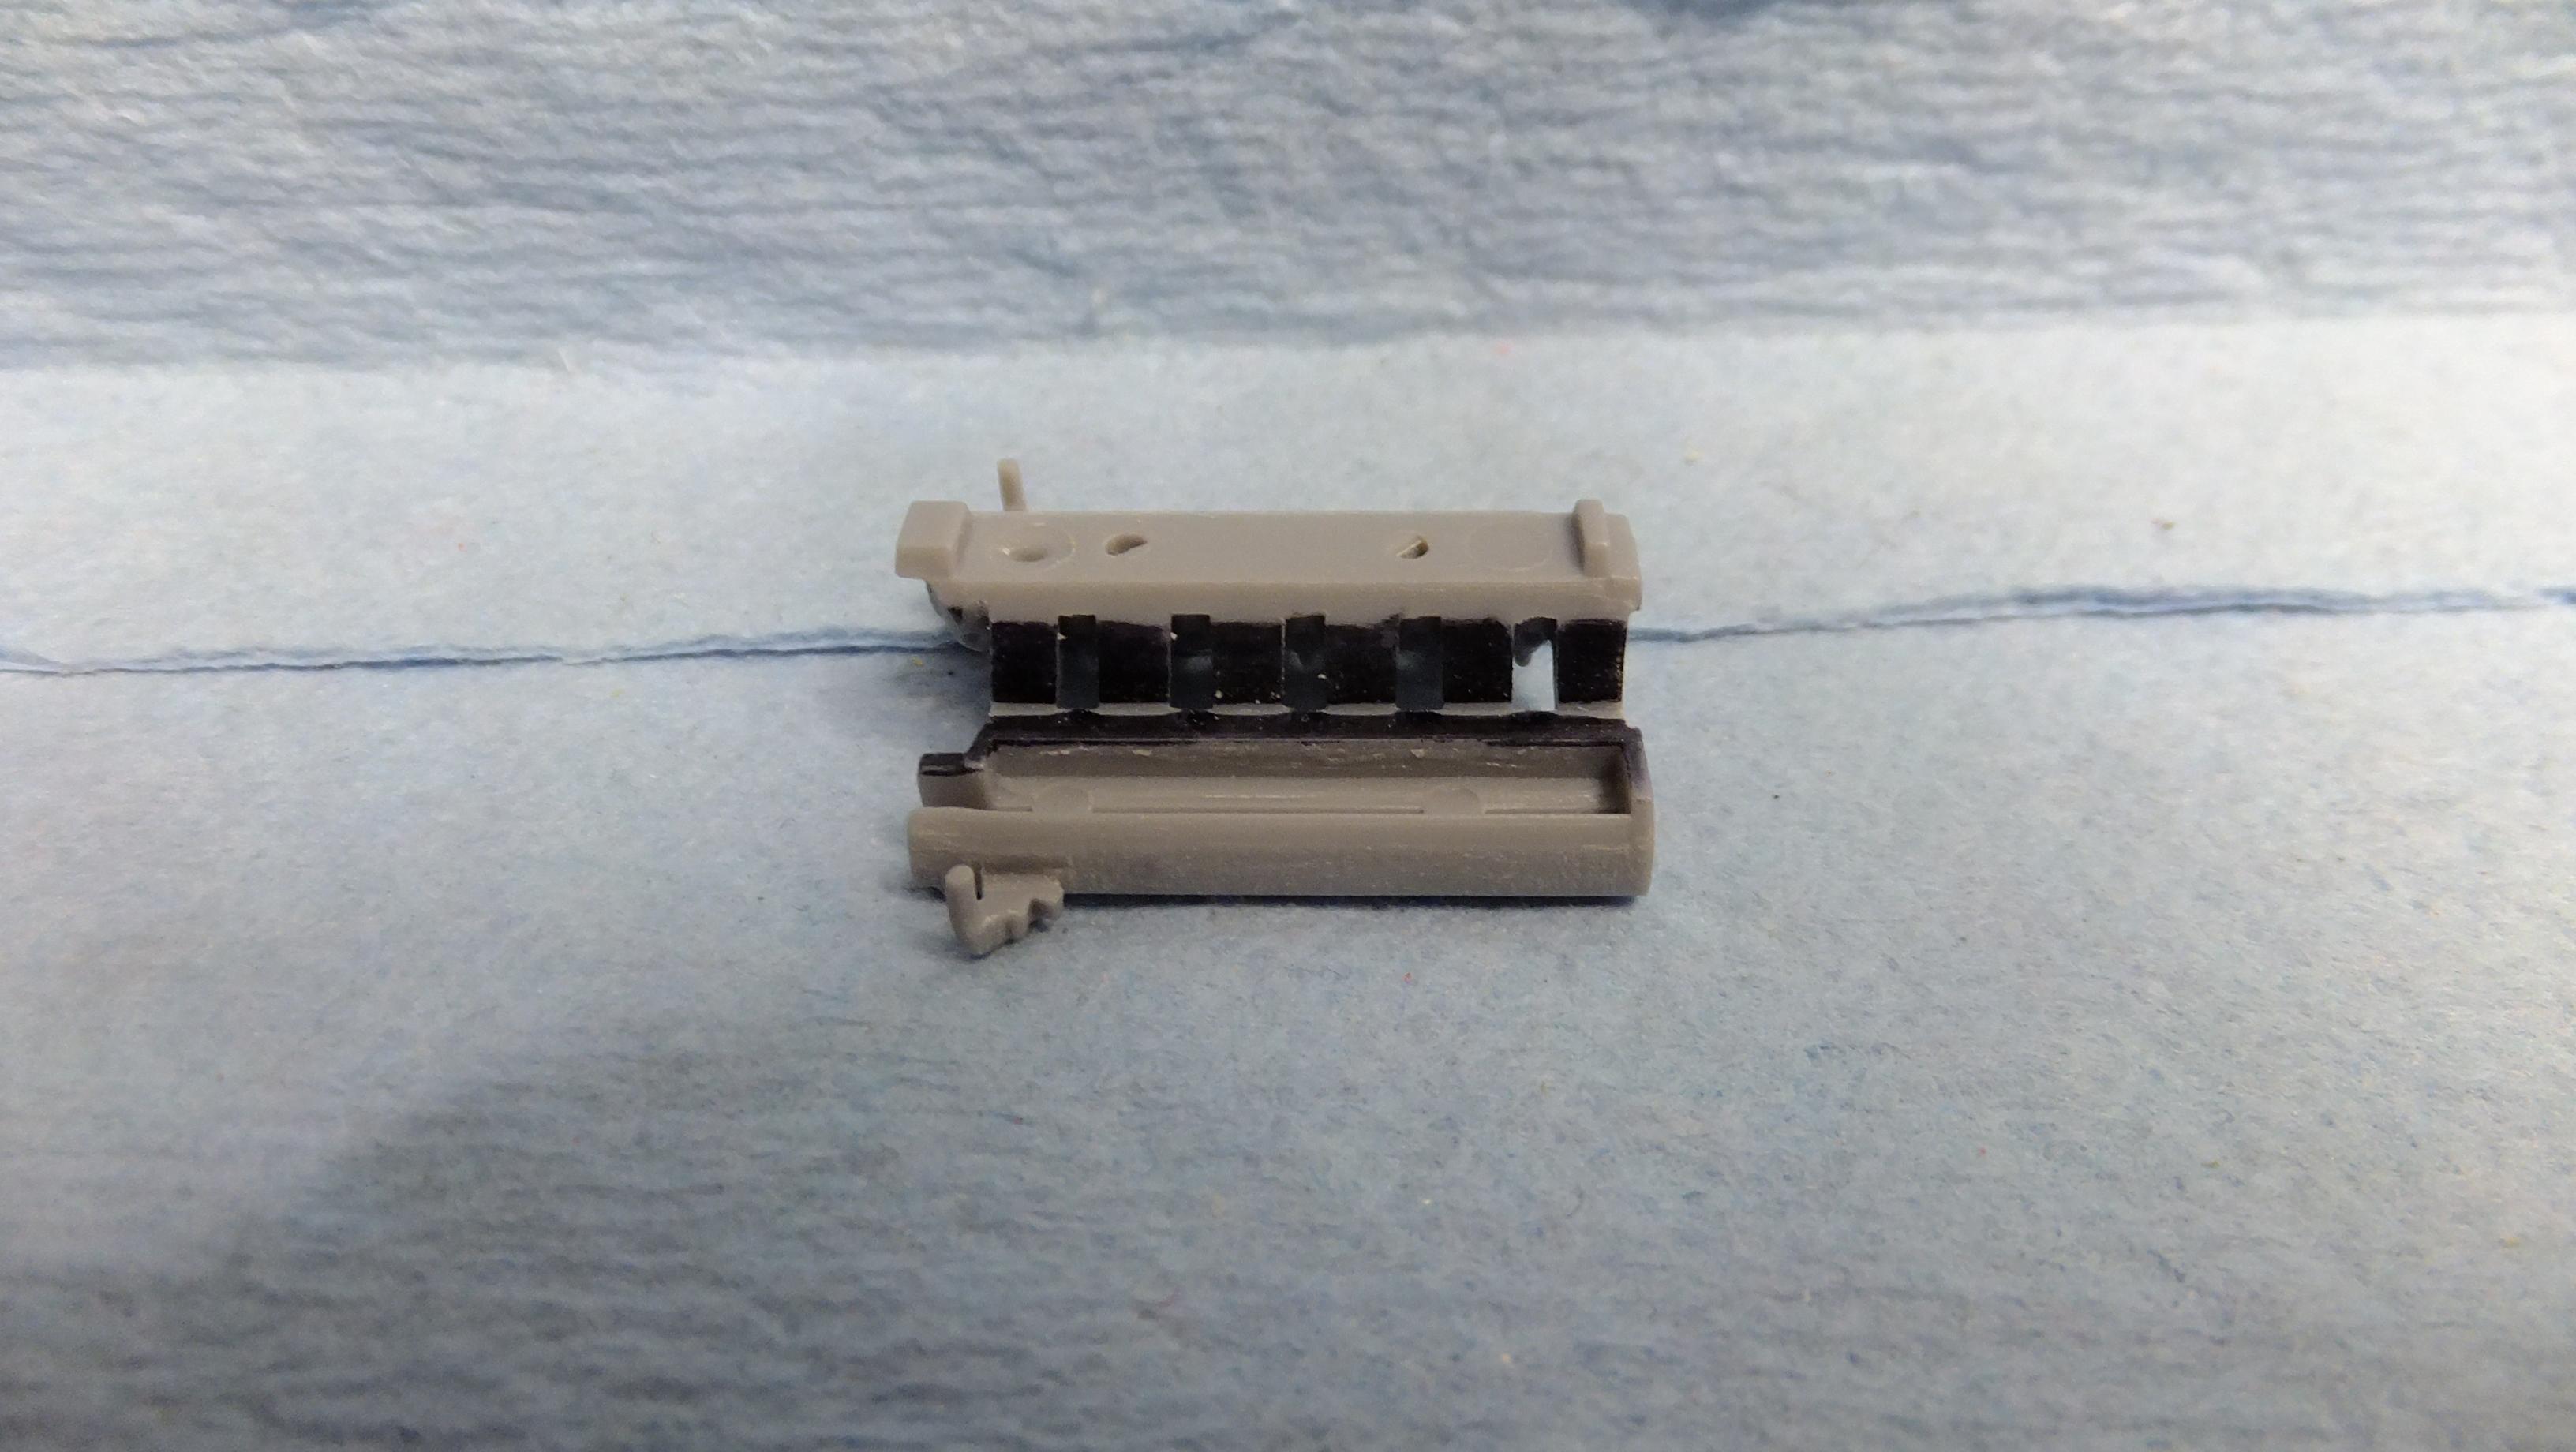
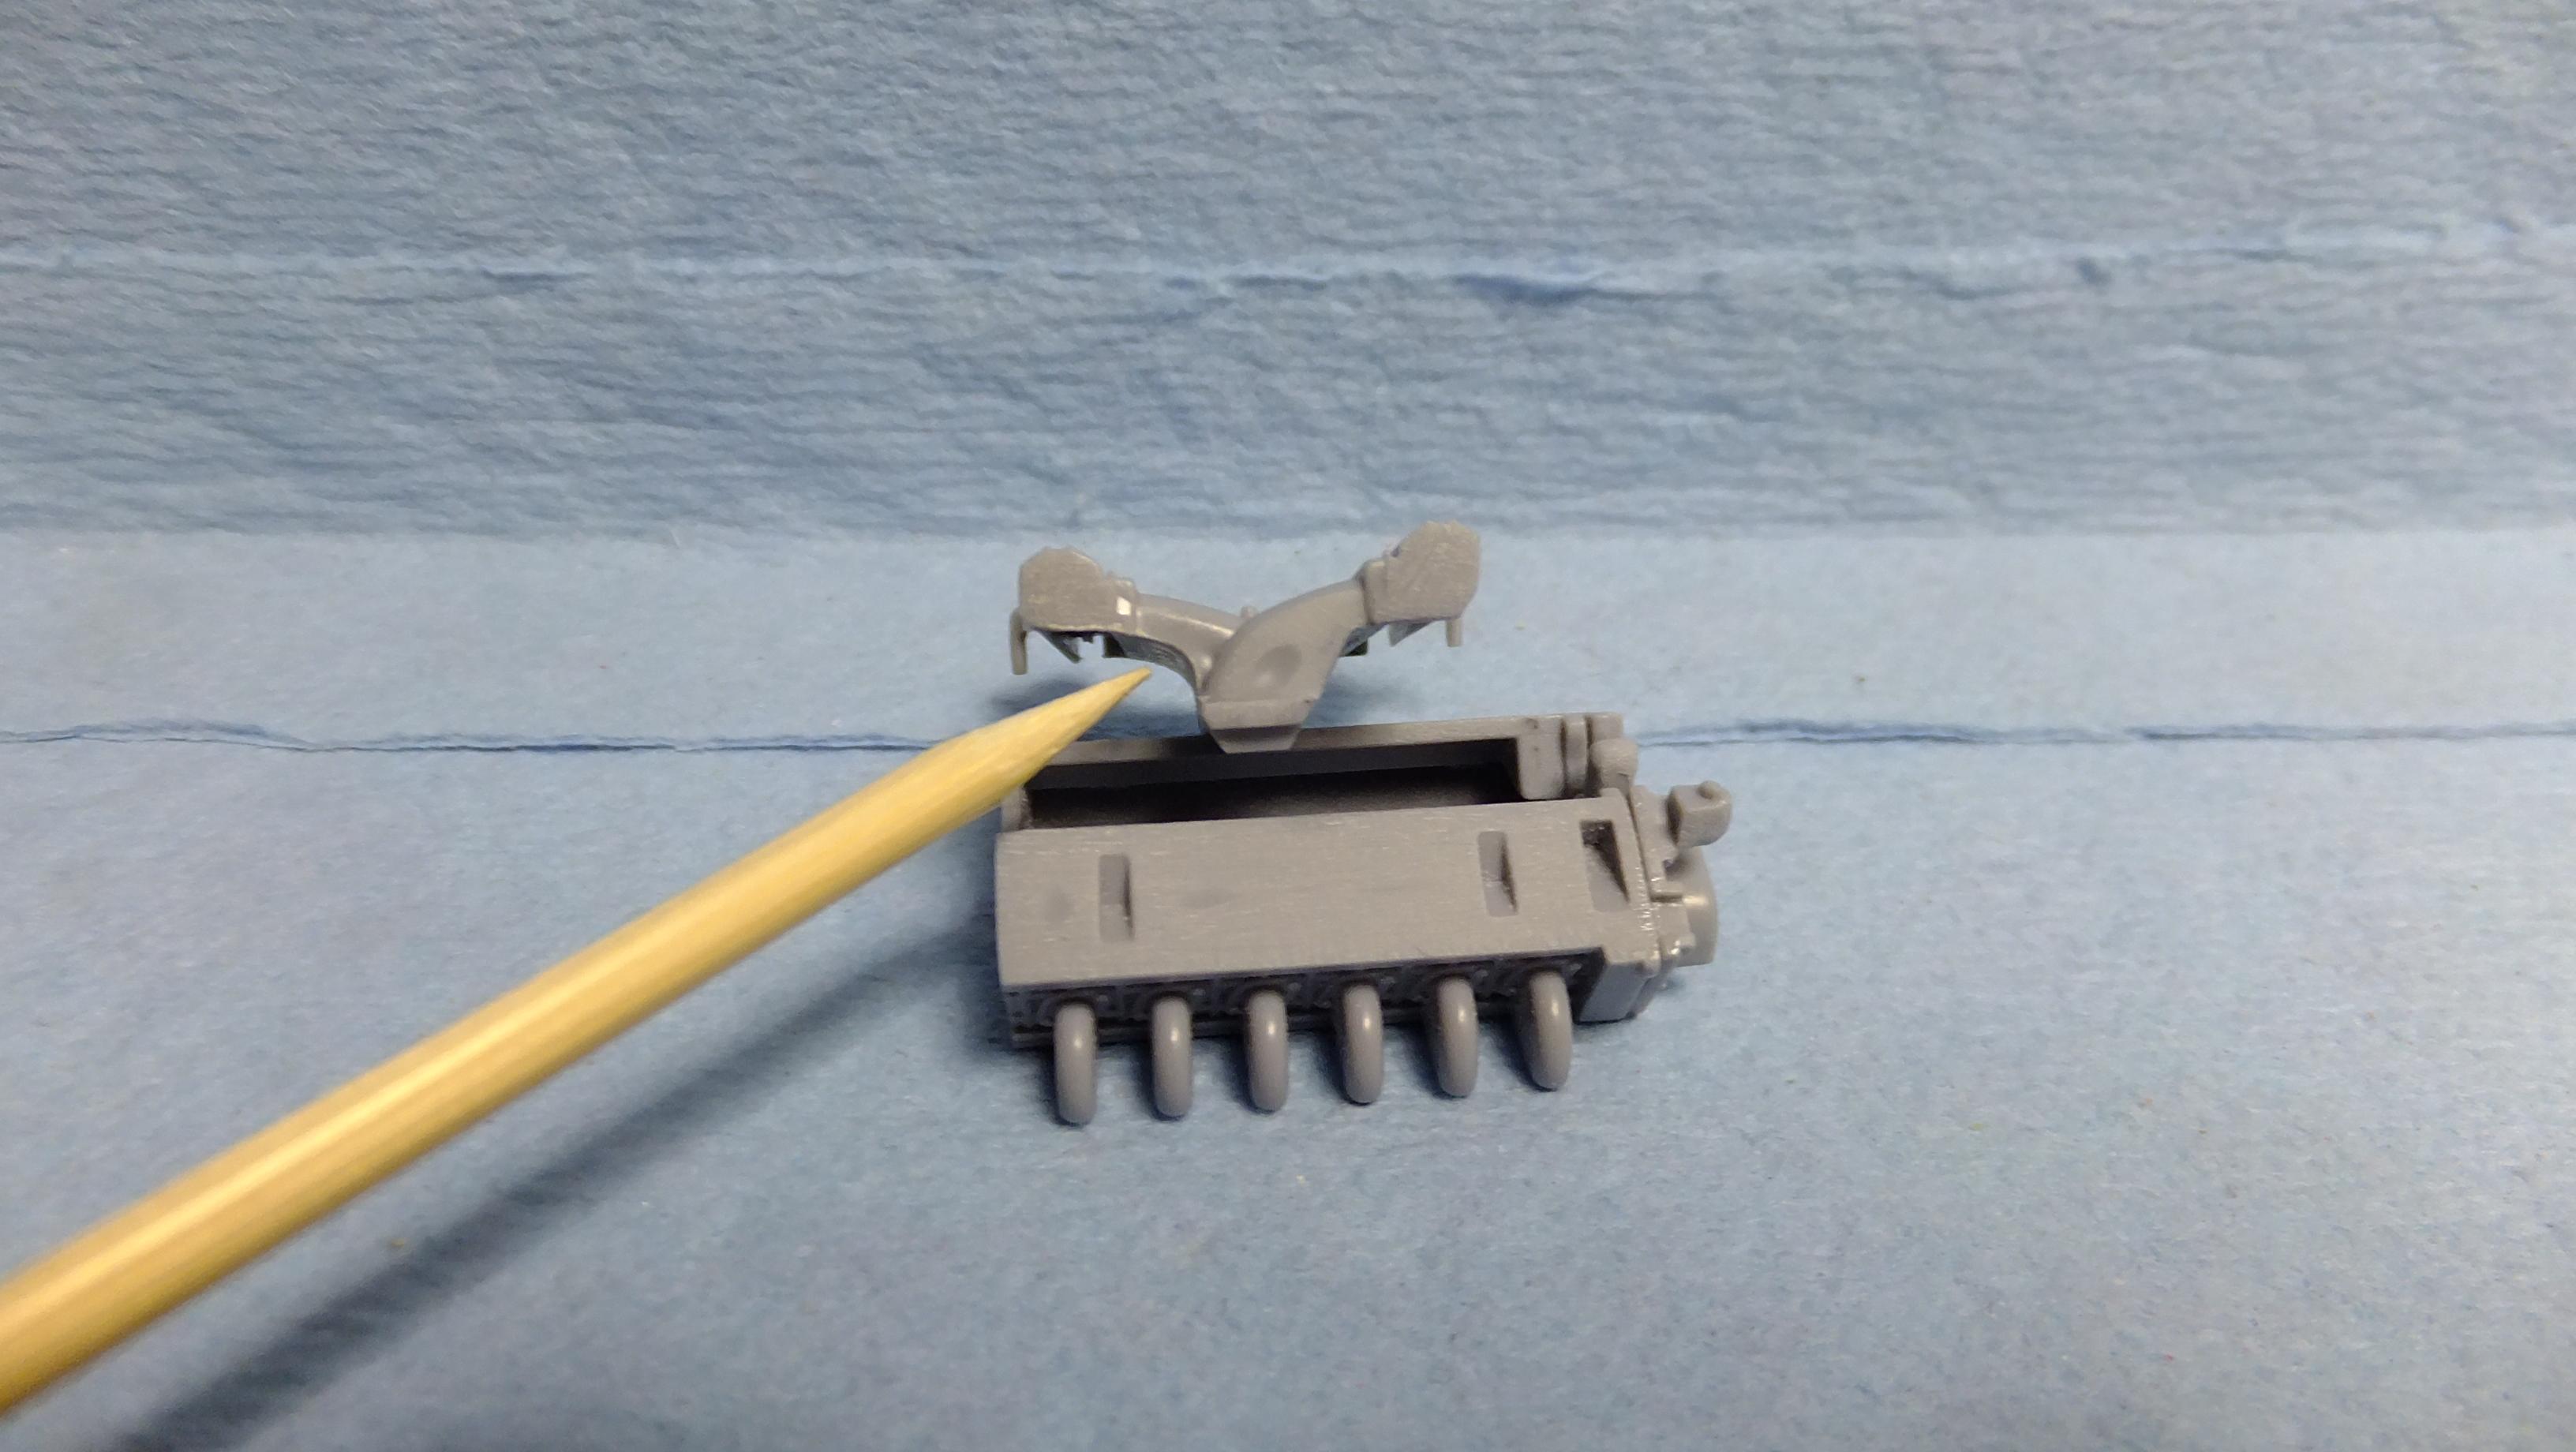
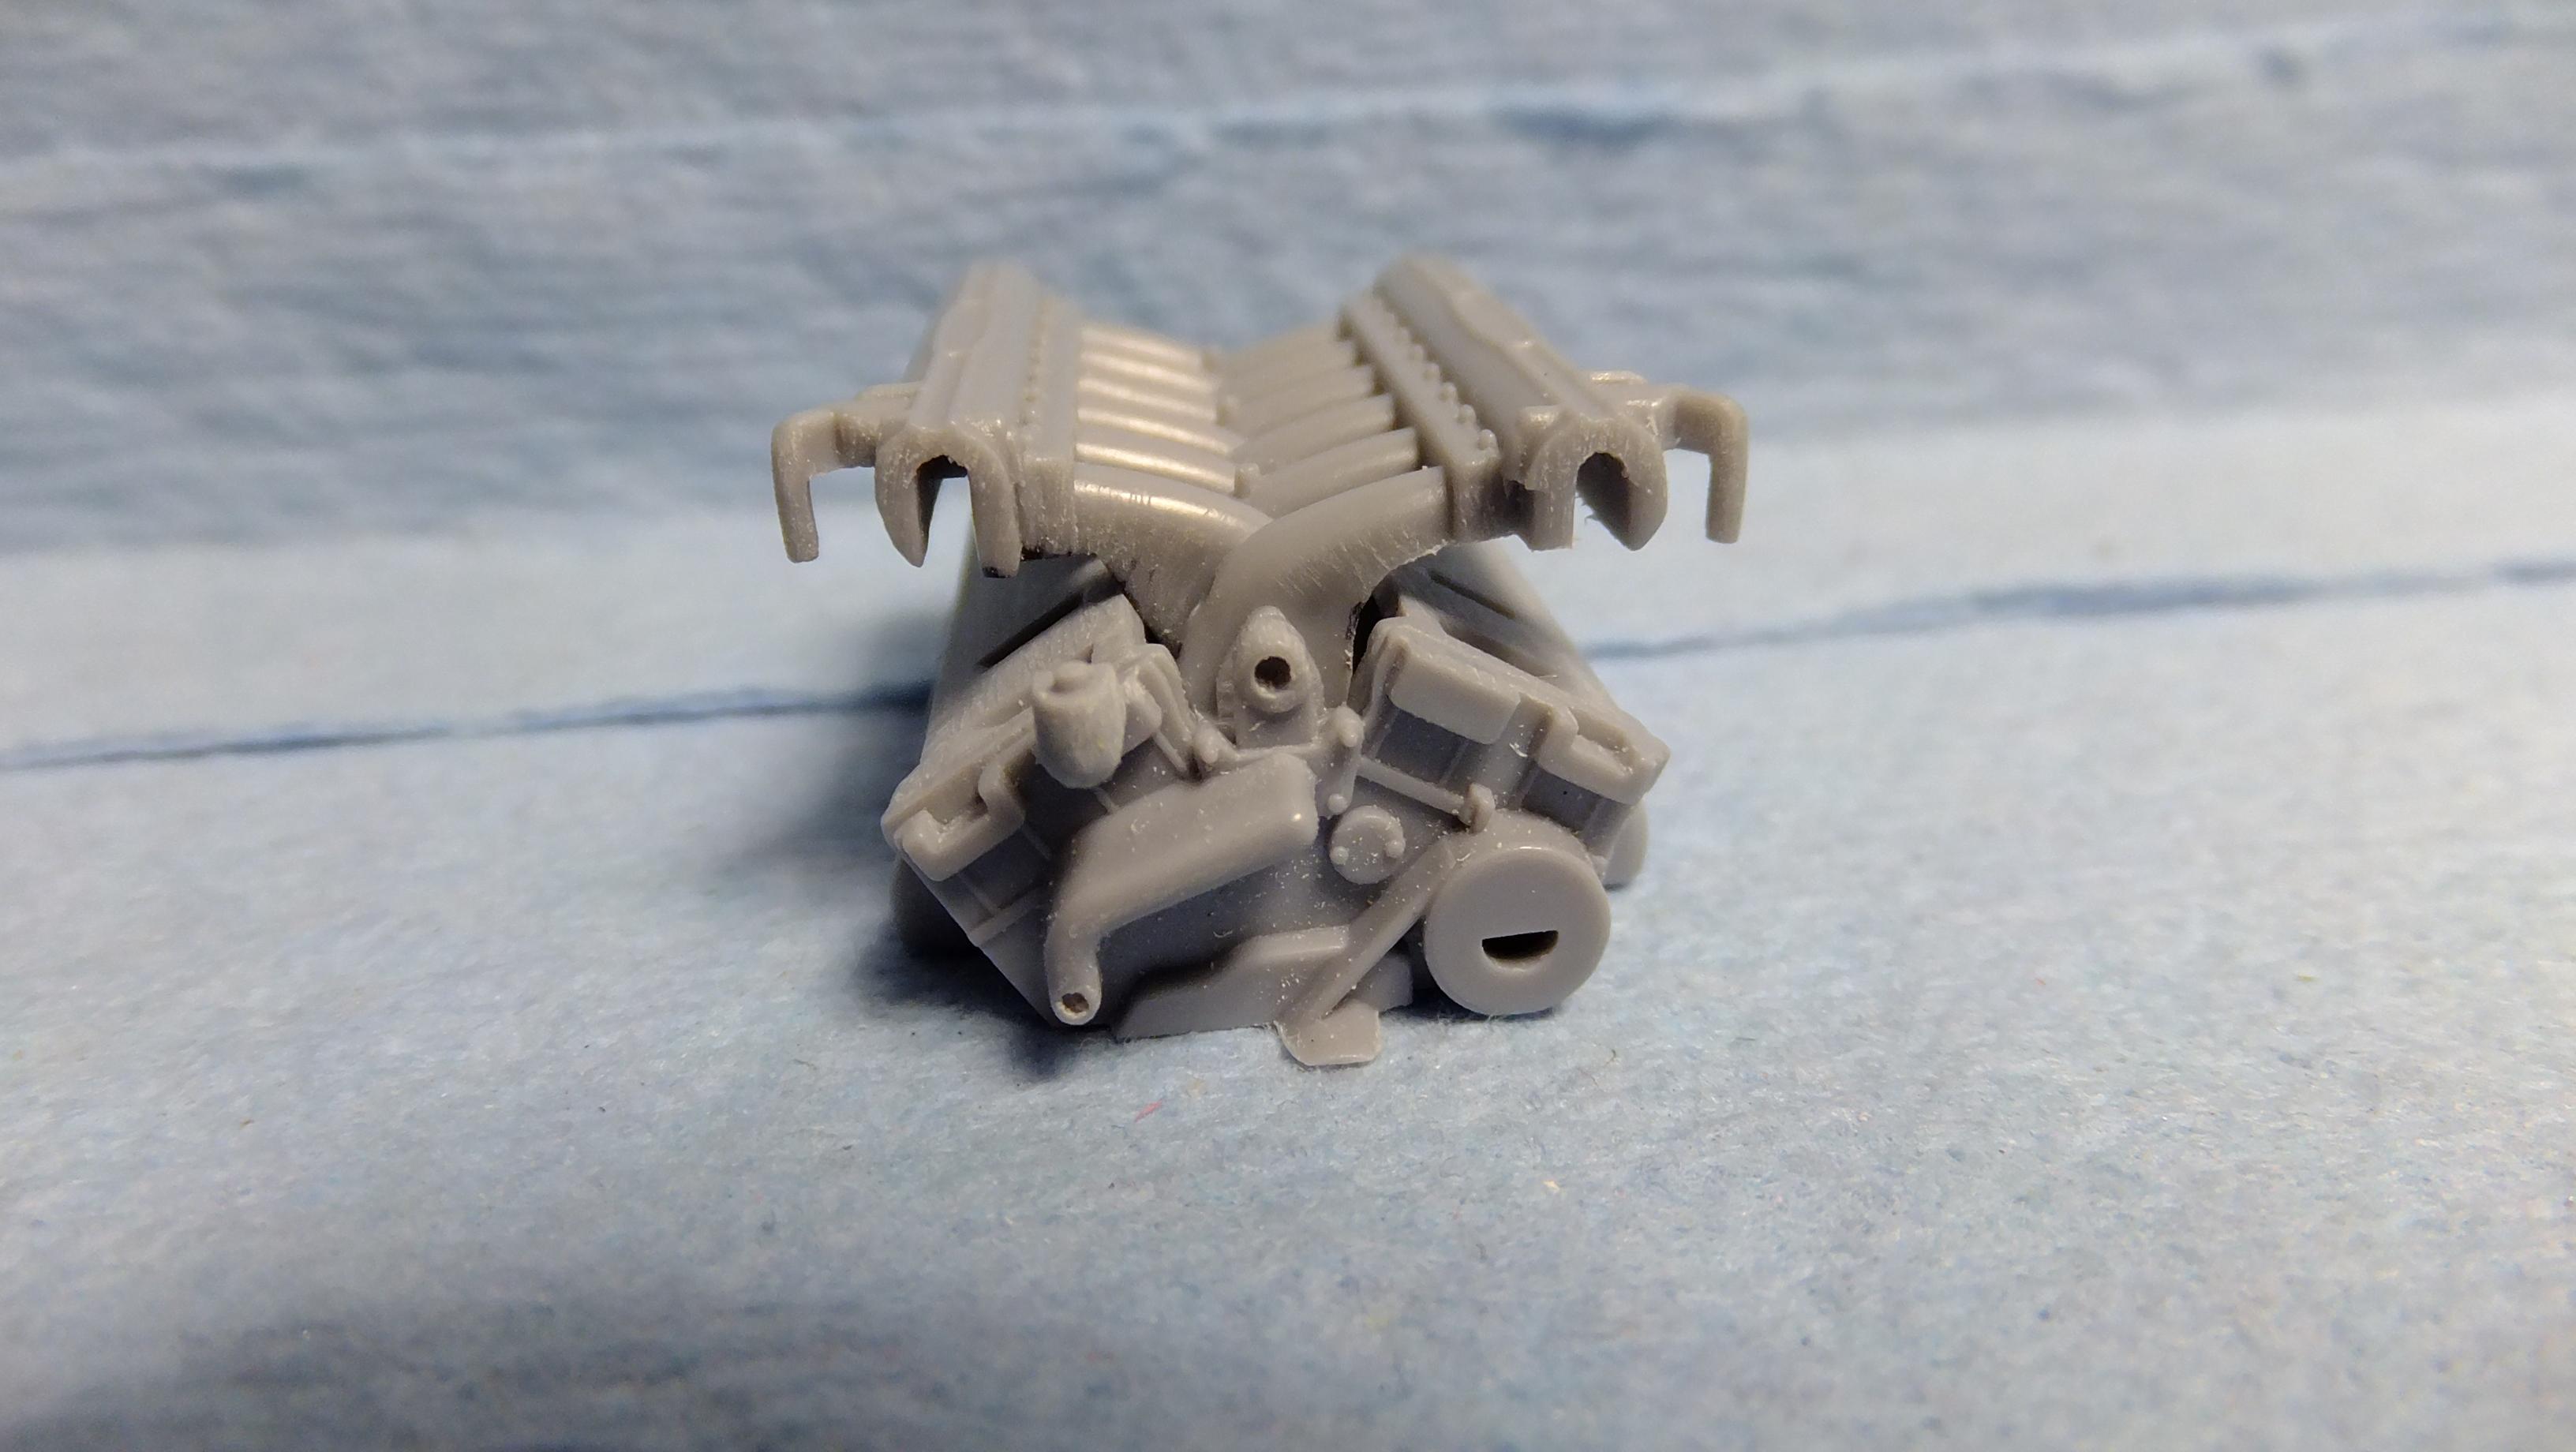
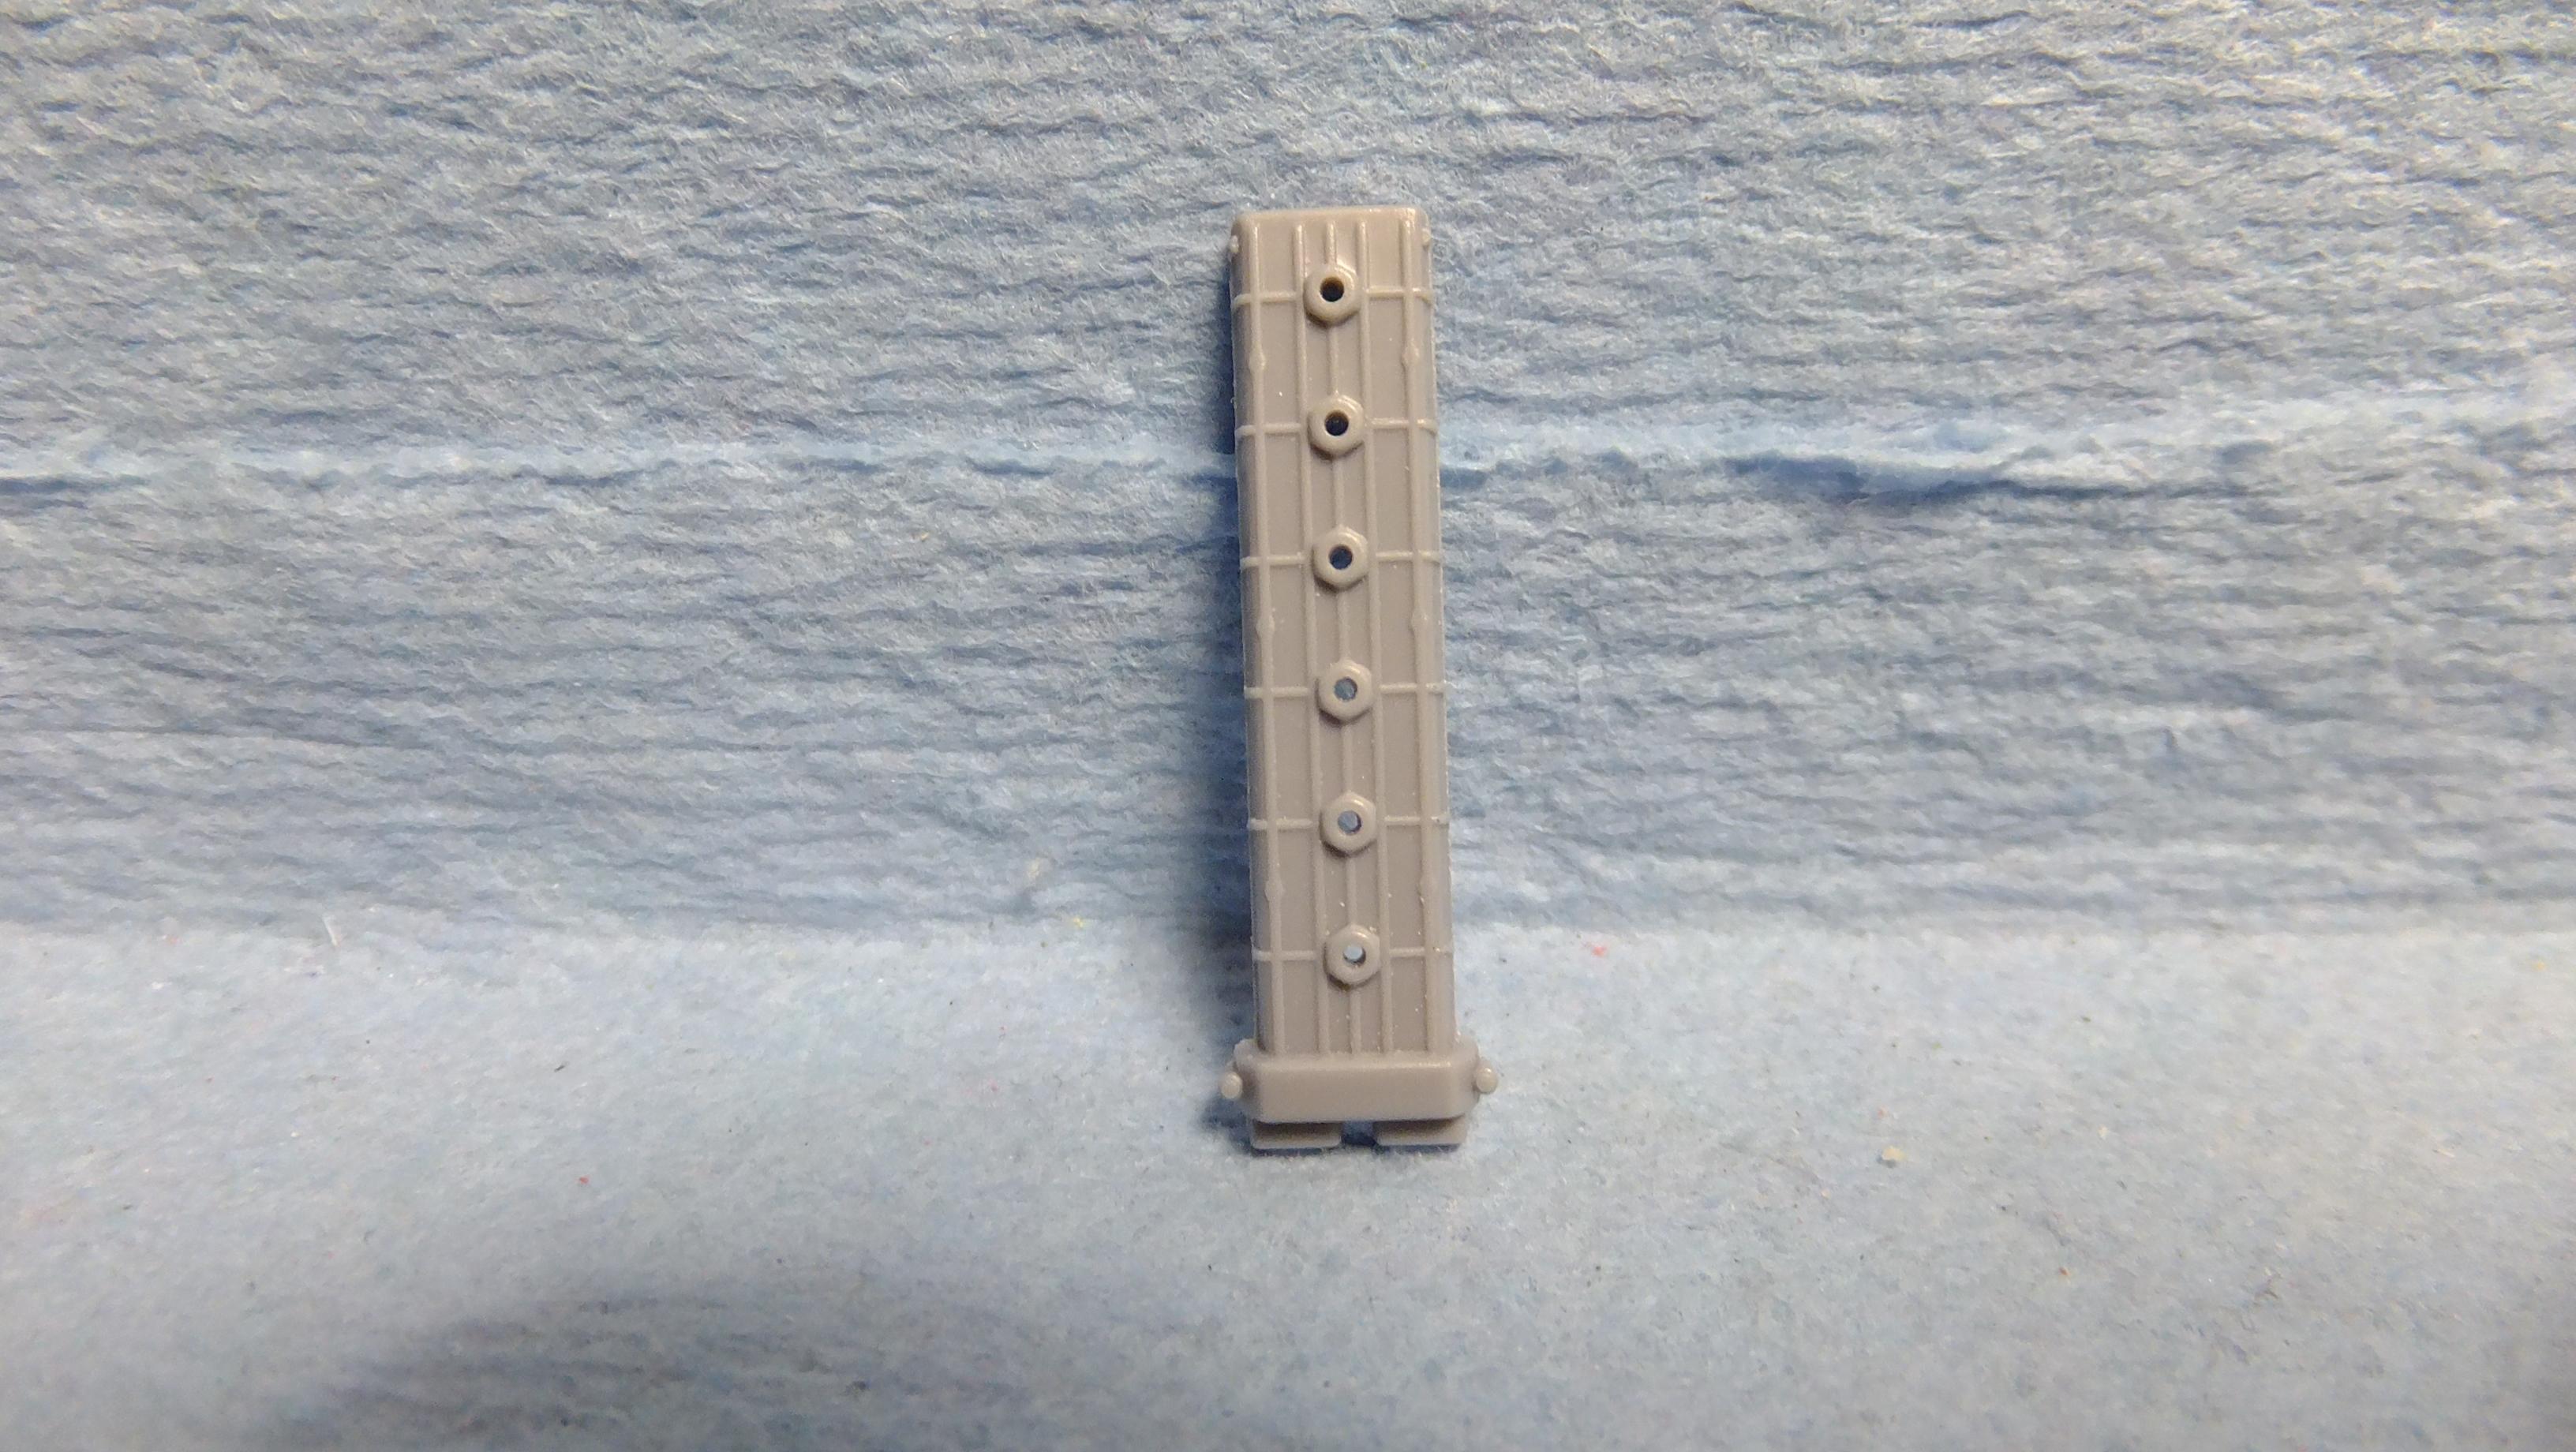
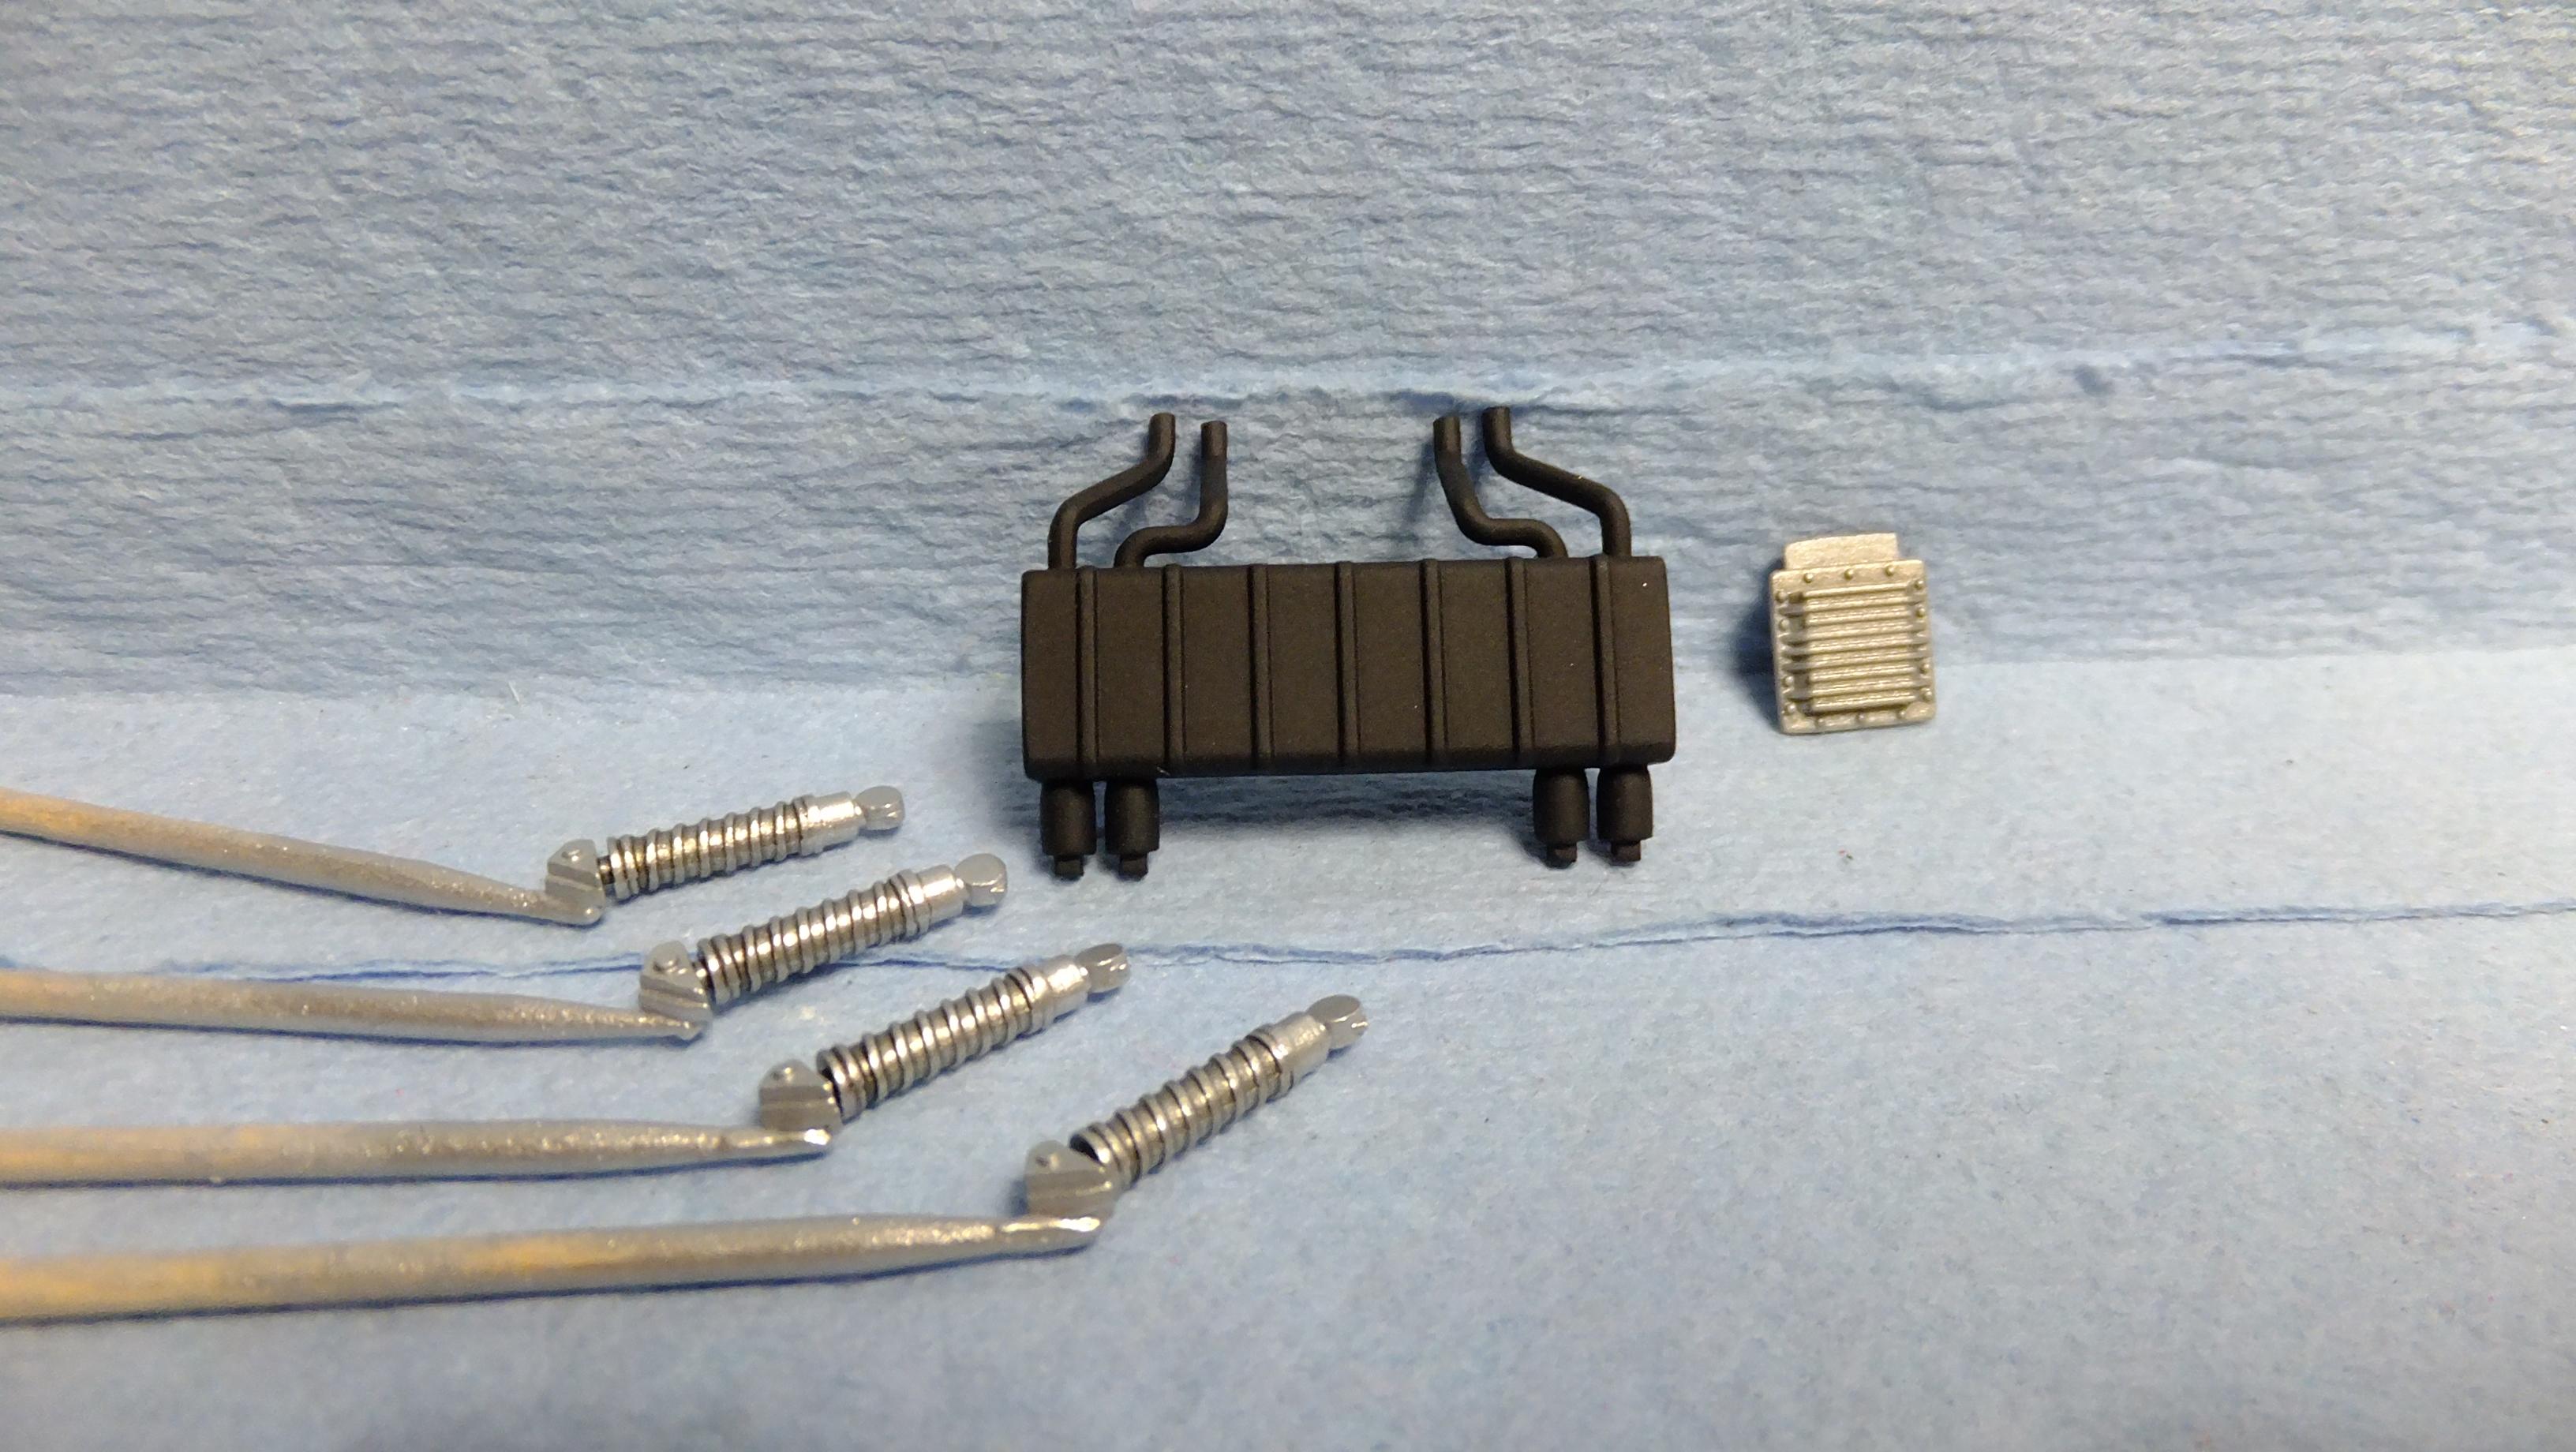
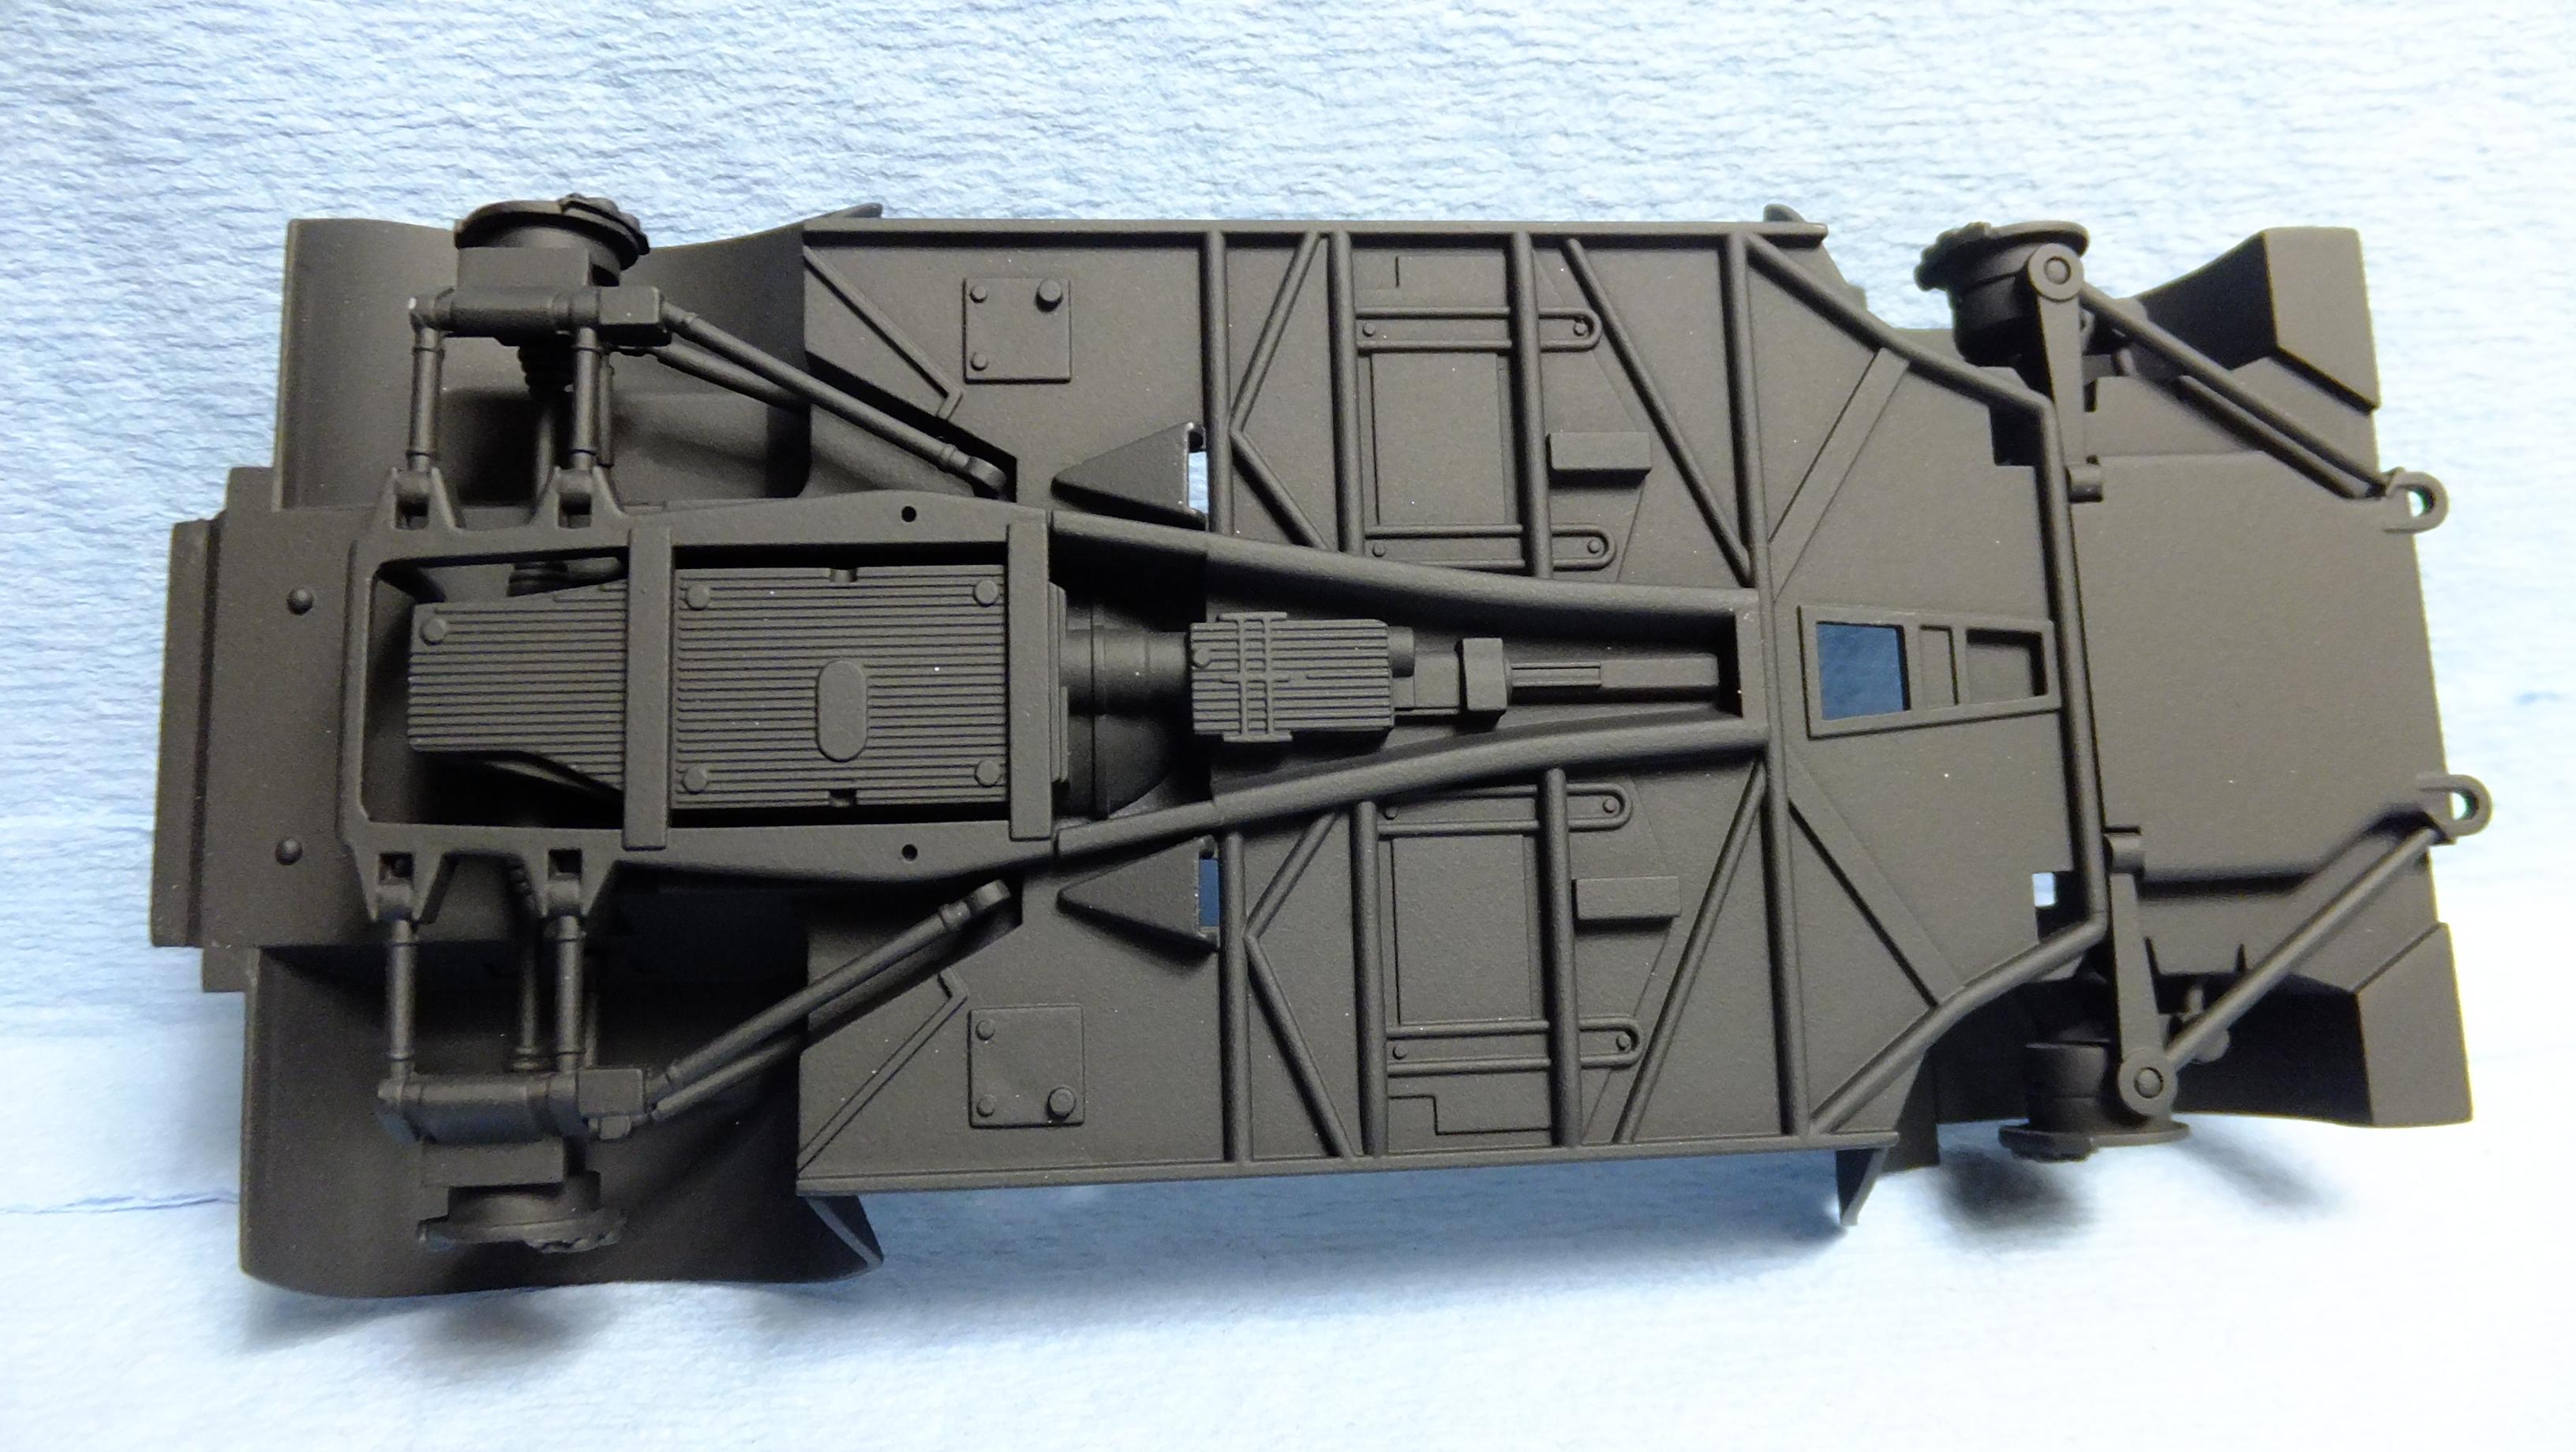
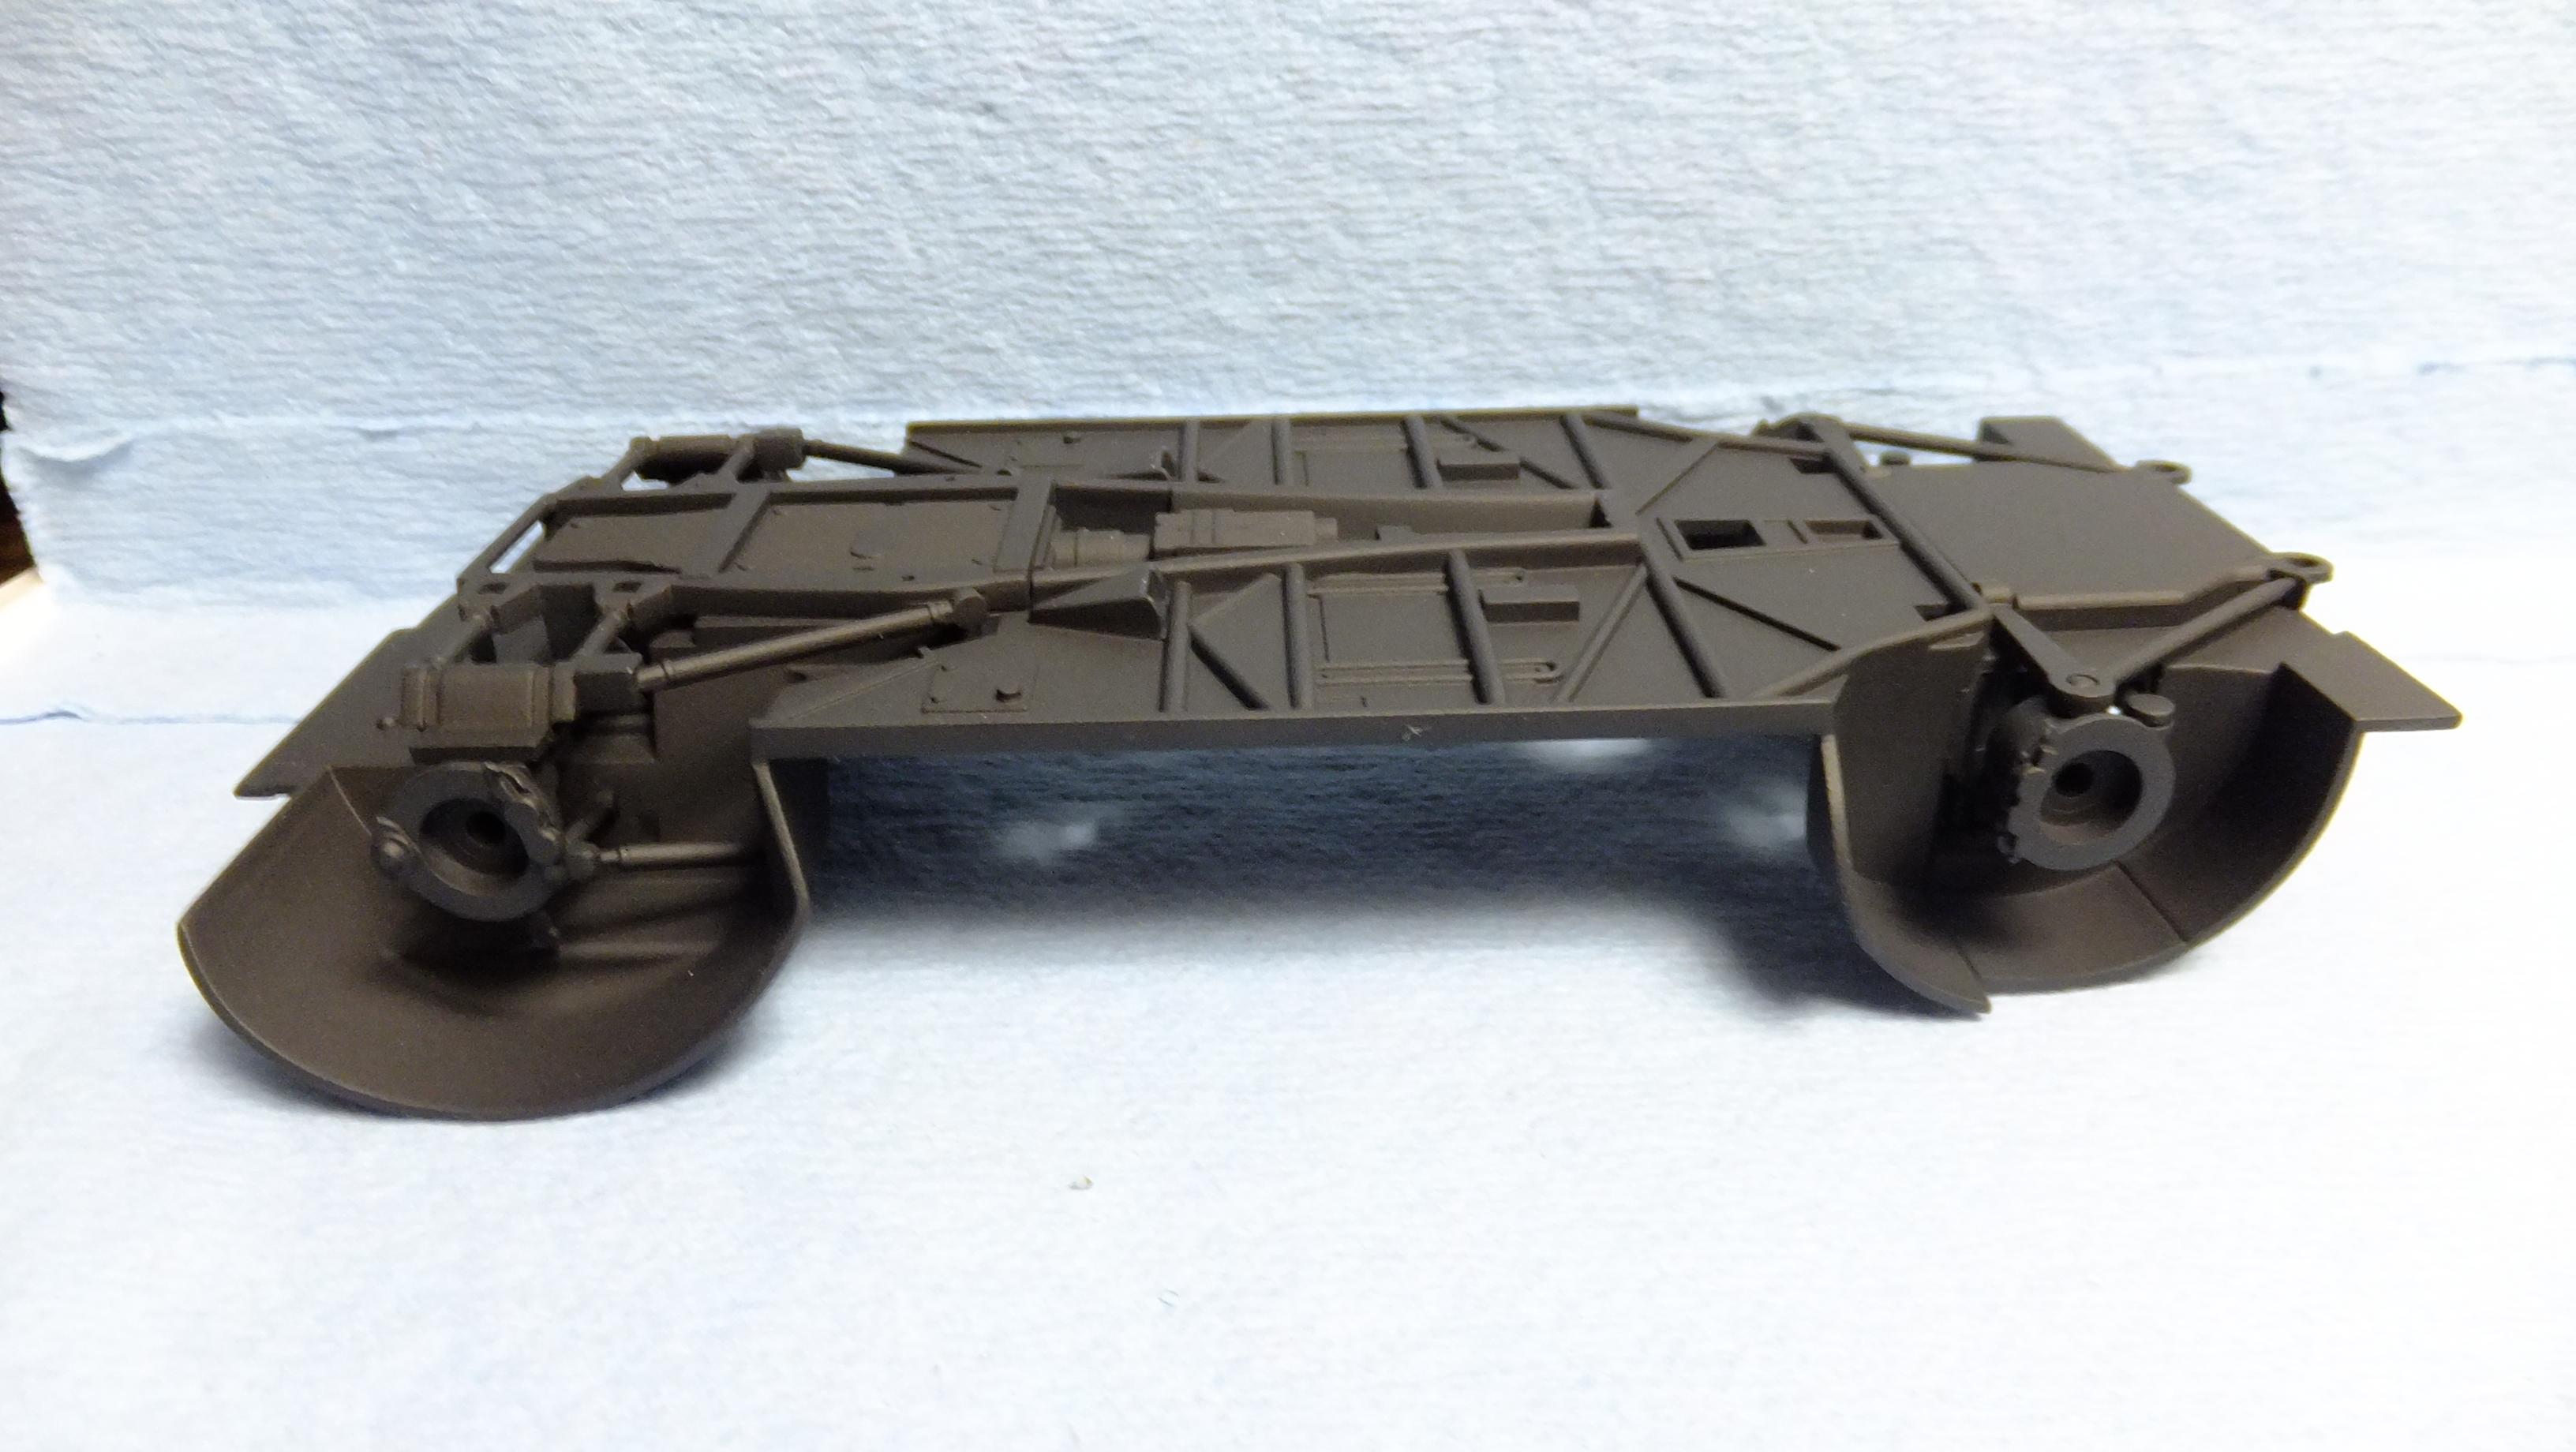
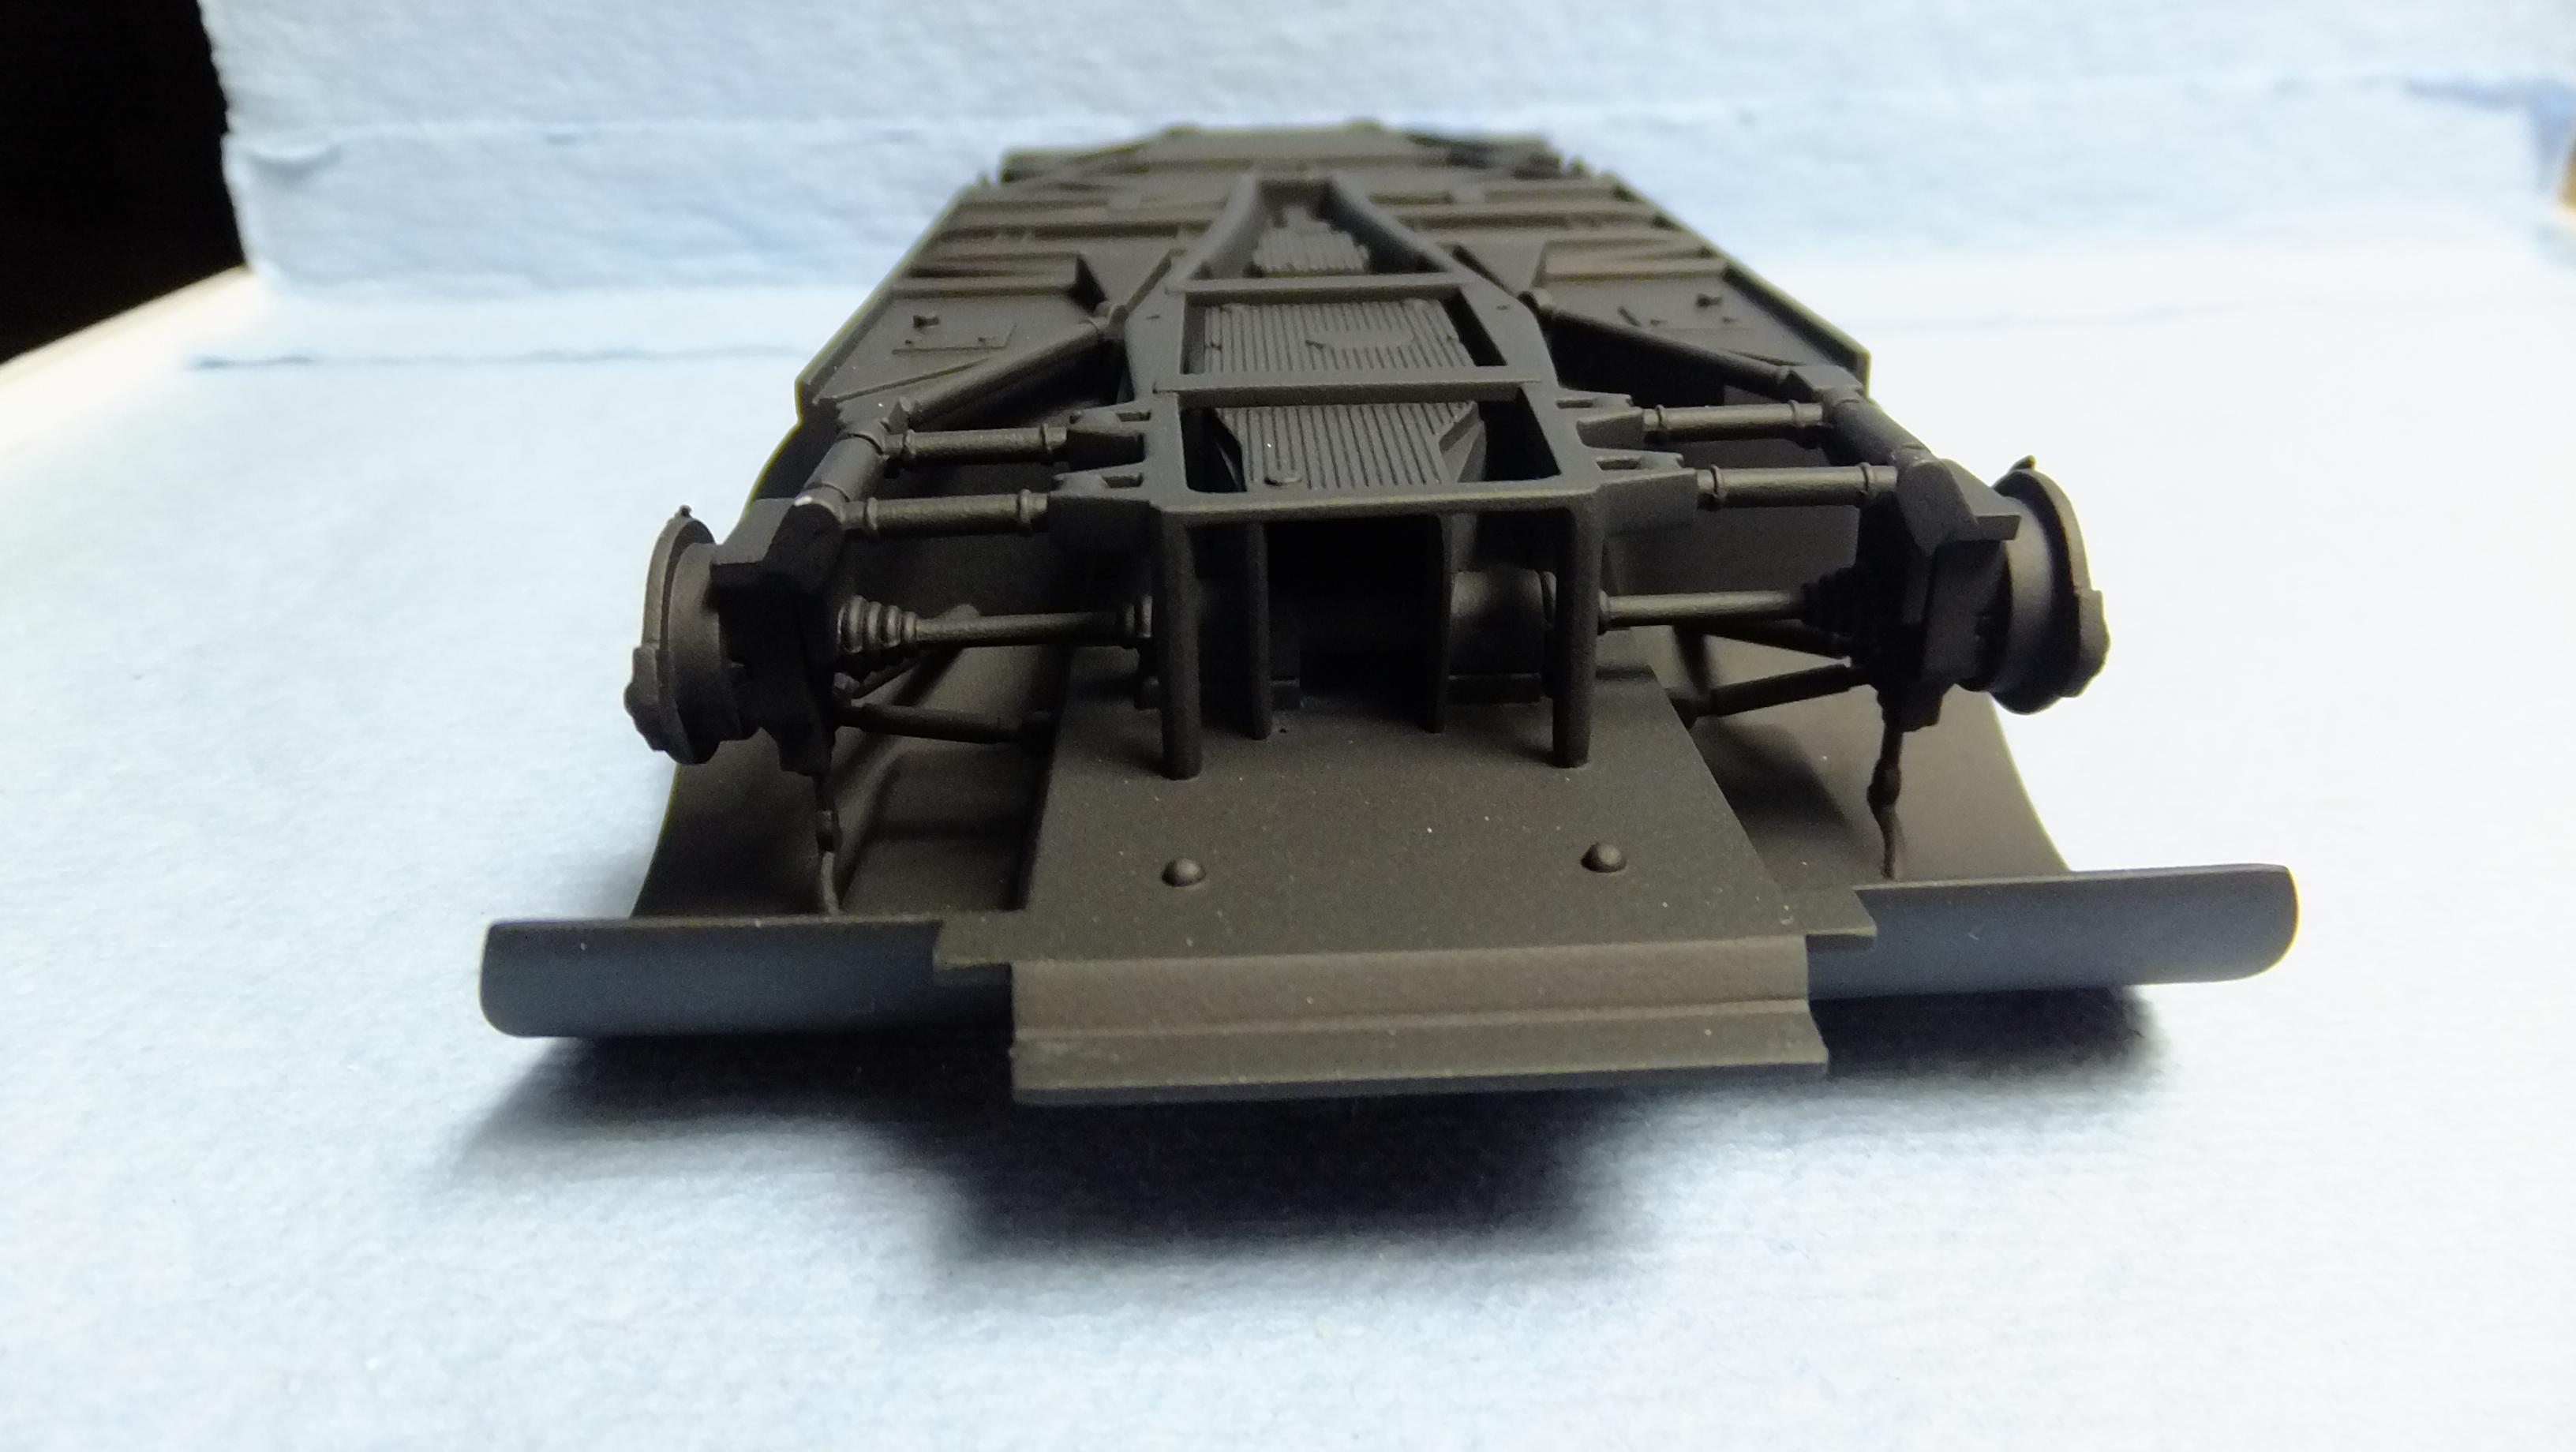
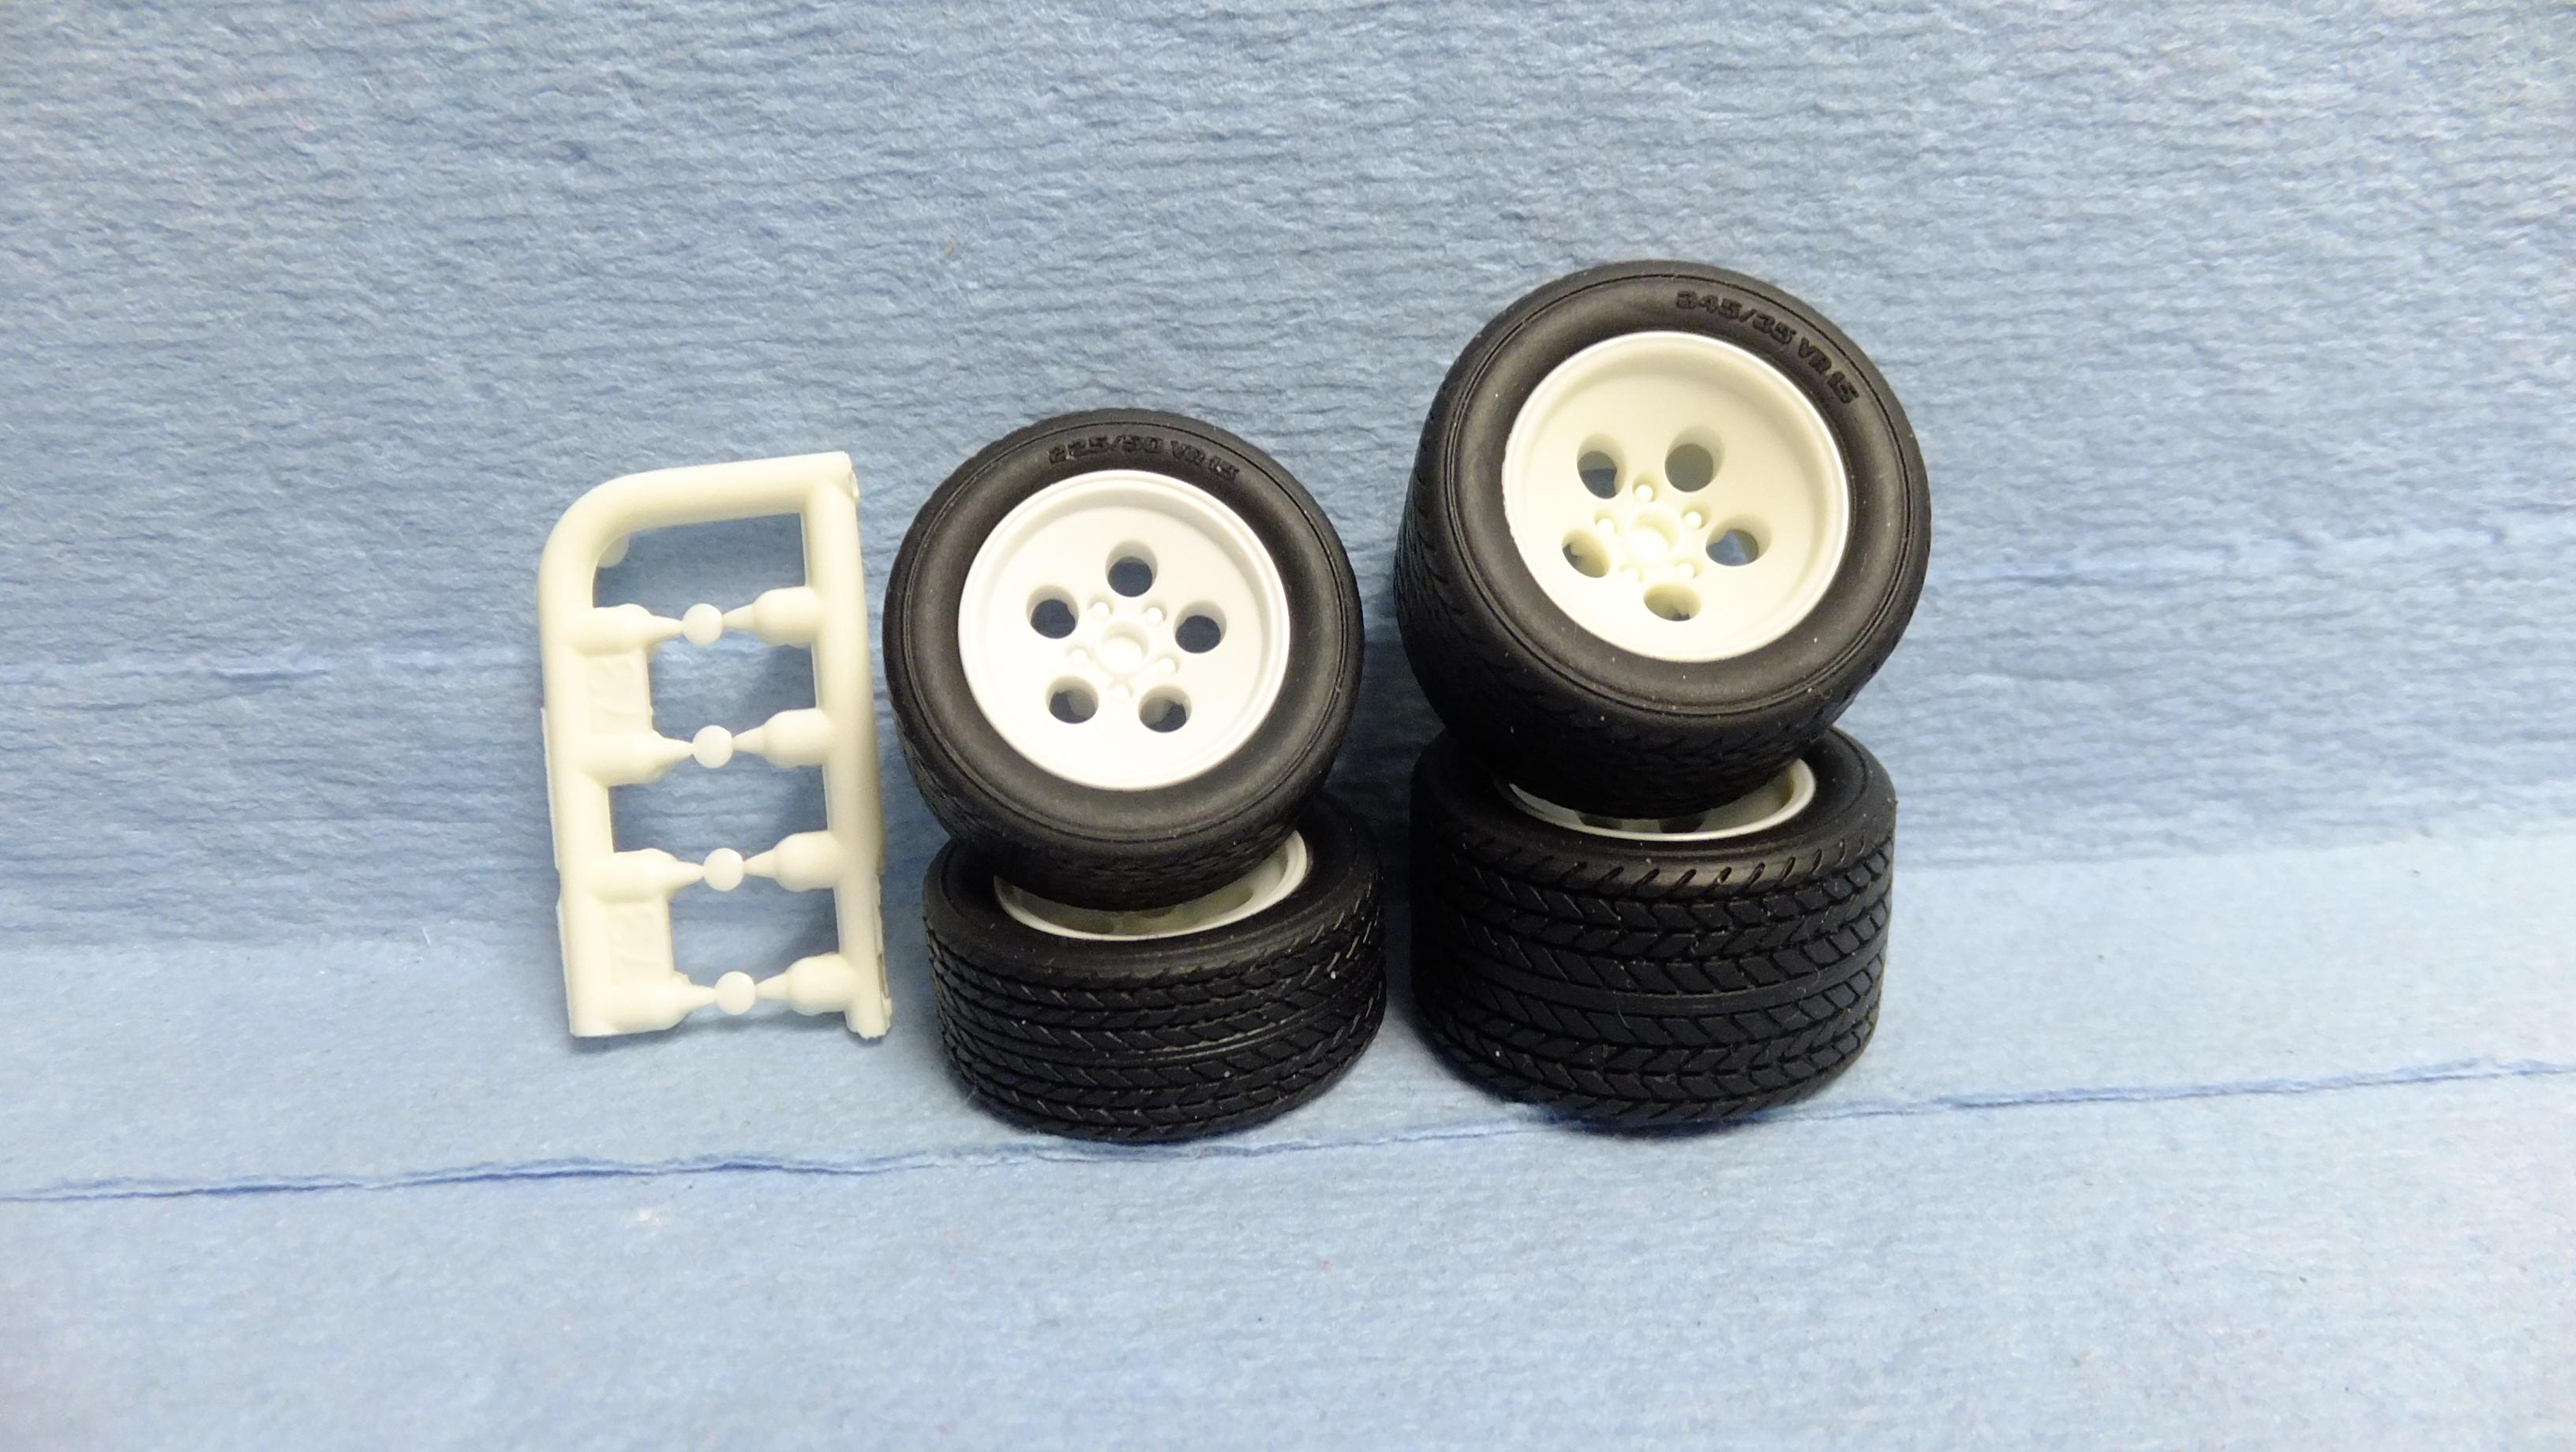
As i am doing with my Fujimi Aventador, this too i will compare part by part, which kit is better -Aoshima, or Fujimi. I've built 15 Fujimi Countach's in my time, and i actually like this kit waaaay better for the reasons you will learn. I'm not concerned about undercarriage detail, but everything else WILL be uber detailed! -Photo 2; This is how mine will hopefully look when done......i'm usually heck with white -my nemesis. -Photo 3; Heres the start of the undercarriage parts...All the Sharpie marks are molded-in hoses, and pipes that i will be grinding away.Fujimi wins in the engine compartment detail...they have a complete engine/ suspension. However, Aoshima added just enough clever design details, that done the right way, this engine bay will still look very realistic! -Photo 4; Aoshimas distributor totally wins over Fujimi!....it comes pre-drilled!!...anybody whose tried to wire up a V12 distributor will REALLY appreciate this! -Photo 5; The details of the engine bits are very crisp, but..... -Photo 6; ....in order to seat the intake all the way down, this area on BOTH sides needs to be cut back. If you dont, this part will hit the valve covers, which can cause the hood to NOT close all the way. -Photo 7; The side on the left is properly adjusted....see how horrible the right side looks. -Photo 8; see?...the clearance is perfect now(right side now). -Photo 9; Aoshima wins here as well....pre-drilled valve covers -Nice!! -Photo 10; Both kits are about the same with these bits. The shocks both have their own different details, but are equal to me. -Photo 11&12; I had already pre-assembled these undercarriage bits, and primered them black. It has the usual detail of front suspension bits, but a simplified rear suspension area. The lower half of the engine, and tranny are a separate part. As you can see, they are still pretty nice, but as stated before, Fujimi wins over this. Aoshima has the two tow loops in the front....Fujimi doesnt. -Photo 13; After all the other bits are attached, it will look pretty believable. -Photo 14; These tyres, and wheels are waaay better than Fujimis, which are undersized, and too narrow. Aoshimas wheels are far cleaner too.
-
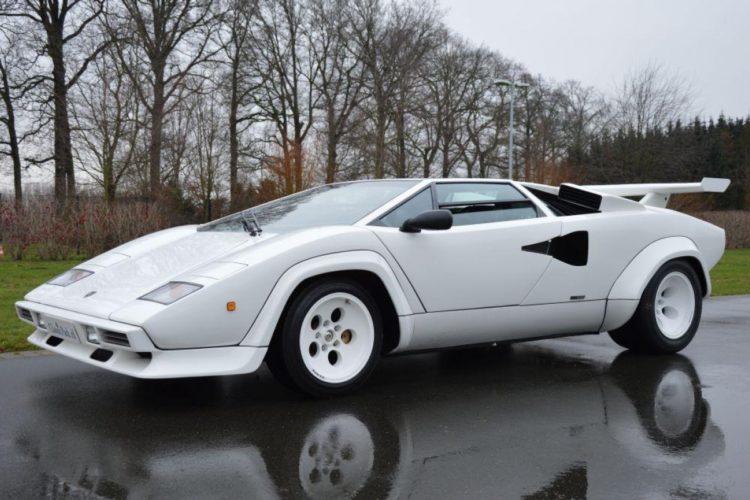
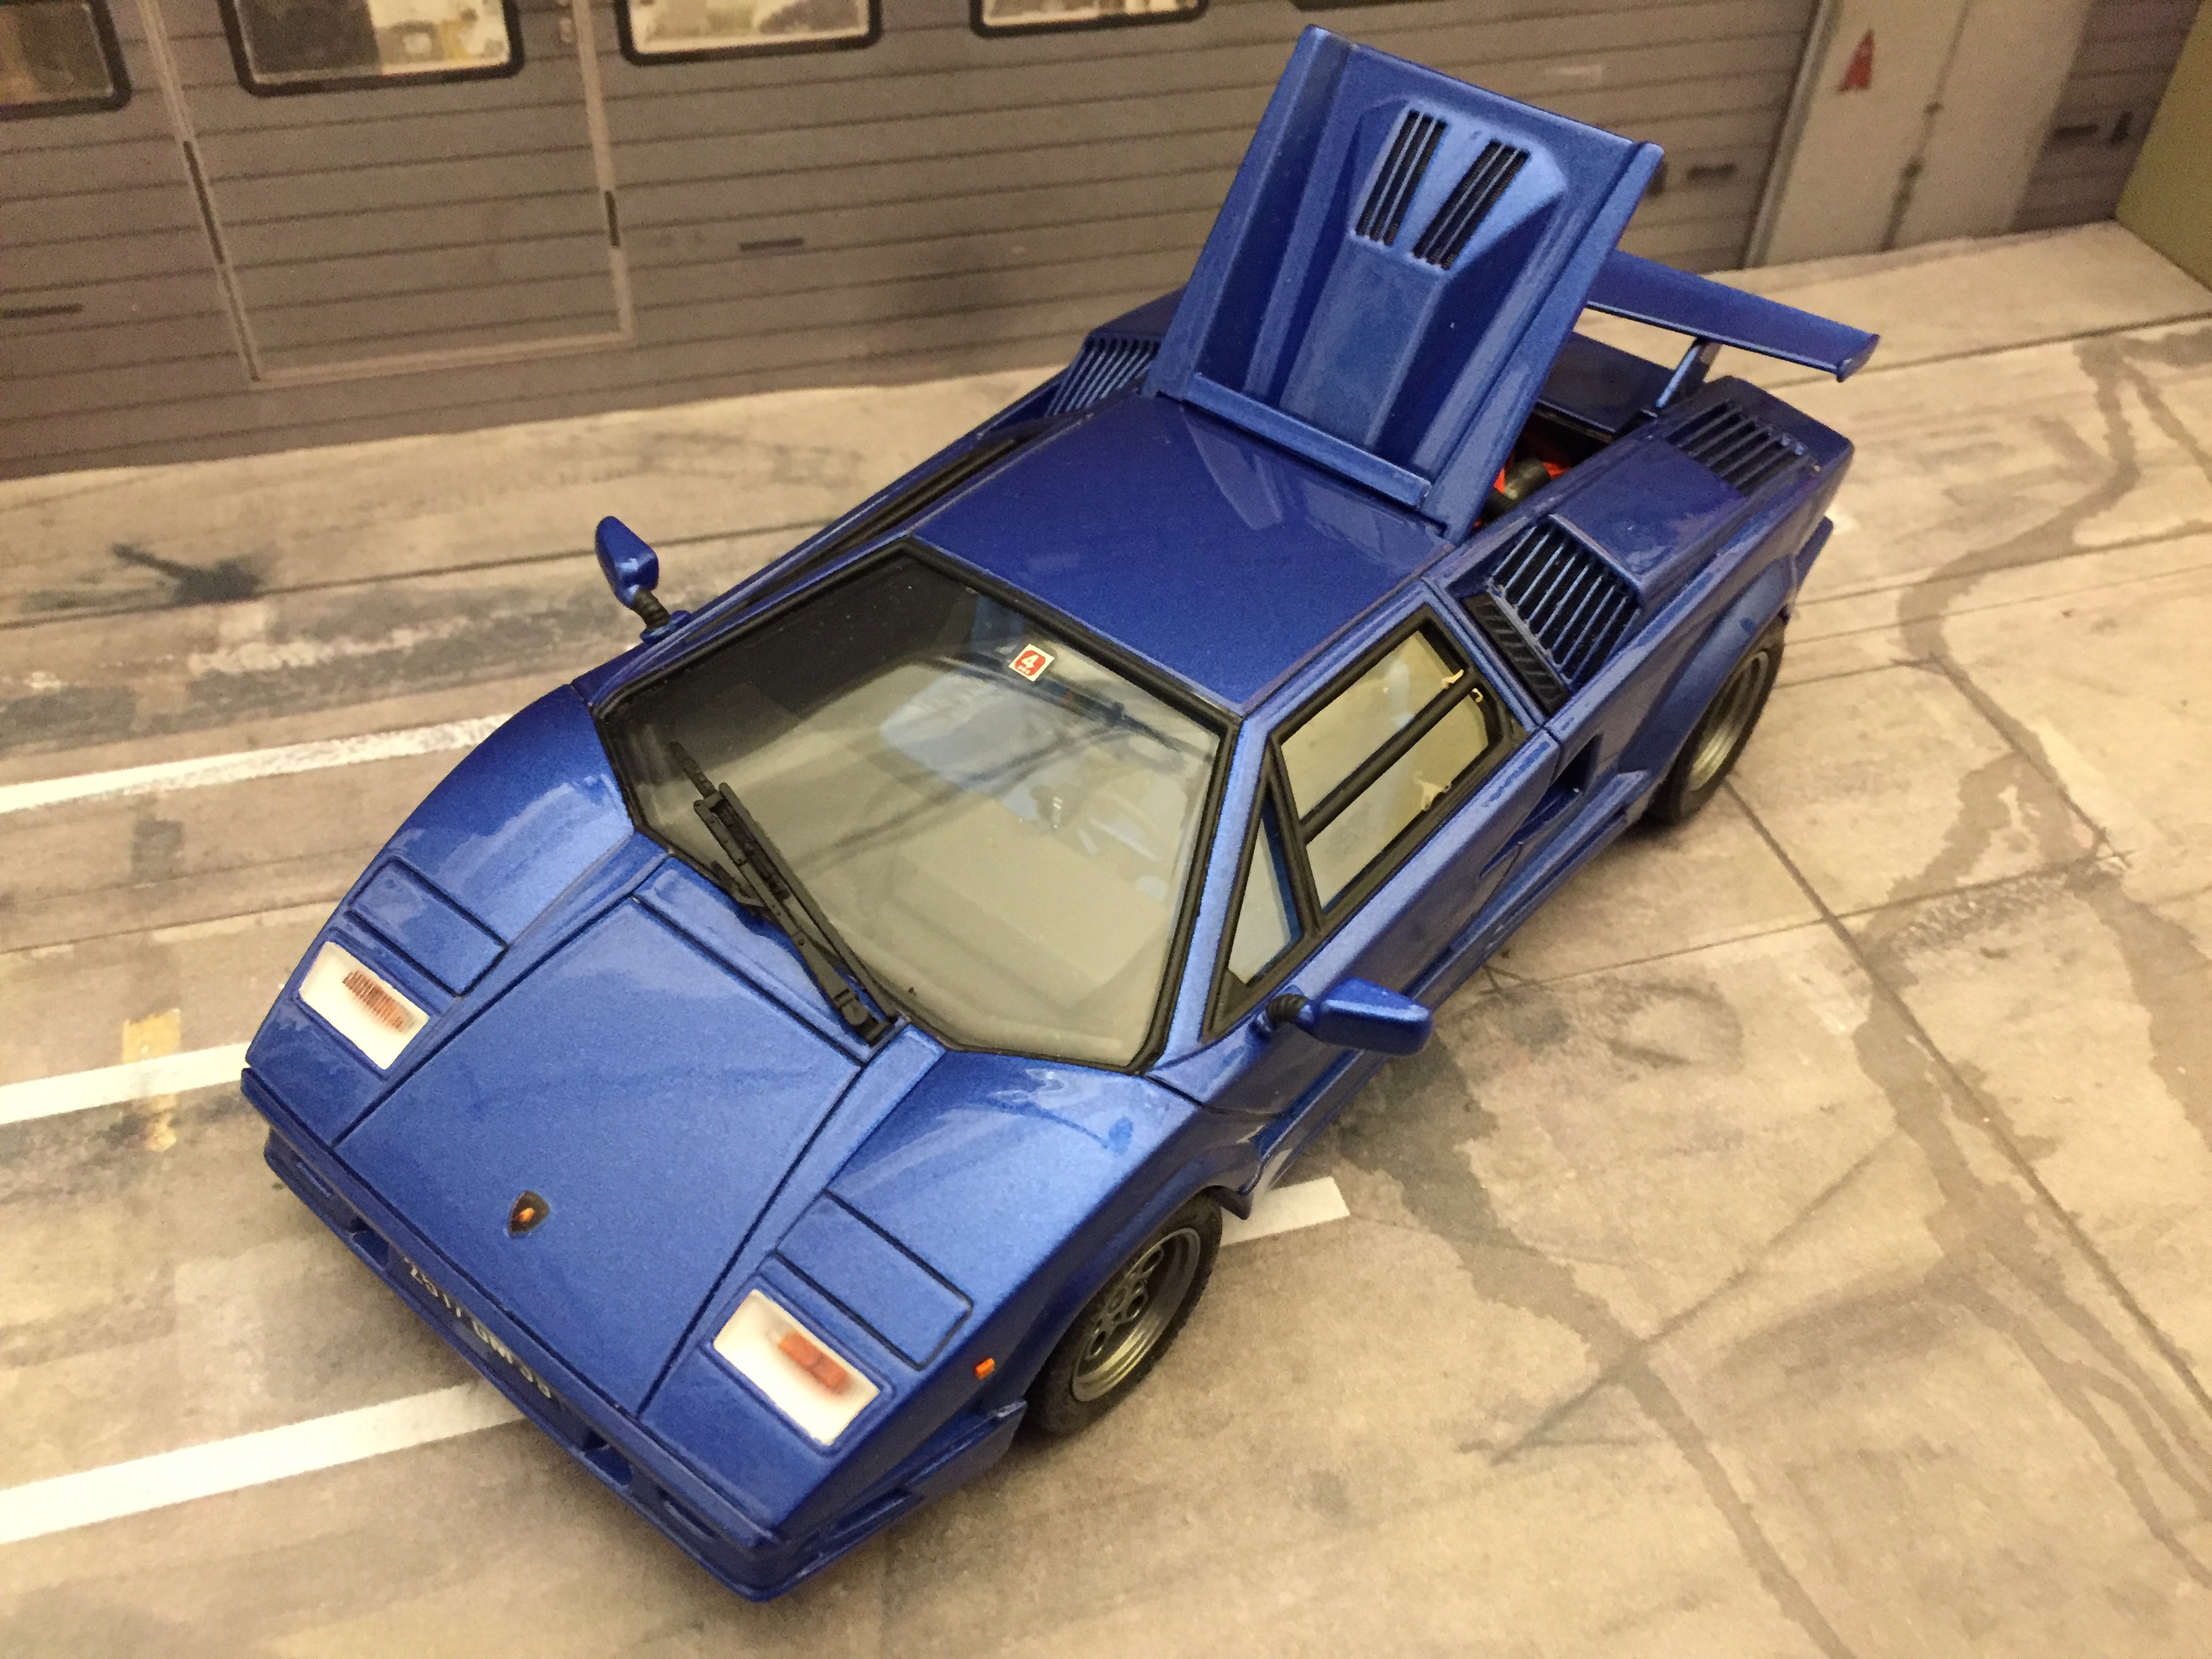
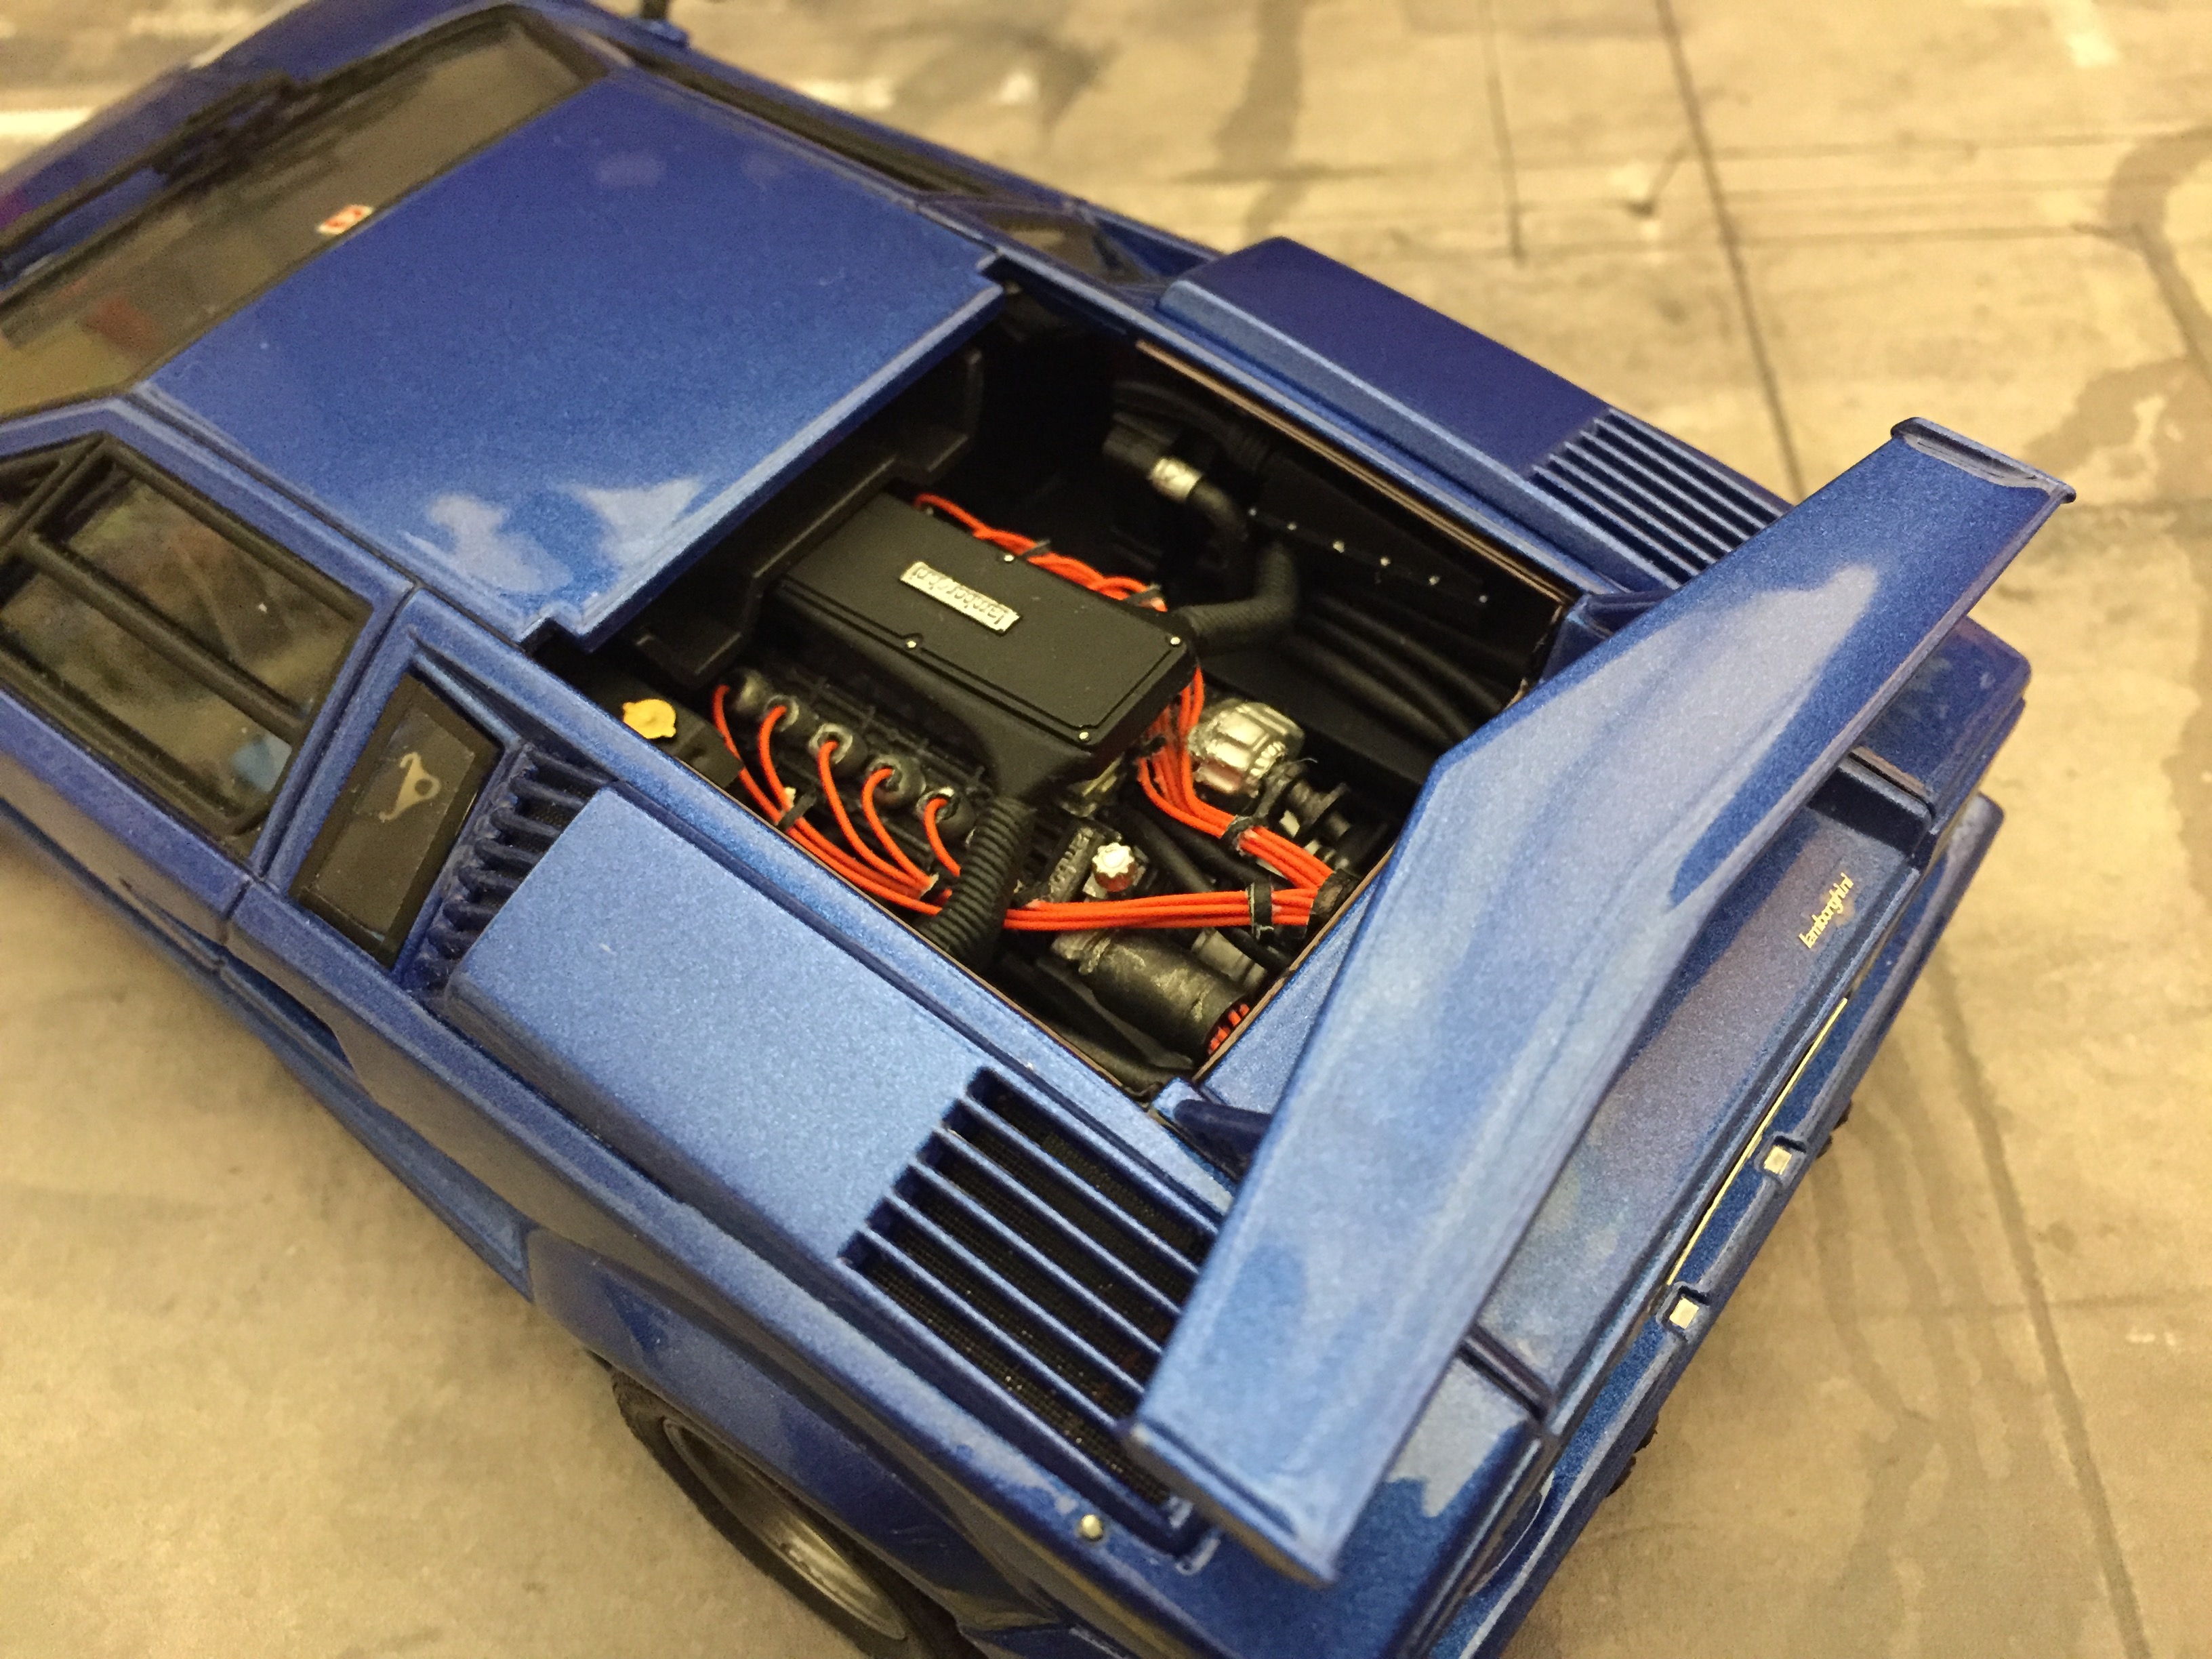
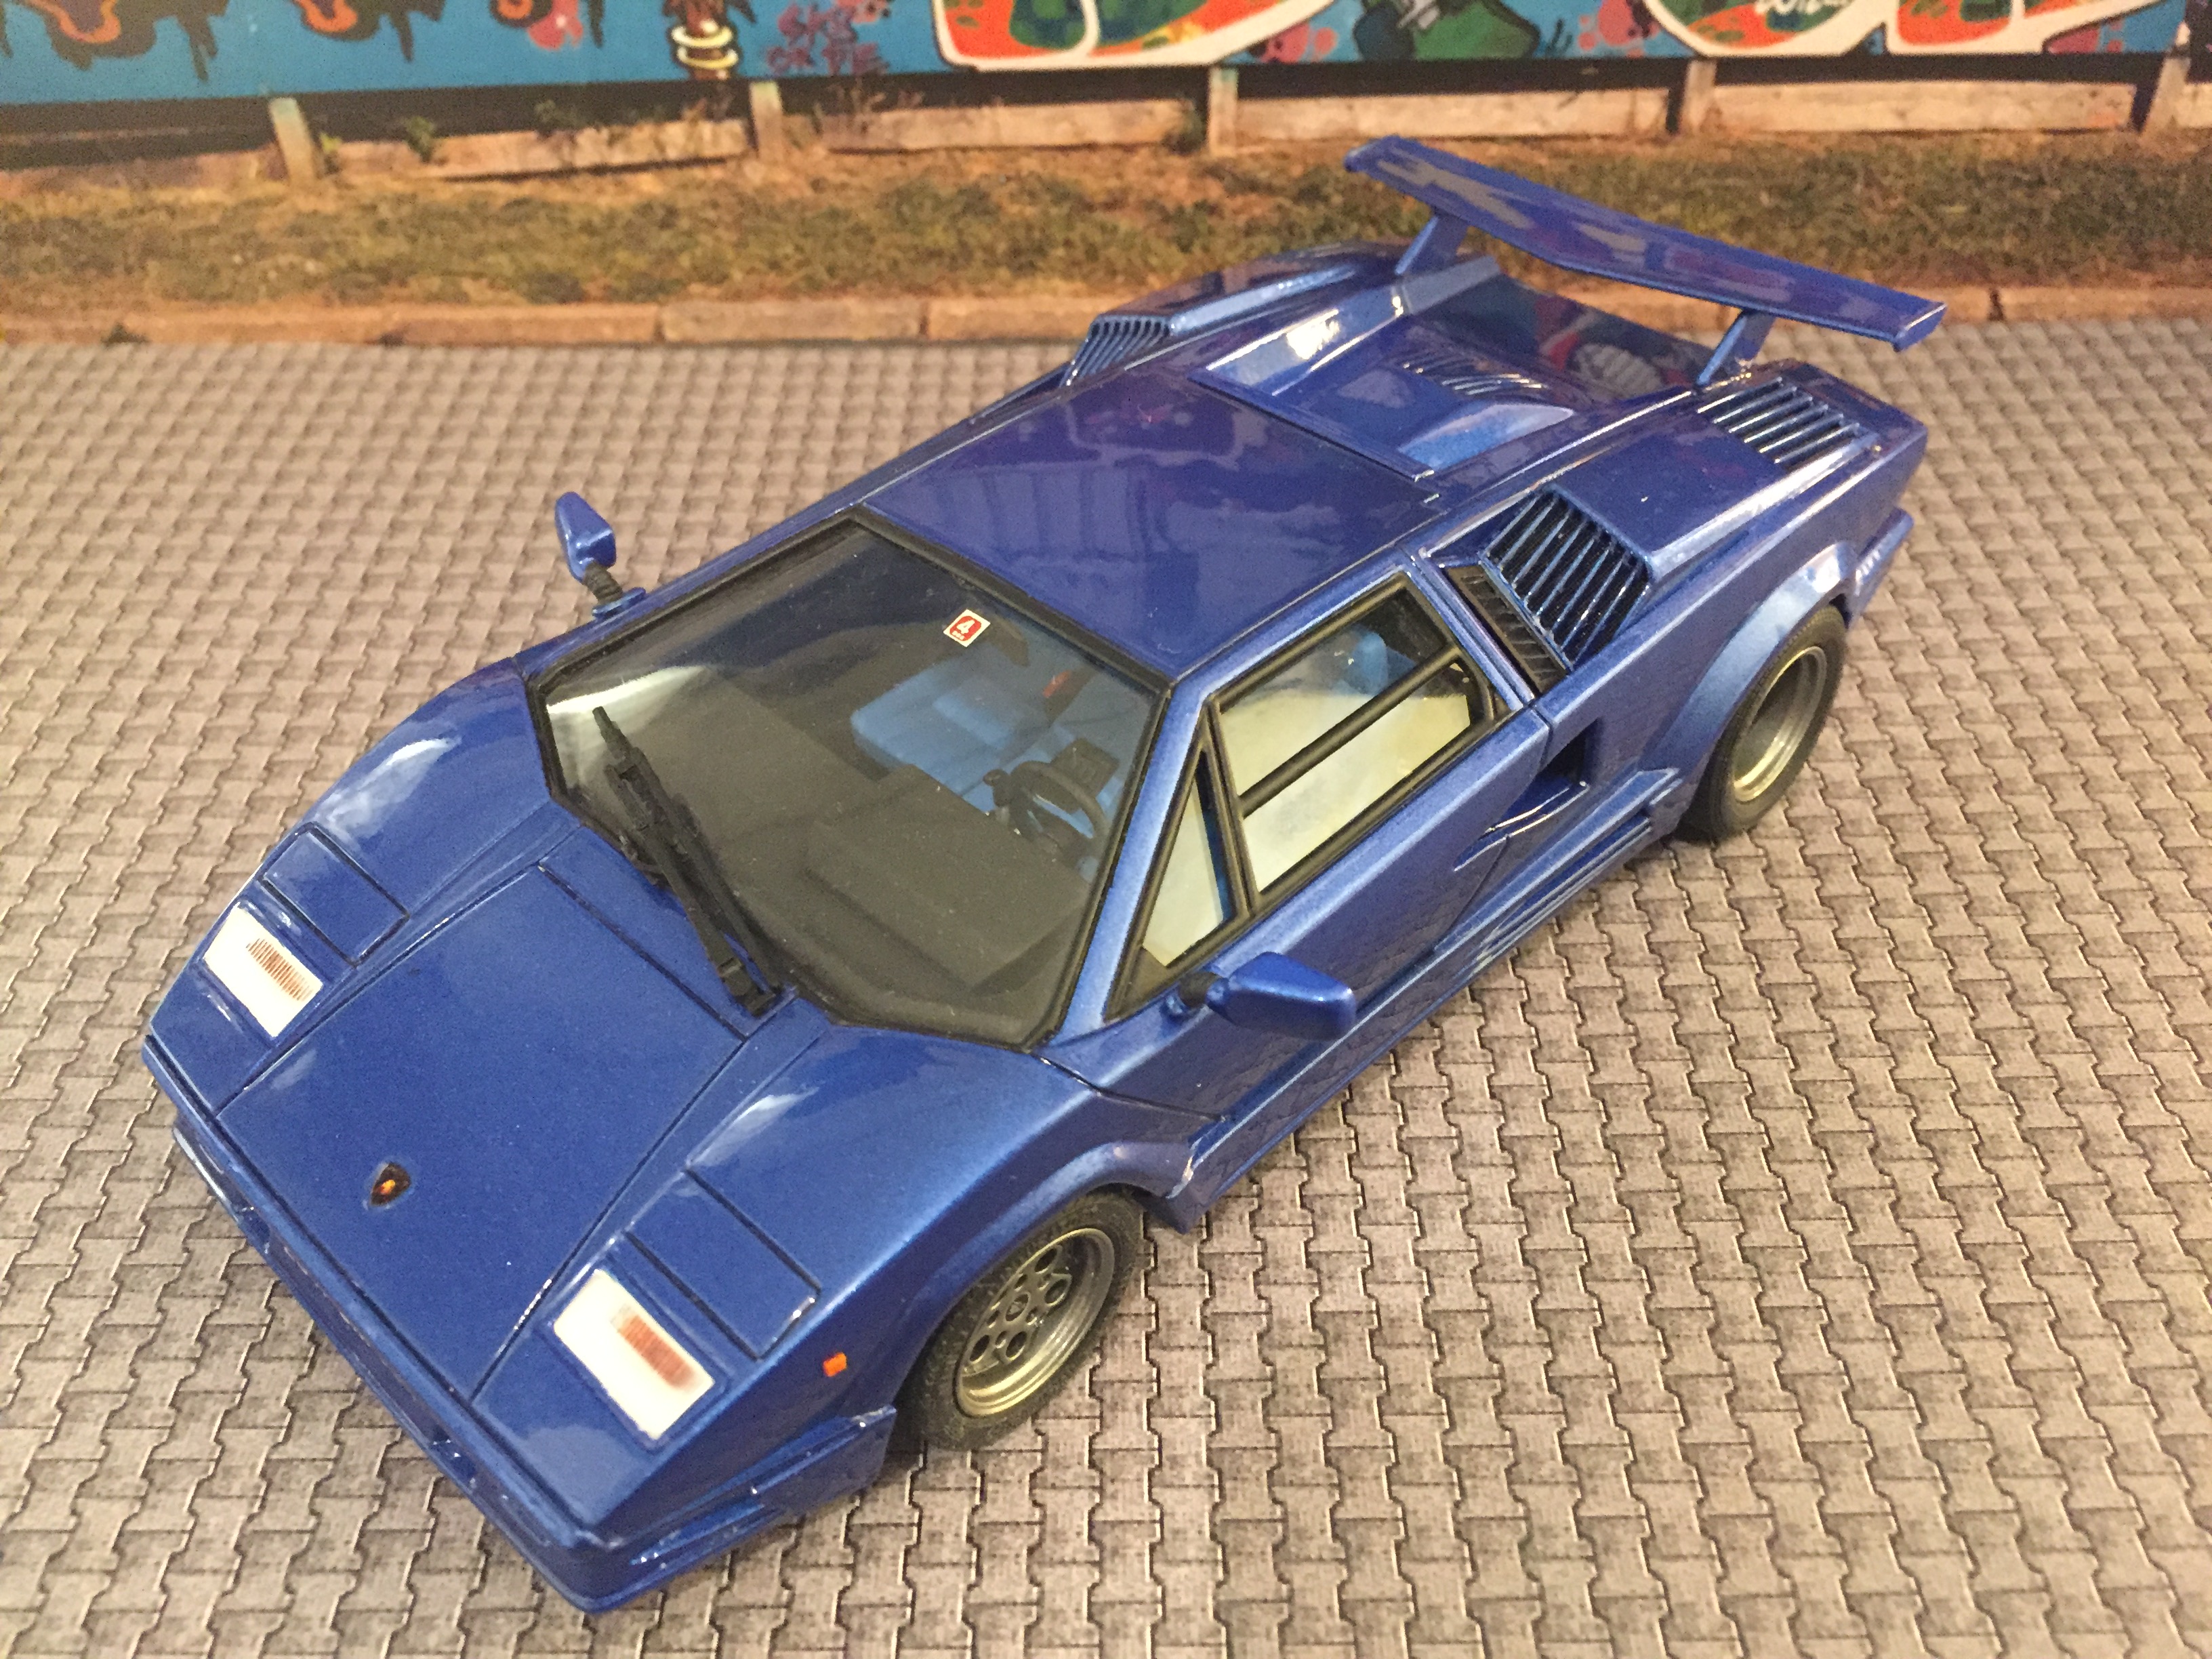
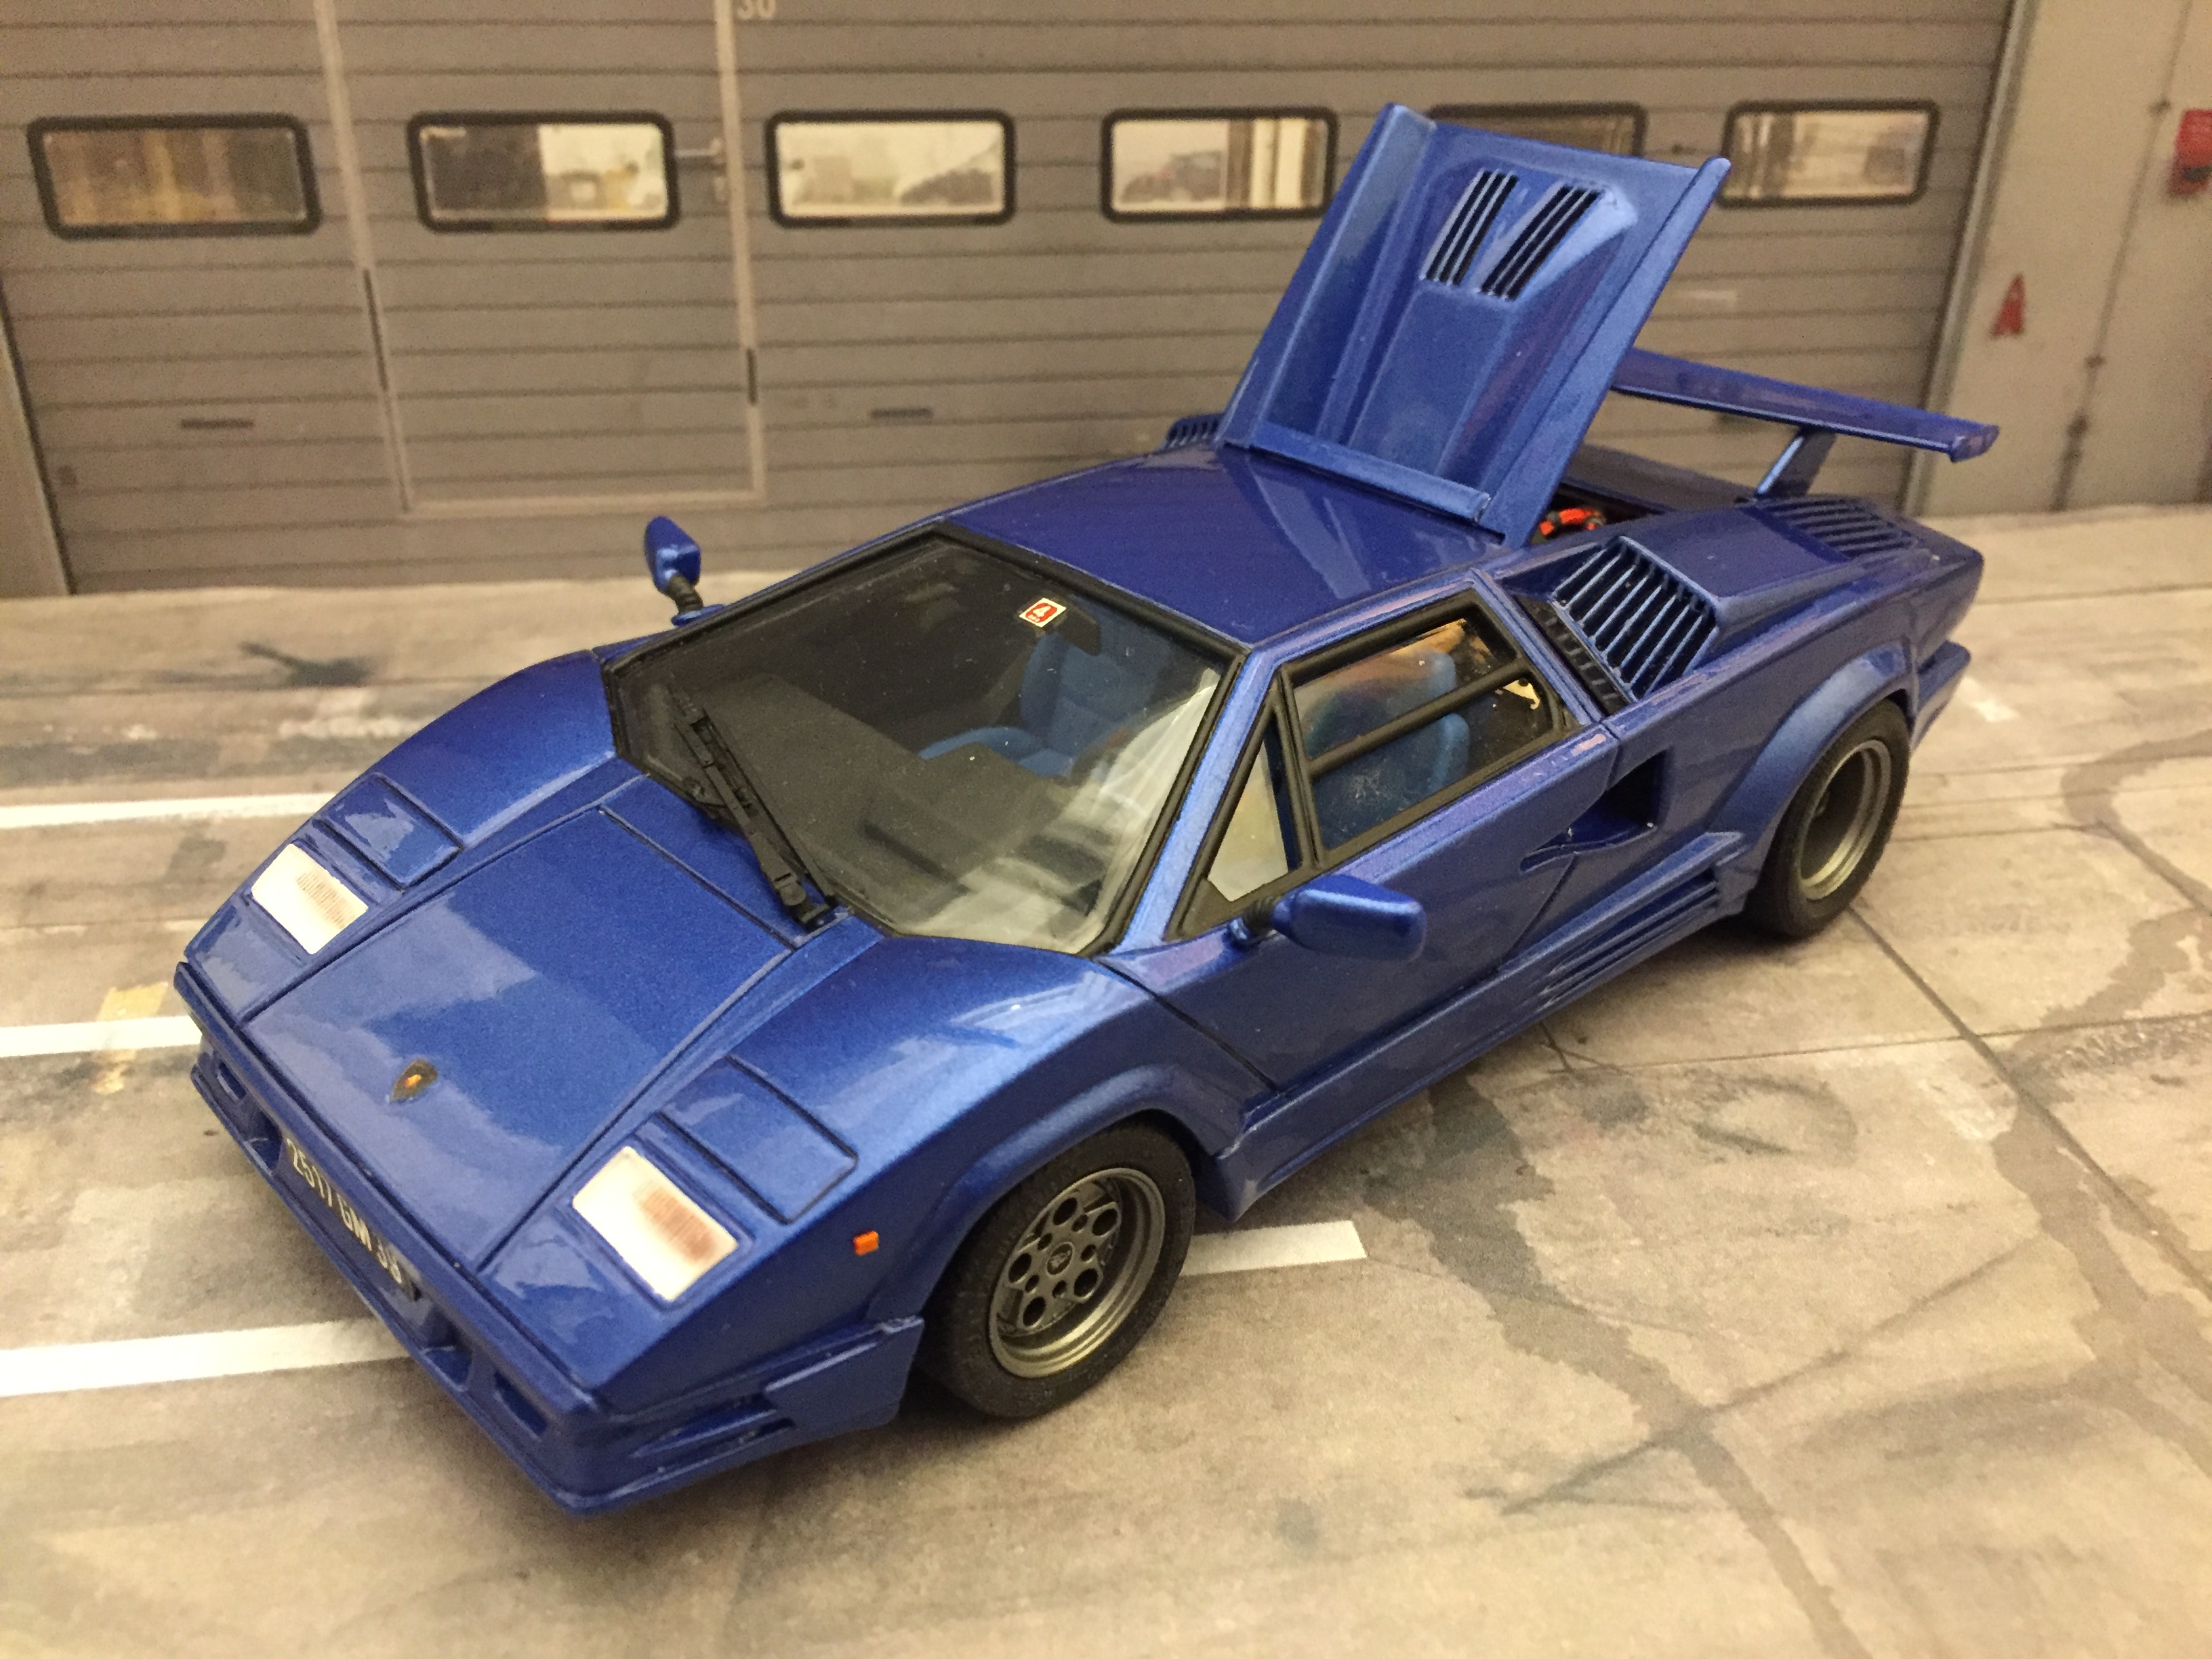
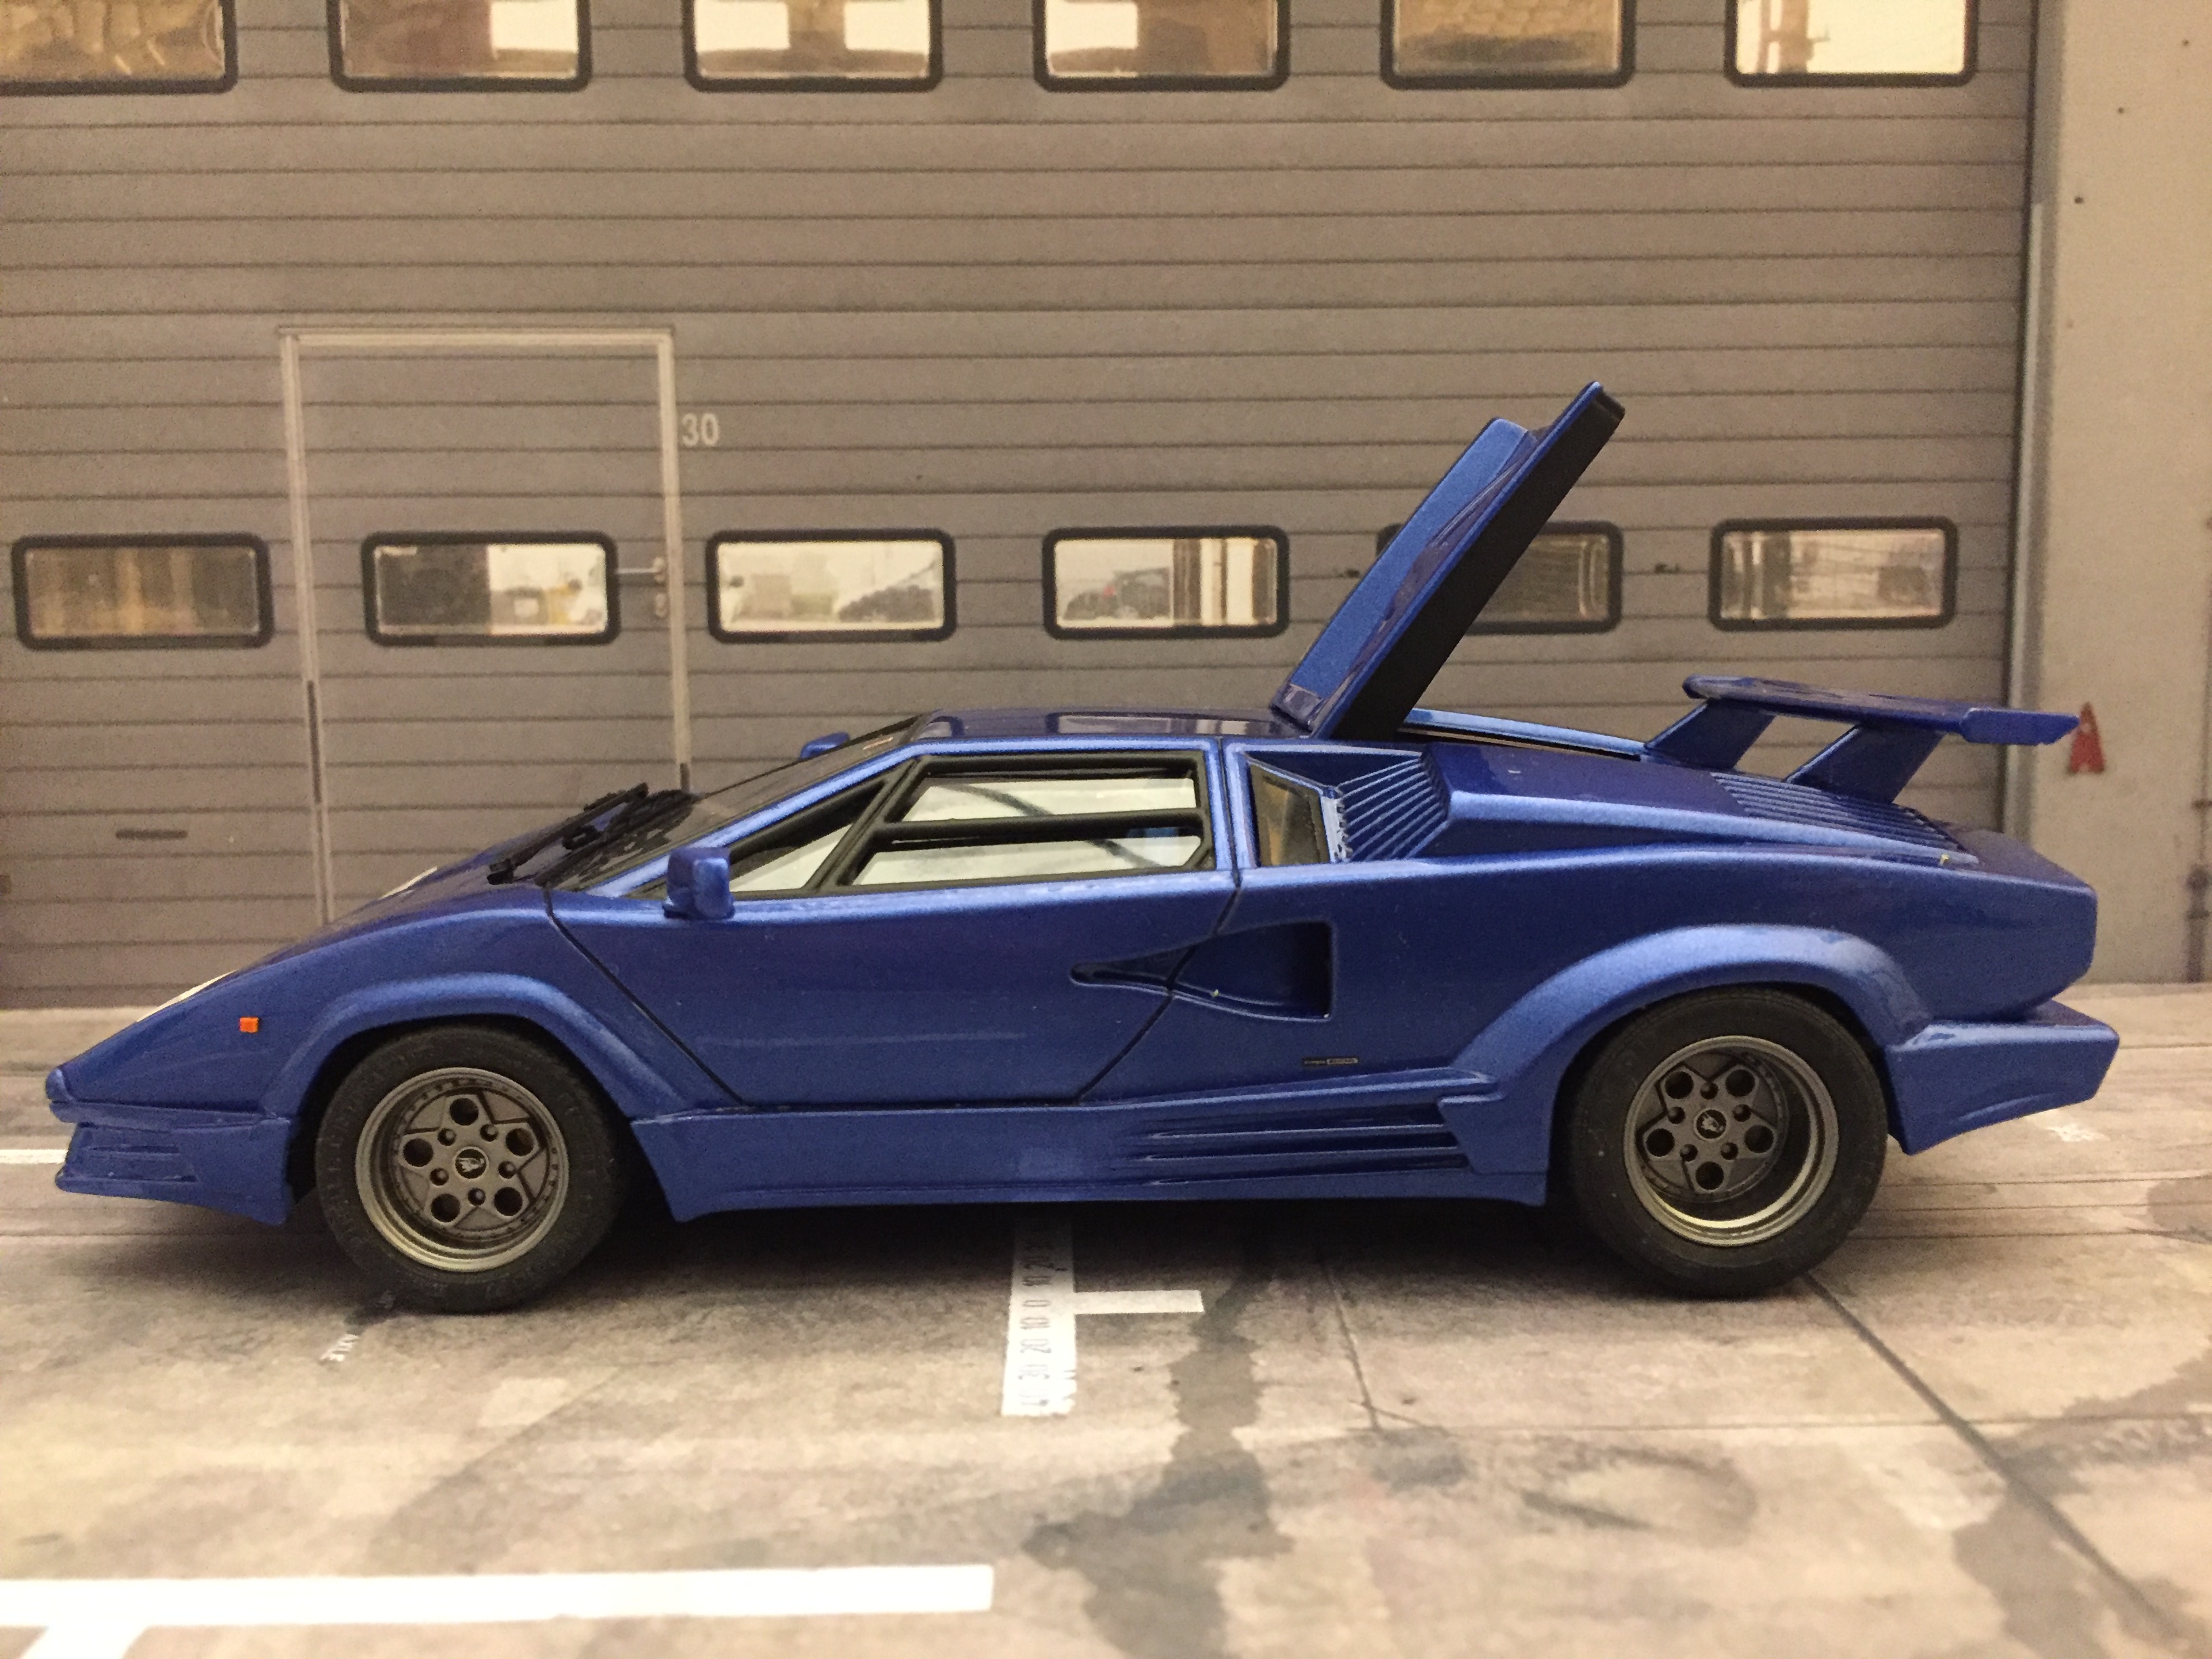
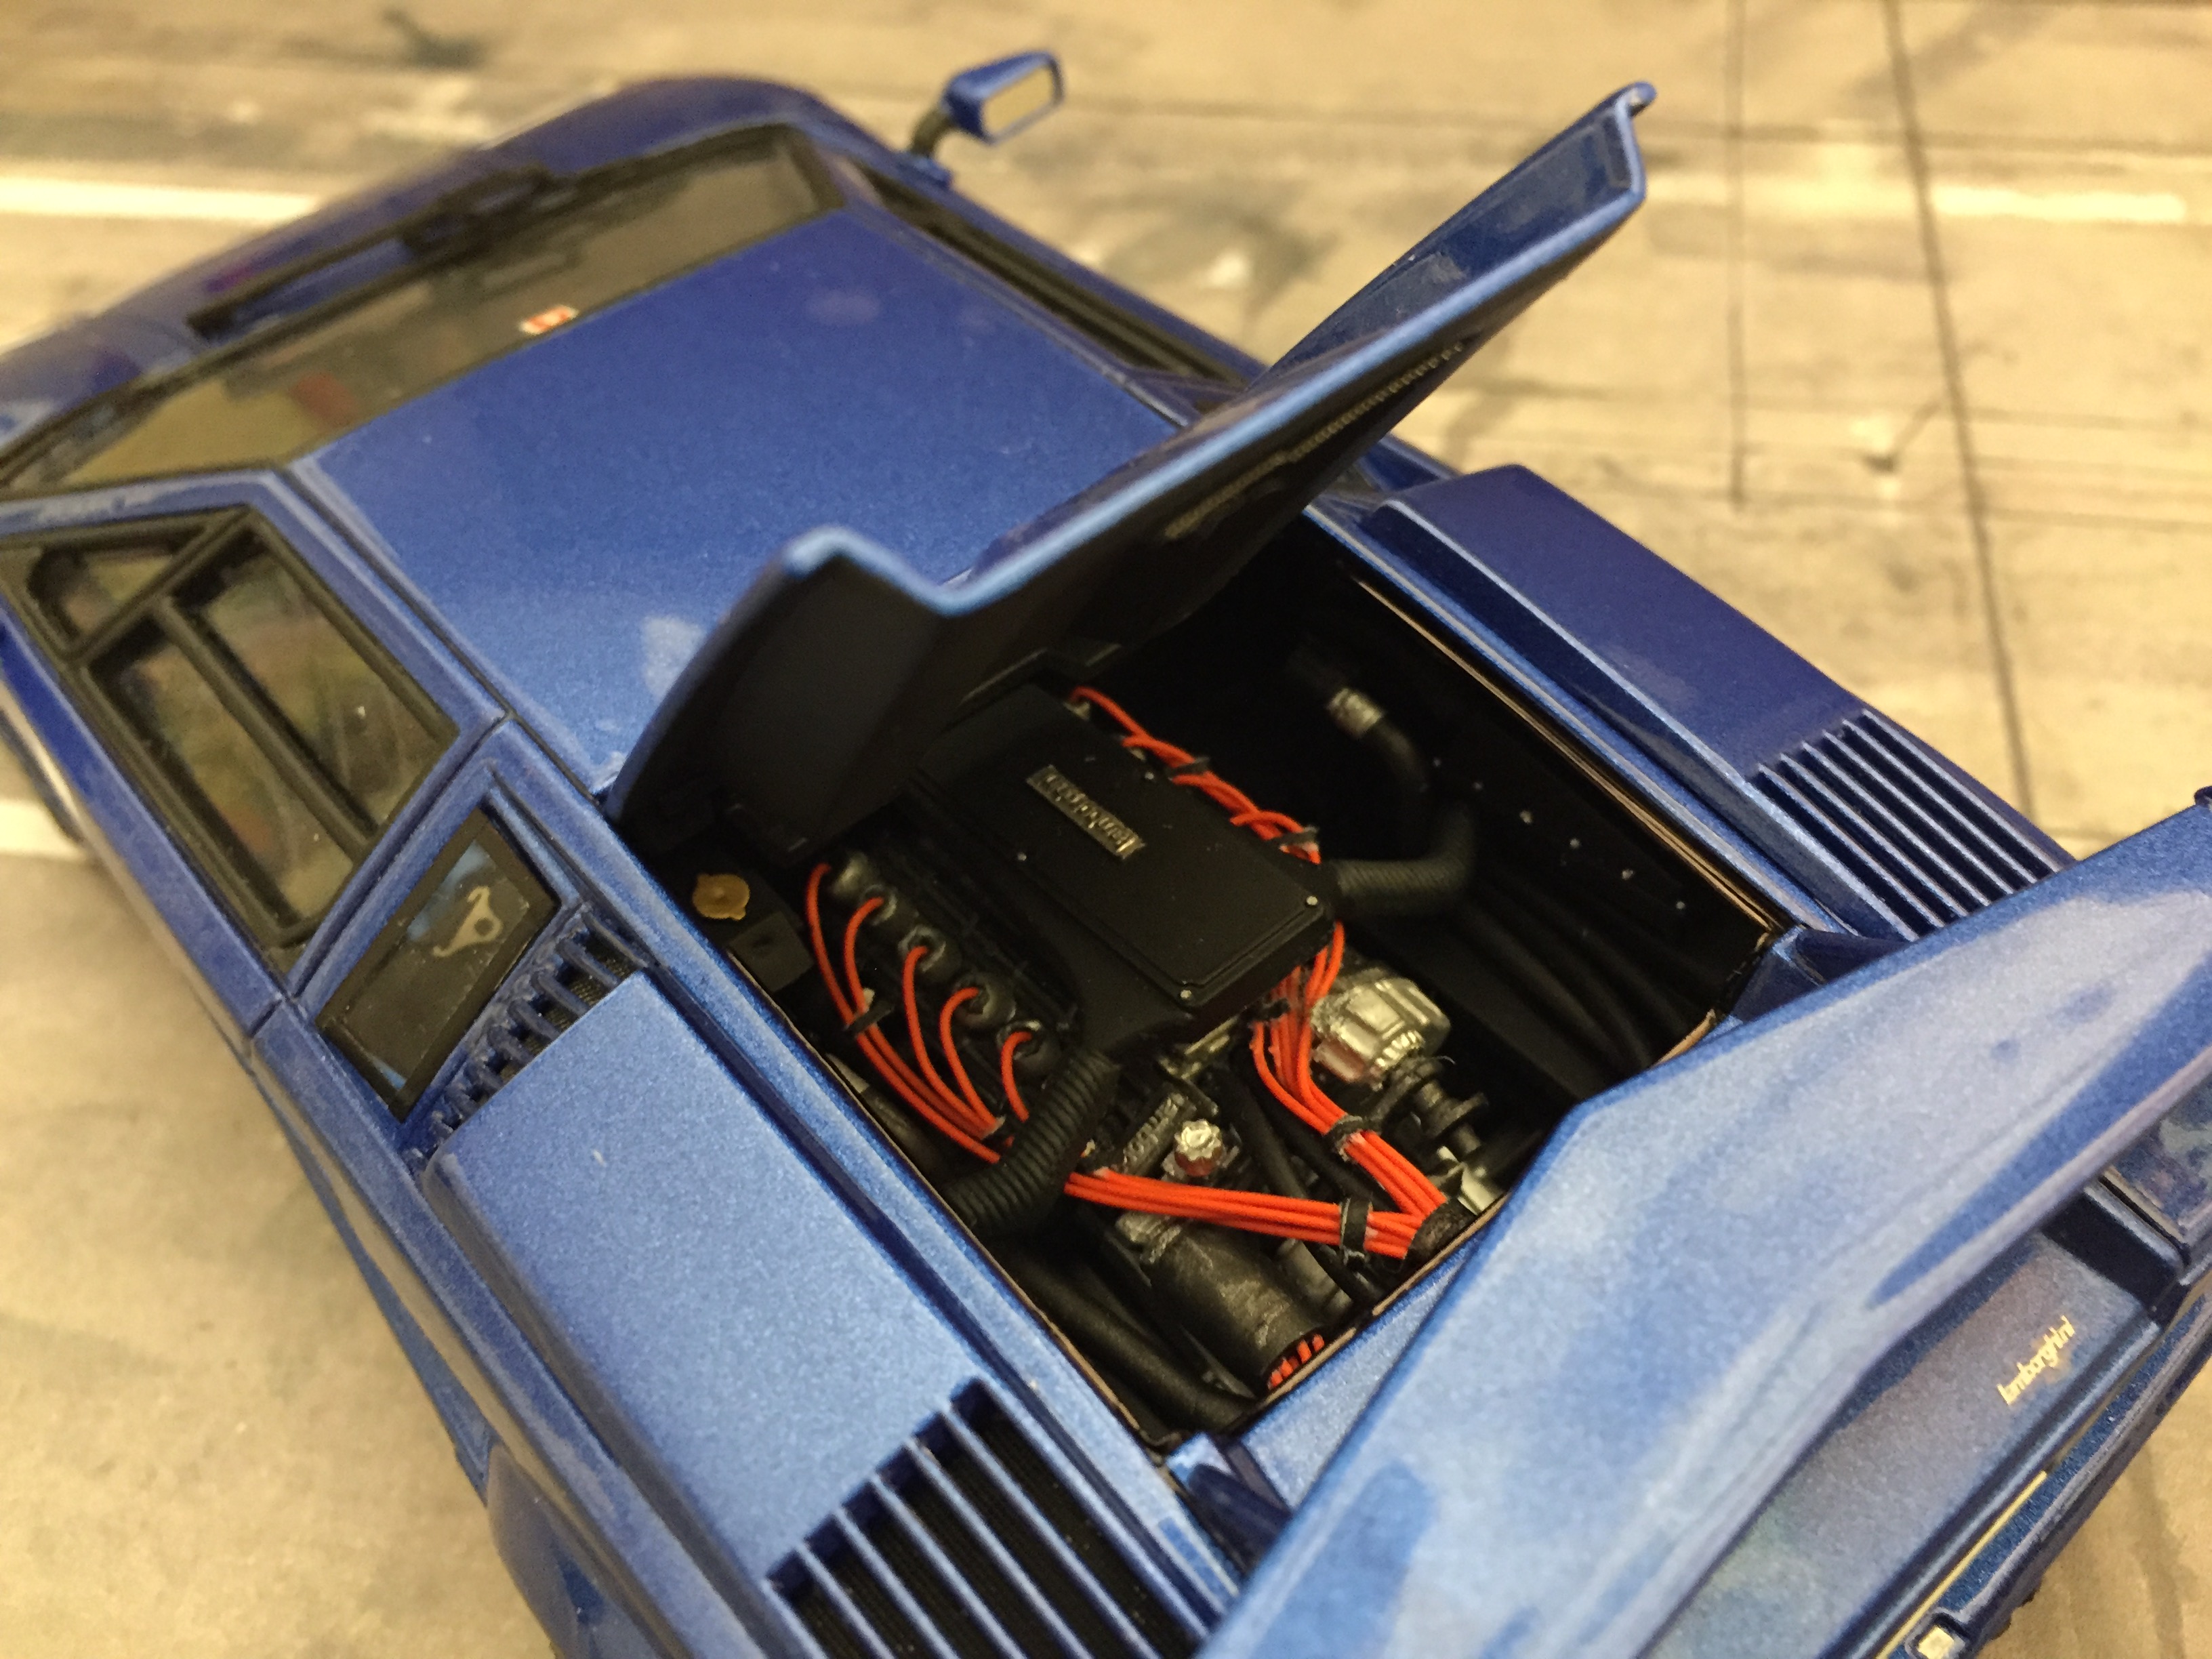
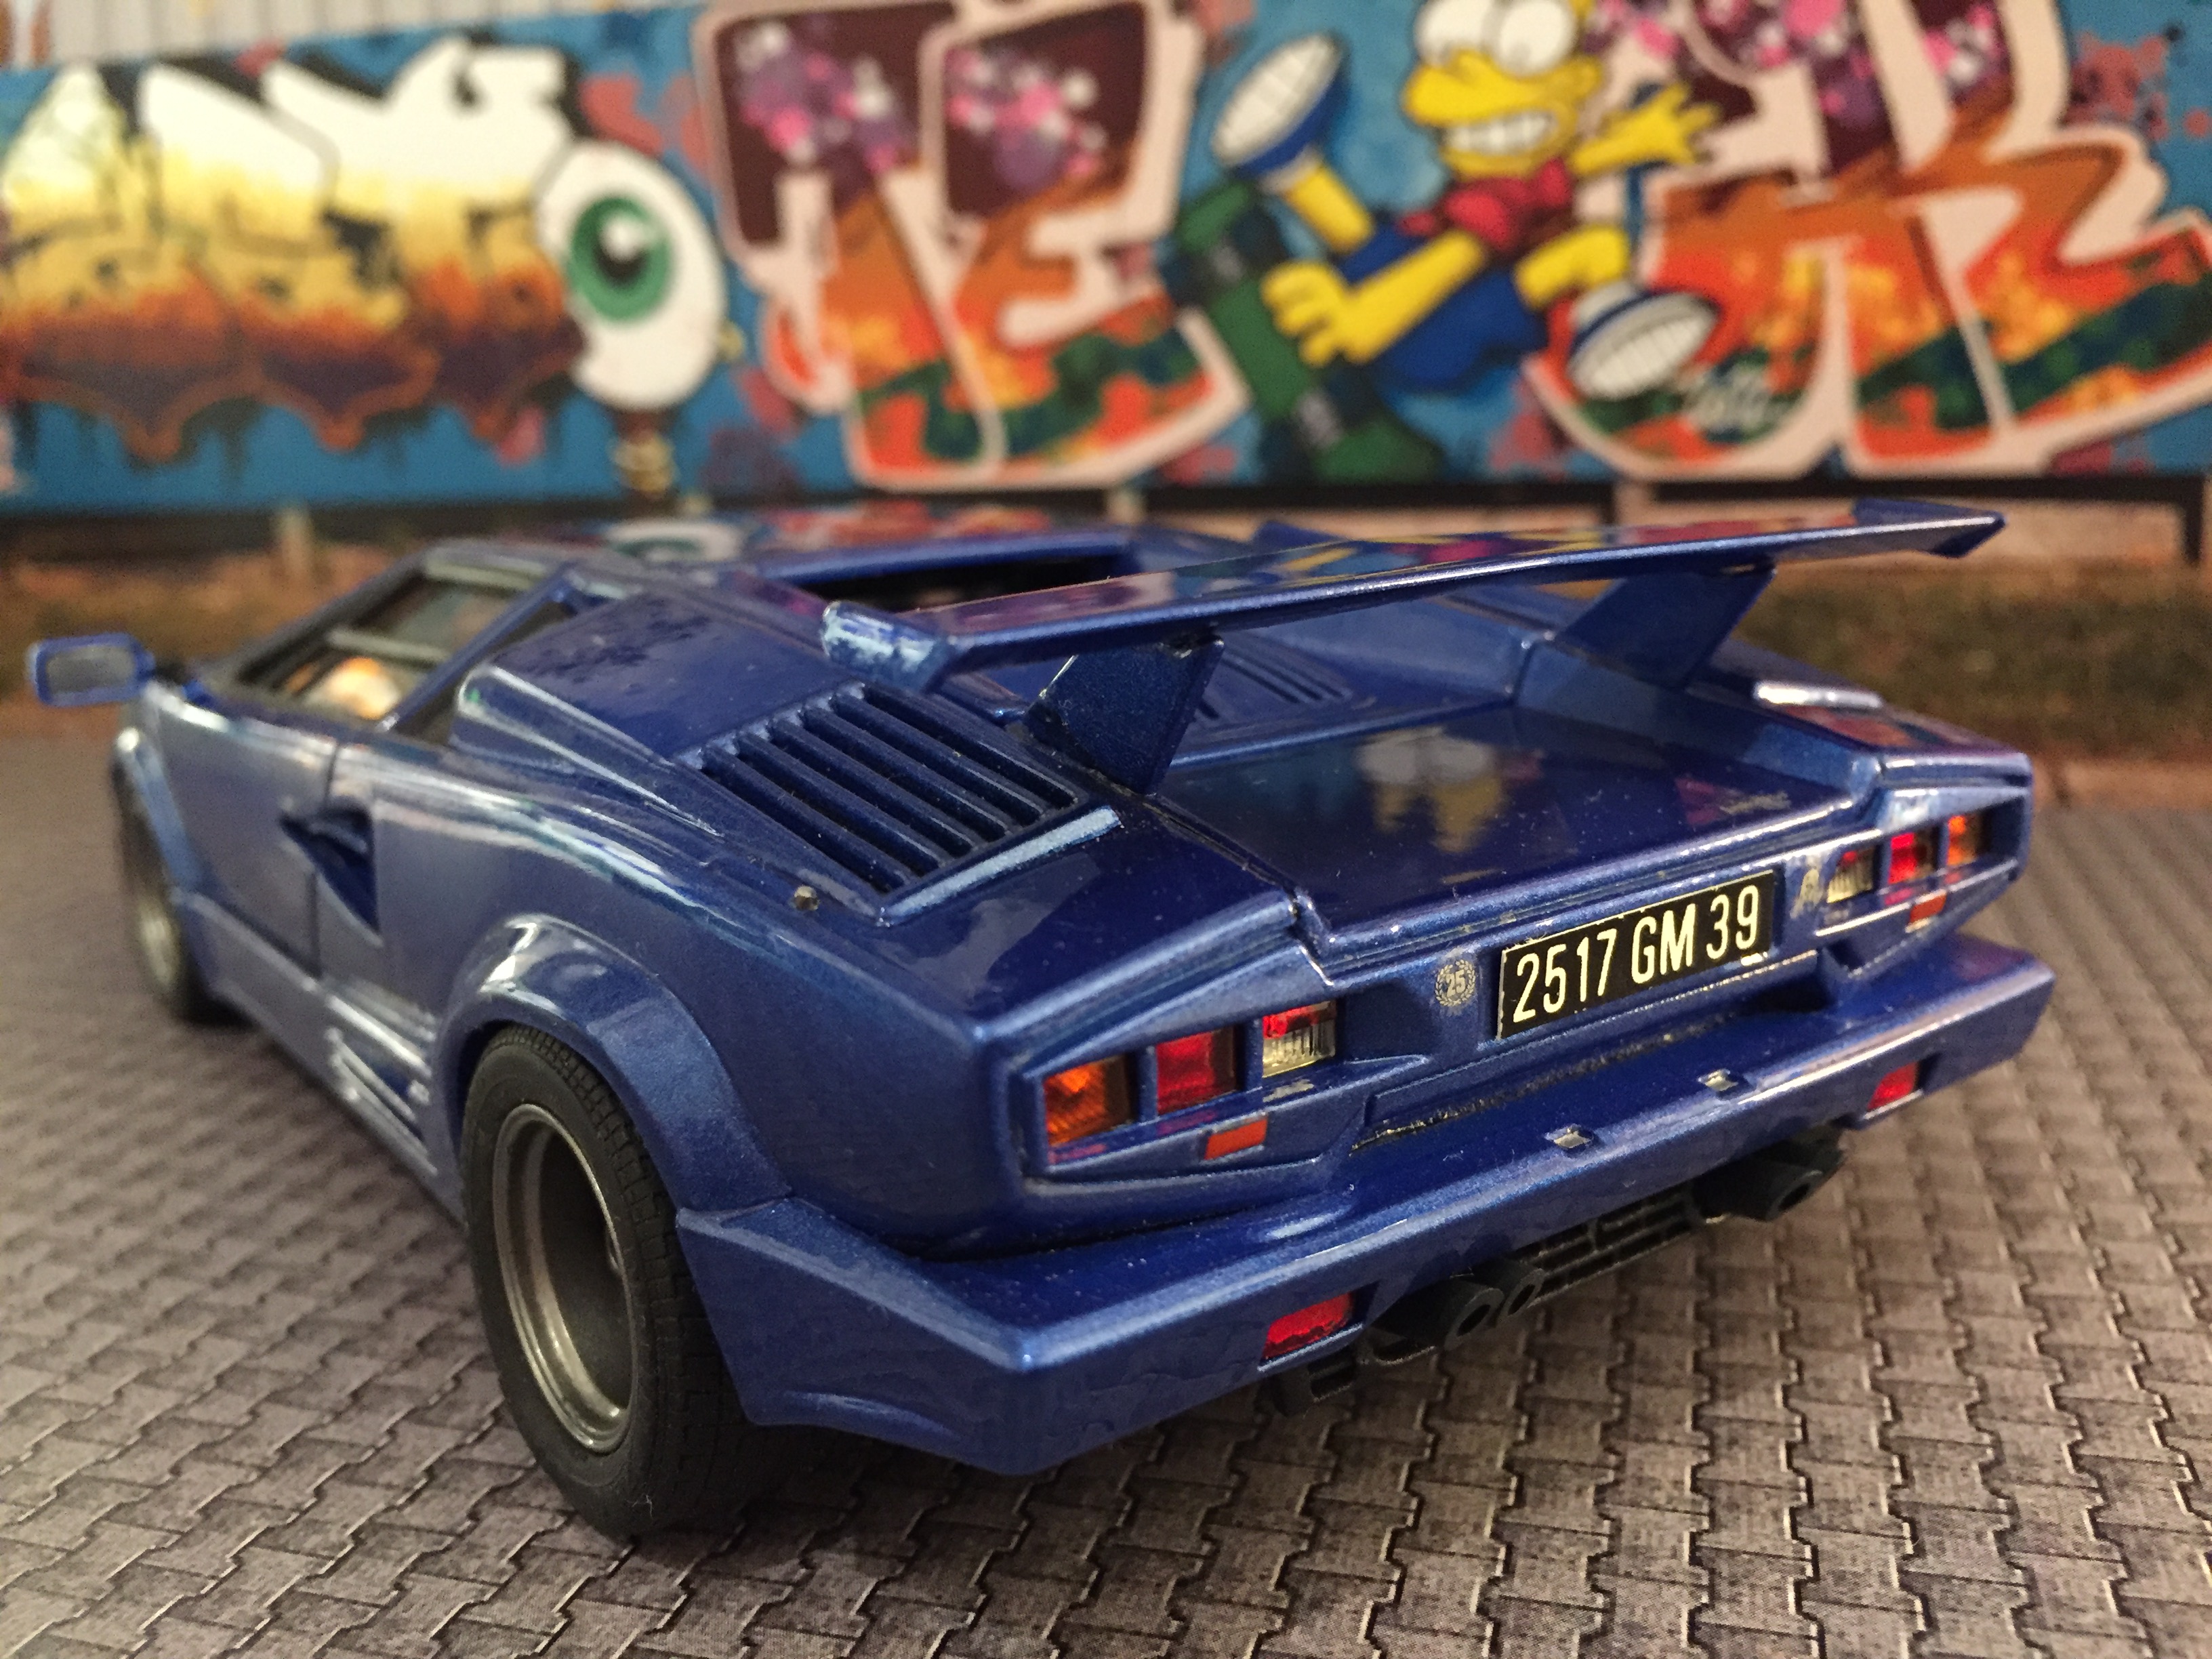
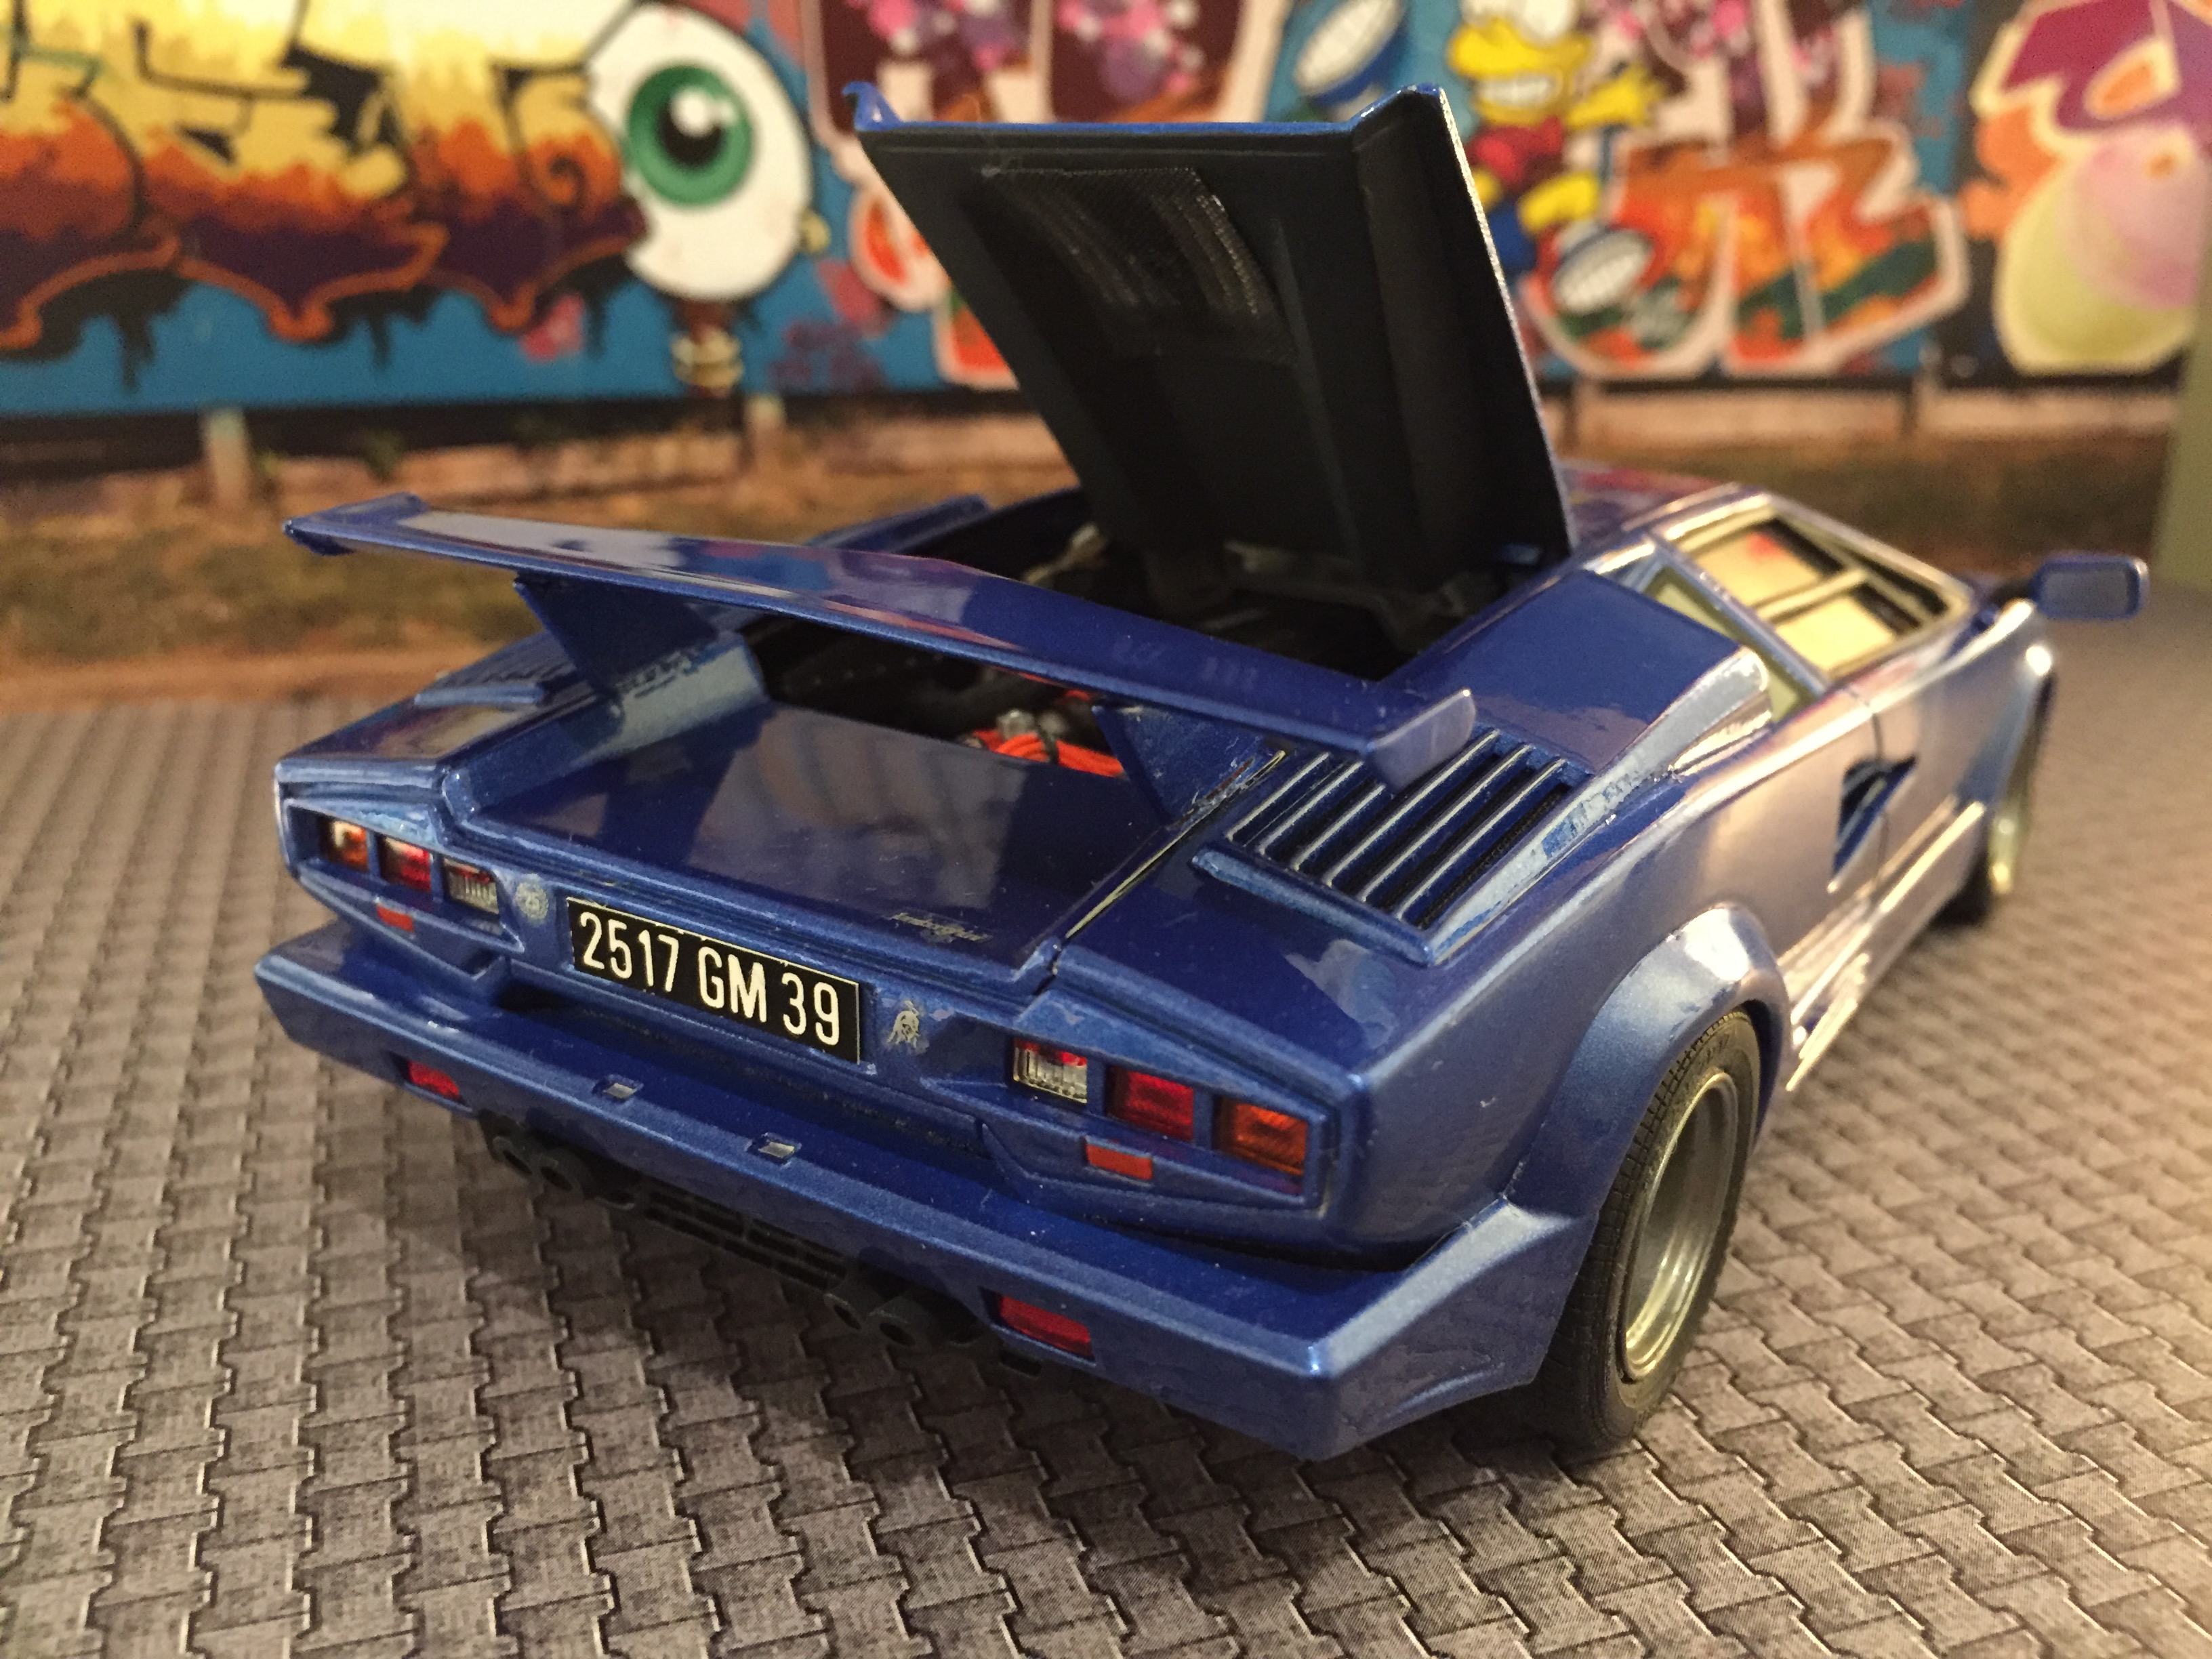
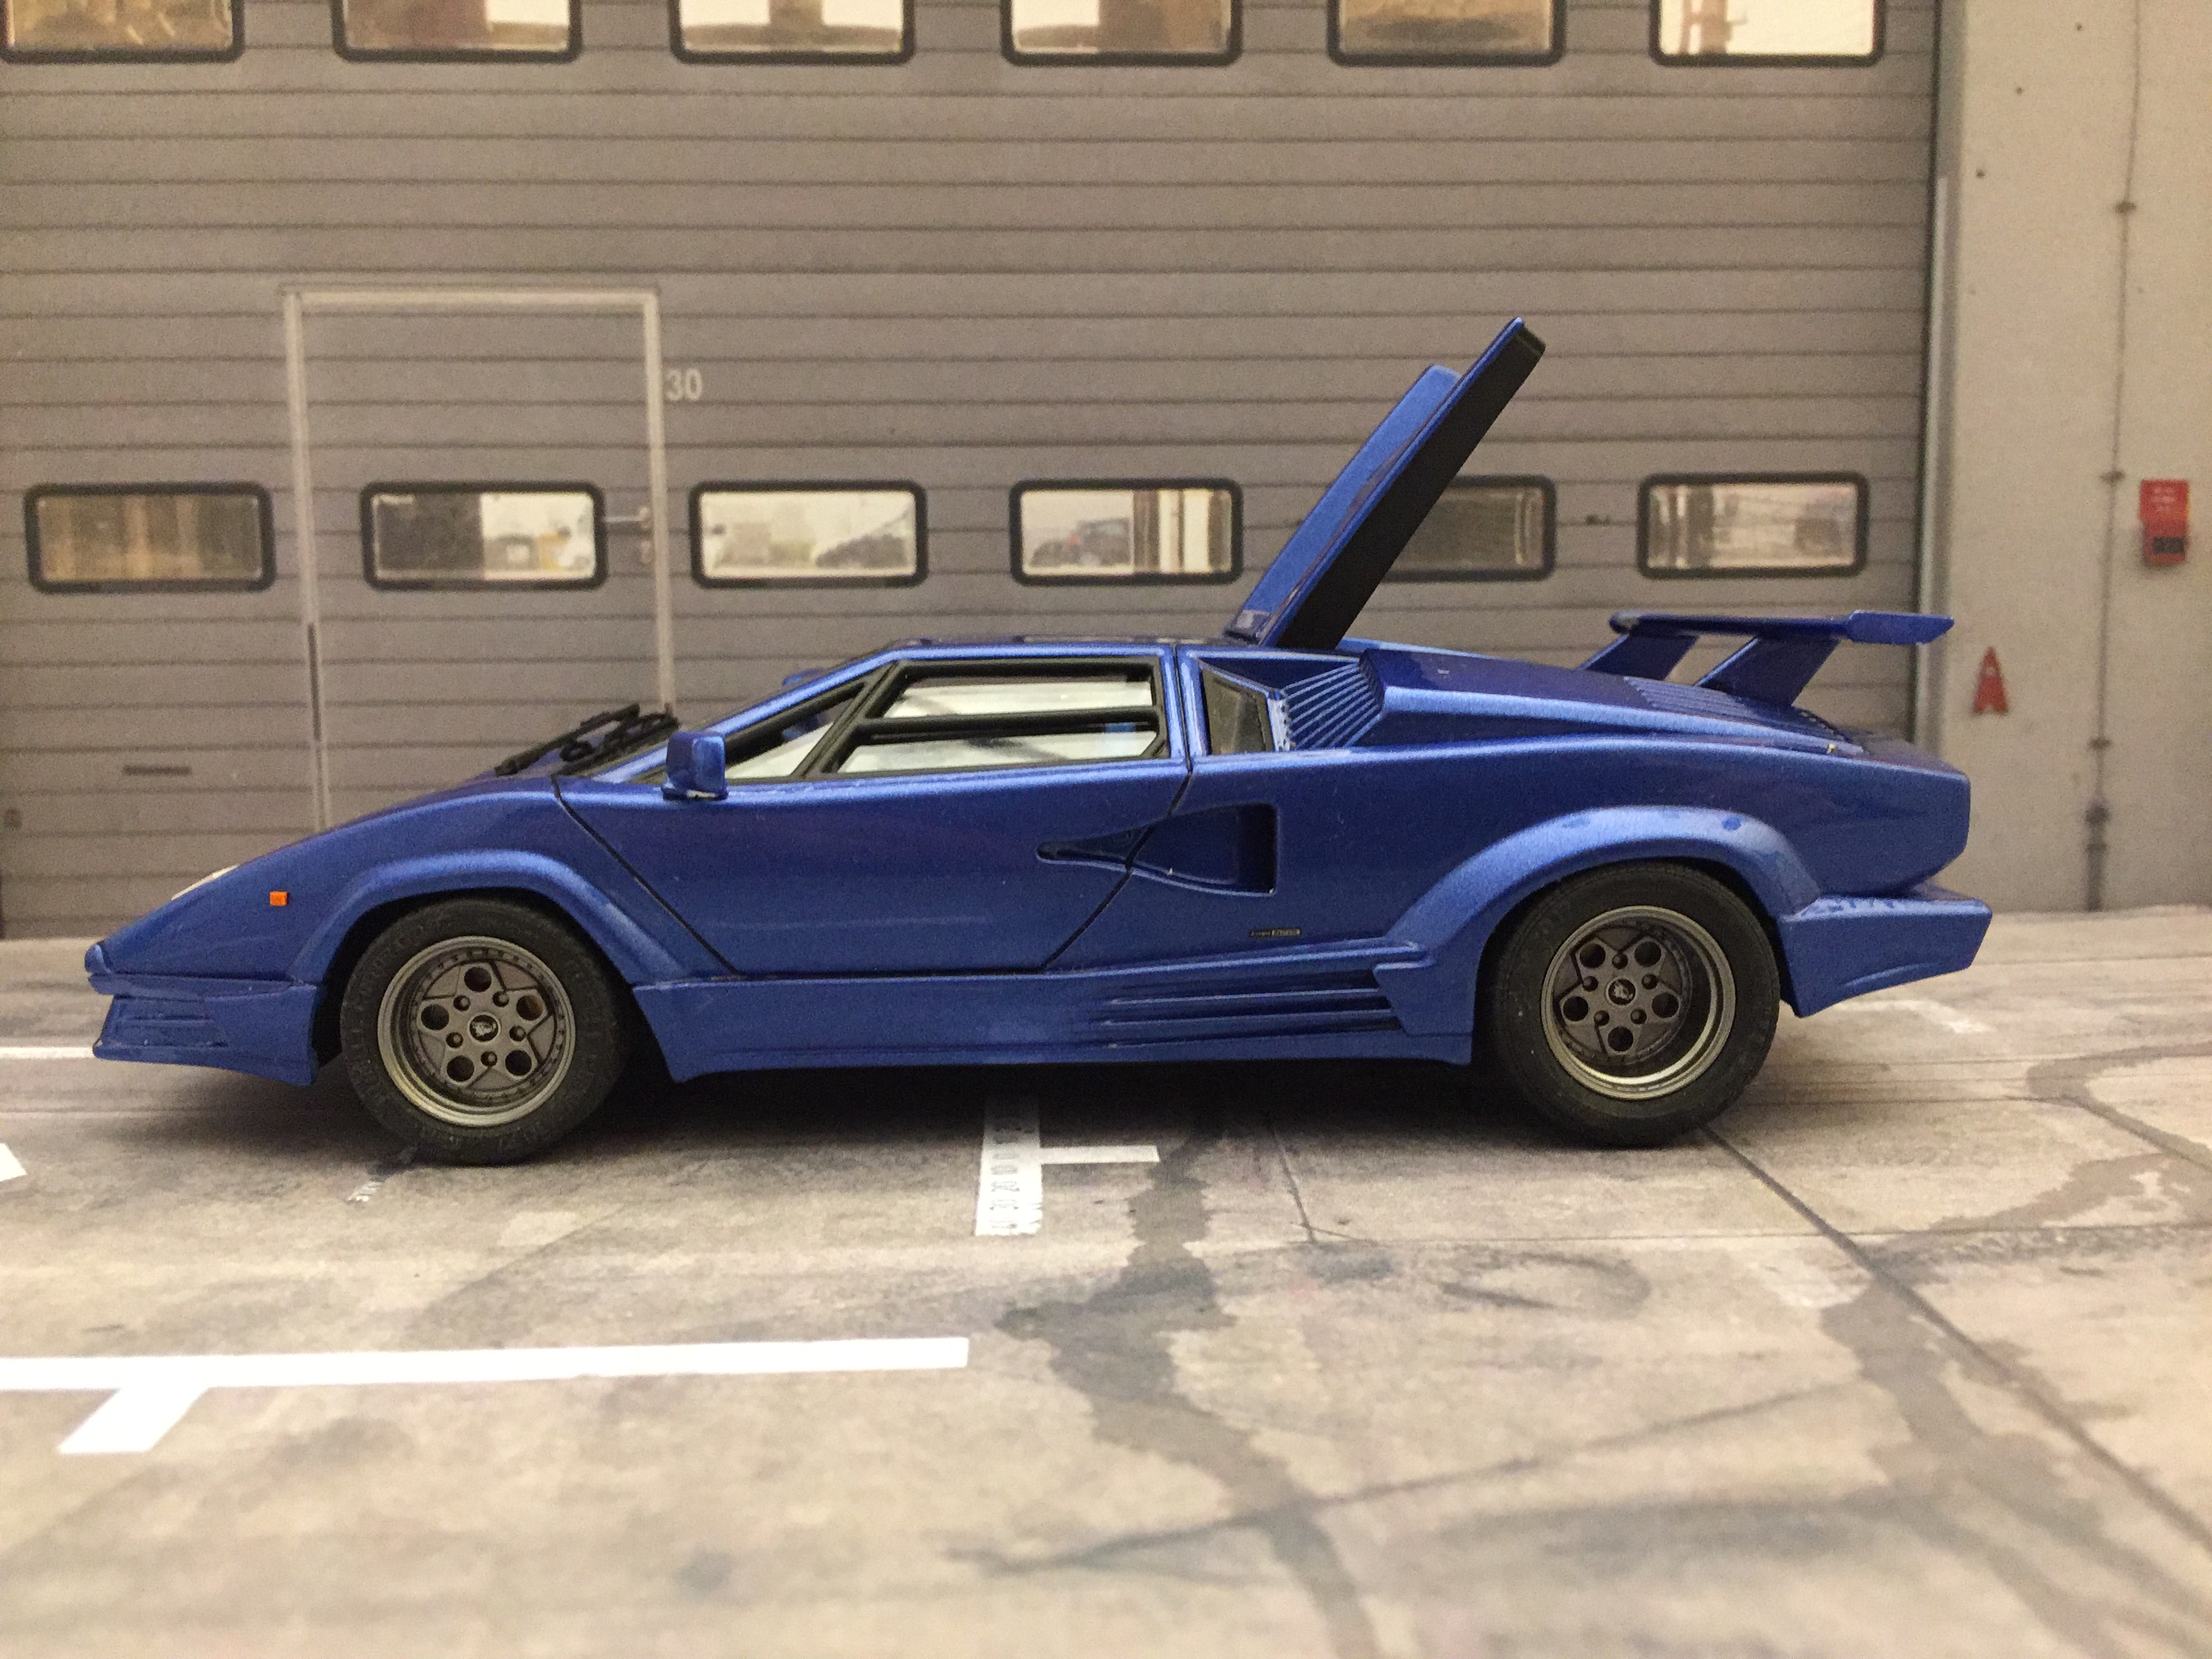
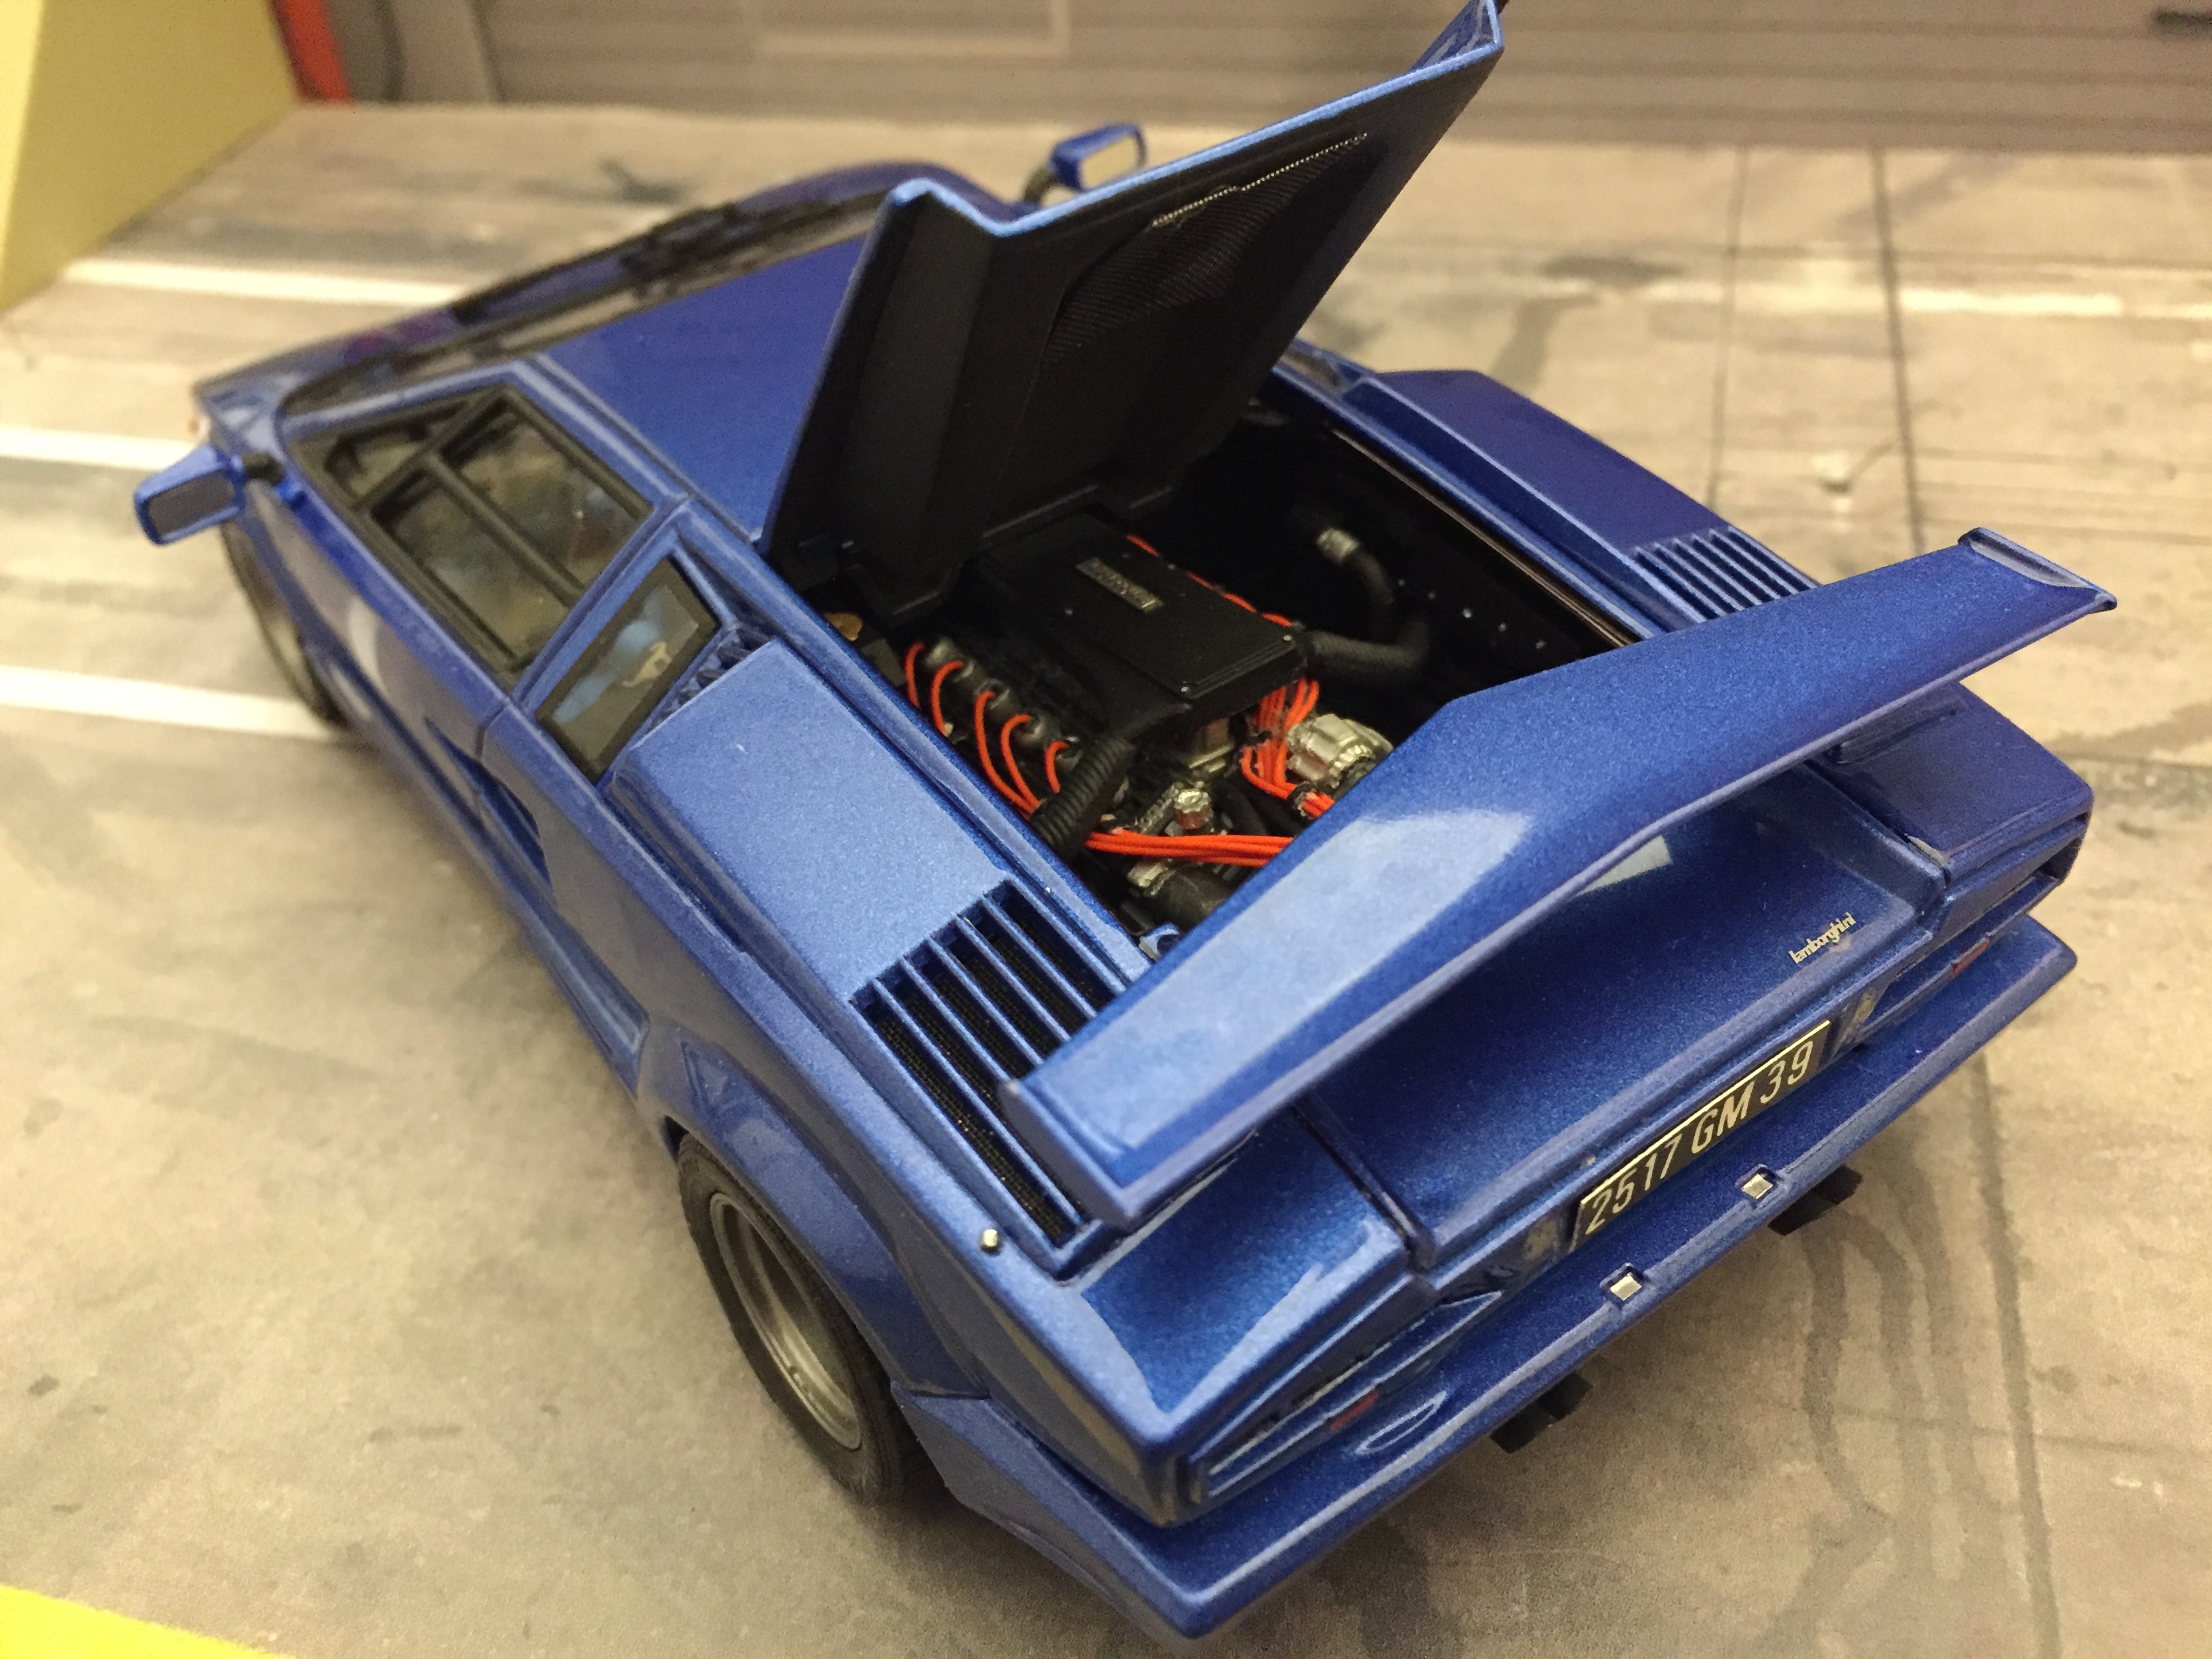
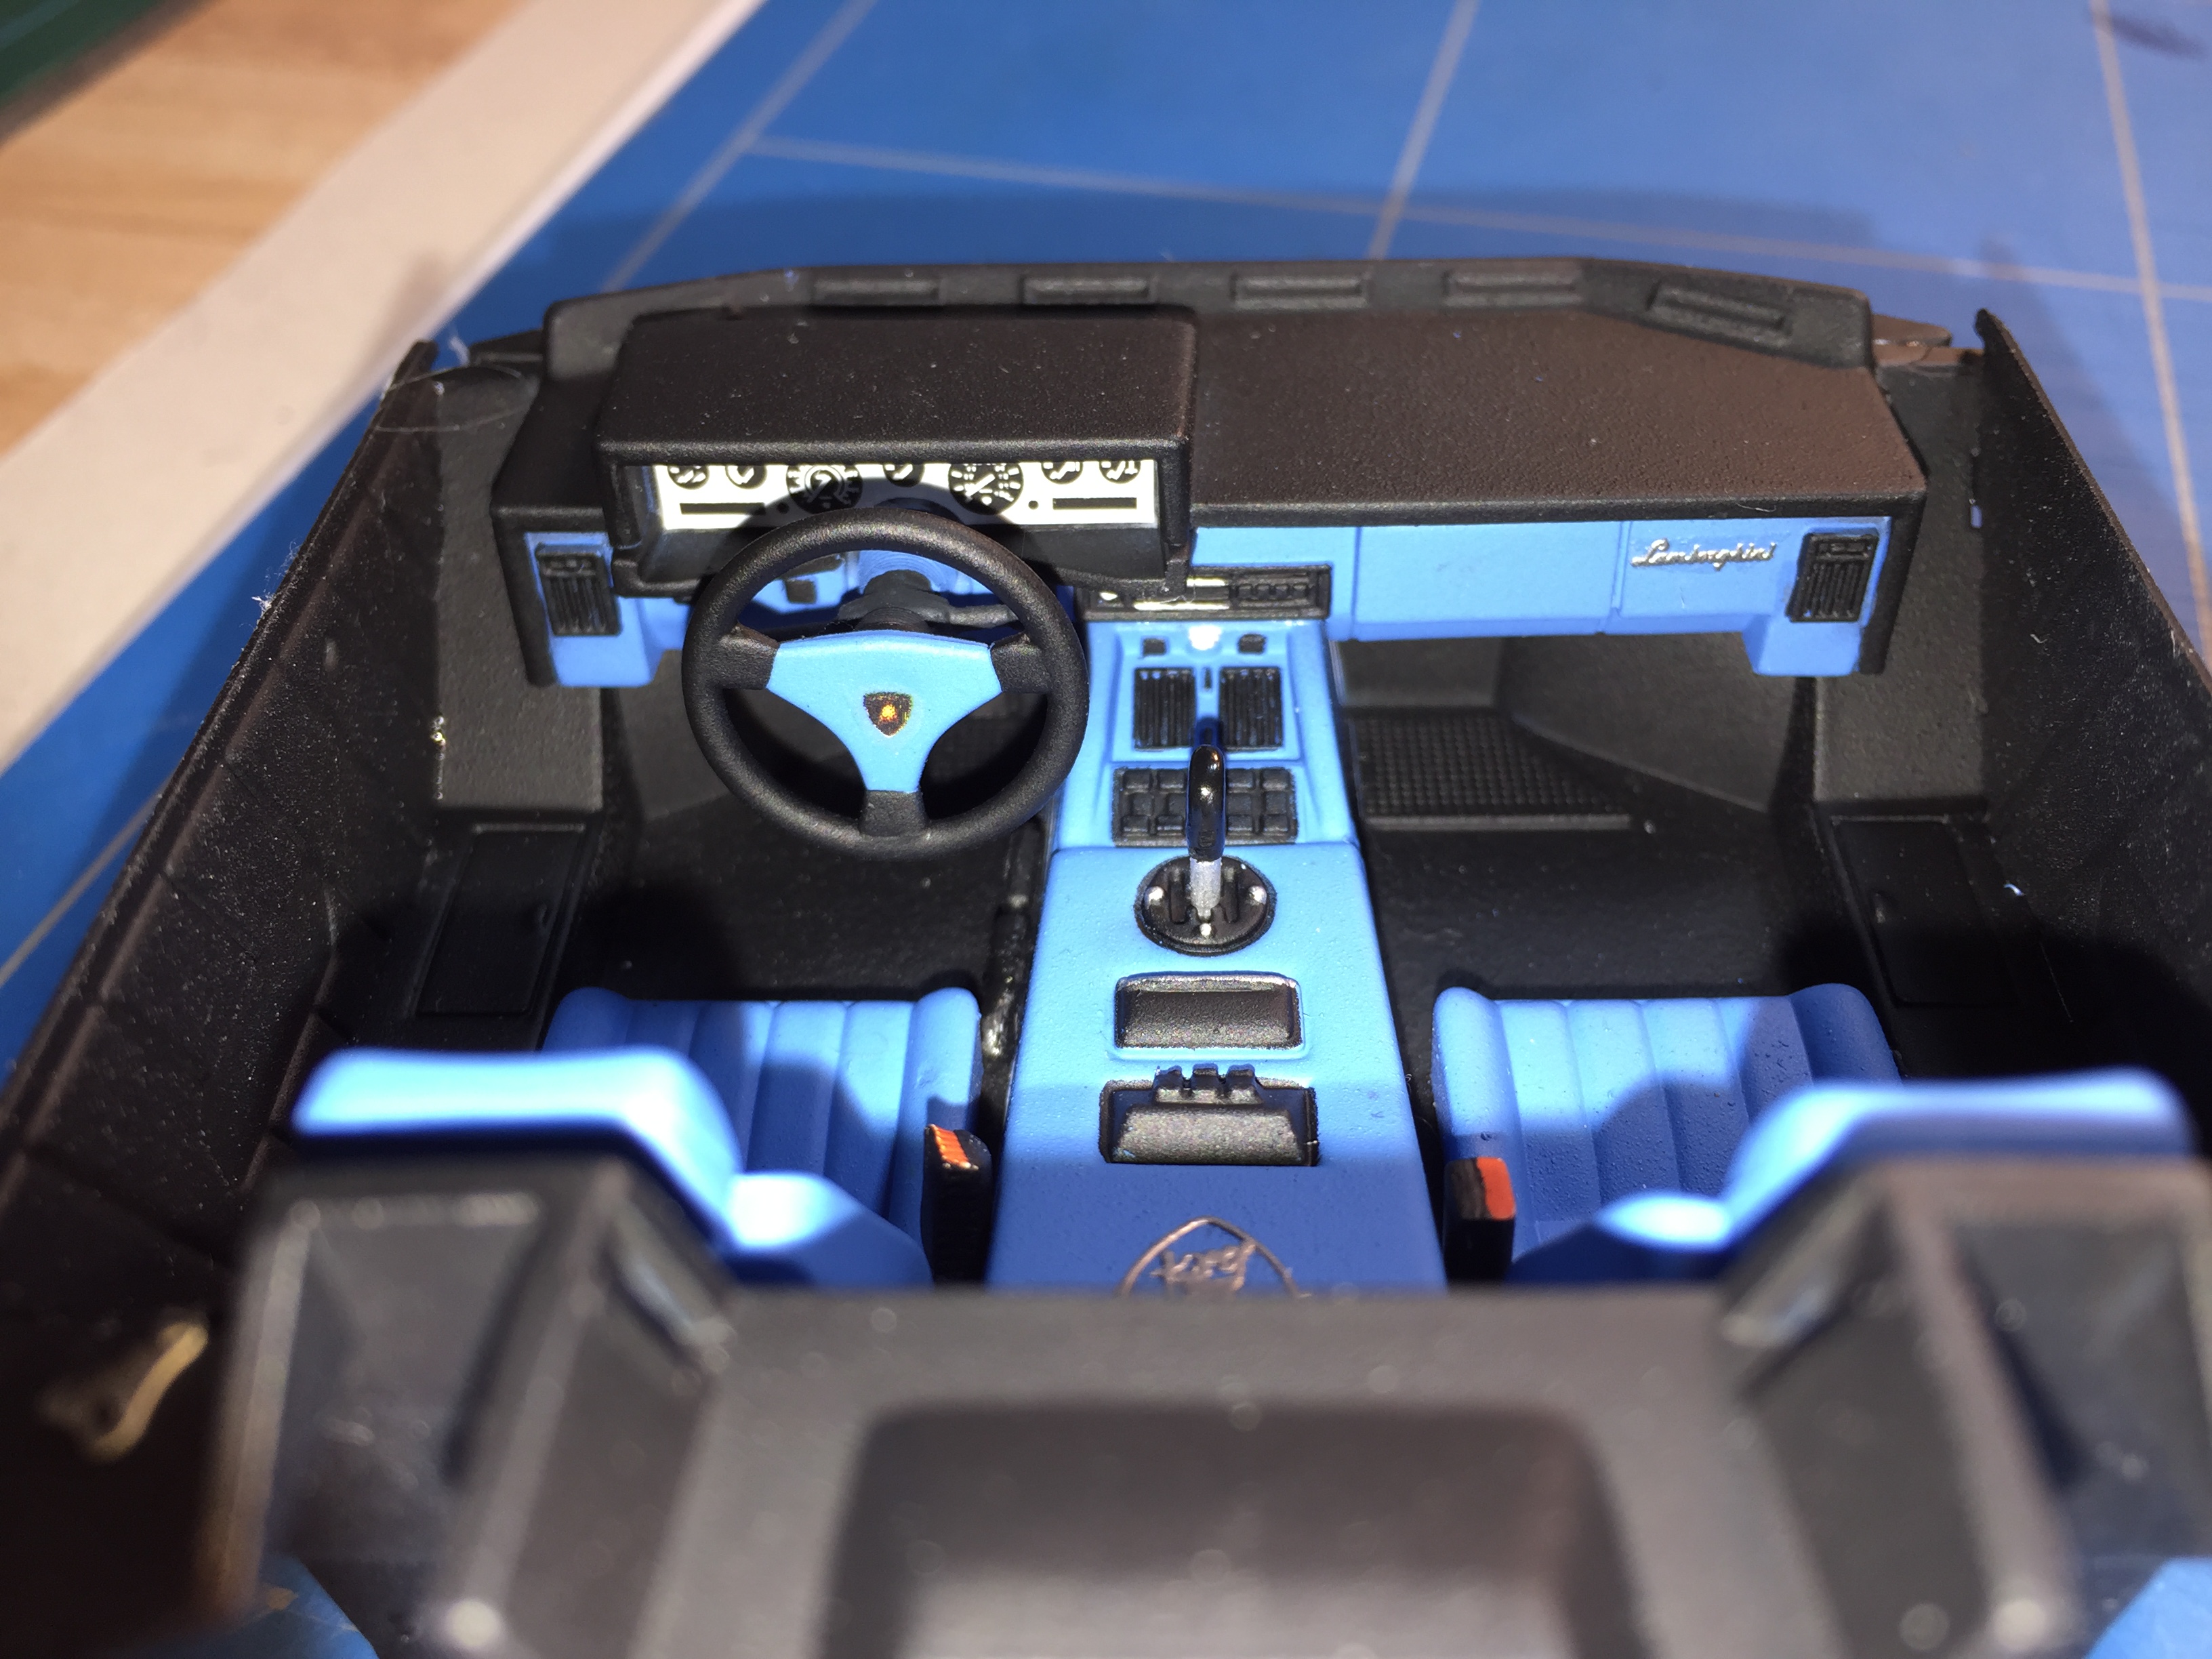
Hi folks, I would like to show you this one which I finished around 1 year ago. So right about that, Dann! The reason why I chose the Italeri over the Fujimi is... I don't know! In fact, I like the body shape of the Italeri a bit more, it's a bit wider in the front area, maybe more massive. The Fujimi probably is more true to scale, but I don't know. Anyways, I had bought the Italeri second-hand (some of the body parts were glued but that was all) so it was available. I have the Fujimi Anniversary Countach kit too, but only the non-EM kit without the engine. As I wanted to do one with an engine, this was the one to go for. As with most Italeri kits, the rims and tyres are a complete no-go. Even though the design of the rims itself is not that bad, they are all the same size and imho you just cannot do that on a Countach. As a result of my search on the internet I bought a set of Fujimi aftermarket rims + tyres with MUCH to wide rear tyres. Fortunately those were just right for Marcel_T4's massive Turbo Countach build, so he got them from me... As for my Anniversary Countach, I finally decided to use the rims from my Fujimi kit but as ALL Fujimi Countach tyres are too small in width, I had to add some wider ones from my spare parts box. Another modification that has been made is that I used the the "pointed" rear wing from the Aoshima QV 5000 kit. There are 2 wings included in that kit, the pointed one and the straight one. Back in the day, I always liked the Anniversary Countach without the rear wing but nowadays I think all Countach's except for the LP 400 HAVE to have one... The body color is ZP Lamborghini Blu Caelum, a very beautiful metallic blue which has been sealed with ZP 2k clear. Rims have been painted using AK Interactive's Gun Metal. Enough said, here come the images, hope you like them:
-
Hello, i will show my Lamborghini. Thema Inspiration was a John Sibal picture. Alle body parts are 3D printed. Sorry for my bad english.
-
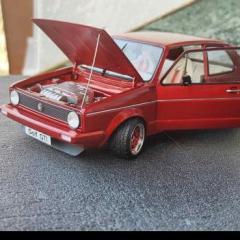
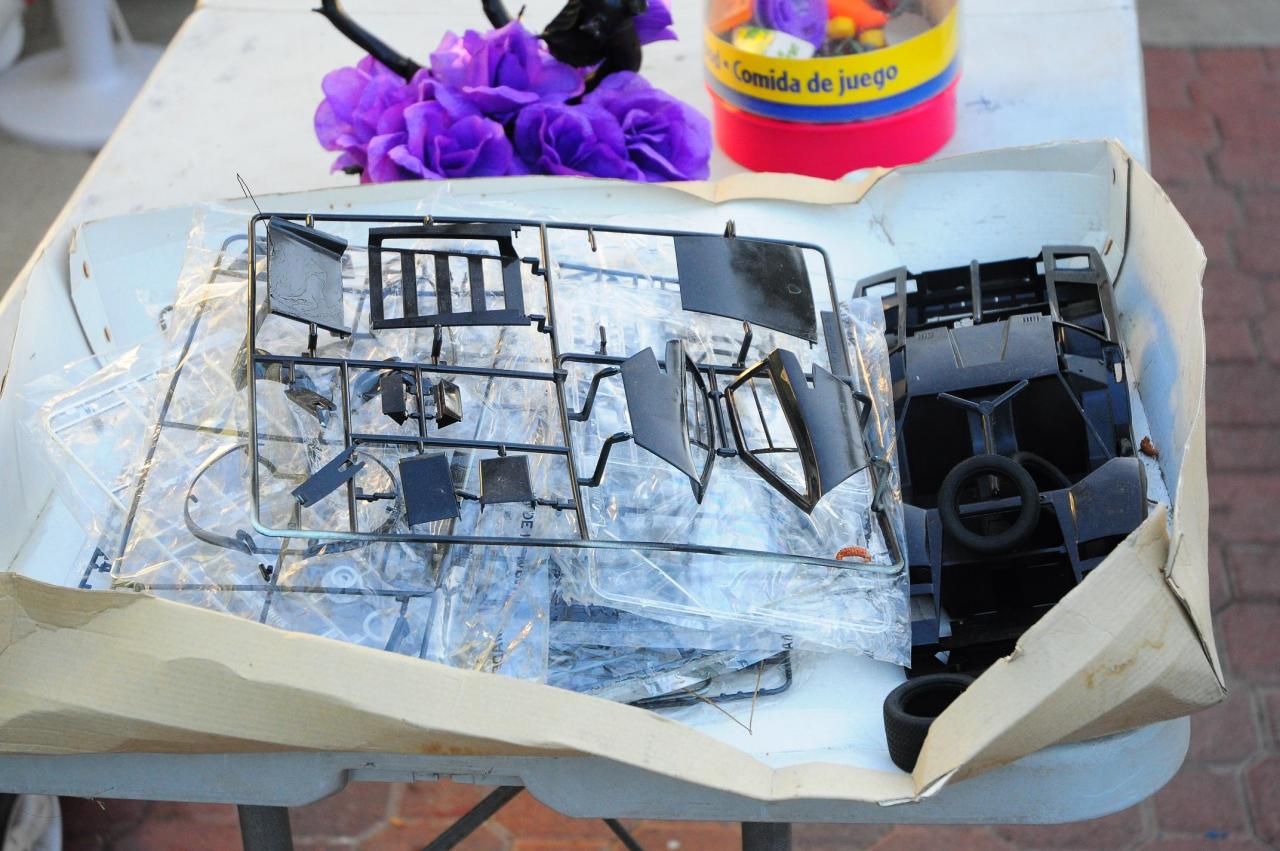
A tale of sadness yet hope. A long time ago, when I just had started to build model cars I bought this kit and...well, trashed it. Now almost 5 years its time to do it right! I found it today in my storage! everything is here except the instructions, first off, stripping the horrible rattle can paint job! and brushed on interior work!


.jpg.bce249e183674192c2cb1040b2717d0a.jpg)
.jpg.857599cc7f2f1ecda526f8355f31772a.jpg)
.jpg.501e6ccf60baaa8931c628f3cf923e01.jpg)
.jpg.001502135c4ae042d285b5111cc80a8b.jpg)

.jpg.b38589eb0a8a2f1d4e86570e957707c3.jpg)


.jpg.a37e42e69cb690bd45cc009cc55ec282.jpg)