Search the Community
Showing results for tags 'miura'.
Found 8 results
-
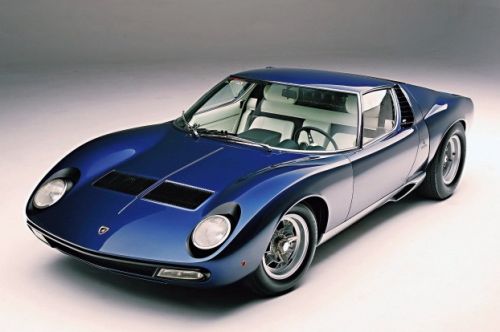
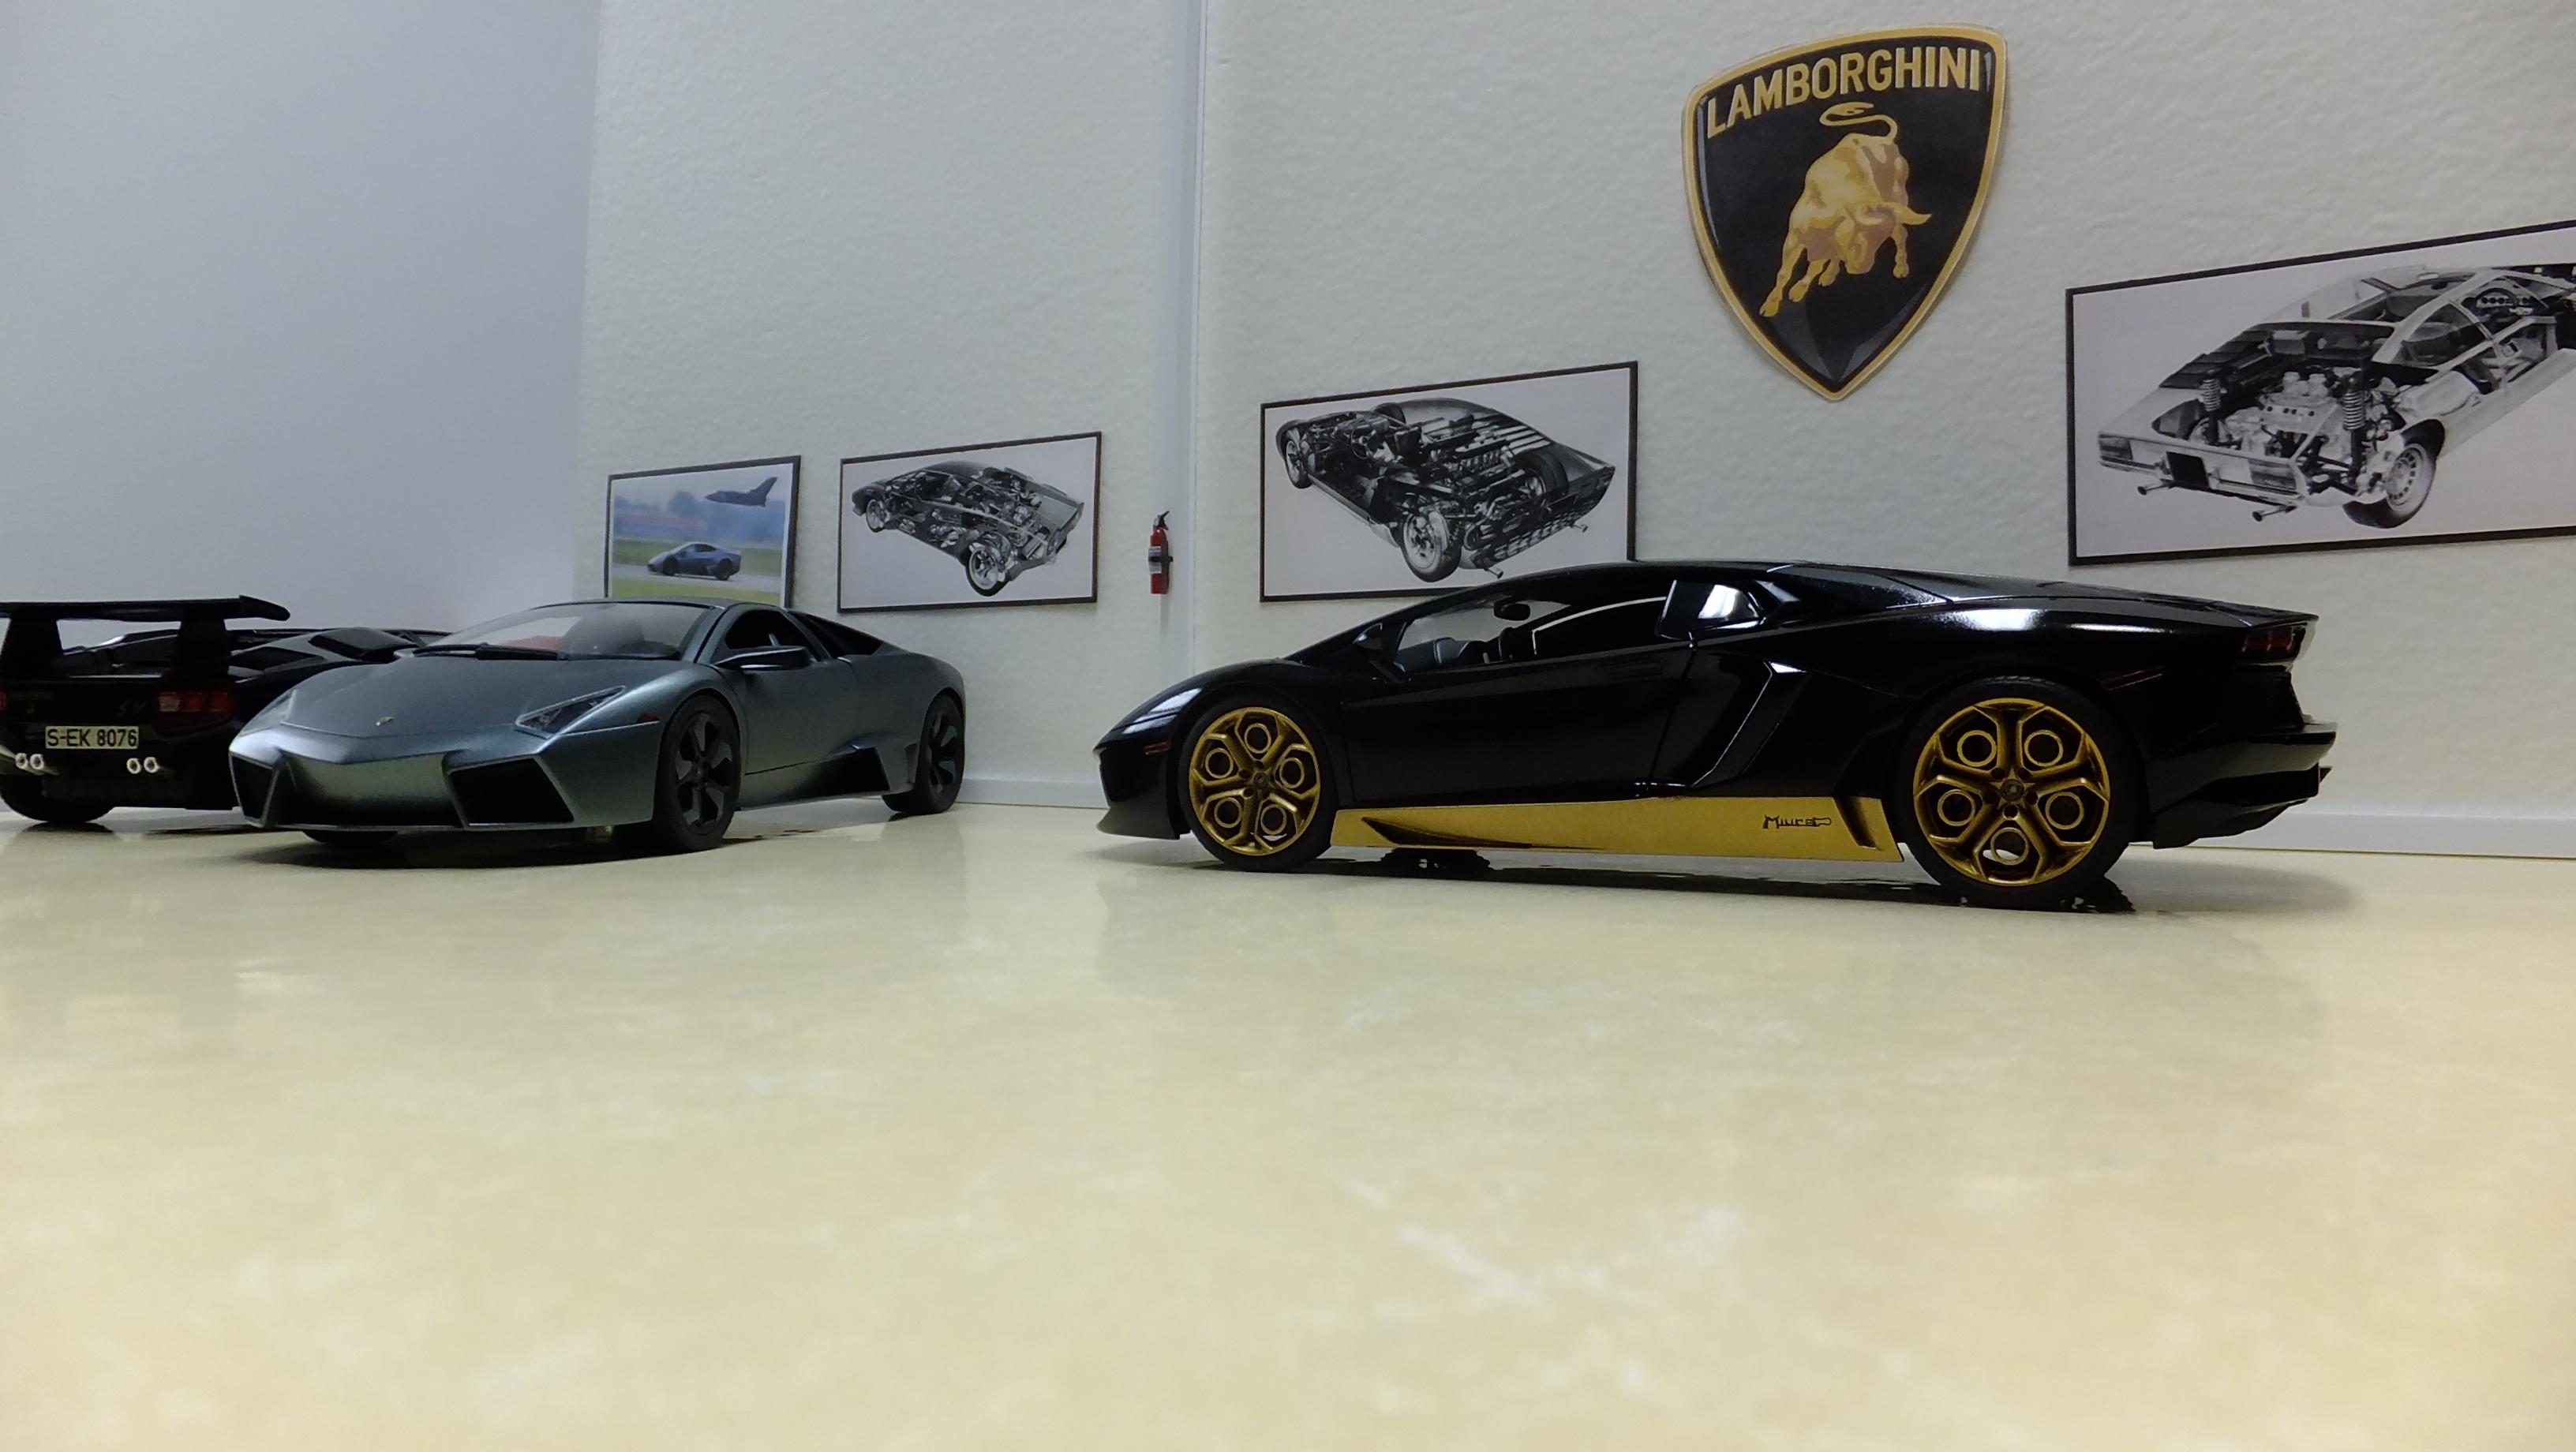
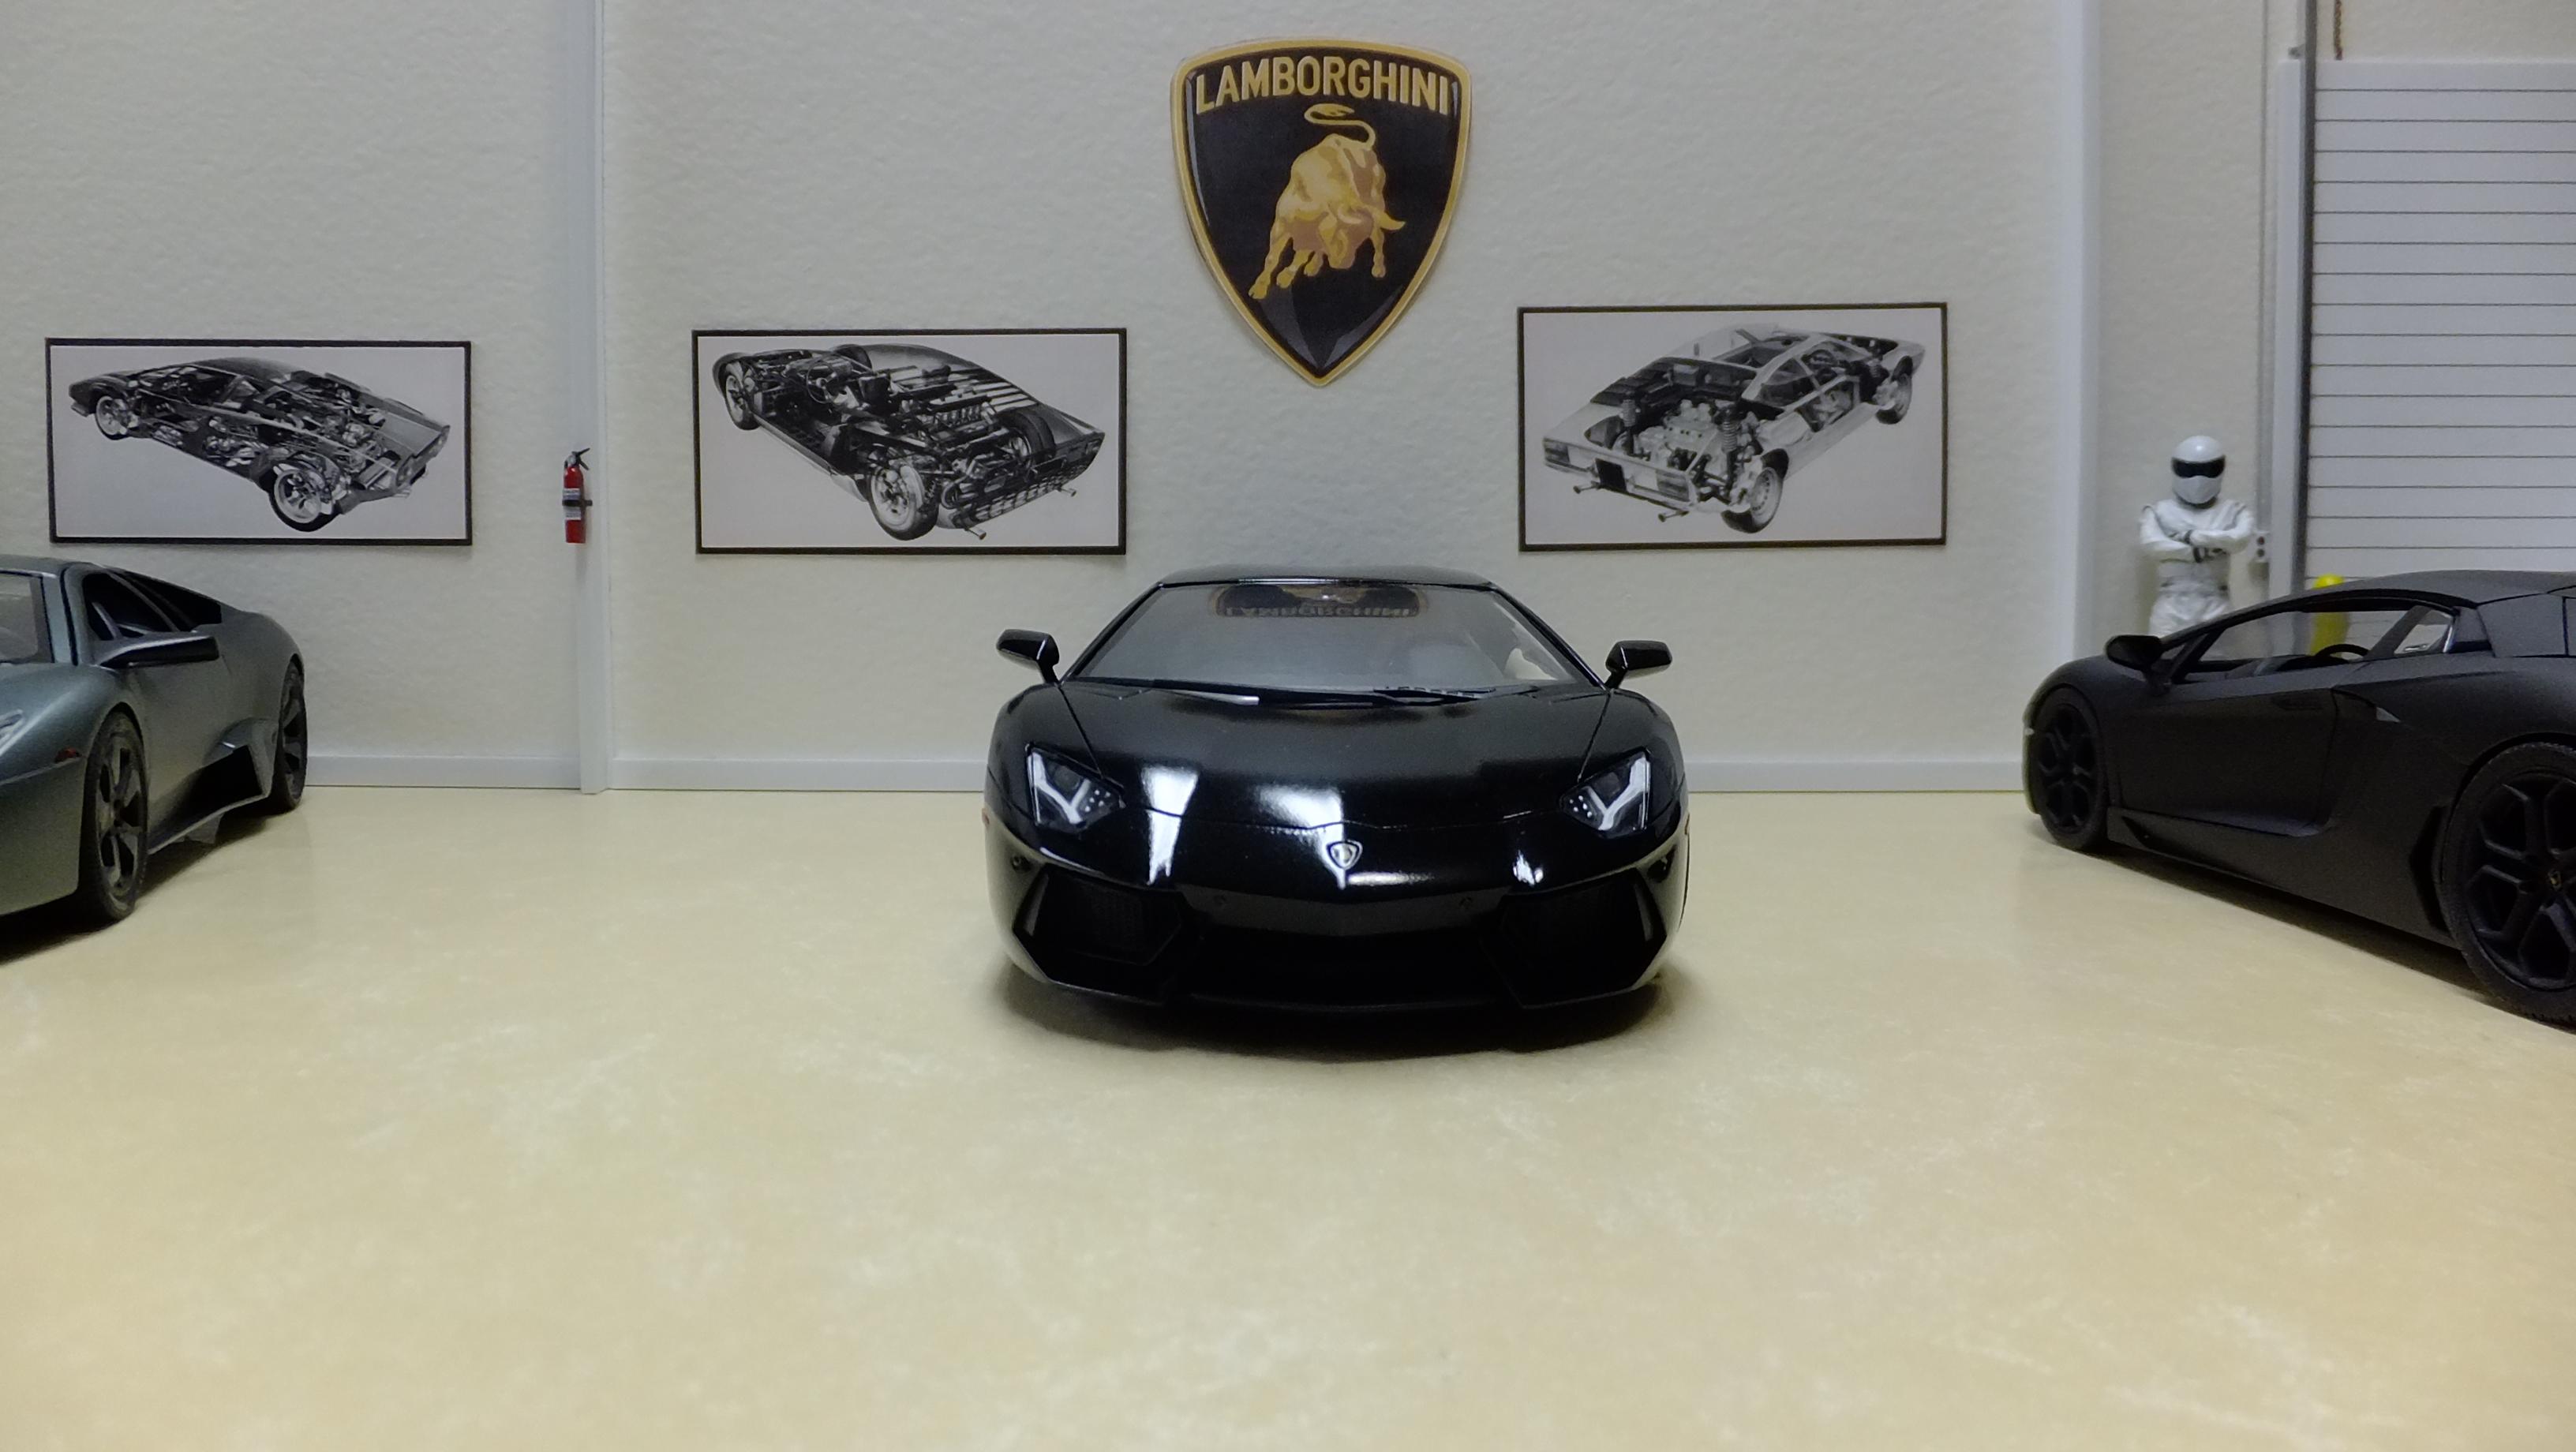
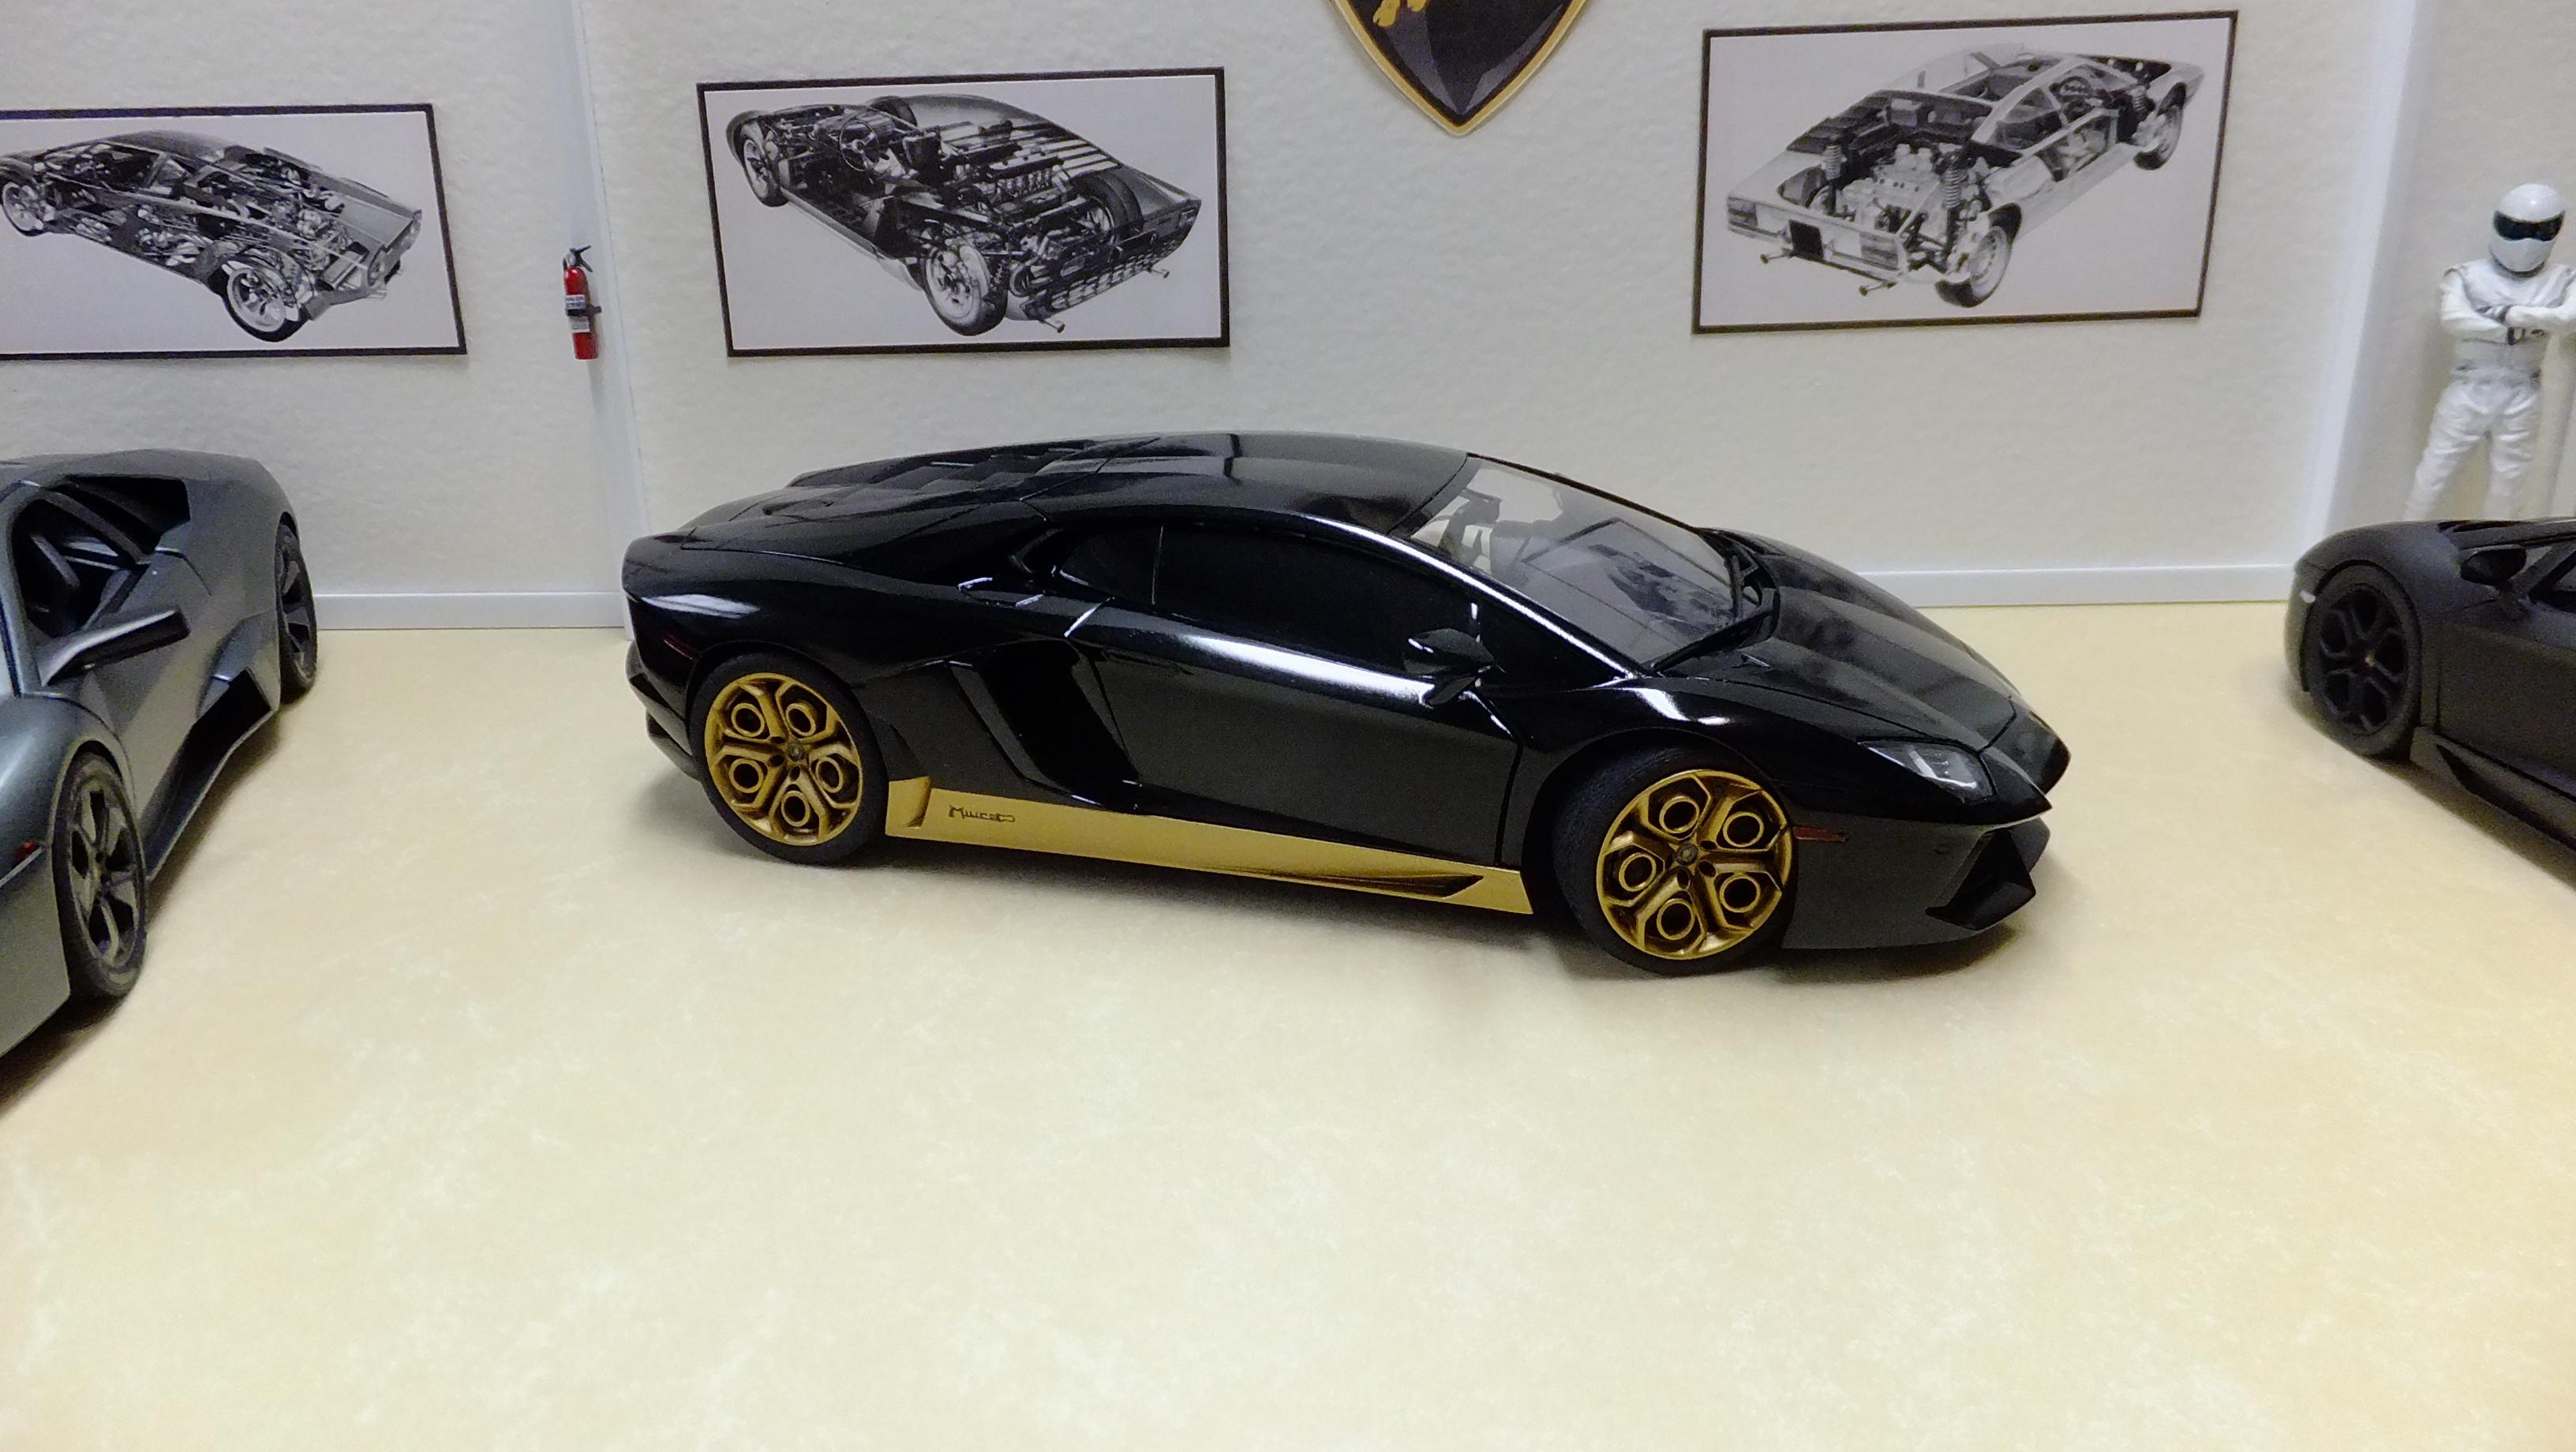
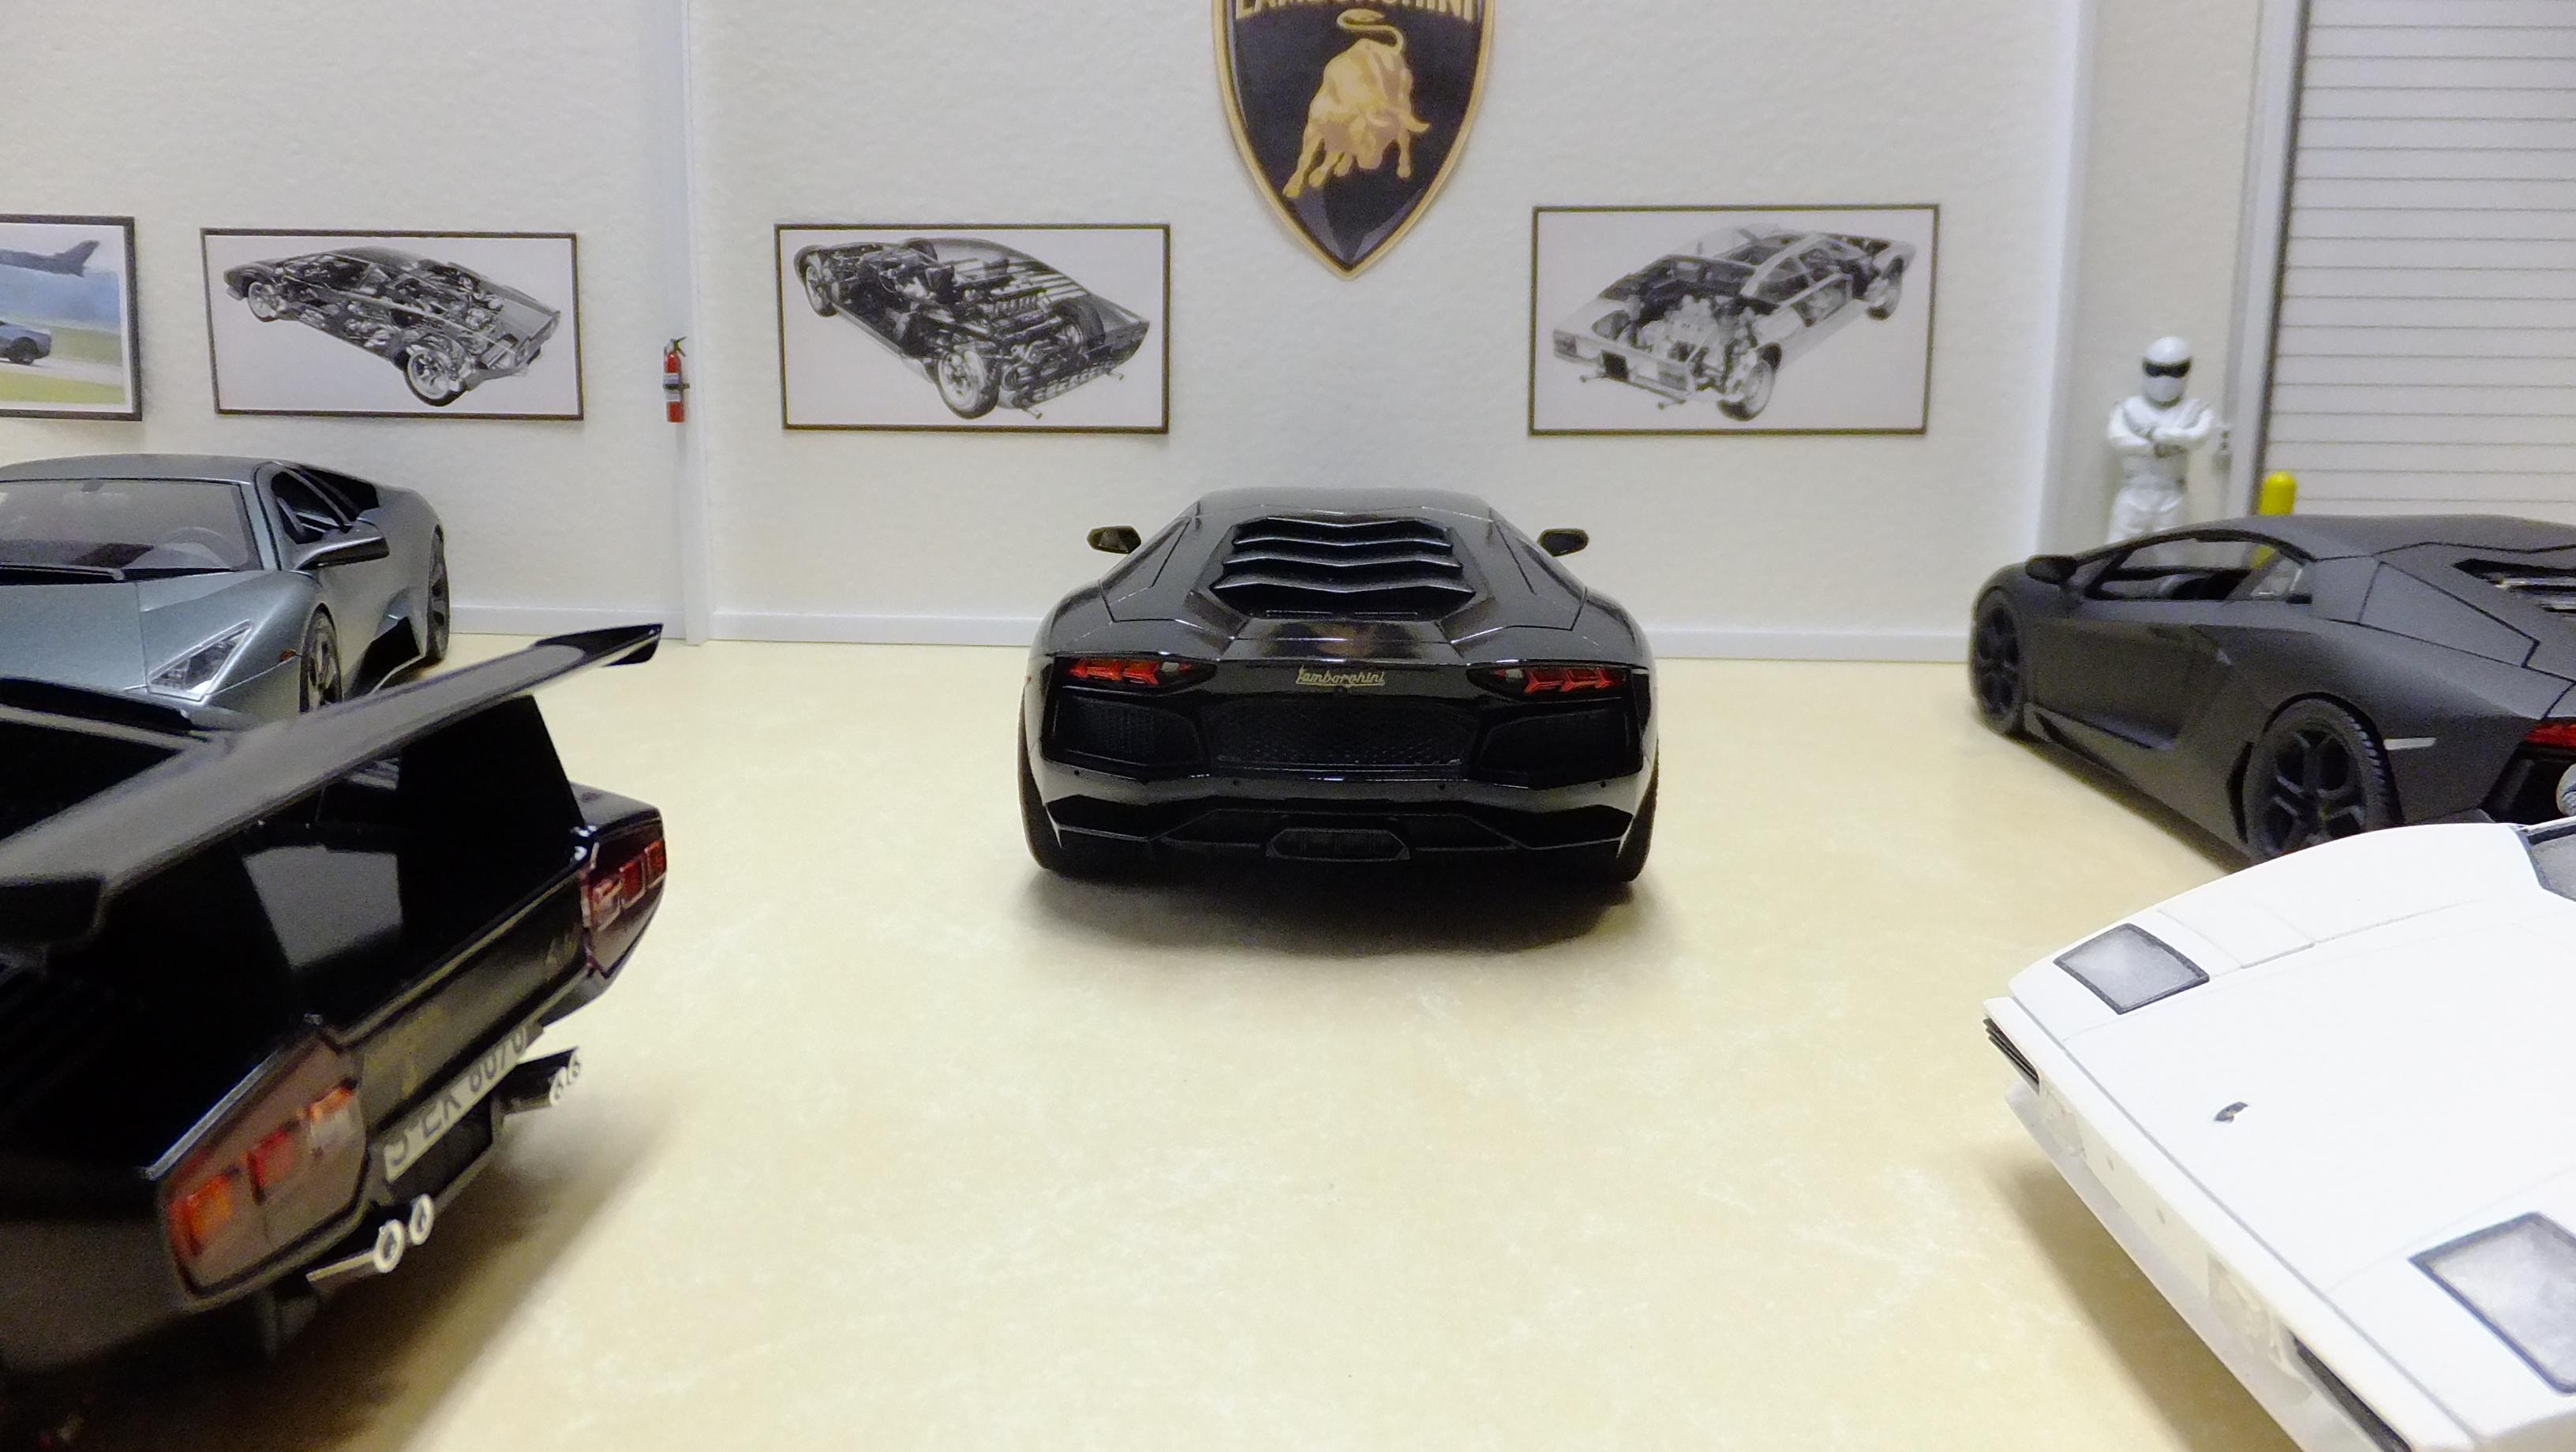
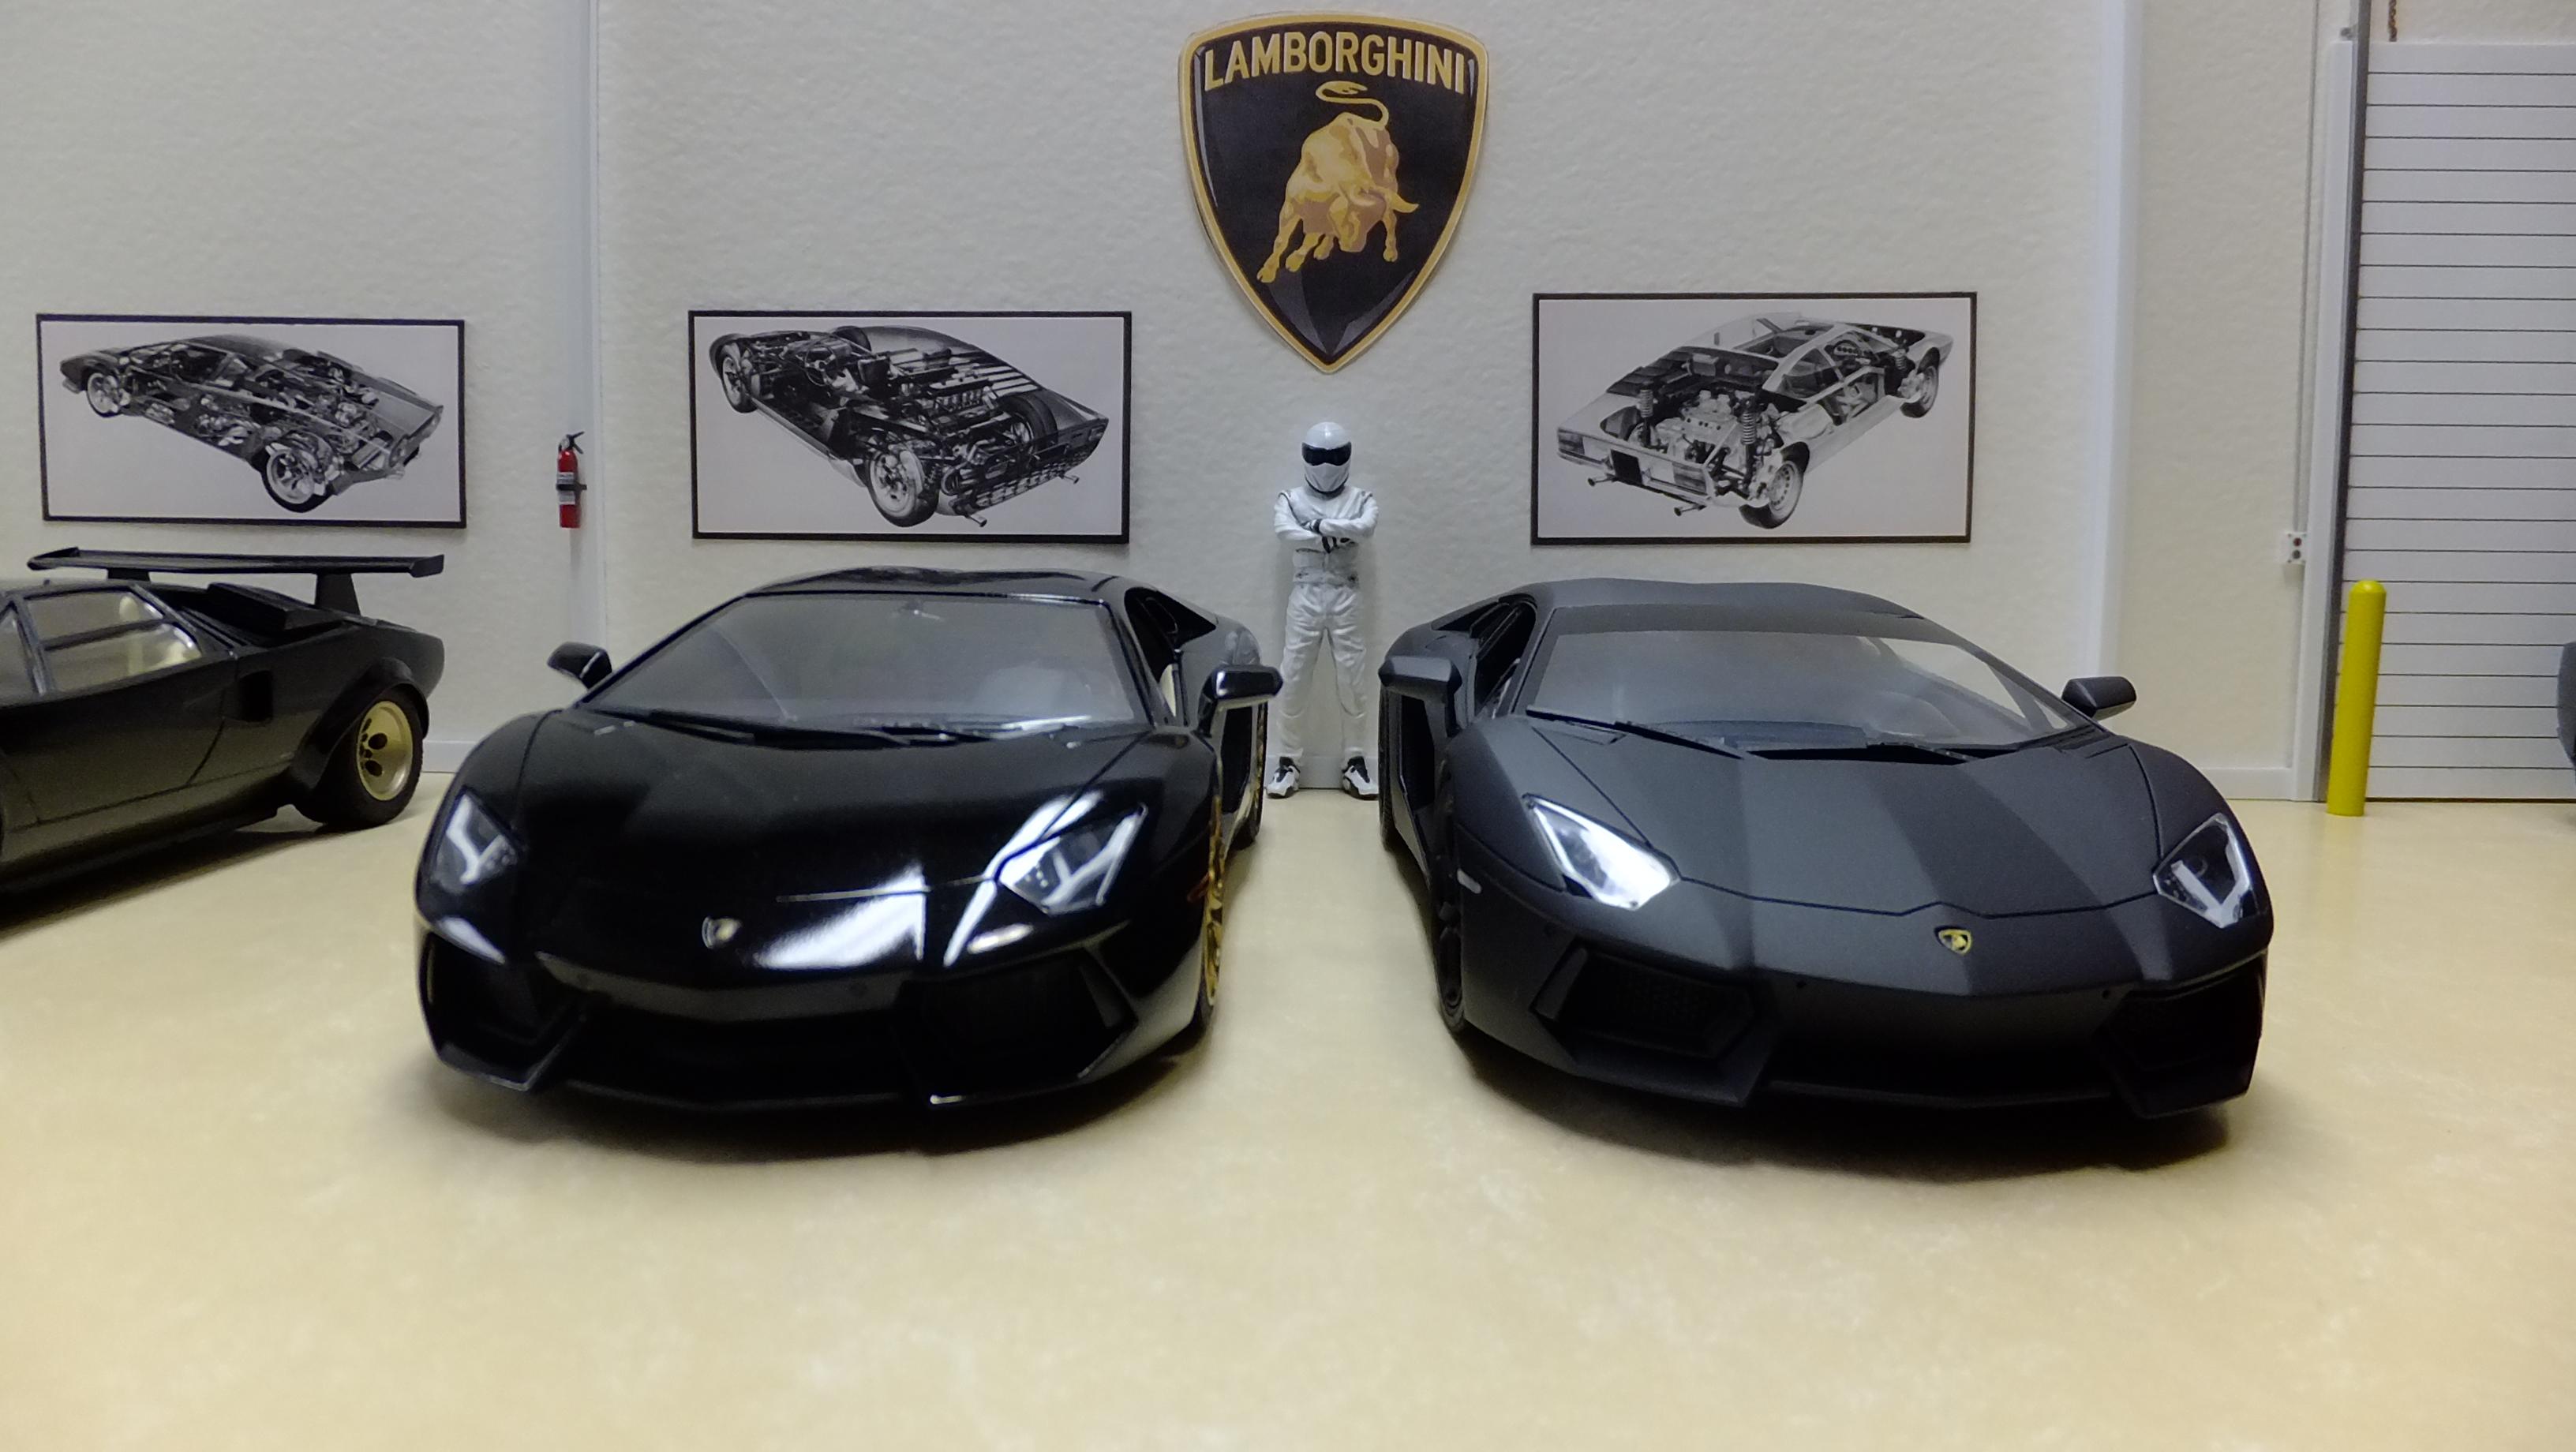
This week I will be starting to build my Lamborghini Miura. This photo shows how it will look when its done.....hope you enjoy!

-
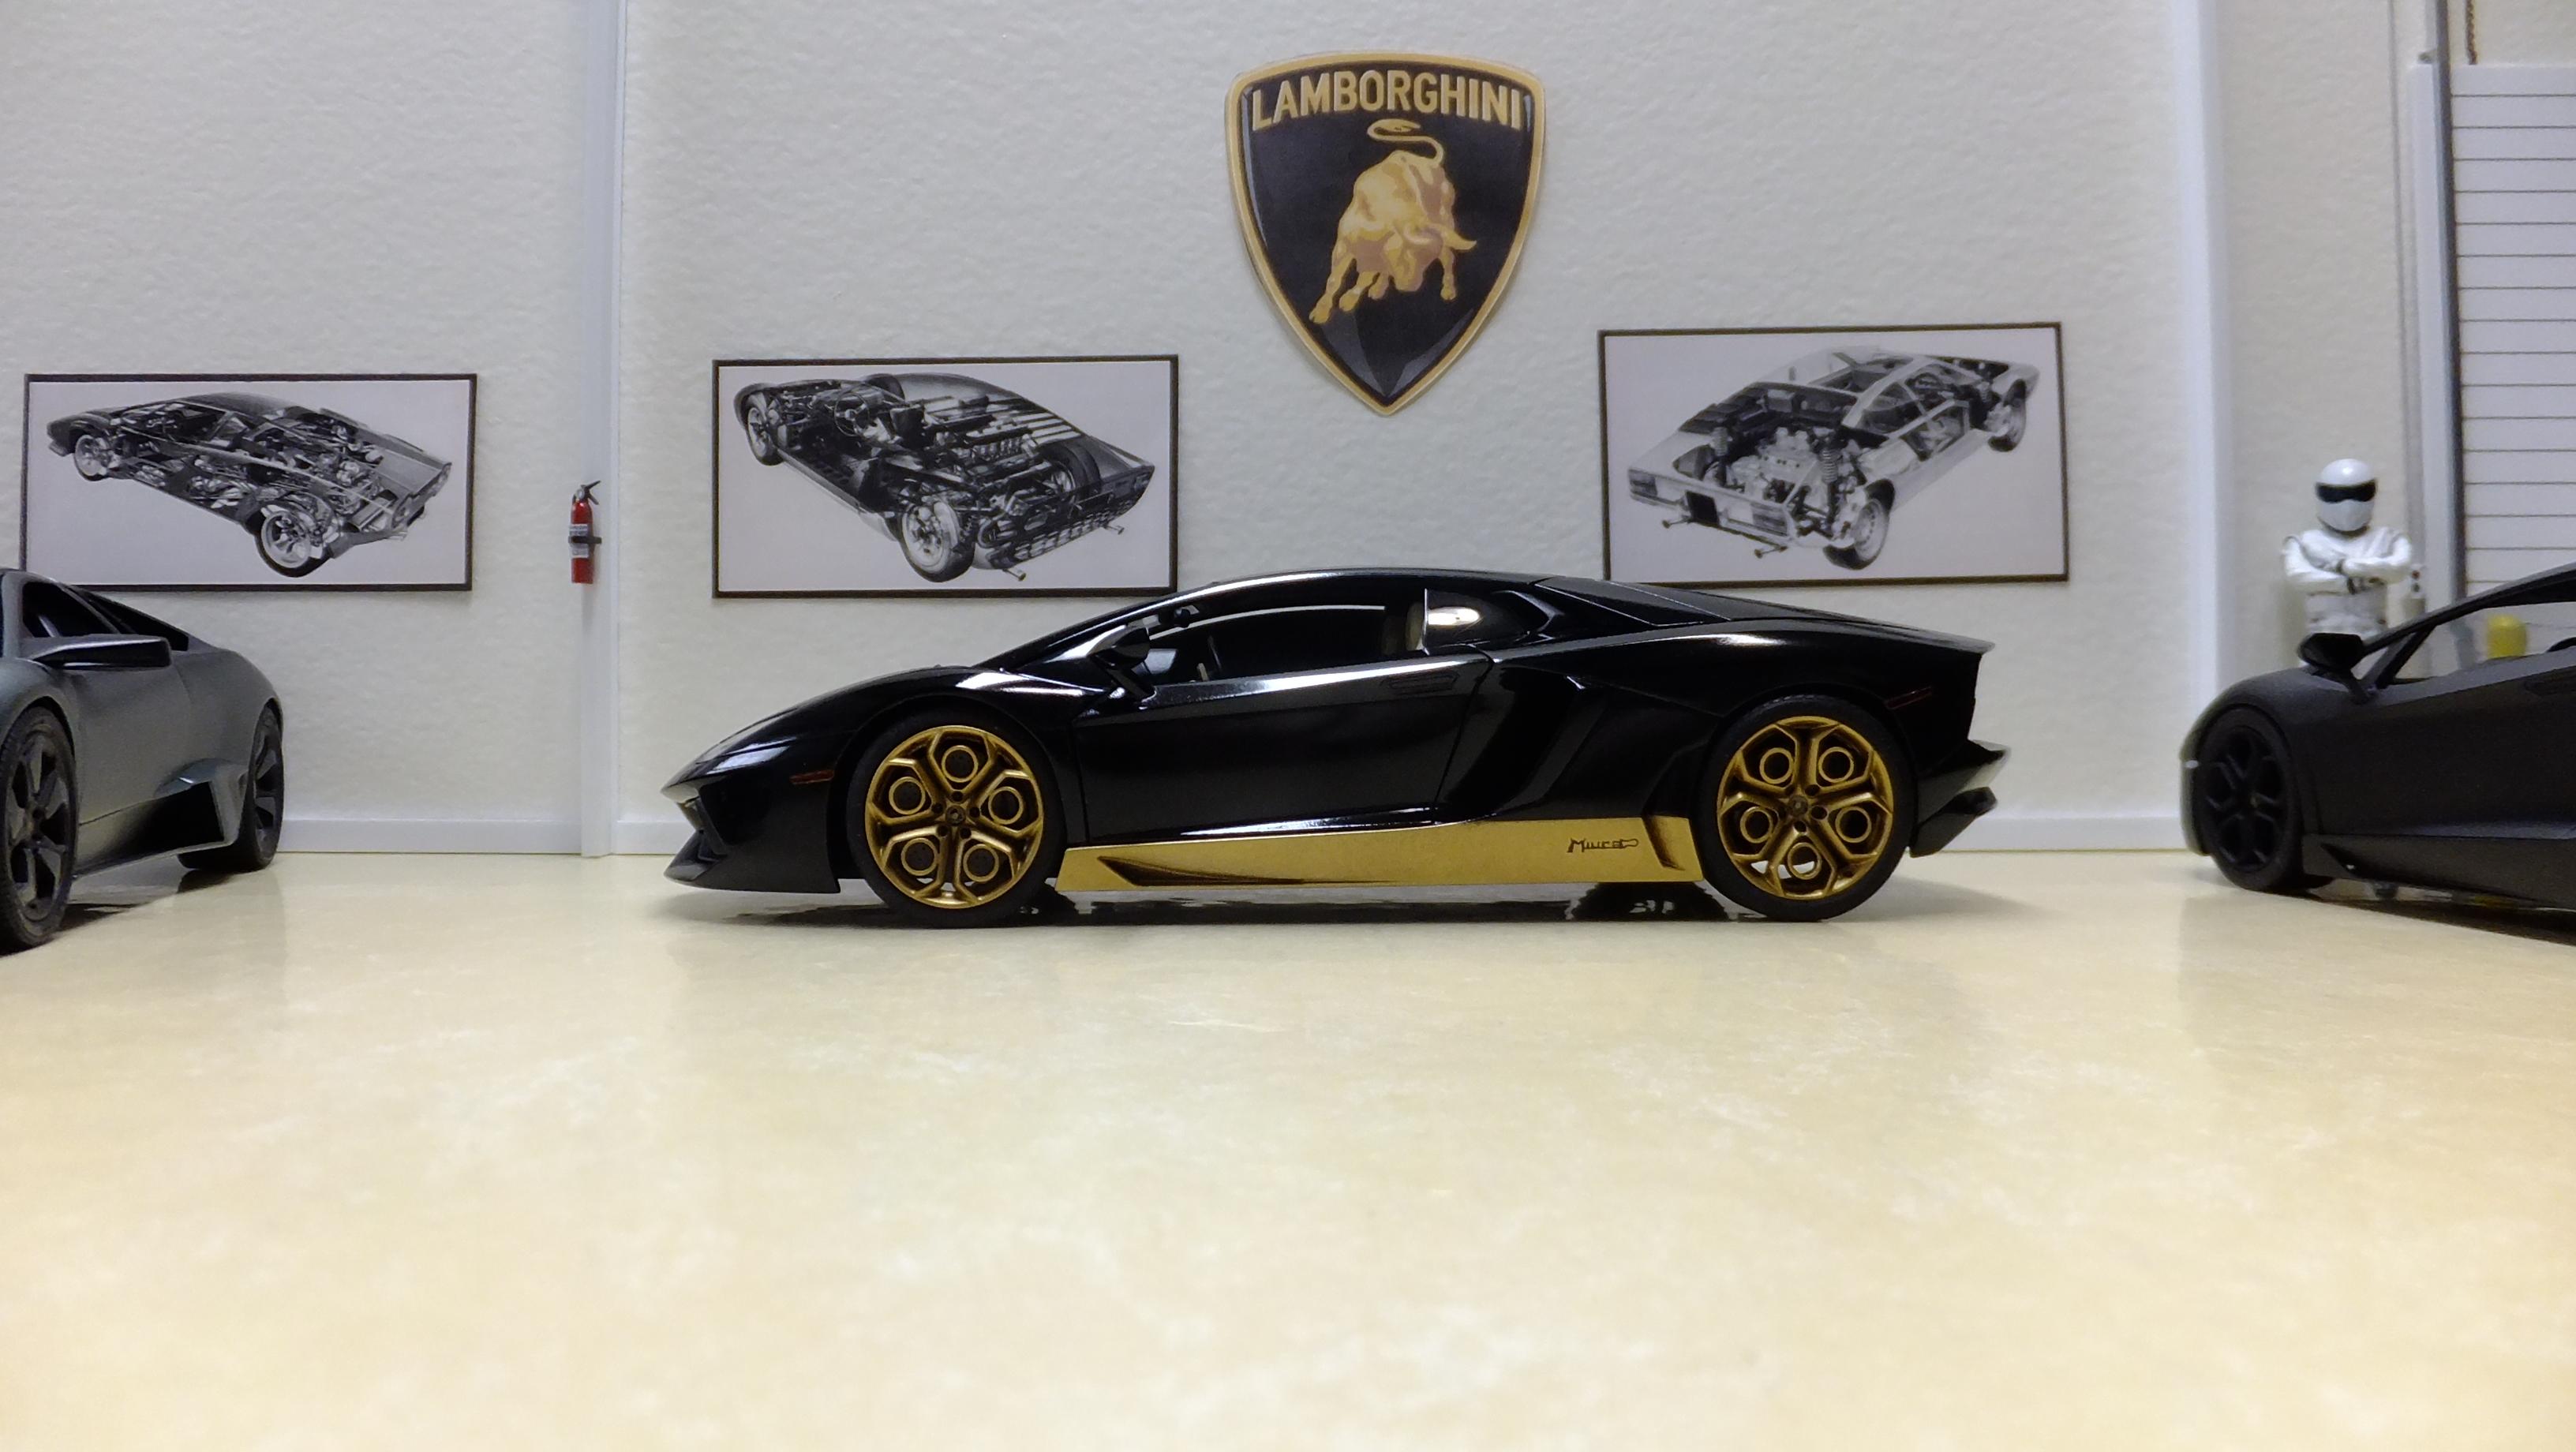
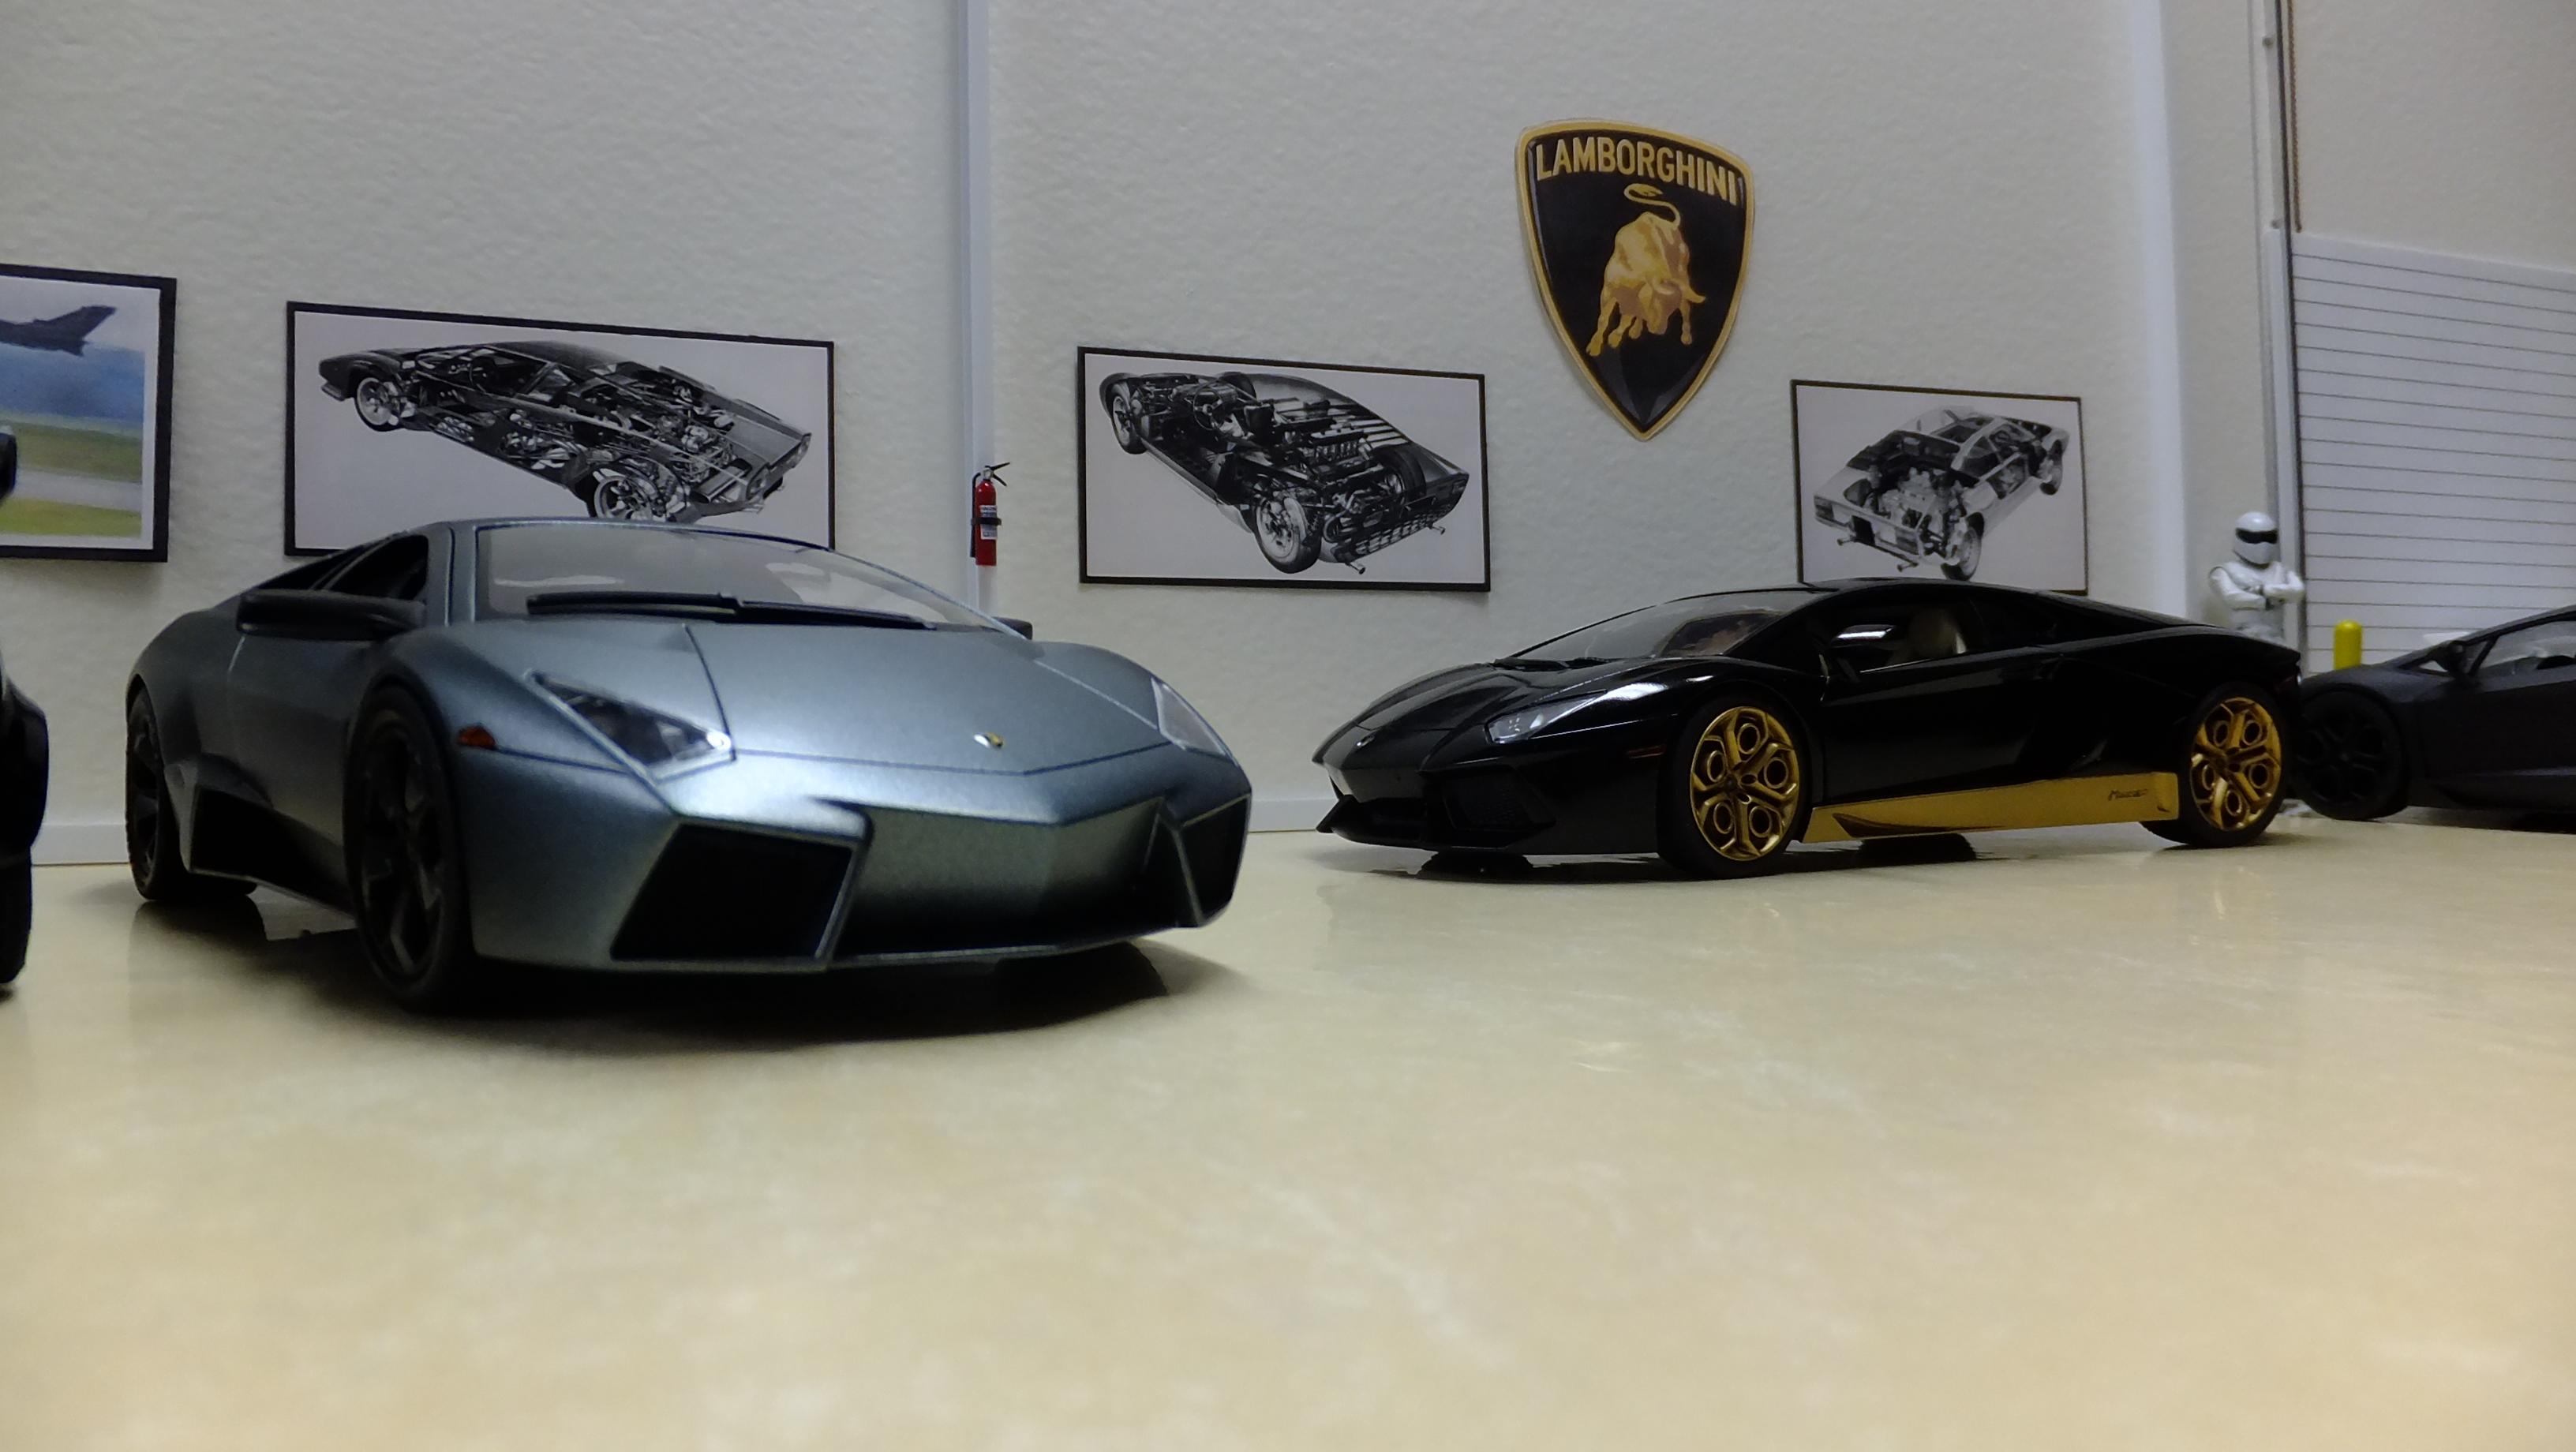
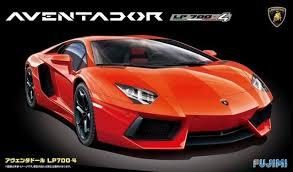
Hey, everyone! I thought i hadnt finished any builds in 2021, but then i remembered my Fujimi Aventador Miura edition...hope you like it! God bless!!
-
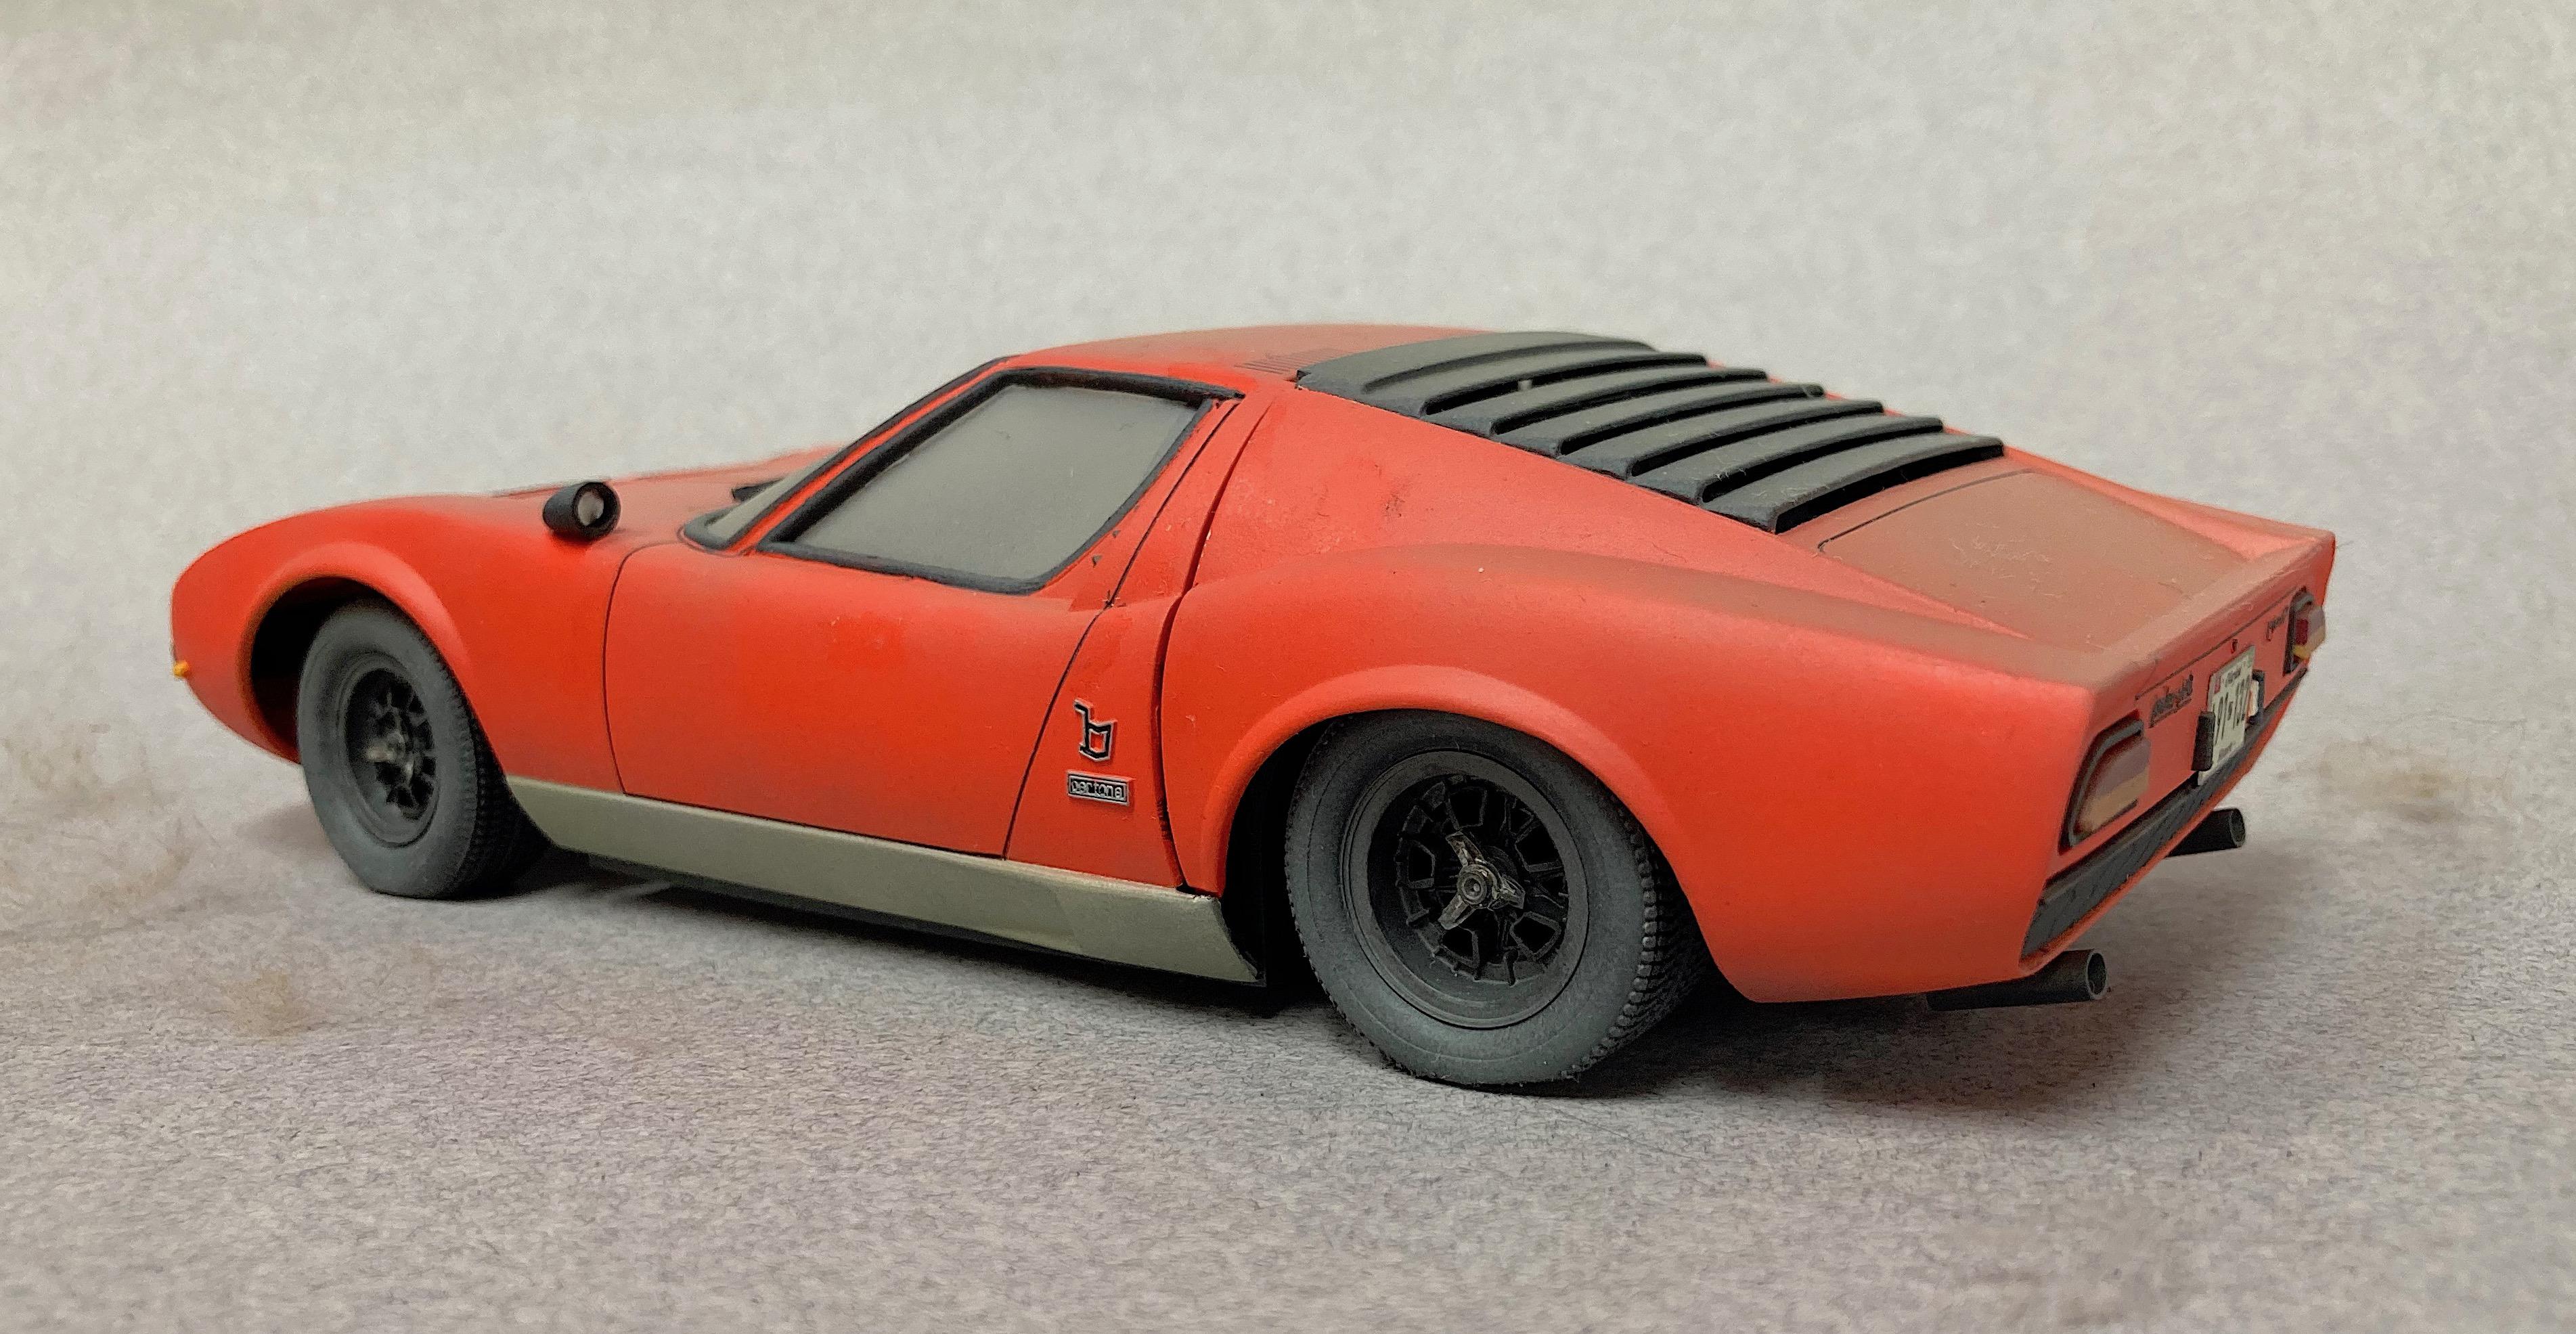
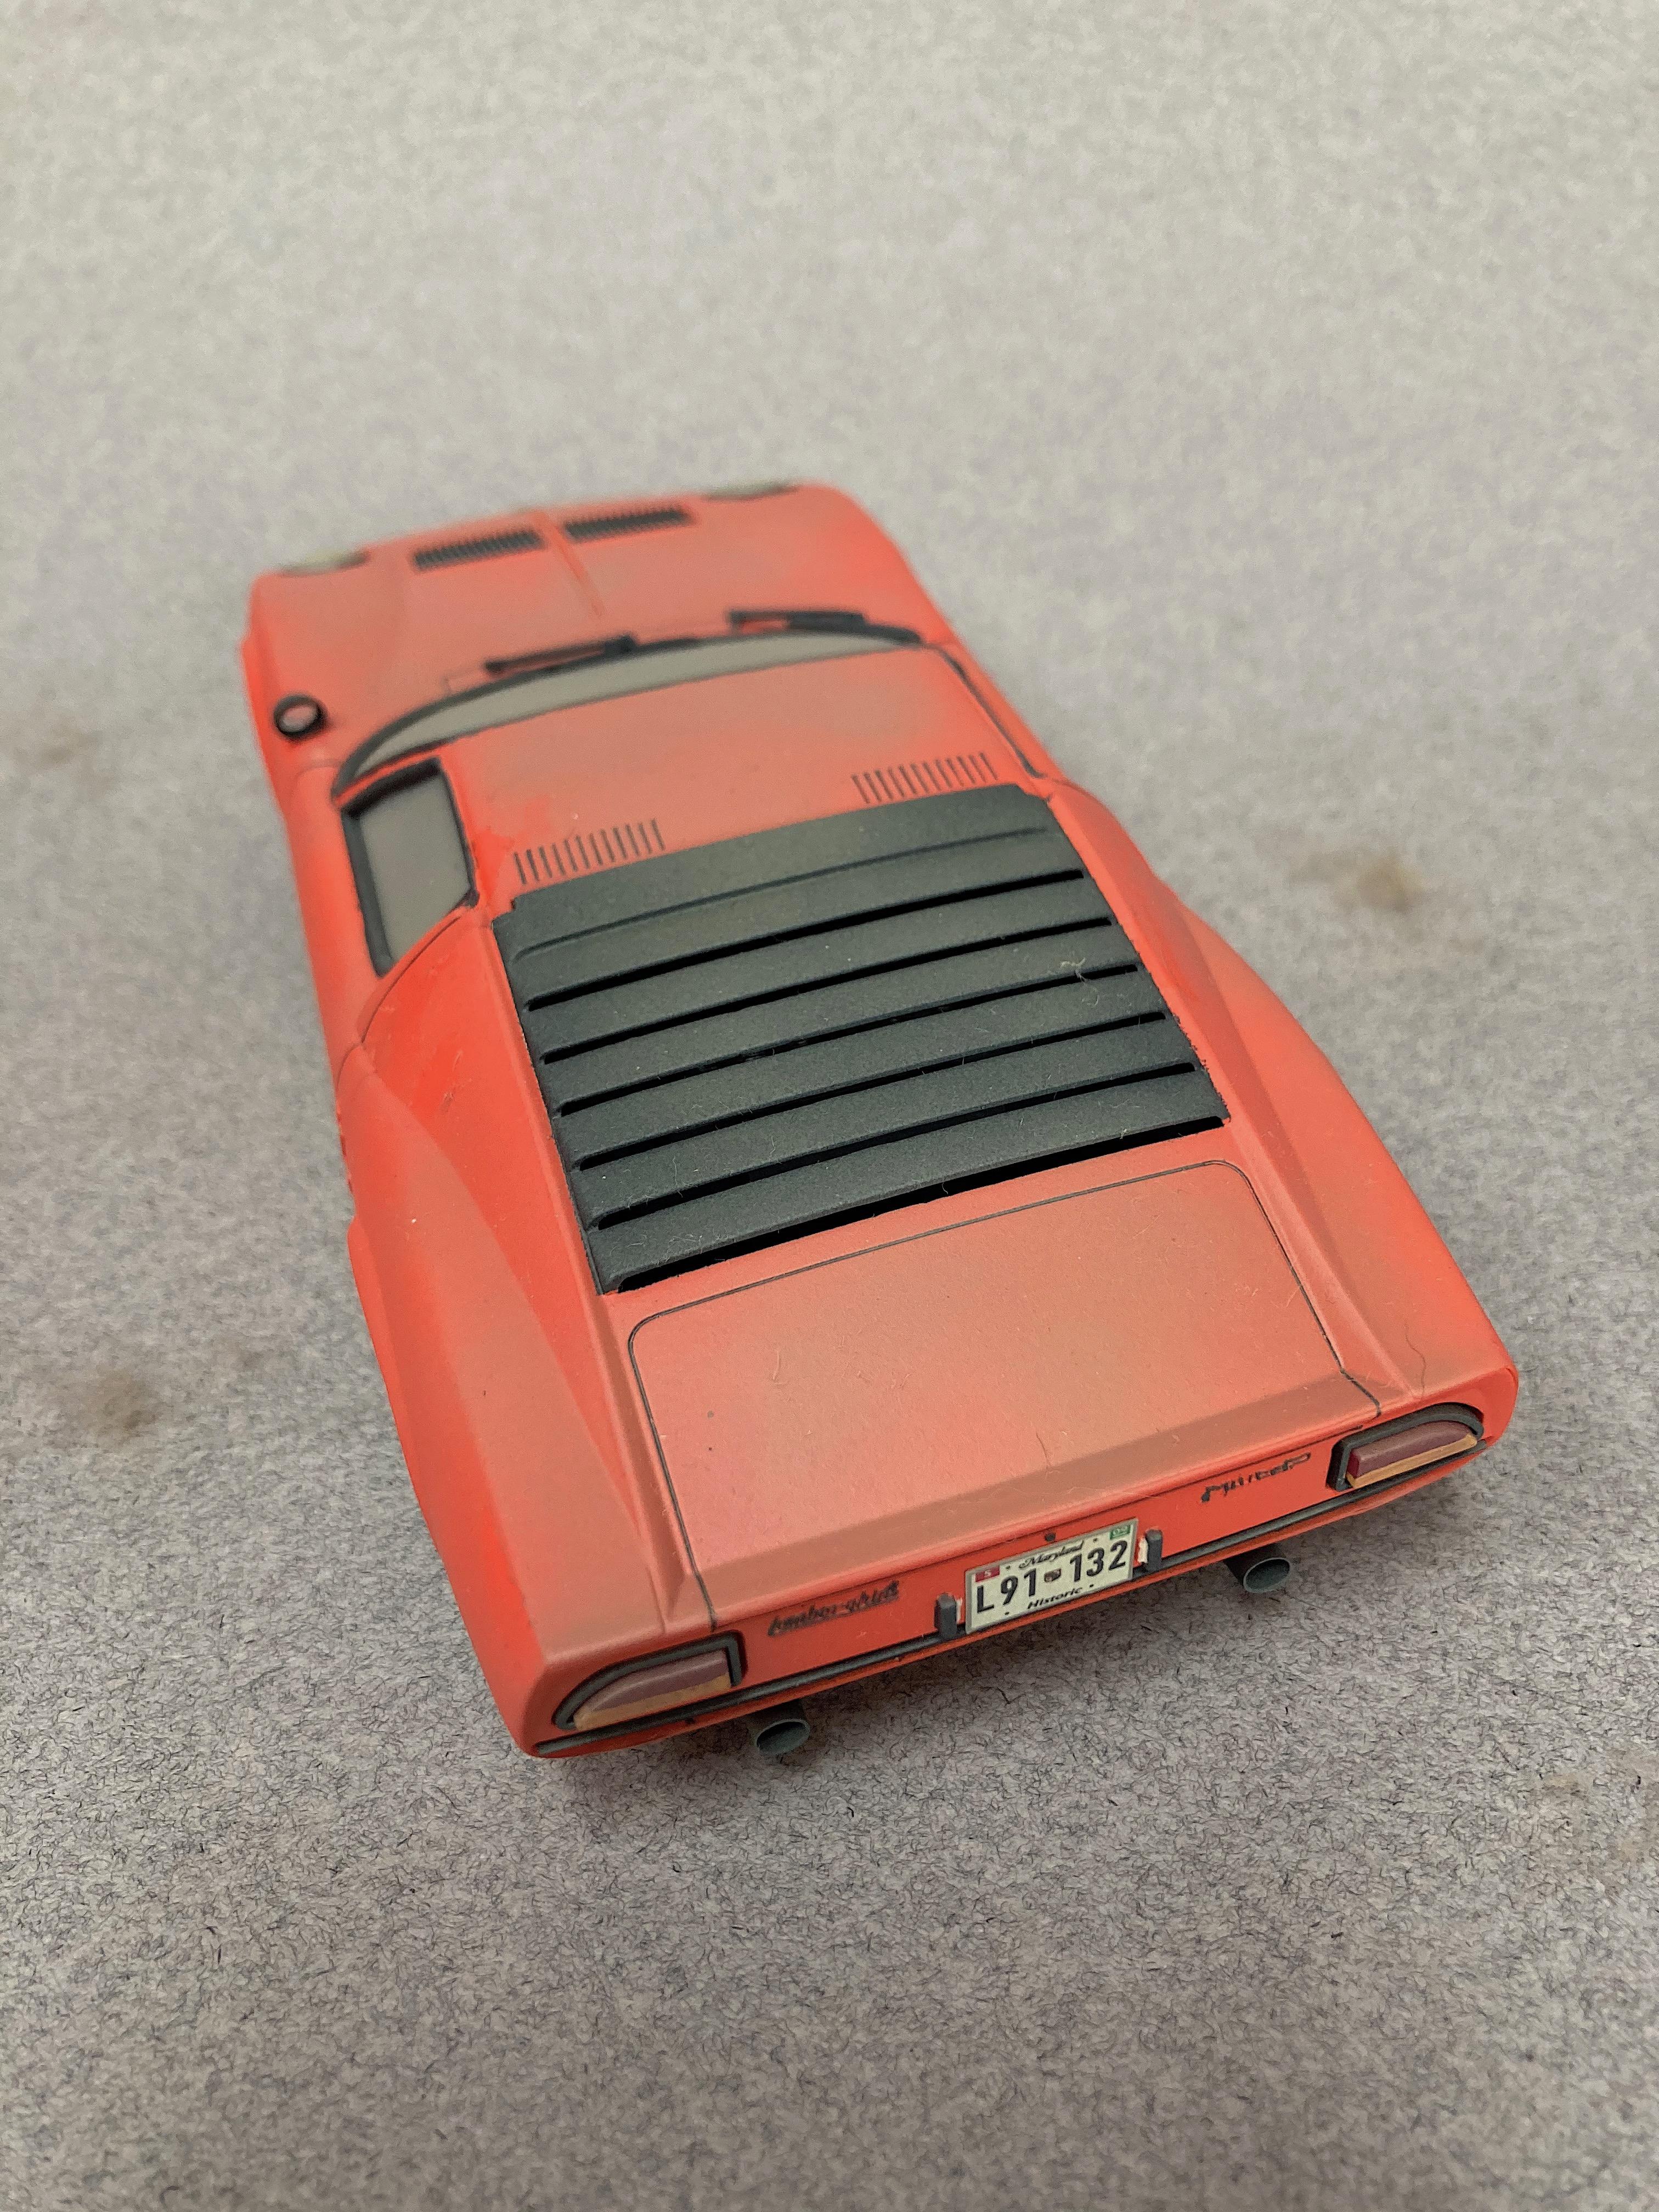
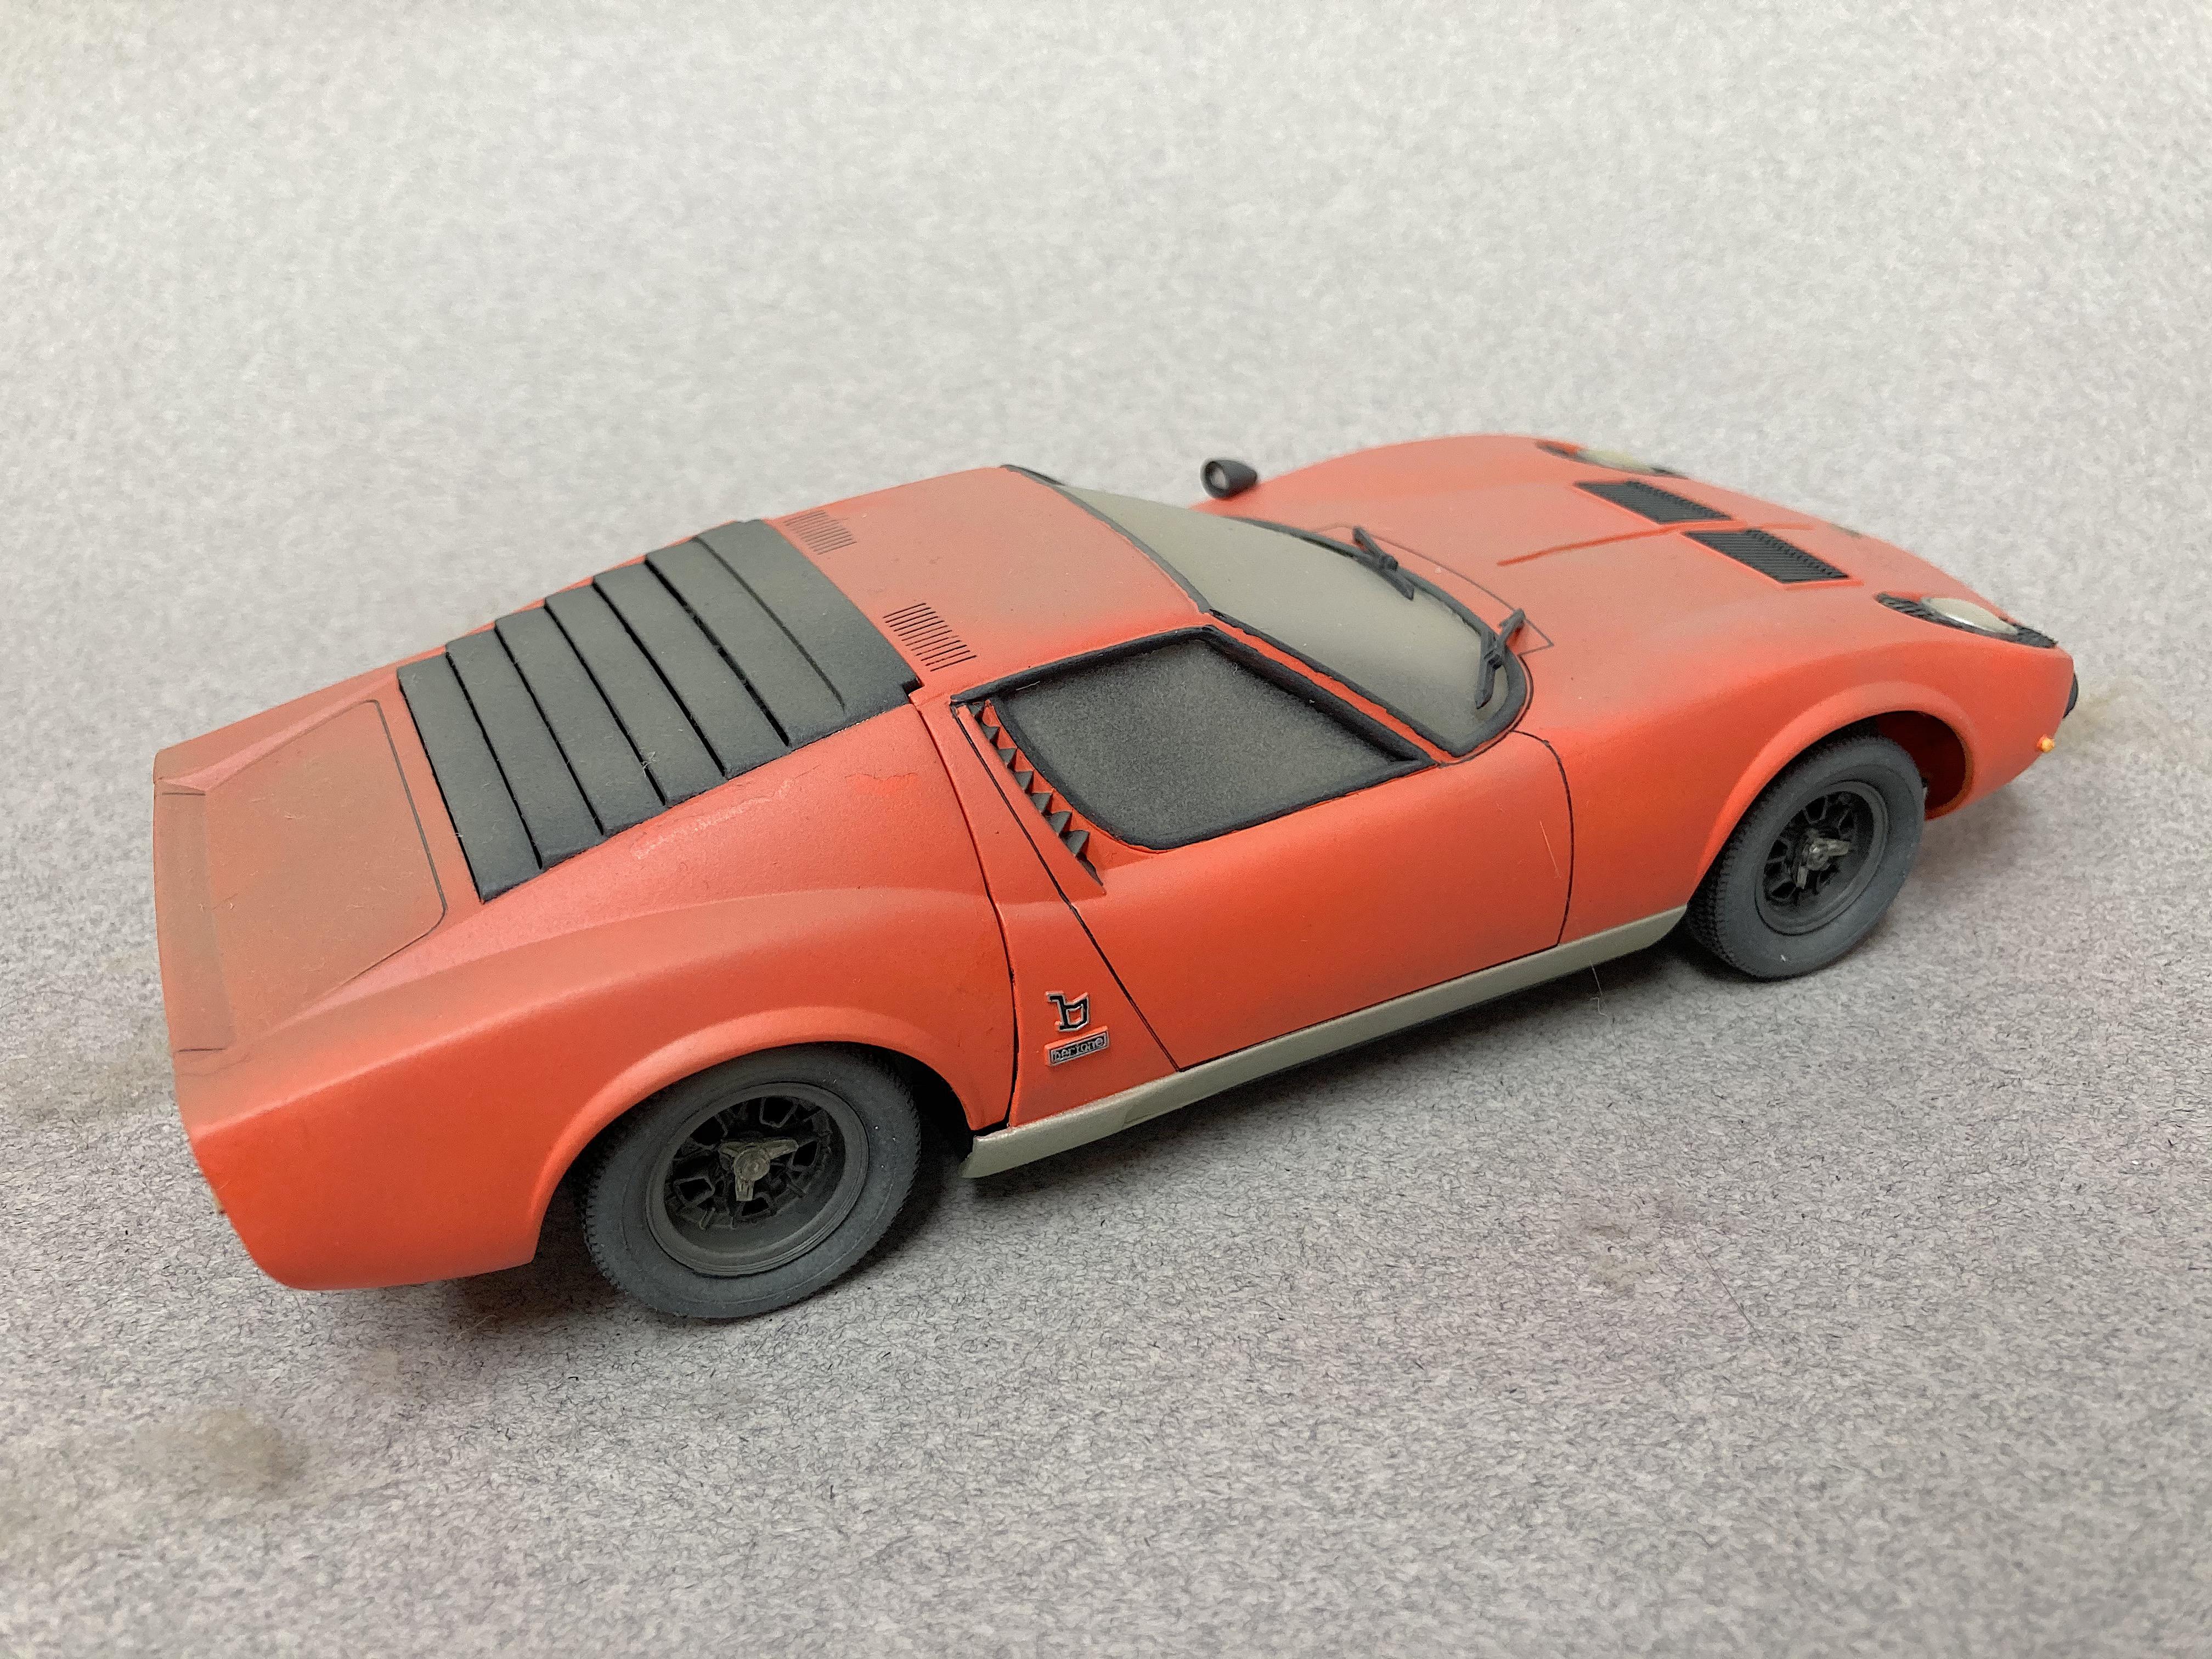
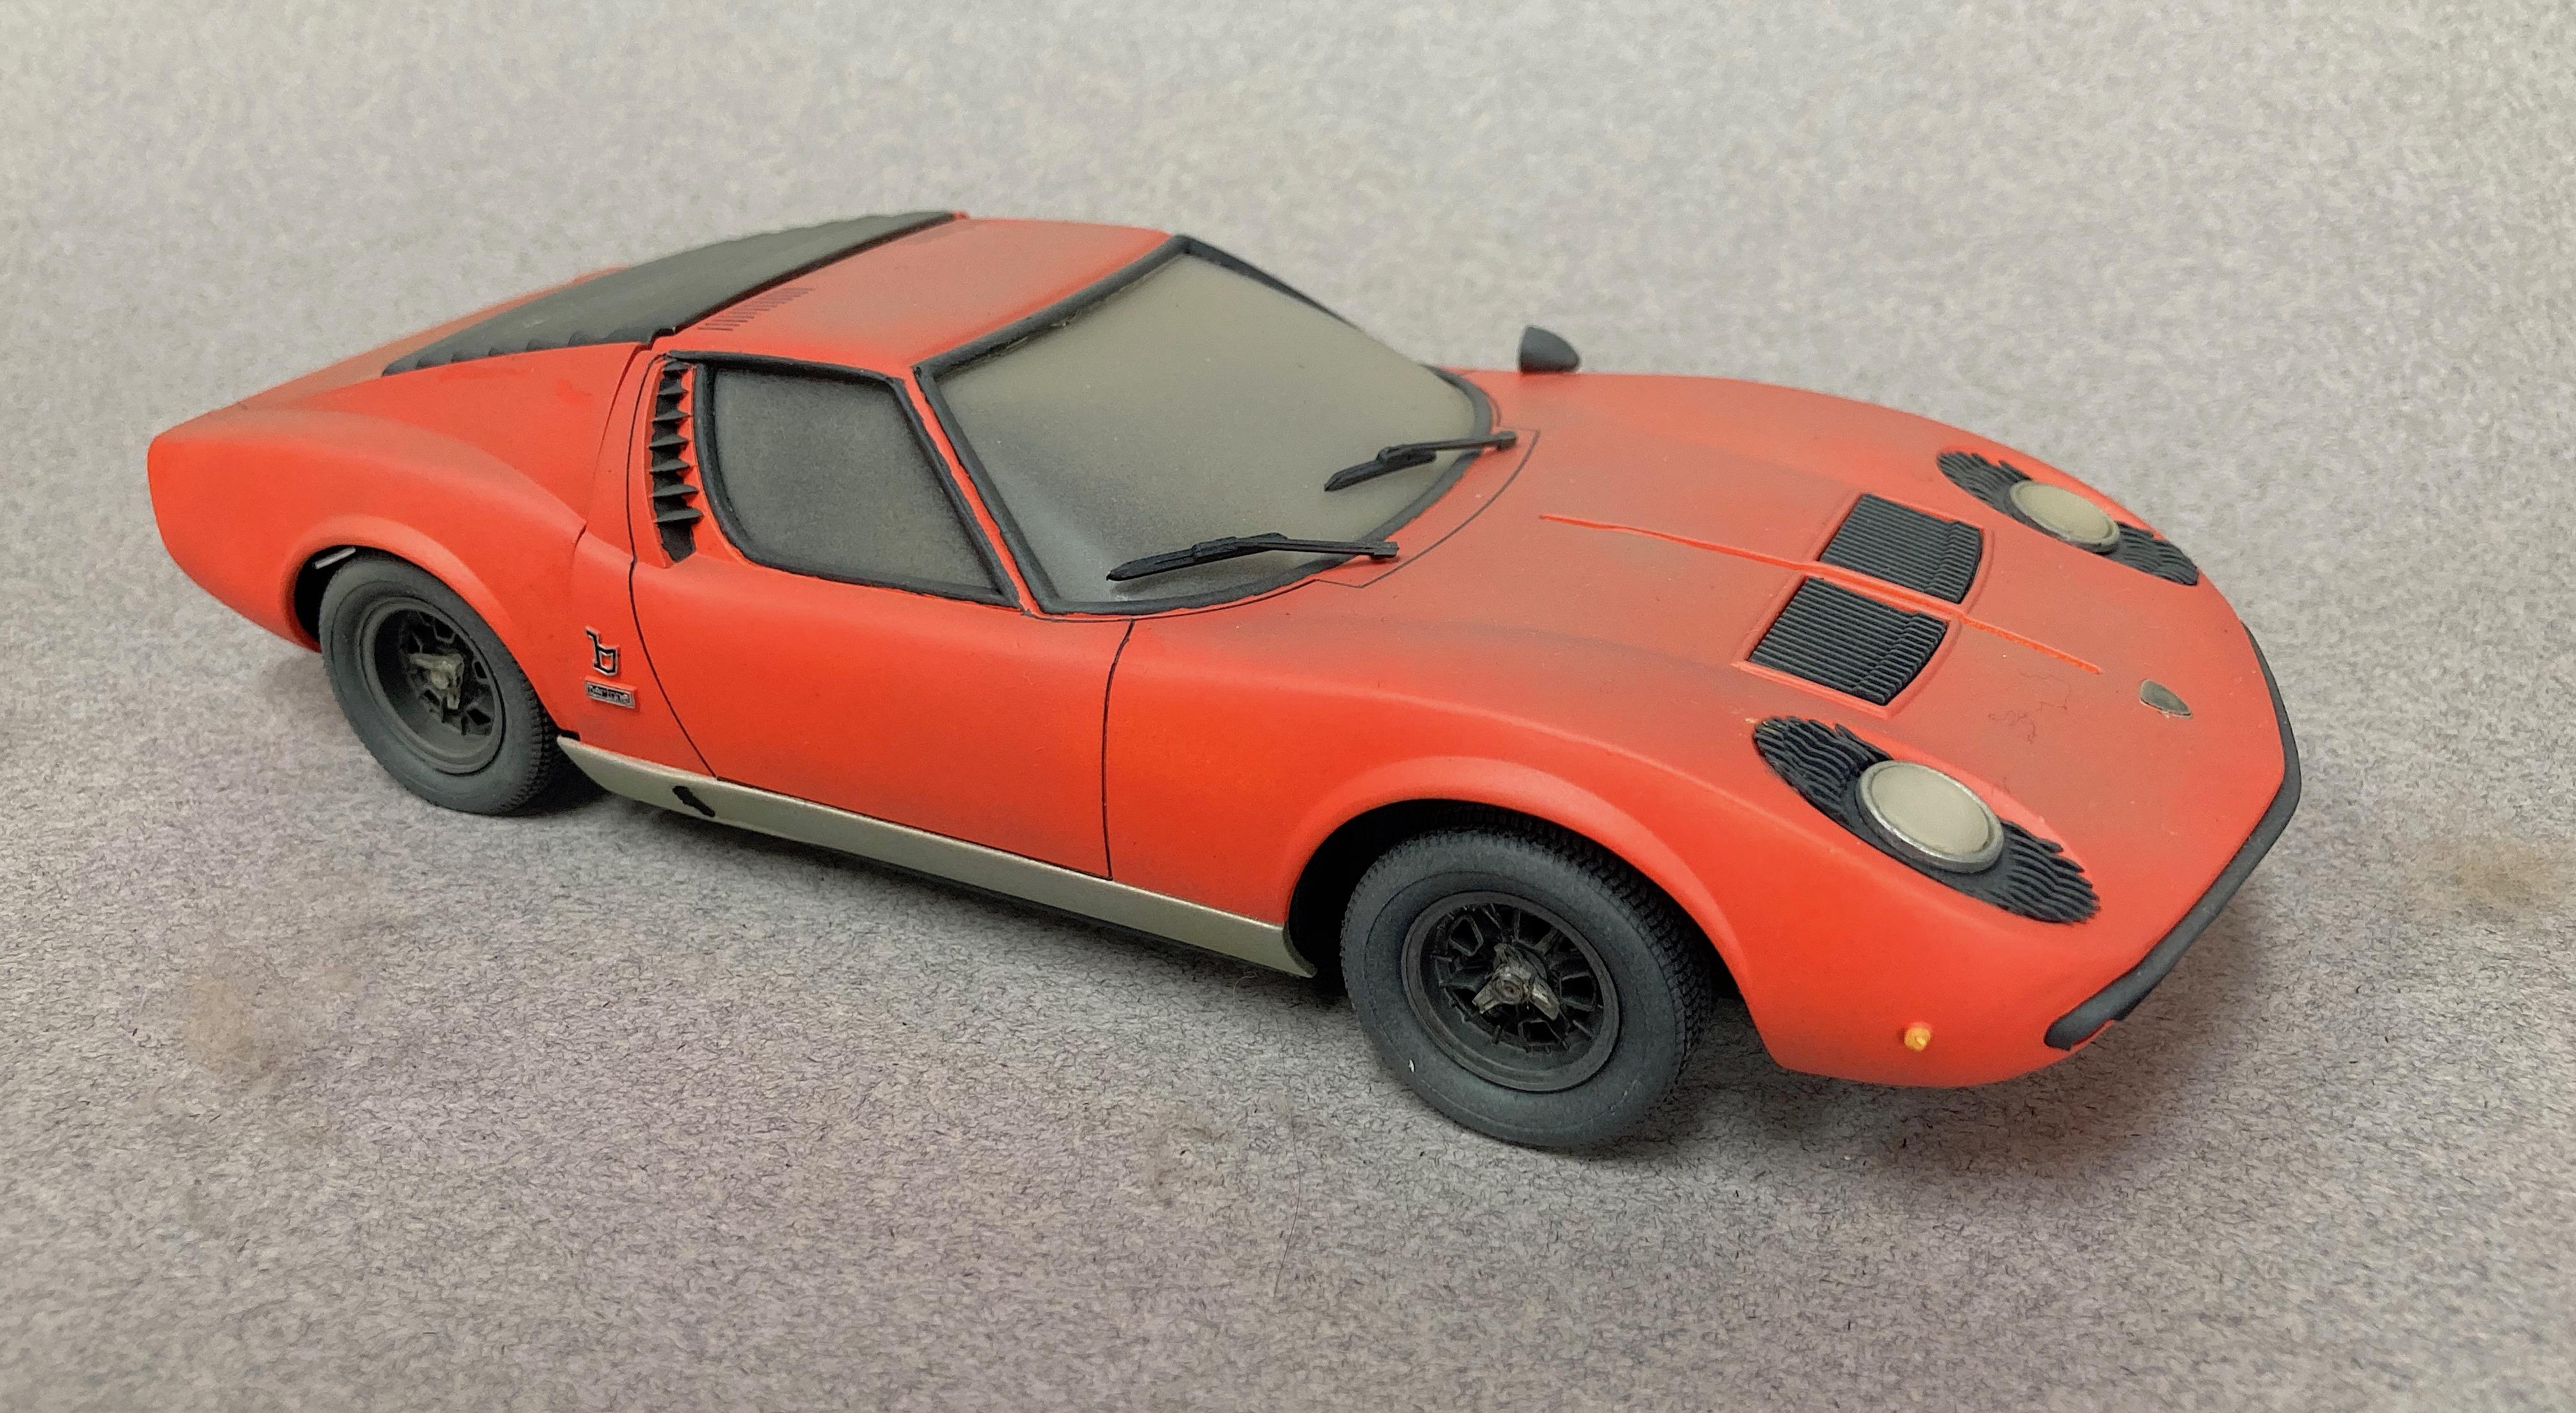
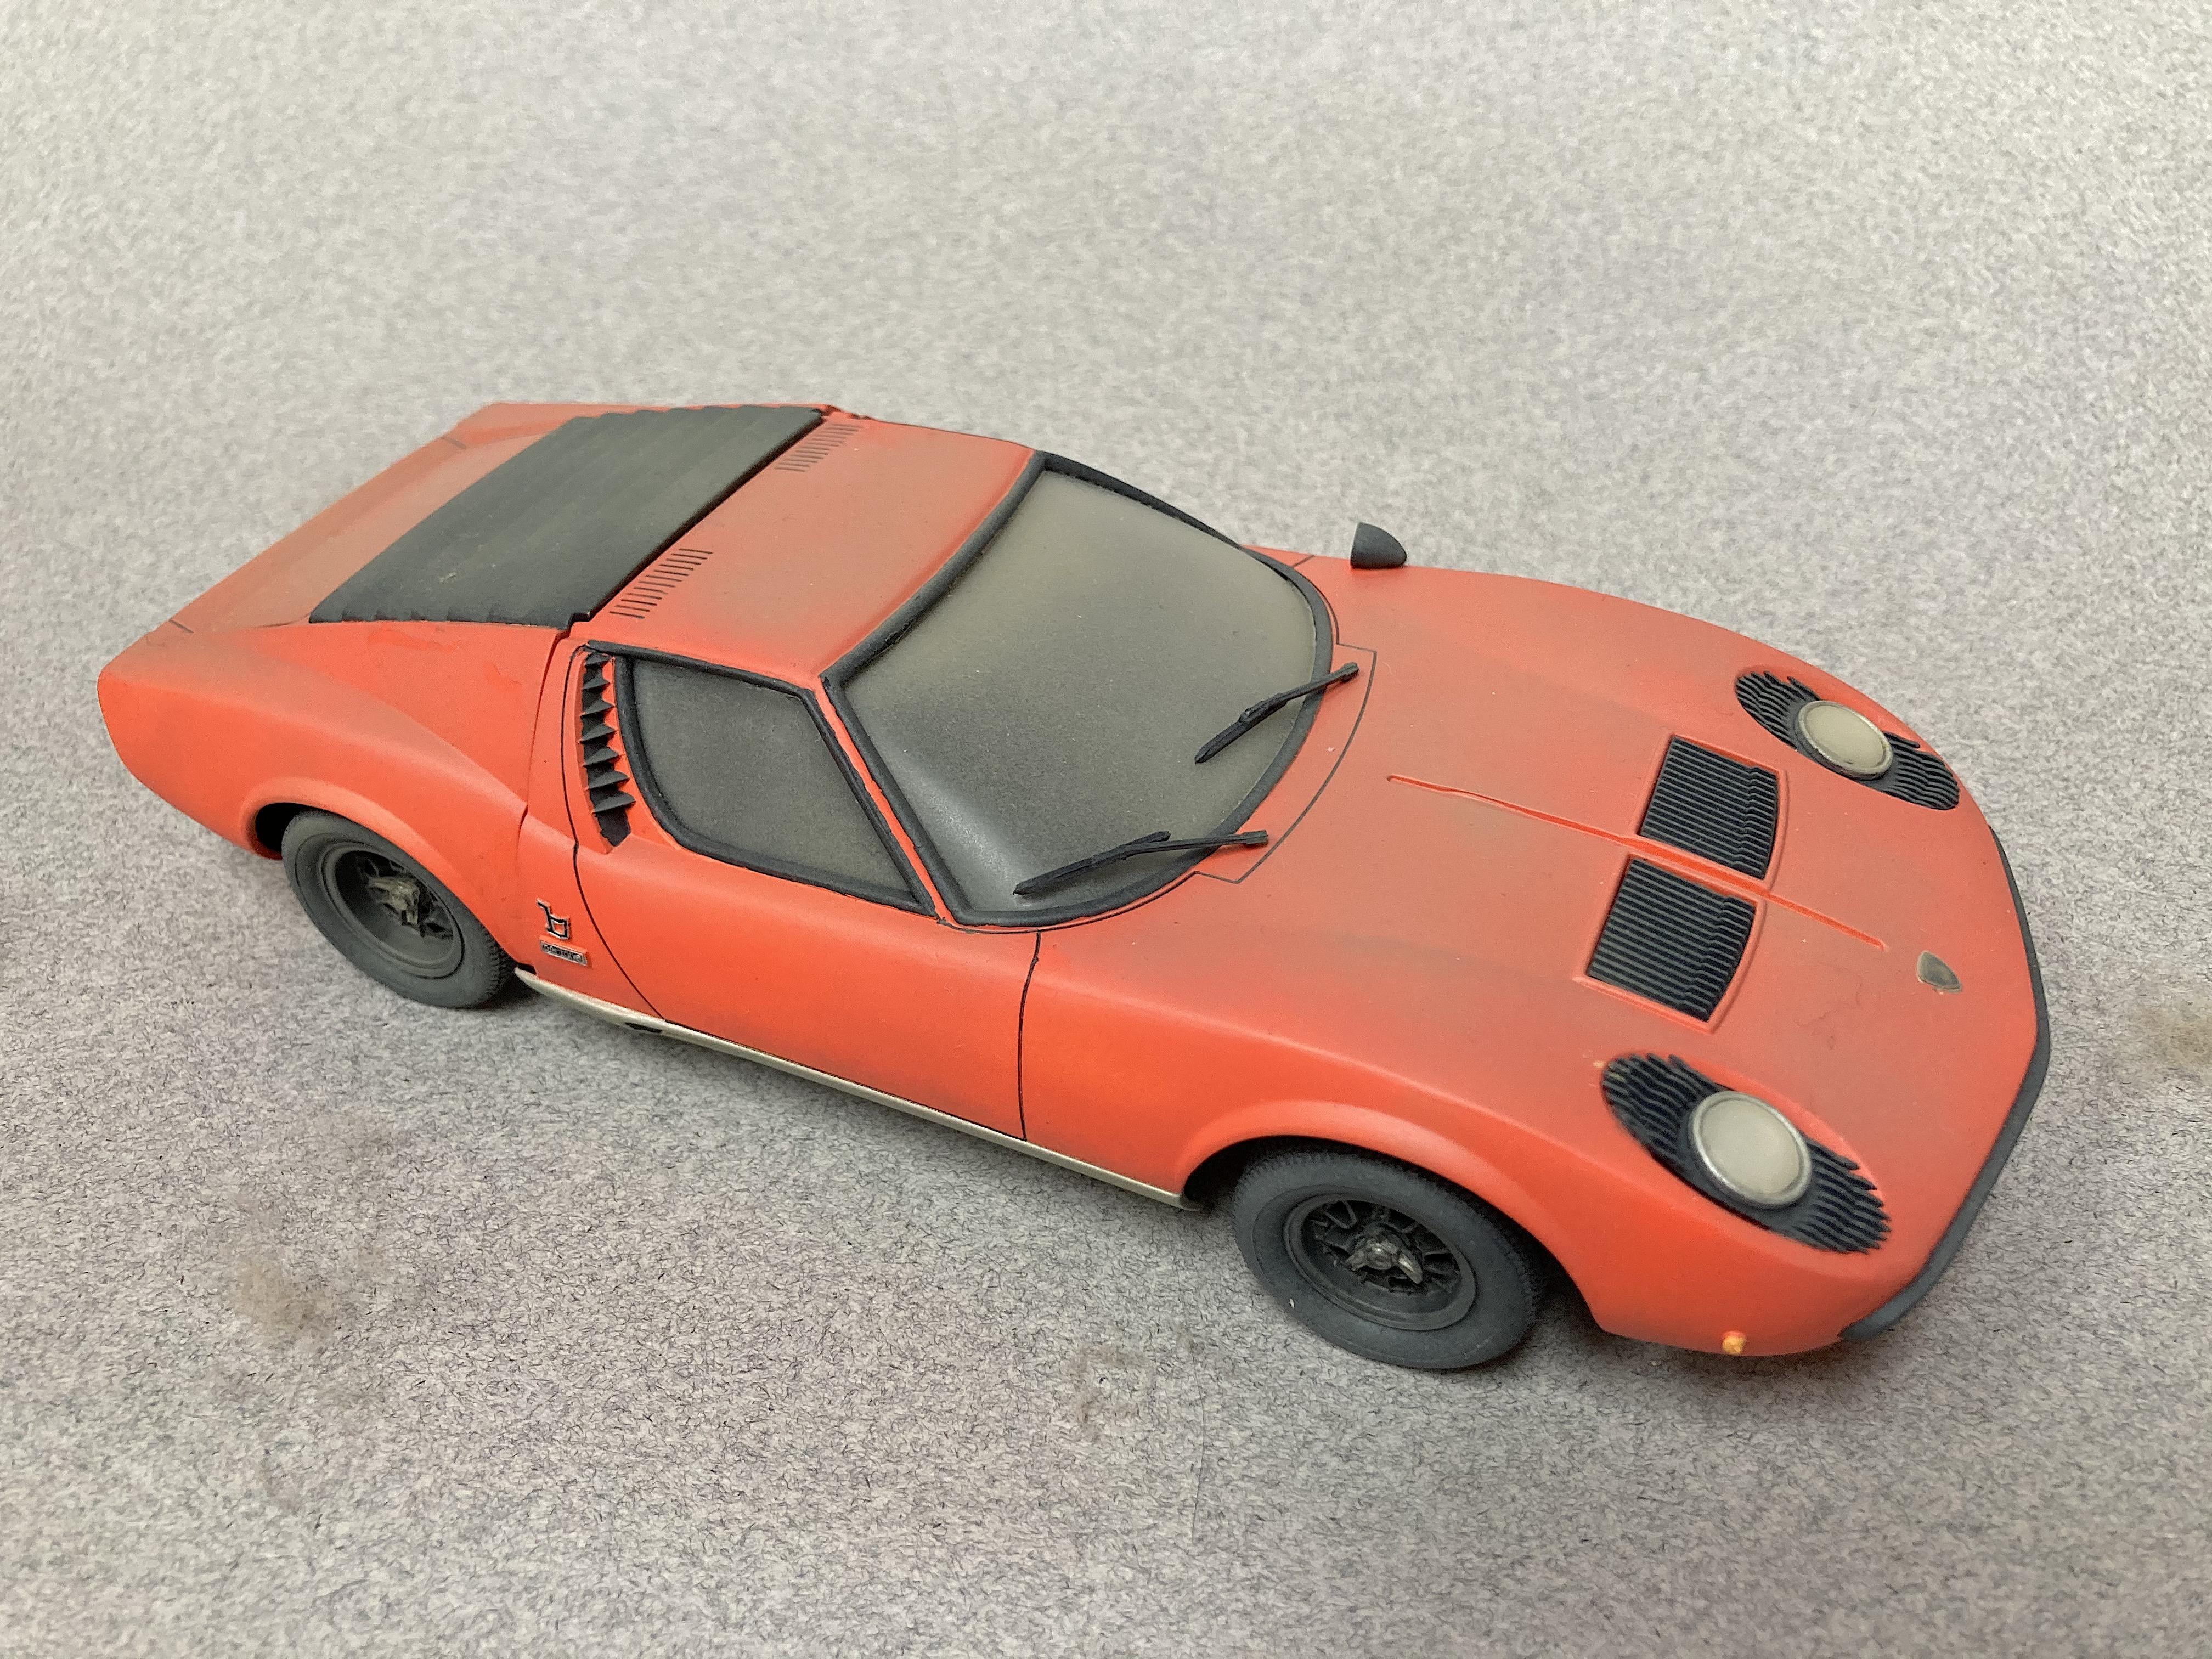
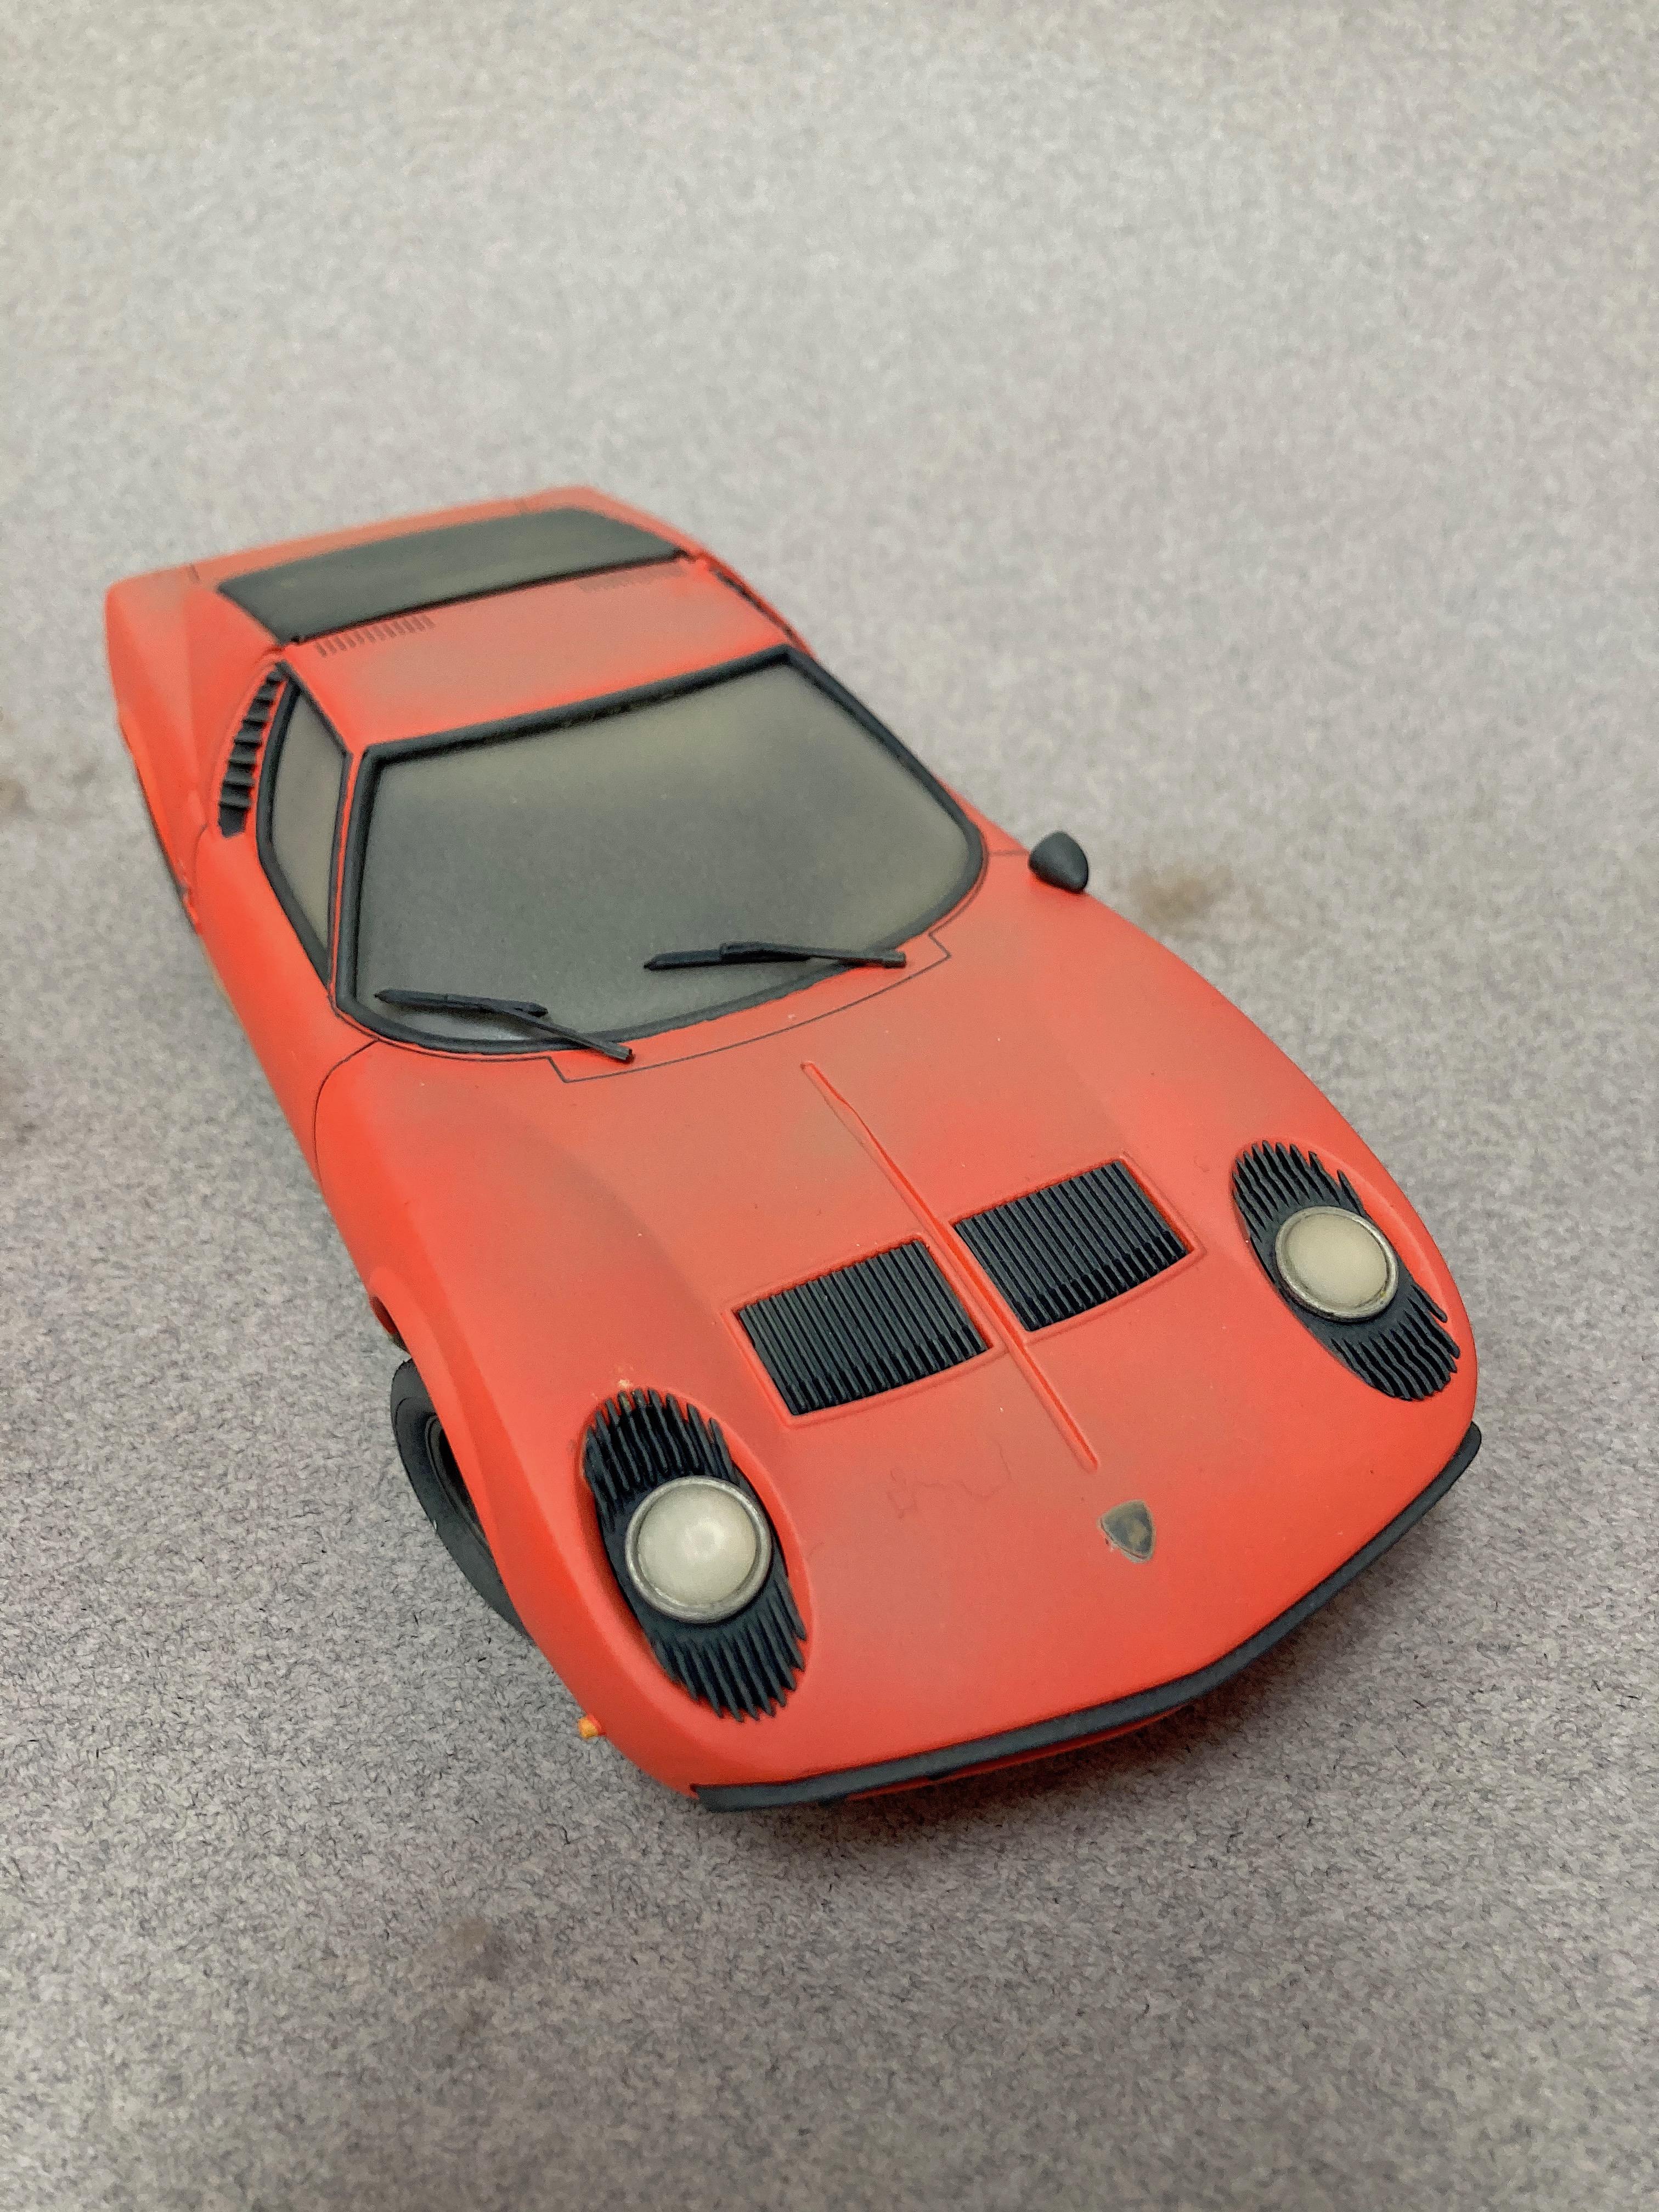
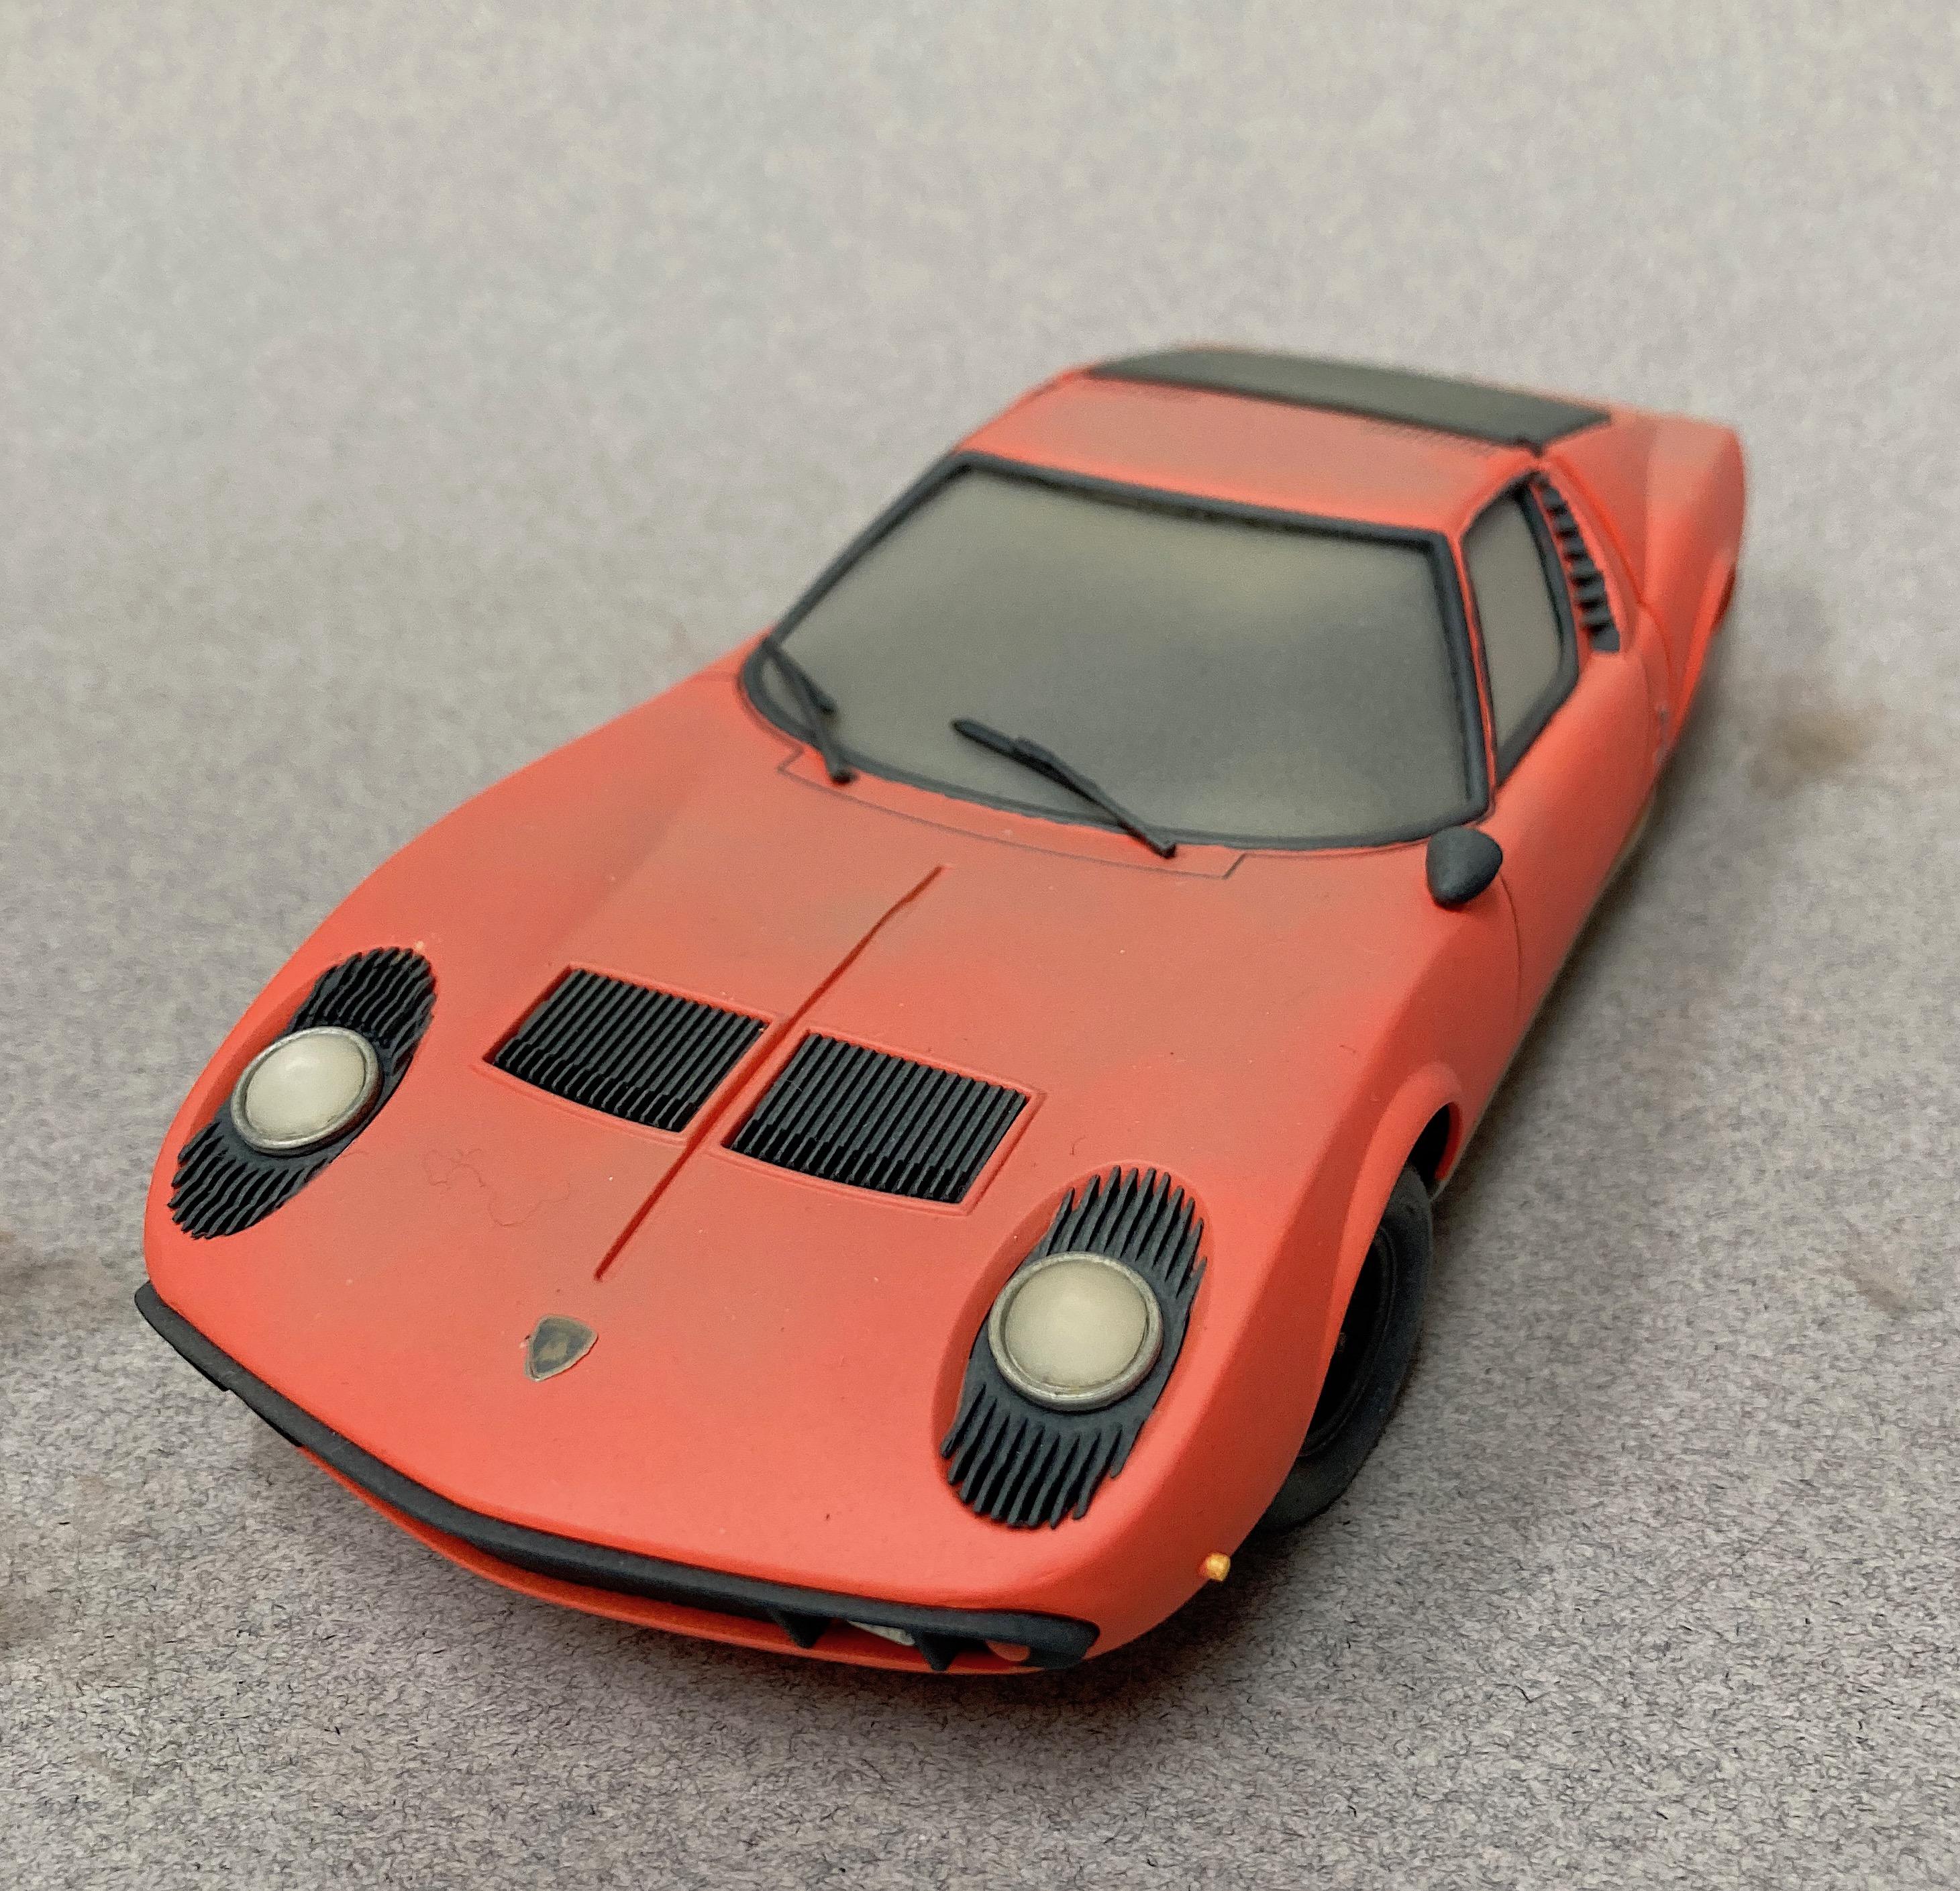
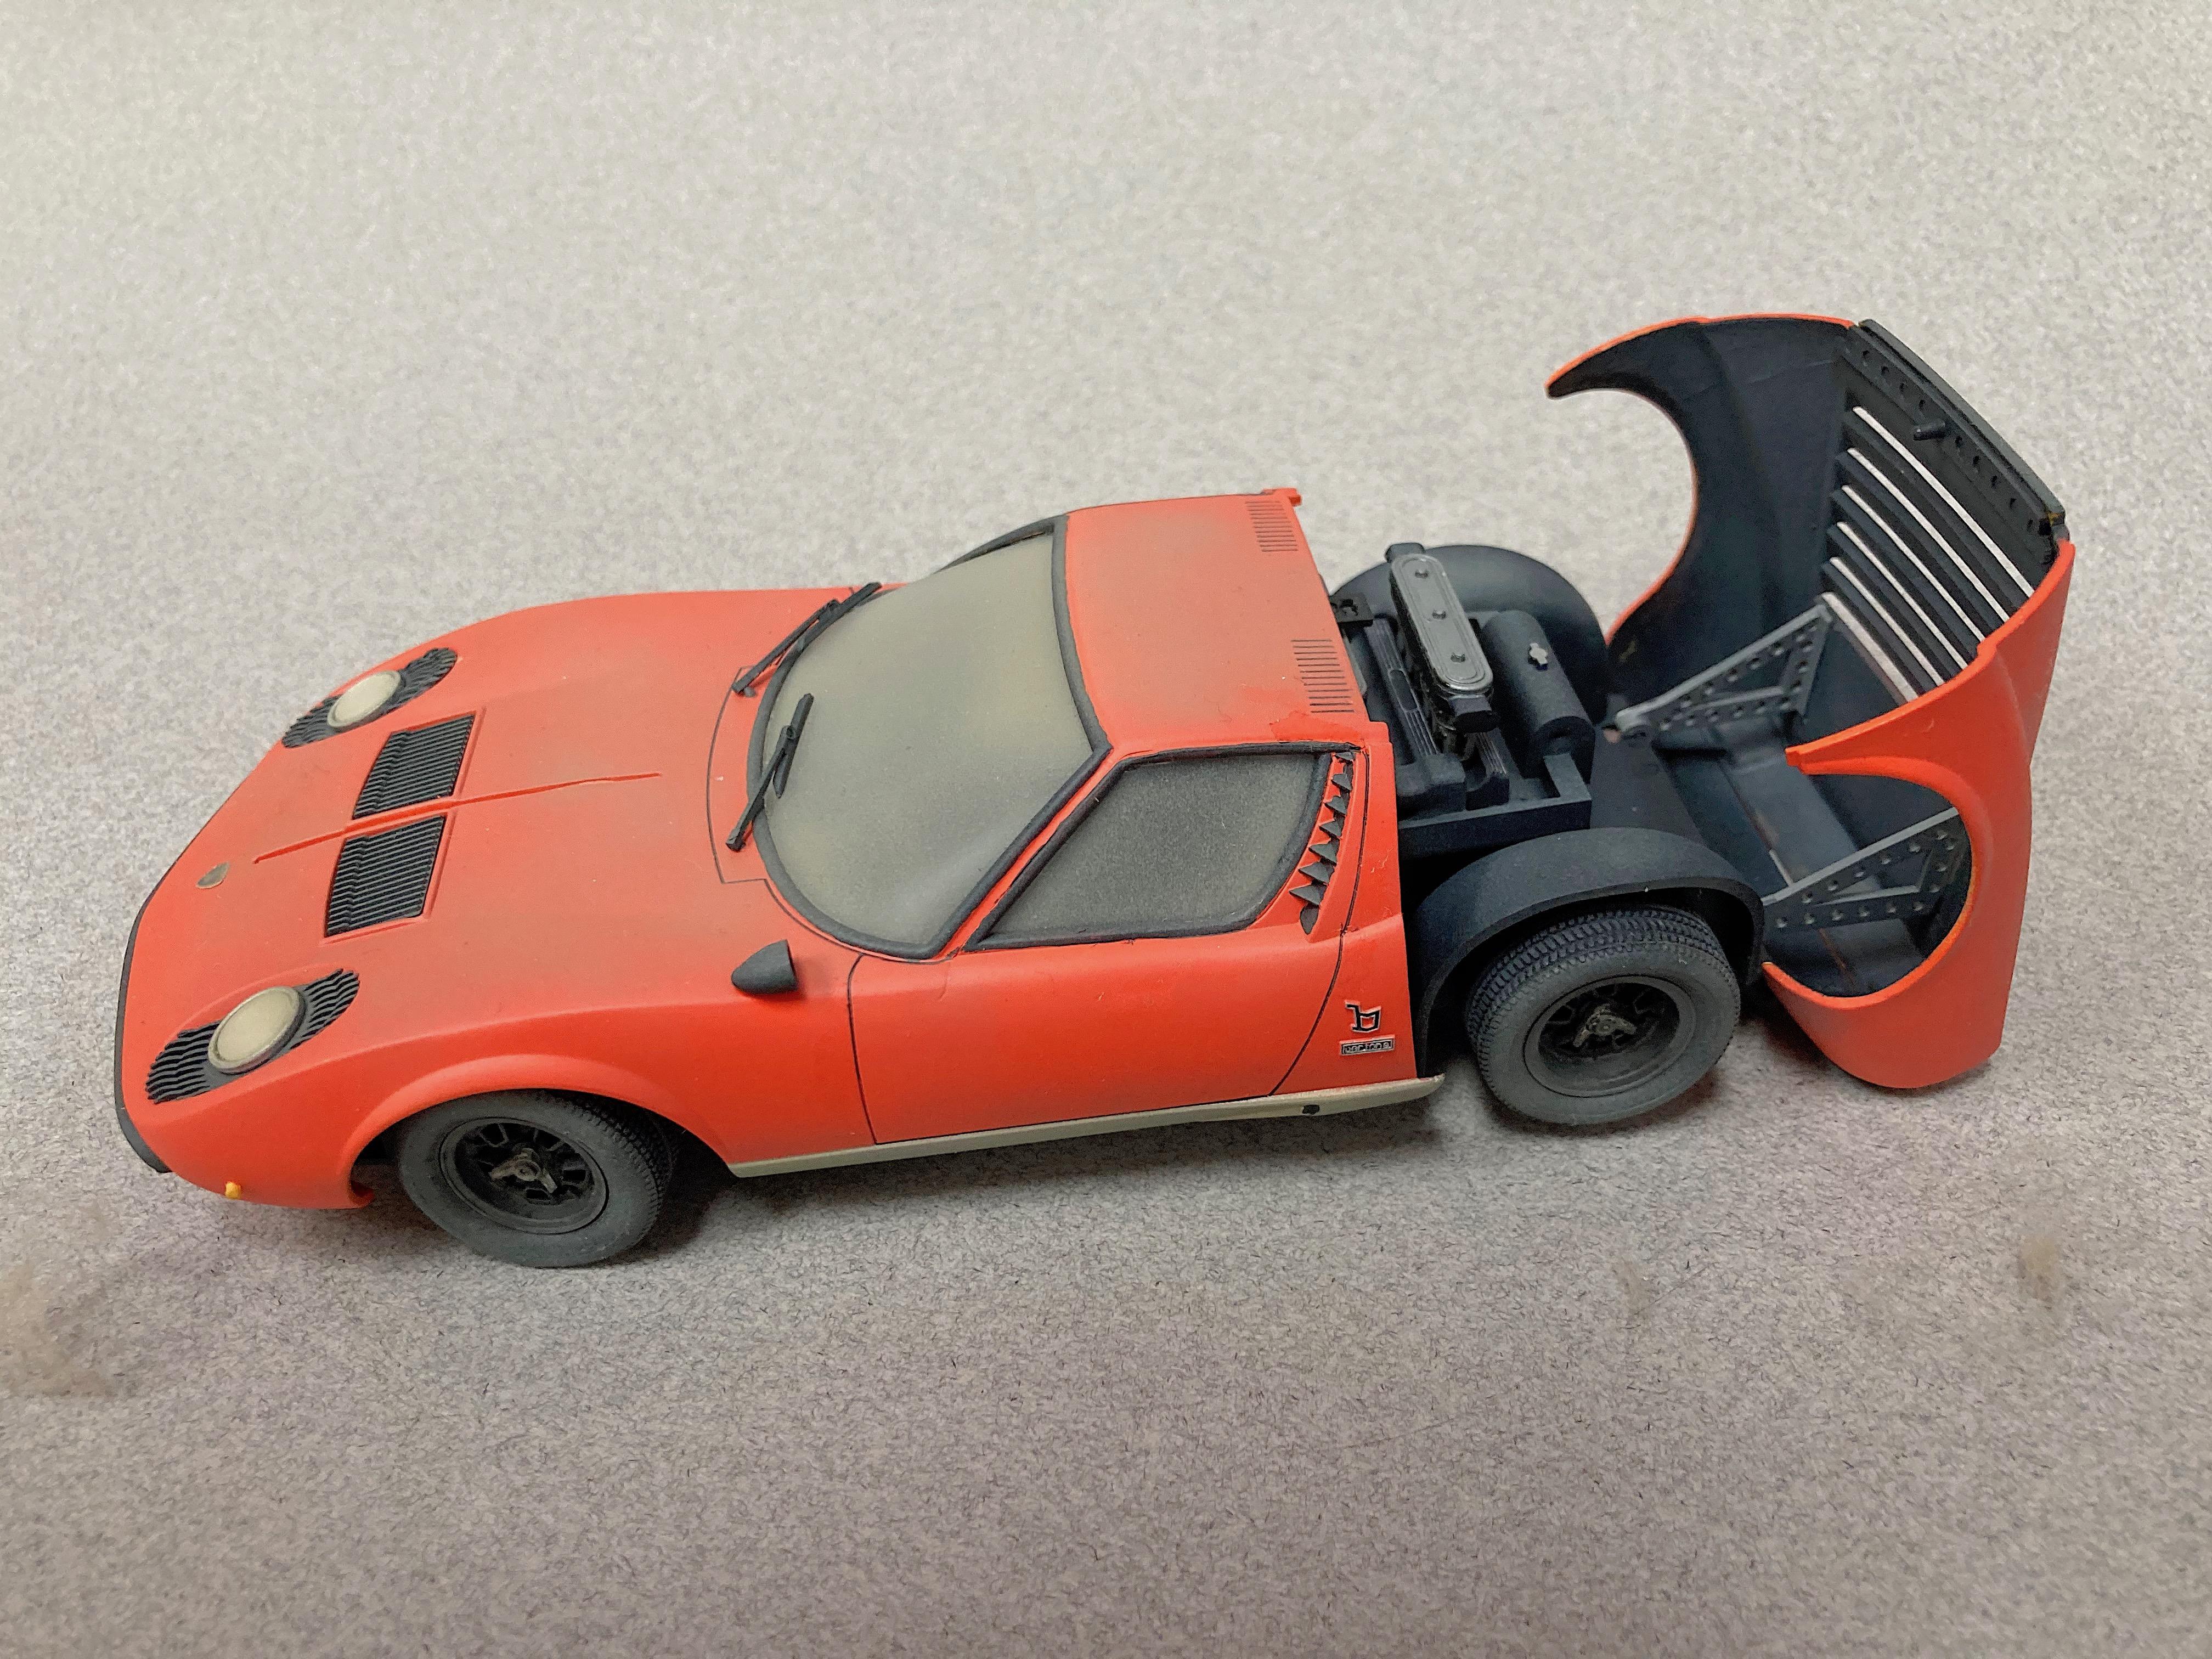
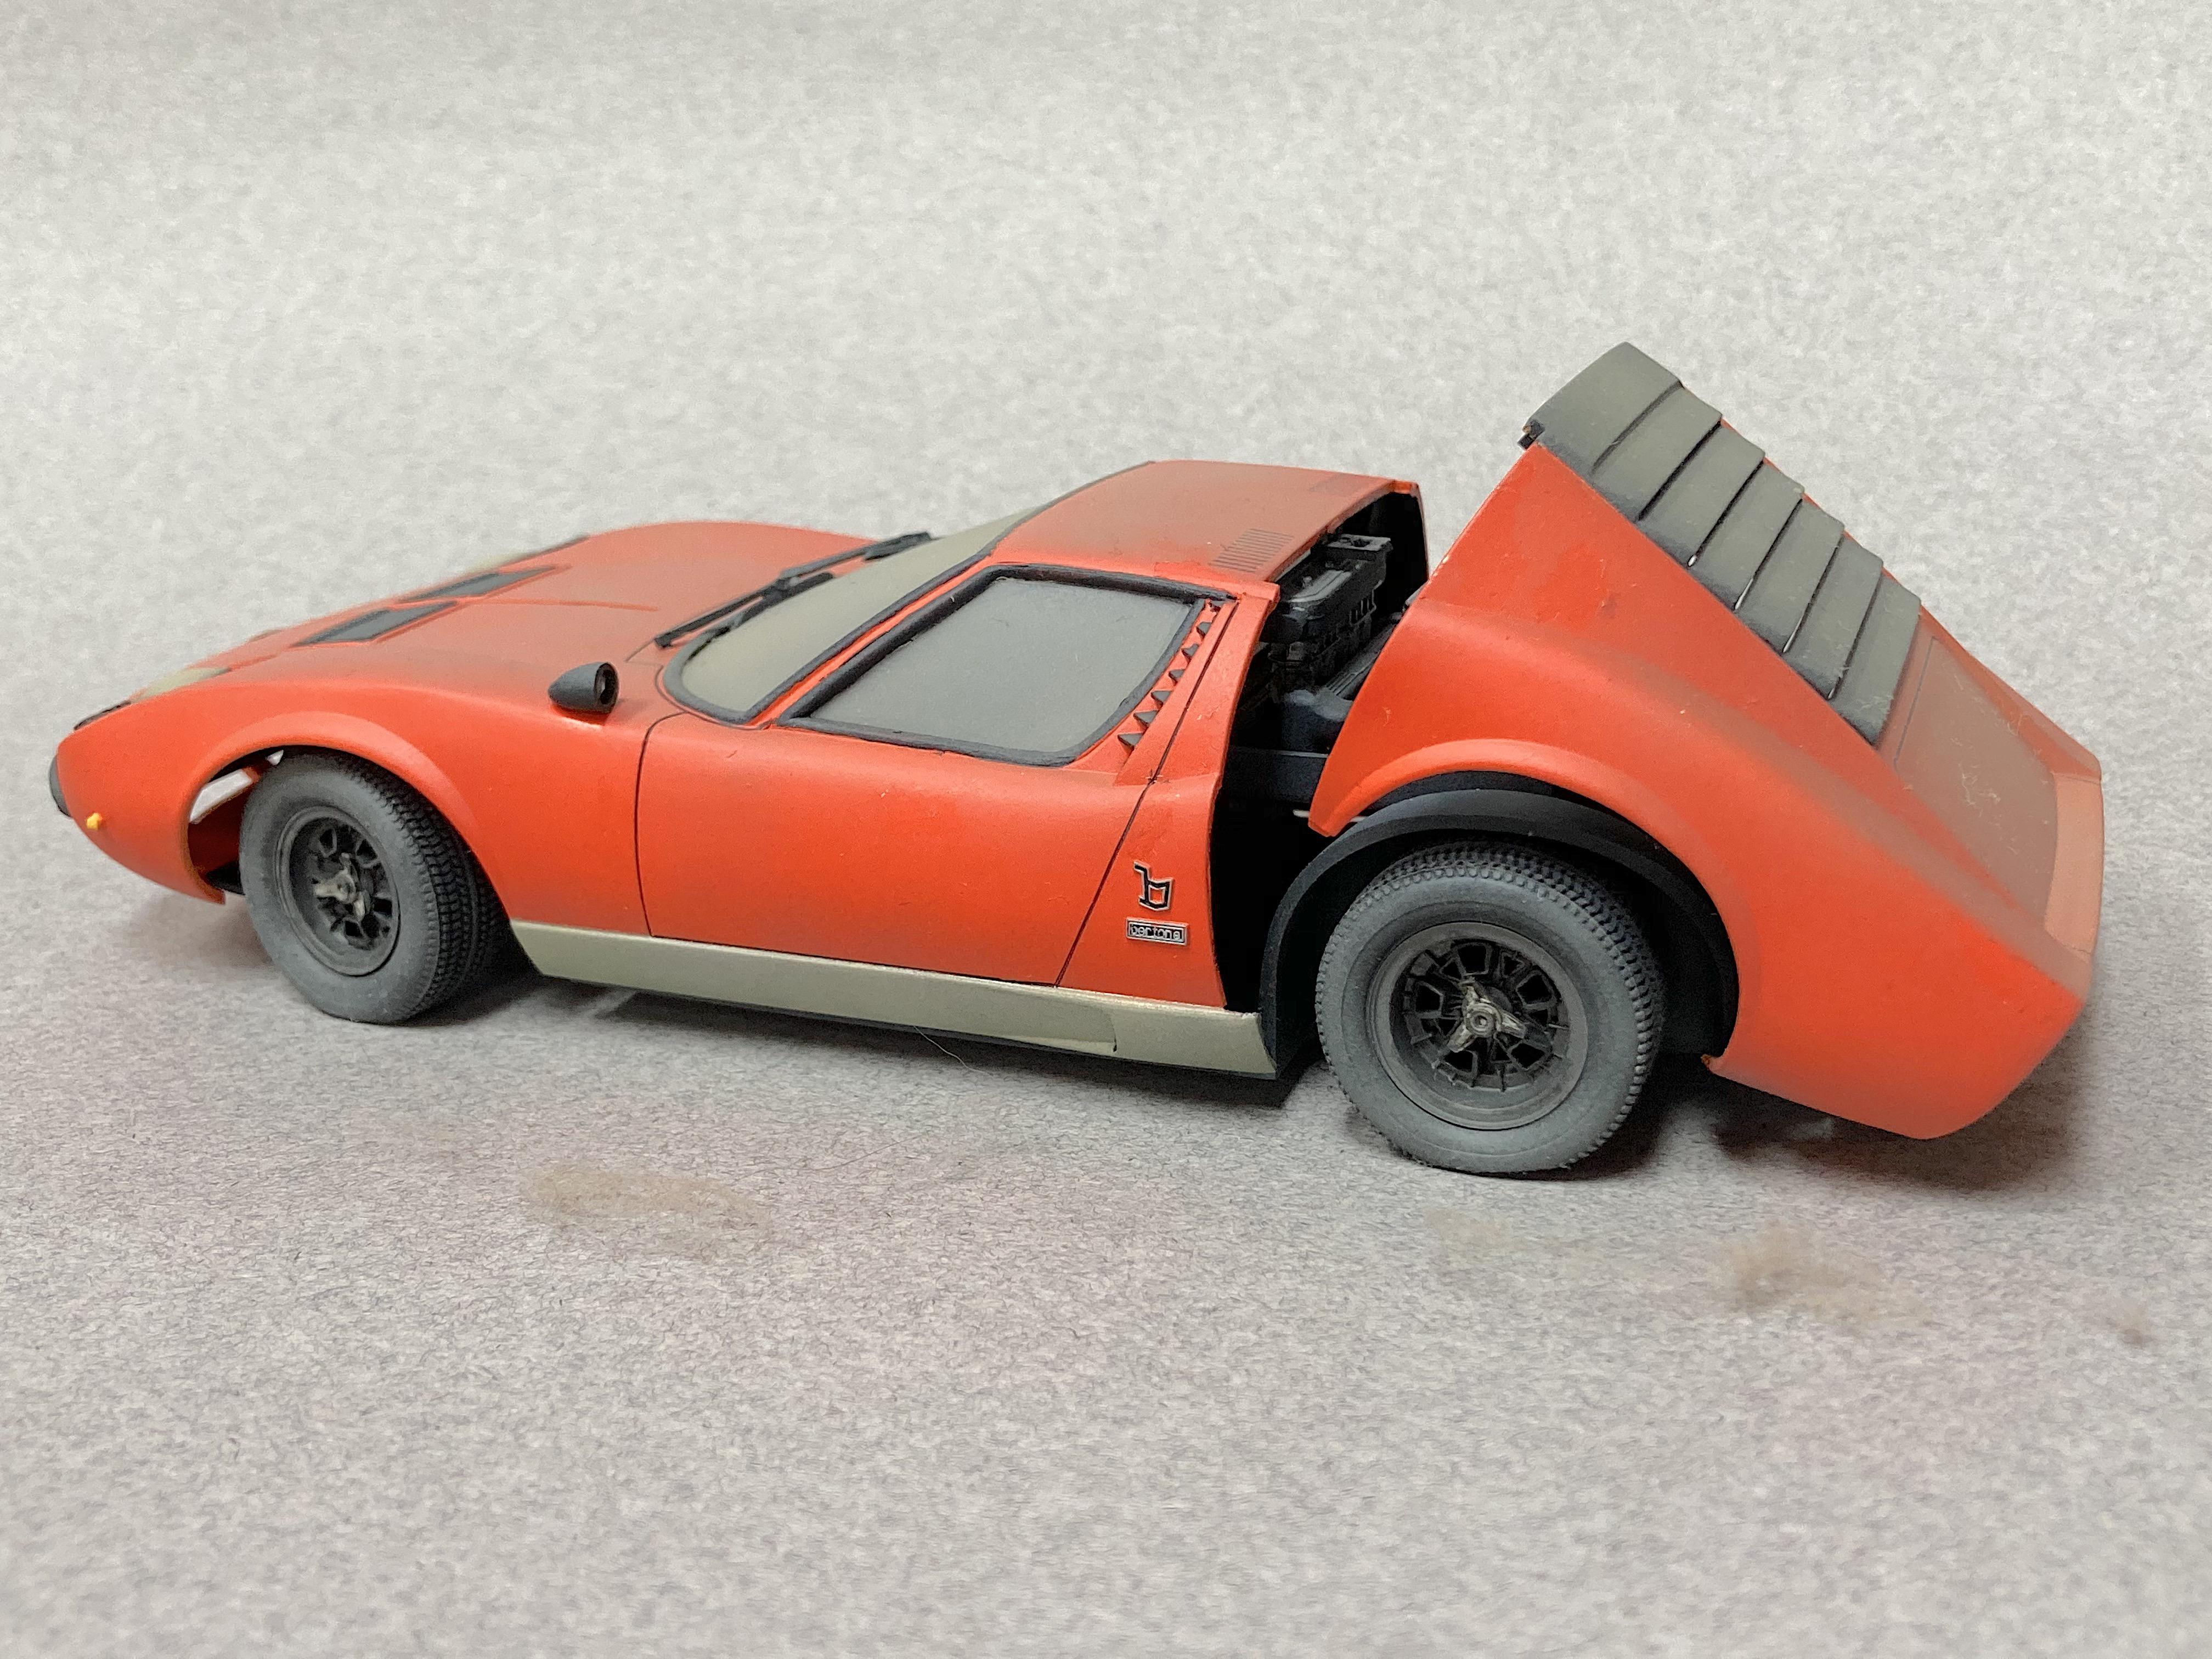
WIP: "Barn find" Italeri's Lamborghini Miura with link to article that was the inspiration. What I do with kits that aren't accurate or detailed enough, is make derelicts. If it wasn't mostly made of aluminum, would have added rust. Since this car was kept in a garage, protected from weather and rodents, it was well preserved. Built as Box Stock, the only modification was dropping the rear axel, and using another front badge. Last build for 2021! The real car's bonnet opens up this much, but the exhaust pipes lift the rear wheels off the ground. 😂
- 21 replies
-
- 1
-

-
- italeri
- lamborghini
- (and 2 more)
-
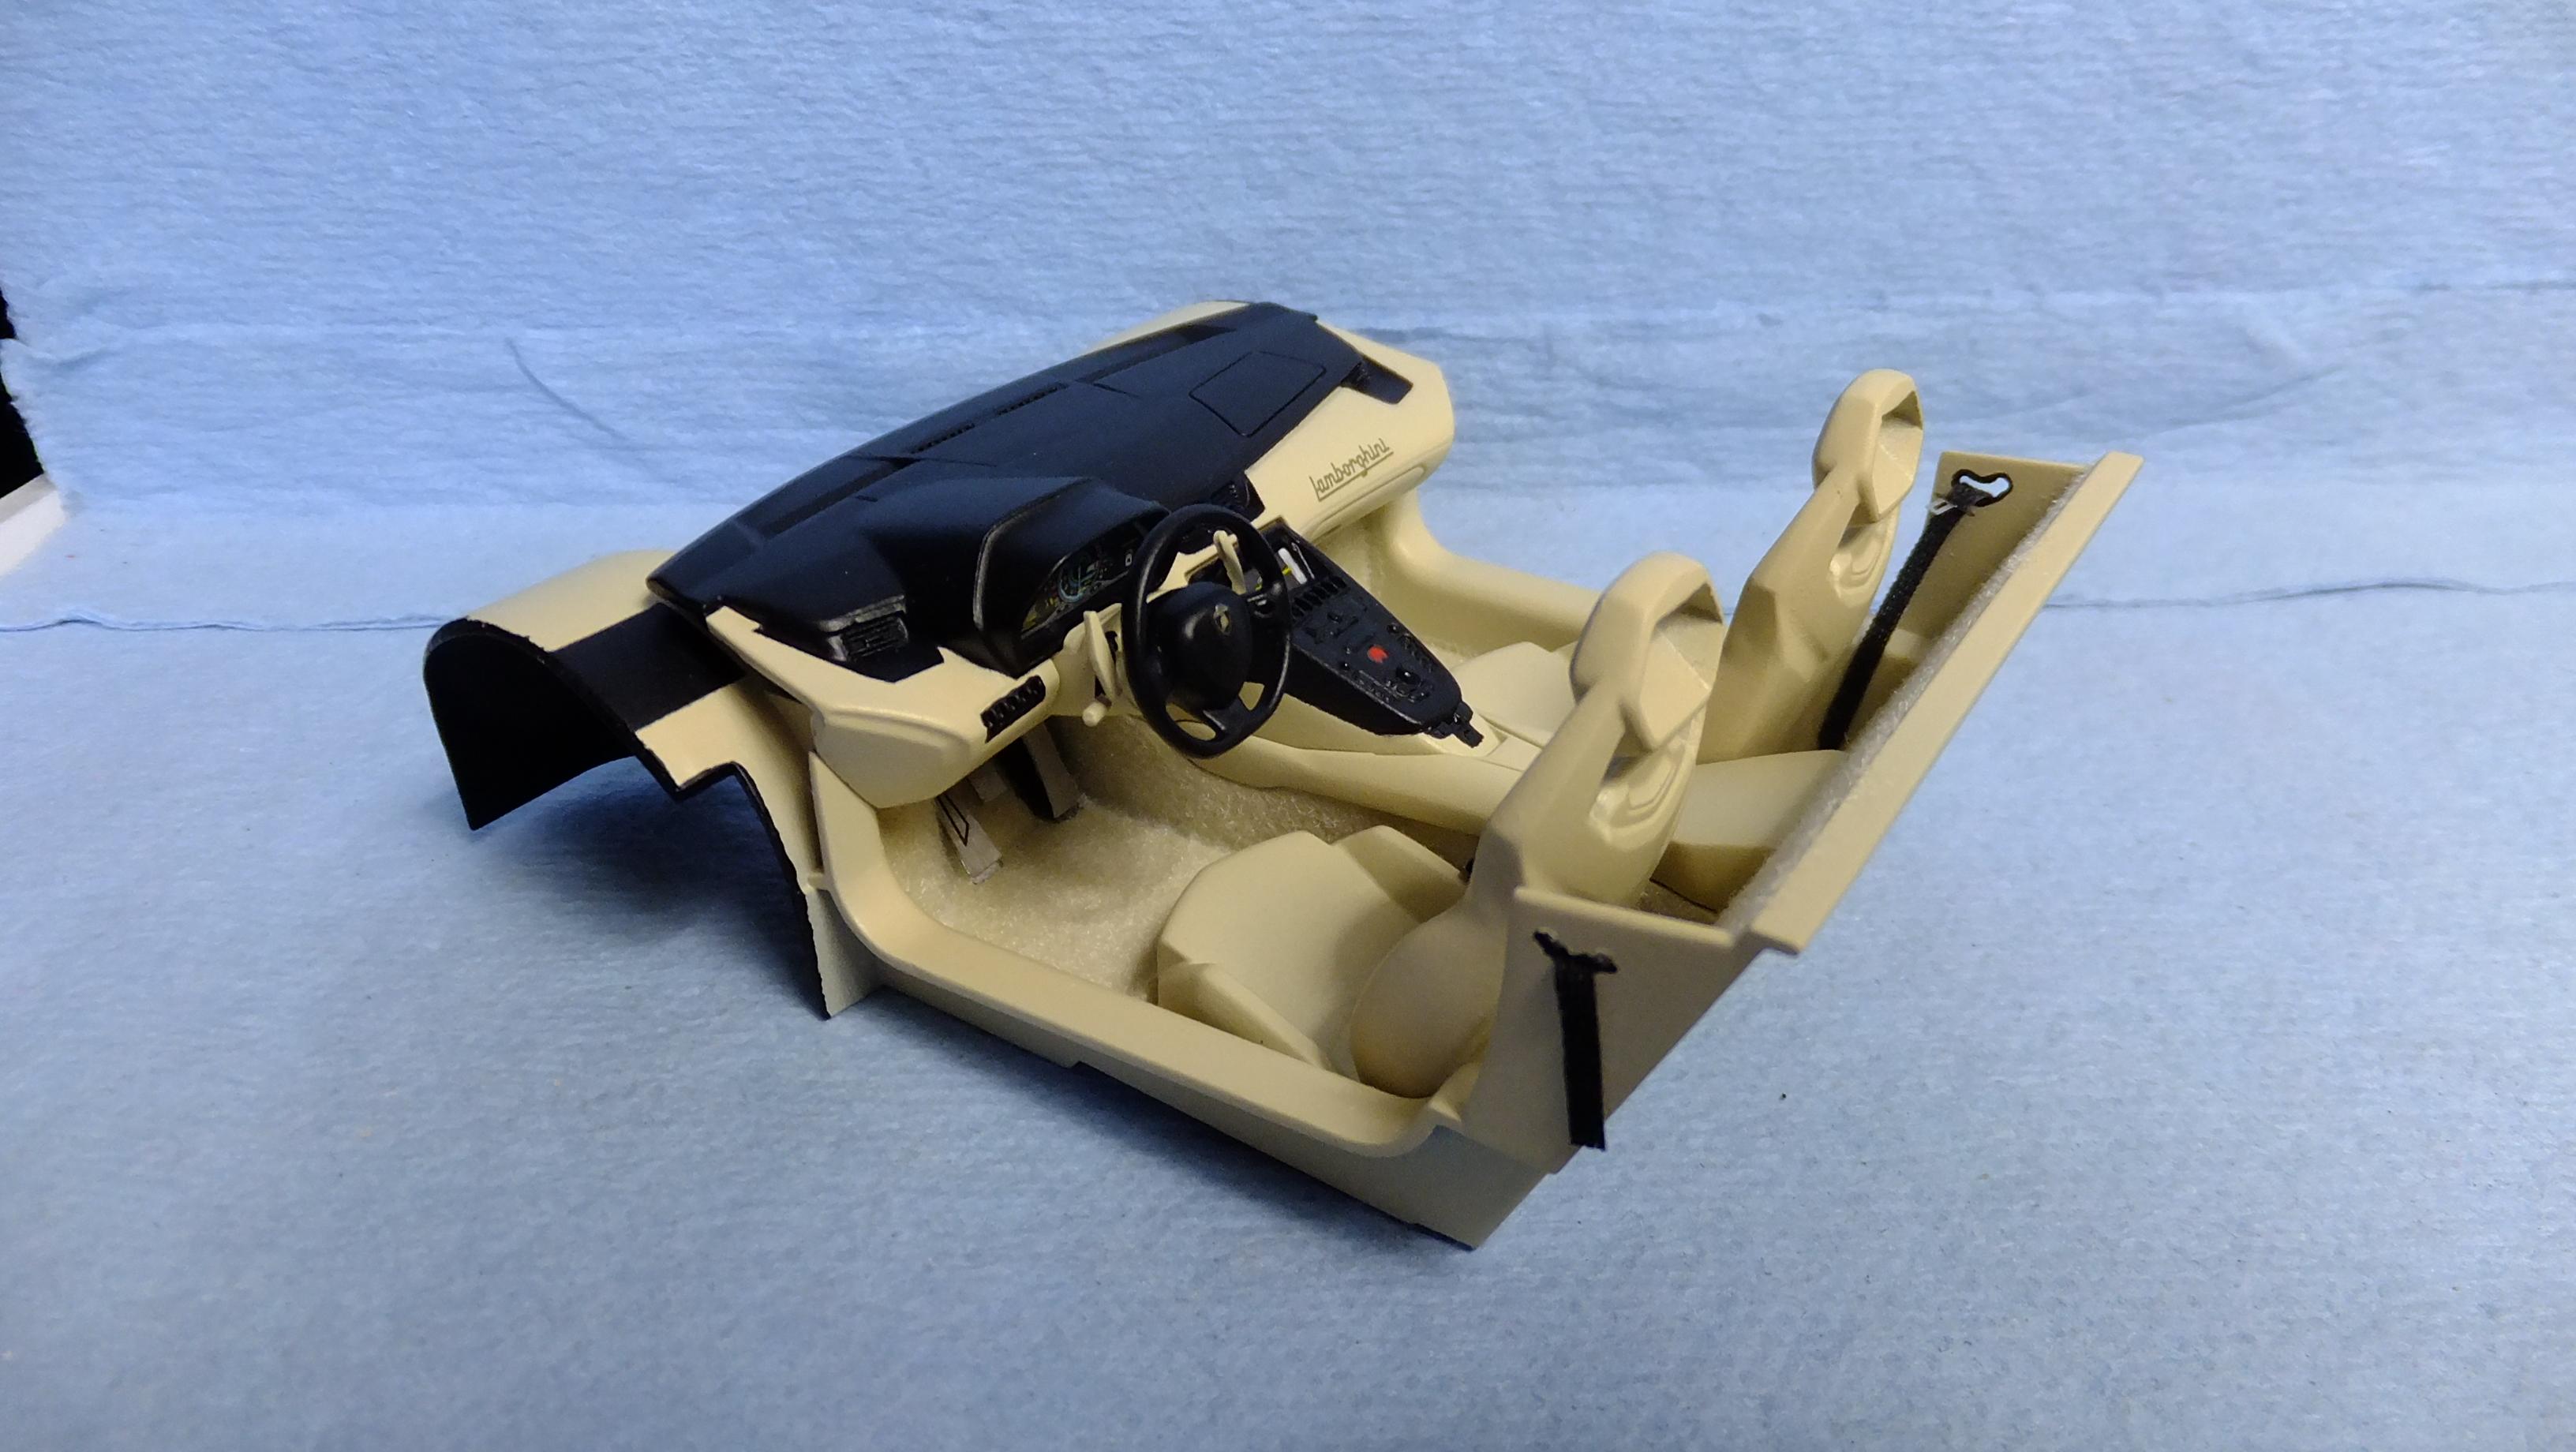
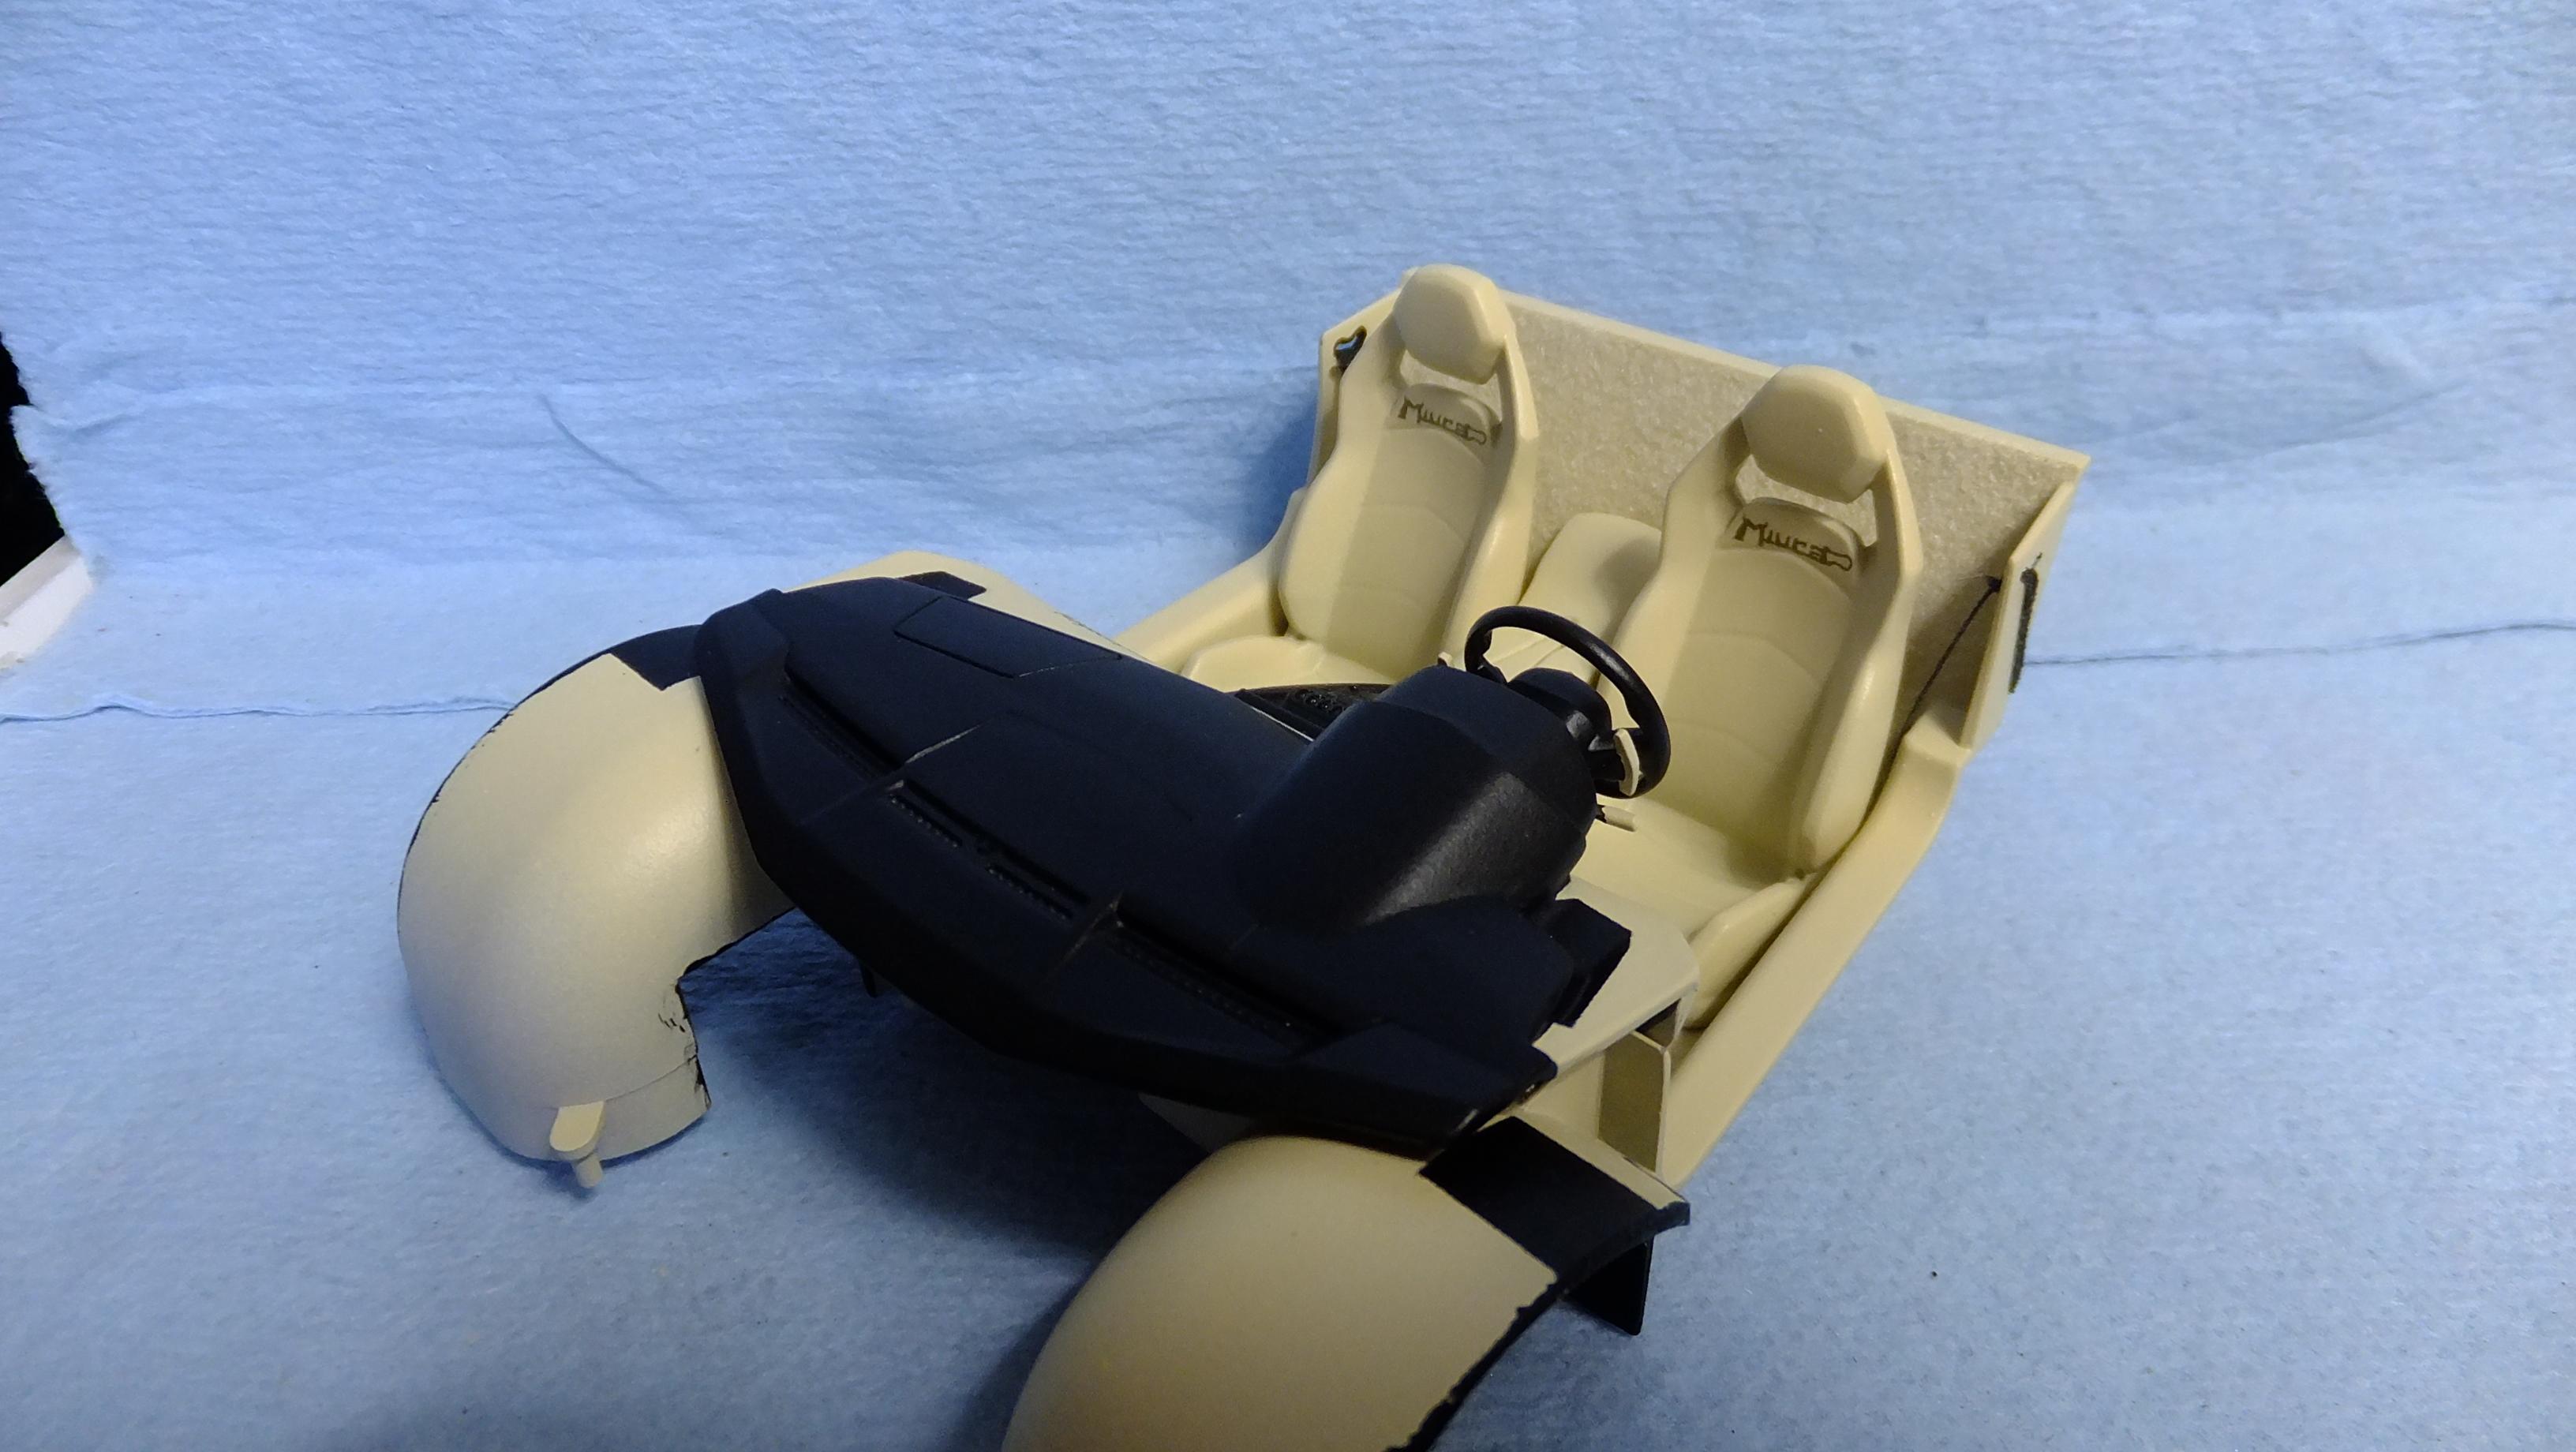
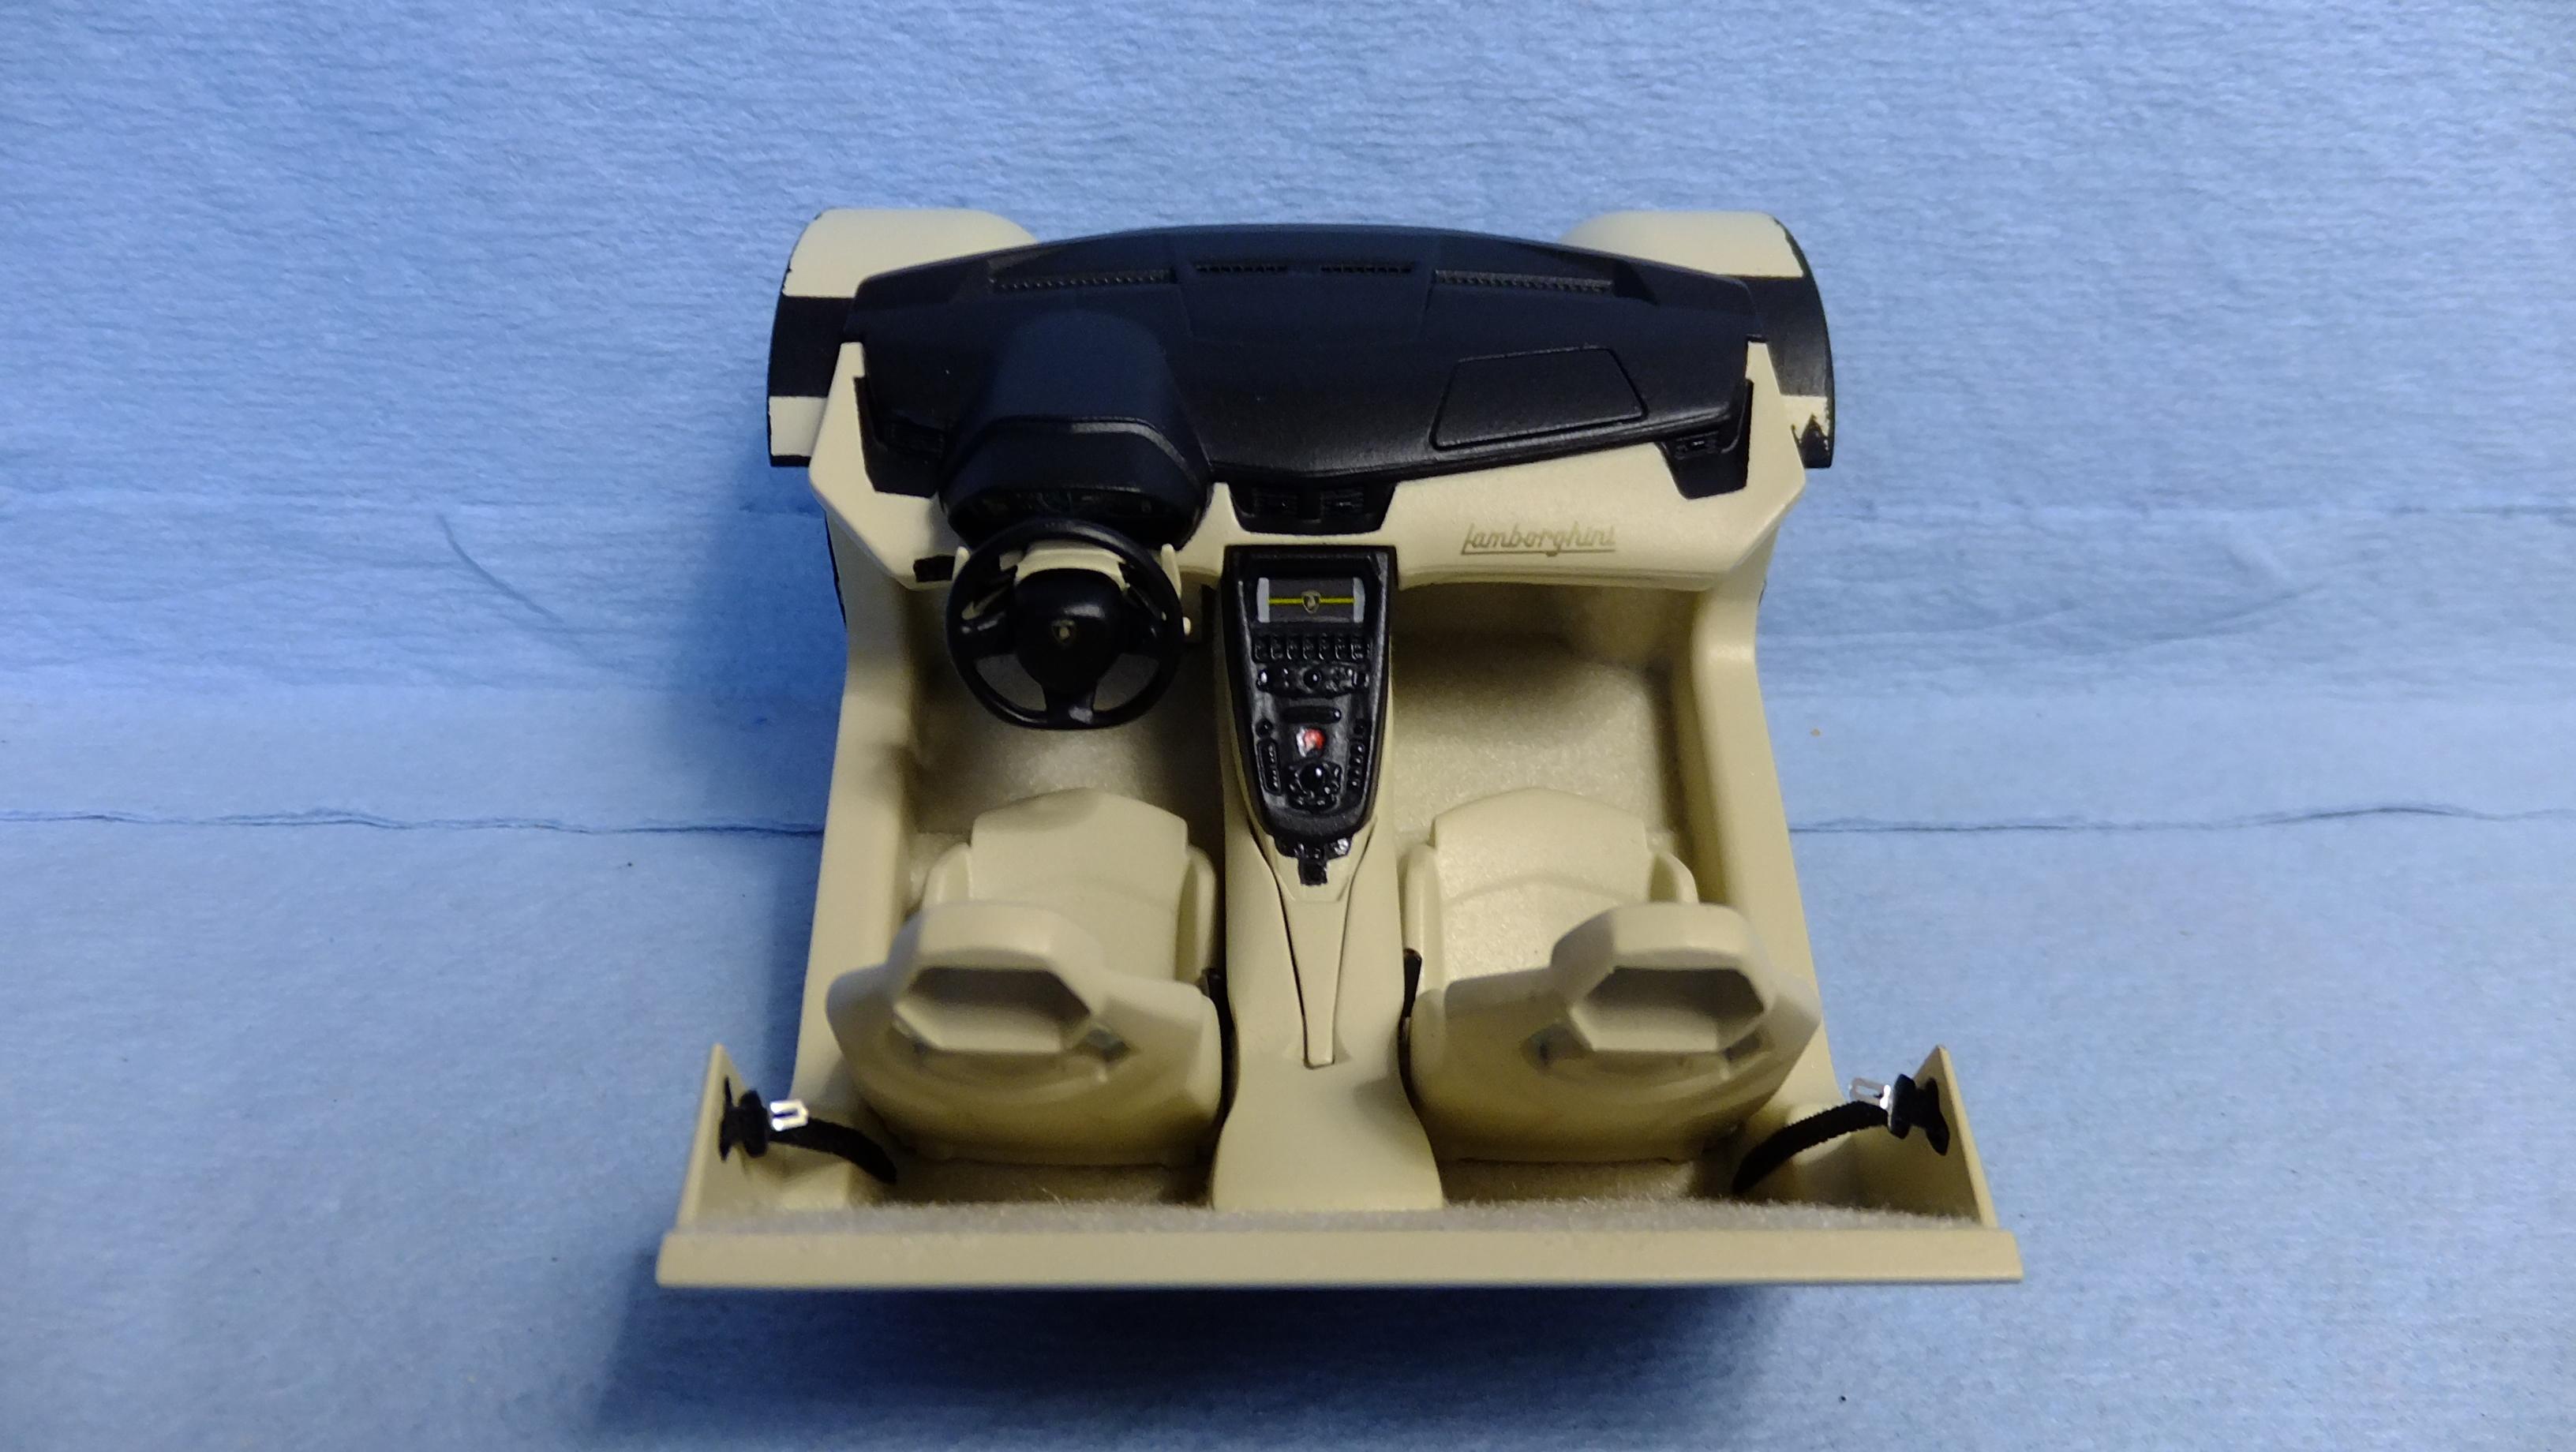
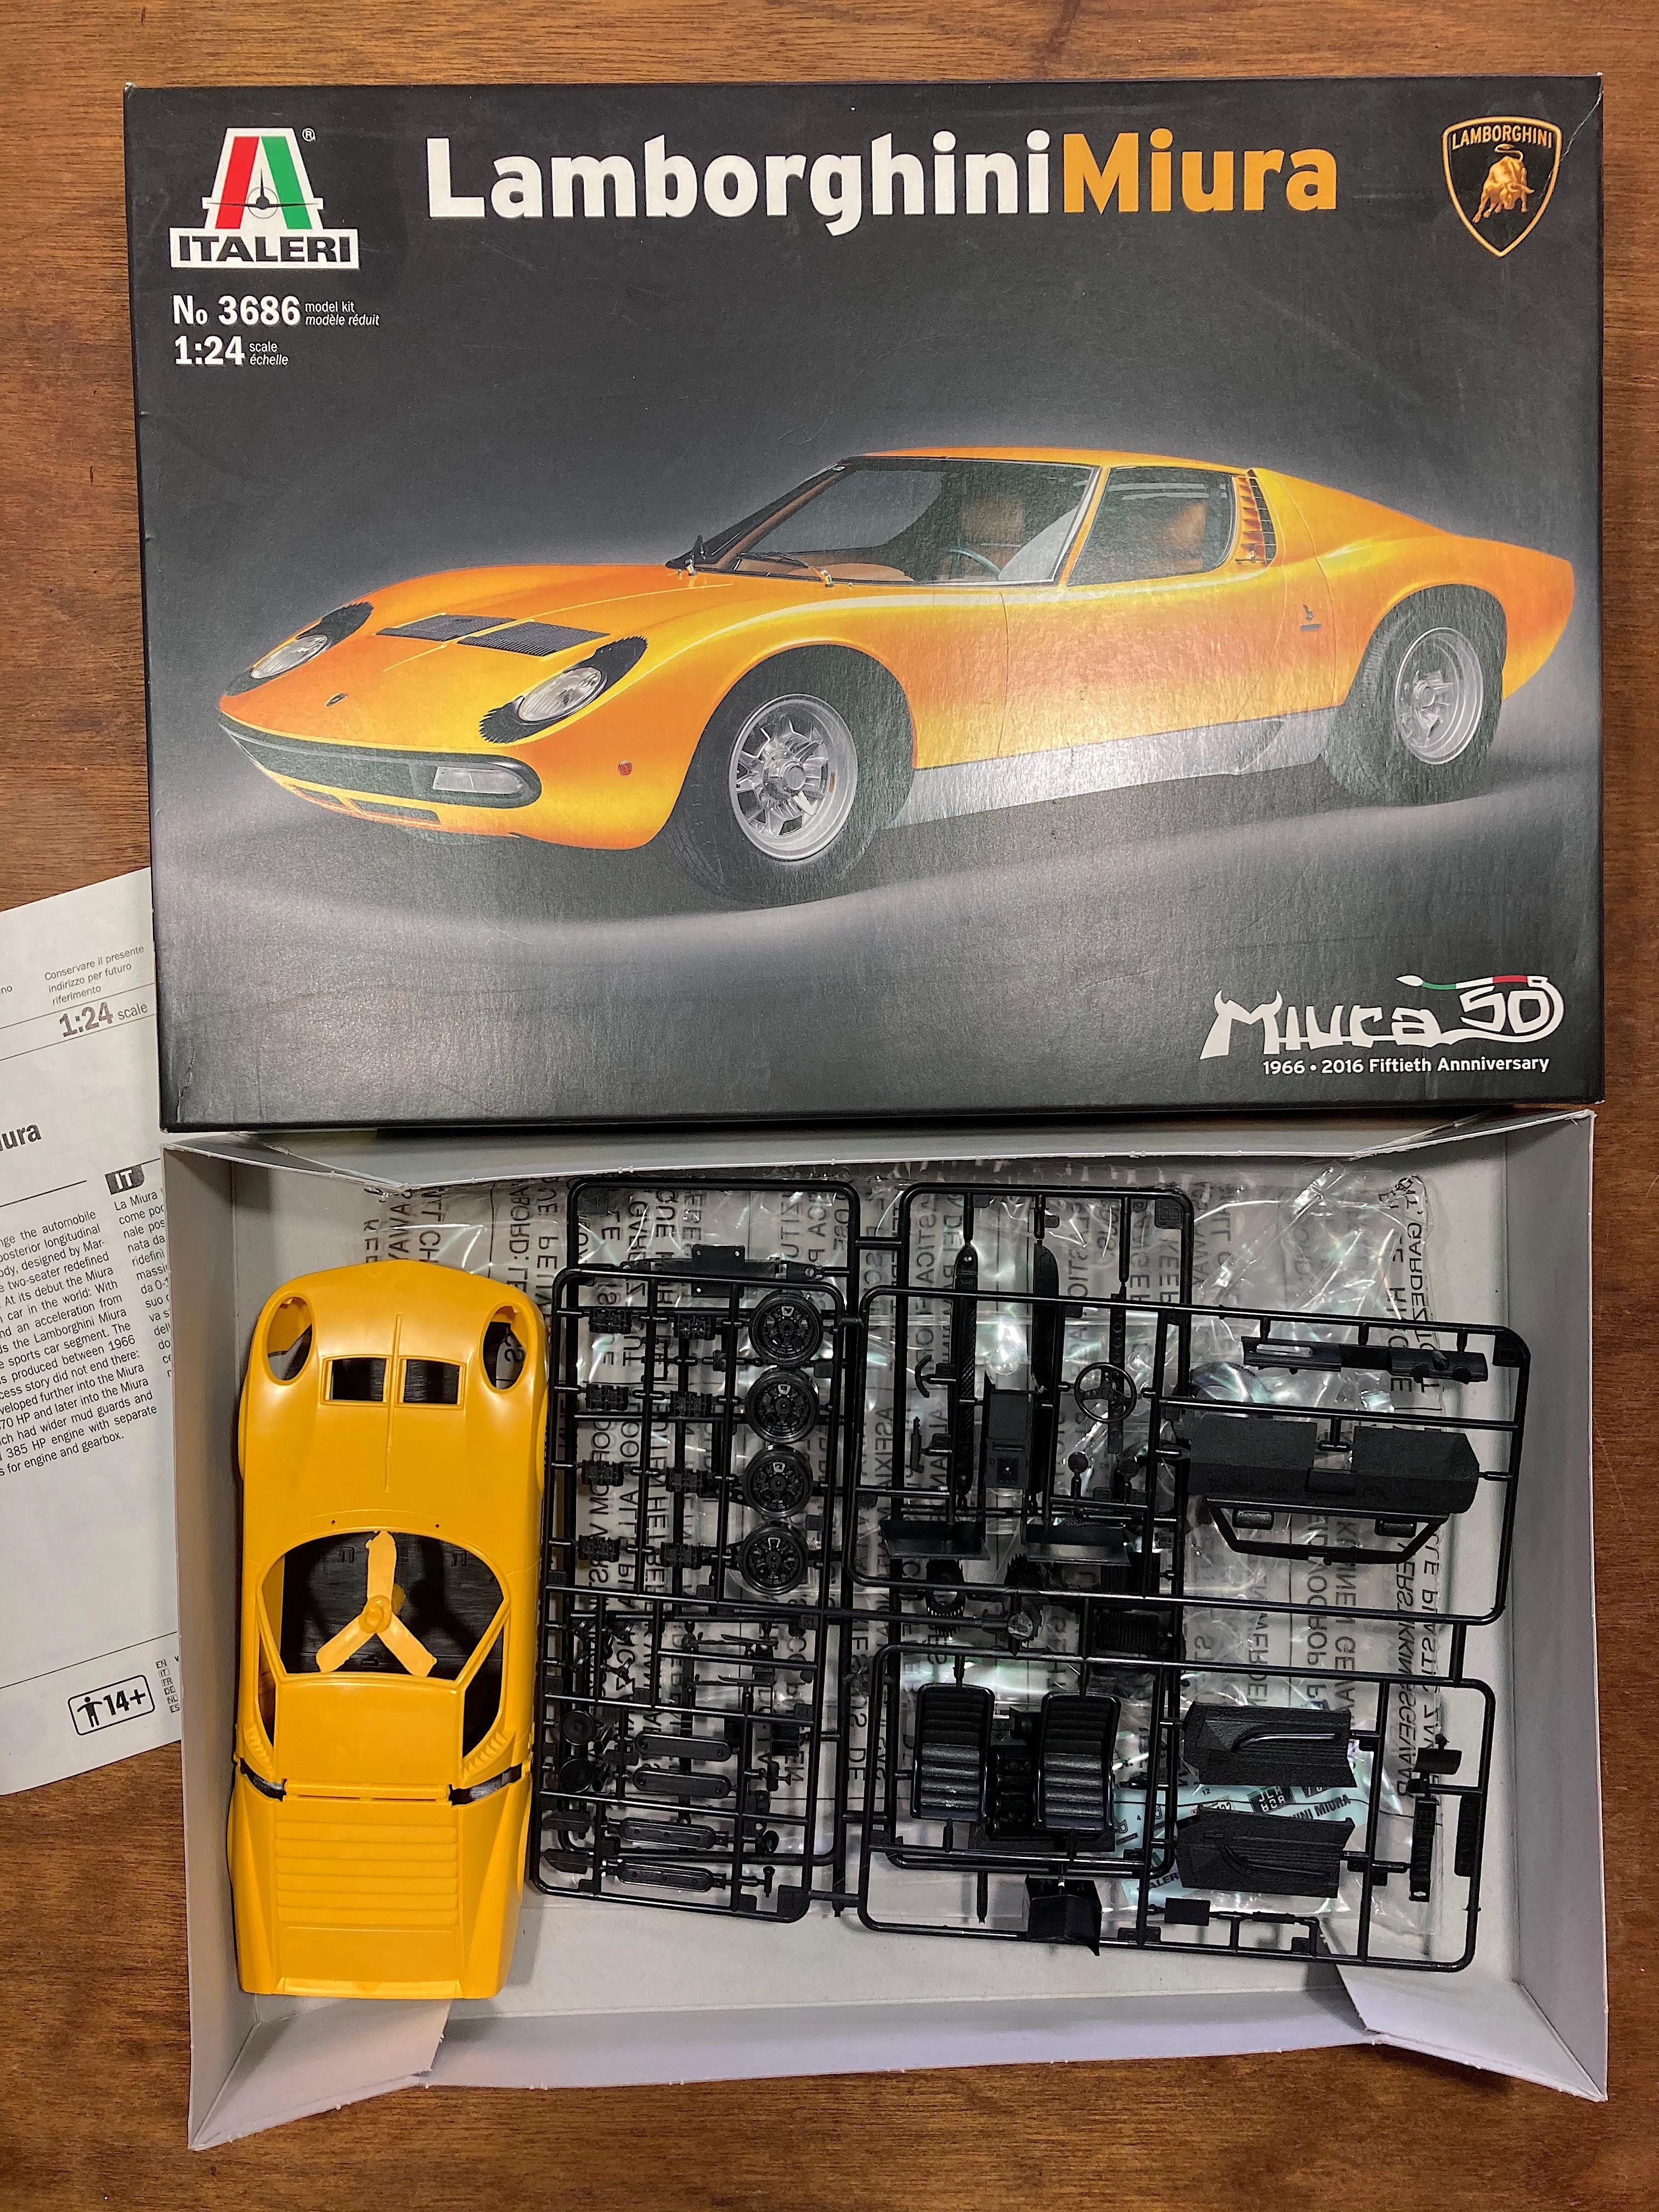
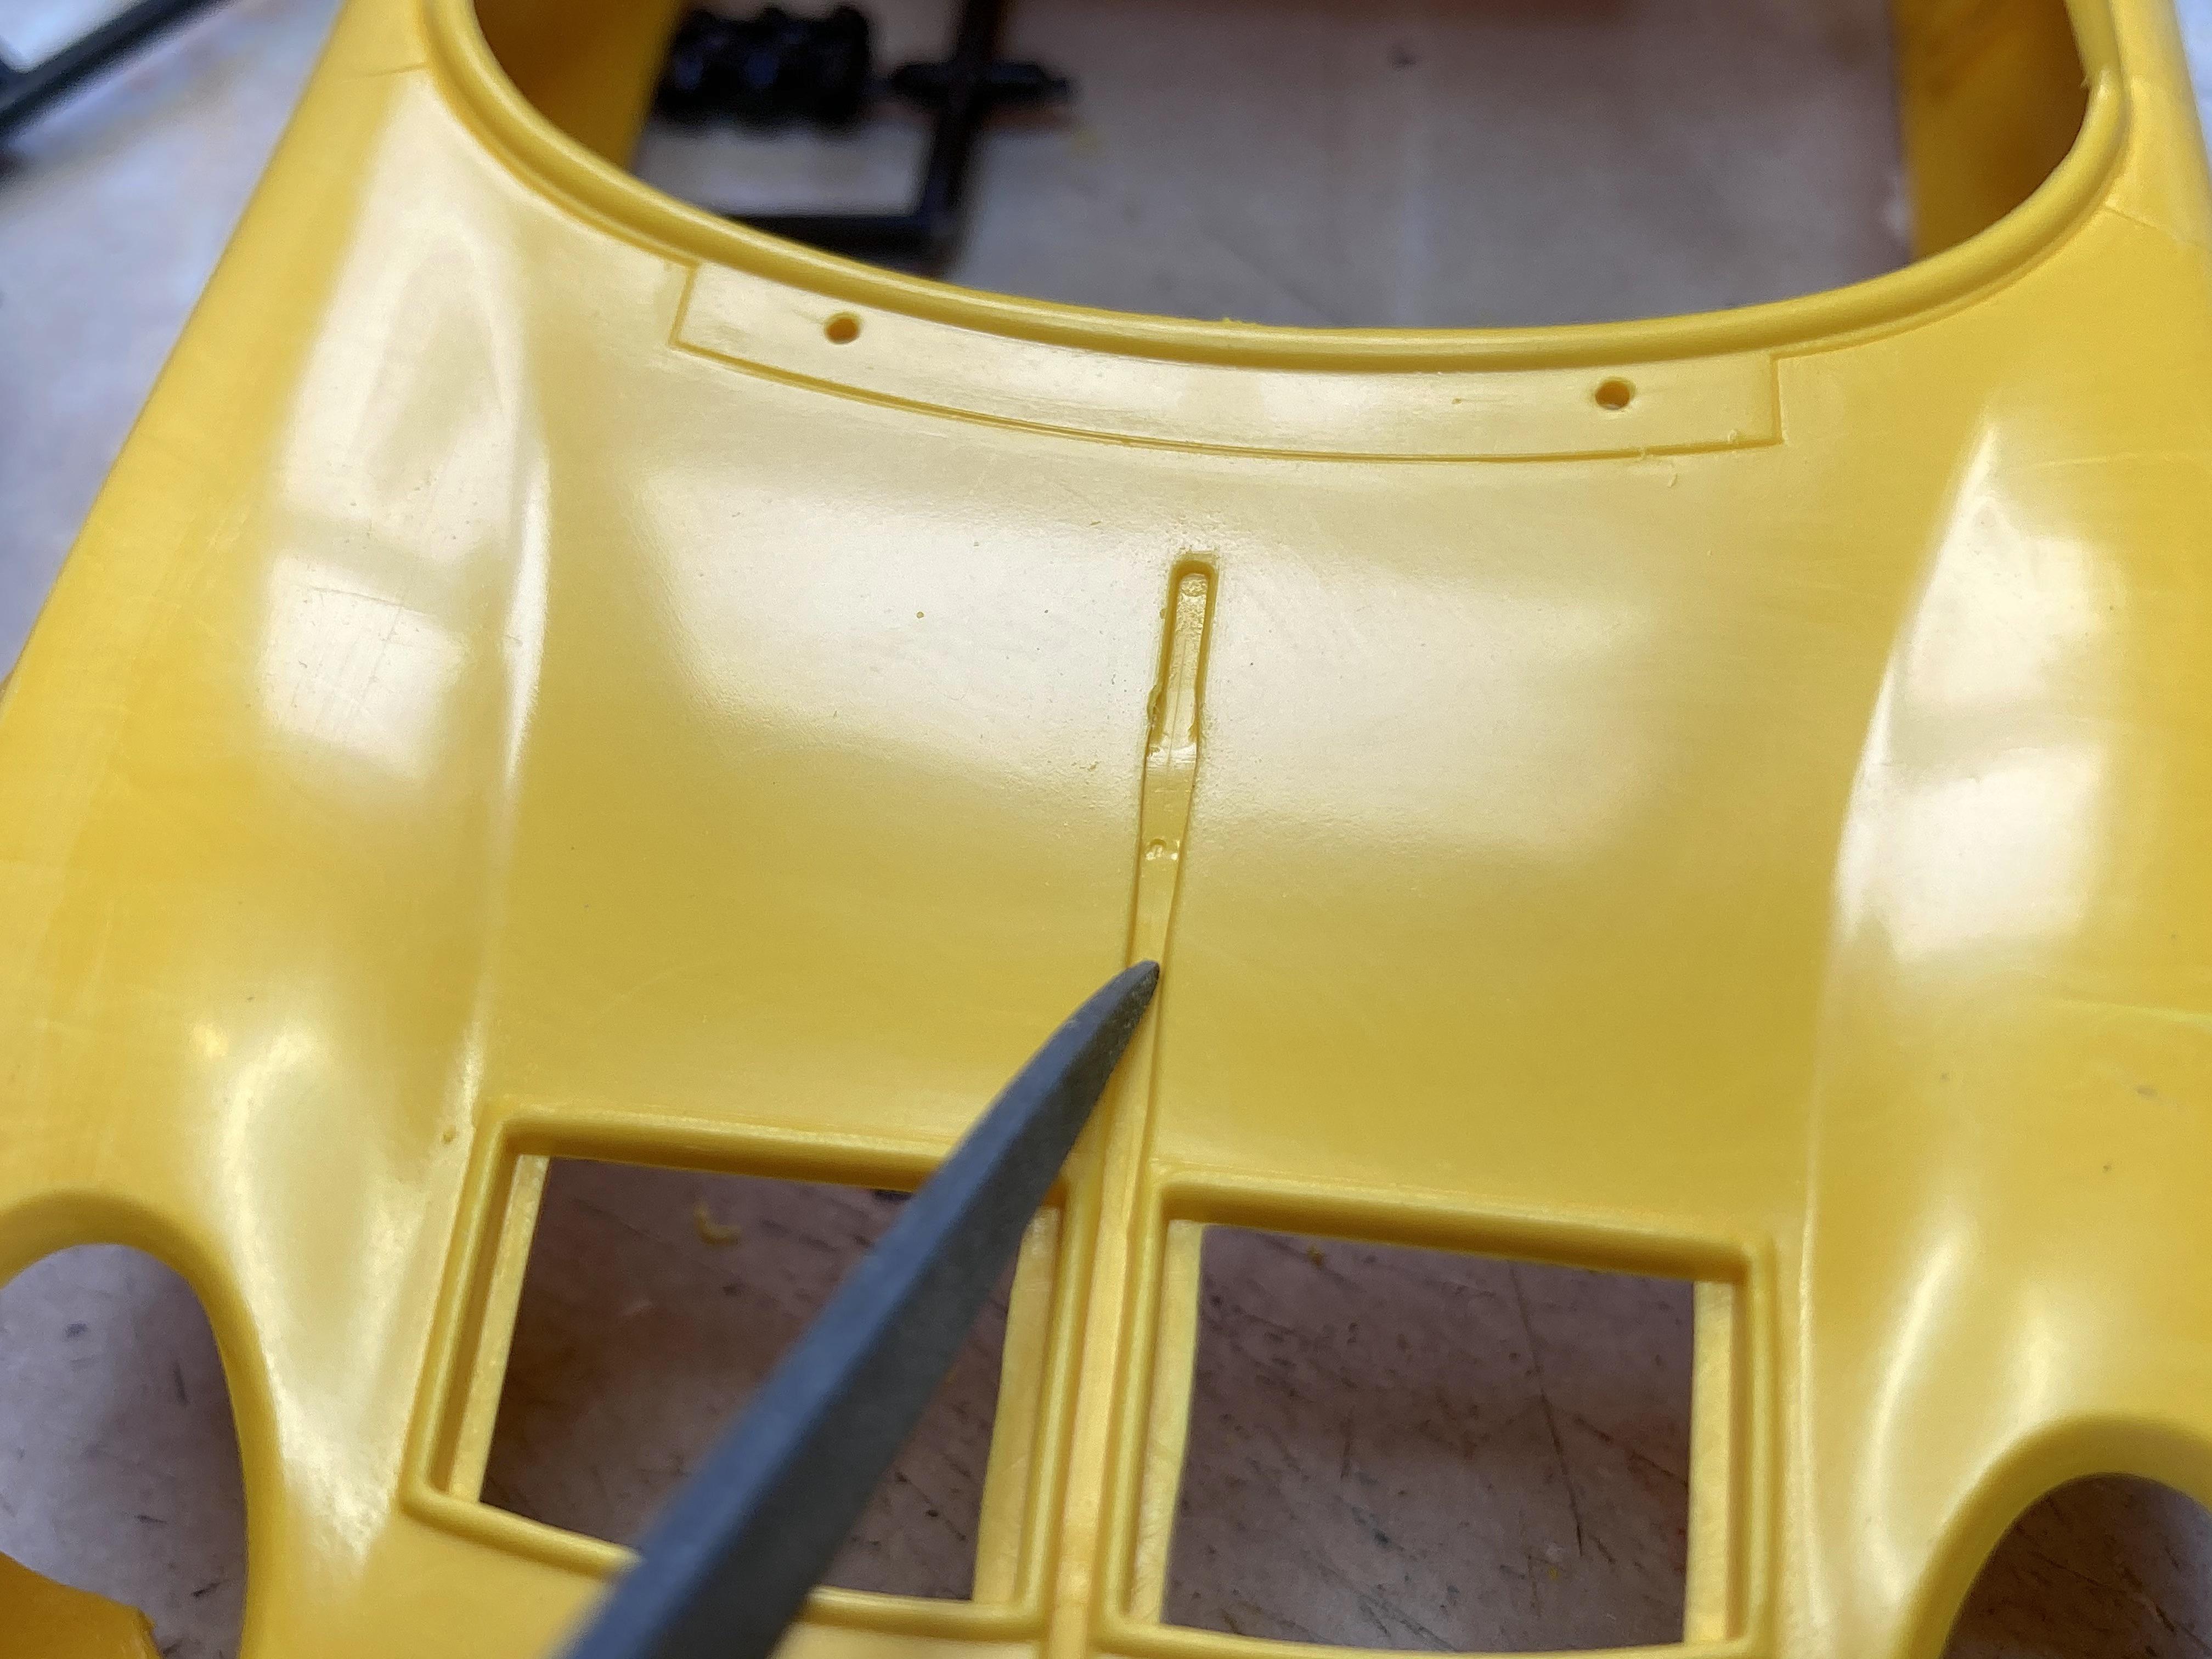
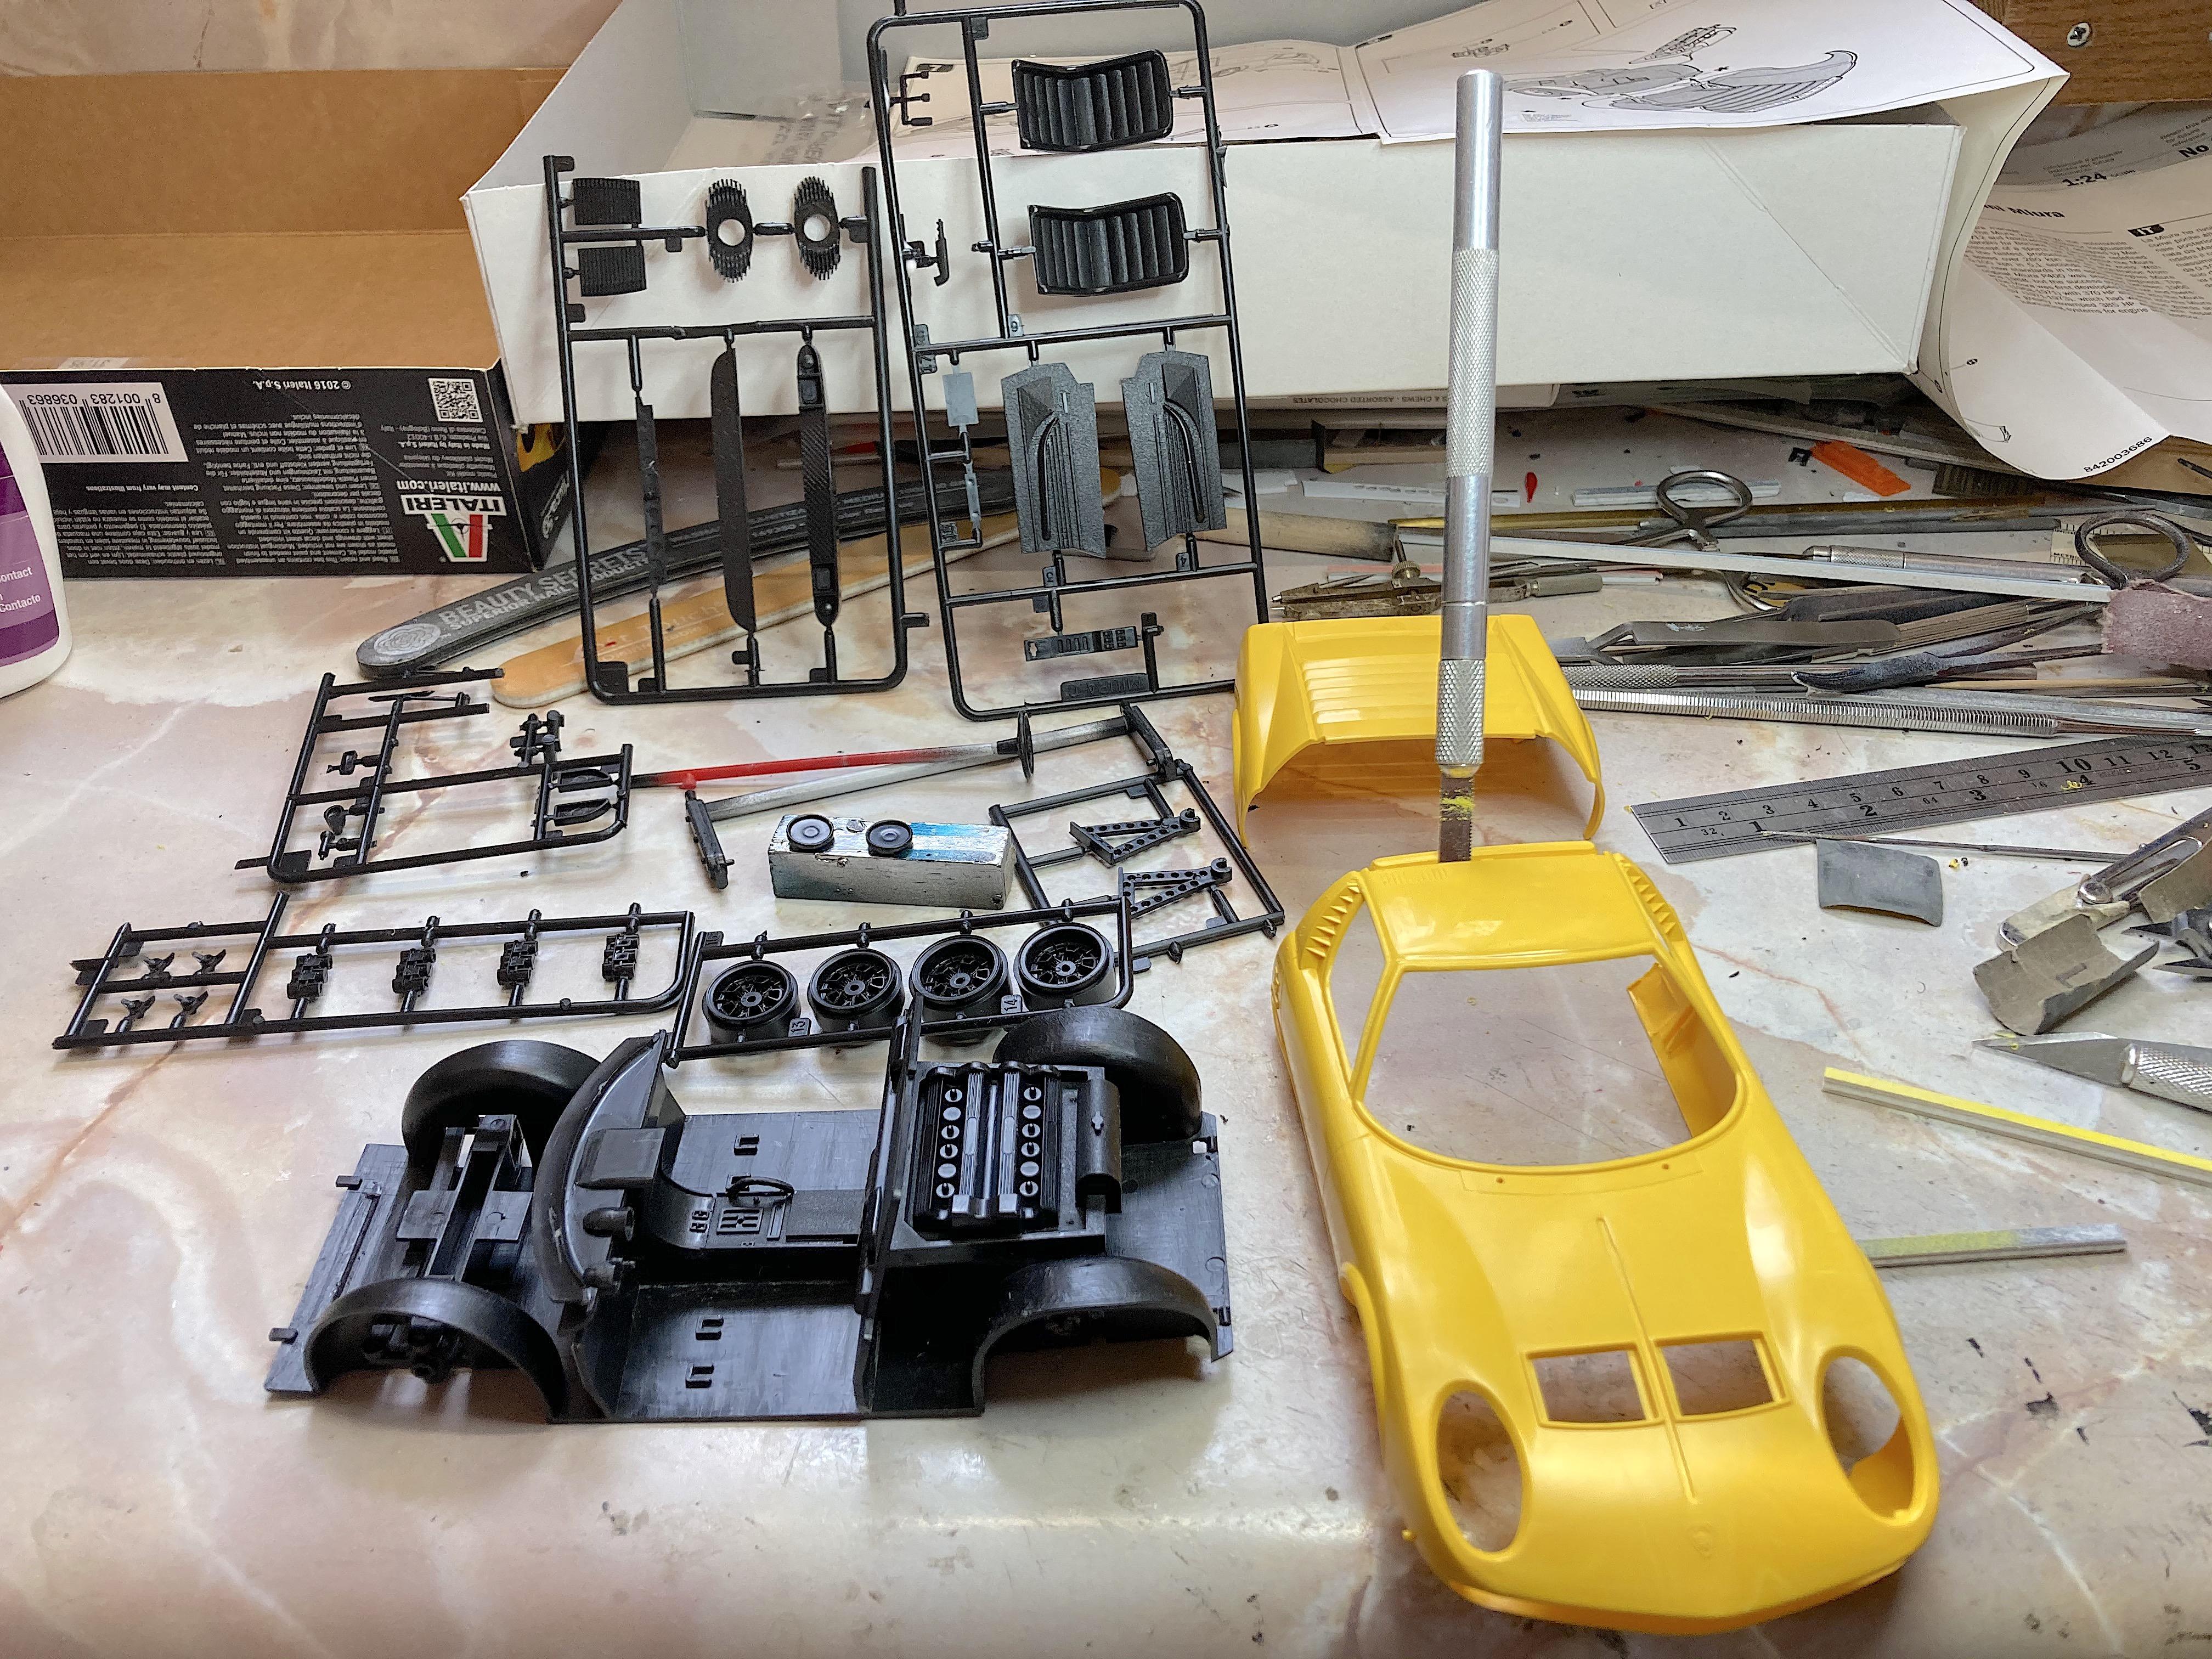
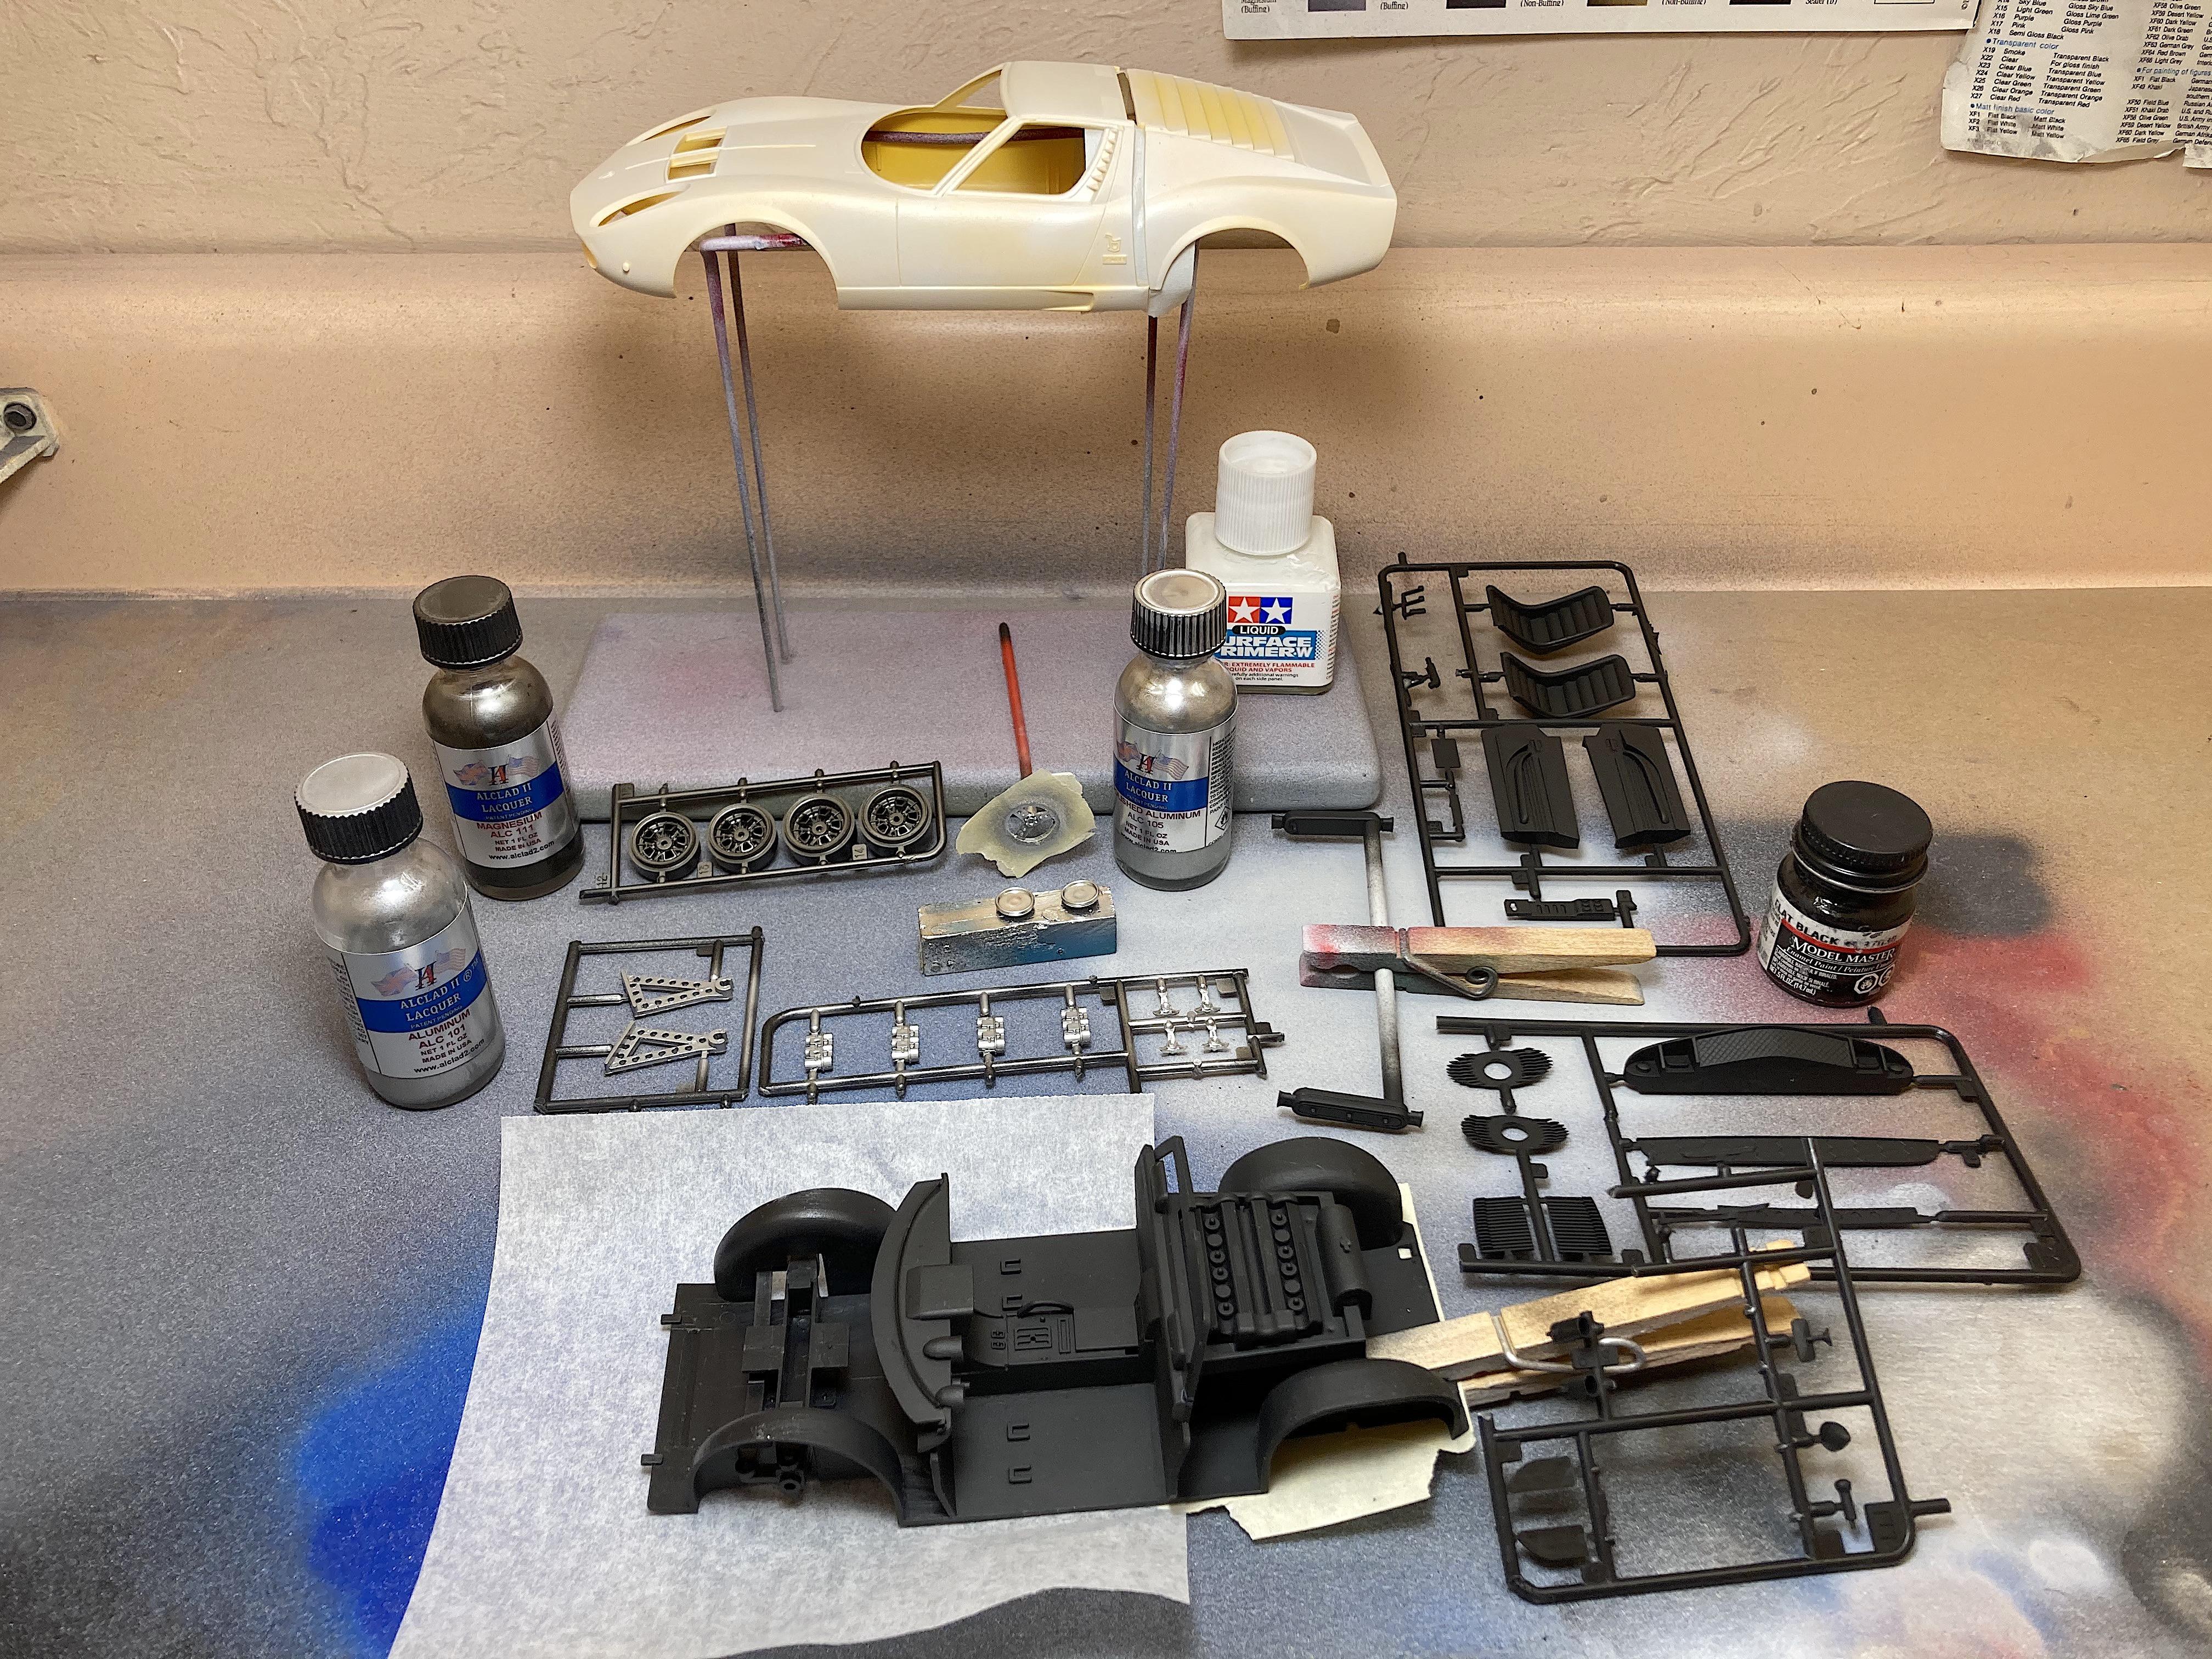
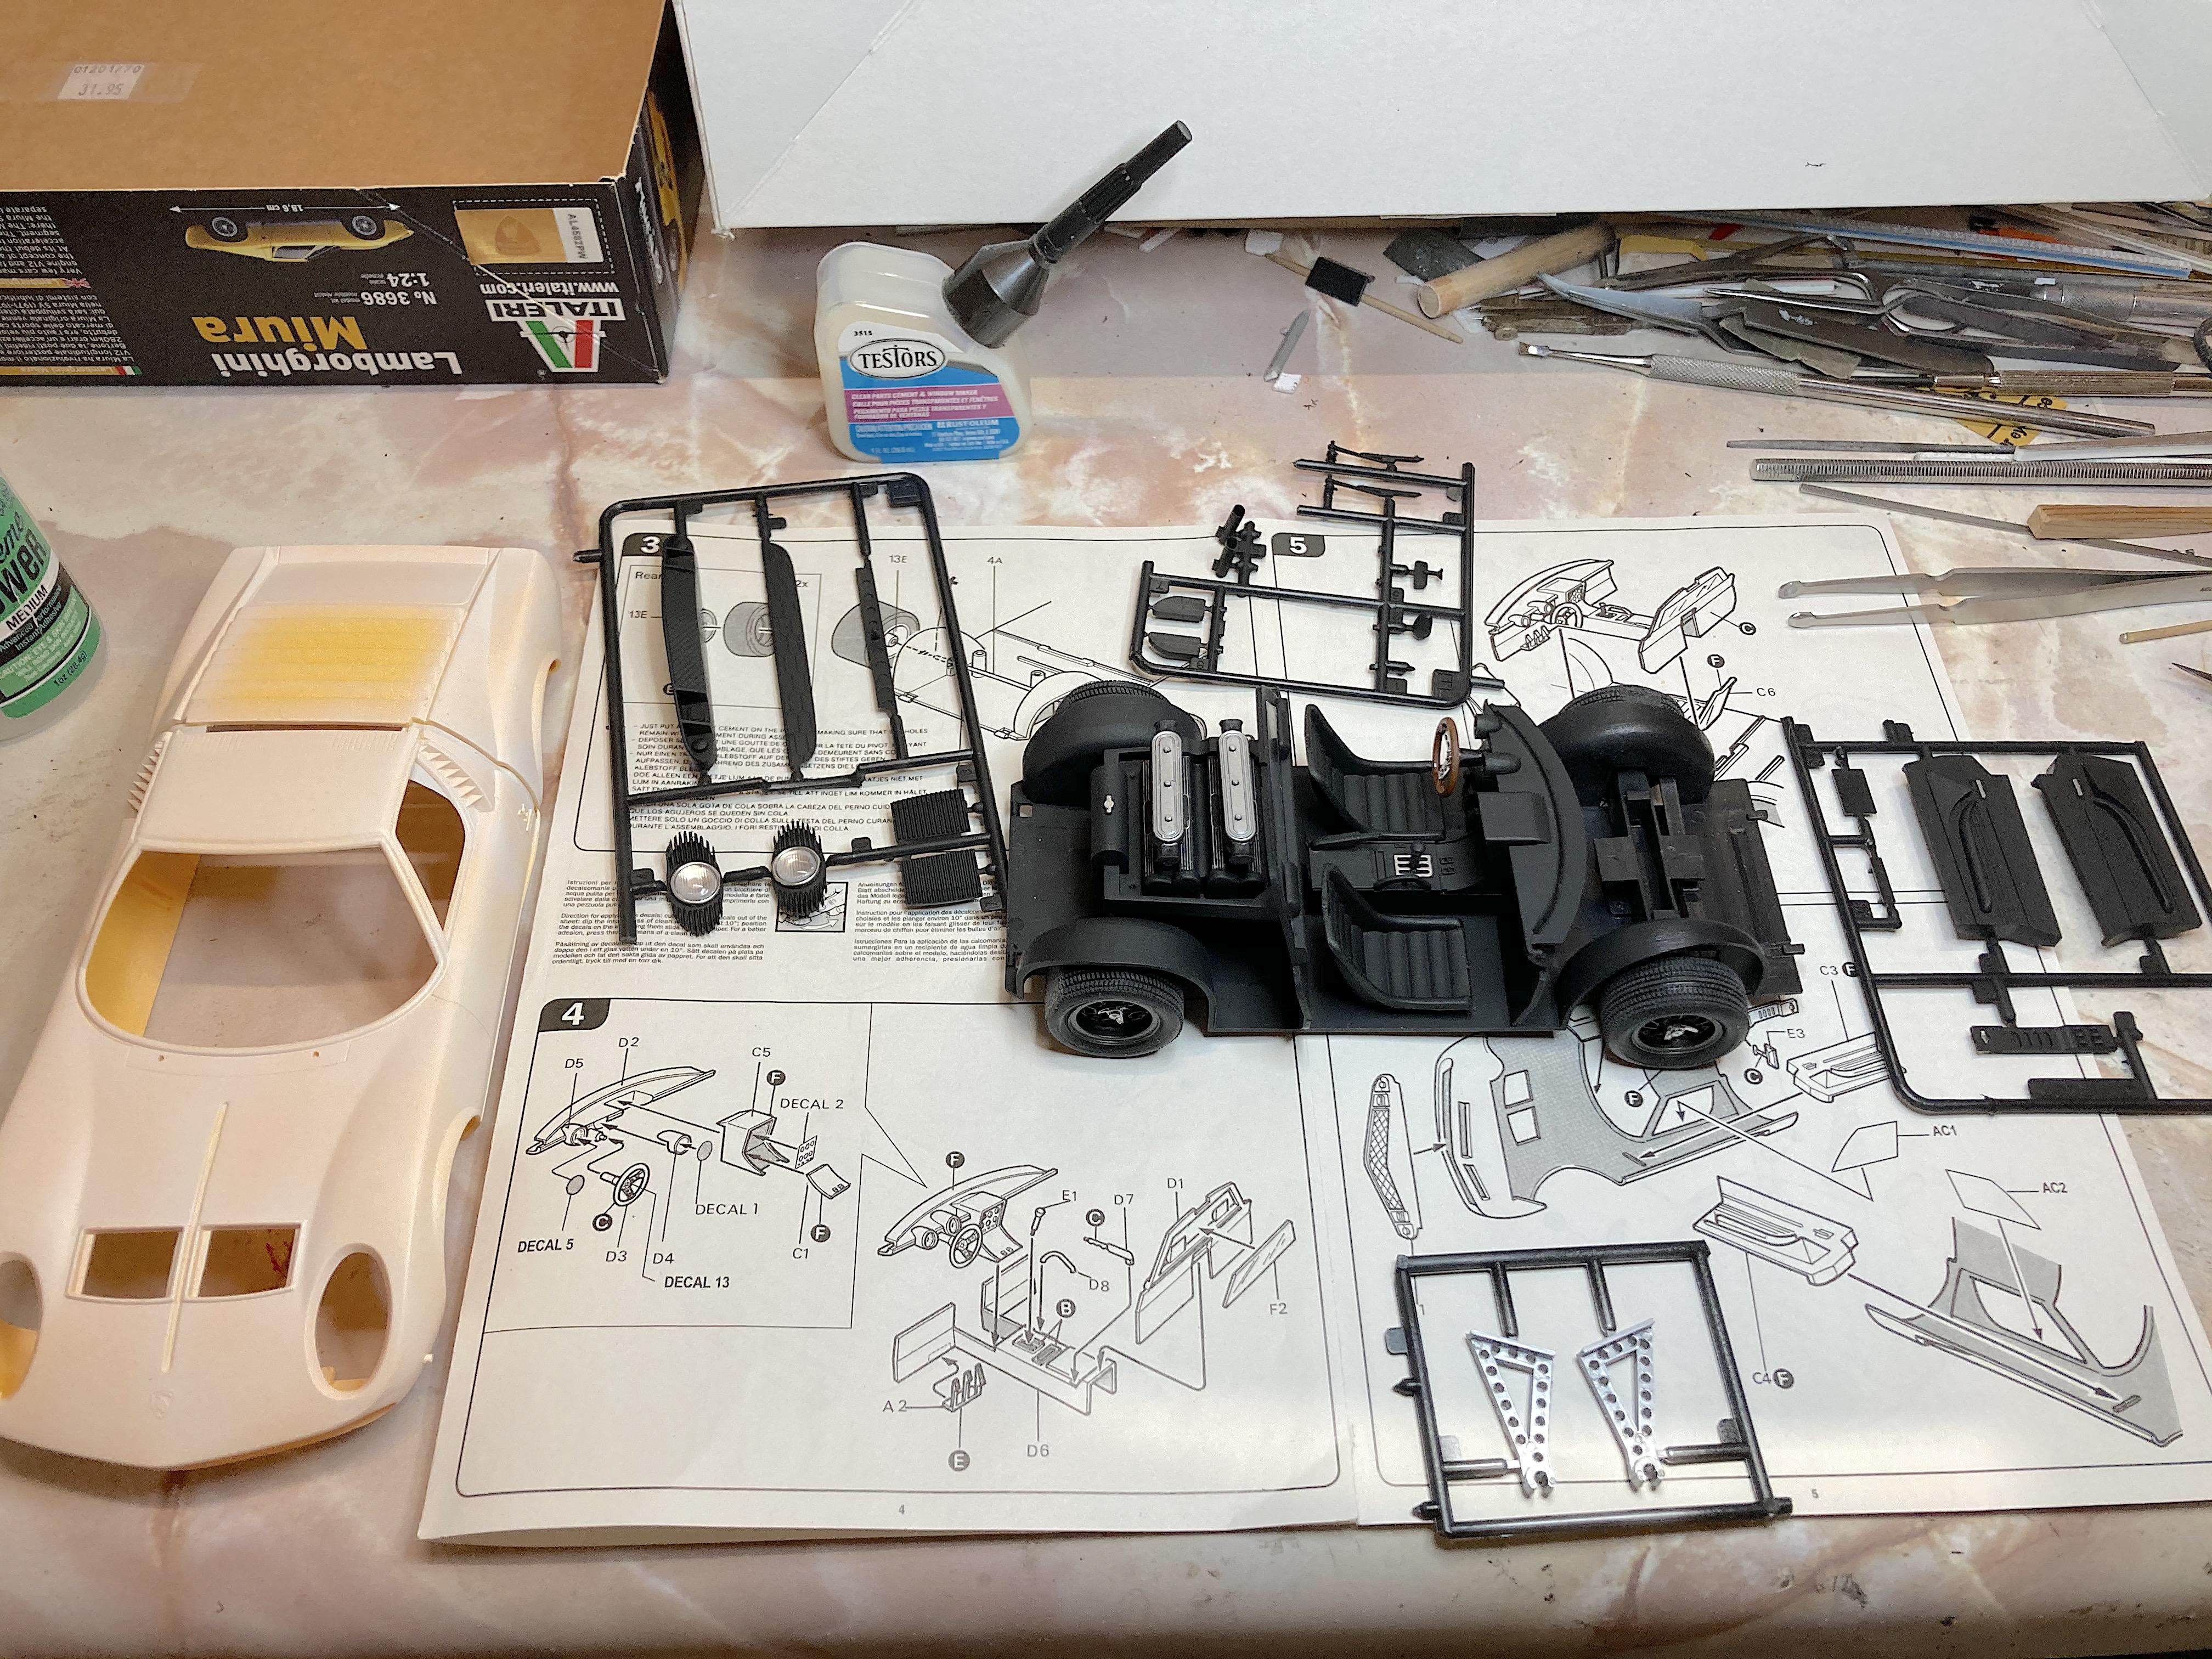
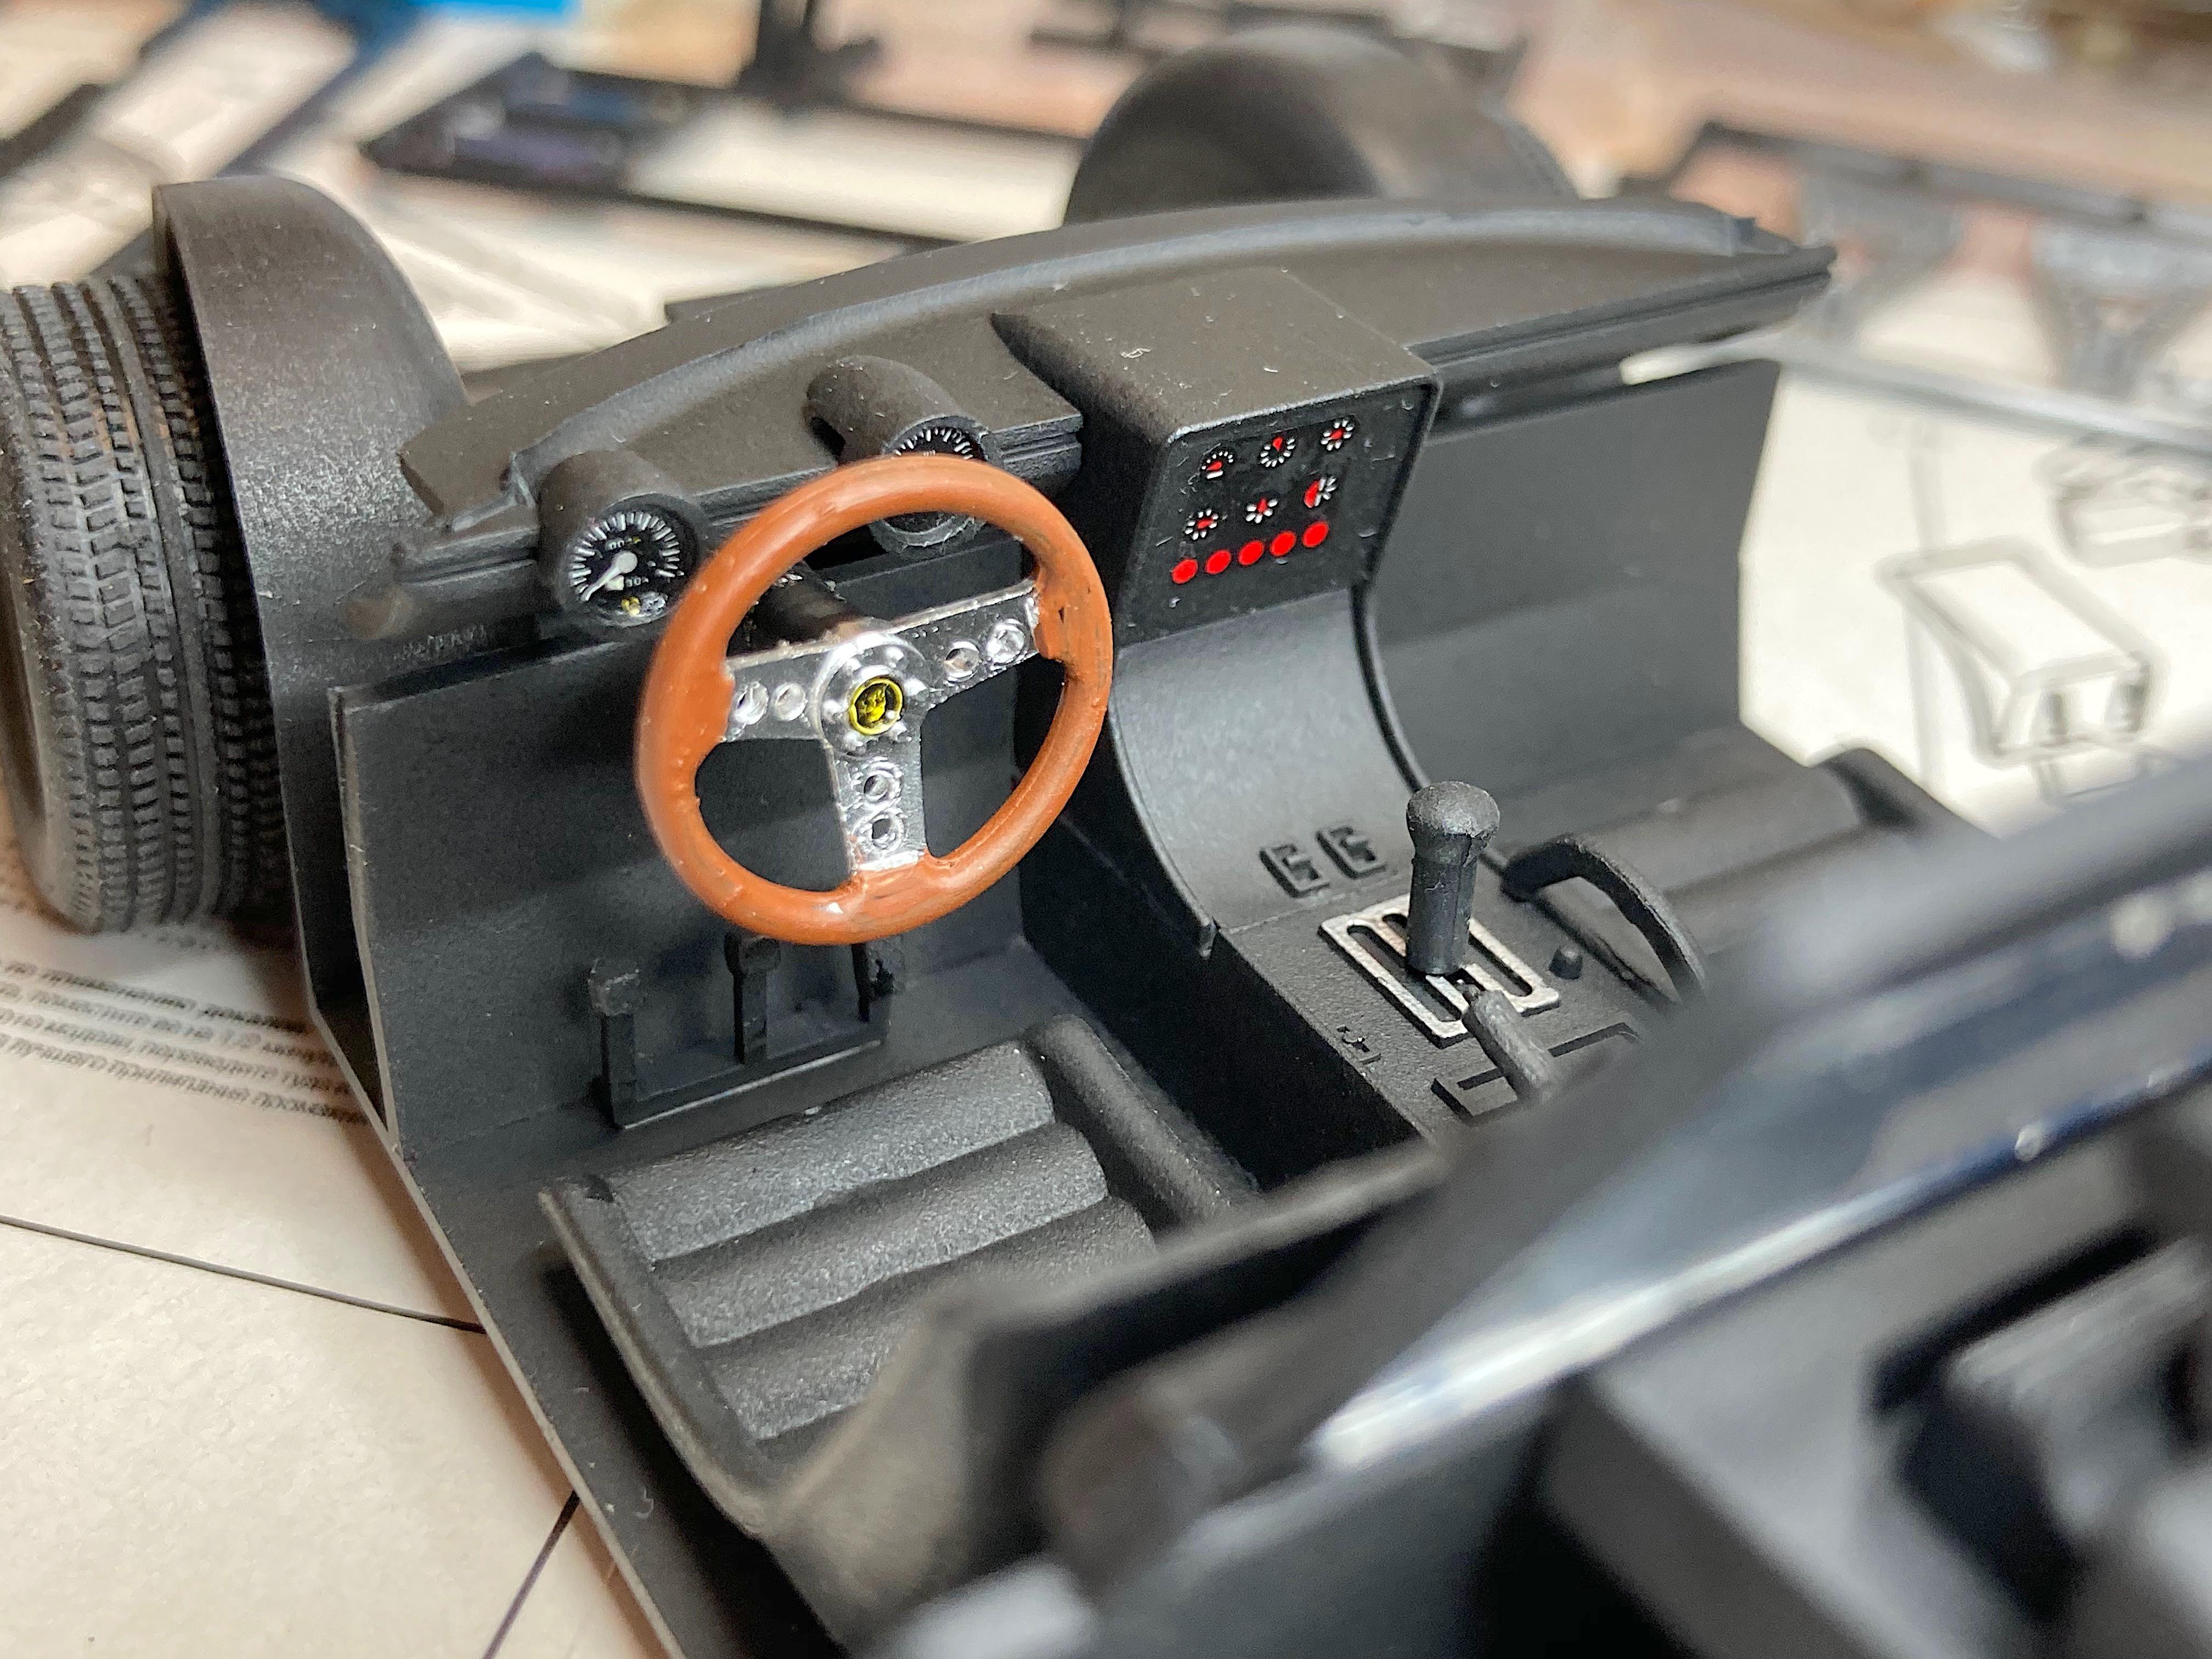
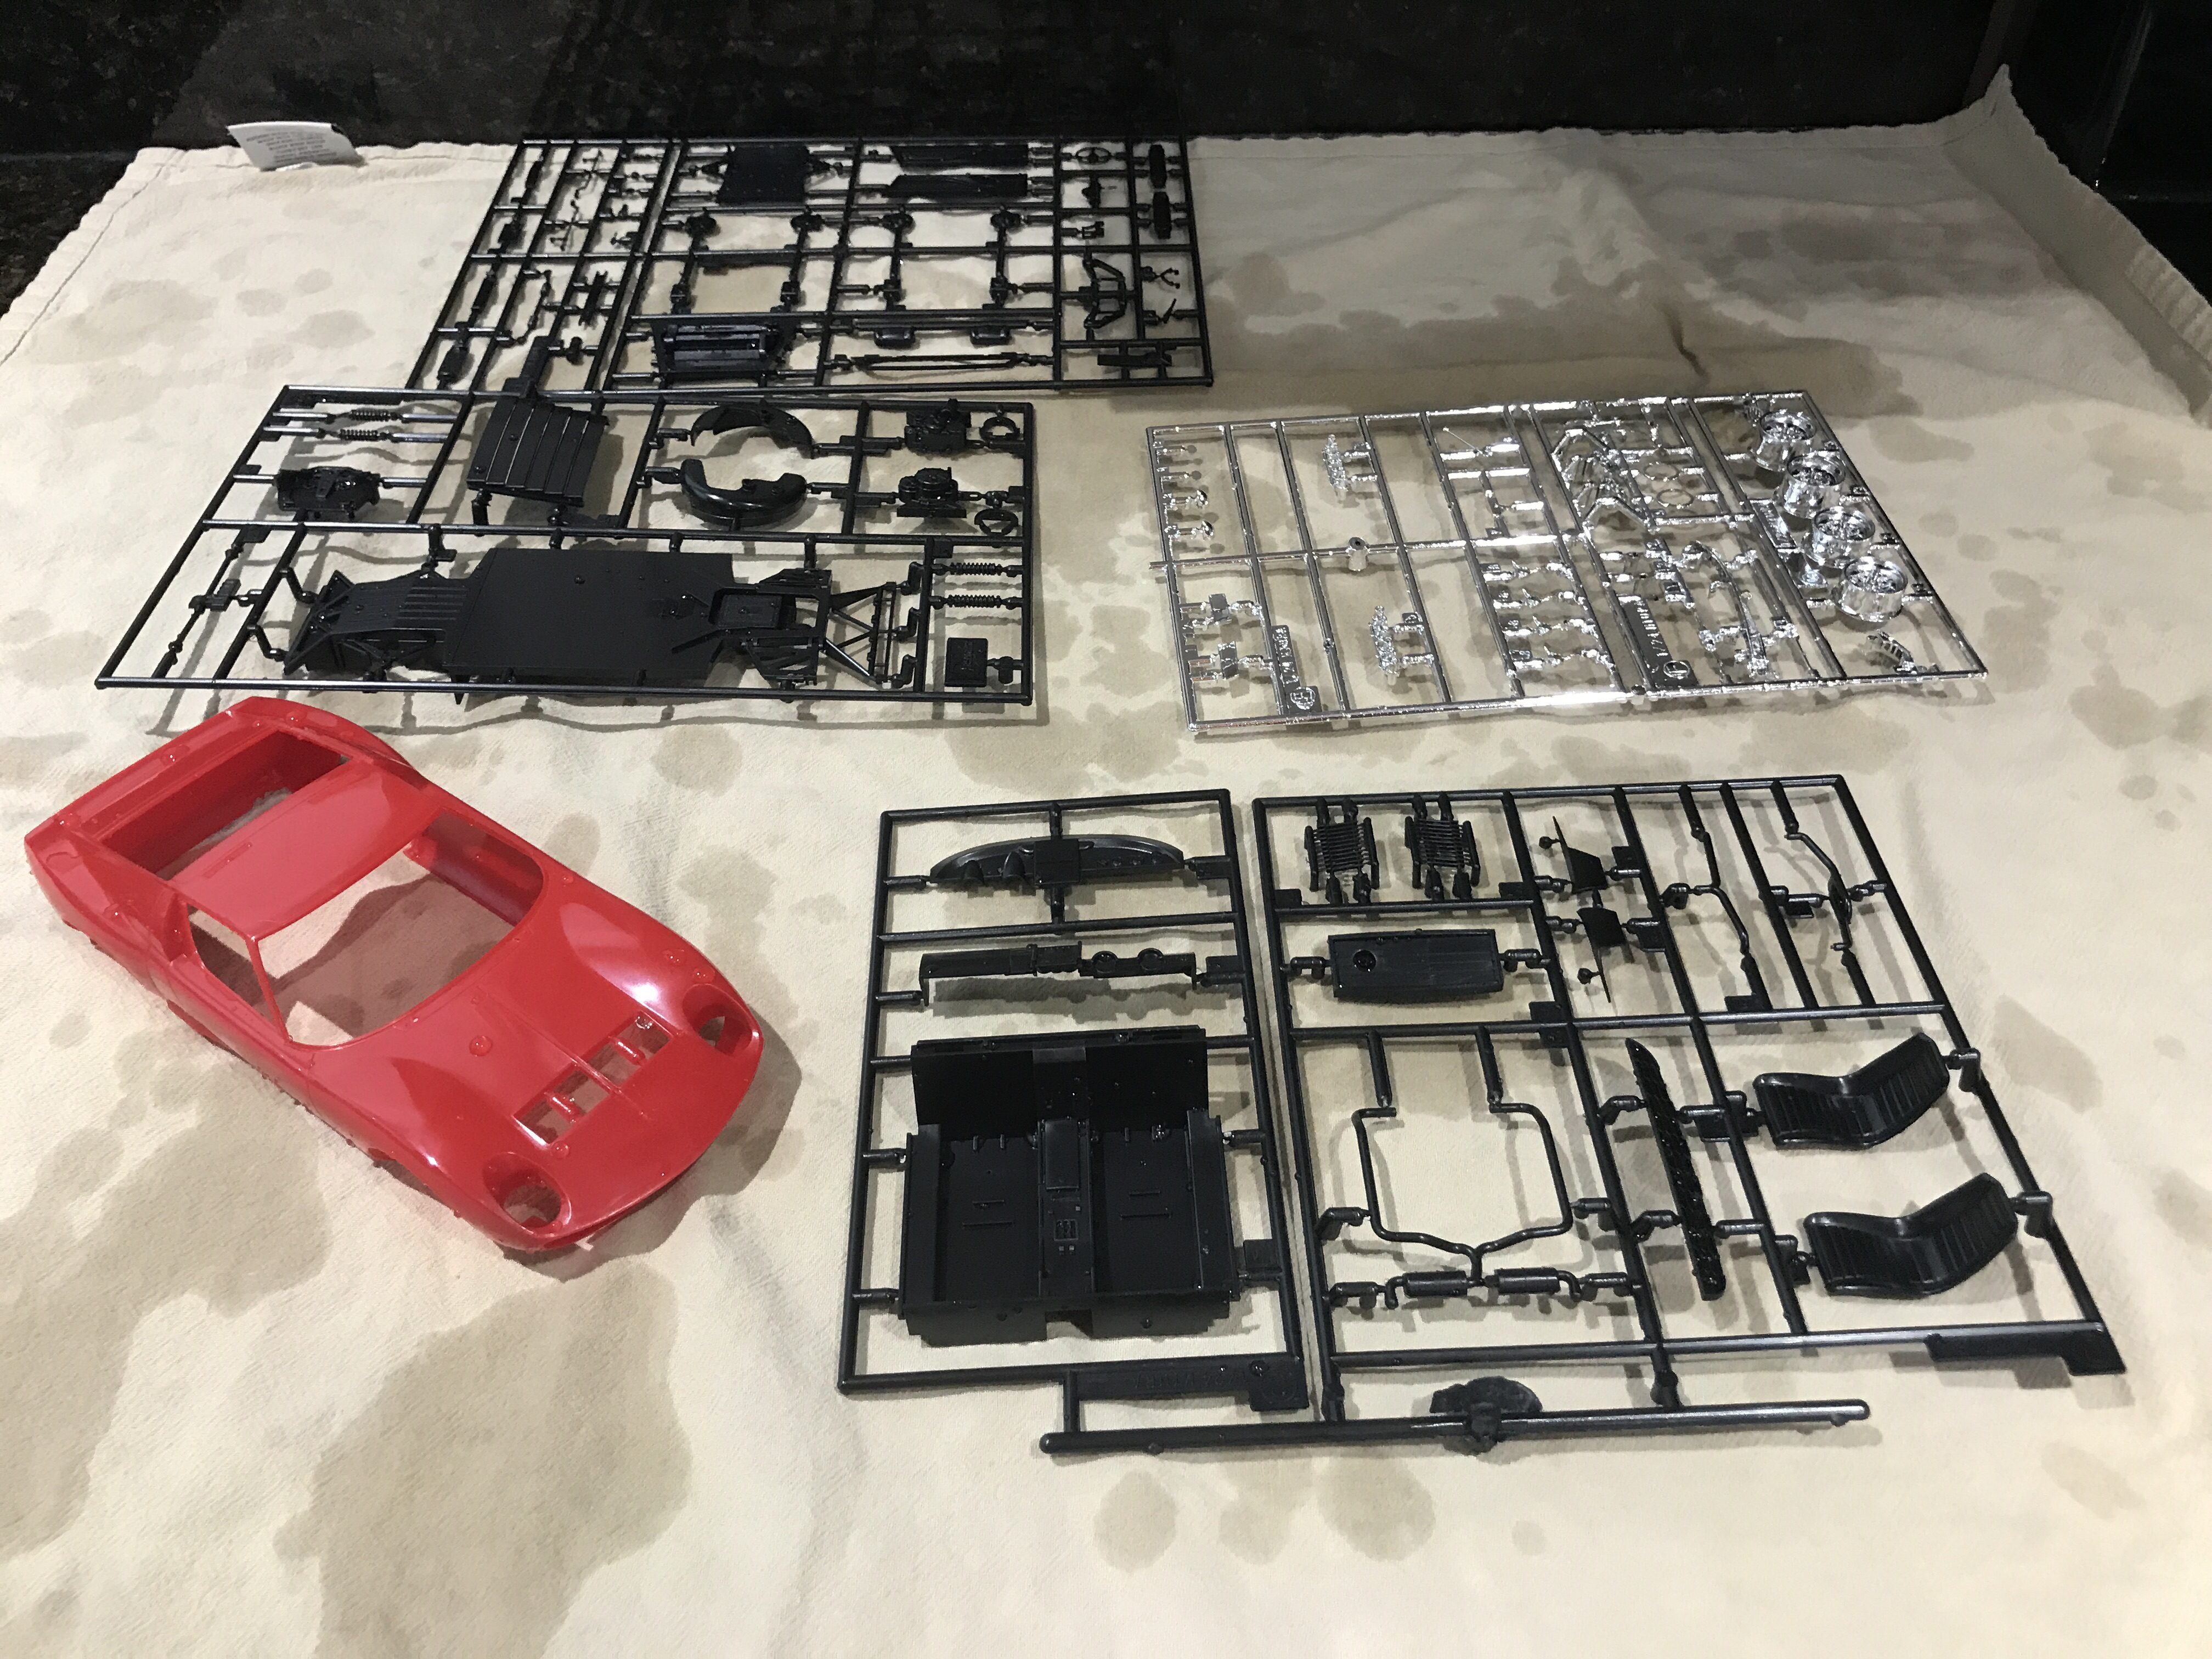
How can you hate a Miura? When it's a poorly done, sort of curbside kit that is eclipsed by the Hasegawa kit. What can be done to improve such a kit, besides step on it? I've done several models of such kits, as beaters or abandoned derelicts, because it's not worth spending months on it when better kits exist. When I saw this PETROLICOUS: This Lamborghini Miura Is A Family Heirloom Barn Find article, I knew what to build. Today in my search, found two other cars that were found abandoned, so it's a ripe subject. There are some things that I could change to be faithful to the car, grip shift handle, custom air filters, steering wheel design, some plaques, but I won't. So here goes, totally Box Stock, will not modify, switch parts, make parts, nothing but give it the crummiest paint job possible. 😏 Box art is nice, with the 50th anniversary logo. To be fair, most of the parts don't need much cleanup. The wheels are nicely detailed, but one end has more flashing than the other end. The body is reasonably accurate, mold lines are very minimal. There is one booger that I *had to* fix. If this was to be a contest model, there are some minor spots that should be puttied. Glued together sub-assemblies. Separating the body parts was dicey, could not use sprue cutters, so I sawed them apart. Some parts that were elsewhere on the sprues, are Tacky glued near parts to be painted the same color. First paint session. Quick coat of Tamiya primer on the body. Model Master flat black (this is sort of like watching someone die a slow death, what am I going to use when it's used up?) everywhere, the interior of the subject car is black. Alclad magnesium on the wheels, polished aluminum steering wheel, headlights and spinners, (regular) aluminum carbs, engine bottom and hood hinges. The chassis and interior are done. I painted the air cleaner tops with Alclad white aluminum. Testors canopy glue the headlight lenses and back window. Flattened the tires before sticking them on the plastic shafts. That interior sucks, look at the legroom! 🤣 So much wrong with it, but when the windows are dusted, won't see it. Maybe I'll paint the body orange tonight.
-
I couldnt take photos of this until i had thoroughly cleaned my model room...so here he is finally...hope you like it! God bless!!!
-
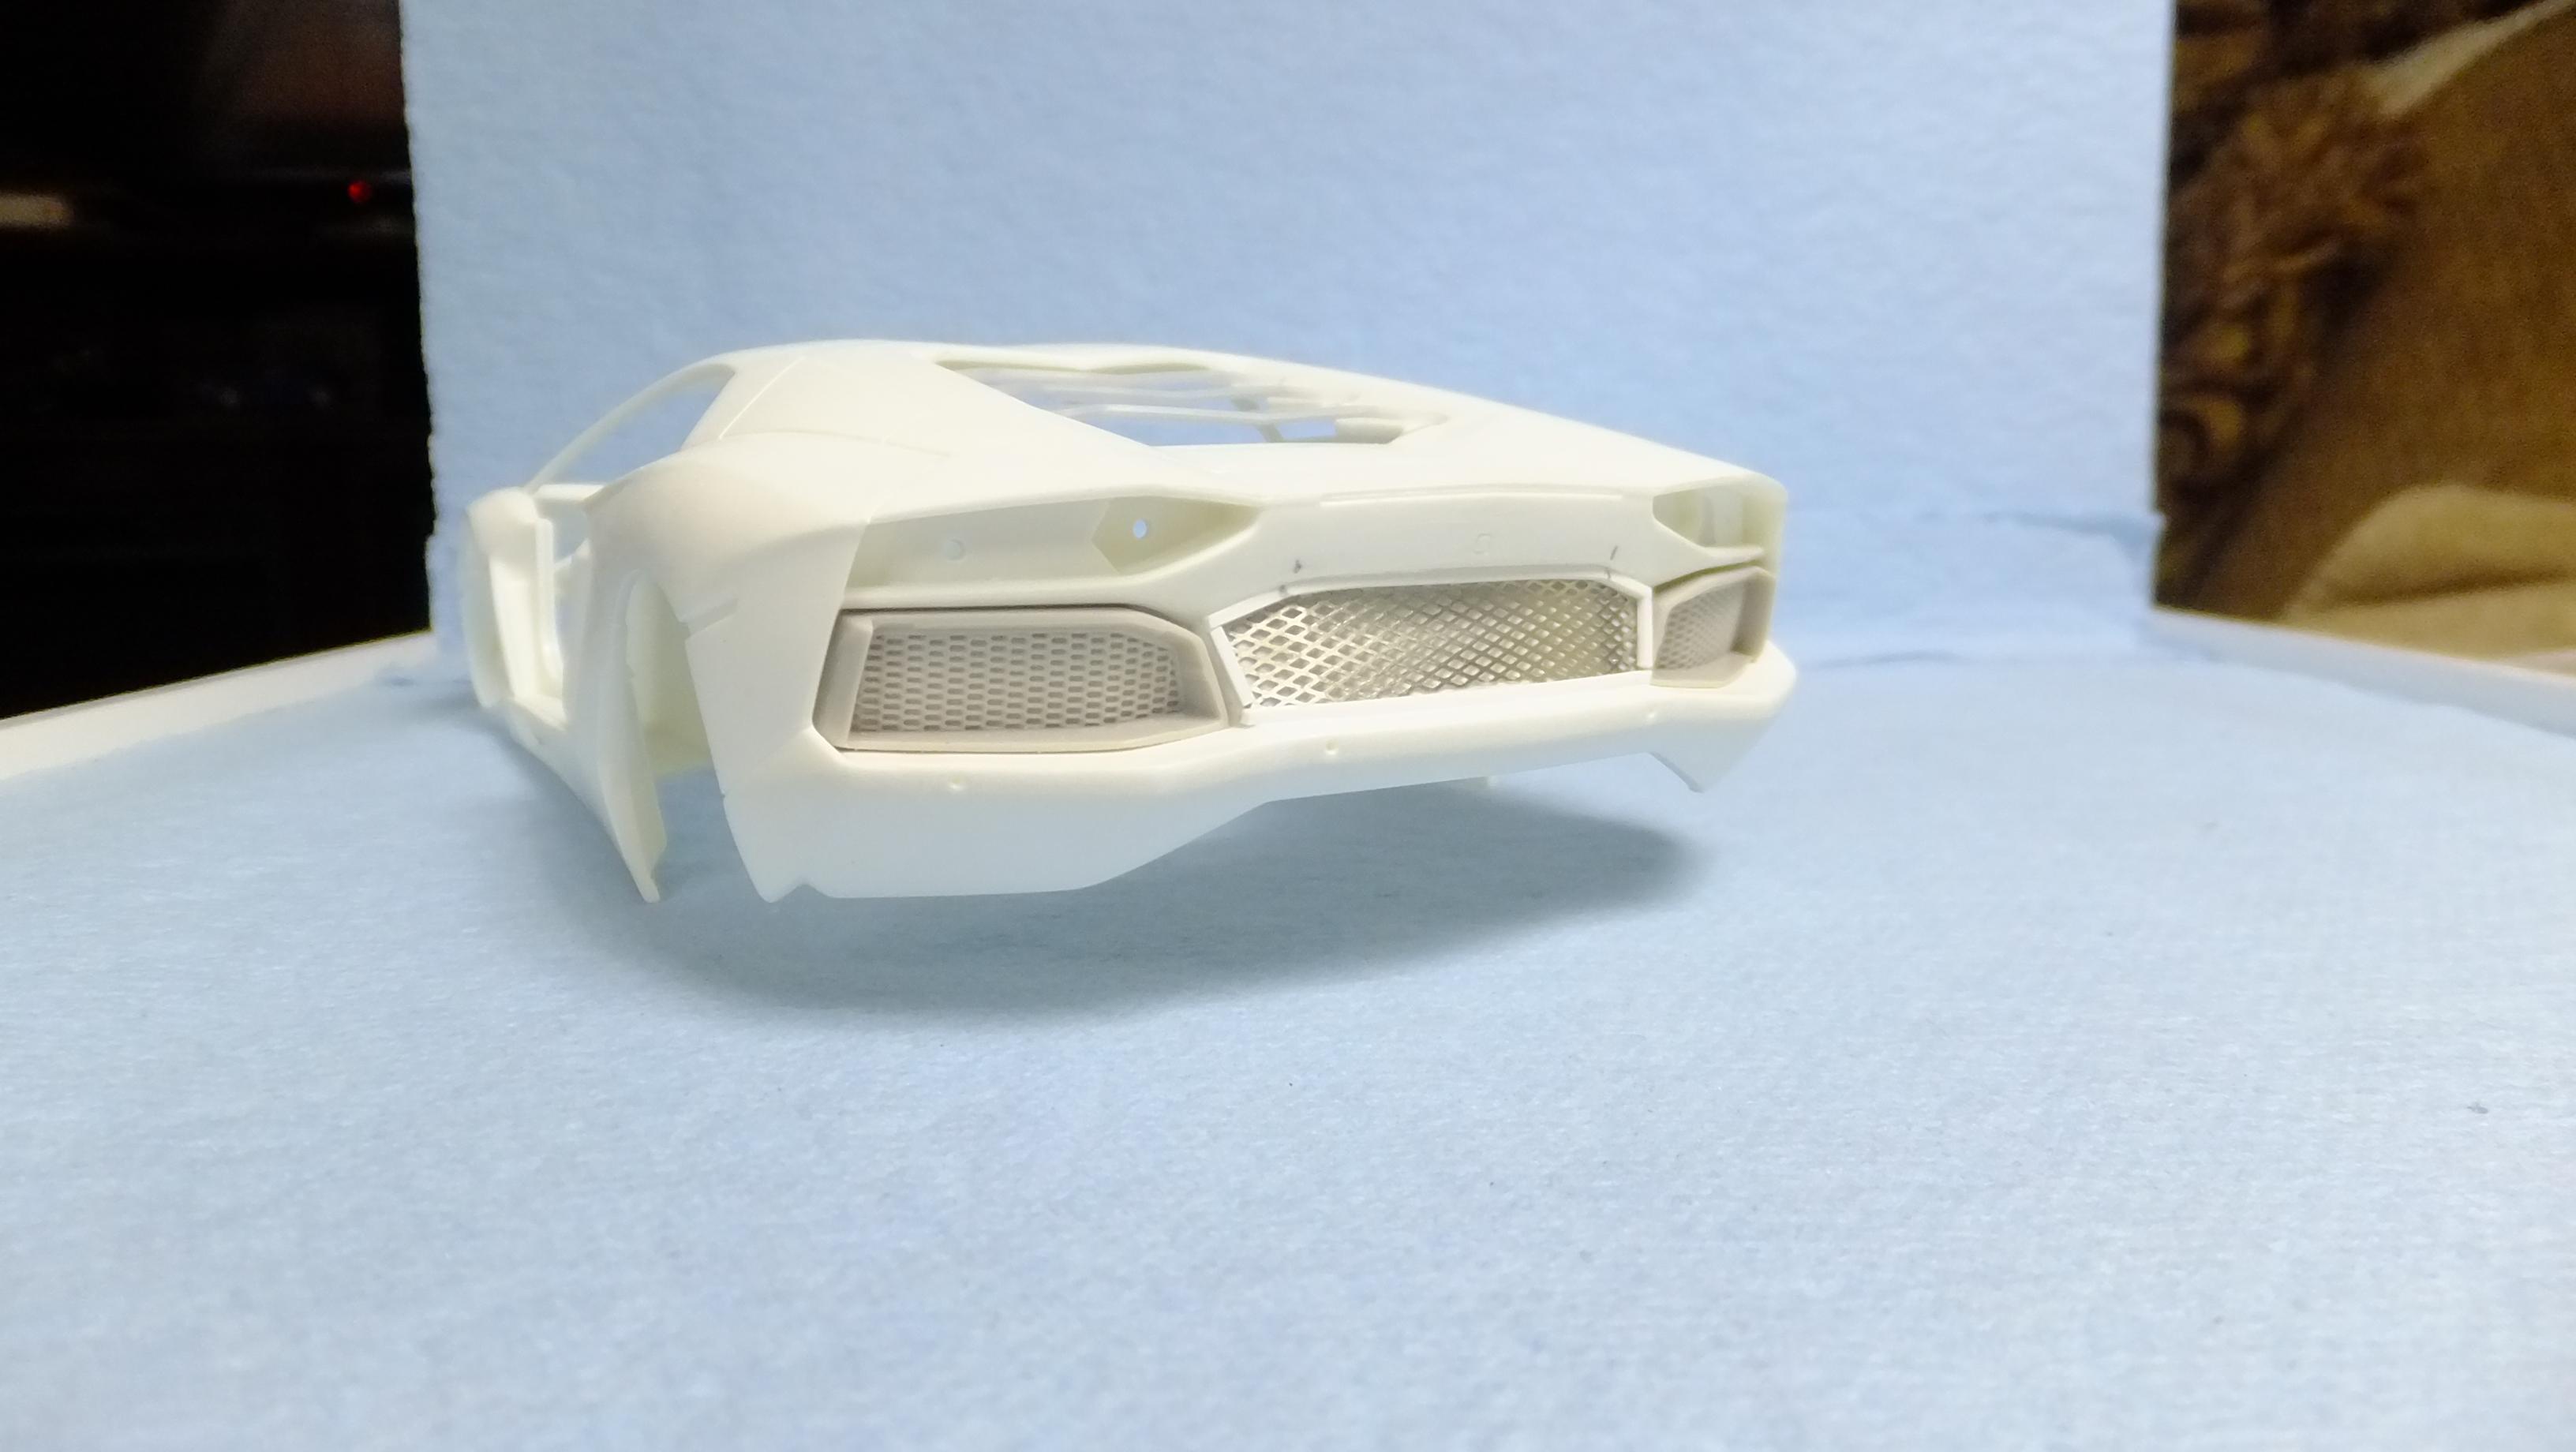
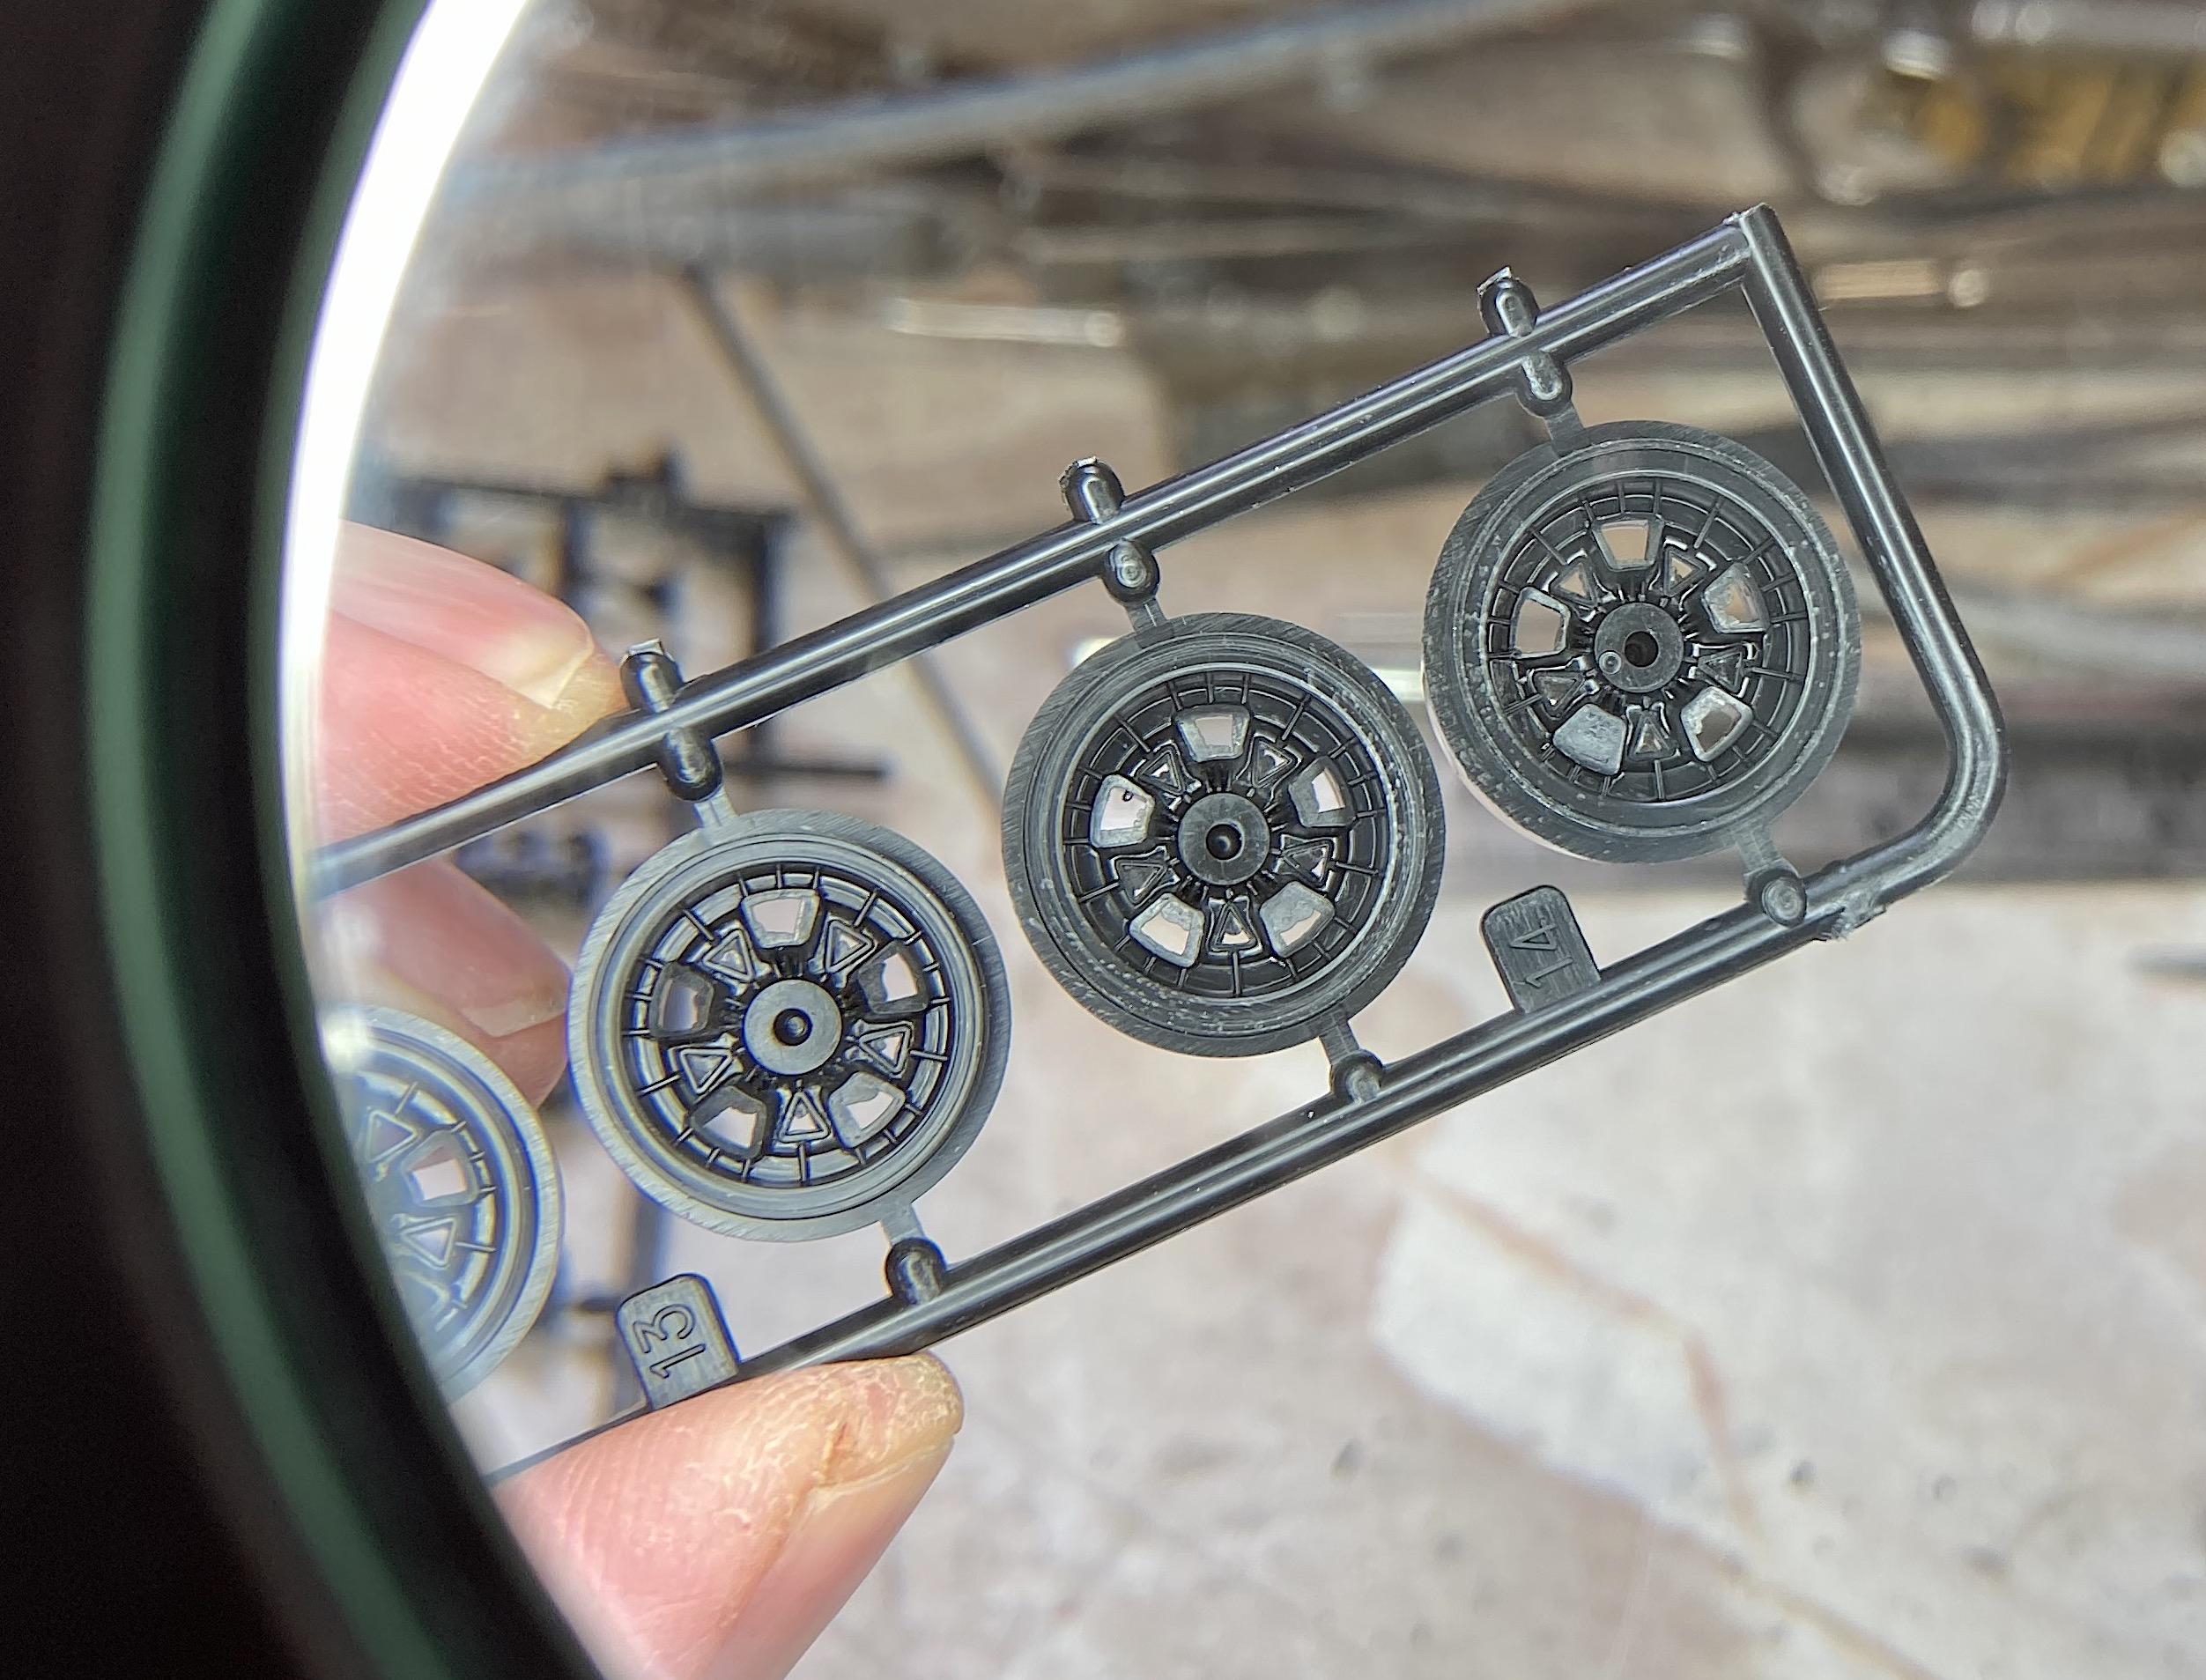
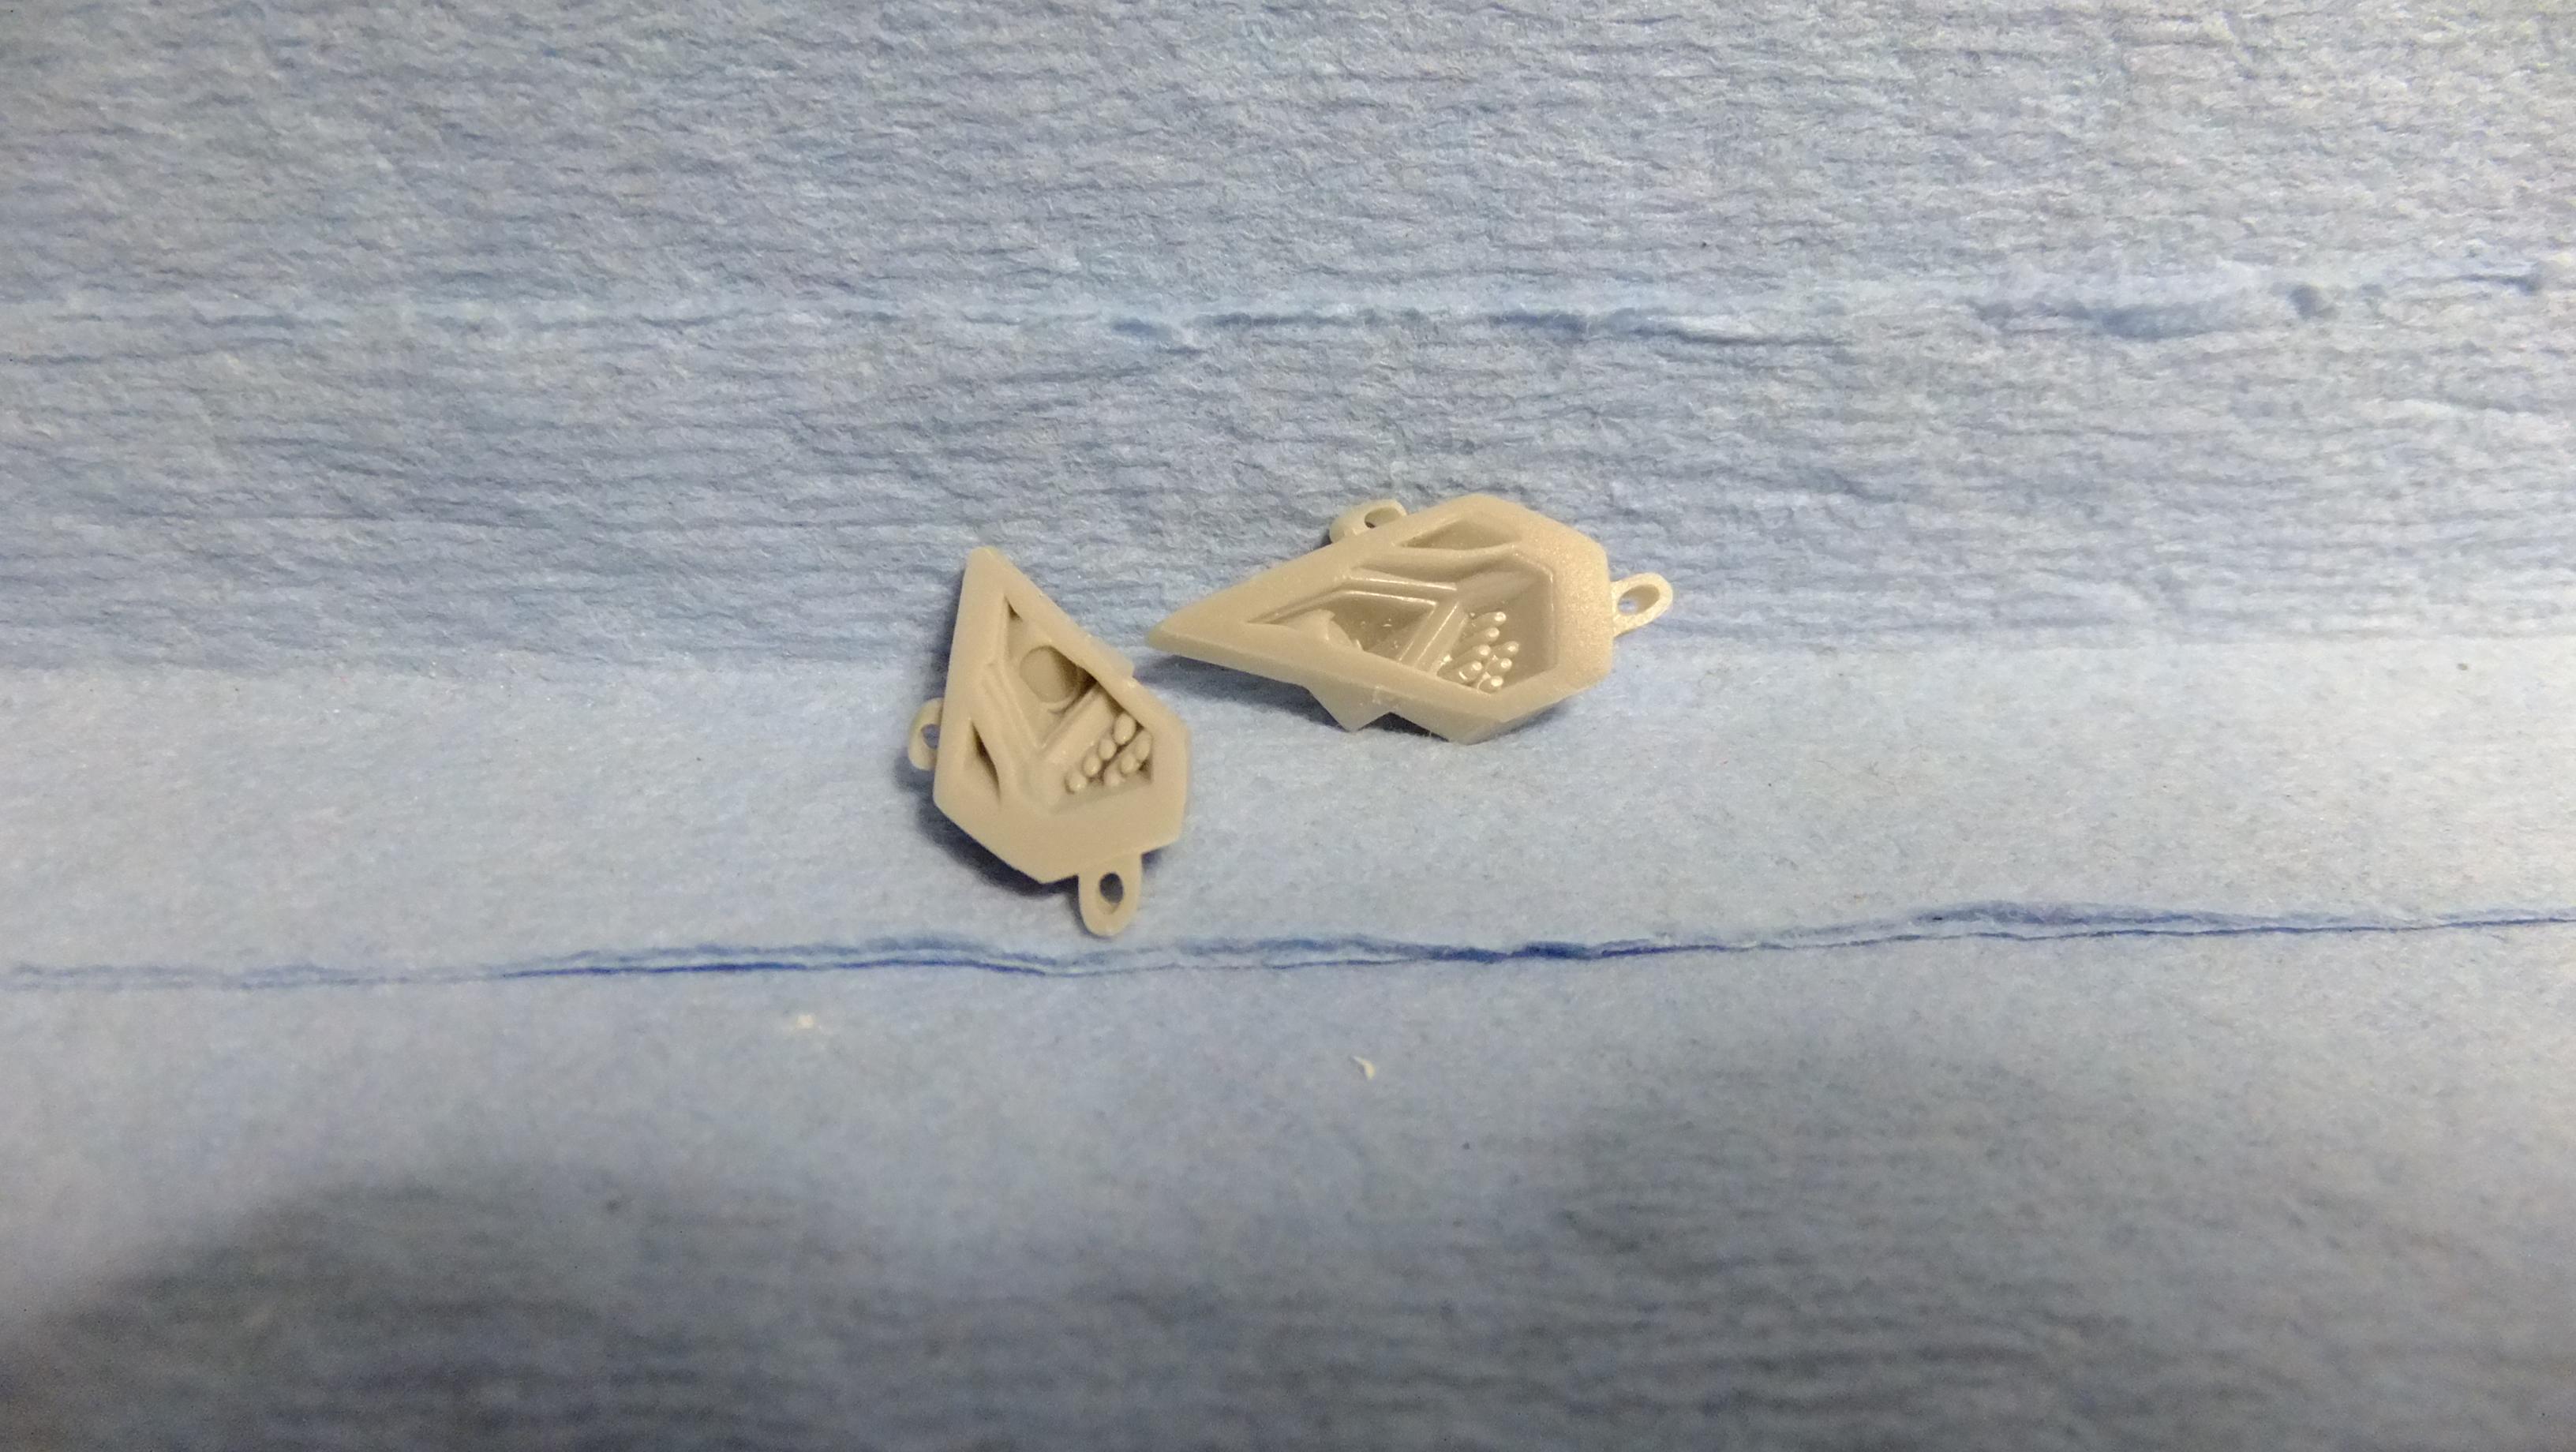
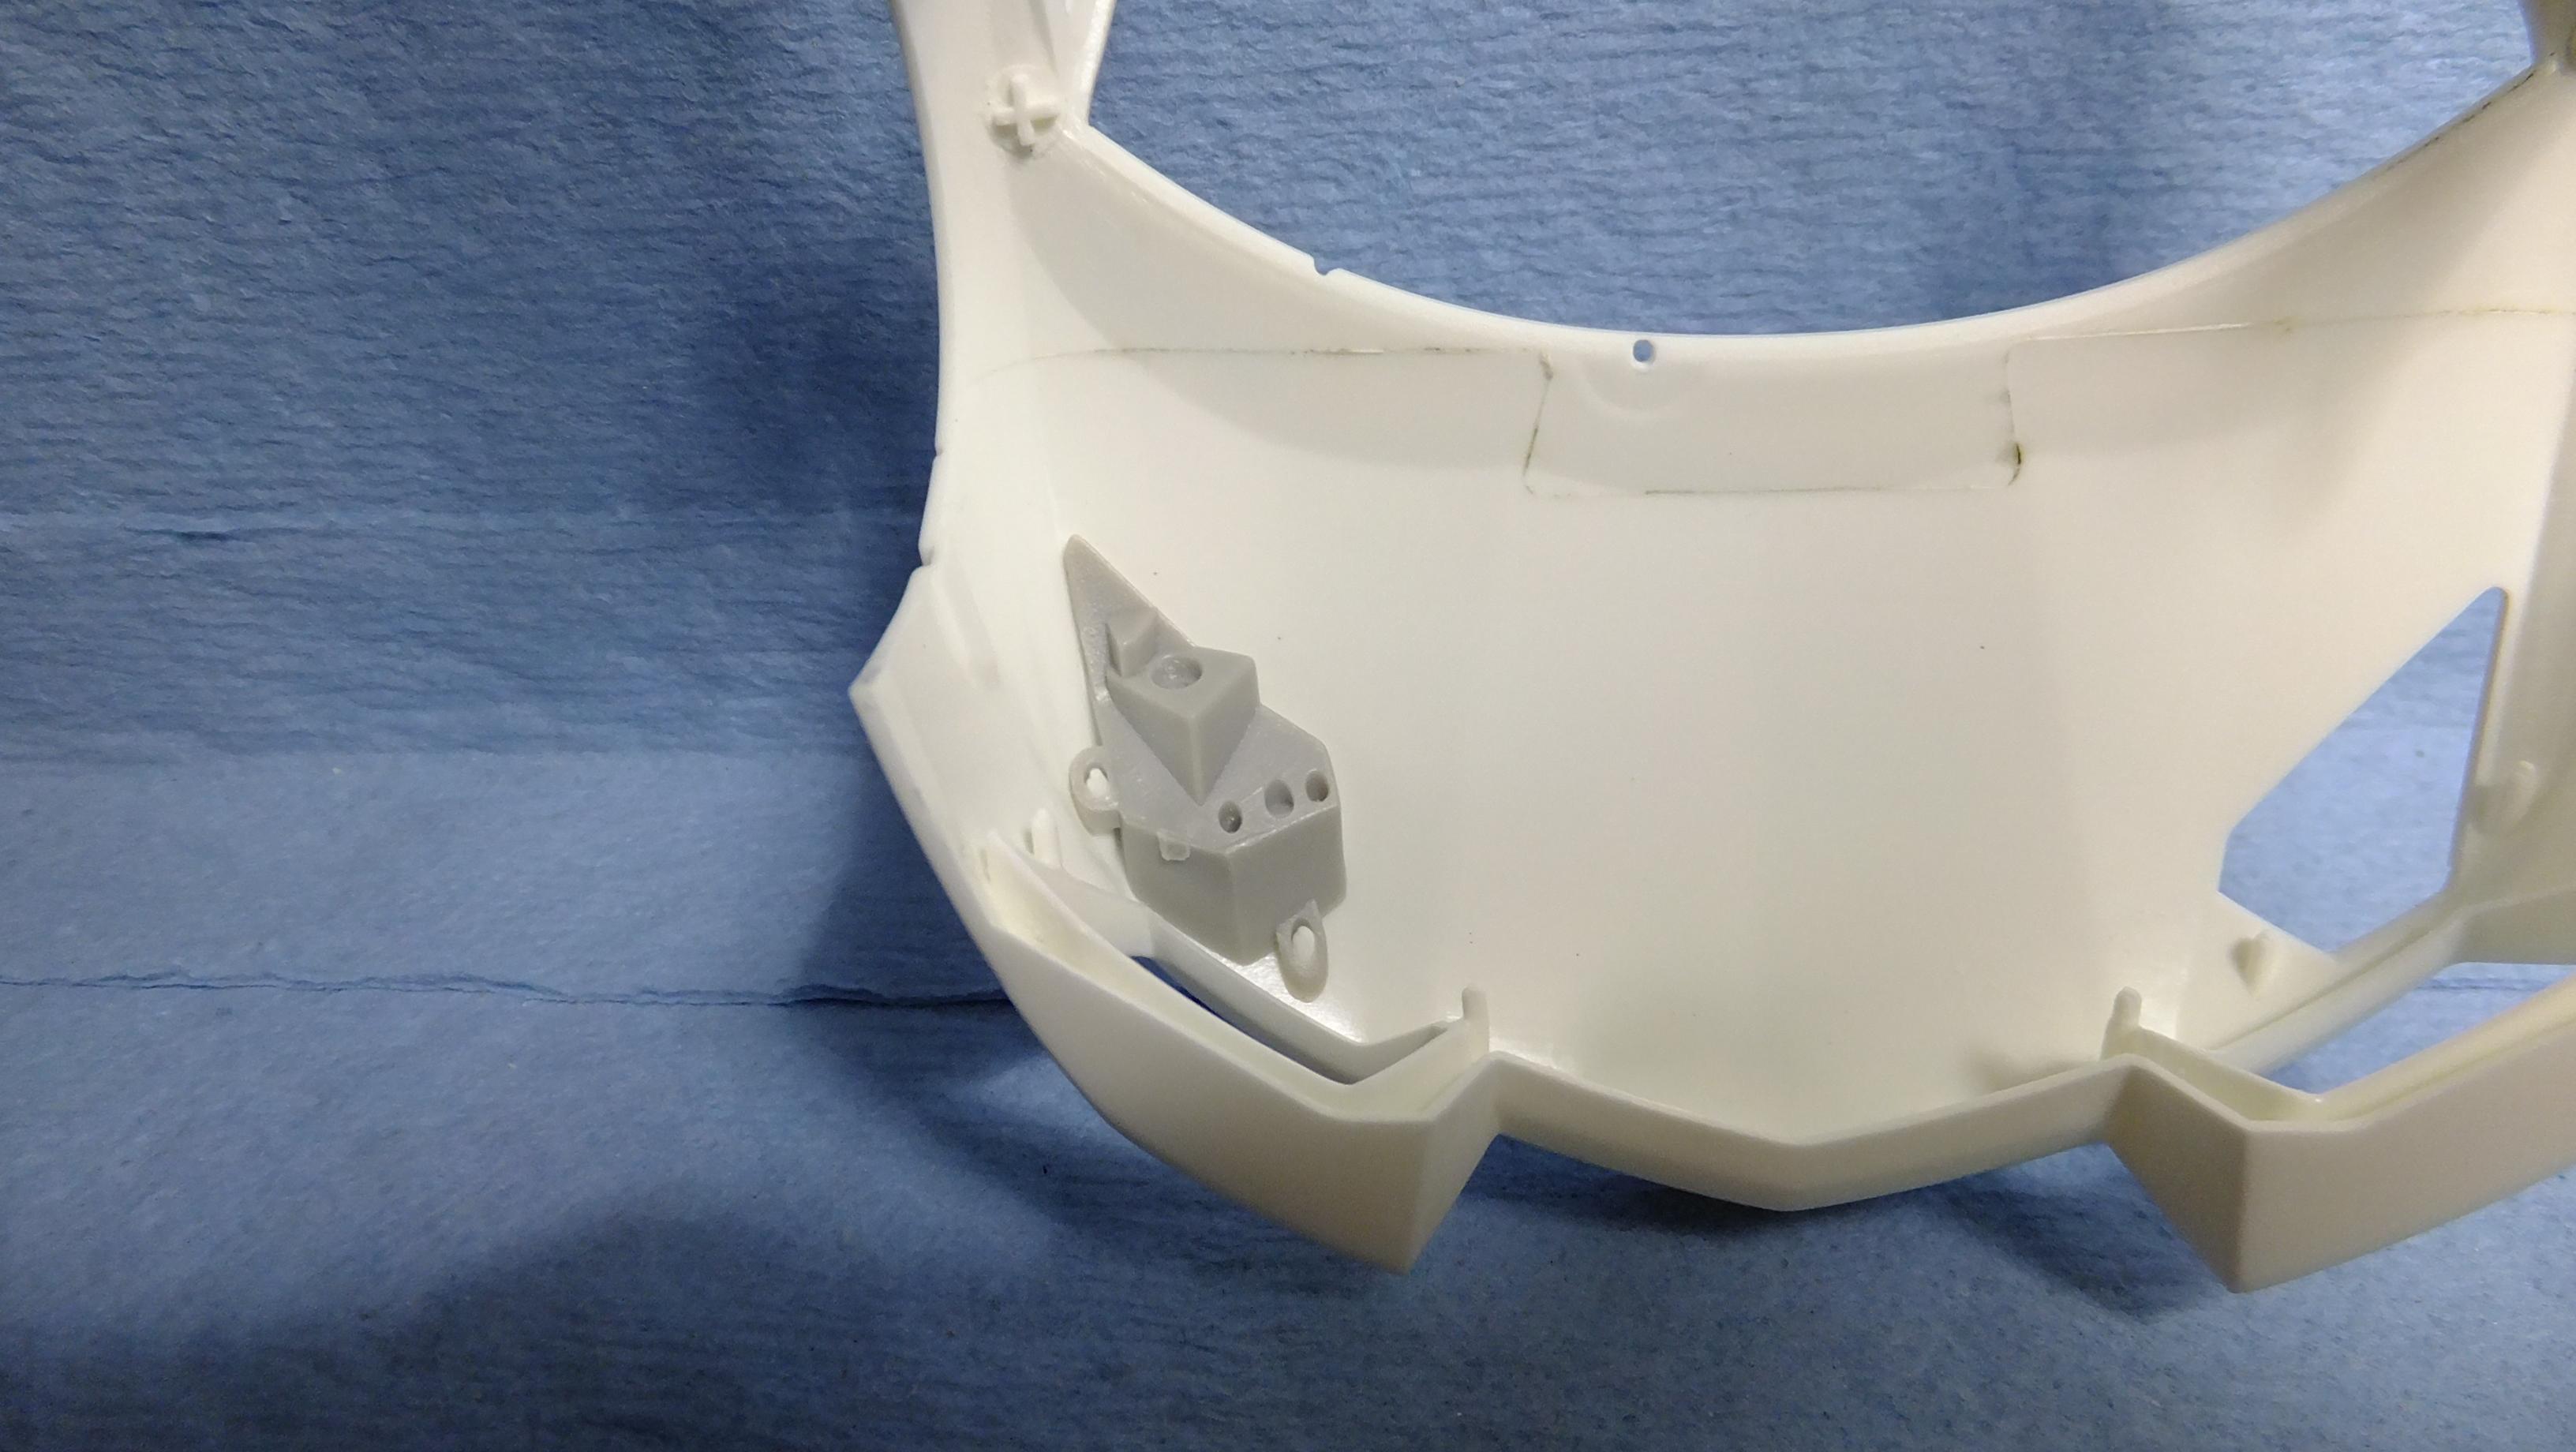
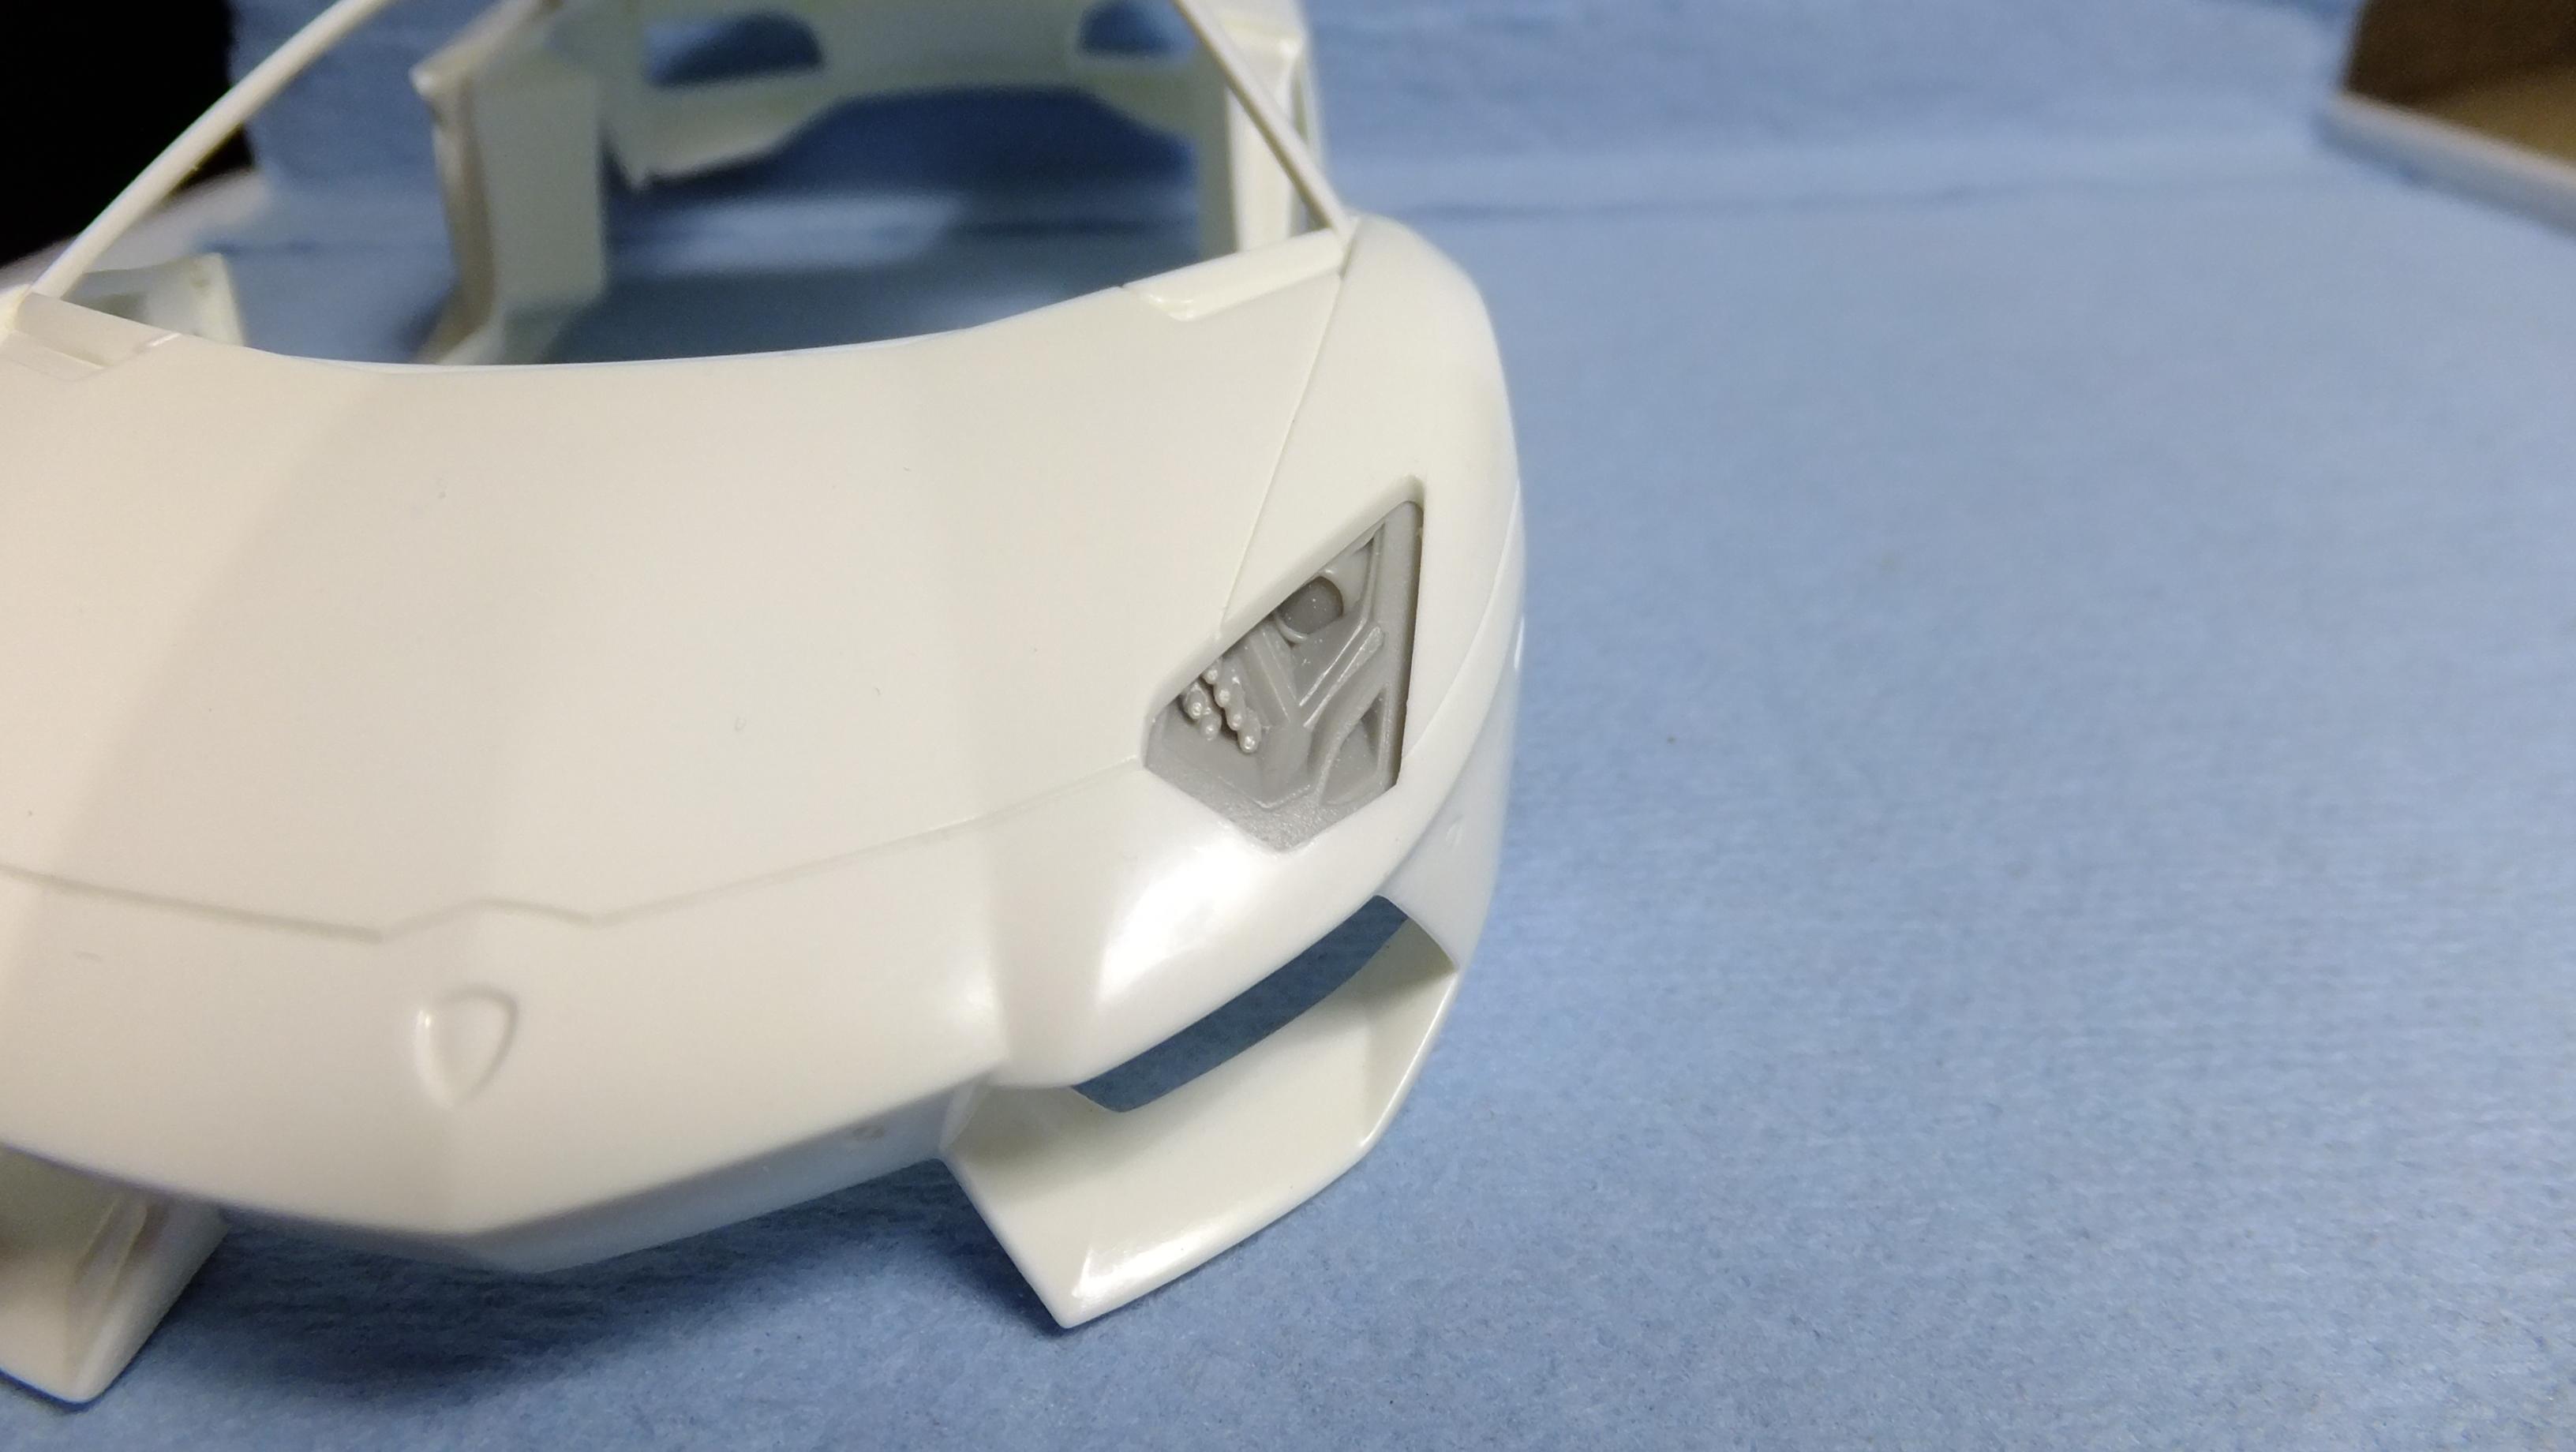
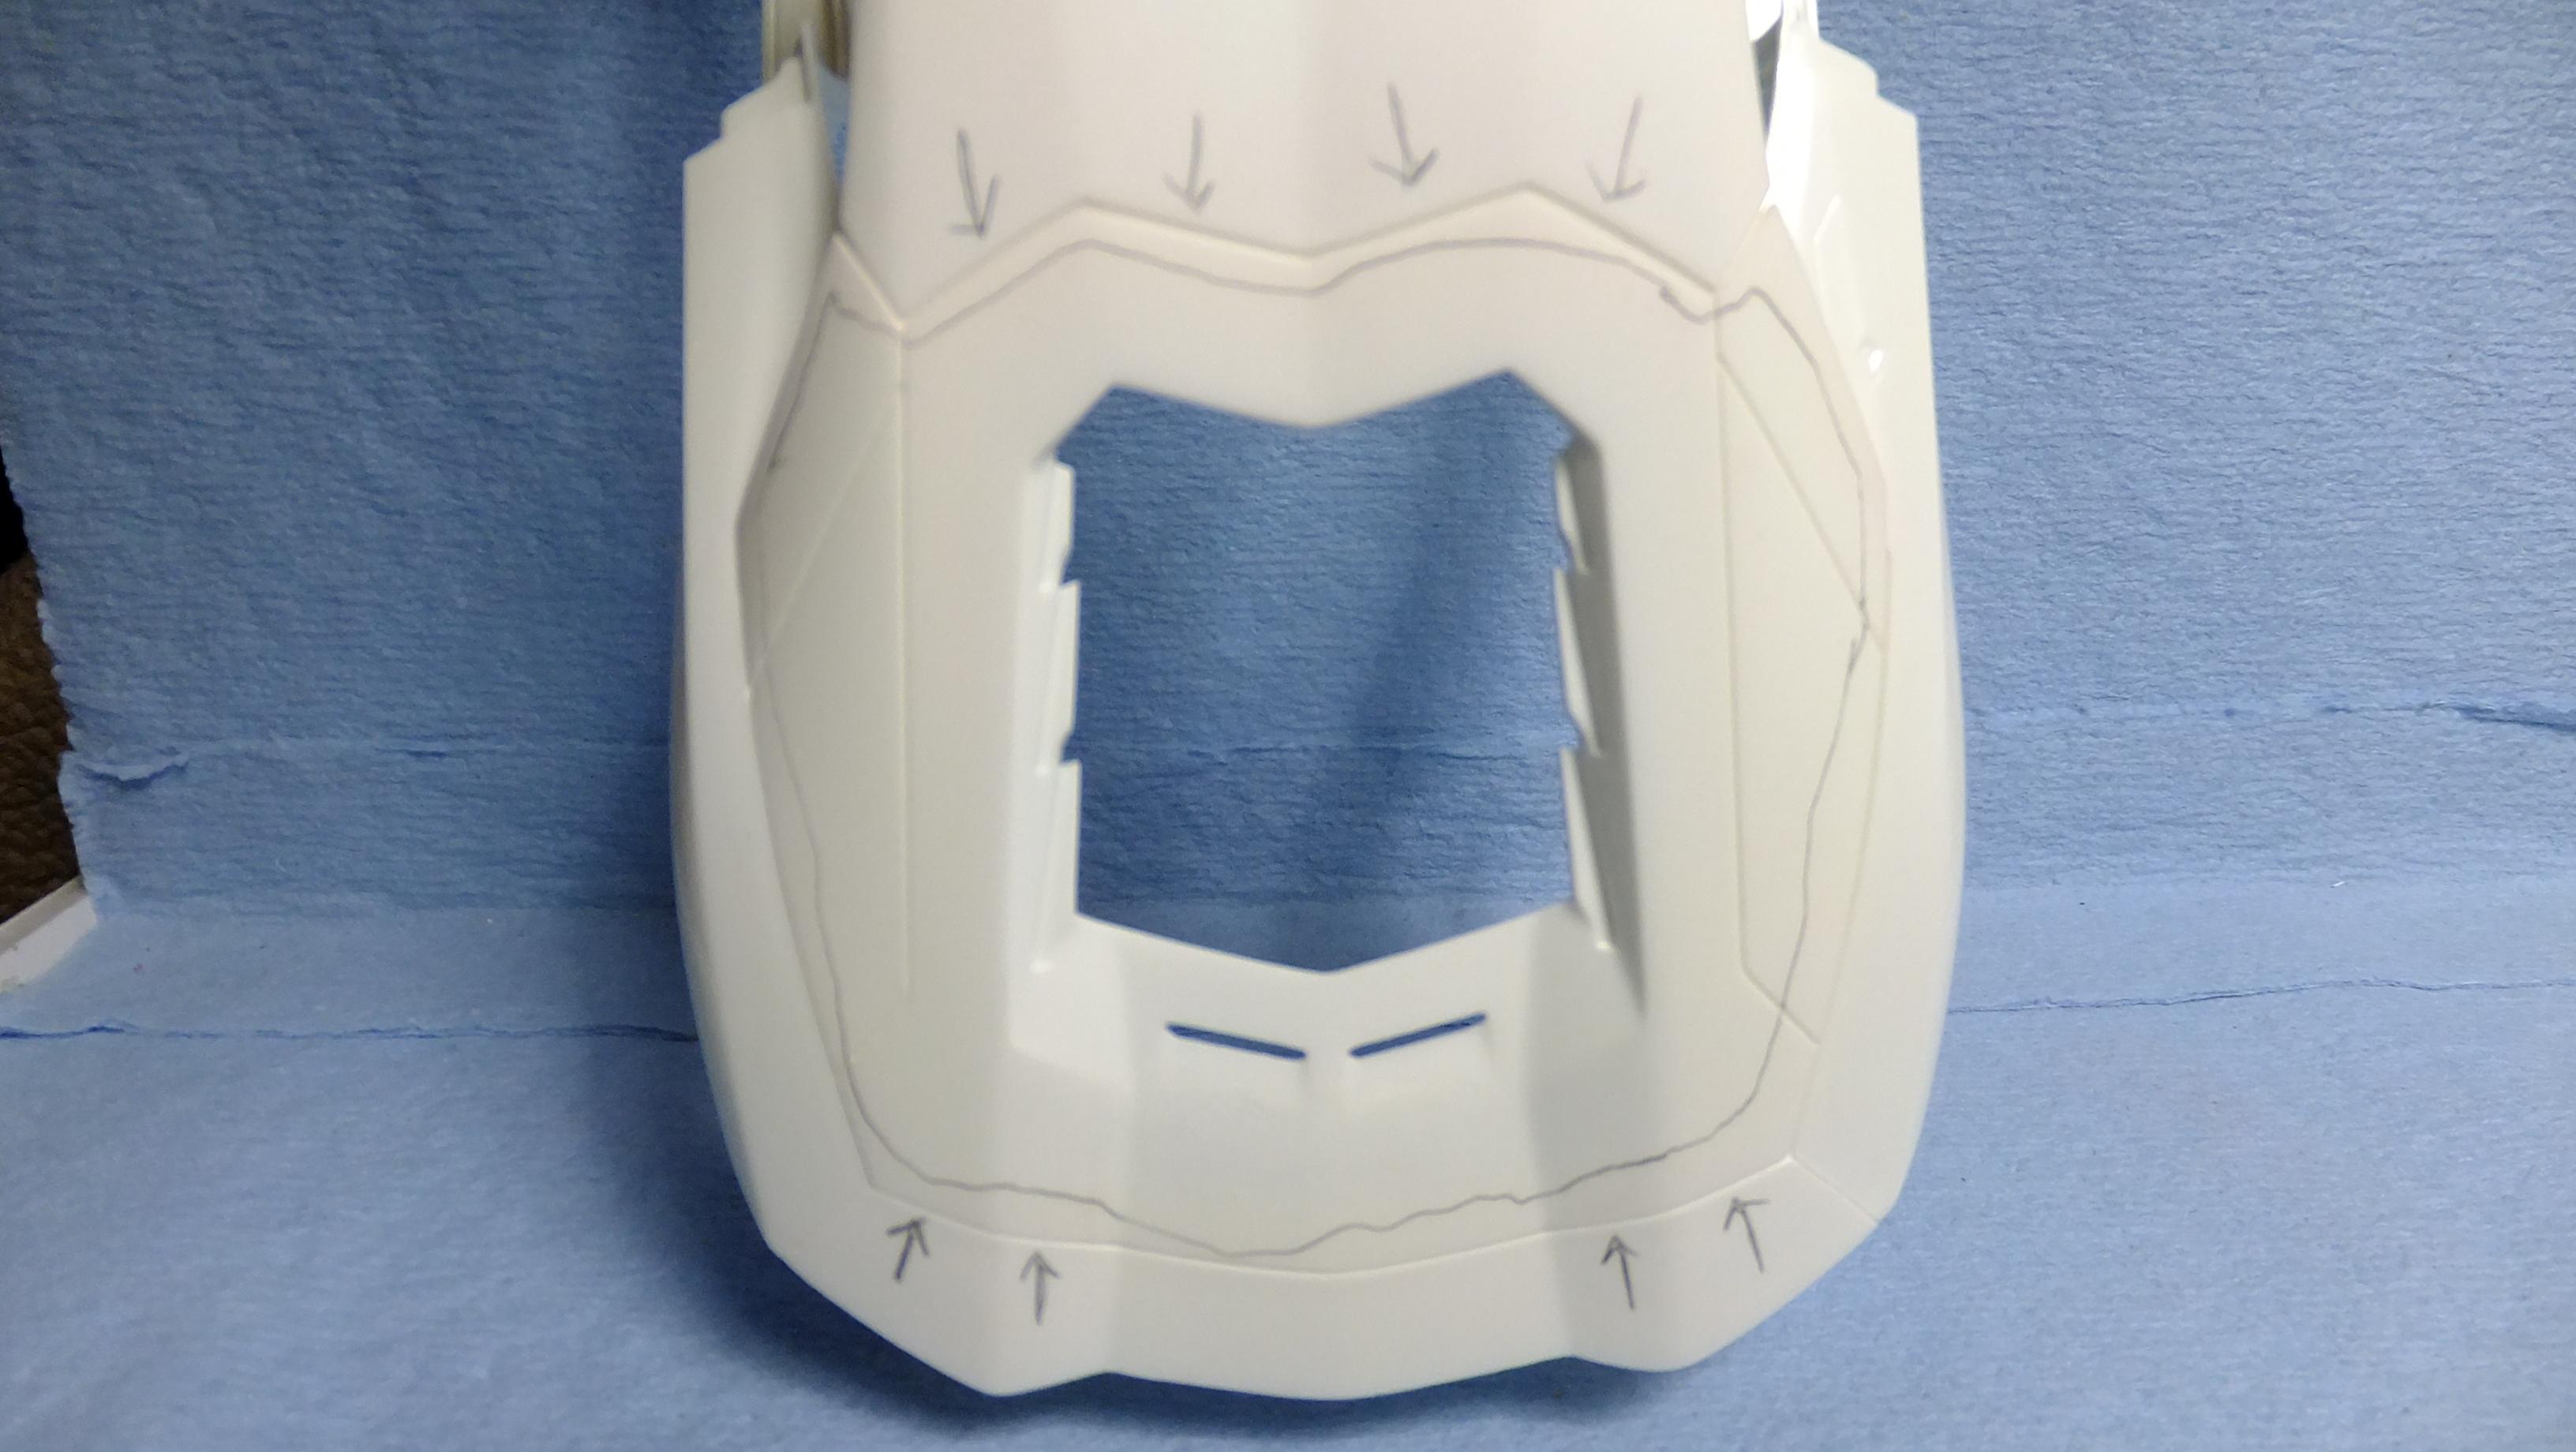
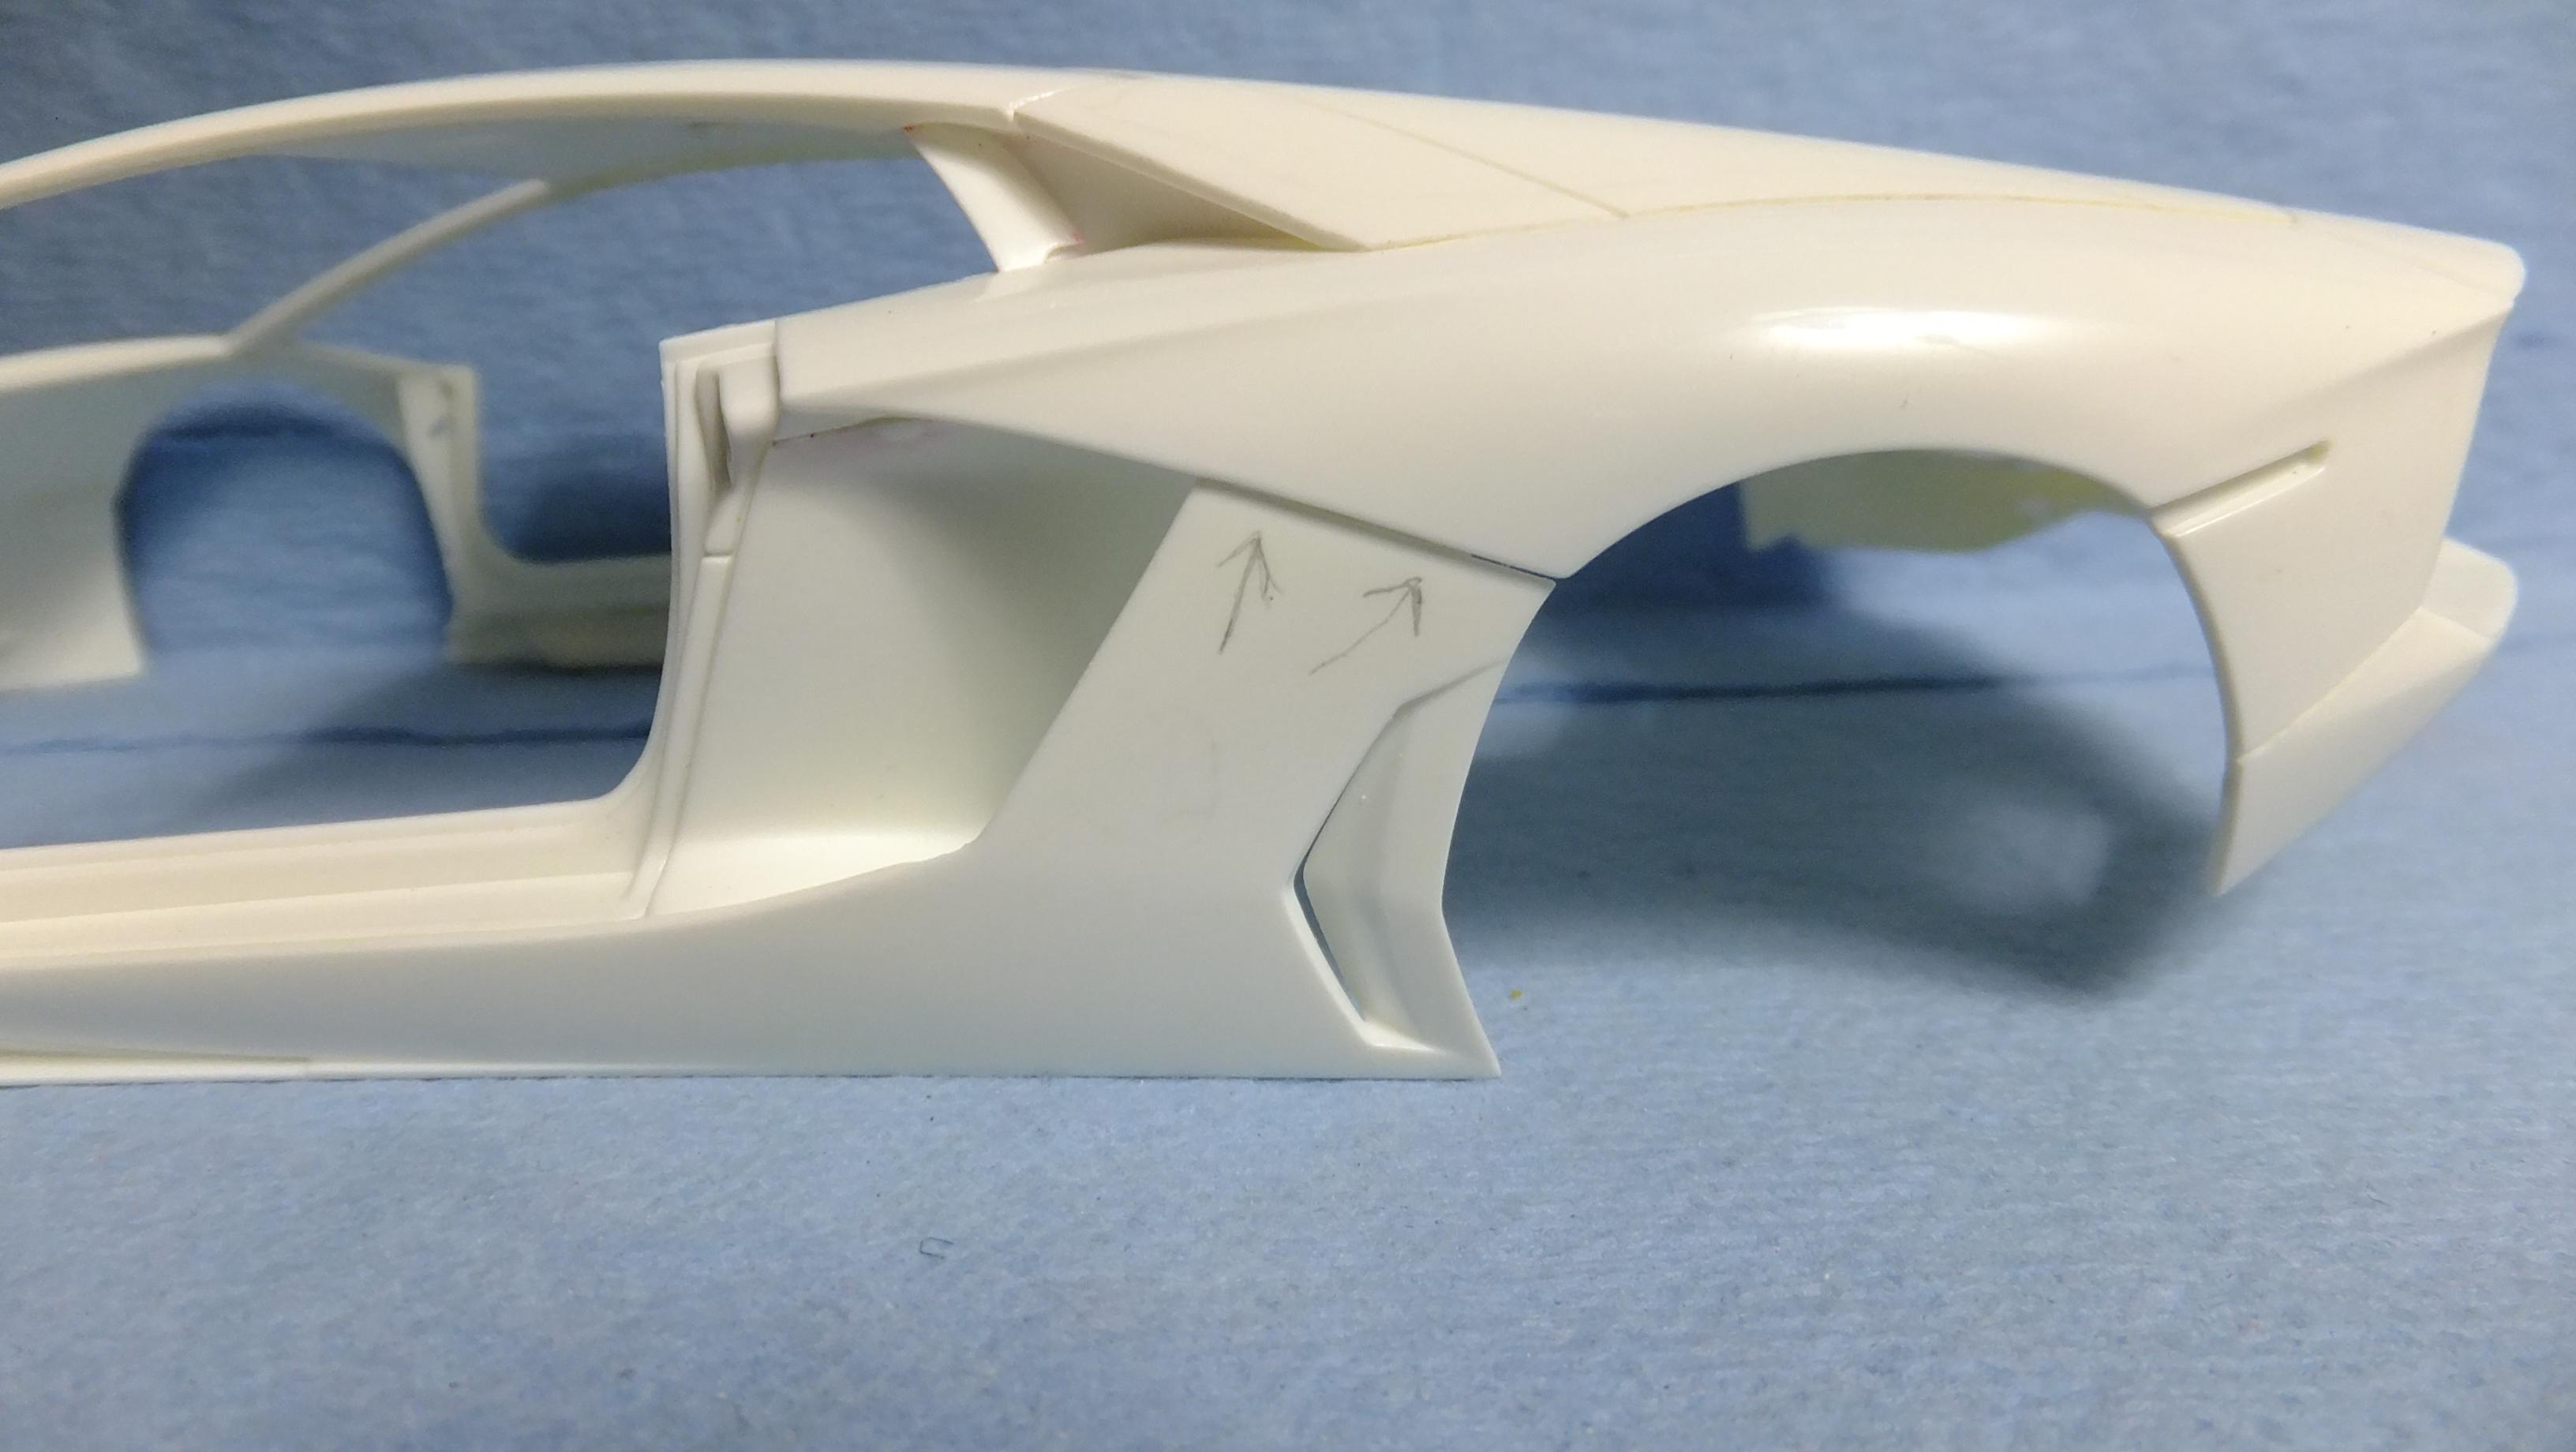
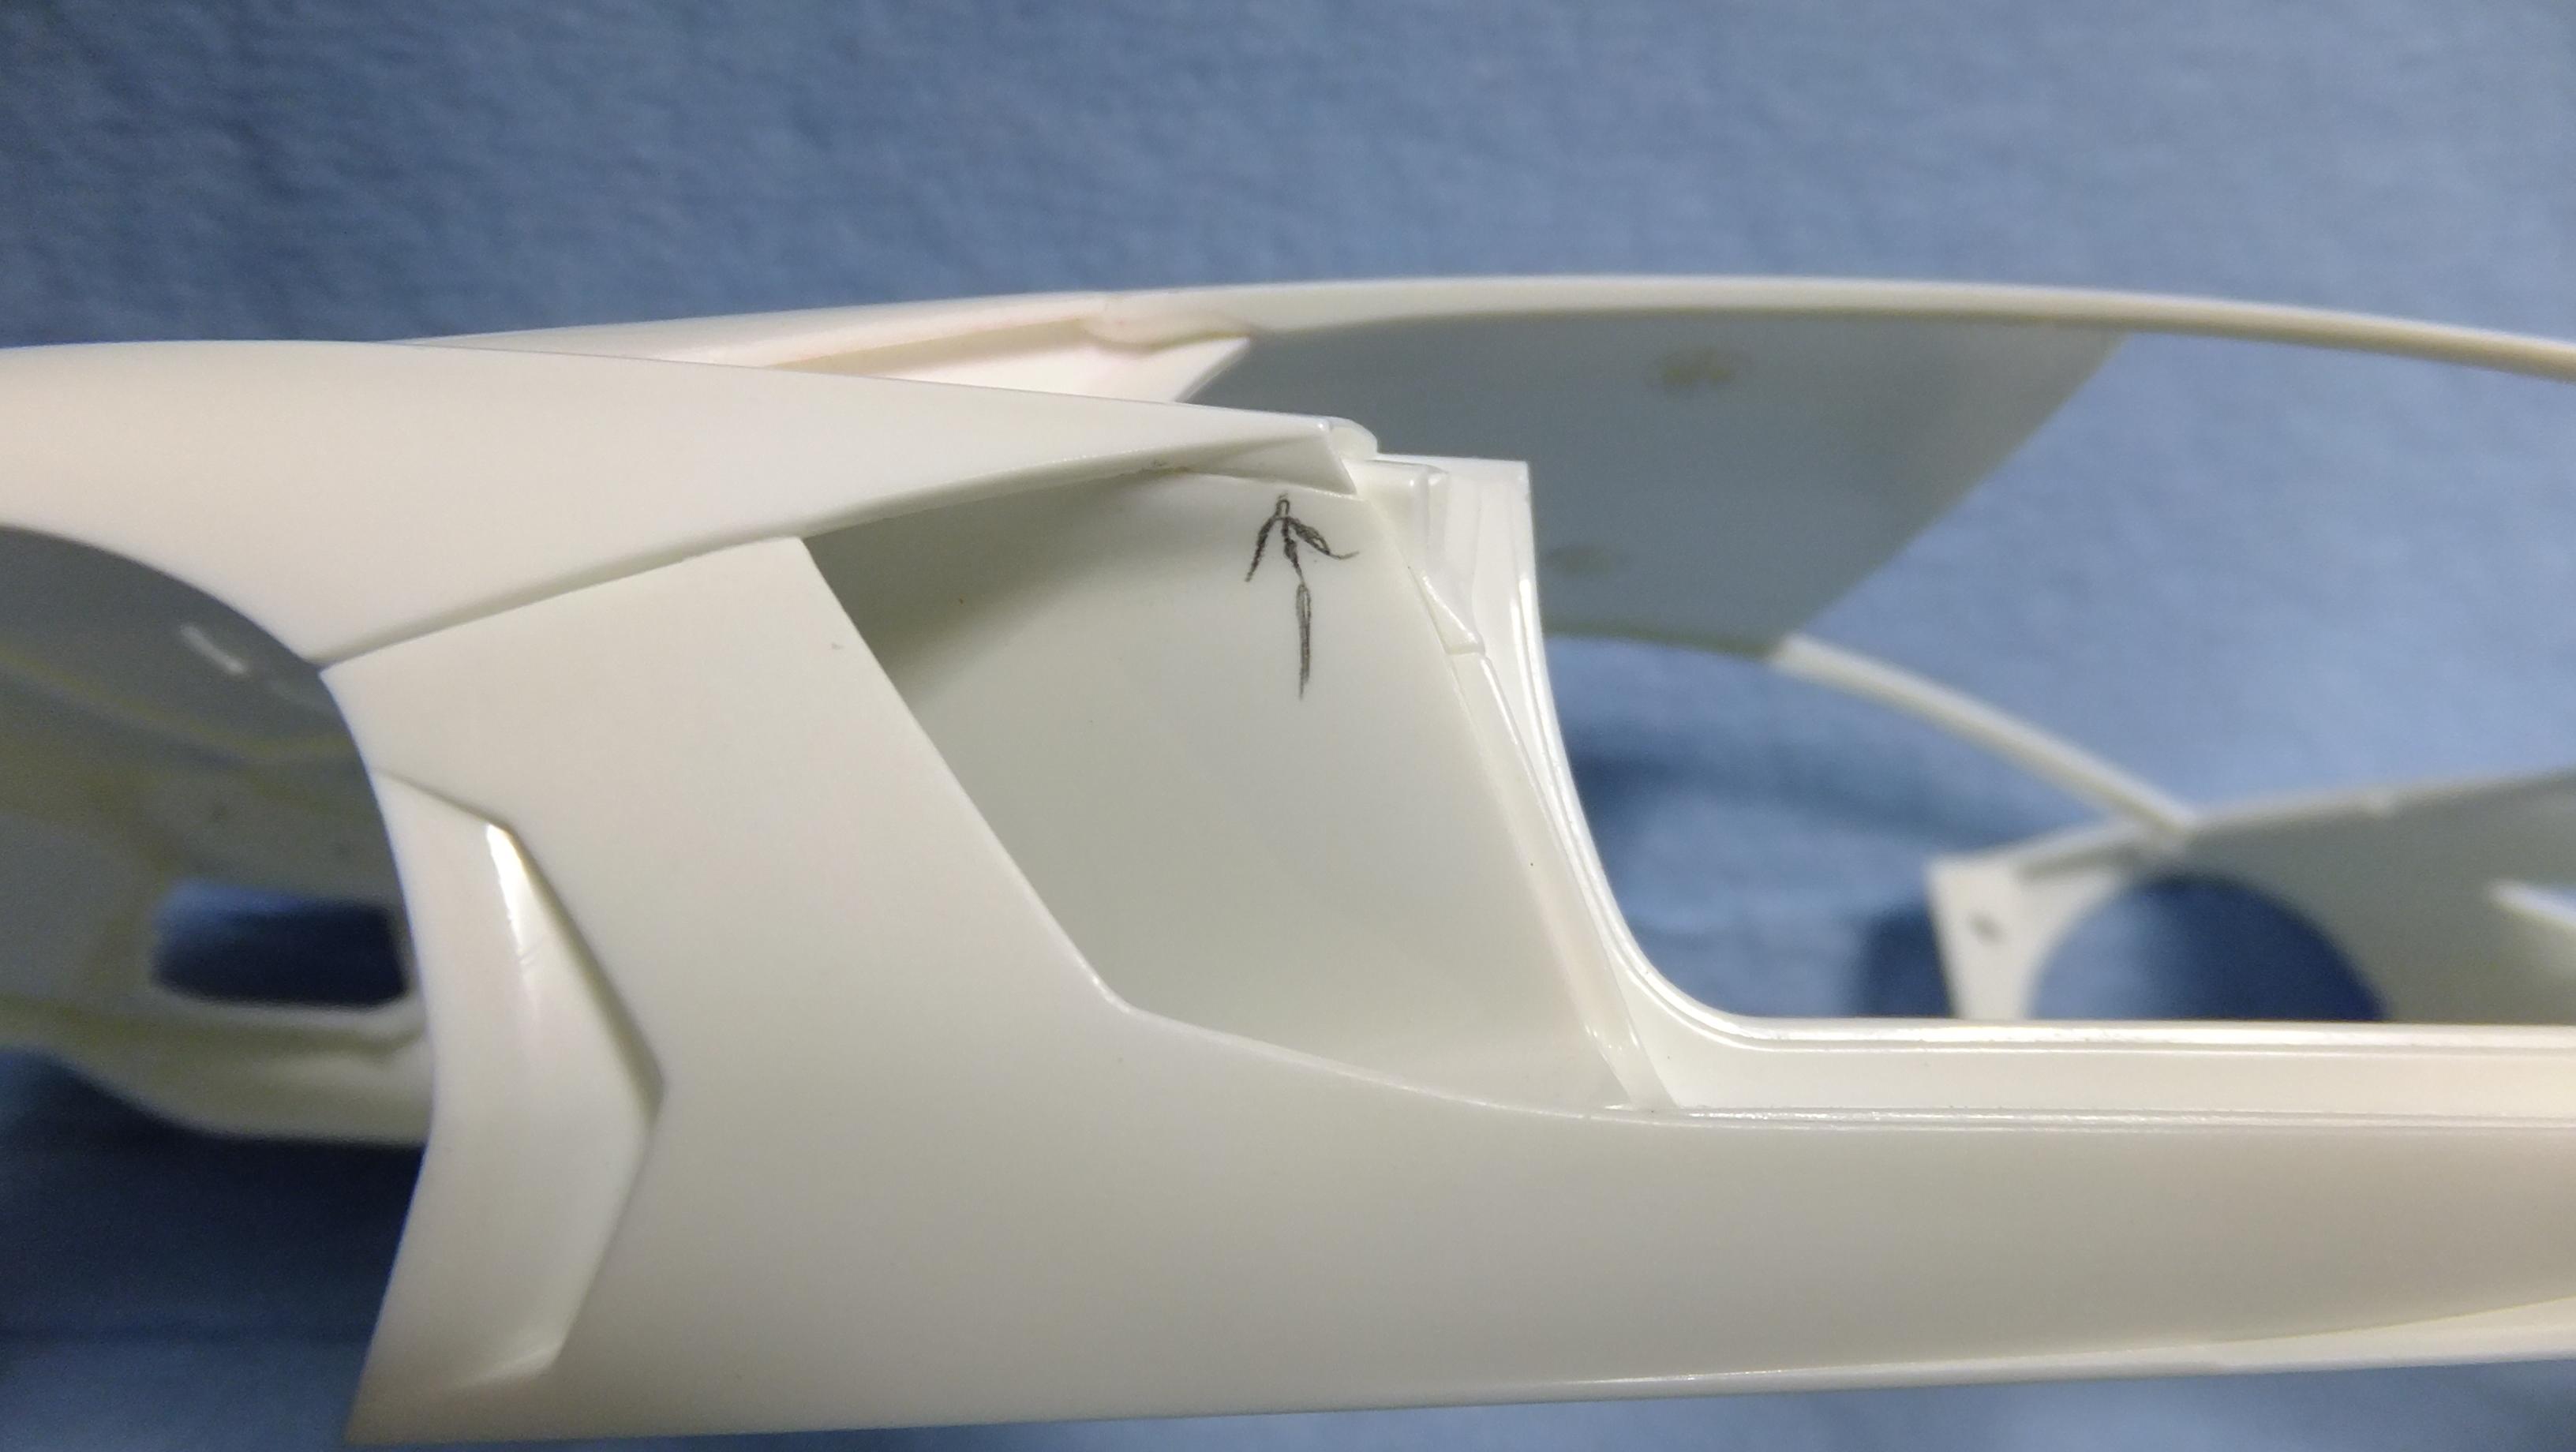
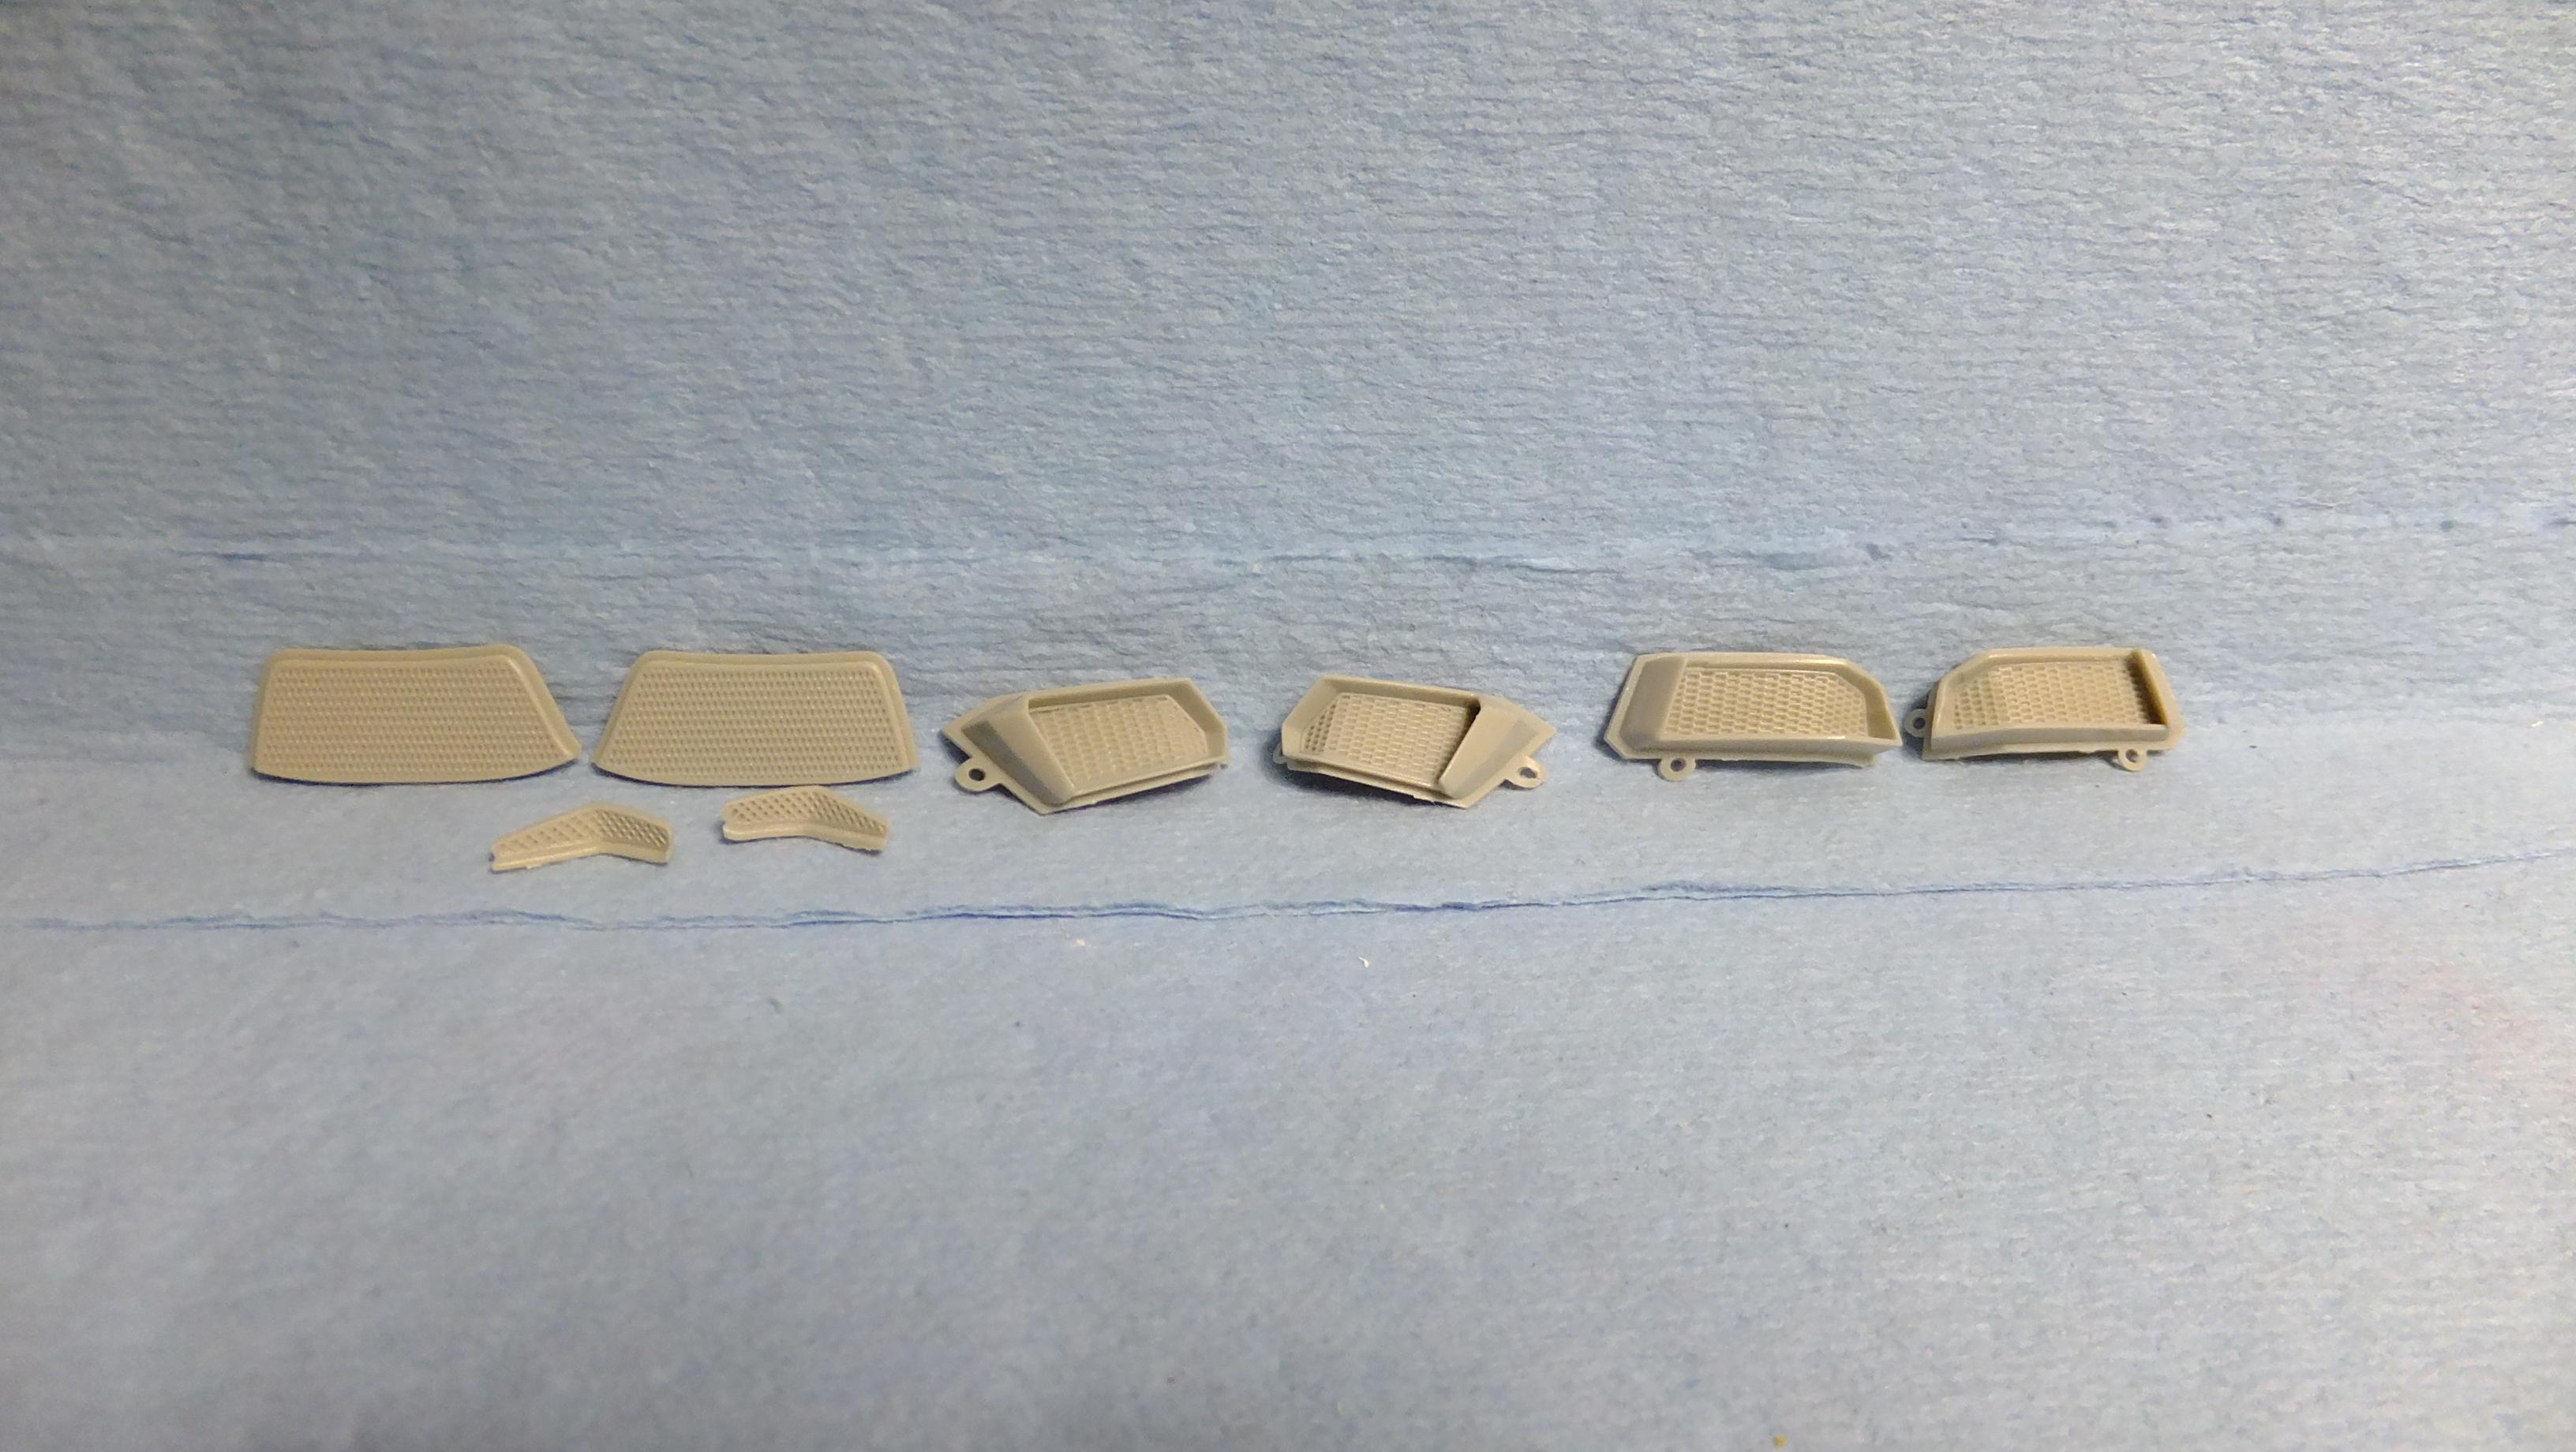
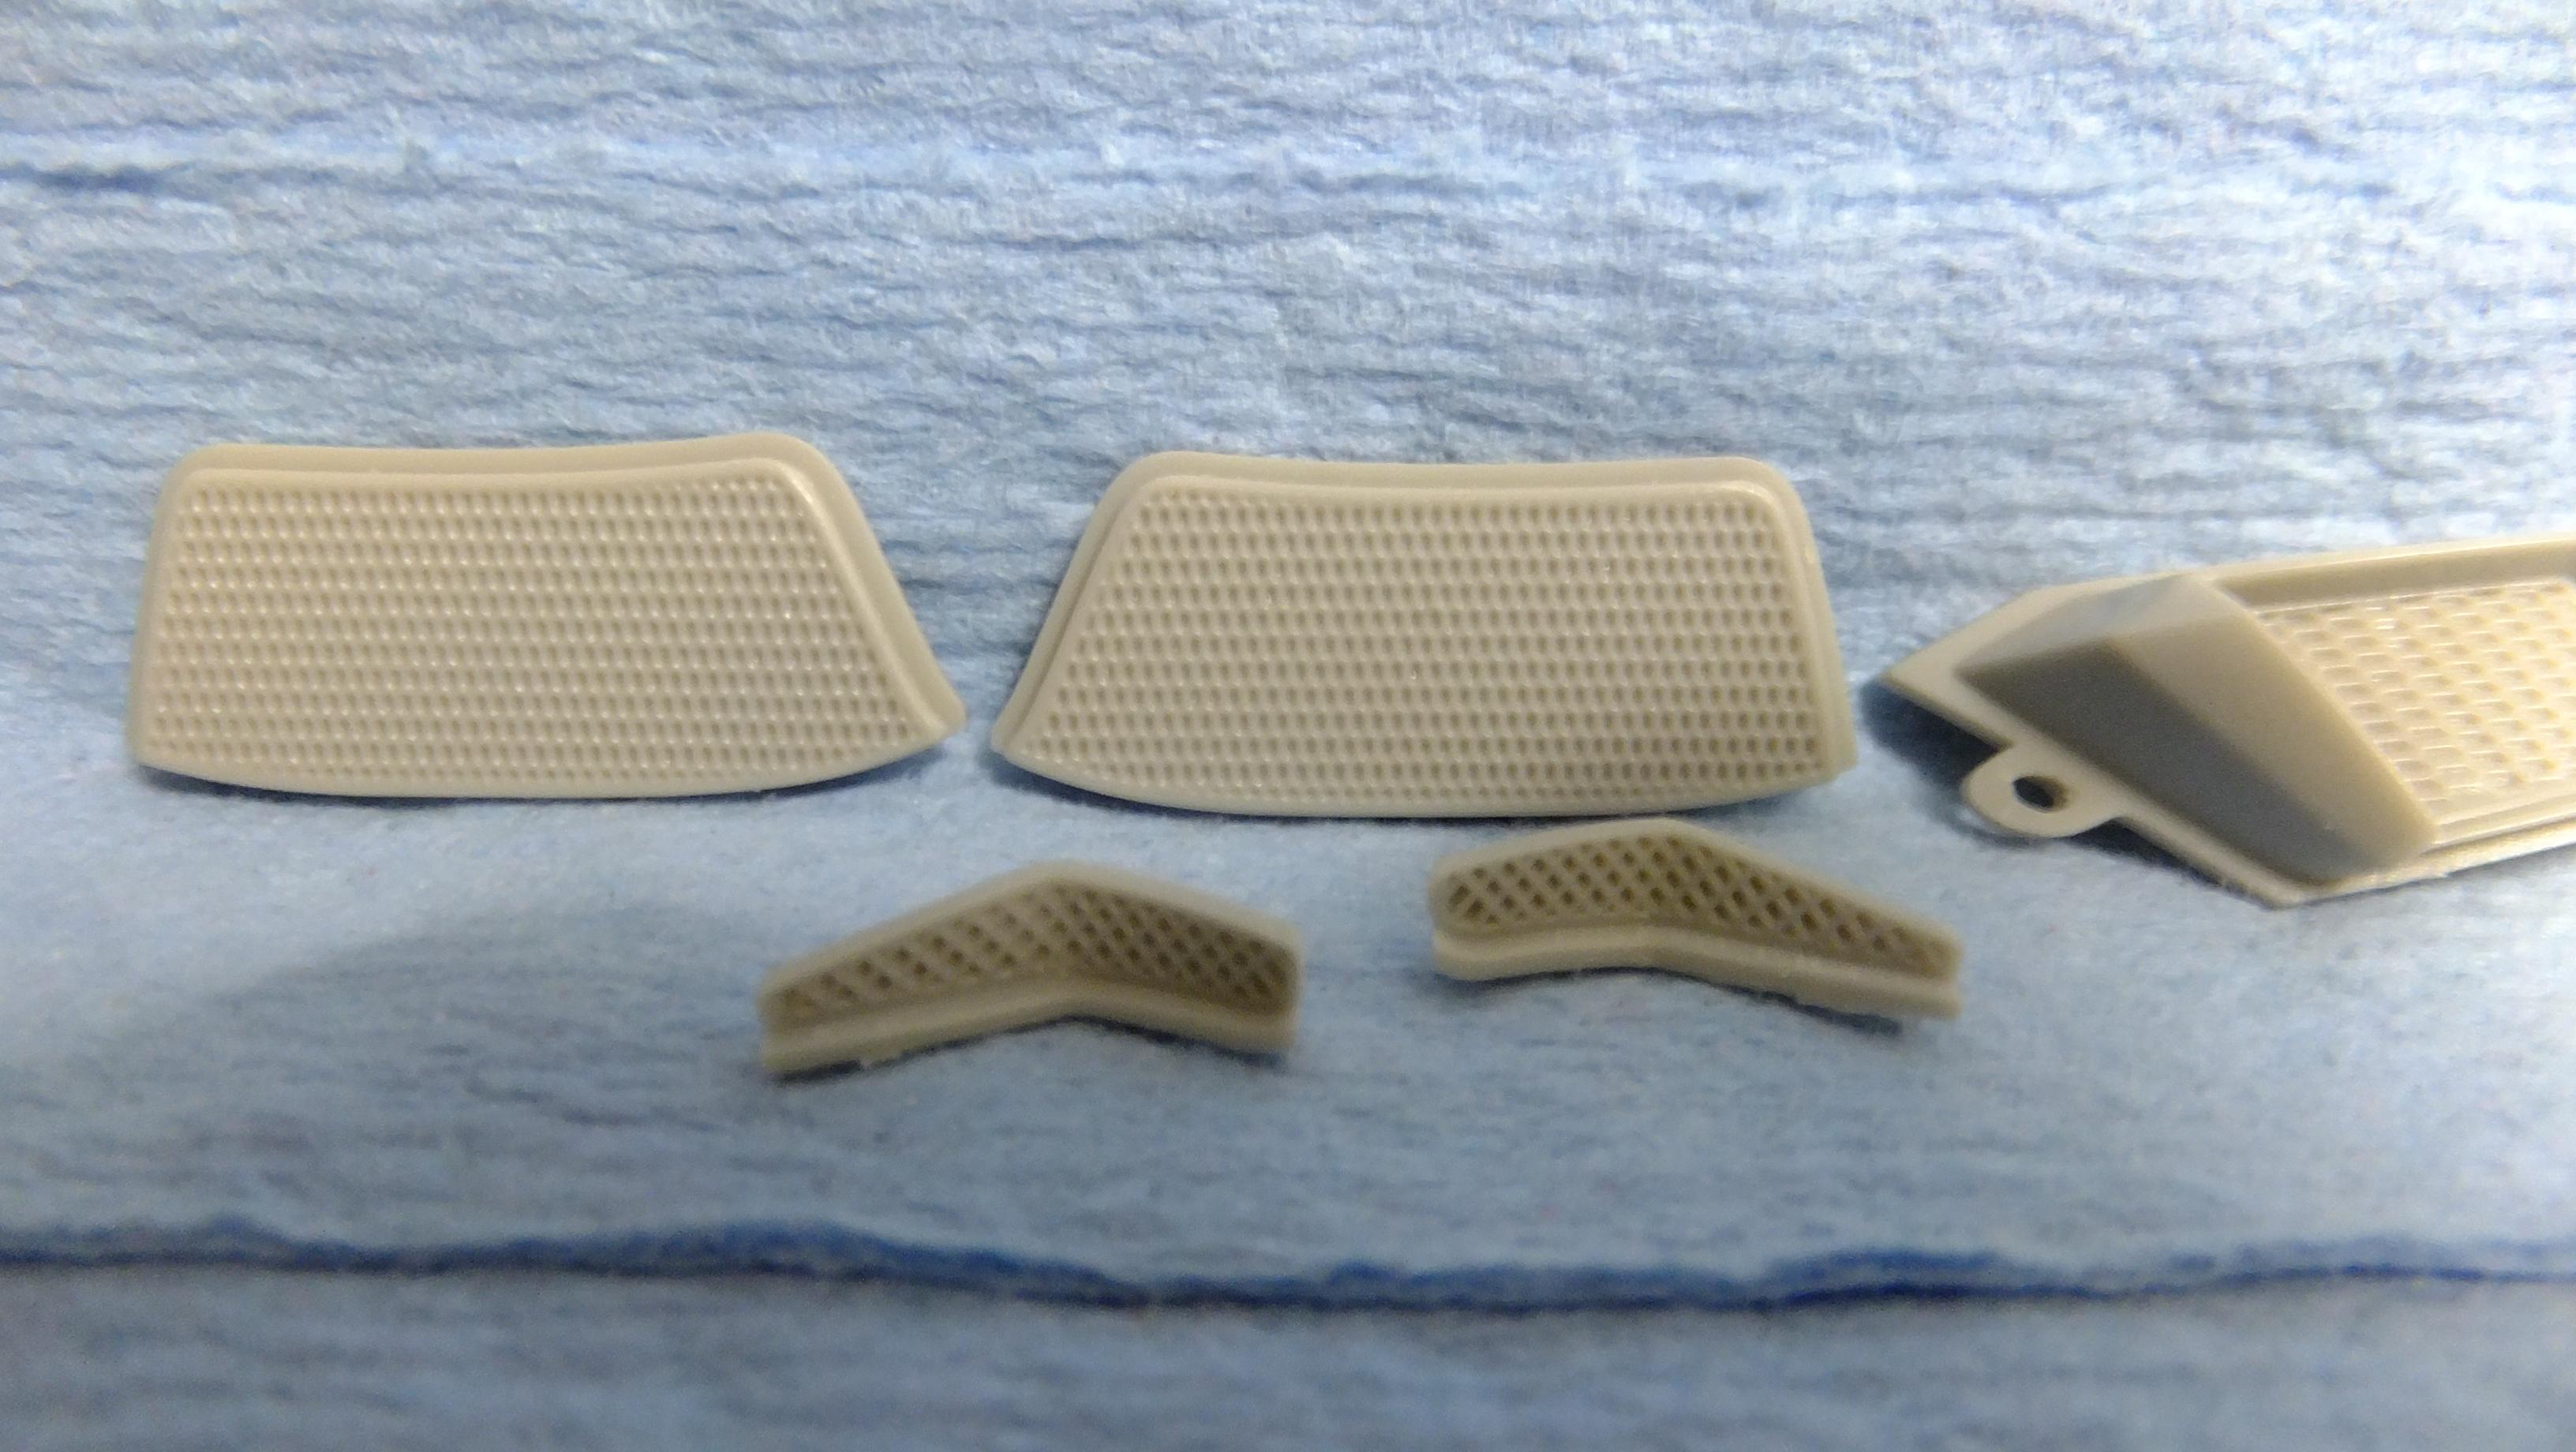
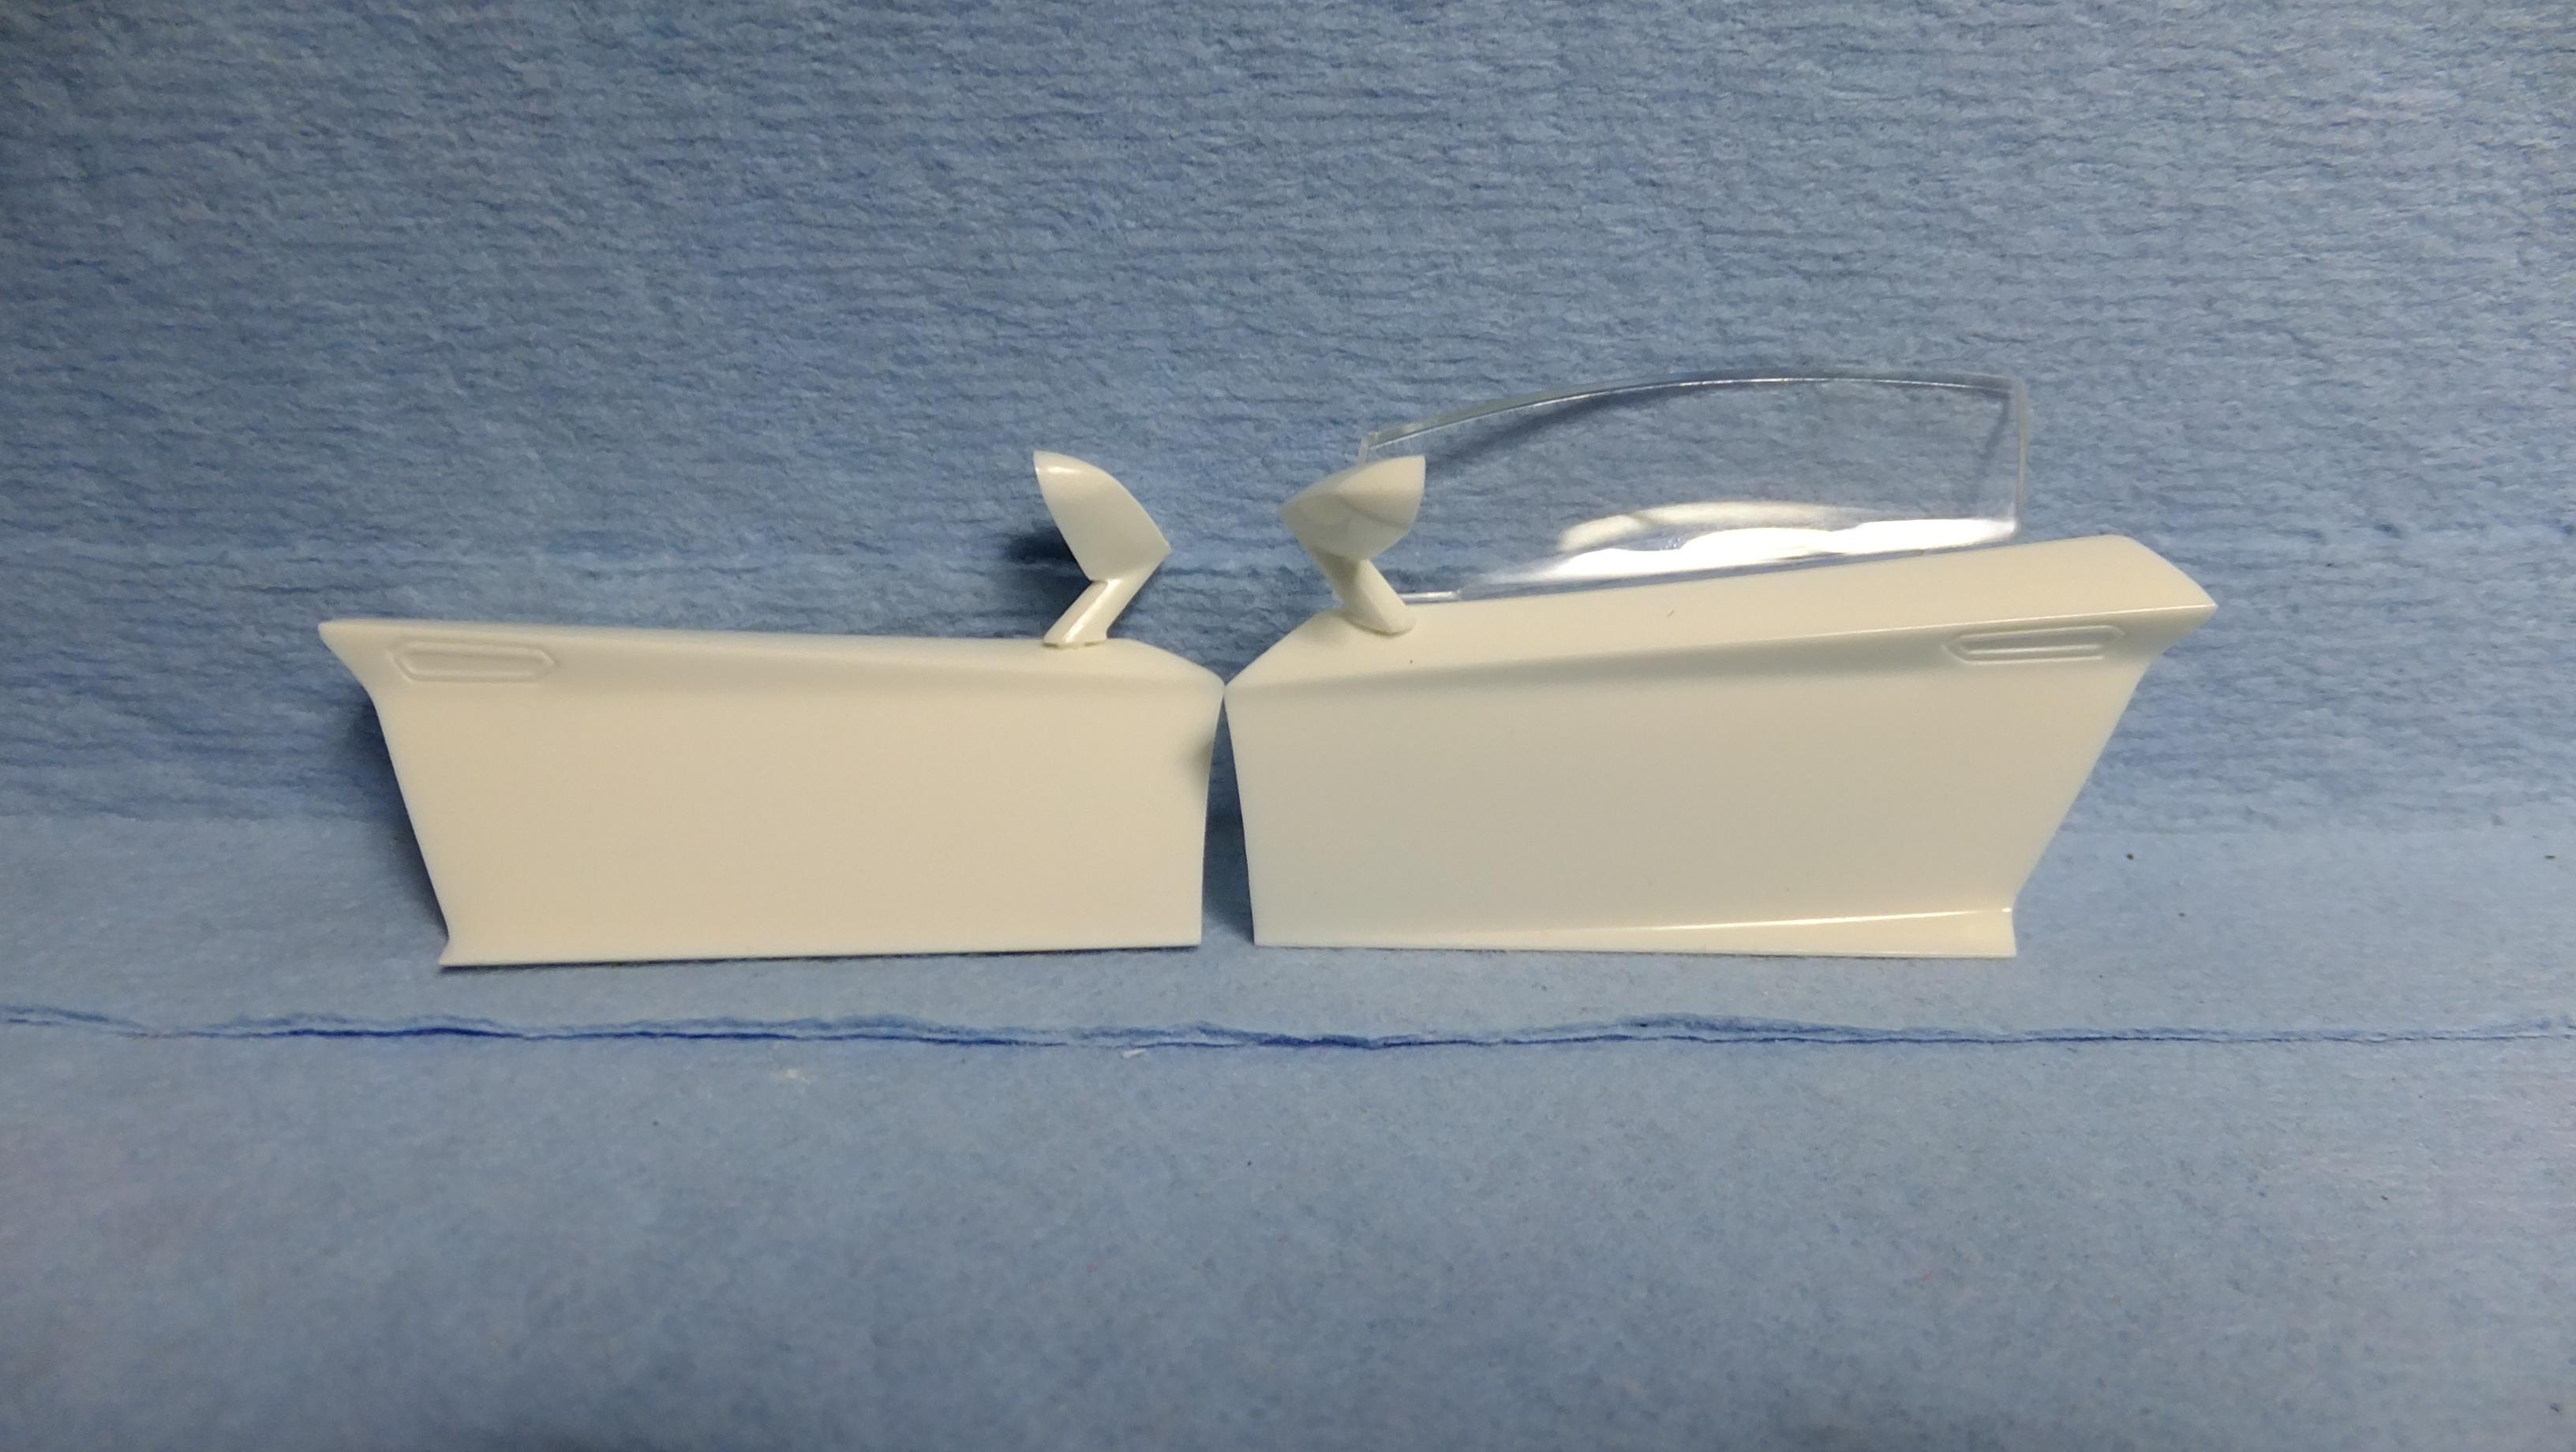
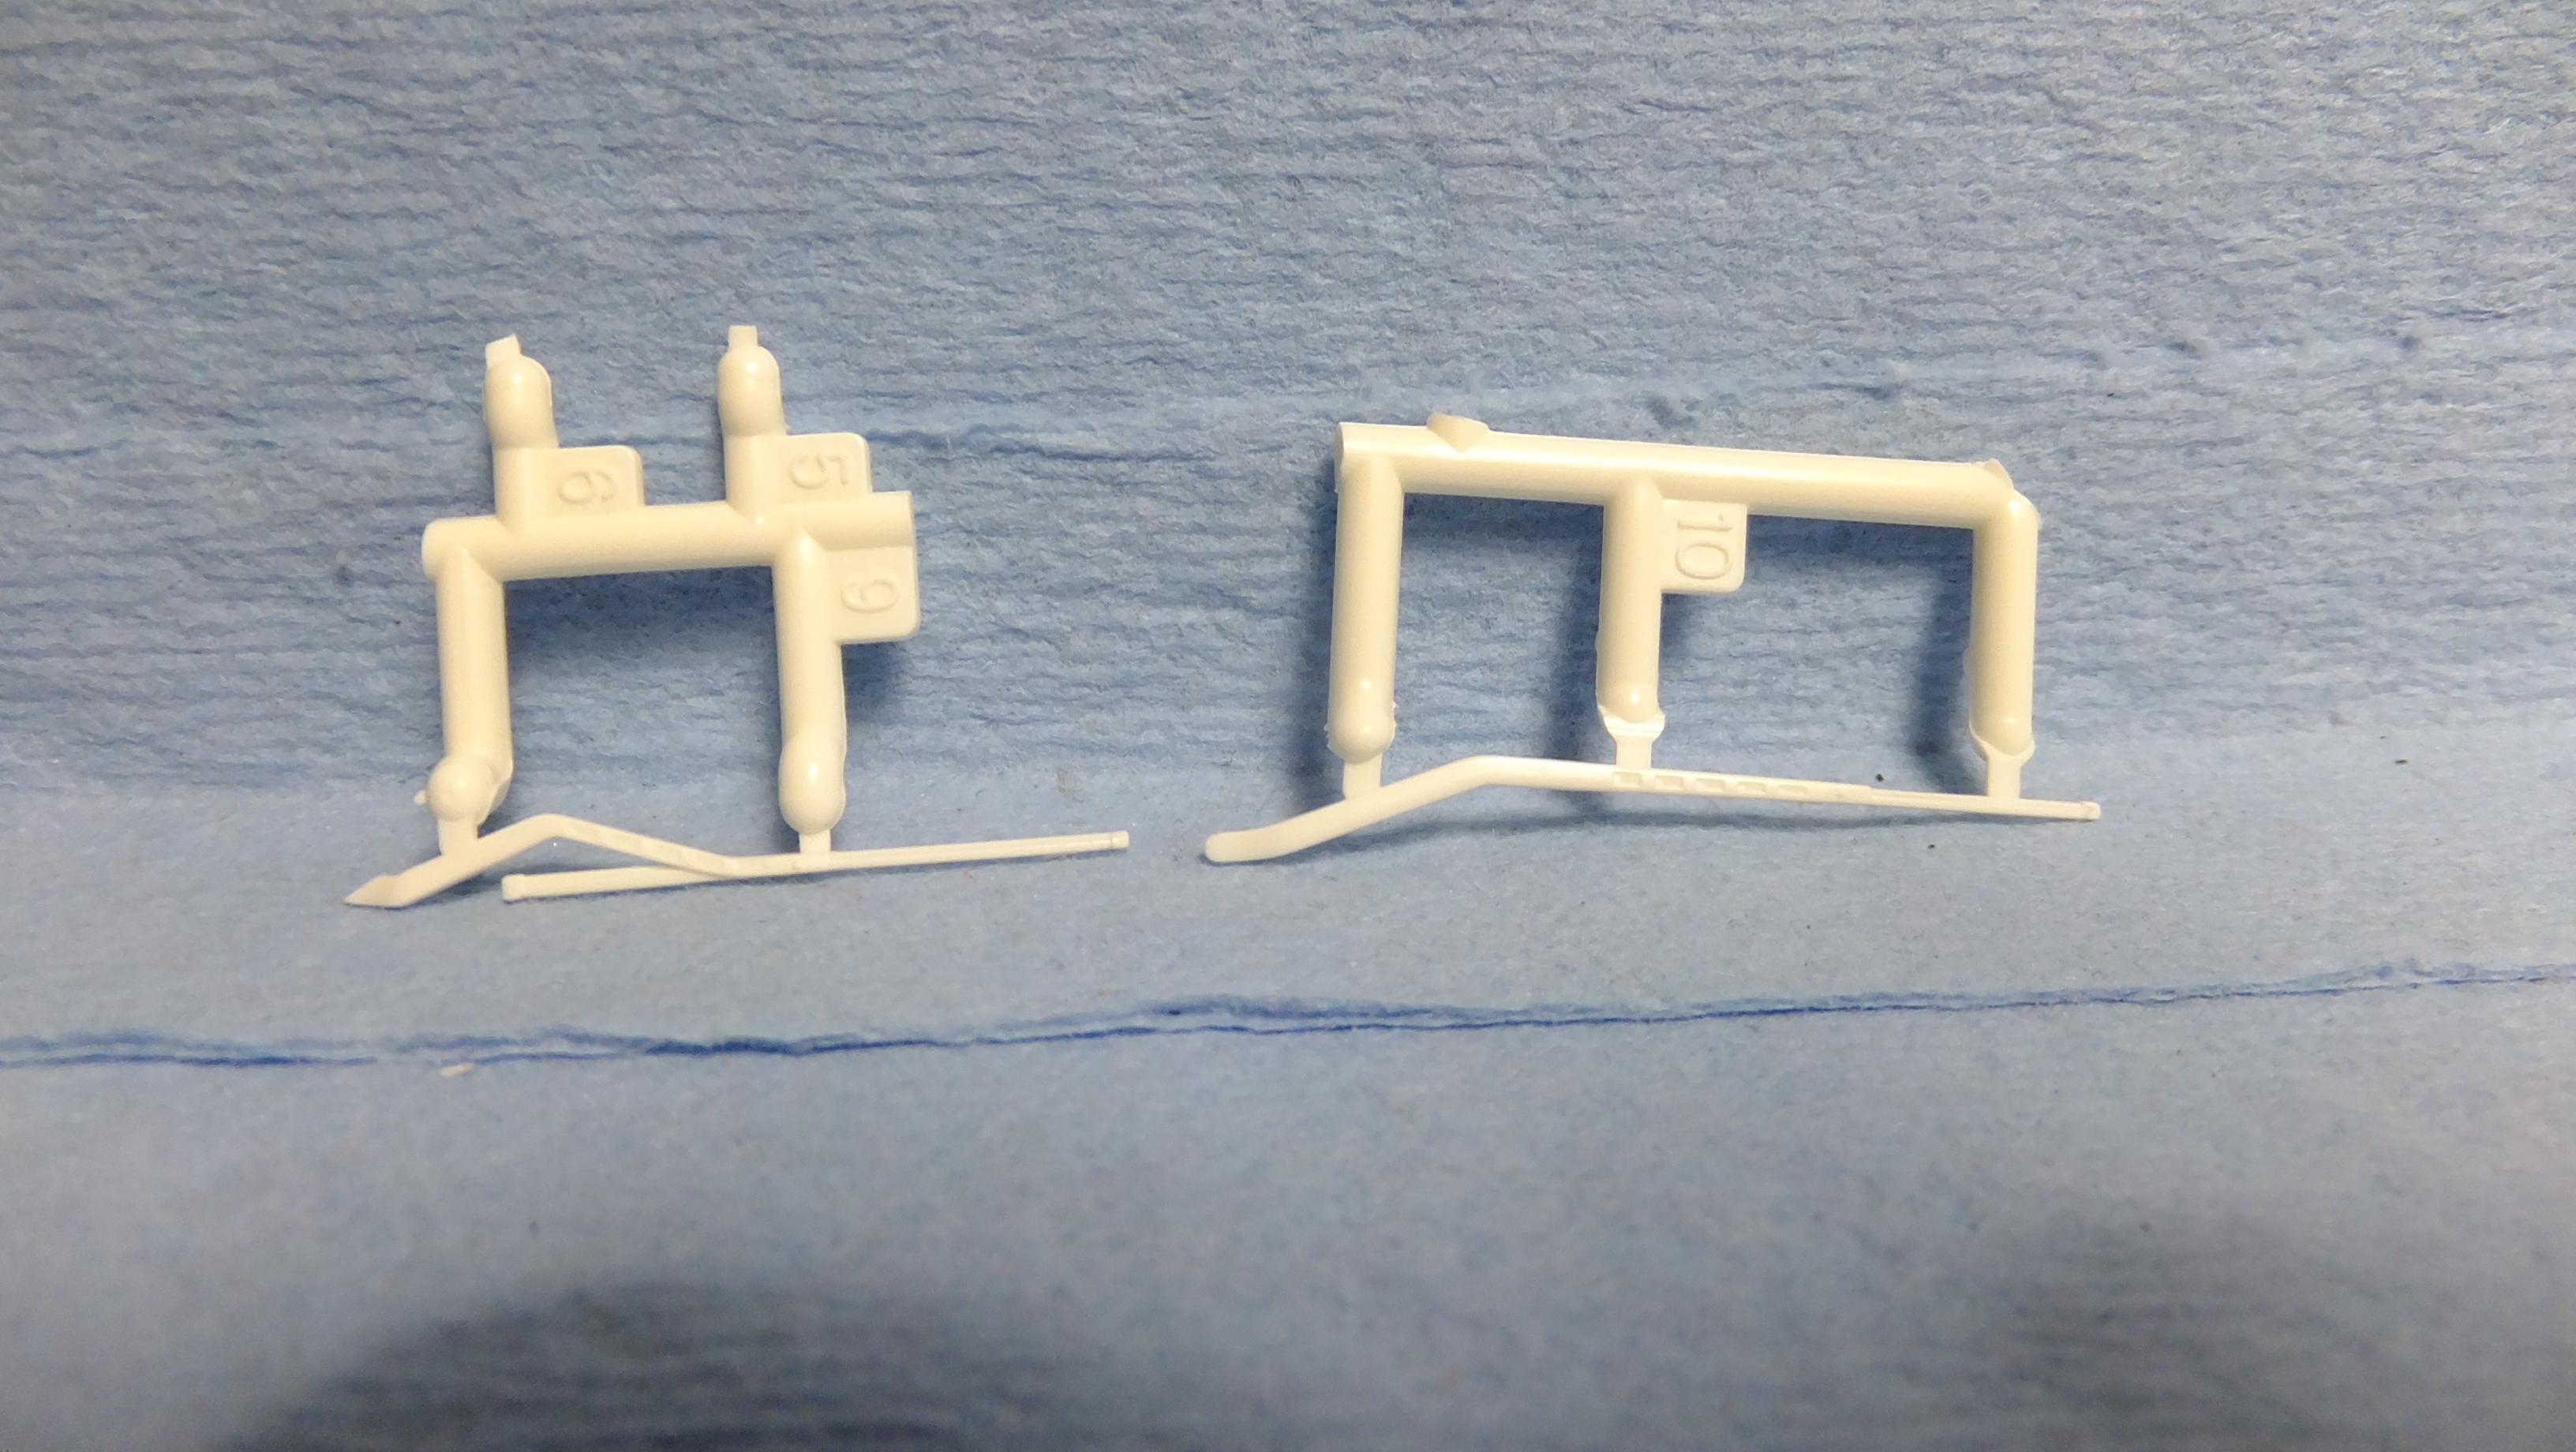
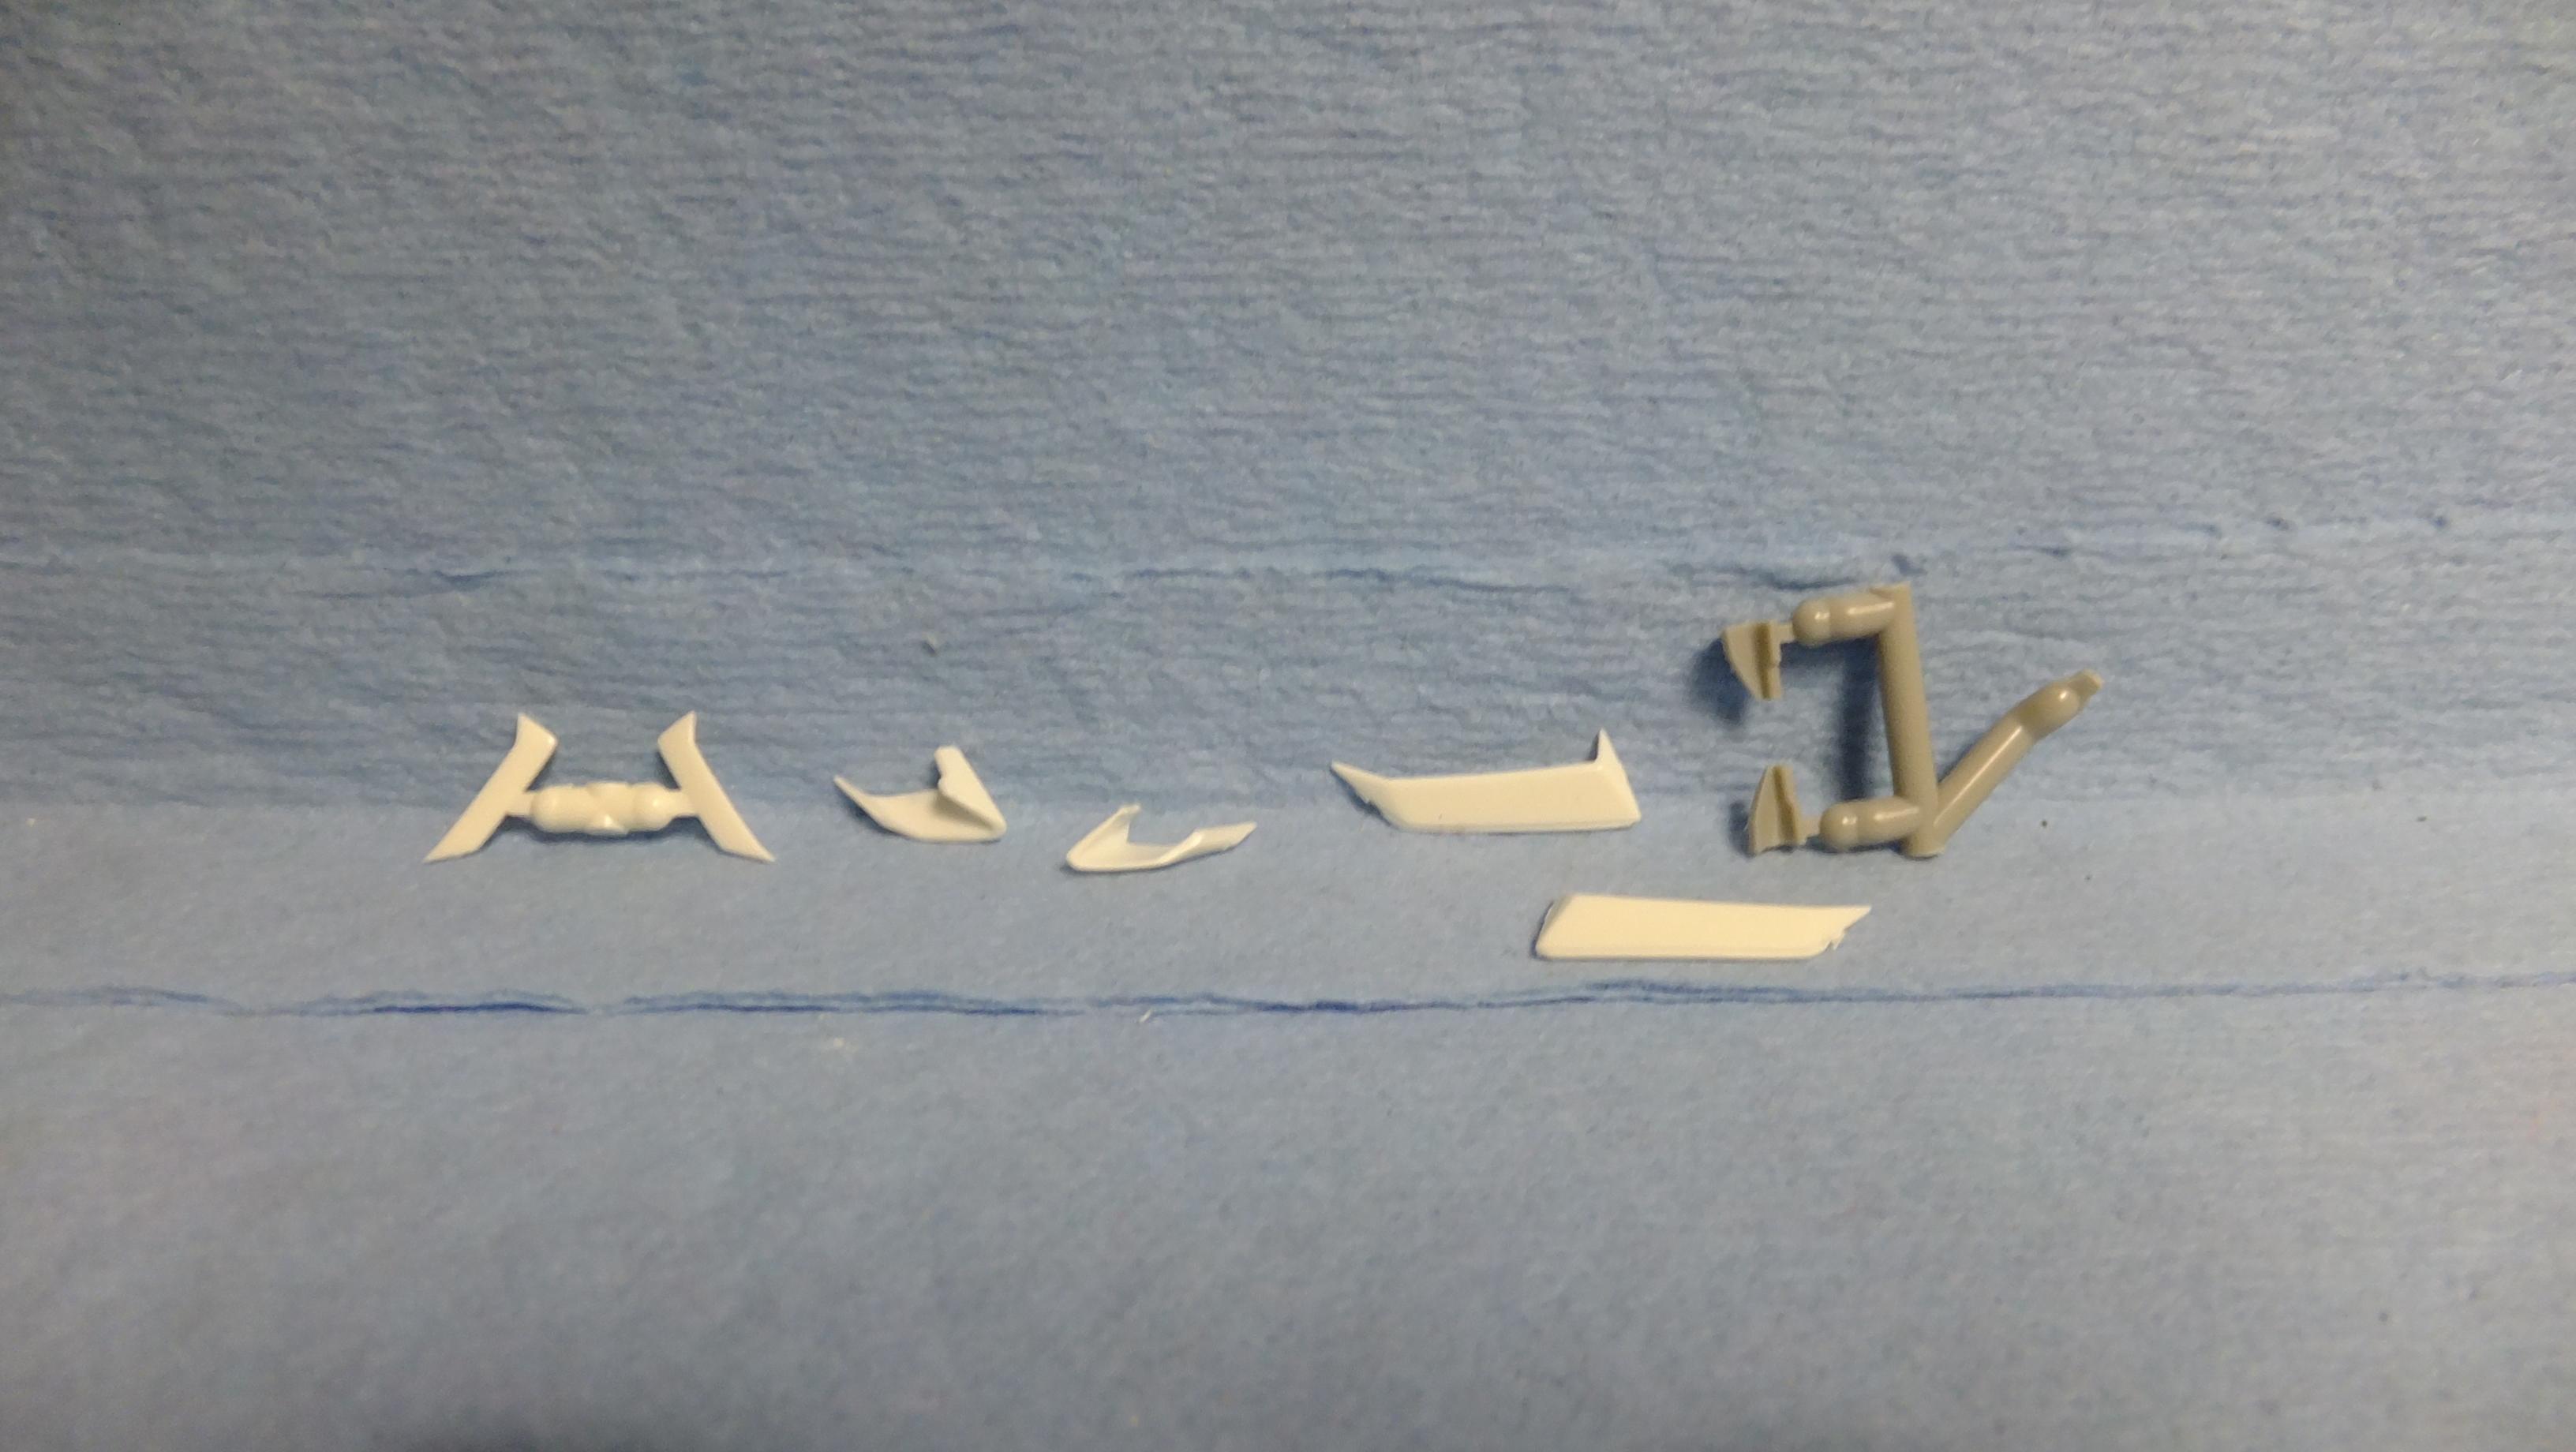
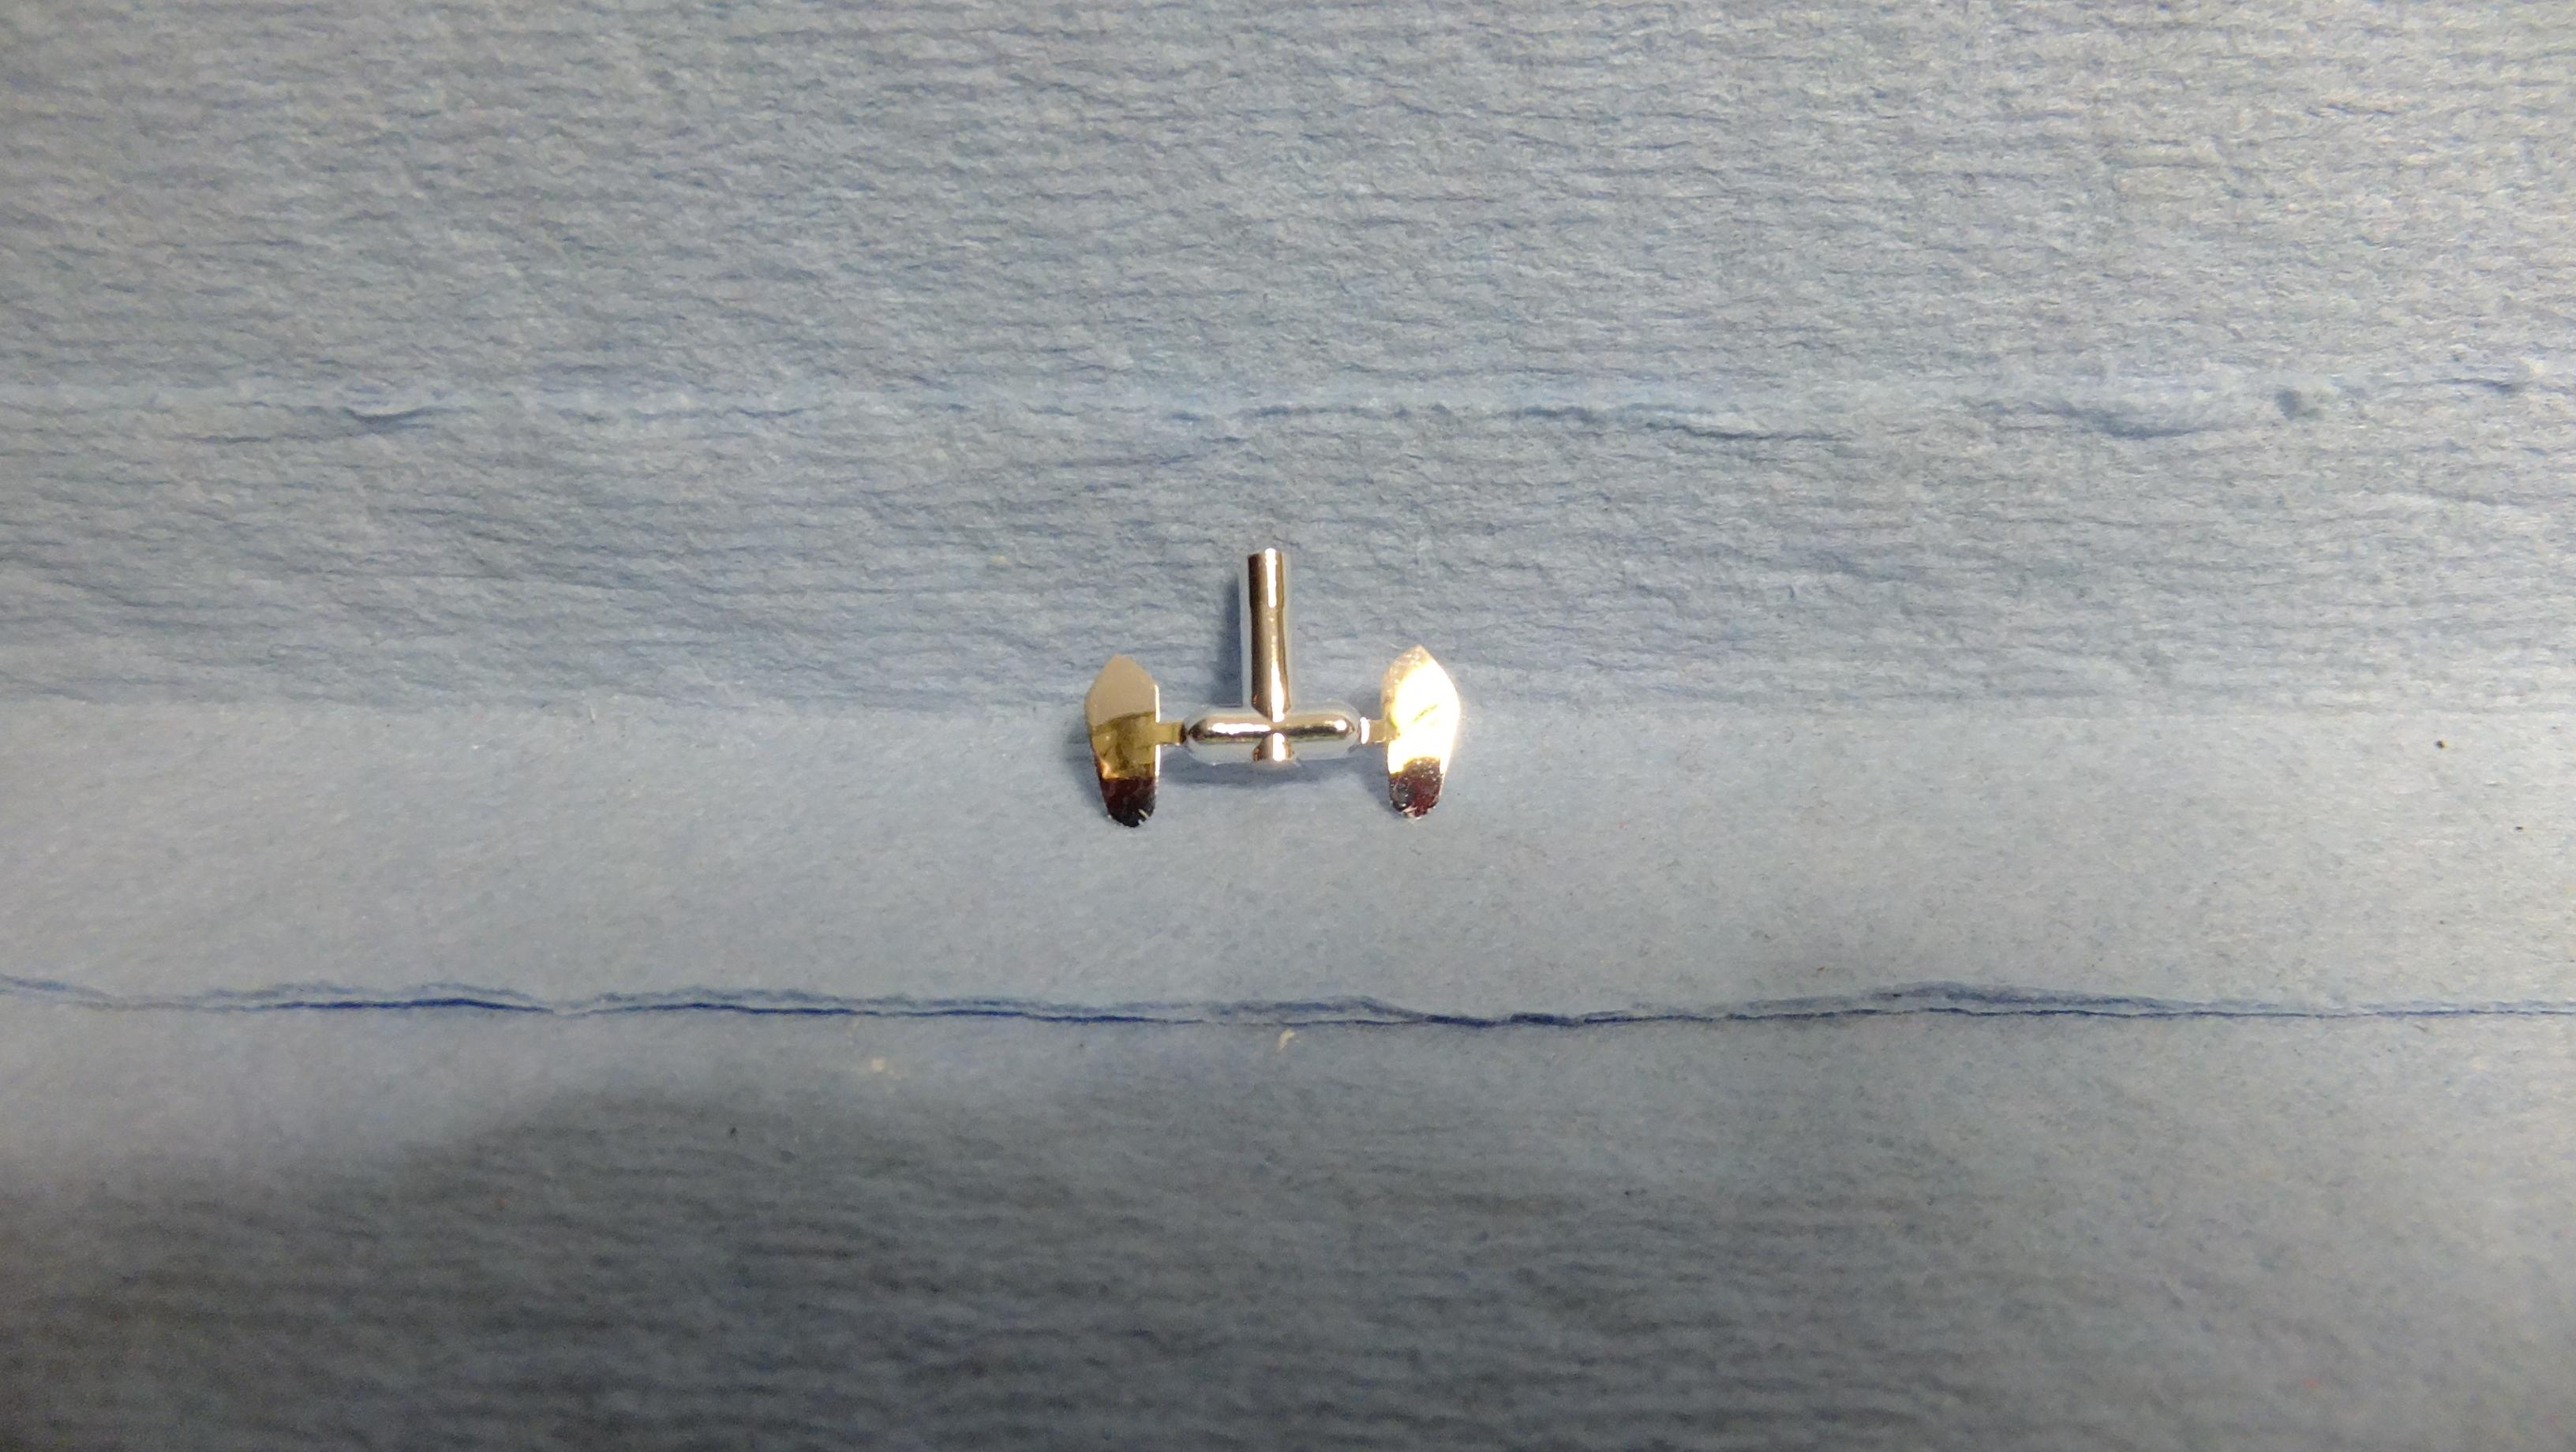
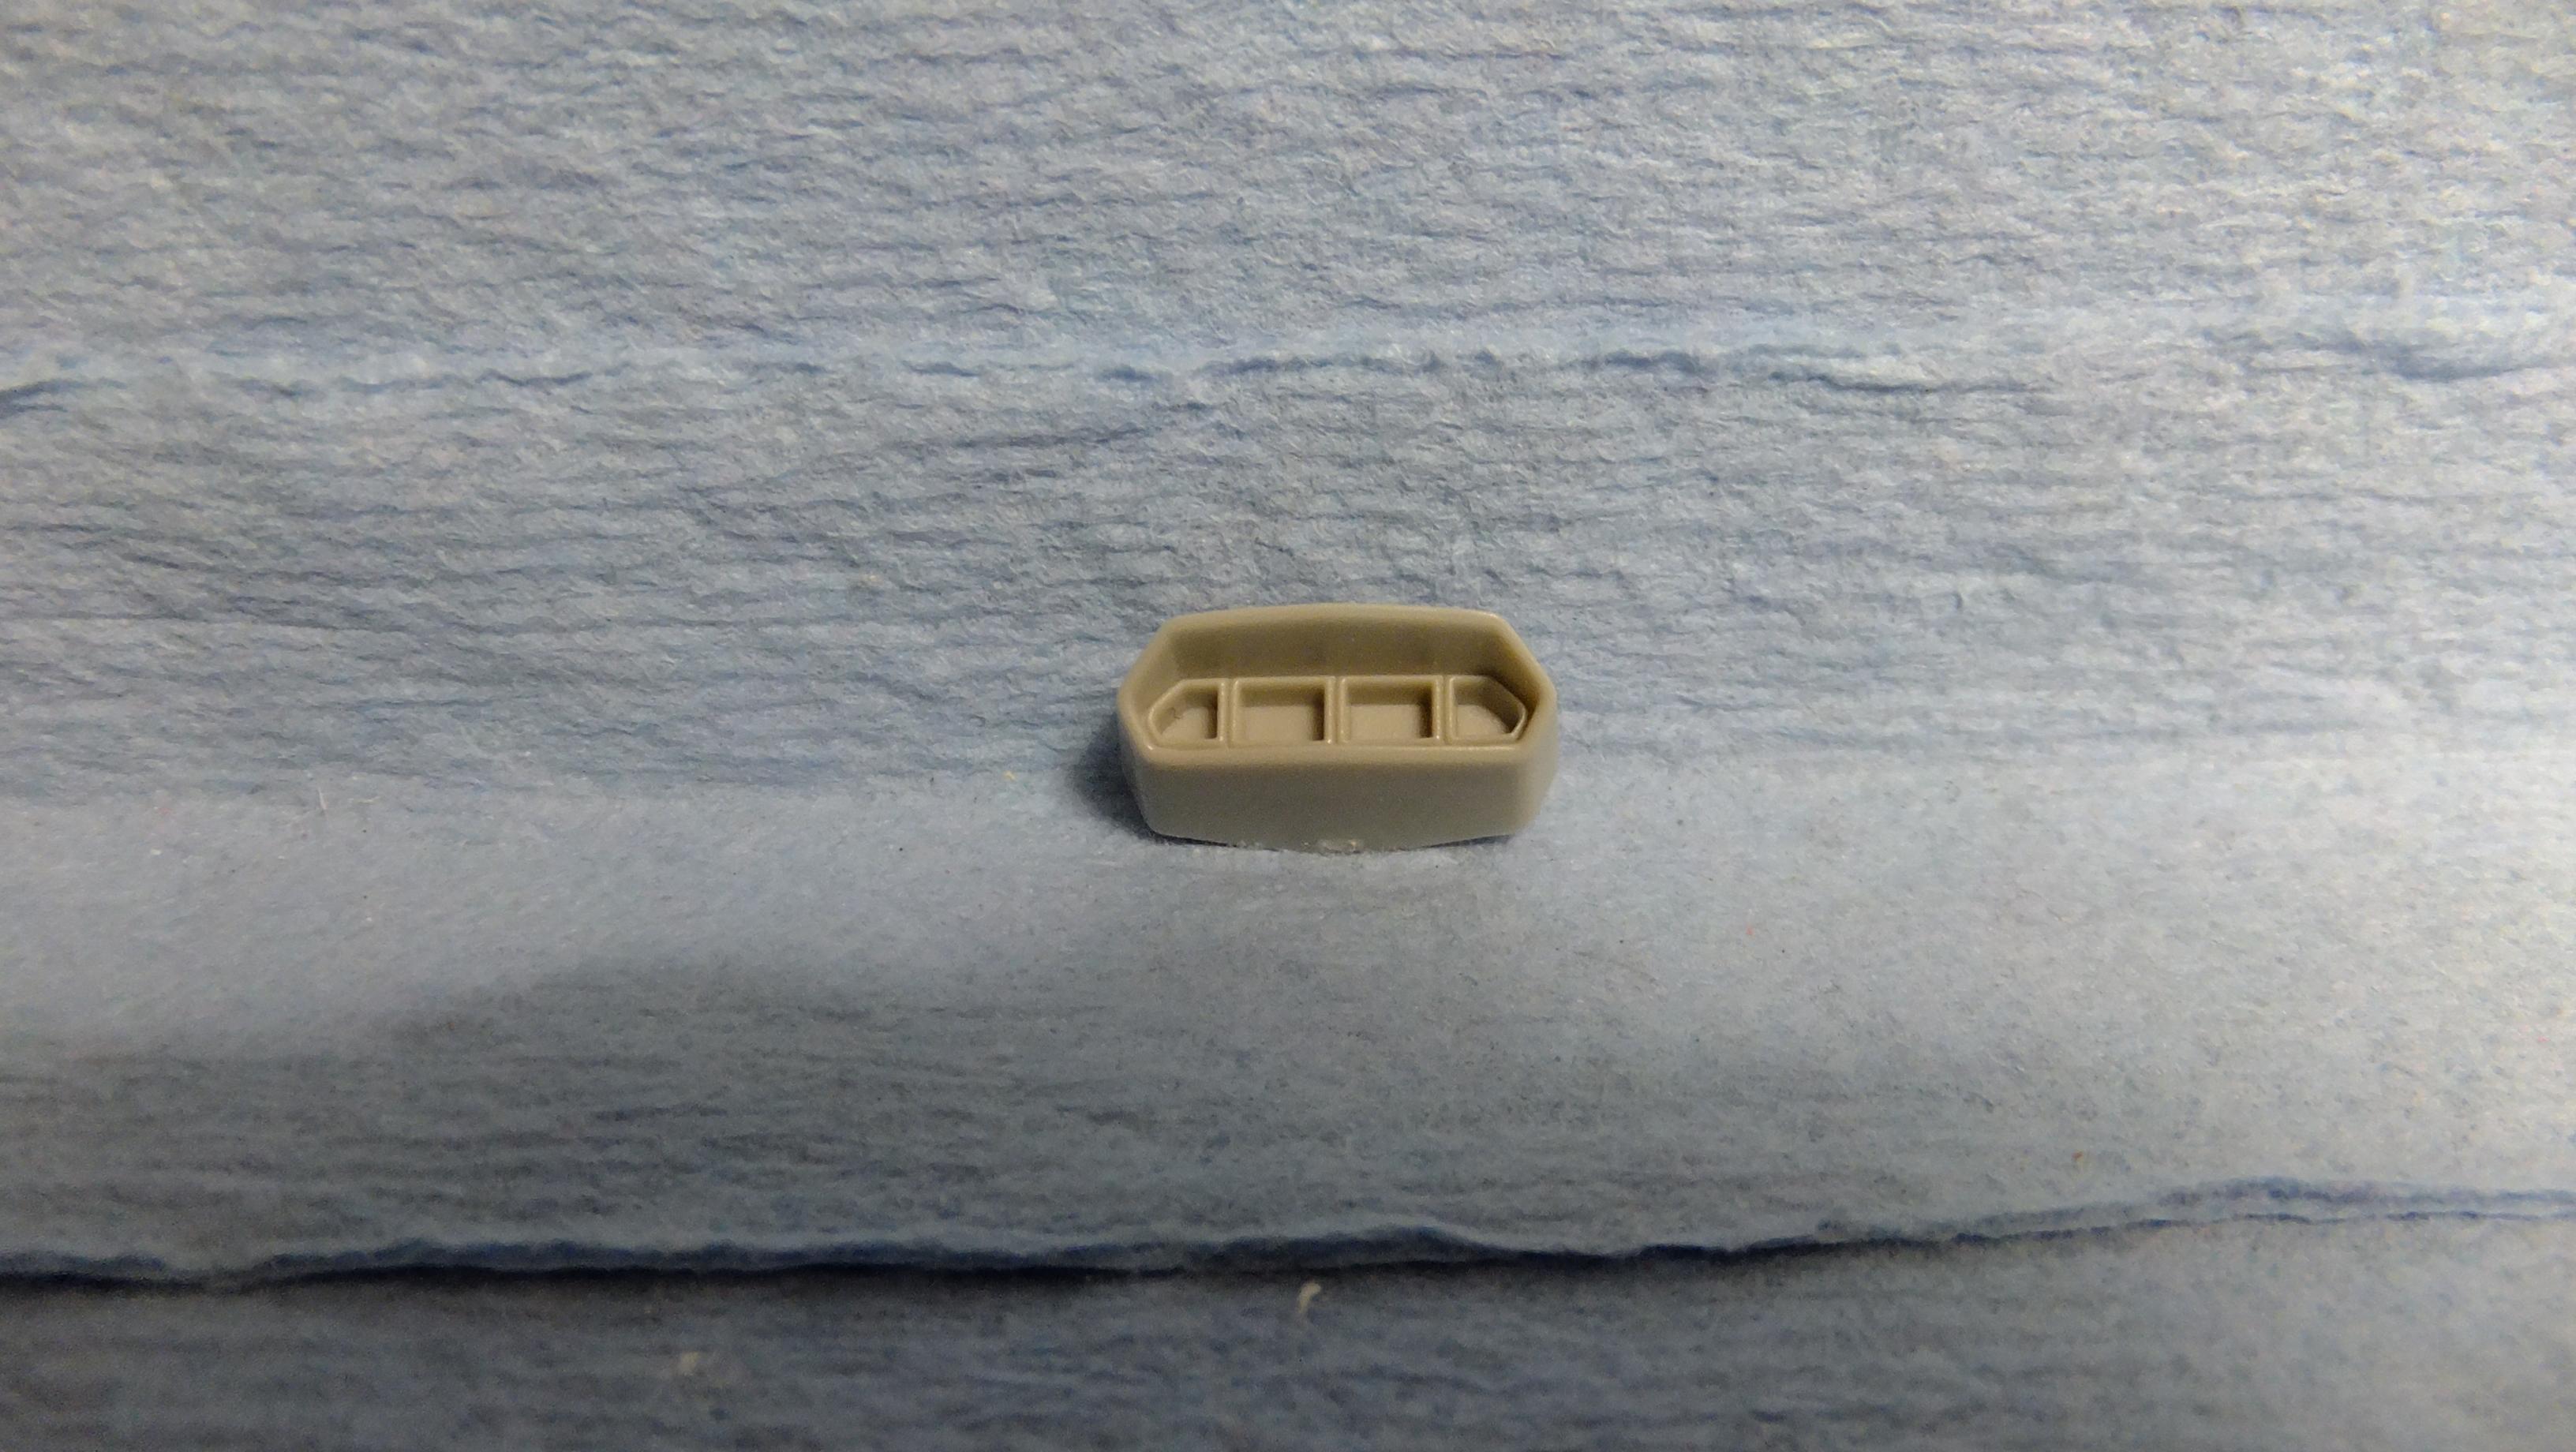
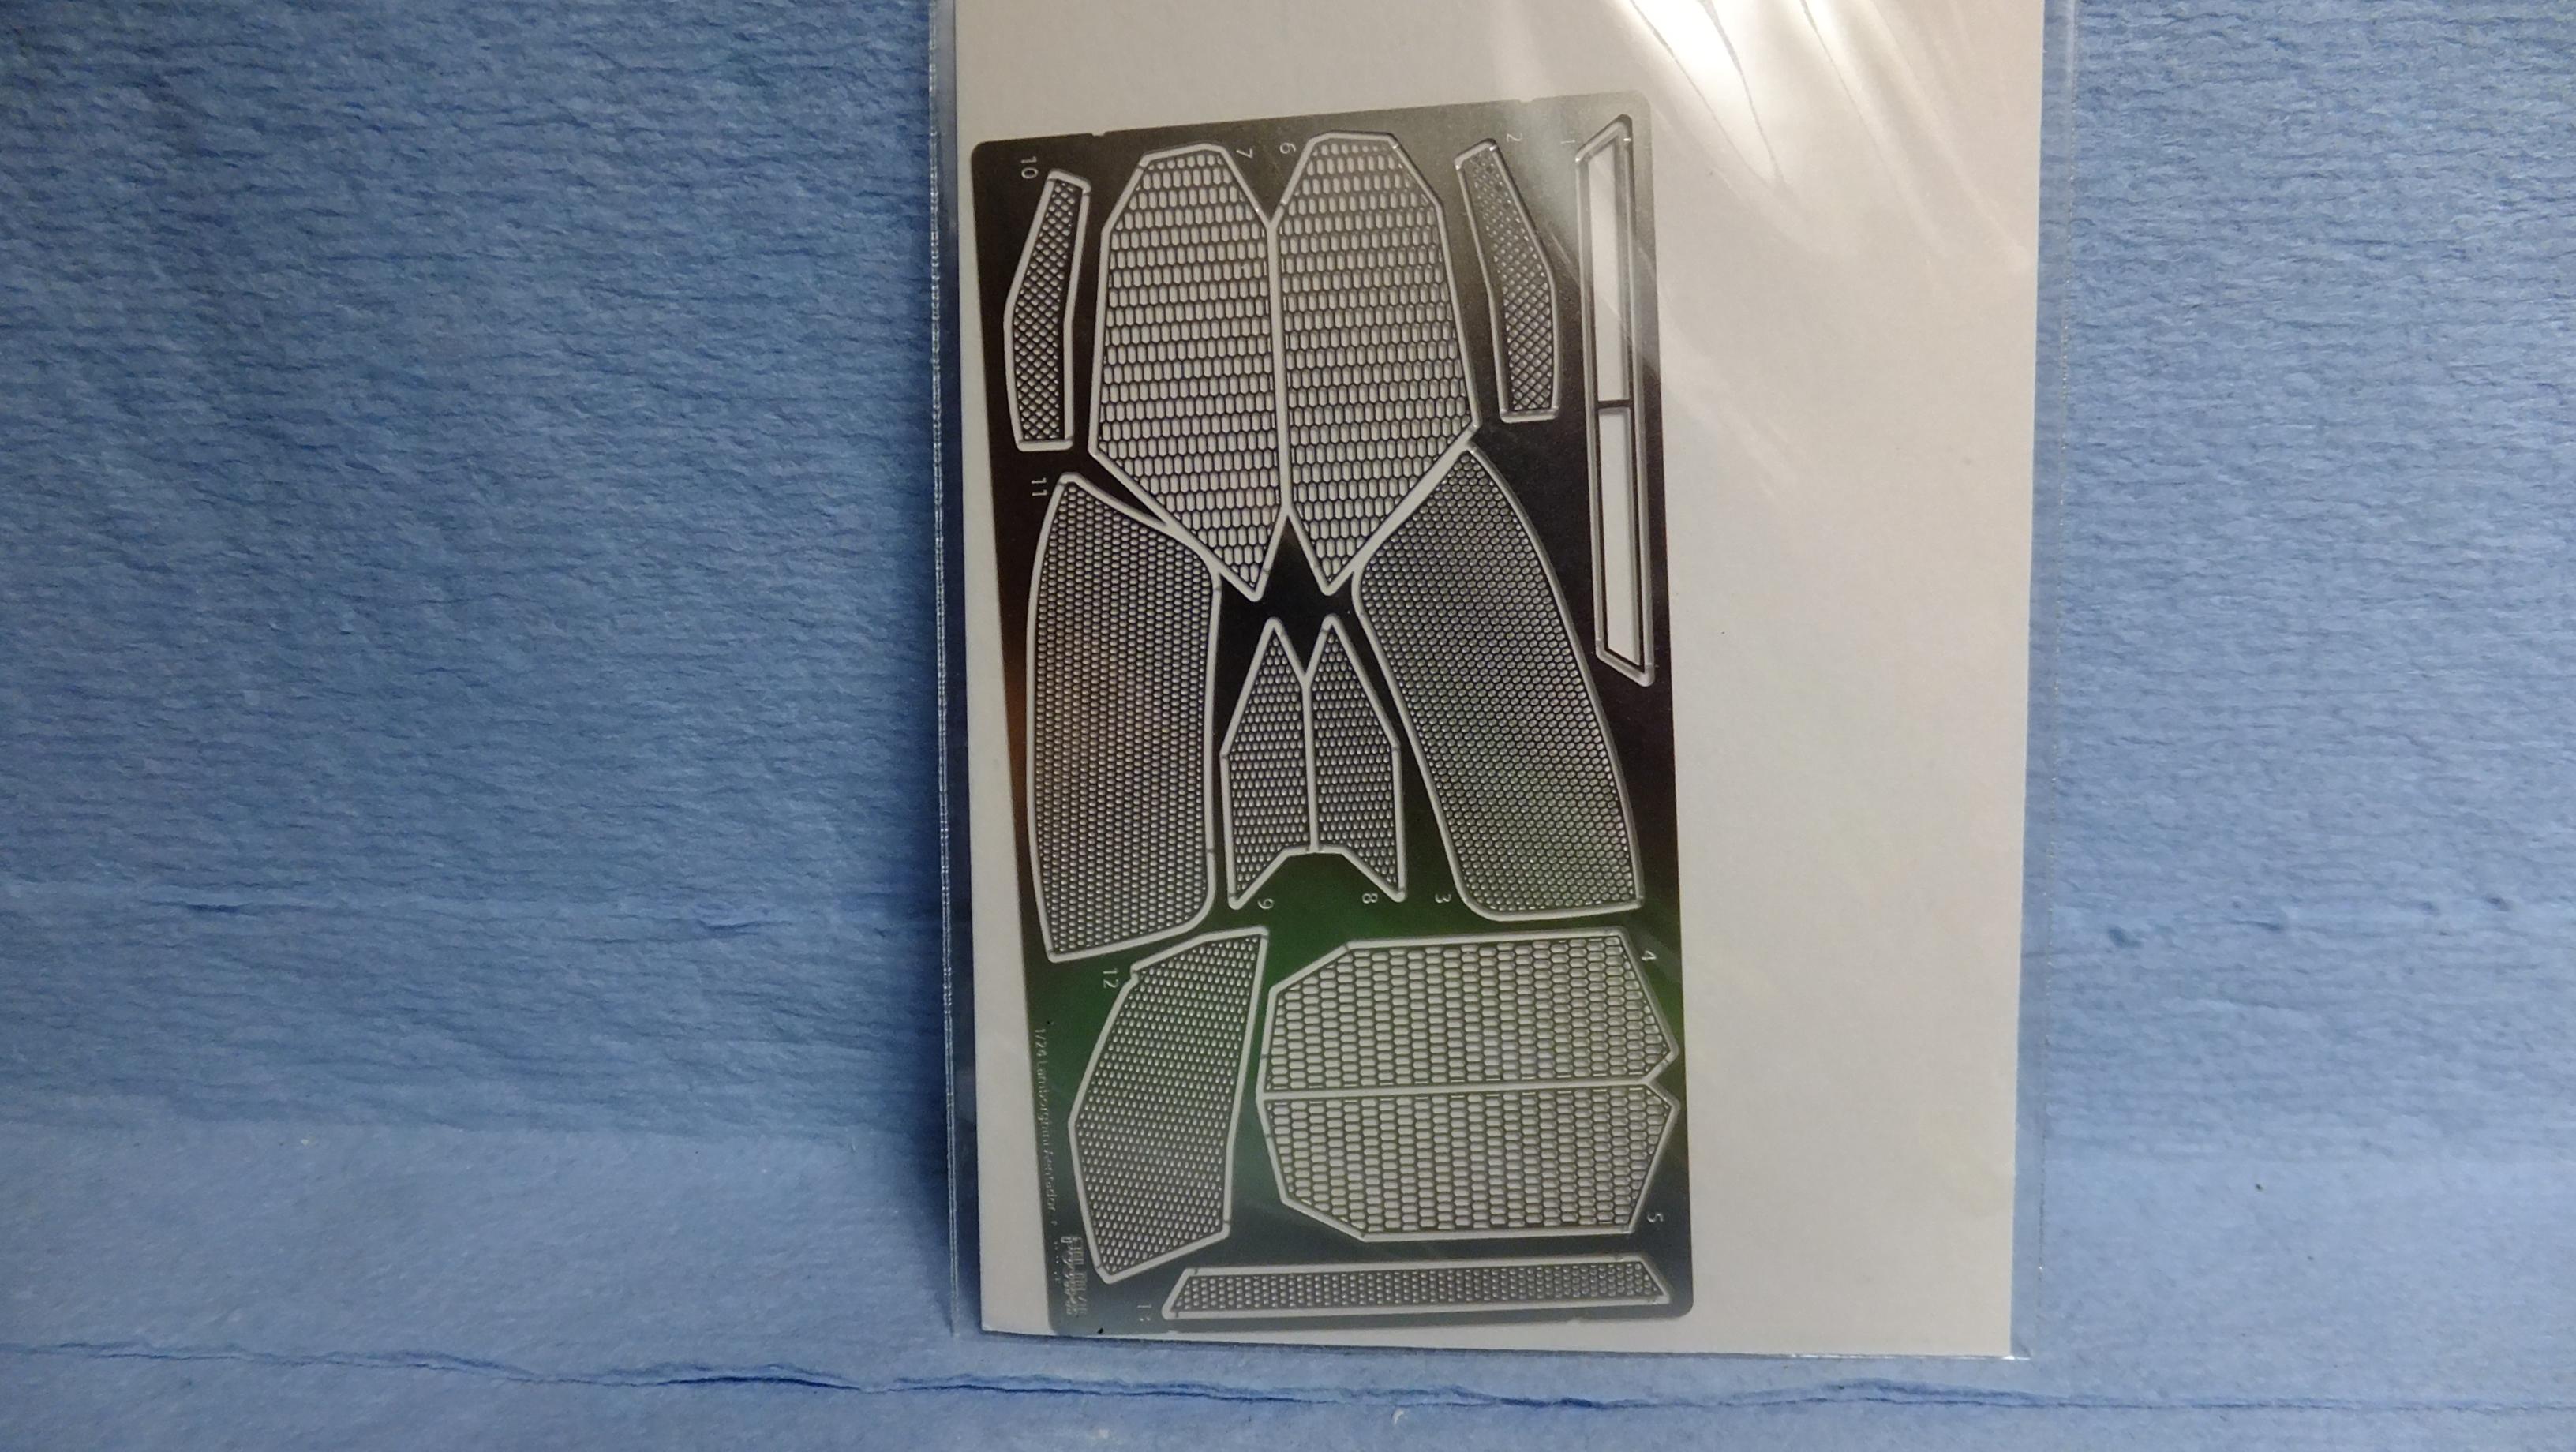
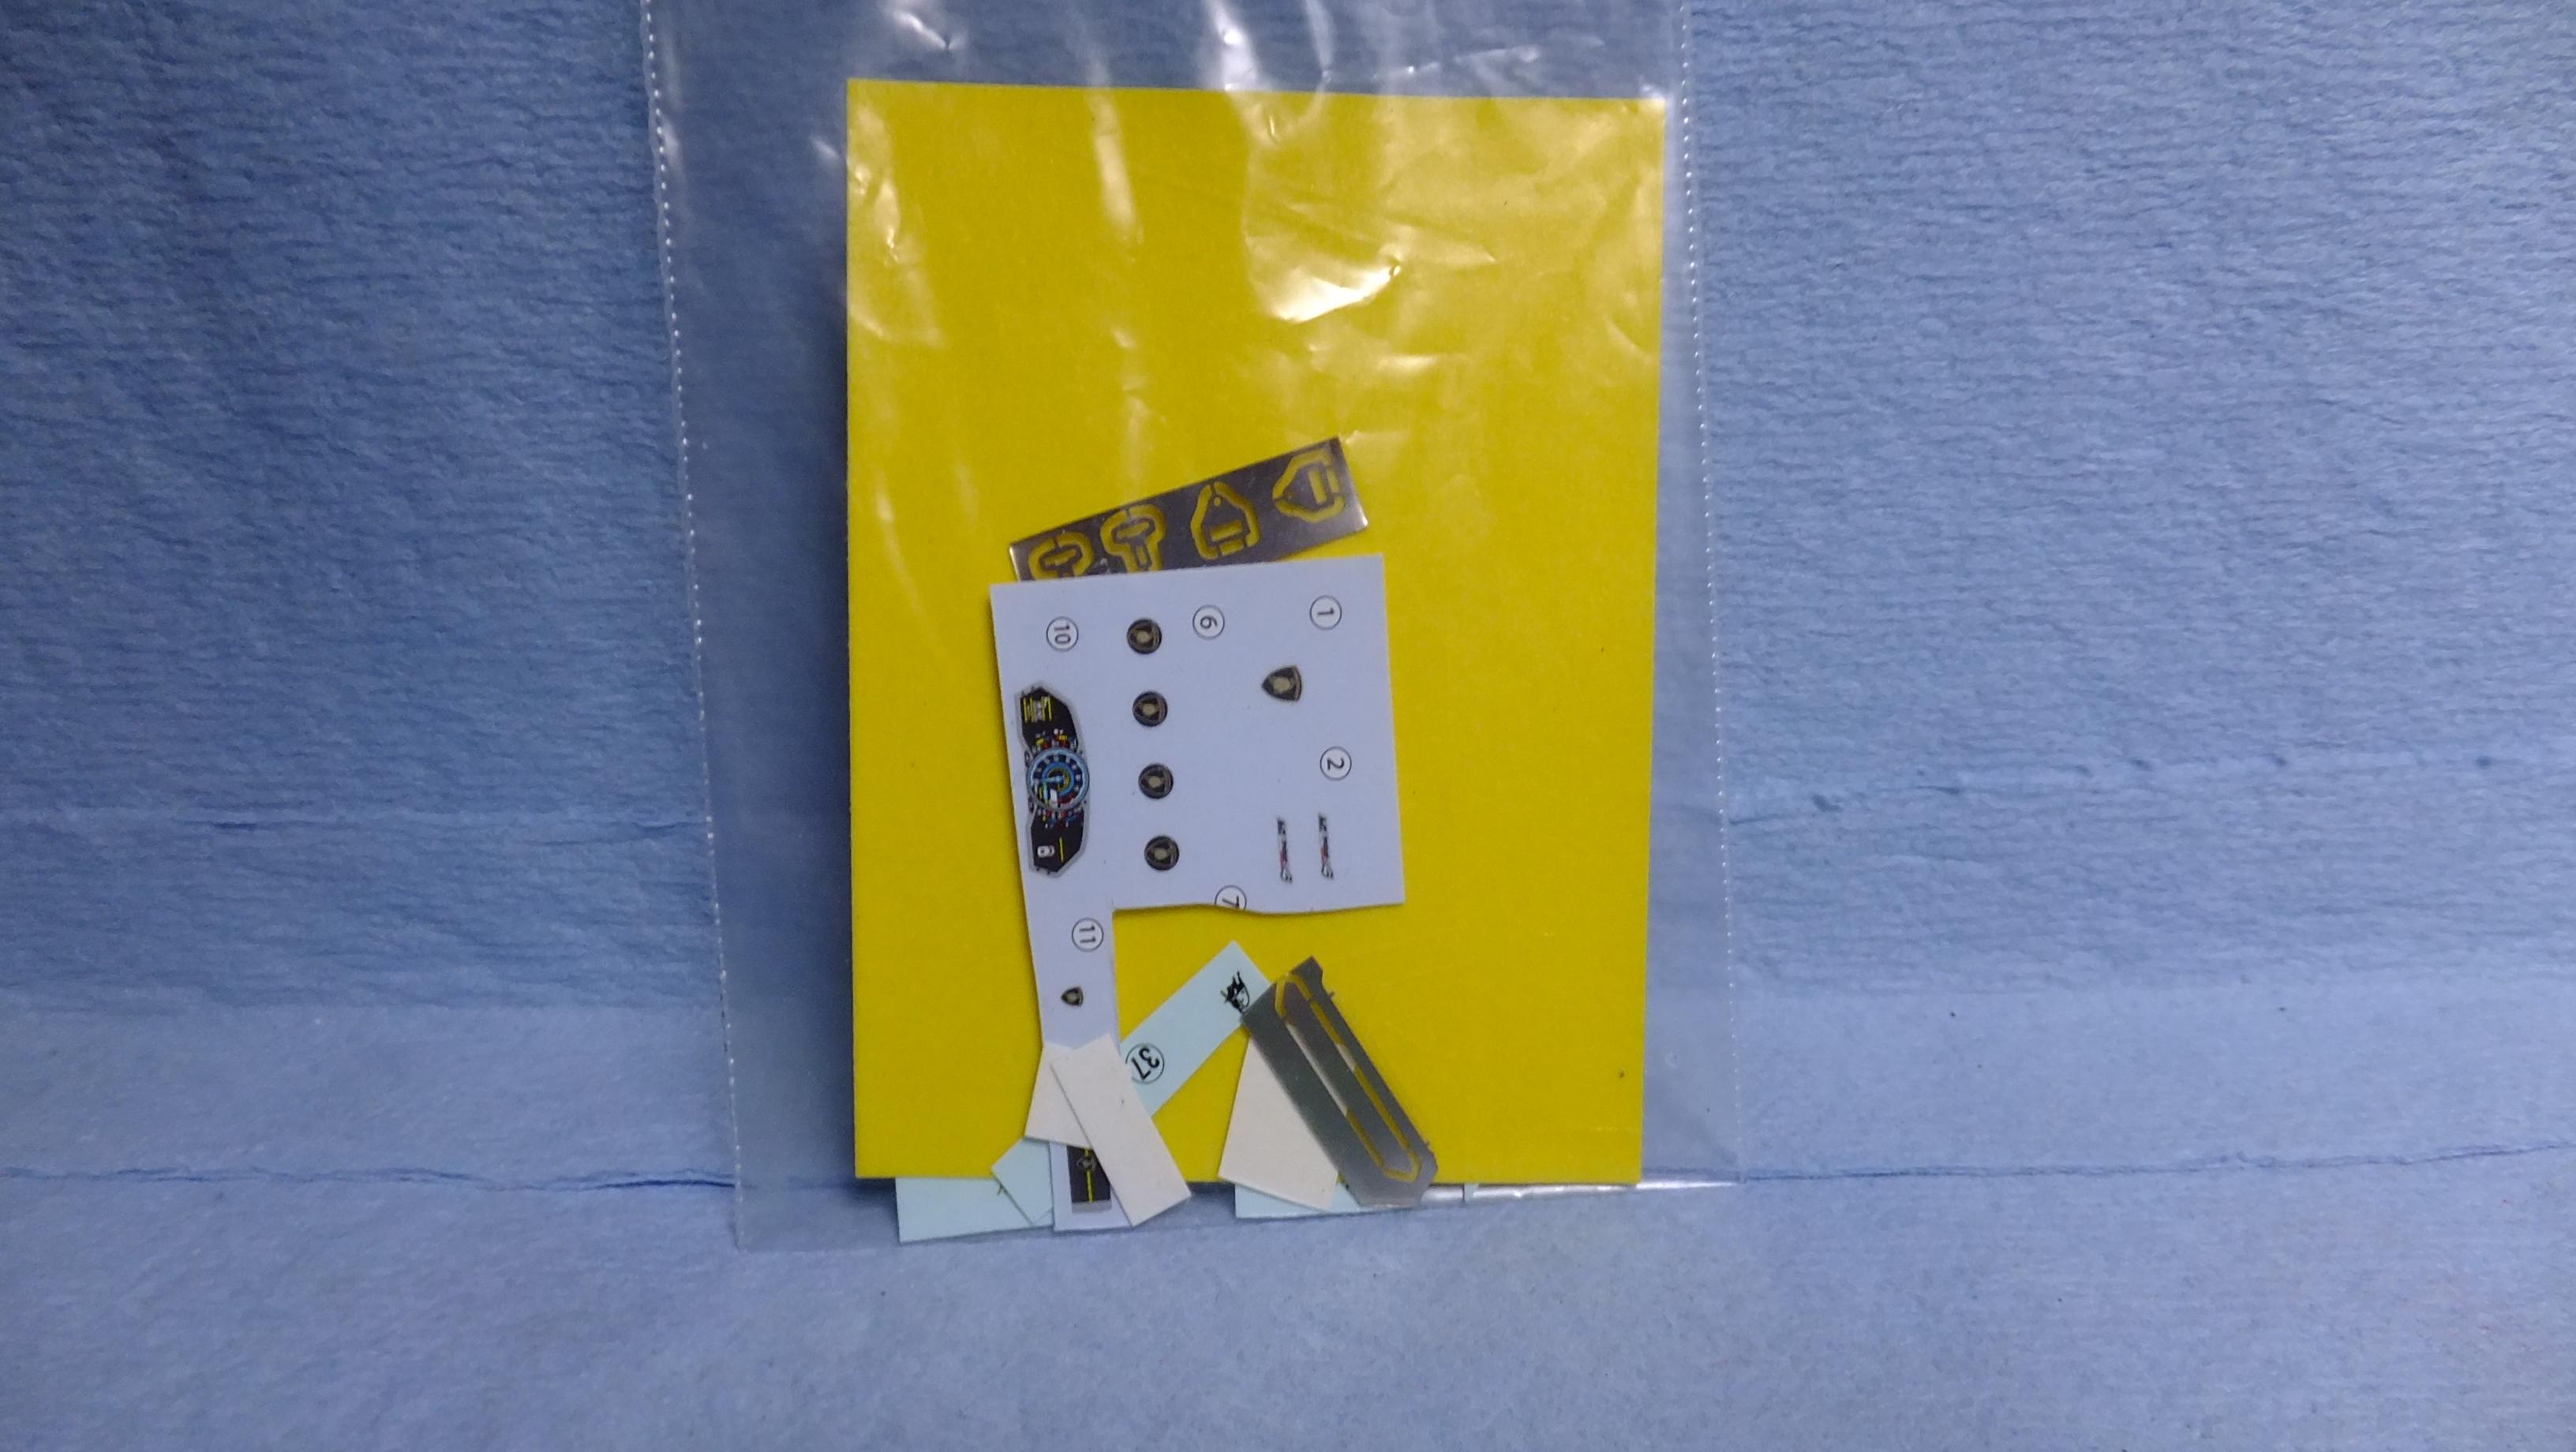
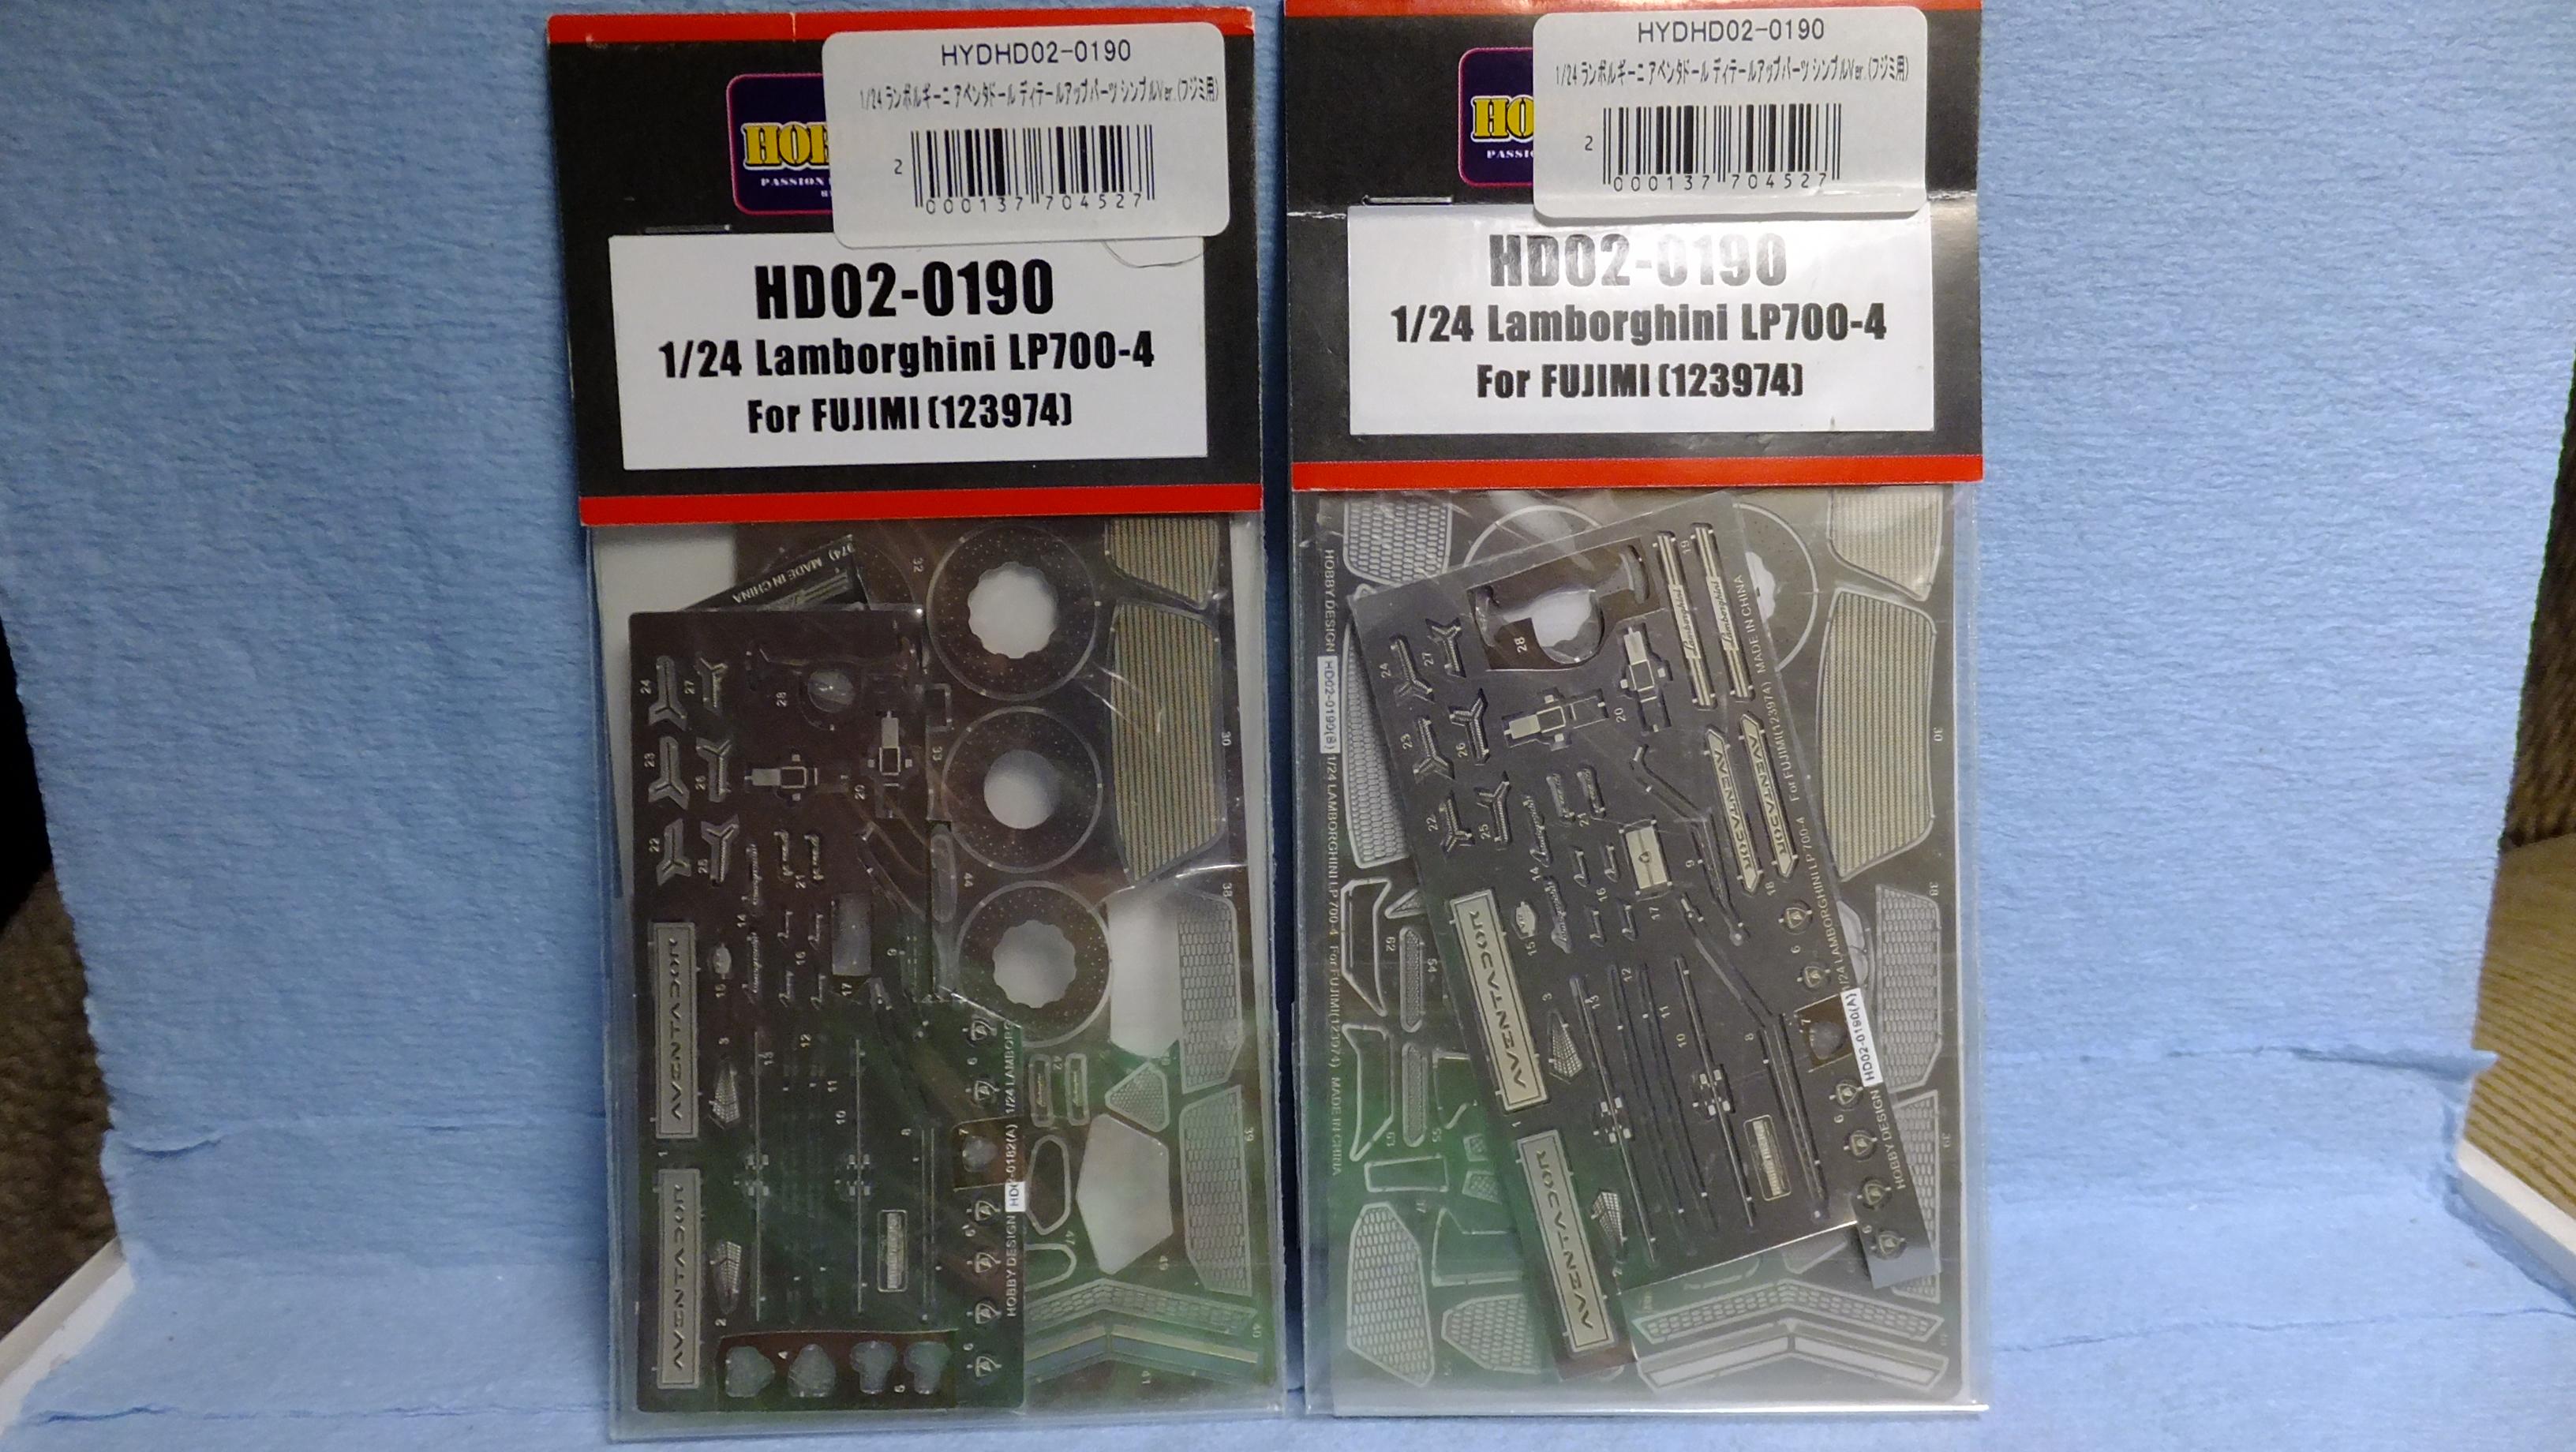
Hey, everyone! I bought this kit because i wanted to see why so many people out there still build this when there are the VERY nice Aoshima kits out there. Having built a couple of the Aoshima versions, i will go through this one, and do a mostly part-by-part direct comparison. Believe it or not, but there are some things that Fujimi did better. -Photo 2; This is how mine will look. -Photo 3-5; I think that Fujimis headlamps are detailed better...are easier to attach, but dont have a separate clear lens like Aoshimas. -Photo 6; The wavy line shows the size of the part....dont know why they did it this way....separate bits like the Aoshima kit is better. The arrows point to areas that are raised pretty decently...it will take a bit to get them level. -Photo 7; If you seat the side panel all the way in, you will end up with a large, uneven ledge, and neither the PE, or the plastic mesh bits will fit in.....so Dont seat it in all the way. Aoshima's Part is better in this aspect. -Photo 8; When this inner side vent part is attached, you will have to grind down, and fill in the seam of the area that the arrow is pointing to...it was a rather noticeable problem. Aoshimas part fit right in, with NO modifications, or unsightly seam. -Photo 9-11; These vents are actually EXCEPTIONALLY nice!! They fit in way easier than Aoshima's, and if you dont want to use PE mesh, these WILL still look totally real! Having built a couple of the Aoshima ones, and adding the PE mesh with SB details behind them, you have to look VERY hard to see through them, so its not really necessary to use the PE vents. Going by the kit parts, Fujimi wins when it comes to the detail, and fit of these vents....Aoshimas plastic vents are molded in smooth, clear plastic, and you have to apply a decal for the mesh pattern....NOT realistic in the slightest. -Photo 12; The doors, and windows in both kits are about the same, but Fujimis has deeper, more realistic door handle detail. -Photo 13; Both kits have pretty nice wipers as far as detail, and fit. -Photo 14; Both kits have decent vents, But Fujimis side vent has a separate trim piece which is nice if you dont want to mask it like you have to on the Aoshima version. The inside of the rocker vent just behind the front tyres, is a separate piece with the Fujimi kit, and is easier to attach mesh to. -Photo 15; This here is a no-brainer....Aoshima has SUPERIOR tailights by FAR!!!.....i'm not looking forward to doing these Fujimi ones....they arent good. -Photo 16; These have to be some of the nicest mirror lenses!....i usually have to strip them on ANY kit, and use chrome sticker as a replacement. Cant remember how Aoshimas were. -Photo 17; The exhaust tips in both kits are pretty close to the same, but the inside detail of the Fujimi one is a bit better....sharper. -Photo 18; This is the PE set that comes in the kit...i WONT be using it, as i'm using the plastic vents. -Photo 19; ...these are all the decals, and seat belt bits that came with the kit, and or the Hobby Design sets. -Photo 20; I basically only got these sets for a few parts.....WONT use most of them.
-
Starting a few today. The bath is the first step.
-
 I'm surprised nobody has come out with a transverse V12 engine for the Lambo Miura. Seems like all the kits have only the top, and pan of the engine. Please prove me wrong!