BBodyBlues
-
Posts
8 -
Joined
-
Last visited
BBodyBlues's Achievements
MCM Member (2/6)
-
Dodge A100 Van
BBodyBlues replied to BBodyBlues's topic in WIP: Model Trucks: Pickups, Vans, SUVs, Light Commercial
Somebody had the brilliant idea last year to get a 1:1 motor home for some quality family time. So, while I rebuilt that, this sat for a bit. I have some trinkets I picked up at a craft store that will give this a little more character. The pictures indicate where I'm taking it. Thanks for checking back in. Suggestions gladly accepted.
-
Dodge A100 Van
BBodyBlues replied to BBodyBlues's topic in WIP: Model Trucks: Pickups, Vans, SUVs, Light Commercial
For whatever reason, I can't post the link. But it's within the How-To articles of MCM's website. http://www.modelcarsmag.com/door-hinges/ -
Dodge A100 Van
BBodyBlues replied to BBodyBlues's topic in WIP: Model Trucks: Pickups, Vans, SUVs, Light Commercial
Jarius Watson provided a tutorial on how to lose your mind create the type of hinges I need on this van. 2 down, 10 more to go.
-
Dodge A100 Van
BBodyBlues replied to BBodyBlues's topic in WIP: Model Trucks: Pickups, Vans, SUVs, Light Commercial
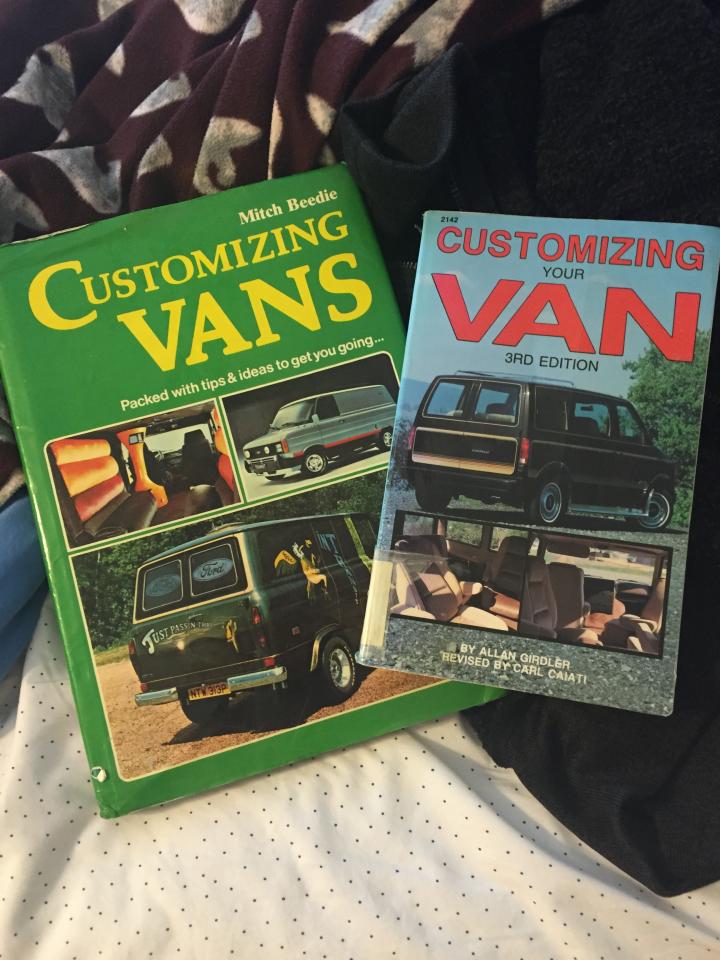
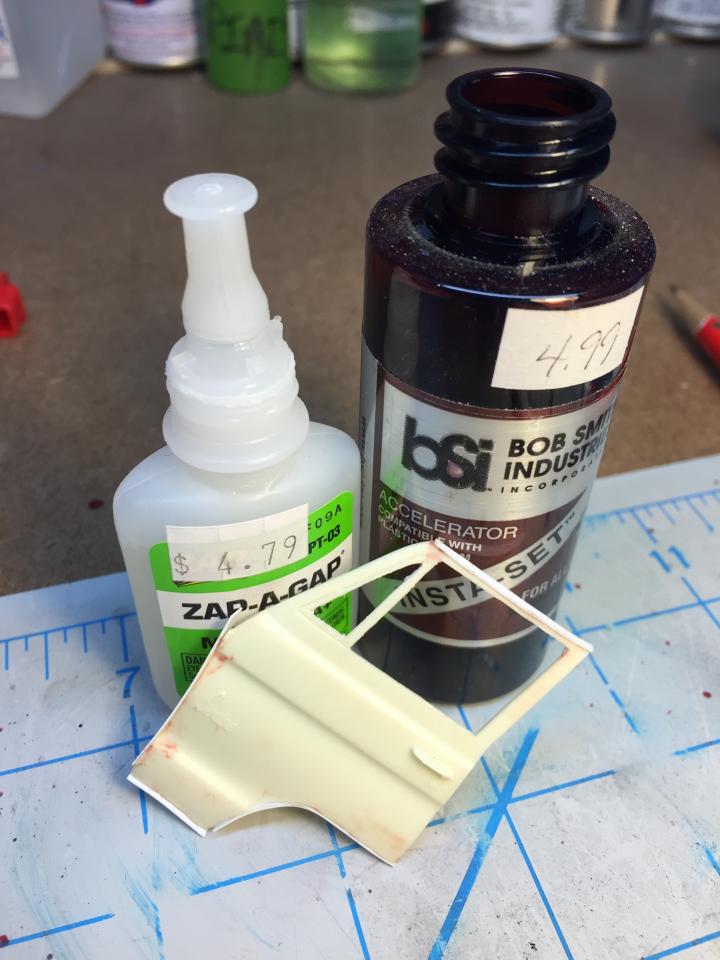
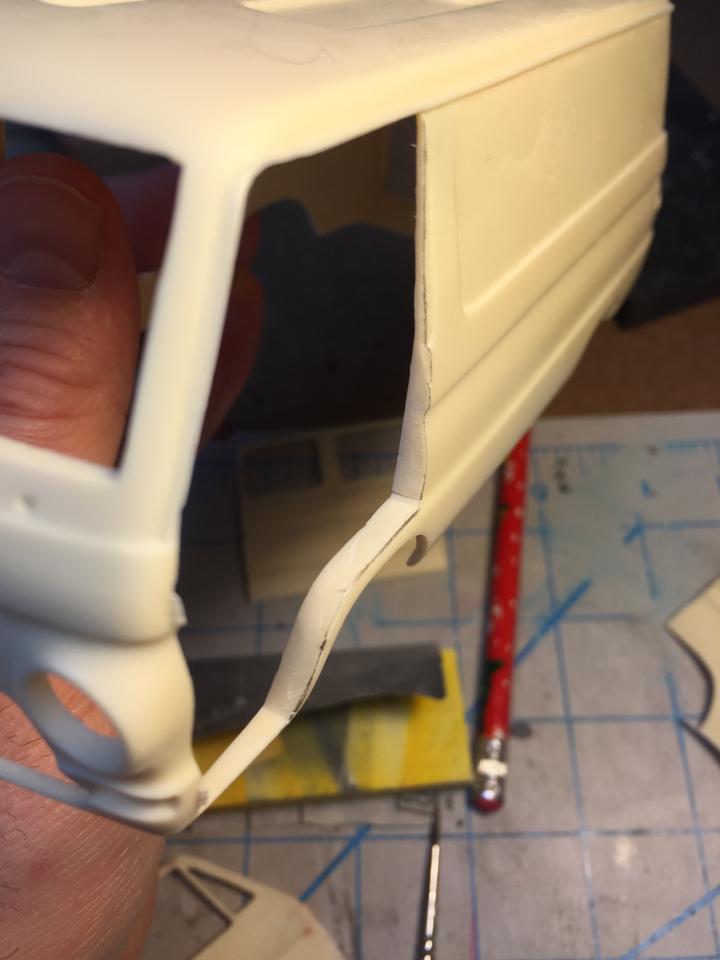
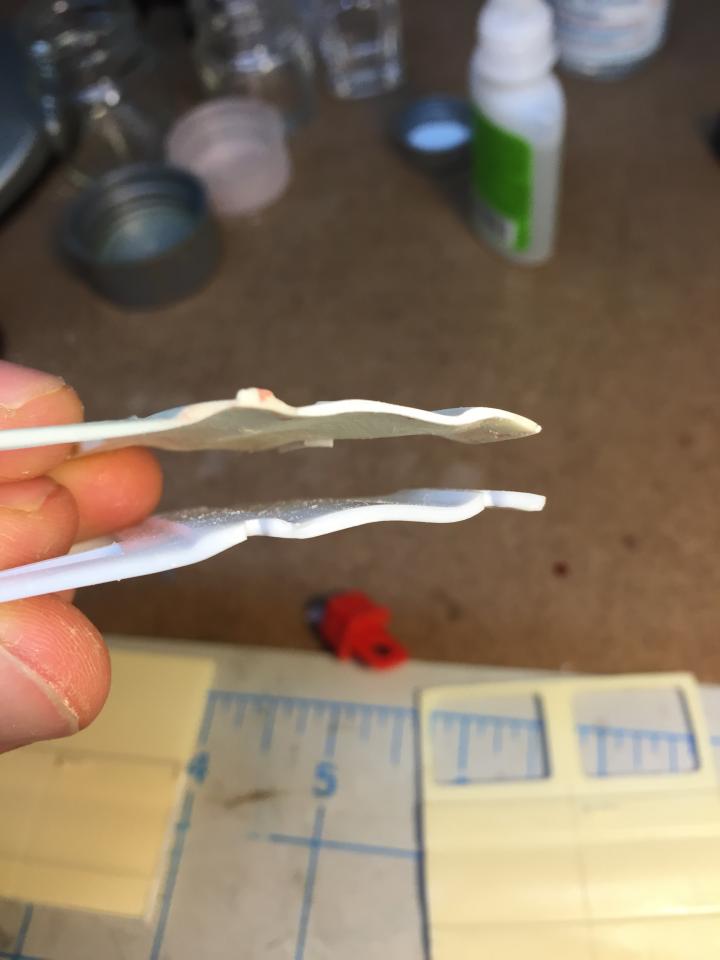
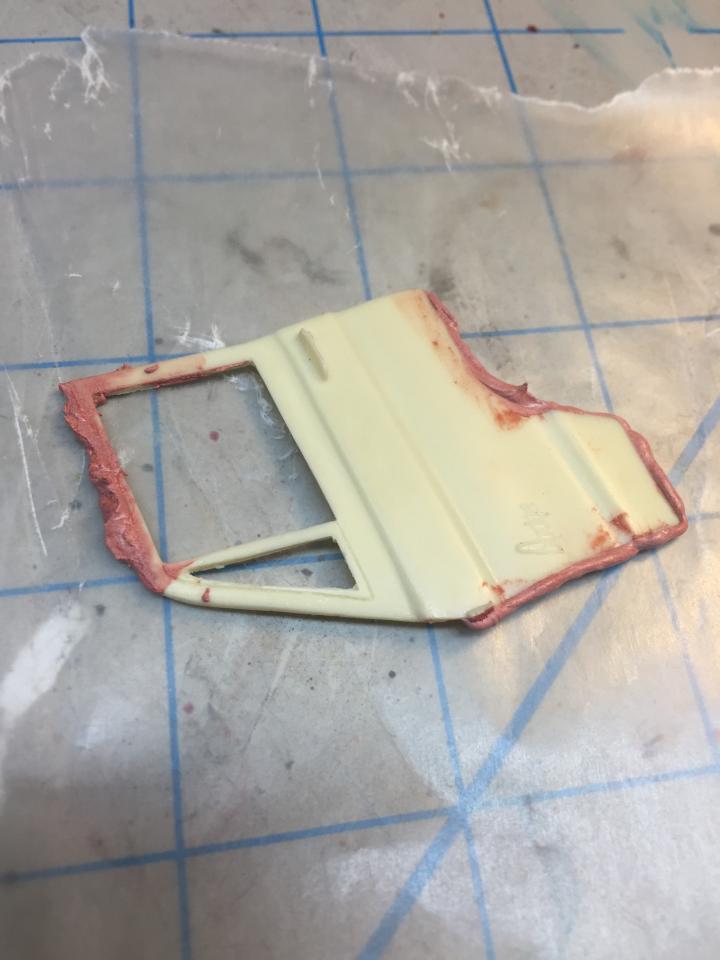
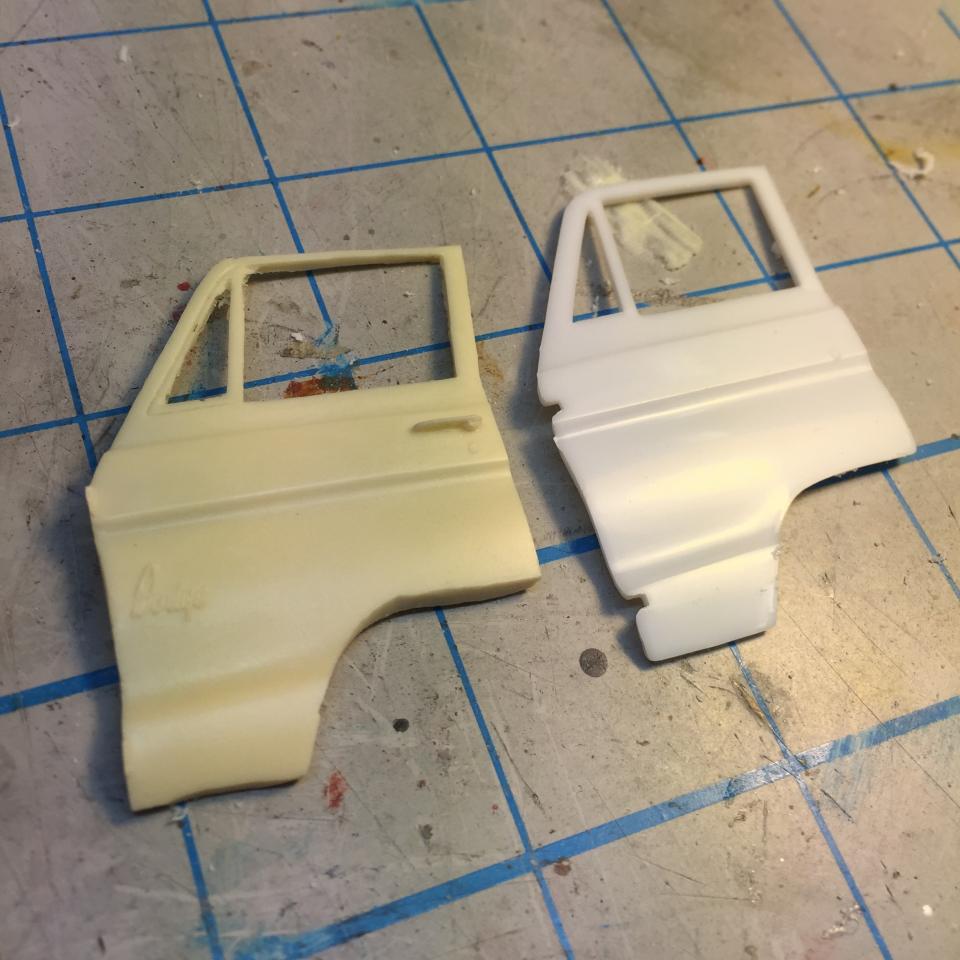
Thanks for the feedback. It's much appreciated. Mopar-D - I haven't decided on a color yet. I think it will be dictated by what images I can get for the outside of the van. Right now it might be black or white. Foxer - Thanks for the hinge advice. I'm going to try to use the resin doors since they have the stock Dodge script. I have a rough idea of what I want to do, along a similar line to what you did. And yes, I saw your build you started in 2011. I won't feel rushed. Nitrozilla - I'll look for that PE guy in Canada, thanks. He could come in handy. rsxse240 - Actually, the glazing putty was the 2-part stuff, and it came right off. I have aspirations of sculpting some parts, not necessarily for this build, so I'll keep the Tamiya putty in mind (I was thinking Sculpy, the kind the military modelers use). crowe-t - I've had so-so luck with CA glue, including a couple of early ideas on this body, but I did what you suggested. And I think it works! See the images below. Medium CA with an accelerator applied. More CA to fill the gaps. And it stood up to shaping and sanding! Tom - I've seen your build & it looks great. This being a resin body, I expected and encountered areas of more and less thickness. The front doors were the hardest around the wheel well, it being curved and having a lot of over-flow resin from the extra plastic used to cover the gap to the chassis. Aside from that, once I poked a hole, I could then switch to a #11 saw blade and carefully finish the line. I bet a PE blade and some patience would work wonders. The thickness in the door panel itself was taken care of by scraping away the unnecessary resin a little bit at a time and matching up the kit interior door panel as a guide. It's close, and I'll likely need to fill the gaps with something later. You are correct in that replicating those nice hinges in a reasonable scale will be a trick. I really want to build out the interior of this van. Being in my early 40's, I wasn't really conscious in the late 70's and early 80's of anything outside of my Matchboxes and Hot Wheels. So I went on line and picked up a couple of reference materials. Neither book has a dedicated chapter on the subject, but apparently, judging by the photographs and illustrations, a bikini-clad woman is an essential accessory.
-
Dodge A100 Van
BBodyBlues replied to BBodyBlues's topic in WIP: Model Trucks: Pickups, Vans, SUVs, Light Commercial
Thanks for the replies. Just to set expectations - my last model took me about 2 years to complete. This may take a while. I've seen several vans, and A100 builds in particular, on this site, so I'll be mining for tips as I go. If you see me doing something and you have another way of doing it, I'd appreciate the feedback. I'm going to try to keep the hinges in scale by trying flat stock brass or aluminum (cut from a can). The trick, I think, will come in being able to cut the material with scissors but have it strong enough to withstand some movement. Here's some Bondo glazing putty, hopefully setting up properly.
-
Dodge A100 Van
BBodyBlues posted a topic in WIP: Model Trucks: Pickups, Vans, SUVs, Light Commercial
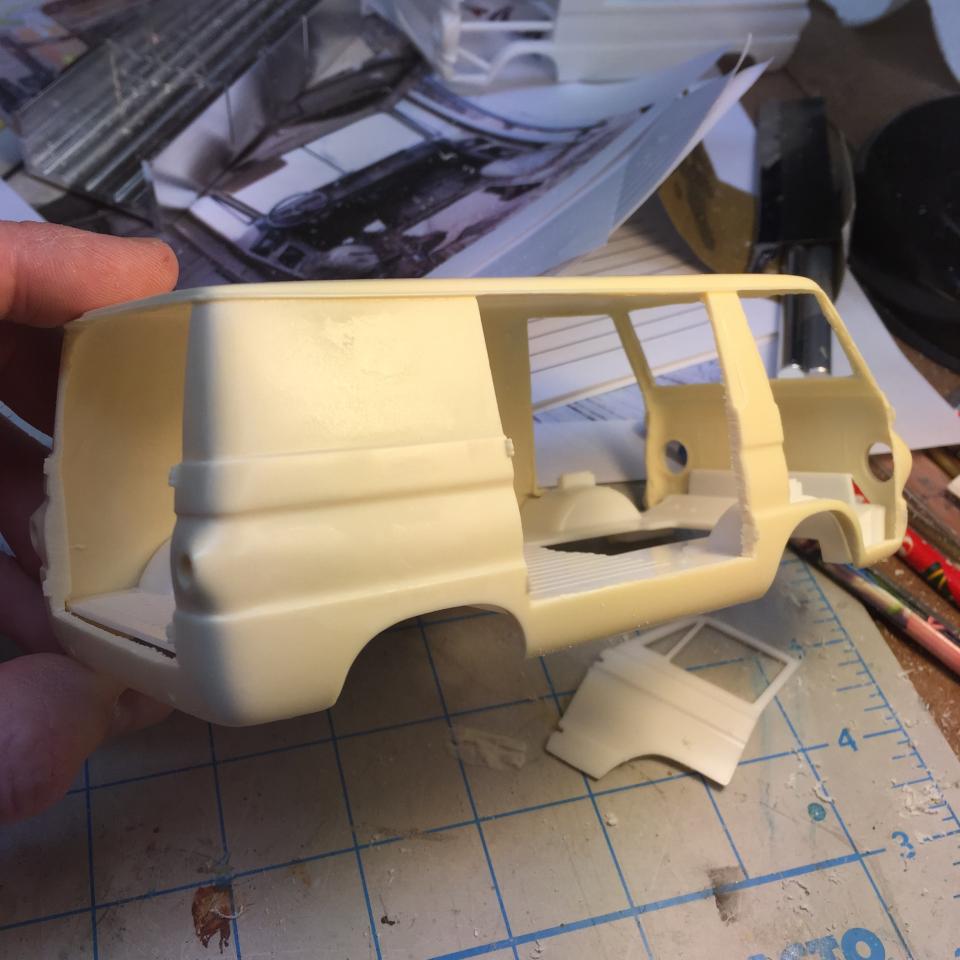
First time trying a resin body. I don't know of any other manufacturer, so I think it's a Jimmy Flintstone. I'm opening it all up, so the first challenge will be to correct the gaps in the doors. Closing the gaps in styrene plastic is easy: simply cement on additional plastic and shape. With resin, I'm a little leery of gobbing on 5-minute epoxy as a filler. I've had that stuff easily separate from the styrene. If I mixed my own resin, could that be used as a filler? Bondo? I'd like to use the resin doors, since they have the Dodge script. Is anyone aware of a photo-etch set that would provide this script? Chris
-
If you wrote a book on this model, explaining each technique, I would buy it in a heartbeat. As it is, I'll be combing through and pulling all your explanations. I'm glad I caught it at this time so I didn't have to wait for the progress you've made. Fantastic.
-
Dig it. Keep it up!
.JPG.2212a5a1108511488d88d74eeef662ea.JPG)
.JPG.6929732215939b2ccee0b2f42cab37c4.JPG)
.JPG.130818da2480261fc5952608174b7e89.JPG)
.JPG.4199107a82ff71ba896c90d9dbe32cde.JPG)