MODELOESPECIAL
-
Posts
33 -
Joined
-
Last visited
Content Type
Profiles
Forums
Events
Gallery
Everything posted by MODELOESPECIAL
-
?? Thanks budd
-
thanks, I'll take in mind sanding my primer smoother than a babies bottom
-
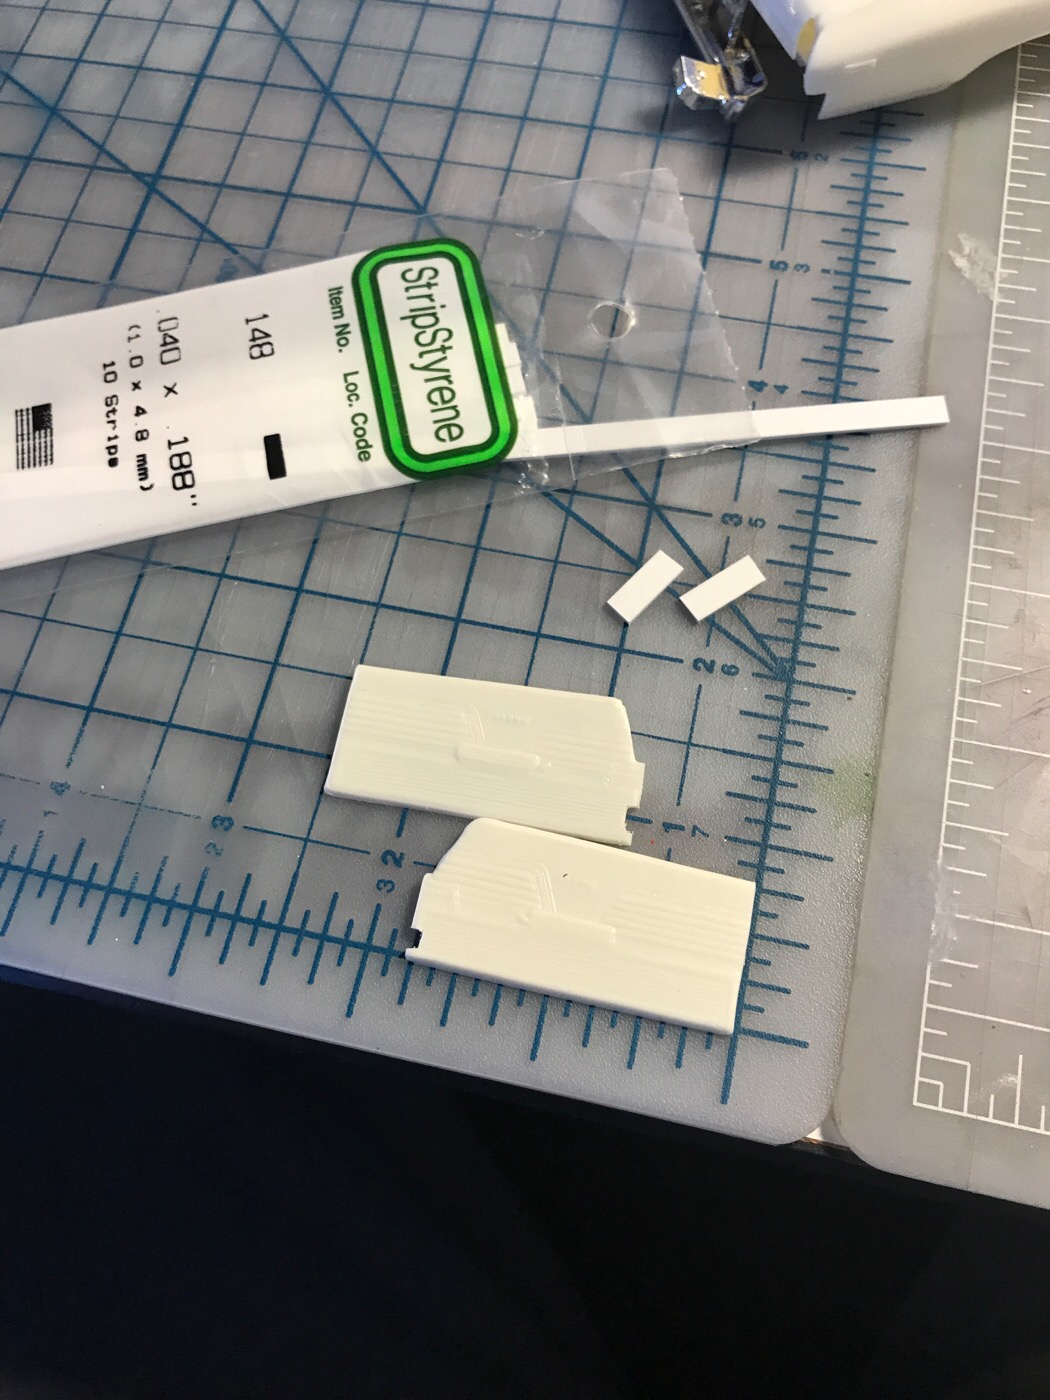
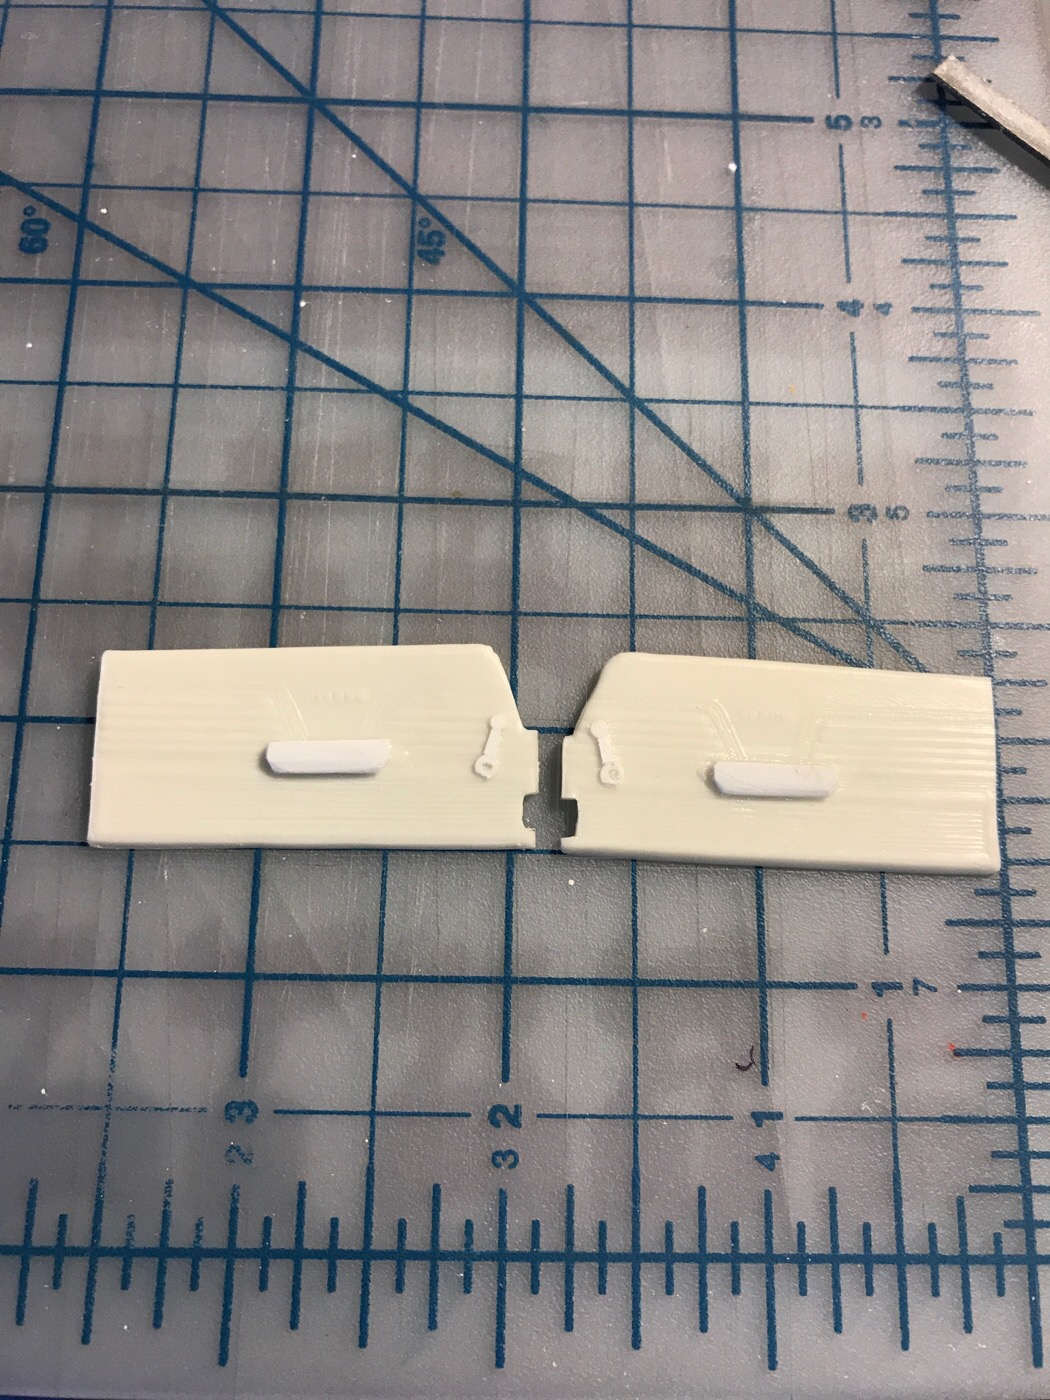
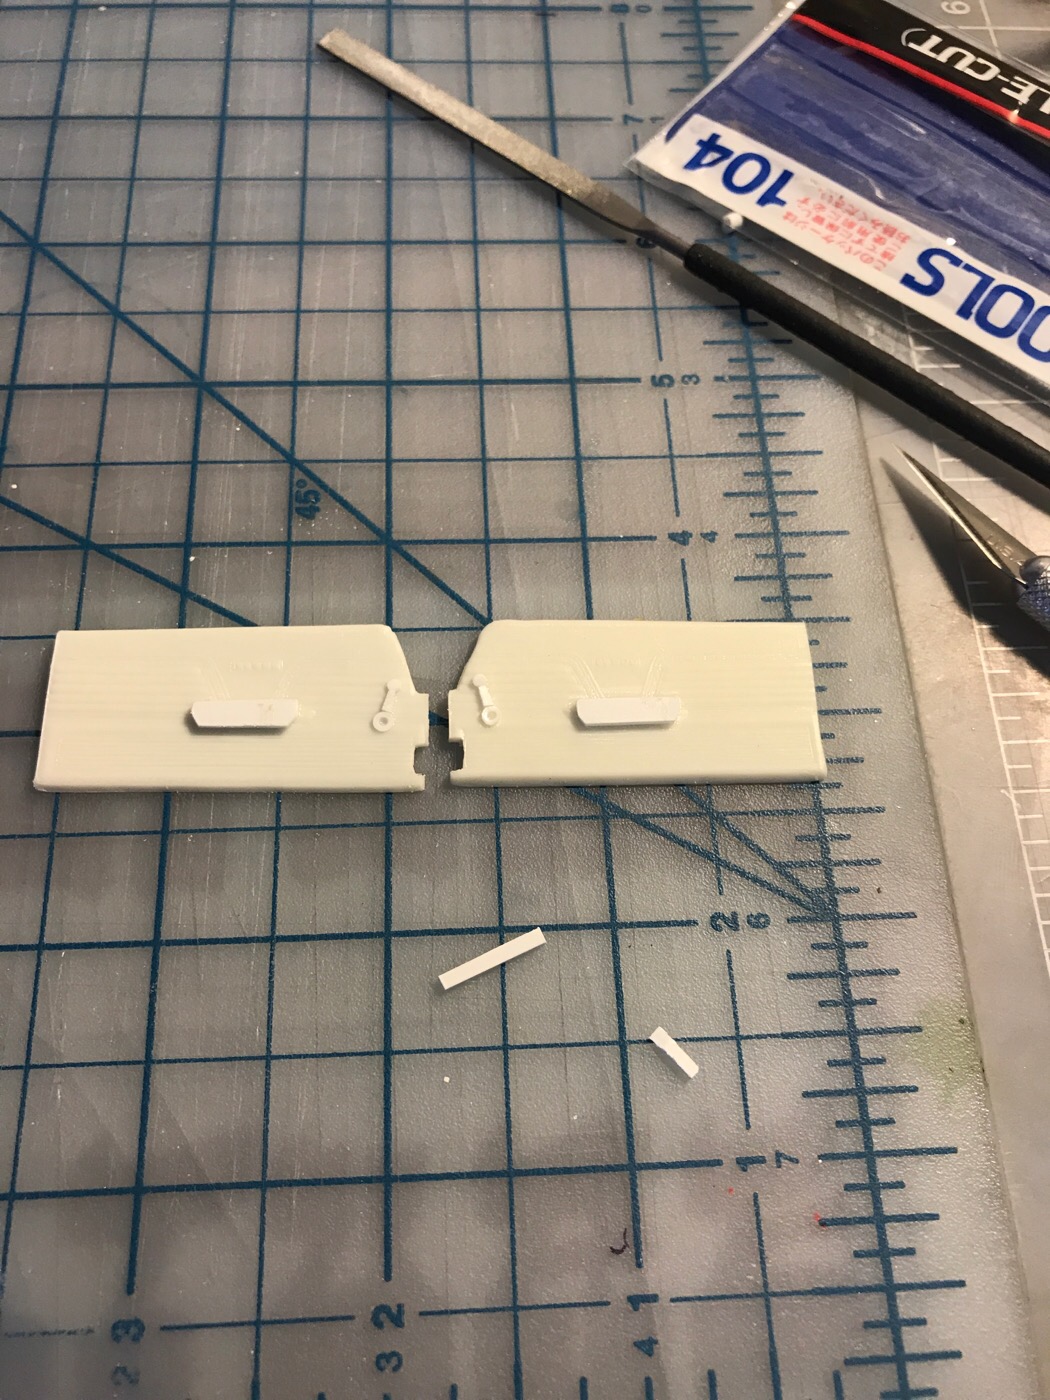
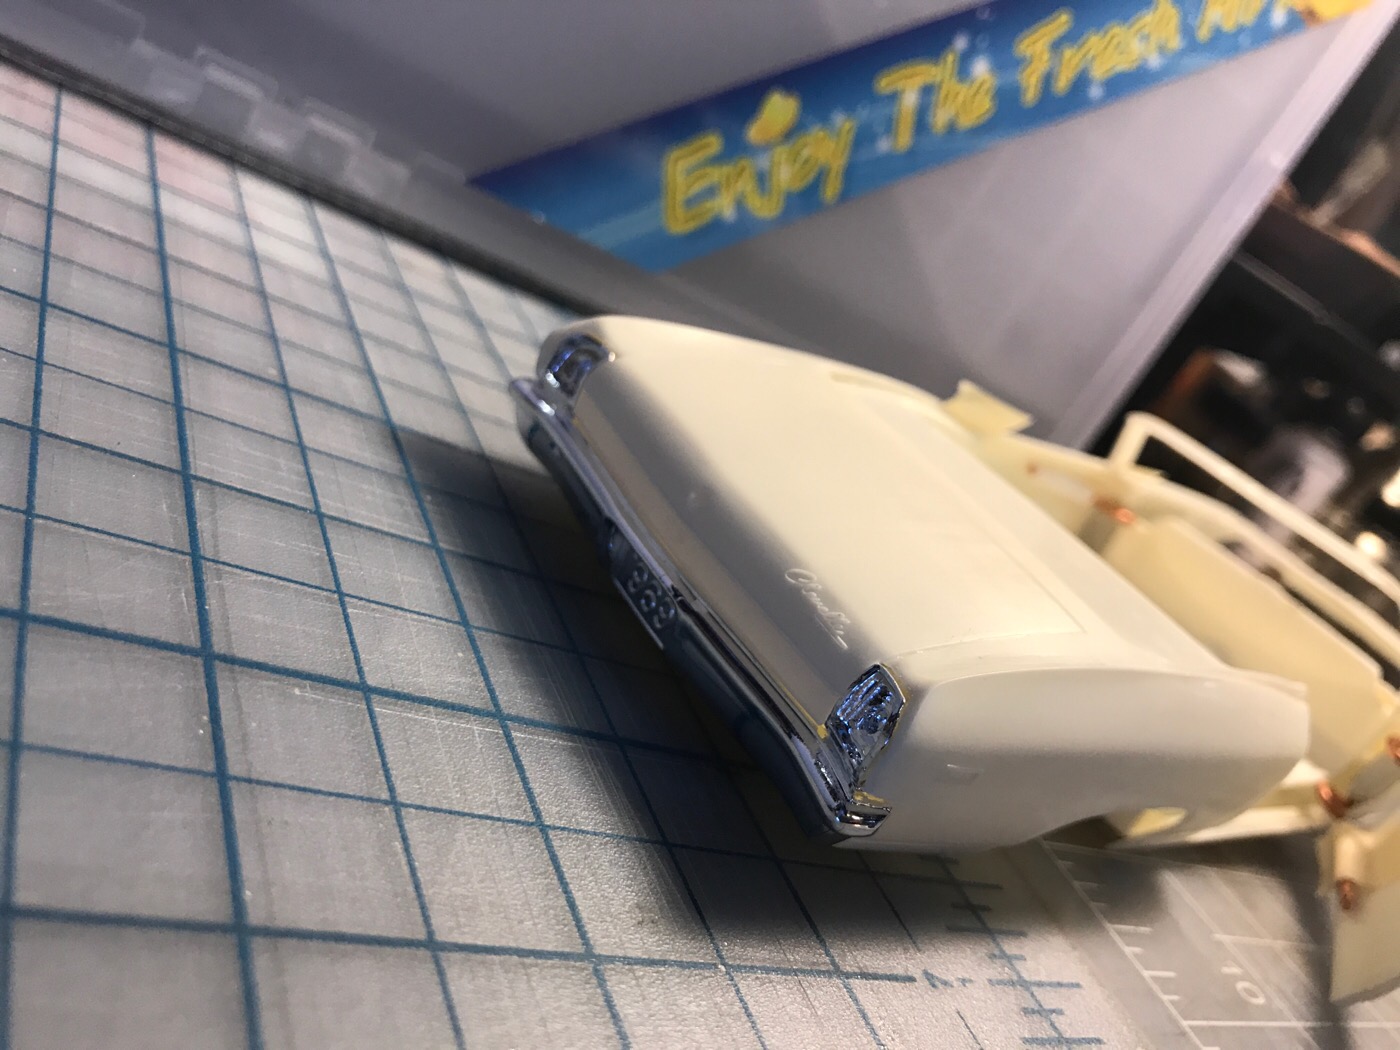
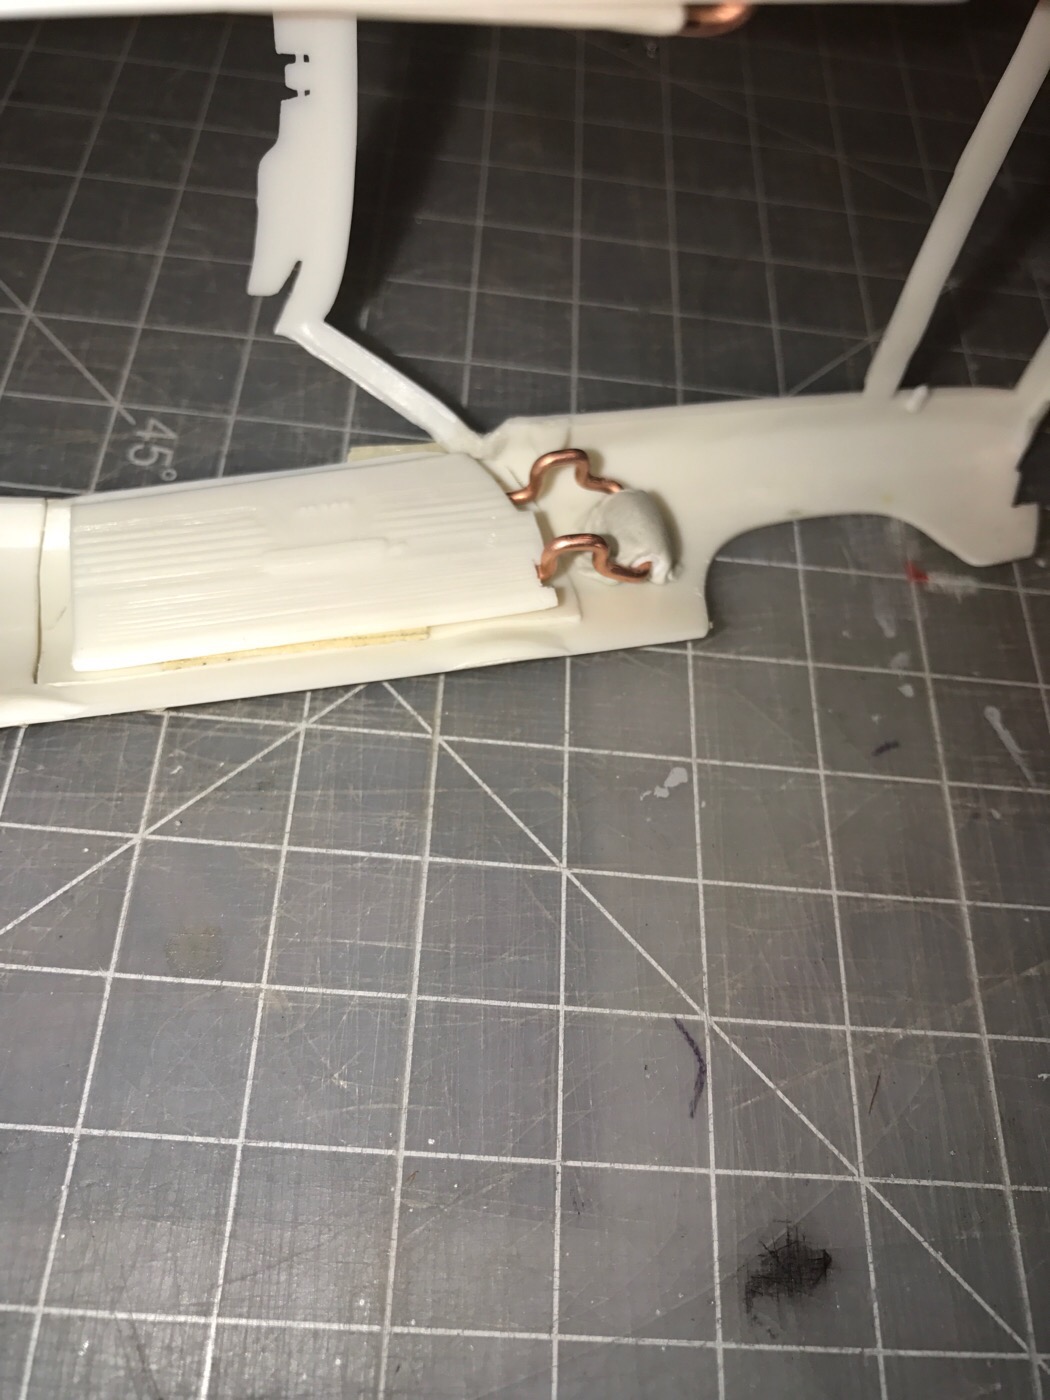
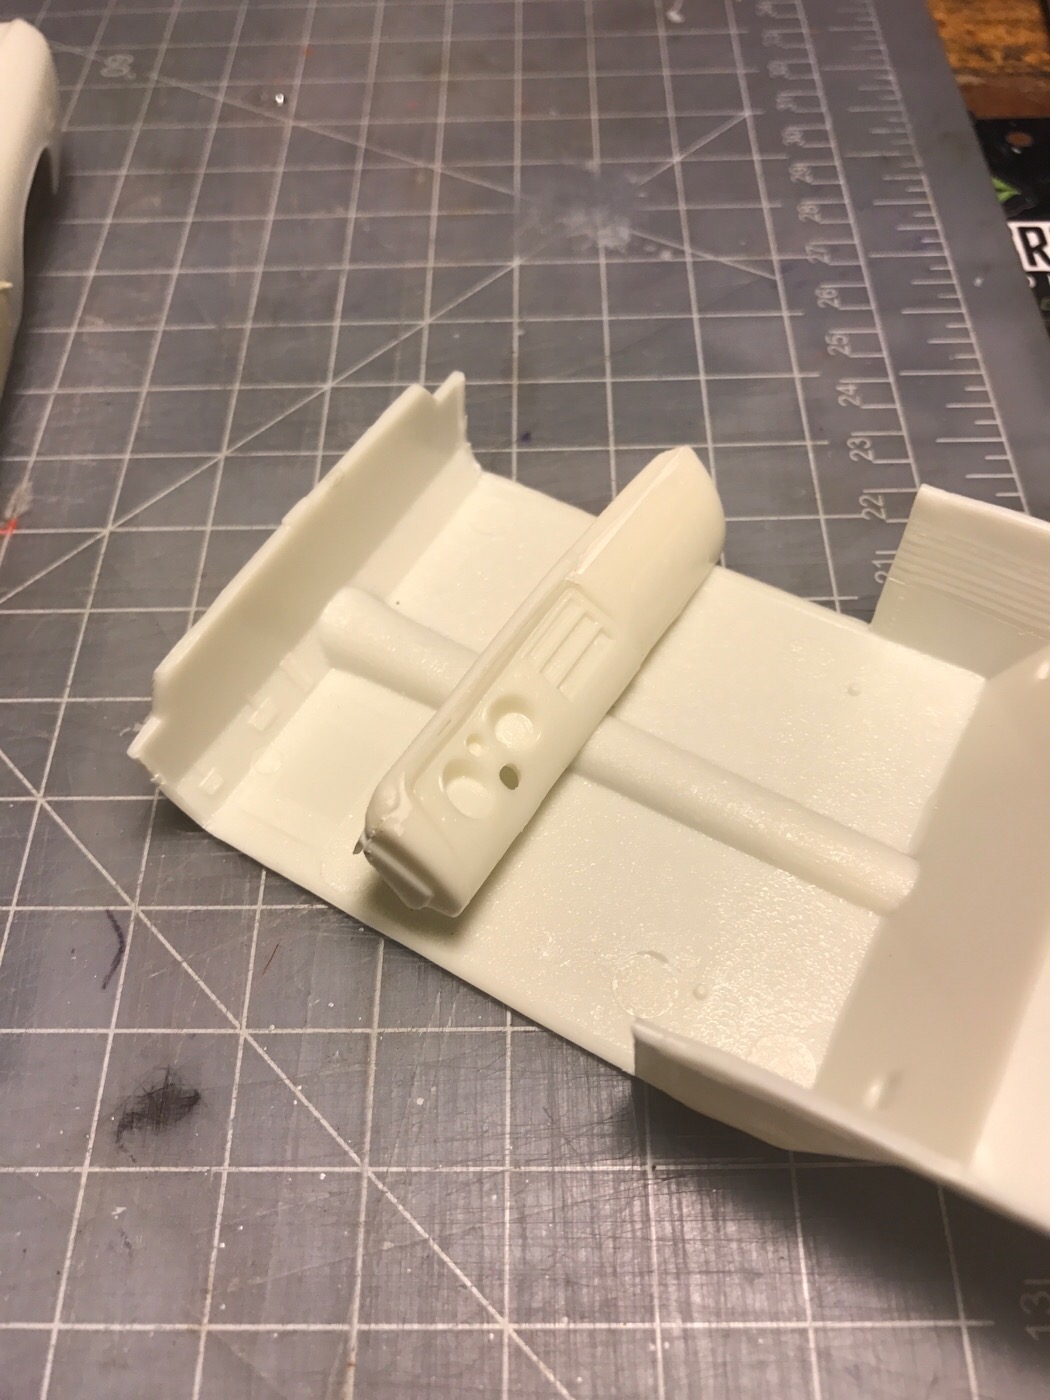
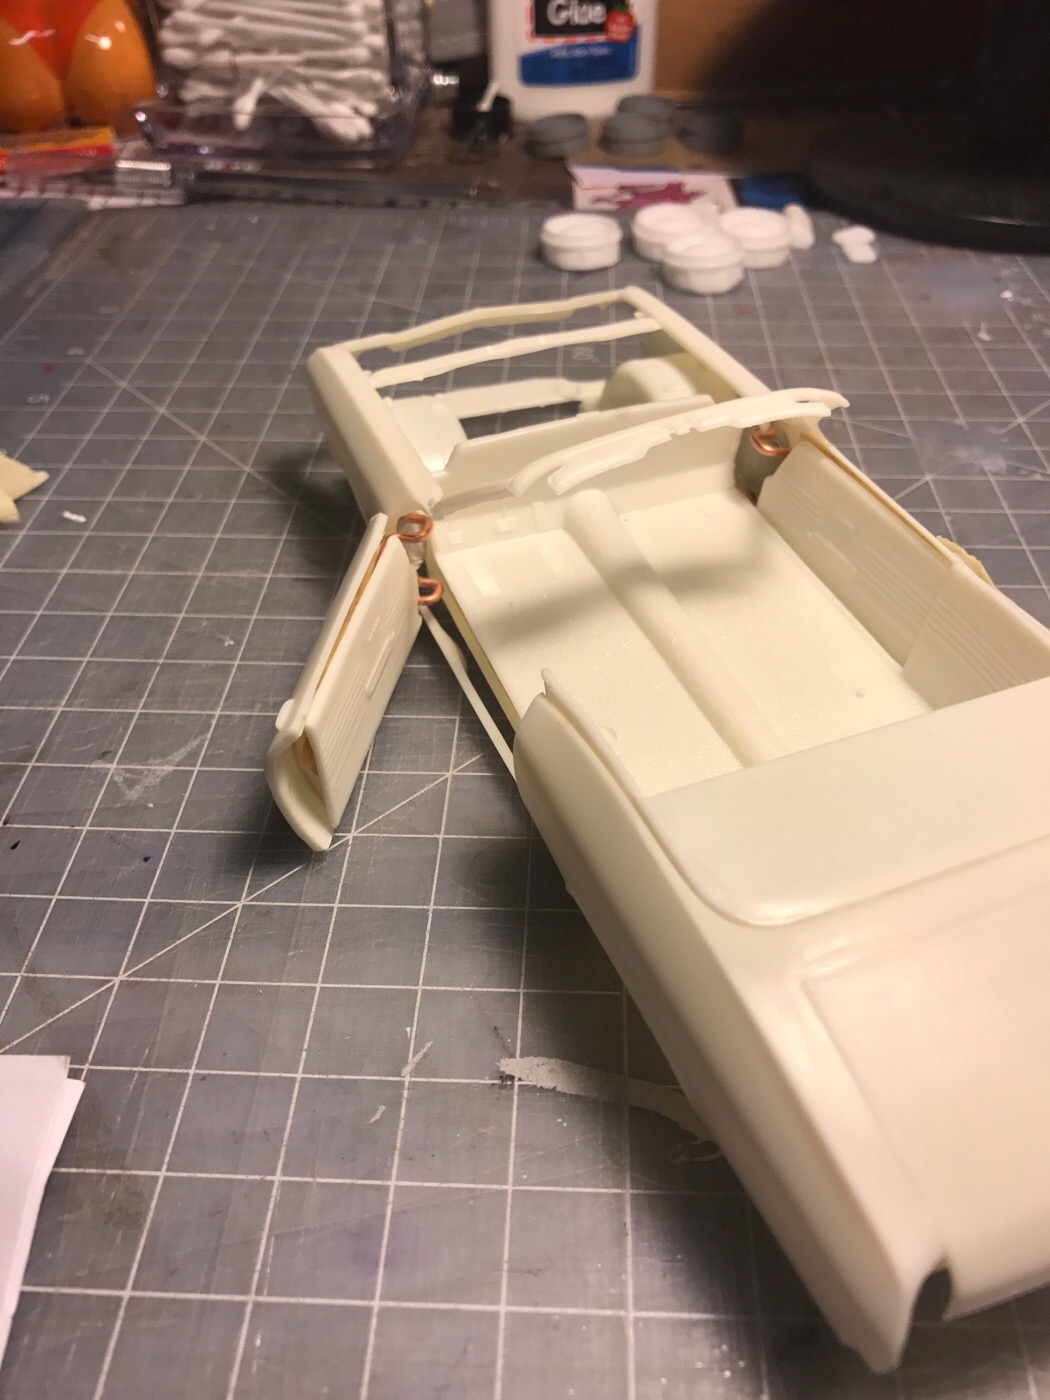
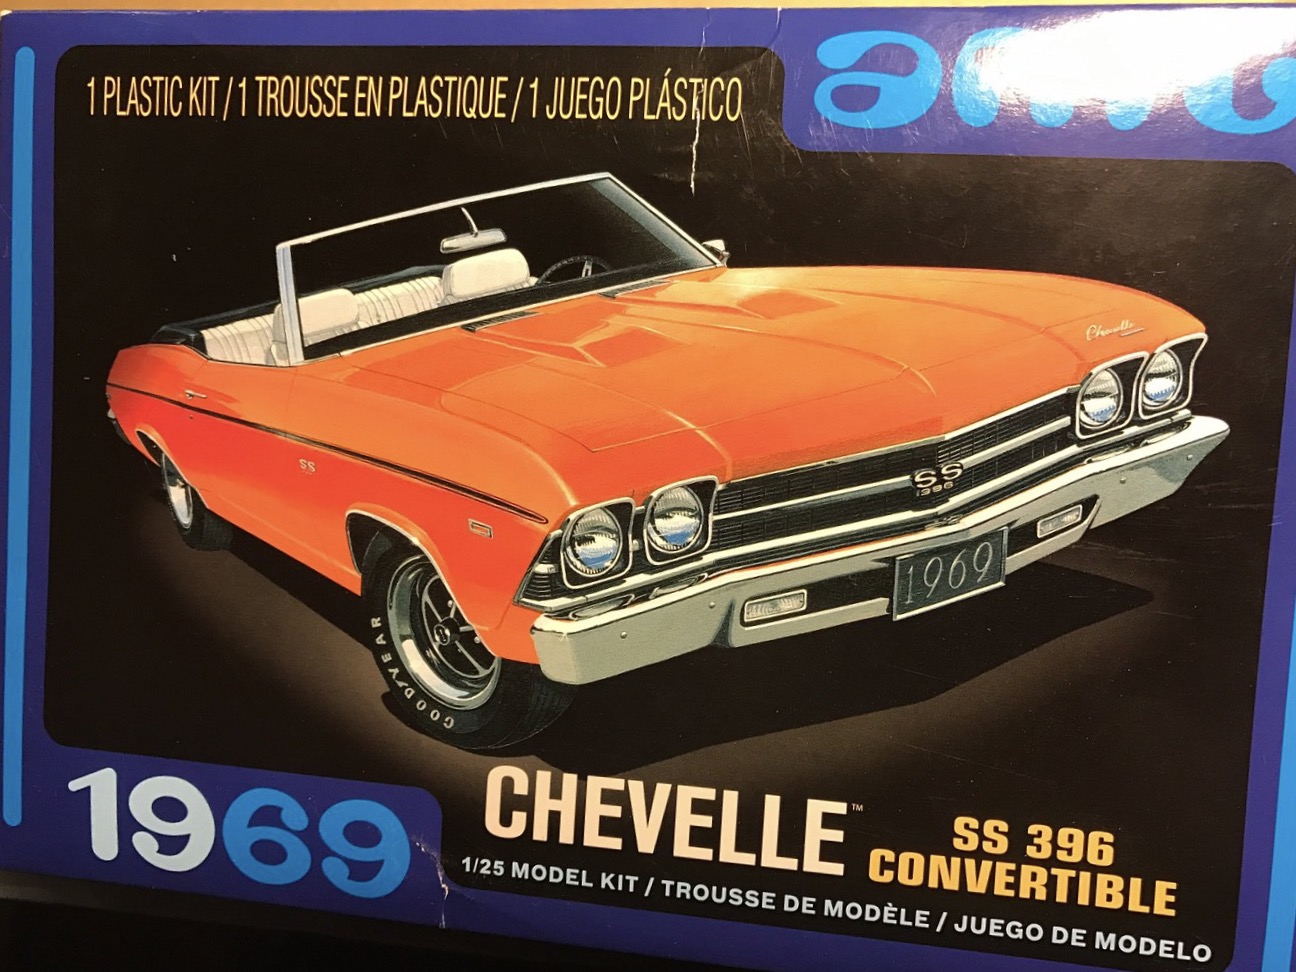
So I had some time to build and I hate how this model is a convertible but has a poorly detailed interior, so I scratch build new armrests and manual window cranks, I also received the correct bumper and taillights for the 69 SS, I got home today and planned on finishing the final details in the interior and get it ready for primer n paint, but I got home and the whole block didn't have power since 2pm! So the light didn't come back until 12am hopefully I have a chance to do more work tomorow

-
Awesome thanks! I'll post some pictures when I get a chance to test them
-
Hello I hear using testors metalizer (not sure if buffing or non) as a base coat for metallic paint is the way to go, just want to know before i begin to layer my model
-
This is gonna be one interesting build budd!
-
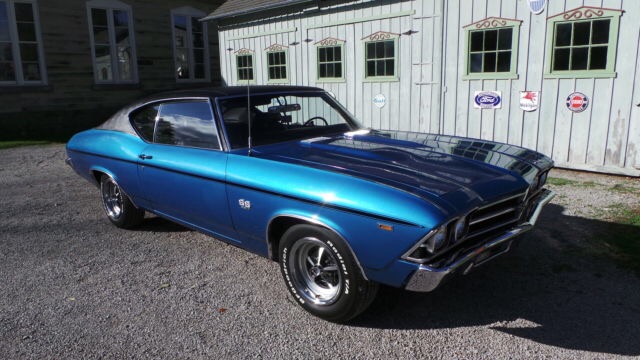
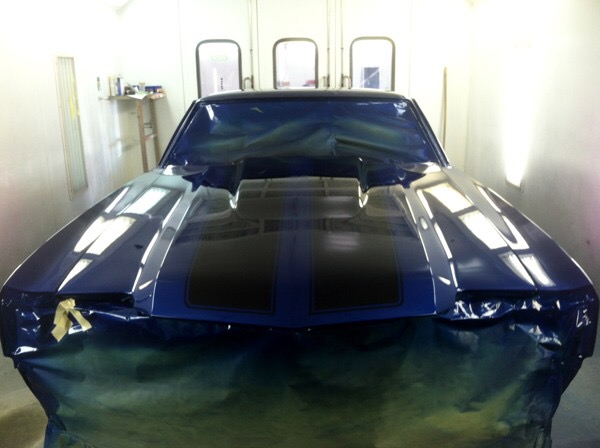
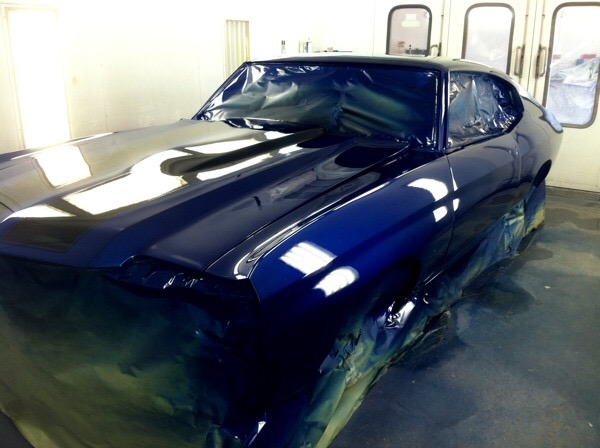
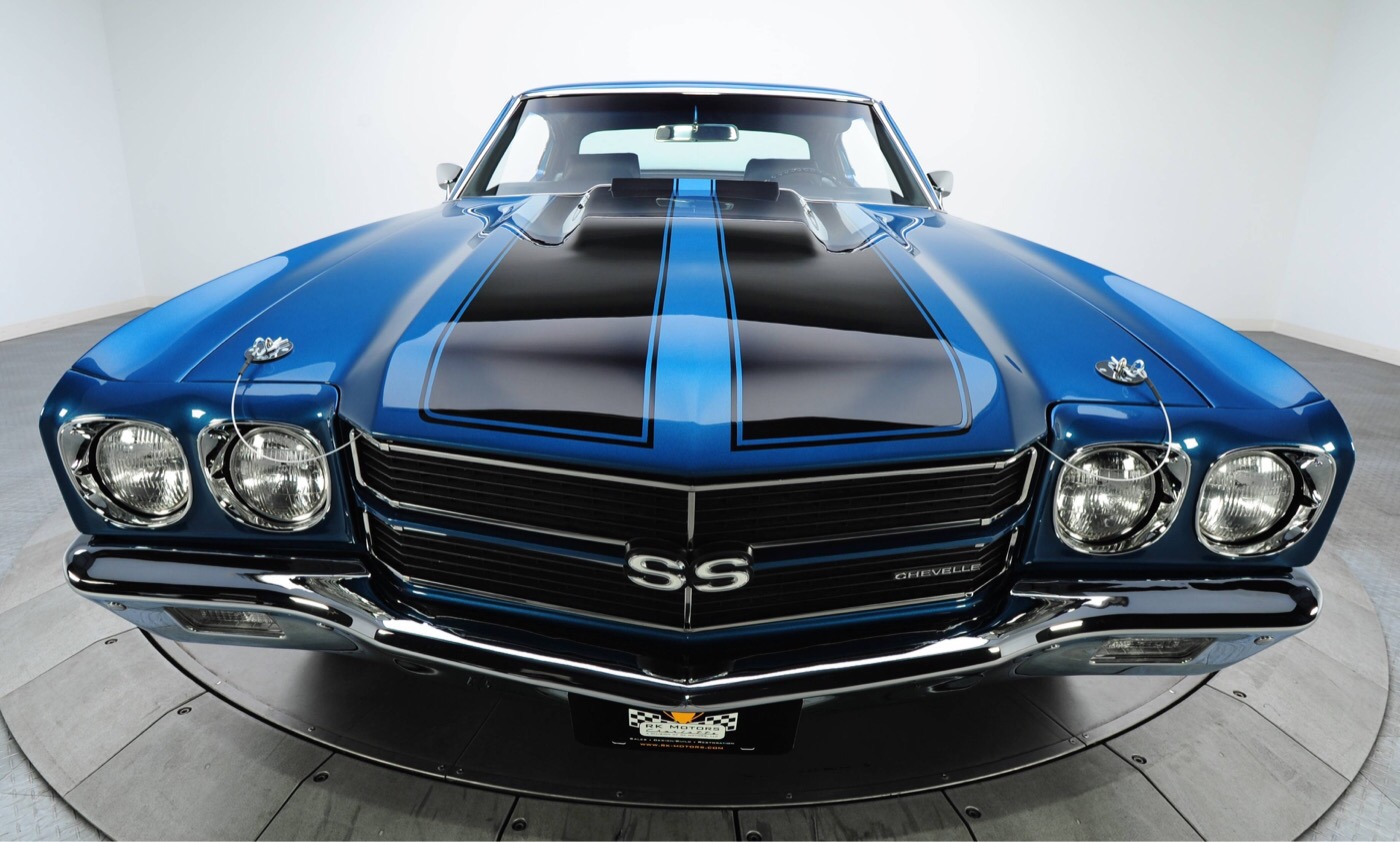
I'm not sure I want to paint this build the original orange, I was thinking Lemans blue. Maybe painting it with a silver base and lightly going over with the blue... (the two middle pics are alittle dark but maybe the silver base coat will make it a bit brighter.)
-
Ron thank you for this helpful comment! I just ordered the correct bumper and taillights for my '69 SS396 from Missing Link Resin!
-
RTV custom made mold speakers
MODELOESPECIAL replied to MODELOESPECIAL's topic in General Automotive Talk (Trucks and Cars)
Thank you, I know this was my first cast, I cut the flash RTV around the pedal mold (I got the gas pedal from a revell 1957 bell air kit) so the second cast should be good, I'll post pictures when I do the next cast! -
RTV custom made mold speakers
MODELOESPECIAL replied to MODELOESPECIAL's topic in General Automotive Talk (Trucks and Cars)
Thanks! I used Frekote 1711 (which is what we use at work with the RTV as a mold release) lightly sprayed the mold and heated the mold under a heat lamp for about 7 minutes. -
RTV custom made mold speakers
MODELOESPECIAL replied to MODELOESPECIAL's topic in General Automotive Talk (Trucks and Cars)
Thanks! Yea it is, I'm gonna try making some tires. I have some nice rims I got with a revell donk kit but don't have extra wheels so I'm gonna attempt to do a two piece mold -
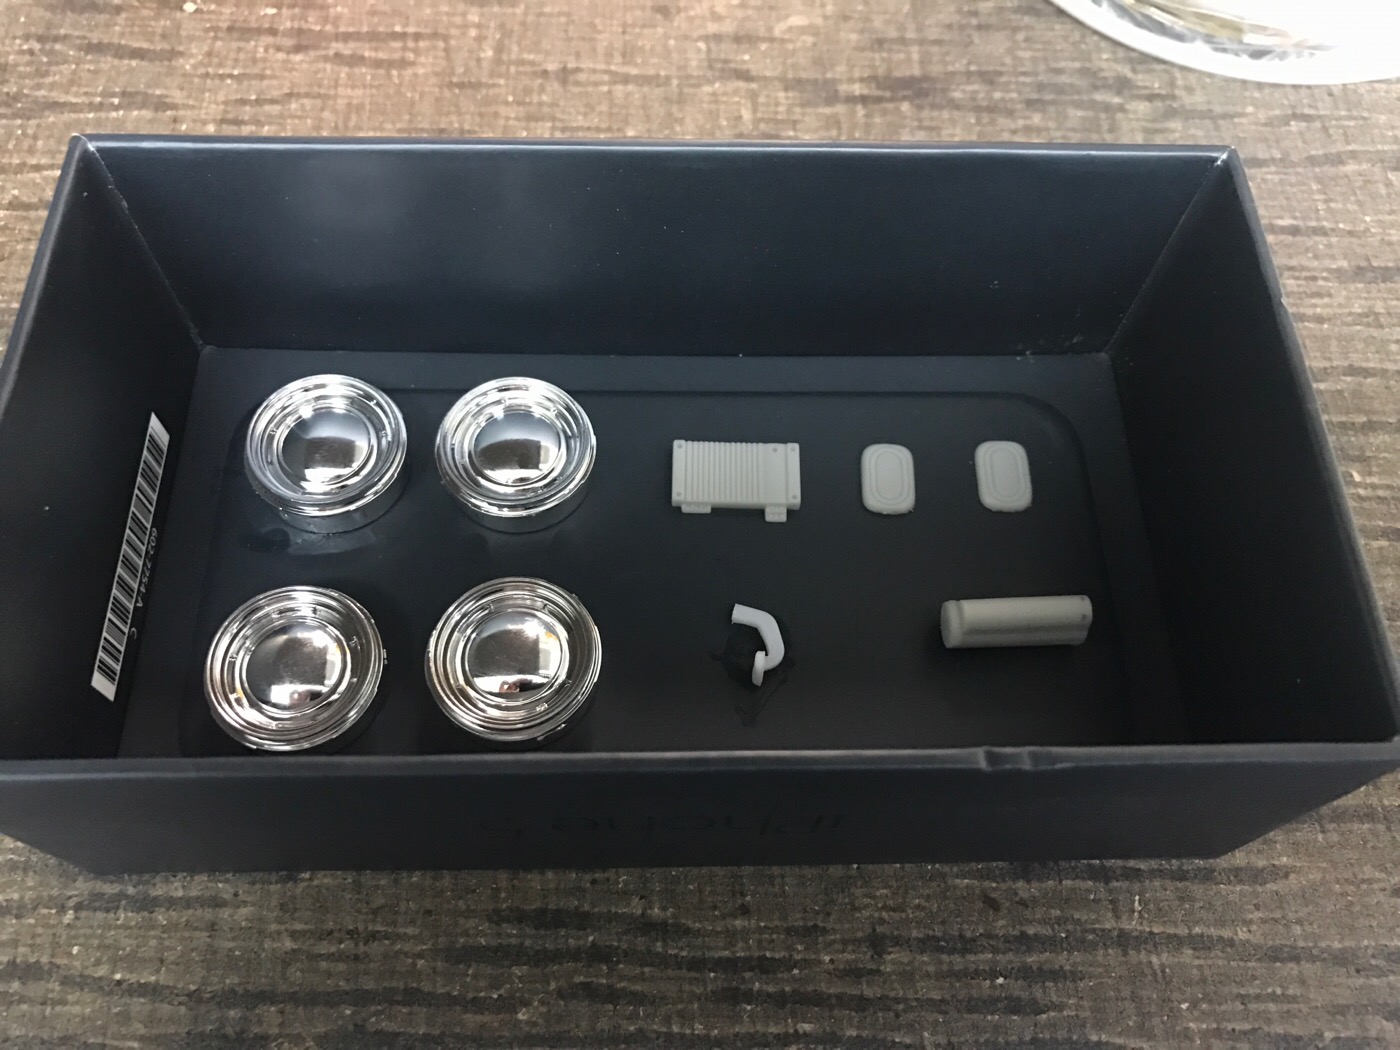
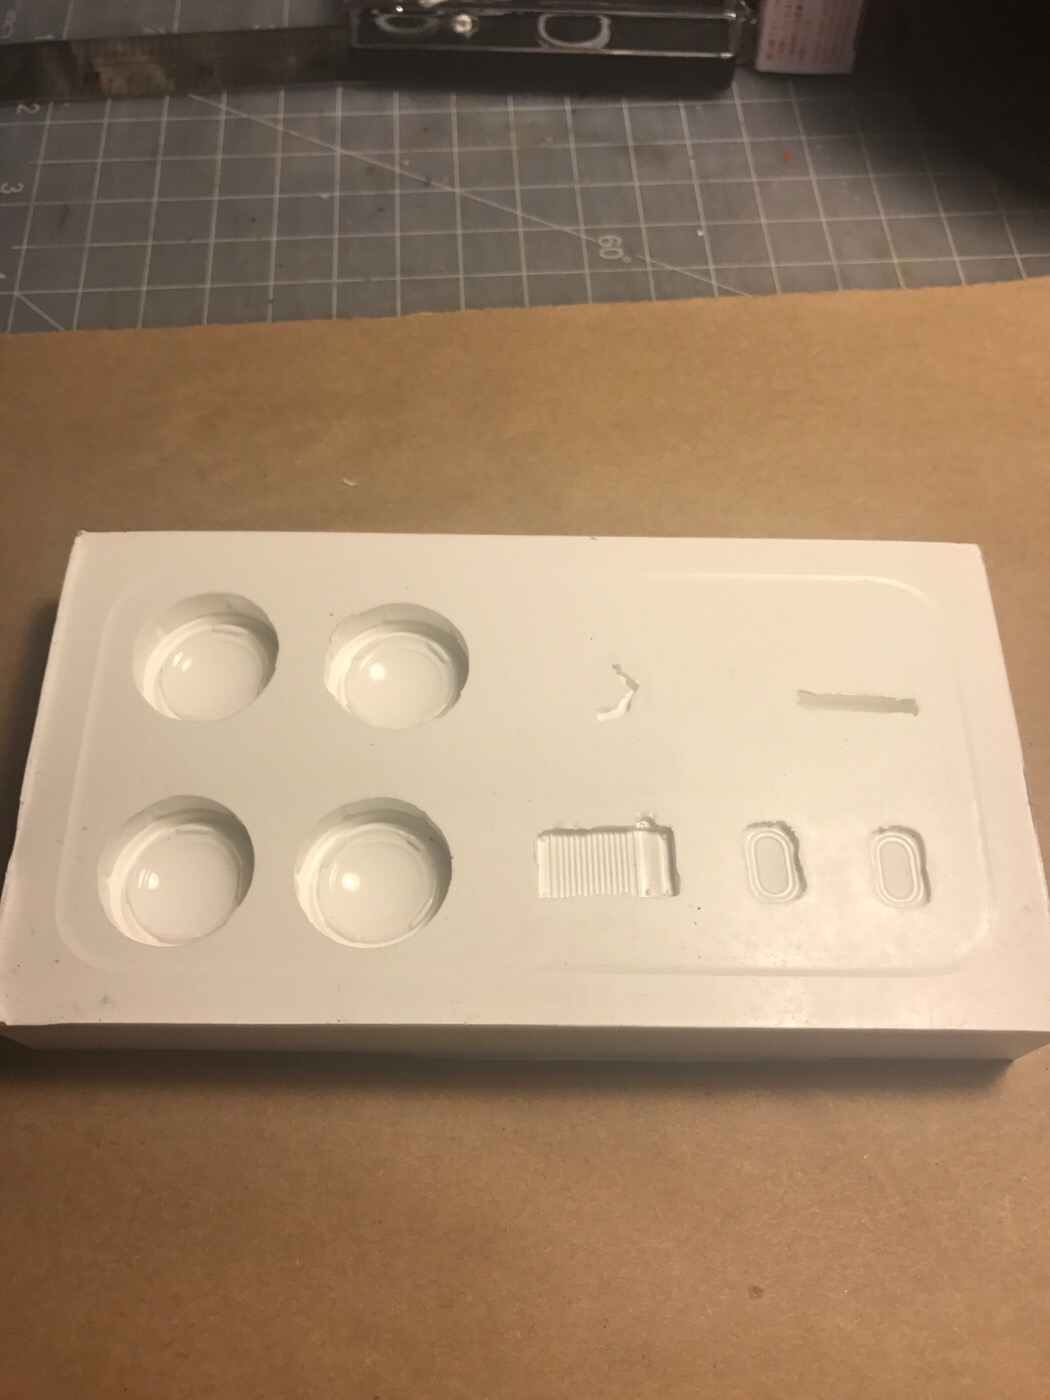
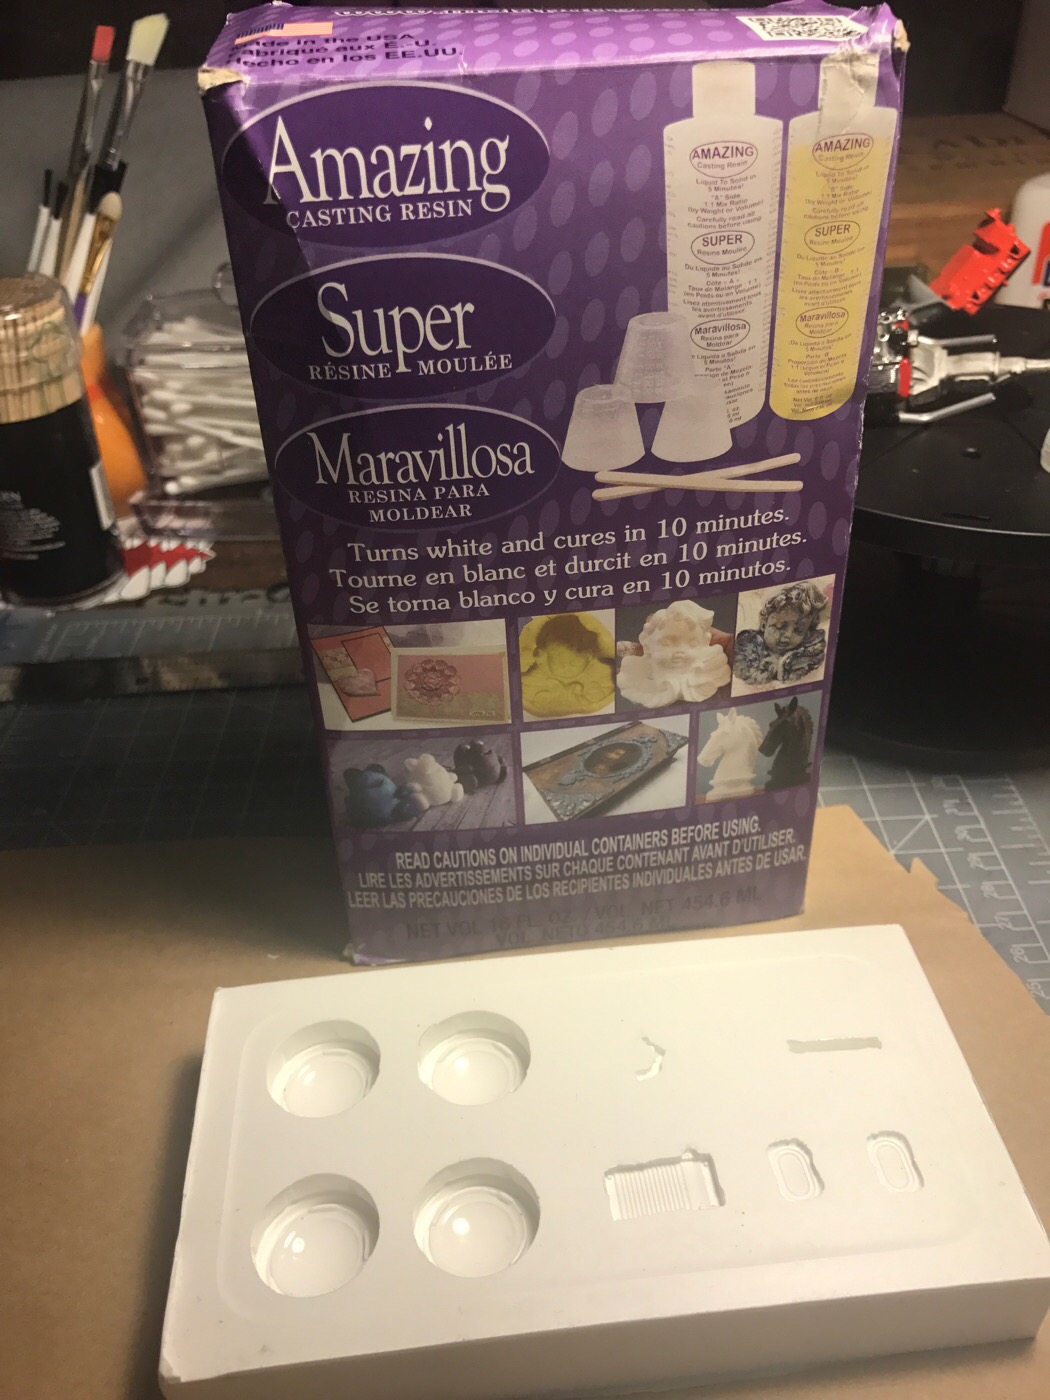
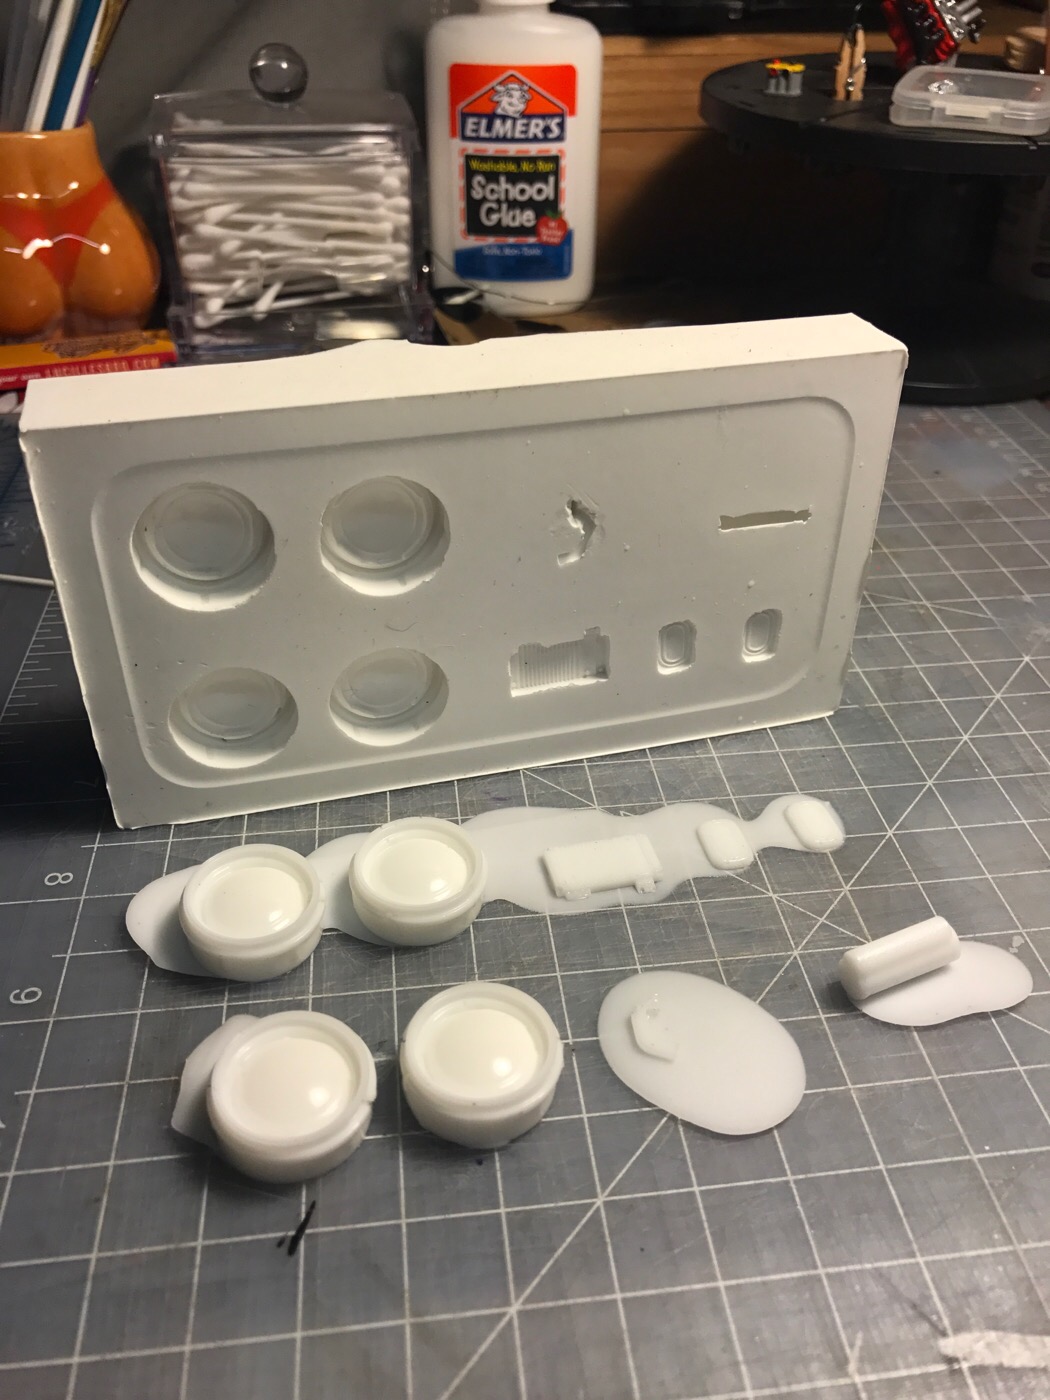
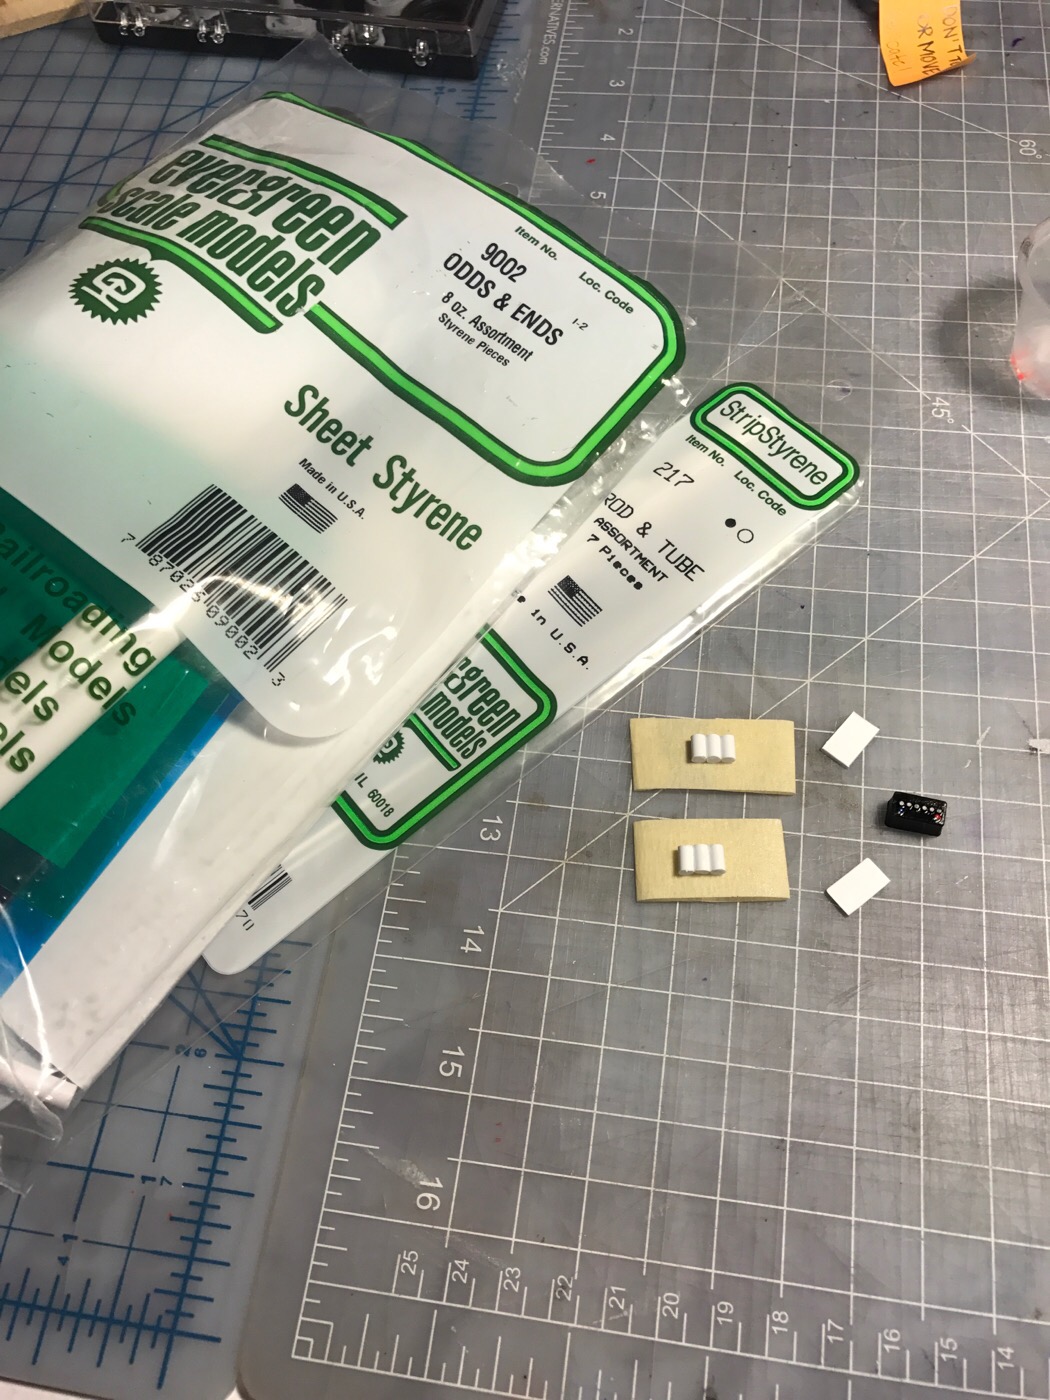
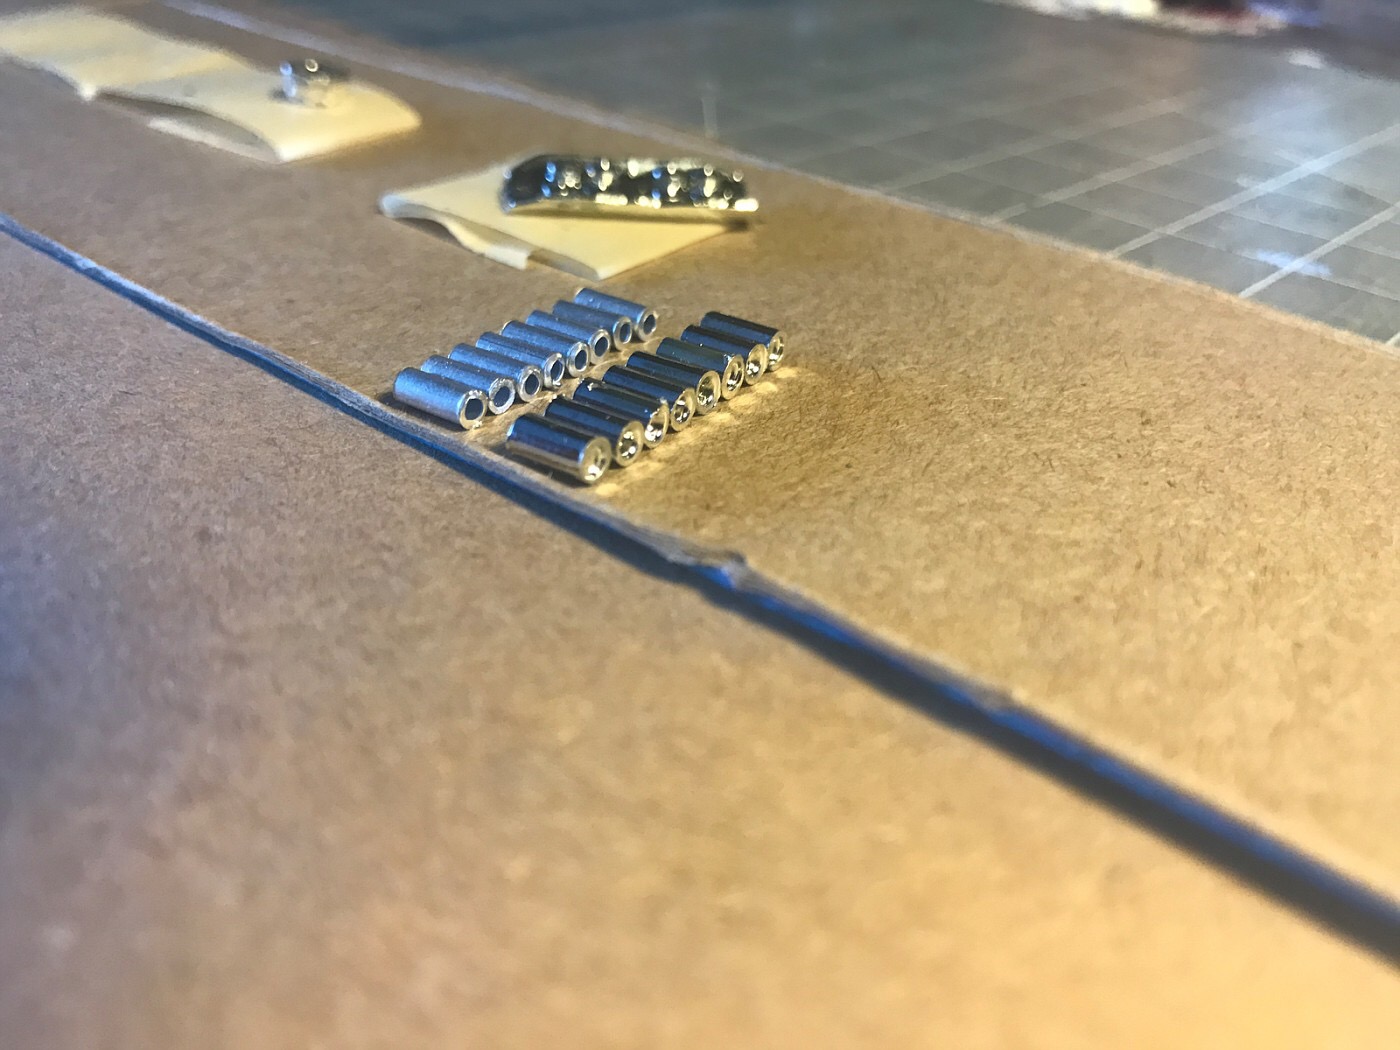
So I'm an electronics technician and I work with sensors, my job has big molds made from RTV so I made this mold at work and it worked! From different kits, I used some stock rims (I'm gonna use them as speakers) some 6x9s, an amp, a bazooka, and a gas pedal. I got a chance to cast this weekend using Amazing Casting Resin and it worked good (besides a couple of air bubbles) the pedal didn't come out do to the flash around the small hole, but I fixed it and my next cast should be good
-
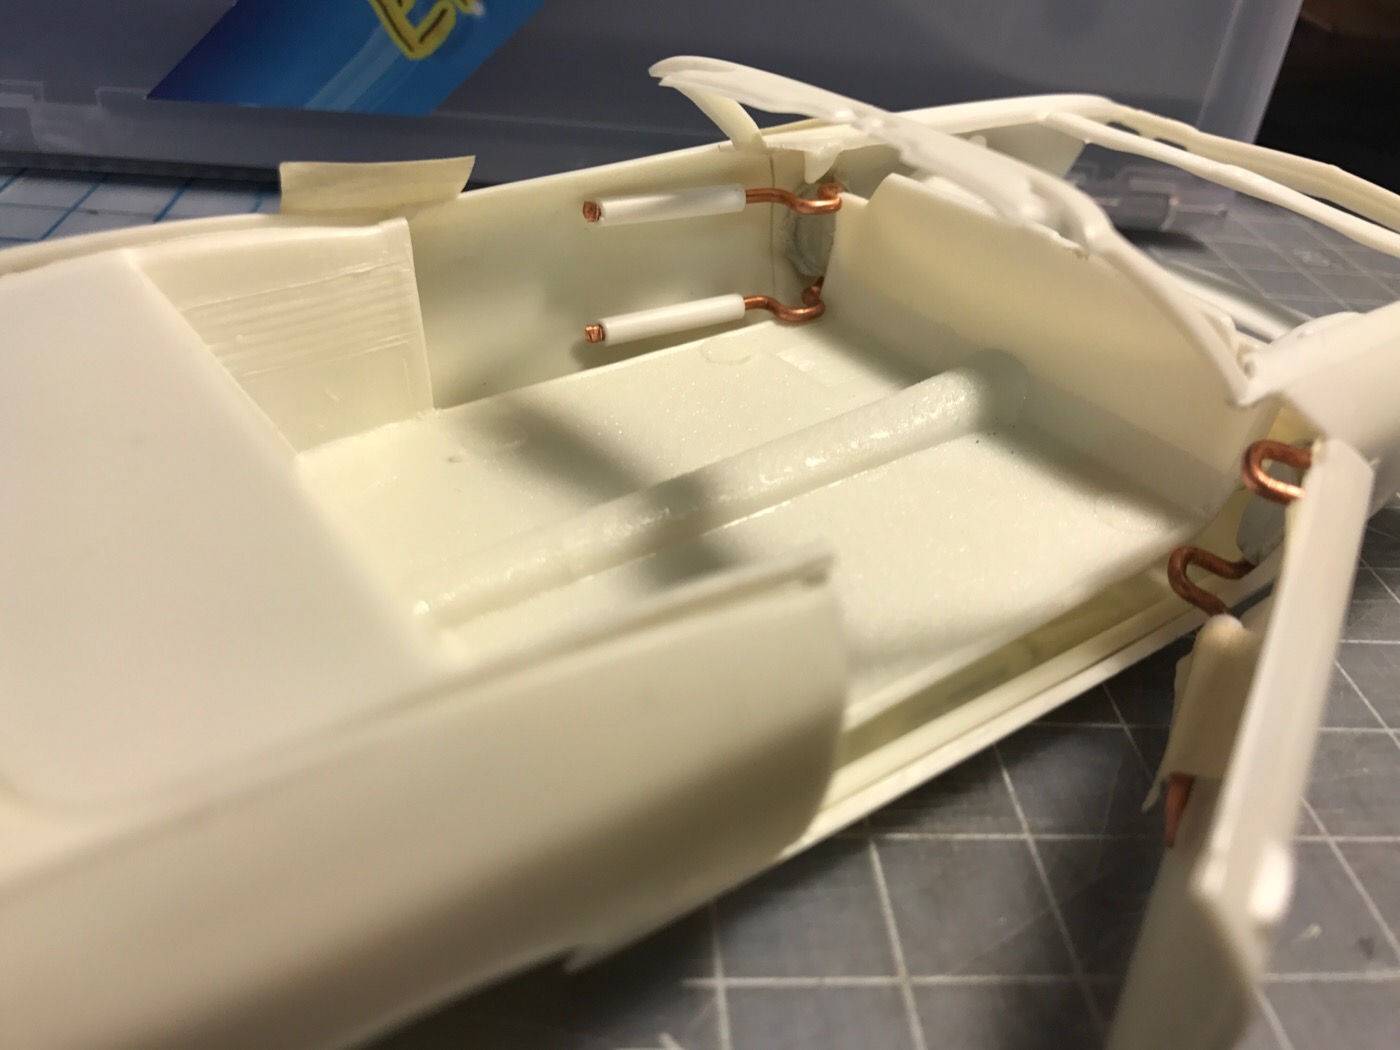
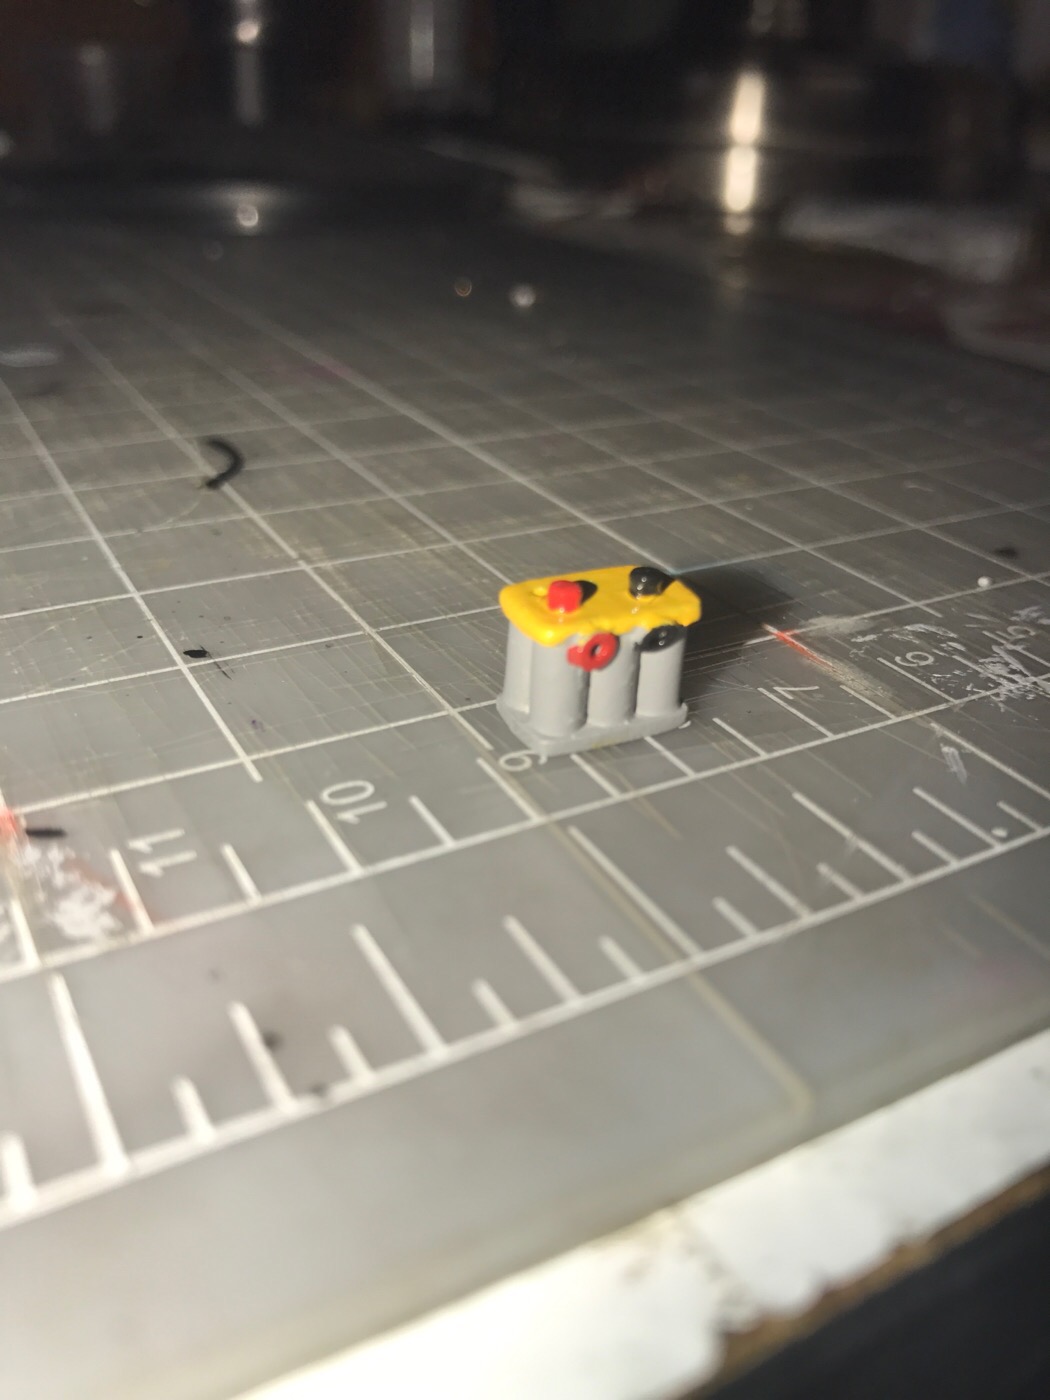
Alright, so I finished the optima battery...it looks good enough and I also got some time to get those tedious doors aligned/hinged (I had to cut where the dashboard sits) and let me tell you, the more I time I get to work with this kit, the more I see how crappy this kit was molded! But despite all the negativity that I've read online about this kit im doing ok I'm really enjoying customizing the hell out of this one, I have at least 10 other kits lined up! But I'm being patient with this build...
-
Thanks, Hopefully I have some time to work on my build tonight, I'm trying to hinge the doors and I'm undecided if I should customize the trunk to hinge it as well... keep your eyes peeled, I'll be back with more pics real soon
-
Haven't had a lot of time to work on my build (work is , but I built a optima battery from scratch, I should be posting more pictures soon
-
Testor ModelMaster paint bottle lids
MODELOESPECIAL replied to GerN's topic in General Automotive Talk (Trucks and Cars)
Wow I'm surprised nobody has mentioned tapping the lid with a marker or I use the handle from my exacto hobby knife, what you want to do is carefully tap the cap all around (gently) and once to do it all around at least once, your lid will screw off like it was open! Trust me I tried the channel locks method and it made me laugh when I did this and it worked try it and let me know! -
Slowly but Surely
-
O
-
100% ??
-
Thanks! I will make sure I remove it and post it when I'm there, just cleaned up some of the flash off the model (it's pretty bad on one side, you can see the fill marks) but I'm optimistic about this build
-
Sweet paint job forsure, I'll scope them out thanks budd
-
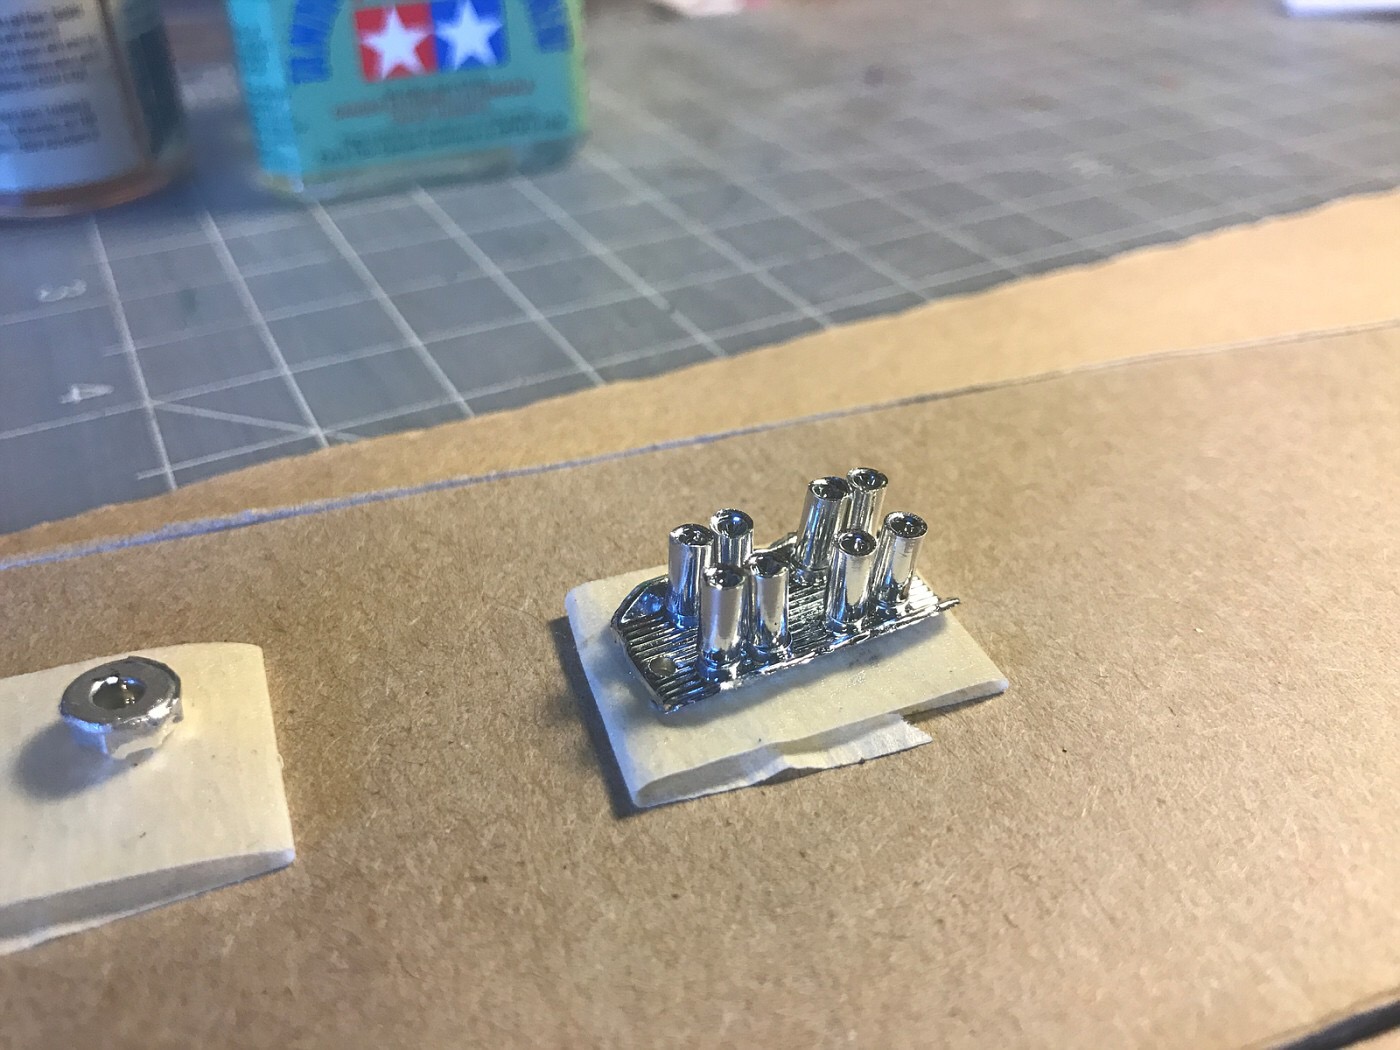
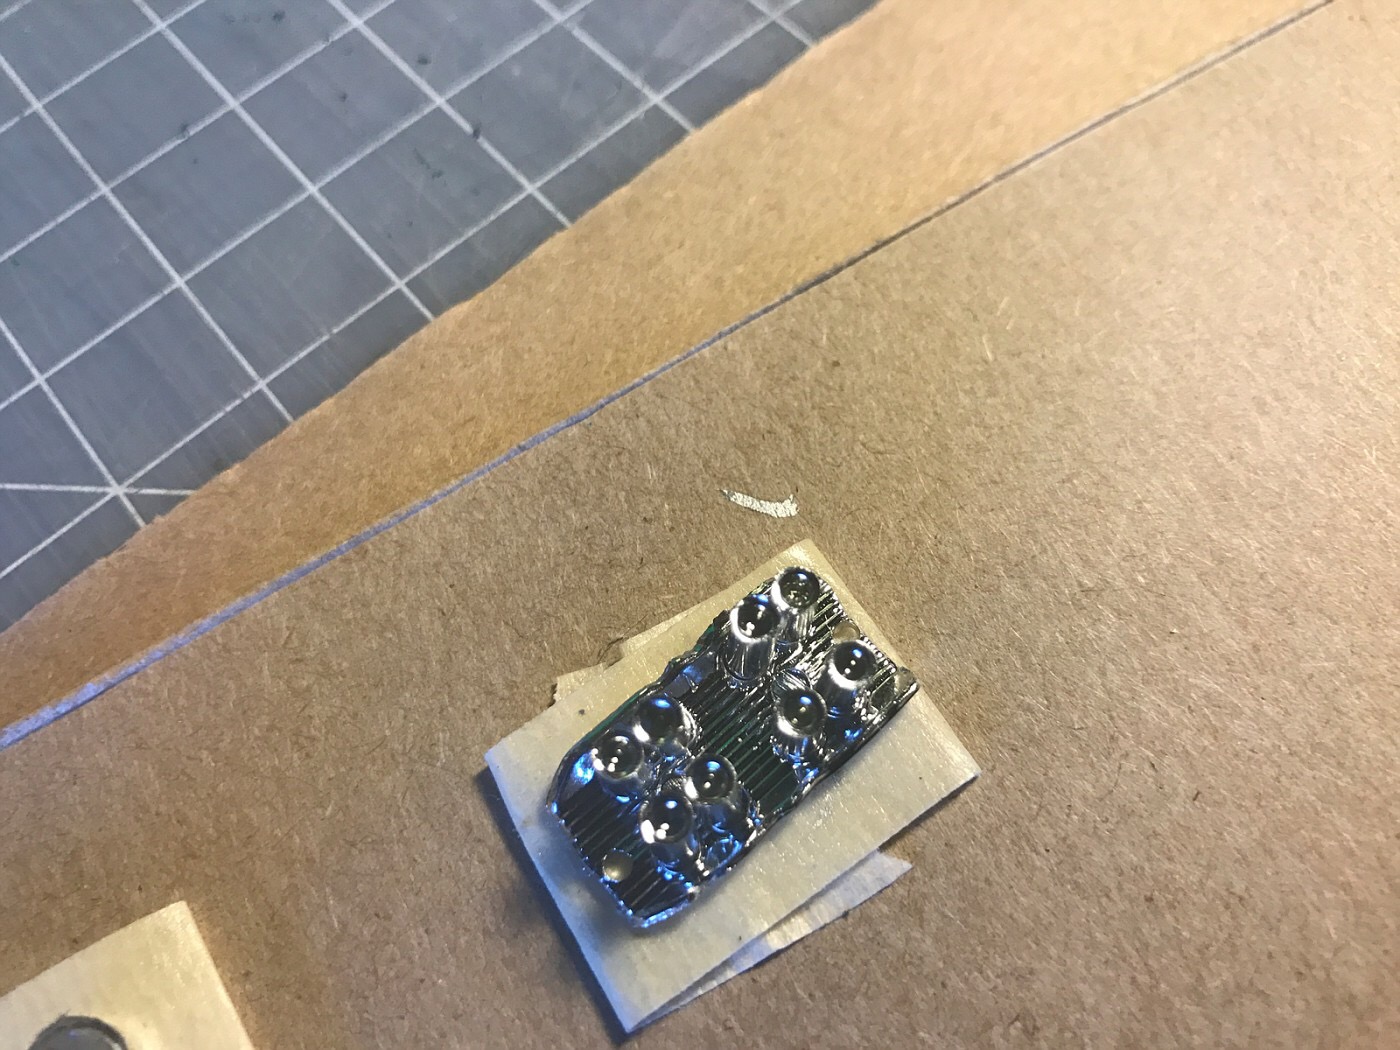
Let me know what you fellas think about my custom 8 stack fuel injection
-
Thanks for the words of encouragement fellas, Geno that is one smooth paint job my friend what paint did you use? Enamel? Acrylic? Also what clear coat did you use? I will keep you guys posted... should be posting a couple pictures of the 396 motor (I'm trying to detail it as much as I can)
-
Currently working on this model, I heard this isn't a easy build but I got the kit for 10 bucks at Michaels with a 60% coupon. Slowly detailing it and b uilding my the motor. Stay tuned I will be posting more pics as soon as I get my primer (ordered 4 cans of plastikote on eBay for 30 and got a can for free!)
-
Do I received my paasche compressor on Friday, and these people on amazon straight gypt me! They sent me a compressor that had a paasche sticker but looked nothing like the one in the picture!!! And when I turned it on the pressure gauge didn't even work and it got hot quick, so I immediately contacted Amazon and returned it, sad to say but I ended up picking up the iwata sprint jet and boy am I happy! It's smaller and it doesn't even get half as hot as the paasche (or the fake one I was sold!) I also ended up picking up another iwata eclipse but this time I got the hp-bcs (currently own the hp-cs) I got it to do my primers, metalizers, and clear coats since it's a bigger needle compared to my hp-cs. Anyways thank you again and I'll be posting pics as soon as I get a chance to paint!